Casey
-
Posts
15,091 -
Joined
-
Last visited
Content Type
Profiles
Forums
Events
Gallery
Everything posted by Casey
-

Why no Corvette C7 Z06 or Grand Sport model kit?
Casey replied to AJM's topic in General Automotive Talk (Trucks and Cars)
Kind of my point-- if any of those were a hot seller their would be none left after six years. I just don't see the mass market demand for a Corvette kit. Maybe when the new mid-engined version arrives there will be some buzz surrounding it, and greater sales potential for a kit based upon it? -
1/25 Scale 10" or 11" Wide M&H Pie Crust Slicks?
Casey replied to Casey's topic in Model Building Questions and Answers
Yeah, that's the route I'm going to go. The T-bolt kit includes those very nice steel and Keystone Kustomag Klassic wheels, too. I see you're showing off those nice AMT Firestone font tires, too. -
Why no Corvette C7 Z06 or Grand Sport model kit?
Casey replied to AJM's topic in General Automotive Talk (Trucks and Cars)
When Corvette kits are as cheap as the Royal Rail and Depth Charger...
-
Are you using a pin vice and miniature drill bits do drill holes in the distributor cap? That makes it much easier to "install" spark plug wires and the ignition coil wire. You can always replace the distributor with another and re-run the wires to the spark plug locations, too. I would suggest you work on the basics first, before adding "extras" like spark plug wires. The best advice I can give is to think of each part of sub assembly (for example, the engine, or the interior, etc.) as a model itself. Make sure the engine block/transmission halves mate squarely, and that they are perfectly aligned (or as best as the pieces will allow) as you are gluing them together with a liquid glue. The test fit the cylinder heads and intake manifold before you glue any of them to the block...and so on. Taking your time with each piece and step will result in a cleaner, though maybe a bit less detailed, model, but I think you'll be happier, and you can build on those results the next time. Nice wheel and tire choice, too.
-
50,000 + kits from just one mold ?
Casey replied to Greg Myers's topic in General Automotive Talk (Trucks and Cars)
Can you mention those kits you built models of which never saw production? I have to think the pre-orders and retailers' interest in a '60s era '62 Plymouth Fury model were not exactly encouraging. Did you build any others which never saw production, Paul? -
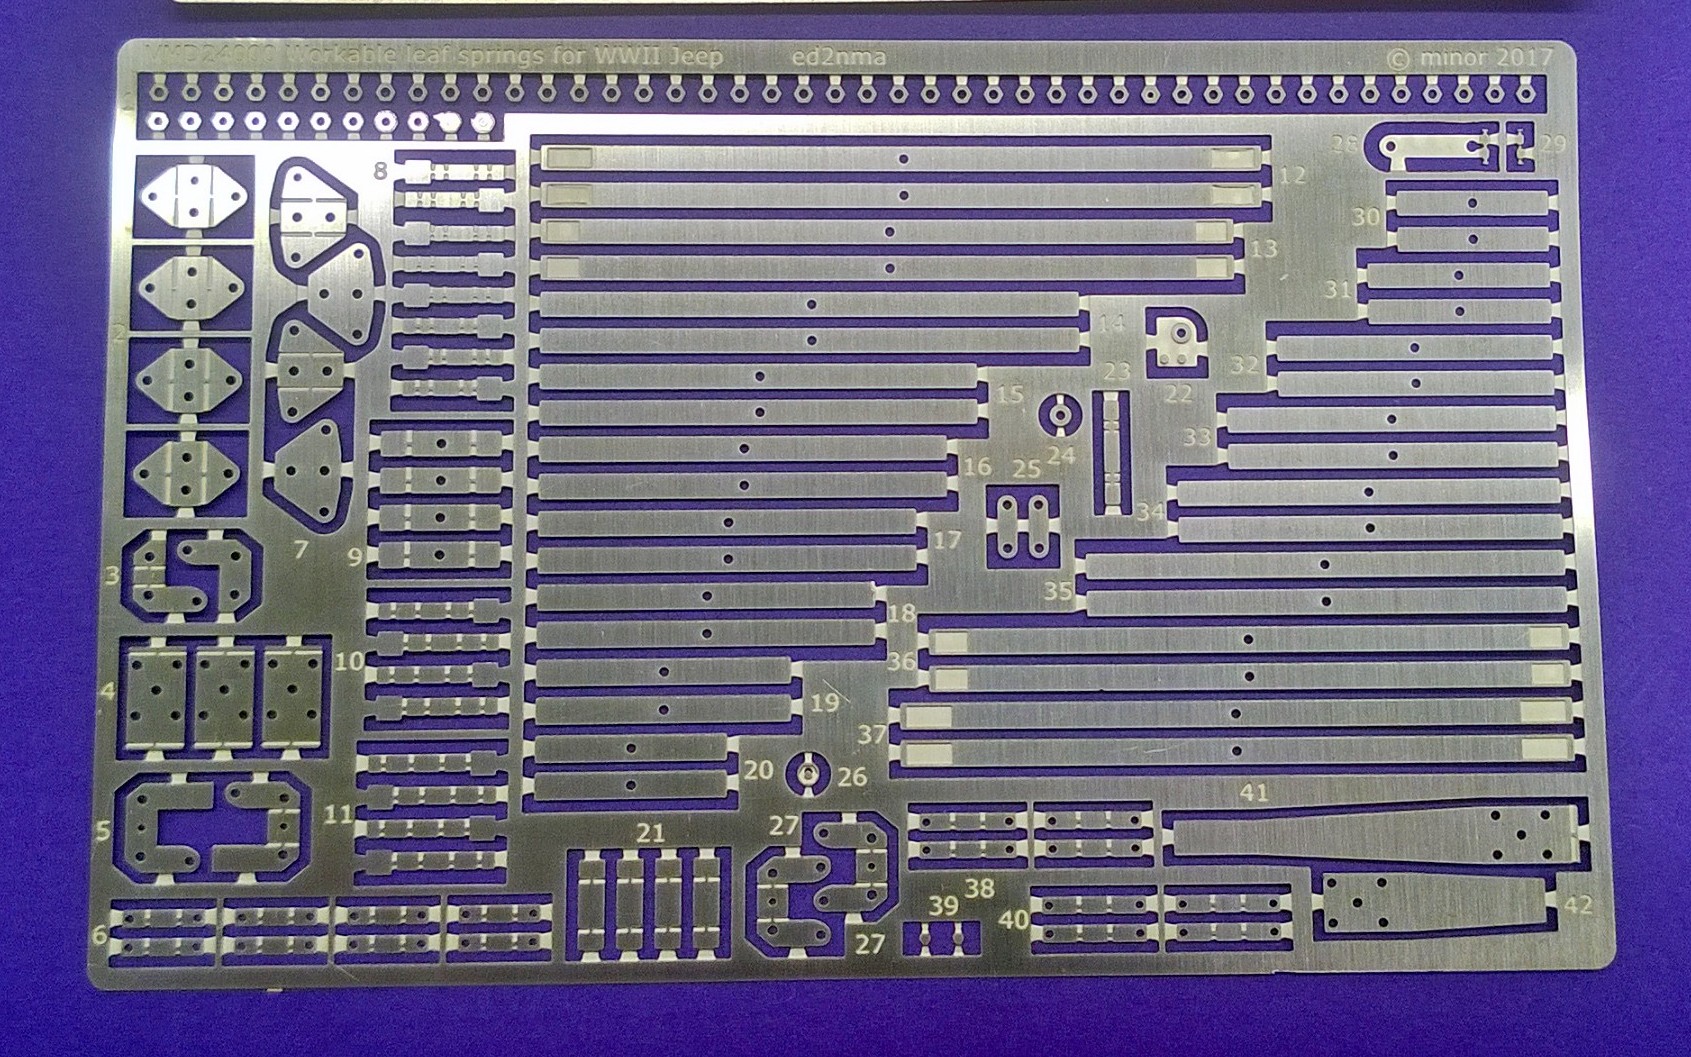
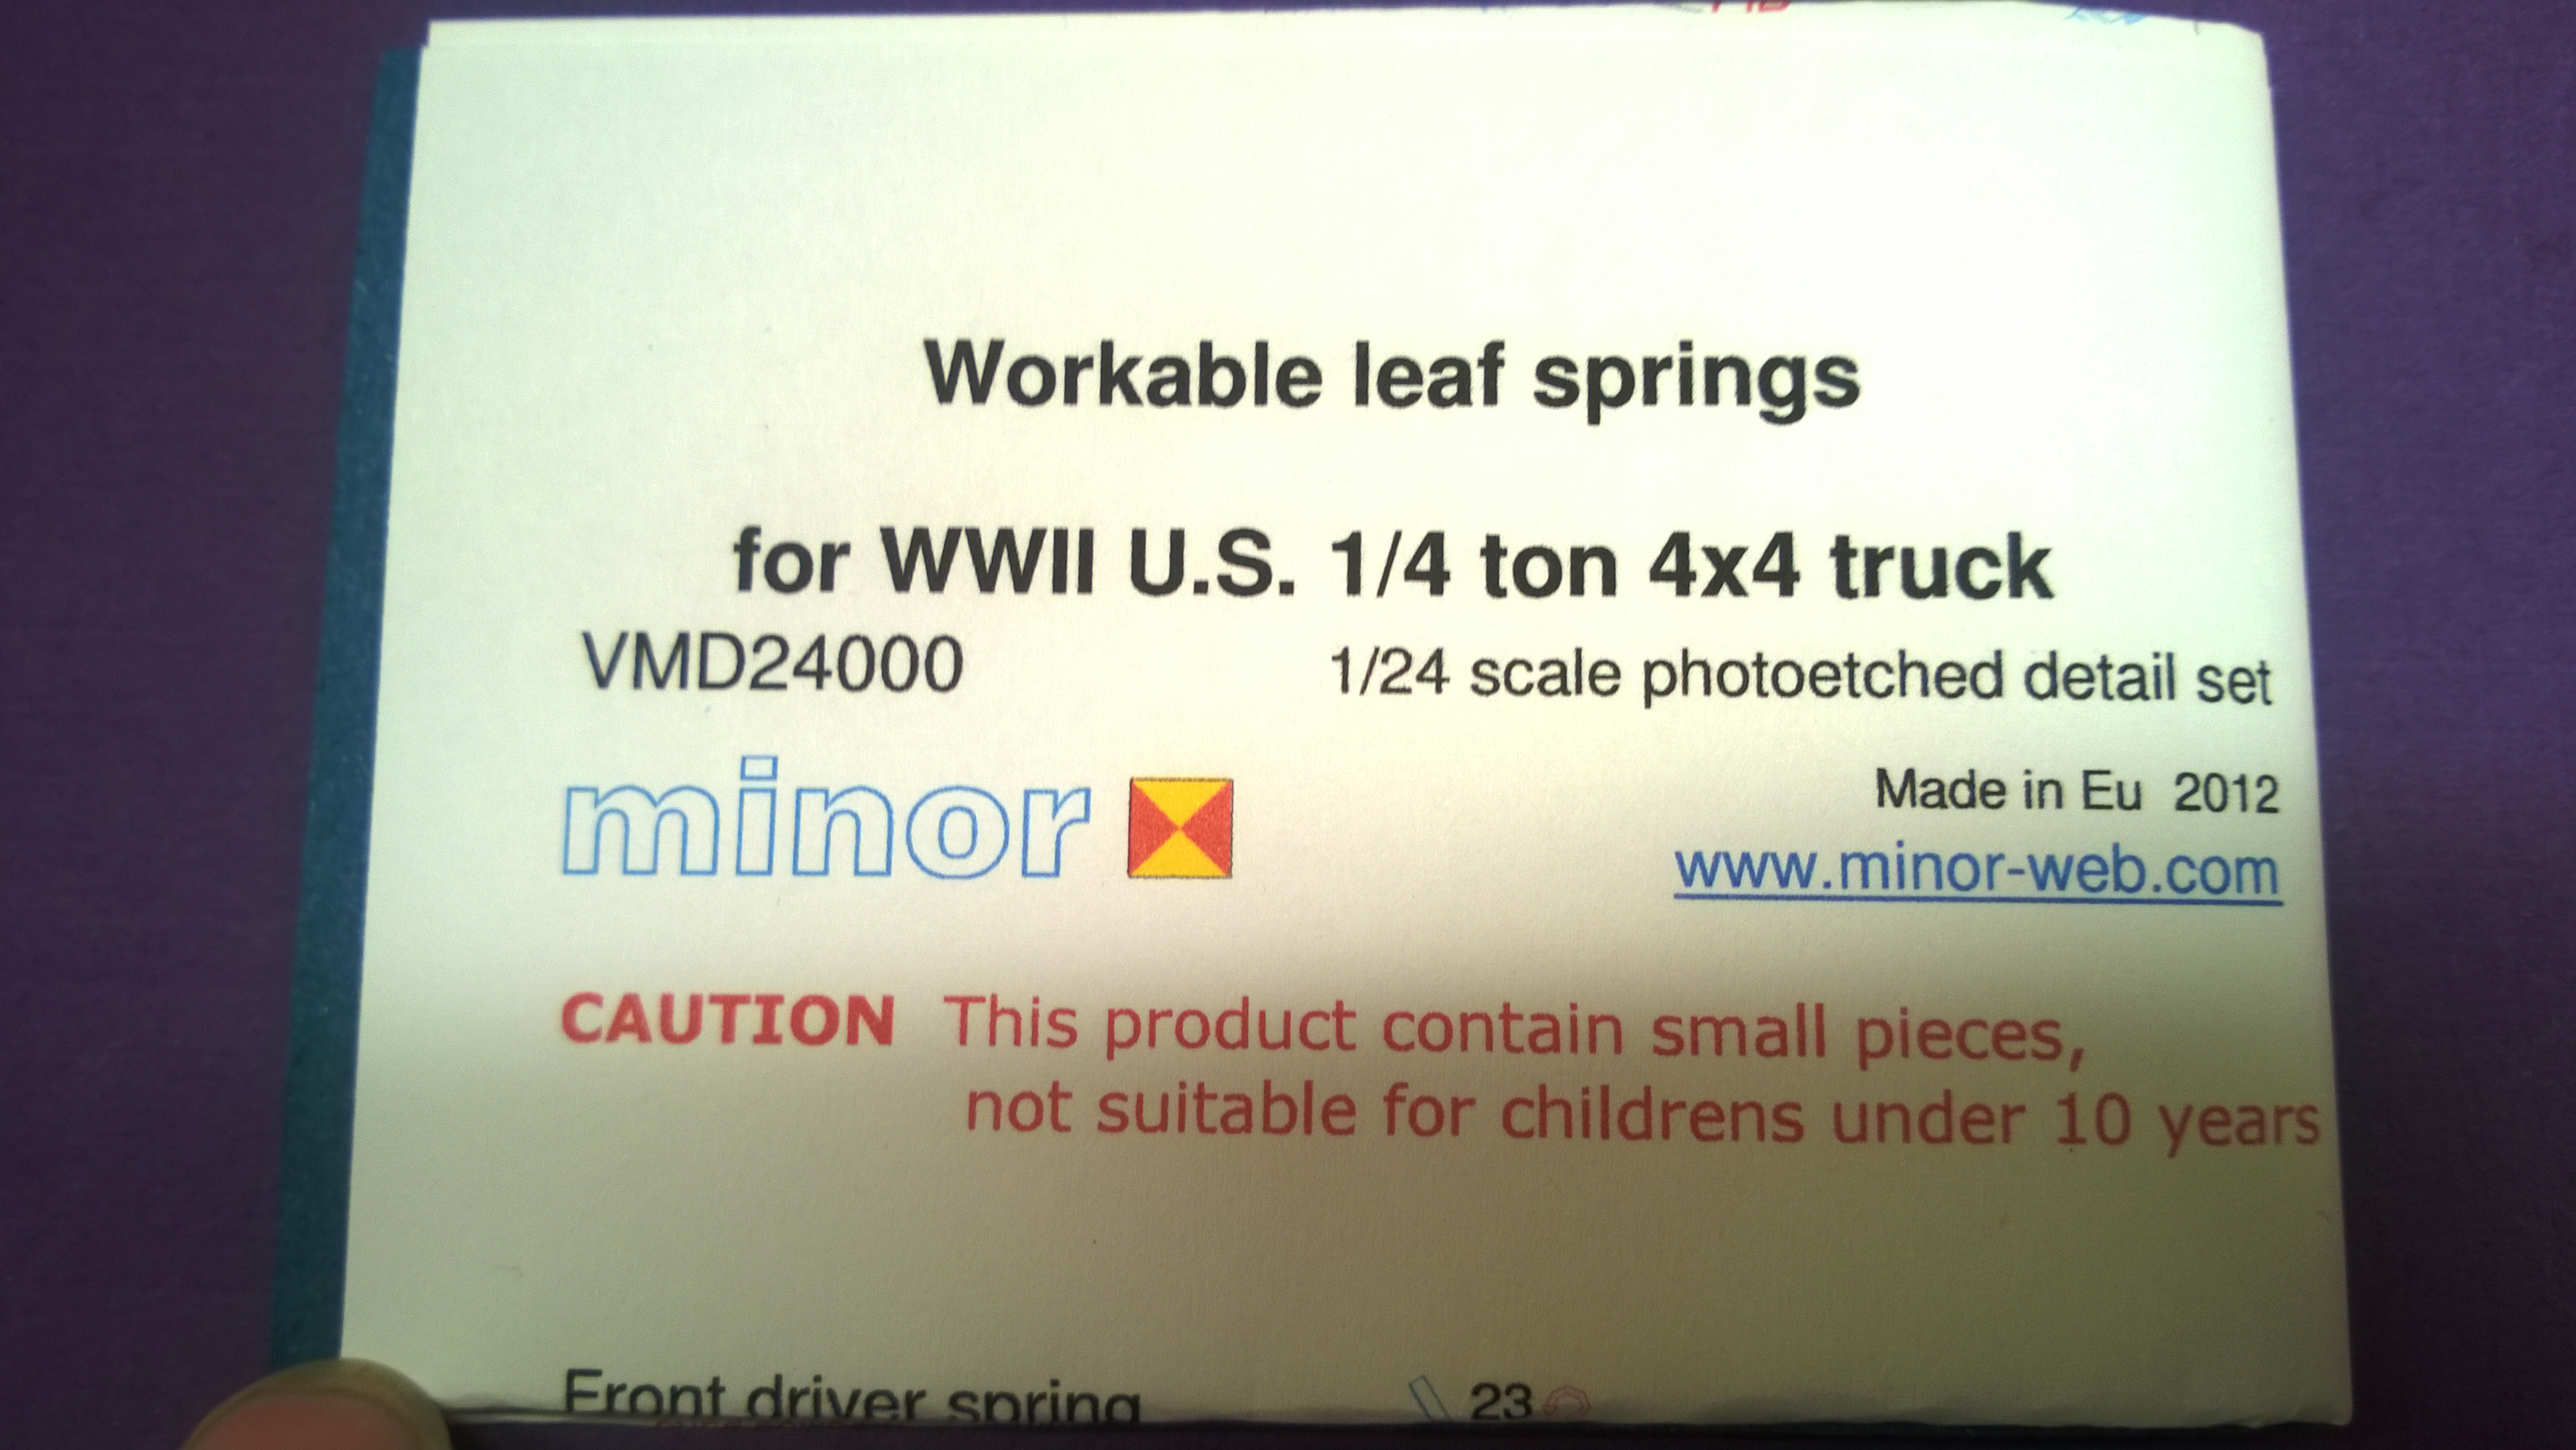
While looking for more realistic leaf spring options, I stumbled upon these 1/24 scale Minor photoetched brass leaf spring sets, so I ordered one of each, and they arrived today. Set VMD24002 is designed for use with the Italeri Land Rover LWB kit(s?) while set MVD2400 is for use with the "U.S. WWII 1/4 Ton Truck", aka, Jeep, and each set consists of over 100 pieces each, 158 for the Jeep specifically. All leaves are separate and have an existing bolt hole in the center, so they are a bit limited for use with vehicles which use symmetrical leaf springs, but I'm sure one could get creative and re-drill new holes (while hiding the existing holes) as necessary. I have yet to start assembling them, but did take comparison pictures with a few kit-sourced leaf springs: Revell '57 150 Black Widow, Revell '69 Charger R/T, and MPC Jeep Commando front and rear leaf springs. The Jeep leaves are small, as expected, and would need to be used on a small/compact sized vehicle, while the Land Rover leaves are a bit wider and longer, so better for medium or mid-sized vehicles, and maybe even compact trucks, too. These are very nicely detailed, with separate spring hanger brackets, shackles, and spring clamps. You need to supply a few bolts to hold the spring pack together and to mount the assembled springs to the brackets/shackles, but Model Motorcars, Ltd. or JB Motion can supply those. Having a photoetched bending tool is a good idea, too. Cost was about $14.00 U.S. each, plus $5.00 or so for non-tracked shipping from Australia. The paperwork says 1/35 scale on the Land Rover springs (which they also offer), but they are 1/24 scale. I will take some exact measurements at a later date and add them to this post.
-
1/25 Scale 10" or 11" Wide M&H Pie Crust Slicks?
Casey replied to Casey's topic in Model Building Questions and Answers
Thanks, Bill. Those look like what I am looking for. Hmmm, I think the slicks in the Revell '64 T-bolt kits are one-piece and appear to be 10.00x15?:
-
^This. Block sand the body to remove the slightly raised edge where panel lines exist, scribe panel lines to an even and realistic depth, avoid using black ink or paint to fill in those panel lines, scribe around all chrome body trim lightly, don't lay on too much paint such that it looks like you dipped the body in a gallon of paint and let it drop dry...that should get you started. Oh, and a polishing kit, too, as Steve suggested. Here's some good advice, and a site well worth bookmarking: http://italianhorses.net/Tutorials/Primer/primer.htm http://italianhorses.net/Tutorials/PerfectPaint/paint.htm
-
1/25 Scale 10" or 11" Wide M&H Pie Crust Slicks?
Casey replied to Casey's topic in Model Building Questions and Answers
I should've added the 1/25 scale to the title...fixed. I think the 1/24 scale Monogram PC slicks (though I love them) would be too large, and the scale difference noticeable in this case. Thanks for the offer, though, Rob. *edit* Well, this is slightly embarrassing. I remembered but could not find these "in motion" styrene two-piece M&H 10.50 x 15 pie crust slicks, which aren't ideal, but might work: -
1/25 Scale 10" or 11" Wide M&H Pie Crust Slicks?
Casey replied to Casey's topic in Model Building Questions and Answers
Theses are the two-piece slicks, correct? I'm looking for something similar to these, so maybe I just need to dig deeper for older/vintage slicks:
-
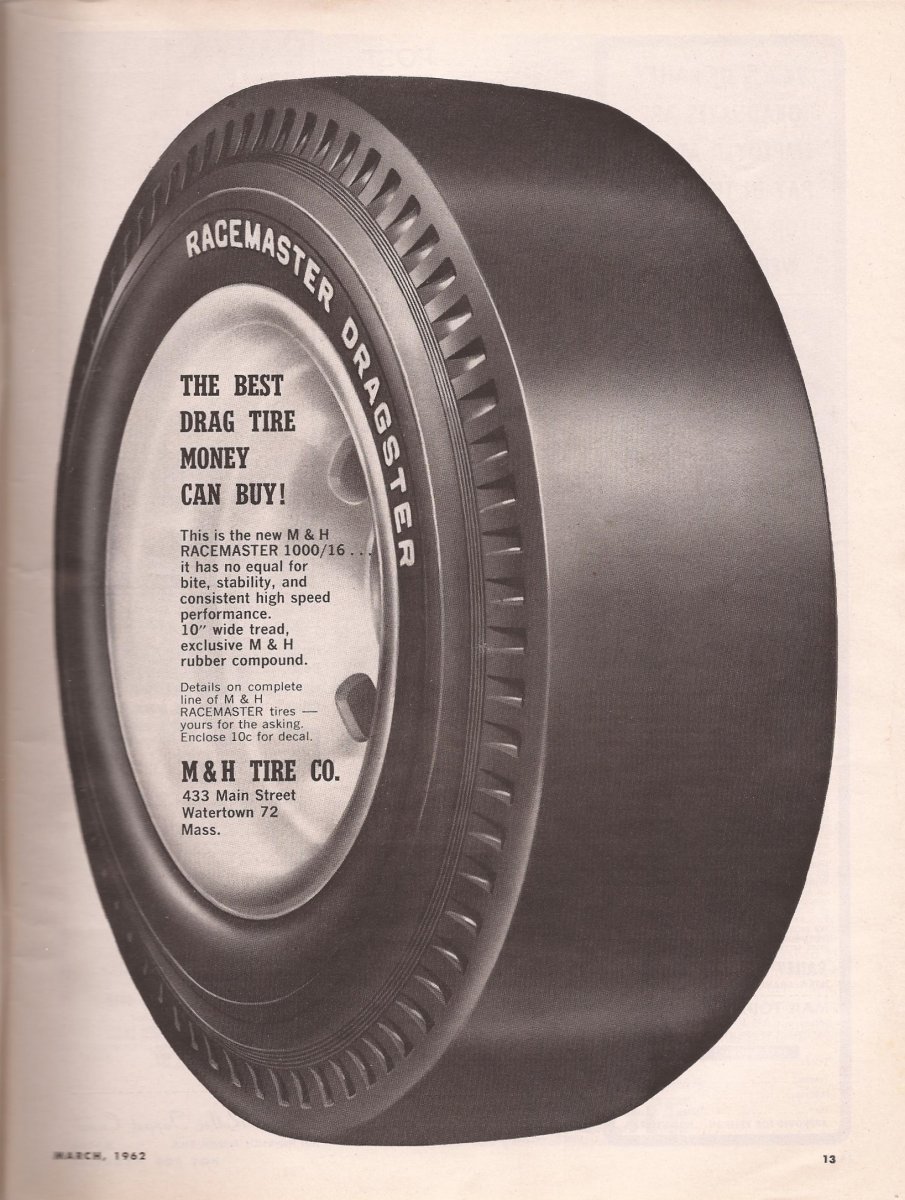
Do any kits contain 10" or 11" wide (in either 15" or 16" diameter) M&H Racemaster pie crust style slicks? The recent AMT versions are 8" and the Revell Miss Deal (and others) version are 8.75" wide, but I don't recall any 10" pie crust style slicks in any kit. I'm aware of aftermarket, but looking for kit sourced slicks only.
-
source for aftermarket jeep honcho grill needed
Casey replied to jeffdeoranut's topic in Car Aftermarket / Resin / 3D Printed
^This. Once you get into the details of the kit and start thinking about making corrections, you quickly realize there's a lot of work to be done. I doubt we'll ever see an aftermarket Gladiator grille for this kit, as the grille is just one piece needed to backdate the nose. Even just taking the grille into account, it's more than most people would ever think about tackling. It could be done properly, but would most people be willing to pay for the effort necessary to create a correct grille? -
Which product are you using to re-glue it? (assuming it's a clean break?)
-
50,000 + kits from just one mold ?
Casey replied to Greg Myers's topic in General Automotive Talk (Trucks and Cars)
Tell us what you see. Enlarge the image, get out your magnifying glass, and let us know. I think I also saw: Revell H-105 Nakajima J1N1-5 Gekko Revell H-0130 Convair F-120A Delta Dagger Renwal 284 Frank Hawk's Heddon Jenny Maybe?: Revell 620 1/72 Hawker Tempest -
Not that Gen Disc is not the only, nor the exclusive, place for 1:1 vehicle topics. When a topic is more specific, such as the O.P. stating in the topic "I will get more detail pictures. Thought it might help anyone building this kit." It's pretty clear you posted the images in an effort to help others who might be building a model of a '70 Boss 302 Mustang, and that's pretty darn close to the exact description of the 1:1 Reference section: 1:1 Car Reference Pictures Post a link to your personal collection of automotive pictures or post the pictures here directly for other member's reference. That's exactly what you did, and exactly where your post should've been posted considering the bulk of your post consisted of large reference pictures, and very little discussion about the car.
-
Thanks, Bob, that's it.
-
I used that image mainly for the frame and suspension colors. The underside of the bed is heavily in the shadow, though. By '75, vans would've received the full dip primer bath treatment (well, at least Dodge & Plymouth vans got the full depth dip), so at a minimum the underside of the body shell would be the color of the dip primer. It's likely a little overspray from the body shell painting process wrapped its way under the rockers and around/under the body, and the interior of the van would be fully painted, too. You have to keep in mind the height of a van, making reaching under the rocker panels not very likely, so there wouldn't be much overspray underneath. Some looking at various Ford vehicle forums online, especially at those models which were built at the same time, and ideally, the same assembly plant(s) as where the vans were produced should give some better details of the primer color(s) which was (were) used.
-
Close enough to a van.
-
Looks like a grille to allow hot air to escape? From an online sale listing: "The small doors under the xcab windows are access doors to the engine."' Or, auxiliary heater, maybe?
-
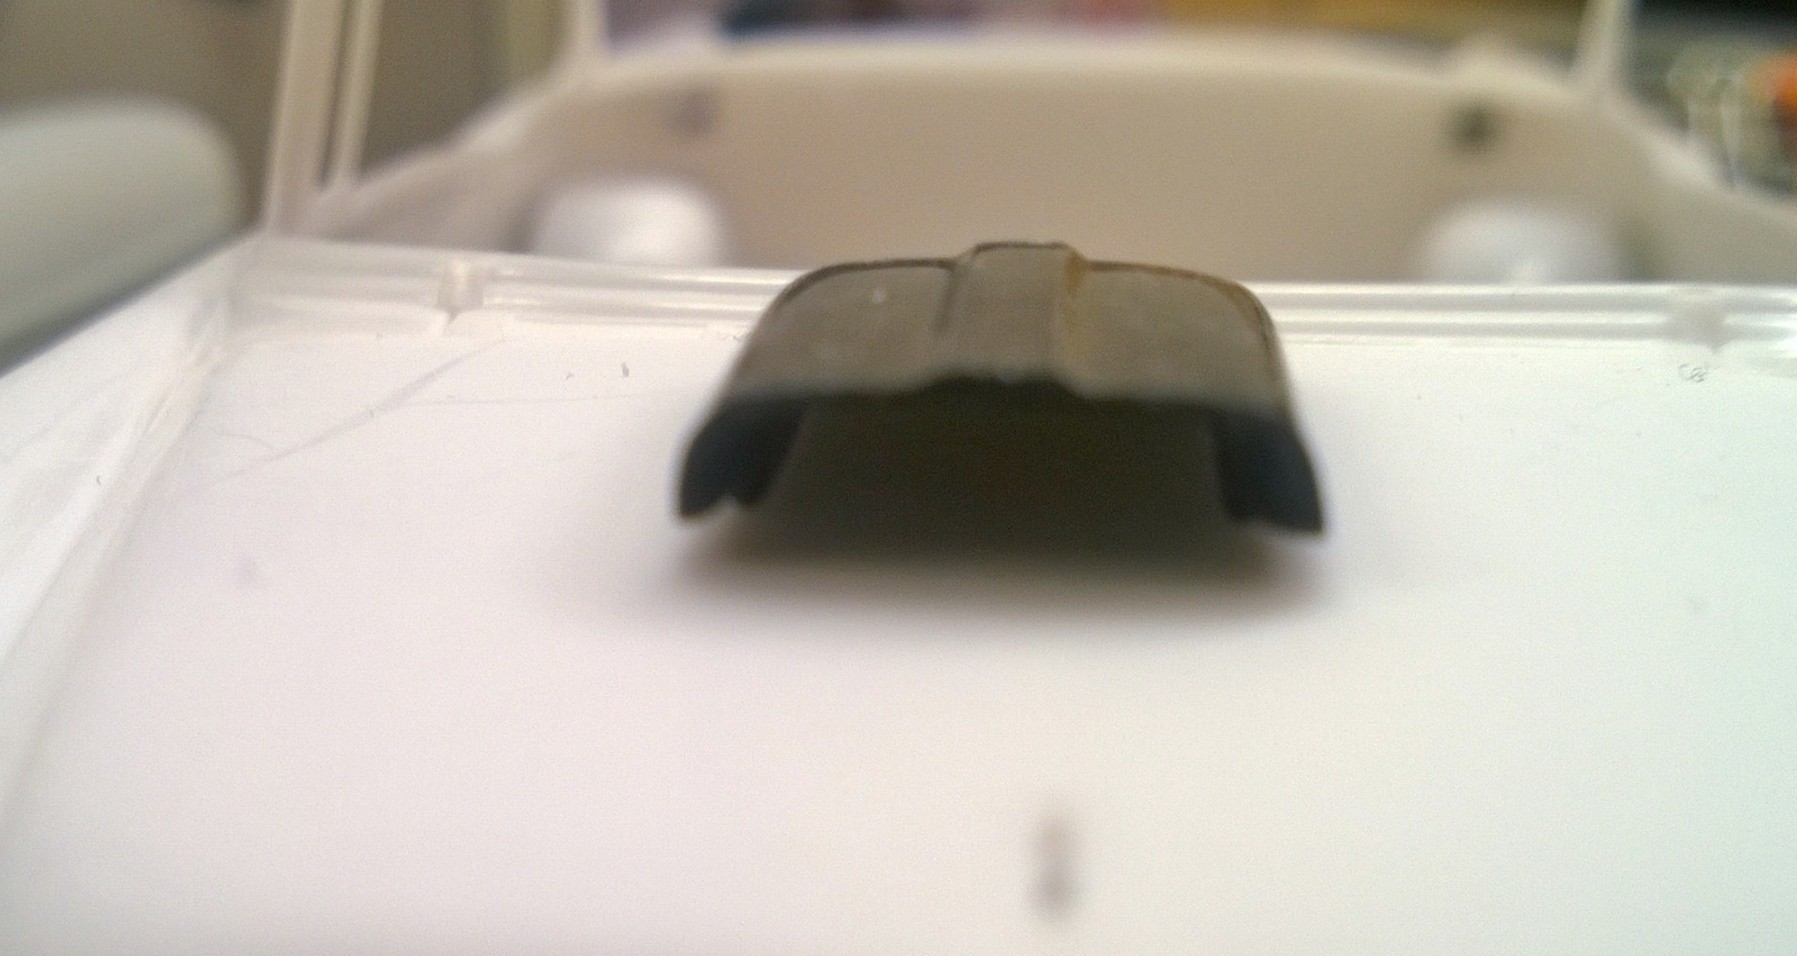
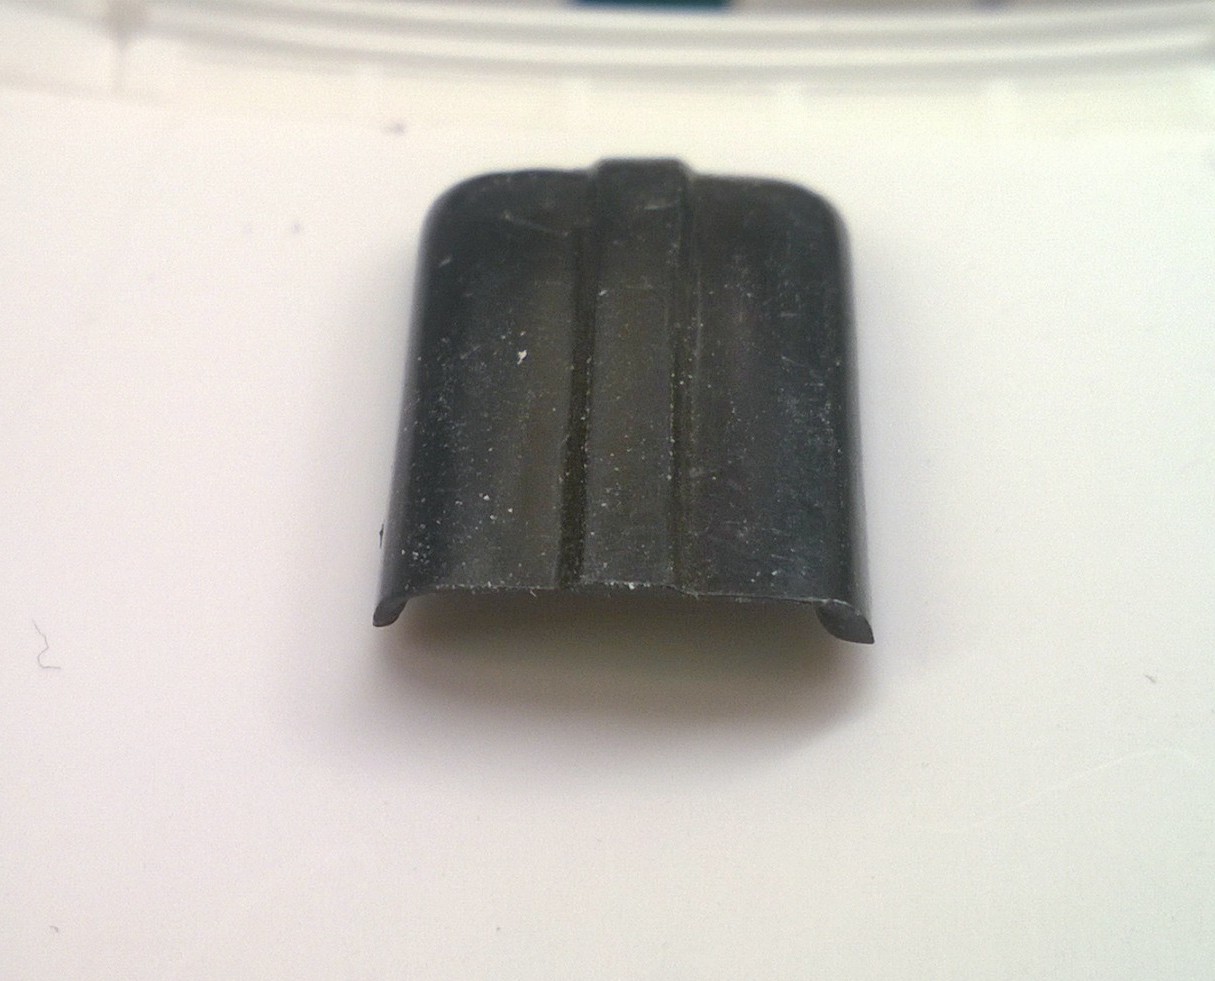
No idea where this came from, bit it is molded in black plastic and larger than the Cal Custom scoop from the Revell '55 Bel Air HT kit:
-
Go Mango Orange for my Hemi Cuda *HELP*
Casey replied to V8gas's topic in General Automotive Talk (Trucks and Cars)
-
I thought the below were originally from the above kit but now I don't think so. The below have twelve holes, while the above appear to be ten hole? Where is Chuck when you Most need him...
-
http://round2corp.com/model-kit-instructions/uploads/mpc817.pdf
-
1/25 AMT '62 Pontiac Catalina Polyglas Gasser II
Casey replied to Casey's topic in Car Kit News & Reviews
It's a good parts donor if nothing else, and the previous Custom version is in the early '90s price range ($10-$13) all day long on eBay. Great Pontiac V8 with a dual quad intake, nice rearend which, after removing the control arm mounts, etc., can be used under just about any dragstrip duty Chevy for a stouter, more realistic rearend, separate frame and floorpan, poseable front spindles/knuckles, and the steel wheels were decent, too. -
50,000 + kits from just one mold ?
Casey replied to Greg Myers's topic in General Automotive Talk (Trucks and Cars)
Those two kit numbers are what I believe the bottom two (in red, with stenciled yellow numbers) are. H-1231 is the other possibility instead of H-1251, and H-1231 is the Revell 1/32 Chrysler New Yorker, which was reissued in 1996. It looks more like a "5" than a "3" to me, though. I looked up some of the other numbers which I think I could make out correctly, and they are all Revell or Renwal aircraft. The fact that some of these still exist is good, but only the first piece of the puzzle. Here's the original article which was posted here on the forum a few years ago: https://craftsmanship.net/parts-recreation/