BK9300
-
Posts
1,986 -
Joined
-
Last visited
Content Type
Profiles
Forums
Events
Gallery
Everything posted by BK9300
-

Link-Belt HC-218 Truck Crane
BK9300 replied to redneckrigger's topic in WIP: Model Trucks: Big Rigs and Heavy Equipment
Simply fantastic! I'll bet it feels very rewarding to see the boom fold as planned. -
Western Star 4900 FA plow truck
BK9300 replied to BK9300's topic in WIP: Model Trucks: Big Rigs and Heavy Equipment
Sure is - and I'm literally counting down the remaining steps needed to finish! Thanks, Scott. -
Not just awesome paint jobs to admire, there's the amazing fabrication as well!
- 766 replies
-
- 2
-

-

-
- stalled builds
- quick builds
- (and 2 more)
-
Mighty ‘fine’ work, Daniel - in all aspects of that word!
-
Pretty amazing build, right down to the hub cap detailing - makes me wonder what else there might be to see, in the interior!
-
Kenworth W-925 (mild custom)
BK9300 replied to Gary Chastain's topic in WIP: Model Trucks: Big Rigs and Heavy Equipment
Did I see a mini drill press in one of the previous photos of your bench? Otherwise, pretty handy with a pin vise drill! Looks good. -
Western Star 4900 FA plow truck
BK9300 replied to BK9300's topic in WIP: Model Trucks: Big Rigs and Heavy Equipment
Much appreciated - thanks, Gary! -
Link-Belt HC-218 Truck Crane
BK9300 replied to redneckrigger's topic in WIP: Model Trucks: Big Rigs and Heavy Equipment
I agree - exceptional work, Tom, especially with the comparison to the real boom connections! -
Western Star 4900 FA plow truck
BK9300 replied to BK9300's topic in WIP: Model Trucks: Big Rigs and Heavy Equipment
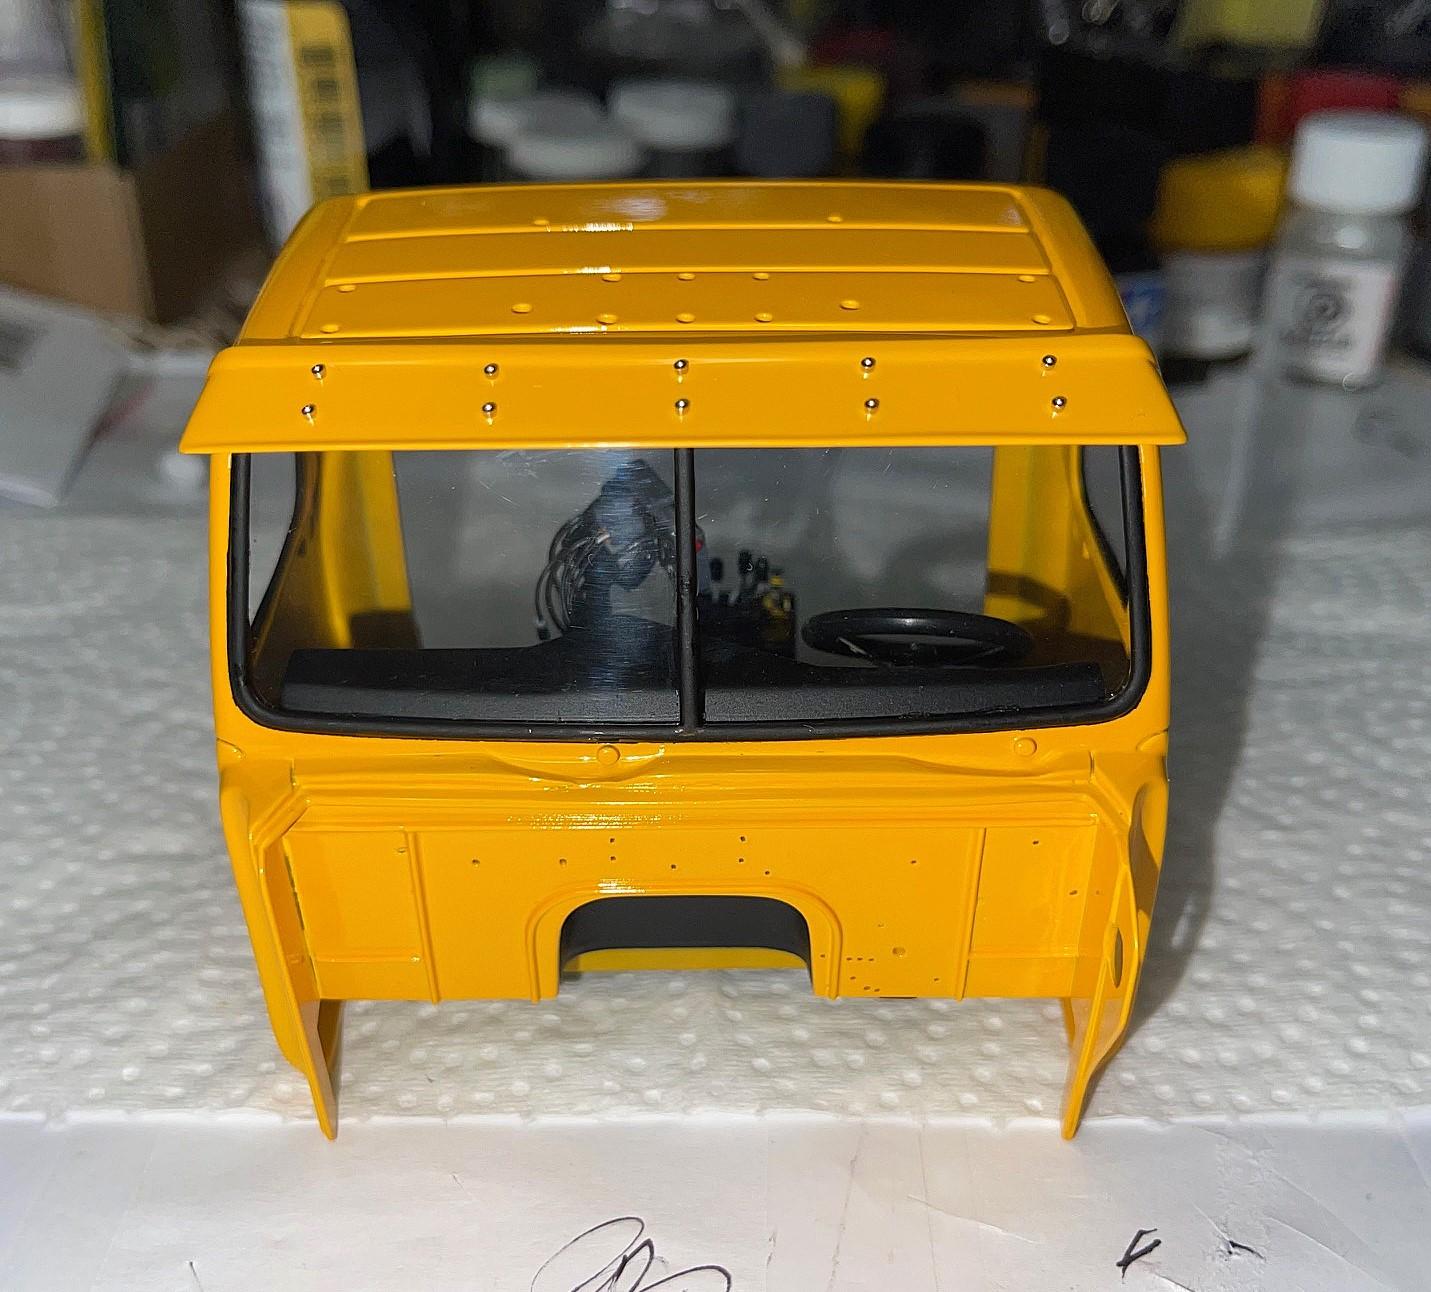
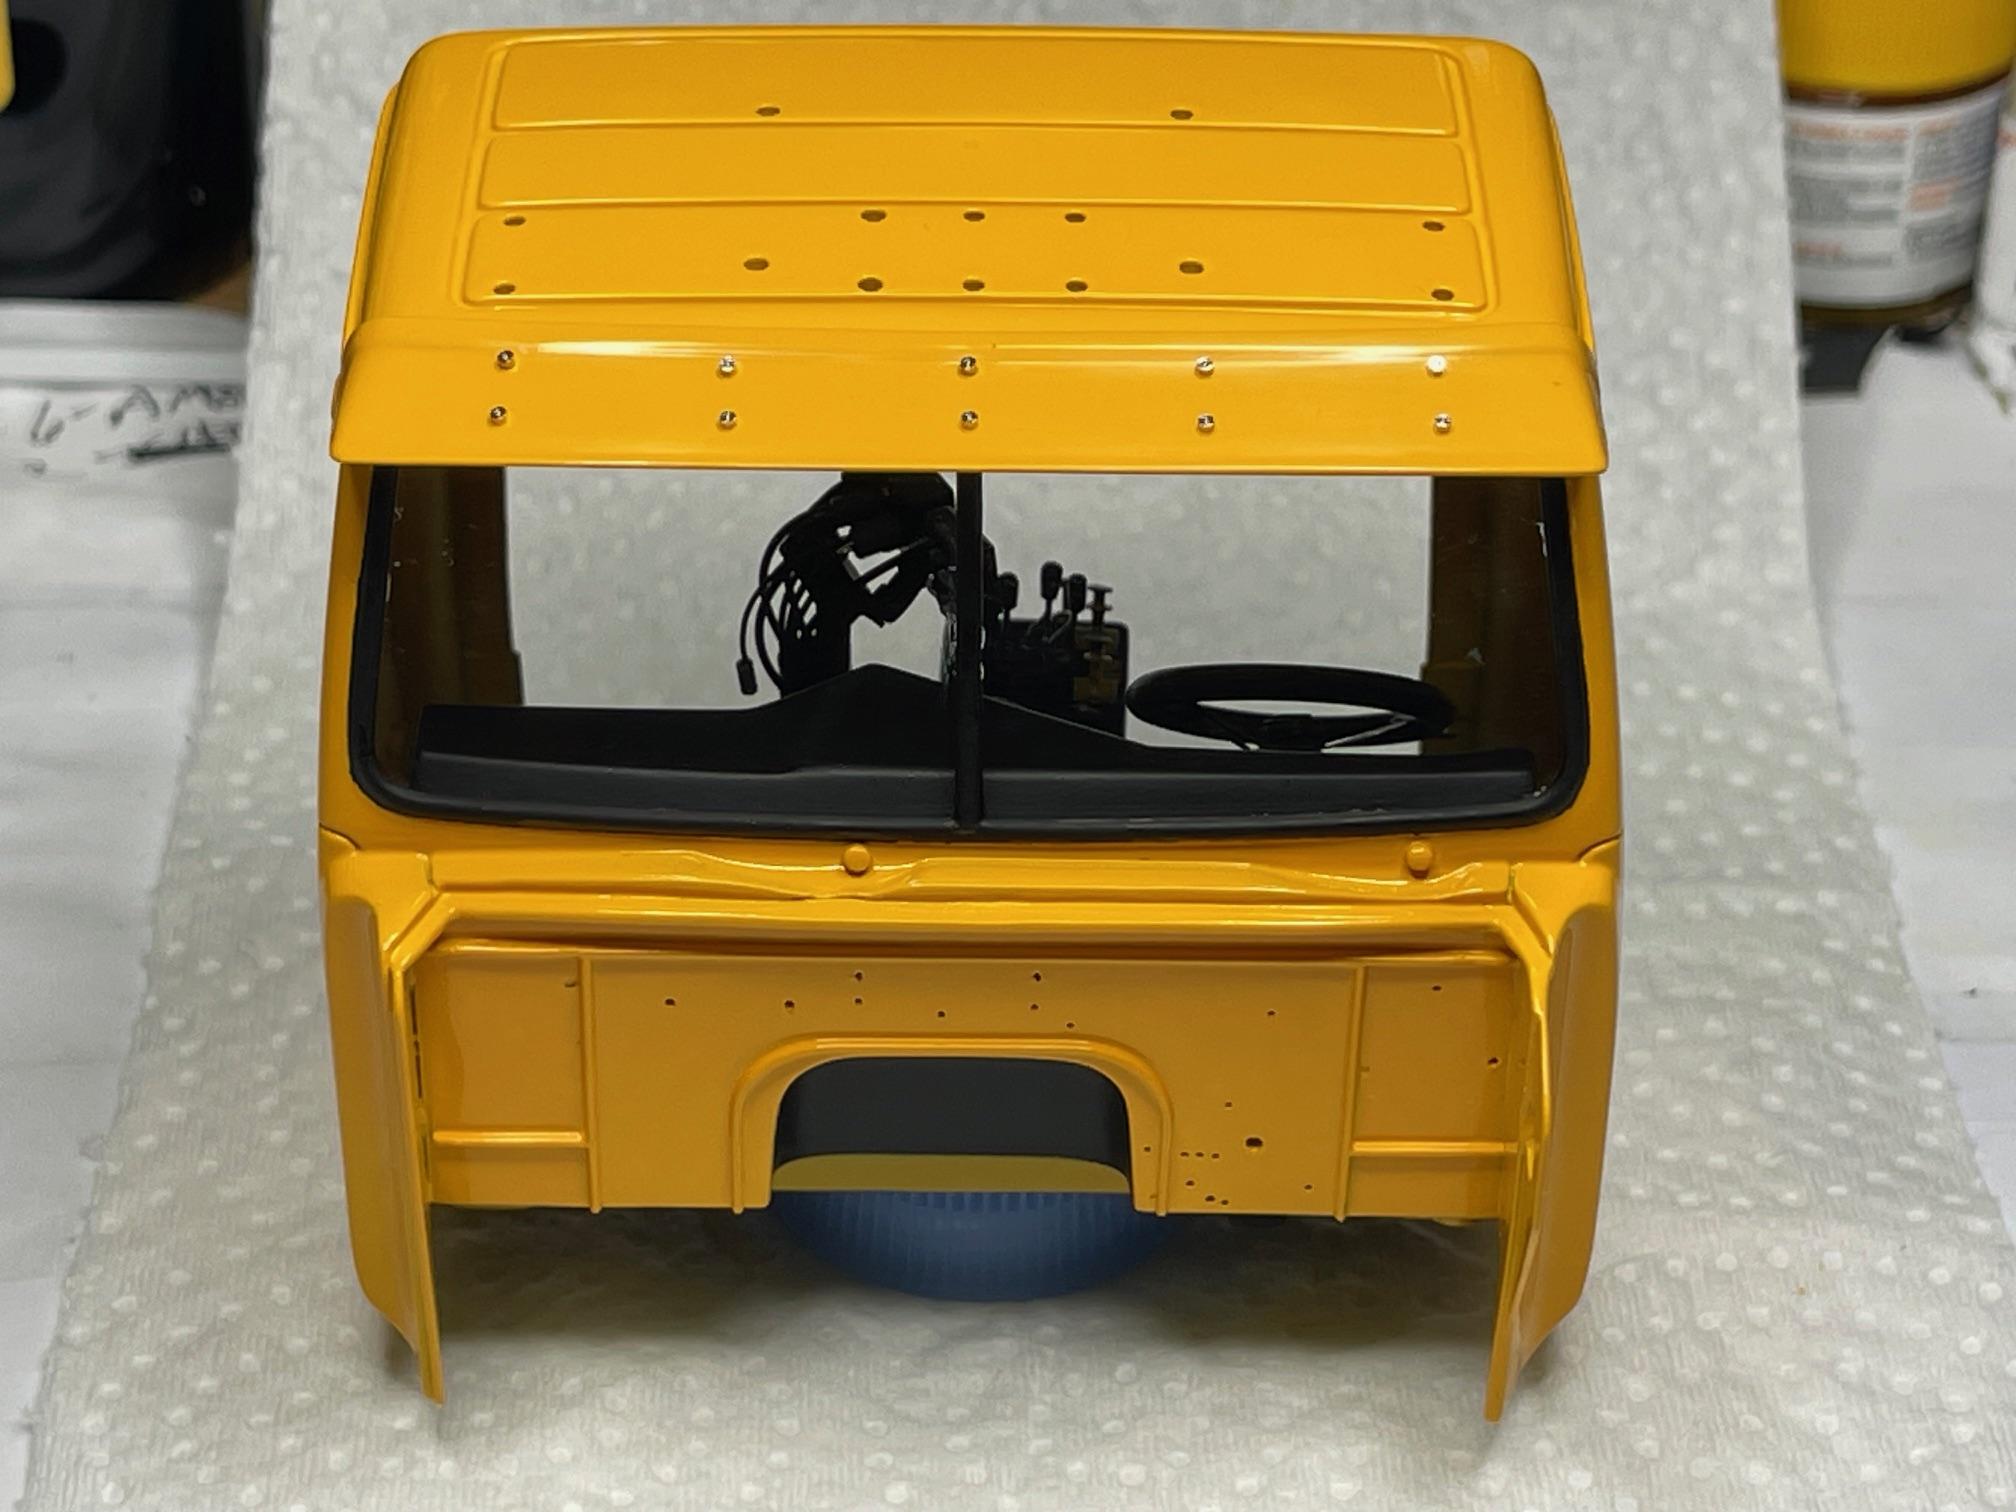
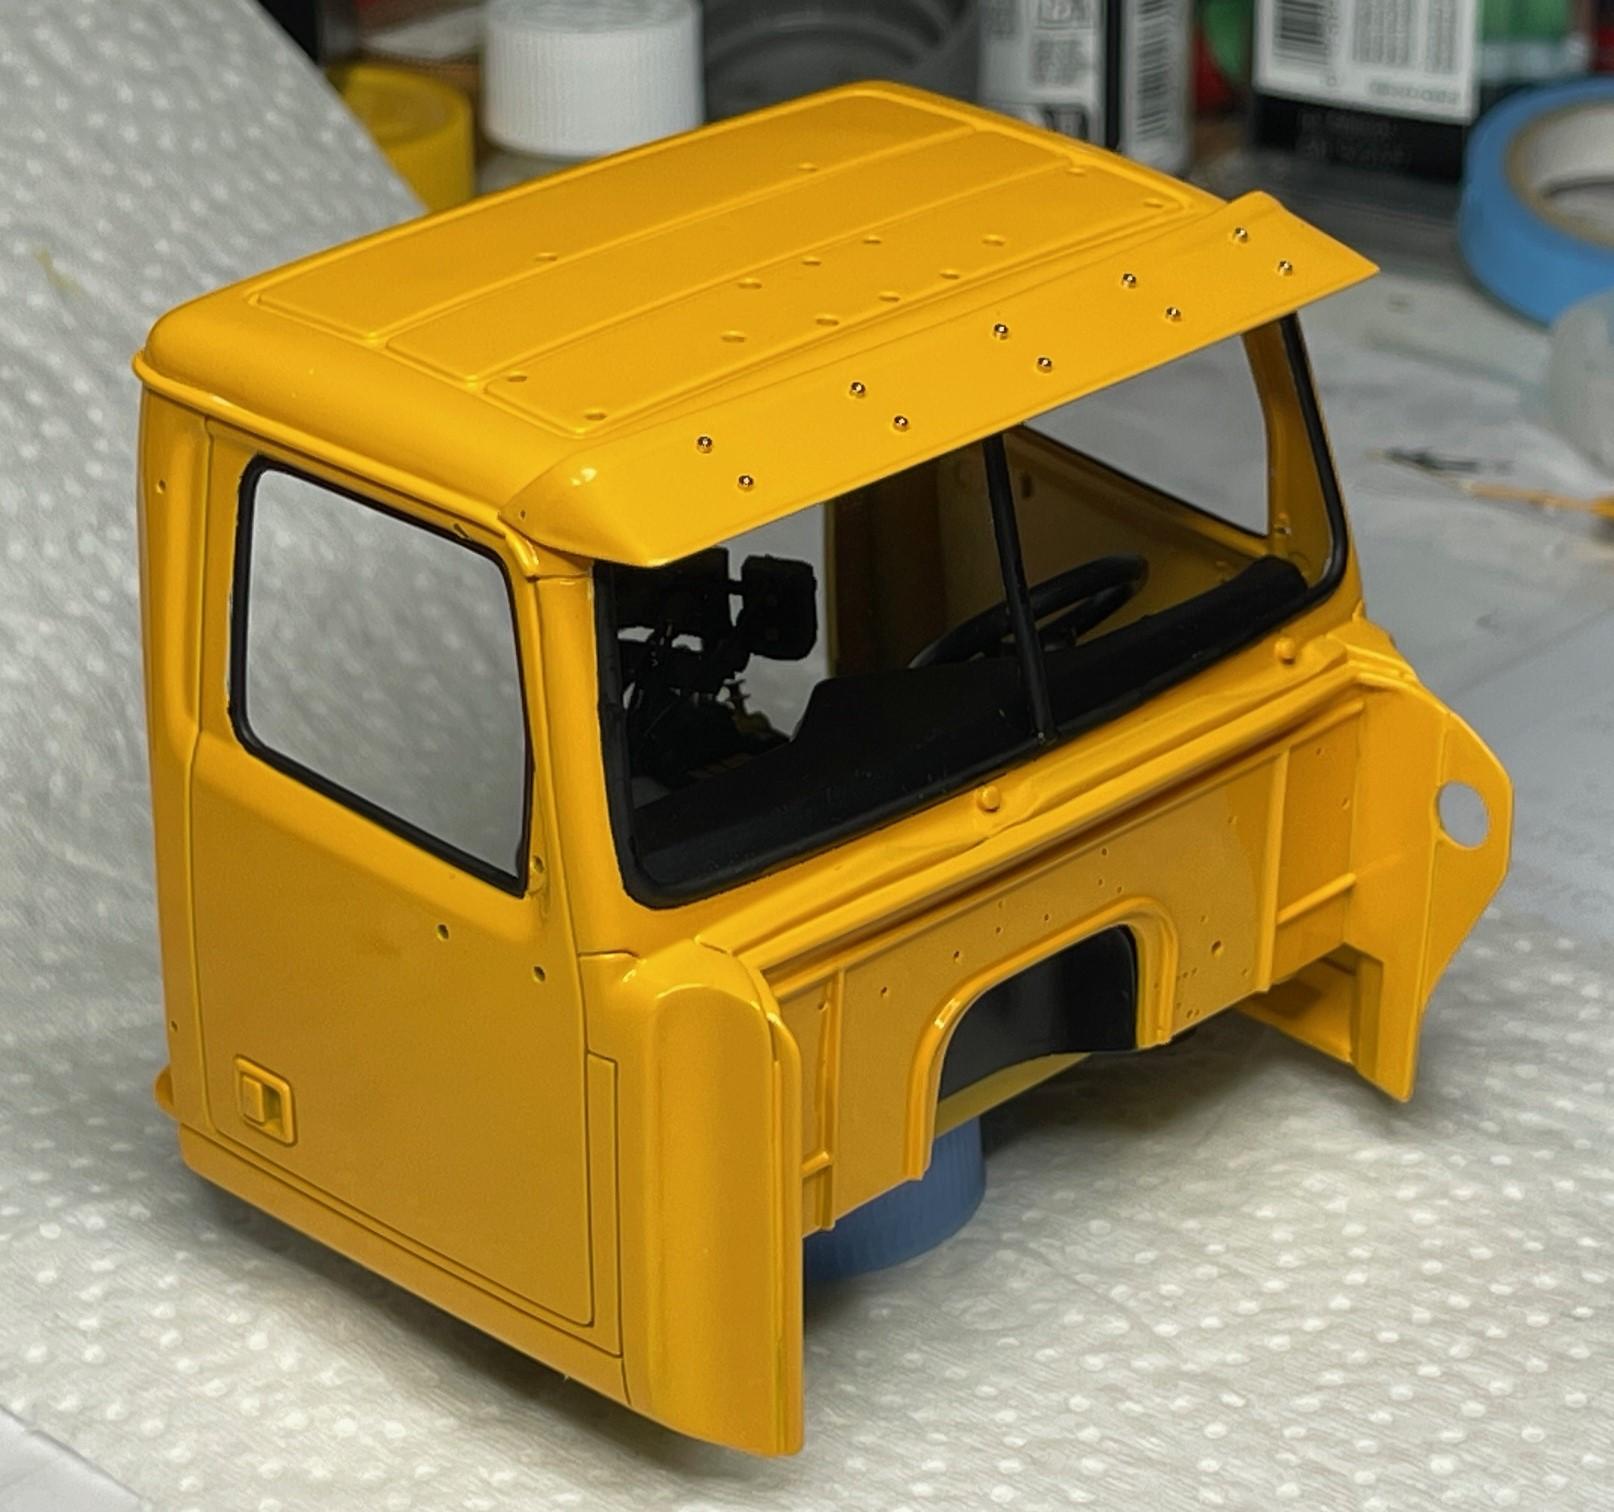
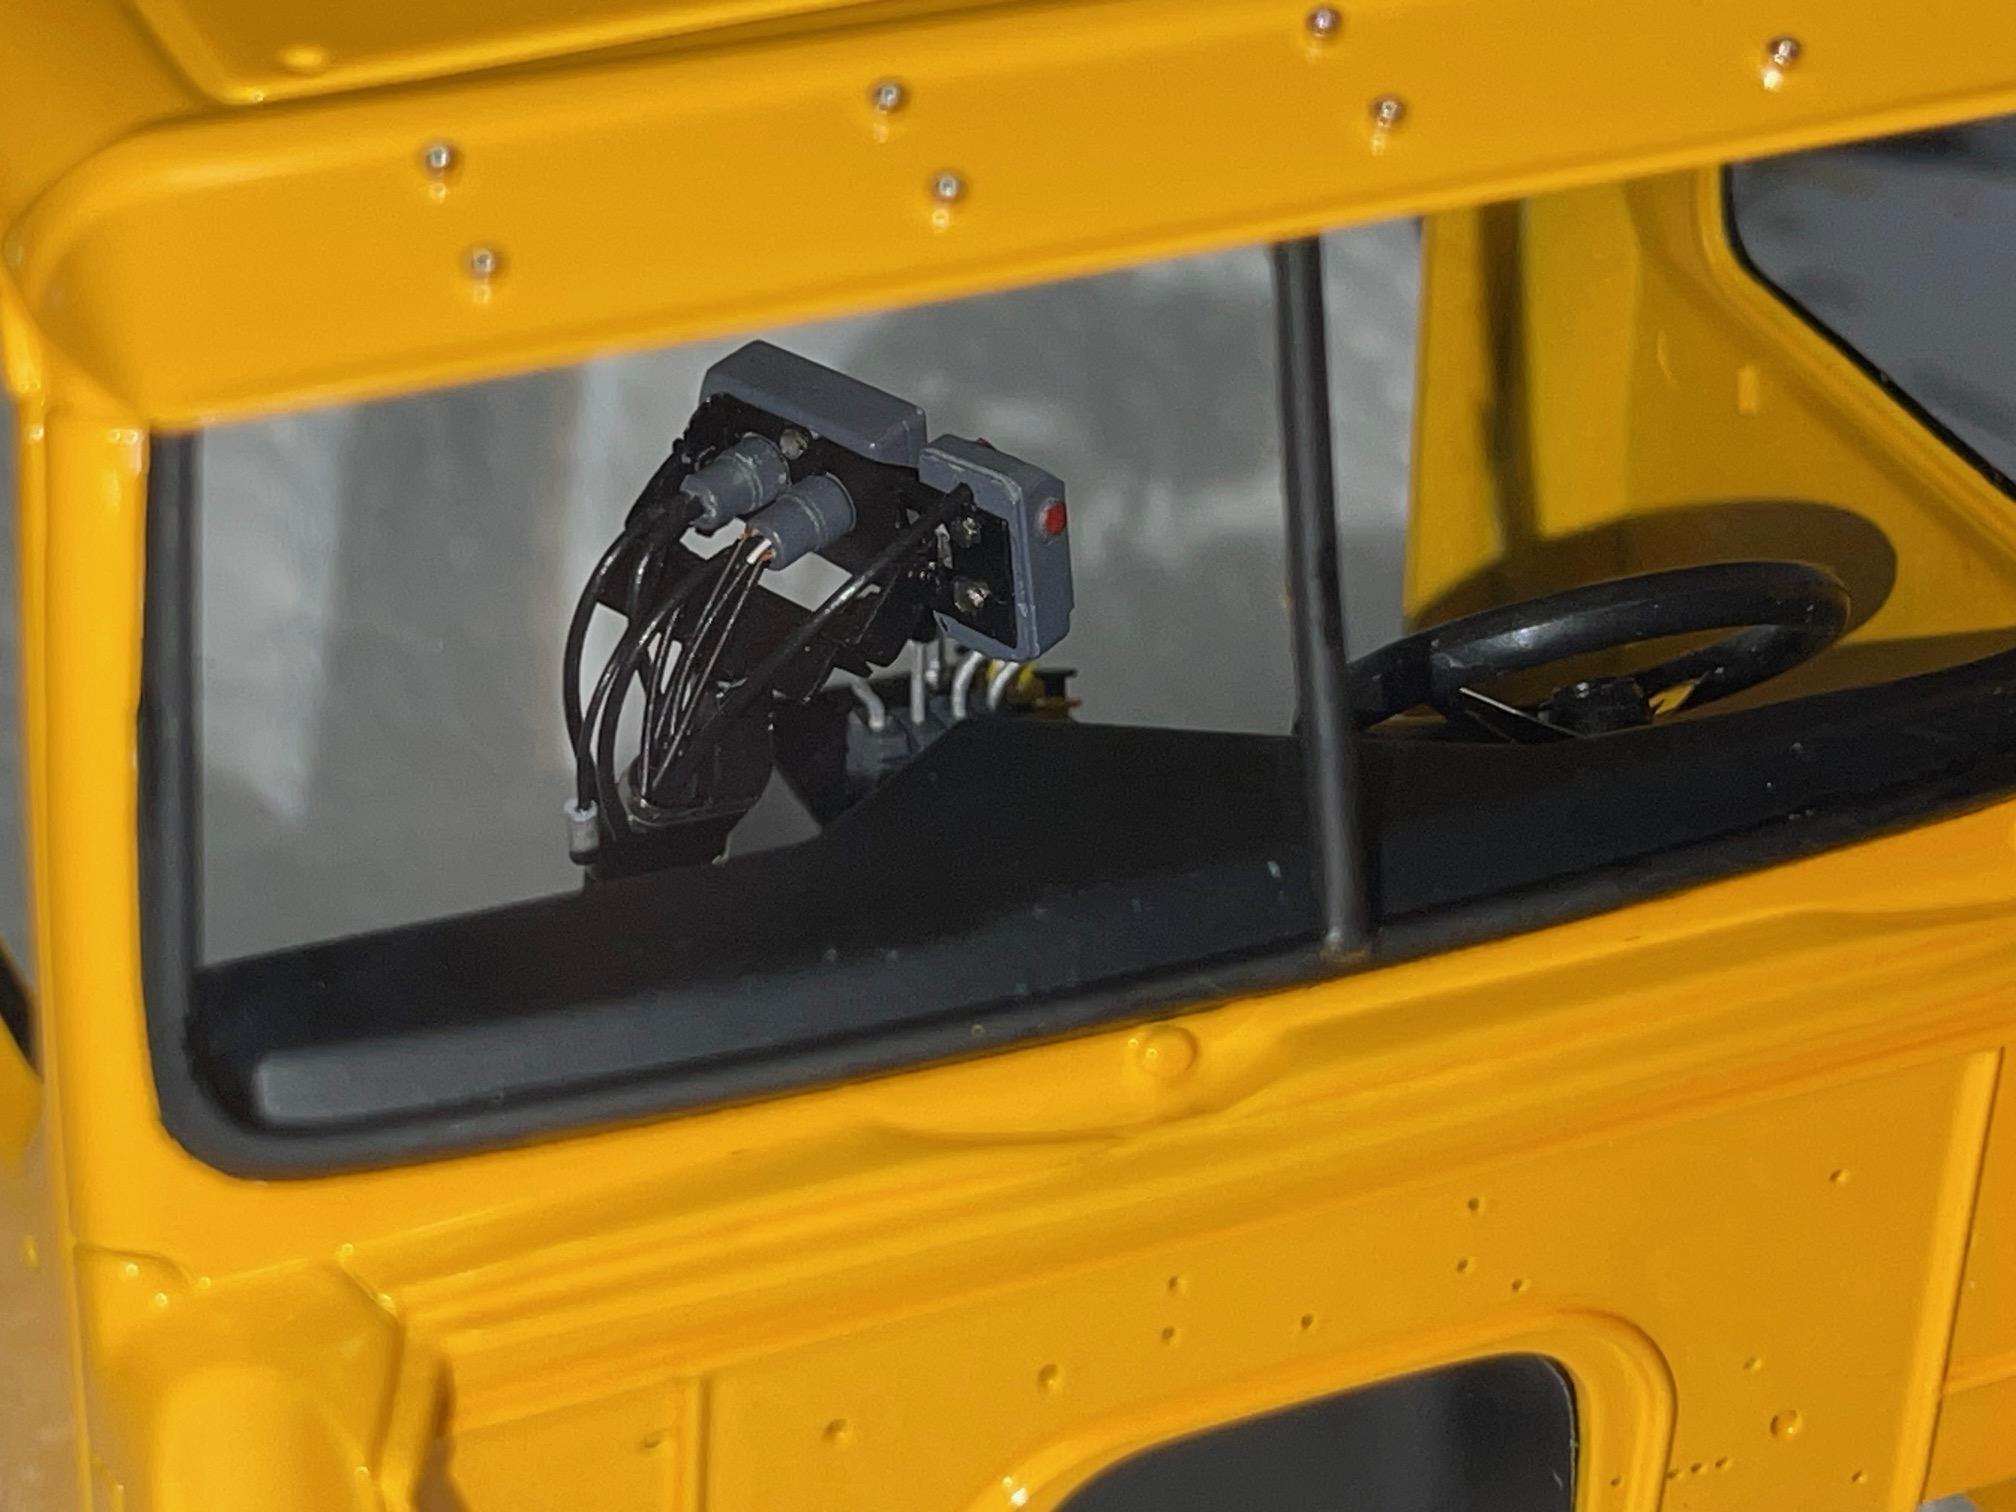
Carrying on, when I can, because fall chores are lining up and bench time is a bit hit and miss at the moment. Was able to get a little more work done on the cab. Got the windshield in and cab visor attached. Made a bit of a mess, even with the tiny bit of epoxy I used, while setting the windshield in place. Got rid of most of the biggest smudge using some iso-propyl alcohol, but there are a couple spots where the epoxy squeezed out a bit that I didn't dare try to clean up - would have made back and forth repairs necessary on the window seals, so just left it alone. Mostly, hard to see the spots with the naked eye, but right in your (my) face if a pic is taken from the wrong angle. The flash show the streaks in the glass - But, if I don't use the flash, the scratch marks don't show - I still need to add the side rivets to the visor - I tried to drill the holes about 5 minutes after CA gluing the visor in place and promptly made the visor come loose. So, re-glued and let set for a day, then do it - Still pleased that the inner cab detail shows when taking a pic through the windshield - Going to finally do my test chroming of part of an old parts tree, before going ahead on the parts for the cab. I have a base of gloss black applied to the tree and I'm to let the base coat cure for at least a couple days, according to the Easy Chrome instructions, before applying the chrome paint. Looking forward to seeing how that will turn out!
-
Kenworth W-925 (mild custom)
BK9300 replied to Gary Chastain's topic in WIP: Model Trucks: Big Rigs and Heavy Equipment
Going to be a sweet addition to your truck. -
AMT Ford C-600 Stake Truck
BK9300 replied to Stt226's topic in Model Trucks: Big Rigs and Heavy Equipment
Very well done, and terrific job on weathering the wood - looks quite real! -
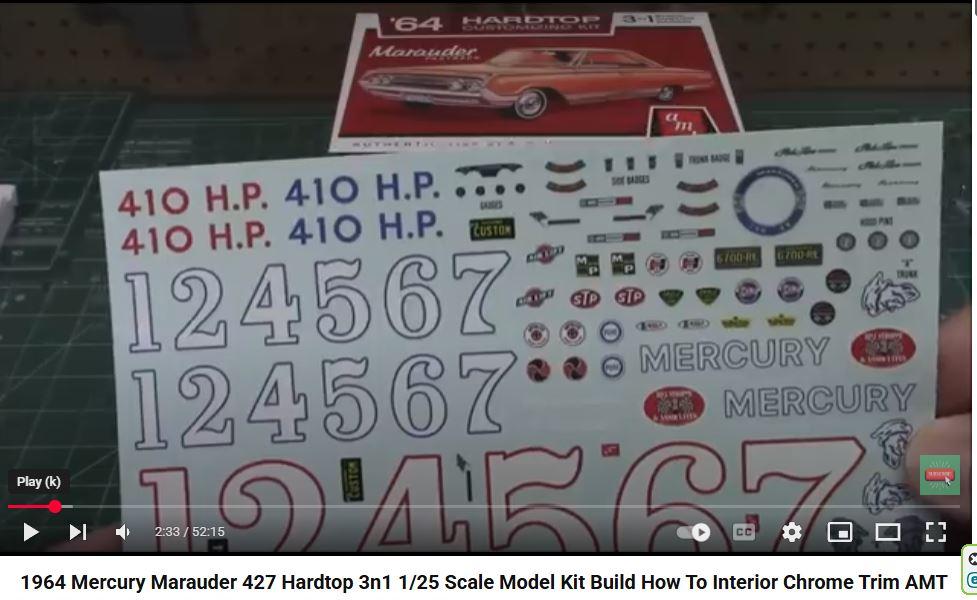
Screen capture from hpiguys workshop video -
-
Kenworth W-925 (mild custom)
BK9300 replied to Gary Chastain's topic in WIP: Model Trucks: Big Rigs and Heavy Equipment
A couple more pics and I won’t add any more!
-
Kenworth W-925 (mild custom)
BK9300 replied to Gary Chastain's topic in WIP: Model Trucks: Big Rigs and Heavy Equipment
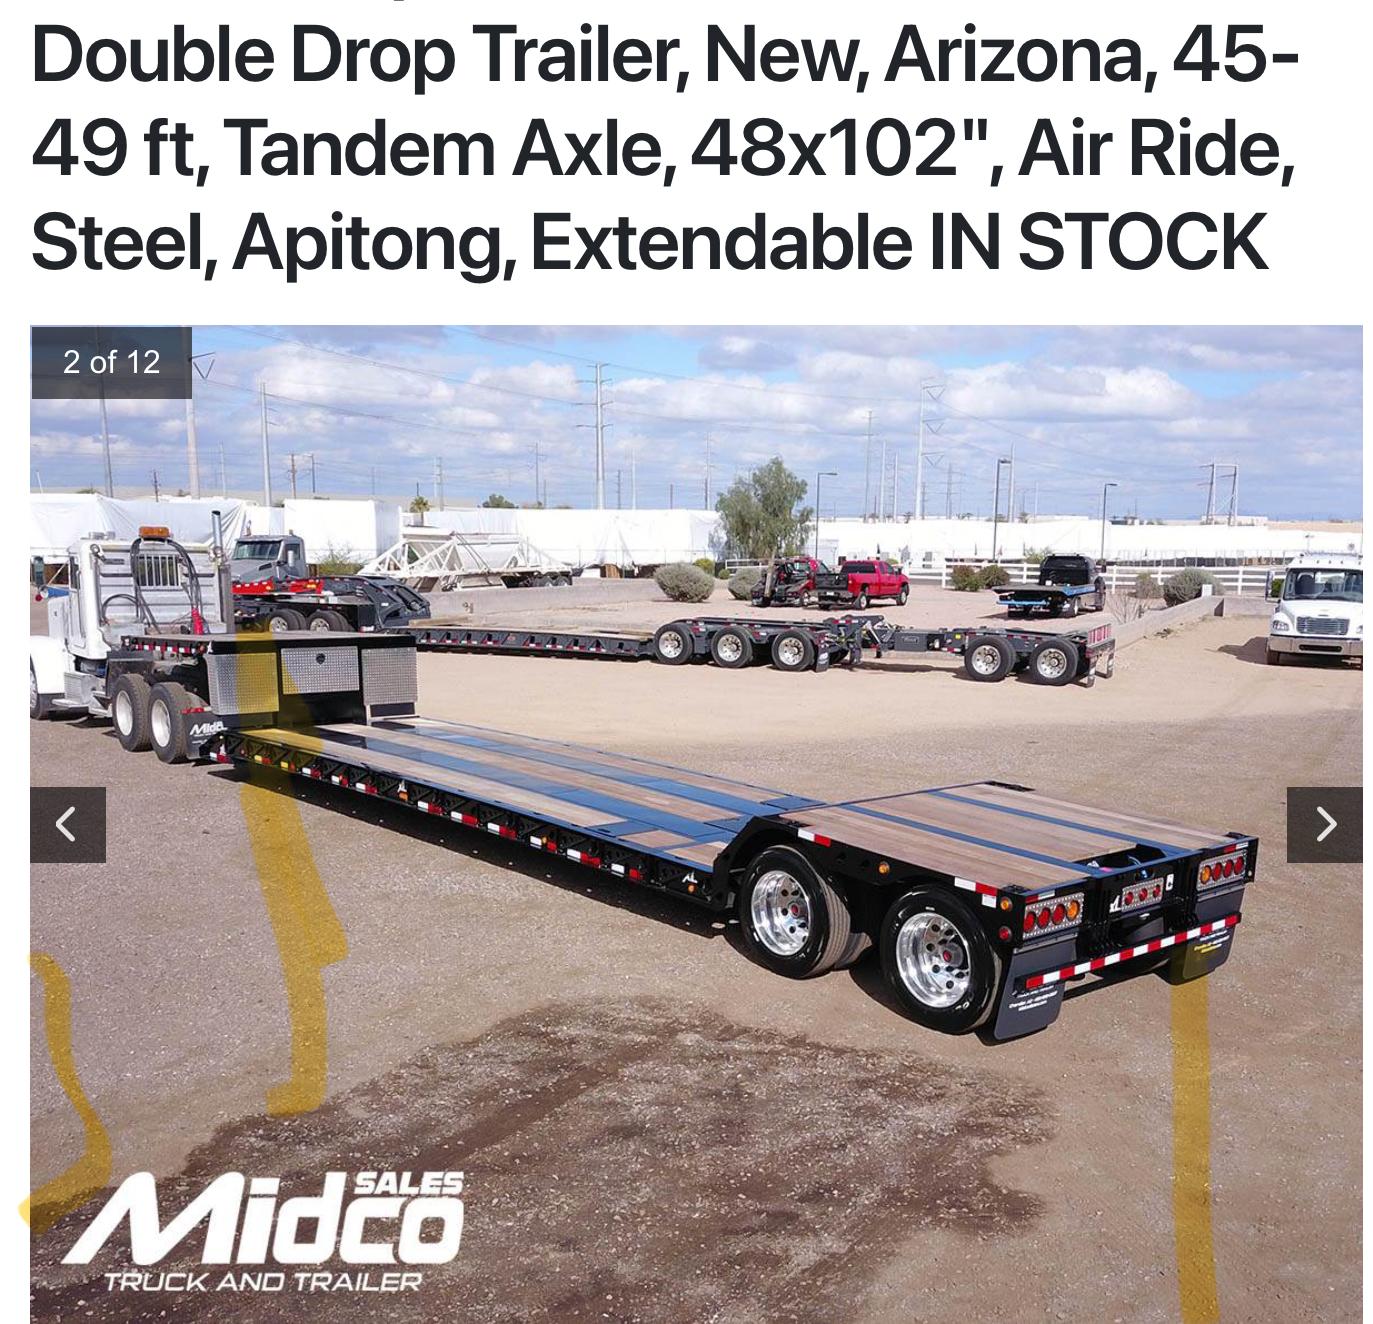
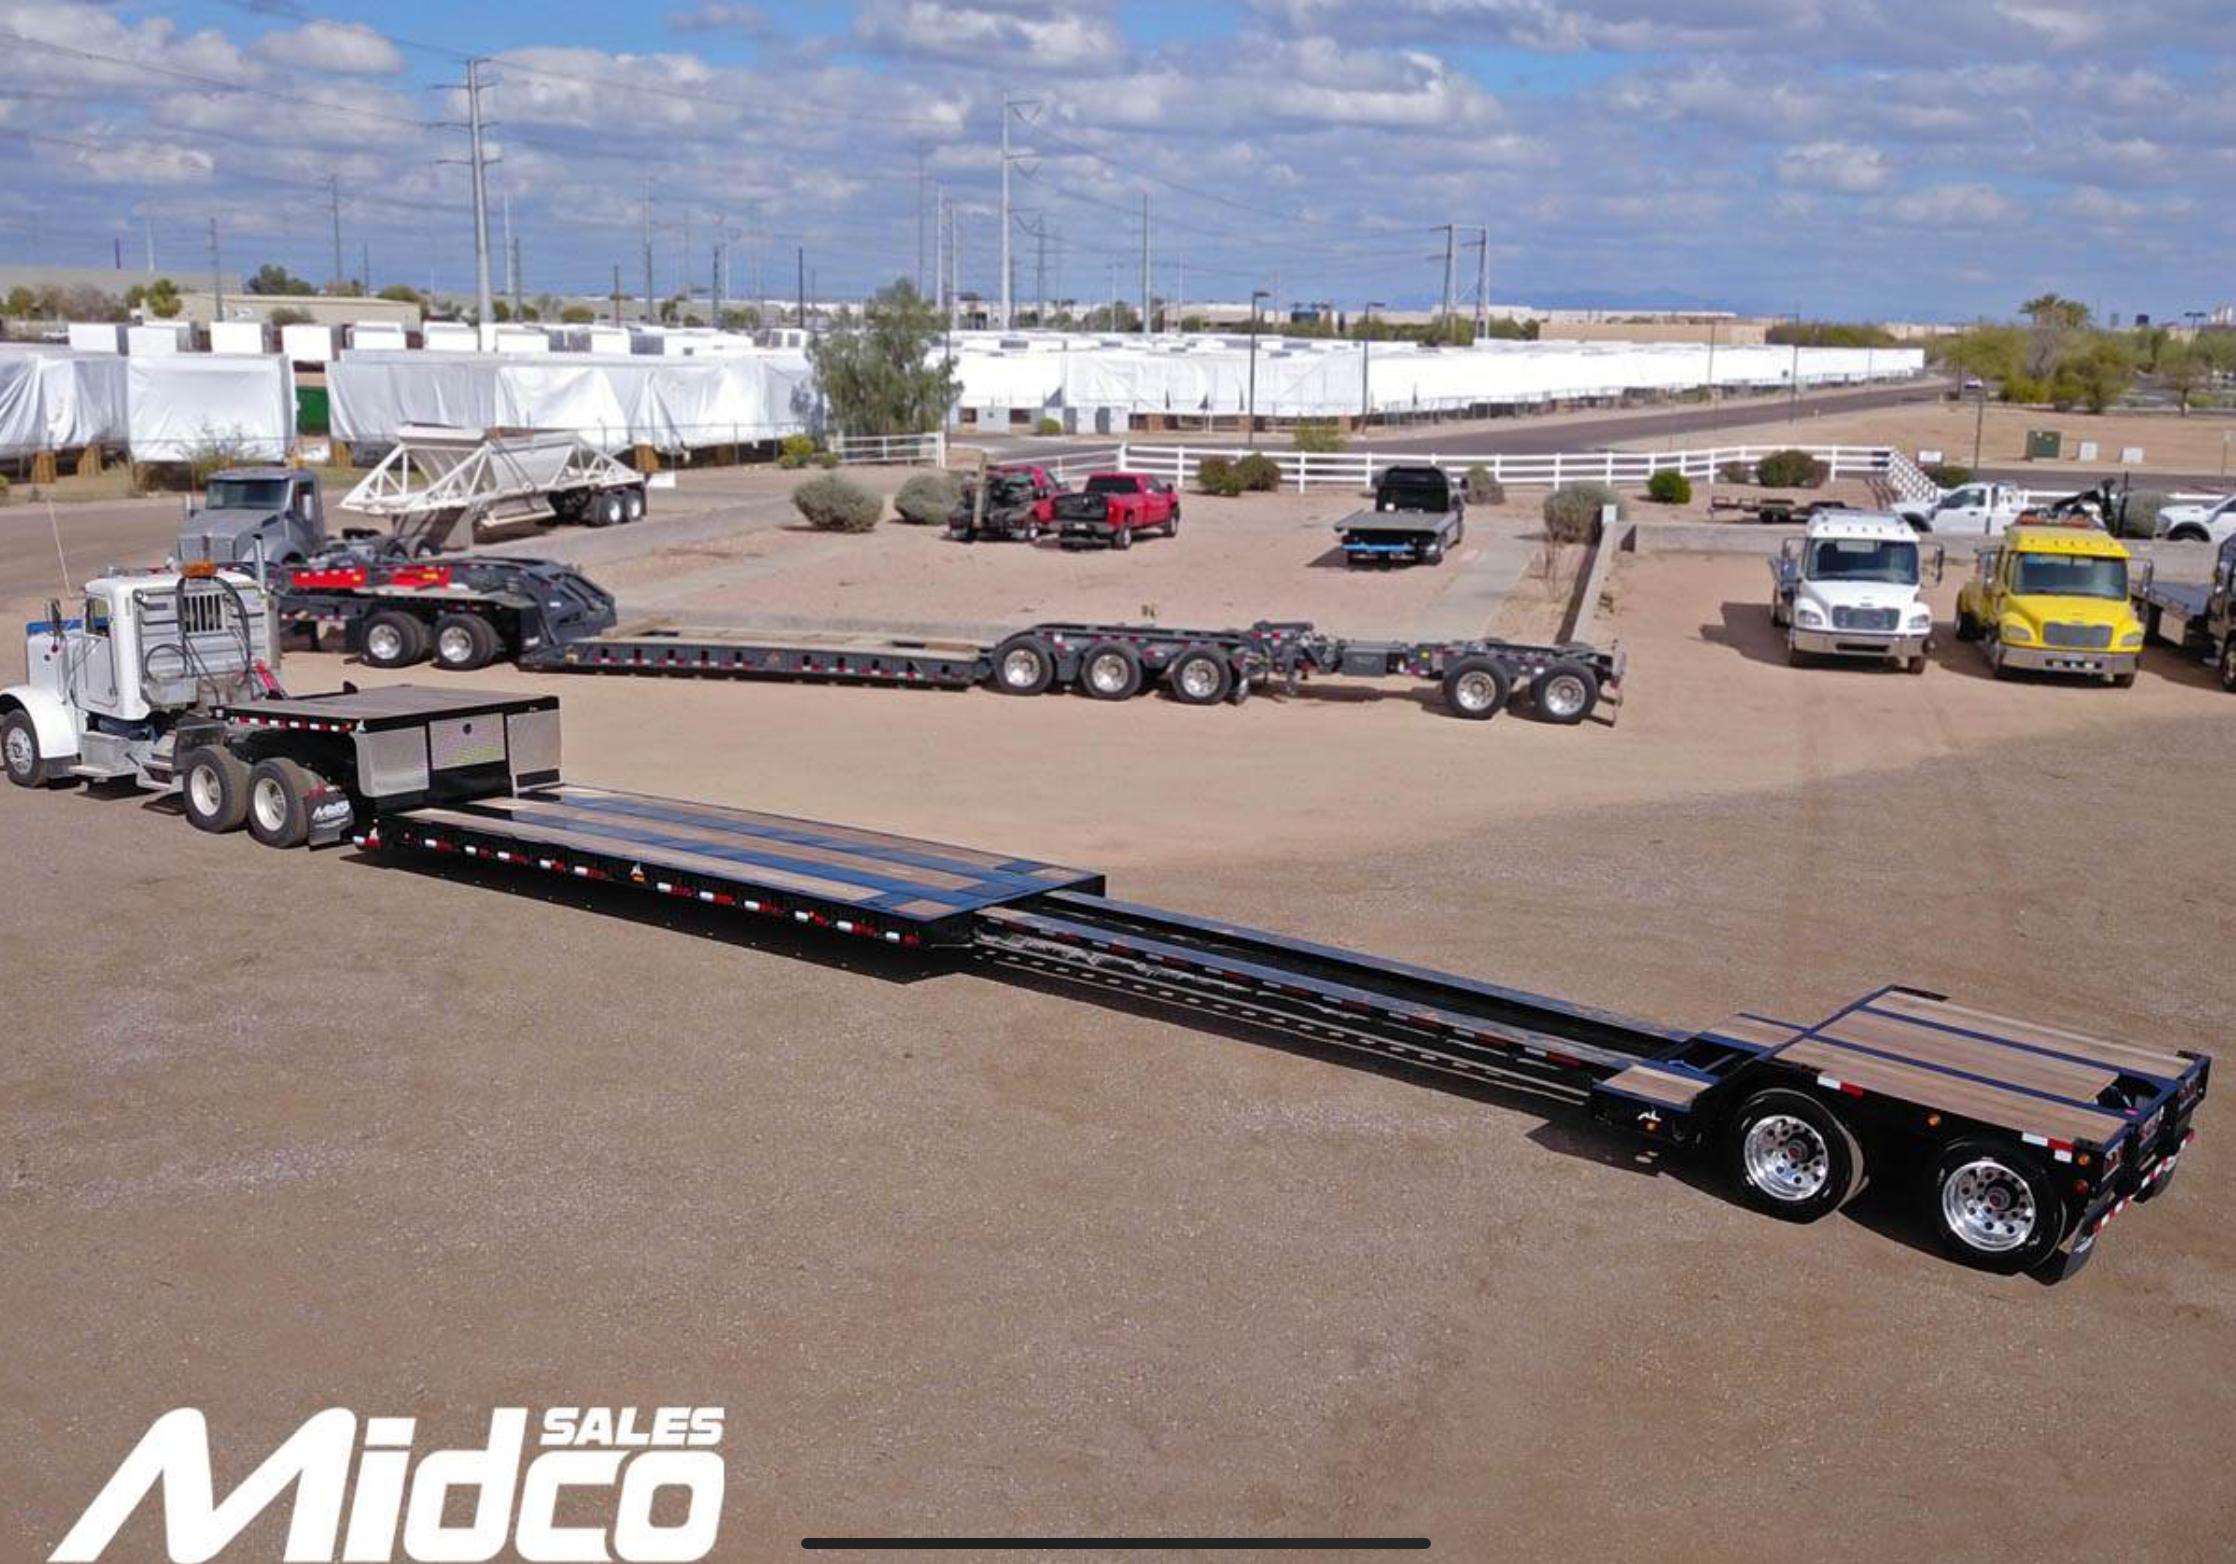
Maybe the trailer in your pic is extendable - twice the trailer (almost) for the same shelf space! Regardless, will look great with your custom container loaded up. -
Kenworth W-925 (mild custom)
BK9300 replied to Gary Chastain's topic in WIP: Model Trucks: Big Rigs and Heavy Equipment
The result still looks tremendous - such a great add-on! Your headlights look good, too. -
International Transtar CO 4070A
BK9300 replied to Wolf's topic in WIP: Model Trucks: Big Rigs and Heavy Equipment
Your engine/transmission buildup looks really good. Along the way, I've saved a few links, to maybe aid in future model detailing. This one may have detail that would be useful to you - https://www.summitcoresupply.com/for-sale/detroit-8v71-mechanical-diesel-engine-13136104 -
Big “R” Roadboss 2
BK9300 replied to DRIPTROIT 71's topic in Model Trucks: Big Rigs and Heavy Equipment
Another well executed build - quite amazing detailing and especially the overall weathering. Very well done! -
cheetah reboot
BK9300 replied to charlie libby's topic in WIP: Other Racing: Road Racing, Land Speed Racers
Always inspiring to watch one of your creations come to life! -
Well done, David - you've added a great variety of extra detail to catch the eye!
-
Kenworth W-925 (mild custom)
BK9300 replied to Gary Chastain's topic in WIP: Model Trucks: Big Rigs and Heavy Equipment
Might be harder to control, but jeweler's round, or wire, saw blades might catch less - good for keeping up the eye-hand coordination! -
Kenworth W-925 (mild custom)
BK9300 replied to Gary Chastain's topic in WIP: Model Trucks: Big Rigs and Heavy Equipment
Looks like it works well - able to rotate your work and keep cutting same spot seems like it would make the cutting easier. -
Very fine looking build! Was envious of a buddy who bought one similar, fresh out of high school, after a summer of working in the oil patch.
-
Beautiful paint job, Scott!
-
Western Star 4900 FA plow truck
BK9300 replied to BK9300's topic in WIP: Model Trucks: Big Rigs and Heavy Equipment
Thank, Jurgen! I've been concerned about using isopropyl alcohol because some articles say it can affect the lacquer paint. Same article said to use lighter fluid - that seems even more drastic! Haven't decided what to use yet. I'm definitely going to try something different for the seals next time! -
Western Star 4900 FA plow truck
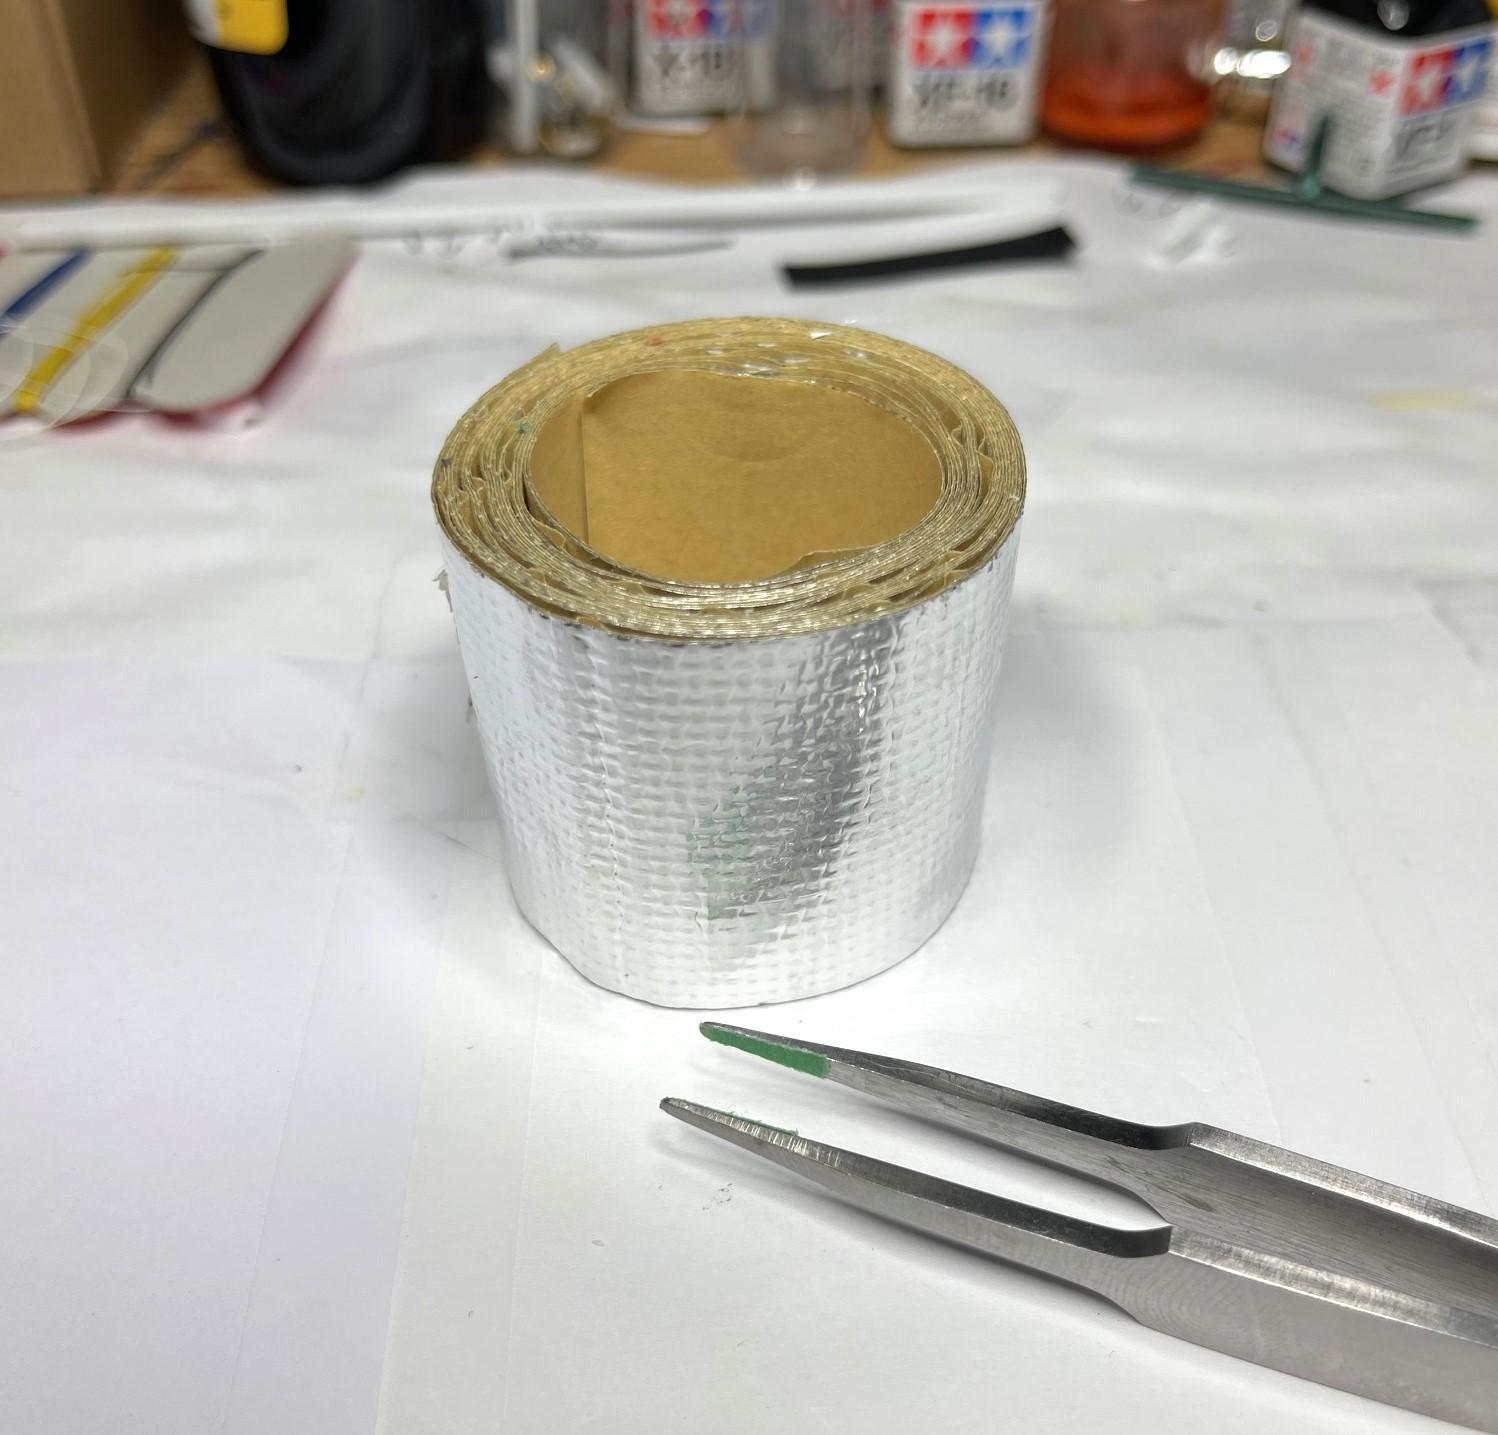
BK9300 replied to BK9300's topic in WIP: Model Trucks: Big Rigs and Heavy Equipment
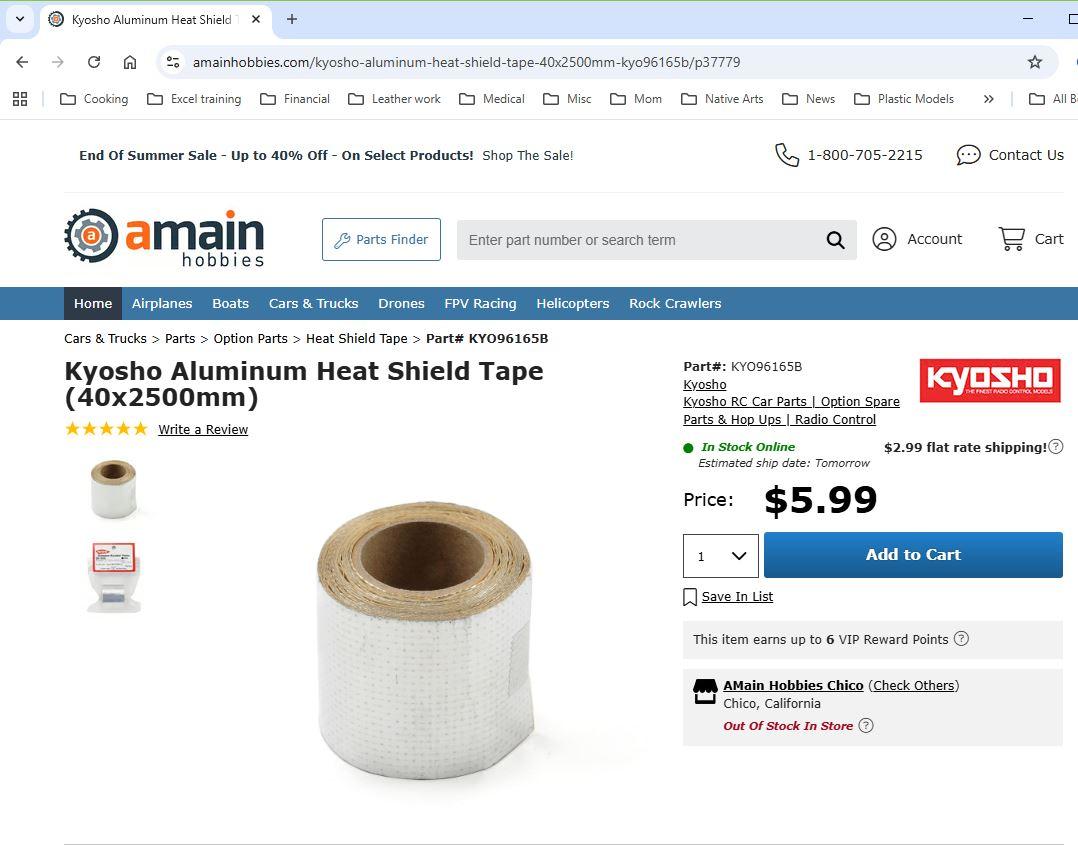
I had found some heat shield tape for use in RC cars, and applied it over some cutouts from that roll of silicon rubber I have. Not spot on with the real deal, but gives the impression well enough! This is the product - adhesive backed tape - Pretty sure I found mine online at Hiro Boy, but their site is not showing any at the moment. I did find the similar item on the web site below -