BK9300
-
Posts
1,986 -
Joined
-
Last visited
Content Type
Profiles
Forums
Events
Gallery
Everything posted by BK9300
-

Western Star 4900 FA plow truck
BK9300 replied to BK9300's topic in WIP: Model Trucks: Big Rigs and Heavy Equipment
I've got the site bookmarked and will check it out - thanks, Scott! -
This an amazing replica! Would be very interesting to see some of his other projects - he’s very talented.
-
Kenworth W-925 (mild custom)
BK9300 replied to Gary Chastain's topic in WIP: Model Trucks: Big Rigs and Heavy Equipment
Progress is progress, Gary - looks great! Do you ever polish and wax your paint jobs? I’m trying to figure that out, with decals and photo etch bits to consider. -
Peterbilt 379 RV
BK9300 replied to vincen47's topic in WIP: Model Trucks: Big Rigs and Heavy Equipment
Amazing work, Victor. It’s like a treasure hunt, seeing all the added detailing - working doors/ramps, to the drip rails above them! How will you protect your finished interior, come time to paint the exterior? Going to be incredibly impressive when it’s in primer, too! -
California Special
BK9300 replied to Rockford's topic in WIP: Model Trucks: Big Rigs and Heavy Equipment
Your builds are always amazing transformations - a treat to watch! -
Western Star 4900 FA plow truck
BK9300 replied to BK9300's topic in WIP: Model Trucks: Big Rigs and Heavy Equipment
Thanks, Steve - much appreciated! -
A very unique, well done build, Jeff! Looks every bit like the real deal - awesome job!
-
Western Star 4900 FA plow truck
BK9300 replied to BK9300's topic in WIP: Model Trucks: Big Rigs and Heavy Equipment
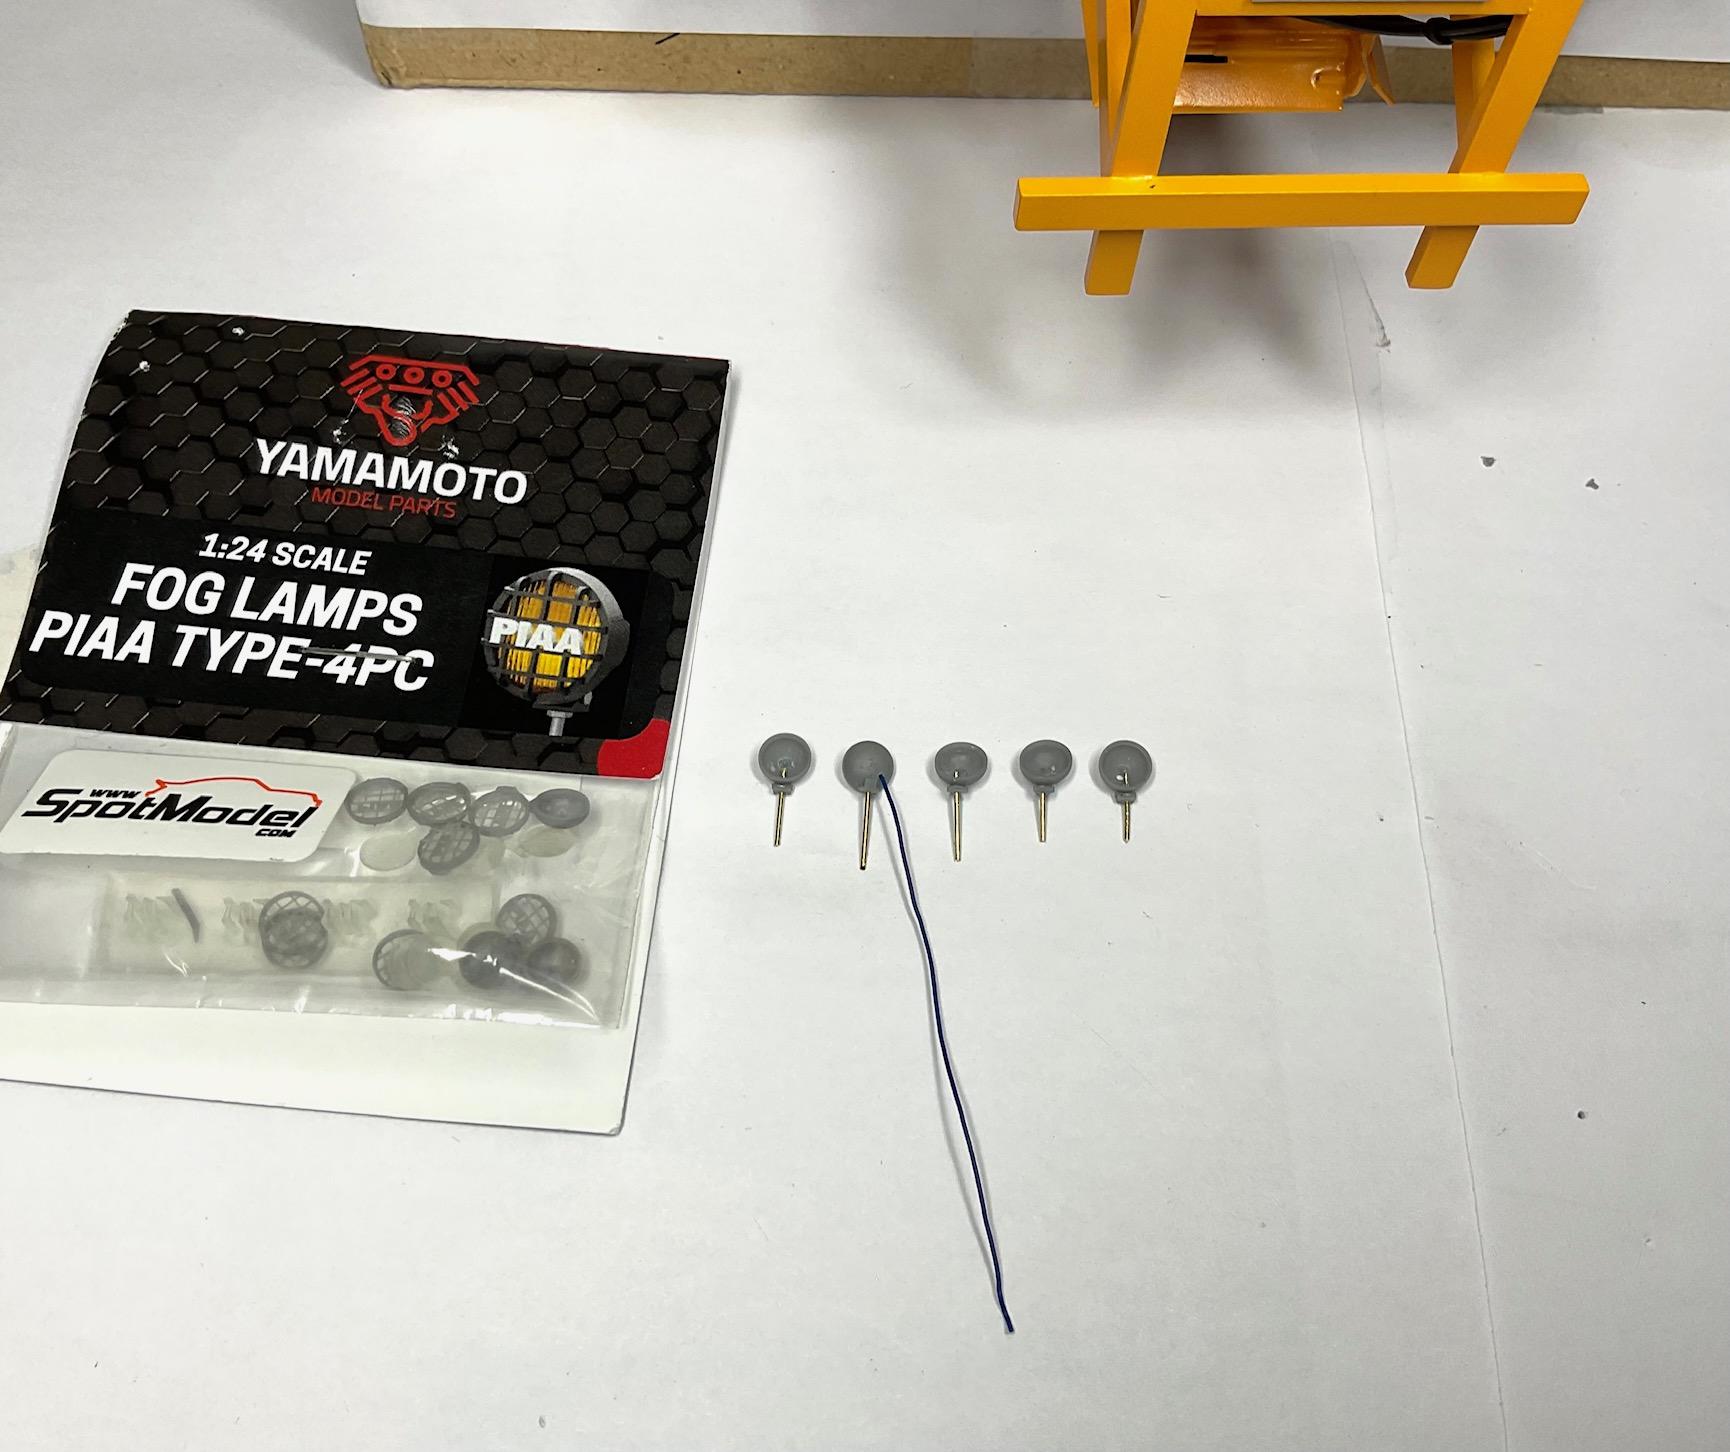
I think the fog lamps are going to work out well for the work lights around the truck. Didn’t know about them till I started searching for something that could work- felt lucky when I found the PIAA lights! Thanks, Jeff. Thanks, David - appreciate you having a look! Dom, I certainly understand about the difficulties of masking clean lines - was pretty sure I wouldn’t be able to do that in the tight spaces at the back of the sander, so decals it was! -
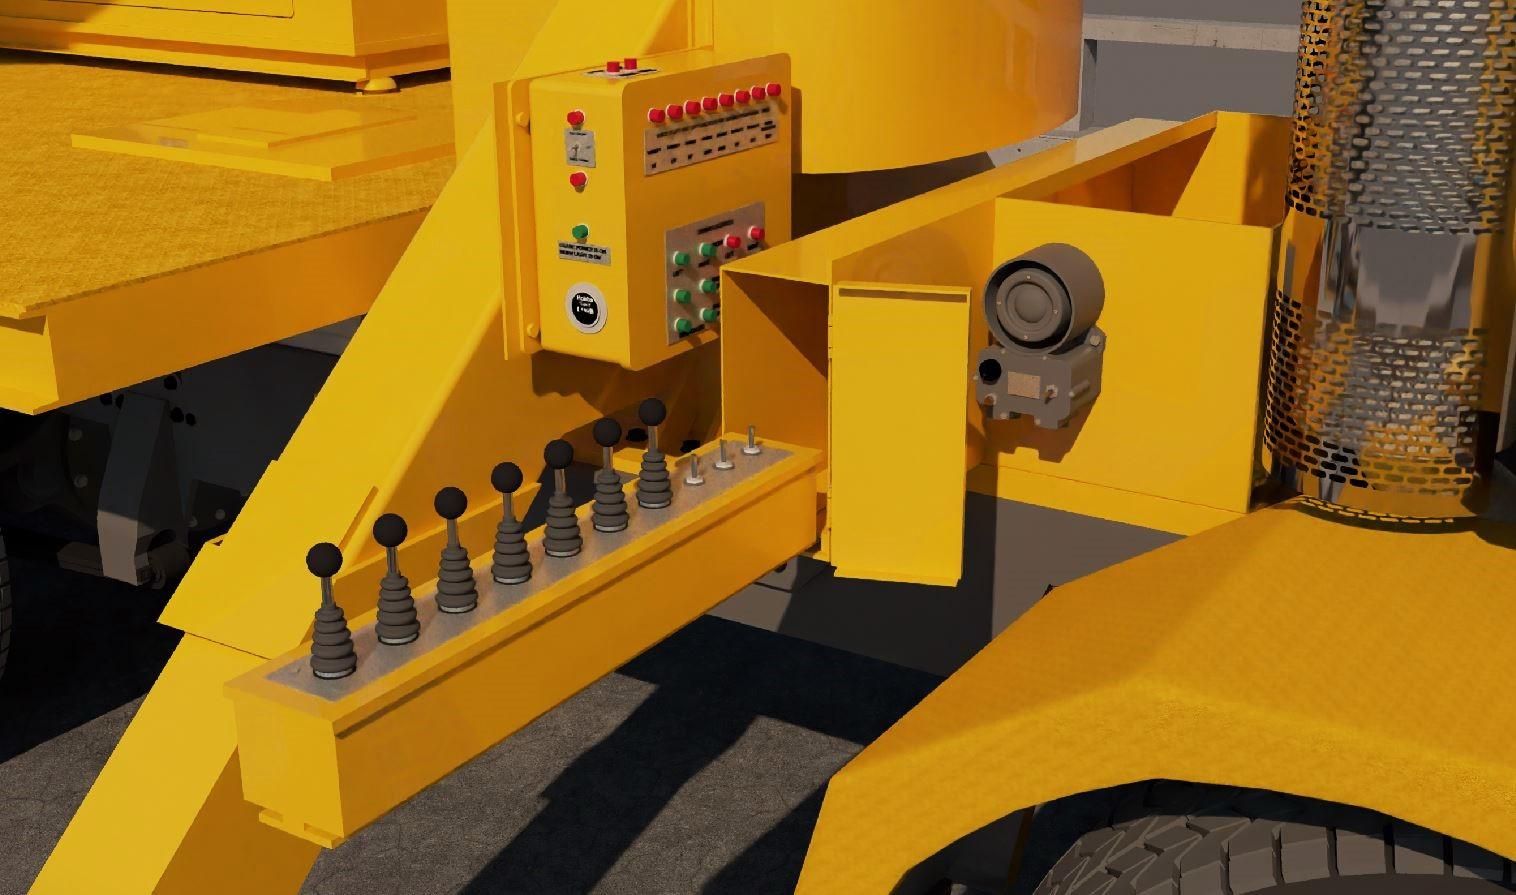
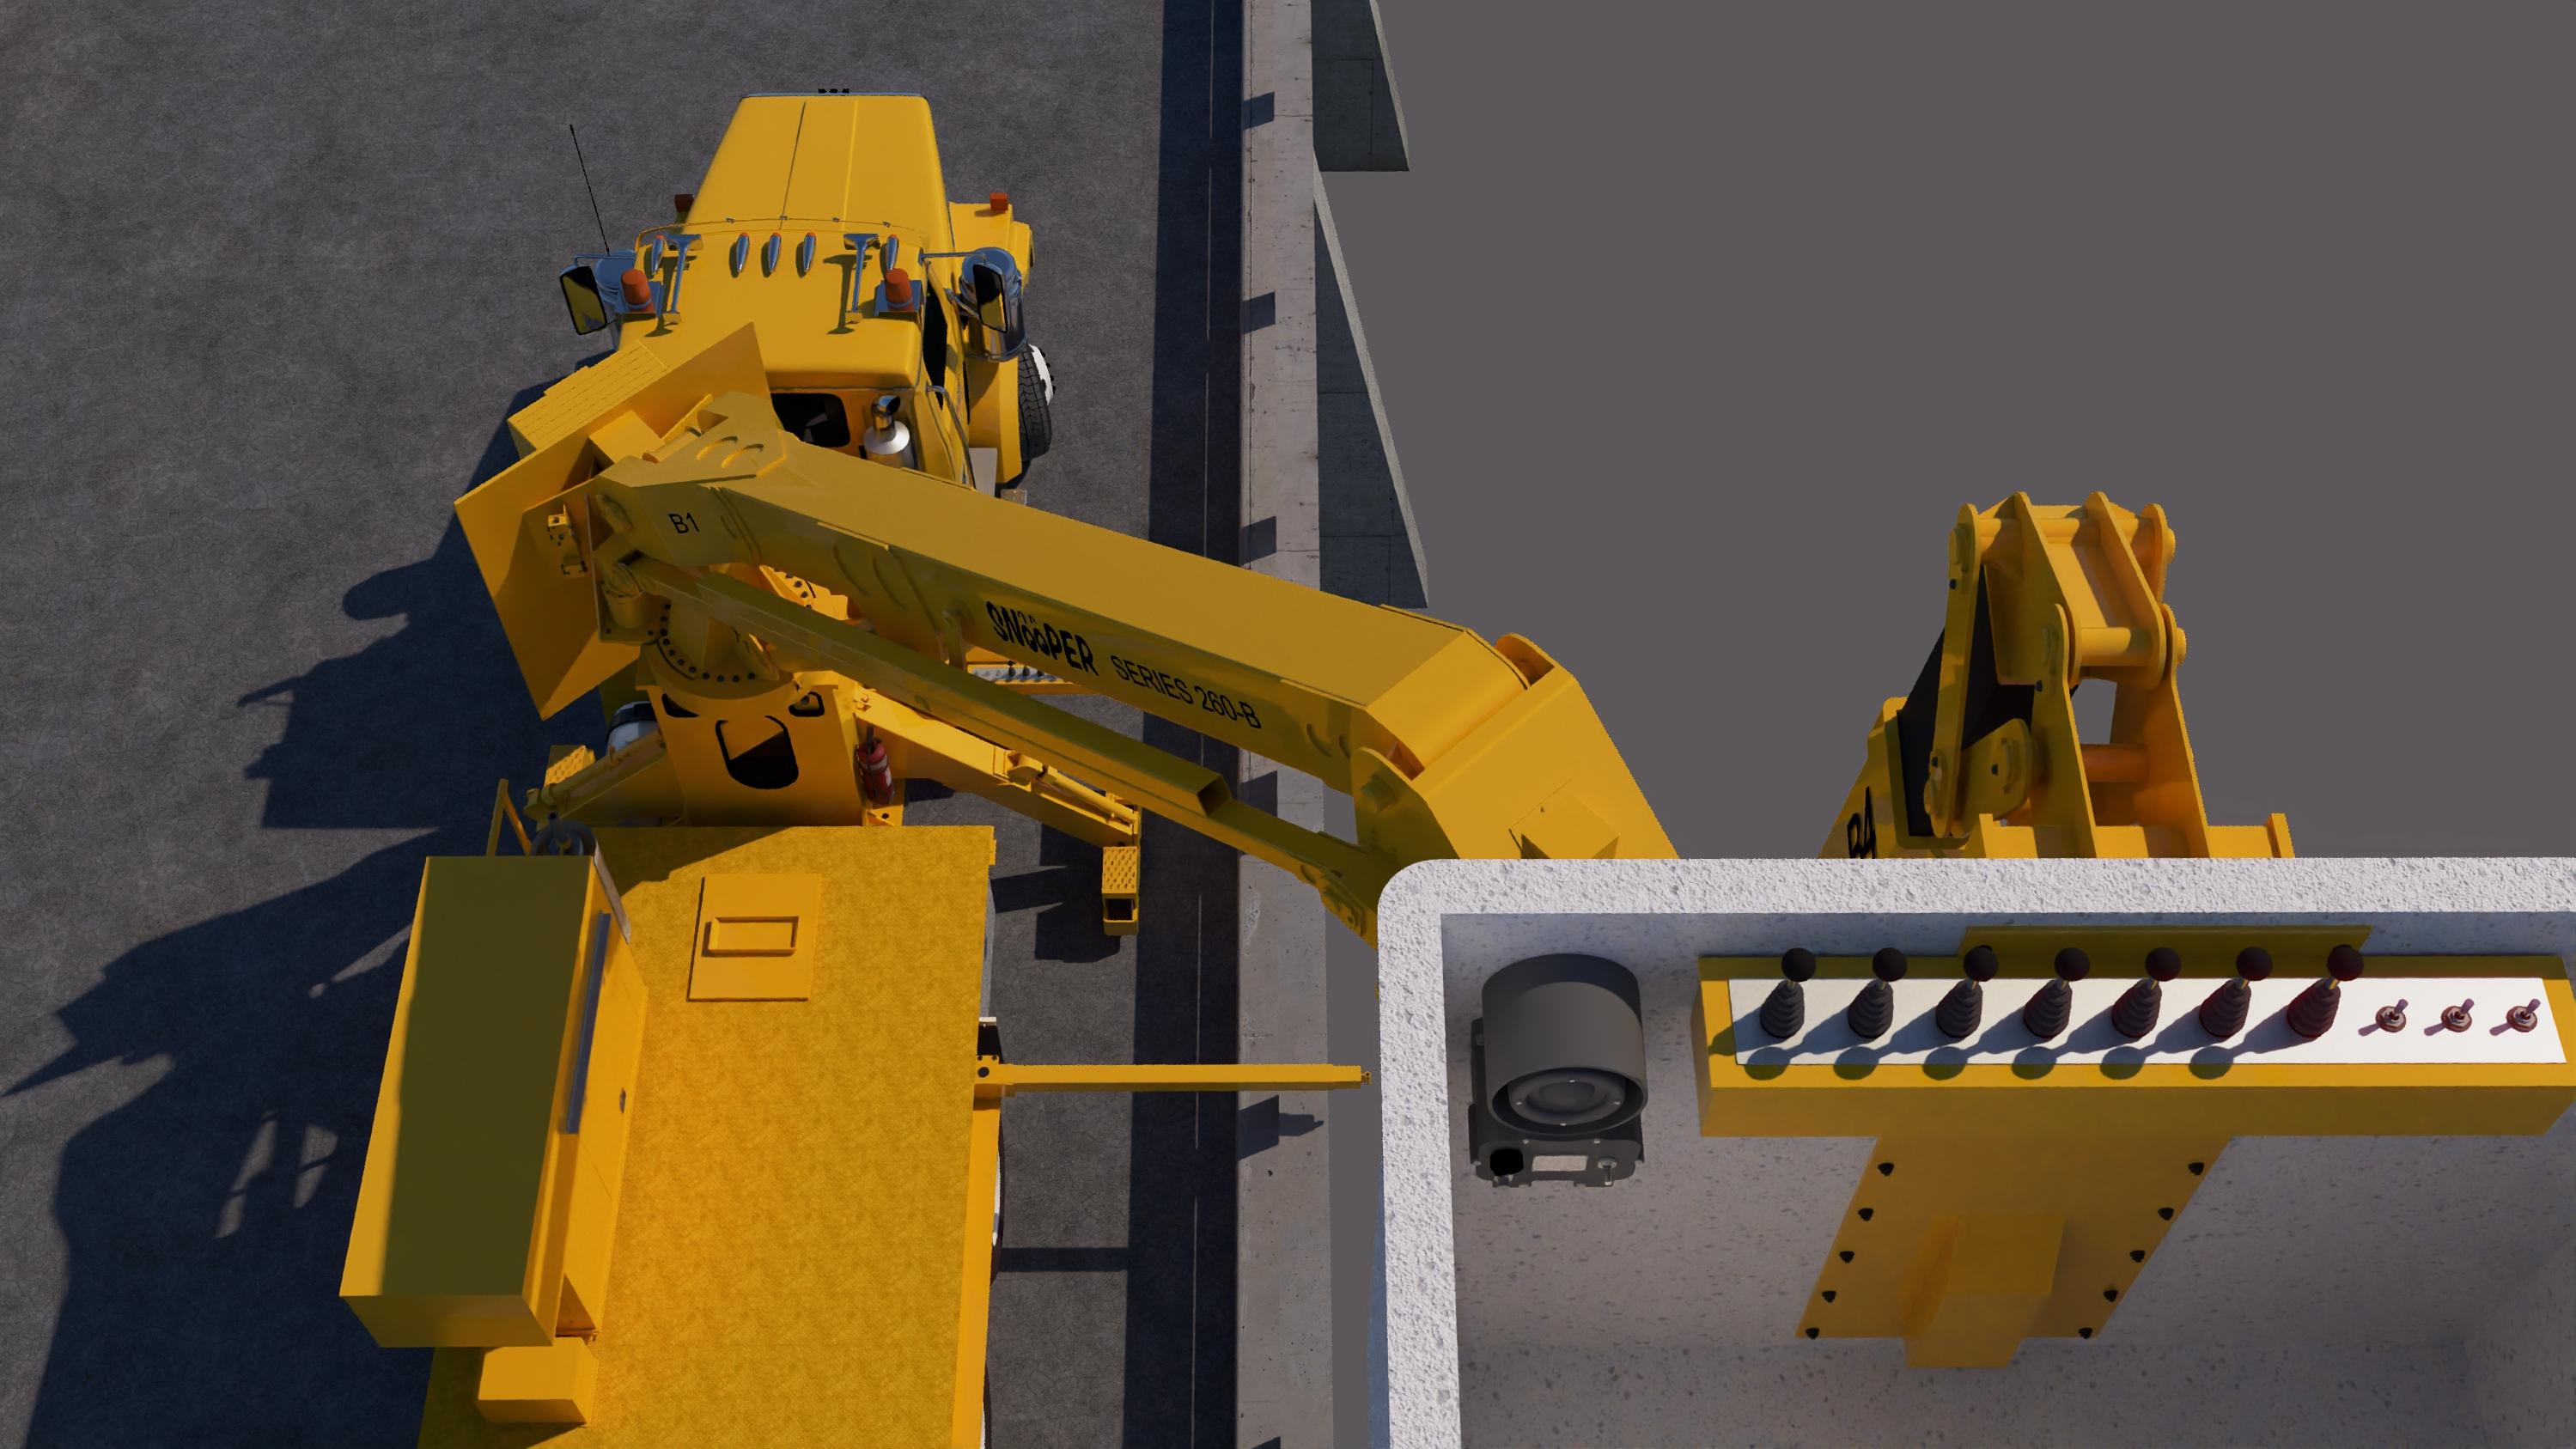
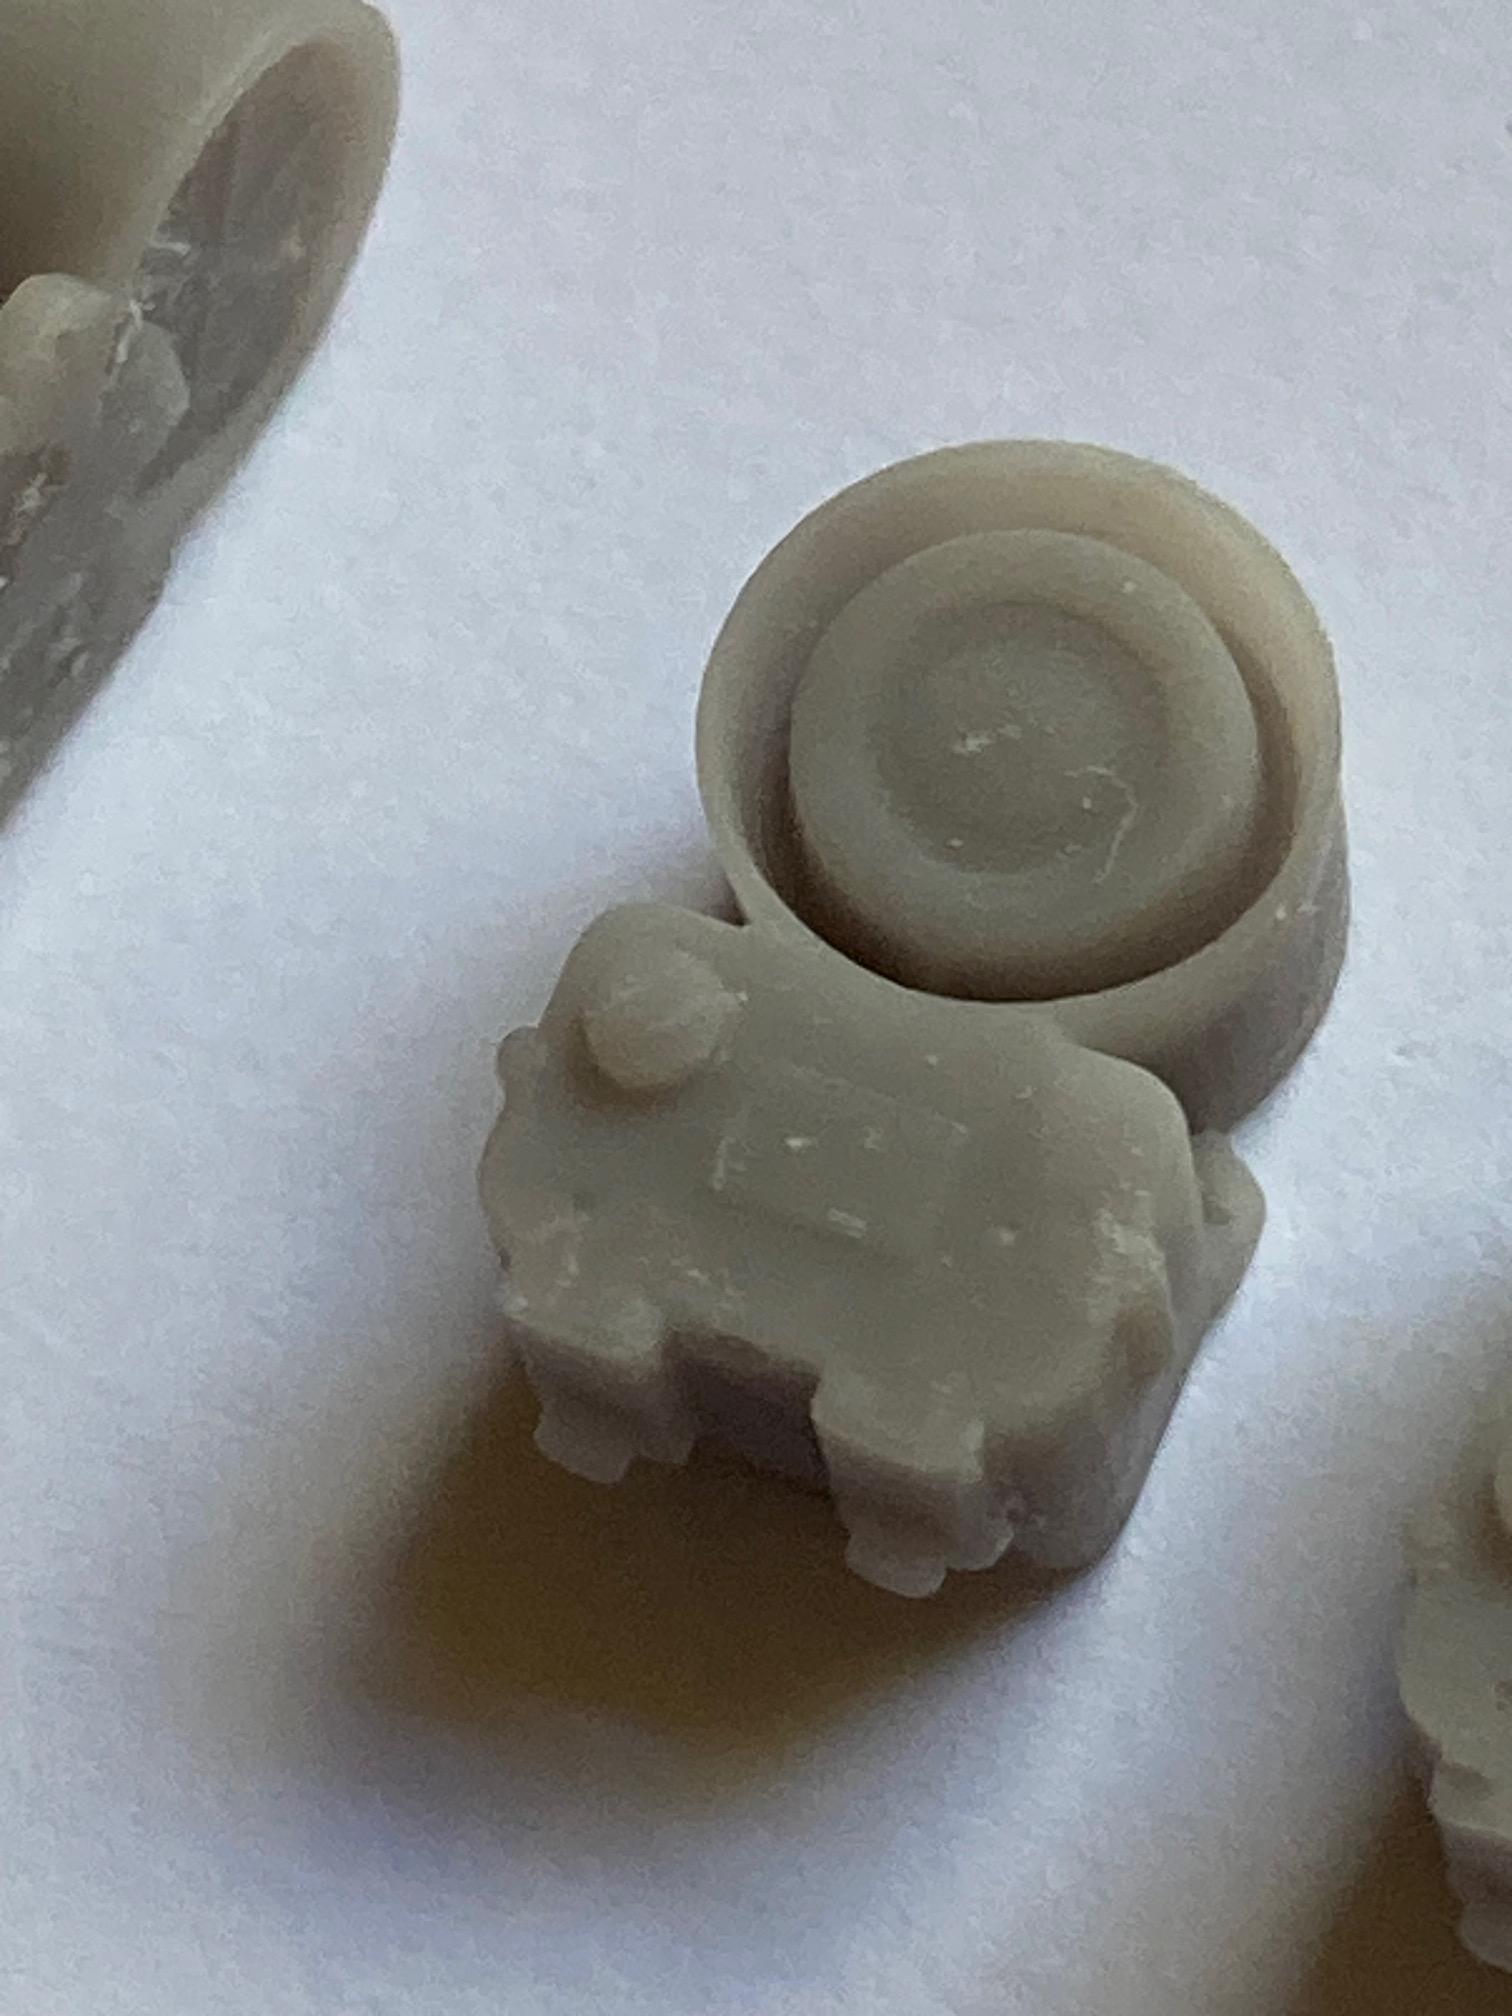
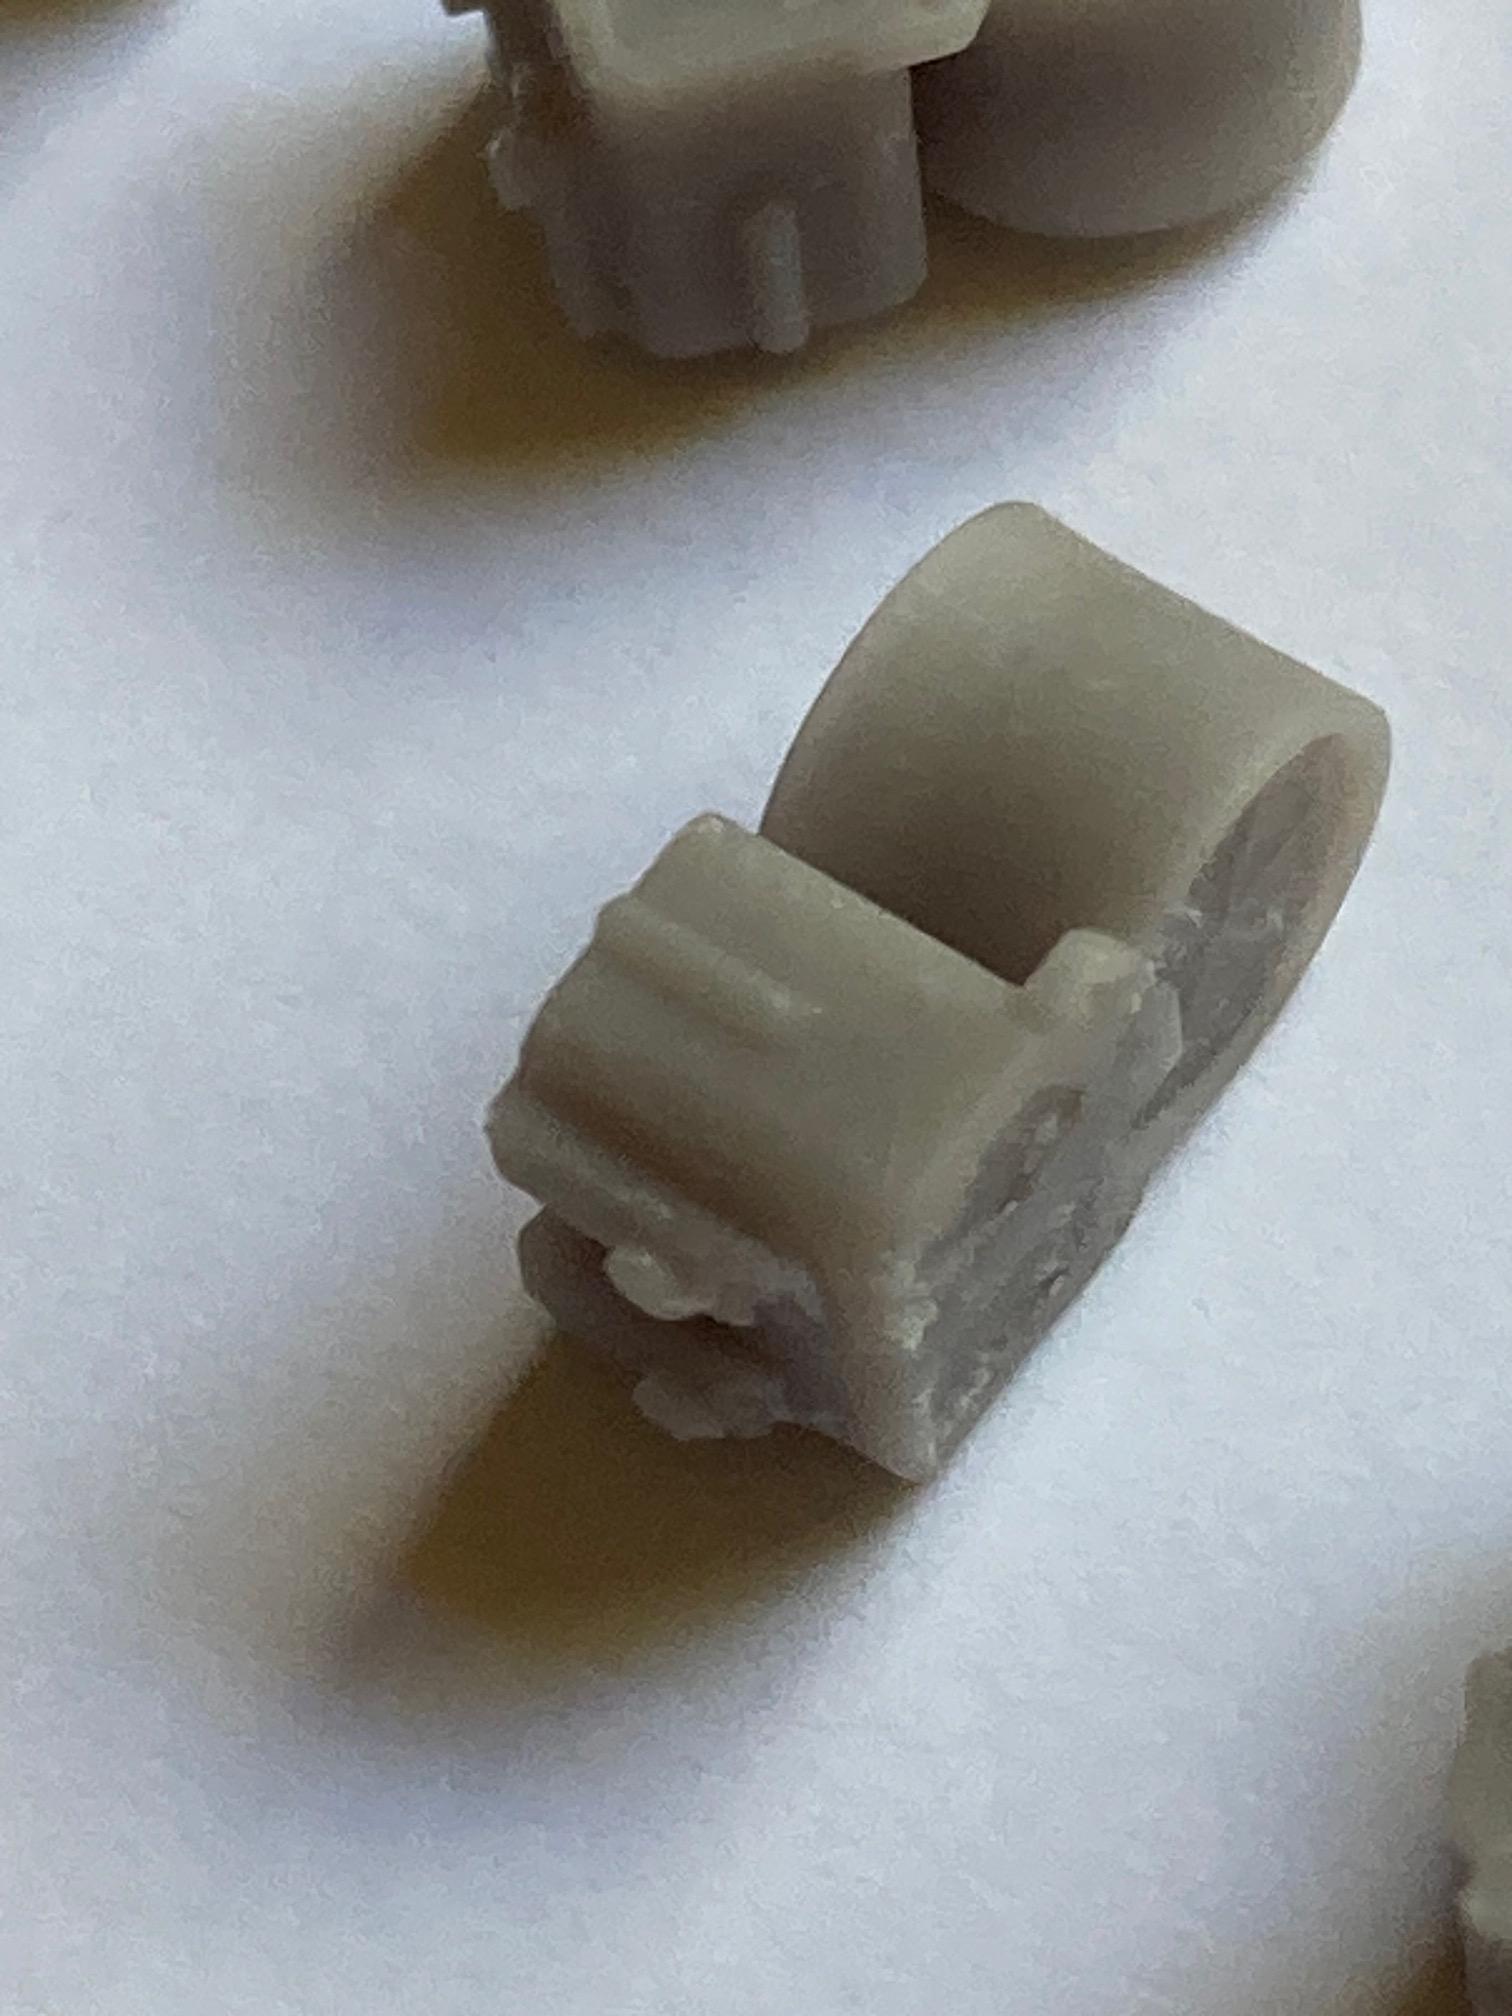
Been able to mess around in Sketchup for some small things I will need for this truck. I was able to model an Atkinson, two way, single channel intercom, found in a couple places on the real truck. Bren just finished a couple test prints and they turned out great, for something only 11 mm tall! There is an intercom unit near the truck mounted controls for the inspection booms, one in the man basket and one in the cab of the truck. Test prints of intercom - I may replace the detail on the lower control portion of the com - I will need to add a toggle switch and a control button, regardless - There is also a speaker only unit at the back of the truck under the deck, mounted on the end of the frame - these are about 6 mm tall - Slowly getting a few parts together while finishing off the plow truck - will be good to get started on this one full time!

-
Western Star 4900 FA plow truck
BK9300 replied to BK9300's topic in WIP: Model Trucks: Big Rigs and Heavy Equipment
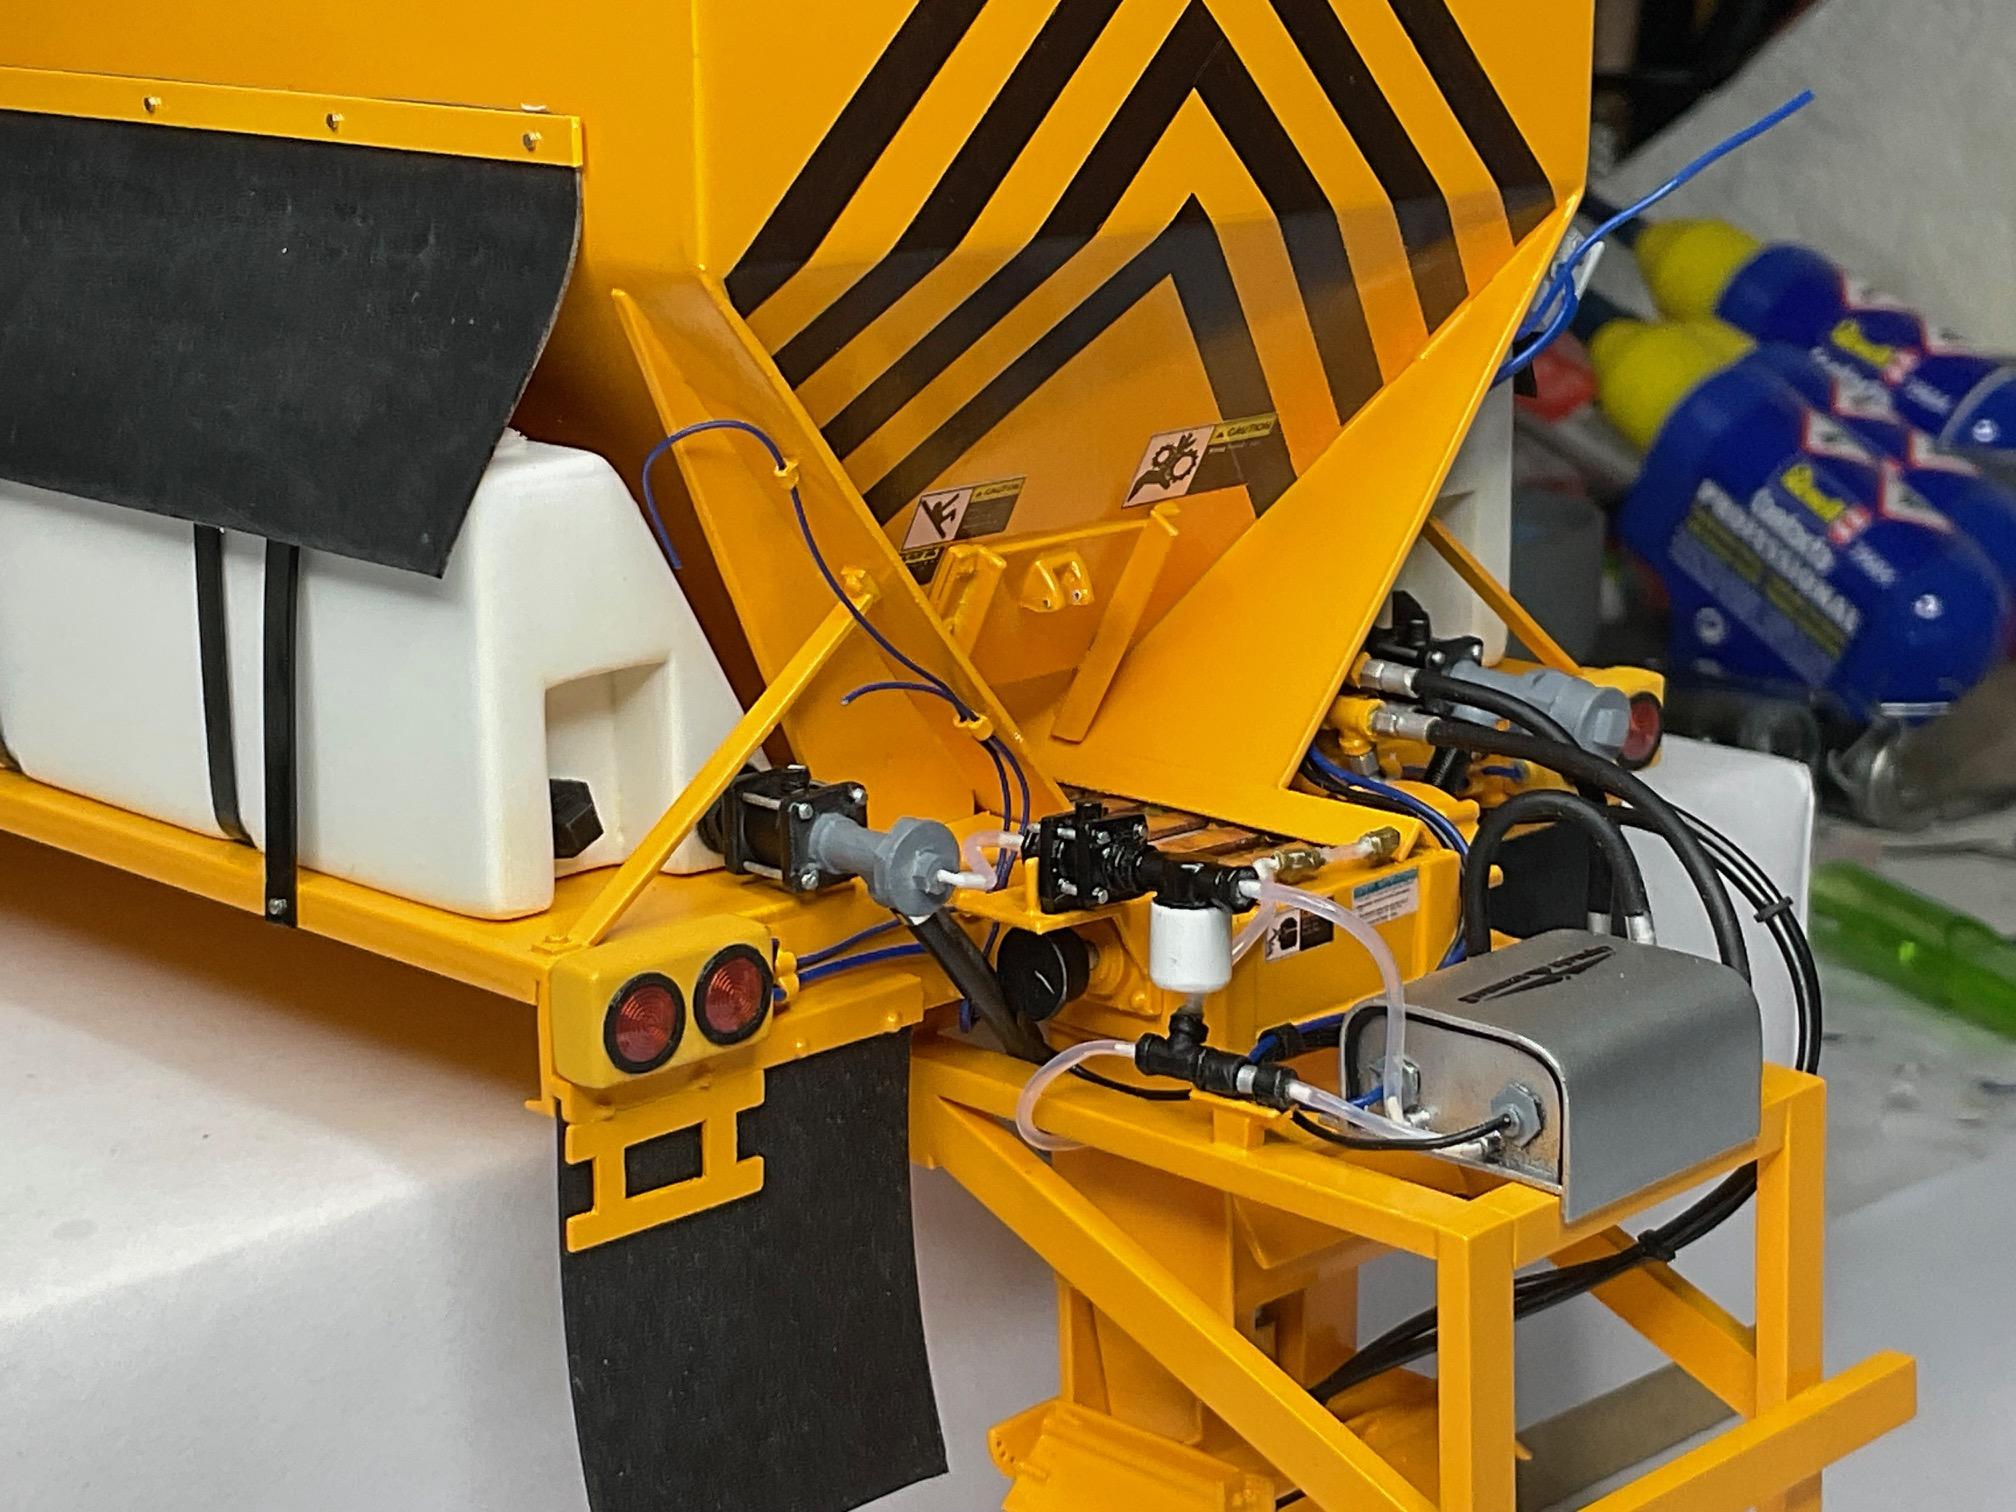
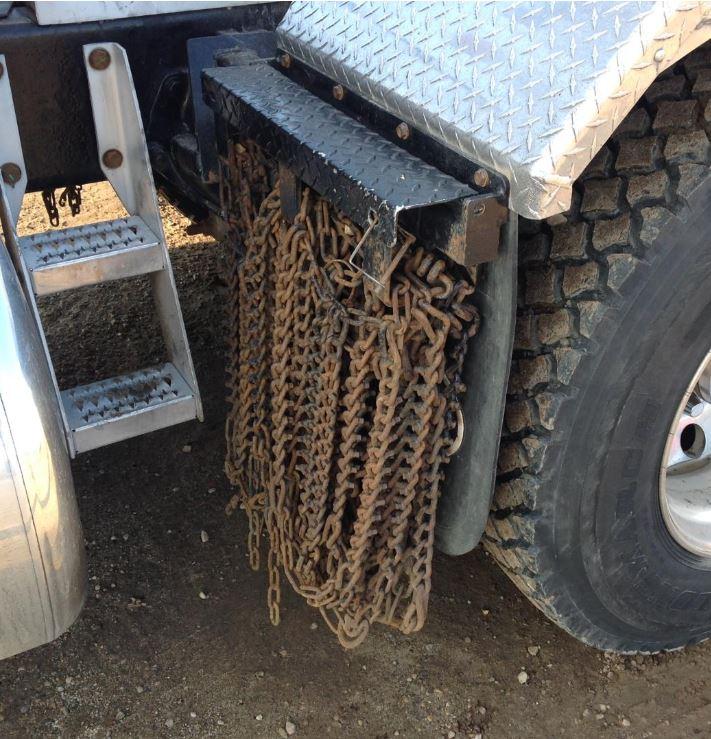
Working on the final details for this truck, I've come to realize I will never be able to plan for everything. Was working on the lights for the sander and had a stab of fear because I realized I hadn't pre-drilled all the holes for the pins that will attach the lights to the sander before I painted. Long ago, I had thought about doing that; then that thought clearly disappeared and now I need to drill through a finished paint job to get the lights put on. I've also put off locating the chain hangers - the real trucks had hook hangers in differing locations on the sander body, or frame, but the particular arrangement of attachments on the truck I'm modeling doesn't have room for chain hangers in any of those spots. I decided to go with some frame mounted hangers, just in front of the battery / tool boxes, with protective mud flaps in front of the hangers. Small bits of work on the lights, that took way longer than I thought it would - drilled and pinned for mounting to sander and each light housing has another pre-drilled hole for the wiring on the sander to thread through - Need to drill holes for mounting pins - three needed on the back edge of the side panels near the loose wires, one on the middle of passenger side of sander and one on top, by the front roto light - maybe start with a small hole first, so I'm not chipping away chunks of paint! - The real truck didn't have any chain hangers - I re-checked all my pics - and many of the 'normal' locations for hangers aren't available or optimal on this truck's layout. There is lots of room (red sketching), on both sides of truck, between the battery / tool boxes and the back edge of front fenders, to attach frame mounted hangers - Something like this is what I plan to make, just not attached to any fender(s) - Hope to get the sander work and roto lights painted tomorrow. More soon!
-
Western Star 4900 FA plow truck
BK9300 replied to BK9300's topic in WIP: Model Trucks: Big Rigs and Heavy Equipment
Too funny! All it needs are the lights and they're under way! Thanks, Jurgen. -
Western Star 4900 FA plow truck
BK9300 replied to BK9300's topic in WIP: Model Trucks: Big Rigs and Heavy Equipment
I don't think a museum would take this - it's too fragile! -
New build for my Pal Jeff in B.C.
BK9300 replied to ShakyCraftsman's topic in WIP: Model Trucks: Big Rigs and Heavy Equipment
Your eyes must have been a bit weary after gluing all those bolt heads - looks great! -
Link-Belt HC-218 Truck Crane
BK9300 replied to redneckrigger's topic in WIP: Model Trucks: Big Rigs and Heavy Equipment
That's got to be frustrating, but you've clearly got the solution under way! Hope this mini project goes quickly for you. -
WC-54 Ambulance
BK9300 replied to Chariots of Fire's topic in WIP: Model Trucks: Pickups, Vans, SUVs, Light Commercial
It’s a treat to look at all the details you have added, and the ceiling fan looks remarkable. Very small item to craft so precisely! -
The group effort produced a terrific result, but the project started, and ended, with you! Awesome work.
-
Your latest details sure look good - just finished a job and headed for another - still lots in the tank, looking at the indicator needle!
-
Just catching up, Jeff - your detailing is coming along great - looks fantastic!
-
I get your point about the finer salt, but what’s turned out really clearly is the paint edge at the rust margins - hard to achieve that any other way! I’m guessing some areas could be feather sanded to look like older areas of rust, leaving some of the crisp, paint edge areas as newer rust. Good process for rusting, to be sure!
- 766 replies
-
- 1
-

-
- stalled builds
- quick builds
- (and 2 more)
-
Western Star 4900 FA plow truck
BK9300 replied to BK9300's topic in WIP: Model Trucks: Big Rigs and Heavy Equipment
Thanks for that, Jürgen - very happy with how the decals turned out! -
Great tribute to your dad.
-
Western Star 4900 FA plow truck
BK9300 replied to BK9300's topic in WIP: Model Trucks: Big Rigs and Heavy Equipment
Much appreciated, Jeff! It has been quite a ride alright, but not to worry, it won't end - it'll just be a different ride! -
That's the real deal - looks awesome, Jeff!
-
Milner 32 5 window American Graffiti build
BK9300 replied to Silvercreeker's topic in WIP: Model Cars
Sure don't need to know much about the real car (which I don't!) to appreciate the fine work you're creating here. Very well built! -
Looking forward to this!
- 766 replies
-
- 1
-

-
- stalled builds
- quick builds
- (and 2 more)