BK9300
-
Posts
1,993 -
Joined
-
Last visited
Content Type
Profiles
Forums
Events
Gallery
Everything posted by BK9300
-

Resto Rod Autocar
BK9300 replied to Gary Chastain's topic in WIP: Model Trucks: Big Rigs and Heavy Equipment
Your grille really does pop - must have spent lots of time and care prepping it, because chrome spray of any kind sure shows any imperfections and it turned out flawless! Going to have to try some on mine. -
Western Star 4900 FA plow truck
BK9300 replied to BK9300's topic in WIP: Model Trucks: Big Rigs and Heavy Equipment
Too funny - I actually think I have an old Mack truck kit in one of my boxes in storage - who knows! -
Great progress on the trailer, Lee! I saw that post about builds completed in 2024 - are you running into shelf space problems any time soon?
-
Kenworth aerodyne cabover
BK9300 replied to Bronzekeg's topic in WIP: Model Trucks: Big Rigs and Heavy Equipment
Going to take some lessons on making opening doors! Might do that in the future. -
A very beautiful car, and again, the photography makes it all the more realistic! Well done.
-
Progress is good, no matter when it happens! I applaud you and others who can have several builds on the go and keep track of them all - just don't think I could do it. Look forward to more pics outside, weather permitting!
-
Western Star 4900 FA plow truck
BK9300 replied to BK9300's topic in WIP: Model Trucks: Big Rigs and Heavy Equipment
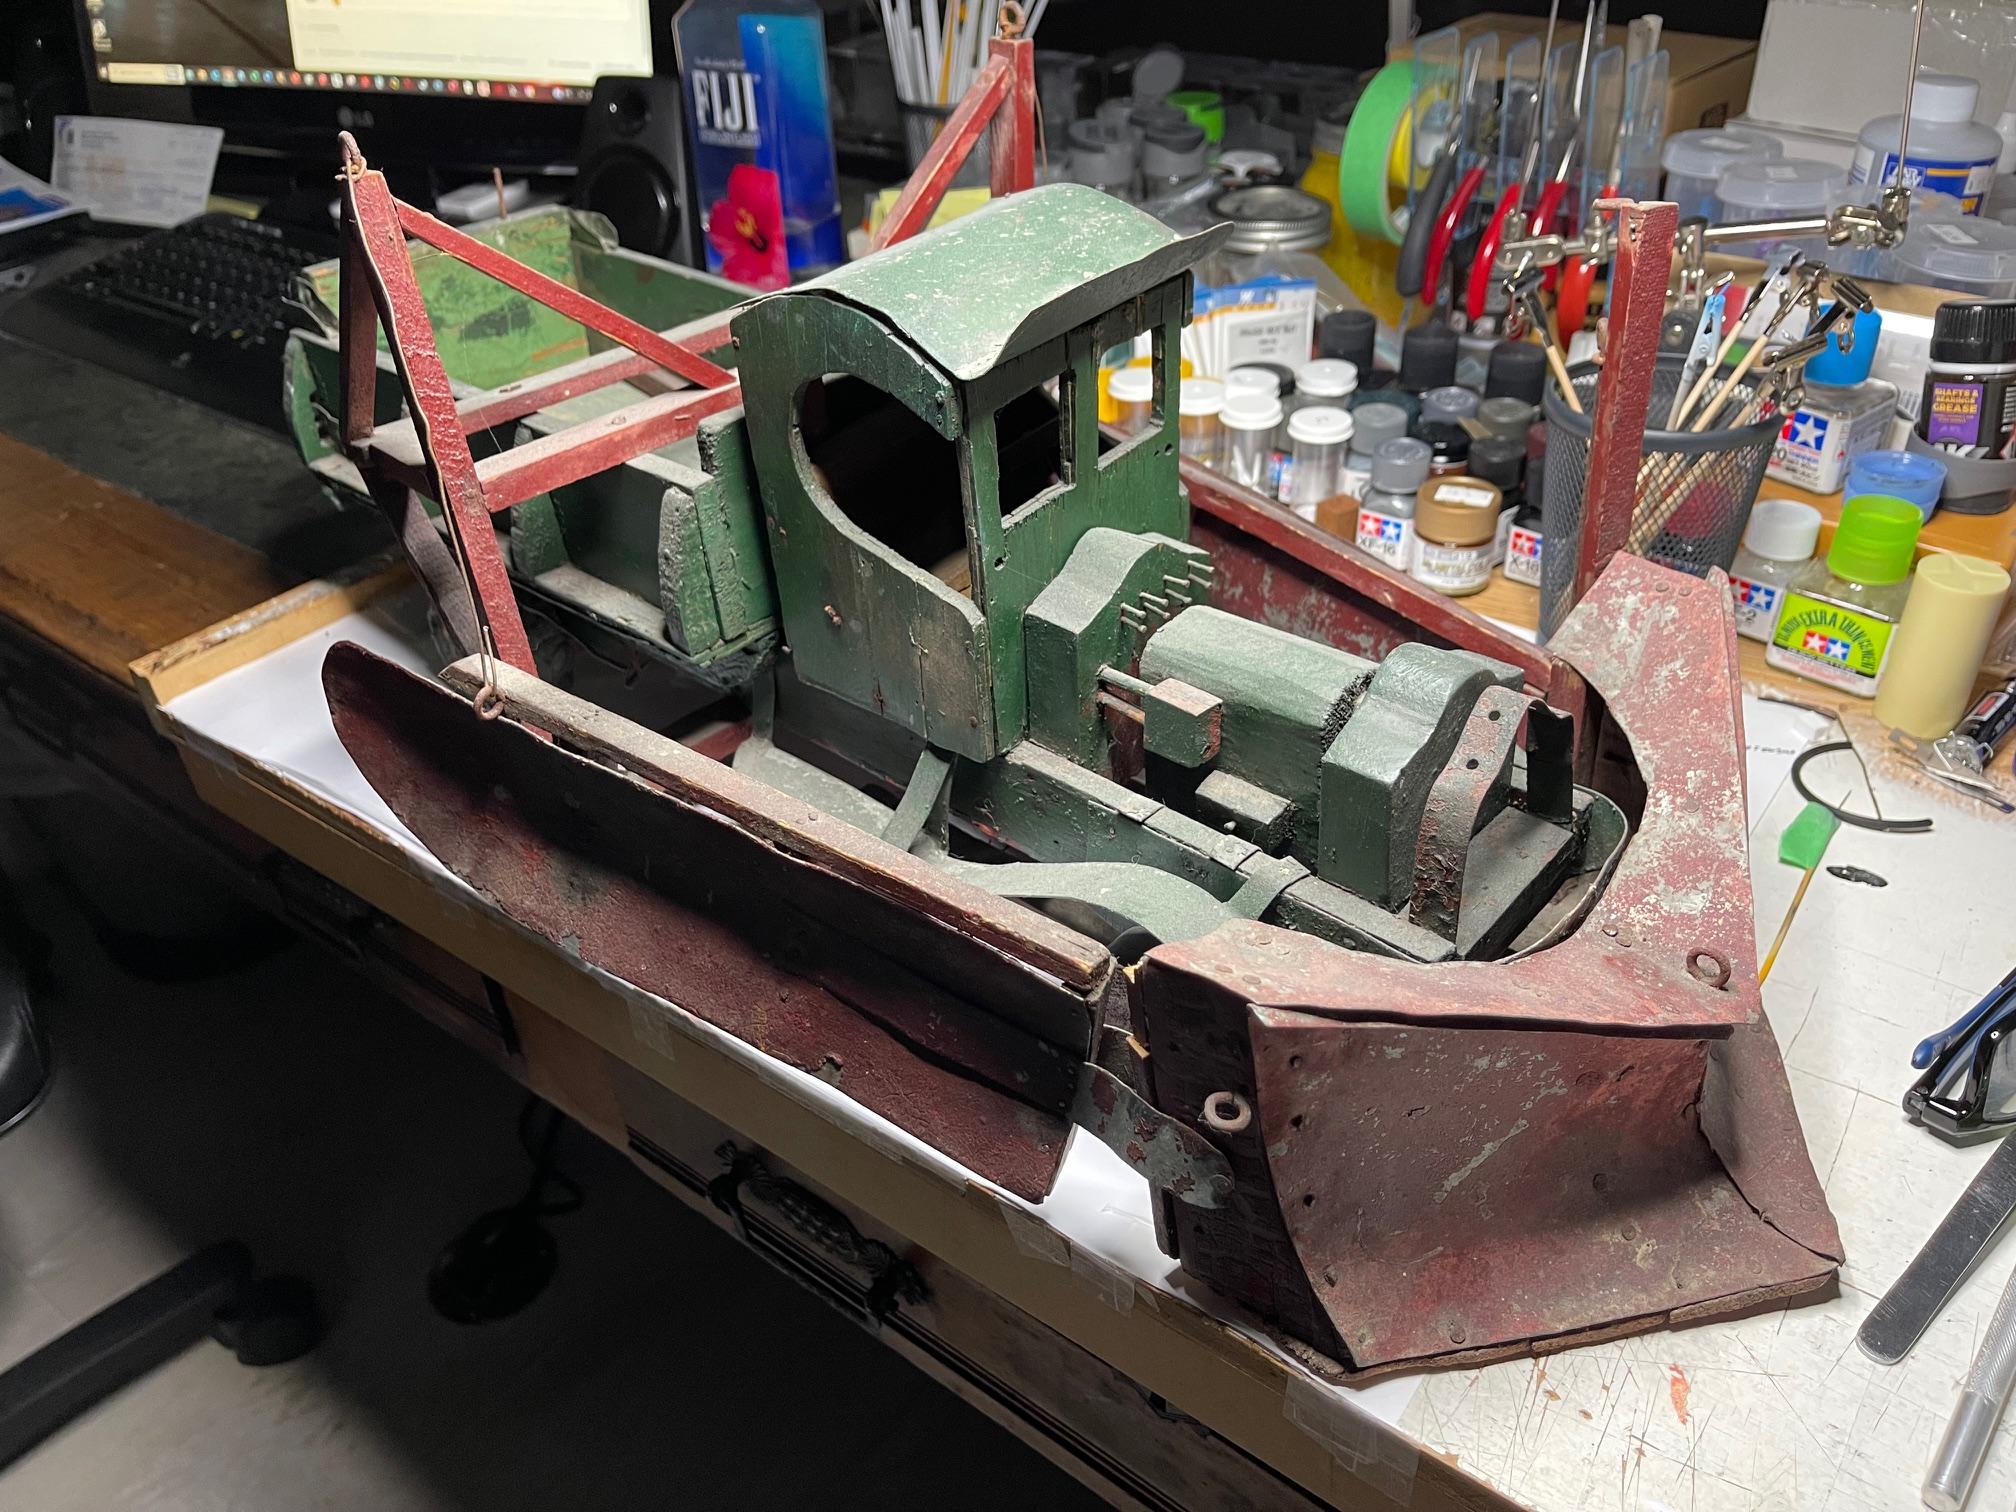
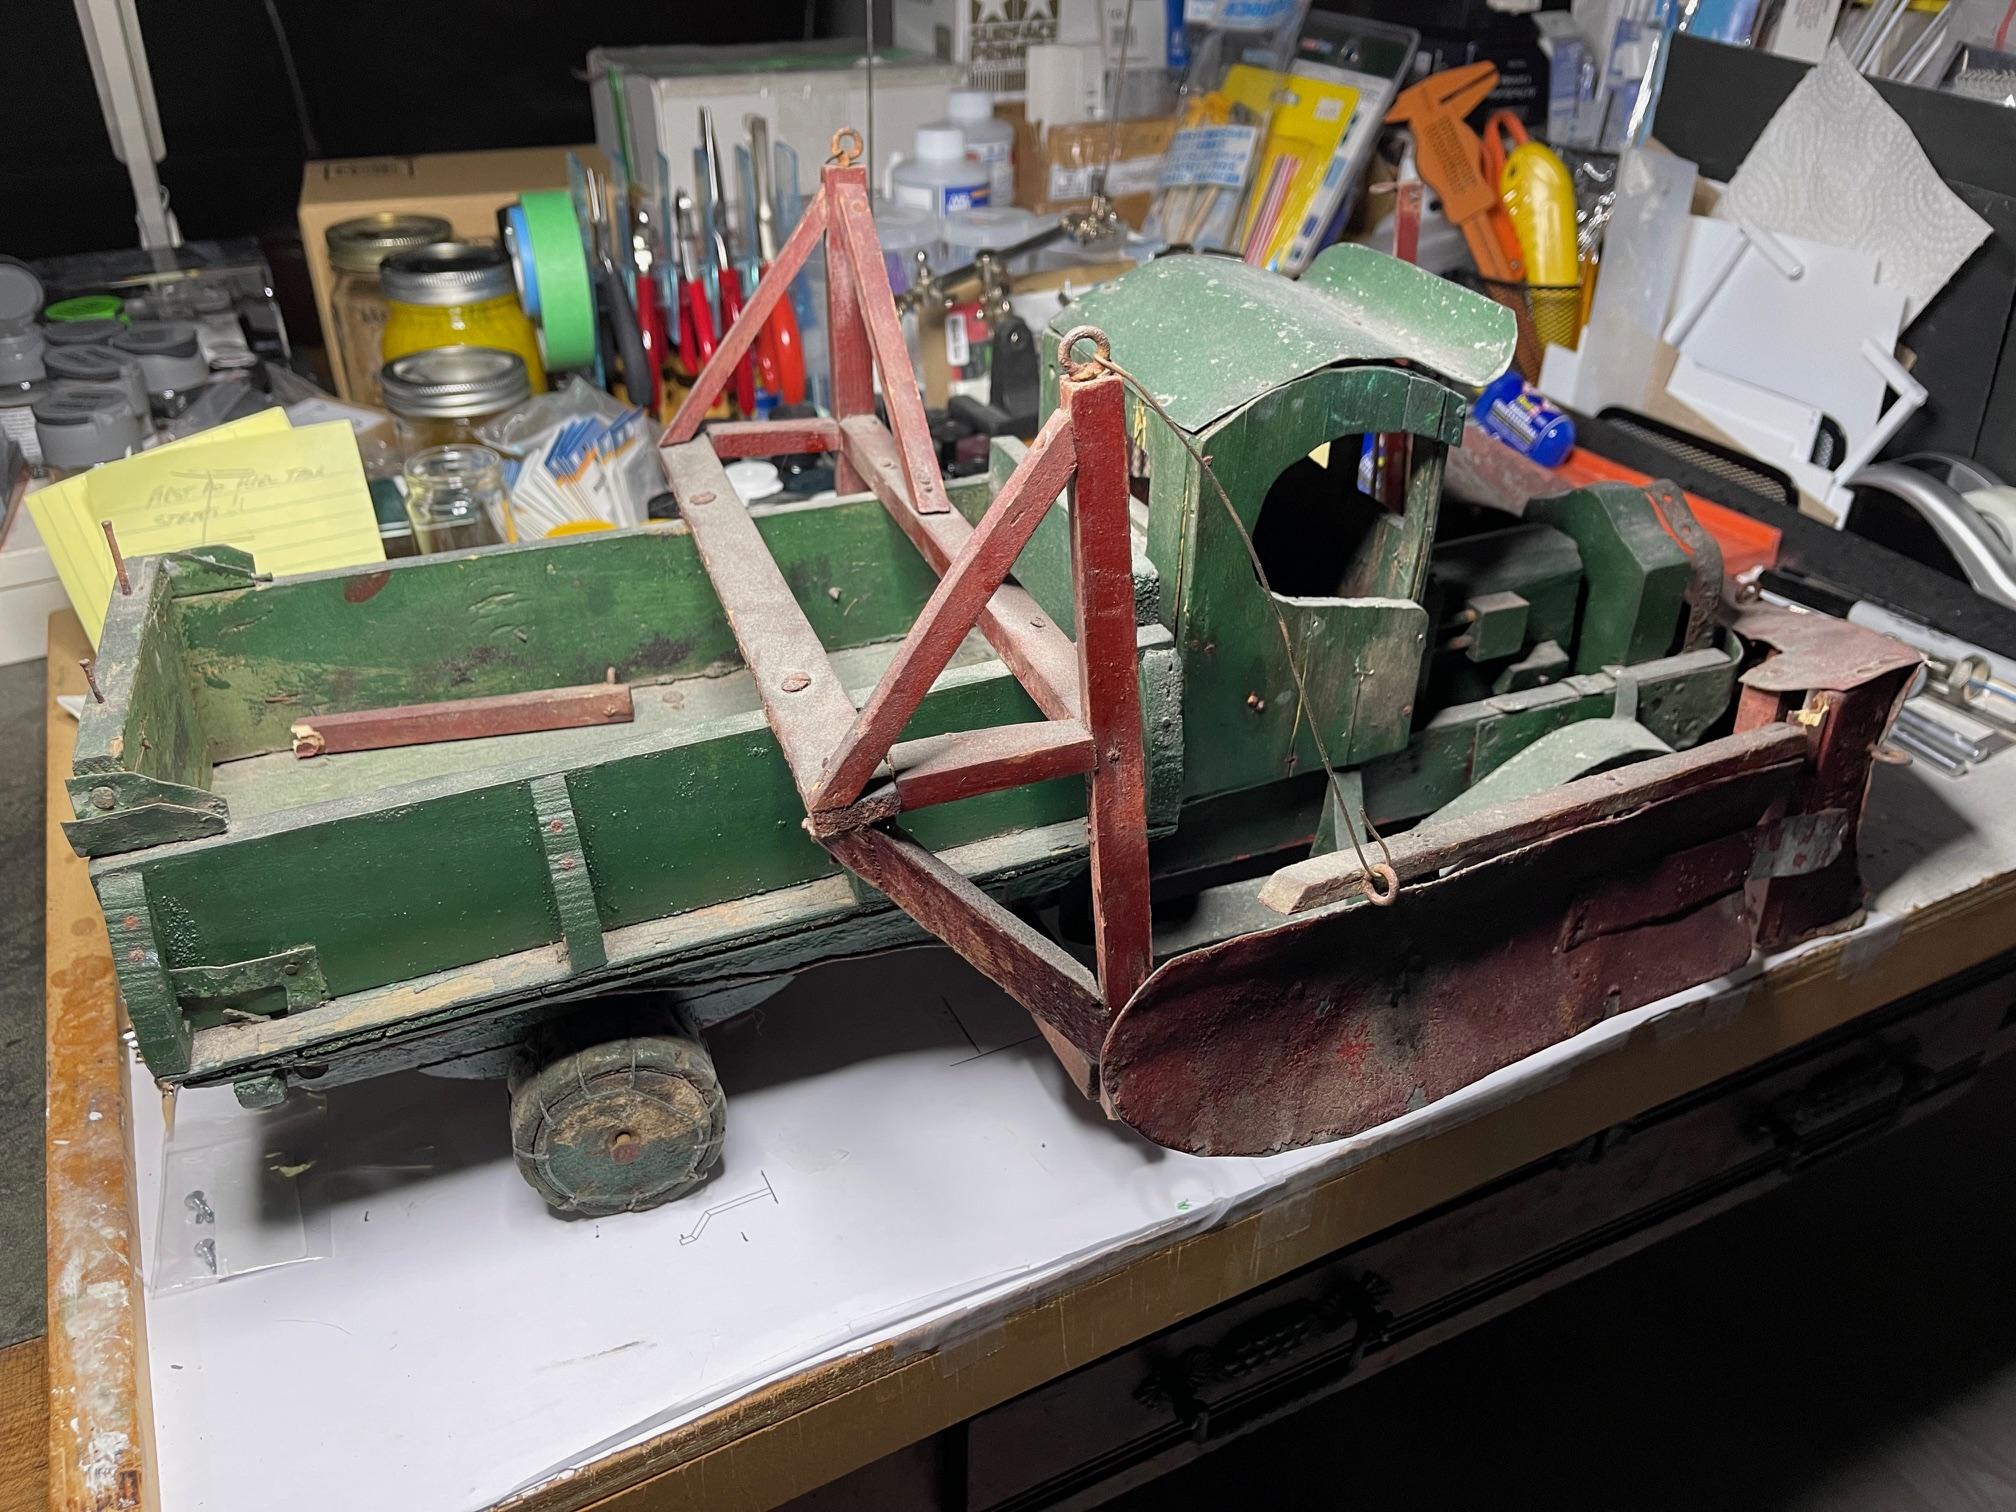
Thanks, Jeff, and again, very kind words - always appreciate your comments. I do have a few ideas for display and I think a mirror would be involved. But, like many others, need to find the proper space for it! Maybe next to this old timer, a folk art piece we found a few years back...
-
359 Pete Tanker with Trailer
BK9300 replied to Jürgen M.'s topic in Model Trucks: Big Rigs and Heavy Equipment
Excellent refurbish on your Pete and a great addition with the tanker trailer - you've done yourself proud here, for sure! -
Western Star 4900 FA plow truck
BK9300 replied to BK9300's topic in WIP: Model Trucks: Big Rigs and Heavy Equipment
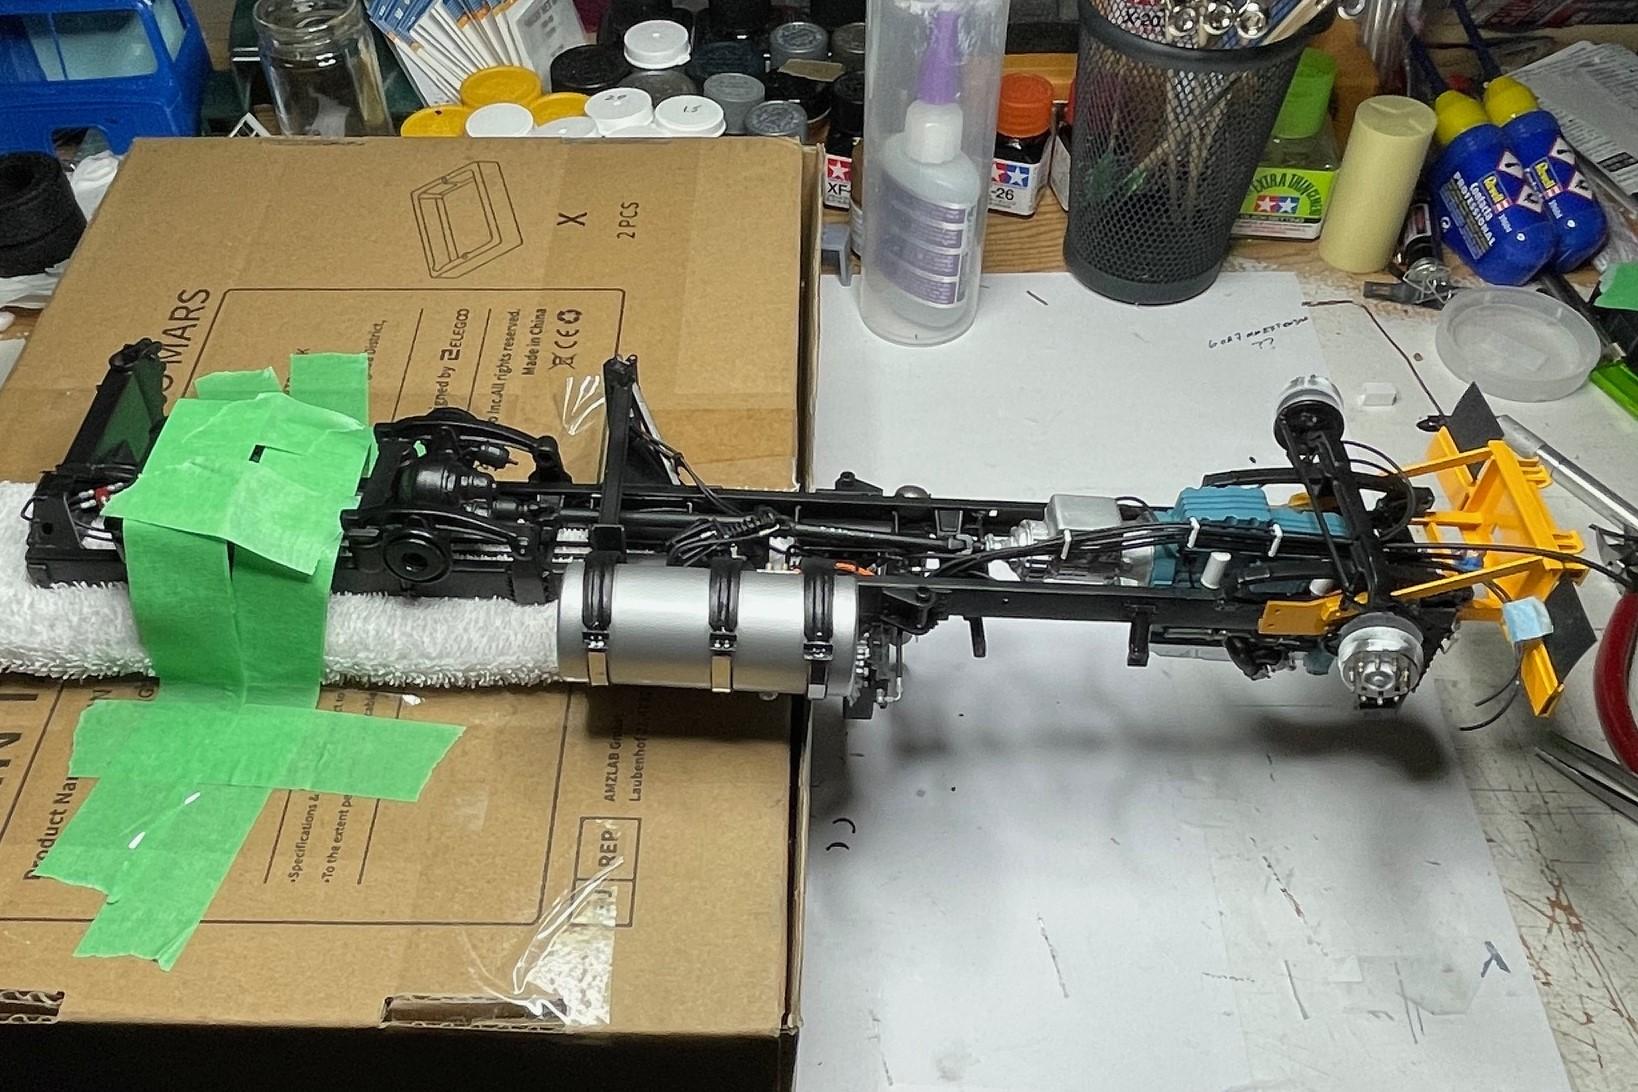
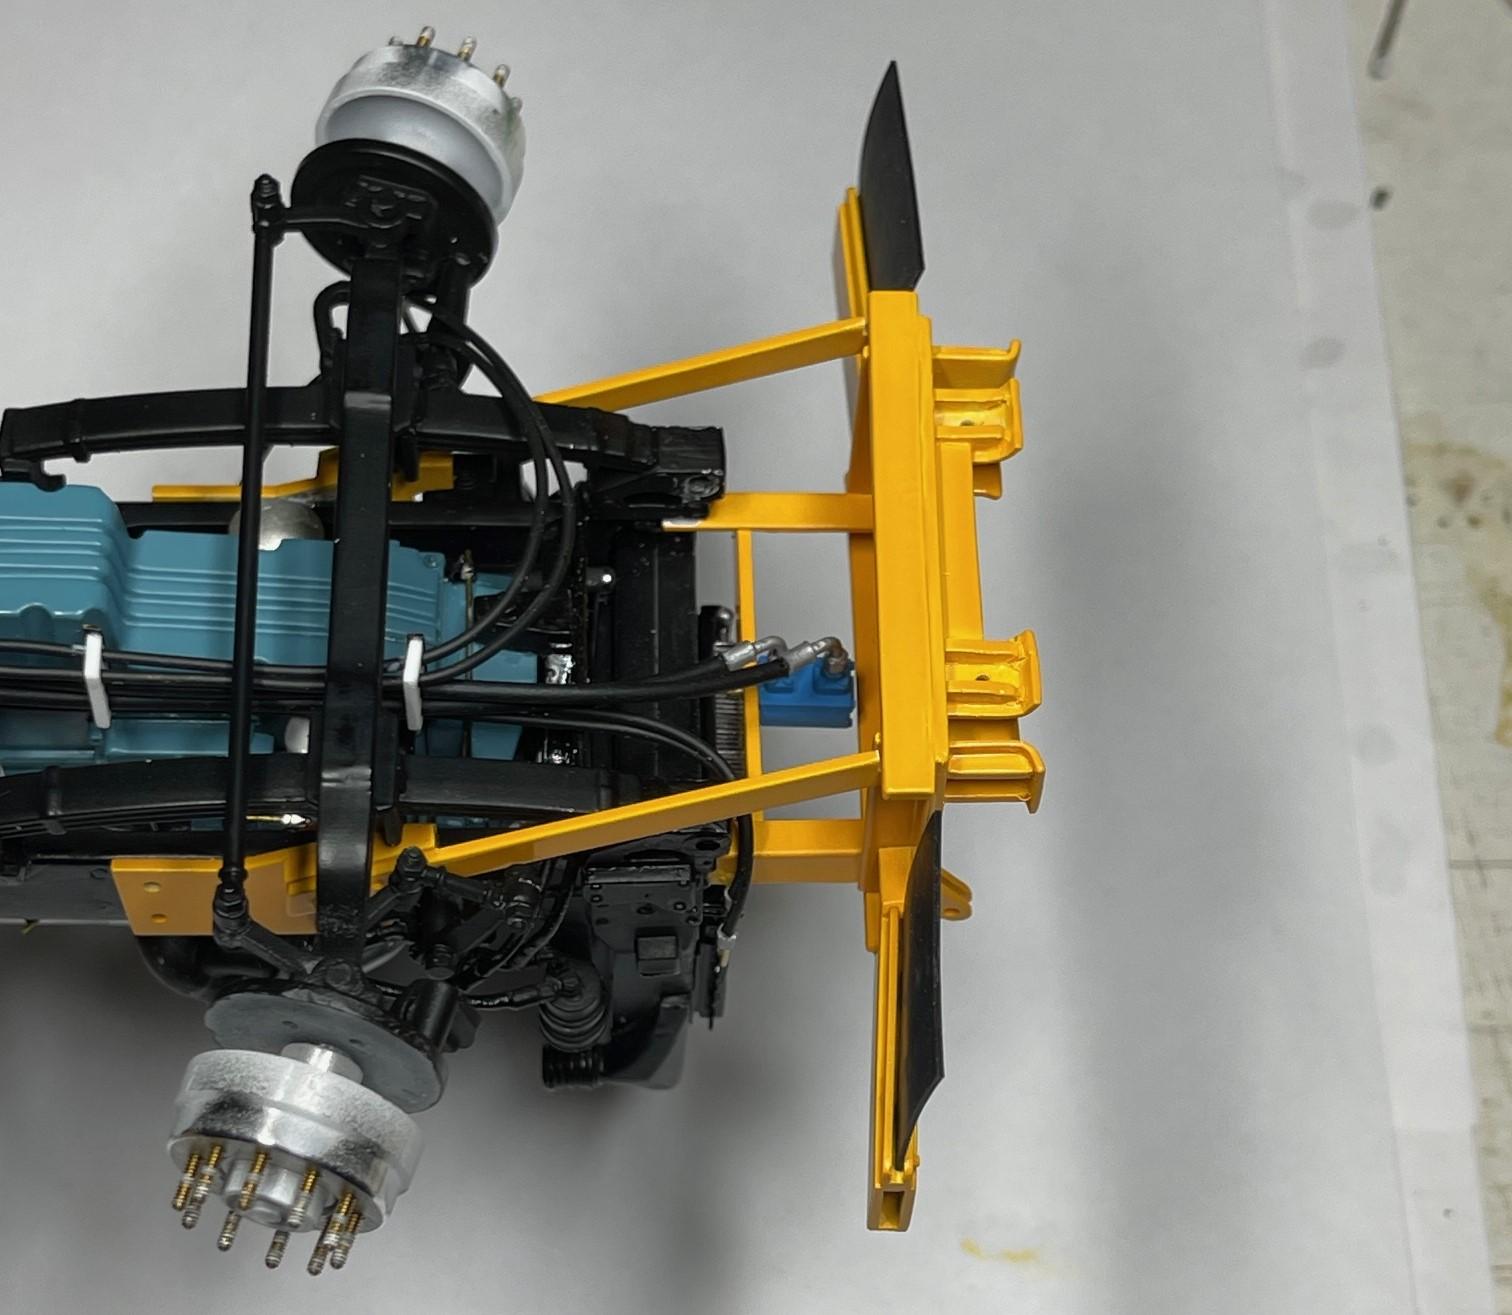
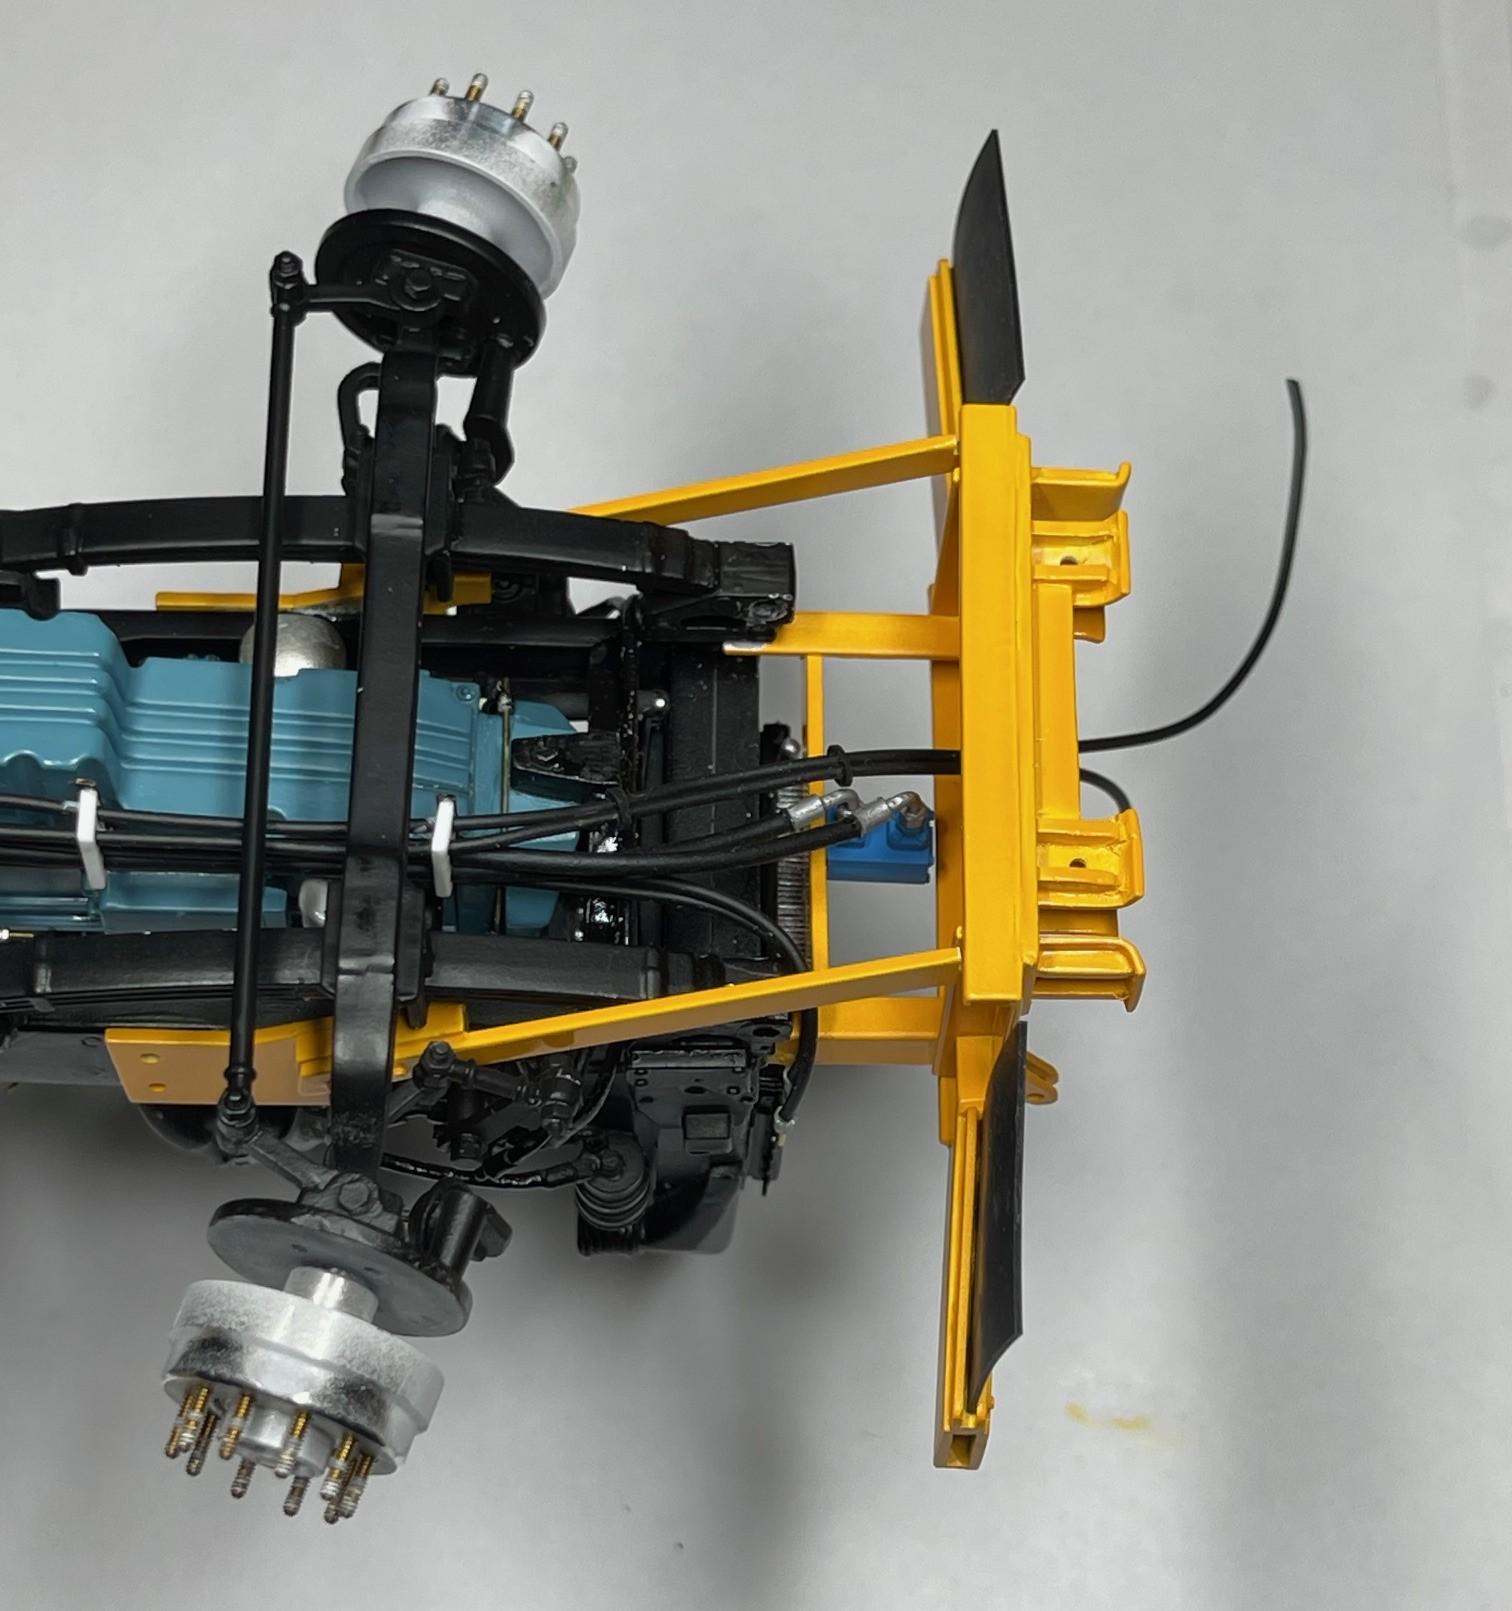
Managed to get the lines to the hydraulic pump and to the transmission cooler hooked up this afternoon - anxiety meter pinging off the top end, with a few do-overs on attaching the lines. I'll chalk it all up to experience and learning for the next build! Couldn't use the rotisserie anymore with the front bumper lift group in place, so cobbled this setup together to get at the hydraulic pump fittings and cooler hoses Hoses hooked up to hydraulic pump and to transmission cooler fittings (still need to try and make a short crankshaft pulley driveshaft to power the hydraulic pump) Hoses for the front plow lift cylinder have been routed through the opening in the bumper/lift group Better view of transmission cooler lines hooked up and the plow lift cylinder hoses yet to be connected. With the postal strike over here in Canada, finally received my decals from STS. Not sure how all that will go as I don't intend to clear the sander - it has too much paint on it already and don't want to blur any more detail if I can avoid it. Maybe the sander decals having an 'edge' to them will make them look like the vinyl decals on the real truck! More to come in a couple days - thanks for checking in!
-
Really like all the plumbing you're adding along the way - takes a lot of time, for sure, but certainly worth it once its all in place.
-
There's a lot of patience evident here - great progress with the bolt detailing. Will look great under a coat of paint!
-
Terrific find, Steve! Is there any supplier who makes resin printed engines and transmissions for this scale? (guess I could go look myself, too!)
-
Resto Rod Autocar
BK9300 replied to Gary Chastain's topic in WIP: Model Trucks: Big Rigs and Heavy Equipment
Looks awesome, Gary! -
Pete 359 tanker with trailer
BK9300 replied to Jürgen M.'s topic in WIP: Model Trucks: Big Rigs and Heavy Equipment
Terrific work, Jurgen - now on to that display case! -
Western Star 4900 FA plow truck
BK9300 replied to BK9300's topic in WIP: Model Trucks: Big Rigs and Heavy Equipment
Thanks, Jeff - he’ll get on it soon as possible! -
Western Star 4900 FA plow truck
BK9300 replied to BK9300's topic in WIP: Model Trucks: Big Rigs and Heavy Equipment
Thanks, Jürgen! -
Western Star 4900 FA plow truck
BK9300 replied to BK9300's topic in WIP: Model Trucks: Big Rigs and Heavy Equipment
Thanks very much, Lee - took a couple goes to get it looking right! -
Kenworth aerodyne cabover
BK9300 replied to Bronzekeg's topic in WIP: Model Trucks: Big Rigs and Heavy Equipment
Lots of inspiration! How will you settle on which version of the colour scheme you’ll go with? -
Pete 359 tanker with trailer
BK9300 replied to Jürgen M.'s topic in WIP: Model Trucks: Big Rigs and Heavy Equipment
Very cool, Jürgen - lots of extras on this build! -
Very good idea for your looms - nice and tidy!
-
Very good job on an uncommon, but interesting, subject - well done!
-
FDNY Wrecker
BK9300 replied to Scott Eriksen's topic in WIP: Model Trucks: Big Rigs and Heavy Equipment
I hear you about the scale difference. I’m certain the engine I used from Auslowe isn’t perfectly scaled either - sits a bit high, and wide, in my opinion. -
Western Star 4900 FA plow truck
BK9300 replied to BK9300's topic in WIP: Model Trucks: Big Rigs and Heavy Equipment
Thanks very much, Gary - was a bit bummed out about the paint scraping screw up. Maybe an opportunity for a bit of rusting. As new as most of the real truck was, lots of bolt heads for the attachments were already rusting, as well as some of the weld beads. Maybe paint it a different colour yellow for the ‘spray paint' mechanics used to cover up other repairs! -
Johnny Cash 1972 C60 Chevrolet
BK9300 replied to DRIPTROIT 71's topic in Model Trucks: Big Rigs and Heavy Equipment
Very well done - the weathering, for sure, is terrific! Great looking build - as hard a working truck as its owner operator. -
Pete 359 tanker with trailer
BK9300 replied to Jürgen M.'s topic in WIP: Model Trucks: Big Rigs and Heavy Equipment
I go to sleep on my side of the world, and you finish your tanker on your side! Awesome looking with all your decals in place, Jürgen!