BK9300
-
Posts
1,991 -
Joined
-
Last visited
Content Type
Profiles
Forums
Events
Gallery
Everything posted by BK9300
-

Western Star 4900 FA plow truck
BK9300 replied to BK9300's topic in WIP: Model Trucks: Big Rigs and Heavy Equipment
Thanks, Jürgen - that made me laugh! Glad you keep checking in. -
Western Star 4900 FA plow truck
BK9300 replied to BK9300's topic in WIP: Model Trucks: Big Rigs and Heavy Equipment
Thanks, Jeff - glad to hear your thoughts and I appreciate the compliment! Lots to learn about these trucks - any truck for that matter. The ‘initial’ research process never seems to stop - always another ‘how to’ question to deal with! -
'64 Chevy C30
BK9300 replied to dodgefever's topic in WIP: Model Trucks: Pickups, Vans, SUVs, Light Commercial
Really like your CAD work on your build. I’ve not heard of Freecad - how would you rate its ease of use? The wrecker bed and boom looks great! -
Cyber punk ‘88 Dodge Daytona/Mercedes C9 kit bash
BK9300 replied to Steve H's topic in WIP: Model Cars
The underhood detailing looks great, Steve! Never worked with carbon fibre decals before - seems like they would be quite flexible. Did you make the inner fender clamps for your rad hoses? Great support you have there beside you, too. -
Alaskan Hauler refurbishing project
BK9300 replied to Jürgen M.'s topic in Model Trucks: Big Rigs and Heavy Equipment
Good job with your modifications, Jürgen - will be a great 'addition' to your shelf (shelves?)! -
Western Star 4900 FA plow truck
BK9300 replied to BK9300's topic in WIP: Model Trucks: Big Rigs and Heavy Equipment
Thanks, Lee - good feeling to have the truck up on its 'feet'! -
Western Star 4900 FA plow truck
BK9300 replied to BK9300's topic in WIP: Model Trucks: Big Rigs and Heavy Equipment
I went back the 'manual' - it was for a Henderson plow, not a Tenco - and it stated that the lower hole on the plow was to be the attachment point when carbide tipped blades were in use, increasing the blade's angle of attack to 60 degrees - so much design effort in a snow plow! -
Beautiful progress, Donald - still impressed with the lights you set up in your builds.
-
Western Star 4900 FA plow truck
BK9300 replied to BK9300's topic in WIP: Model Trucks: Big Rigs and Heavy Equipment
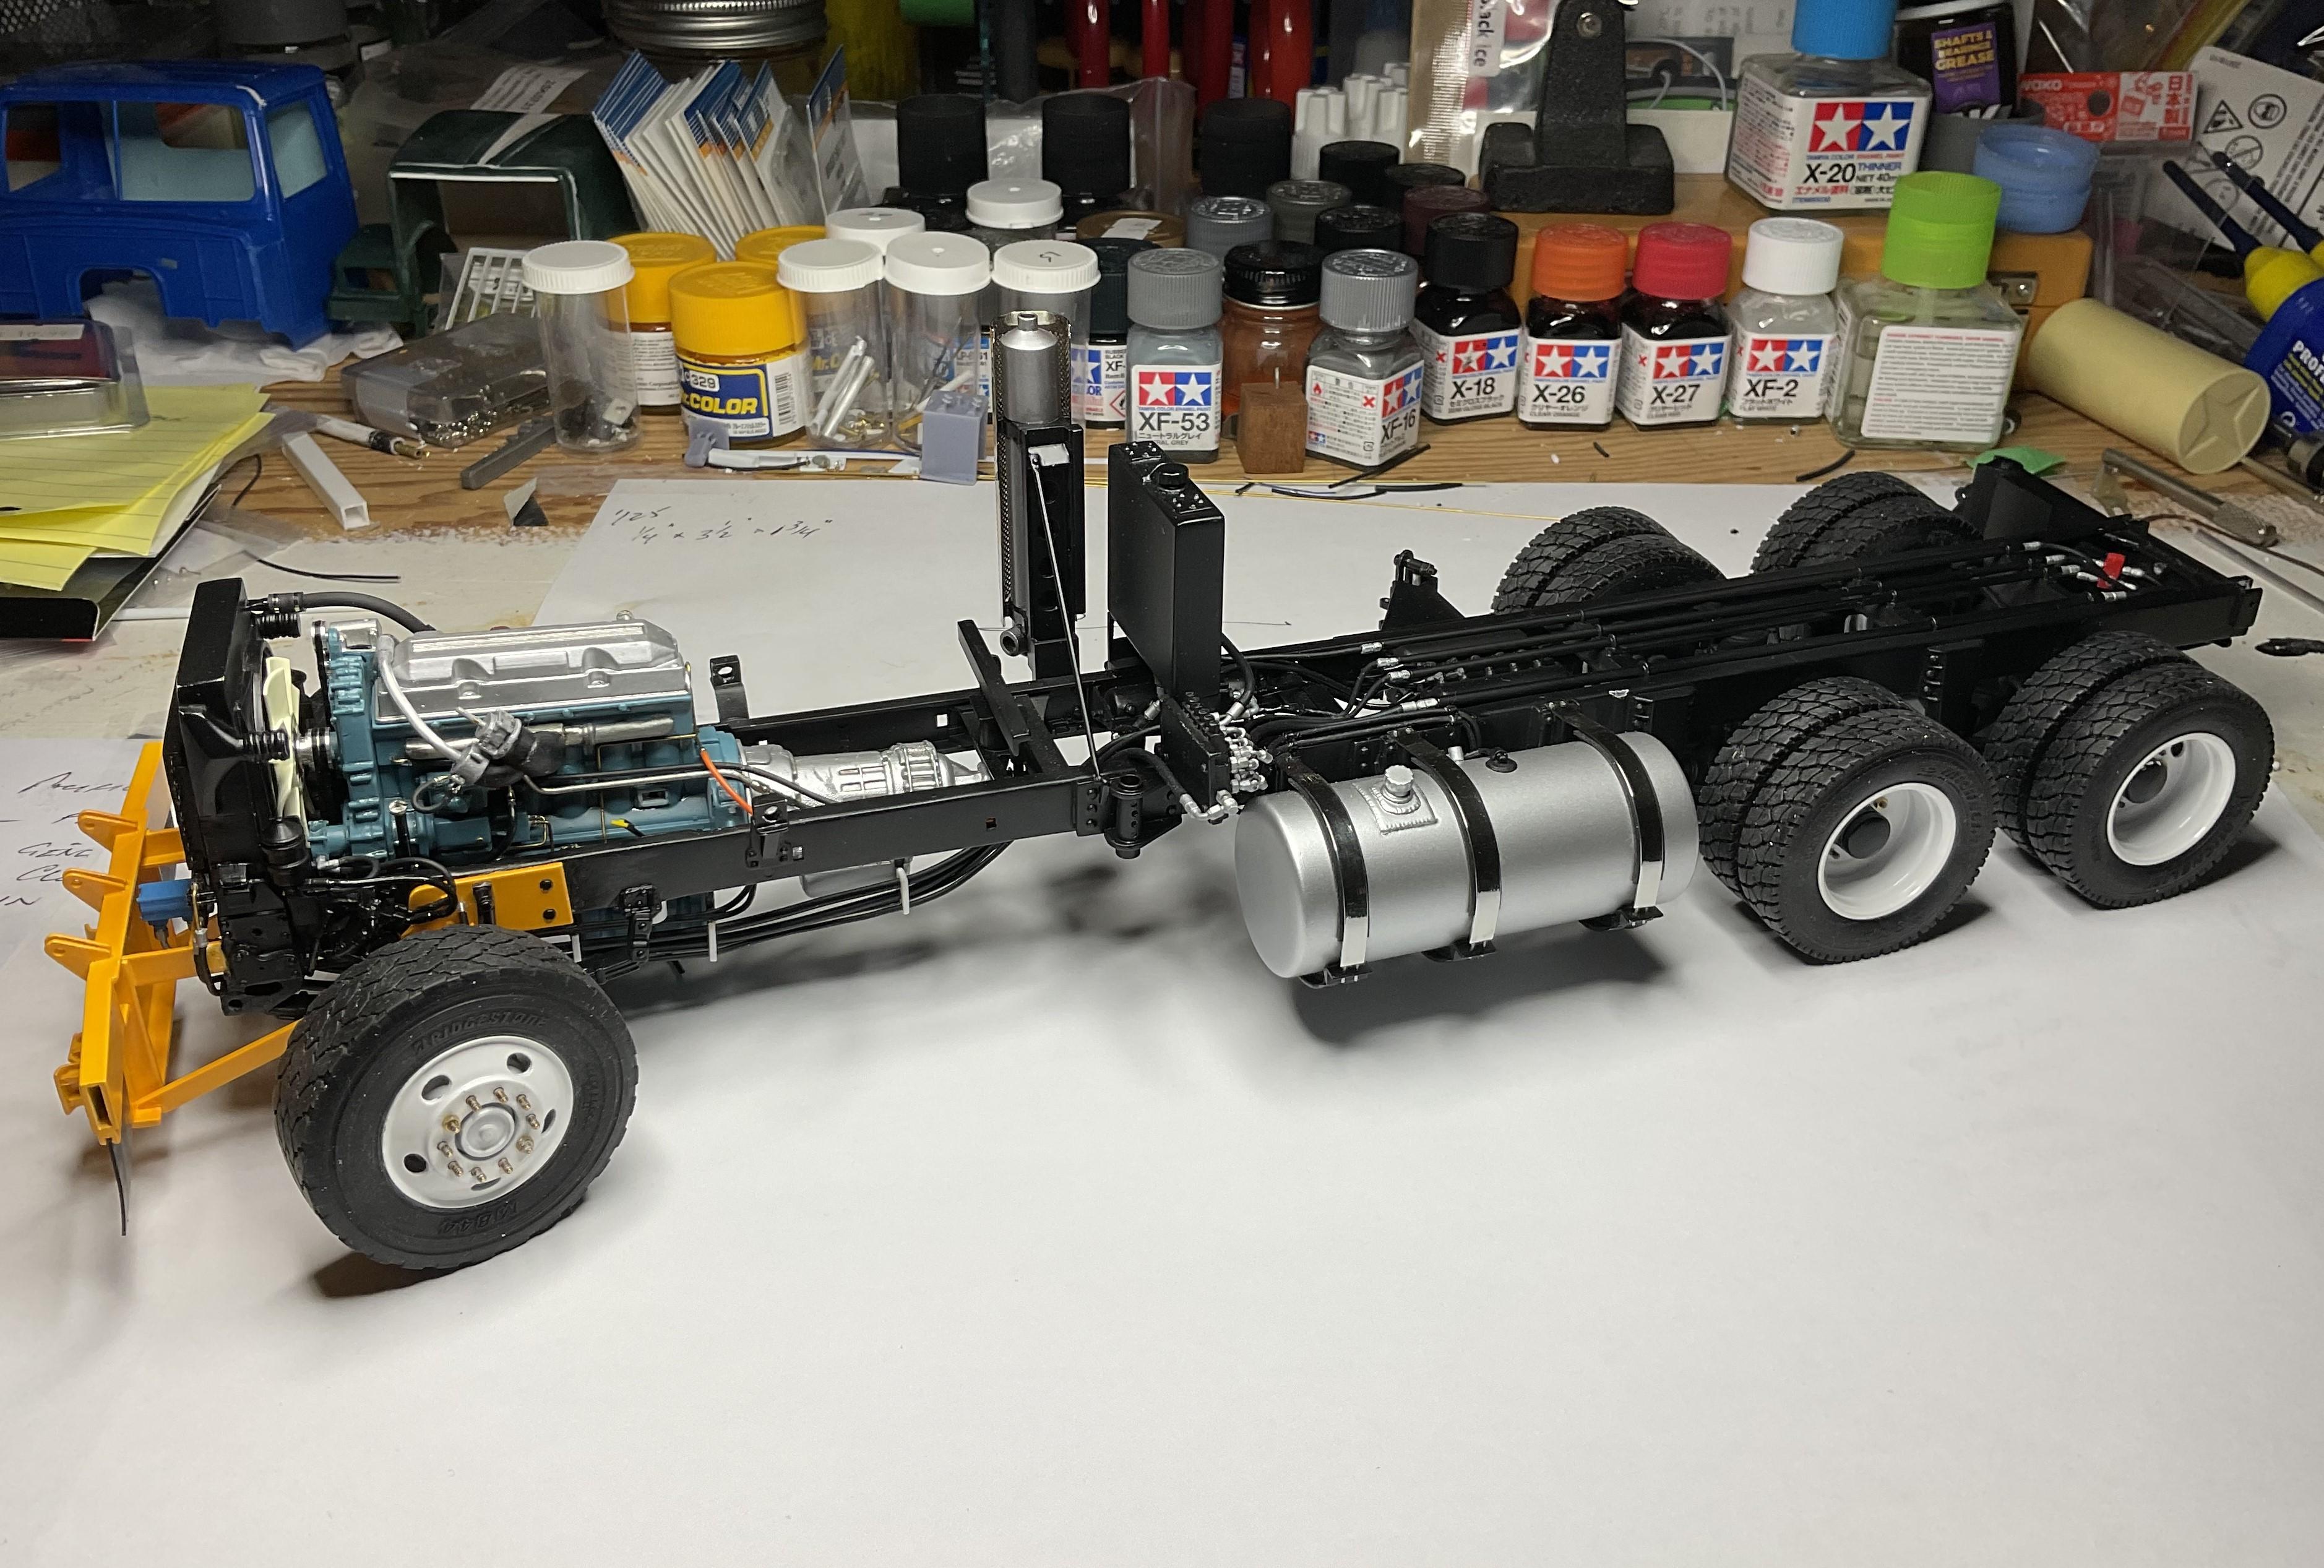
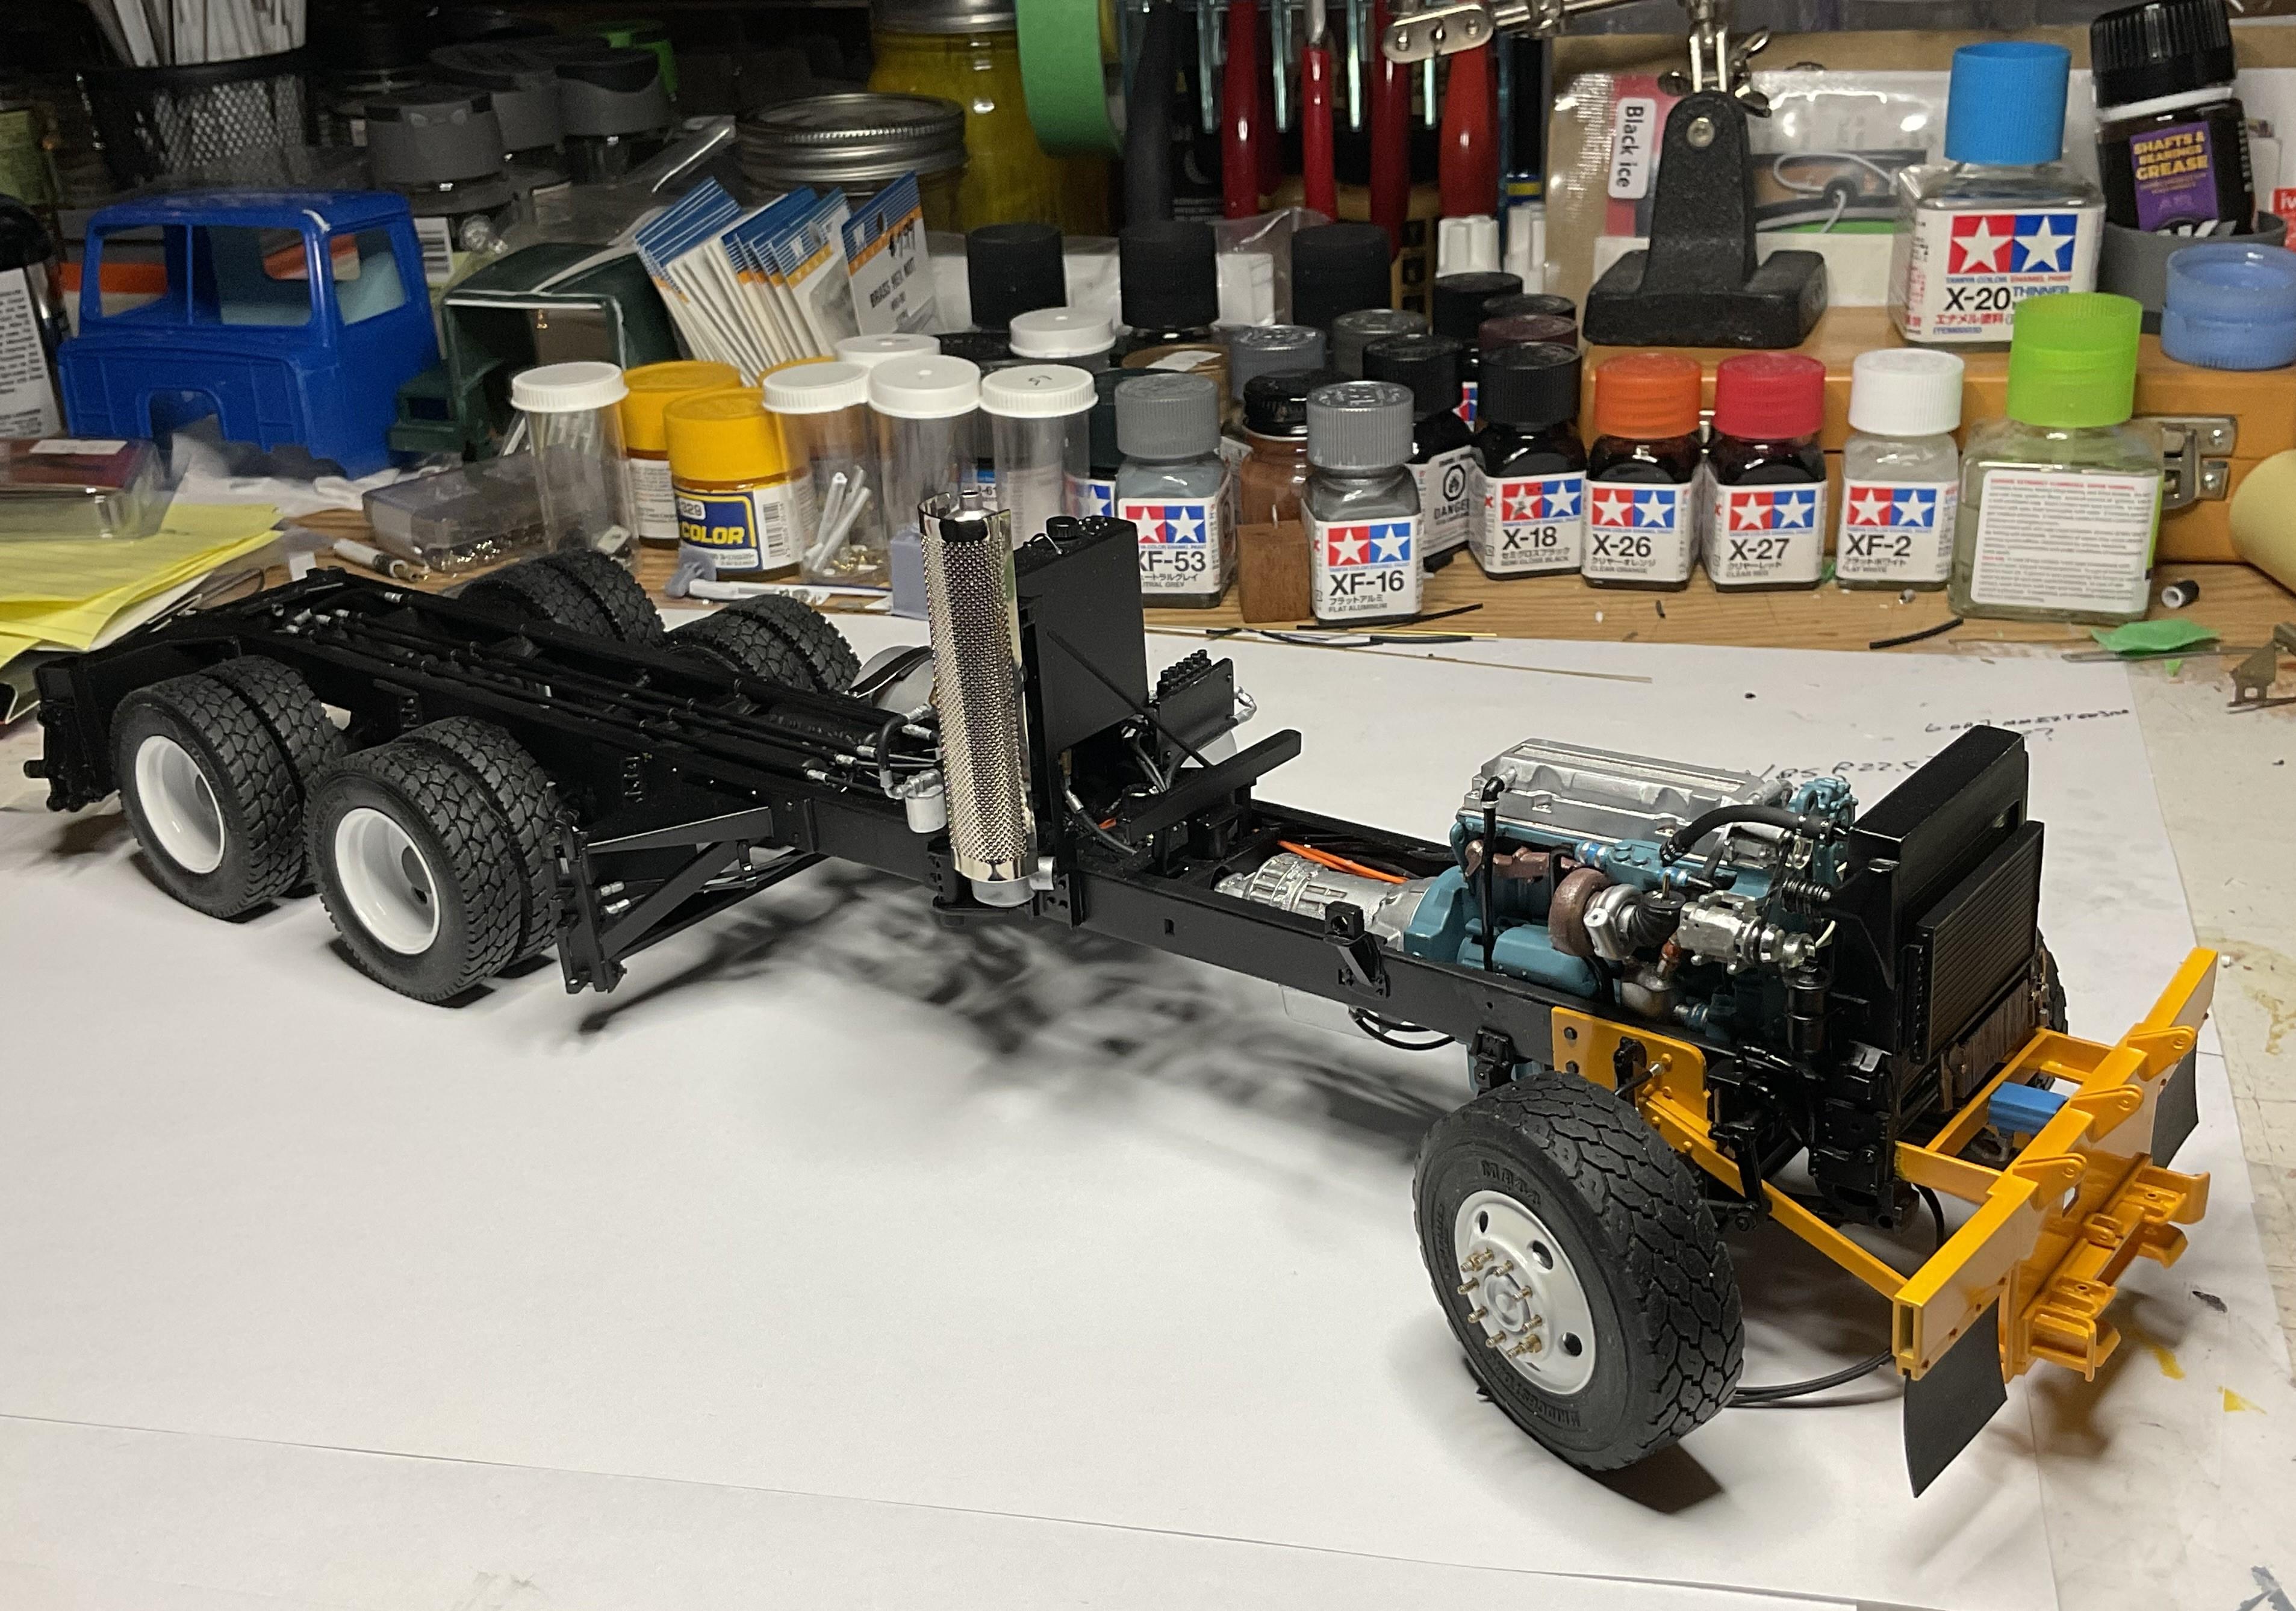
Been a very good day - finally have an actual 'roller' - very pleased with the look after all this time. . . Poseable steering still works after all this Just have to attach the bulkhead fitting, attach the two hoses at the inside part of the fitting, the lift cylinder hoses to the front of the fitting and I will be able to temporarily fit the front plow in place (Jeff, I lucked out with my ground level to mounting pin height at a scale 17"). Then I think I need to get decals on the sander and get it permanently mounted on the truck. I appreciate the comments and thanks for taking the time to have a look - its been a marathon, for sure!
-
Western Star 4900 FA plow truck
BK9300 replied to BK9300's topic in WIP: Model Trucks: Big Rigs and Heavy Equipment
Now, you see, this is the type of information that isn't available just from taking pics or looking in a manual. I appreciate all the info, Jeff, and especially the part about the chains lifting the toe of the front plow first. I think all of my other geometry is ok to make that happen if I adjust the chains like you said - I'll give it a go in a few days! Thanks, Jeff. -
Western Star 4900 FA plow truck
BK9300 replied to BK9300's topic in WIP: Model Trucks: Big Rigs and Heavy Equipment
Looking forward to your build, Lee! -
Western Star 4900 FA plow truck
BK9300 replied to BK9300's topic in WIP: Model Trucks: Big Rigs and Heavy Equipment
I noted on the real plow, and in a manual for a Tenco plow, that there are two holes at the bottom of each side of the plow where it attaches to the push frame - the real plow was attached to the push frame using the top holes. The manual said these two holes were also to adjust the cutting angle. Don't know when that would ever be changed as it seems that the adjustable tubular brace would be much more practical for doing that based on changing road conditions??! -
Western Star 4900 FA plow truck
BK9300 replied to BK9300's topic in WIP: Model Trucks: Big Rigs and Heavy Equipment
You know, Lee, I have that Louisville kit, too. There's lots of detail in that kit's attachments, especially the tail gate spreader, just like the older Highway's Louisvilles used to have here in BC. I just decided to go with a more modern truck like the ones we had at the time of my retirement. An out of the box build will always look great, with the attention paid to paint and some extra detailing like you do anyway. I think the build you're thinking about would turn out to be a good looking truck! And thanks, as always, for the gracious compliments. -
Western Star 4900 FA plow truck
BK9300 replied to BK9300's topic in WIP: Model Trucks: Big Rigs and Heavy Equipment
Much appreciated, Scott! There is some relief in getting the plow parts to all fit together after the paint. Now, back to front bumper lift cylinder! -
Western Star 4900 FA plow truck
BK9300 replied to BK9300's topic in WIP: Model Trucks: Big Rigs and Heavy Equipment
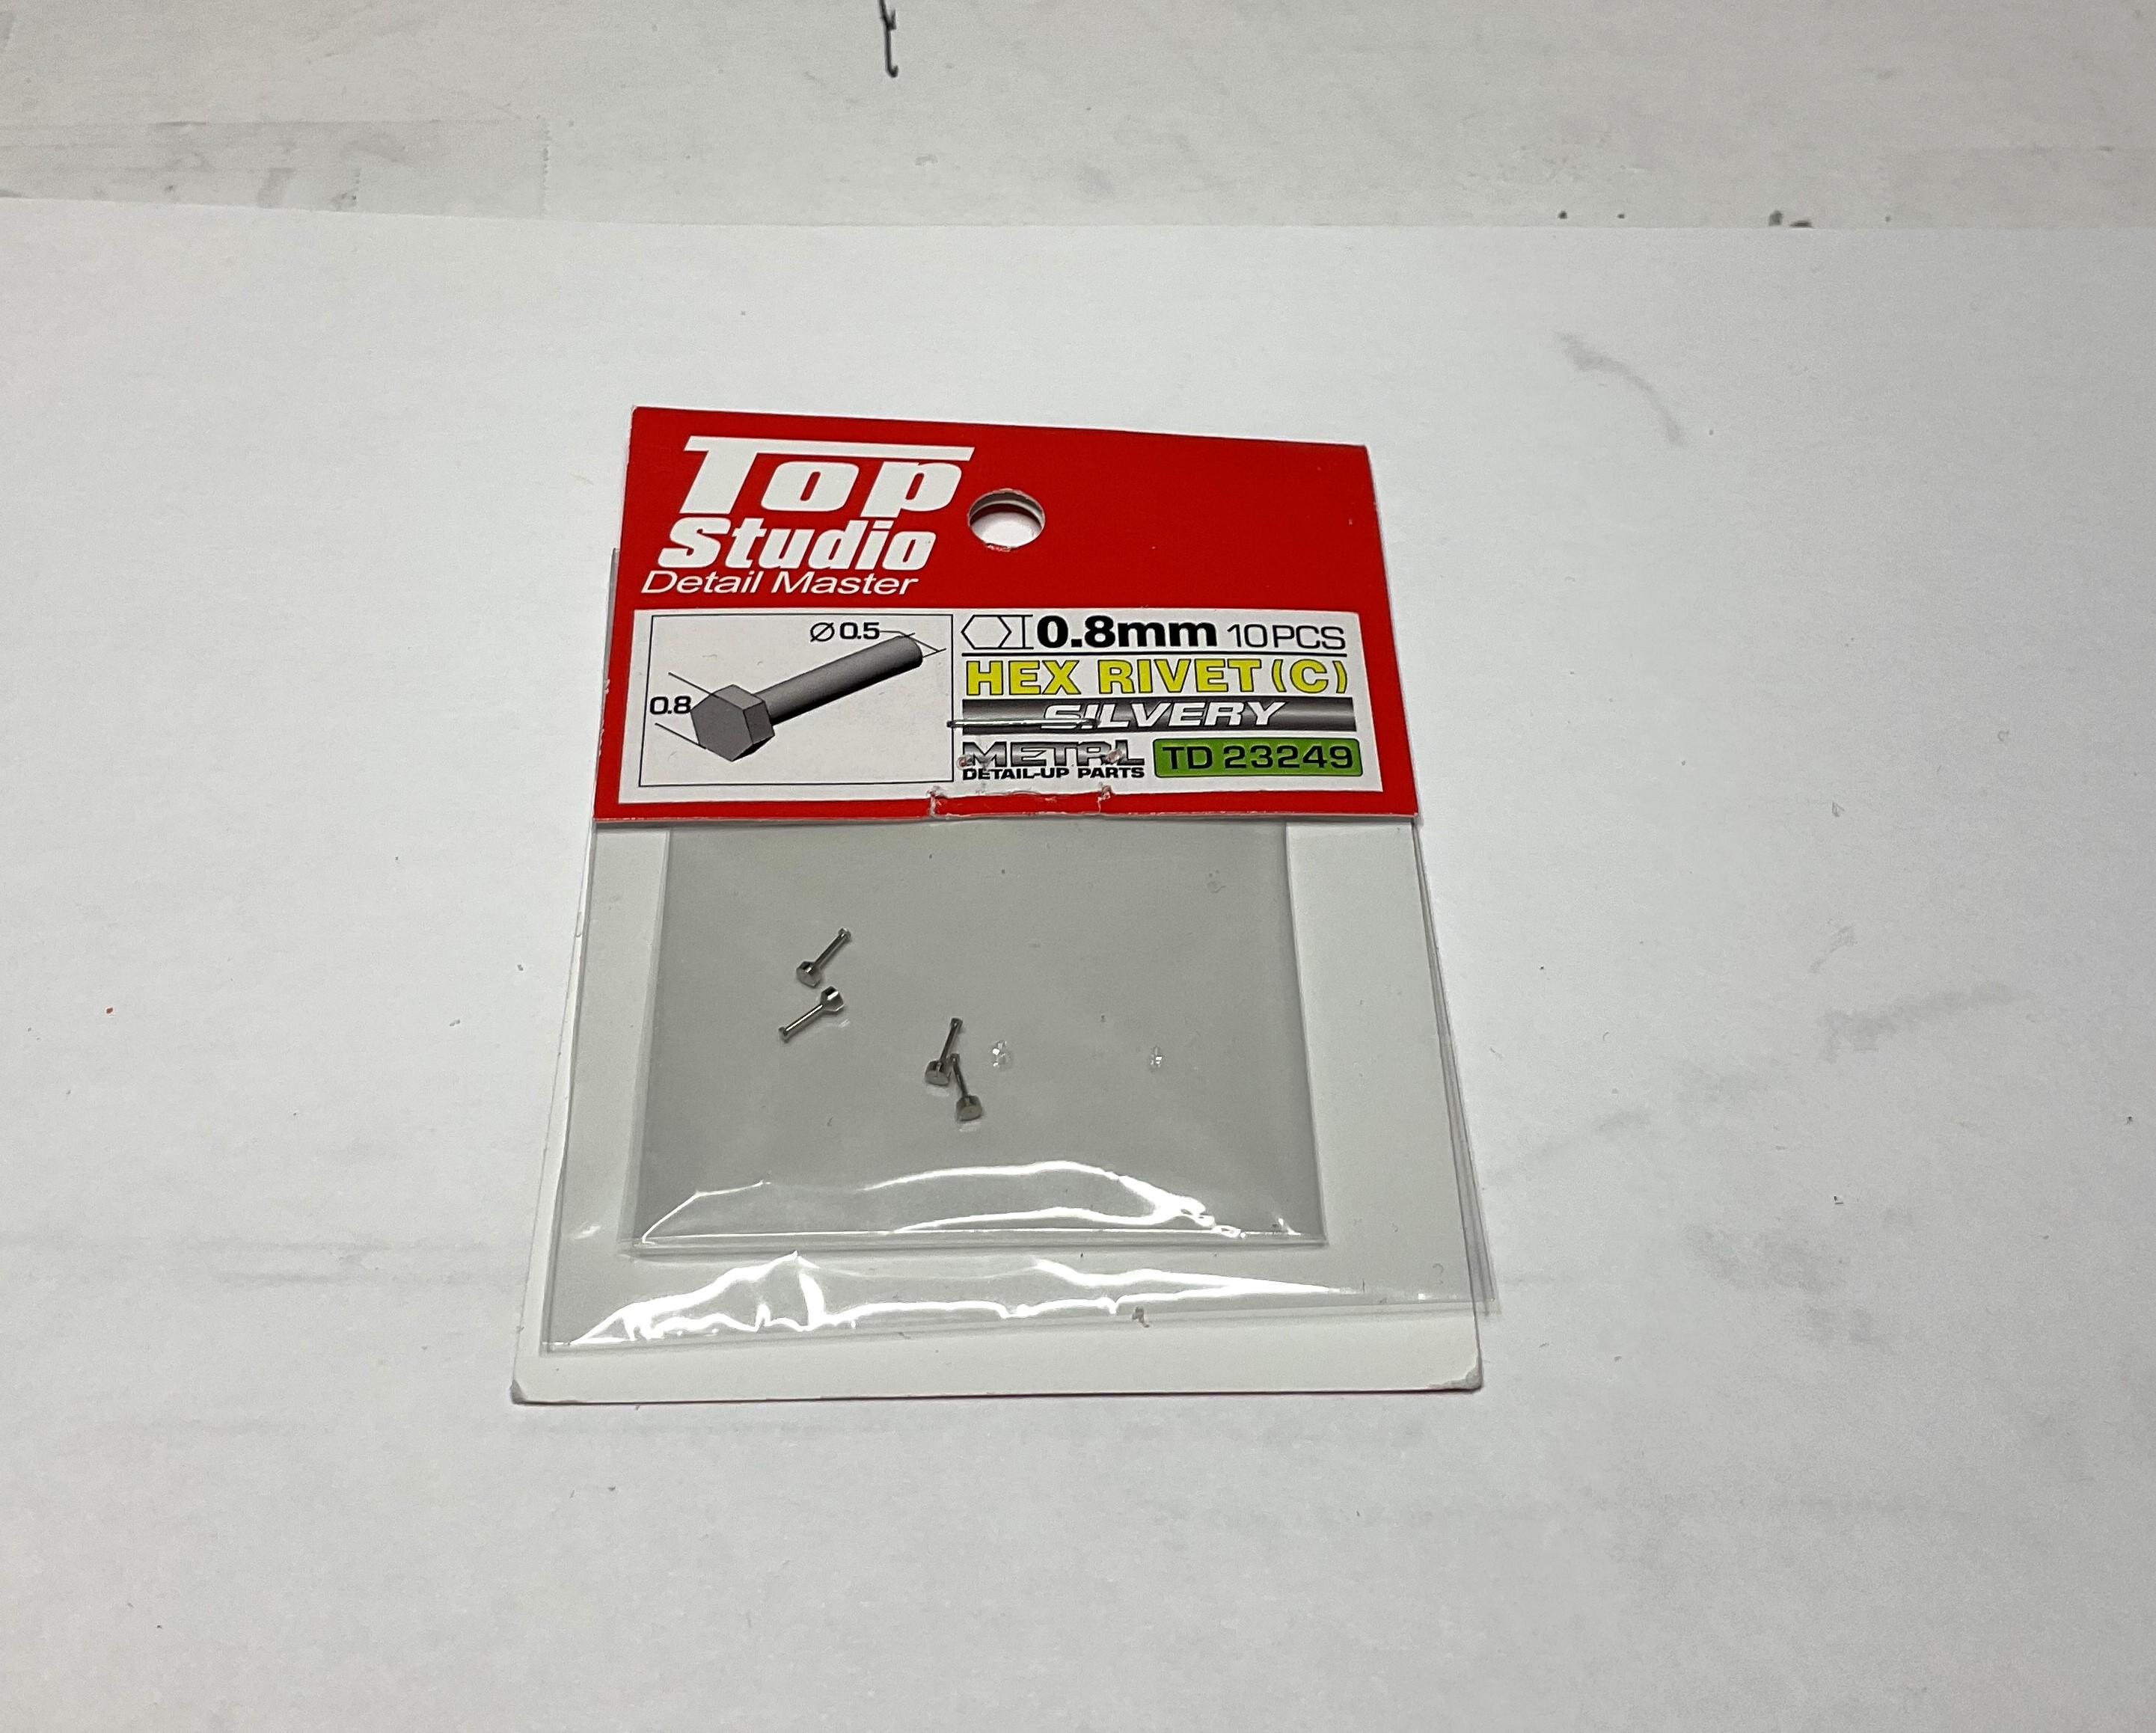
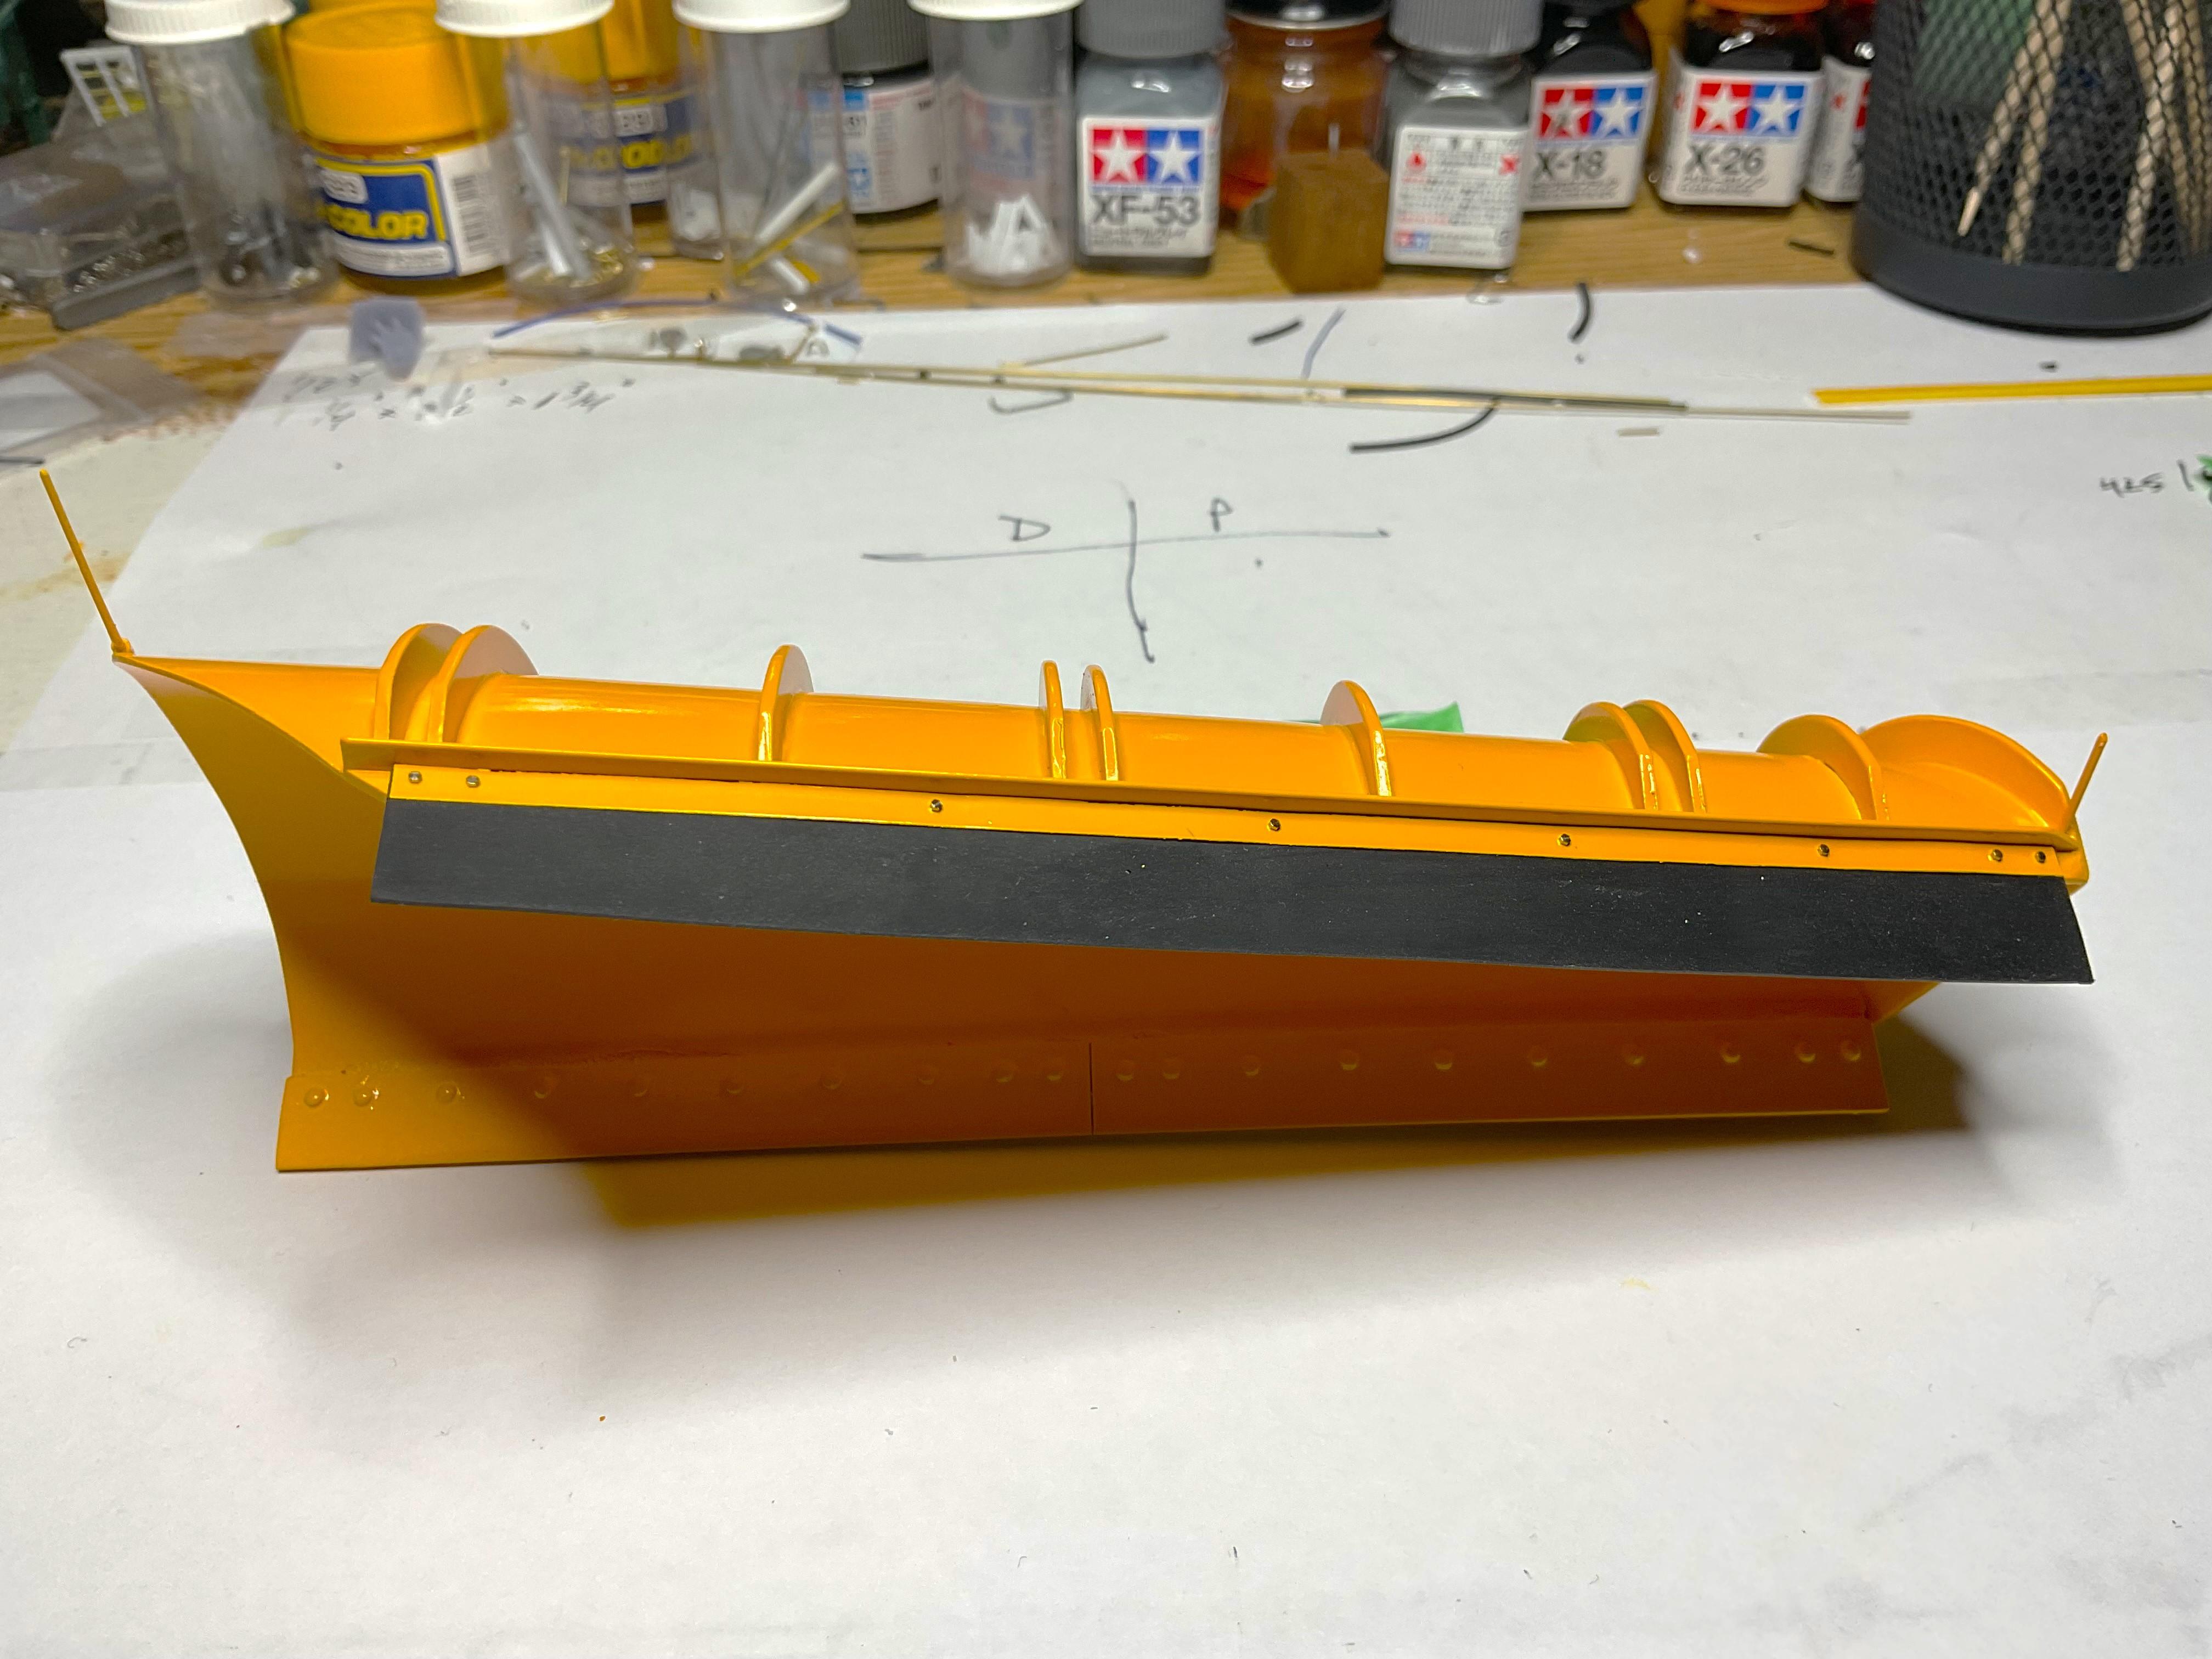
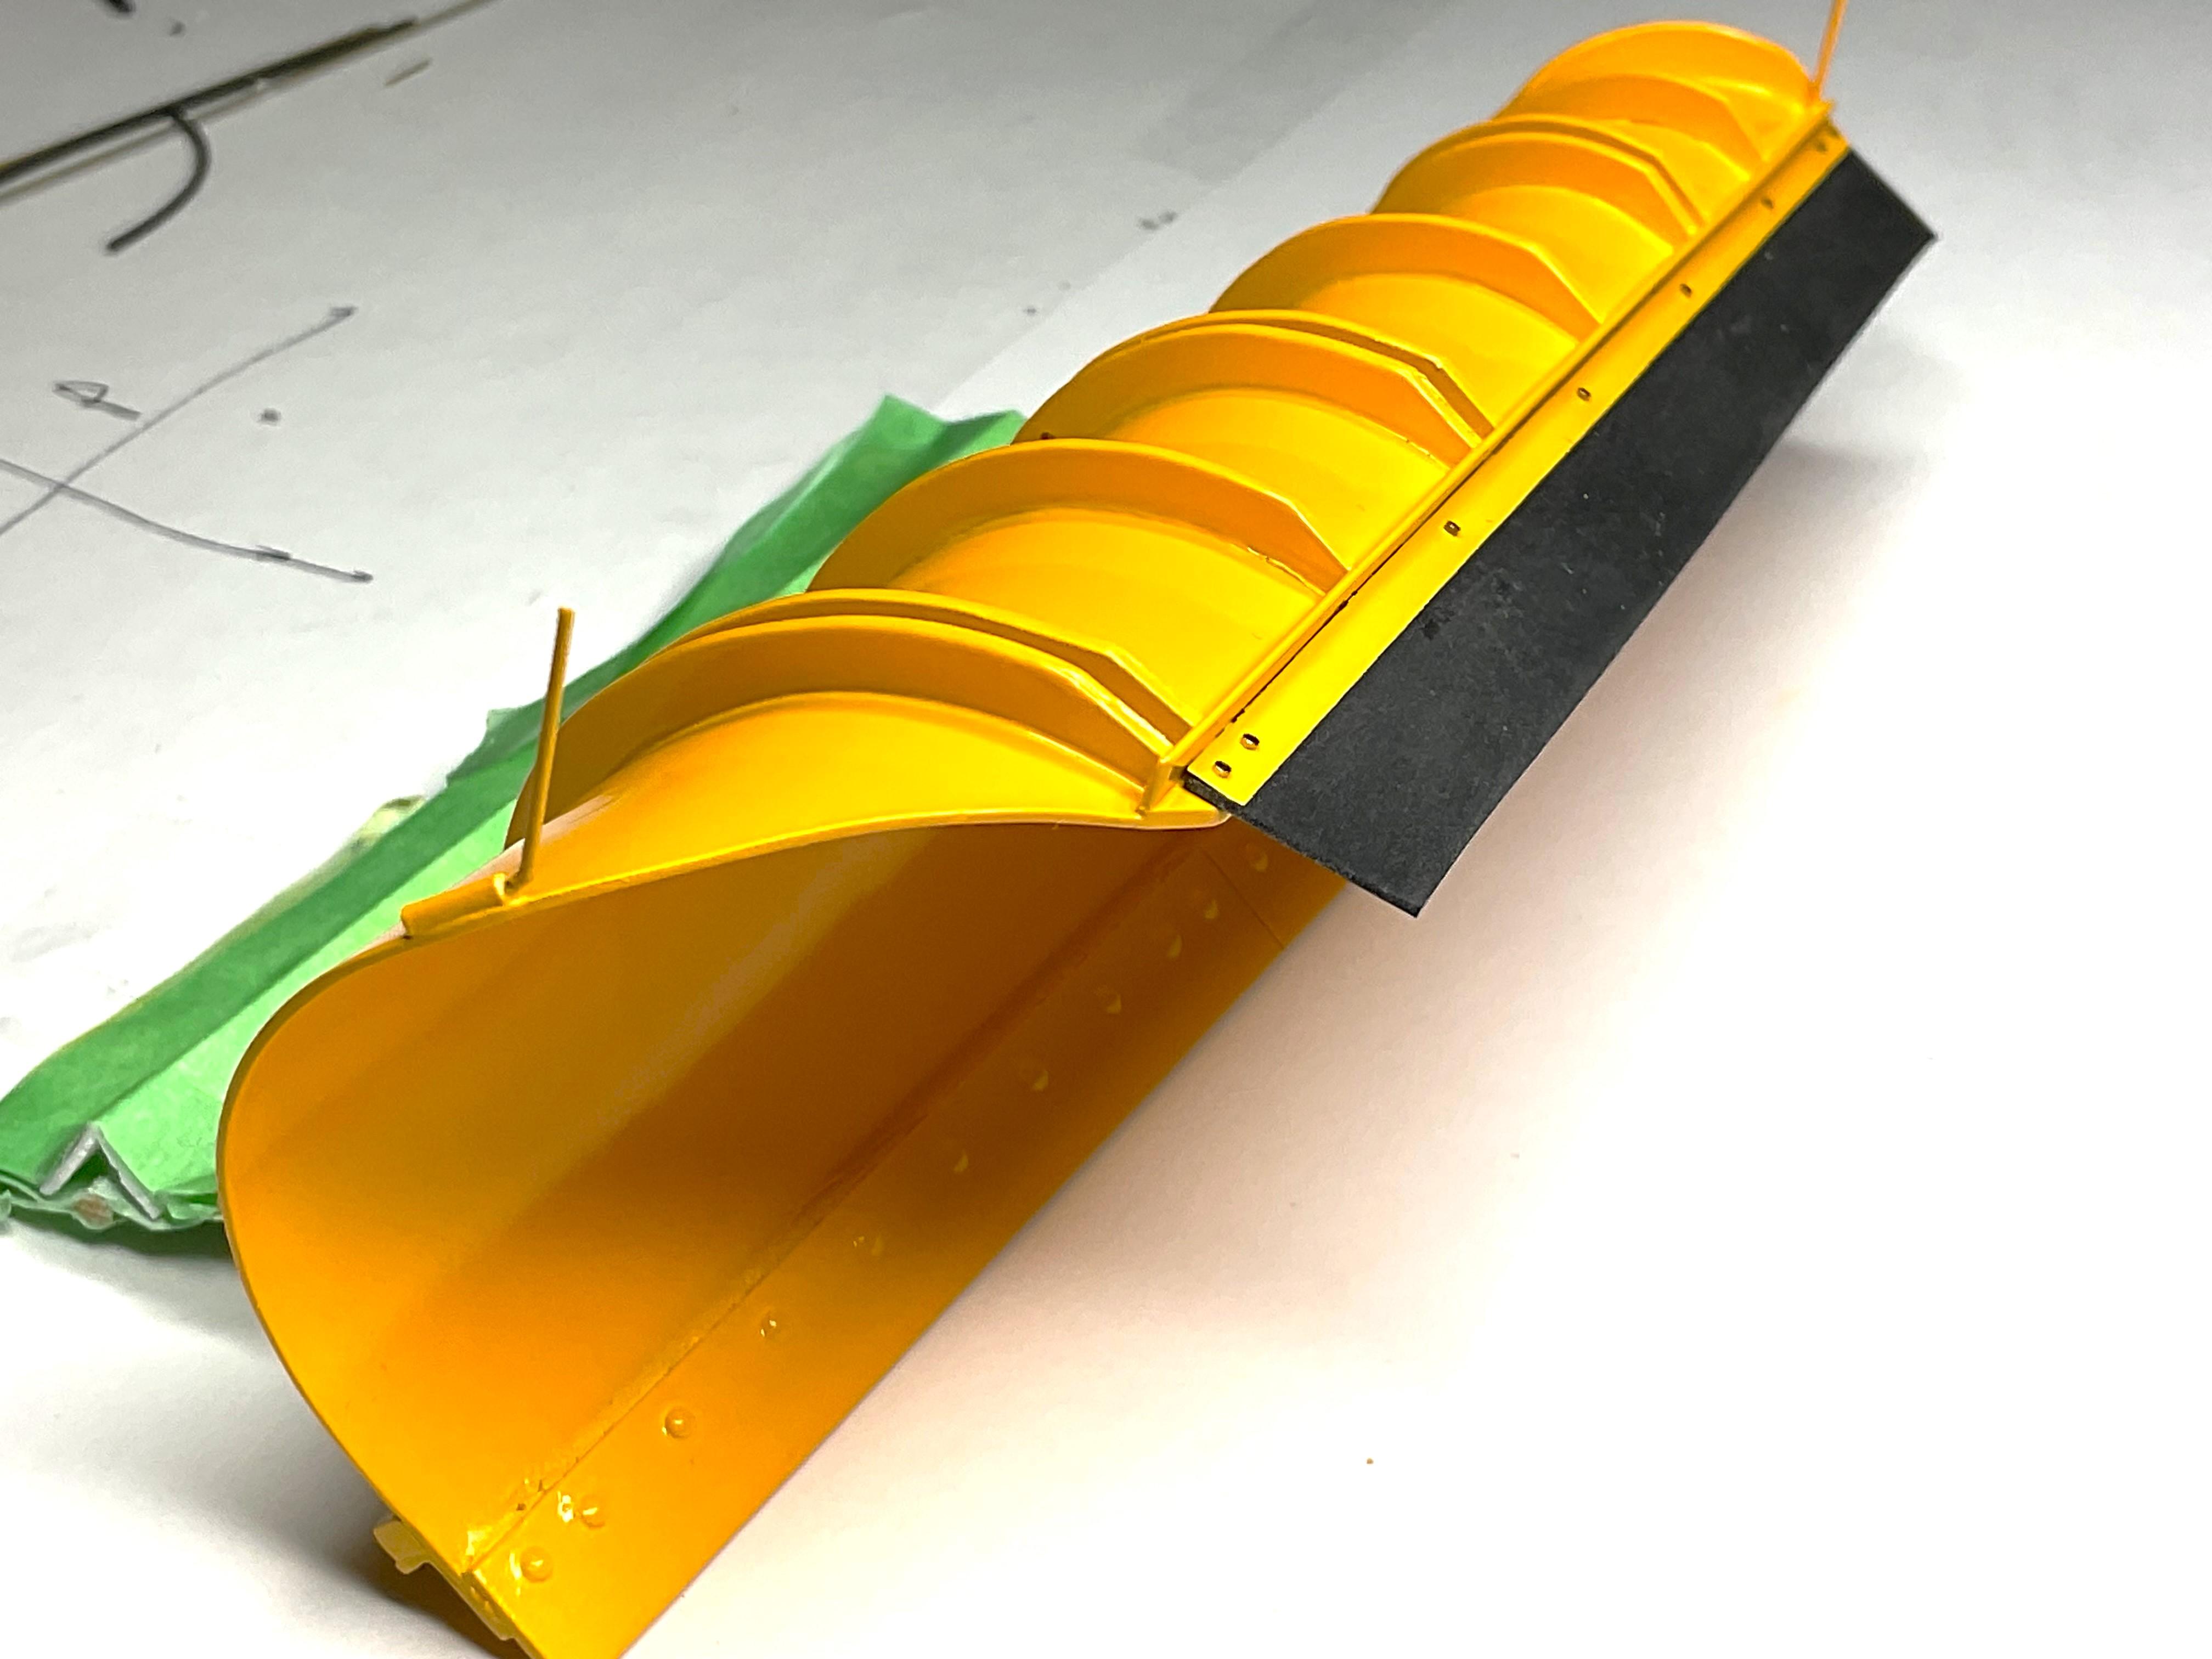
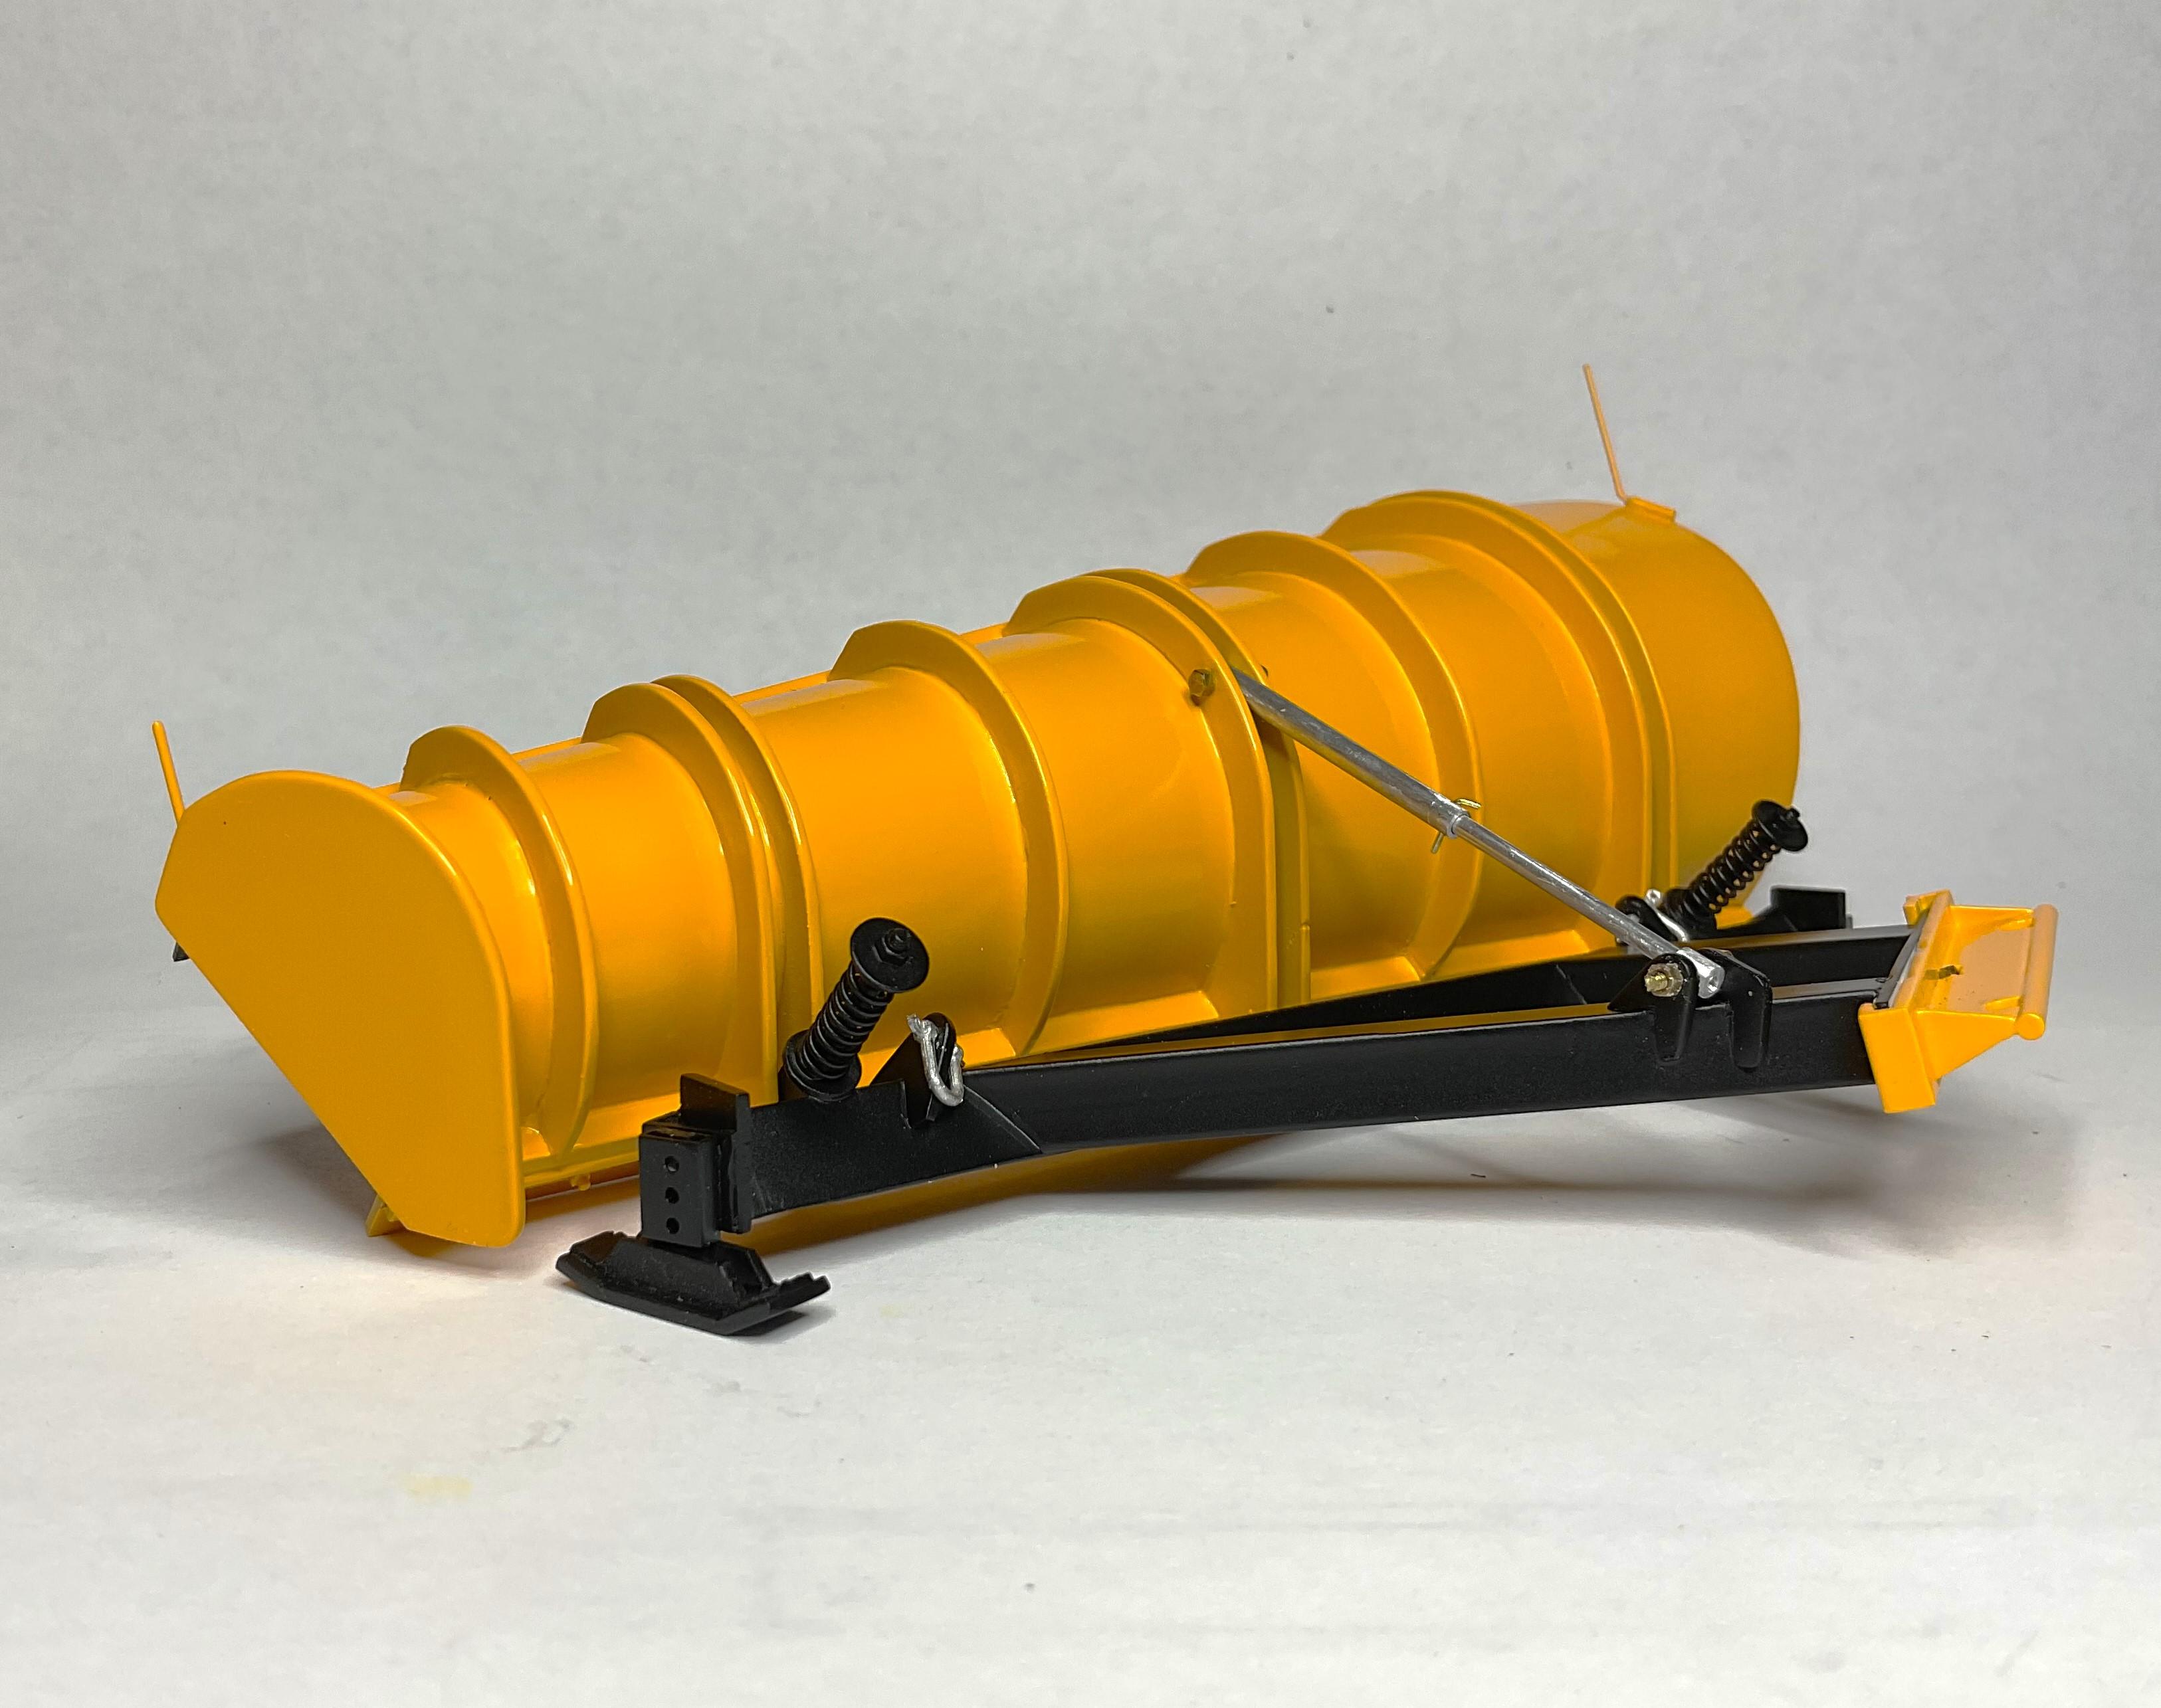
It has been a gratifying morning! I managed to not bend my aluminum strap for holding down the plow's rubber deflector, so that was a relief. Got the metal strap 'bolted' to top edge of plow, securing the deflector in place. The most satisfying part came when I did a test re-assembly of the front plow - its been apart since all the parts were painted back in August/24! Still one part to paint and chains to add, once it is ready to mount on lift group, some fasteners to replace with smaller, scale appropriate sizes, but good to see it assembled. Painted 0.2mm aluminum strap, with pre-drilled holes, ready to be CA glued in place; I then needed to drill holes in rubber and the top edge of plow Using Top Studio Hex Rivets for bolts All holes drilled and bolts CA glued in place from the underside - still need to add spot applications of epoxy where bolts come through on underside to firmly secure bolts in place. The bolt pattern spacing looks inconsistent on the left portion, but that is what it was like on actual plow The aluminum strip was very scale suitable for the deflector hold down strap So, here's all the sub-assemblies that make up the front plow - the plow itself, the adjustable tubing brace (can adjust angle of attack for plow blade), the push frame, two sets of plow shoes and the swivel mount that will attach to the bumper lift group. When I looked at this picture, I did a quick inventory of the pieces that made up these plow parts - 66 pieces of styrene, 20 heads of dress pins for blade carriage bolt heads, 20 resin nut/bolt ends for the backside of the blades, 17 brass/aluminum fasteners/rivets/pins, 2 white metal clevises, the rubber deflector and the aluminum strip - 127 pieces in total! Still need to add a couple warning flags to pins on either side of plow tube. Various angles of the assembled front plow The adjustable tube brace still needs to be painted and several of the brass 00-90 fasteners may be replaced with slightly smaller aluminum fasteners from Scale Hardware - that's going to depend on whether or not my fingers/tweezers can manipulate the smaller fasteners!
-
1/25 AMT Mack R600
BK9300 replied to titino's topic in WIP: Model Trucks: Big Rigs and Heavy Equipment
I like the detailing that you've done on the rear suspension. Great paint job and other detailing on the cab and hood - looks really good! -
Mercedes Benz SSK
BK9300 replied to Pierre Rivard's topic in WIP: Other Racing: Road Racing, Land Speed Racers
A very complex engine being recreated with your excellent scratch building - wonderful job! -
Looking really good, Alberto.
-
Western Star 4900 FA plow truck
BK9300 replied to BK9300's topic in WIP: Model Trucks: Big Rigs and Heavy Equipment
My apologies! I did that with Jeff a long time ago - it won't happen again., -
Western Star 4900 FA plow truck
BK9300 replied to BK9300's topic in WIP: Model Trucks: Big Rigs and Heavy Equipment
Thanks, Jeff - just about ready to put the whole plow/pushframe/lift assembly together - will be another milestone! -
Western Star 4900 FA plow truck
BK9300 replied to BK9300's topic in WIP: Model Trucks: Big Rigs and Heavy Equipment
Thanks, Pete - appreciate the compliment! I should have painted it before I glued the aluminum fittings to the plate! -
Alaskan Hauler refurbishing project
BK9300 replied to Jürgen M.'s topic in WIP: Model Trucks: Big Rigs and Heavy Equipment
Tough looking truck for rough conditions, Jurgen! -
FDNY Wrecker
BK9300 replied to Scott Eriksen's topic in WIP: Model Trucks: Big Rigs and Heavy Equipment
Great update on the underlift, Scott and glad the parts arrived ok! I have to give a shout out to Bren who printed them for me, before Christmas holidays. -
Western Star 4900 FA plow truck
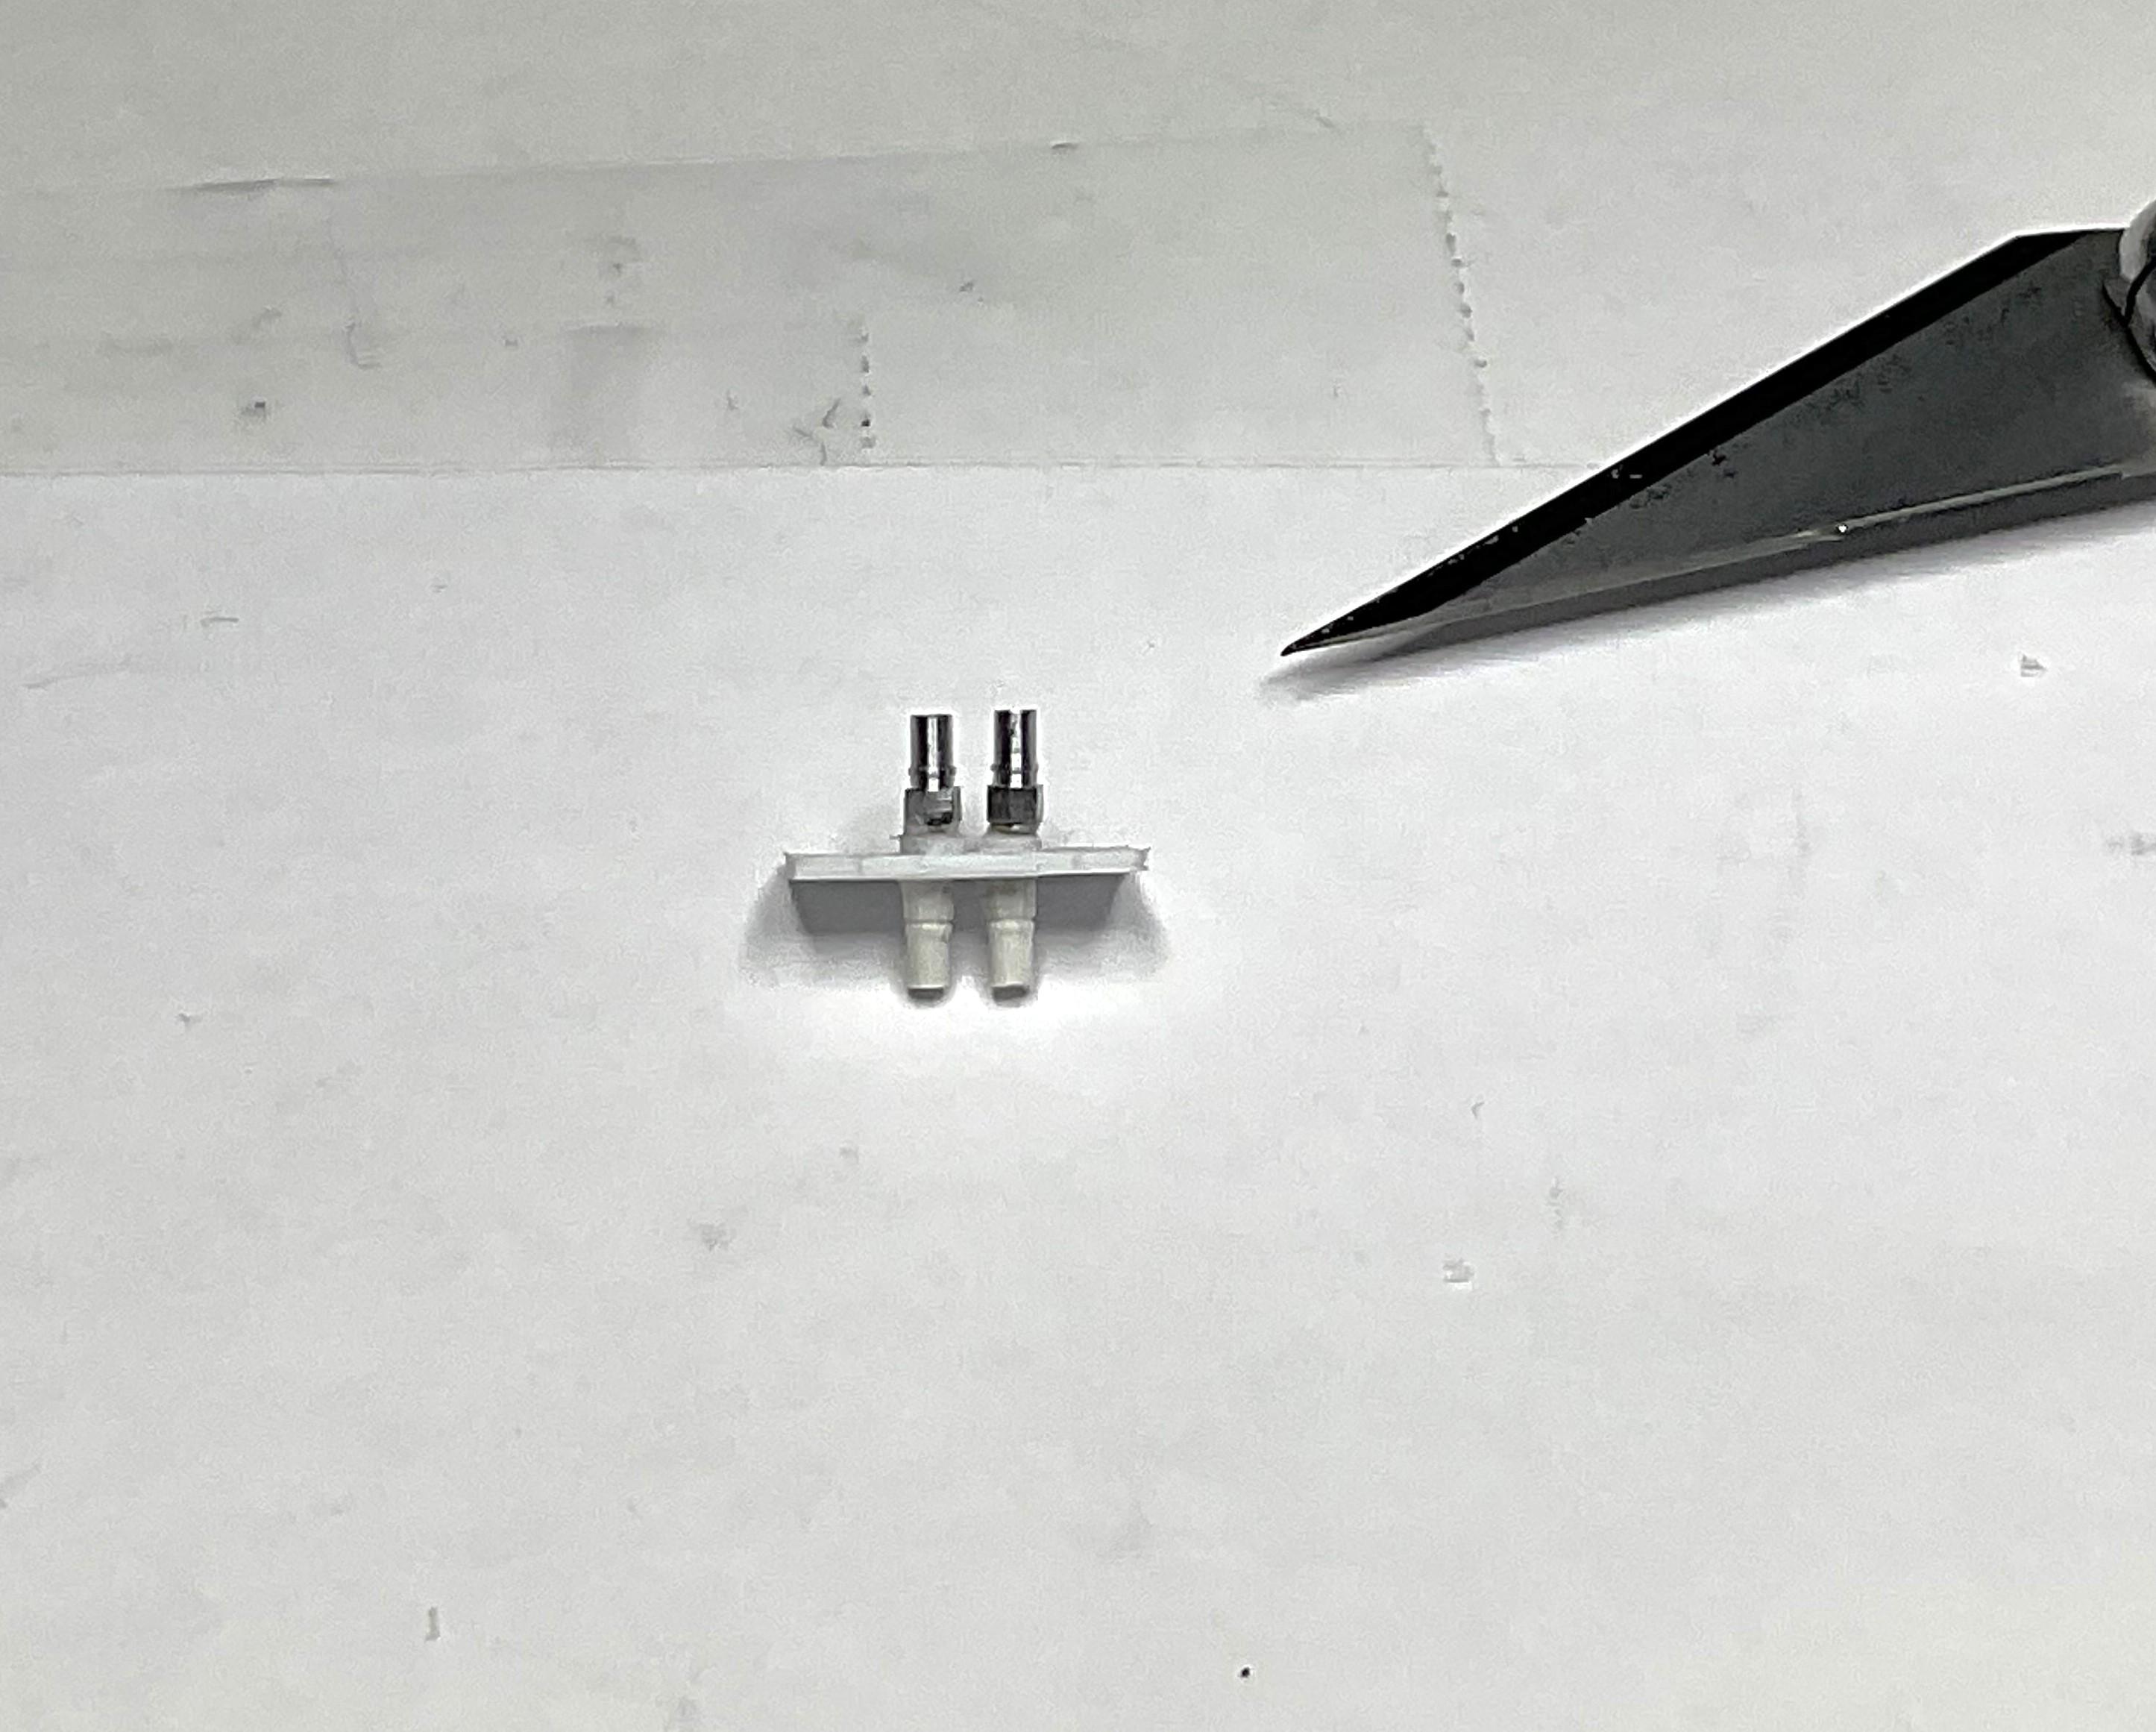
BK9300 replied to BK9300's topic in WIP: Model Trucks: Big Rigs and Heavy Equipment
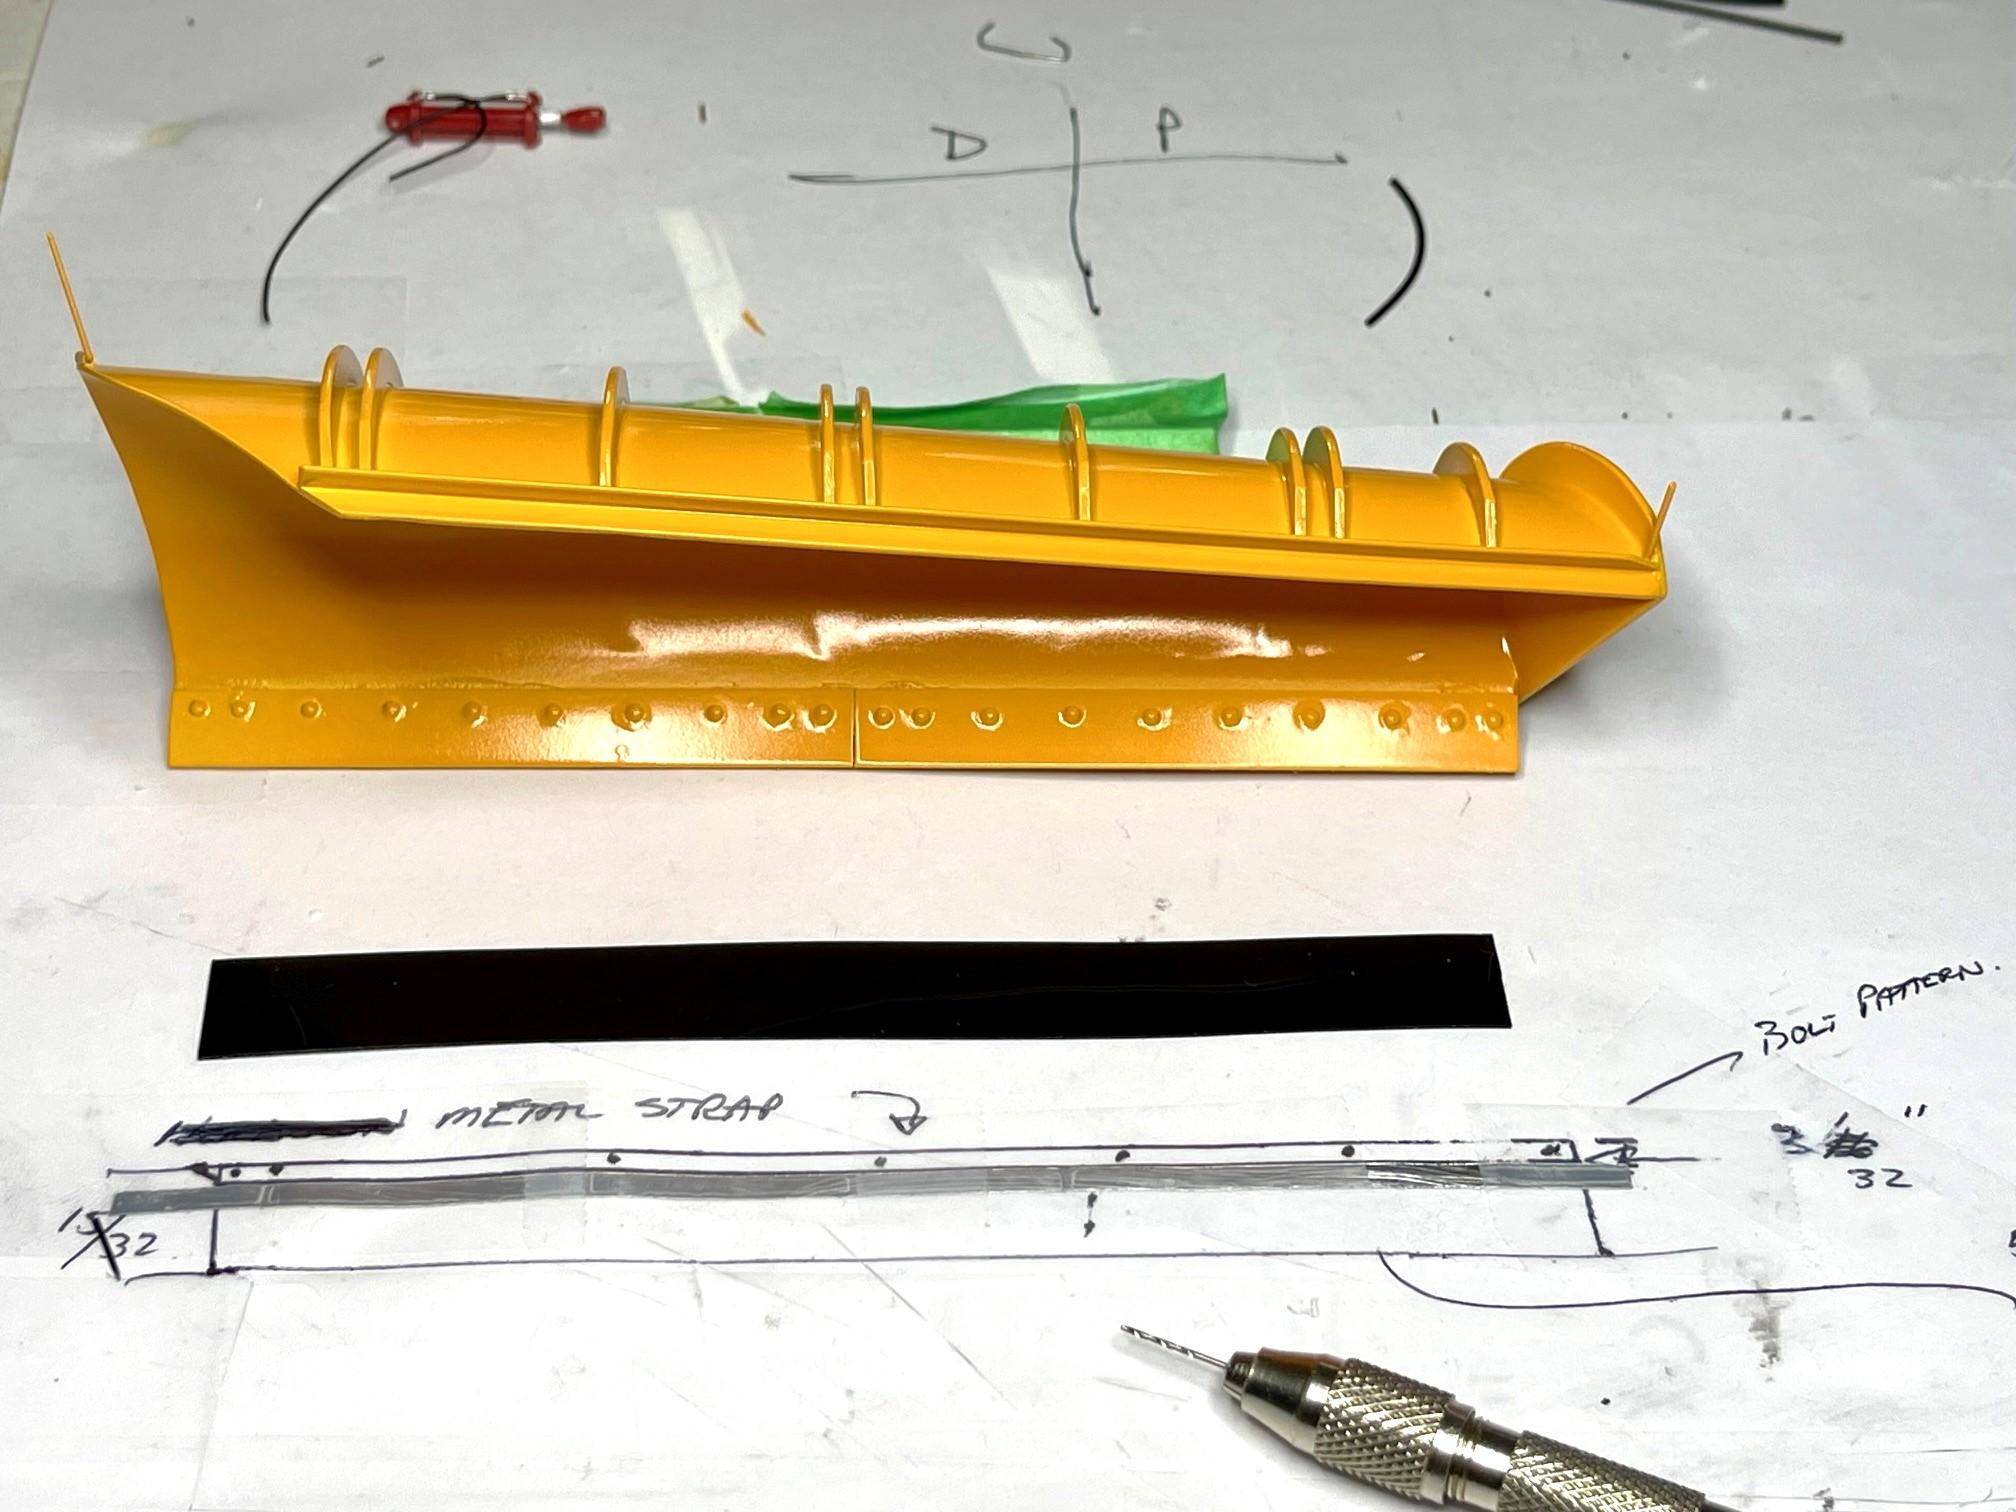
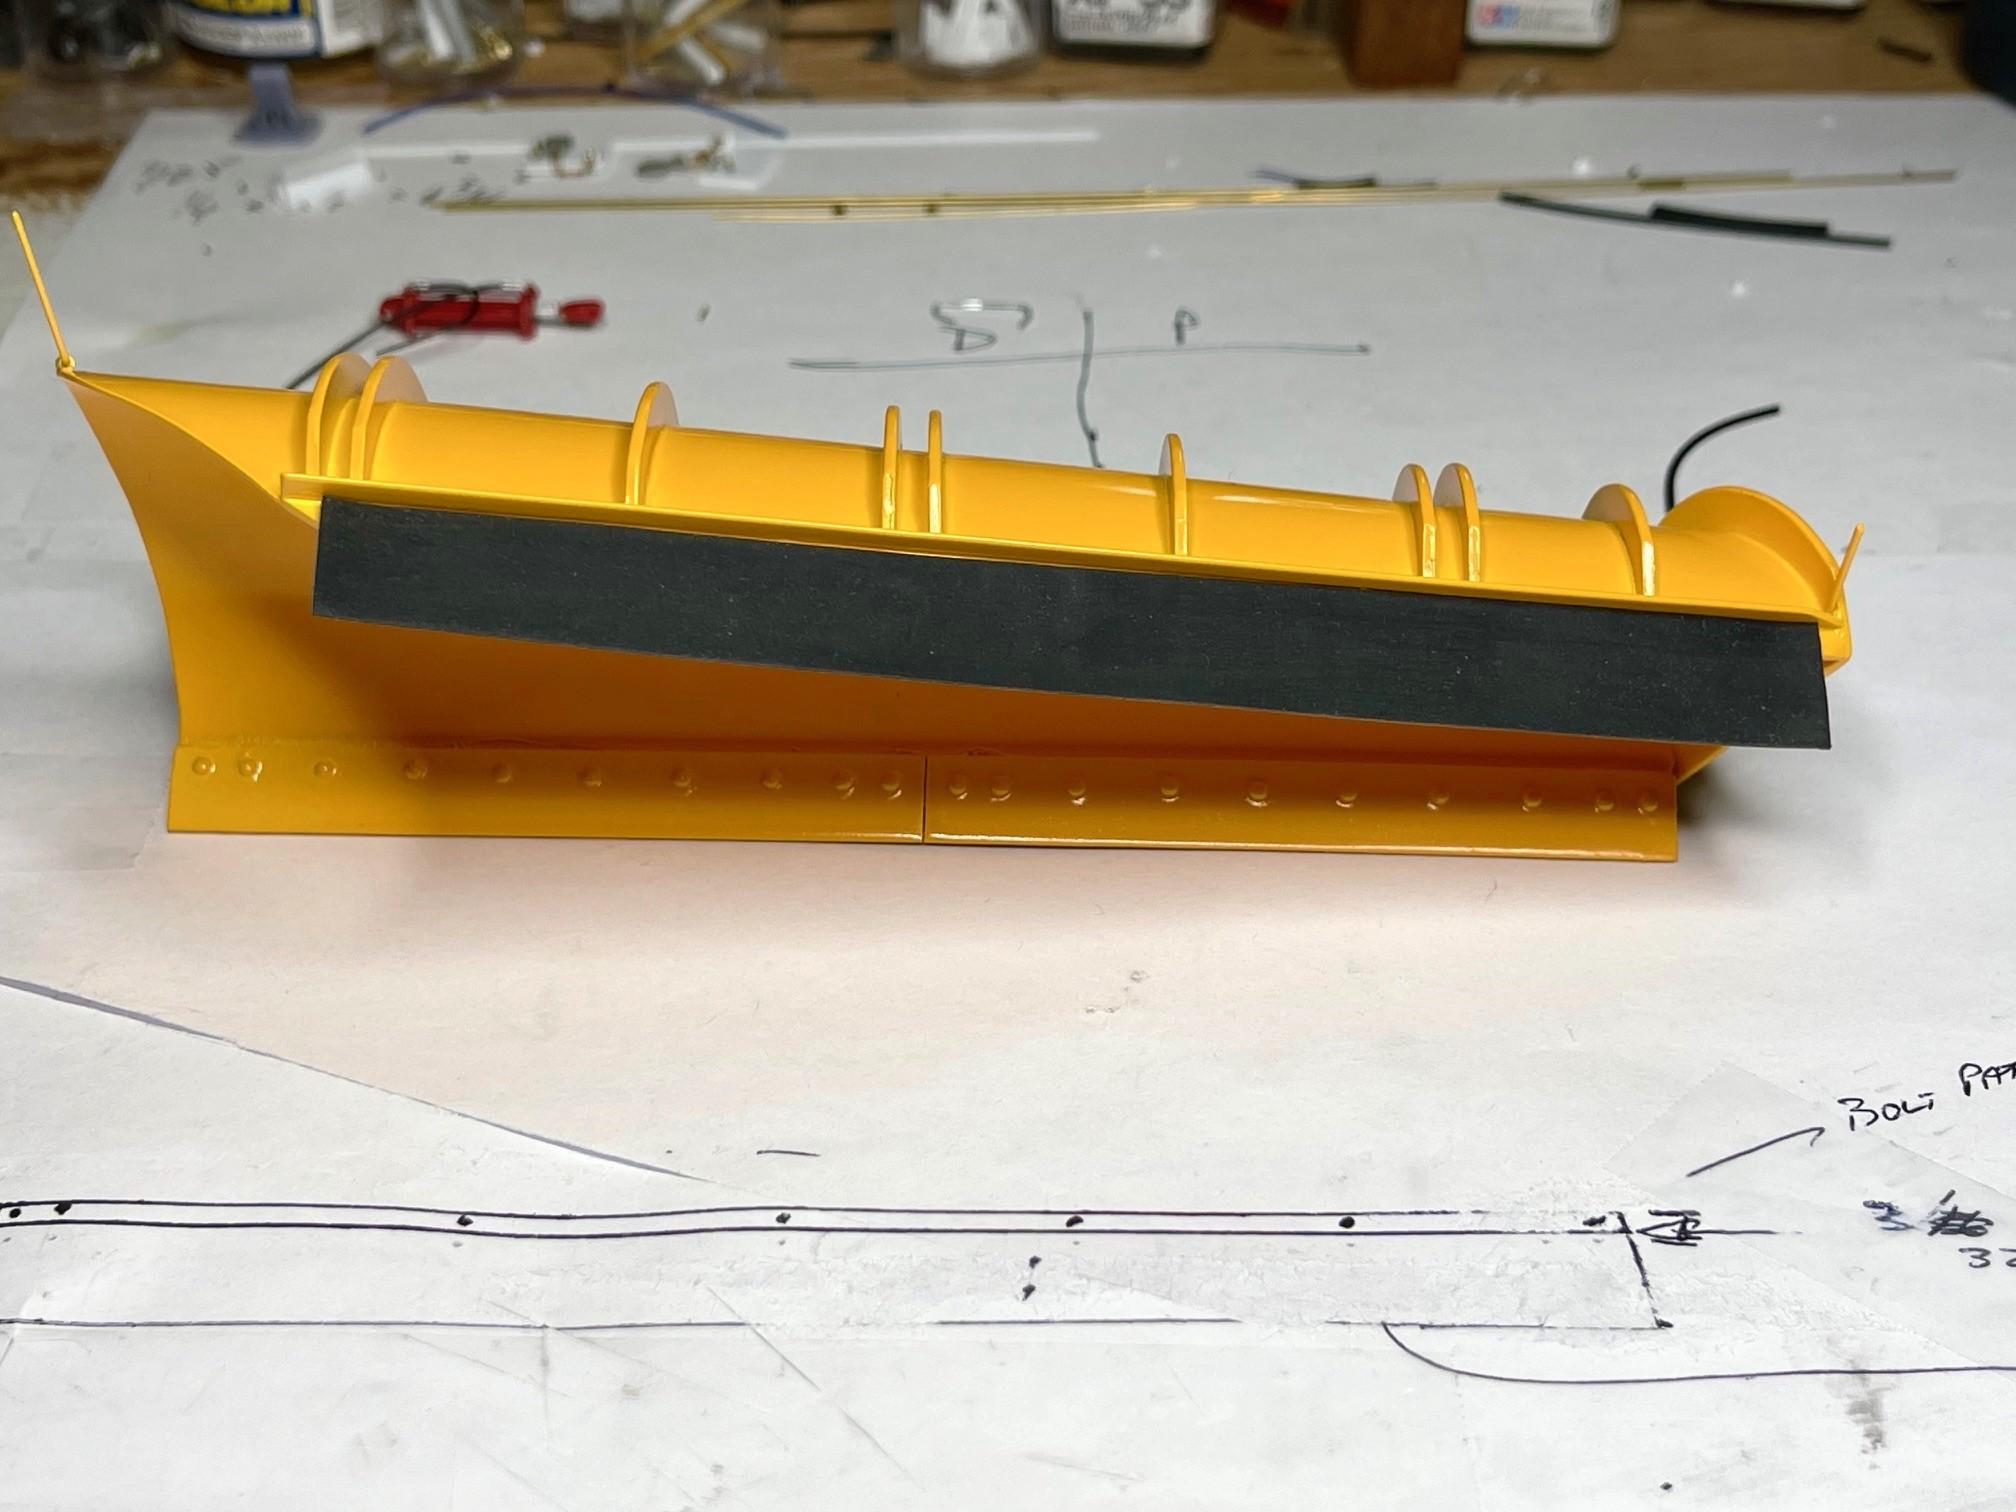
Bit more done today - finished up the bulkhead fitting and, while waiting for some ordered fasteners to assemble the front plow lift, I worked on the front plow itself. I needed to add a length of rubber to the top, front edge of the plow - this rubber strip helps direct the snow back down. Just need to paint the fitting, glue it in place, attach the hoses behind the bumper plate and wait for some fasteners before hooking up the lift cylinder hoses to the front of the fitting Hard to see, but there is a 0.2mm, aluminum strap that is taped to a guide for drilling bolt holes. I'll be using it to 'bolt' down the rubber deflector across the top edge of the plow. I'm hoping this aluminum works - should do the trick, but sure is easy to bend out of shape! Rubber deflector CA glued in place. Will be using 0.8 mm aluminum bolts to secure aluminum strip, through the rubber, to the plow edge. Aluminum strip has been painted and drying out in the shed Not a lot today, but still making progress - take care!
-
FDNY Wrecker
BK9300 replied to Scott Eriksen's topic in WIP: Model Trucks: Big Rigs and Heavy Equipment
Yes, I've come across the Zaclift equipment while looking up info on the Miller, Challenger body. Neat piece of equipment!