Jürgen M.
-
Posts
1,673 -
Joined
-
Last visited
Content Type
Profiles
Forums
Events
Gallery
Everything posted by Jürgen M.
-
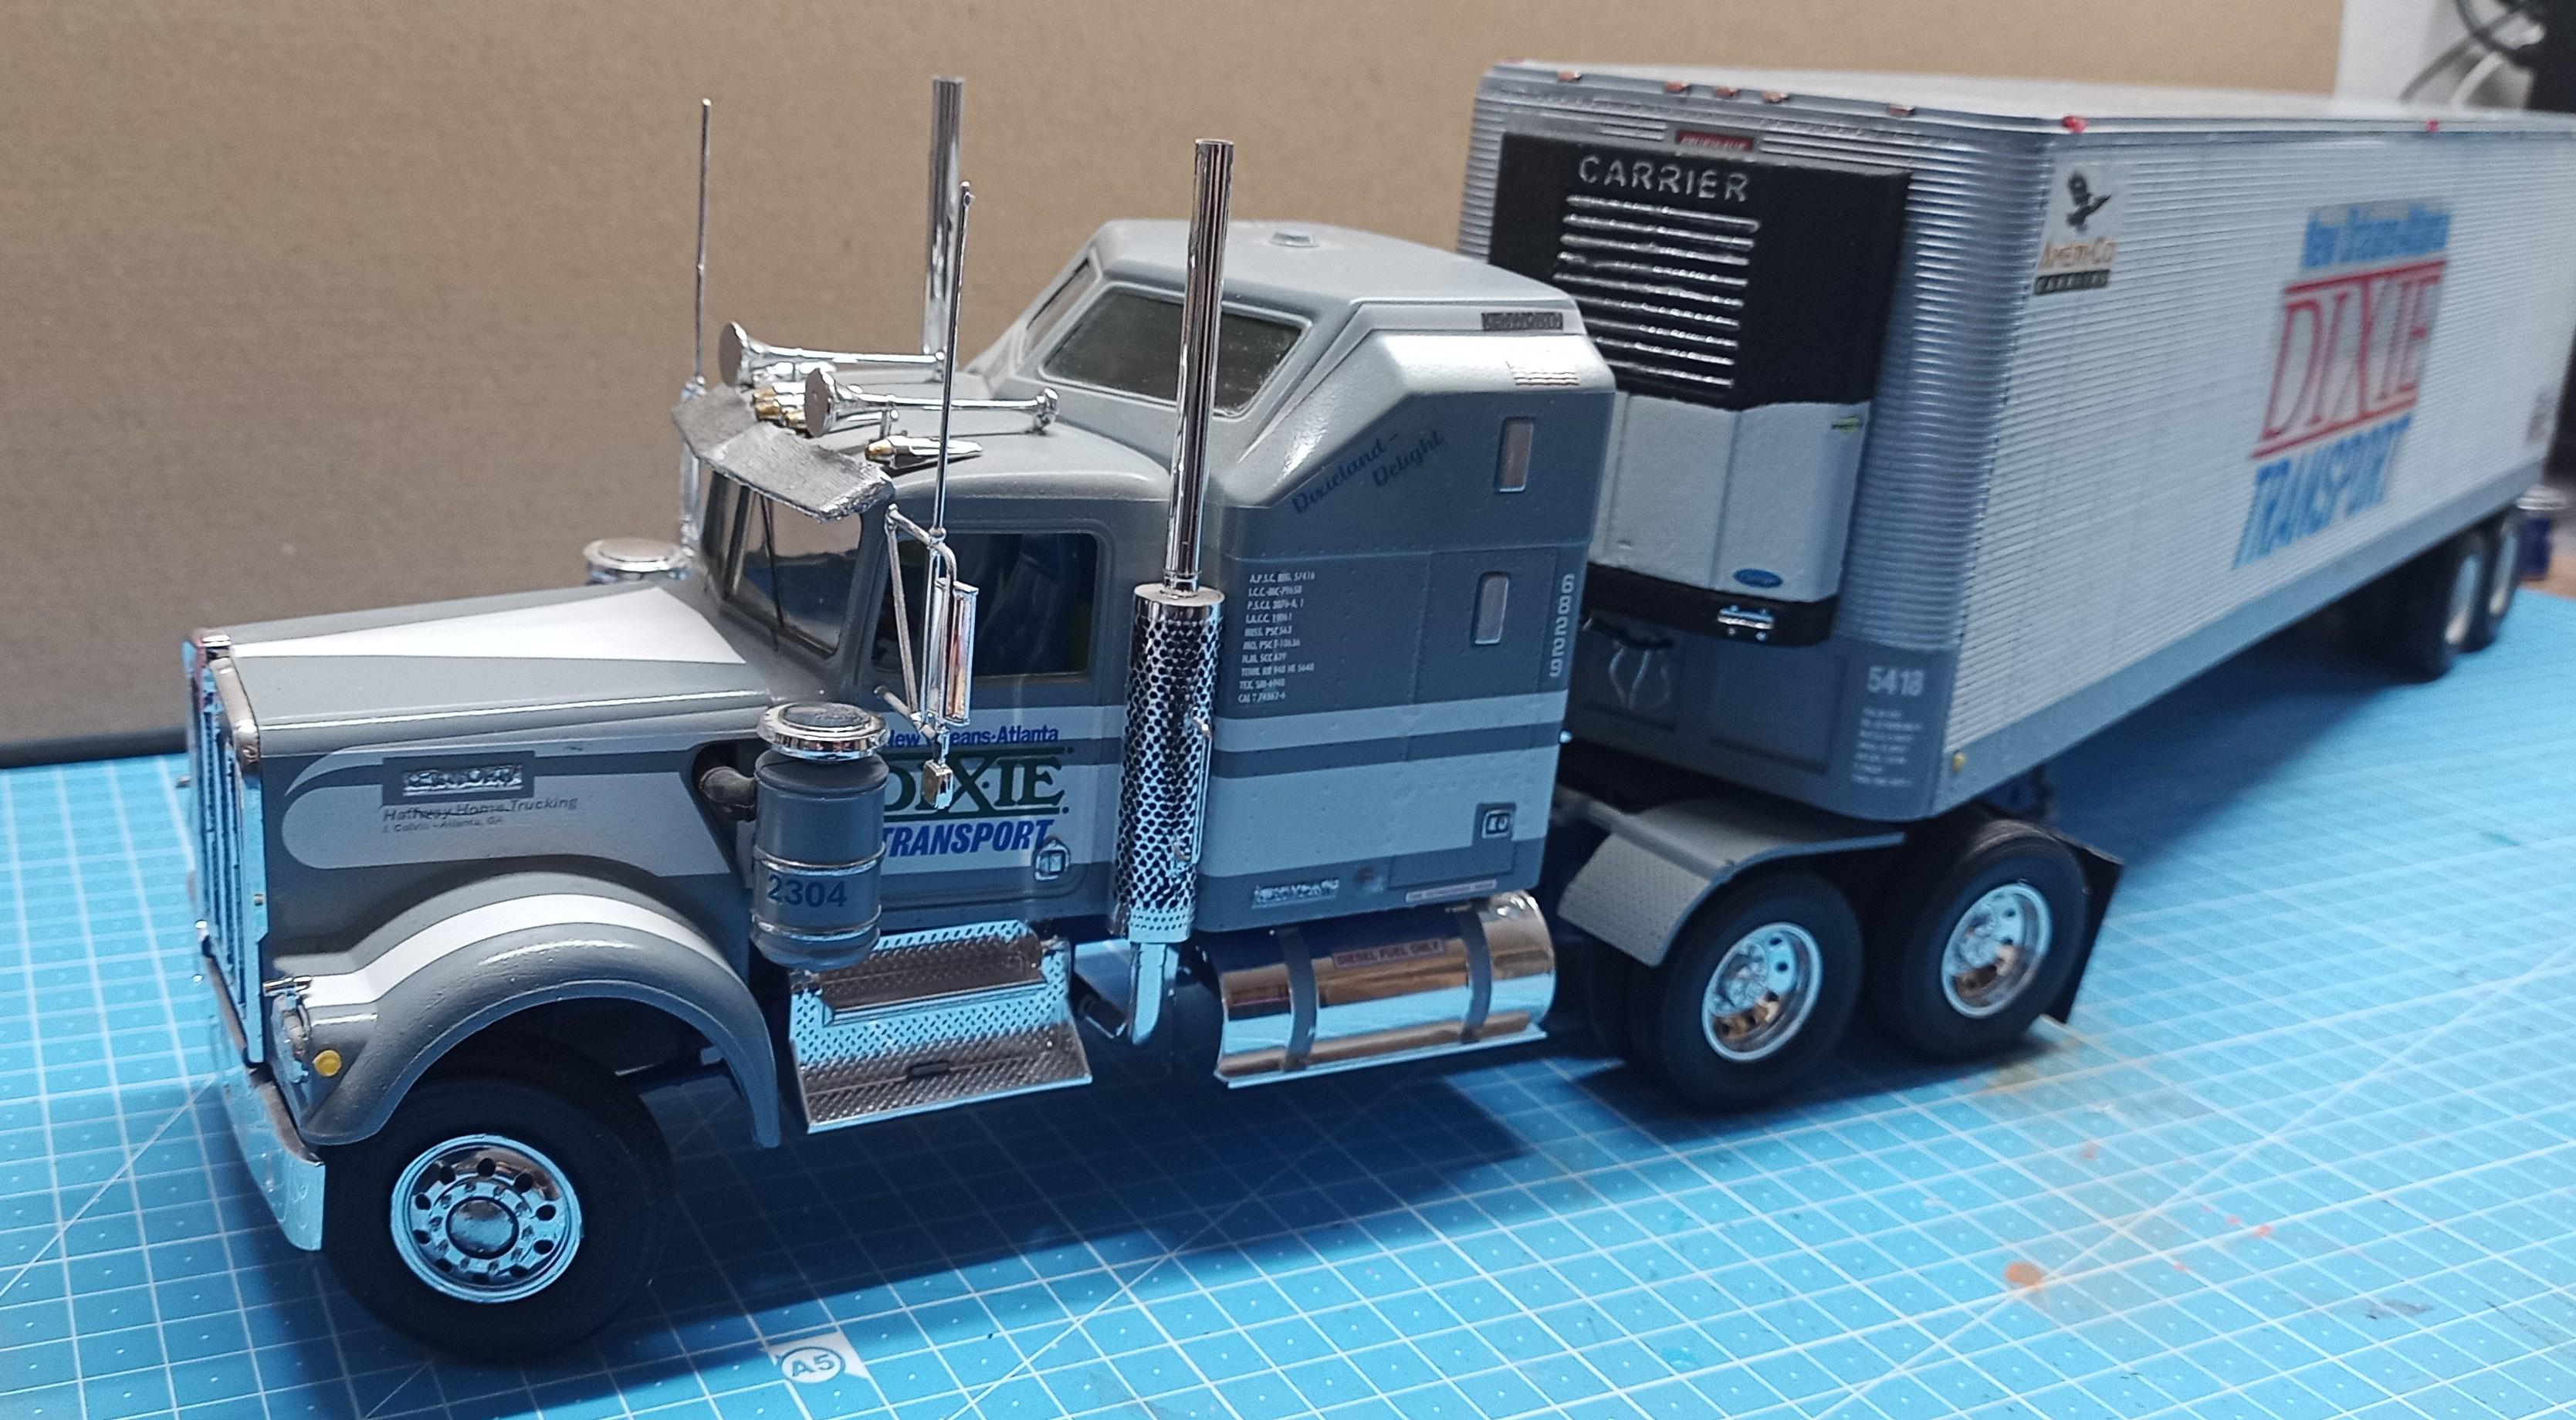
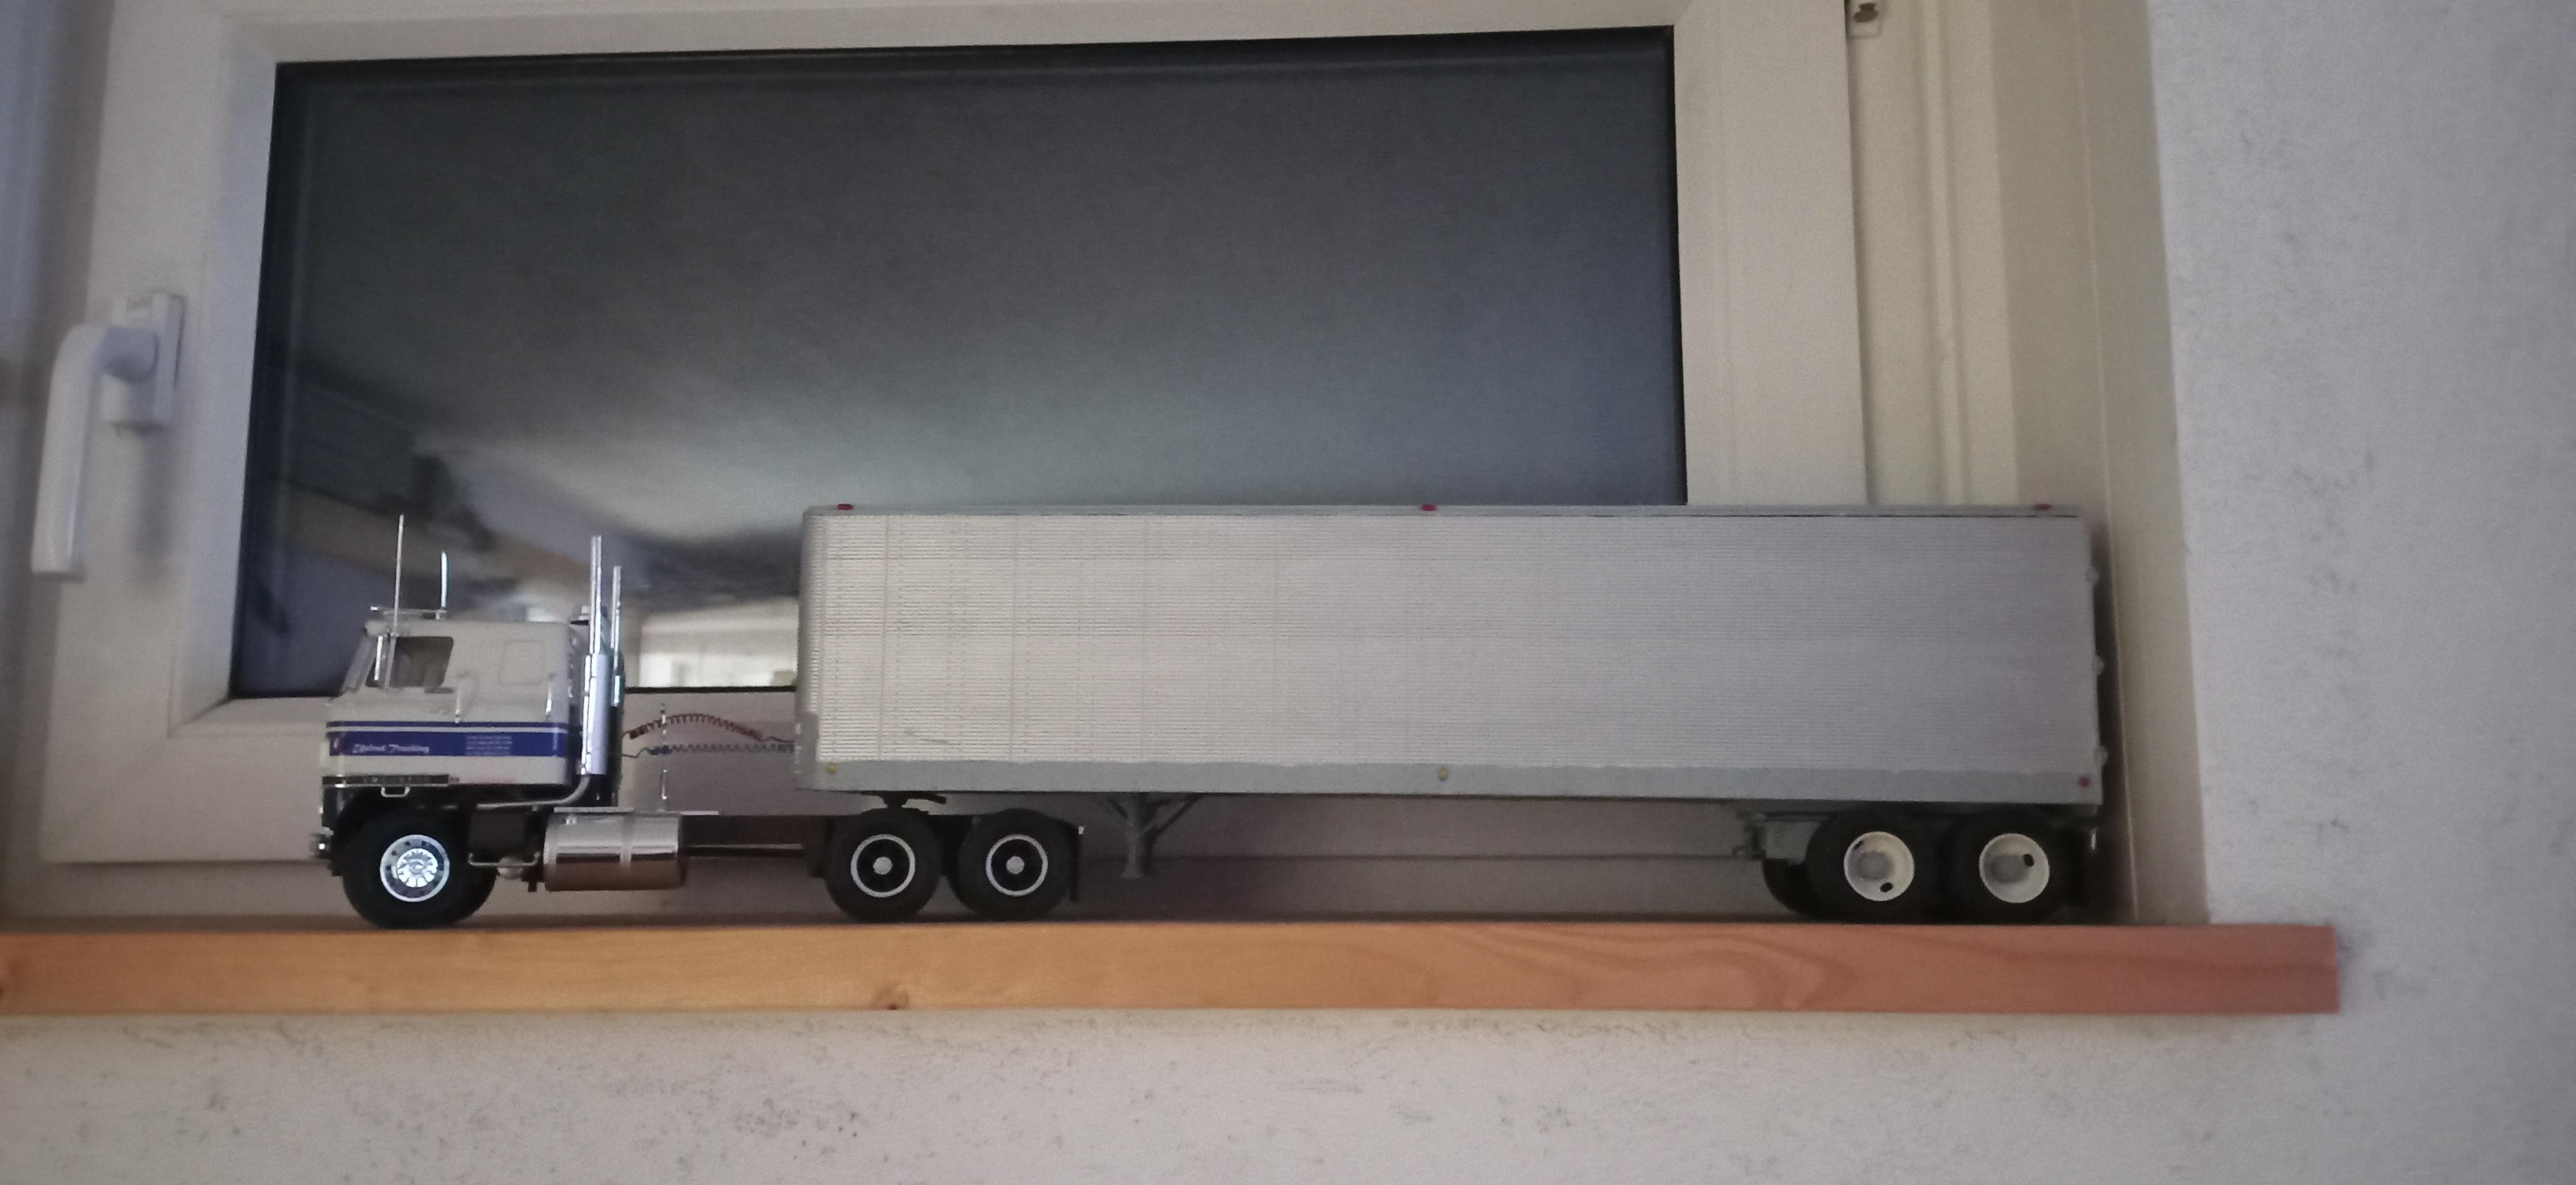
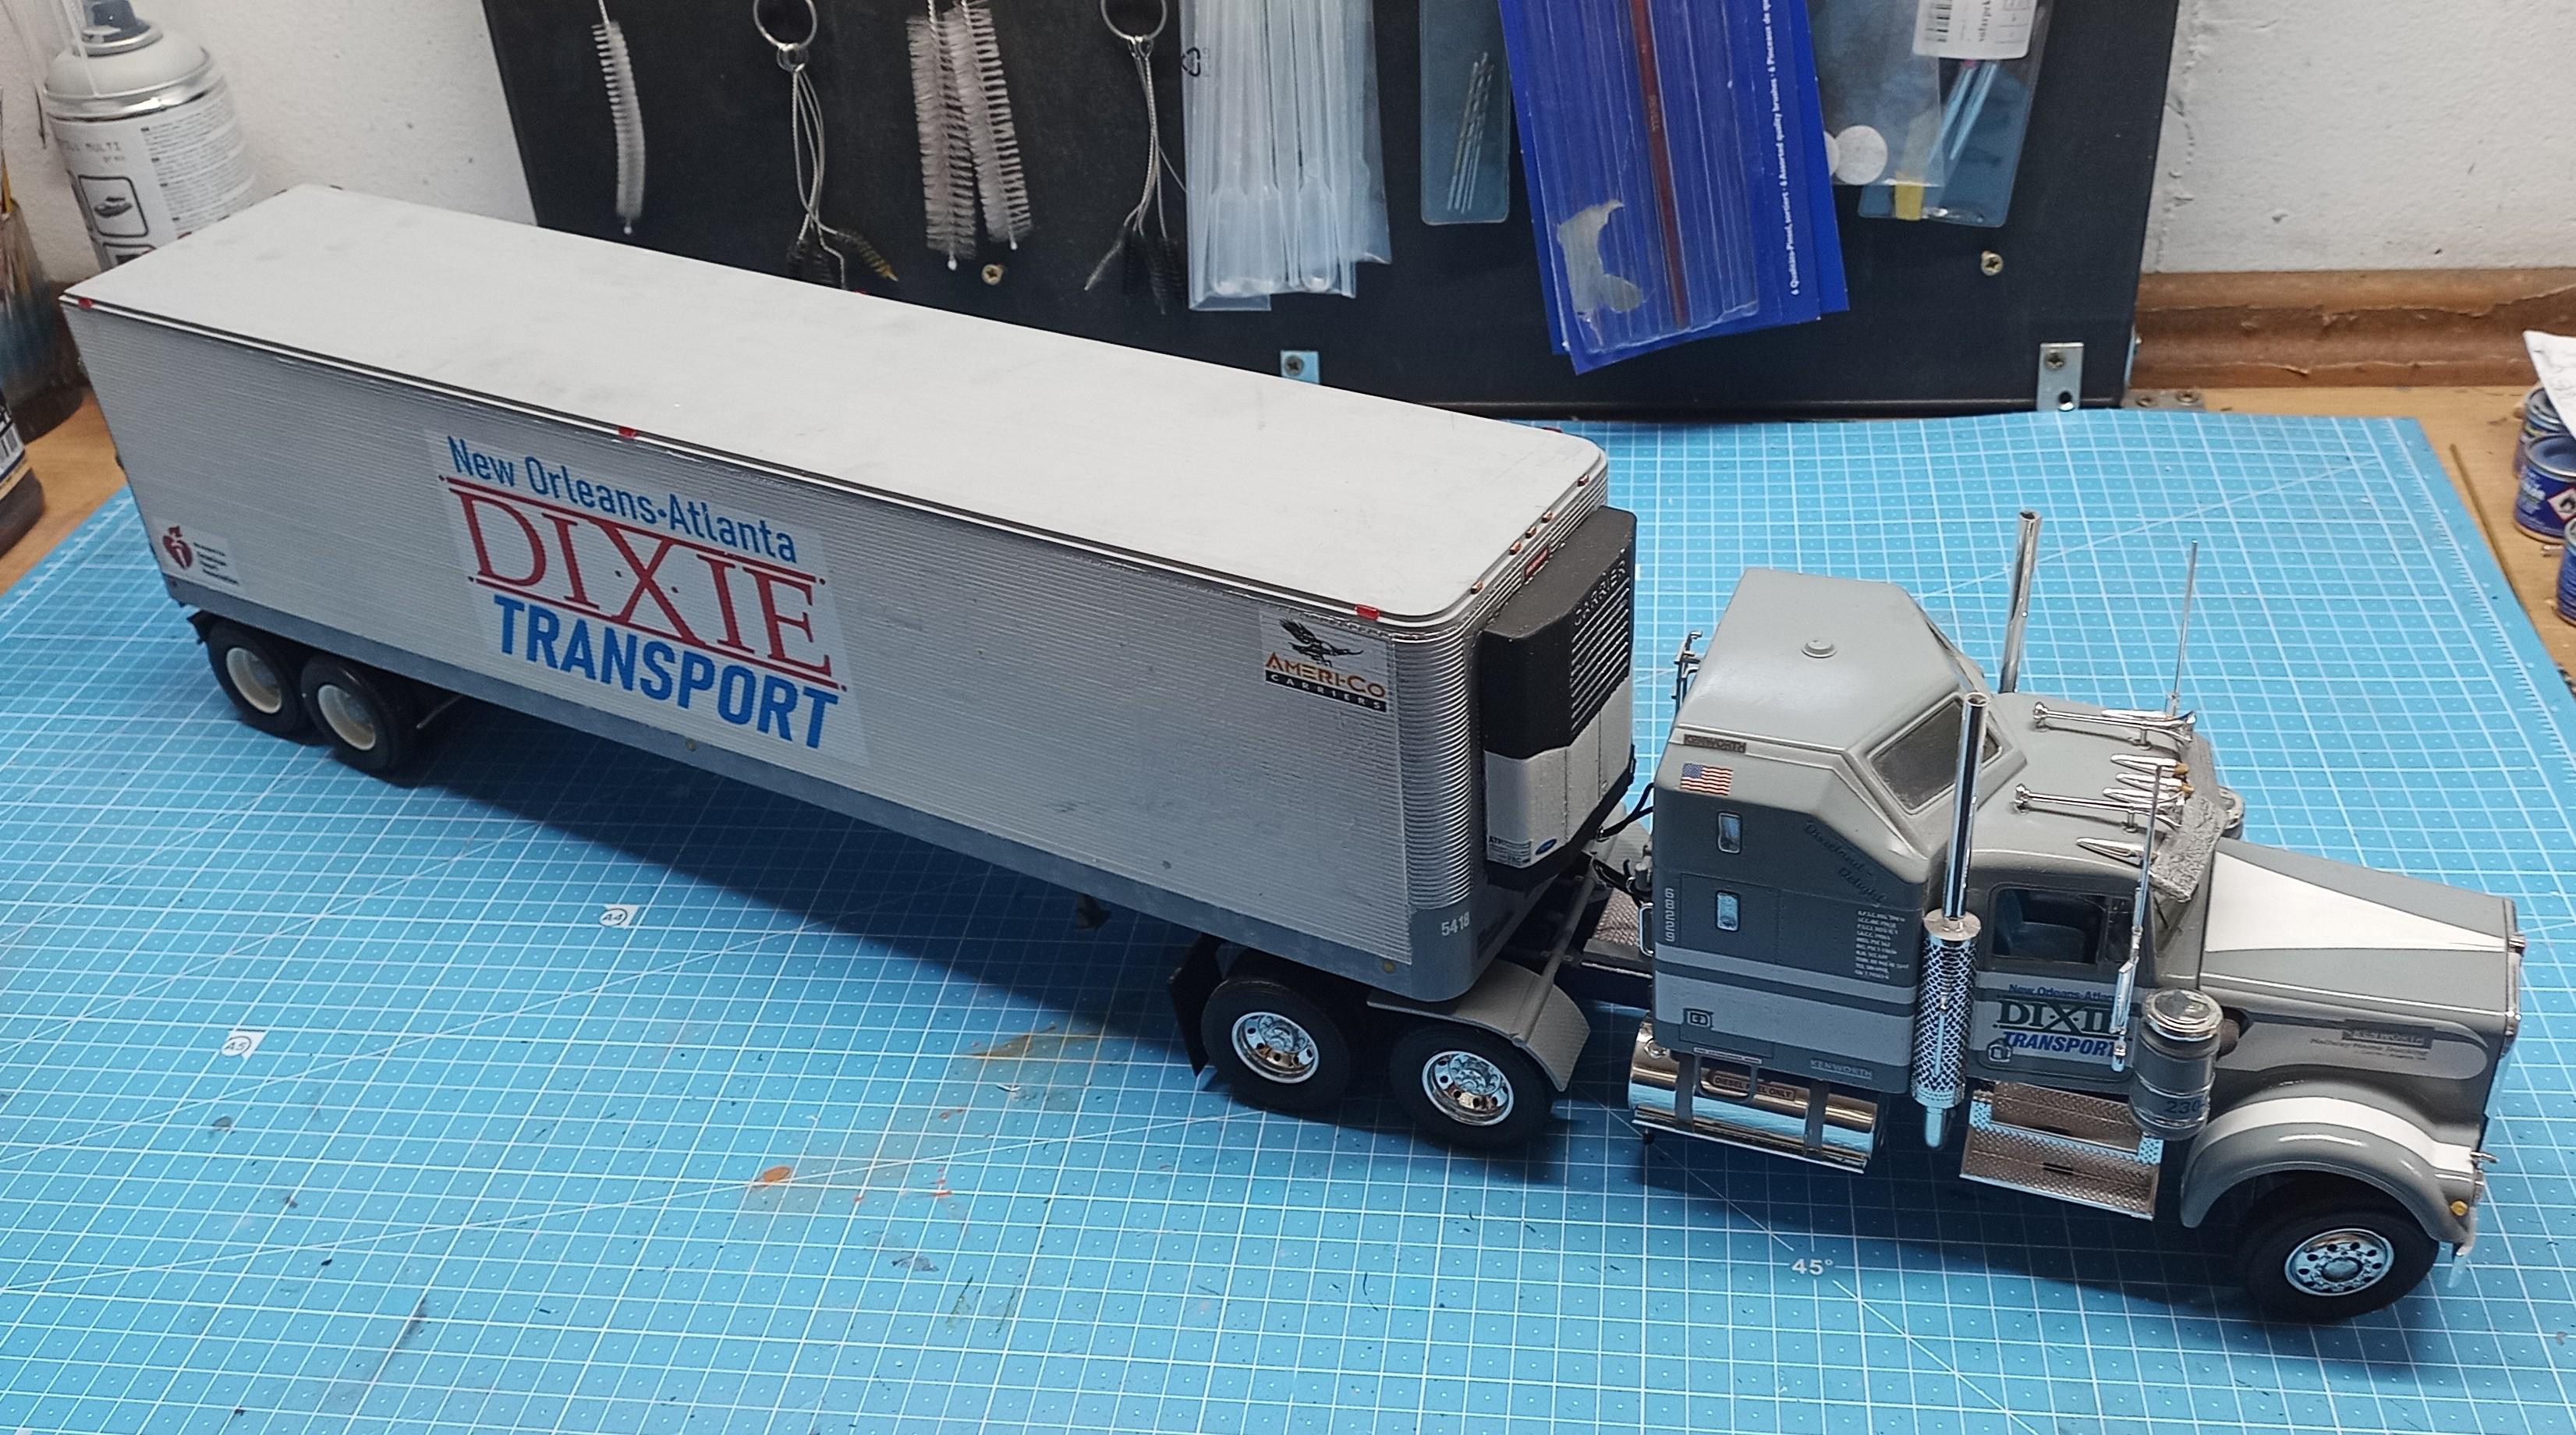
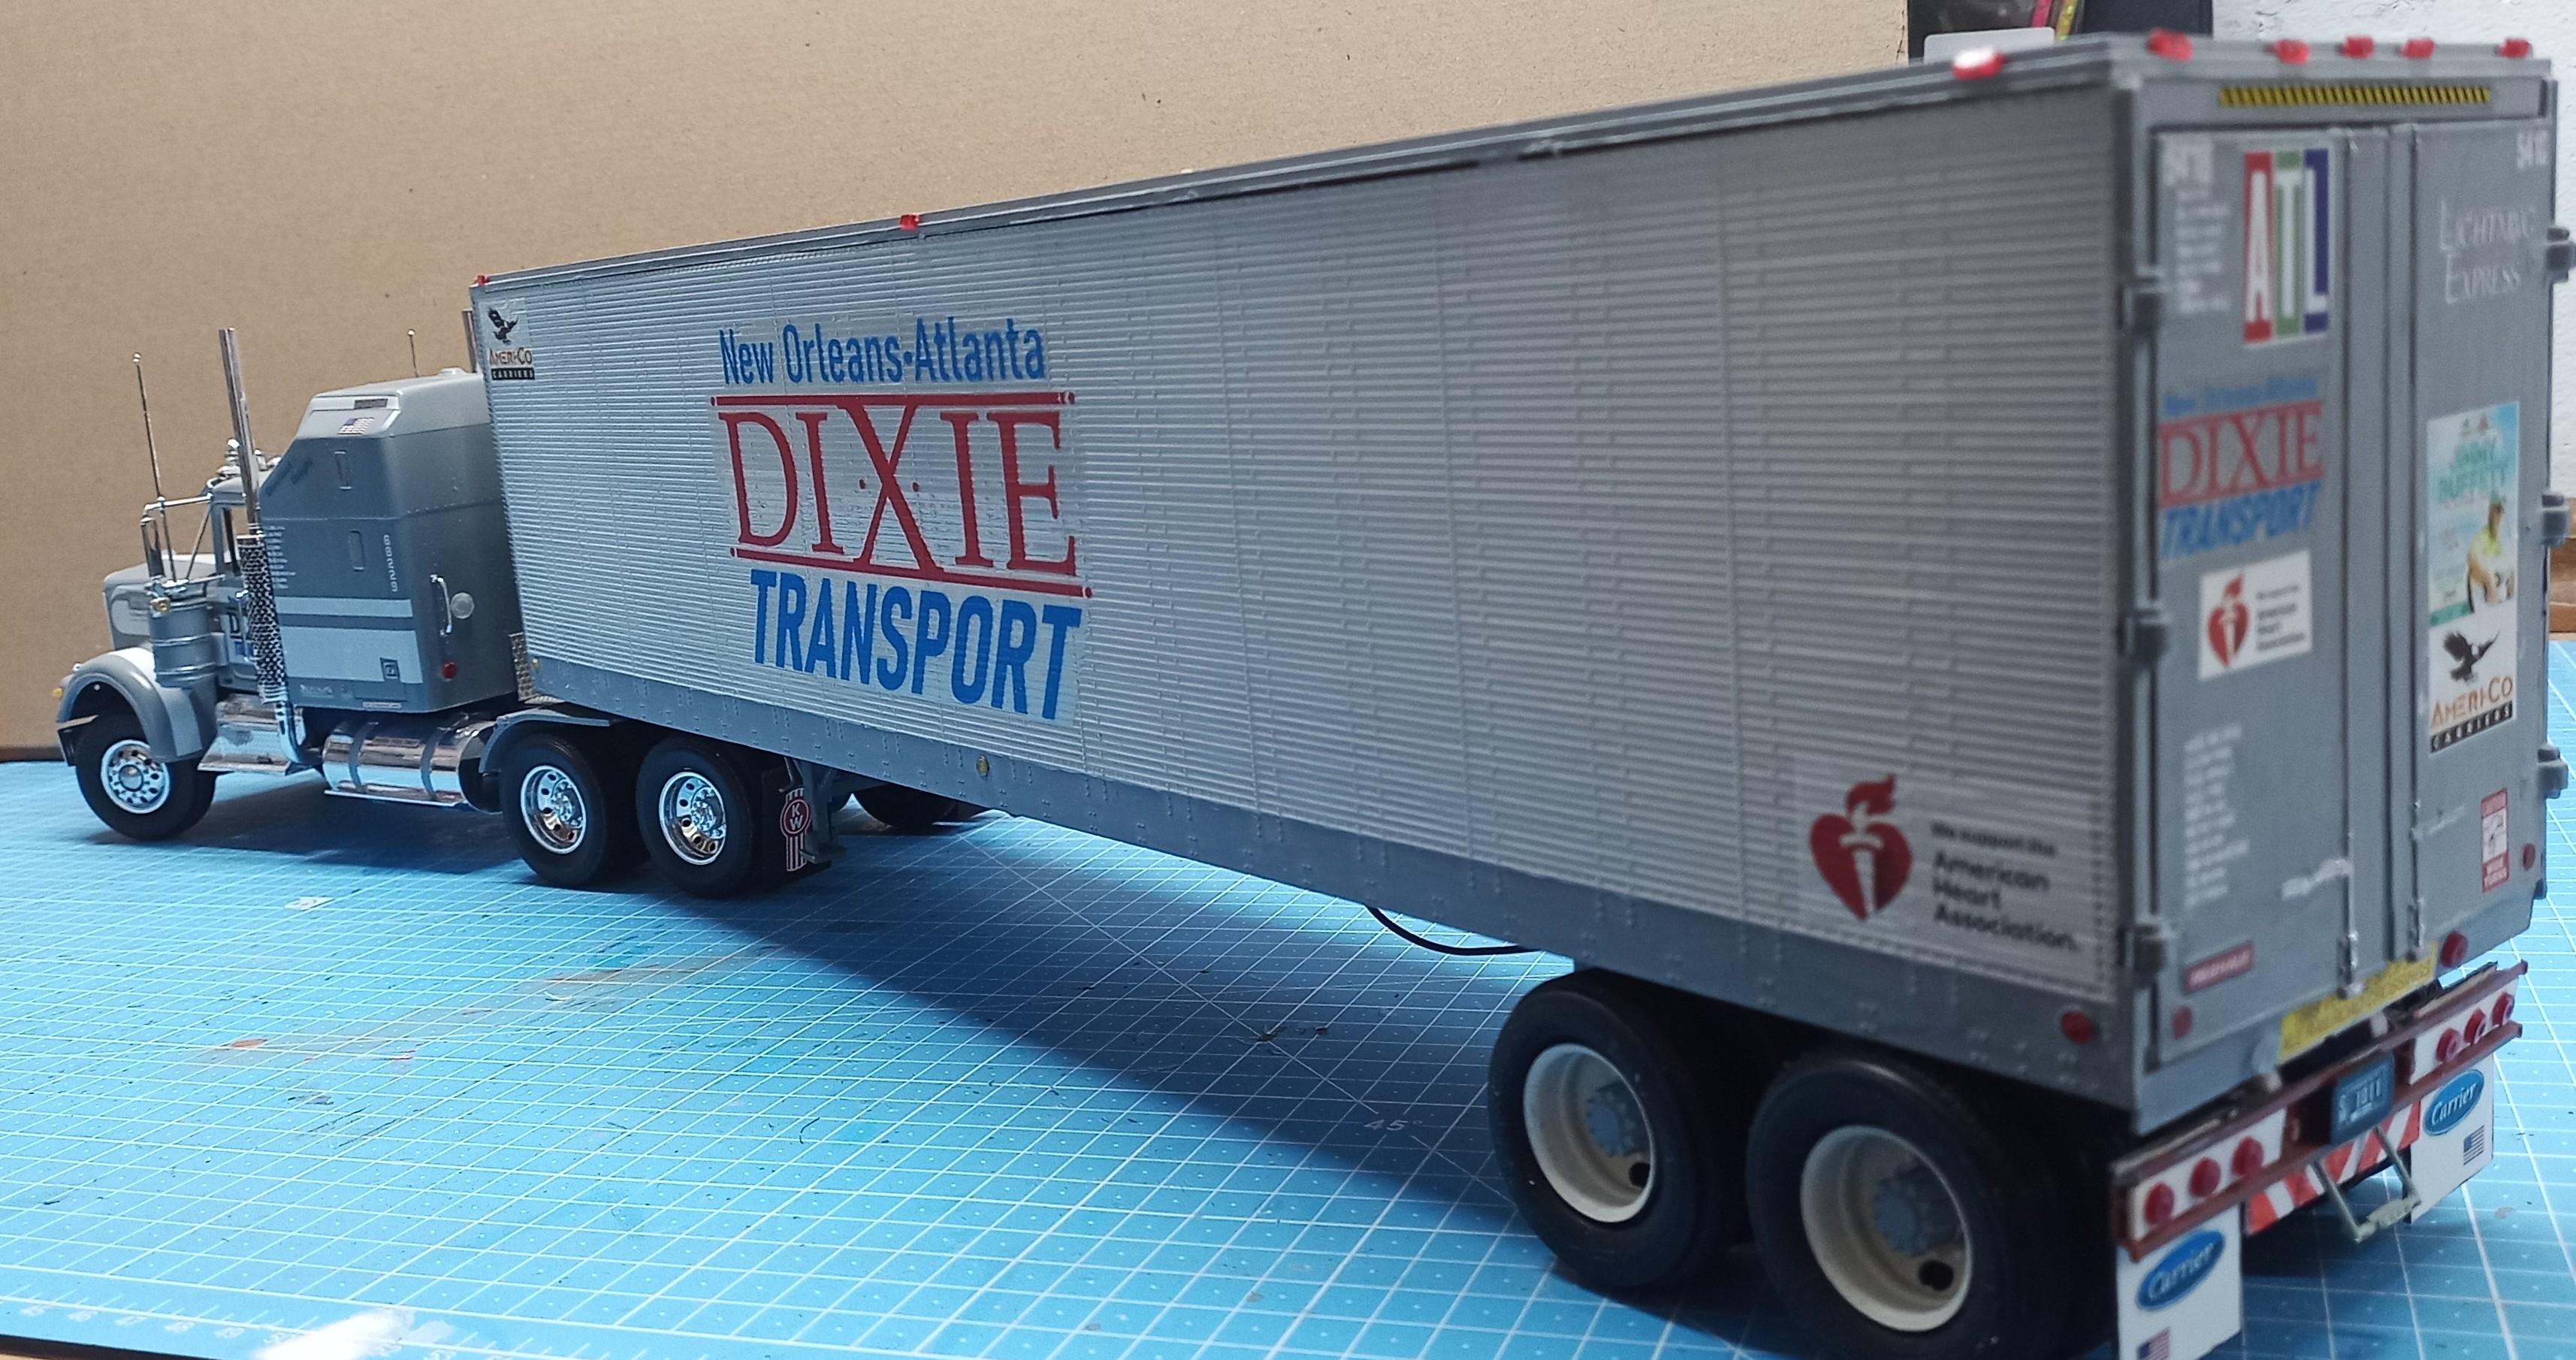
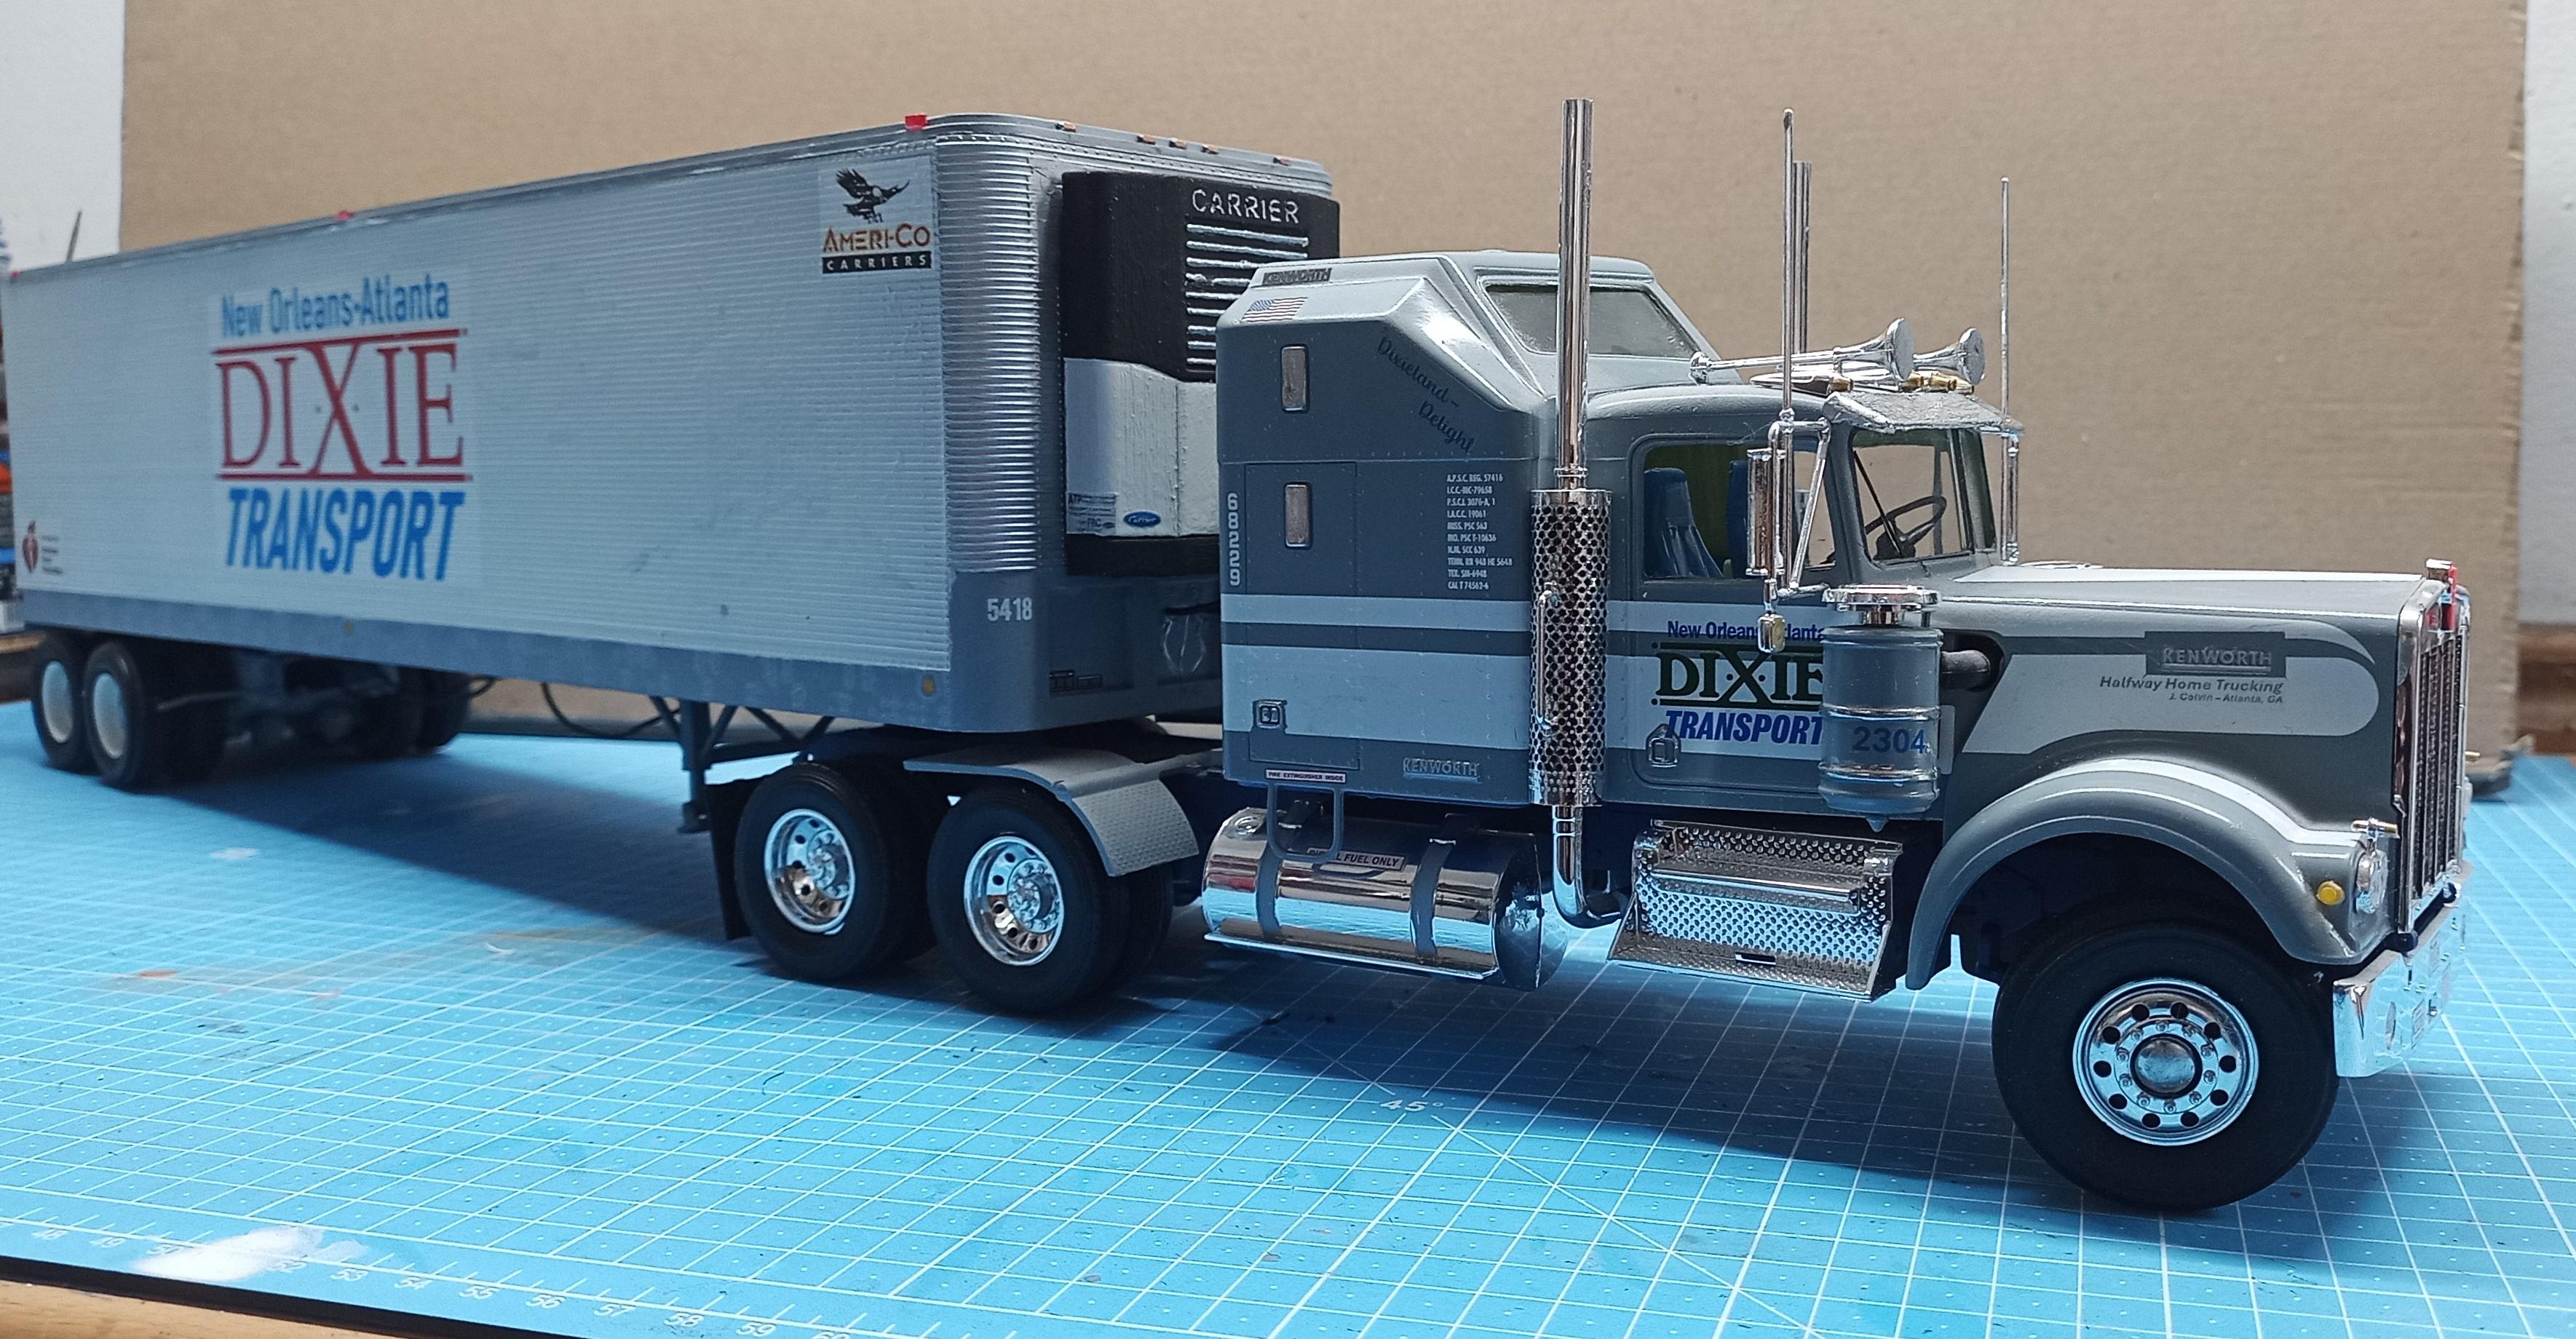
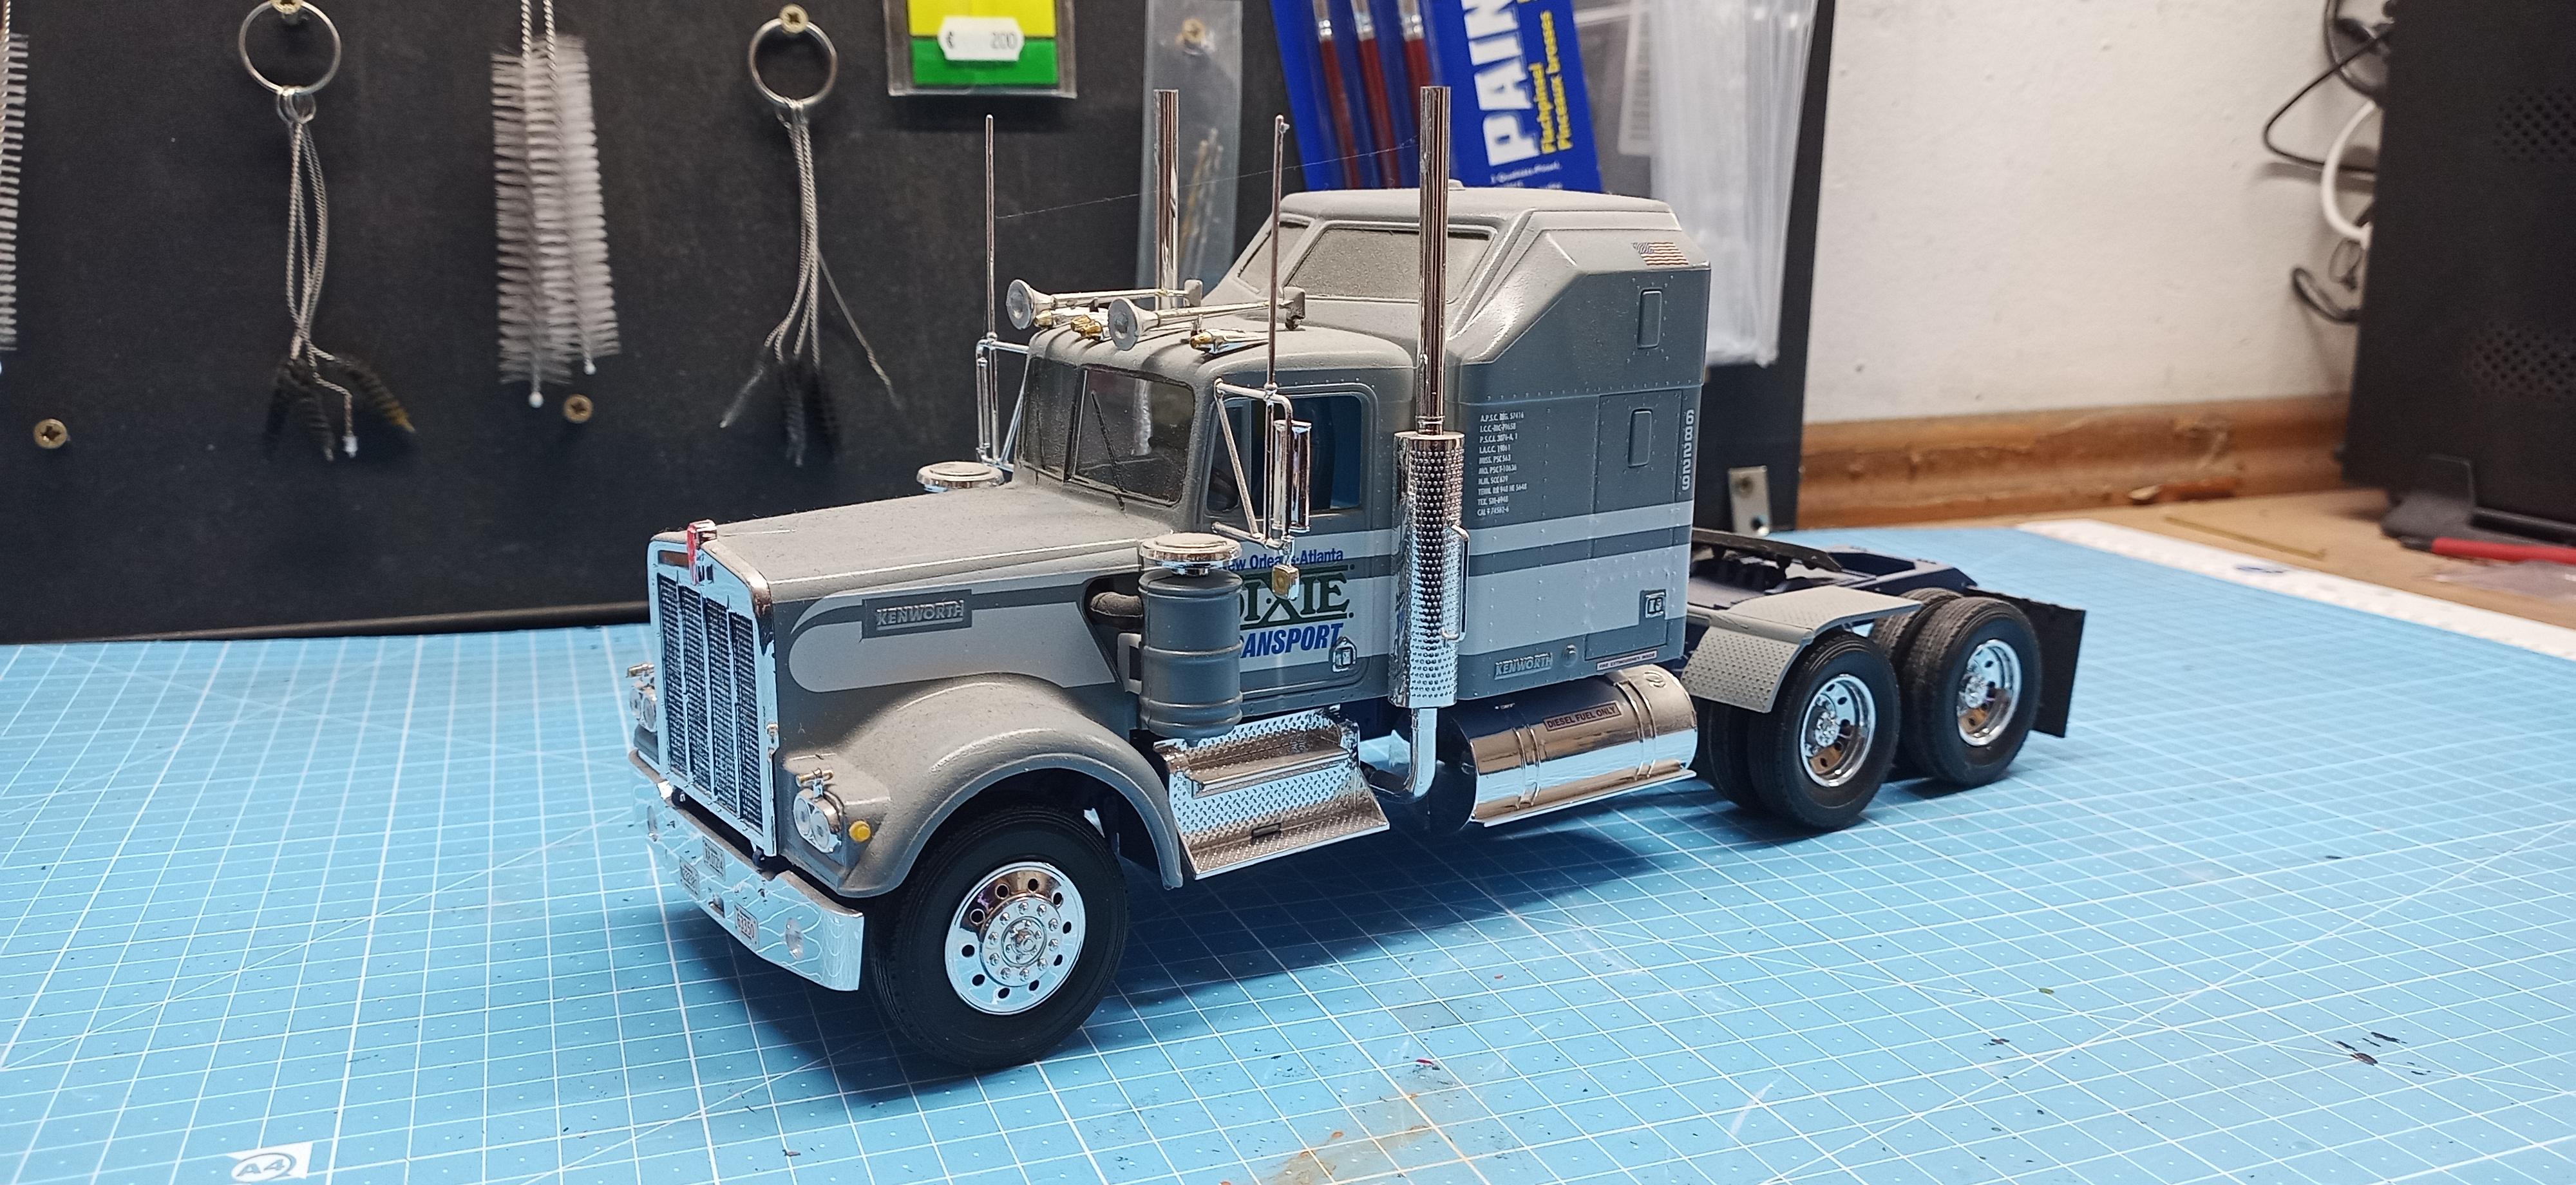
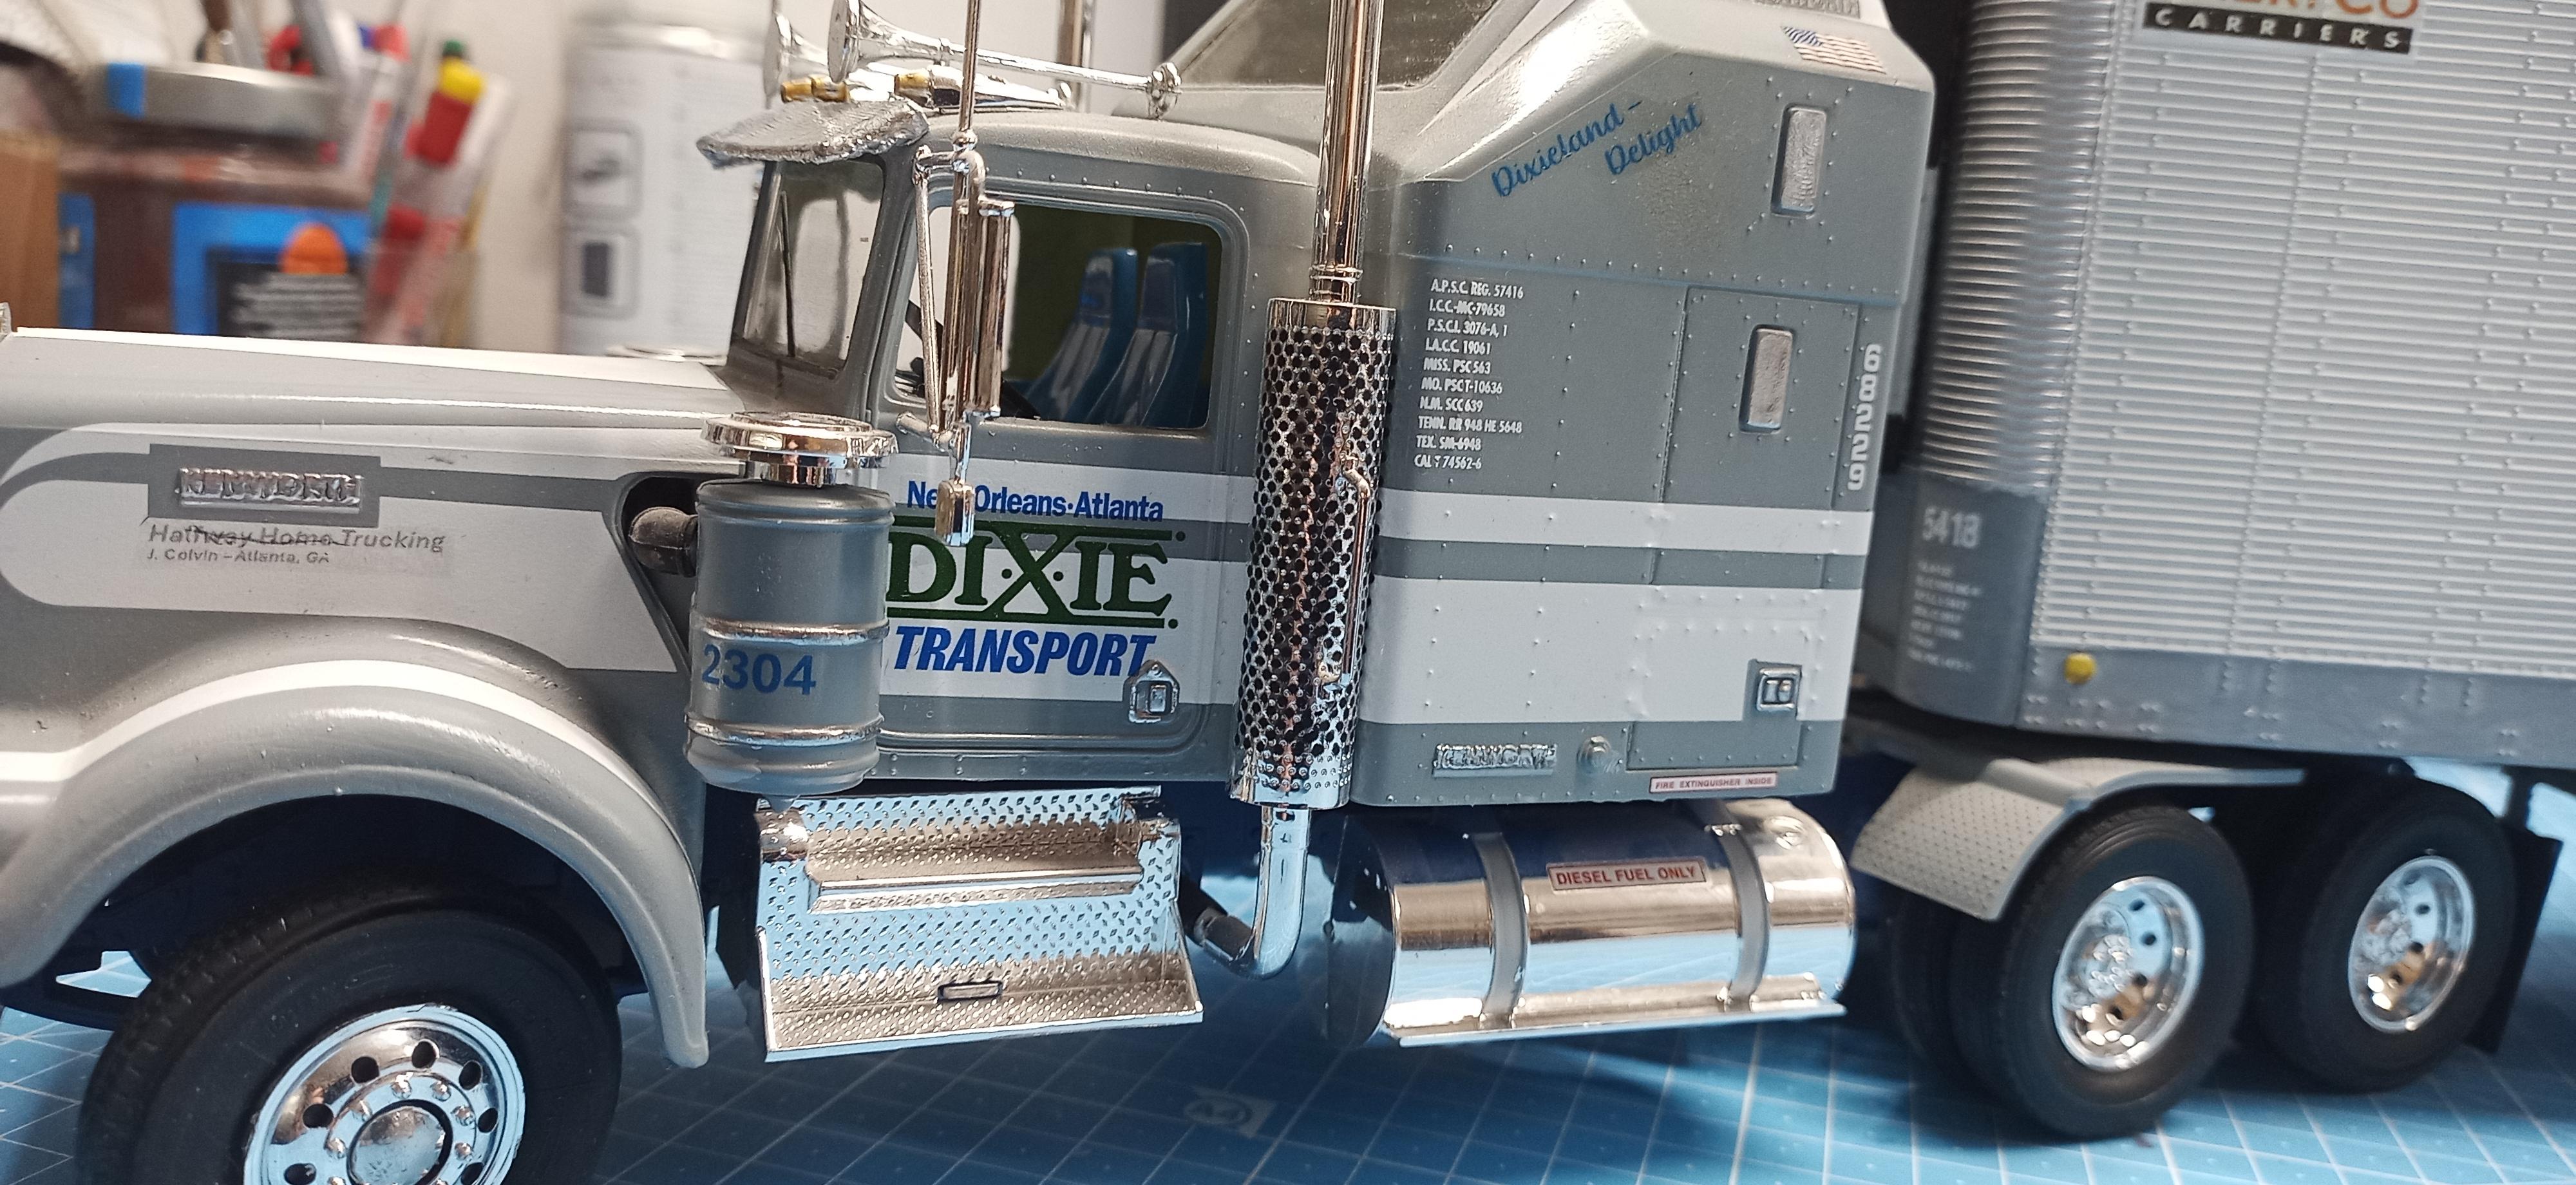
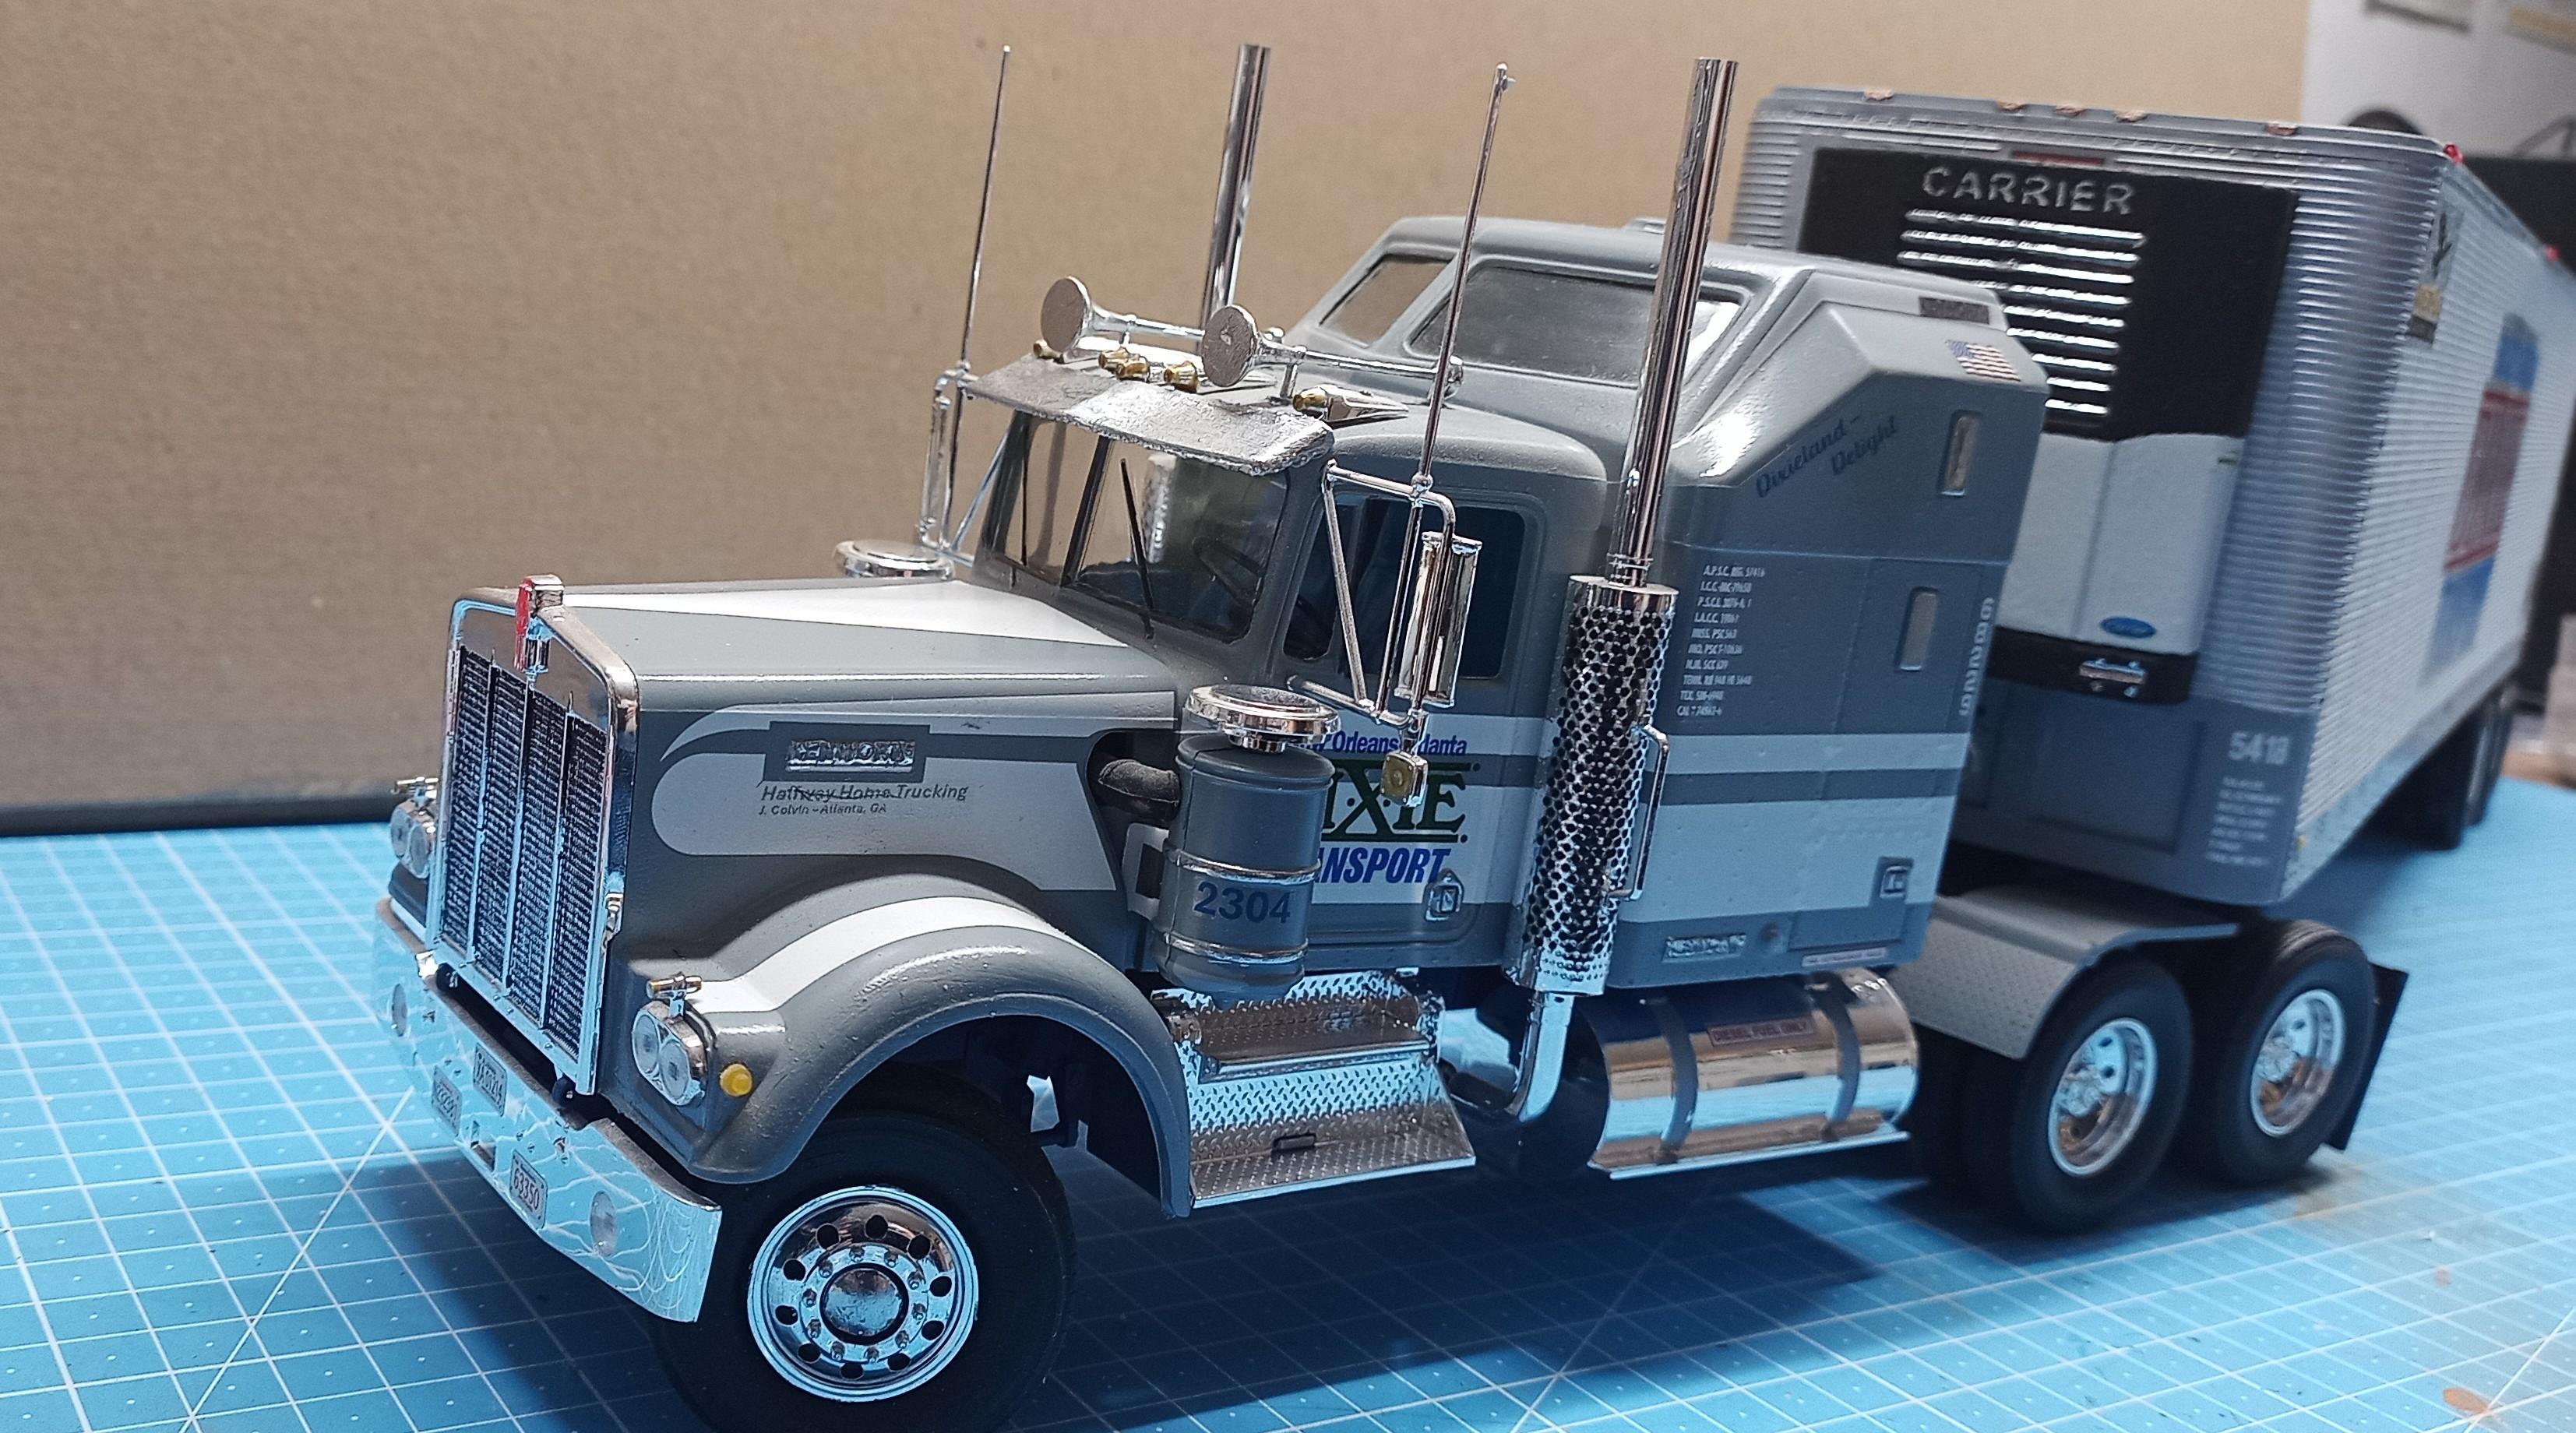
Hi everyone, I first didn't plan on posting this cause there's Not really that much to see but I thought why not! It's a KW Aerodyne Level 3 Revell Kit which I built out of the box first. It looked a bit boring so I did a bit of cosmetics and pimped my reefer a bit to fit it! This is how they looked before: The reefer: The truck: And now after cosmetics: The reefer: The truck: I added steering, some decals and new front rims: I also added the Carrier freezer (self made)!

-

Resto Rod Autocar
Jürgen M. replied to Gary Chastain's topic in WIP: Model Trucks: Big Rigs and Heavy Equipment
Wow Gary, that's a neat job! Gonna be a beauty! -
Western Star Classic heavy haul
Jürgen M. replied to Biggu's topic in WIP: Model Trucks: Big Rigs and Heavy Equipment
I'm sure that's gonna look great Jeff! Really nice choice of color! -
Caboverdose
Jürgen M. replied to Rockford's topic in WIP: Model Trucks: Big Rigs and Heavy Equipment
Wow, nice craftsmanship there Steve! Scratch building top level! -
Duel Peterbilt
Jürgen M. replied to Bugatti Fan's topic in Model Trucks: Big Rigs and Heavy Equipment
The weathering is great! Good job! The whole package is perfect! -
Revell's Auto Transport Trailer: WIP
Jürgen M. replied to David G.'s topic in WIP: Model Trucks: Big Rigs and Heavy Equipment
Looks like a nice kit! I've been thinking about a purchase but to tell the truth, I have no motivation what so ever to build any cars for it! 🙈 Nevertheless, I think you're doing a great job on this and maybe your progress might convince me to build it! ☺️ -
Western Star Classic heavy haul
Jürgen M. replied to Biggu's topic in WIP: Model Trucks: Big Rigs and Heavy Equipment
Nice job, Jeff! Clean work and absolutely beautiful! -
Mack AC Dump Truck with Pneumatic Tires
Jürgen M. replied to Pete68's topic in Model Trucks: Big Rigs and Heavy Equipment
Nice build! Not an everyday vehicle! It's great seeing the "old stuff" being kept up in our memories! -
1/25 AMT Mack R600
Jürgen M. replied to titino's topic in WIP: Model Trucks: Big Rigs and Heavy Equipment
Oh, OK! Thanks! Good idea! 😊 -
1/25 AMT Mack R600
Jürgen M. replied to titino's topic in WIP: Model Trucks: Big Rigs and Heavy Equipment
Was the feature with the tiltable suspension meant to be or did you do that yourself? I remember it being movable on the DM800 Ertl kit! I loved that feature! -
Alaskan Hauler refurbishing project
Jürgen M. replied to Jürgen M.'s topic in WIP: Model Trucks: Big Rigs and Heavy Equipment
Thank you Gary! Glad you like it! Although I wasn't too sure about taking it apart in the first place I had a pretty good idea of what it should look like! I think it came out just that way! -
Wow, I'm always fascinated by such expertise and the way it's transformed into models! My deep respect!
-
Alaskan Hauler refurbishing project
Jürgen M. replied to Jürgen M.'s topic in WIP: Model Trucks: Big Rigs and Heavy Equipment
Thanks David, I might do some weathering, dust or mud or something! Glad you like the tribute! I always loved his music and thought it's about time to worship his life achievement! -
1965 Mack B61ST 1/25 scale
Jürgen M. replied to Pete68's topic in WIP: Model Trucks: Big Rigs and Heavy Equipment
That is one nice bulldog you have there! Can't wait to see it finished! -
Western Star 4900 FA plow truck
Jürgen M. replied to BK9300's topic in WIP: Model Trucks: Big Rigs and Heavy Equipment
That looks just perfect! I could actually imagine you being a giant working at a huge workbench with a real truck on it! -
Alaskan Hauler refurbishing project
Jürgen M. replied to Jürgen M.'s topic in Model Trucks: Big Rigs and Heavy Equipment
Thanks very much! I was quite nervous about changing it but I think it came out quite well! -
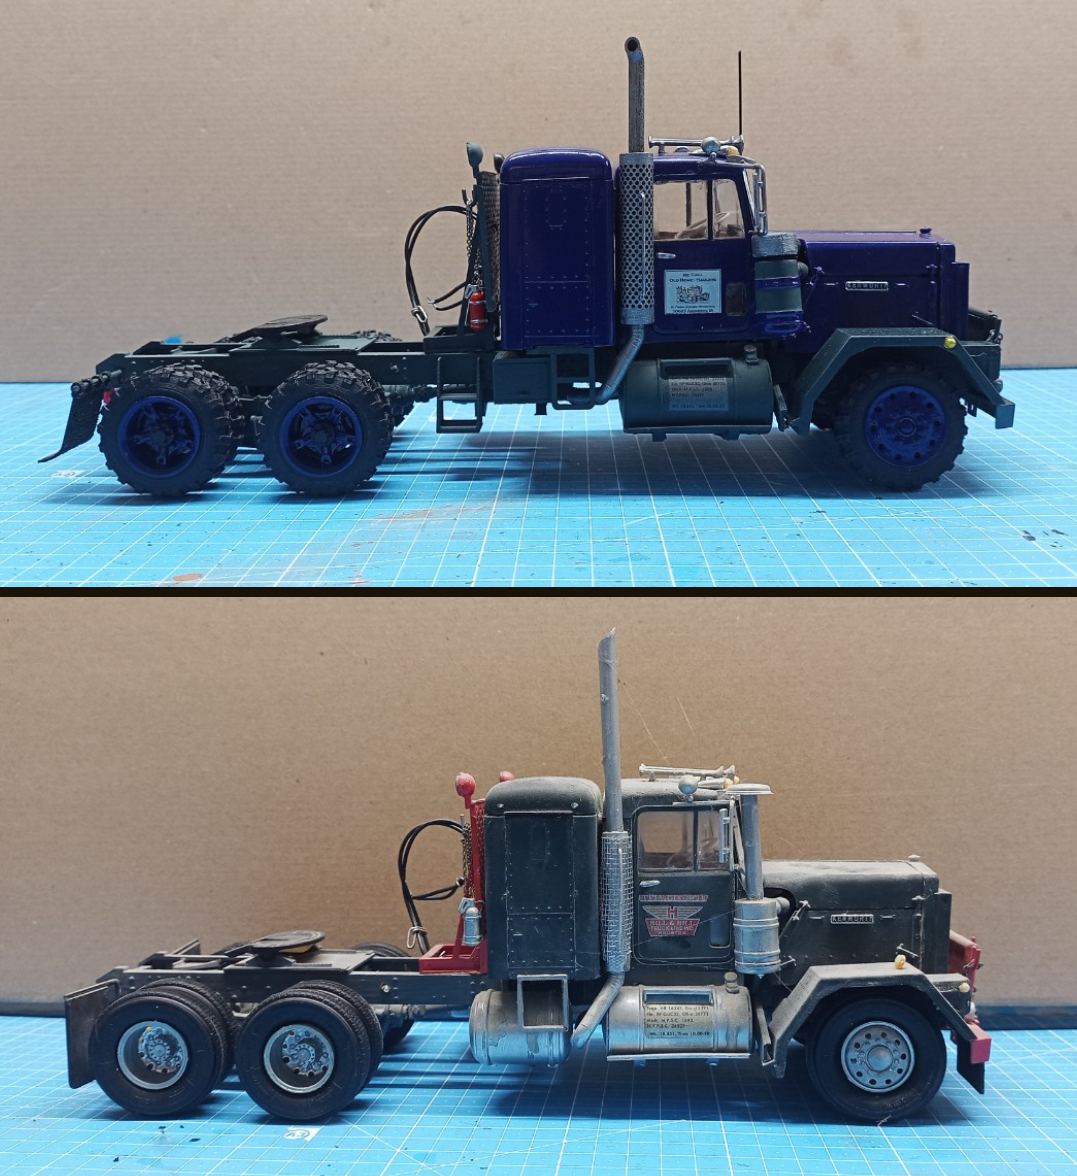
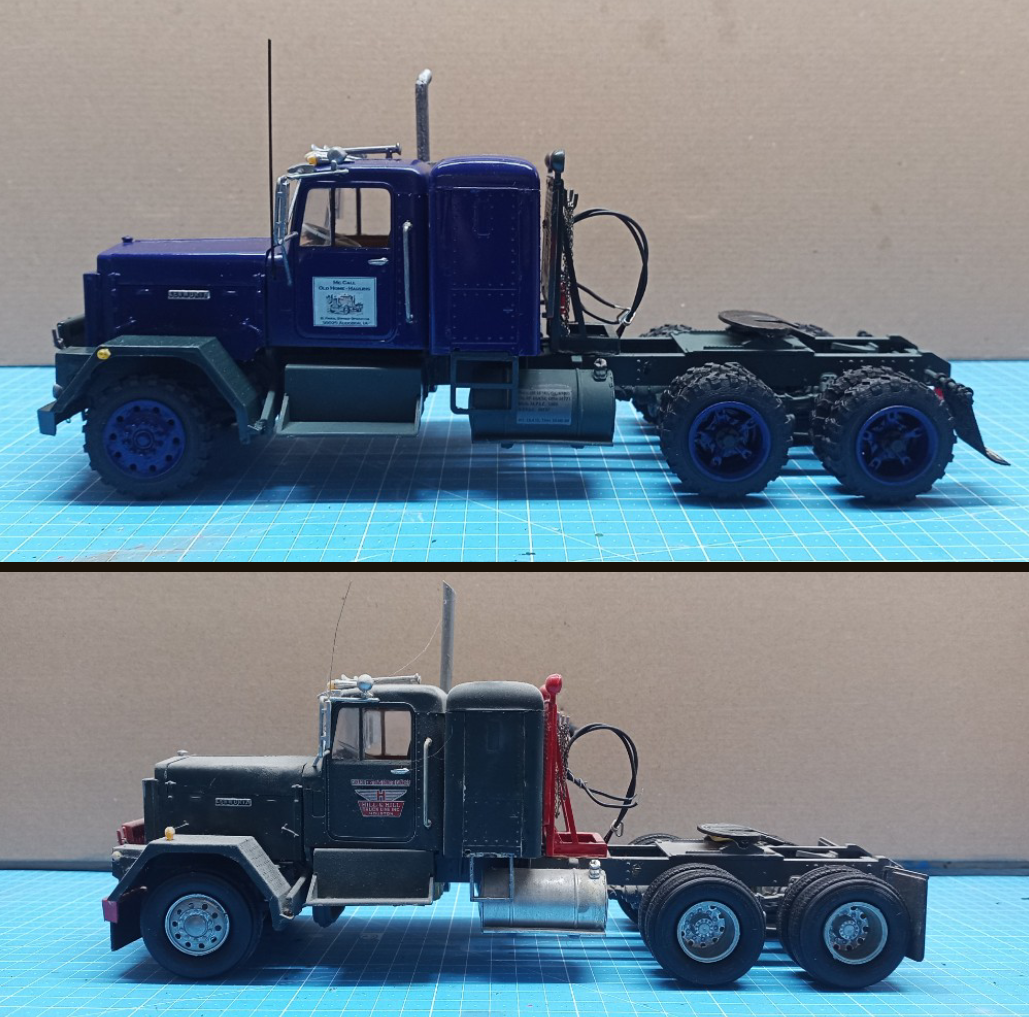
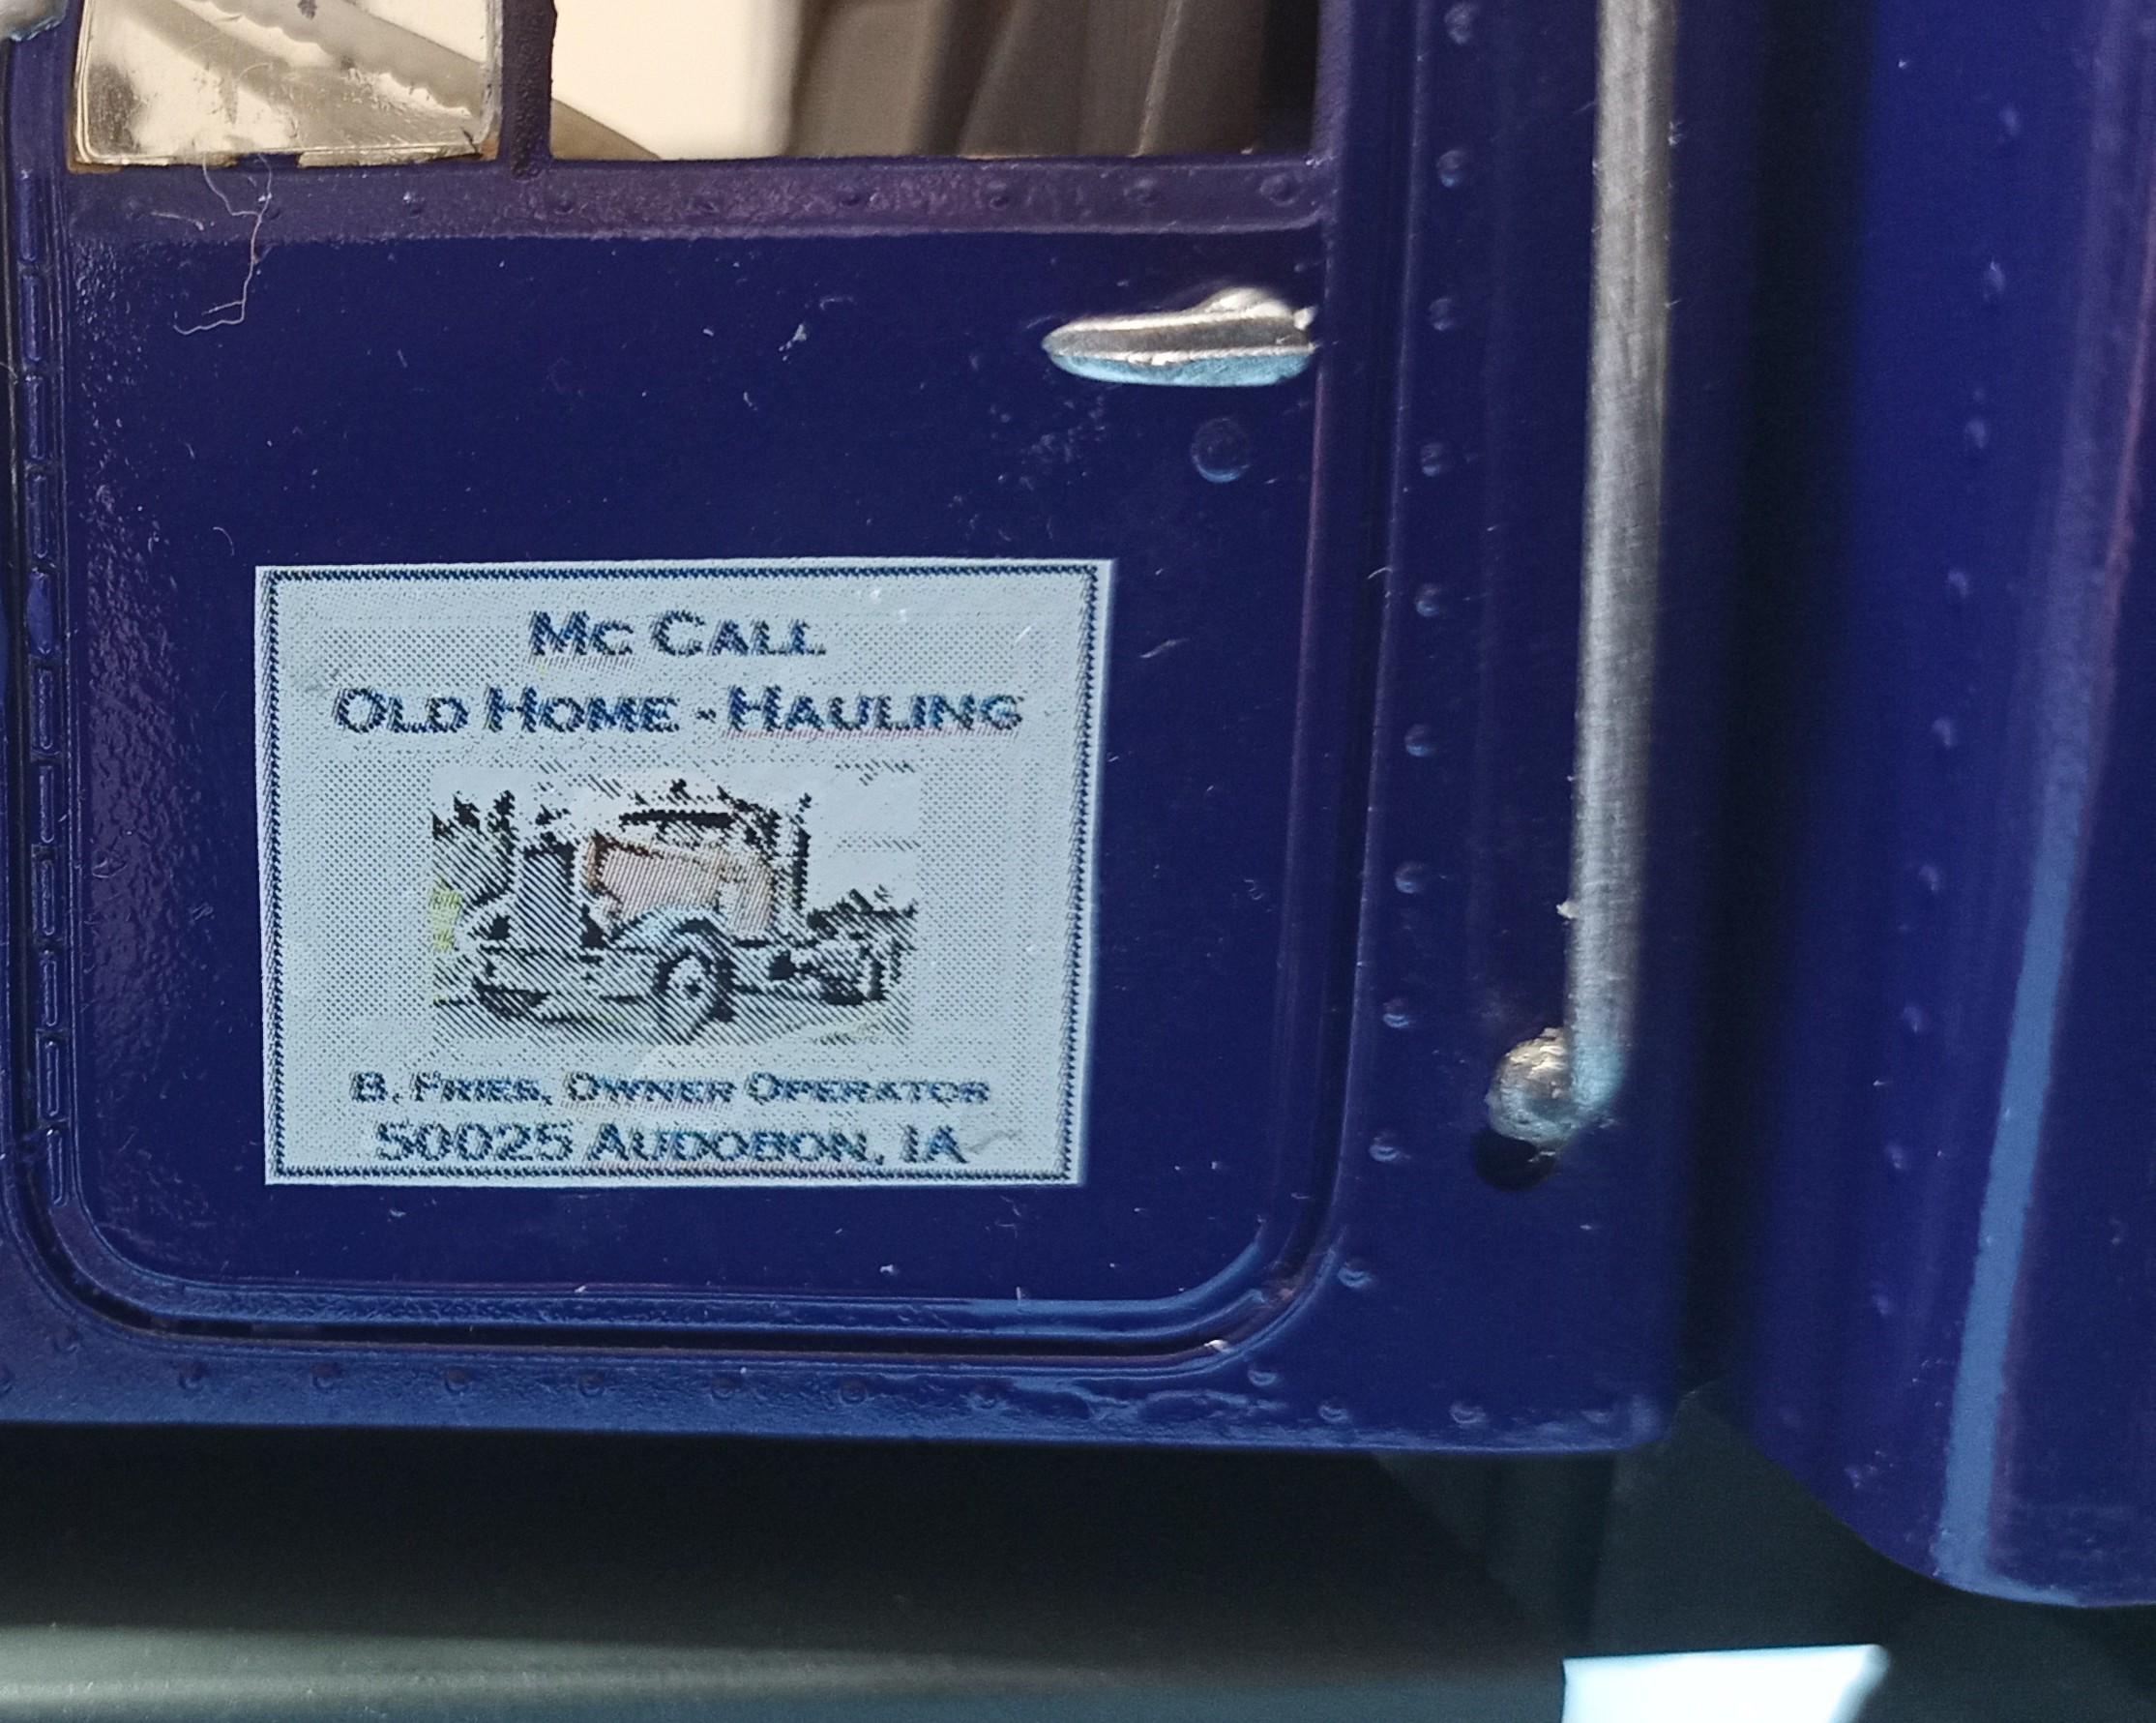
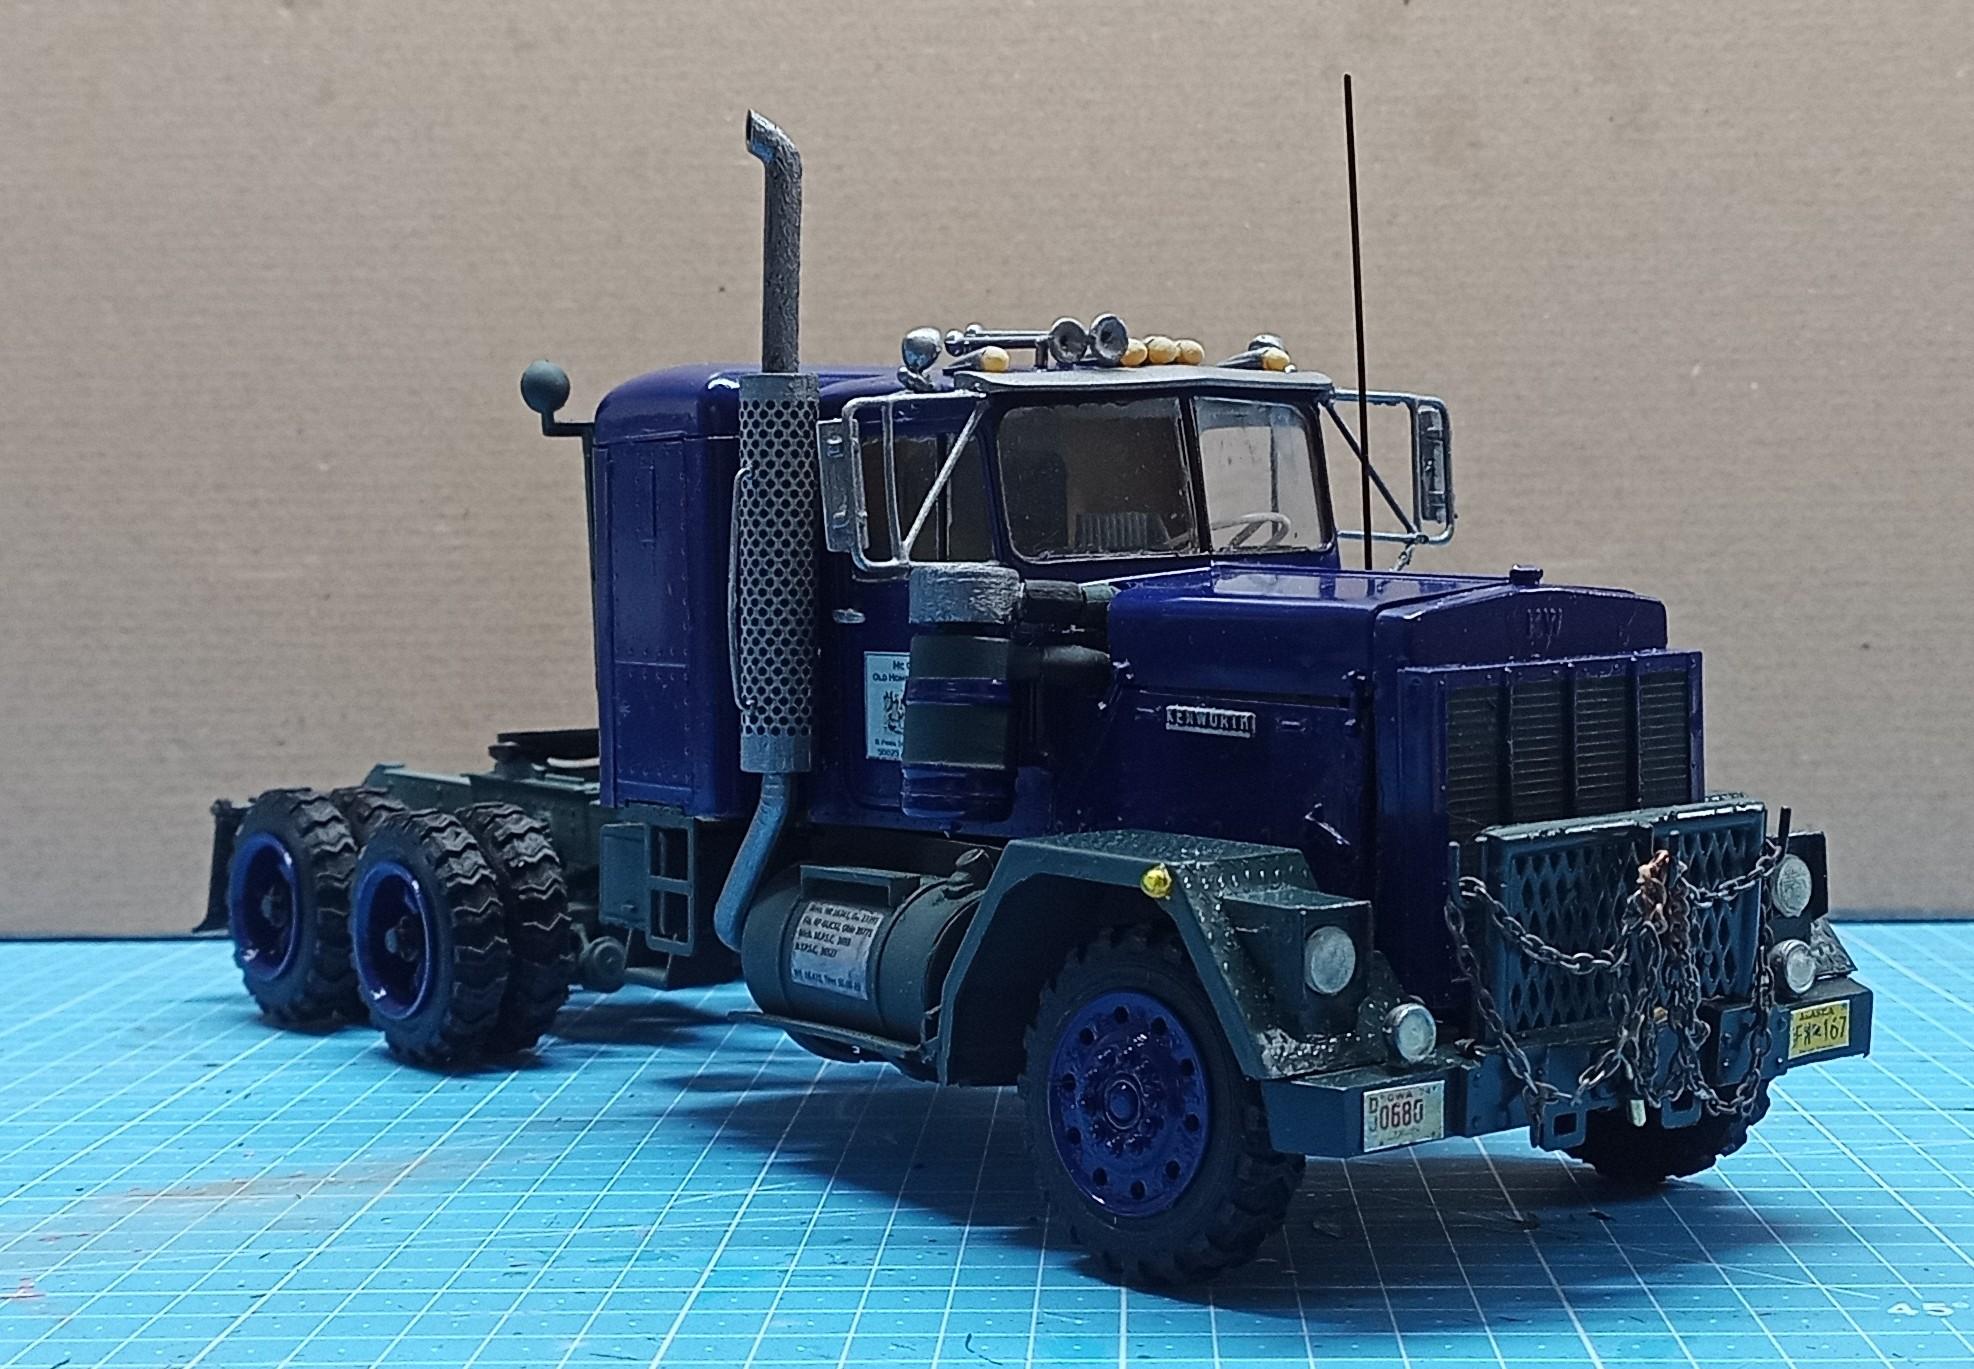
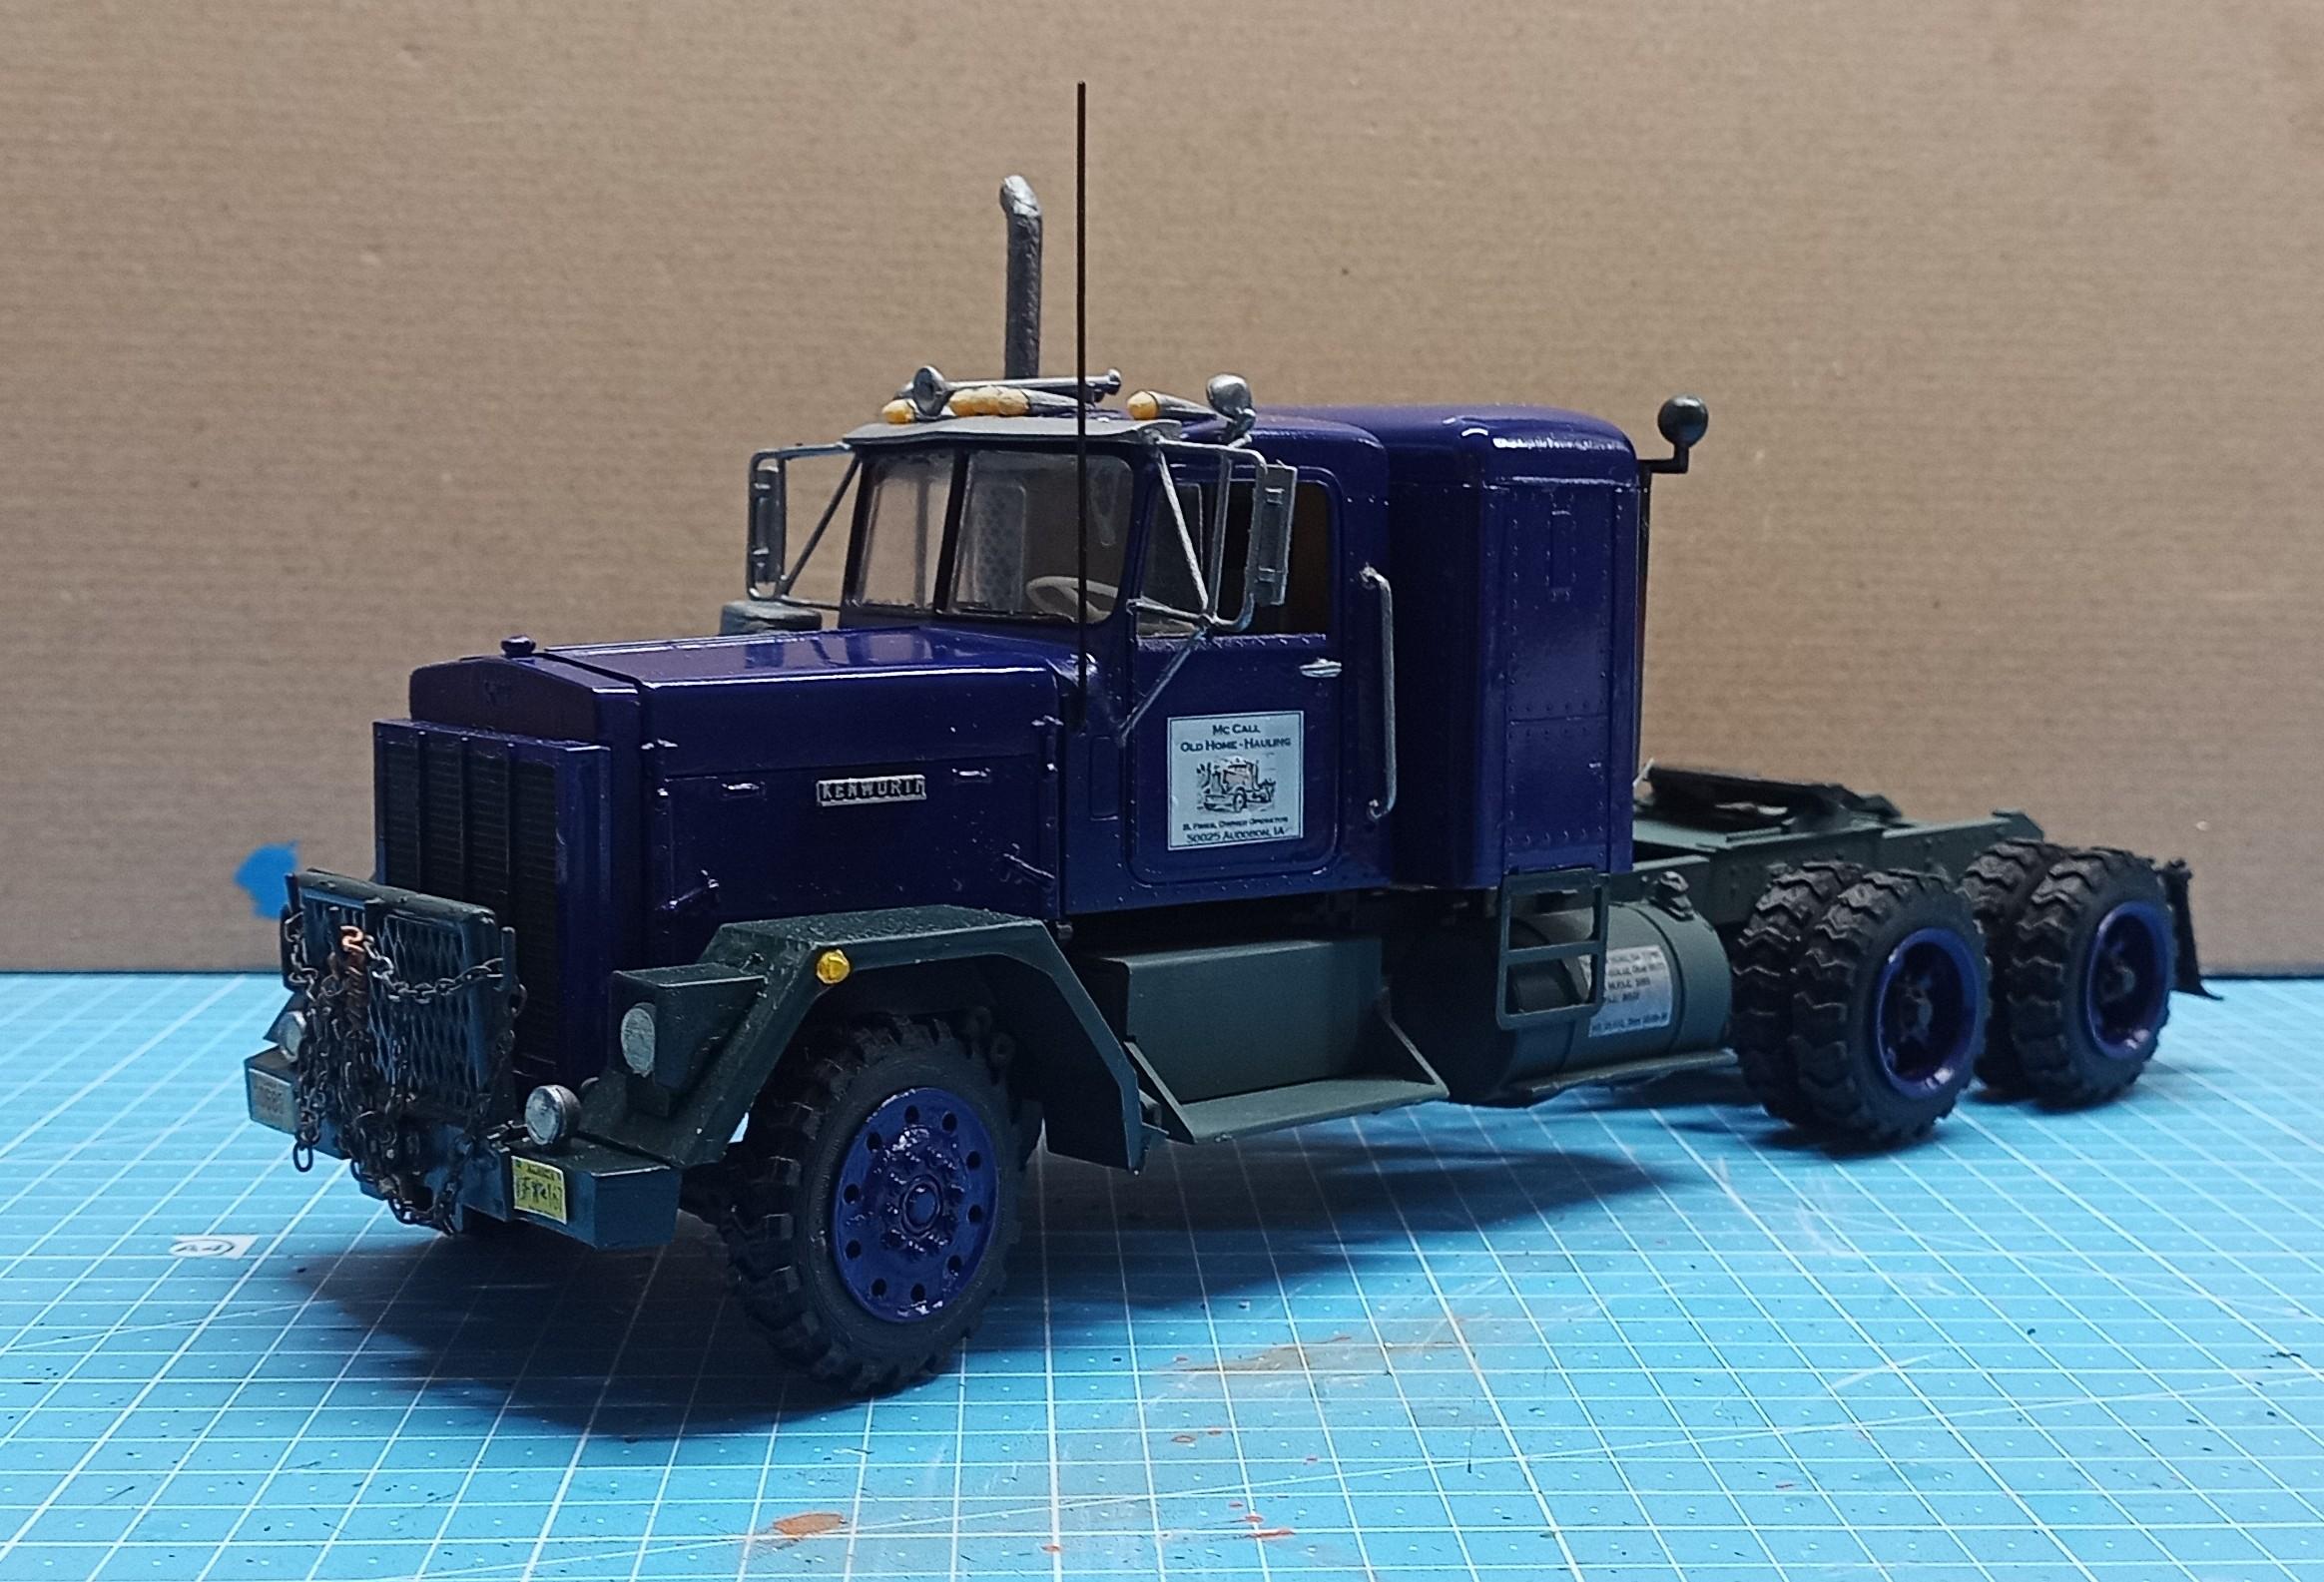
Hi everyone, it's done, faster than I thought! I'll show you some comparison pics for those who missed the thread! And some more "new look" pics: I dedicated this conversion to the late Bill Fries, also known as C.W. MC Call! The creator of my favourite movie, Convoy, and maker of some of the best truckin' songs ever! Thanks for looking!
-
1/25 AMT Mack R600
Jürgen M. replied to titino's topic in WIP: Model Trucks: Big Rigs and Heavy Equipment
Nice job! Beautiful Mack! -
Alaskan Hauler refurbishing project
Jürgen M. replied to Jürgen M.'s topic in WIP: Model Trucks: Big Rigs and Heavy Equipment
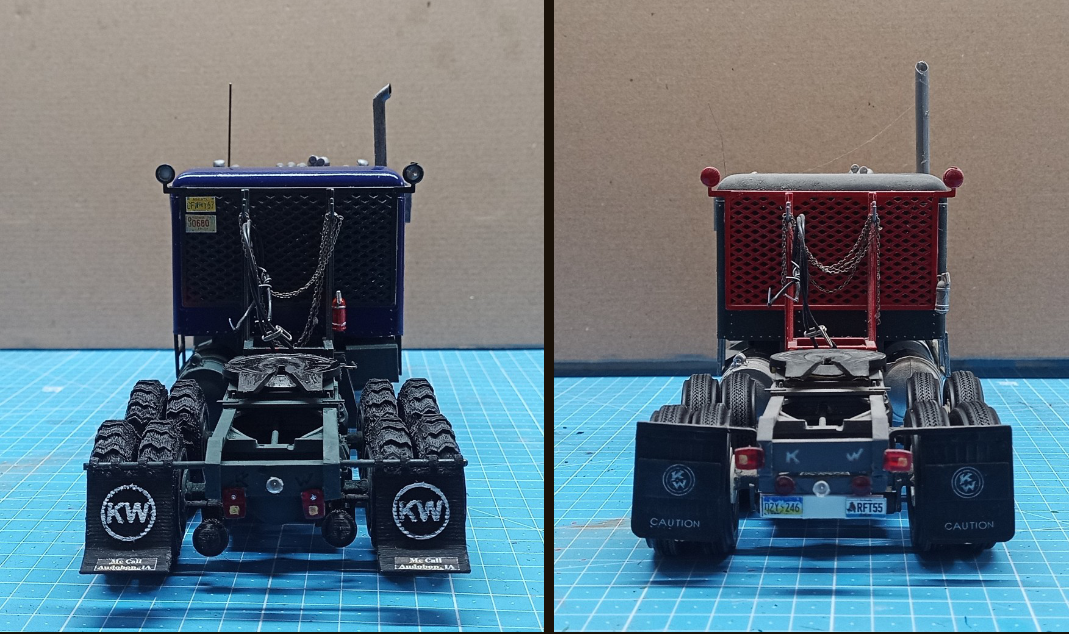
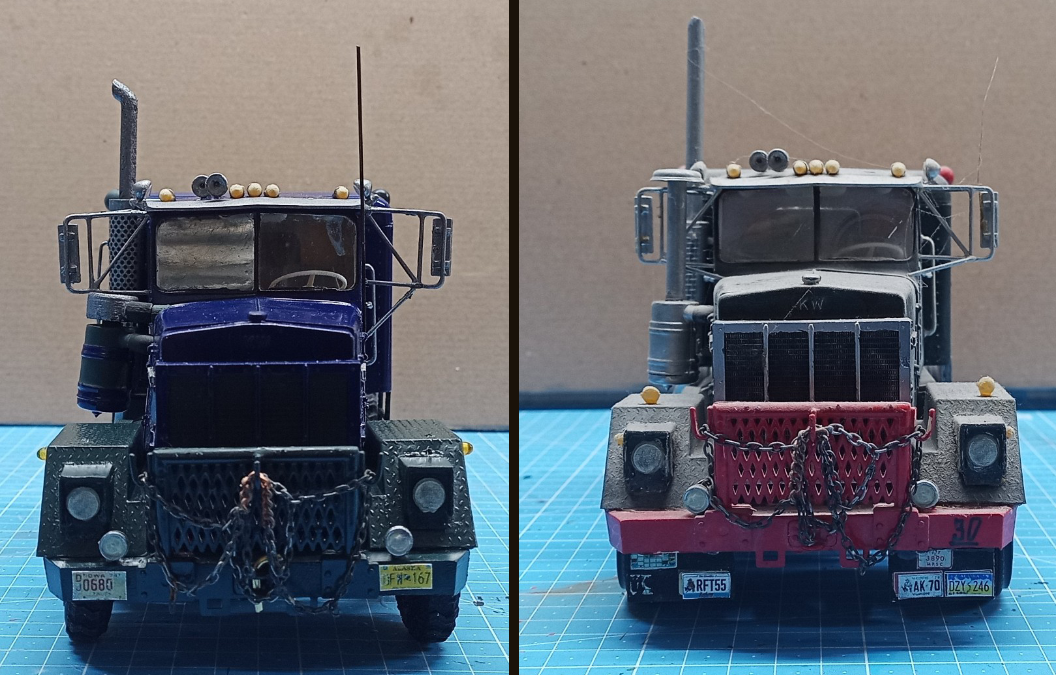
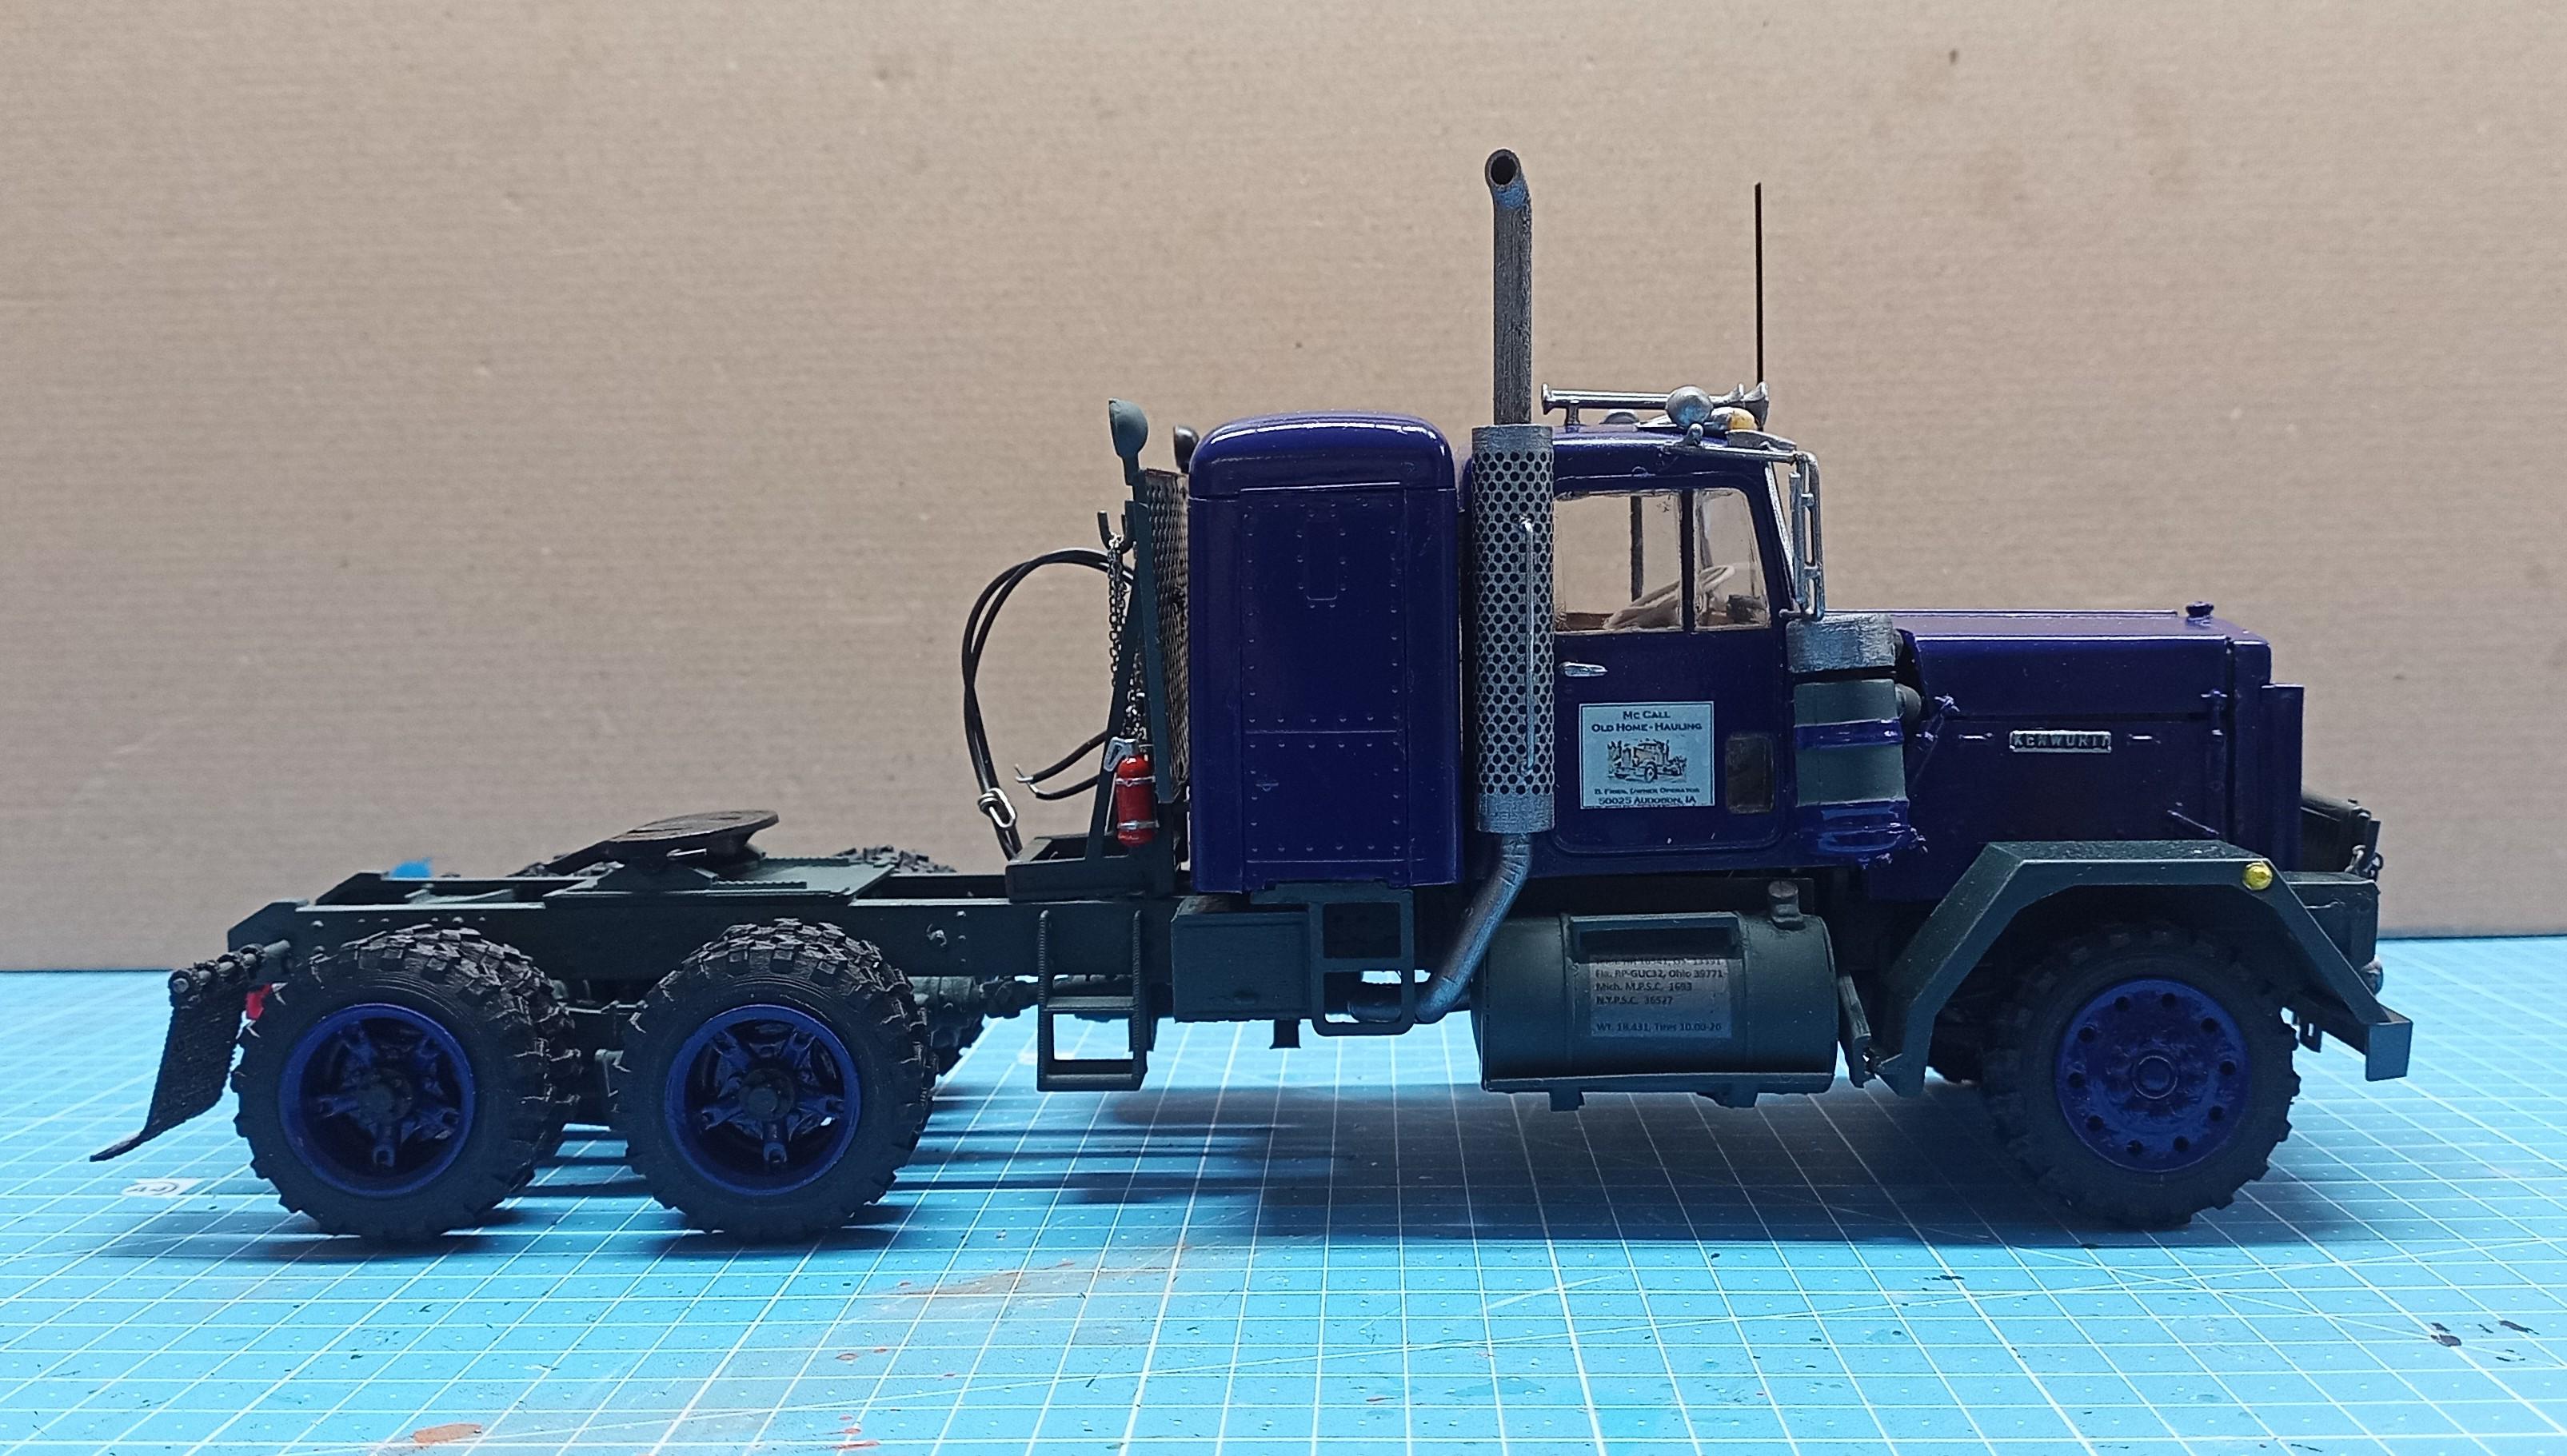
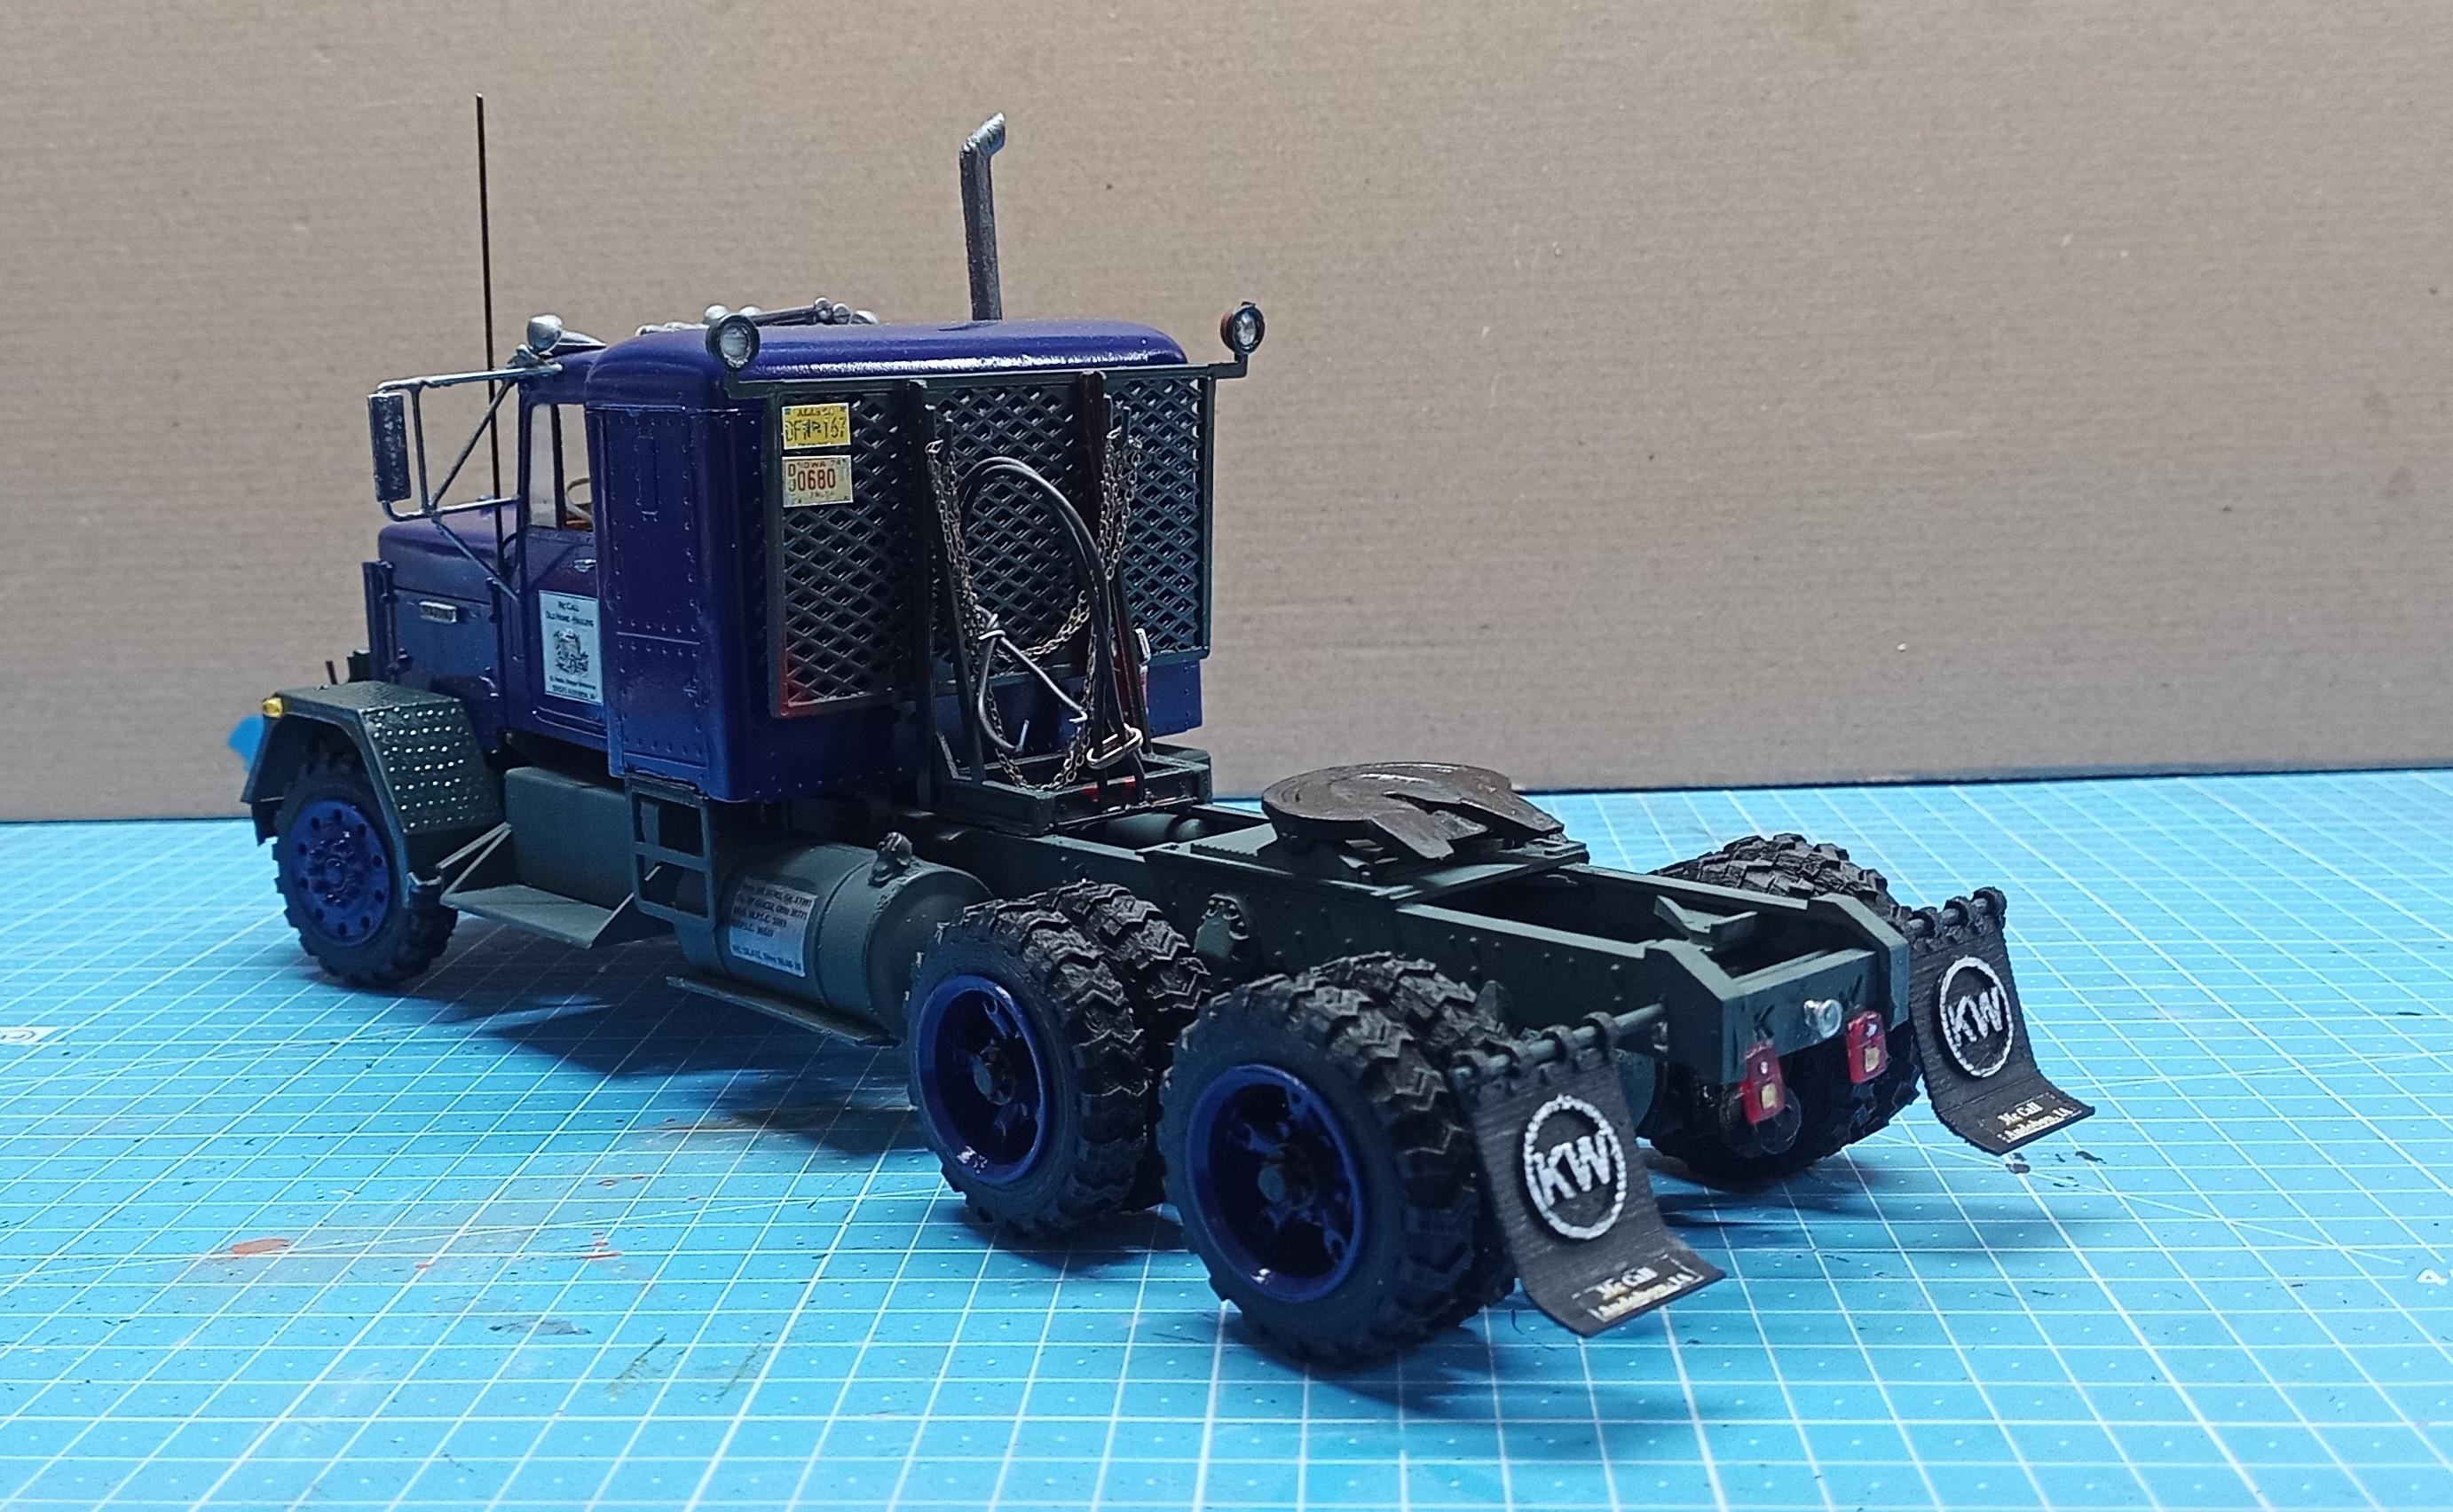
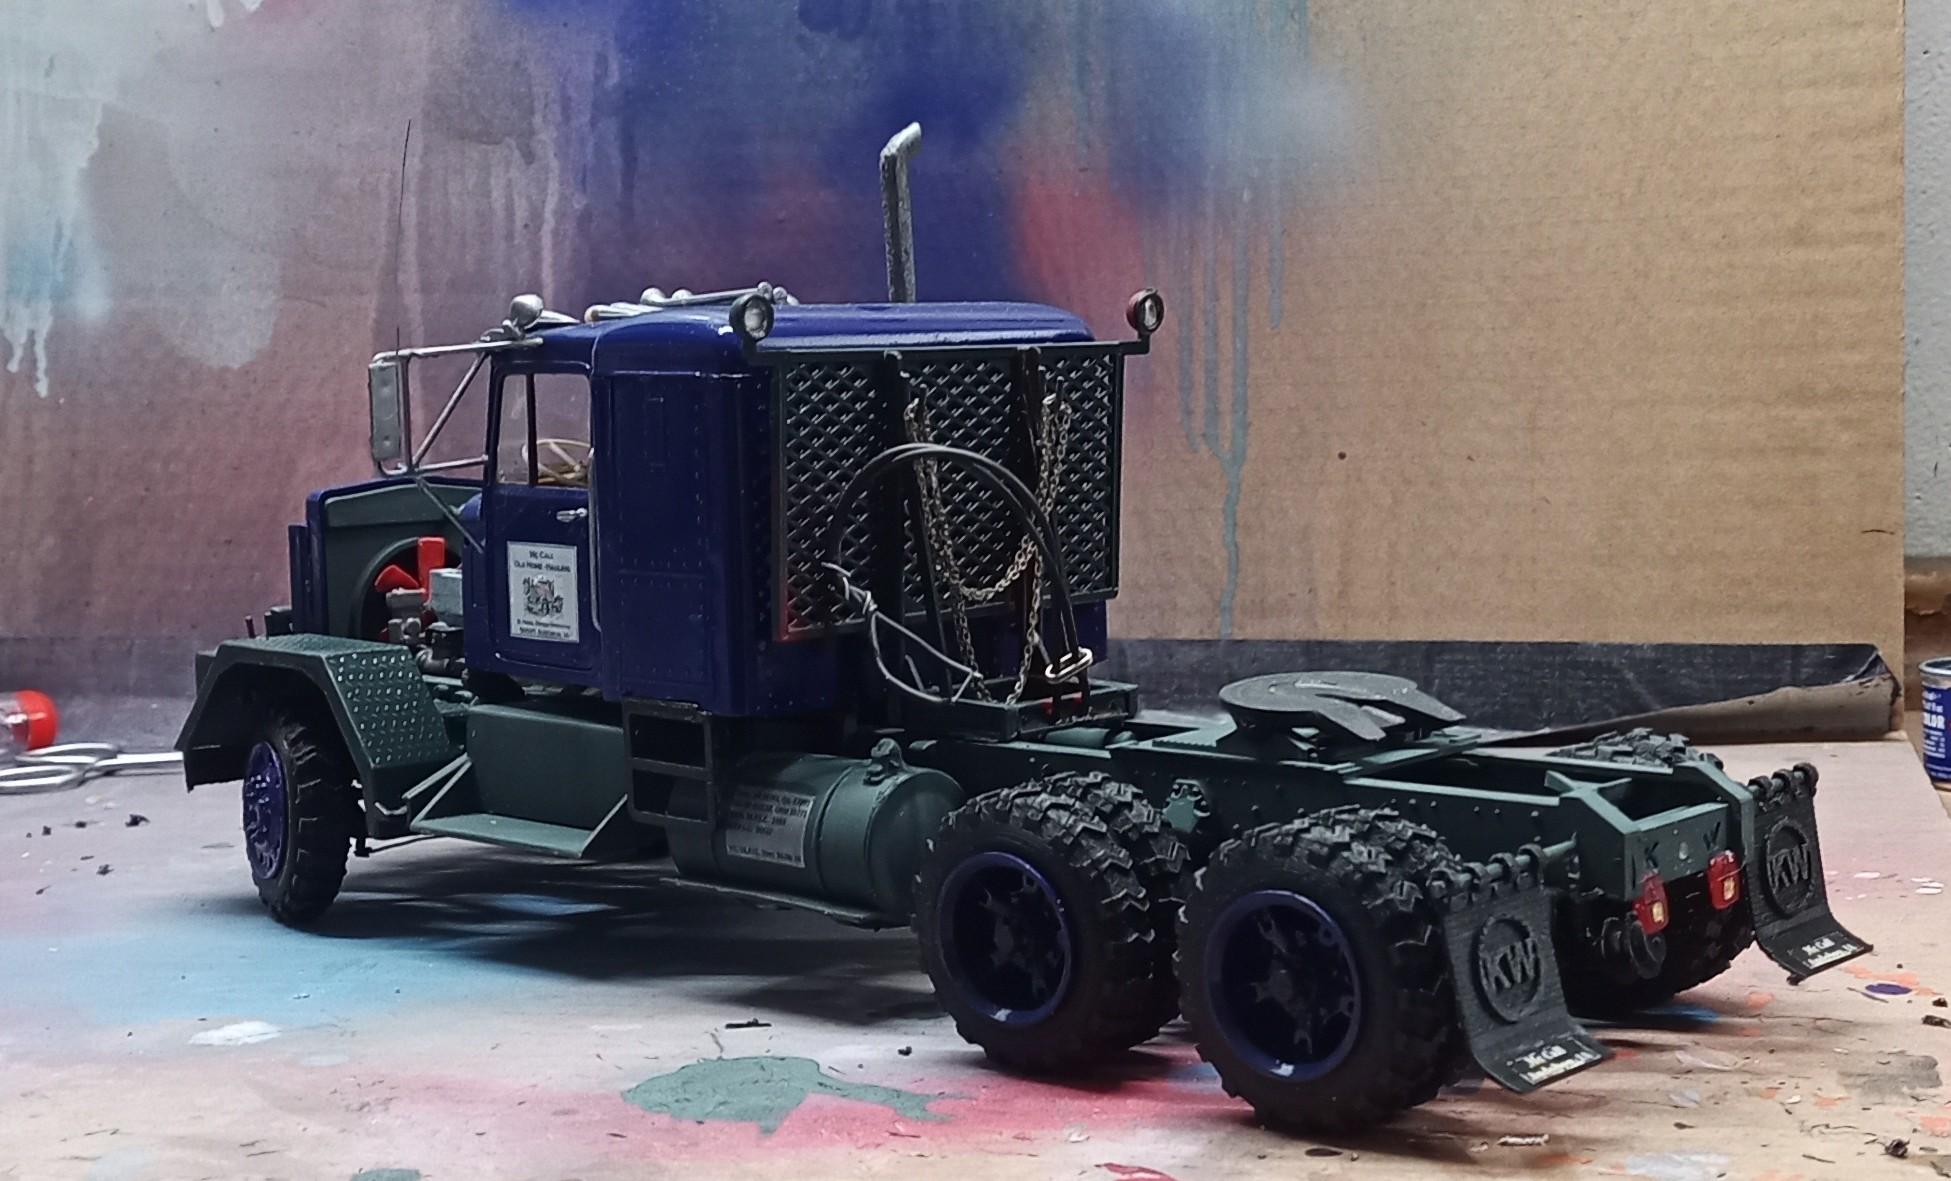
I guess it's ready for "Under Glass"! I made a tool box (underneath sleeper) and painted the "KW" letters on the mud flaps white! Gave it a new antenna and turning signals on the fender sides instead of on top! Thanks for watching and your kind remarks! Hope you like the results!
-
Alaskan Hauler refurbishing project
Jürgen M. replied to Jürgen M.'s topic in WIP: Model Trucks: Big Rigs and Heavy Equipment
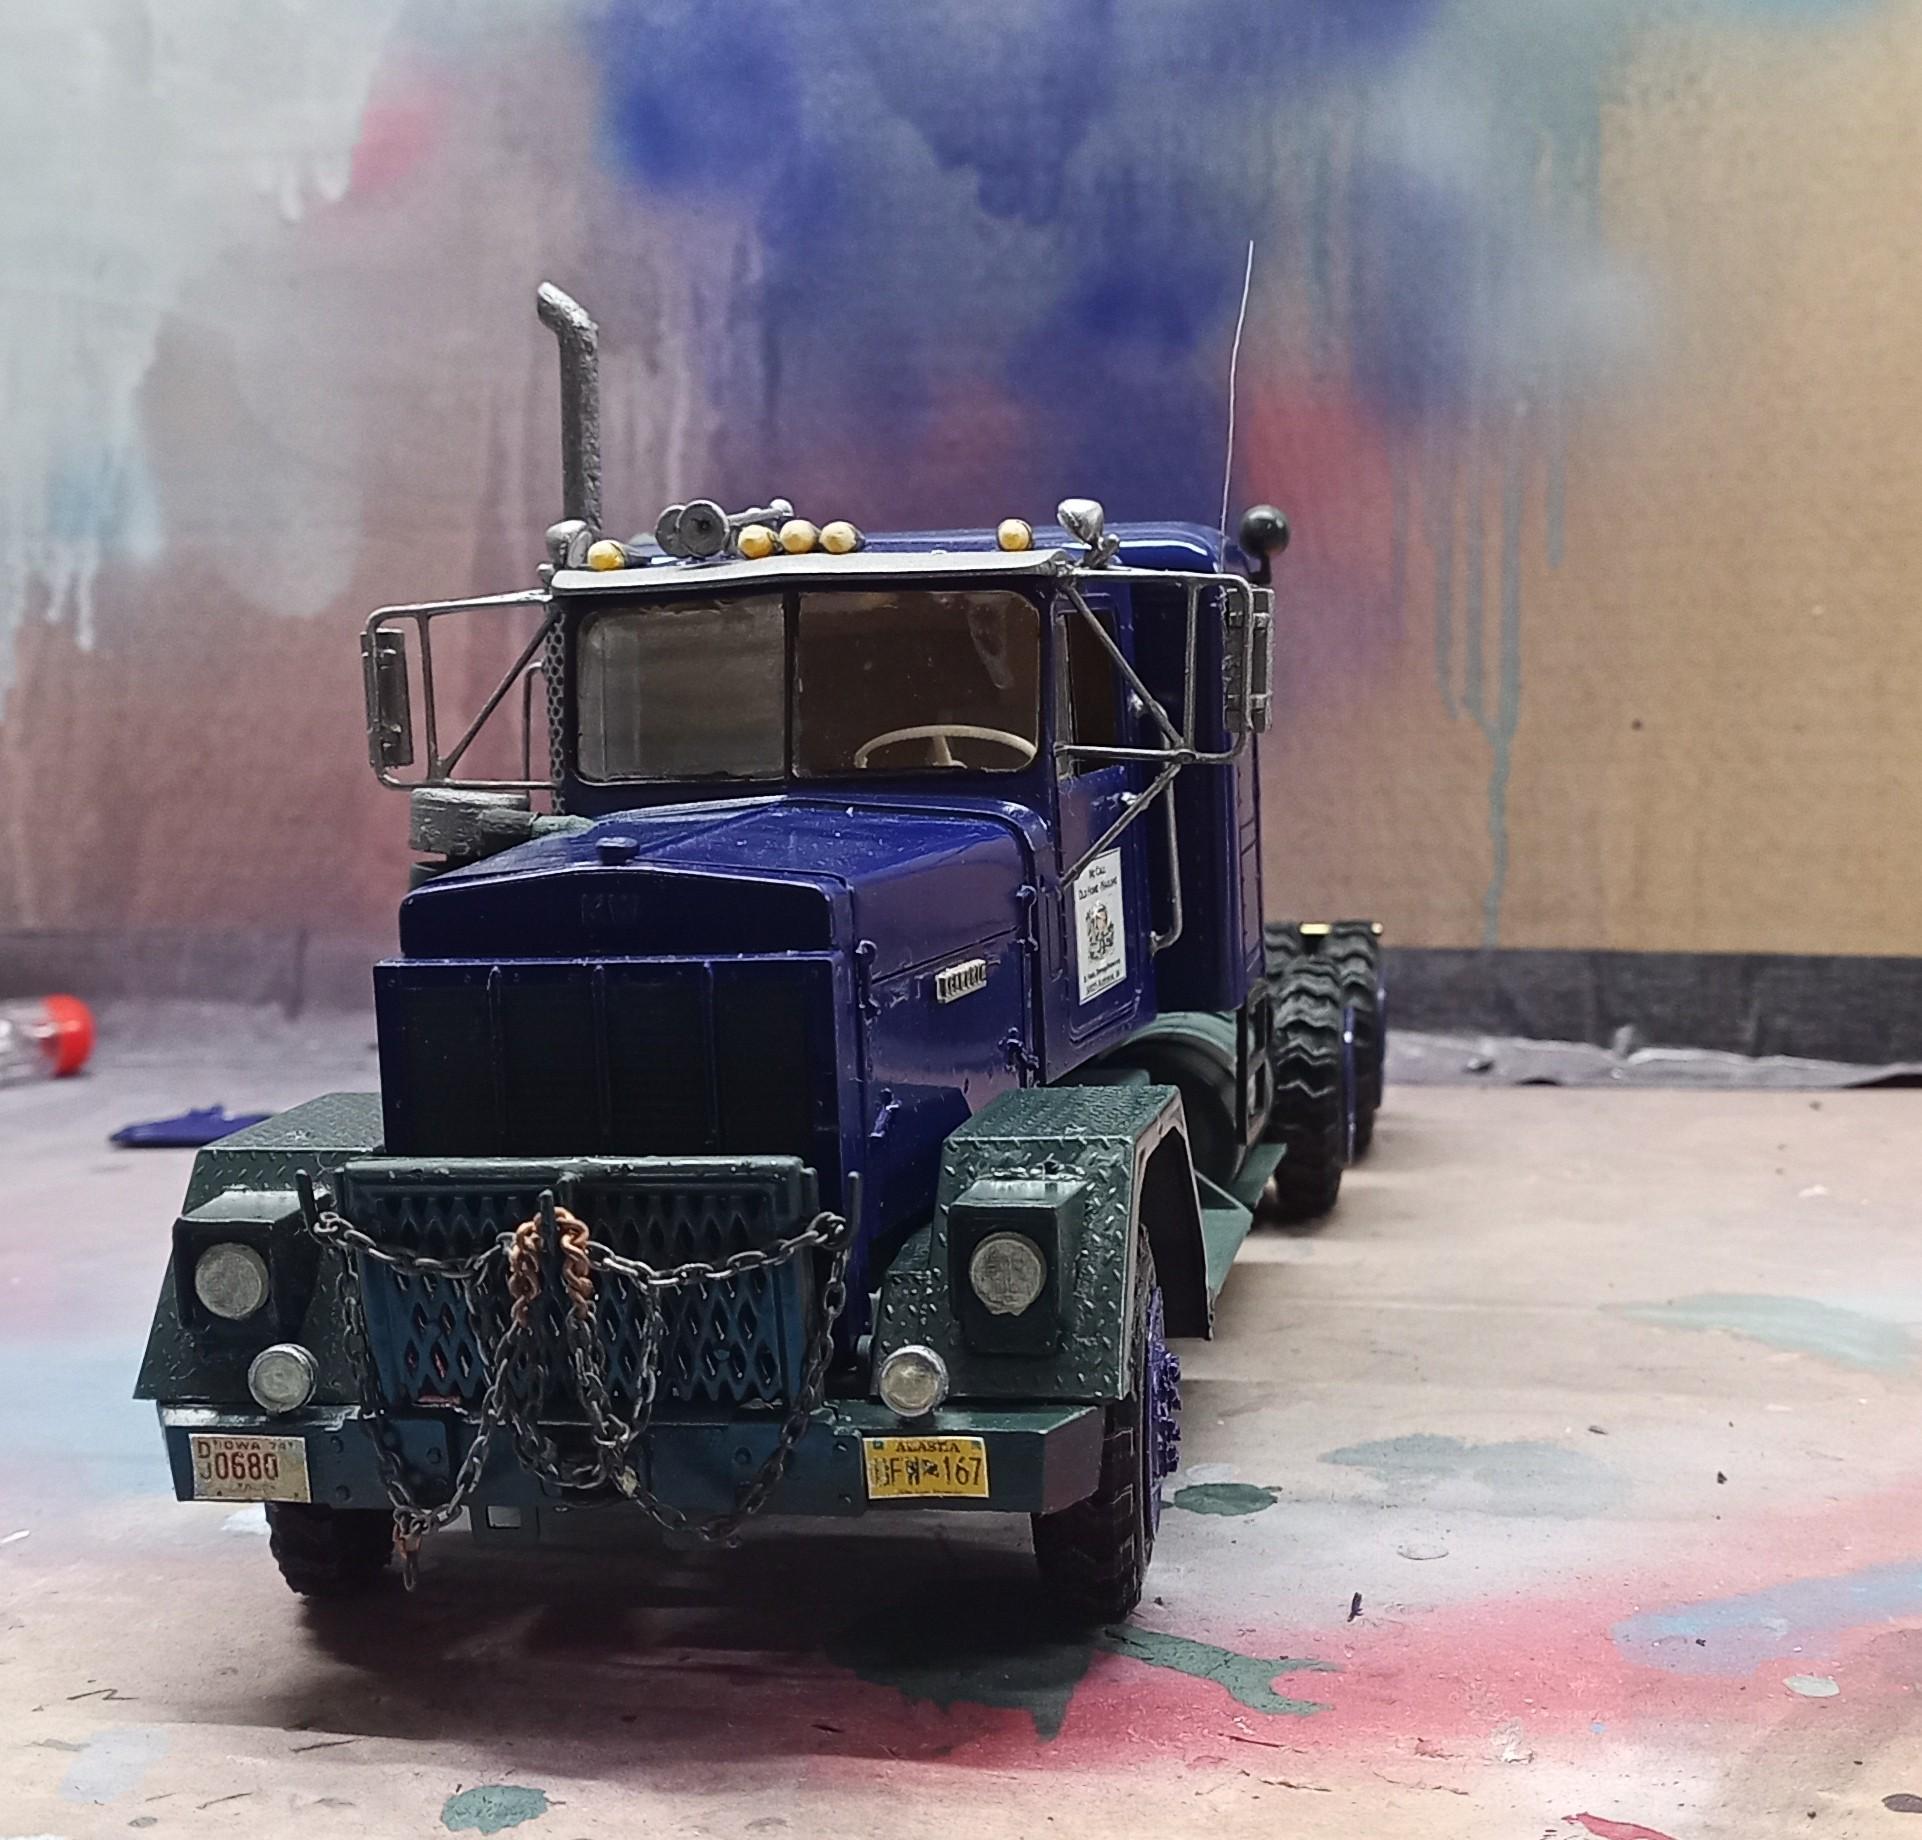
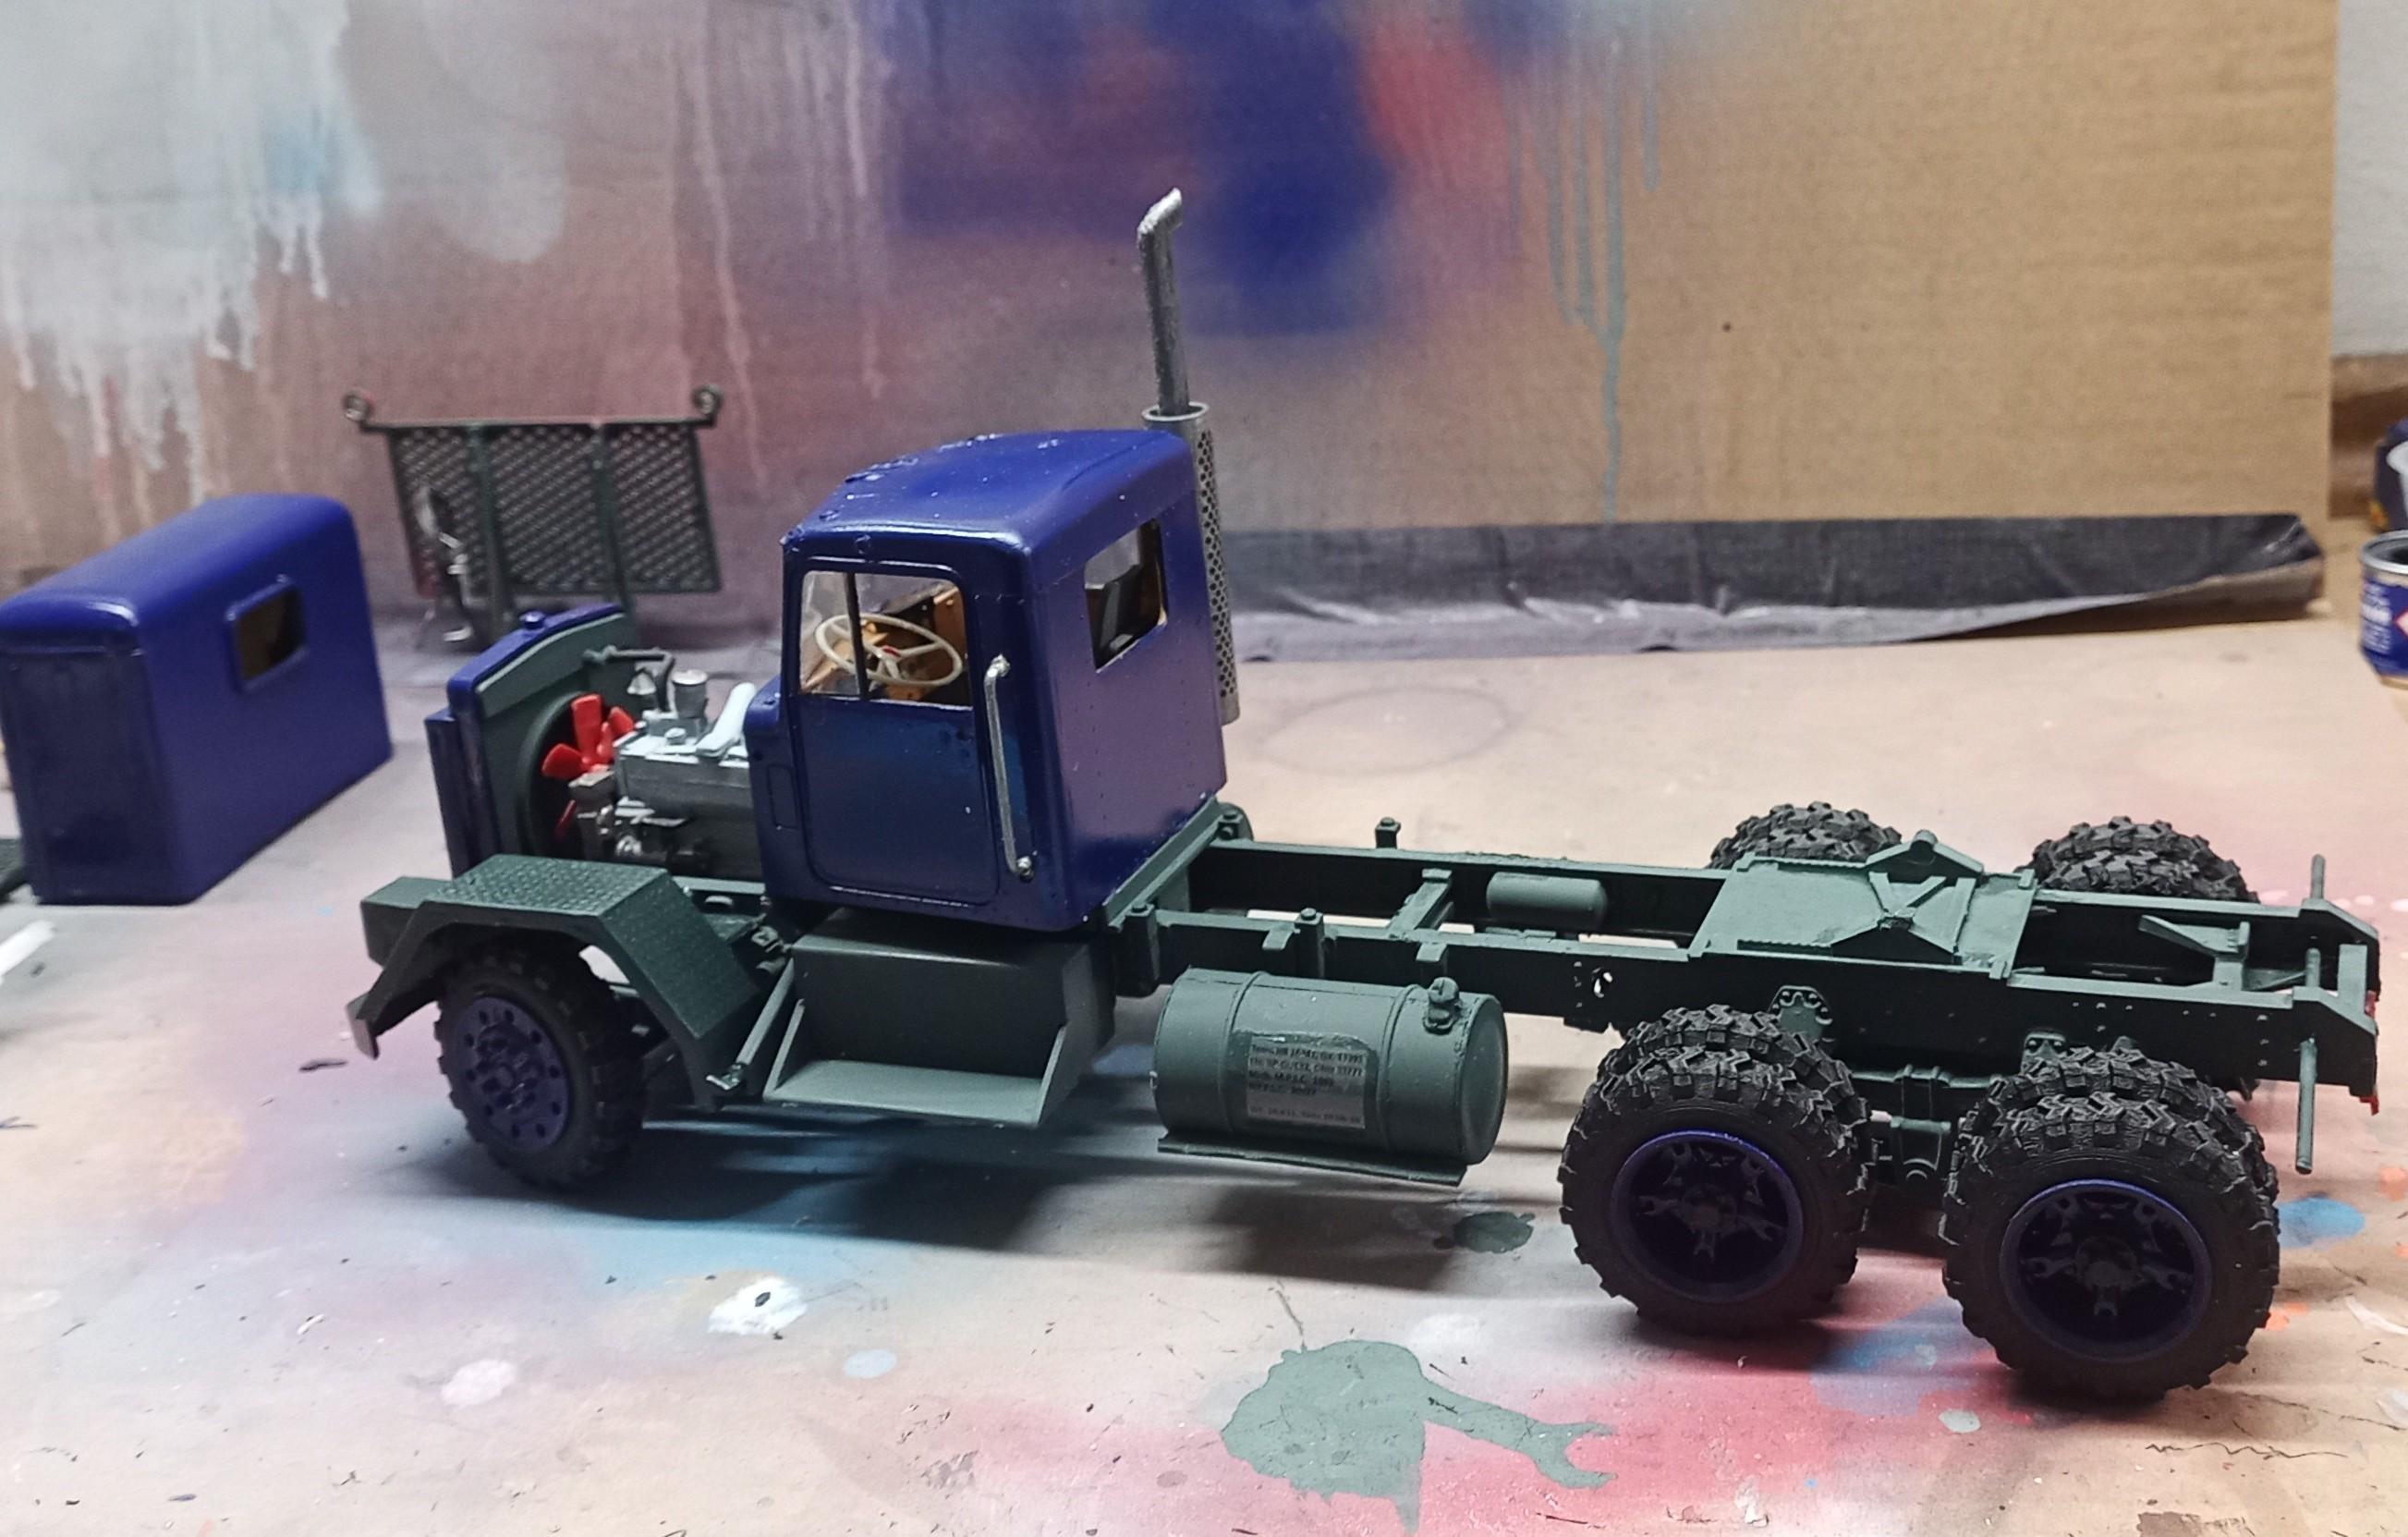
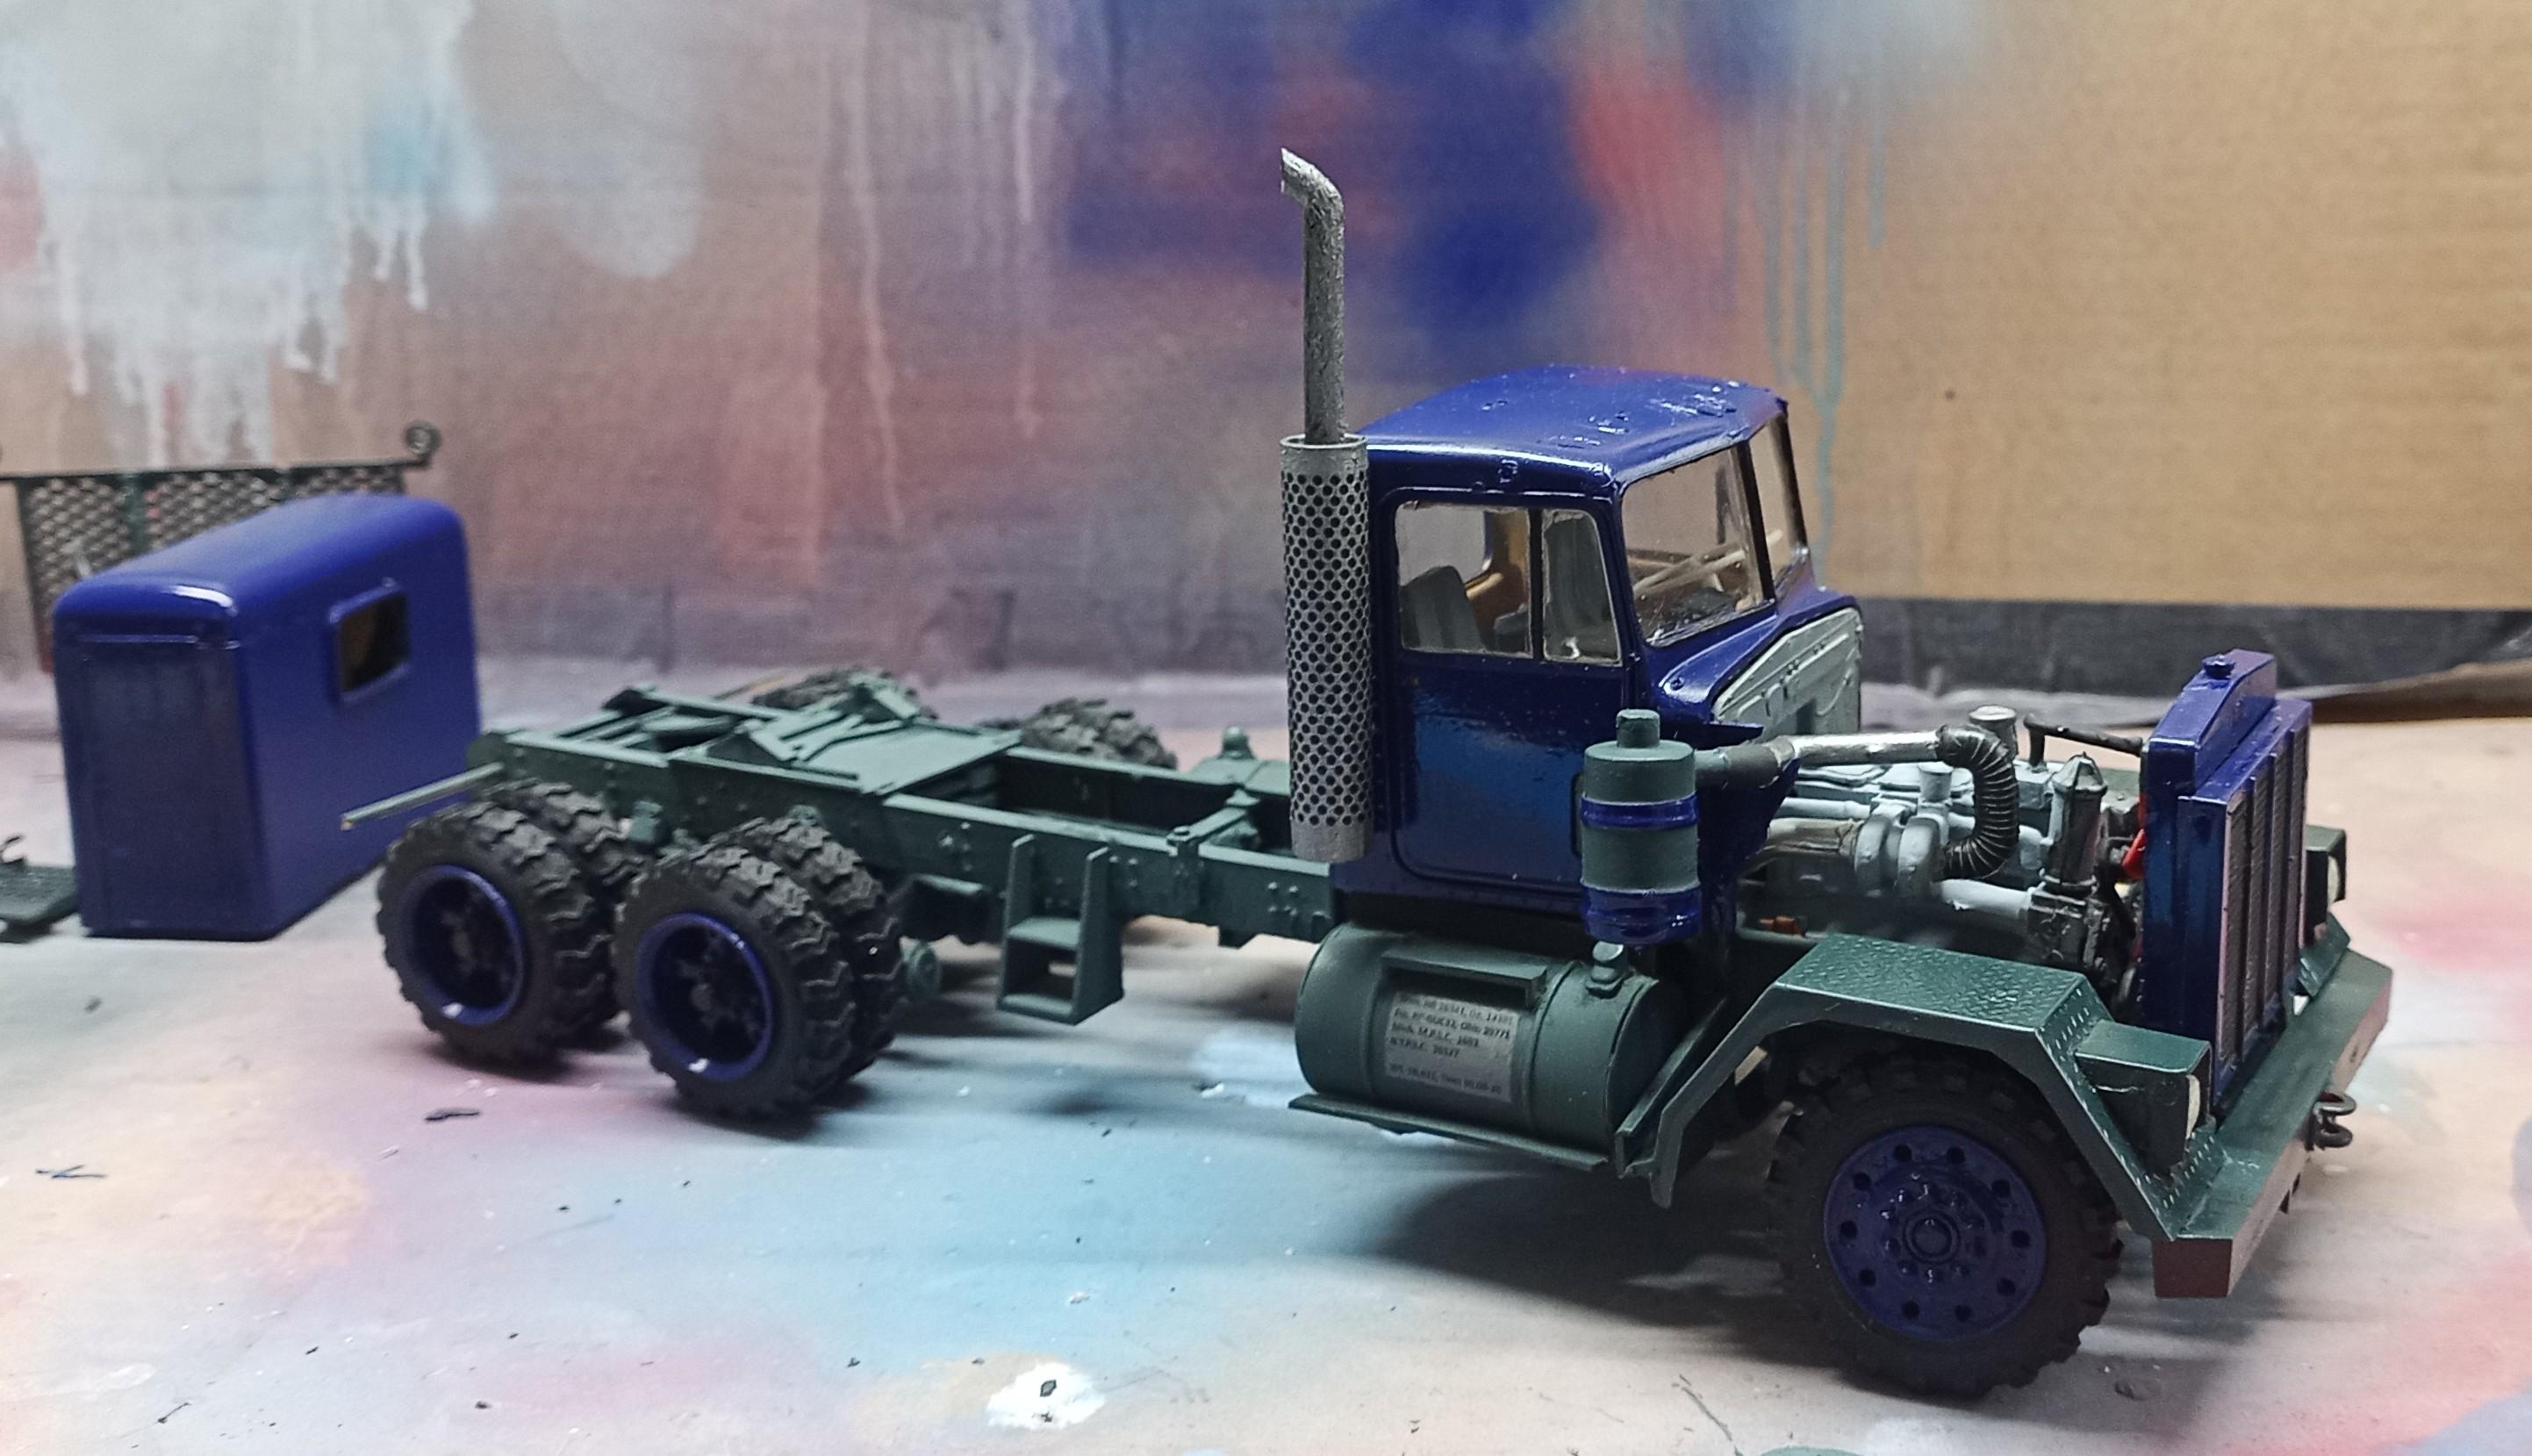
And some more progress: The hood fits! Plates are on the bumper (Iowa and Alaska). The second air intake is installed: Almost finished! 👍
-
Caboverdose
Jürgen M. replied to Rockford's topic in WIP: Model Trucks: Big Rigs and Heavy Equipment
Steve, that engine looks cool! Really nice job and an asset to your build! 👍 -
Alaskan Hauler refurbishing project
Jürgen M. replied to Jürgen M.'s topic in WIP: Model Trucks: Big Rigs and Heavy Equipment
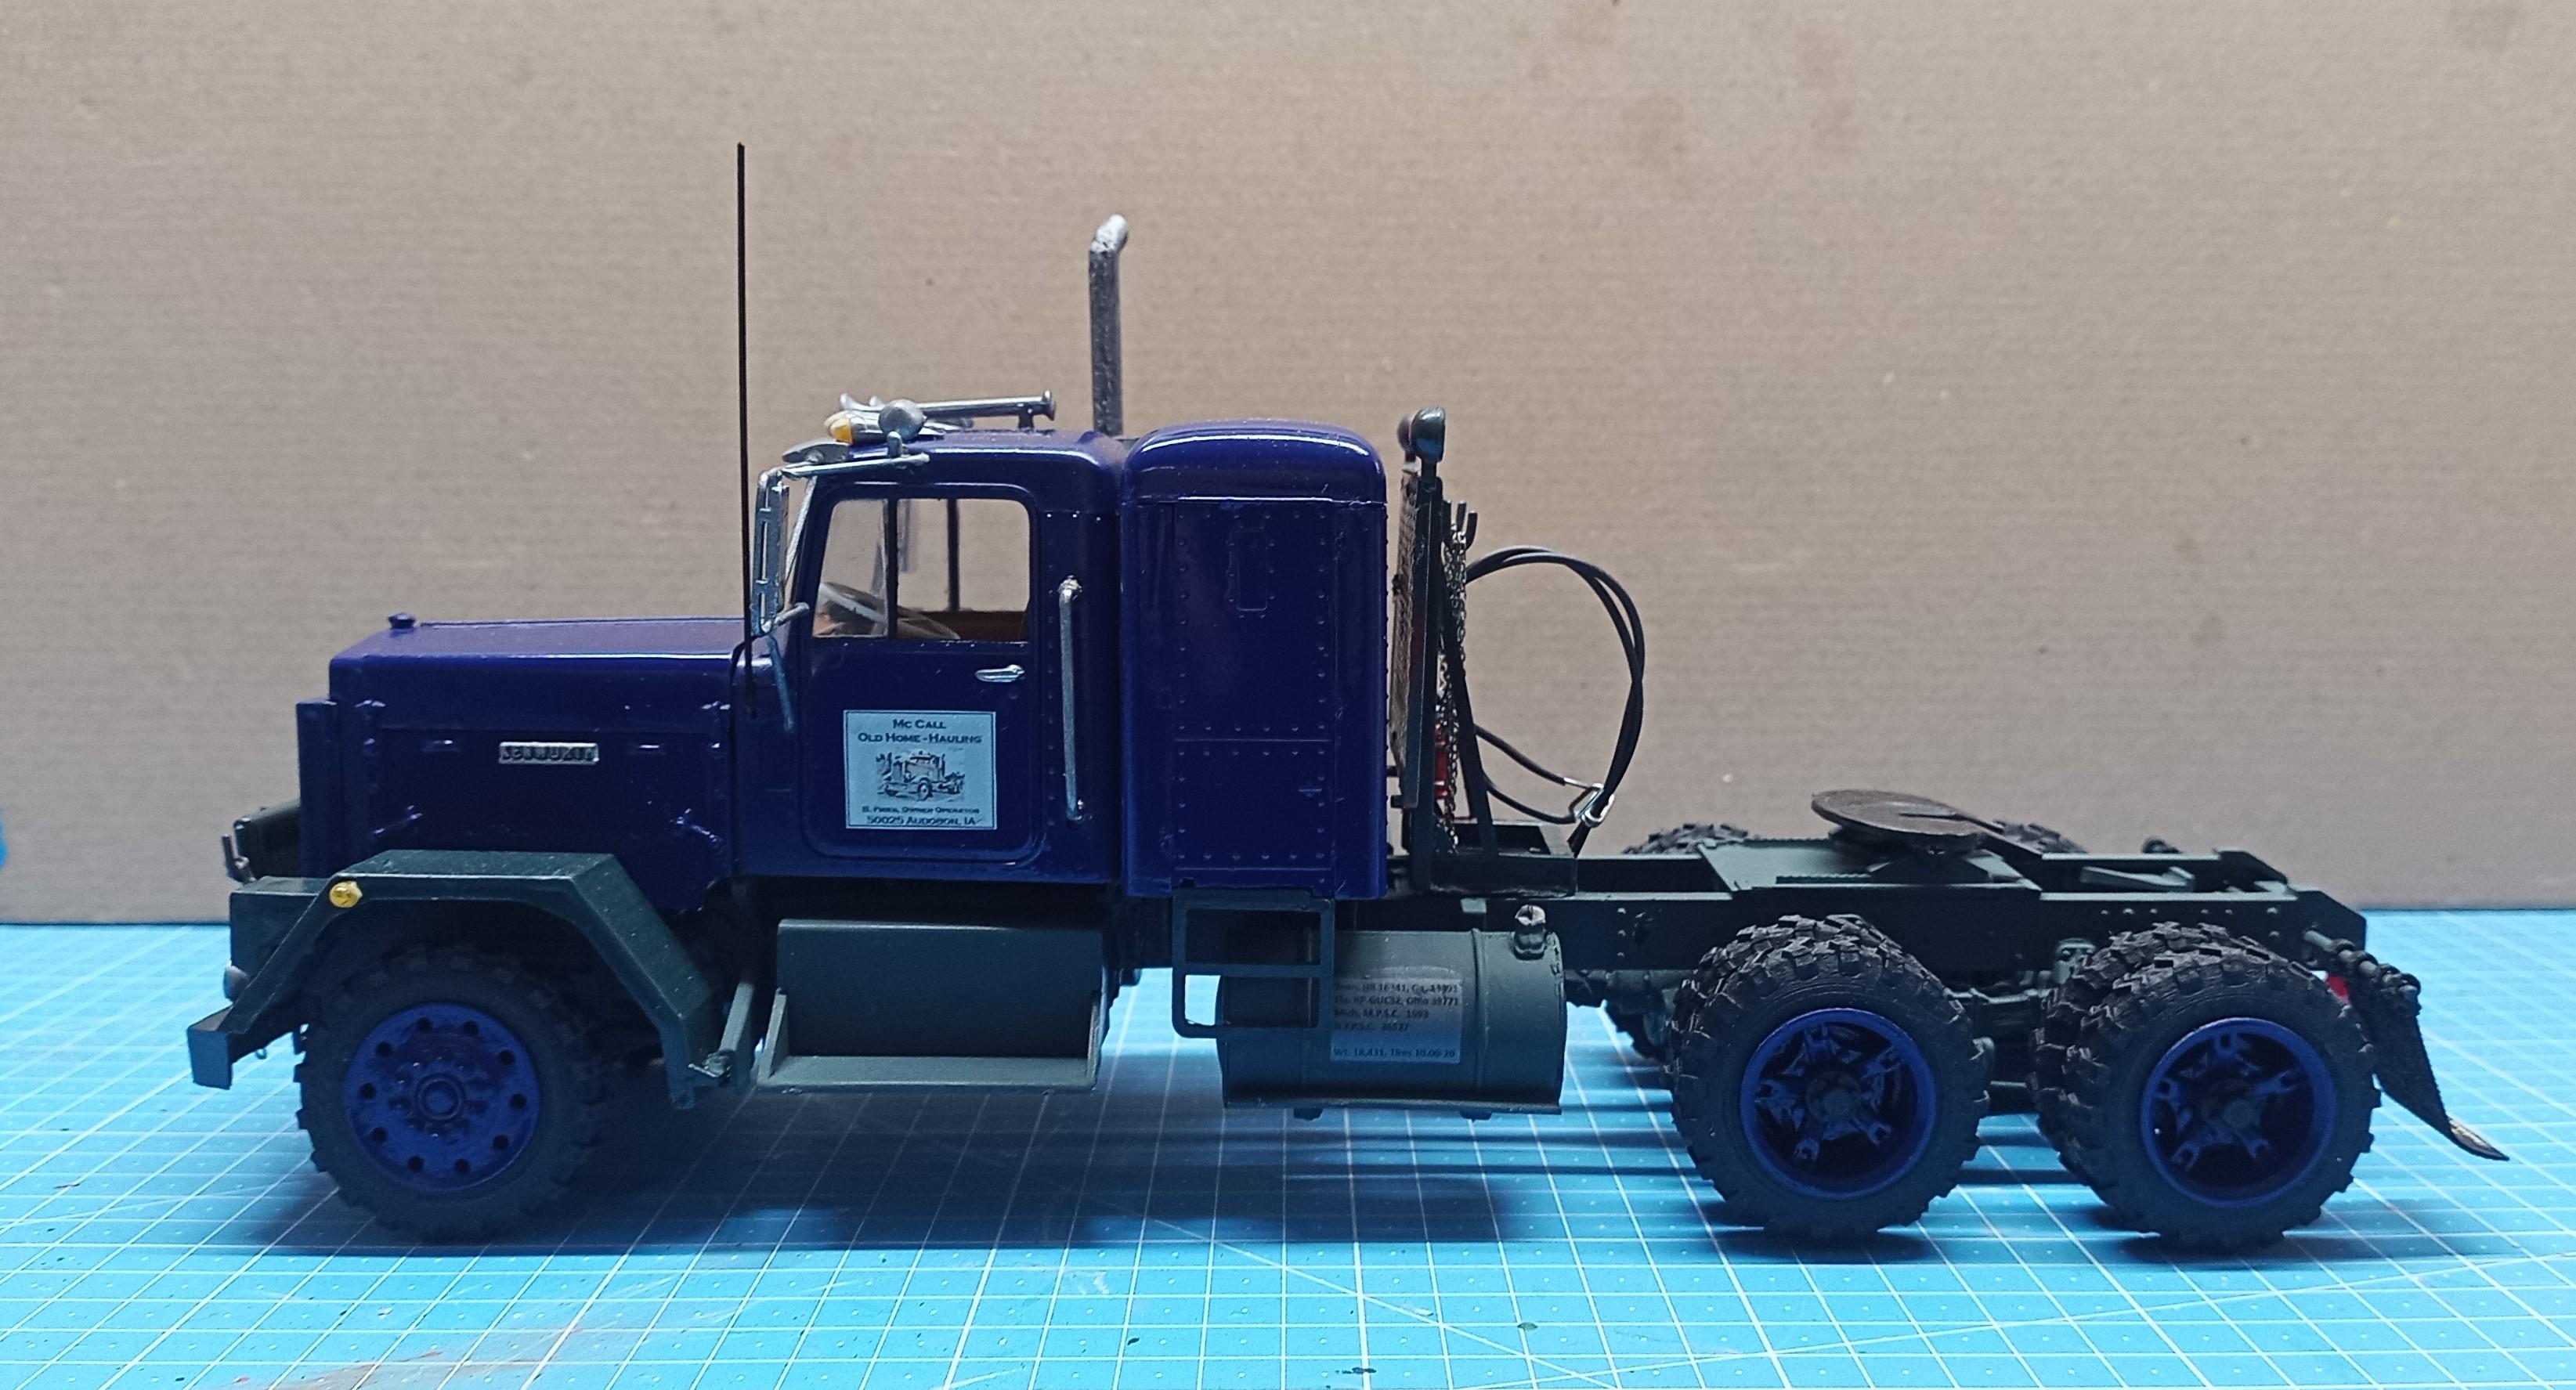
Got the headache rack mounted and the chains back on! ...also mirrors, marker lights, horns and air lines! The mud flaps are printed. I took them from my "Big Nasty" project and added the KW badges.
-
Alaskan Hauler refurbishing project
Jürgen M. replied to Jürgen M.'s topic in WIP: Model Trucks: Big Rigs and Heavy Equipment
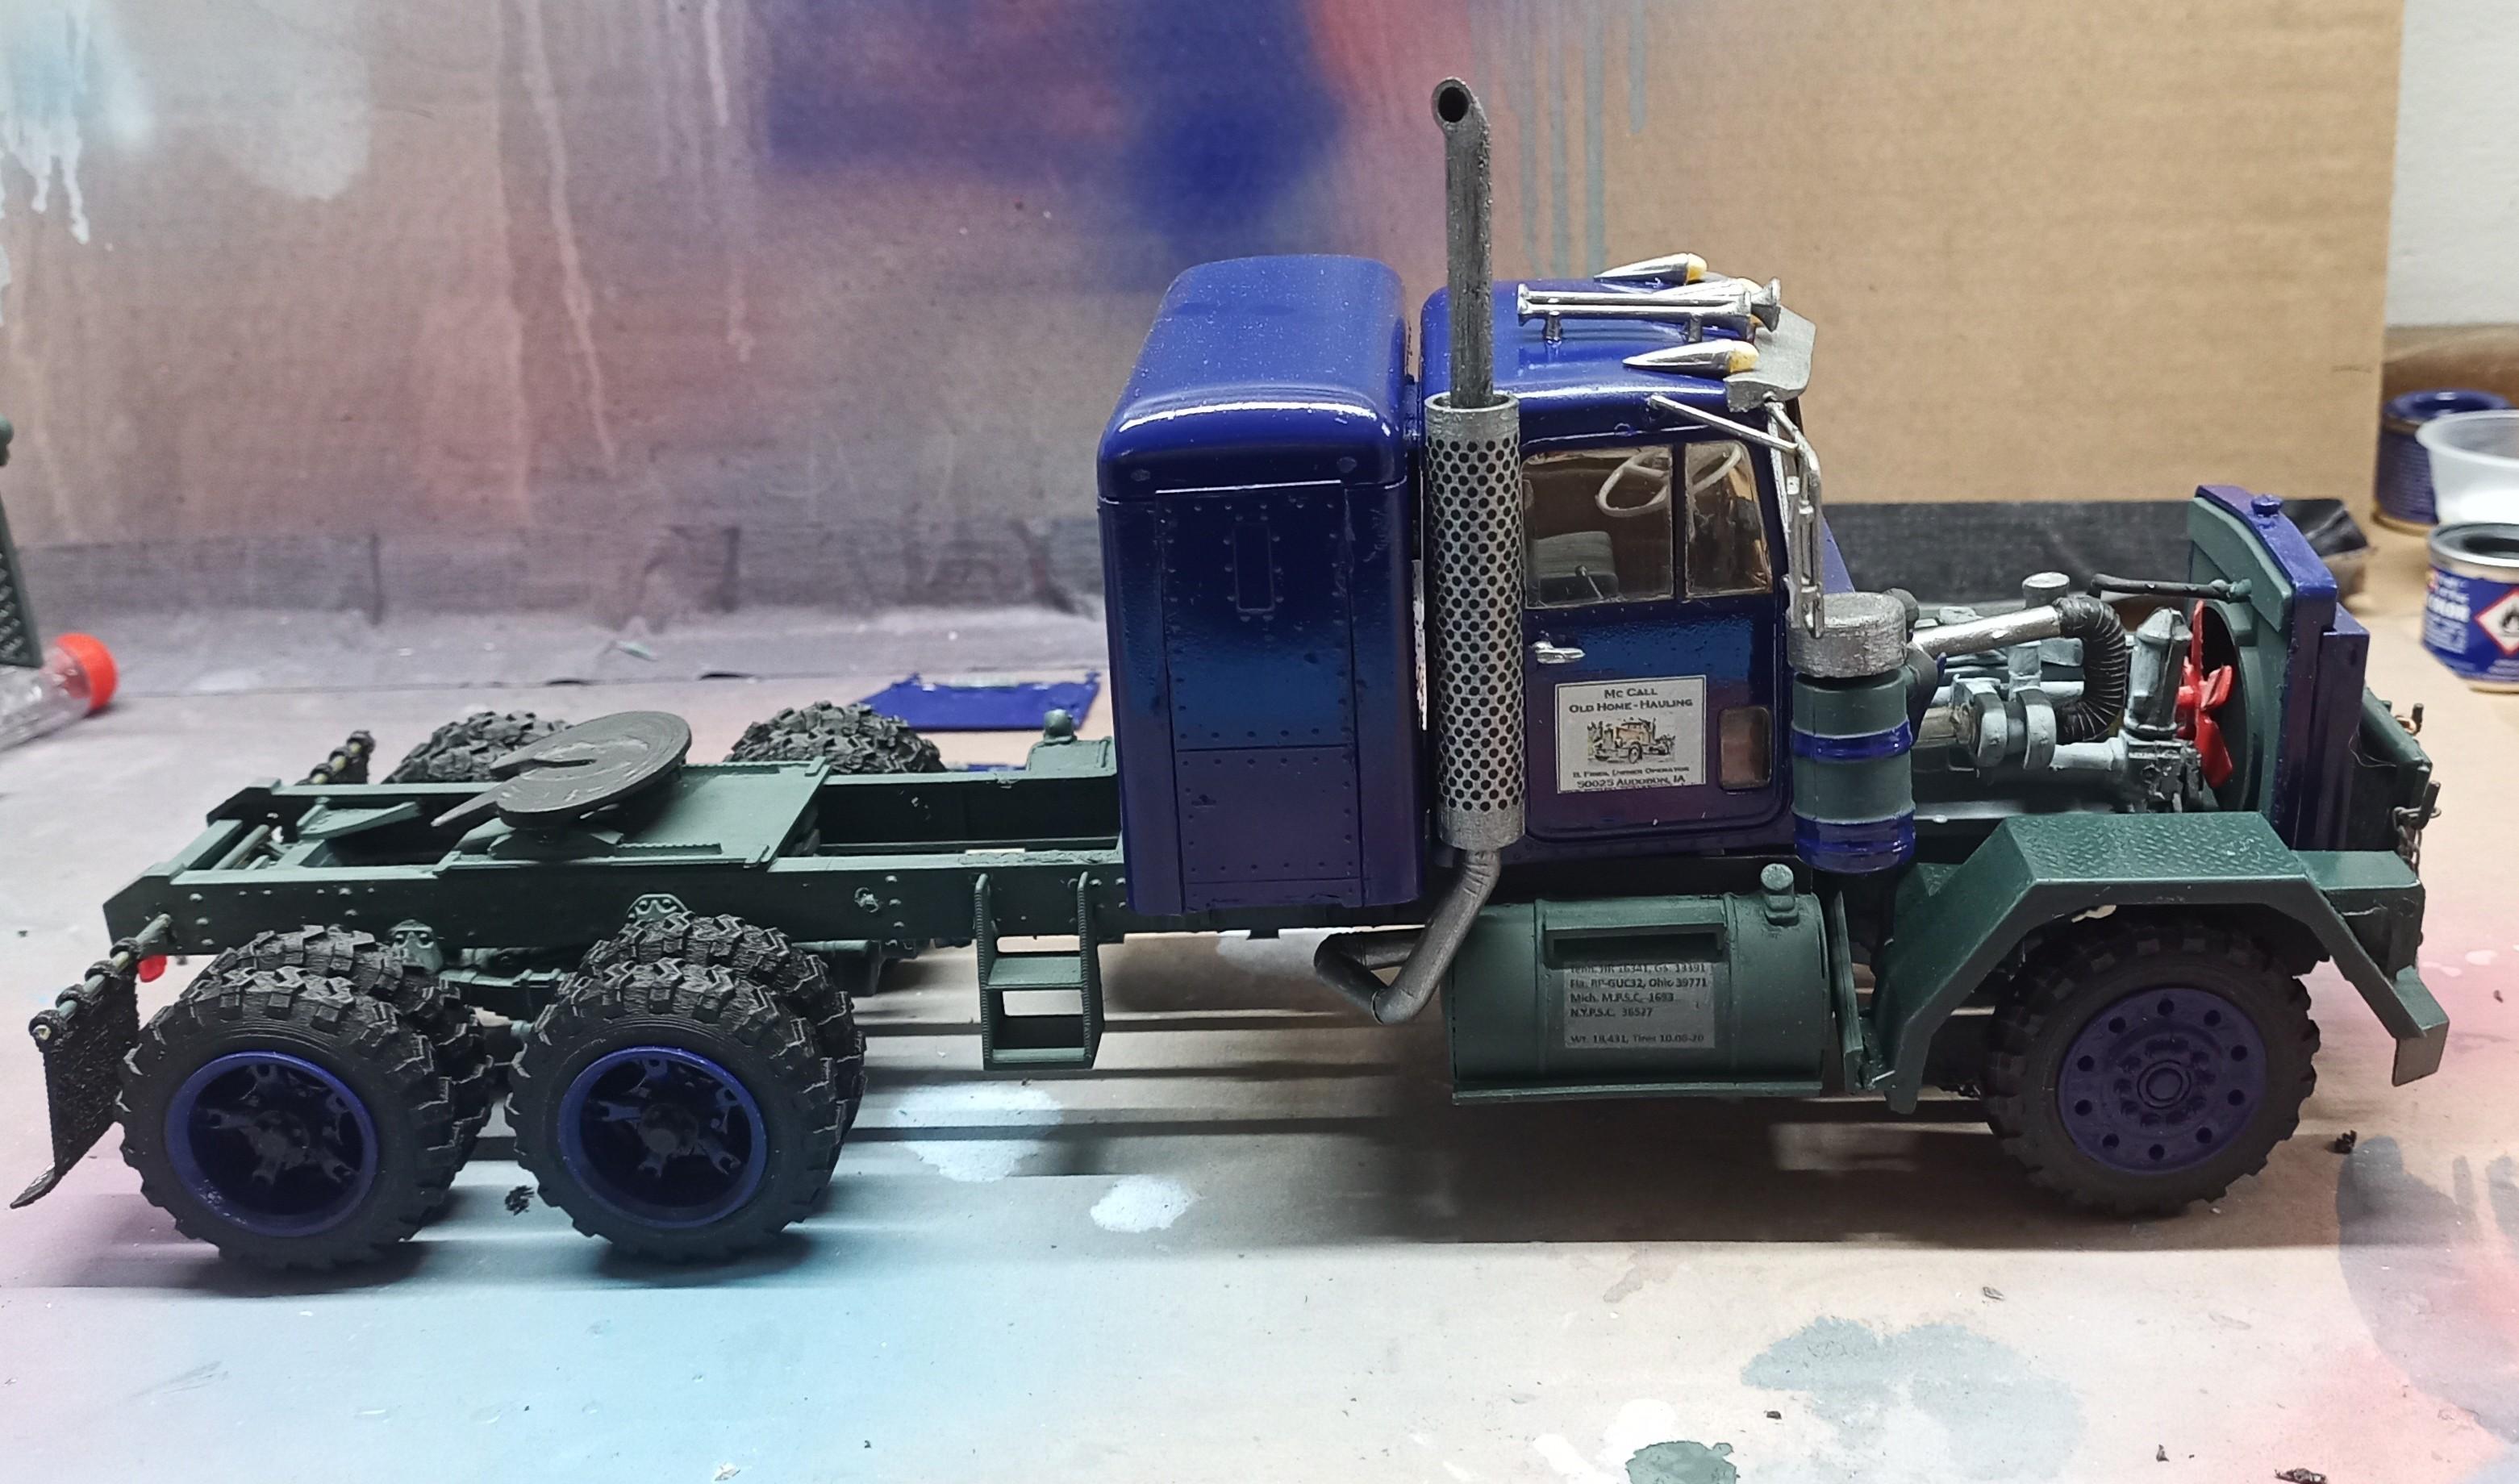
Thanks guys! I know the tires are a bit rough looking but I thought it would fit this truck pretty well! A bit more progress: (almost through with this) I'm dedicating this to the late Bill Fries, also known as C.W. MC Call, the creator of "Convoy" and a lot of unforgotton songs like "Wolf Creek Pass" and "The Old Home Filler Up and Keep on a Truckin' Café "!
-
Alaskan Hauler refurbishing project
Jürgen M. replied to Jürgen M.'s topic in WIP: Model Trucks: Big Rigs and Heavy Equipment
Yes, you're right! I could have done that but since it won't be seen .... -
Alaskan Hauler refurbishing project
Jürgen M. replied to Jürgen M.'s topic in WIP: Model Trucks: Big Rigs and Heavy Equipment
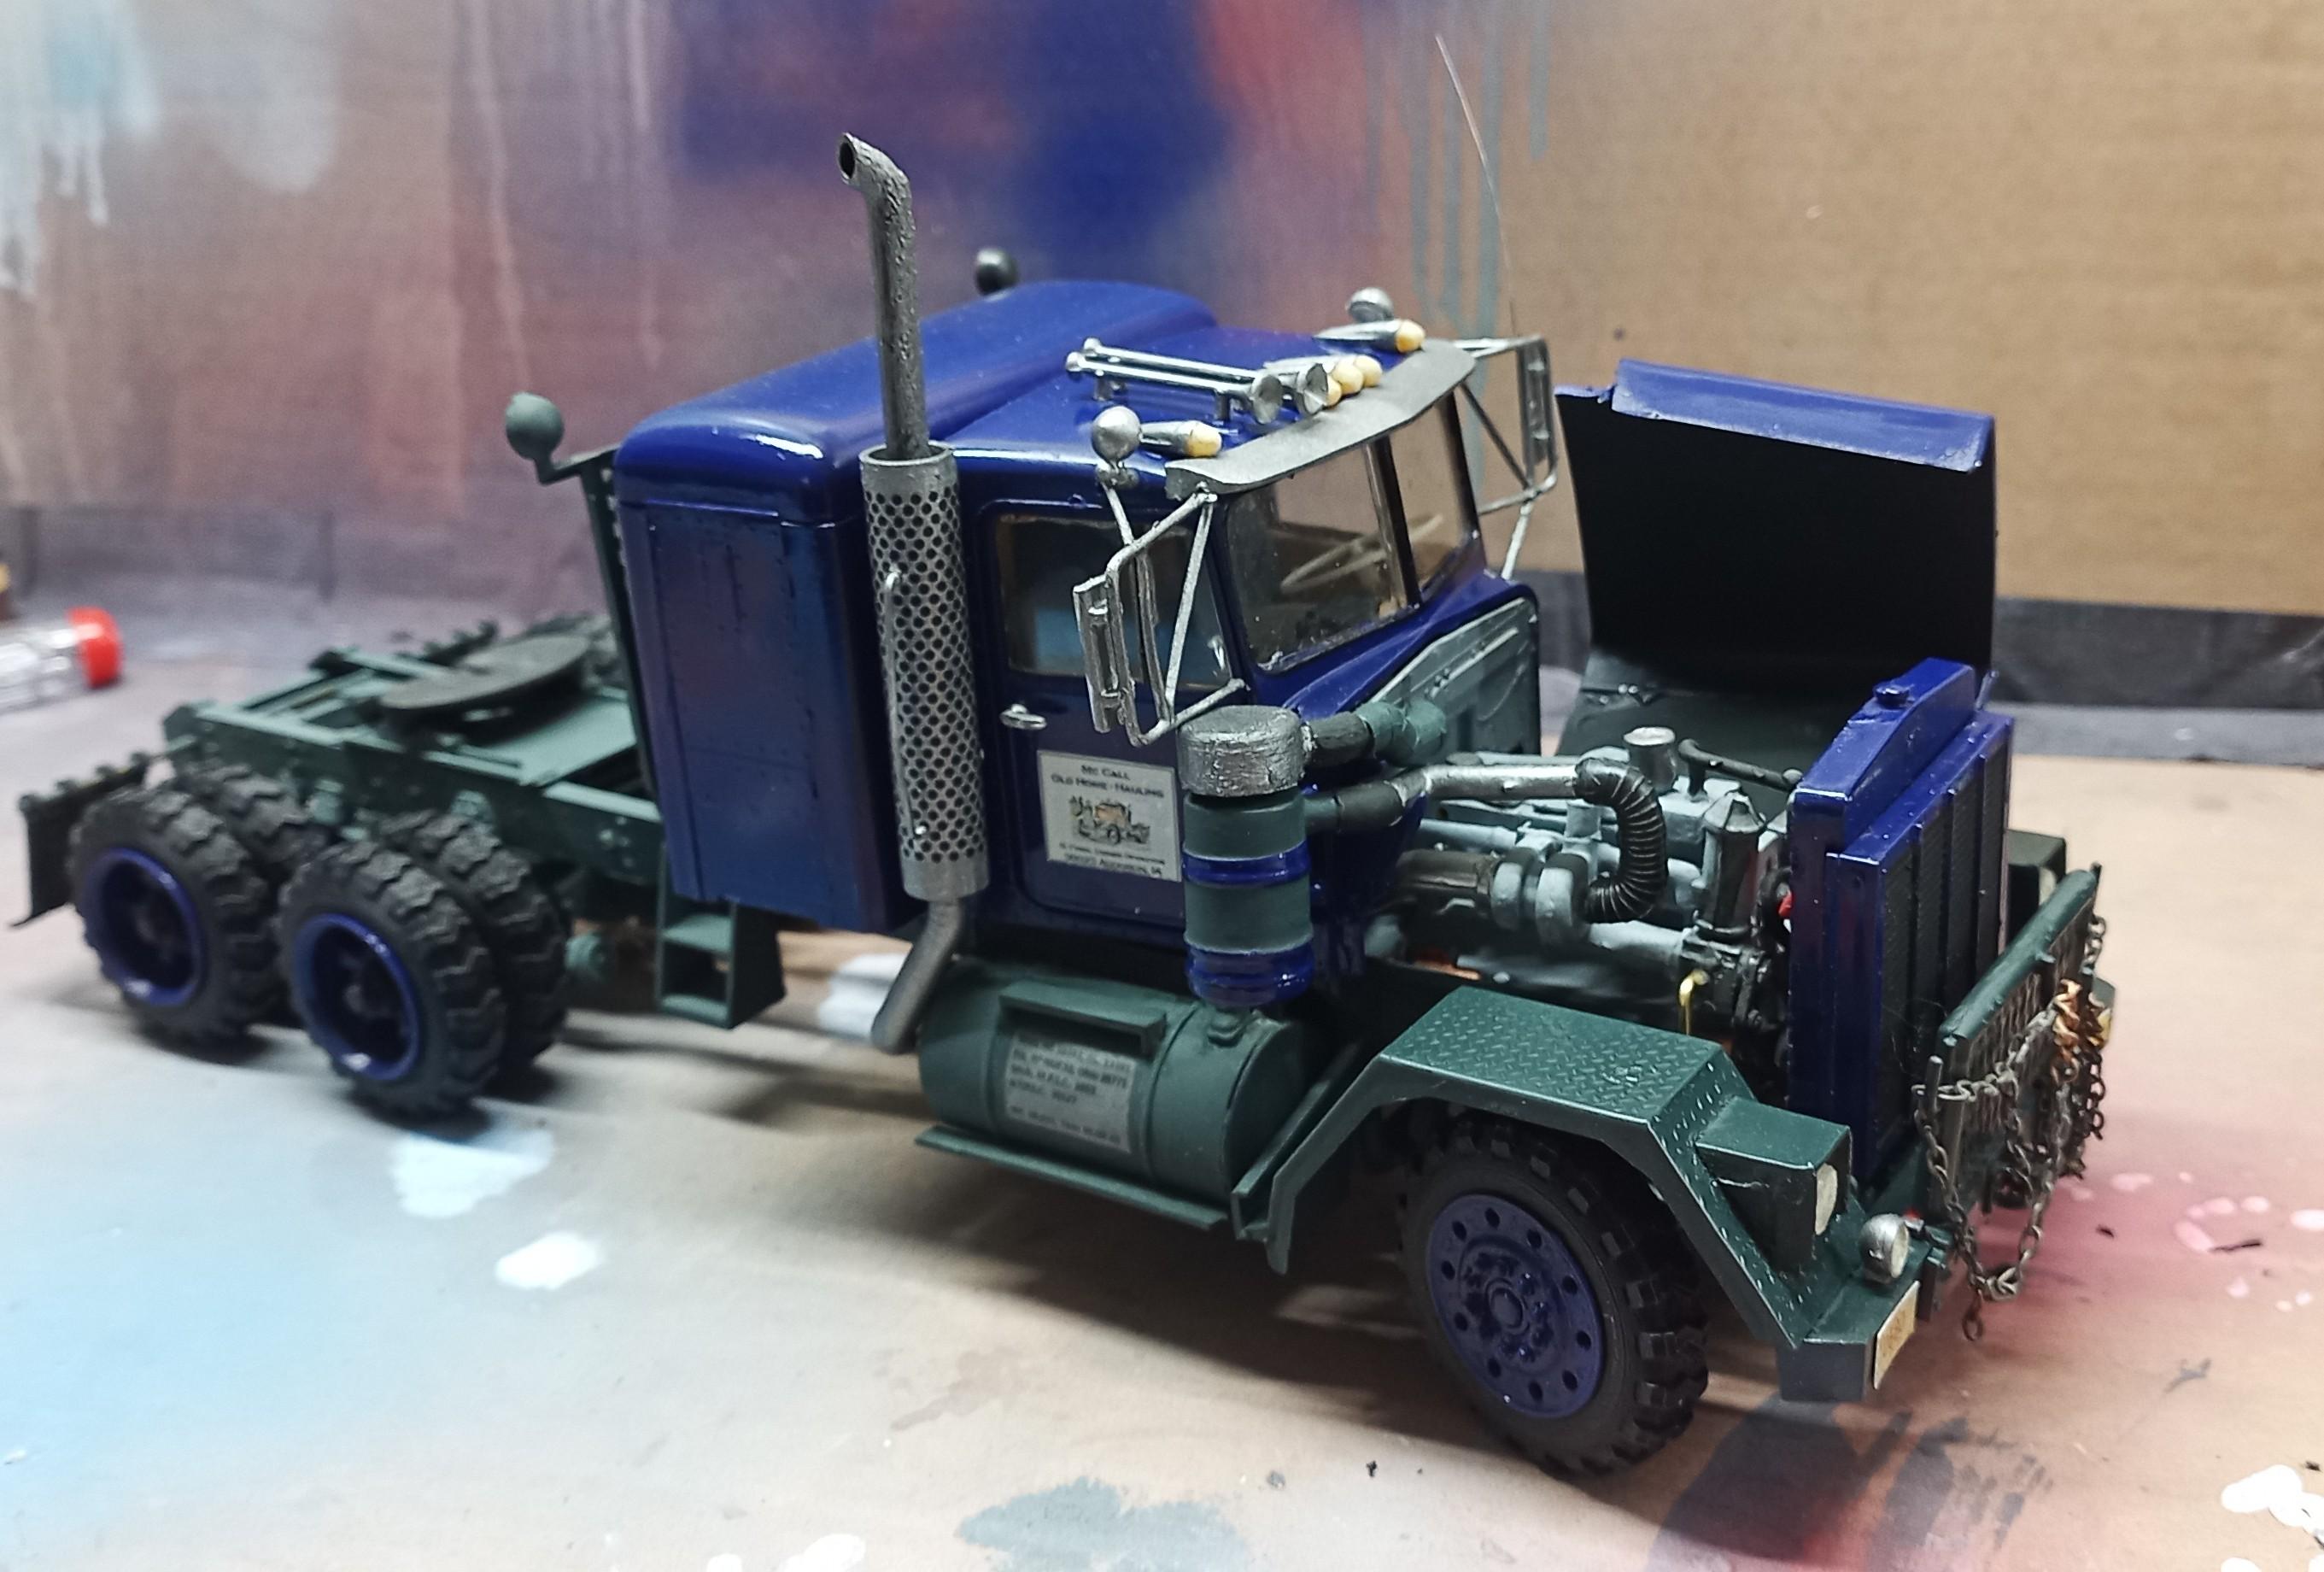
Here's some more to see: Fenders, air cleaner and some other small stuff added! Unfortunately the fan didn't go into the radiator although everything was put together correctly! I even loaded down the instructions to see if I did anything wrong but all was according to the instruction sheet. It was like that before I took it apart and no matter how I tried to fit it in, it just didn't work out. The hood will be closed anyway so it won't be seen later!