cifenet
-
Posts
856 -
Joined
-
Last visited
Content Type
Profiles
Forums
Events
Gallery
Everything posted by cifenet
-
 Bravo! Flawless work here! Love the details and high quality finish!
 -
Nissan R390 GT1 - 1/24 - Tamiya
cifenet replied to toled's topic in Other Racing: Road Racing, Salt Flat Racers
Beautiful work! The finish is fantastic and I like the details you added in the engine bay. Thanks for sharing. -
1968 Le Mans GT40 #10
cifenet replied to Csaba aka felhasznaaloo's topic in Other Racing: Road Racing, Salt Flat Racers
Nicely replicated! You definitely added the realism by giving an awesome weathering look! -
1/25 Revell Peterbilt 359
cifenet replied to cifenet's topic in Model Trucks: Big Rigs and Heavy Equipment
Thank you, David!! Appreciated very much! -
That is simply brilliant!!! Normally people would expect to have tires to have “both” sides, but the kit challenged you with a problem and you solved it perfectly!
-
Kenworth W925
cifenet replied to Bronzekeg's topic in WIP: Model Trucks: Big Rigs and Heavy Equipment
Fantastic progress! It is building ip nicely. The color red is simply perfect for the frame. -
Custom BJ & the Bear KW & Moebius trailer
cifenet replied to Mike77's topic in Model Trucks: Big Rigs and Heavy Equipment
This shows the result of extensive work! Awesome job! I wonder how hard it is to navigate U turns though. -
Wow, this is something different! Very nice details all around, I can see many interesting features nicely reproduced! Nice build, indeed!
-
1/25 Revell Peterbilt 359
cifenet replied to cifenet's topic in Model Trucks: Big Rigs and Heavy Equipment
Sure! Ha, I don’t know why, but wreckers, fire trucks, and even European COEs are all looking sweet in my eyes right now. Hi John, Thanks for checking this out and providing me a positive comment! -
Just Another Plain White Box
cifenet replied to Rockford's topic in Model Trucks: Big Rigs and Heavy Equipment
Hi Steve! The more I look at, I tell myself that you can’t go wrong with white/plain setup. It really goes well with any truck pulling it also. Again, great finish on this one, and the previous trailer as well. I like the subtle details all around, again, goes well with white/clean finish. At any rate, now you can display TWO trucks with trailers at the same time! Even at 1/32 scale, I would think that would look massive! -
1/25 Revell Peterbilt 359
cifenet replied to cifenet's topic in Model Trucks: Big Rigs and Heavy Equipment
Hi Justin! Thanks again for keeping your interest on this! Love your work, Brian! Good to get feedback from you! Hakan, without you, my WIP would have been quite boring. Glad to have your knowledgeable commentary! Thanks again! Thank you for sharing your supportive comment here, Bill! Hi Victor, greatly appreciated! Believe or not, I have seen some of your work, and they are exceptionally superb! I feel really good receiving this positive comment from you! Thank you, Mike! I think you will do well! And when you have an opportunity start the build, don’t hesitate to get in touch, I can definitely provide any info you may need. Appreciated your suport, Philippe! Thank you, Scott! -
1/25 Revell Peterbilt 359
cifenet replied to cifenet's topic in Model Trucks: Big Rigs and Heavy Equipment
Thanks Alex! I still need to catch you up on efficiency and speed! Appreciated your supportive words, Jeff! Hi Steve! You have been motivating and supporting my activity throughout! I thank you very much! I hear ya, I really think it all boils down to "having the dedicated time" for this hobby which we all do not have enough... I started to look into trailers as well, but I just do not have pictures coming into my head on "how am I going to build it" yet... For one, should I color match with one of my truck? Or should I weather it? 40ft? Or shorter one? Too many questions that I don't know how to answer yet. That Chevy Titan is something I built as my first truck. A real in-your-face introduction on AMT truck kit for me which I ended up liking it very much. Hi Daniel, I value your feedback and I am happy to have your positive feedback! ? Hi Jeff, I am glad it was informative and I appreciate your comment! Now looking back, the difficulty of making this kit wasn't bad, but it just had many parts to address and I had to think about the assembling order. For example, I didn't want to attach the front bumper till the last step thinking this will give me an opportunity to calibrate the position based on how my hood/cab/sleeper sits. But then I found out "too late" that my hood not doesn't fully open! It is almost a lesson in life. Hi Chris! As always, I am happy to get your positive feedback! Thanks Warren!! This Peterbilt has many chorme parts, it worked out for me. ? As always, thanks Jim for checking it out and providing supportive comment for me! -
1/25 Revell Peterbilt 359
cifenet replied to cifenet's topic in WIP: Model Trucks: Big Rigs and Heavy Equipment
Completed build is posted in the Under Glass section: -
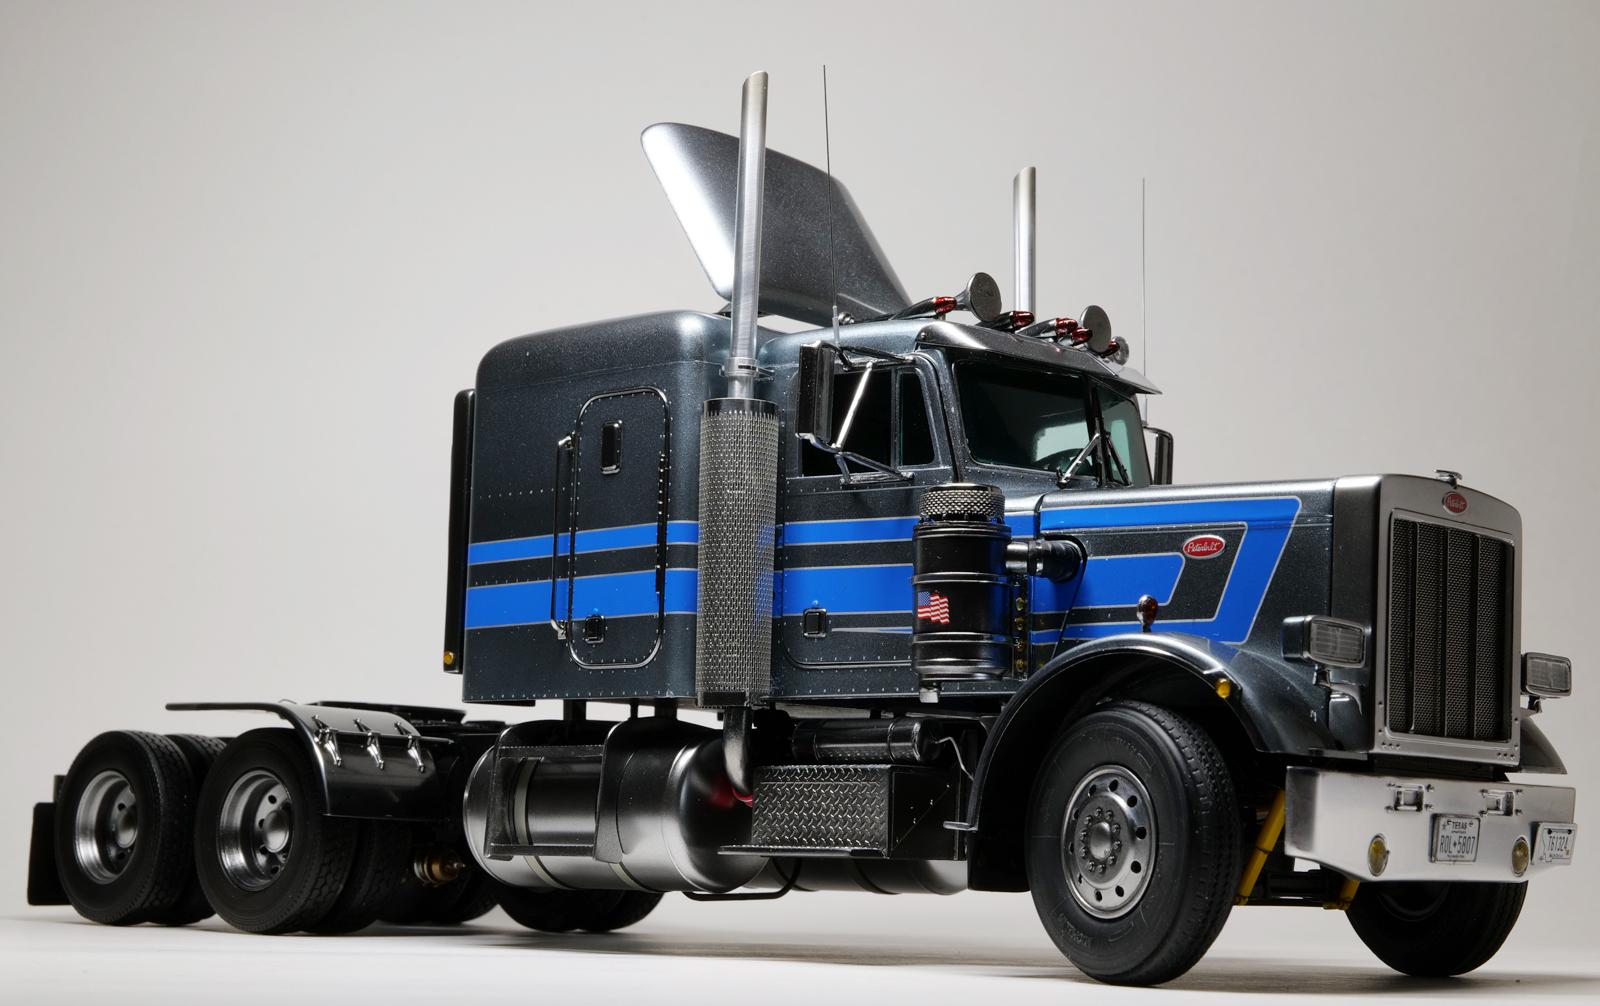
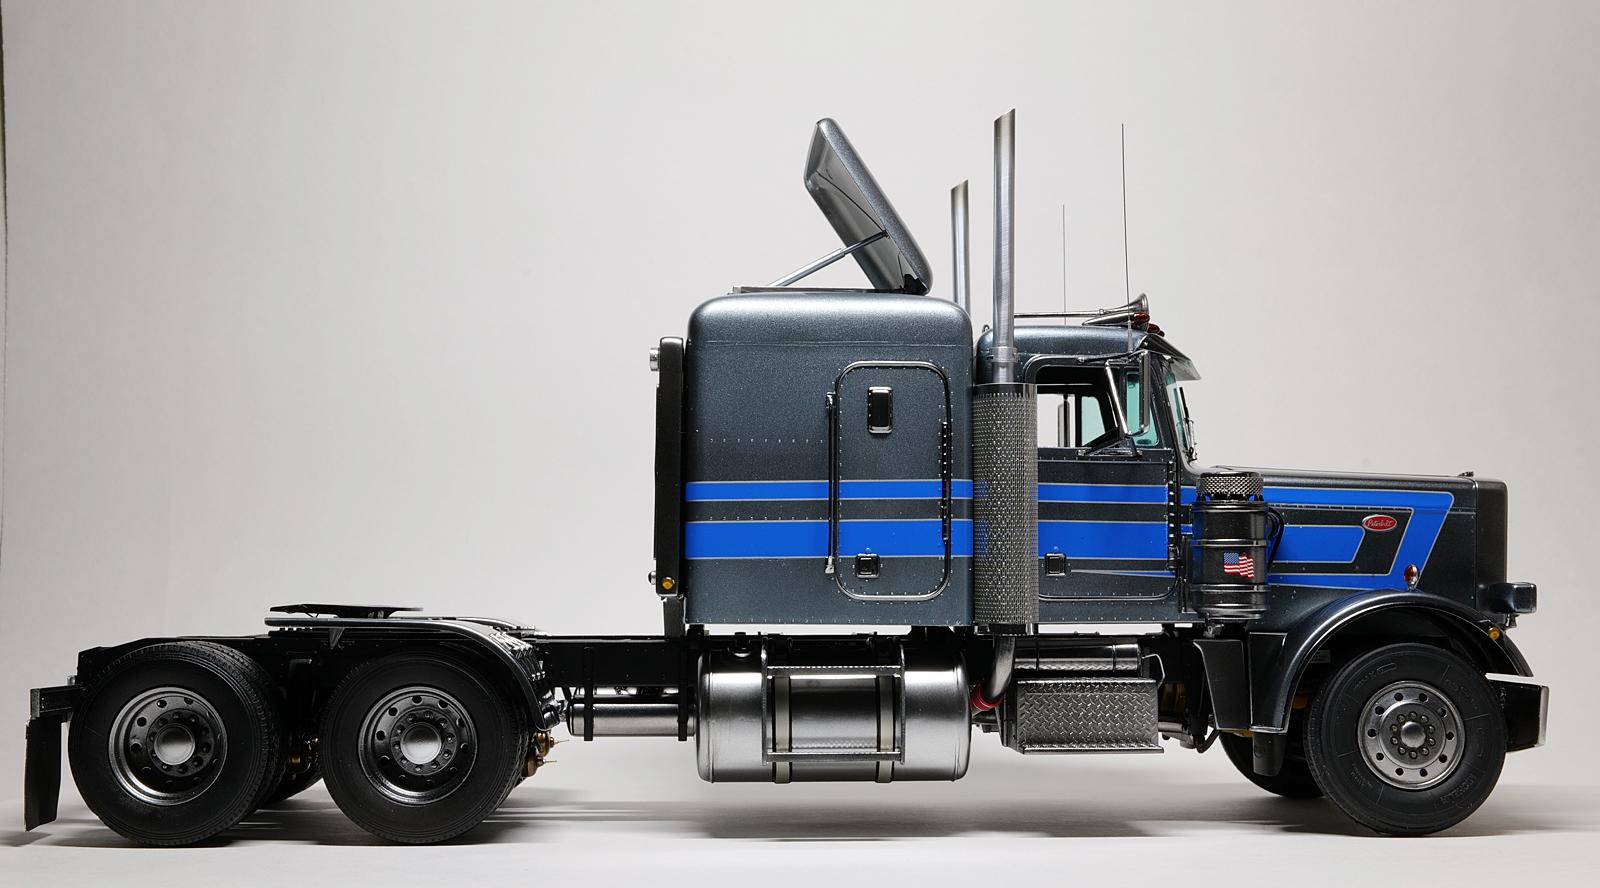
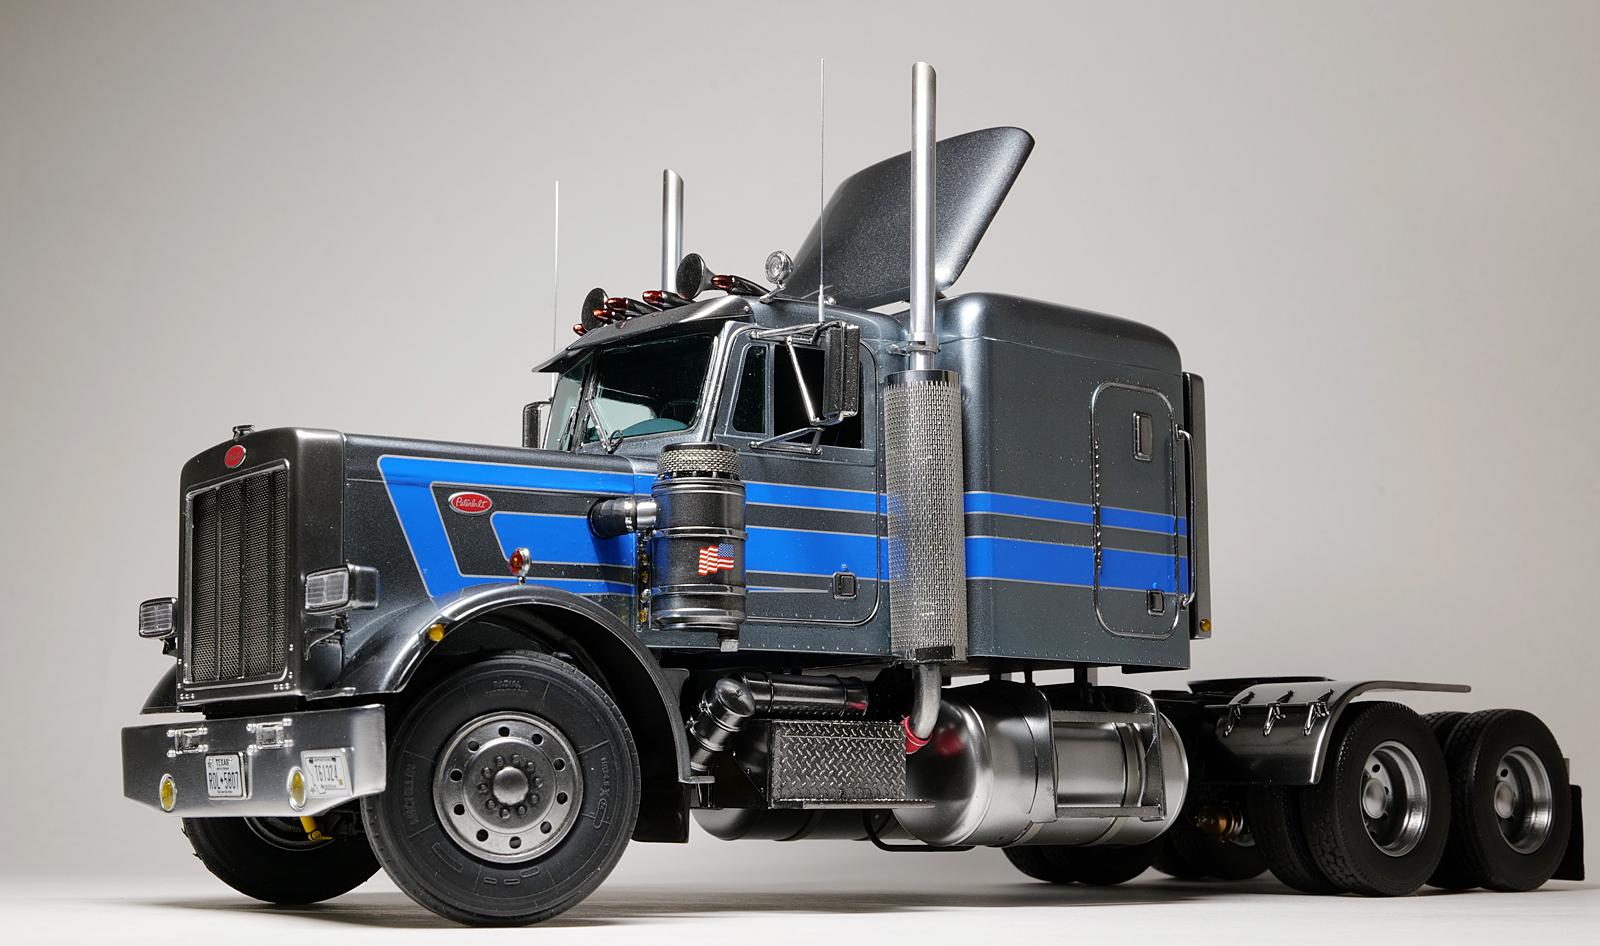
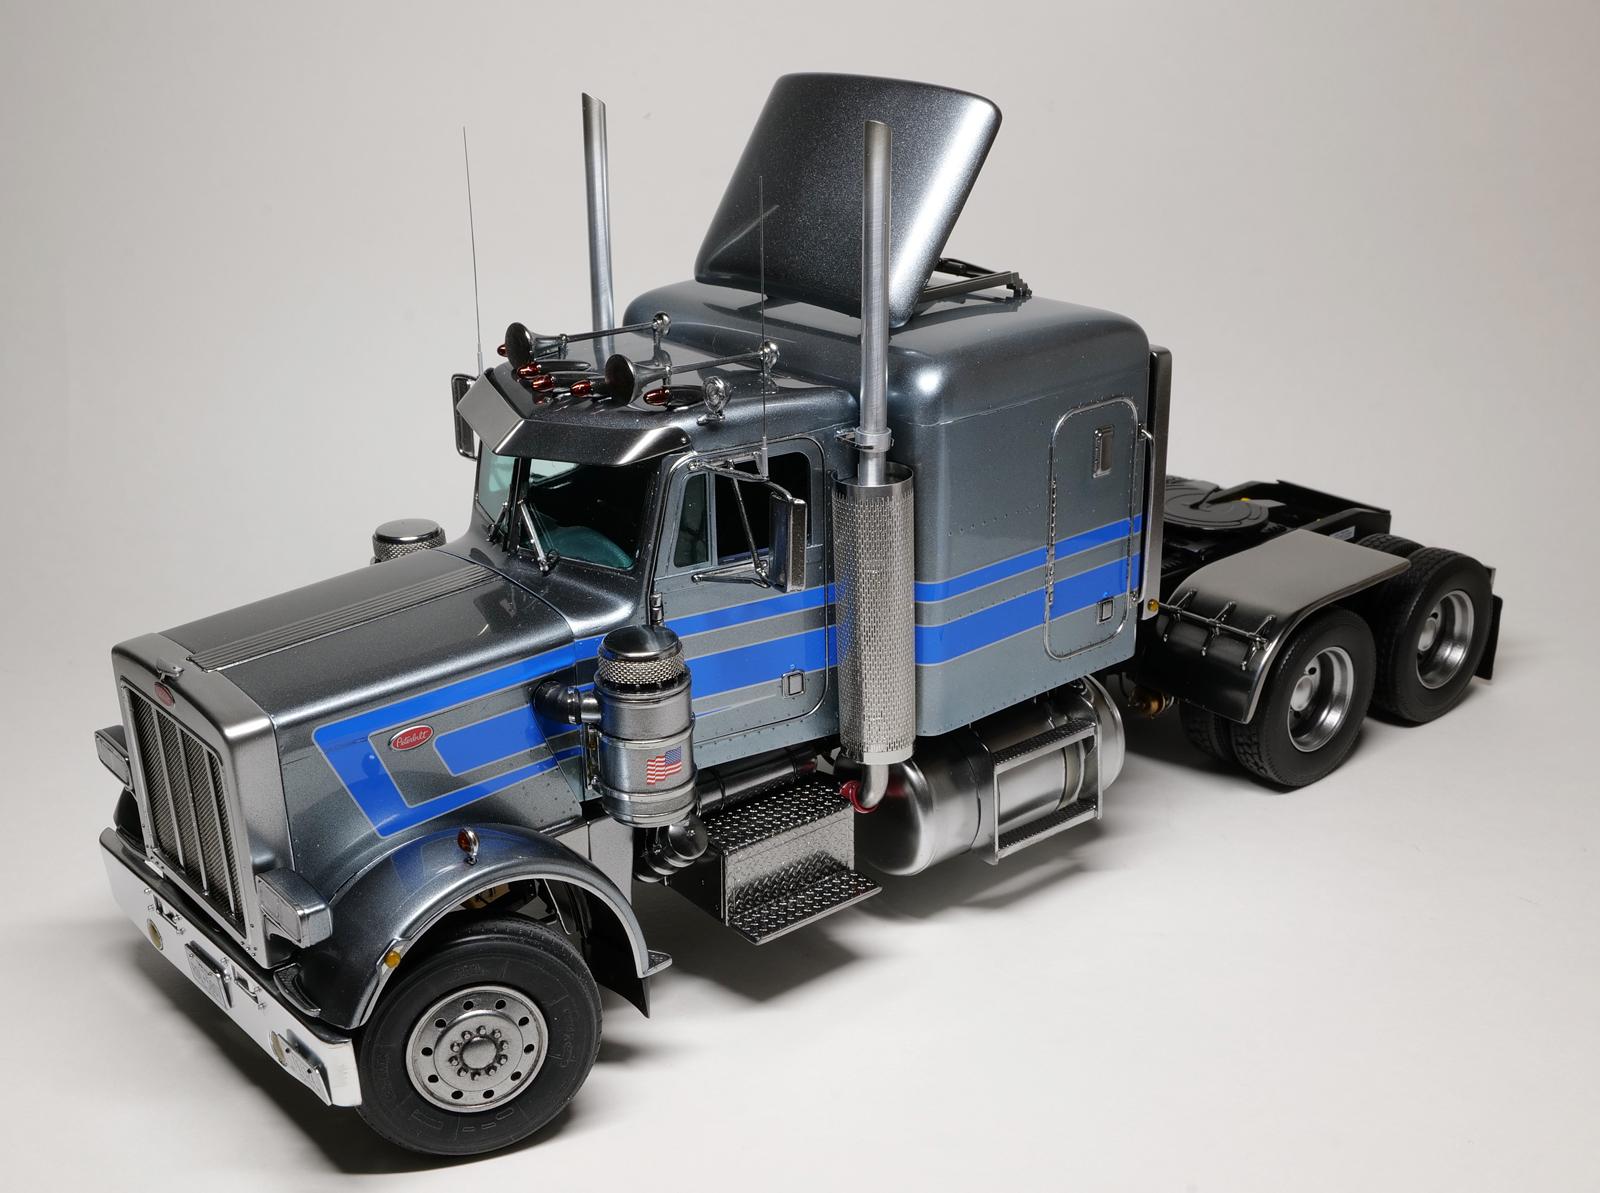
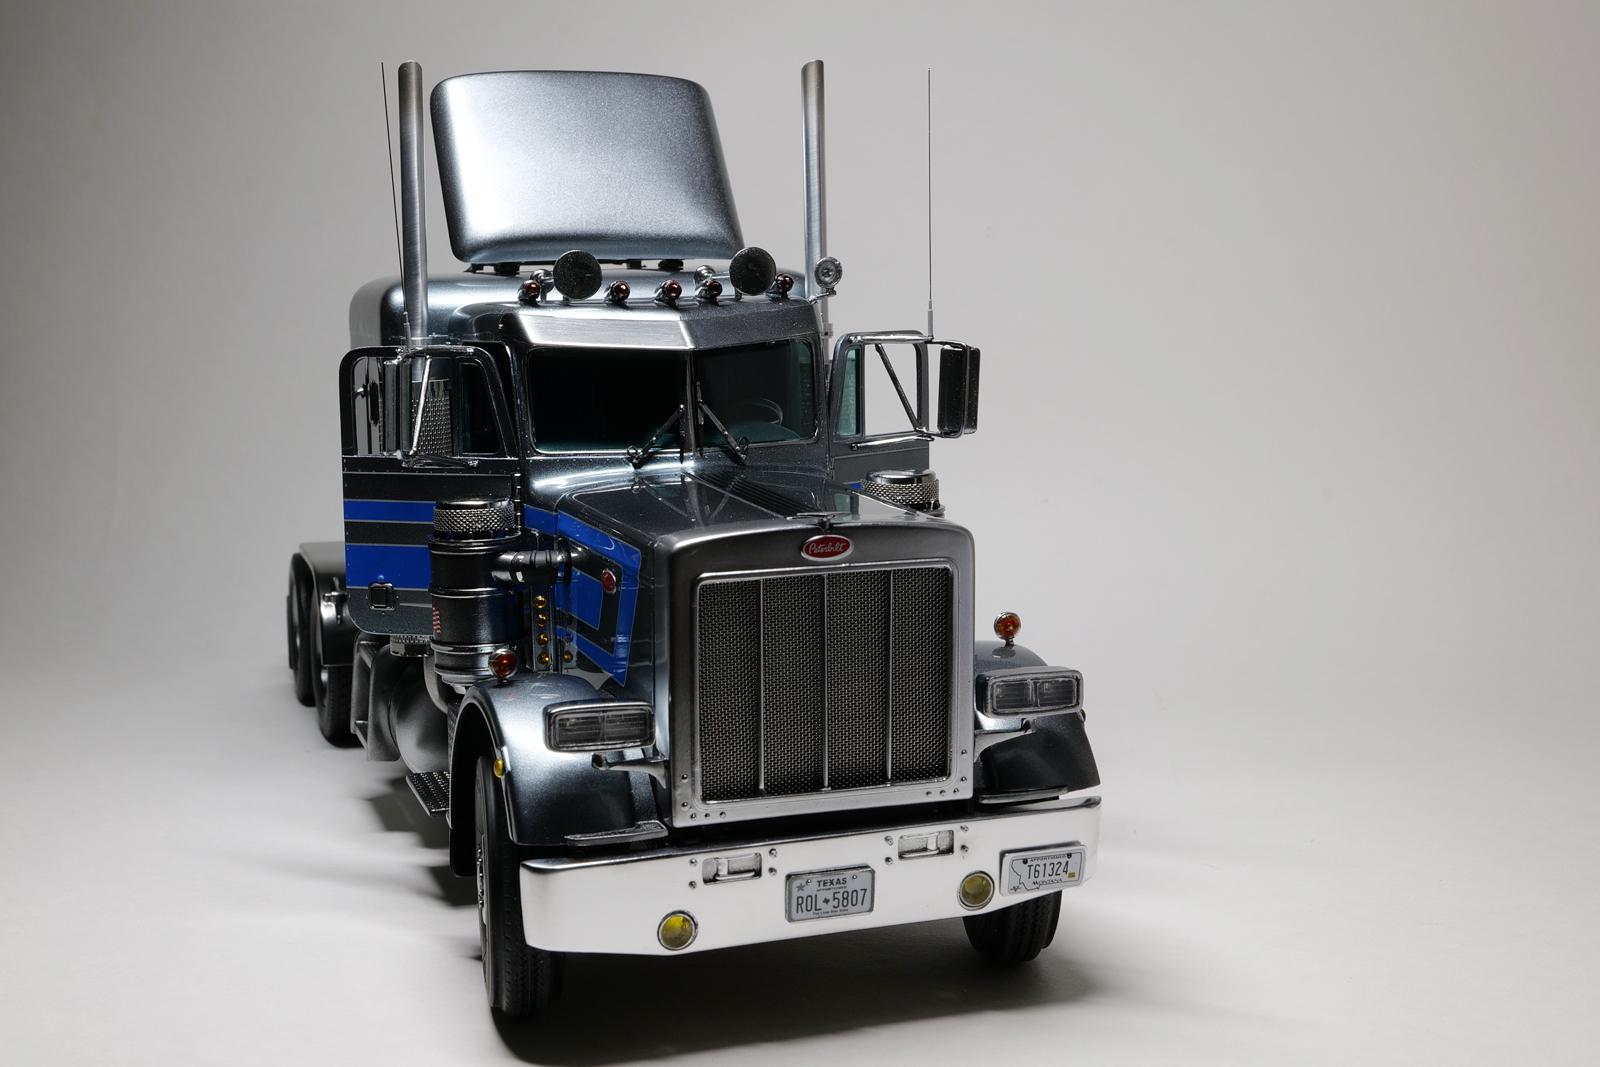
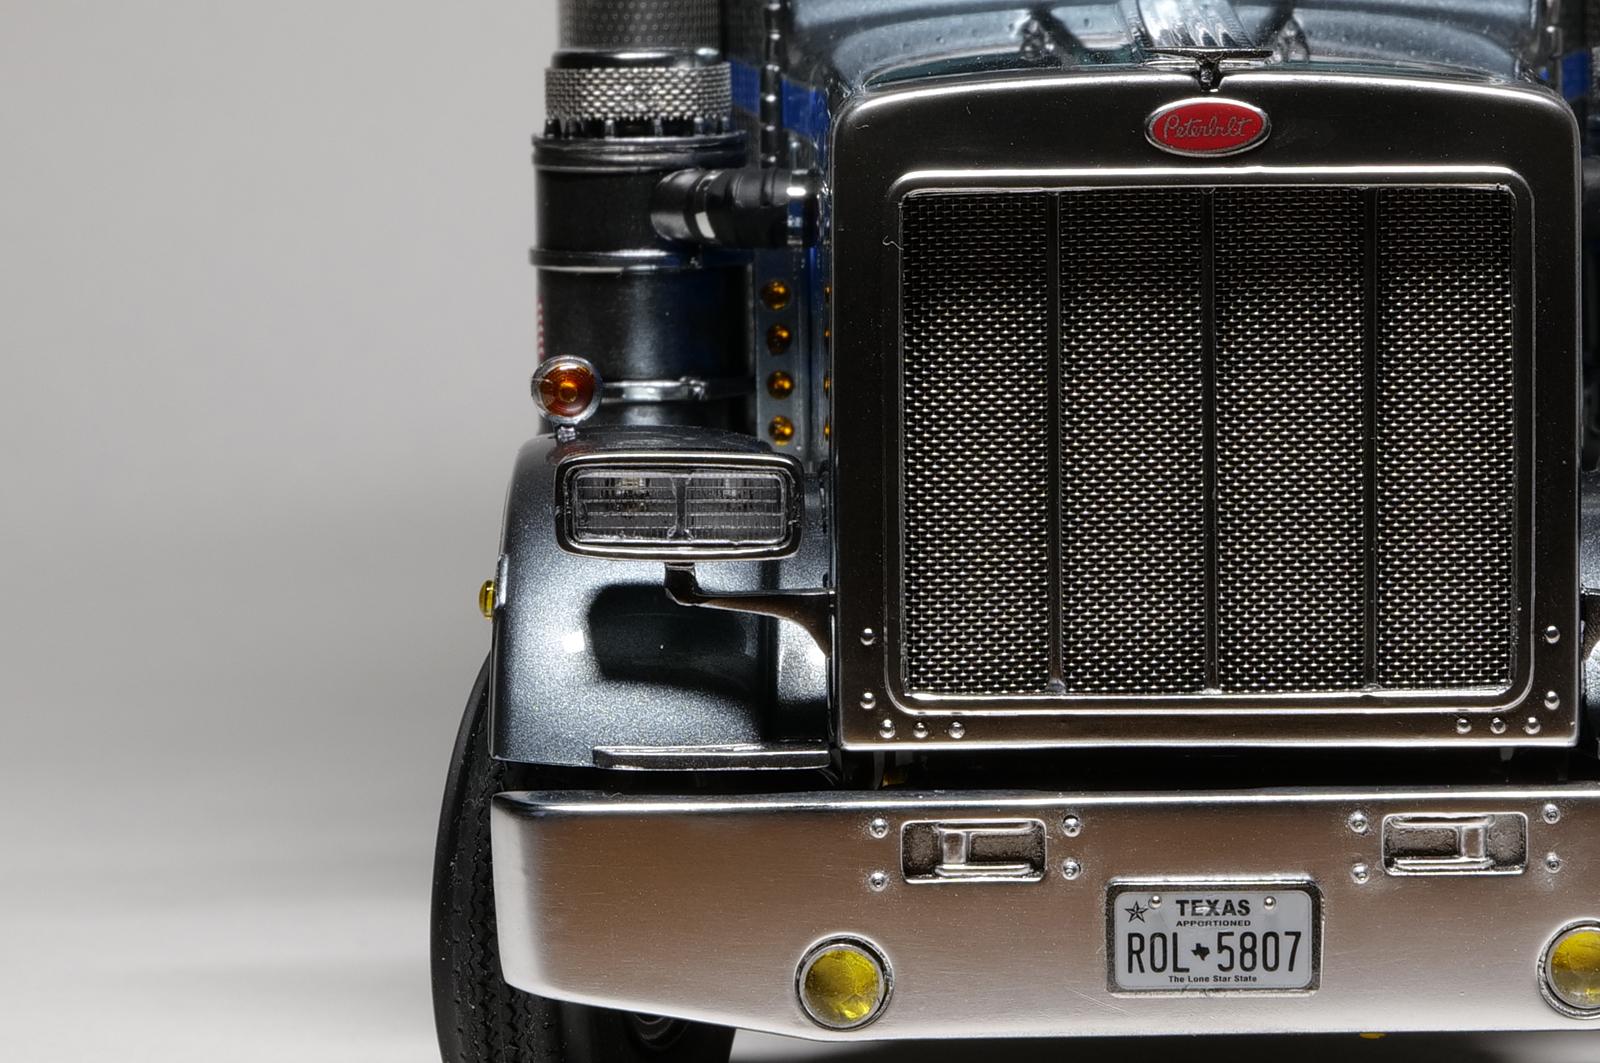
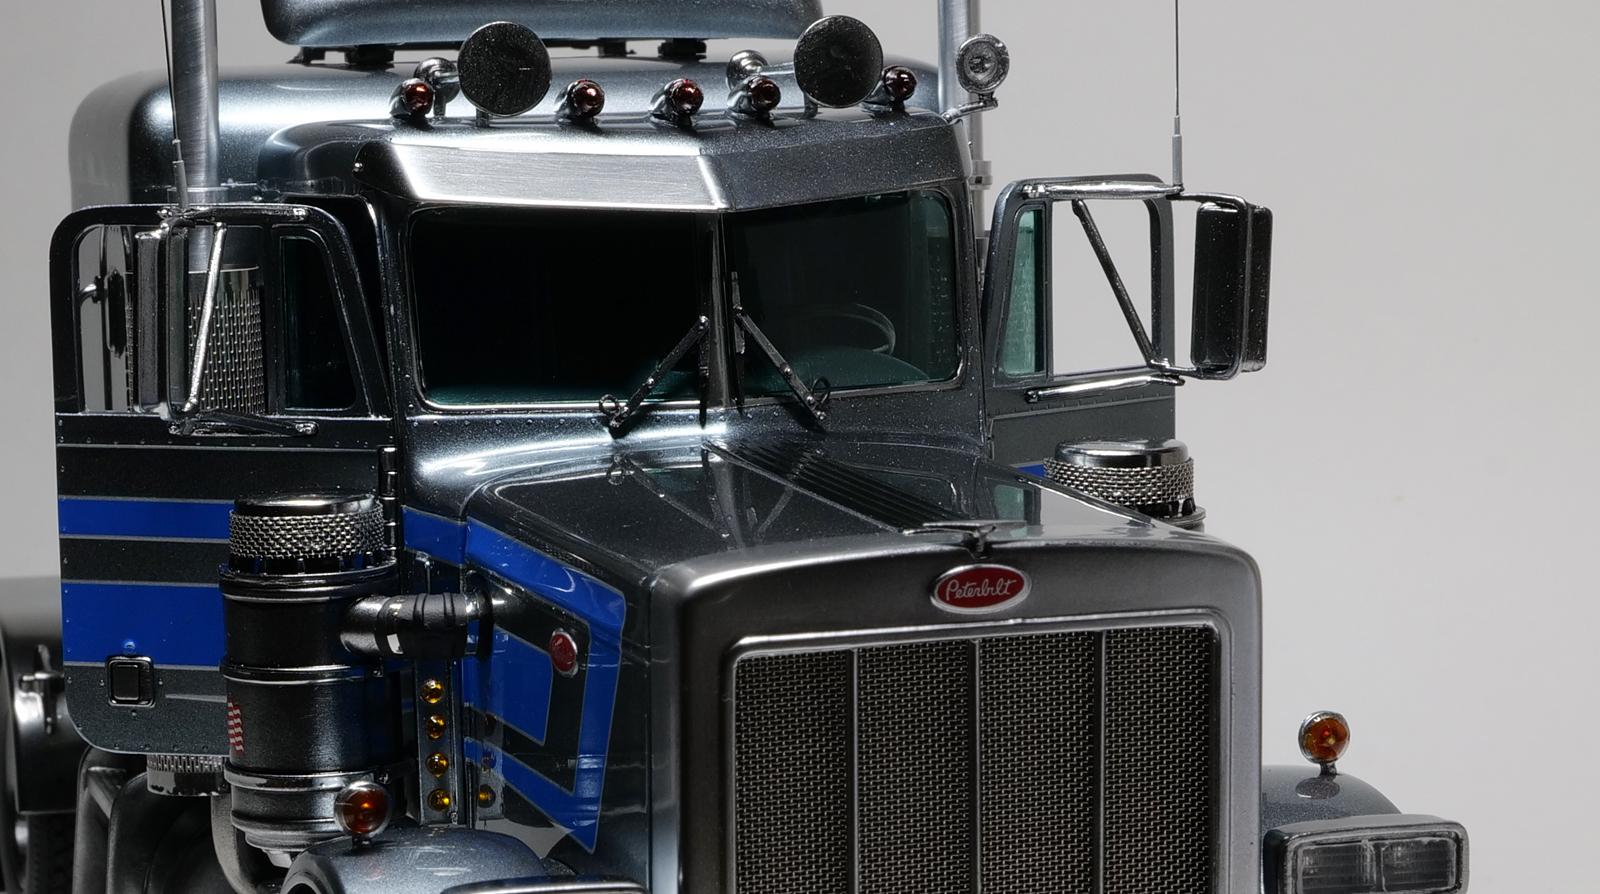
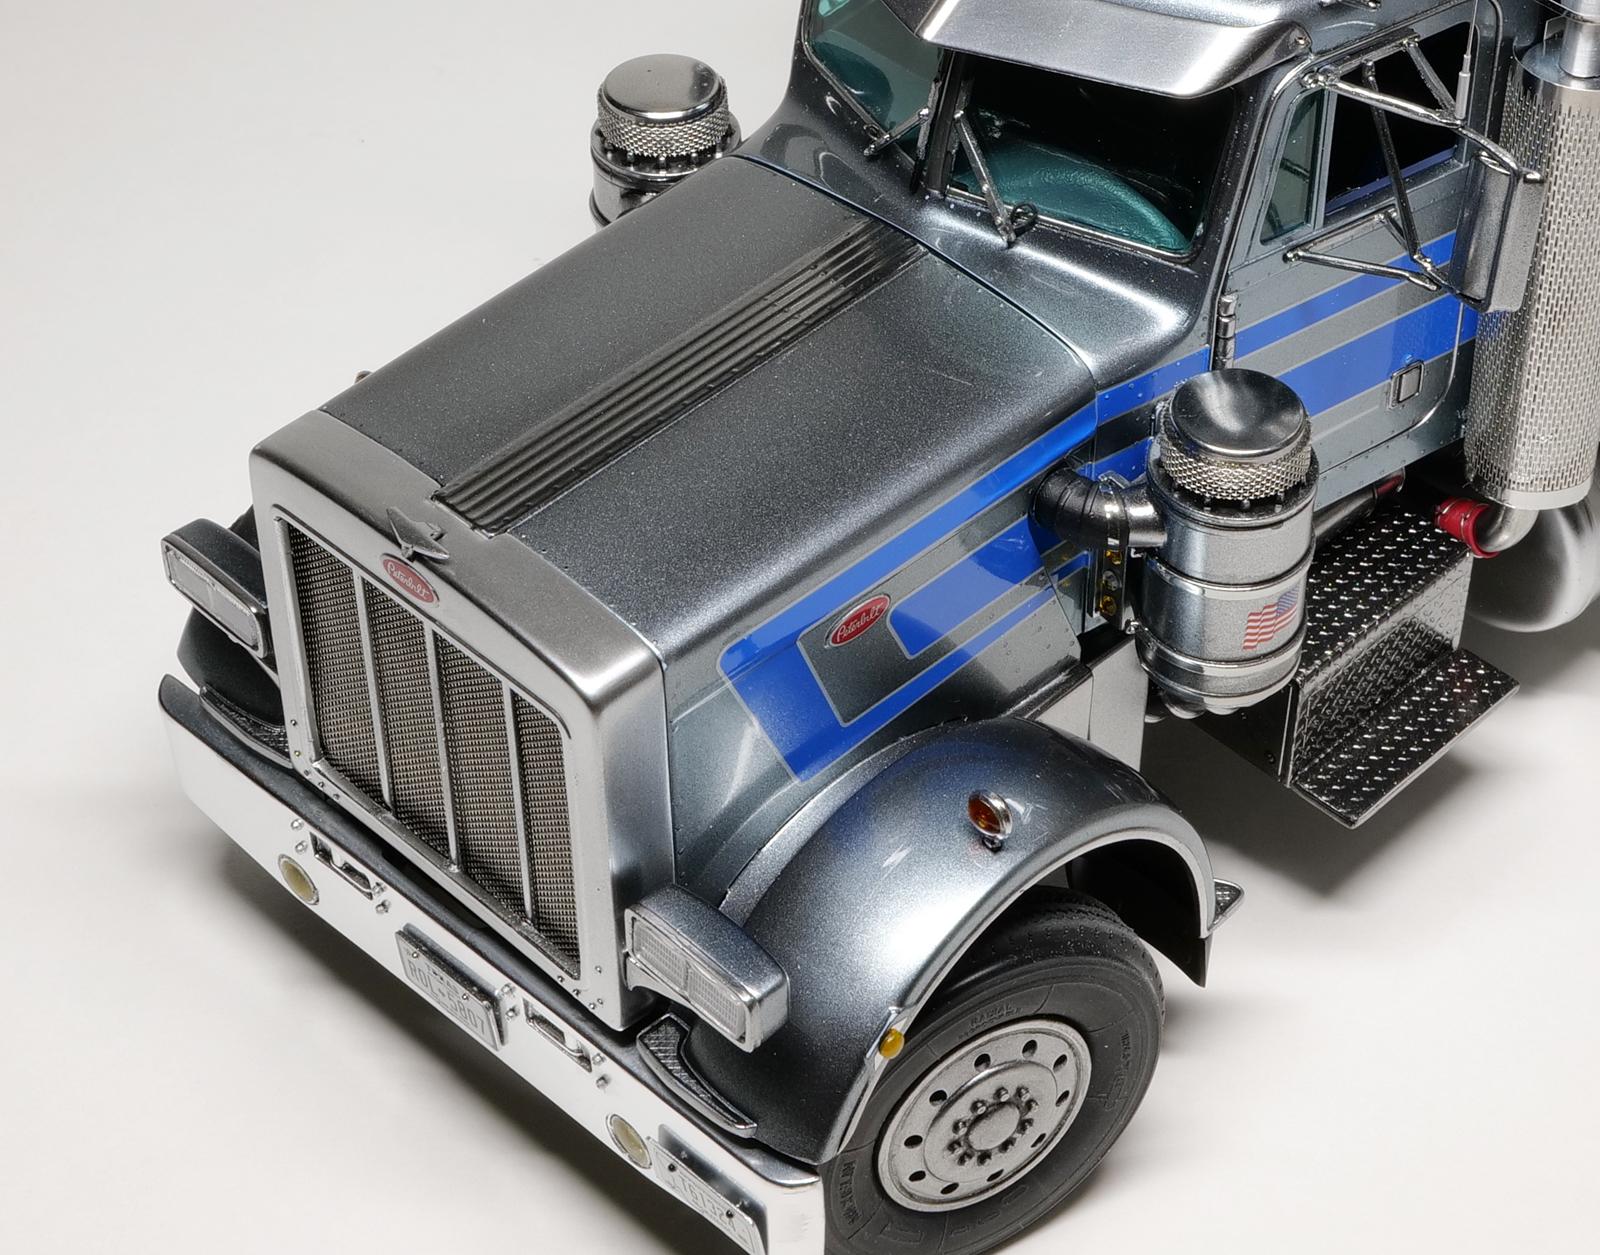
Hi all, Finally completed, sharing this here for the first time. I really enjoy building this kit and it took roughly 80 hours to complete. Most of my painting was done w/ airbrush. Lacquer paints were used for both base colors and clear coat. I made several improvements, but if I were to build this out of box, I think I can probably build it faster. I did write the following build diary in the WIP section, you can find it here: http://www.modelcarsmag.com/forums/topic/181872-125-revell-peterbilt-359/ The details on what problems I faced and what improvements I made are documented here as well. Here are the photos of the completed build, hope you guys find them fun to see: Once completed, I found out the hood (attached mud guards) does NOT open completely because it interferes with air filter tanks. This is fully opened position. But no problem, I can always remove the hood for engine photos as seen below: Now some close up photos. And lastly, friends joined for a small party.

- 26 replies
-
- 12
-

-
Very cool rig, nice job build this so nice! And it is super cool how the cab flips forward with the grille being split in half! I never knew!!!
-
AMT Trailmobile Reefer
cifenet replied to Rockford's topic in Model Trucks: Big Rigs and Heavy Equipment
Thanks for the info on this. I agree, I think 1/32 scale is another league, luckily there are still many 1/24 and 1/25 kits to go through for me! -
1/25 Revell Peterbilt 359
cifenet replied to cifenet's topic in WIP: Model Trucks: Big Rigs and Heavy Equipment
Thank you for your positive feedback! You are using the actual metal parts, I think that is the real deal here! Thank you for following this! I am glad to share and contribute to this forum! Appreciated, Steve! I enjoy reading up and following your builds. Keep building! Thank you, Gary! ? This is super fantastic!! Very good build you did on this, it is also massive! I would also like to give this kit a try some day, but looks like it is out of production and people are asking $$$$ on online sites. Hey Hakan, you are going to be my fact/info guy going forward! -
Revell 37 Ford Pickup
cifenet replied to bluestringer's topic in Model Trucks: Pickups, Vans, SUVs, Light Commercial
There is something about green trucks. What a classic looking, I like the overall finish and build quality! And a good looking engine to go with! -
Happy 4th of July!
cifenet replied to Rattlecan Dan's topic in Other Racing: Road Racing, Salt Flat Racers
I totally agree! They got the wrong guy to build it for the box art. Superb build! -
First, great job making this very very realistic. Many of the details are accurately reproduced! Second, your photography is excellent here! Many close up shots also showing off how properly put together! Bravo!!!
-
This is one cool looking Olds! Fantastic job completing this, high quality indeed!
-
Wow, you have done a great job restoring it! If you didn't have the first picture to prove it, it never happened! Well done, the car looks very good with metallic green.
-
AMT Trailmobile Reefer
cifenet replied to Rockford's topic in Model Trucks: Big Rigs and Heavy Equipment
Once you attach this to a truck, it really comes alive! It completes the semi truck setup, I must say. I like the details done here including the electric wiring and overall nice clean job completing this. I know there are no side logos on the side and I prefer this clean look here. Somehow it works 1 with the white exterior color. BTW, is this kit hard to find? The box has that antique look with "MATCHBOX" company name. I am starting to realize that many of the US semi truck kits are issued 40+ yrs ago! And yet, they build up to be quite amazing! -
Changing Gears
cifenet replied to J.B. Customs's topic in WIP: Model Trucks: Big Rigs and Heavy Equipment
Oops, I guess this is due to my lack of knowledge on the subject. Regardless, the amount details and the overall built quality is truly outstanding! Keep it up please~ -
You did good getting rid of all the seam lines. Fantastic work all around, the finish is superb!