cifenet
-
Posts
856 -
Joined
-
Last visited
Content Type
Profiles
Forums
Events
Gallery
Everything posted by cifenet
-

Ol' School A Model
cifenet replied to freightshaker2's topic in WIP: Model Trucks: Big Rigs and Heavy Equipment
Nice work on the frame extension, and it looks great in black already! -
You got some clever ideas for your detailing objectives, Steve! Good work!
-
Awesome stuff! And what a great start, Mike! I also like how you have so many clips in multiple colors. They look actually quite cool on the work desk.
-
KW 86 inch Aerodyne
cifenet replied to k100's topic in WIP: Model Trucks: Big Rigs and Heavy Equipment
Brilliant work so far, I really like your frame finish and all the details in it! -
The driveshaft + the double steering axle combo looks very special! Those white metal parts look very nice also.
-
Western Star 4900 FA plow truck
cifenet replied to BK9300's topic in WIP: Model Trucks: Big Rigs and Heavy Equipment
It is great to see how things are coming together one by one. The cab/hood fit looks very good also, all perfect vertical and straight too! And I like how you are safely holding the wheels with a couple of nuts while still working under the truck. Safety has to be First Priority. -
Mack DM600 log truck
cifenet replied to Bronzekeg's topic in Model Trucks: Big Rigs and Heavy Equipment
Beautiful finish and clean build! As mentioned, you got a great diorama set for any truck! -
I am telling you, you got something special going here, the engine bay looks super special with all the fabricated materials and adaptations. 👍 And I forget that this is all smaller in scale too. Keep up the good work!
-
Oh my. I see what you did there. So I can simply attach it as how the kit was intended, then things may be okay. But the reference photo has curved lip attached on side which may try to replicate.
-
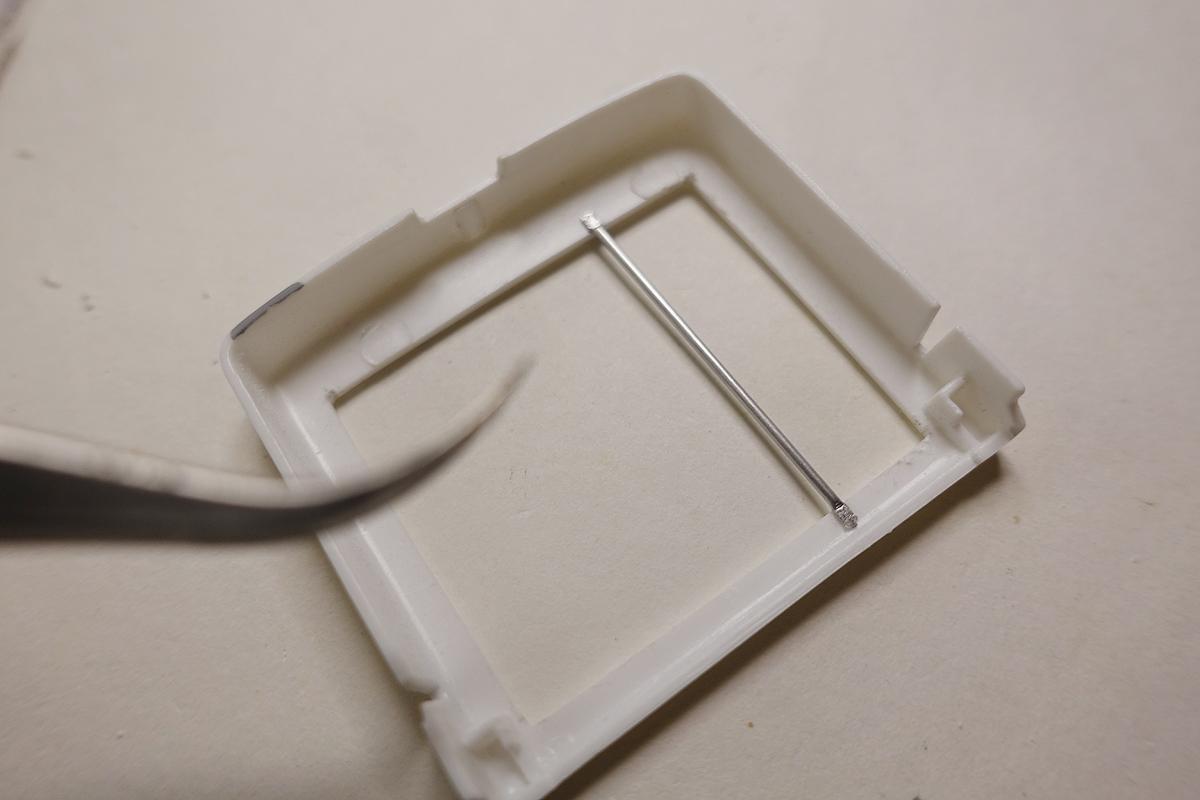
Exactly! I was thinking about some kind of pins! Great thinking, again! Haha, Jeff is cool in my book. I think It was possible that Rockford could be wrong on this, so it was welcoming to see more knowledge being shared. But could Rockford be ever wrong?
-
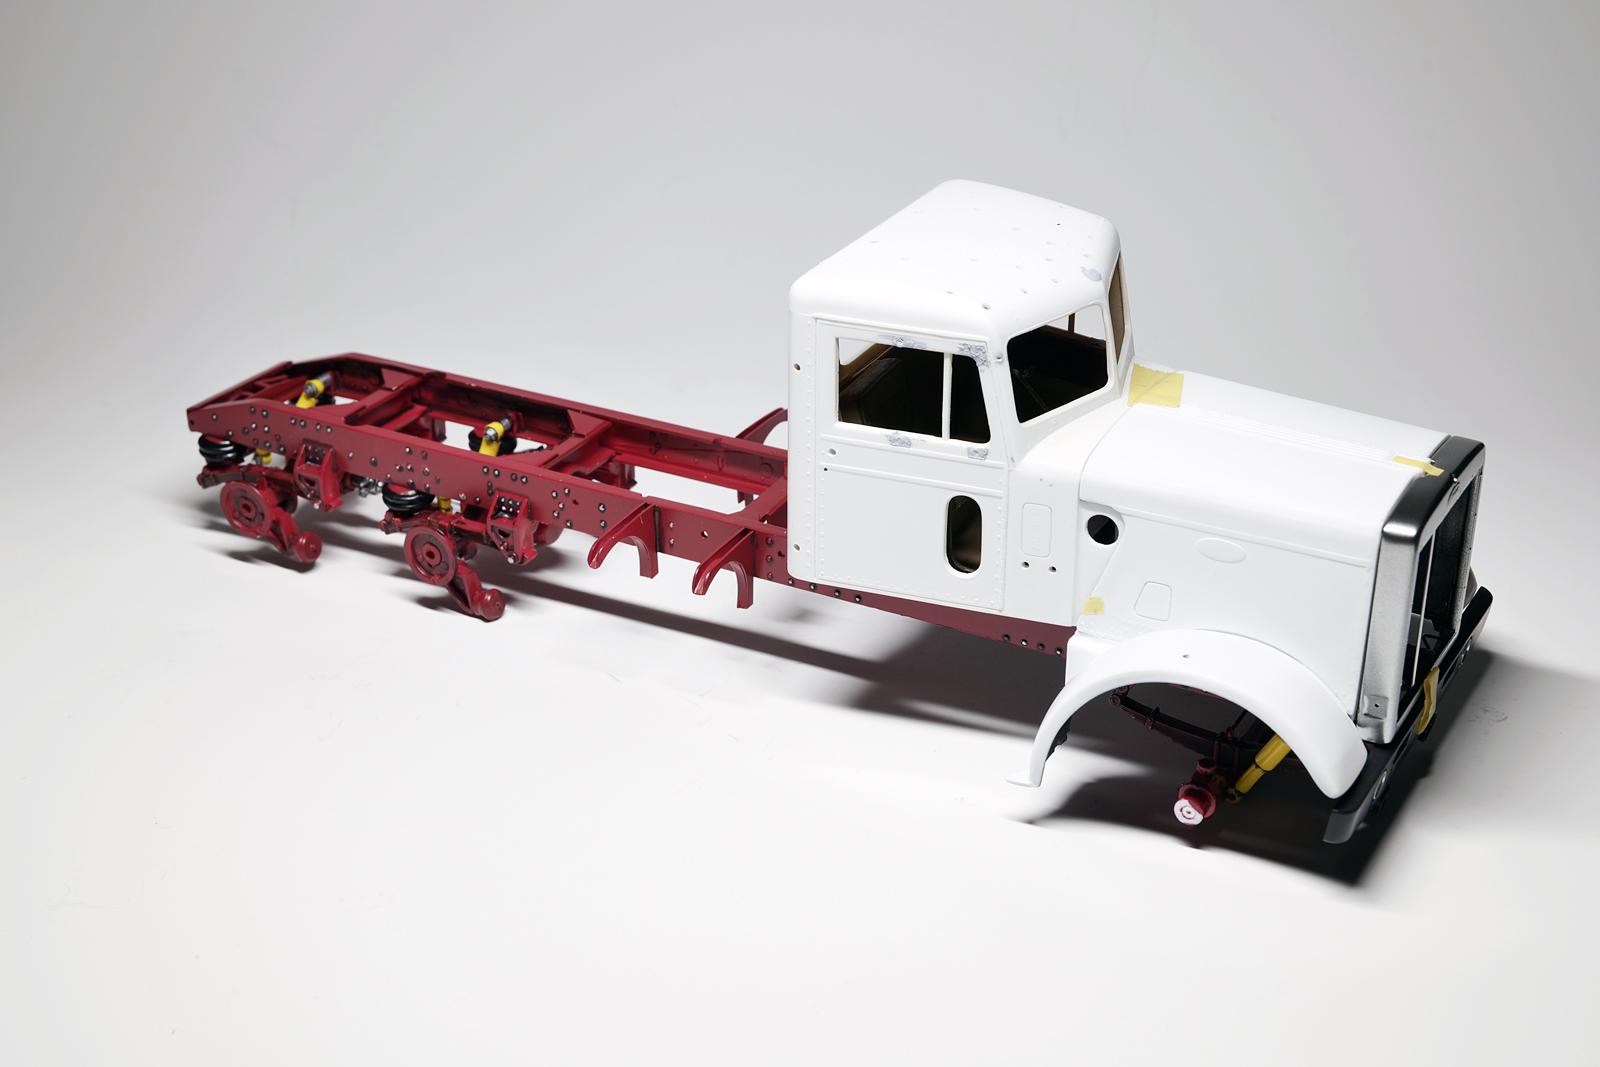
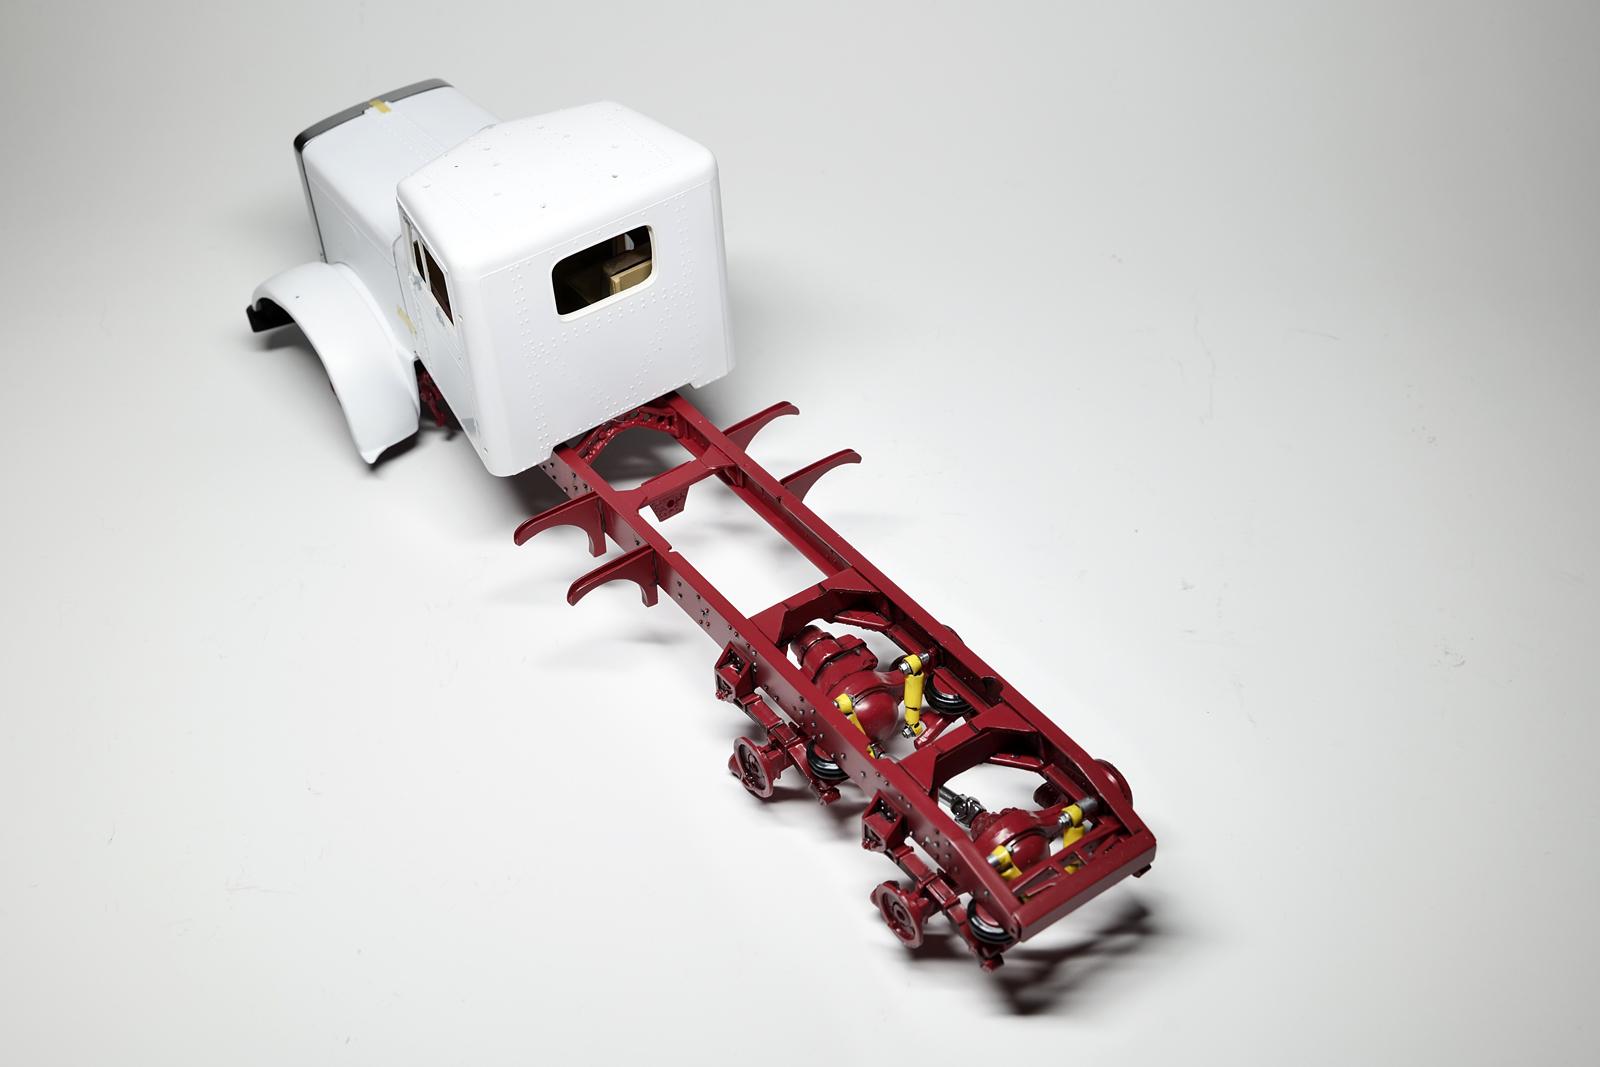
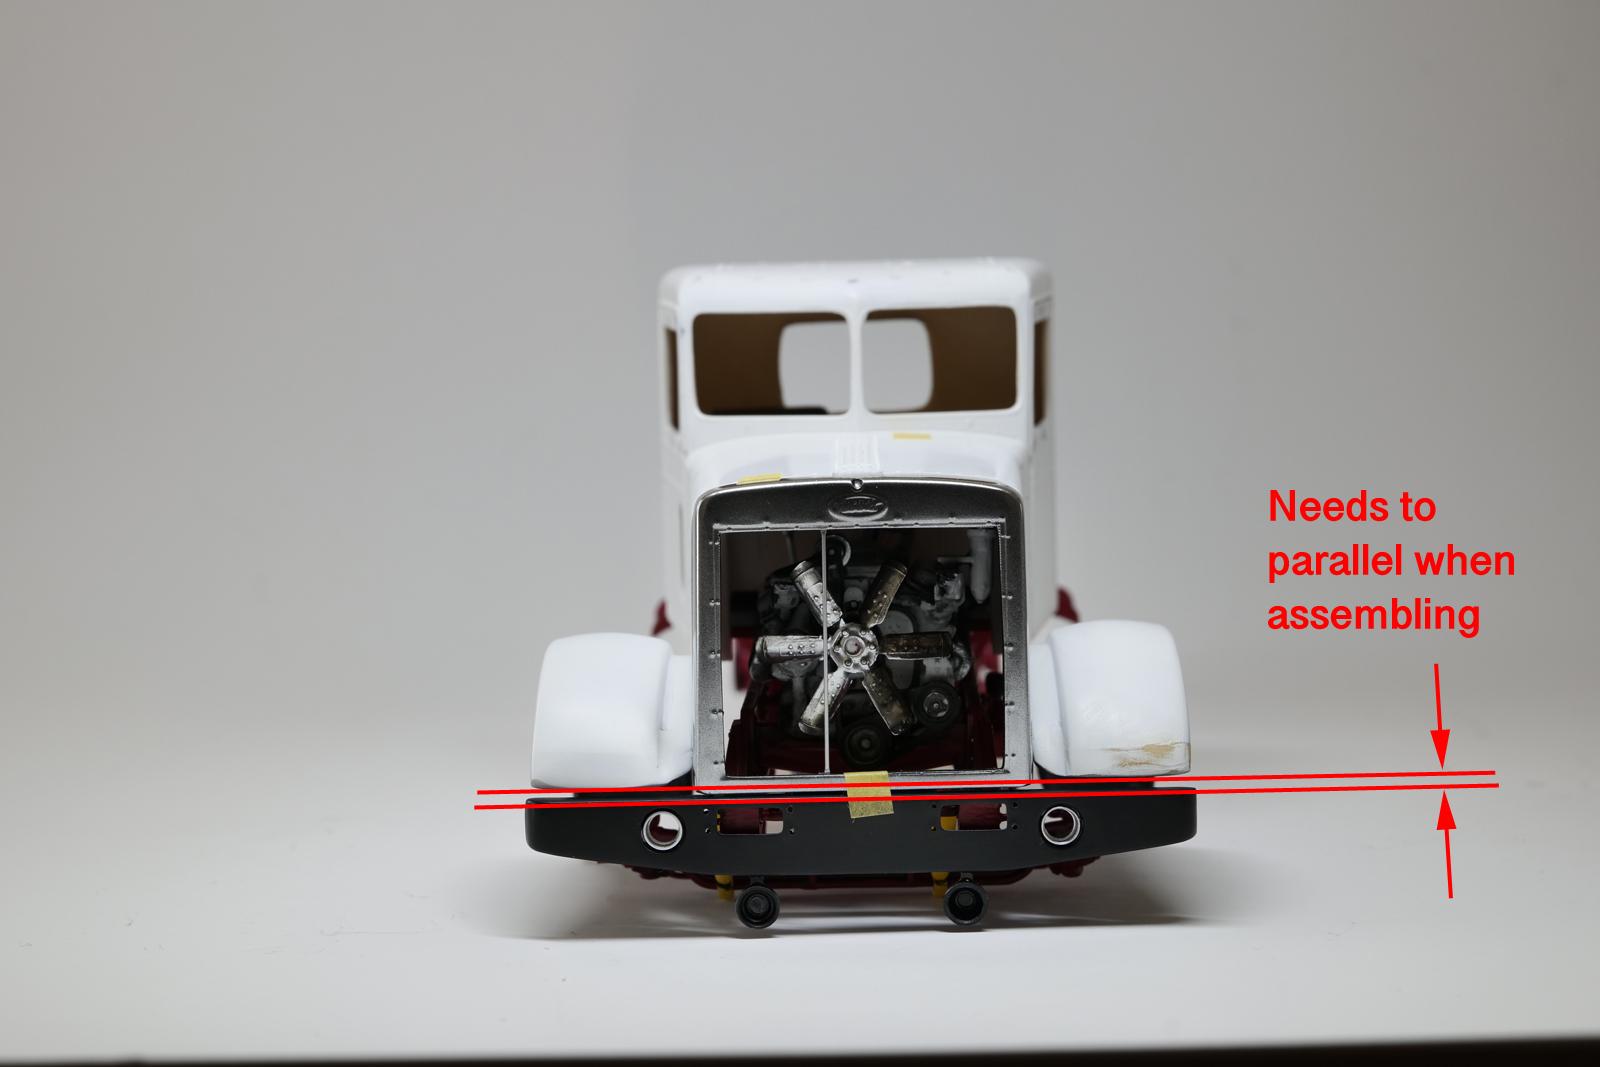
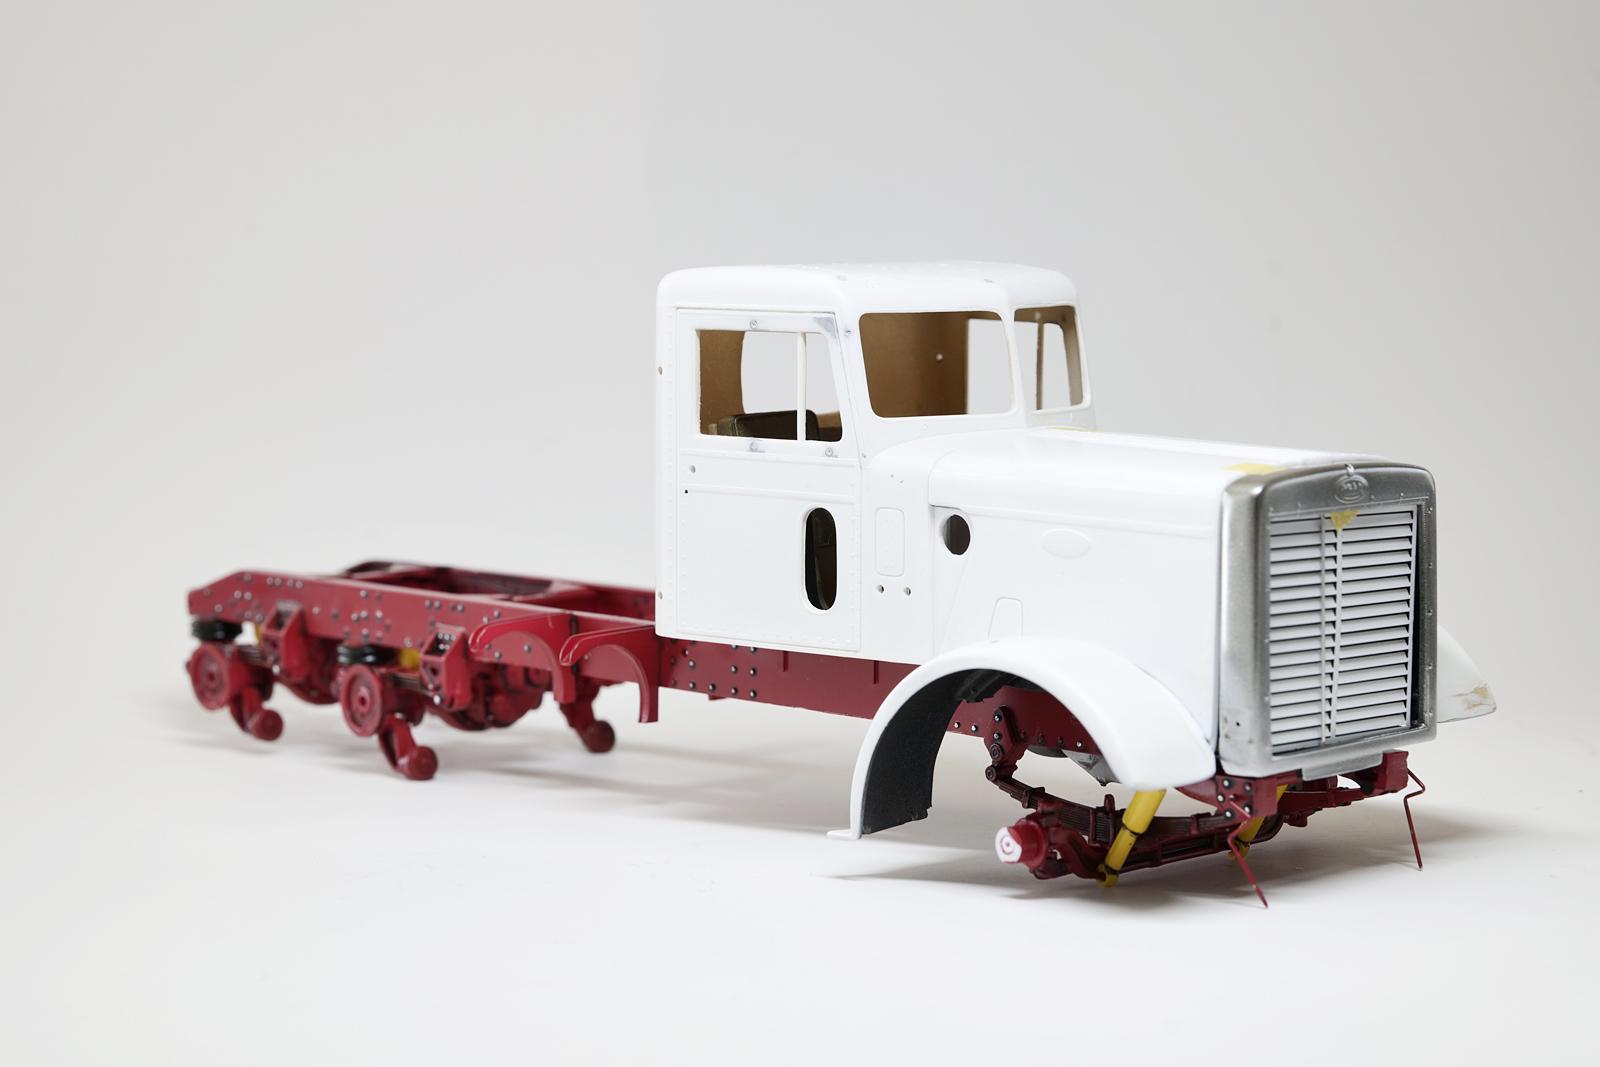
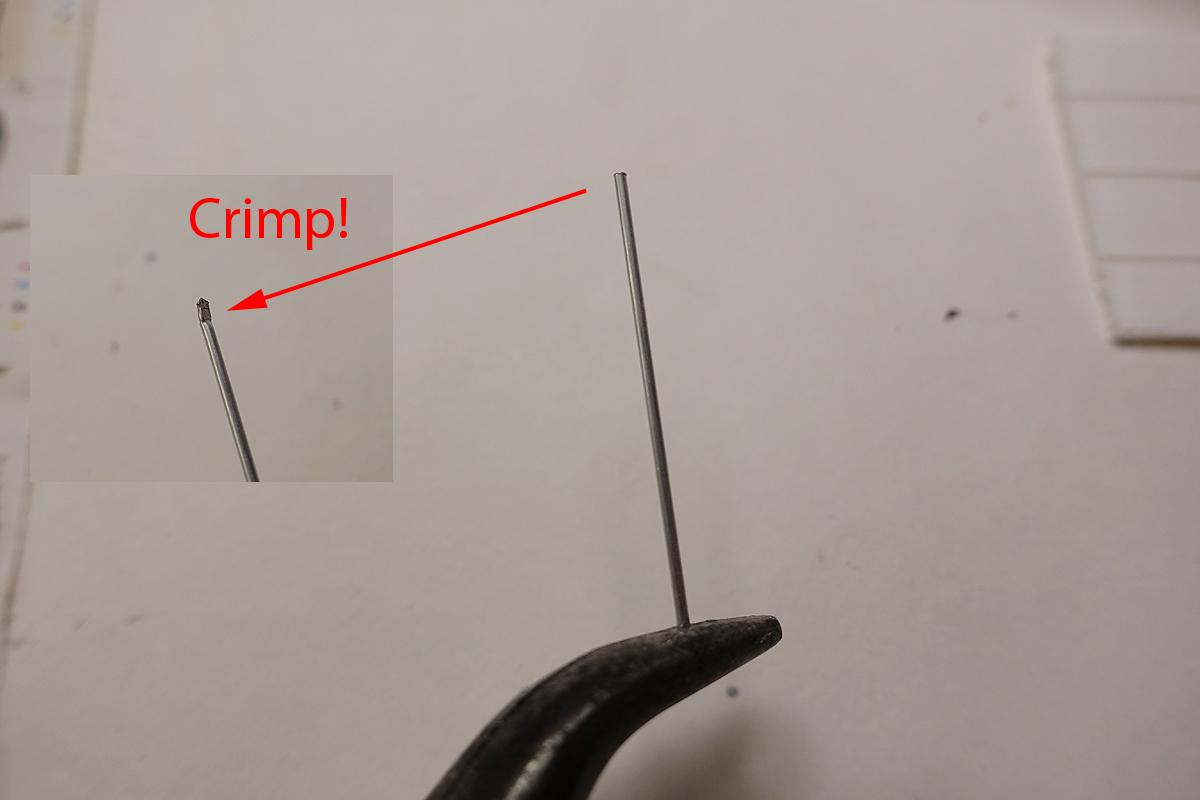
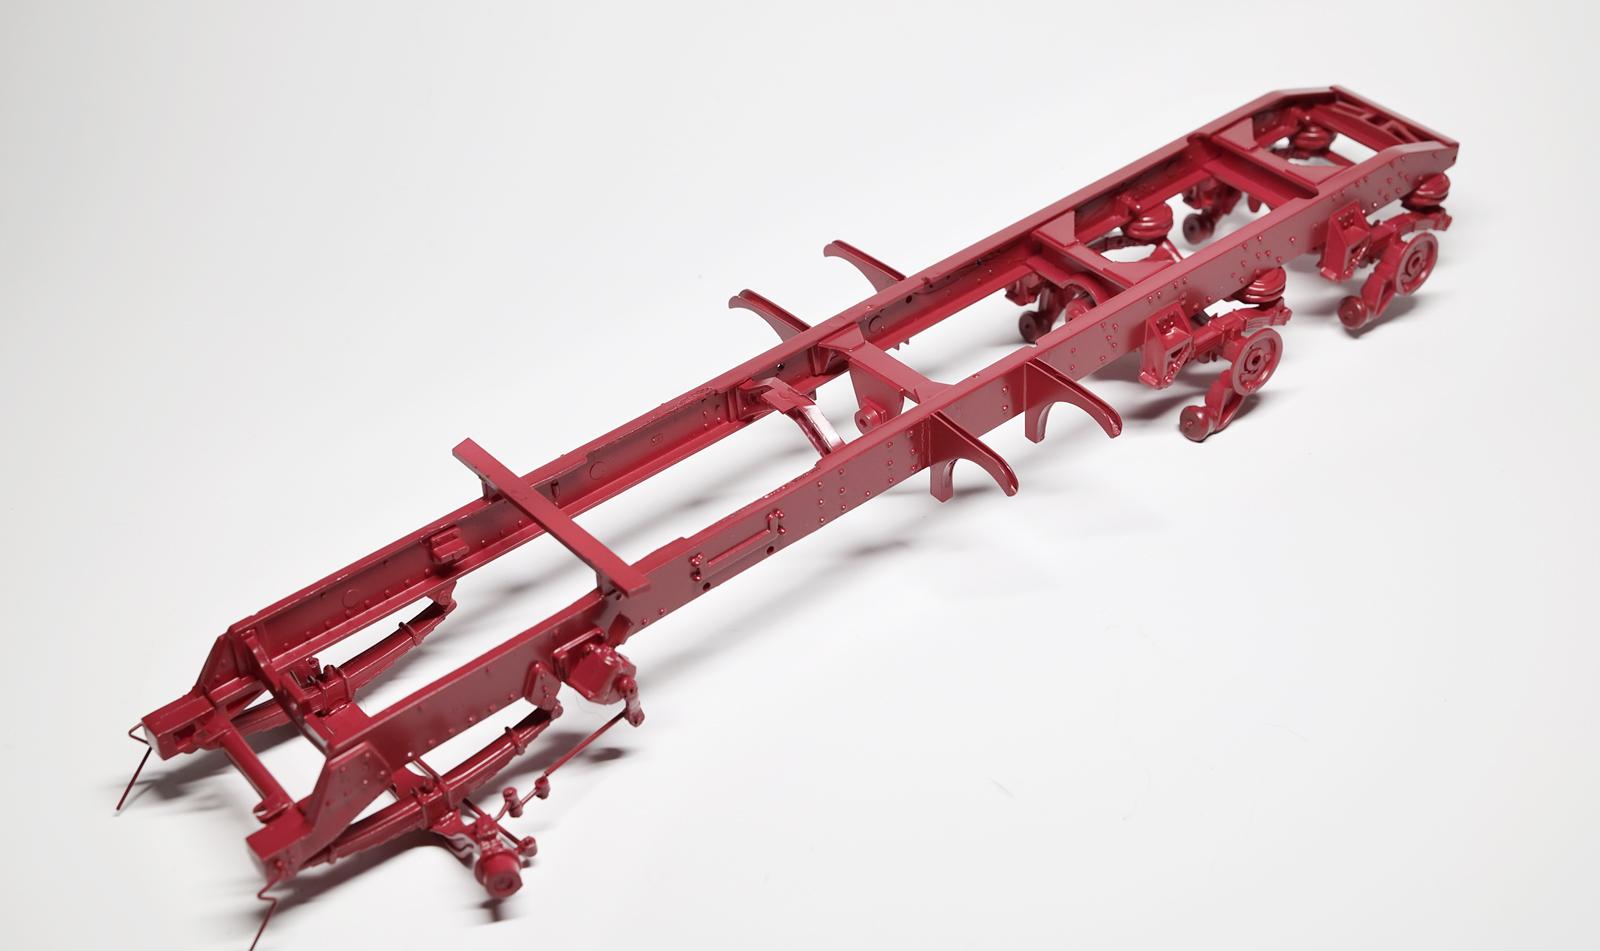
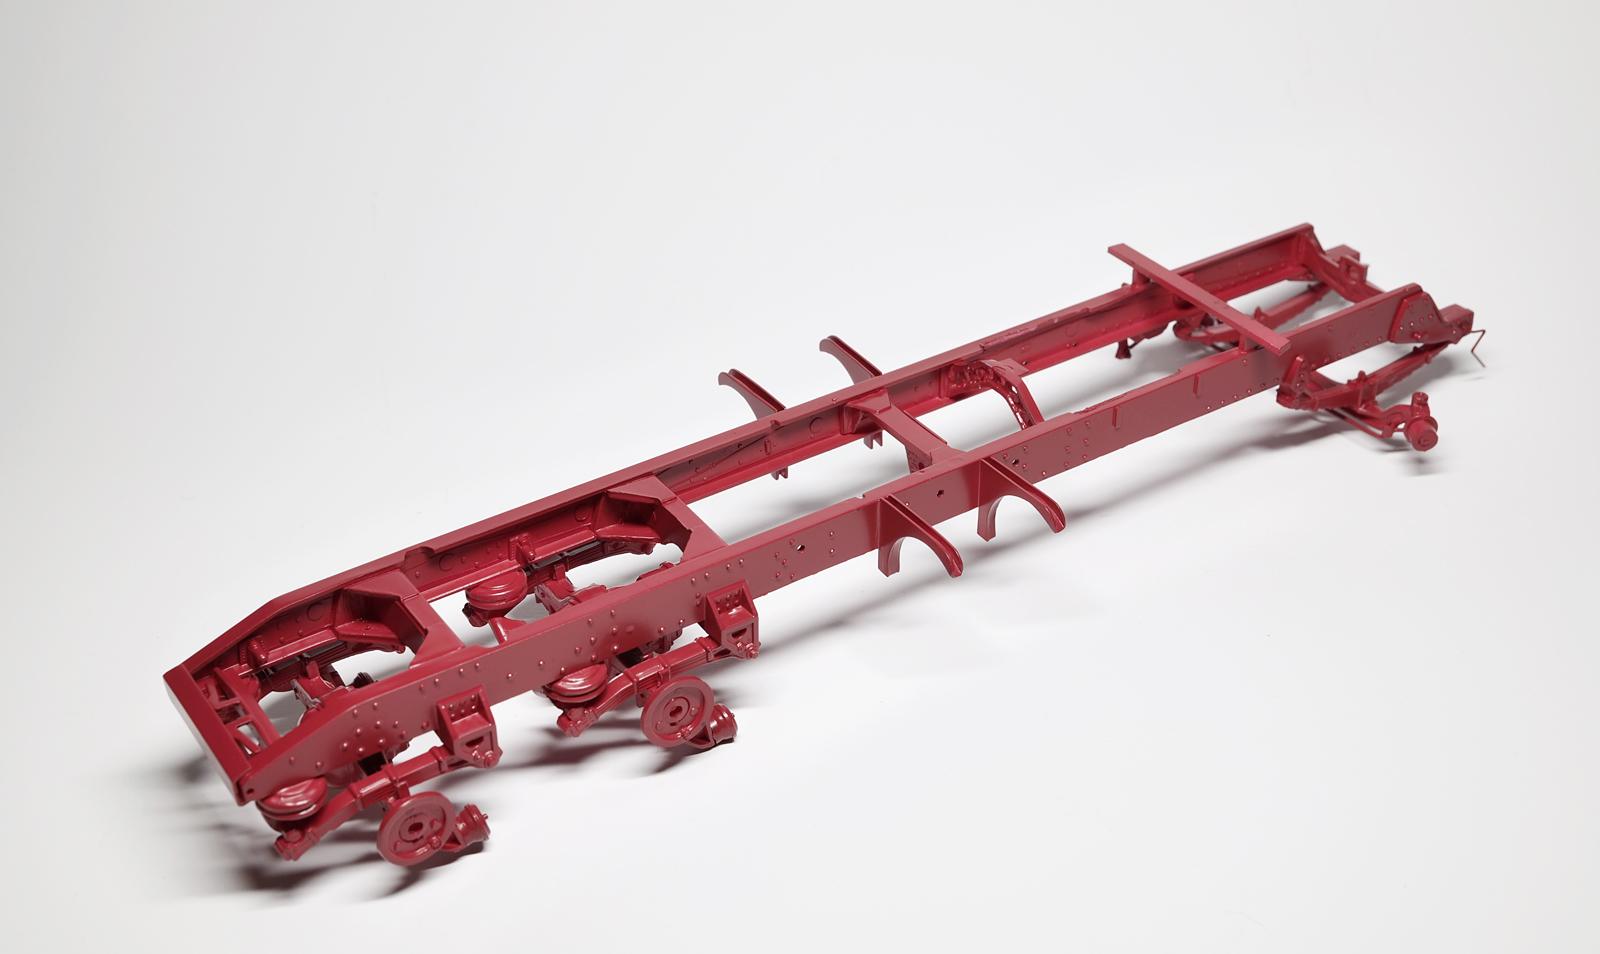
Please ignore my CHALLENGE 9 documented in the previous posting. I am glad I didn't act on it right away to correct (in this case, "incorrectly") the visor mount, I still have the visor untouched so no damage is done. As I get close to another painting session, I spent about an hour preparing the front bumper. While the bumper looked quite decent as is, did the following improvements: removed chrome finish (used Castrol's Super Clean) and did this for all chrome parts in the kit cut away the bottom bracket (foot step/ license plate holder) sanded and drilled bumper attachment bolt spots (total 8 holes drilled out) Drilled out the existing molded lights on the bumper and added aluminum tubing materials mimicking the lamp housing Mount the additional fog lights on the bottom When attaching small parts such as these fog lights (circled in the photo), I tried to insert small pins to the parts and drill out mounting holes to help attaching them. I use slow curing glue (pictured above) and this gives me time to adjust and correct the position. And the inserted pin gives even stronger bond! Dampers are installed and a driveshaft between the rear axles. I know it may not be totally correct, but I painted them in "bright yellow" to make things somewhat interesting. I added resin bolts on damper ends to add some interesting details. I had to check again to make sure my cabin, hood, and the bumper are all sitting on the frame correctly and that they aren't skewed. So far so good, I just hope I can keep it straight till the end. I want to mount my fuel tanks next now that most of the frame work is done. Believe or not, those two copper pipes (my fuel tanks) are actually quite heavy, I need to make sure they stay attached and that they do not stress the frame...

-
Steve, I value your feedback and thanks for correcting this one. You are absolutely correct, I was able to see some sun light going through the back of the visor! And thanks to you, I just learned another thing today. Holland is a company that makes these fifth wheels! Thanks Jeff for pointing this out and double confirming it. 👍 And appreciate your positive words! I automatically assumed something was incorrect when I just couldn't simply attach the visor. Now I will have to find the way to attach it. The main problem for me is that, I would like to attach this at the end of the build (after all the painting is done) and I am afraid that I can't cleanly attach it without damaging the painted surface... Fantastic, Lee! Great photos and suggestions. The attached visor from the second photo looks very good too. I will need to think through on this one and tackle for sure.
-
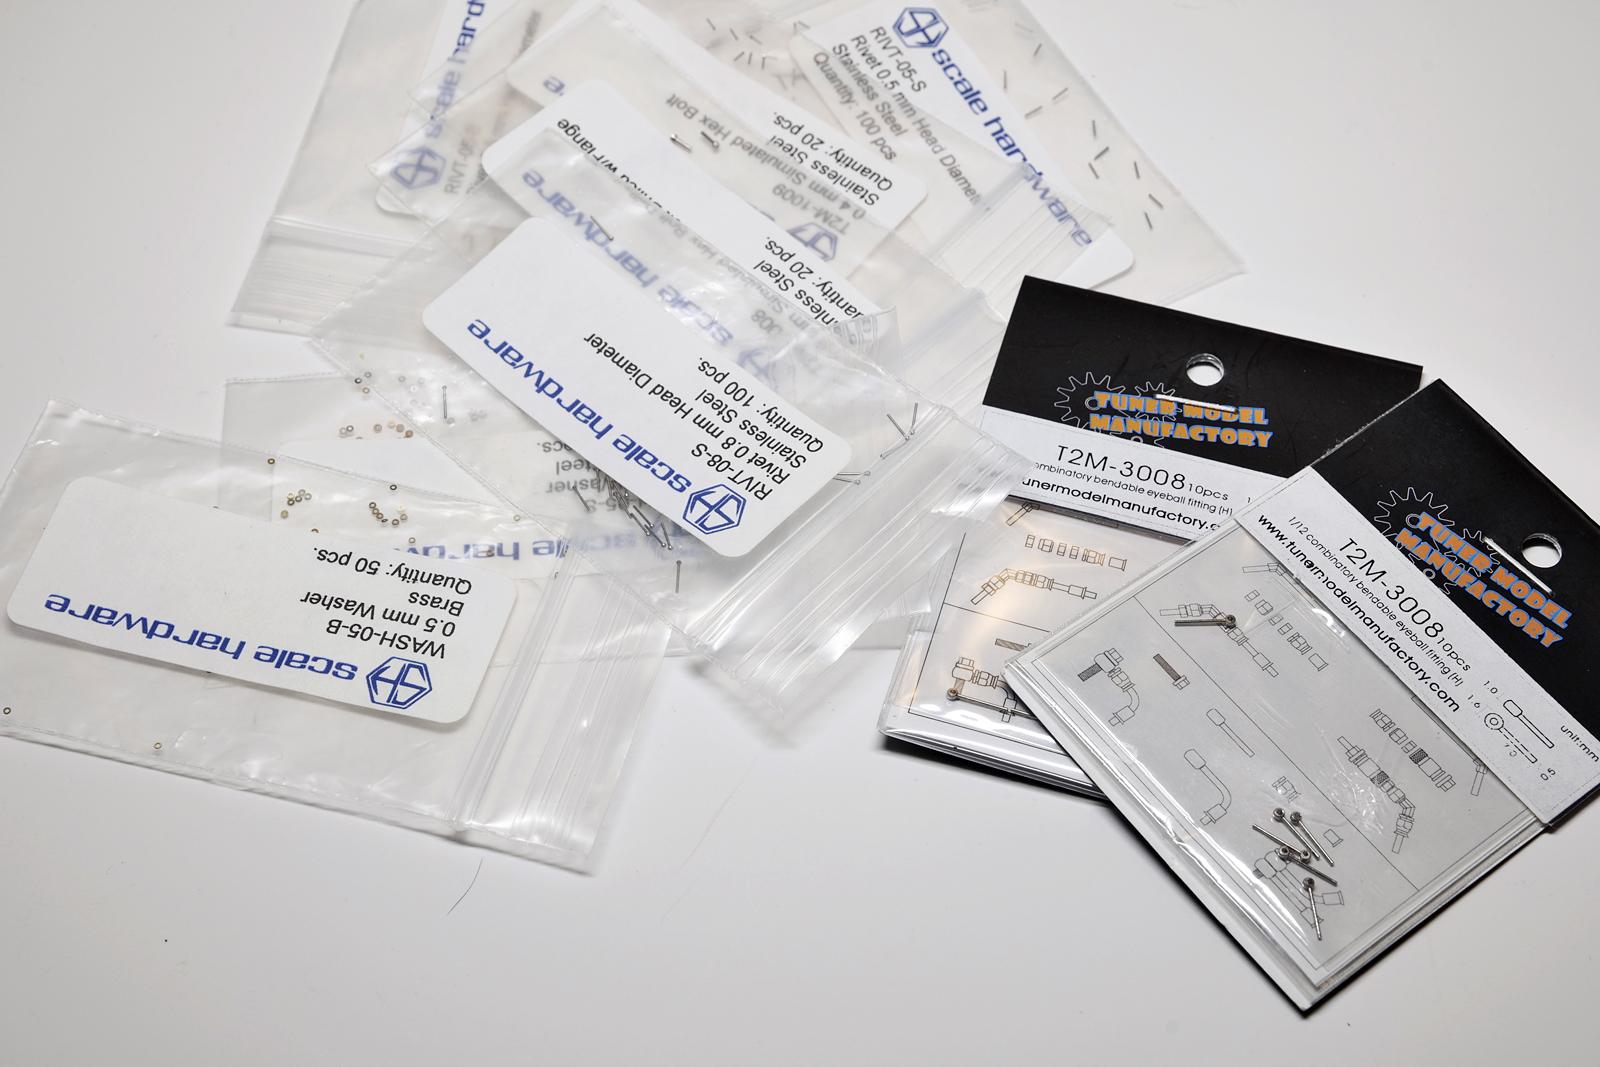
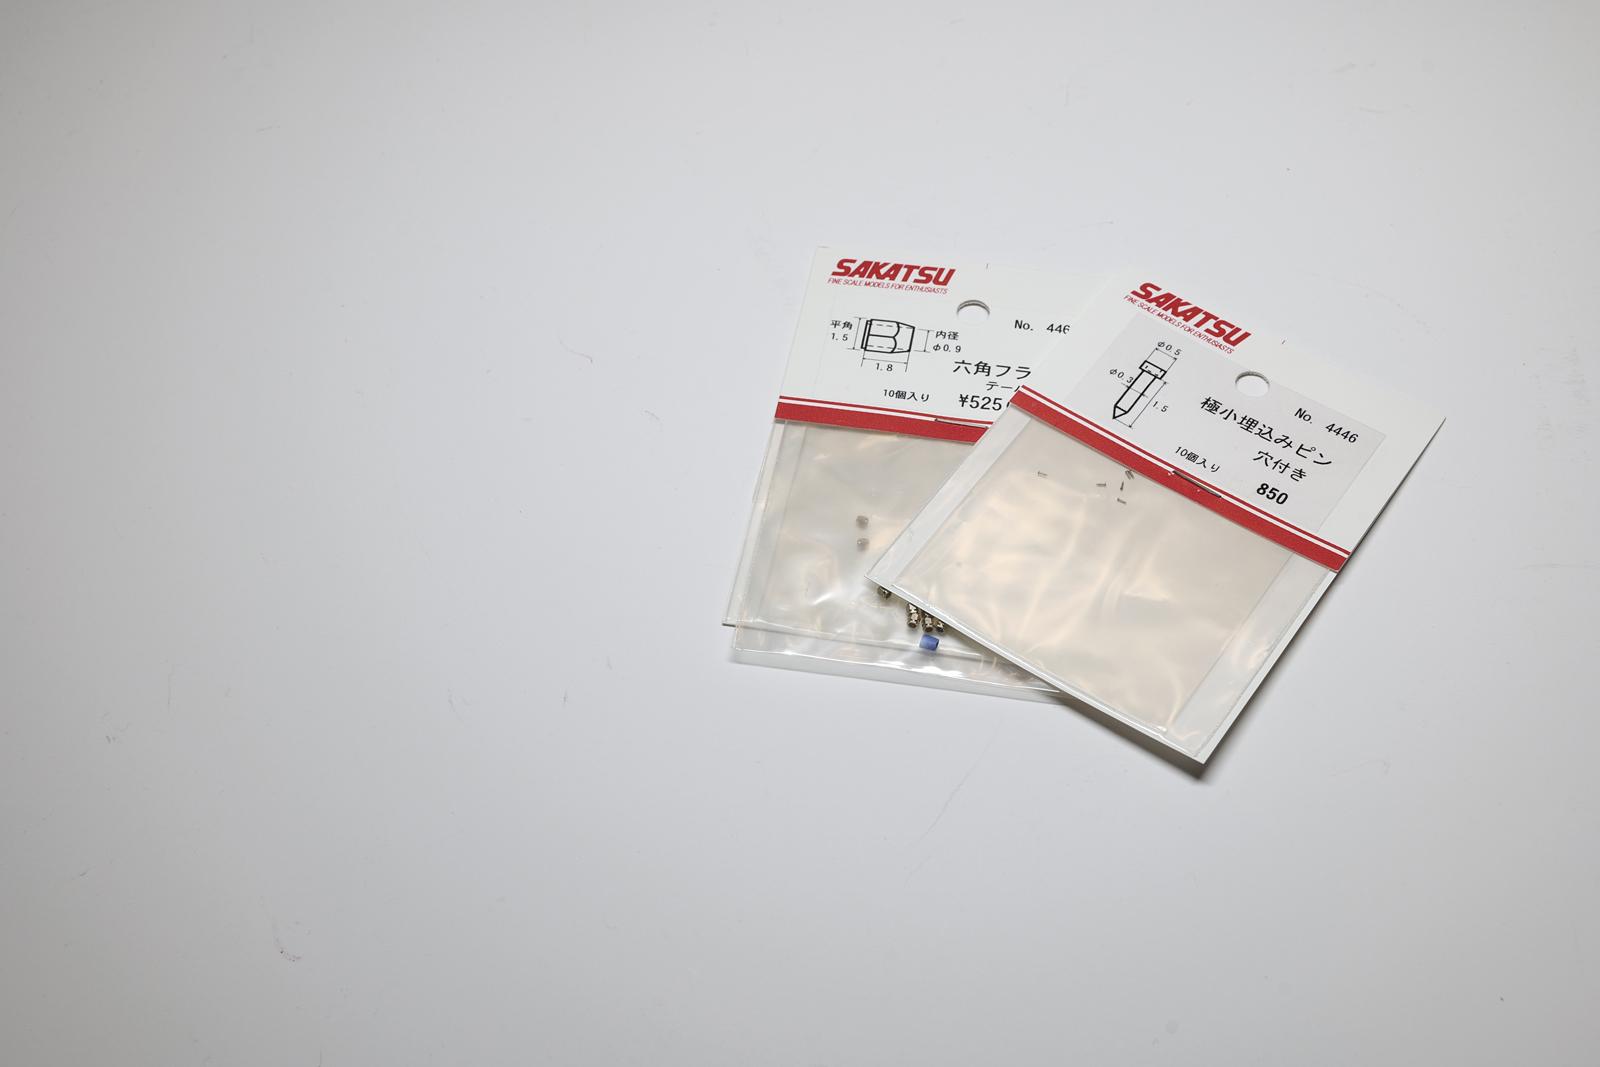
Thanks for the info on this! I think Spot Model is located in Europe (not a deal breaker) and that was the main reason I didn't browse their inventory before. But looks like they carry cool stuff, I will definitely spend some time browse around and see. I am hoping small rivets parts won't cost too much to get them over here.
-
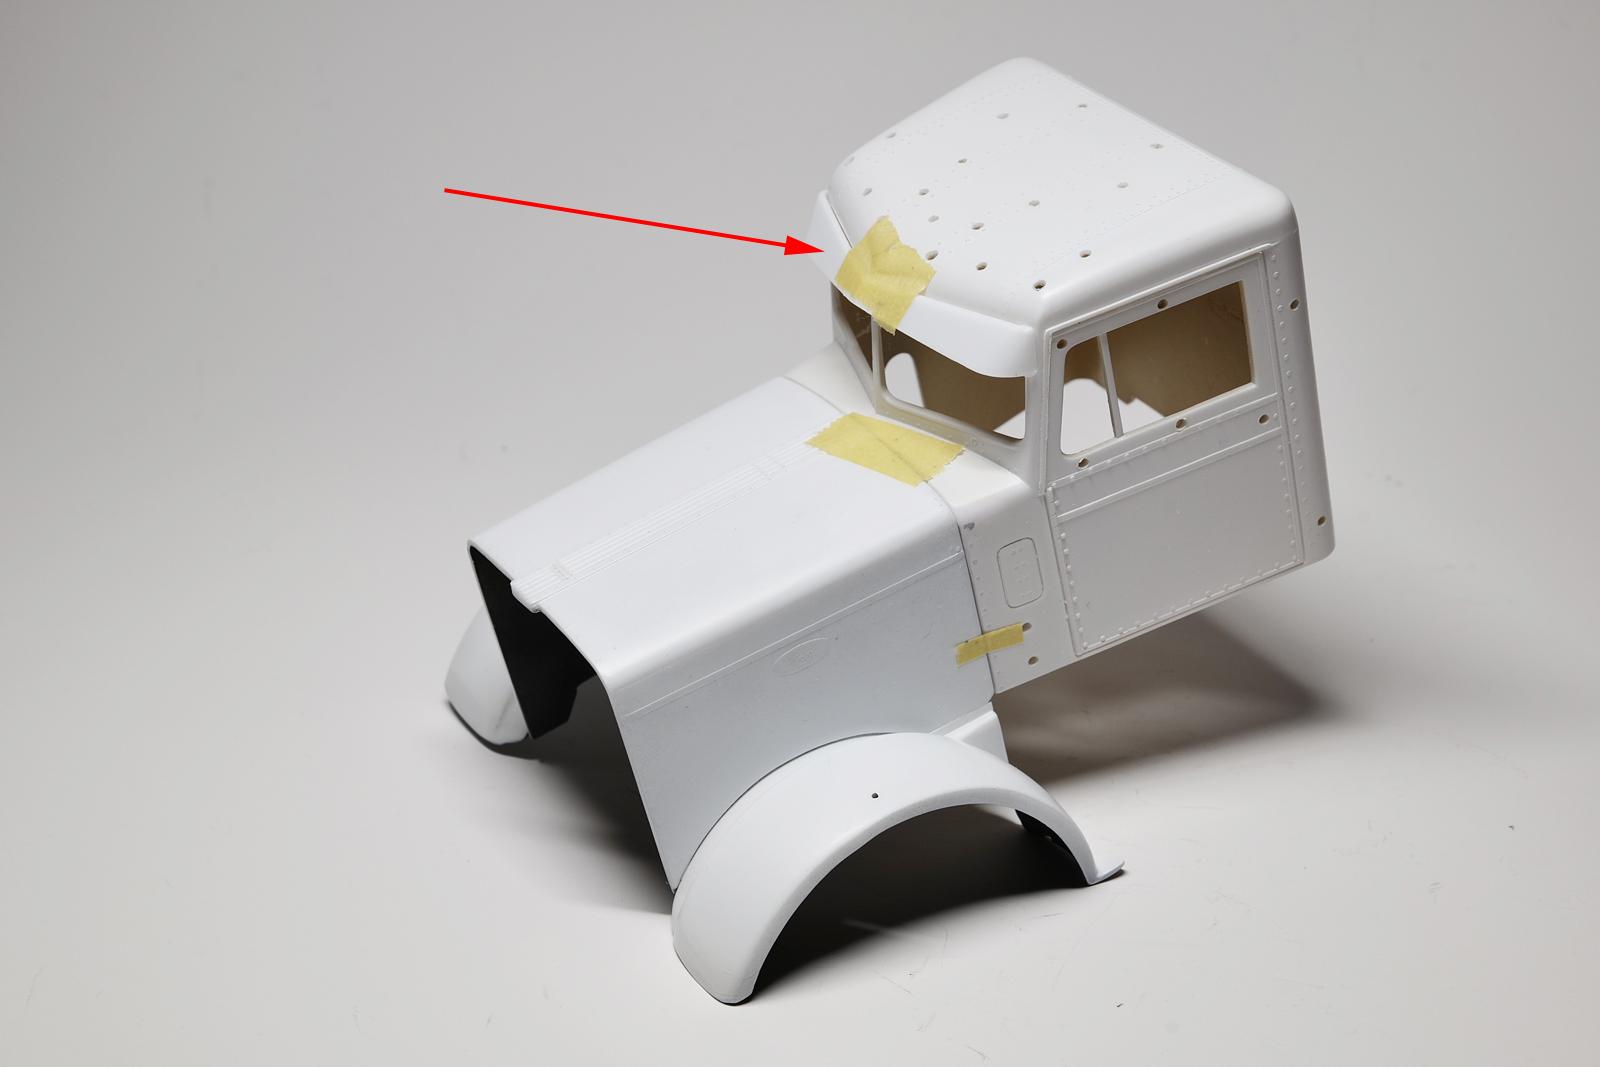
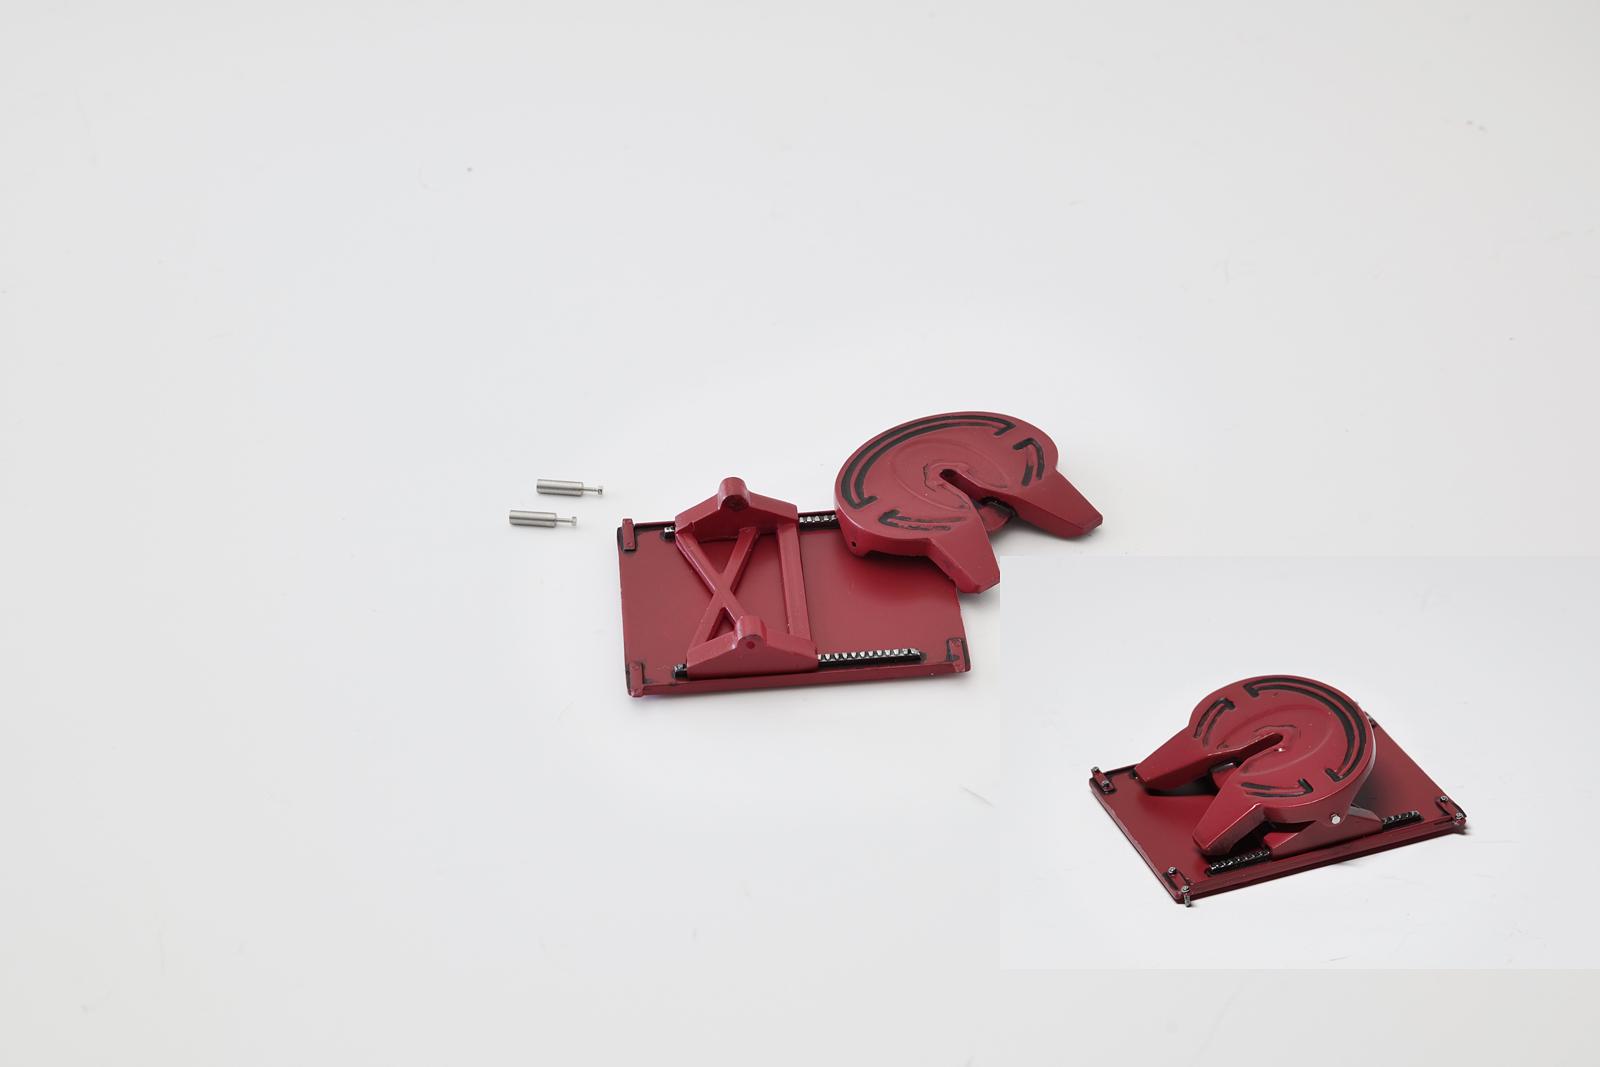
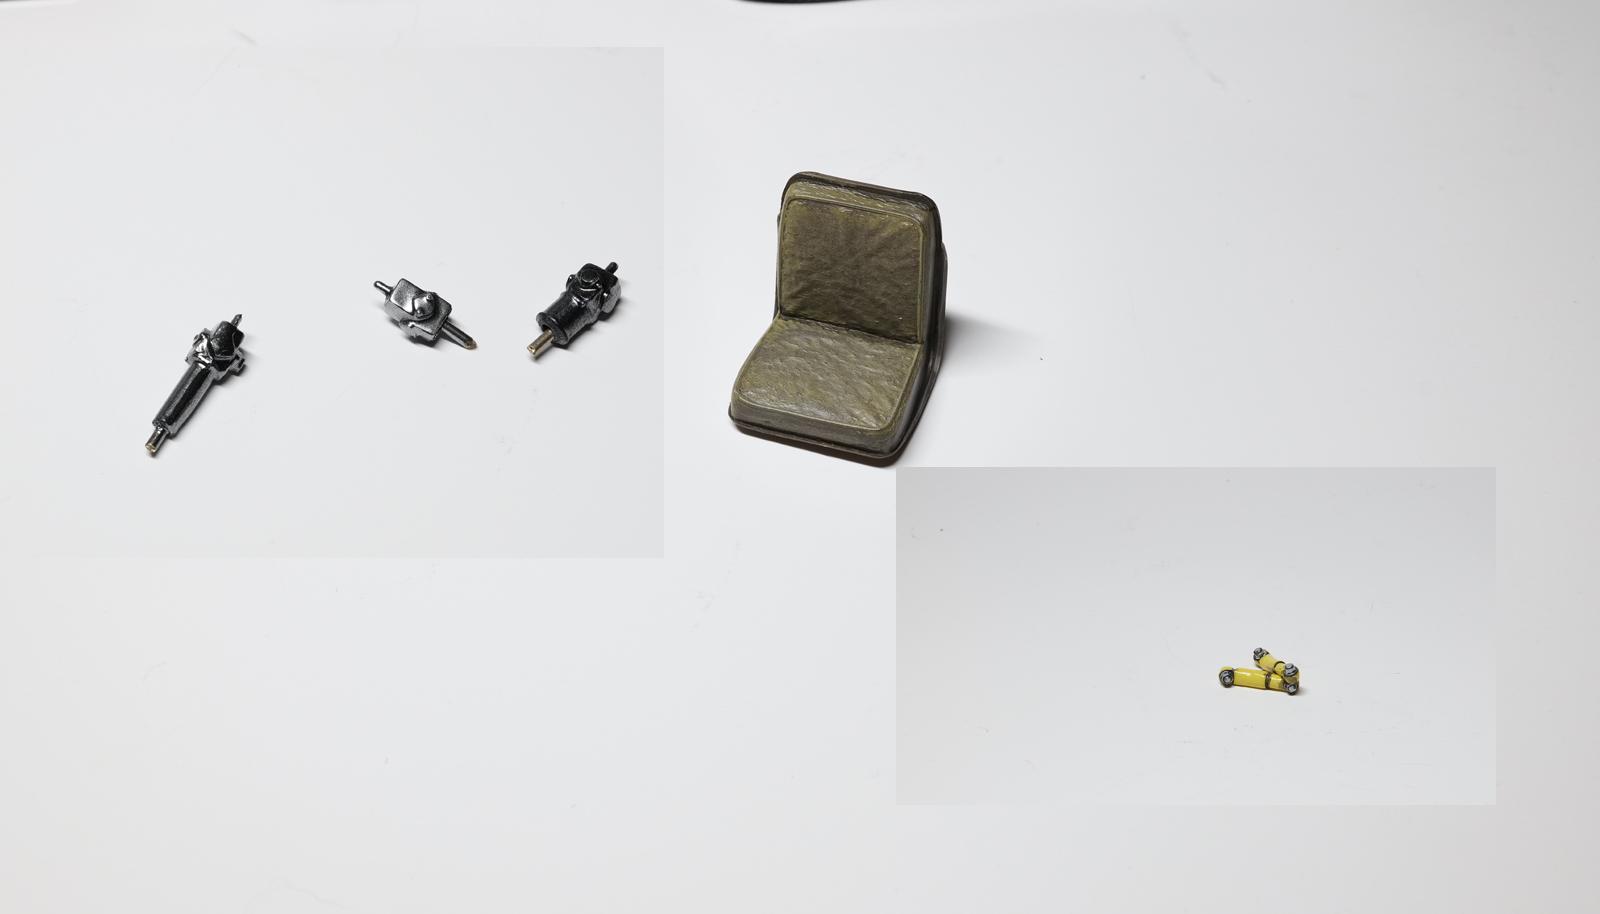
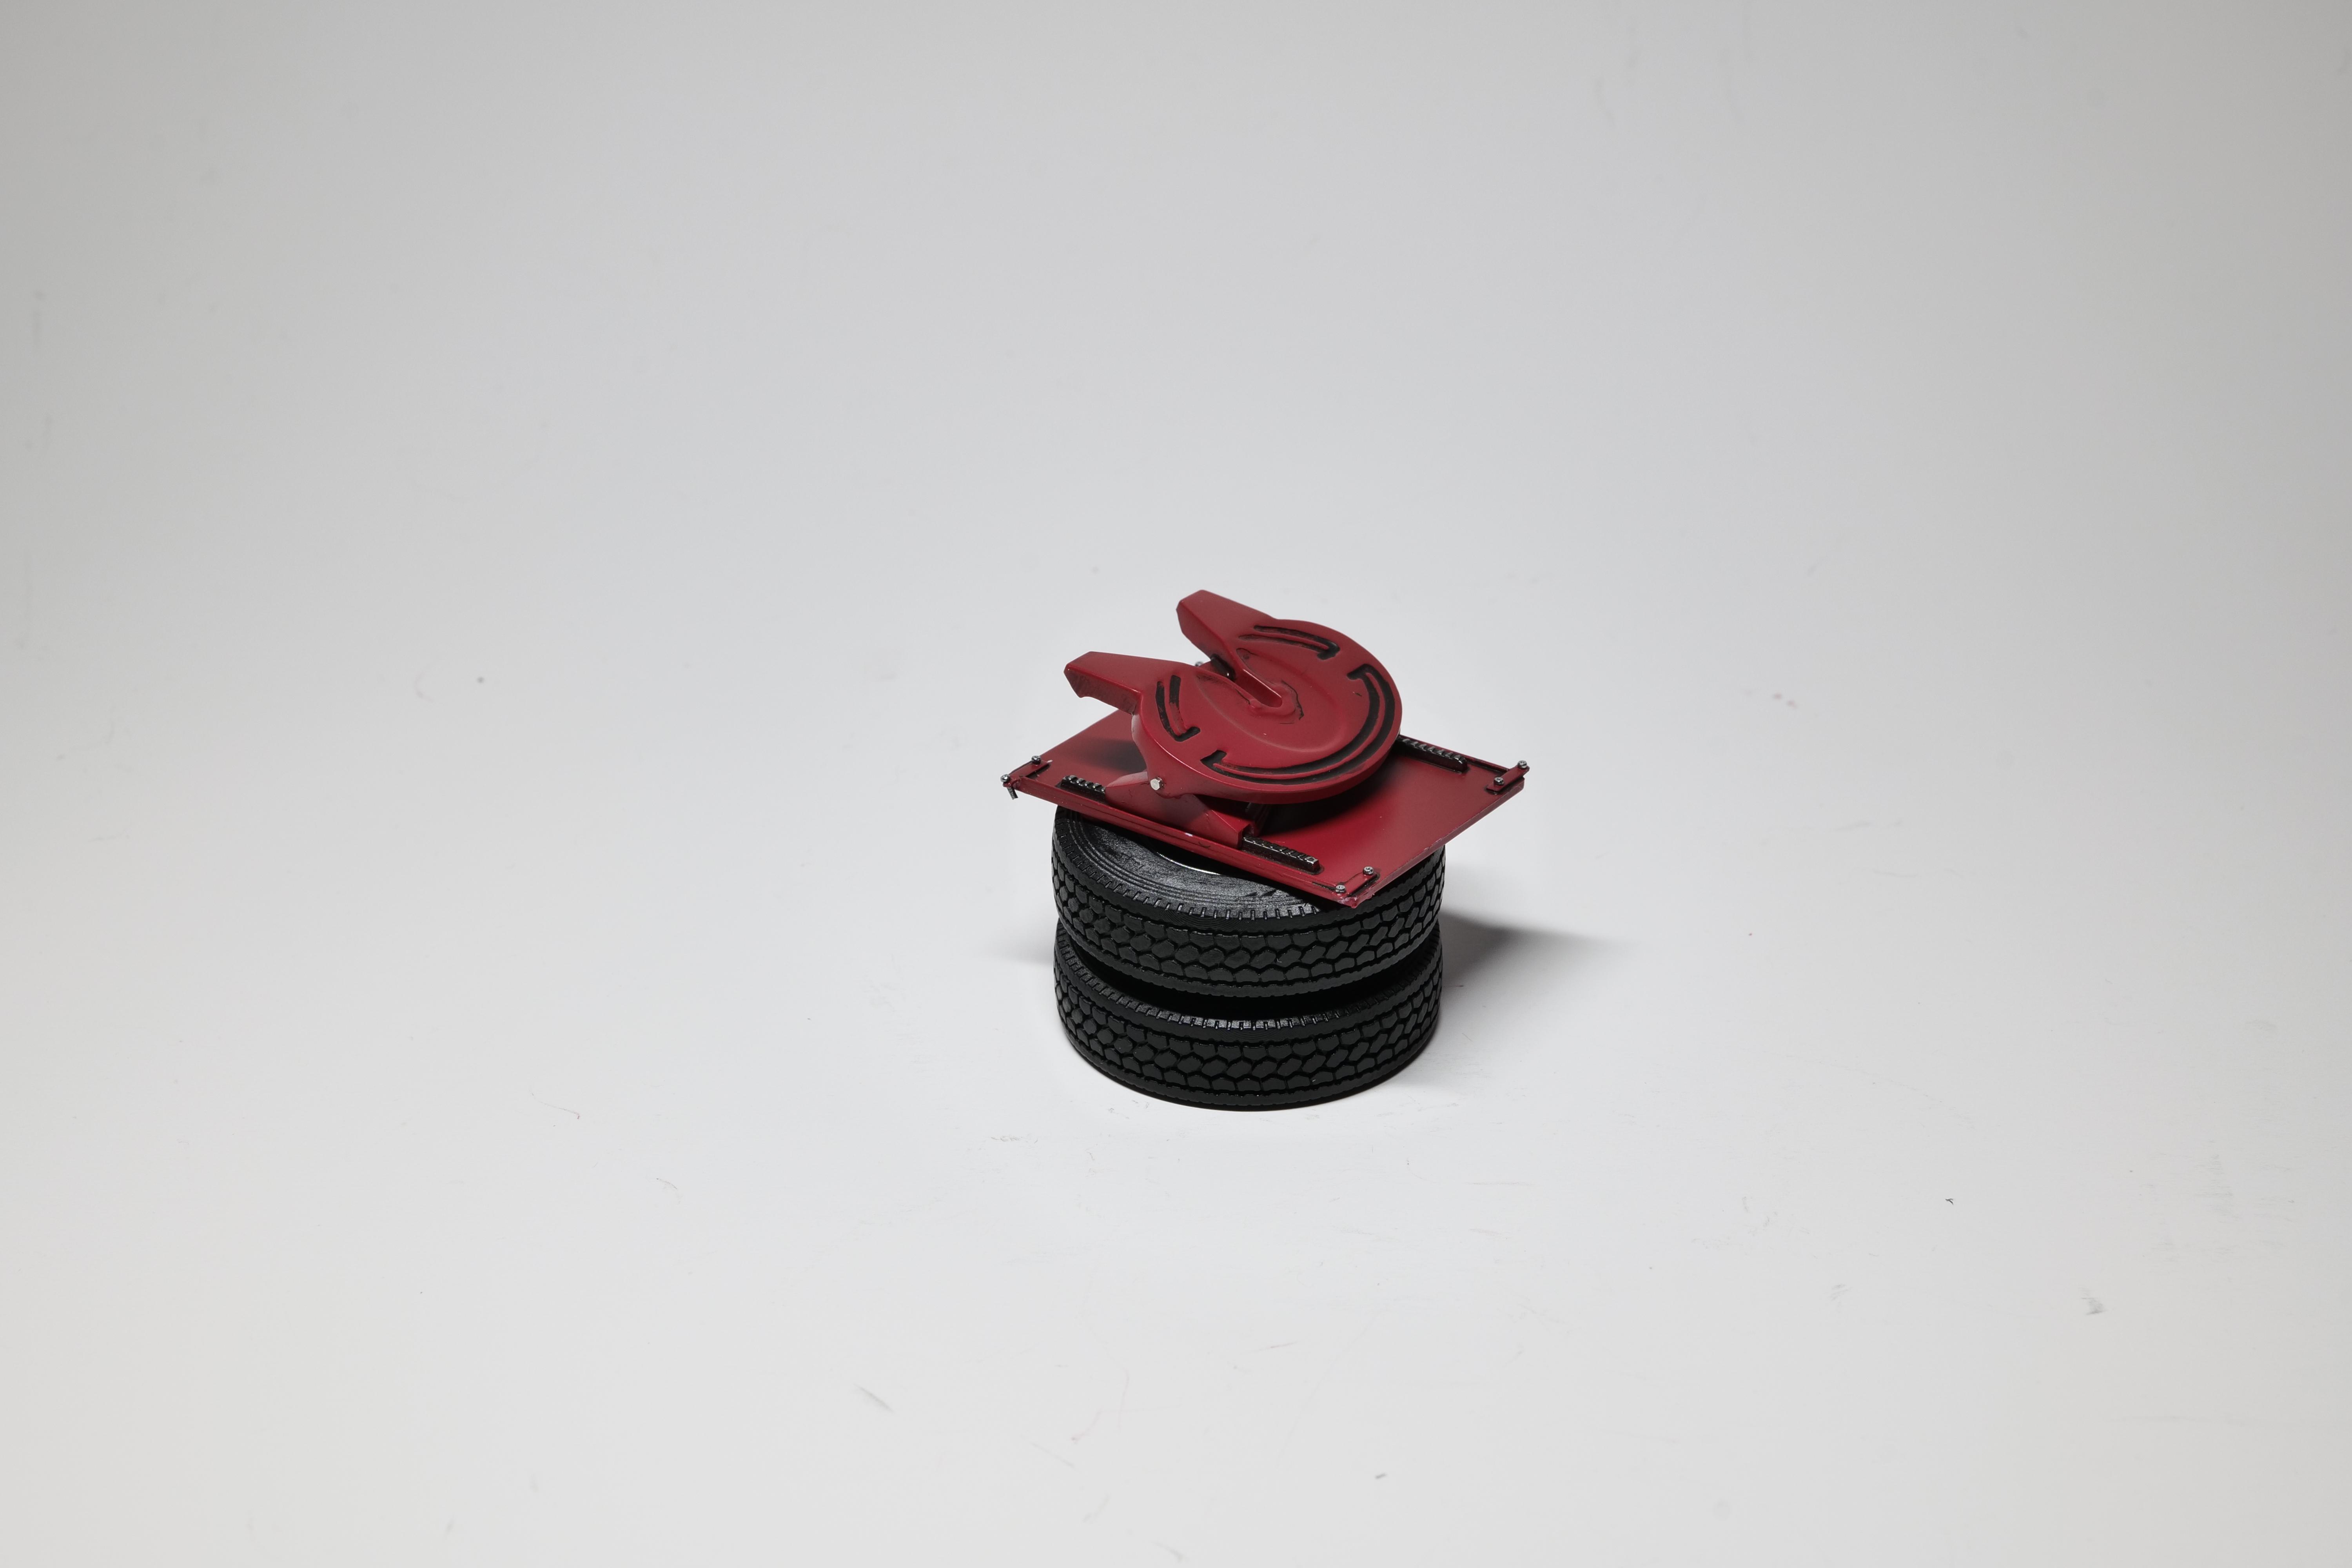
I really thought I understood all the potential challenges in this kit by going through all the parts and yet things are still popping up. The visor looks quite decent when attached, but it really wasn't attaching correctly to the roof. CHALLENGE 9 I just can't attach the visor properly to the roof and there is visible gap. I am glad I found this now, I won't be able to fix this cleanly once the body paint has been already applied. I will need to search more reference photos to correct this, but I am thinking a quick and easy solution is to sand off the bent lip at both ends. I gave some details on the fifth wheel by adding small bolts. The bolts pictured above is from a company called Adlers Nest and I don't think they produce these any more. I think I am down to 6 or 7 of these now. Perhaps I am being silly here, but every time when an application calls for detailing part(s) such as bolts/nuts or fittings, I find myself hesitating lately. Each time I look at my "detailing" part stash, I can see there aren't much left anymore and unwillingly I find myself preserving them... Some of my favorite rivets/bolts/fittings were from these companies and they aren't available anymore (unless my Internet searching skill is lacking). I started using 3D printed rivets/bolts/etc, but they just can't replace the actual metal parts. Moving on to my next topic; my wheels are now ready, I may add some wash to tone down the brightness later. I am picking up some speed now. I cut off the driveshaft leaving the u-joints. As usual, I will add aluminum tubes to replace the shaft portion. Got my seats done as well as shocks. My engine is also ready, but I made no attempt to add any details nor wiring here. I think AMT did a good job on the engine, it is made up with many parts and looks fairly nice once assembled. Soon I will start painting the body and I still haven't decide the actual color I will be using... Too many choices to be honest.
-
Haha, looking at your plow truck, there must so many devils then! Thanks for taking a look at this, Bill. This kit being 50+ years old, I can't believe I am building it for the first time... Appreciate your support and interest, Steve! Always pleasure to get your feedback~
-
Western Star 4900 FA plow truck
cifenet replied to BK9300's topic in WIP: Model Trucks: Big Rigs and Heavy Equipment
This one is looking better than the real one, your dedication is shown throughout the build. All the details do add up nicely which makes this truck to be an amazing art! -
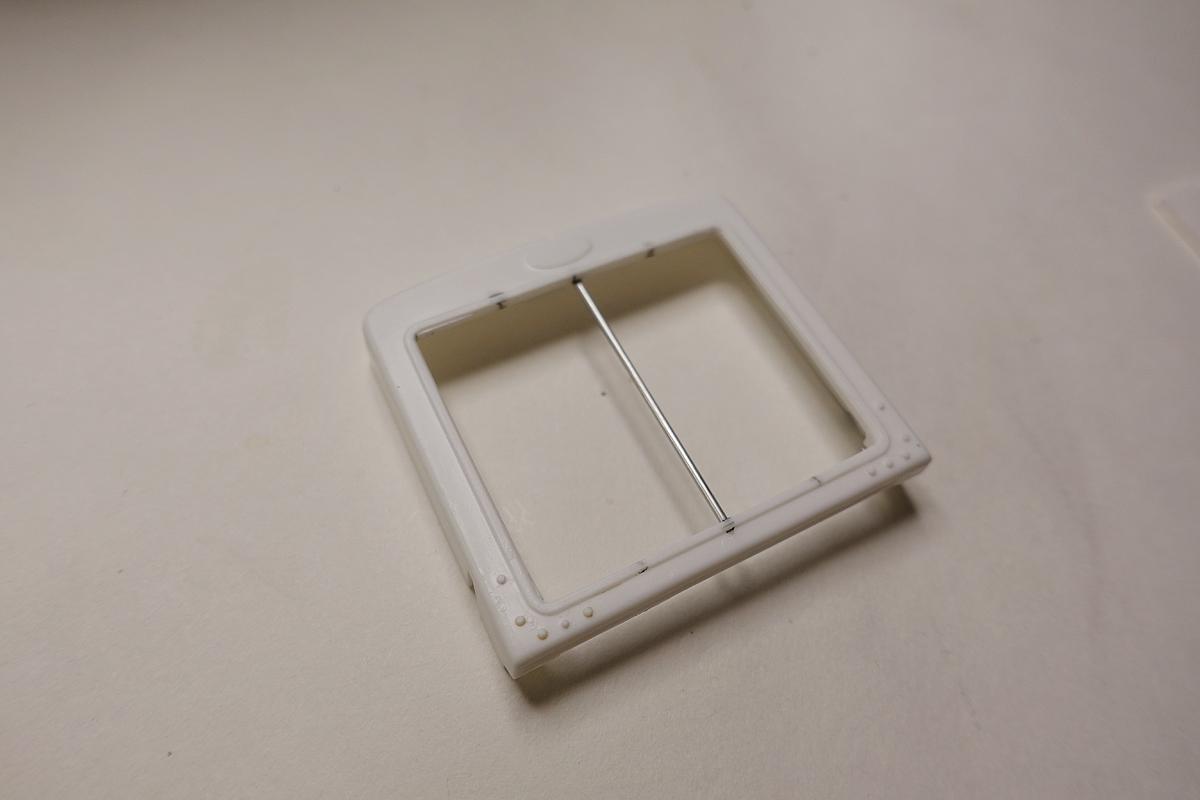
My next topic is to pre-assemble my grille to see if everything is lining up. For adding the vertical support on the grille, I used the same method I used for my Revell's Pete. Once I cut out the center part of the grille, I added thin aluminum tubes to mimic the vertical supports. I think they look quite effective. The Revell version had three support beams whereas my current kit has only two. I will keep two beams as it feels somewhat unique. I added P/E screen on the back temporarily to see how much you can see through. Once I put the radiator behind the grille, I hope to see the details of air shutter unit.
-
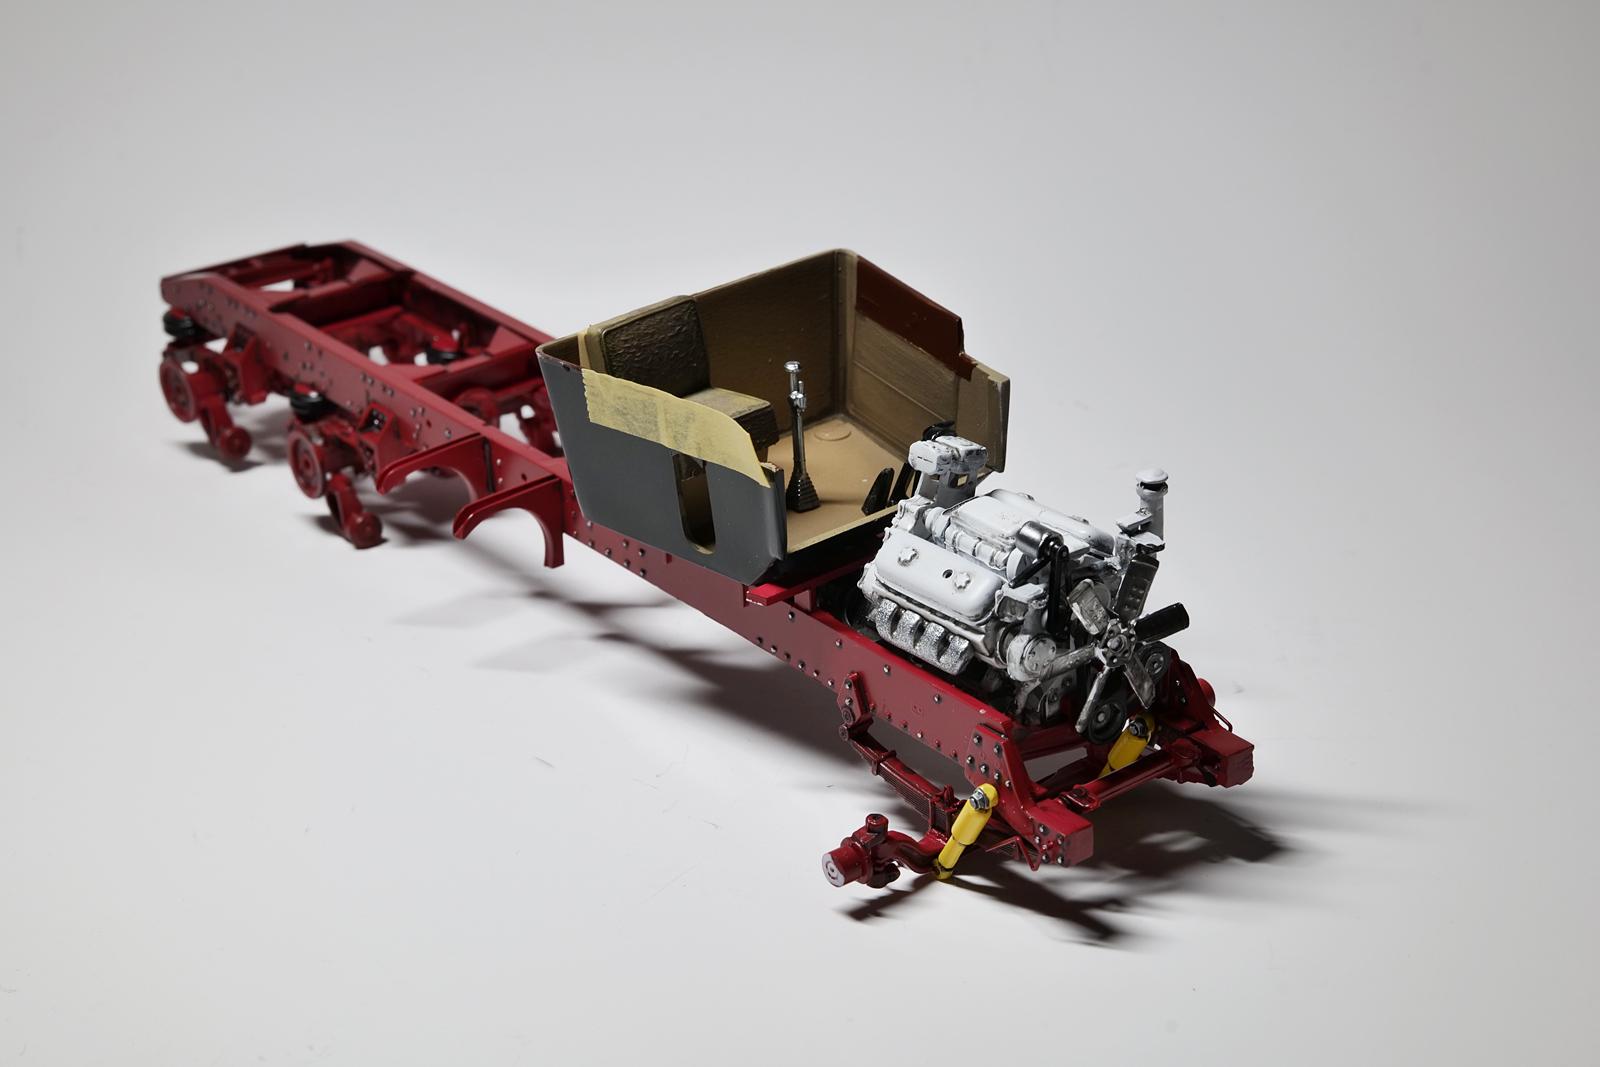
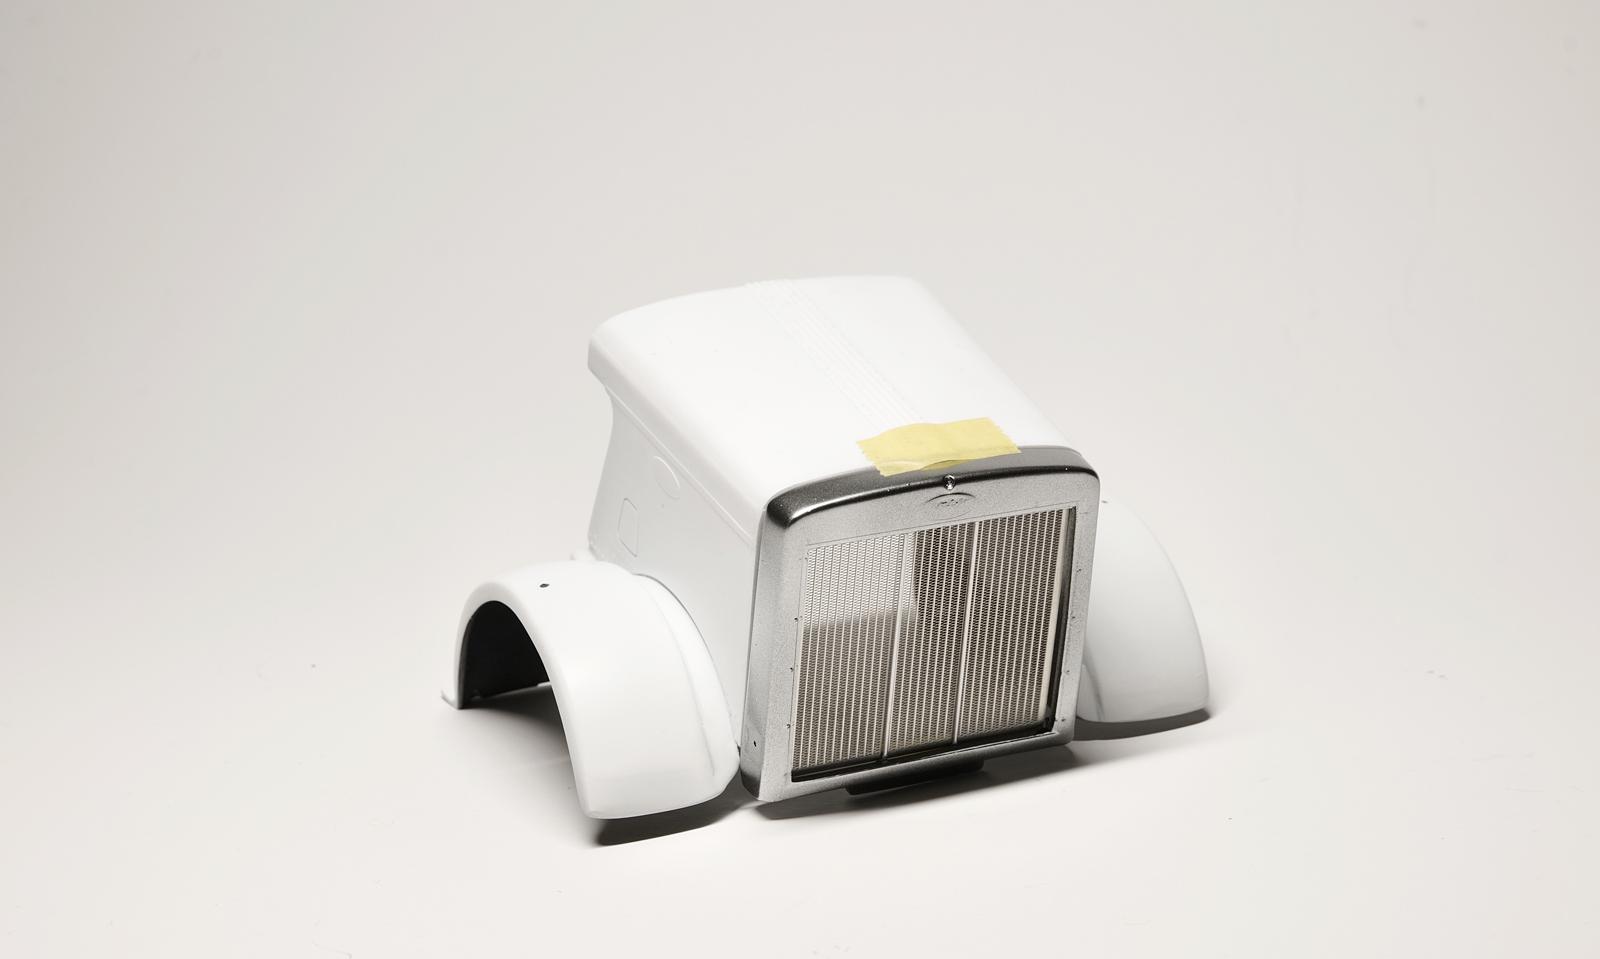
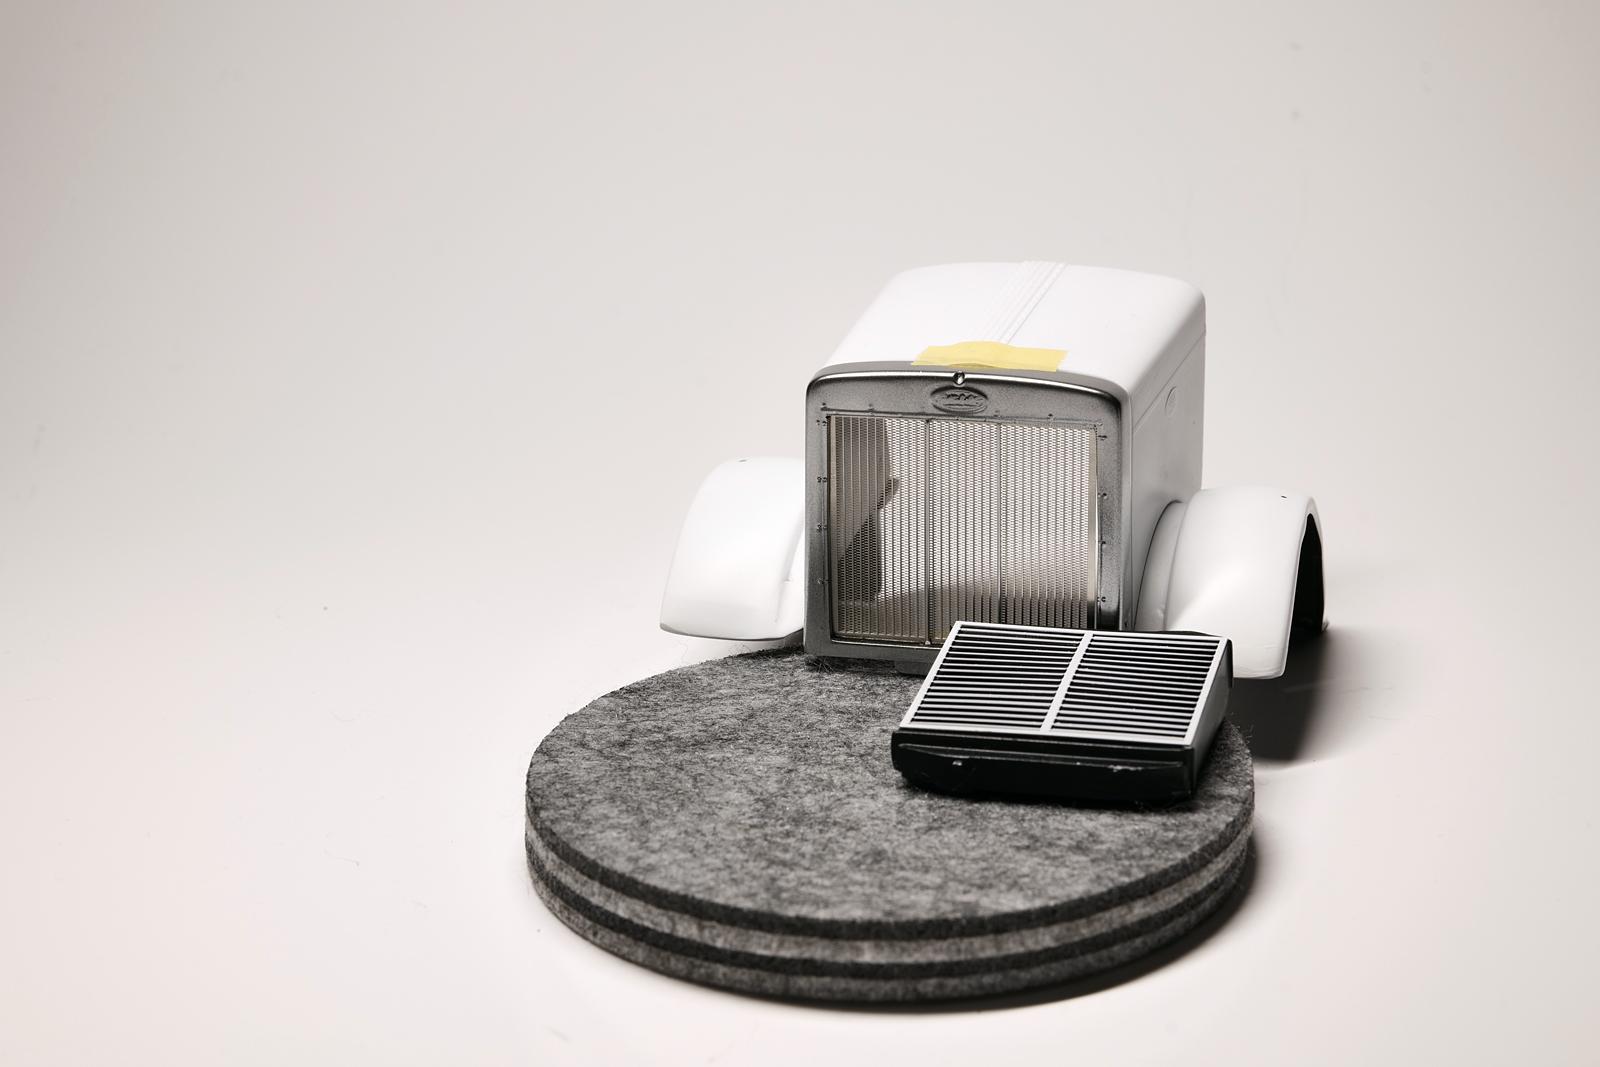
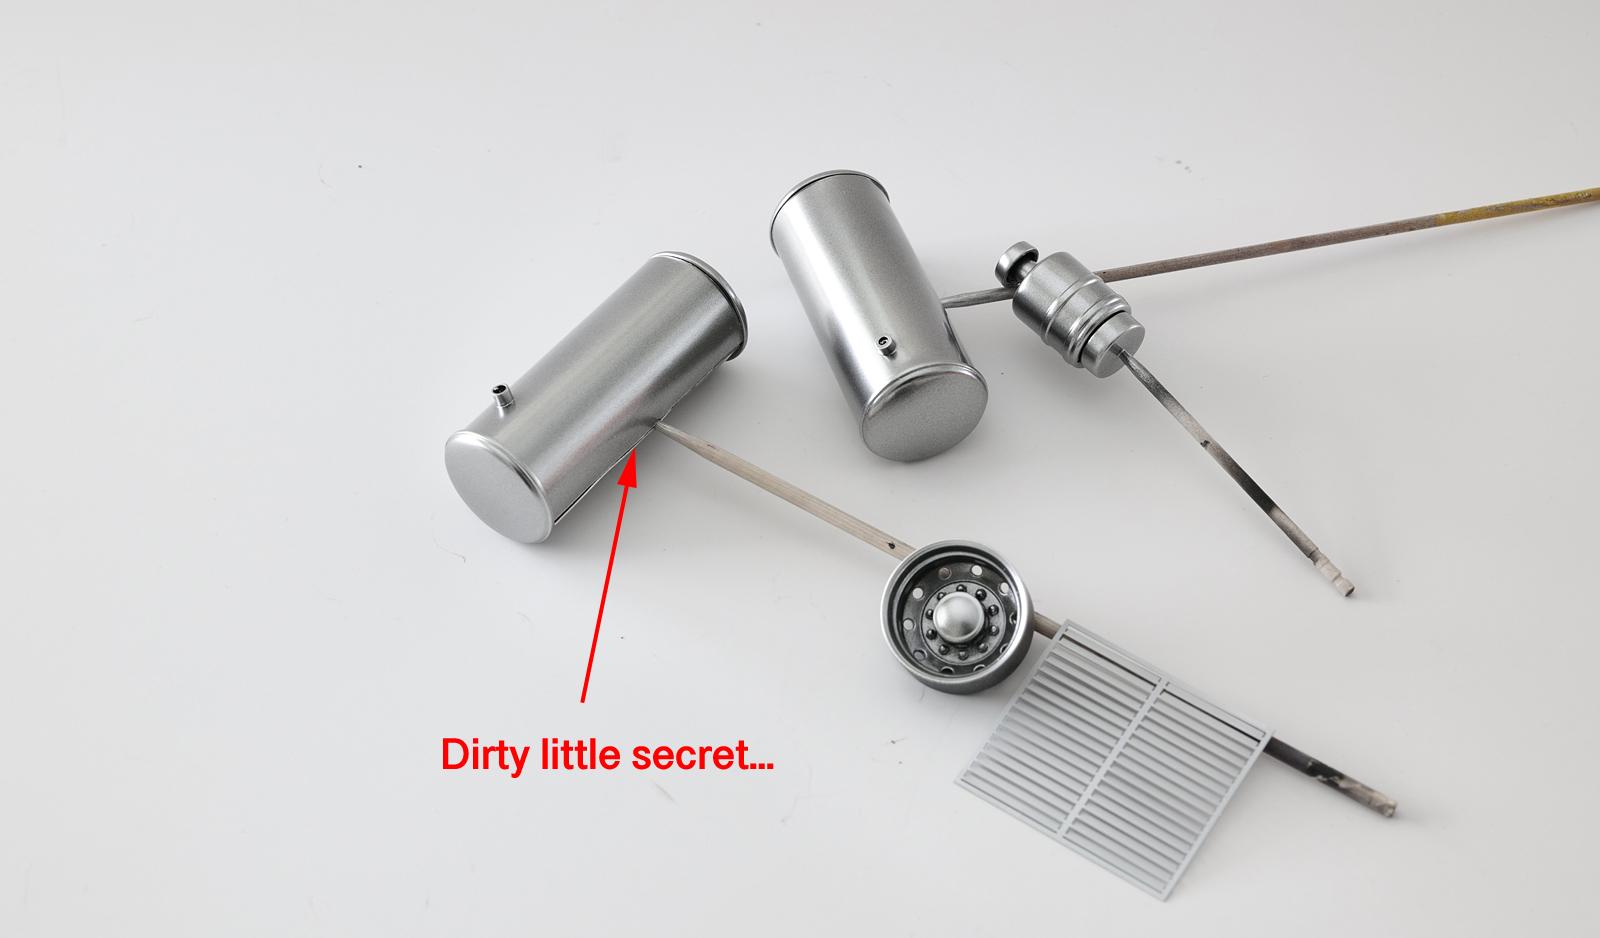
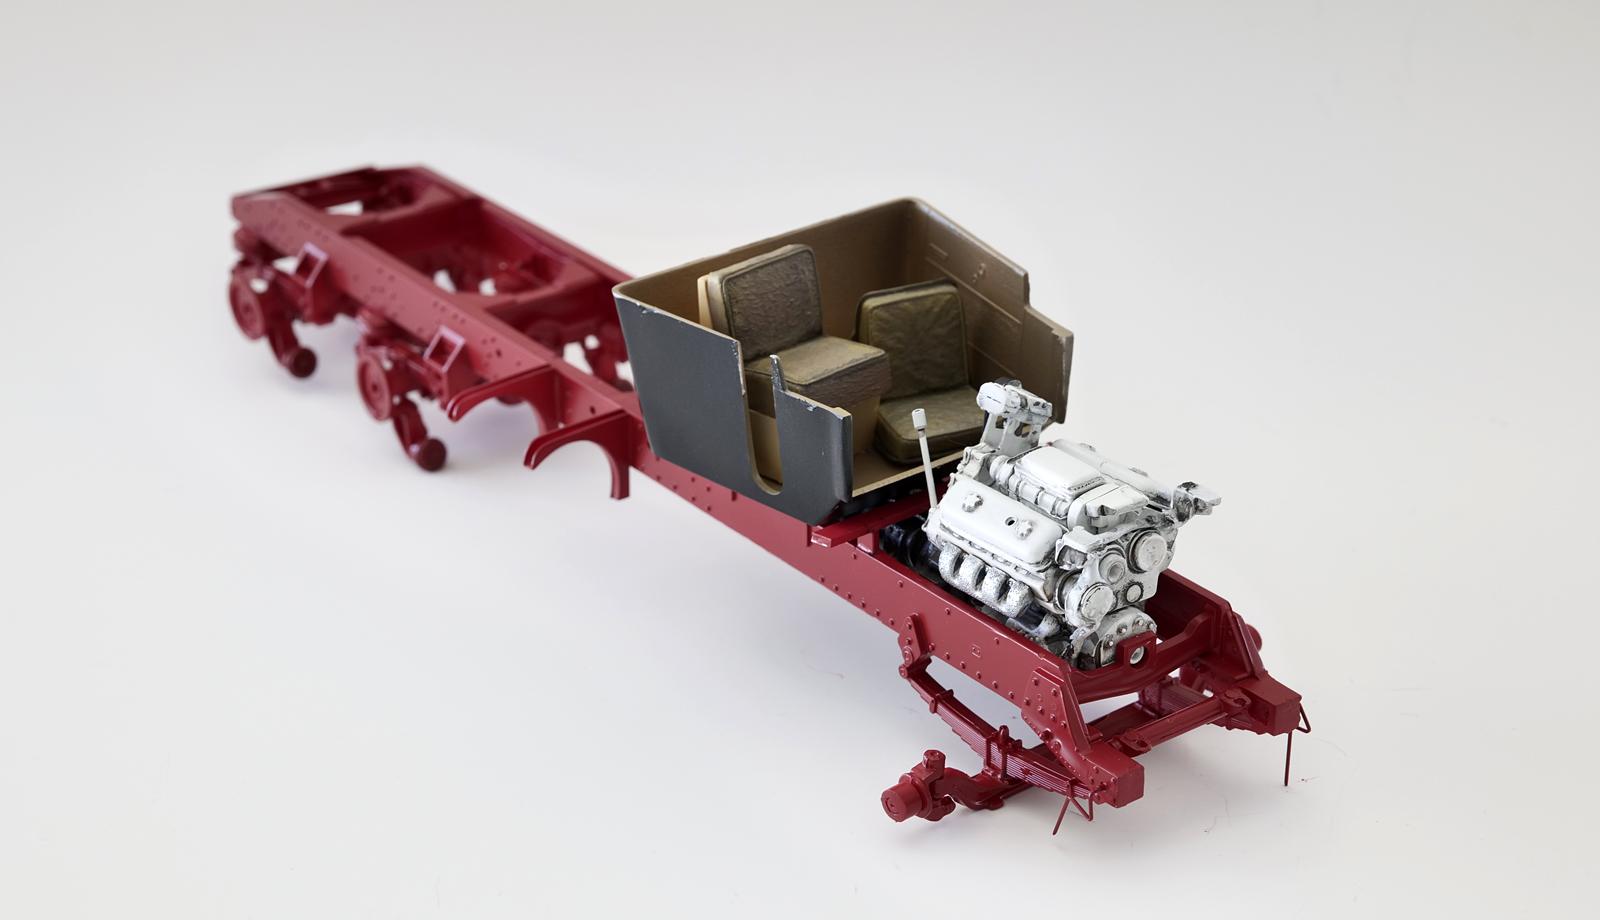
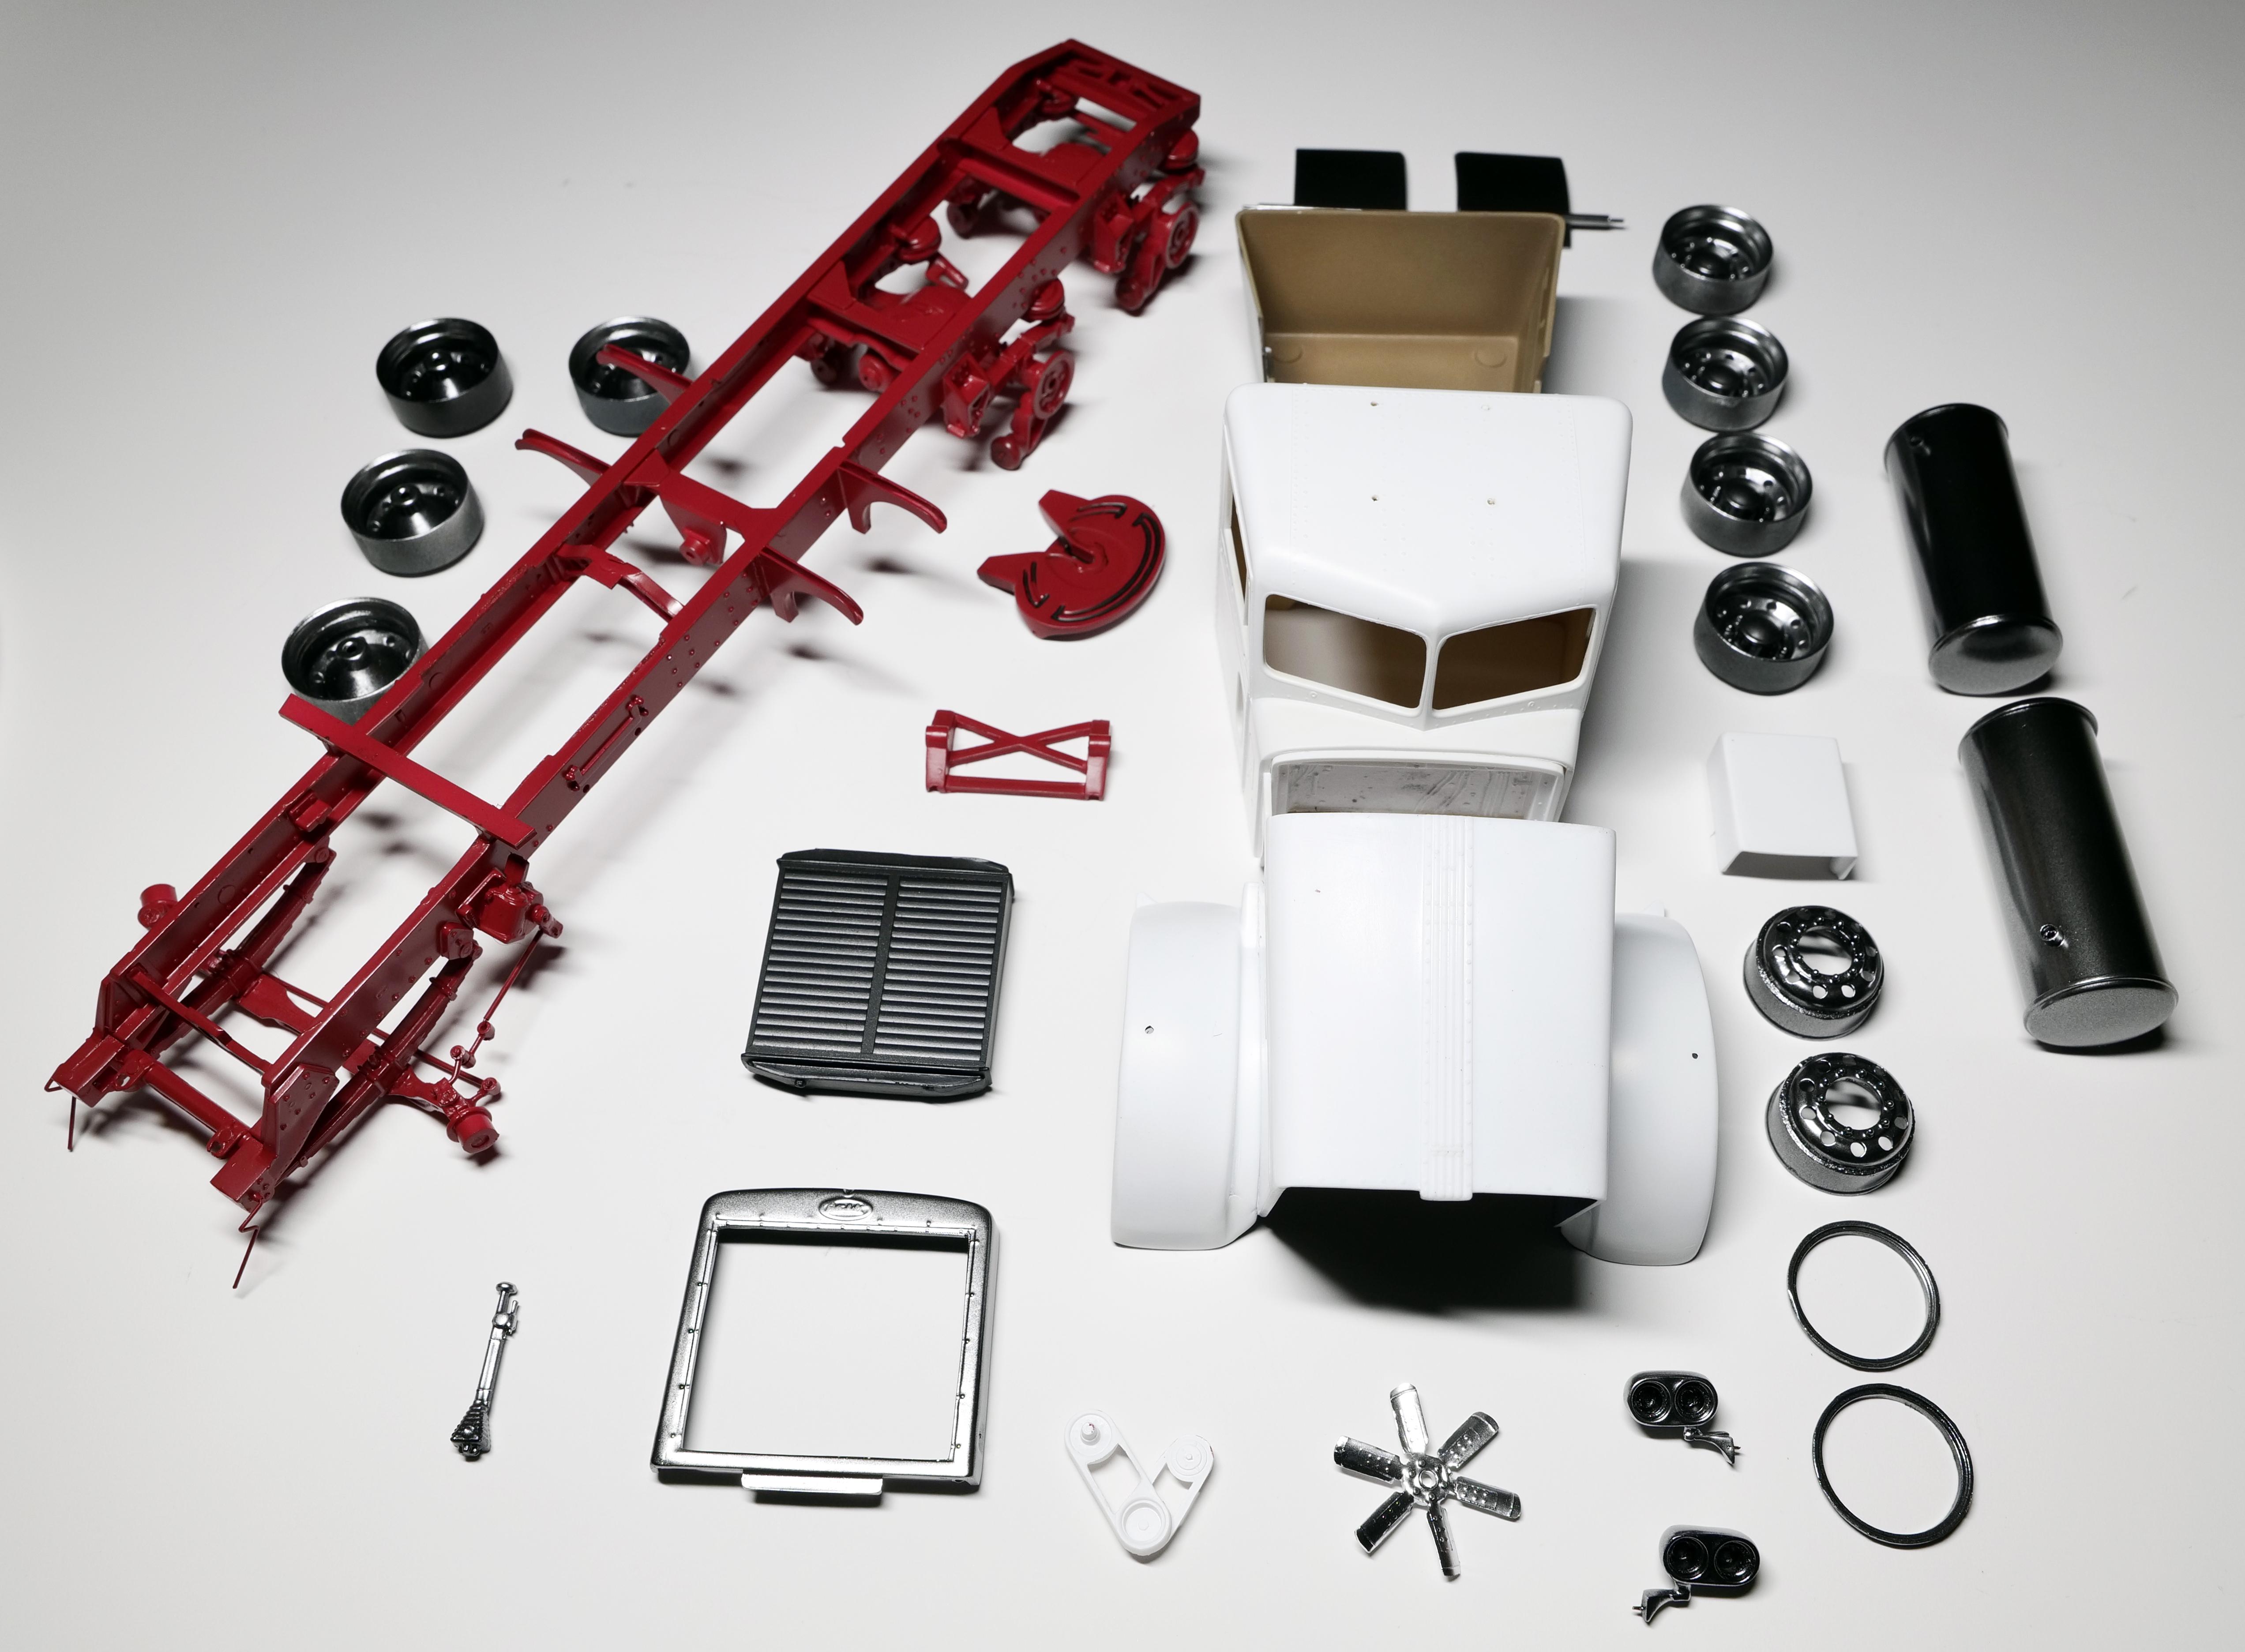
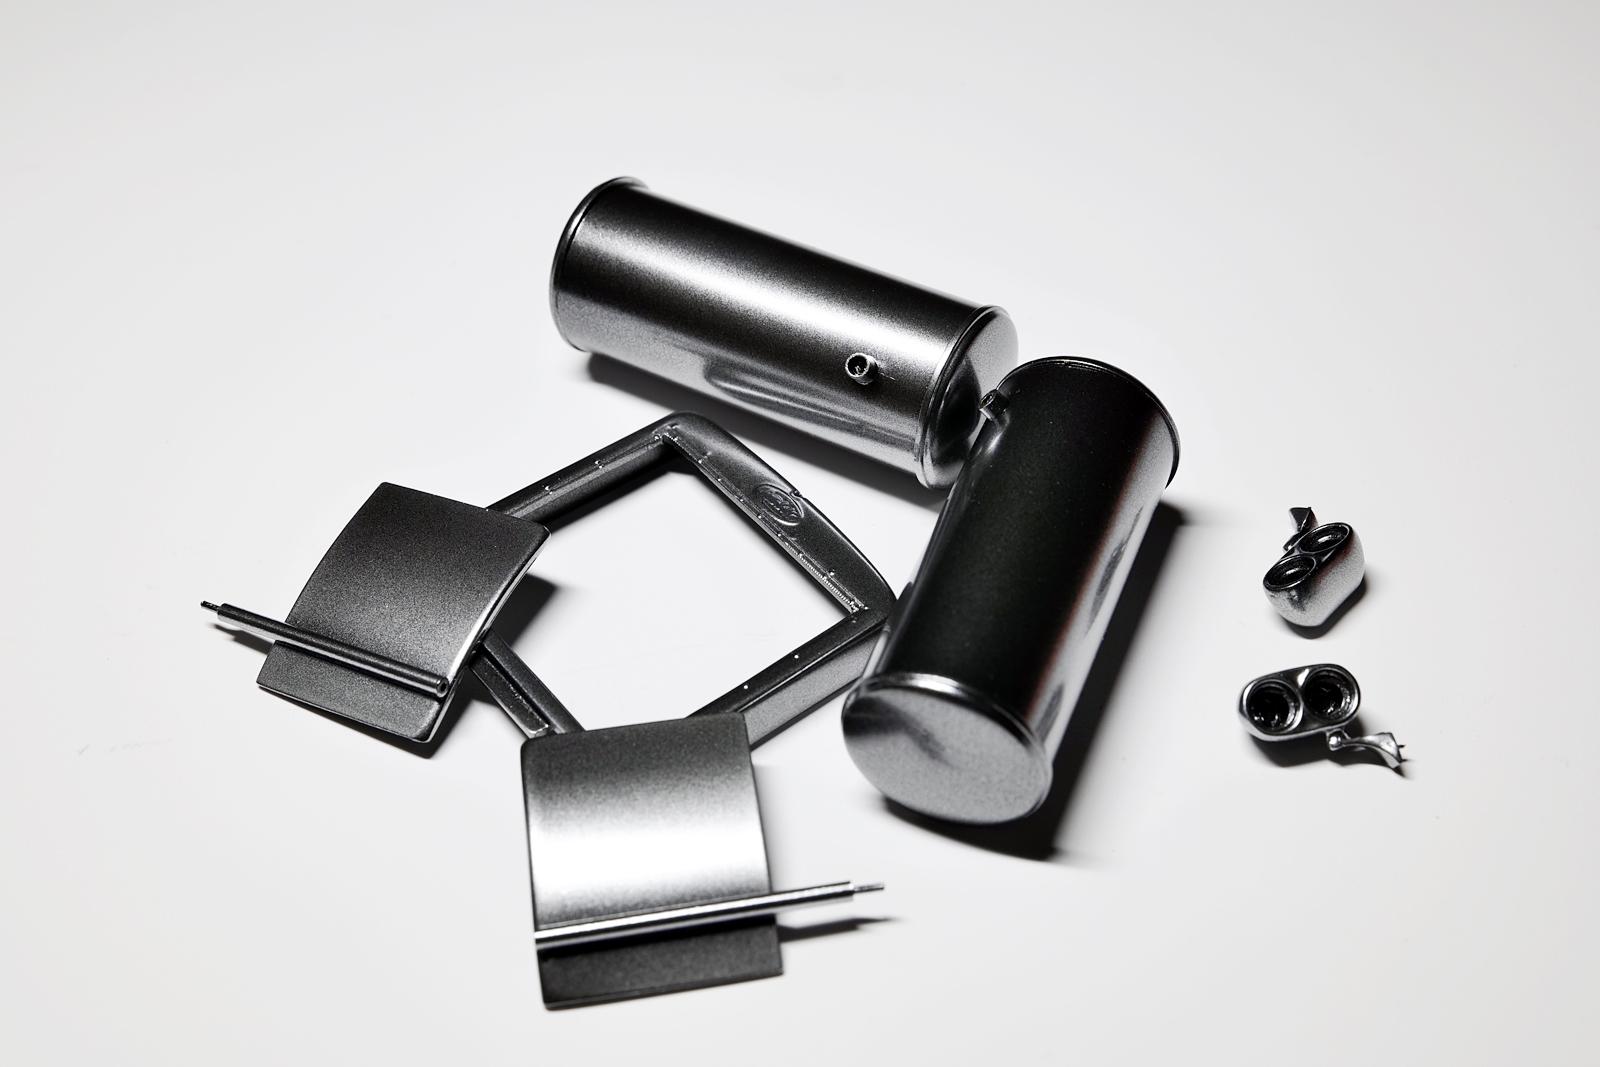
I started out as green, but then changed my mind yet again. My Titan 90 has green one, so I figured I should try something new. This took multiple coats where I started with pure white and then added hint of grey color to give some gradient finish on white. Being all white made the engine somewhat boring, so I added shadow accents throughout. Perhaps little too much... Why all these attachment holes are so big on this kit? When attaching parts, I need to be careful and do my best to cover them as much as I can. And I thought I was making decent progress, I couldn't find one of the torpedo lights on the roof and spent 30 minutes just looking everywhere before I finally gave up. The best thing I could do was to fabricate one out of part tree sprue, but it came out to be slightly thinner then the rest. Hoping this won't distract the model when finished. The wrapped plastic sheet on fuel tank ends at the bottom and I didn't even bother to putty up the seam. I just left them as they are thinking they won't show up once mounted on the frame. The seam will be located in a way that no one is going to notice even you flip the truck up side down... I even drilled a hole so I can insert this stick for me to hold during my painting session. This will also be hidden later. The frame has that monotonous feel, I exaggerate certain details. Again, perhaps little too much. I will continue to bring out some details and as I paint more. Added Air shutter/Kysor shutter unit in front of the radiator. It was a P/E part that I acquired and I bent all the shutter fins to bring out some depth.
-
Glad to see you back here, Gary. Hopefully you can return with full force quick~
-
All of the small details are adding up nicely and you are turning this into a fabulous result. it is quite entertaining watching how you cleverly adopt parts using various materials. And thanks for the cool video!
-
Peterbilt 379 RV
cifenet replied to vincen47's topic in WIP: Model Trucks: Big Rigs and Heavy Equipment
Looks very special and luxurious in all black. It could pass as a full sized RV limousine. Great details on engines also! -
1962 Marmon-Herrington HDT
cifenet replied to Jürgen M.'s topic in Model Trucks: Big Rigs and Heavy Equipment
Congrats on building this unique truck! You have done an amazing work to produce and build this one. Looking so good! -
Gorgeously produced! You have done a great job on this wrecker, bravo!
-
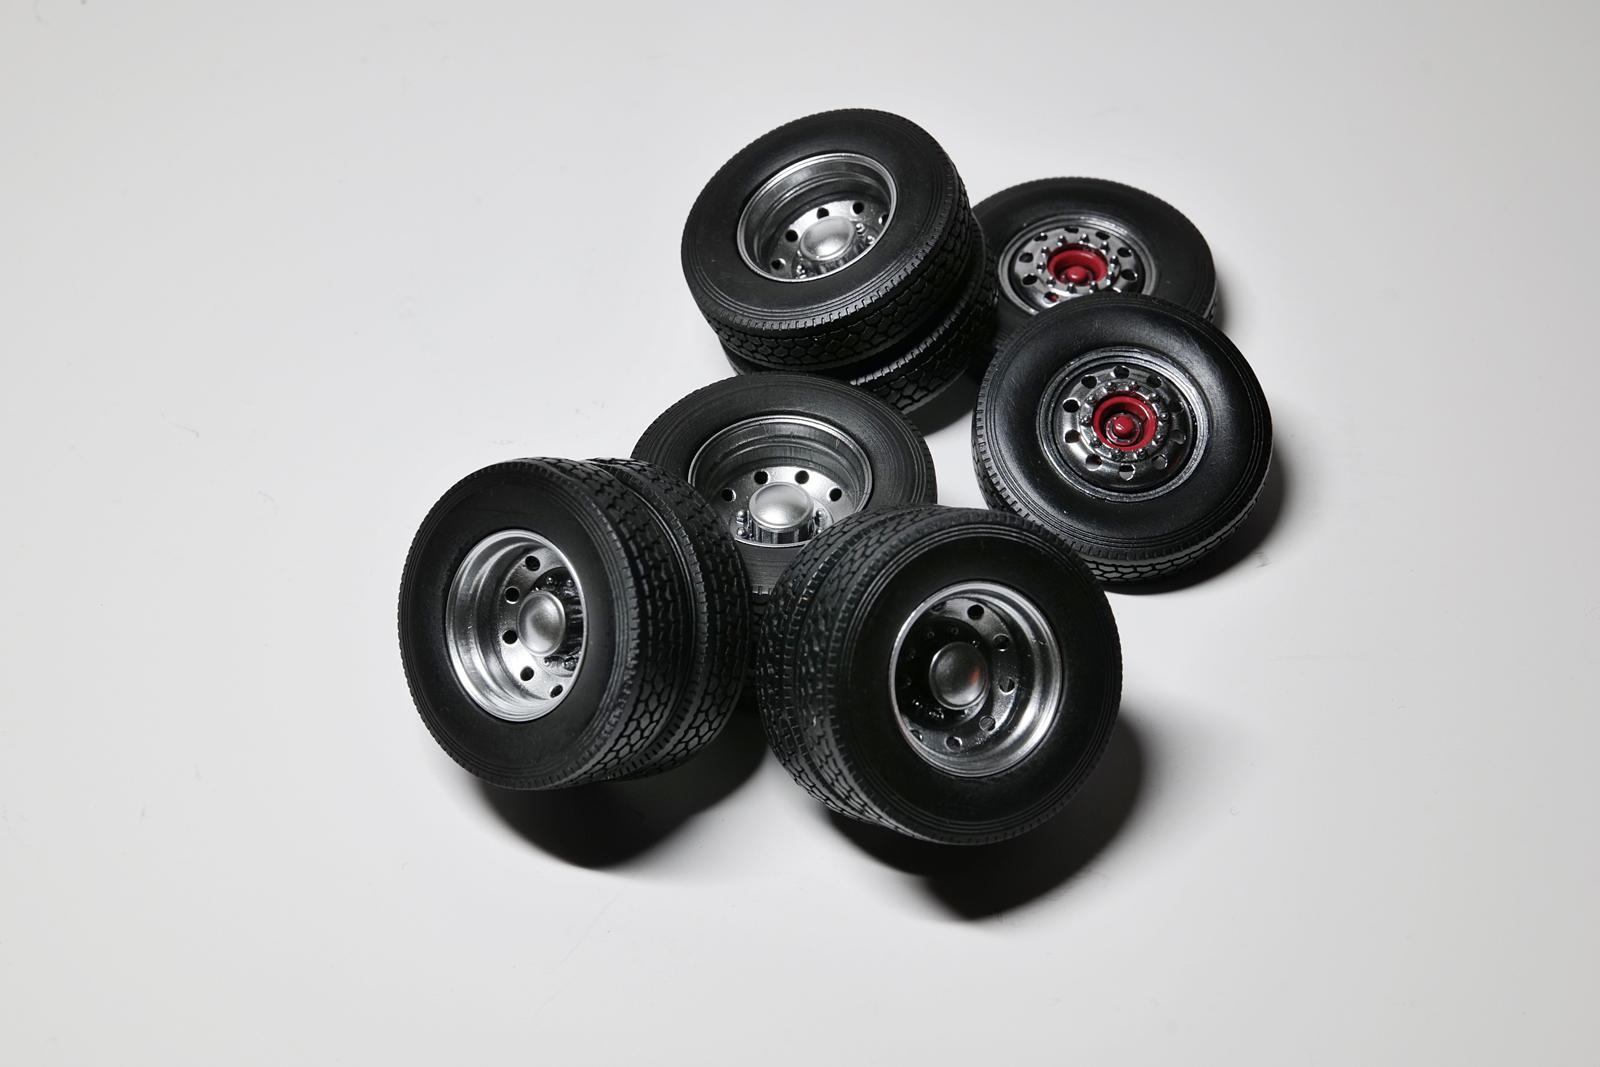
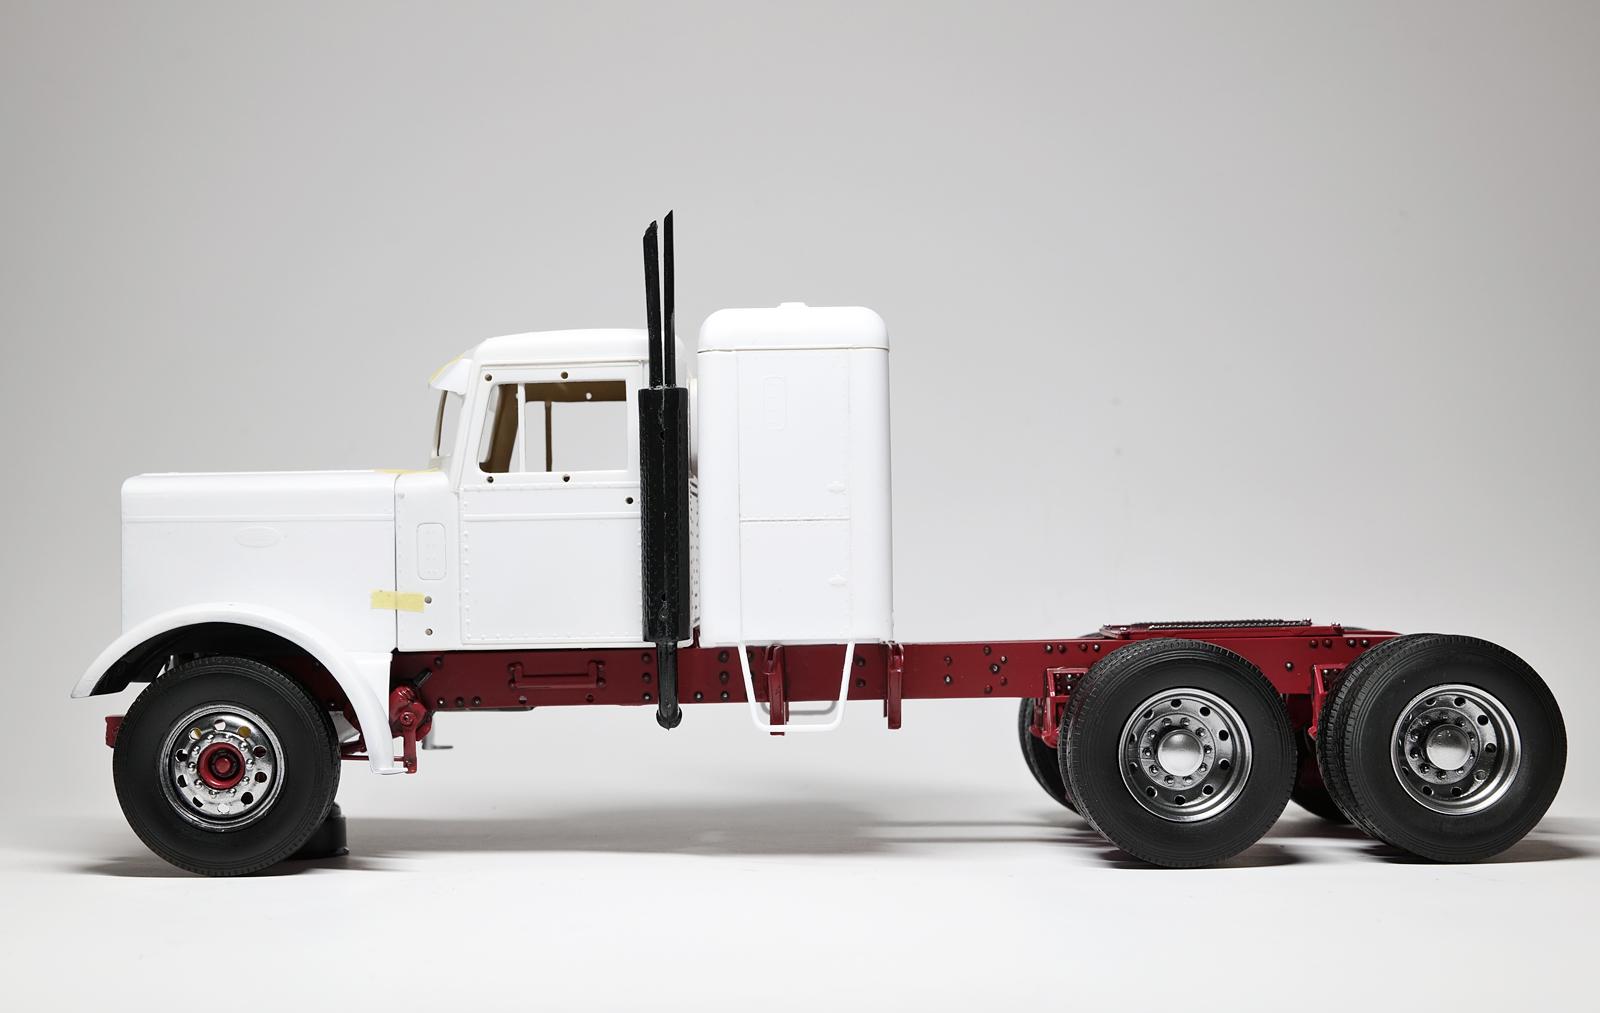
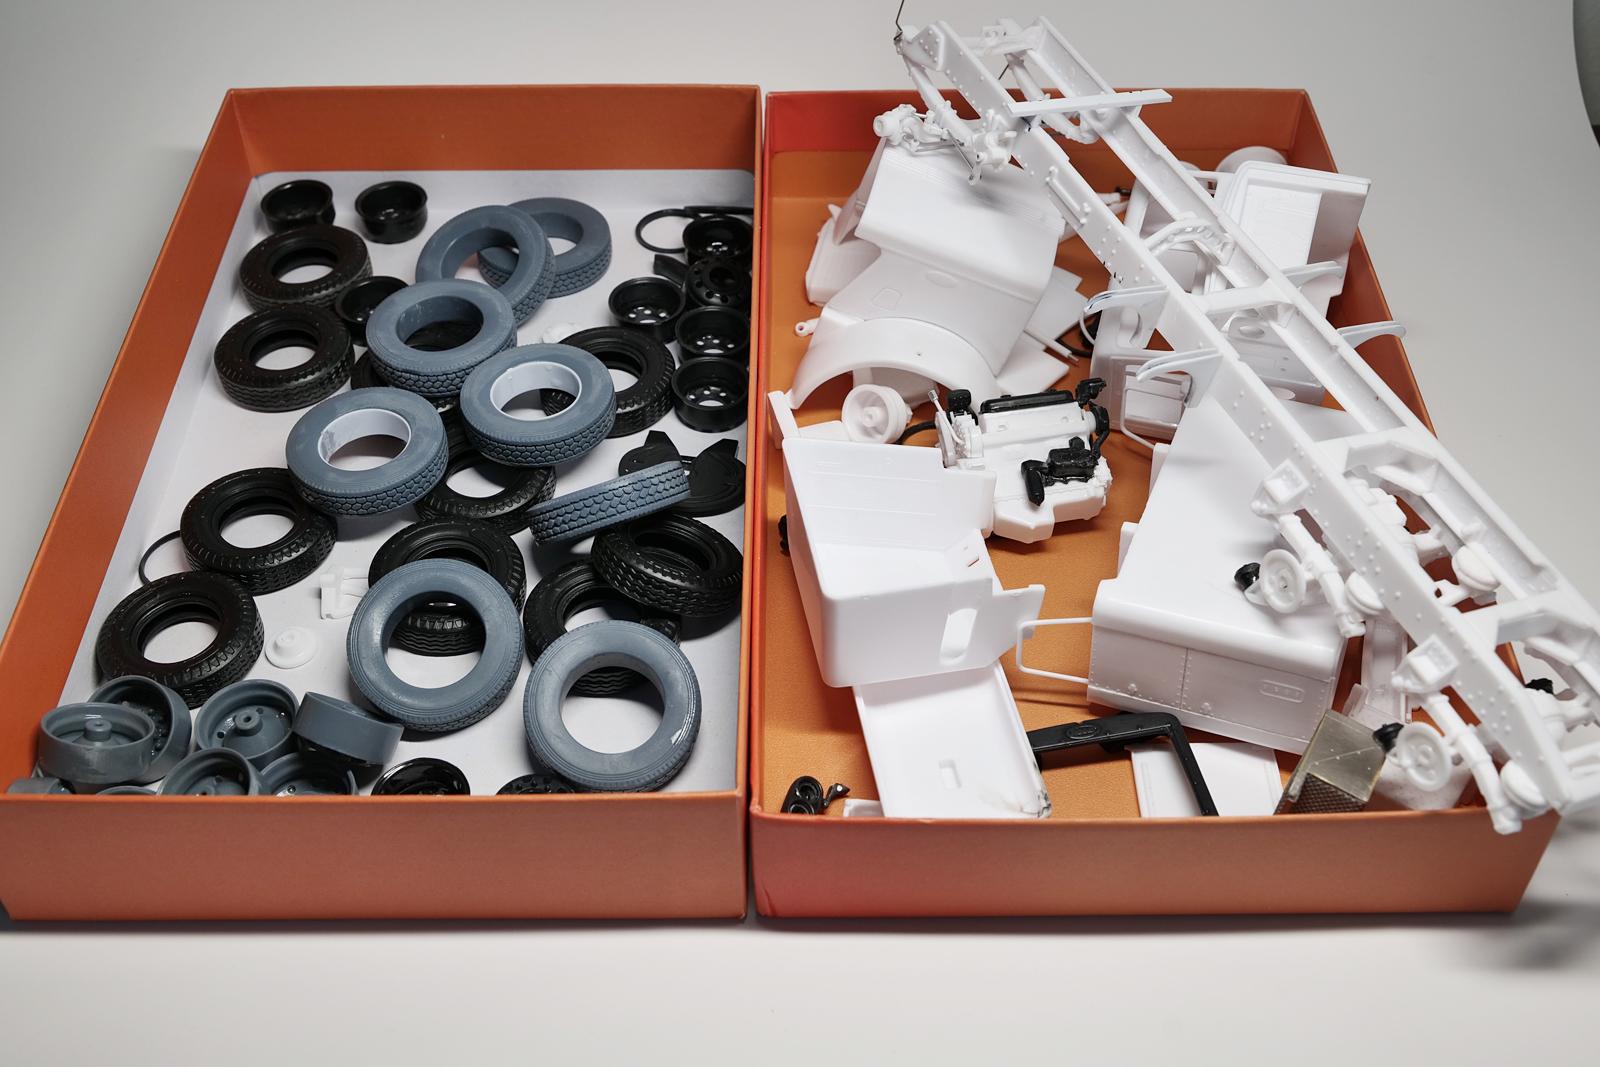
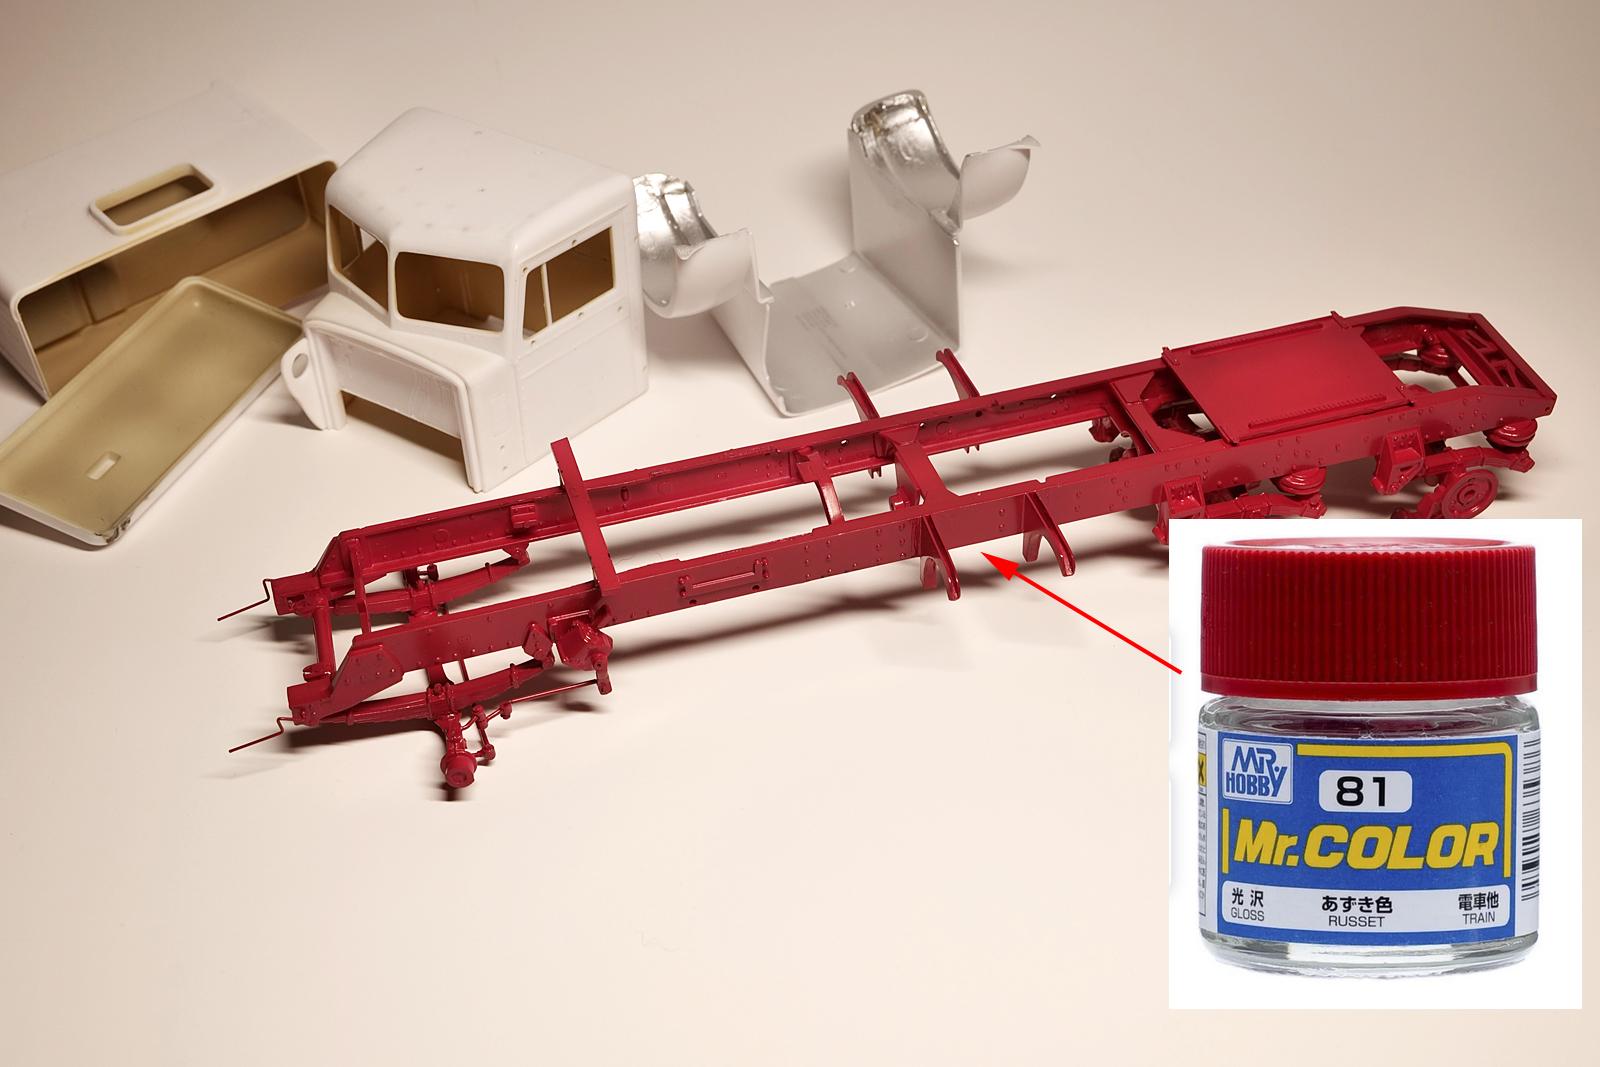
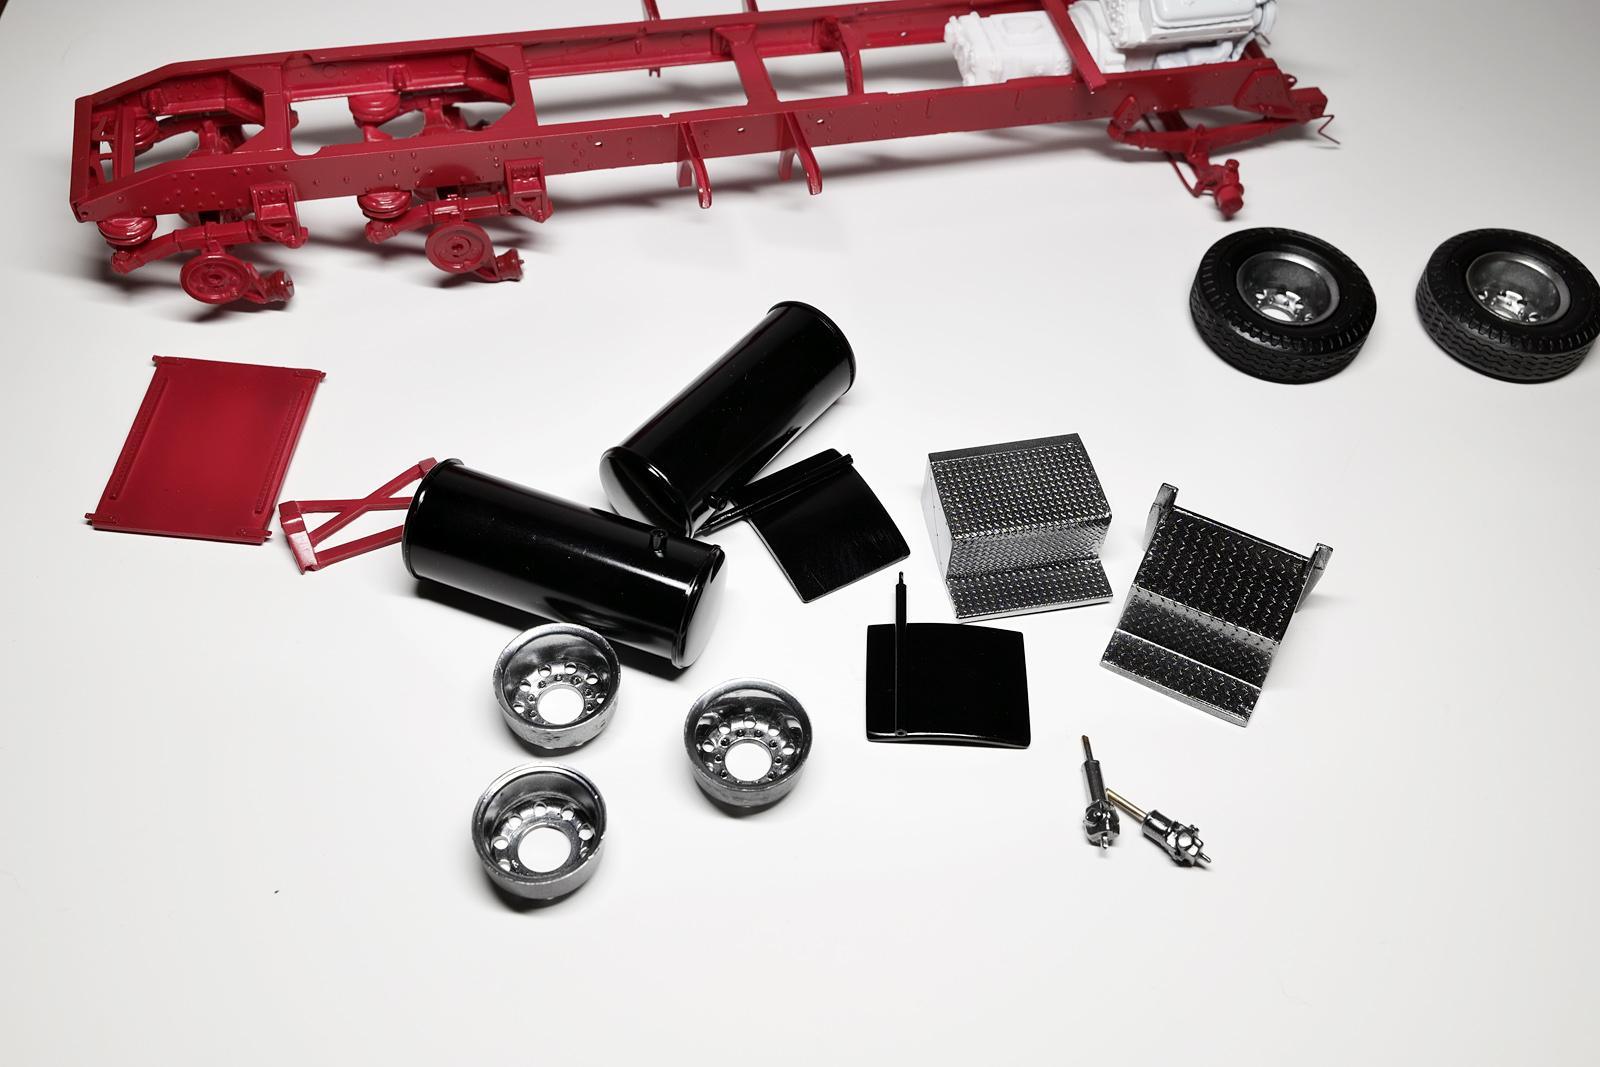
Found some time over the weekend to work on the truck; mainly painting various components. My preferred method is to paint often in small amount at a time, but I had to break the rule and rush everything. This is just my first round... I enjoyed using this color for my frame before and I am applying it here also. It gives gloss finish, so I will tone it down later with semi gloss clear. The hood gets silver undercoat inside first and then semi gloss black. I do this to prevent the unwanted black from bleeding through plastic causing the external paint to be darker (since the white plastic is somewhat transparent allowing the light to go through). I want some decent shine on my fuel tanks and quarter fenders, so I applied glossy black first as my undercoat. The will get chrome silver finish later. Silly me, I only painted 8 tires... This one needs 10 wheels! I gave two coats of semi gloss black on tires. I think these tires look much better than the rubber tires included in the kit. Using the wheels from the kit as painting samples, I experimented different type of finishes on them during my painting session. They all may look similar, but all coated differently using various metallic silver paints. I will go with the finish in the middle for this truck. After 2 hours of nonstop painting, here is the result. Things are picking up some momentum now and I really don't want to drag this build. To make my metallic finish more robust, I lay the metallic color on top of glossy black before the black paint is fully dried. These parts seem darker in the photo, but I think that is because they are quite shiny and fooling my camera. Applied 2 coats of Russet (name of the red color), and one coat of semi gloss clear. I will further paint small components on the frame and add some weathering effect next.
-
FDNY Wrecker
cifenet replied to Scott Eriksen's topic in WIP: Model Trucks: Big Rigs and Heavy Equipment
Looking better and better as you get closer to finish line. The texture of that black bumper material looks very real too!