Moparman18064
-
Posts
609 -
Joined
-
Last visited
Content Type
Profiles
Forums
Events
Gallery
Everything posted by Moparman18064
-
Love it. It reminds me of when I used to sell parts at Carlisle. I had a 67 440 block I sold to a guy, when he picked it up, he put it in the trunk of a really nice red Rambler’s trunk( was powered by a 360 magnum)
-
Thank you for the great tip. This is only the second build I am doing after being away from it for 30 years. I know this is a bit ambitious, but I want to build my skills back up further than they ever were.
-
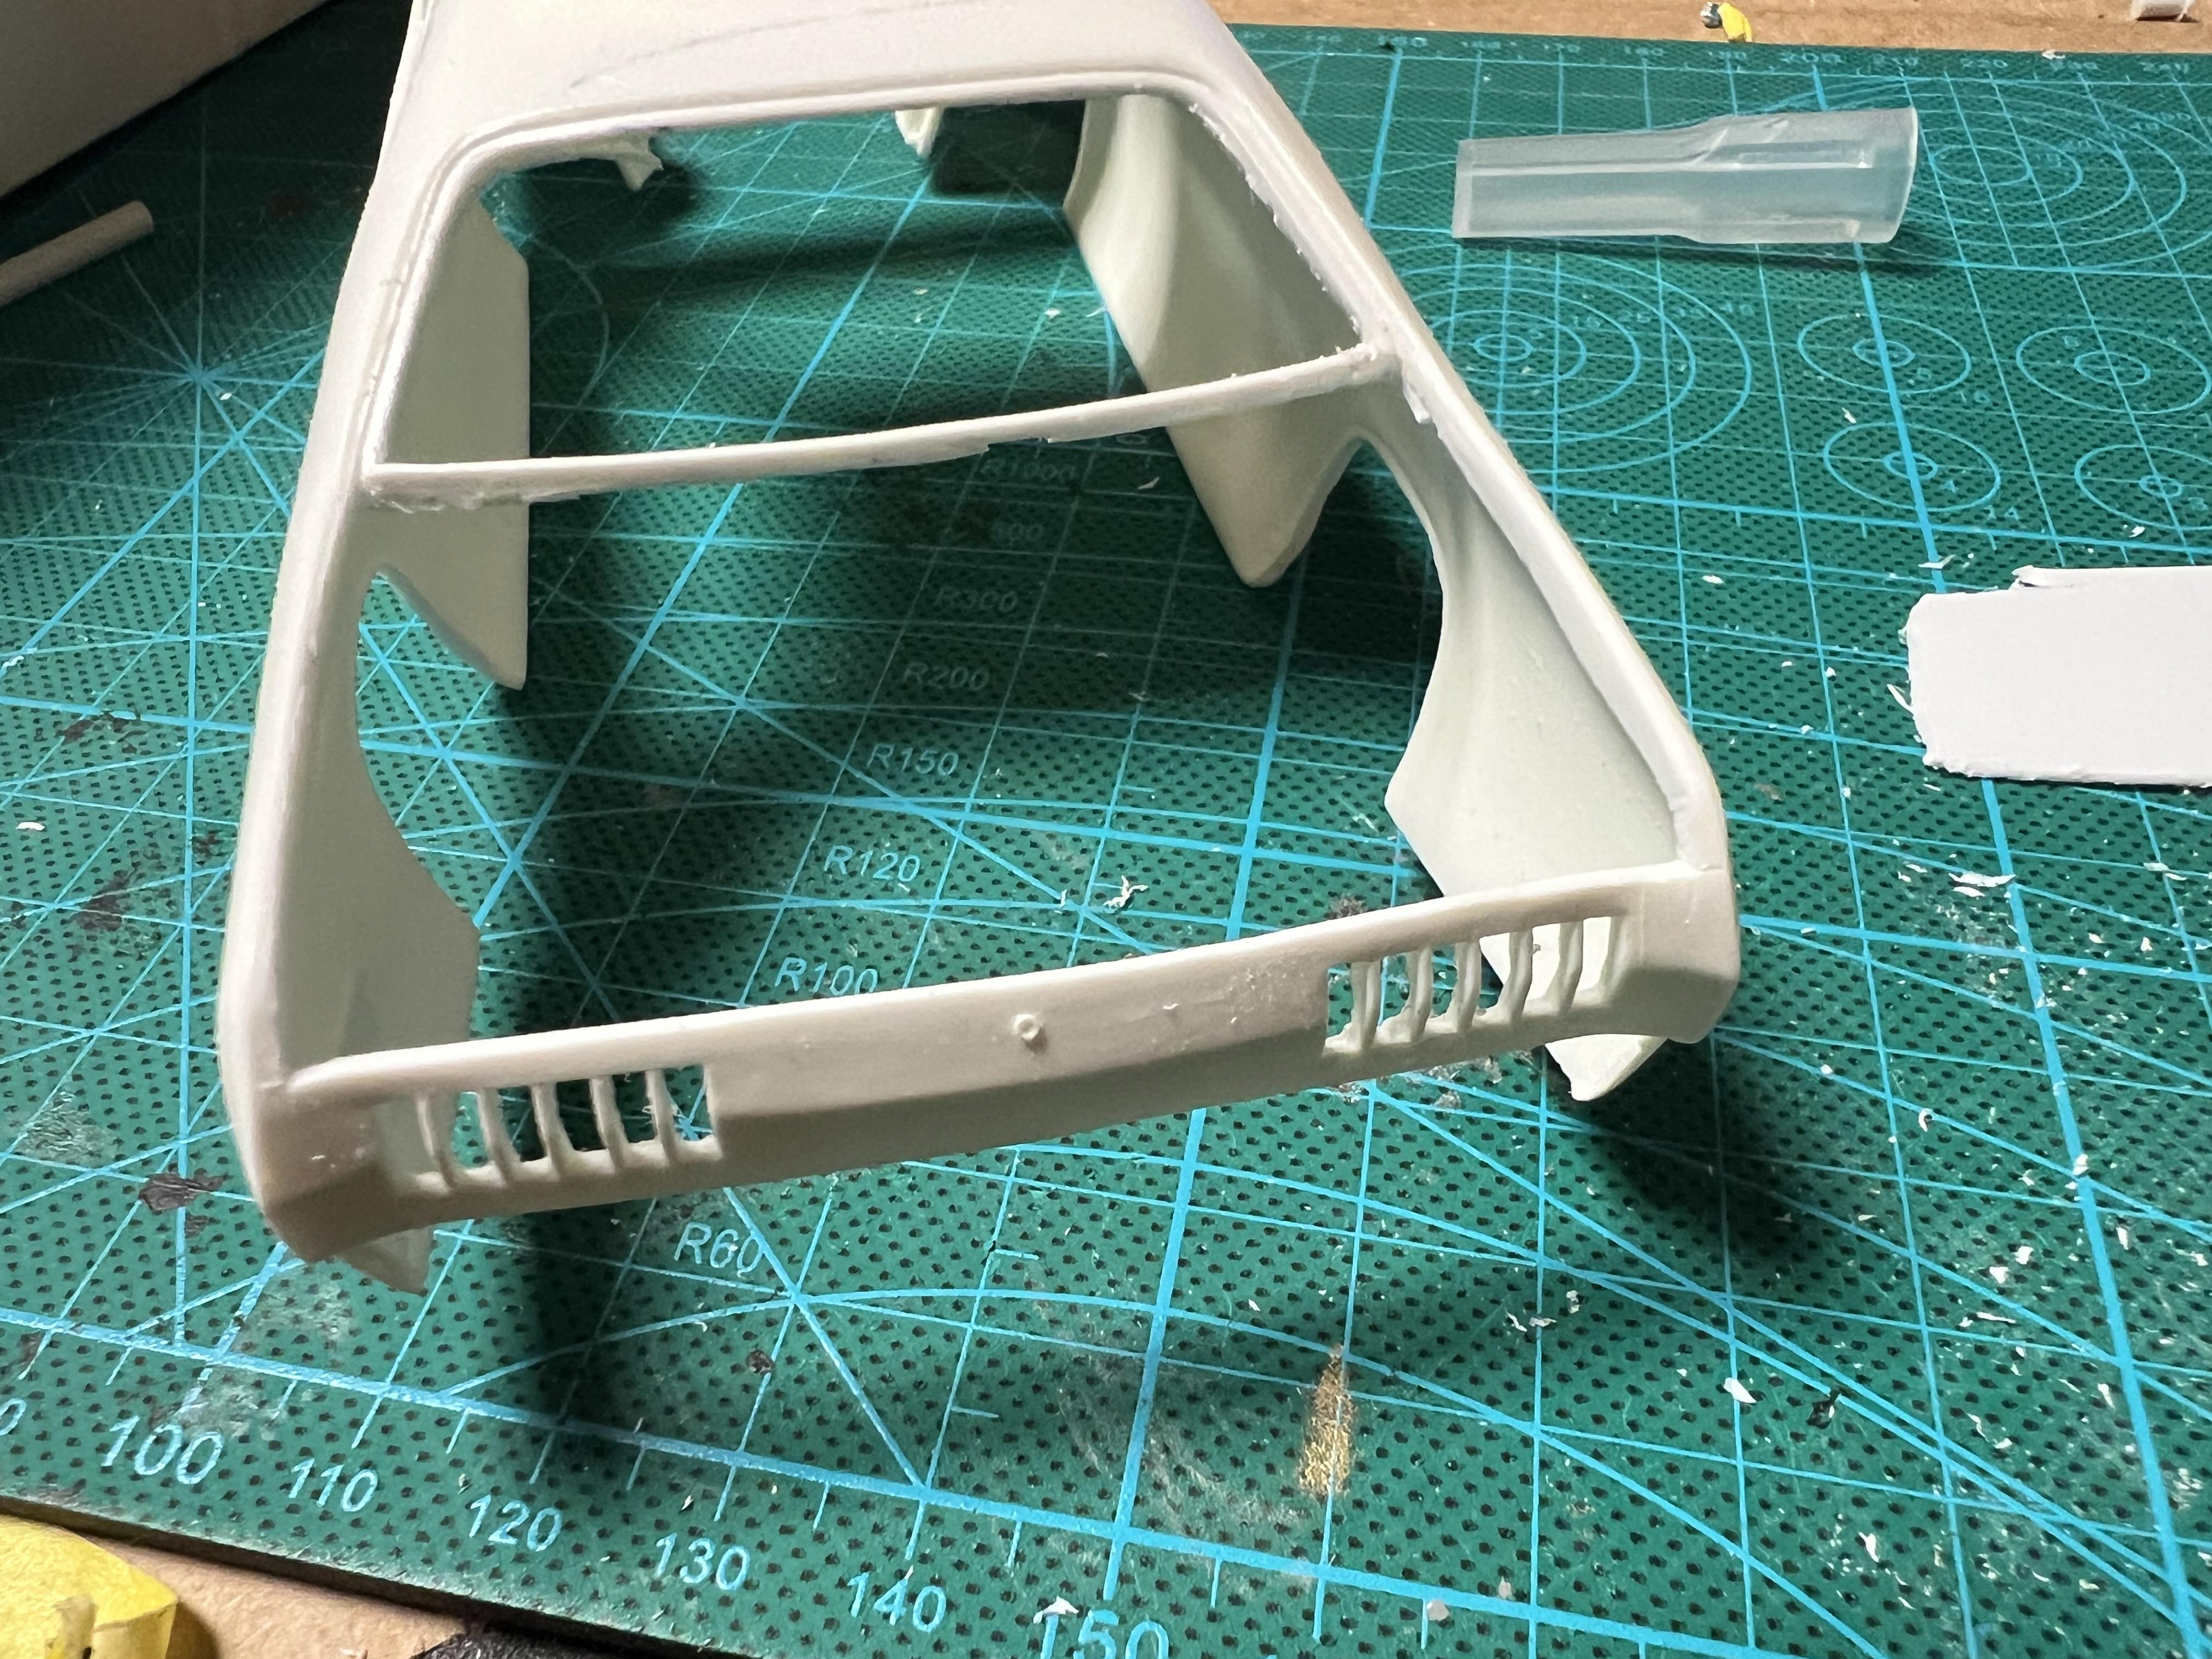
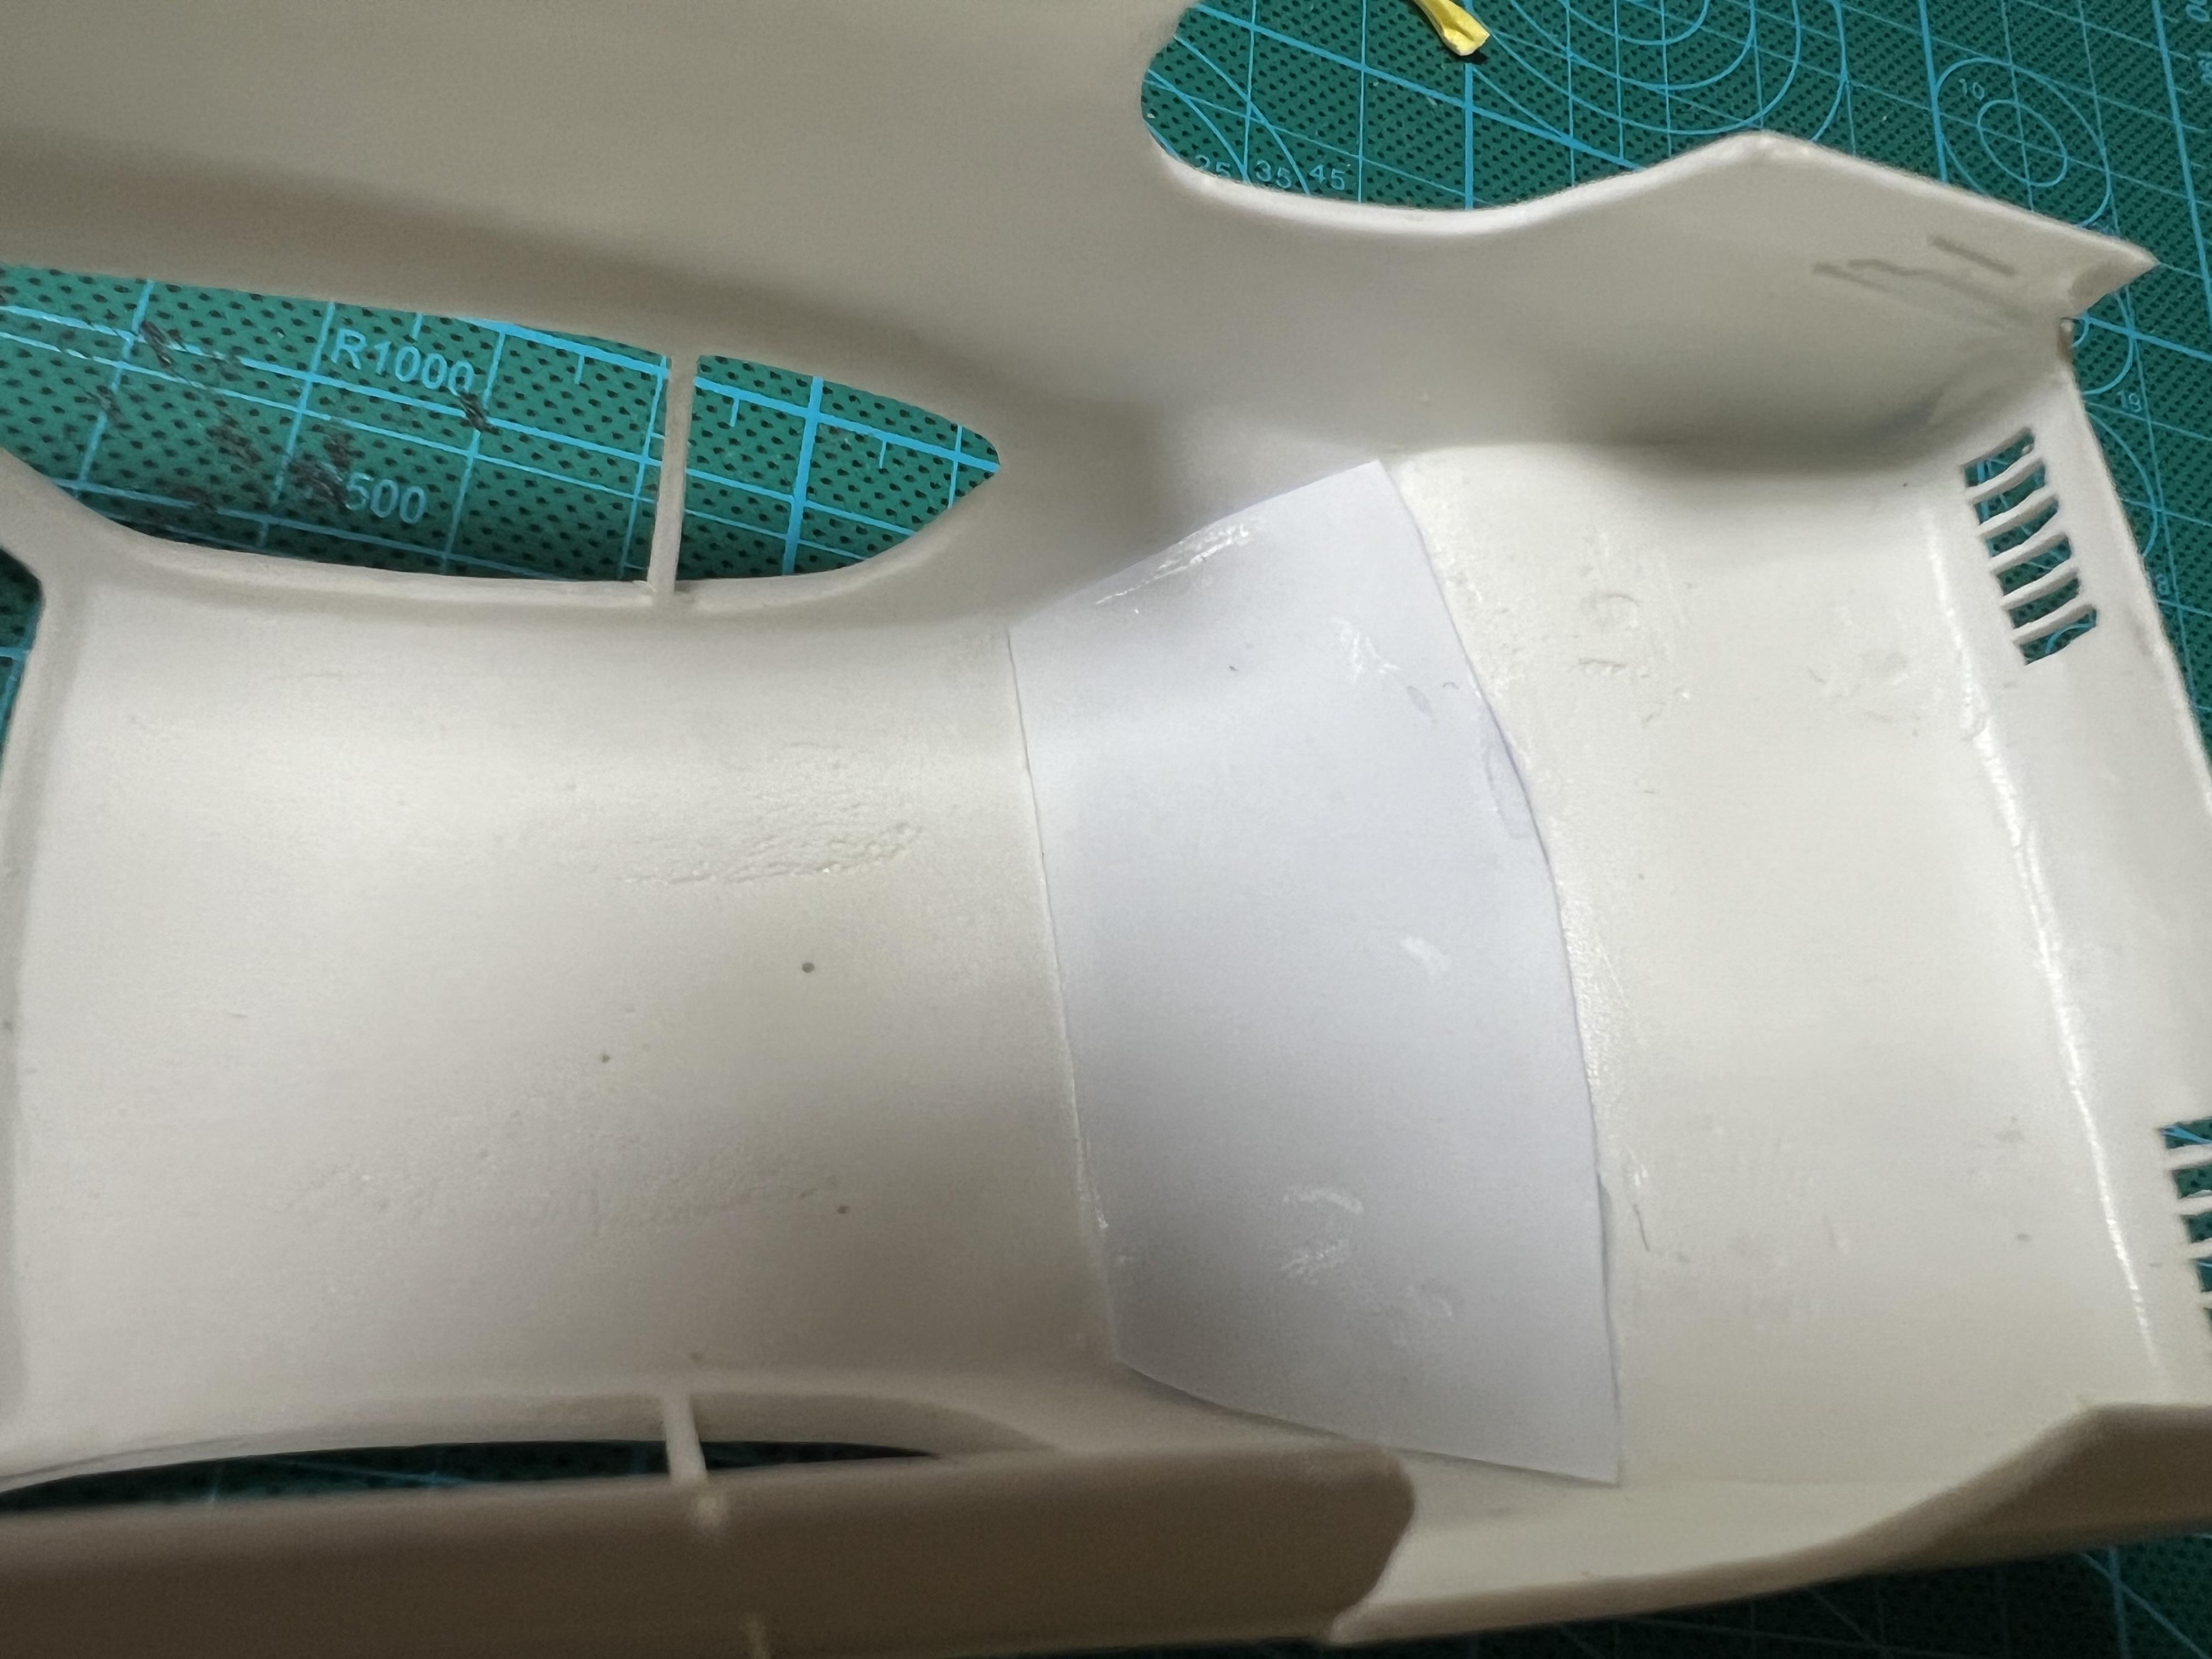
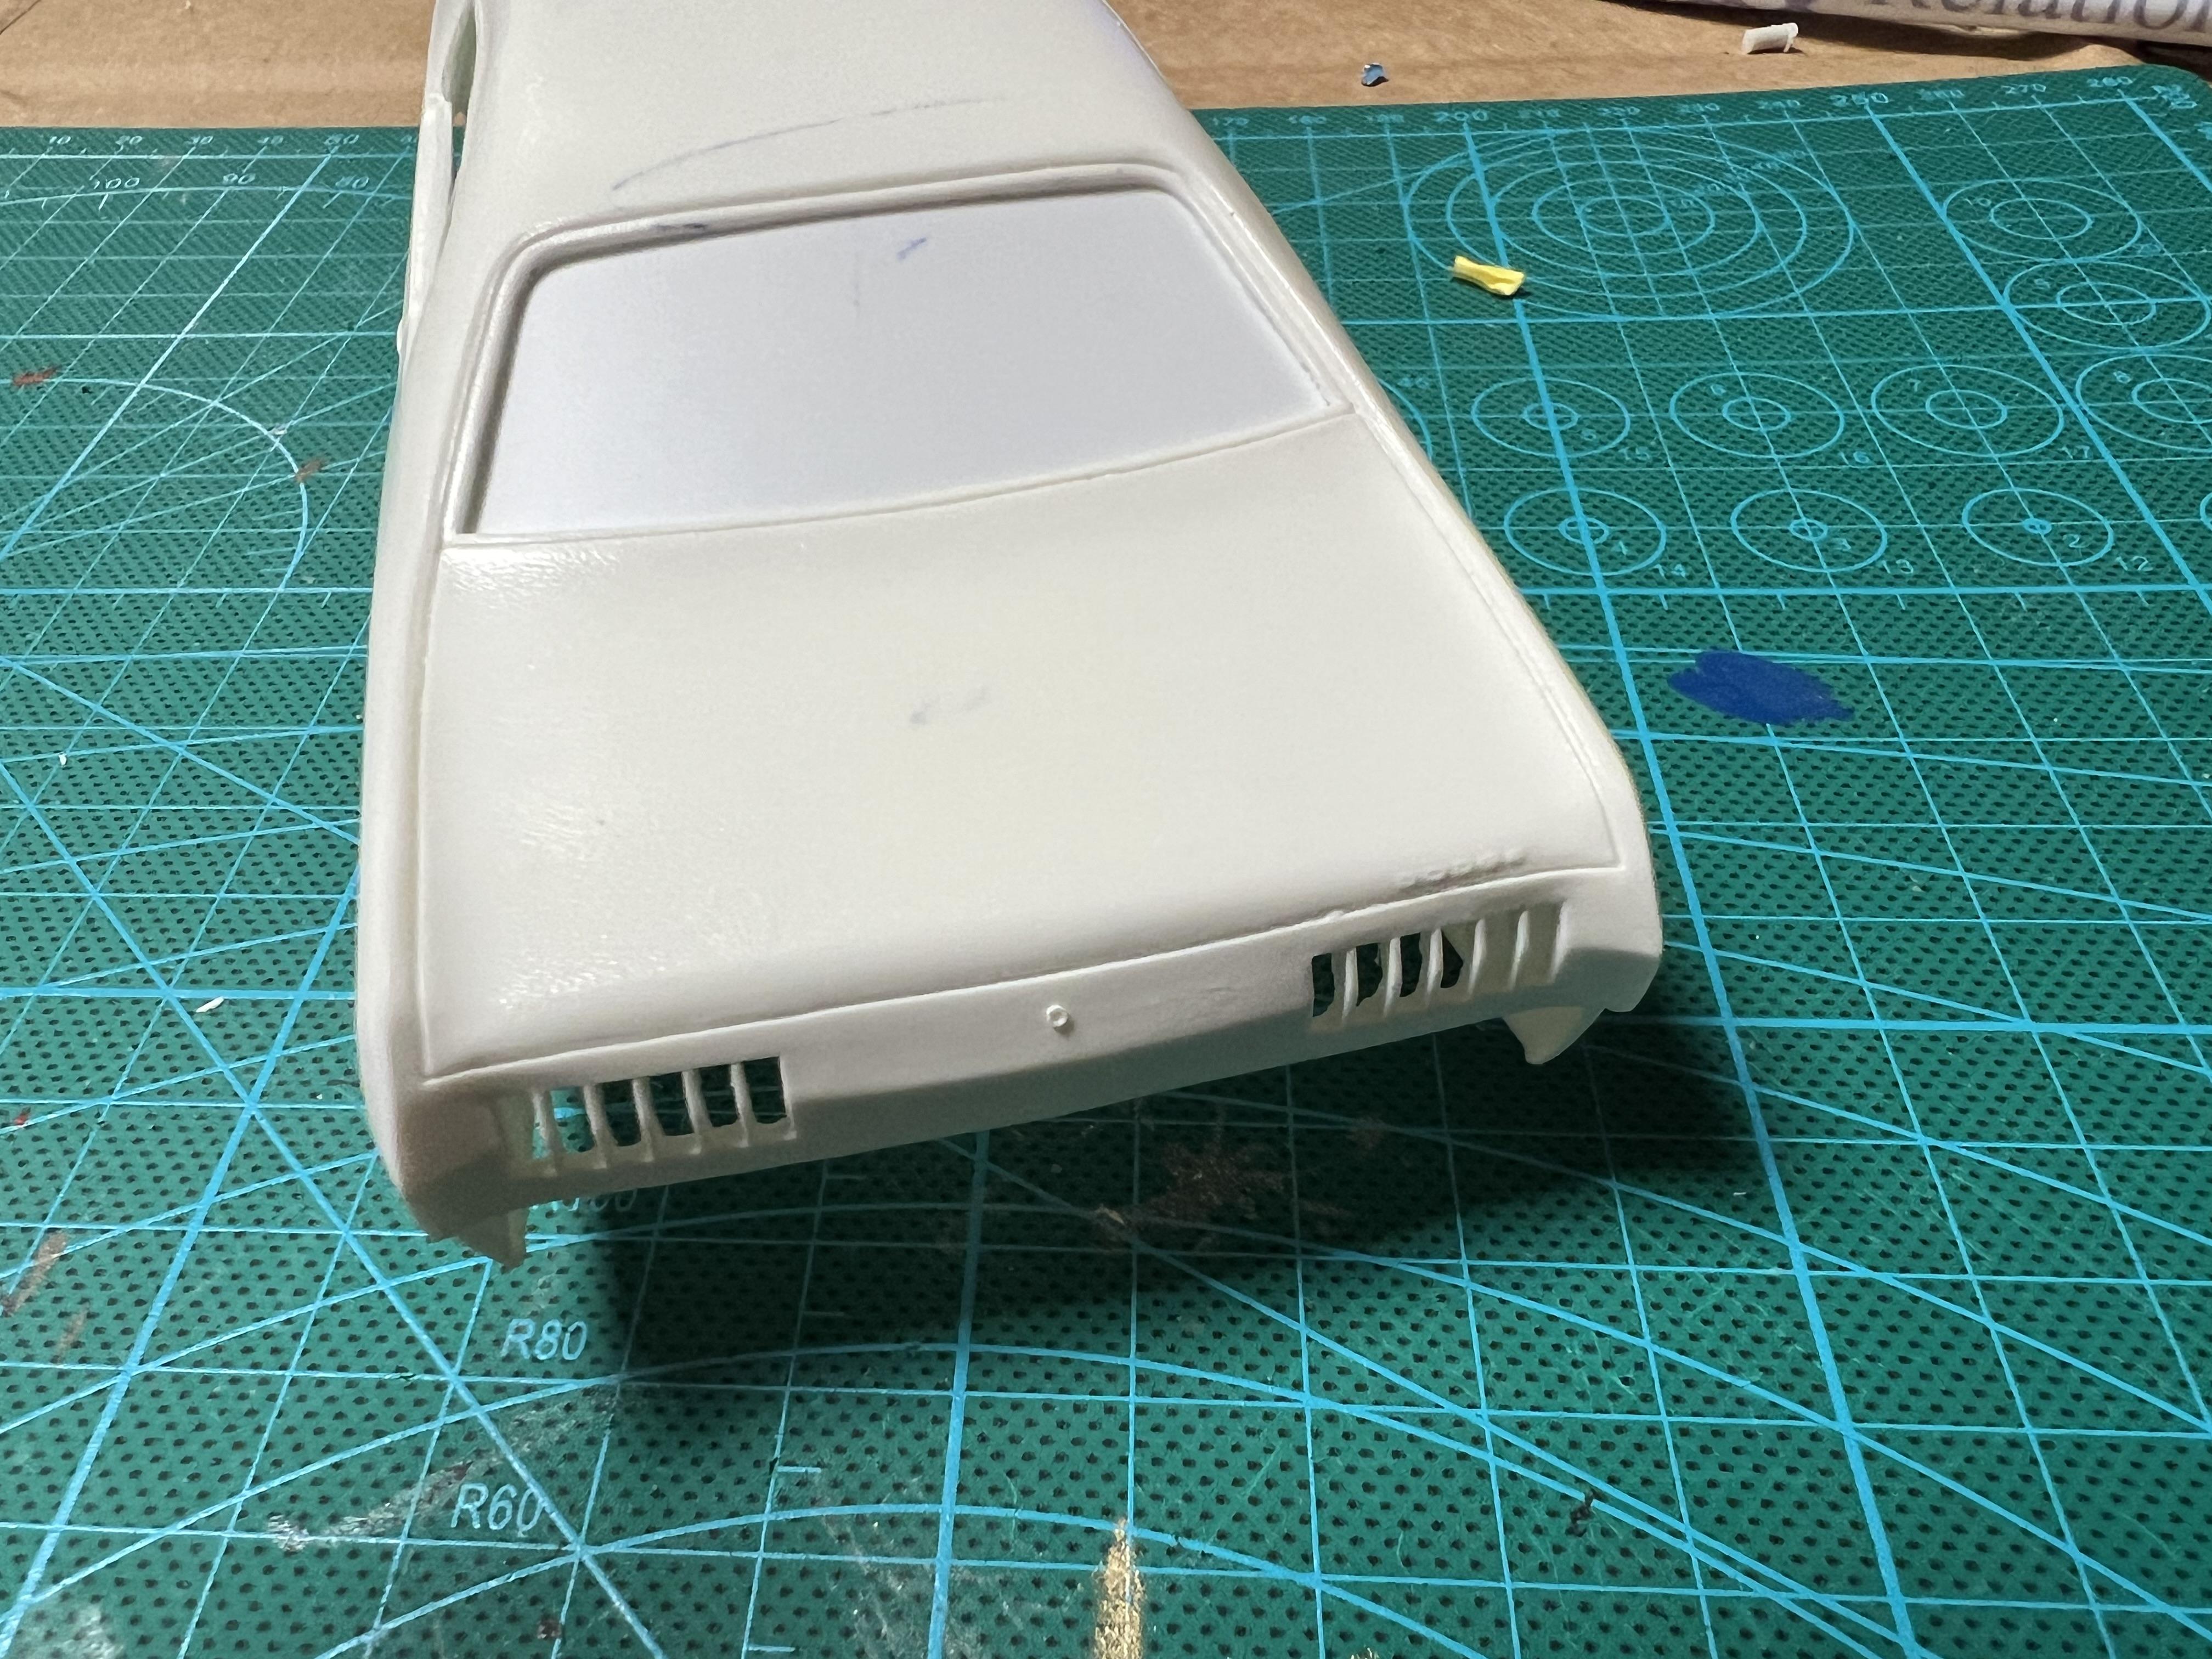
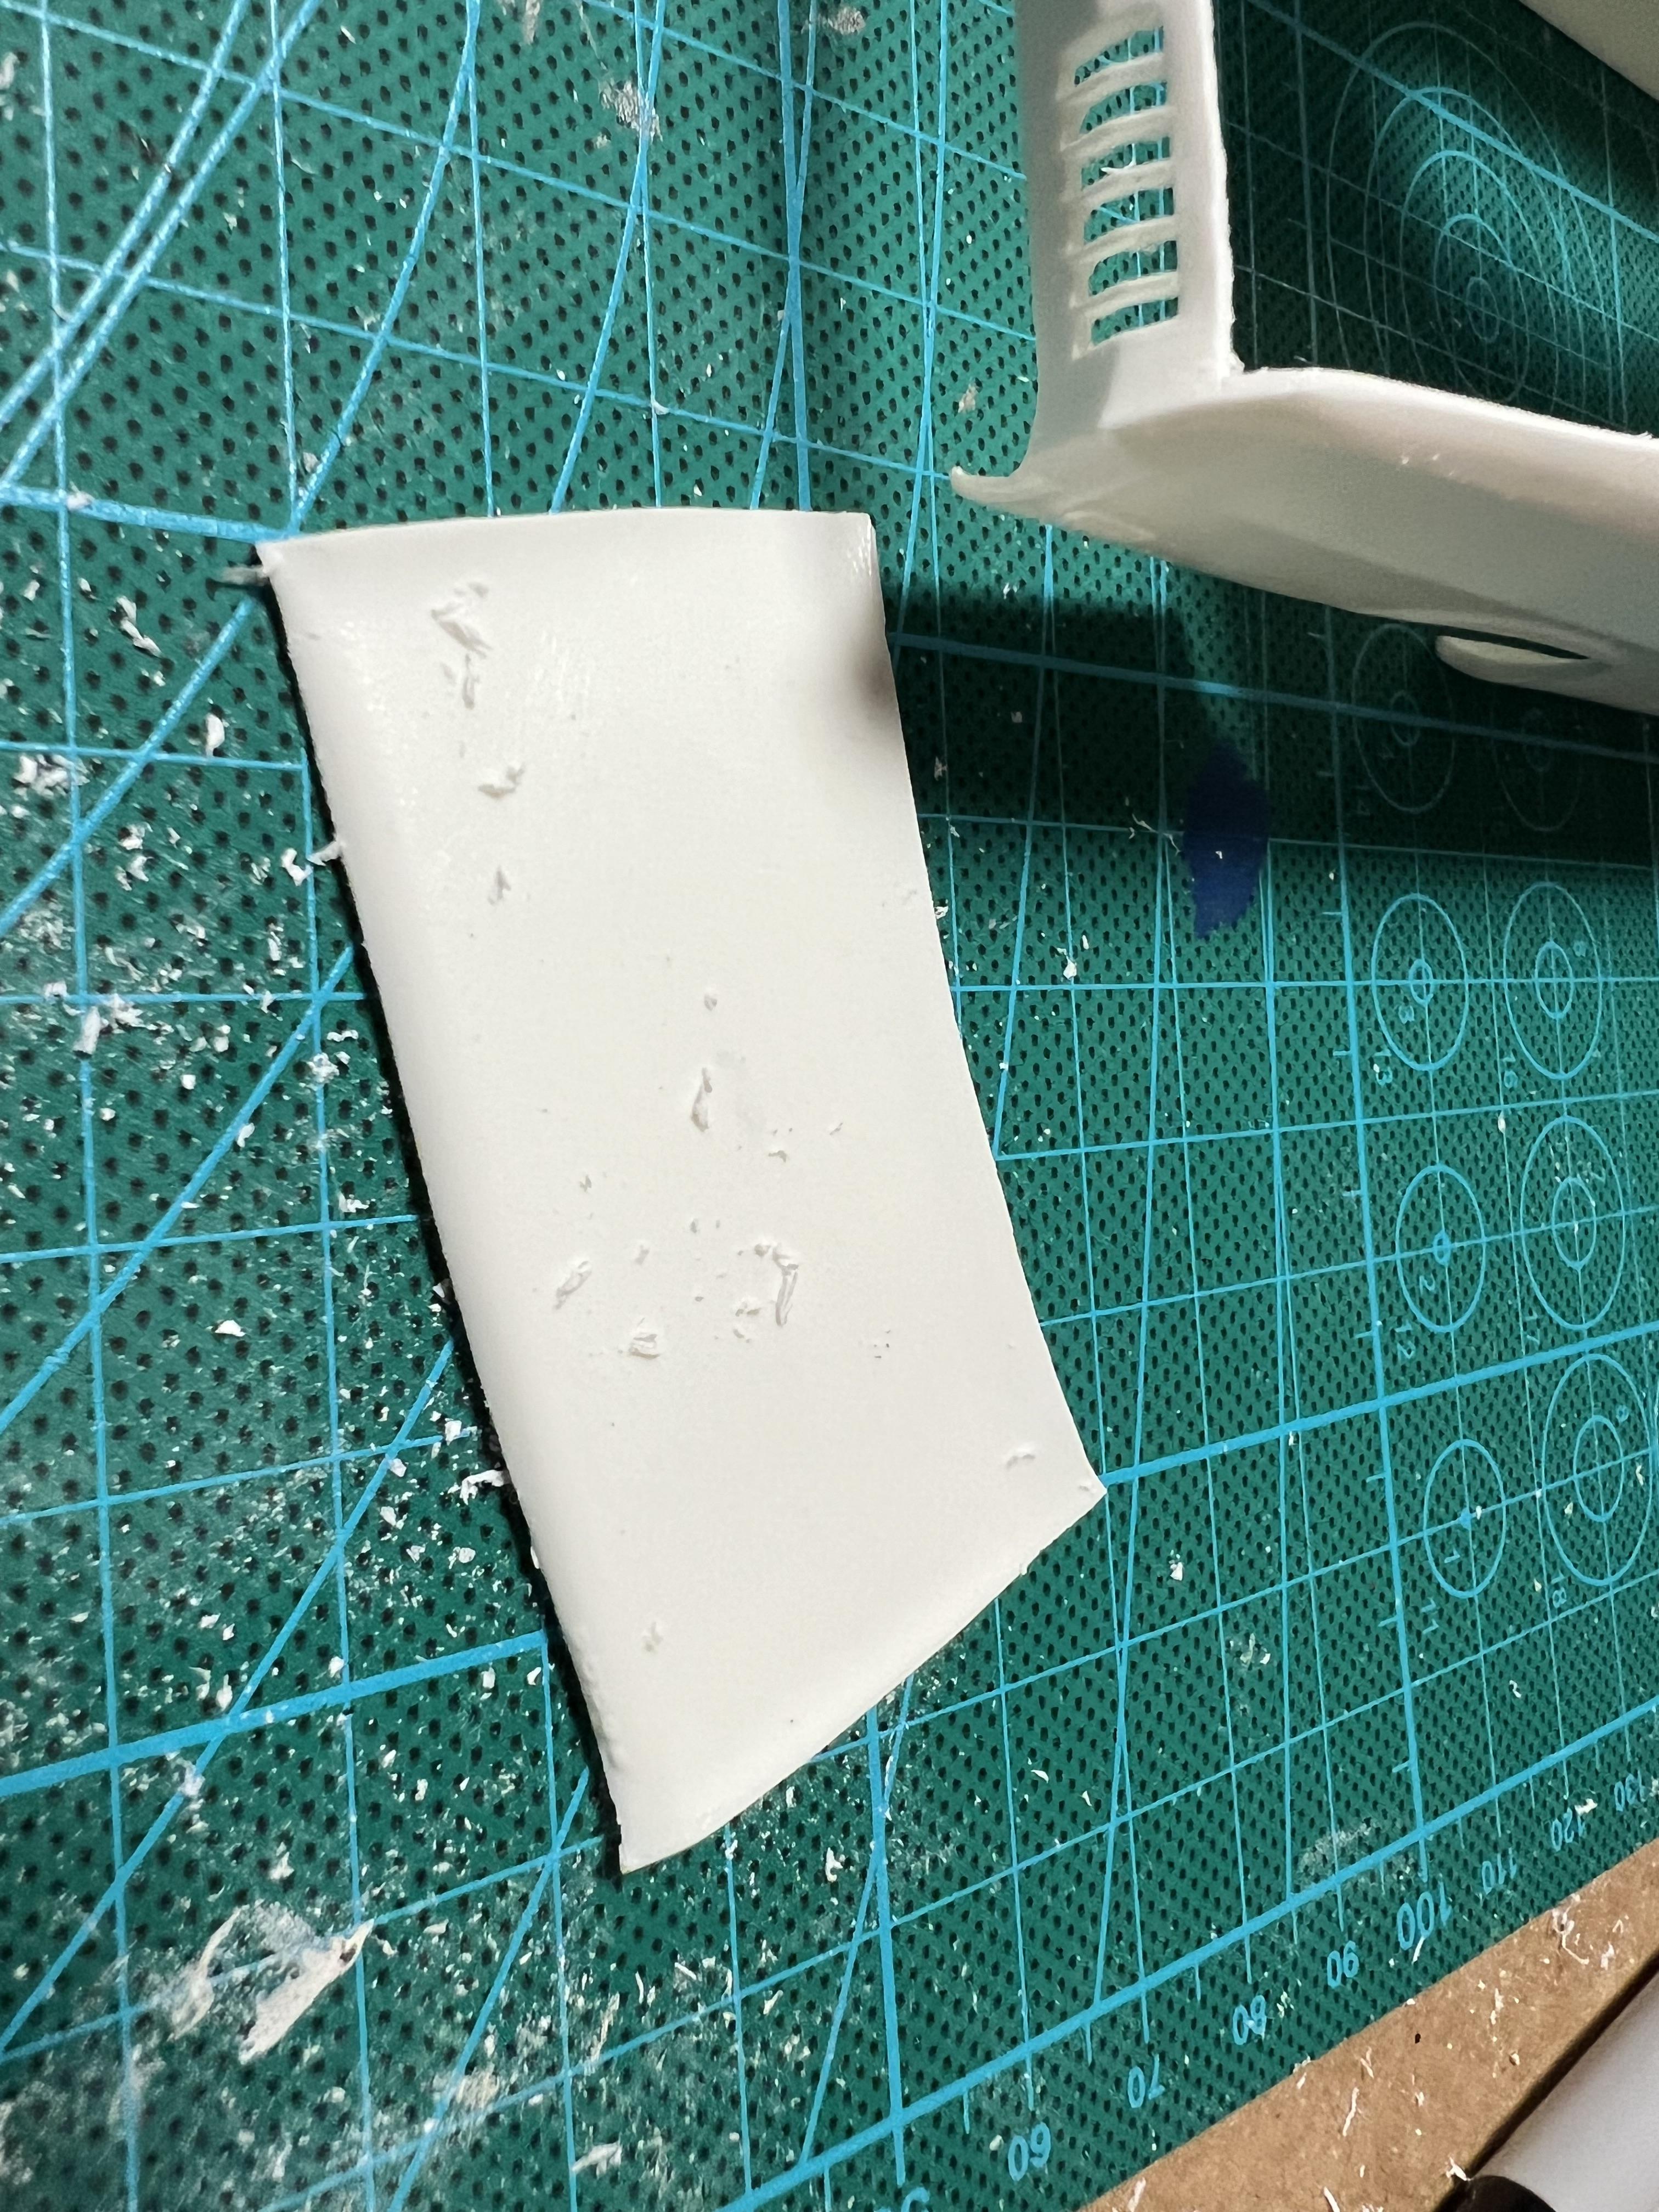
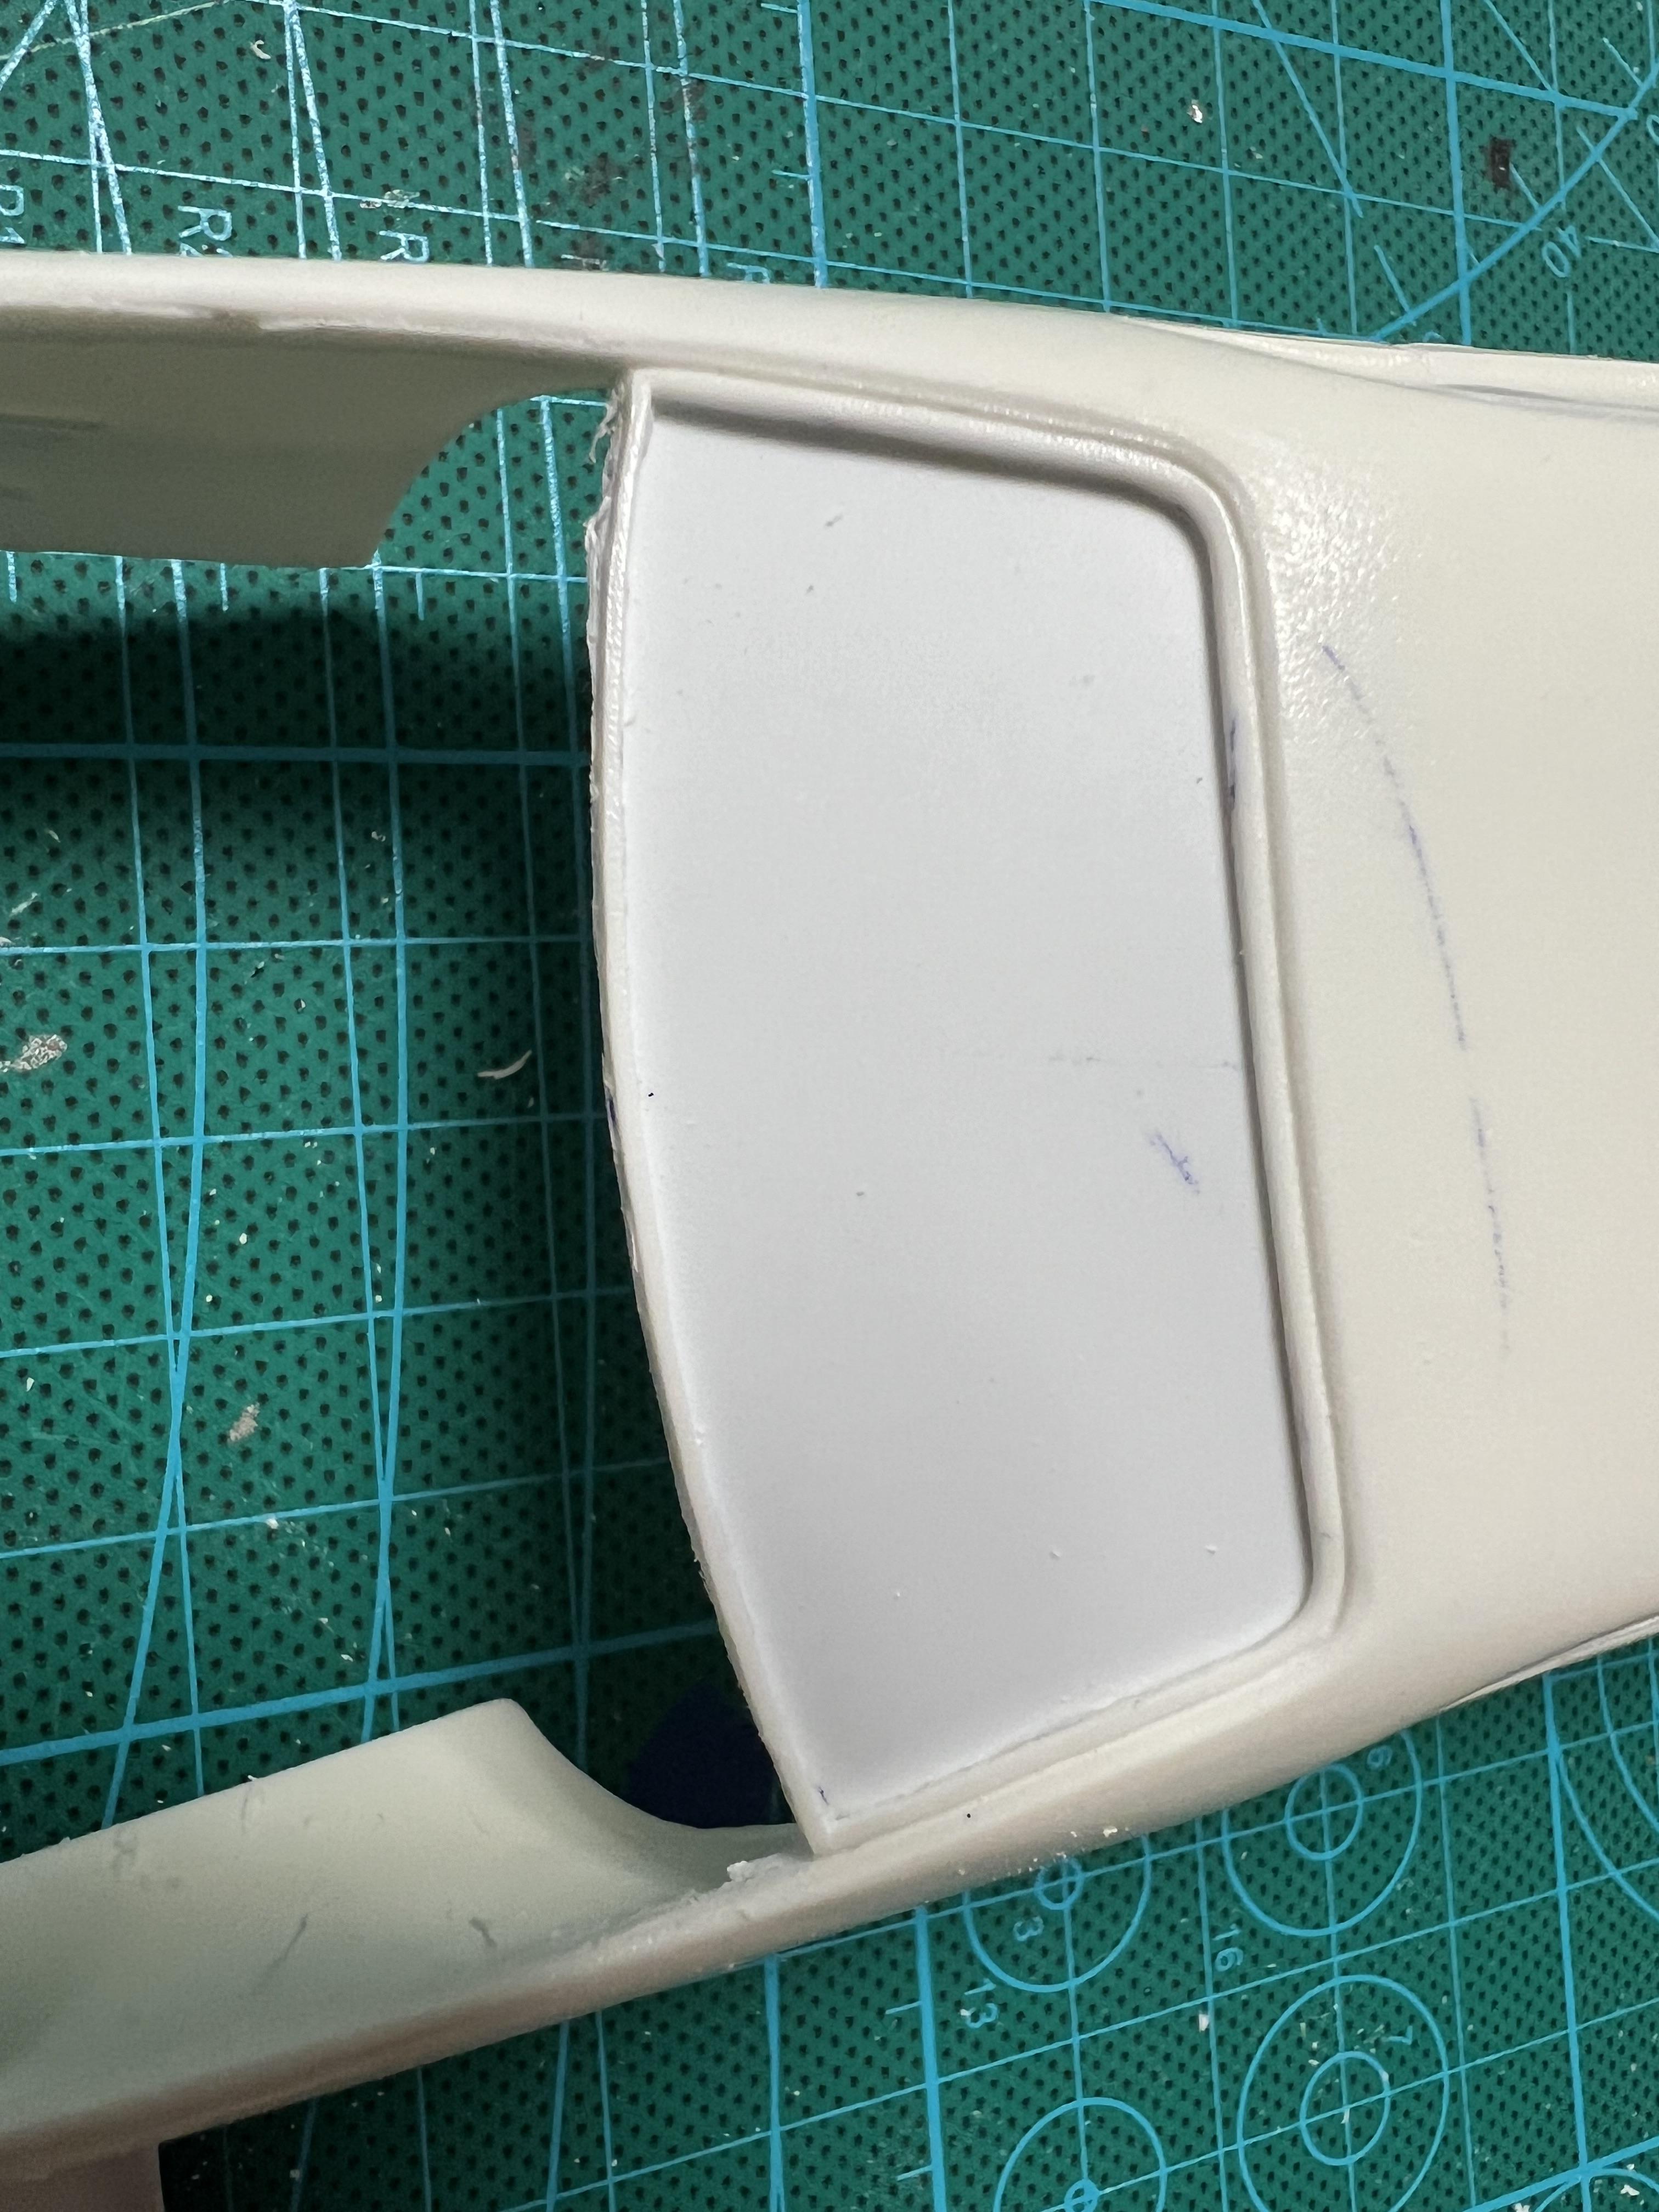
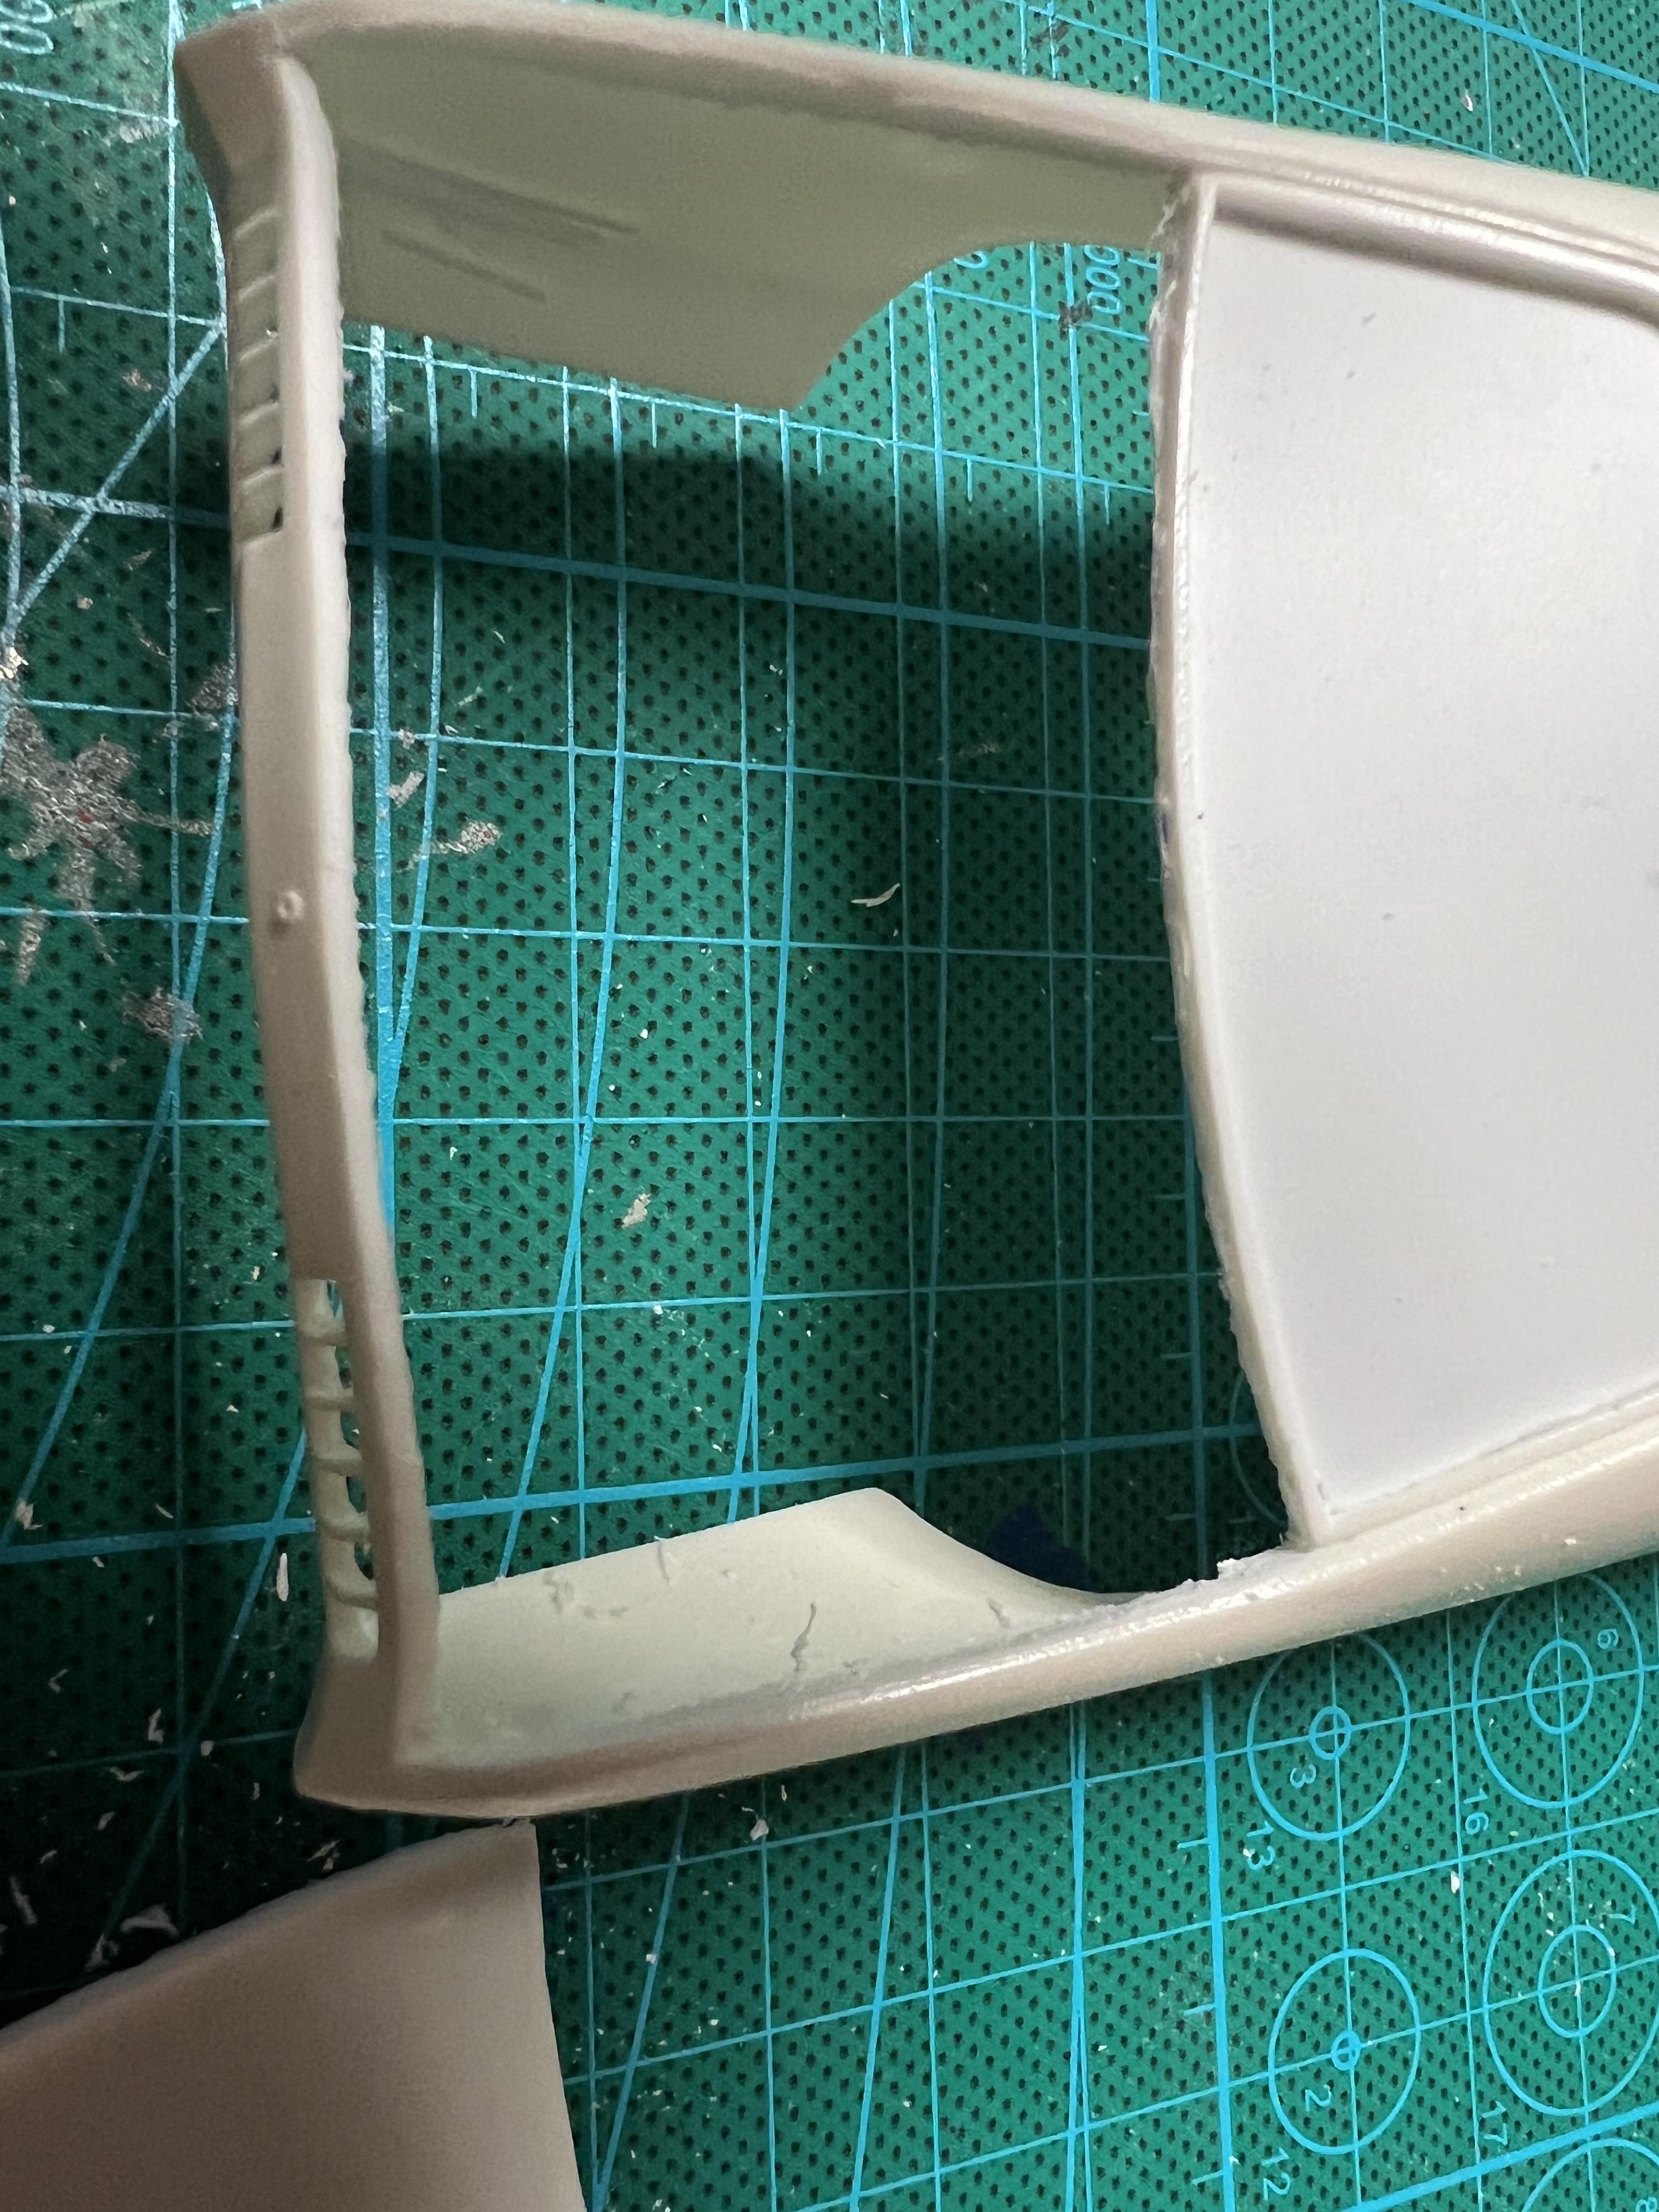
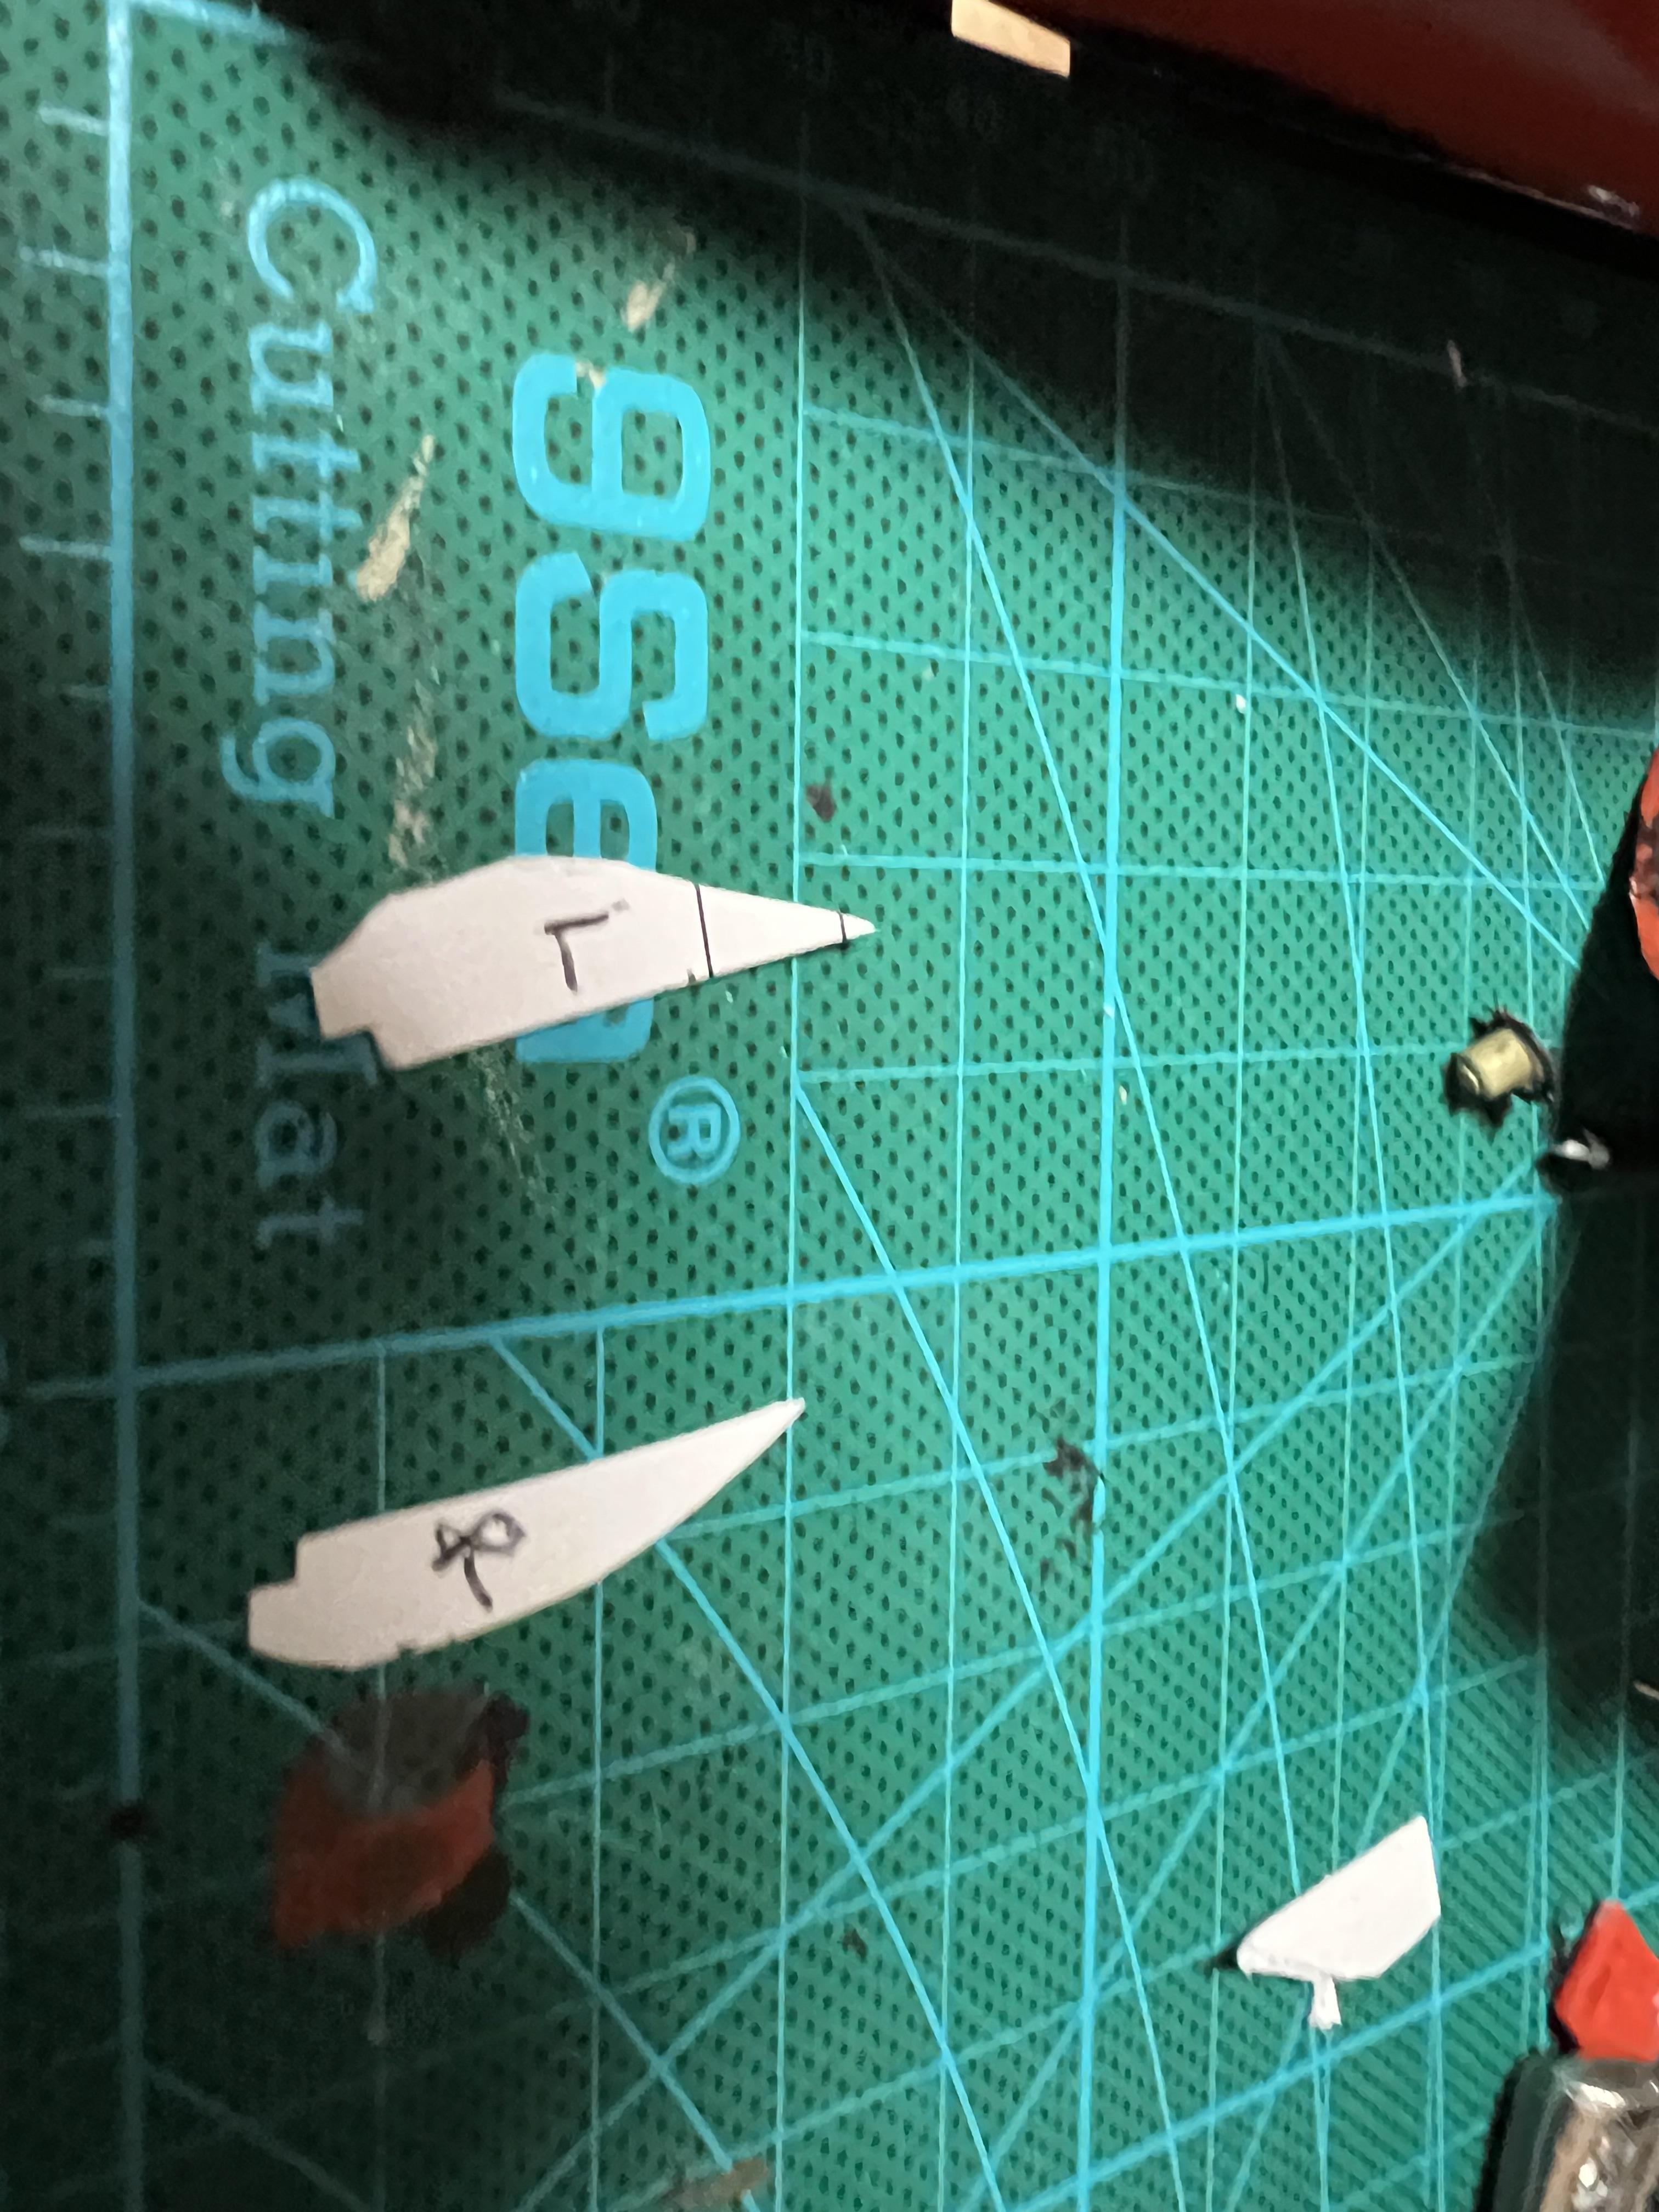
Trimmed away template, this is where we are. The next thing will be to add gutters to strengthen it, and have something for trunk to close against

-
On to the scary part. I made a cardboard template of rear window area, cut out a piece of .020 styrene sheet to match and glued onto body to stiffen up for the next operation. Then, using the back of a # 11 blade, scribed trunk lines over and over. As a result, I was able to remove trunk lid without breaking window trim, as there is no Dutchman panel.
-
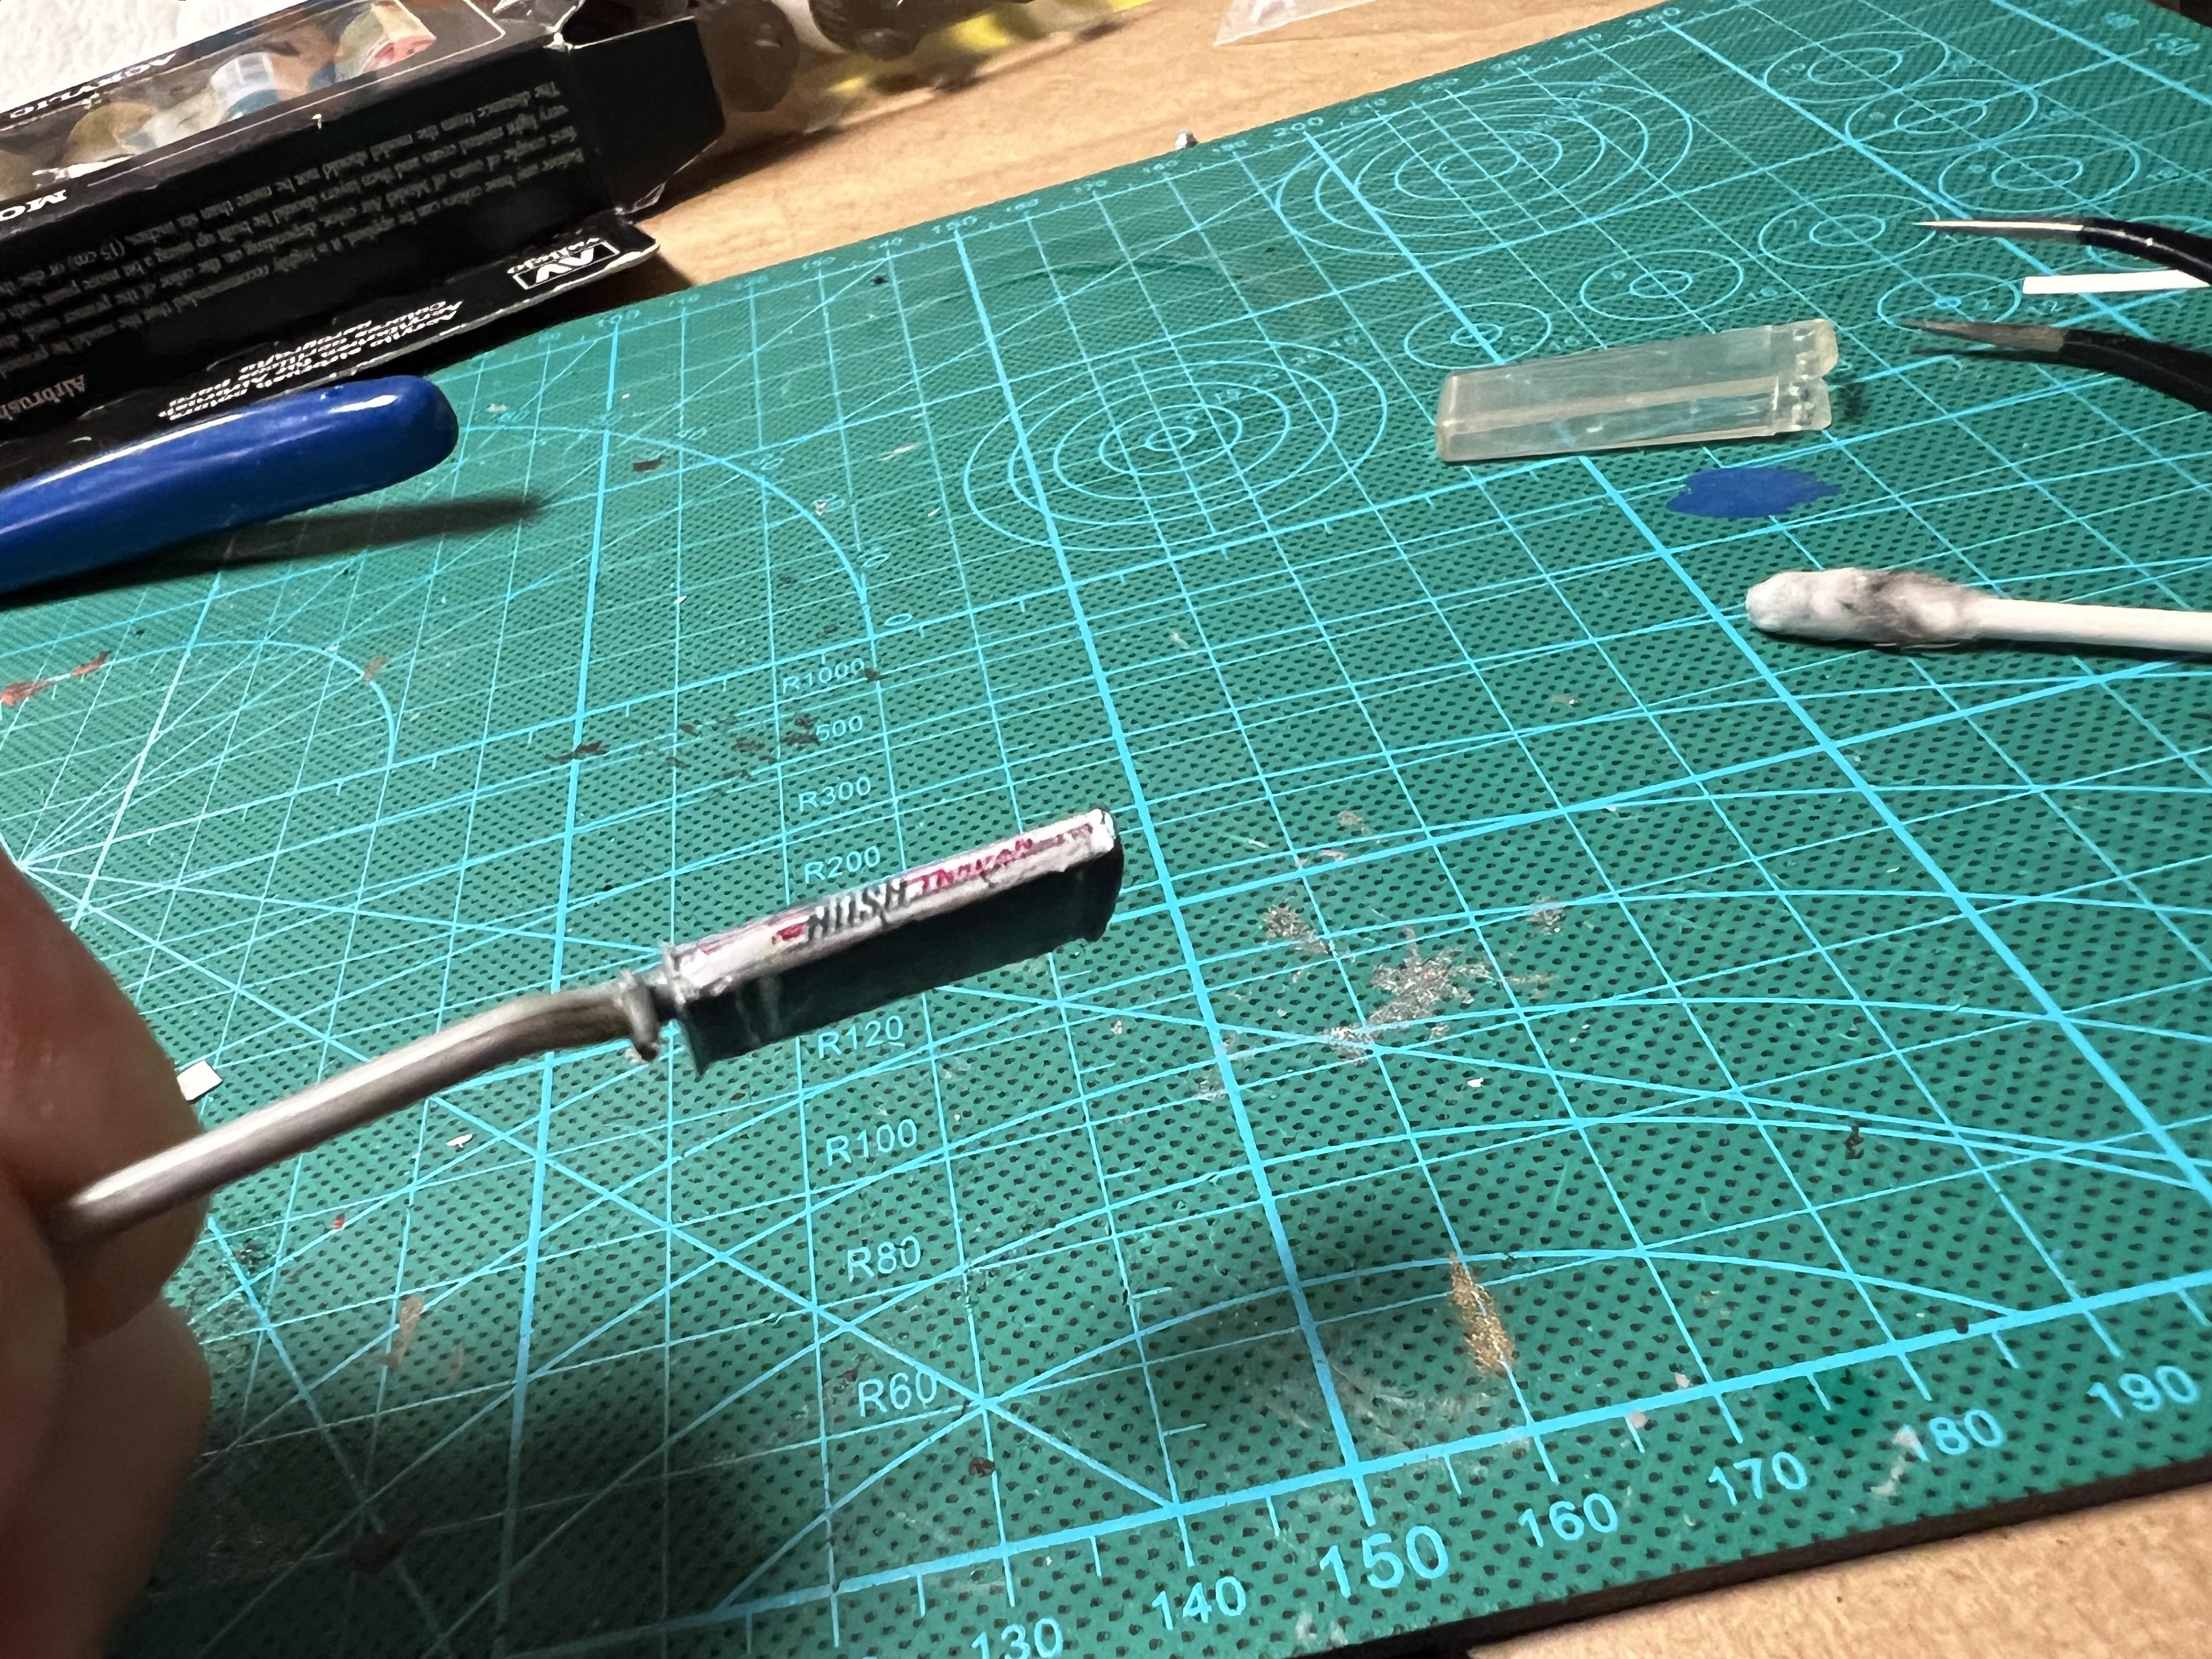
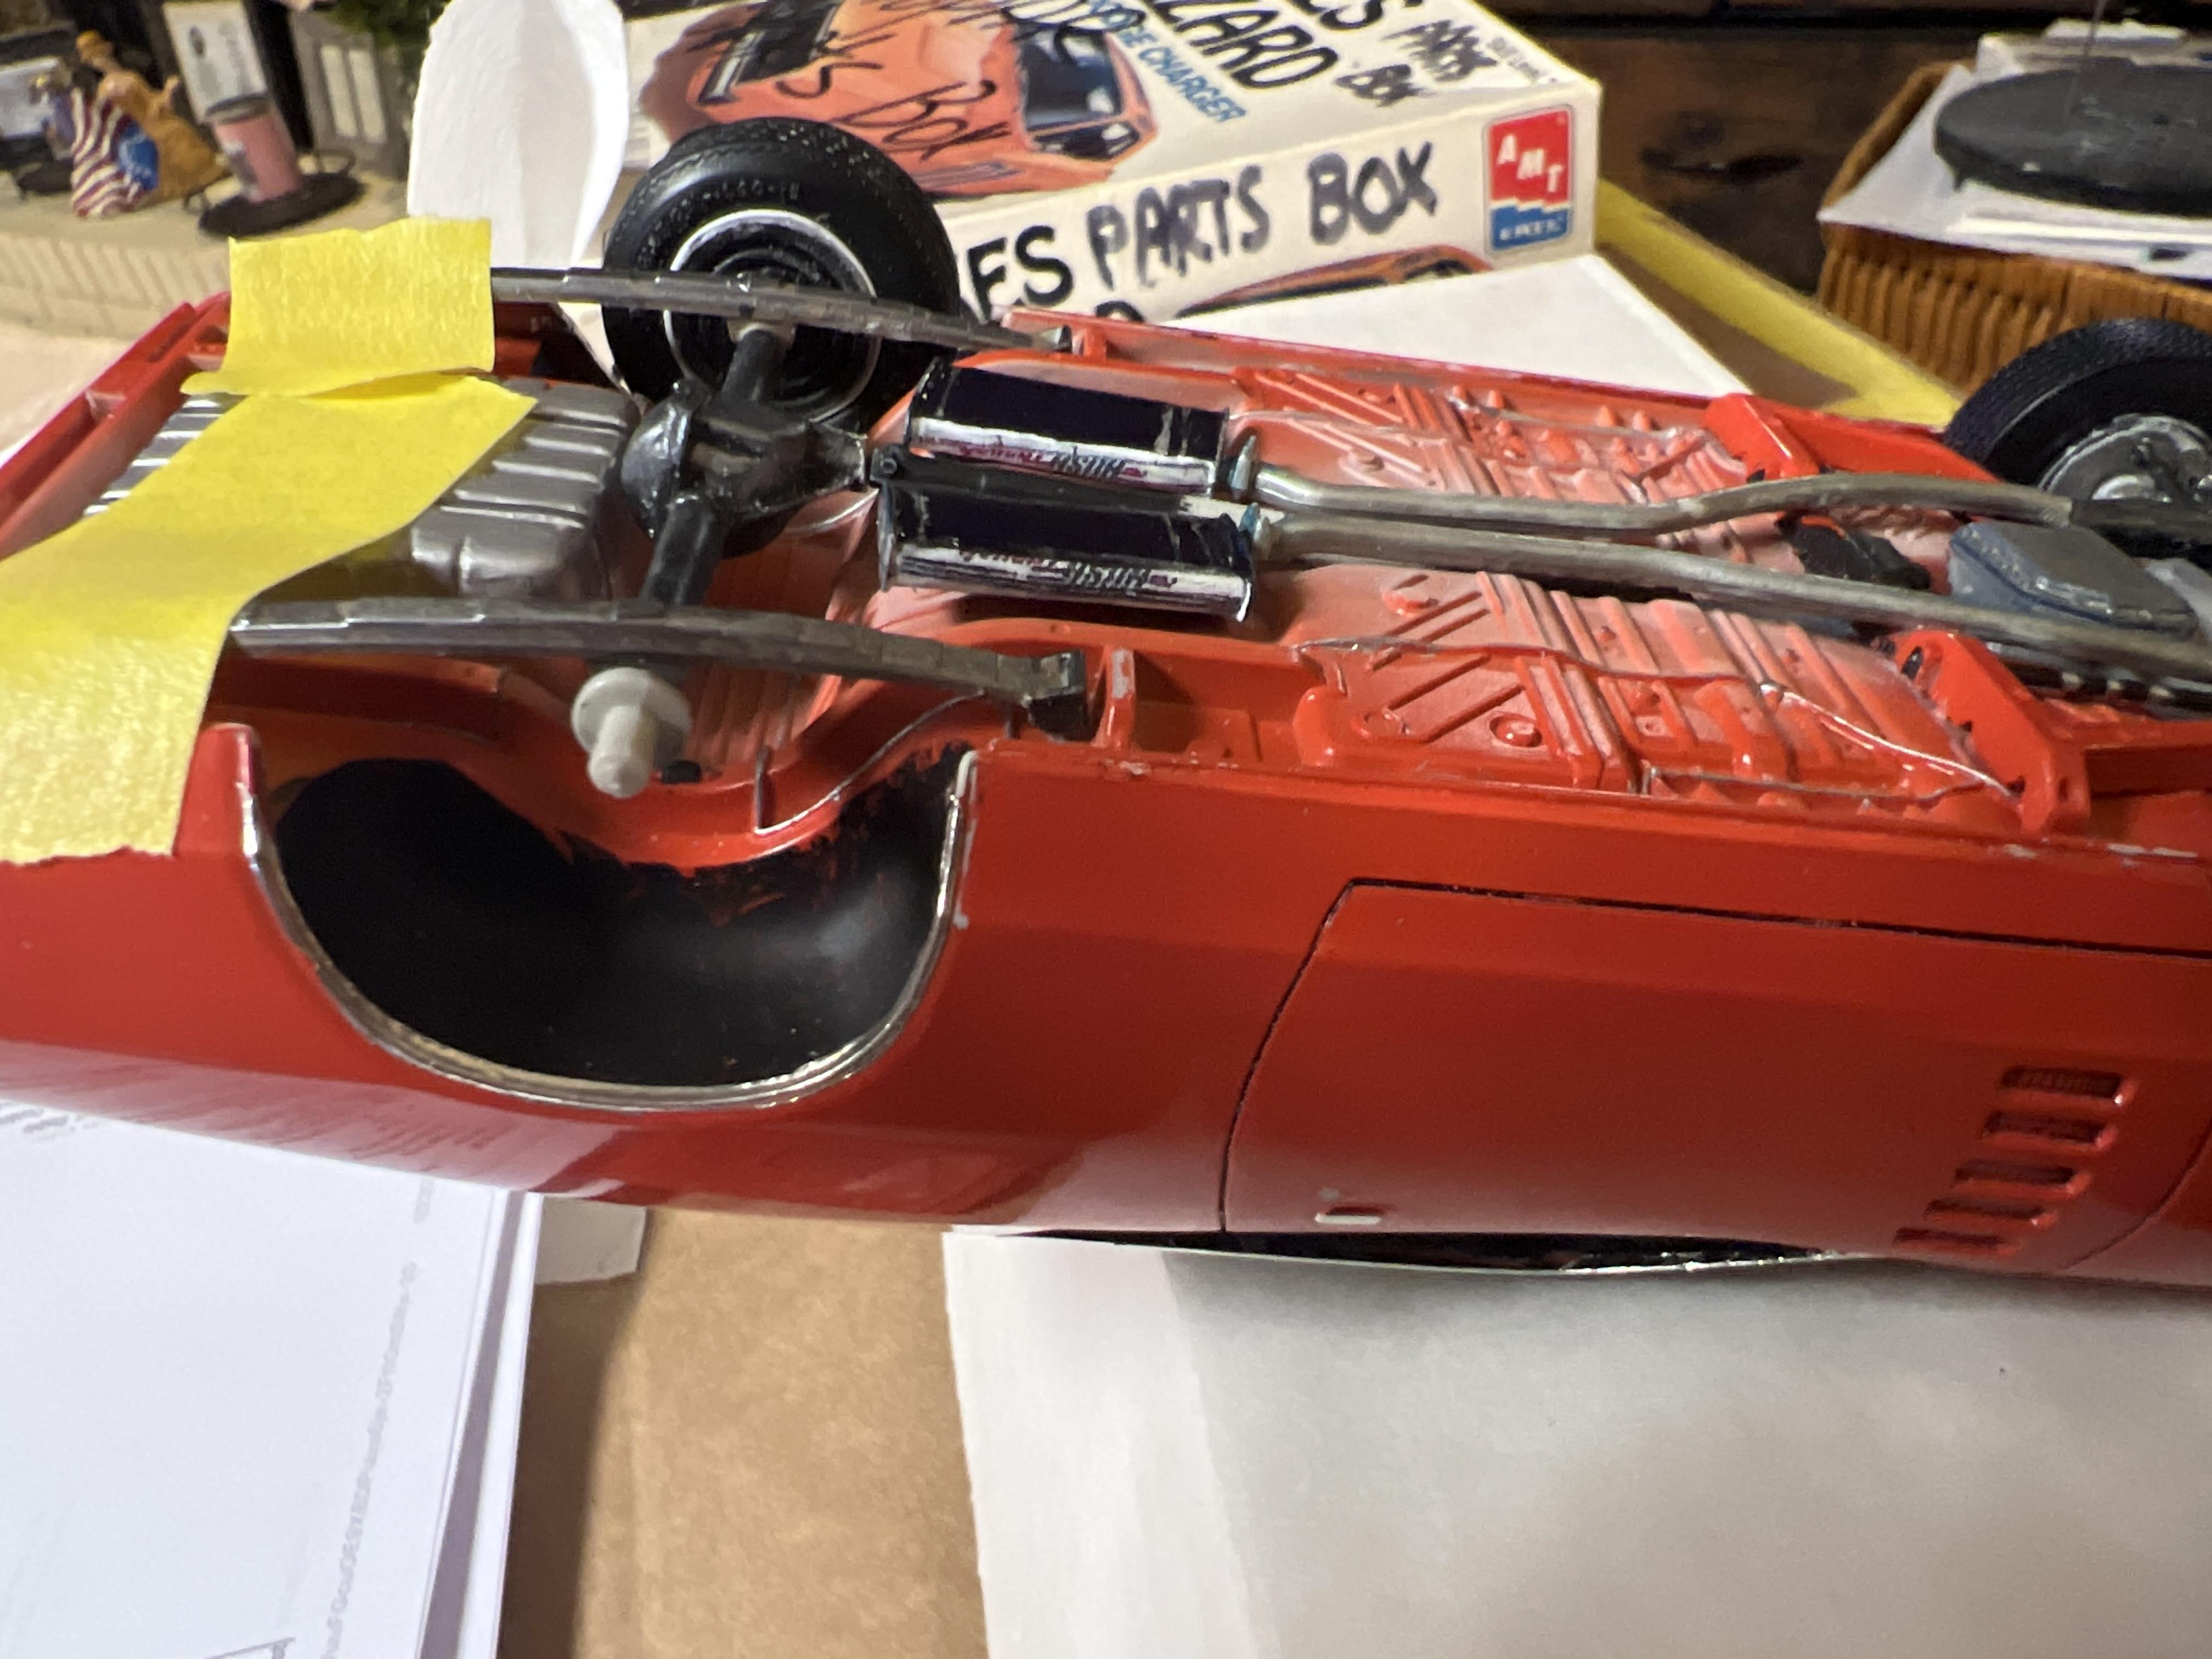
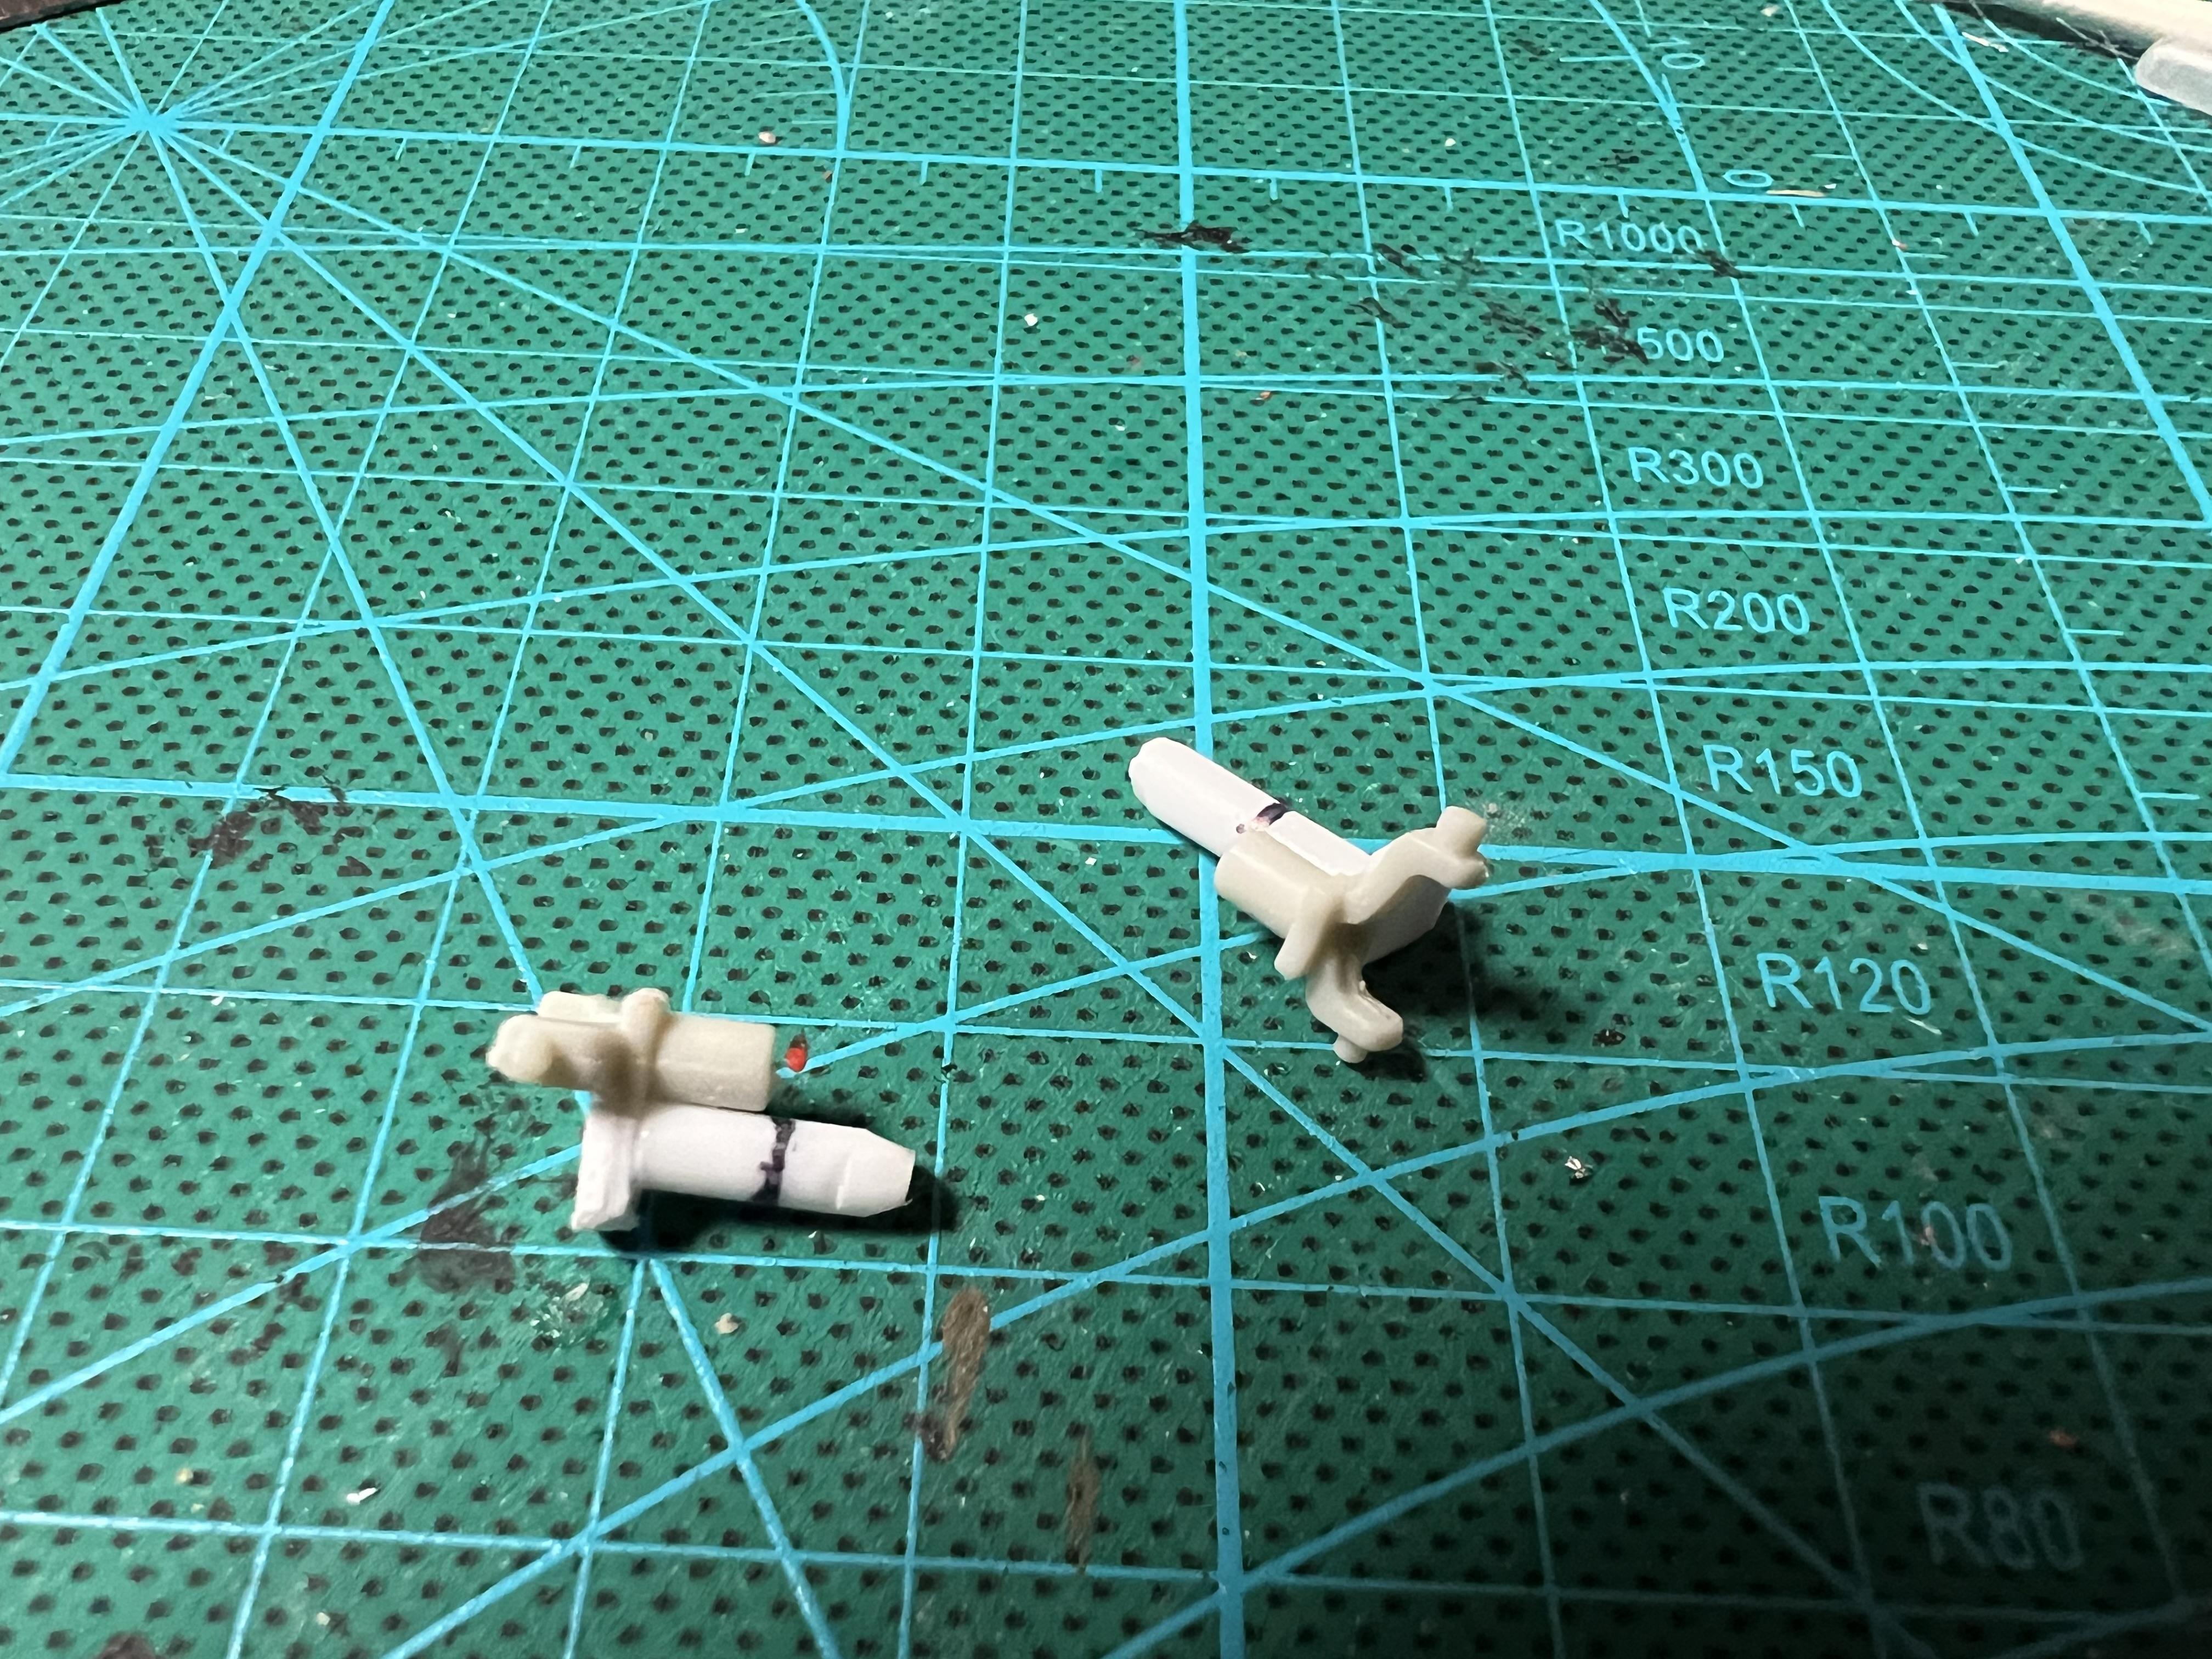
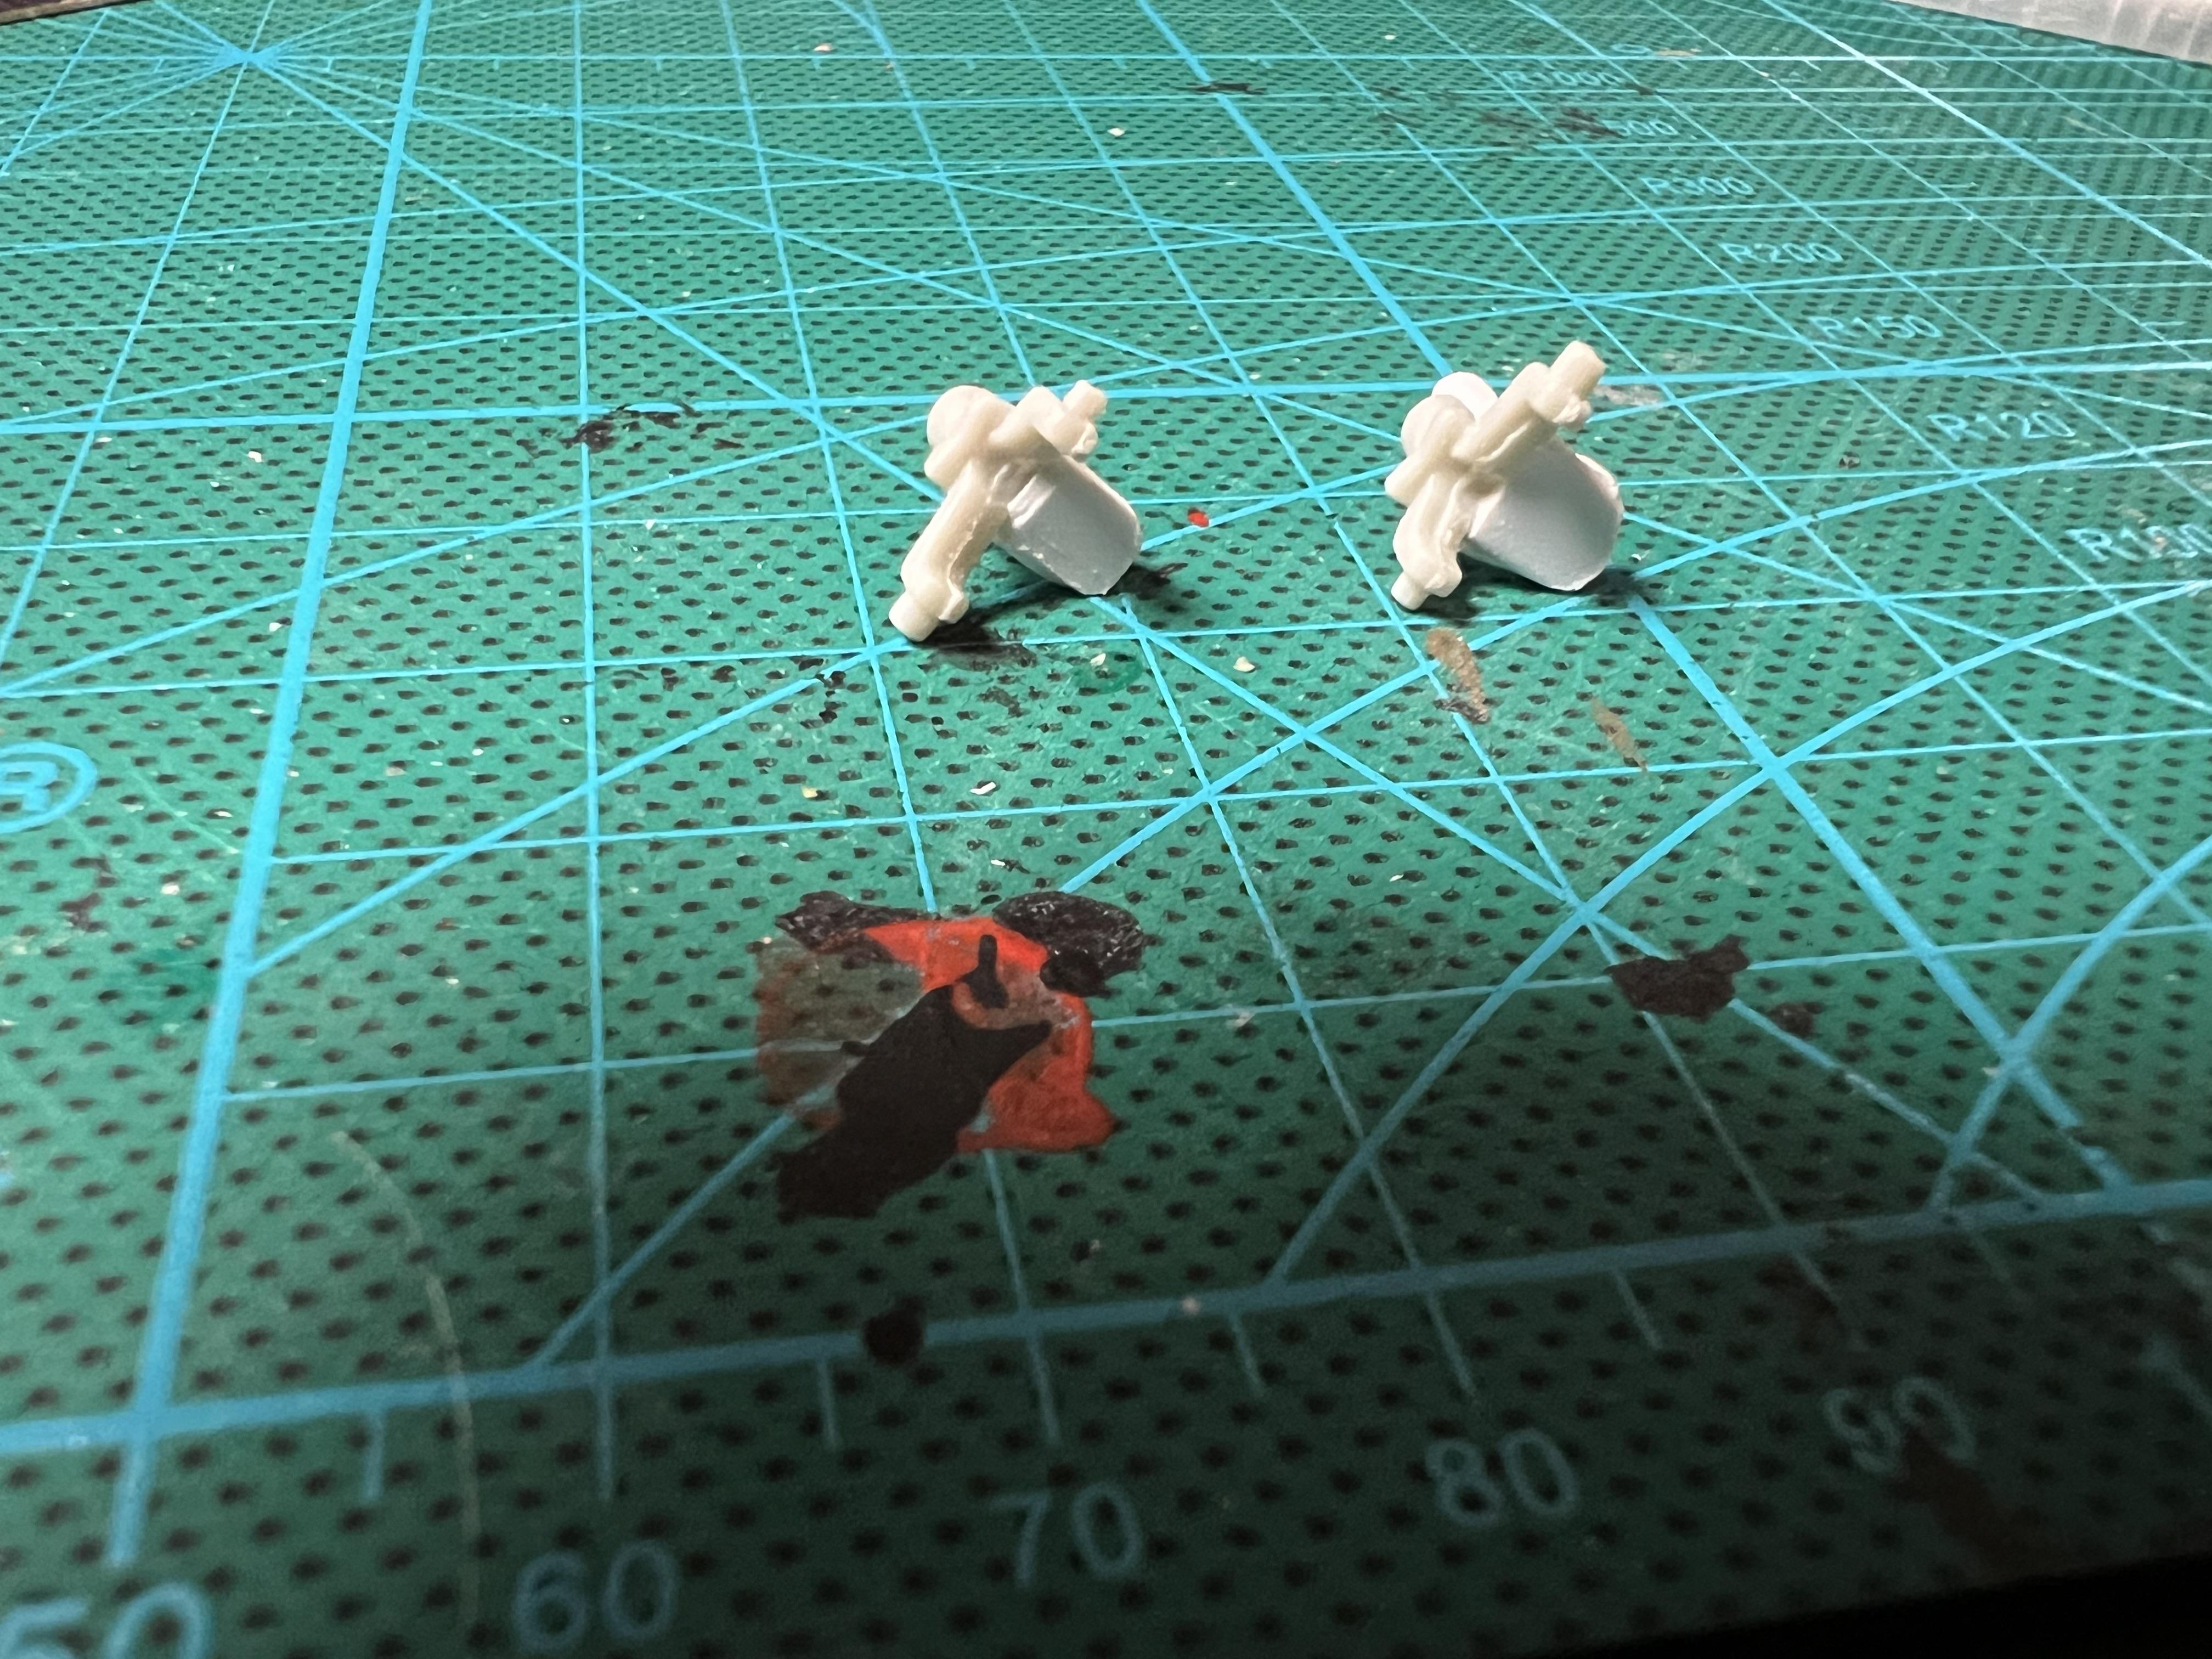
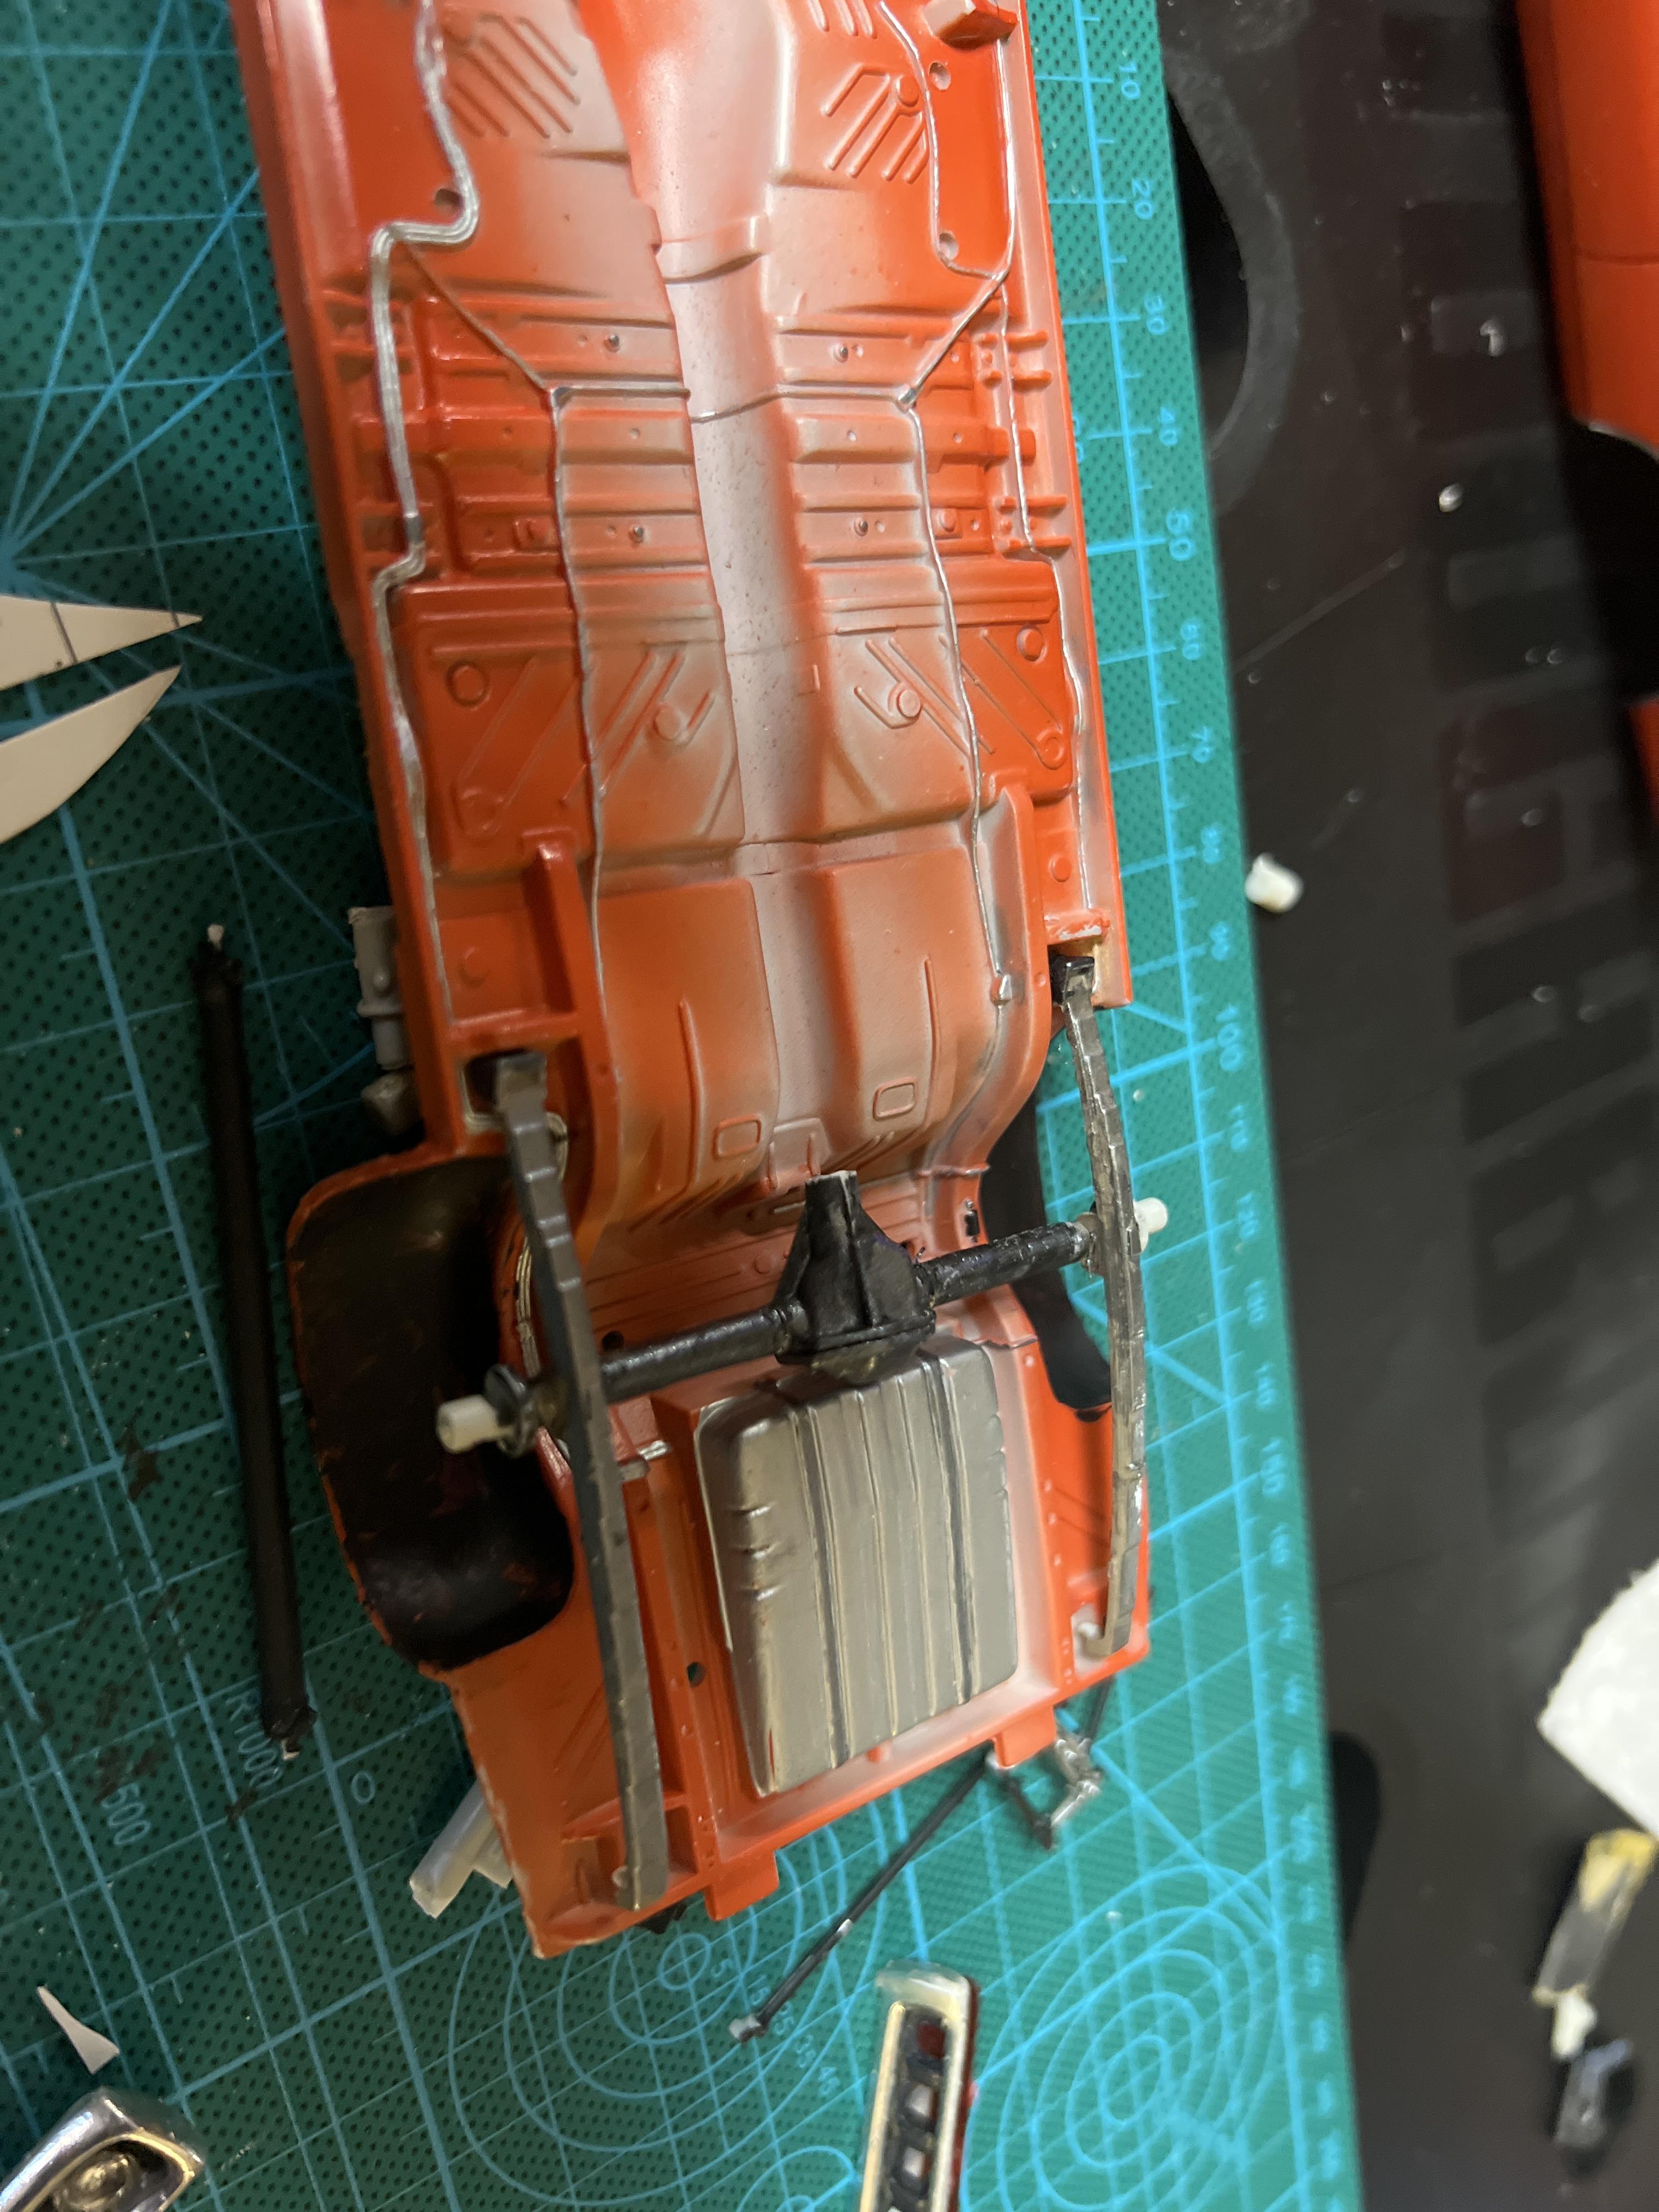
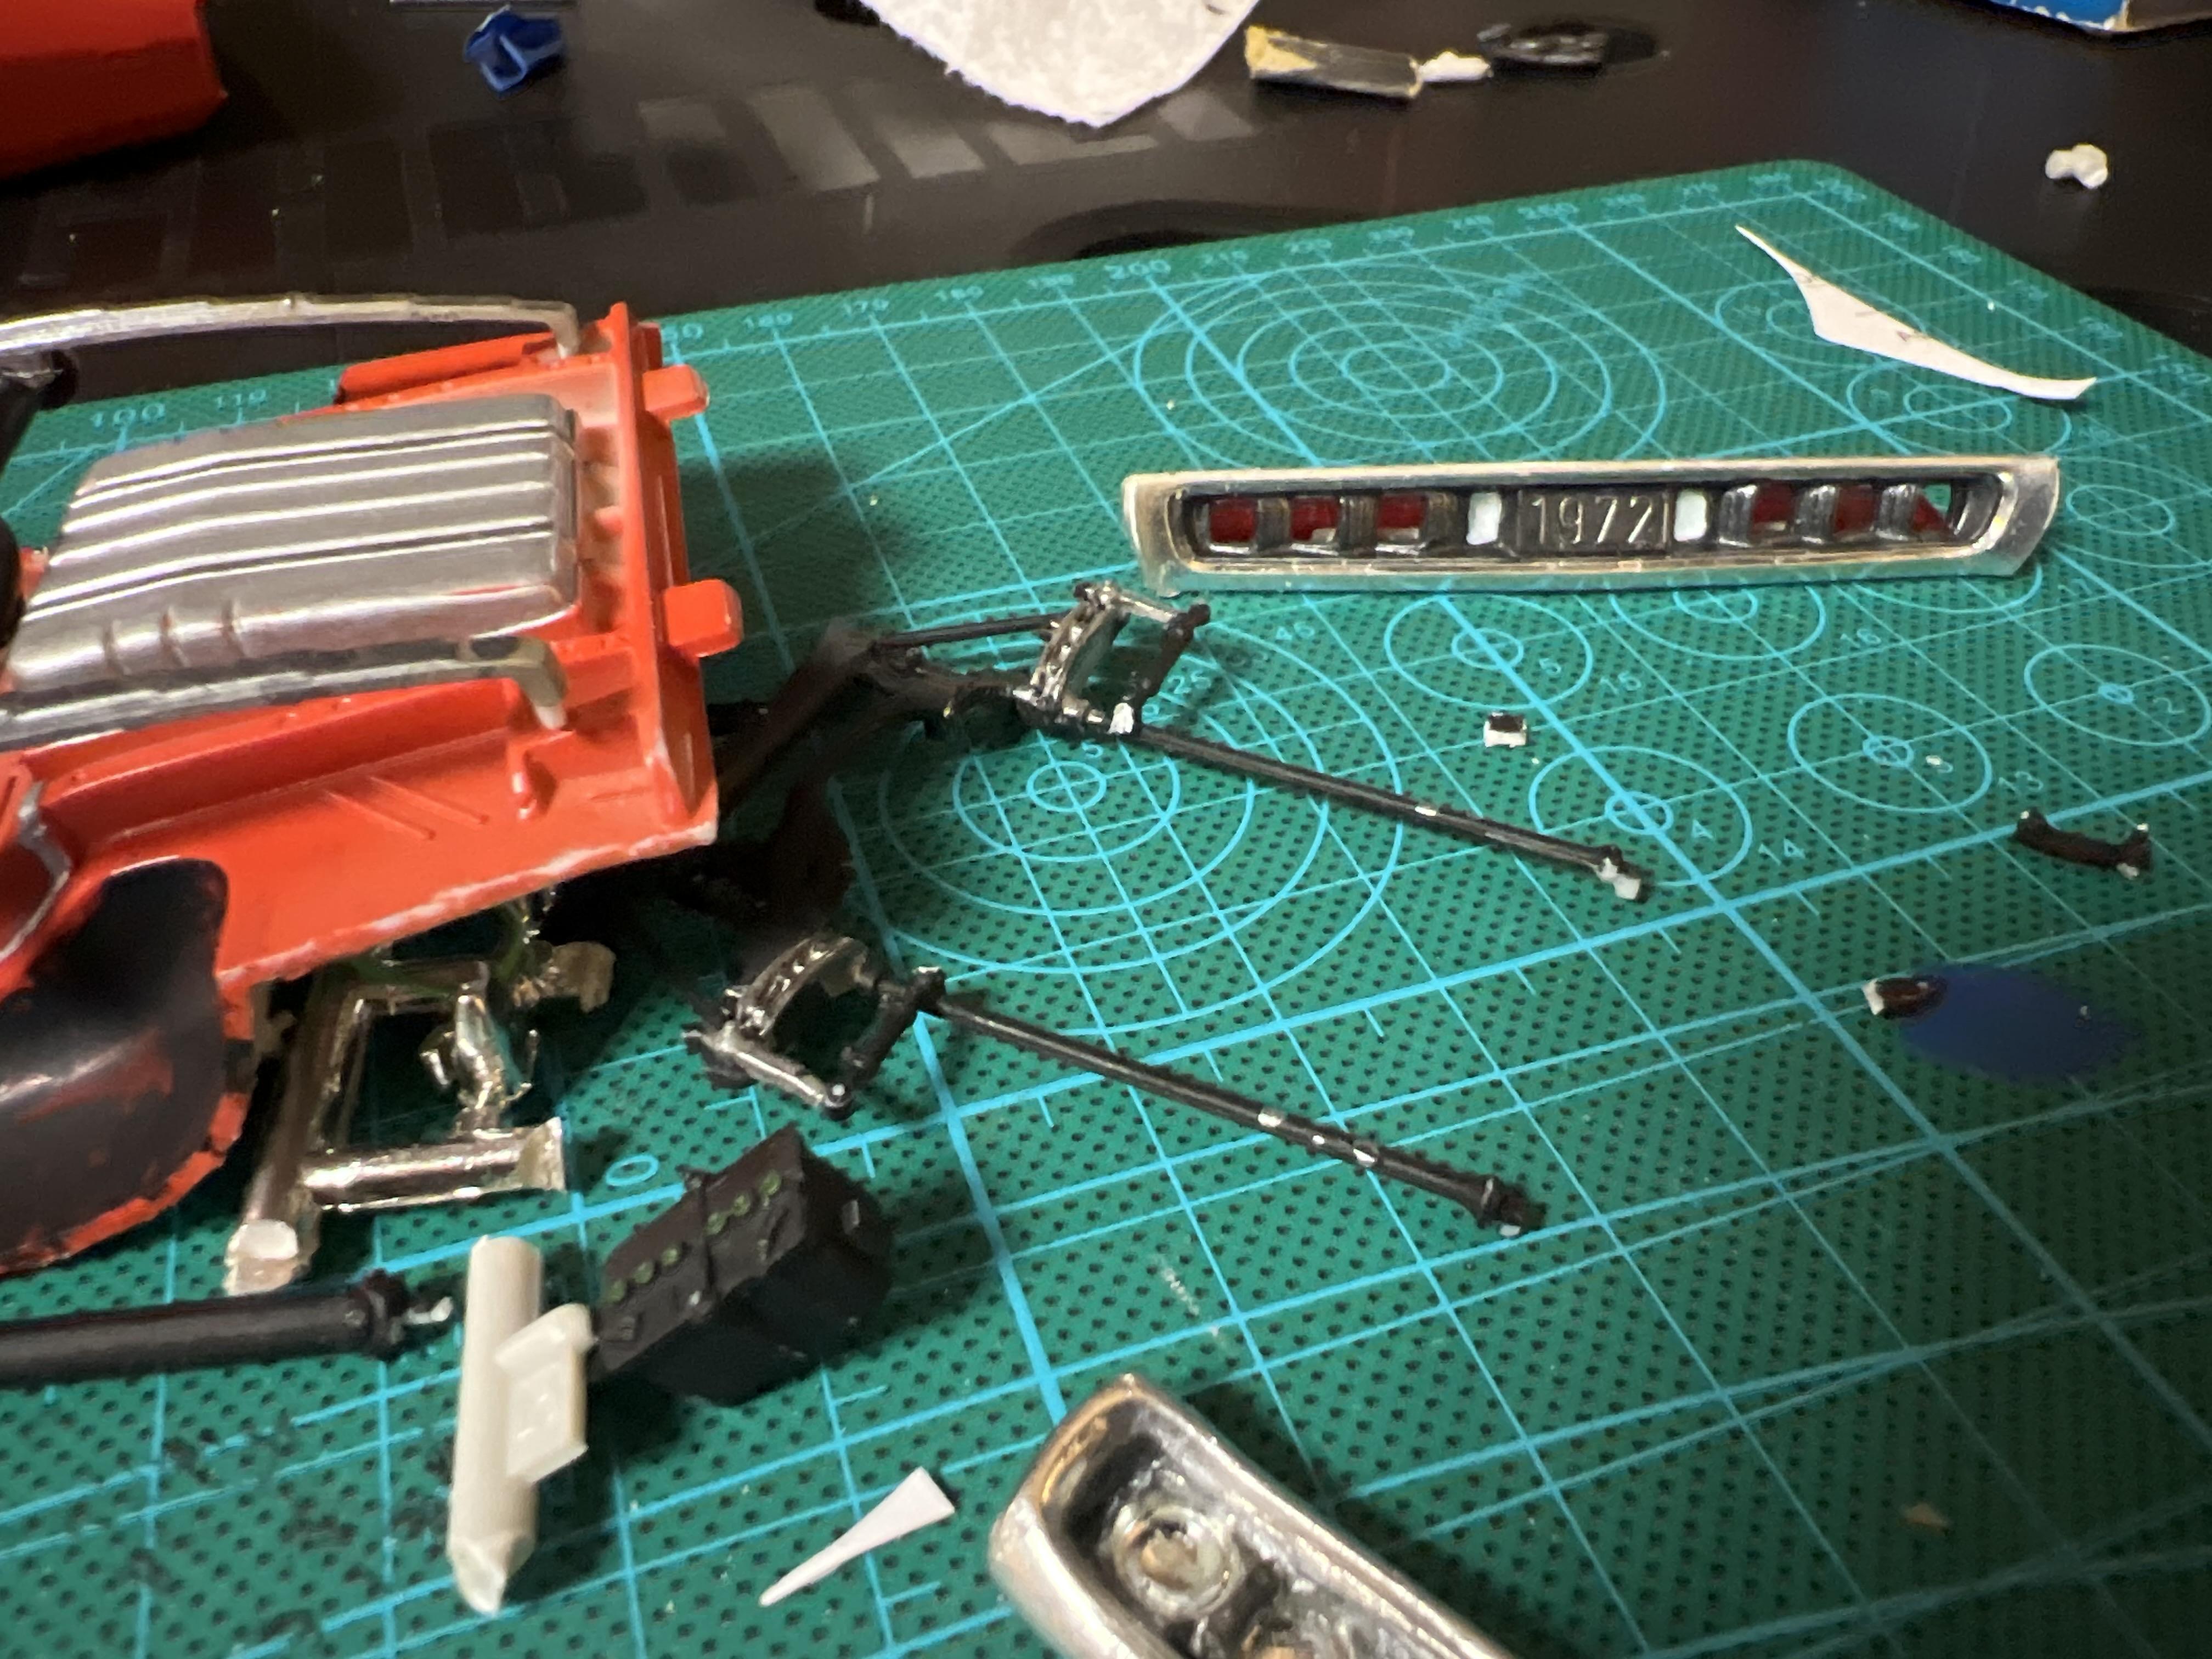
A little further along, figured out exhaust, made my own decals for the mufflers, painted markers and driving lights, added lenses. I ordered the bazooka tips for exhaust. Once I have them and refinish the driveshaft I shortened, I can permanently mount rear suspension.
-
Do you know who made the kit? I can’t remember. I’ve been watching your build and the one Francis is doing and am blown away by both.
-
I really like this, having owned both. A mix of the 2 is crazy. Are you doing the twin turbo?
-
I hope so, I have 2 of those kits on preorder?
-
It was all part of the resin kit that I bought years ago on EBay
-
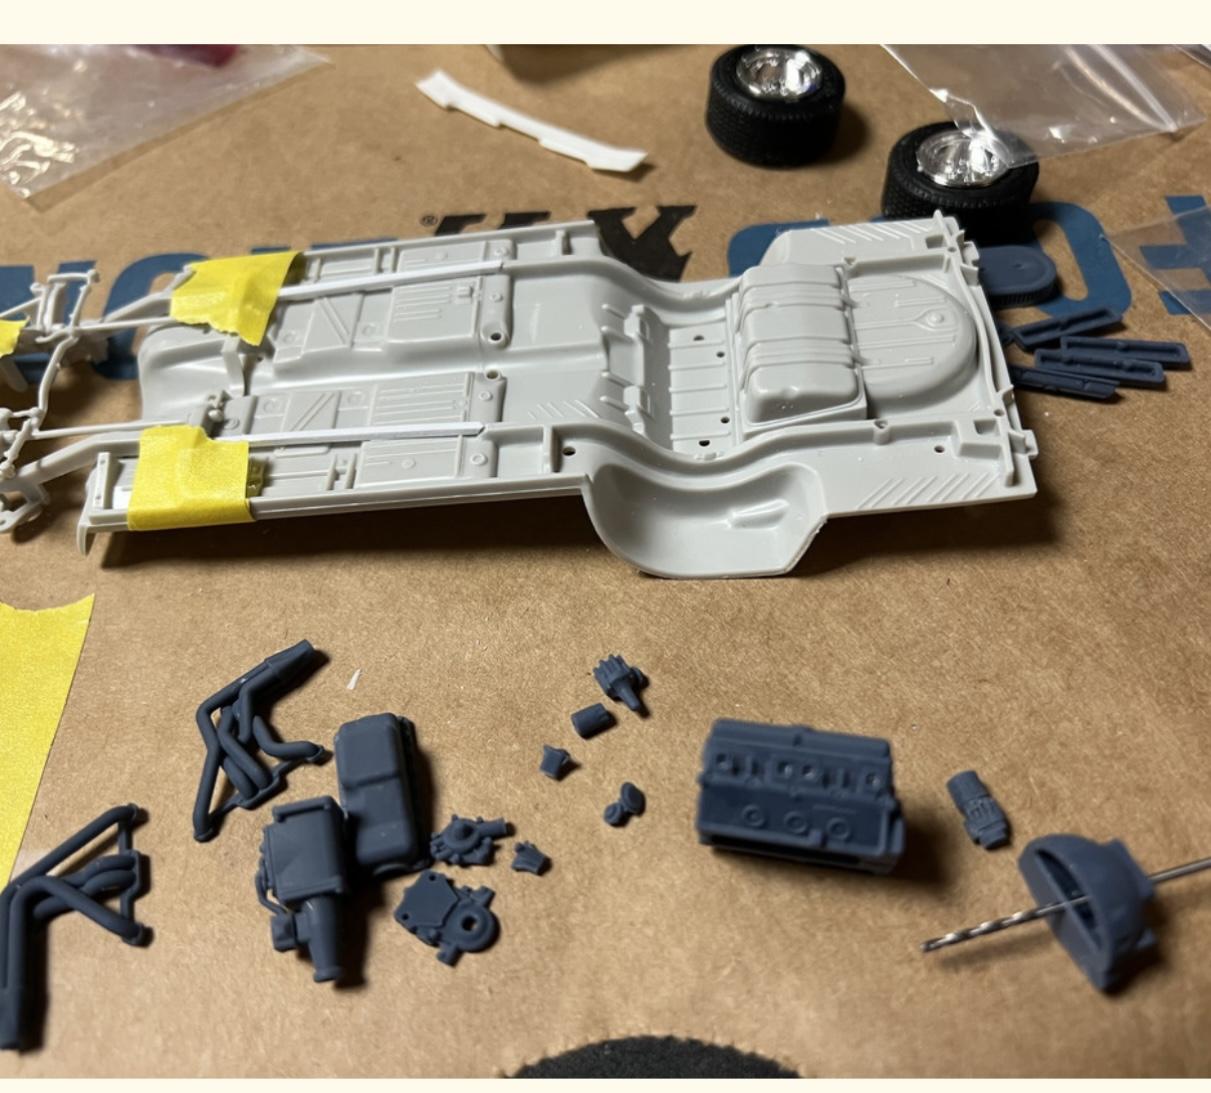
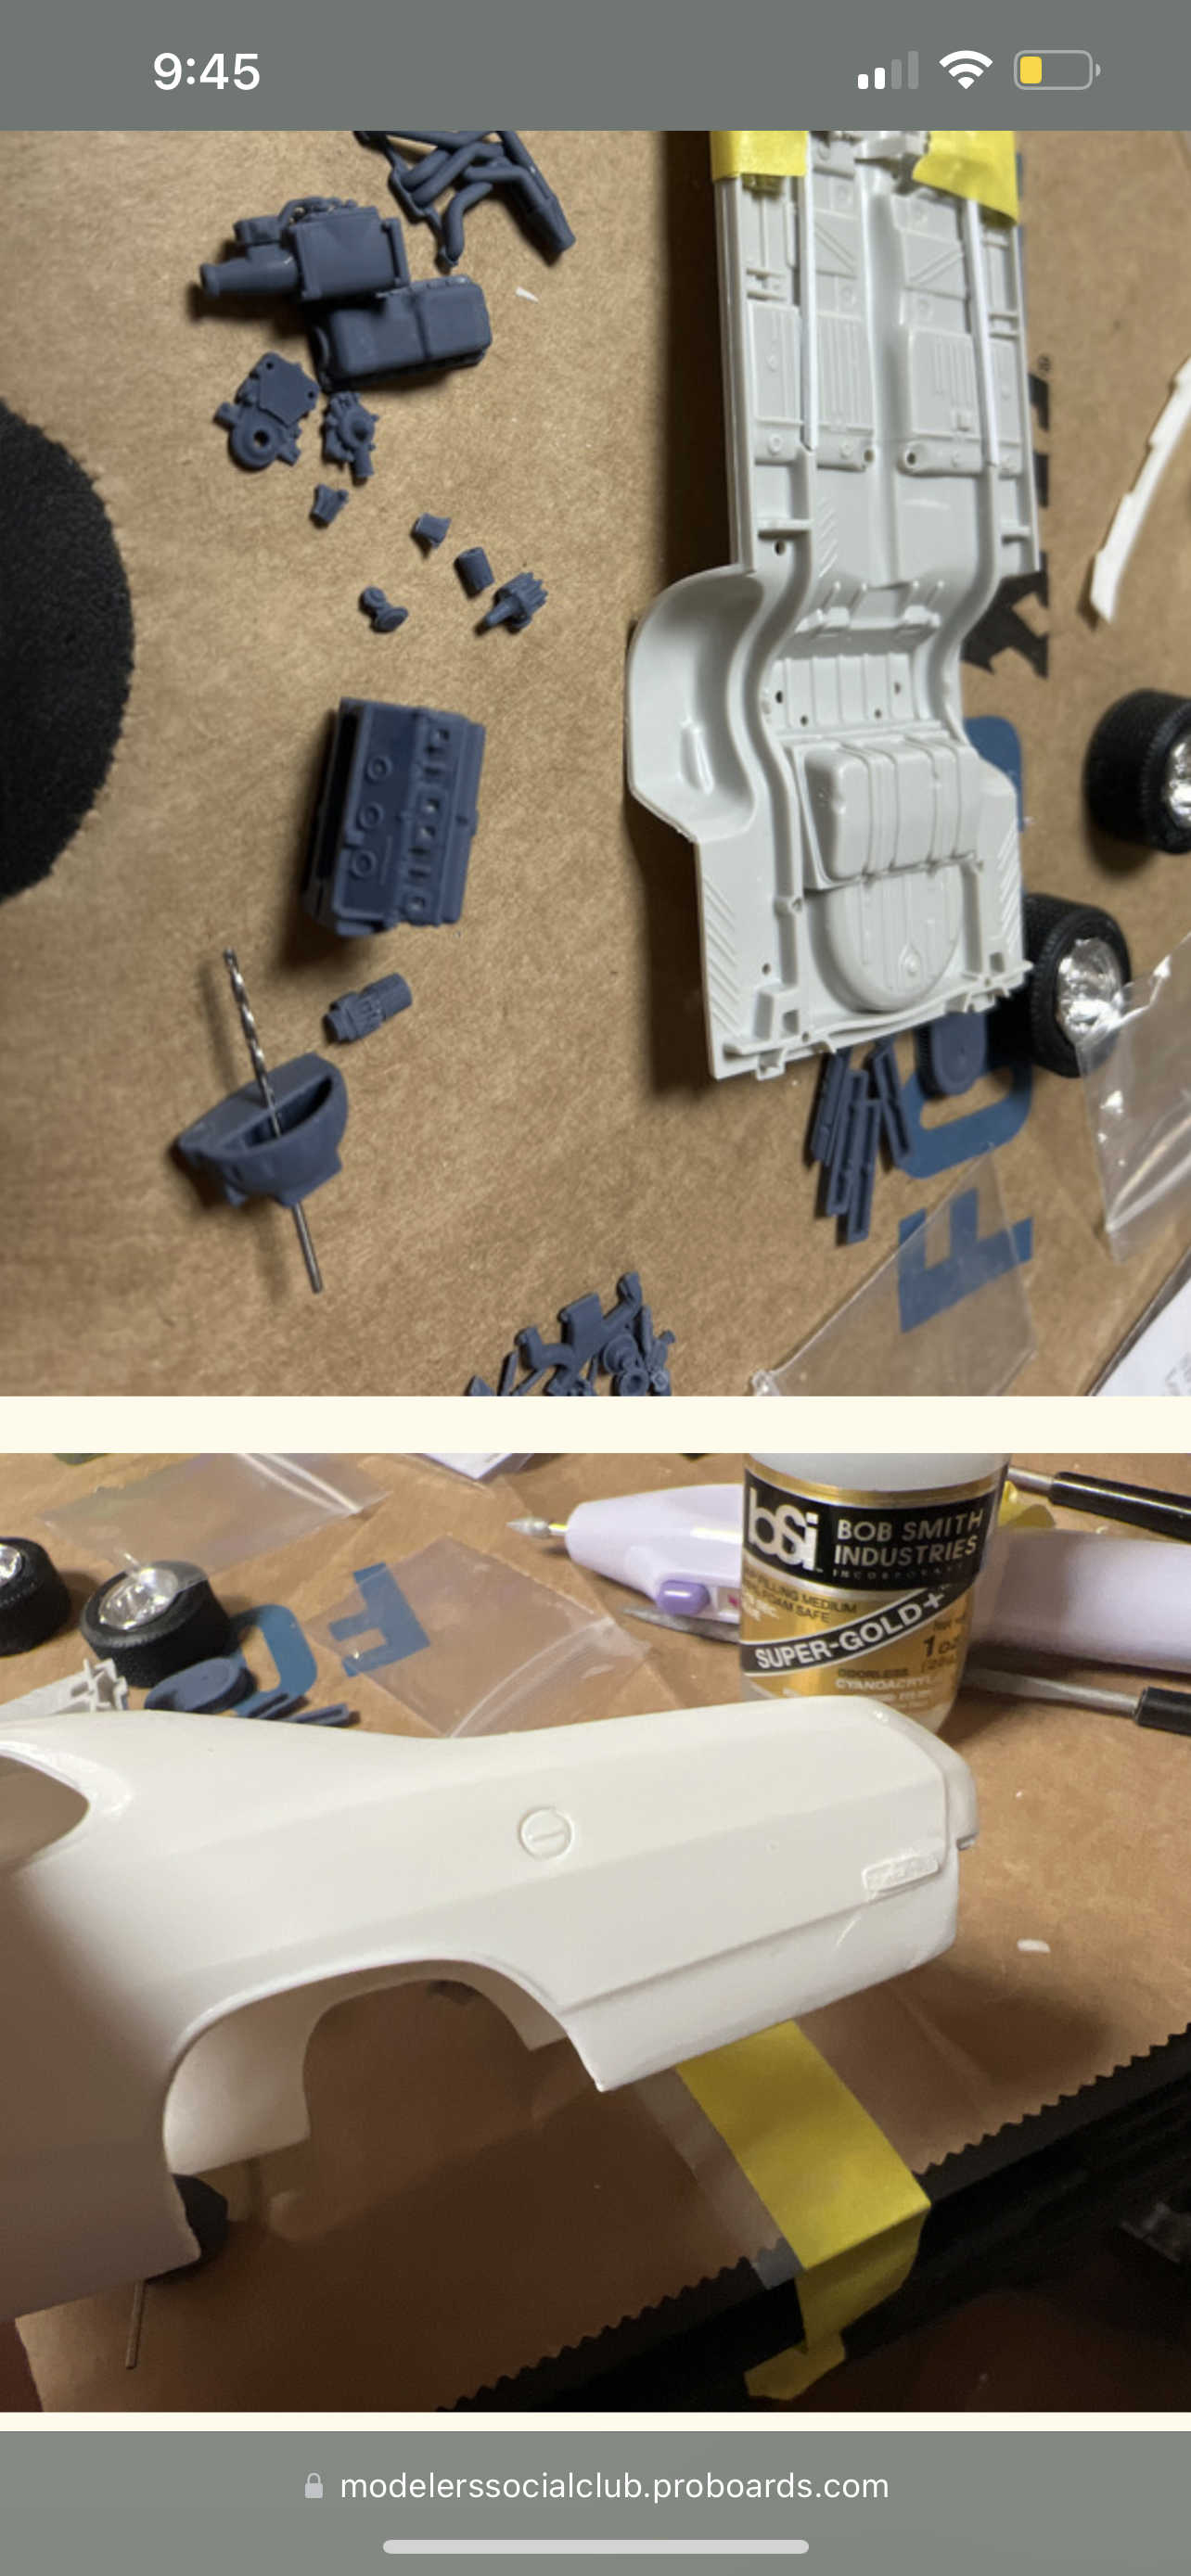
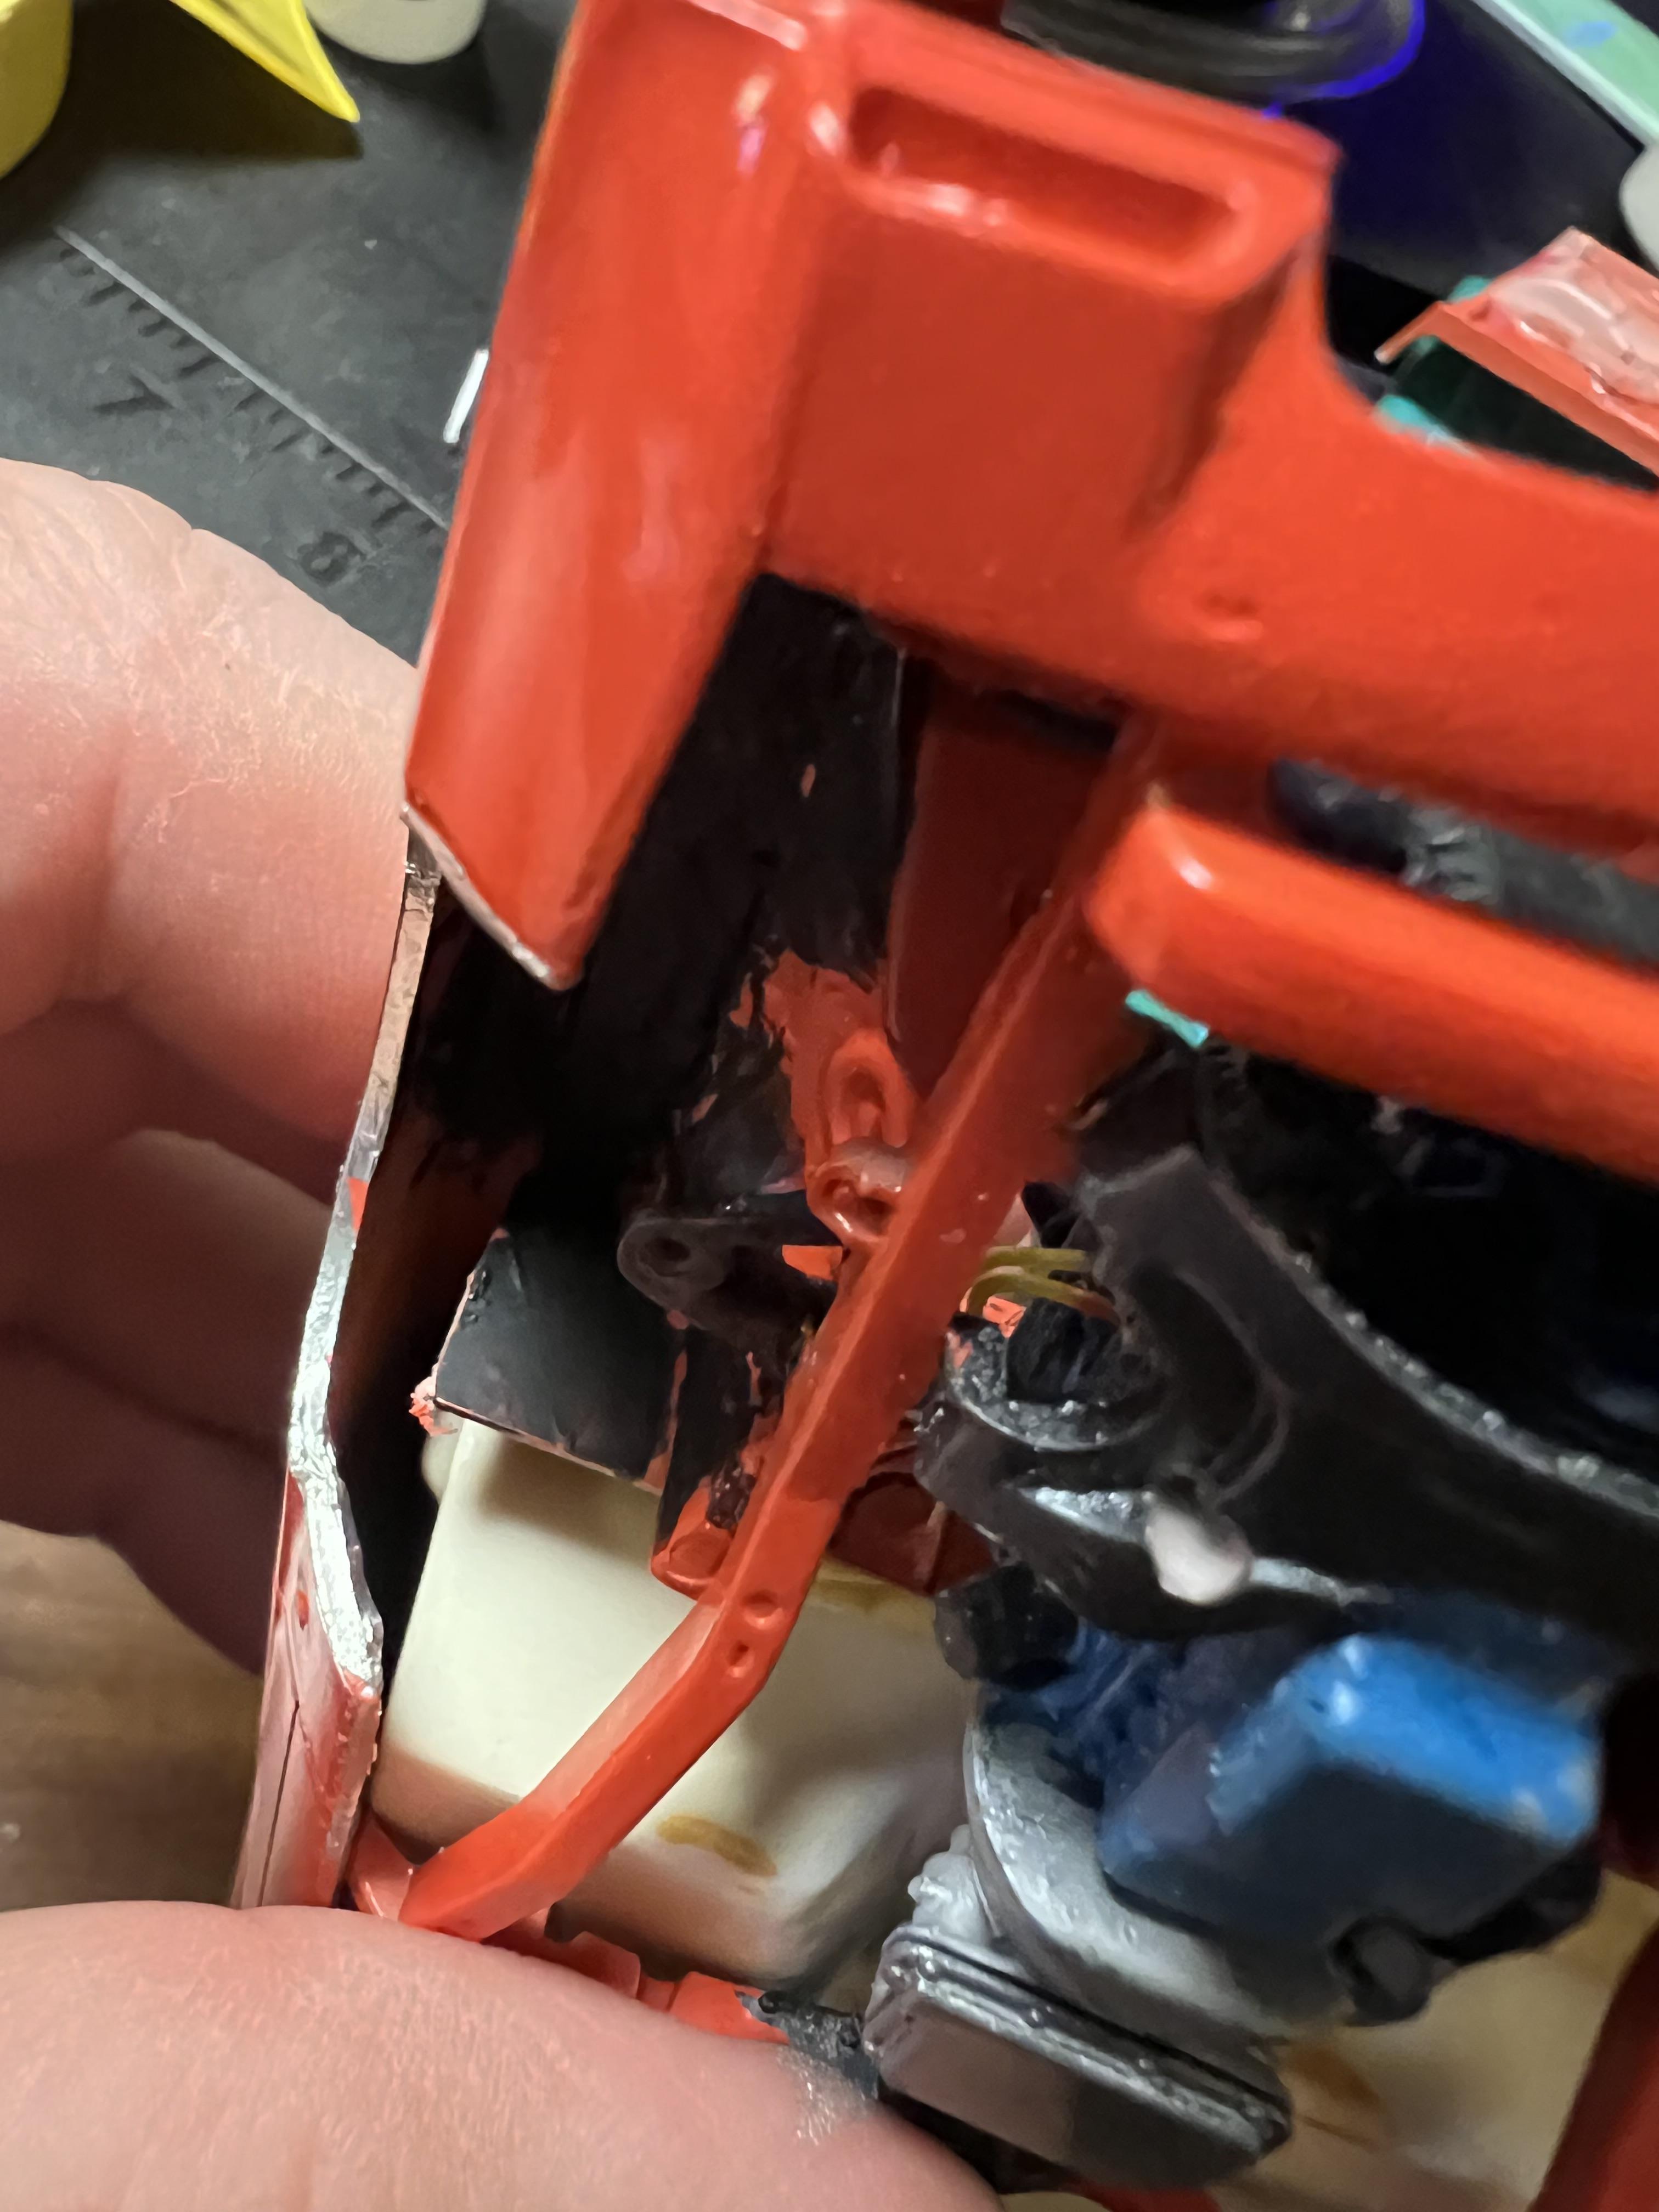
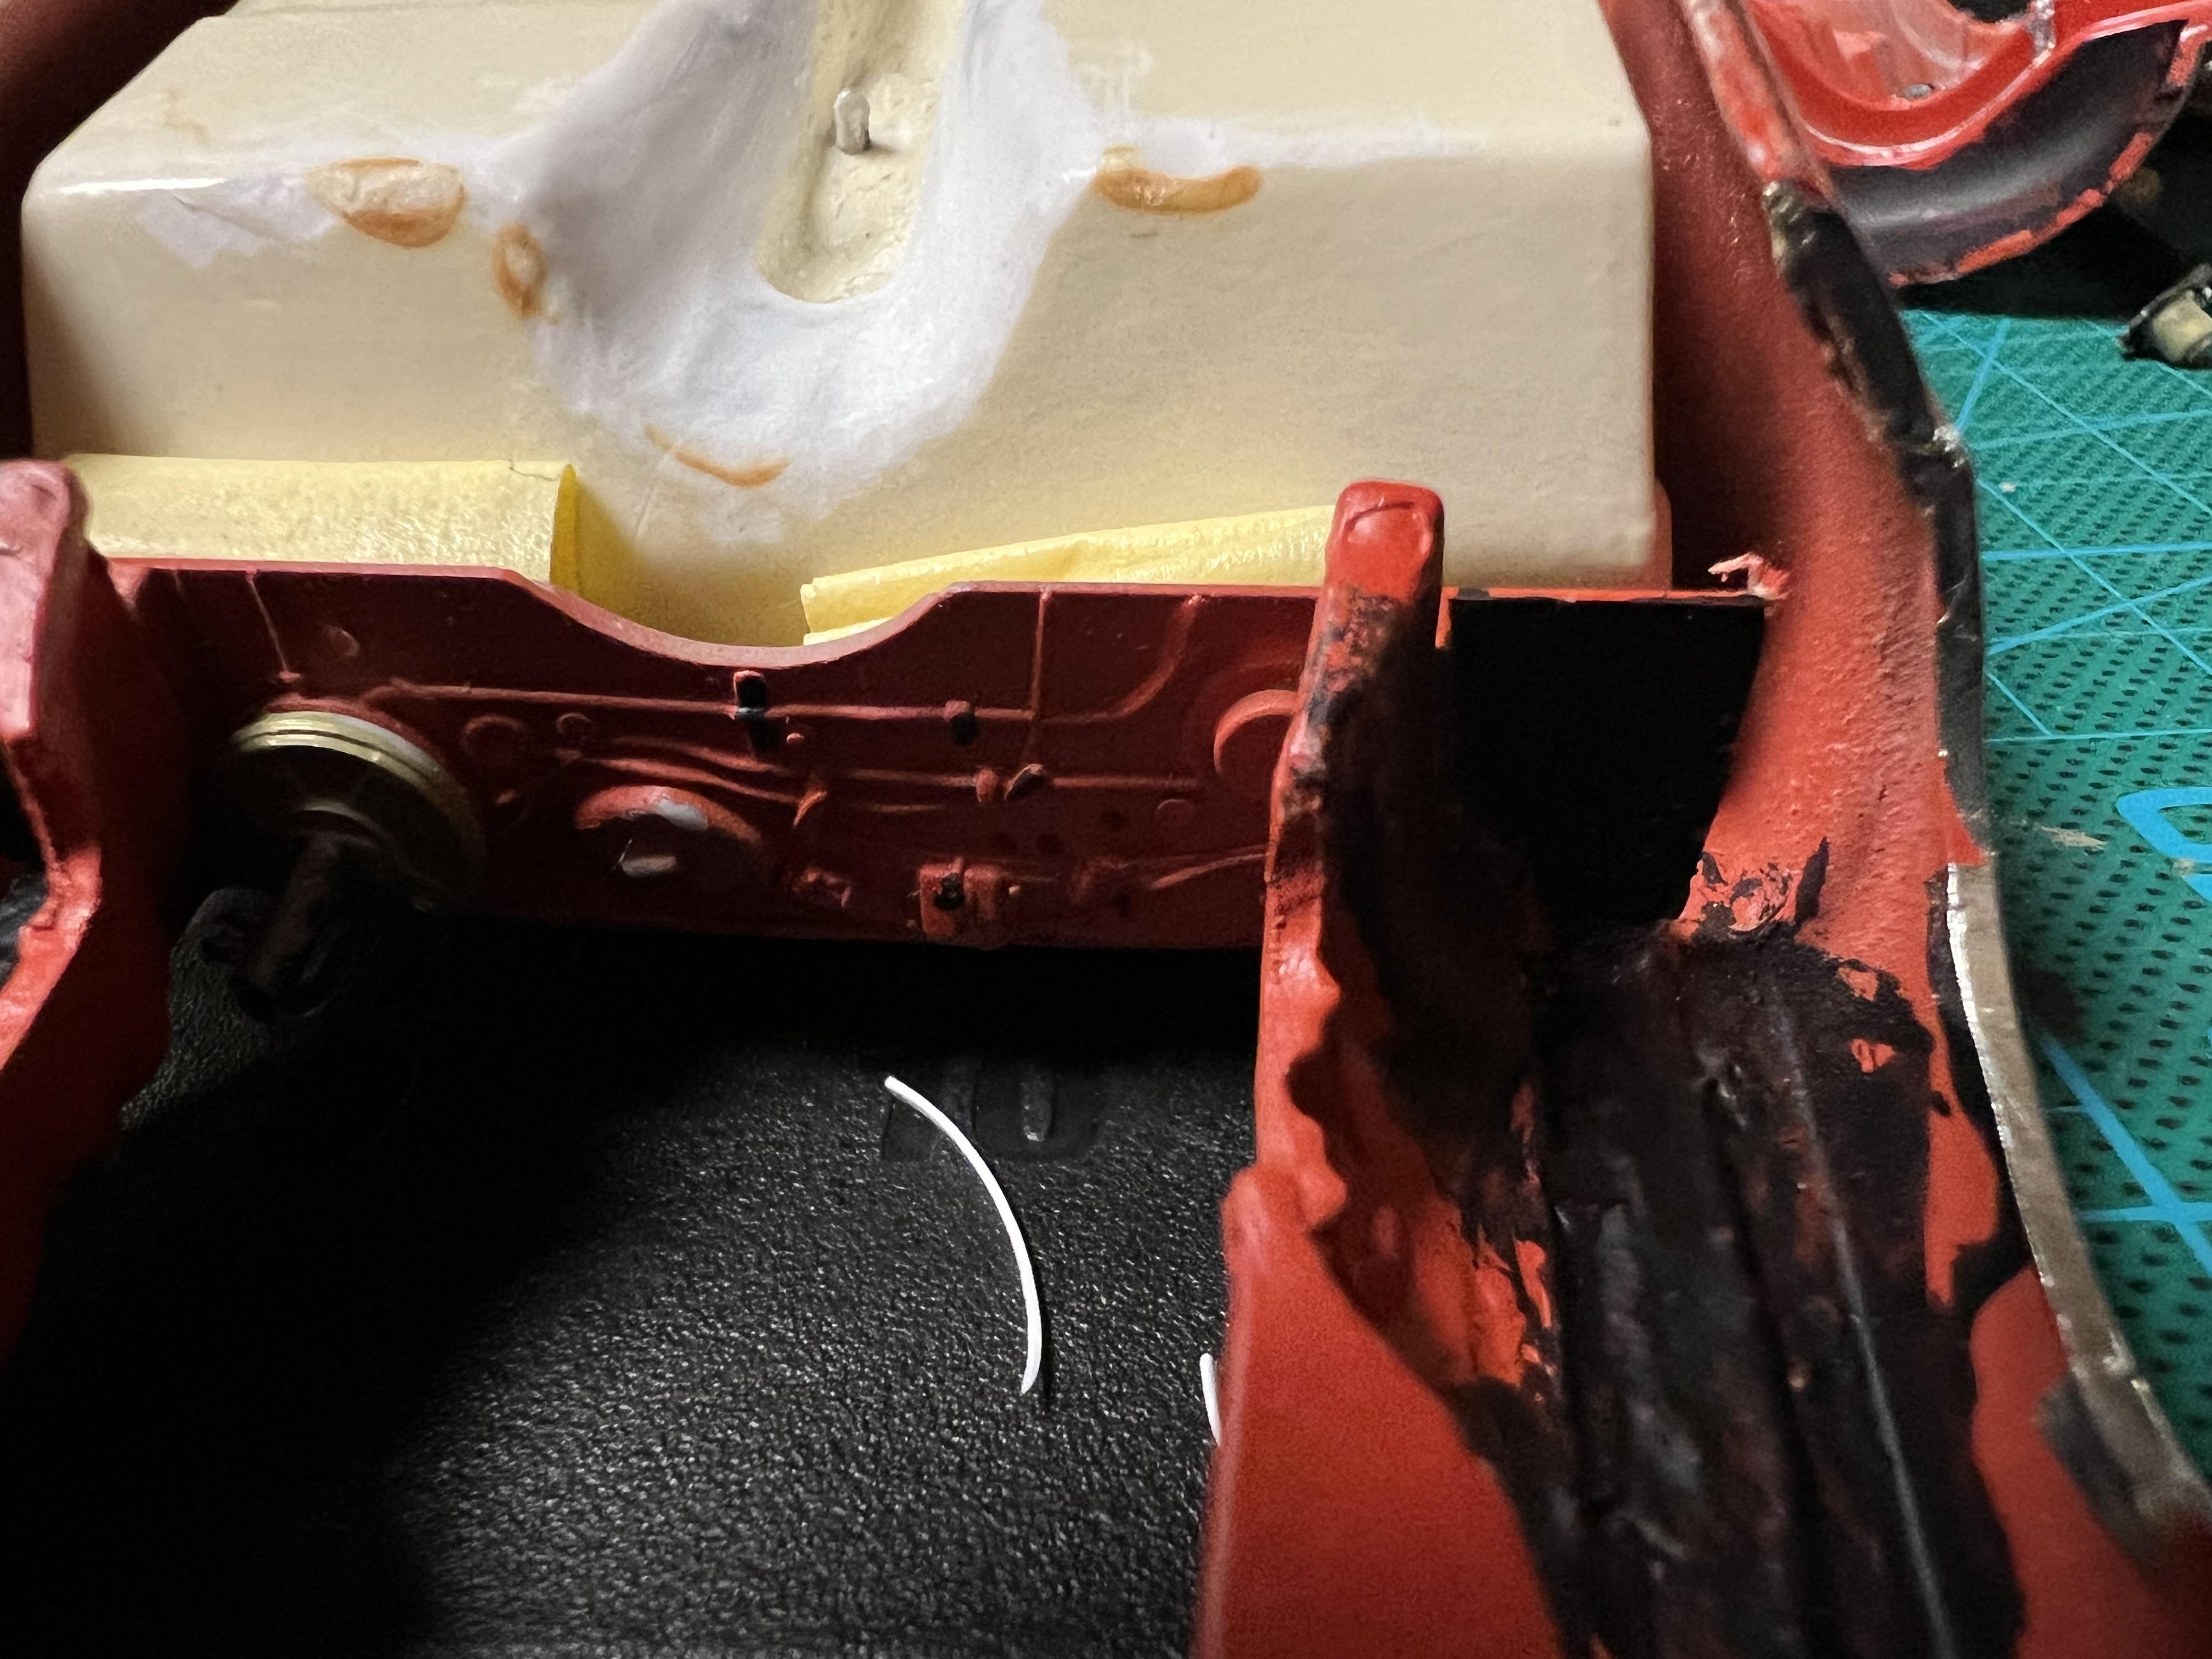
I got a start on it, lots of filing just to get grille to fit, cleaned up a bunch of flash. While fitting pieces, I (oops) found out how brittle old resin can be by breaking the rear quarter panel while putting chassis in. Just what I wanted, more body work. I started shaping front fender openings. I also started working on engine/ trans/ header fit. I will have to do some work at trans crossmember to clear shifter. I also made the subframe connectors. More to come
-
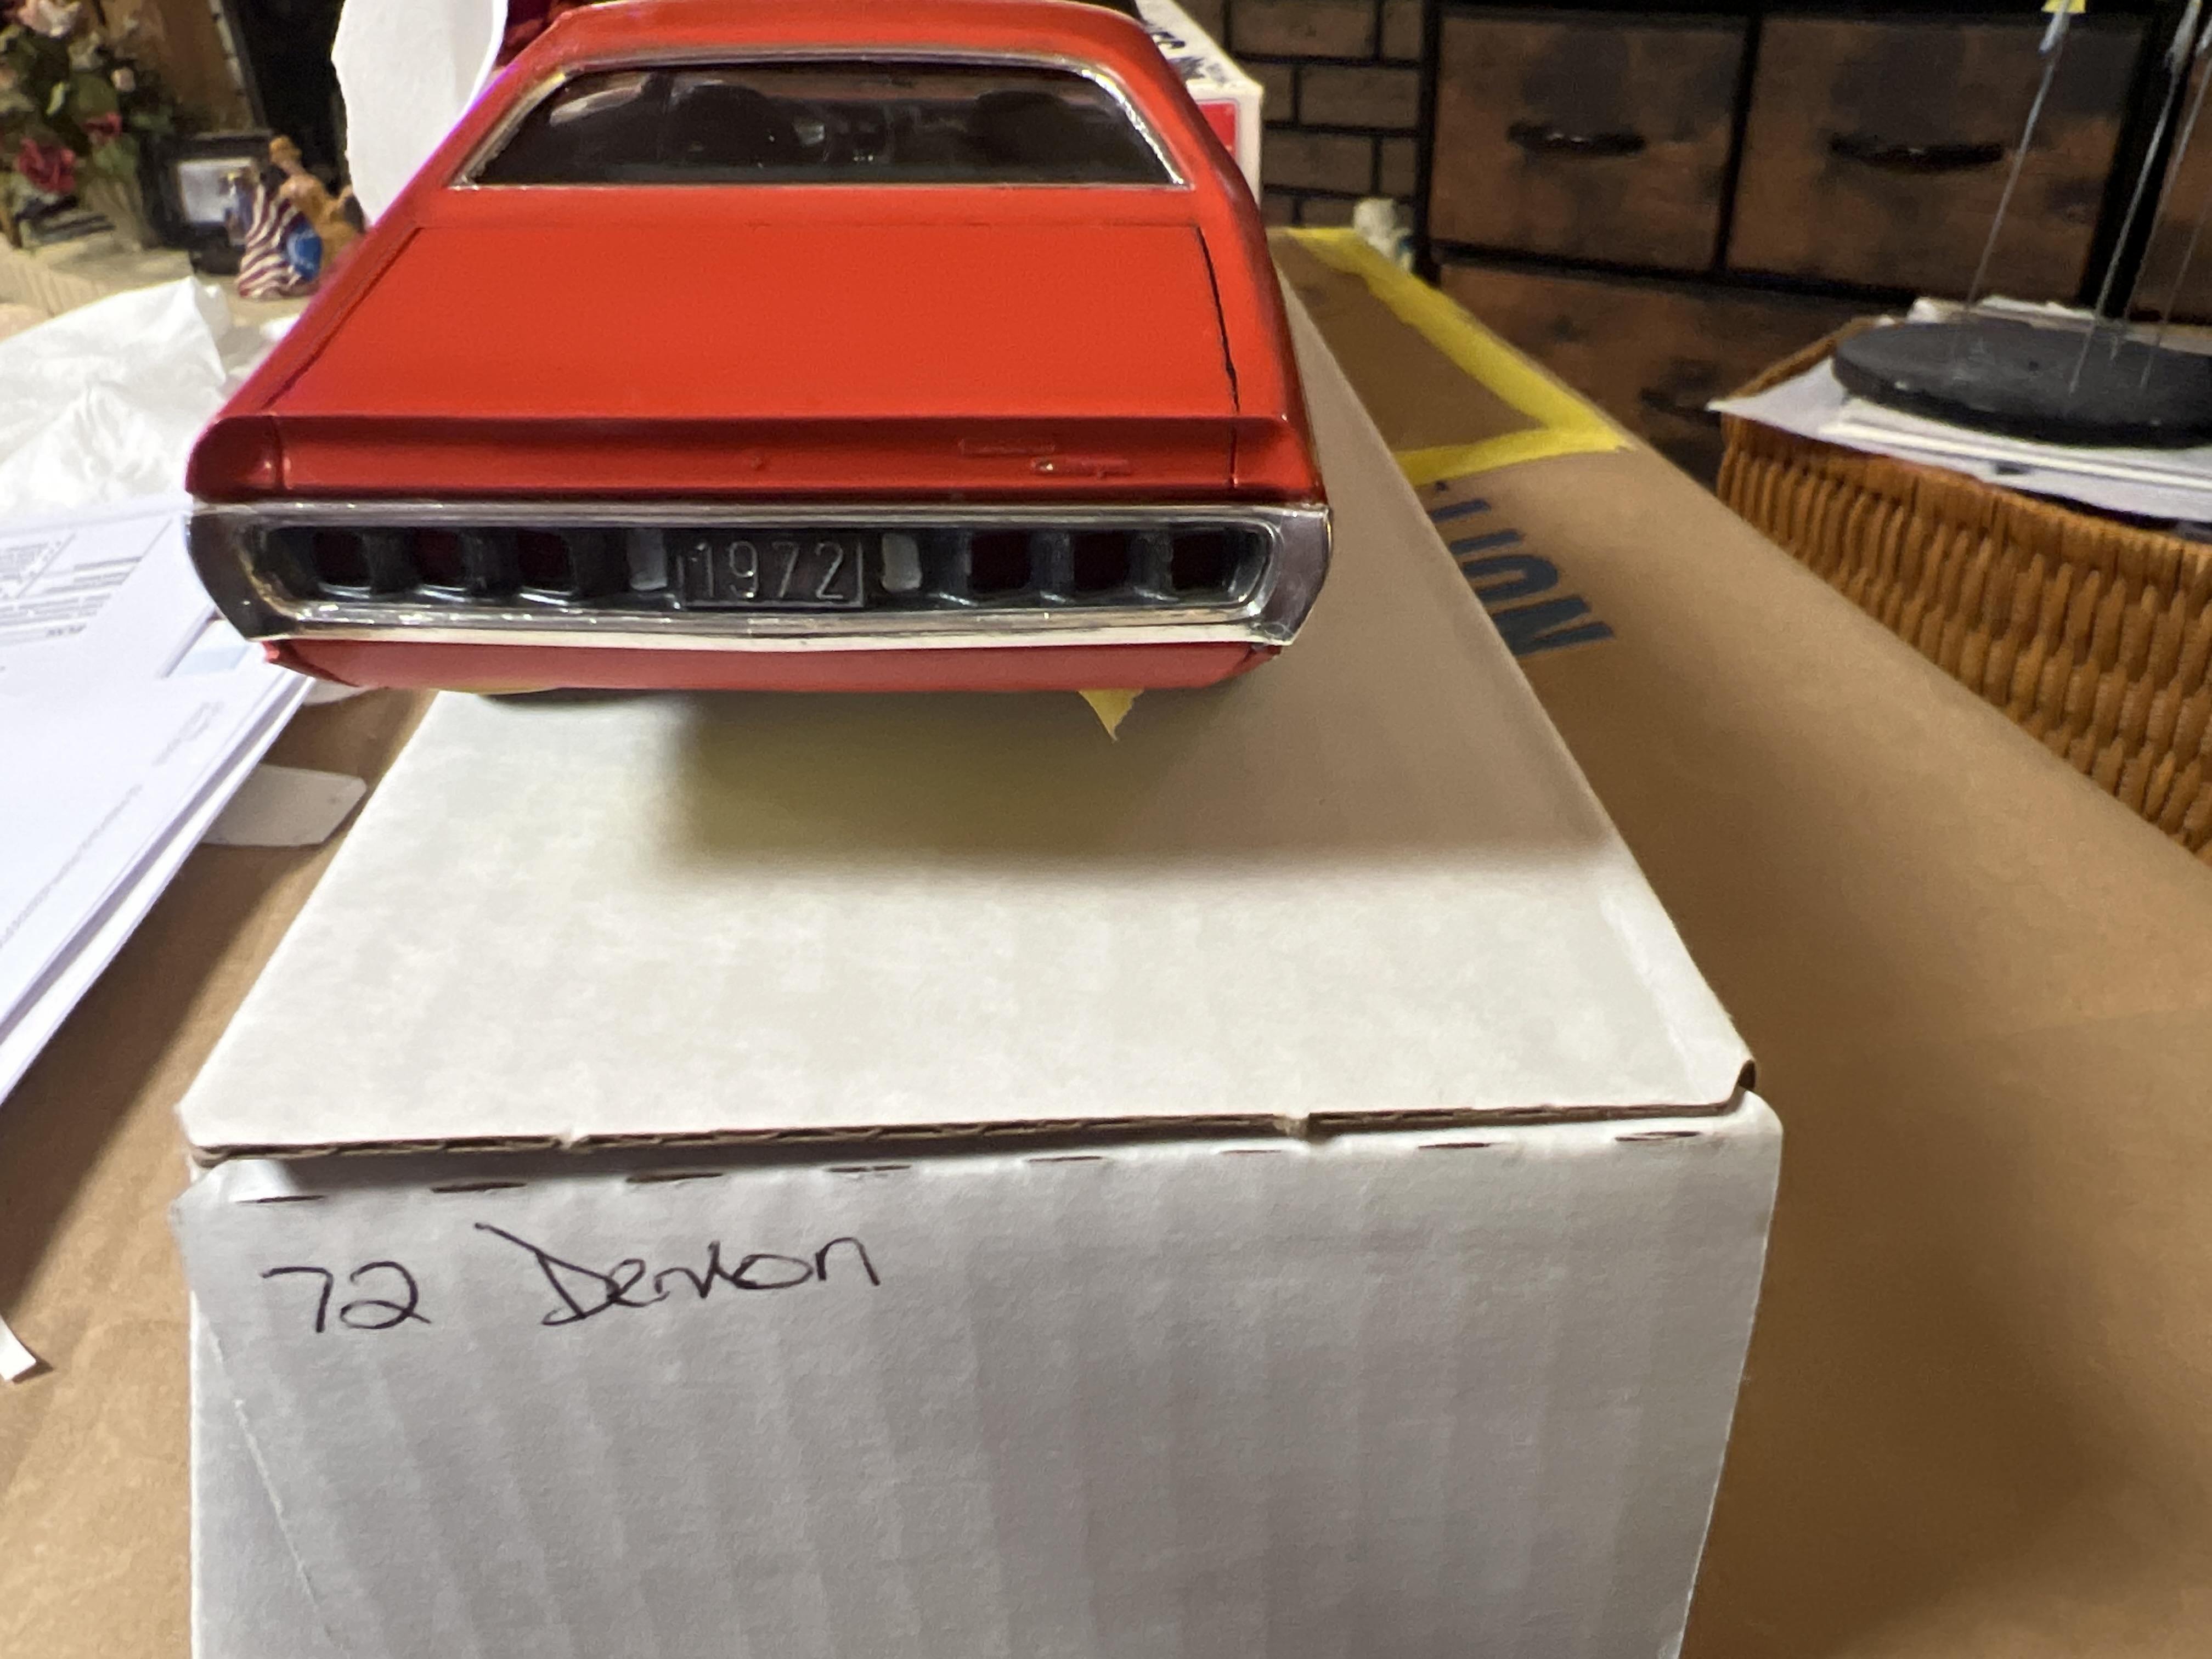
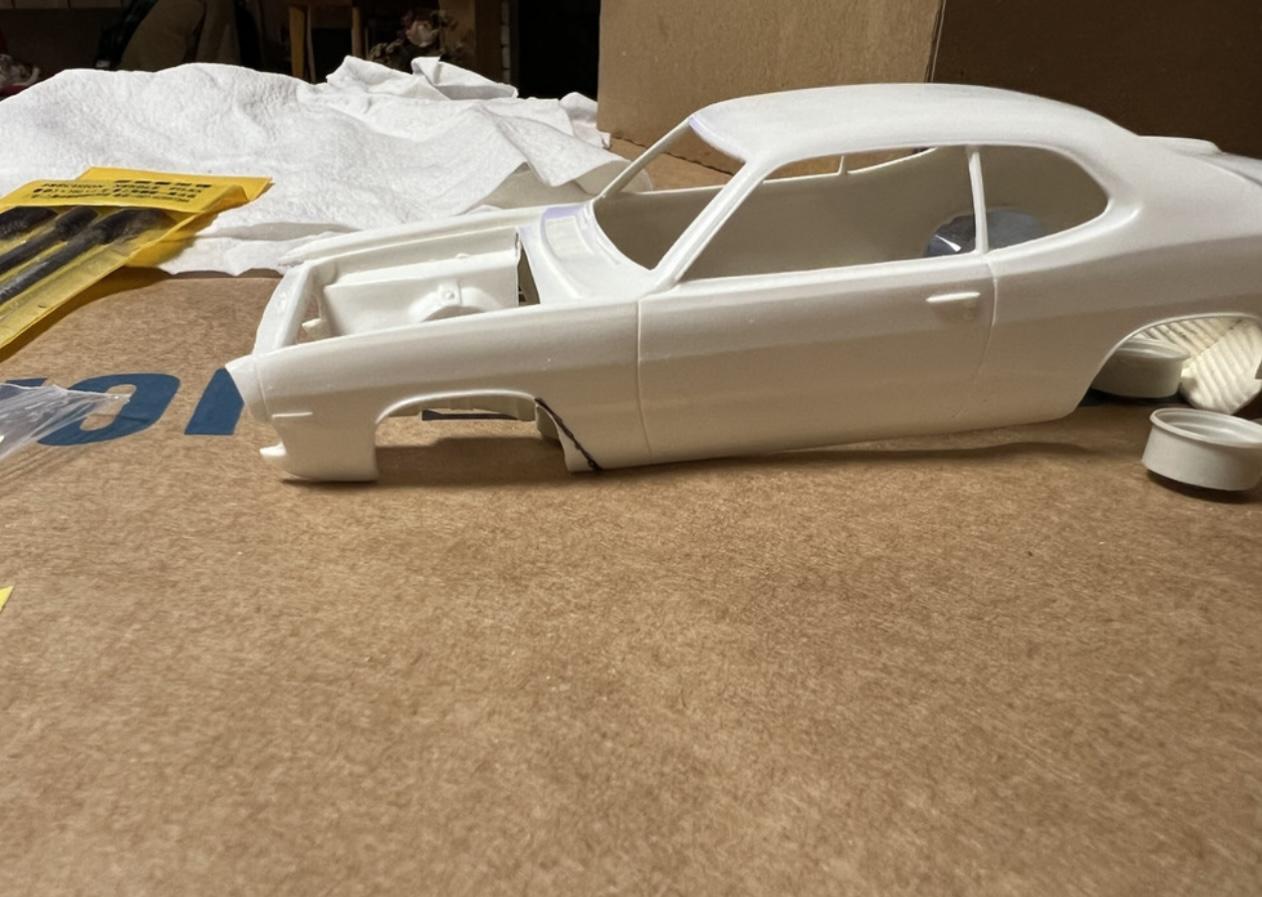
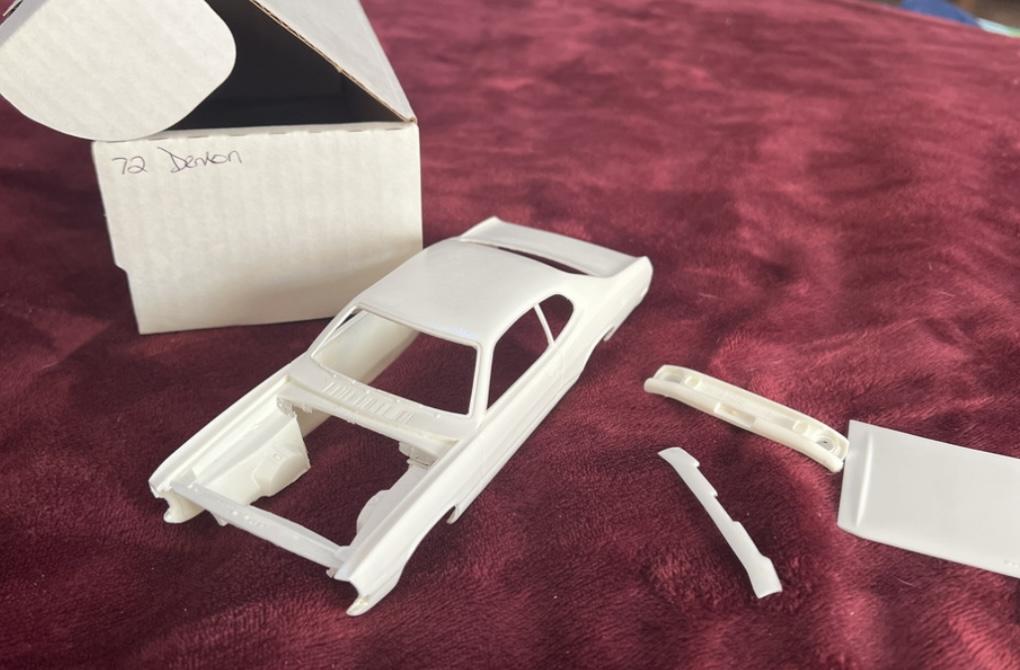
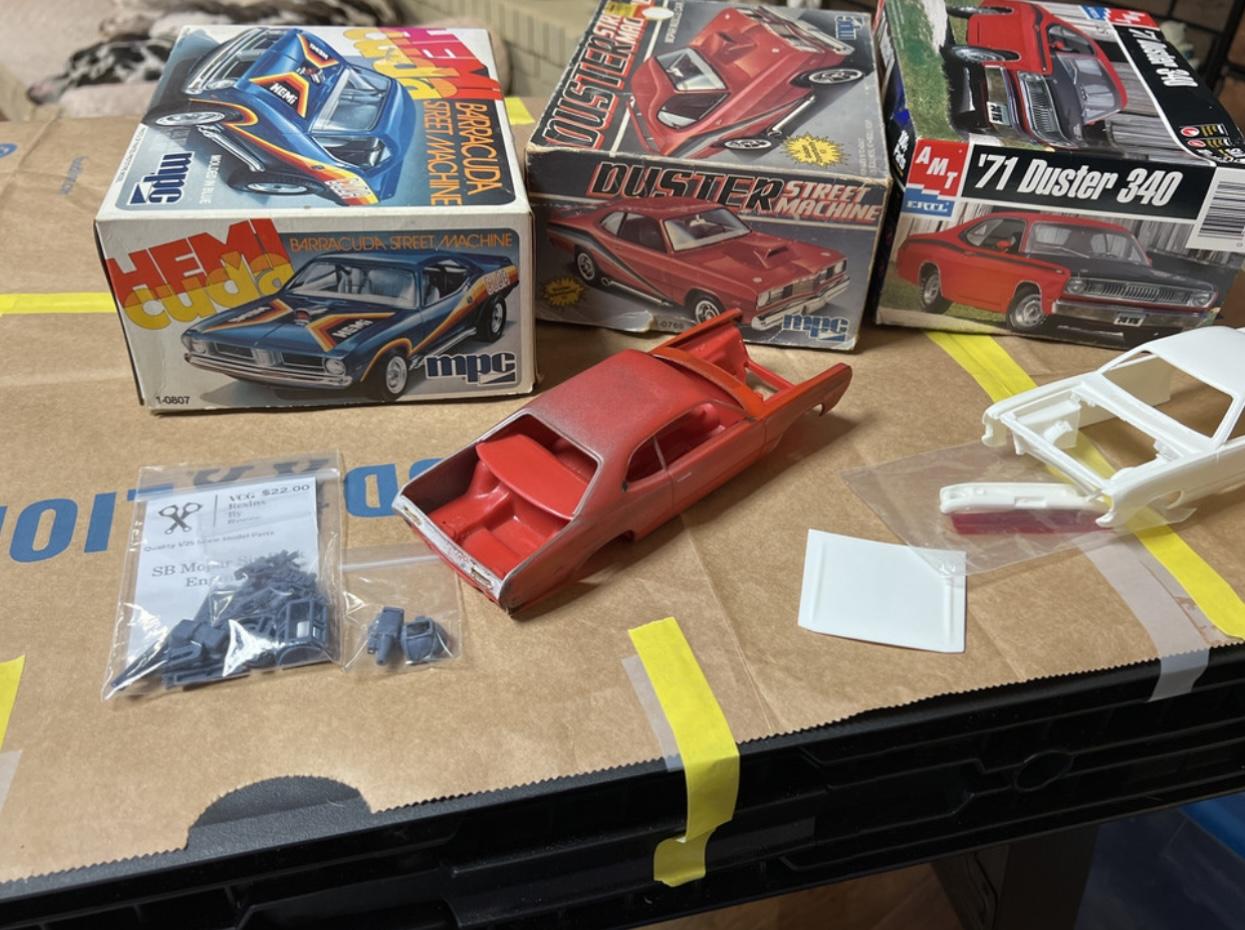
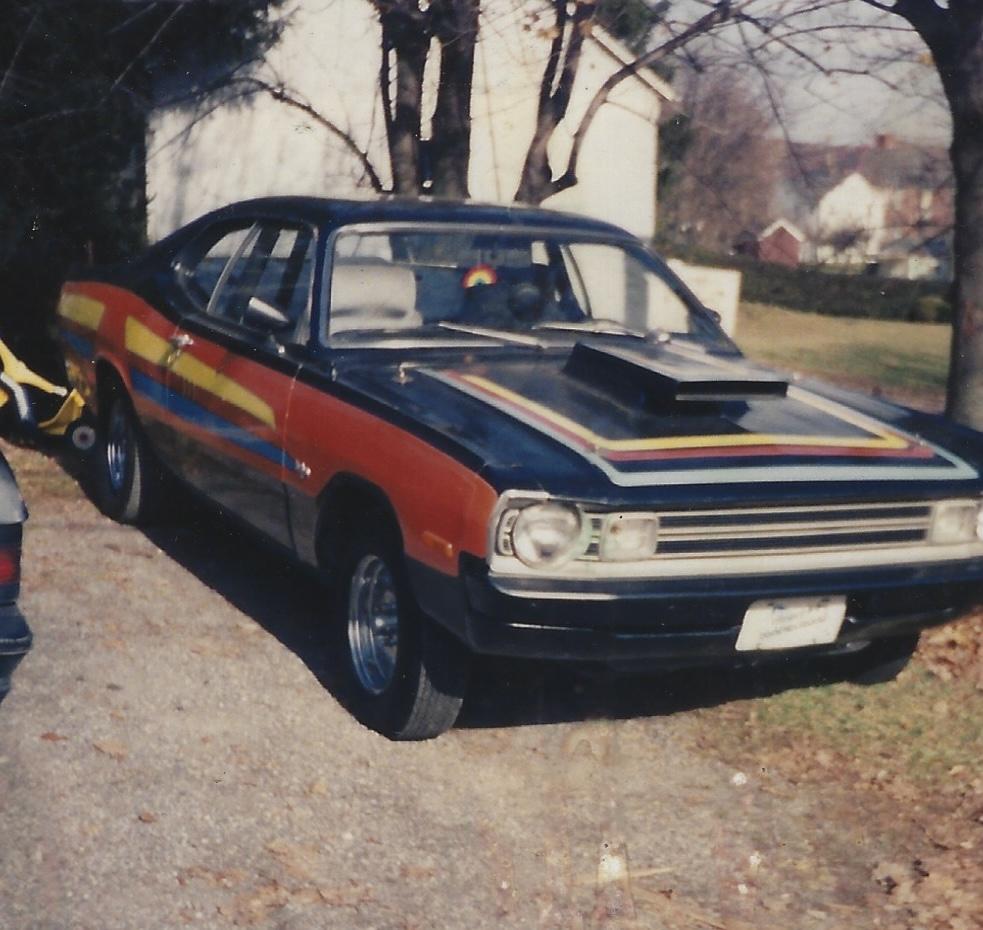
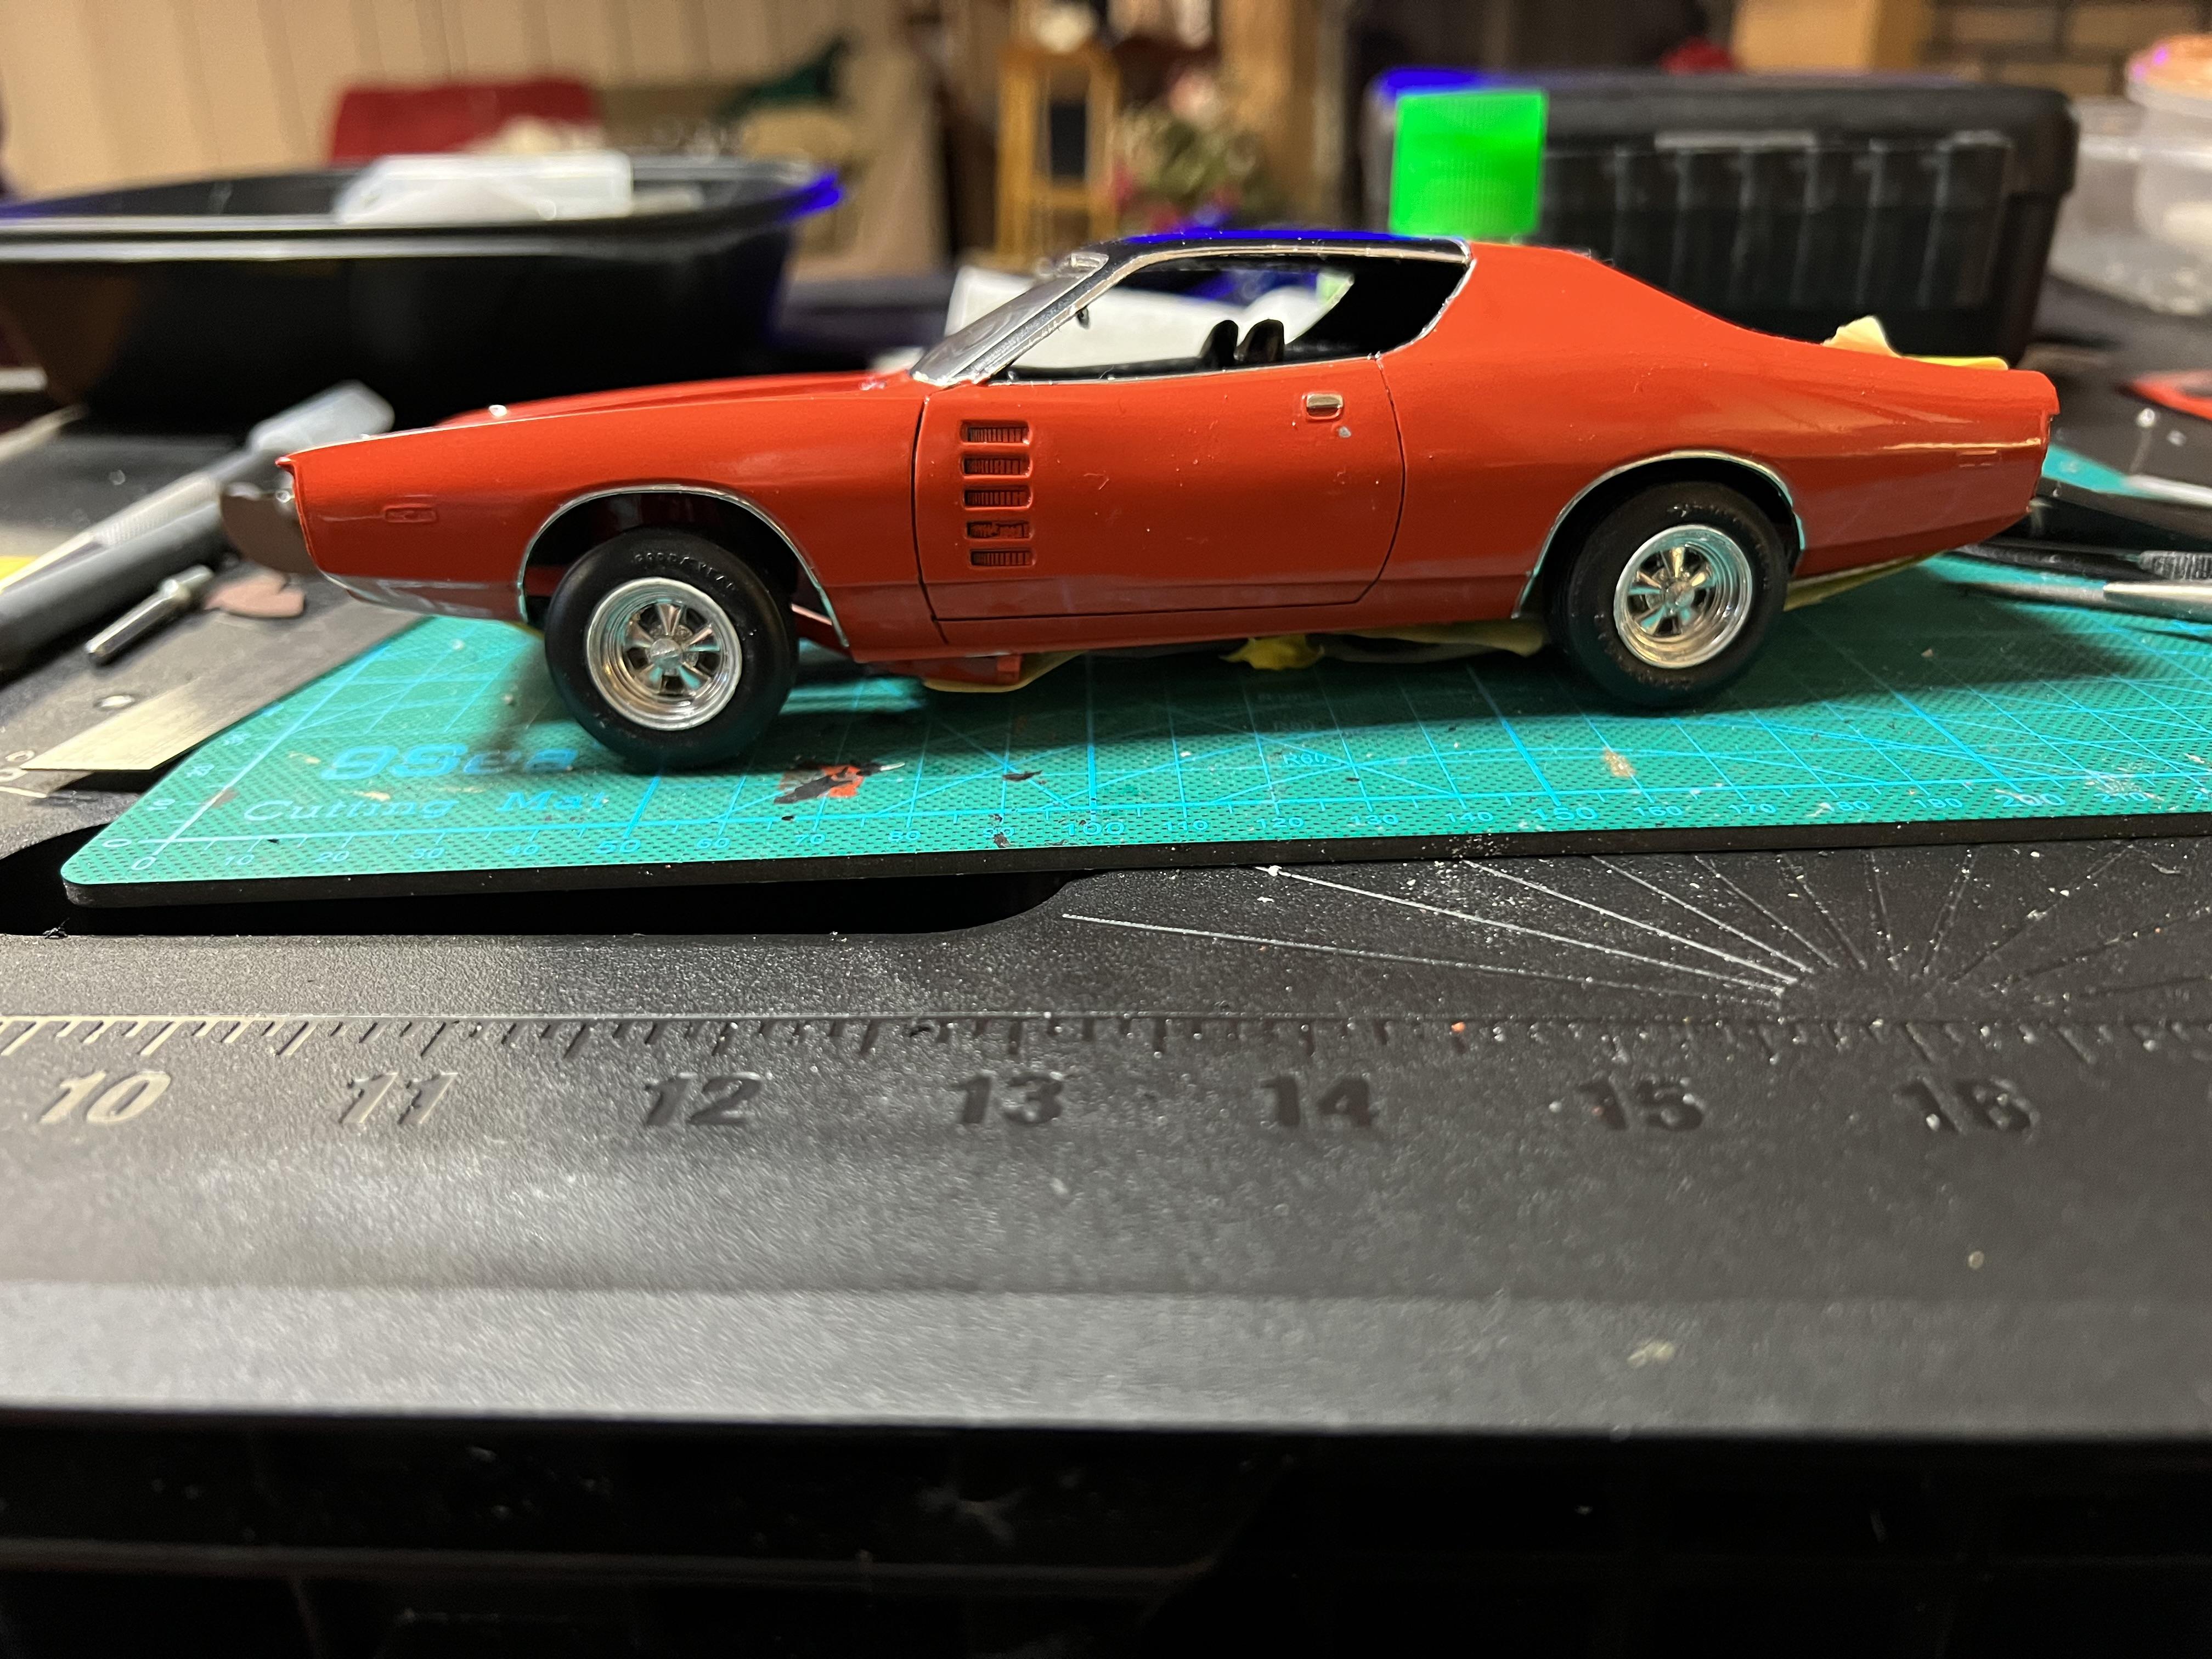
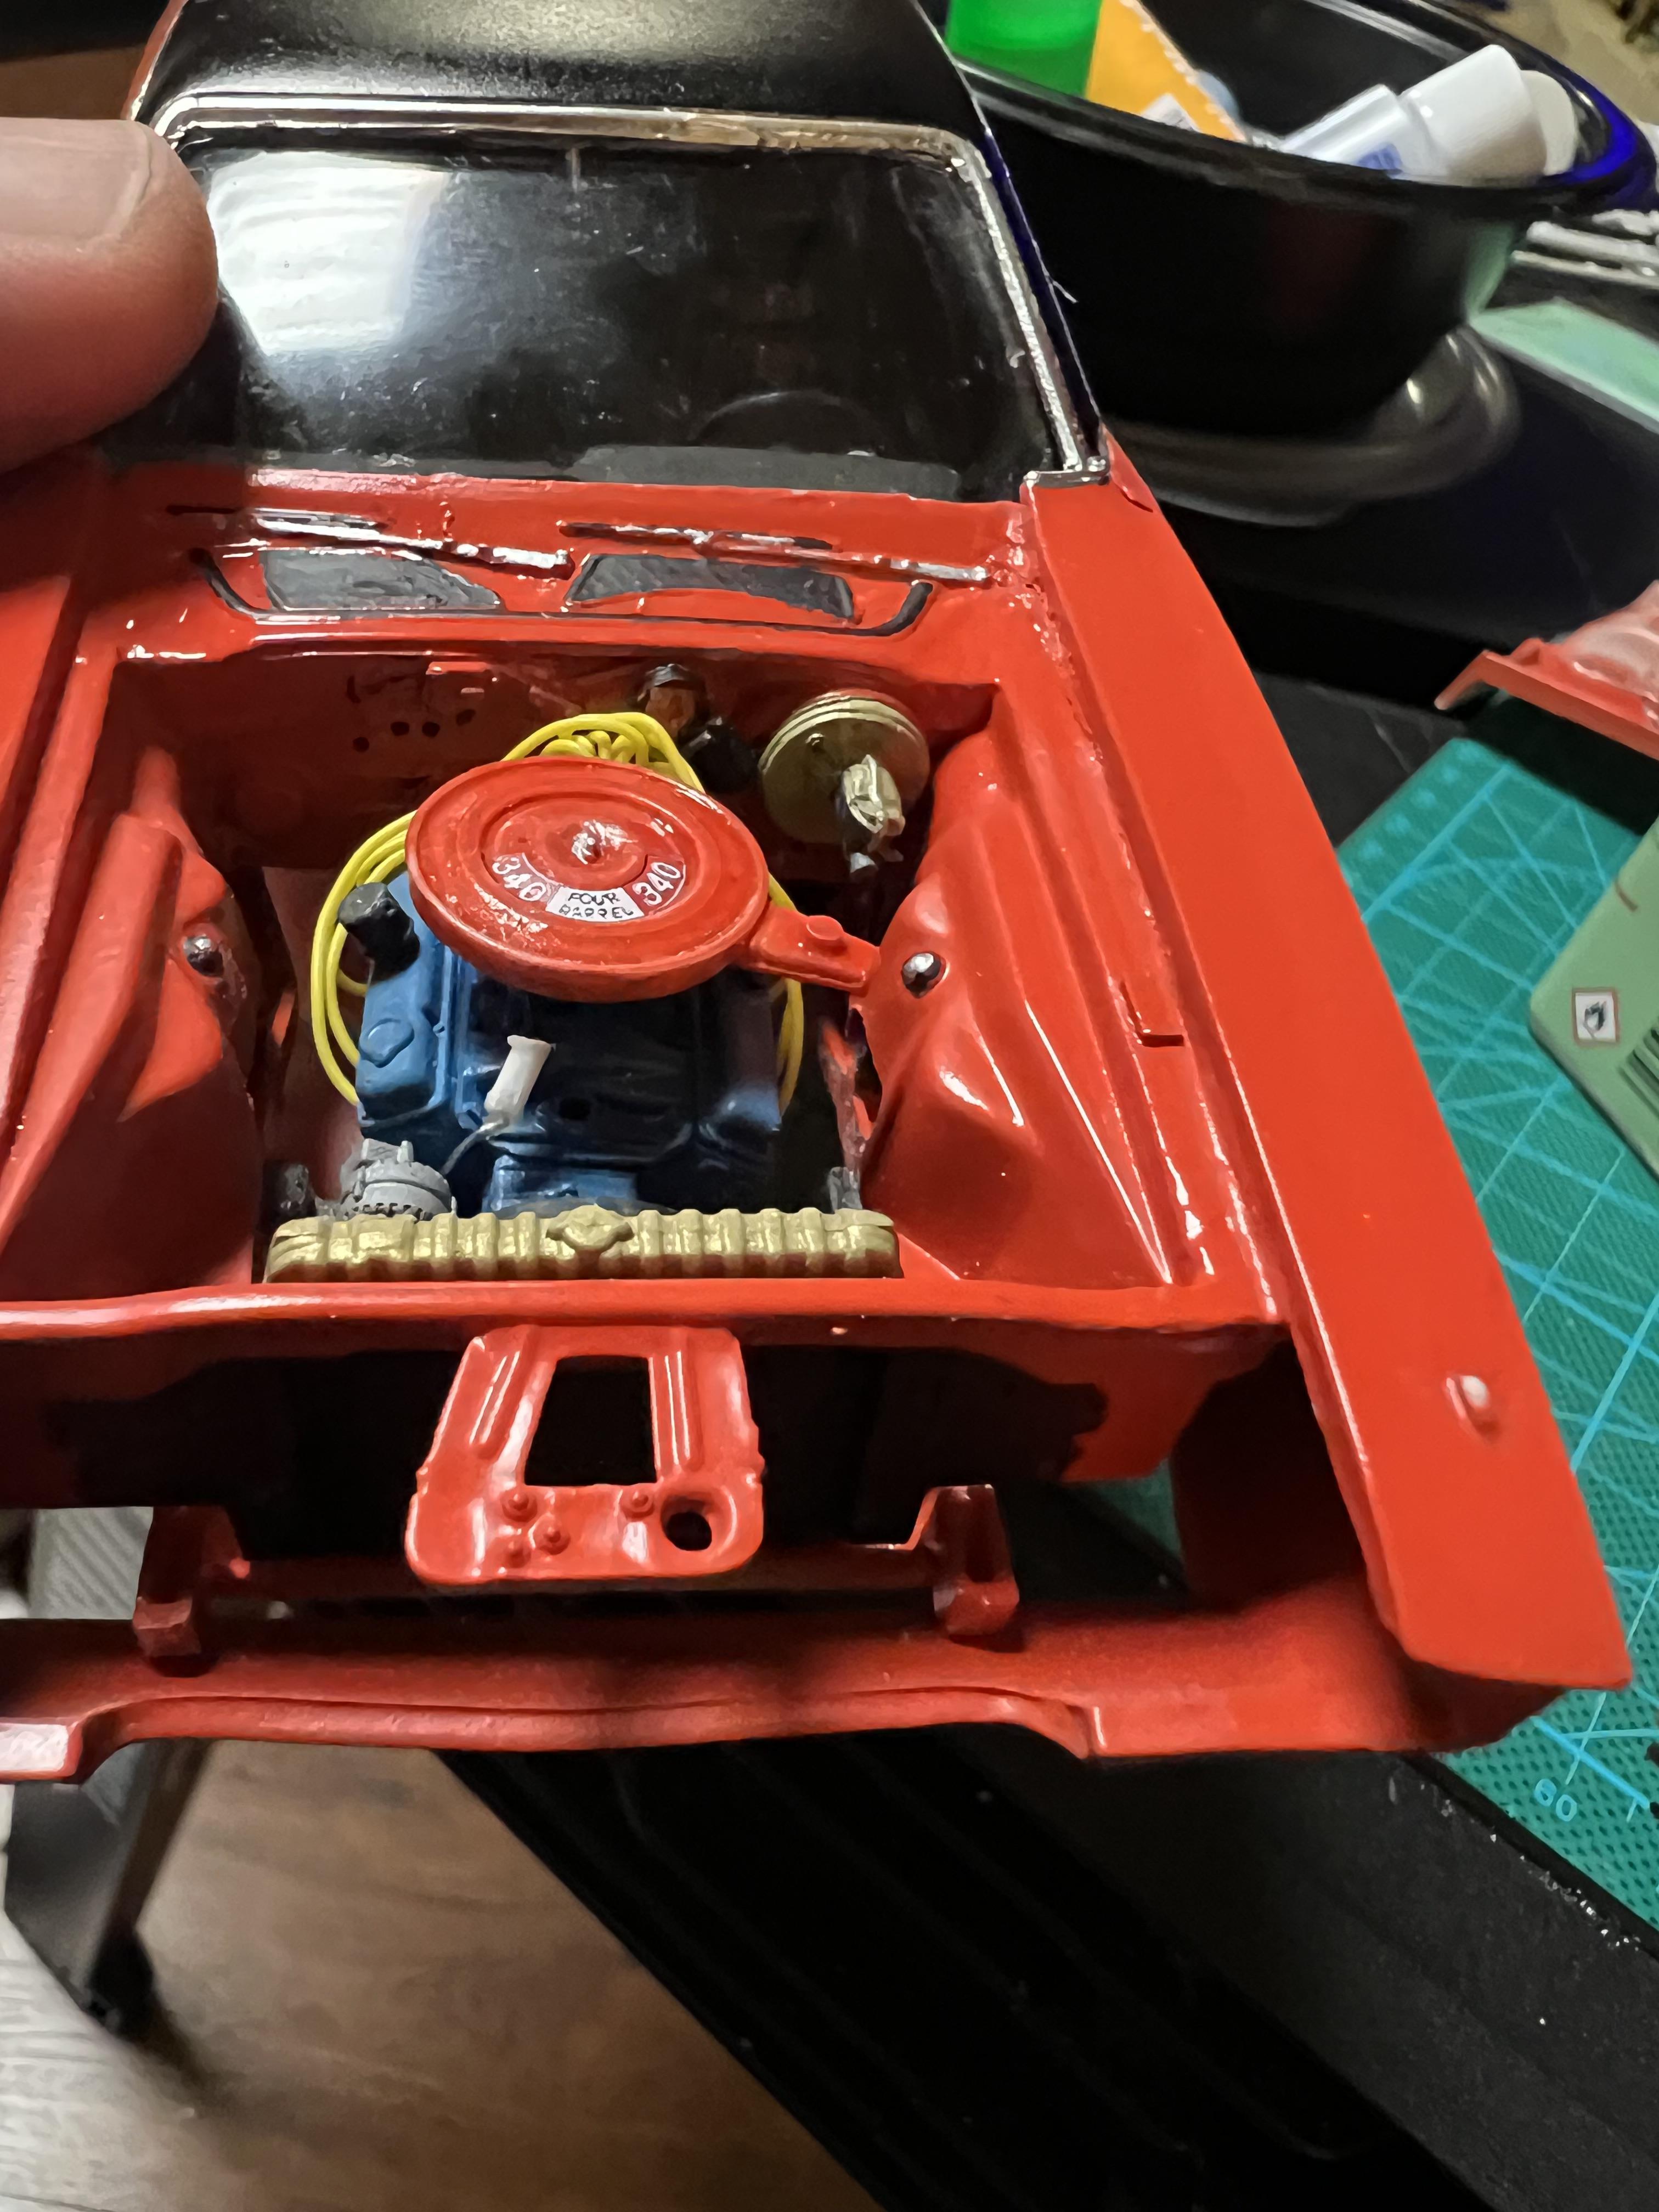
I was going to wait to do this one for a bit, but I just signed up for a group build, so I guess it’s time. This is going to be a replica of a 72 Demon that I owned for about 15 years. It was powered by a 68 340 that was heavily worked, nitrous, slick shifted( like a Liberty trans)4 speed, caged, springs moved inboard, battery in trunk, etc.. The paint will be very tricky in 1:25 scale, as the orange is candy tangerine with hidden highlights and silver pinstripe. This is going to be a task to get done in time for a group build, but we all challenge ourselves. I am starting out with a resin kit that I bought years ago and parts from: AMT 71 Duster MPC 74 Cuda MPC 70 Duster MPC 74 Duster VCG Resins 340 and 4 speed trans
-
Nice!
-
Great cars, I especially love the GP and the Challenger. I really need to find one of those Challenger bodies to replicate my first car.
-
Thank you, I missed that on their site. I need to order a Challenger conversion kit from them anyway. It looks like I have more to order
-
Sweet machine work
-
What do you drive?
Moparman18064 replied to gasman's topic in General Automotive Talk (Trucks and Cars)
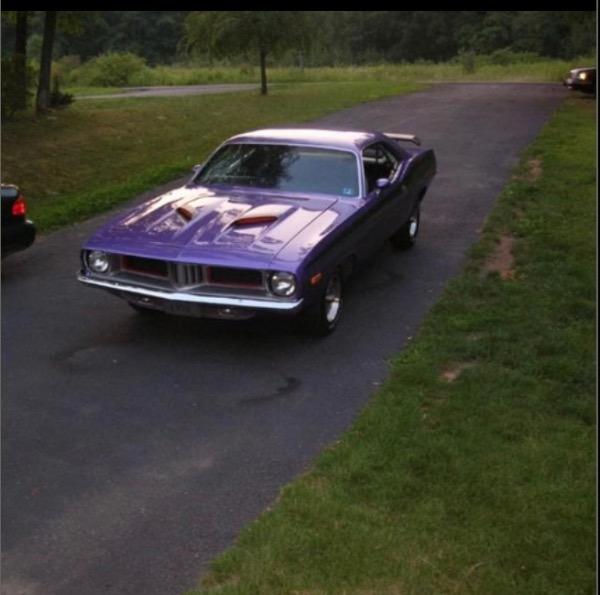
Mike, if you were referring to my picture of the Cuda, it was a picture I had saved on my phone from when I did have an account. I thought the Photobucket nonsense was cropped off. Sorry -
This is truly fascinating, awesome!
-
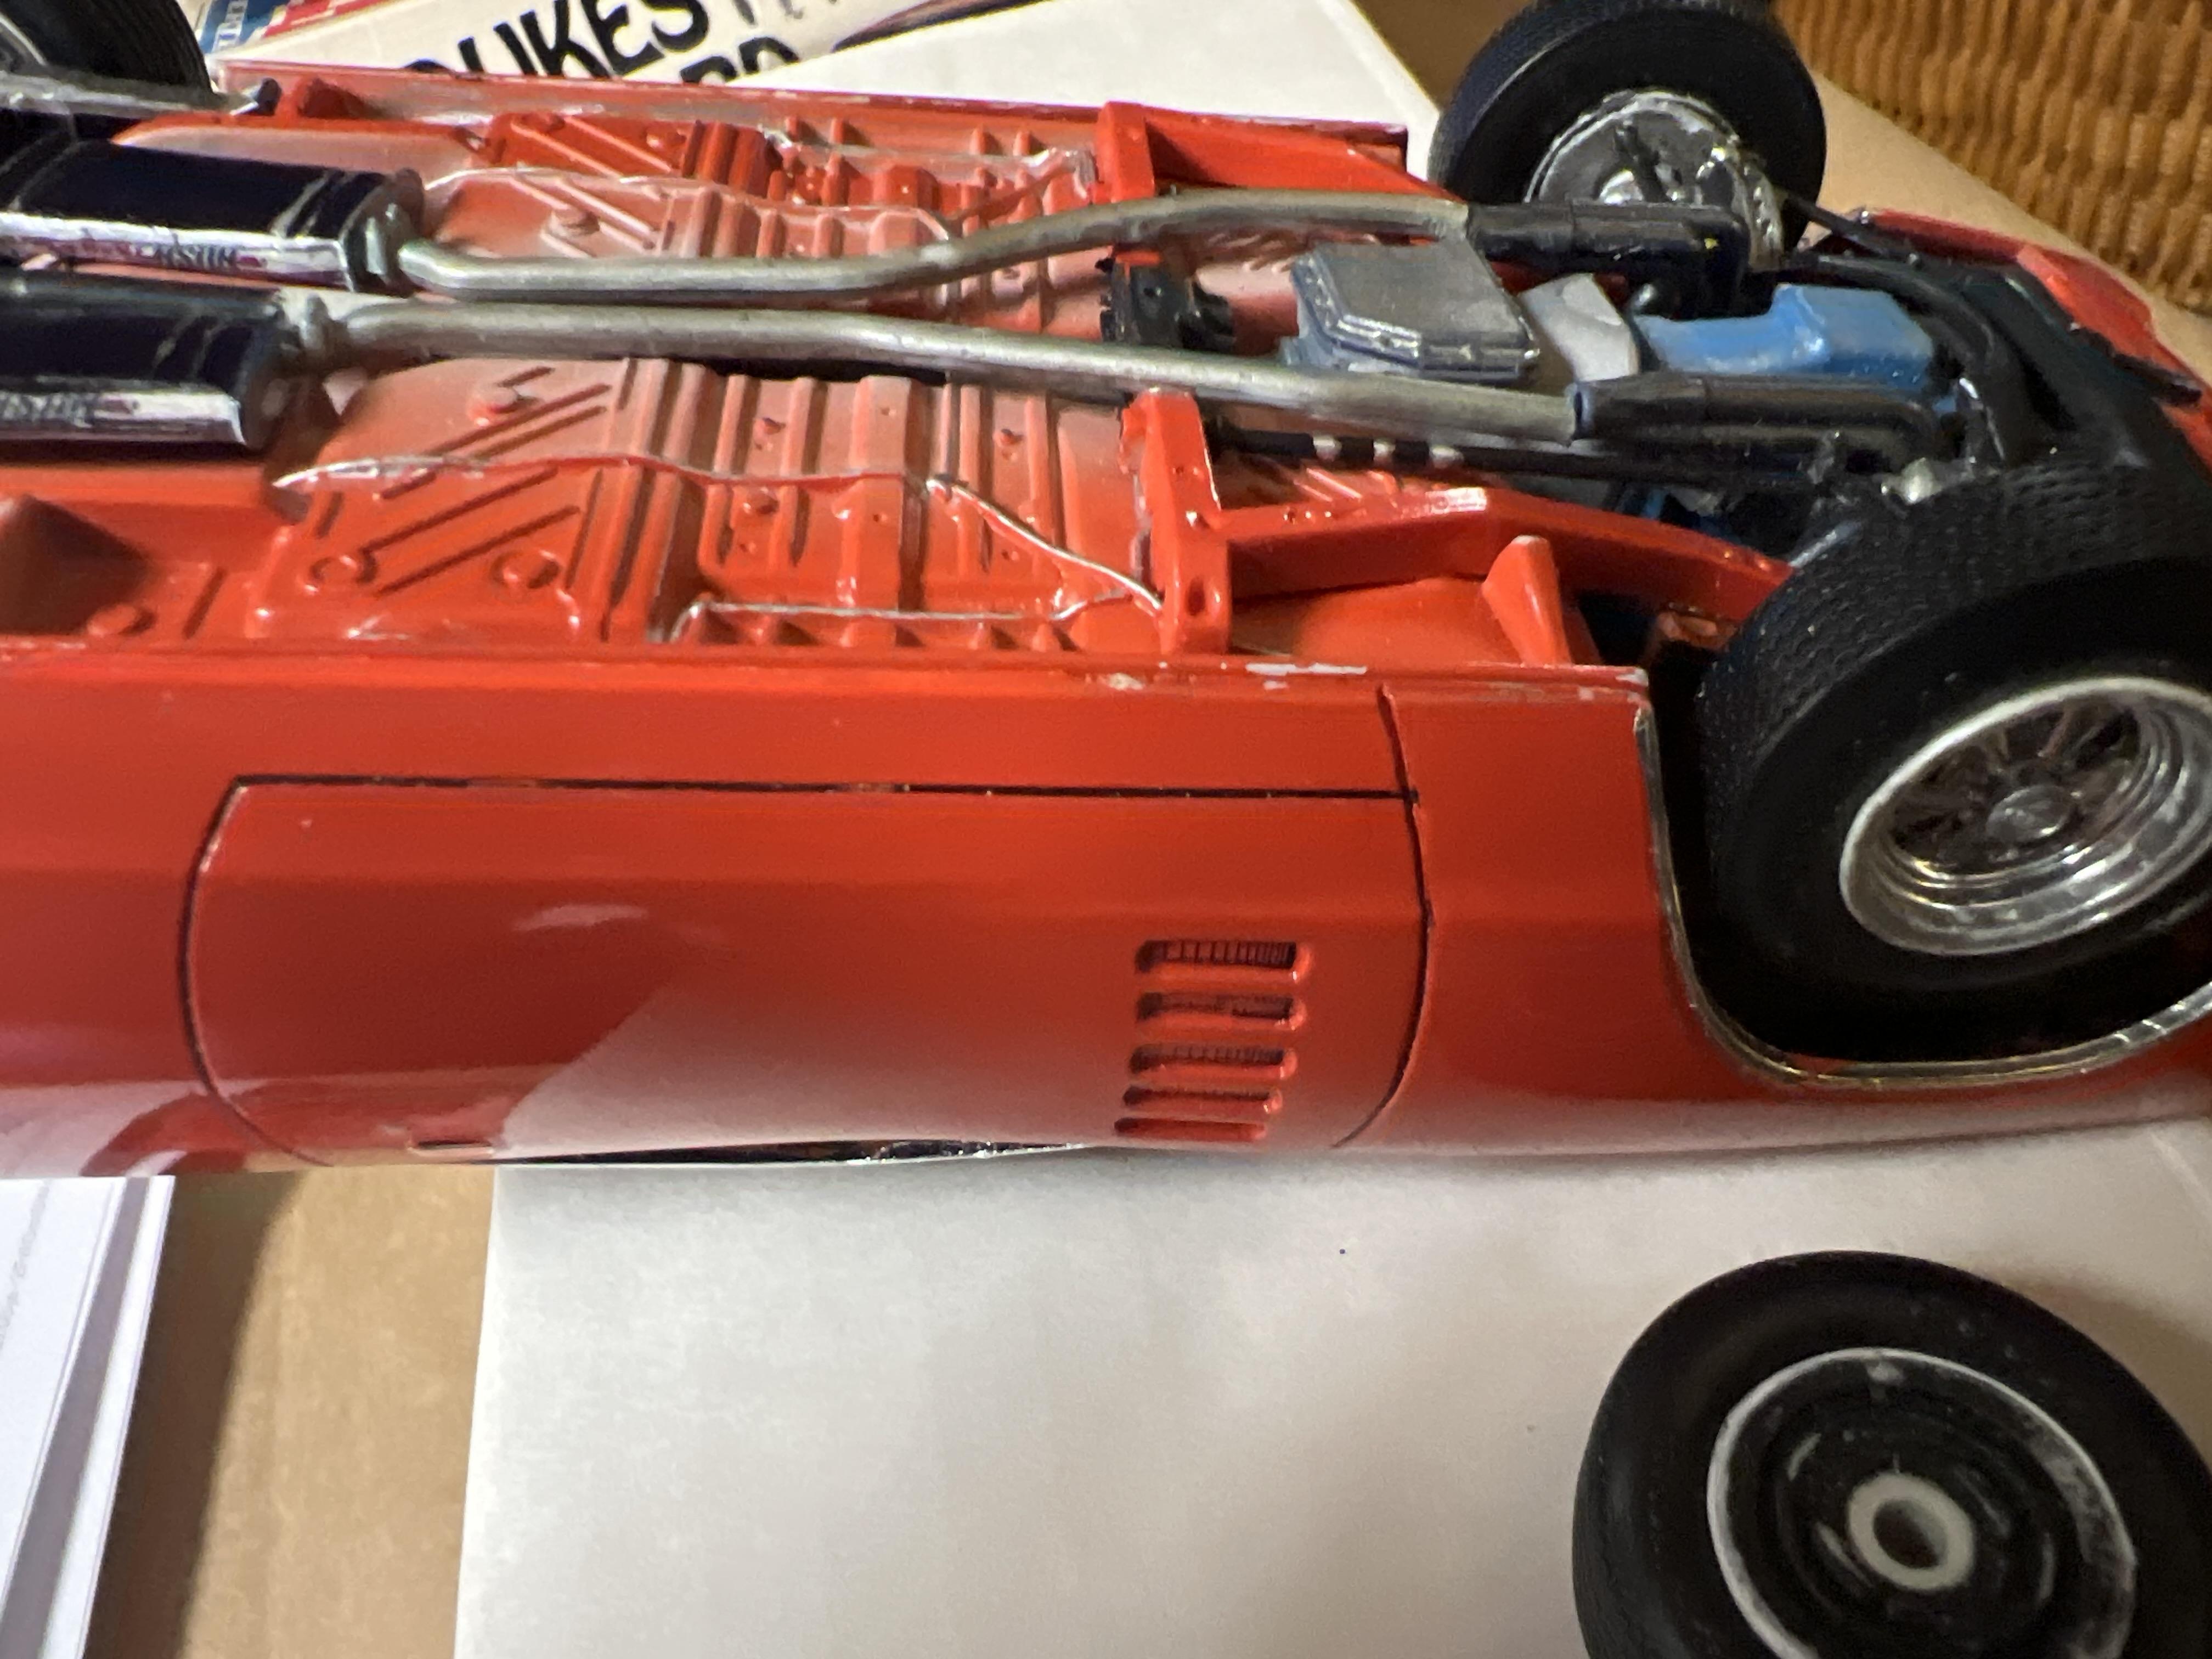
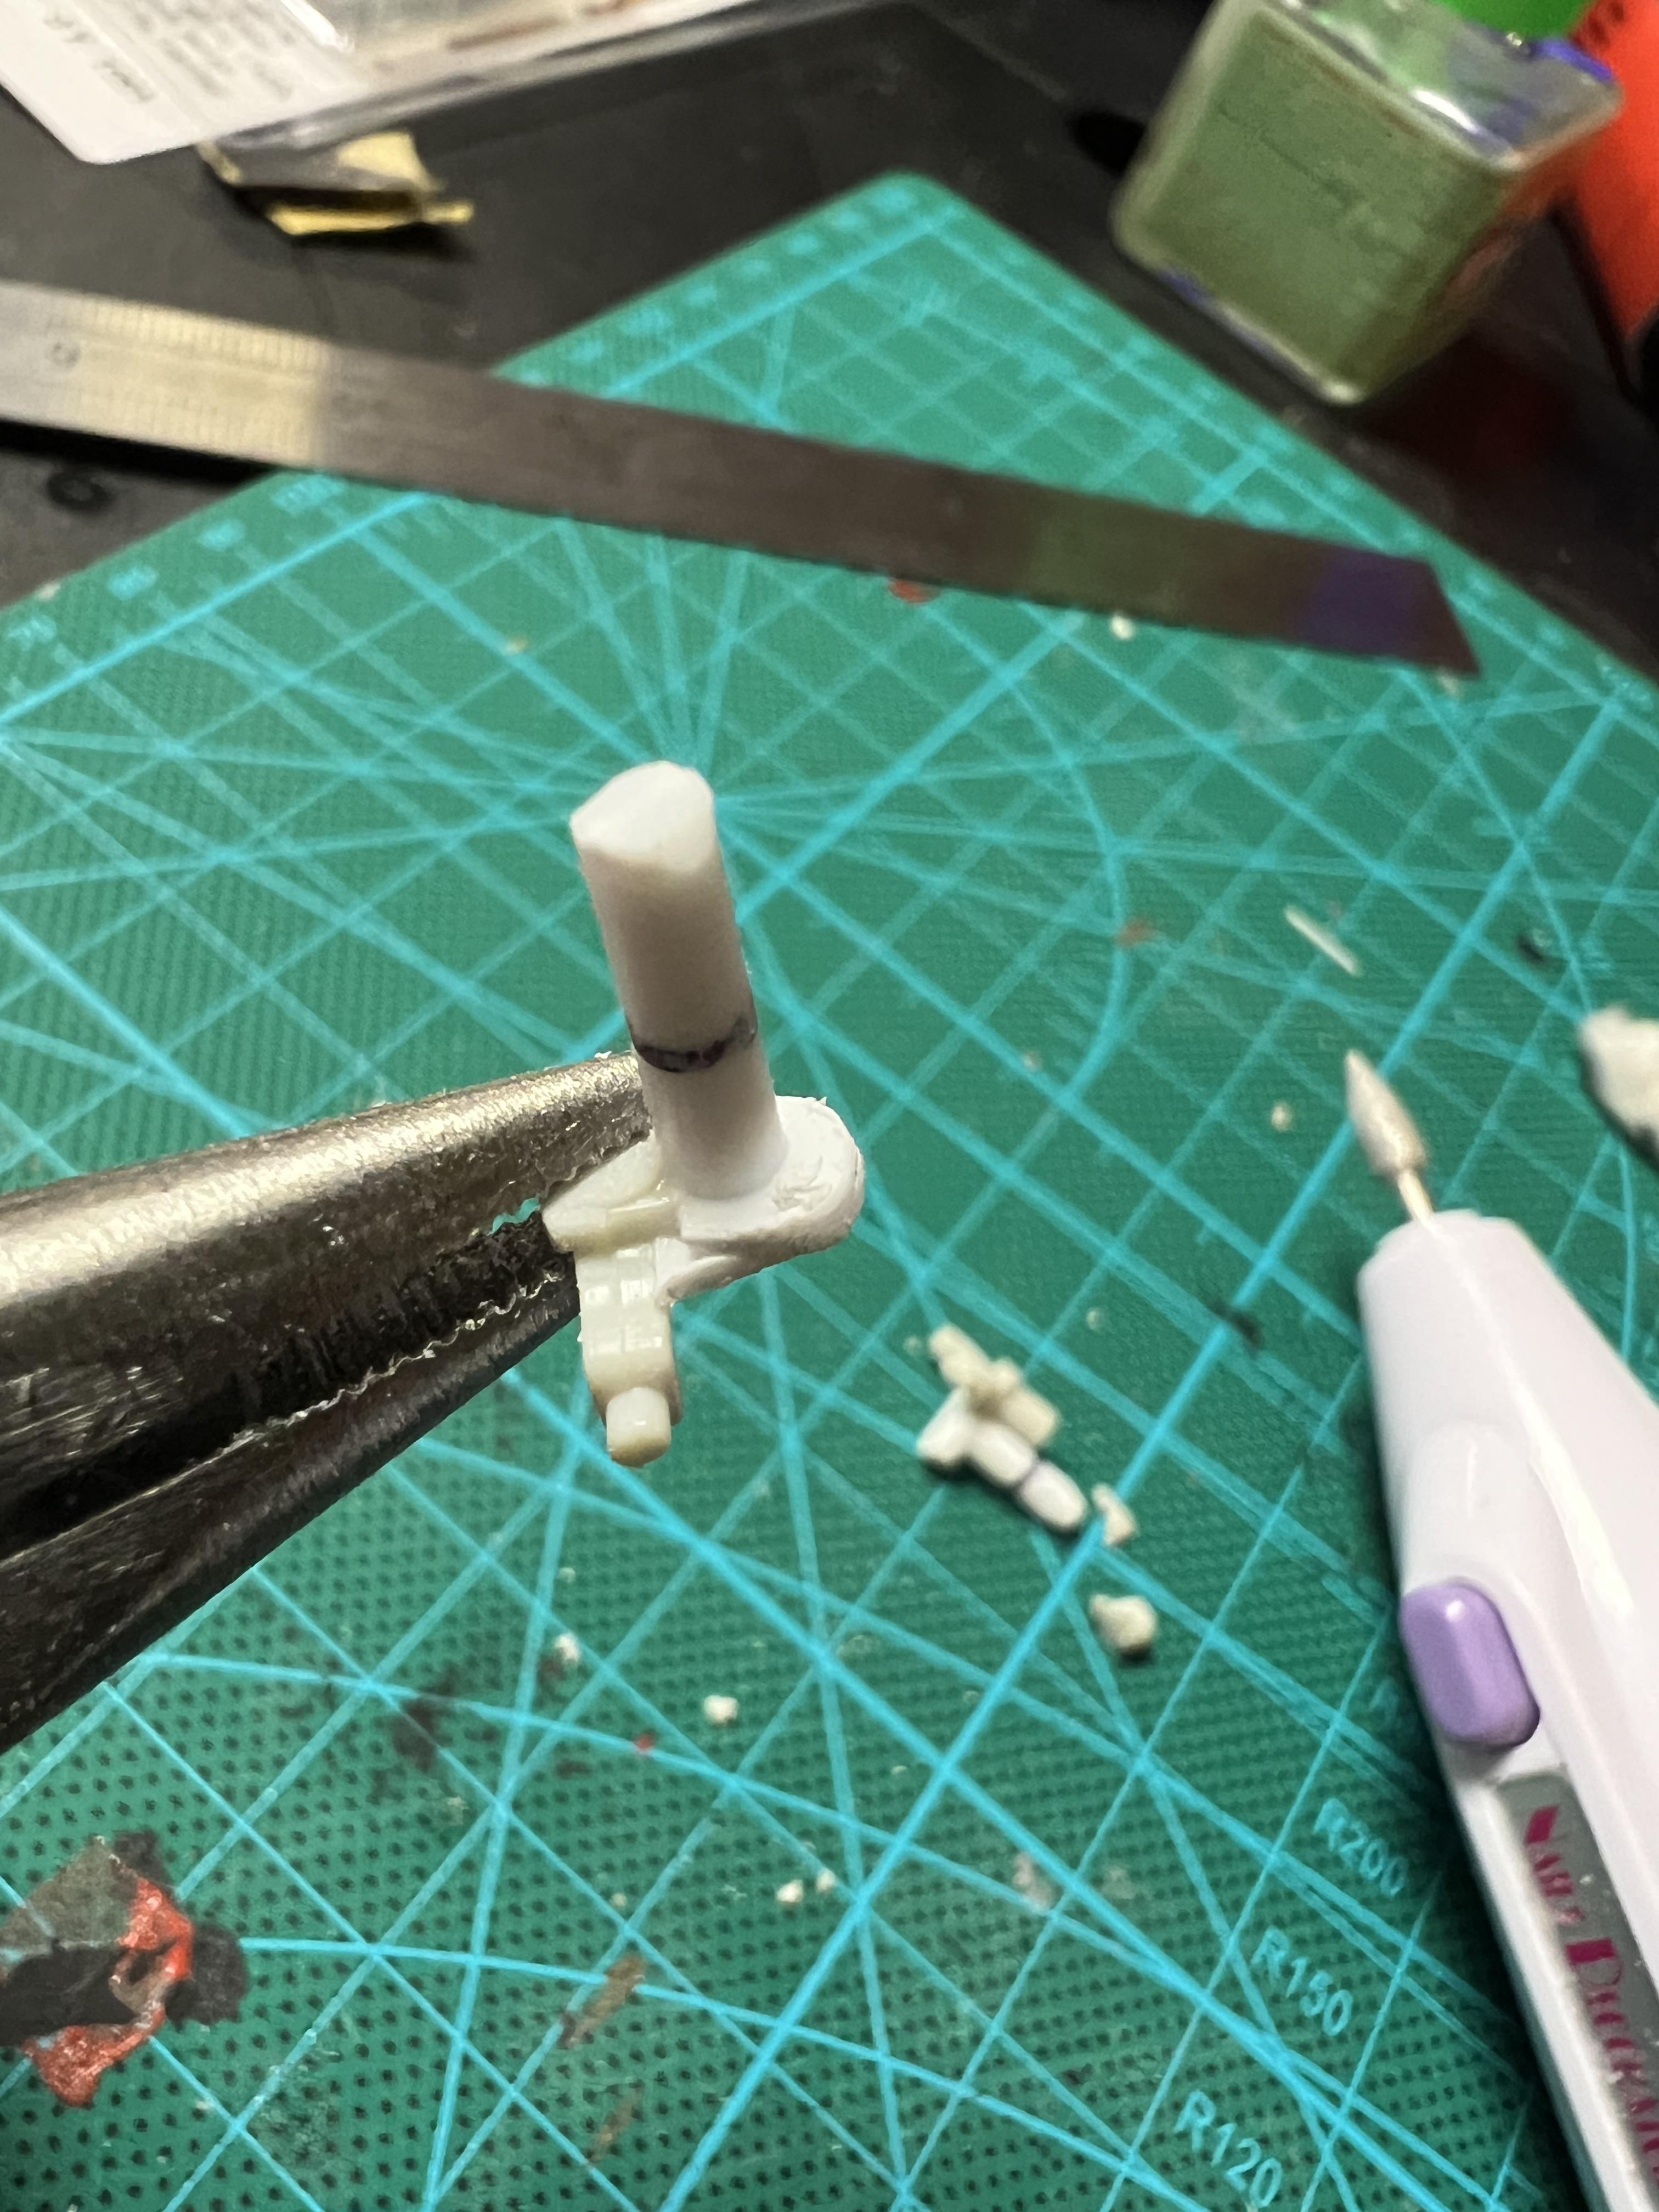
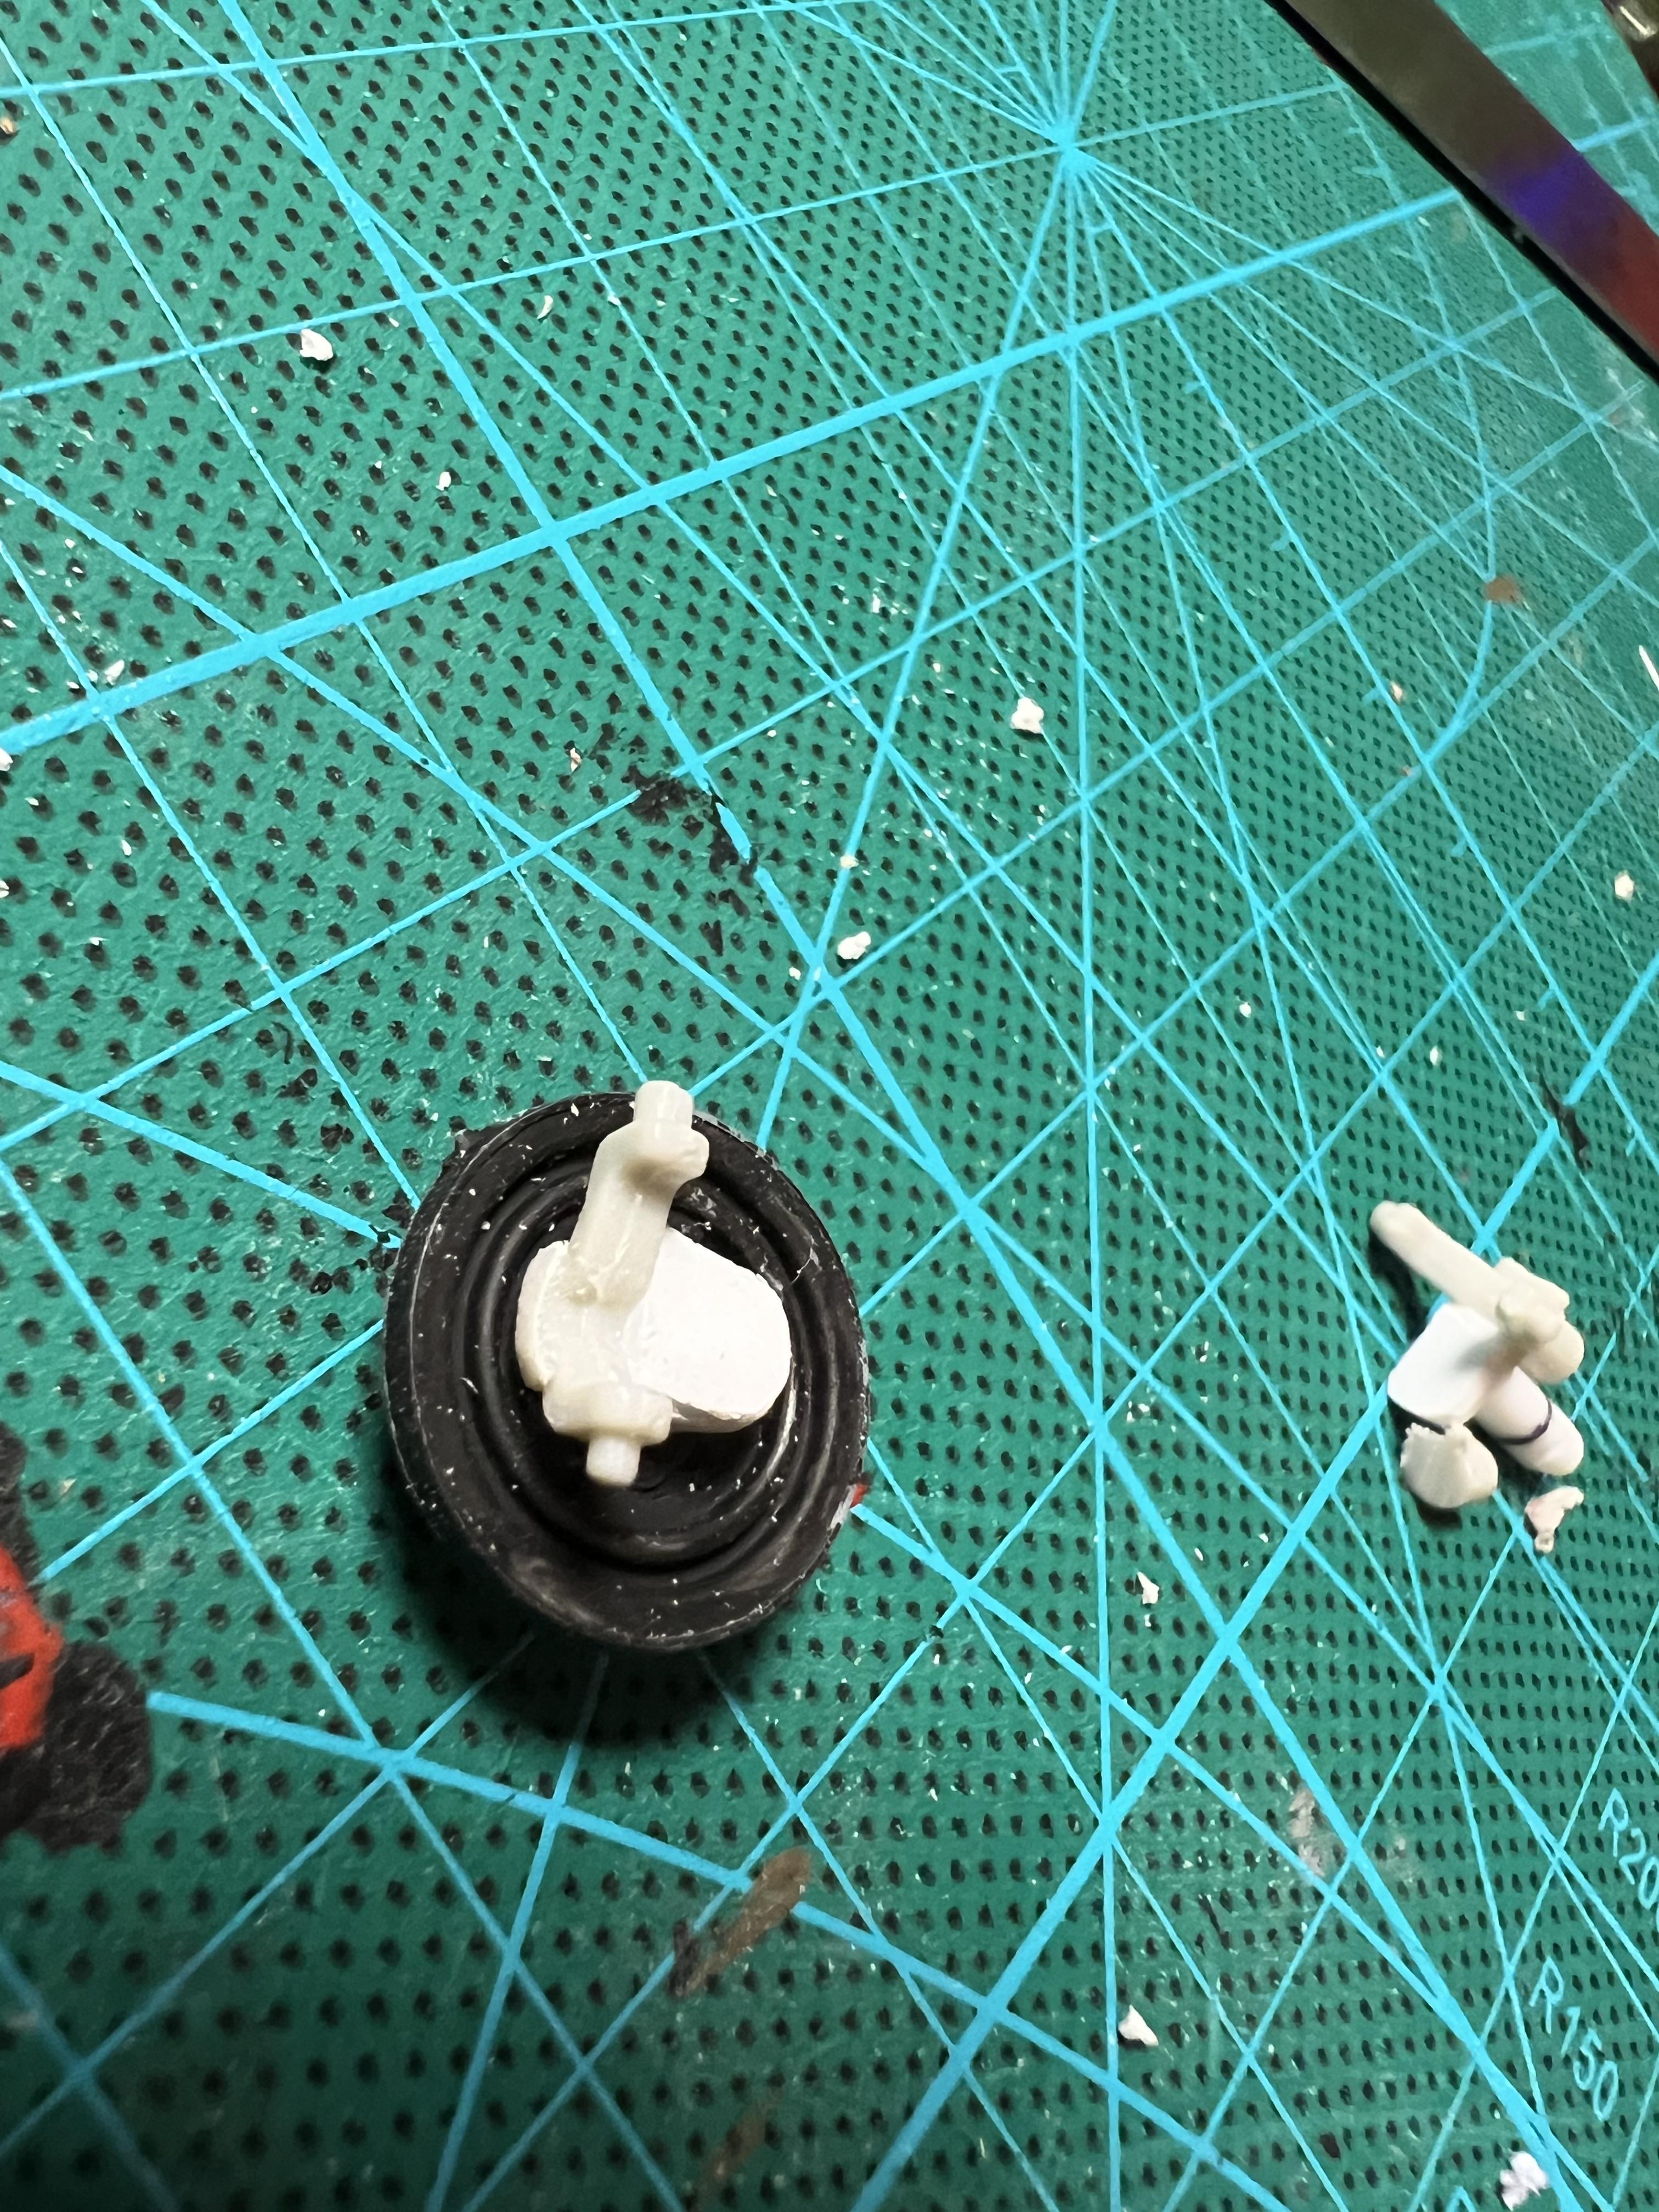
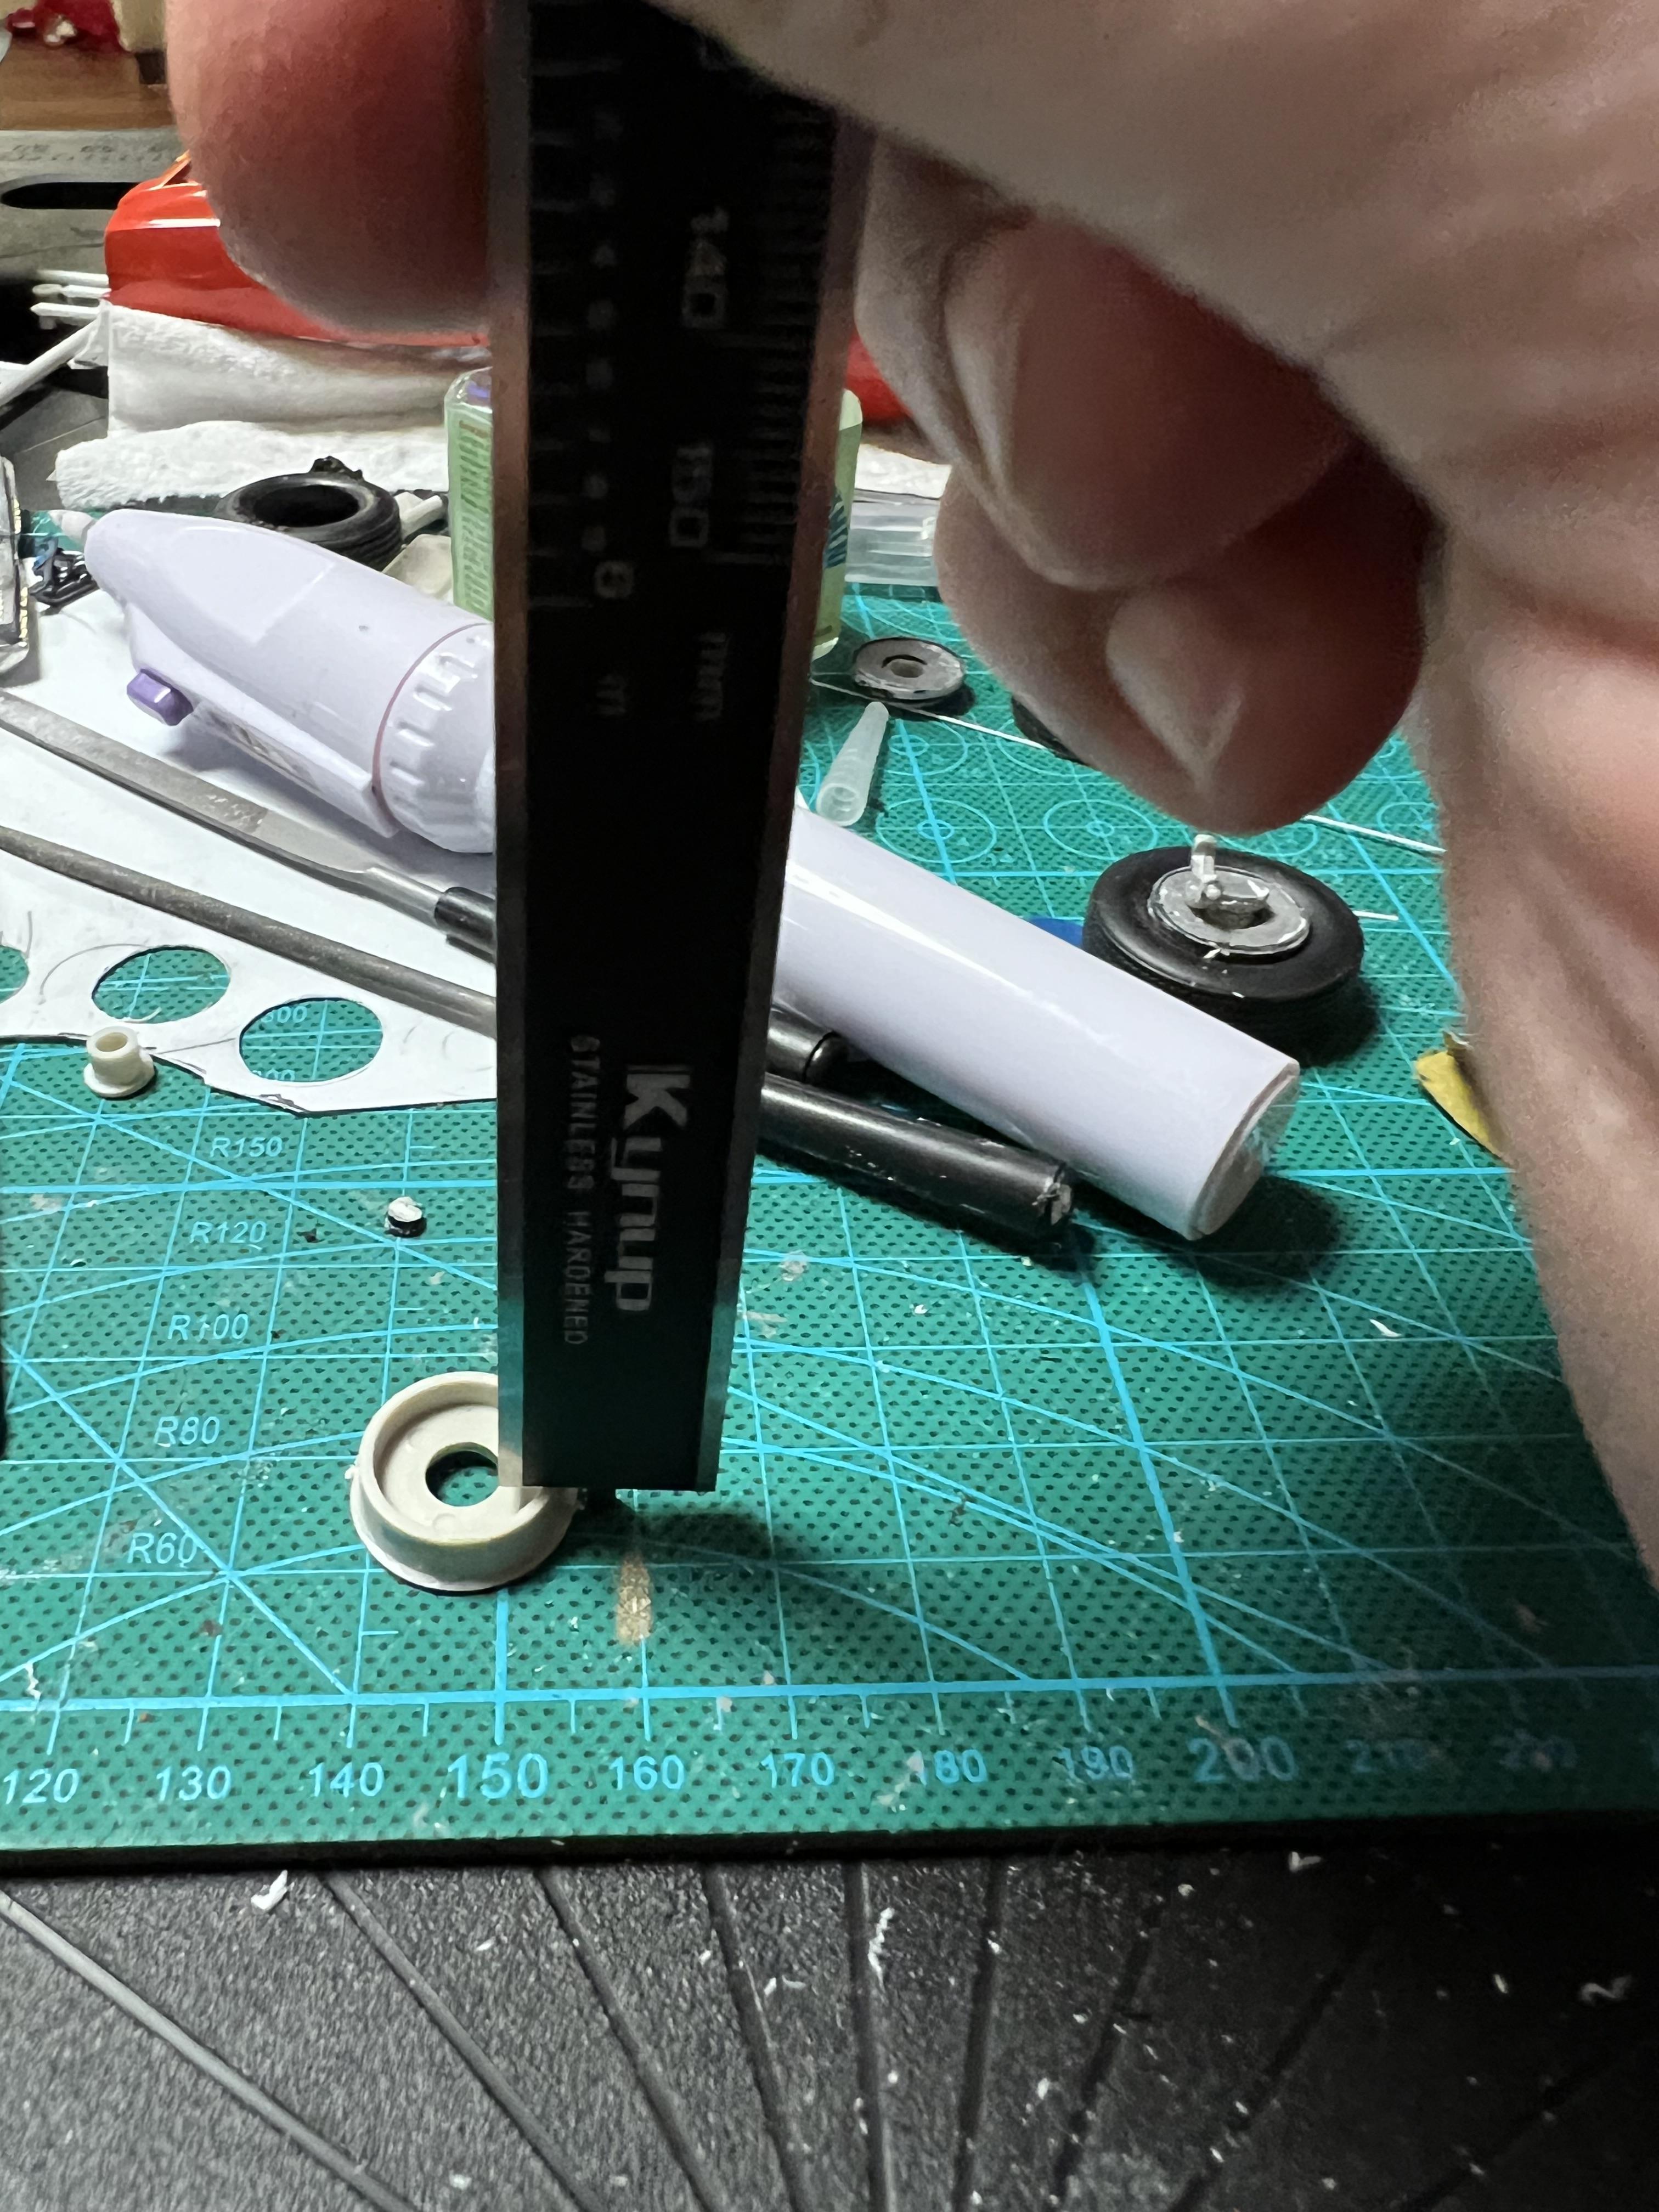
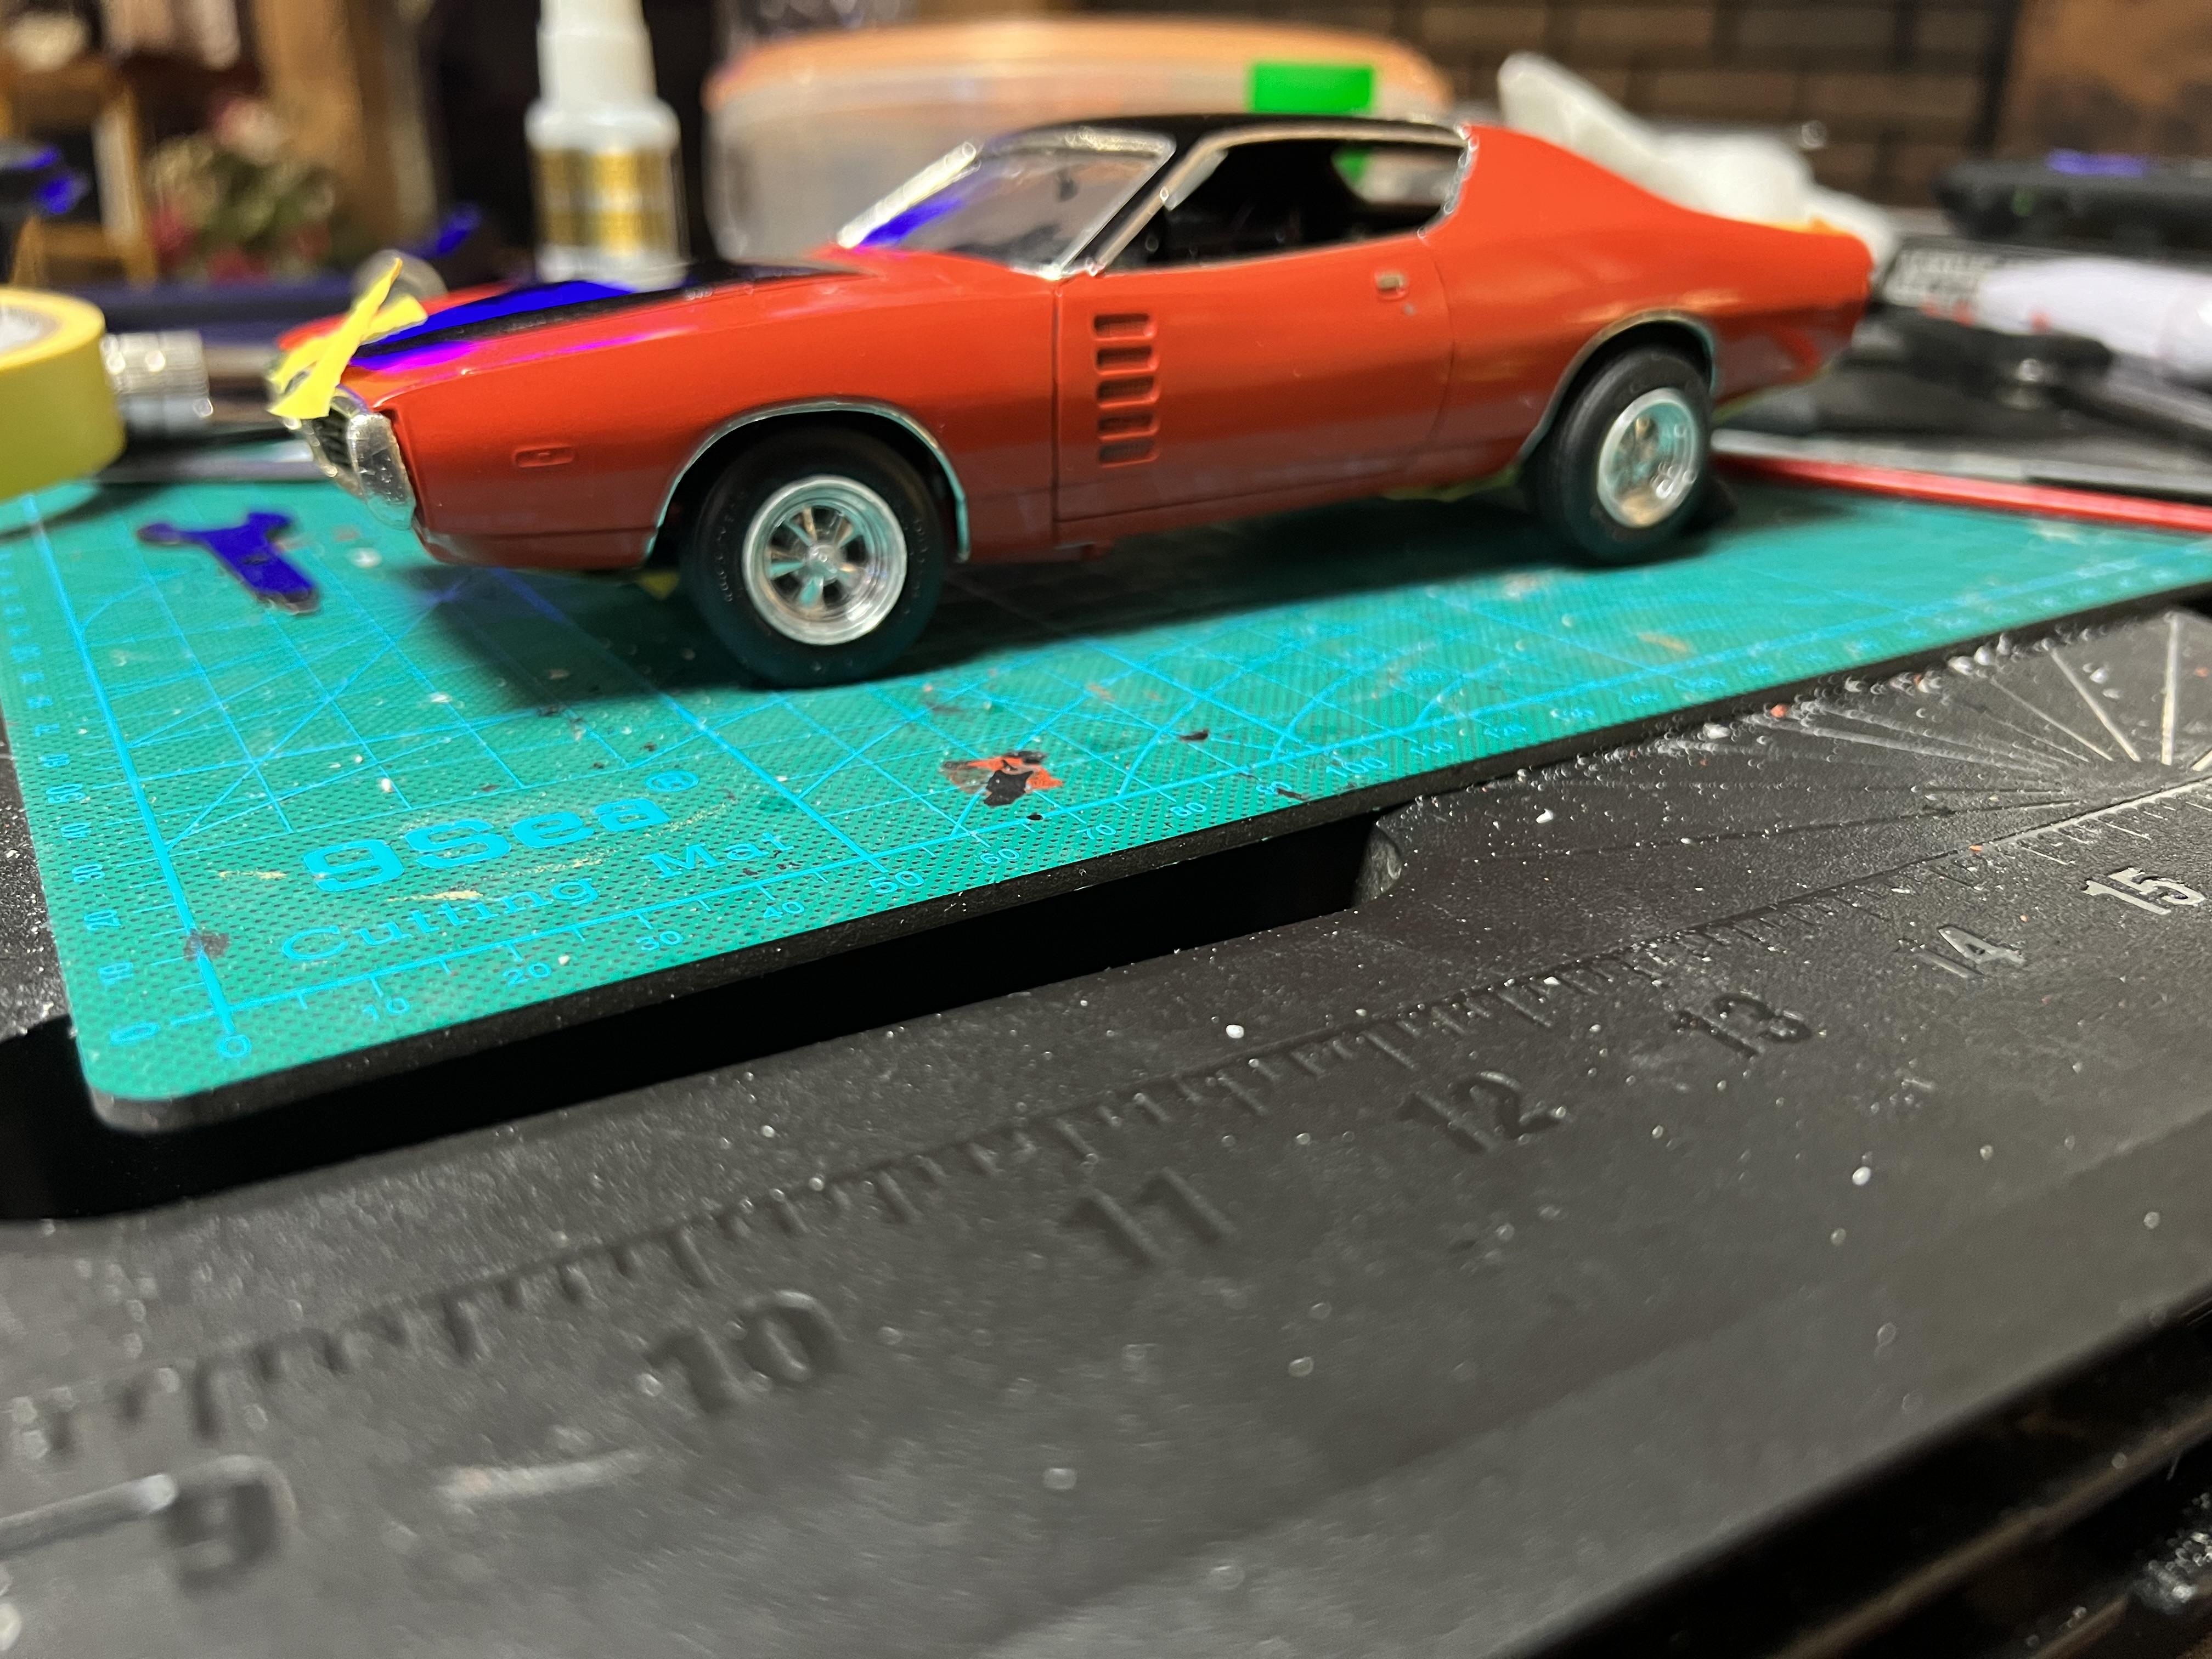
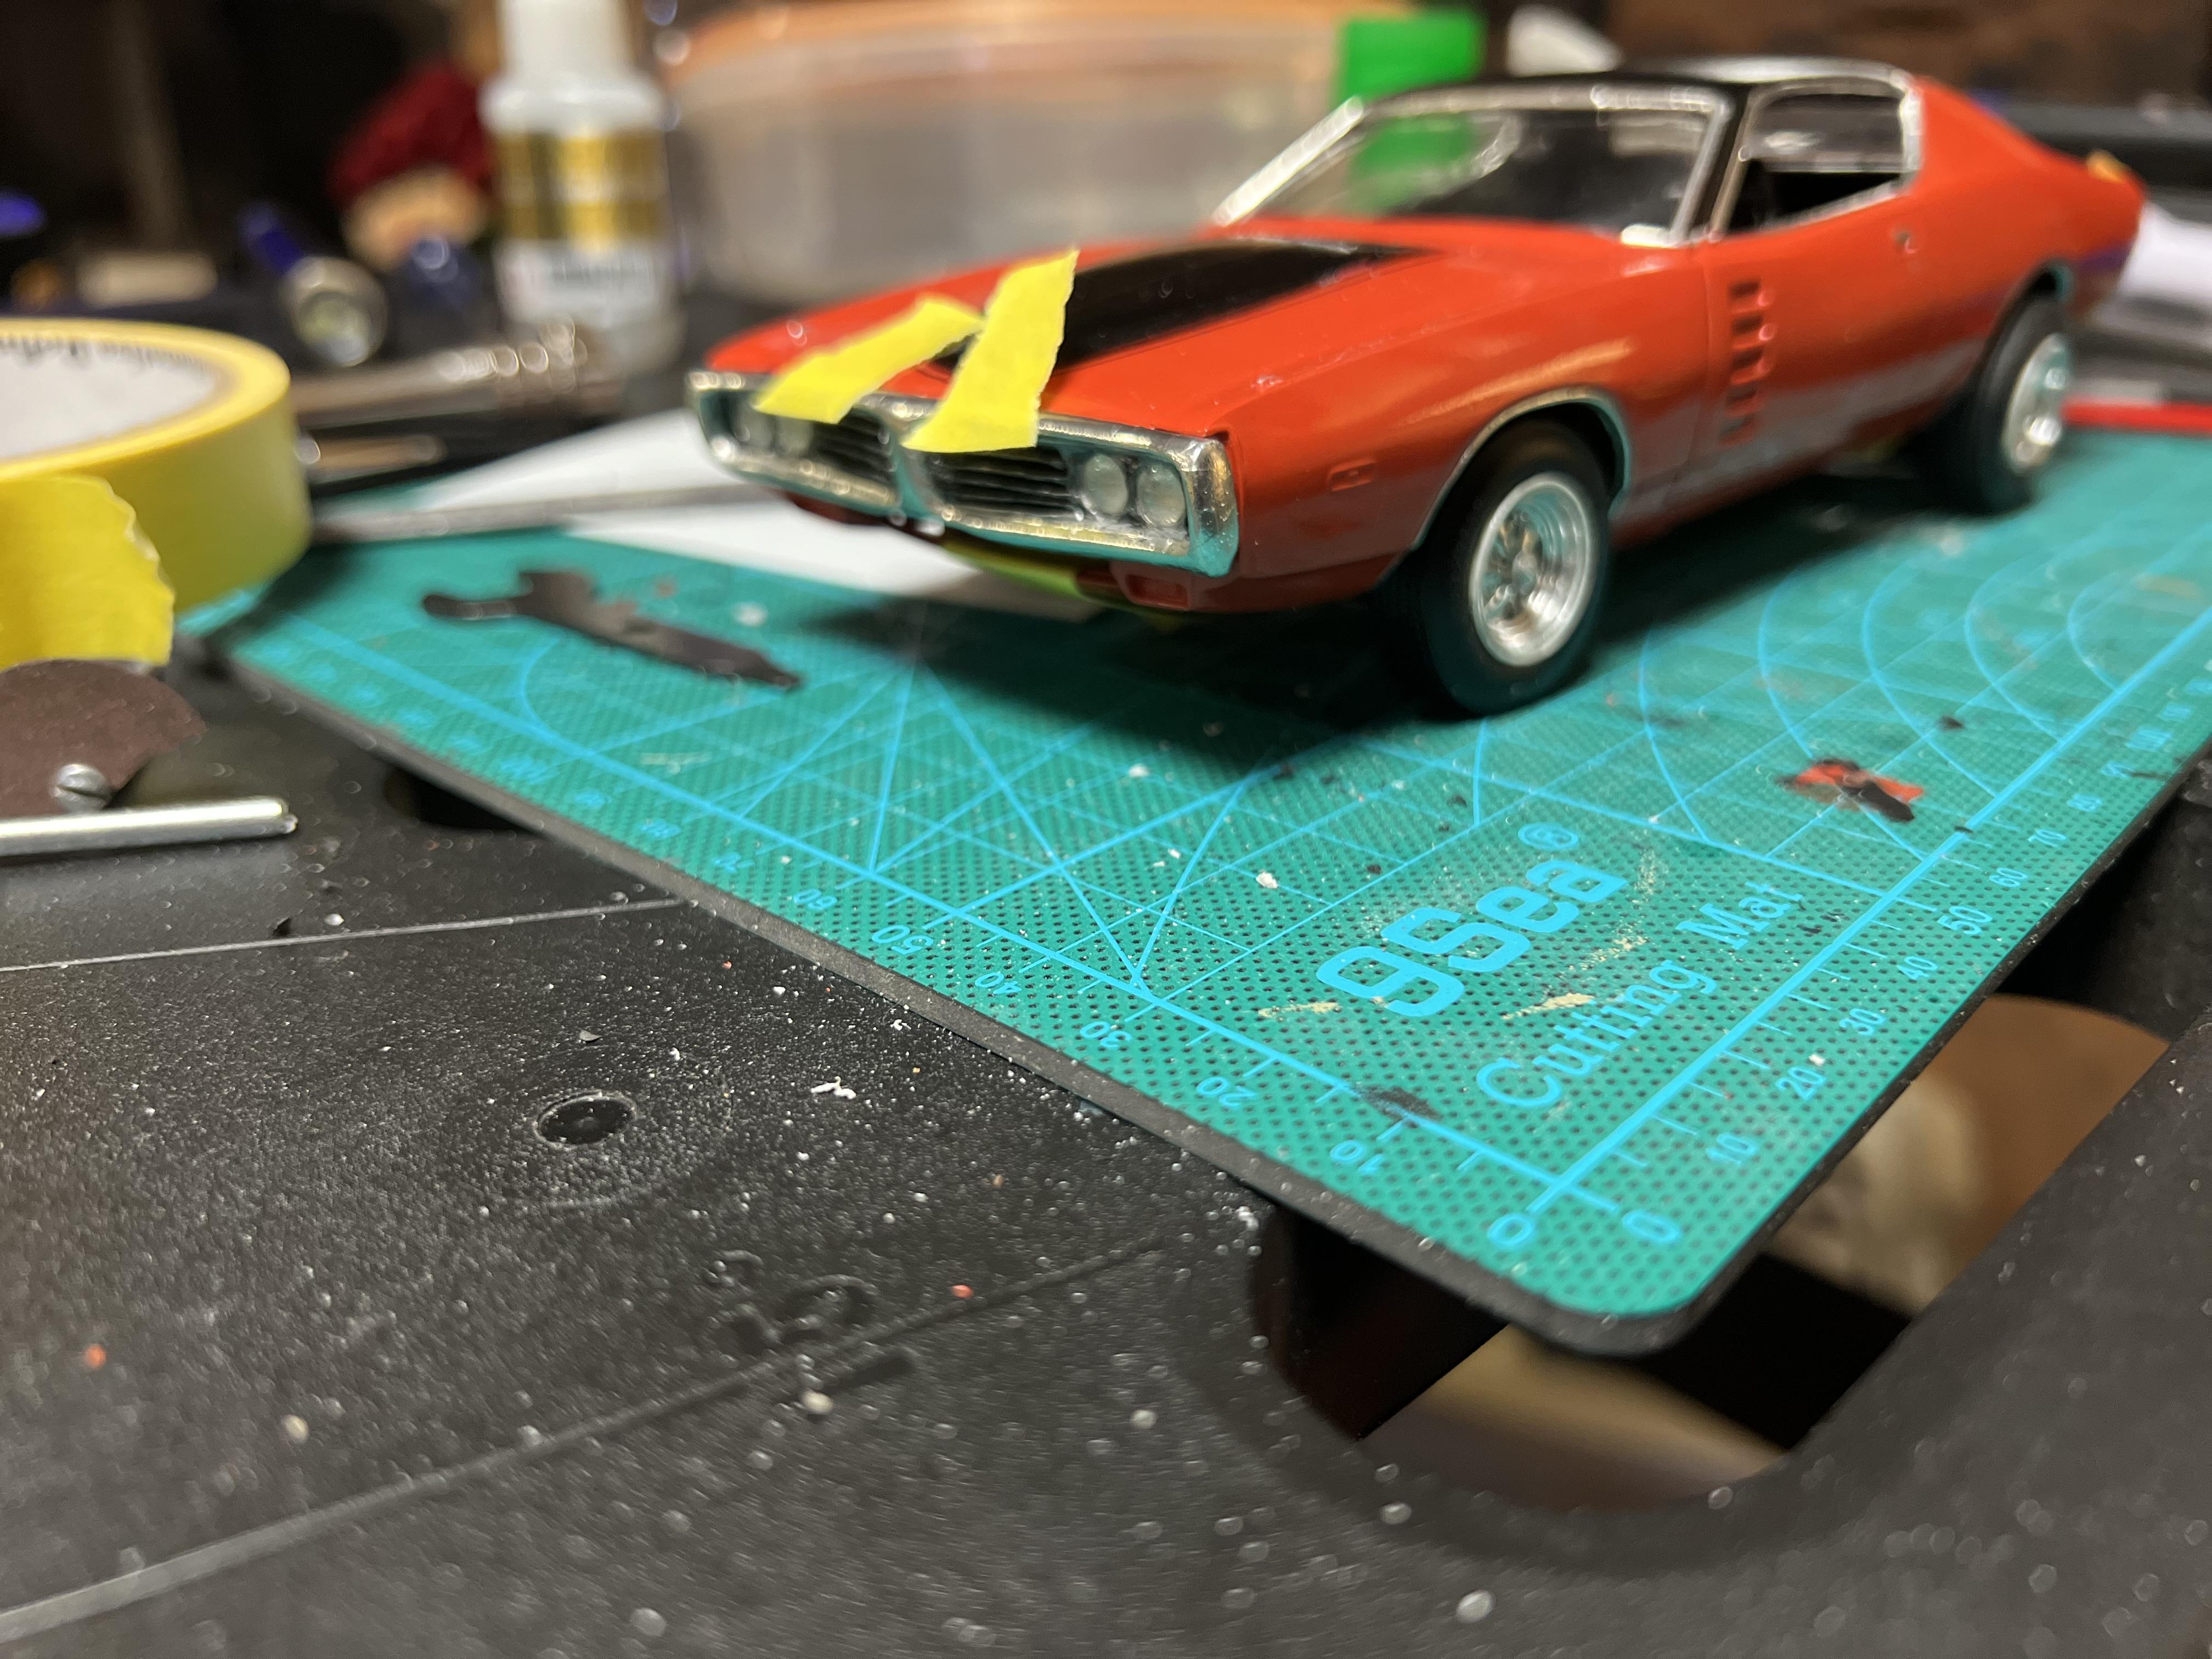
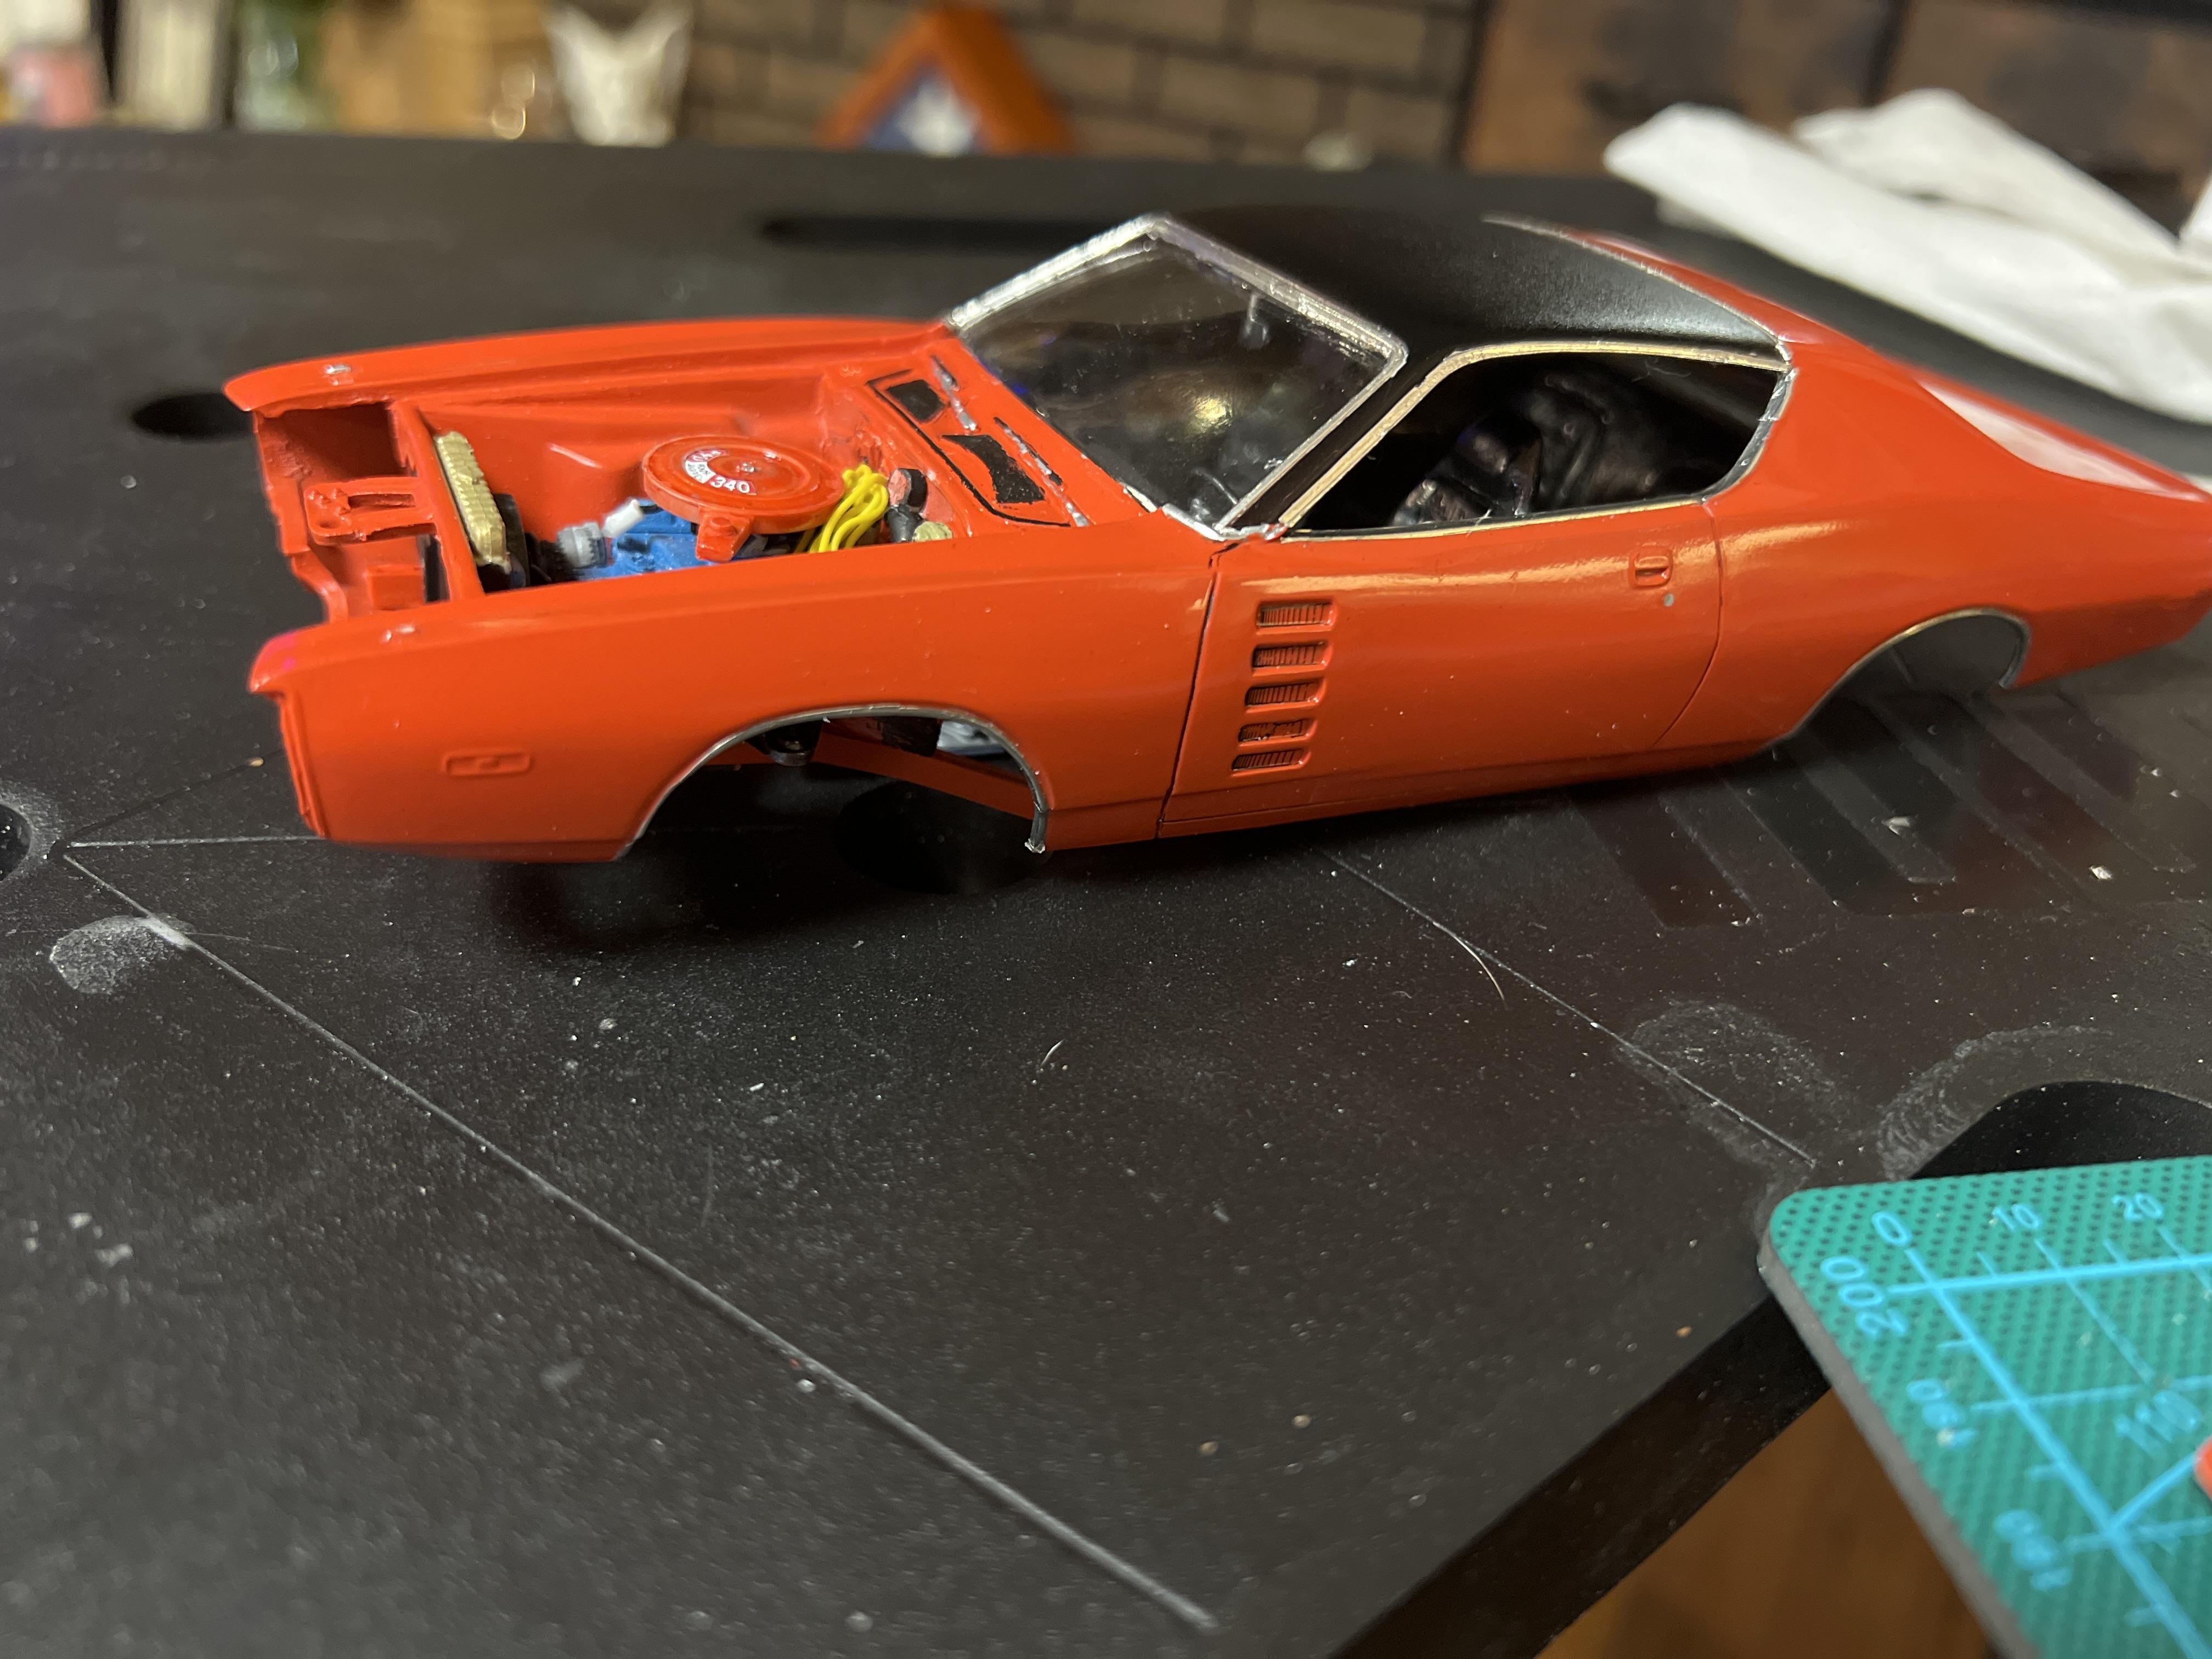
Got some major progress done. I was working on how to get the front wheels centered in the wheel wells instead of forward. I figured that it was a full 3 mm off. I added plates to the spindles .020 each and stepped back another layer to brace, then added the pins at same height as old ones, drilled and pinned. My car had 15” Cragar SS wheels, so I got some from MCW. I found some L60’s for the rear from a Road Runner kit and the kit fronts. I had to custom make the backing plates from the originals, Lil’ Red Wagon ones and made spacers for the rears to fit properly. The body is now permanently on chassis, I made my own ignition box, shortened driveshaft to fit properly( removed .250 from center). The stance pictured here is the way my real car sat and wheels in front are dead center for the win. I still have to figure out exhaust from the headers back, replicate the factory bazooka tips, permanently attach rear, front lower k frame, shocks, bumpers and rear valence, paint markers, running/ turn lights, touch ups and polish. I finally see an end to this one.
-
’72 Dodge Demon Drag Racer 1/25 scale
Moparman18064 replied to AmericanMuscleFan's topic in WIP: Drag Racing Models
What psi are you to run in them?? I was going to say your work is over the top, but you keep raising the top. I can’t wait for the next update. -
Amazing!!
-
Nice start and color choice
-
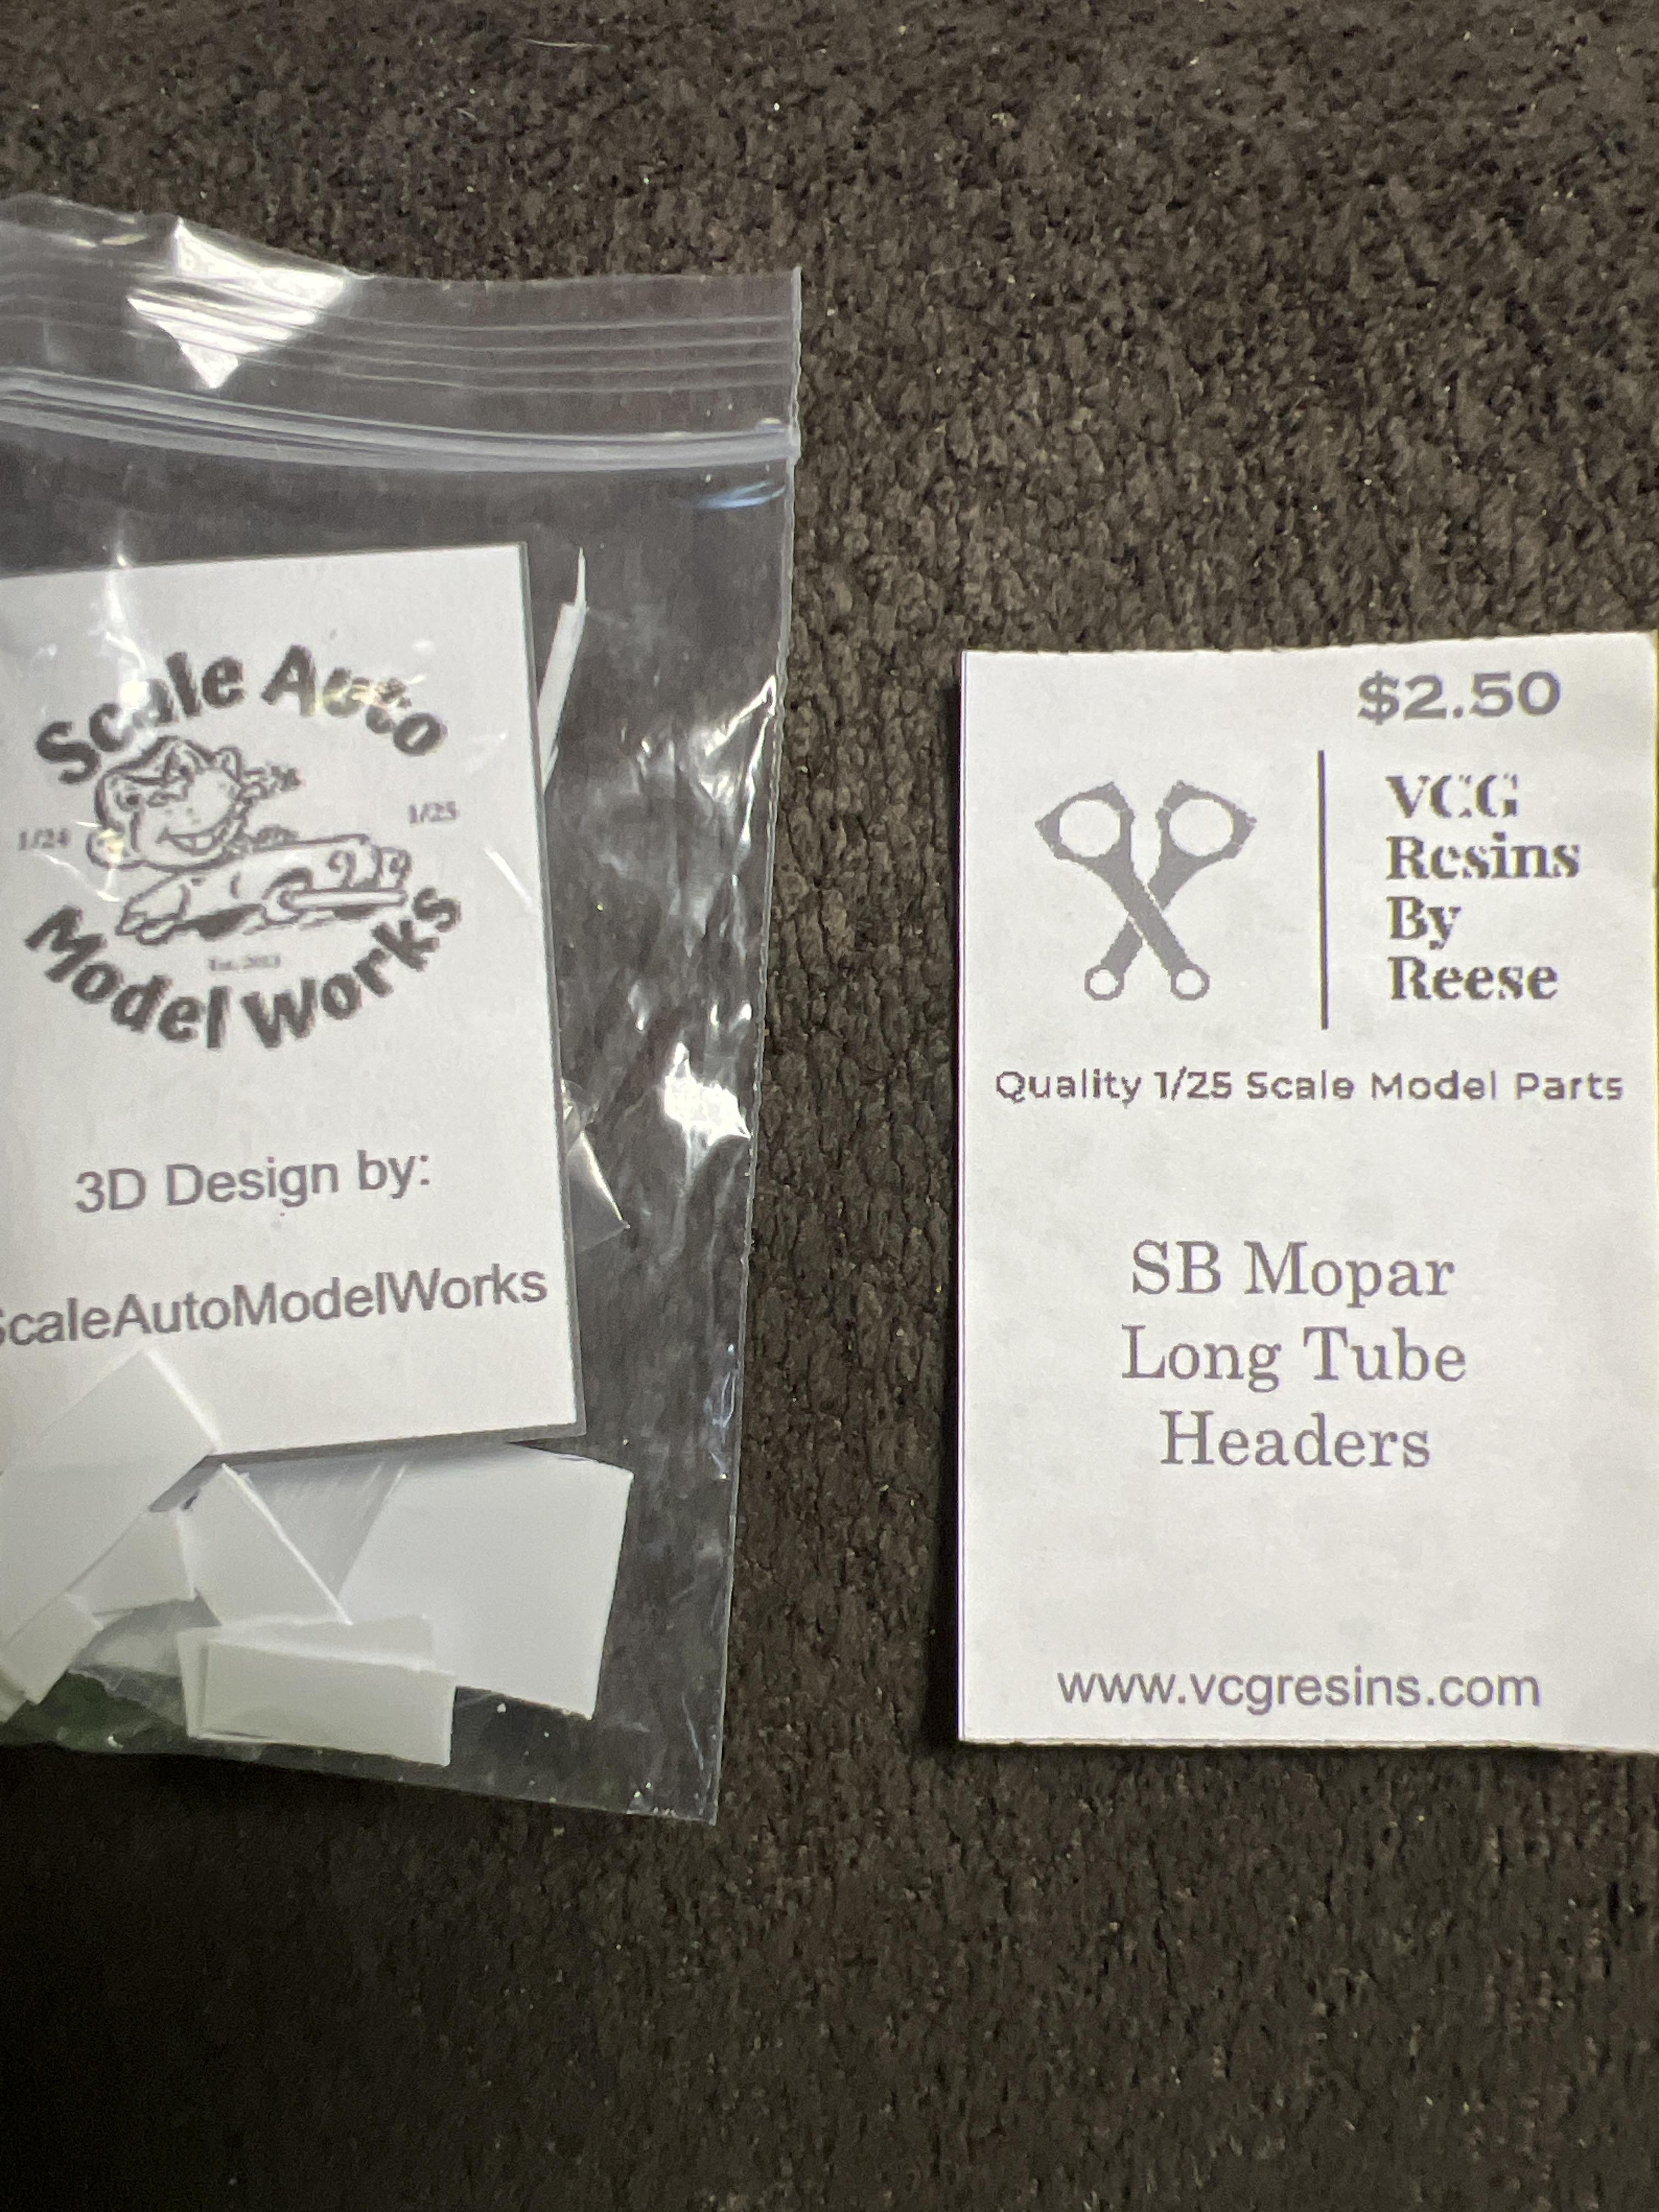
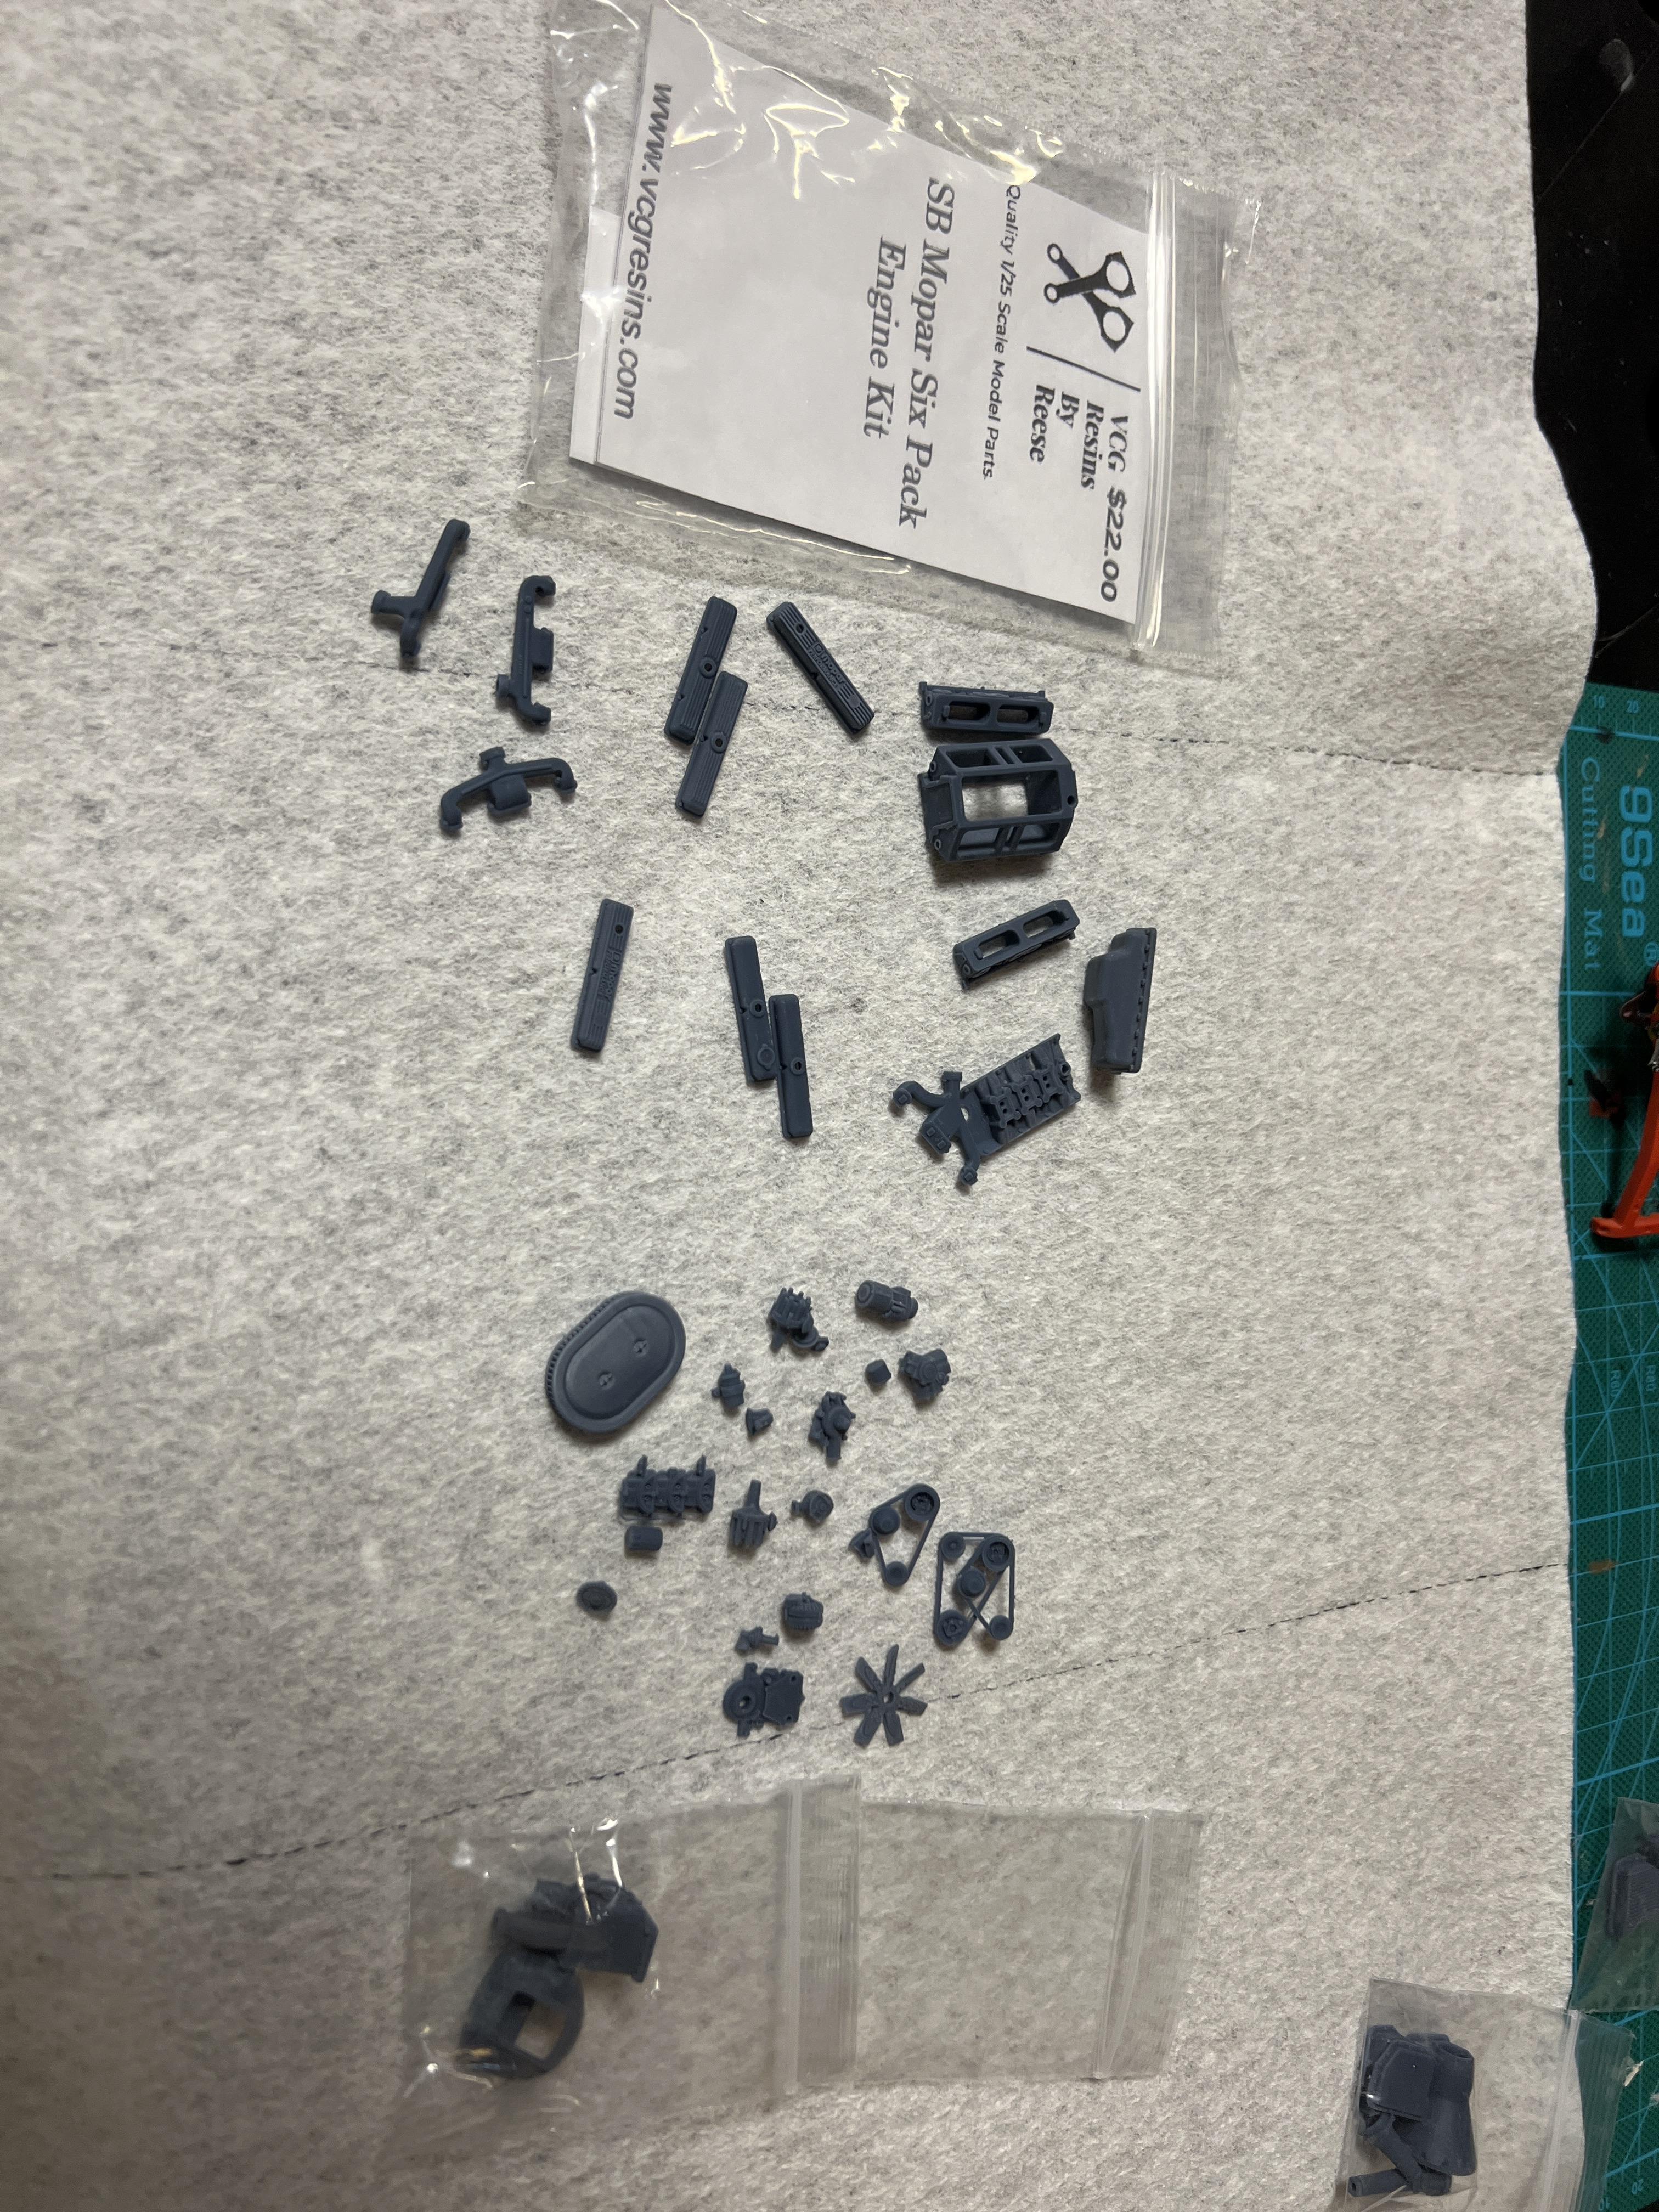
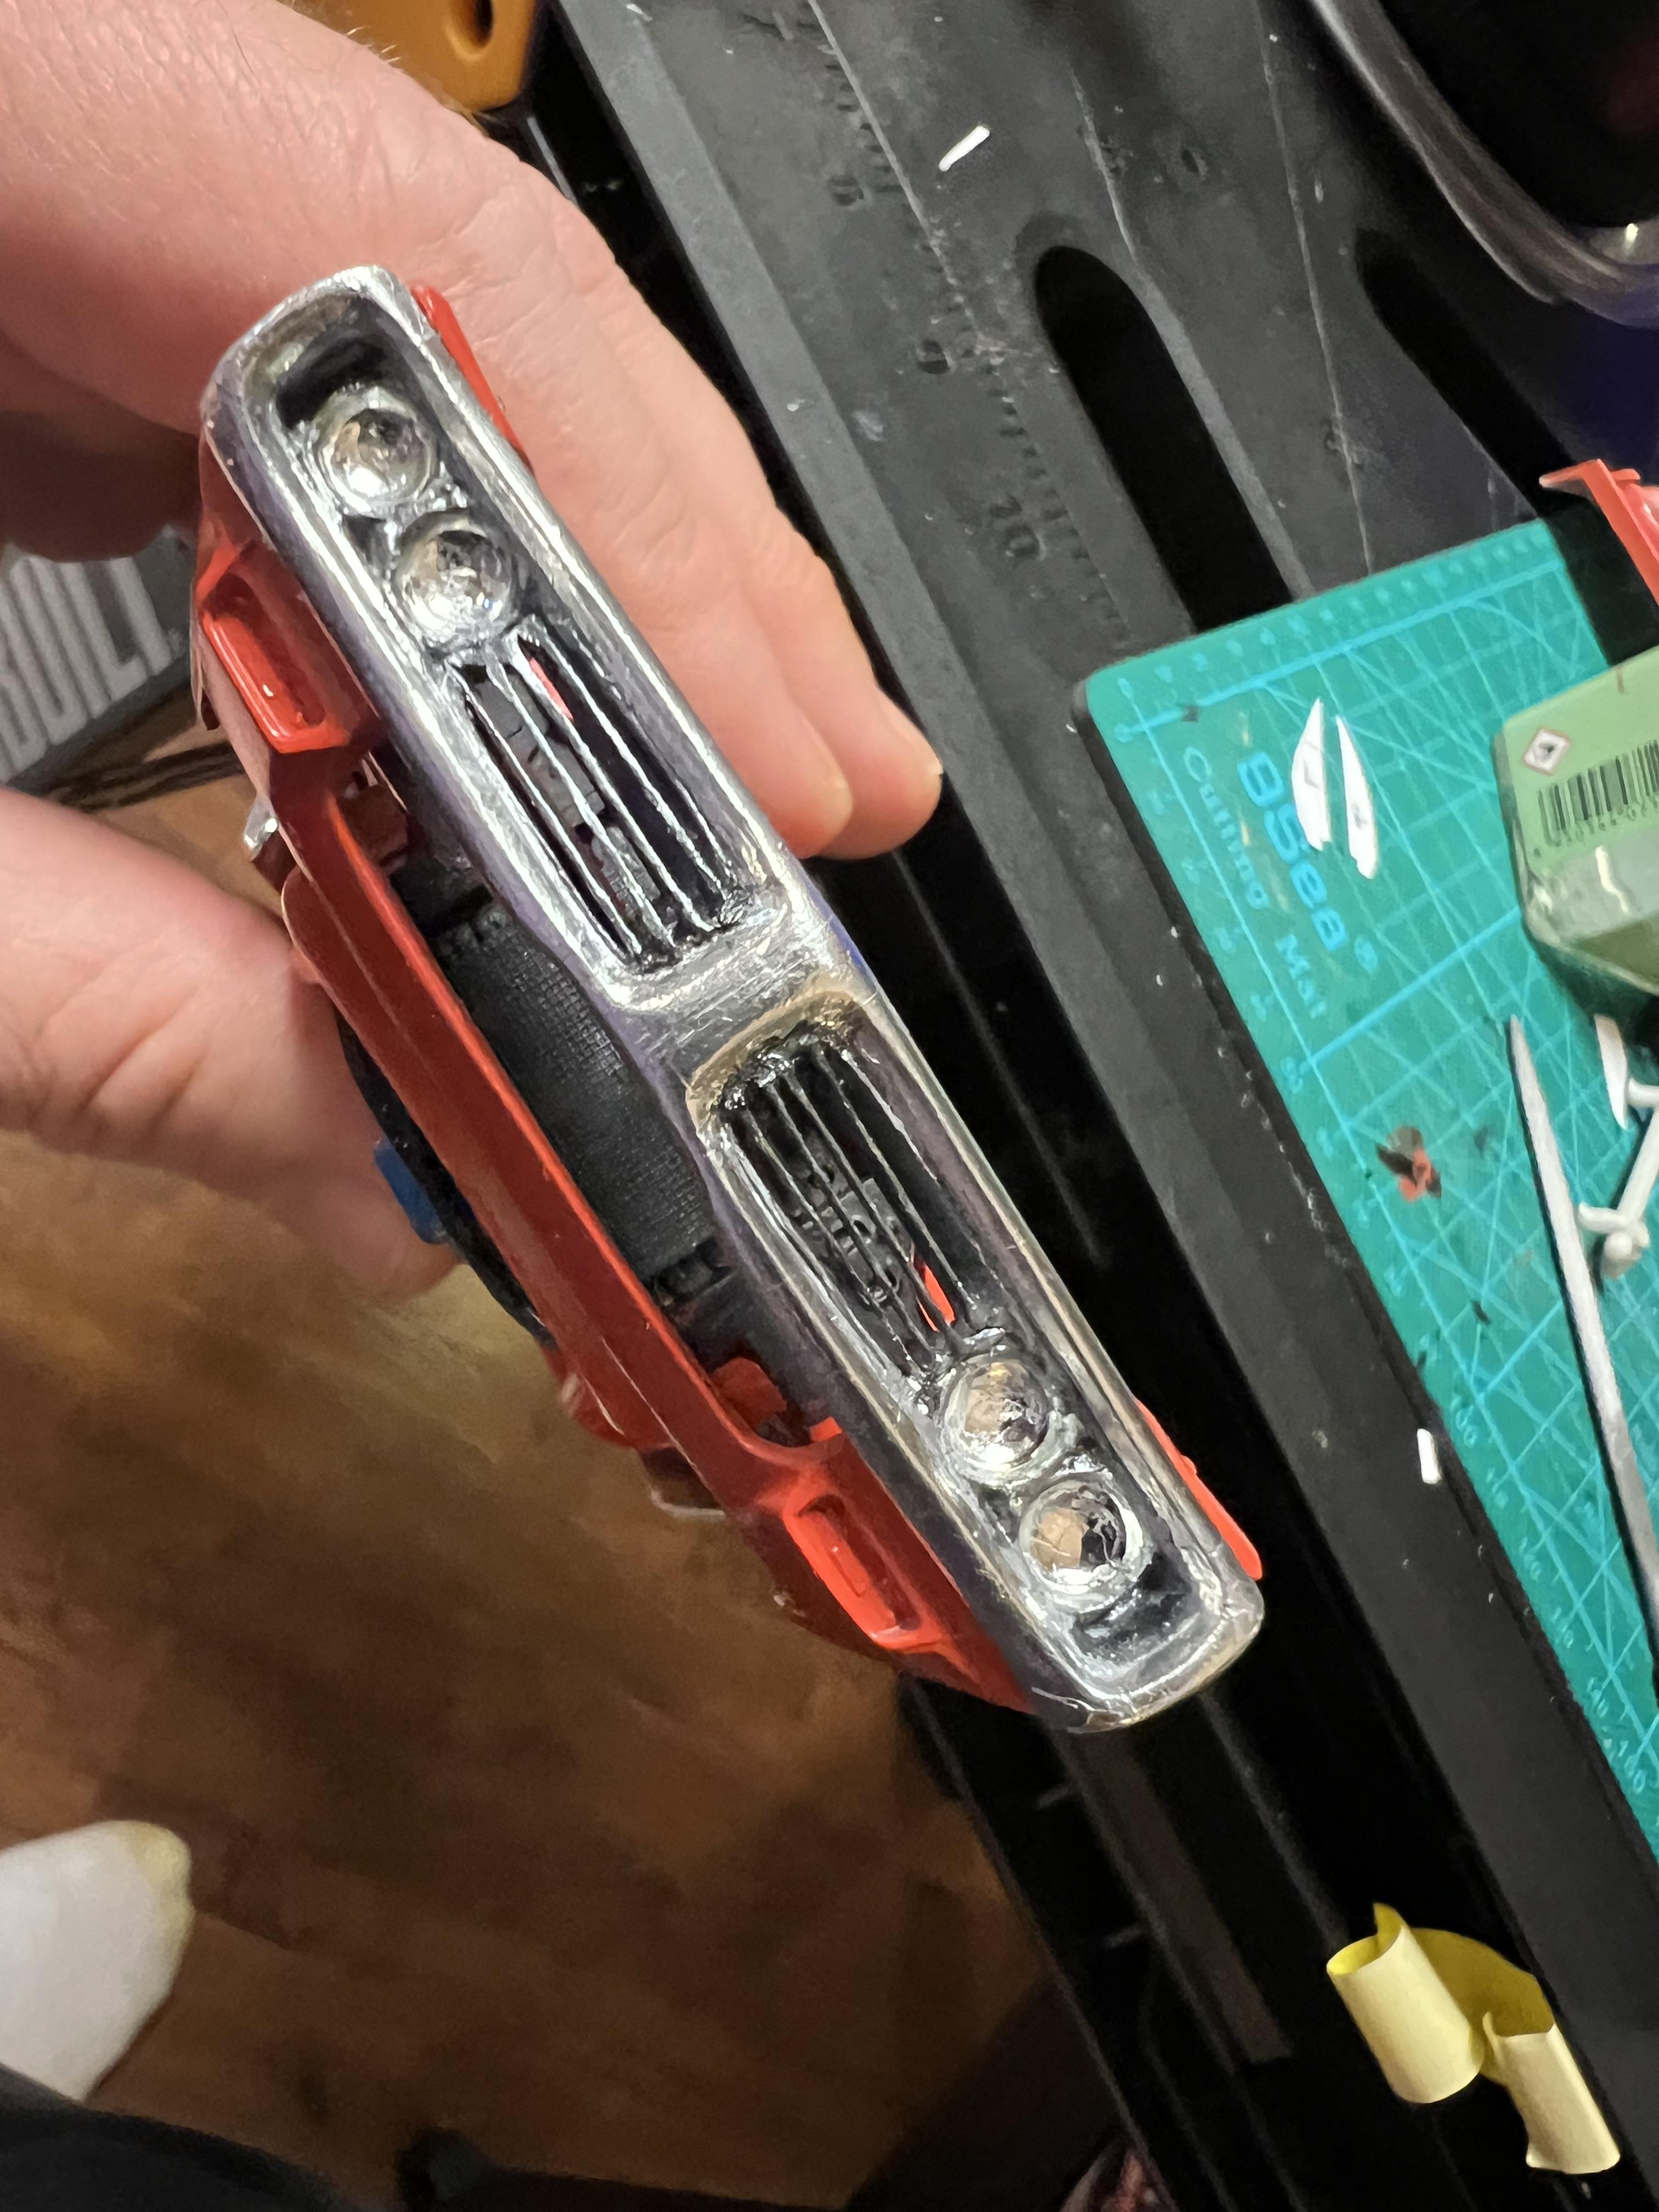
Thank you. As for the grille, I have searched all over and found nobody doing one. I really wish I could find somebody to print one, as trying to blend in the horizontal bars to the surrounds and the upper and lower surfaces, the details are way too fine for the tooling I presently have. At least it is somewhat presentable while I continue to search, or possibly scratch build one over time( it will be a while, I have too many kits to build in closet). As for the question on resins, it is VCG Resins by Reese, if you go in through Scale Auto Model Works is how I found them. The engine kits are ordered with auto or manual trans, and in stock( 2 barrel 318 design), magnum (340 4 barrel) or six pack ( pictured). I ordered 3 of them- 2 six pack and 1 magnum. Note for admin, I am not trying to sell anything here, just being helpful.
-
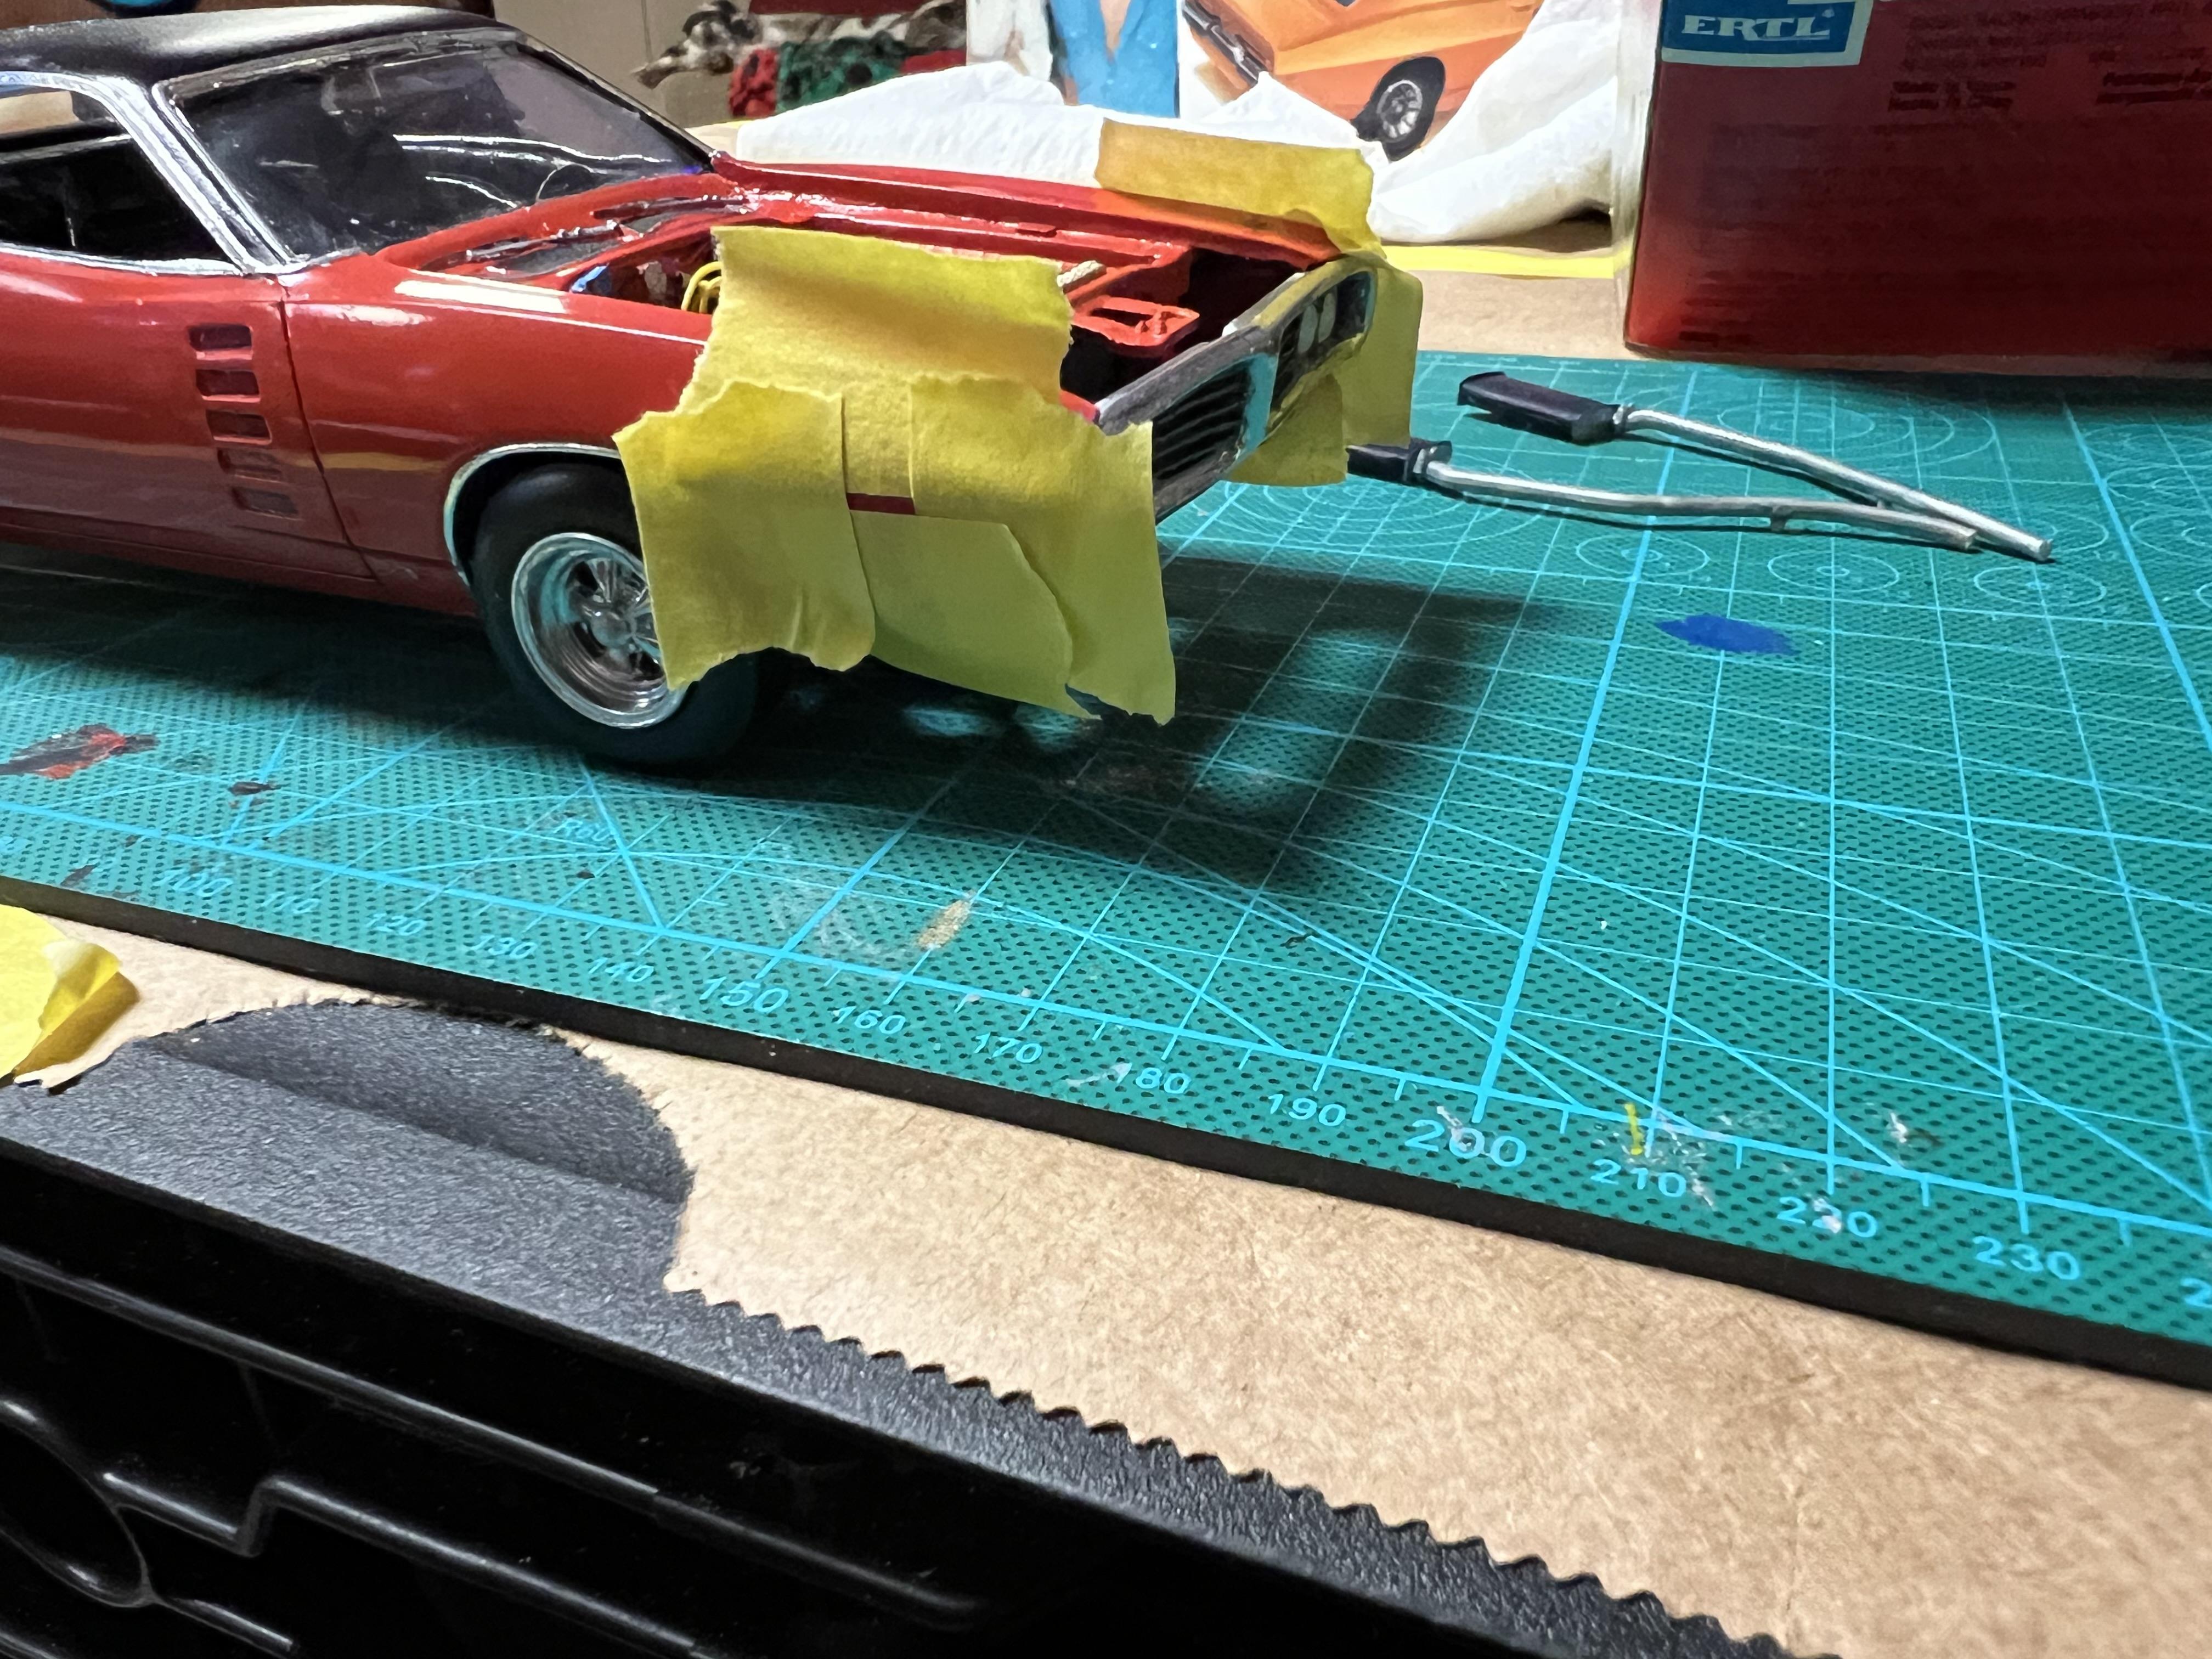
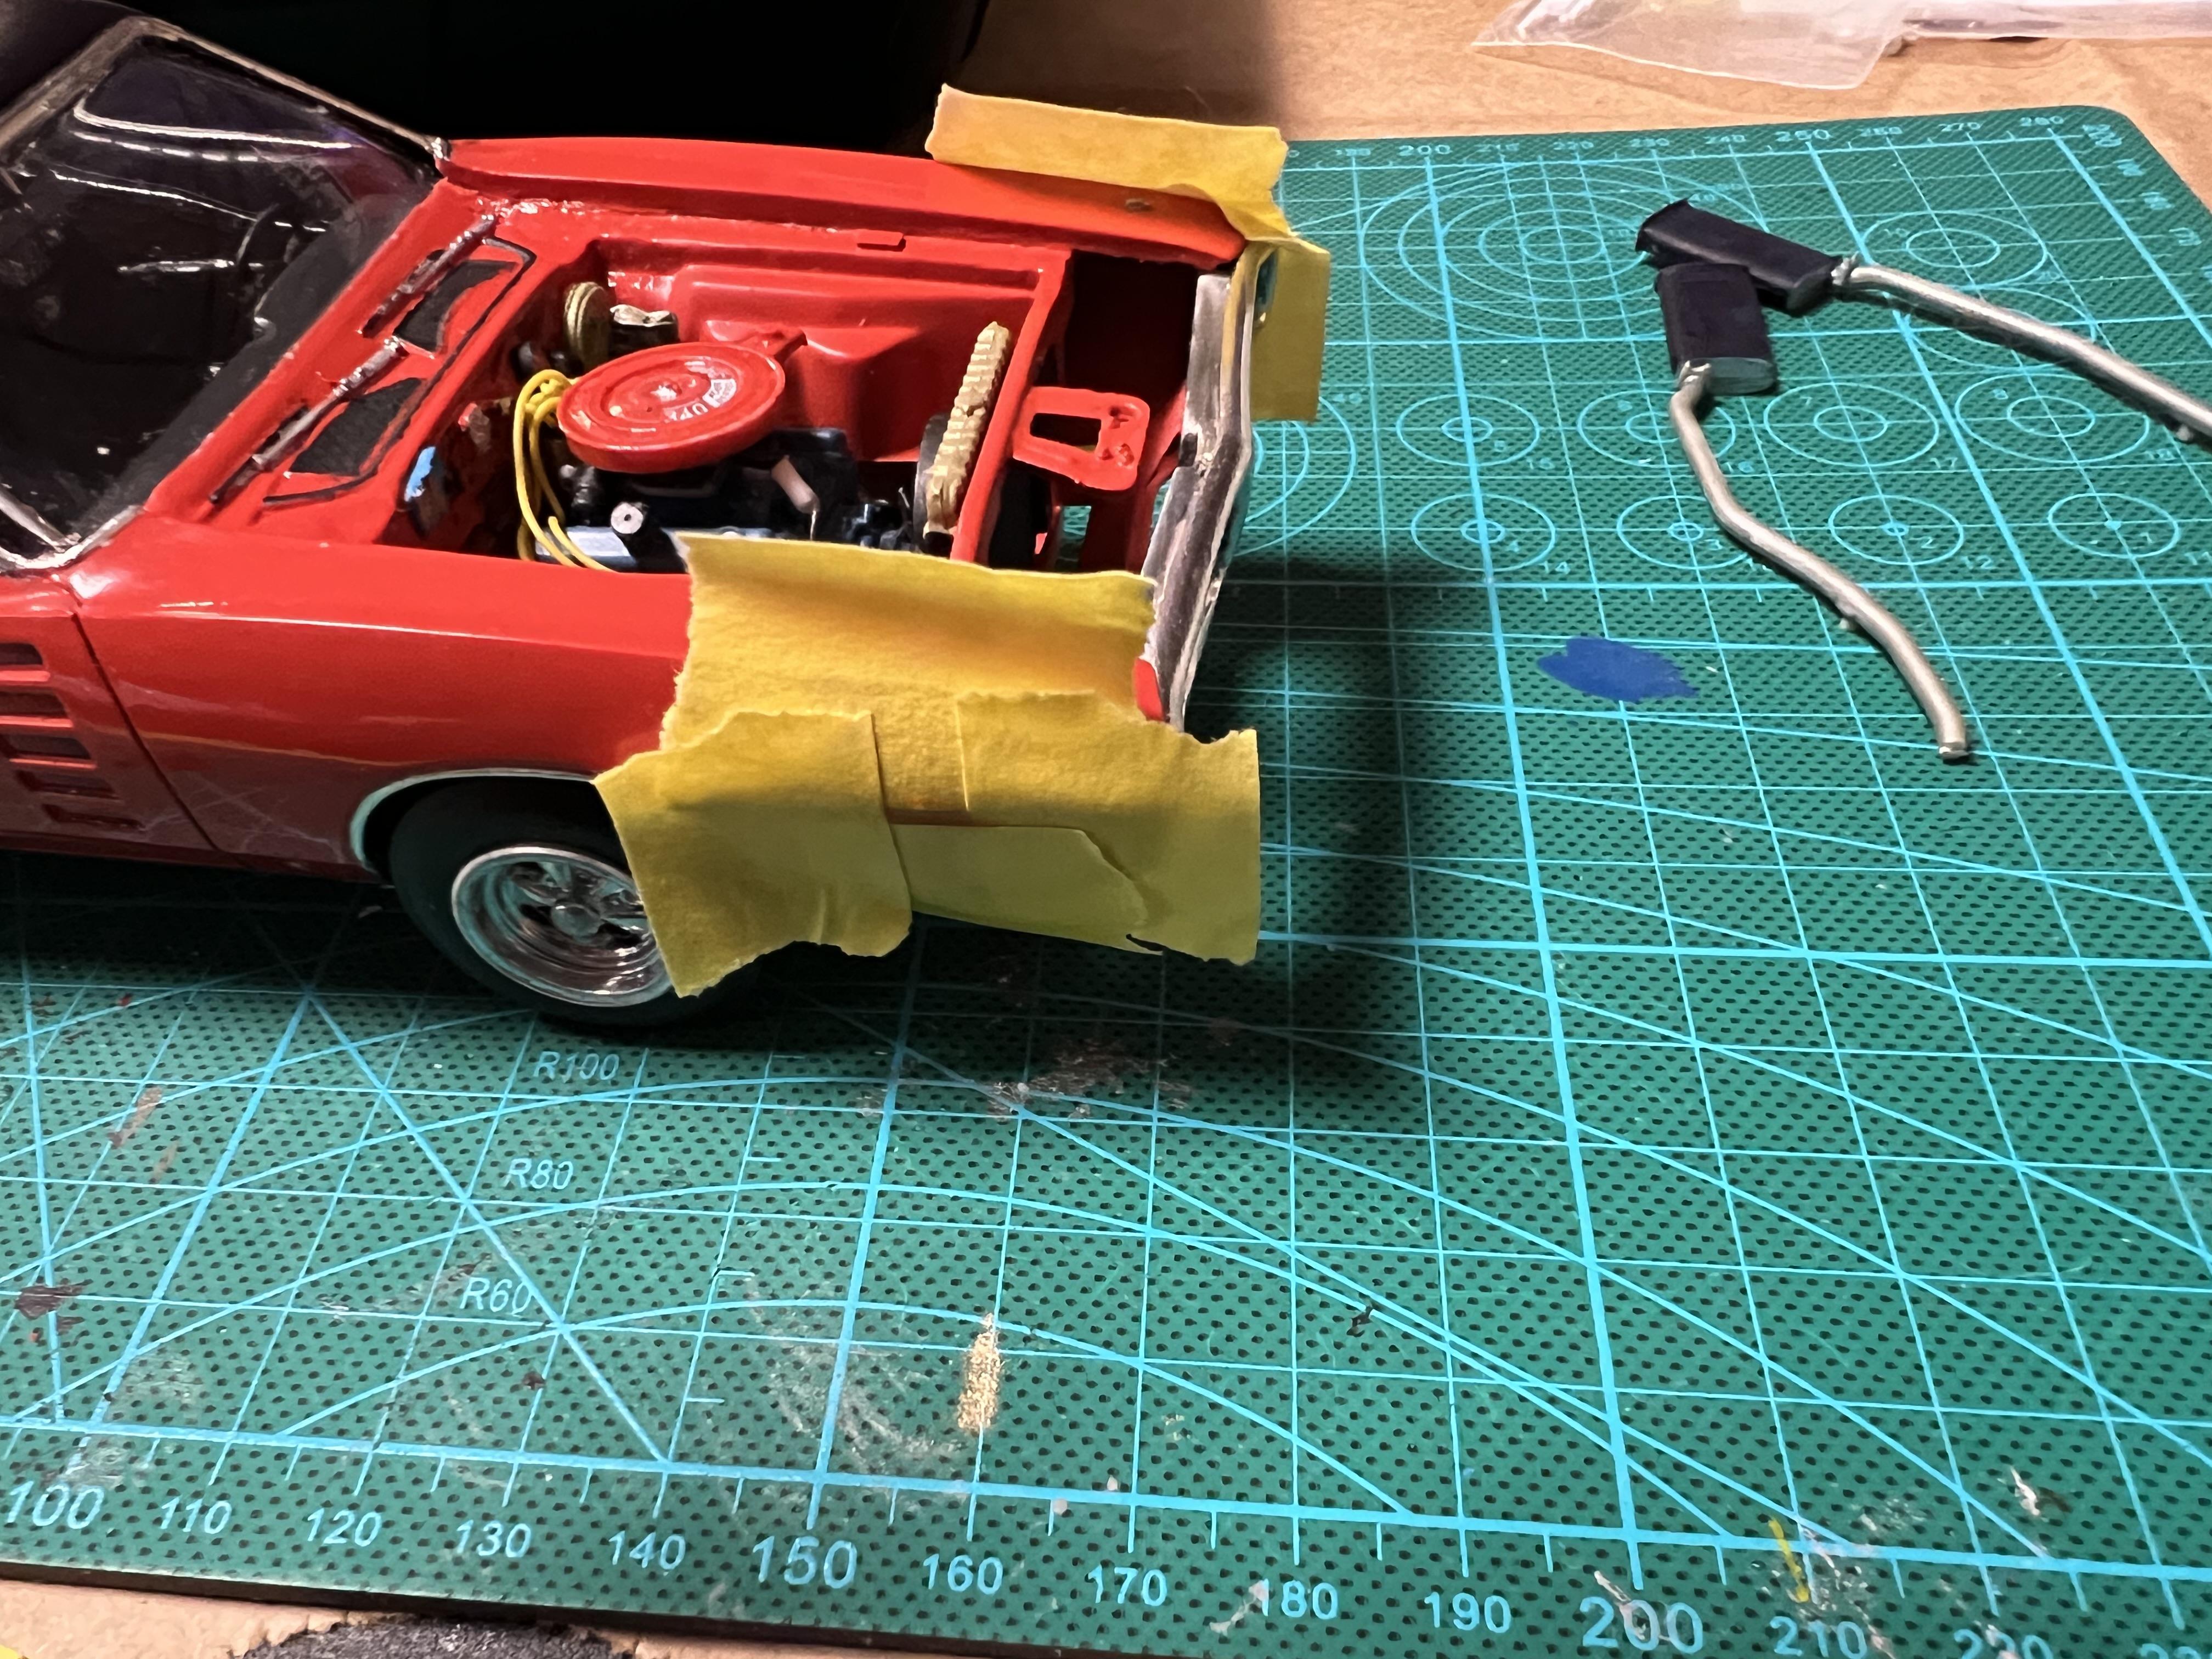
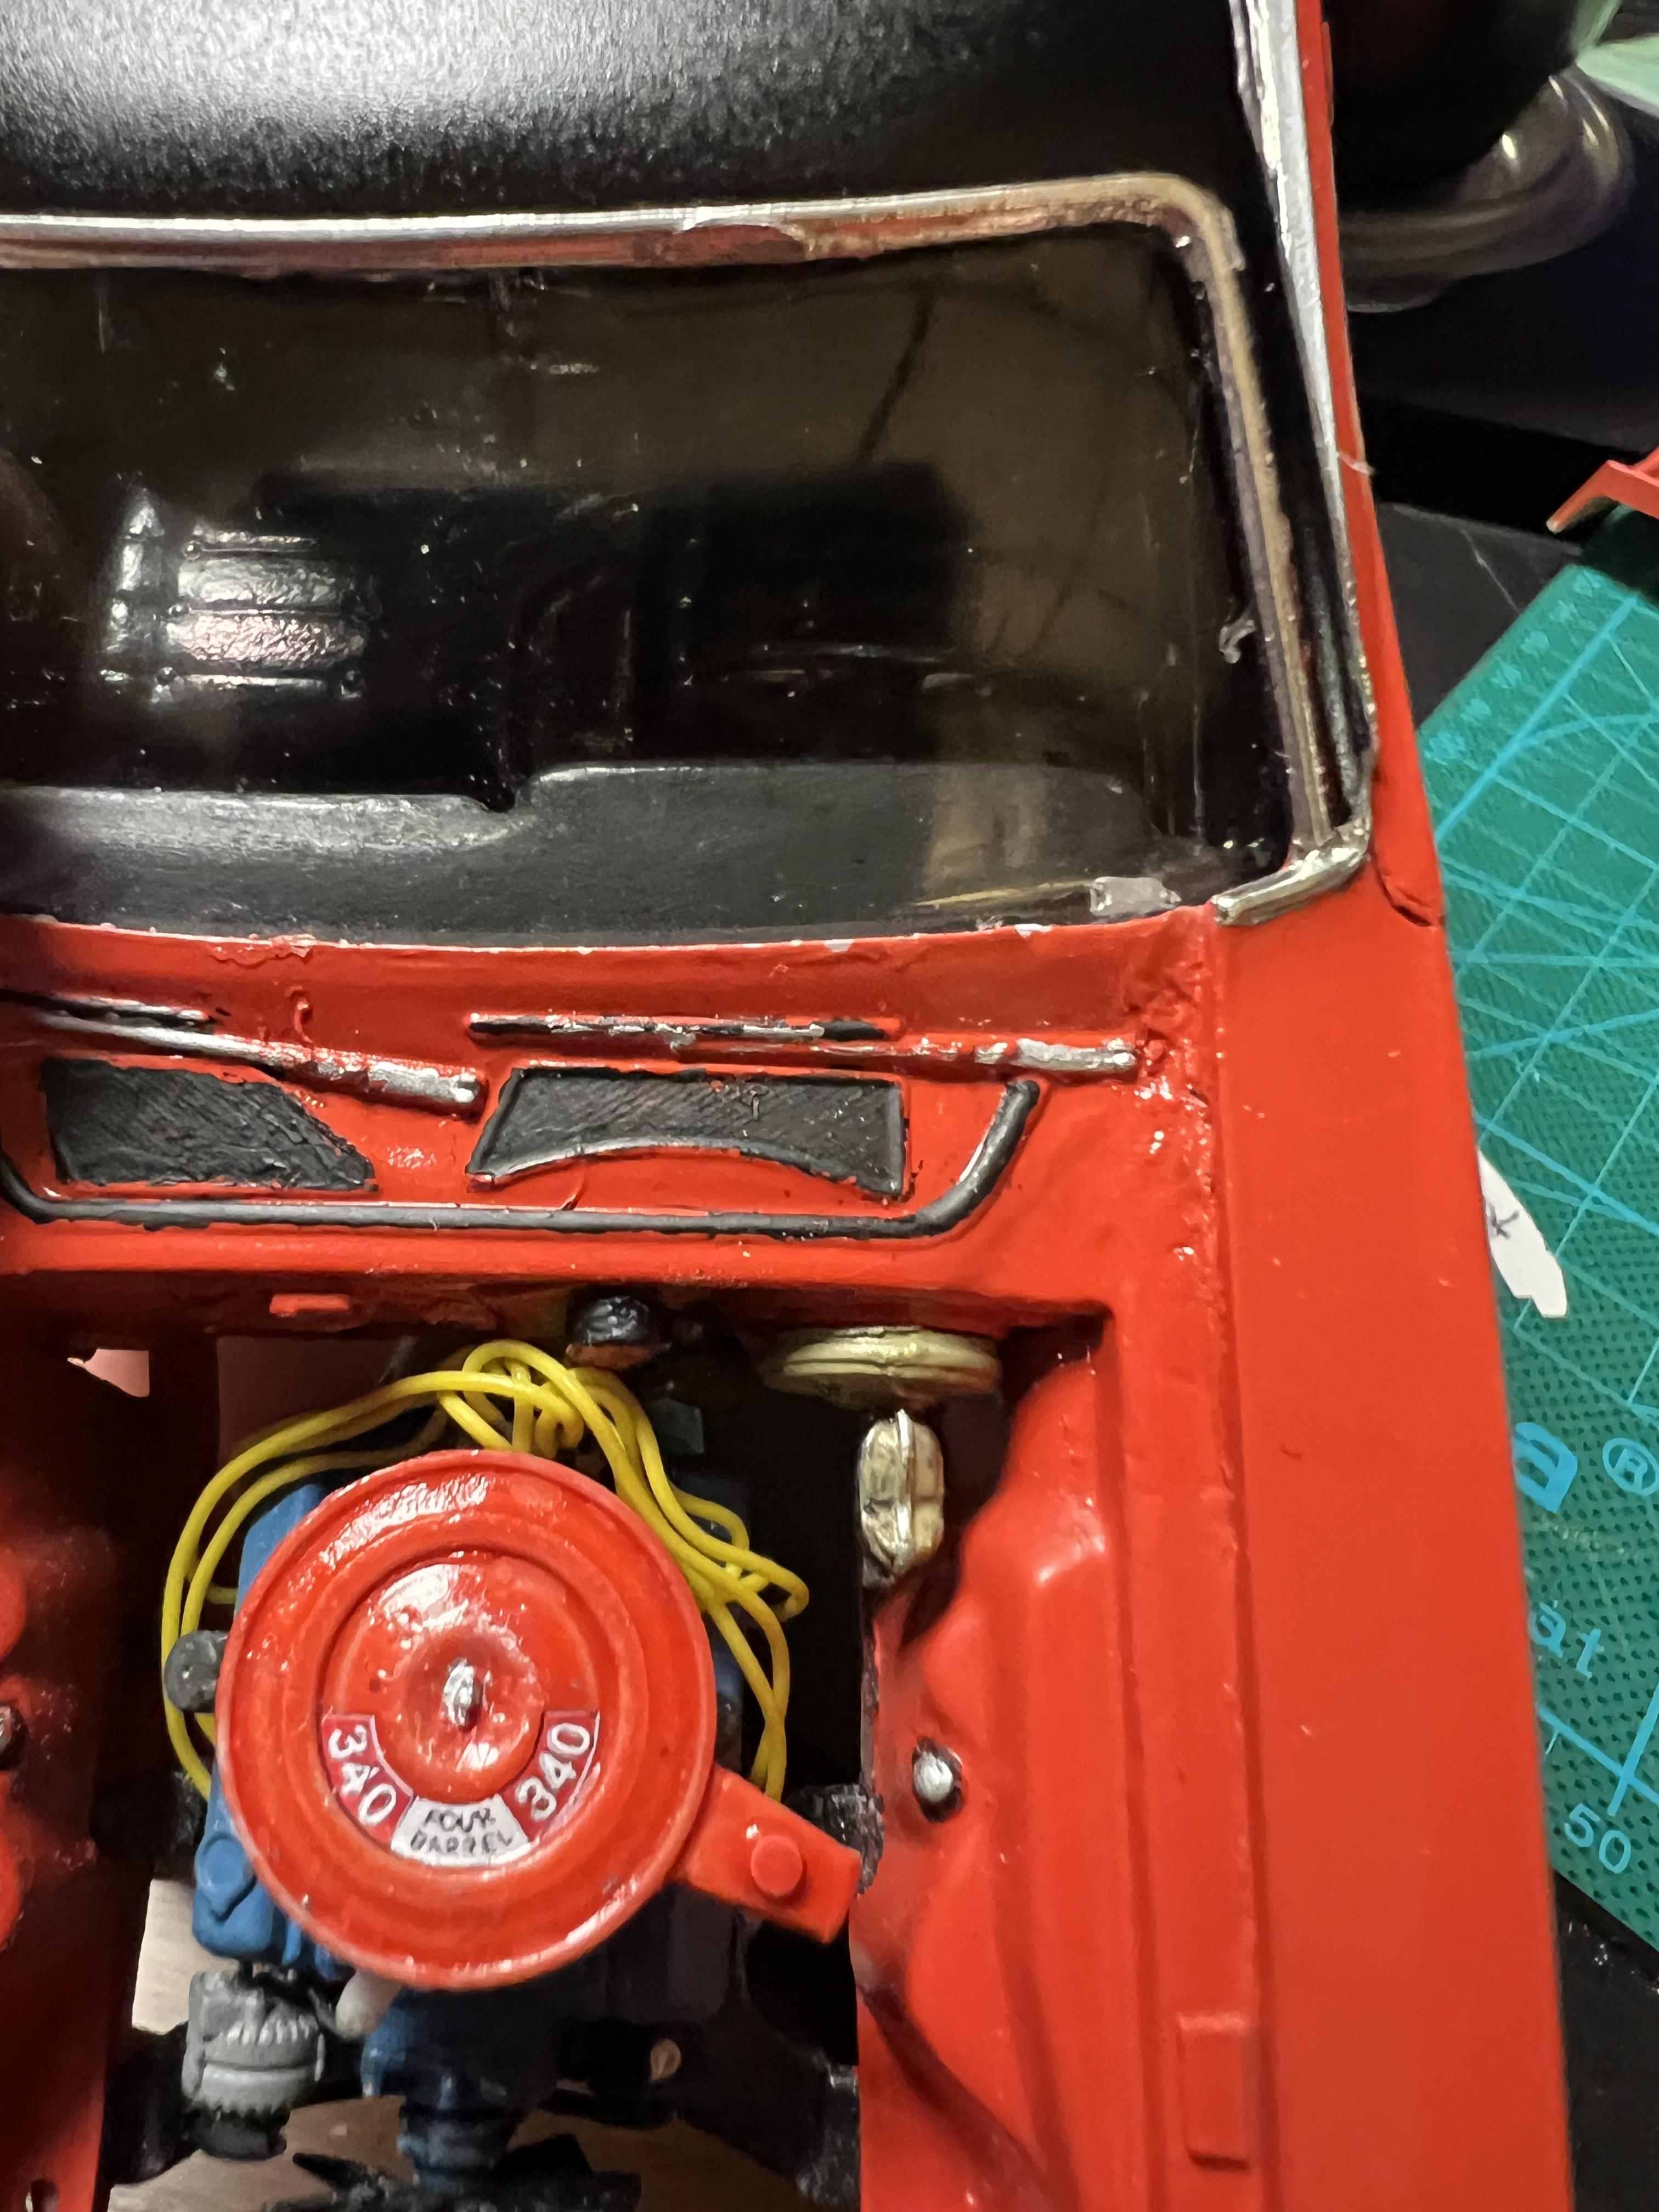
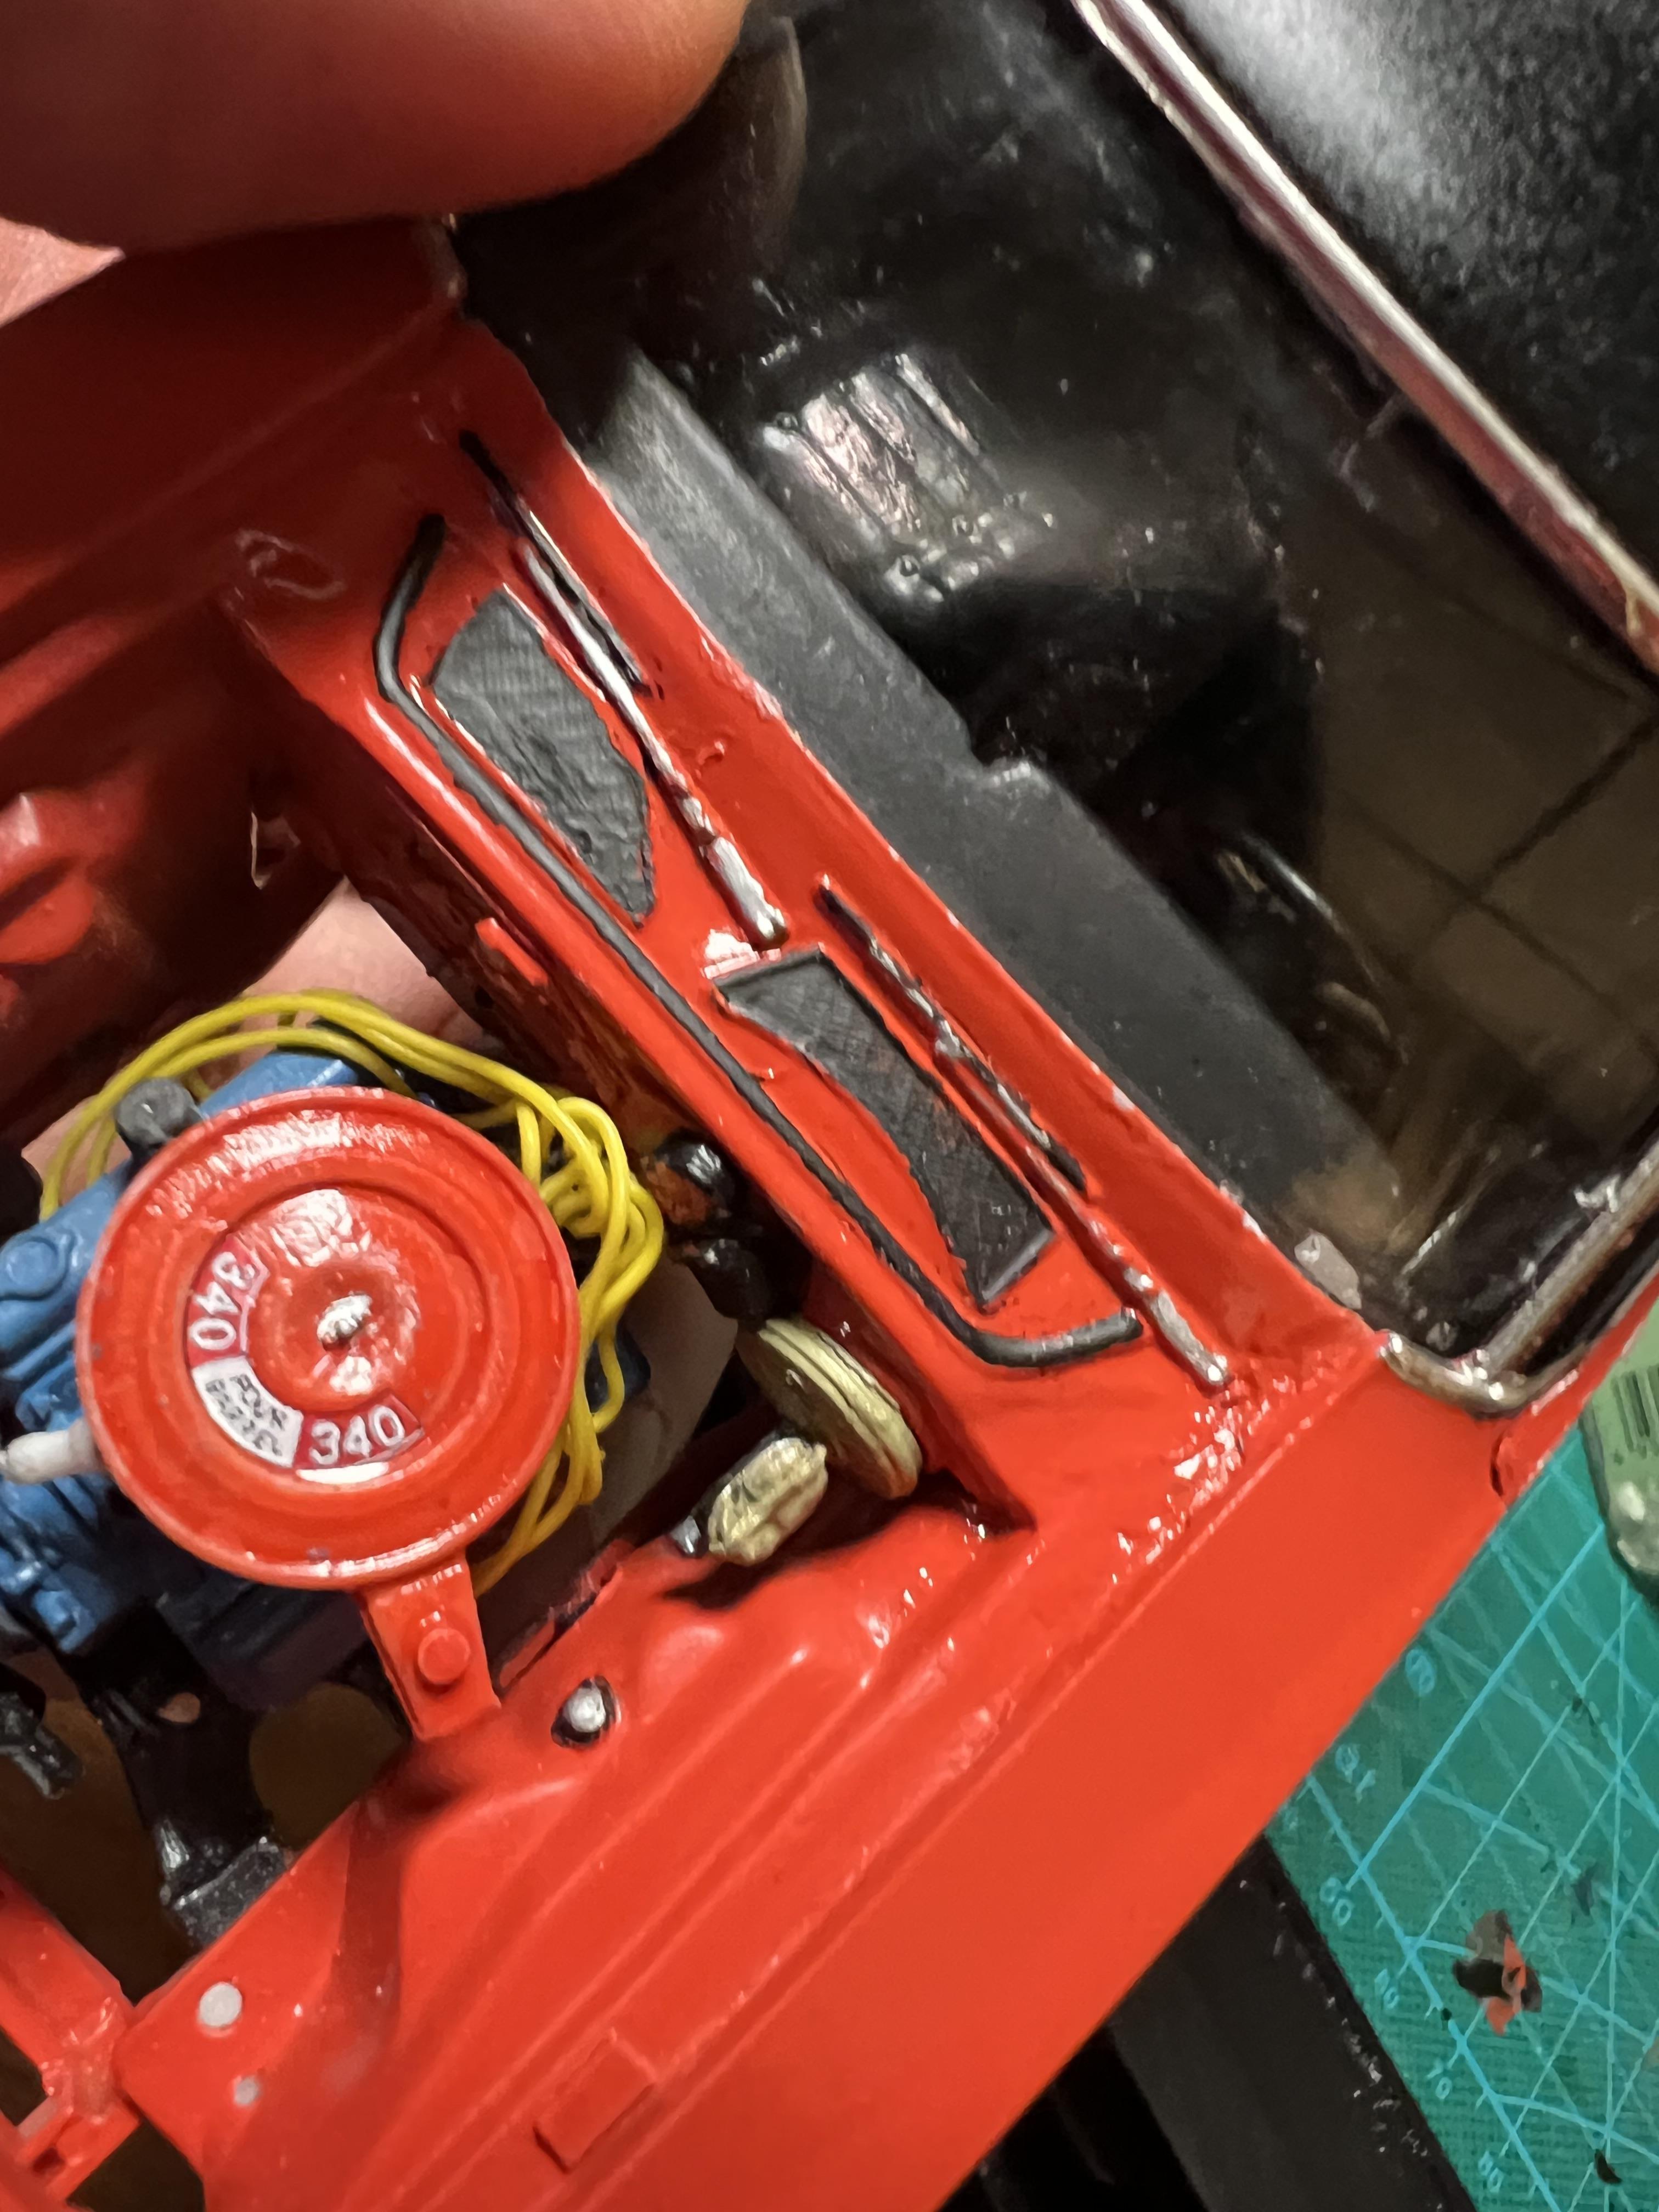
Got some more progress accomplished. I got the Dana rear completed and the springs attached and painted up. I filled in holes in radiator and red rolled for small block positions. Radiator support painted and properly blacked out in front so orange does not show through grille. Upon test fitting again, wiper motor does not clear distributor. My car had a 3 speed motor anyway, so I made a 3 speed one out of styrene. I started making cardboard forms to make inner fender filler panels out of styrene. I did a wash on panel lines, blacked out tail panel. I think I’ m caught up to now.
-
Looks so much better already, nice color choice.
-
’72 Dodge Demon Drag Racer 1/25 scale
Moparman18064 replied to AmericanMuscleFan's topic in WIP: Drag Racing Models
My brother has a Citron Yella with factory V2 black painted top 71 Demon. That’s a cool color that is light also for your consideration.