Duddly01
-
Posts
1,048 -
Joined
-
Last visited
Content Type
Profiles
Forums
Events
Gallery
Everything posted by Duddly01
-
Thank You! Thank You!
-
Thank You! took me a little longer than normal, but that was partly from pulling a tendon in my left thumb. I think it turned out well though.
-
Thank You! Thank You!
-
Thank You! Thank You! The color is actually correct for that year ford, Garnet Maroon from MCW Finishes.
-
Thank You! Thank You!
-
Thank you for everyone's feedback and encouragement. I posted images of the final to Under glass. Please feel free to look at them here.
-
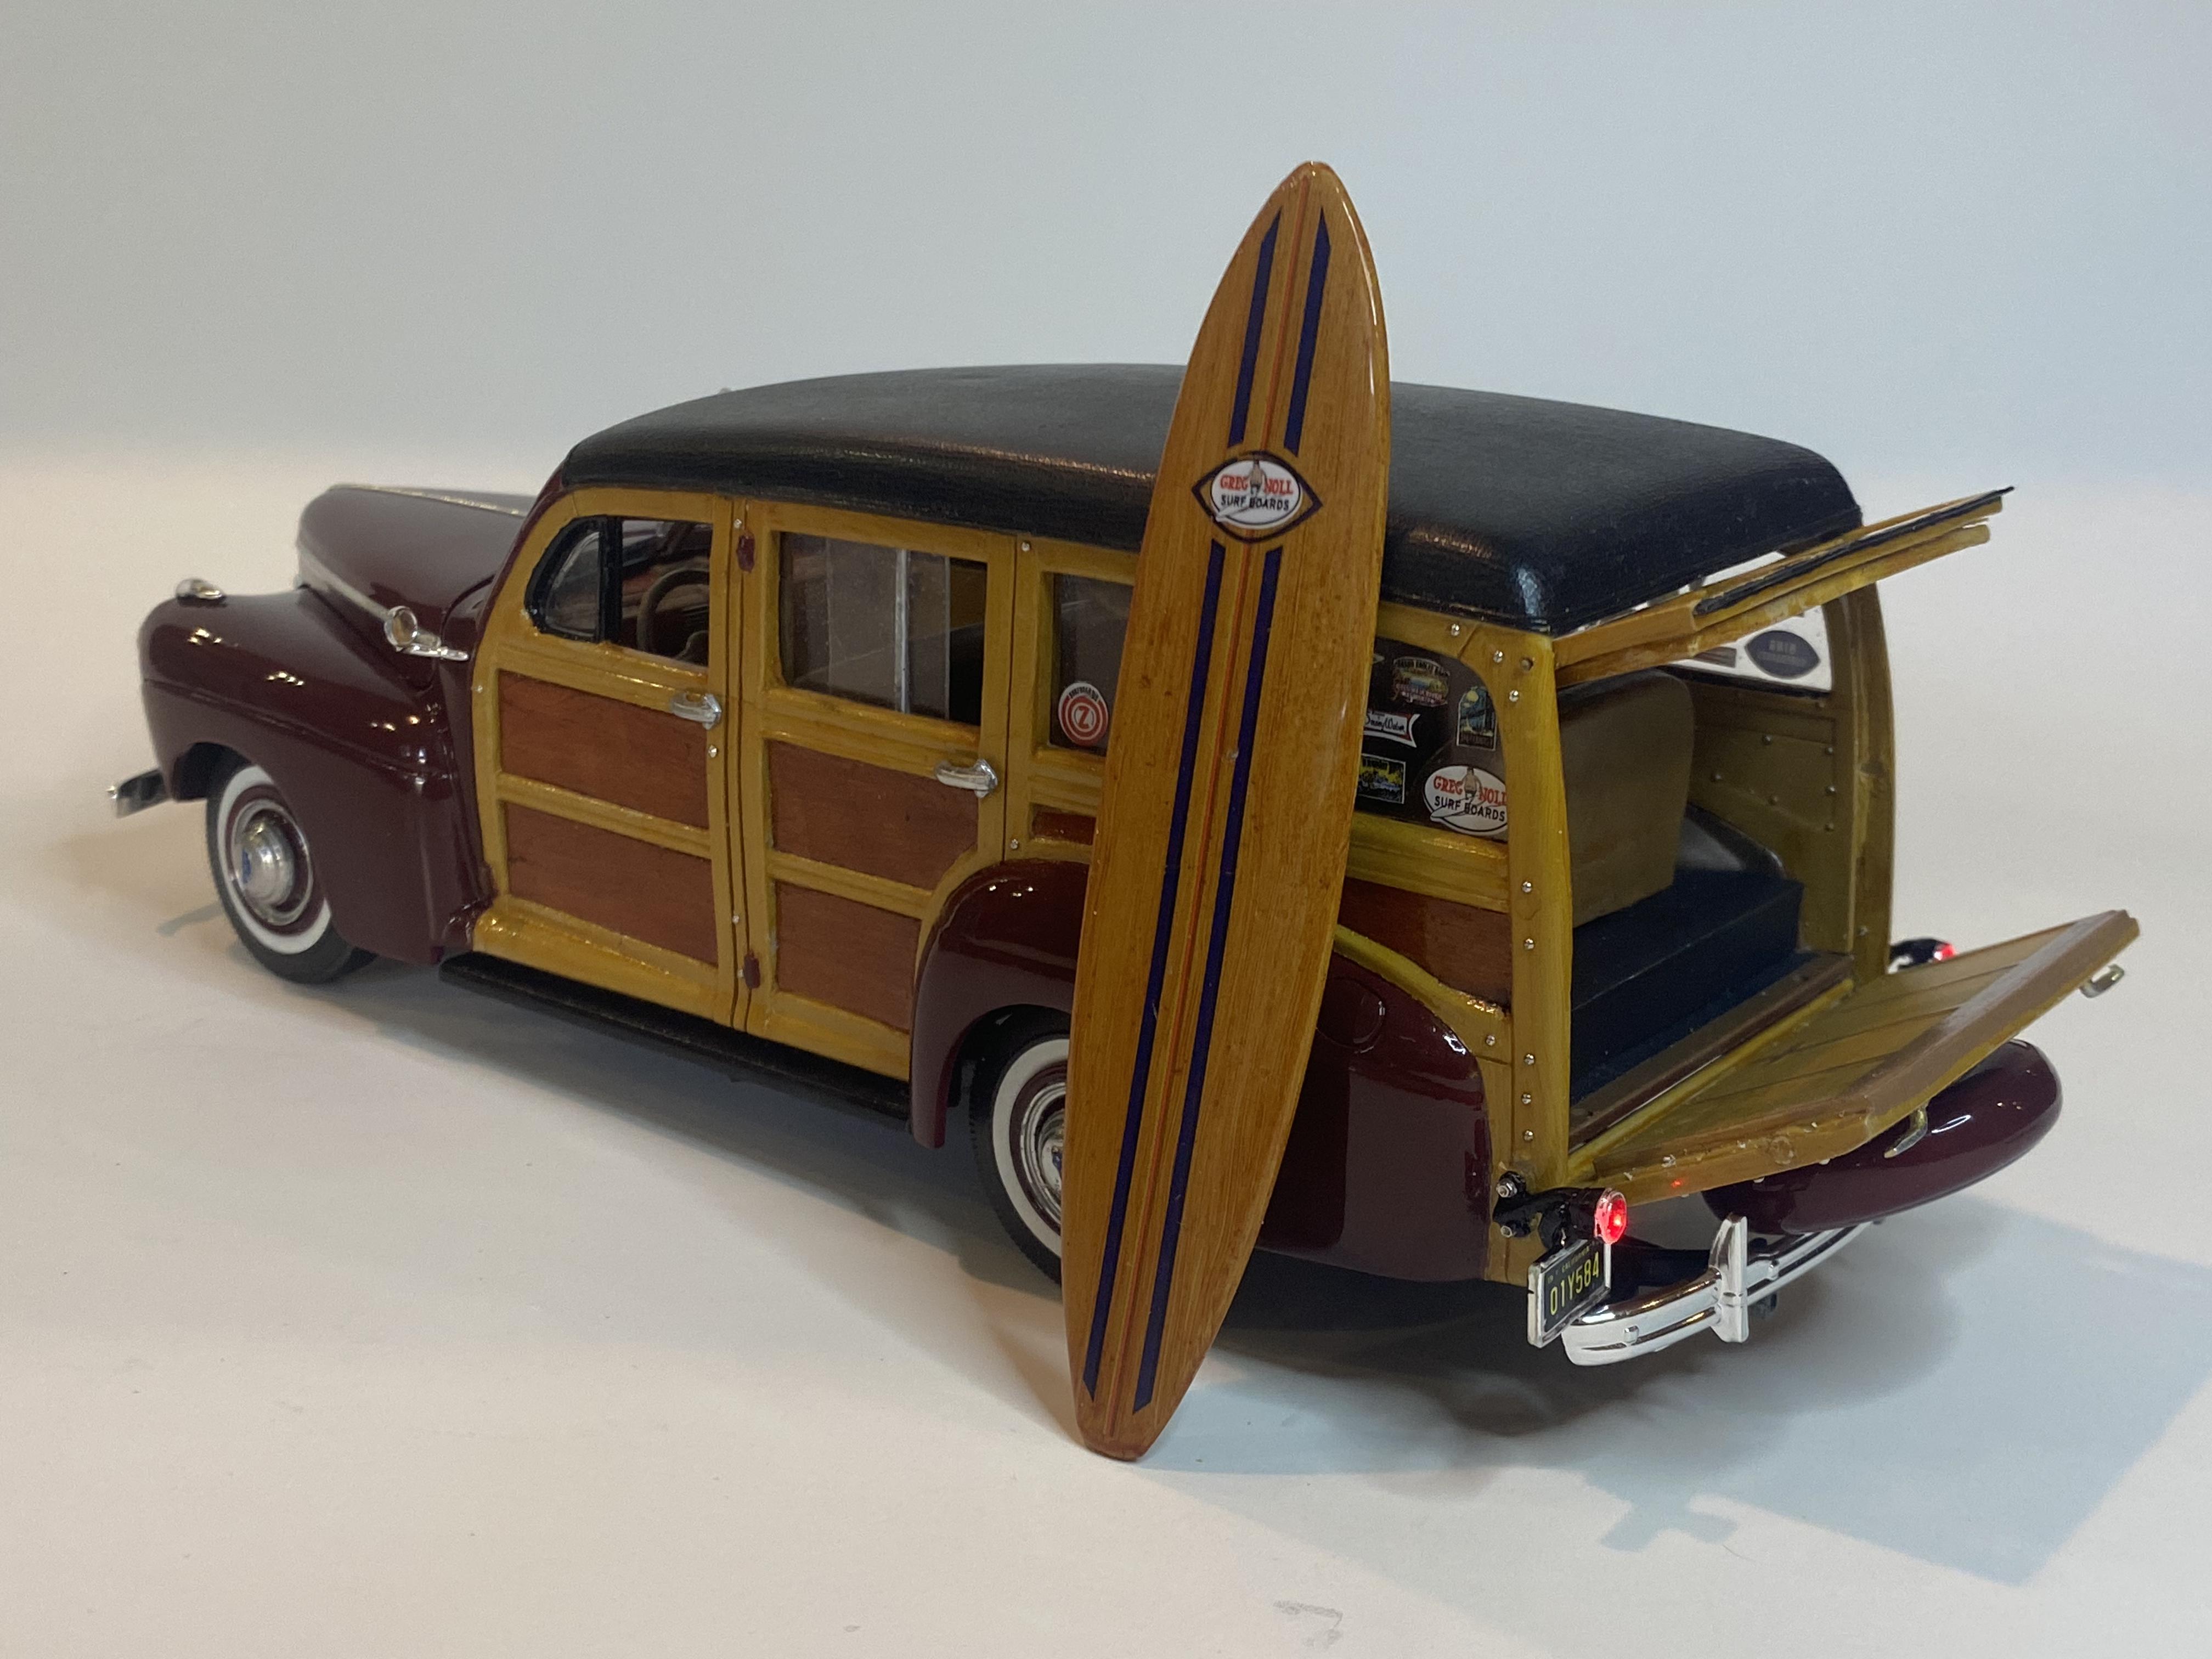
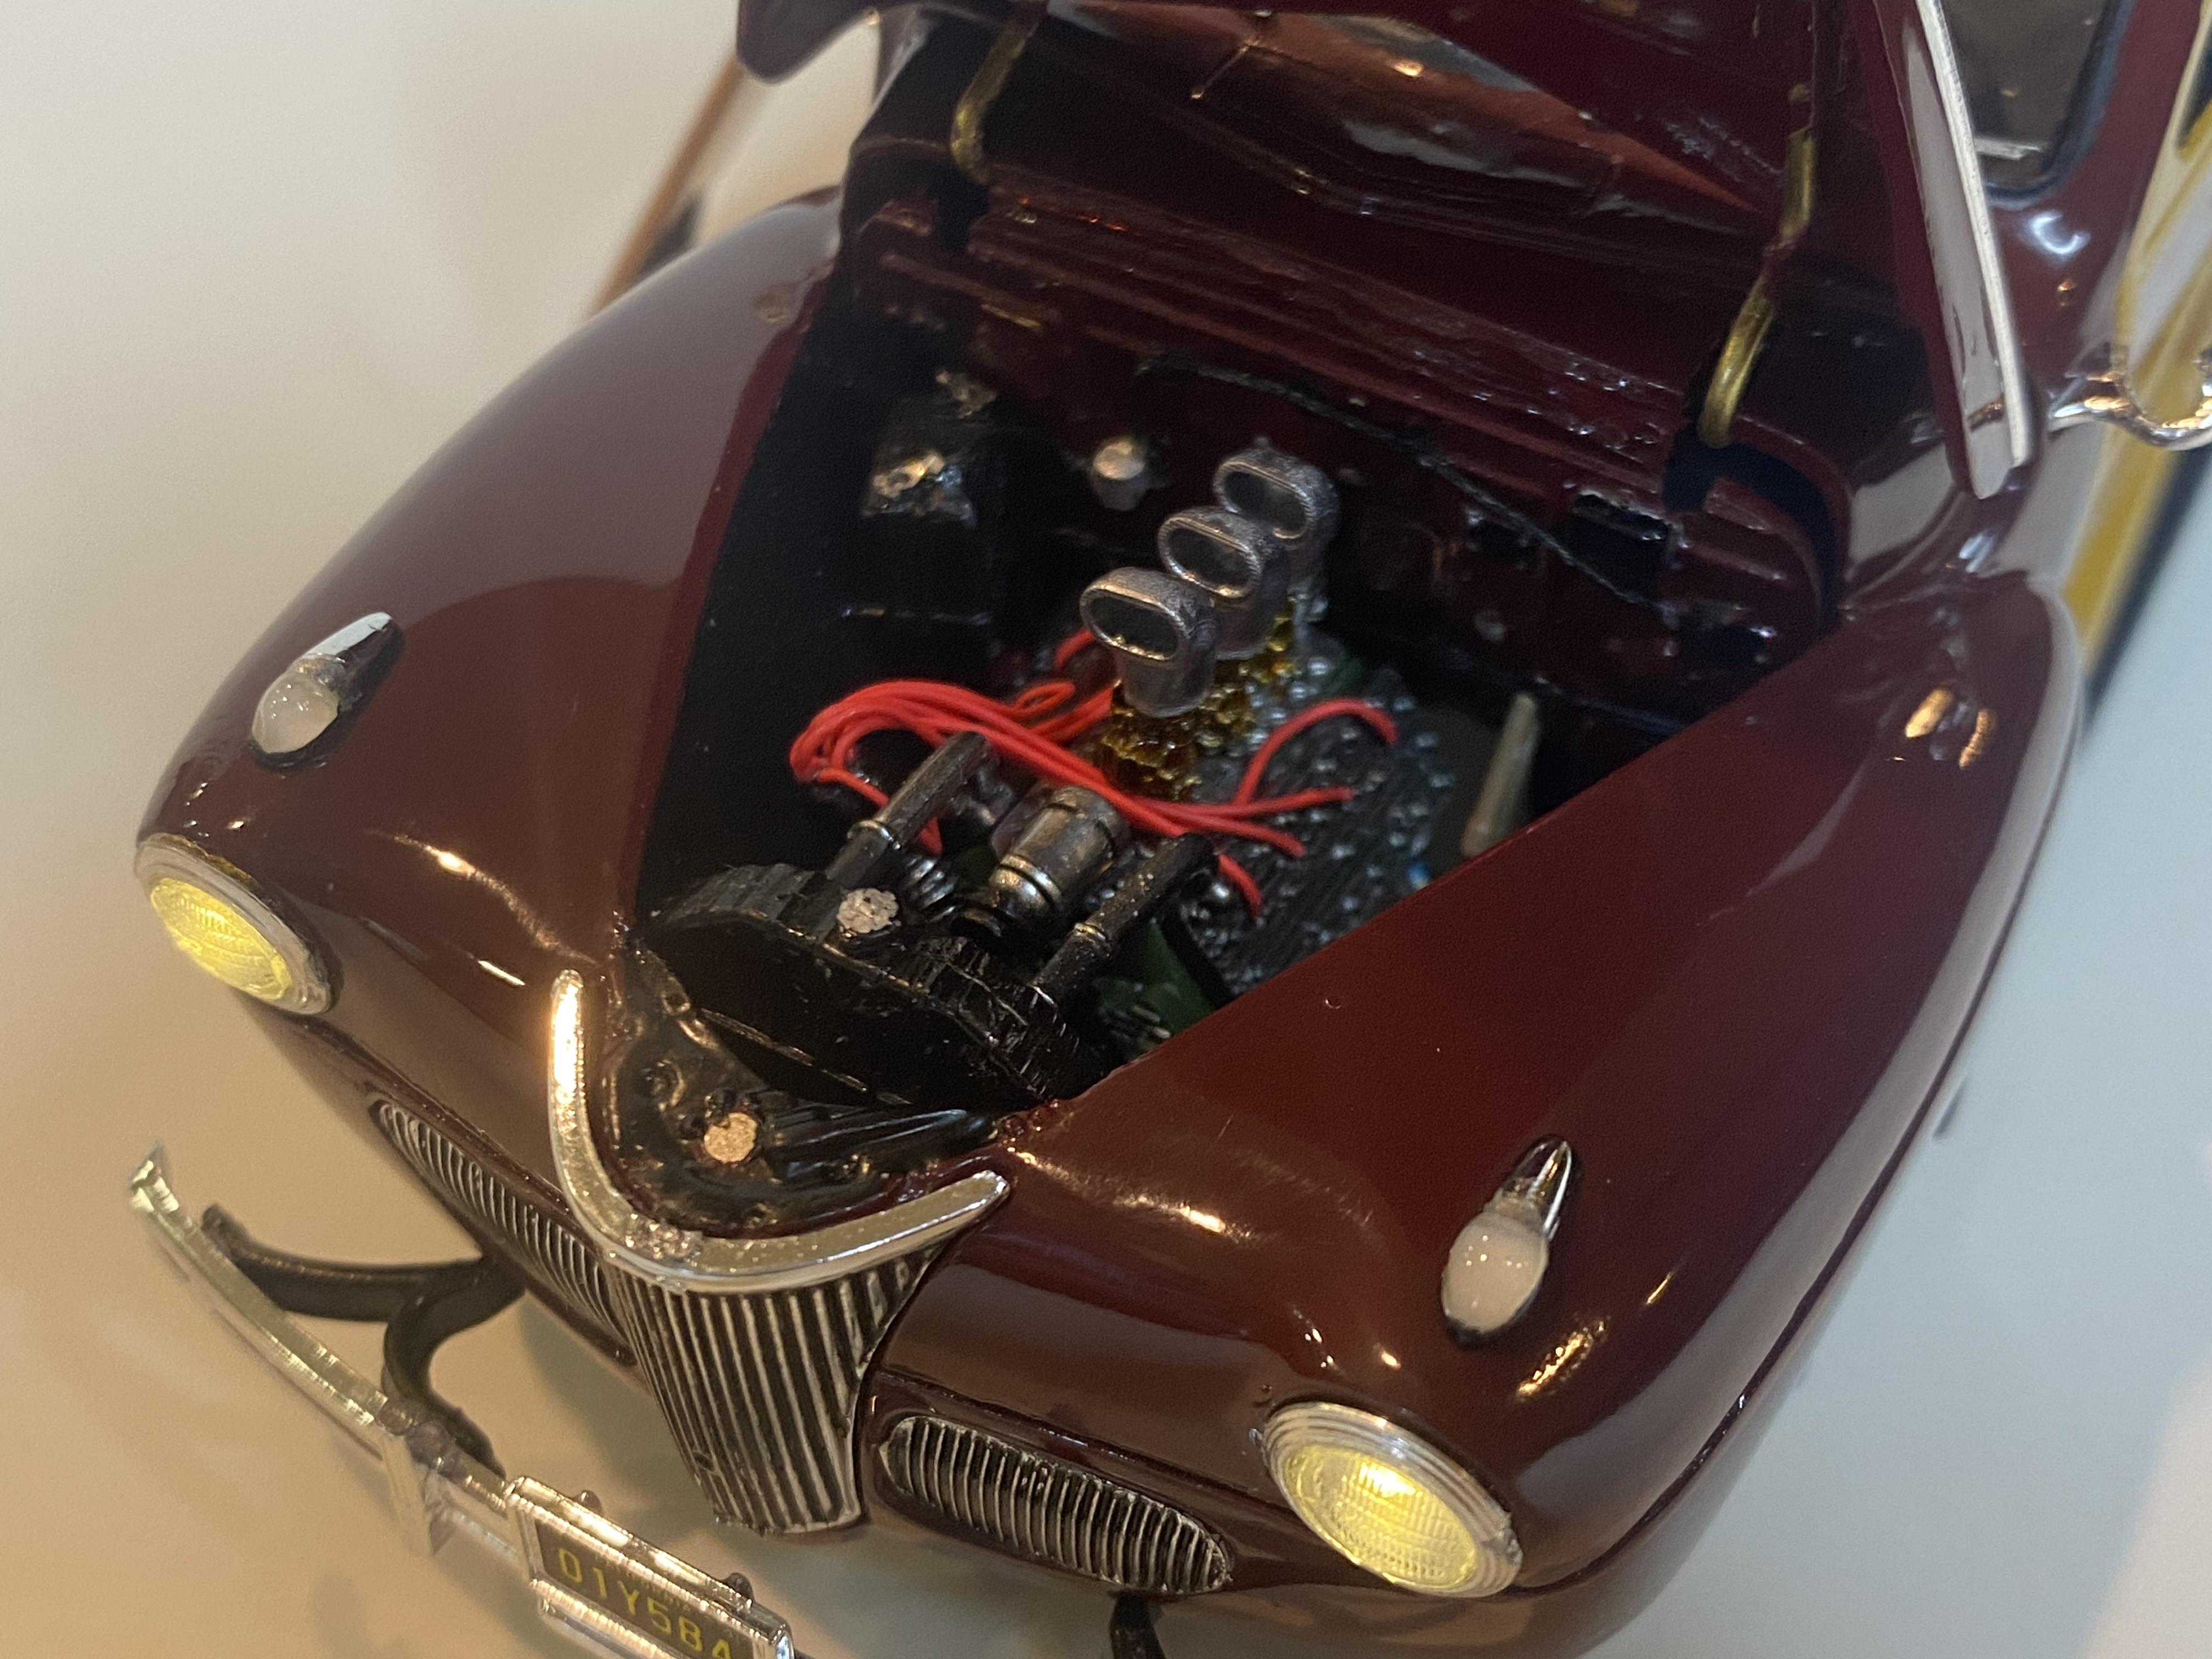
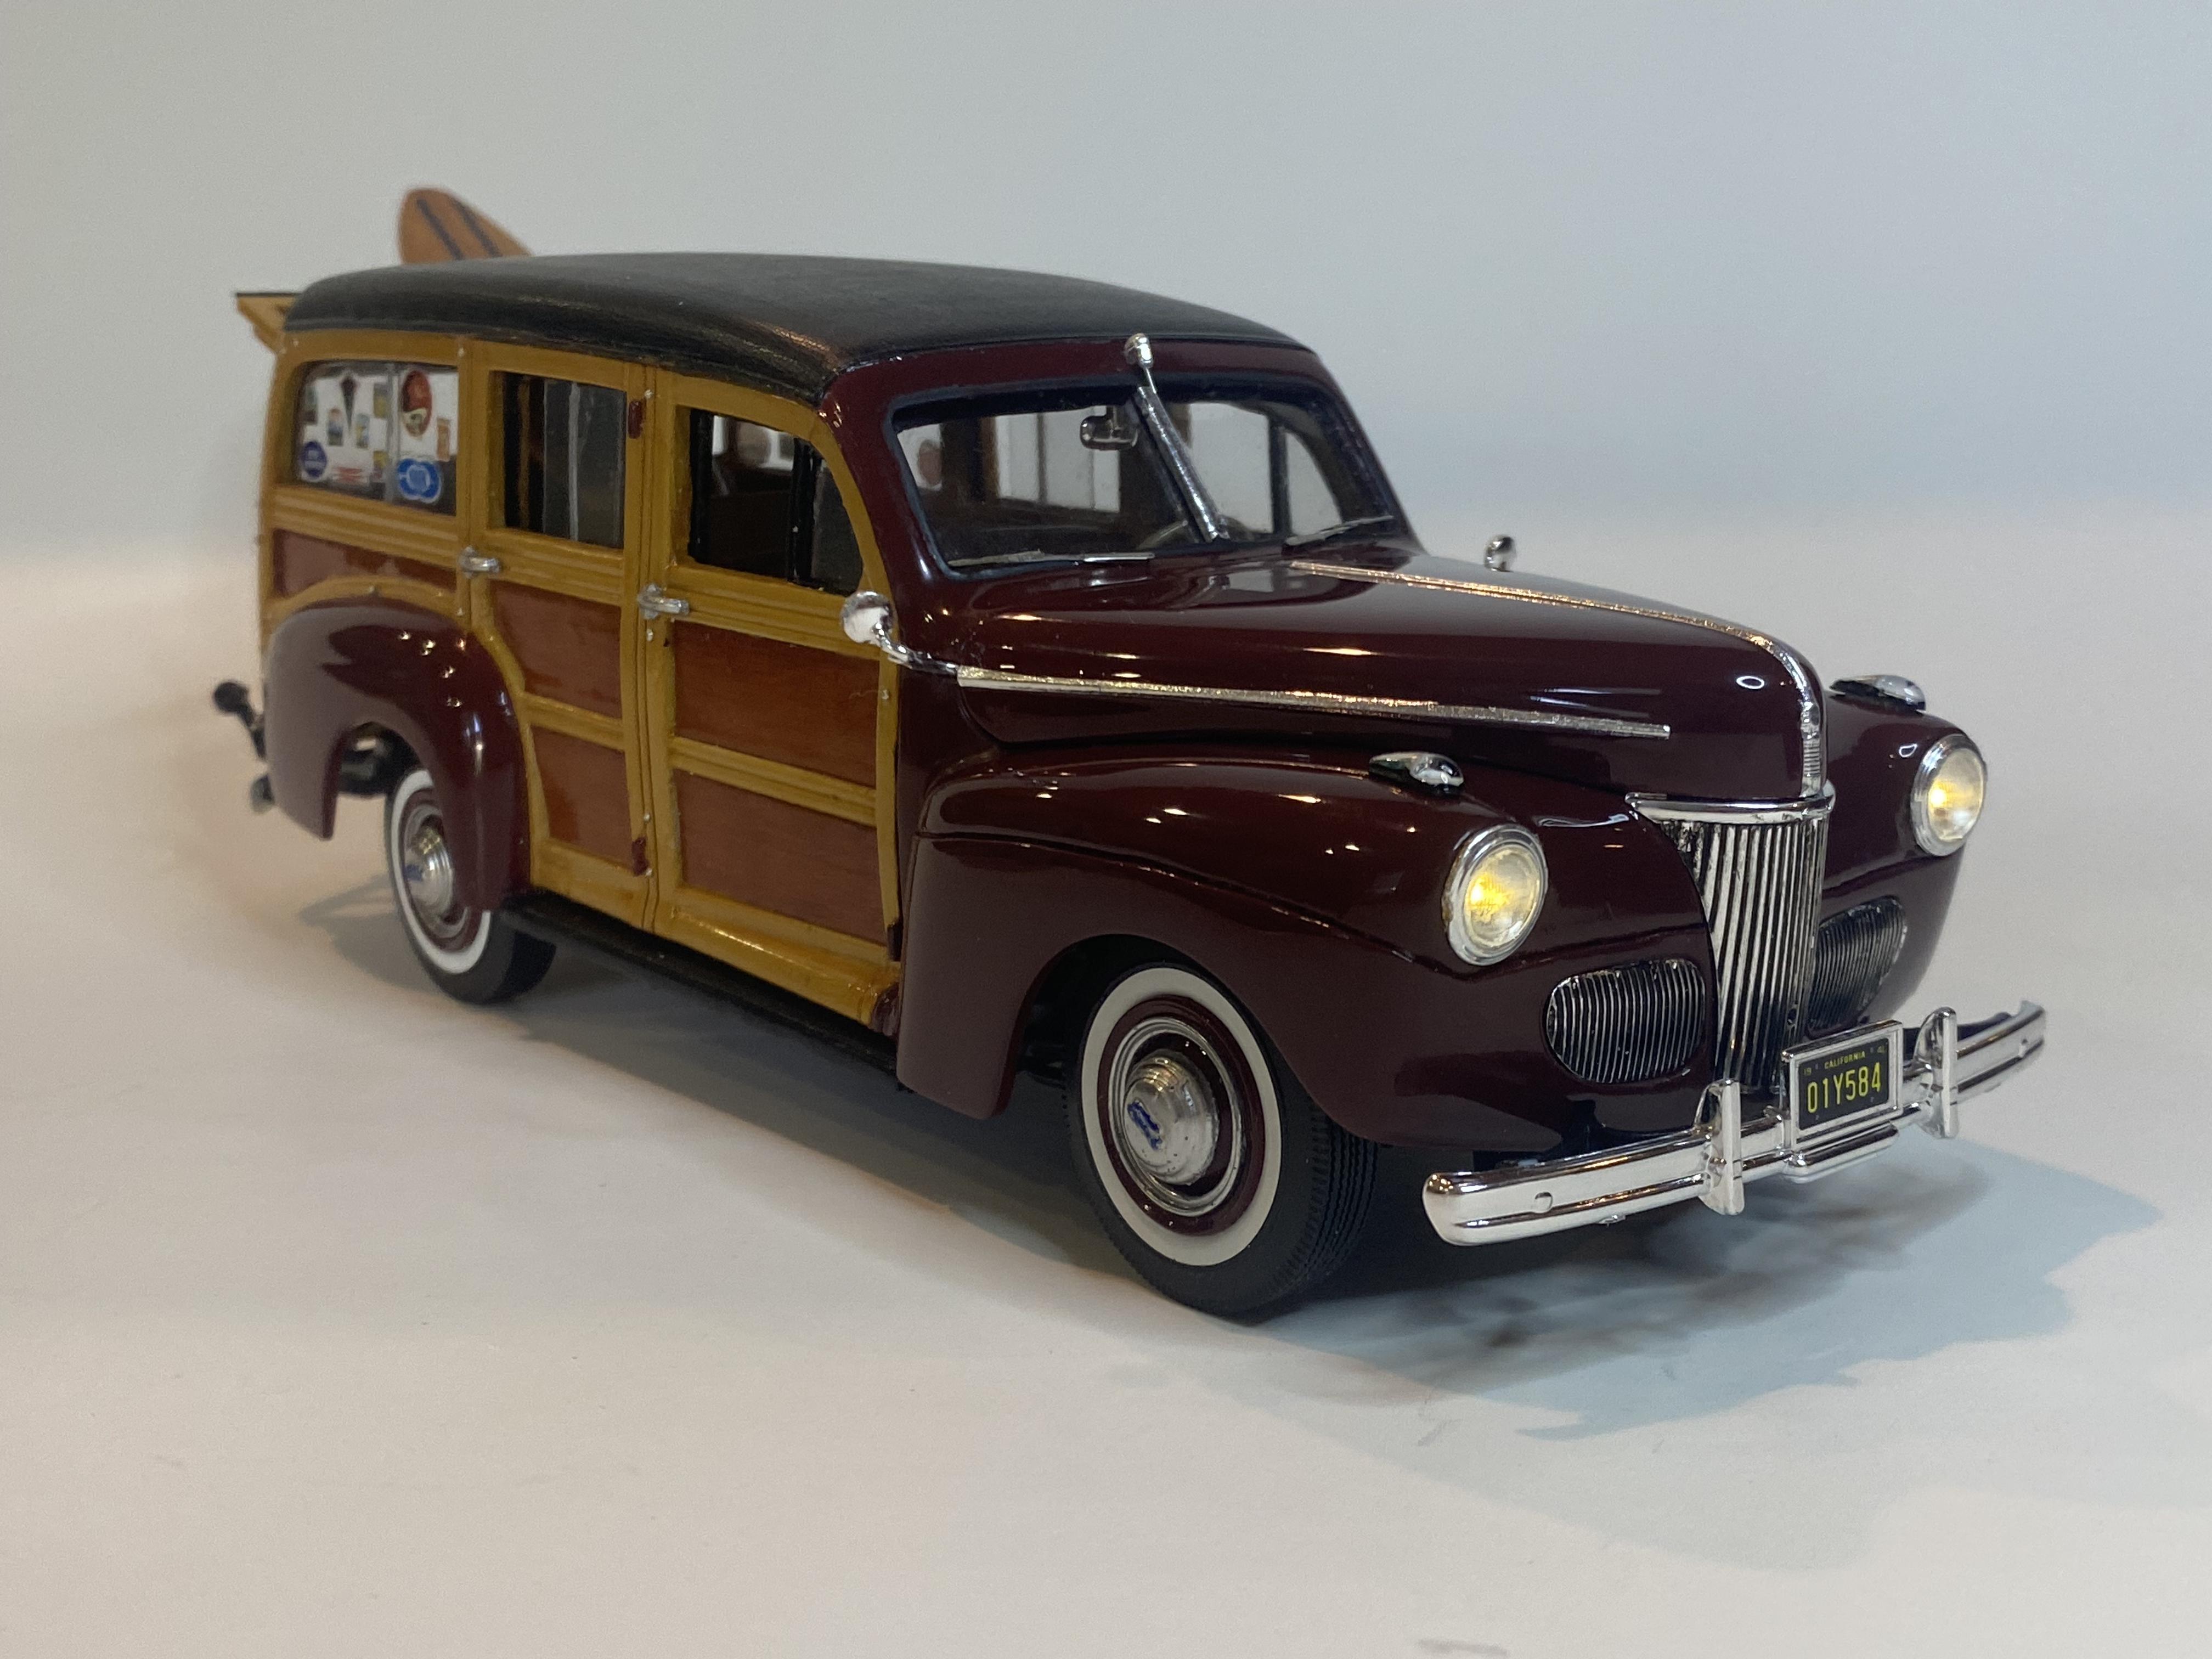
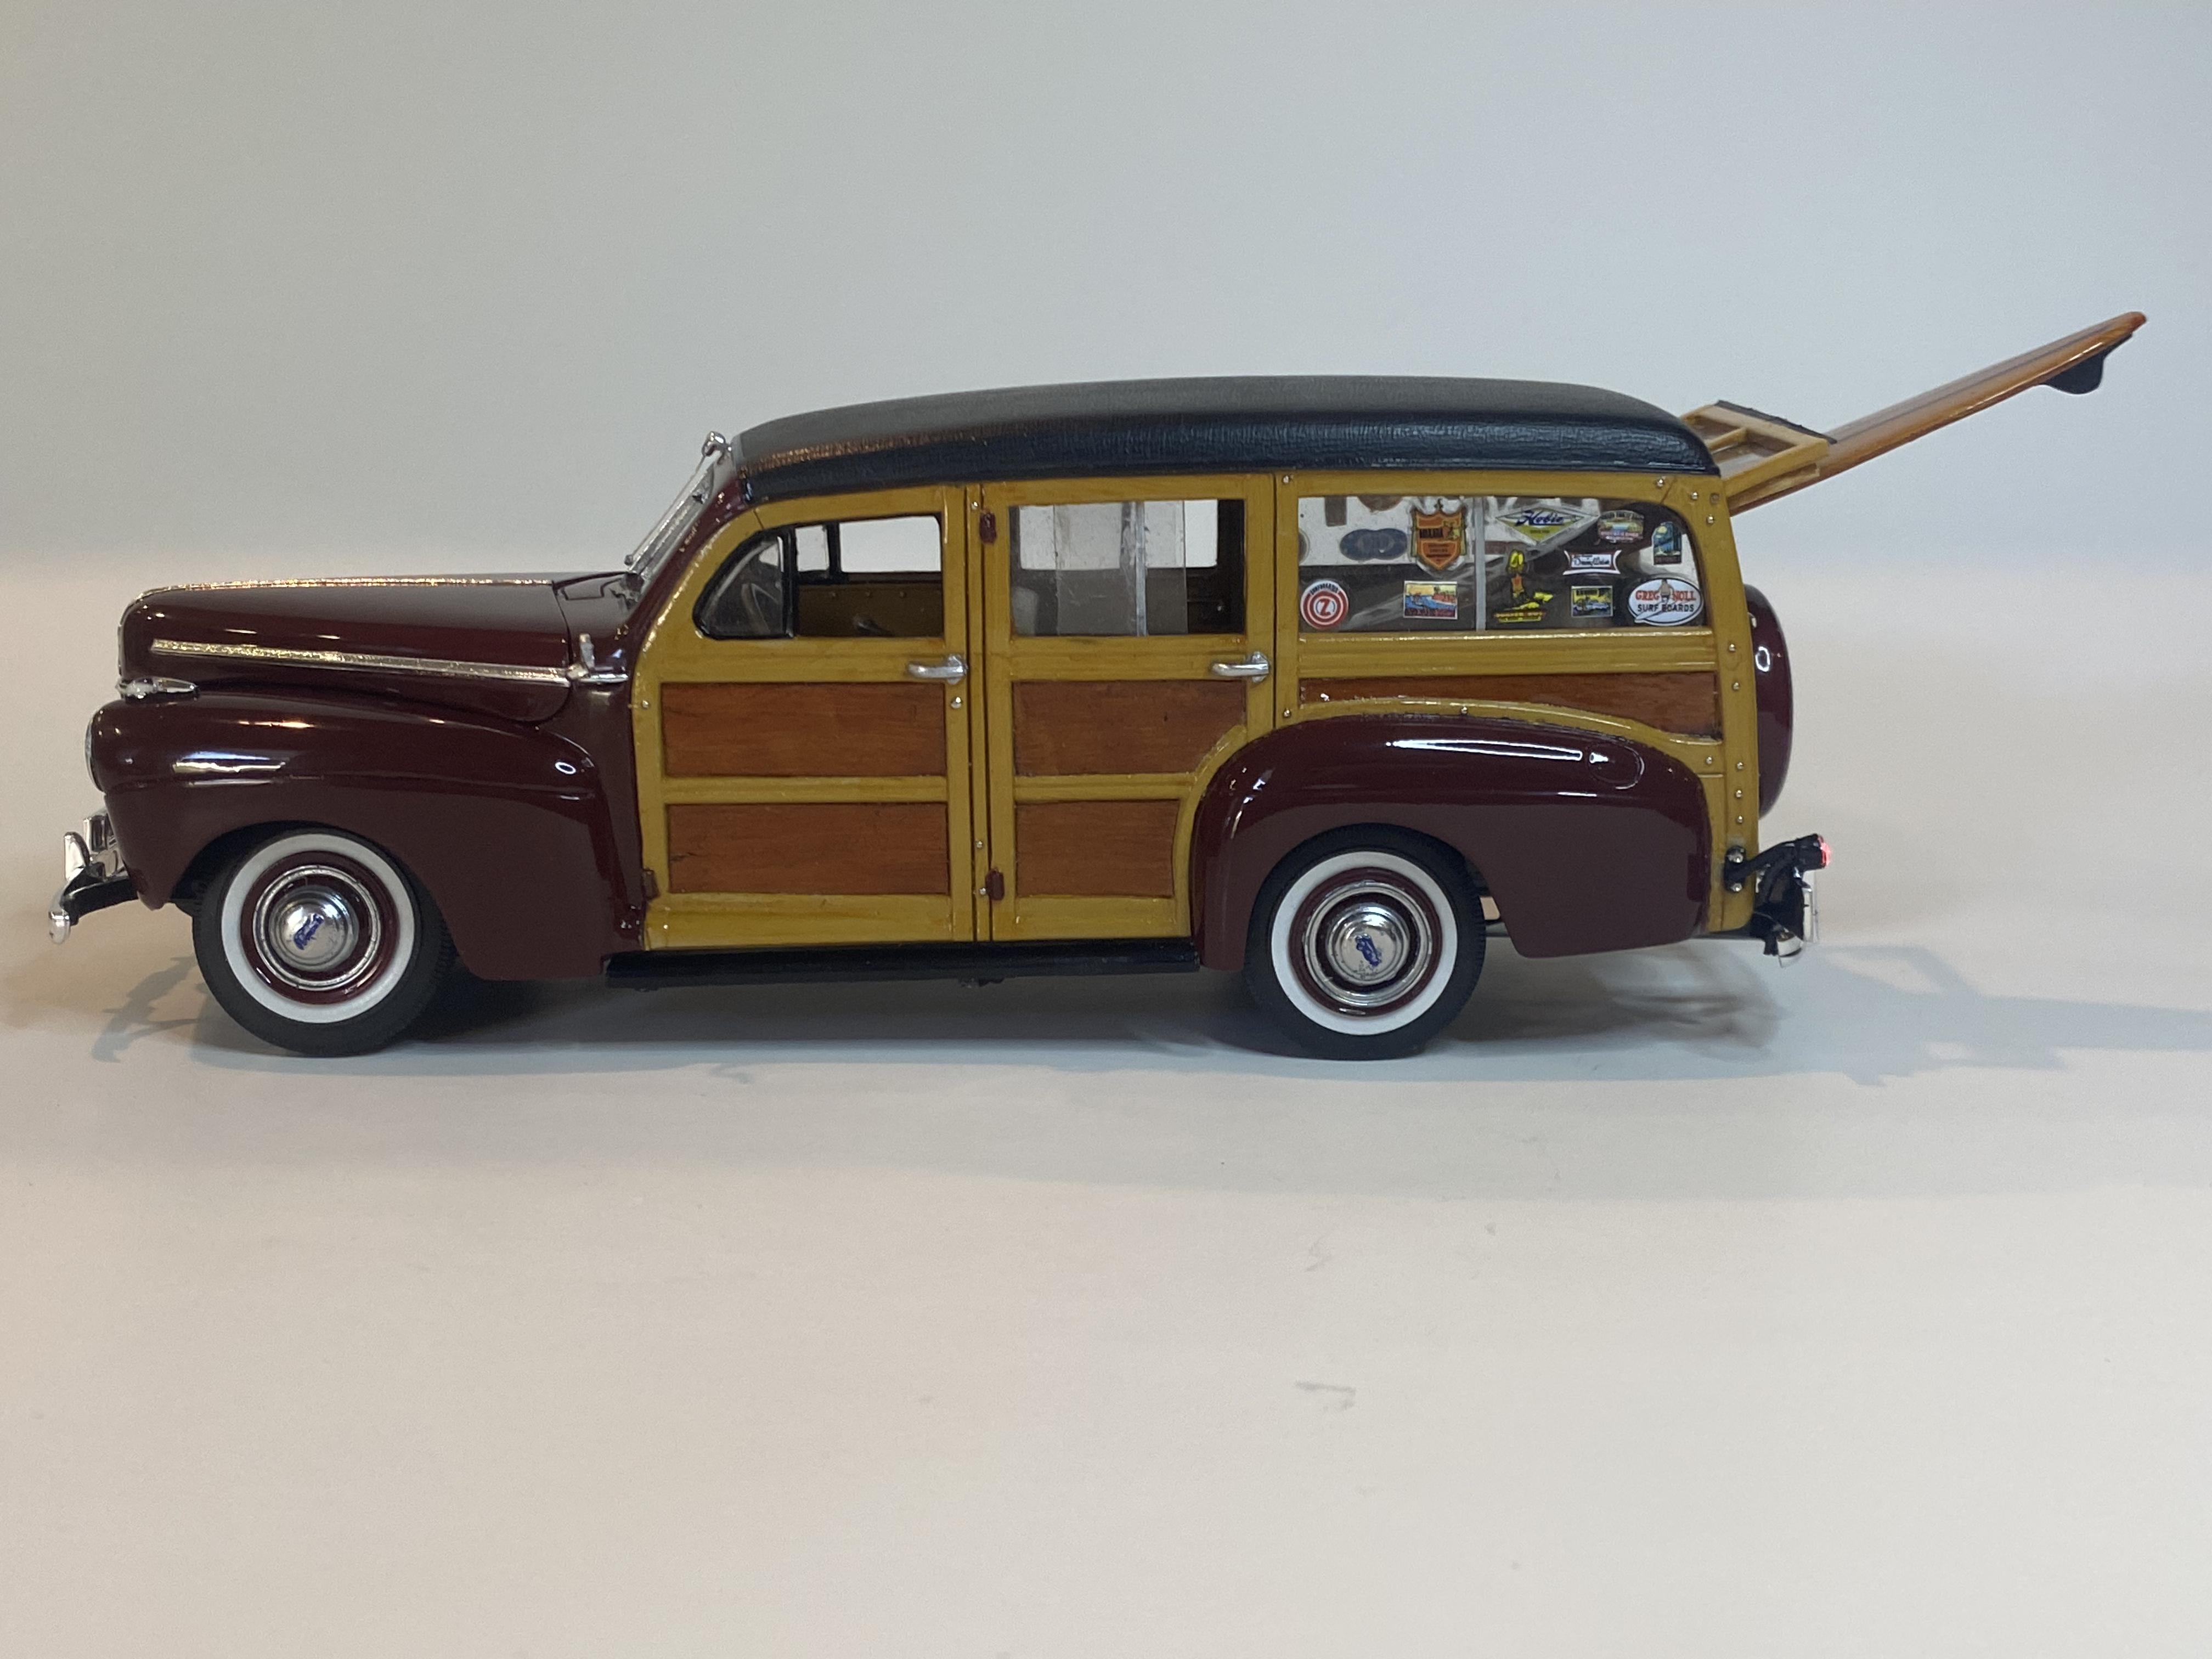
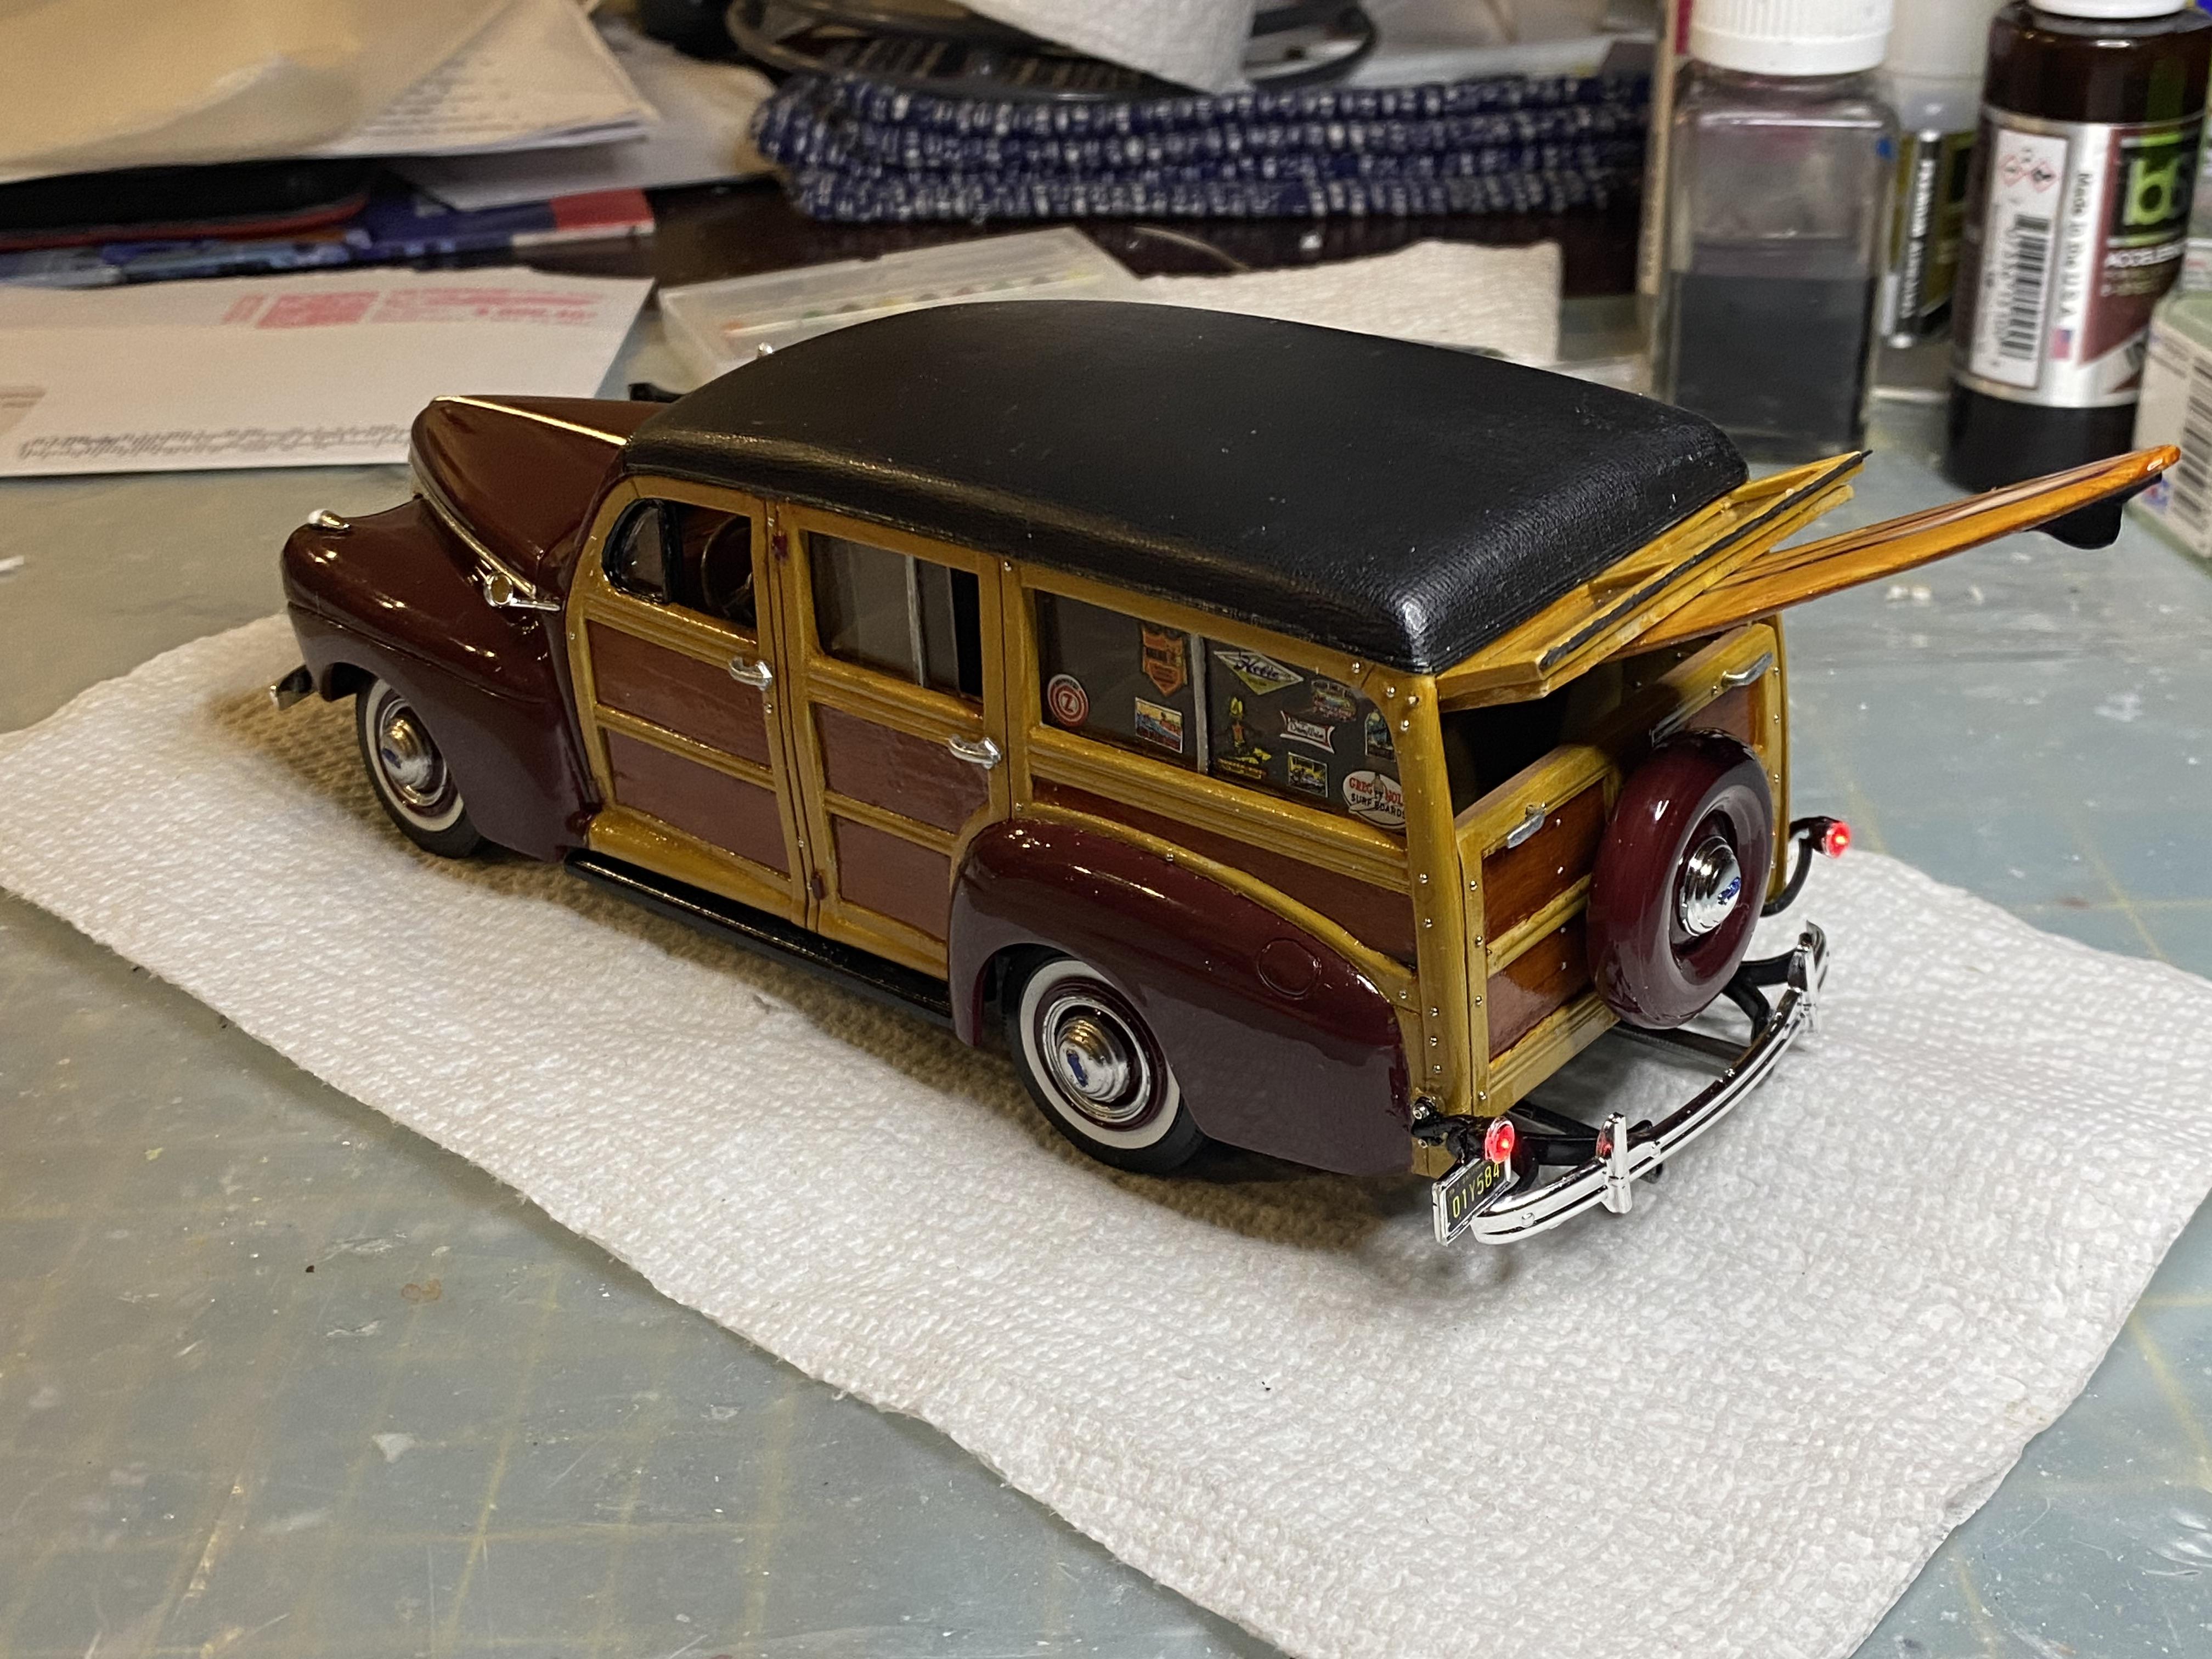
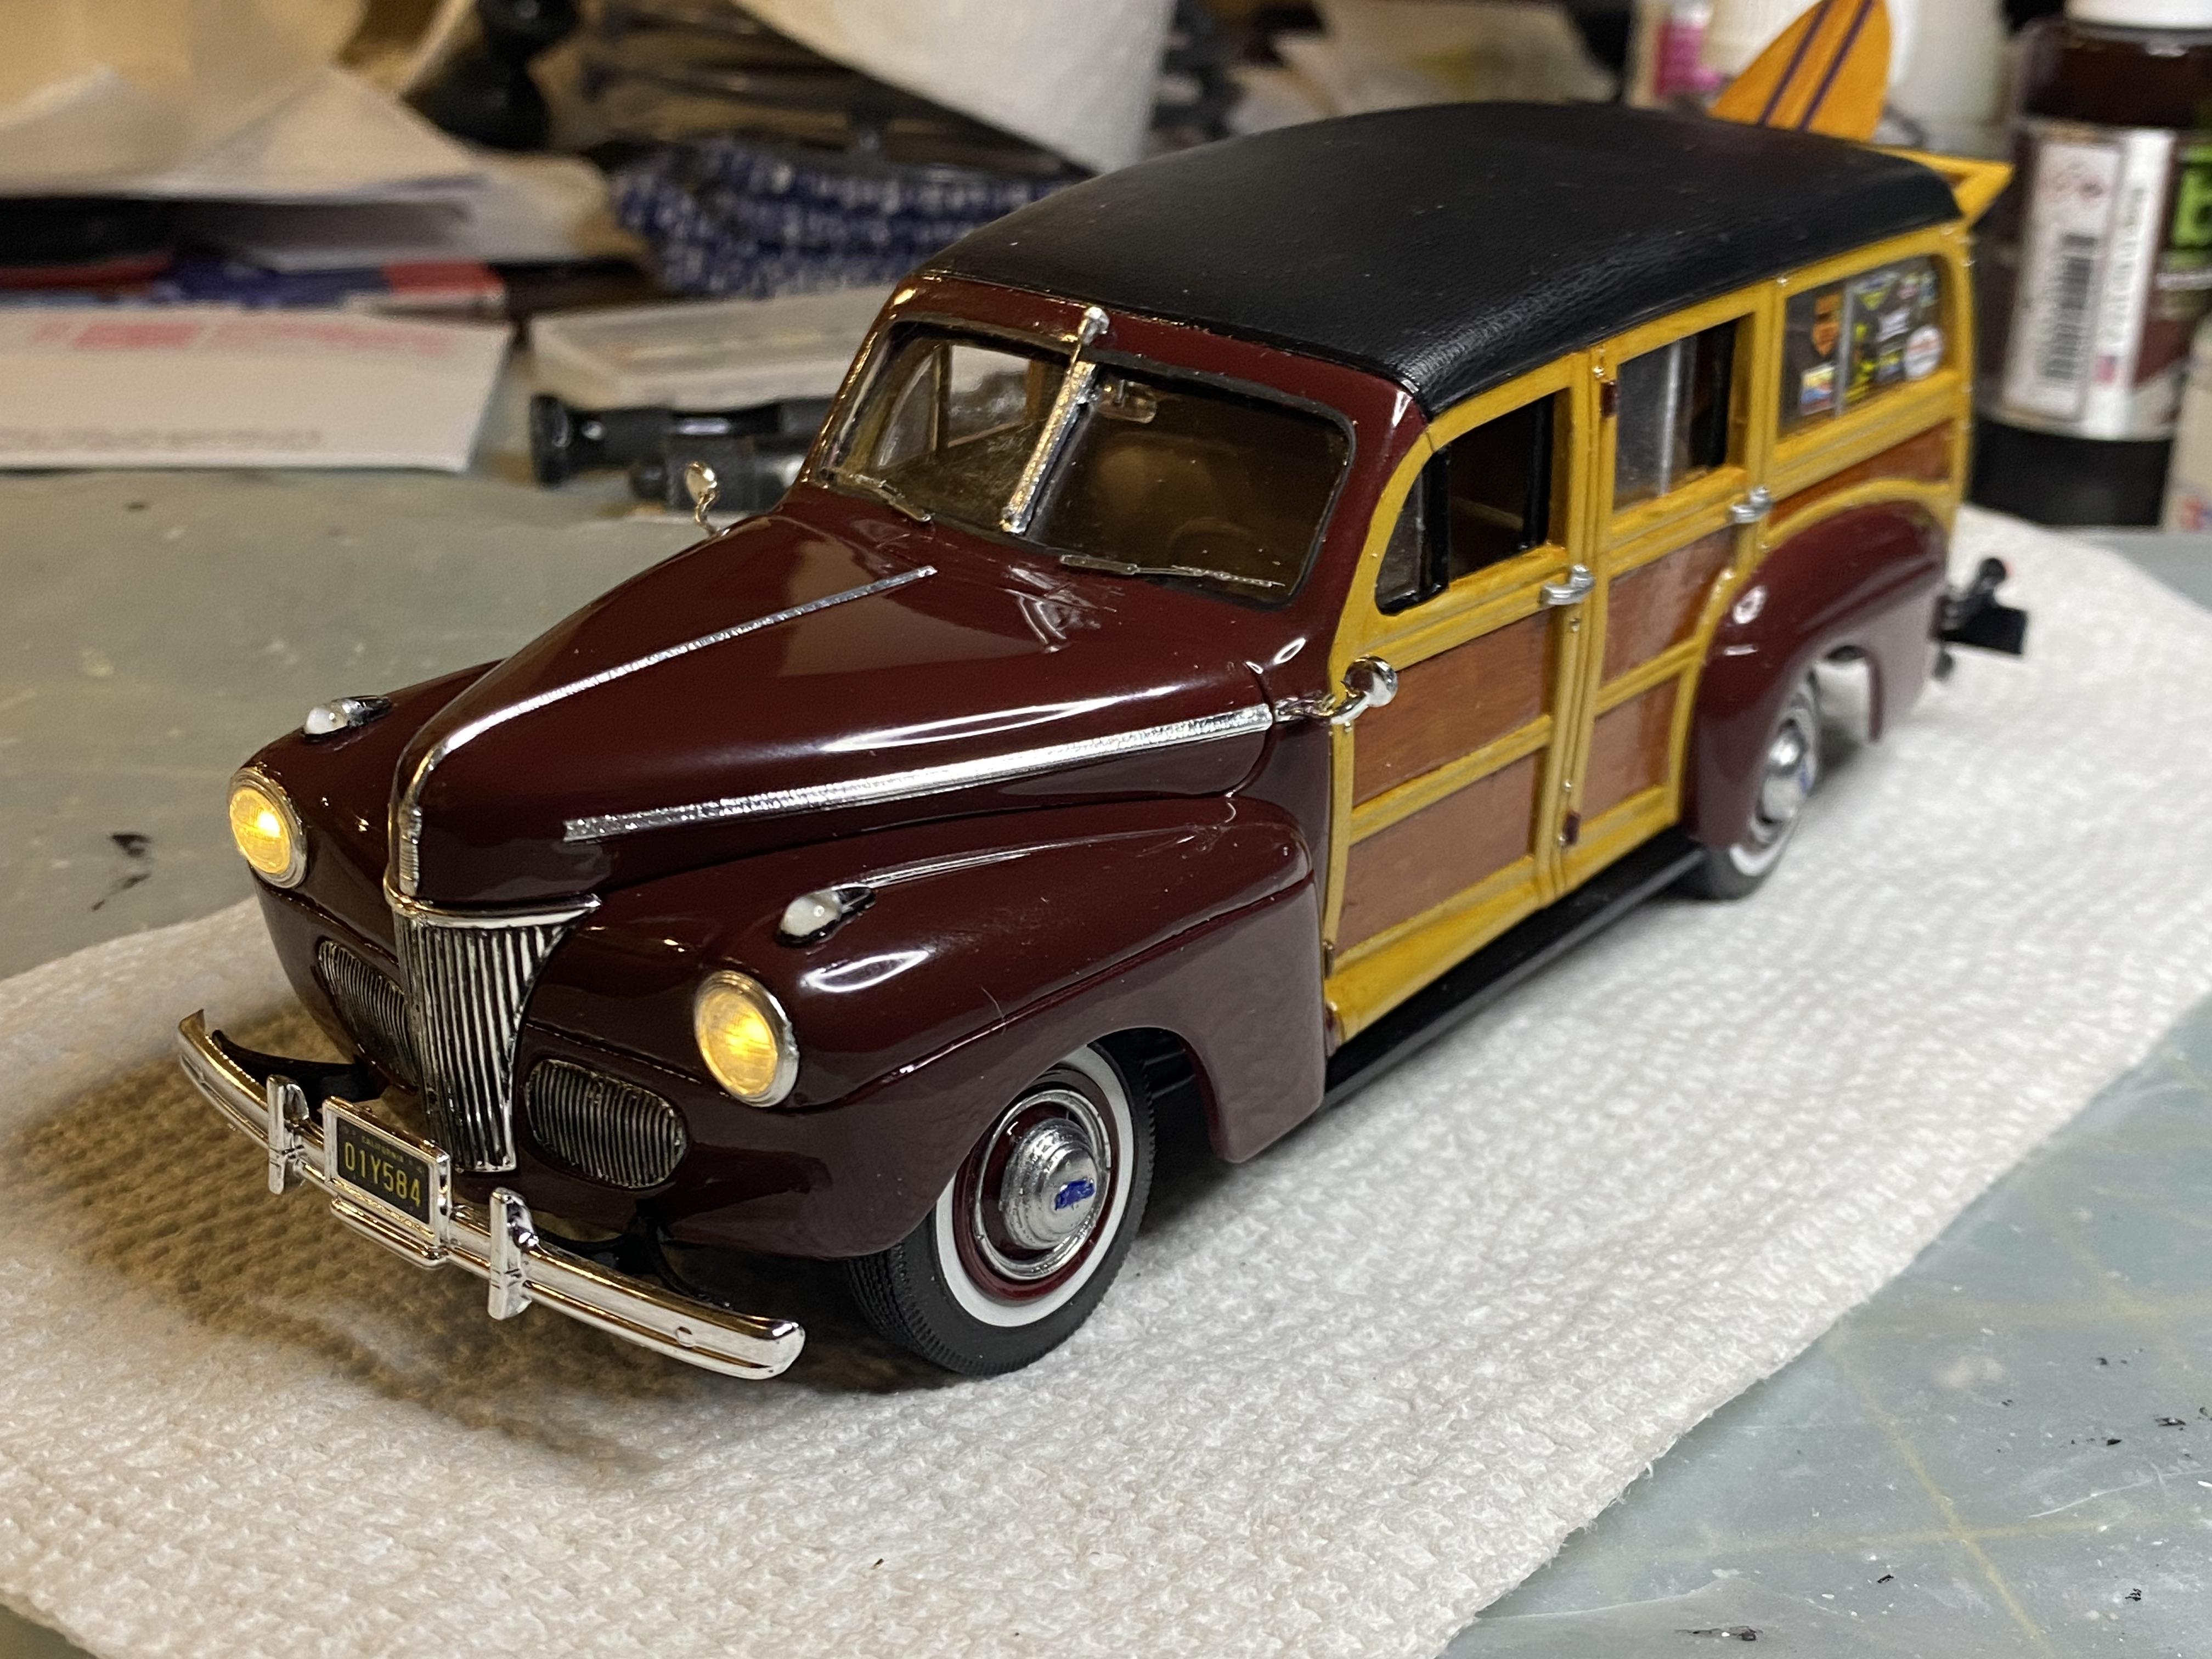
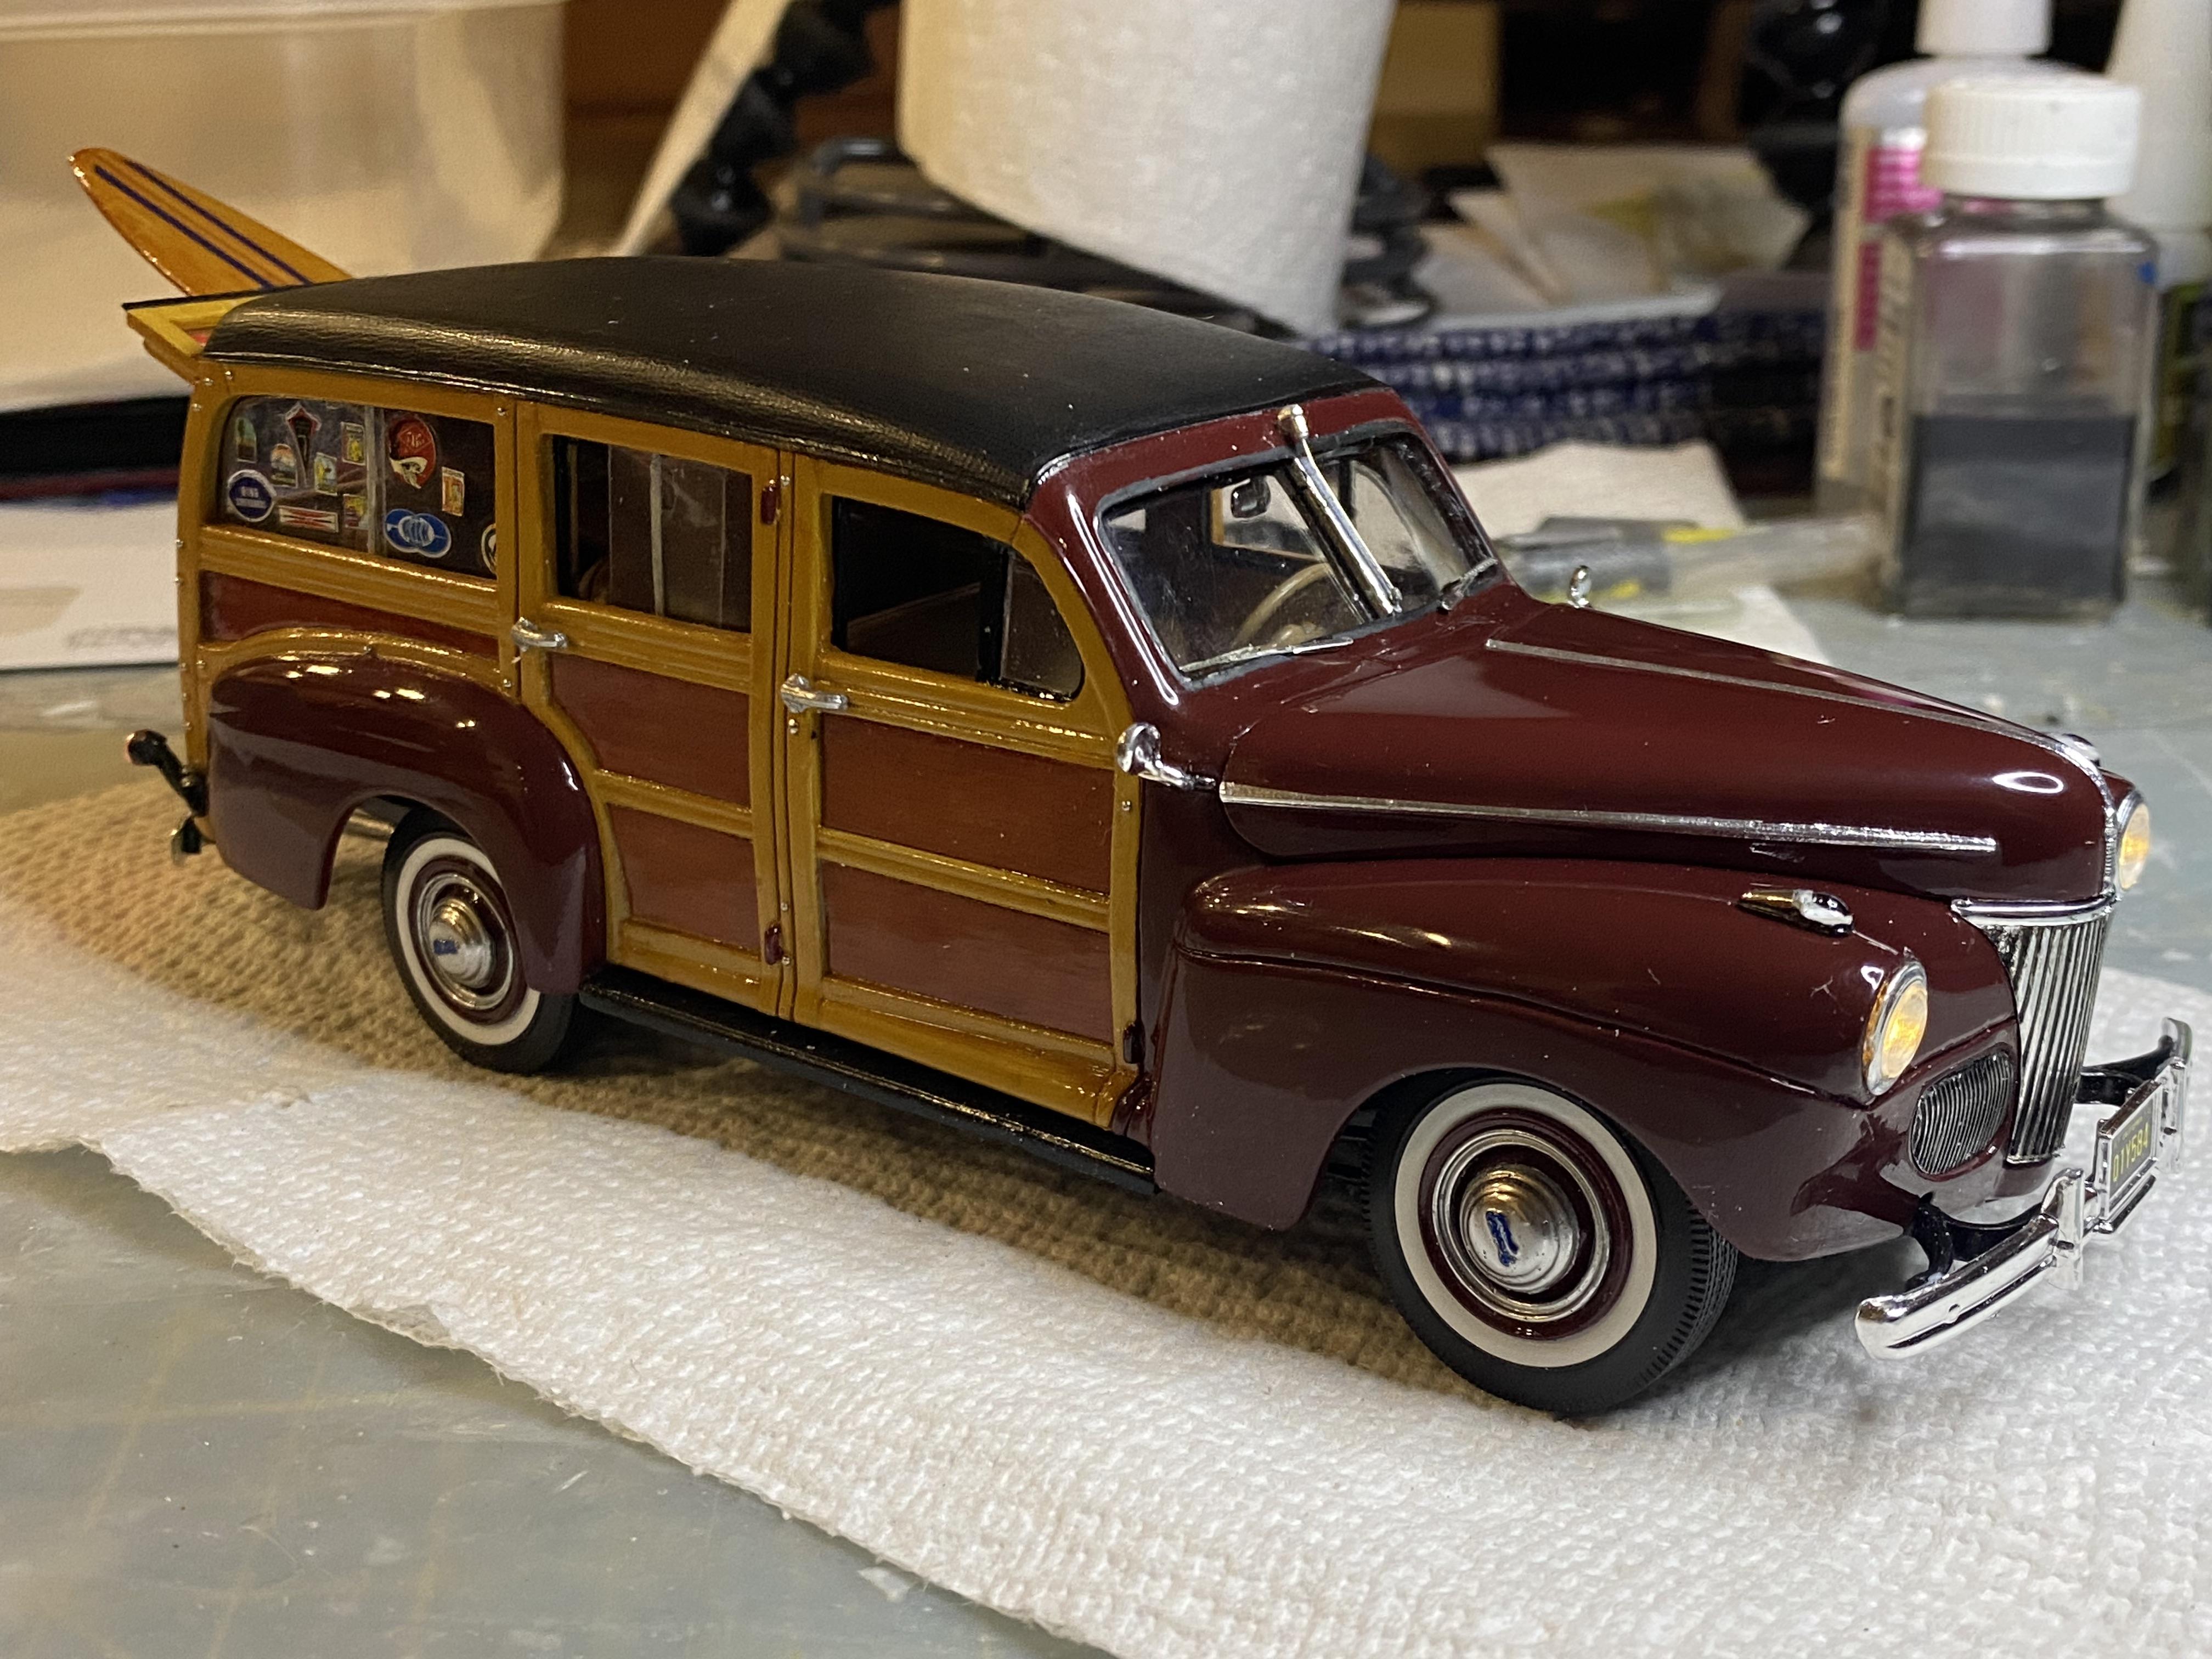
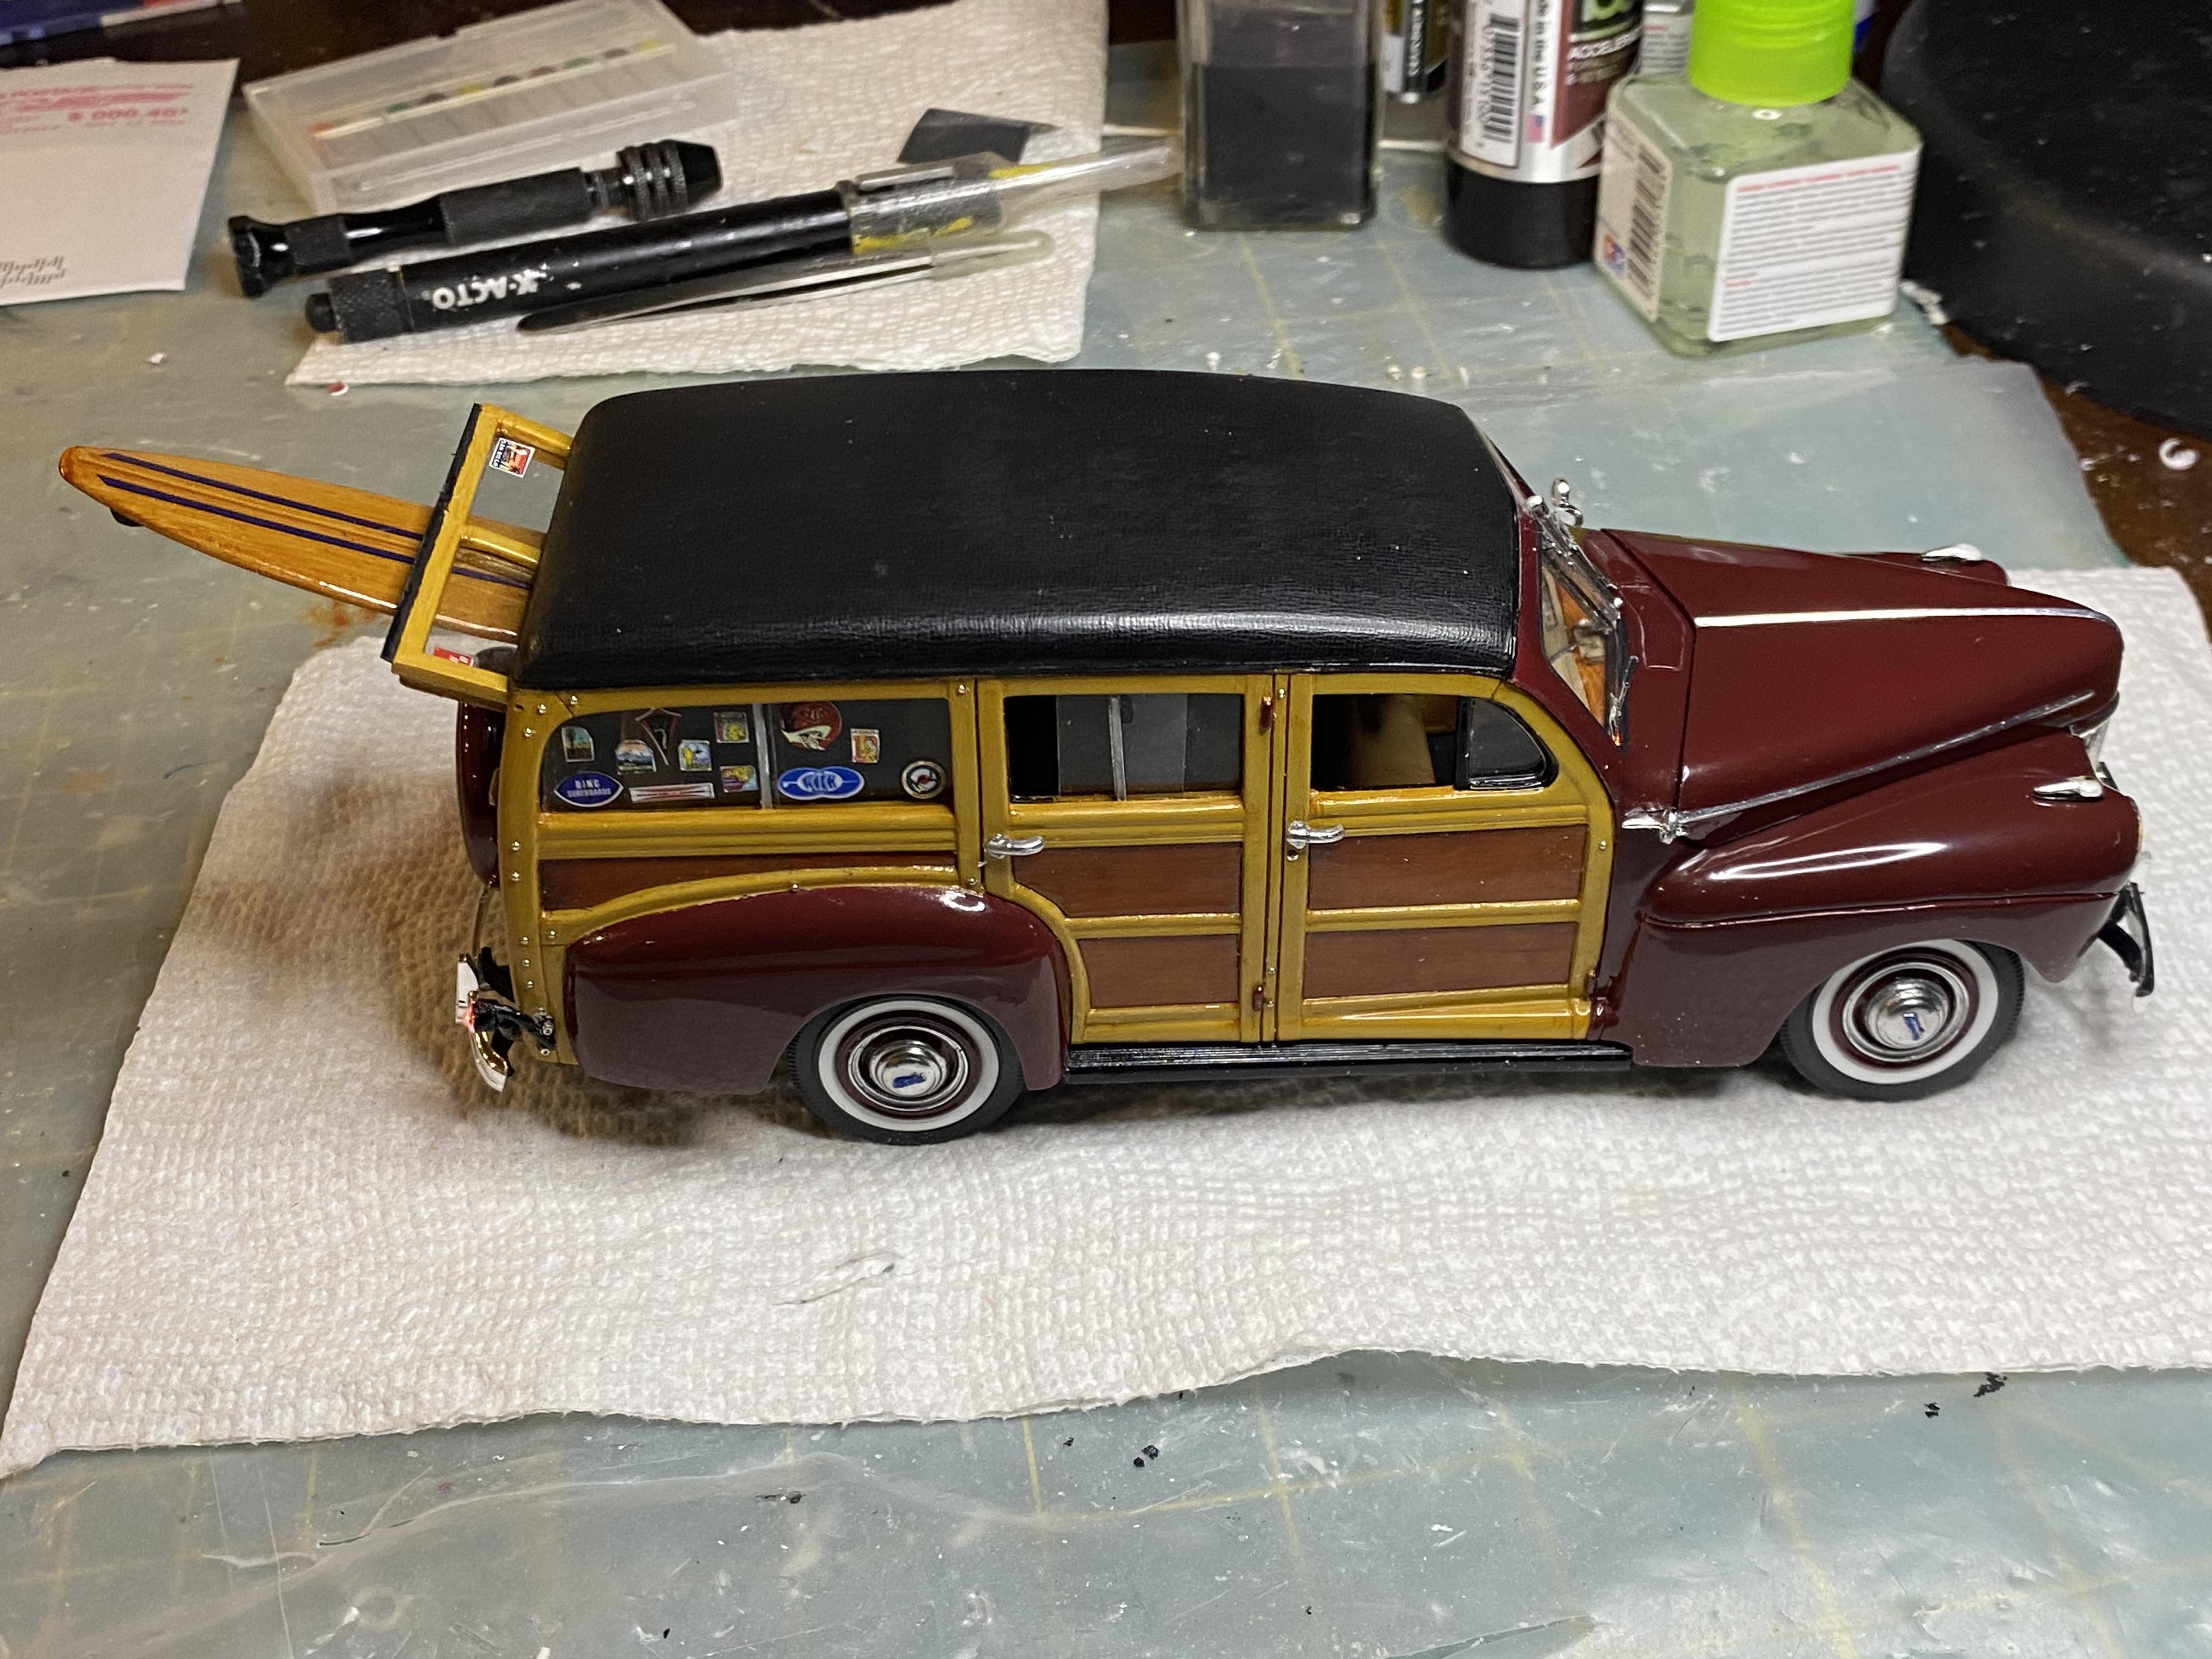
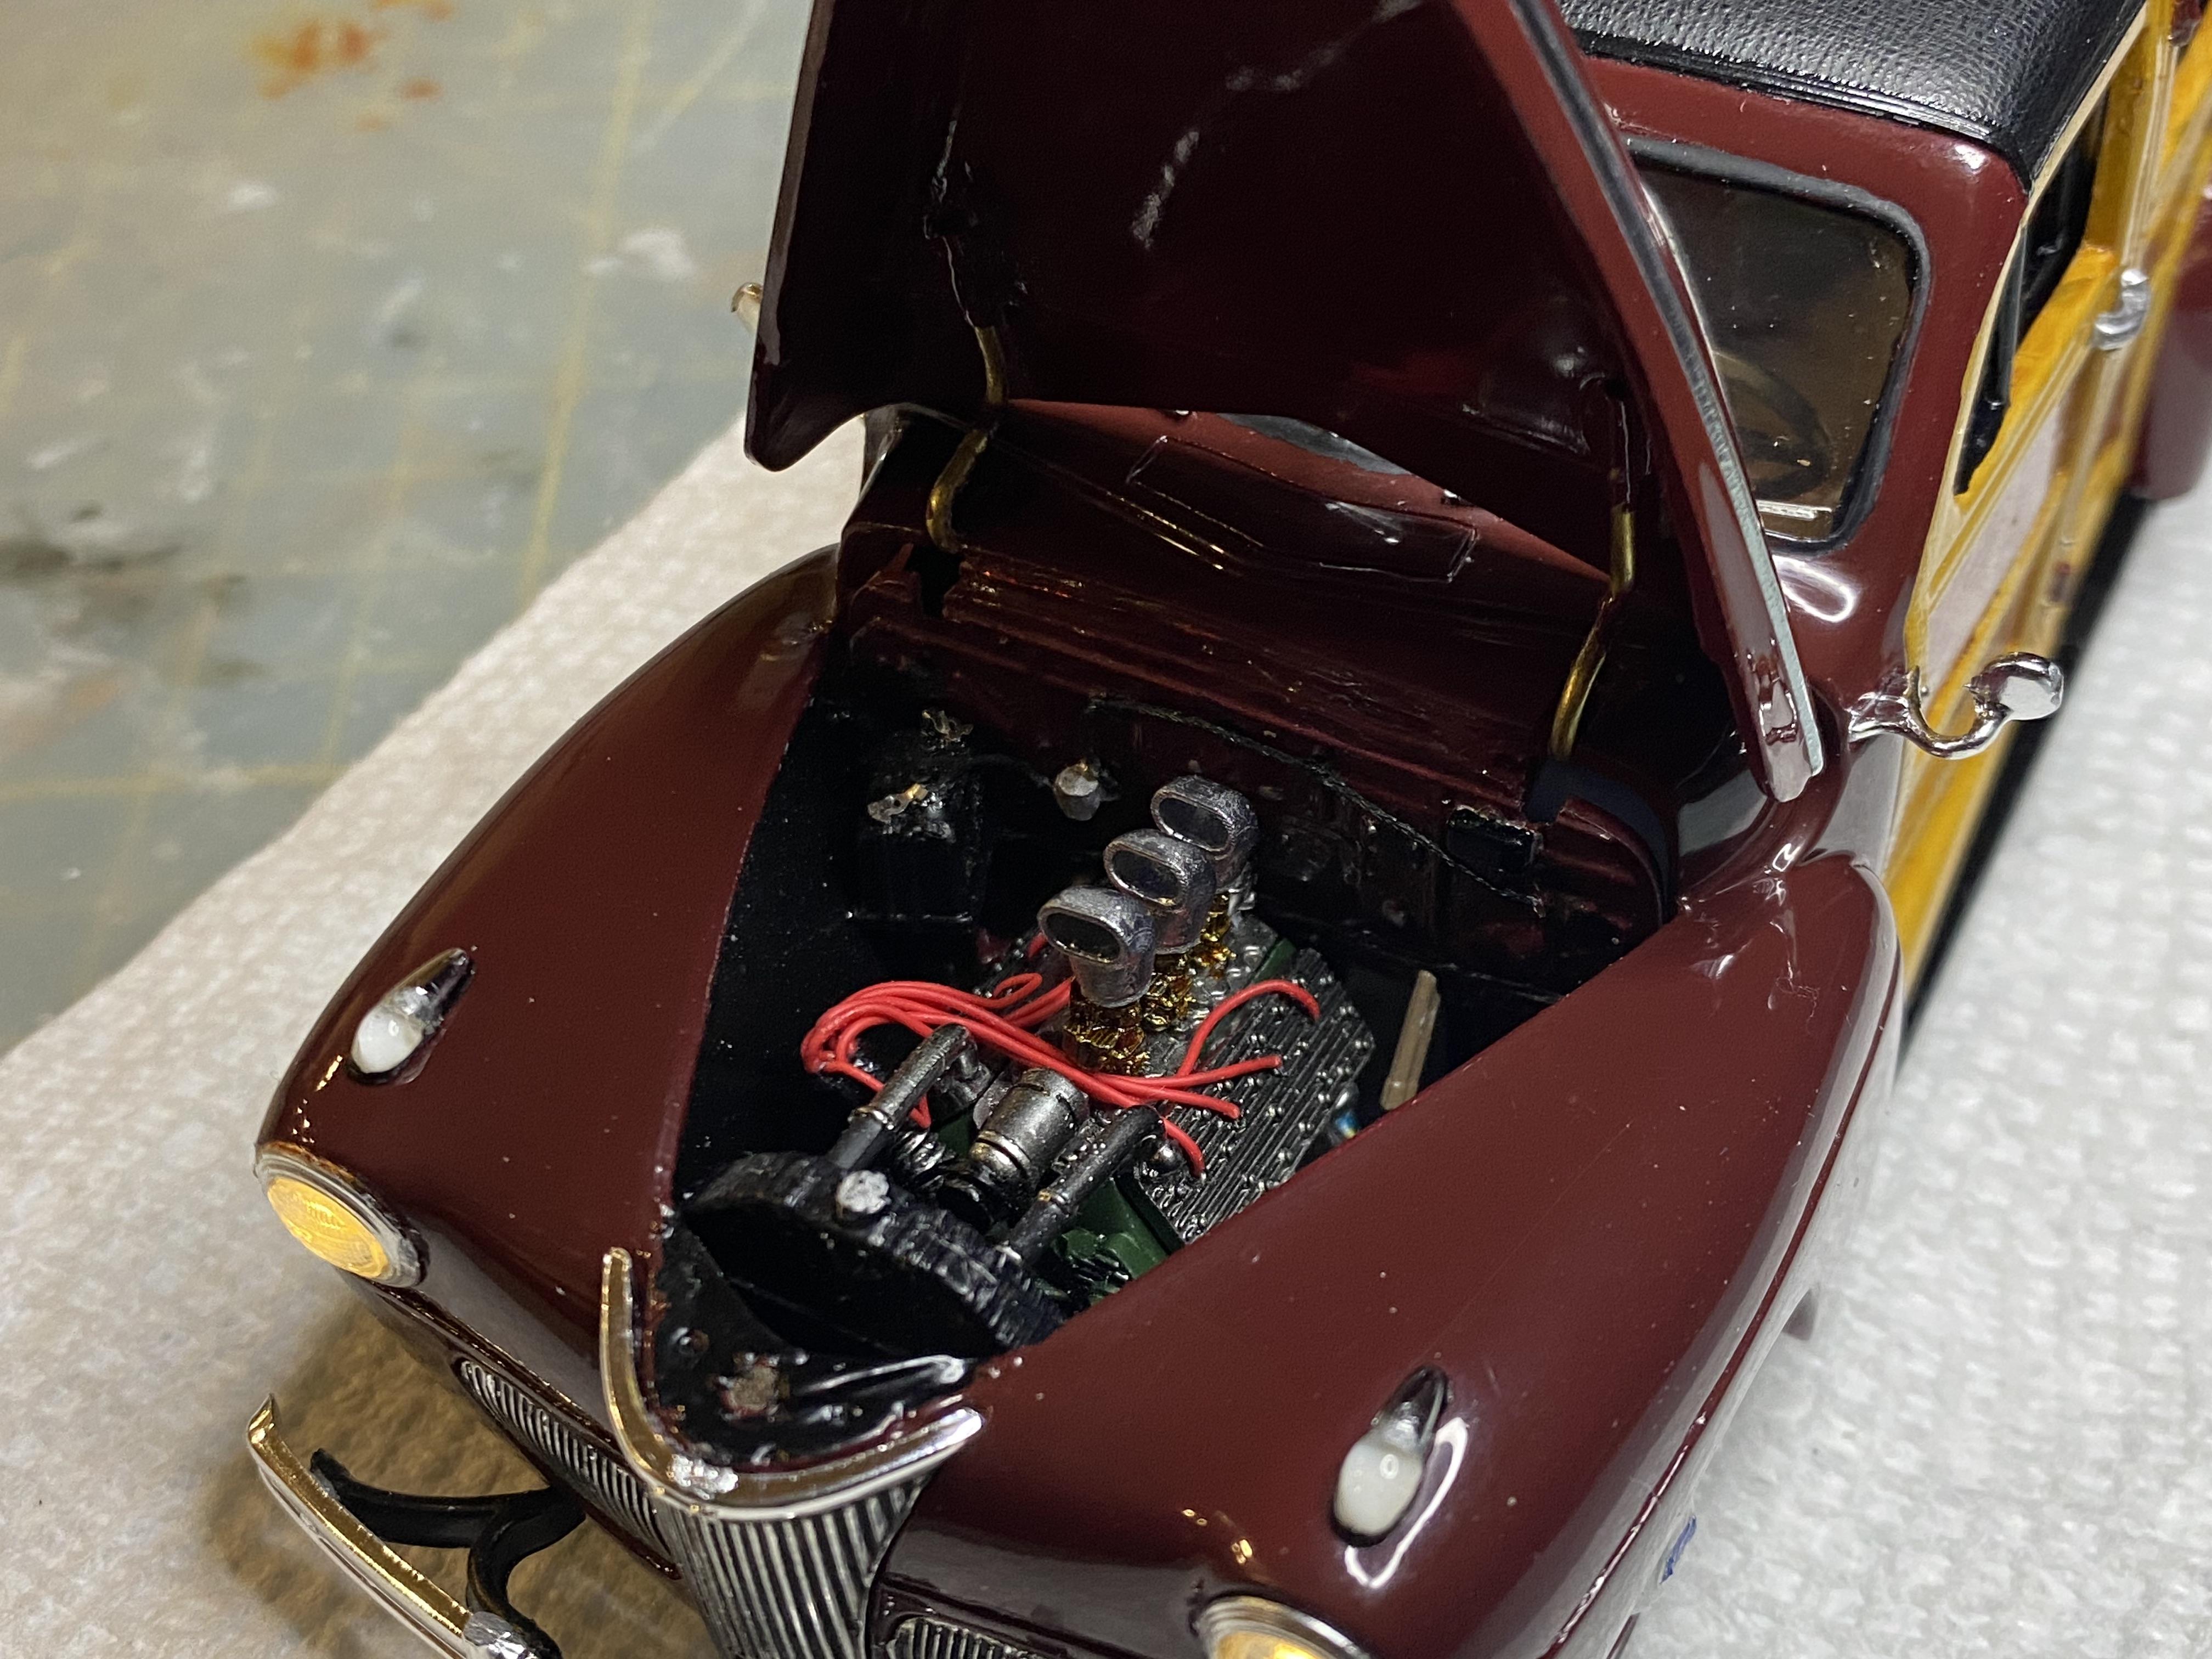
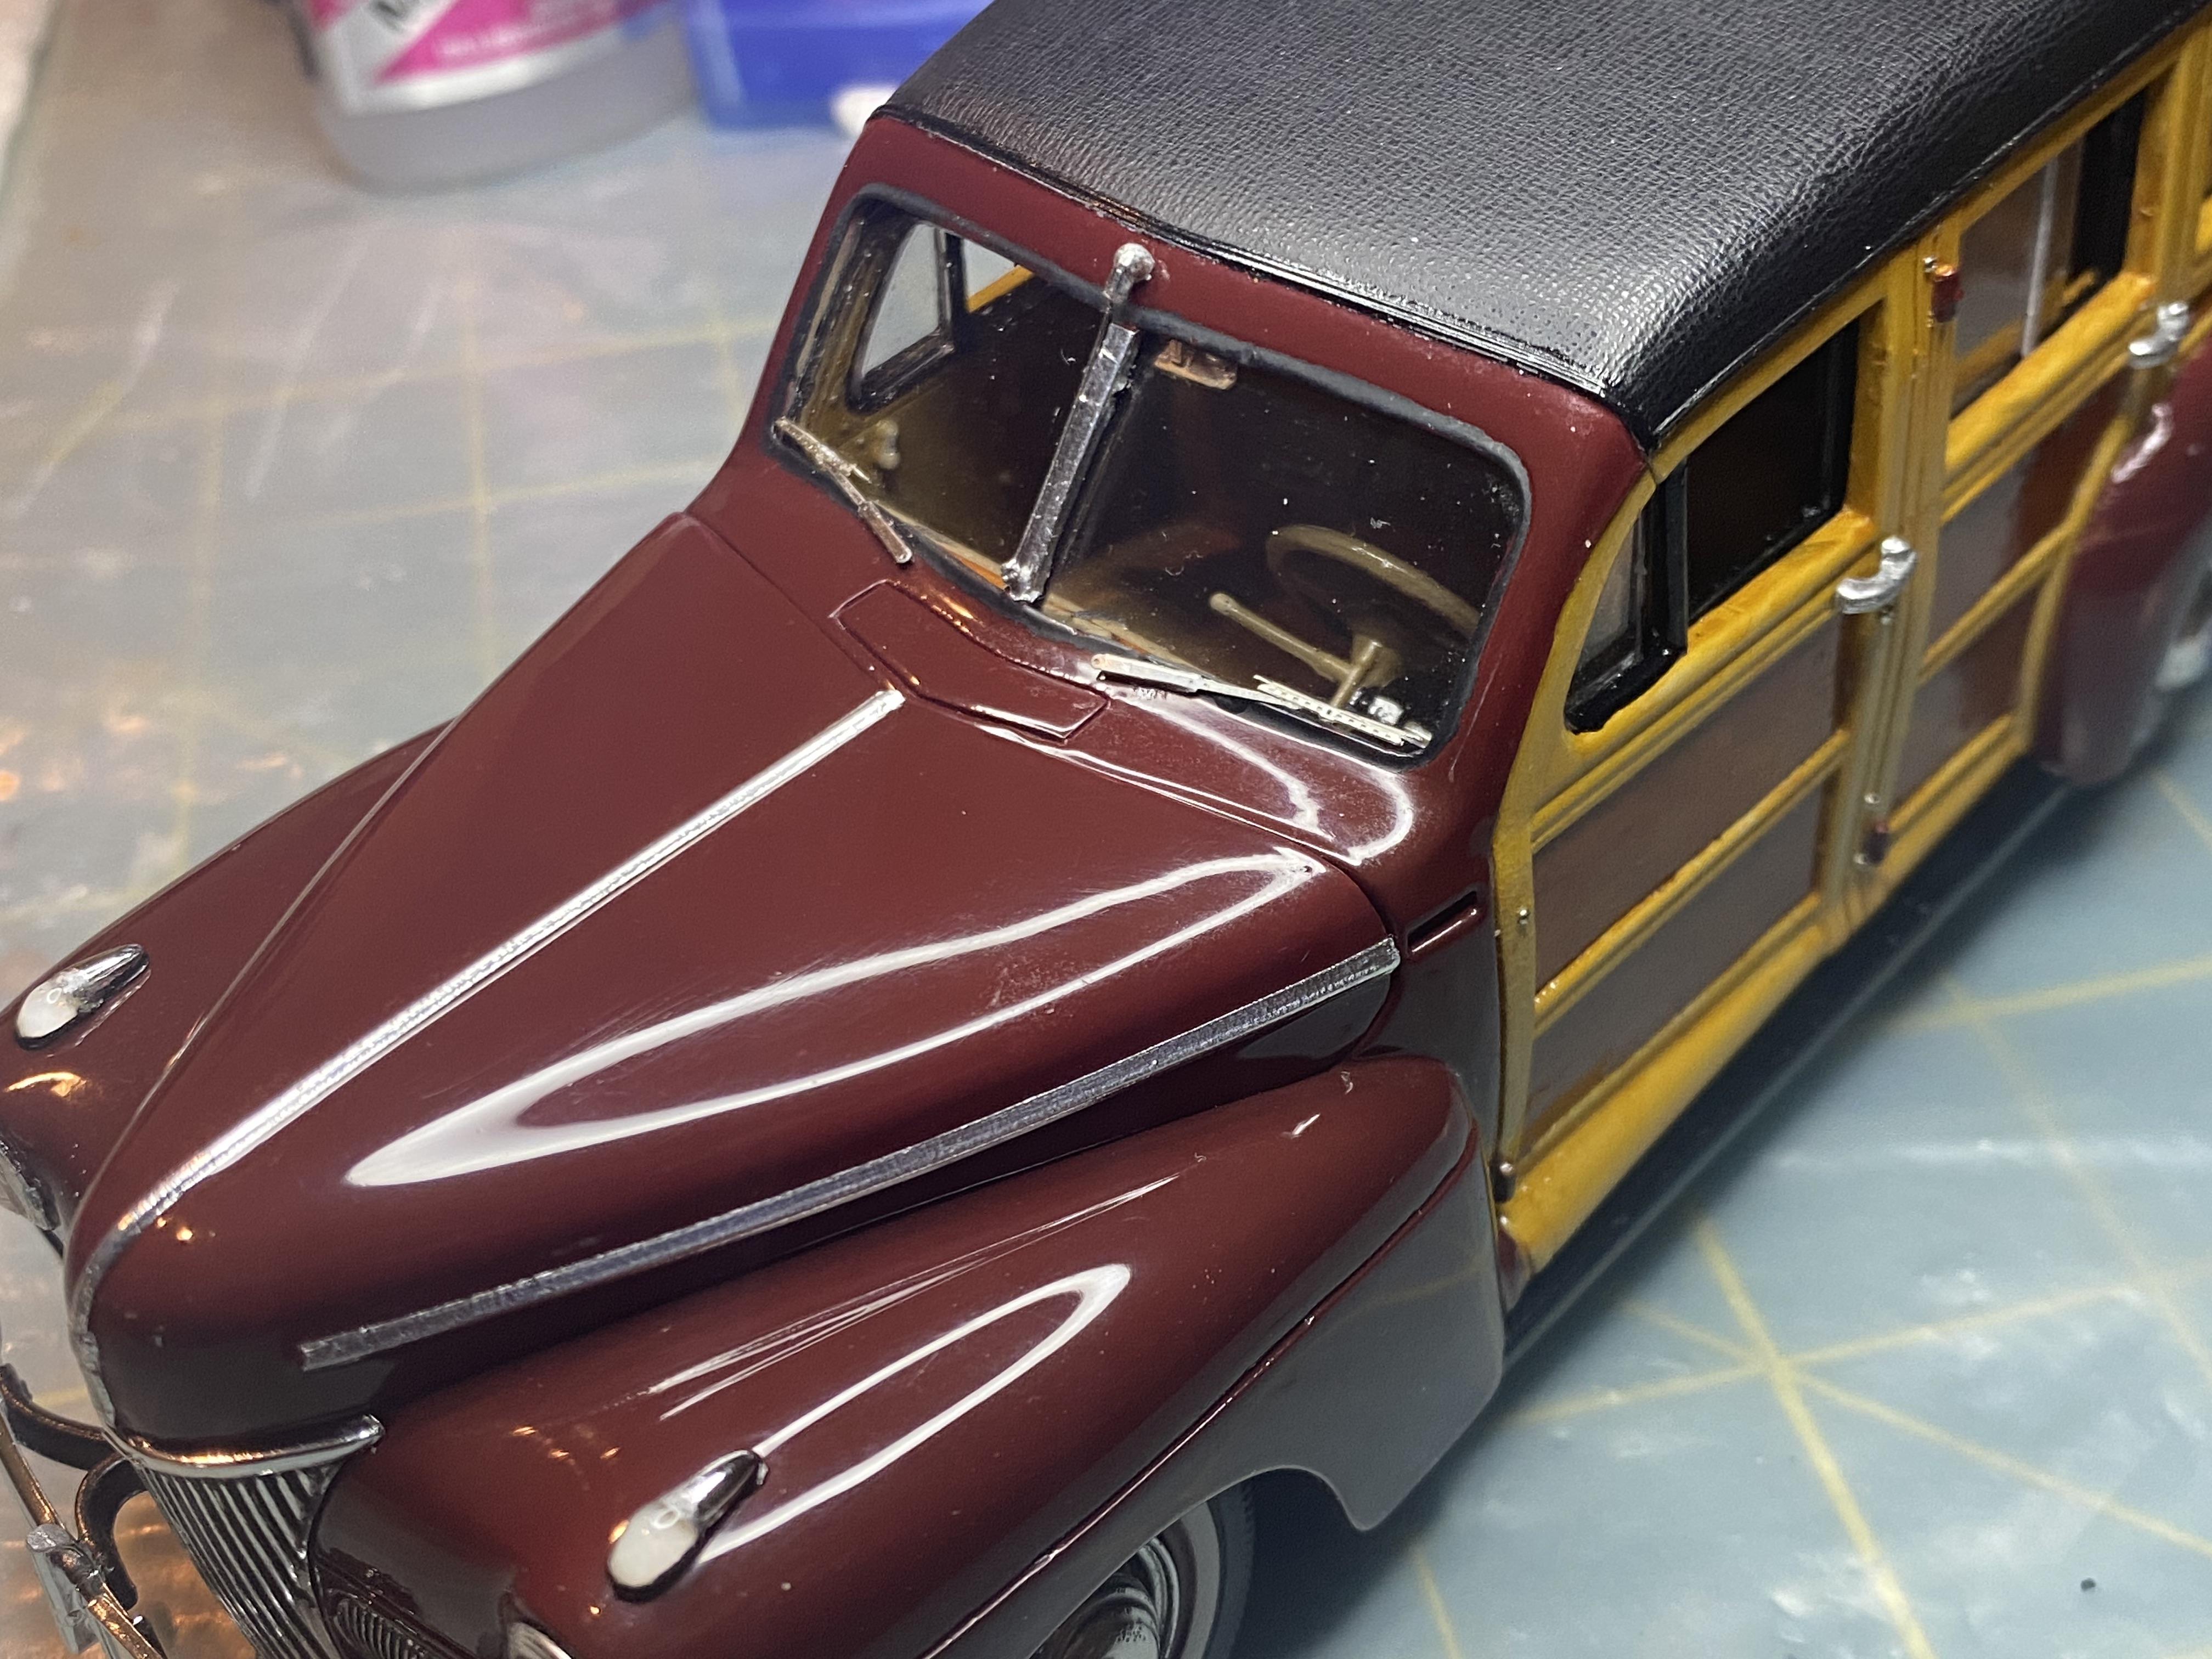
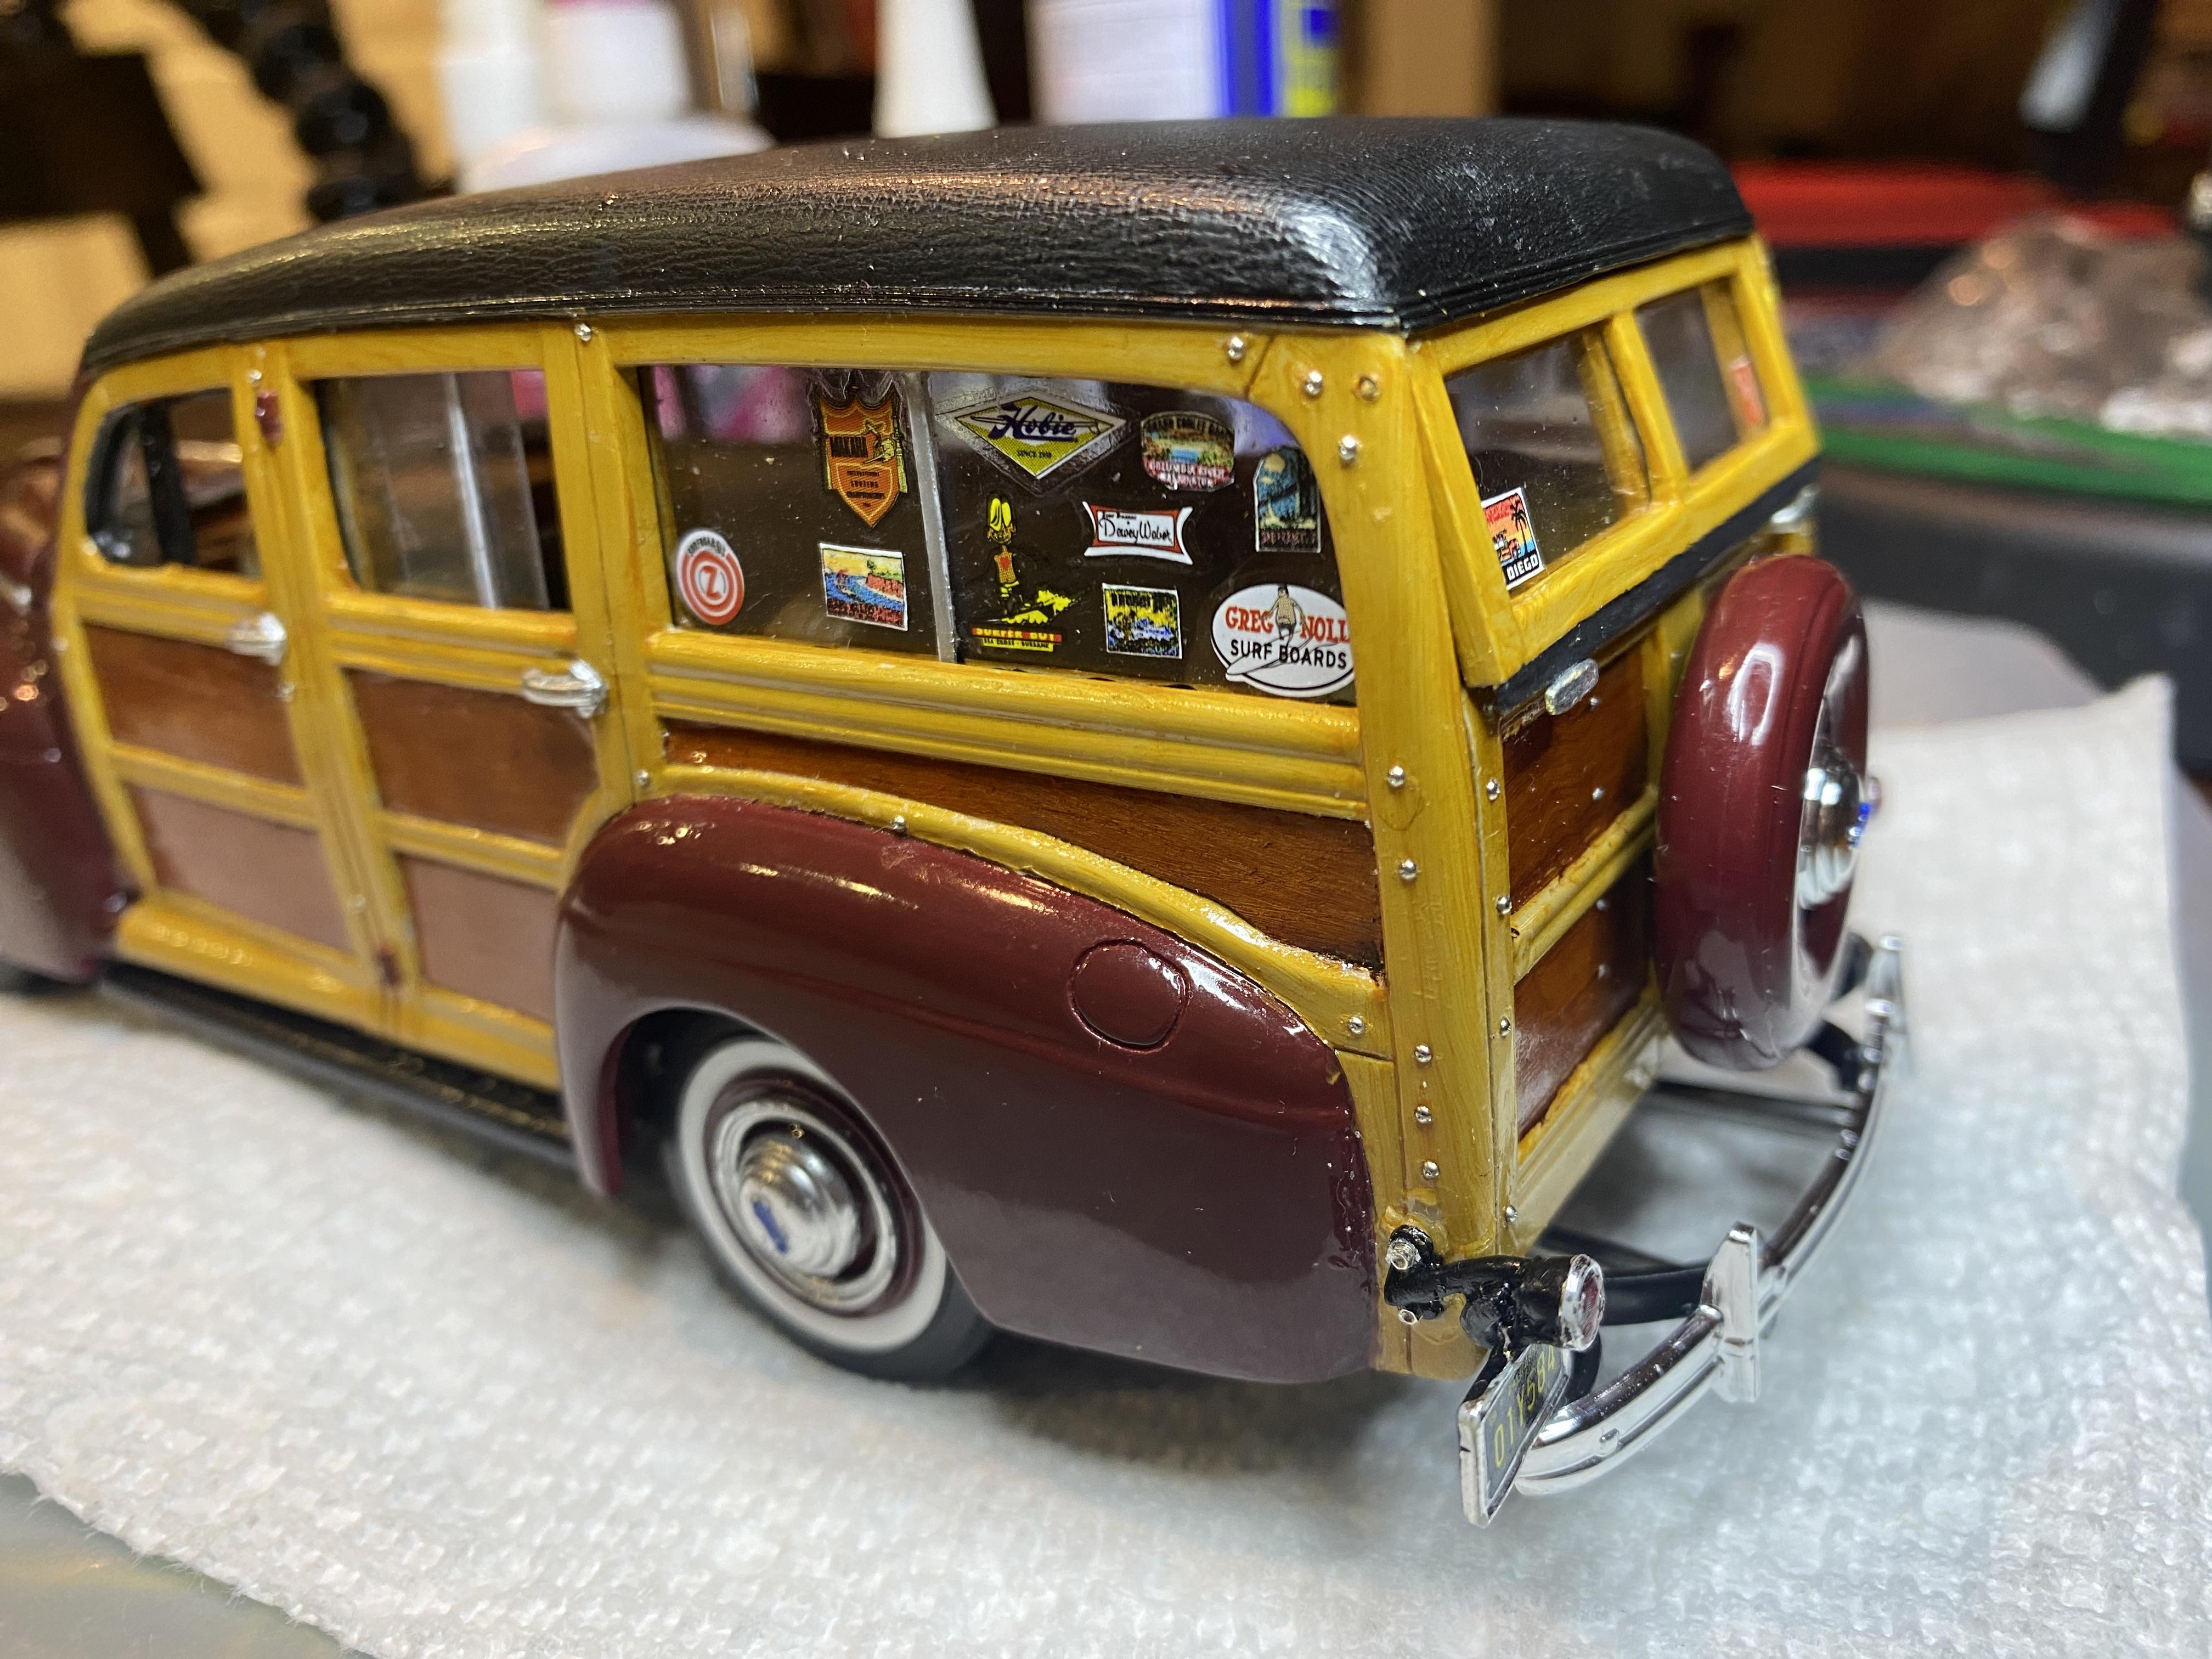
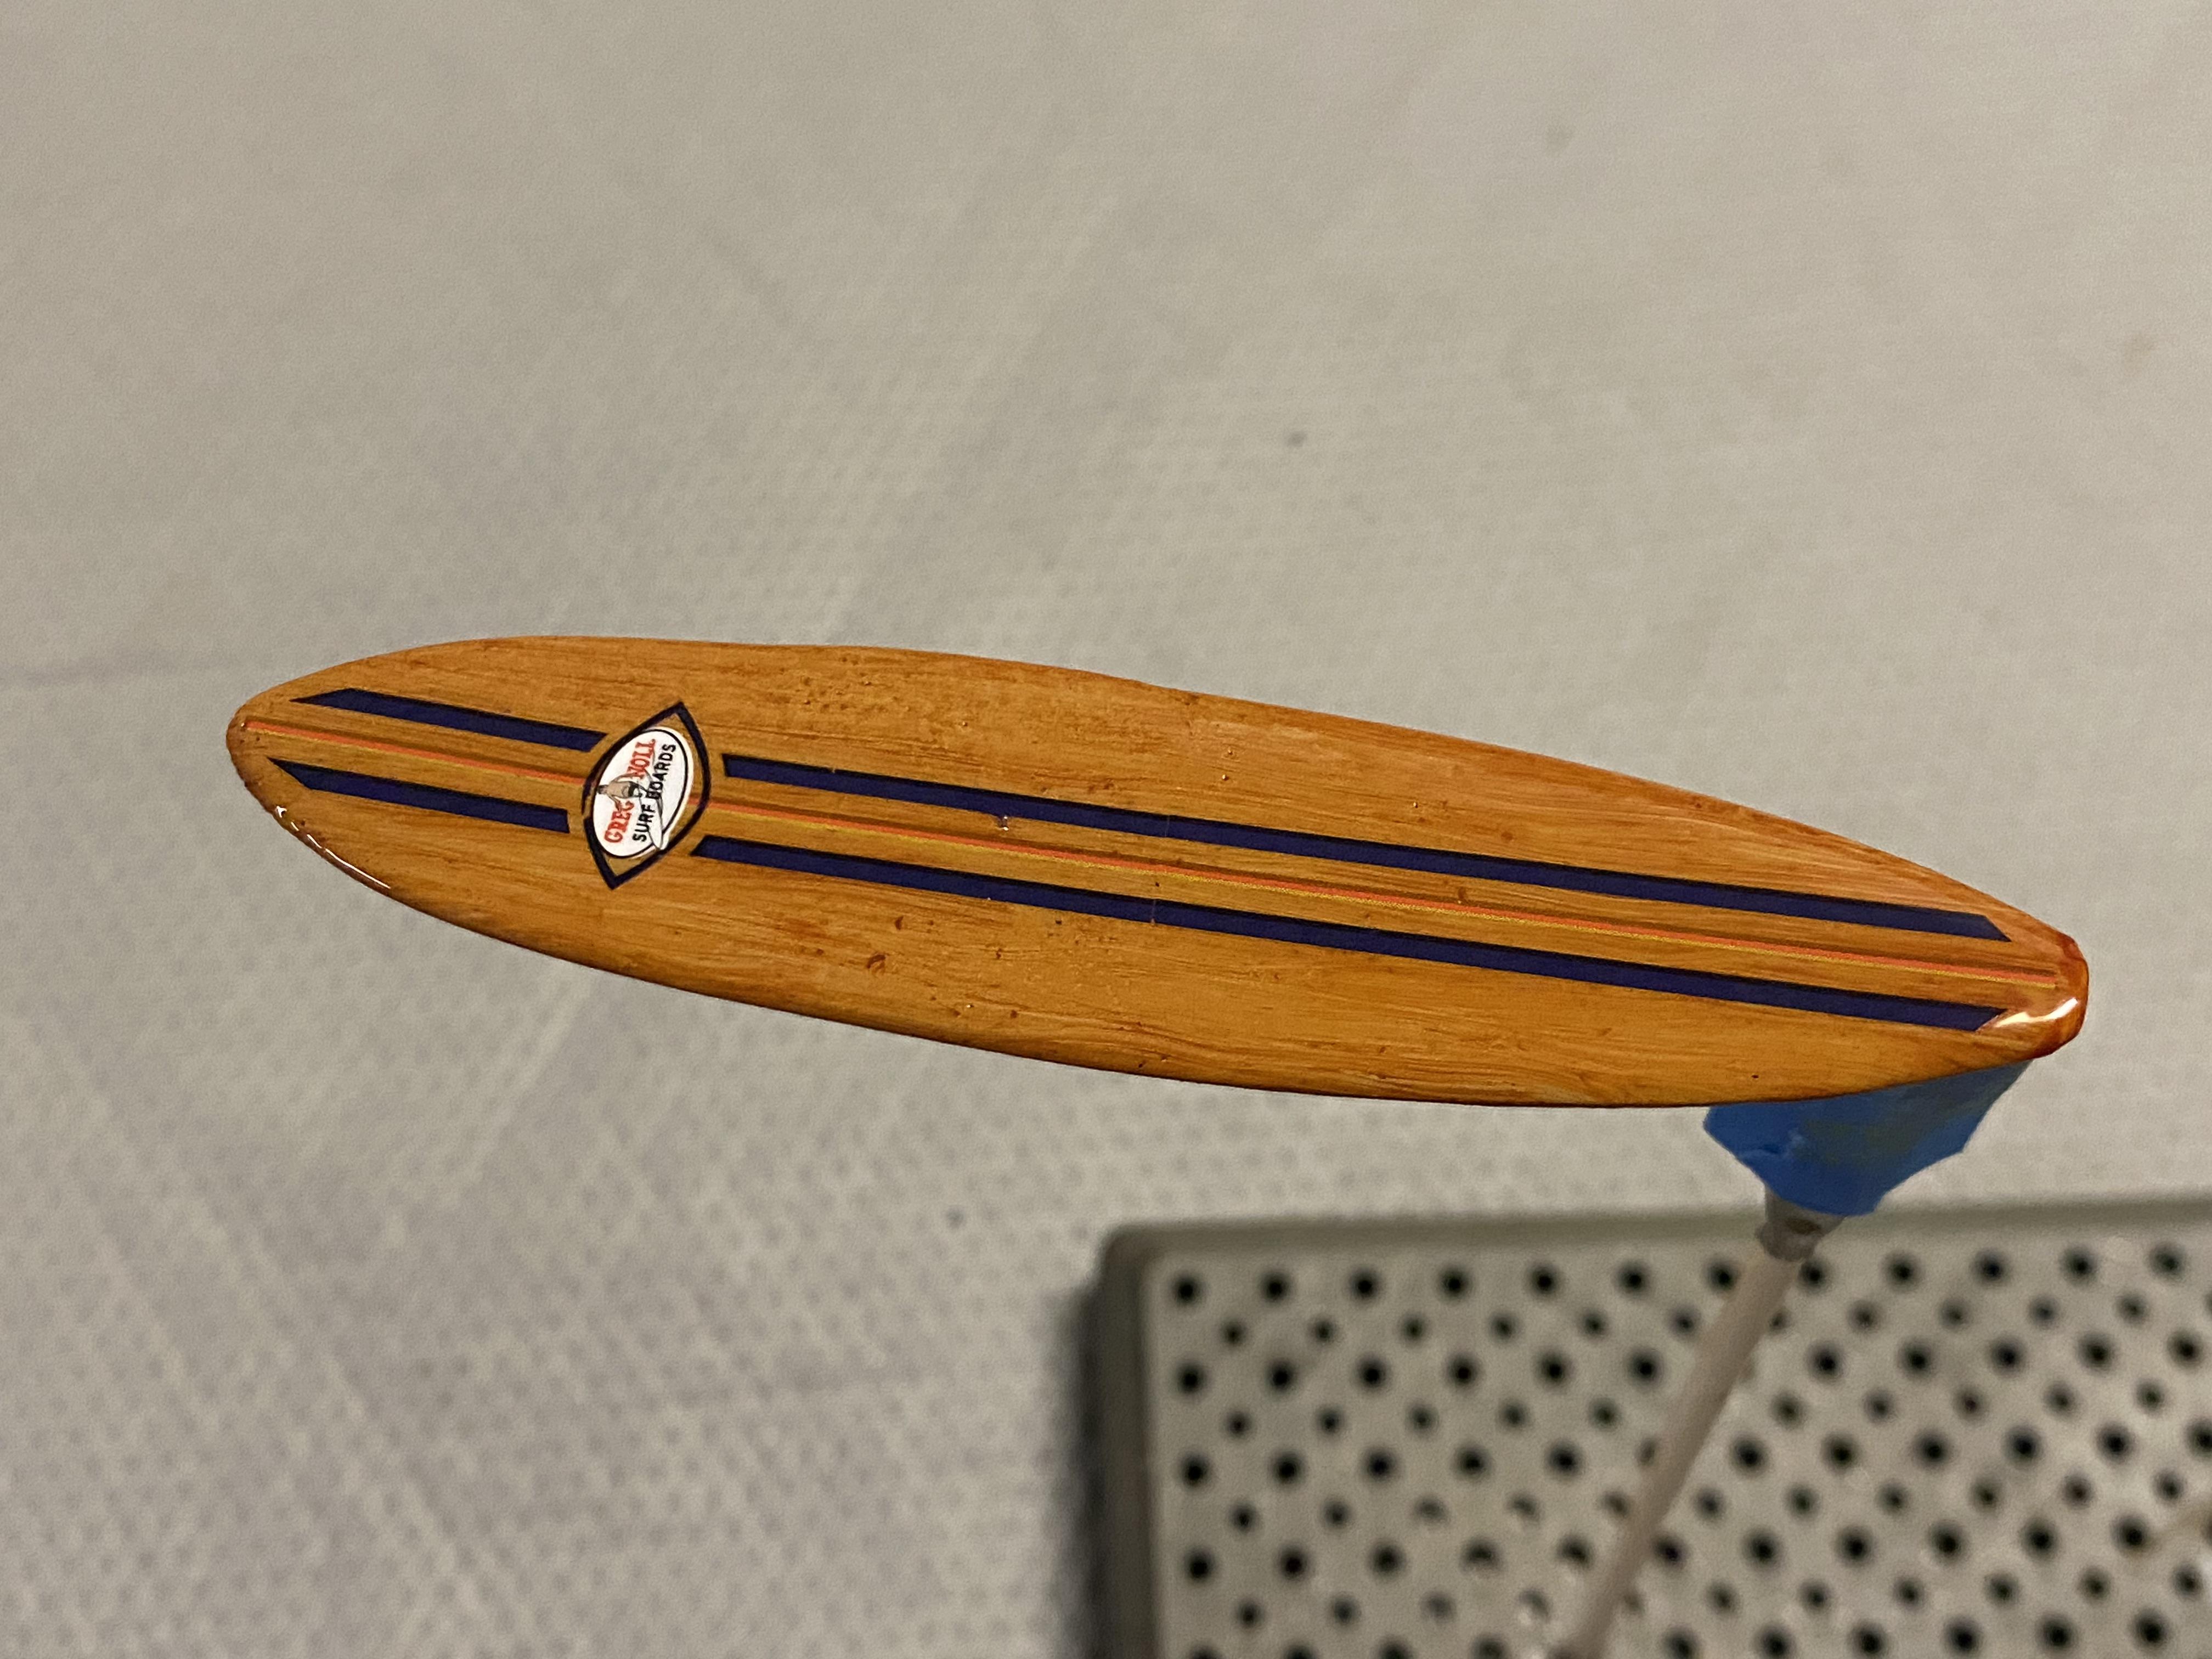
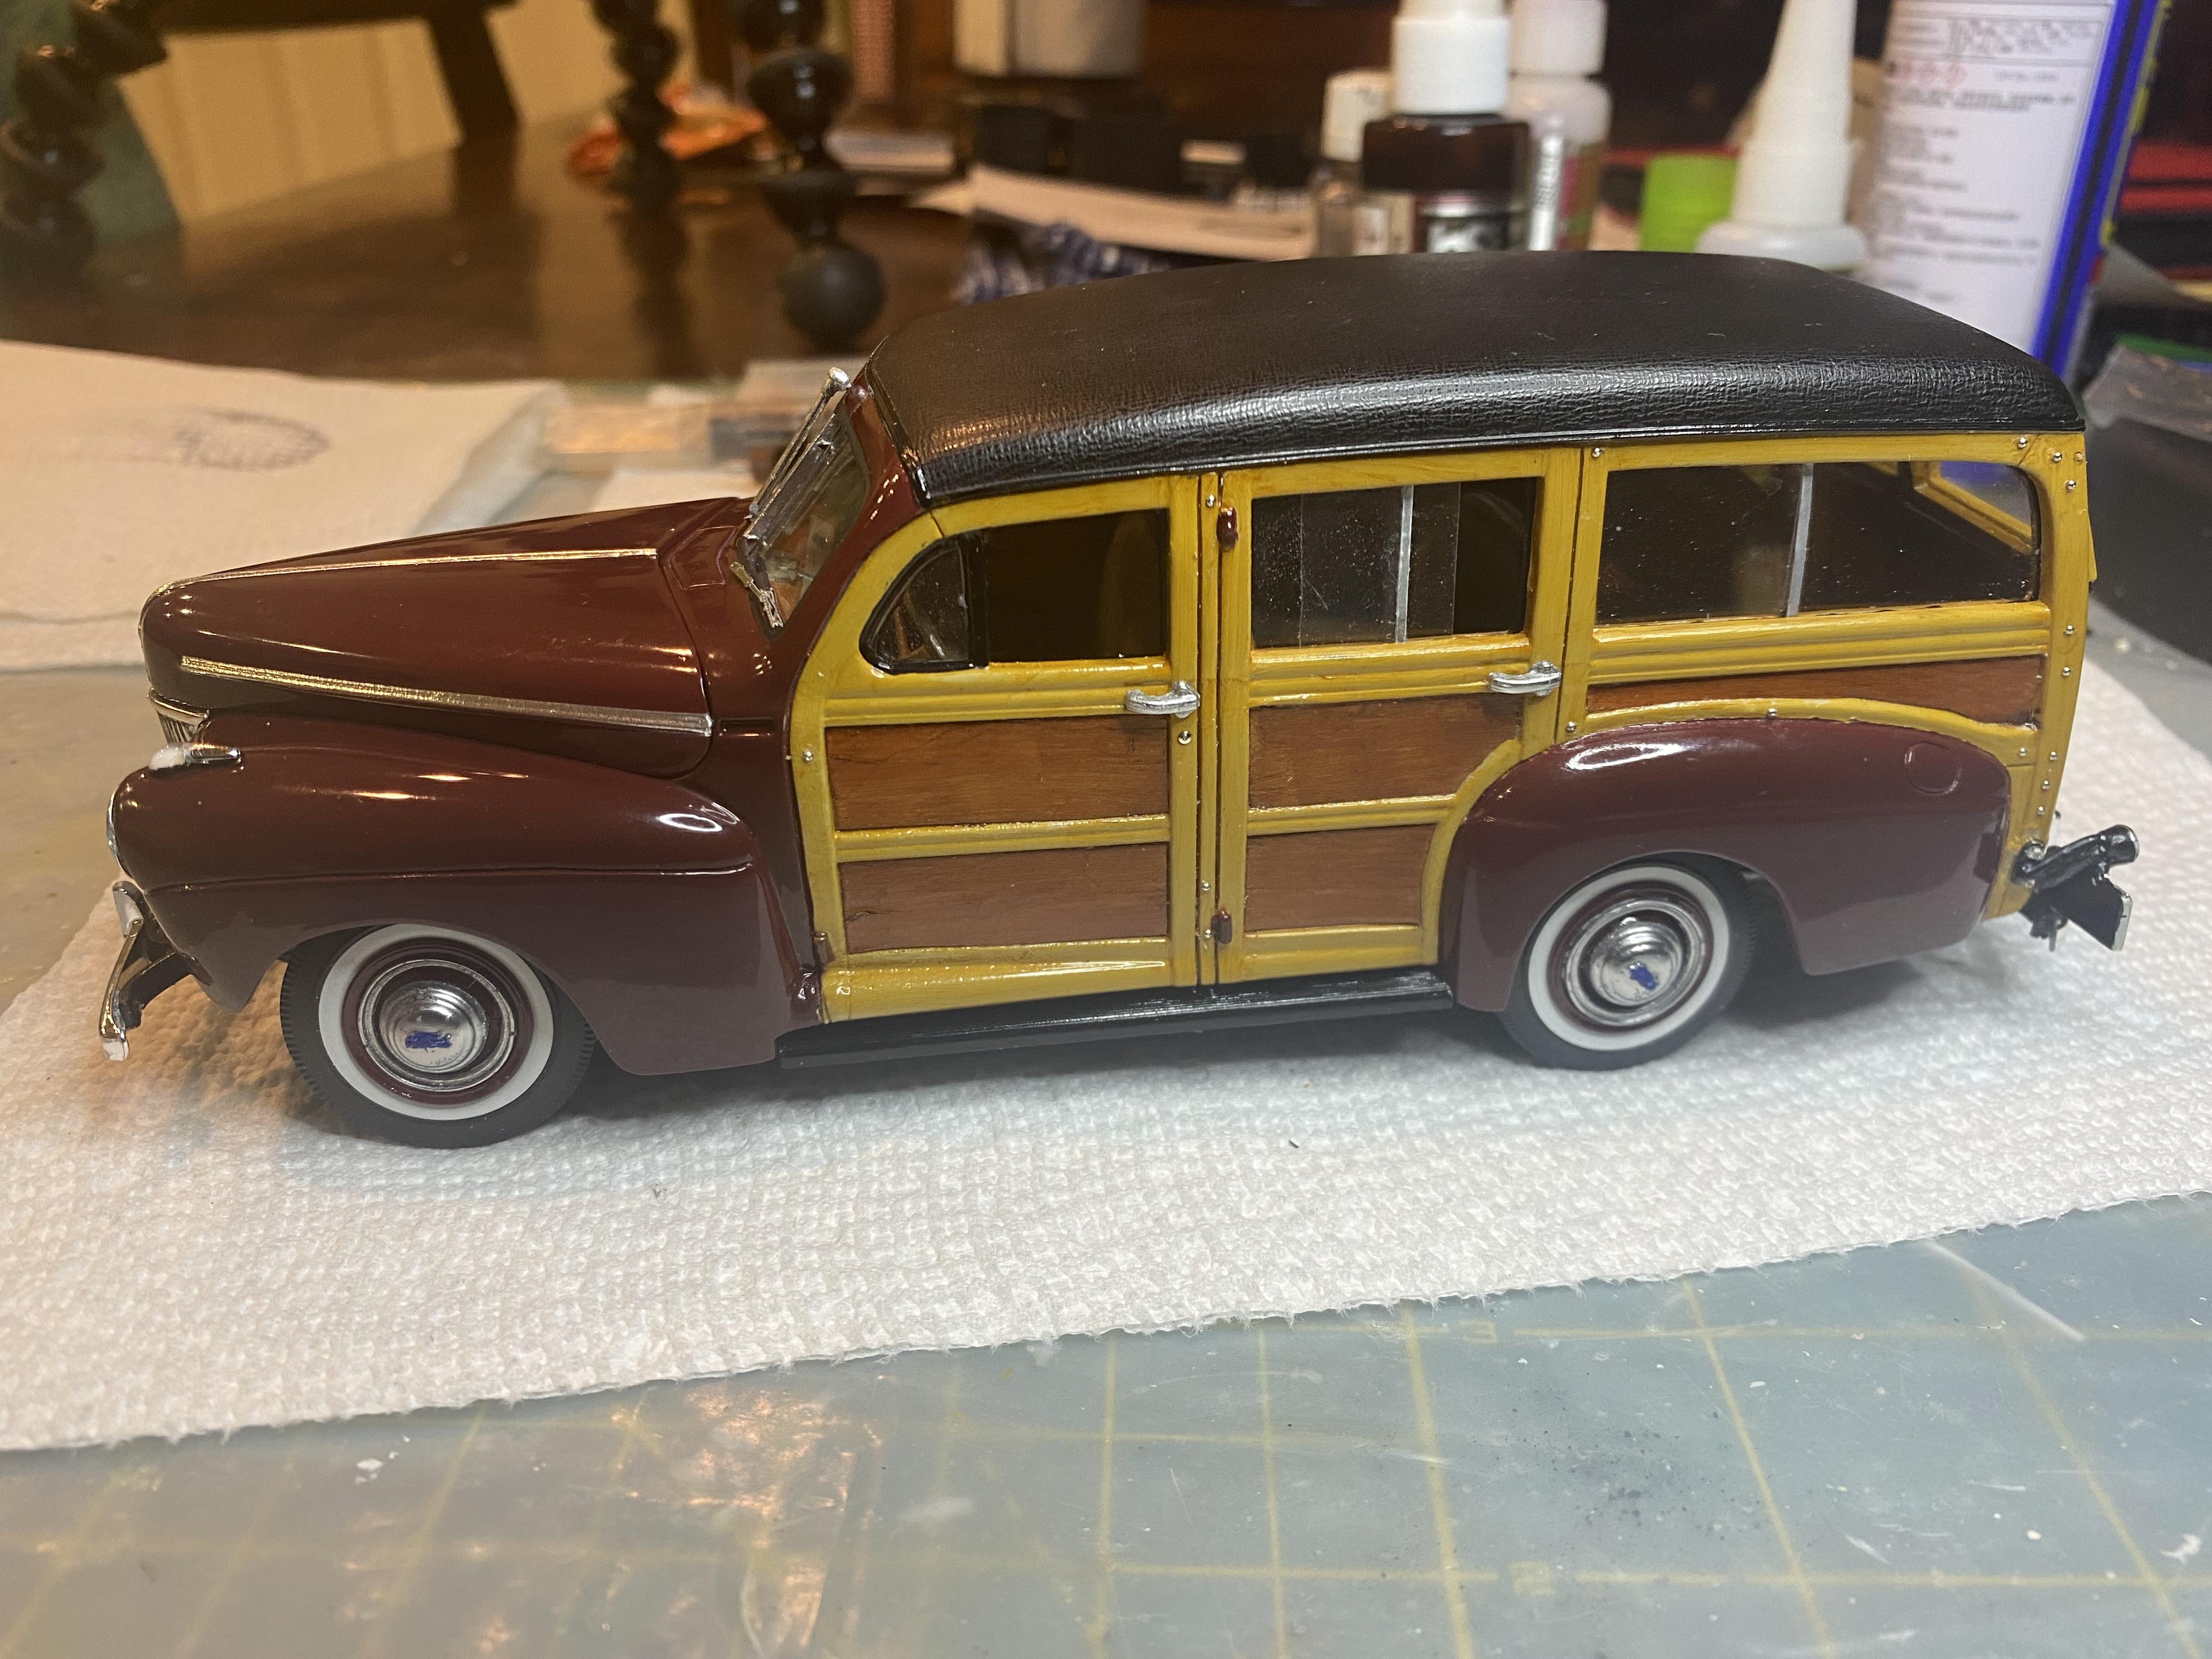
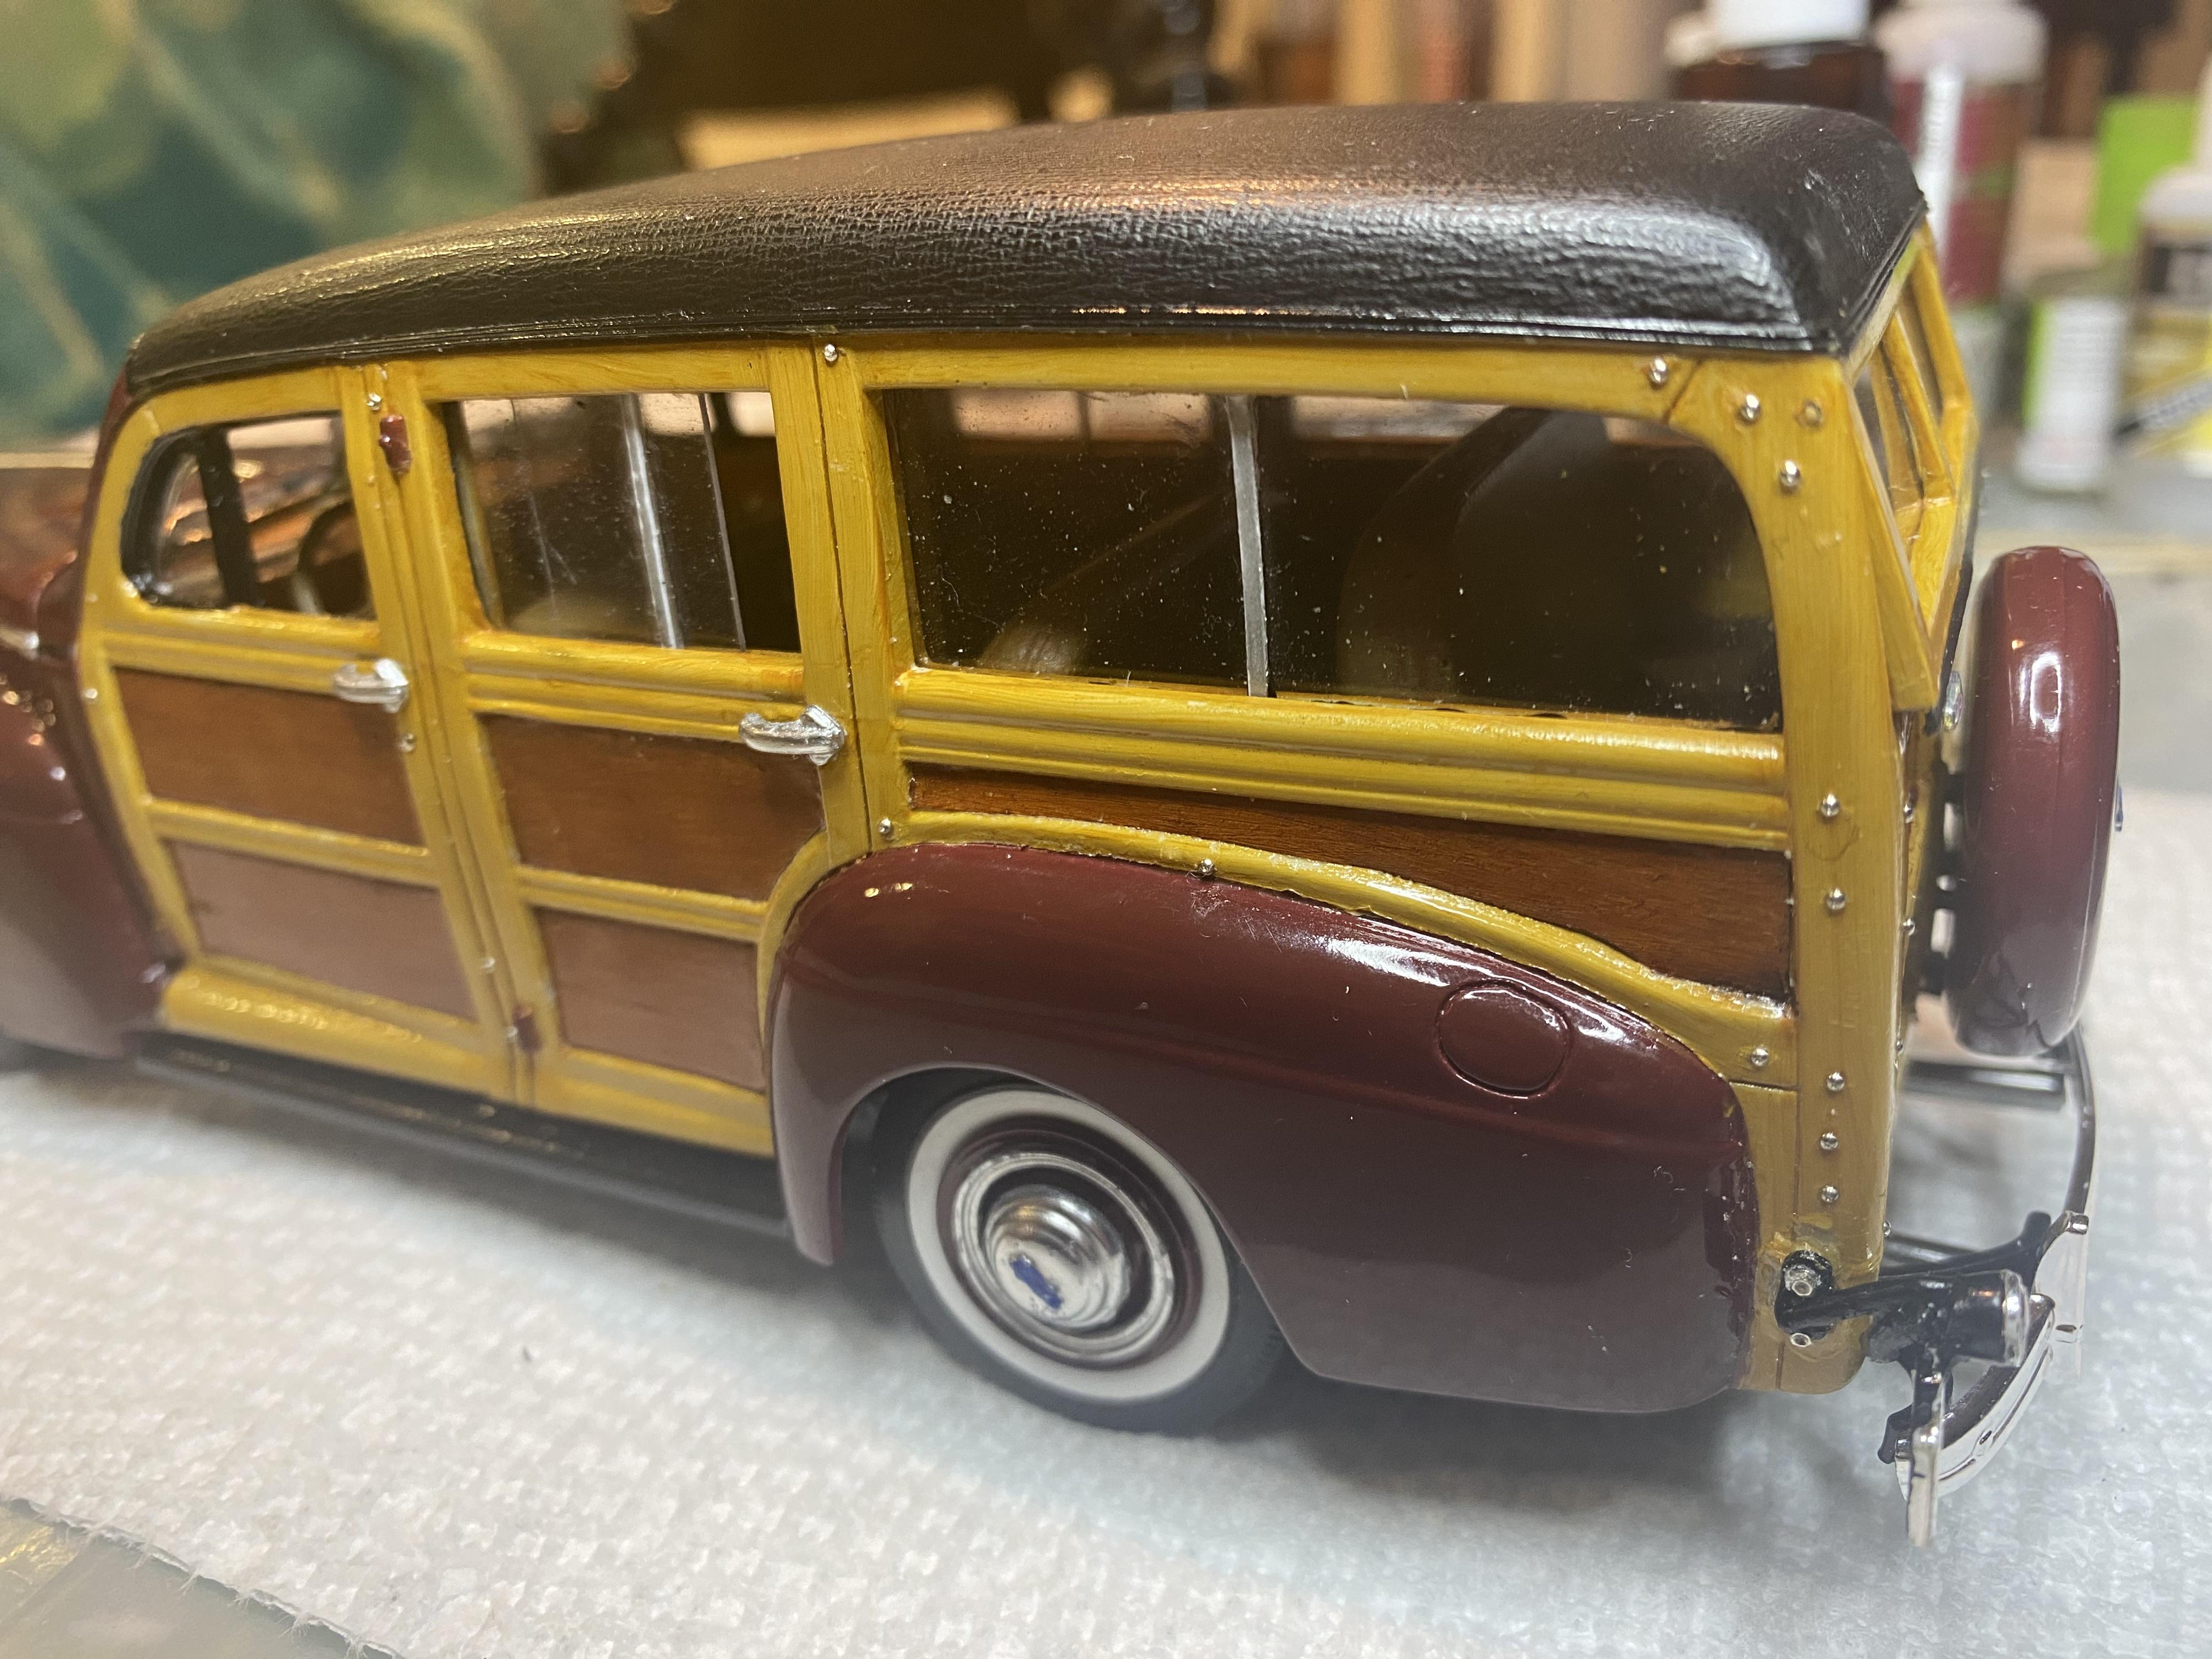
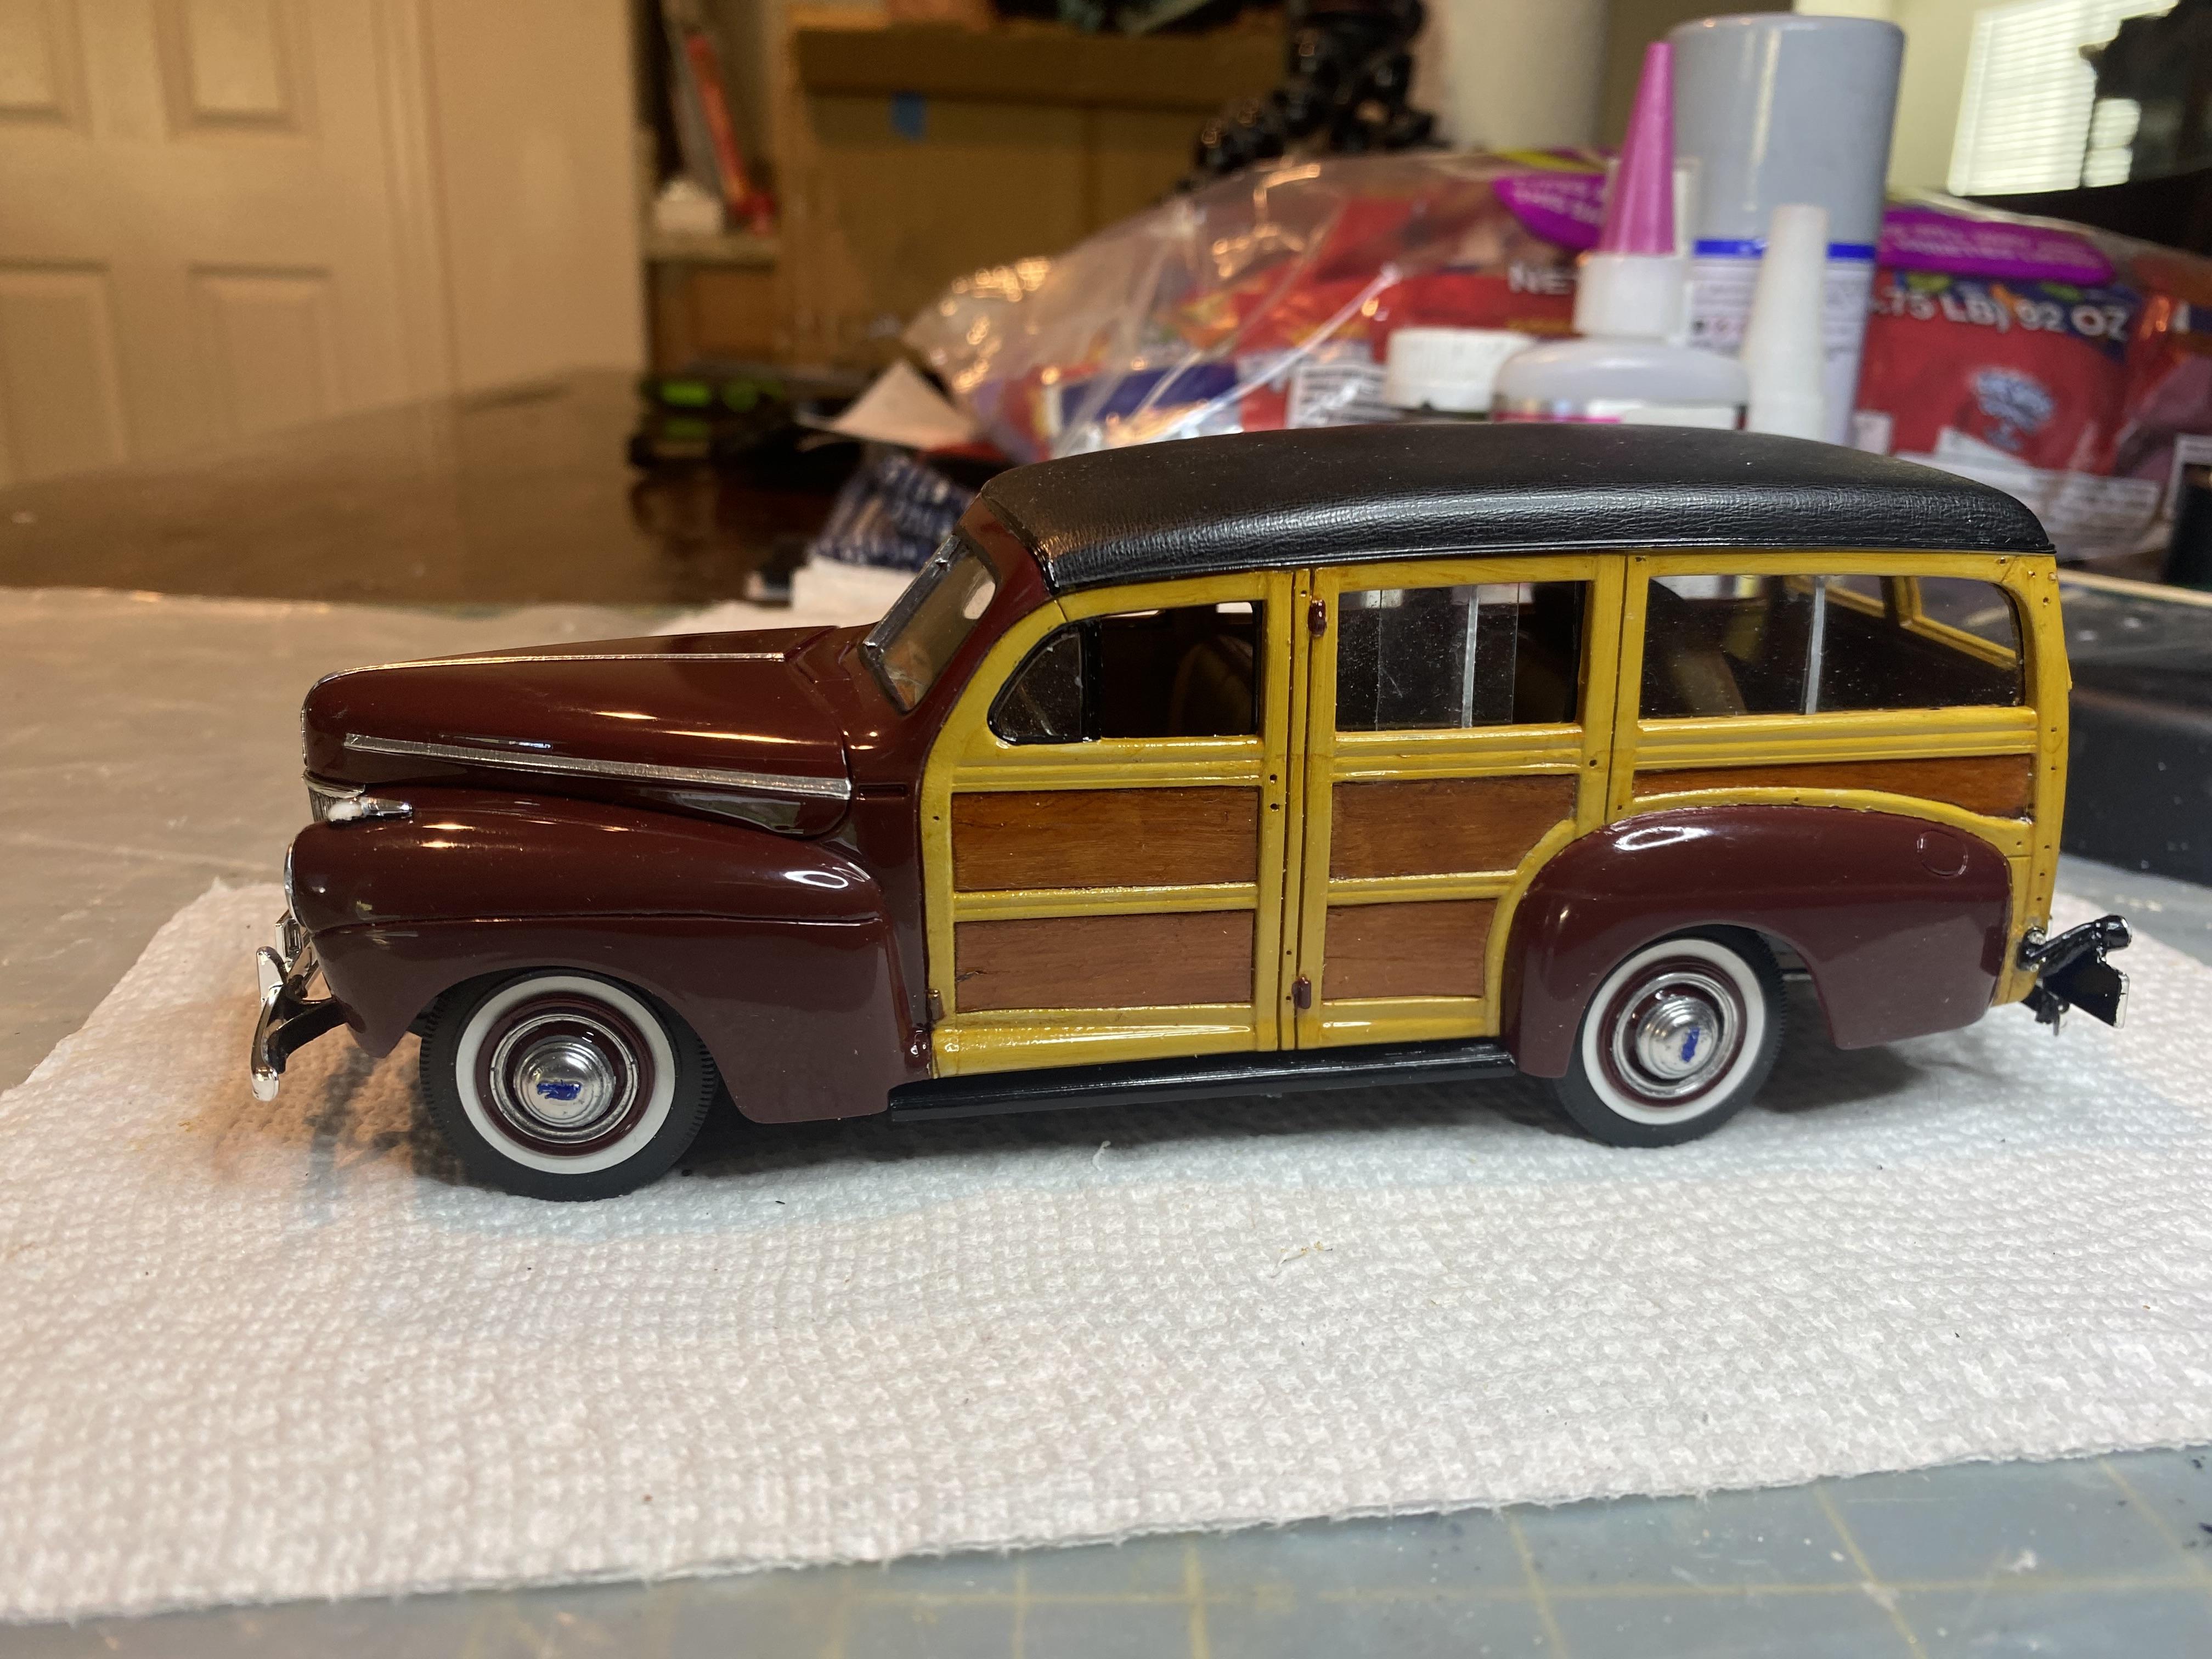
A 1941 Ford Woody, ready to hit the surf with vintage surfboard and the required surfer decals. Of course, with a hopped-up flathead to get their faster. As with all my build includes the require LED lighting system for headlights, gauge lights and taillights. Not to mention more than 40 Top Studio 0.9mm rivets for the wood framing bolts. Surprisingly I only lost 2 in the process of installing them. Woodgrain work using oil paints. In case you missed the WIP thread you can visit it here:

- 50 replies
-
- 25
-

-
Thank You! Thank You!
-
The rivets I need to complete the wood trim arrived today and I was able to complete the build. I still need to do some touch ups and final clean and polish before taking pictures for an under glass thread but this build has been a long road. I have already started on my next build while I was waiting on supplies, a 1967 Mustang GTA Convertible.
-

1974 Chevy Malibu (Stock converted from AMT Lennie Pond Nascar)
Duddly01 replied to Cosmo_Song's topic in WIP: Model Cars
Some serious work going on there, Nice job! -
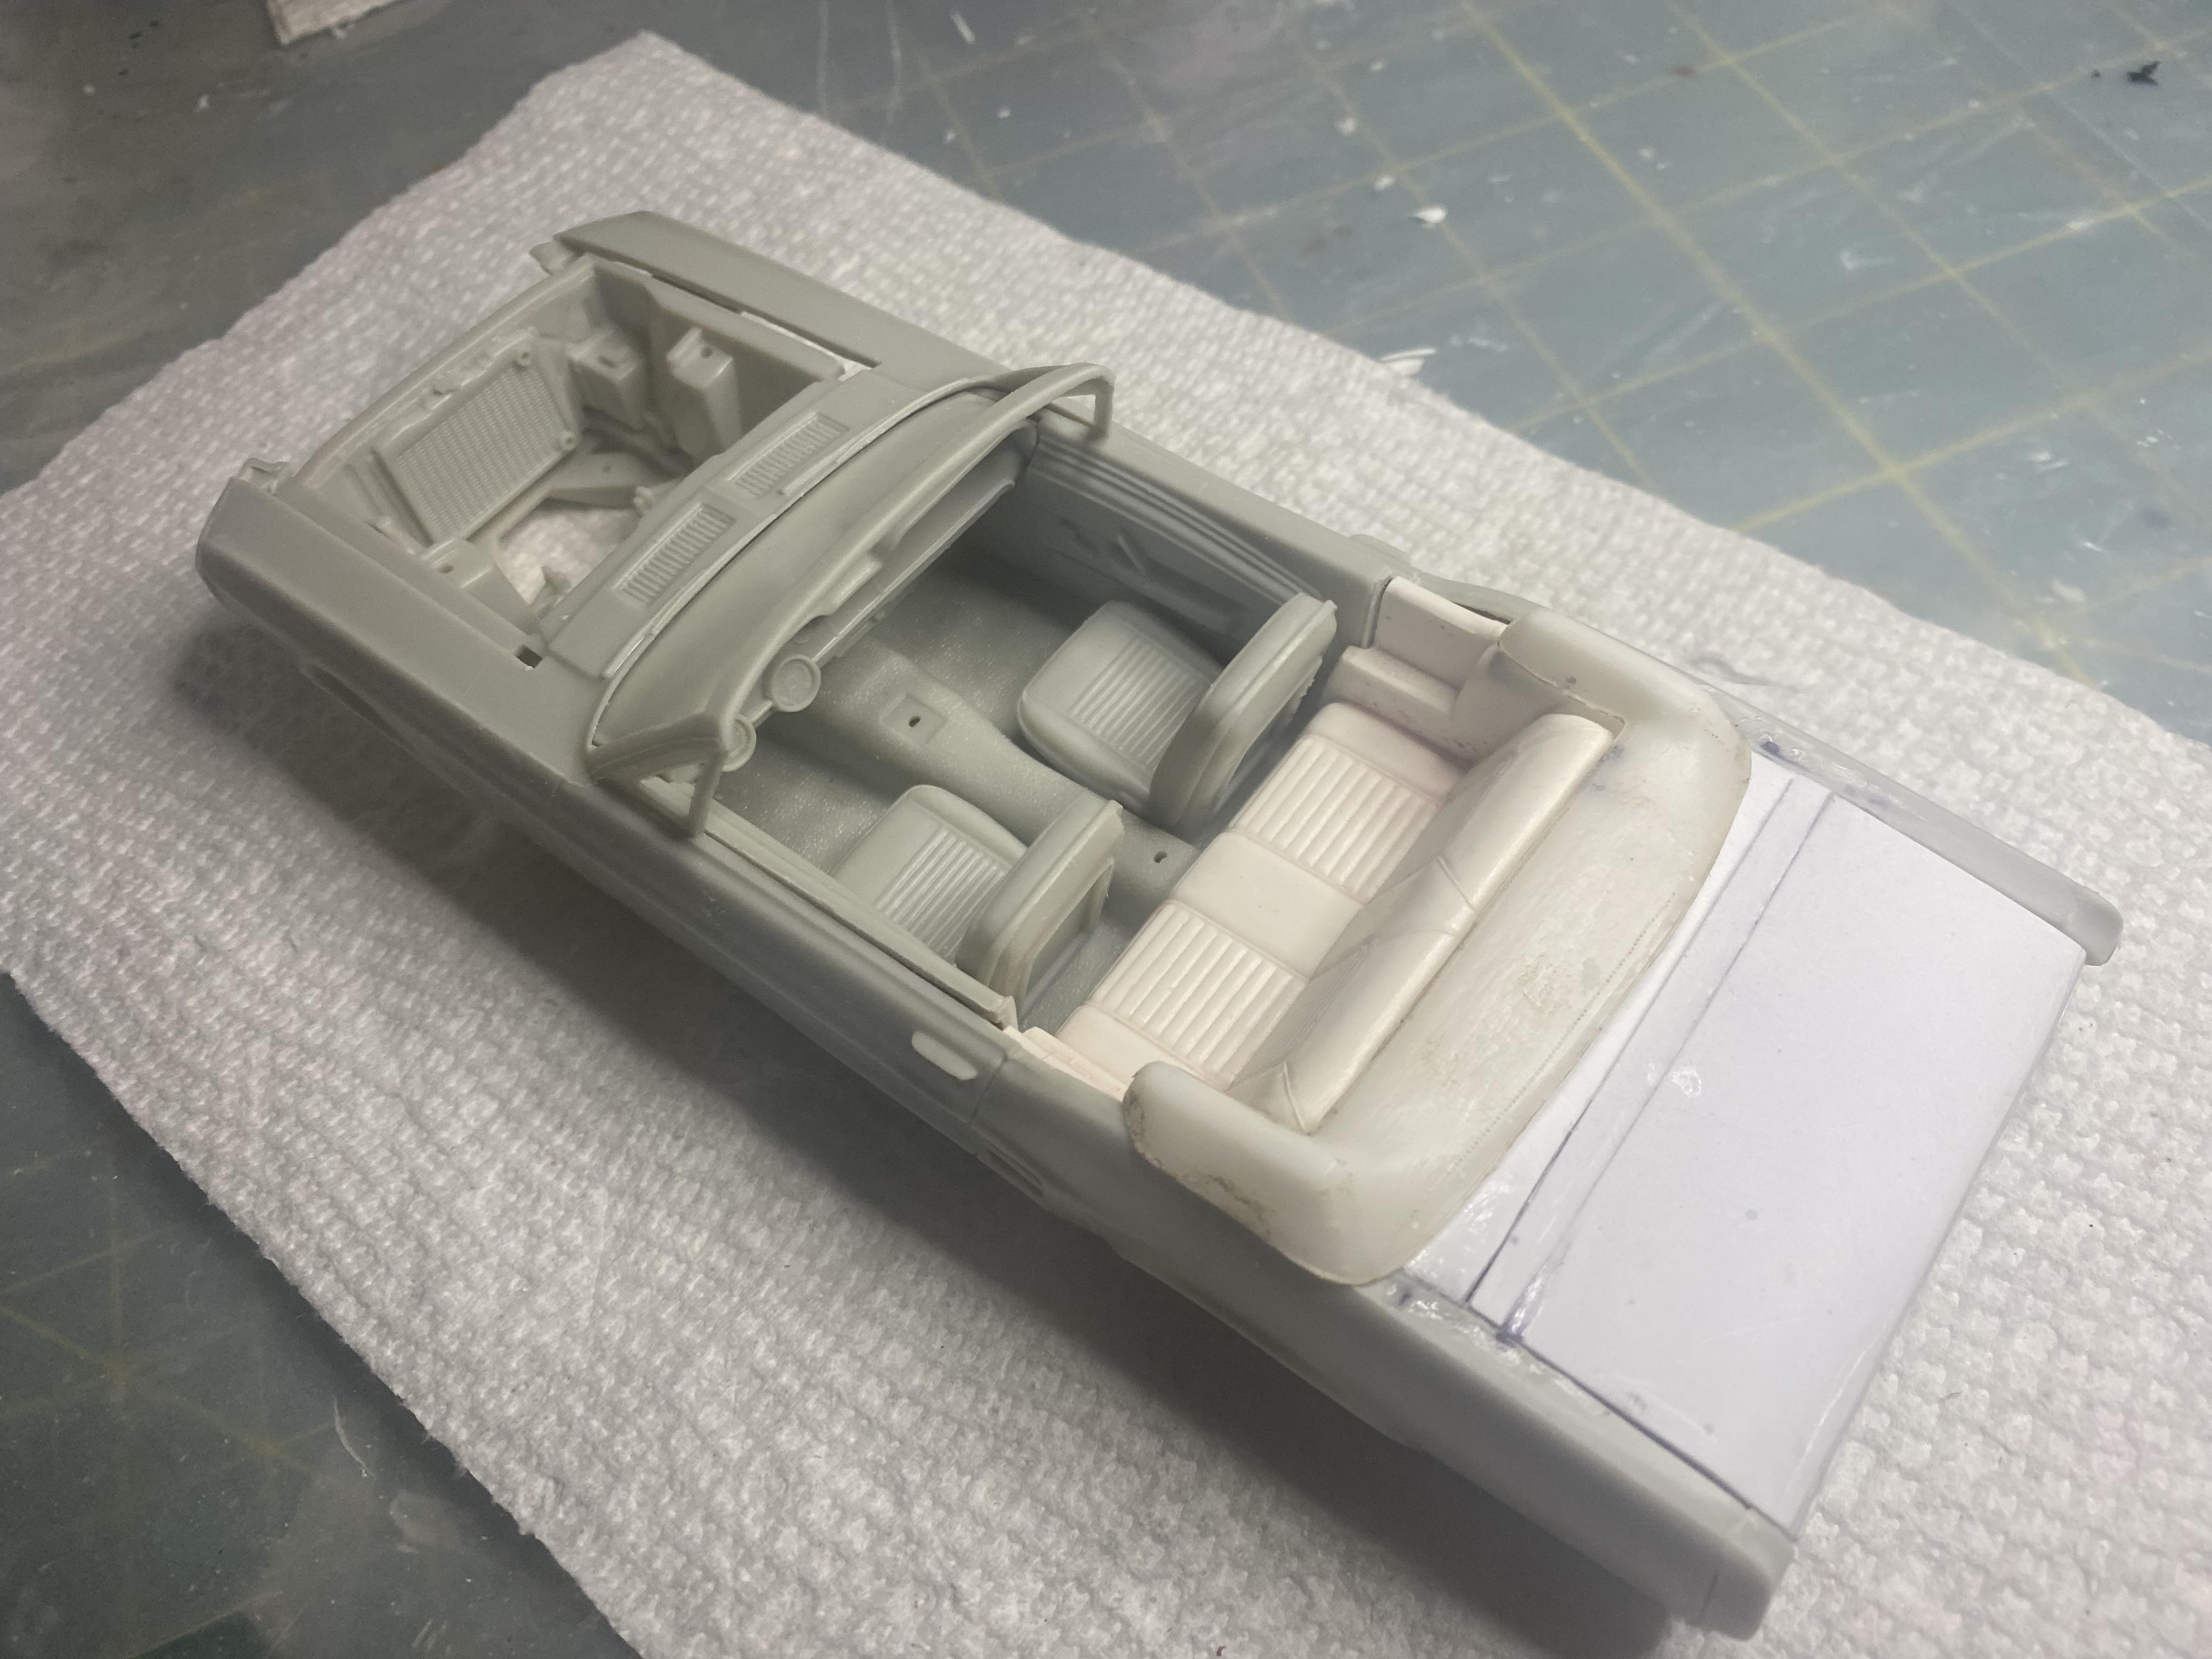
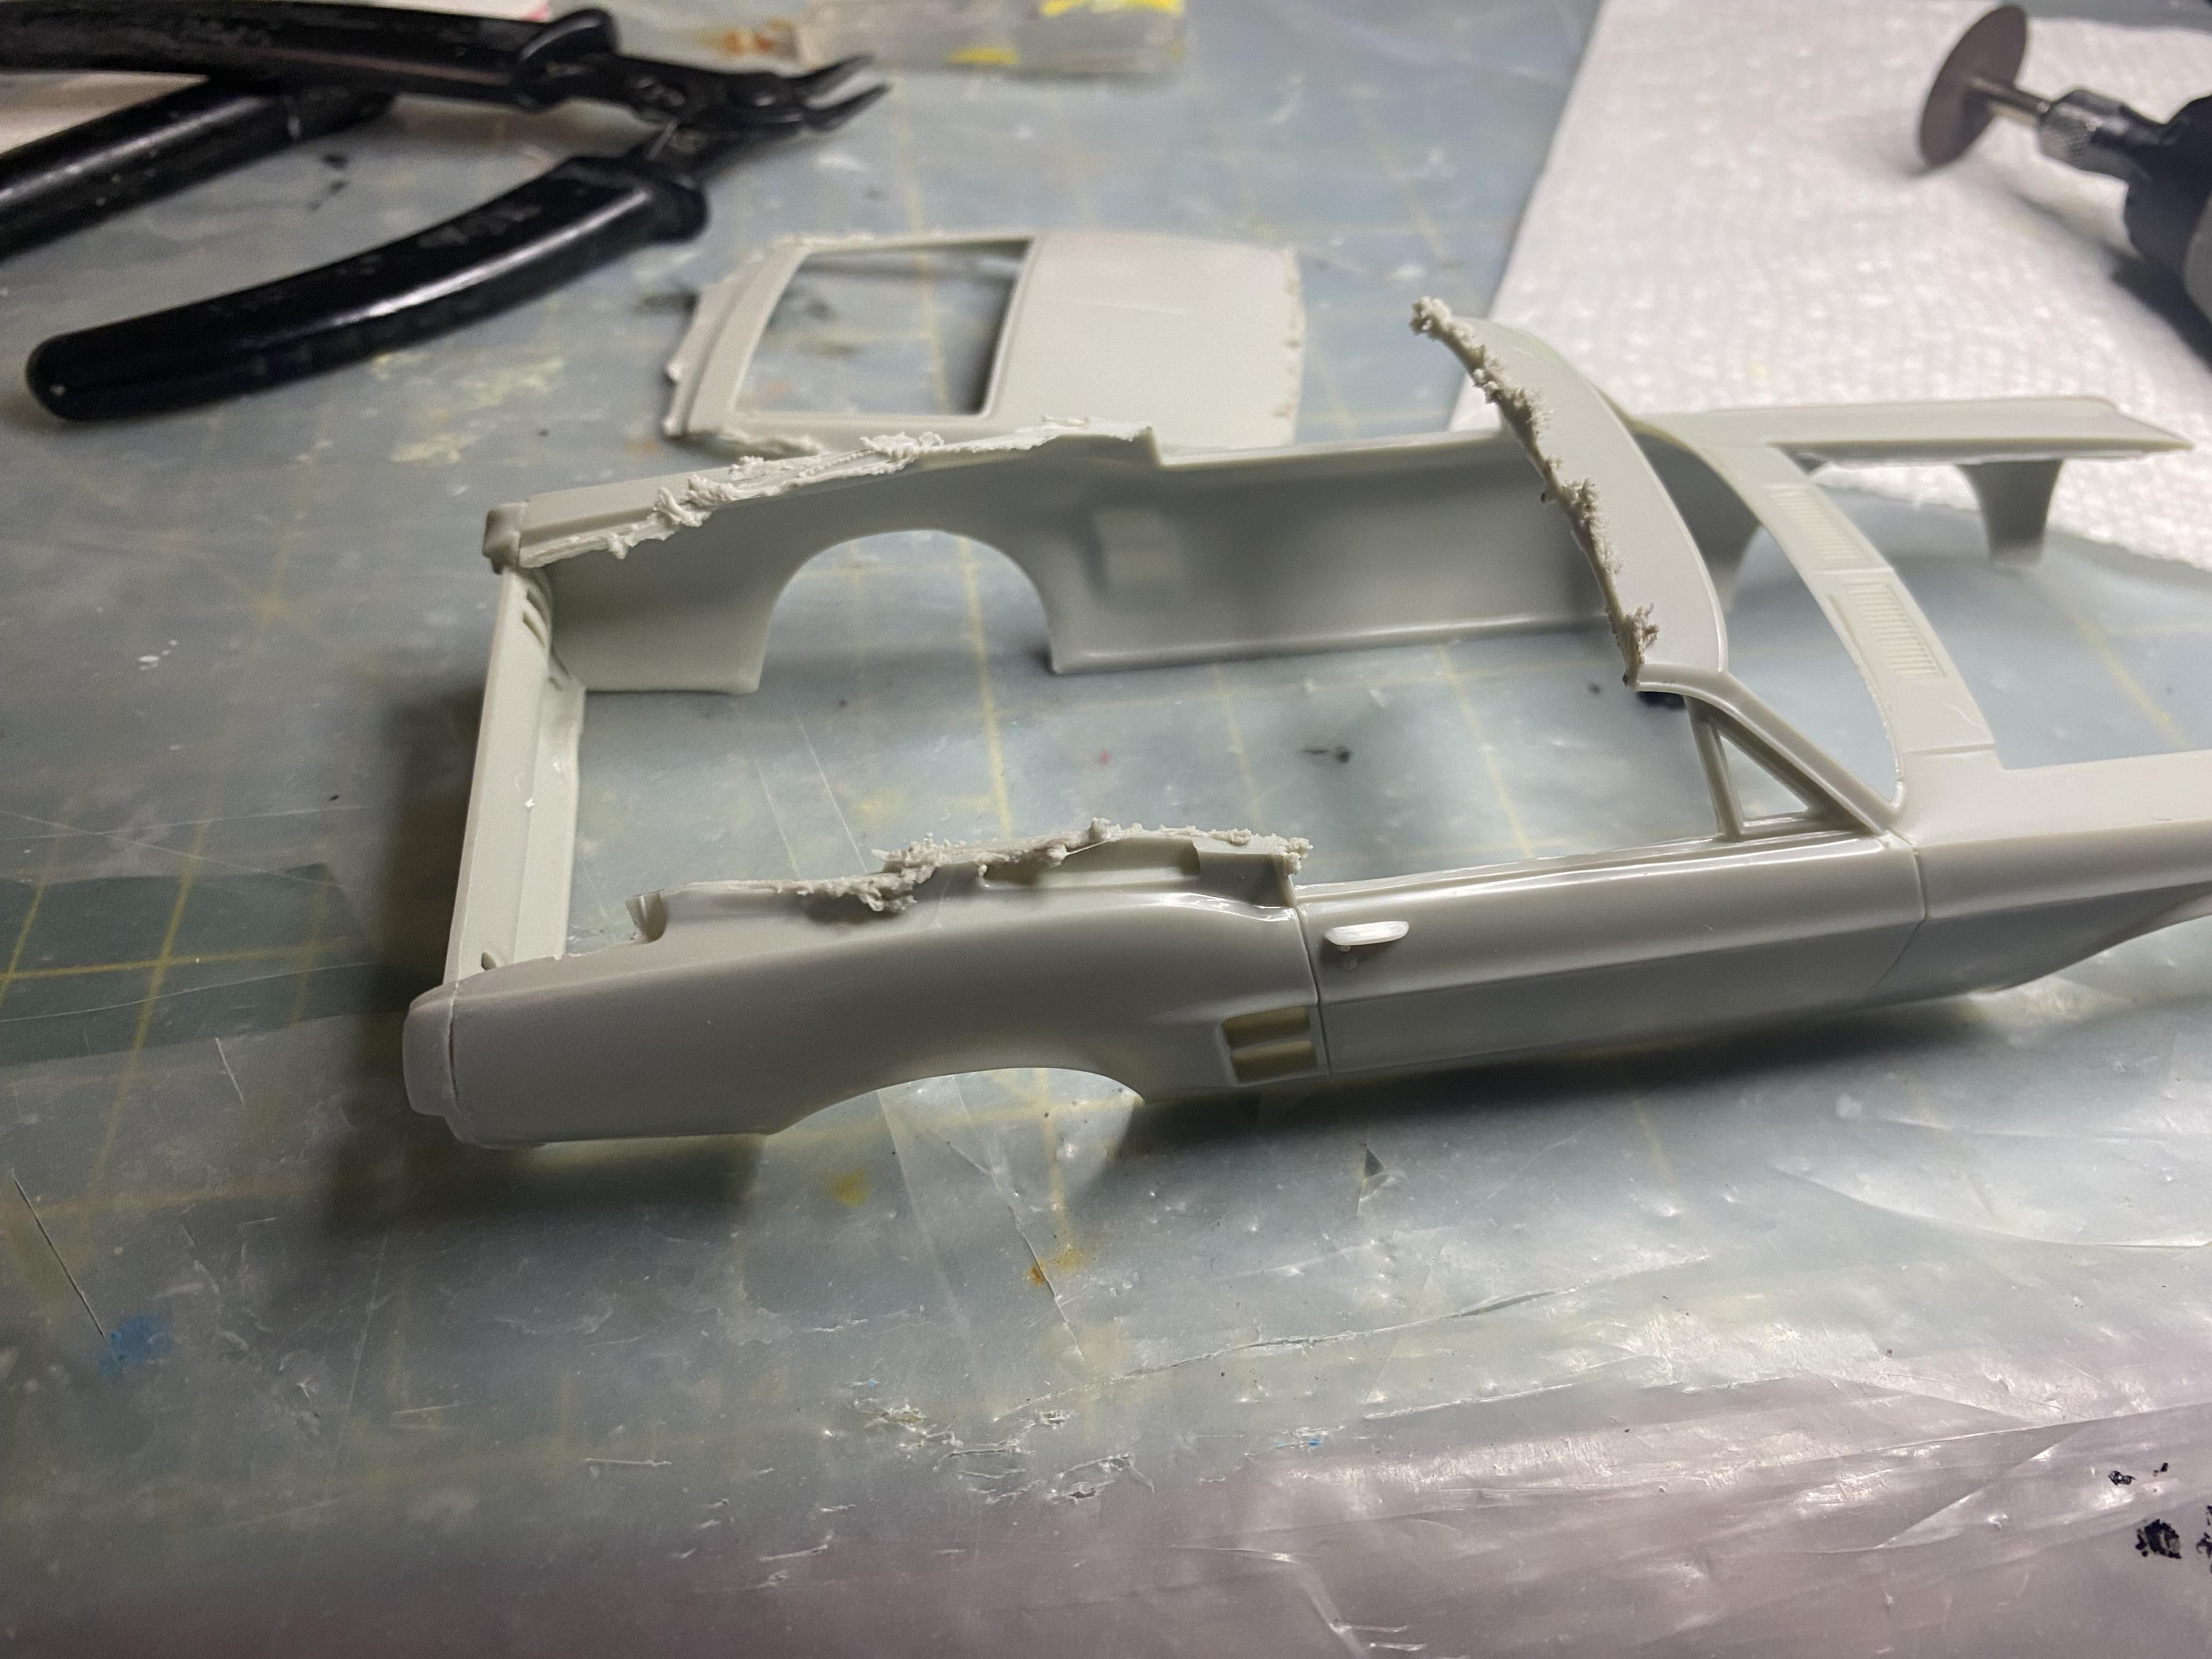
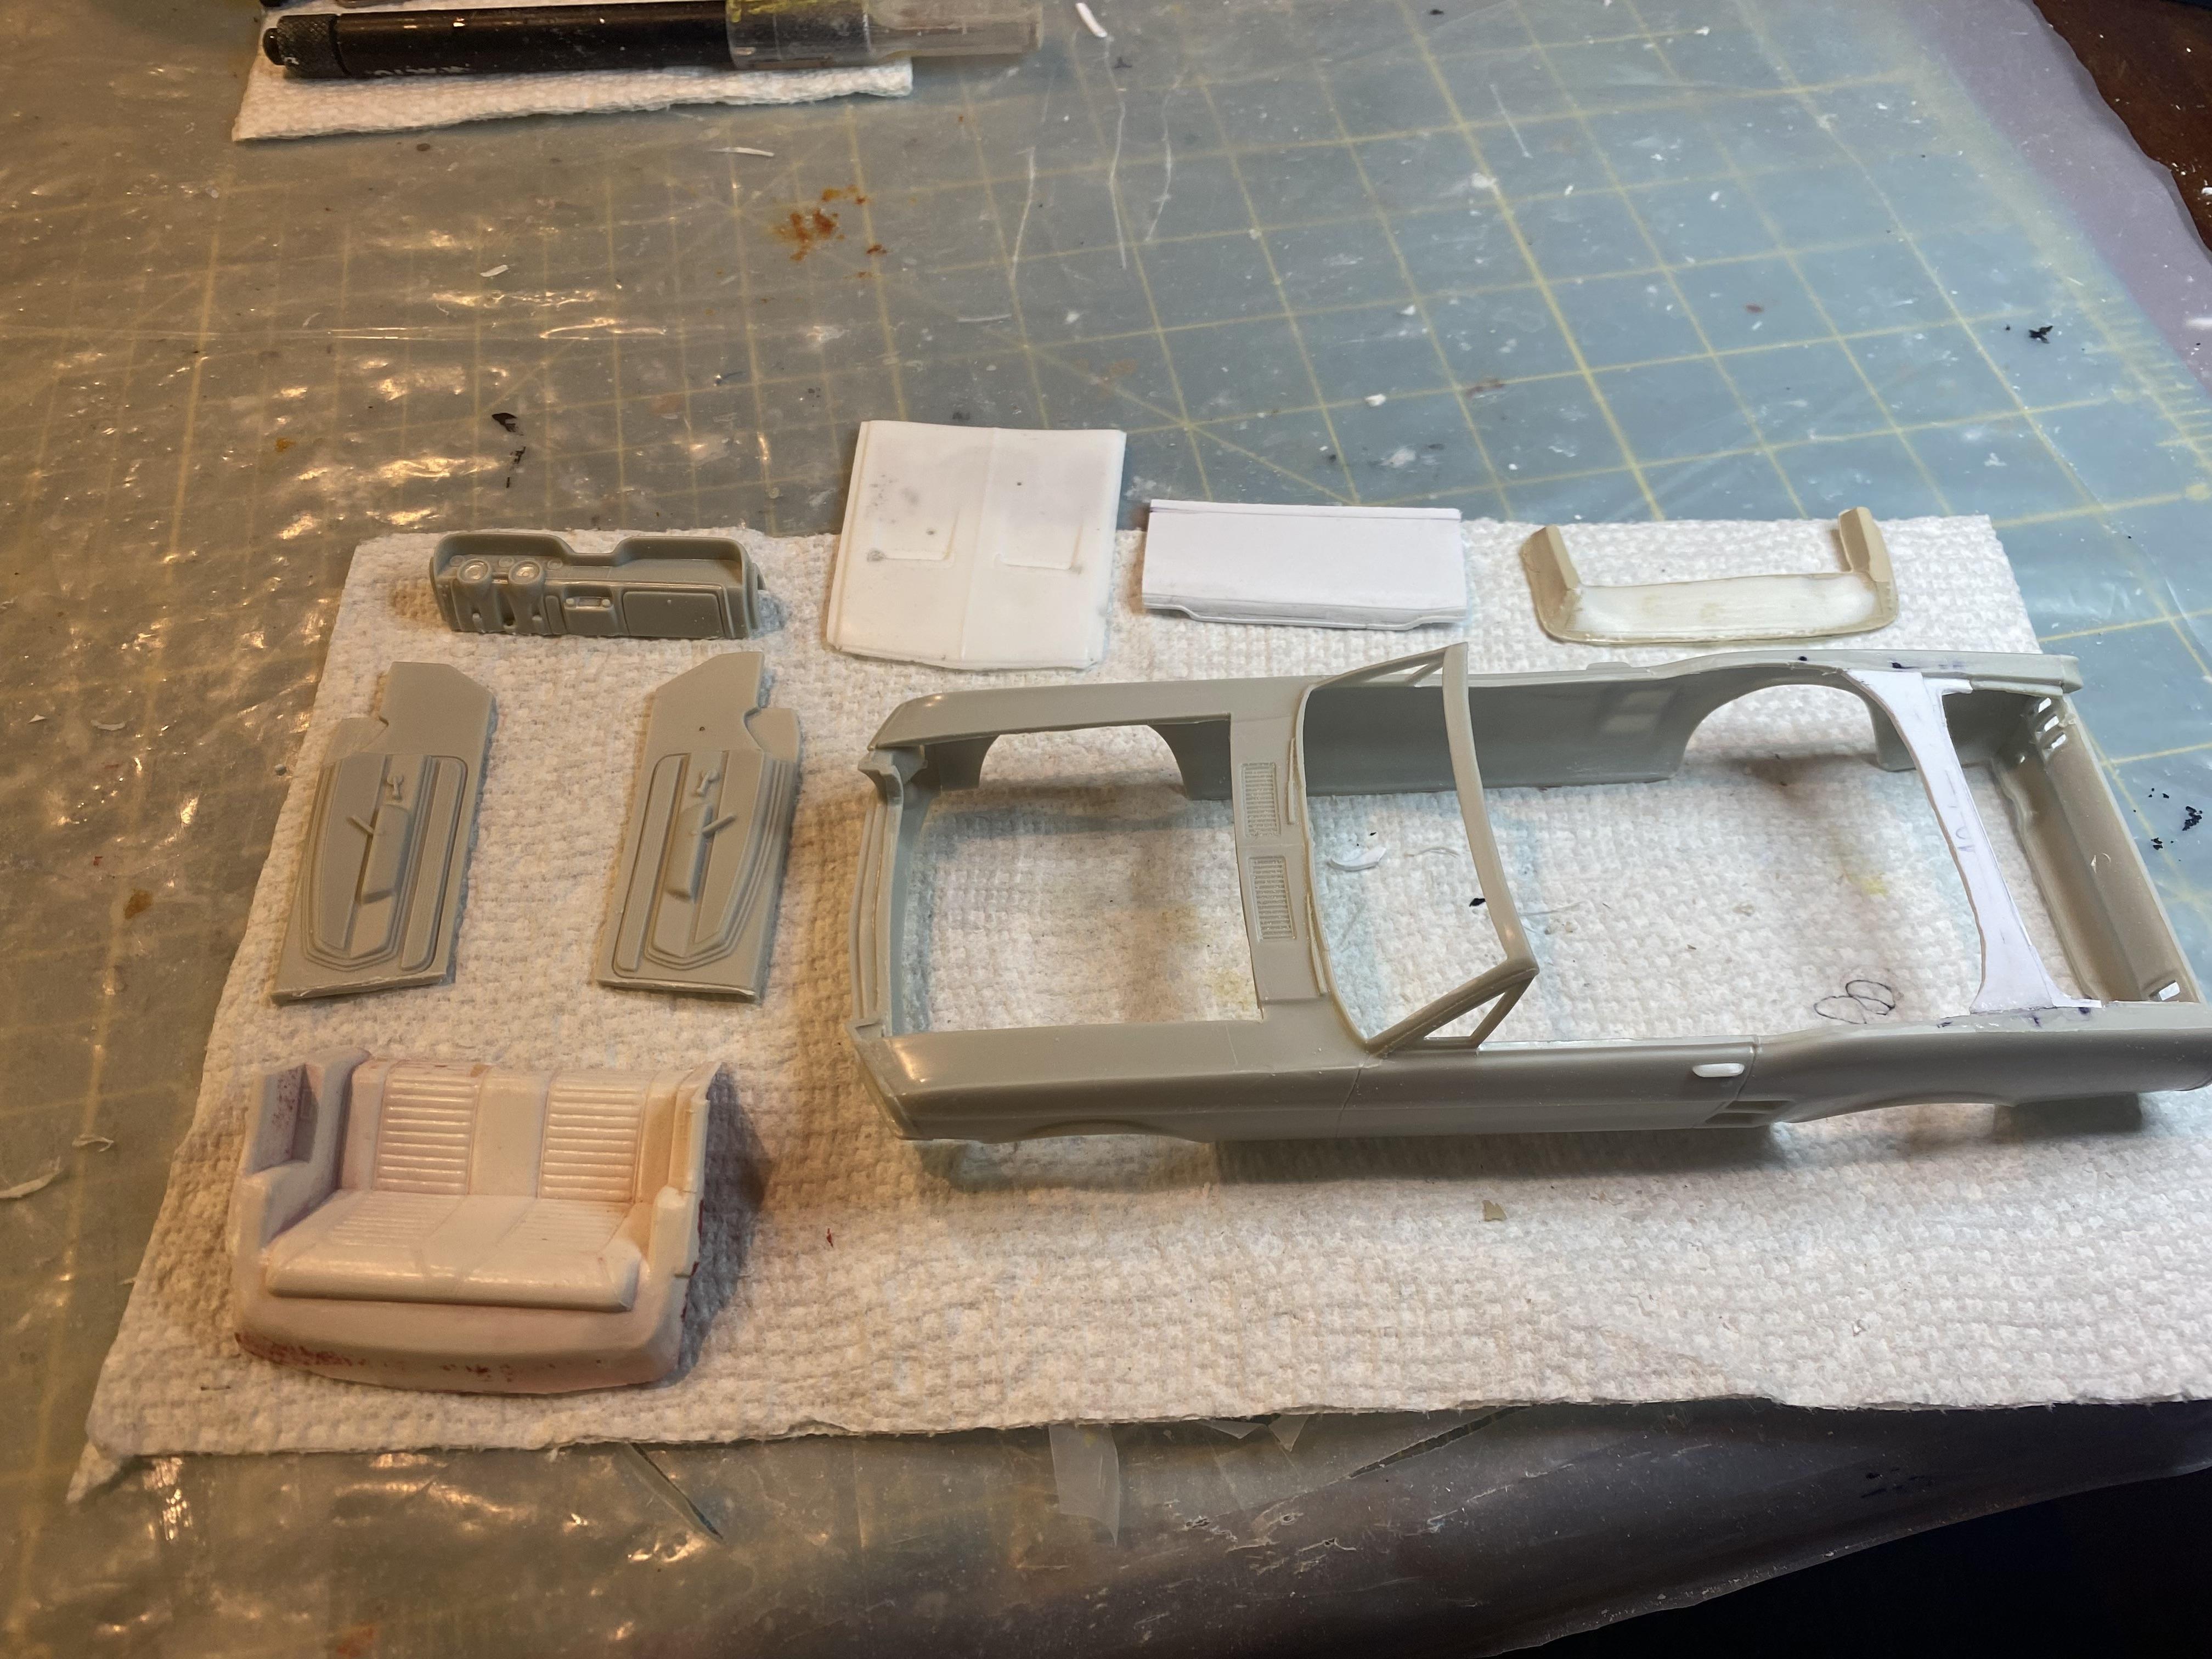
A little more work done. I cast a slightly better hood. The other one was warped too bad. Attached the firewall and radiator supports to the inner fenders of the untouched Fastback body and cut it away. I modified the interior pieces and trial fit most of the major components including the engine compartment, chassis, interior door side panels, dash, rear seat, top boot and trunk lid. Everything is fitting together now pretty well. Everything is pretty rough, but making progress.
-
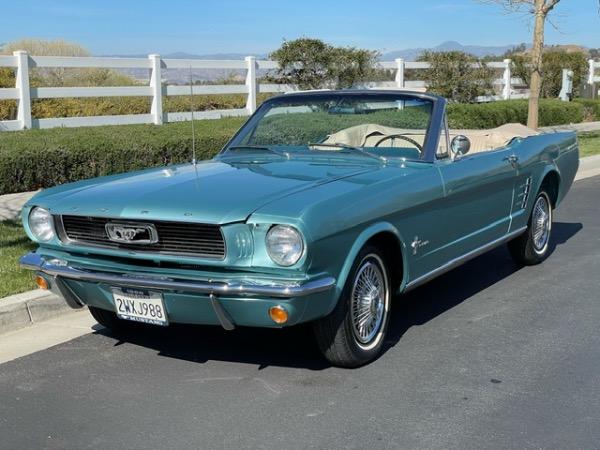
I have never cast anything as large as a whole body, just hoods, trunk lids, seat, etc would be the largest. For me it was between Nightmist Blue and Dark Moss green for this build. I love Turquoise, I own a 1966 Convertible in Tahoe Turquoise, just not the way I wanted to go with this build.
-
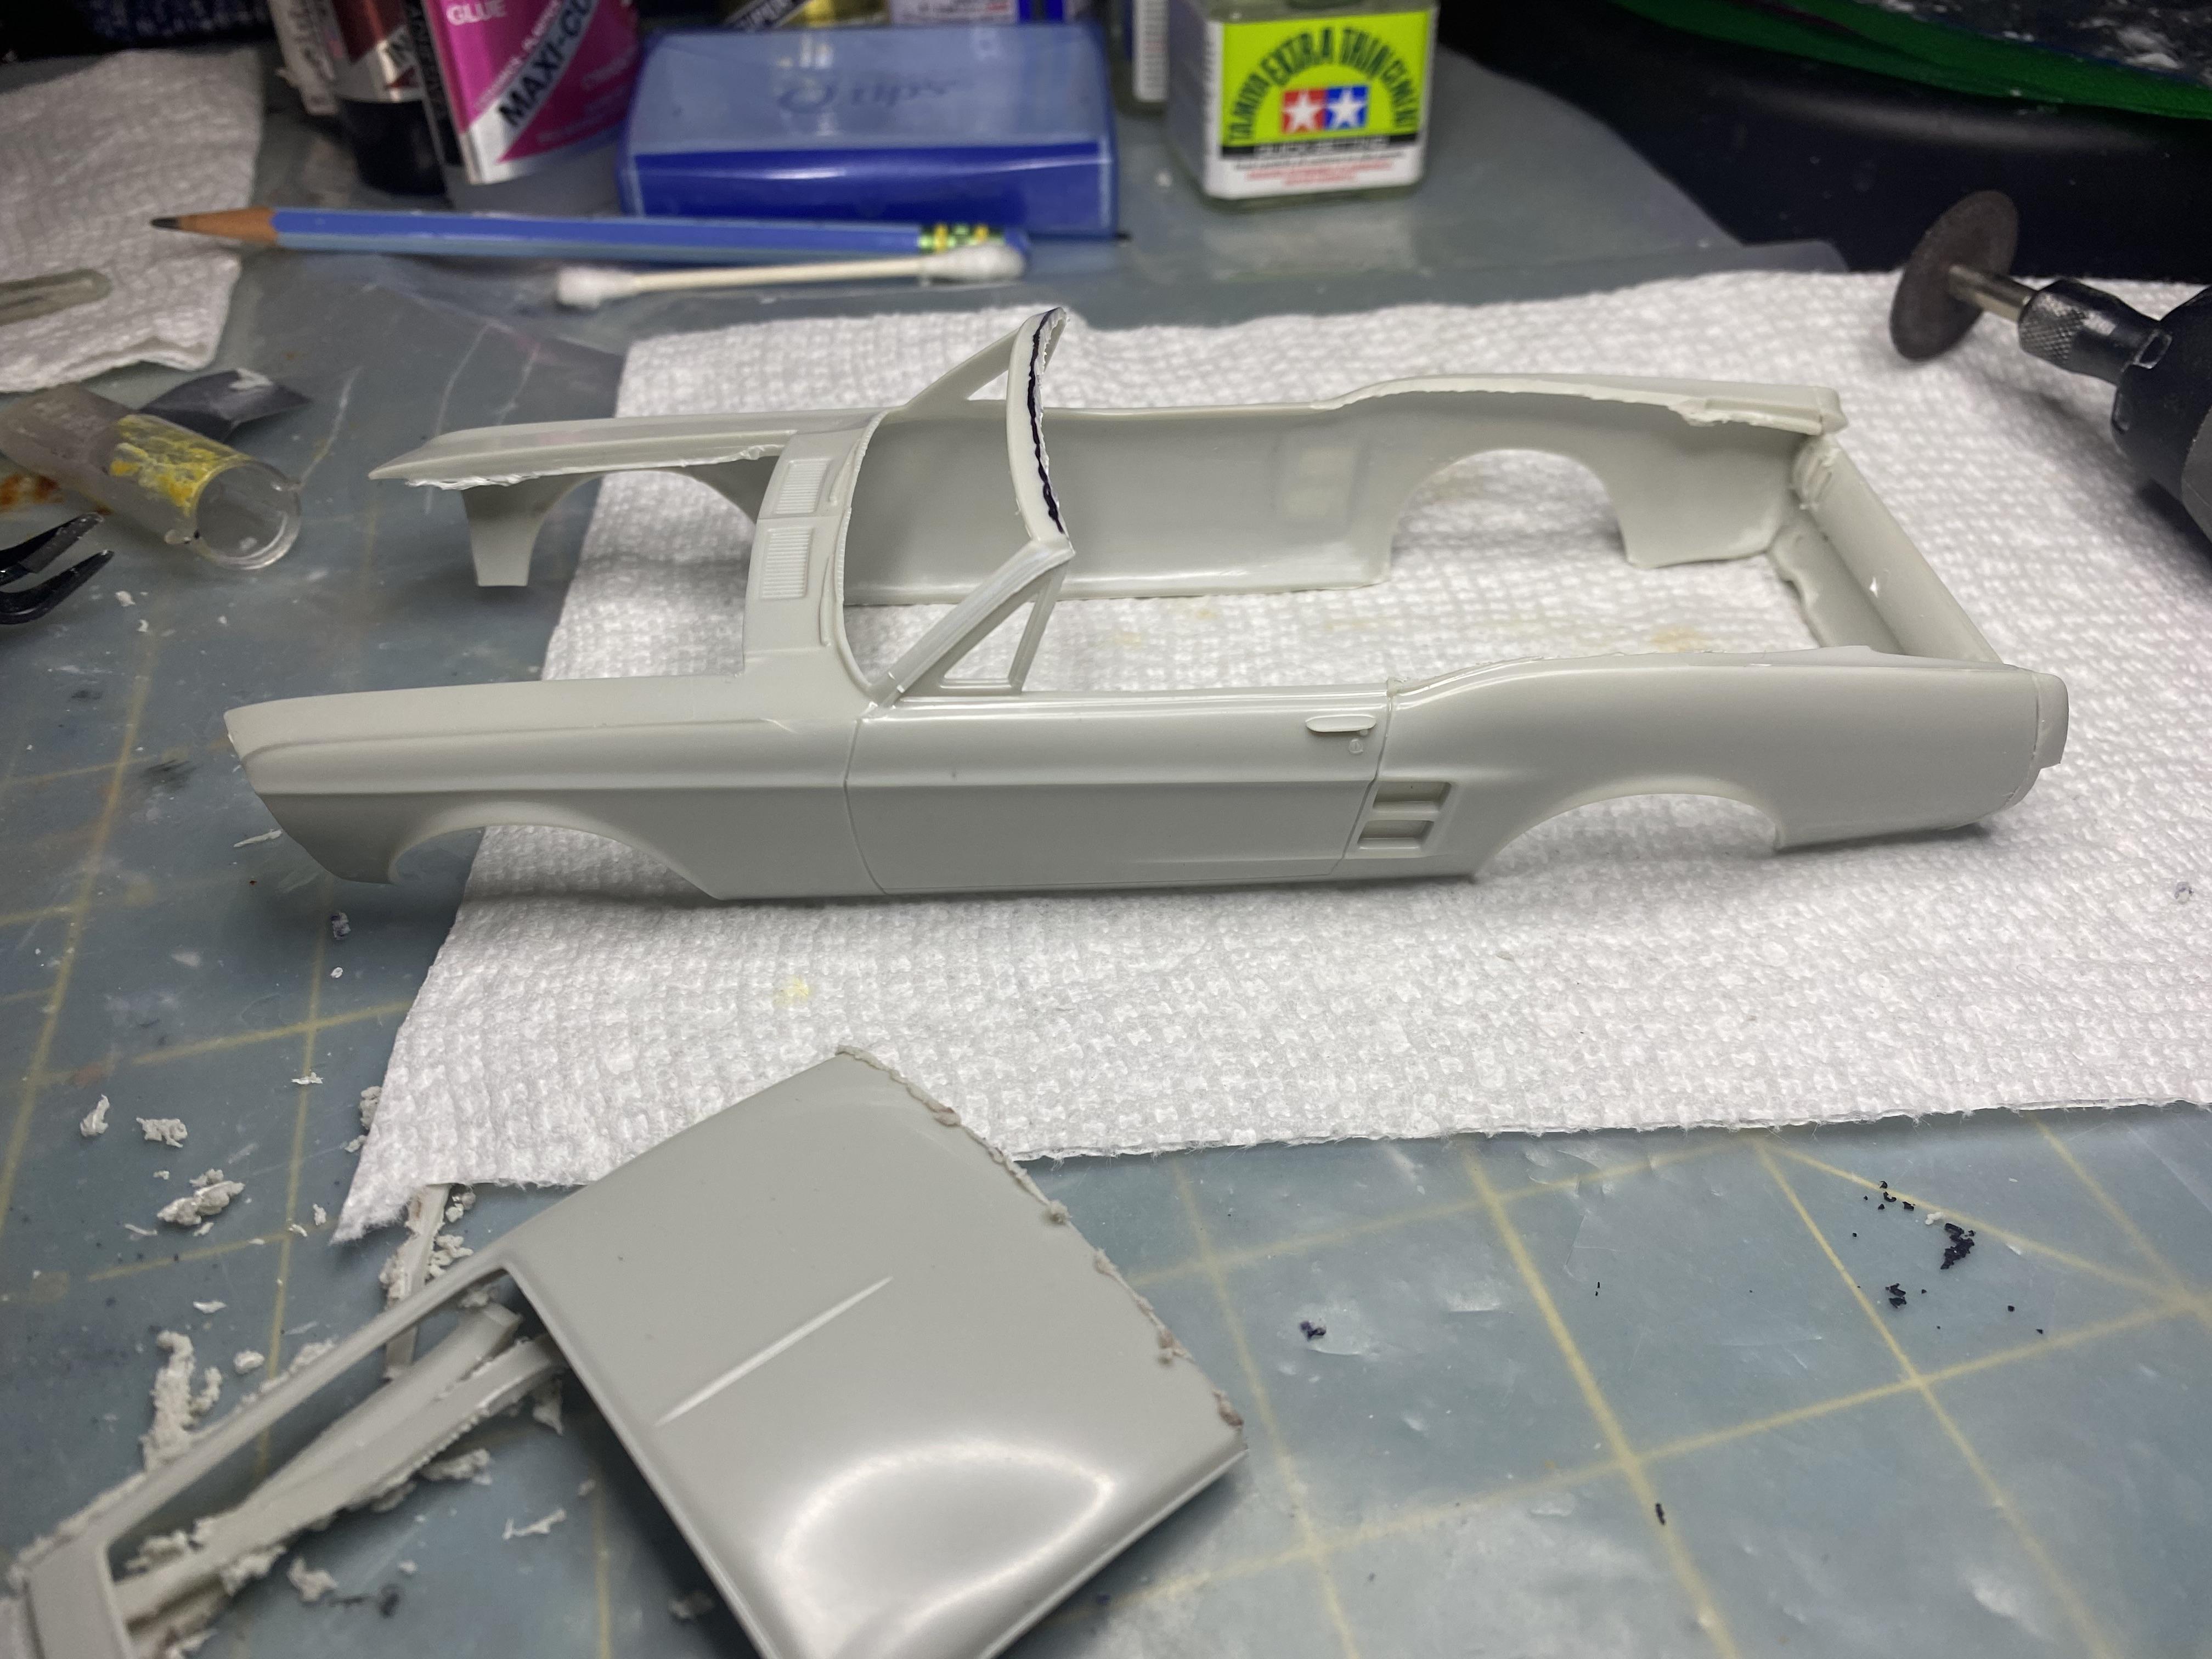
Thank you. I made the trunk lid too short at first and had to cut out a section of the body panel I made and extend the trunk lid to get it right. It’s going to be a lot of work but I think it will be worth it. Once I get the trunk lid right I may cast it in case I ever decide to do this again.
-
On this one I will get getting a 390 FE engine and C6 trans from one of the 3d printers. The 289 and 4sp from this kit will be saved for a future build, they are actually quite good but not what I want for this build.
-
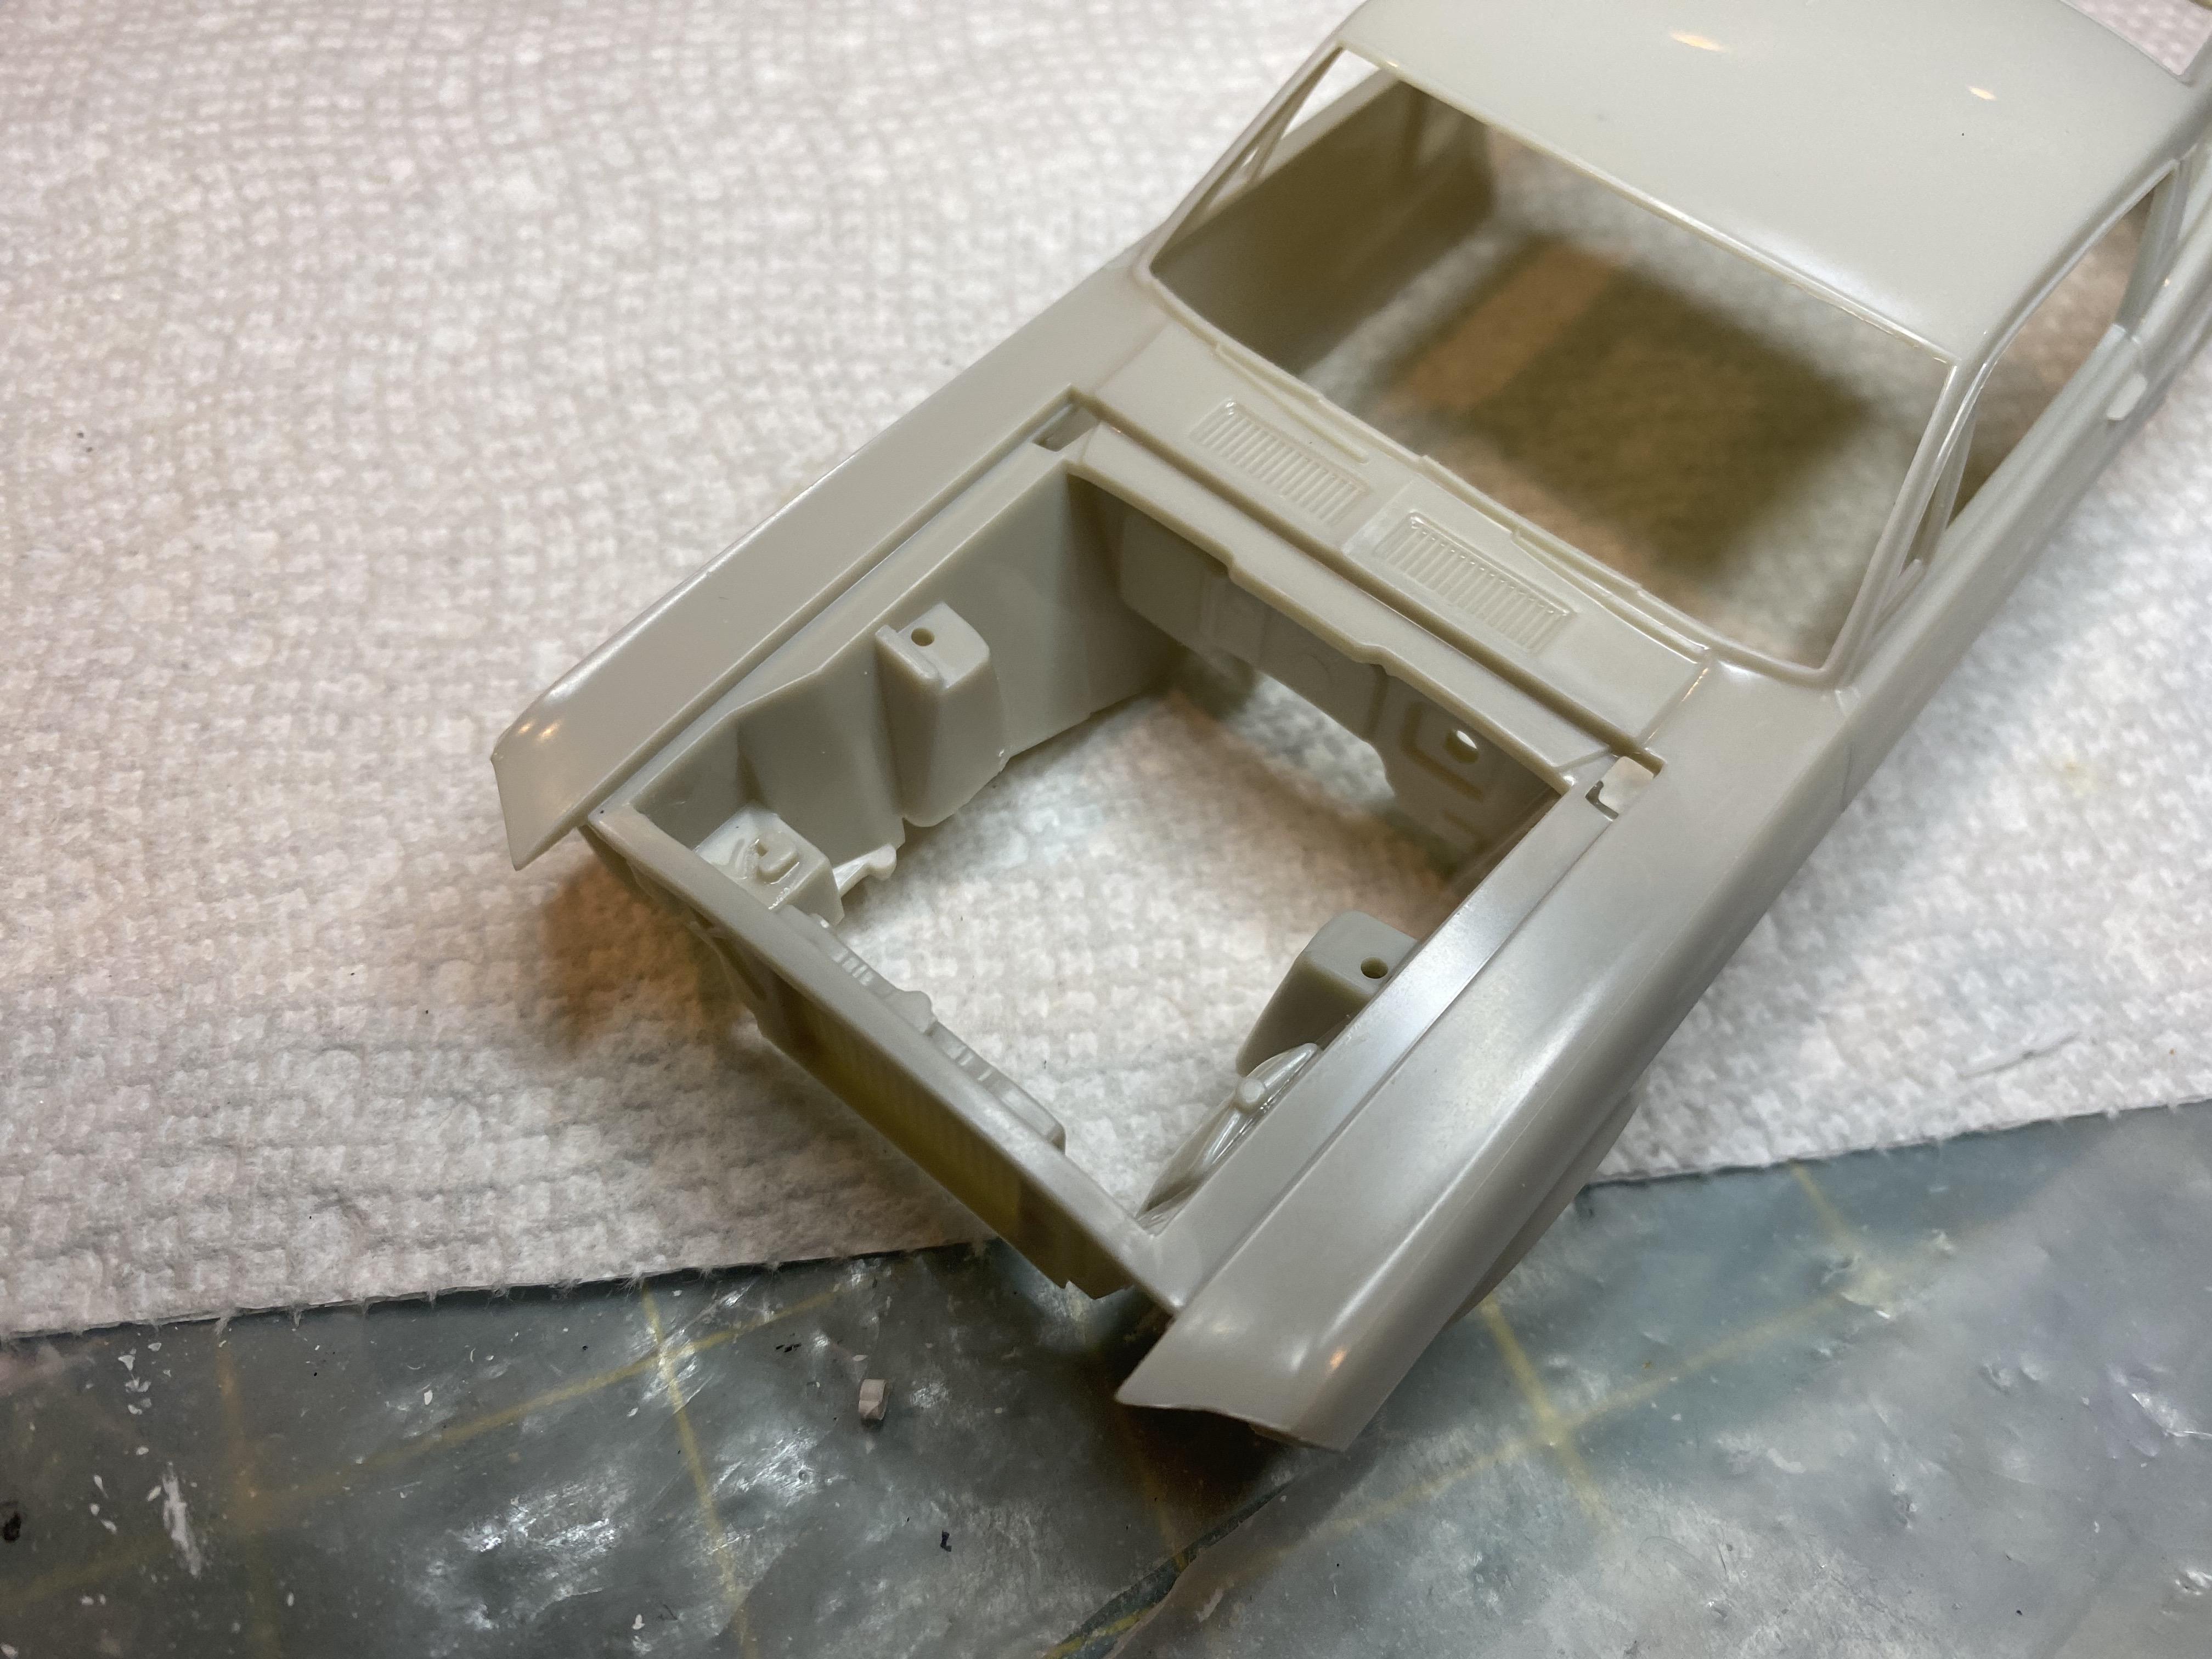
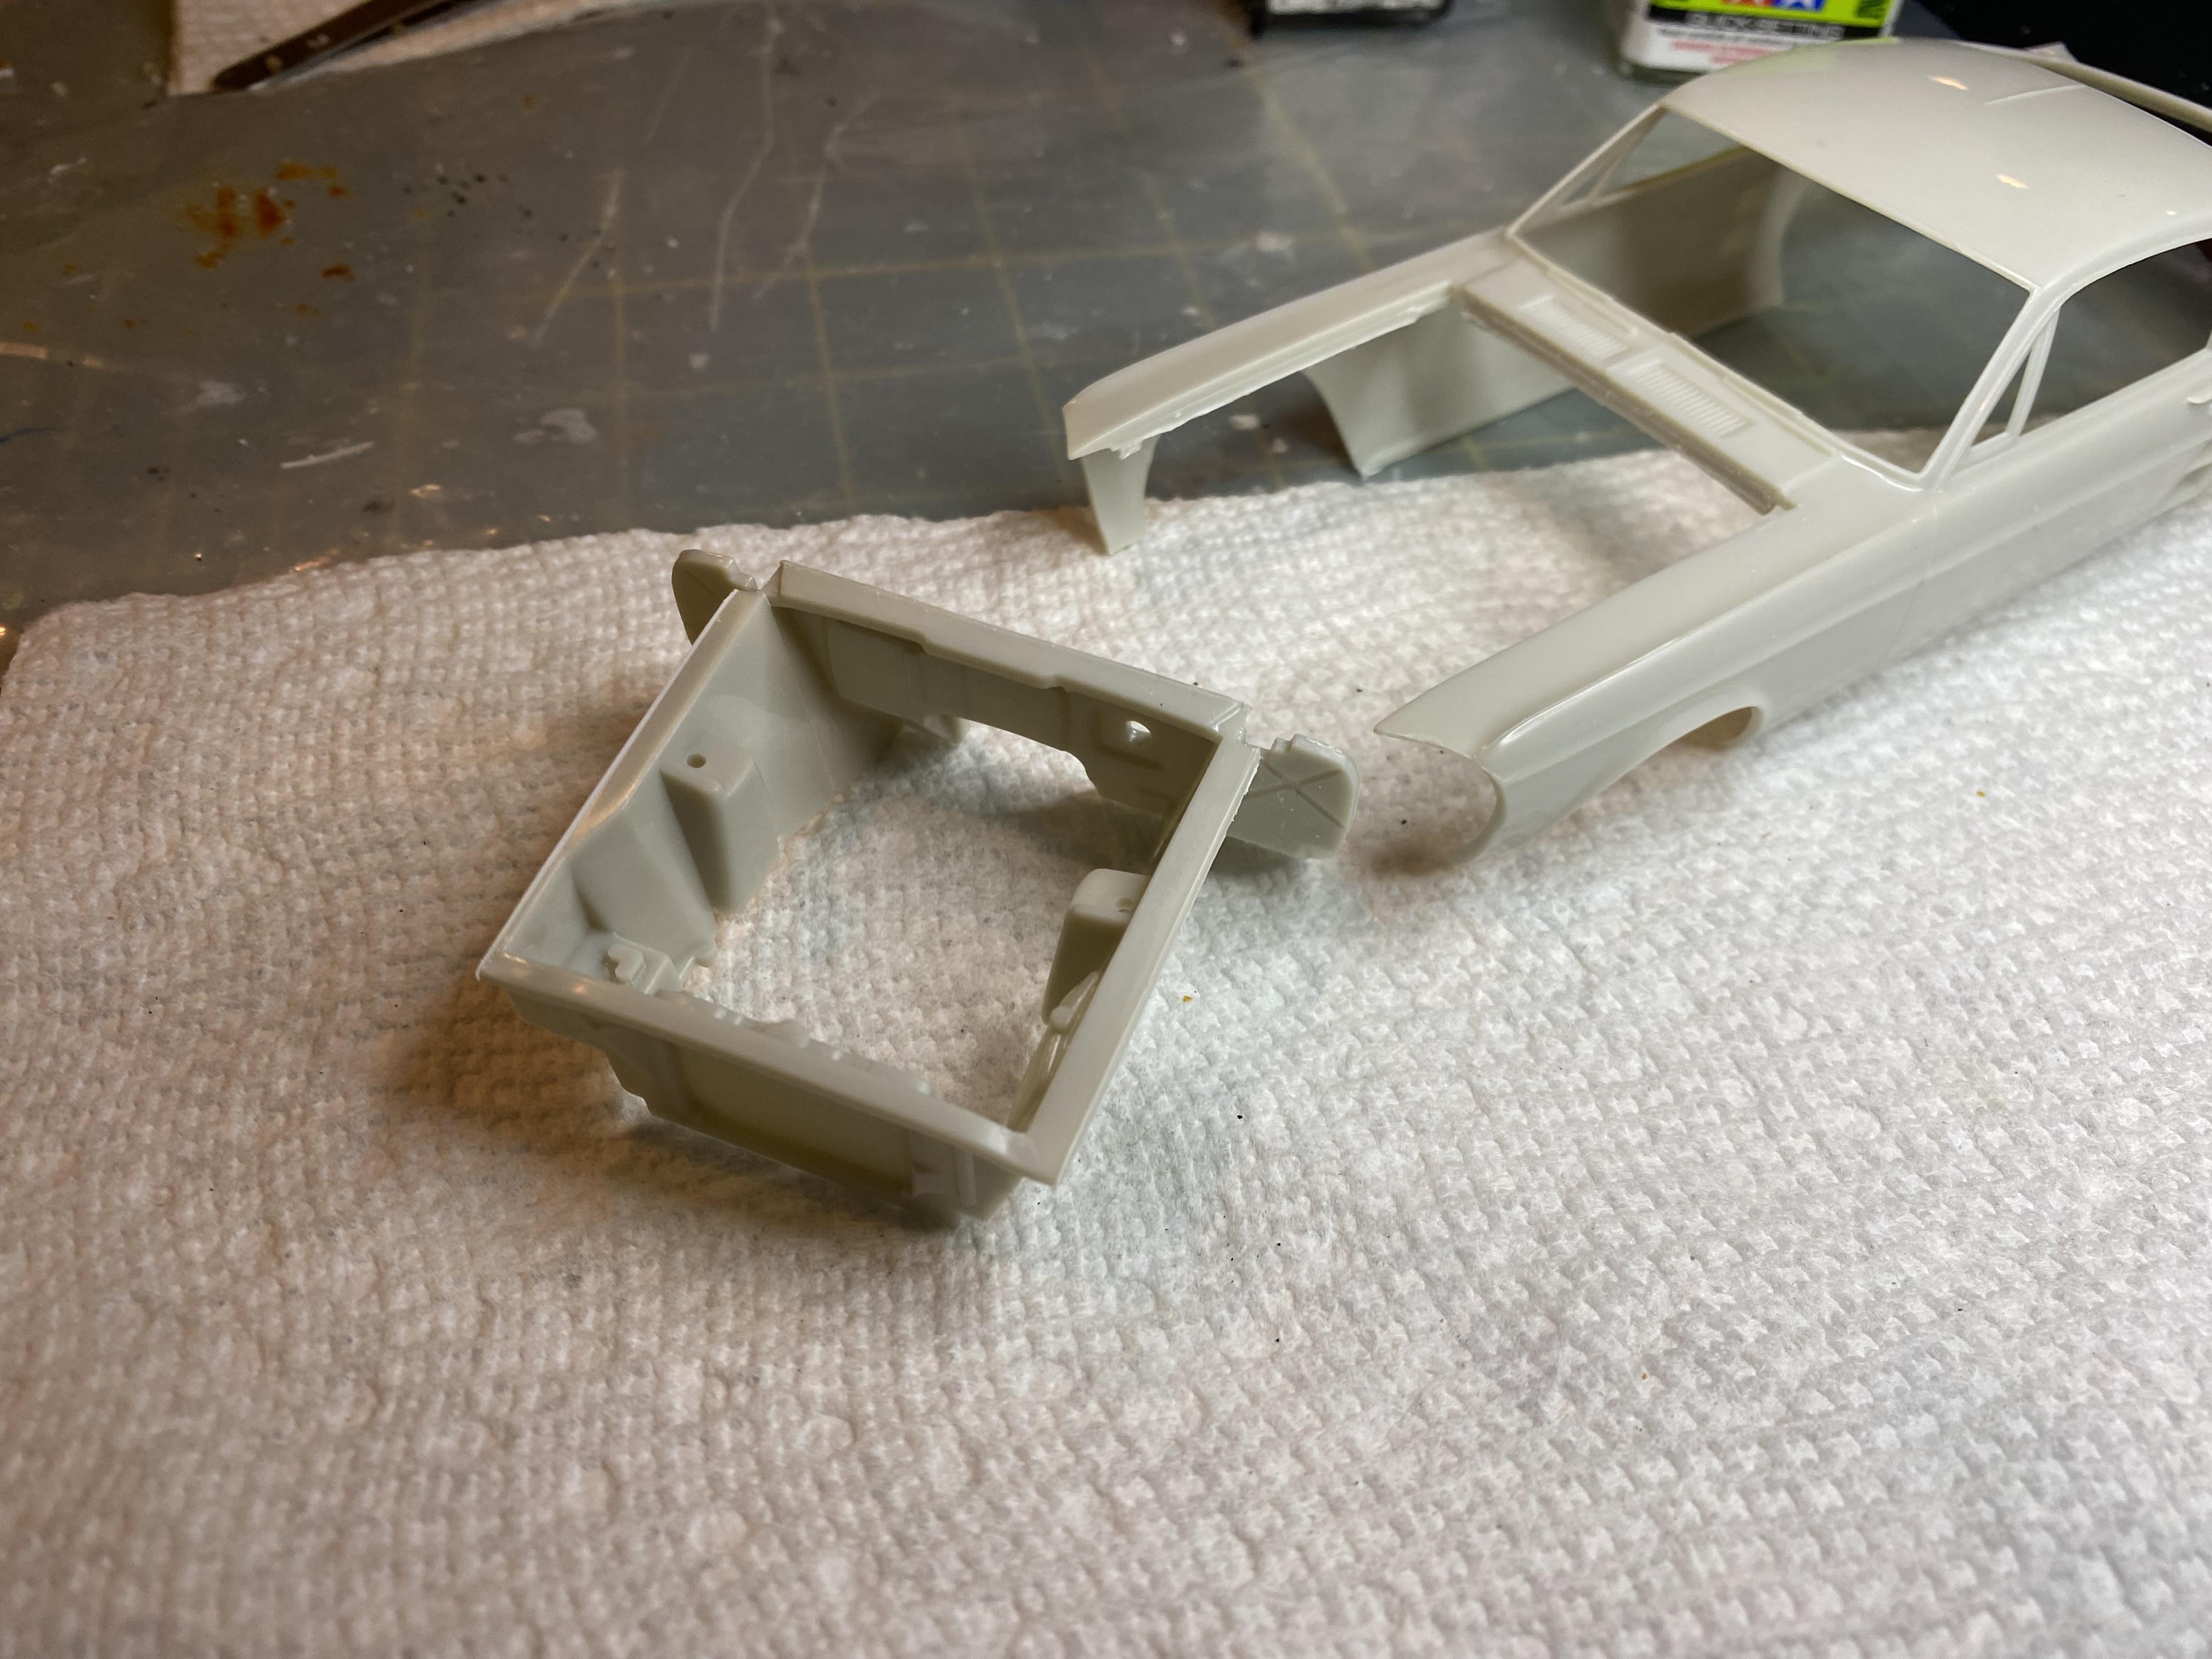
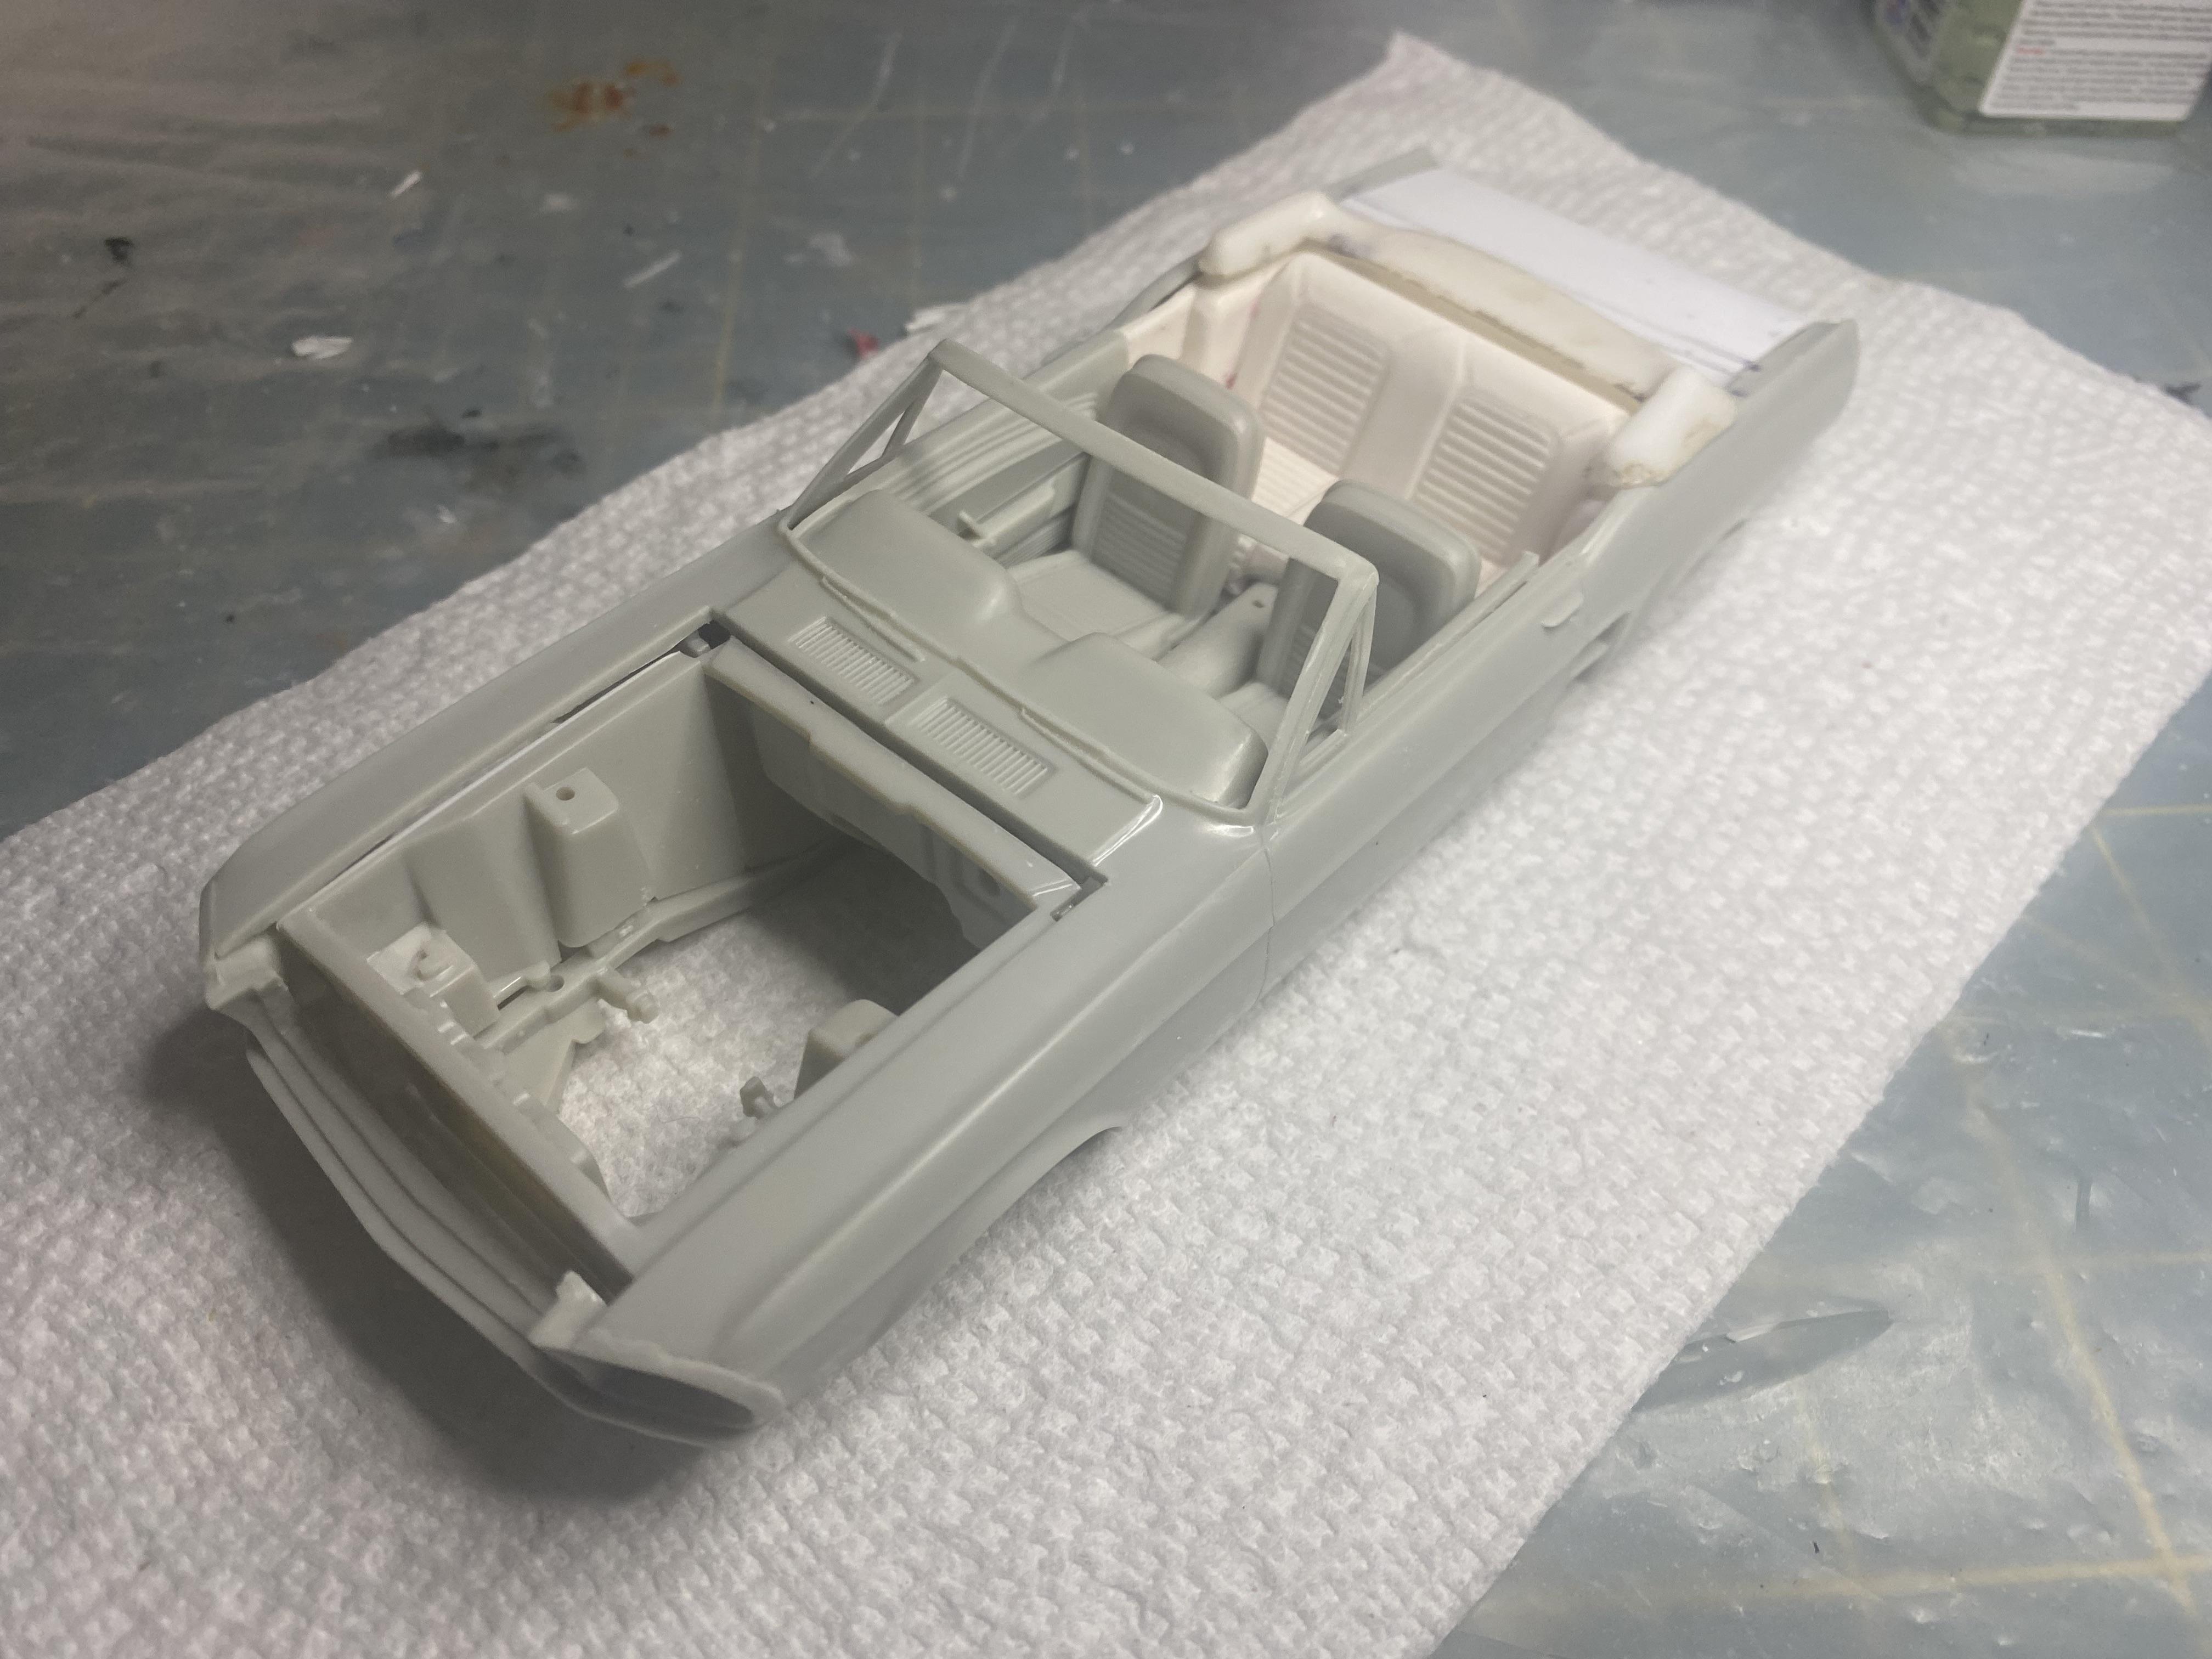
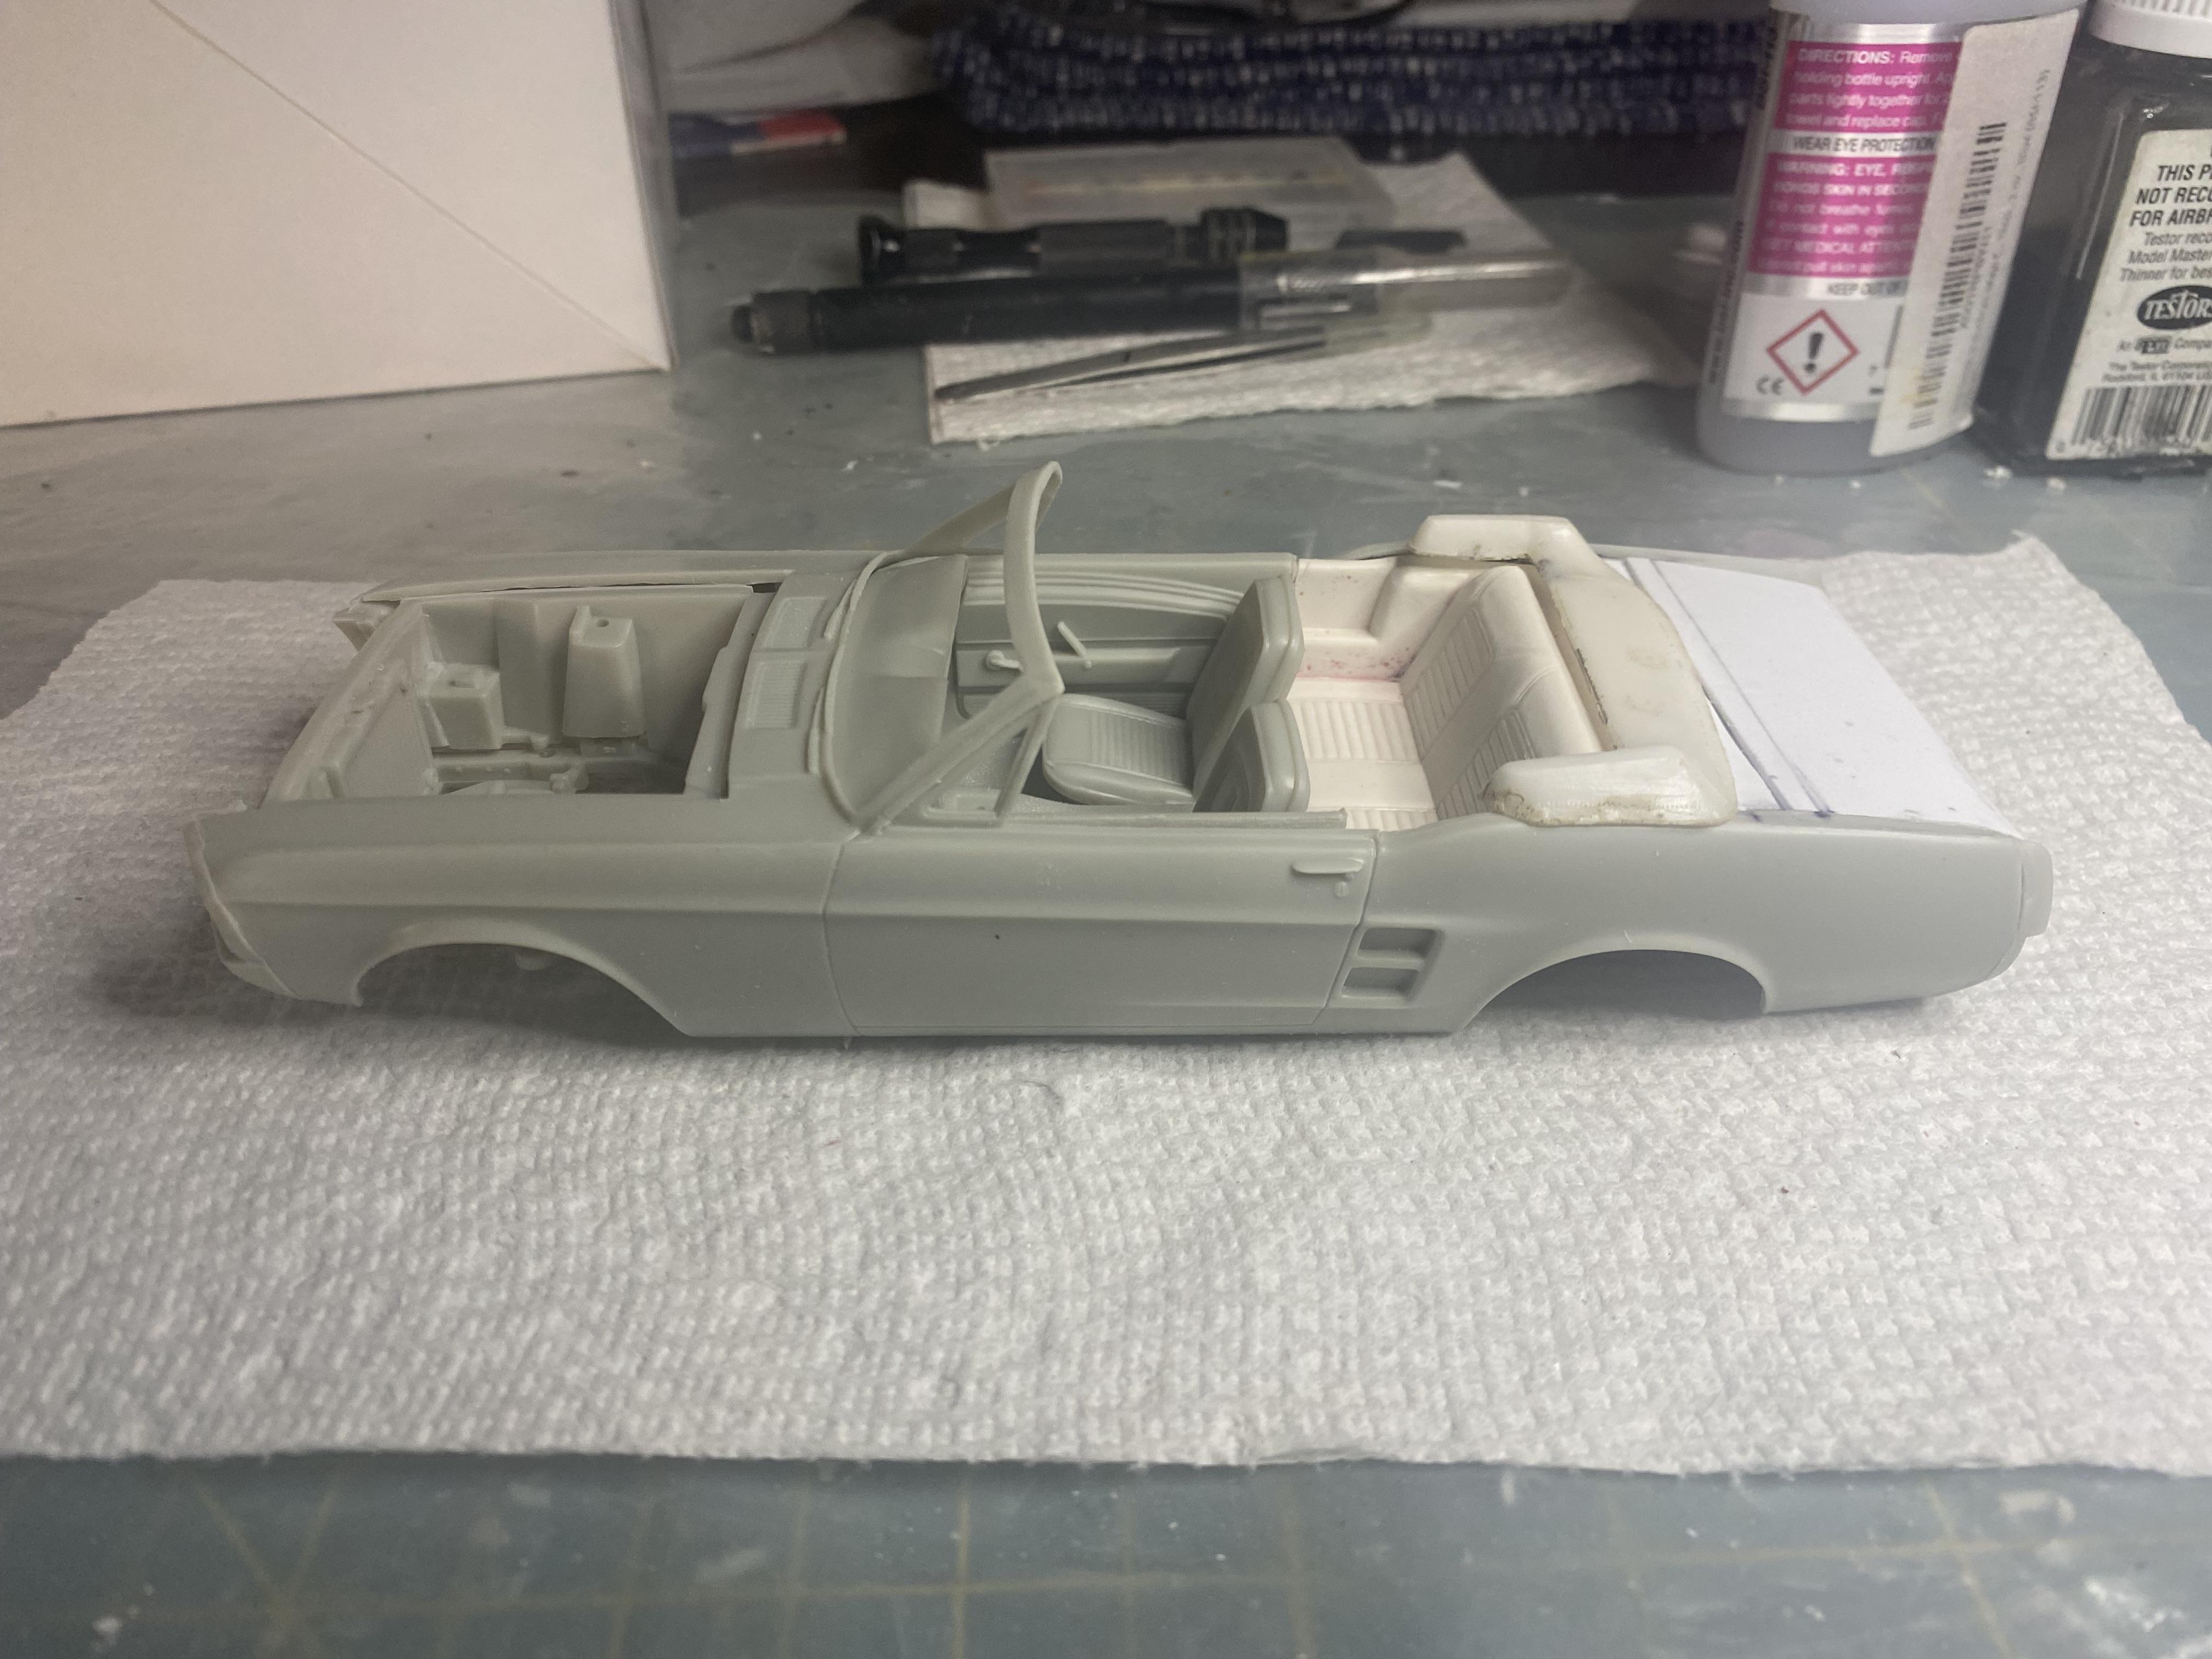
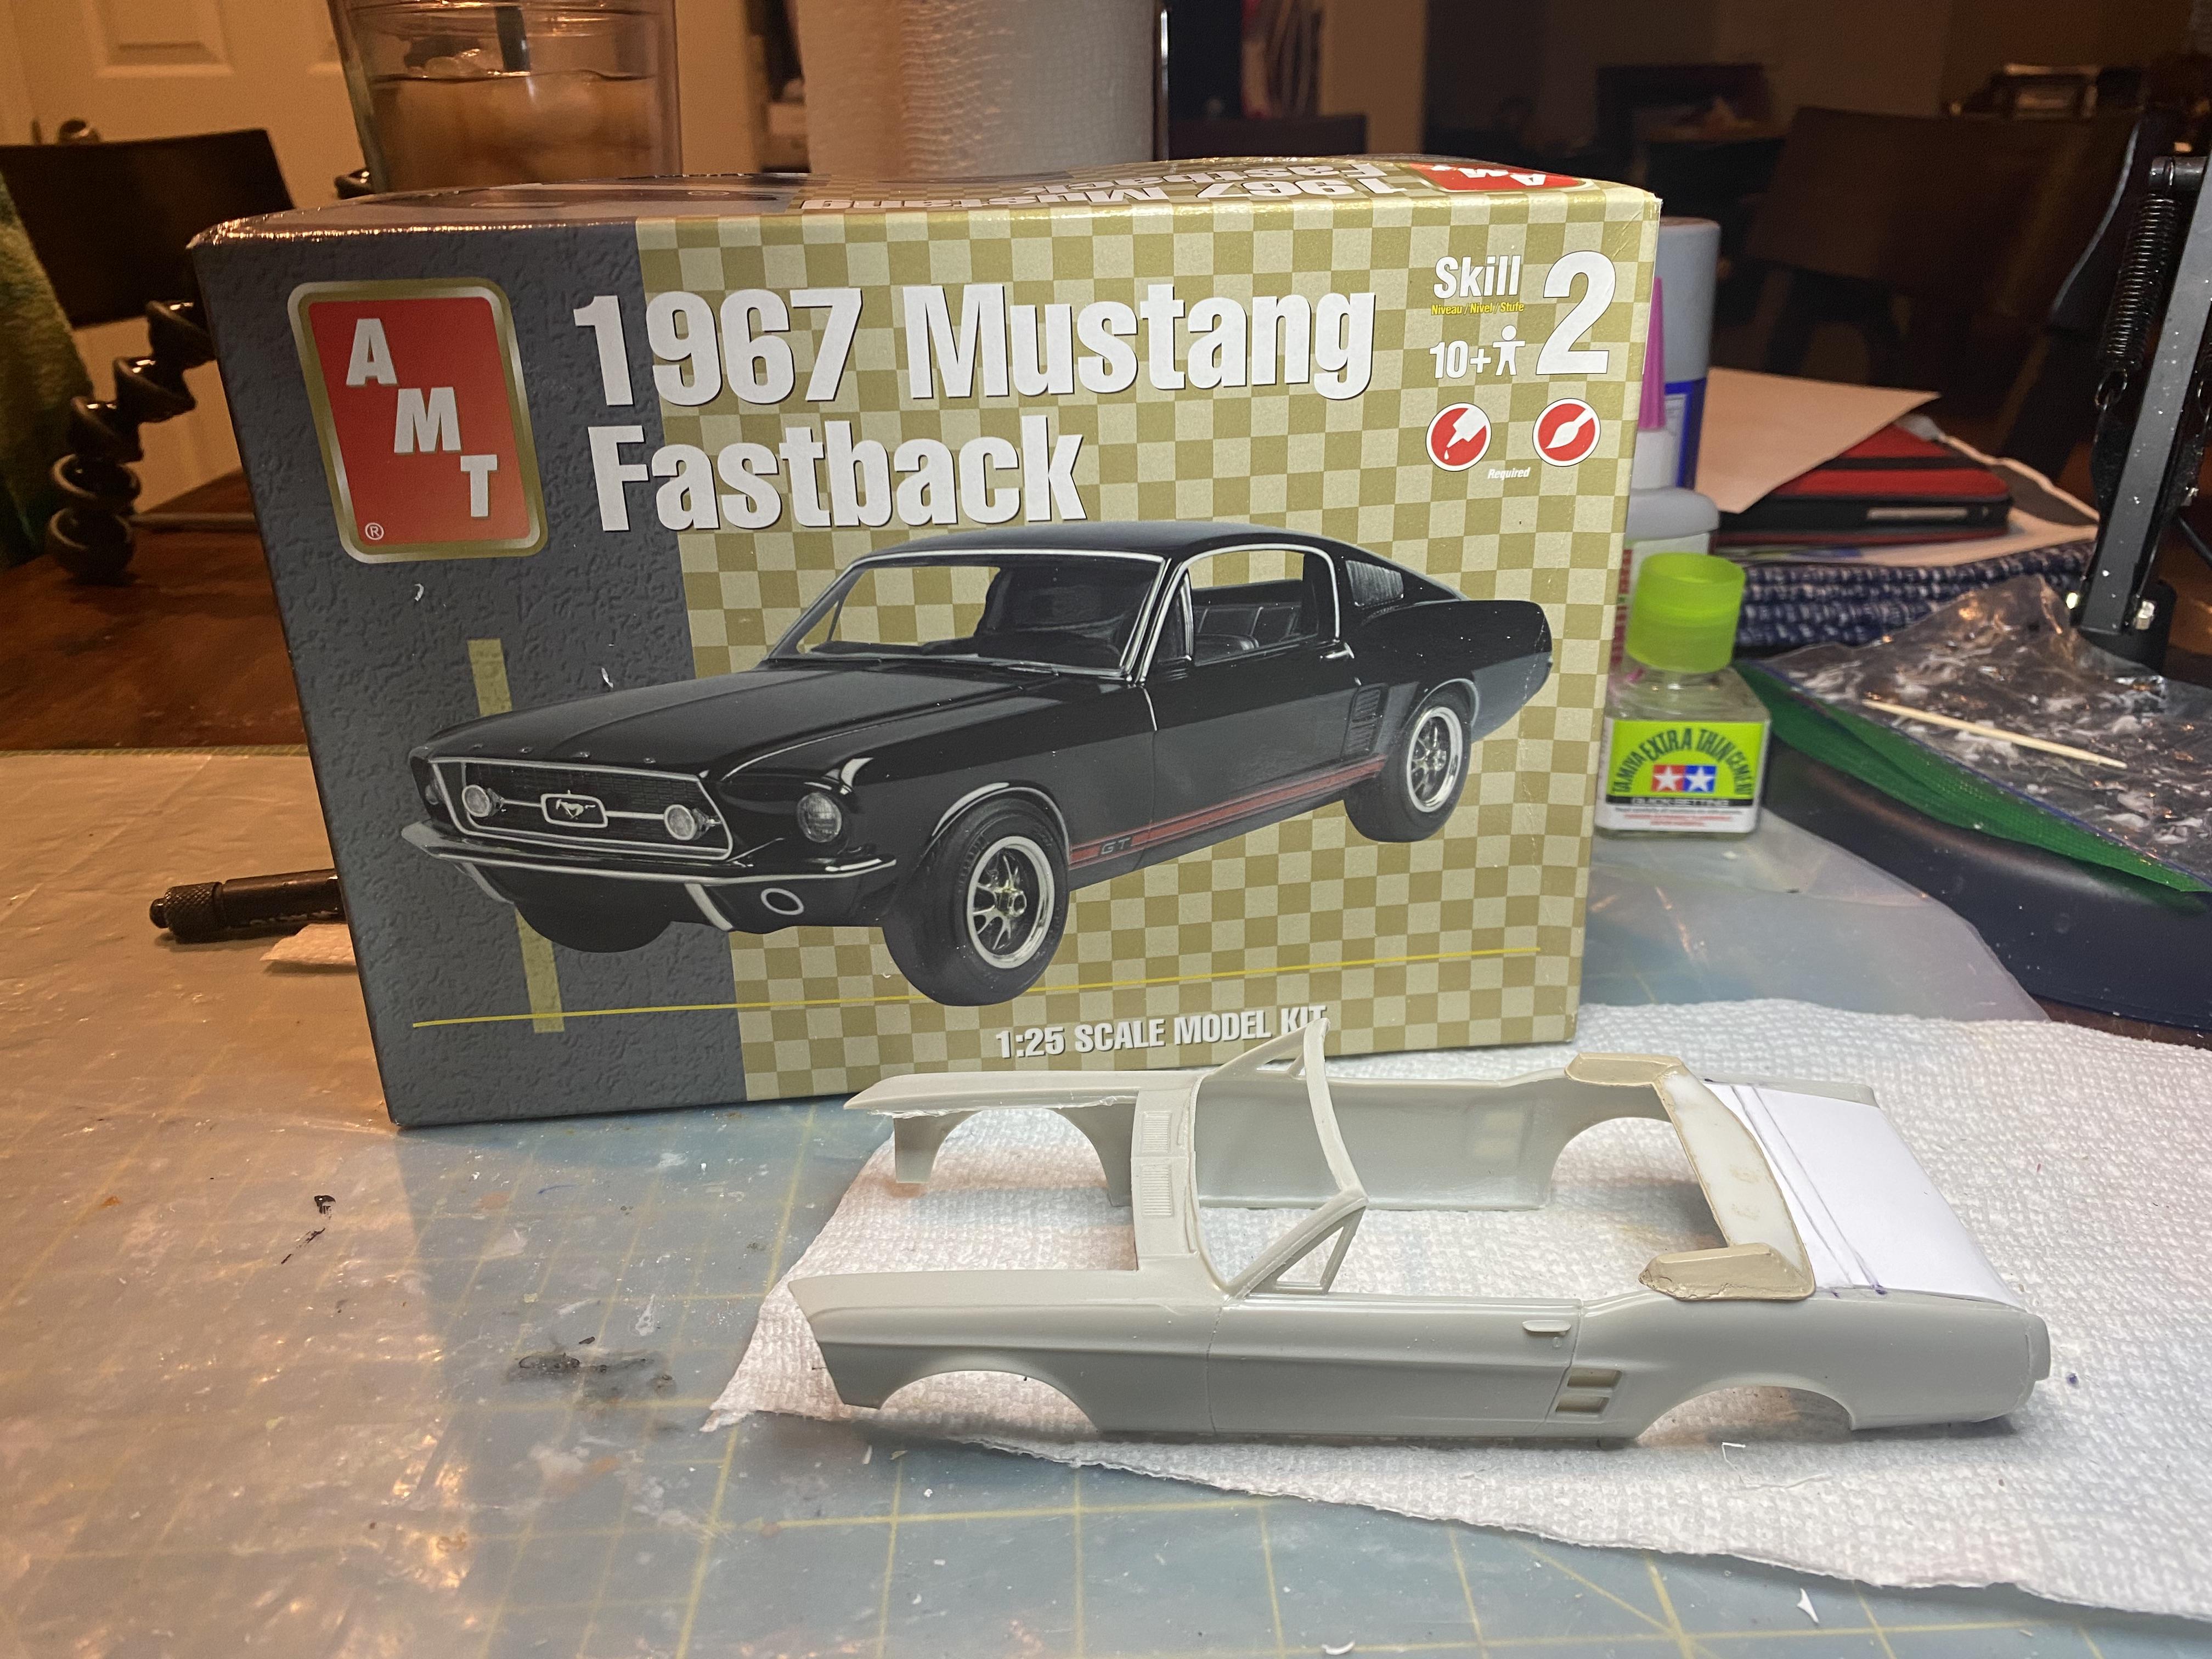
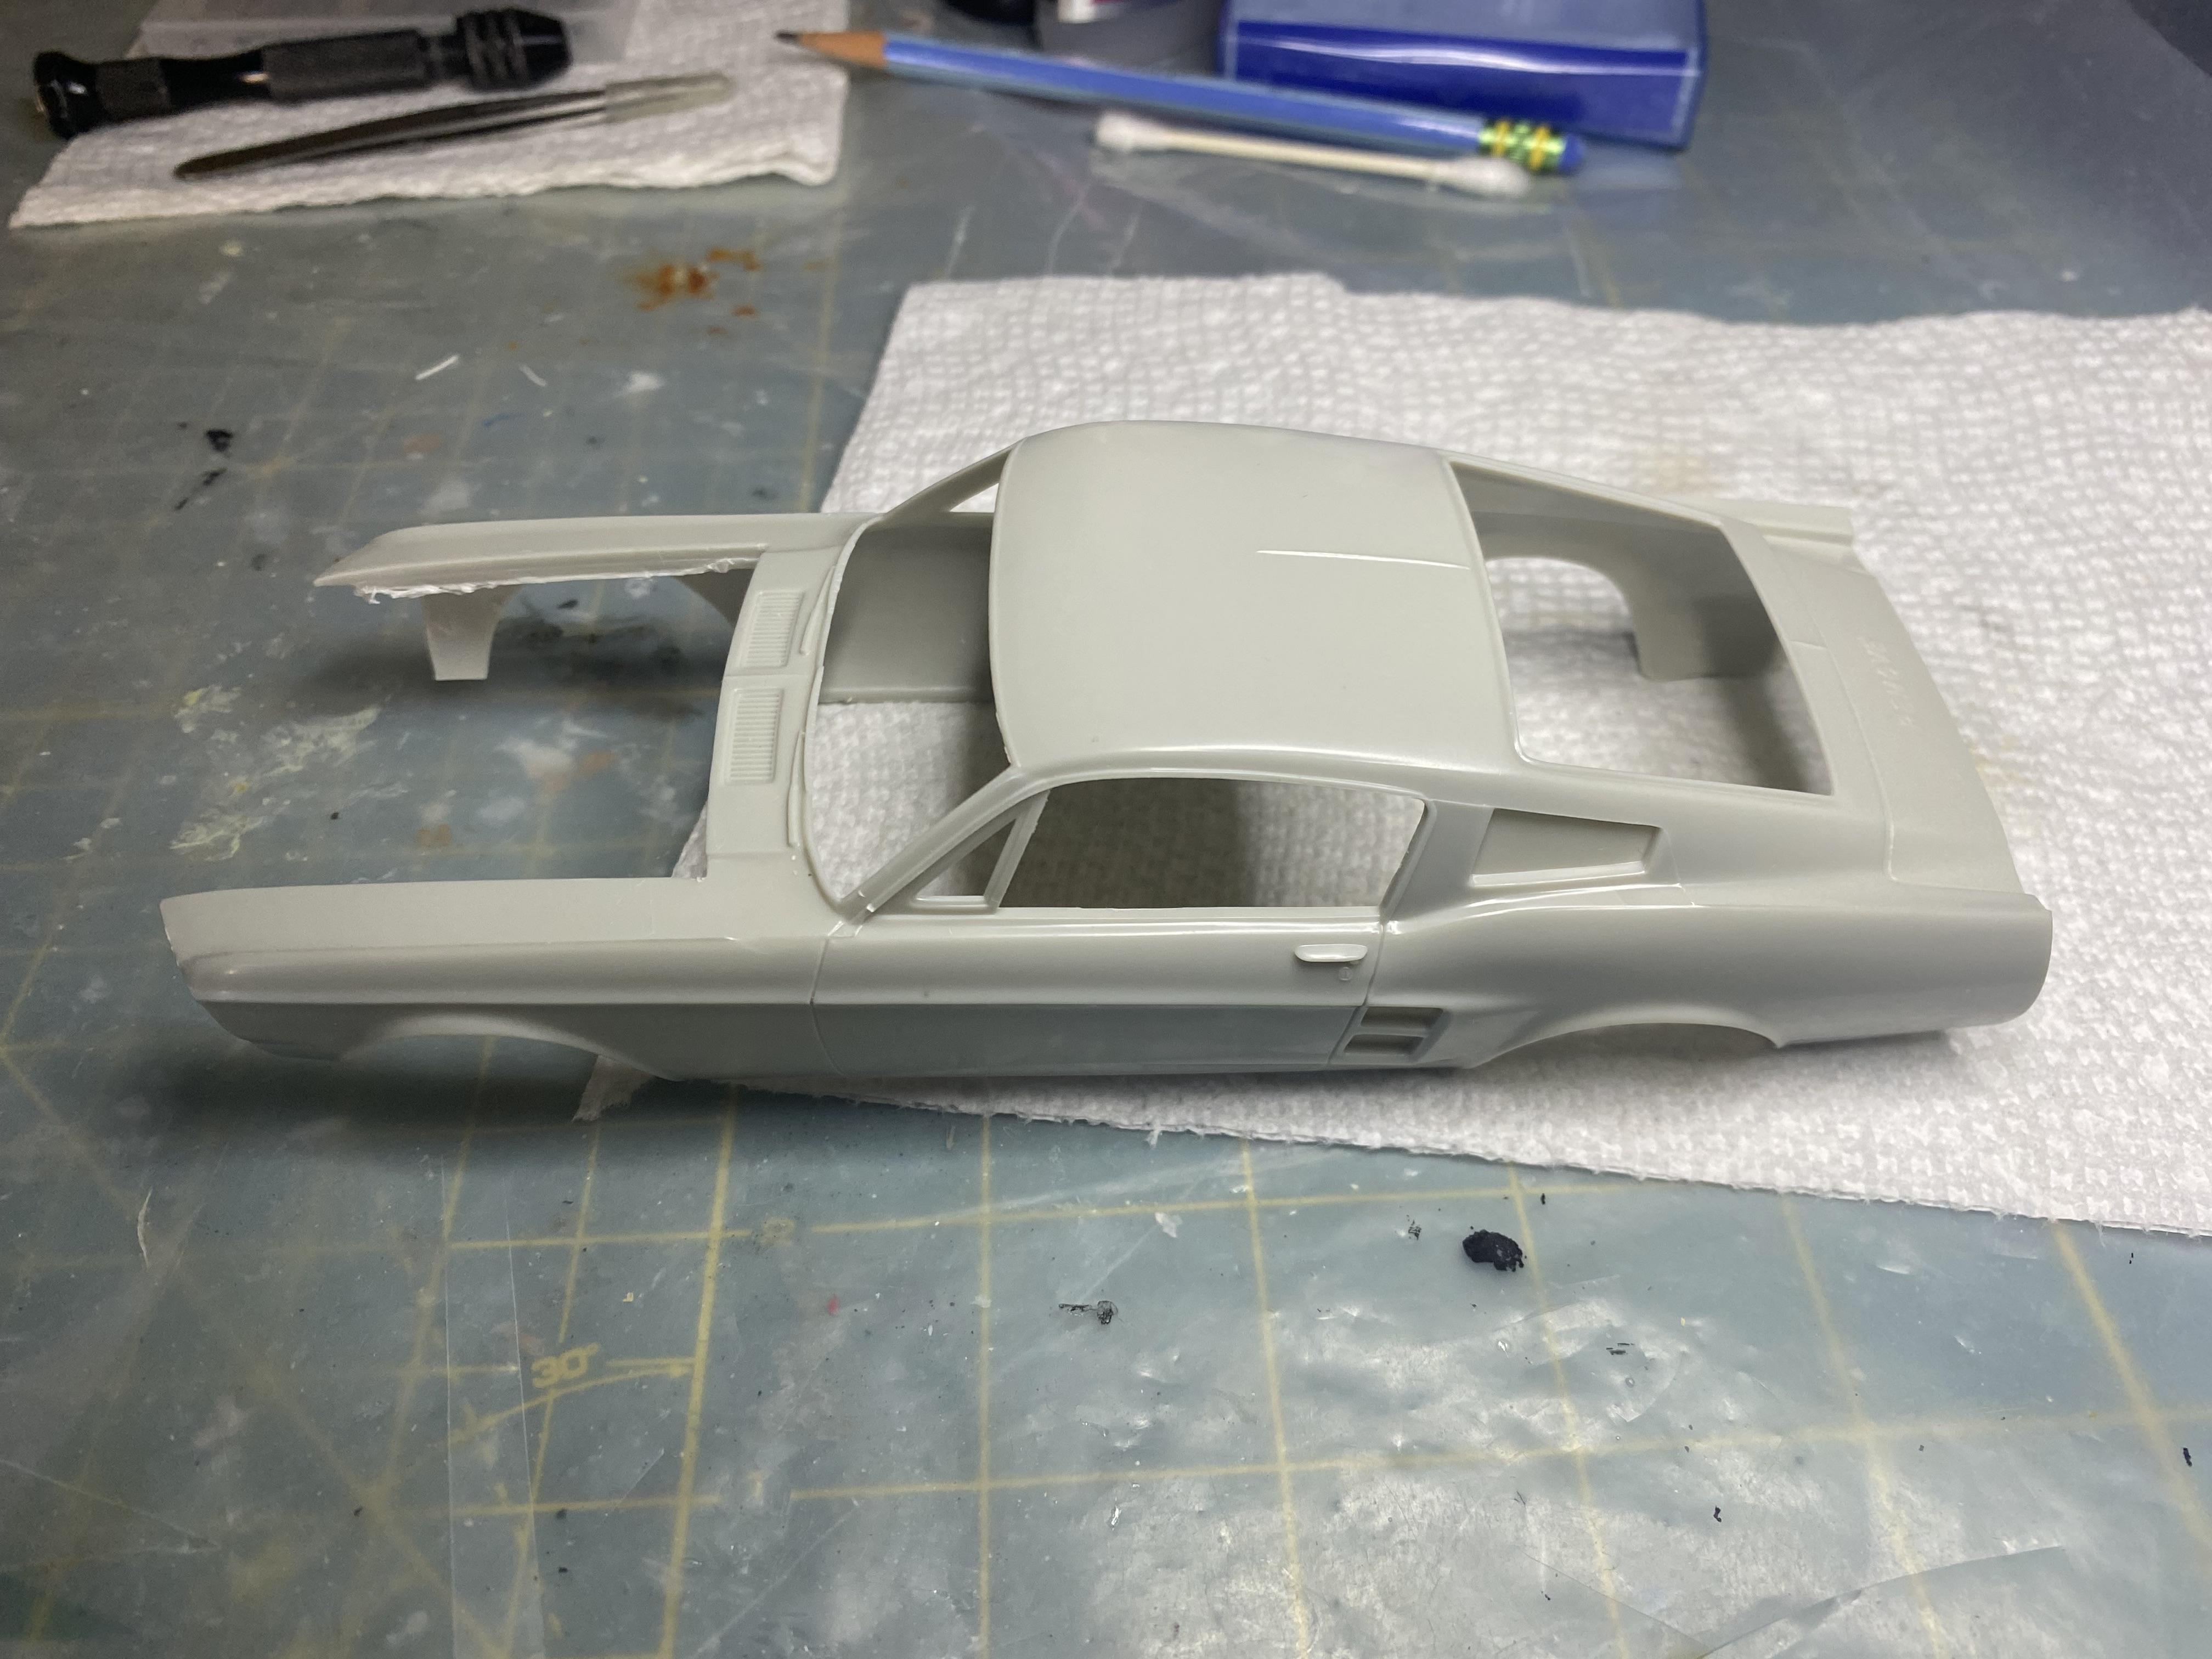
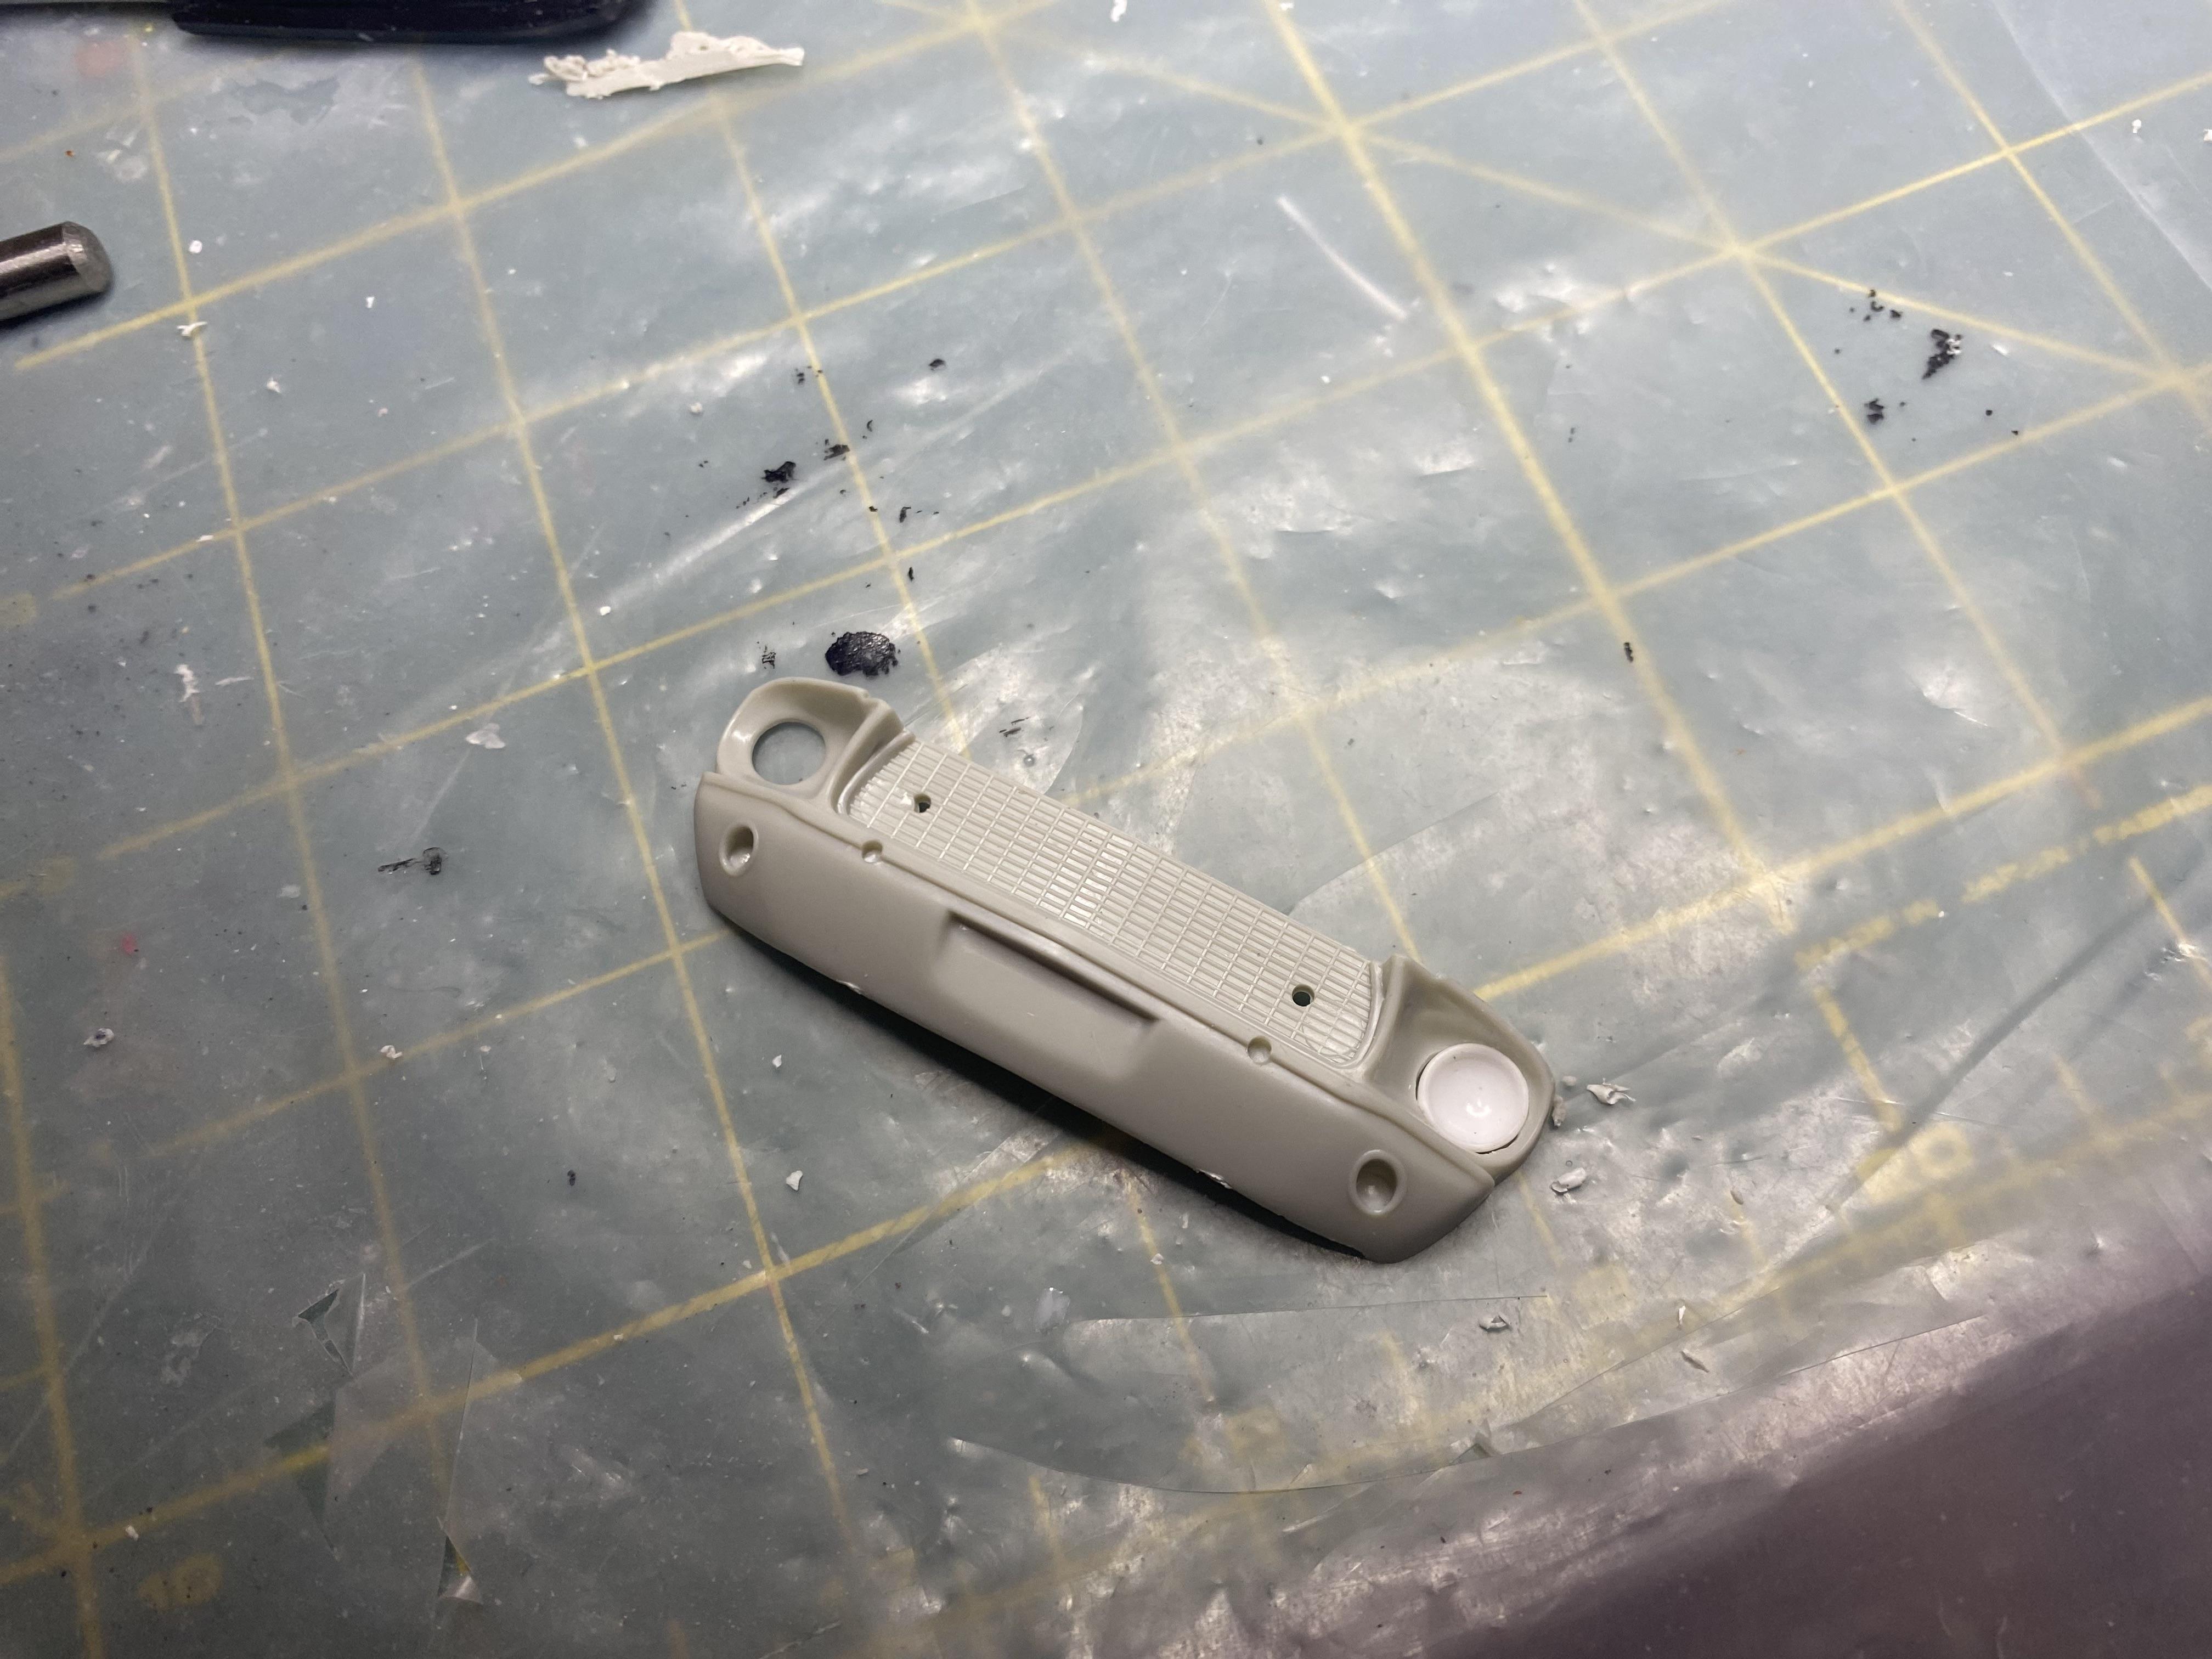
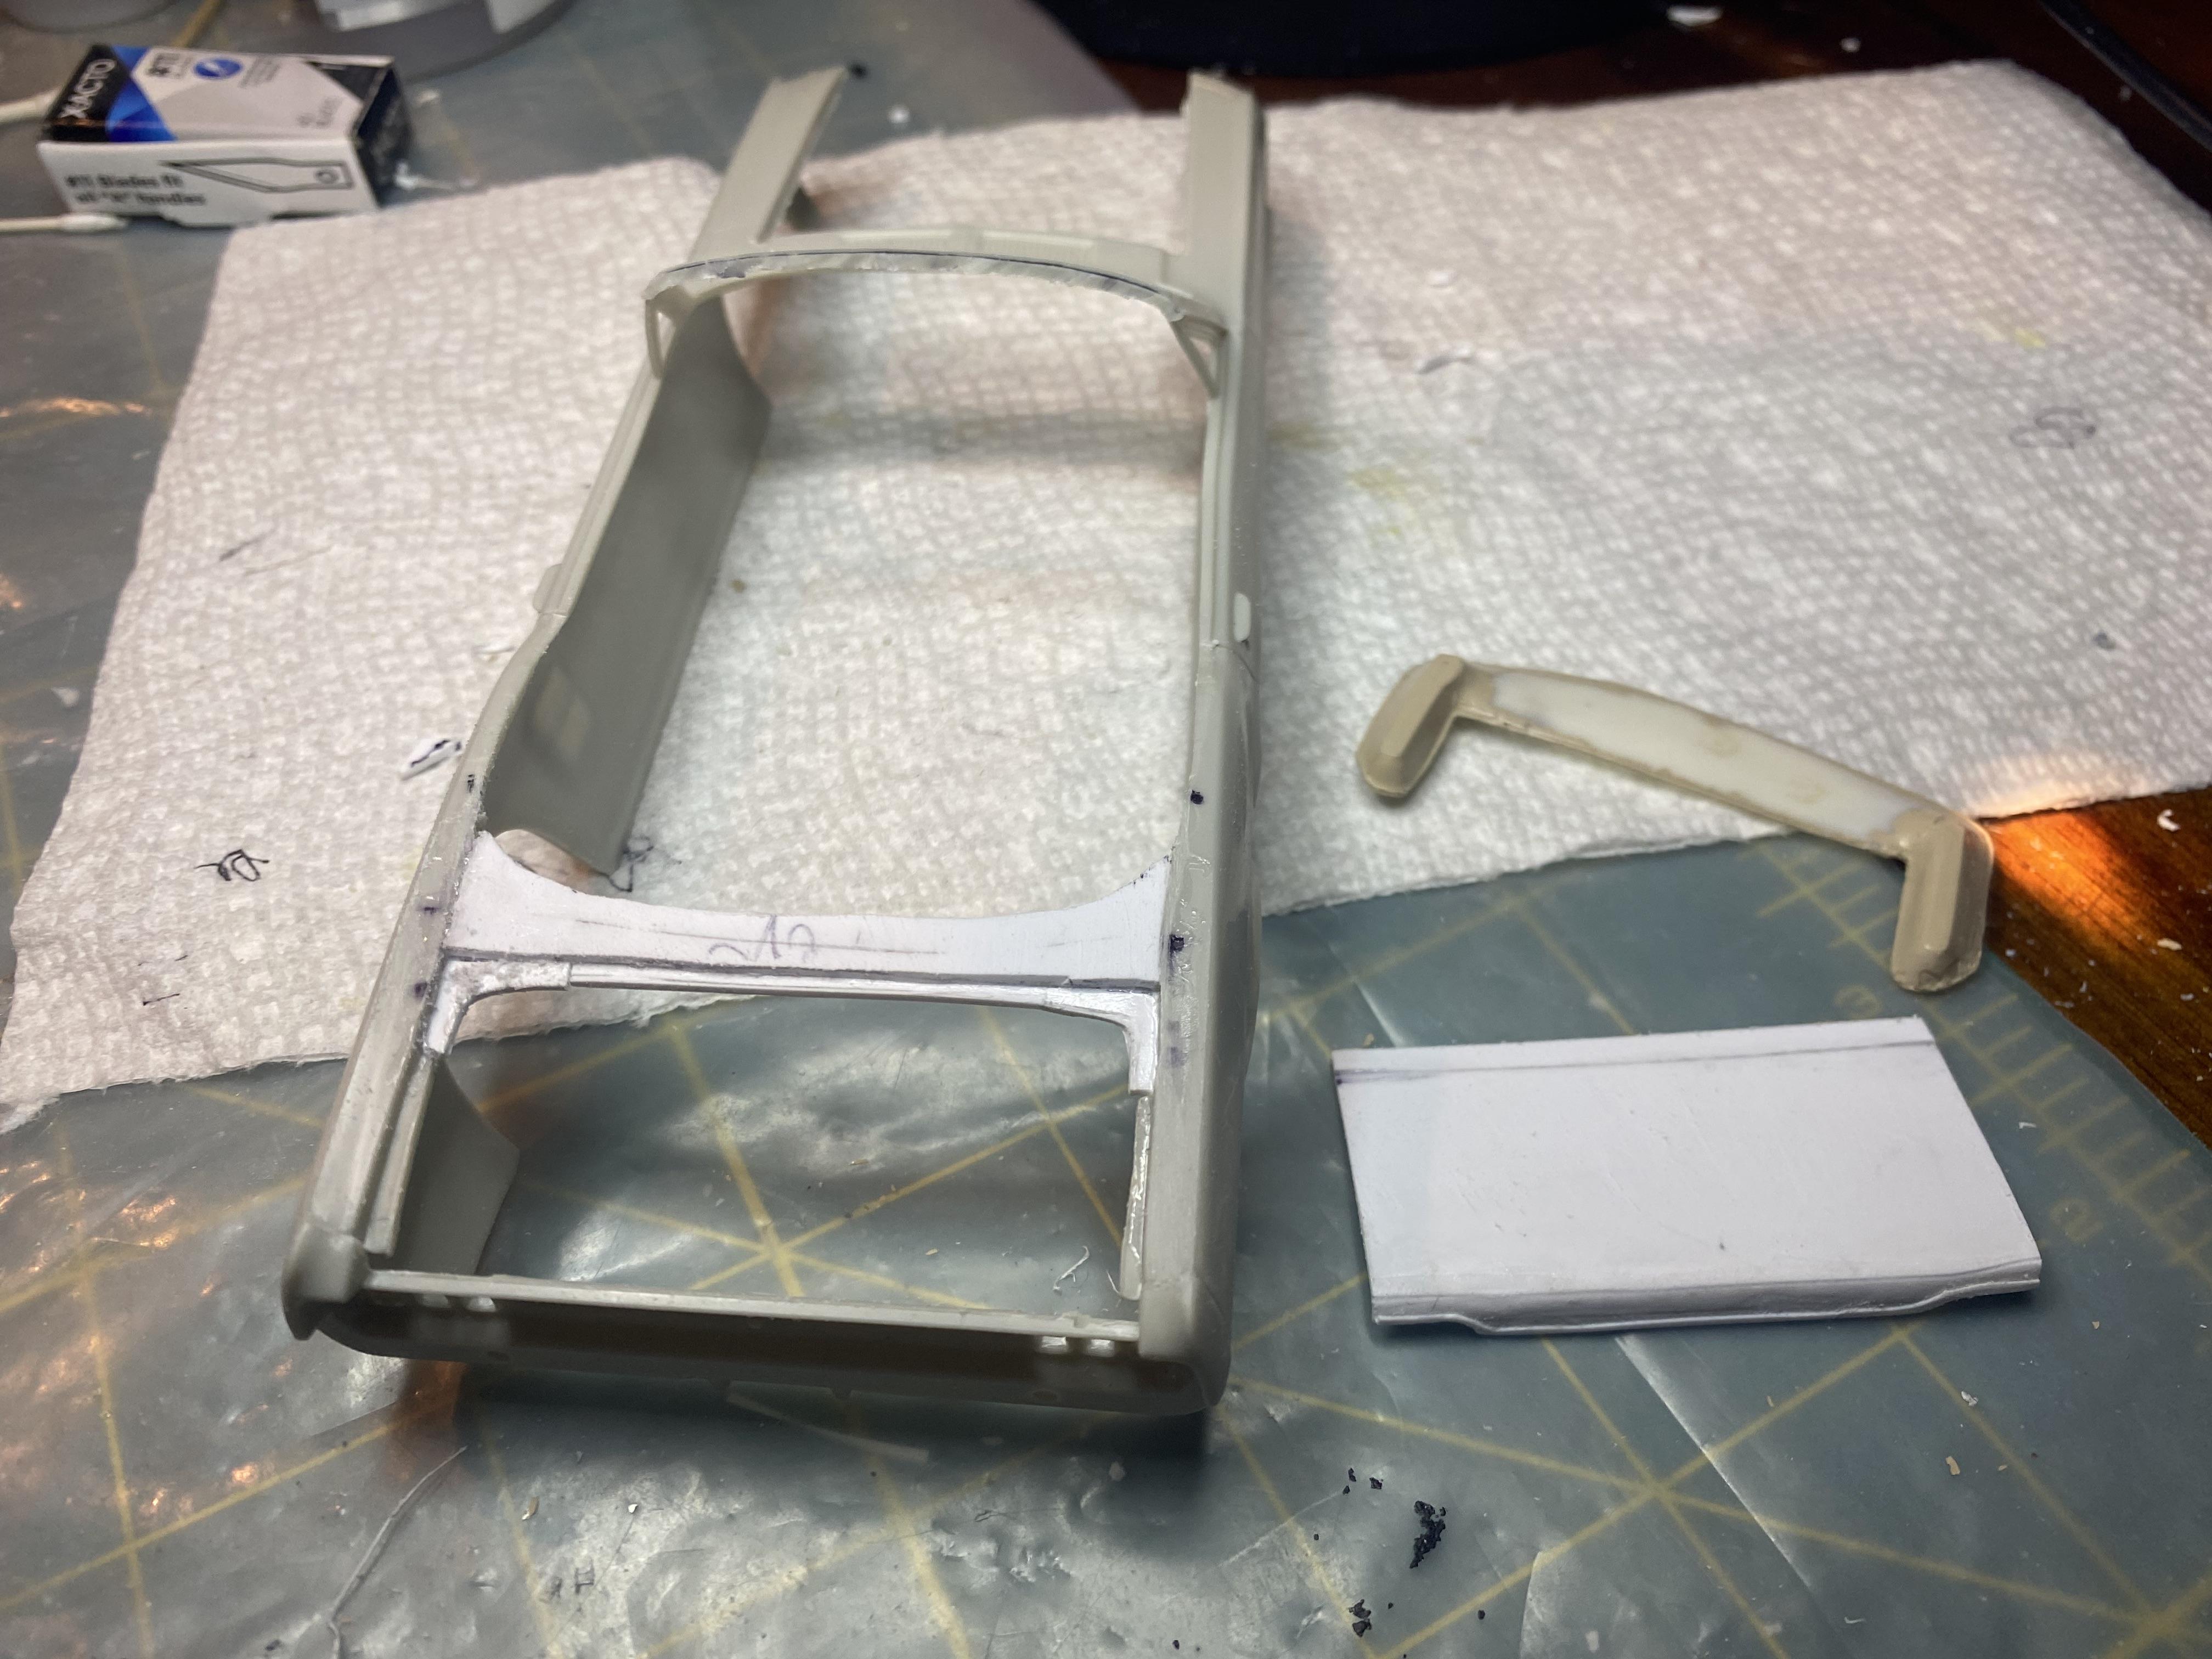
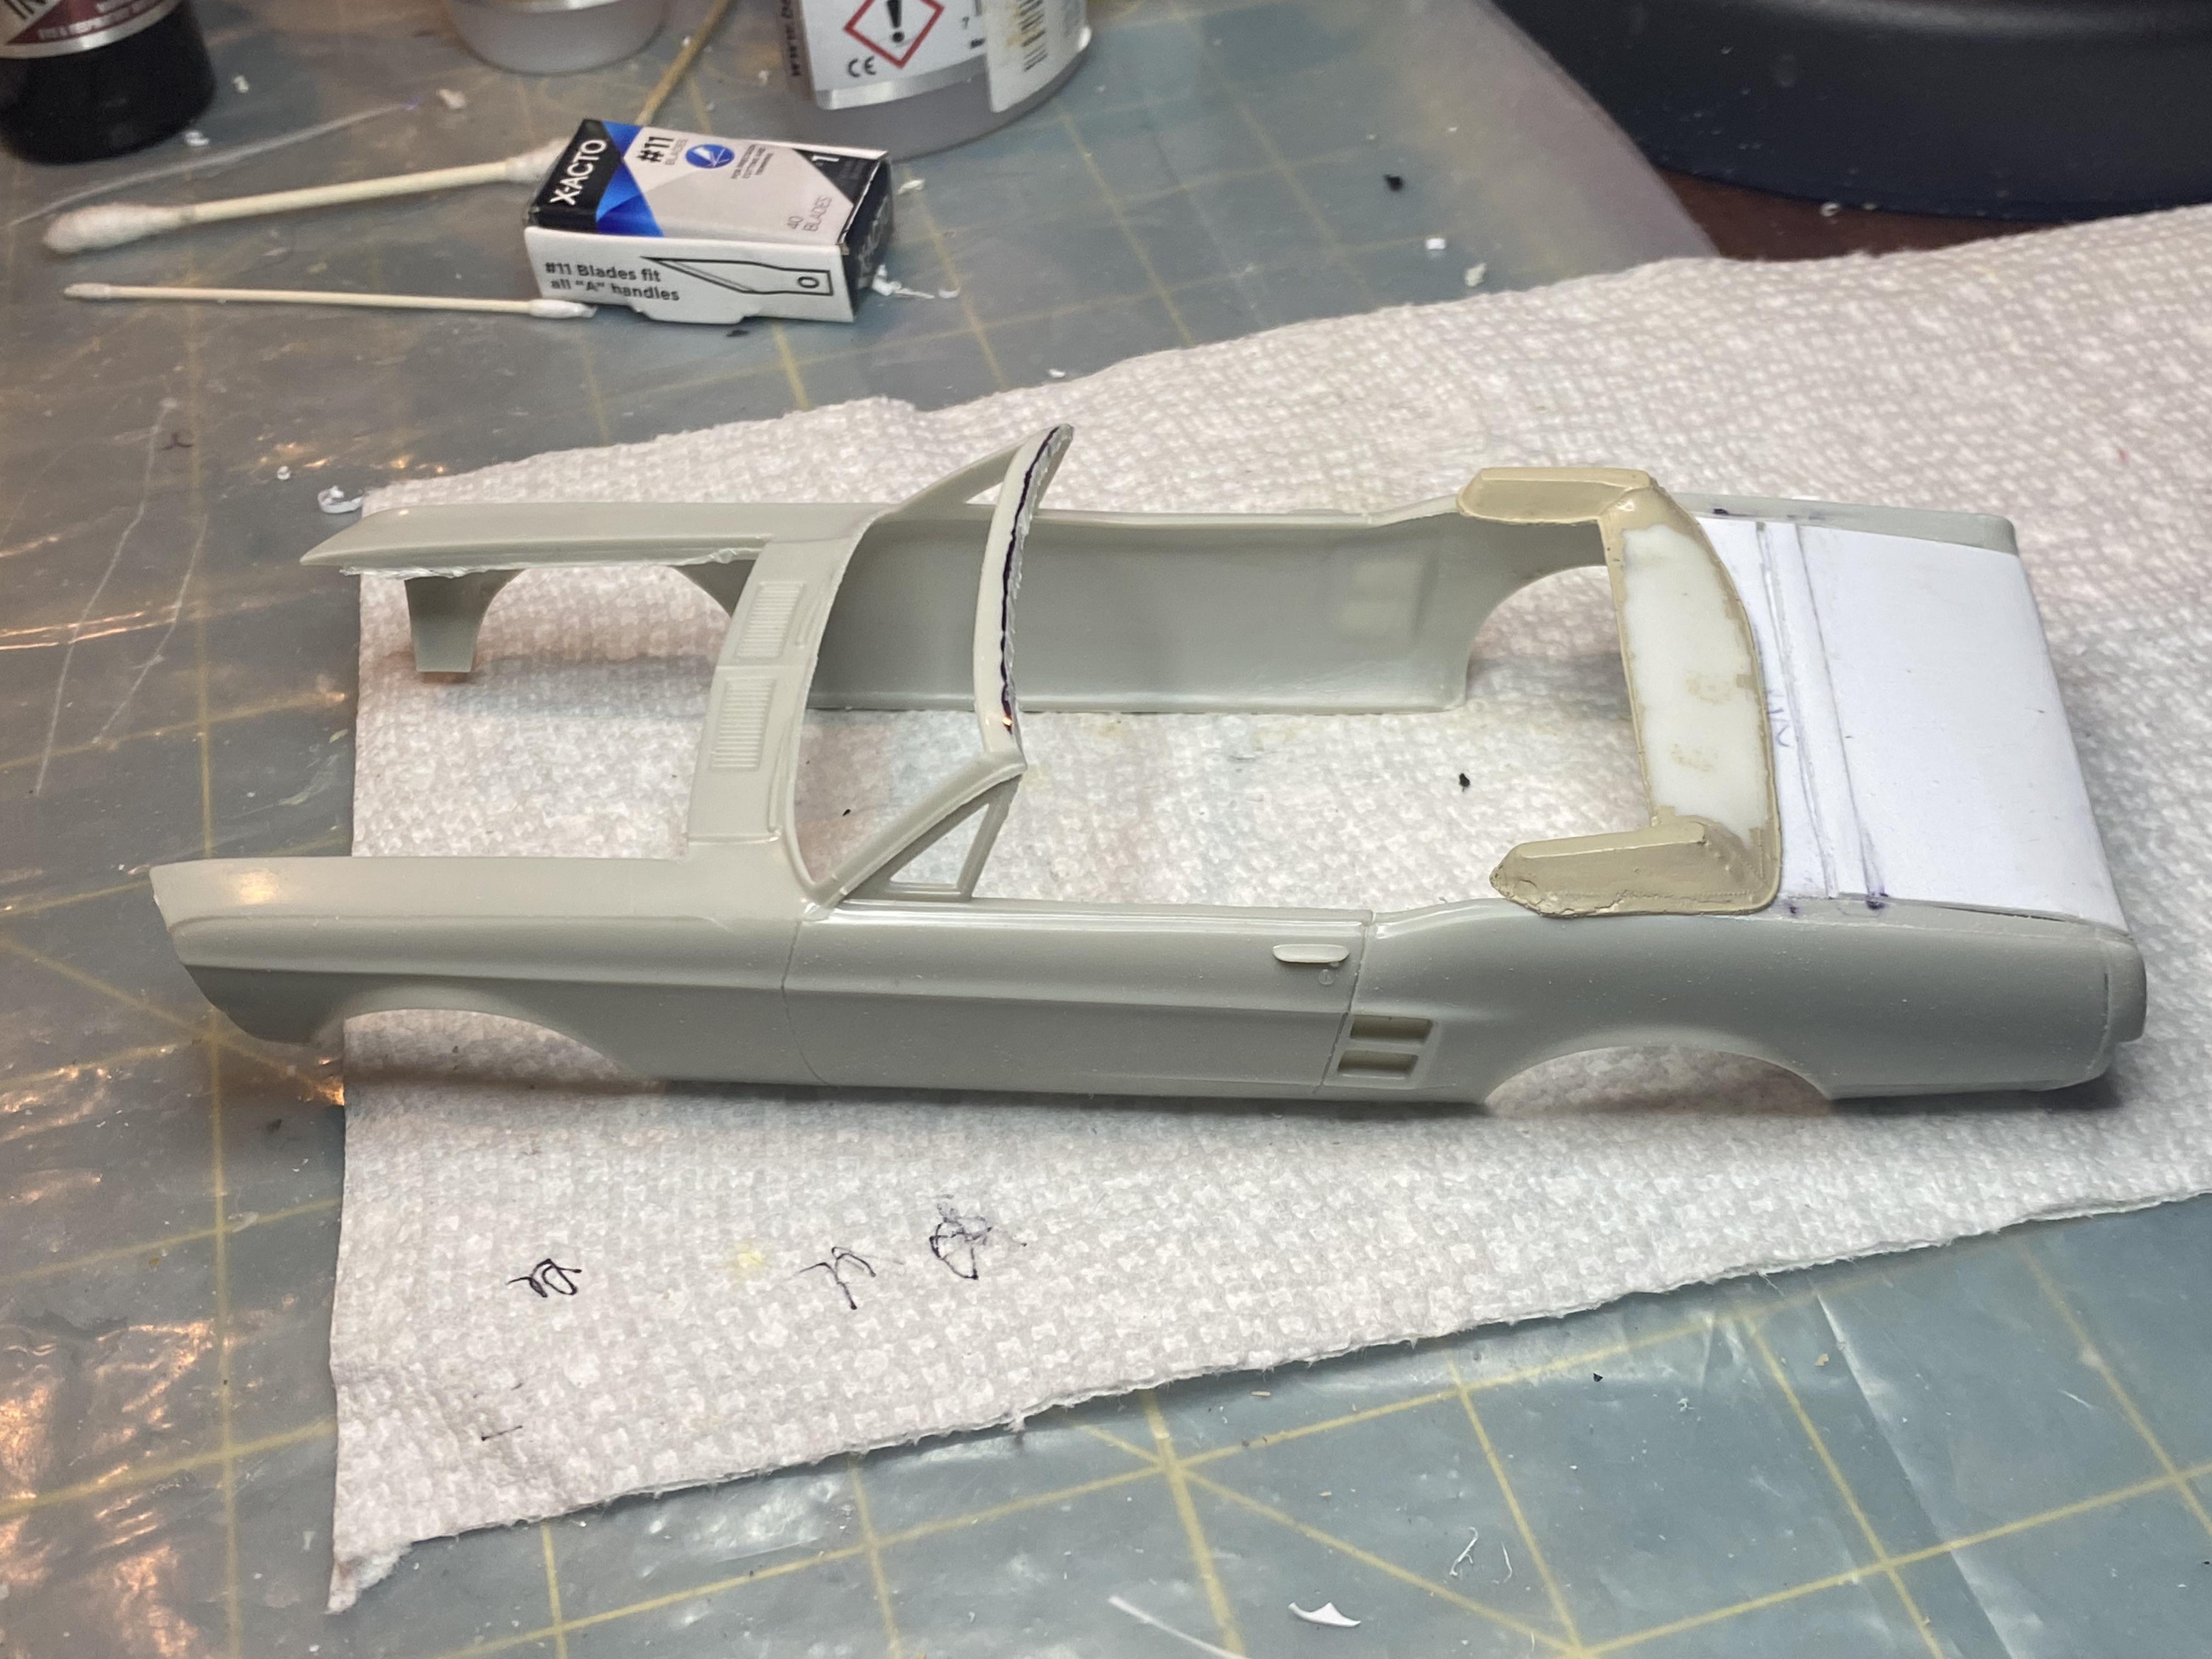
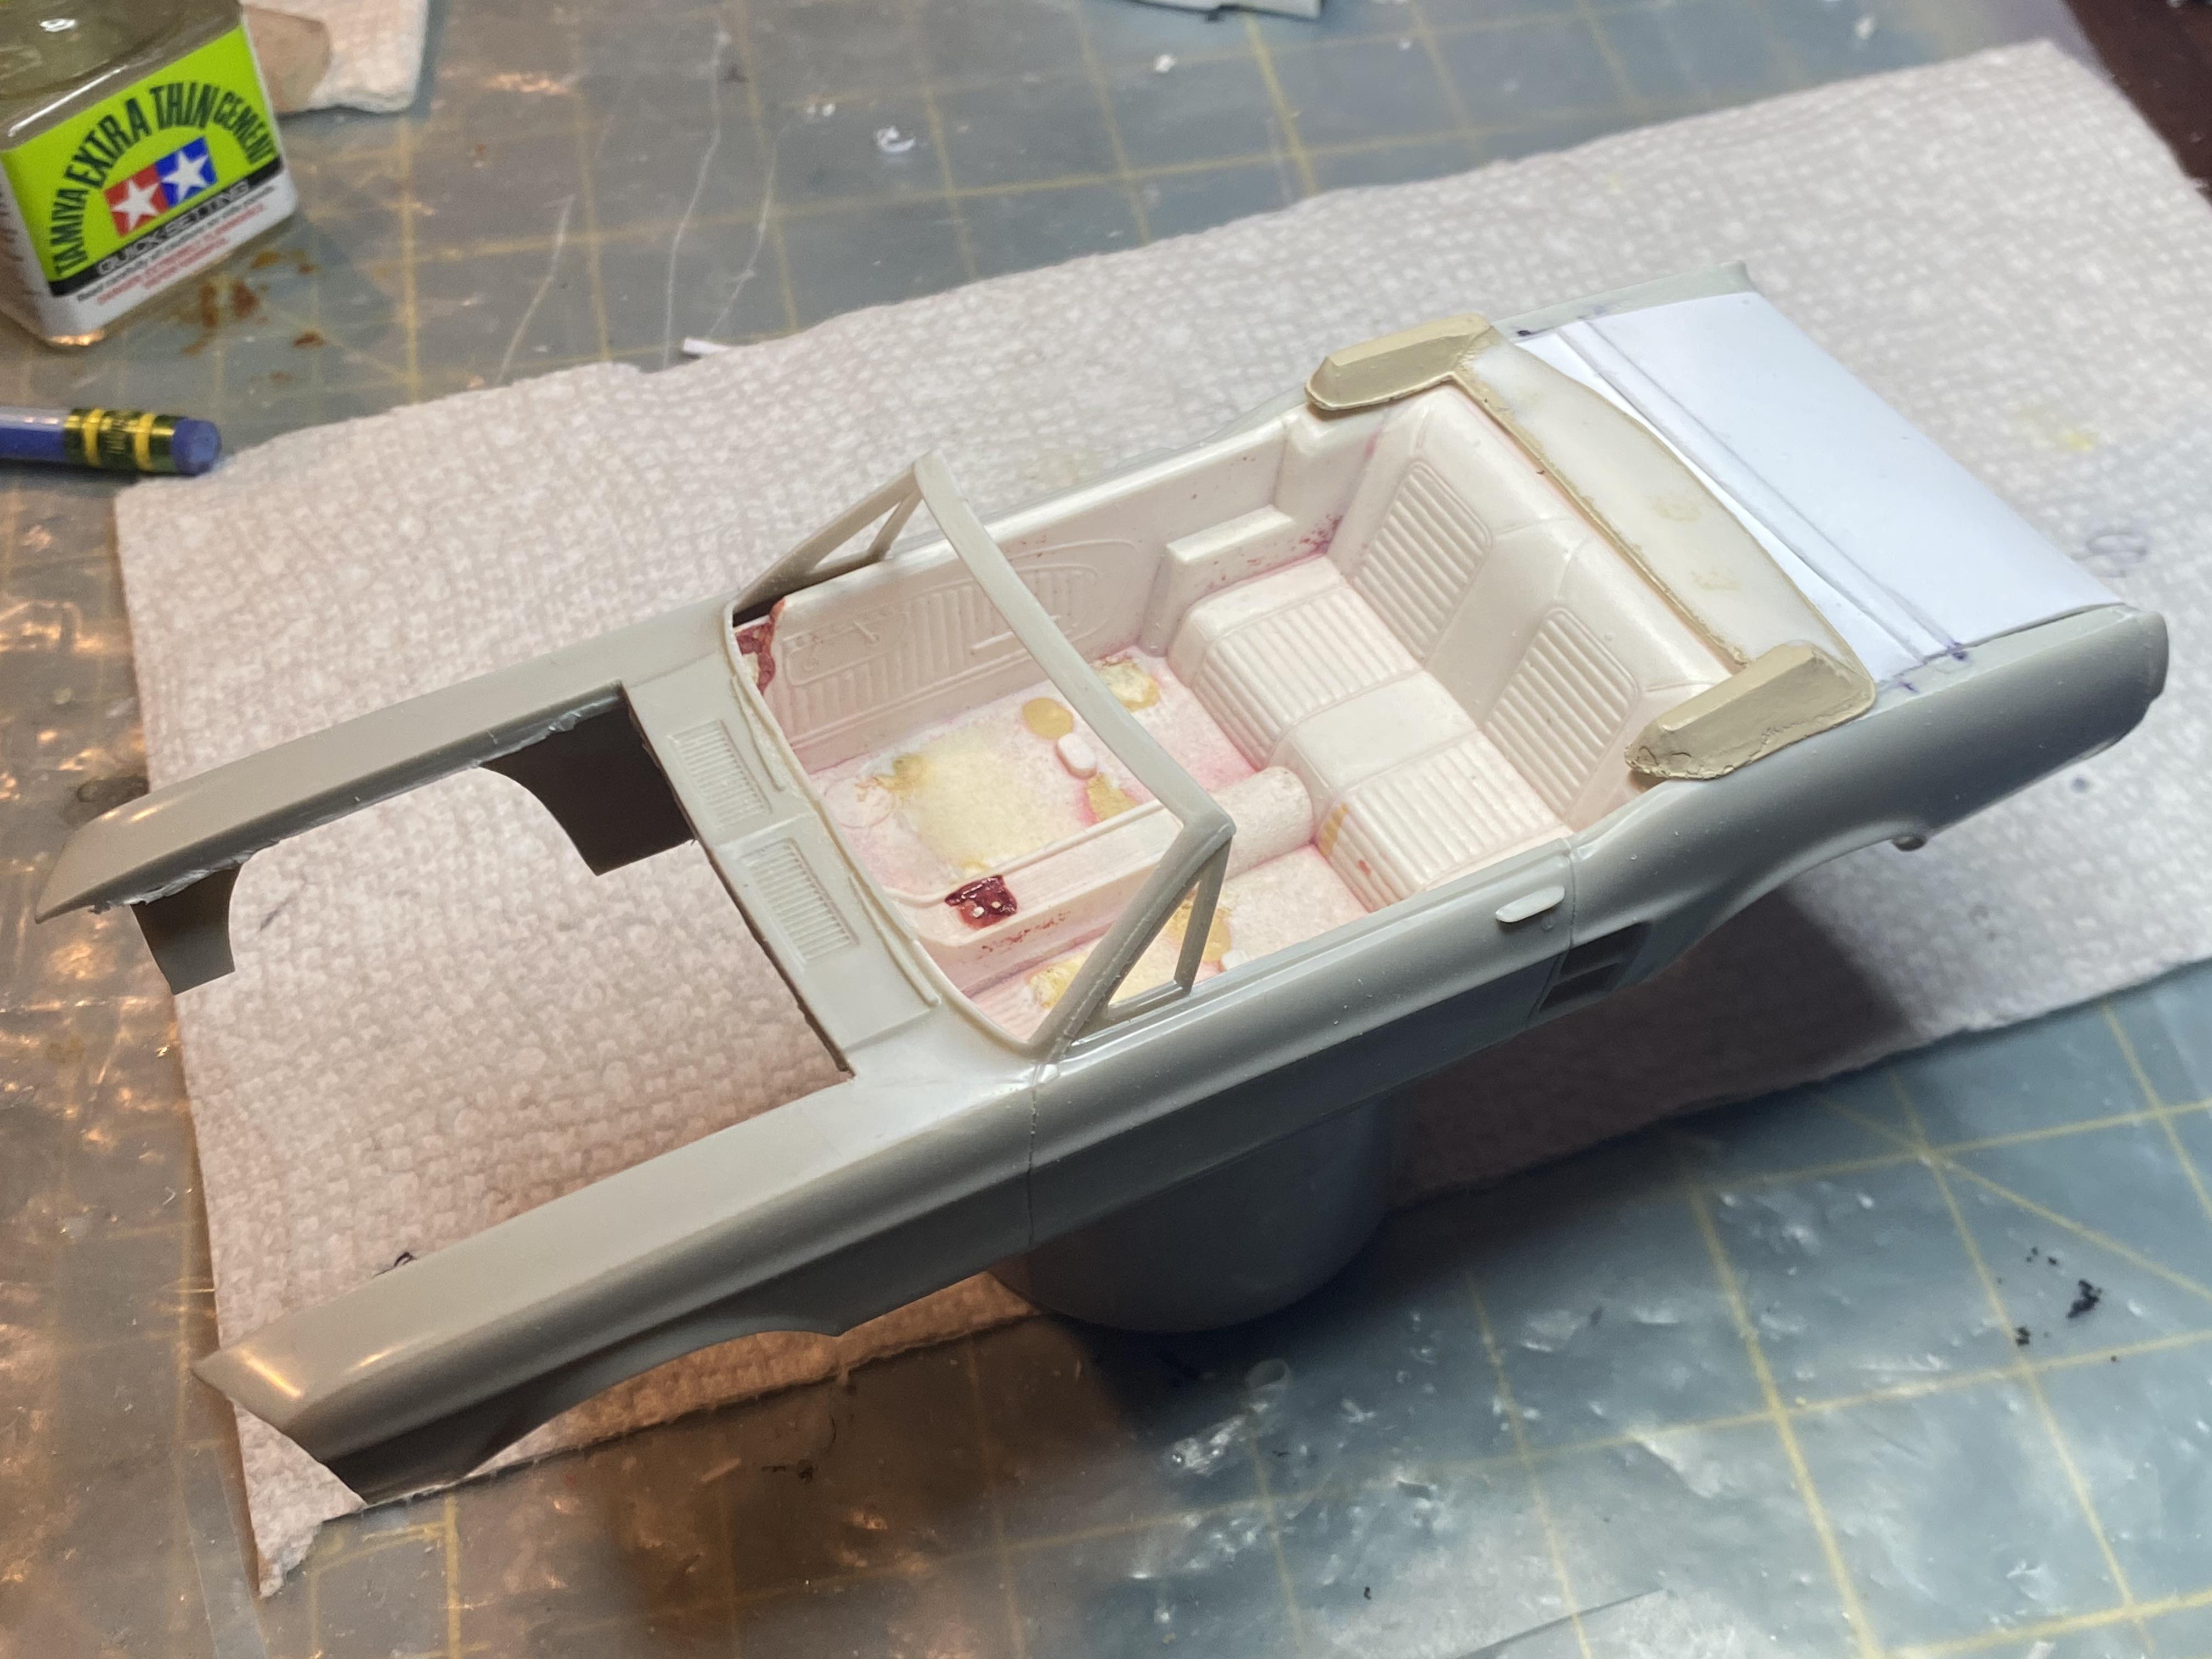
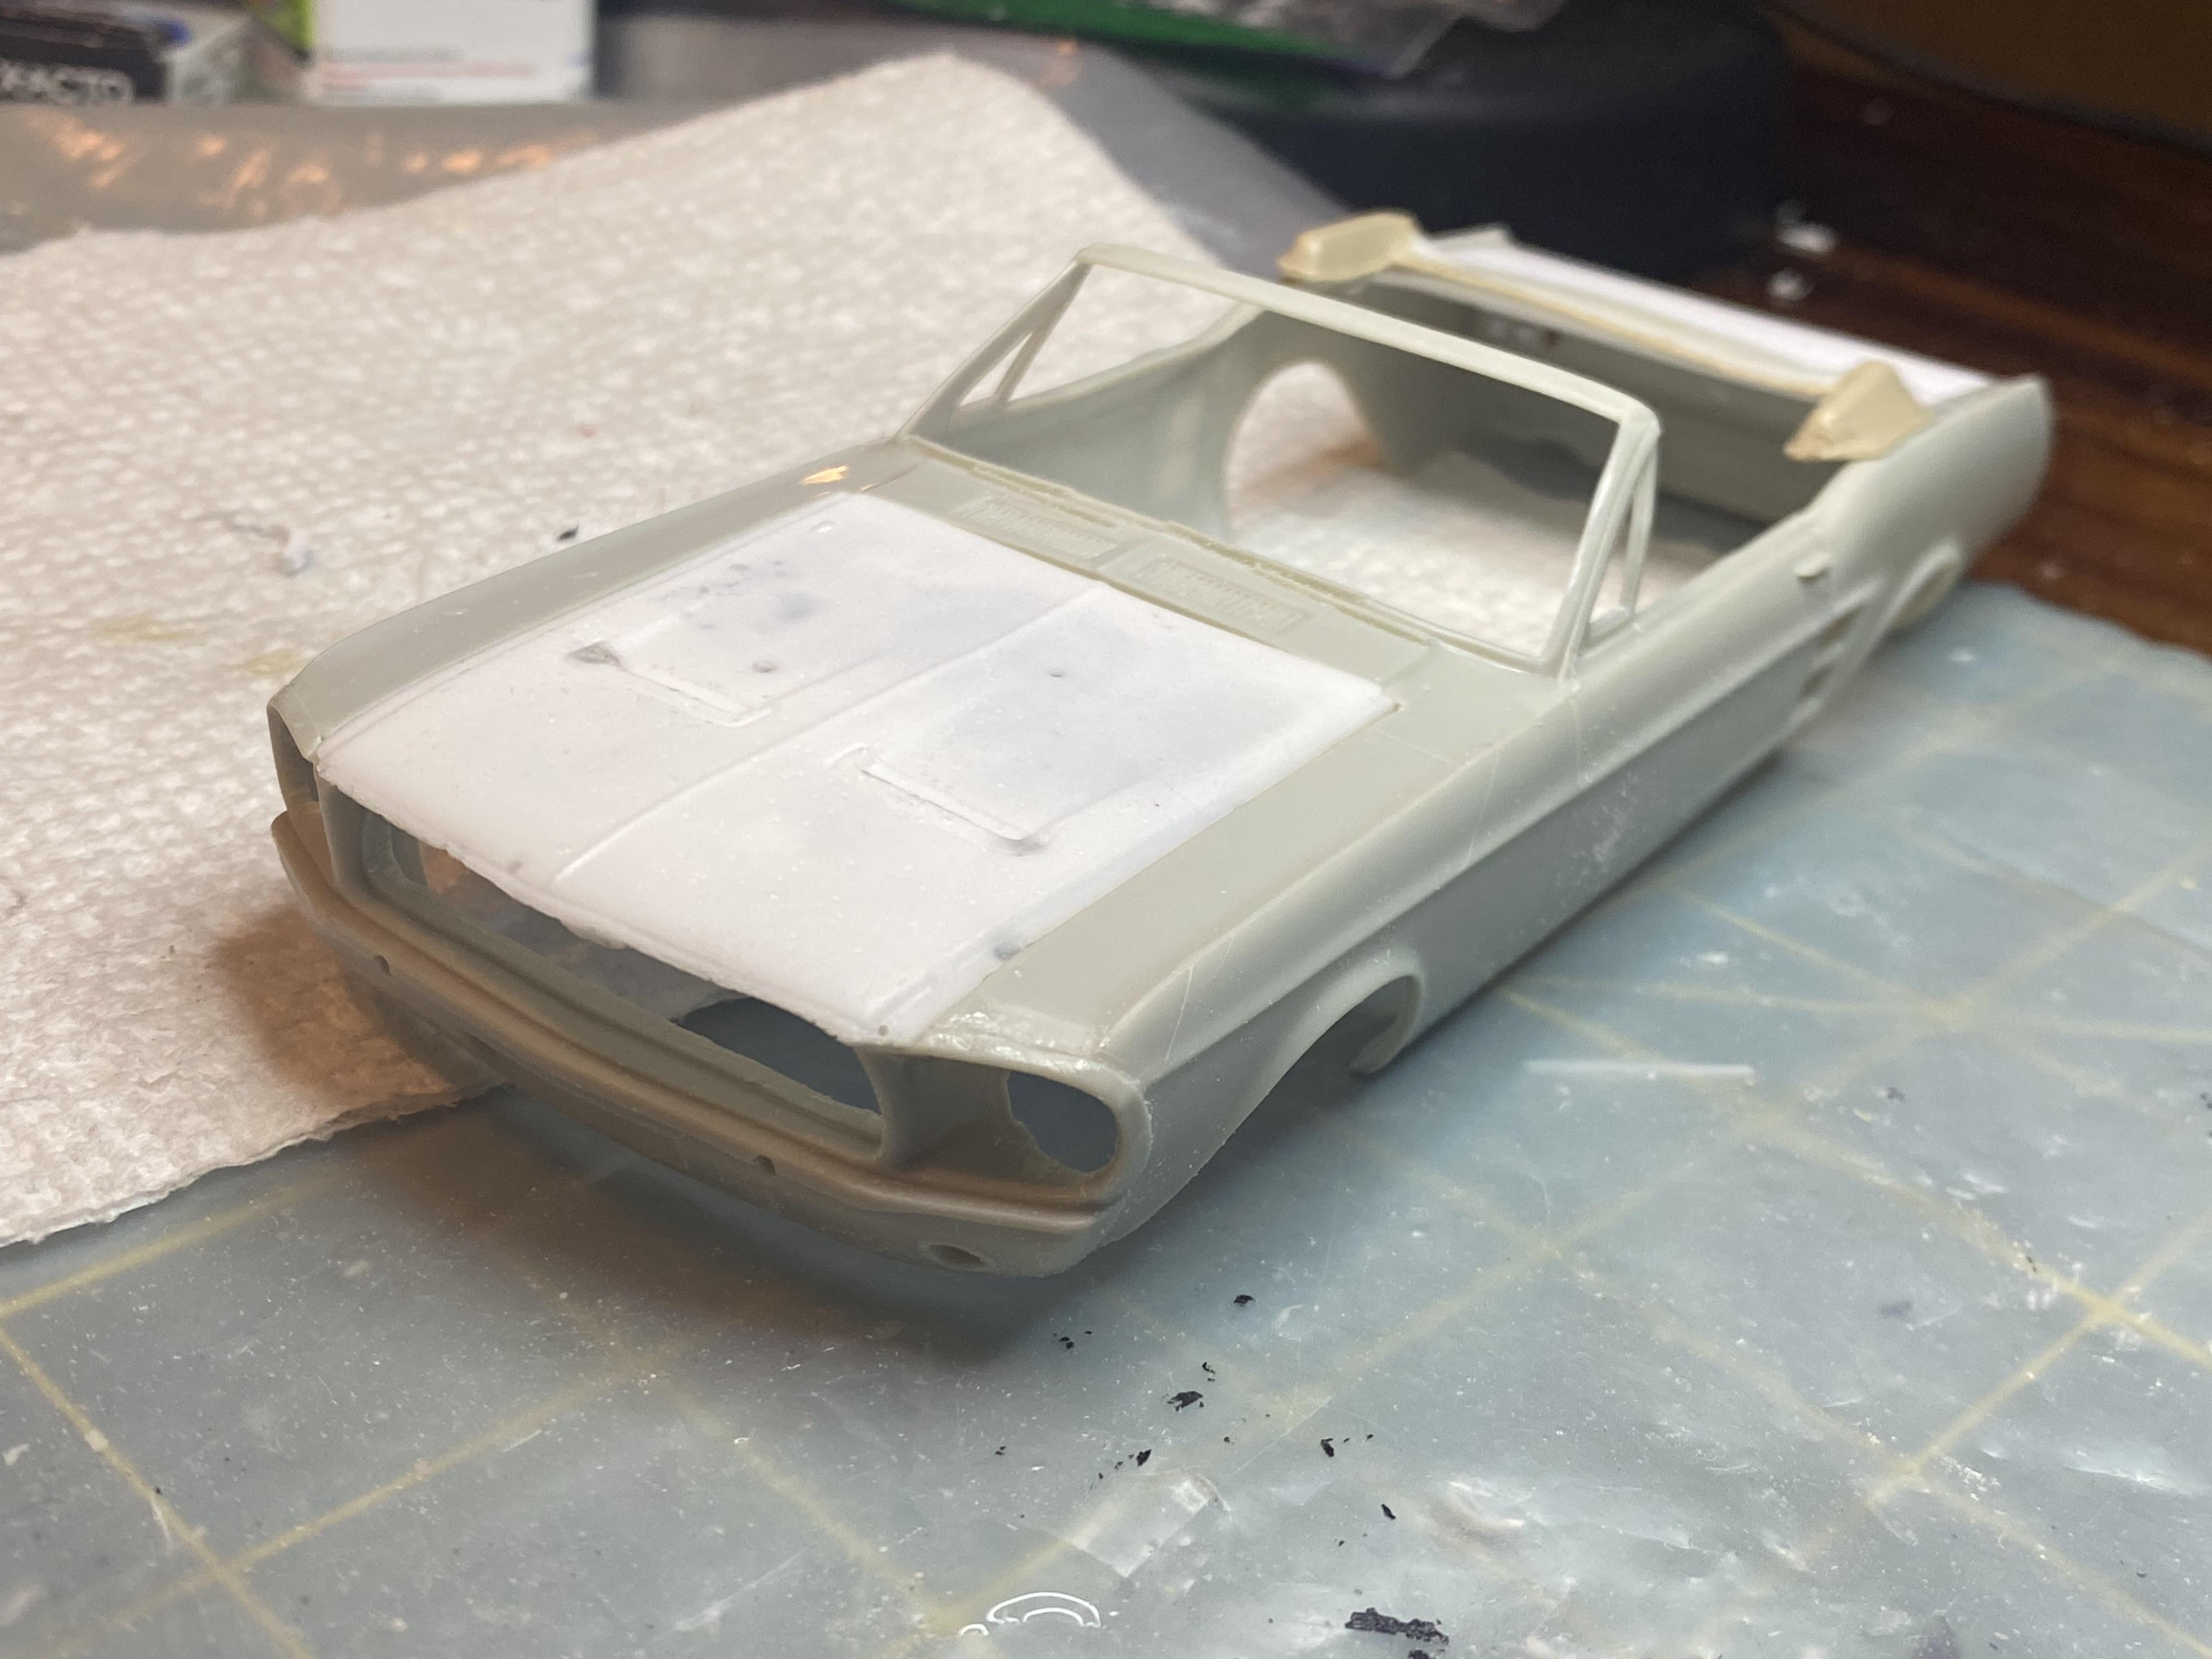
While I am waiting for some supplies to finish my 1941 Ford Woody build I figured I would go ahead and get a start on my next project, a conversion of the AMT 1967 Mustang Fastback to a 1967 Mustang GTA convertible. This will of course get the full LED lighting treatment. The AMT 1967 Mustang Fastback is a great kit and I have used it several times as a donor for other Mustang builds. Both of my 1966 Mustang builds, the 1966 GT Fastback and coupe are both probably 80% AMT 1967 kits. Oddly I only built one as a 1967 Mustang Fastback, and put a 6 cylinder in it to replicate my mothers car. With that said there are two pet peeves with the kit, one being the front suspension need some modification or it sits too high in the front and the other I will discuss below. This build is requiring quite a bit of scratch building and modification to convert a Fastback into a convertible. the body was actually a left over from one of my 1966 Kit bash projects. I cut the engine compartment out but I did that for the 1967 Fastback build as well. Made it easier to paint and assemble. Dremel cut off the roof and rough trimmed. the other pet peeve with the original 1967 Fastback kit iS the ridiculously tiny headlights. I cast headlight buckets for my LEDs and drilled out the headlight openings and removed the grill that will be replaced with photo-etch. top boot is a casting from an original AMT 1966 kit. I scratch built the filler panel and trunk lid. trial fit with an old 1965 amt interior donor tub. Installed the front facia and trimmed a resin cast hood with louvers. all of the parts scratch built or modified so far for the conversion. I am probably going with Dark Moss Green with a saddle interior much like this
-
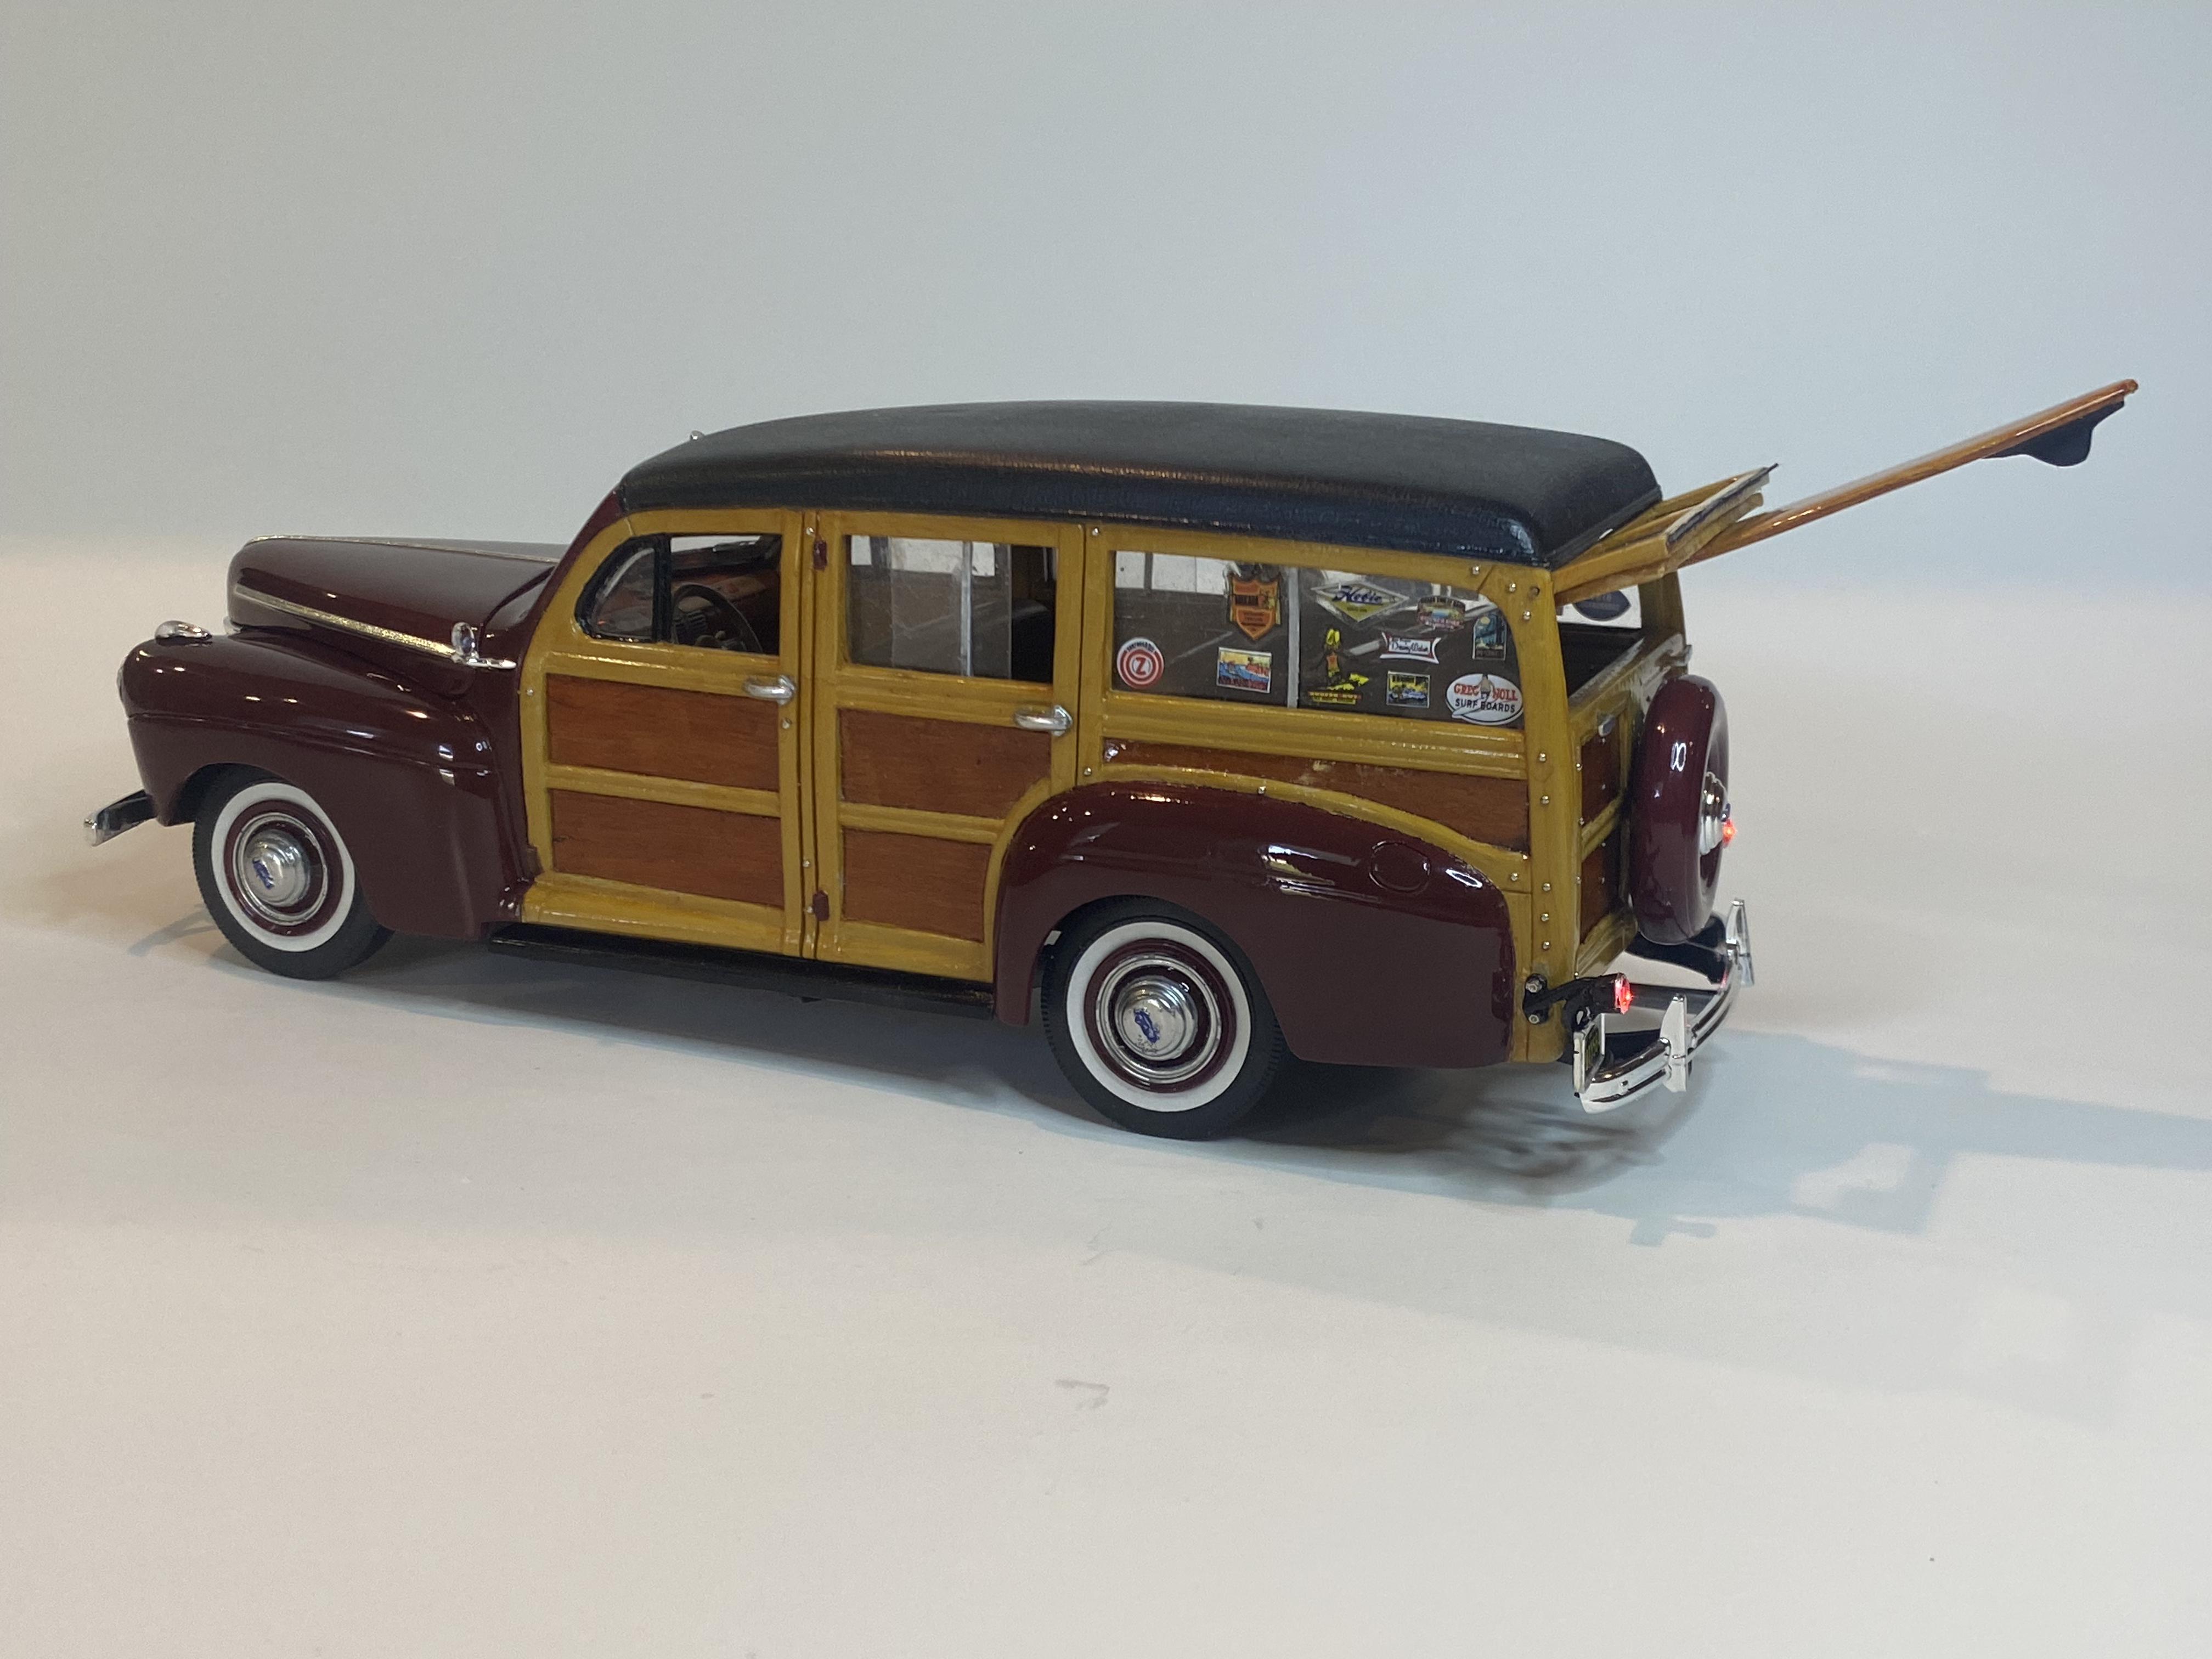
Some of them came with the kit the other I printed. Did a google search for vintage surfer decals. I put the San Diego one prominently on the back window because I head that way every year for the Wavecrest Woody Show.
-
Thank you! Thank you! Thank You! Top studio rivets show at LAX in customs. If I get them this next week I should be able to complete this build finally. ?
-
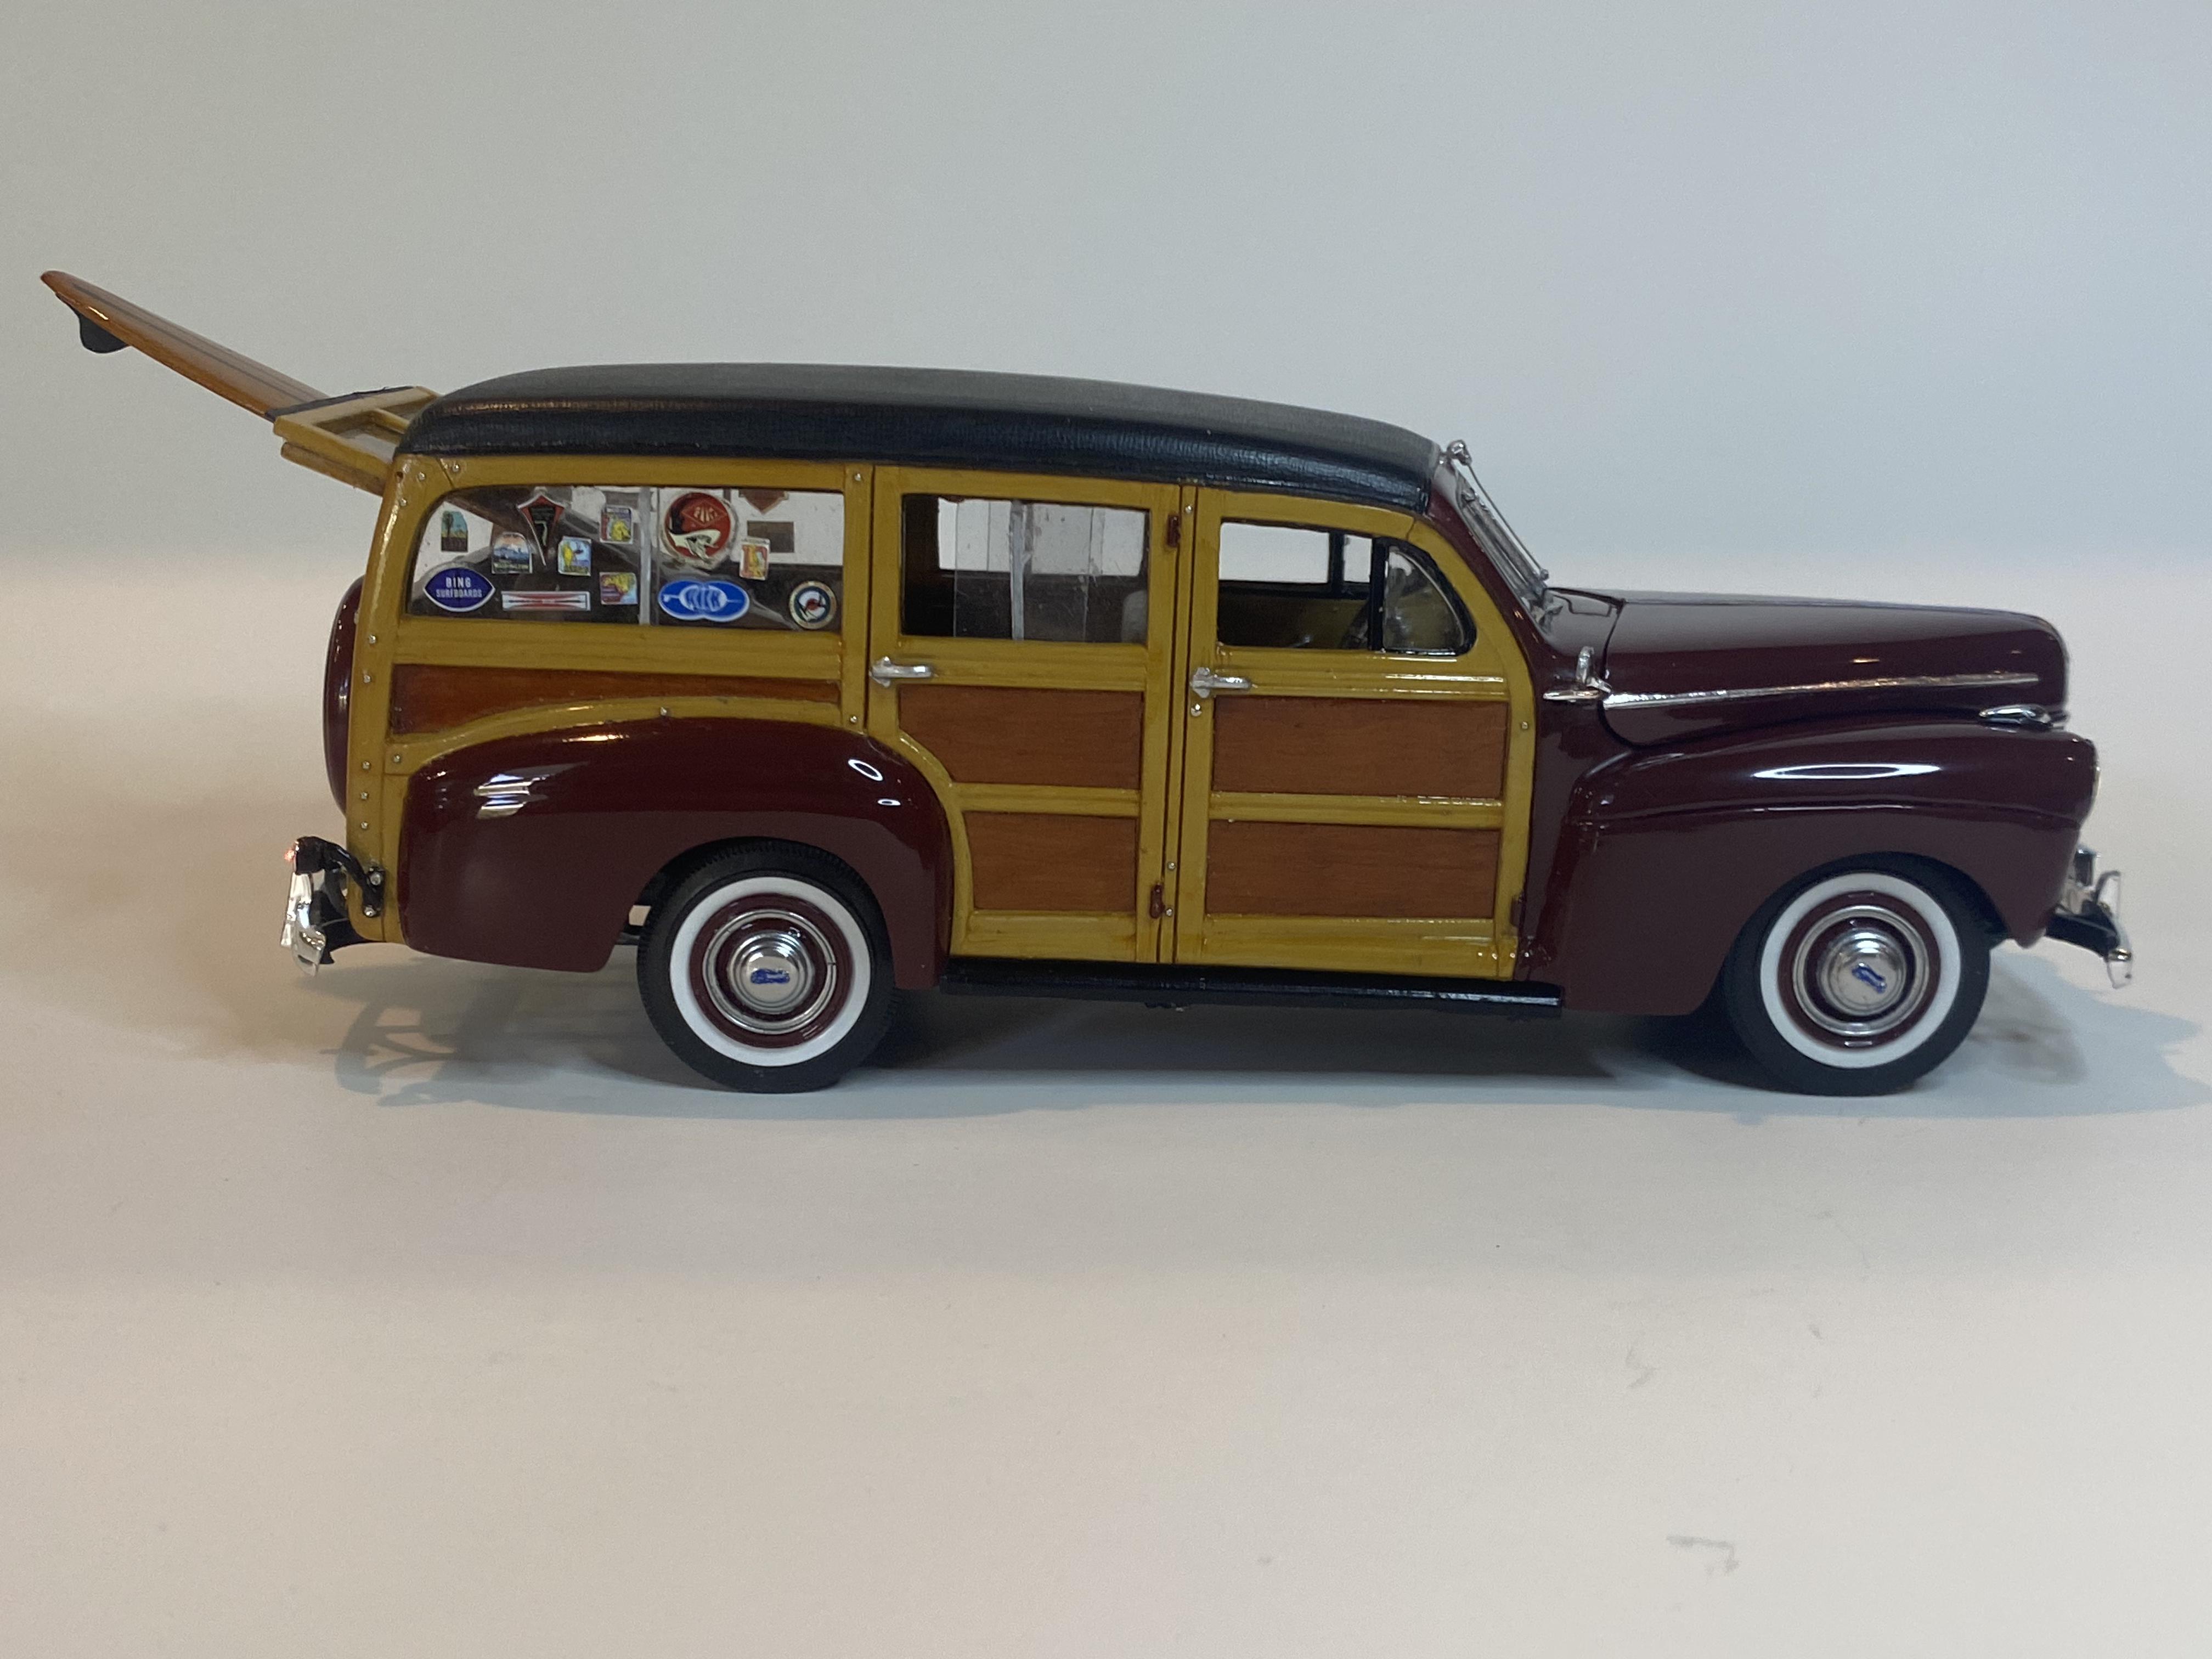
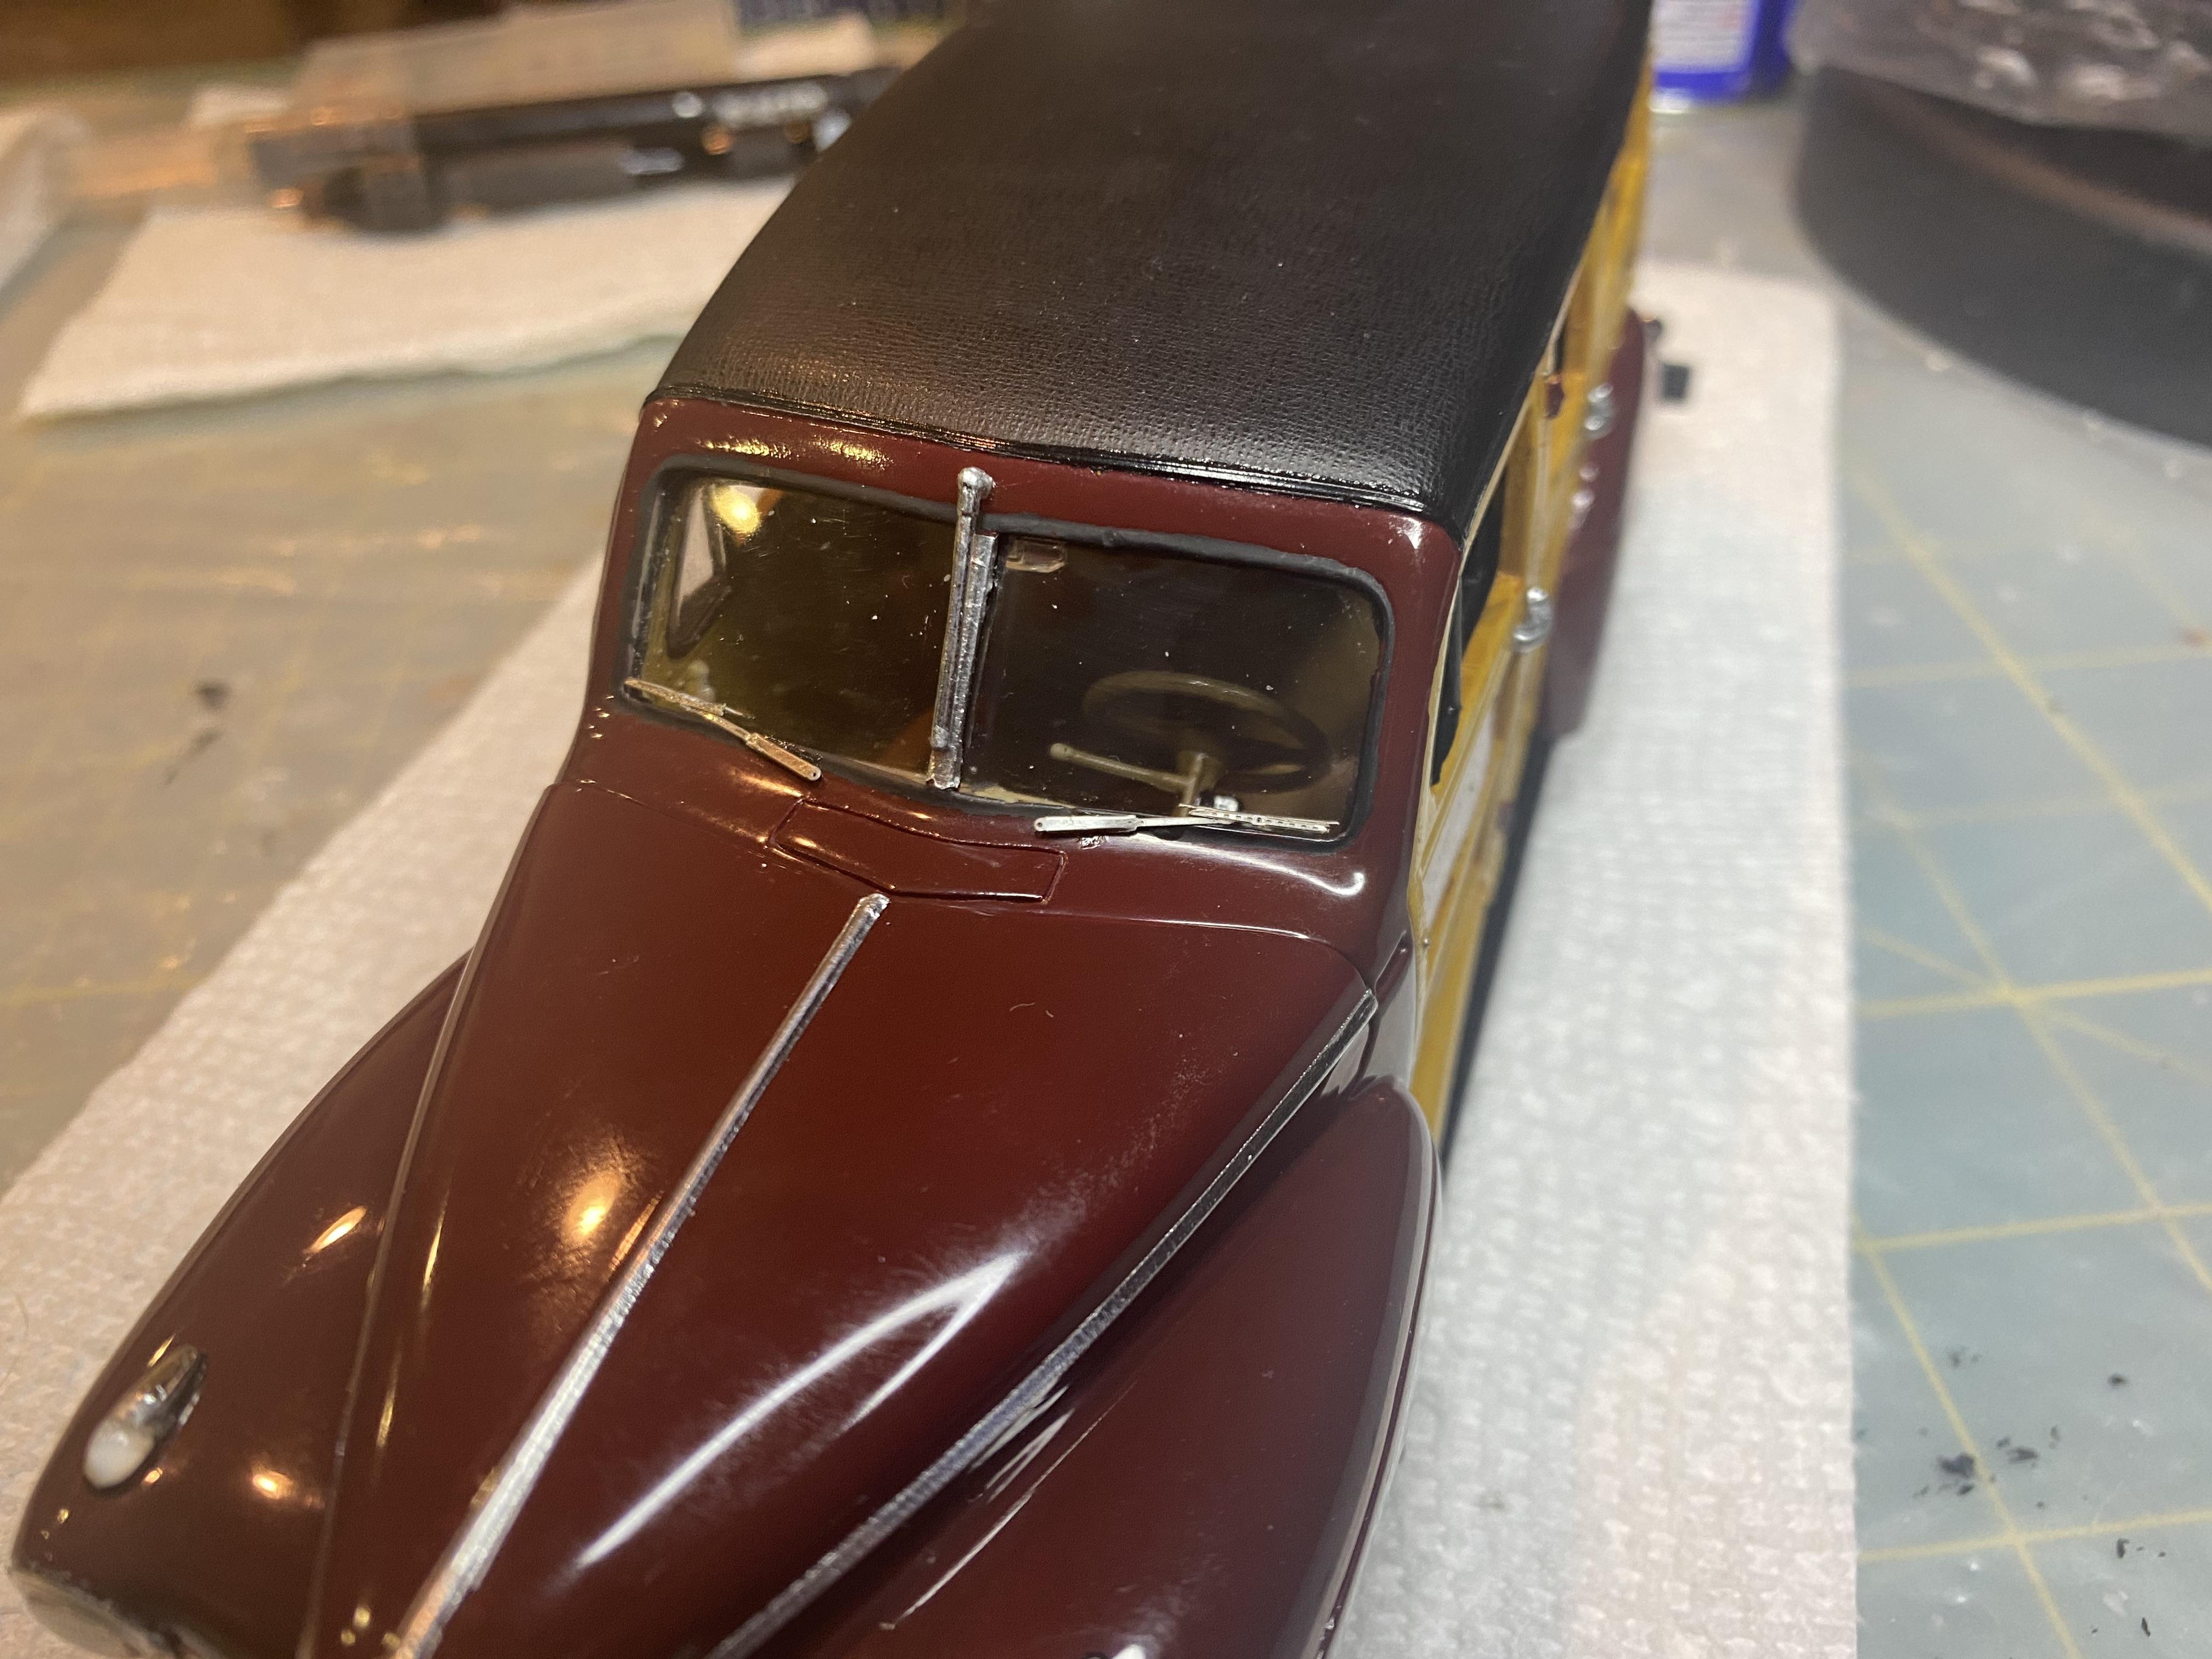
I couldn’t stand the thick ugly antenna mast so I made a new one from an insect pin. added surfer decals to the back windows. just 2K cleared the surfboard.
-
the kit actually came with a sheet of plastic and a template to cut out the whole side windows, not in halves or with the trim divider. I created new templates, the divider bar and set the door windows partially opened. I am putting decals all over the back windows so don't want them open in this case.
-
A little more work. Added the wipers, door locks, door handles, pinned and added the antenna so it can be rotated as desired. Turns out I am a few 0.9mm rivets so I ordered another batch for Australia. They are really hard to get sometimes. One side done and missing four for the other side.
-
Thank you. My family won't let me do a build without LEDs anymore.
-
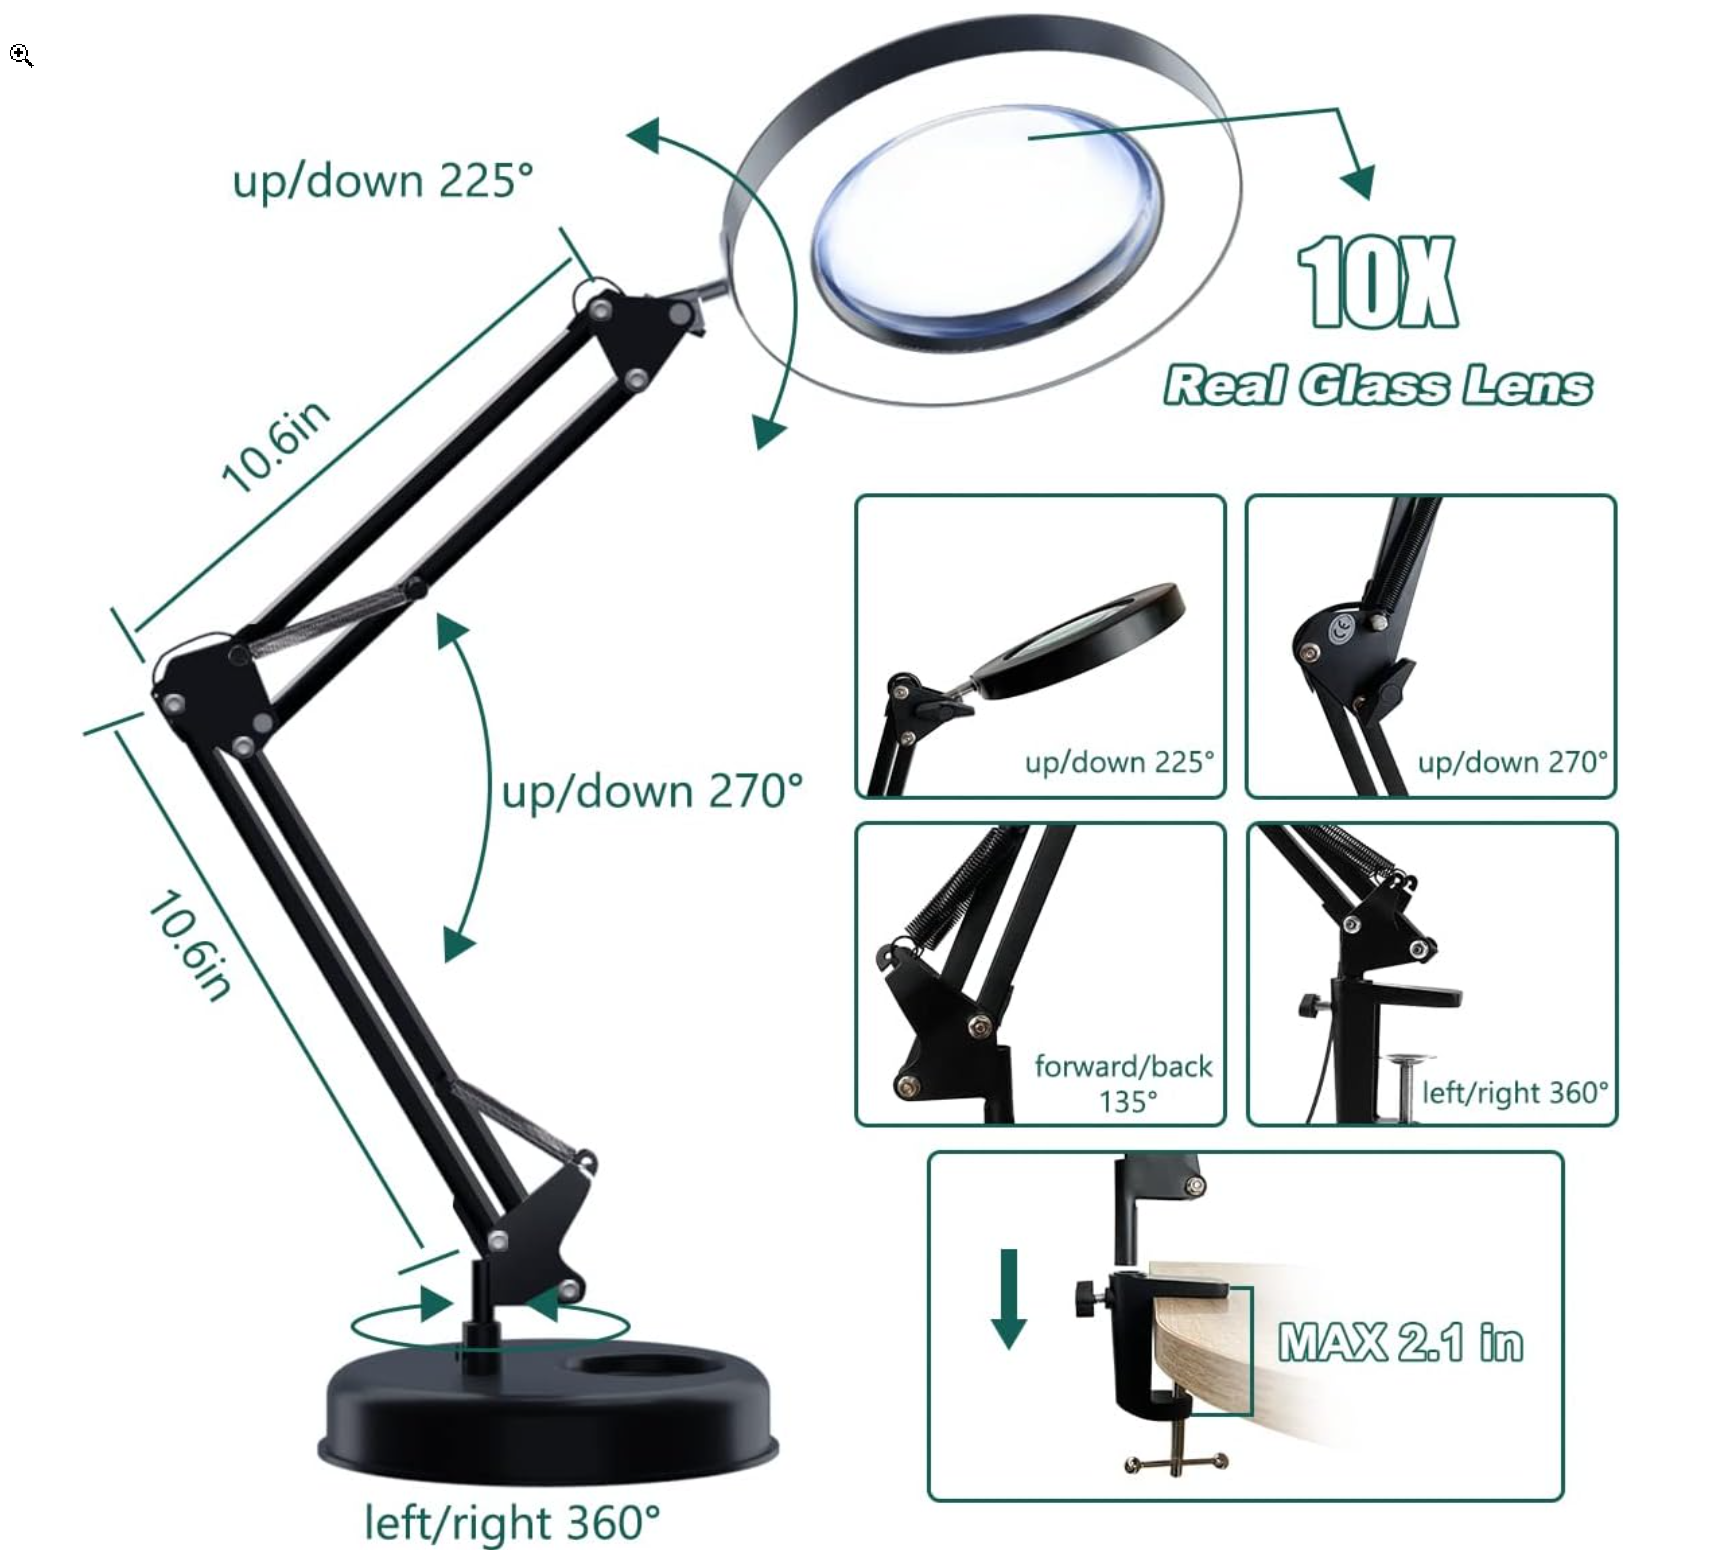
Thank you! Thank you! I tried a lighted glasses with magnifying lenses, just so cumbersome and was only clear at a certain distance.
-
Thanks, the tiny little rivets are a lot of work. This thing I think was my best purchase ever for scale model building. Just saying... I couldn't do it without a big magnifying glass.
-
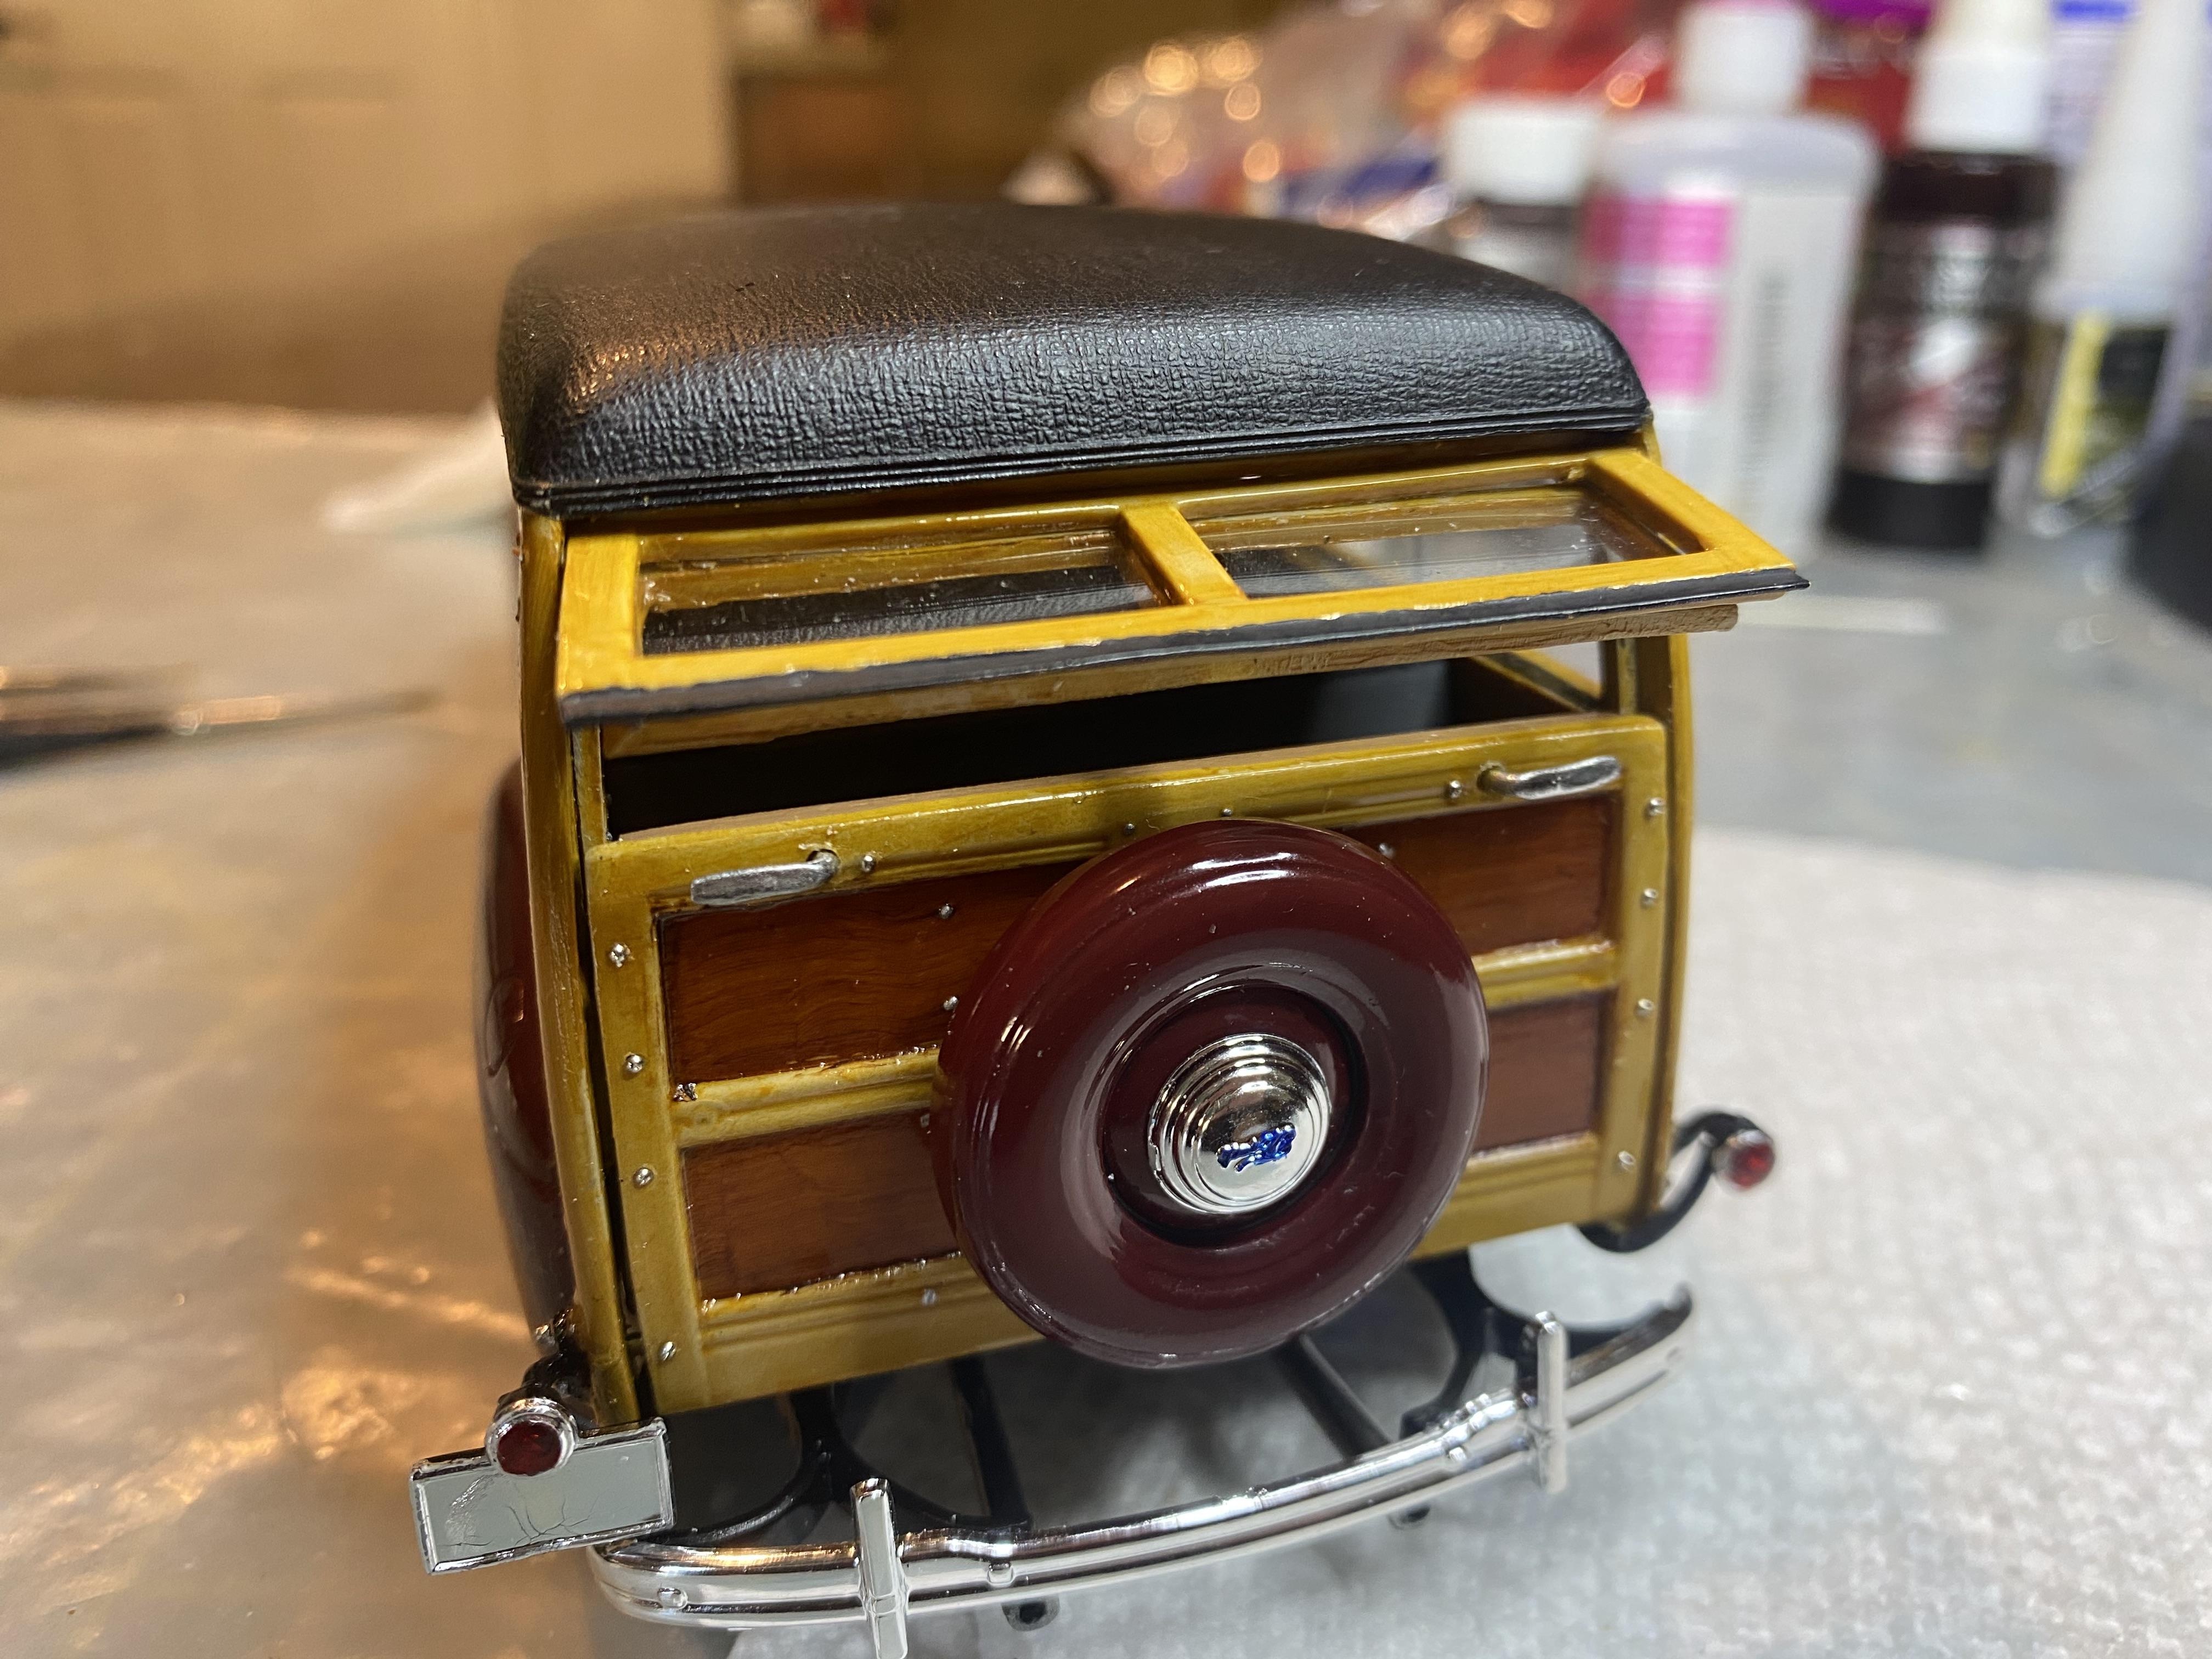
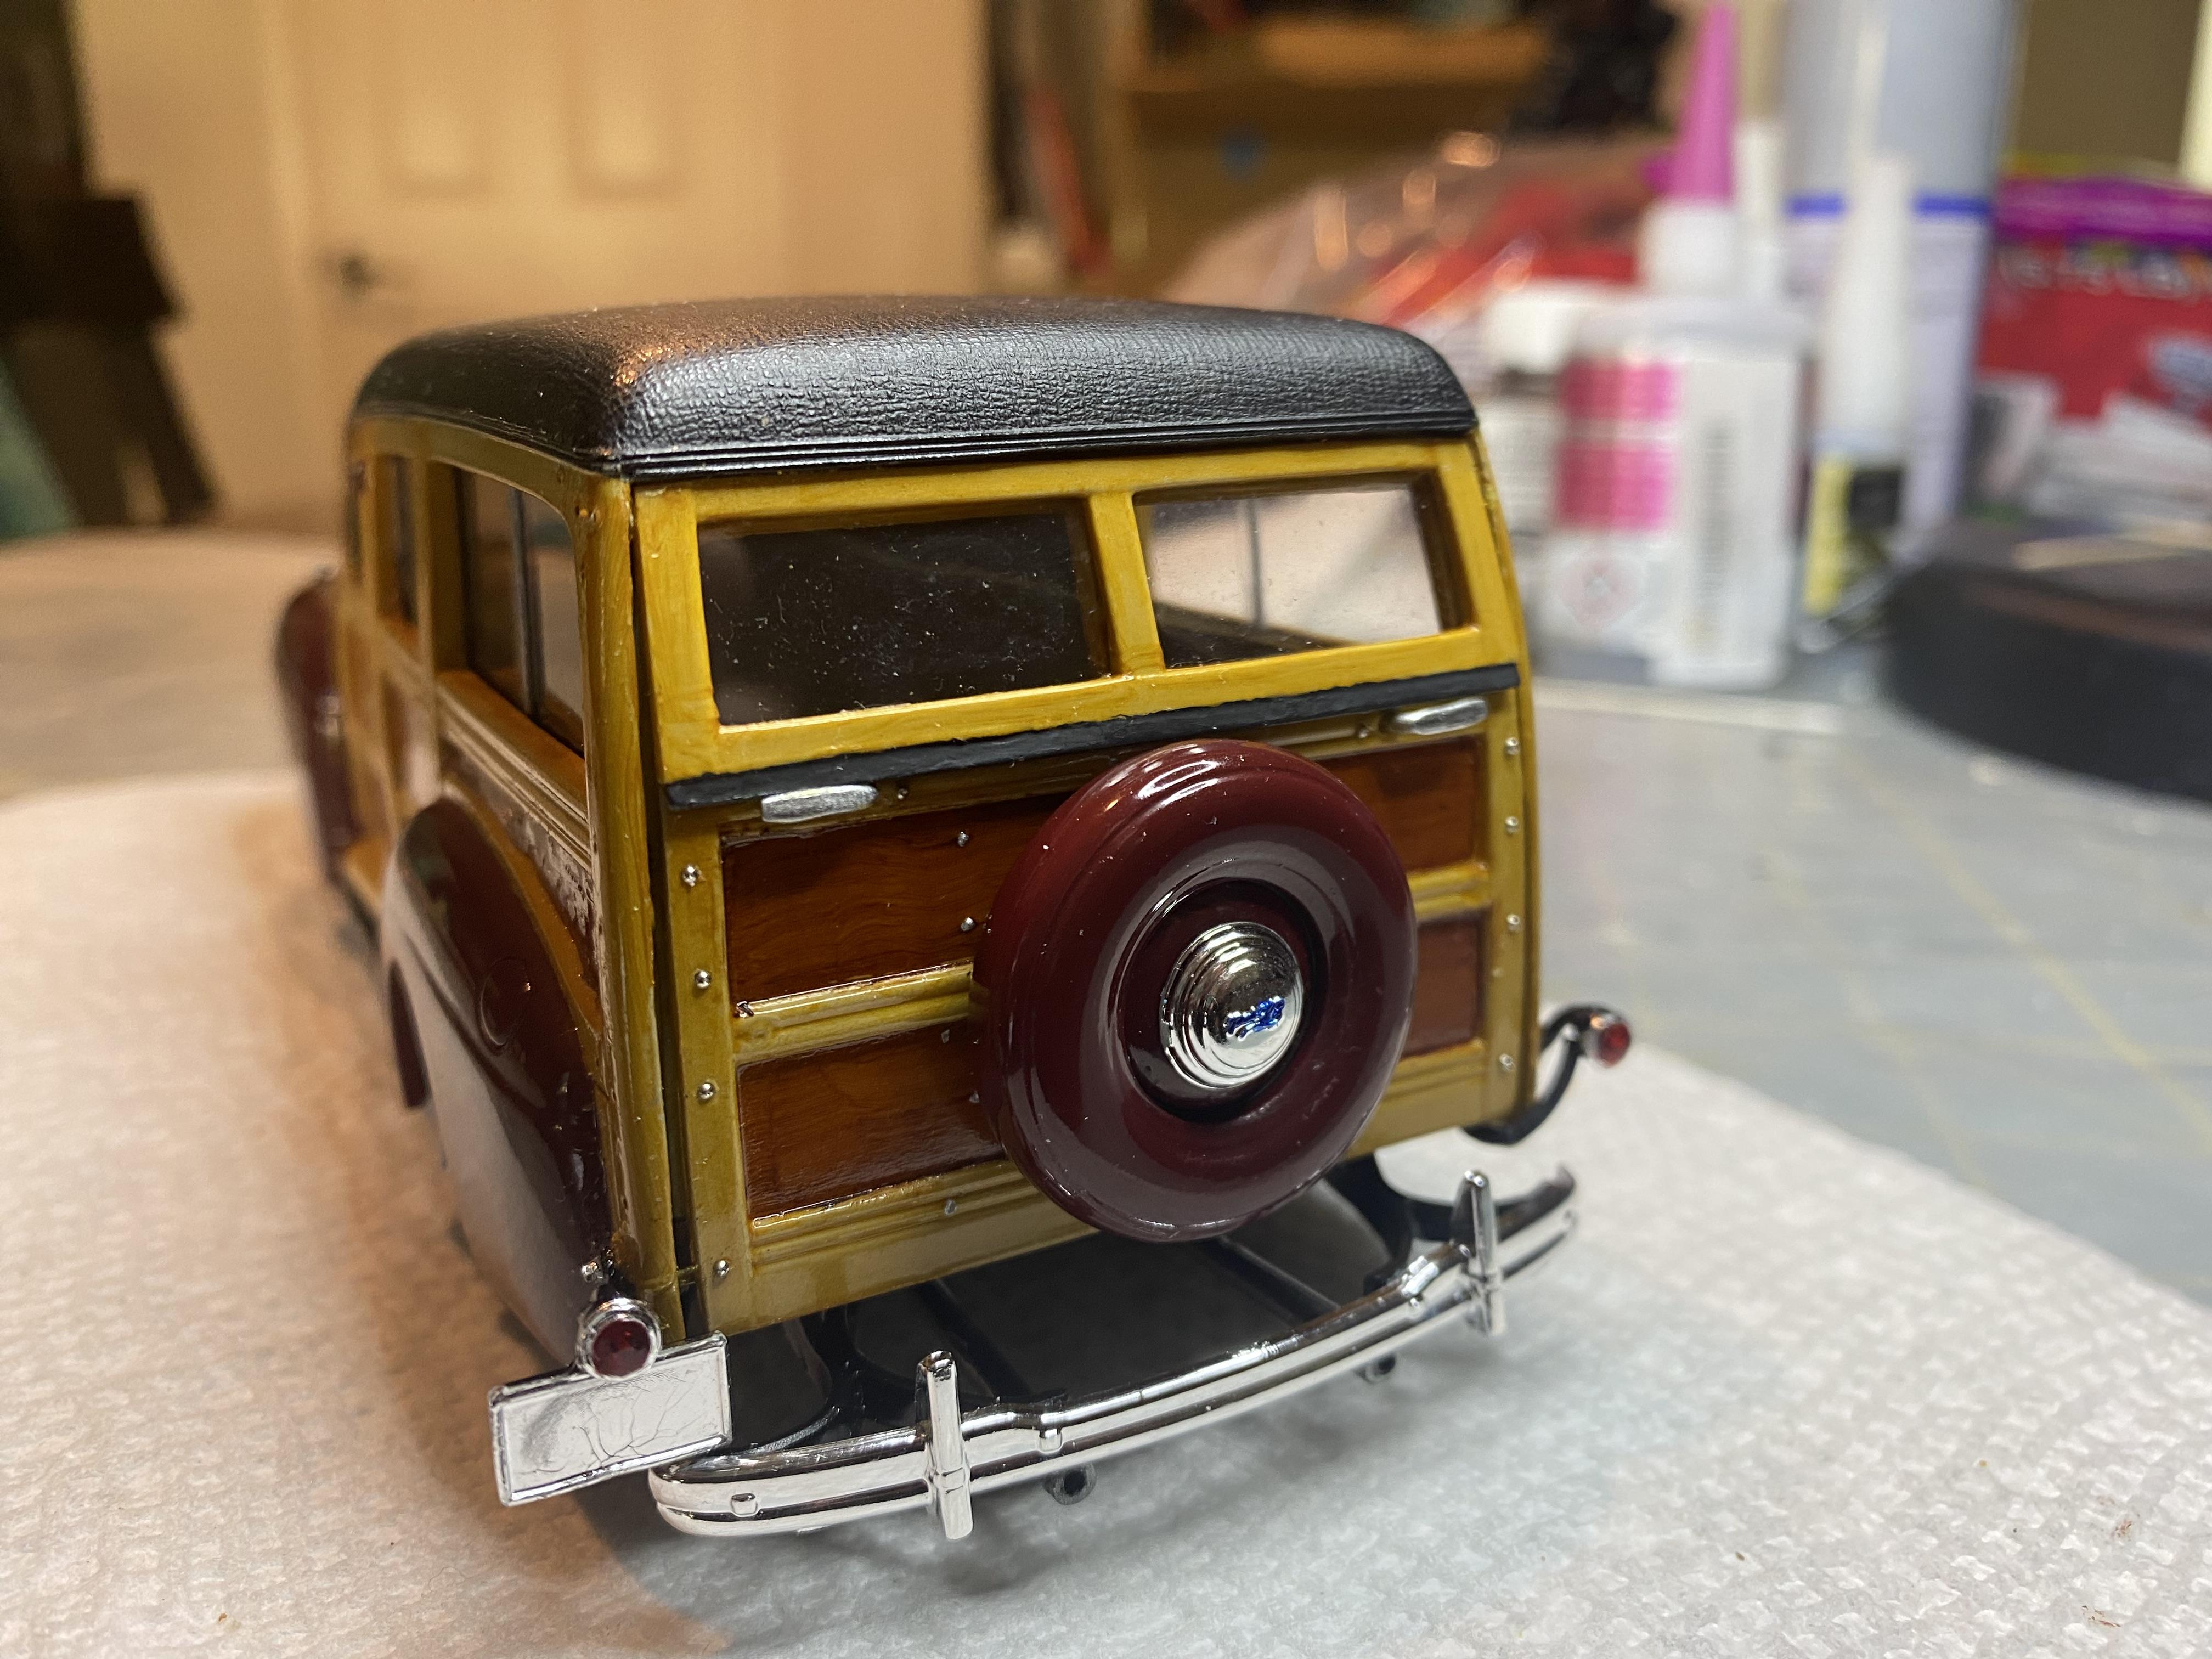
Not much new. Added the rivets to the rear door and scratch built the rear door handles from brass rod, hammered into shape. I think the rivets are very tiny, but add a lot to the look of the wood panels. Went ahead and added the hubcaps. Look at all of those holes on the sides I still need to add rivets to! ?
-
Thank You! Thank you! Next step will be adding 40+ top studio rivets into the body woodwork to simulate the carriage bolts. They are so dang tiny!