LennyB
-
Posts
3,214 -
Joined
-
Last visited
Content Type
Profiles
Forums
Events
Gallery
Everything posted by LennyB
-
 I like the look of this and that rear piece looks very familiar to me but I can't place it. Thinking maybe AMT 57 Fairlane. Not sure about the roof. Maybe if you chromed the front edge and mimicked that same center peak with the windshield frame. ?
 -
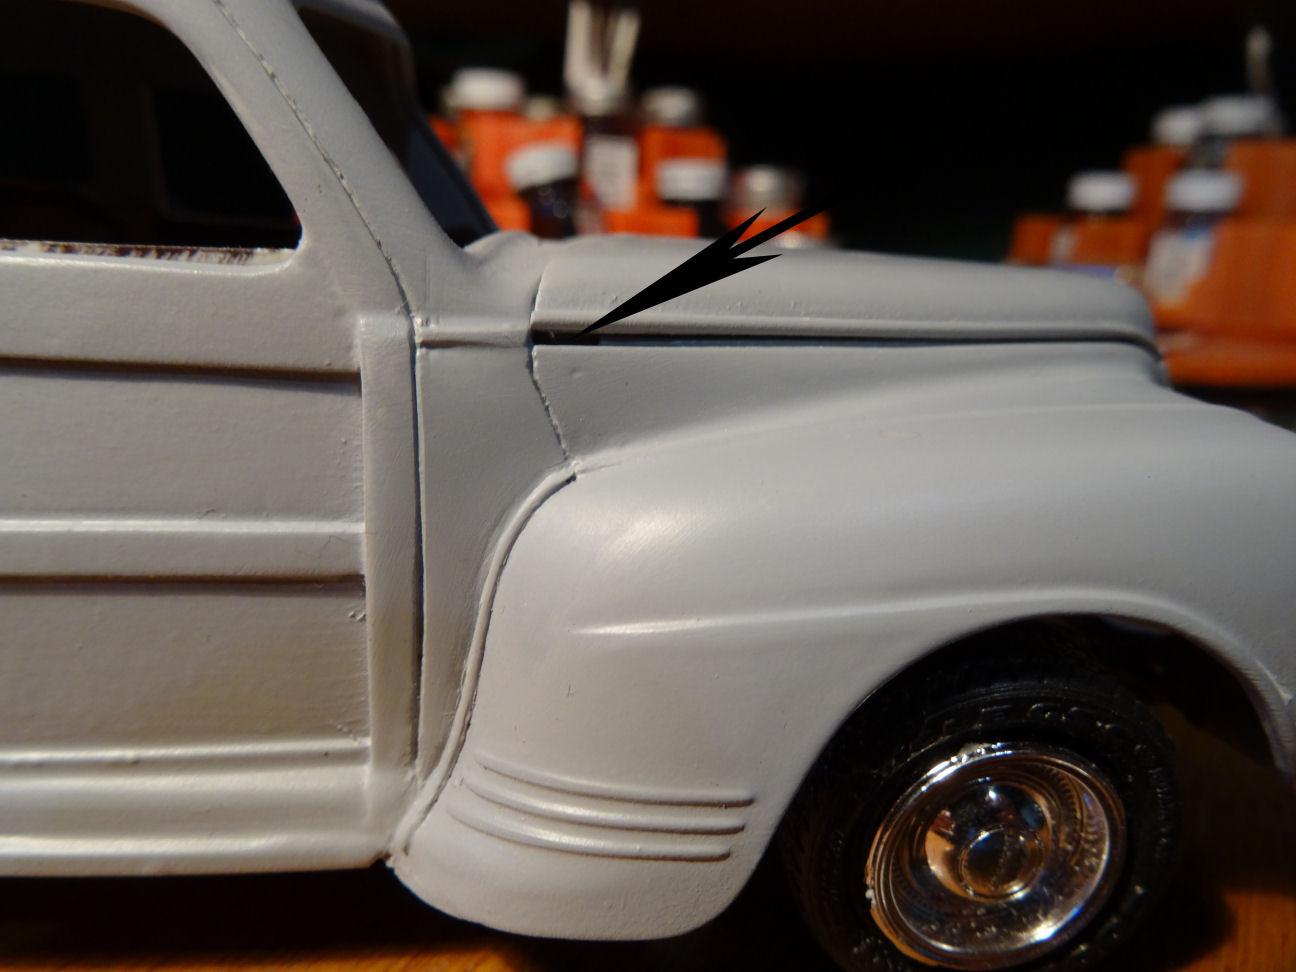
Maybe that’s not a bad idea?I once worked with a guy who collected stamps. He turned it into a business and retired. ? I’ve messed with the angle a bit but it keeps popping up in the same spot. Think it might have to do with the lip I created early on to align the hood. Maybe I’ll remove that and see where it gets me?
-
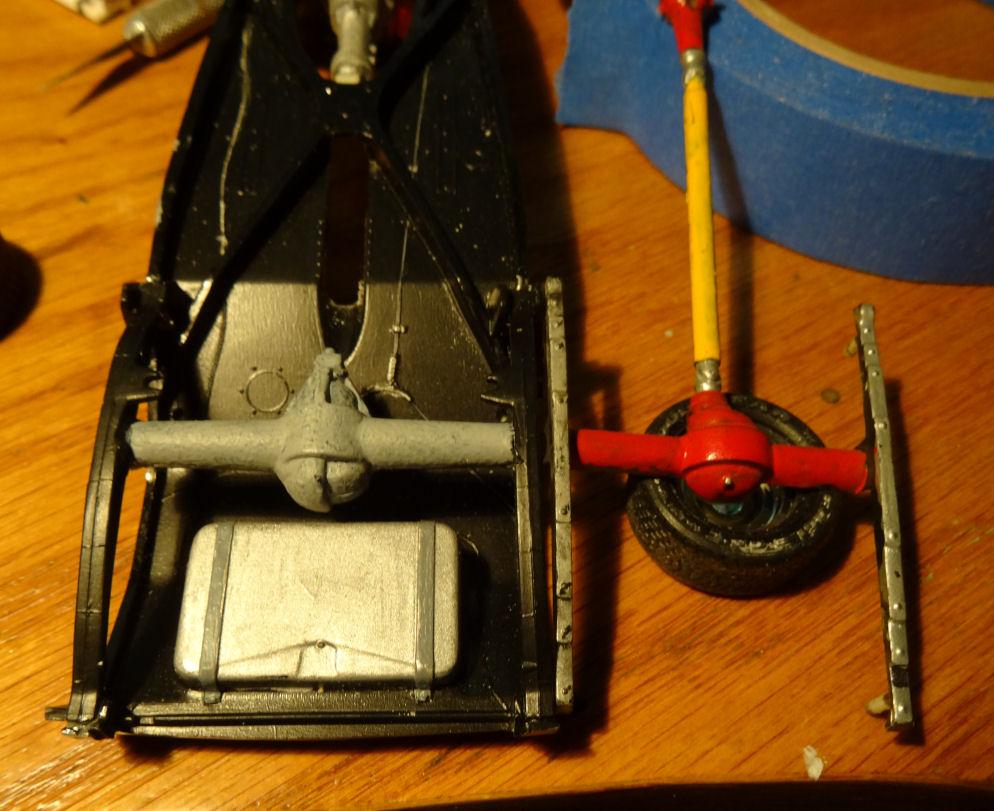
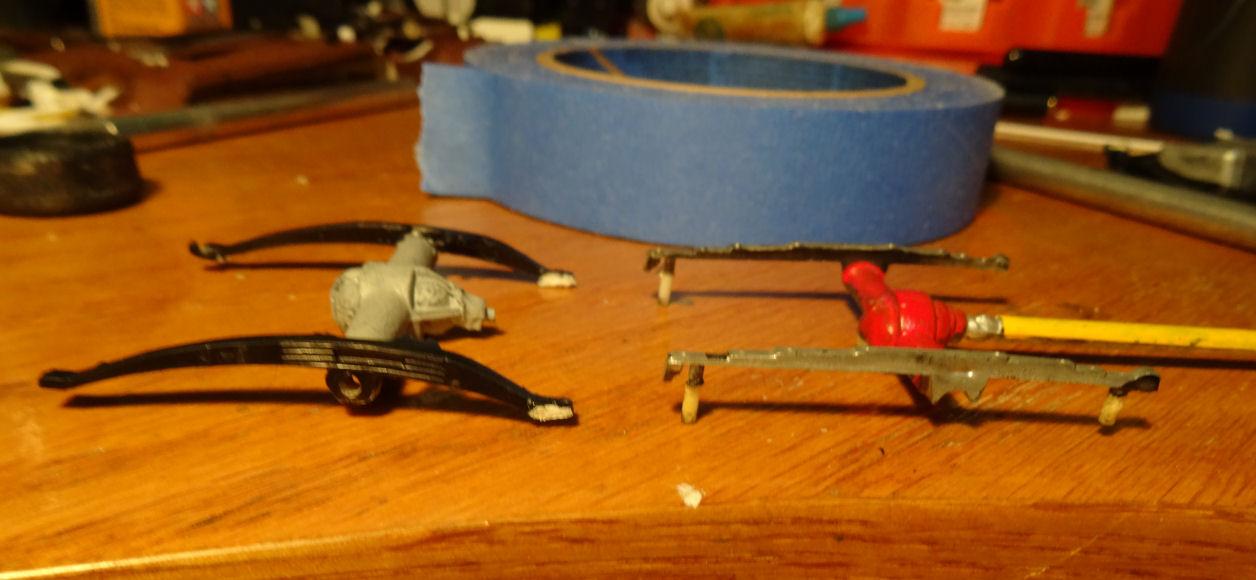
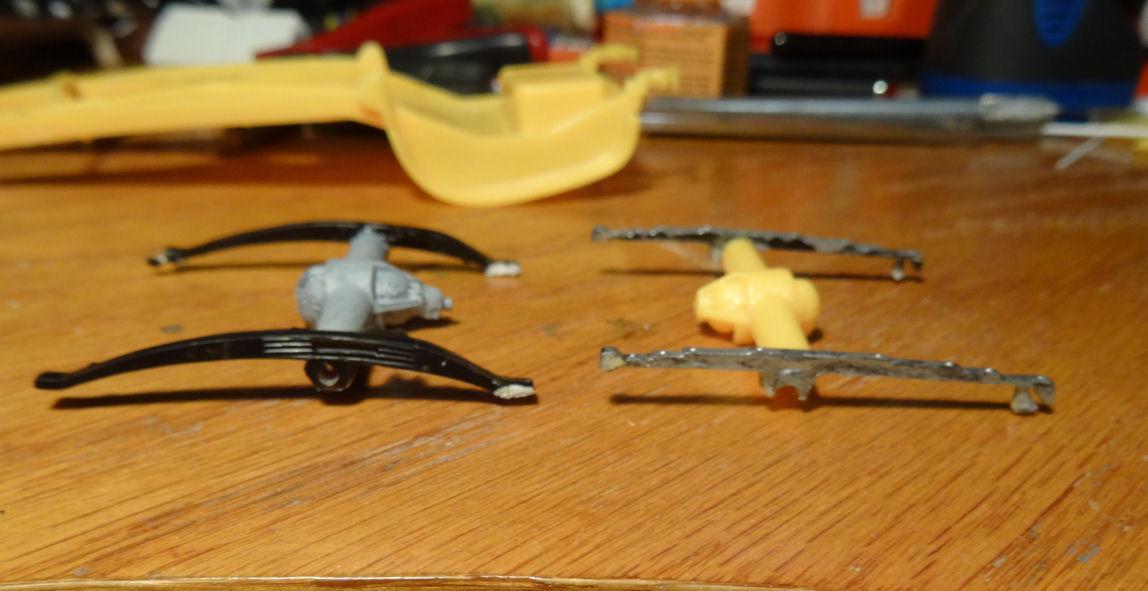
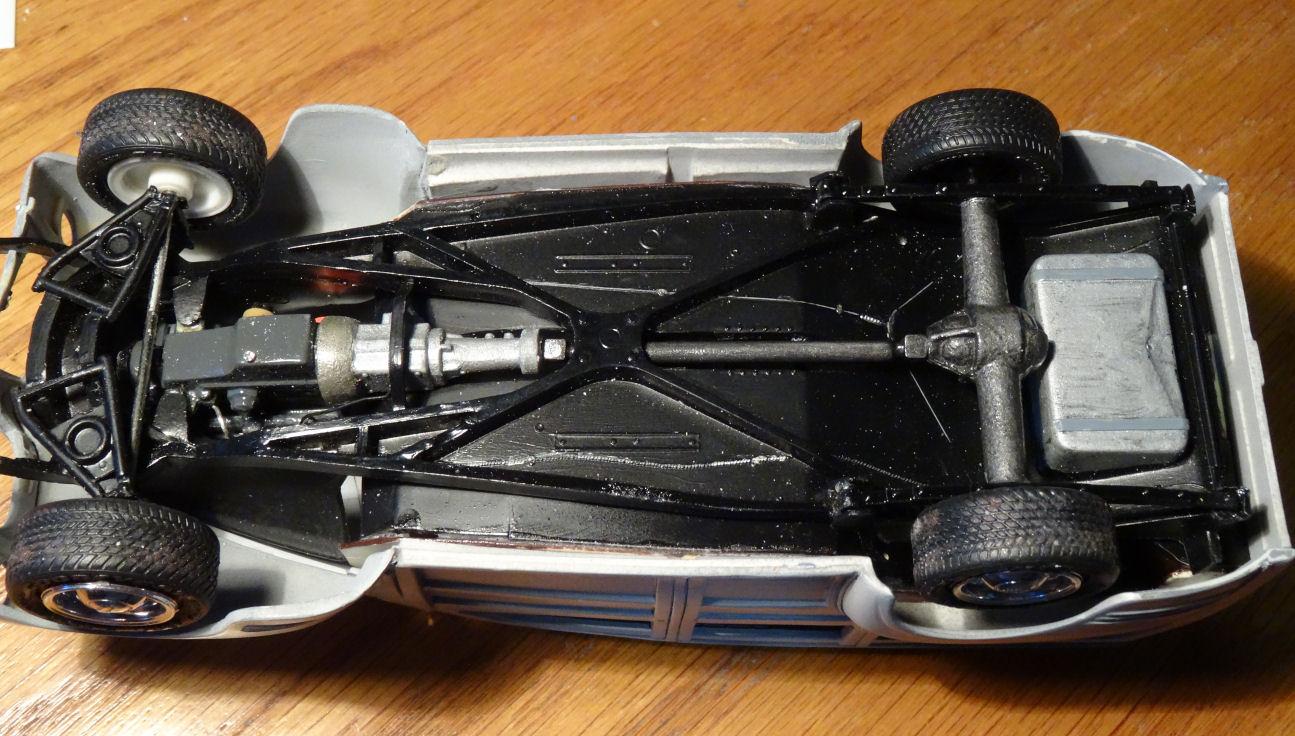
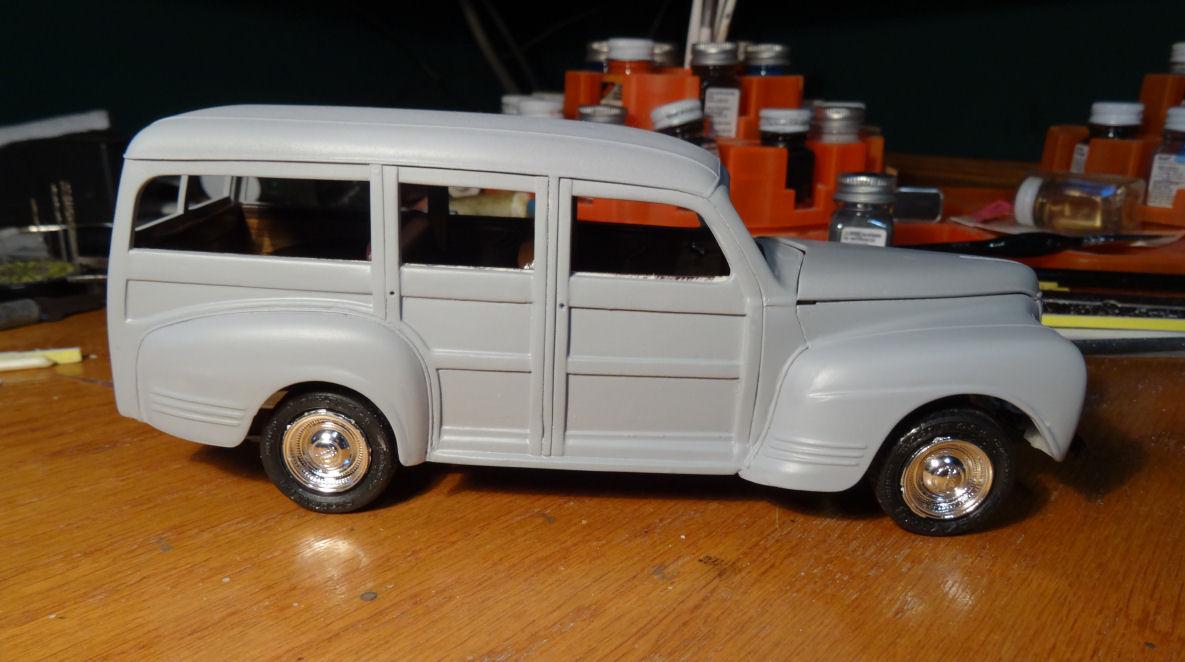
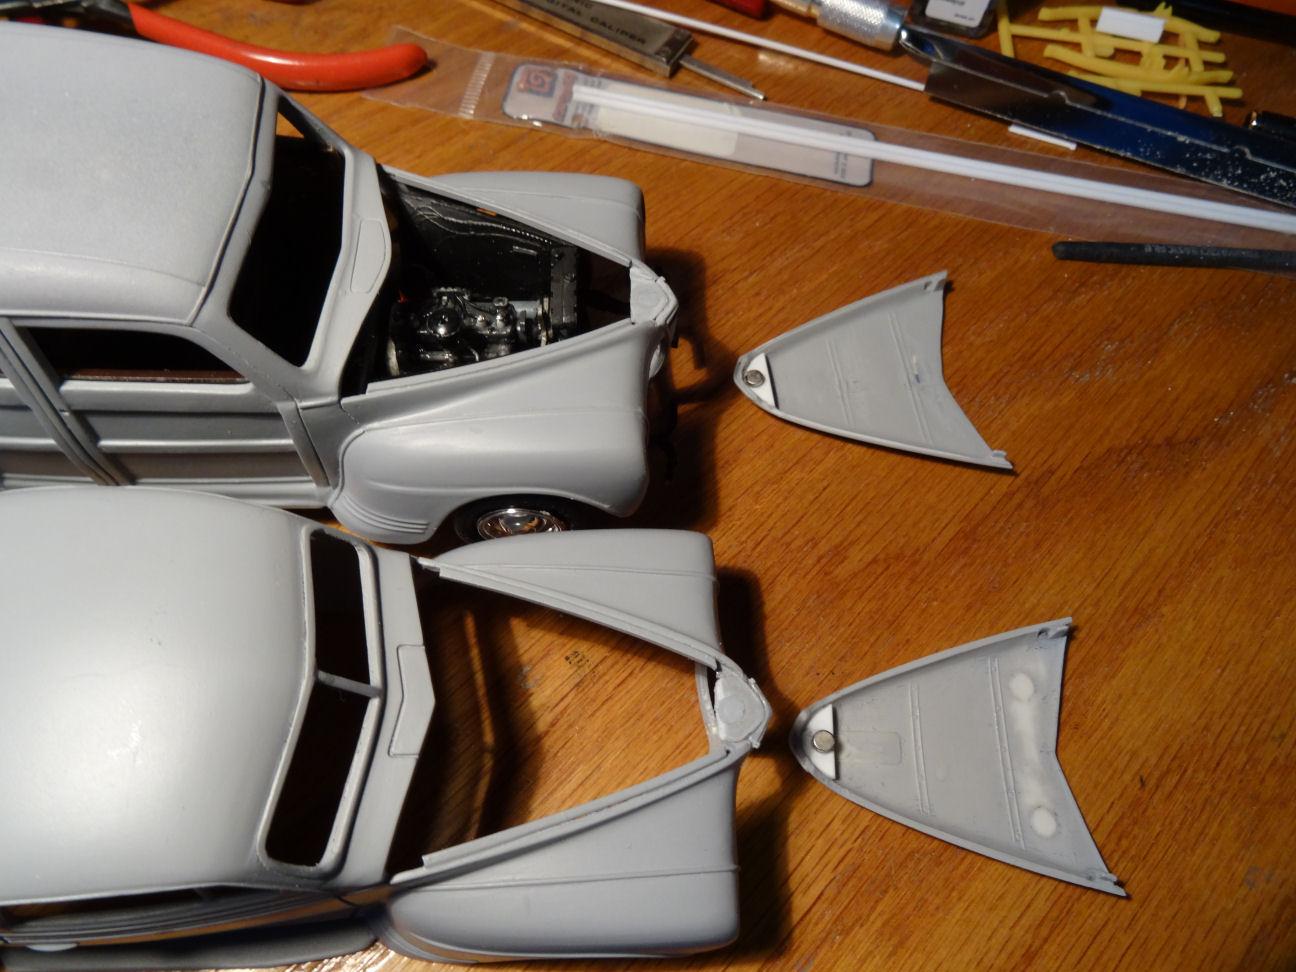
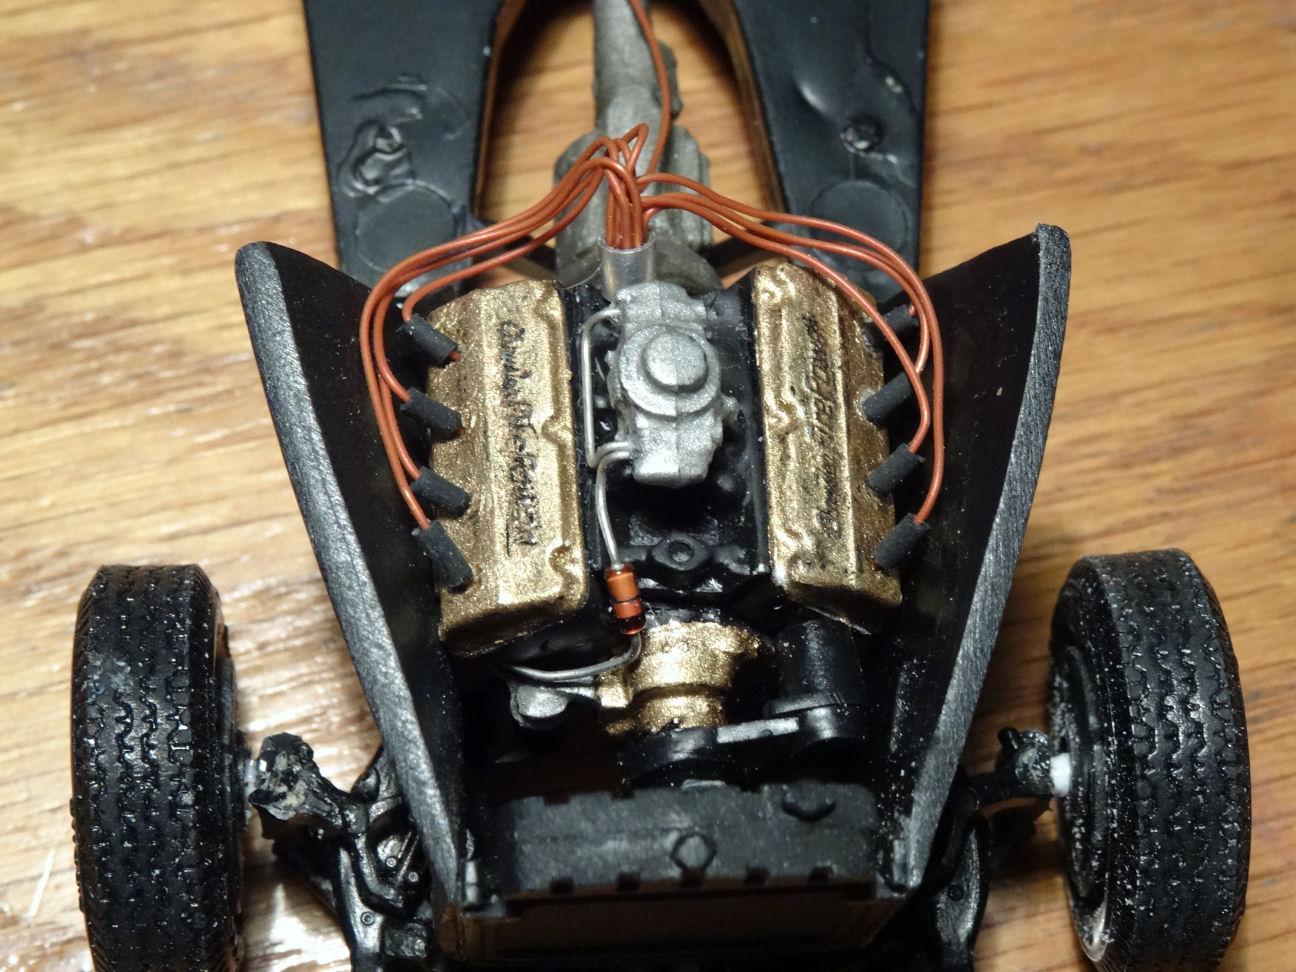
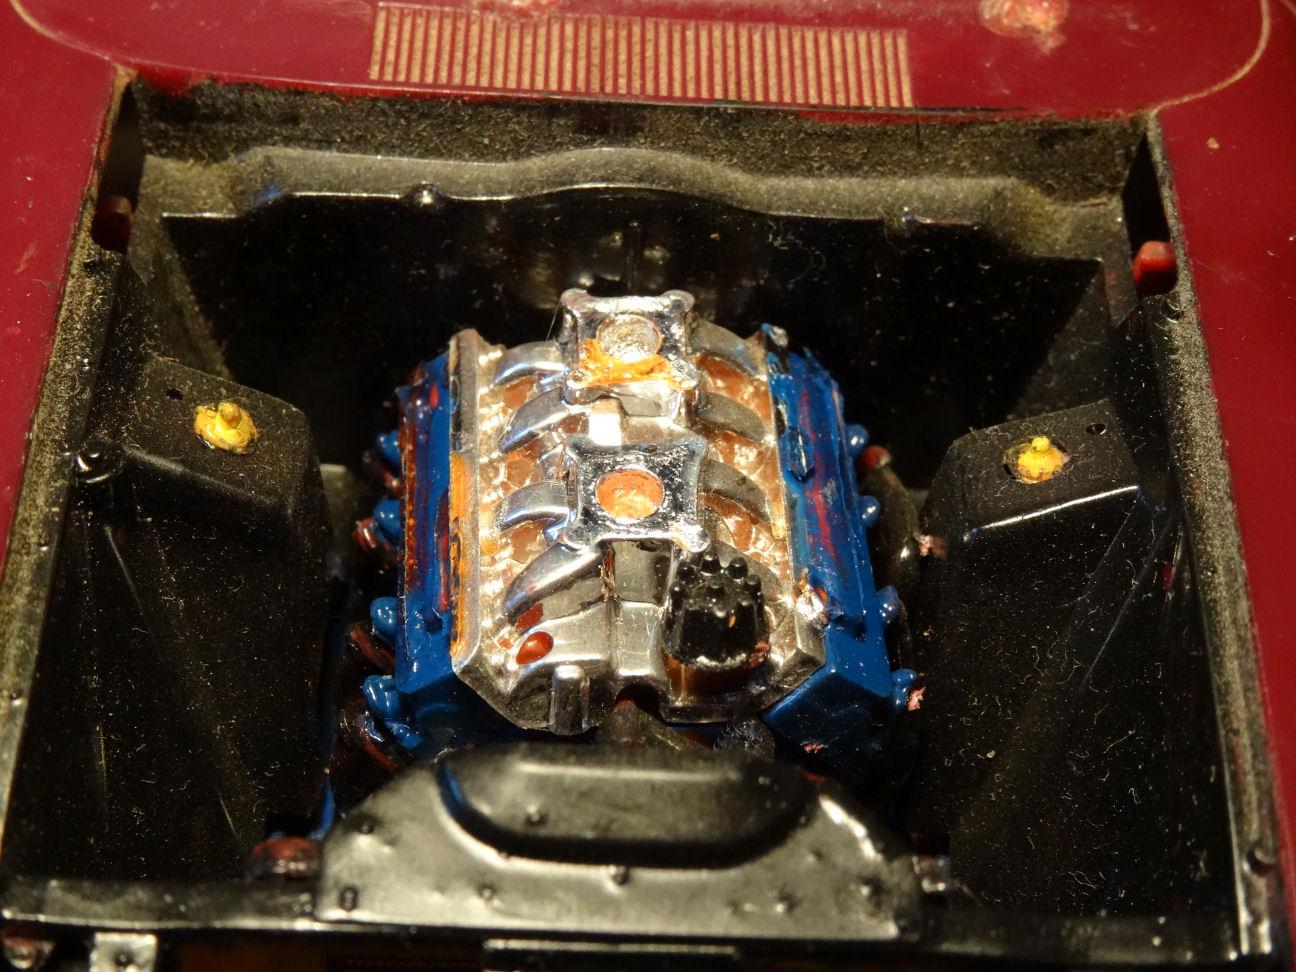
Moving in a forward direction with the Plymouth's, for the most part at least. Working on the stance issue on the woody. Found a rear axle in the parts box of unknown origin with a lot less arch in the springs. Adapted the leaf springs to a spare Plymouth axle. Now we have the rear sitting properly. Don't worry that metal axle is going bye-bye in the front shortly Next I decided to follow in the footsteps of the Reverend Jim and add those tiny magnets to hold the hood in place. Did it to both the Woody and the Coupe. They damn sure holds the hood in place. And just when I thought it was safe to go back in the water the curse of AMT strikes again. The hoods now sit up at the rear due to the strength of the magnets. Guess I need to go back to church and pray they find their rightful place on the body.? But wait, there's more. Trying to mate the baby Hemi to the chassis of the coupe I now find it no longer fits between the inner fenders. I have no idea what happened here, it fit fine last I tried. It's getting to the point where it's no fun anymore. Maybe I should just pack 'em i a box and take up needlepoint.?

-
Exactly, except at the moment there is no room in my closet as it's filled with LP's I keep meaning to convert to digital. But as most of the kits are up in the attic the list helps me to know what I've stashed away. As for my spreadsheets, I have one list of complete (or close to it) un-built kits in their original boxes. And another list of so called builders that range from built kits to just resin kits/bodies. The idea here is if I have a mint un-built JoHan '69 Javelin and I also have a builder, it's the builder that I will tackle first. As for the rest of it I have larger plastic boxes, some of which are so old their bottoms are breaking away, separating things into categories. Interior parts, chassis parts, engines and a few like my Fairlane/Torino box that might be of a certain car line. And of course the question on everyone's lips, yes I have a Herbie.?
-
The AMT curse huh, ‘A’lways ‘M’easure ‘T’wice, and then you’re still screwed? if this was easy anybody could do it BTW I don’t have to worry about fowl language with Wifey around, she’s from da Bronx and worse then I am. Could probably give you some lessons. ?
-
'63 Galaxy lightweight planned build
LennyB replied to customline's topic in Model Building Questions and Answers
Jim, I have a Revell 64 Thunderbolt that is going to donate much of it's personality to an AMT '65 Fairlane. You can have the intake if you want it. Also have the dual setup from the 60 Starliner if you want to try that one too. I'm saving the tri-carb for a '64 Mercury Super Marauder. ?
-
Interesting project, you can never have enough grime.
-
BINGO!!!?
-
David, thanks for sharing. Gives me a few ideas of setting up my own spreadsheet. I'll have to work on it at some point. I started doing a proper inventory because I was finding I had a lot of things I forgot about and some I don't remember that I bought. Even though I took a back seat in this hobby back in the 80's I still continued to buy kits and kept my magazine subscriptions active. For example I have had an idea for a 1967 Ford Galaxie as a project since I picked up a derelict promo back at Hershey in the late 80's. When doing my inventory I found I had not one but four '67 Galaxies. Doing the inventory is a bit of a slippery slope as it brings back a lot of ideas and I have to refrain from diving into too many of them at once. Not sure if that is a good problem or a bad one.,? So I now have over a dozen Sterilite boxes with potential projects piling up around me.?
-
Reminds me of something my father always complains about. He has some Danbury and Franklin Mint models he’s bought over the years. Their models often come with tons of accessories on them. Sun visor over the windshield, spot lamps, multiple mirrors, etc. It appears they borrow a car to base their model on and install whatever options that owner (and there are a lot of car owners out there that have to have every conceivable option on their car) has on the car on the model. Again, clearly not car guys and not fully researching their subject. So they don’t make factory correct cars. At some point in the future someone is going to look at this model and think this is how they made the real car. It doesn’t take that much extra effort to get thing's right. ok, time to get off my soap box.?
-
I have this kit too, lurking somewhere up in the attic. But now you have me scared as to what else might be lurking there?♀️?♂️
-
Neat looking build, I’m especially digging the wheels with the whitewalls.
-
So does that mean you actually have to follow the instructions in order?? Where’s the fun in that ?
-
Always loved this body style even better then the Demon later on. Never built this version so I'll be watching. Back in the day turned one of the MPC drag kits into a stock version.
-
So I guess we’re putting fenders on it. I totally approve, both the color and the fenders?
-
David, not sure what your idea of a spreadsheet is(I have a couple spreadsheets with inventories of unbuilt kits)but it just made me realize I need to do something to keep better track of my builds. Keep thinking I’m close to paint (like the 41 Coupe) and then realize I still have to do xxxxxxx. Need to do something like those pseudo reality builds where I keep a list of things yet to be done. ?
-
David, those bumpers look so much better now. And the kit chrome was way too much as well. Looks more realistic. I’ll have to remember this next time I build one of these. ?
-
No, blame it on the guy in the tie if you have to blame something (someone). ? Seriously, it looks fine, and how often do we get to see a nicely finished Talladega? ?
-
Went into Ollie's in Middletown NY yesterday and while they had nothing worthwhile on the shelves the handwritten sign said "Model Kits $19.99". The kits themselves were marked the usual $12.99 so I don't know if this is the shape of things to come or someone having a brain fart.
-
I know what you mean. I picked up two flights but have only sprayed small pieces so far. Apprehensive about doing a whole body. But you gotta dive in some time.? They tell you you don't have to thin it but I find when I don't it beads up on the plastic. Also say you have to add clear to it to make it more durable. Anyway, I'm going to proceed with what I have for now and see how it goes but bought some Scale Finishes Basecoat for a couple of future projects.
-
Remember you?? No actually because I wasn't here back then, maybe I'm not here now.? Nice to see, you got a great paint job on this one. And those rims have always been a favorite of mine. Good job Jim...(hey, maybe I do remember)(better stop talking to myself they might lock me up again)
-
Glad it all came together finally. Looks good and sorry it gave you such a headache.? Hope the next one doesn't put up such a fight.
-
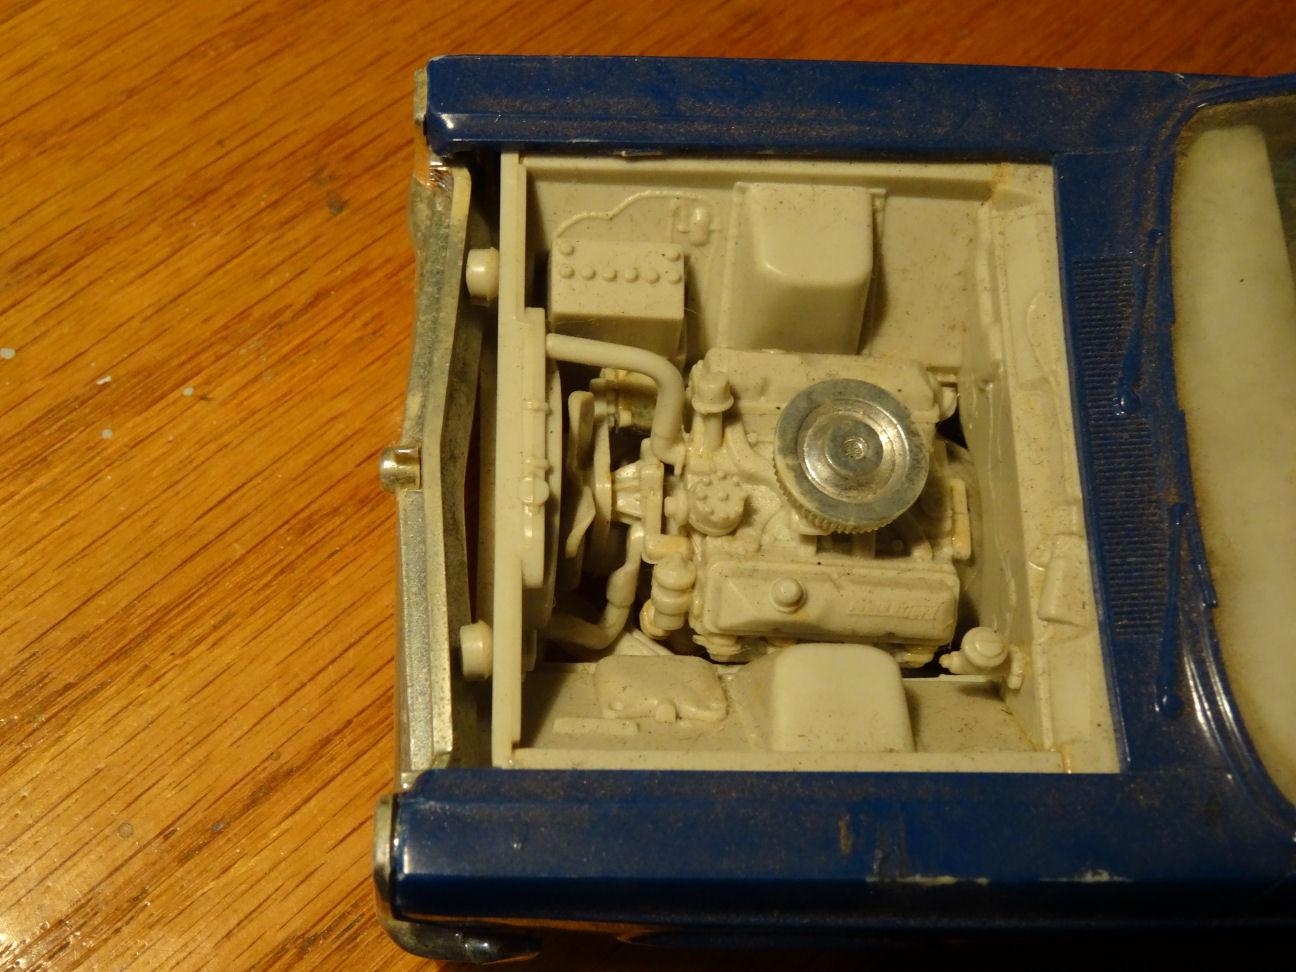
I see where the radiator is much too close to the grill in your second pic. John, could you possibly cut off the ends of the core support so that it slides back between the inner fenders. I pulled out a junker and it has room enough to stick in some horns. Your firewall looks to be in the same spot as mine so I can't understand the lack of space. And still can't believe that have not added any detail for the top of the shock towers?
-
David, how thick are these? I saw them as well but just like you was put off as soon as I read "self adhesive decals".
-
Looking nice. Interesting that they provide you with an Export Brace, and is it chrome or is that just the reflection of light. Could do a T-5 conversion.