DJMar
-
Posts
866 -
Joined
-
Last visited
Content Type
Profiles
Forums
Events
Gallery
Everything posted by DJMar
-
There is also a phone number listed on the website.
-
STS Decals. I'm actually getting some artwork ready to send off to them for a quote. https://stsdecals.com/
-
You nailed it, looks really fantastic! That color is a winner. I was following the build thread, and I know this wasn't a fun one. You have more patience than I do, that's for sure.
-
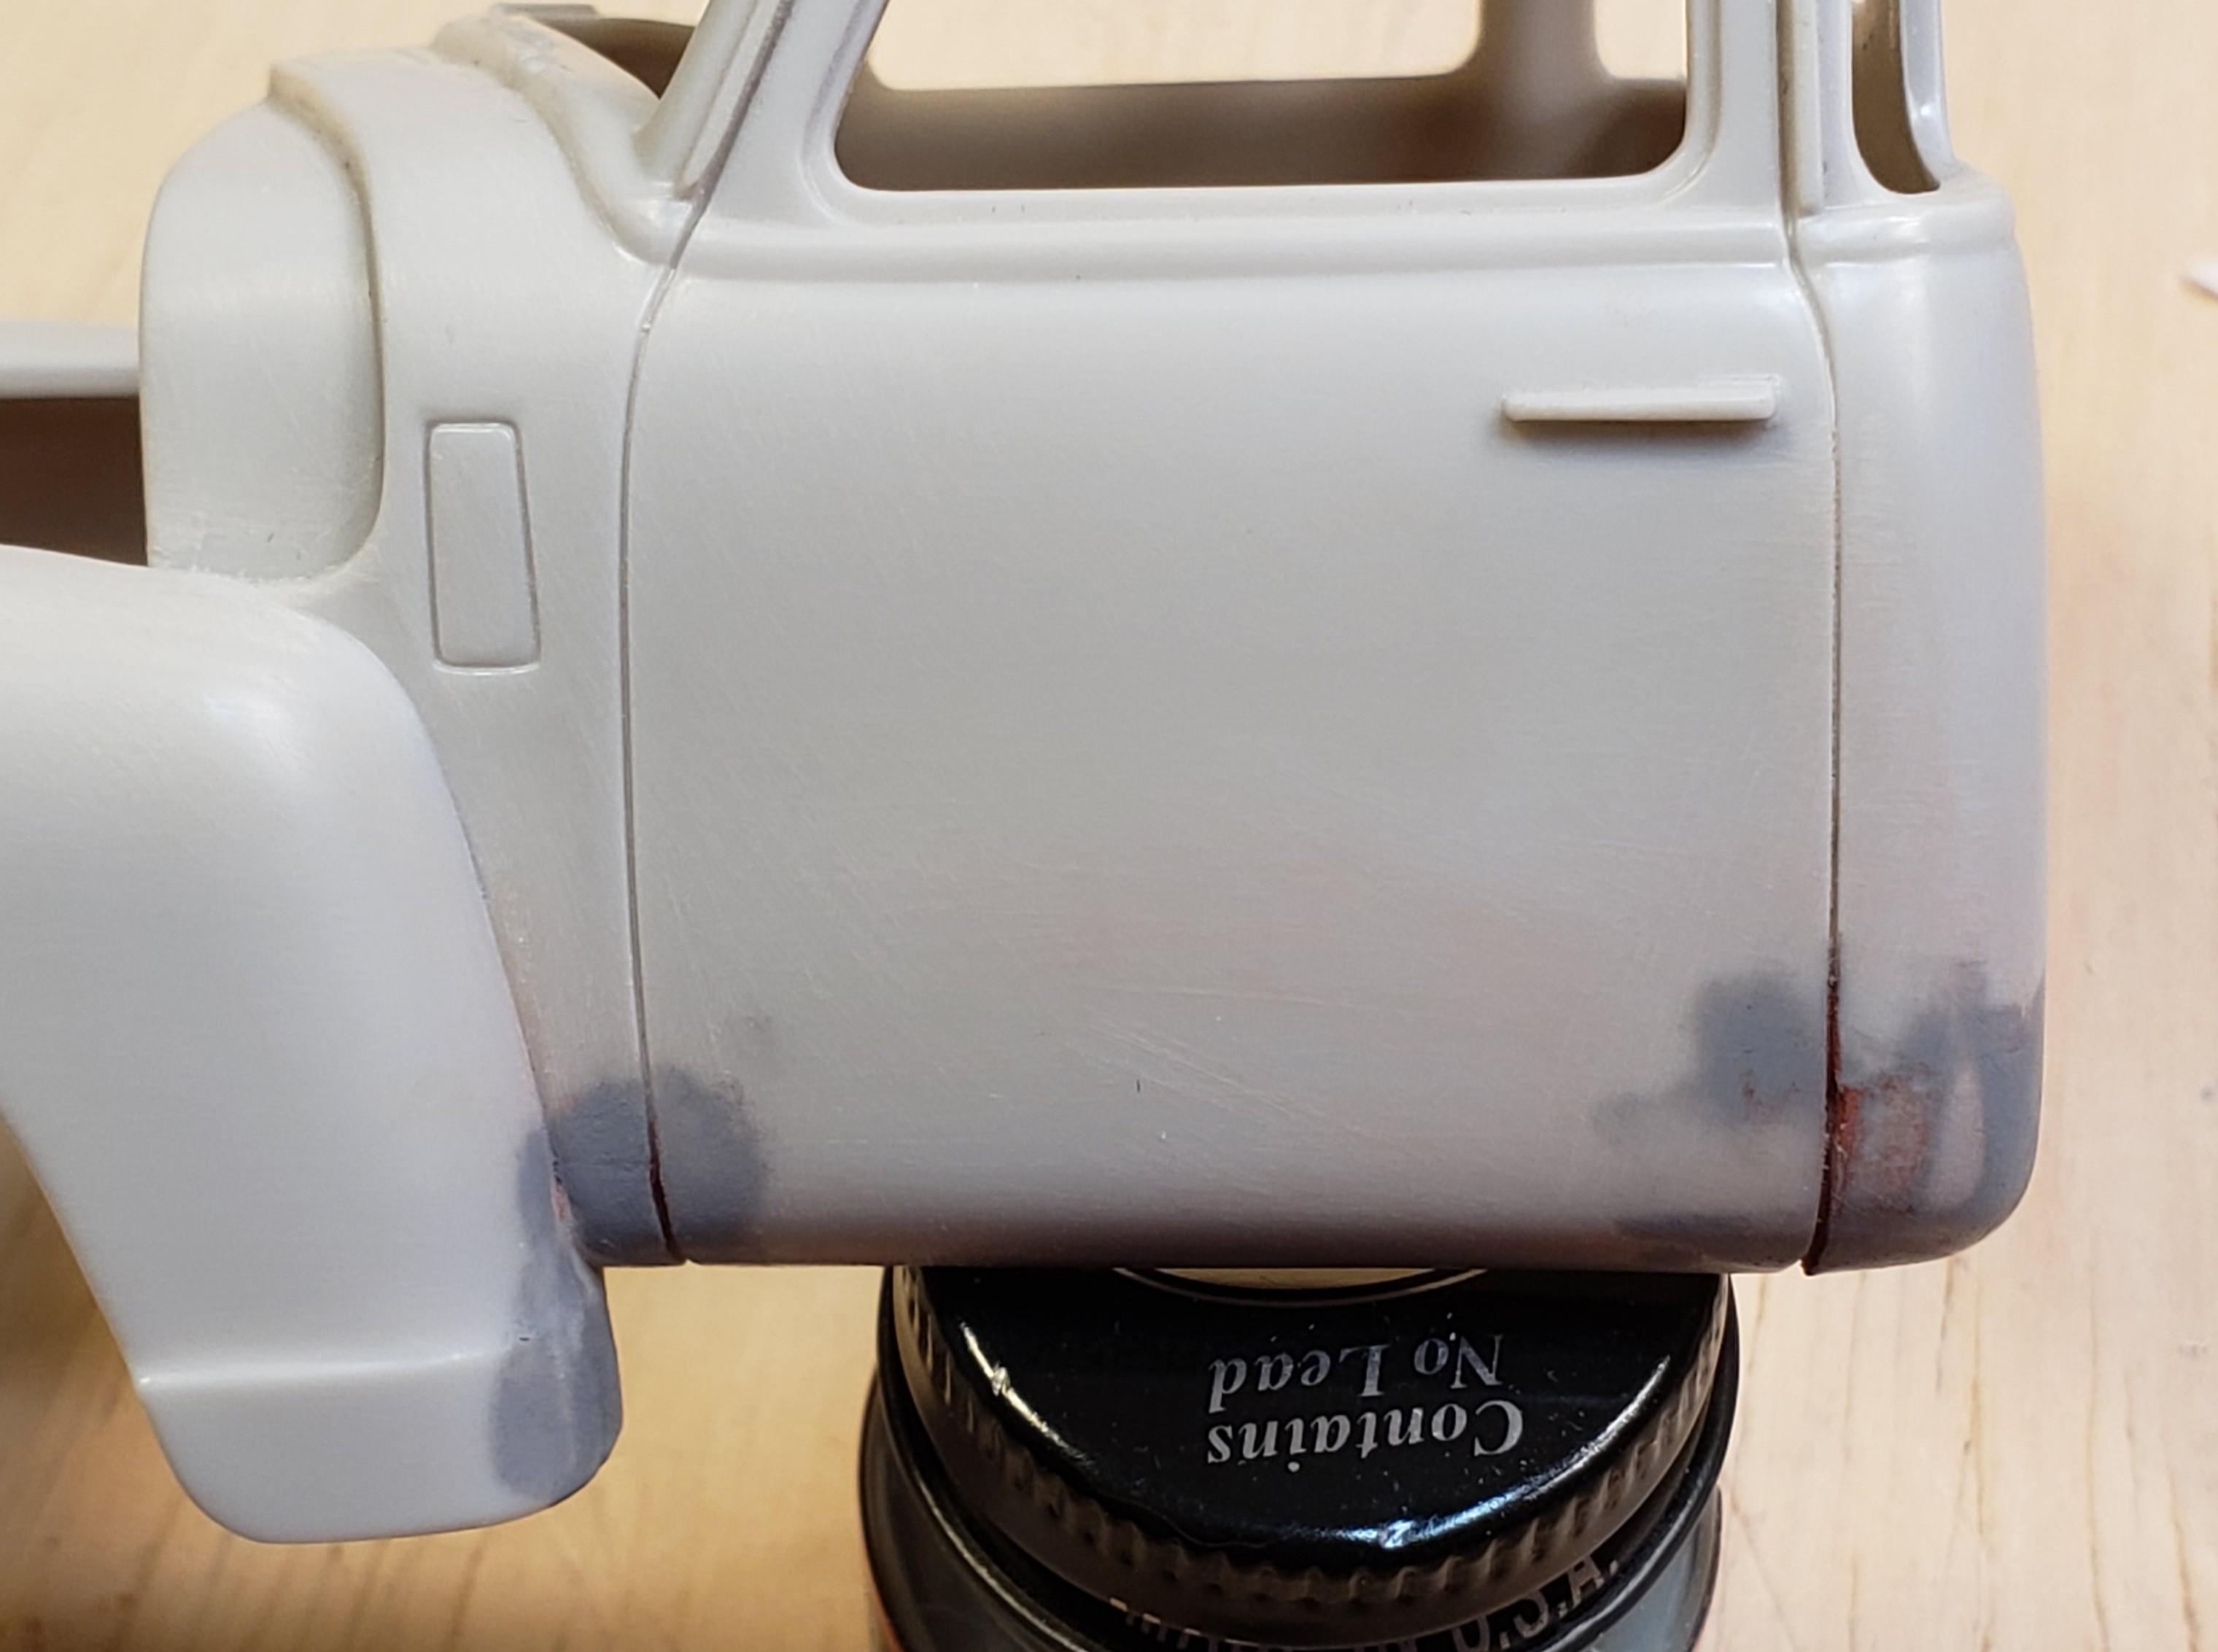
If you're looking to fix those wavy panel lines, you can try a solvent based putty - I still use Bondo Spot & Glazing putty - to fill the lines and then scribe through them while still wet. Once the putty dries completely, you can sand it down and fine tune the gap as needed. I find that solvent putty is not as prone to chipping out as 2-part catalyzed putty like Evercoat can be. Here's a quick shot of the technique on AMT's '50 Chevy pickup. The gaps on the front and rear of the front door lowers are wonky because of the filler pieces for the body. I find this way is a lot easier than filling the lines completely and then scribing after the putty is dry. This isn't the final result, as it needs a little more finesse, but I think you get the idea.

-

Stock '37 Chevy sedan delivery
DJMar replied to traditional's topic in Model Trucks: Pickups, Vans, SUVs, Light Commercial
Wow, that is some amazing work! I can't even wrap my head around everything you've done there. -
I'm digging the color. I love first gen Neons. I'm still kicking myself for passing on a new R/T back in '98.
-
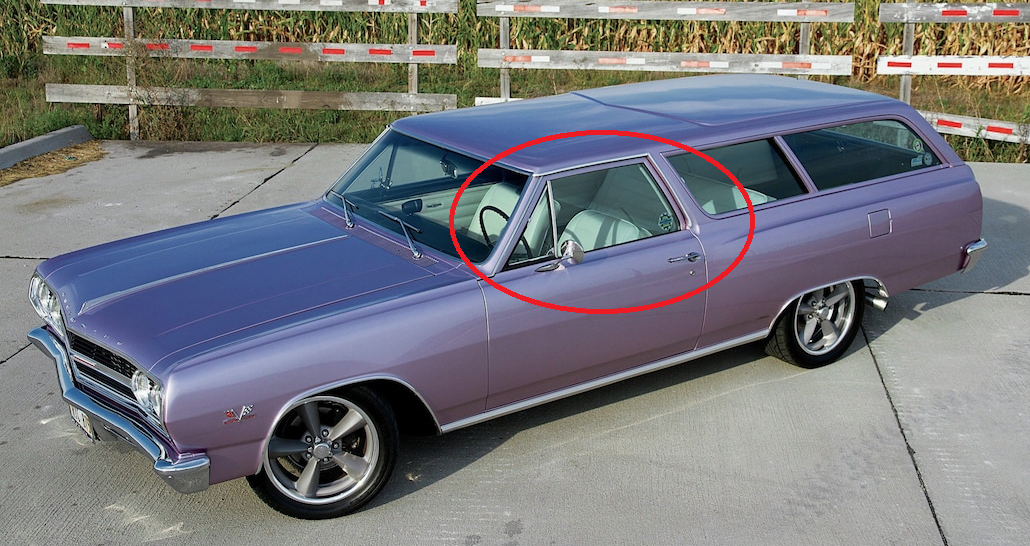
Sweet! Are you thinking about creating the angled b-pillar, similar to the Chevelle 300 2 door wagon? Or are you going with a different look?
-
That blue looks awesome.
-
Cool! That orange plastic sure brings back some memories.
-
Dodges--'73 n' '78
DJMar replied to Terry Jessee's topic in Model Trucks: Pickups, Vans, SUVs, Light Commercial
As someone who has owned multiple '72-'80 Dodge pickups (as well as a '78 Ramcharger), I think the blue shorty is awesome. I'm probably the only one thinking that this generation of trucks deserves a modern, newly-tooled kit. -
Wow, she's a looker. Love it! You nailed the stance and wheels/tires.
-
That is going to look good!
- 22 replies
-
- 1
-

-
- 442
- oldsmobile
- (and 1 more)
-
Man, that paint job is SWEET.
-
Looking really, REALLY good!
-
S'LOW
DJMar replied to TopherMcGinnis's topic in WIP: Model Trucks: Pickups, Vans, SUVs, Light Commercial
Definitely wash those parts! At the least, I would use dish soap & warm water. Personally, I usually use TSP solution (trisodium phosphate, available as a powder at most hardware places) to clean resin pieces. -
That interior color looks great, really close to the one-year-only Sienna. What shade is your exterior going to be?
- 22 replies
-
- 1
-
-
- 442
- oldsmobile
- (and 1 more)
-
REALLY? 🫢
-
Datsun Tow Truck Monster Truck
DJMar replied to Model Builders Mafia's topic in Other Racing: Road Racing, Salt Flat Racers
That's a cool build, definitely different. I really dig the color! -
Agreed. Personally, I have trouble shelling out current retail for yesteryear's kit design & tech. Nostalgia is cool, but for me, the money to fun ratio just isn't there with a lot of R2's recent releases.
-
That orange is perfect for this, it looks like scale flake. Kowabunga!
-
Looks really good! Also, I tried finding those crate kits online and they're pretty hard to come by. Nice score for you!
-
What did you end up using for the visor?
-
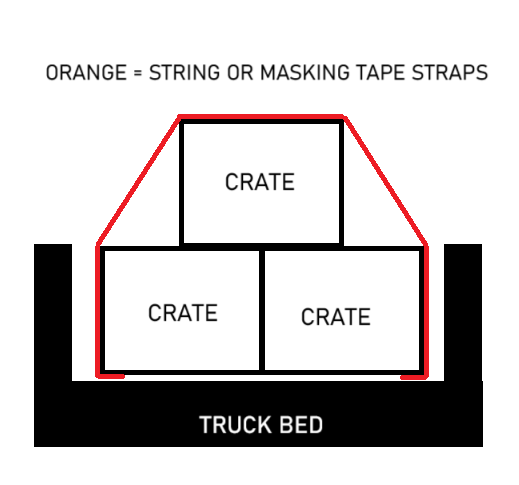
That's what I would opt for in this situation. Apologies for the overly simplified diagram, but something like this... Personally, I like using basic tan masking tape for making scale straps. It's cheap, it cuts easily to different widths, you can laminate it for different thicknesses, and it's simple to weather with washes. Usually I use thin washes of whatever browns, tans or grays I have at hand. Works well for the weather beaten look.
-
I would guess a pre-2013 model, based on the front fascia. So, 2009-2012. The front end is a little different on the 2013-2020 versions. There were quite a few small mechanical changes over the years, but the style redo is the only way I can tell the early models apart from the rest. I'm not a huge fan of Tamiya's decal sheets in general. In my experience, they take a lot longer to come loose from the backing.
-
Radwood Ready... Tamiya Mercedes 500 SEC Lorinser
DJMar replied to jaymcminn's topic in WIP: Model Cars
That looks sweet! Those seats are really well done.