OldNYJim
-
Posts
252 -
Joined
-
Last visited
Content Type
Profiles
Forums
Events
Gallery
Everything posted by OldNYJim
-
Love it! What a great start! I like the wheels you chose, and the little roof scoop is a great idea!
-
 That looks amazing already! I’ll be watching this one for sure! ?
 -
Pavement Modified Vega build
OldNYJim replied to OldNYJim's topic in WIP: Stock Cars (NASCAR, Super Stock, Late Model, etc.)
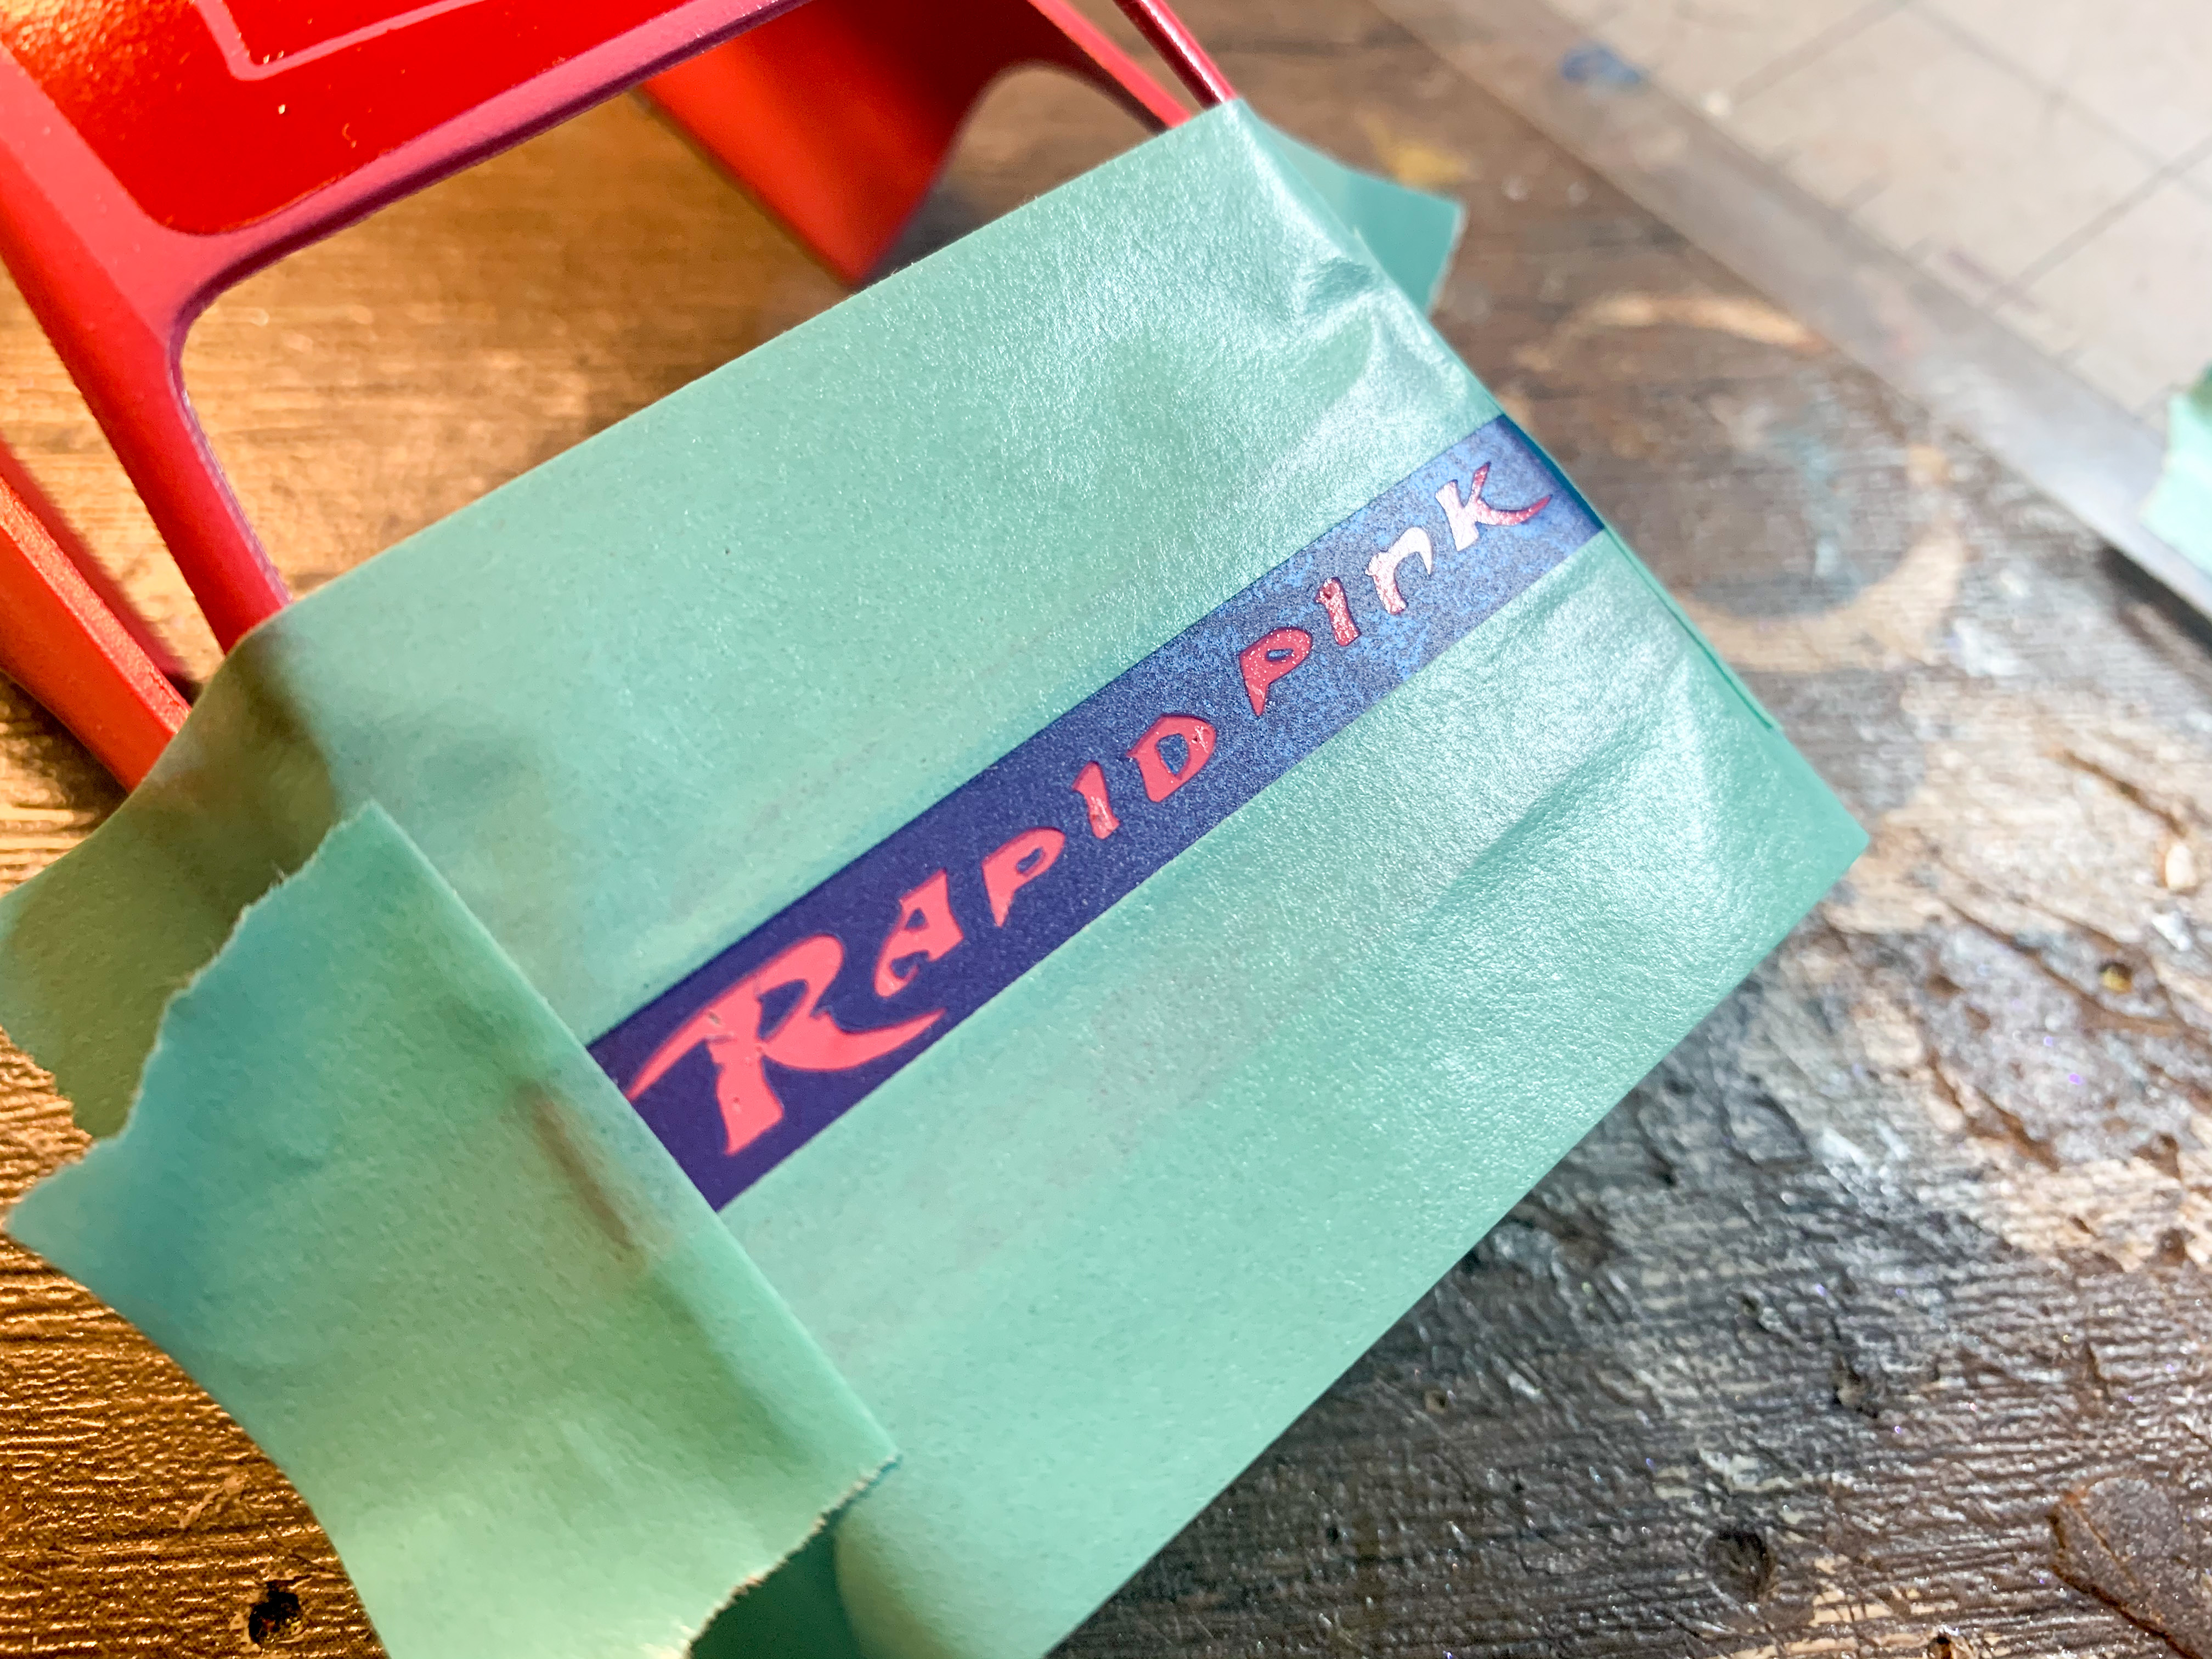
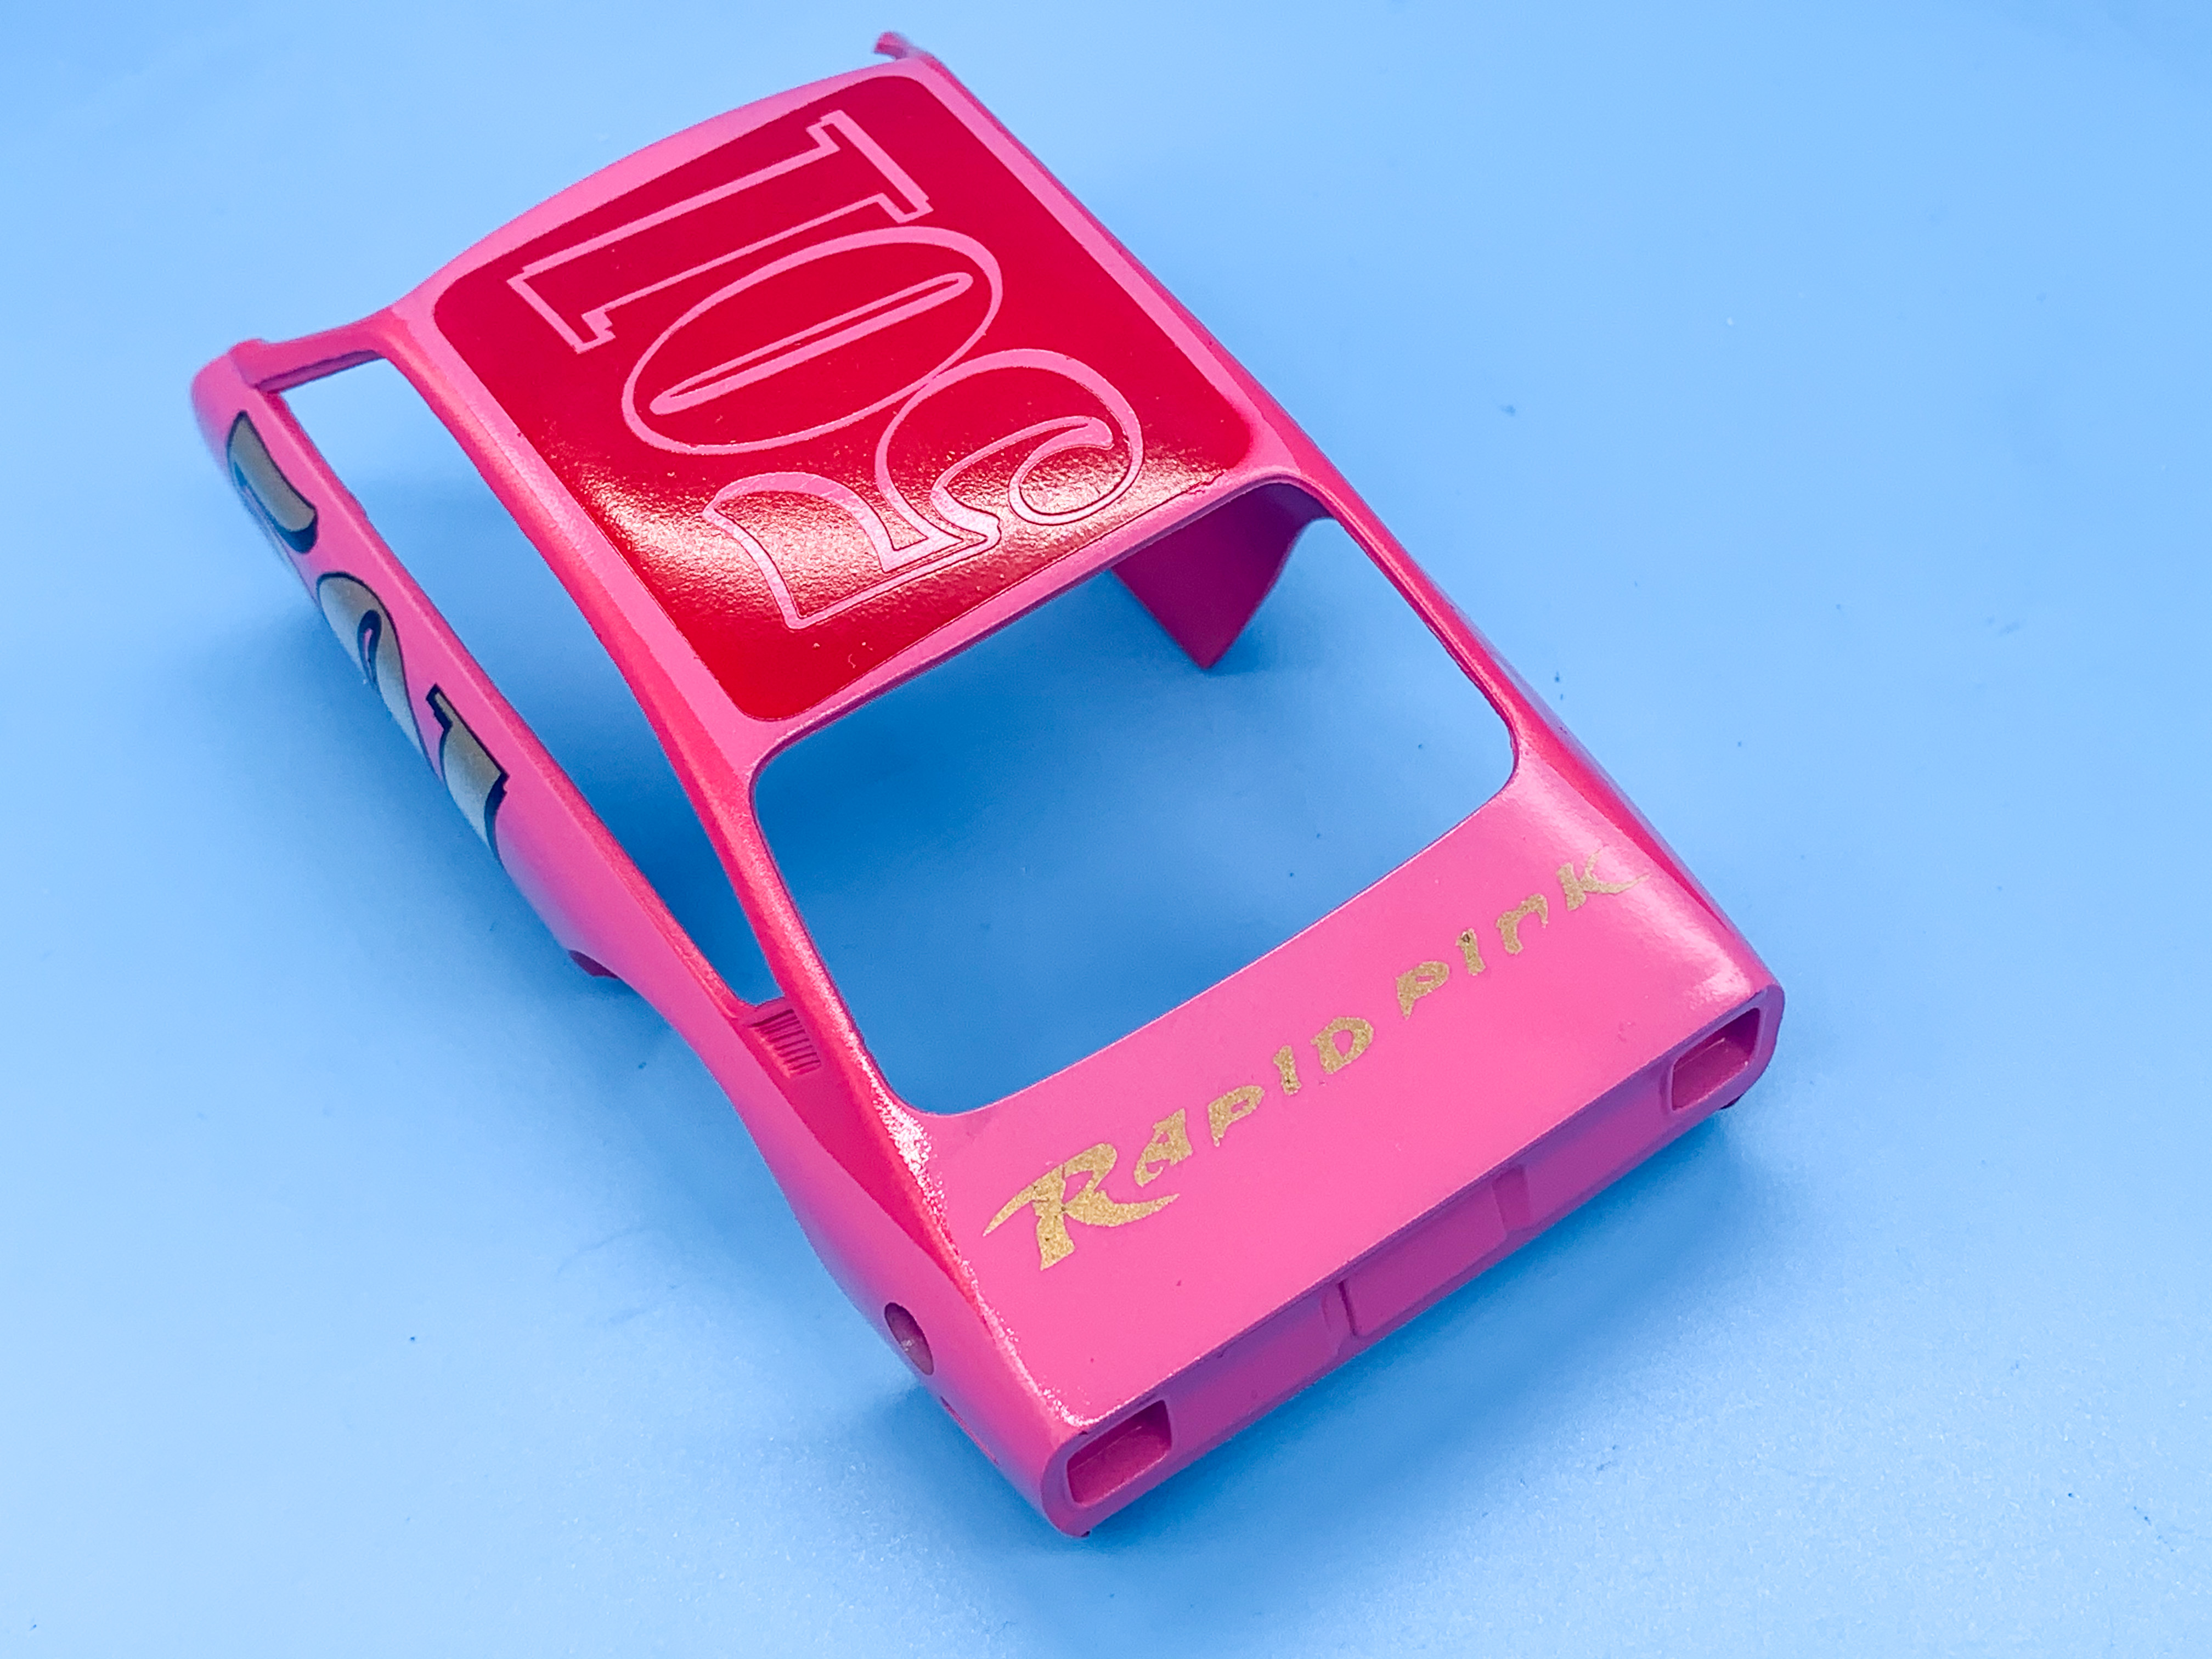
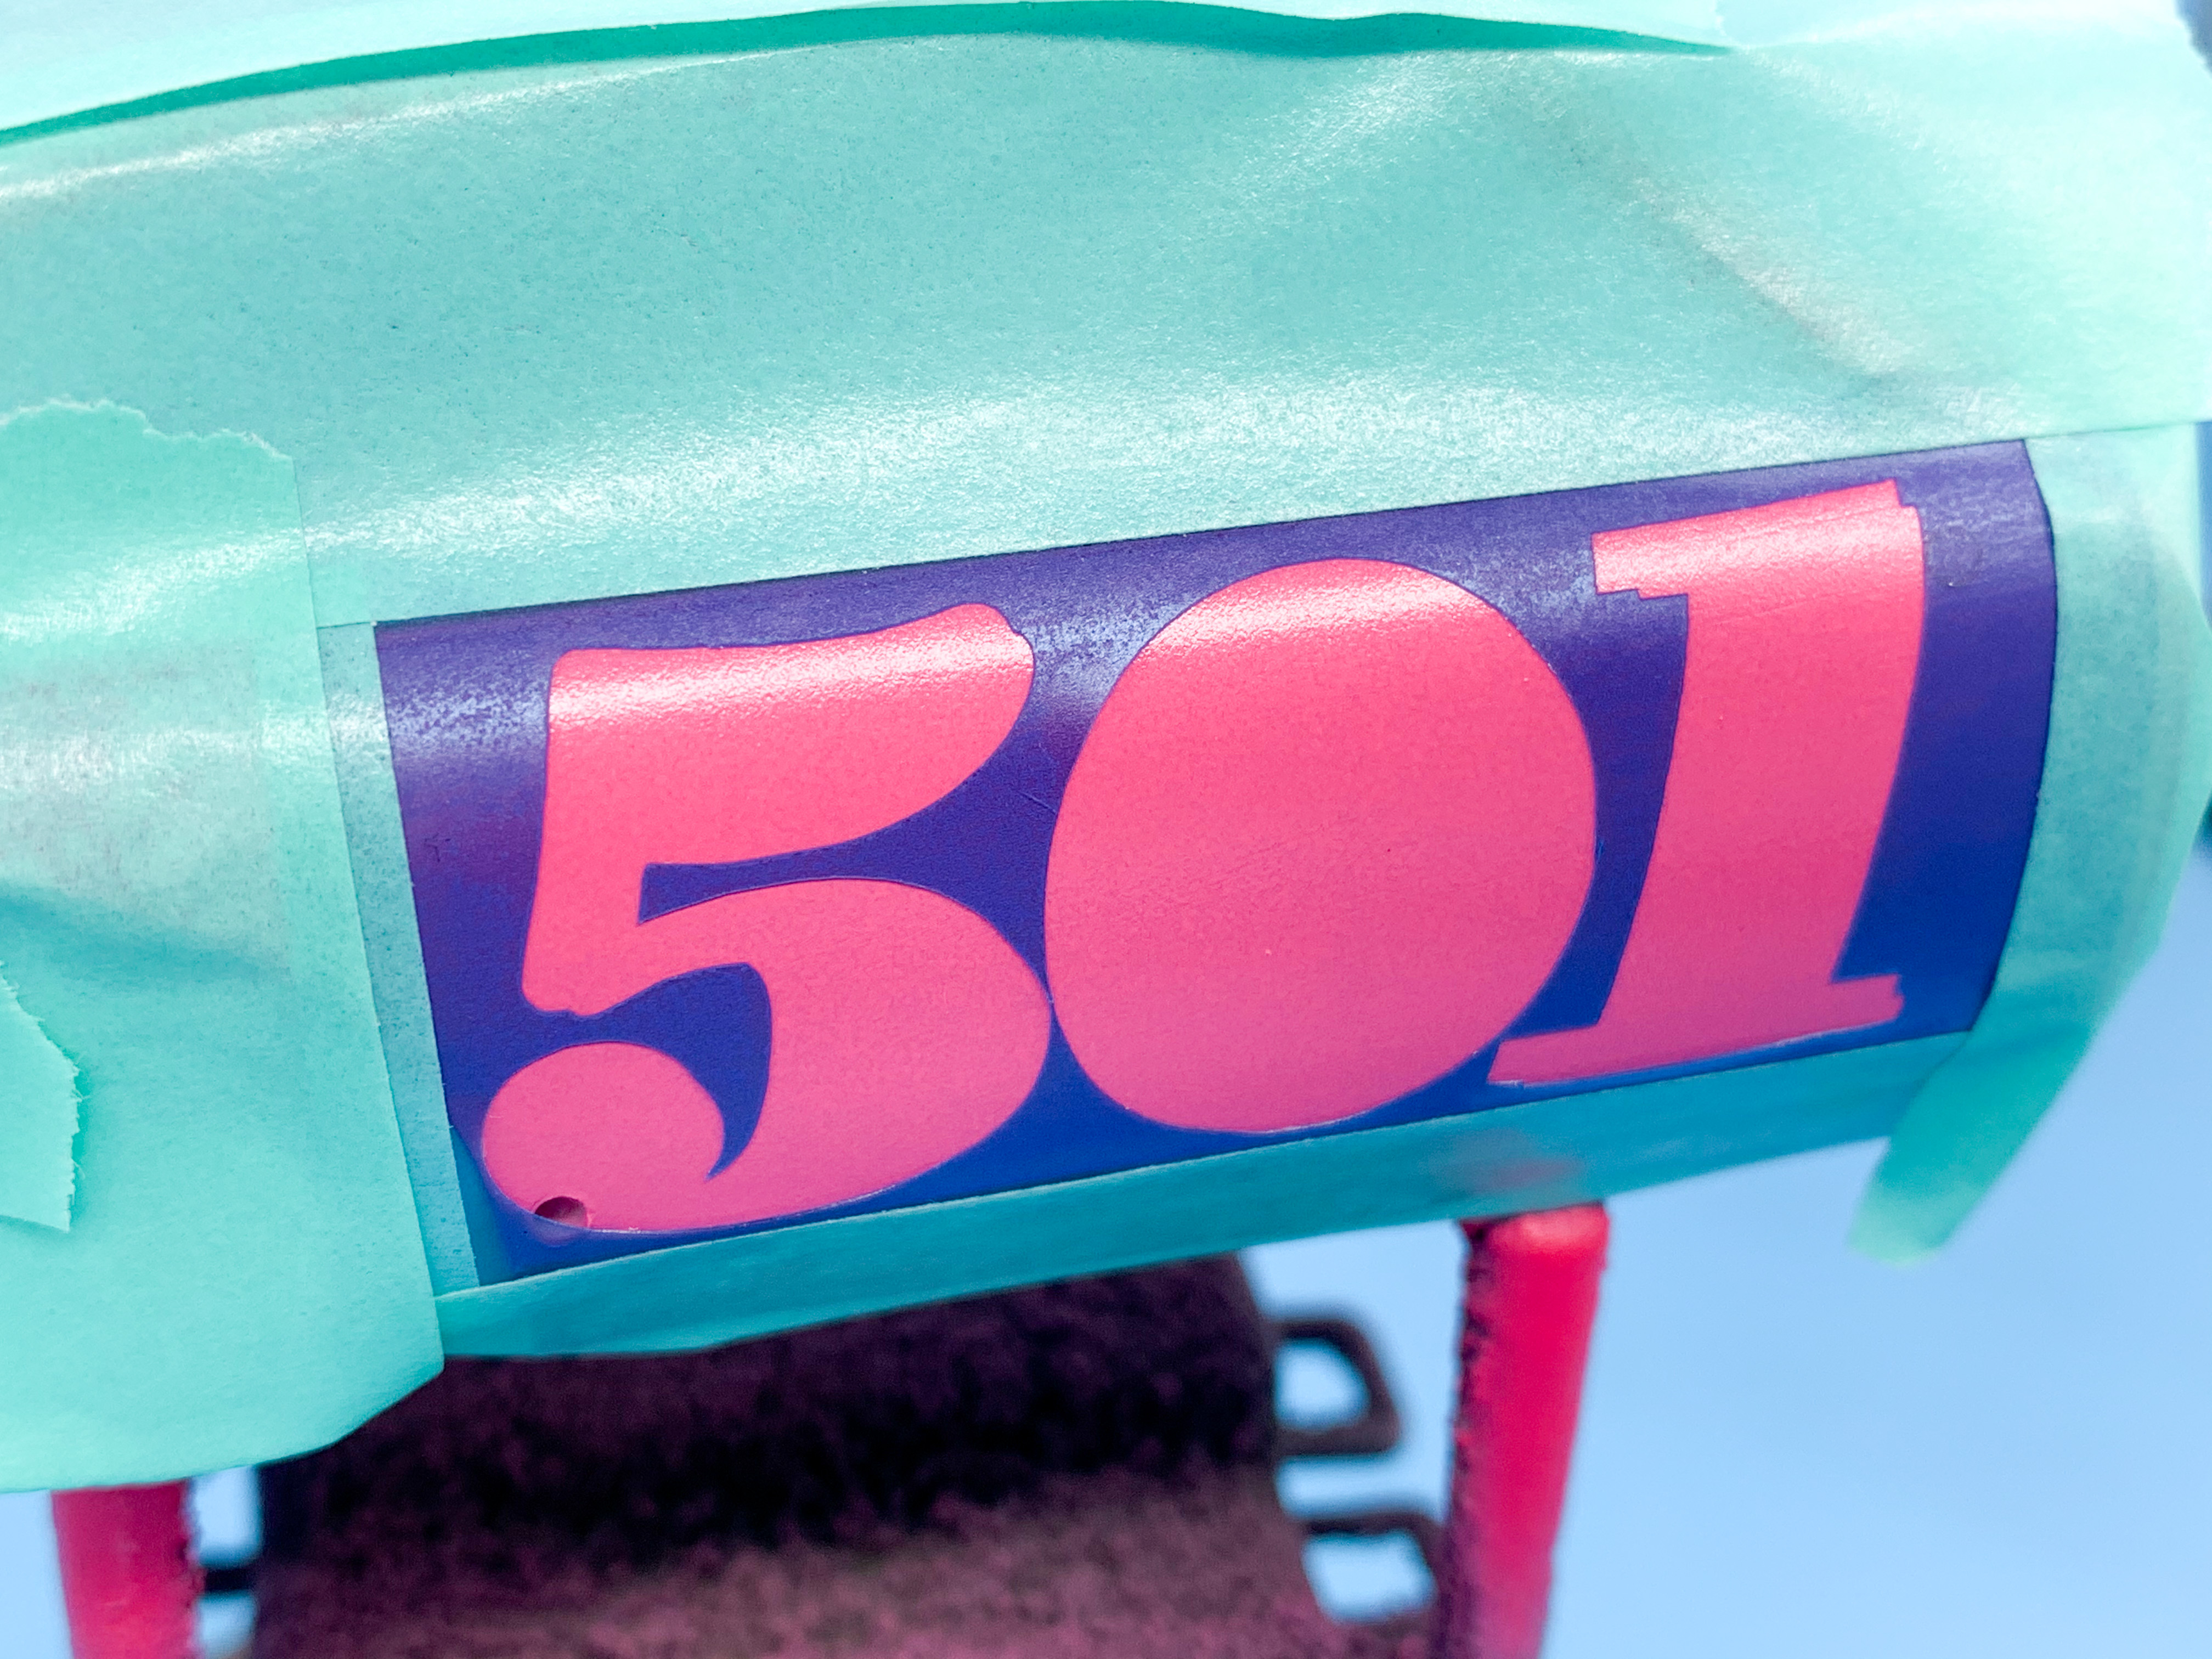
Thanks fellas! Another couple of days worth of progress - cut a graphic for the trunklid: And shot some color on it: Still need to paint the driver name on the roof there but I felt like adding some era-correct (I think?) decals tonight - really starts looking like a race car once you’ve got some logos on there! Building this for a friend of mine - he races pink oval cars and his initials are MPC - so it was cool that MPC puts a decal of their logo on the sheet for these! Happy little coincidence! More soon!
-
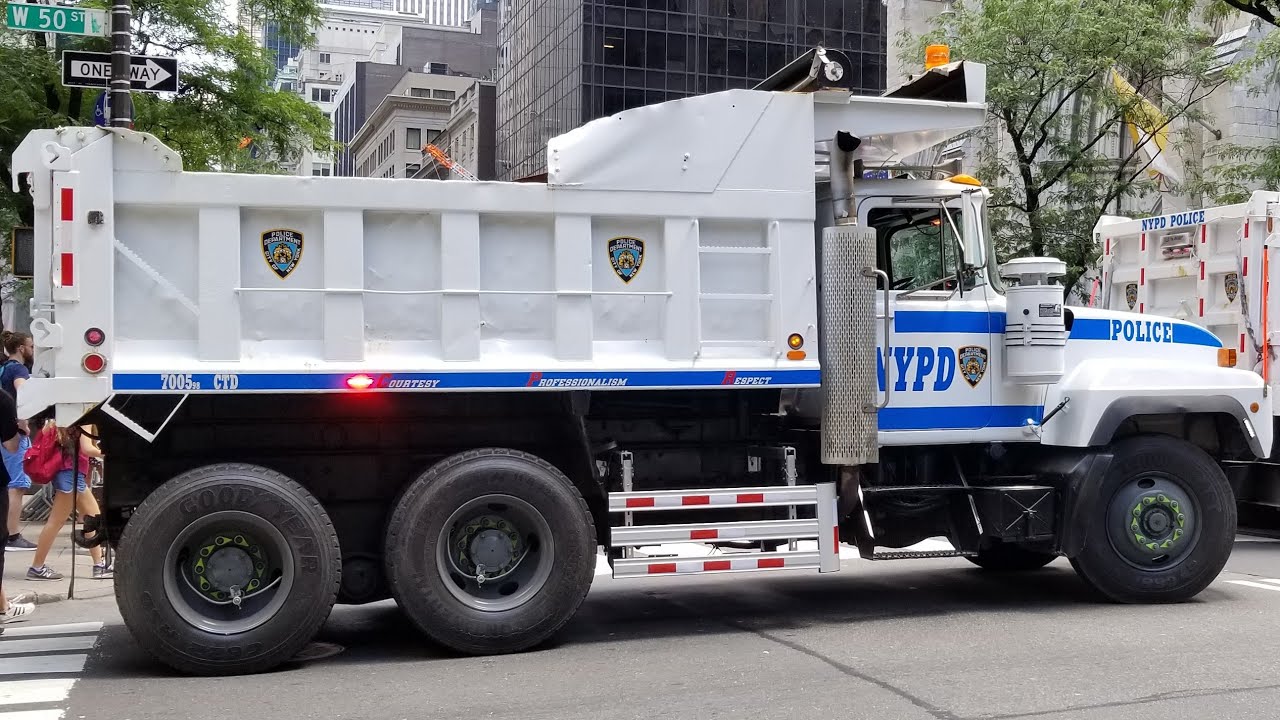
I've heard from more than one person that there's some other interesting undercover NYPD vehicles, similar to the 'cop cab' taxi that I haven't managed to find photos of to date (or see in person)...apparently they own a black Camry, complete with Uber graphic in the window to fit in with the billion other black Uber Camrys around the city, and also (more interestingly) a garbage truck (?!).
-
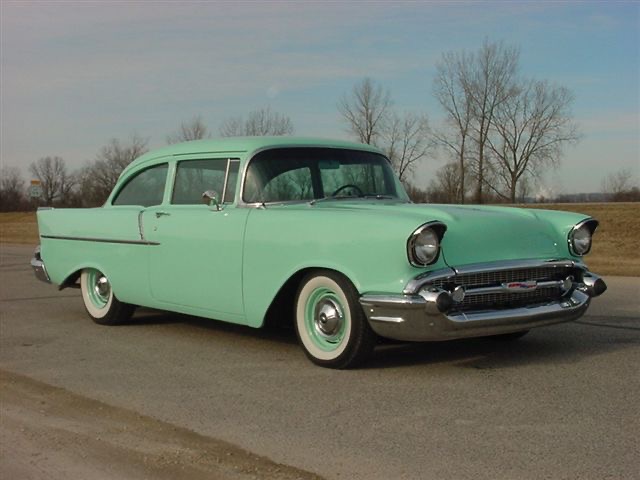
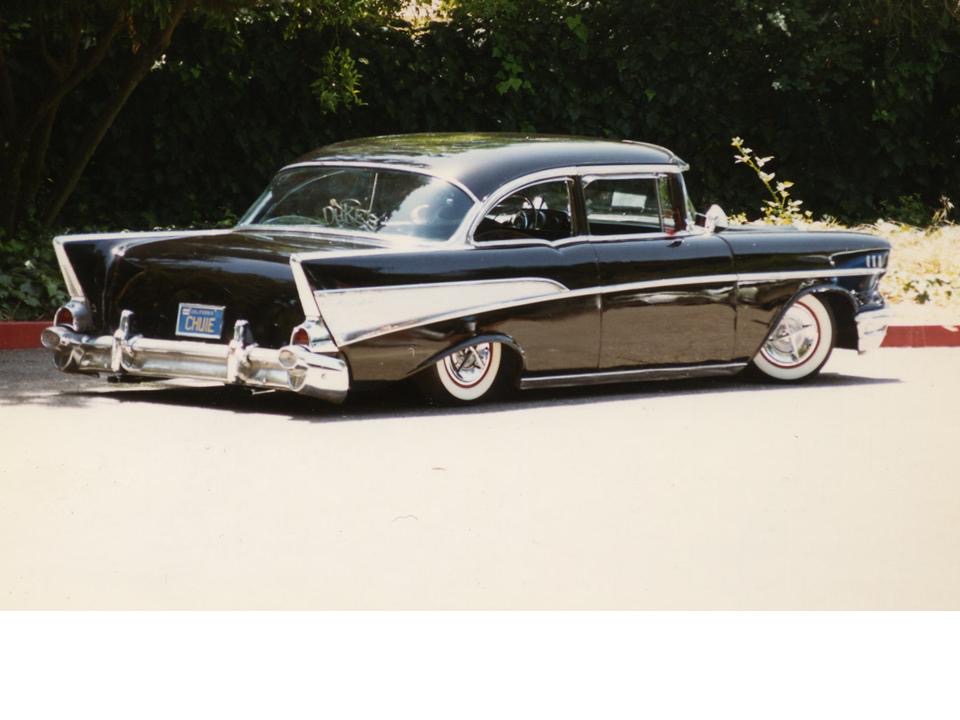
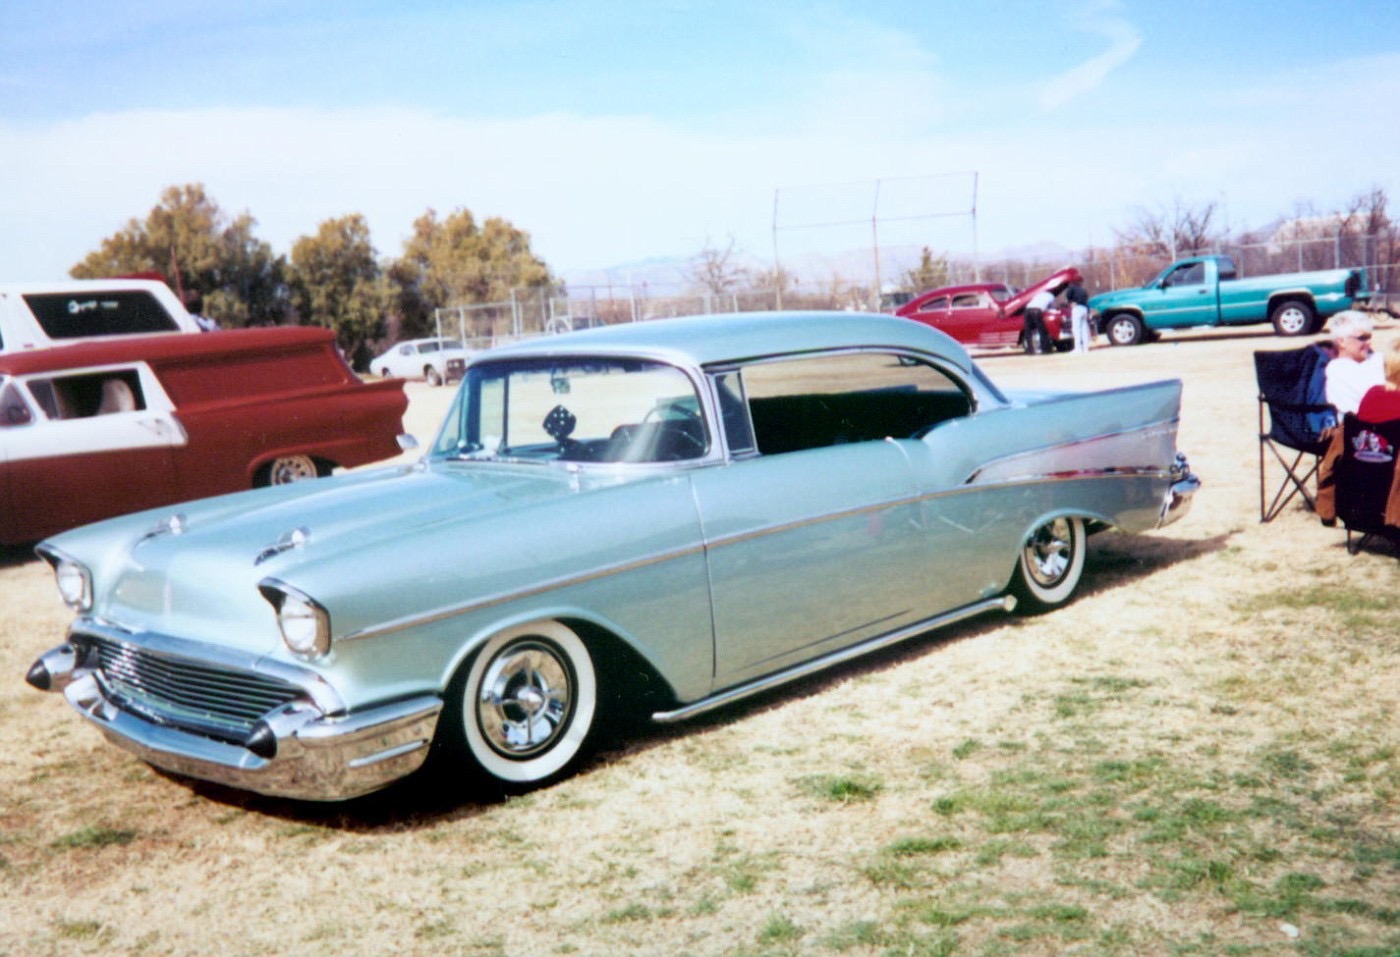
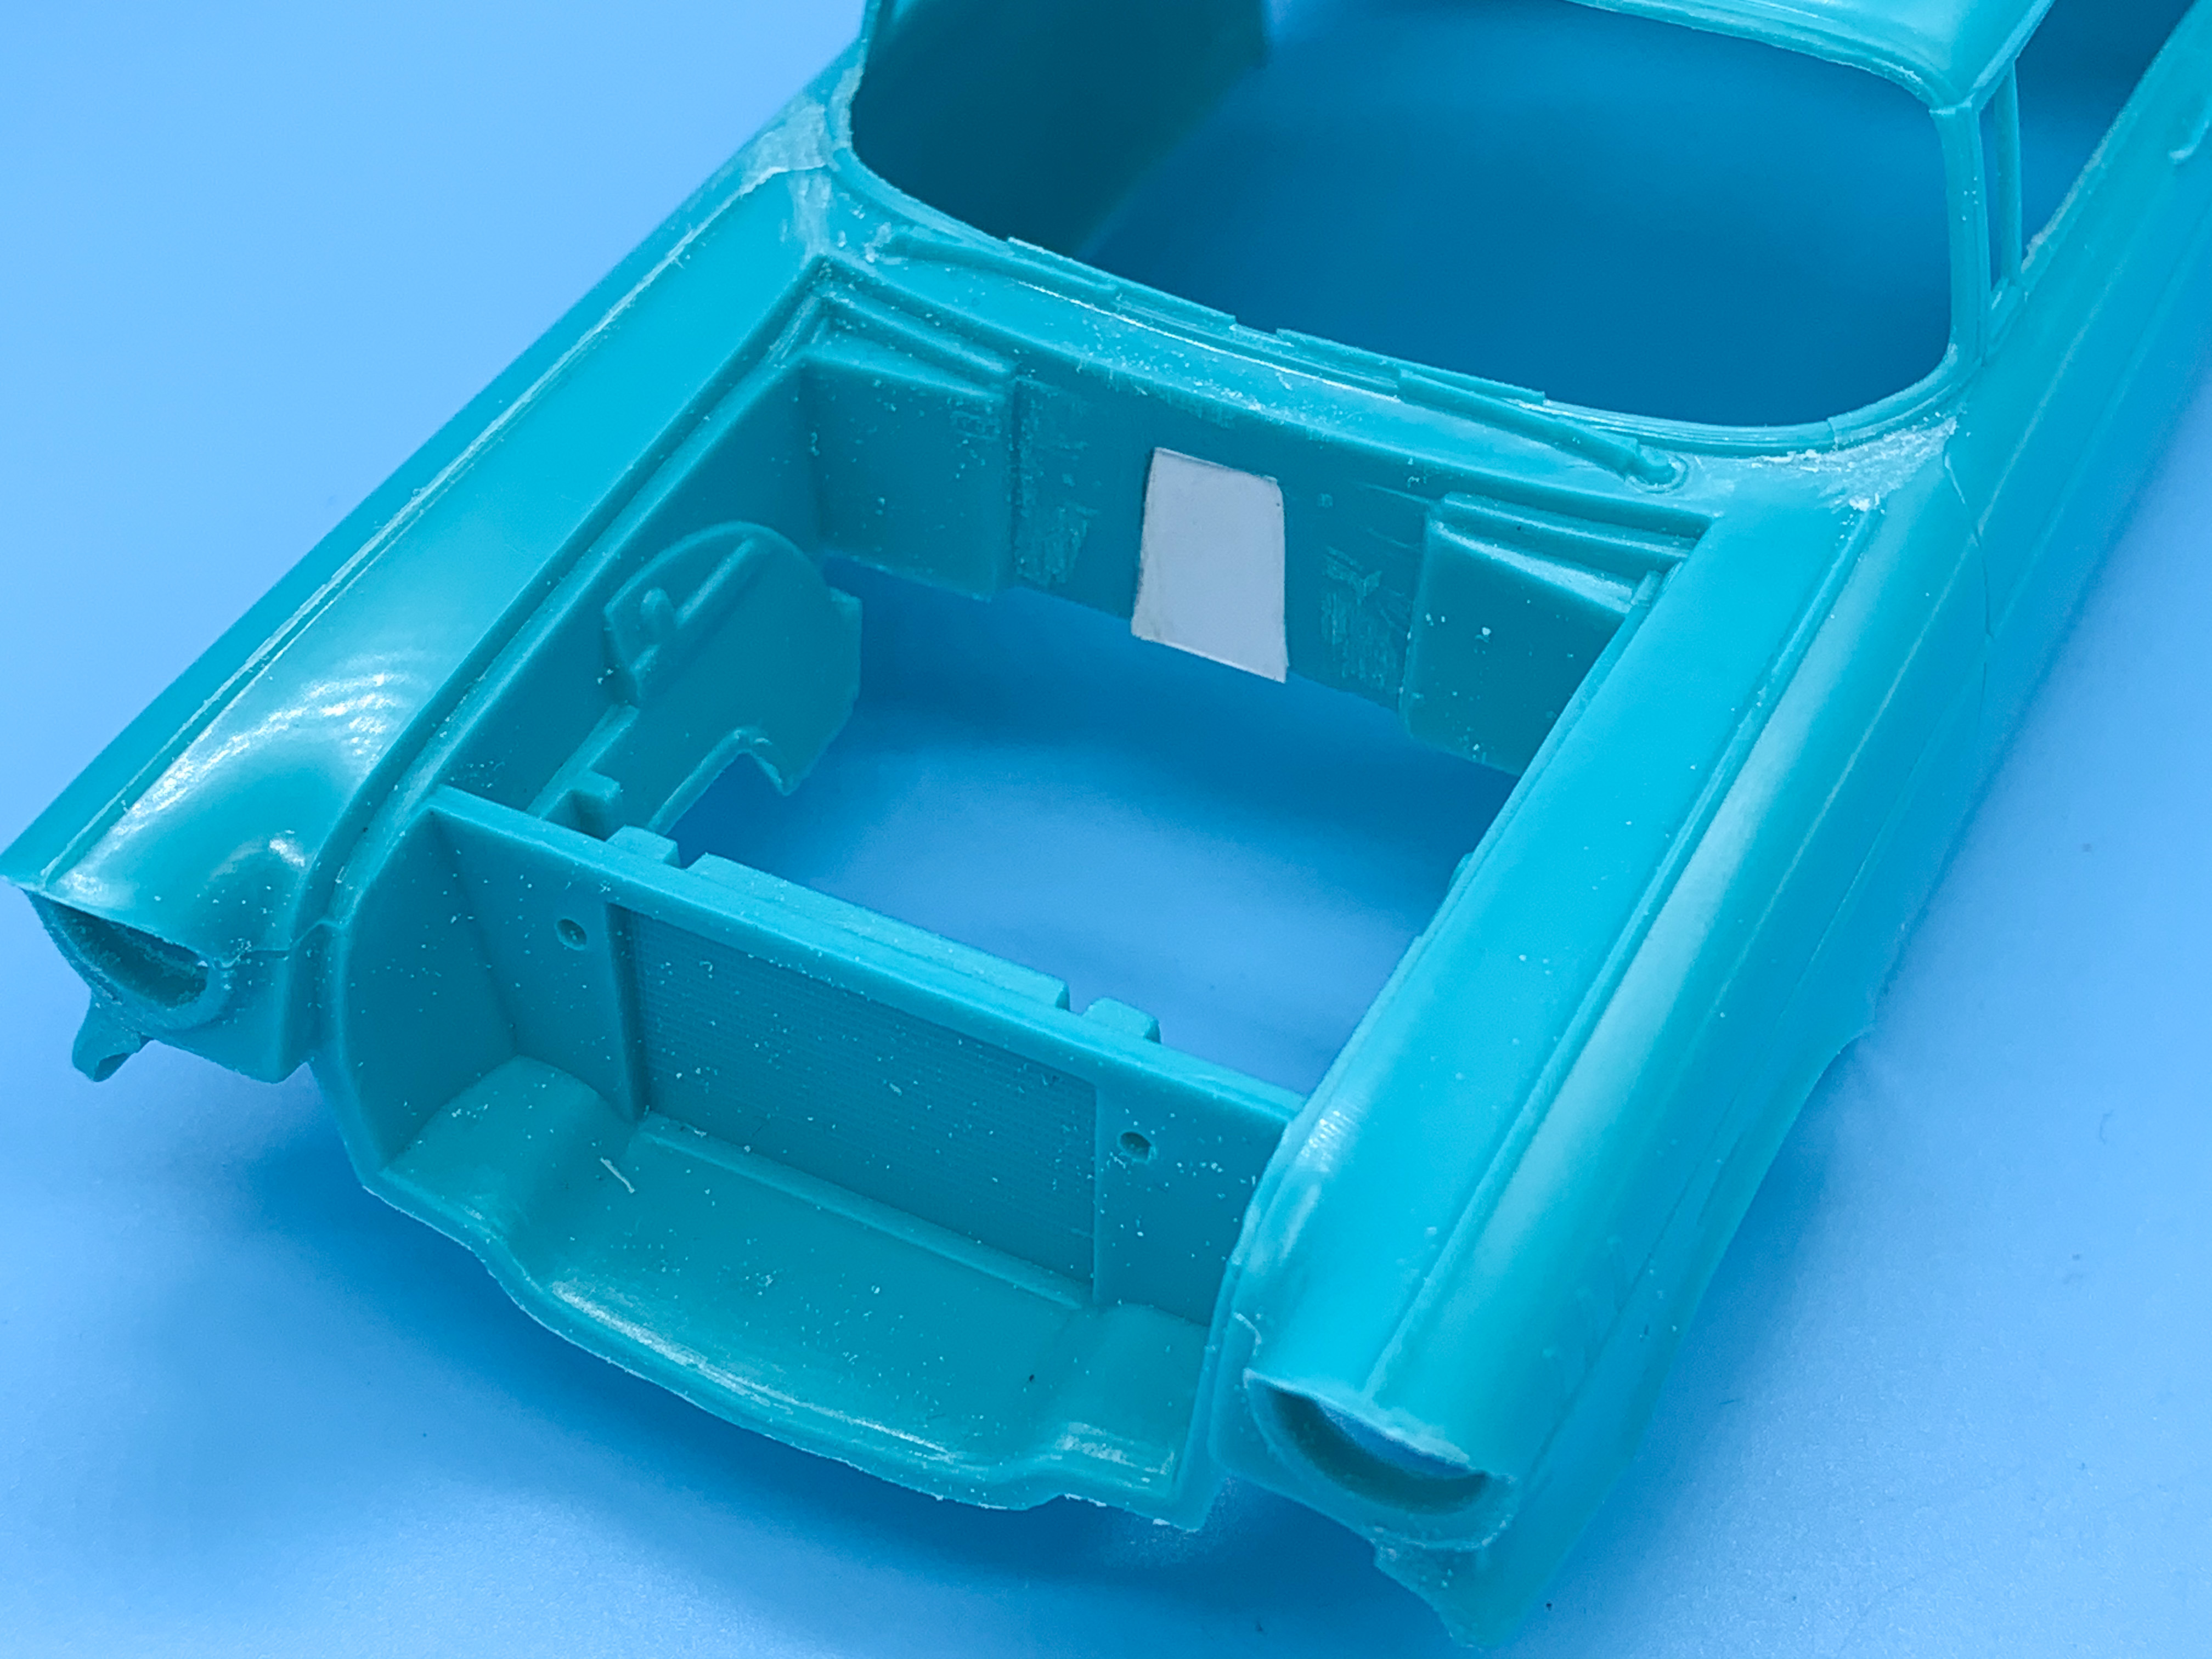
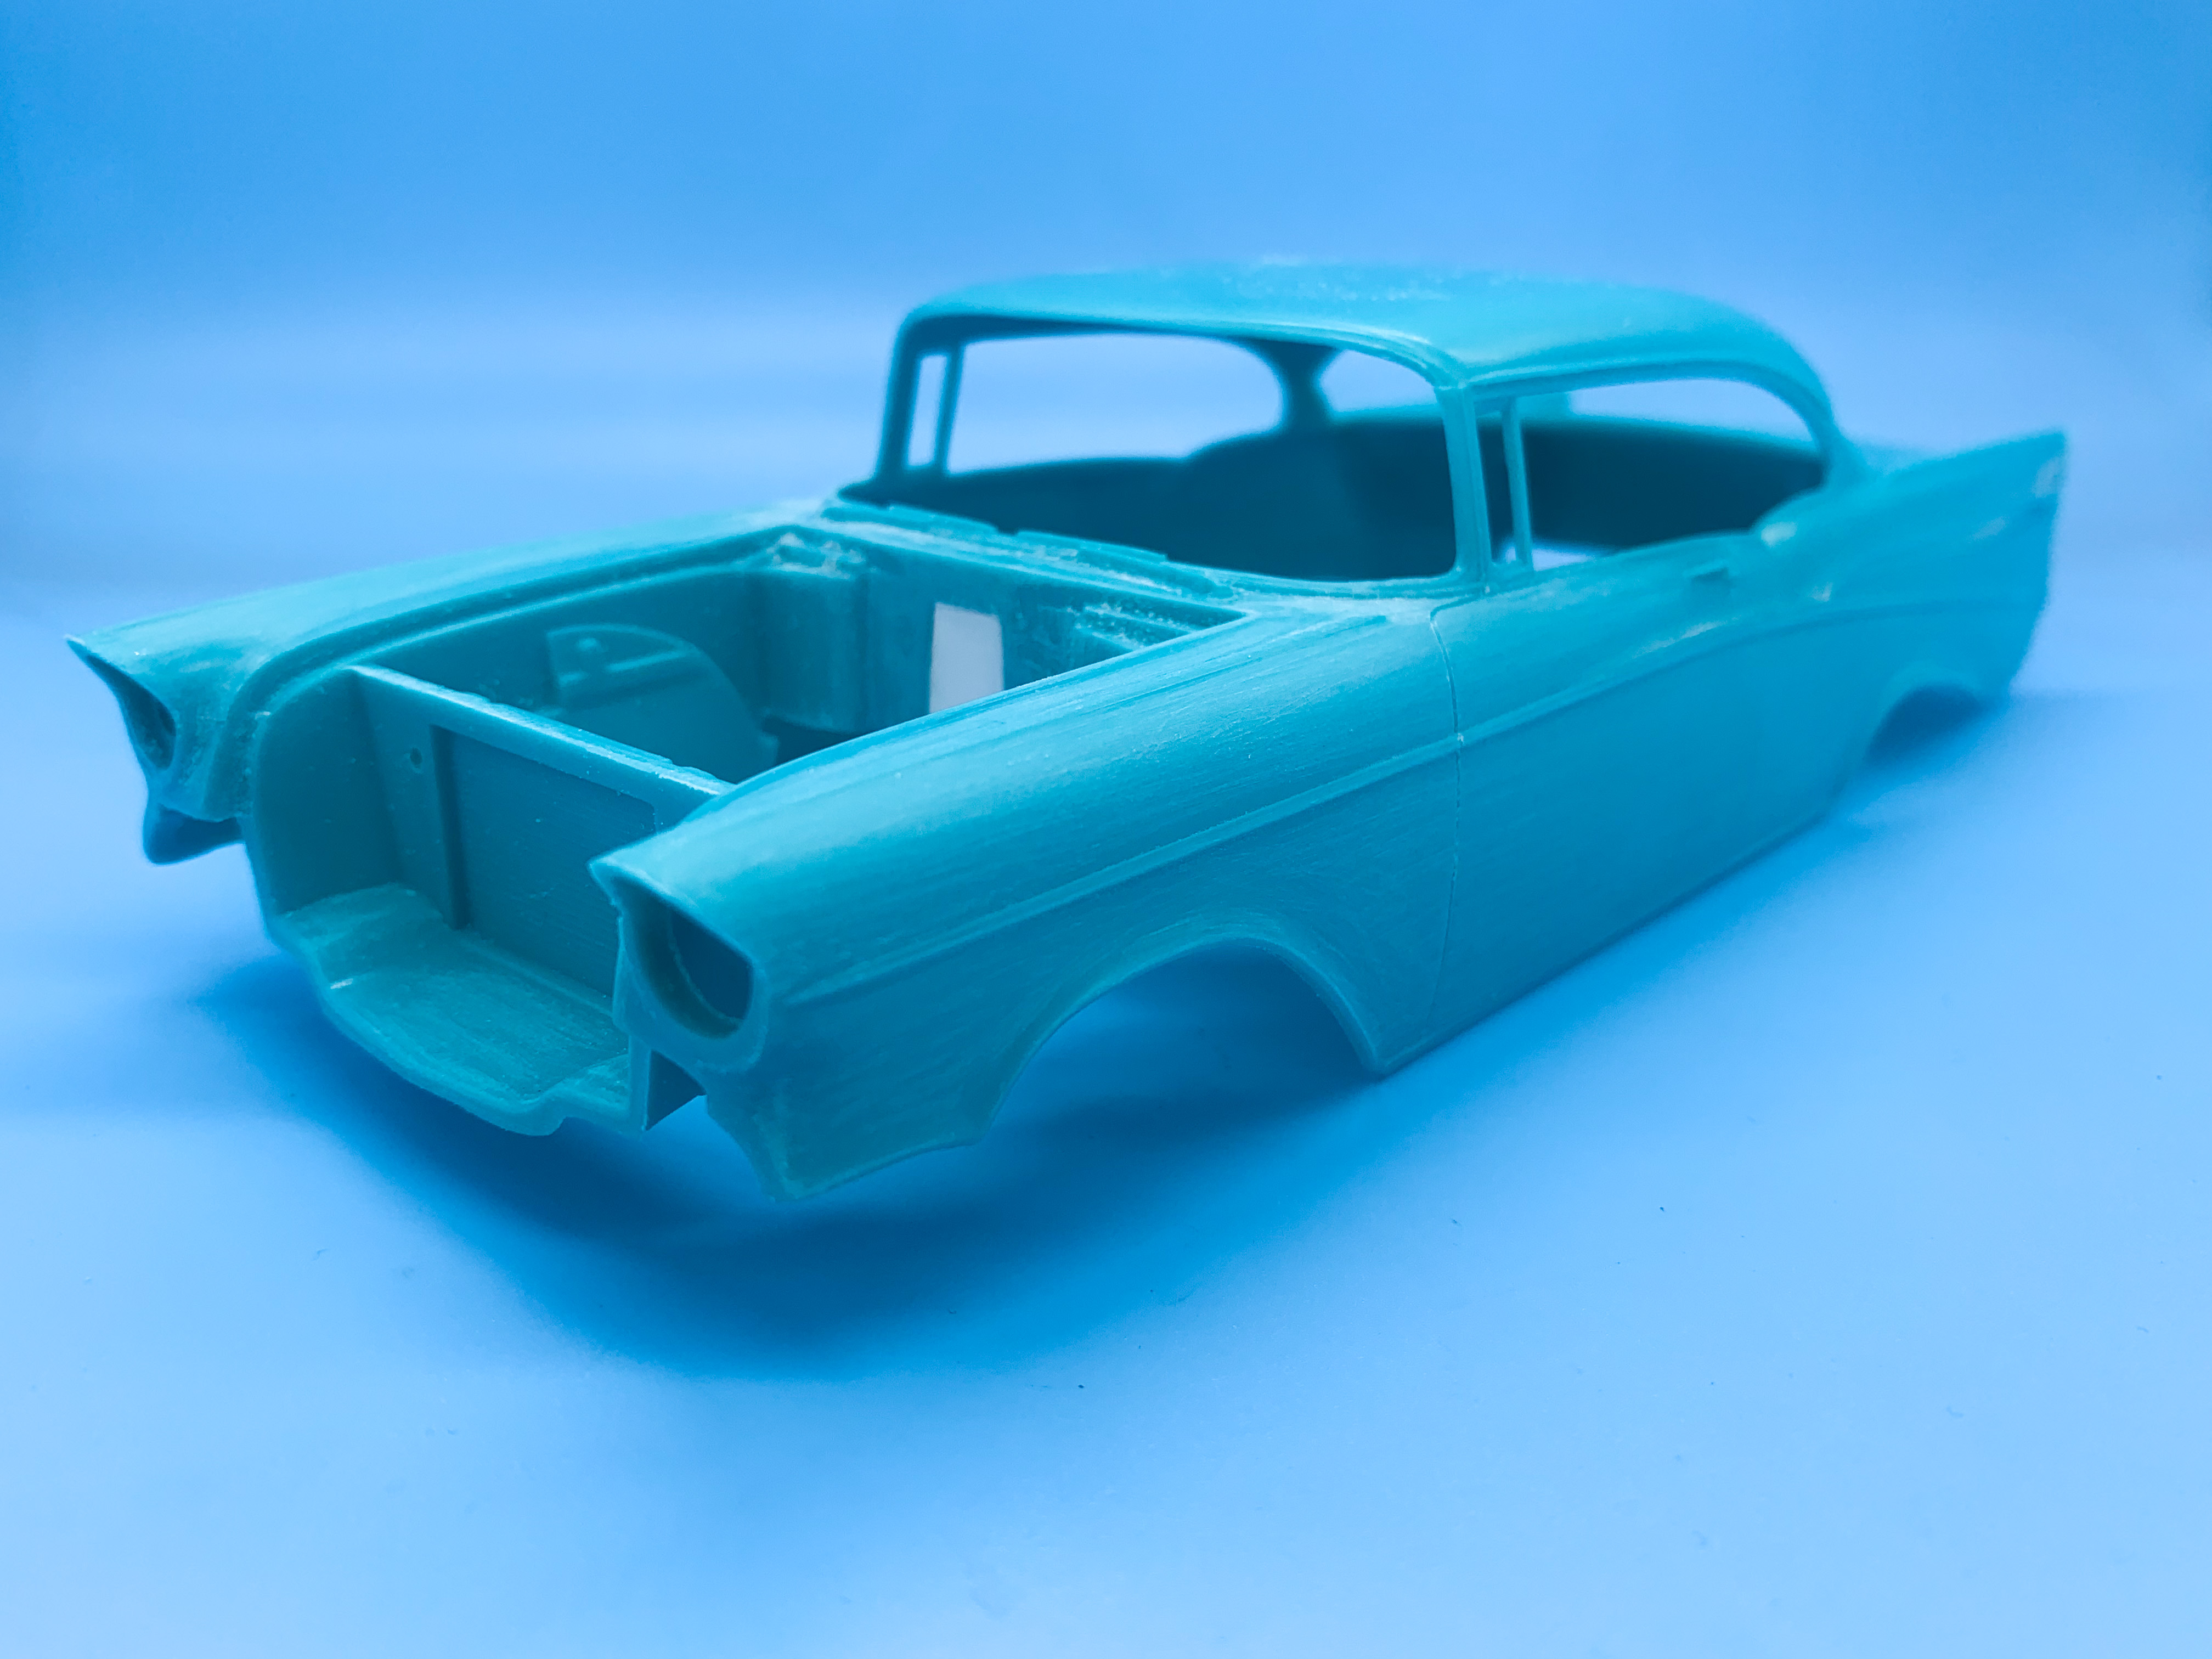
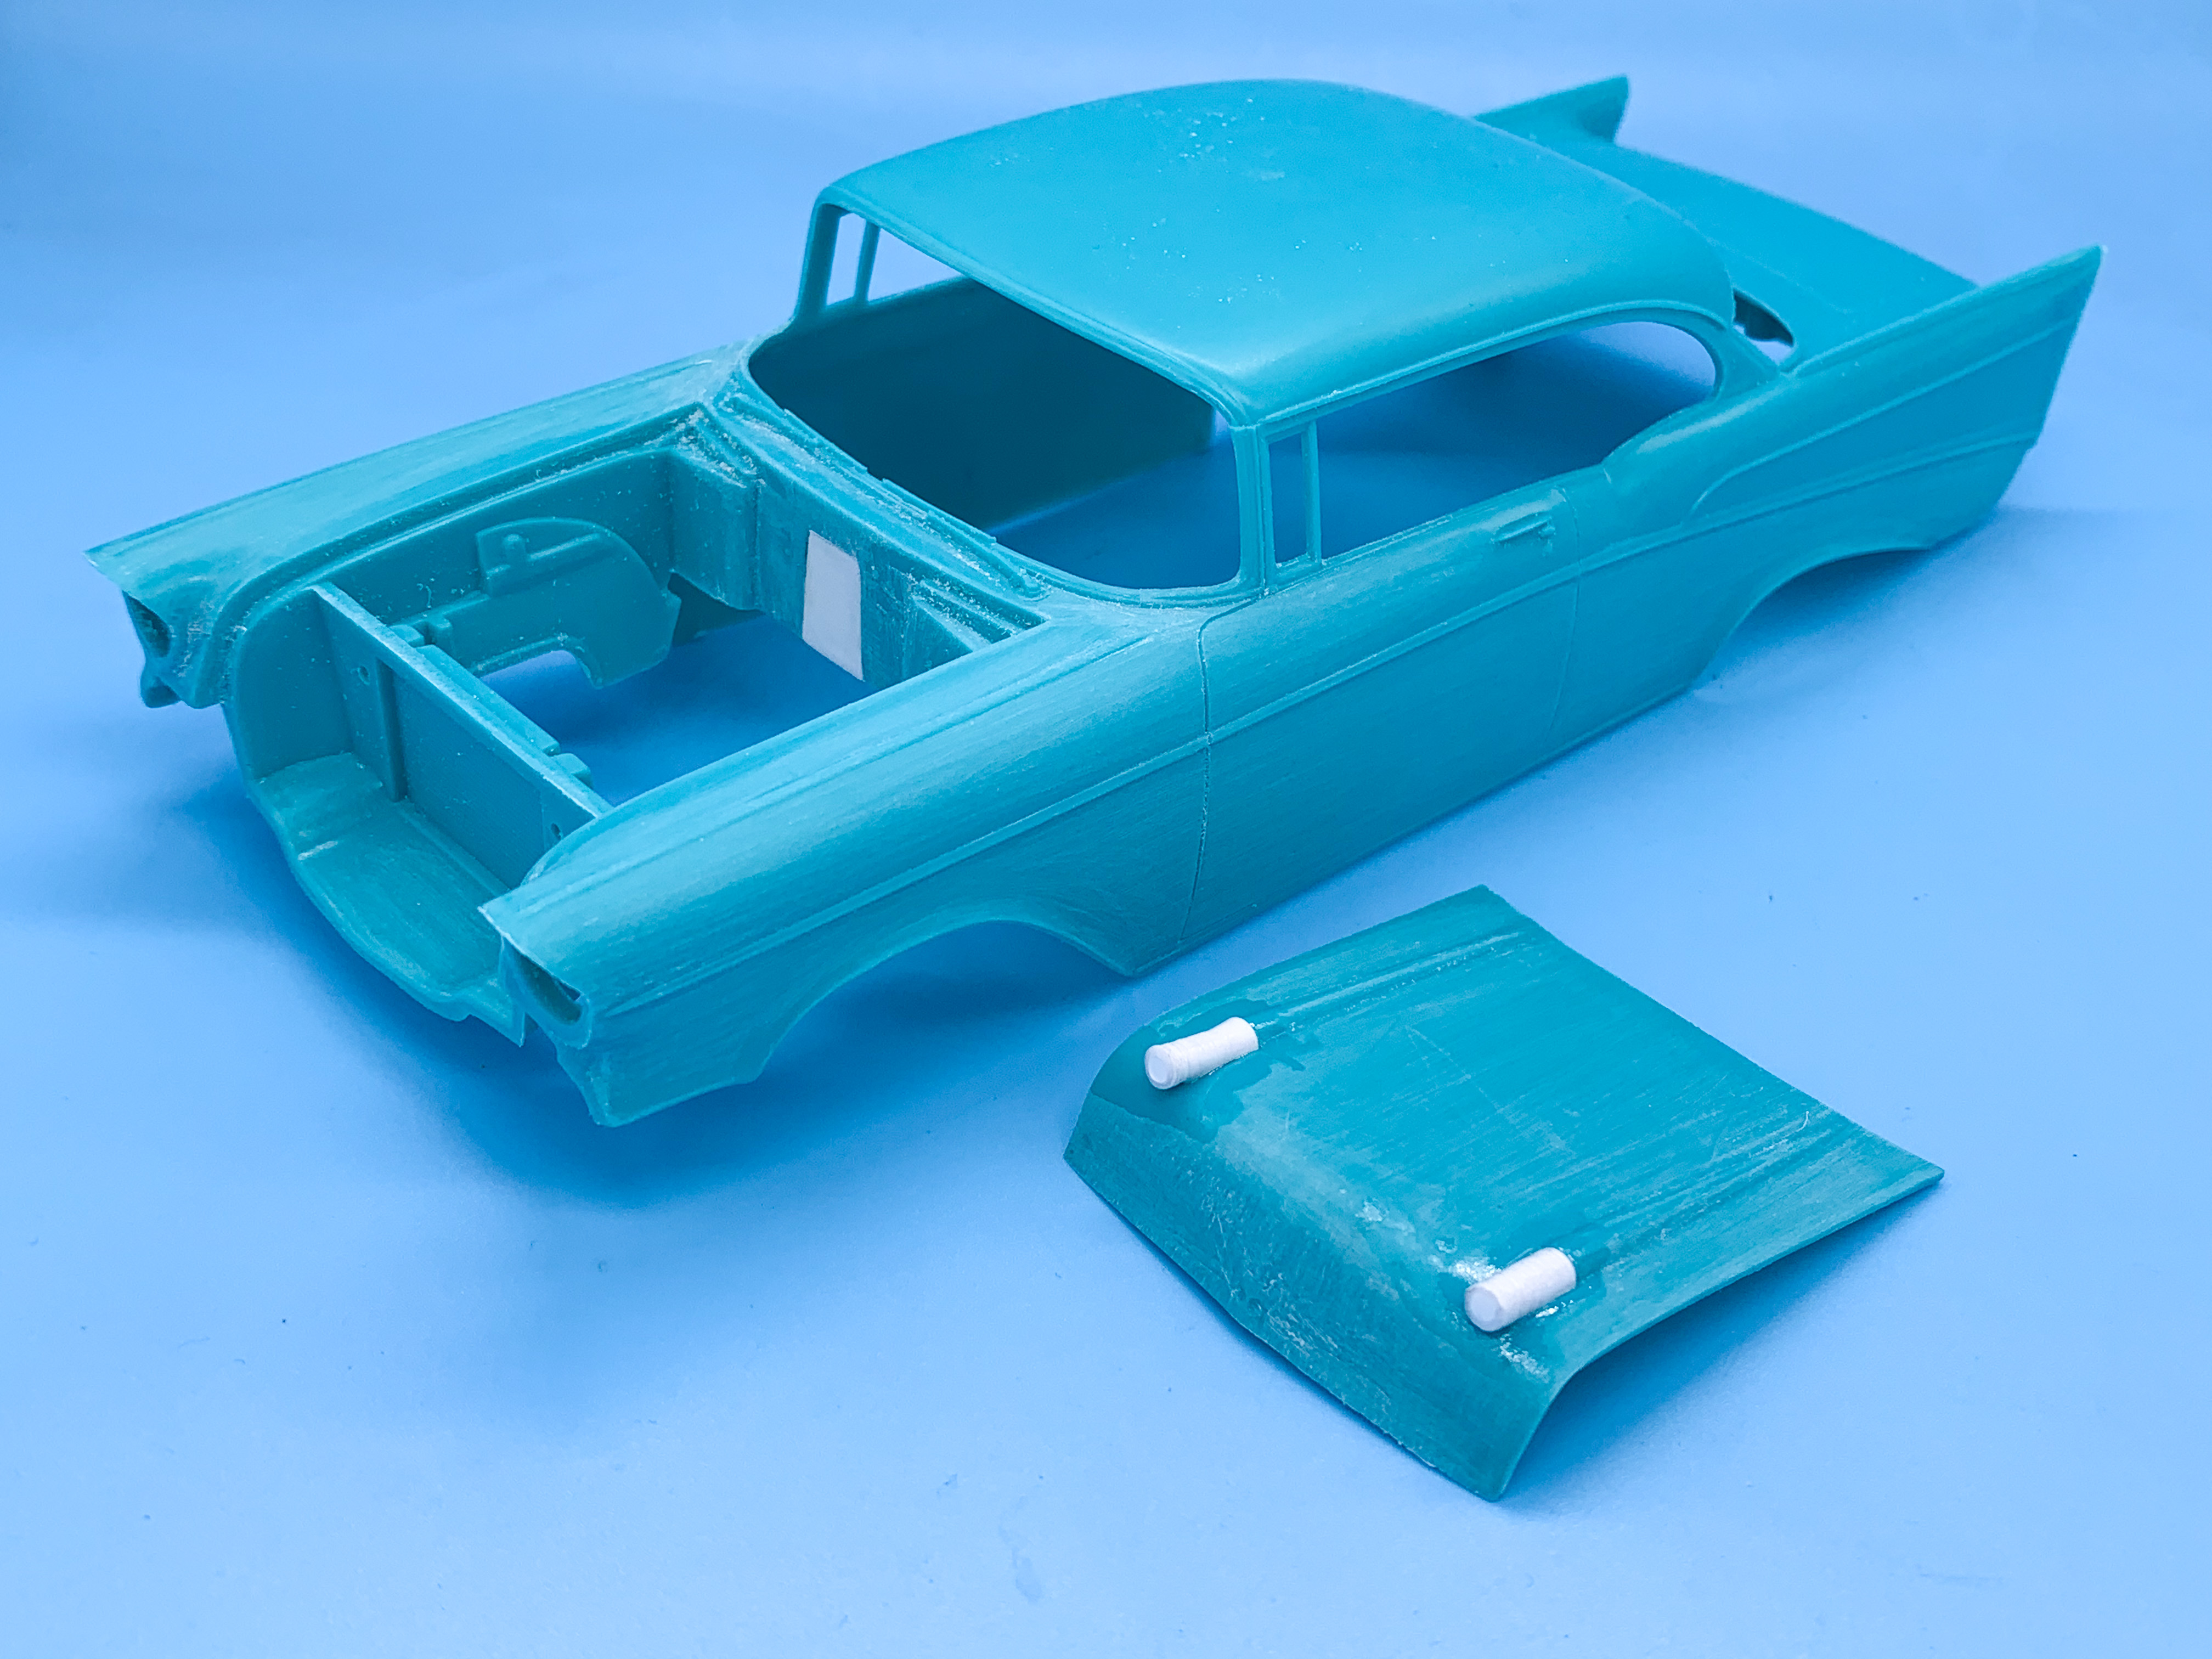
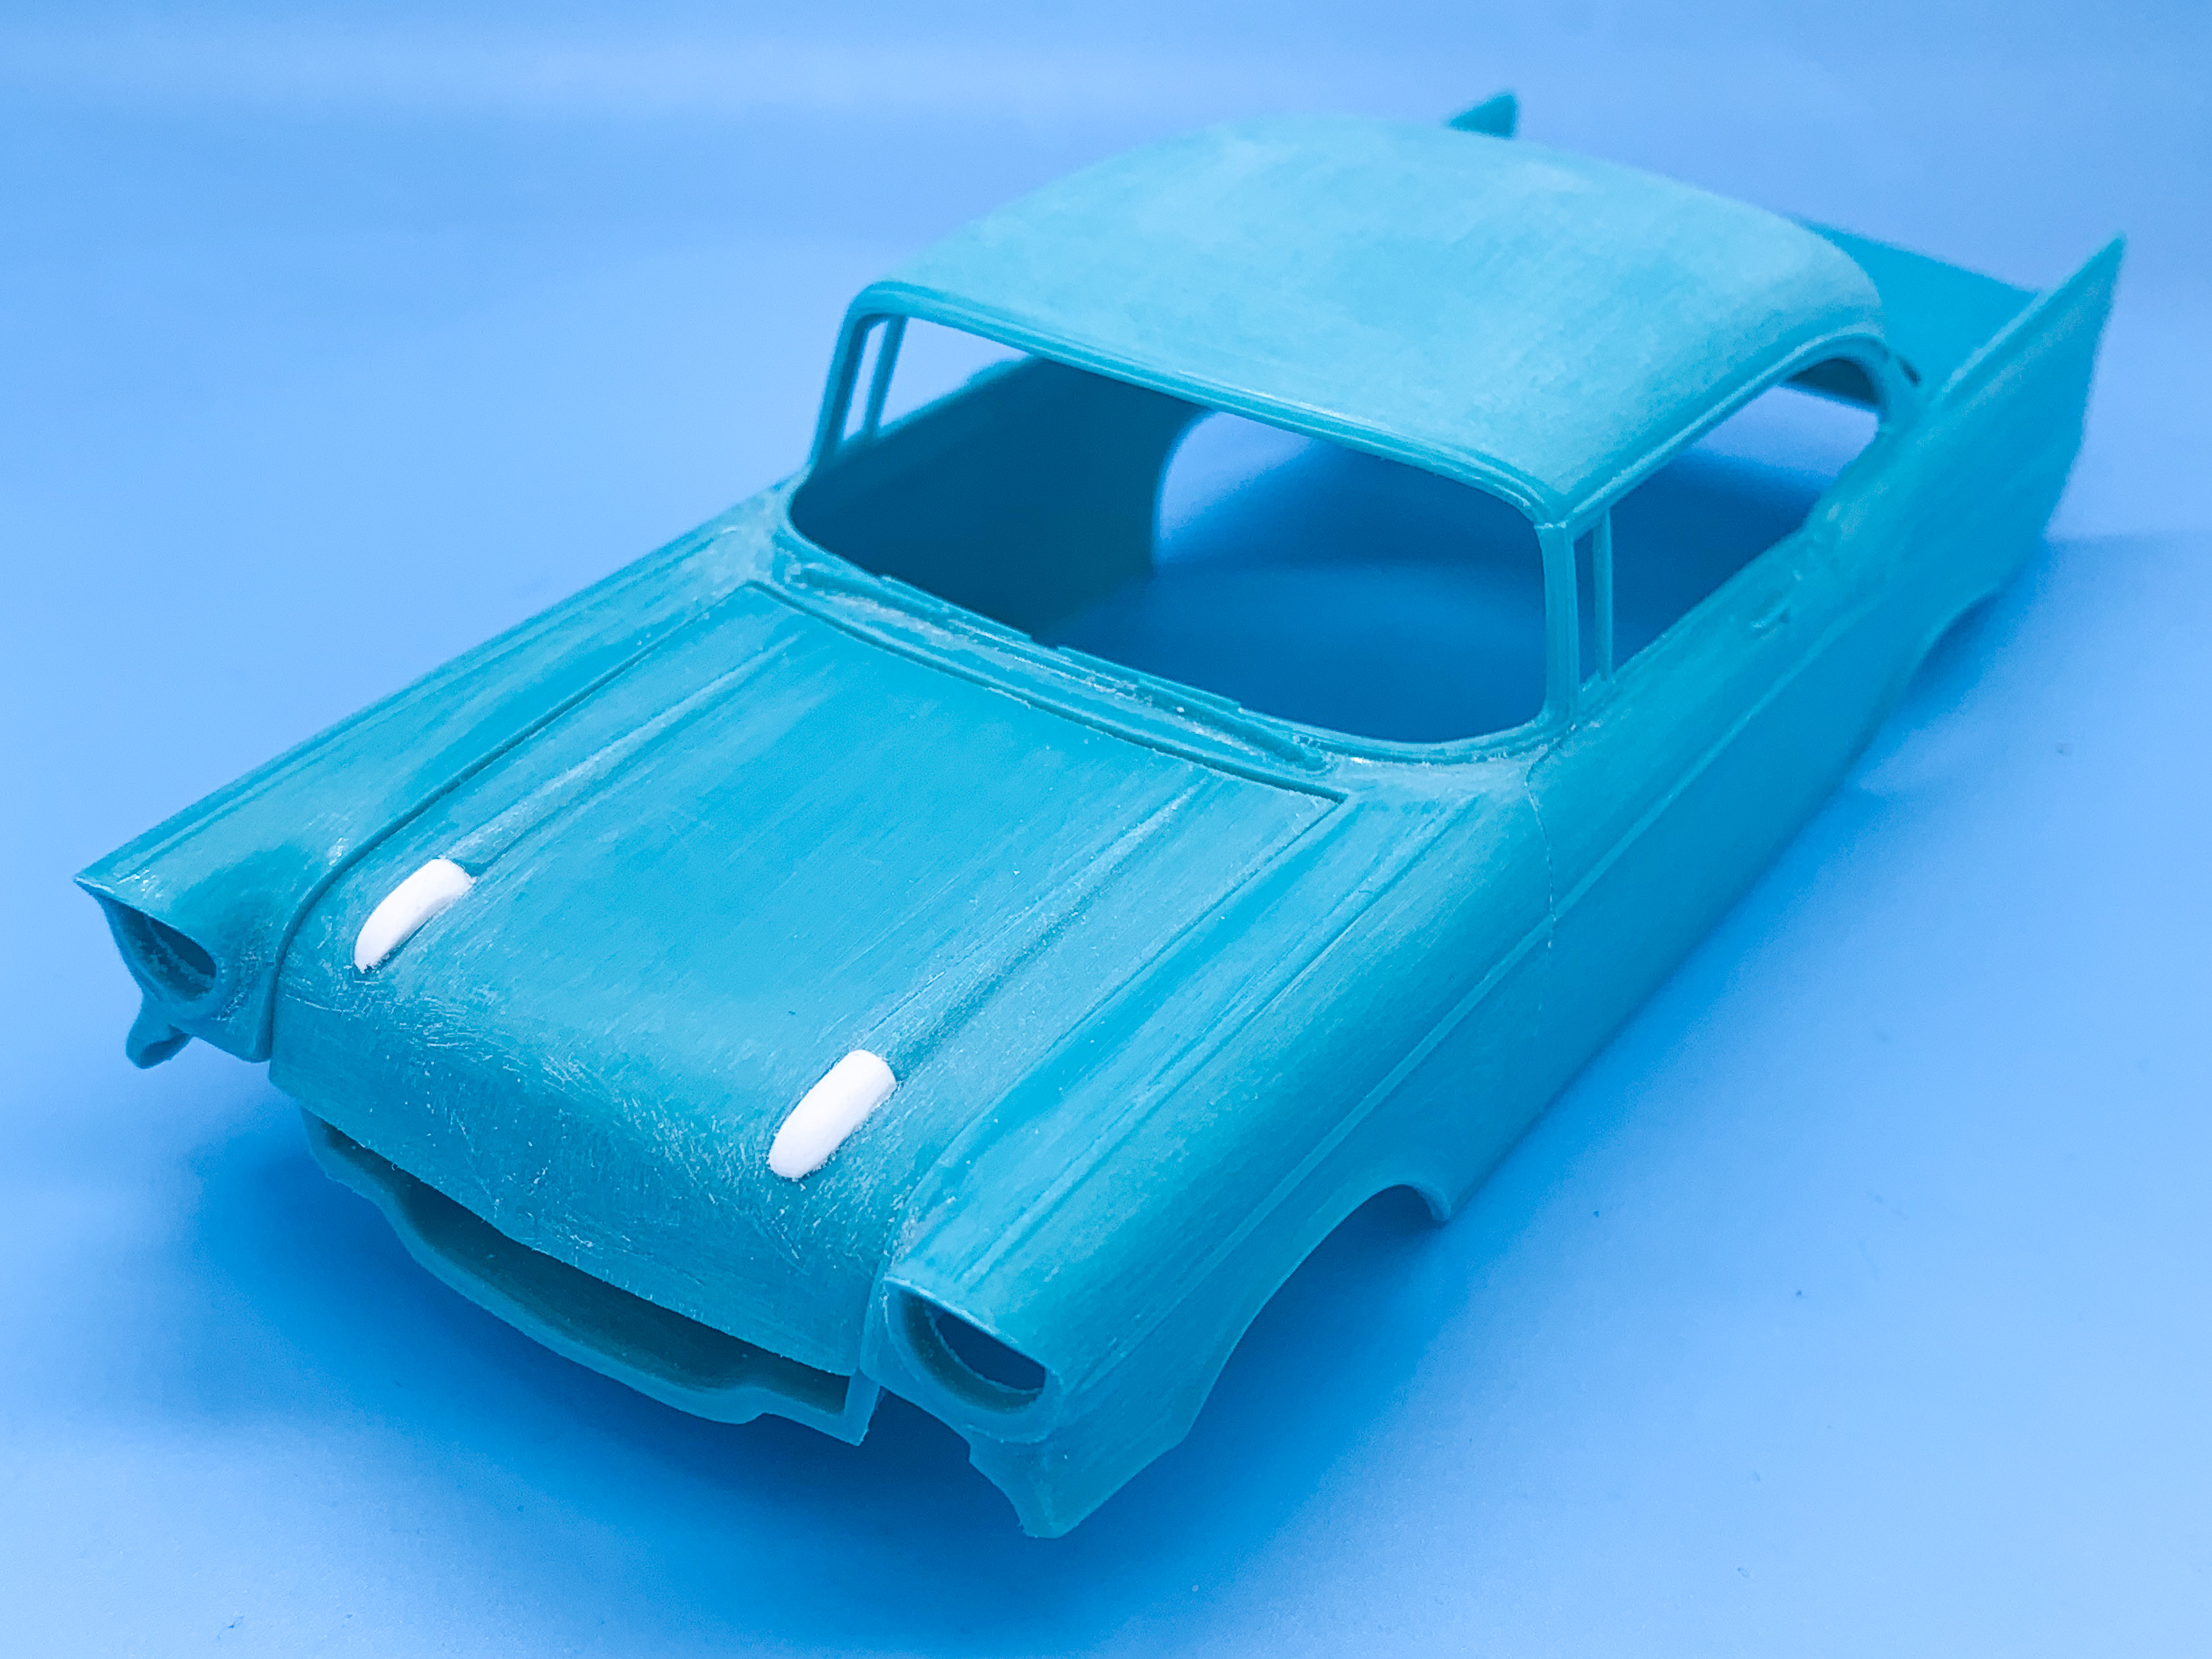
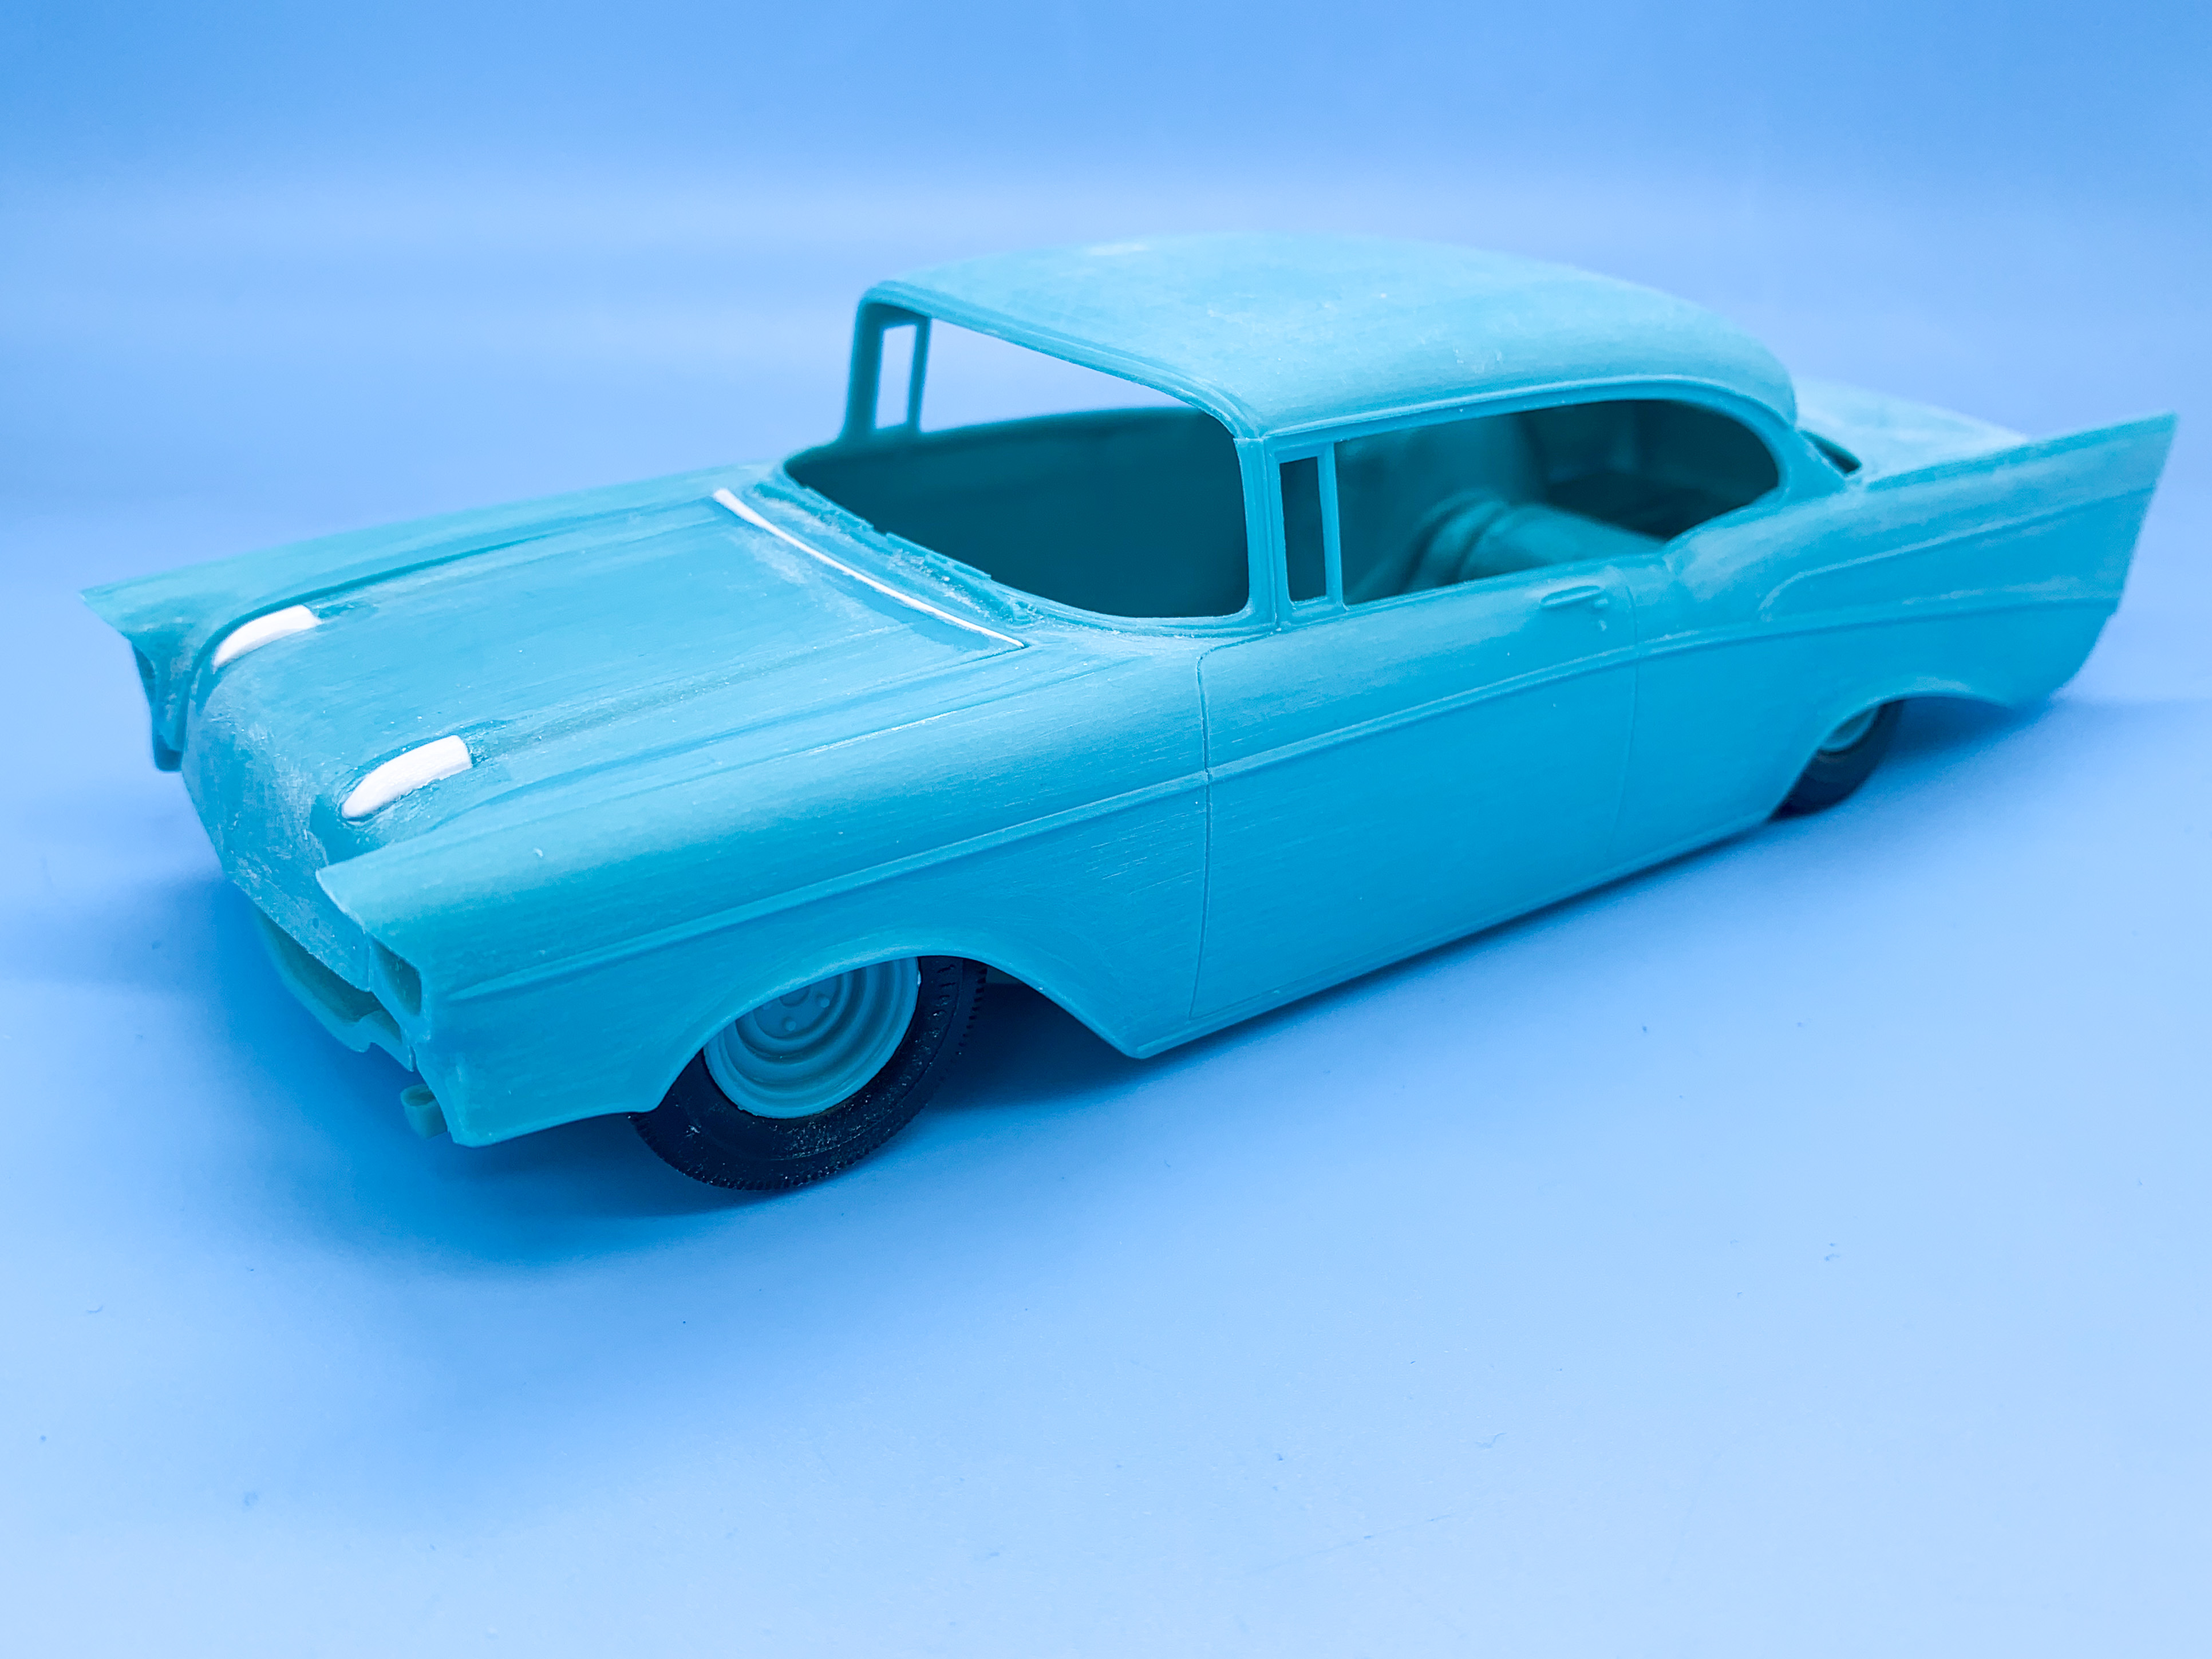
I got inspired by that recent thread on this kit and really wanted to try one for myself, trying to keep it loosely box-stock without building a new frame and swapping the motor and chopping the top and scratchbuilding half of it...trying to mostly use what’s in the box as best I can. You know how that usually goes tho... This particular issue of this kit only really comes with the stock parts, so that should keep me relatively focused and resisting the temptation to use anything major that DIDN’T come in the box should be a fun challenge. I’ve never done a 57 so I looked at a BUNCH of different ones to decide what I’d do if I built one. I think they’re cool stock, but then you can clean up some of the chrome doodads and tidy the design up a little too maybe... And I like the idea of having it LOW, like this... Or less lowrider and more custom-influenced like this... But also this kinda floats my boat too: So, I guess I’ll be doing something along the lines of those, taking the bits I like most from each of them and see where I end up... First up, plug the hole in the firewall: The firewall isn’t accurate for a stock build, if you’re worried about that kind of thing but I think I’m going to go for a super-clean but still traditional look and feel for this one so that’ll work great for what I’m doing anyway. I kind of imagine like how street rodders like smoothing out all the lumps and bumps and clean everything up...but without the billet and LS motor. I think I’ll probably fill that recess in the firewall somewhat to make it connect to the sides nicely, but I need to get the engine figured out and make sure nothing will interfere before I get too crazy here... This being an older tool, the body needs some attention so I’ve been picking a panel every night this past few days and just getting it levelled out and perfect ready for paint. Started off with the driver’s side front fenders - I removed the three vents from there and shrunk the crease that runs along the top of them: I like the smoothed-out-hood on 57s too, so I did the same as Dennis Lacy just did on his excellent 57 build too and plugged the holes with some round bar... ...then shaped them into something like what I’d imagined: I think the real challenge with this build is getting the suspension as low as I’d like - I need to do some research to see just how low people managed to get stock-framed 57s back in the day and how they accomplished it. I guess blocks between the rear leafs and the axle and heating the front coils were the order of the day but I’d really like to get it as low as would be FEASIBLE without using anything modern like airbags on there...guess I need to do some more researchin’! More soon!
-
This is going to be great! Looks killer already! That frame is super clean and nicely done - and I too like your workspace!
-
That kit more than halved in scale between the original issue and the AMT reissue, if you believe the box ?
-
“Joker Is Wild” - AMT / Revell 32 Roadster Kitbash for DSC
OldNYJim replied to OldNYJim's topic in WIP: Model Cars
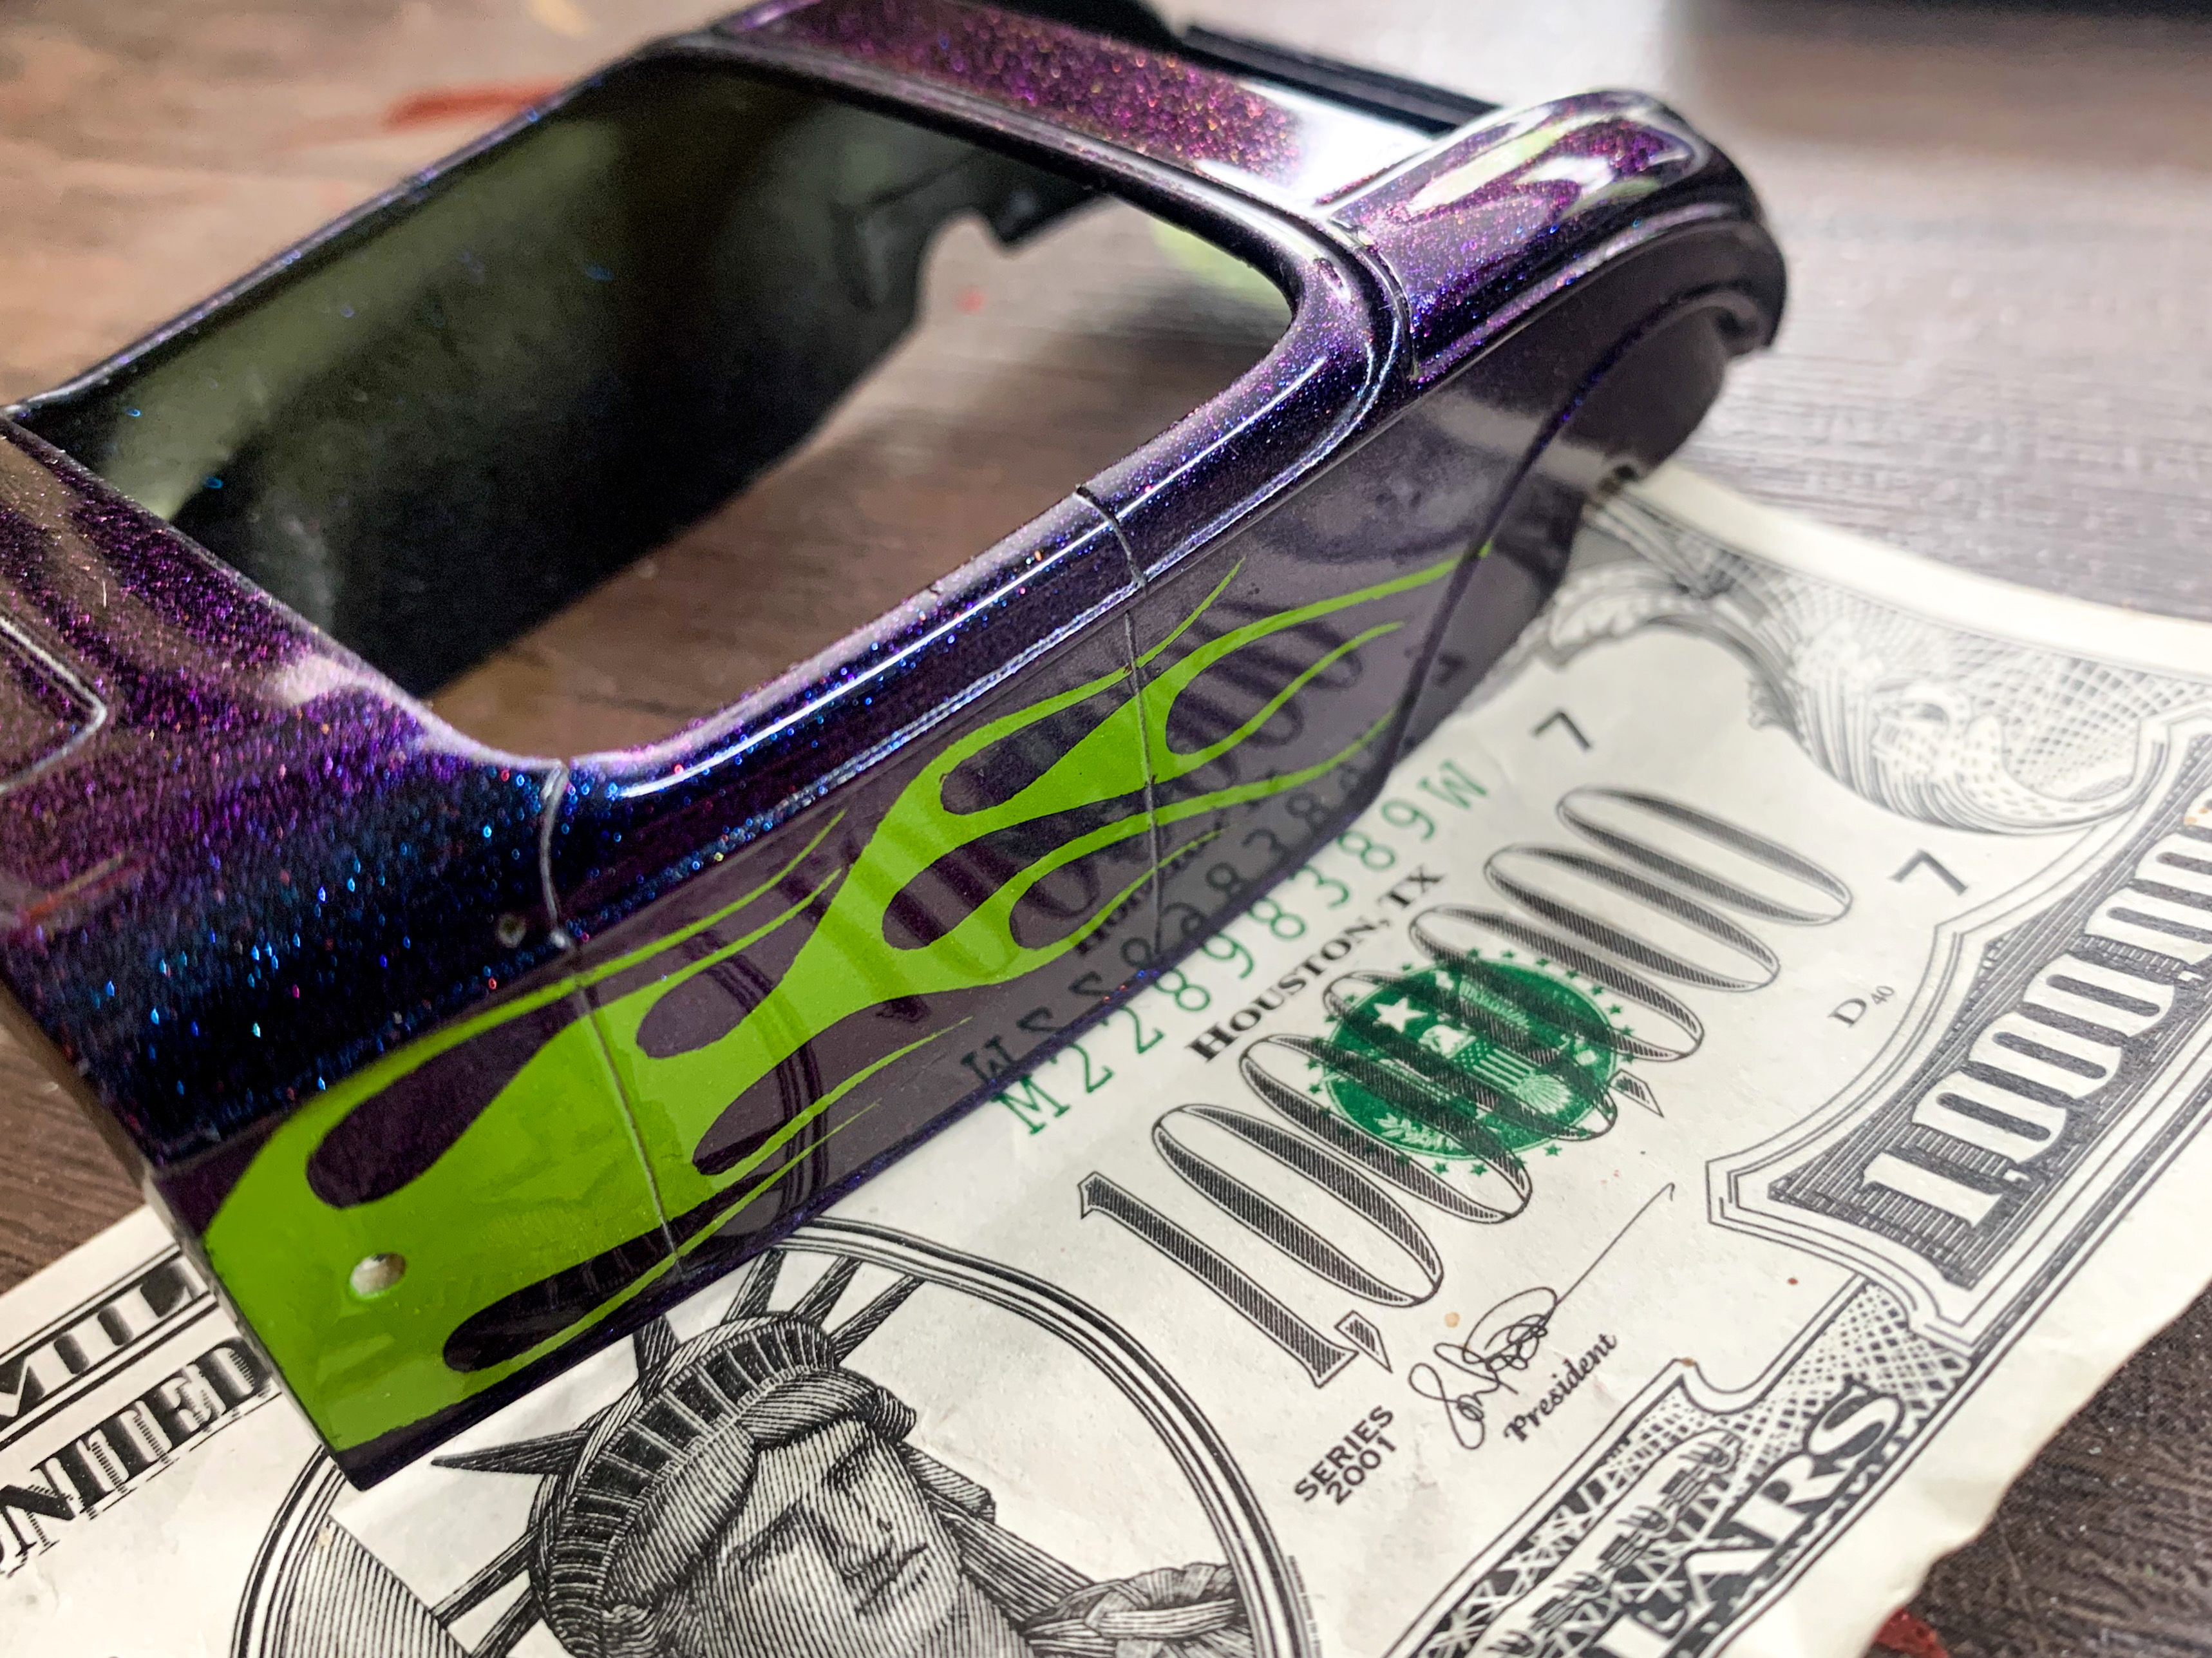
Thank you sir! A company named Baomain sells a set on Amazon - you get five sizes for $8 or something...super useful for all kinds of things! Thanks Jerry! Wanted to do a few bright paint jobs before I start messing with some more traditional stuff - the bright colors look nice on my display shelf! ? A little more progress today, seeing as I’m replying anyway - polishing day in the shop today! Not totally done yet, but it’s getting shinier! Waiting for the sun to come out again so I can really see the spots I need to perfect, but it’s getting there!
-
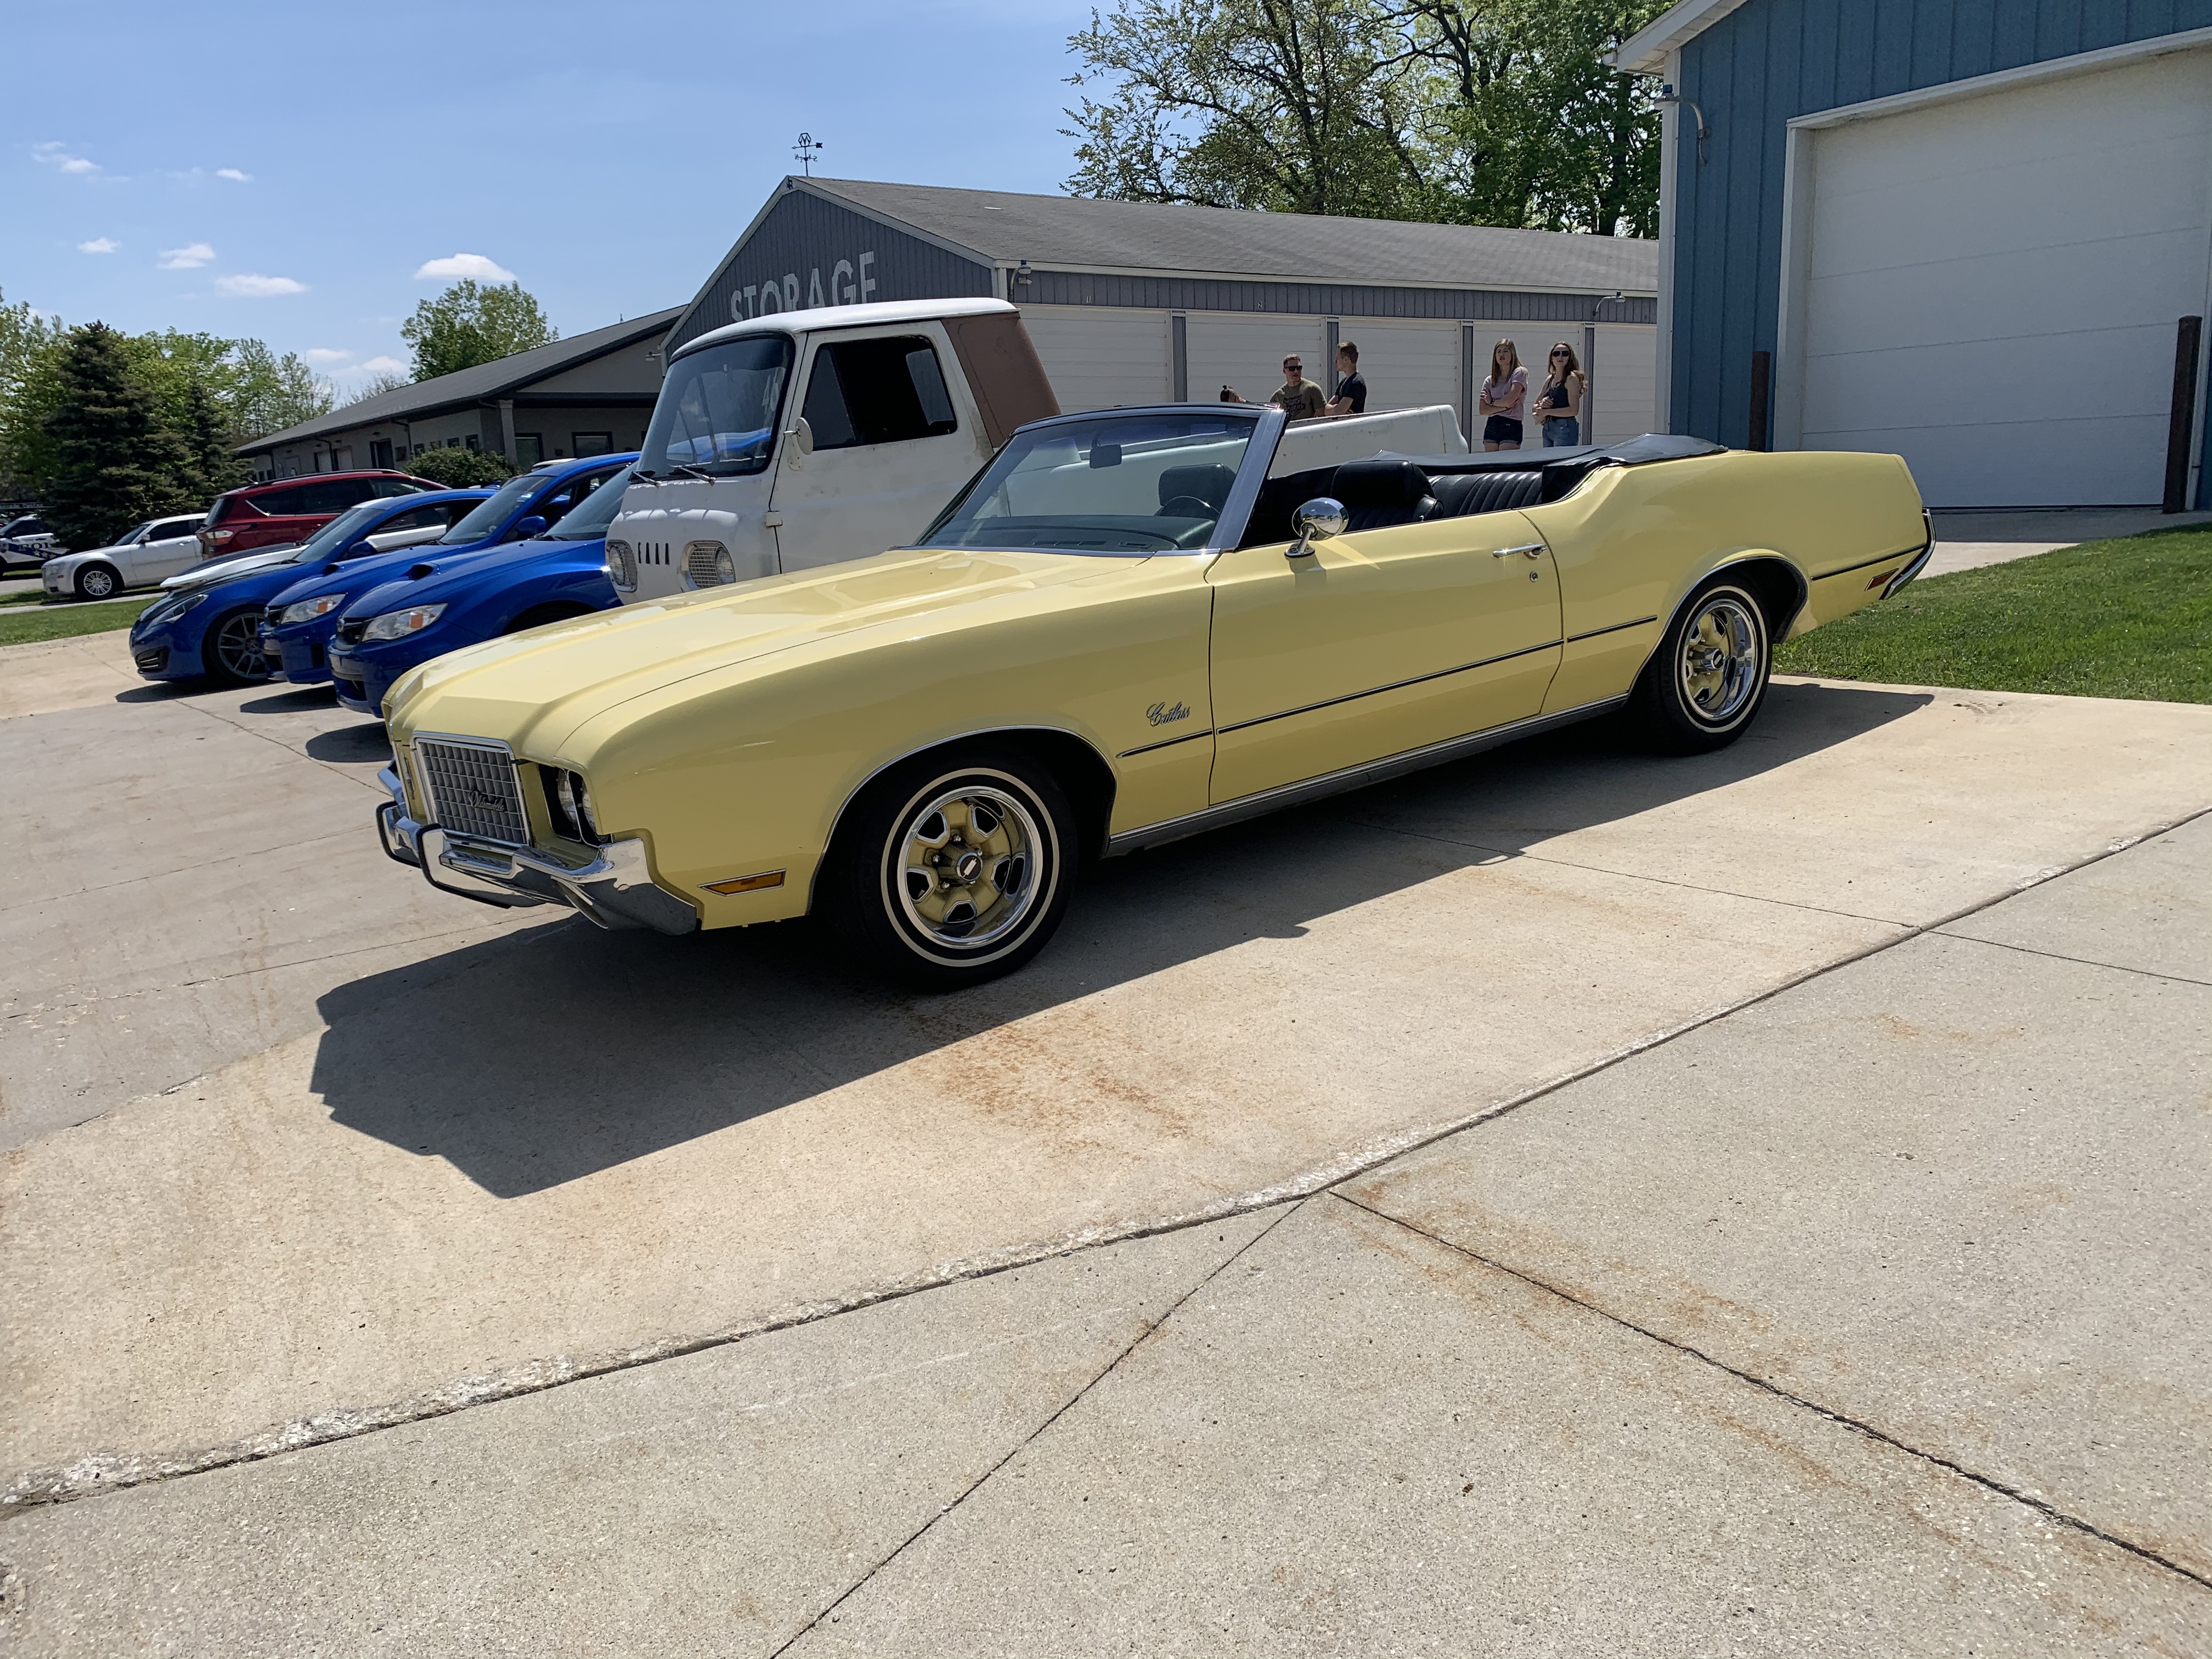
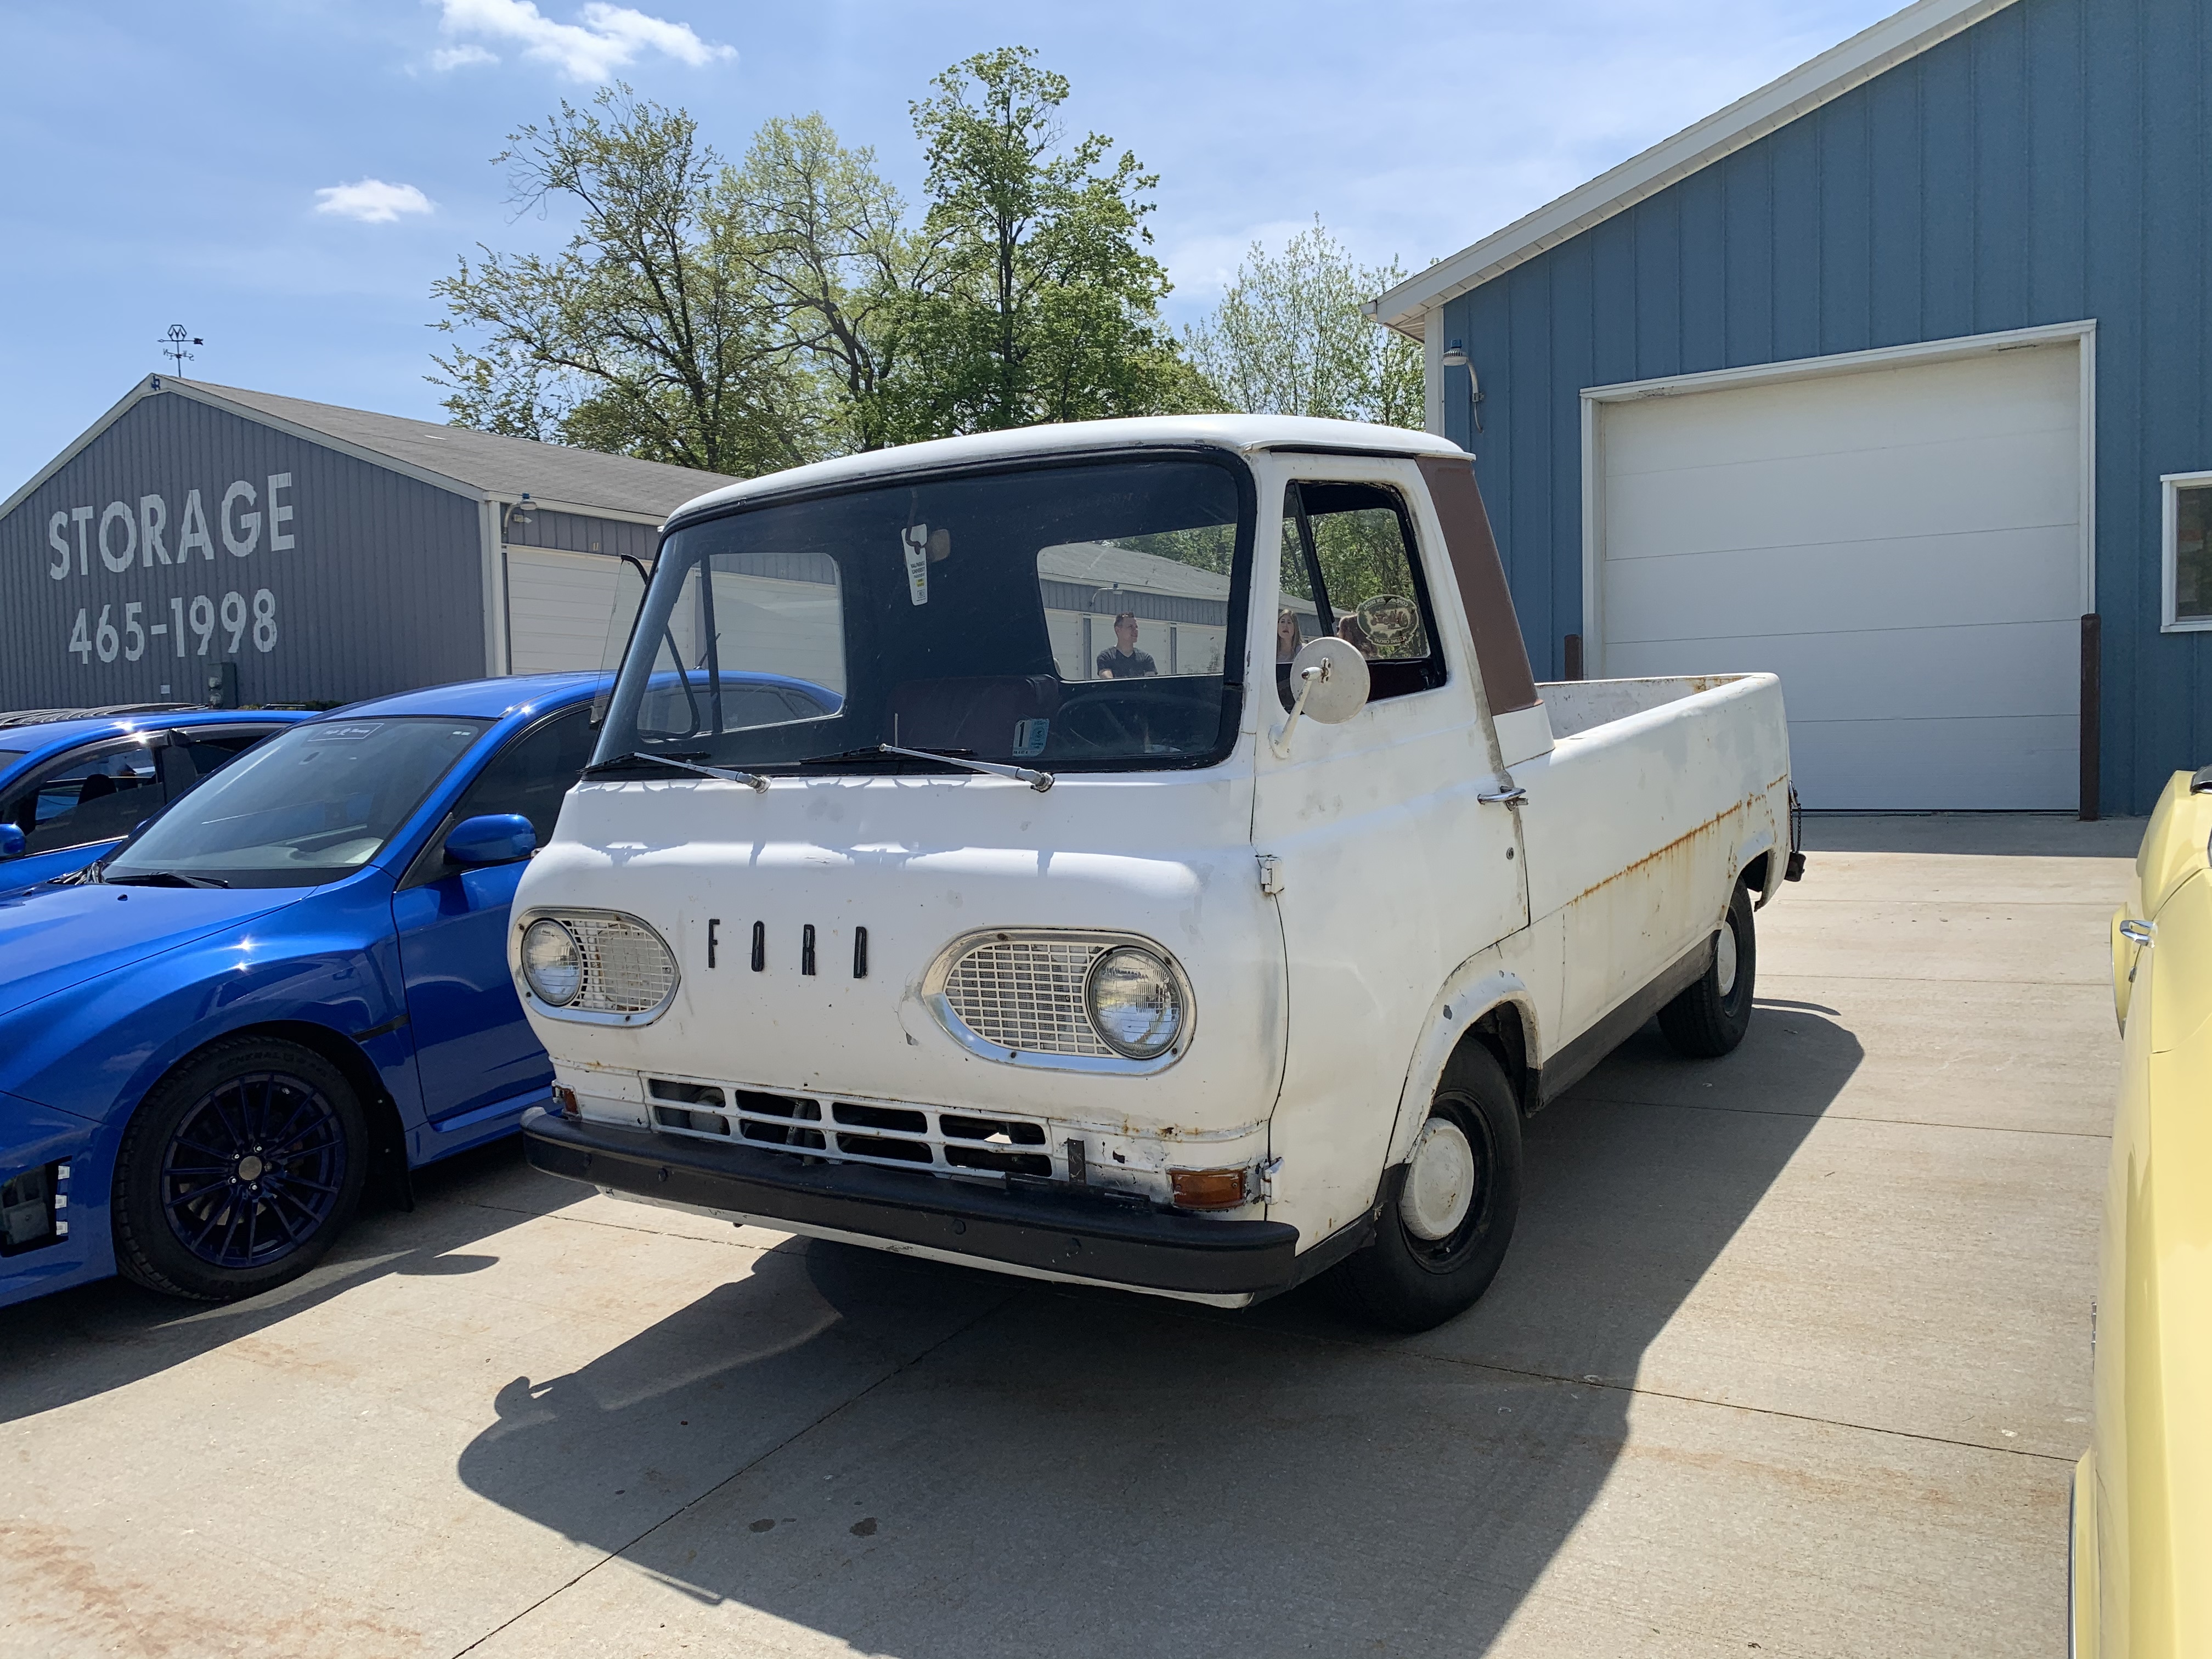
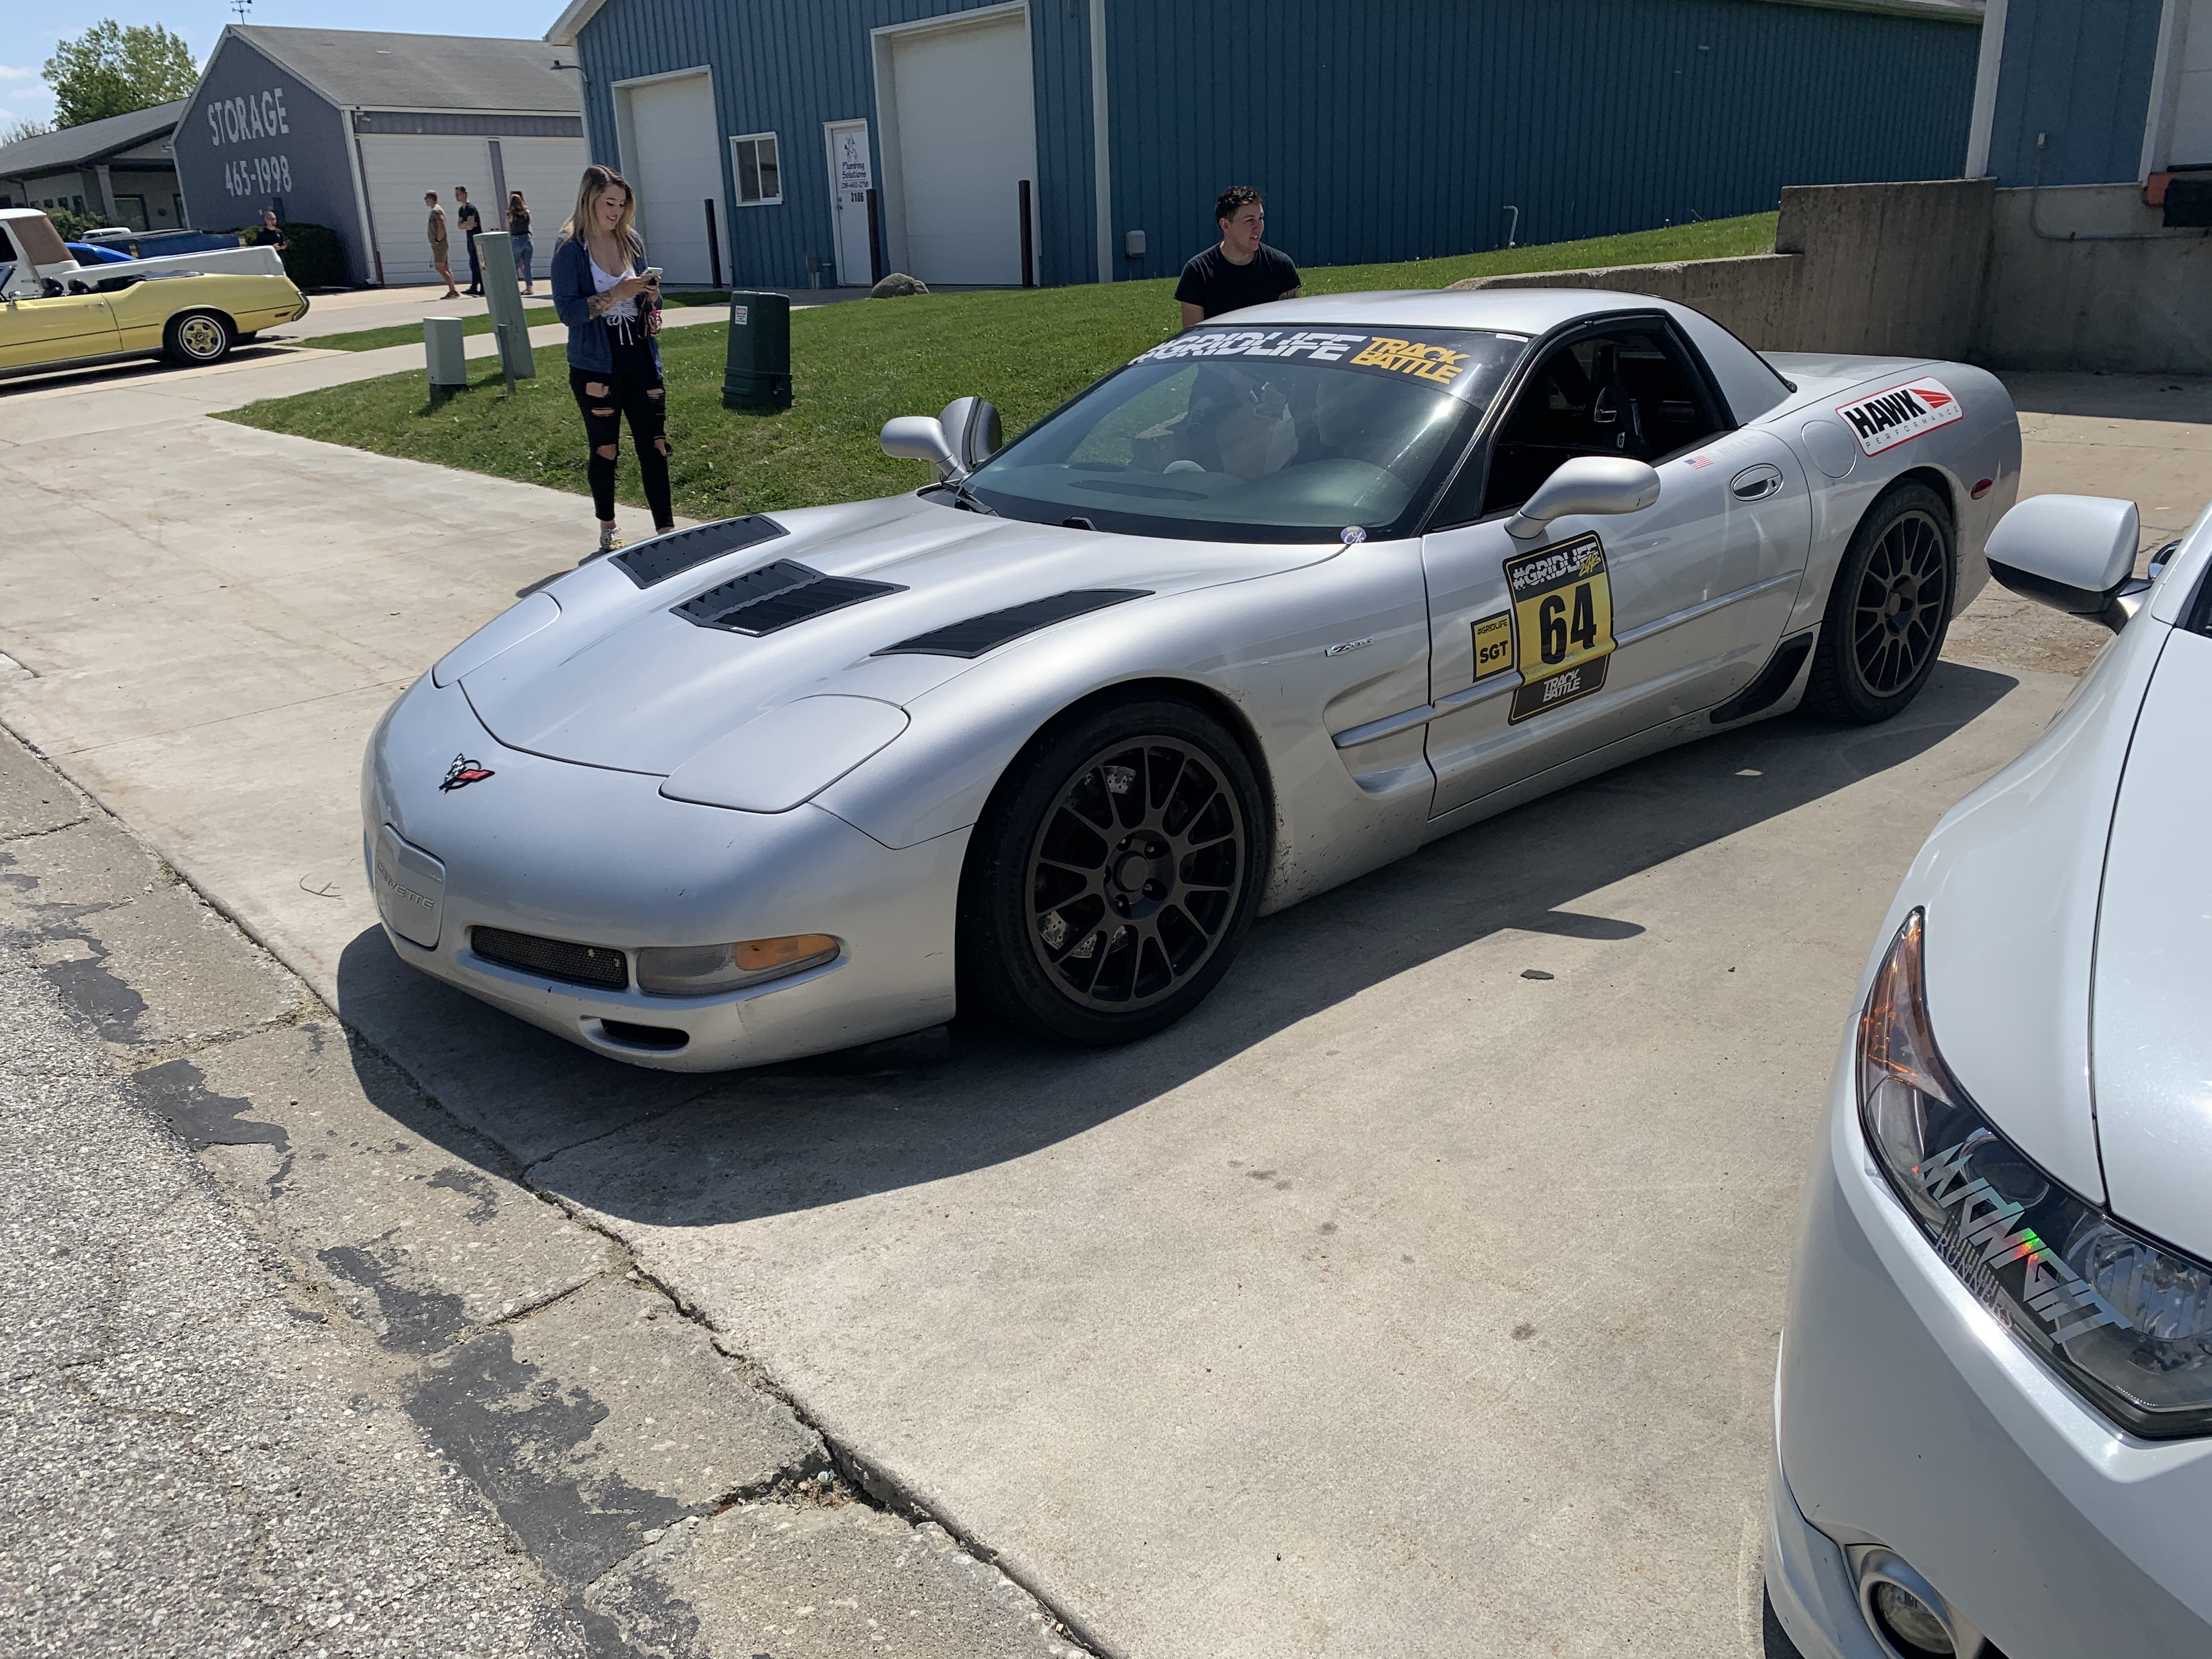
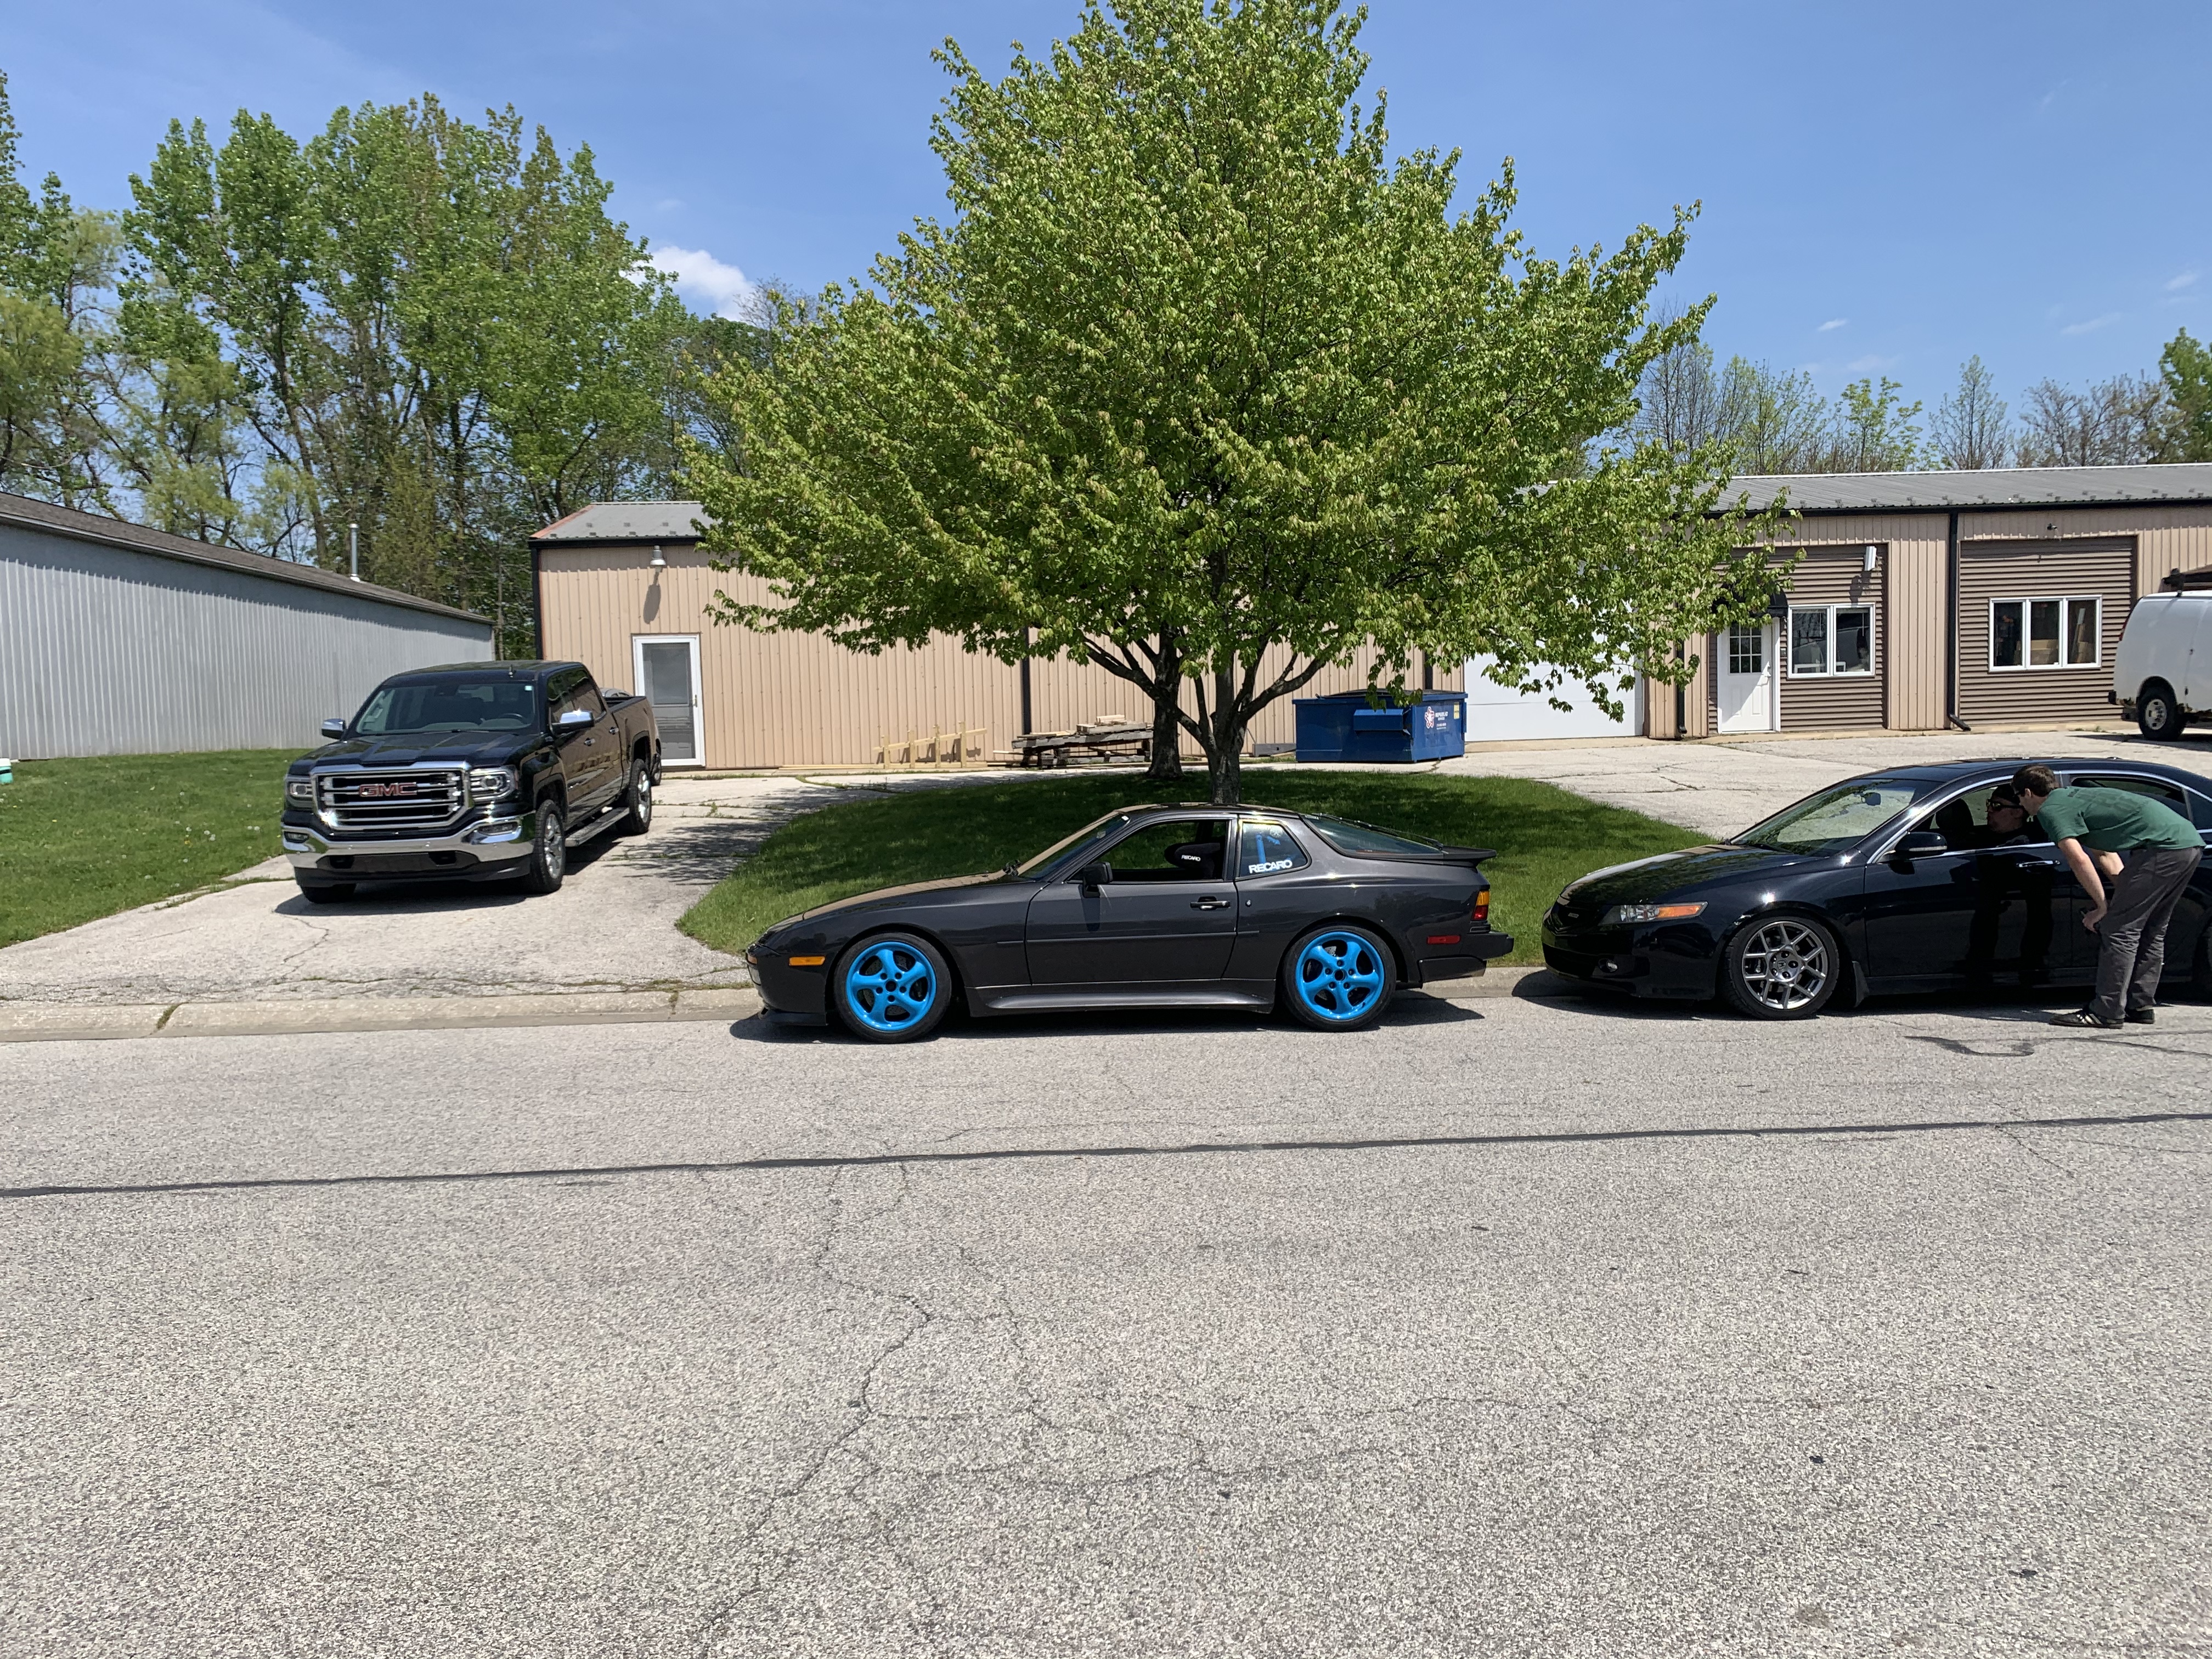
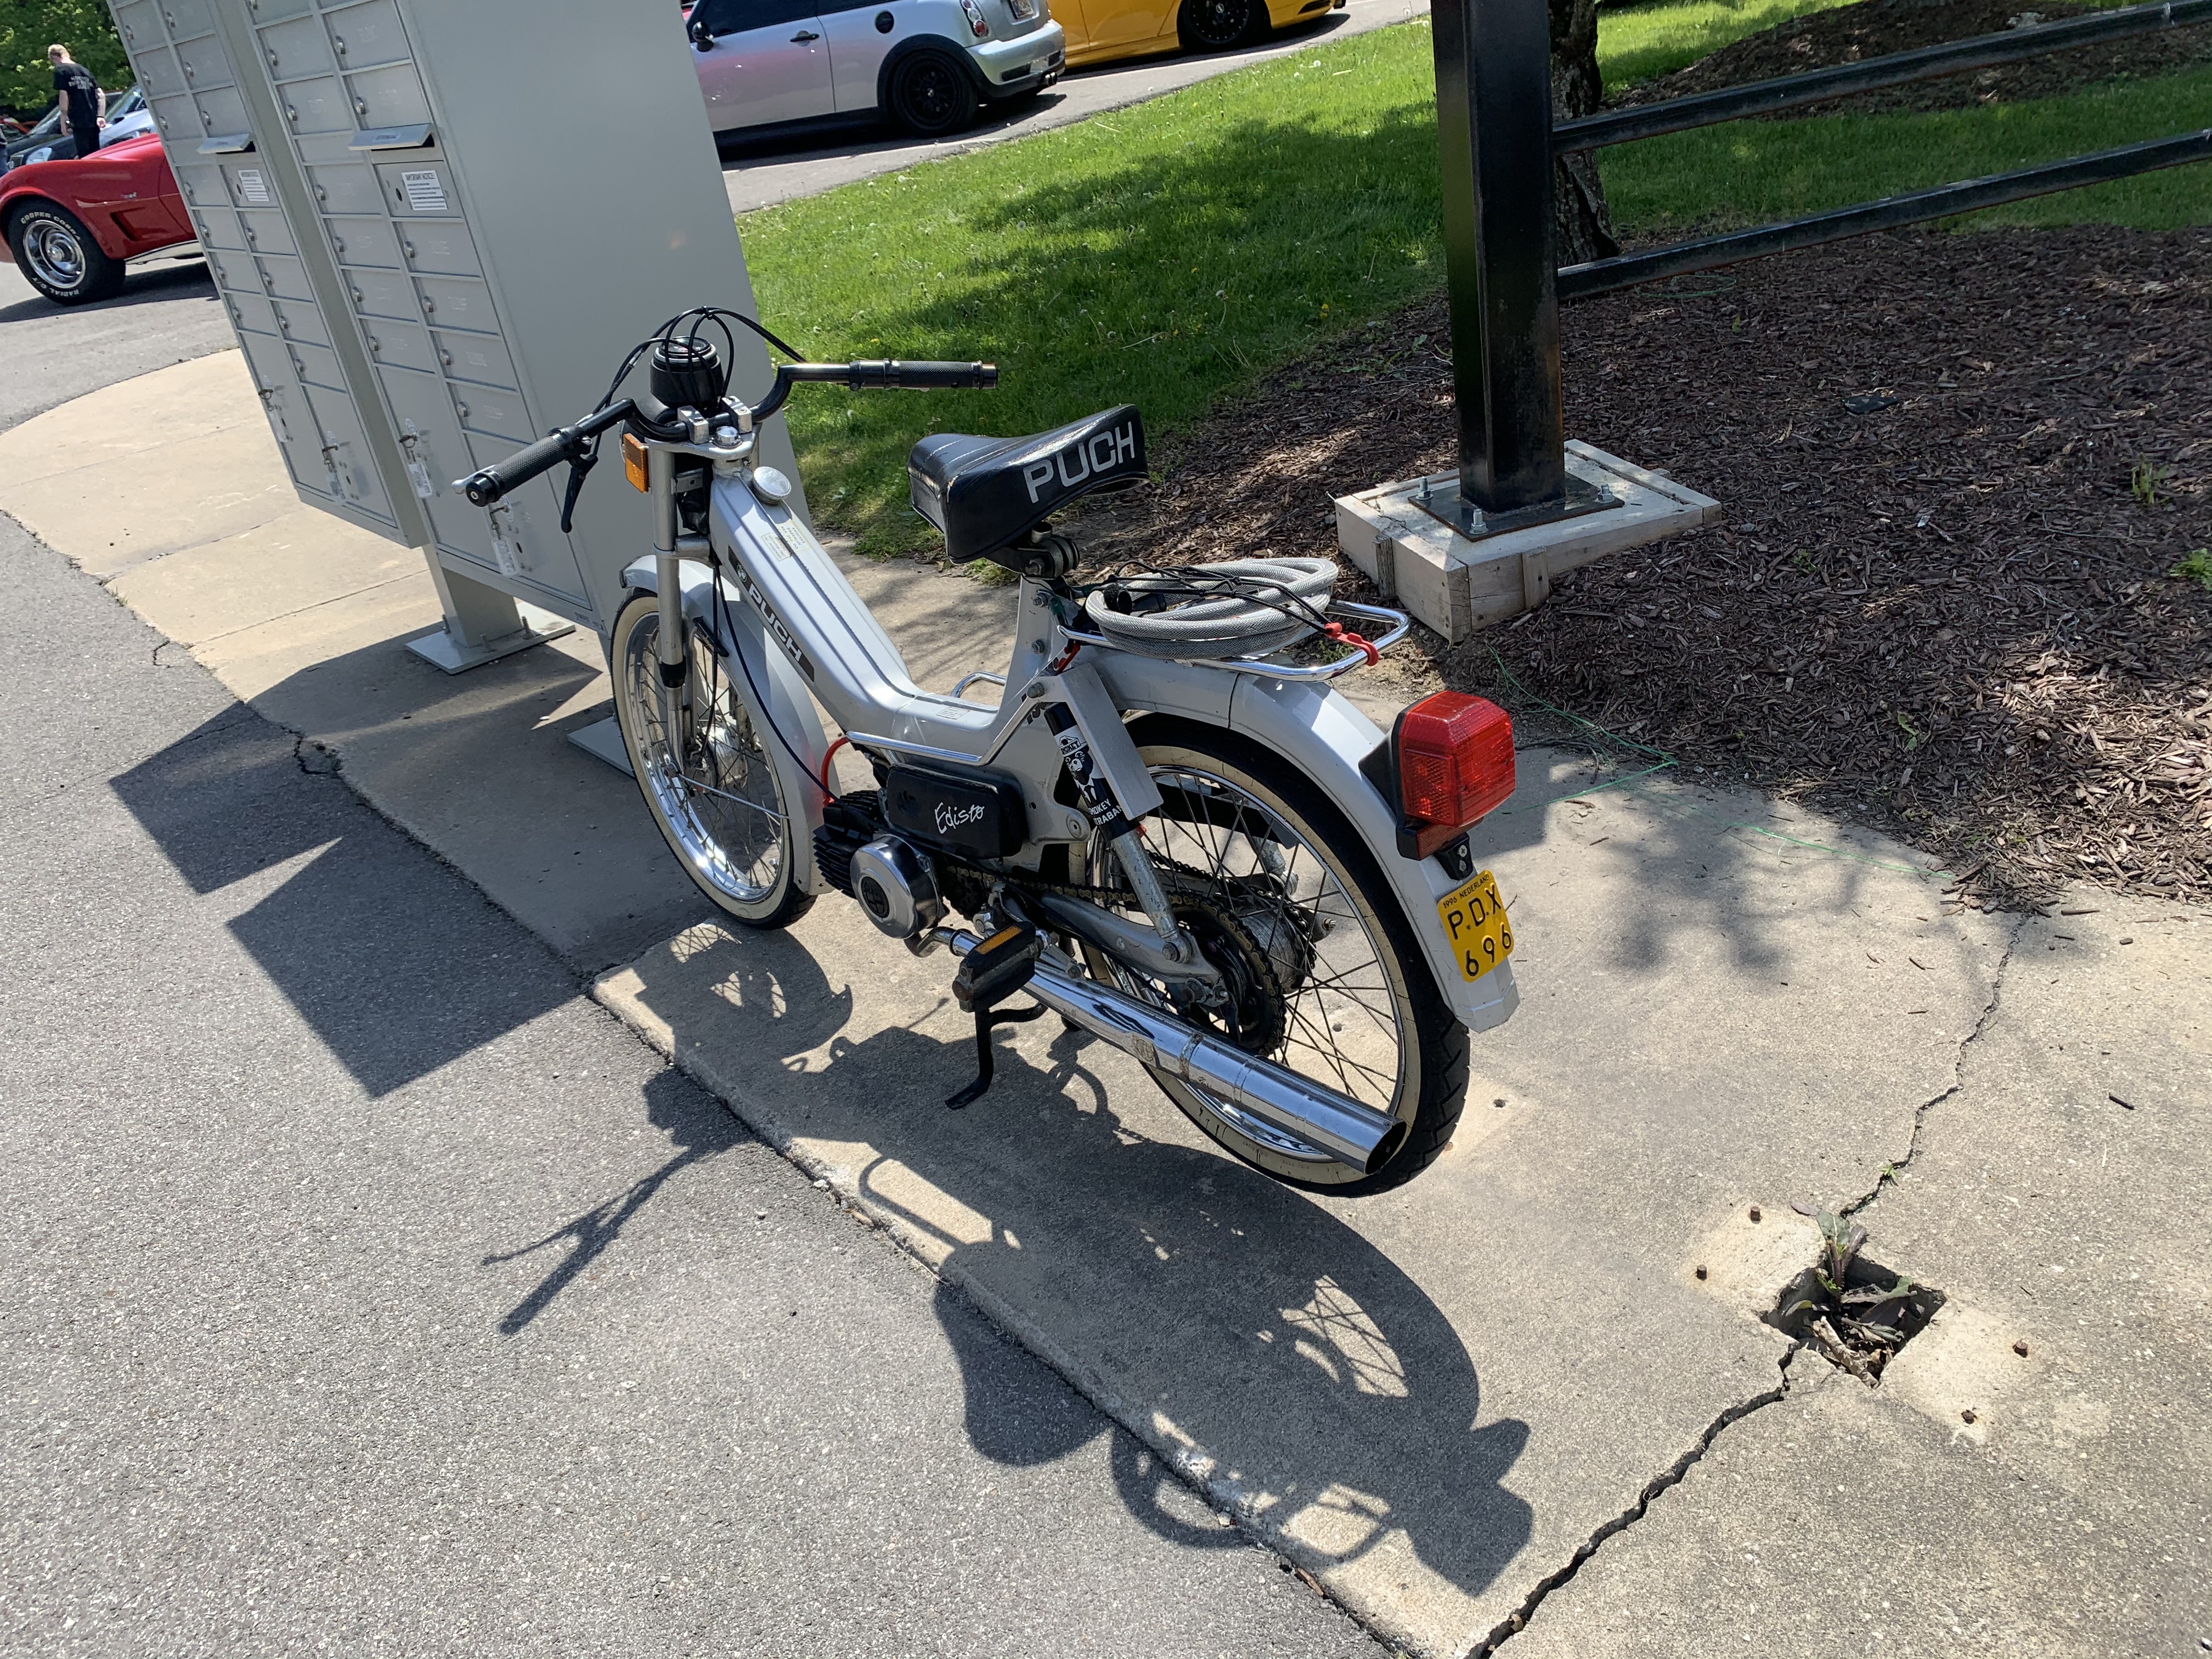
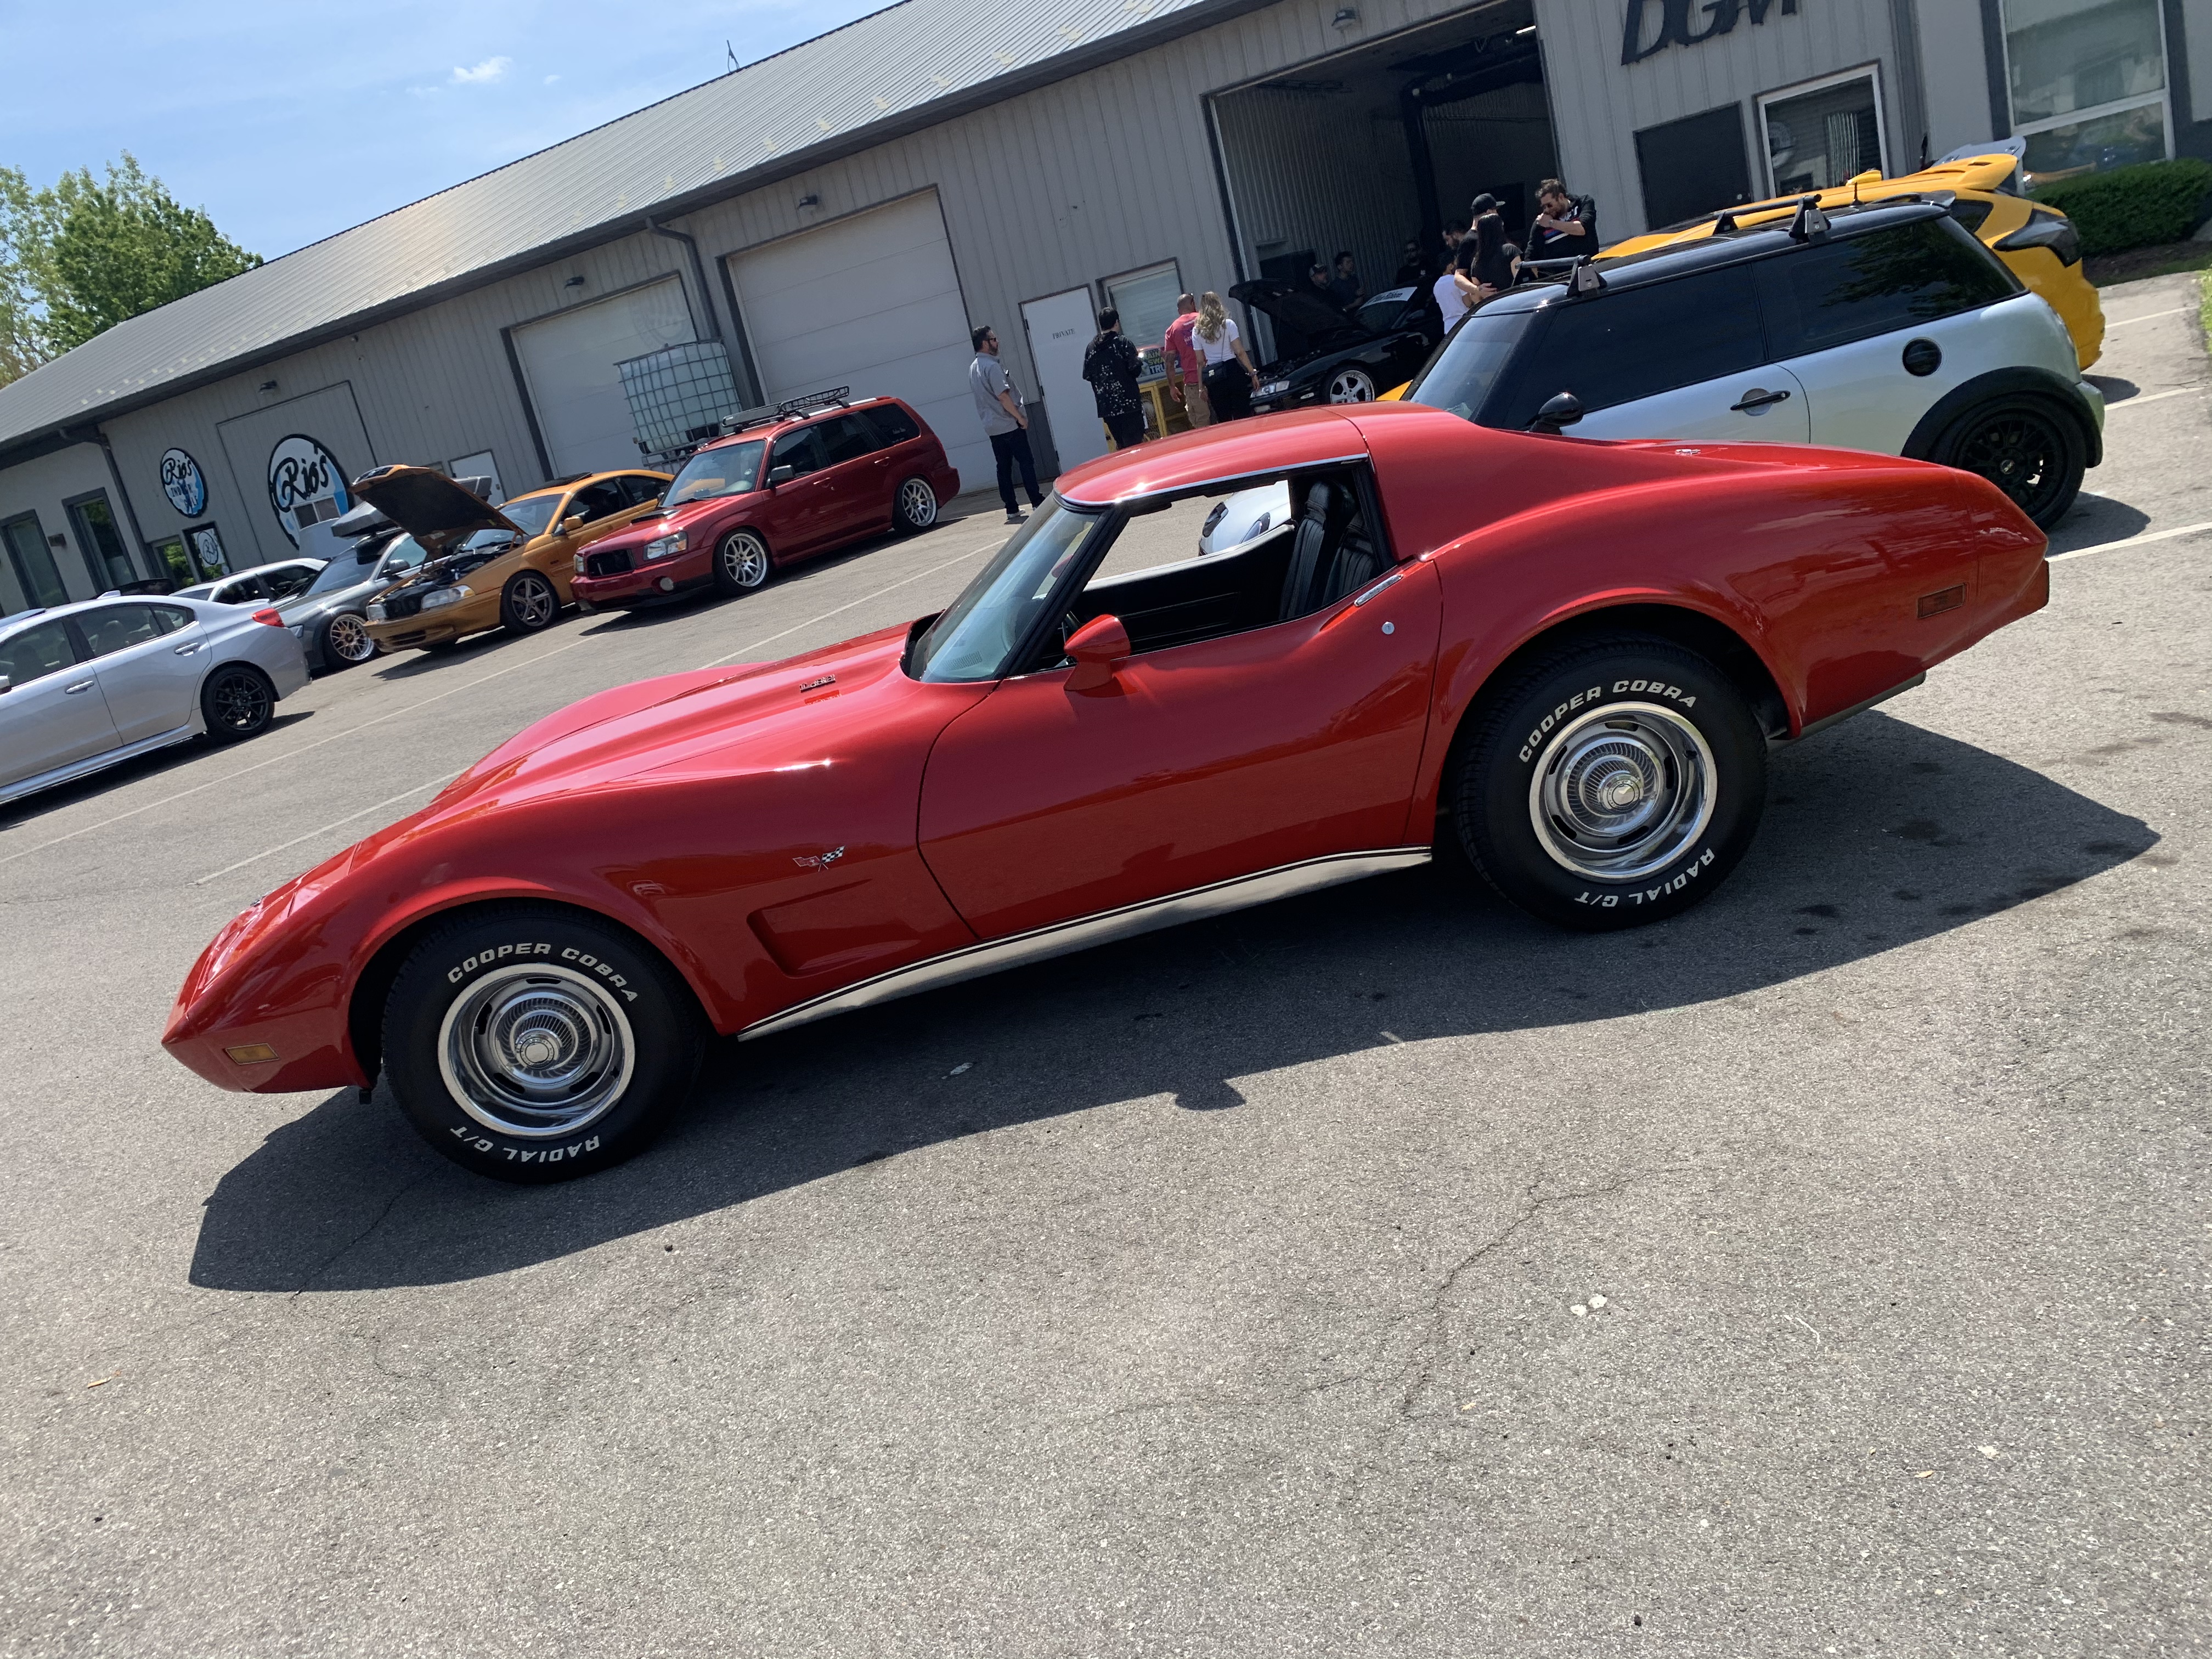
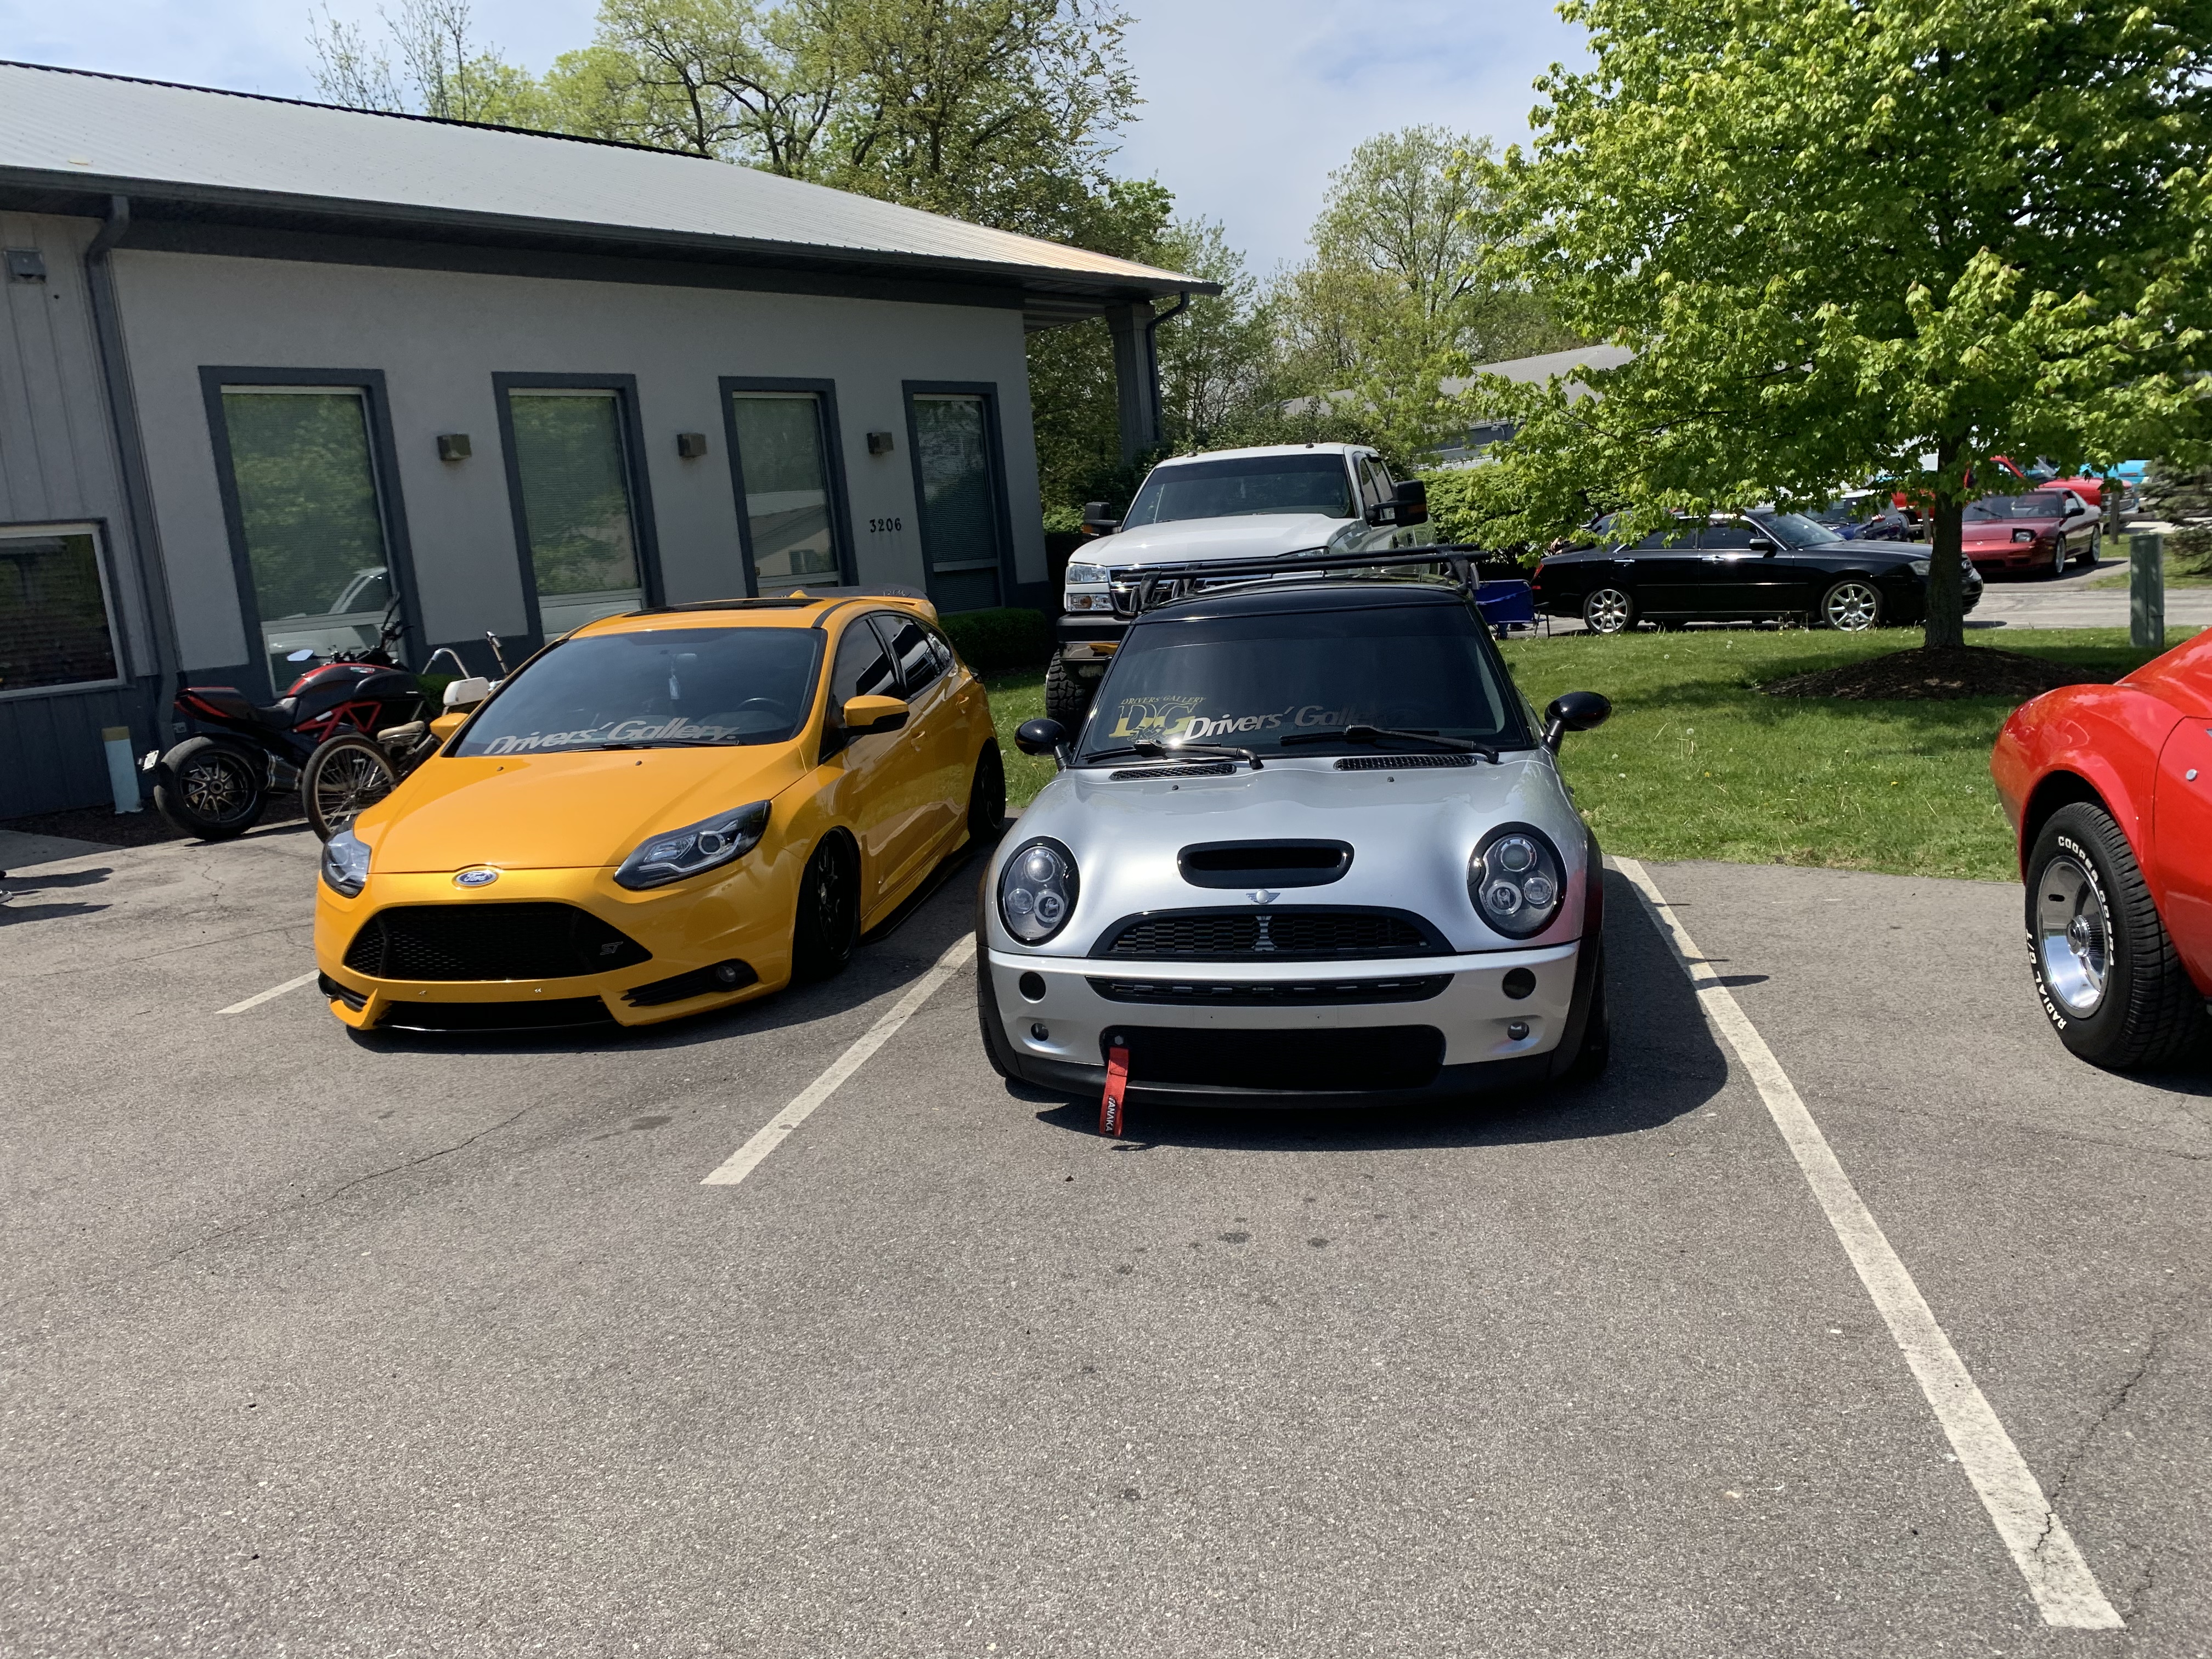
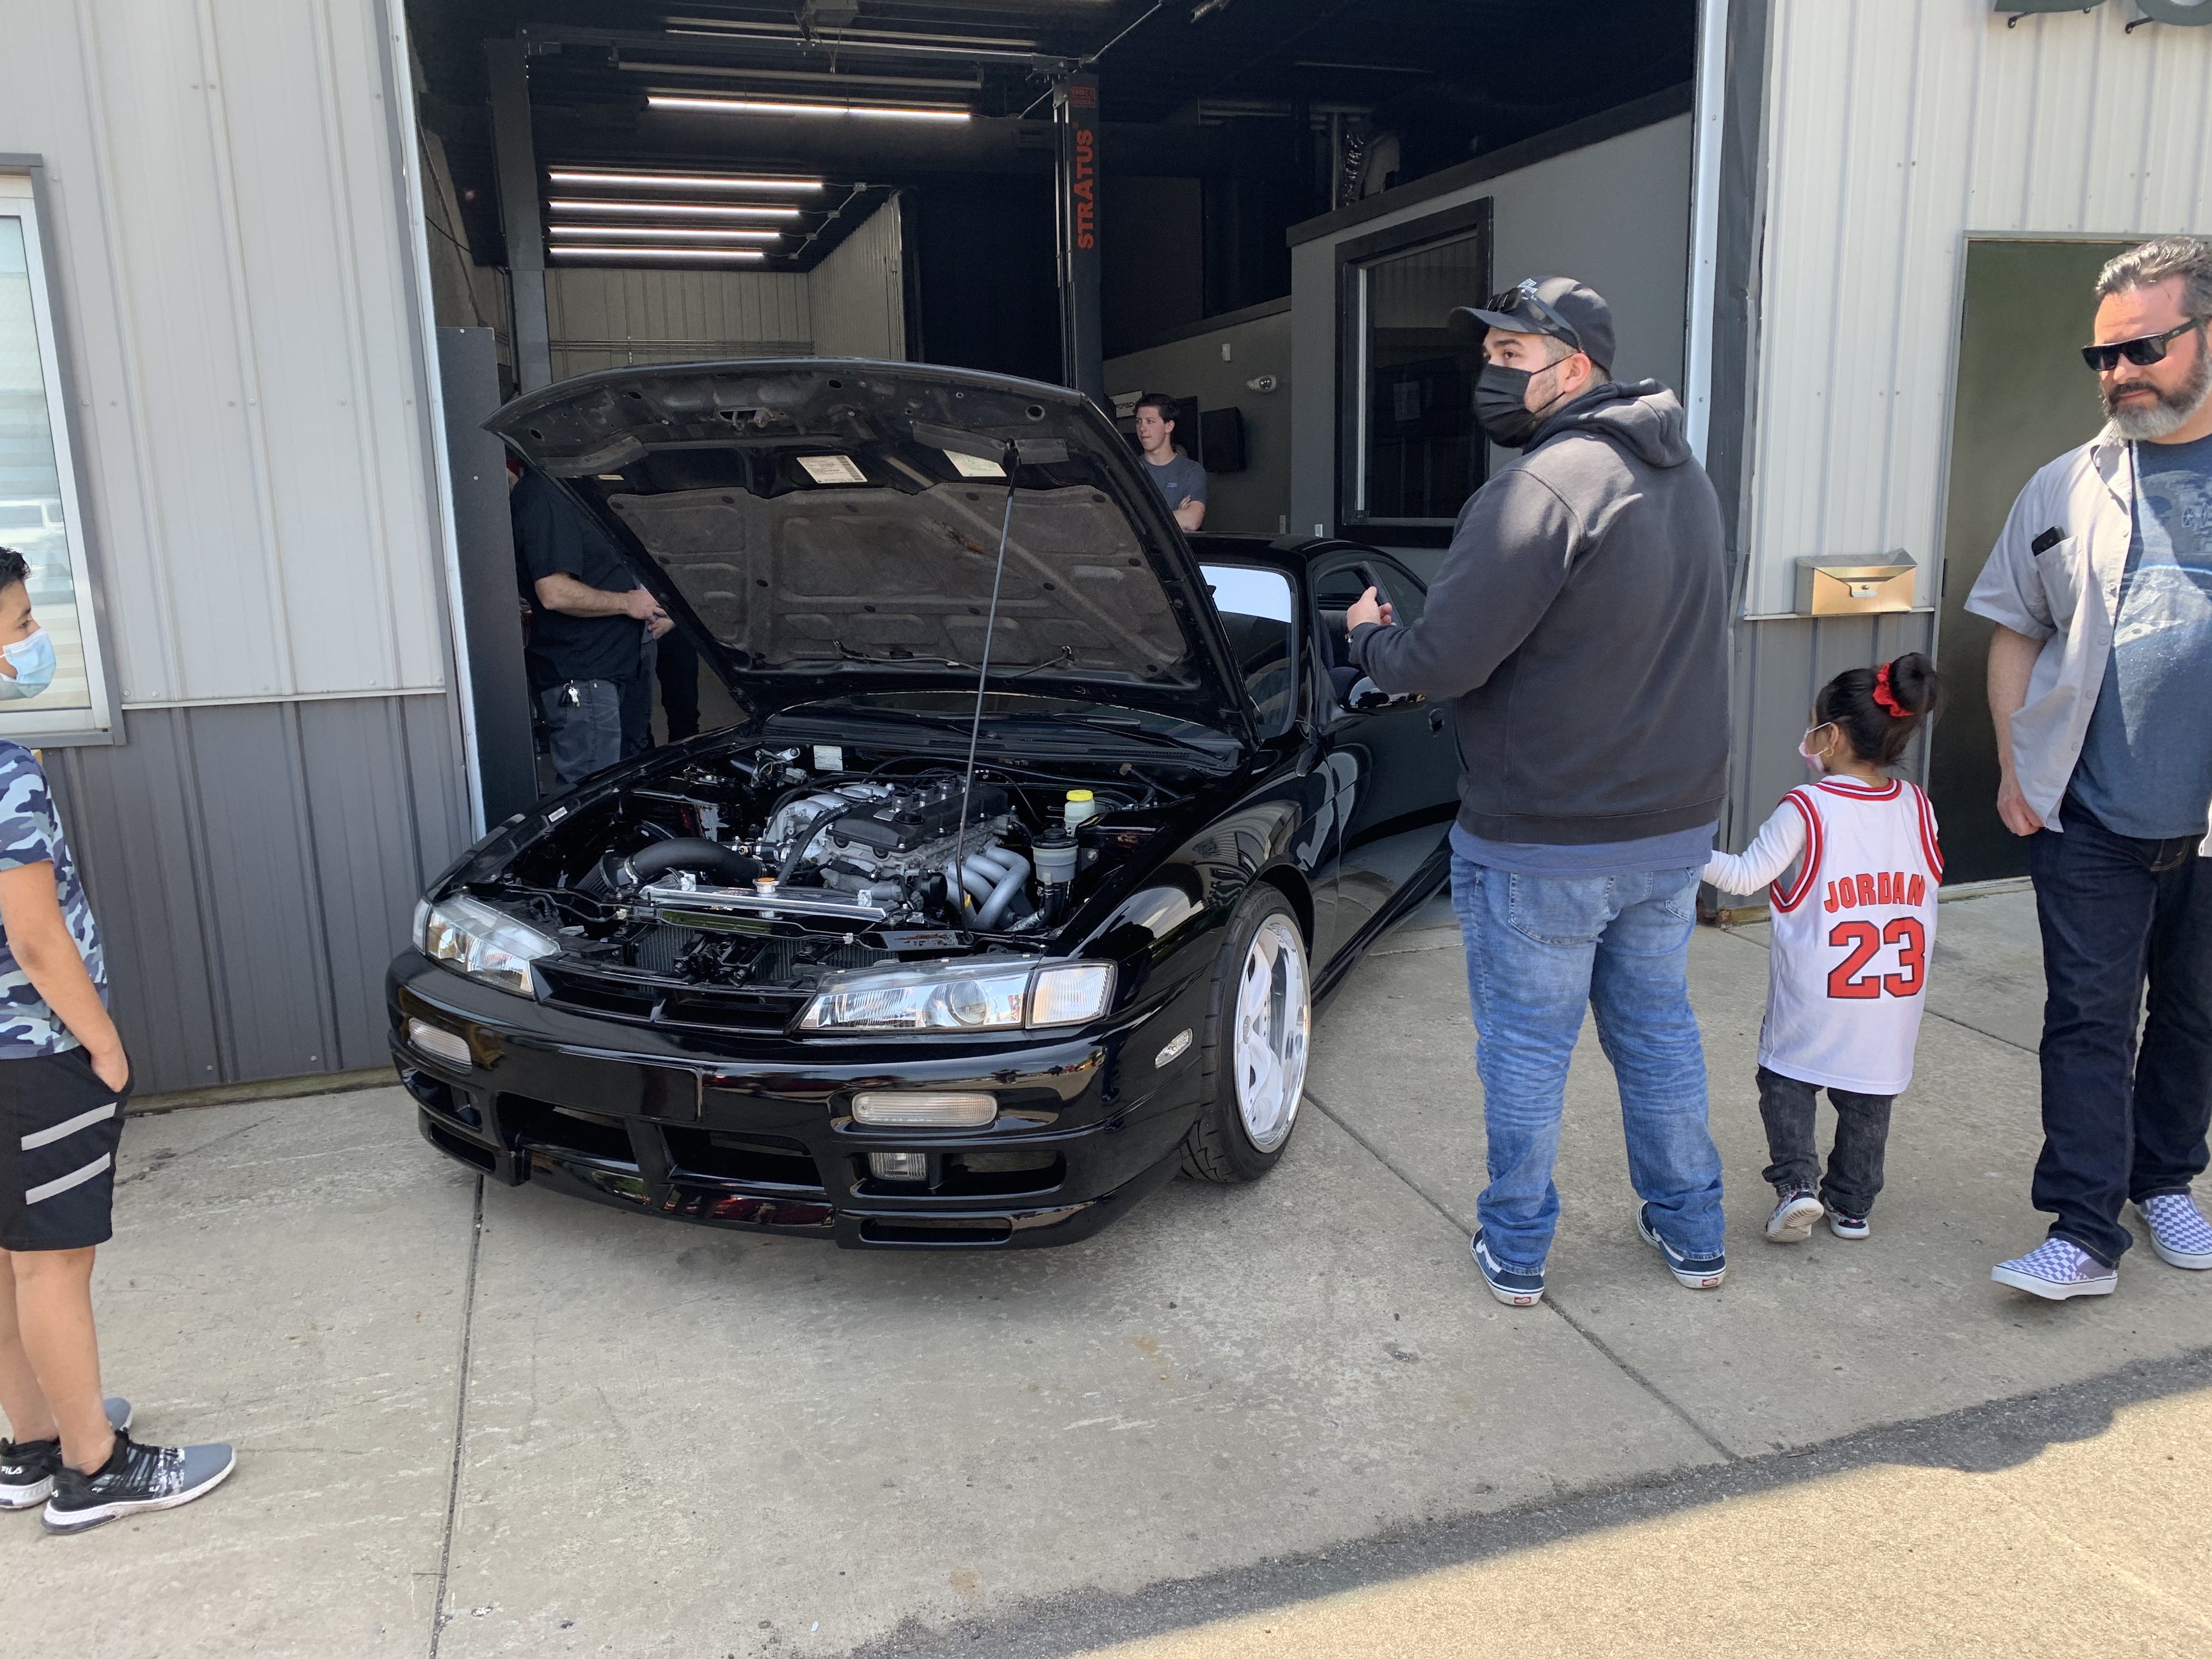
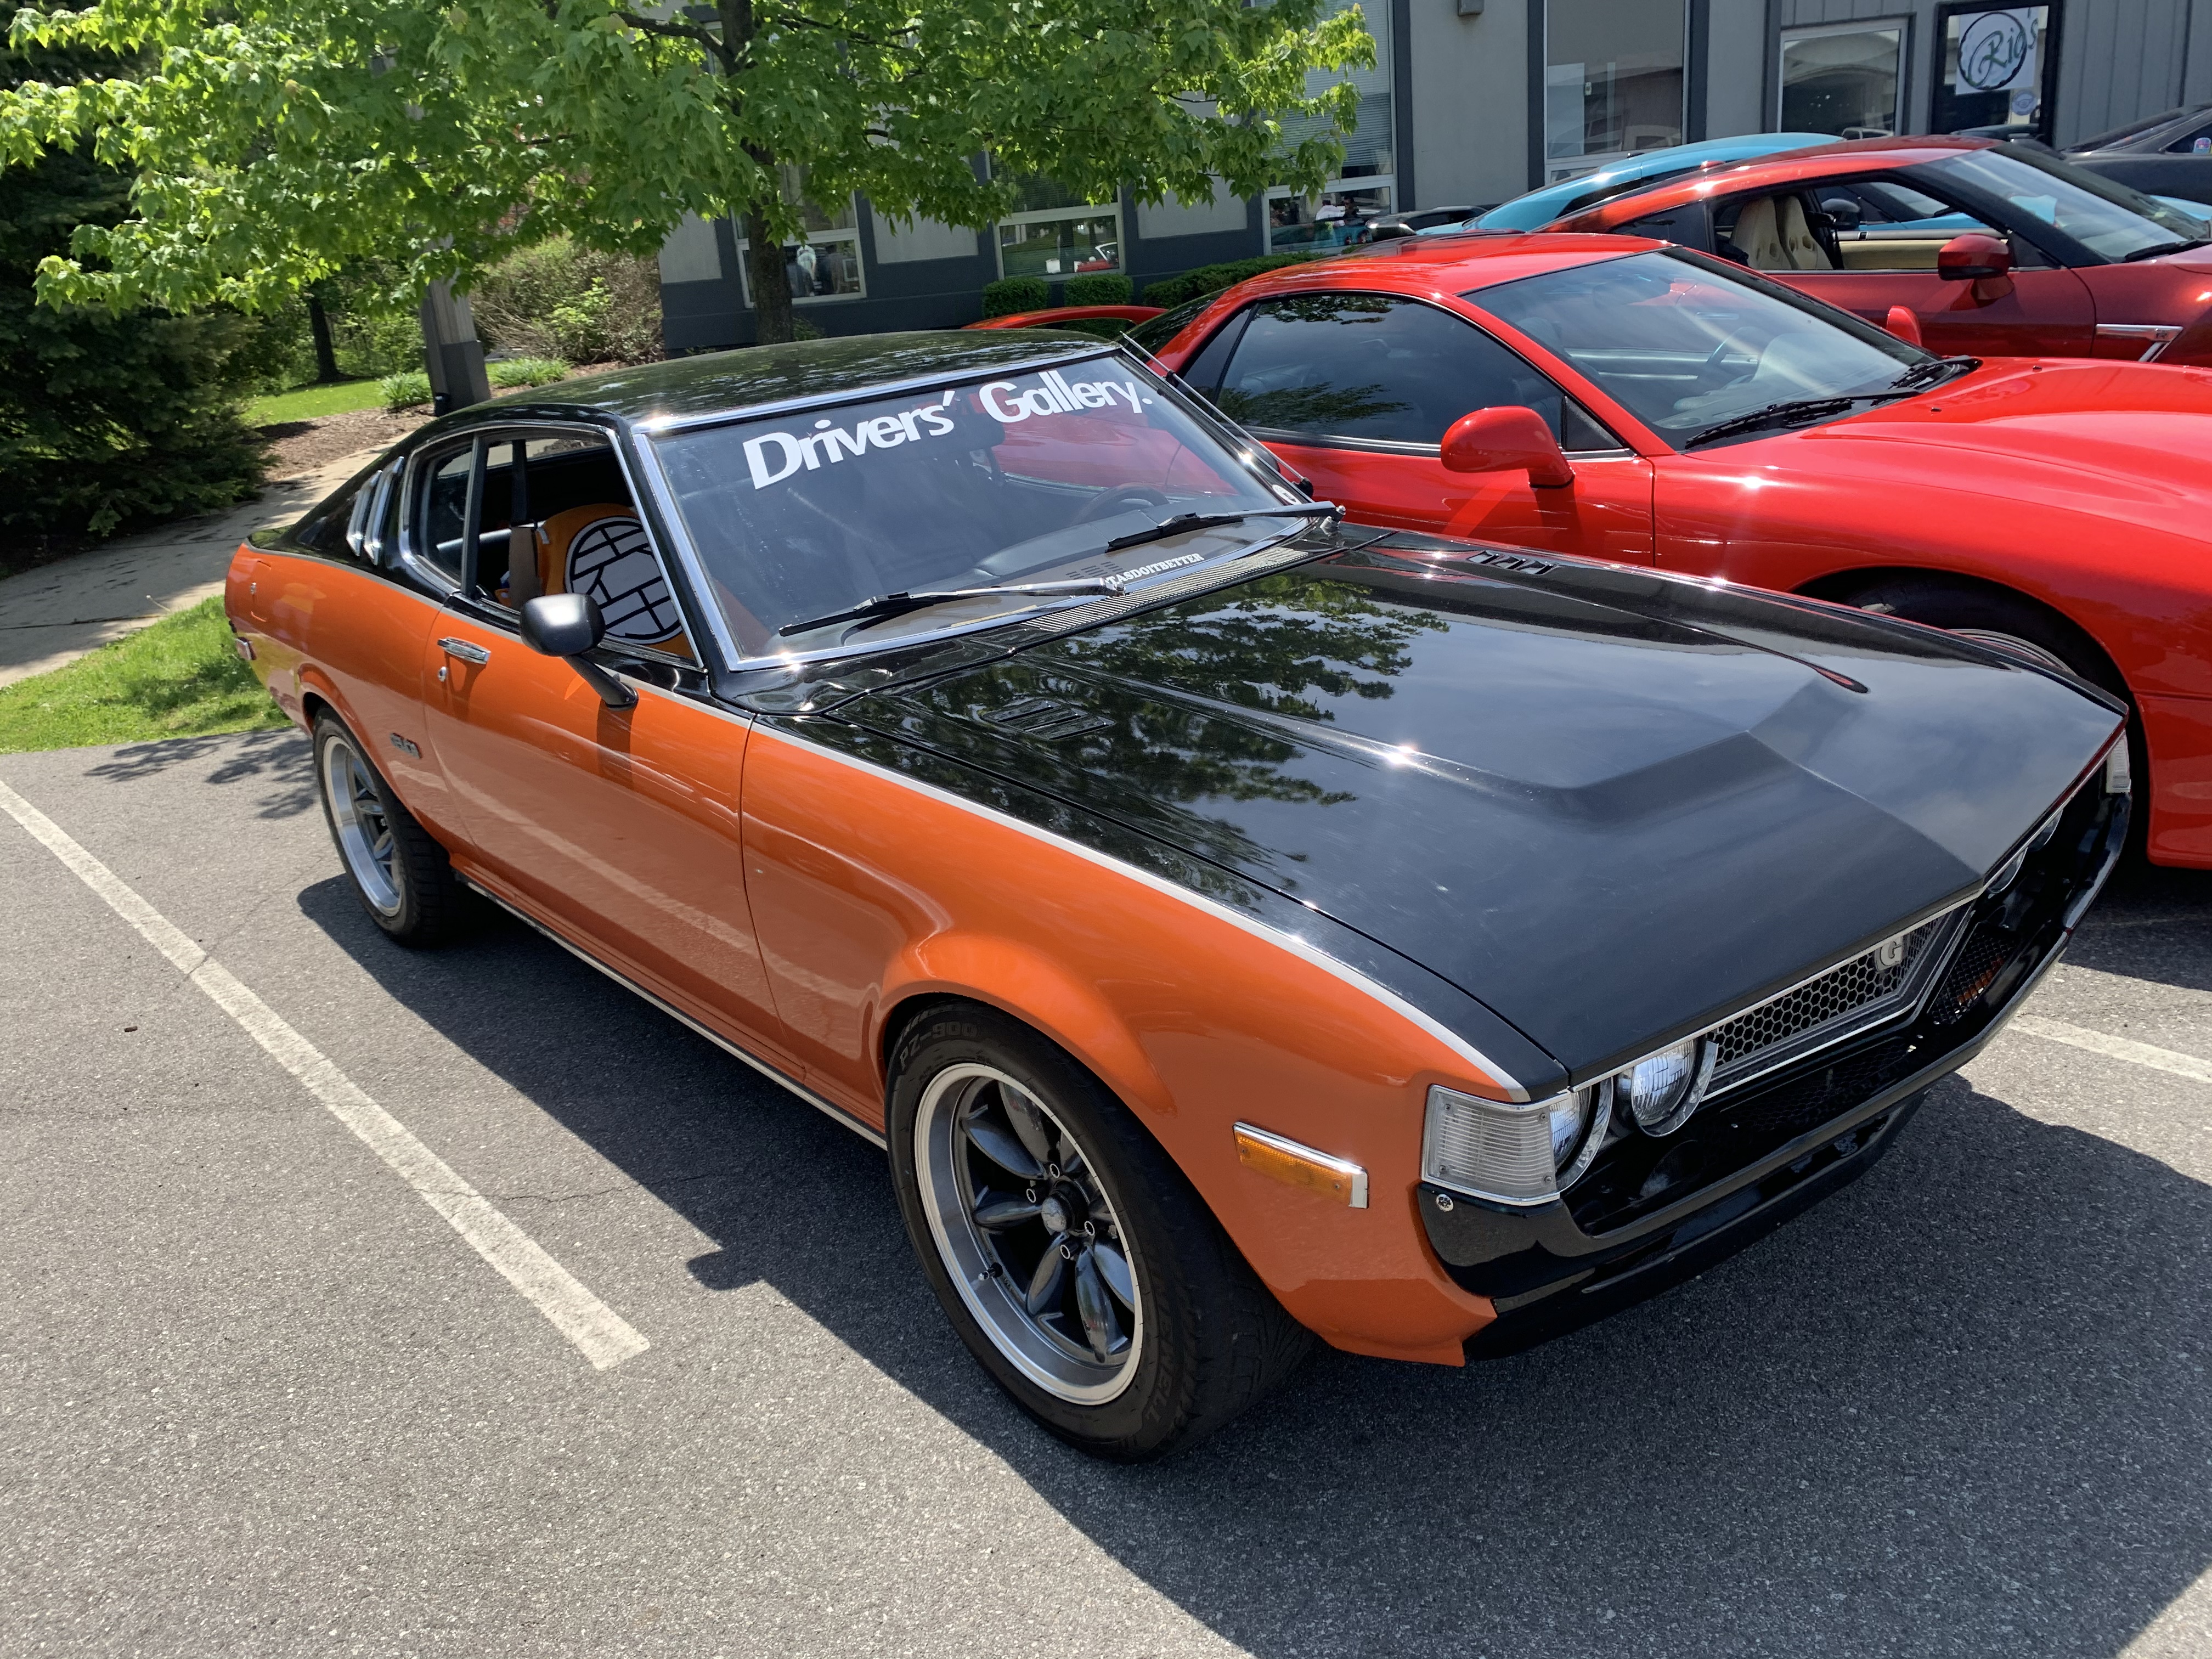
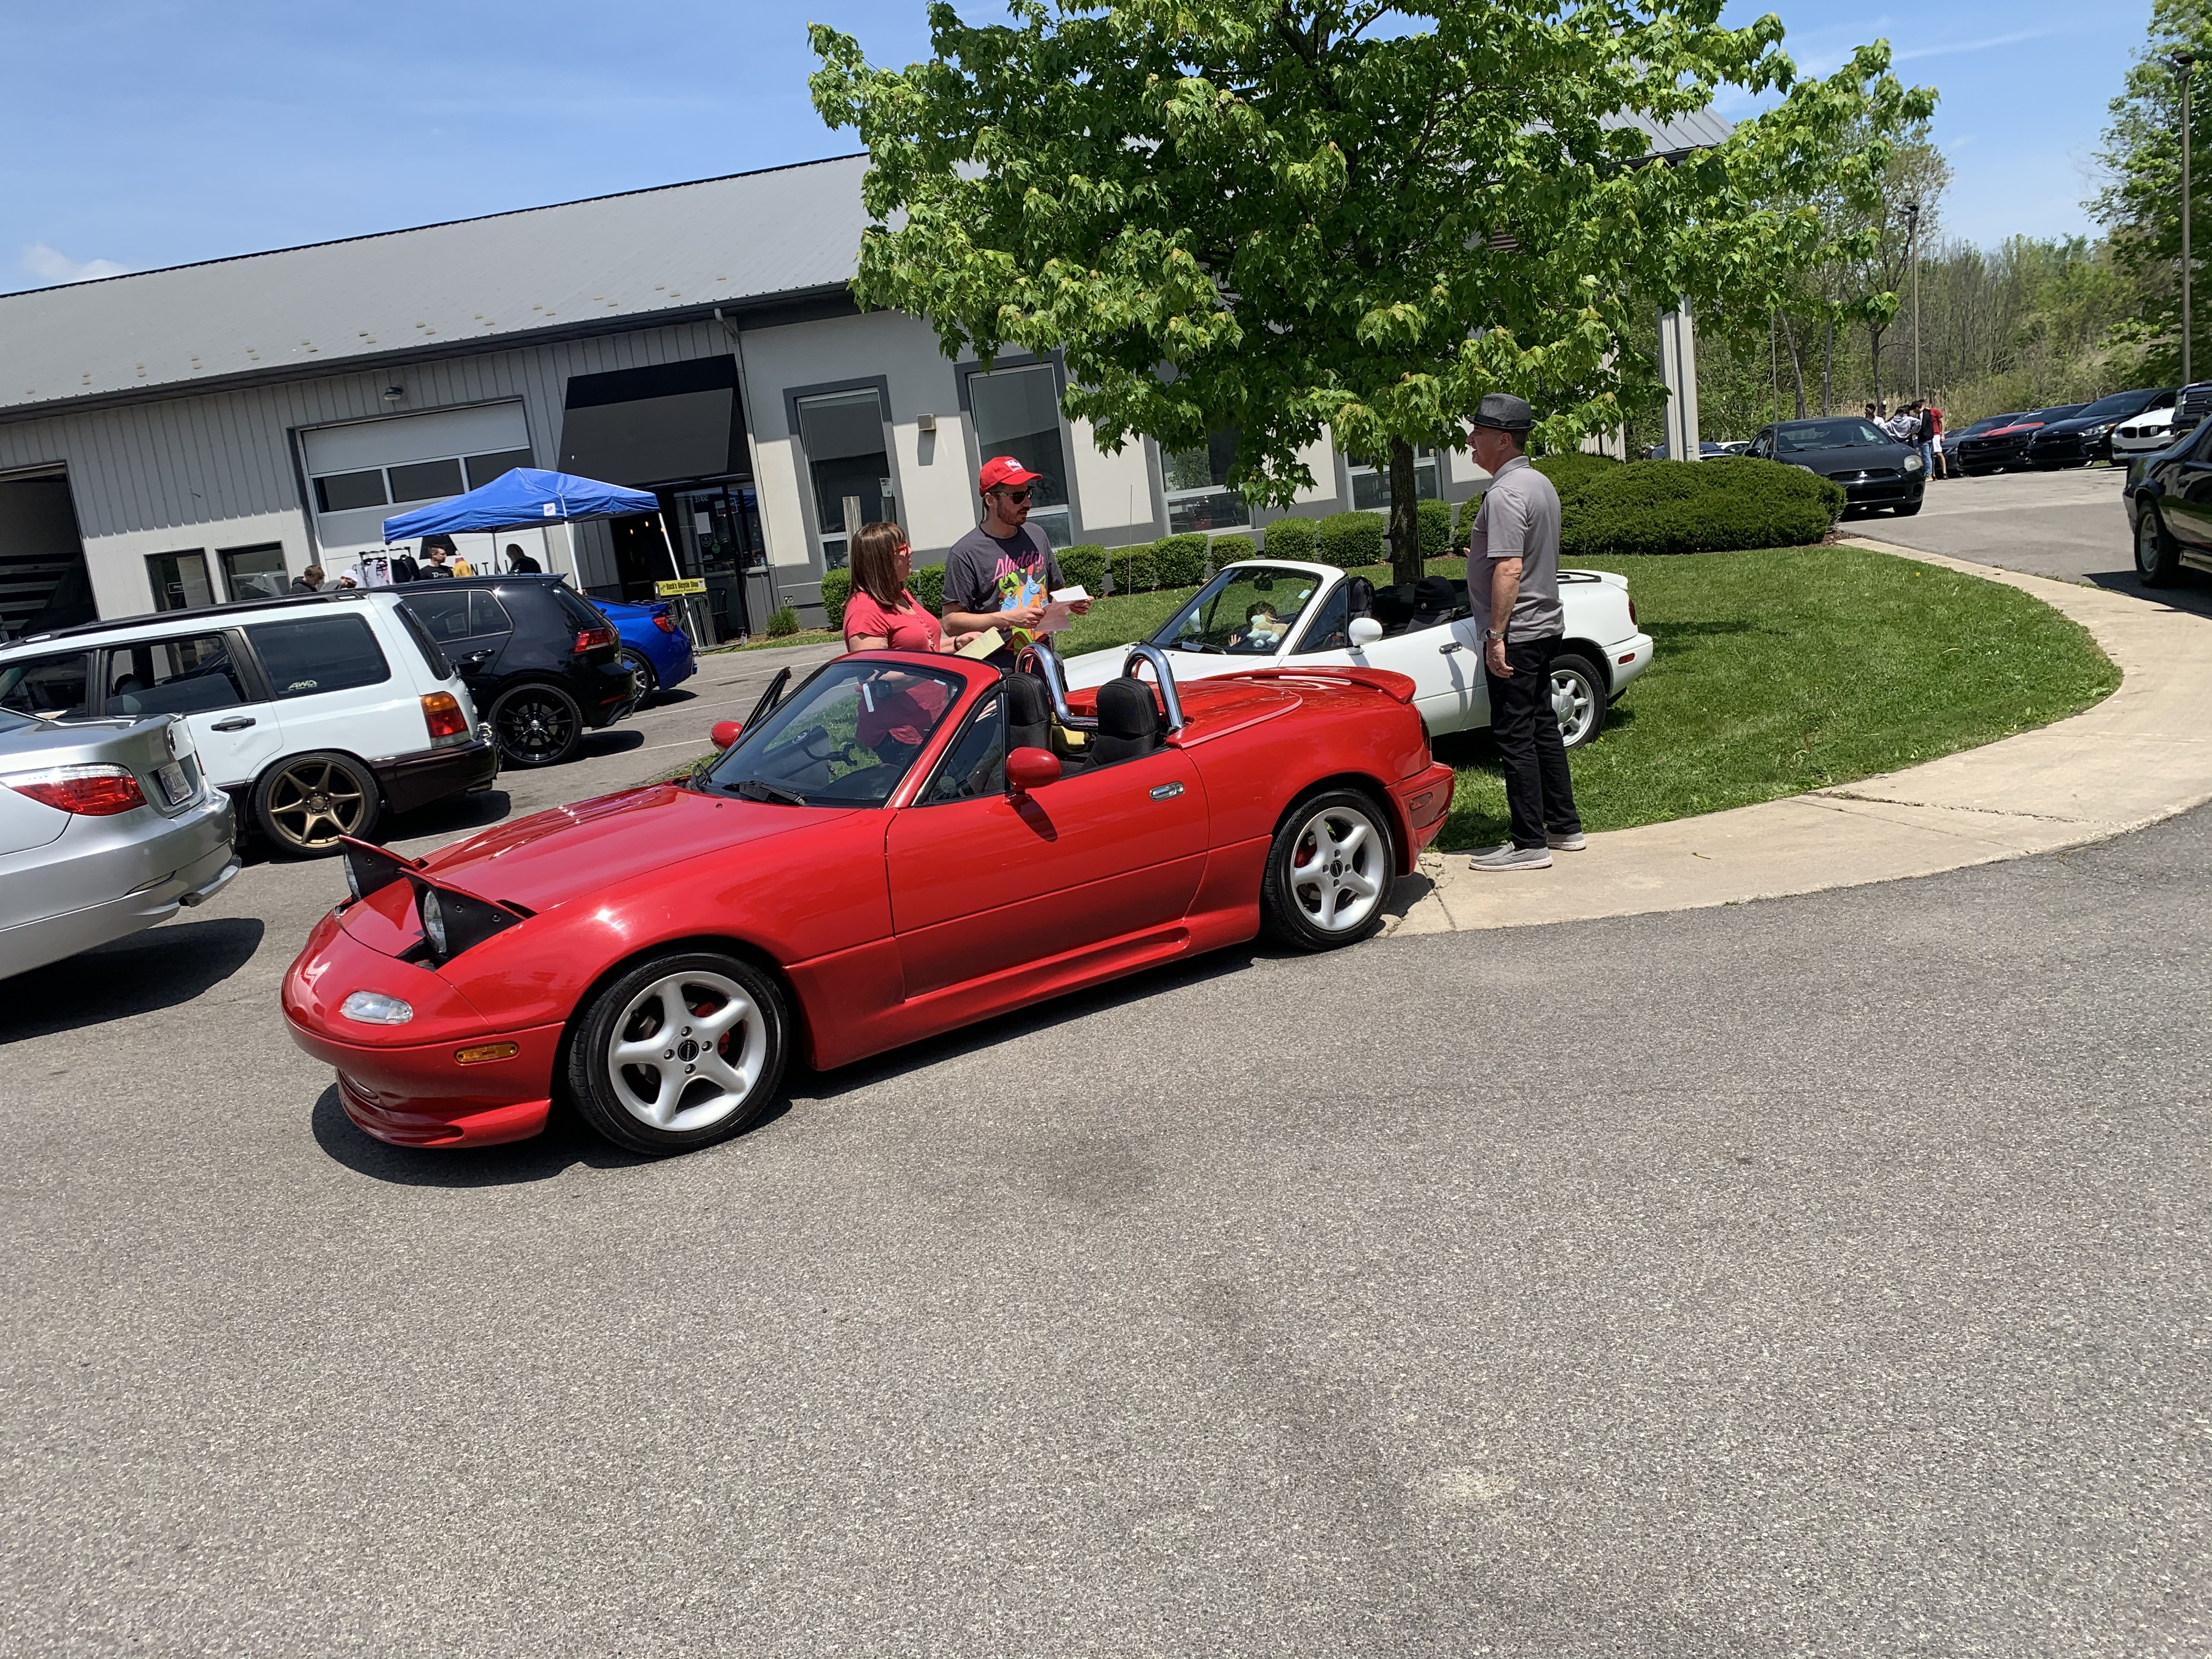
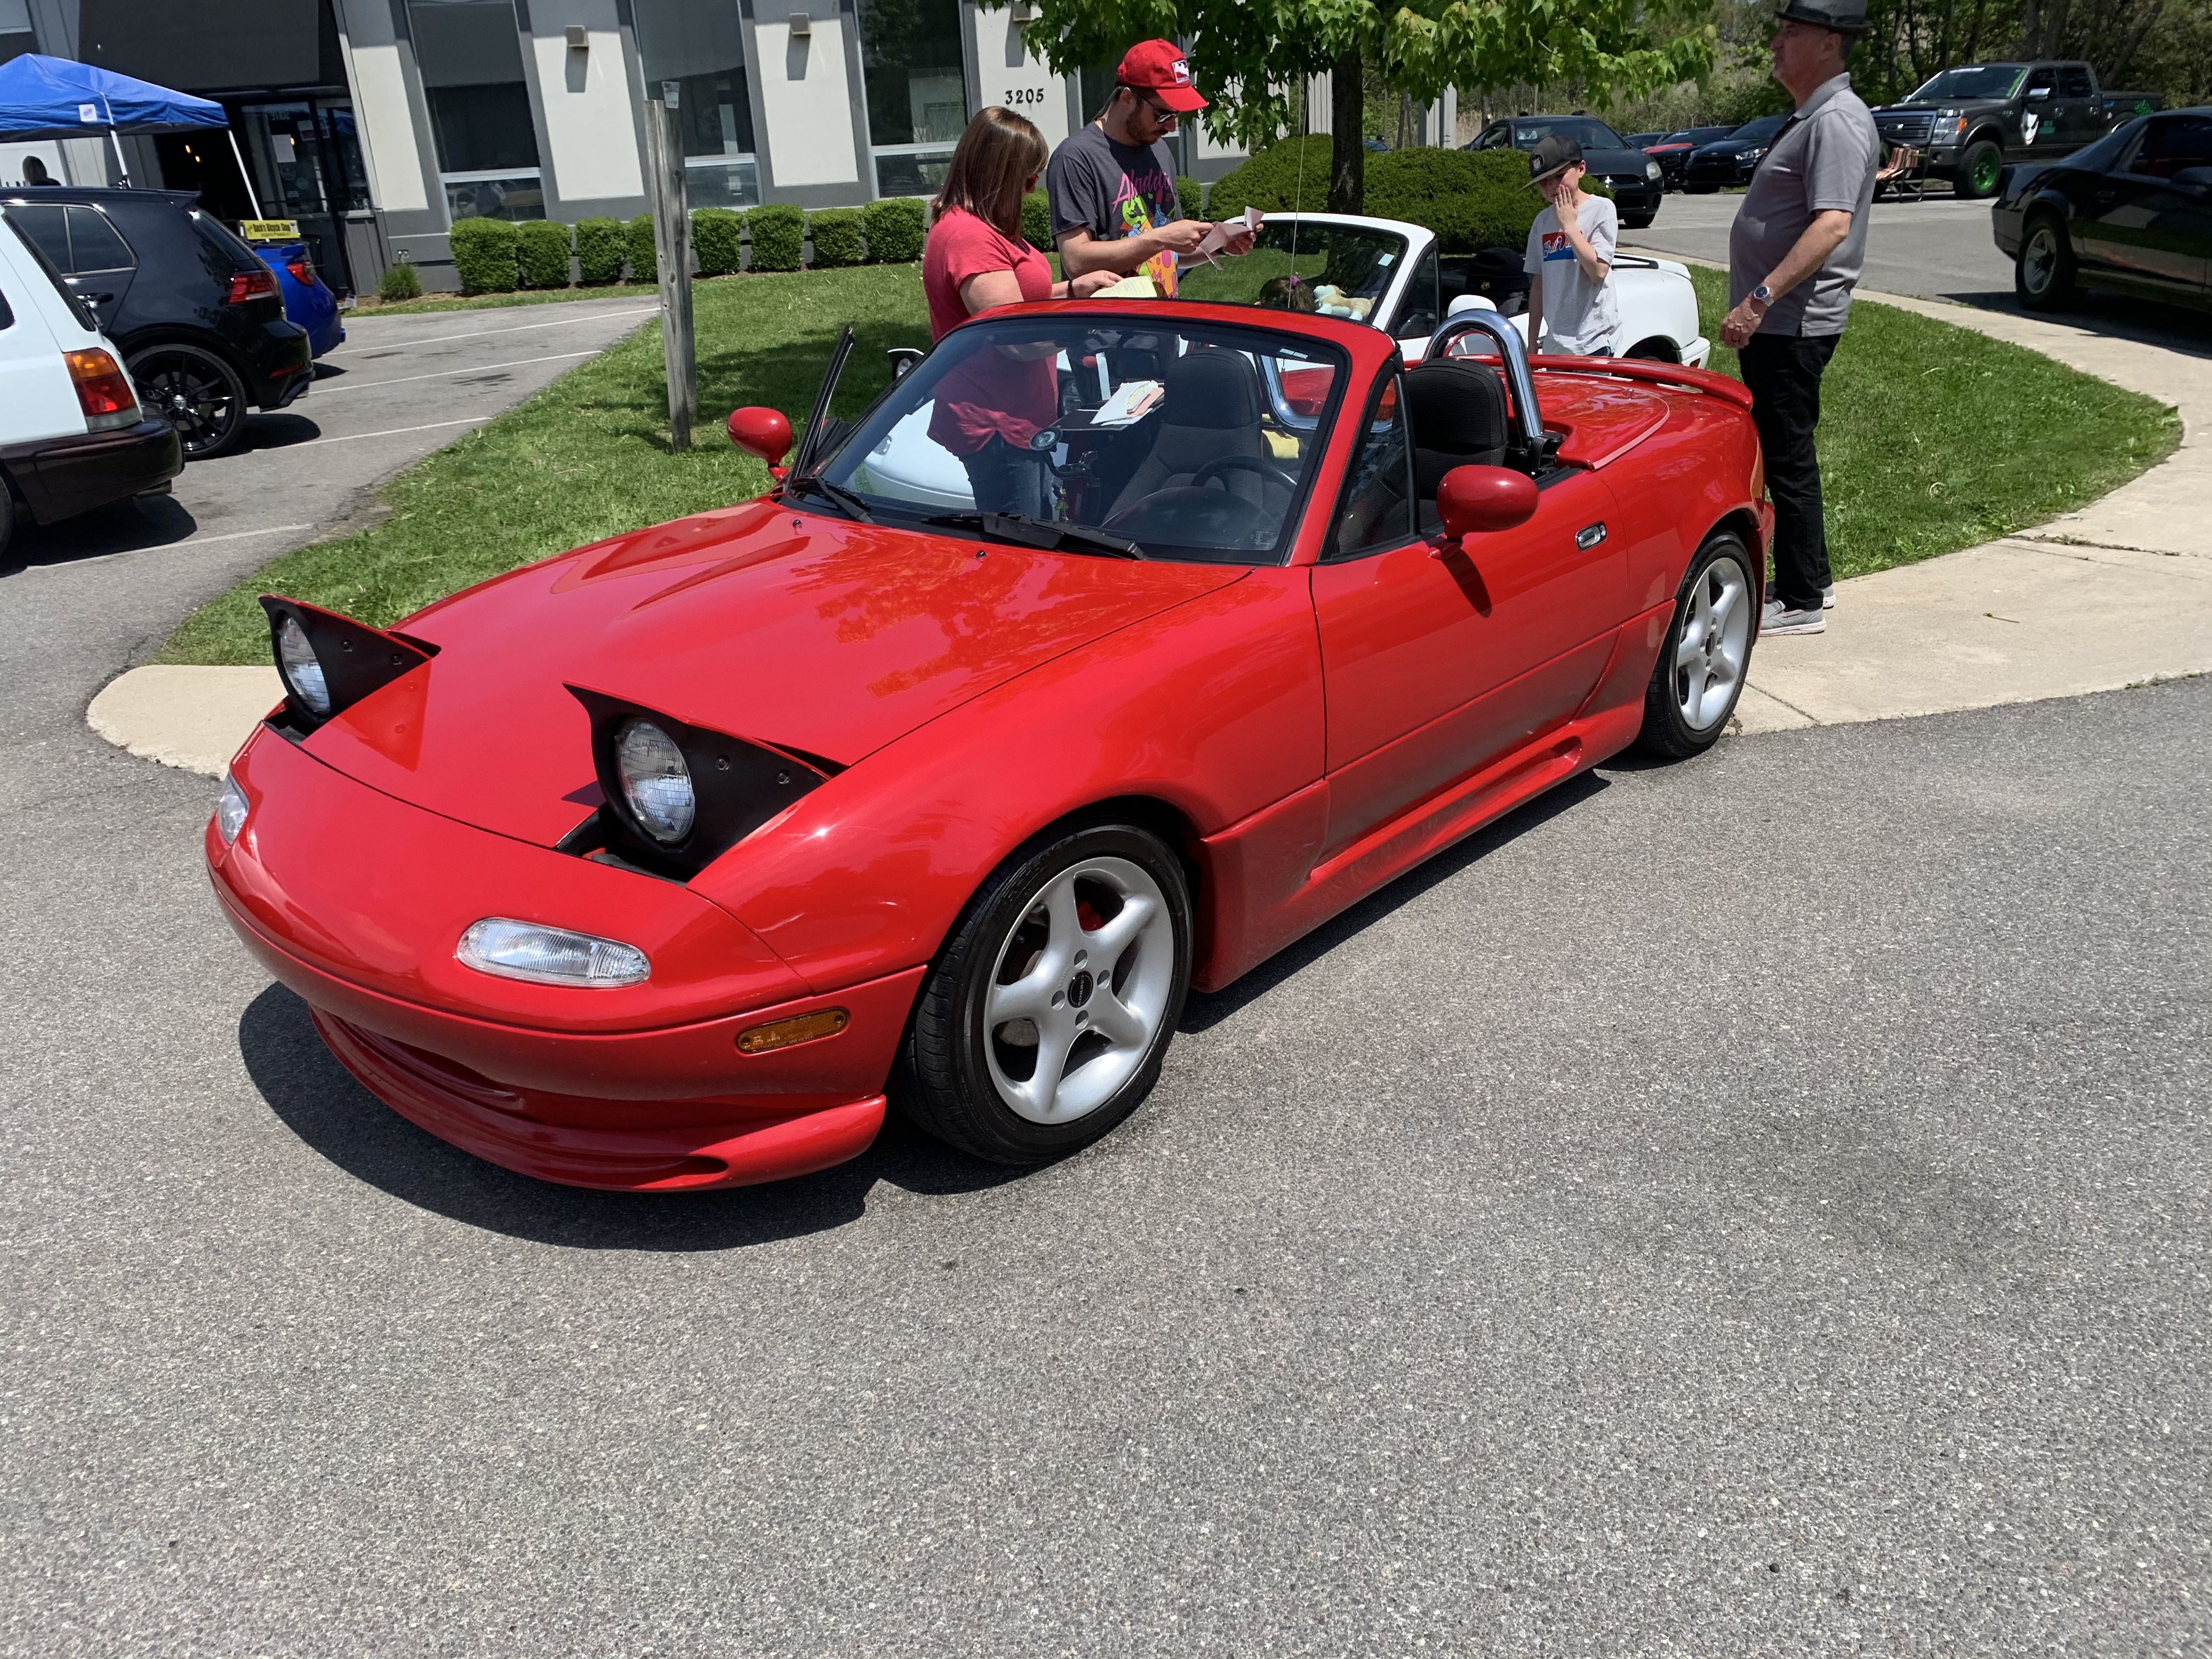
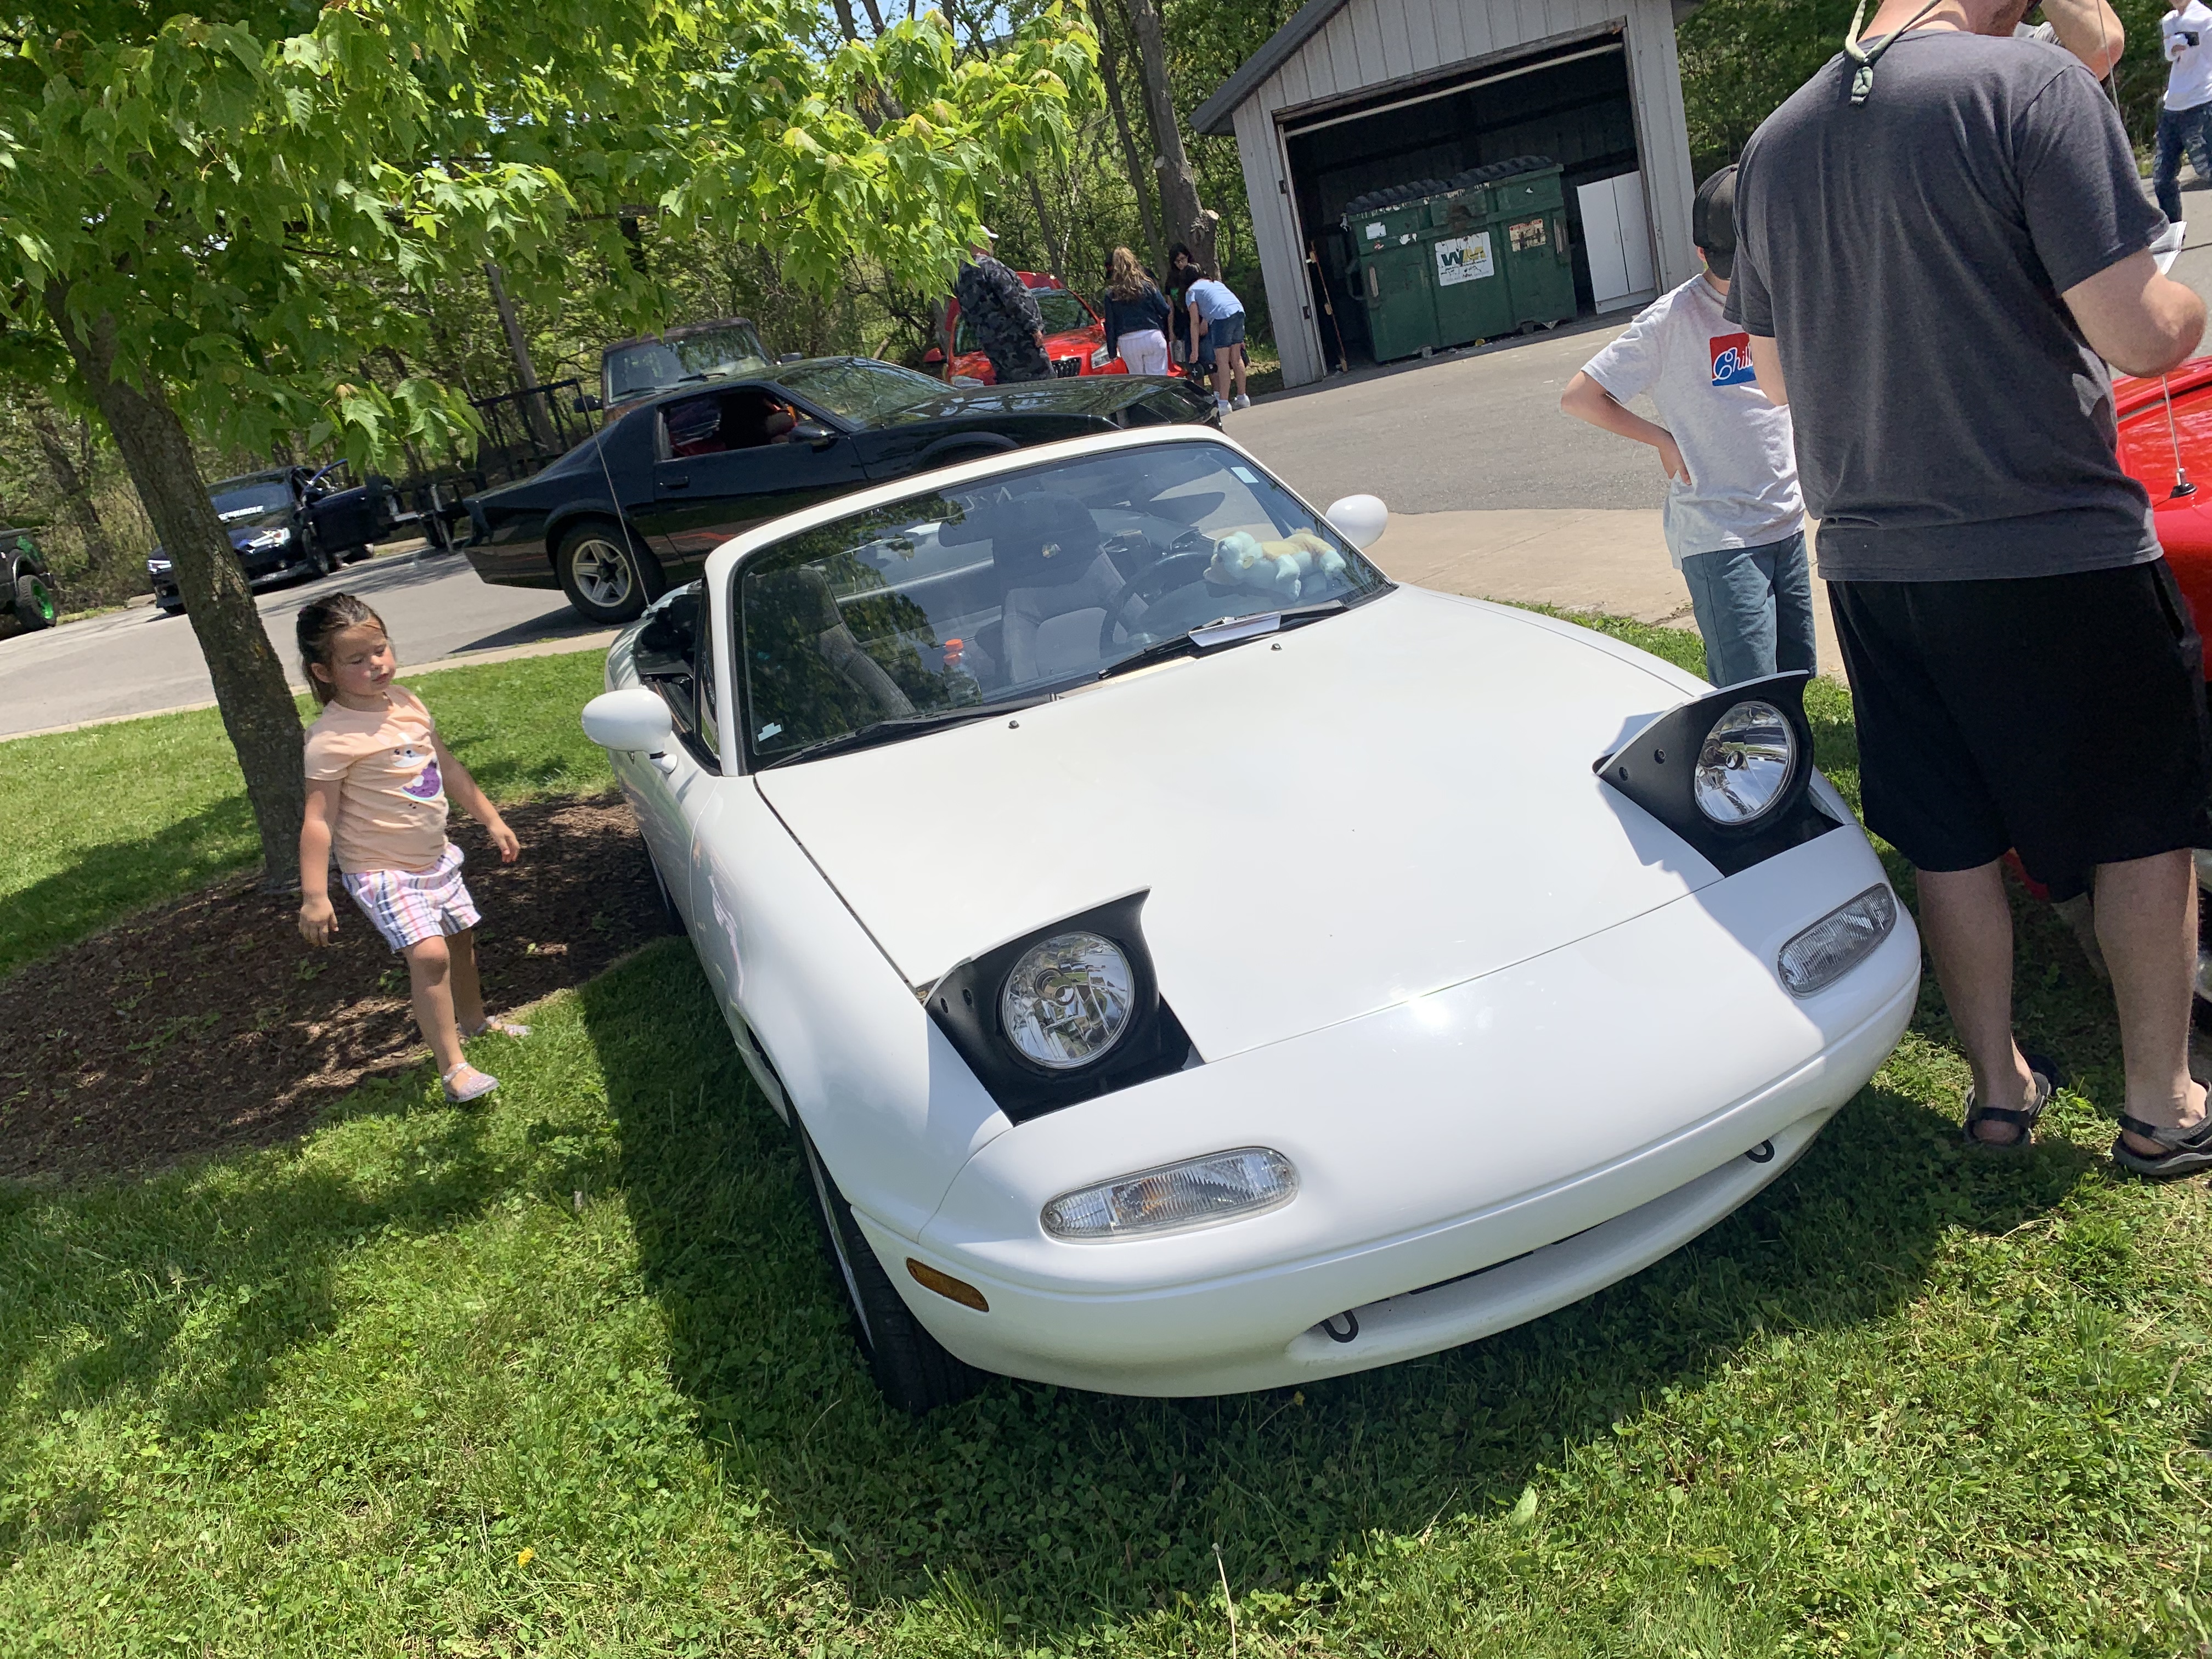
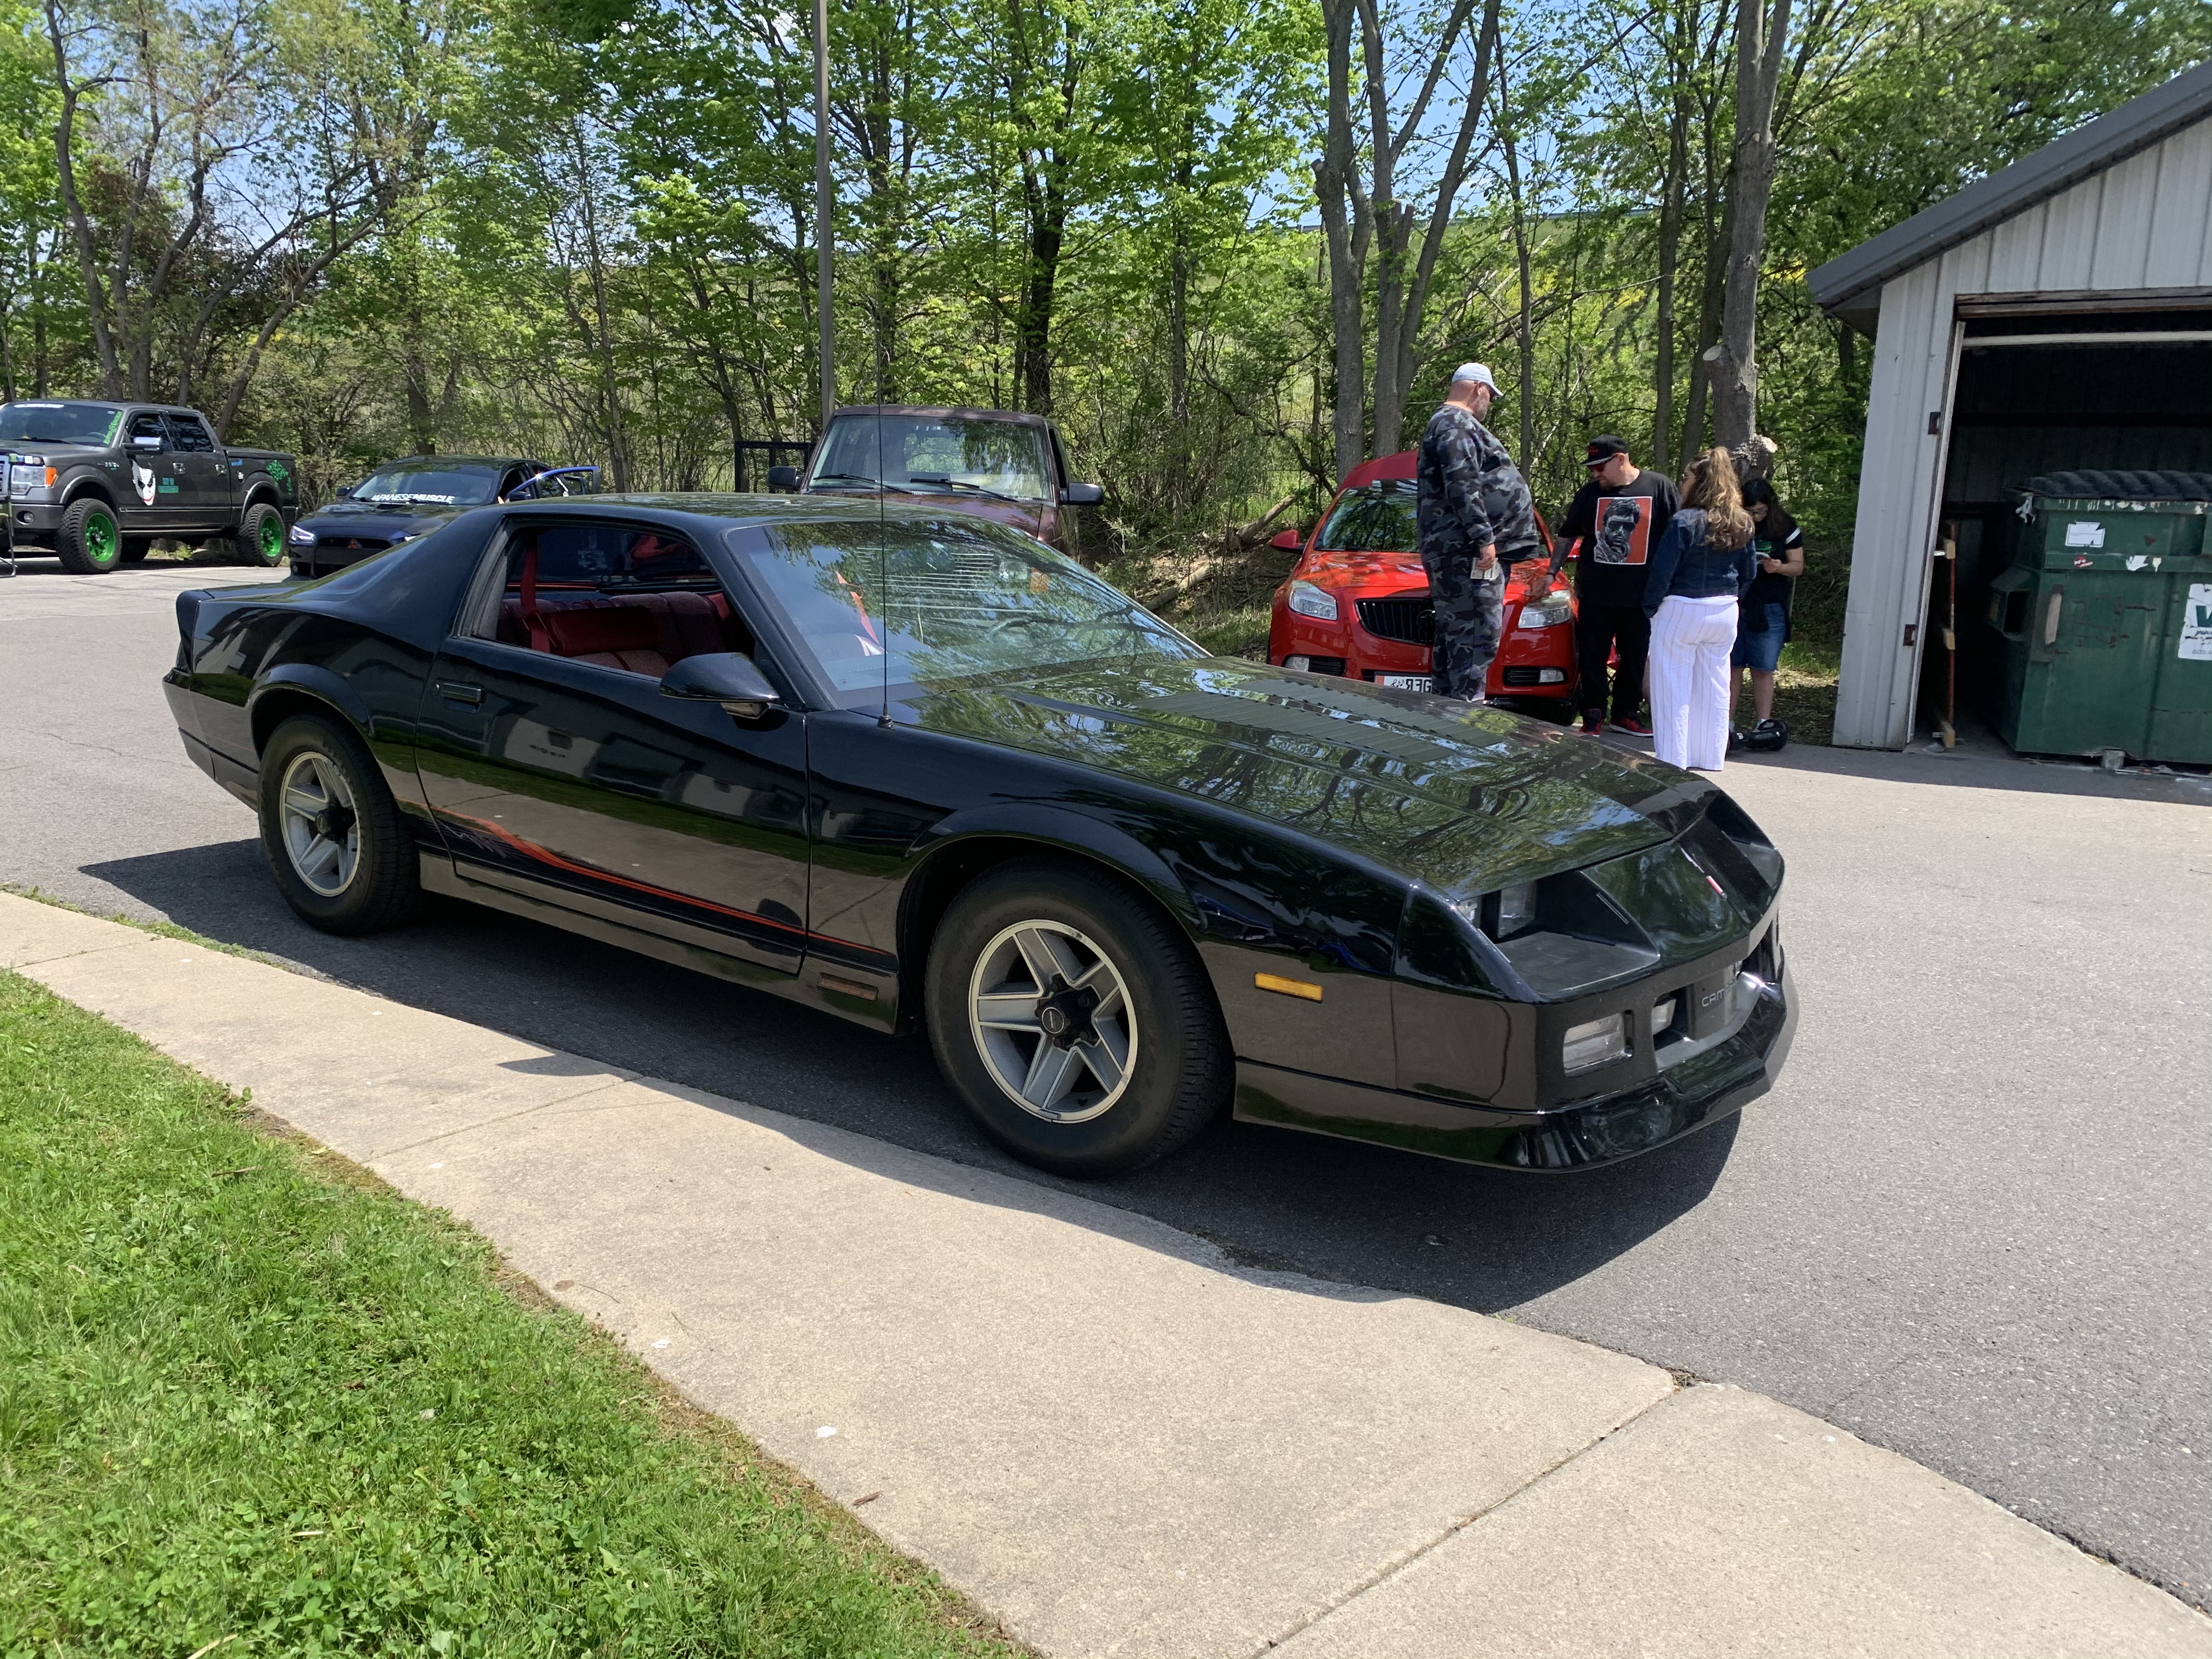
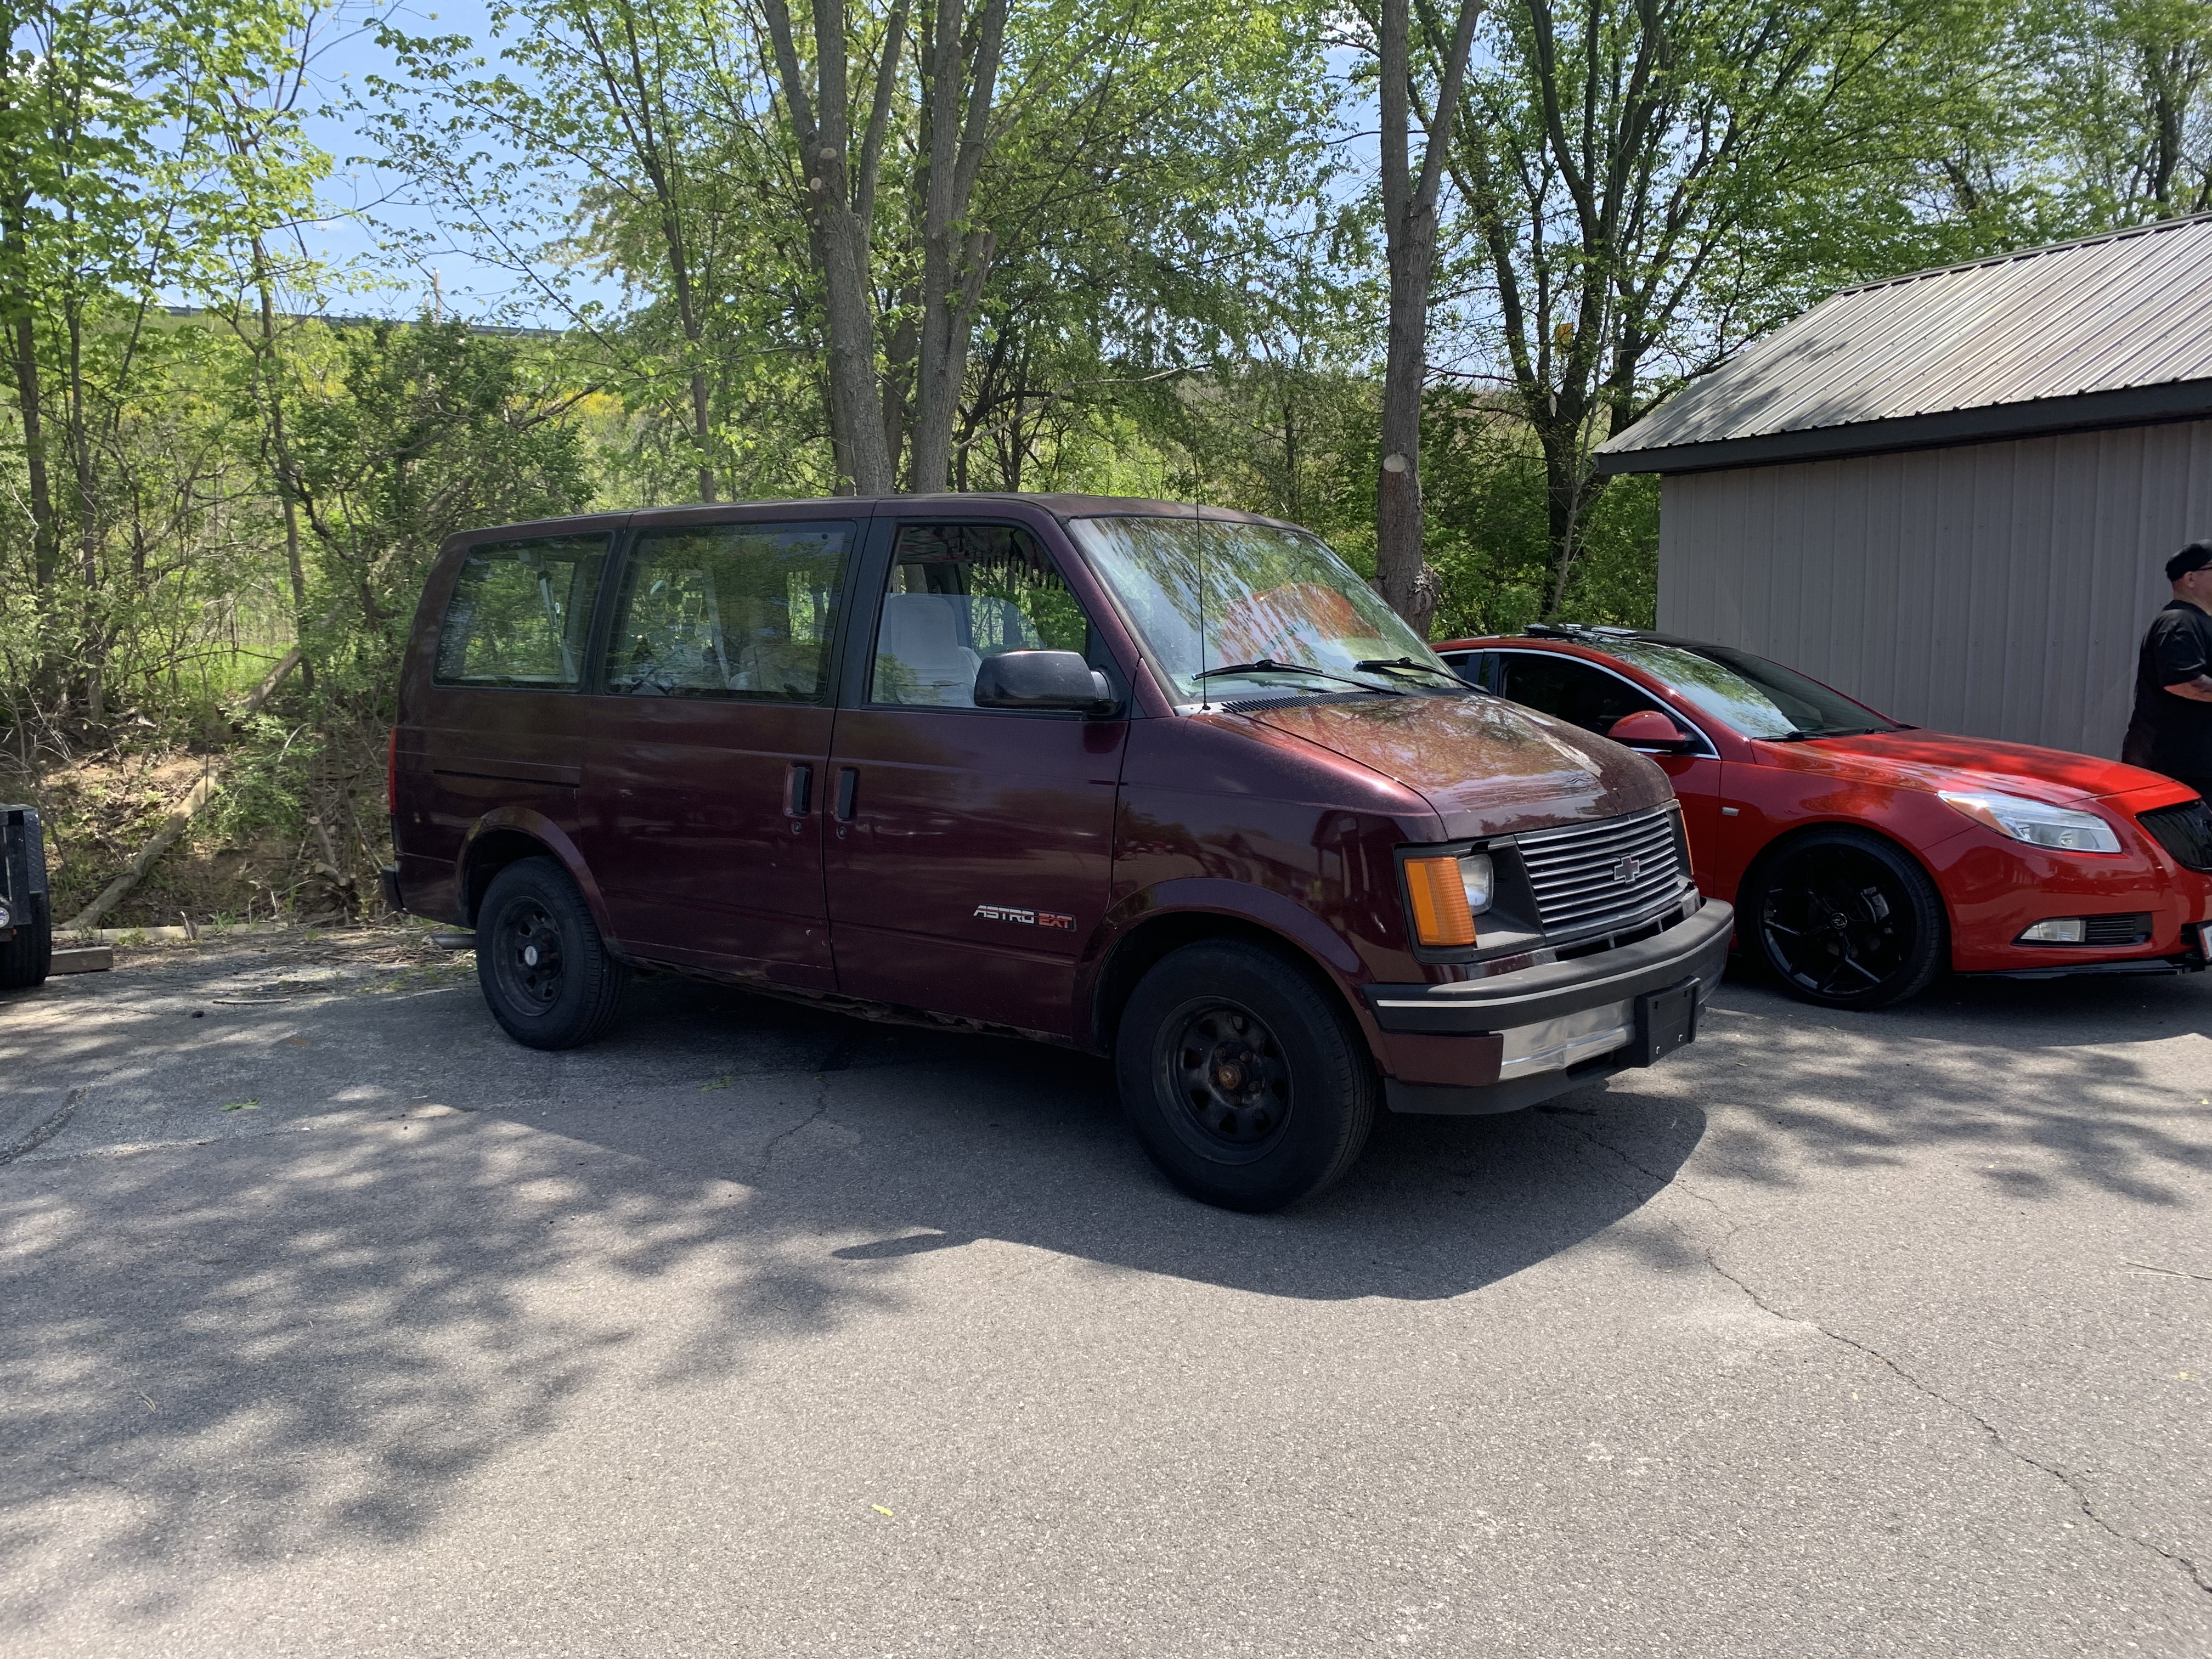
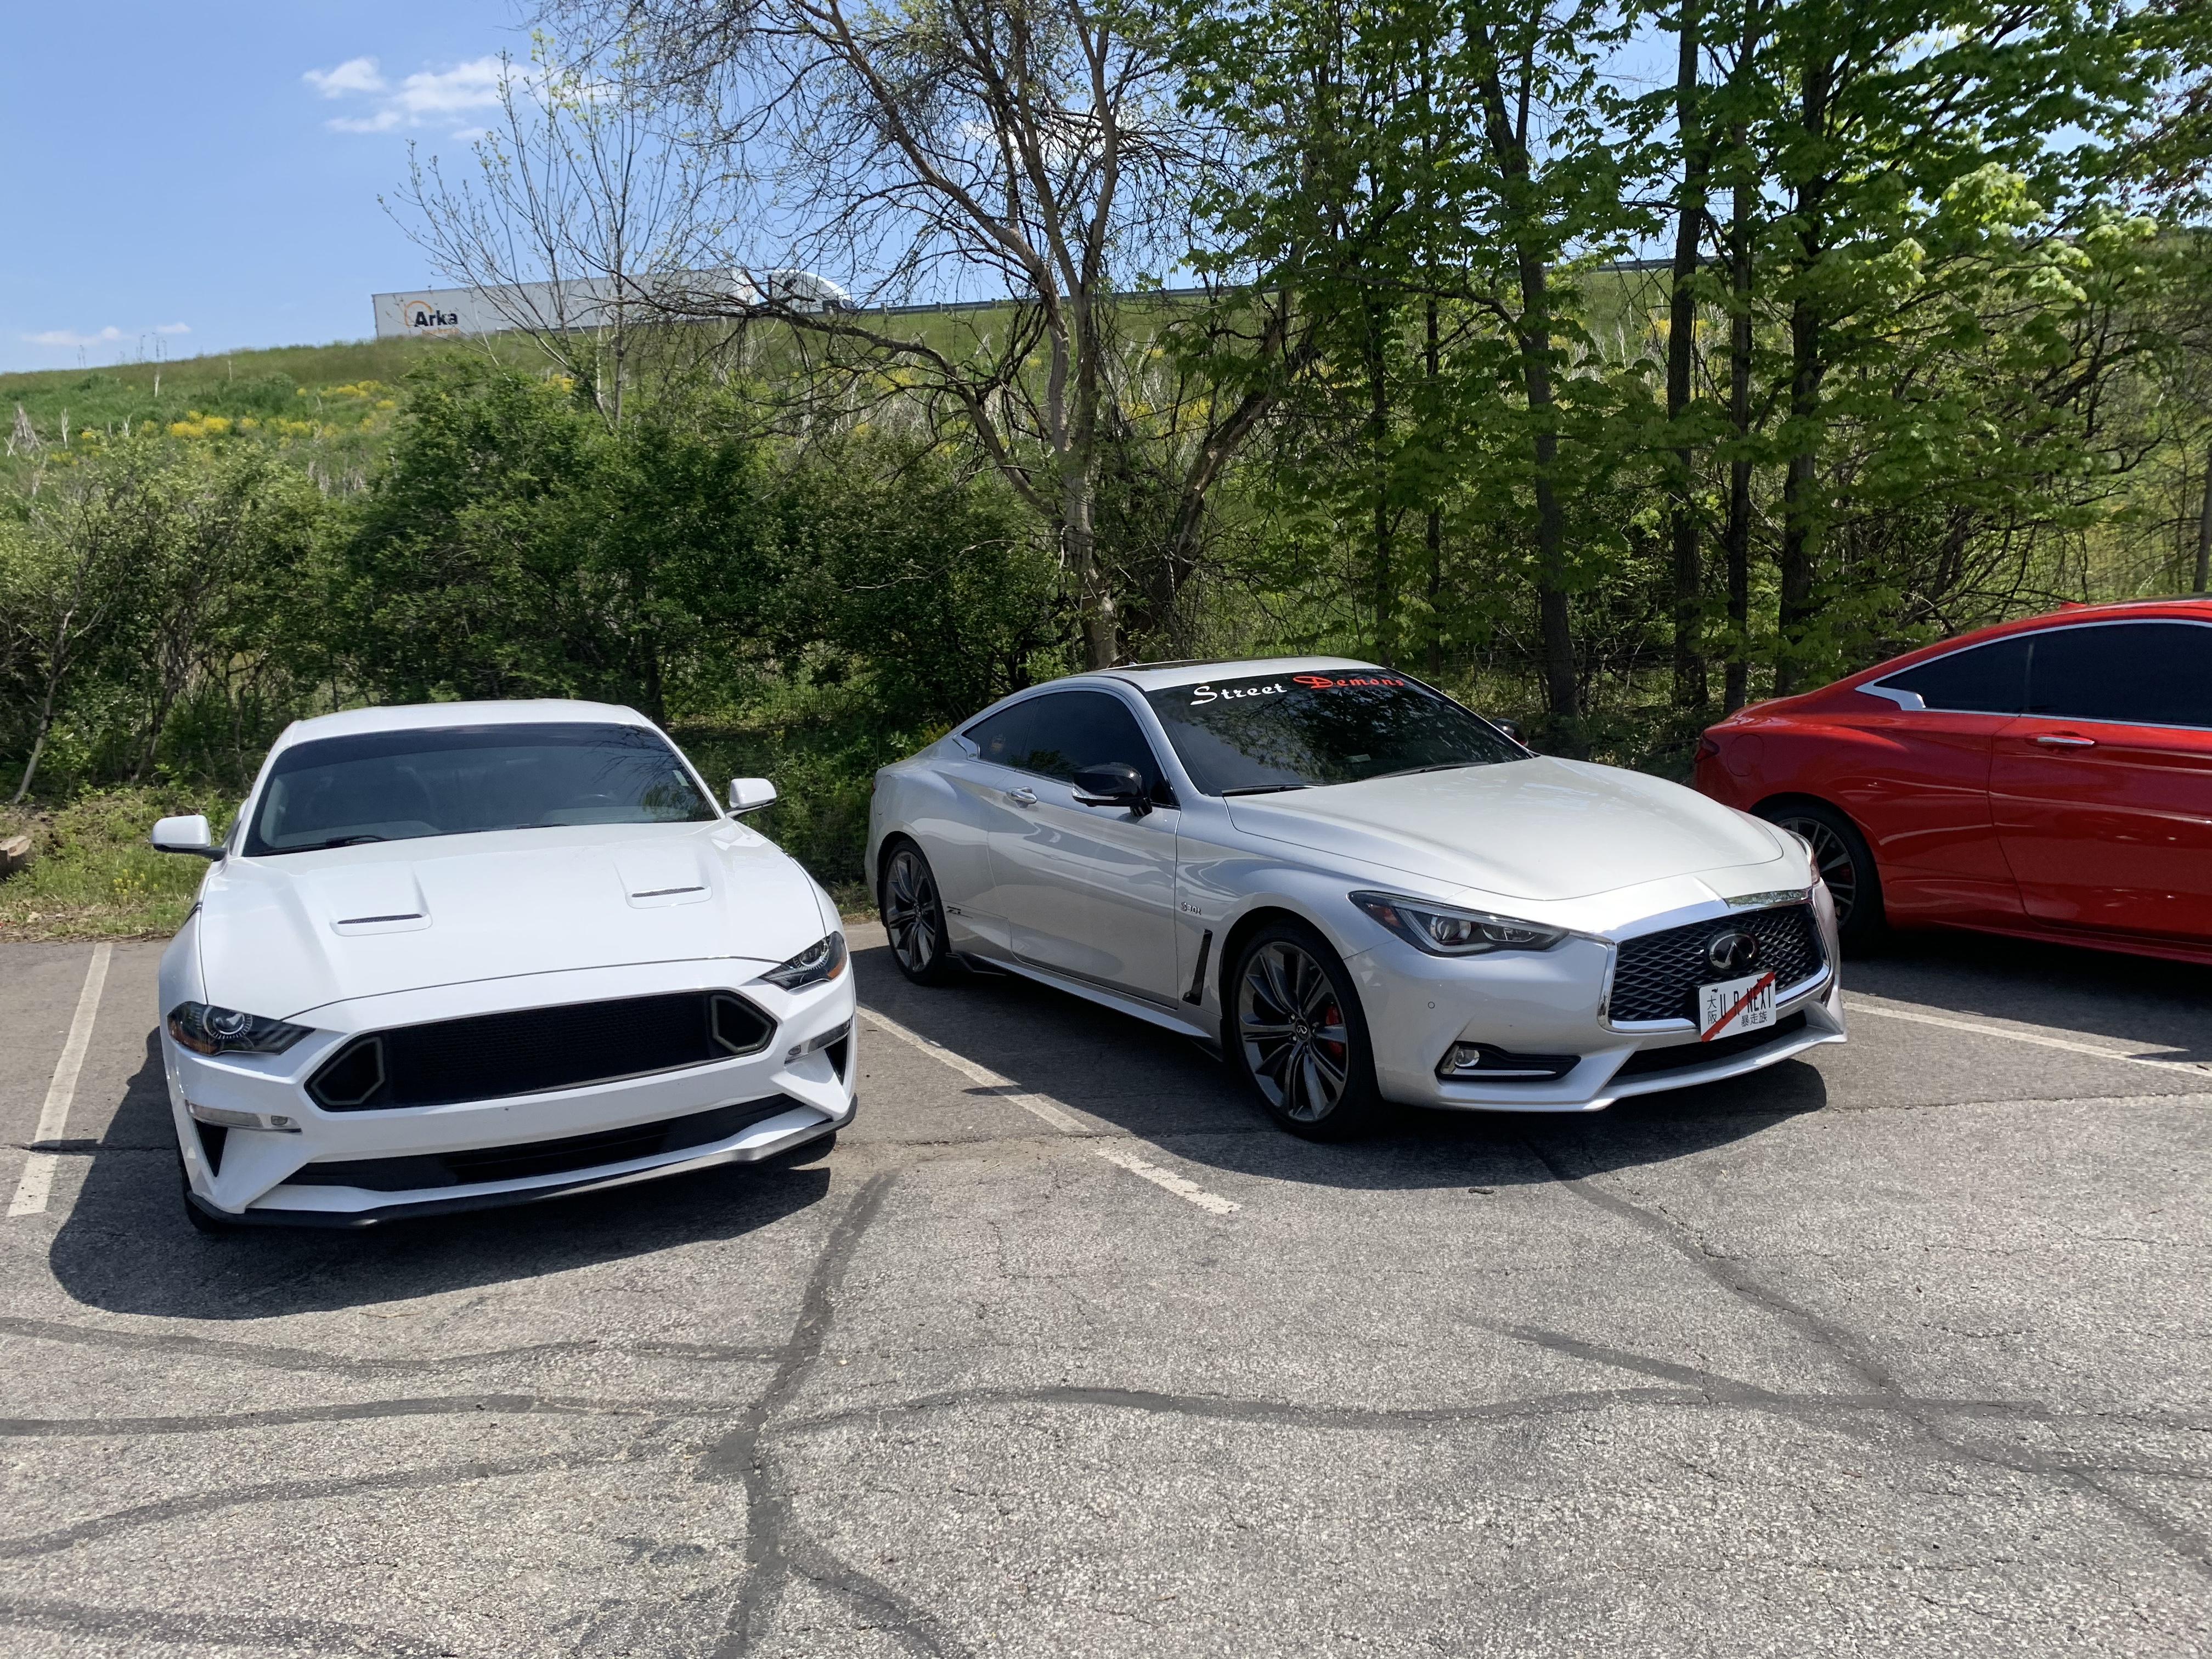
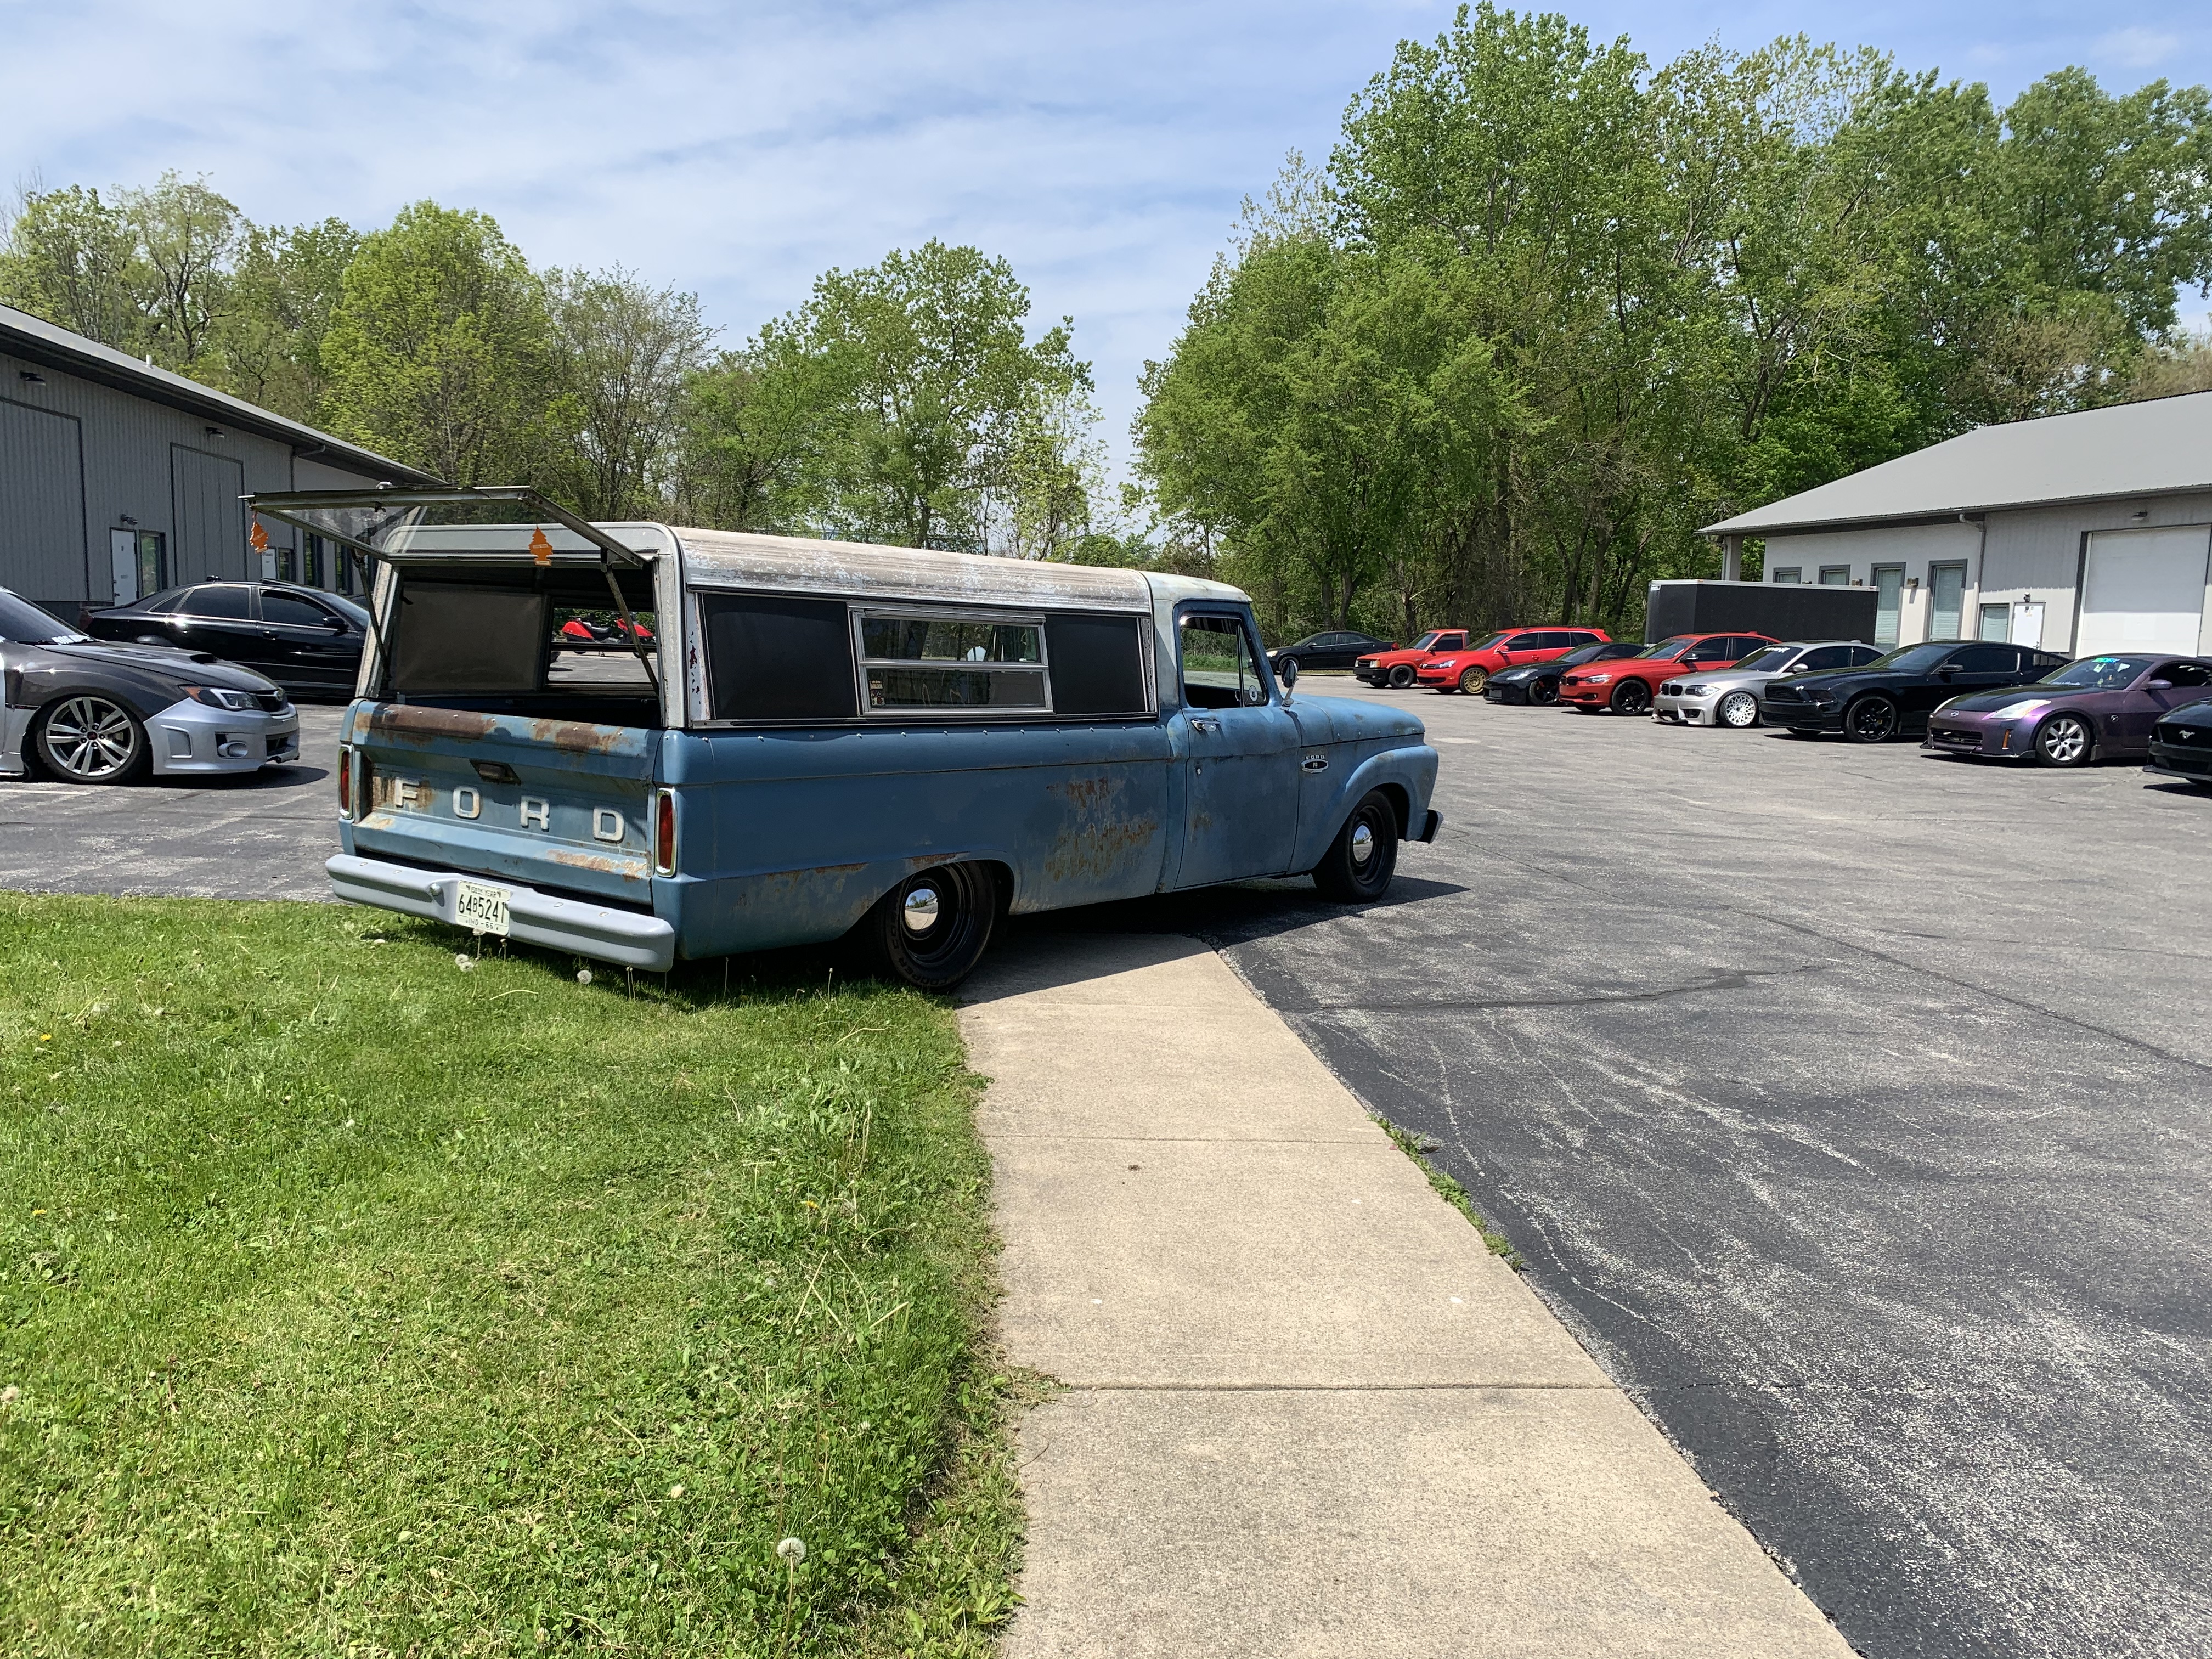
Stumbled upon this this morning, on my way to grab some groceries - not the biggest meetup but some interesting stuff to see!
-
They’d never be able to park that in NYC ?
-
Can you slice a little off the linkages and drill those circular end pieces out so you can glue them back on? It’s looking great so far!
-
Pavement Modified Vega build
OldNYJim replied to OldNYJim's topic in WIP: Stock Cars (NASCAR, Super Stock, Late Model, etc.)
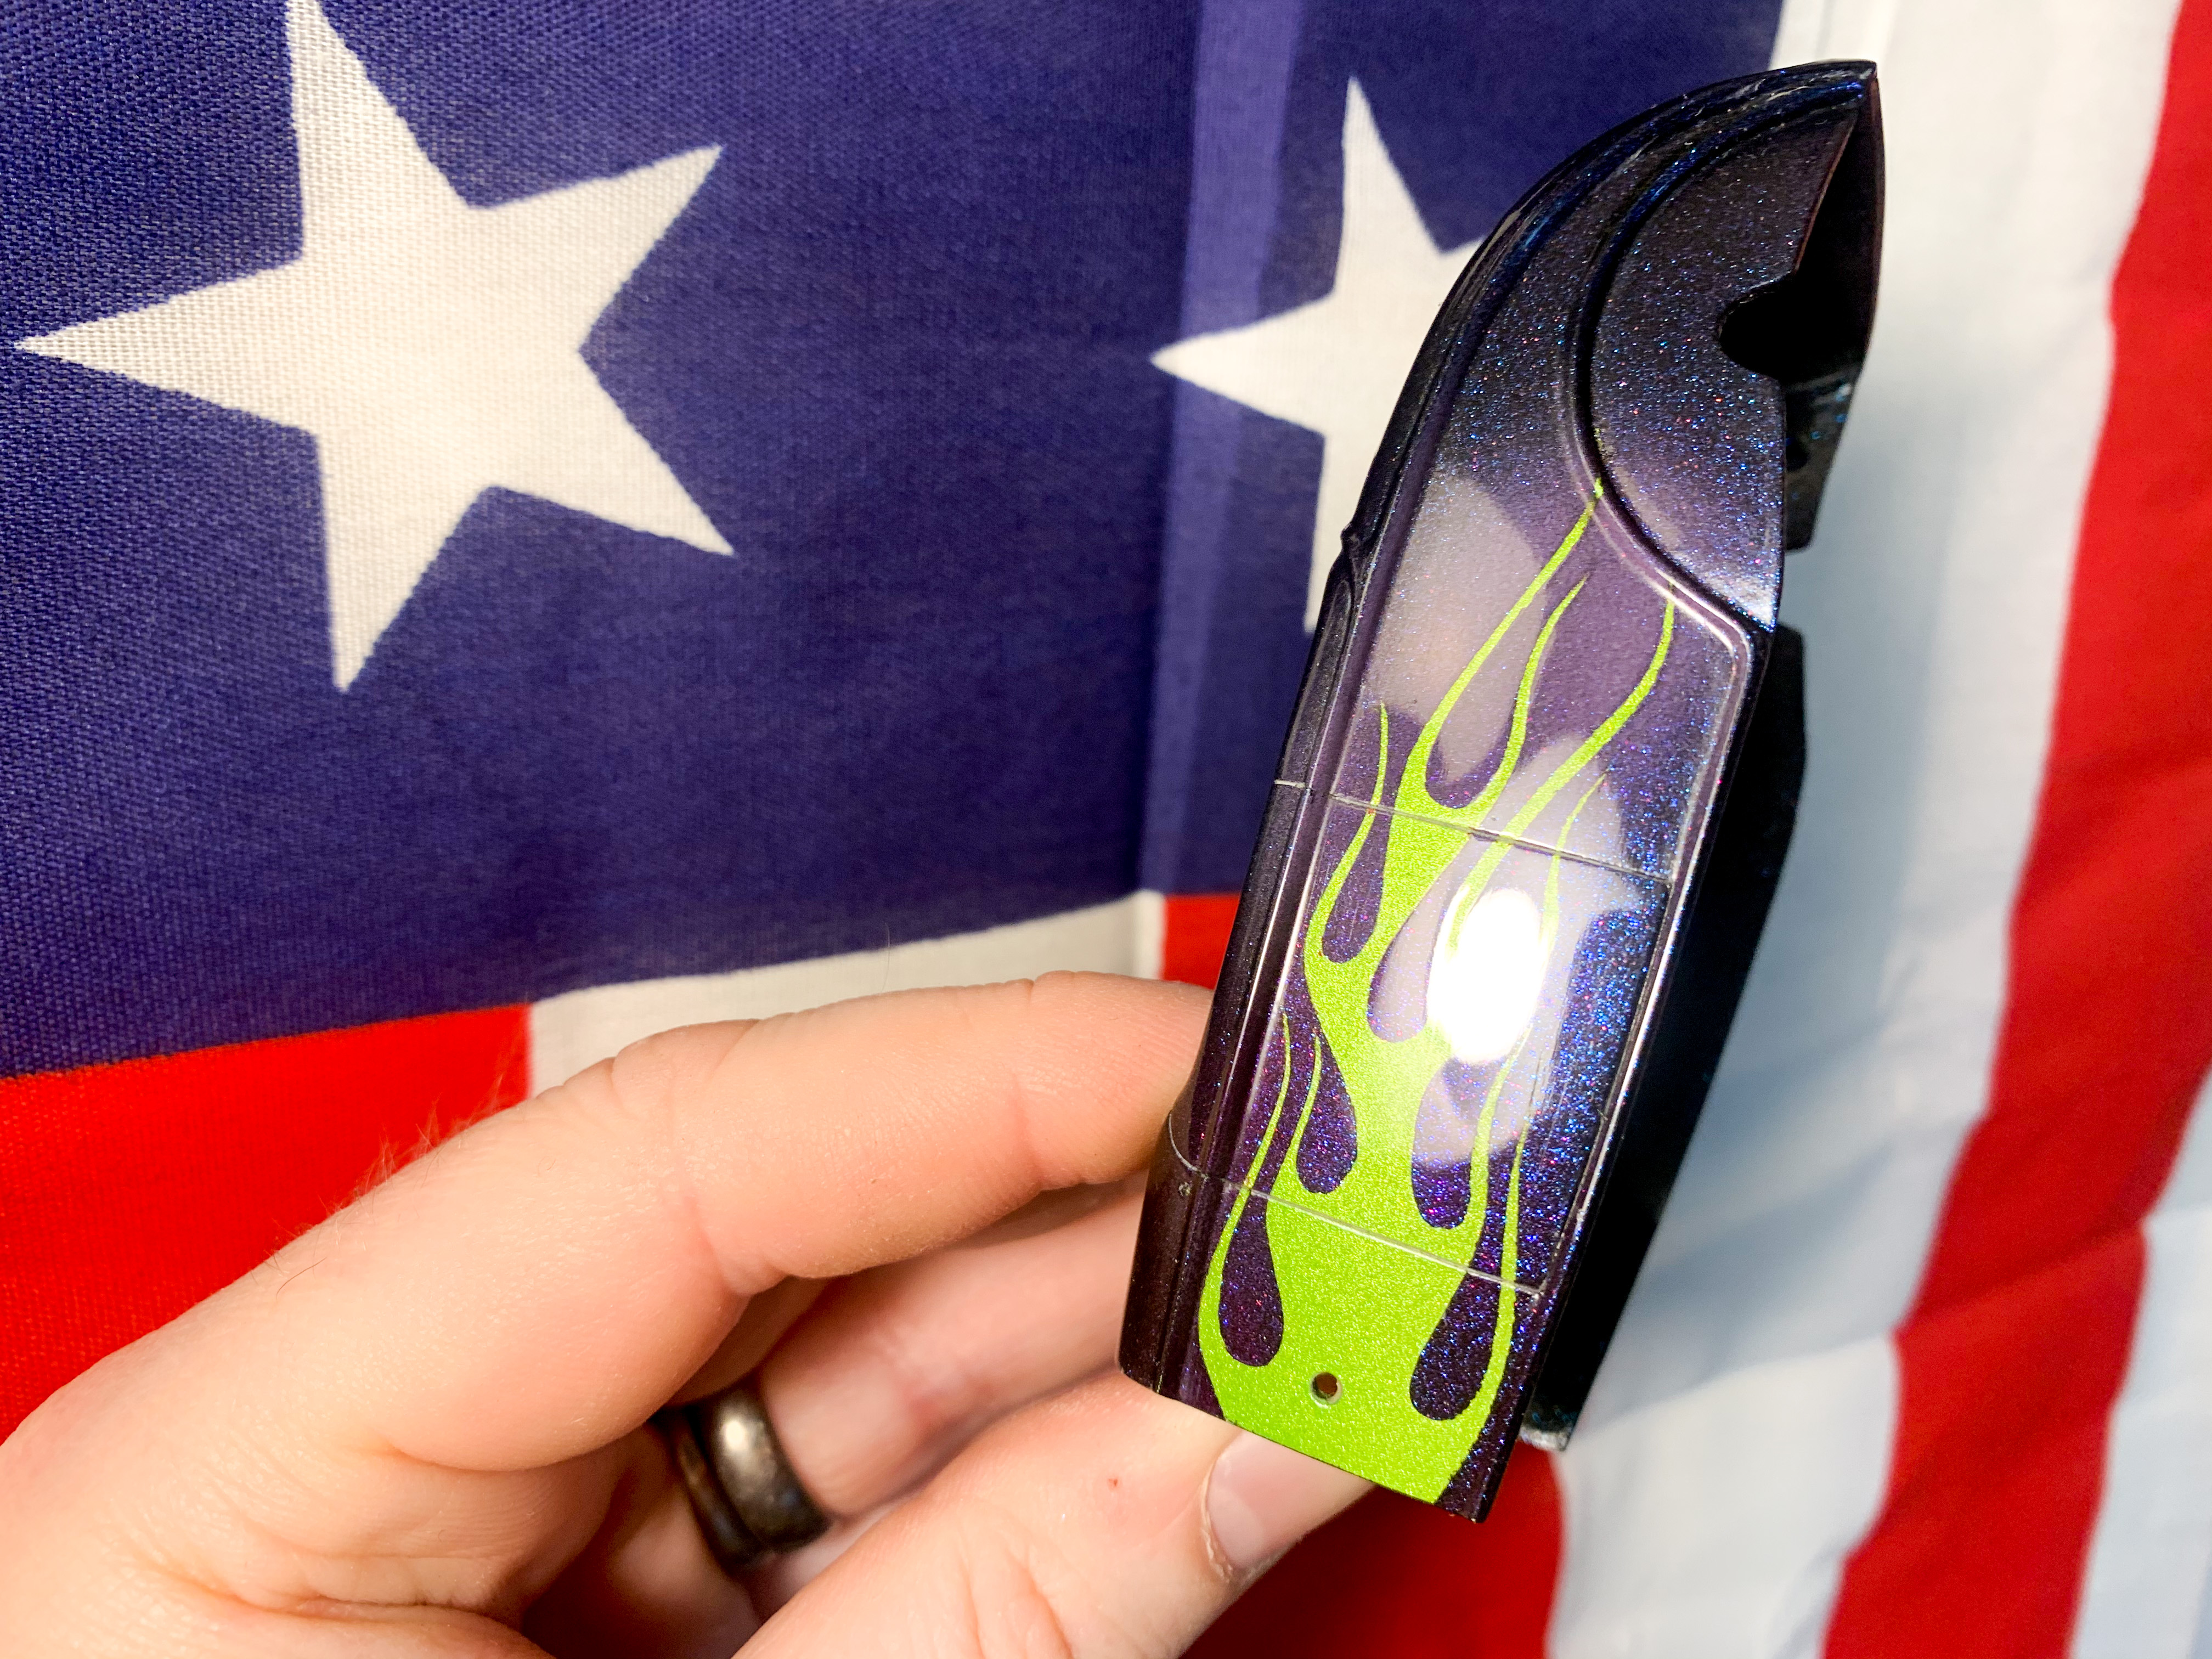
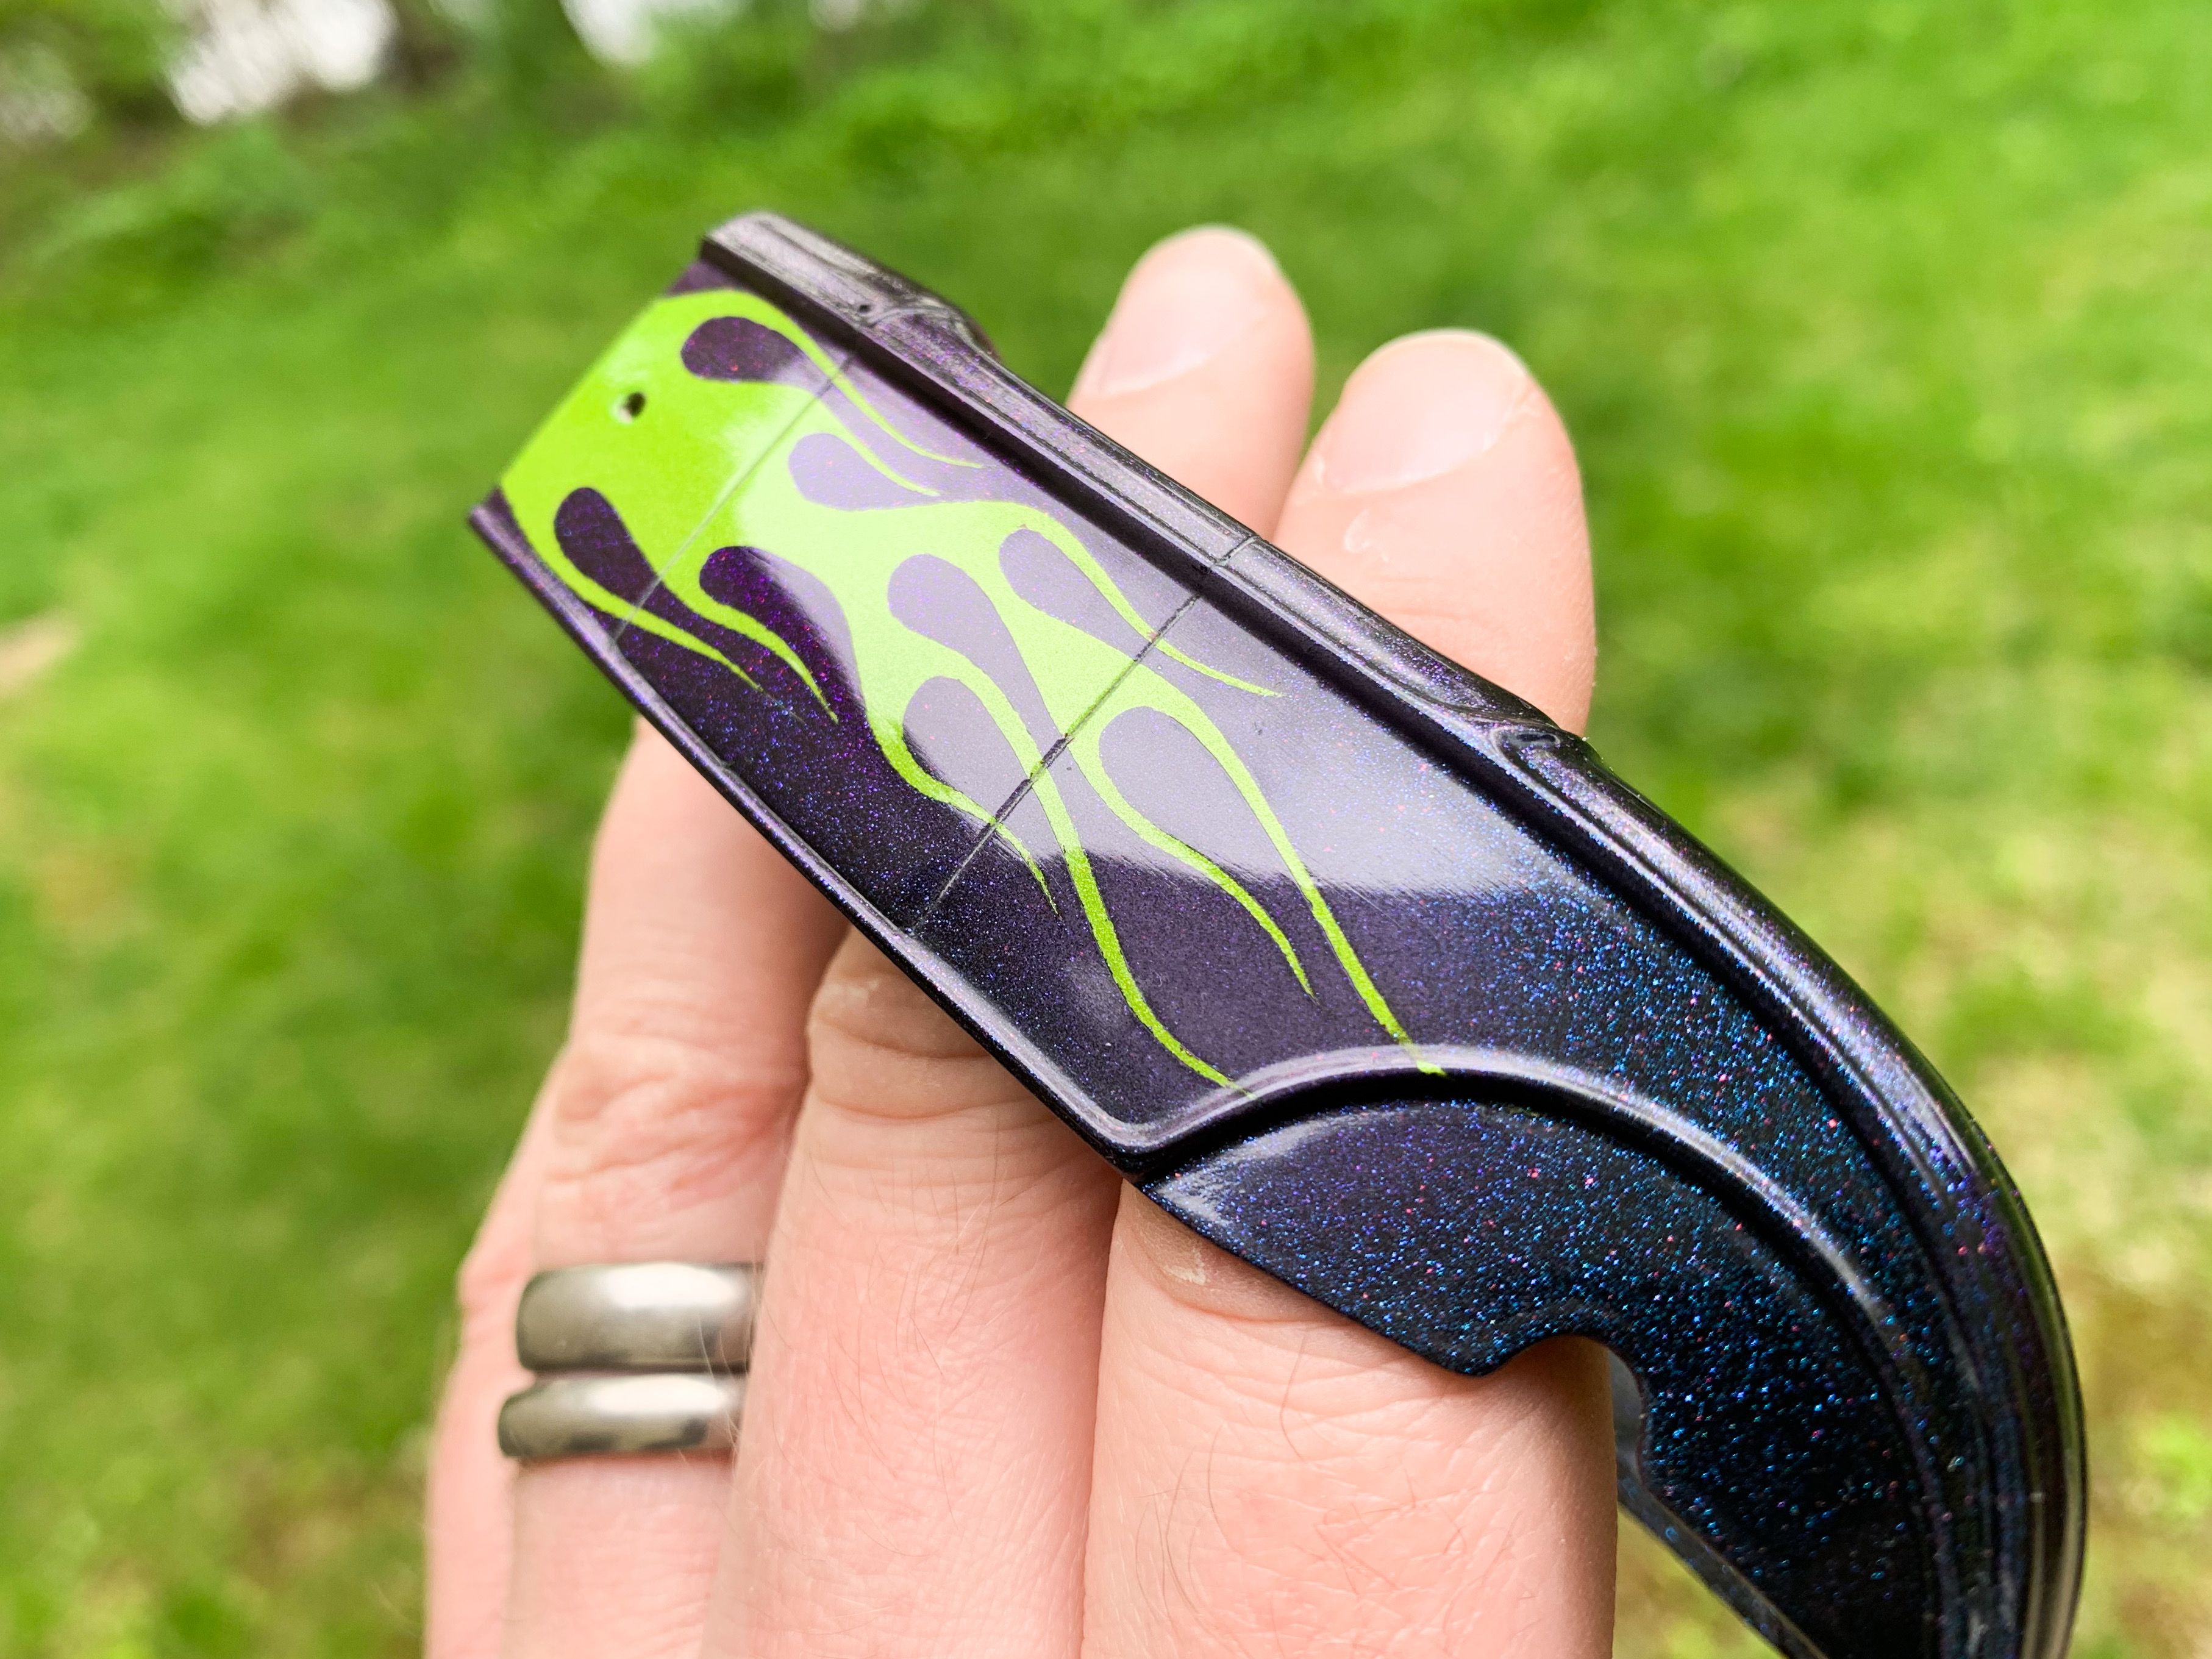
Yes sir! Just cut on my little Silhouette cutter! They’re, like, $120 but they’re an AMAZING tool for the money! -
“Joker Is Wild” - AMT / Revell 32 Roadster Kitbash for DSC
OldNYJim replied to OldNYJim's topic in WIP: Model Cars
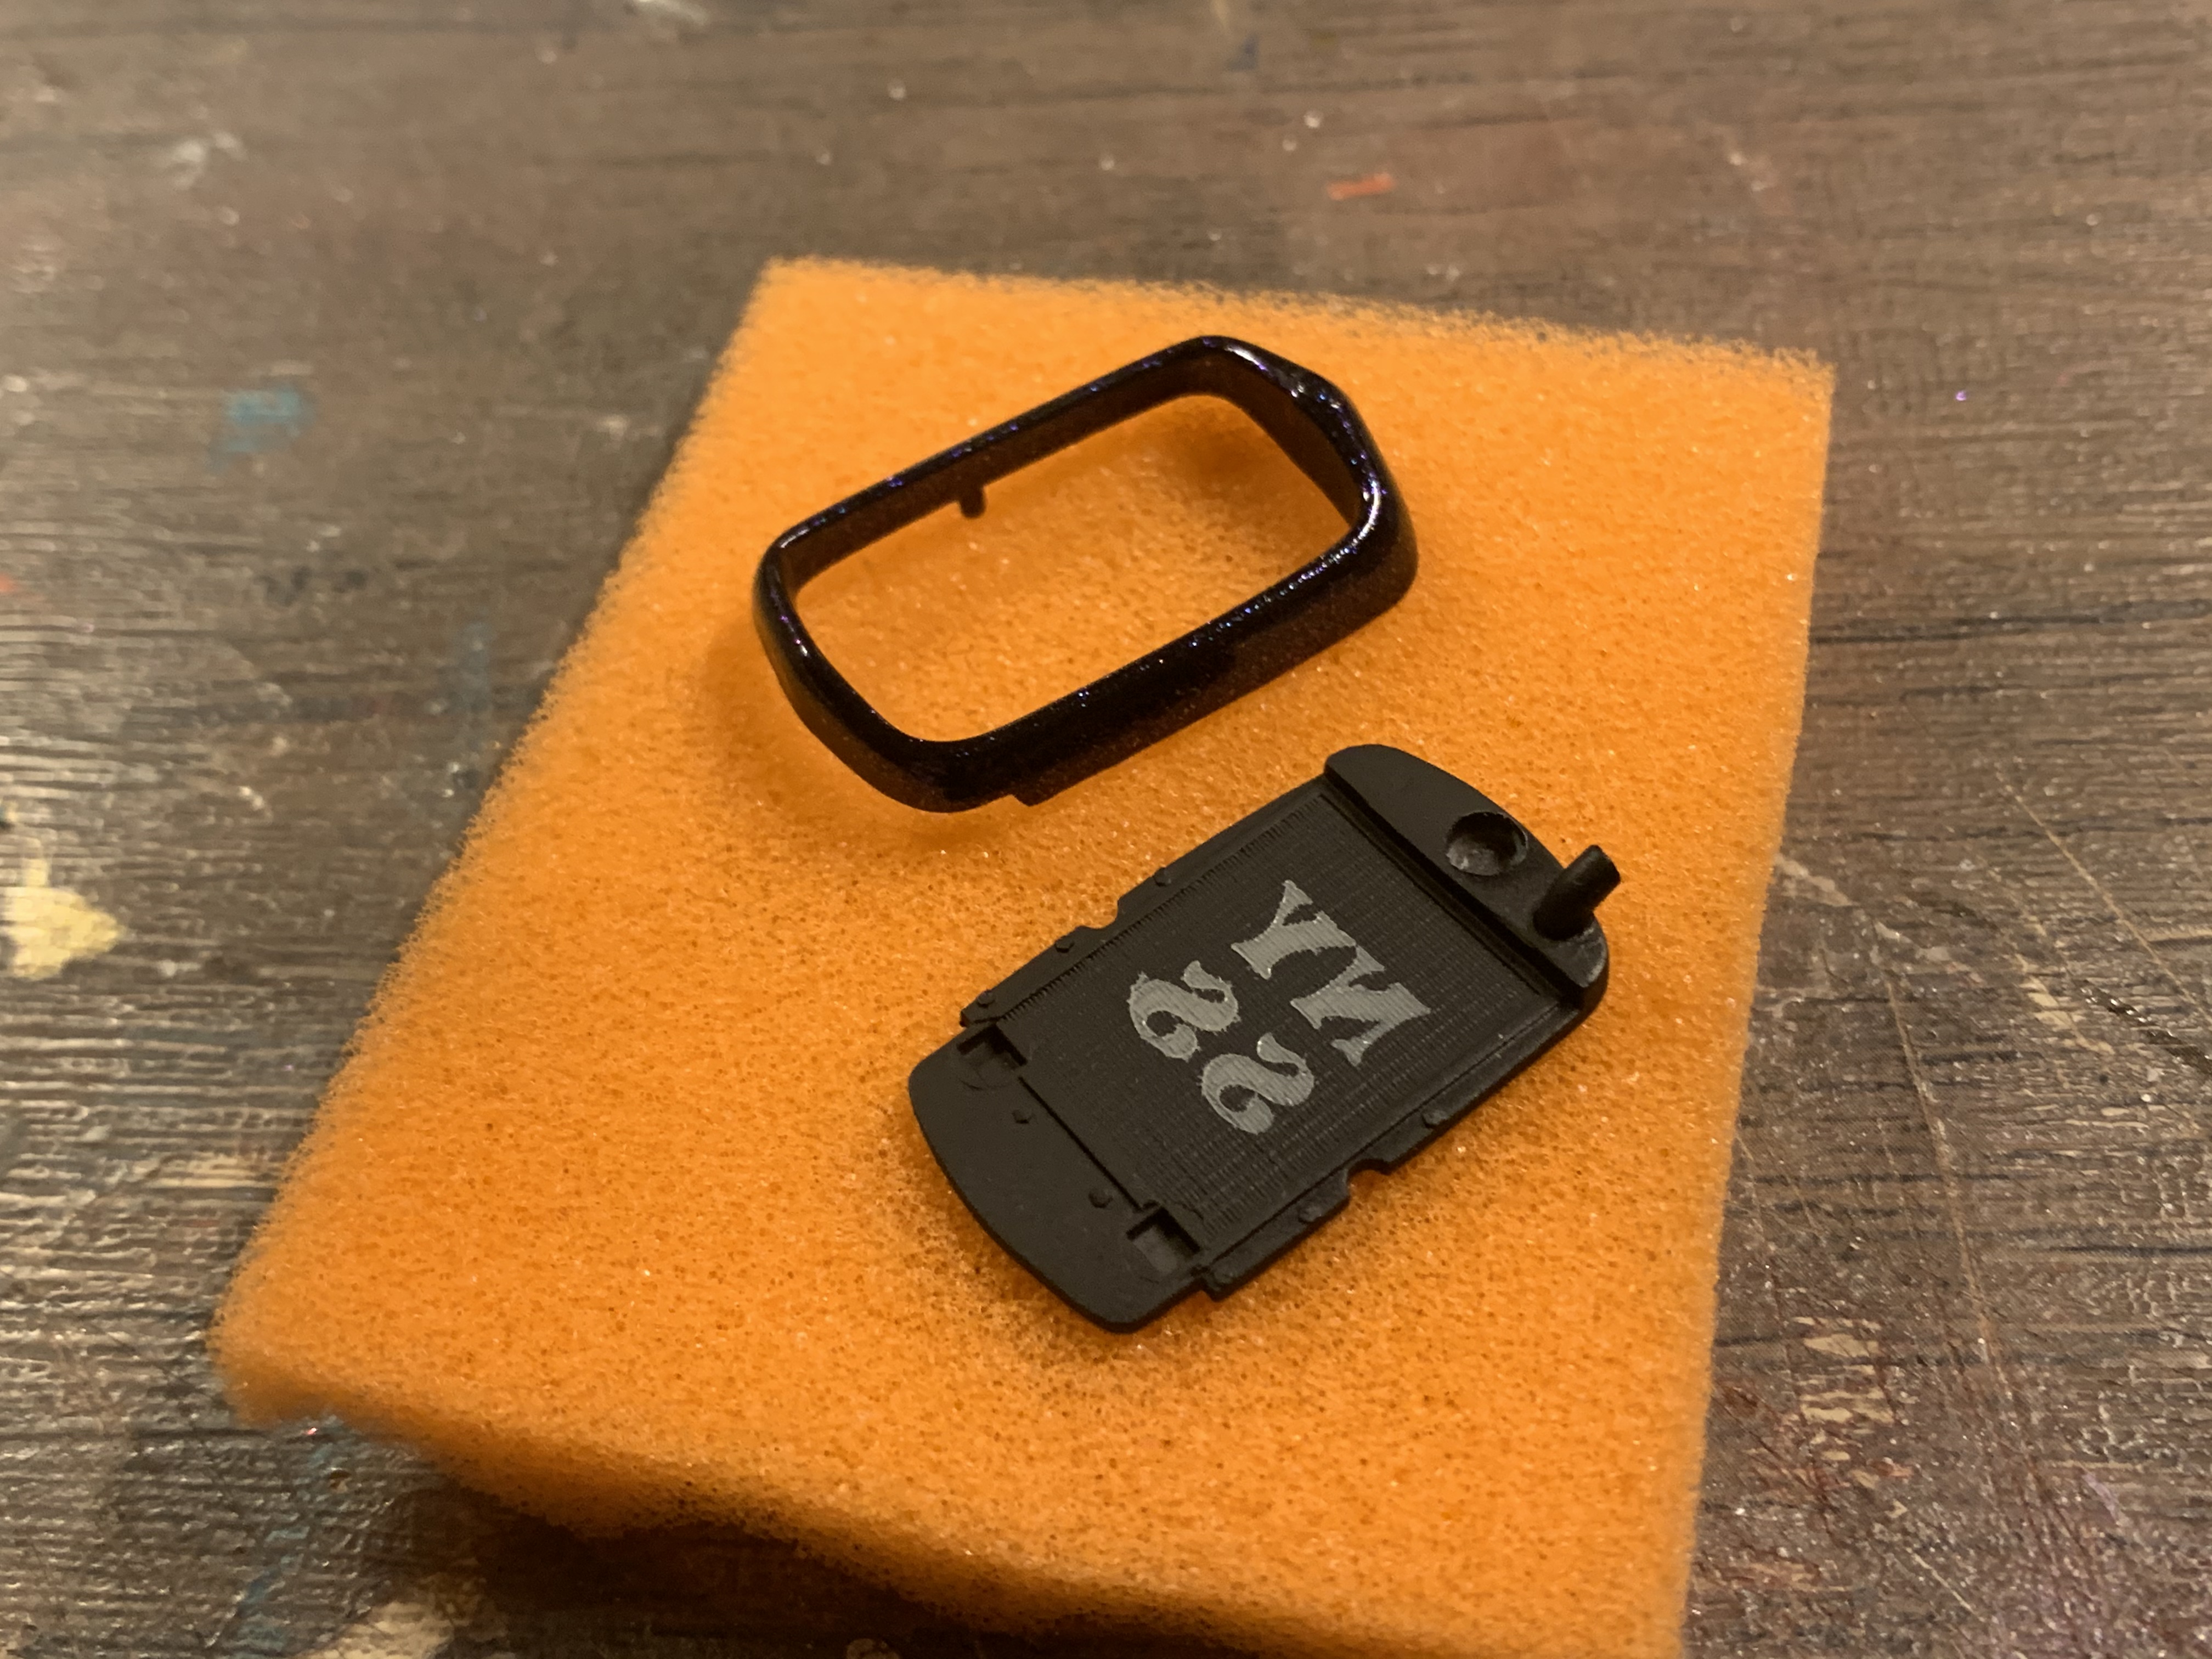
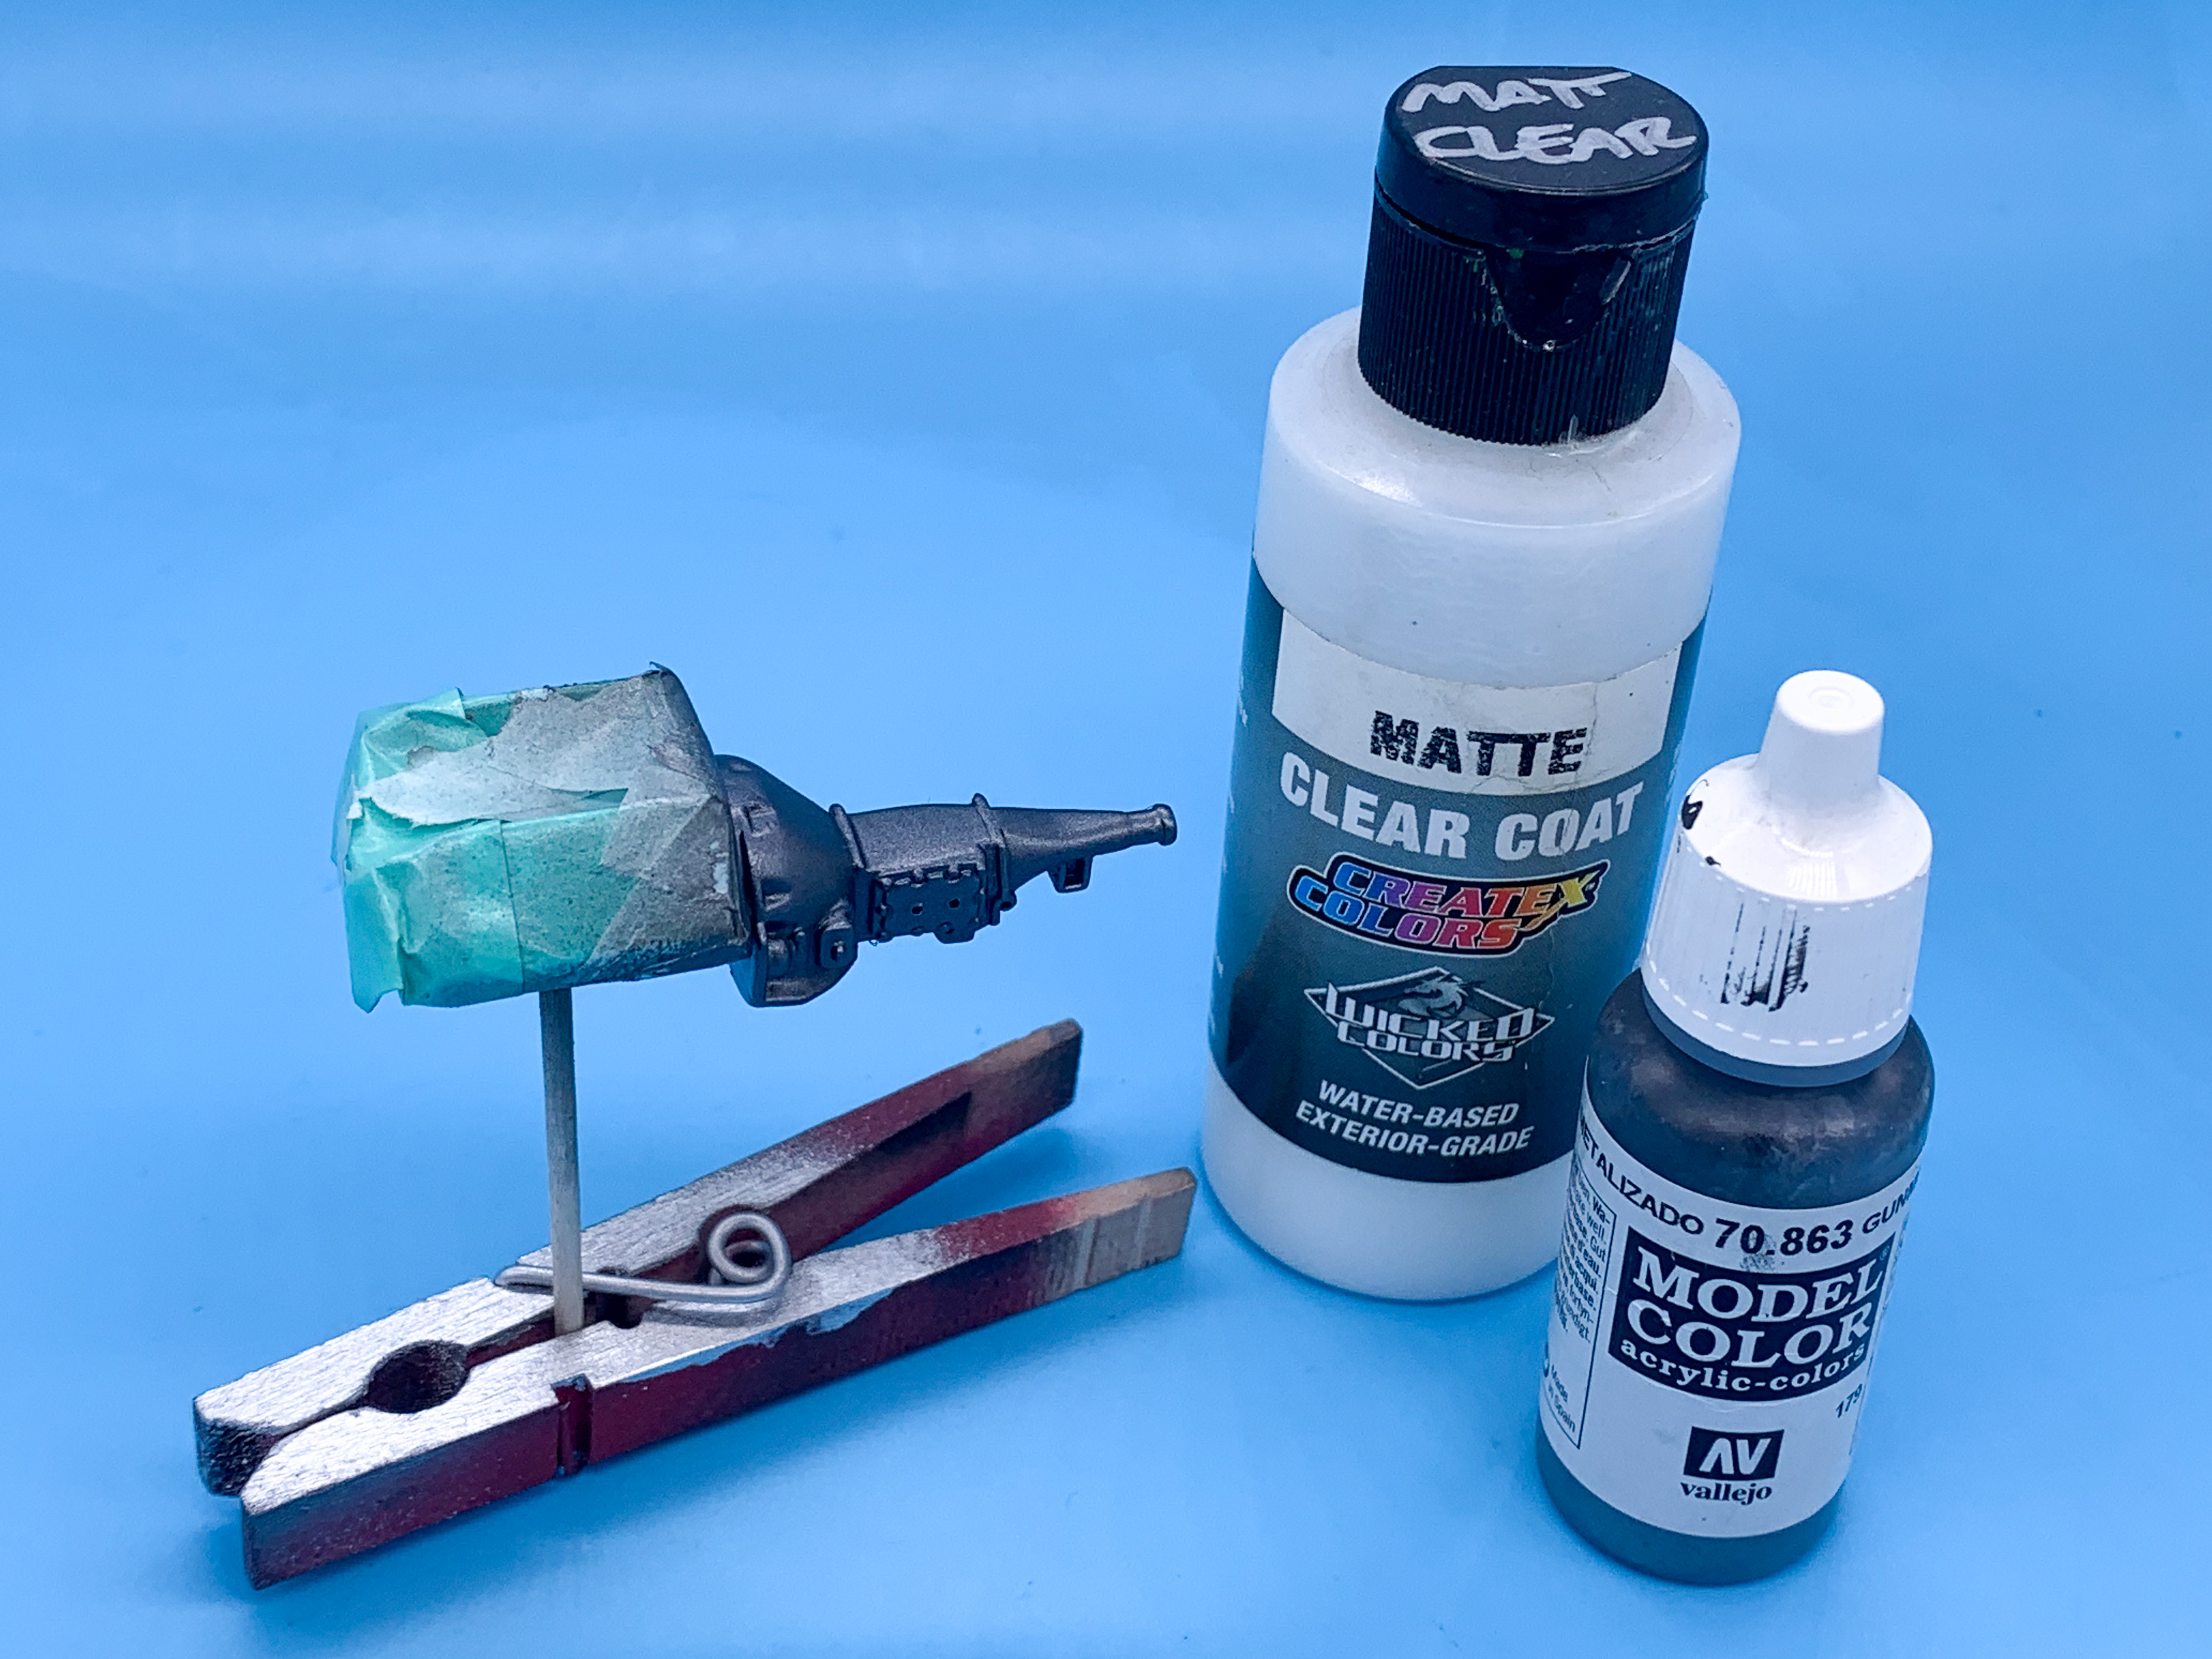
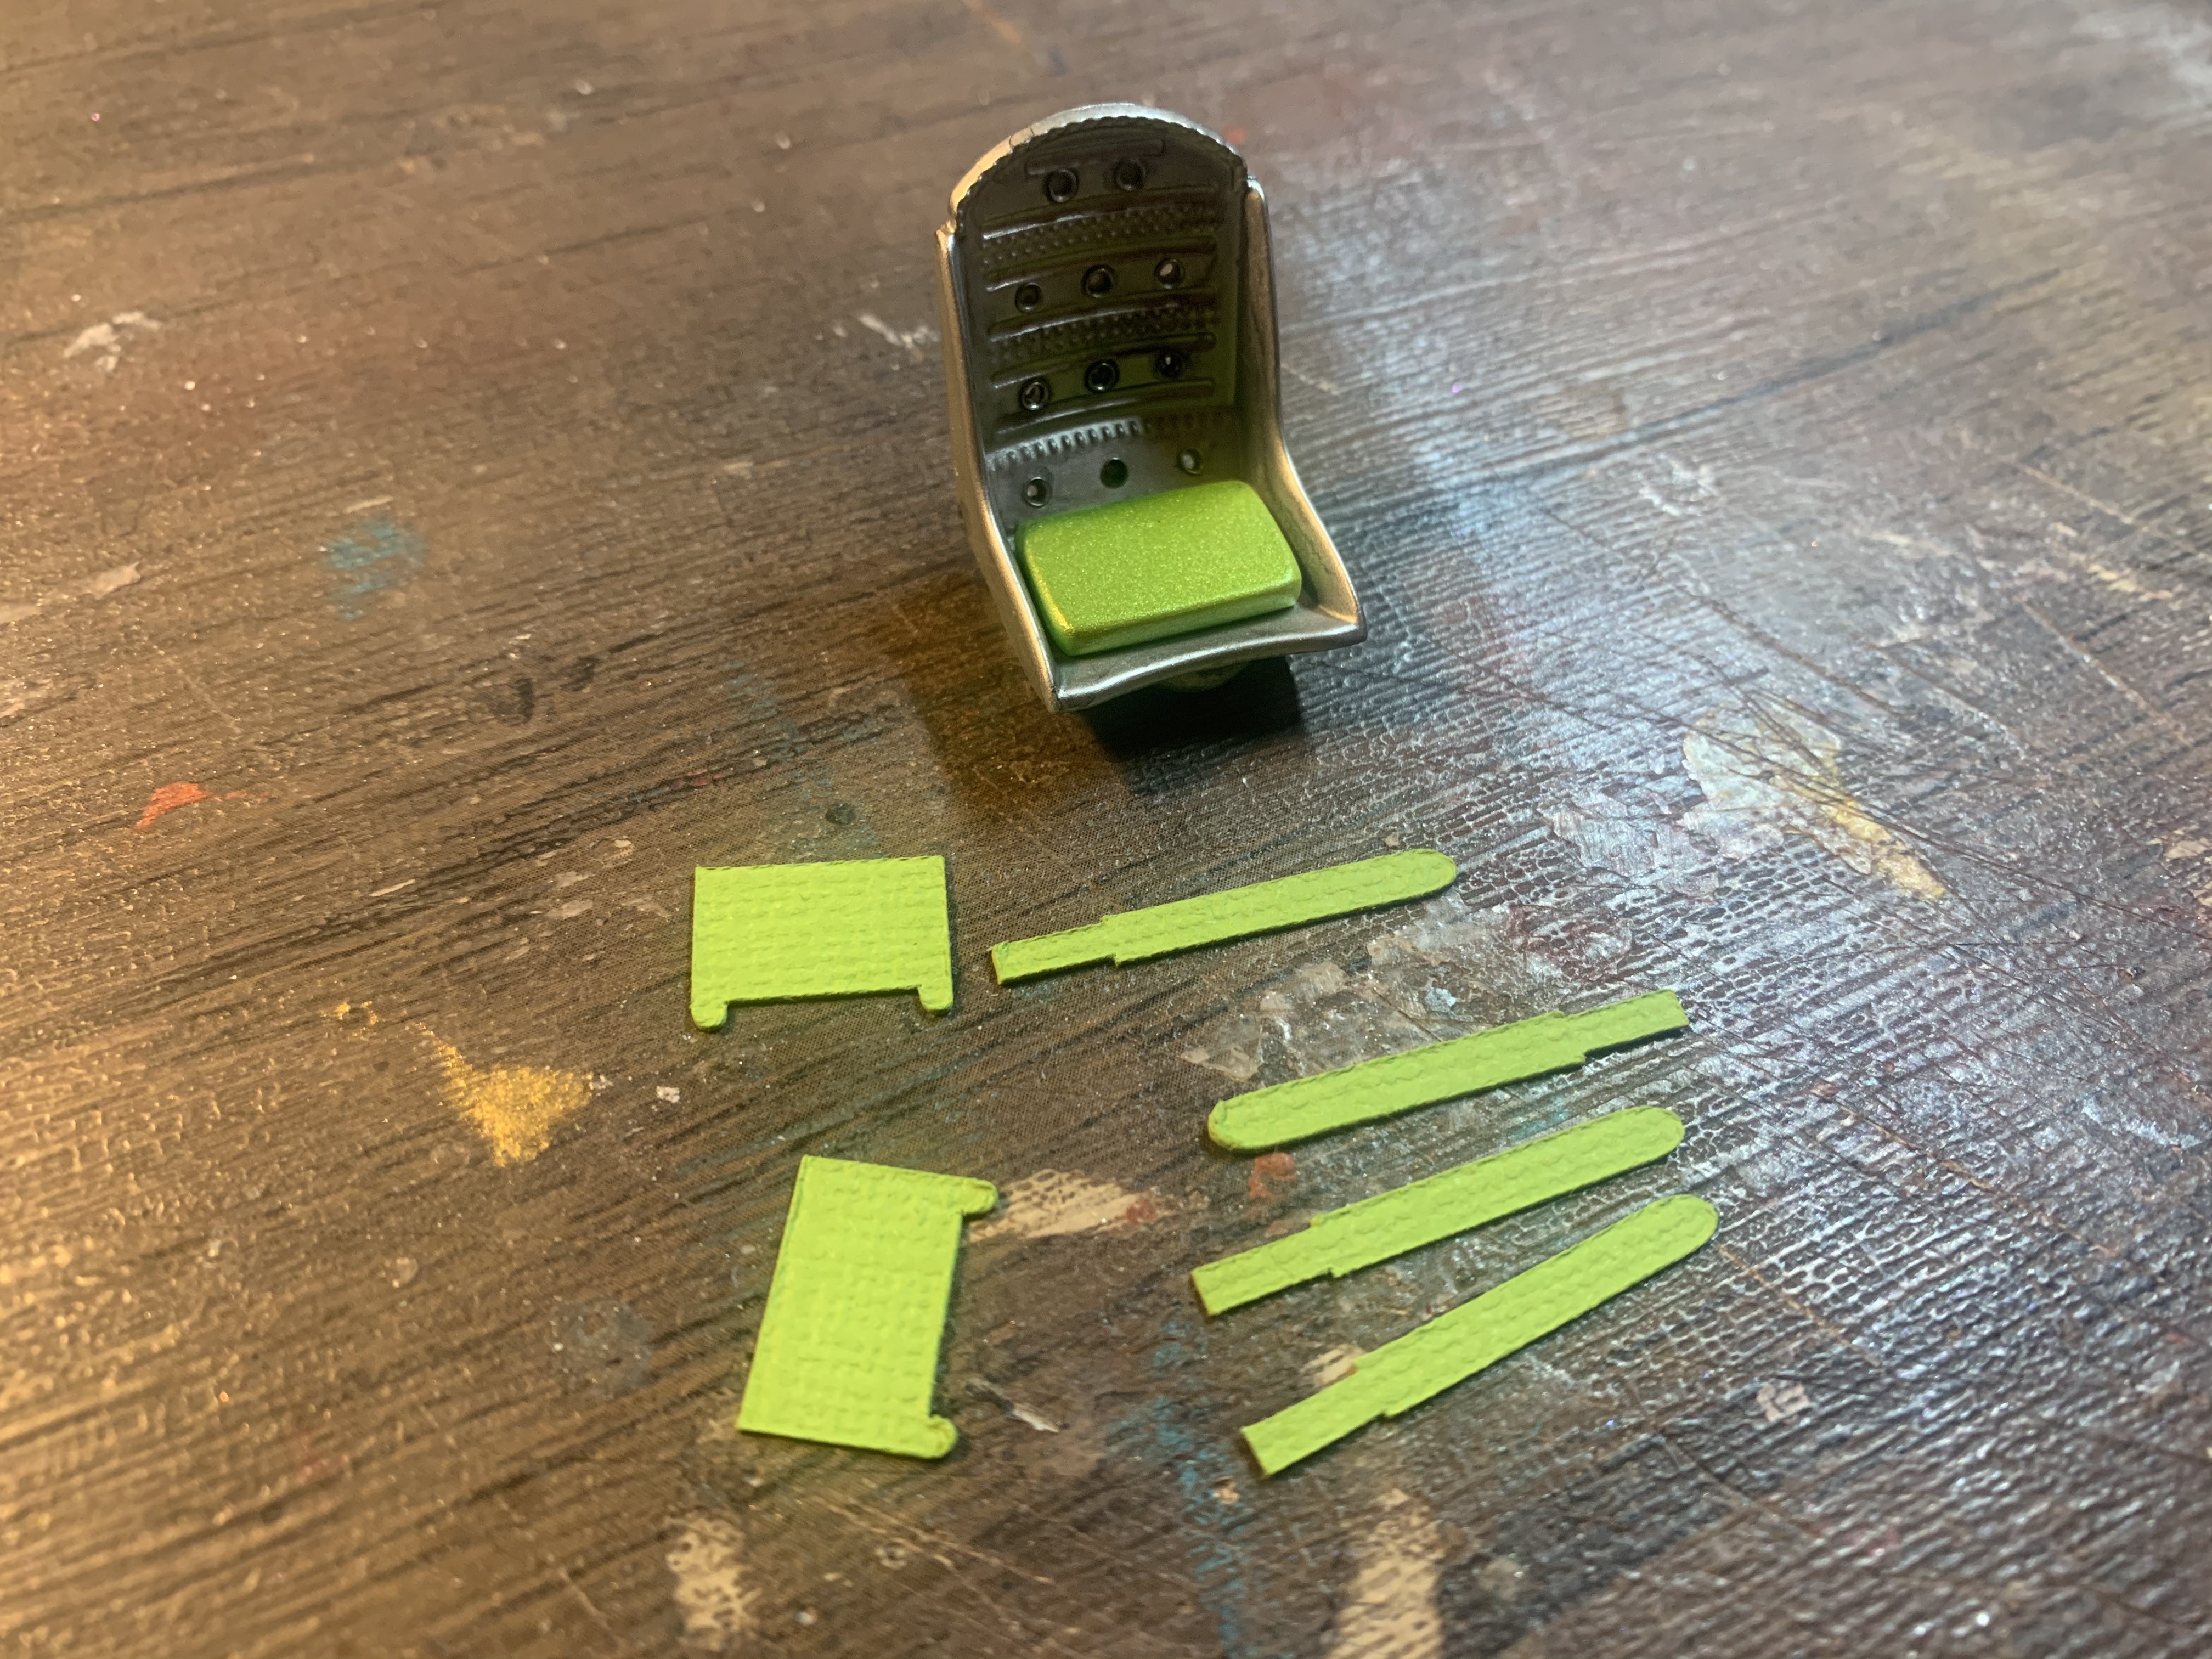
A little more progress this week - need to get this wrapped up by the end of the month for DSC17, so need to get hustlin’ here... Painted some lettering on the rad: ...with a reverse version on the backside, for my own amusement... Painted the trans so I can start assembling the engine: Then scratchbuilt some linkages for the shifter and started getting the frame assembled: I’m waiting for some little photoetched brackets to arrive so I can start plumbing the brake lines nicely but the USPS is currently taking them on their third trip of the mid-west so that’s holding me up a little...so today I shortened up a bunch of these micro ferrules to make some little inserts to finish the holes in the bomber seats nicely: Like so! Then I gave them a black wash to add a little character and make them look less flat and plain-looking, and cut some seatbelts from some textured card: And finished them off with some PE buckles: Got a lot to do still, but about everything is painted and just waiting for detailing and the next step - more soon!
-
Pavement Modified Vega build
OldNYJim replied to OldNYJim's topic in WIP: Stock Cars (NASCAR, Super Stock, Late Model, etc.)
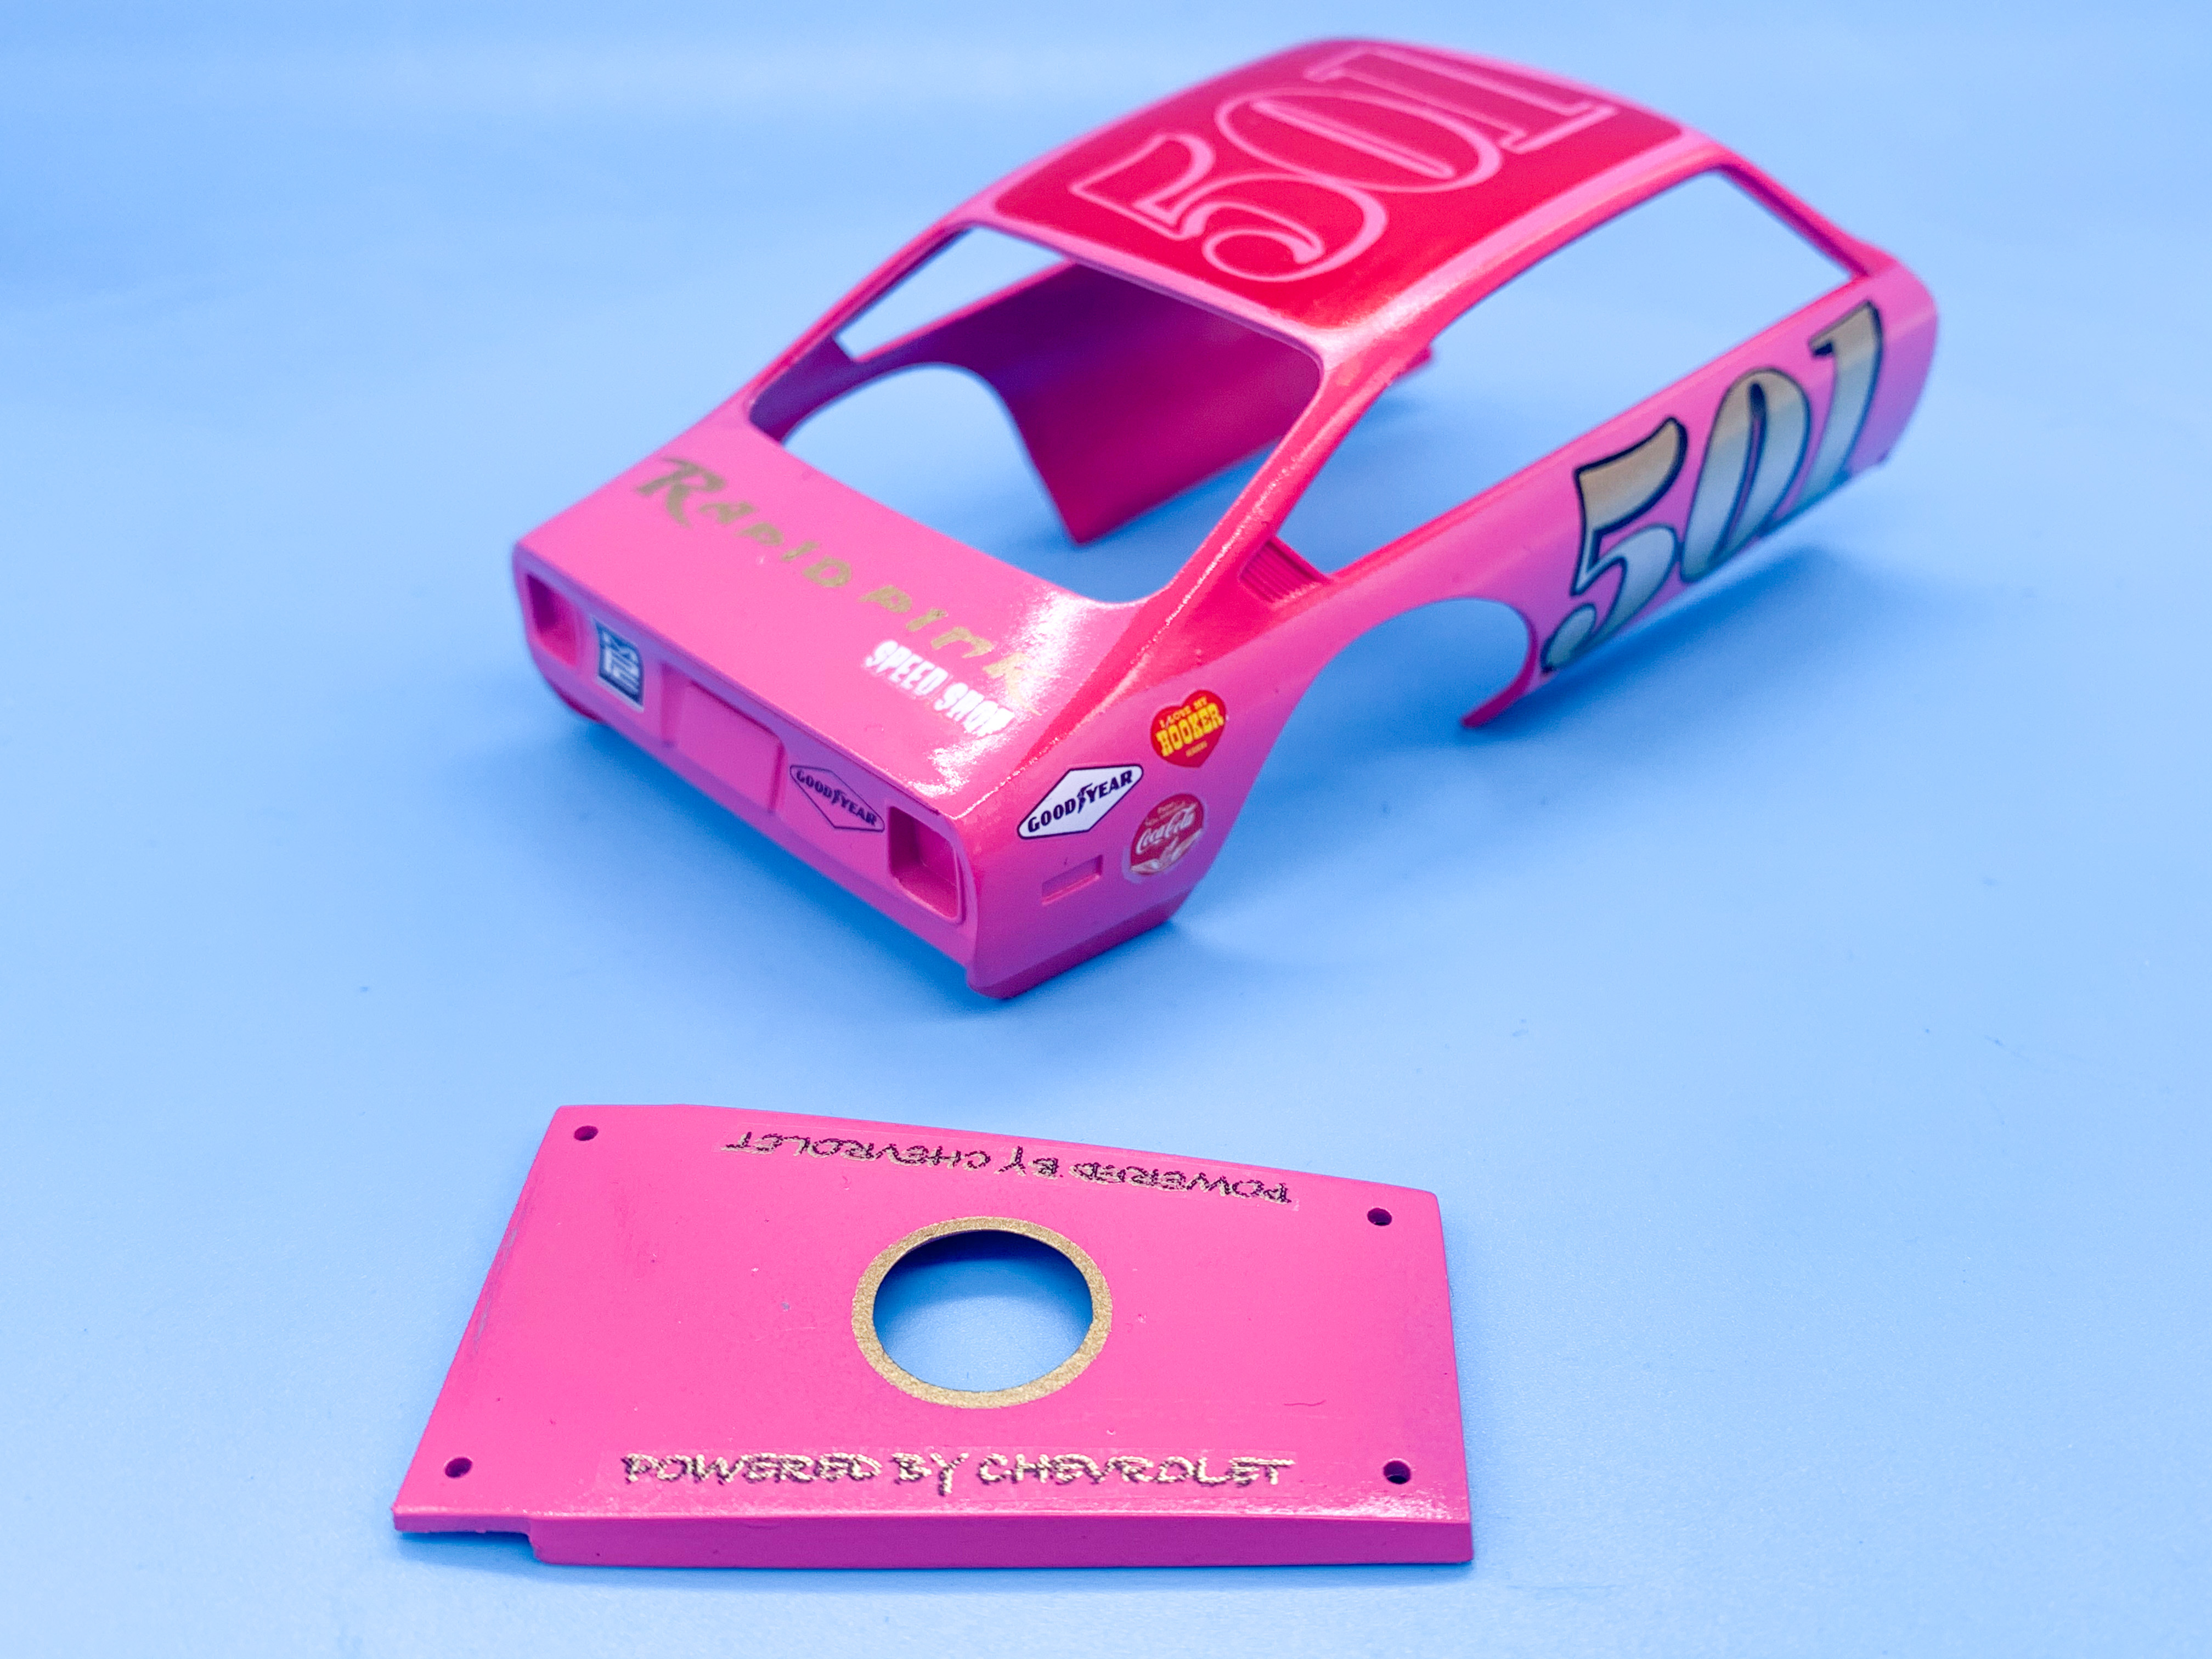
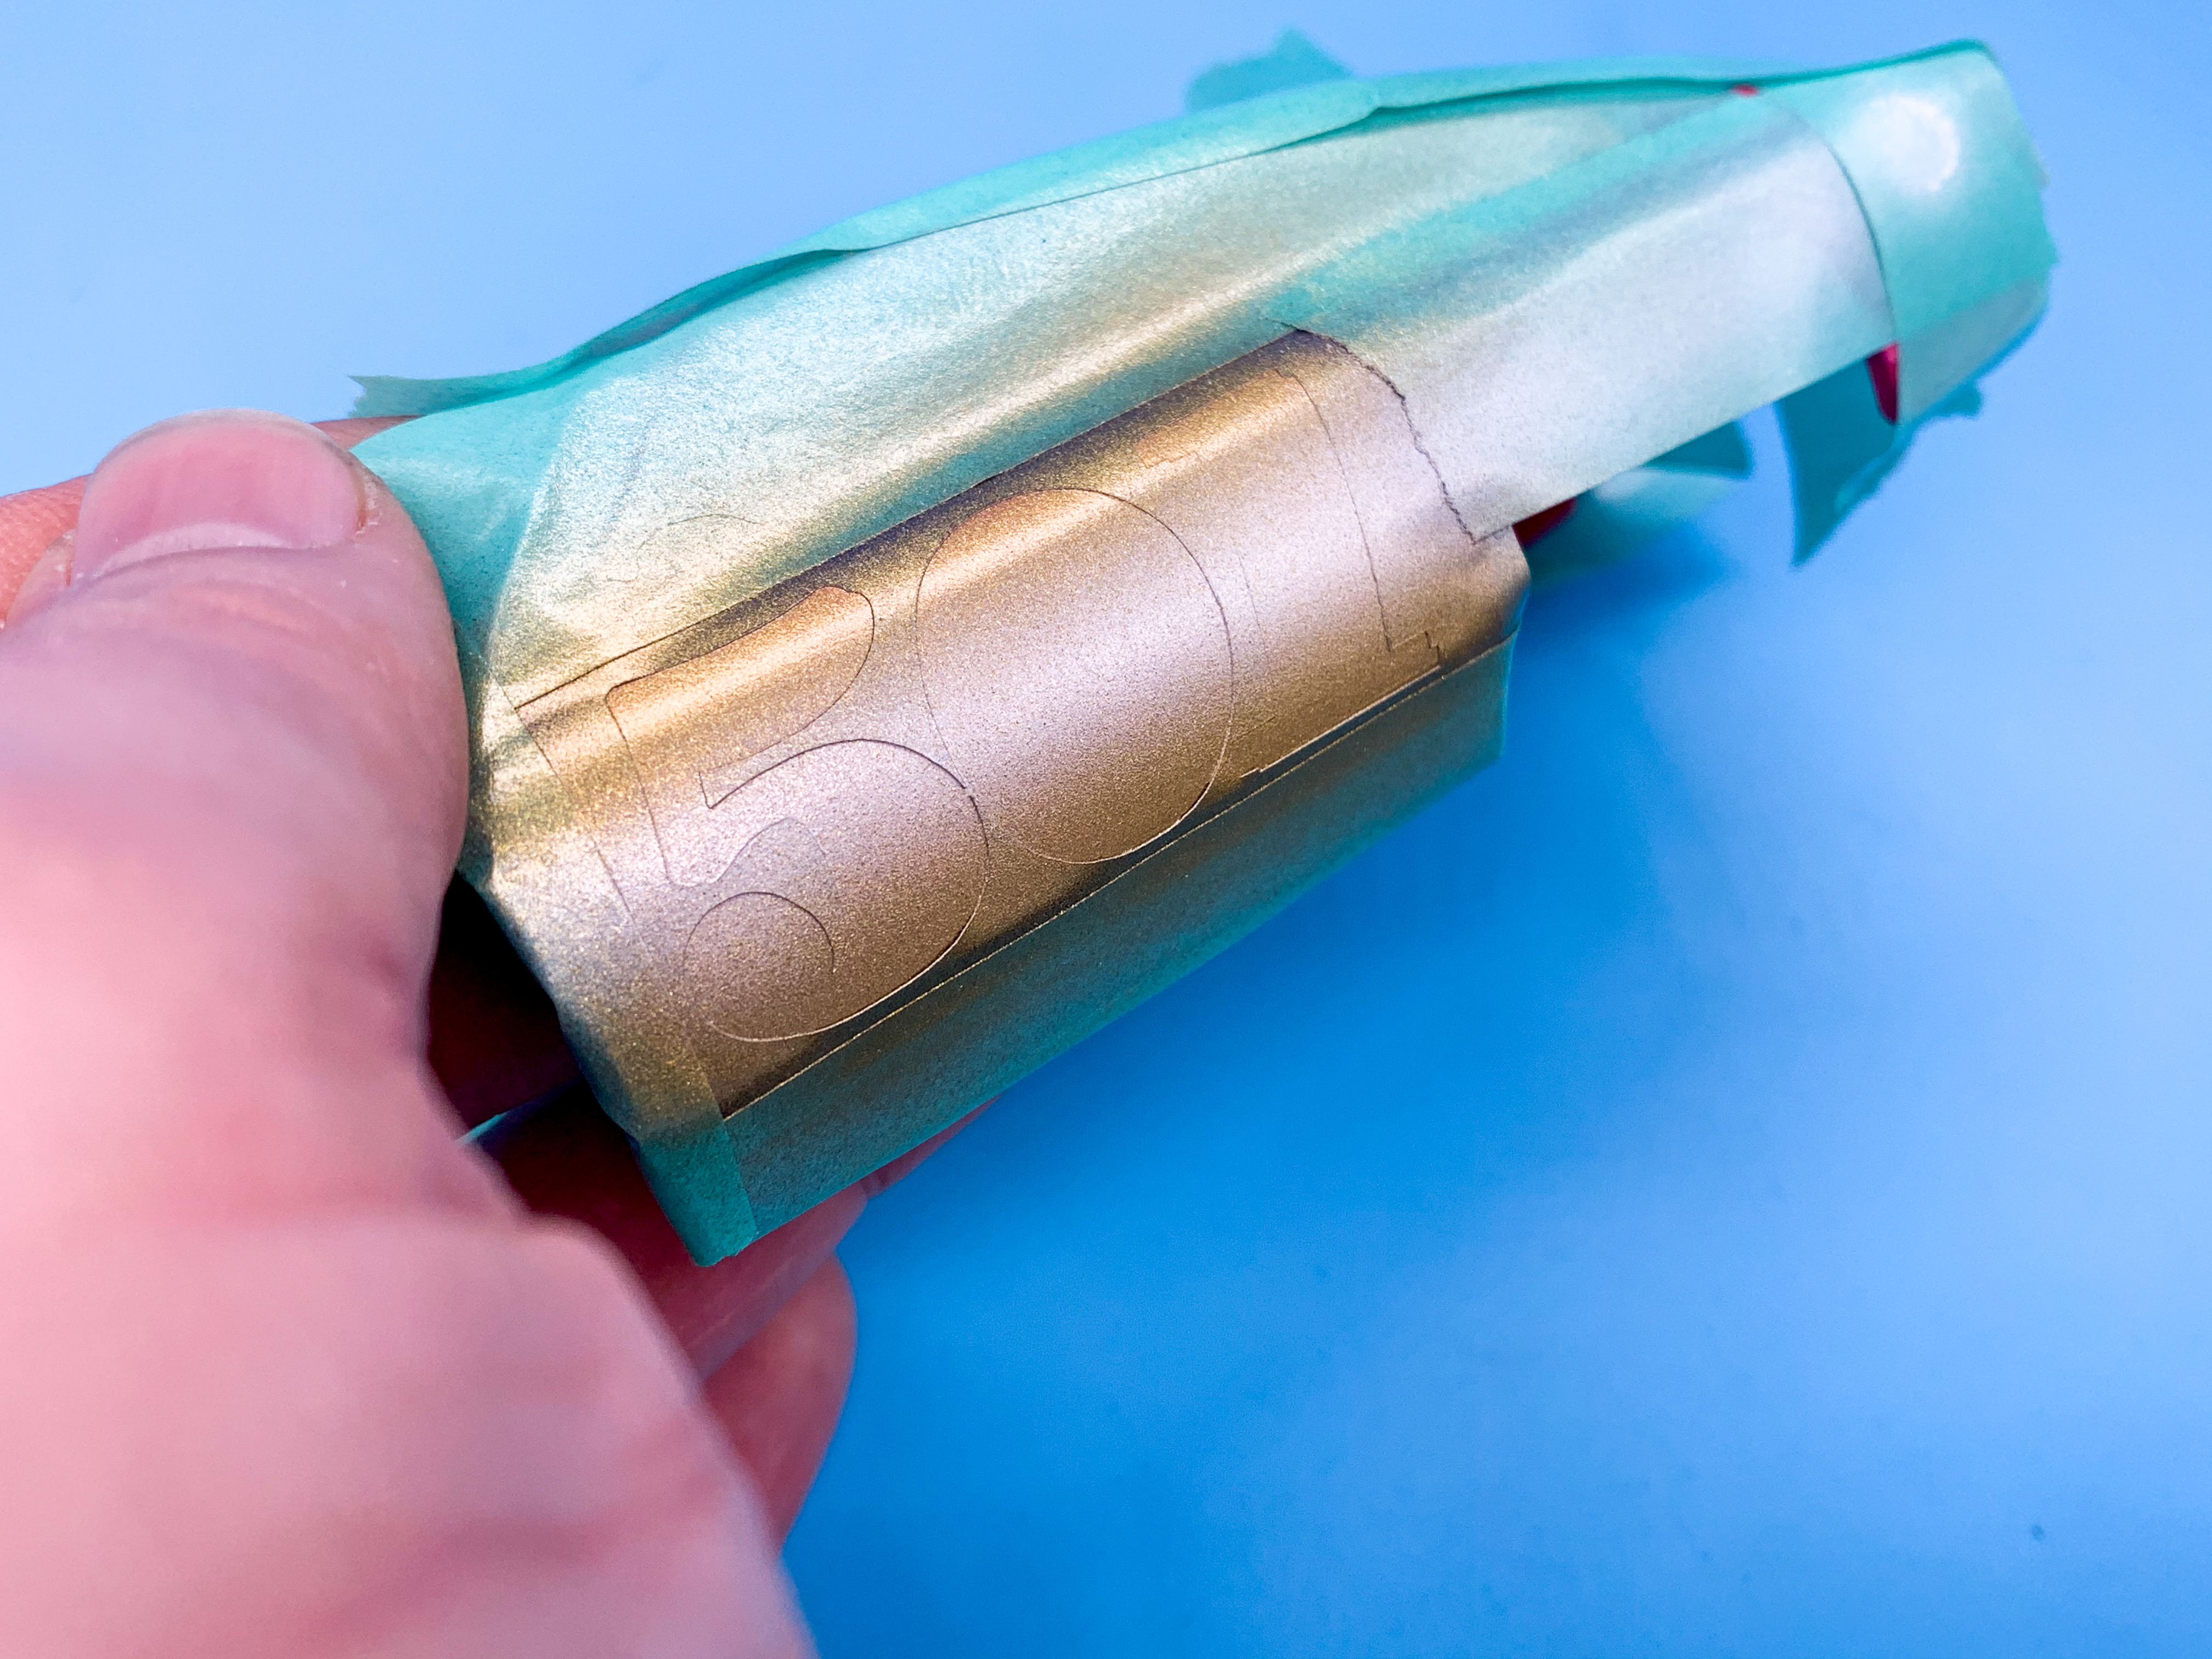
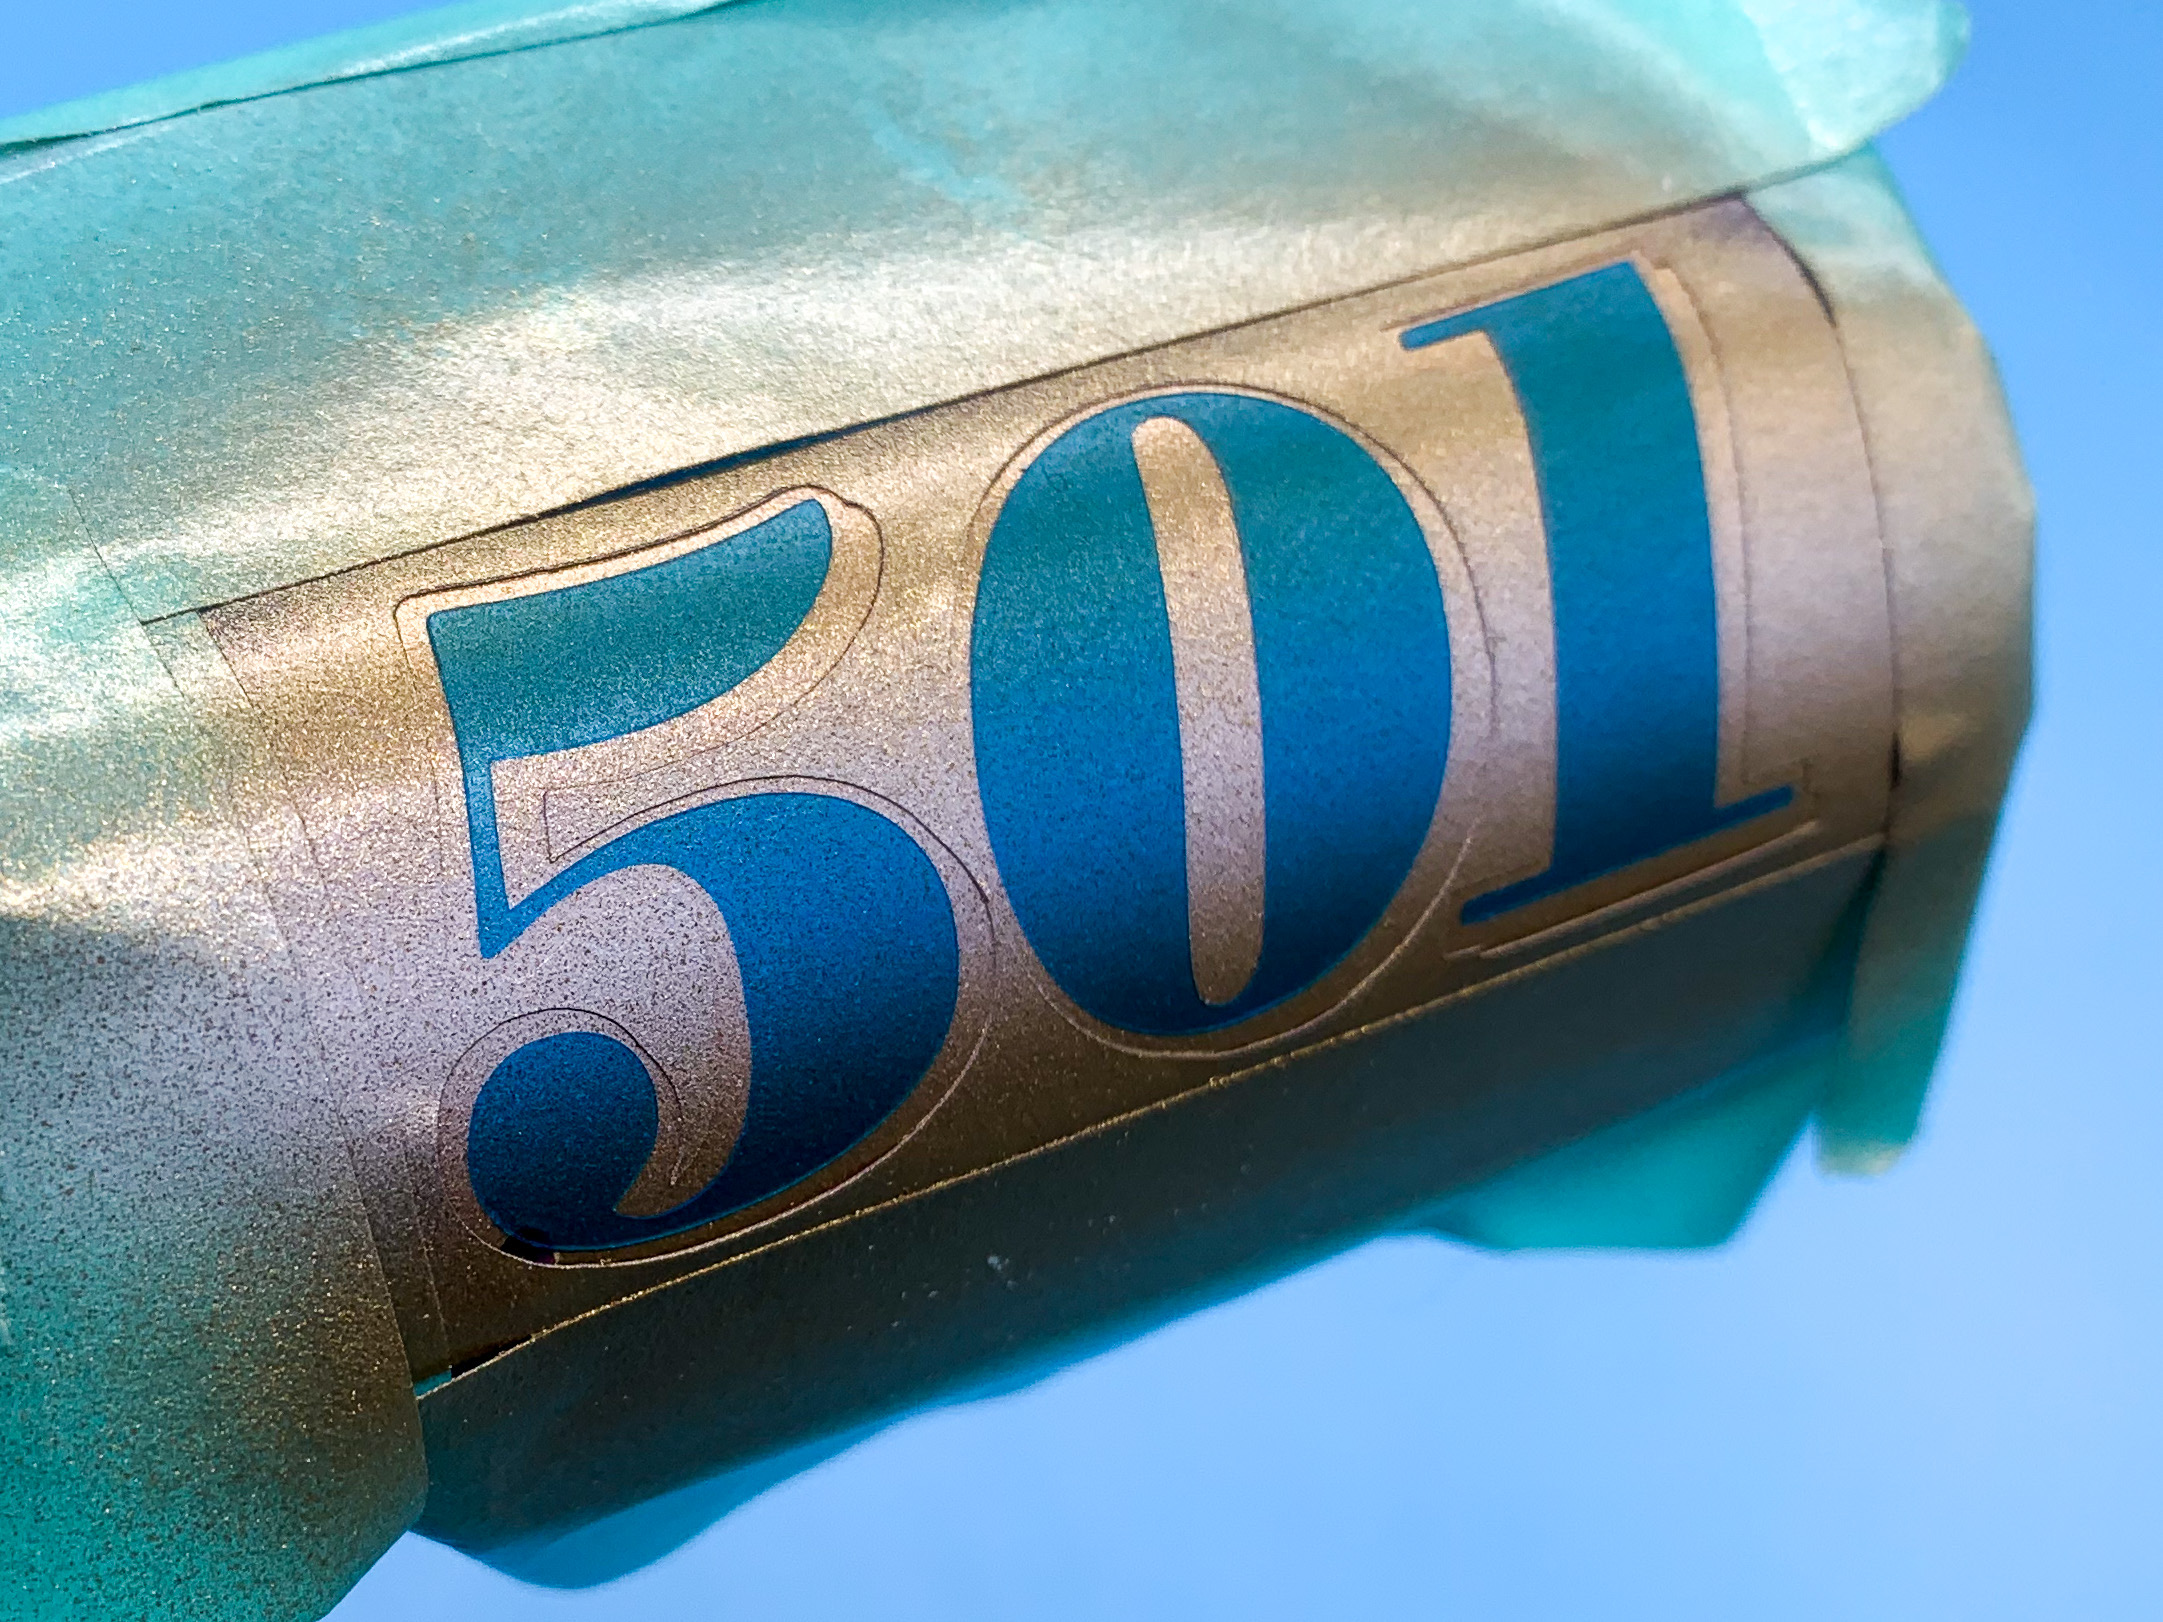
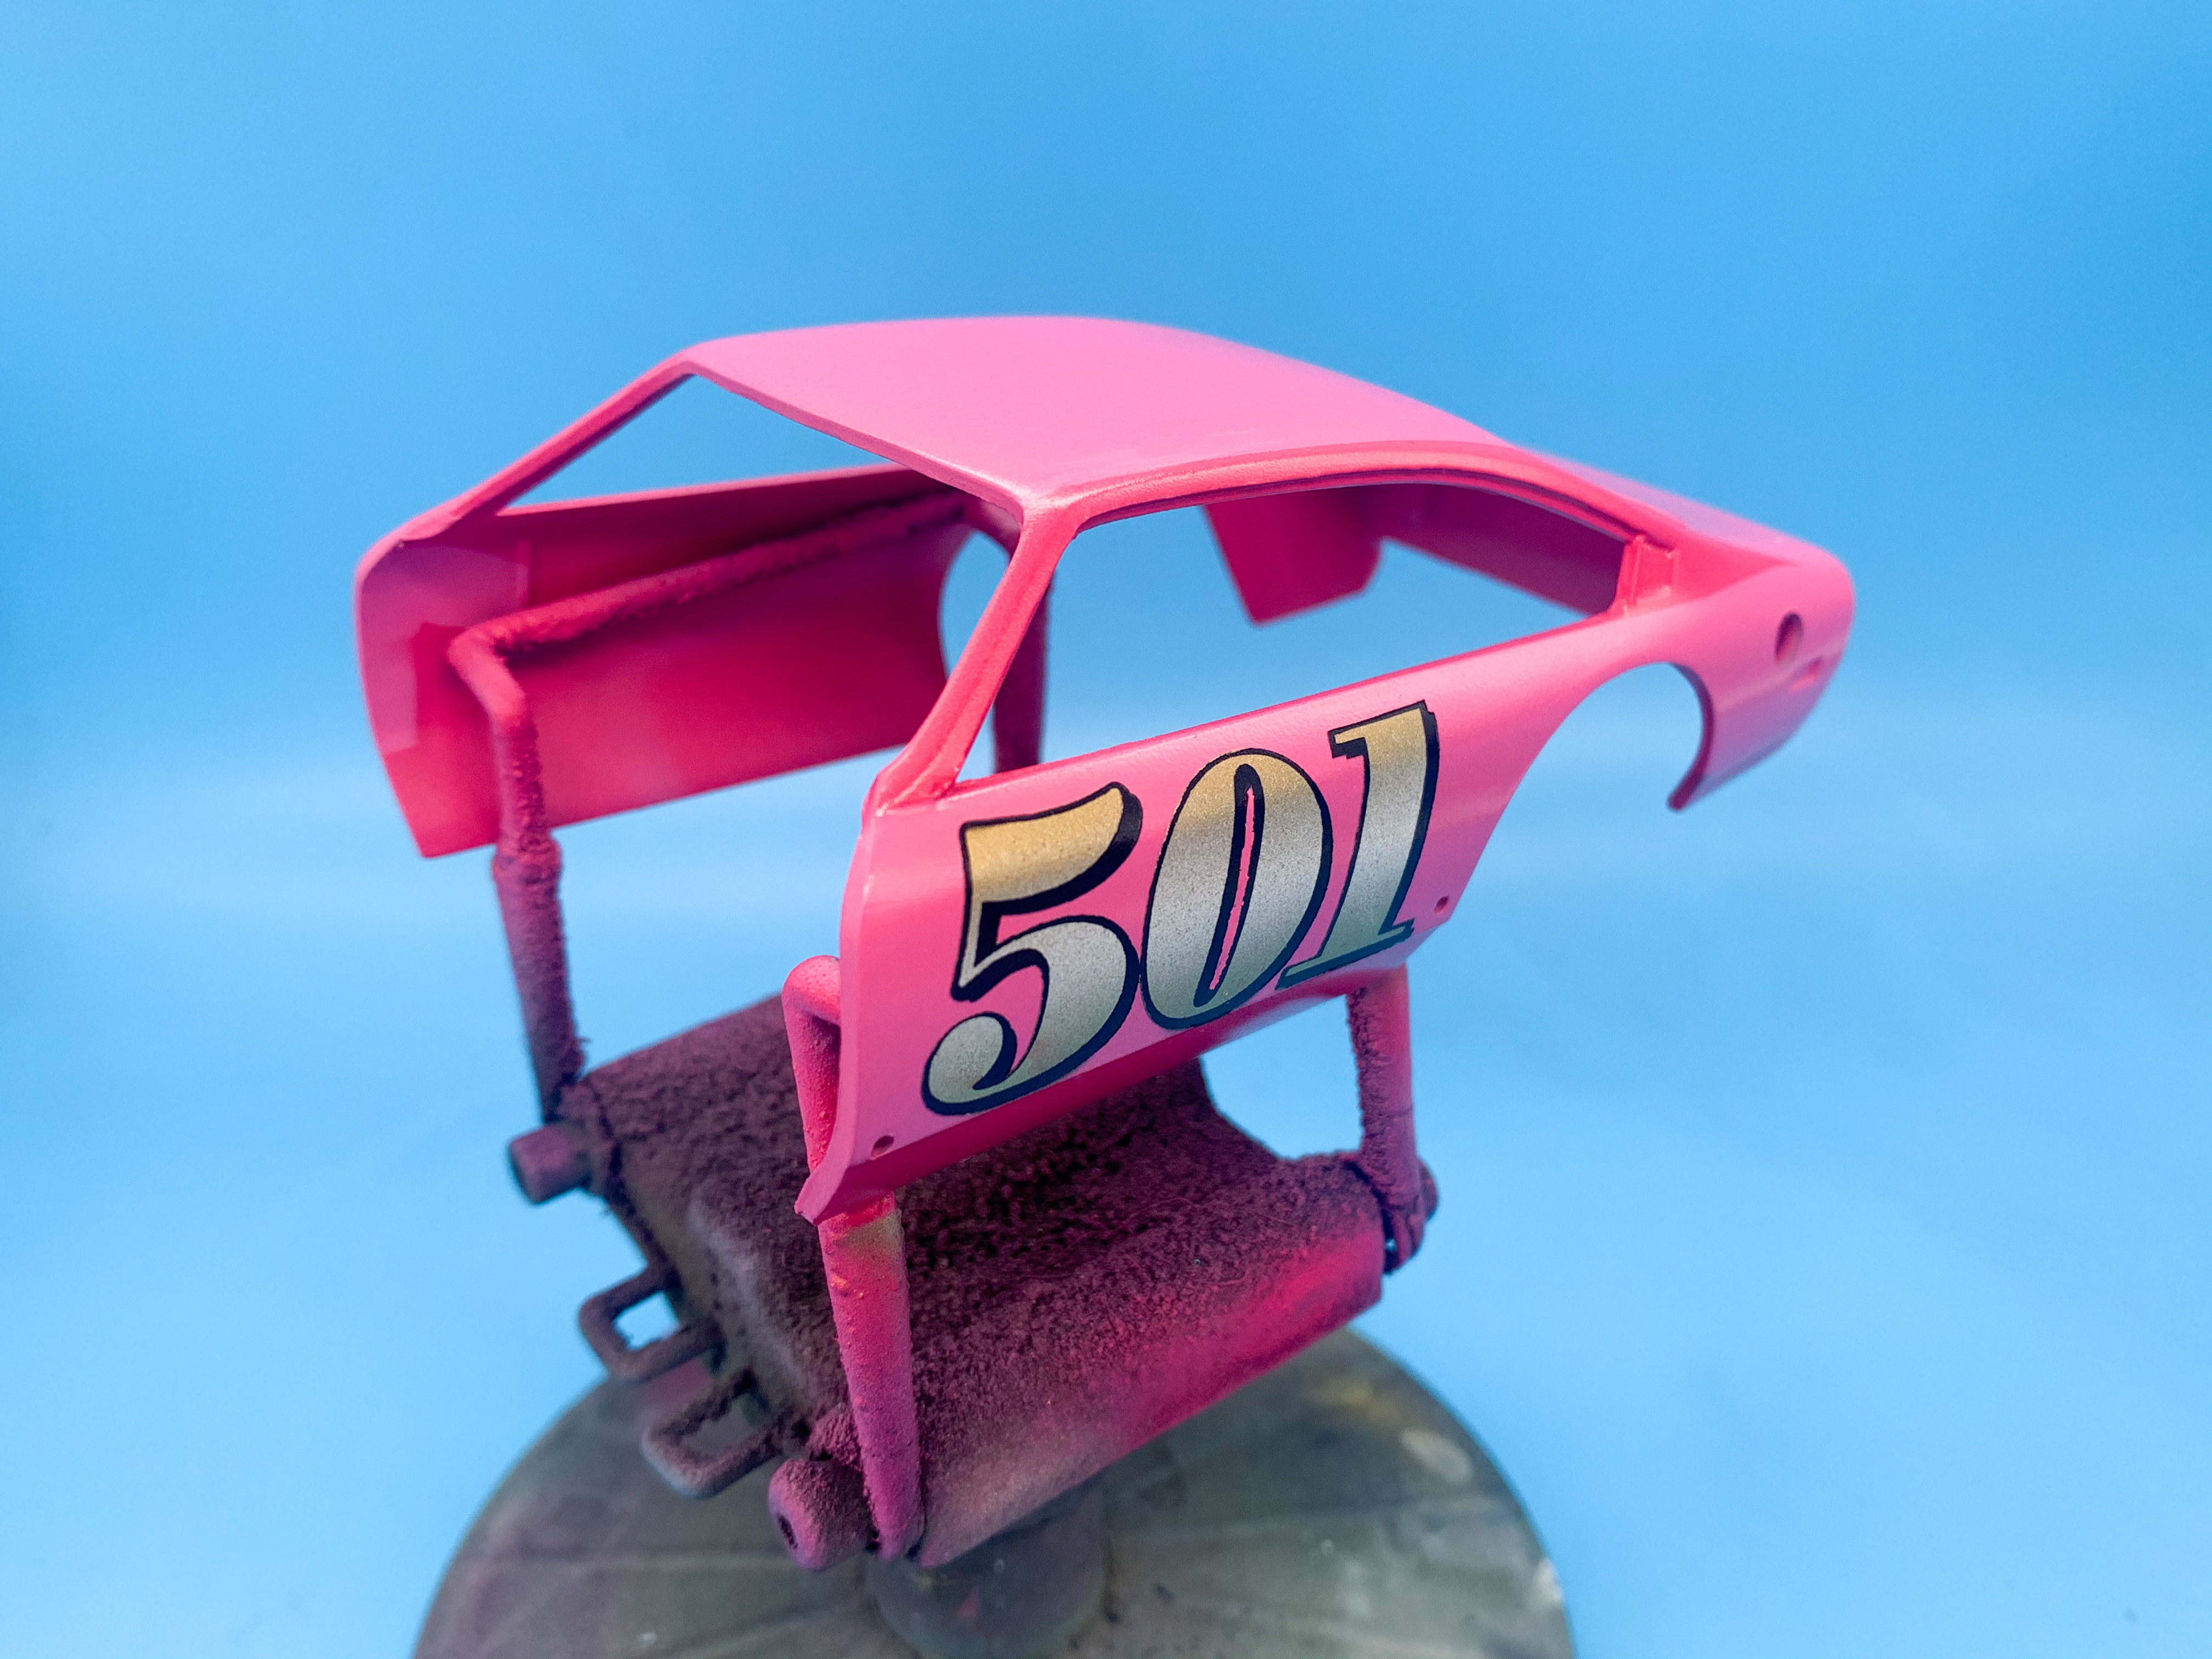
Thanks fellas! Been working on the door numbers this week... First up, cut and applied some masks: Then, Vallejo gold with a band of Createx white through the center: Then, remask: Shoot Createx black over THOSE masks: And remove masks! Need to do some little touch-ups to the black to get it perfect but that’s about what I was shooting for! More soon!
-
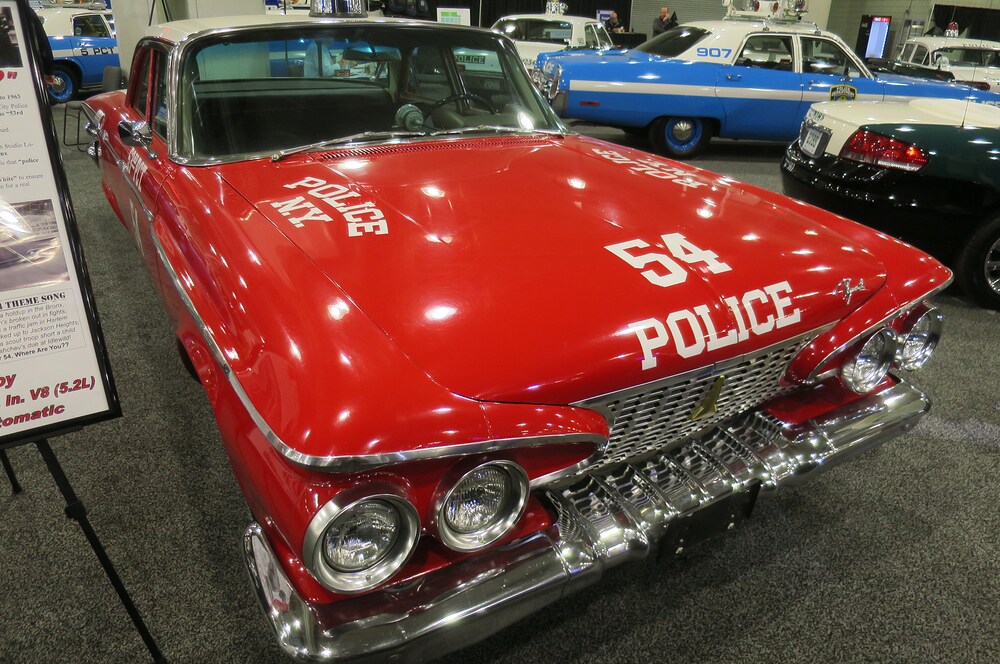
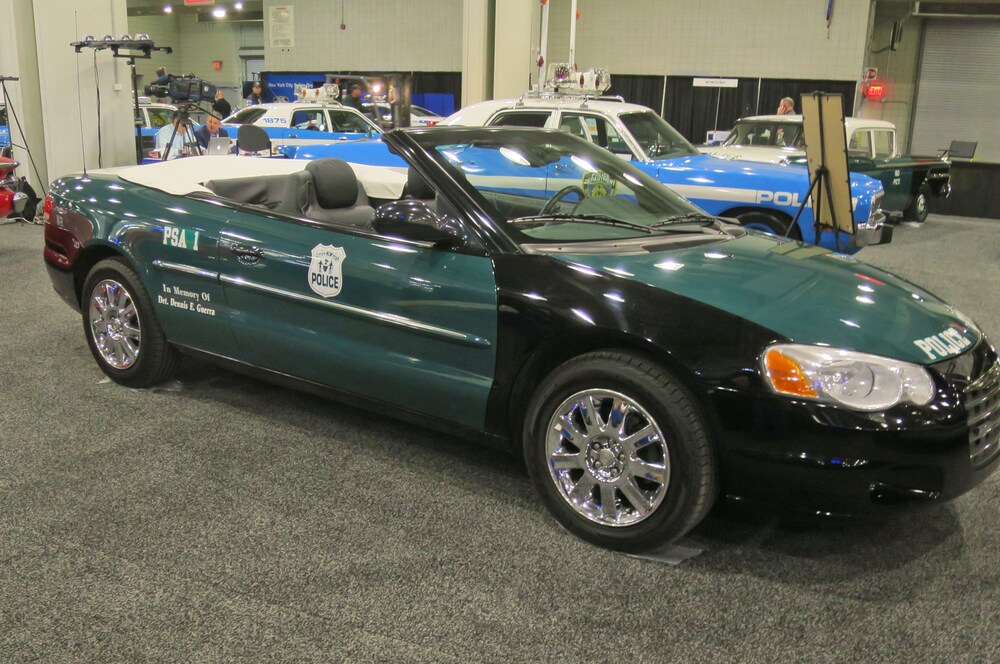
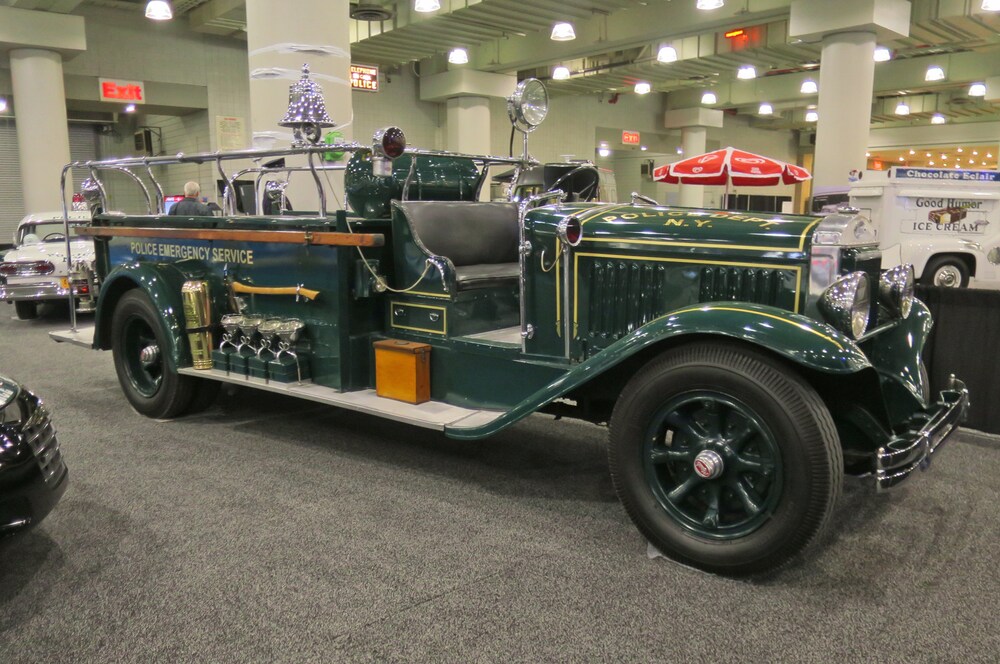
Hey Danno! Those pics were from the NY Auto Show at the Javits Center one year - most years they have some interesting vintage police stuff to see! I don't know for certain, but I would suspect that one's owned by, or perhaps by someone connected to, the NYC Police Museum in lower Manhattan: https://nycpm.org/ It's cool huh? From what I understand it was transport for whatever the historic equivalent of a SWAT team is! I'd like to see it run!
-
Ohh, this is a really cool project! I like the axle that you made! I’ll be watching!!
-
WAY cool! Love the paint, as others have said - but the whole thing is just RIGHT!
-
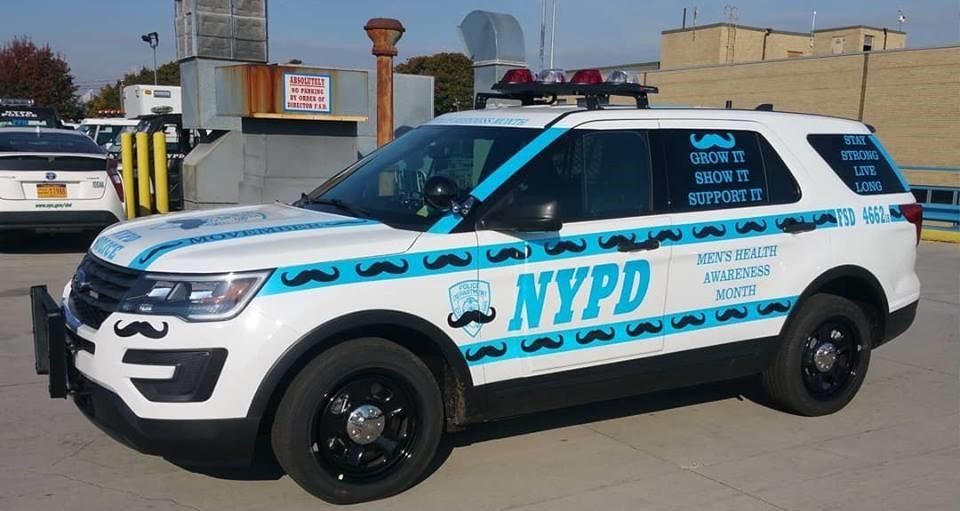
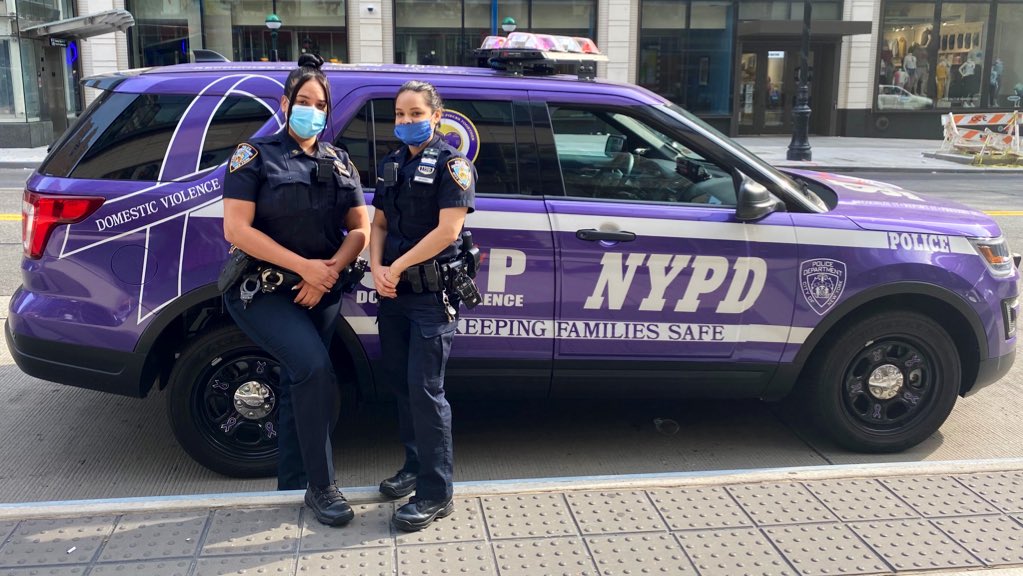
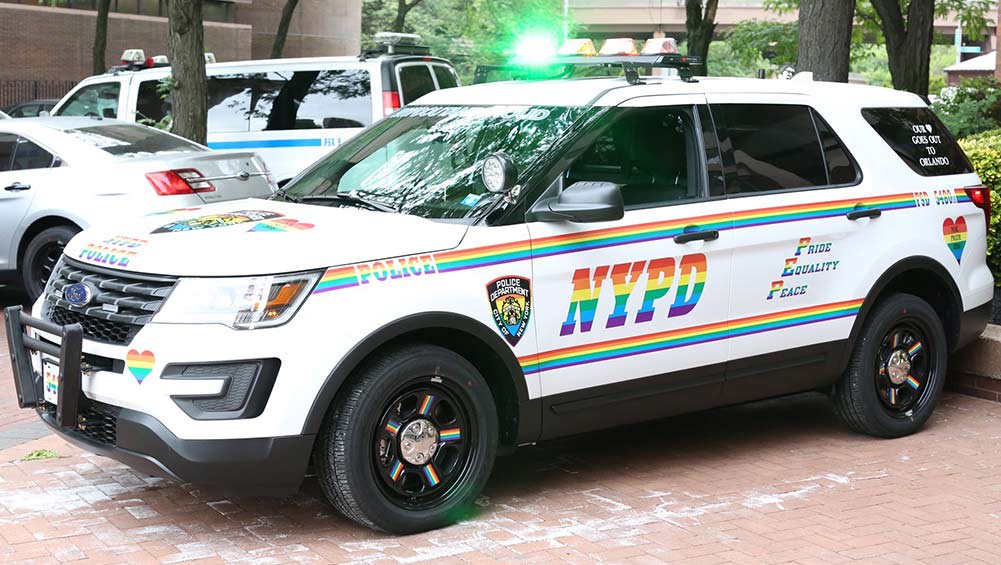
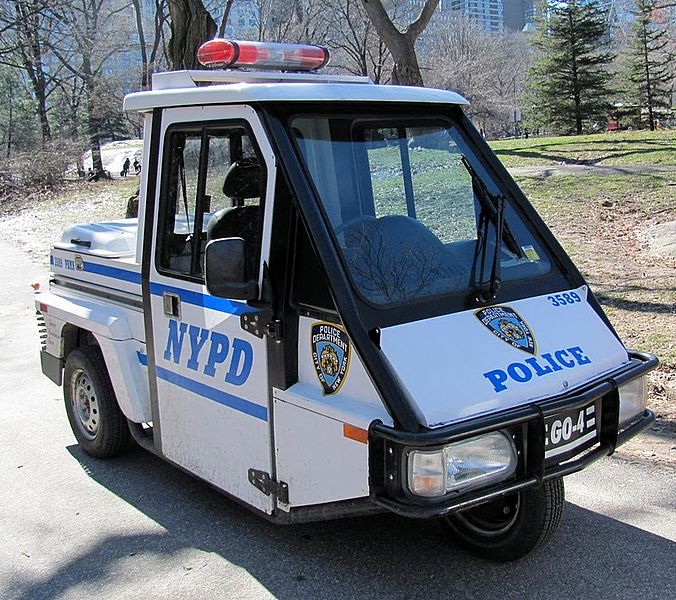
There was an off-track discussion elsewhere on the forum about a current NYPD vehicle in vintage livery, which reminded me of my collection of weird'n'wonderful NYPD stuff...figured you guys might enjoy seeing some of these... NYPD Moustache livery: NYPD vintage livery: Purple Domestic Violence awareness livery: One of various "cop cabs" that they've had over the years (easily spotted because there'll be two tough looking guys in Mets hoodies sitting in the front ?) Rainbow livery for the Pride parade: Red livery (used for filming): Vintage livery drop-top parade car: NYPD dump truck: Vintage Mack emergency response truck: Smart car: And an even worse alternative to the Smart car I'll add more if I think of any I missed...
-
If I may reply to the above about the vintage livery modern car before we get back on topic...that’s been around for a few years - it’s in parades with the vintage cars very often around the city and it was at the NY Auto show on display one year. Has been around at least 5 years, if not longer. Just a fun retro piece that seems to confuse people who never saw the old liveries...there’s a modern car in rainbow livery that they use for the gay pride parade too (I snapped a pic but it’s not relevant to Galaxies so I’ll save that for another thread...) Anyhoo Back on topic (sorry Michael)... there’s an eBay seller doing era correct 70s NYPD police decals for the Galaxy so I just ordered a set. The seller’s named “policedecalsanddeals” - just ordered a set this week and I’ll post pics if anyone’s interested once they arrive. They look good in the pics anyway! Still need to figure out the proper paint code for the green color tho - next time I know I’ll be near one of these cars I’m going to use my Pantone color swatch book so I can match it up...
-
They look great - I’d love to see more of how you do that next time you do! Thanks for the quick reply!
-
Are those metal hinges? I'd love to know how you made them!
-
I know you’re kidding...but yes, there are a few...
-
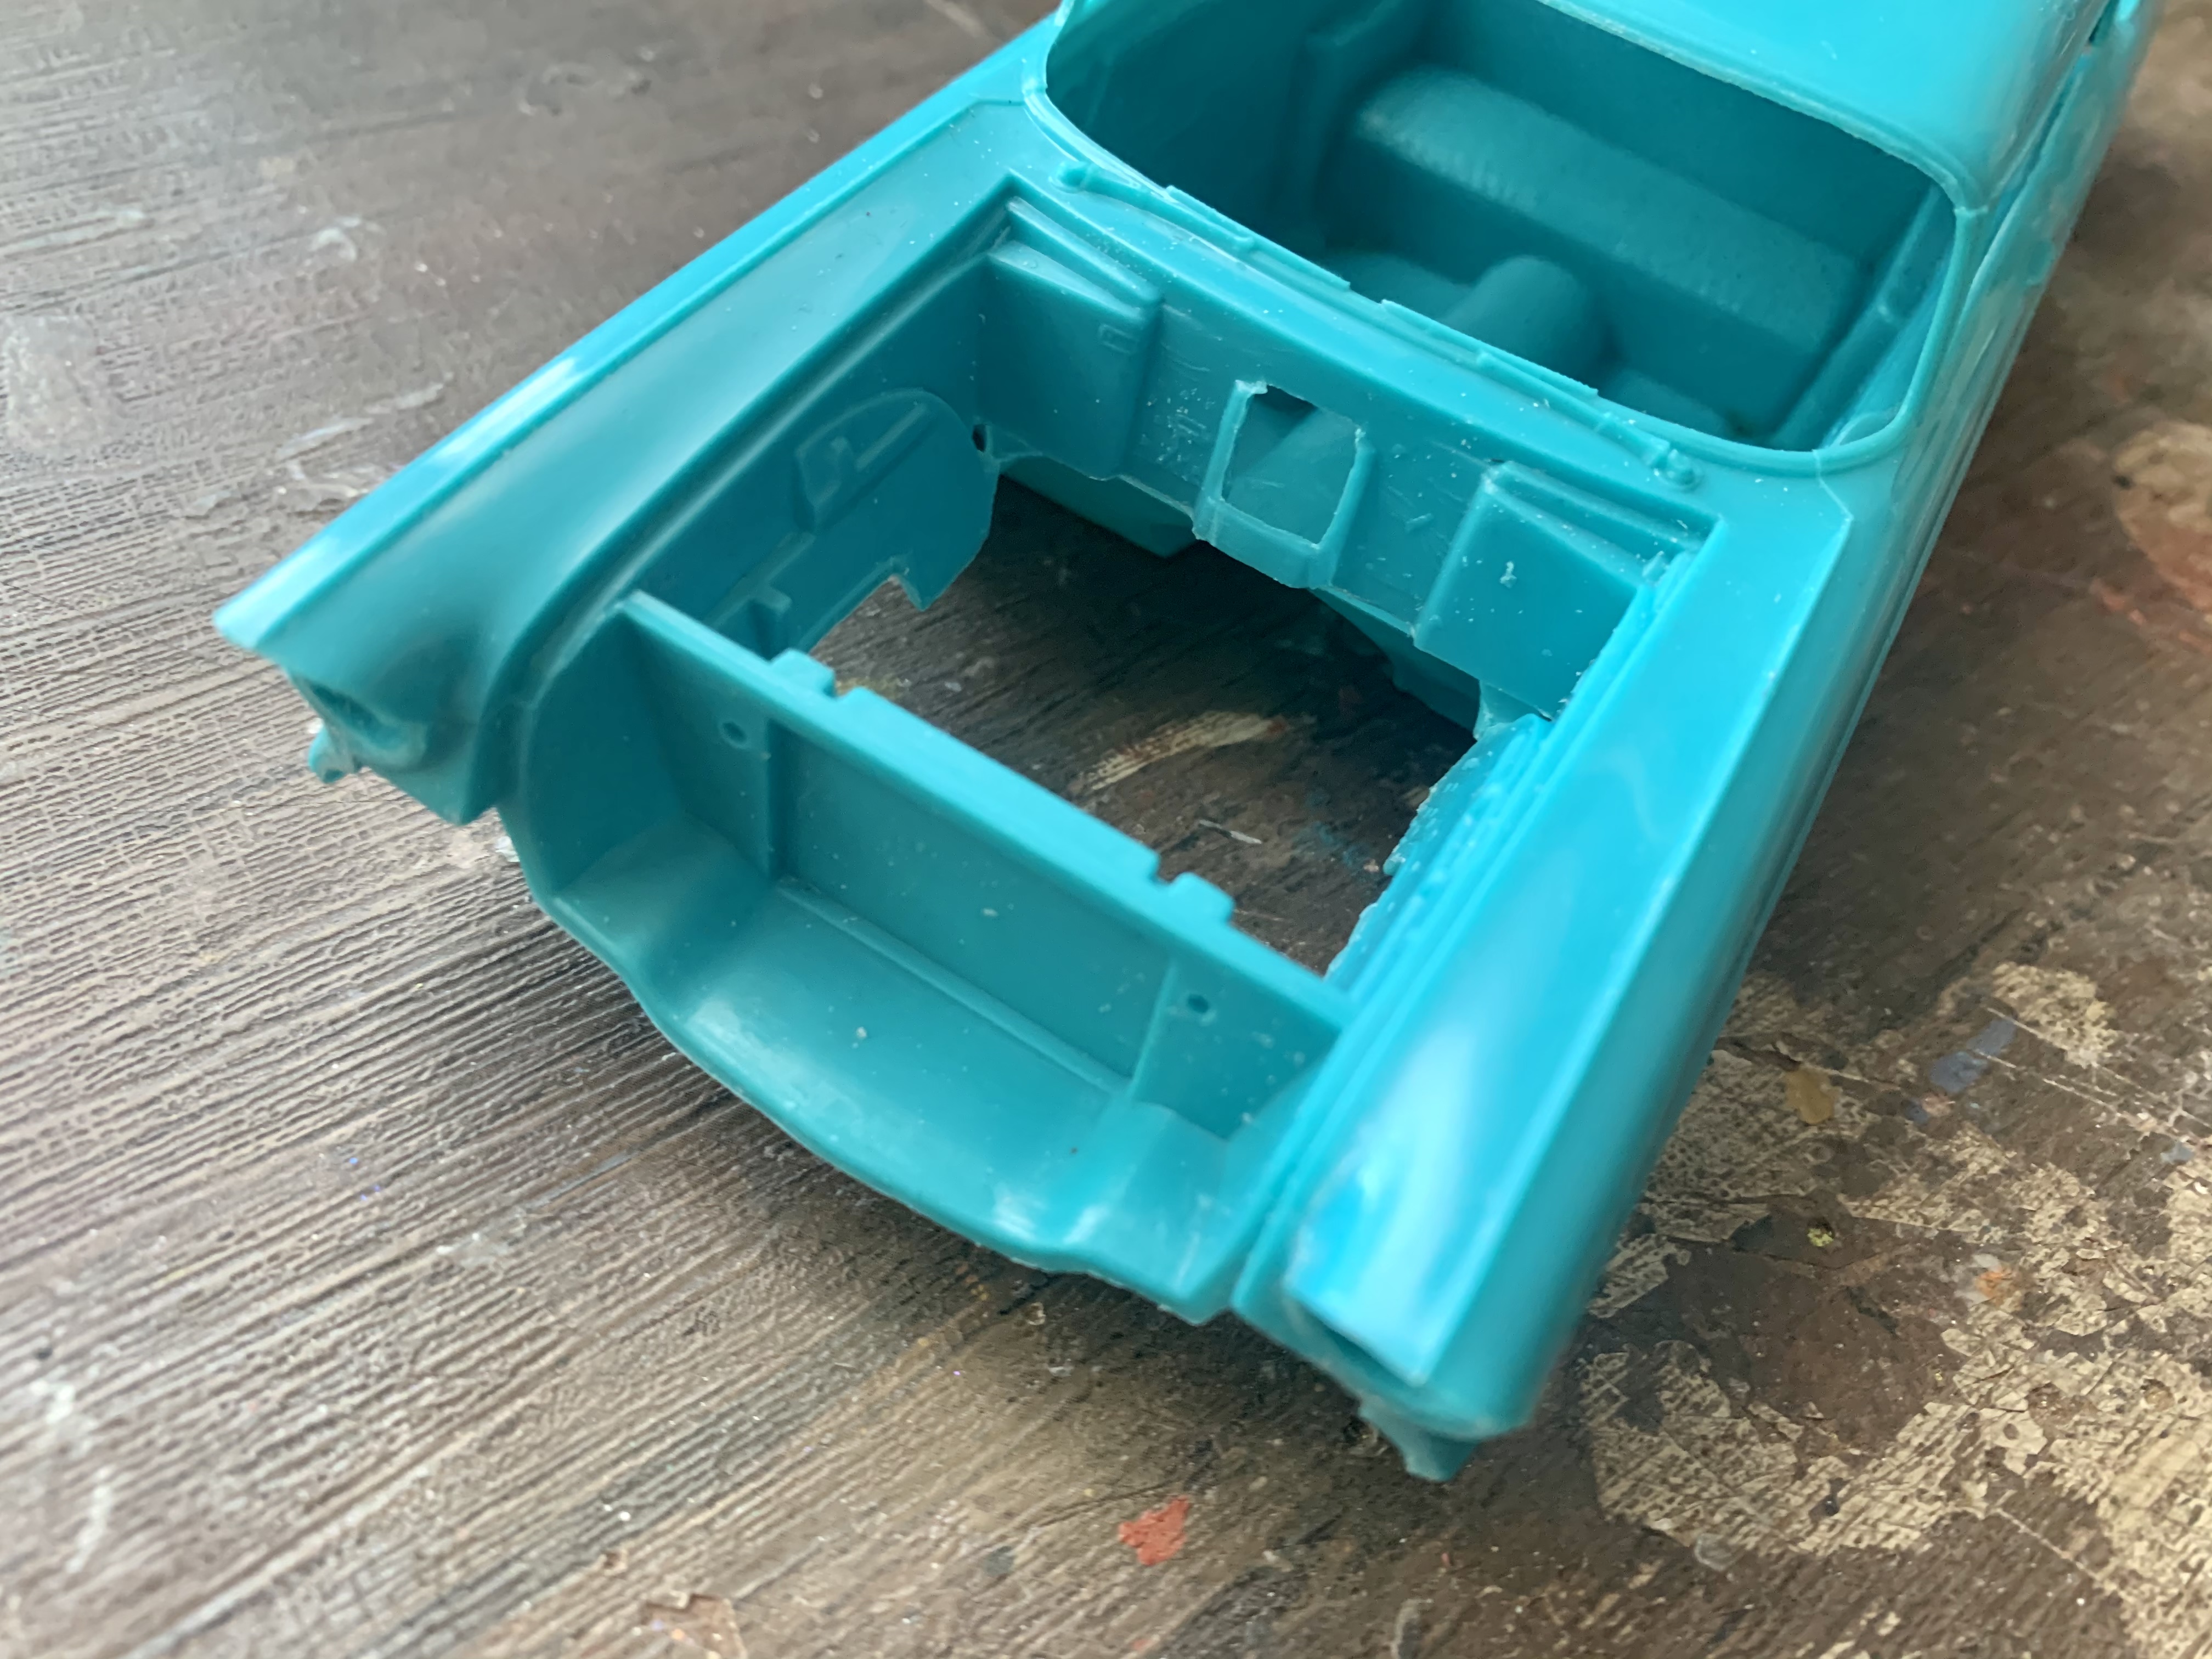
Much as this thread has it’s share of negativity, I’m quite enjoying seeing some of the issues mentioned and figuring out the best way to fix them! Filled the hole on the firewall of mine tonight in the few minutes I had before dinner and then started working round some of the parting lines hidden in some of the crevices around the lights and trunk lid. Those creases on the top of the fenders need to be smoothed down a little (but I’d rather have too much material there so I can get them how I want them than have too little and have to add them back in) and there’s surprisingly little on this body that can’t be fixed with a few minutes of careful sanding. I’ll start a WIP on this one in due course I’m sure, but I’m not REALLY working on this one now except occasionally getting motivated by this thread into doing a little bit here and there for a few minutes. And I’m not even a 57 Chevy guy ?
-
Yep, stupid me for buying a kit that I figured I could do a nice job of building despite it’s flaws. I’m going to make a little filler piece to put in there or tweak it to look like the 1:1. Even a dimwit like me can cut a rectangle out of something I’m sure and stick it in a hole. I’m looking forward to seeing some progress on yours by the way...although I’m pretty sure you’re just trolling to get a reaction. I’m excited to see what a smarter person than me can do with this kit!
-
That is their hobby, I think ? But yes, kinda sad...