OldNYJim
-
Posts
252 -
Joined
-
Last visited
Content Type
Profiles
Forums
Events
Gallery
Everything posted by OldNYJim
-
 That’s bananas looking!! What is it?
 -
Gofer Selling Revell Parts Packs?
OldNYJim replied to Justin Porter's topic in Car Kit News & Reviews
I tried Googling but I couldn’t find a website for Gofer - any indication of when these will be released? -
They did/do that with the MPC 32 kit too - you might order a Deuce and get a Beetle ?
-
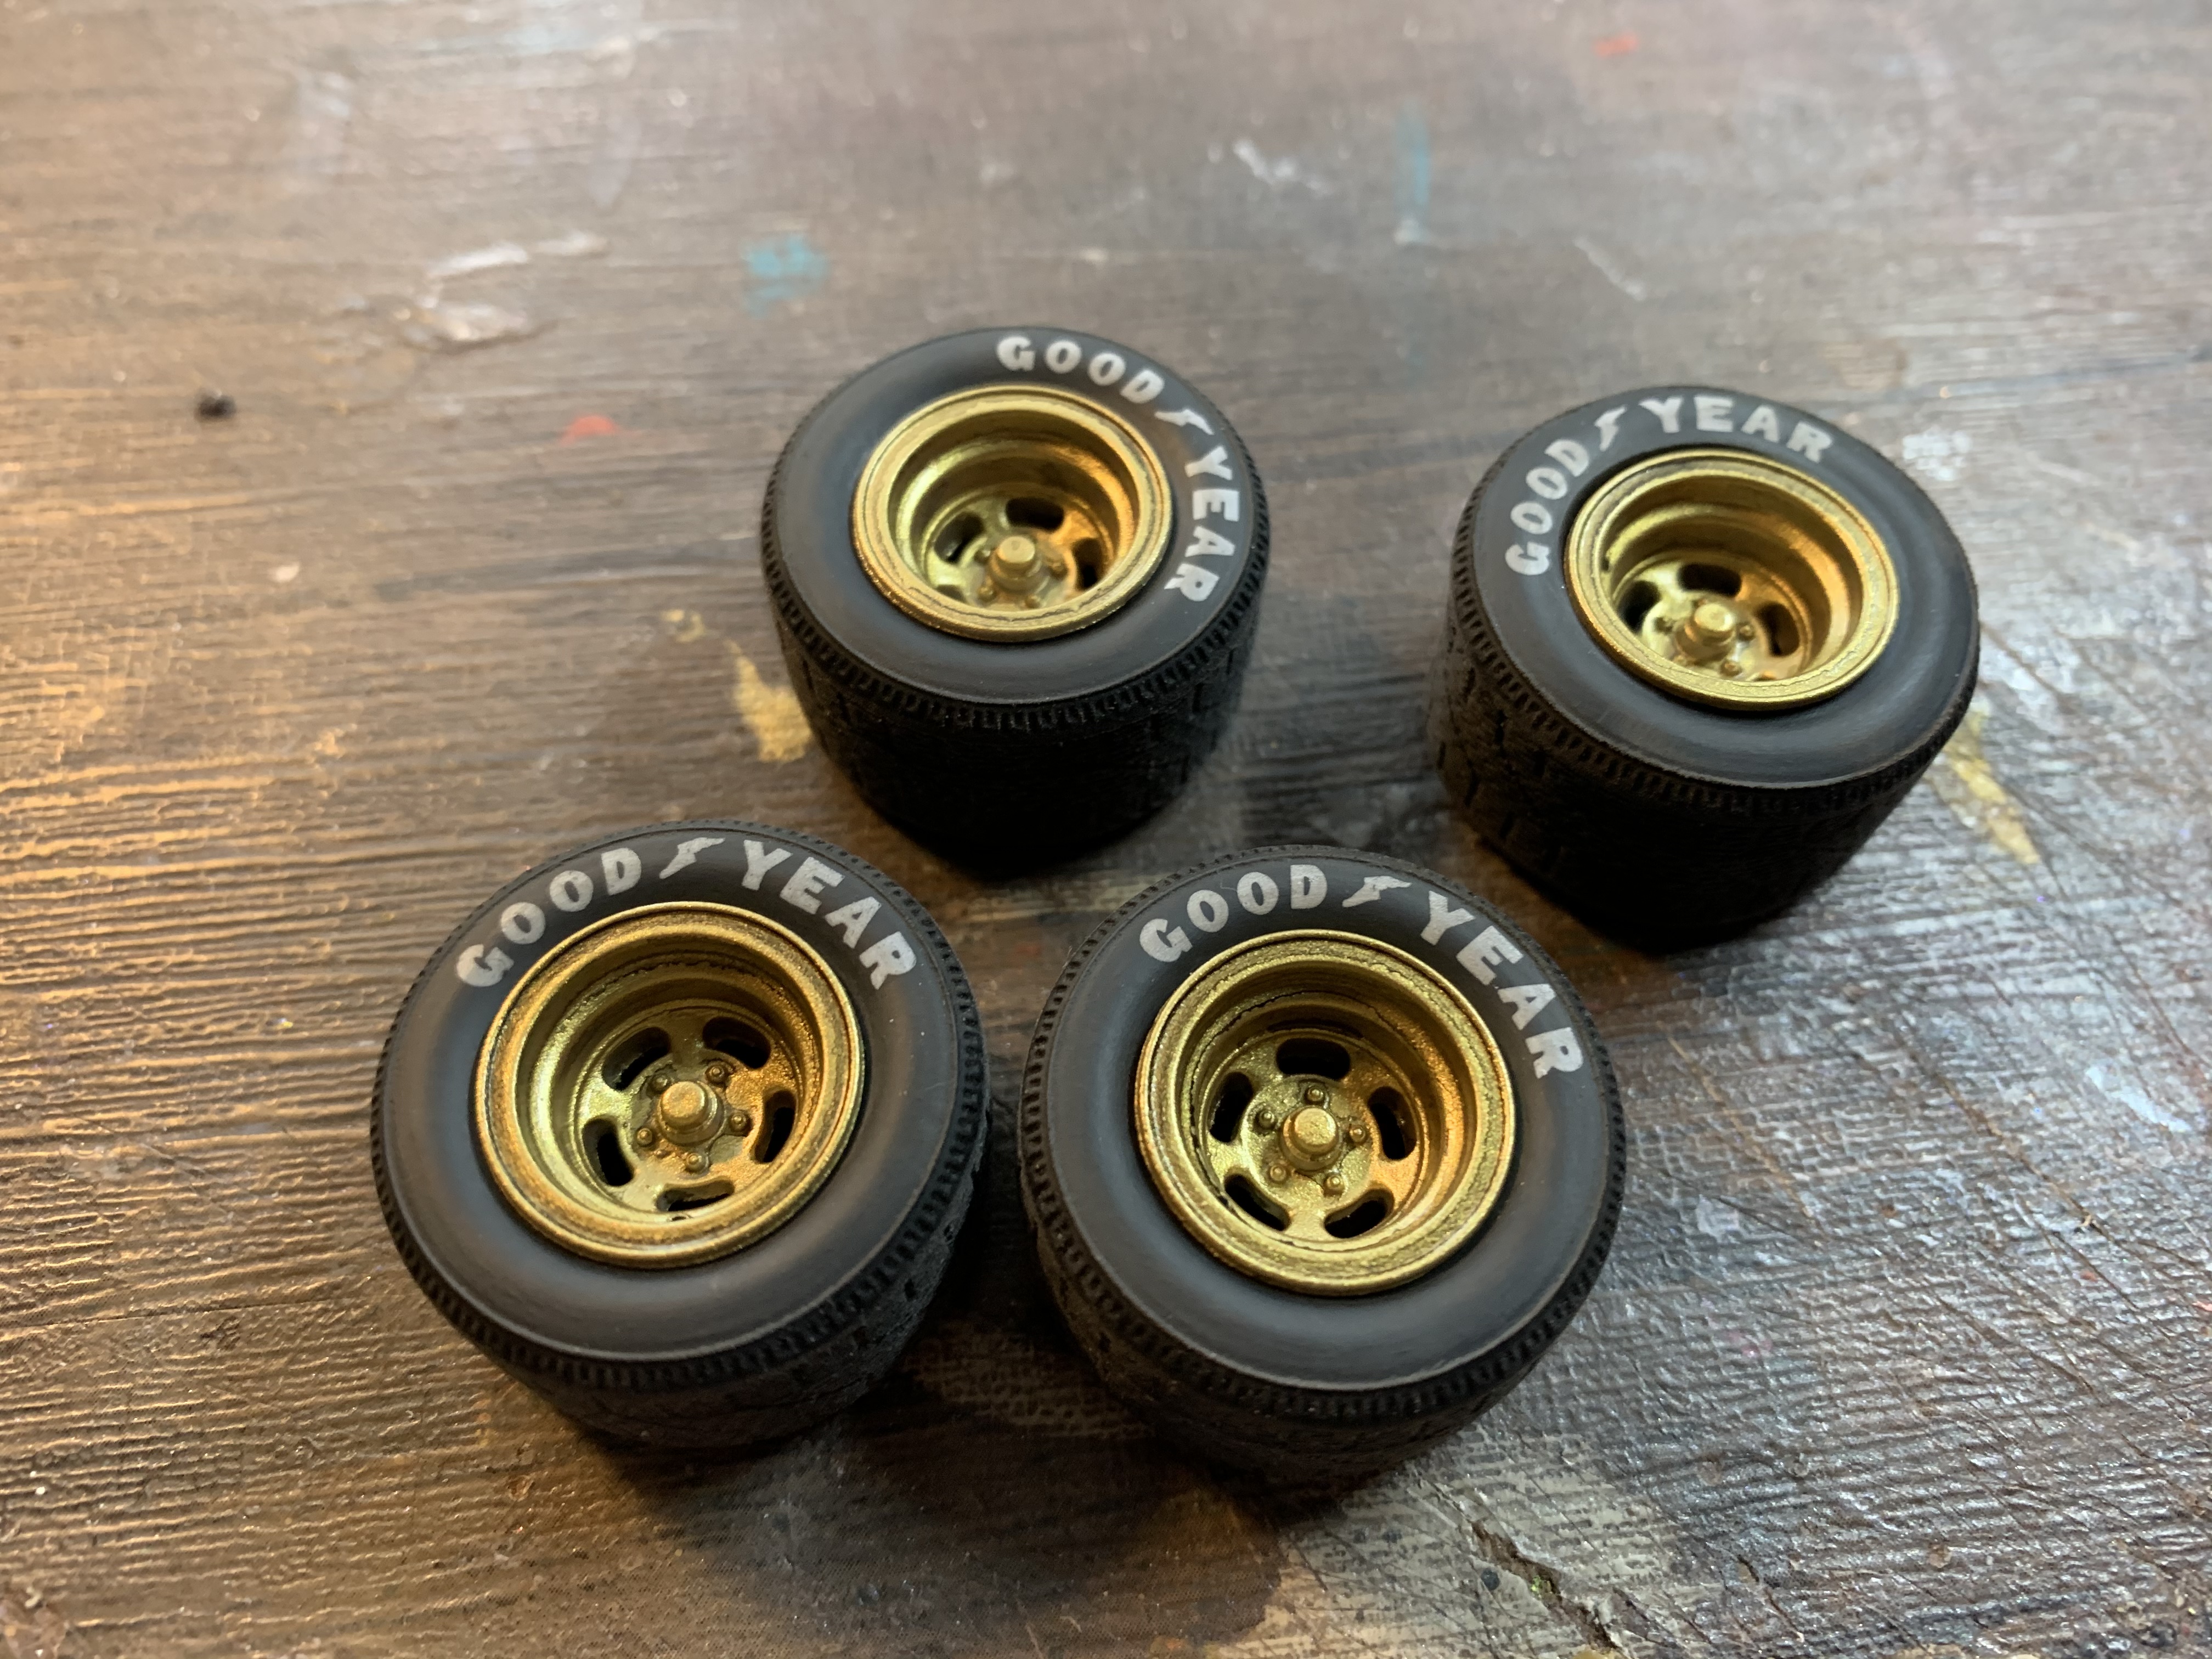
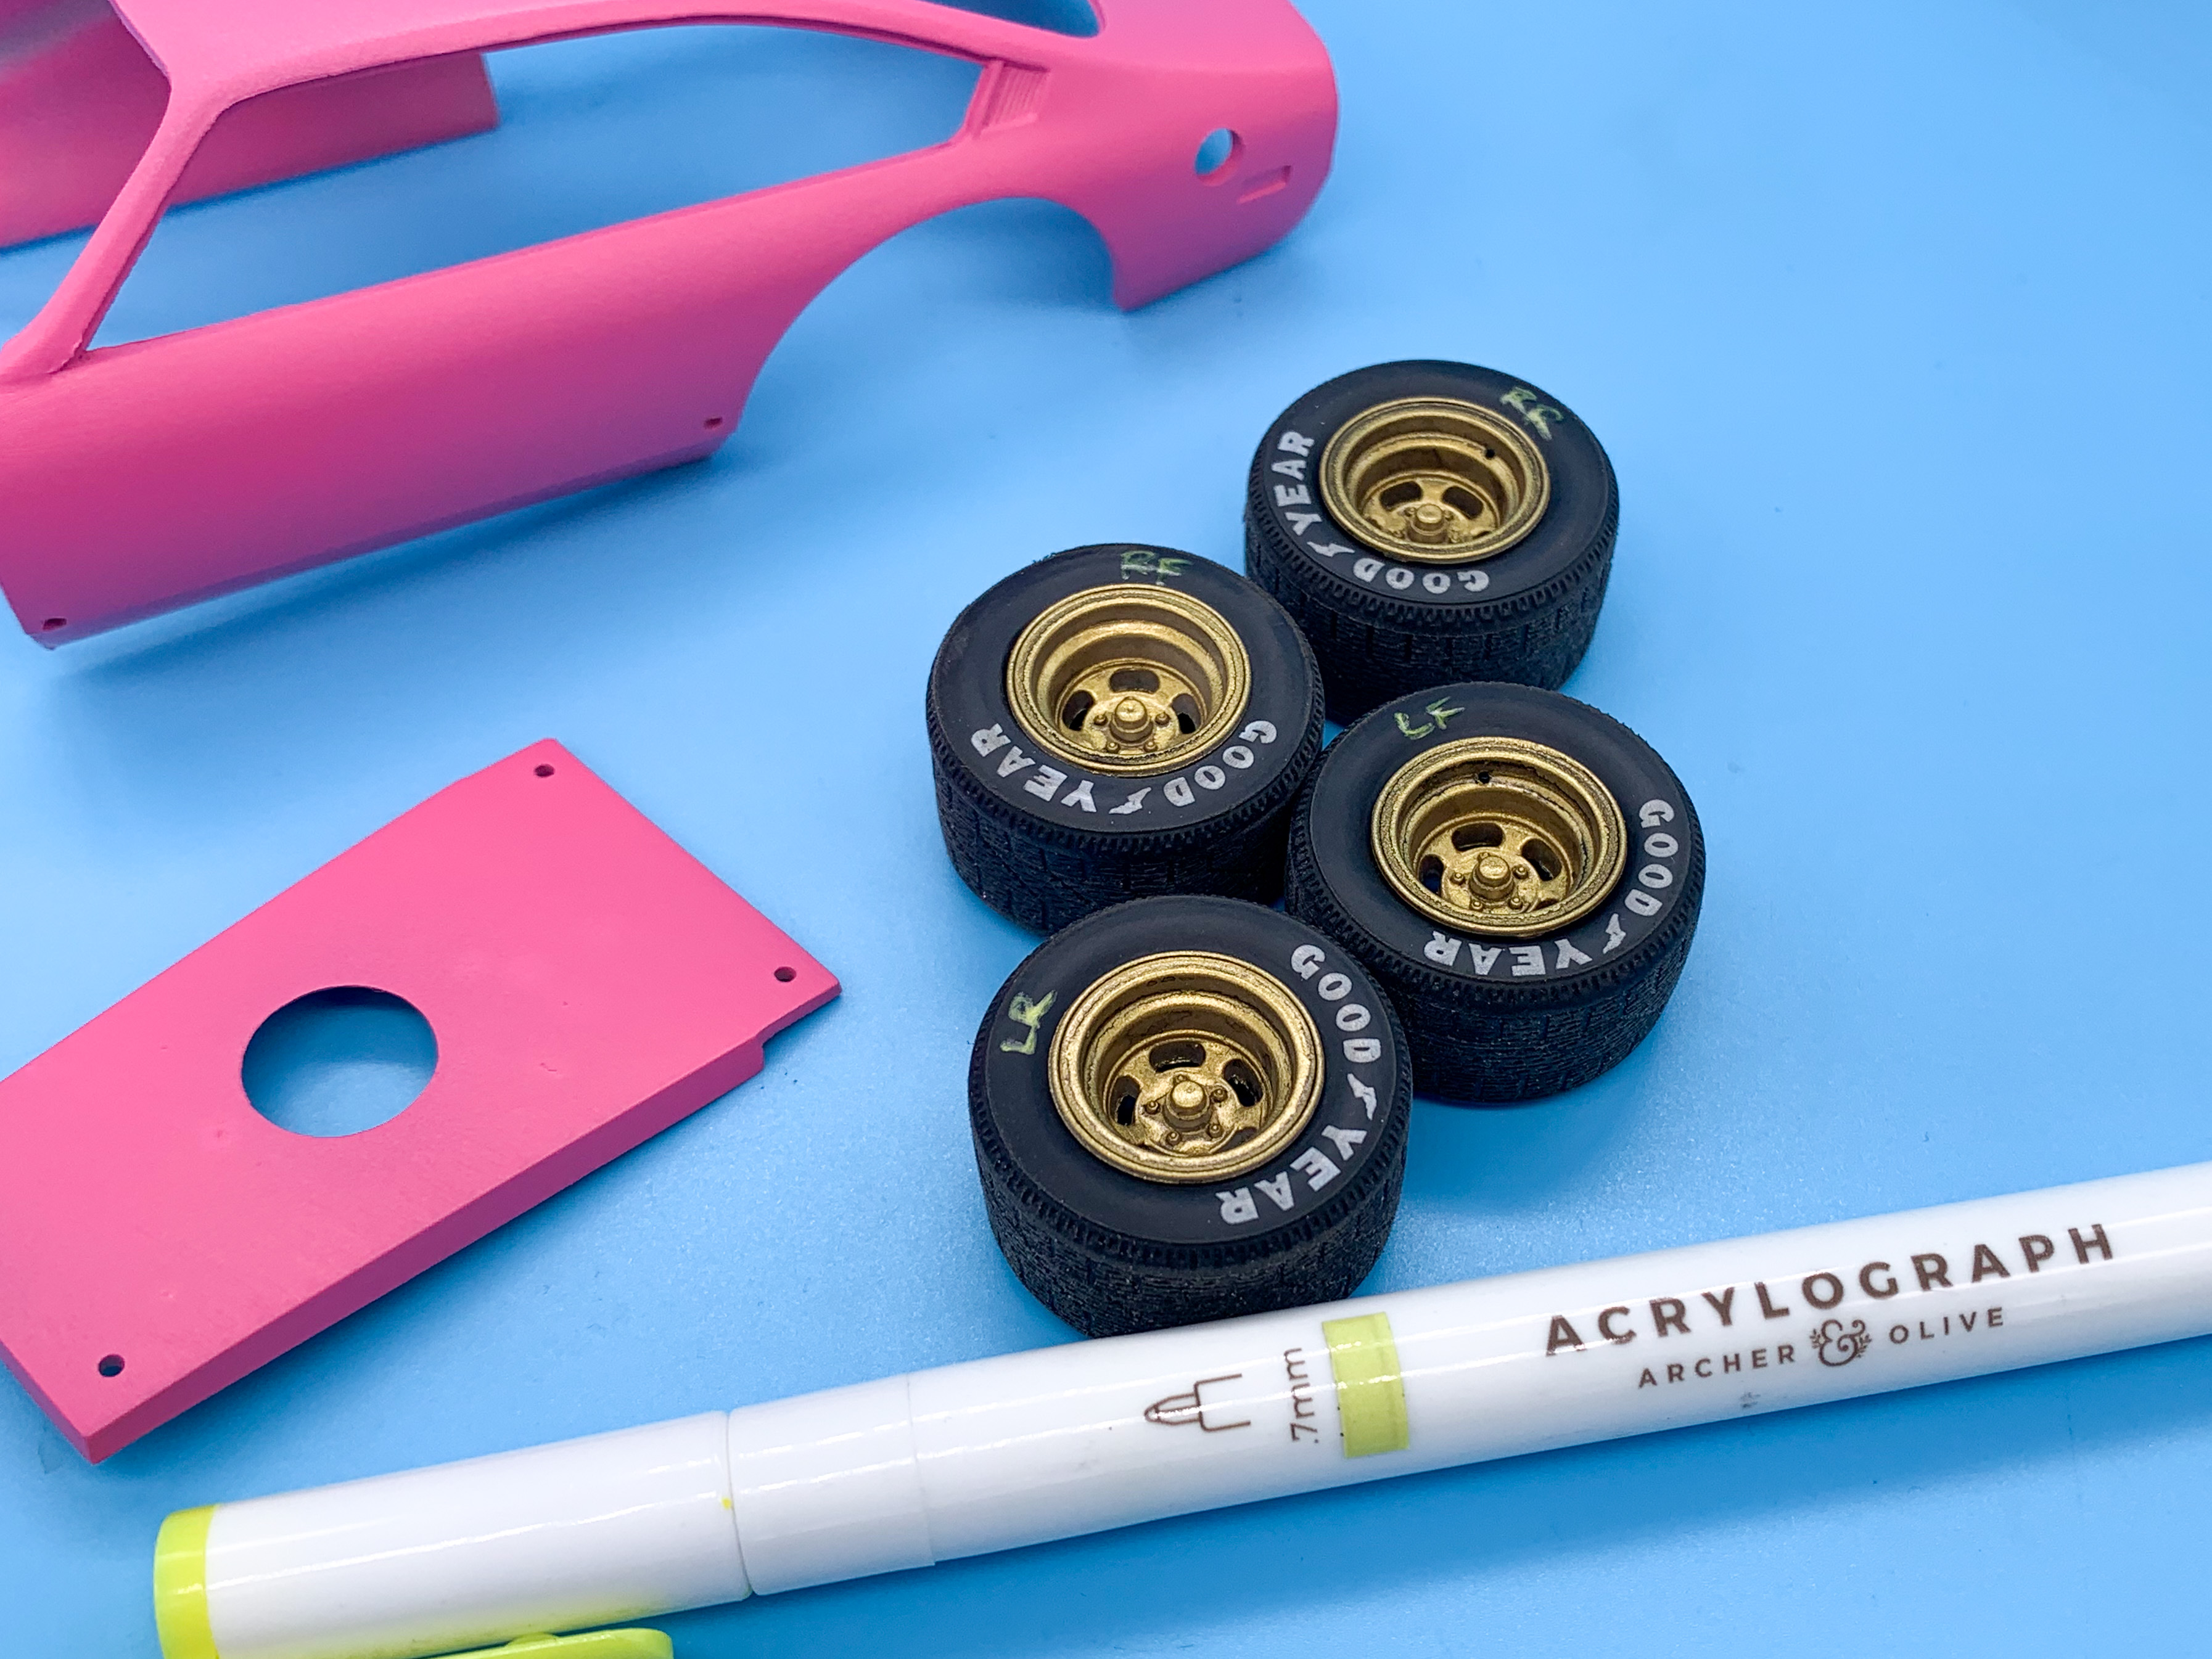
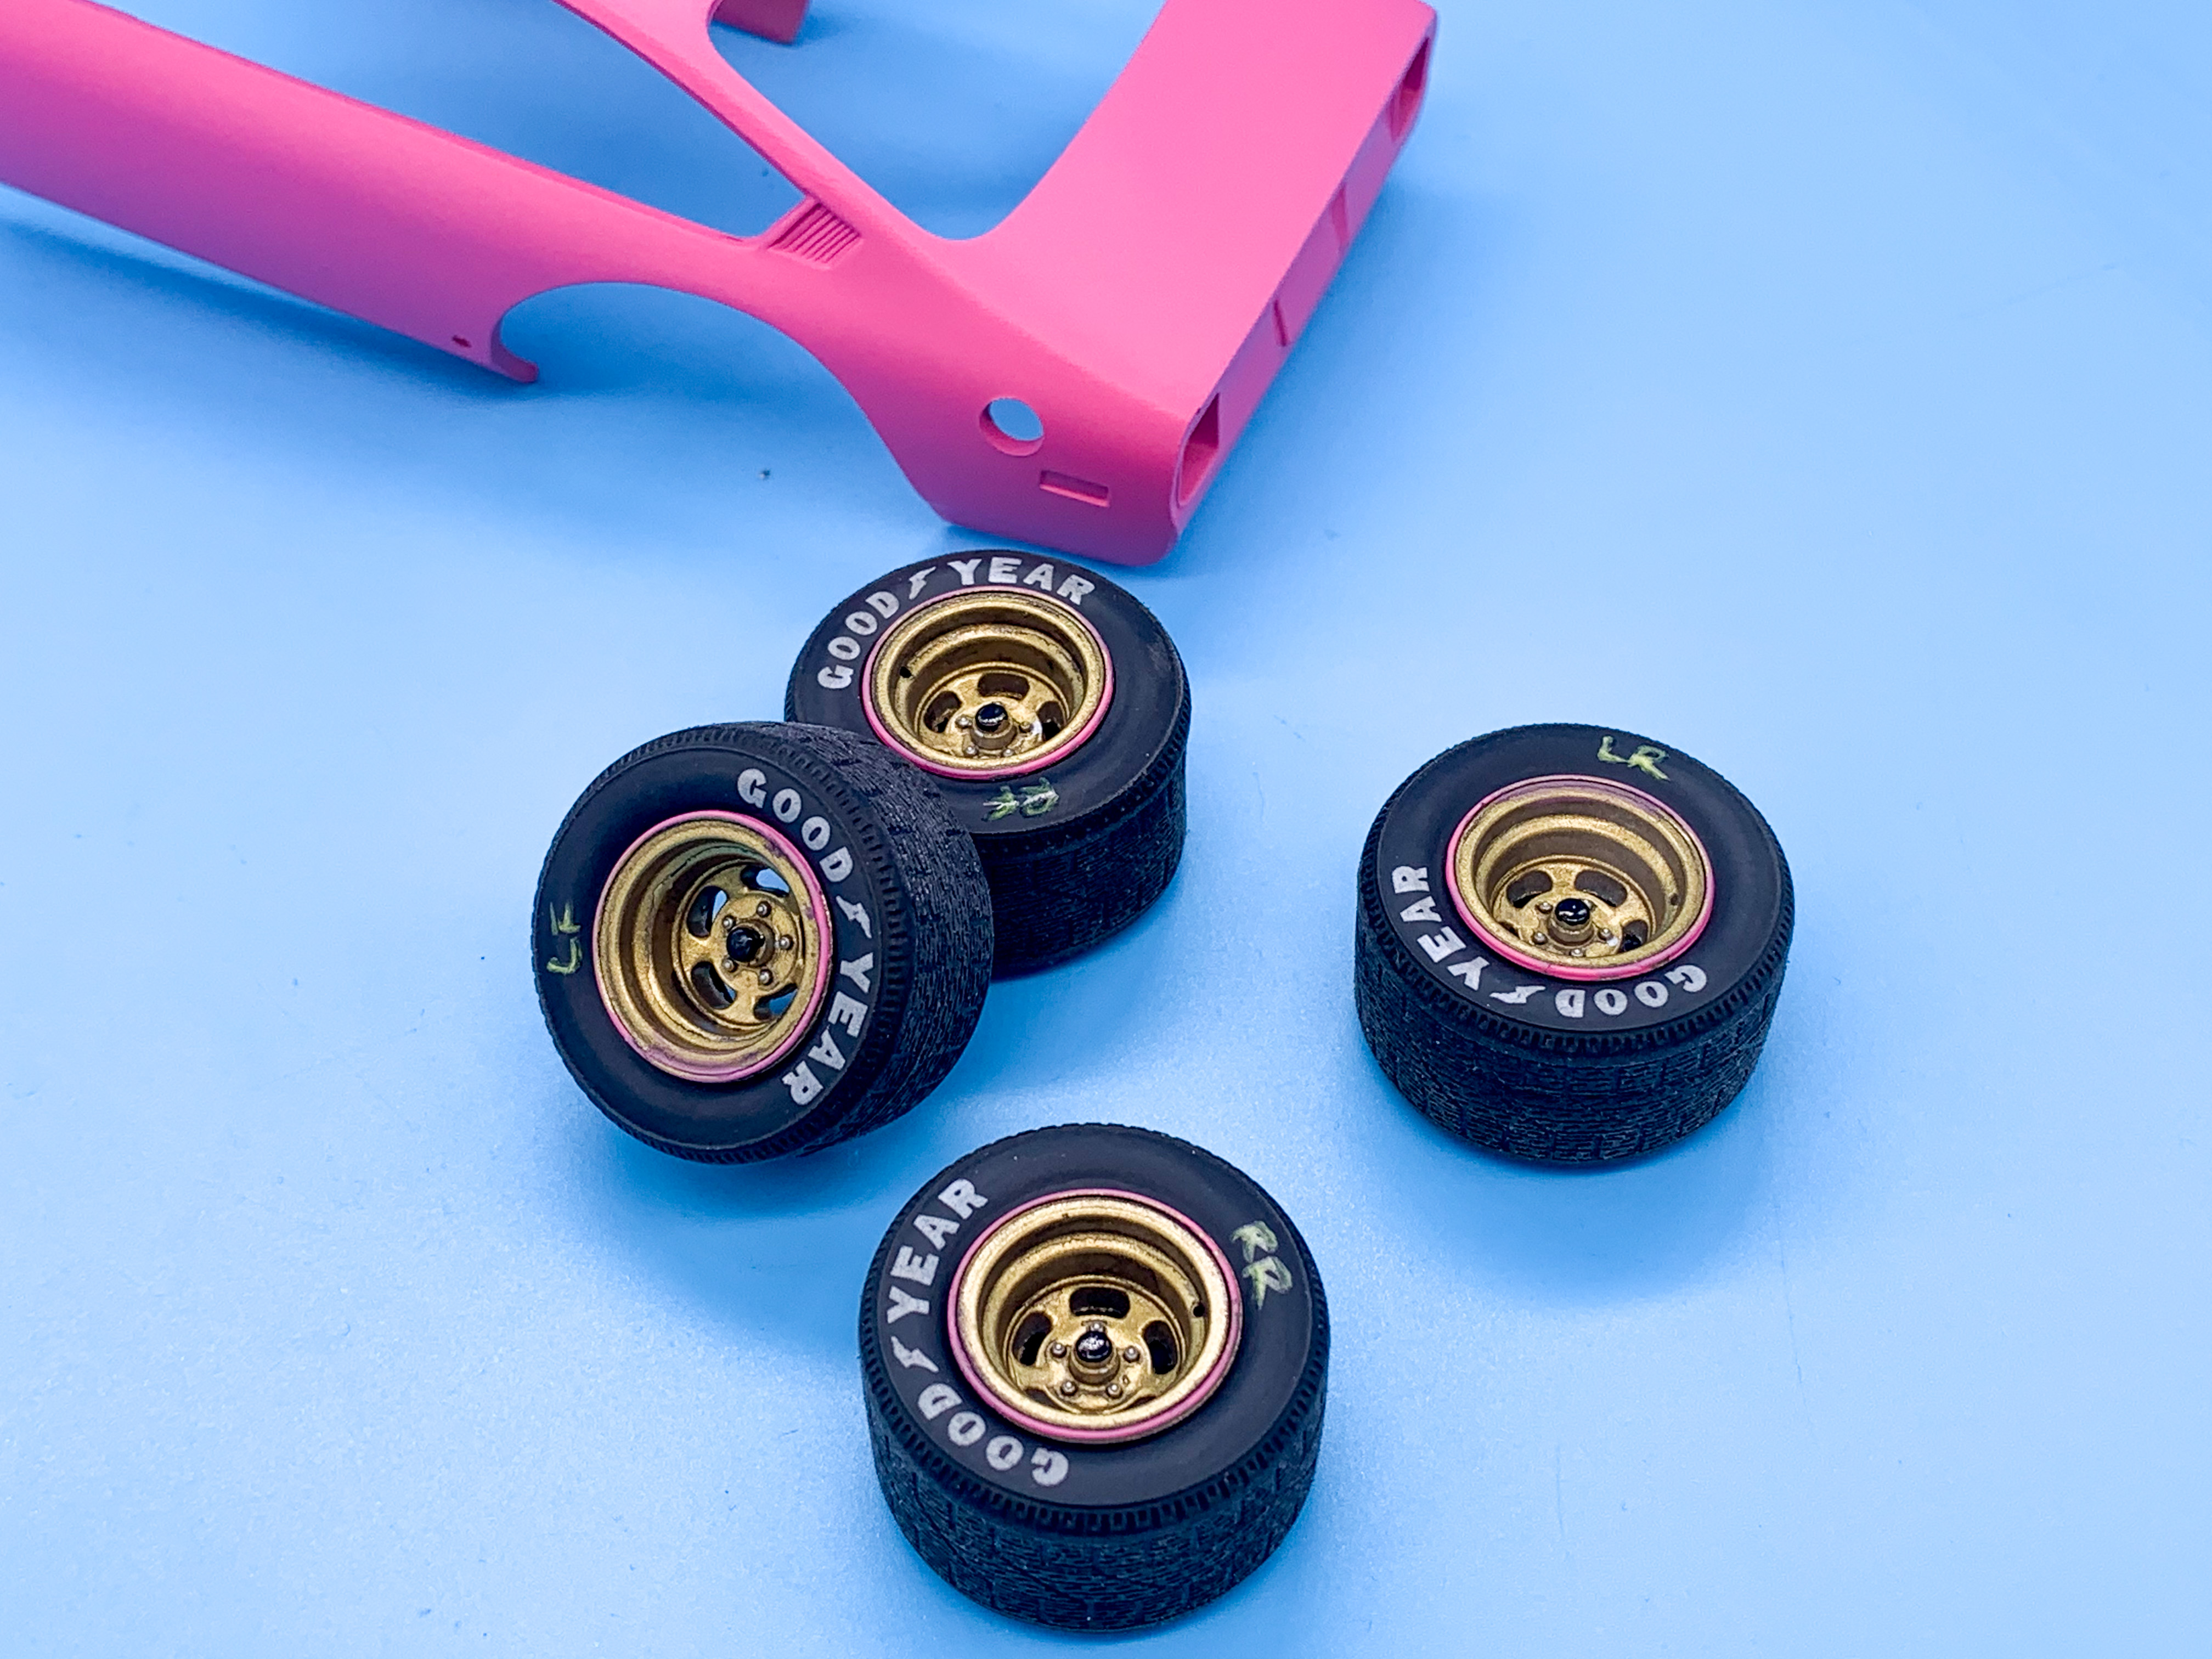
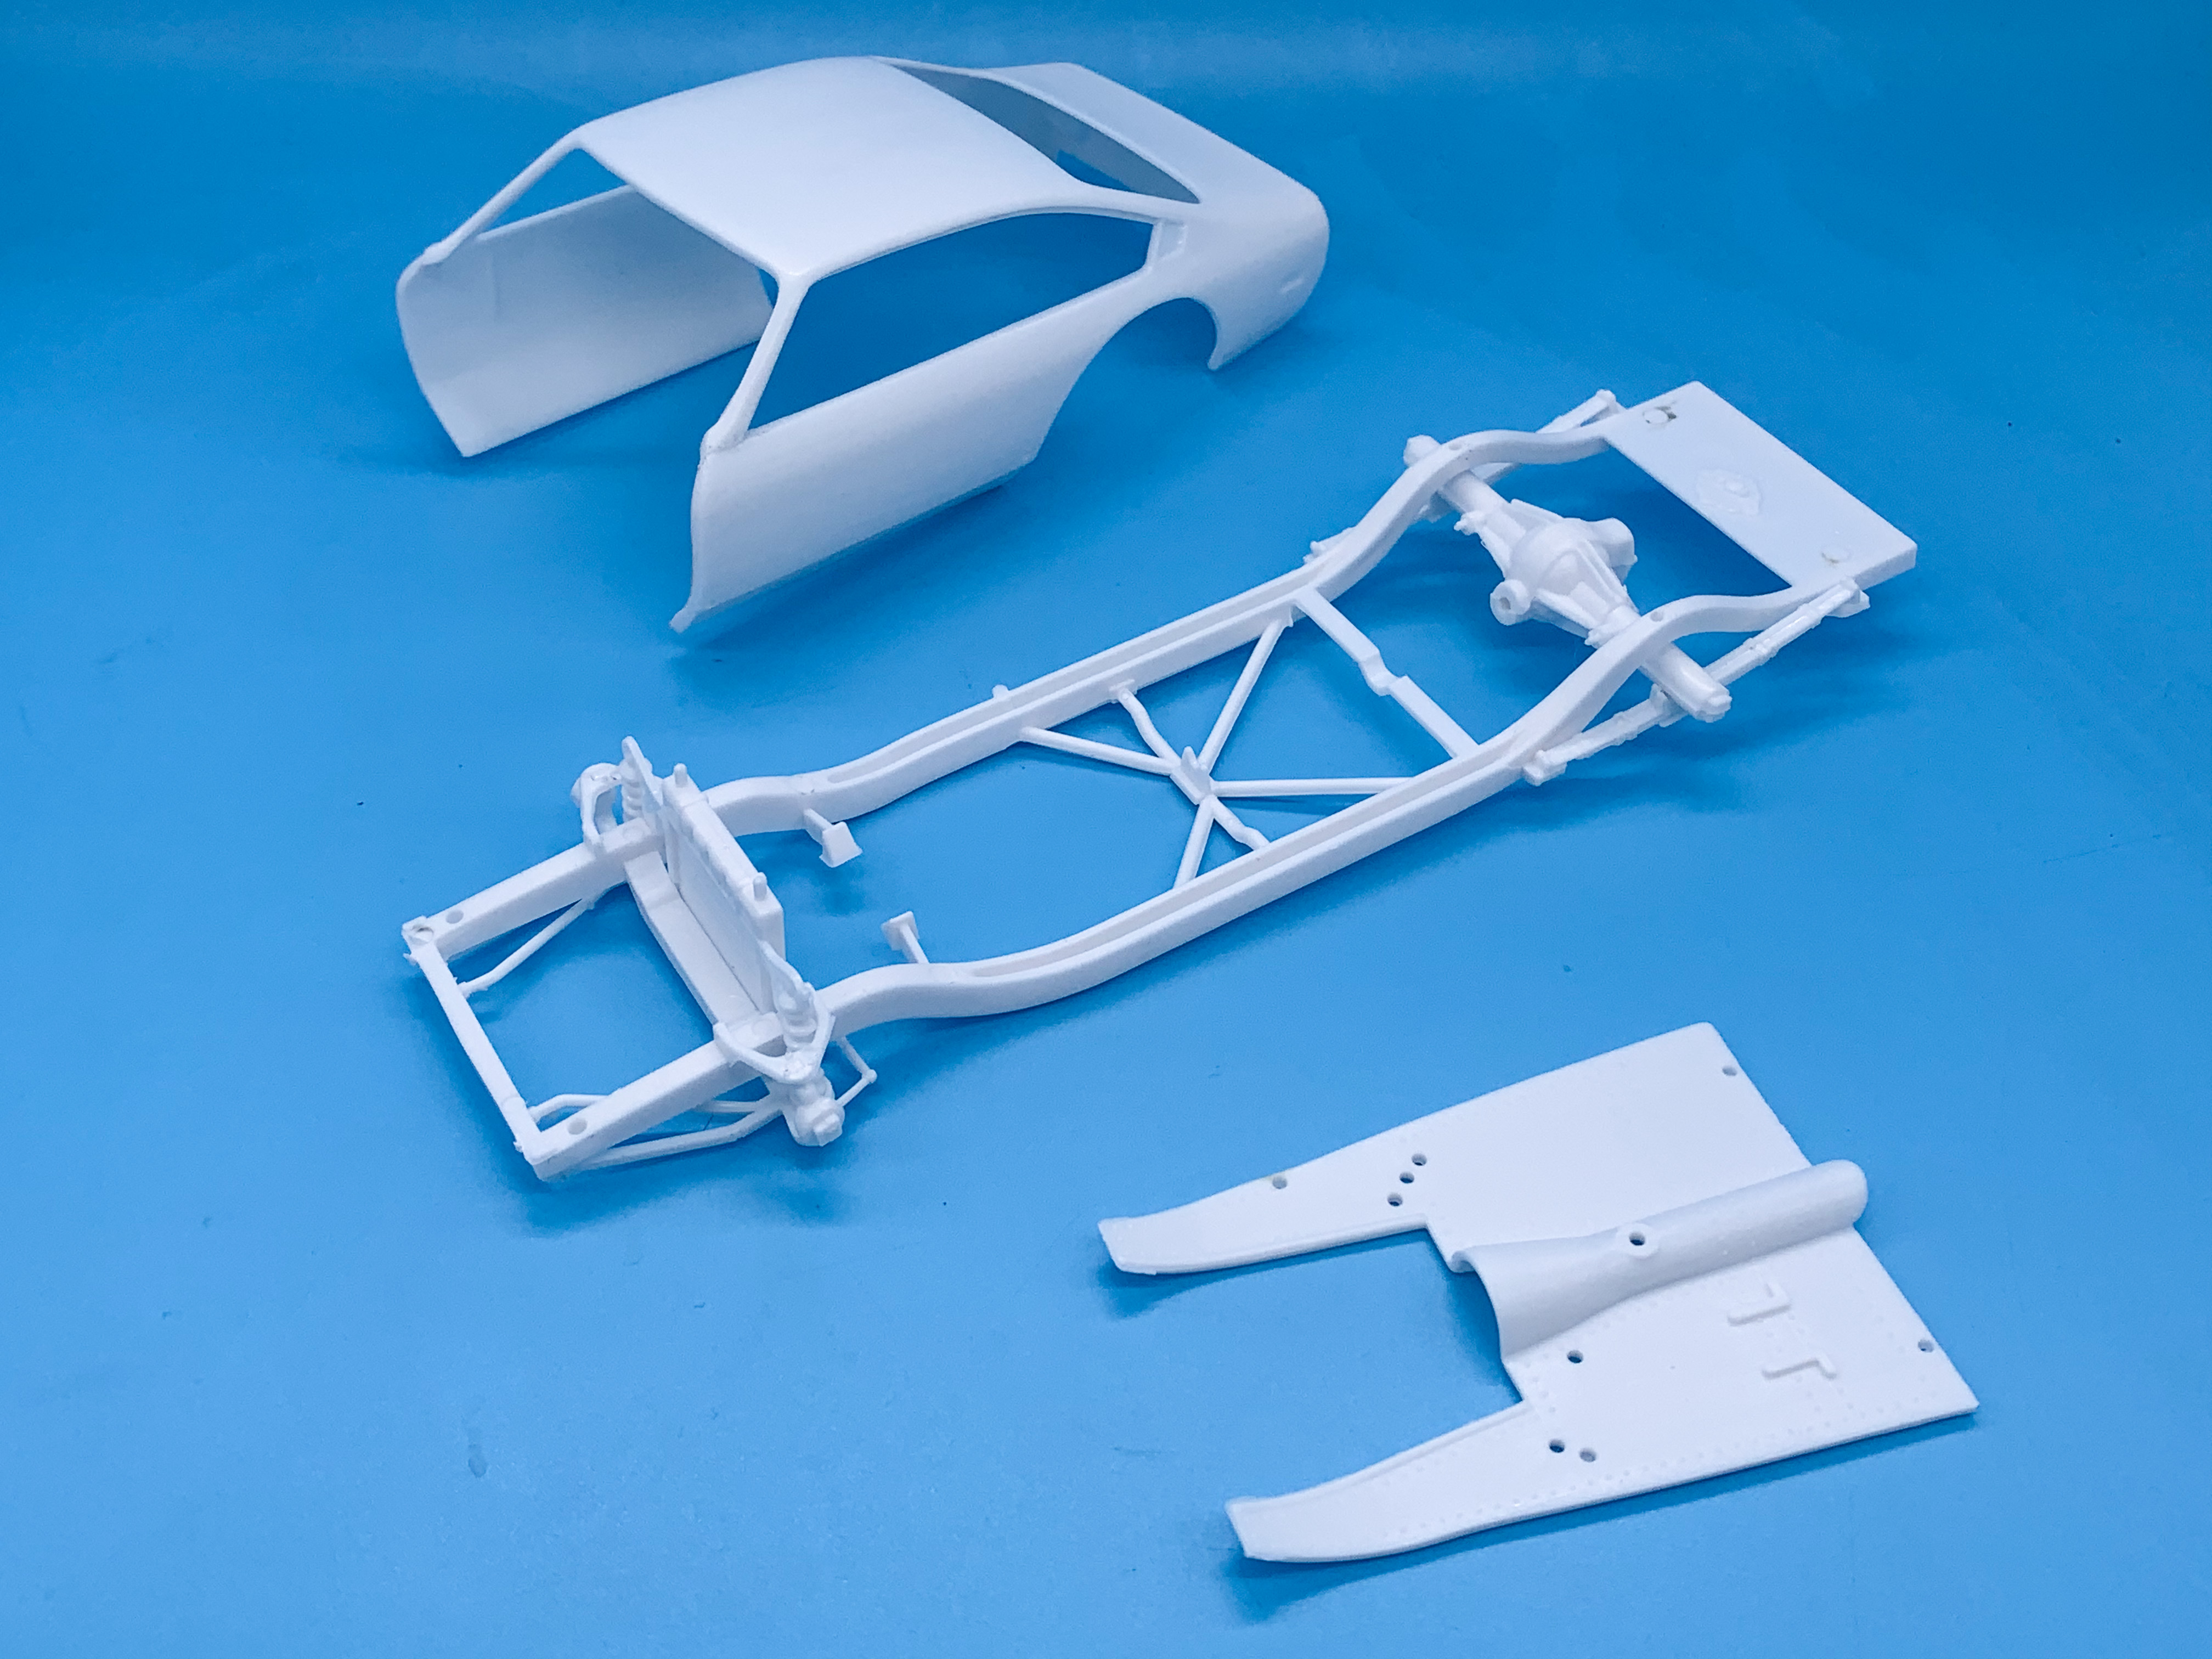
I’ve been wanting to do an oval car for a while and I found one of the MPC Rat Trap Vega kits cheap online a couple of weeks back and couldn’t wait to dig into it: Not a super detailed kit but the examples I’ve seen build up to a decent looking replica of a vintage pavement modified - I figure I’ll do this version close to box stock (famous last words) then take what I’ve learned to do some more detailed versions down the line. Quick look at some of the main components: Used a little Bondo to straighten out some sink marks on the frame and body before primer: Then shot the body in a nice hot pink as a base for (lots) more paint work later: Meanwhile, added a little subtle weathering to the tires with the Tamiya weathering set to darken the lettering a little (before on the left, after on the right): Shot the wheels Vallejo gold and gave them a light black wash: Borrowed a trick from NASCAR and added some tire lettering with an acrylic paint pen: Before picking out the lug nuts and rims for a little more detail, followed by another wash to add some grime and dirt to make them look a little used: Oval cars are fun! Working on the frame next - more soon!

-
That turbine Camaro is too interesting NOT to get a vote ?
-
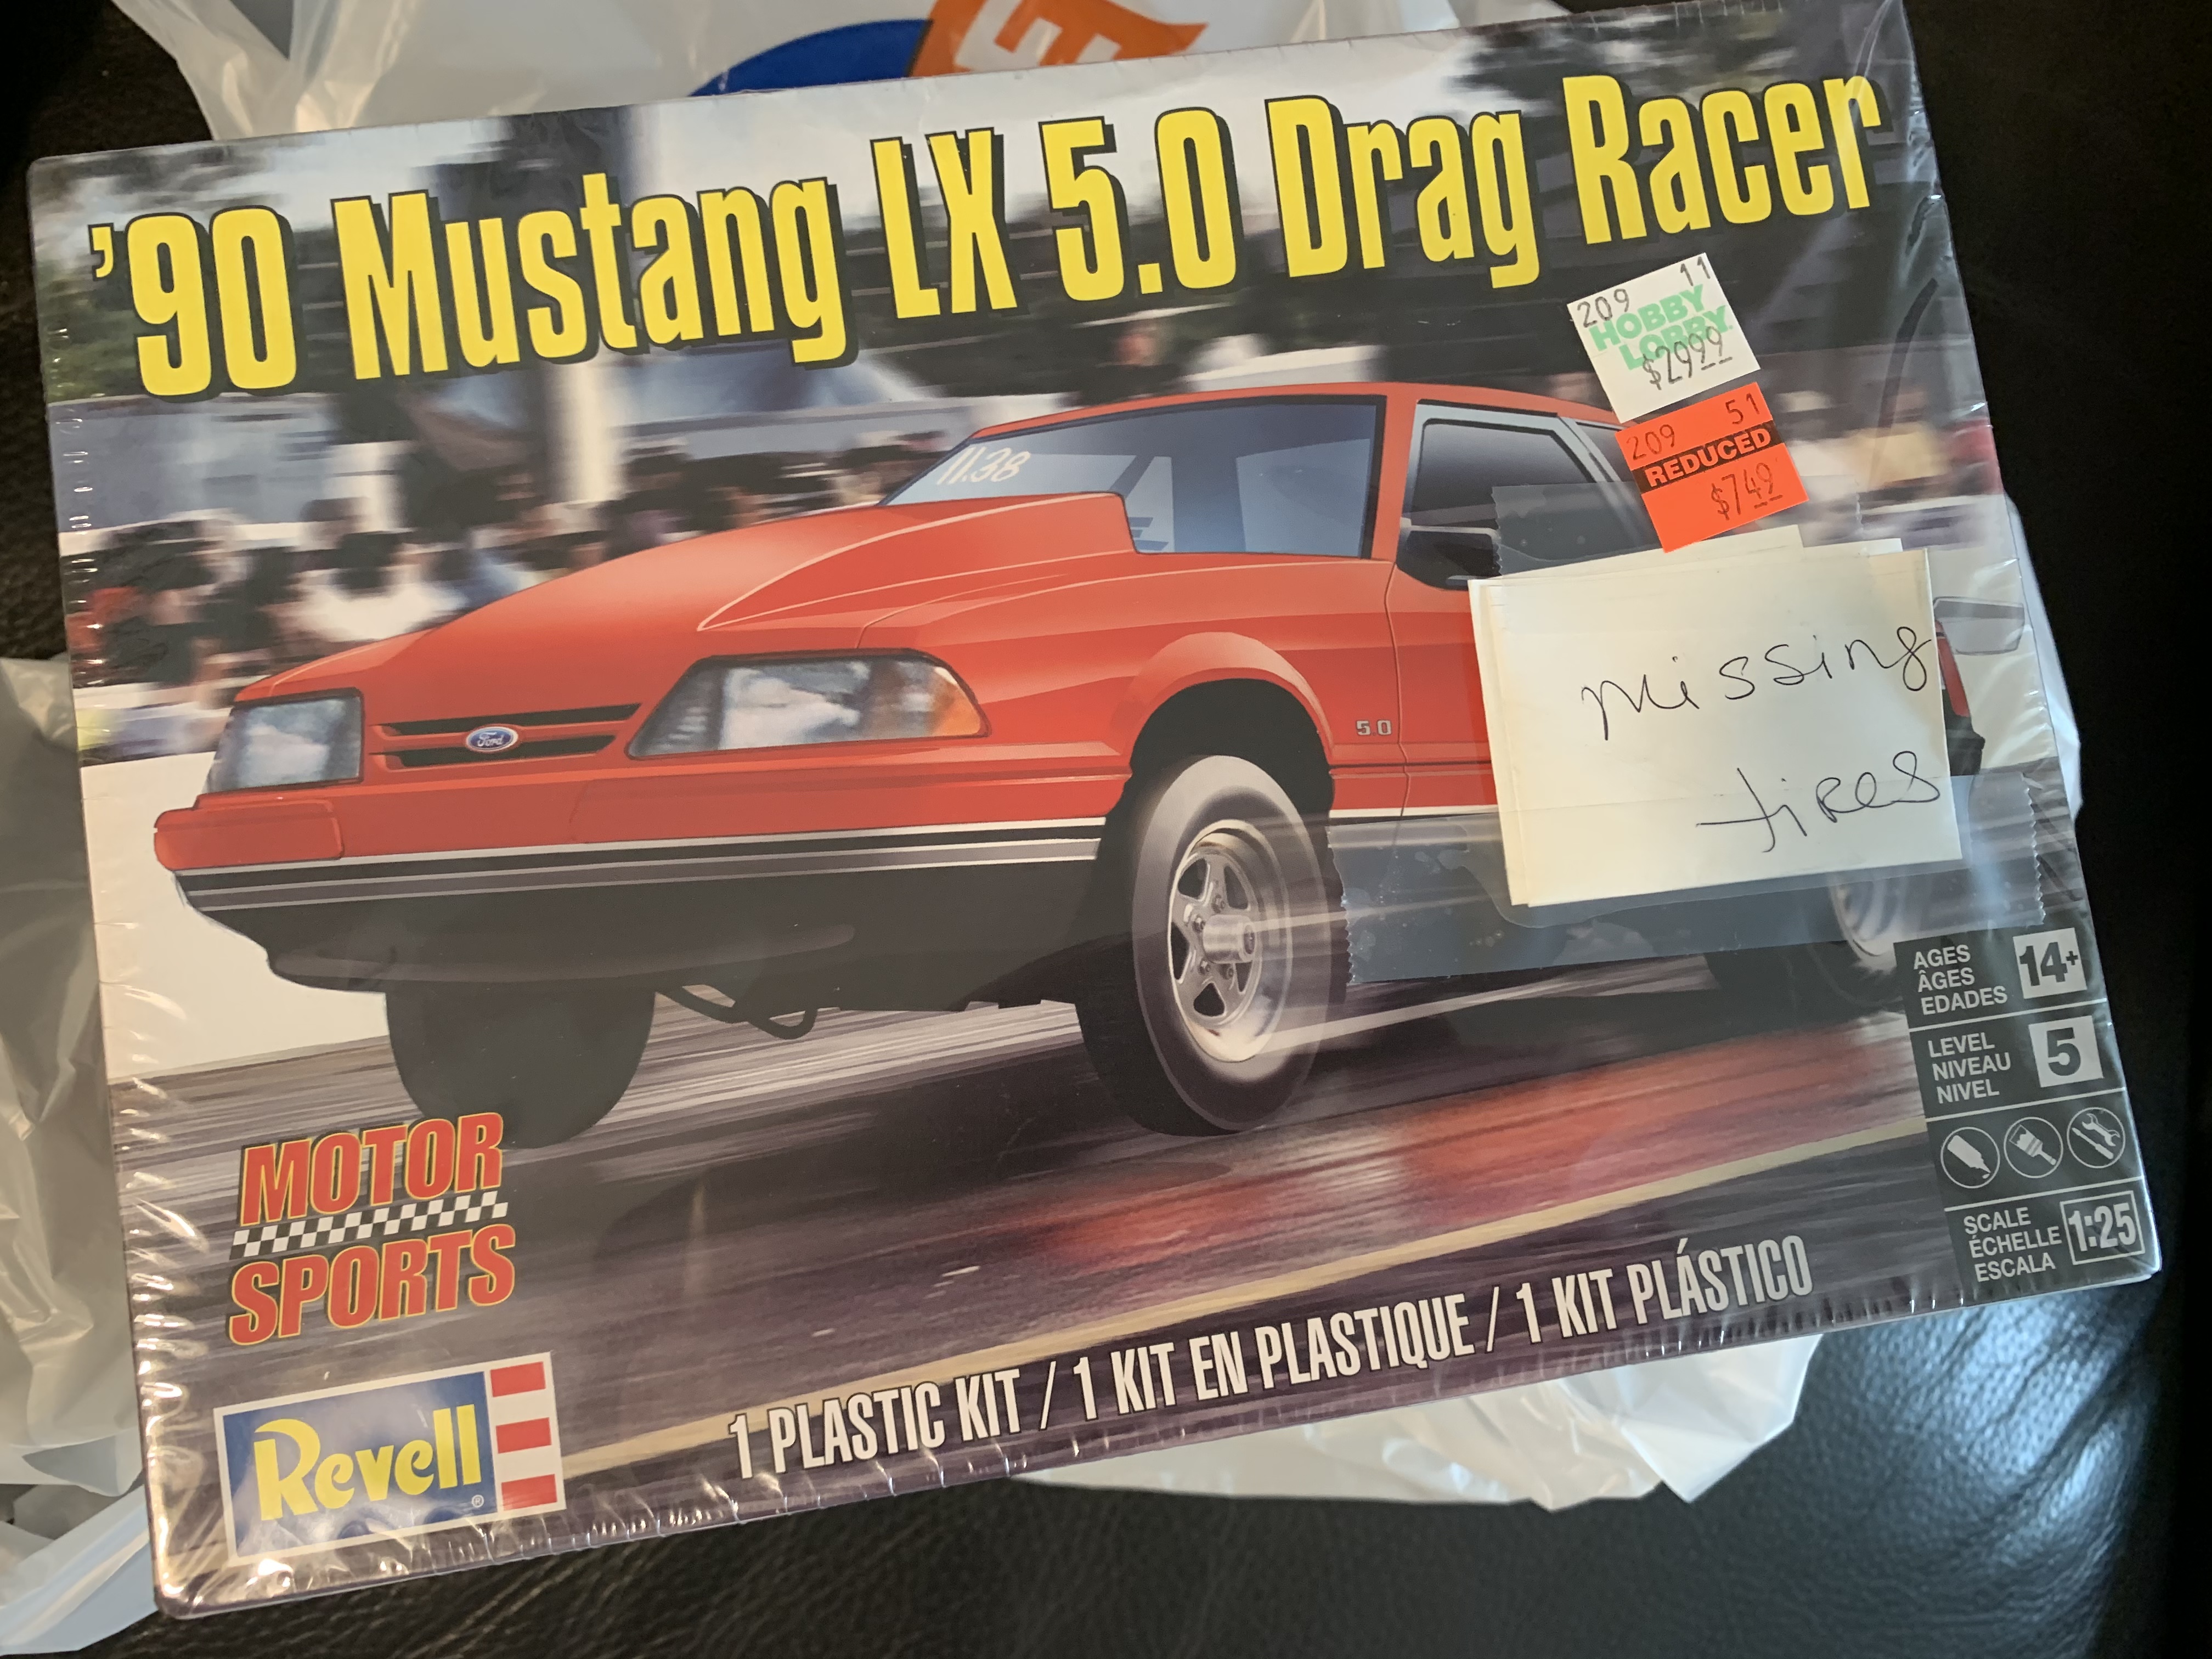
Hobby Lobby clearance rack find today: Last clearance kit I got said it was missing the tires too (but it wasn’t?!) - this one was missing the tires and then some. The wheels, the entire interior, the decals, the instructions...almost wasn’t worth the gamble this time around... That said I’m sure I’ll find a home for the engine, which is nicely done, and the rear end and Ive got a useful frame with front and rear suspension that I can drop some other body onto...I’ll get my $7.49’s worth out of it!
-
What did you see on the road today?
OldNYJim replied to Harry P.'s topic in General Automotive Talk (Trucks and Cars)
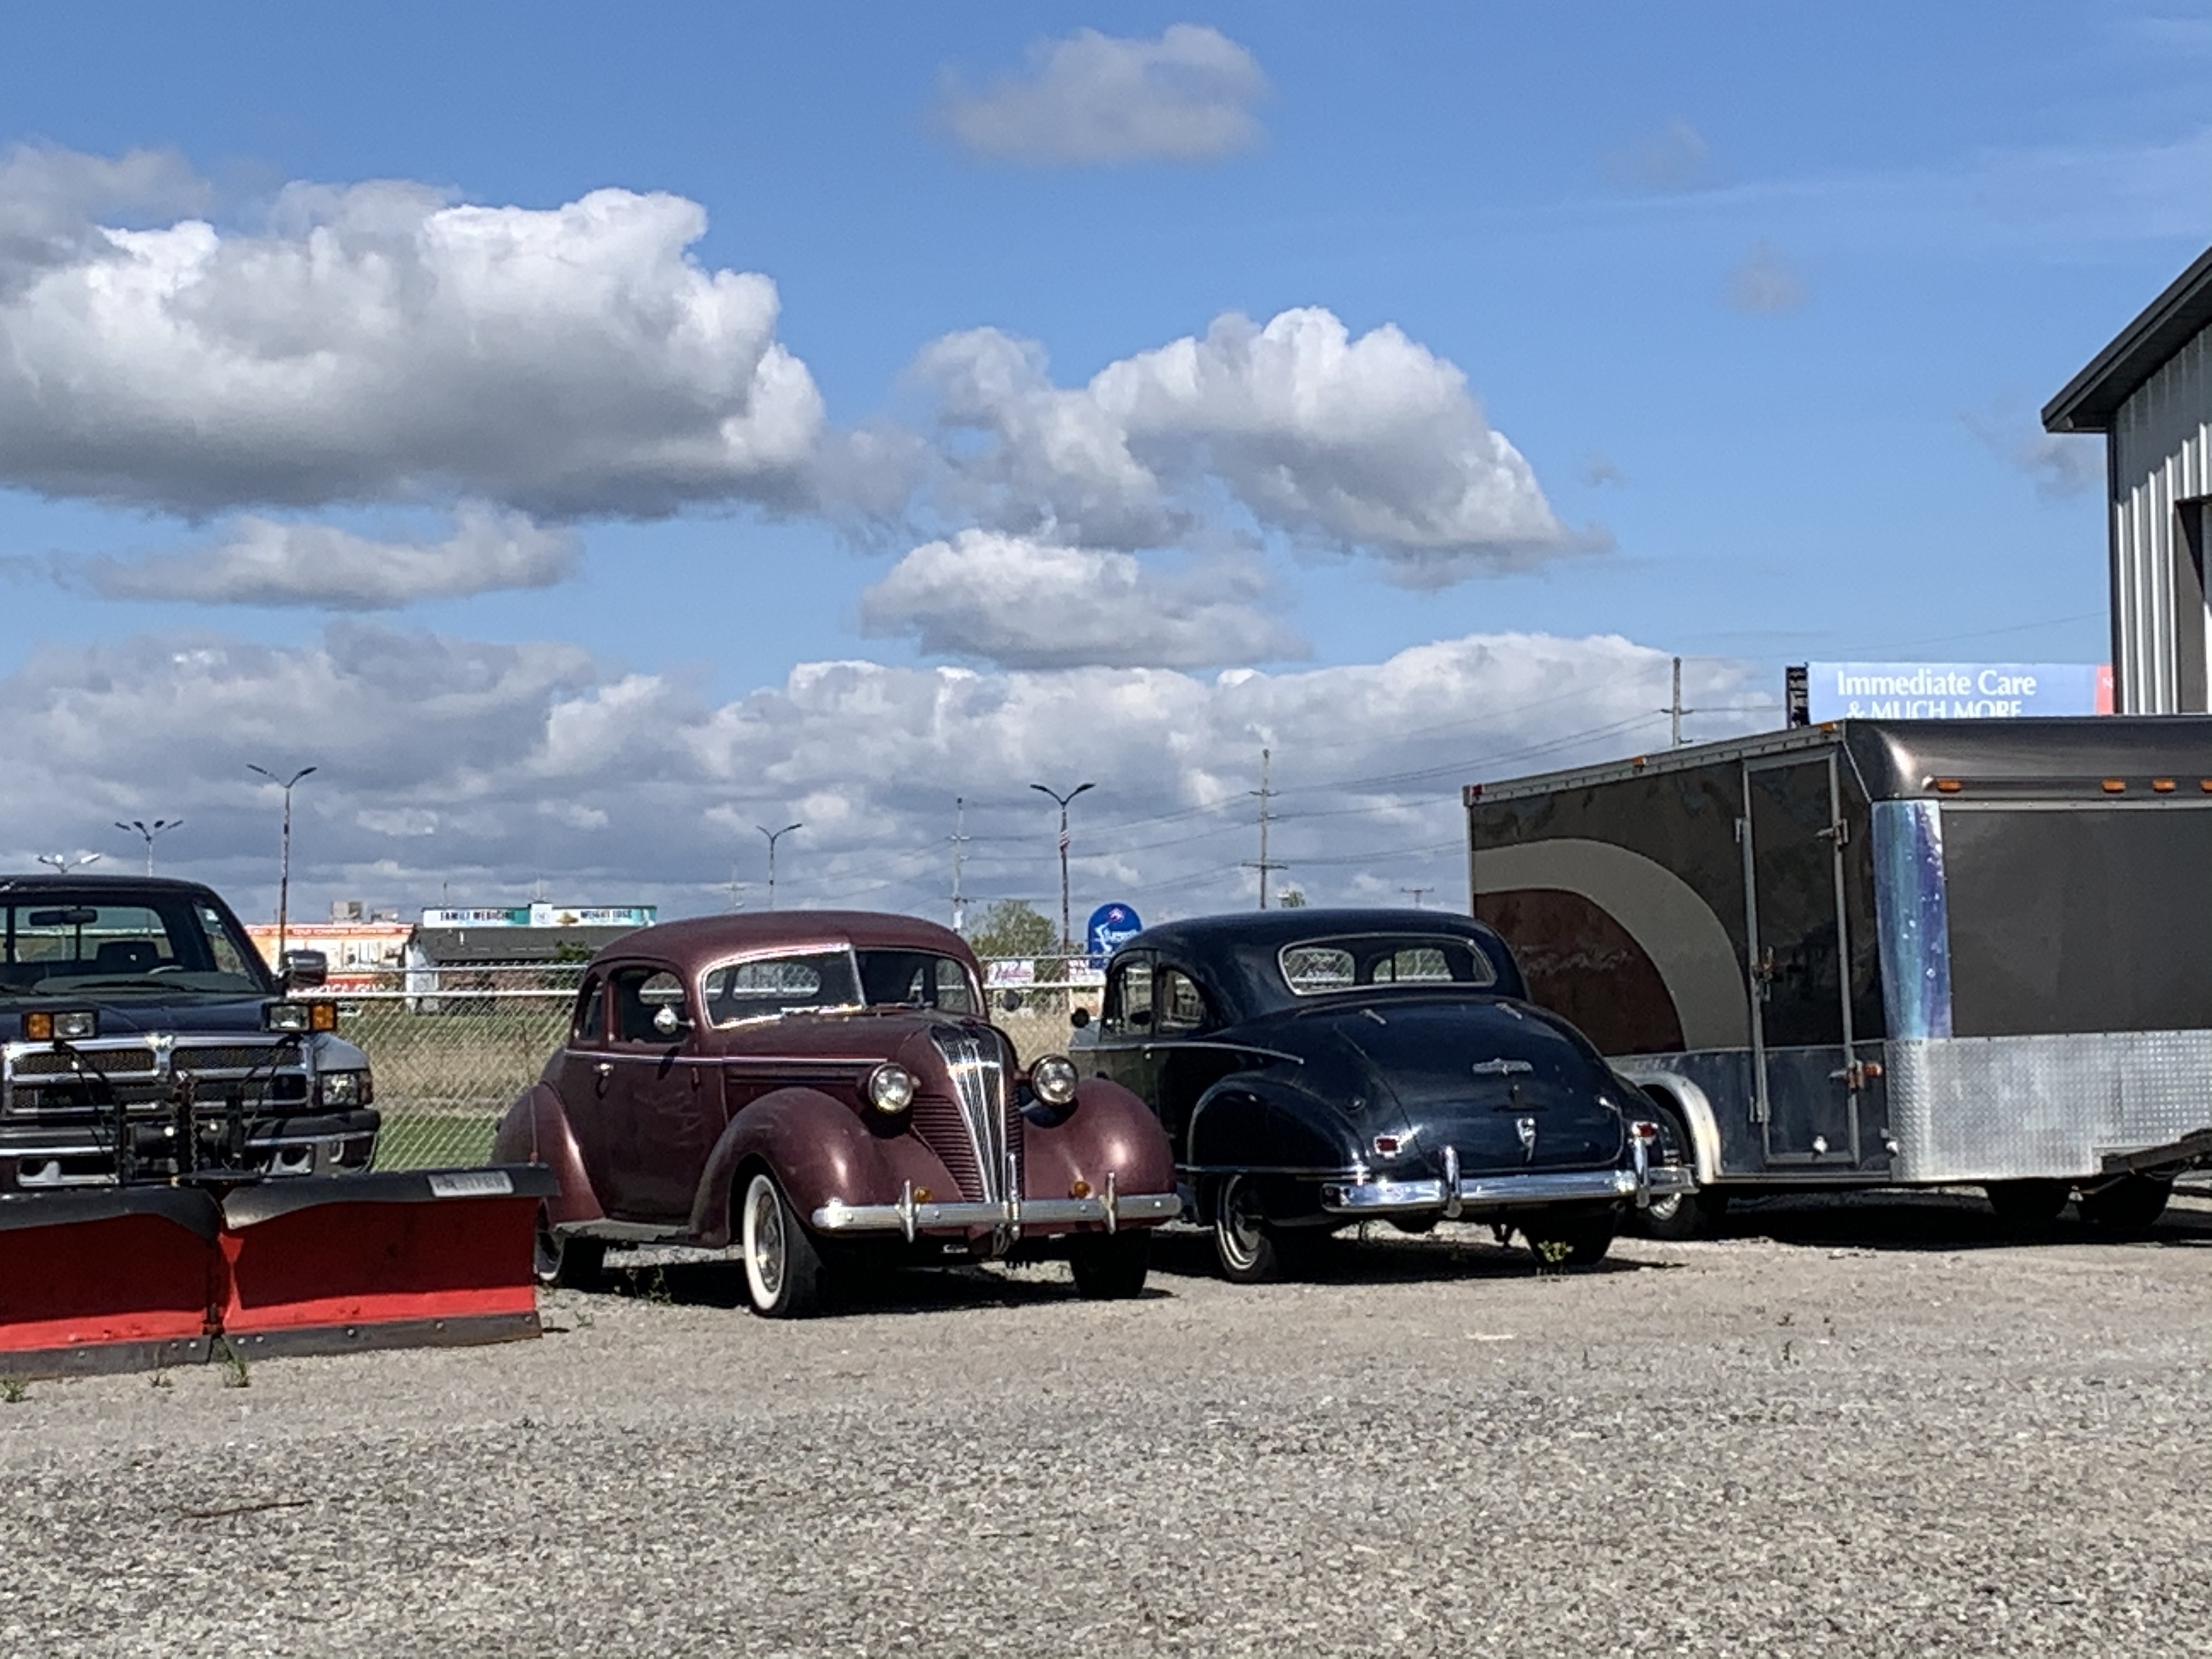
Spotted whilst getting an oil change this morning...
-
Me too! This one had never been on my radar before but since I've seen it mentioned here a couple of times I'd really like one! That an the Henry J gasser are both kits that I'd like to dig into soon as they're available again
-
Those parting lines on the fenders won’t worry me in the slightest. The real car has creases there - just gotta sand them down to where you’re happy. Pretty quick and easy fix (and they’ve gotta have the mould separate SOMEWHERE, right?).
-
Oh yeah!! Cool!! Good thing I don’t live in Florida - didn’t even see that gator there ??? Excited to see some color on this one! ?
-
Bring it on, John!
-
Ahhh, that figures! I seemed to remember these having some kind of cat or gopher or stuffed bear or something too that wasn't in mine either. That would explain it!
-
Found a little batch of old Testors clear enamel - I’ll be sad when I’ve used the last of this stuff that I can find... I normally get a couple of regular size bodies out of each of these jars though, so I’m good for probably 15-20 builds depending on what I build in the next couple of years...
-
I really like those bucket seats! Funny thing - I just picked up this kit and had casually looked it over, then saw this build thread and thought "Ohhhh, those seats are COOL!" Looked in my kit...it doesn't have them ??. Guess they weren't in every reissue.. Anyhoo, kit's looking great! Enjoying watching this one come together!
-
That's a pity - I'd be a regular purchaser of the Tamiya paints if they carried them too...nowhere local stocks them and they don't tend to be economical to purchase online compared to off-the-shelf prices...
-
Great save! The new paint looks GREAT!
-
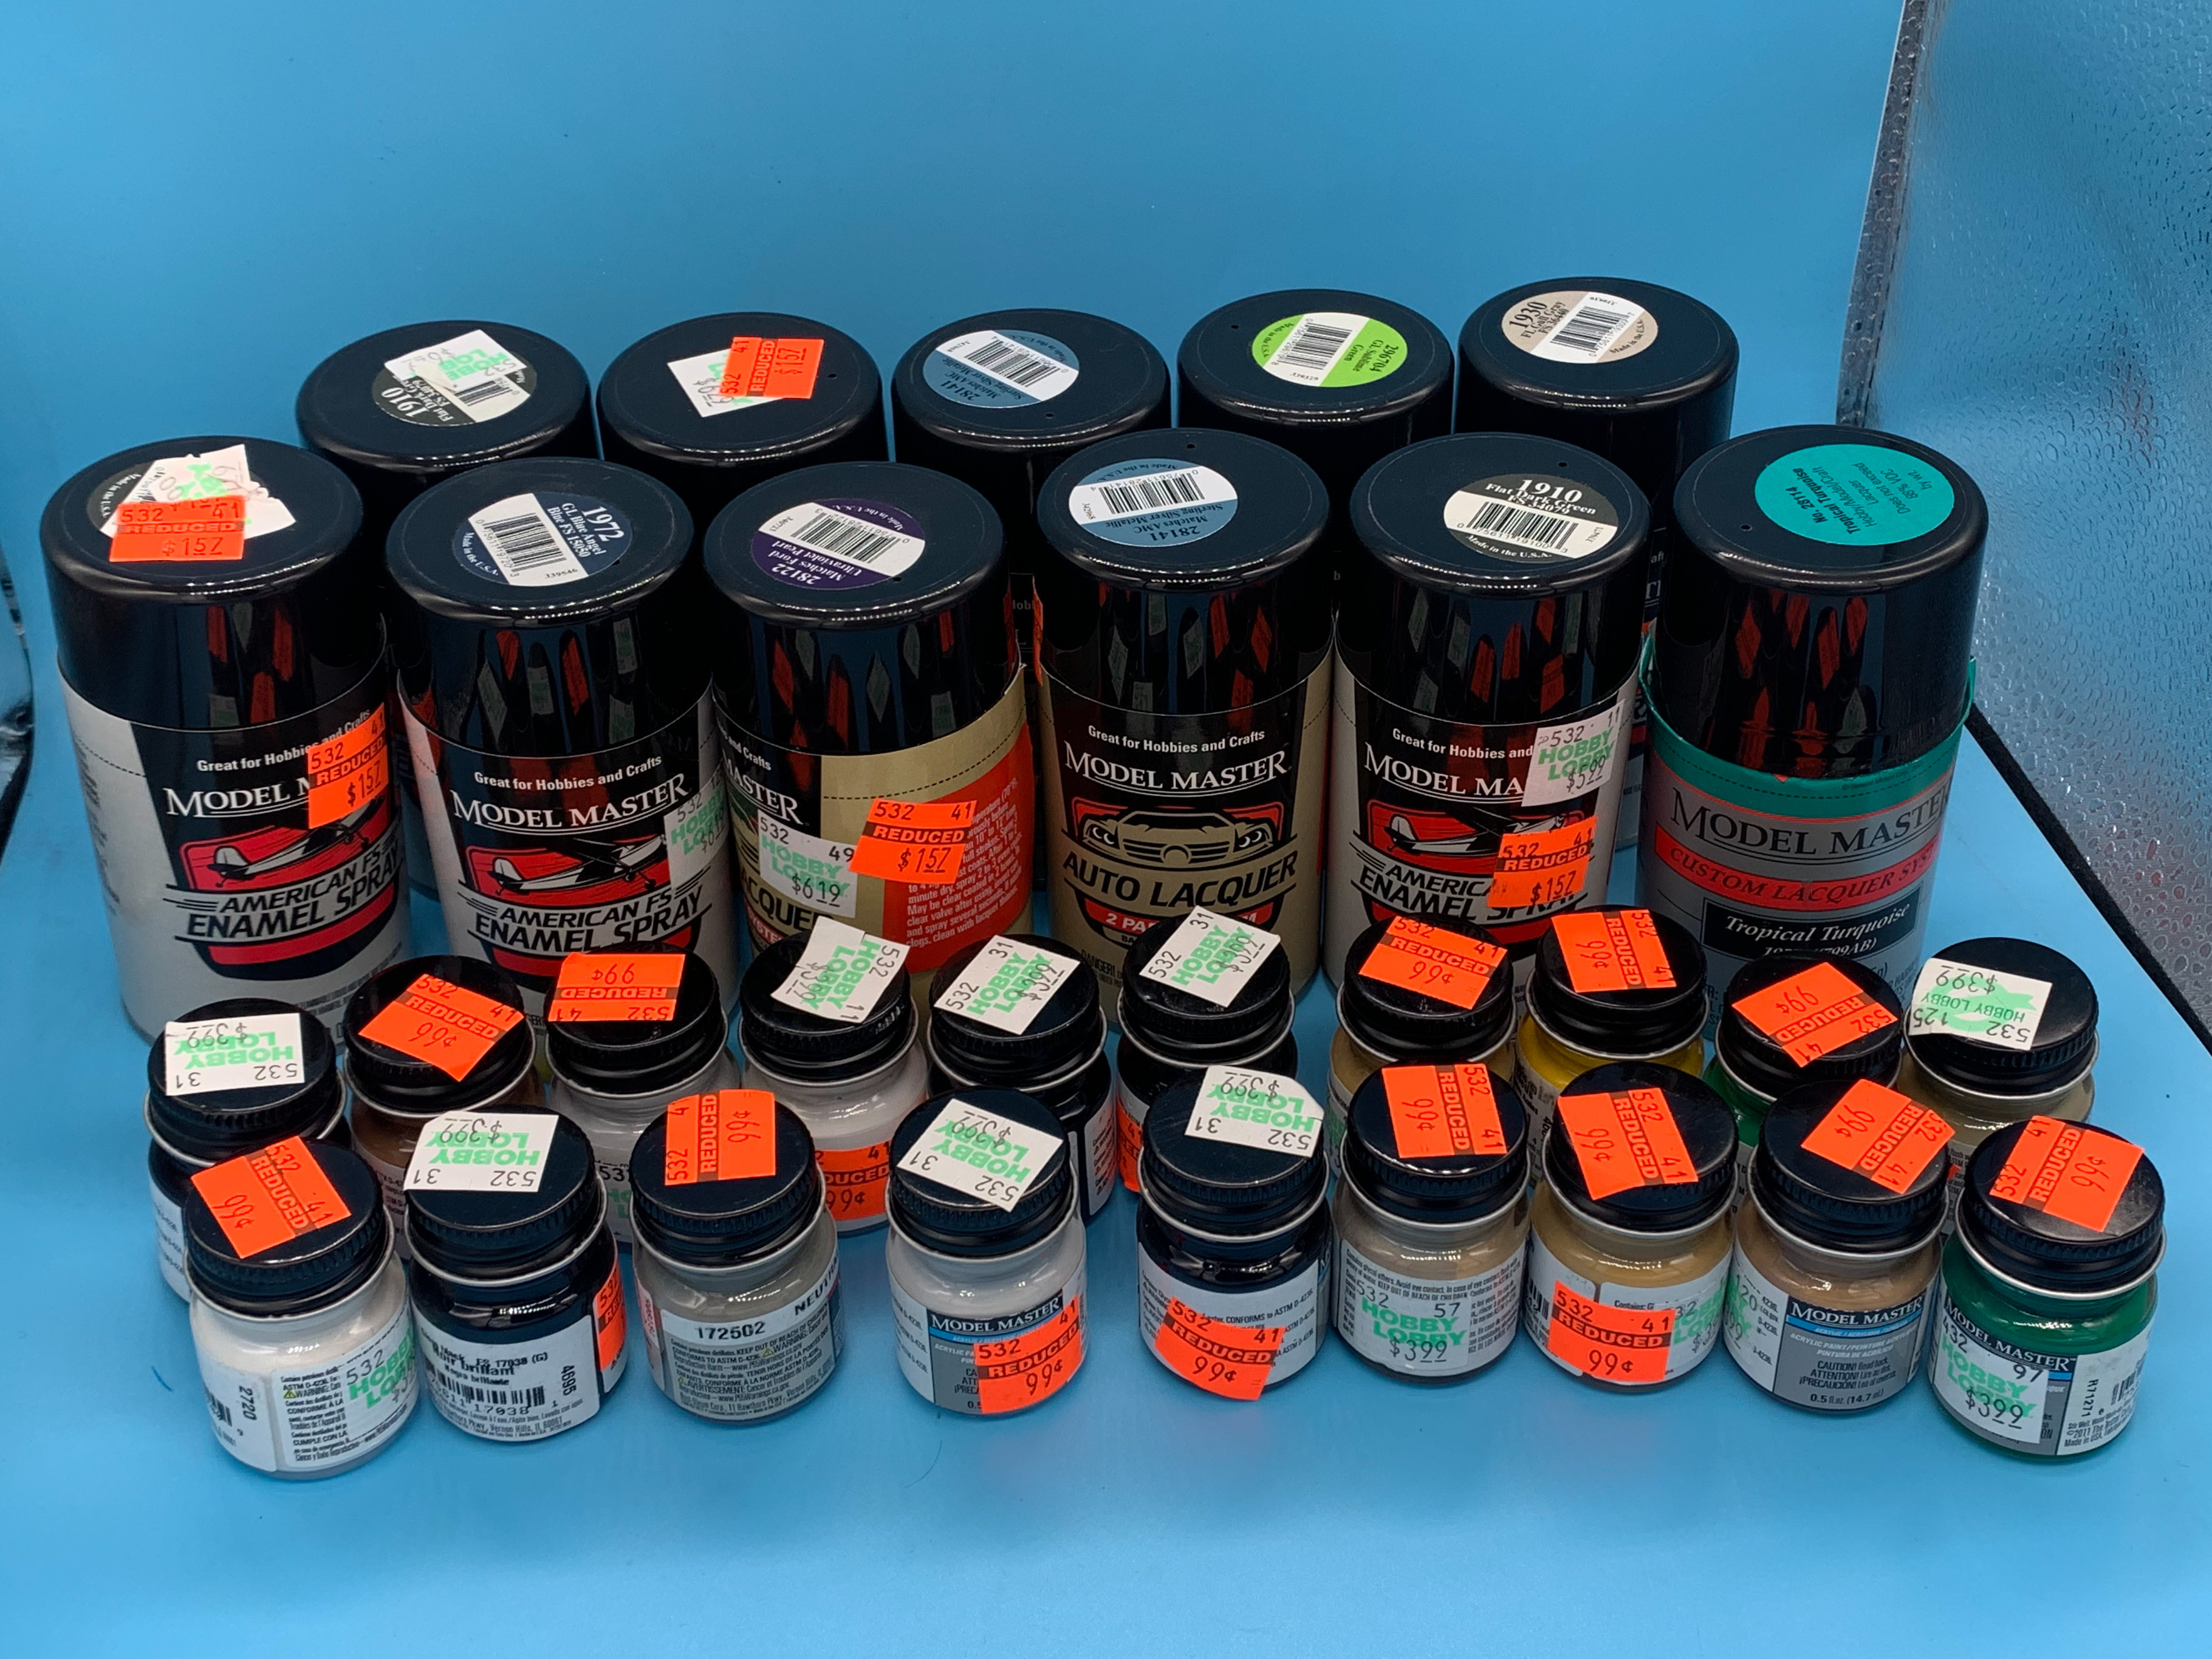
My local store finally caught up to the clearance deal everyone else is running on the paint - shelves were pretty much stripped clean of all the really useful stuff, but still managed to bring a bunch of “that’ll be useful someday” colors home with me...
-
Might work well for carpets or interior pieces that need a subtle 'grain' or texture to the look of them
-
Good resources to learn about vintage Modifieds?
OldNYJim replied to OldNYJim's topic in Model Building Questions and Answers
Ohh, those all look invaluable! To the library! Thanks Bill! -
Oh, I've totally been doing that - my bad :D
-
I’m gearing up to start working on an MPC Rat Trap Chevy Vega modified here, and whilst I’ve worked on and raced some of the lower classes round the short ovals I’ve never really messed with the cooler (and older) stuff... Here’s what I’m working on: I spent a couple of afternoons doing some research but I never really found much in the way of detailed pics of this exactly style of car - lots of stuff way older or way newer but not much in between. Lots of old race photos and trackside stuff but less really useful references for exactly what I’m trying to build. Anyone got any good resources or hints and tips on building a pavement modified like this? Want to learn some stuff!
-
Got some clear laid down - had a relatively low-humidity day today so got 4 coats on my trike build: And I’ve really been wanting to build an oval car so I pulled an MPC Rat Trap off the rack and started puzting with that: As usual, I was thinking “meh, I’ll build it stock and see how it goes” and then mocked it up and found 10 things I want to replace right off the bat ?
-
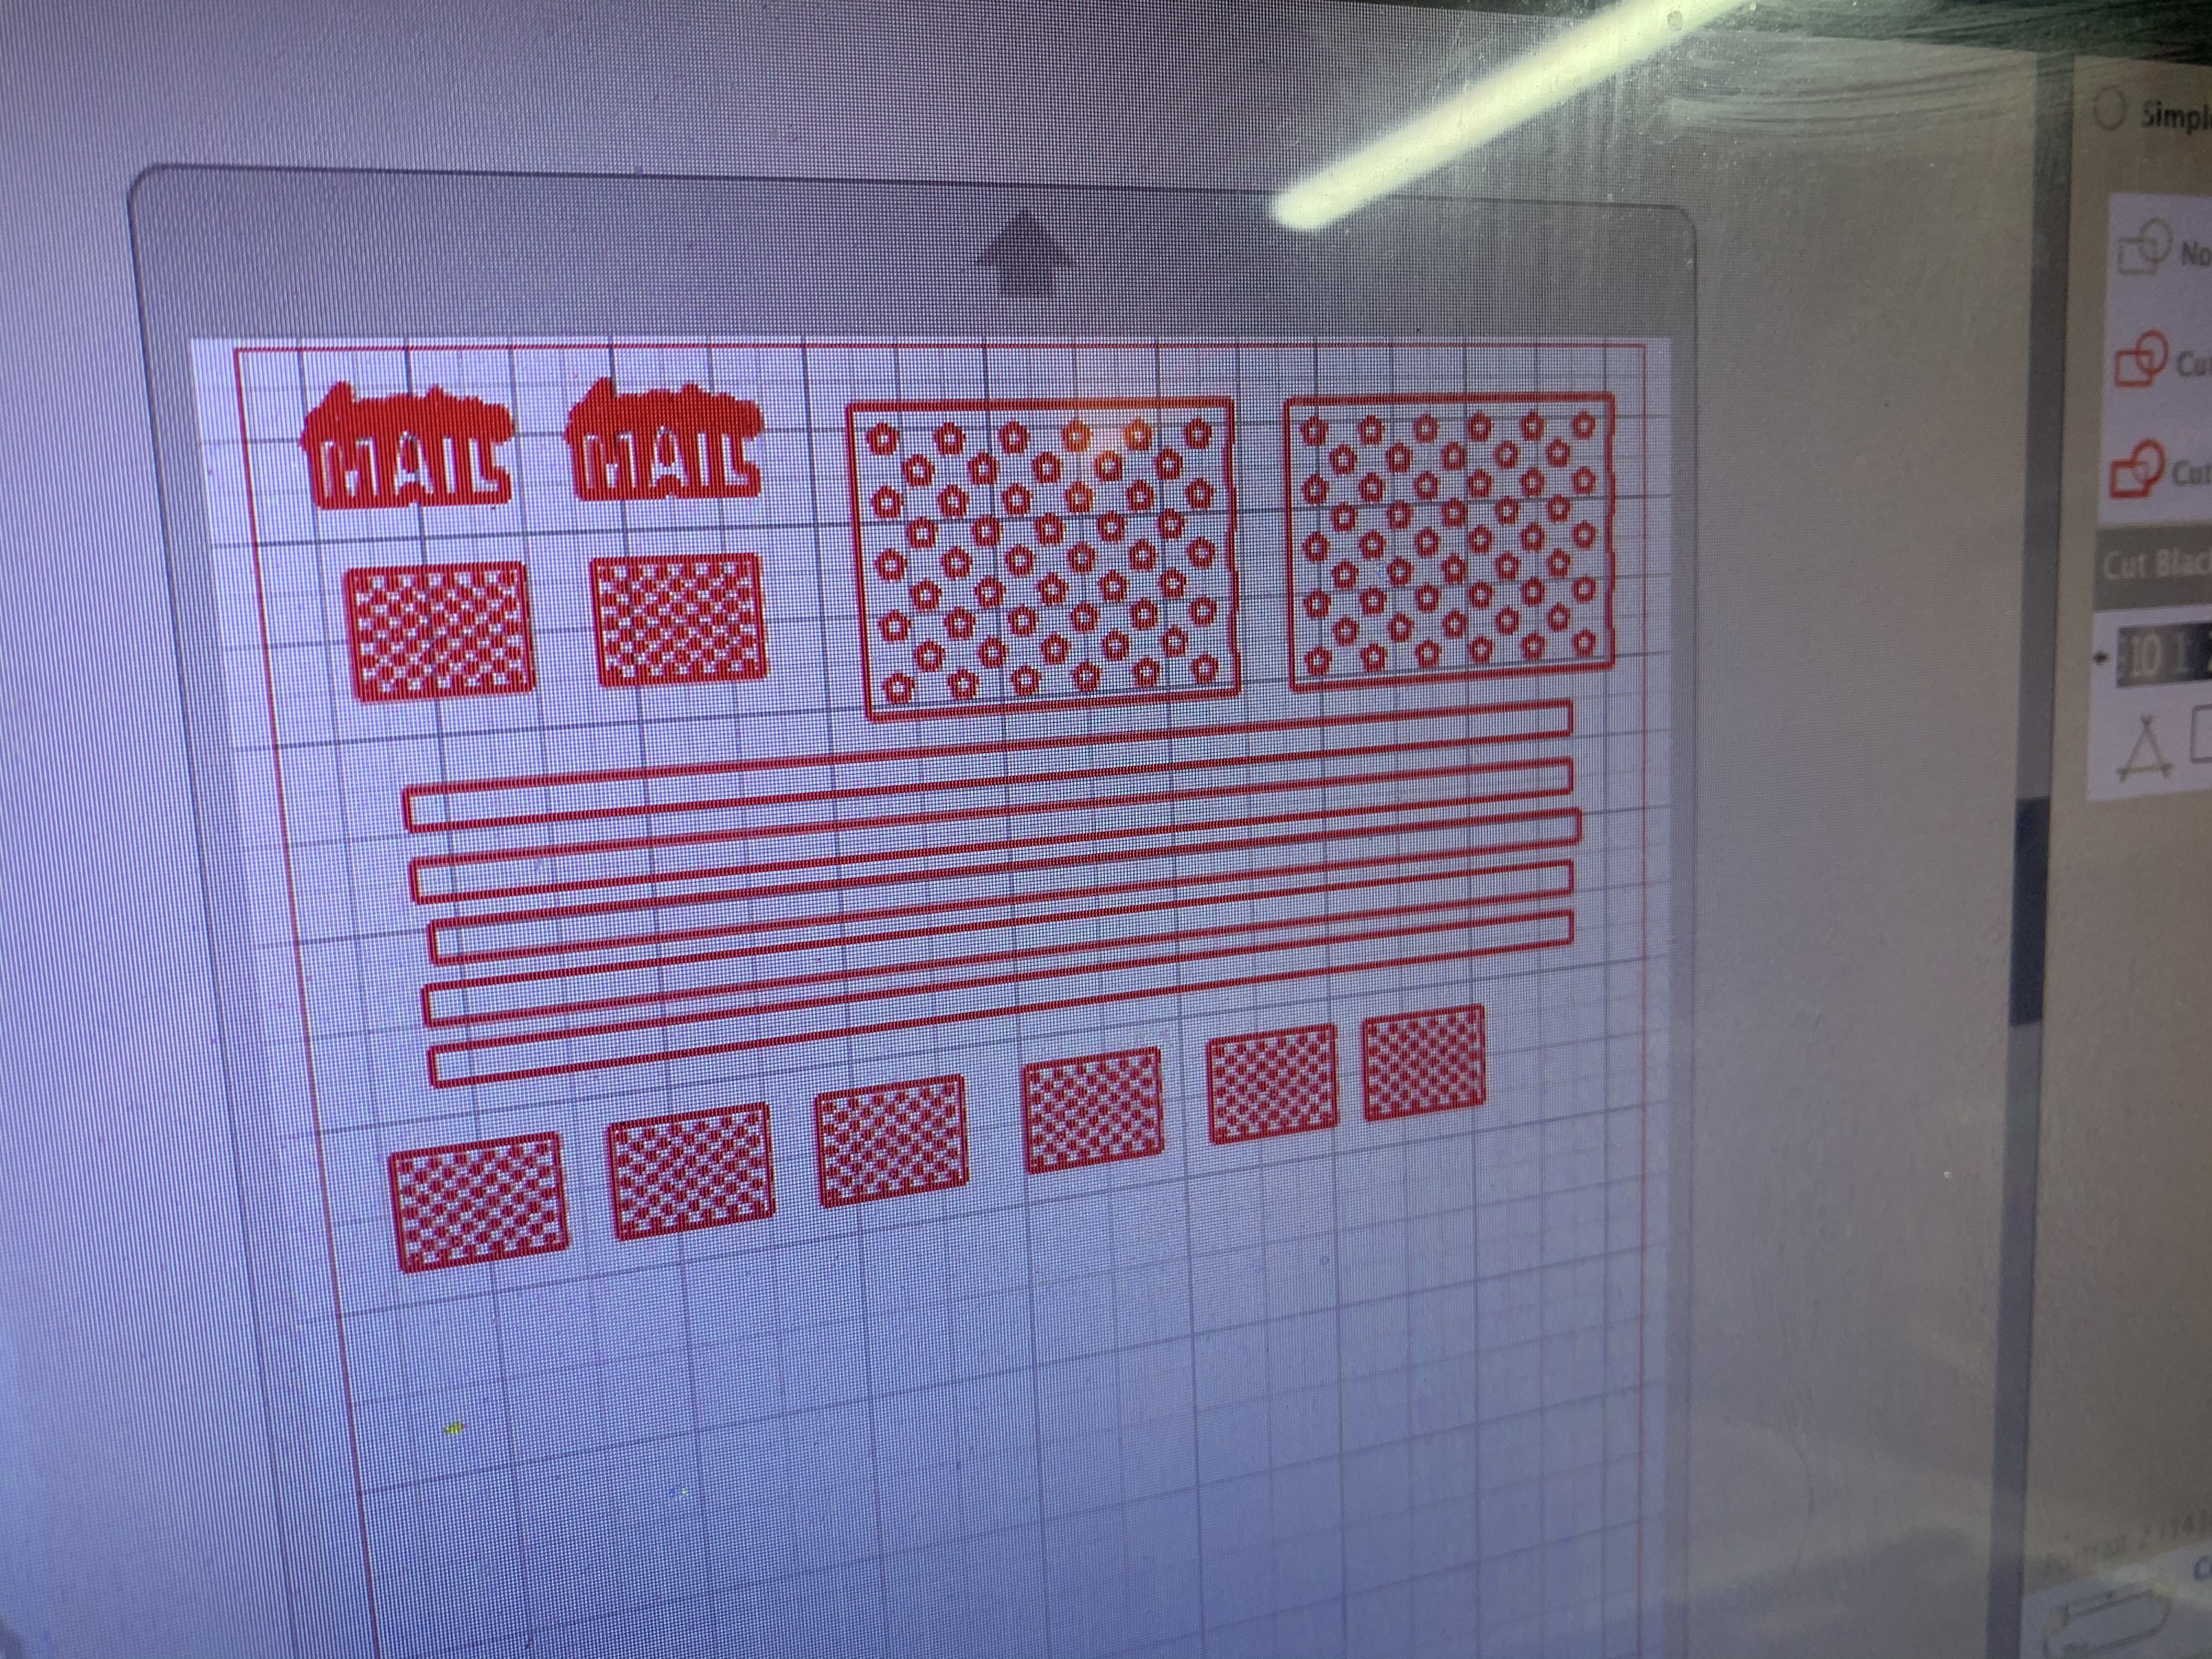
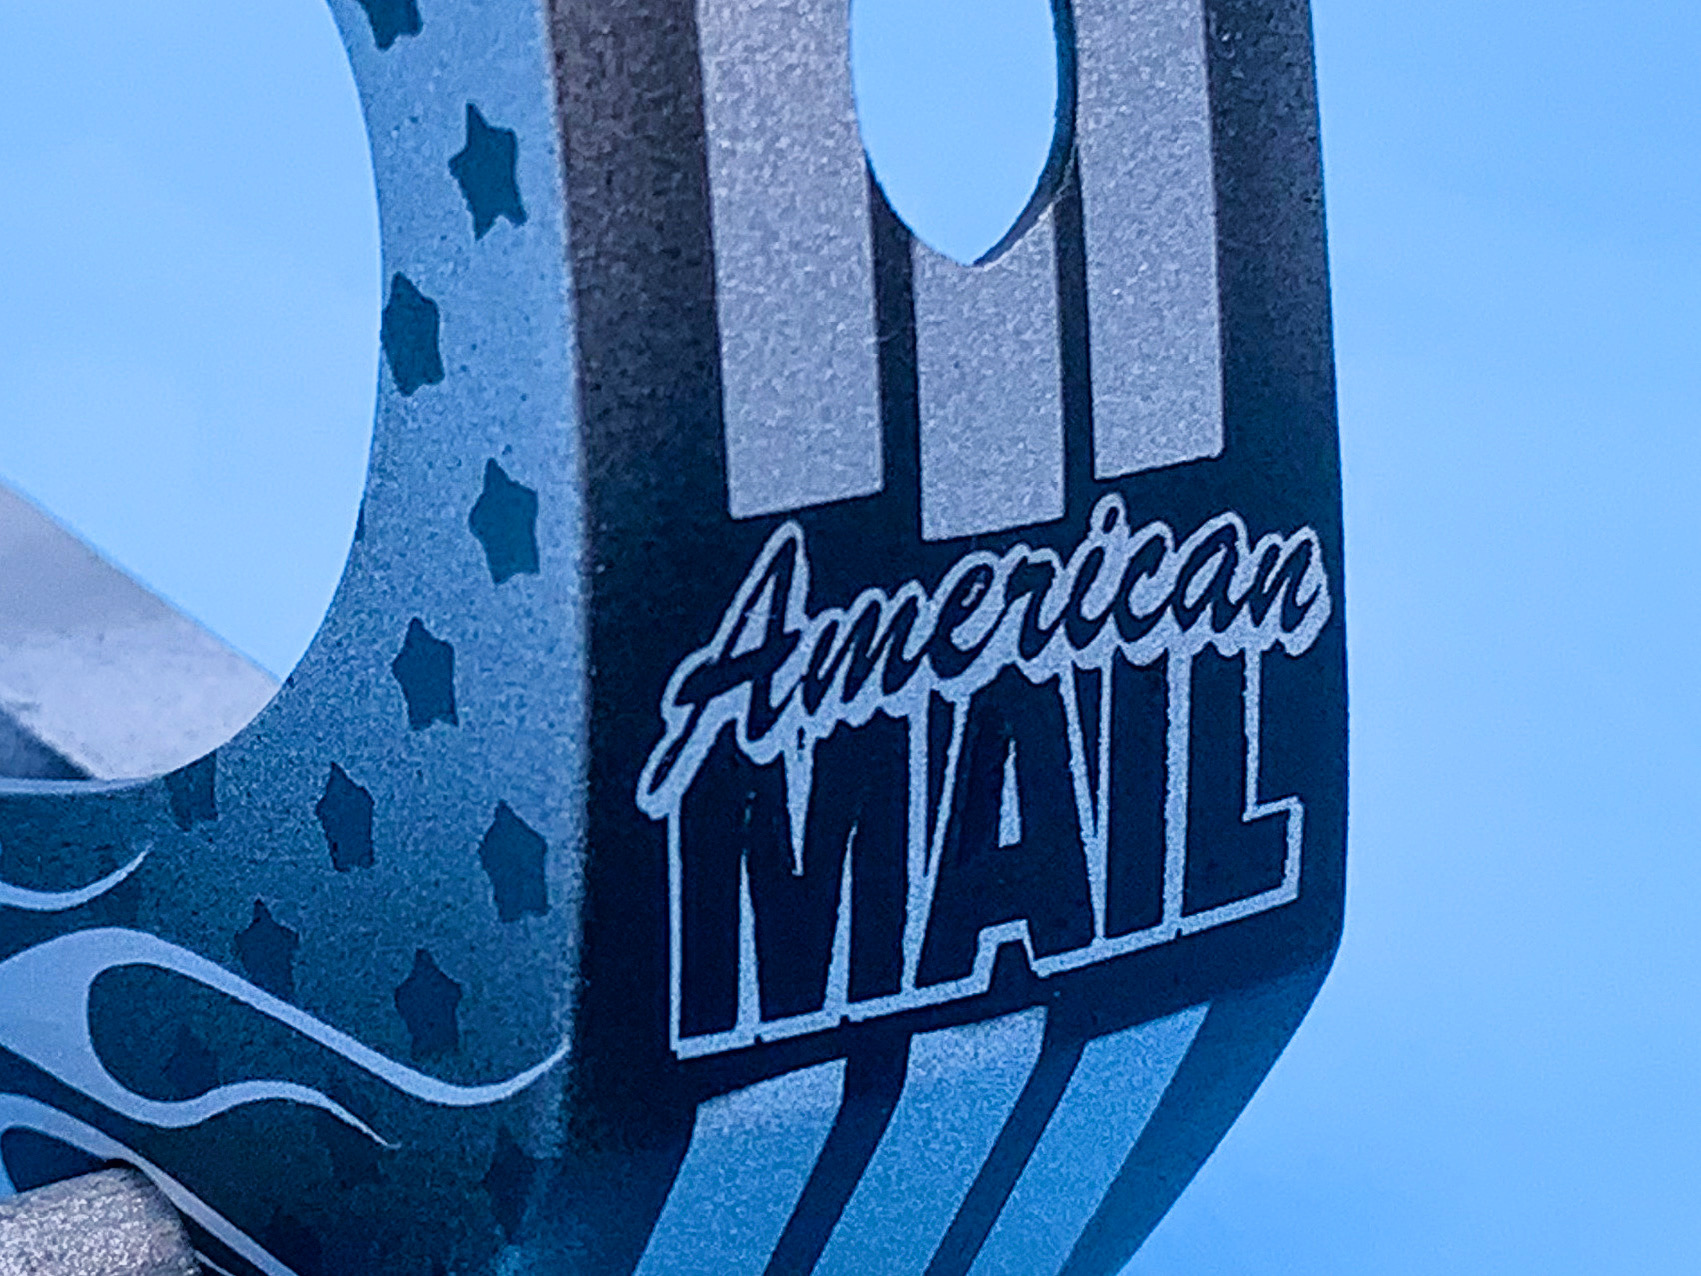
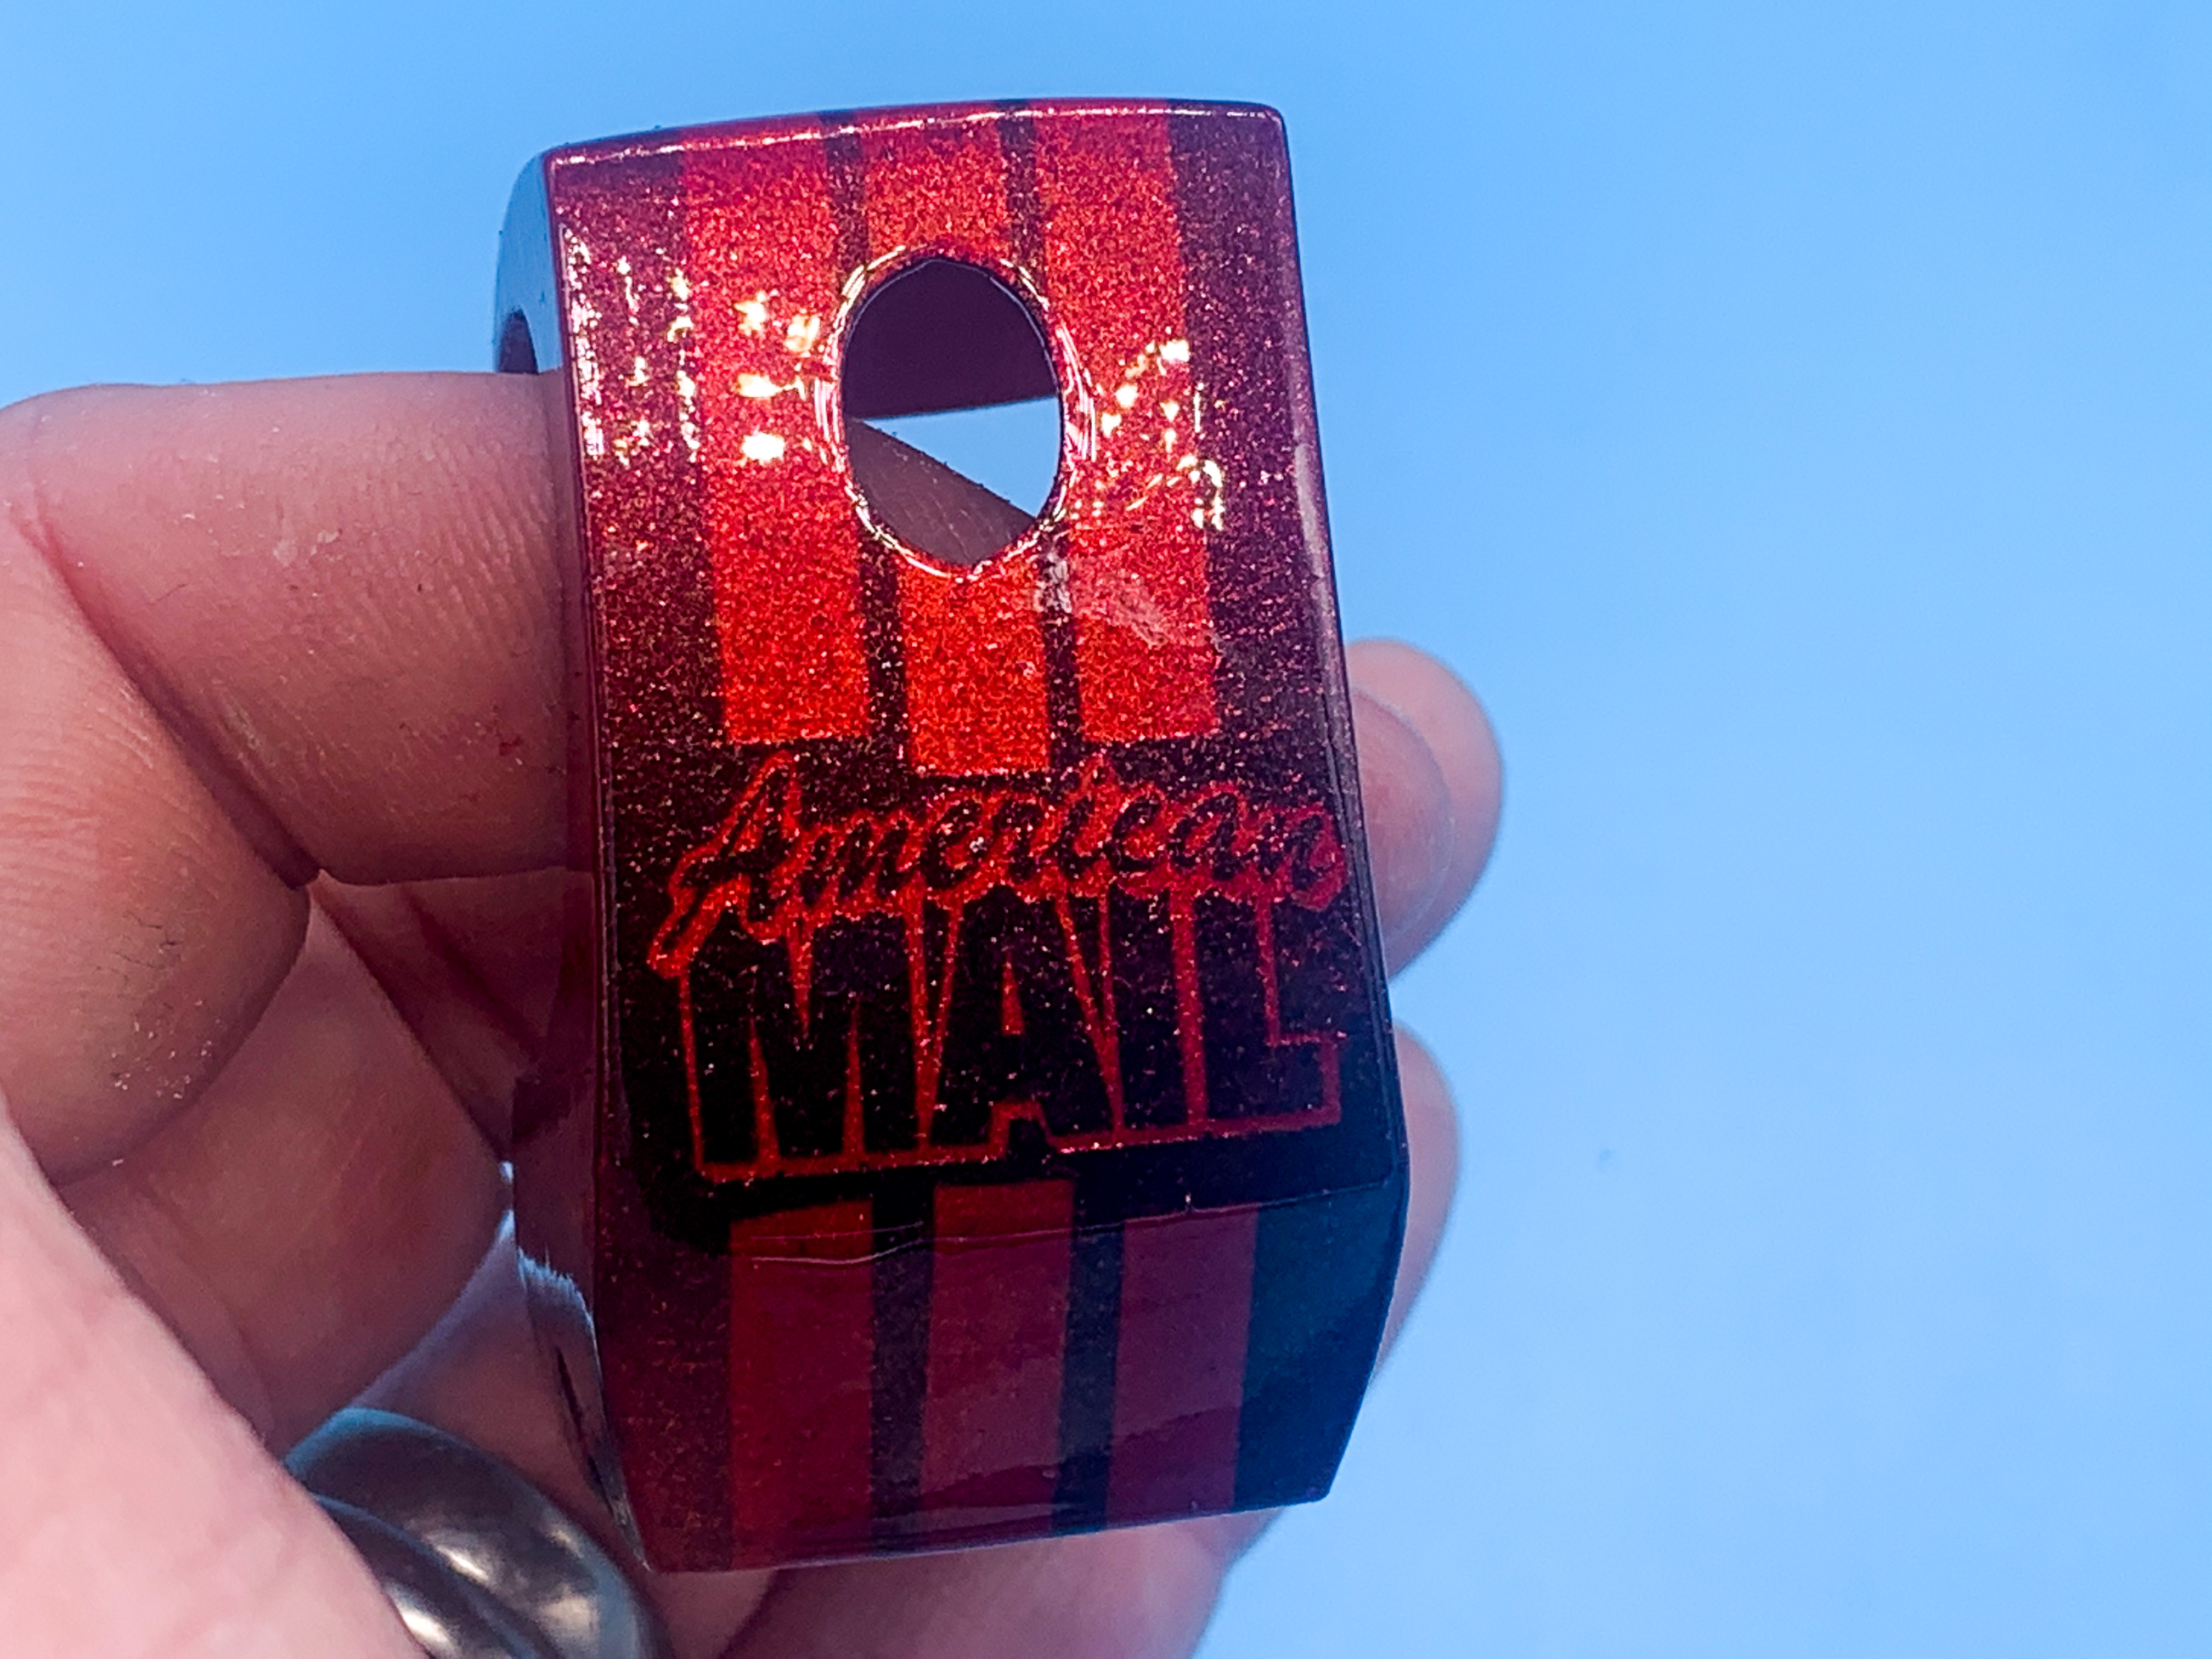
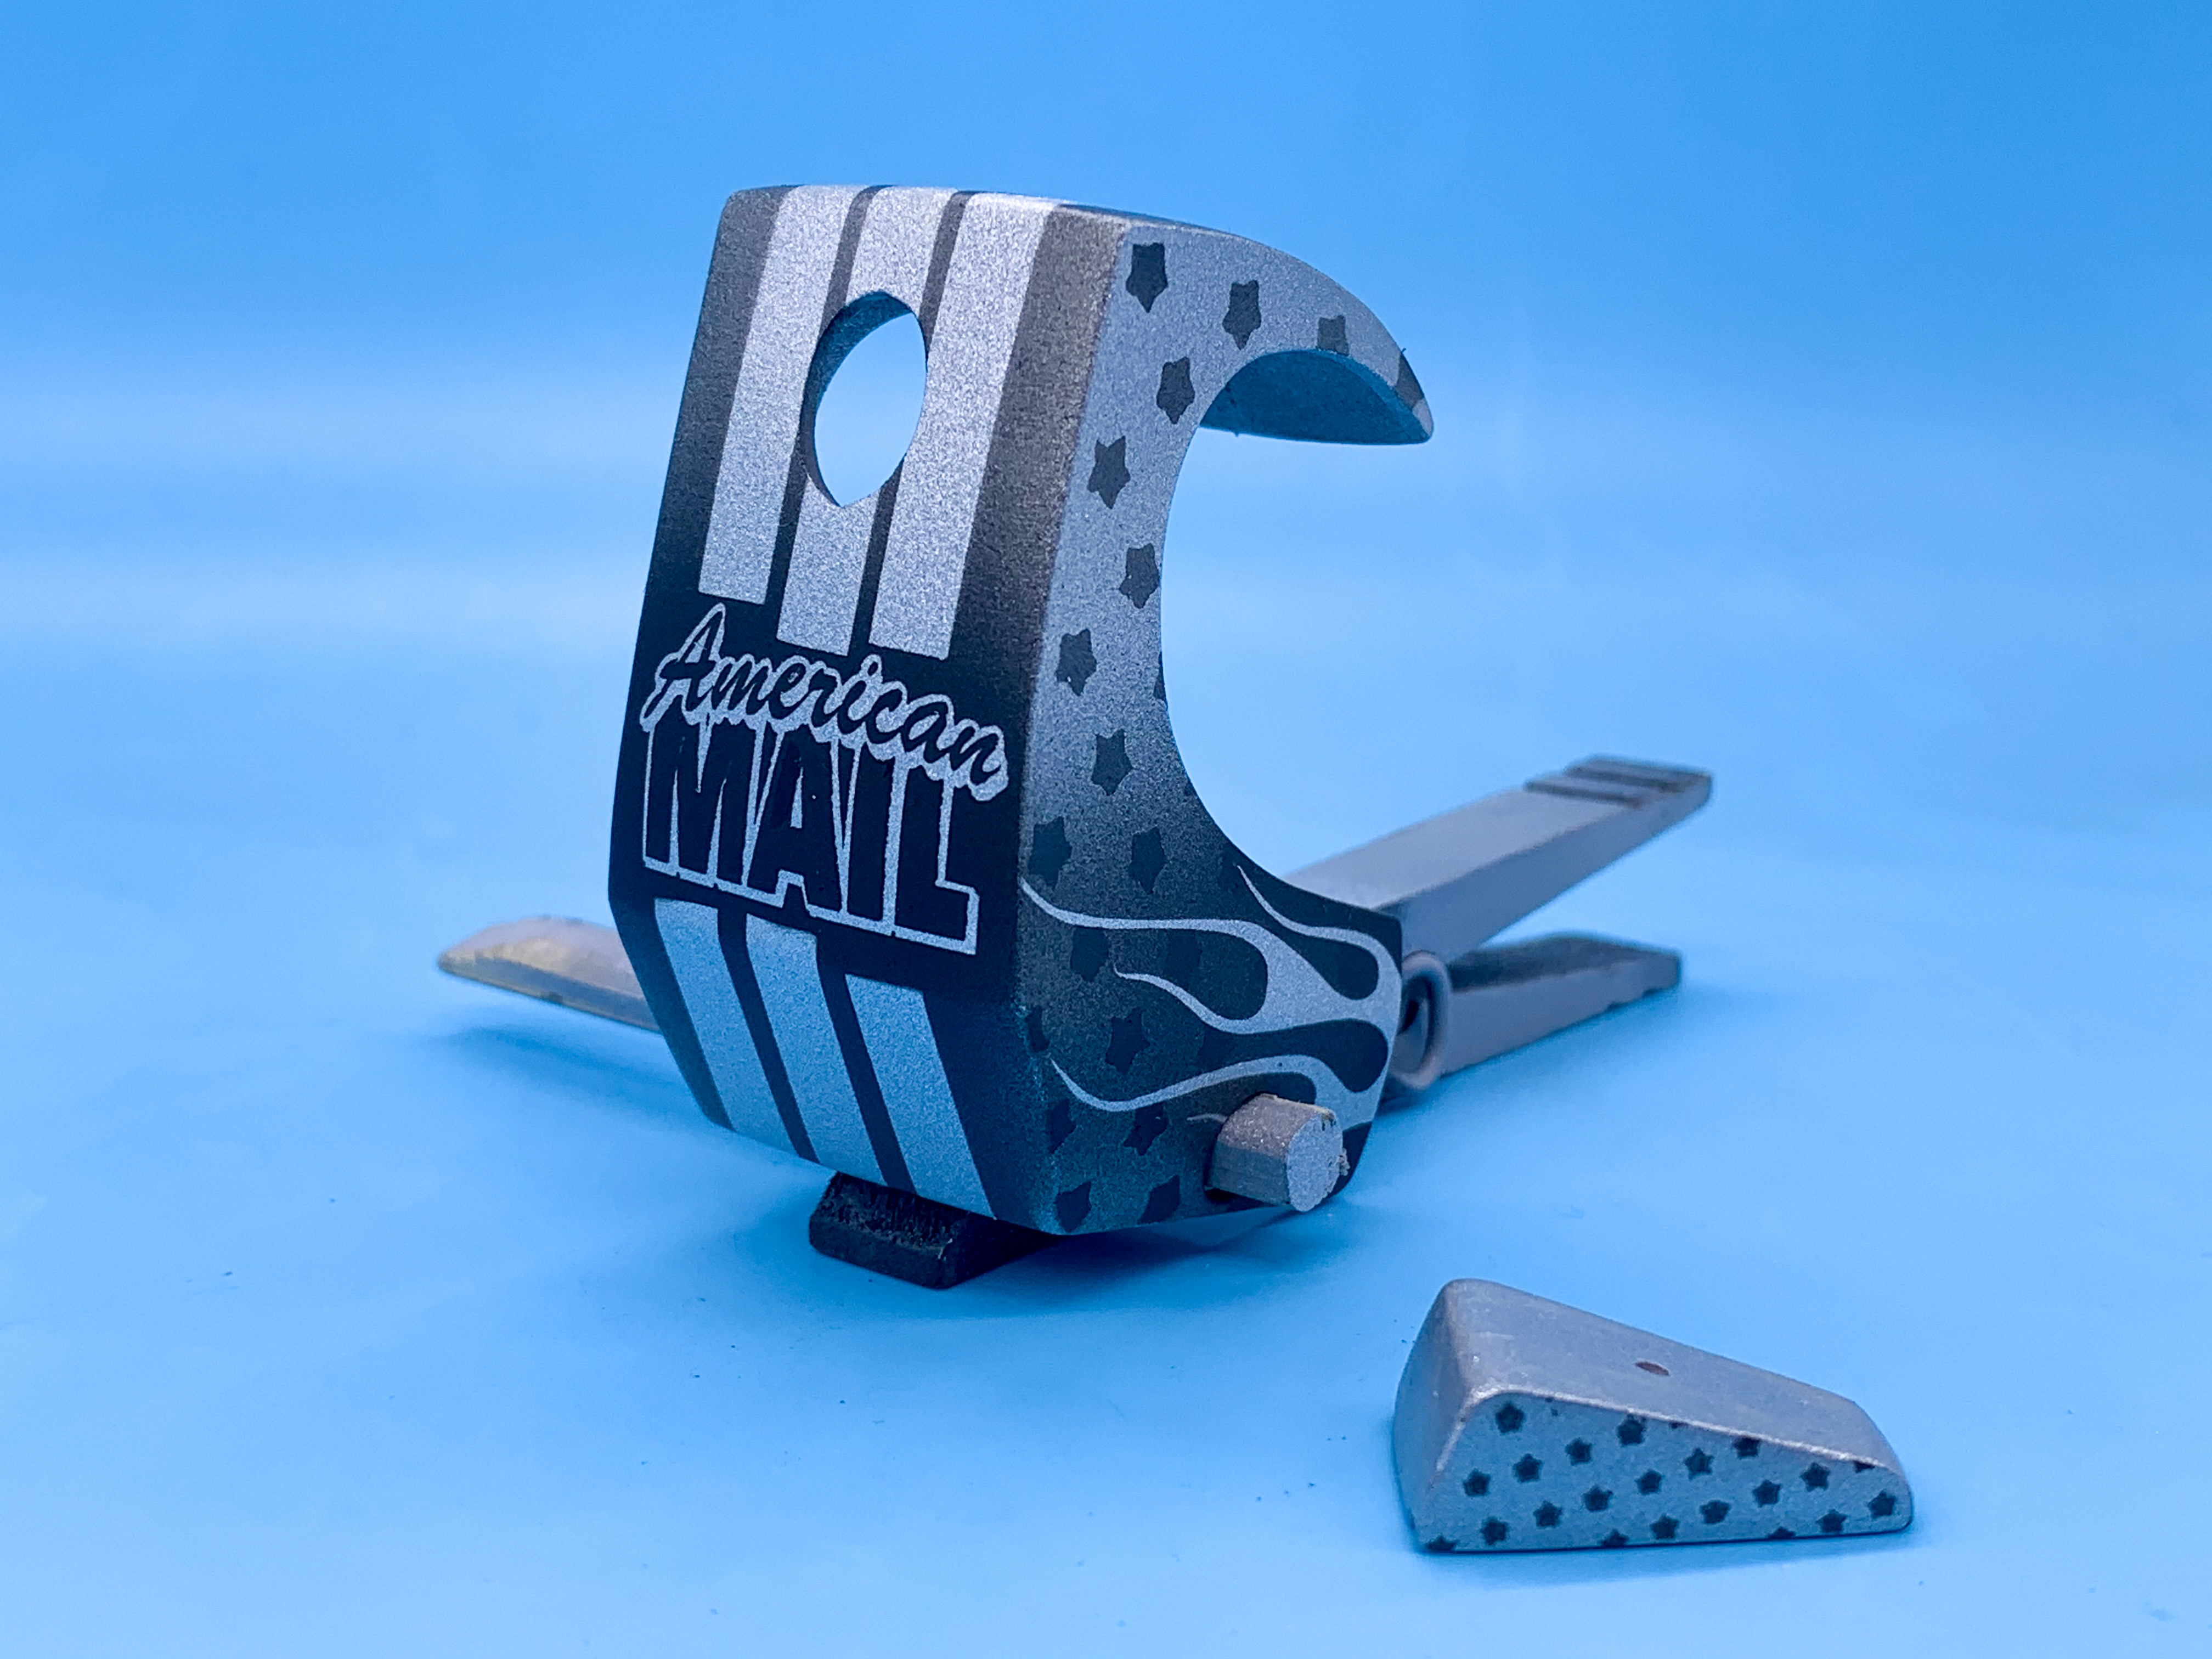
Thanks fellas! These kits are fun! Finished up the bulk of the work on the painting today - I’d been saving up a few day’s worth of photos to make for a decent update... Once the silver was laid down, along with a barrier coat, I designed some masks: Cut and applied them... And then shot a gunmetal silver: Followed by some solid black for some subtle little low-lights: Then, peeled off the masks and had something roughly like this: Now, my intention for this paint-job isn’t really for all this stuff to stand out as much as it does now - more to be hidden layers under one primary color. So, to bury it all, I shot Createx candy red...: Including the frame, which is just straight up candy red without any graphics: And then, after a day or two to dry I then layered all of THAT with a coat of clear with Pearl-Ex red flake, then a clear with Pearl-Ex gold followed by a coat of Testors rainbow flake to add a little visual interest in the sunlight. With all that done (wow, we’re up to 10 layers all in at this point), time for four nice healthy coats of clear to help level everything out and bury all those different flakes: Kinda hard to see all those cool color changing flakes in photos, but you can see some of the gold flip on the gas tank here in the sun, and how the Testor’s rainbow flake is flipping to a purple color in the shot above I think I’ve pretty much hit what I was trying to achieve - something that looks plain old candy red from a little further away but with some little details to spot as you get closer, and a bunch of little sparkles and flakes and stuff to jump out if you look even closer. Parts are in the dehydrator now waiting for the next step...needed plenty of clear to bury the lumpy flakey surface so I’ll give it some extra time to dry before polishing it, but I’m excited to start hanging some bits off the frame to see how it looks all together! More soon!
-
I really like how those arches look on there! WAY cool!
-
I don’t know exactly what is happening here...but I like it! ?