OldNYJim
-
Posts
251 -
Joined
-
Last visited
Content Type
Profiles
Forums
Events
Gallery
Everything posted by OldNYJim
-

Revell Volkswagen misprint box
OldNYJim replied to randx0's topic in General Automotive Talk (Trucks and Cars)
On a slightly related note, I’ve been wanting to build a Beetle - is this kit decent compared to the Tamiya one? Anything terrible about this one that should make me spend the extra on the Tamiya kit instead? -
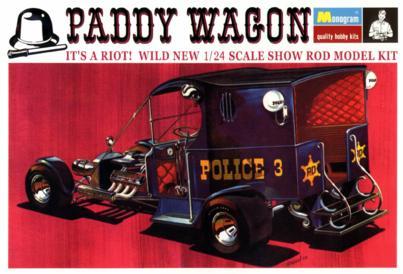
One of the themes of NNL East this year is Box Art Models, and seeing as Tom Daniel is one of my favorites it seemed fitting to do something of his! I had a bunch of Paddy Wagons sitting around here, so I pulled out An early issue one with the silver chrome to do my version of his original 1960s box art design: Out of interest, I compared the frame of my early kit to one of the later reissues, and whilst the later ones aren’t terrible there’s definitely less clean-up to do on the earlier one: Some Bondo and sanding later.... I’m using a black primer to get the color I want from the Createx paint I’ll be using for this - took a couple of little bits of sanding and smoothing after the first coat was laid down but got it ready for paint eventually: This is the Createx color I picked out - I wanted a dark blue to match the box but also something with a little pop to it to catch the eye...I’ve used this color on some little pieces of other builds before but never a whole lot - excited to see how those big panels look in this shade! And a little paint on the frame - I reduced it a little too much so it pooled a little on this first coat but the second and third coat leveled it out nicely: The engine on the box art is red so I shot some Tamiya chrome silver and a base and then a candy red over that for the first few engine parts - this block will definitely benefit from some detail painting: Next job is to get the multi-part body panels ready for paint...more soon, soon as I’ve done more!

-
What a great start! It takes a lot of fusion and imagination to see how to use all those little sections and pieces of different bodies to get to where you wanted to be. I’ll be watching!
-
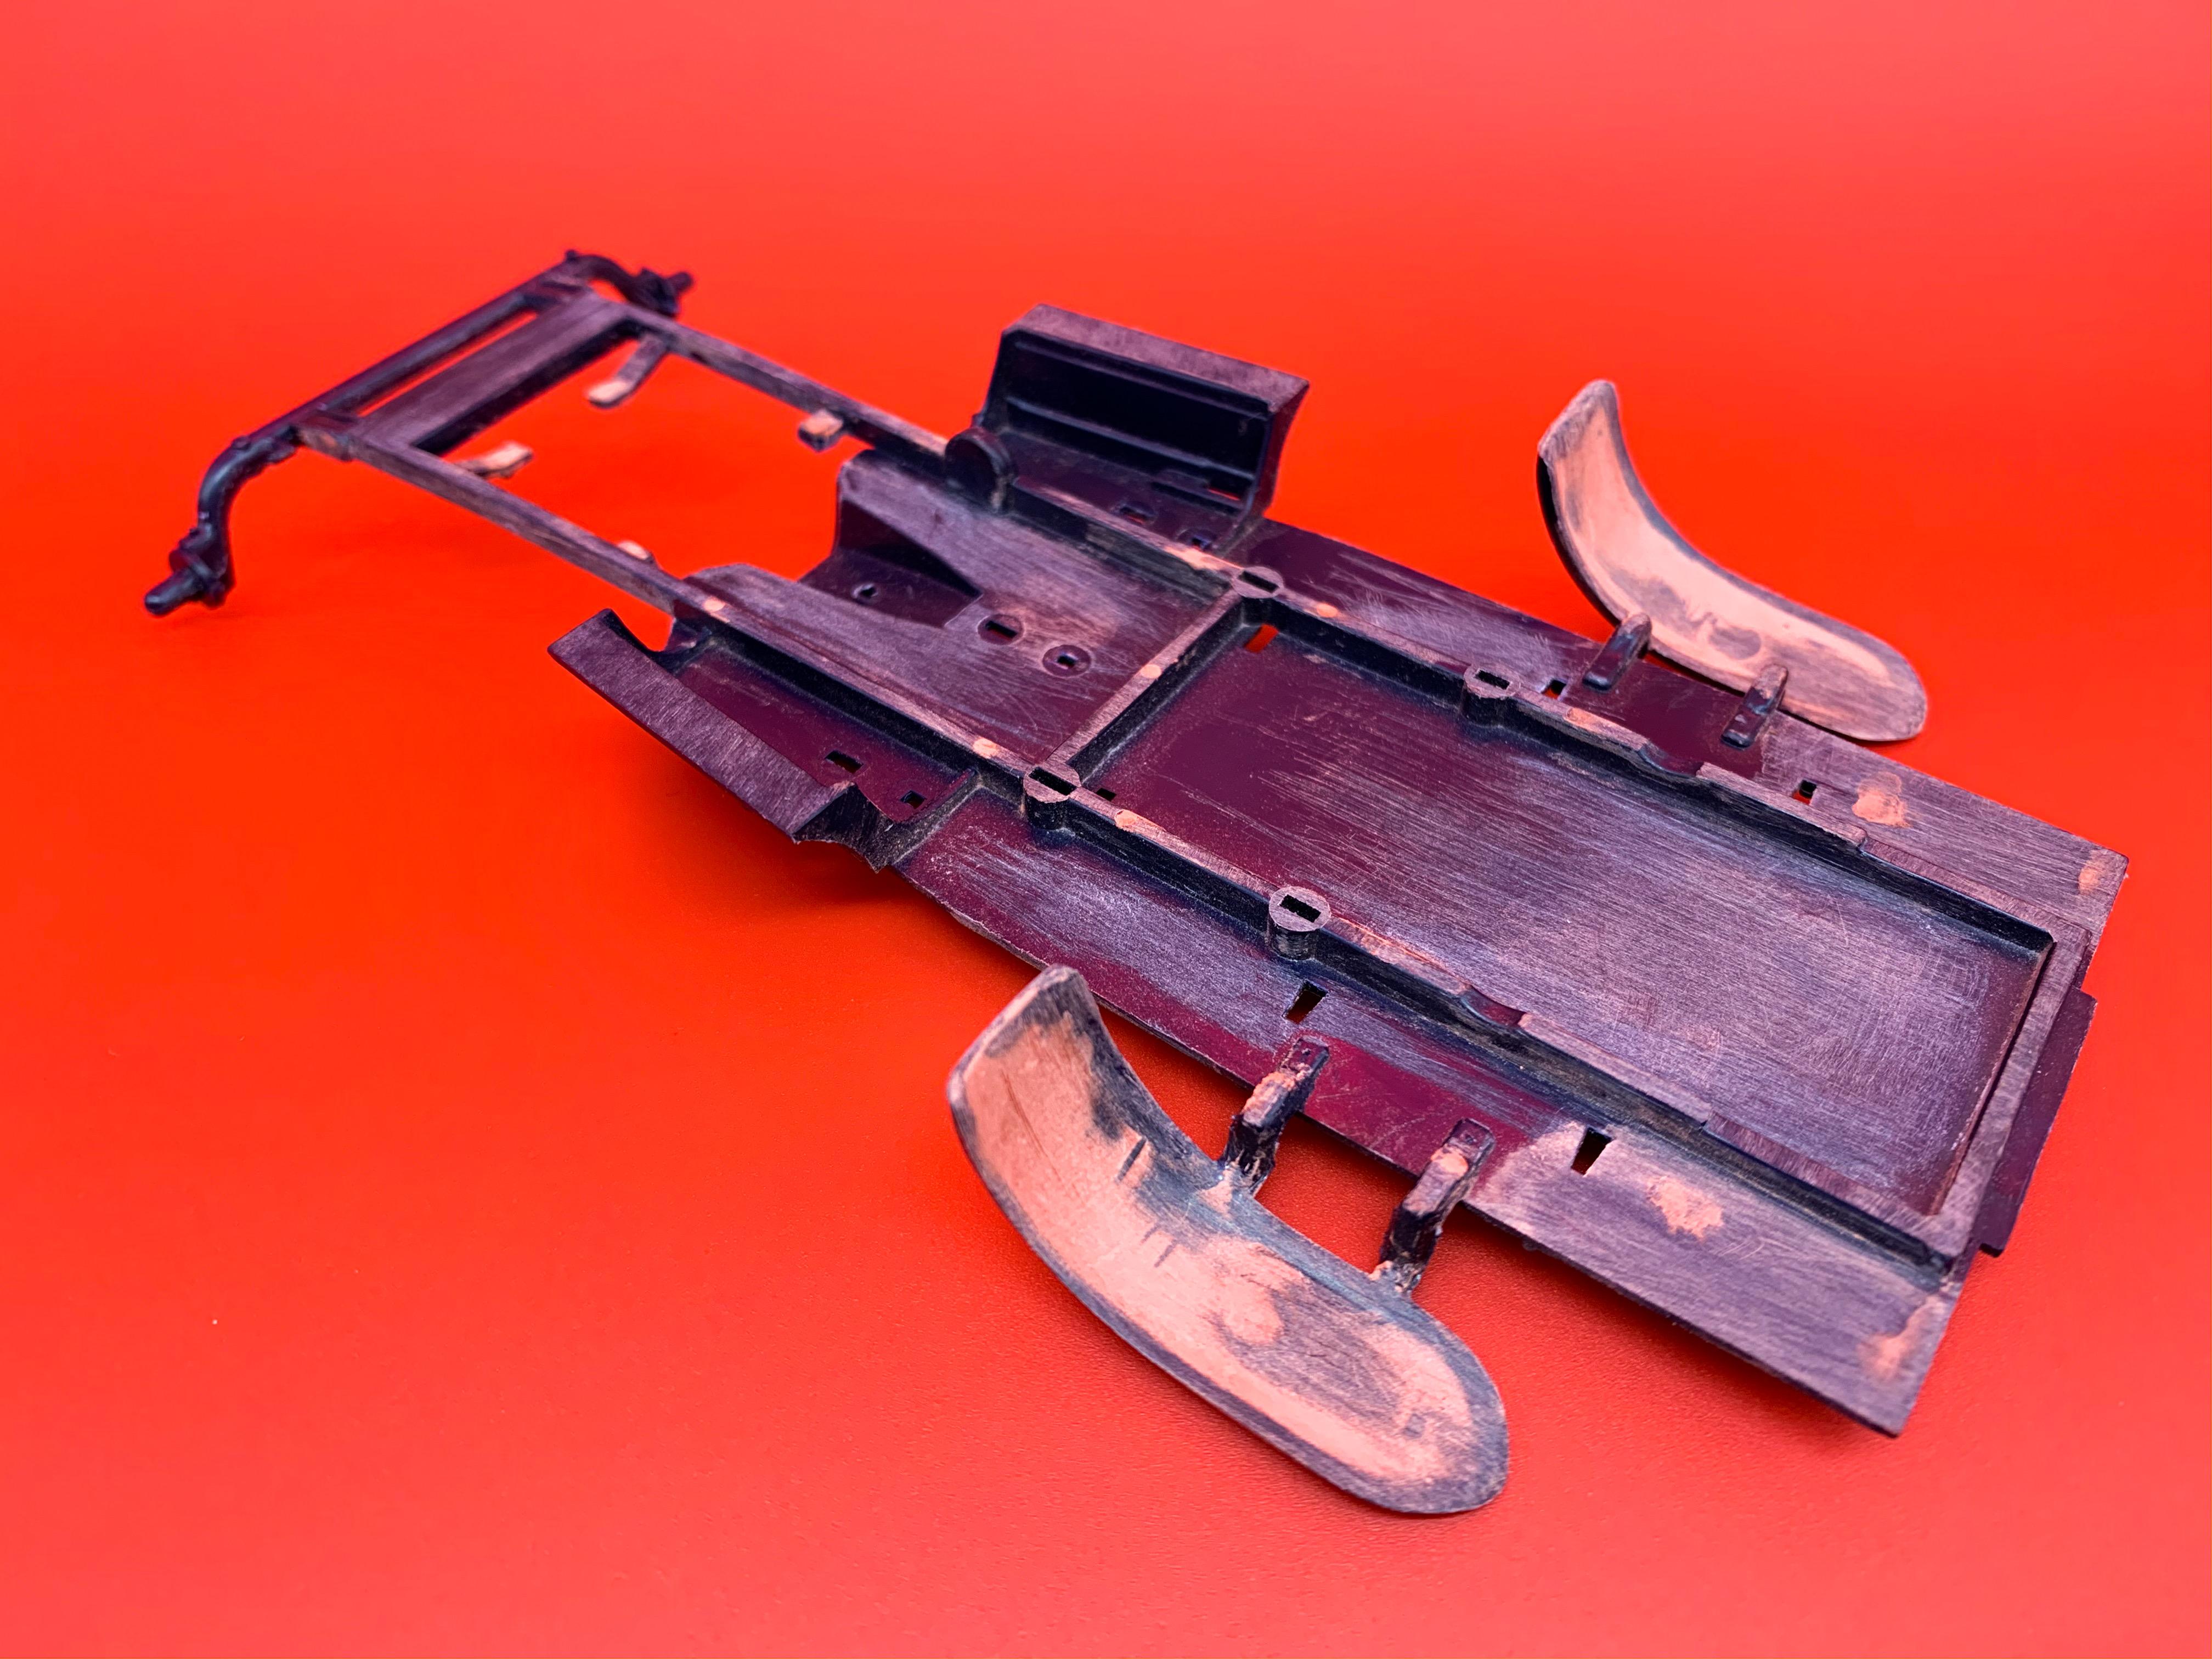
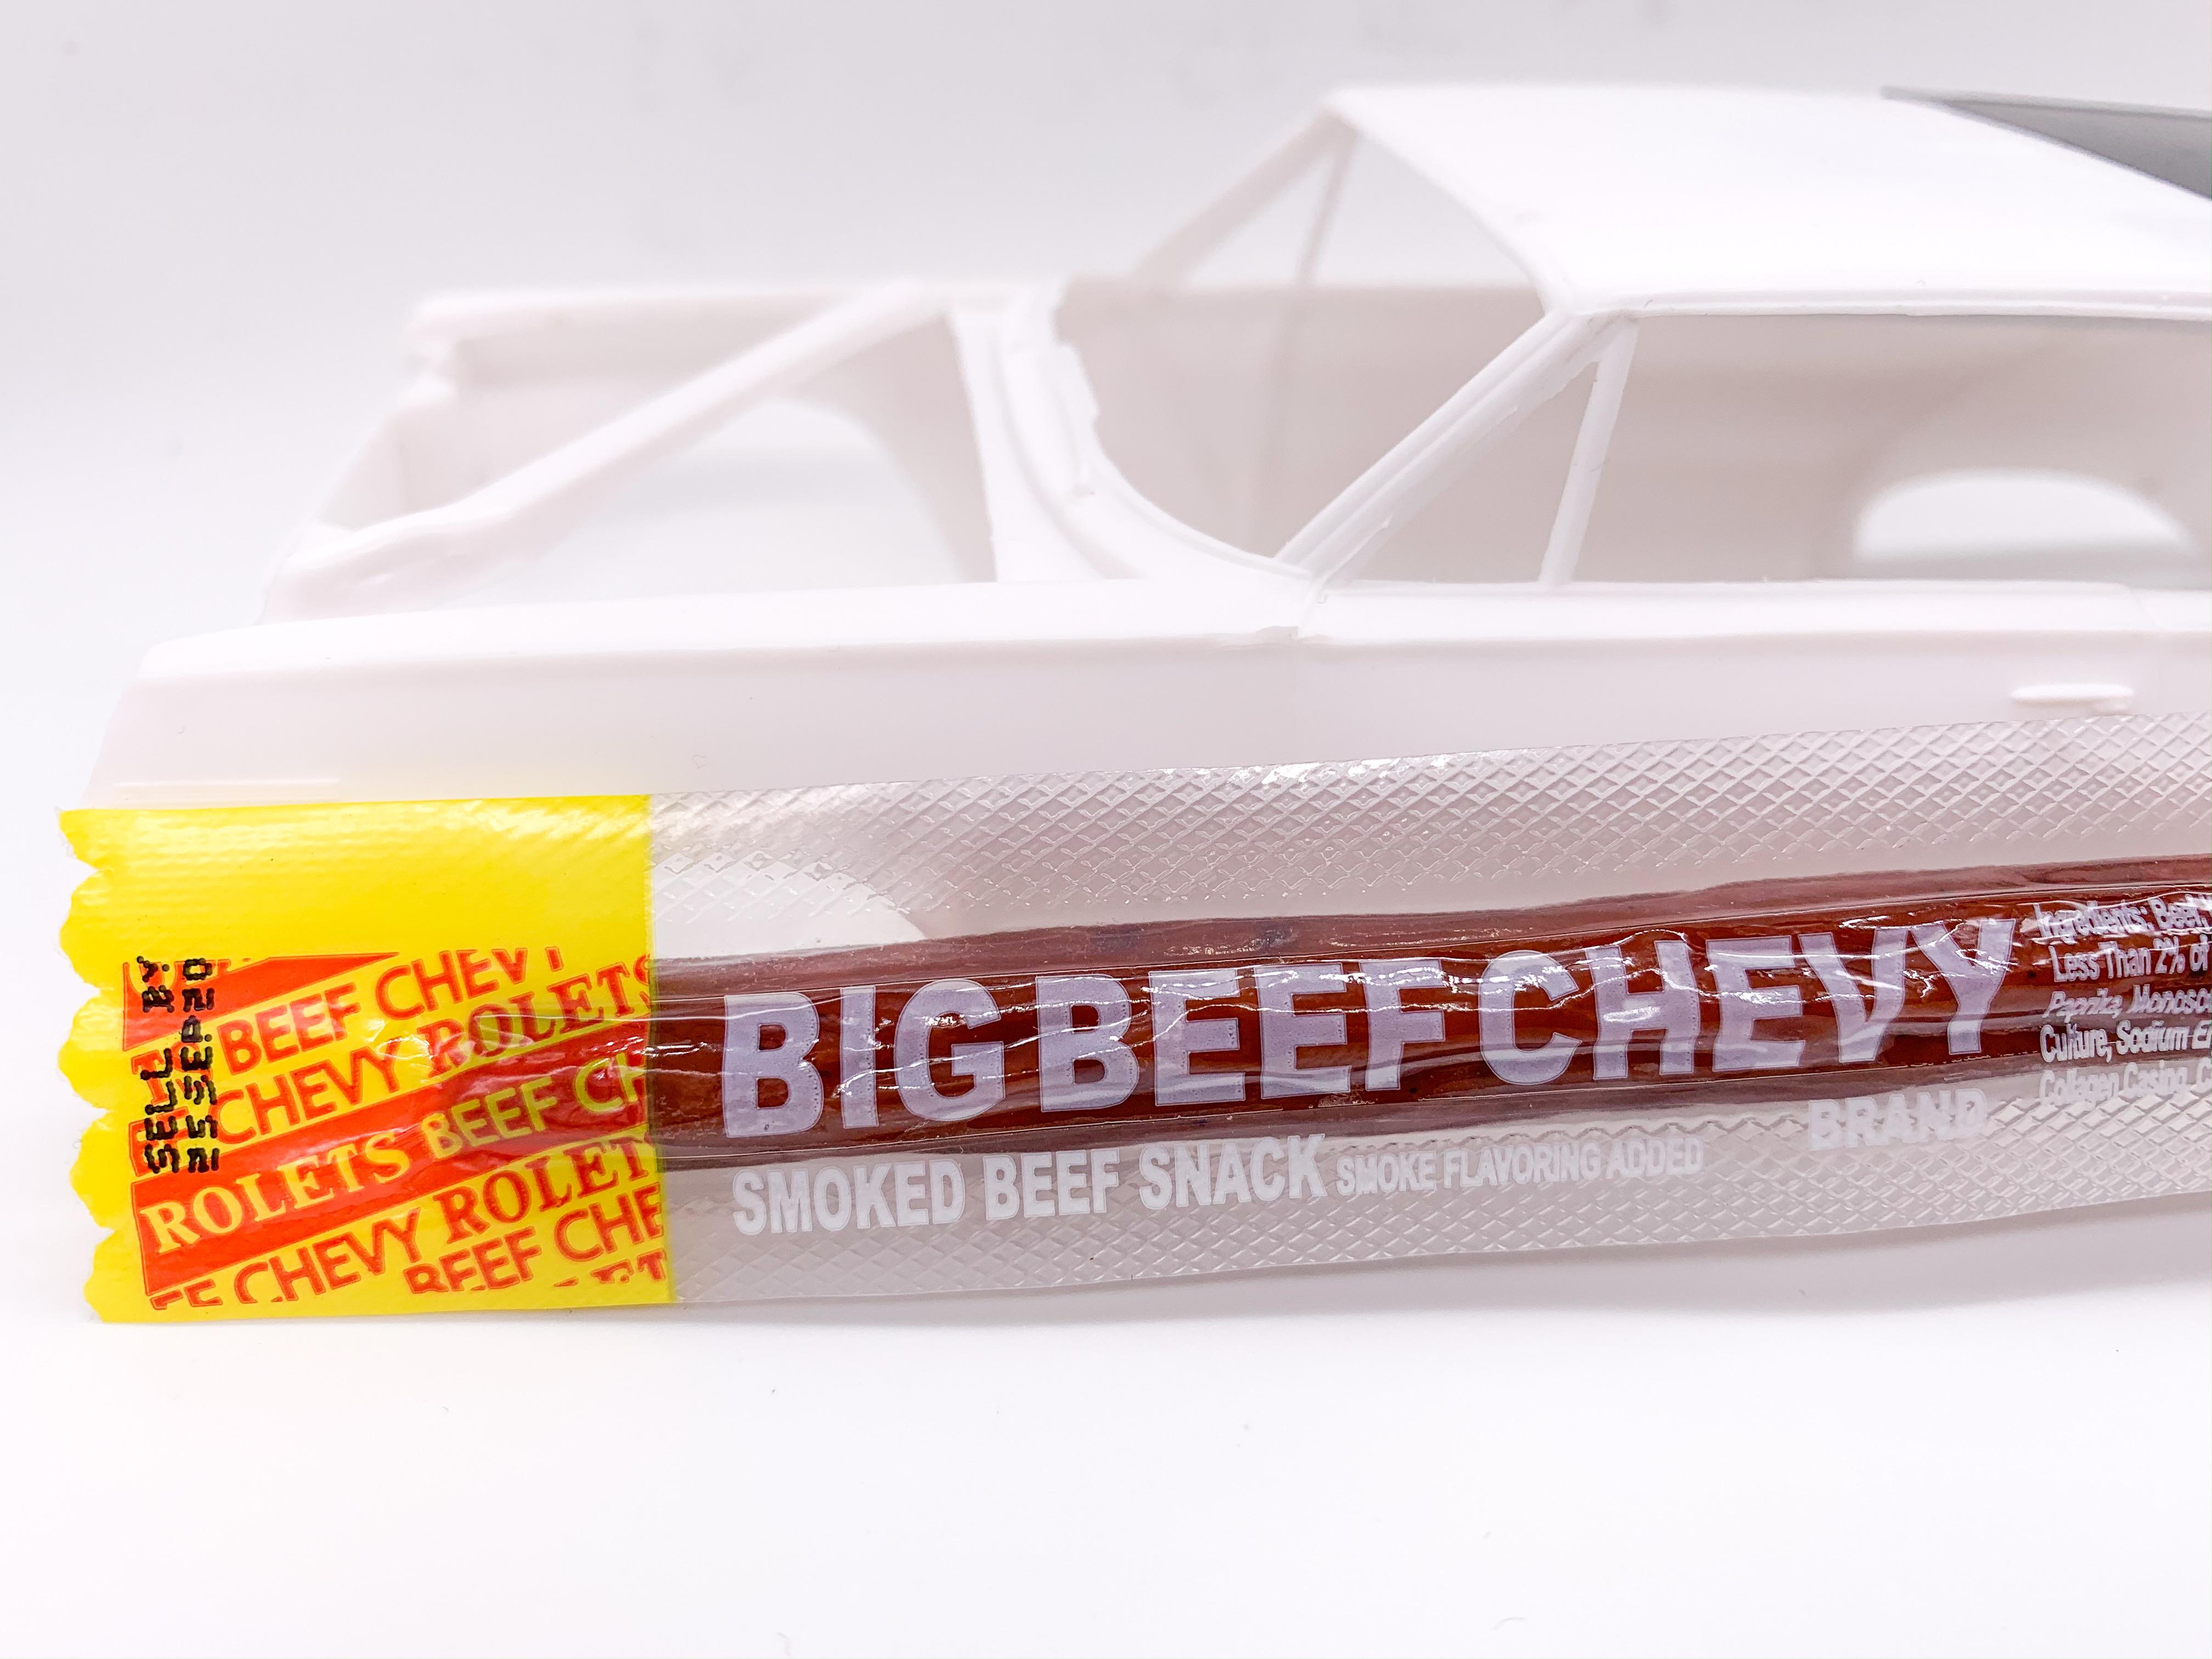
Thanks fellas! Gonna start on this one, right after breakfast: Saw it at the corner store this morning and seemed appropriate ?♂️?
-
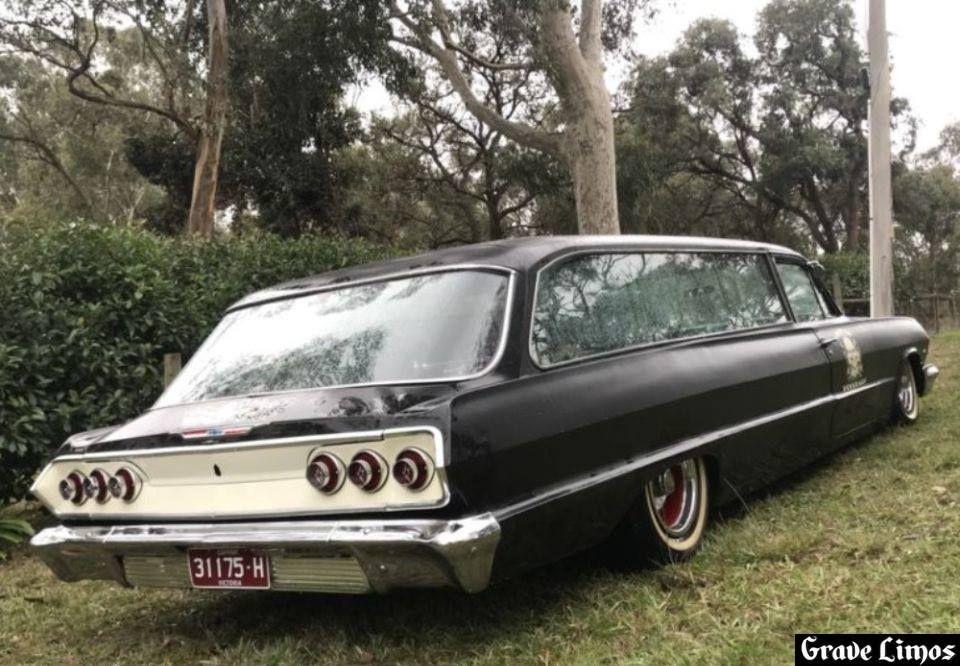
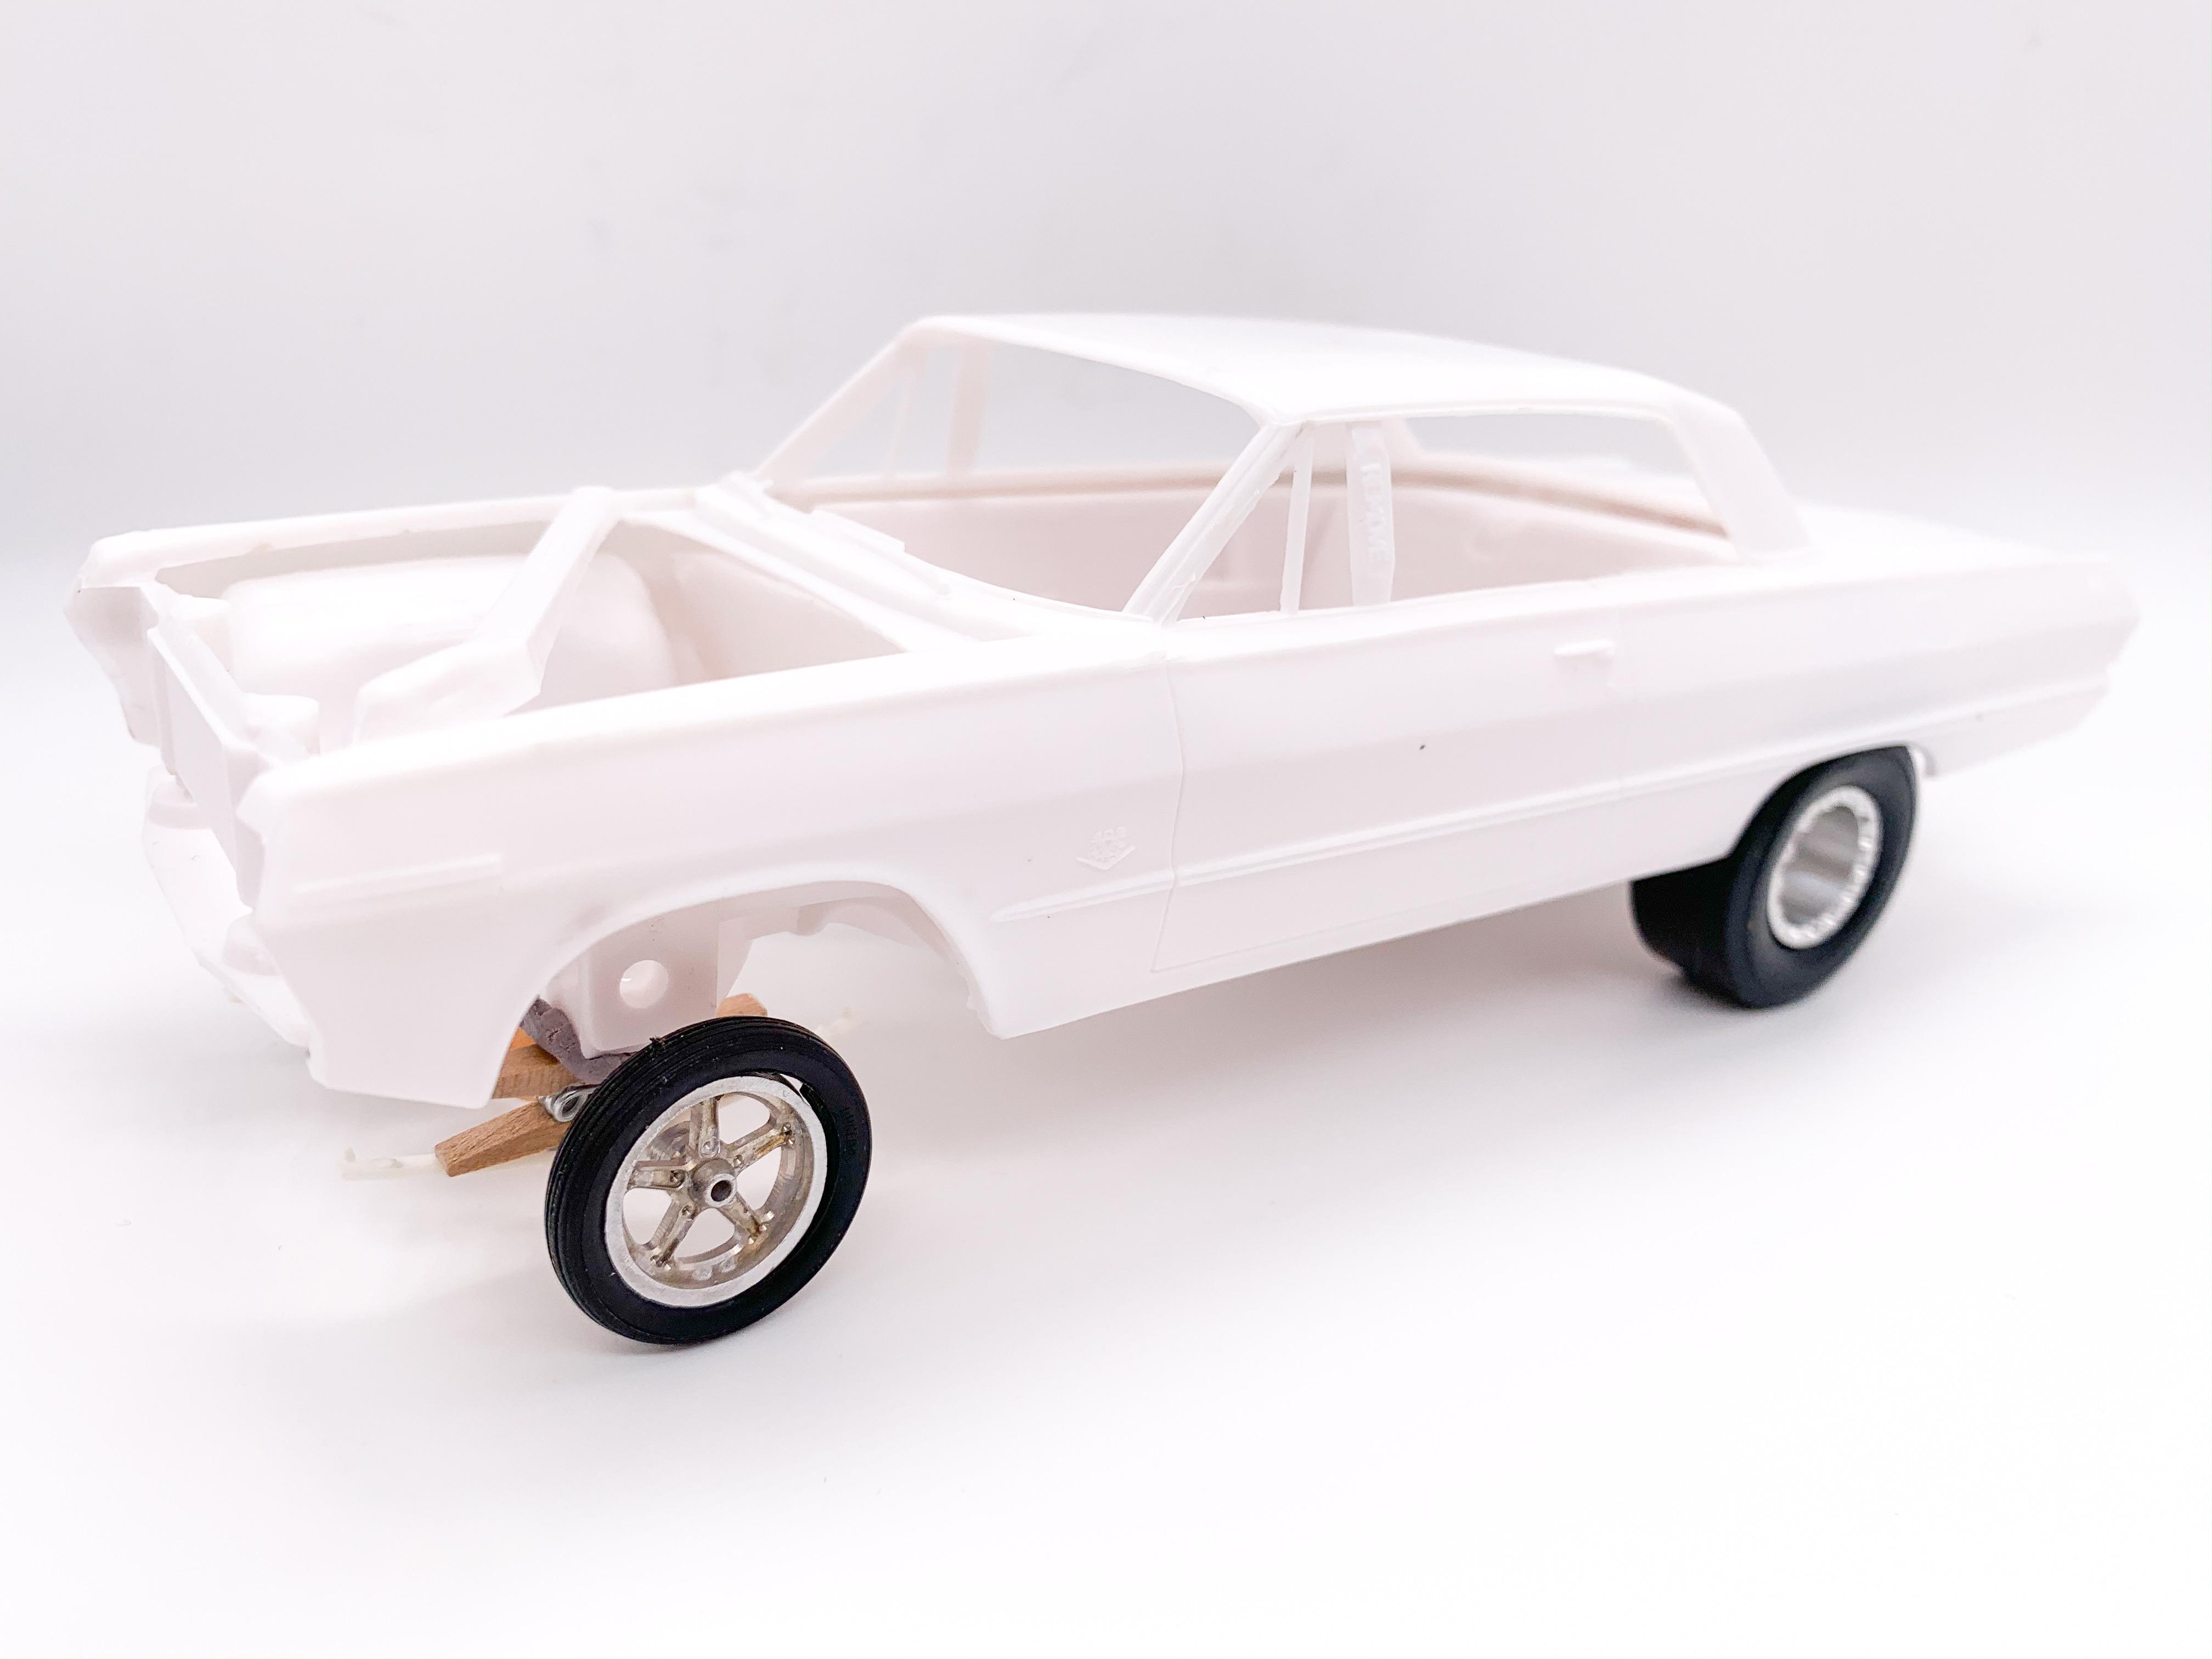
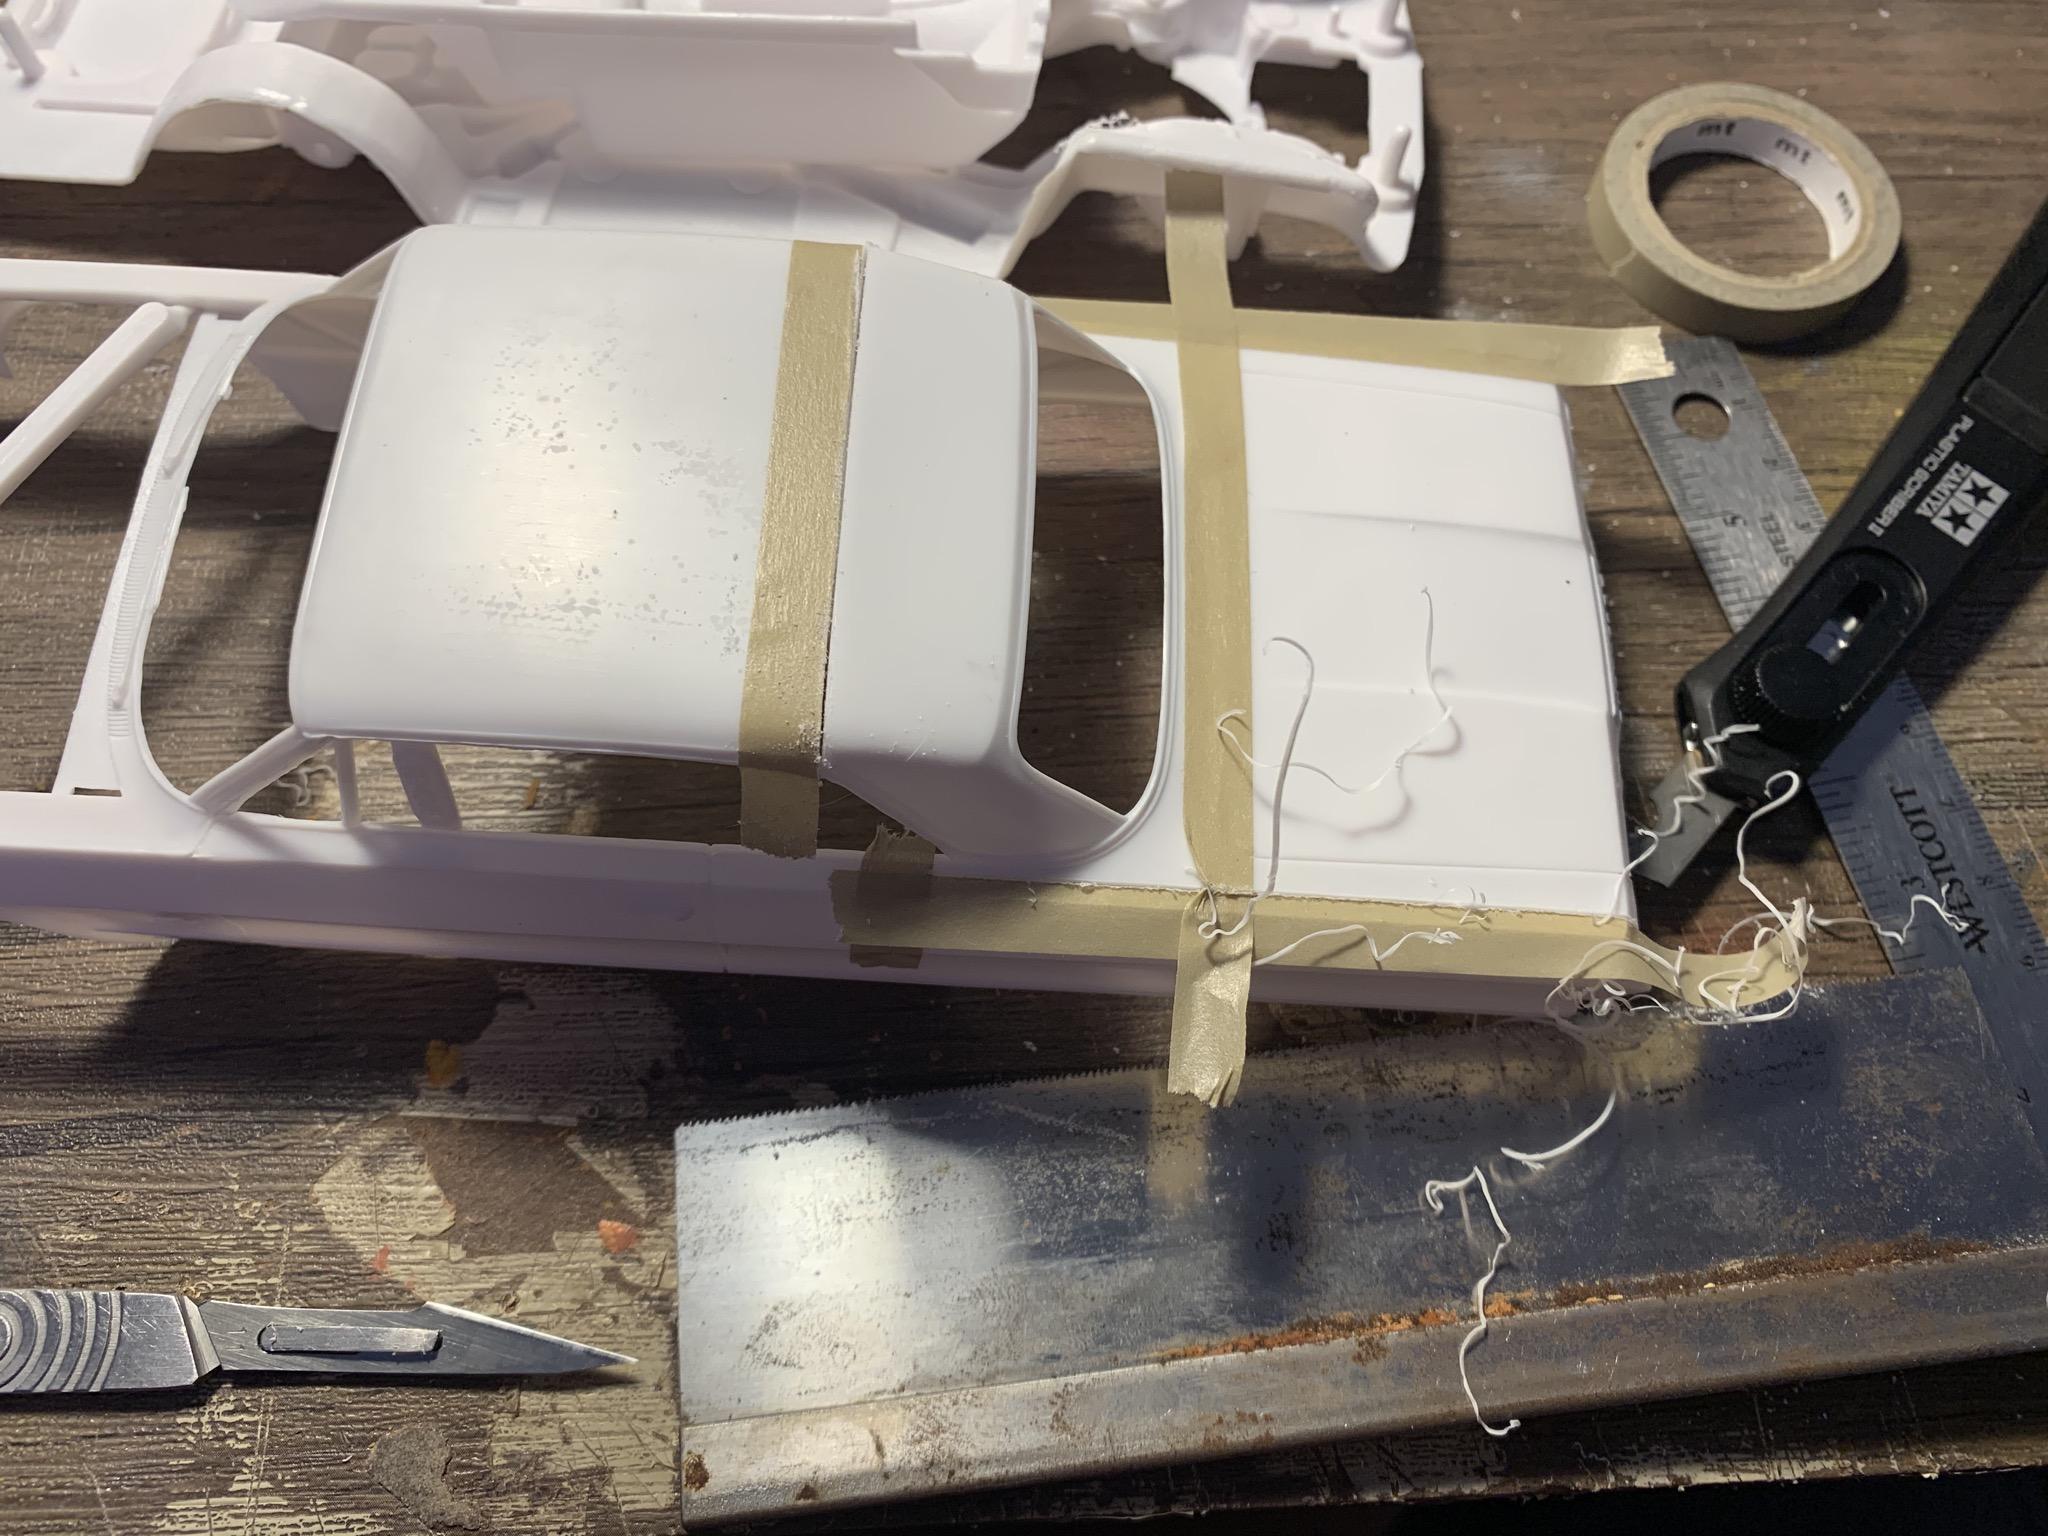
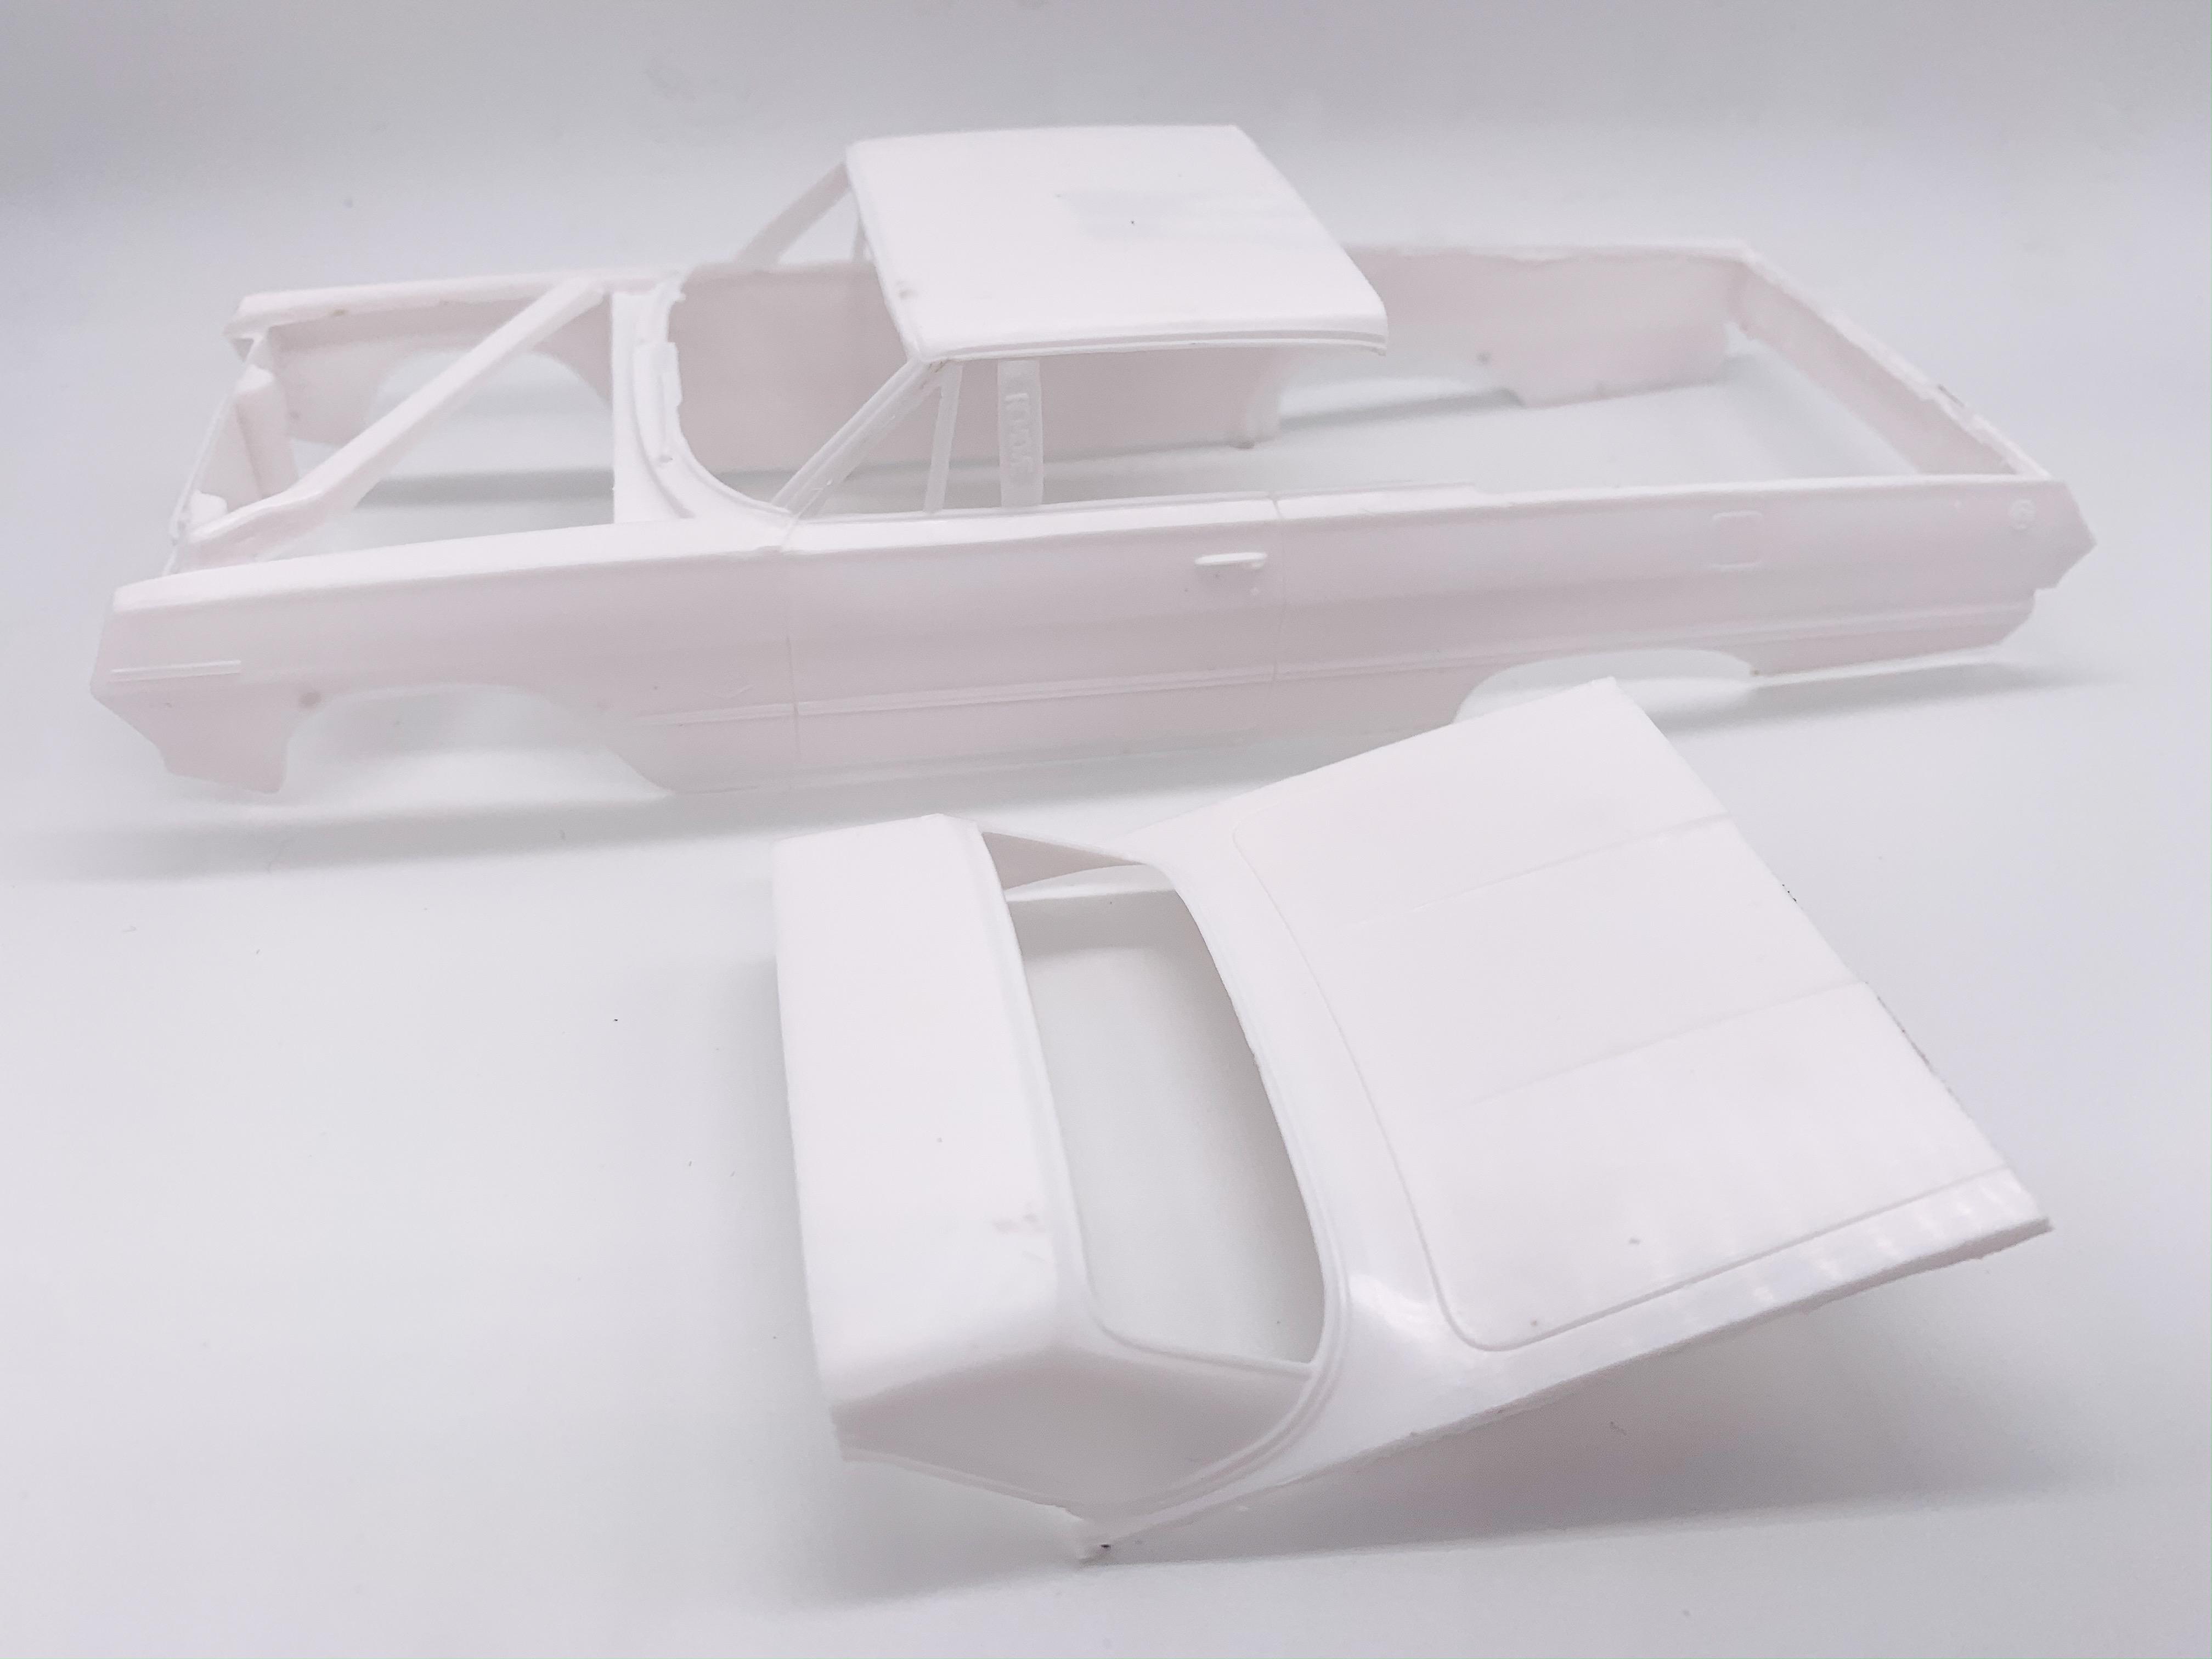
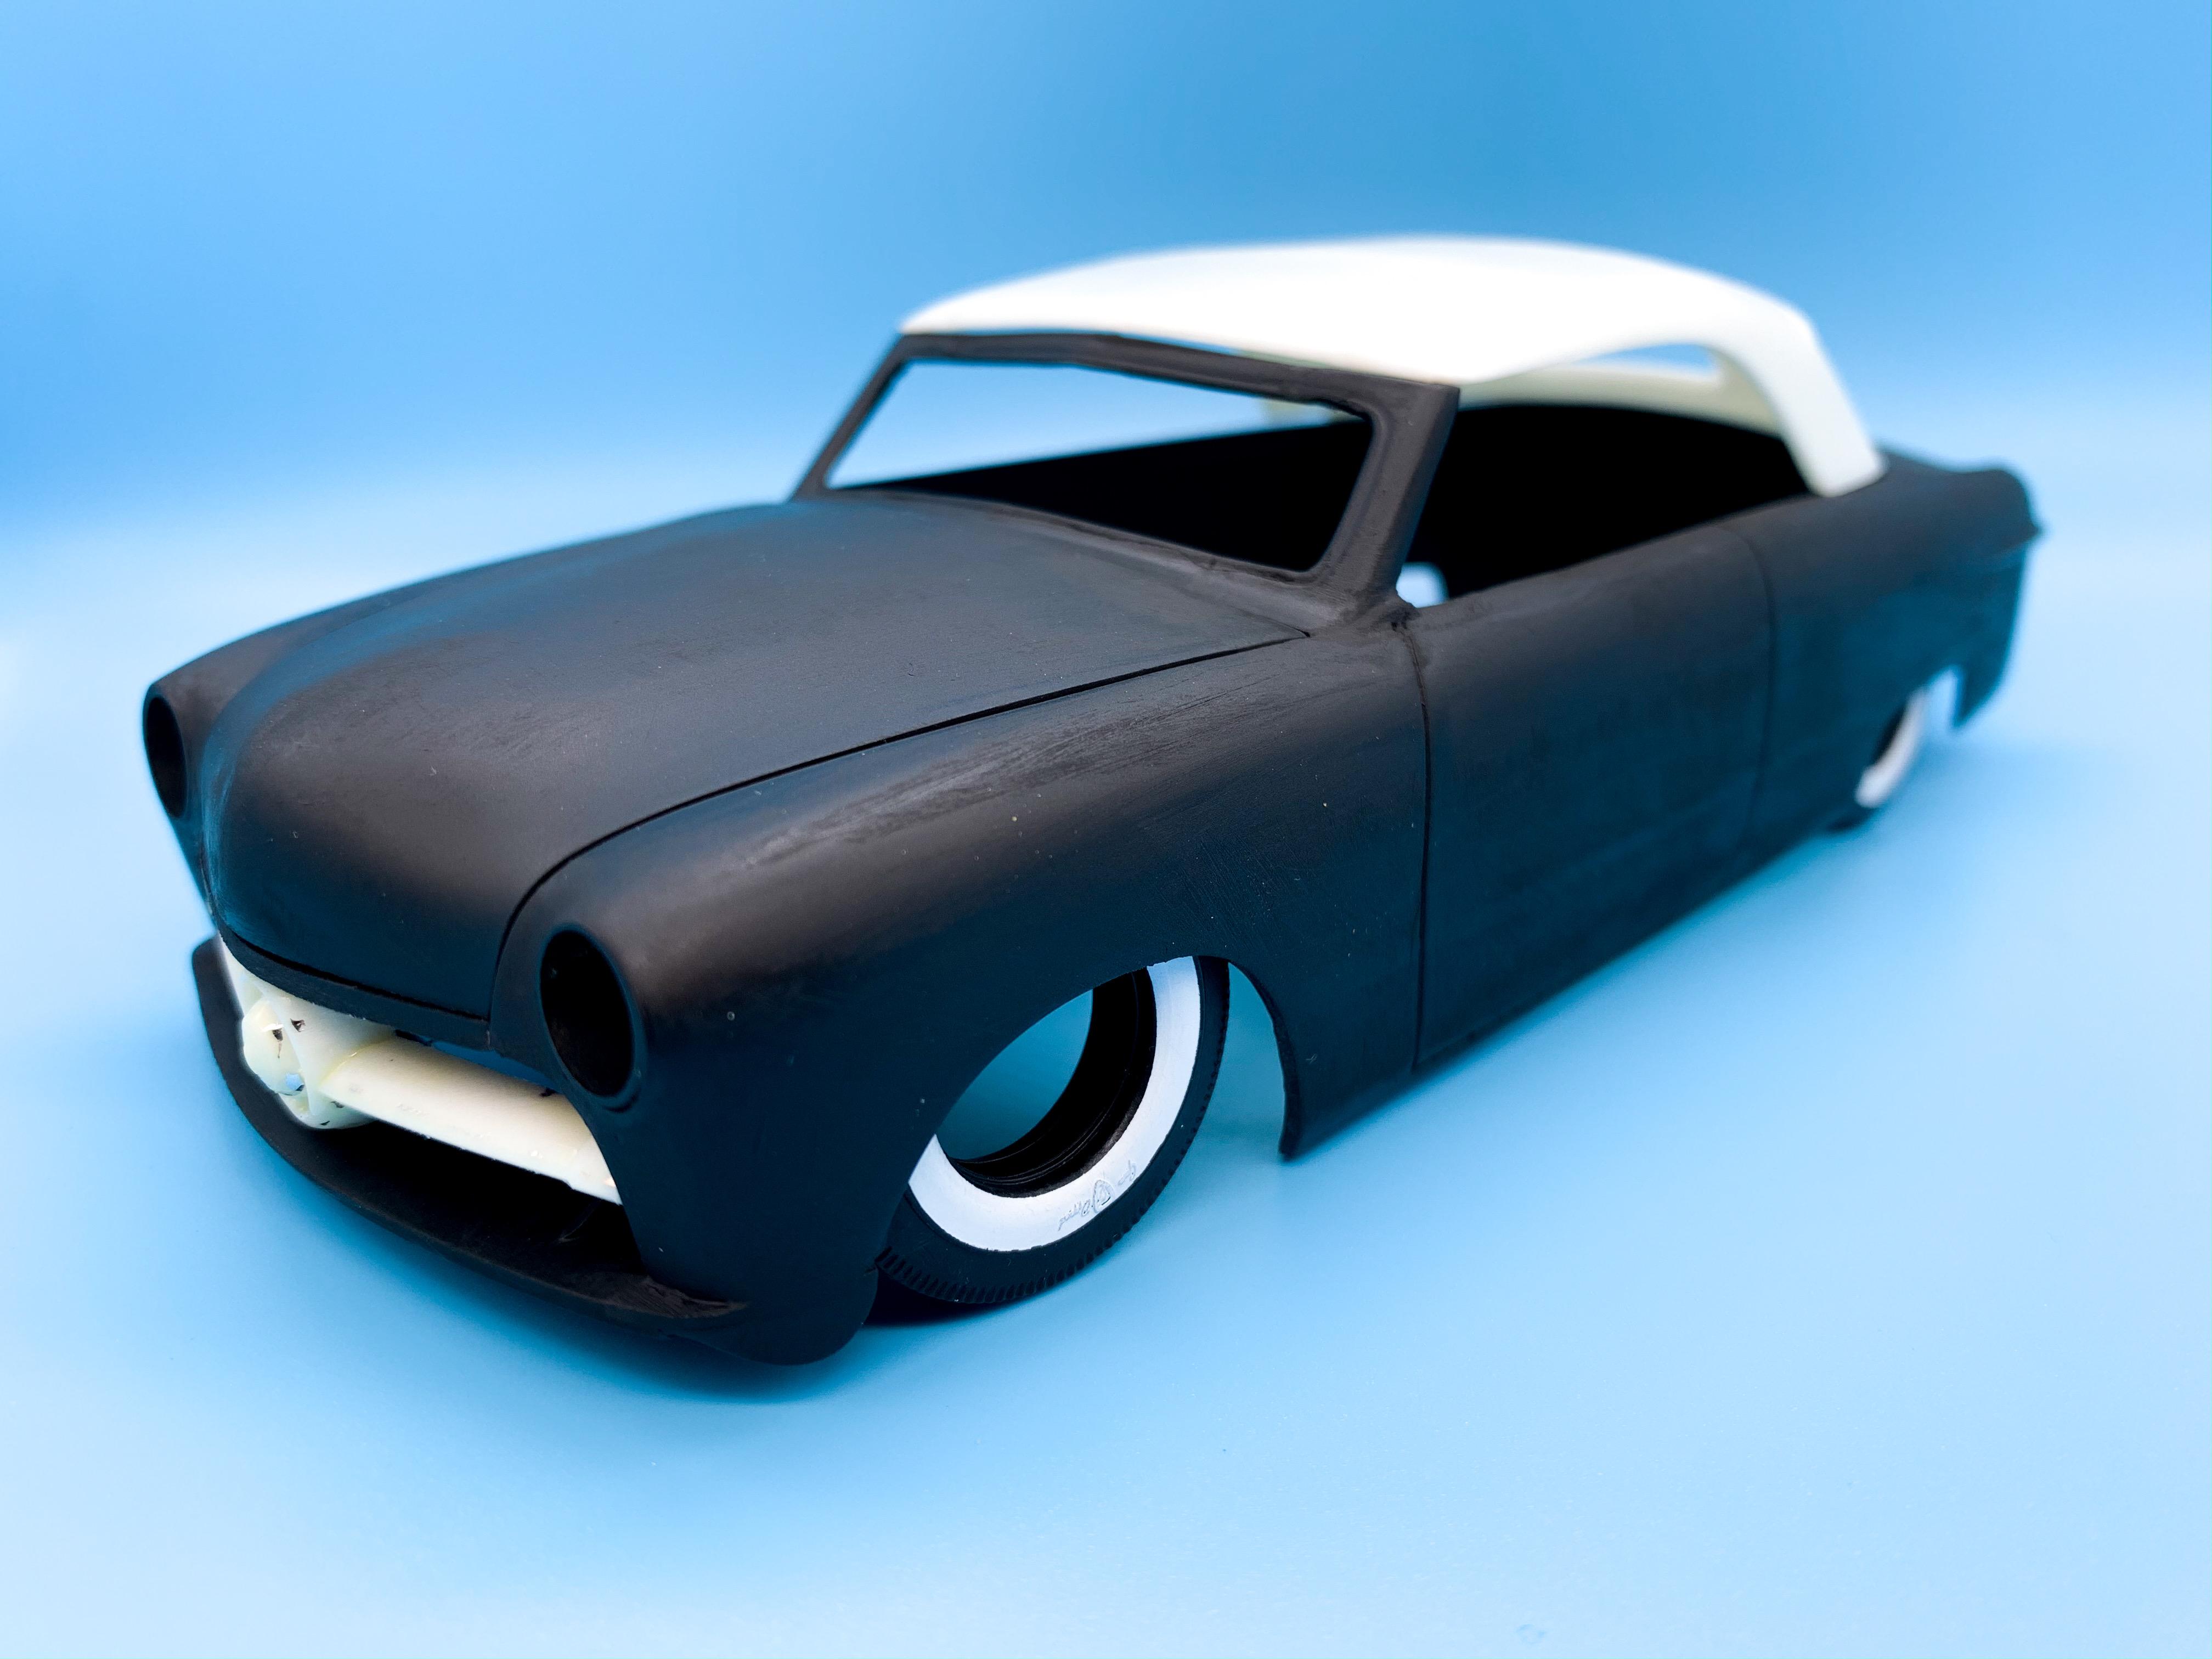
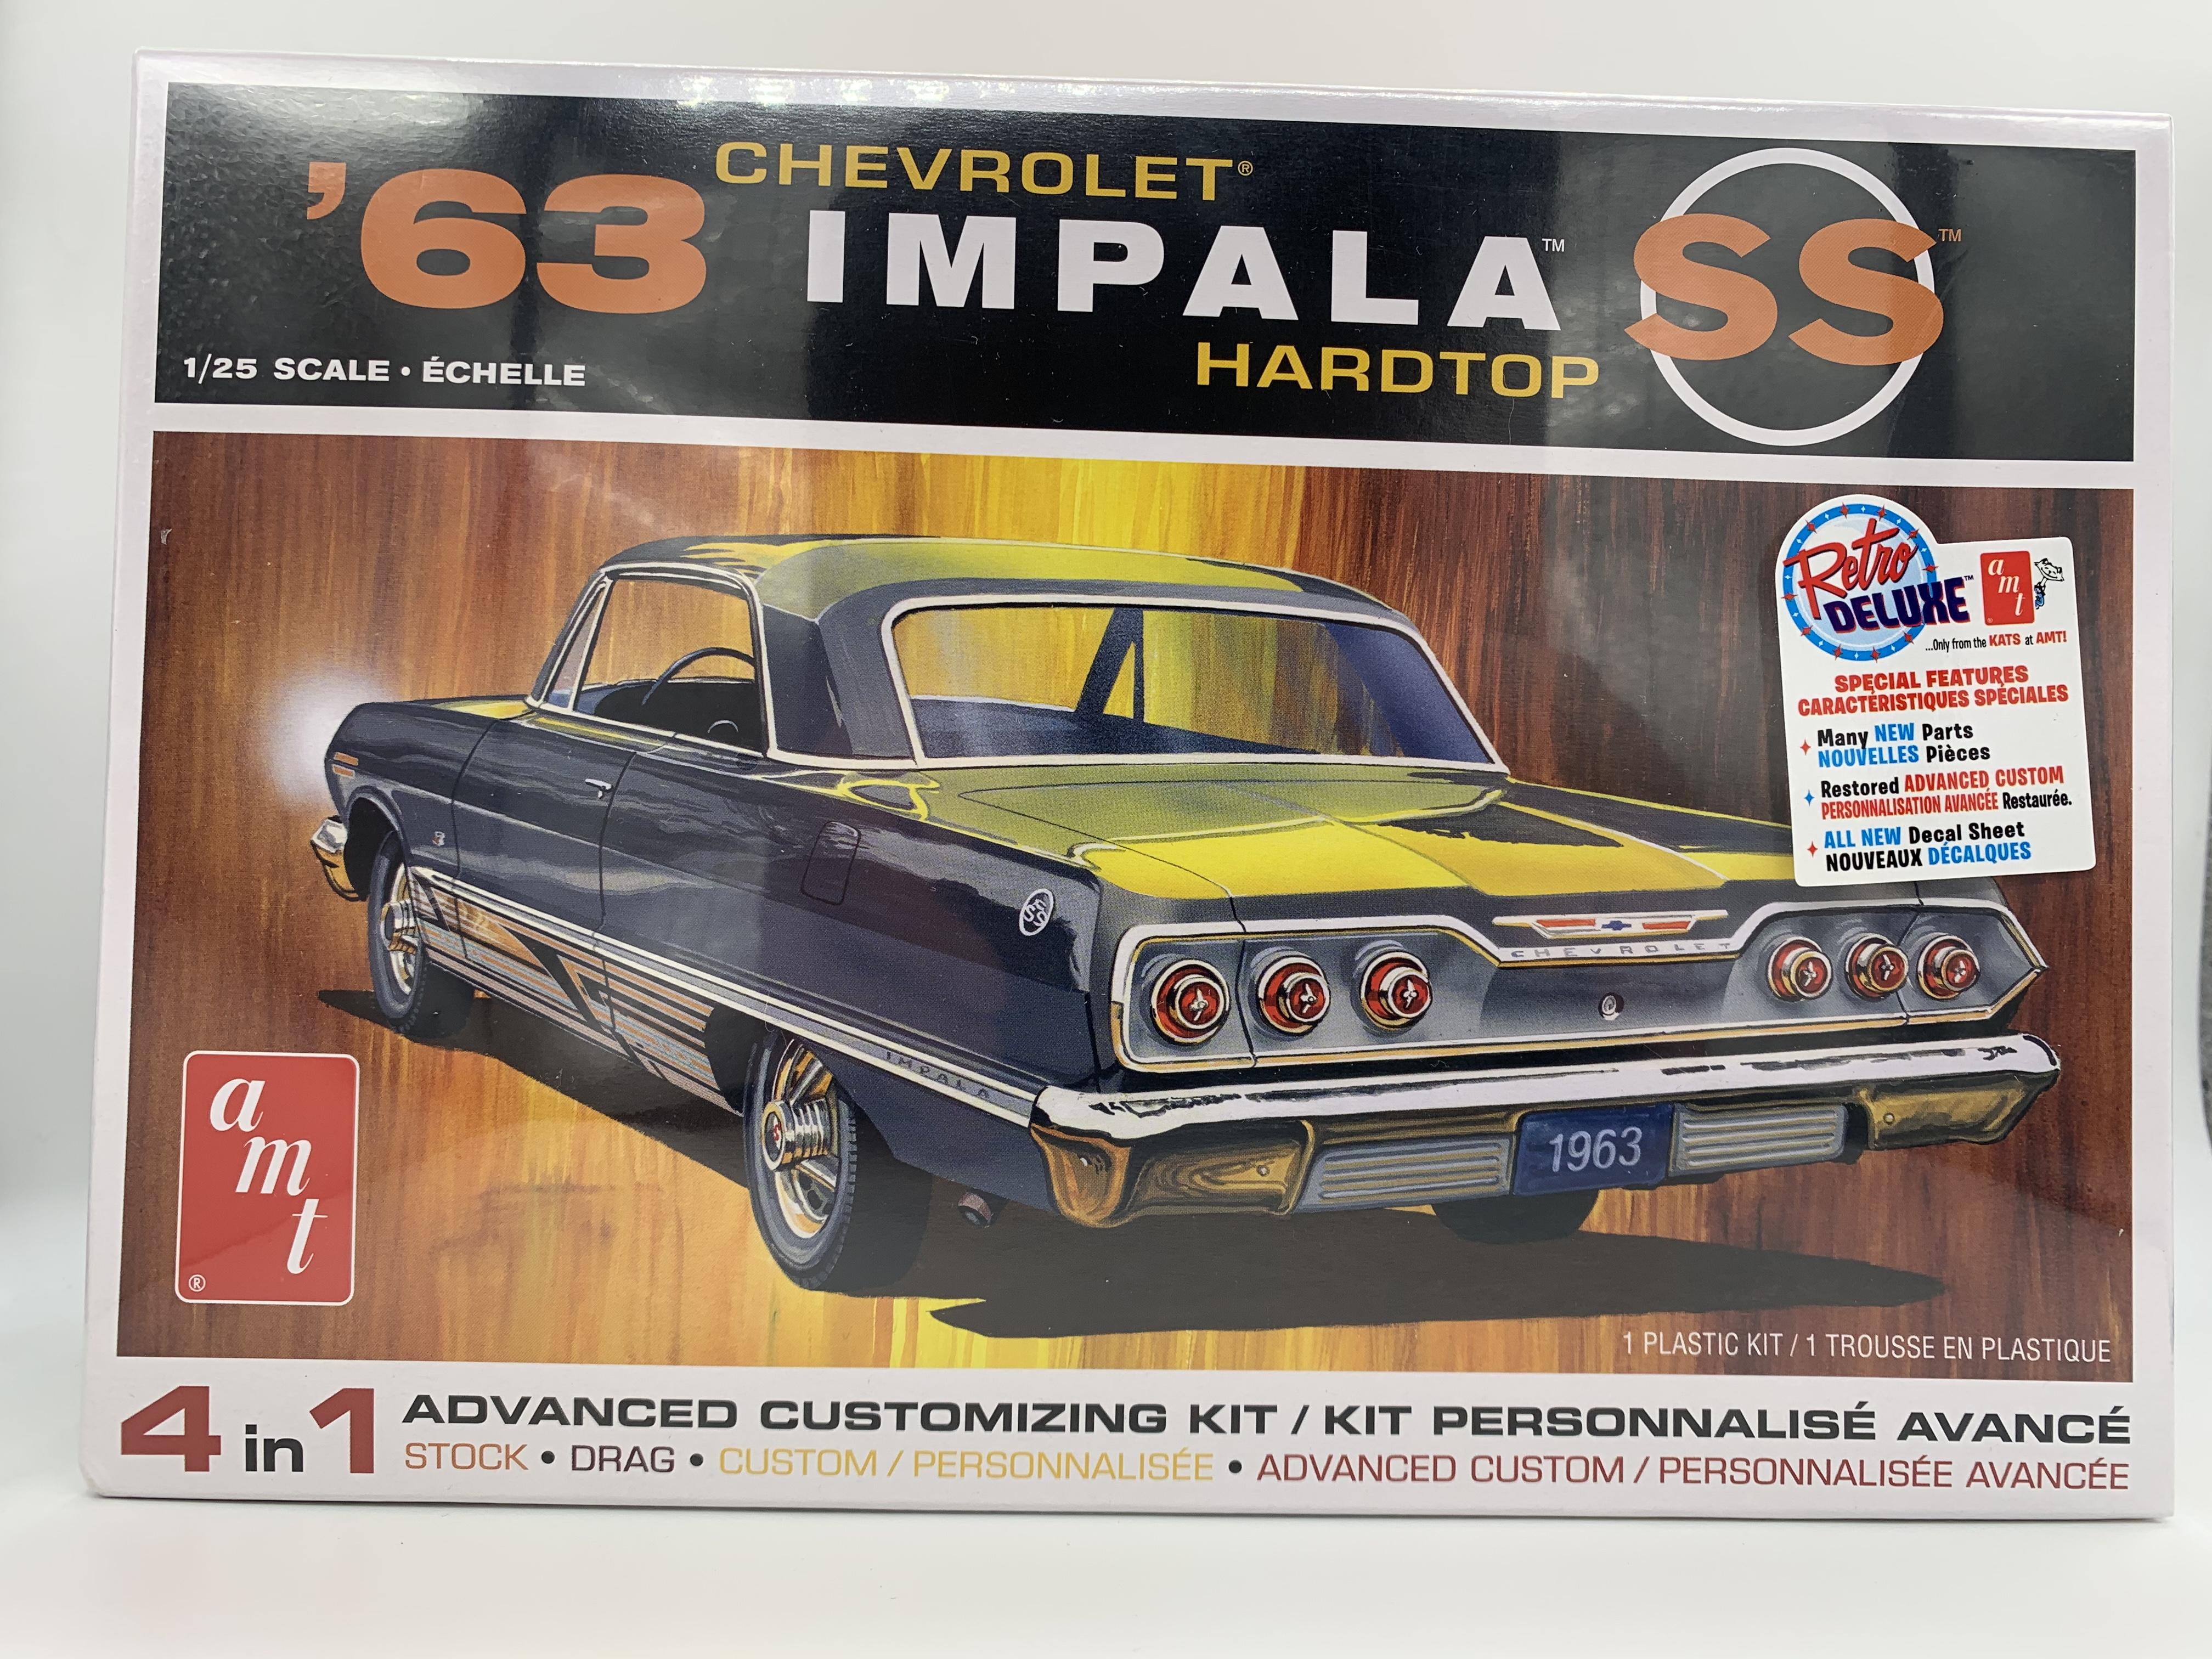
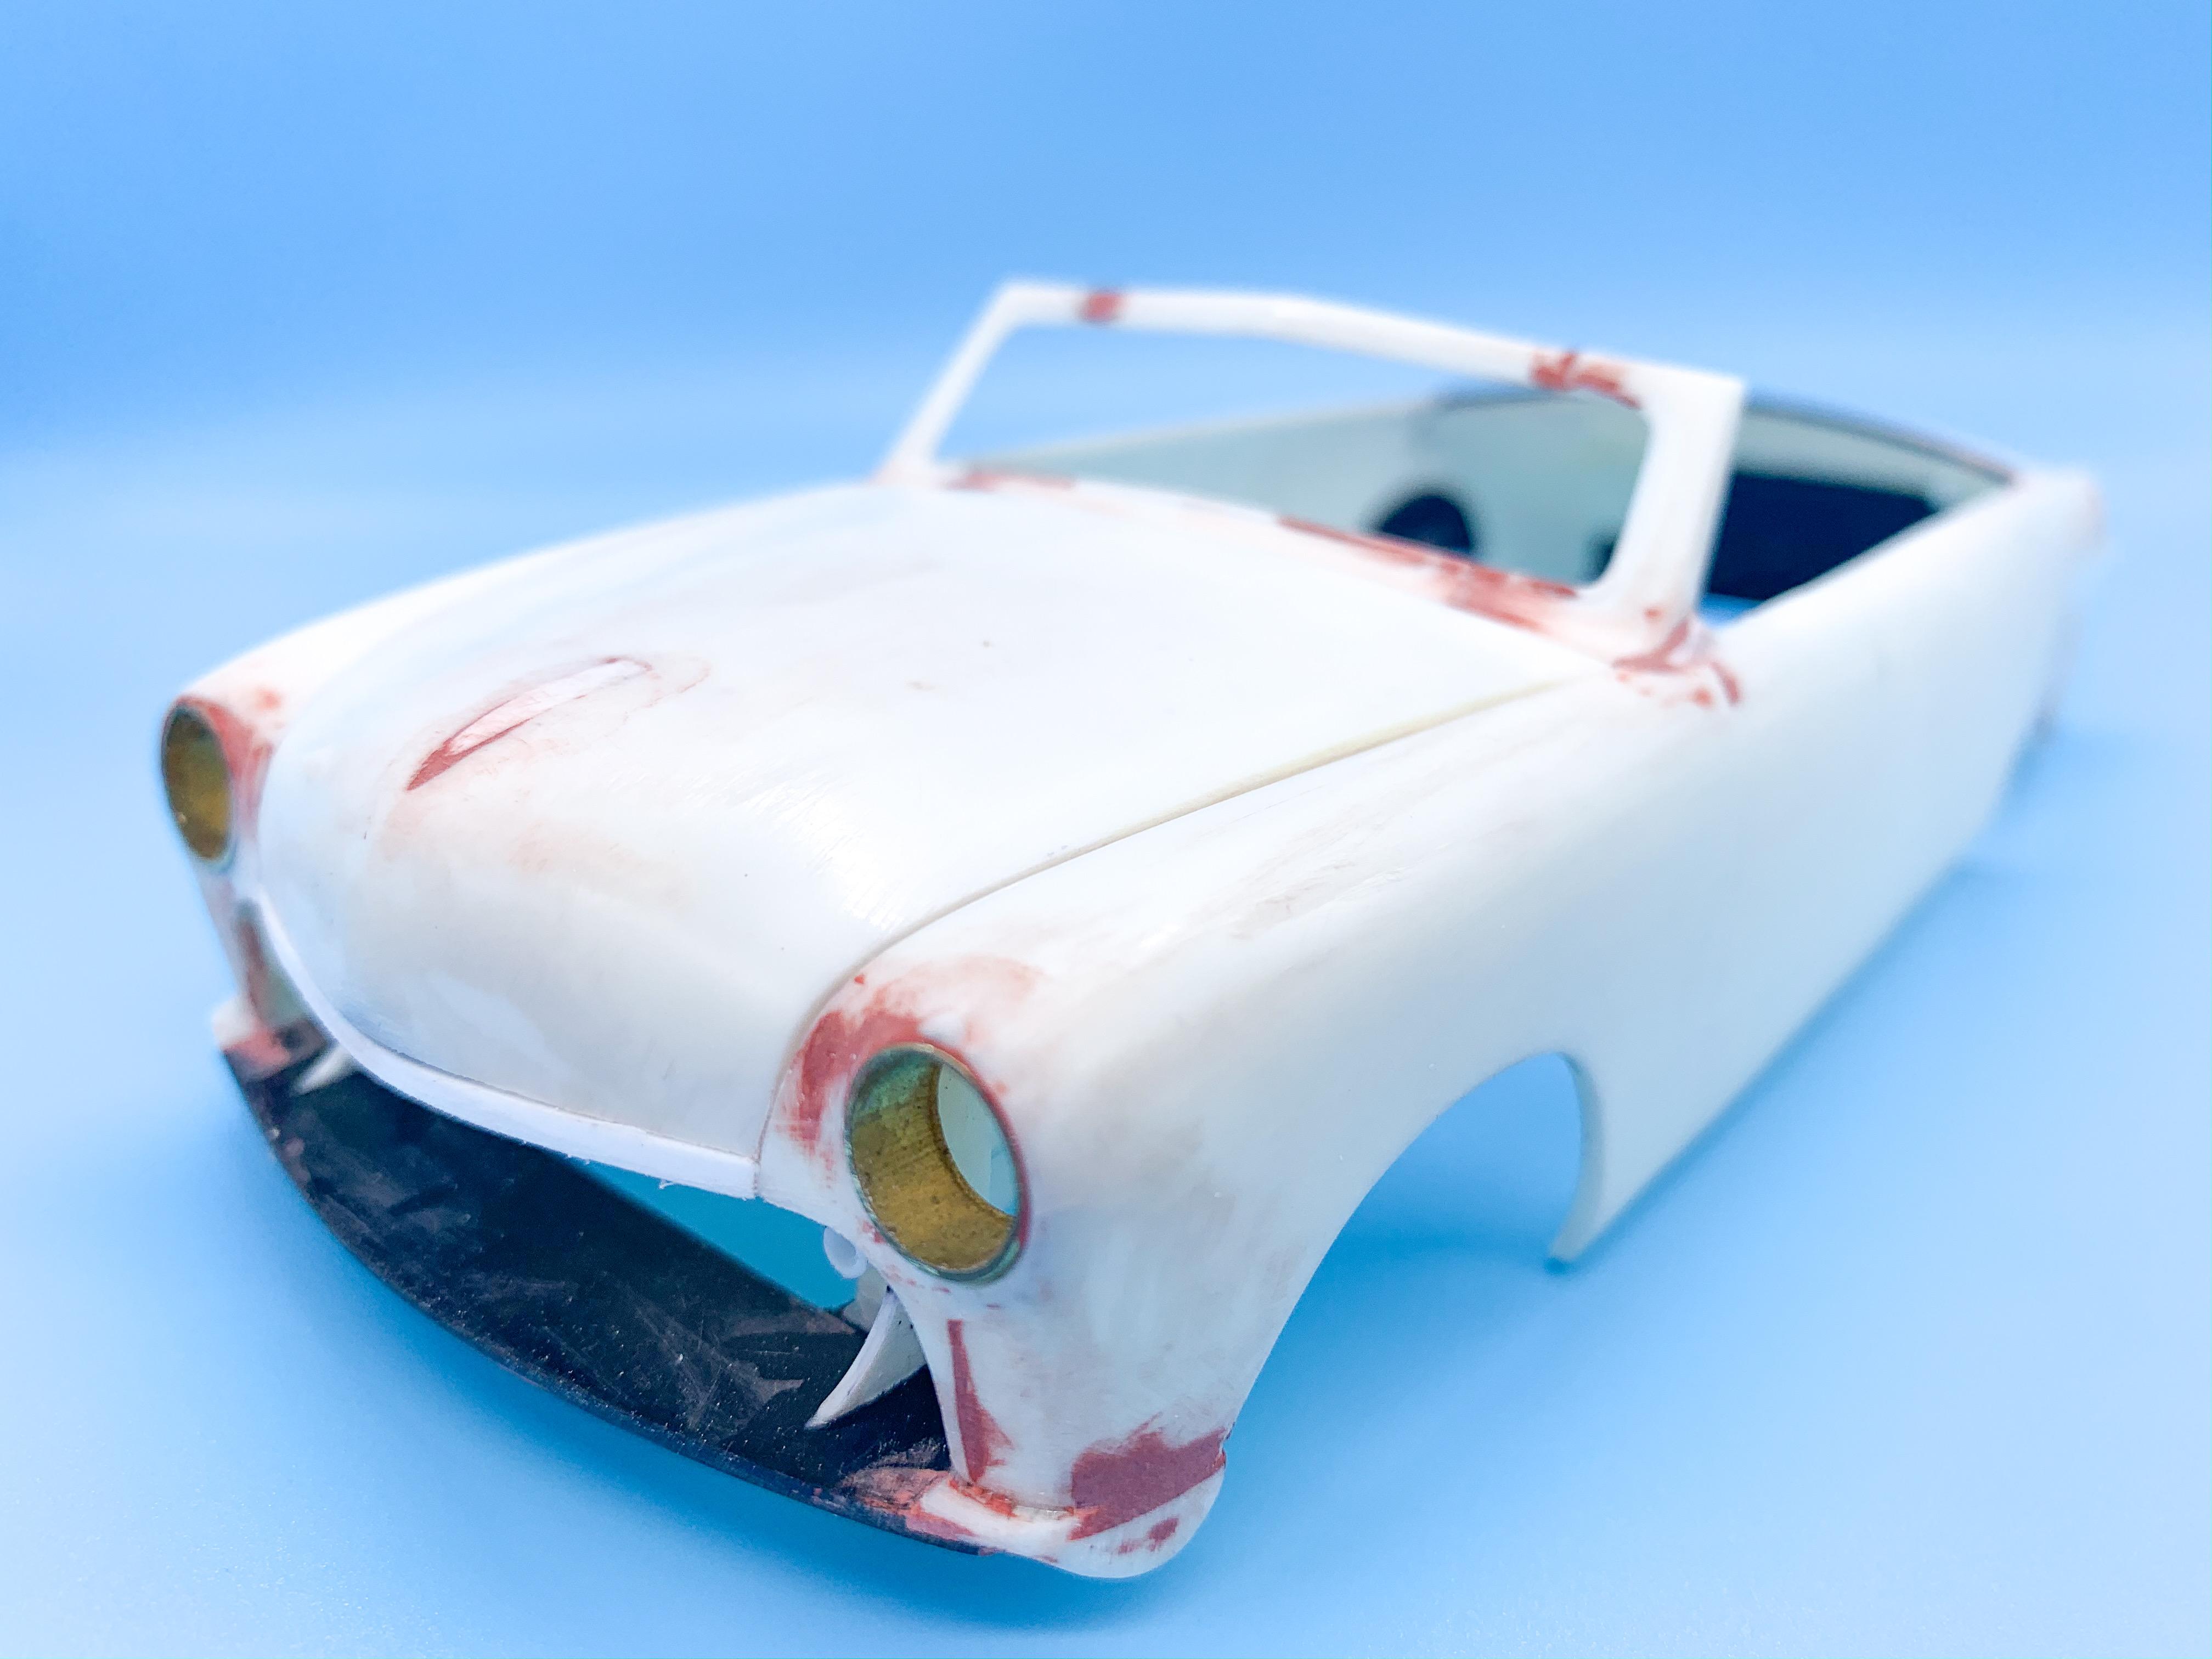
So, the web theme for NNL East this year is the AMT 63 Impala kit that was reissued last year: I did some brainstorming on what to do and was pretty much set on doing some form of drag car with the kit, until I saw this 63 online: I think it’s a hearse conversion, but it’s retained the low roofline of the stock car, and seems to be a sedan which has had the rear window moved back and the roof lengthened rather than using the more-logical (but rarer, I assume?) station wagon as a basis. Then, I fell down a rabbit hole of reading about the interesting world of ‘street freaks’... ...and a plan was born! I figured a street freak version of that hearse would be a pretty interesting build, and I liked the idea of combining some of those gasser influences into a street car. A quick mockup before I started hacking plastic... I can already tell that this build is going to involve more scratch building than I planned on, not least because the kit chassis has almost everything moulded in, but I’ll start with the fun stuff. My plan is similar to what the builder of that 1:1 seems to have done - just lengthen the roof and slide that rear window right back. Used my new Tamiya scriber, mostly, to score some lines like so... Then removed the rear deck lid from the section I’d removed: And reattached the rear window portion as far back as it would go: Those black styrene strips are to keep it aligned whilst the glue dried, and to give me something to attach a new panel to, to extend the roof: The roof panel itself is pretty flat, but those curved edges seemed like they were going to be tricky to recreate so I built up a little thickness of styrene bar in the gaps so that I can sand them smooth and shape them to match the existing shape: And that’s about where I’m at so far - I’ll get some sanding and shaping done on the body tomorrow when the glue’s set up, and then we can start figuring out how tricky it’s going to be to make this thing into a jacked up pseudo-Gasser! More soon, soon as I’ve done more!
-
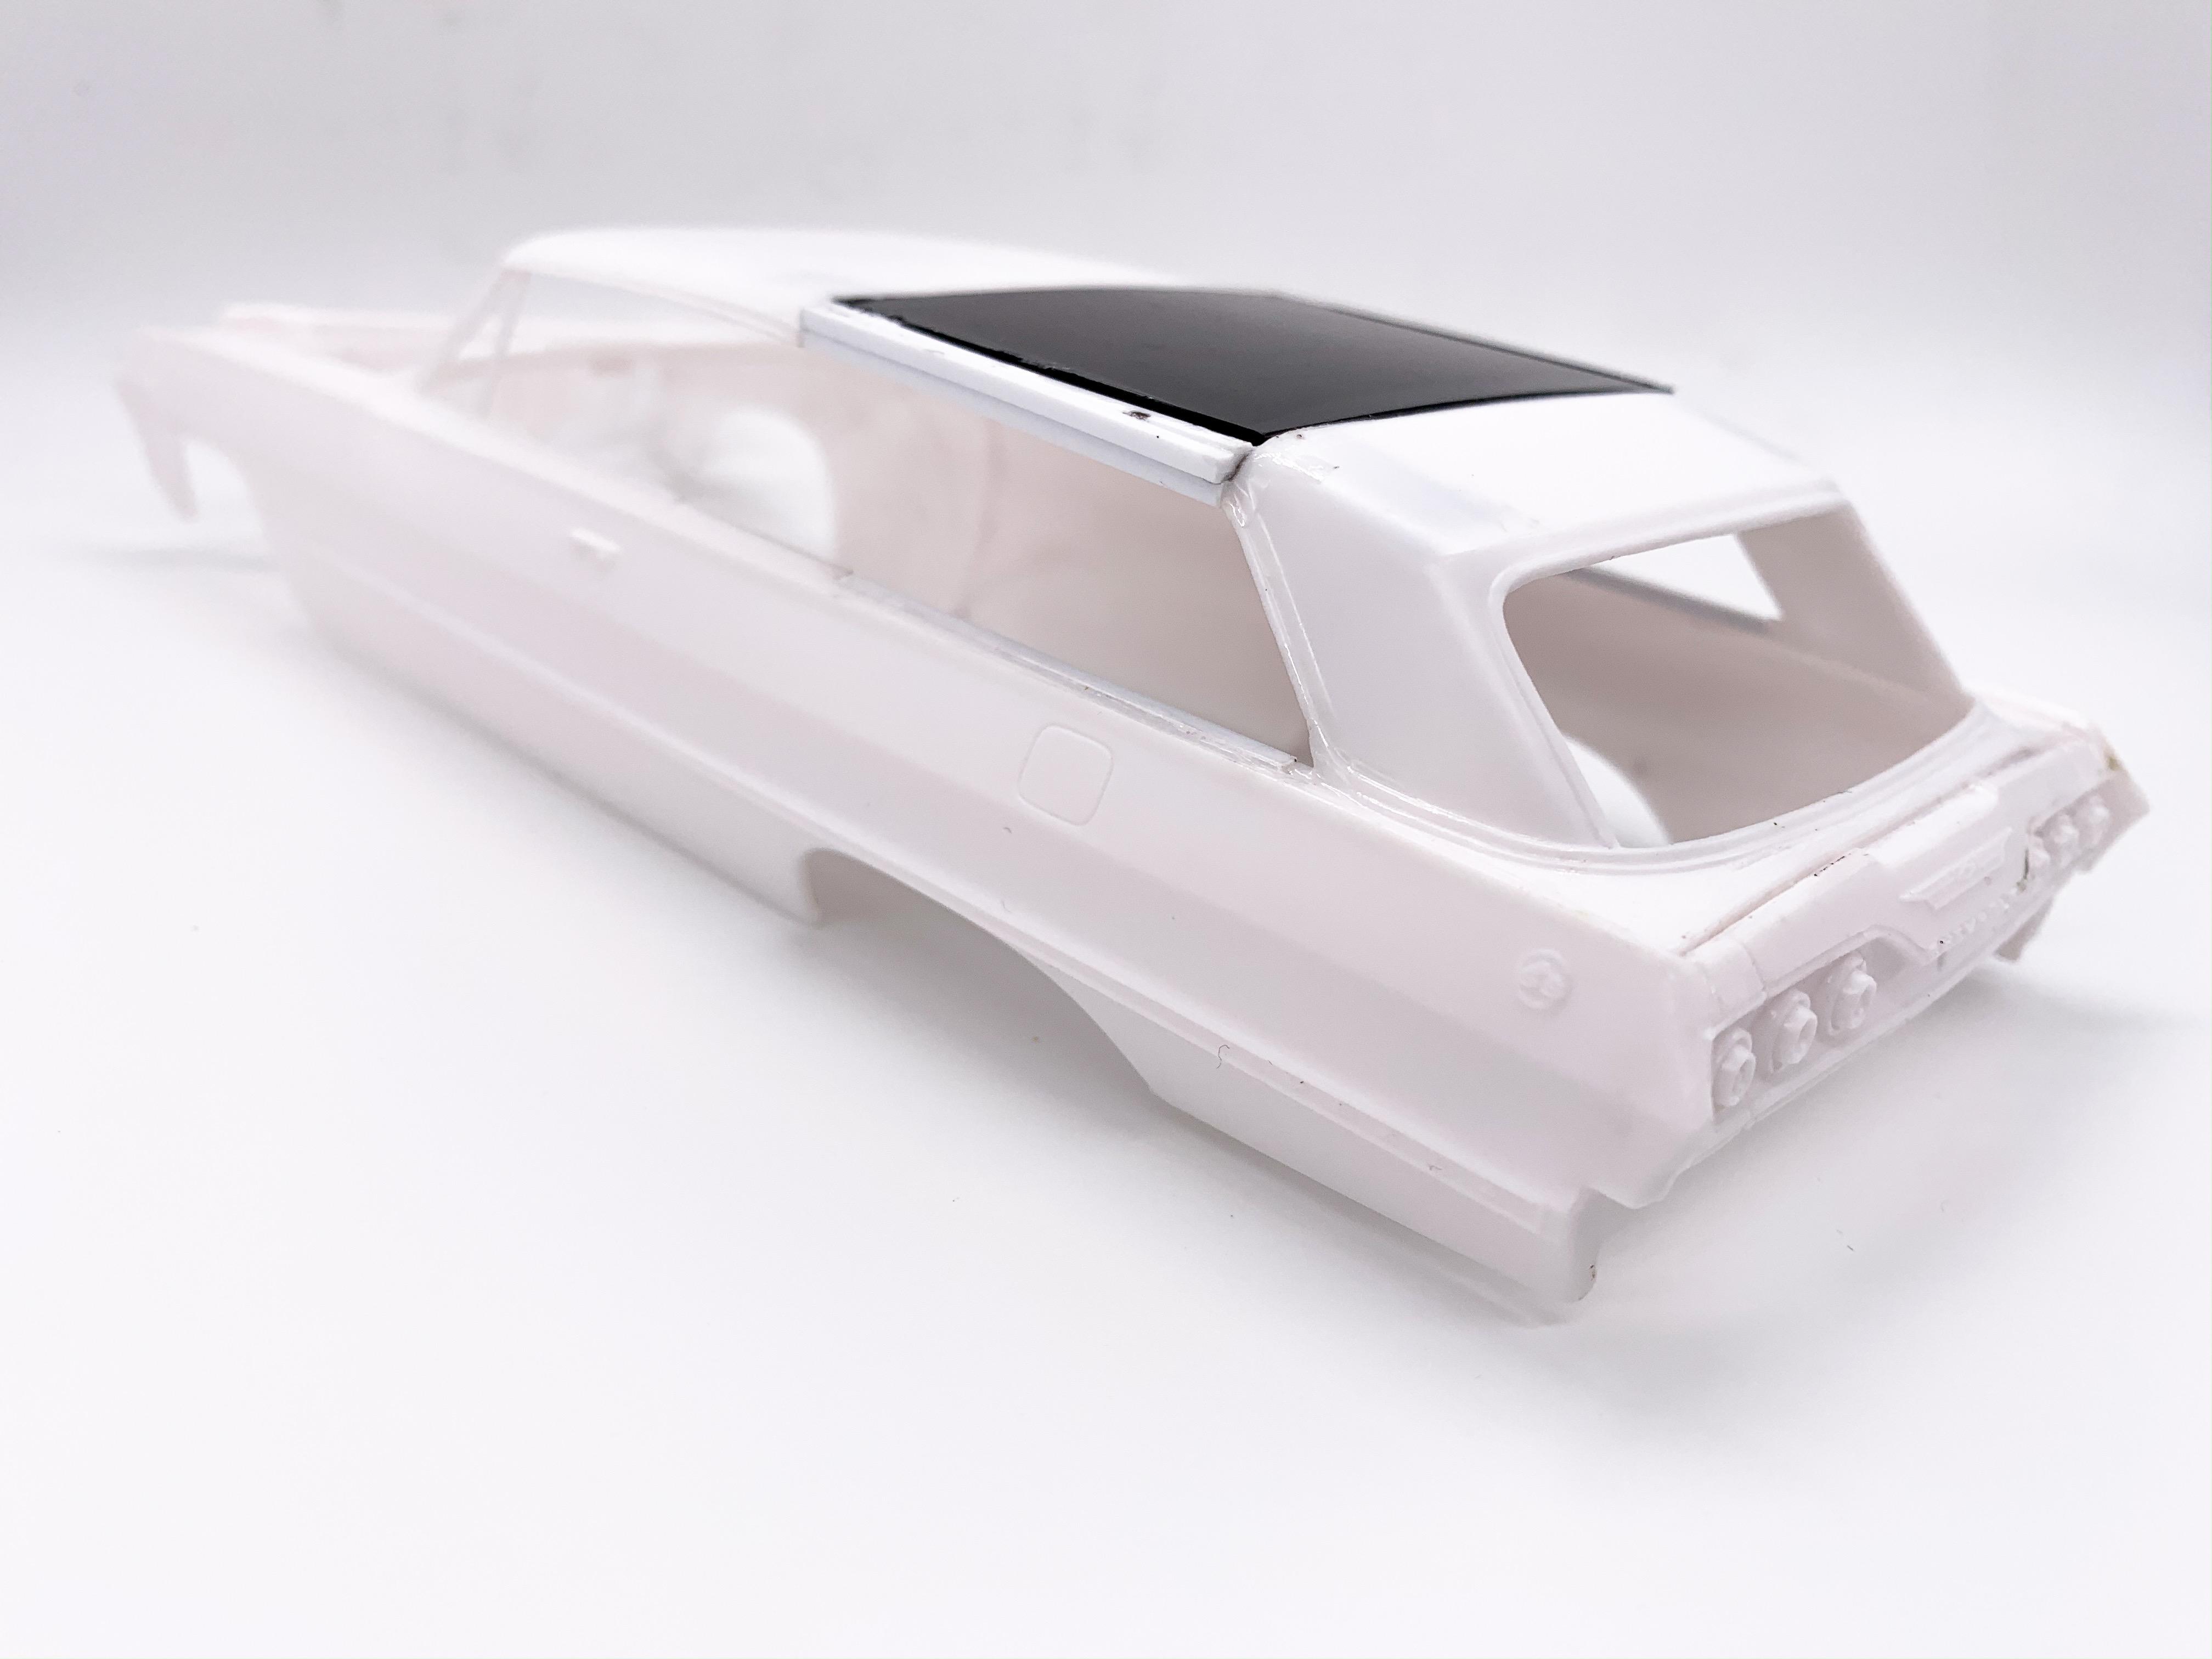
Just a little progress - got some primer on this, this week! Wanted to see how much more sanding and filling was in my future...turns out some, but not too much! Nice to see the body all one color finally!
-
I can’t take any credit for that idea - someone came up with that about 30 years before I was born I think ?
-
That looks awesome! I really like the color!
-
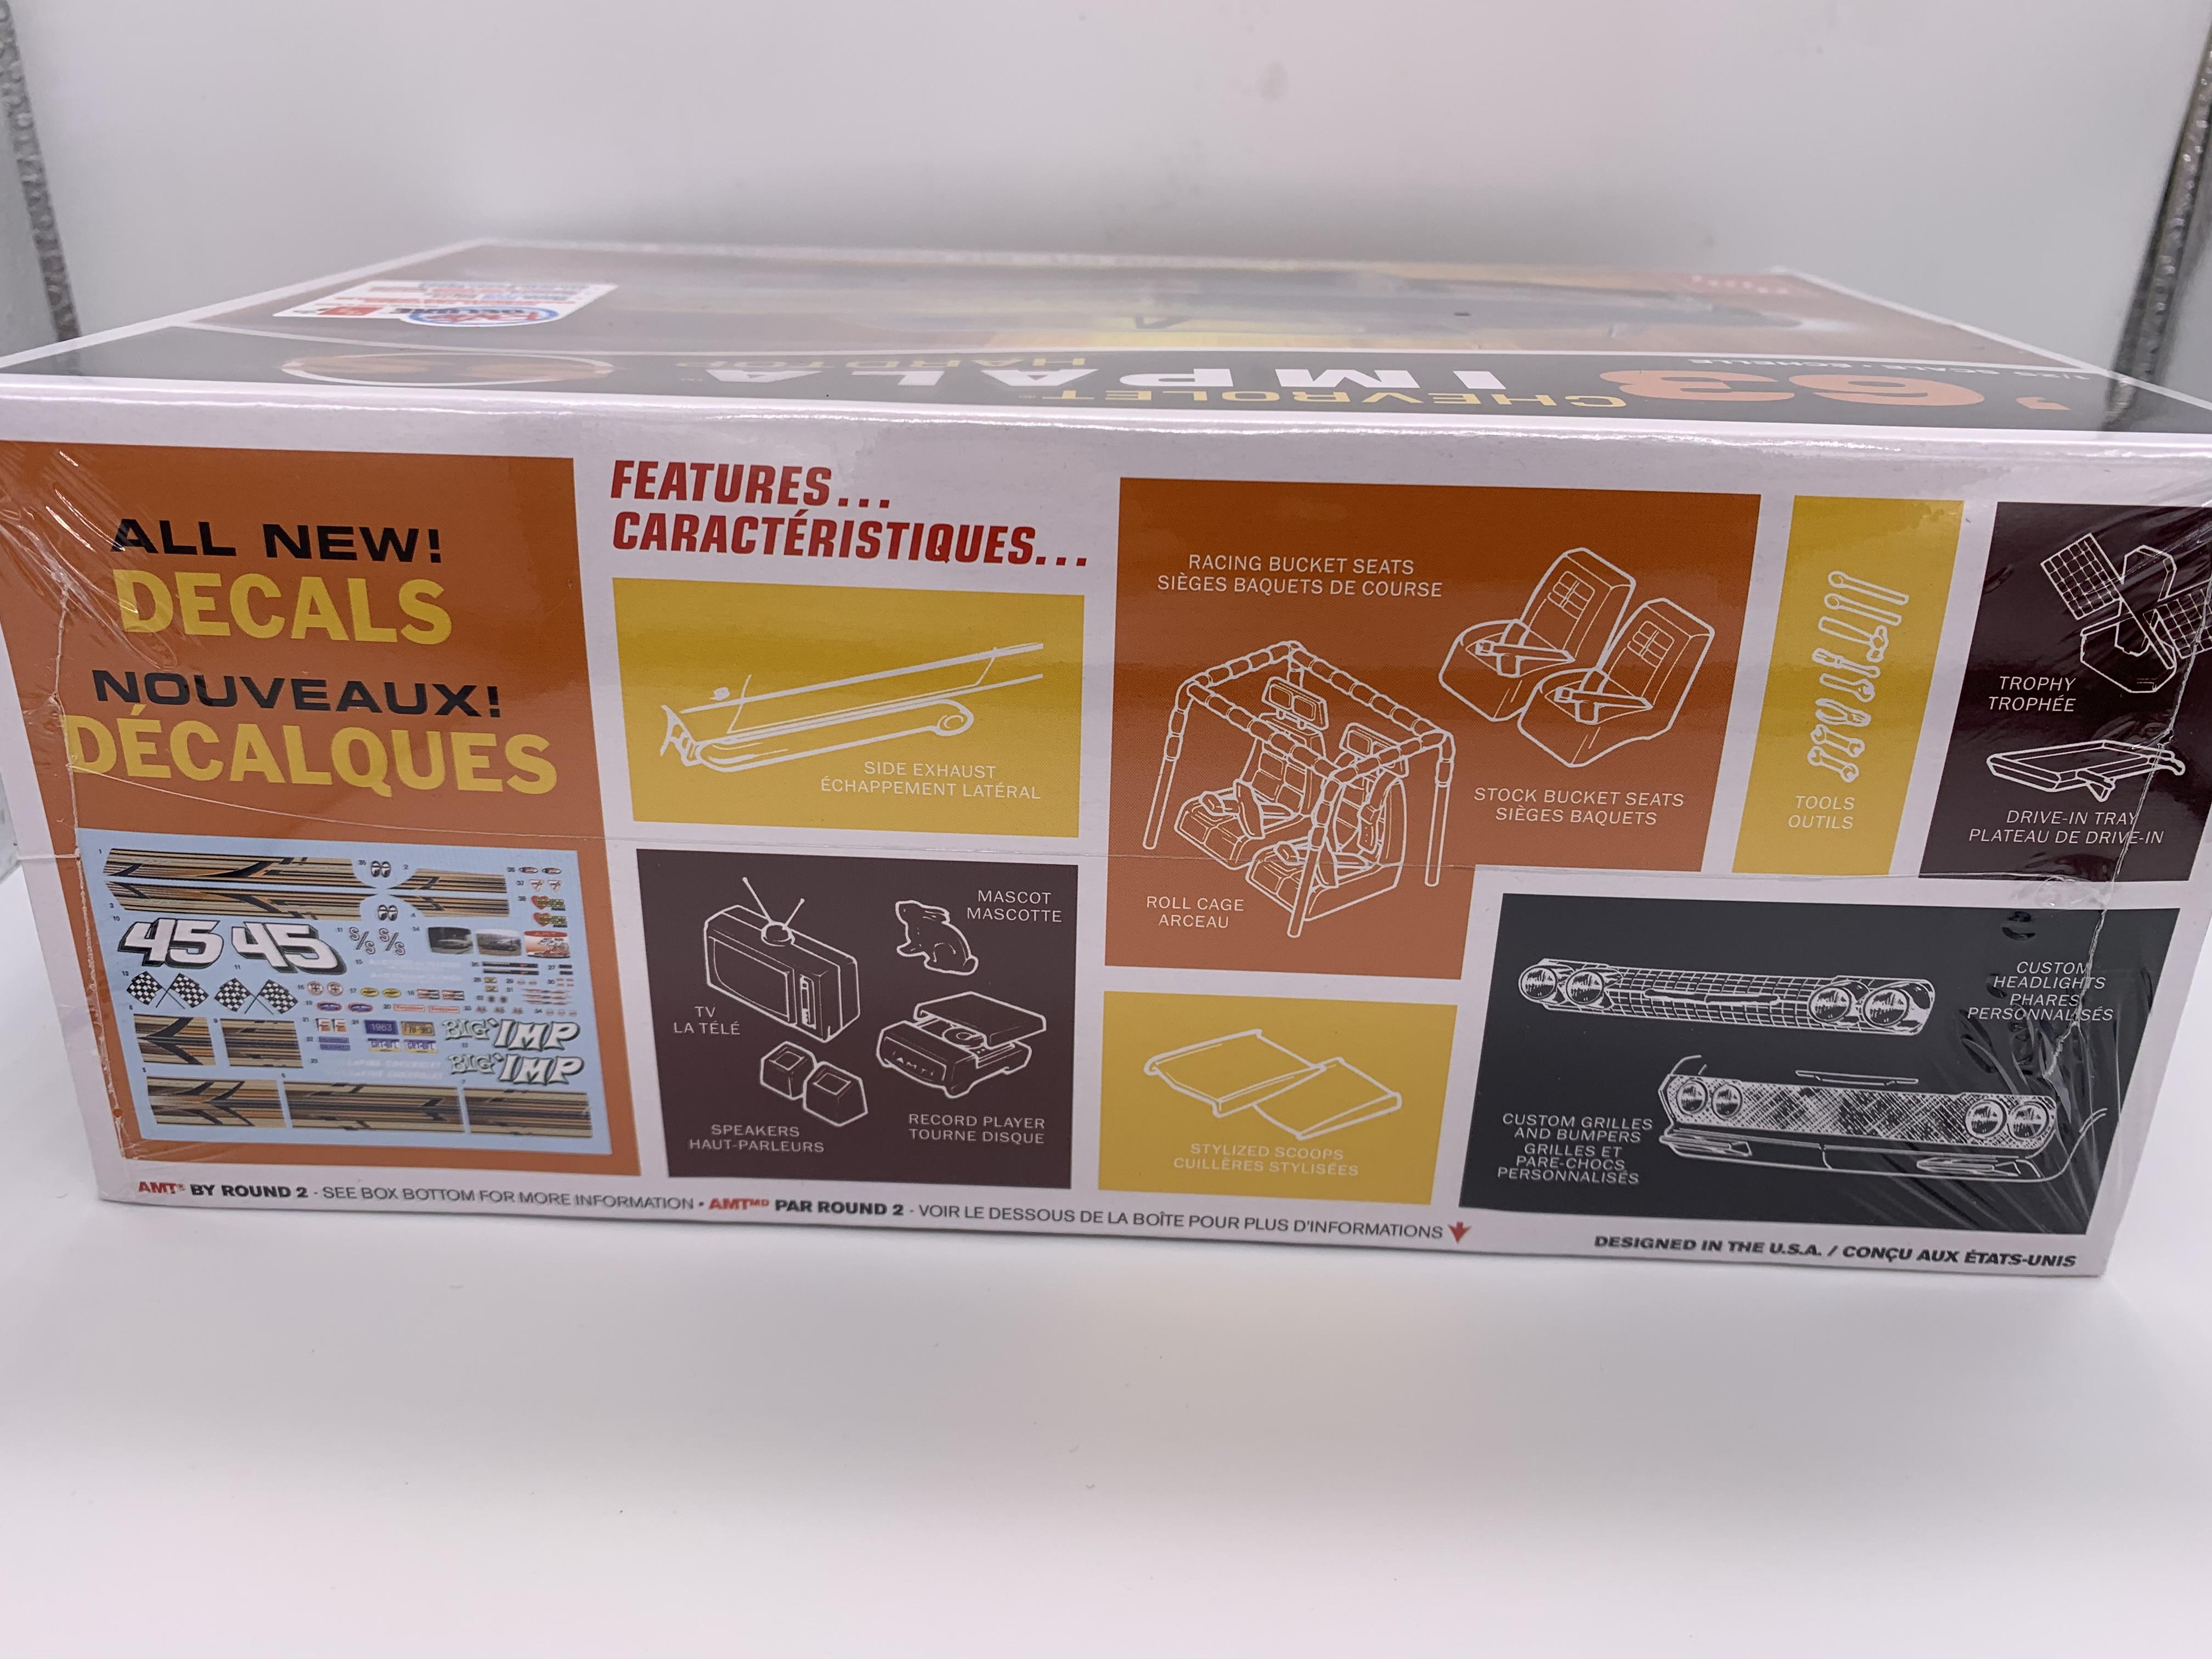
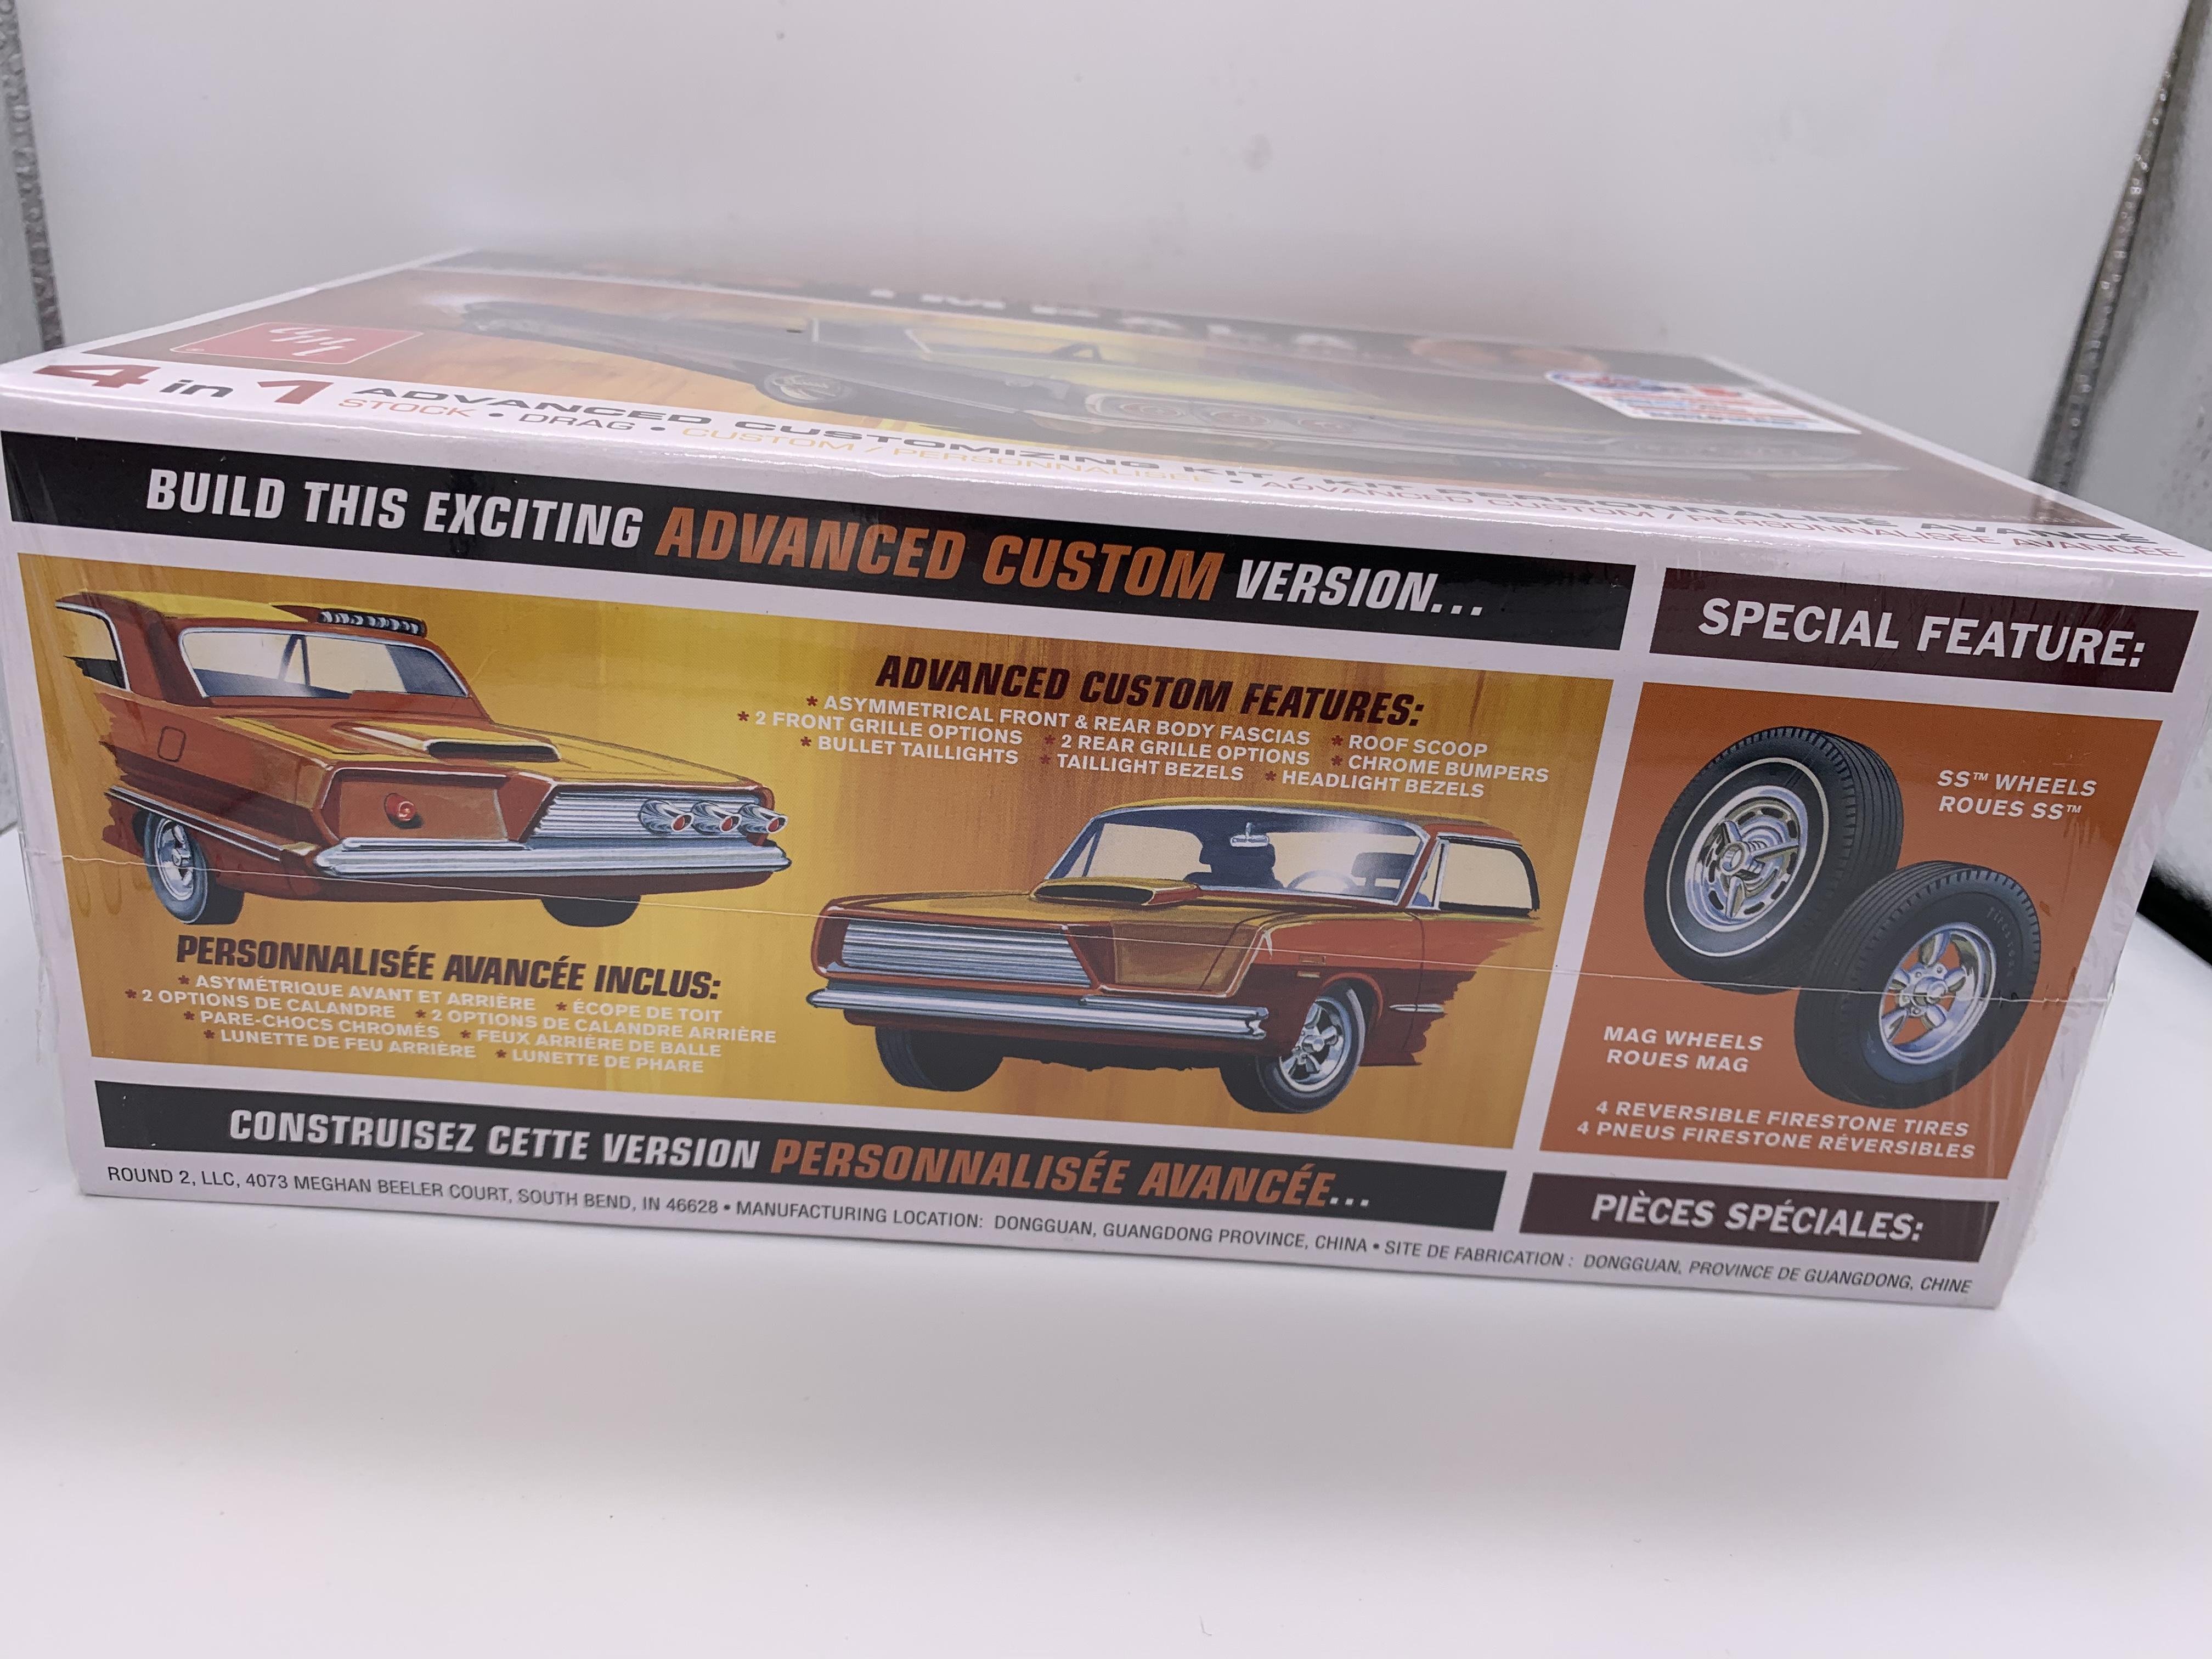
Got my web-theme build for NNL East in the Mail today! I was out when it came, so I was relieved that our terrible Moroccan neighbors didn’t get chance to steal it before I got home like they’ve been doing with my wife’s packages... There’s a lot of stuff in this box! I don’t have as crazy of an idea as Impalow had for his...but I still got a little bit of a crazy idea for it...
-
Jannarelly Design 1
OldNYJim replied to porschercr's topic in General Automotive Talk (Trucks and Cars)
The grill made me think of a Lotus 7! -
That chassis is going to look WILD when it’s done! That dash on the 1:1 is gorgeous too! Super clean and nicely done!
-
Found one more little job that I forgot before primer...added a little metal hood latch: Ignore the drill bit, that’s my temporary hood prop ? And added a little strip of, well, strip, just underneath the hood where it meets the body to fill a little gap that I’d been meaning to fix but forgot about Ok, NOW, we’re ready for primer! More soon!
-
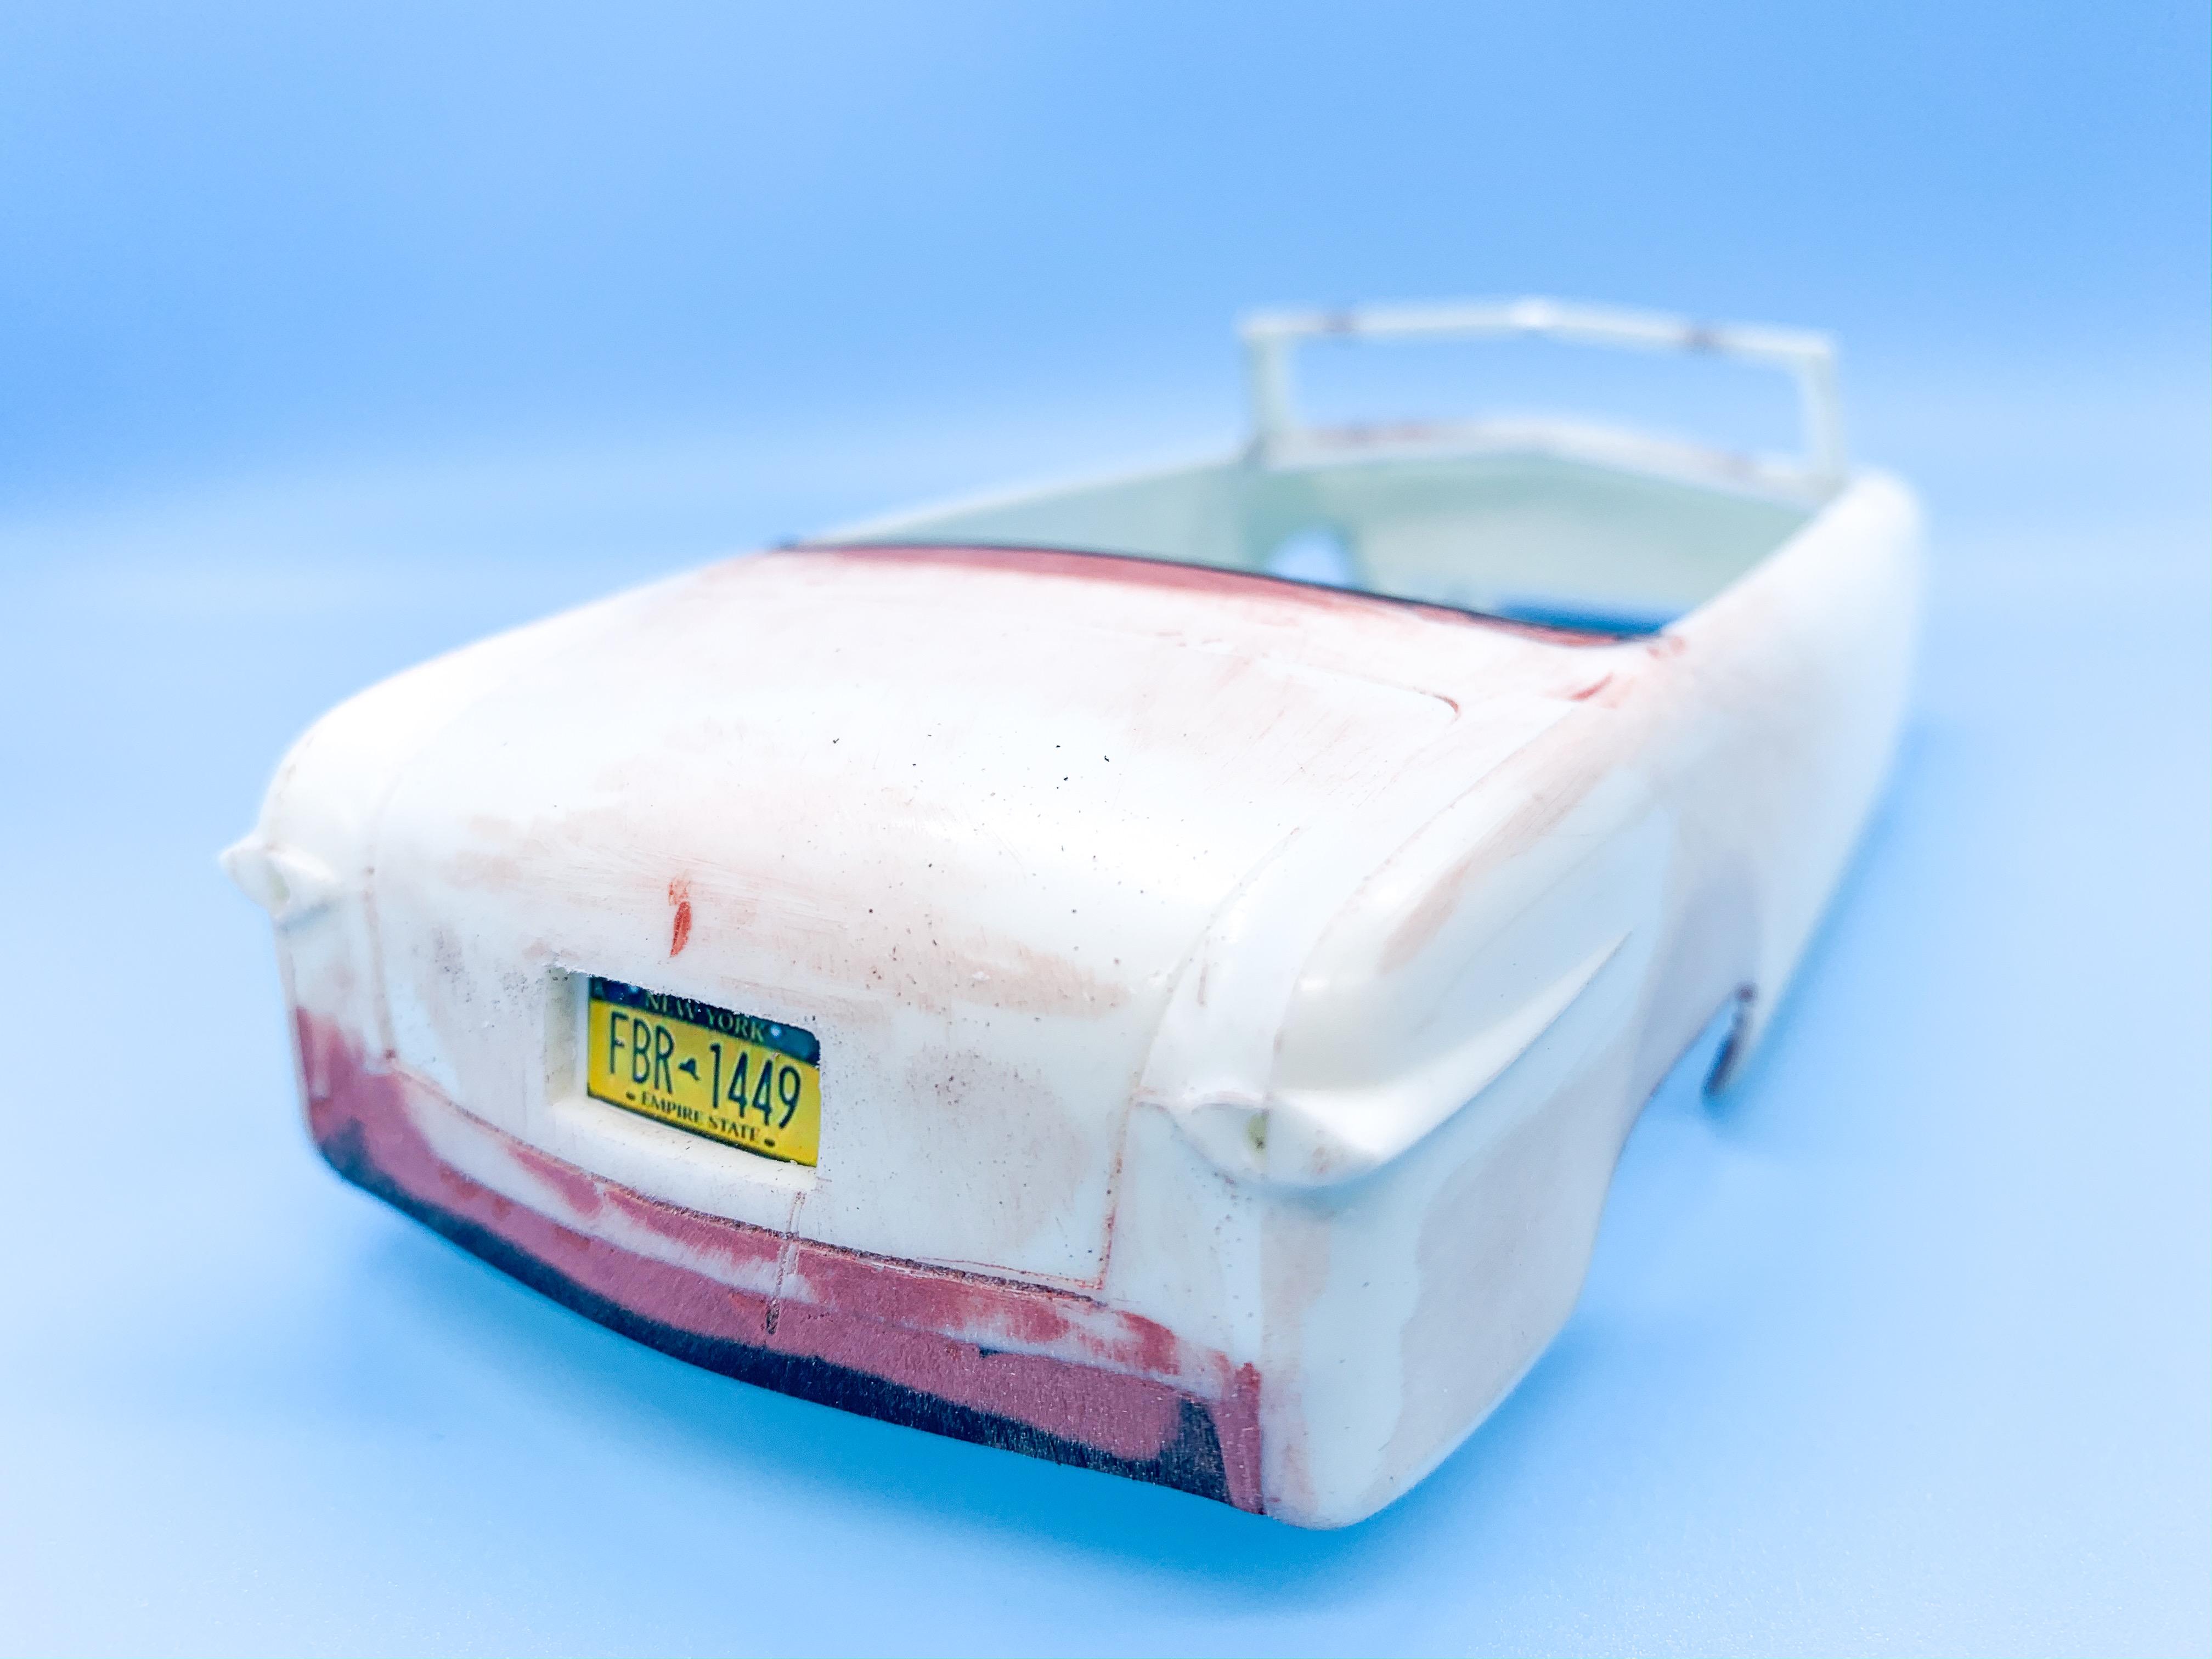
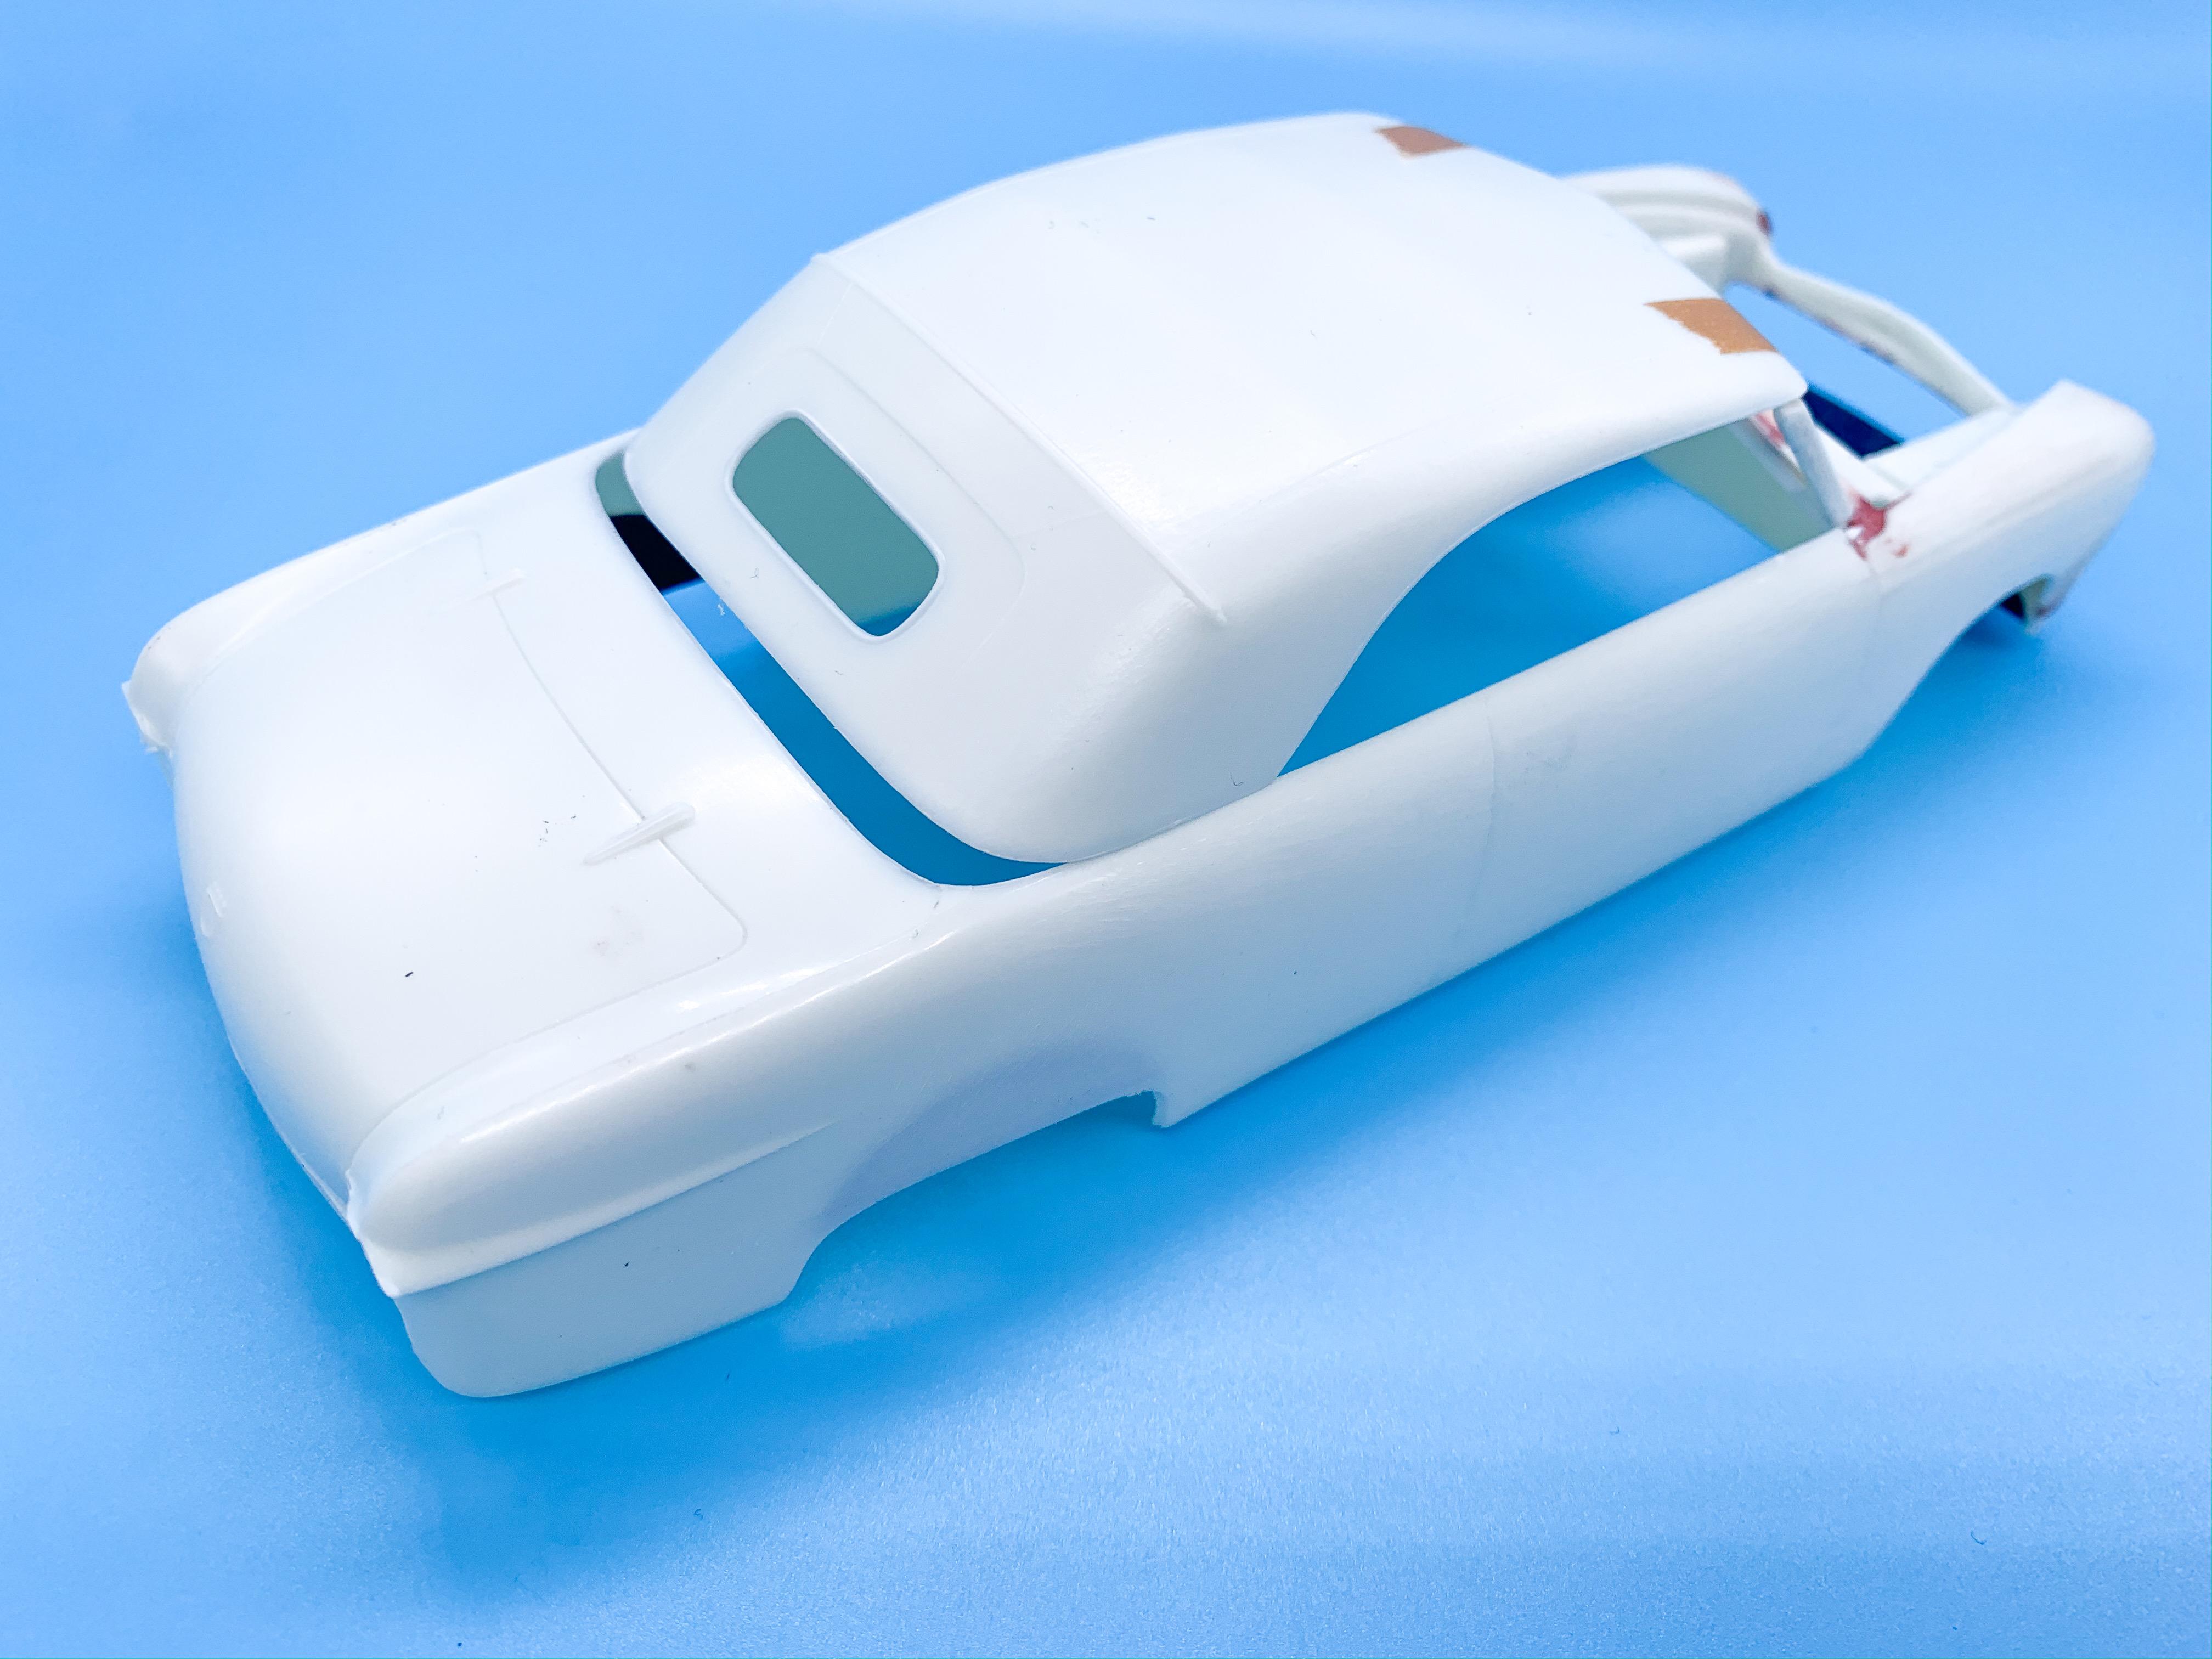
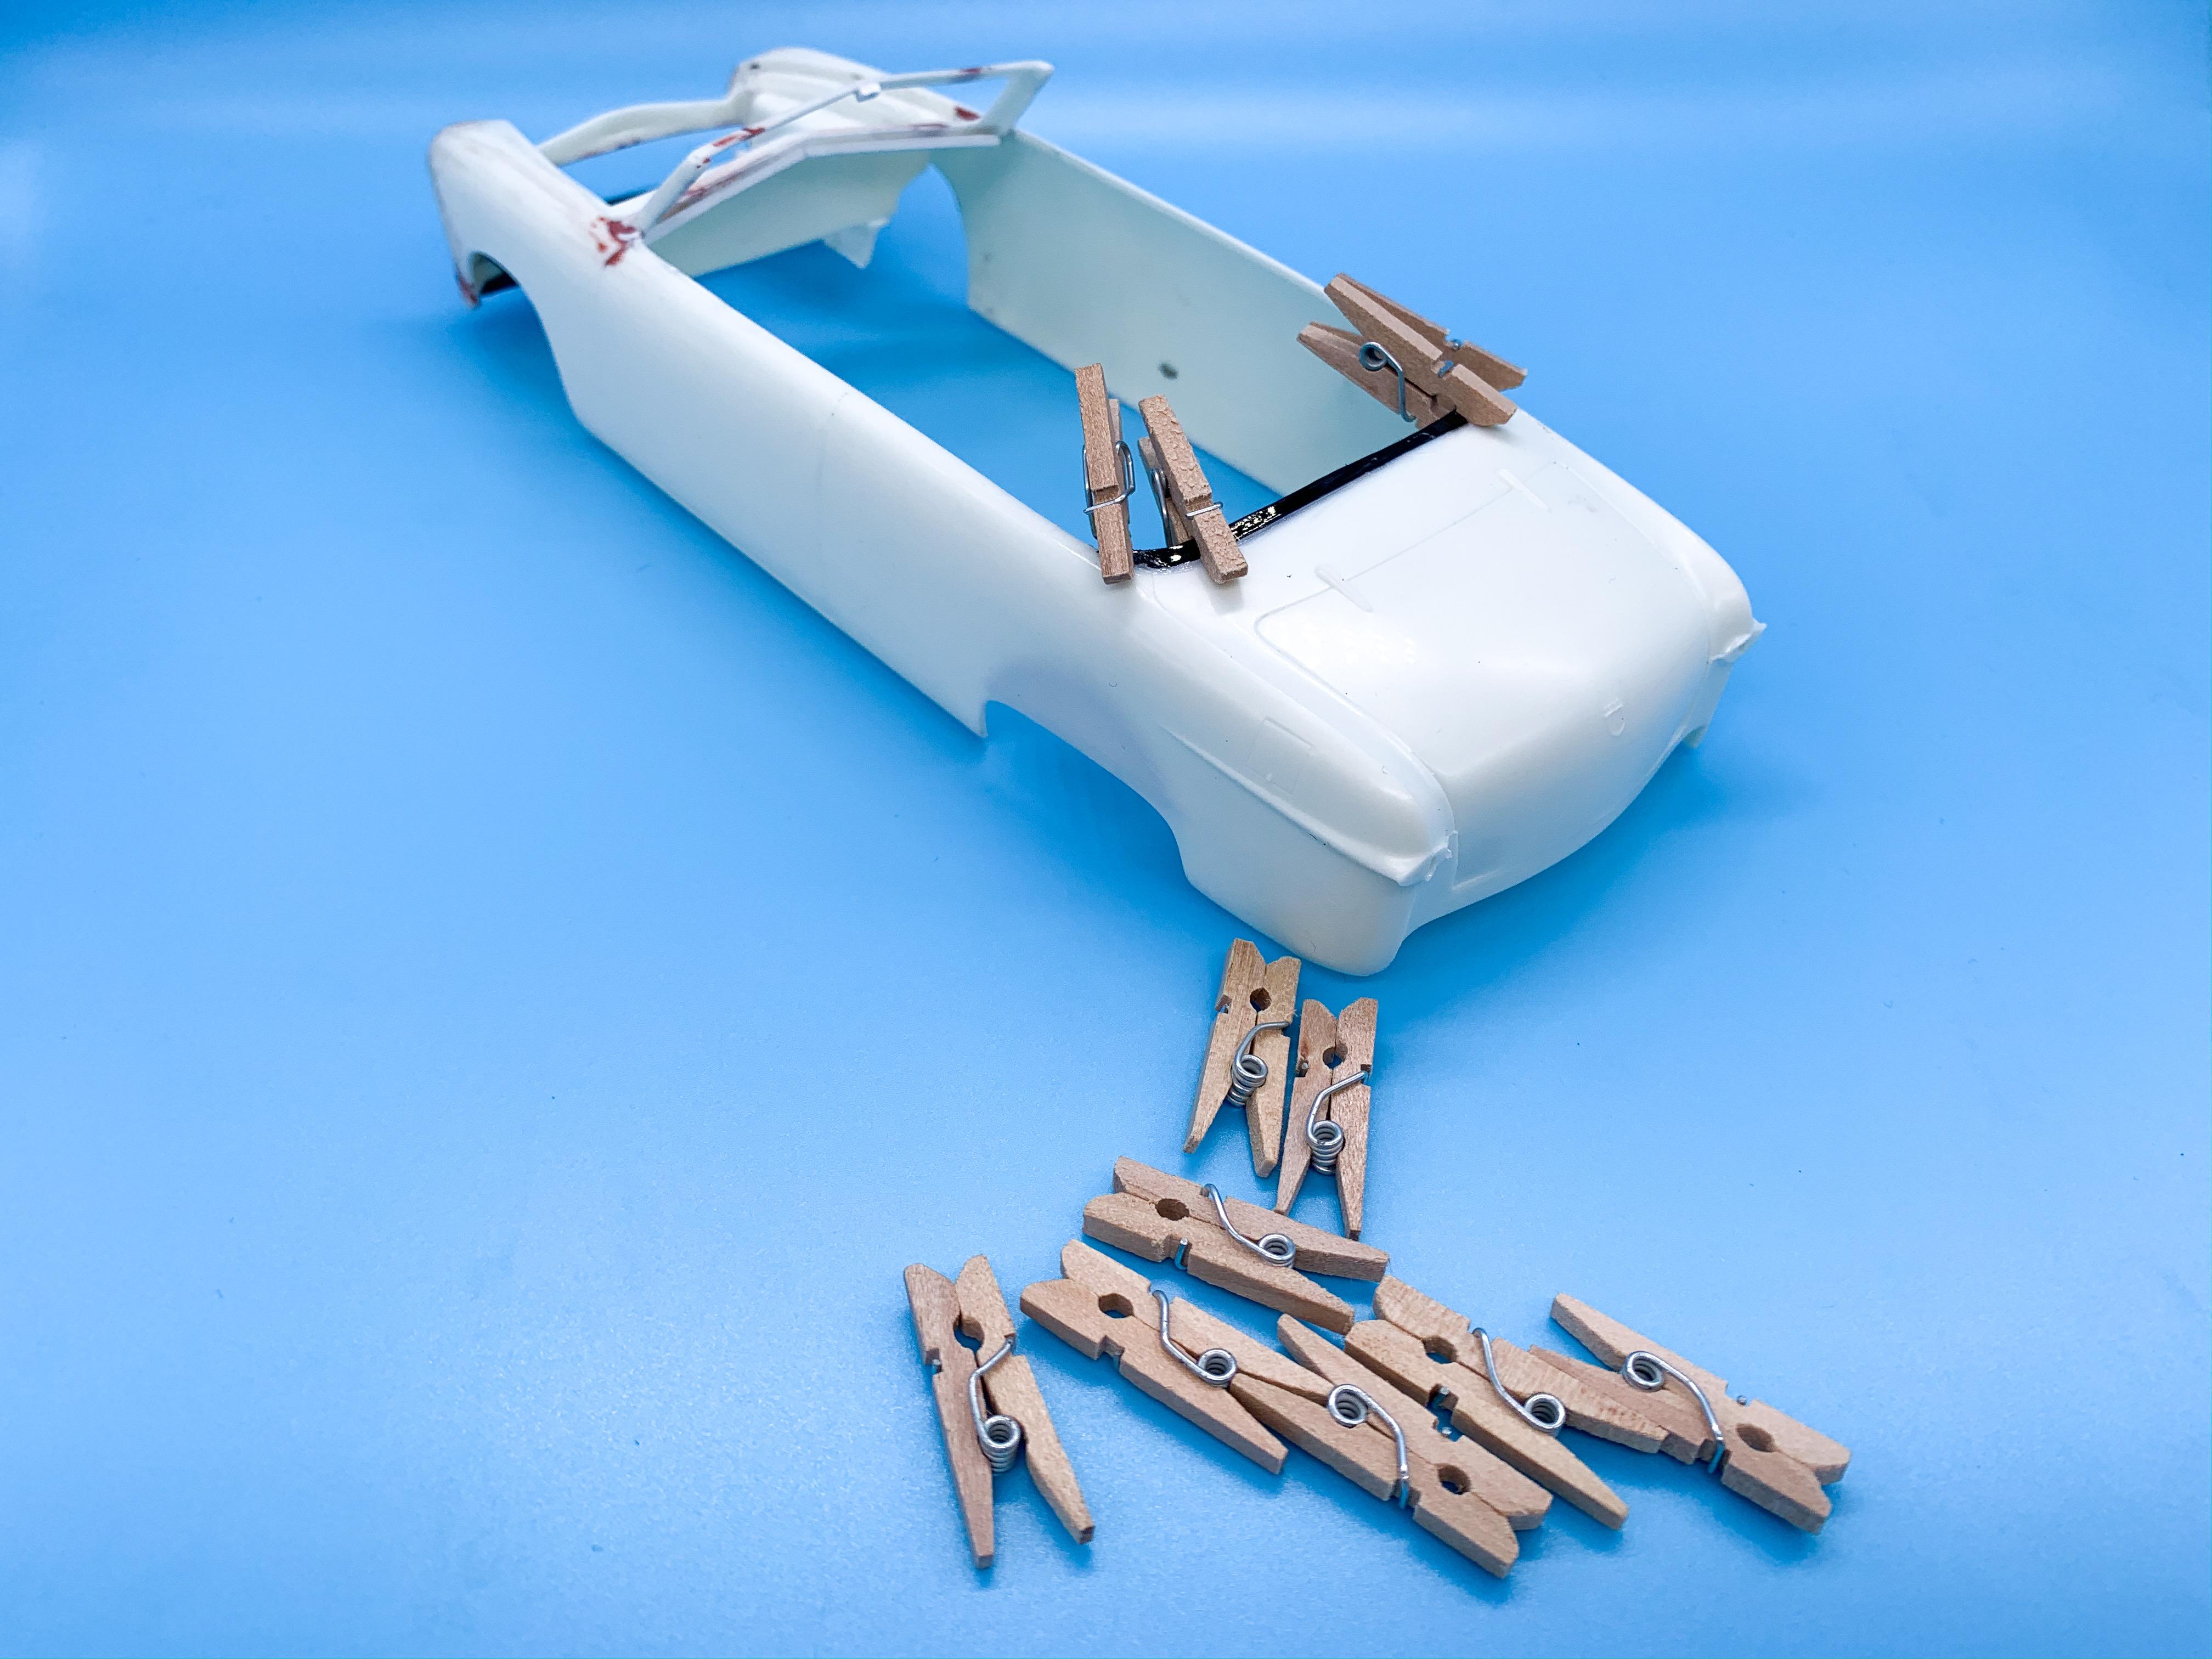
The trick with the clothes pins is to find the wooden ones without paint on so you don’t end up with little spots of colored paint all over what you’ve just glued ?. I had some plastic ones too, but guess what - plastic glue will stick them to the plastic they’re holding ??. Hey, no one ever said I was smart ?♂️? Got some putty on the back end of this thing: And whilst that was setting up I decided upon a frenched license plate...I kinda didn’t want to run one but it was an extra detail to add and I hadn’t done one before so what the heck: I’d like to try making a plate with actual raised lettering so that photo-printed one won’t stay but I think it looks ok there - just toget the edges nice with some filler and we’re set. Meanwhile, I decided that if this was going to be displayed with the hood open I wanted to have a little spot to hold the support rod up so that it’s always straight and true and can’t fall over, so I added a little styrene bar donut to the bracing I’d done earlier and whilst I was at it smoothed out the inside of the lip: Not super interesting stuff - but next step is getting this thing in primer so we can REALLY see what all is left to do. Pretty close on the body mods though! More soon, soon as I’ve done more!
-
Yeah, those engines look AMAZING! What a cool idea! Run with it! ??? Looking forward to meeting you too! I’ve been a fan of your builds for a while now! Think your 1:1 project will be ready too? ??
-
Painting interior parts to look like cloth?
OldNYJim replied to crowe-t's topic in Model Building Questions and Answers
That’s an easy one to find - it’s next to the Tartan paint on the shelf. Trouble is, you can only open it with a left-handed screwdriver -
Anyhoo, this looks GREAT so far - just bananas! I love it! So much potential for what could go in the bed too! ?. Keep getting after it!
-
Or an Allison (the engine, not a girl)
-
Ohh bummer Pity people can’t stay in the spirit of a thing like that
-
Quick Reviews: Three Paints PICS ADDED
OldNYJim replied to Snake45's topic in General Automotive Talk (Trucks and Cars)
Really useful info - thanks Snake! -
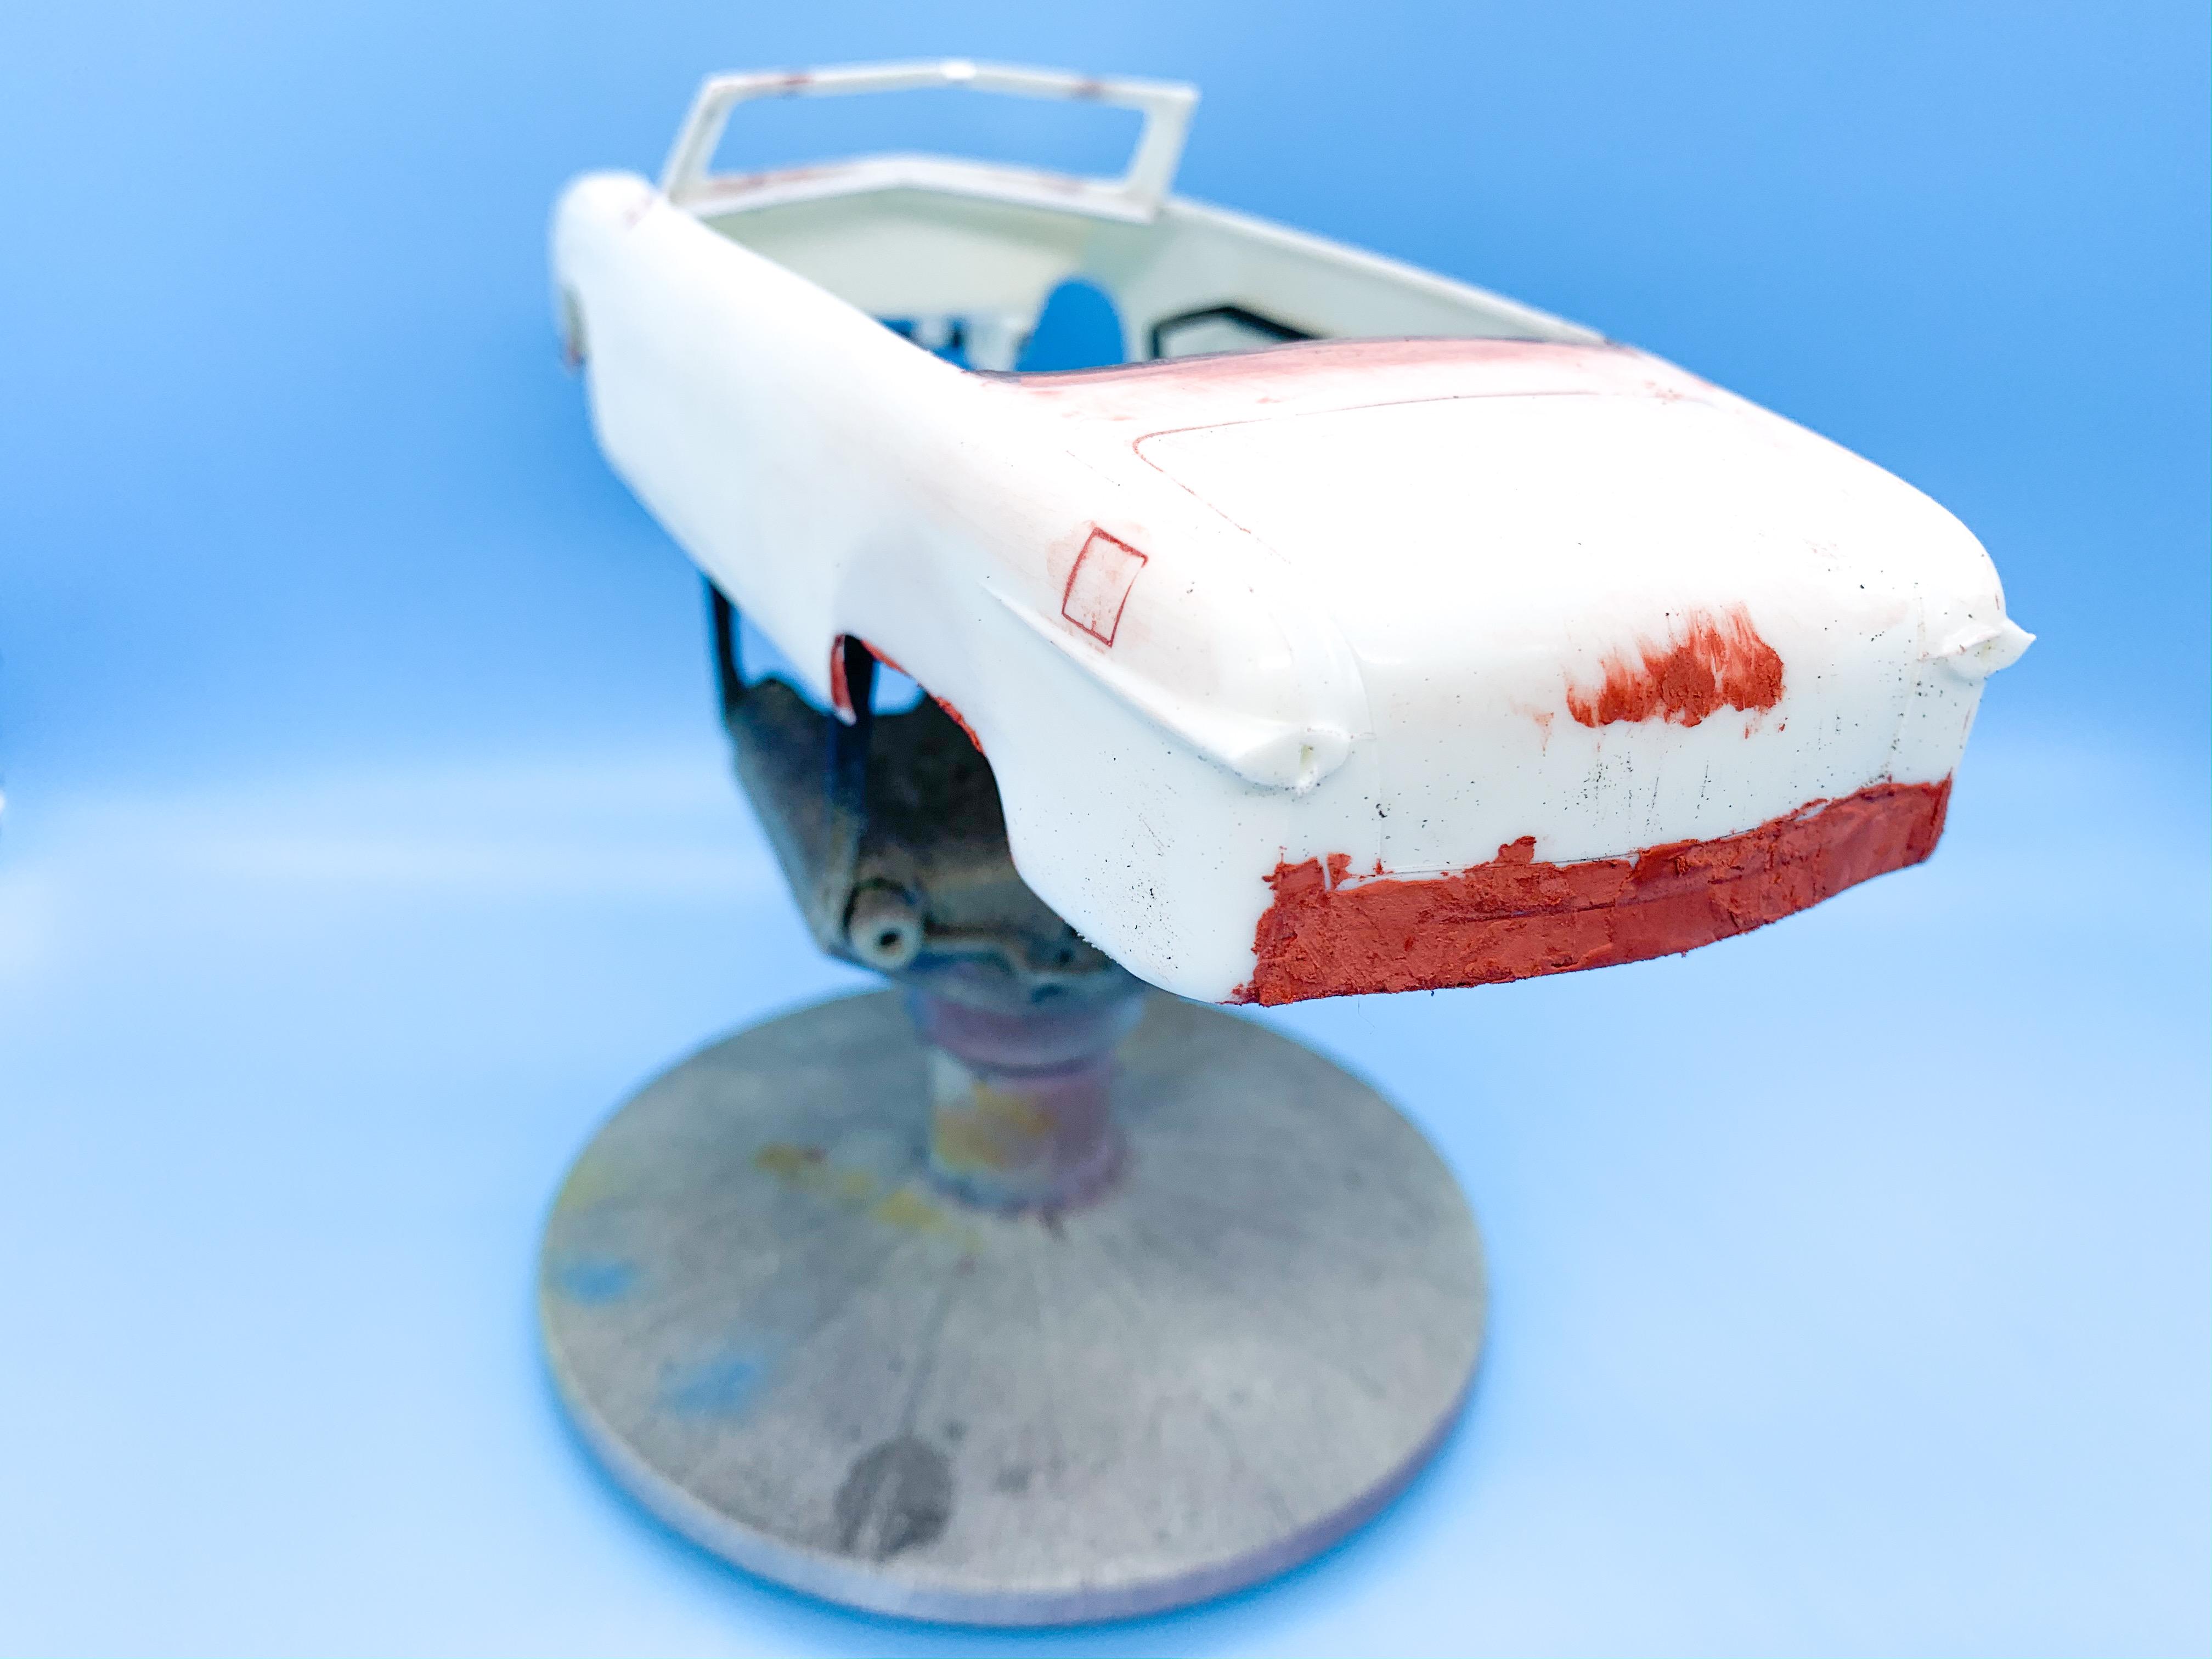
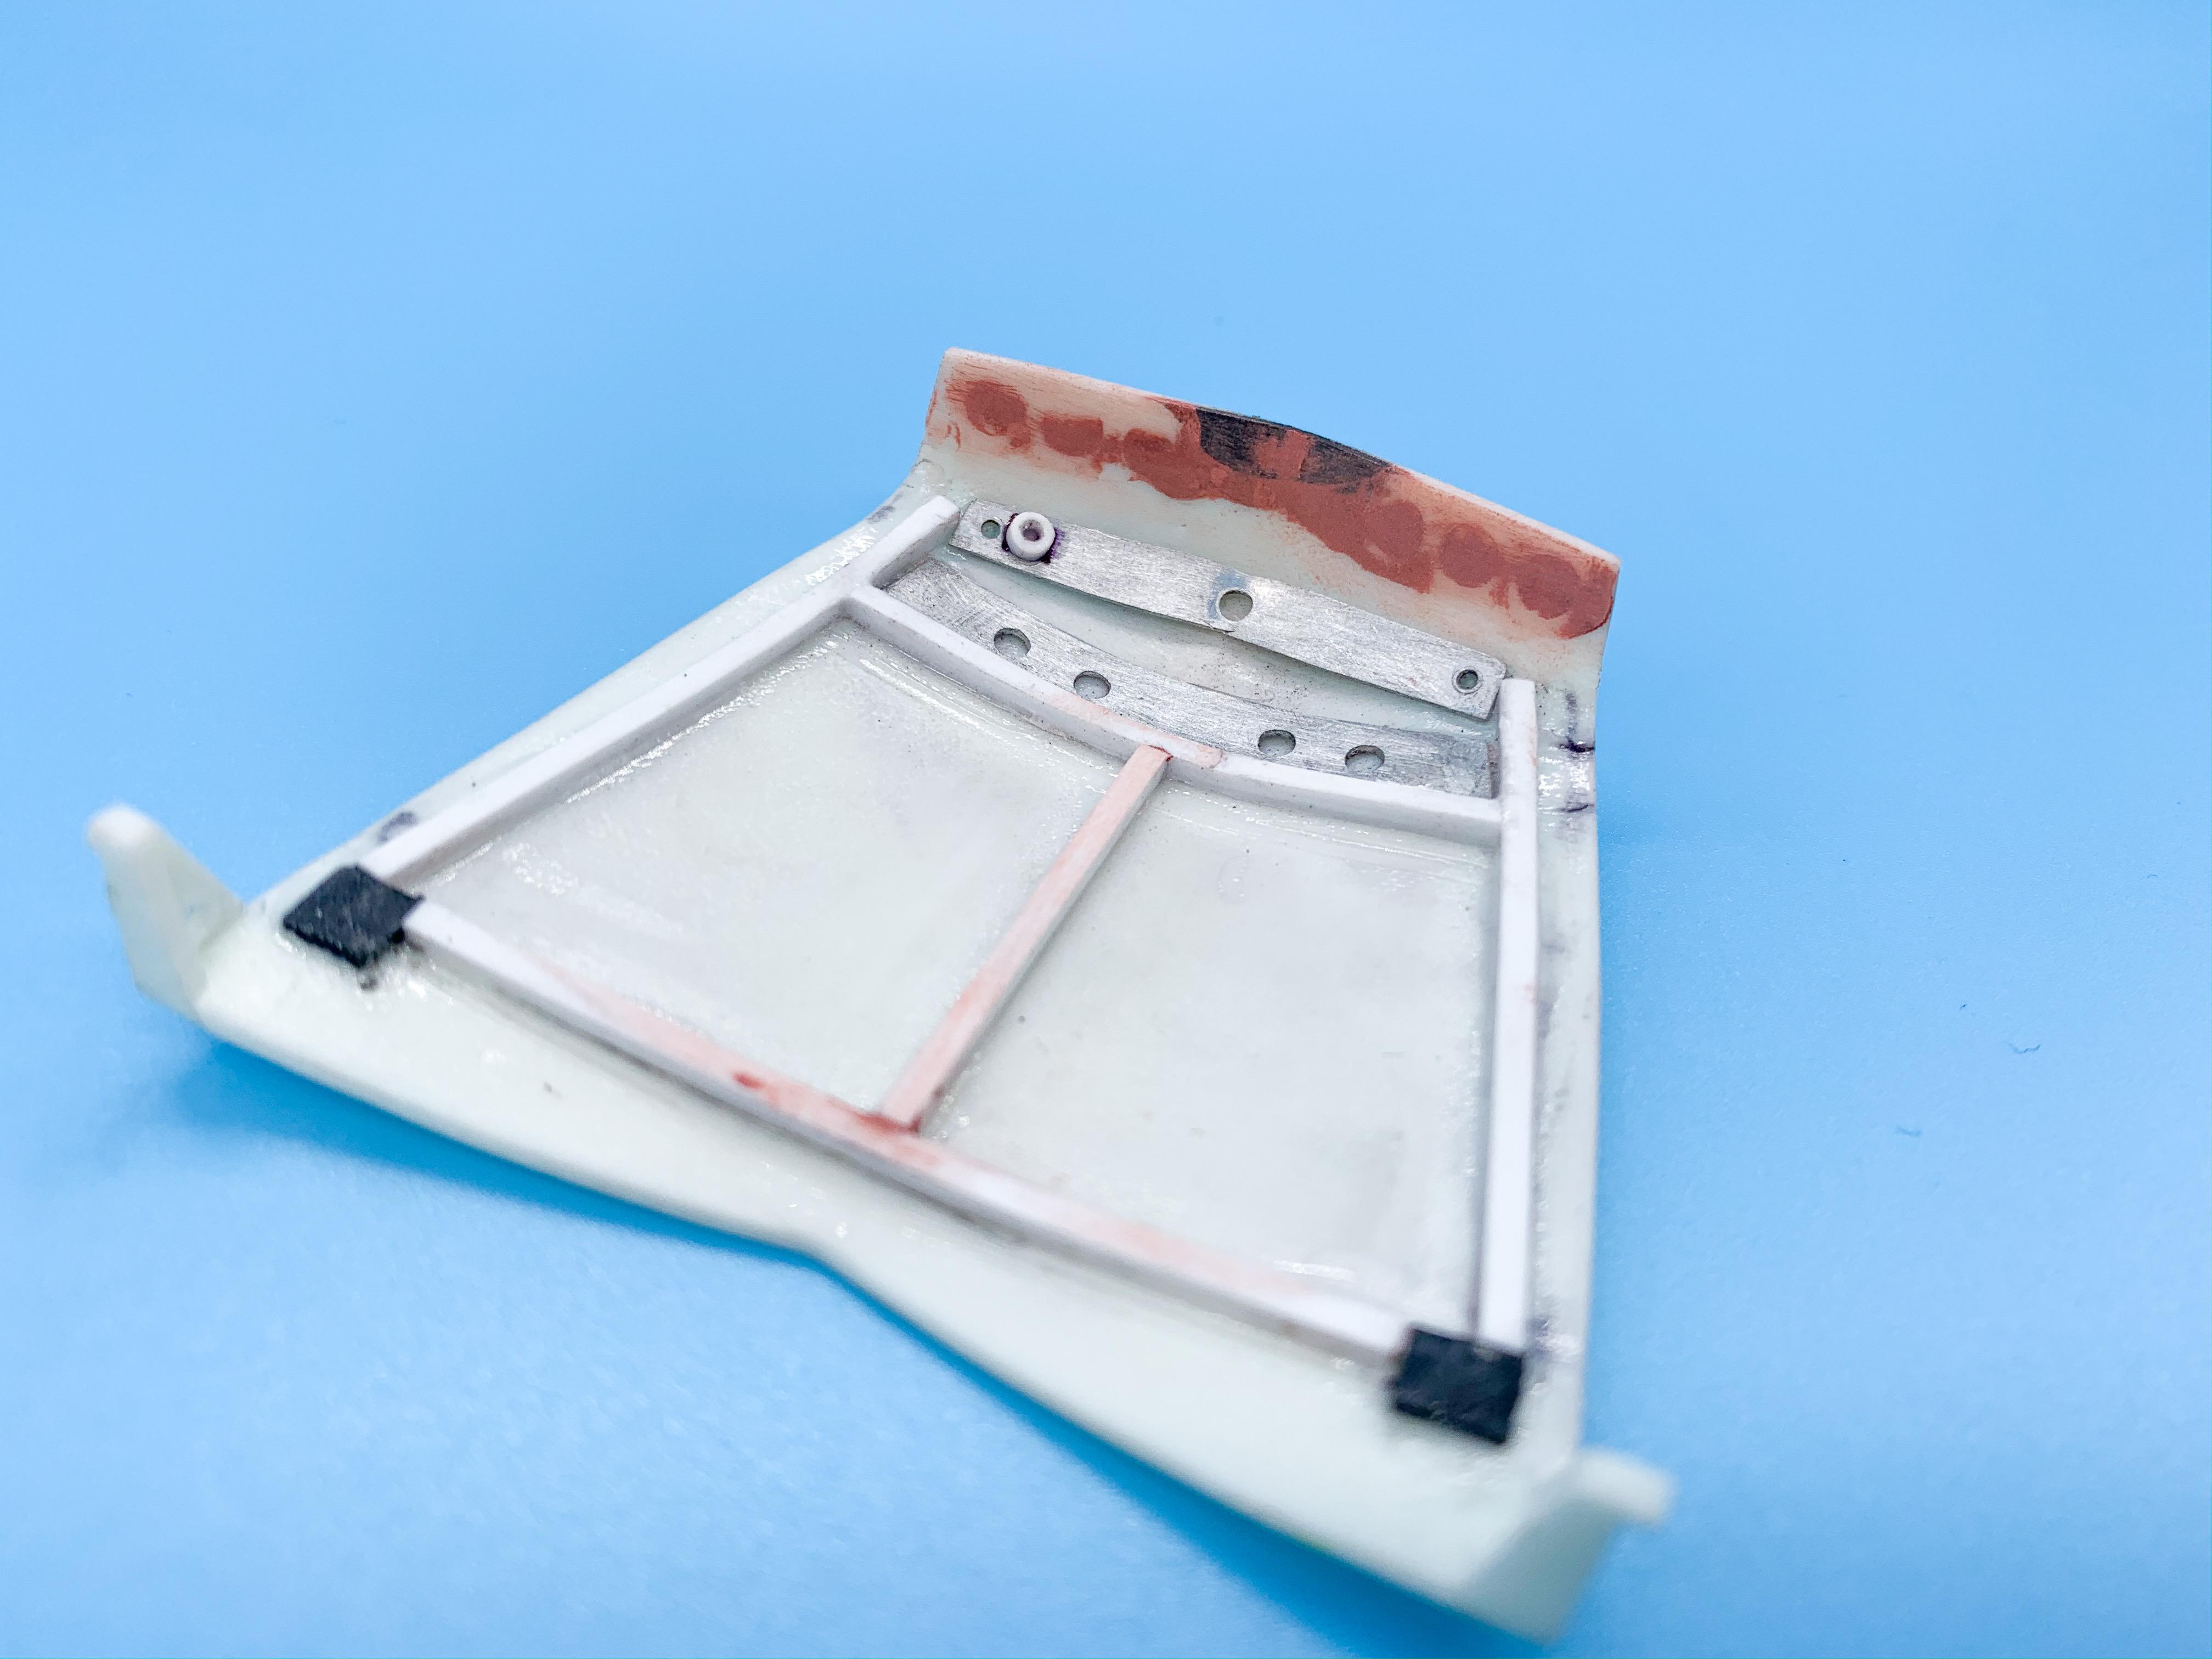
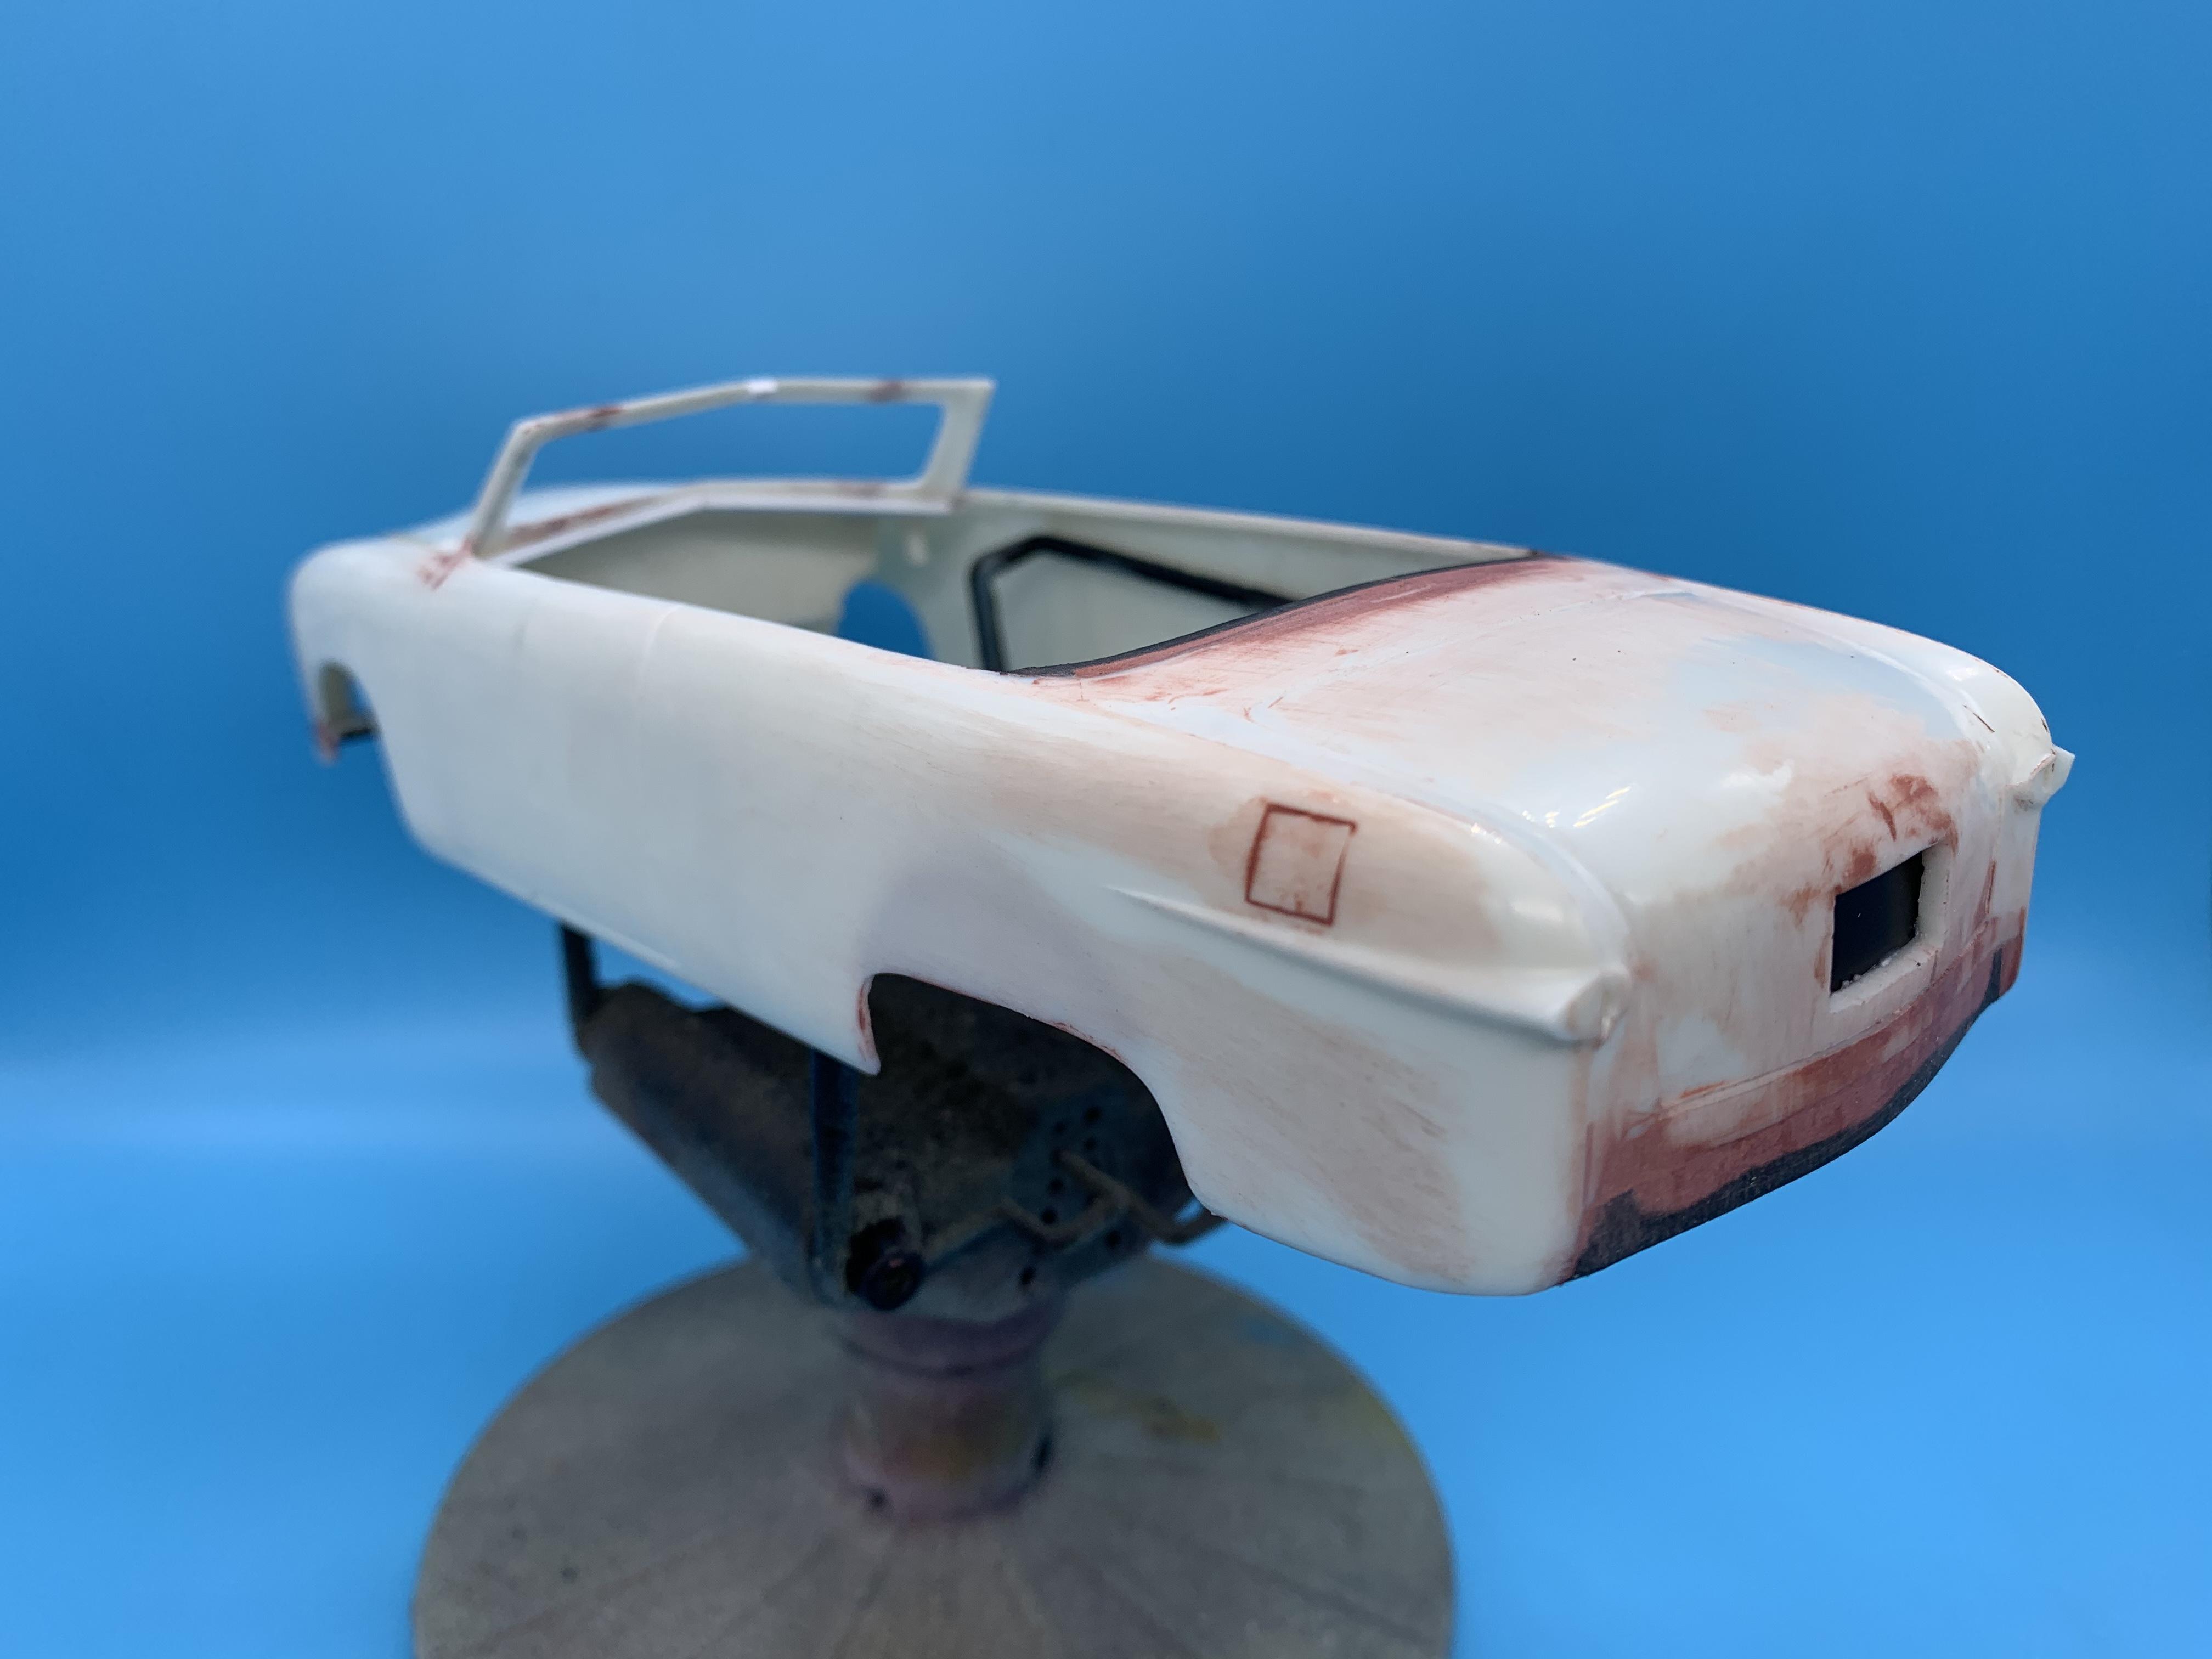
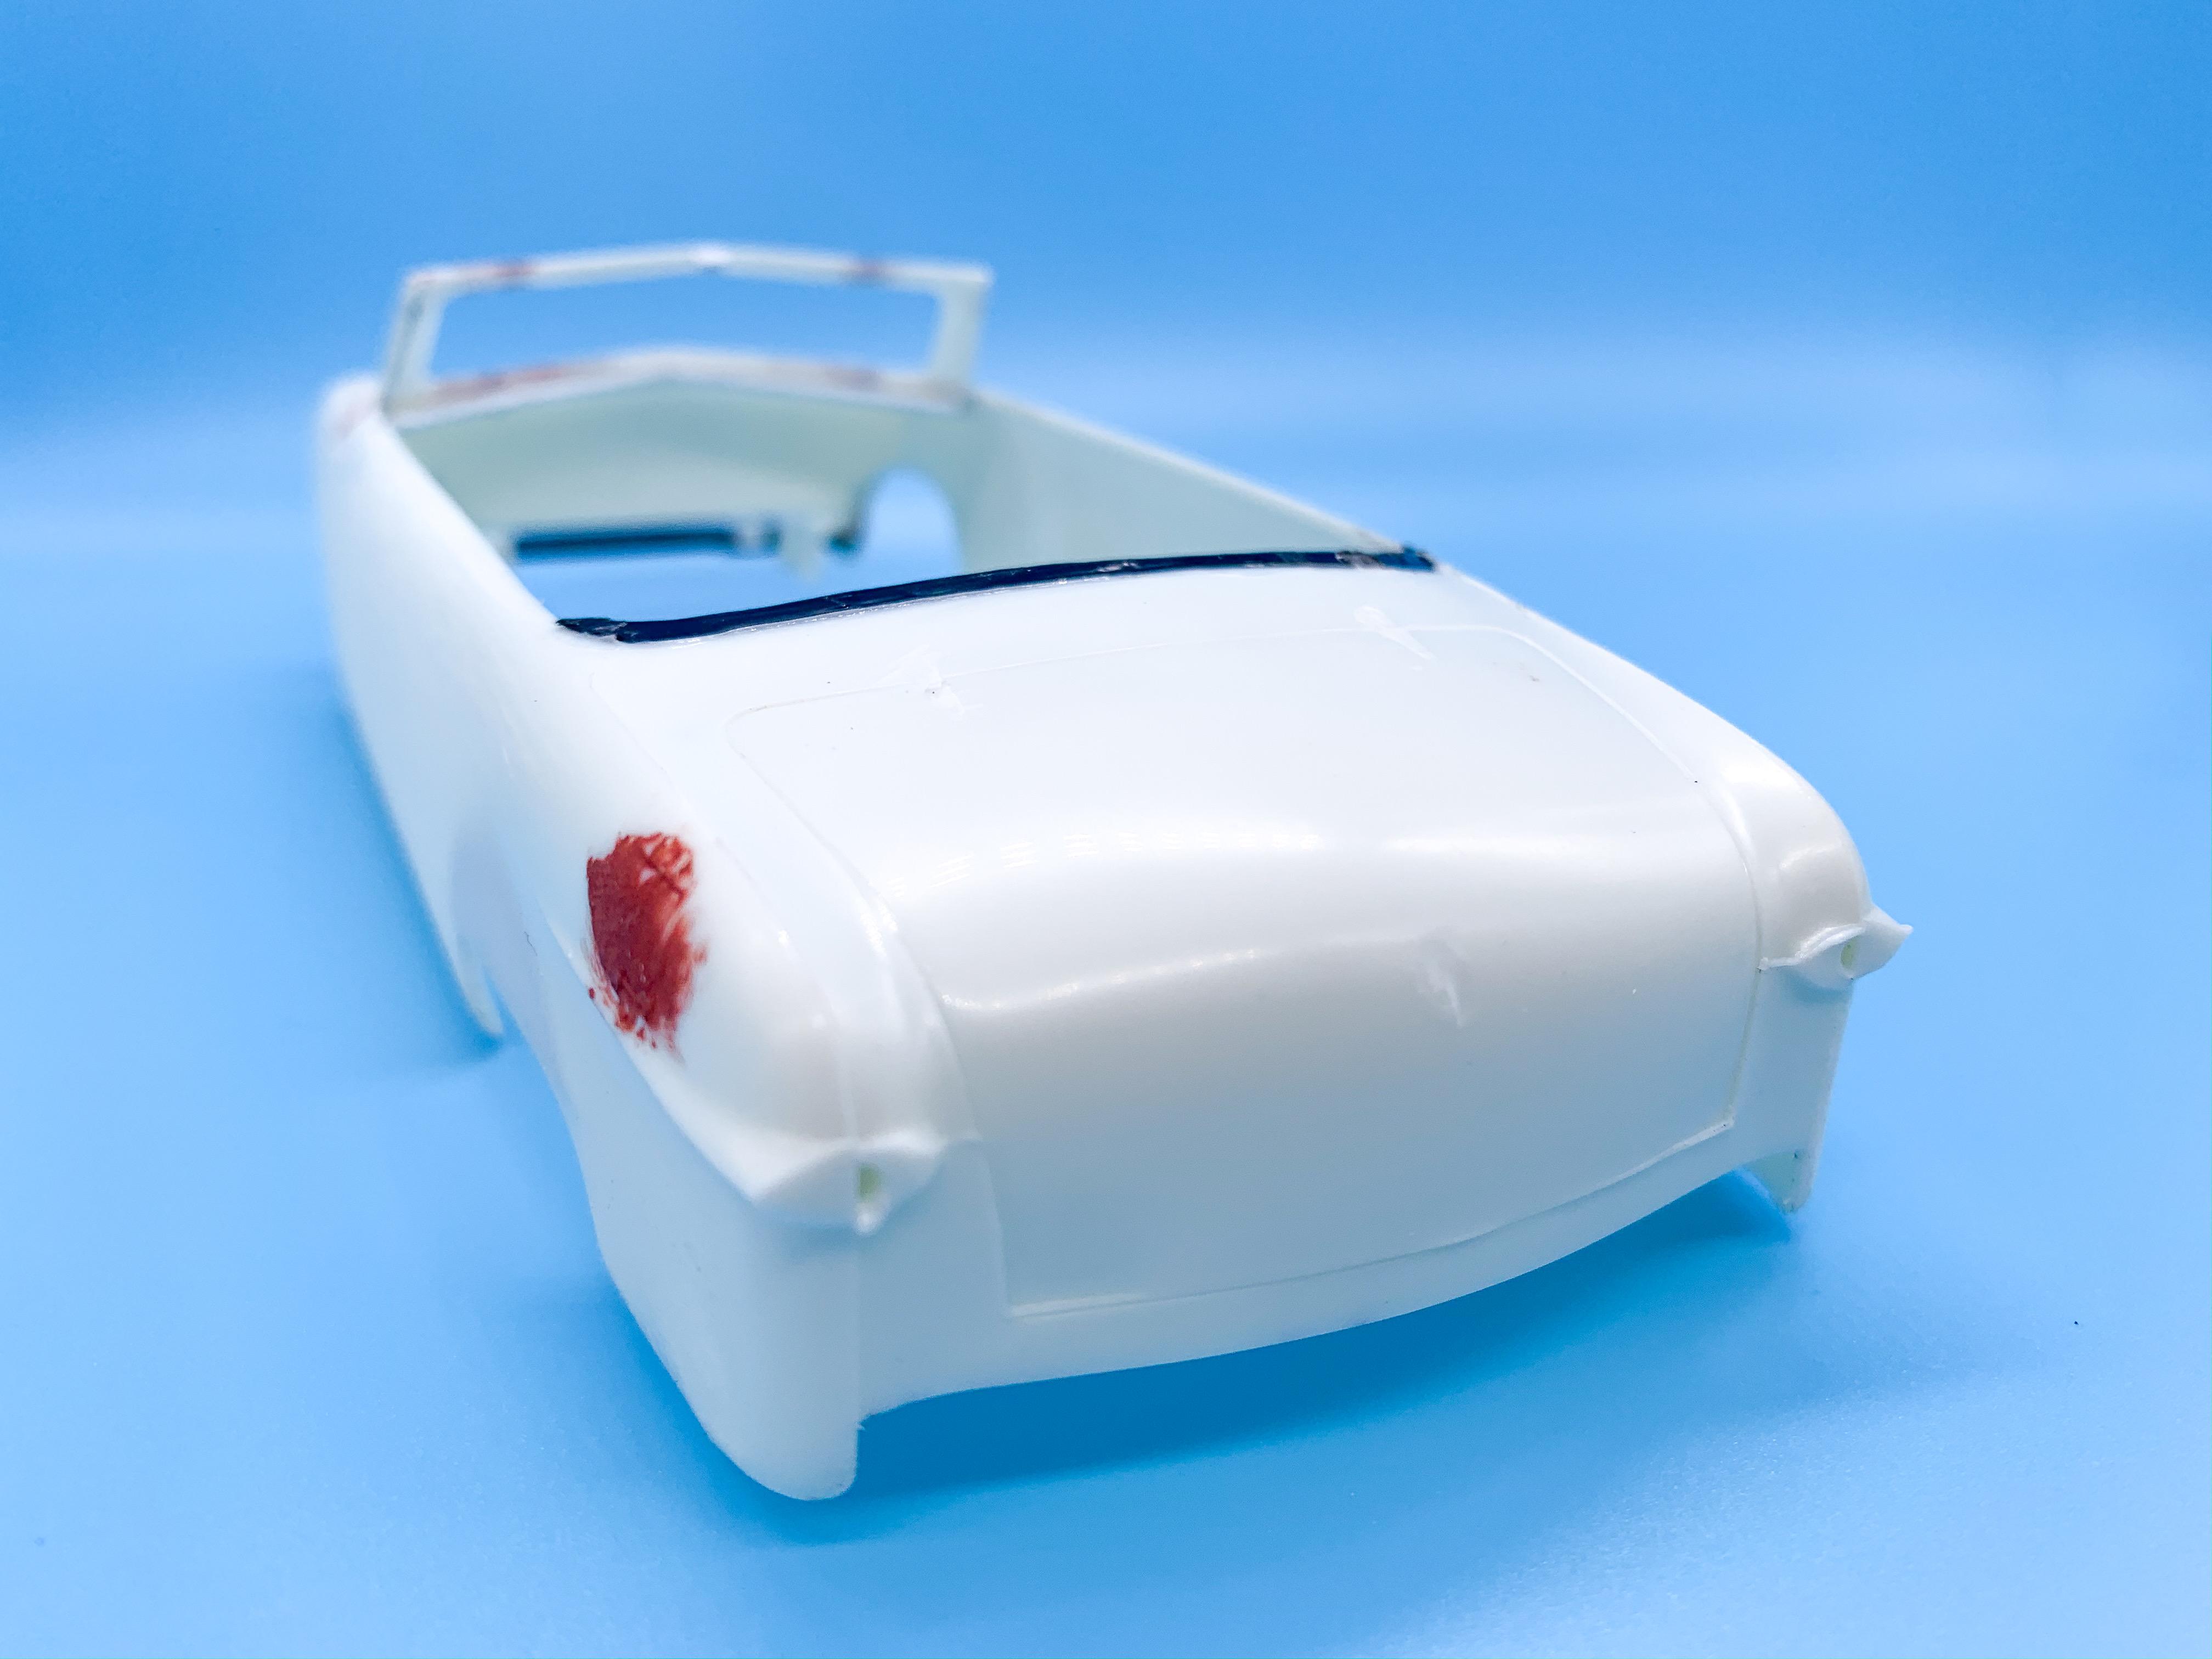
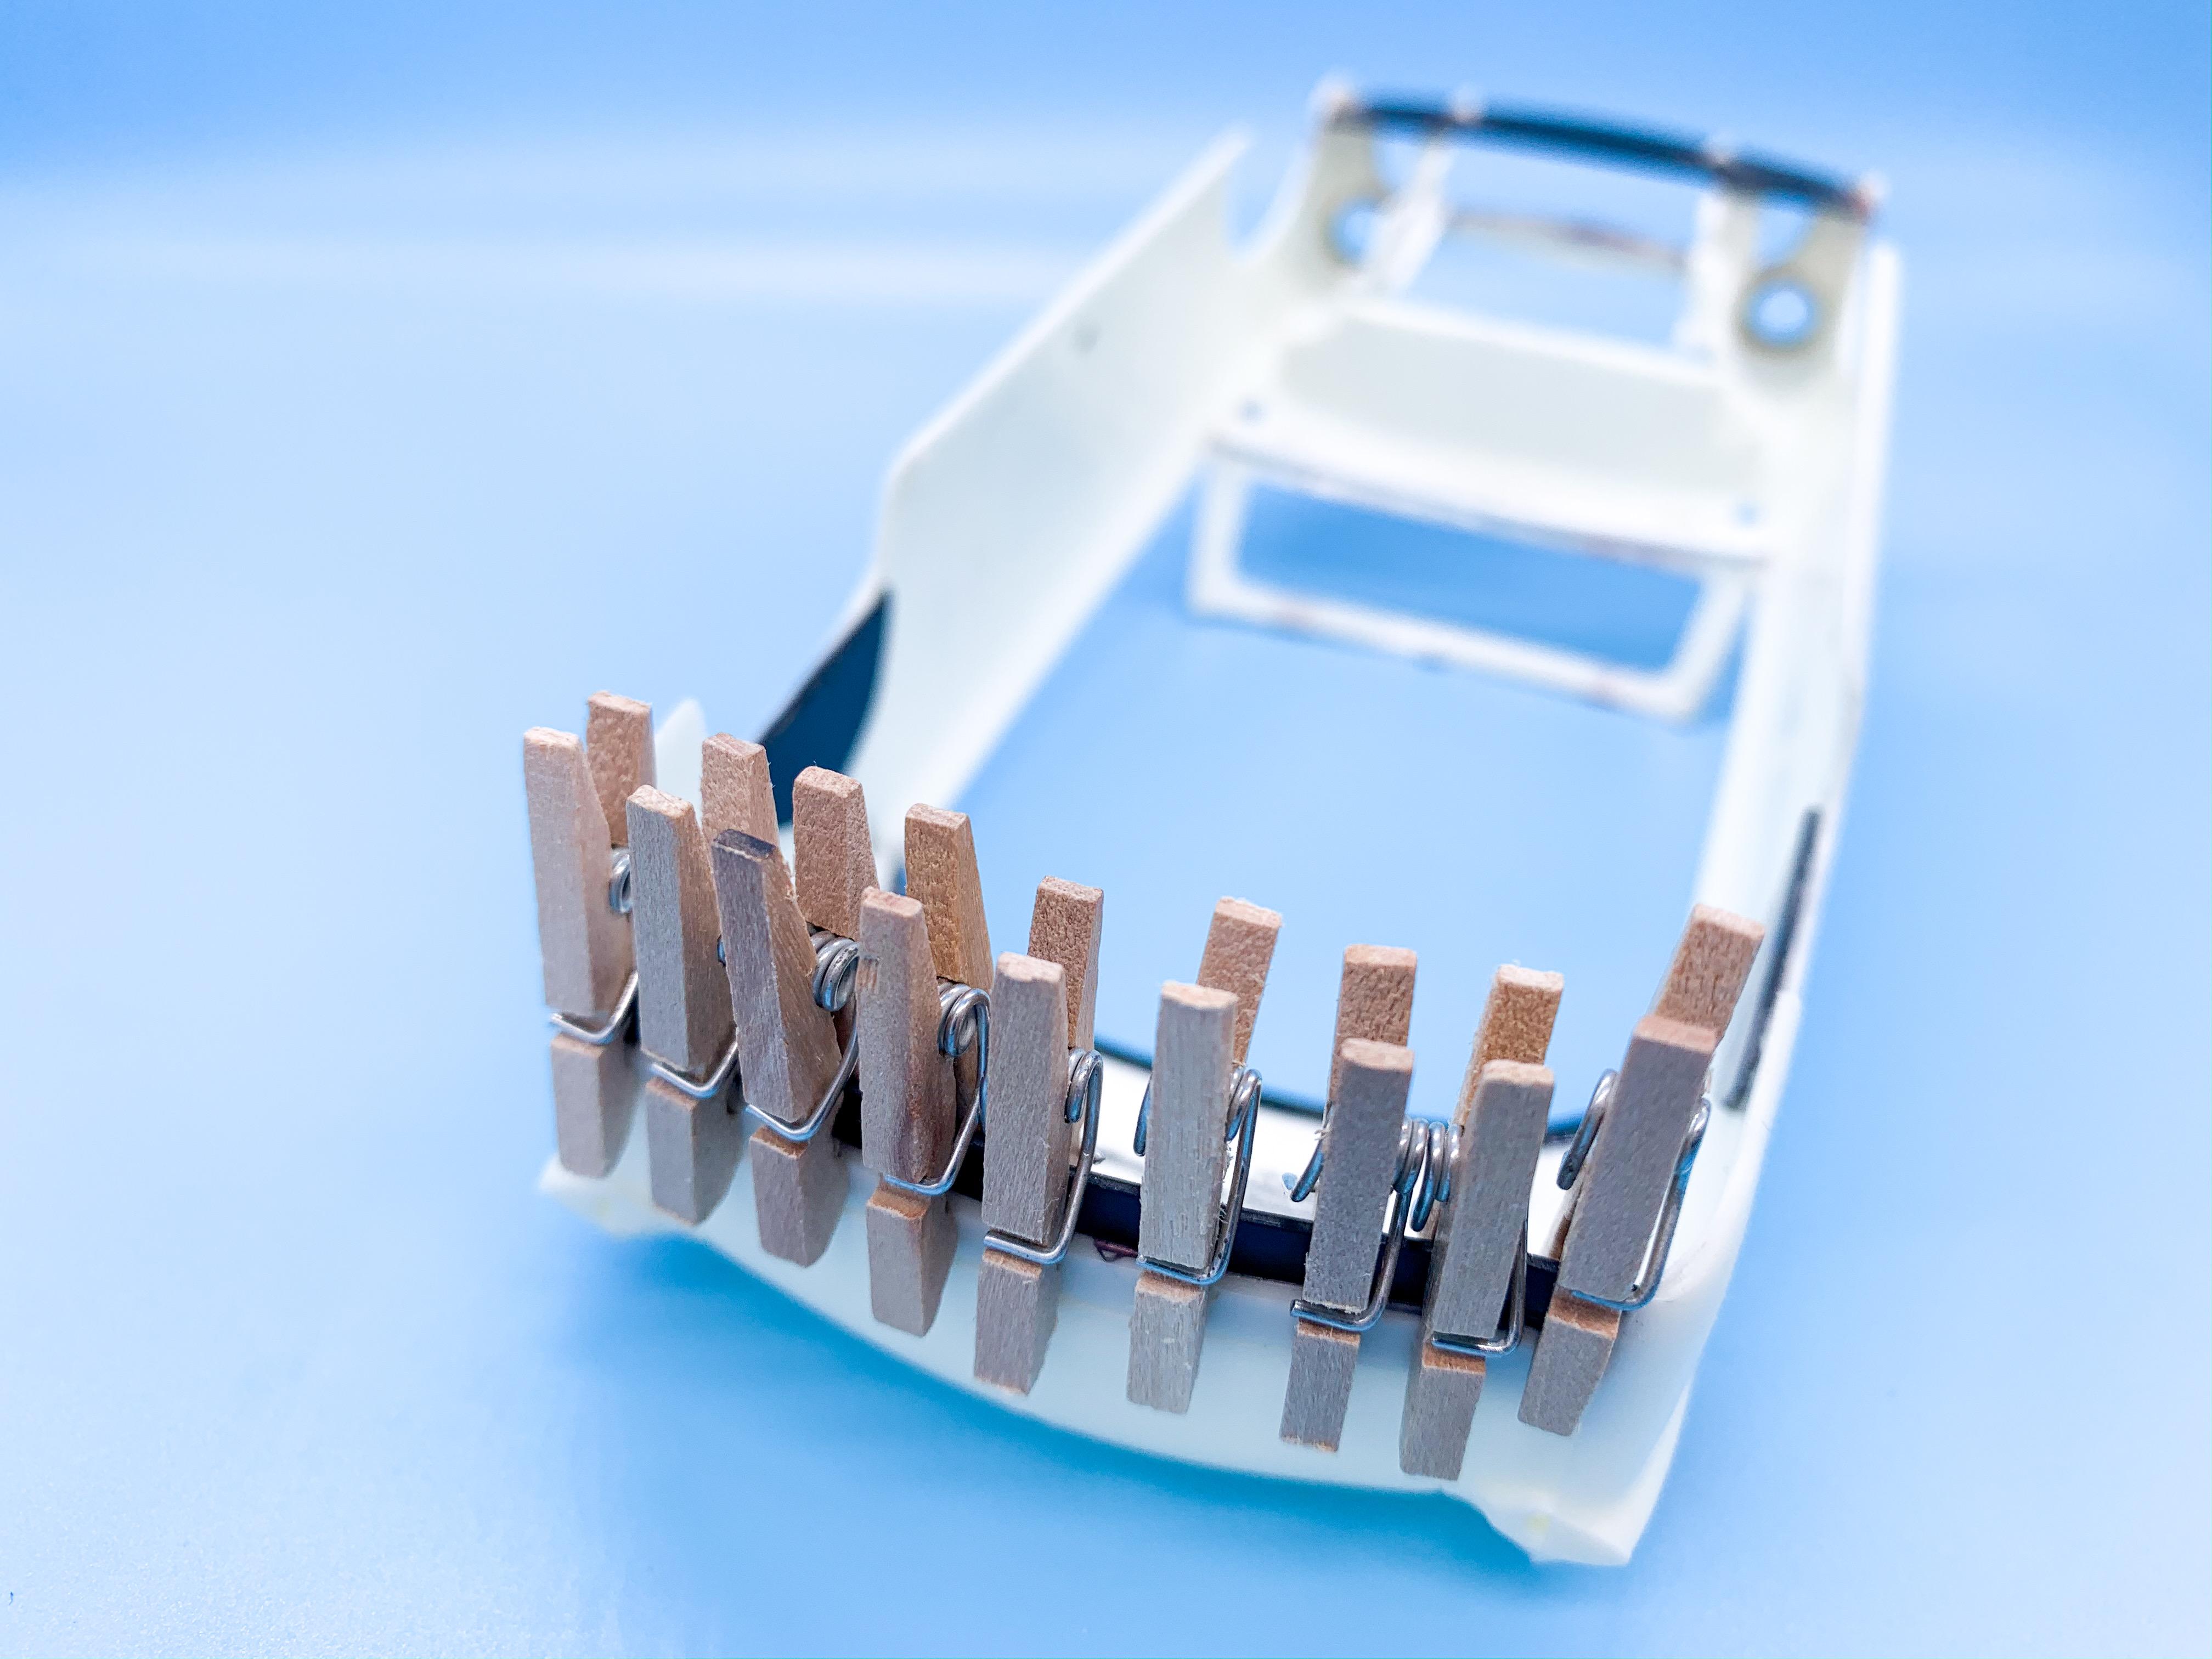
My tool came! Didn’t actually do any scribing with it, because by the time the courier came I’d started working on something else ? Just a couple of little bits today...had to fill this gap between the roof and the body, which I hadn’t been looking forward to handling: I taped the roof in place and laid some tape inside the body and marked the gap out so I could make an insert piece: those little dollar store clothes pins are super useful for clamping stuff like this to dry! I need to make a little piece to sit underneath this new ‘slither’ that I’ve made just to make sure it’s secure and won’t crack or move further down the line when paint’s on there and I’m polishing it. Next thing I wanted to tackle was making a start on filling this opening, which obviously would usually be hidden by the bumper: I like that subtle curve that the rear end has, where it bulges out in the center and then revolves left and right with a little flick outwards - so to preserve that I made a piece that can sit inside the body that matches the shape as close as possible and will allow me to glue the ‘outer’ filler panel nice and secure: More on this soon as the glue and Bondo dries ?
-
Quick Reviews: Three Paints PICS ADDED
OldNYJim replied to Snake45's topic in General Automotive Talk (Trucks and Cars)
Those both look great! Thanks for posting, Snake! How is the surface of the flake-y one? I’m guessing it’s real flat and will need a few coats of clear to bury the flakes? -
"Bring Out Your Dead" Completion Build--ROUND 2 Is On!
OldNYJim replied to Snake45's topic in WIP: Model Cars
I LOVE that paint! Looking GREAT! -
I love the idea of that kit-swap thing! What a cool initiative! This will be a cool build - I’ll be following!
-
I strategically bought a different type to the one I have - so when the other one turns up I’ll have two different kinds at my disposal ?
-
Geeeez ⬆️?