OldNYJim
-
Posts
250 -
Joined
-
Last visited
Content Type
Profiles
Forums
Events
Gallery
Everything posted by OldNYJim
-
This is looking really cool - very impressive paint!
-

I'm a fan of trucks but...
OldNYJim replied to iamsuperdan's topic in General Automotive Talk (Trucks and Cars)
I’m not crazy on the styling of the Cybertruck, but I’m glad there’s a car maker out there doing something interesting that doesn’t look like everything else! -
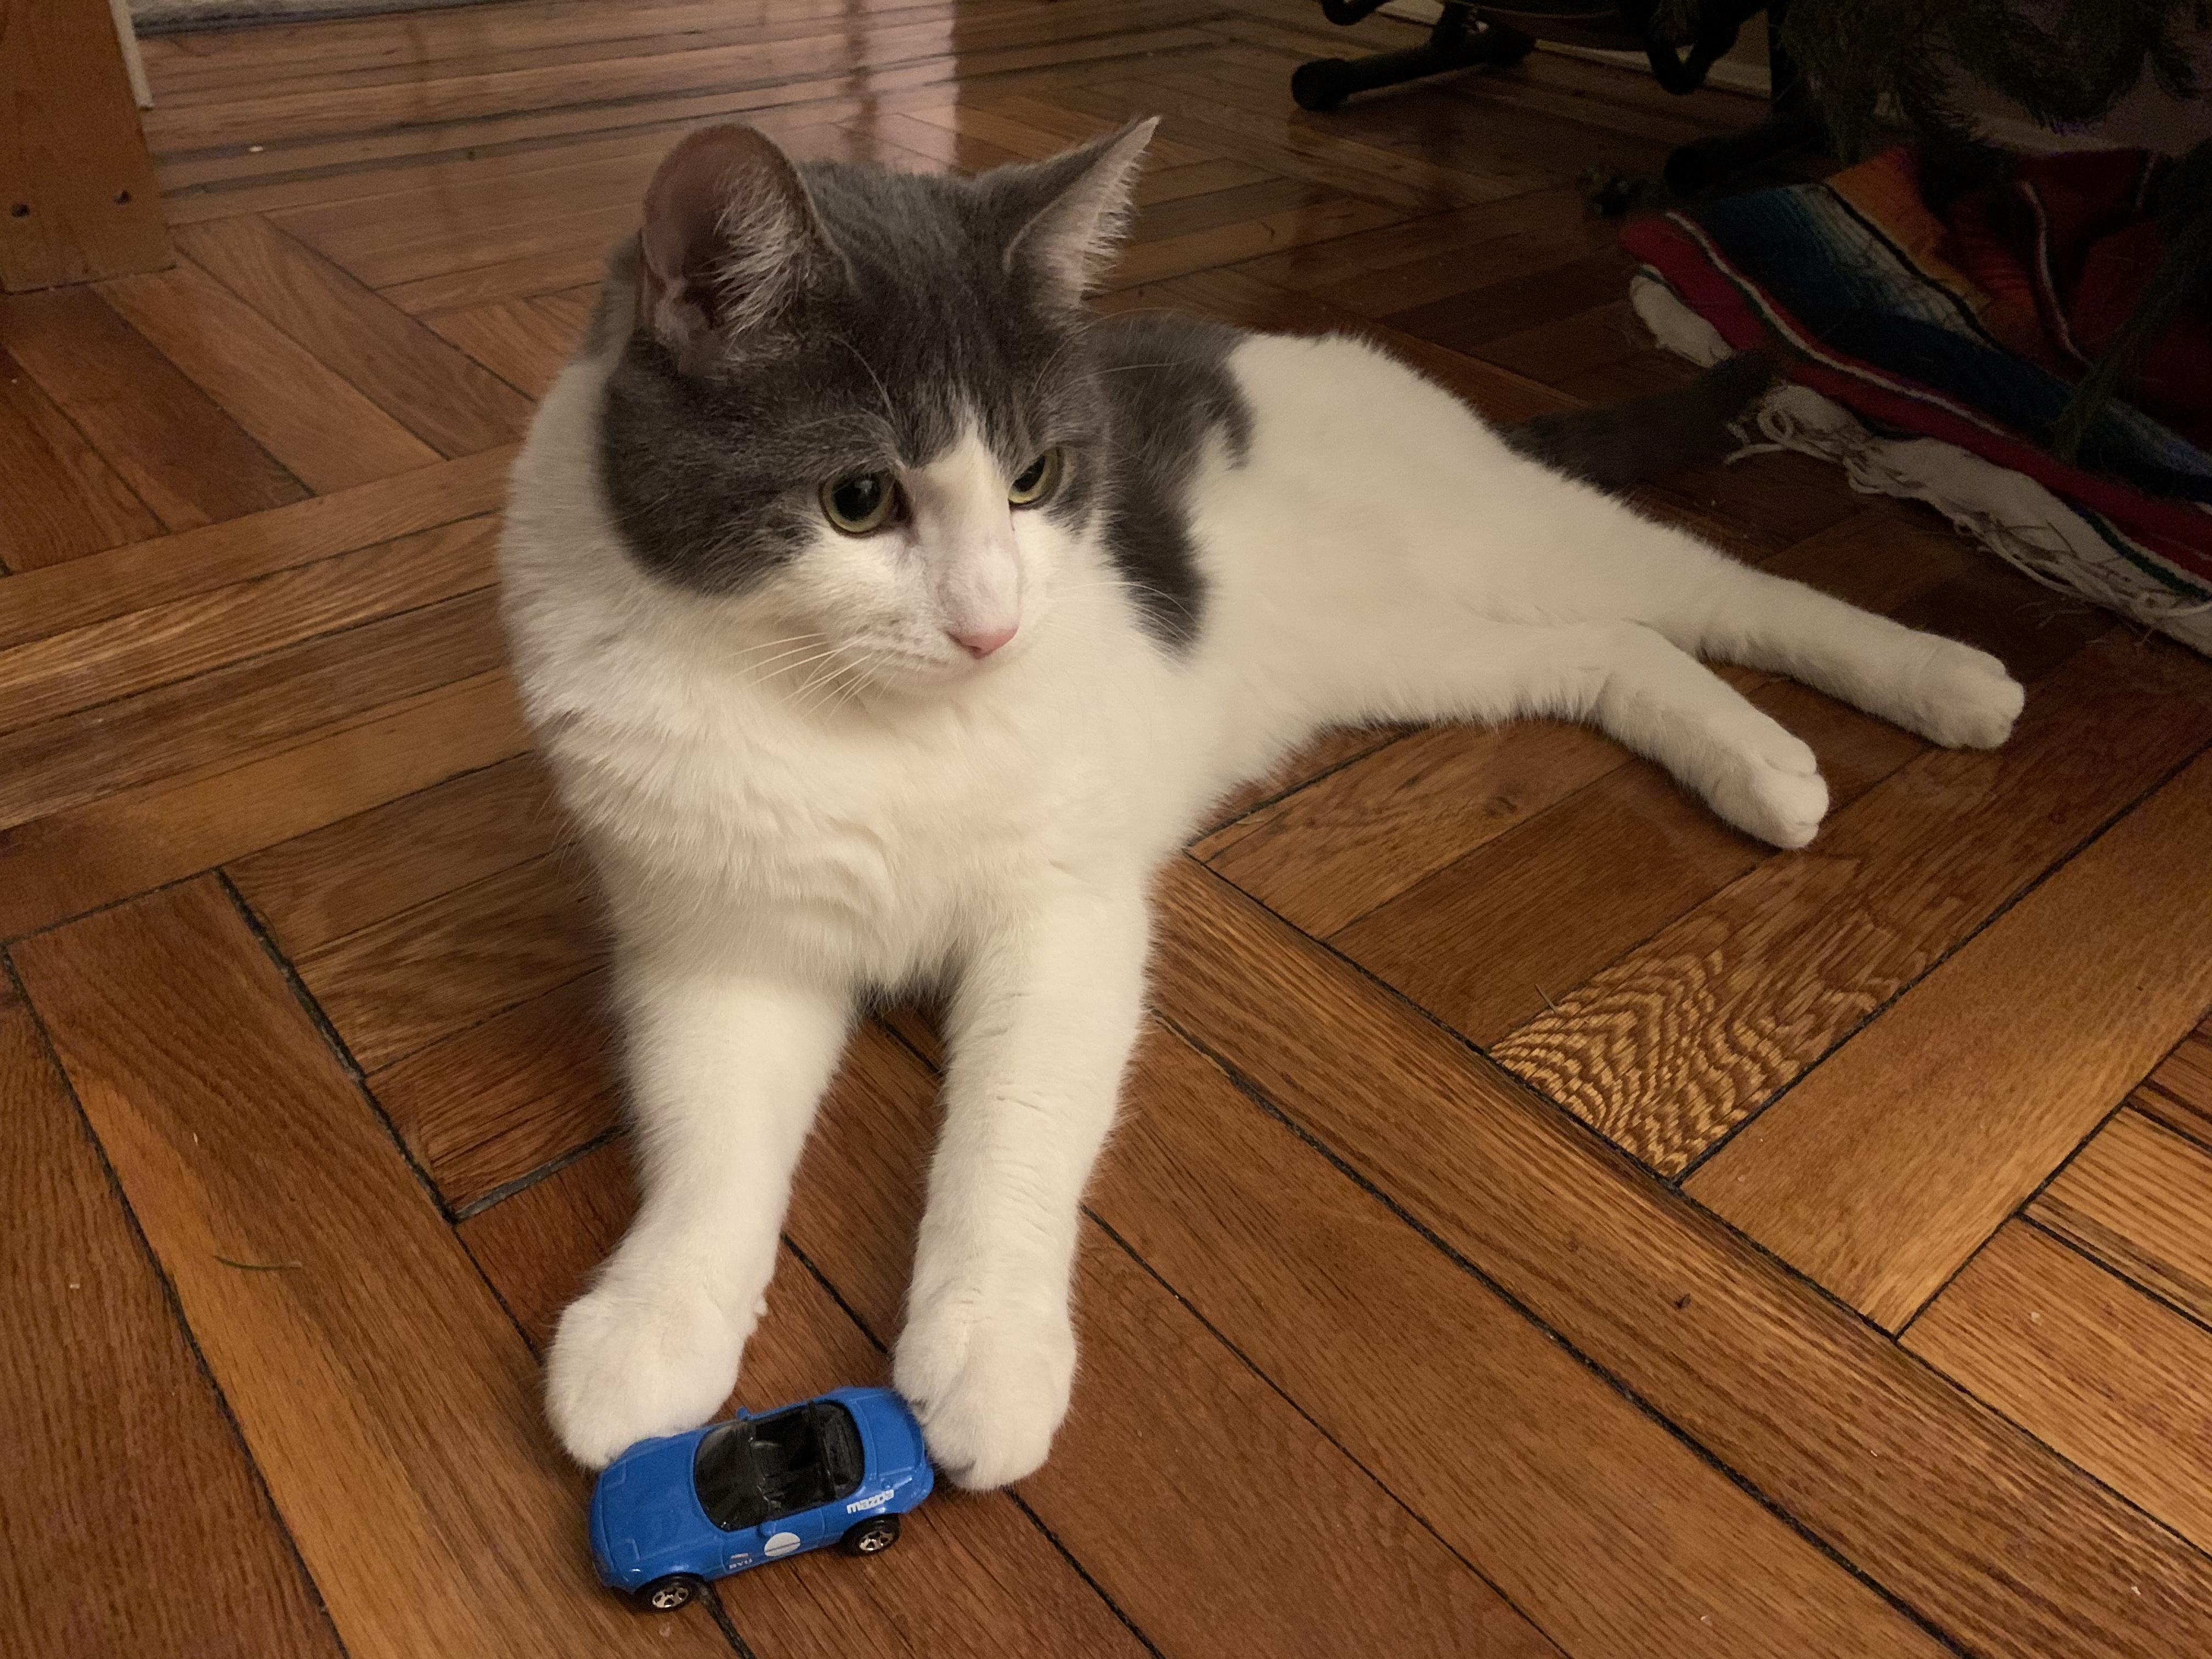
This little guy pleased me today! Rescue from a local shelter, and my wife has wanted a cat for a while...cute little fella, likes Miatas ?

-
Send the one back, get a refund, buy it again ?♂️
-
For the import fans
OldNYJim replied to Richard Bartrop's topic in General Automotive Talk (Trucks and Cars)
Those look like my wife’s fancy plates ? -
They said they’d send a prepaid label for you to return it, you didn’t want to...?♂️ Doesn’t warrant a bunch of posts all over the internet IMO.
-
Great looking build so far! I really like those vintage Letraset that you found! I assume they still work ok despite their age?
-
That is BRILLIANT! Nice job!
-
You have to use the term “beautifically challenged” I think ??
-
That’s AWESOME news! I’ll be picking up all of these...did some of them come with variations on the decal sheets last time around to make different versions (say, a Pizza Trike instead of a Taco Trike or something along those lines)? I vaguely remember something like that but I might be way off...
-
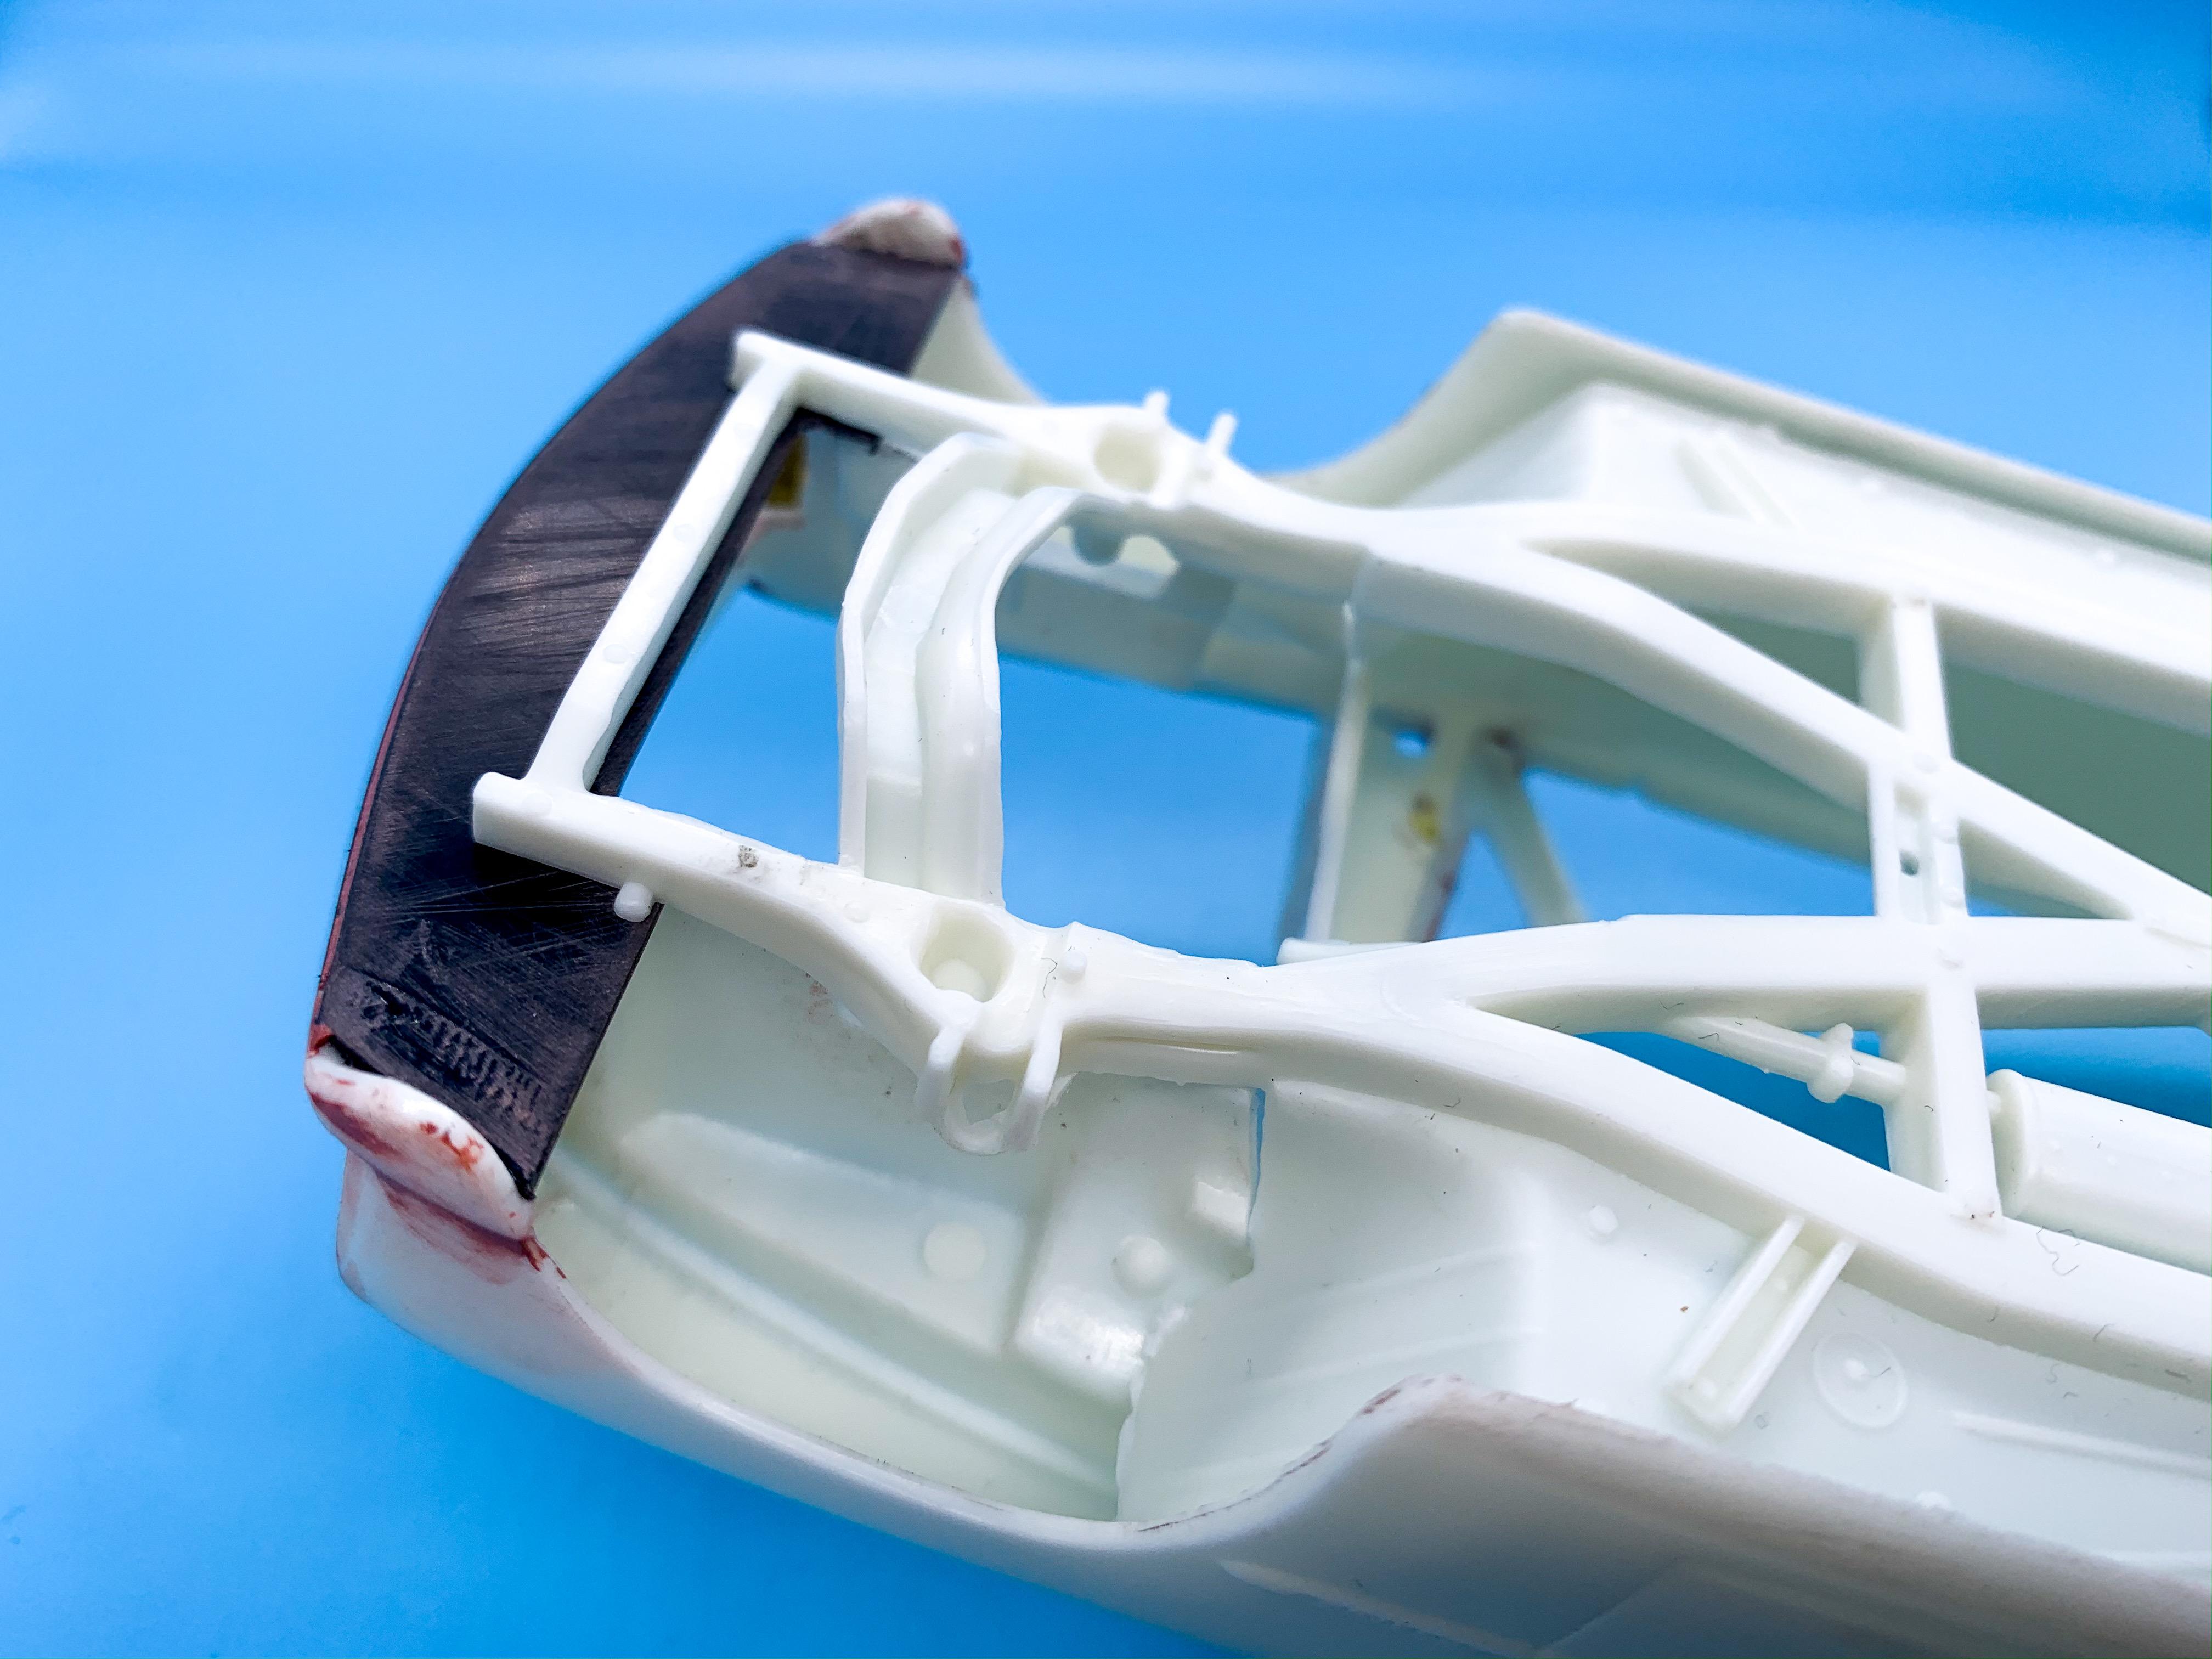
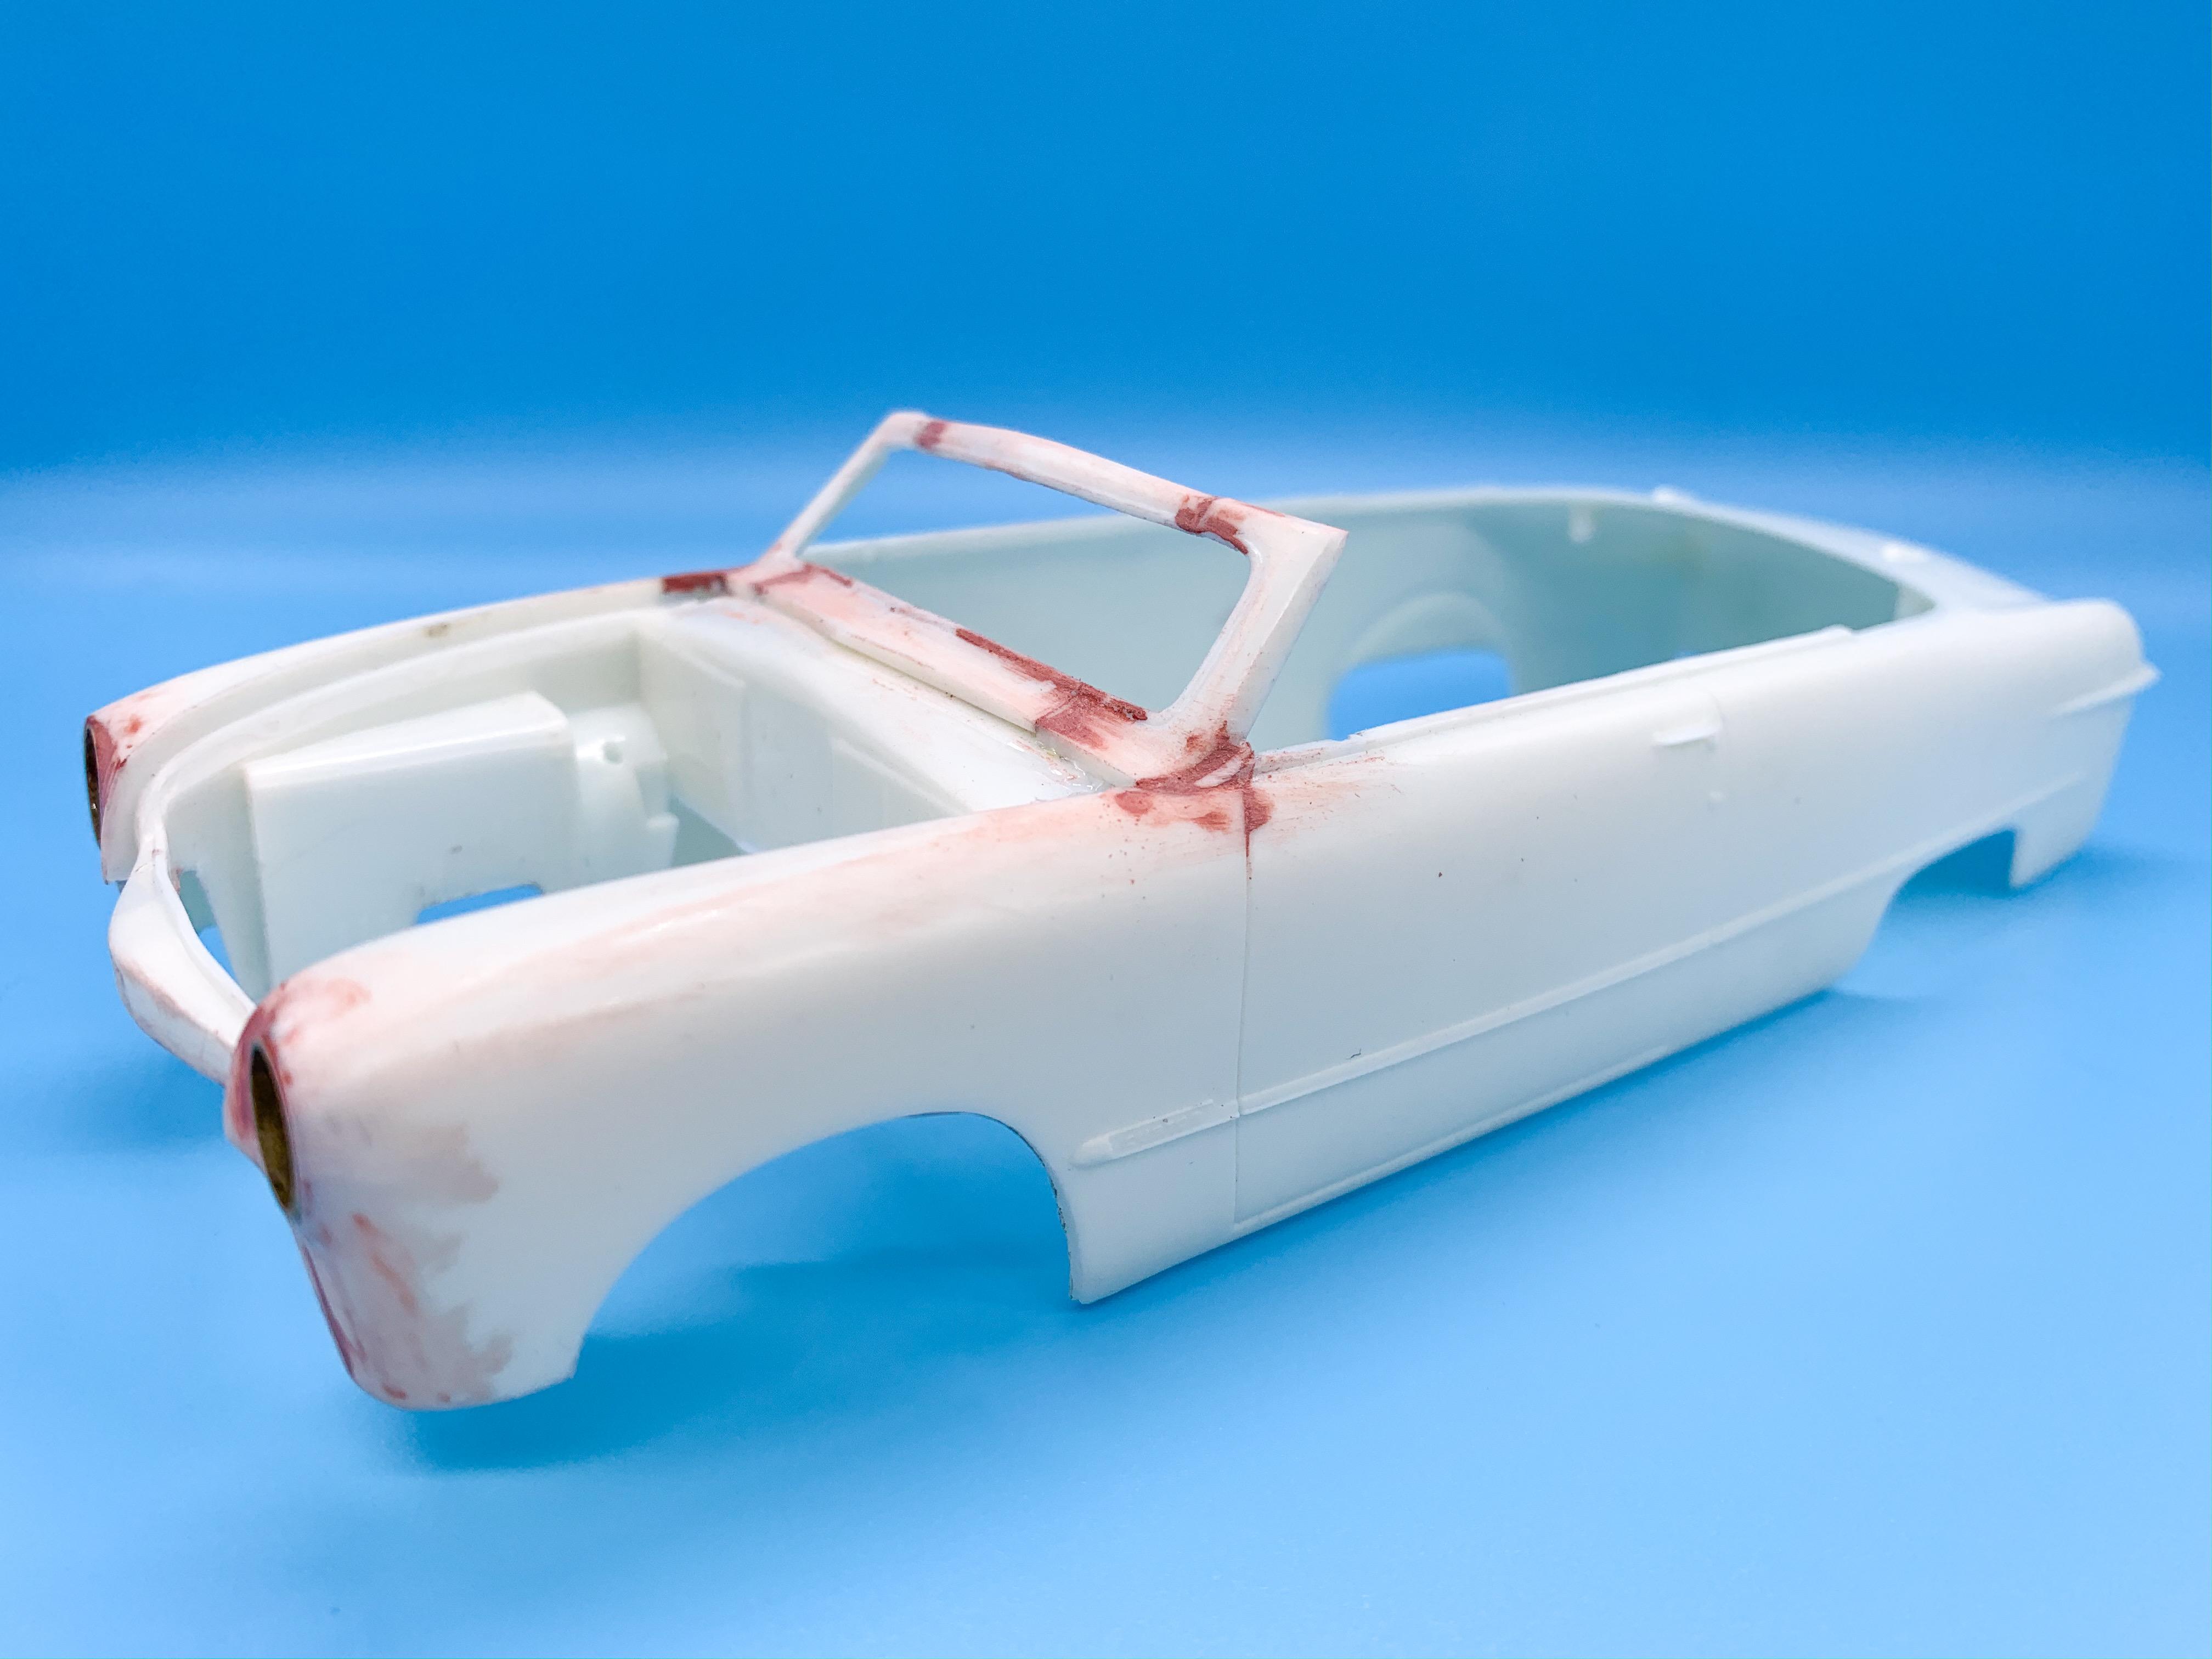
Apologies for all the single replies - I get the dreaded 404 error if I do more than one at a time... As I’m replying anyway, a little progress from today’s time at the bench. First up, I didn’t like how the underside of the body met the frame... ...so I shortened those frame horns and added some little bulges...I think they’re actually custom body pieces from the kit: They won’t be super visible but it’s a little detail to spot if you looked underneath. Whilst I was under there I didn’t like the appearance of the inner arches in the front there, so that’s this weekend’s can of worms... More soon, soon as I’ve done more!
-
Ohh, excellent tip! Thank you, I’ll take a look! Sounds like the kind of thing I’m thinking of!
-
That makes perfect sense! I had the idea of narrowing the posts to match the width of the hood anyway, so it wasn’t the end of the world for me regardless, but interesting to know! Thanks!
-
Haha, a friend of mine asked me what ‘shenanigans’ I’ve been up to and I’ve been using it all week ? You're right of course, the stock front bumper arrangement is perfectly functional and I’m sure did it’s job just great - but it was a bit too lumpy and bumpy for what I was thinking for this one... I’ll check out those grill bars you recommended - thank you! I don’t know exactly how it WILL look yet but I’ll try my best to come up with something fitting and cool. I haven’t even THOUGHT about the rear end too much yet - too much to do on the front ?. Something clean and elegant though, I think, maybe roll the panel beneath the trunk somehow that looks nice so it disappears under the car without an obvious end point. Guess we’ll see when I’ve worked back that far ?
-
That’s really helpful, thanks Claude! I’m cautious enough with the non-catalized Bondo that I’m using here to try and only use it to fill the tiniest of gaps and holes and do anything I CAN do with styrene with styrene. I really should pick up some of the ‘pro’ stuff though - and yes, I like Superglue as an alternative too! Very helpful, thank you!
-
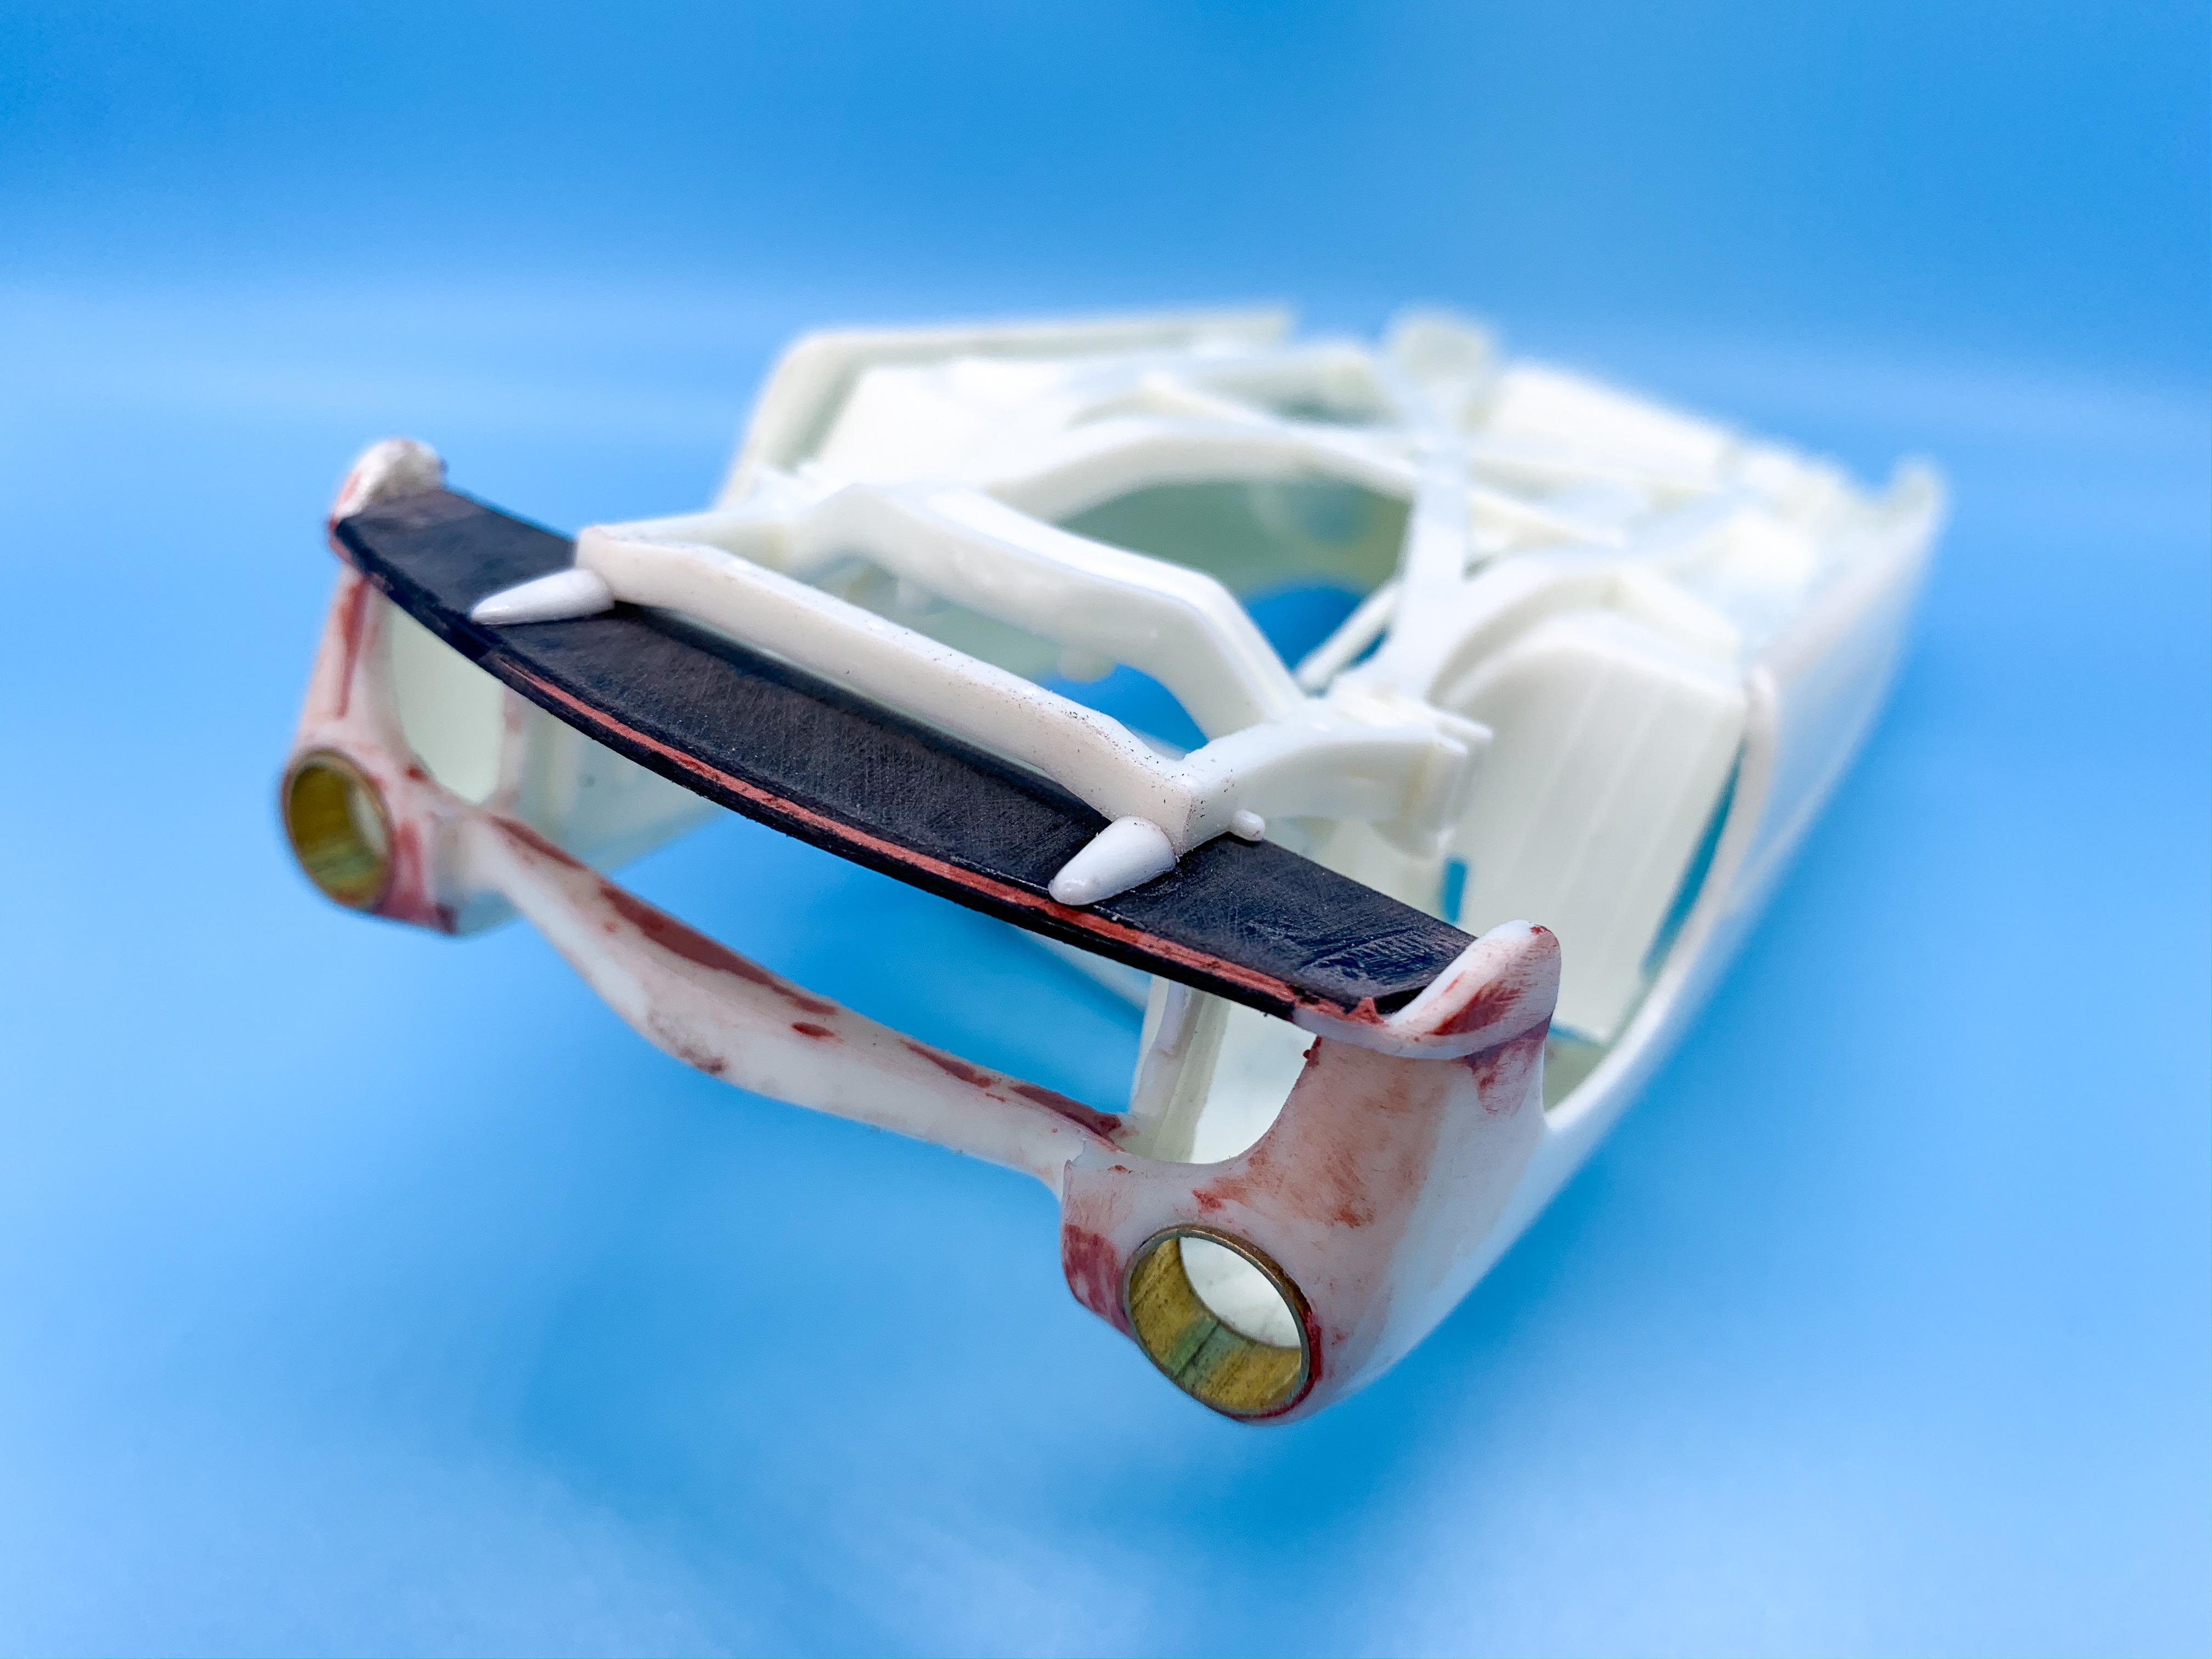
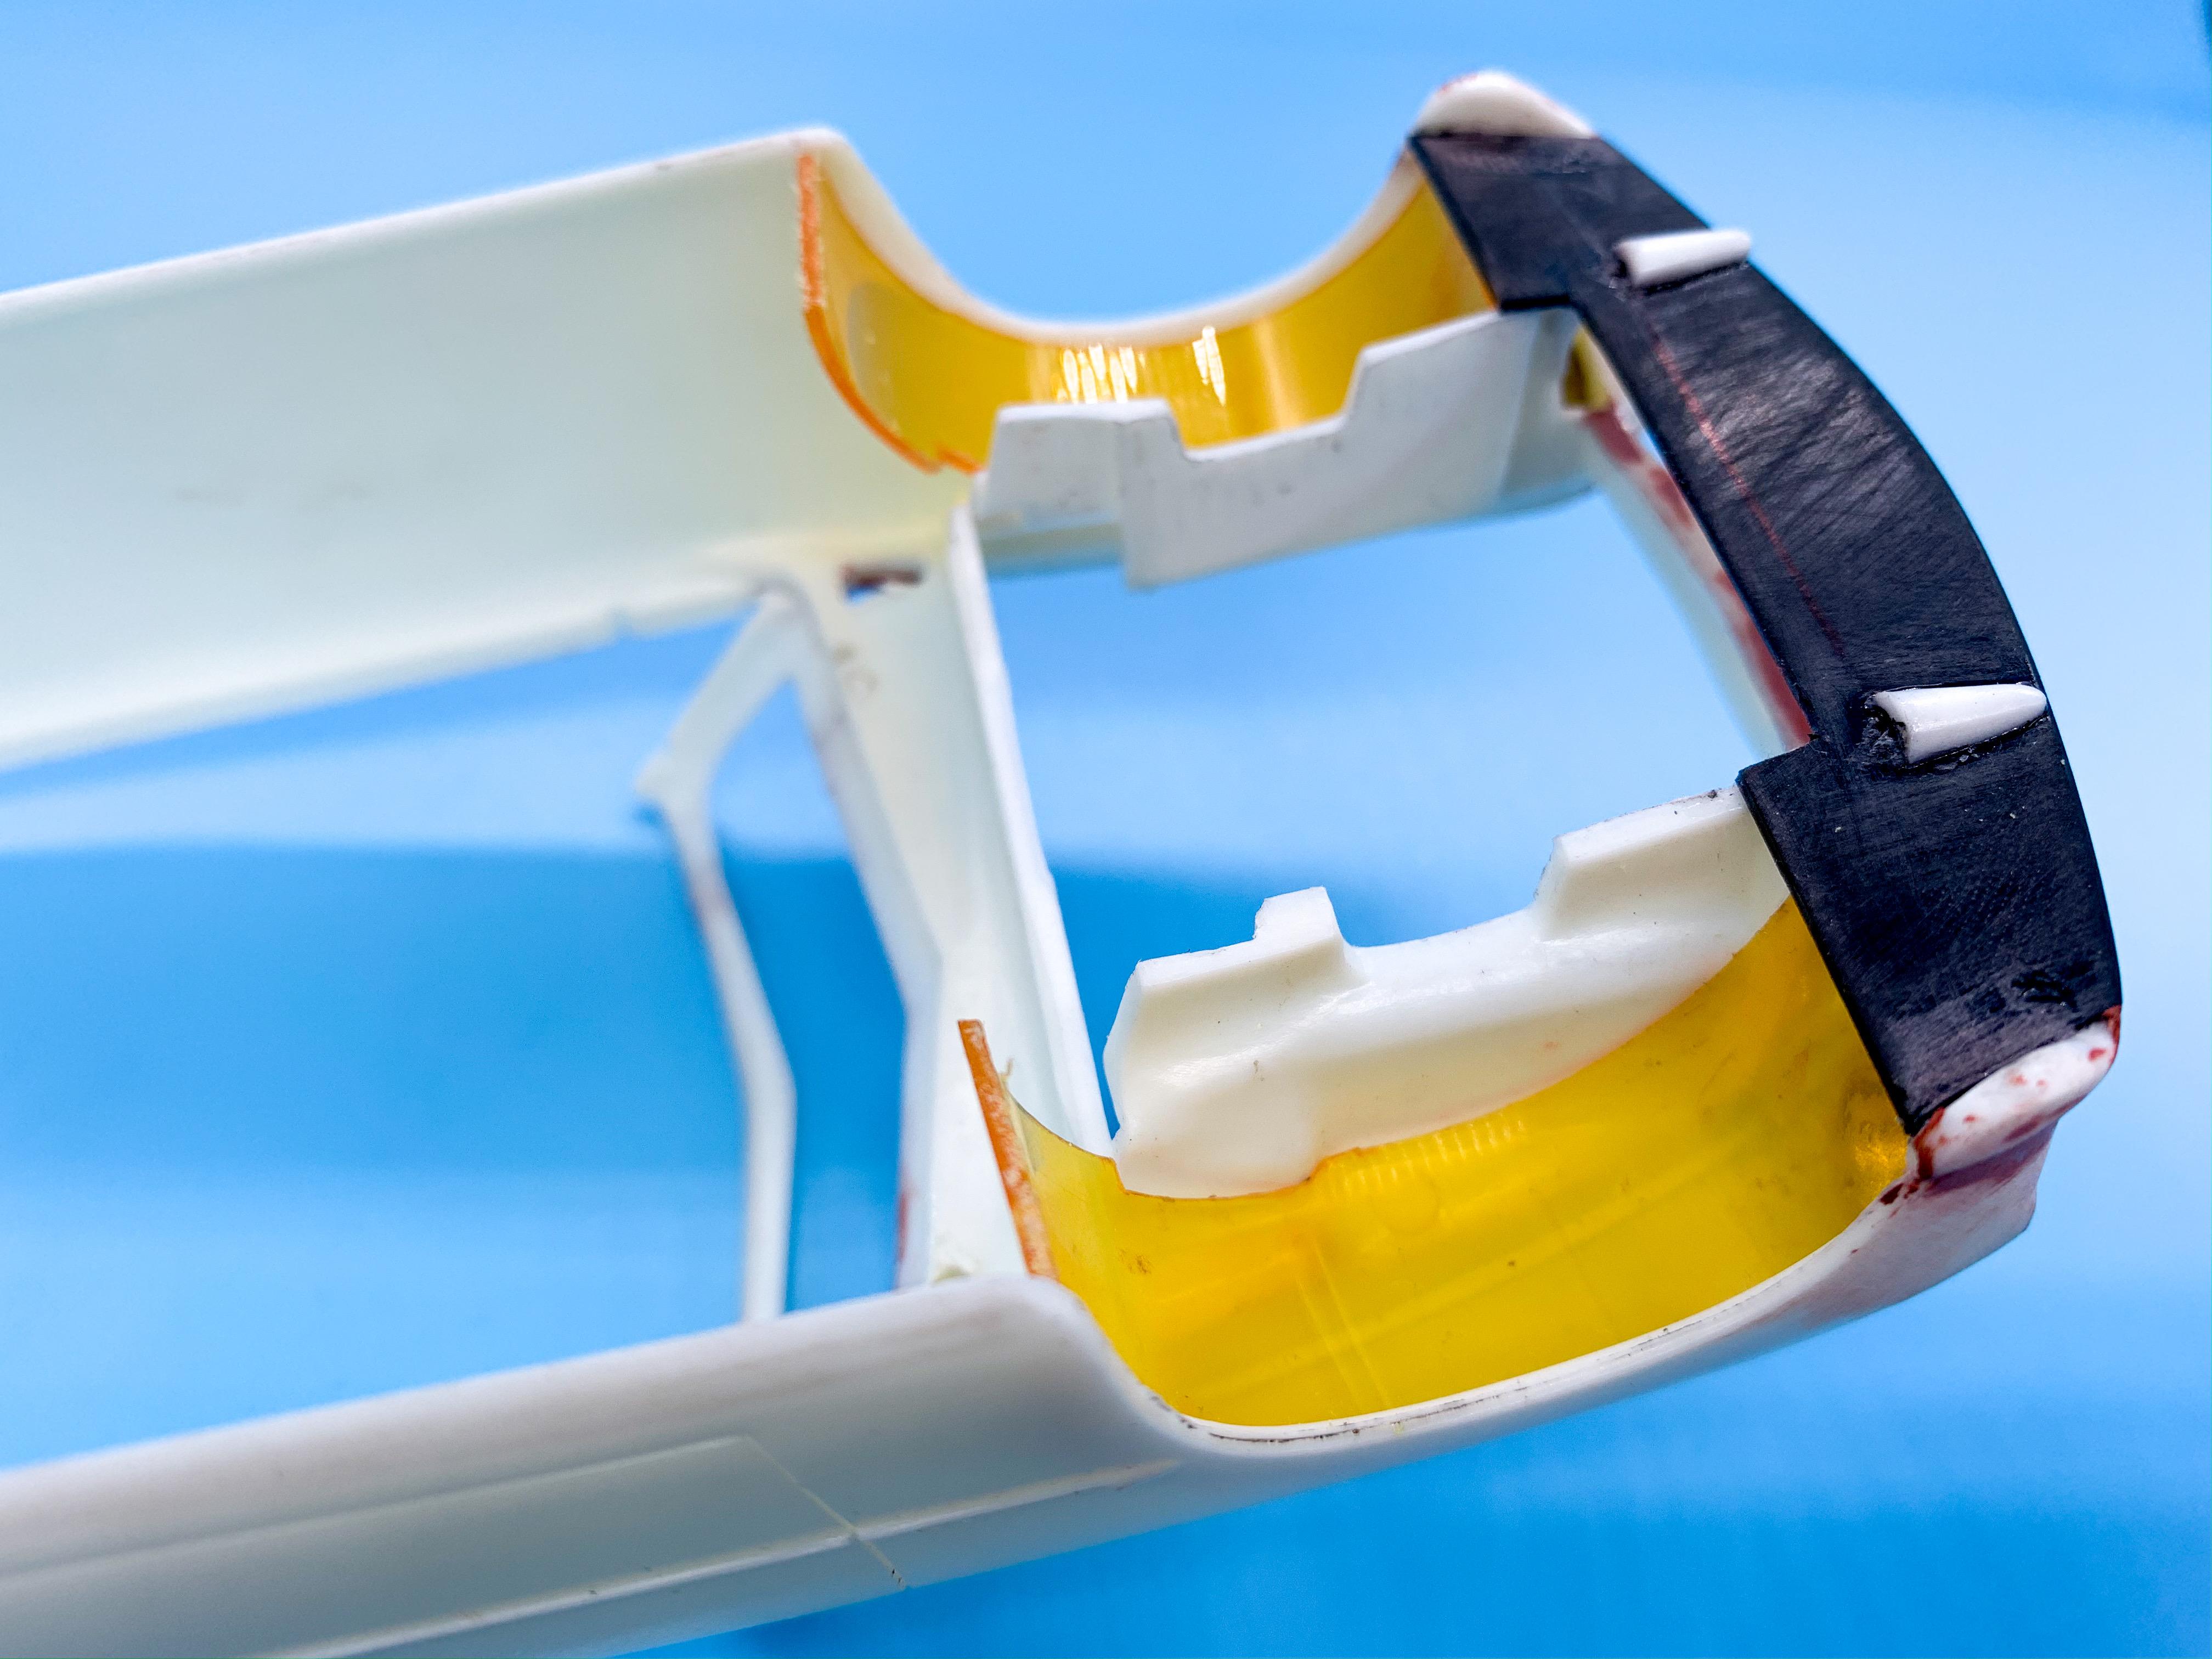
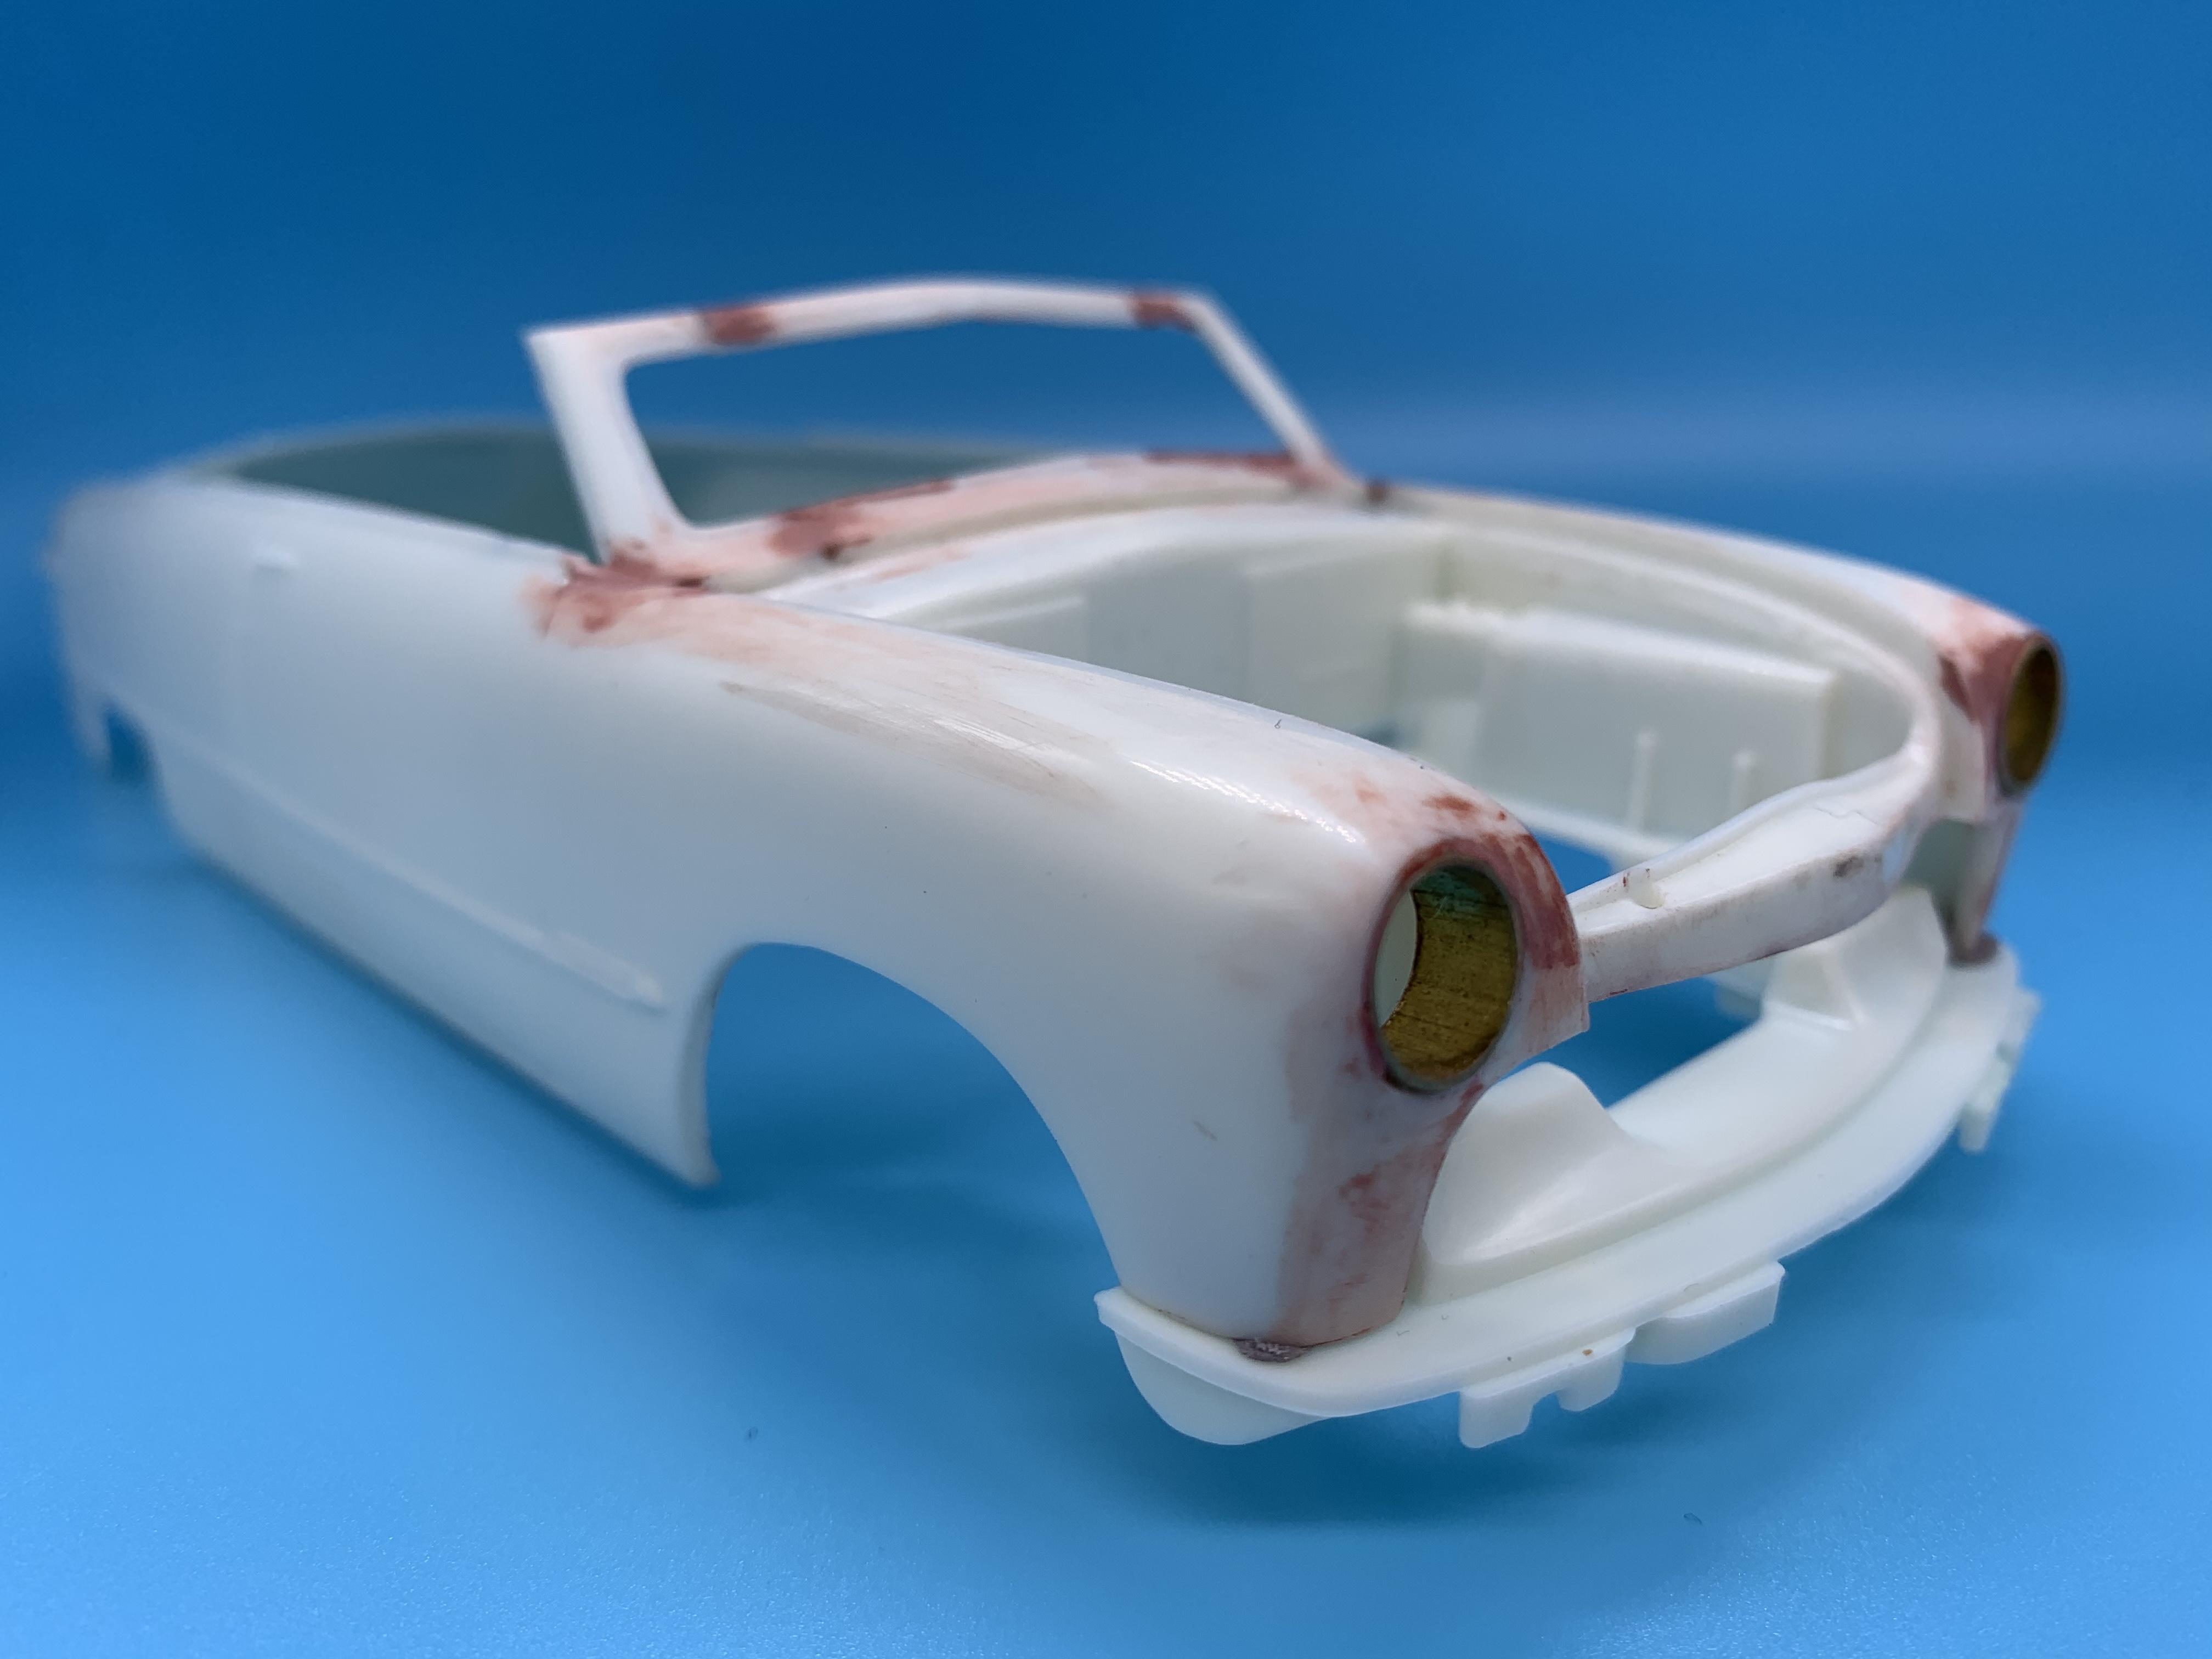
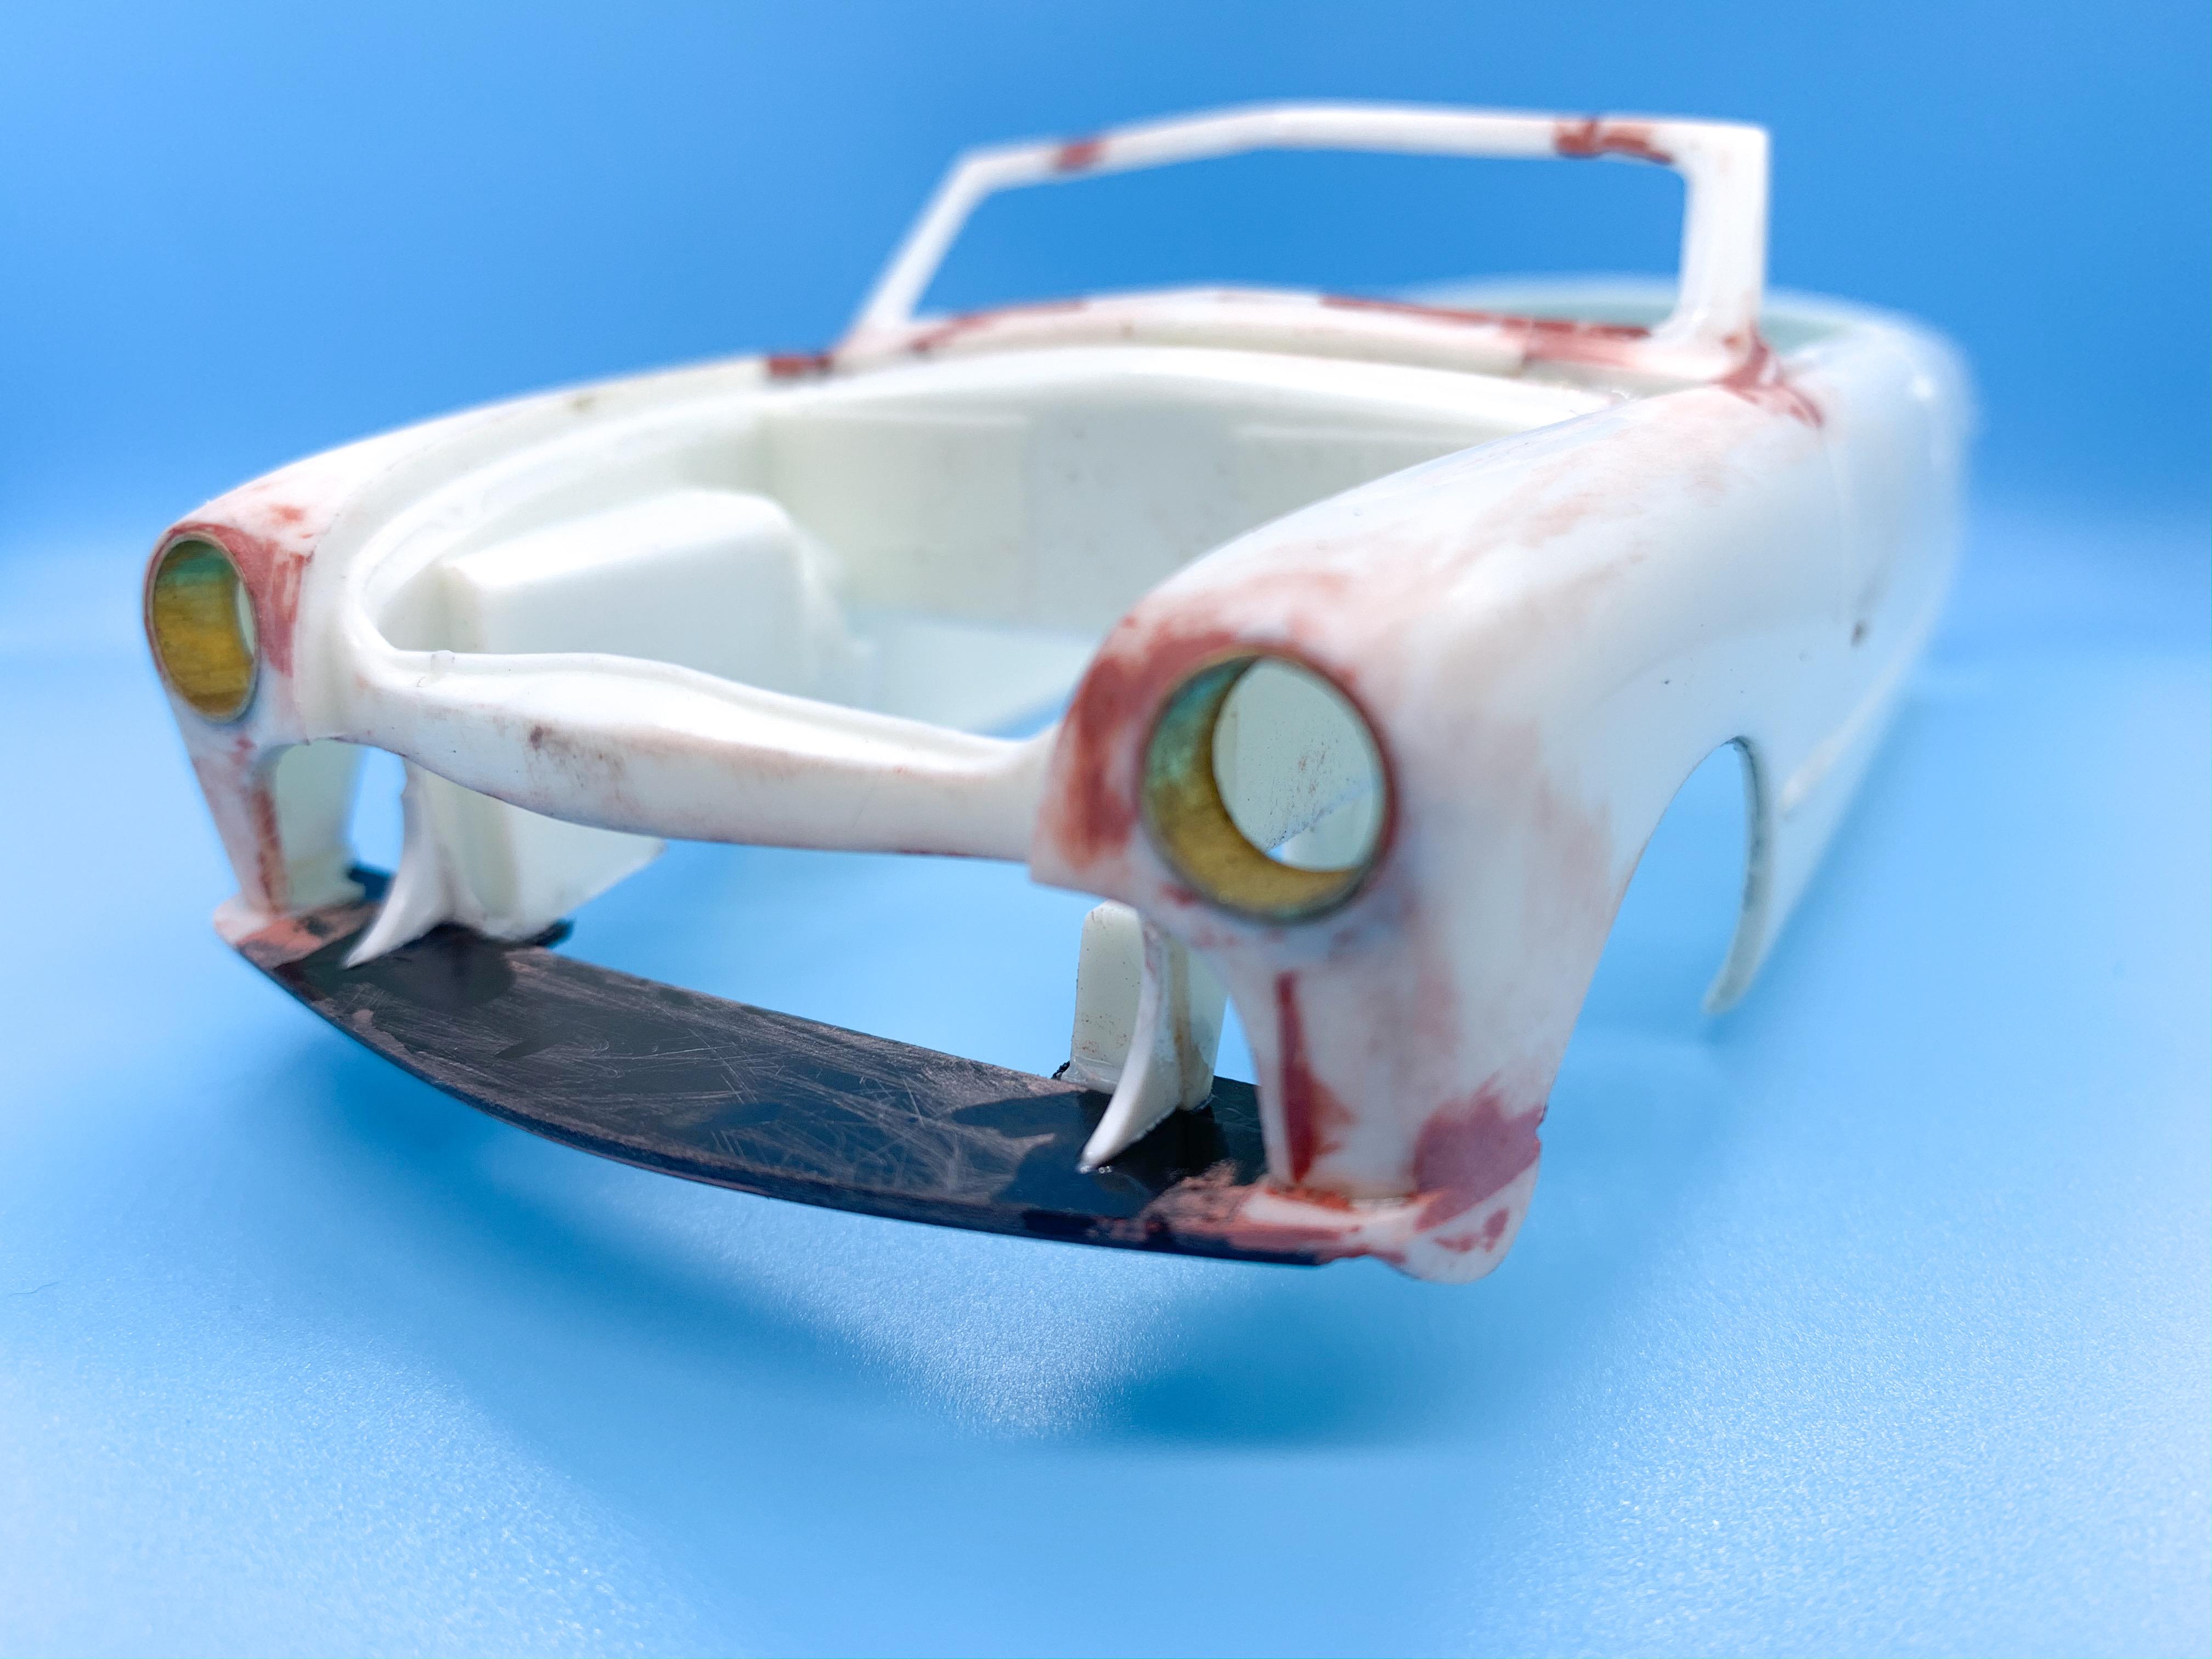
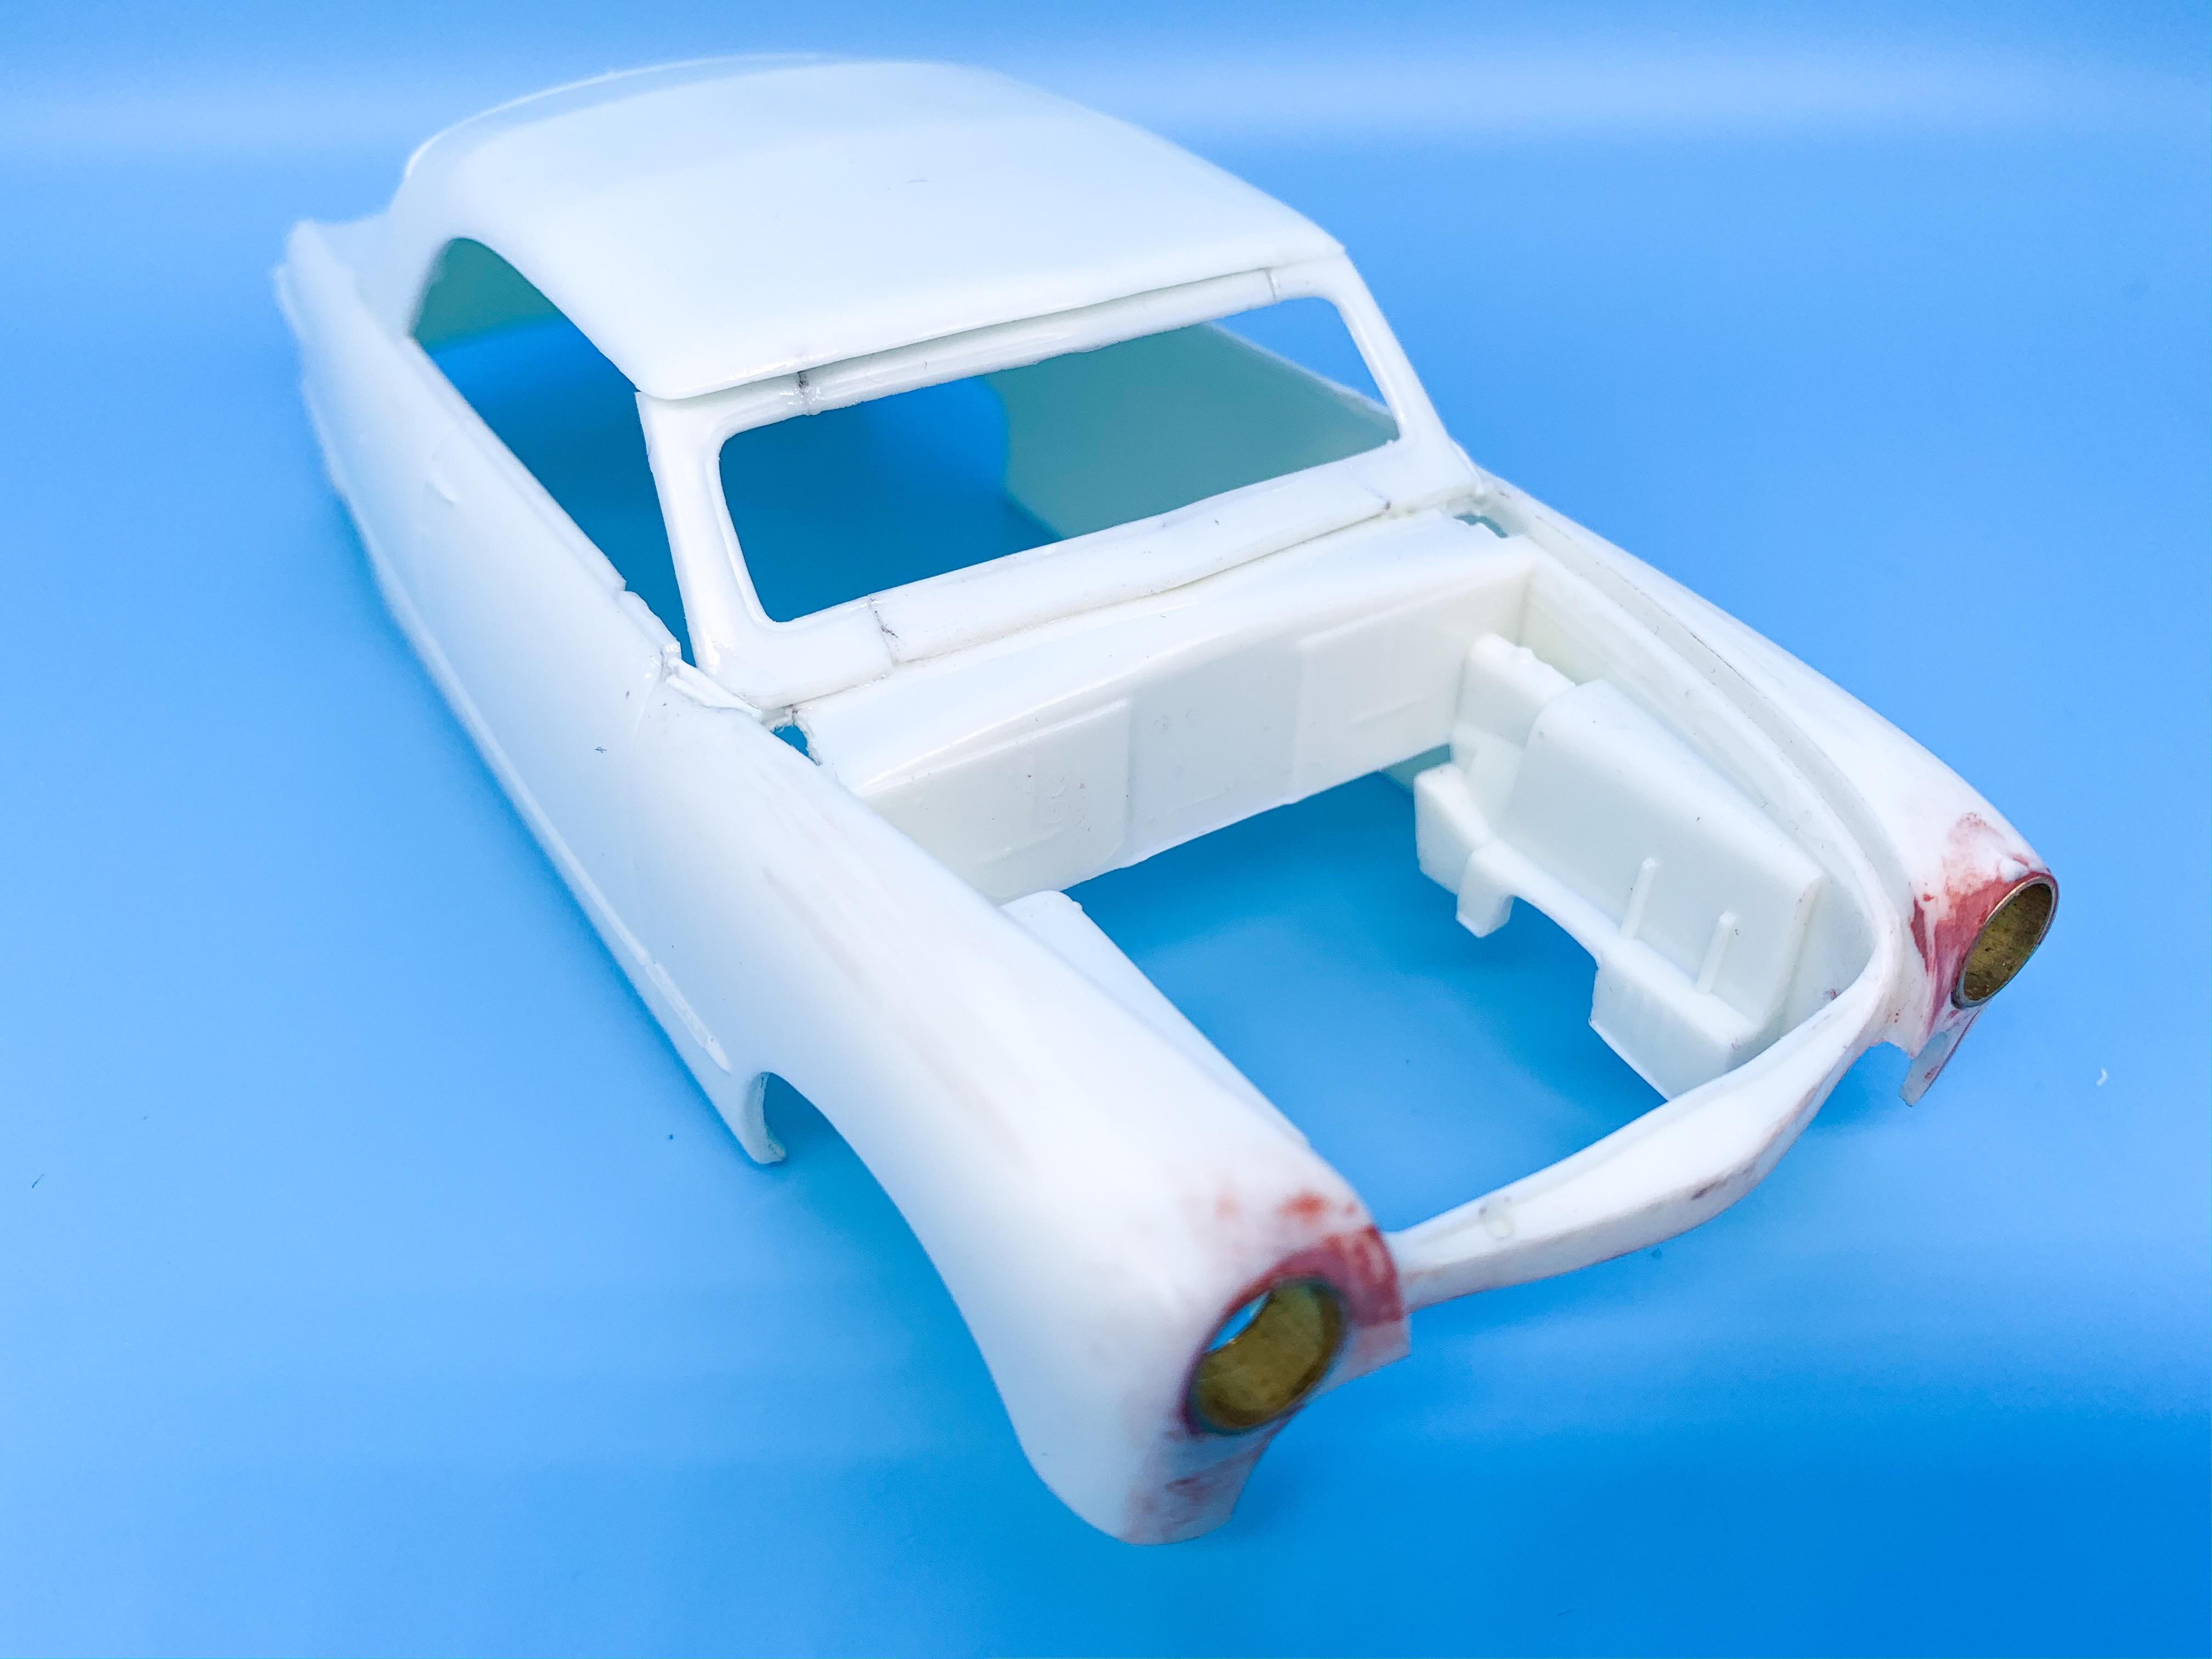
Thanks Espo! Luckily I’m not trying to go stock on this one or I can see there being a LOT of little details I’d want to fix - but that said, I’m glad this kit got reissued and it’s available! This week’s shenanigans mostly involved the front end again...I didn’t much like the look of the stock front bumper pan, at least not for this build. Here it is out of the box: I like the bottom edge where it meets the wheel arch, but the rest was too messy for what I had in mind...so I sliced the two edges off, tucked them in and made a center piece to connect them: Then smoothed it out with Bondo, shaped it to the body nicely (or at least close enough for right now...) and added a couple of arched pieces to blend in where the pan meets the edge of the radiator and the wheel arches: I keep coming back to the idea of some kind of floating grill bar in there but I haven’t totally decided how that would look yet. Next job today is to flip it over and see what I can do to make this piece flow nicely into the underside of the car where it meets the front of the frame. More soon, soon as I’ve done more!
-
This is a great project - I’m really enjoying seeing this come together!
-
Spark Plug wire details?
OldNYJim replied to SCRWDRVR's topic in Model Building Questions and Answers
My brother-in-law likes craft beers made by little obscure breweries, and at thanksgiving he brought a few cans that were completely unmarked except for a small peelable sticker - I made sure to save all those cans for future scratchbuilding projects. It’s nice to start with something that hasn’t got printing all over it that needs to be cleaned off! -
I would guess that the bottom one has the clear over the foil..but I’m only 90% sure, if that...
-
Spark Plug wire details?
OldNYJim replied to SCRWDRVR's topic in Model Building Questions and Answers
And drink the soda before drilling the holes! -
Ohh, that’s a GREAT looking build! The quad headlamps are cool, and the paint looks good! Nice job!
-
I don’t mind the occasional thread resurrection - they’re like episodes of my favorite show that I forgot I saw or never saw at all in the first place!
-
This looks like a fun build - thanks for the preview photos Tim! I’ll be grabbing one!
-
Oh, I forgot the shot that actually shows the benefit of that work ?? - kinda hard to visualize when it’s all messy and Bondo-y I know but I’m pleased with how it’s looking!
-
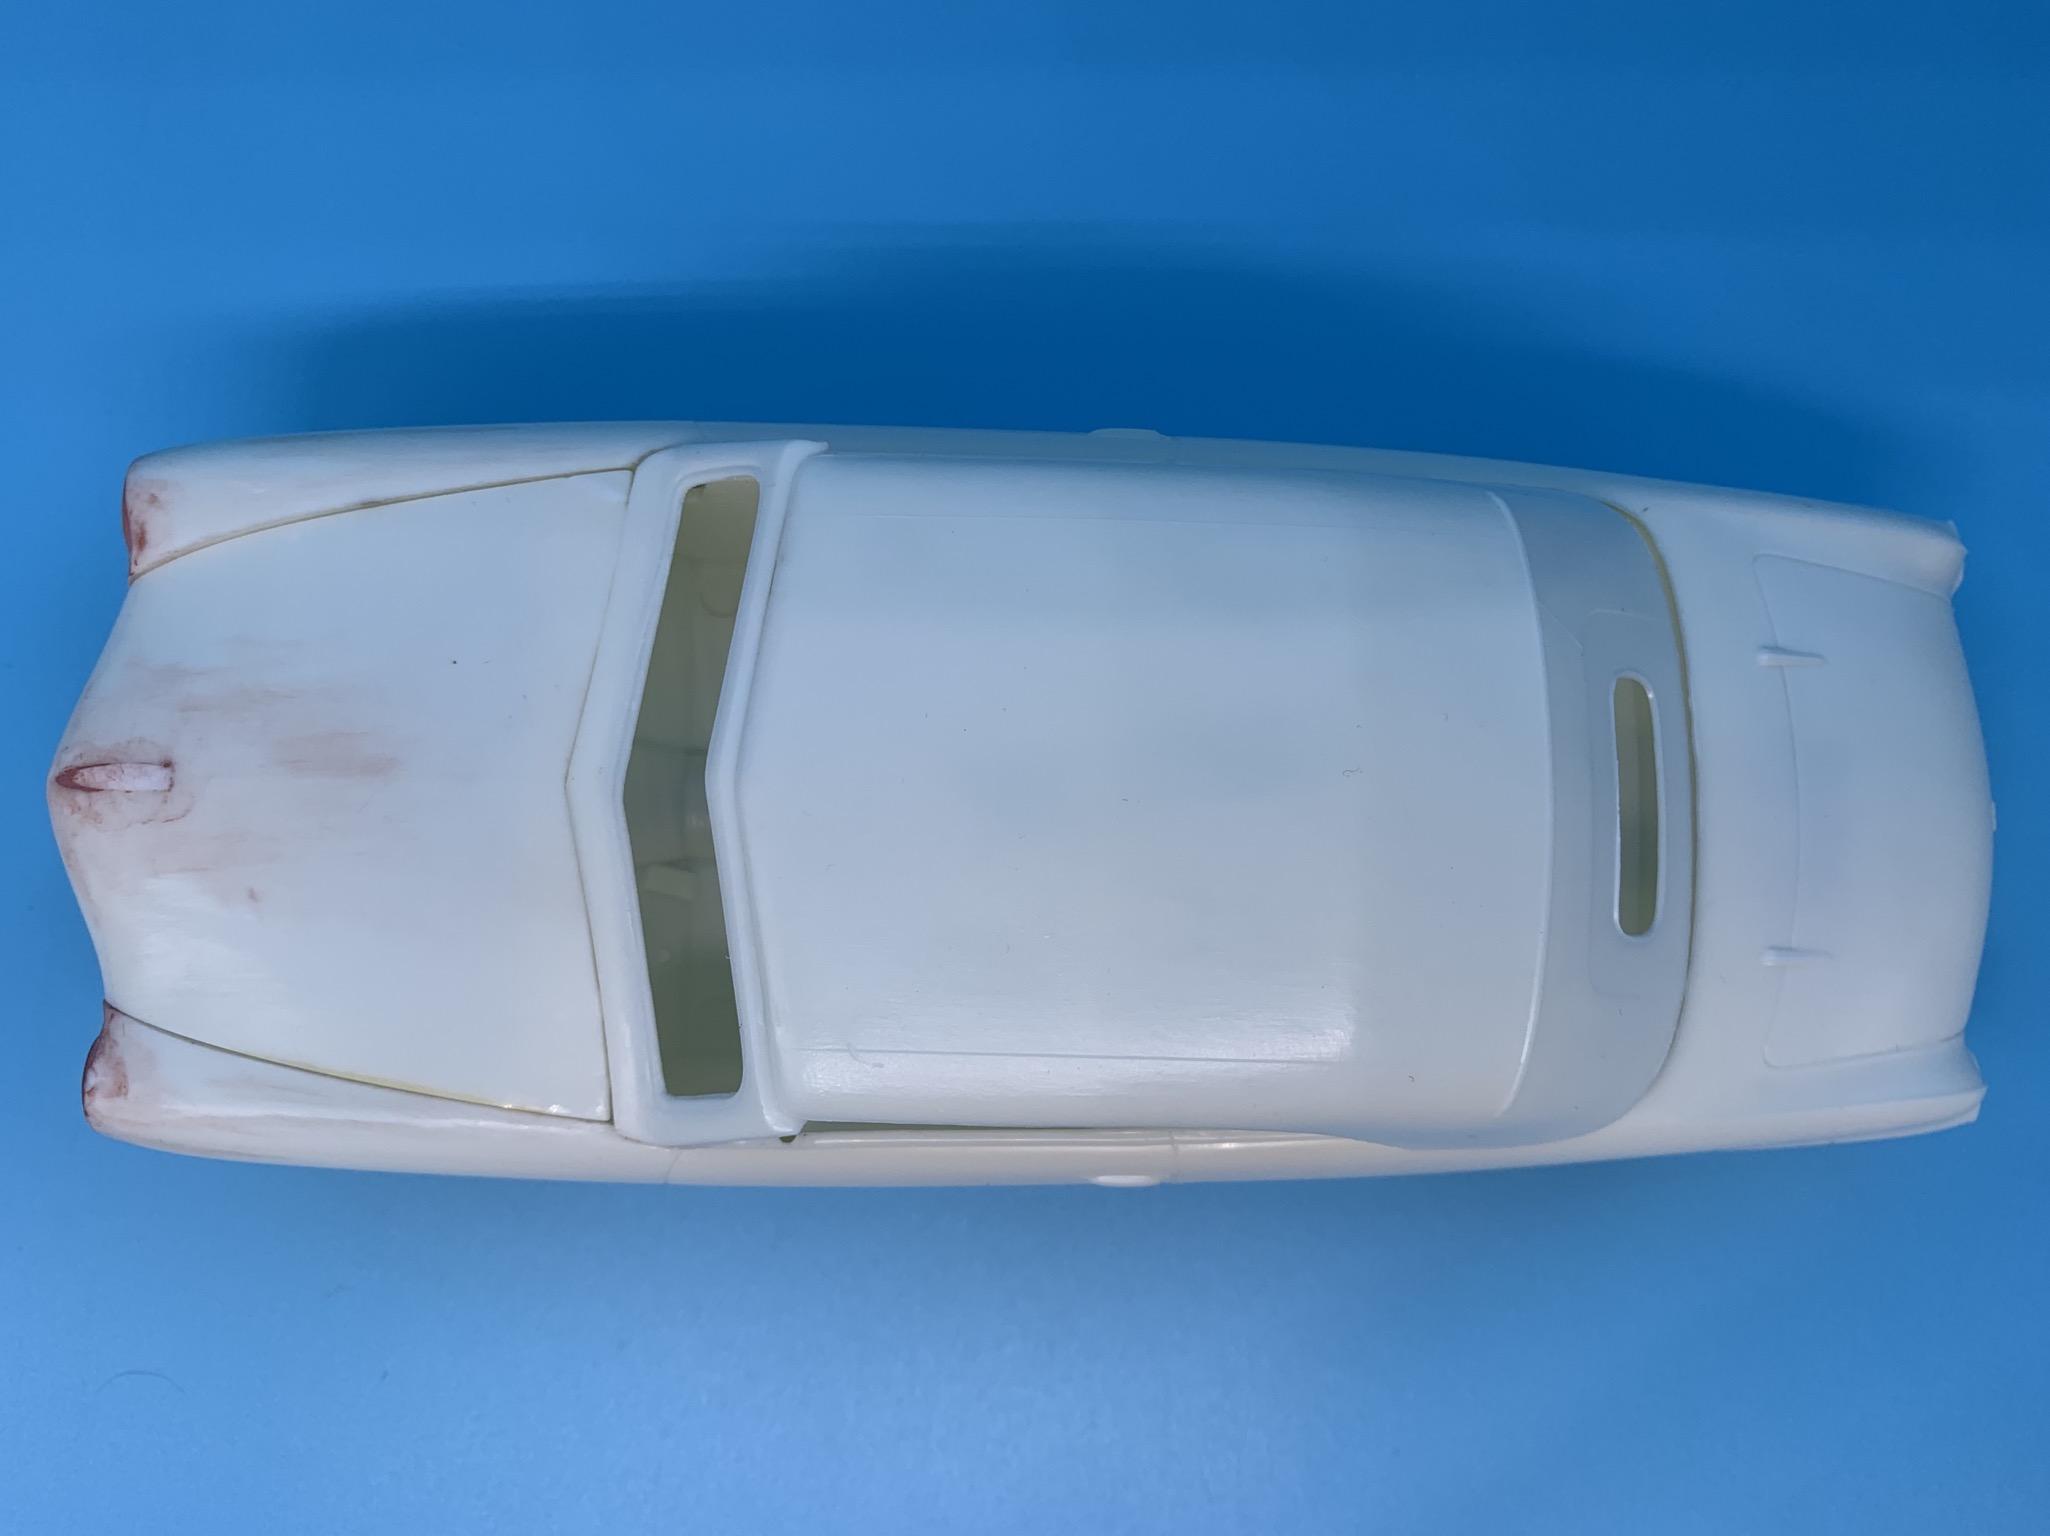
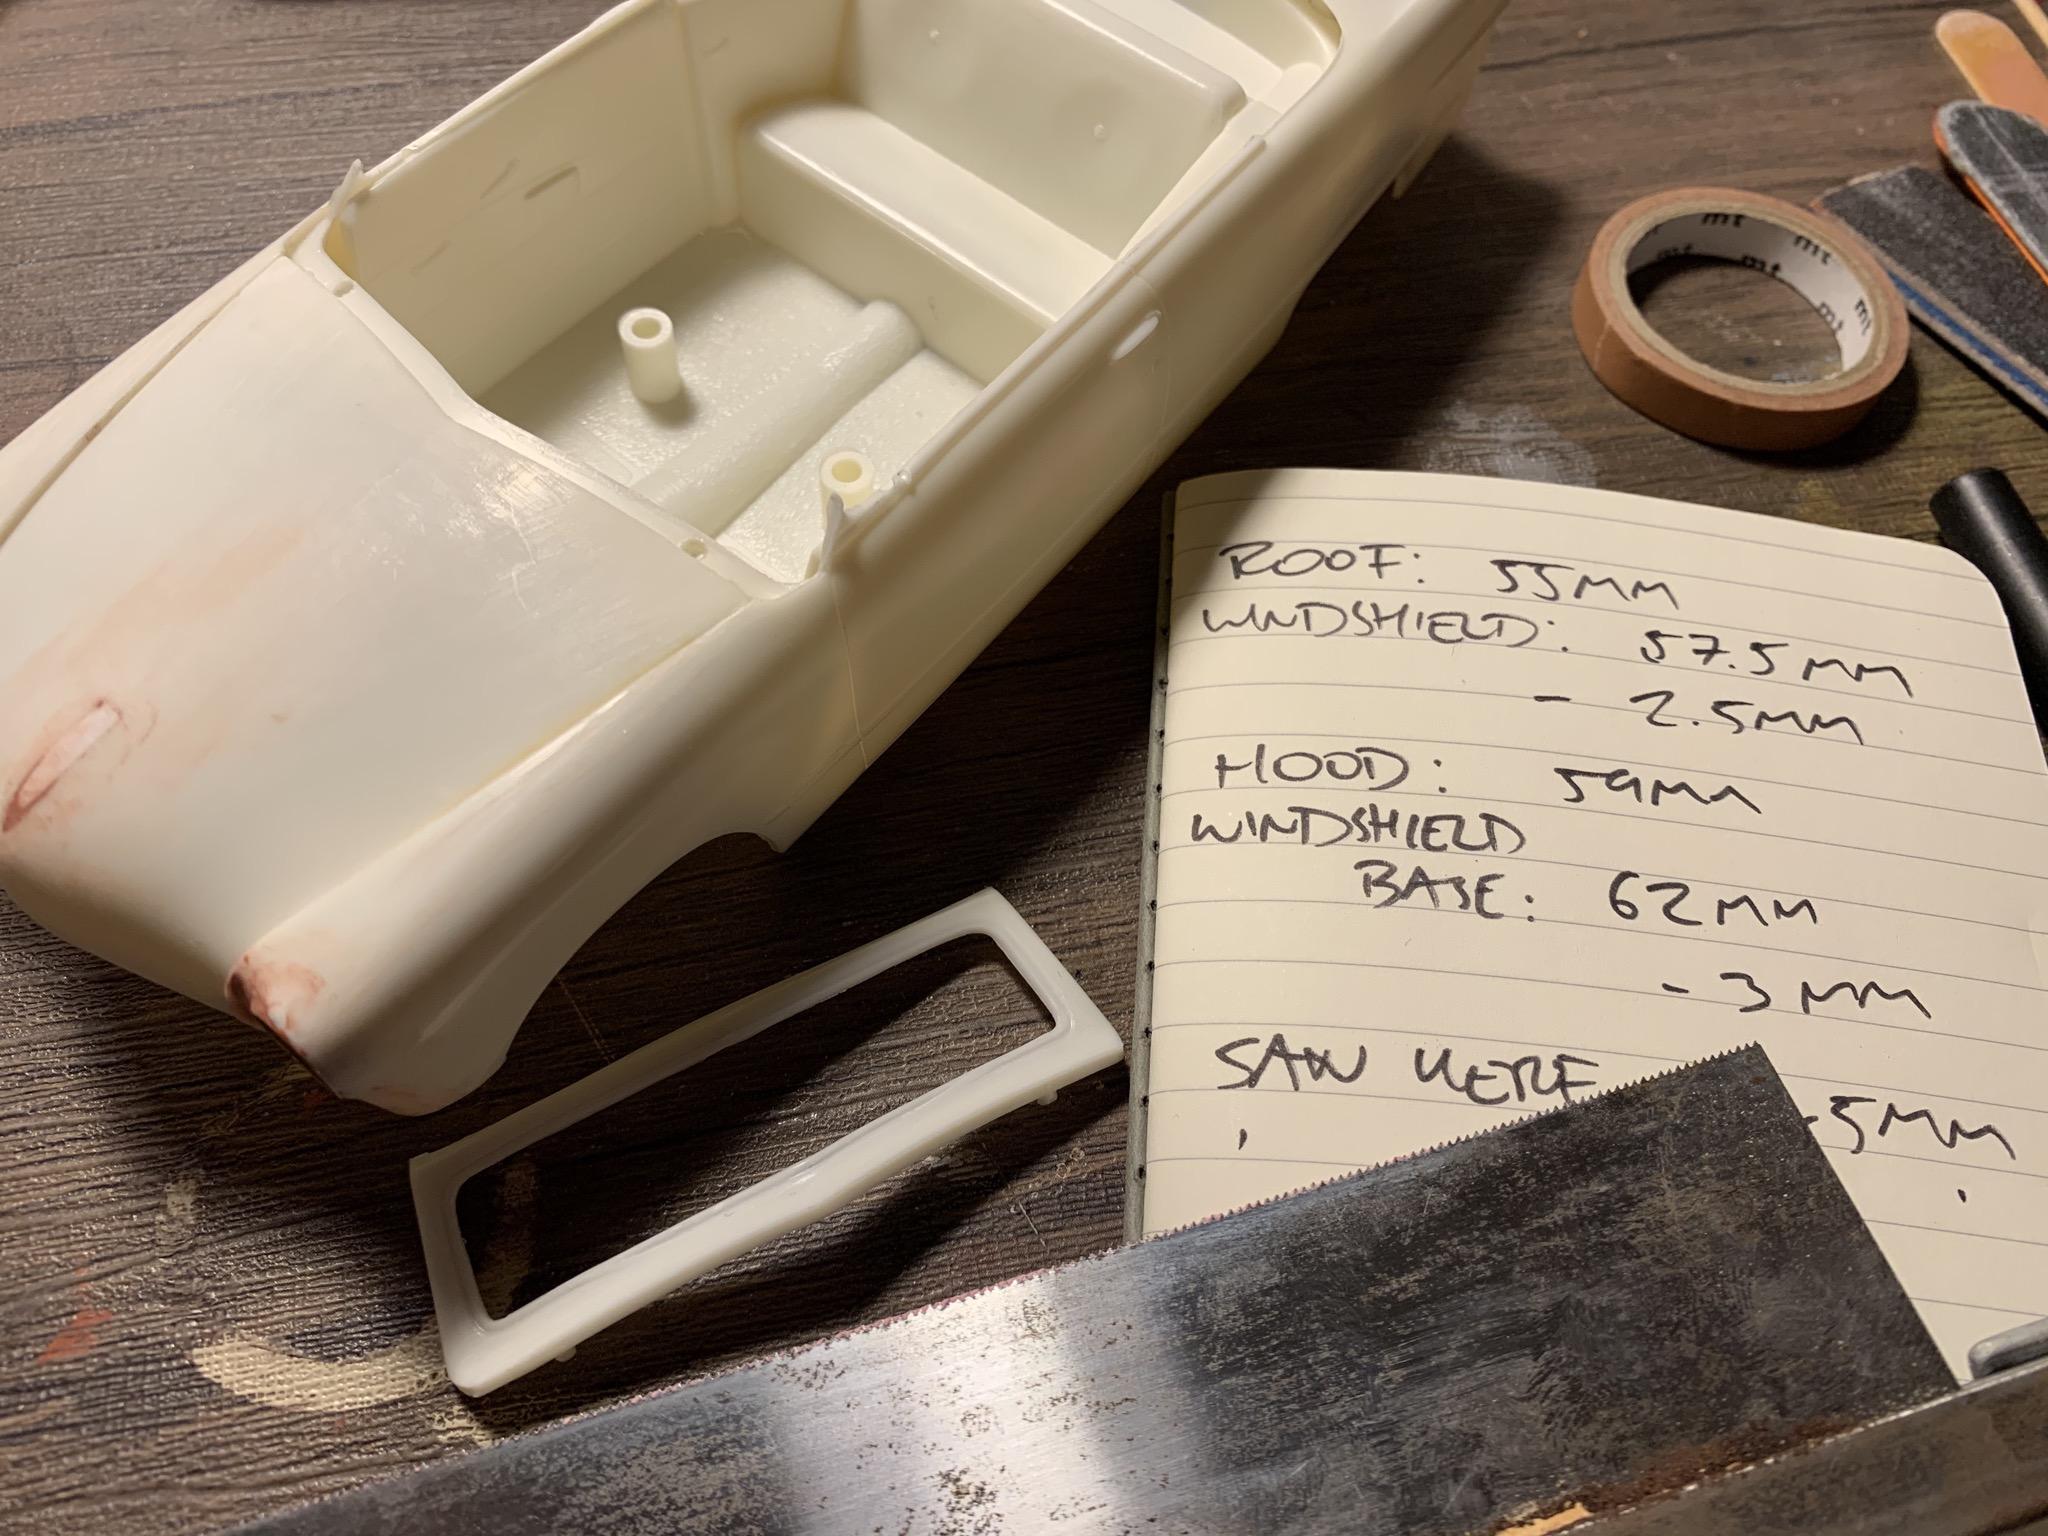
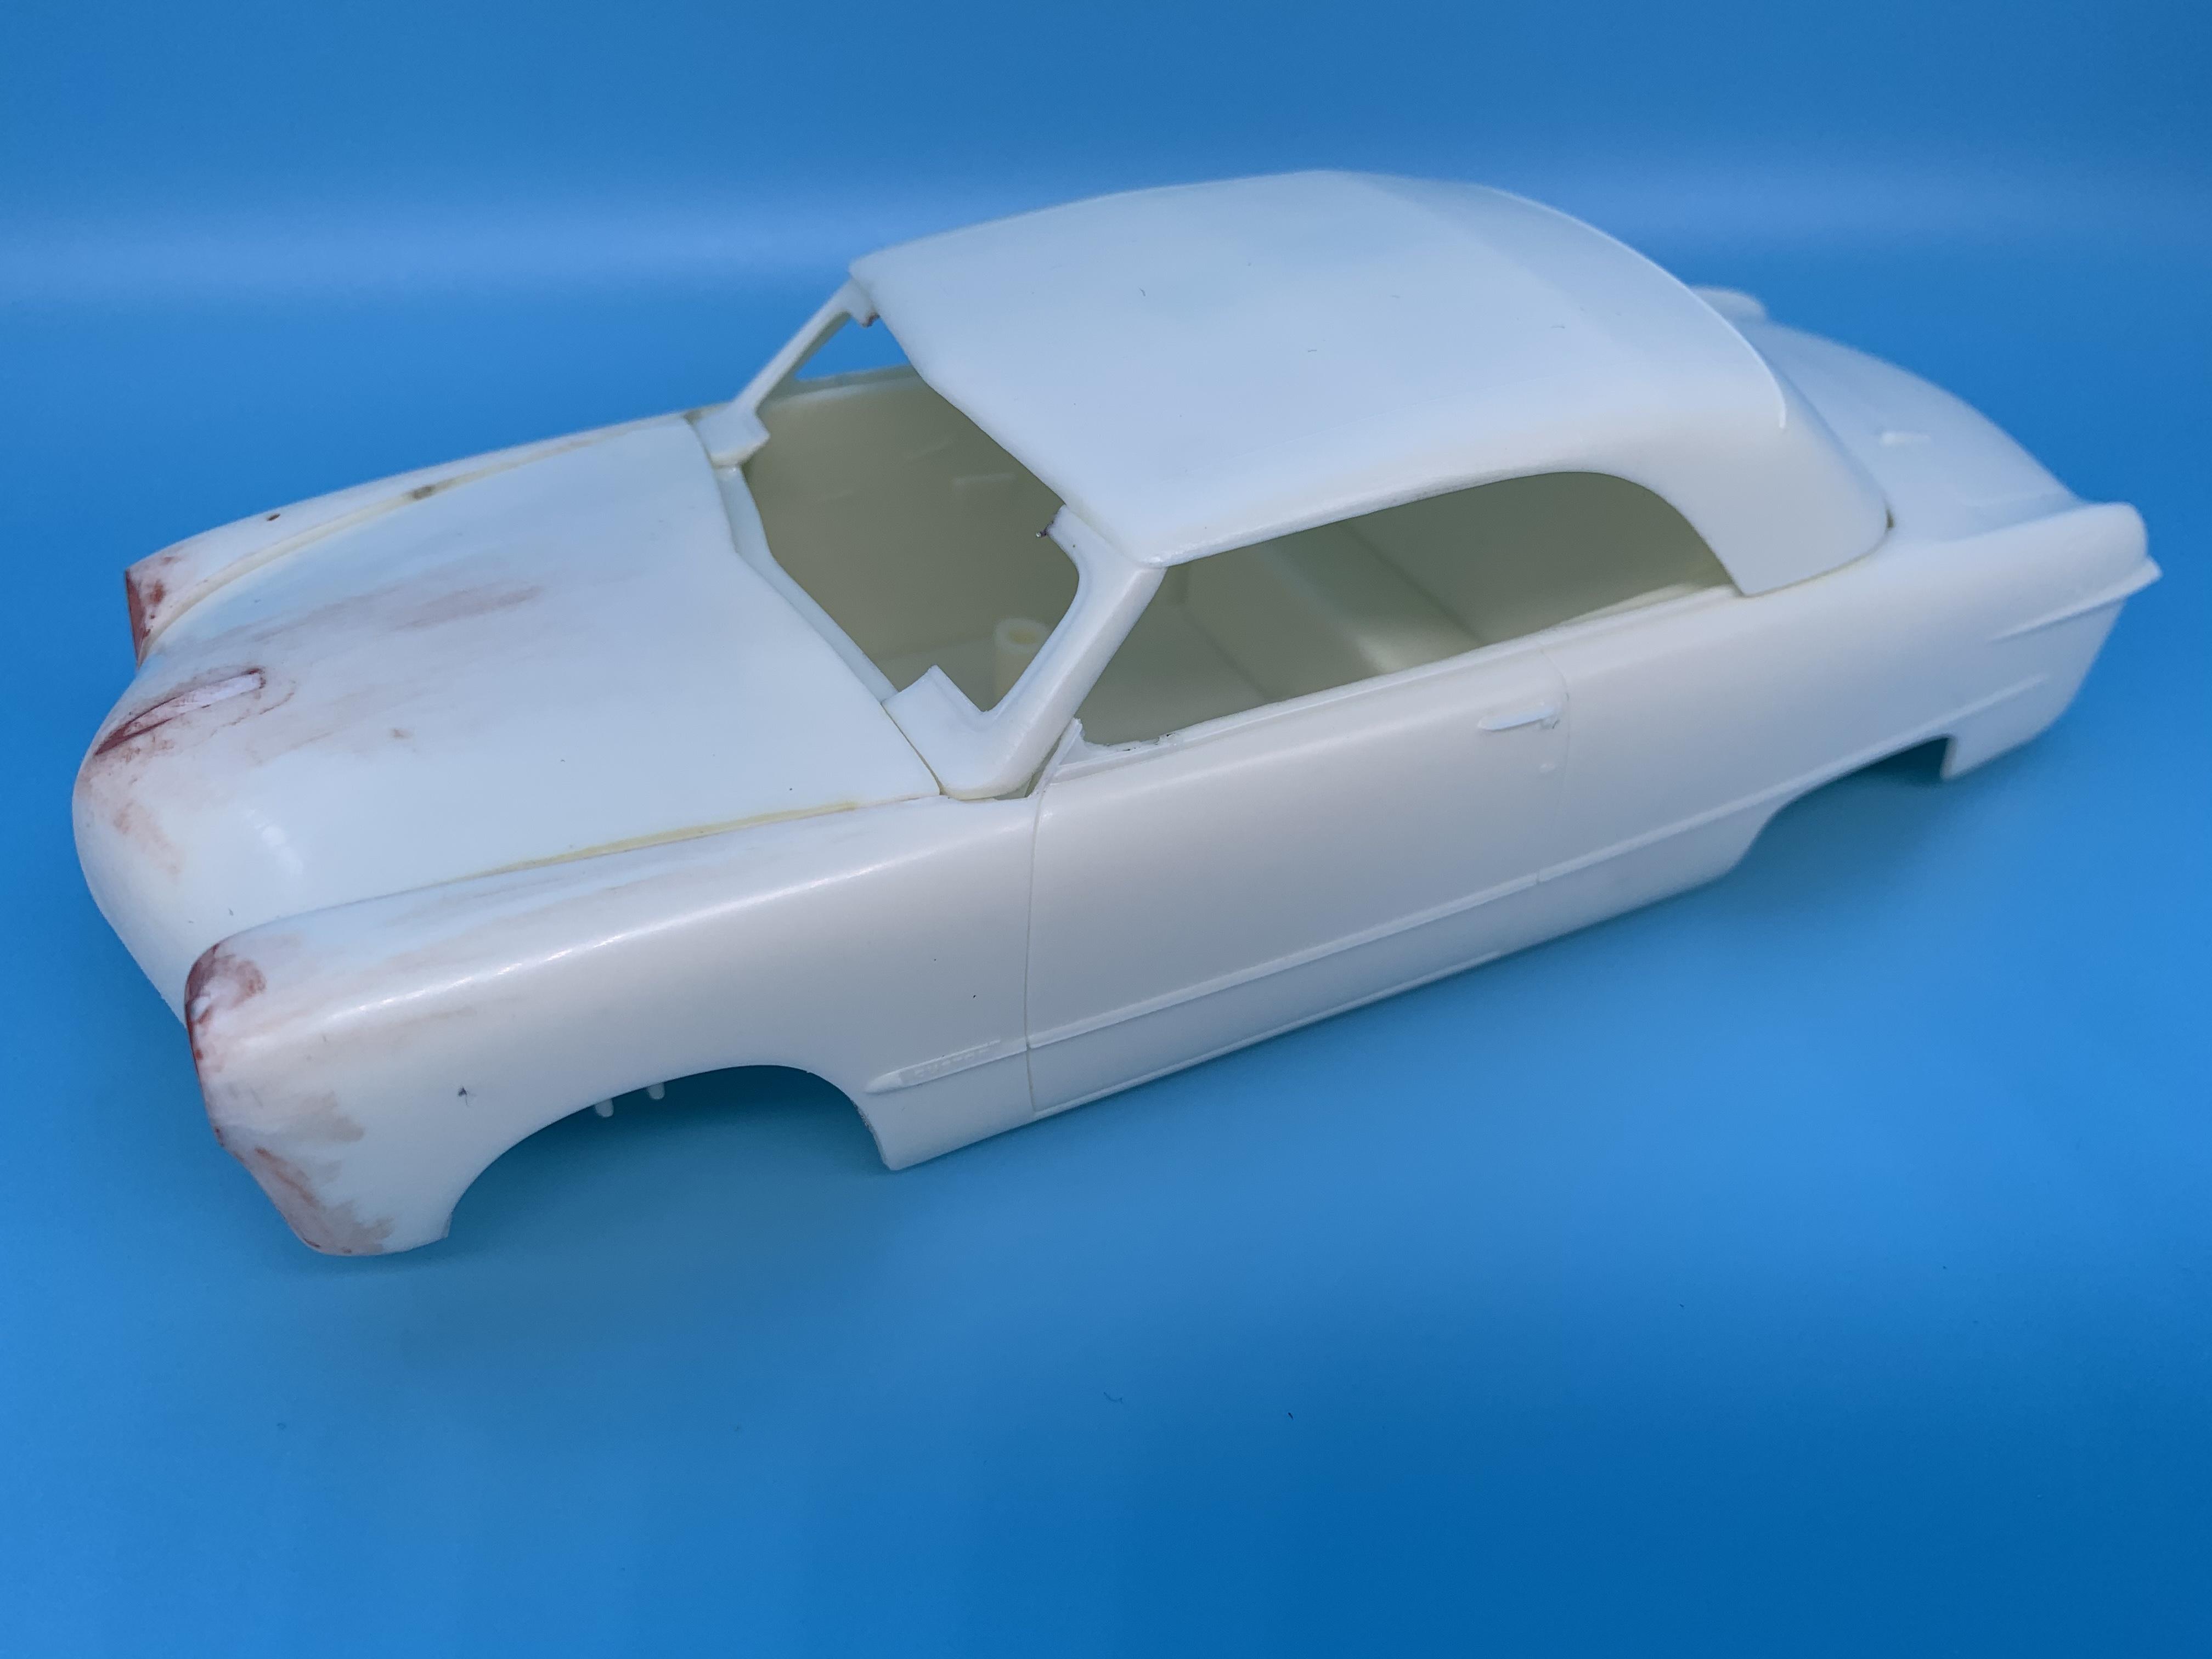
A little more (slow) progress on this one... After some time looking at the front end, I decided I wasn’t crazy about how the line of the hood intersected with the base of the windshield. As you can see from an overhead shot, the line gets broken where the hood meets the base of the pillar, and then the top of the pillar doesn’t meet the roof. I decided I’d narrow the windshield and fill the resulting gaps - the problem being that I needed to lose a different amount top and bottom to make it fit how I wanted. Some scale calculation later... I separated the windshield frame into four parts - left pillar, right pillar, upper center and lower center, and then repositioned the pillars inward of their original location by a scale 1.5 inches: Then, with the top corners angled in to meet the roof, I resized the center pieces to fit: You can see in the pics above that I’ve used a little styrene bar to help fill the resulting gaps on the edge of the windshield where it meets the fender and the door - I try and use as little Bondo as possible (despite appearances ??♂️) to reduce the risk of it shrinking over time. LOTS more cleanup to do, and we’ve got a lot more to do on the body, but another part roughed-in far enough that I can move forward with an idea of how the finished product will look. More soon, soon as I’ve done more!