OldNYJim
-
Posts
250 -
Joined
-
Last visited
Content Type
Profiles
Forums
Events
Gallery
Everything posted by OldNYJim
-
Looks like these will be around the $25-a-piece mark from the couple of places listing them for pre-order, for anyone else who’d been wondering
-
Amazing - I wasn’t sure of the rough schedules that they run on, so your knowledge is appreciated! Thanks Tim!
-
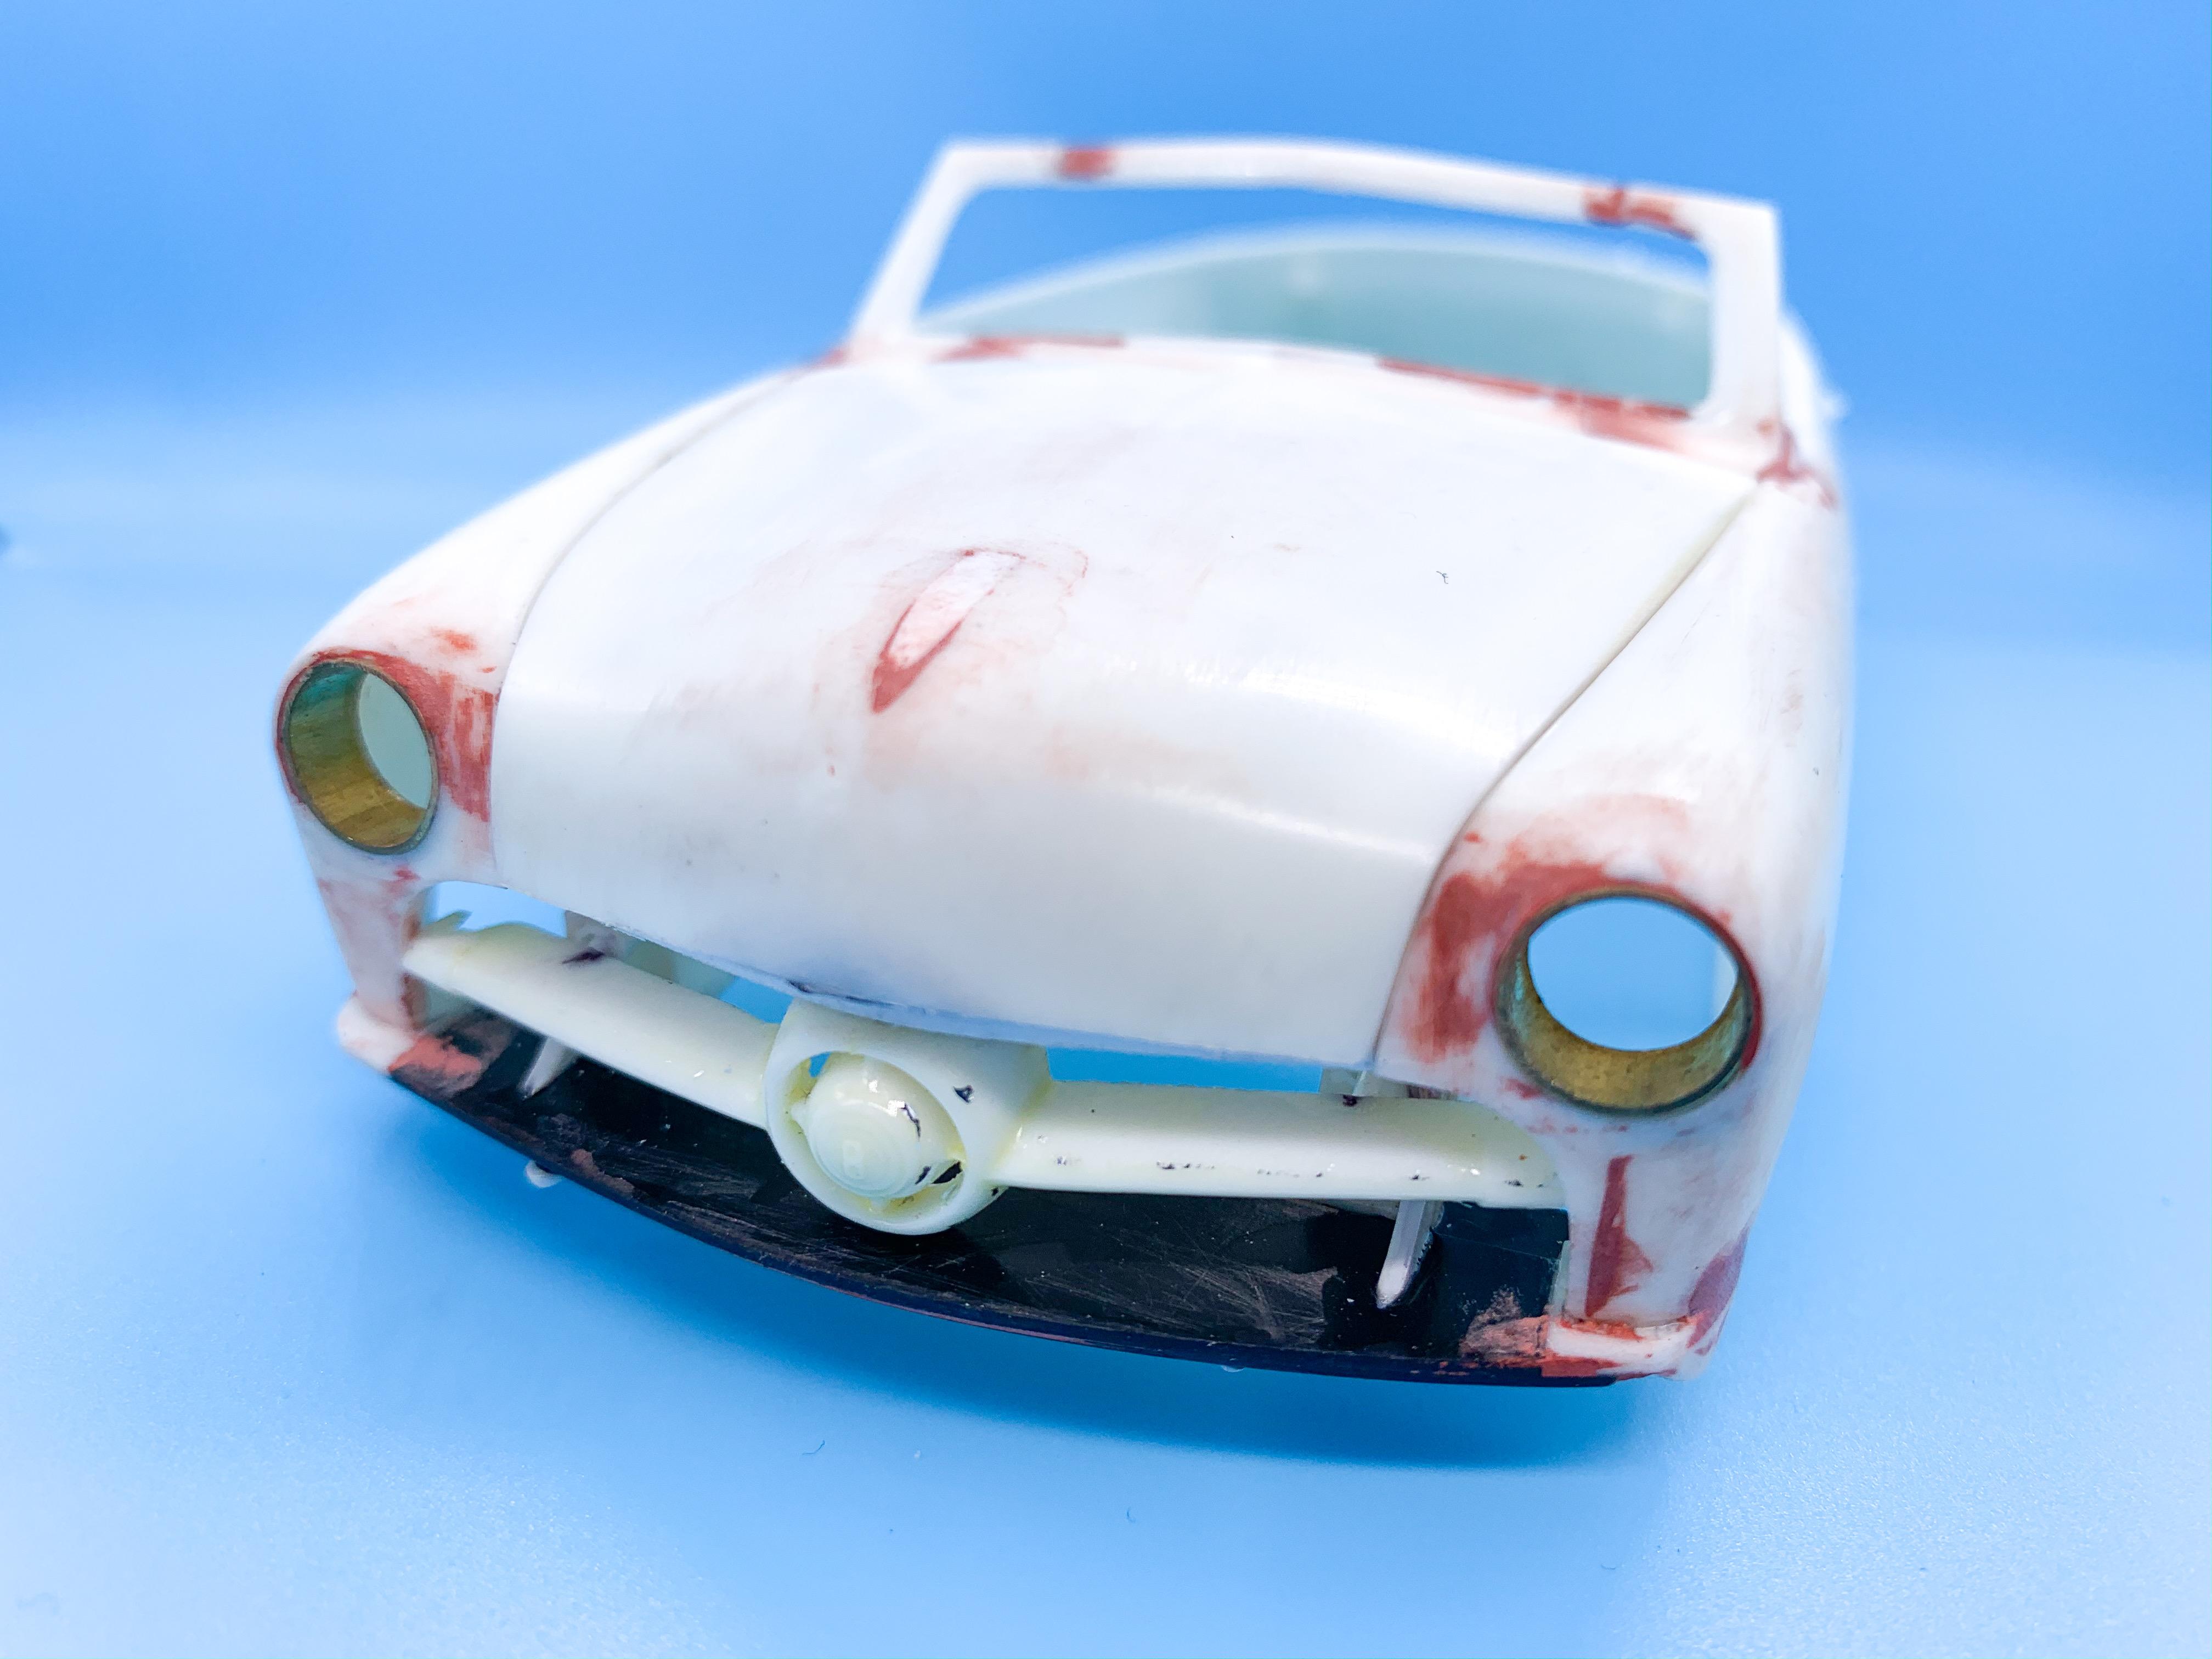
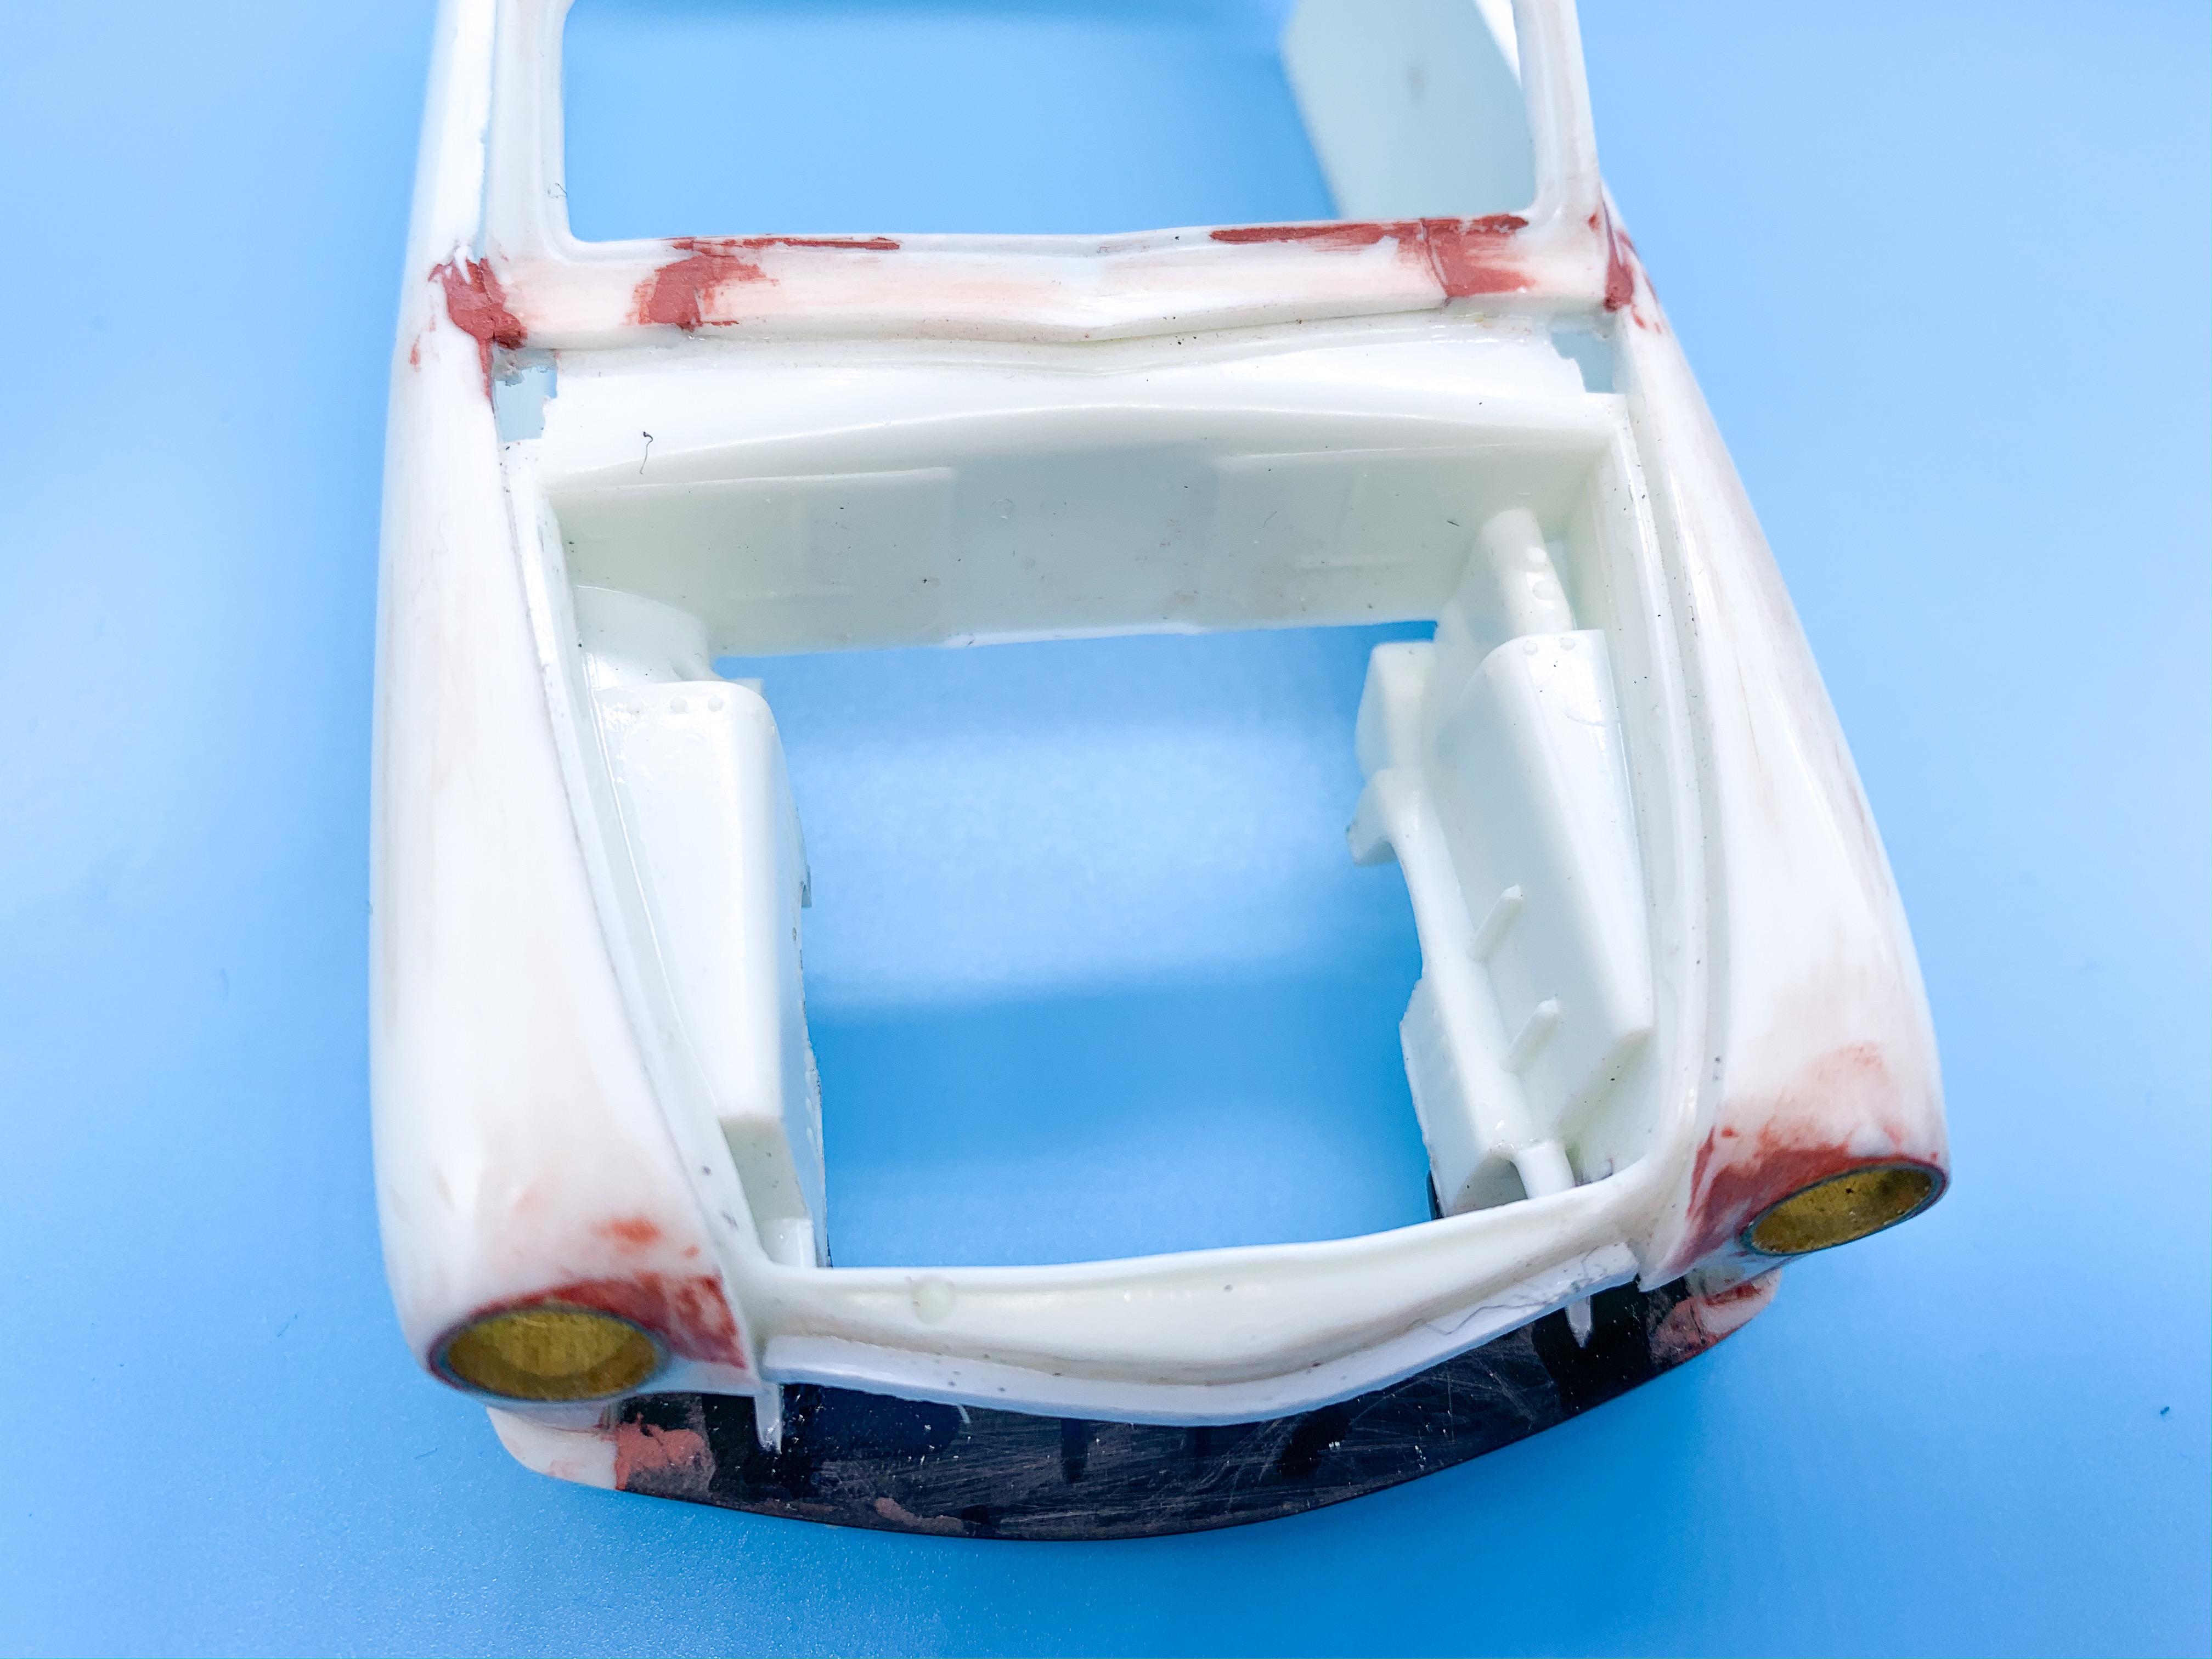
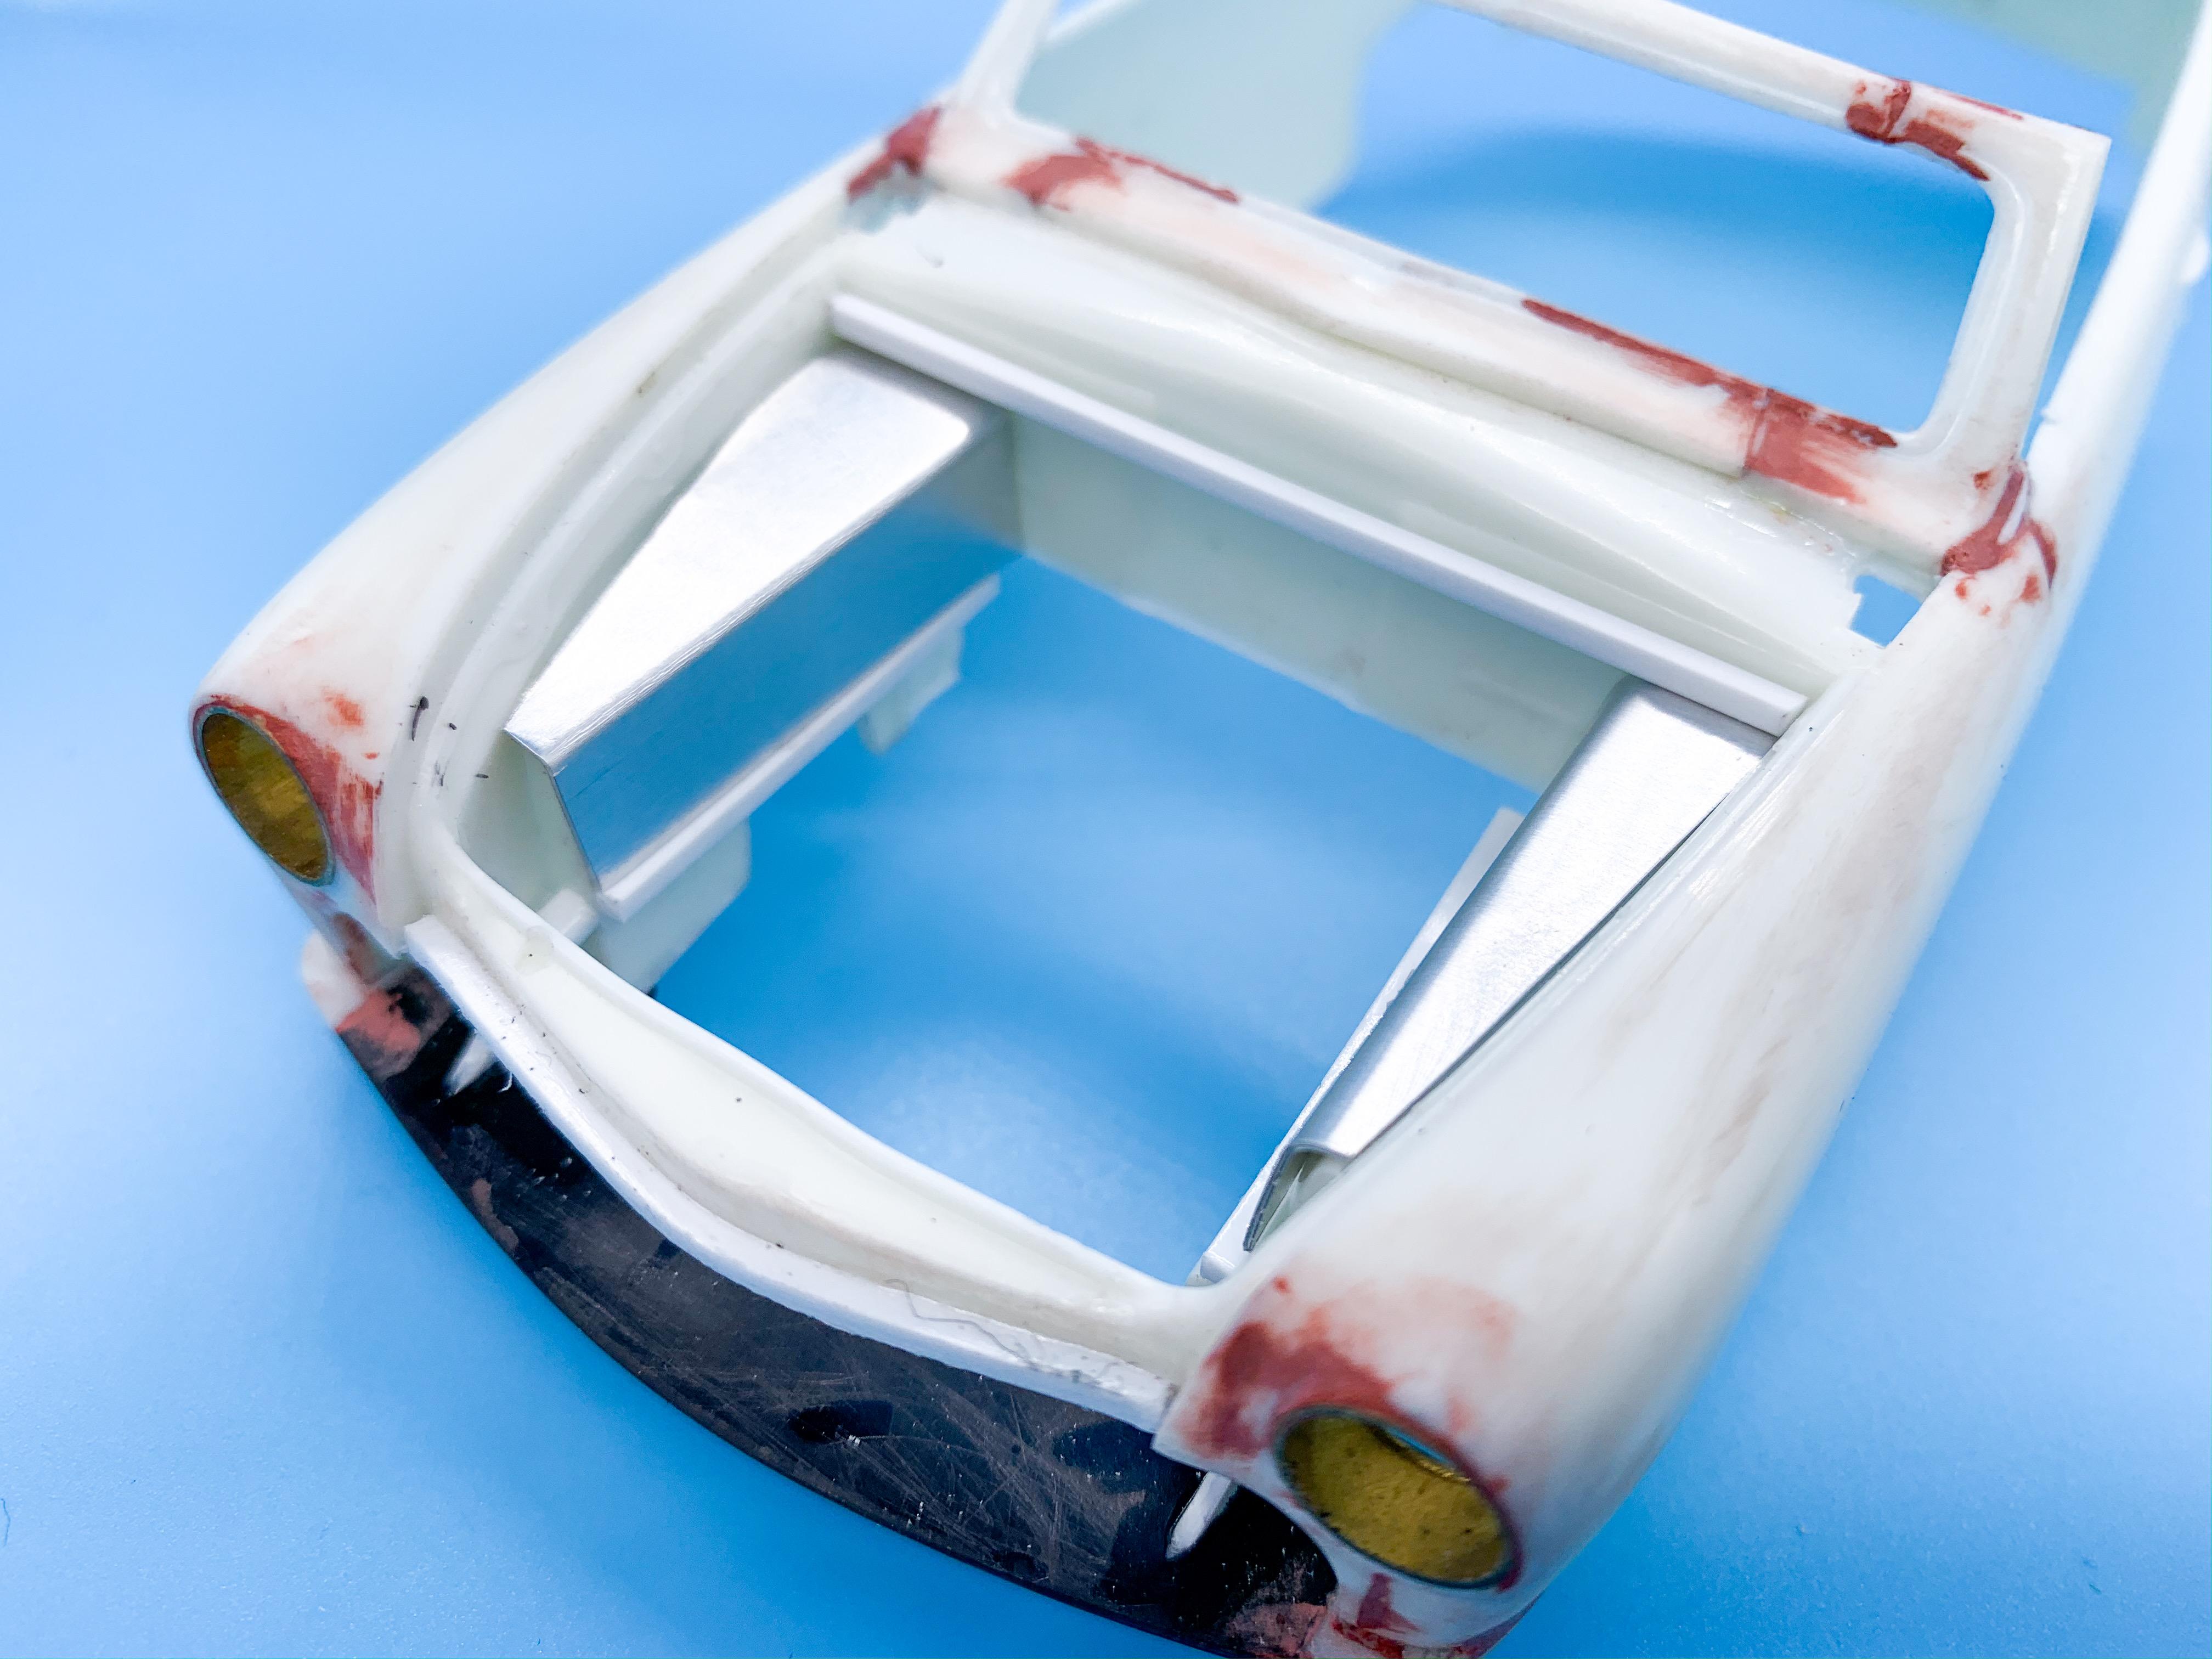
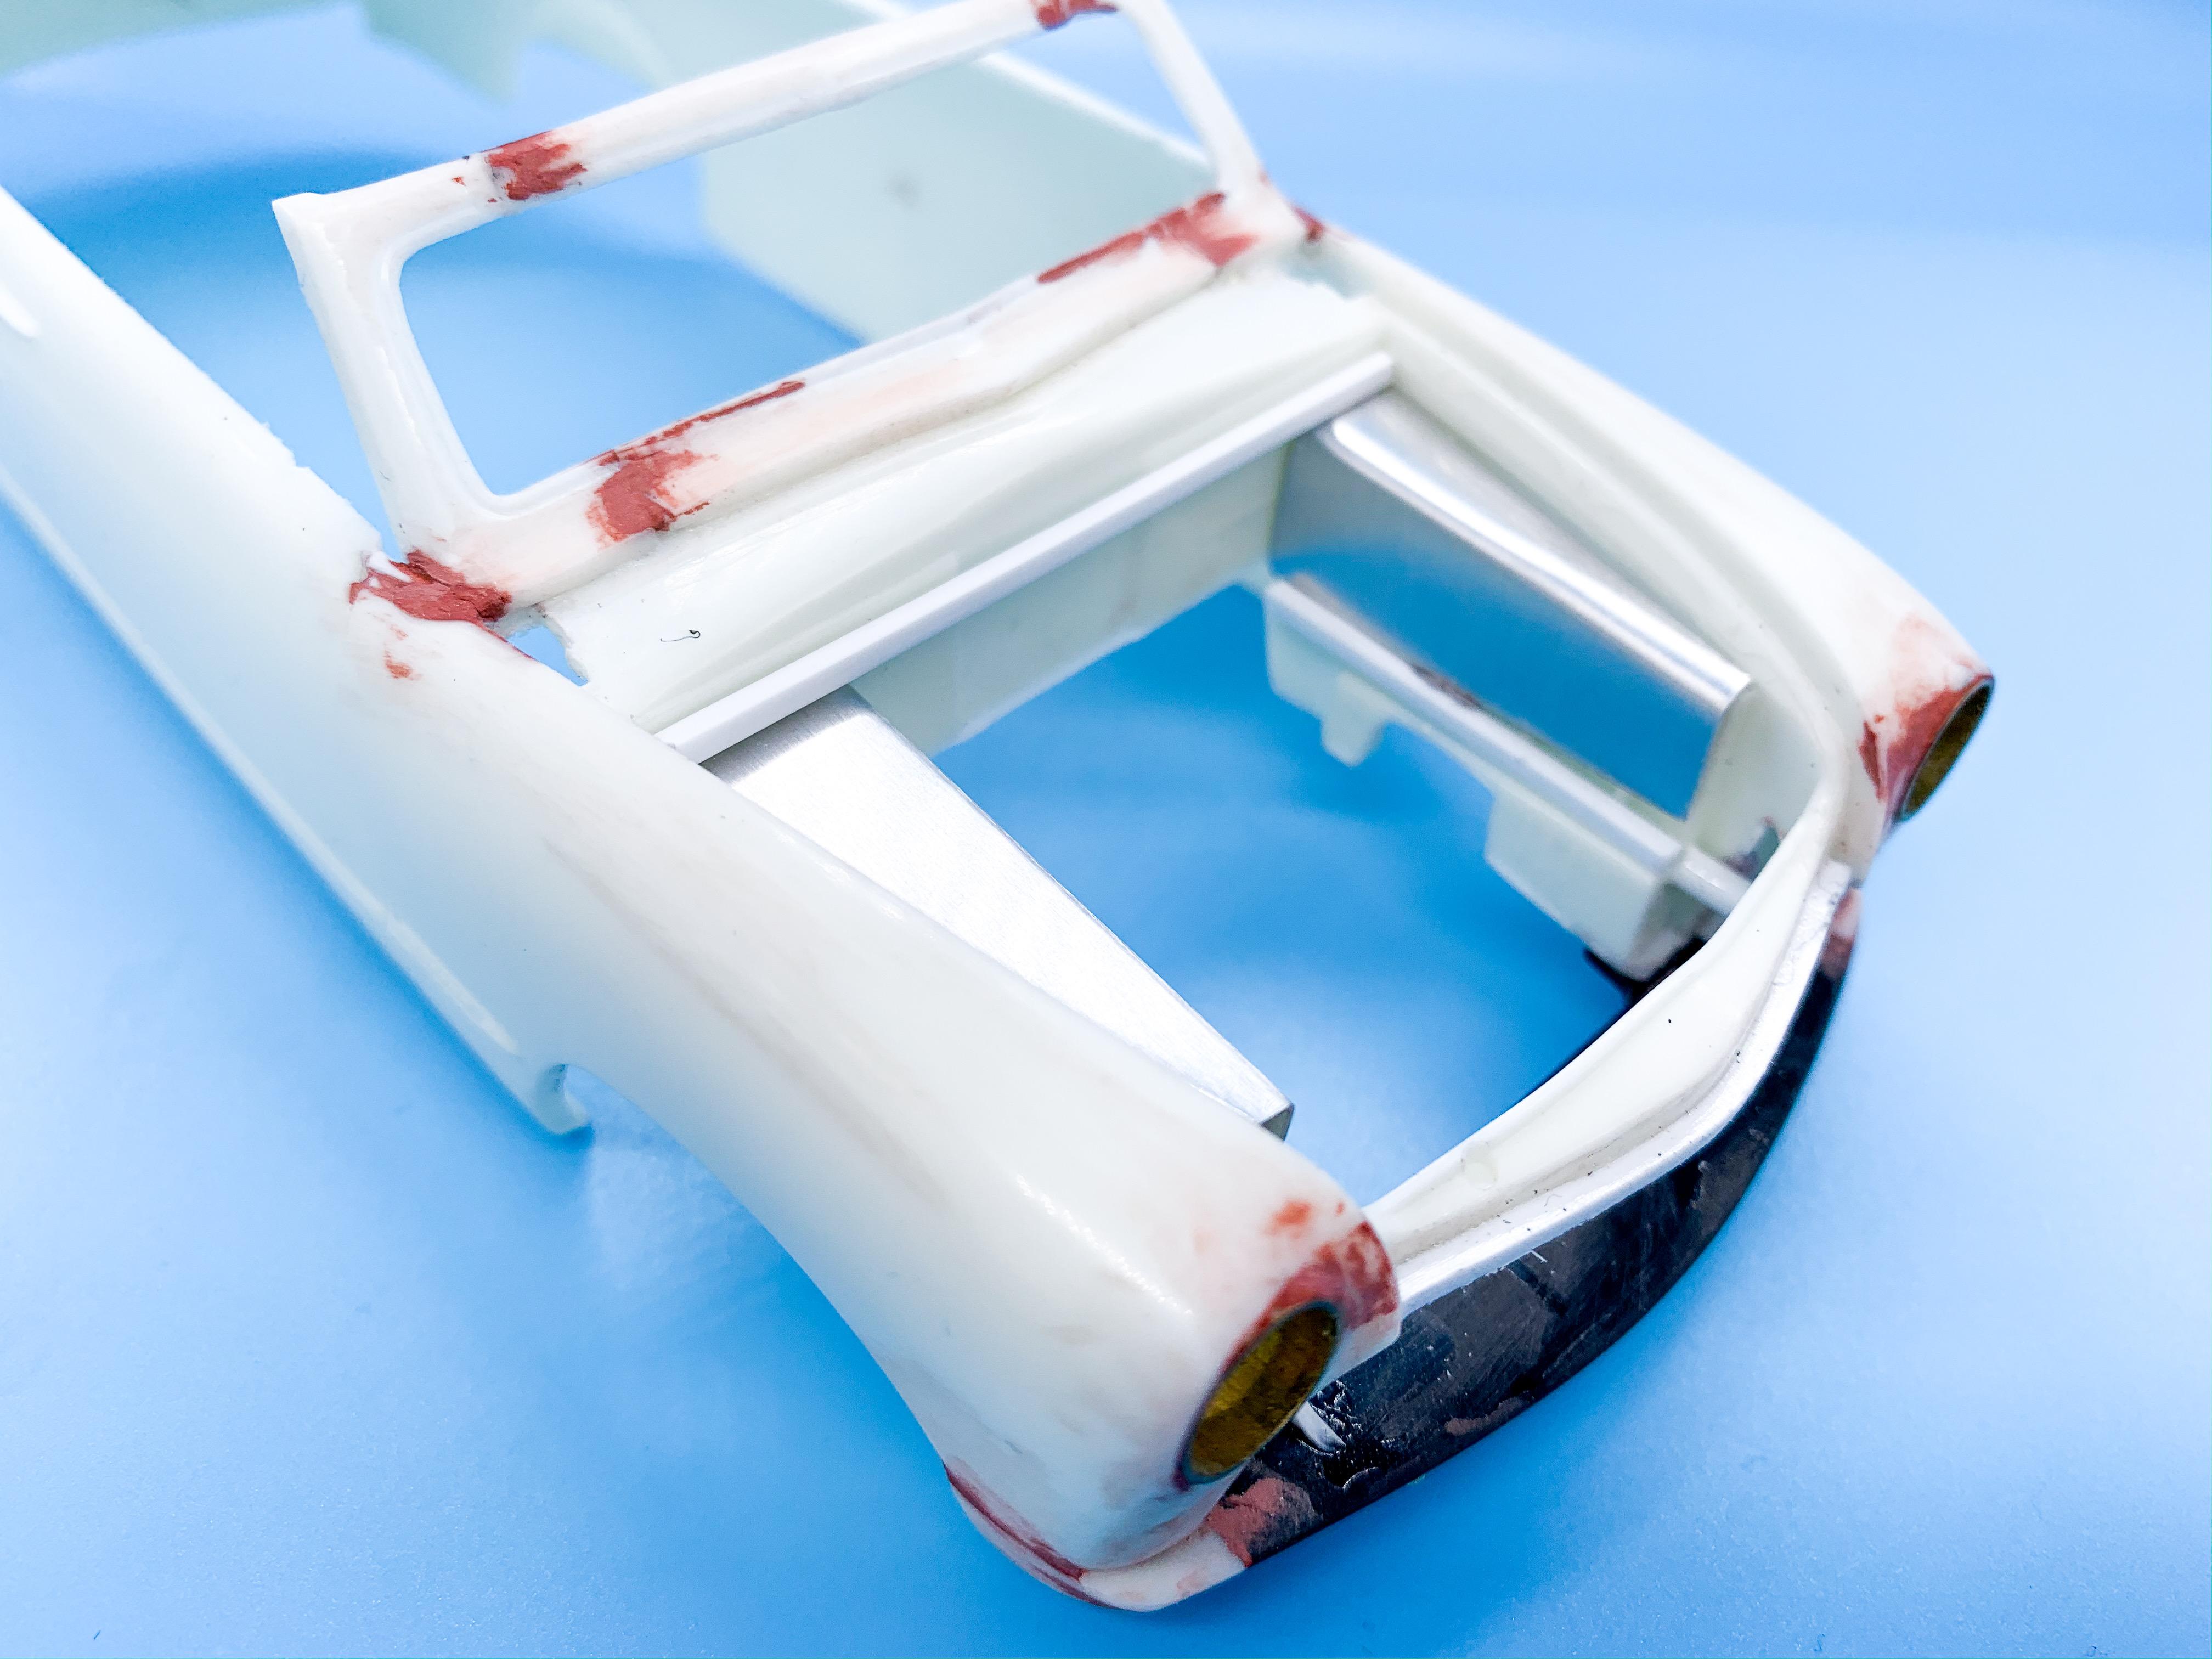
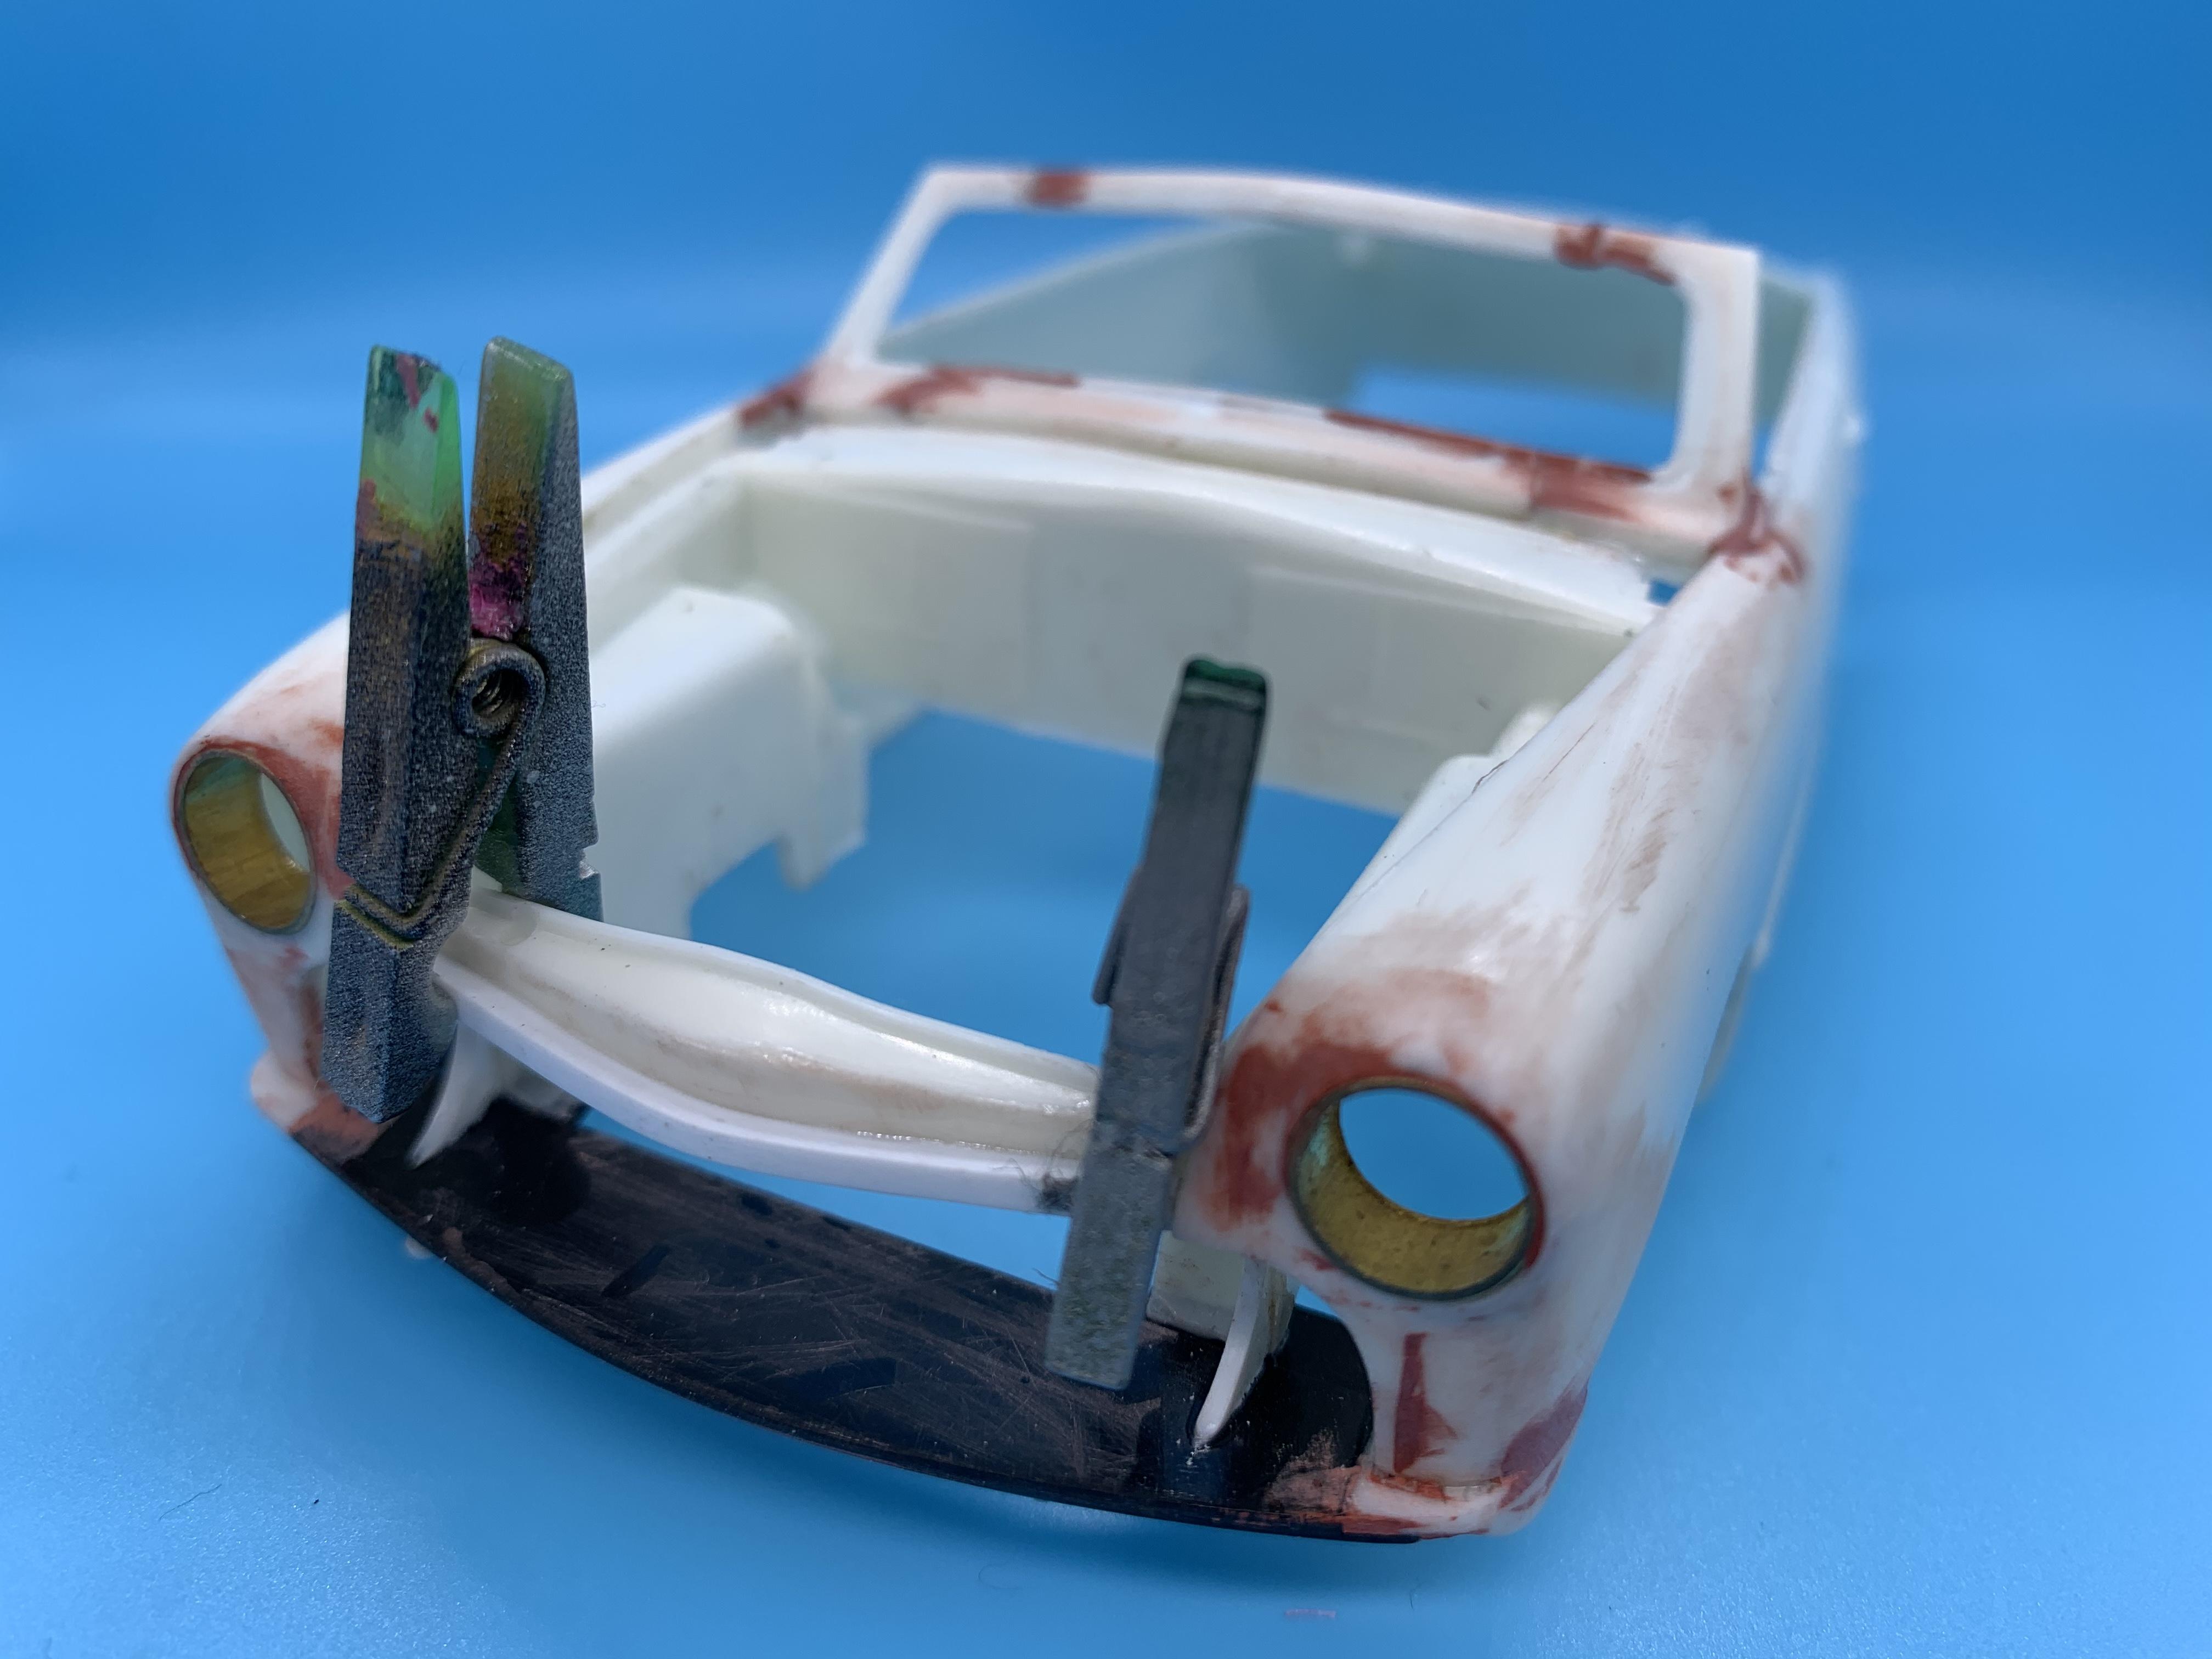
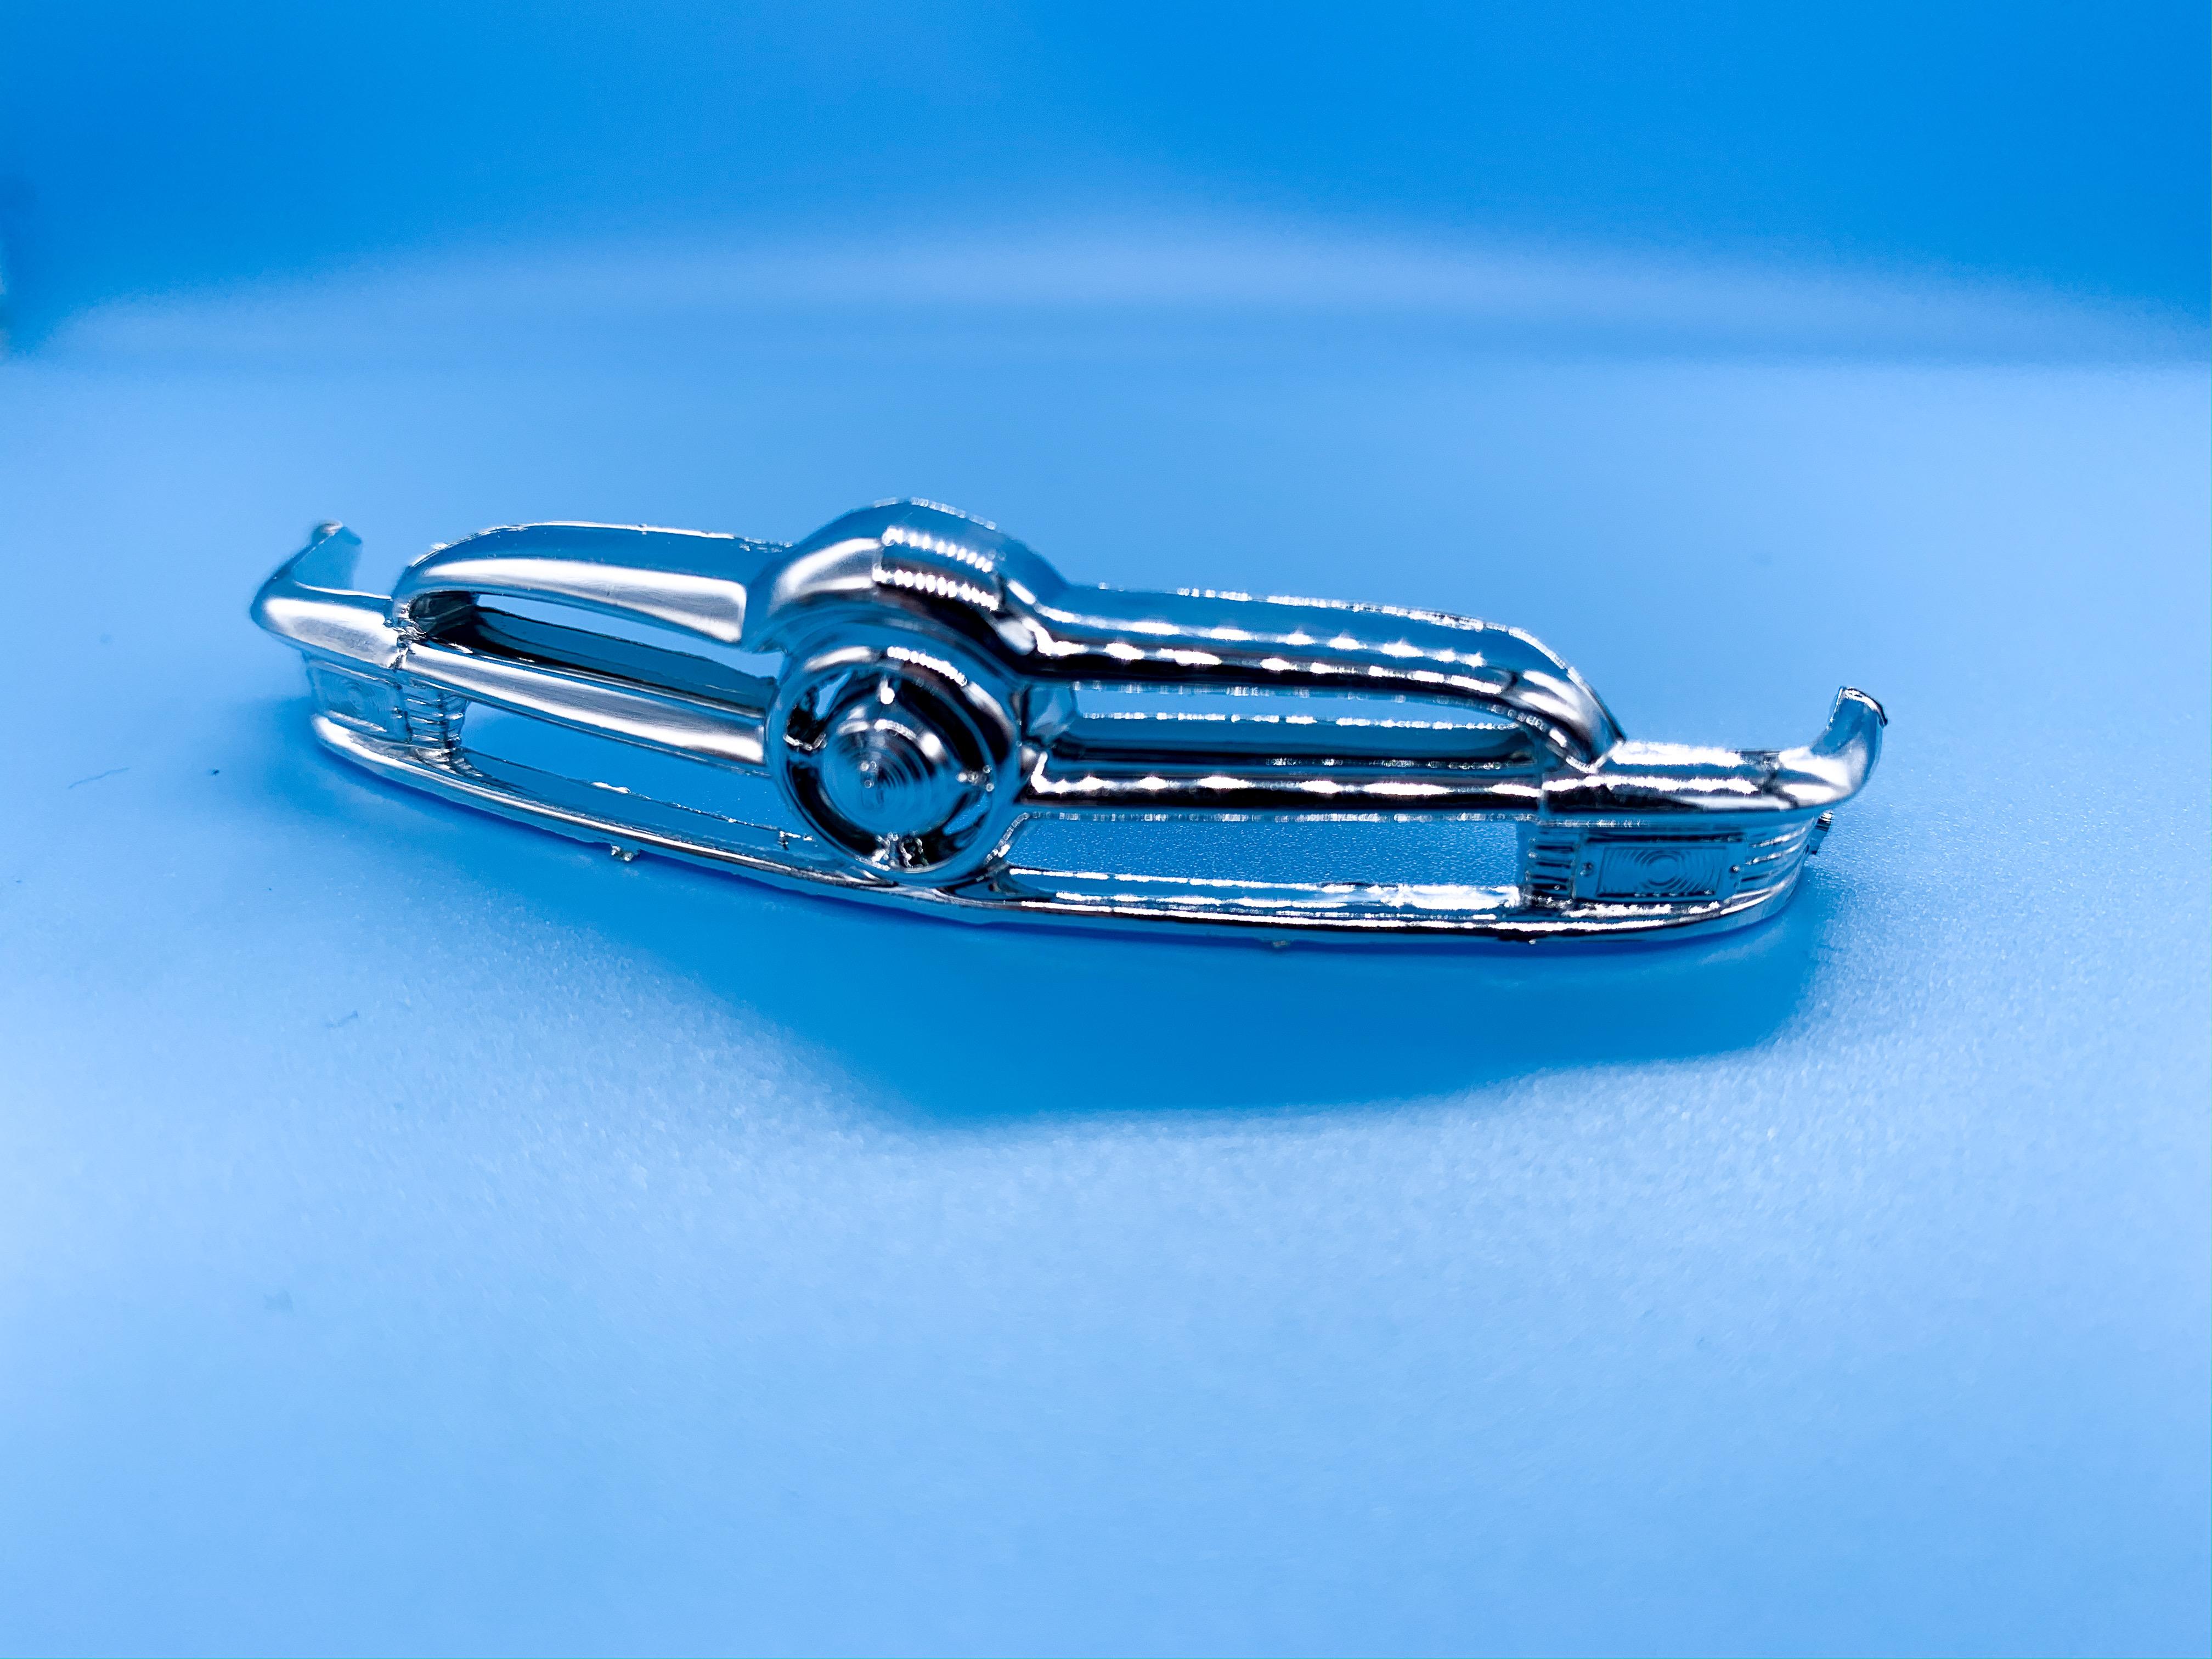
Speaking of the grill, I removed the top and bottom bars and recessed it inside the opening - I wanted to keep that big center bullet but simplify the design to fit the theme I’m doing with here: Ive really gotta put some primer on this thing, it’s driving me nuts seeing all those different colors ? Continuing backwards, I wanted to clean up these inner arches: I wanted to retain the general shape of them but have them extend to meet the firewall and cover some of those lumps and bumps and whatever that hose is on the drivers side there (fresh air intake?), so I used some K & S aluminum sheet to make some pieces to level all that out: I’m not sure if they’ll be painted or polished yet...can’t quite decide! I think the next thing to tackle is a matching firewall too, and then I can get the radiator in there and blend THAT into these arches. More soon!

-
Wow! That’s really different! Very imaginative!
-
Good tip! Thank you! I actually had an idea on how to modify the stock one...removed the top and bottom bars and attached it to the radiator support with some hidden locating pins to make it look like it’s floating (kinda)...just messing with it now - I’ll post pics in a sec here!
-

Ol'School Rod - '30 Ford Model A Coupe
OldNYJim replied to carsntrucks4you's topic in WIP: Model Cars
Oh wow, that looks killer! Is it going to stay in primer or do you have a body color in mind? The extra detail that you’ve added makes a big difference! -
Did a search but didn’t find a topic specifically about this... Im building a 60s (ish) Shoebox Ford from an AMT kit and I’d like to add some nicely detailed windshield wipers...anyone got any suggestions of any kits (or aftermarket sources) where I can find some nice ones? Thanks in advance!
-
This build is one of my favorites on the site right now - so clean and nicely detailed! Keep up with the updates! ???
-
As another showrod guy, me too! Long live Round 2! I’m excited to see what the ‘gone forever’ kits are!
-
Any Coke decals? ?? Jokes aside, I’ll be picking one up - I’m glad to see any of these rod kits get reissued!
-
⬆️ That’s a cool looking build! I like it!
-
Ol'School Rod - '30 Ford Model A Coupe
OldNYJim replied to carsntrucks4you's topic in WIP: Model Cars
What a GREAT start! I’ll be following! -
I’m excited to see it in color! Bring it on!
-
Thanks so much Tim! Can’t wait to get my hands on these! How soon is soon? ??
-
OUTSTANDING!
-
Got mine today! Thanks Tom! ?
-
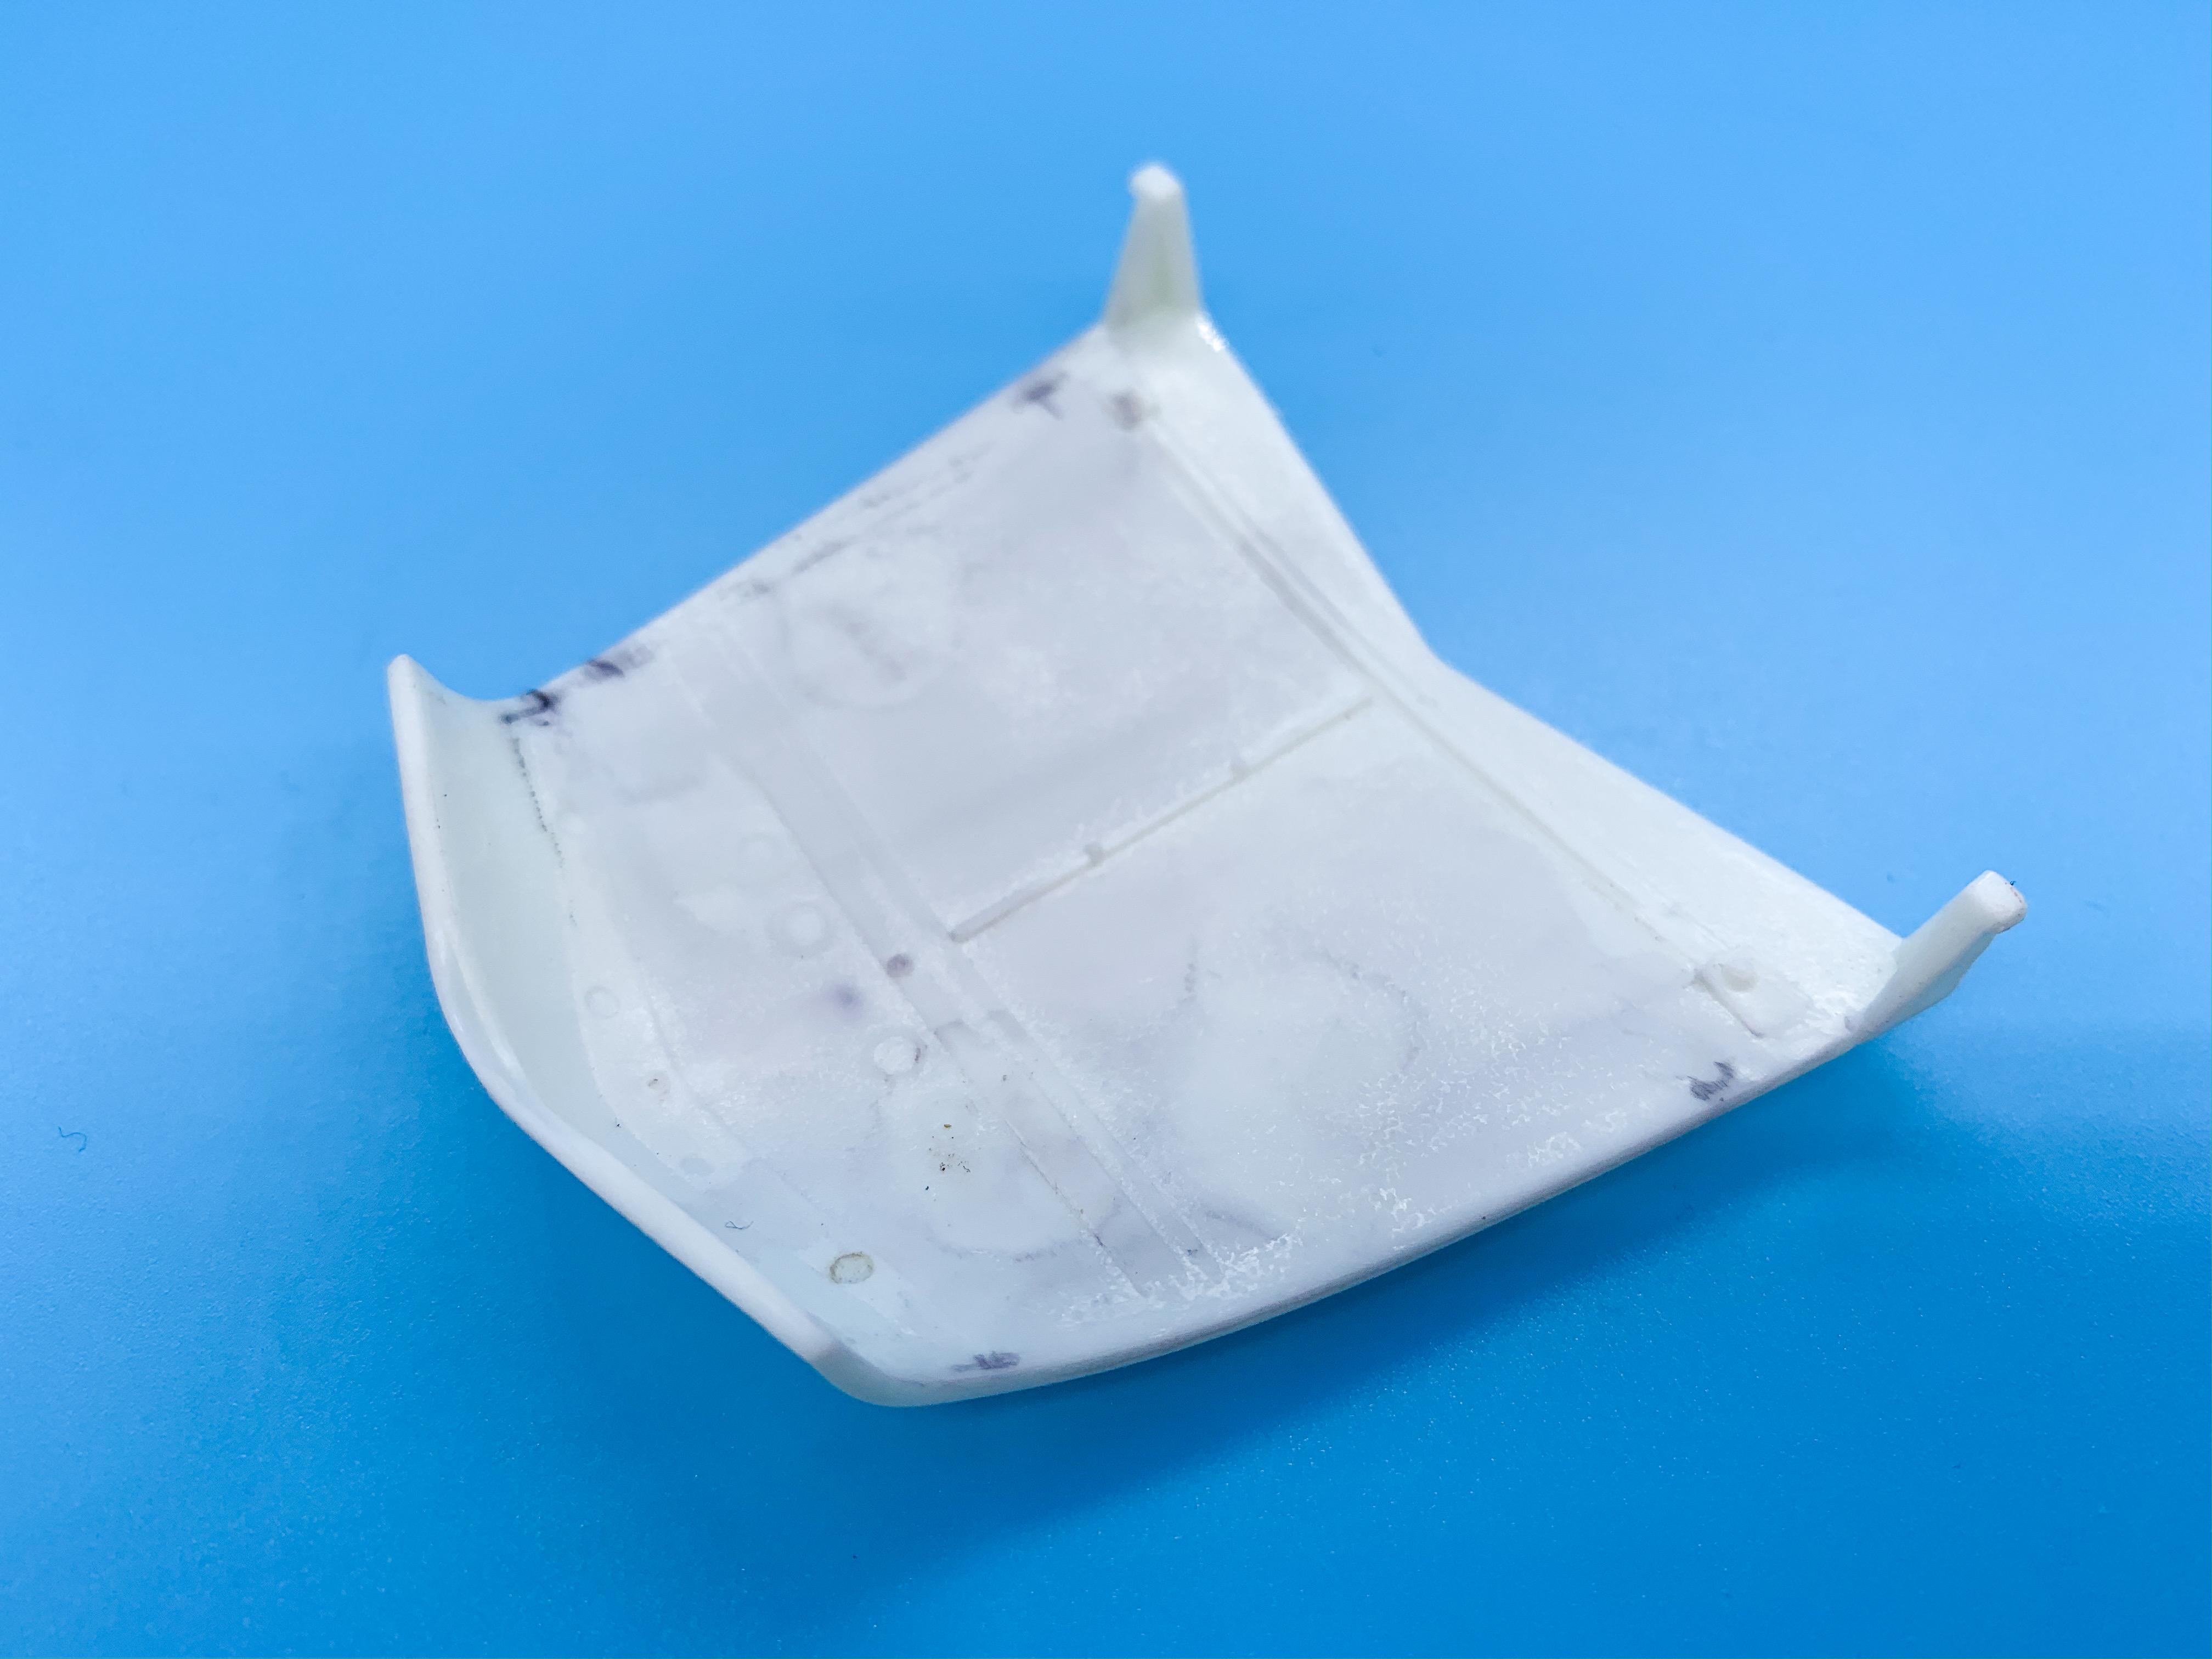
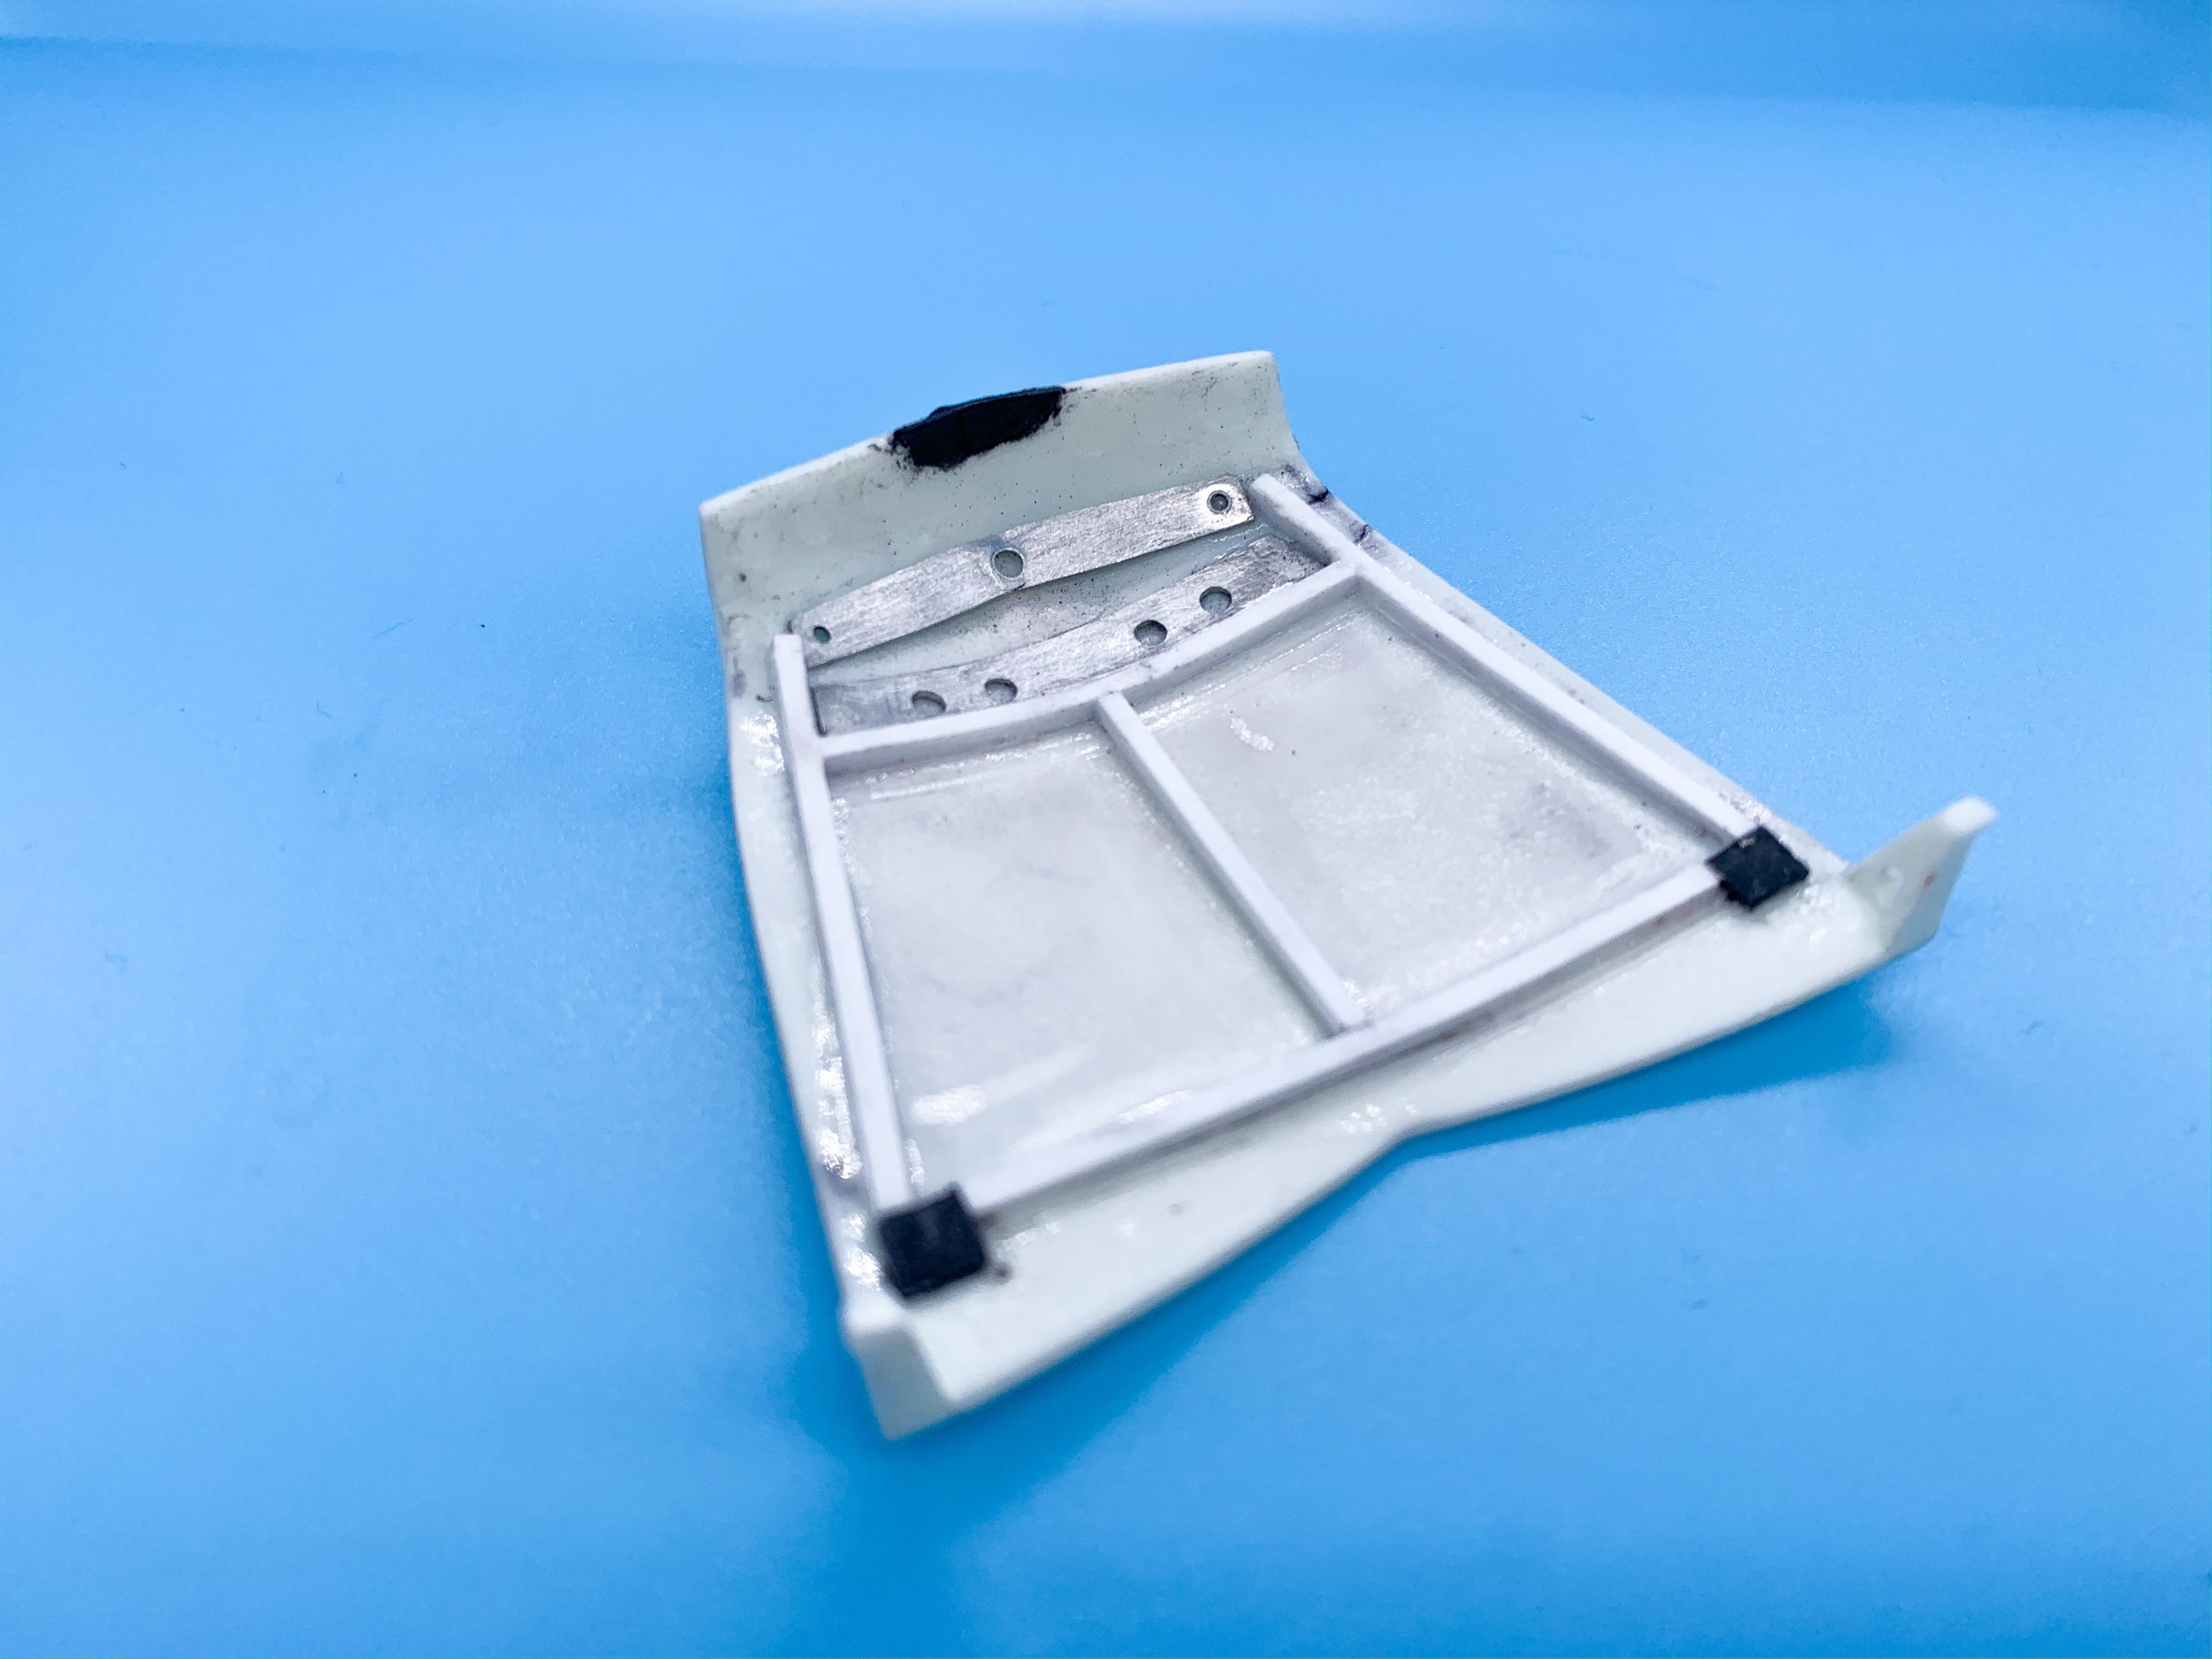
A little update, and a not-super-exciting one...I wanted to improve on the moulded-in detail on the underside of the hood as it comes out of the box: Most of this is hidden anyway, even with the hood open - it’s pretty hard to see under there, but I added some bracing and stamped panels to (somewhat) replicate what you’d find under the hood of a 1:1: Once the glue dries I’ll sand it all smooth and blend it in nicely ready for paint (if I ever get that far ??). Whilst I was messing with the hood I cut a little strip to fill a gap that was visible from underneath - it’s actually a fraction oversized but I’d like to use that to my advantage and shape the new piece to have the hood sit nicely: I think I finally have an idea, after a couple of weeks of thinking, of what to do about a front grille...more on that next!
-
That all sounds exactly like what I’m looking for! Thank you sir! I don’t recall seeing that rolled rear end part in this kit but I’ll take a closer look...and yes, those hinges will be saying adios!
-
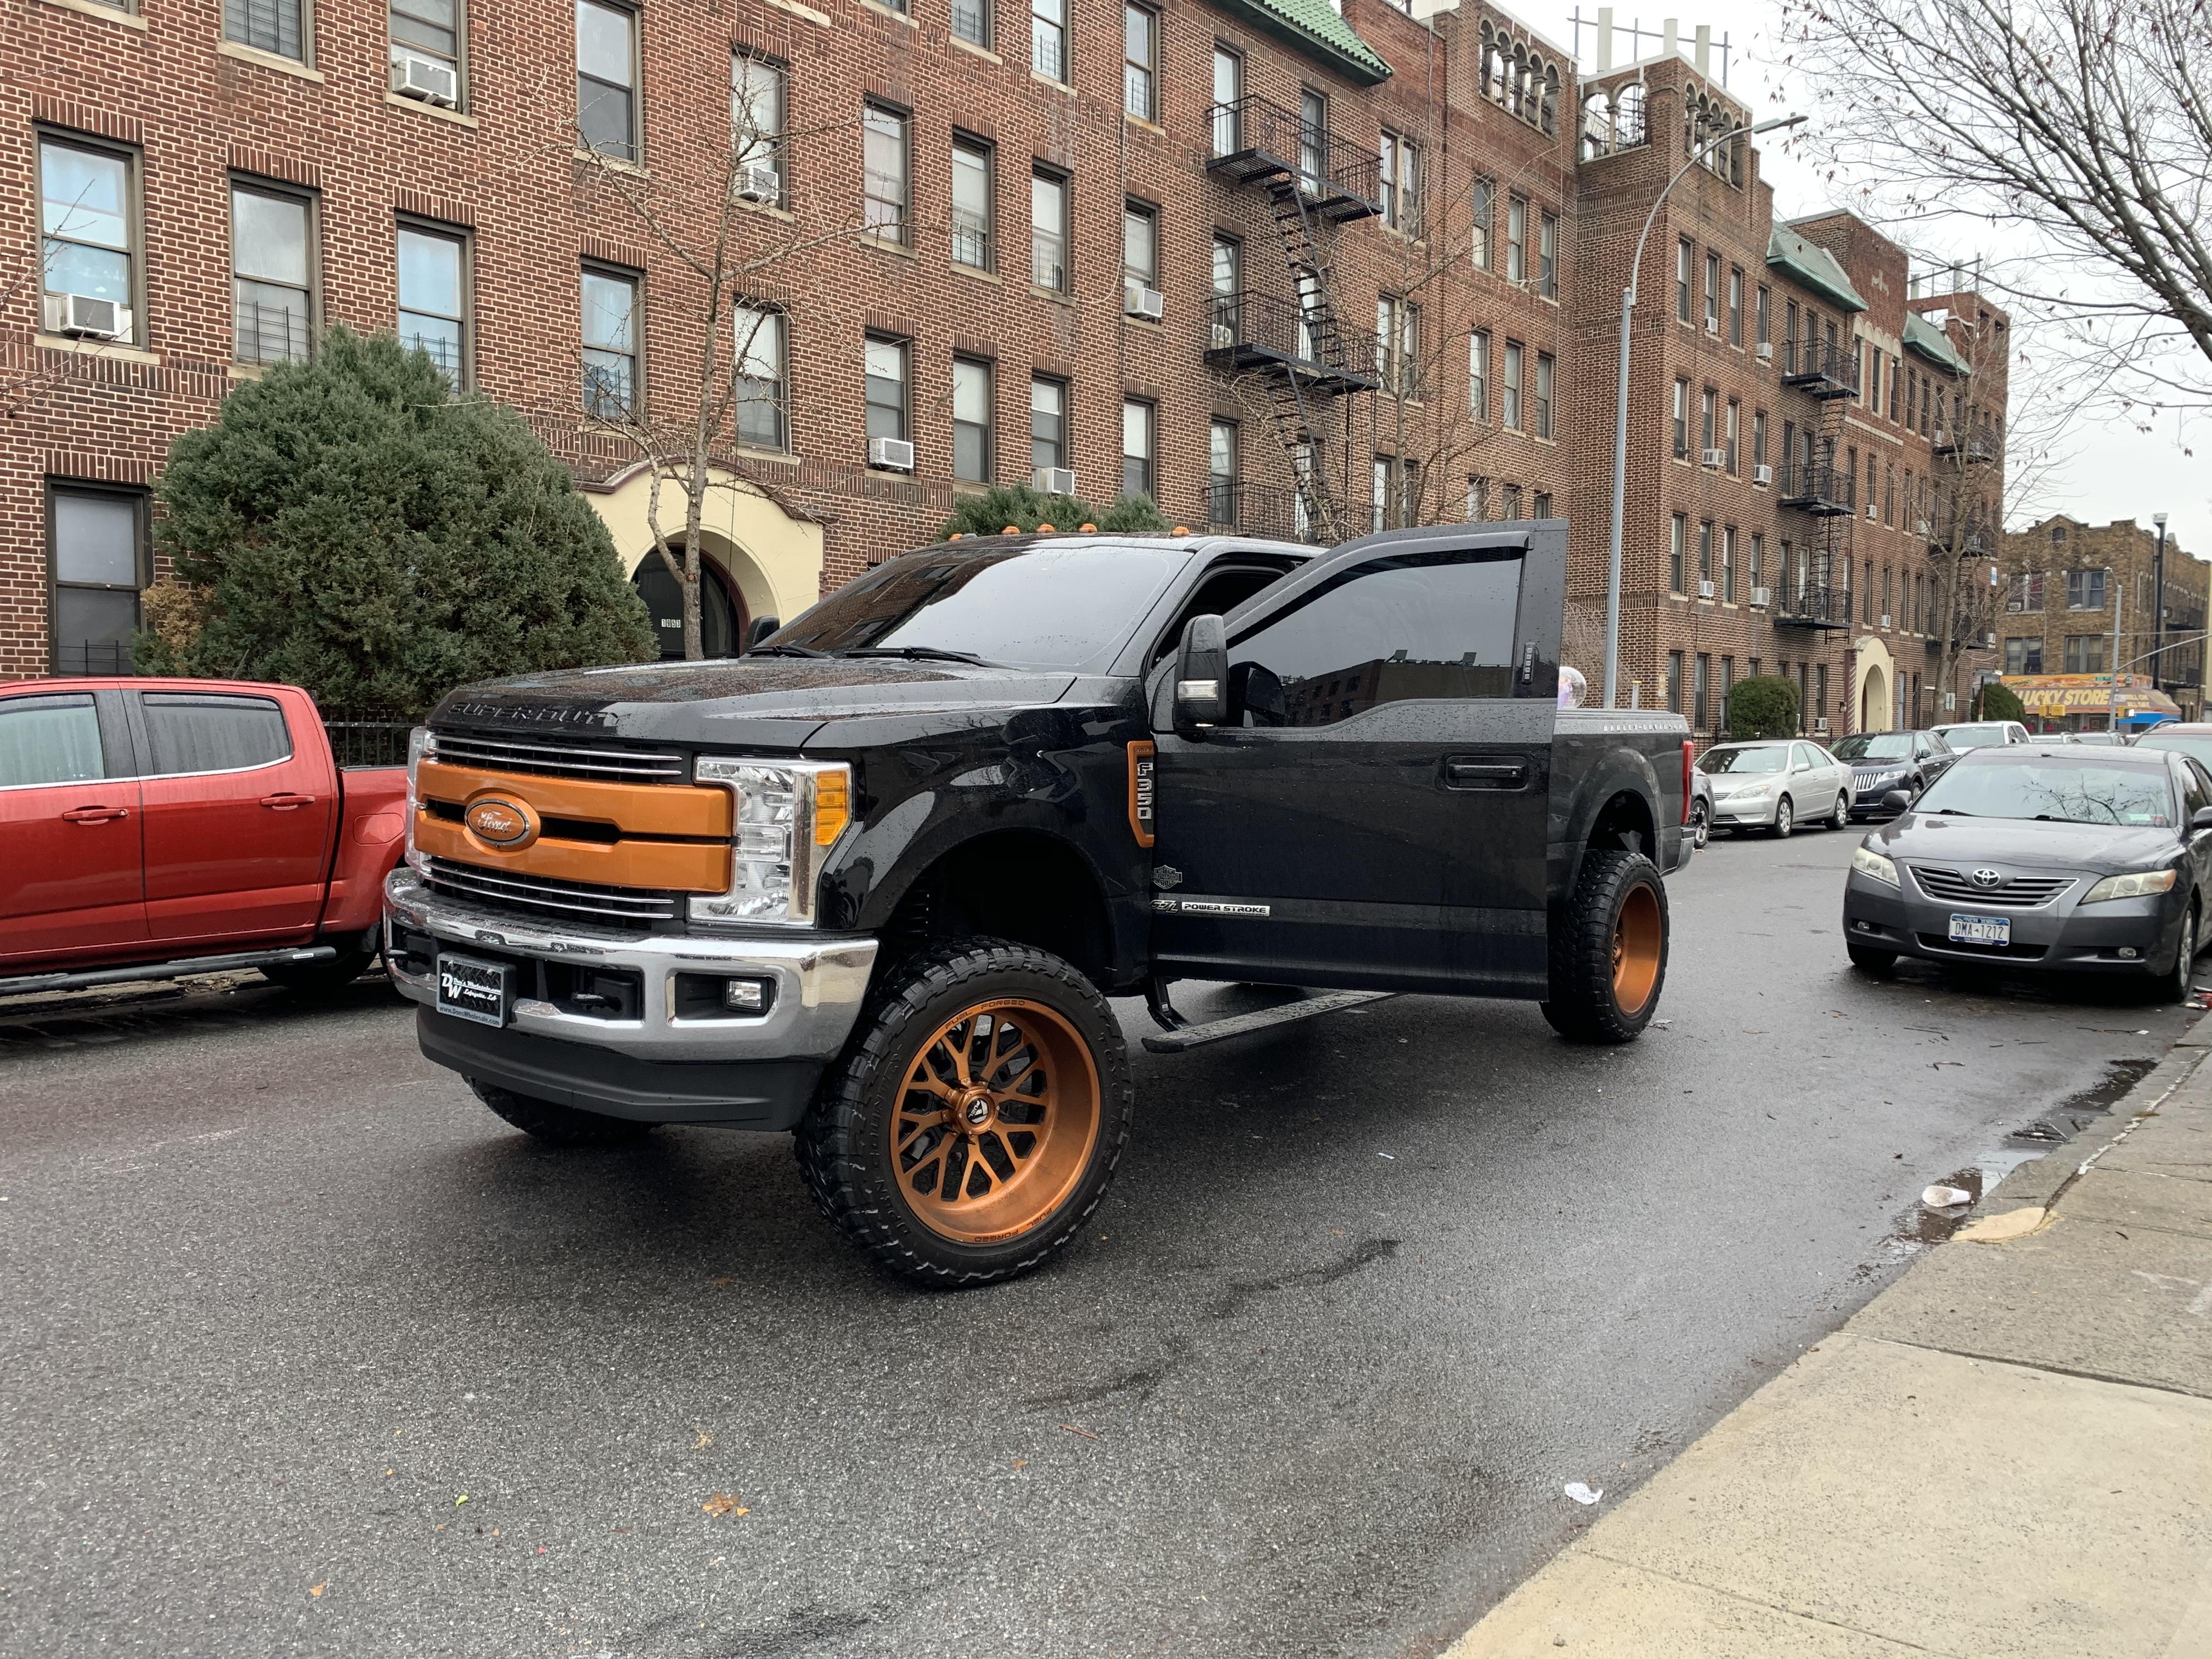
What did you see on the road today?
OldNYJim replied to Harry P.'s topic in General Automotive Talk (Trucks and Cars)
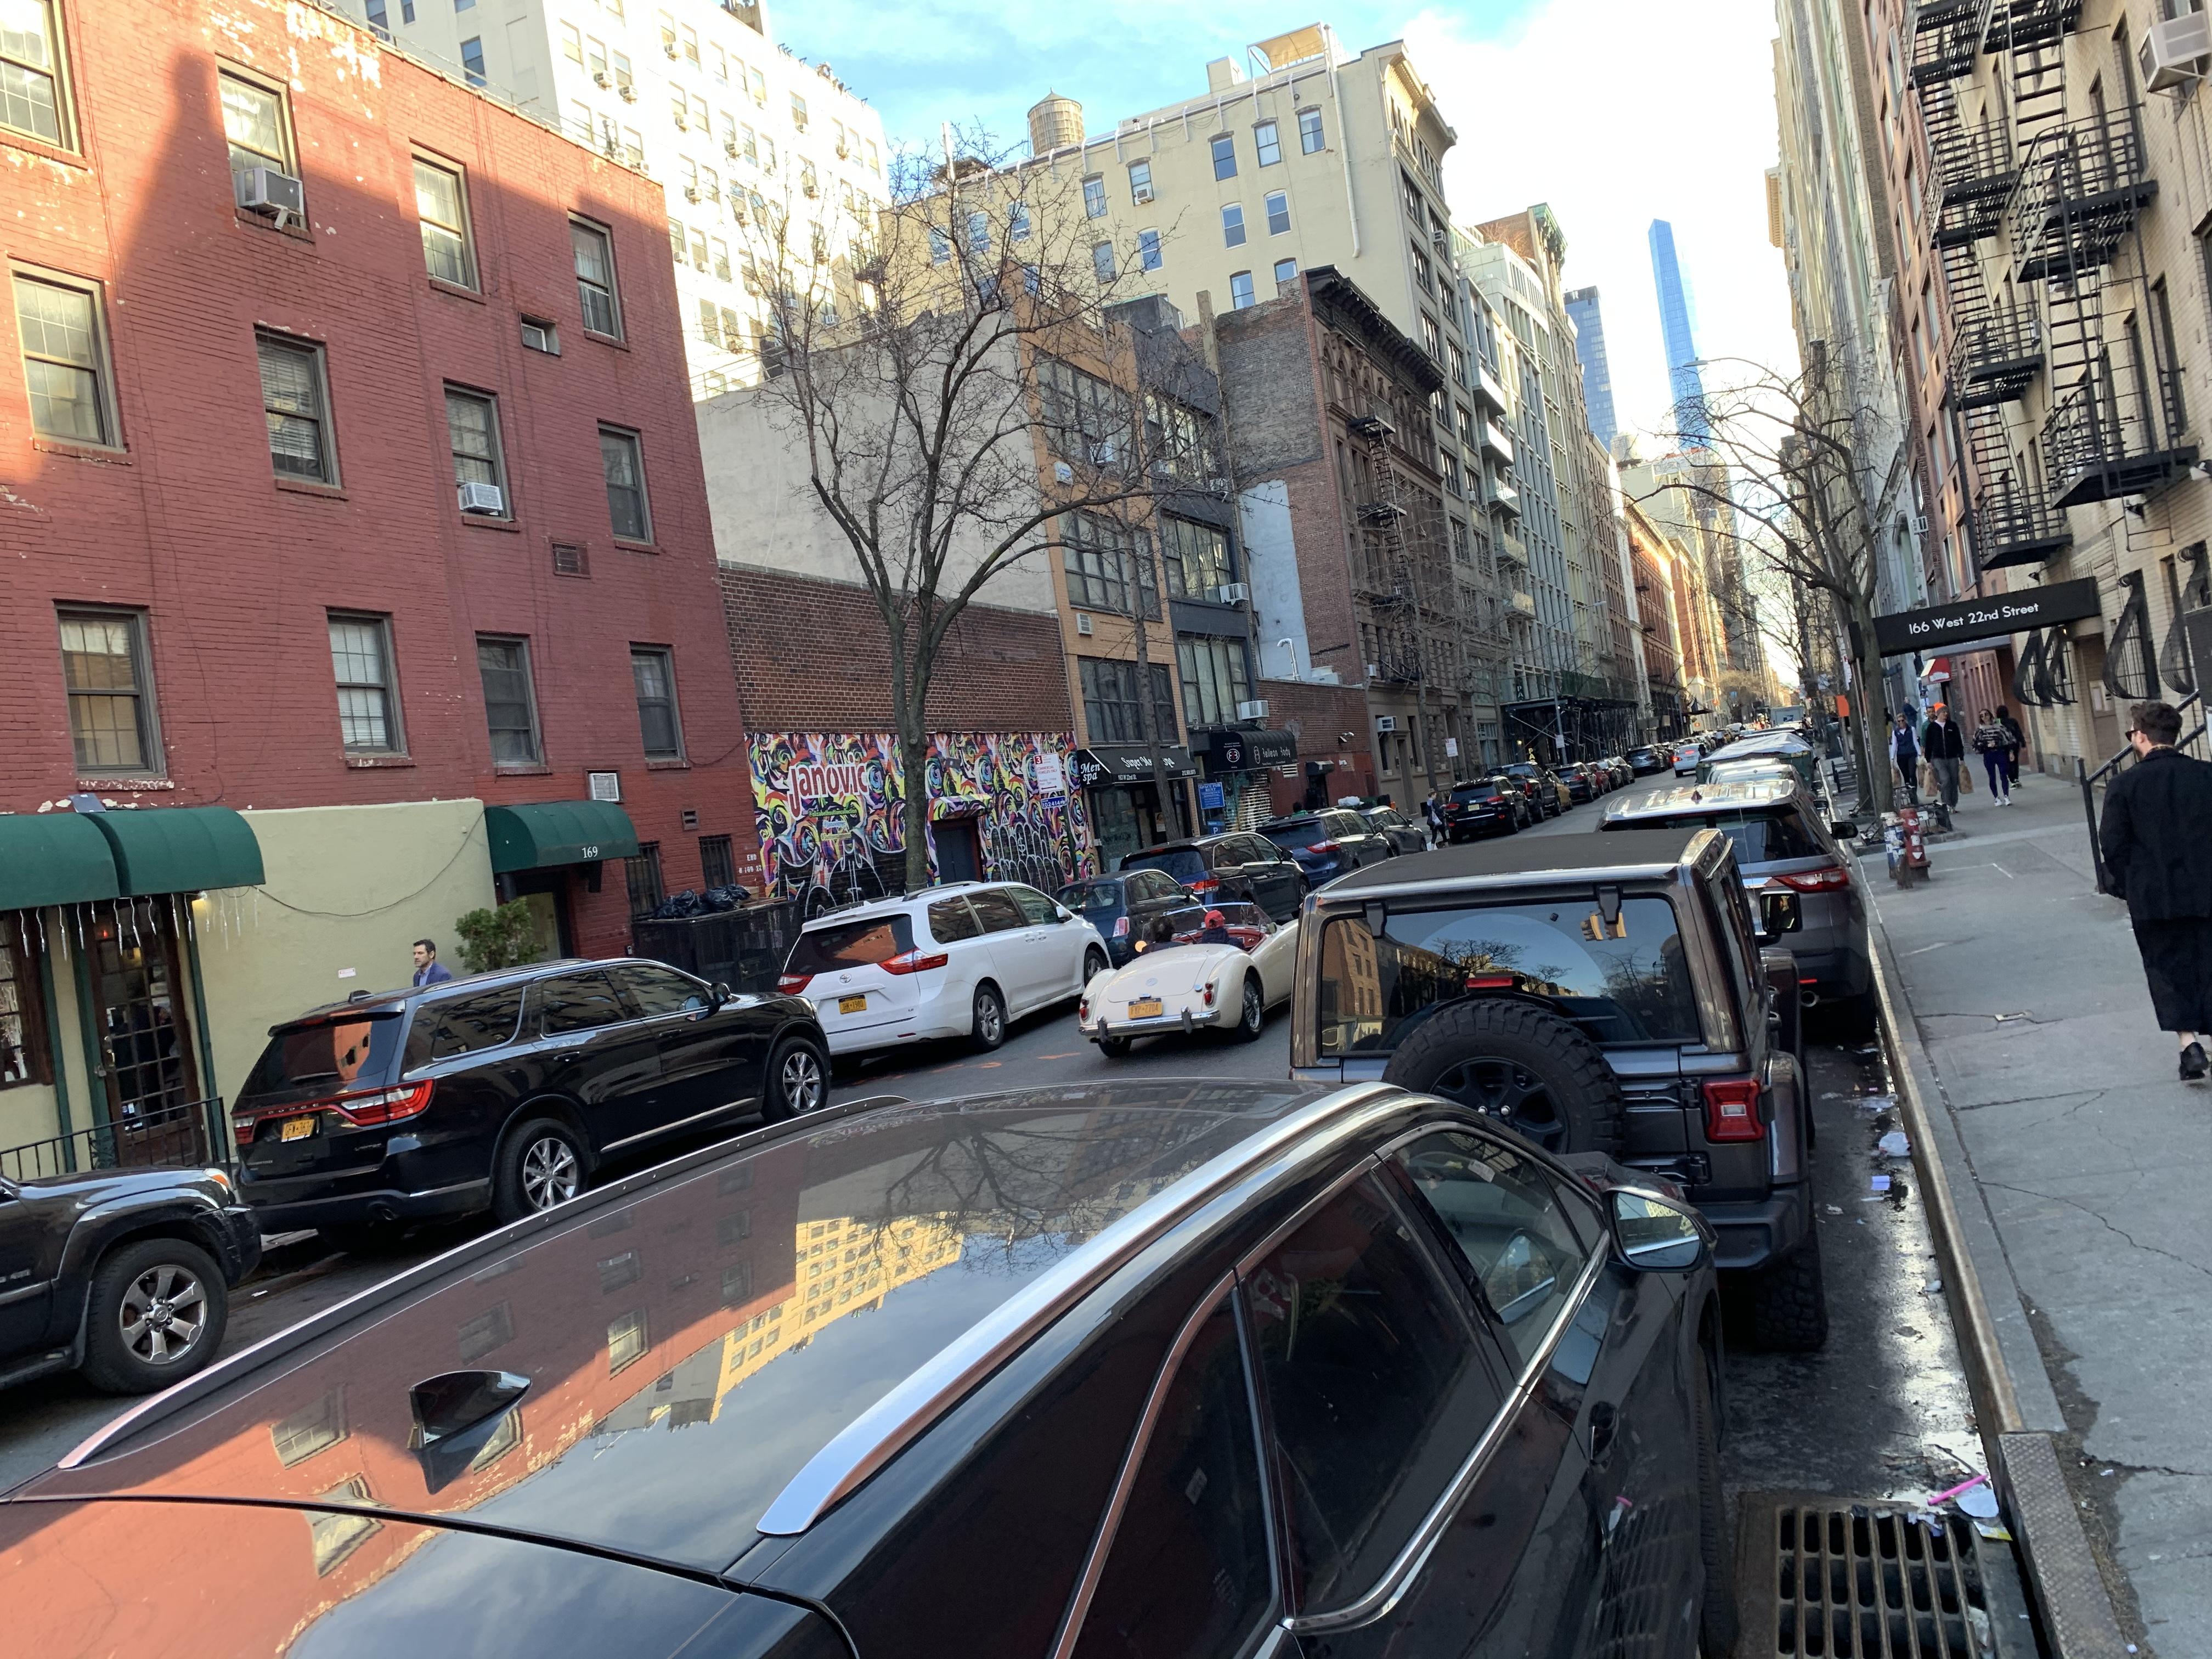
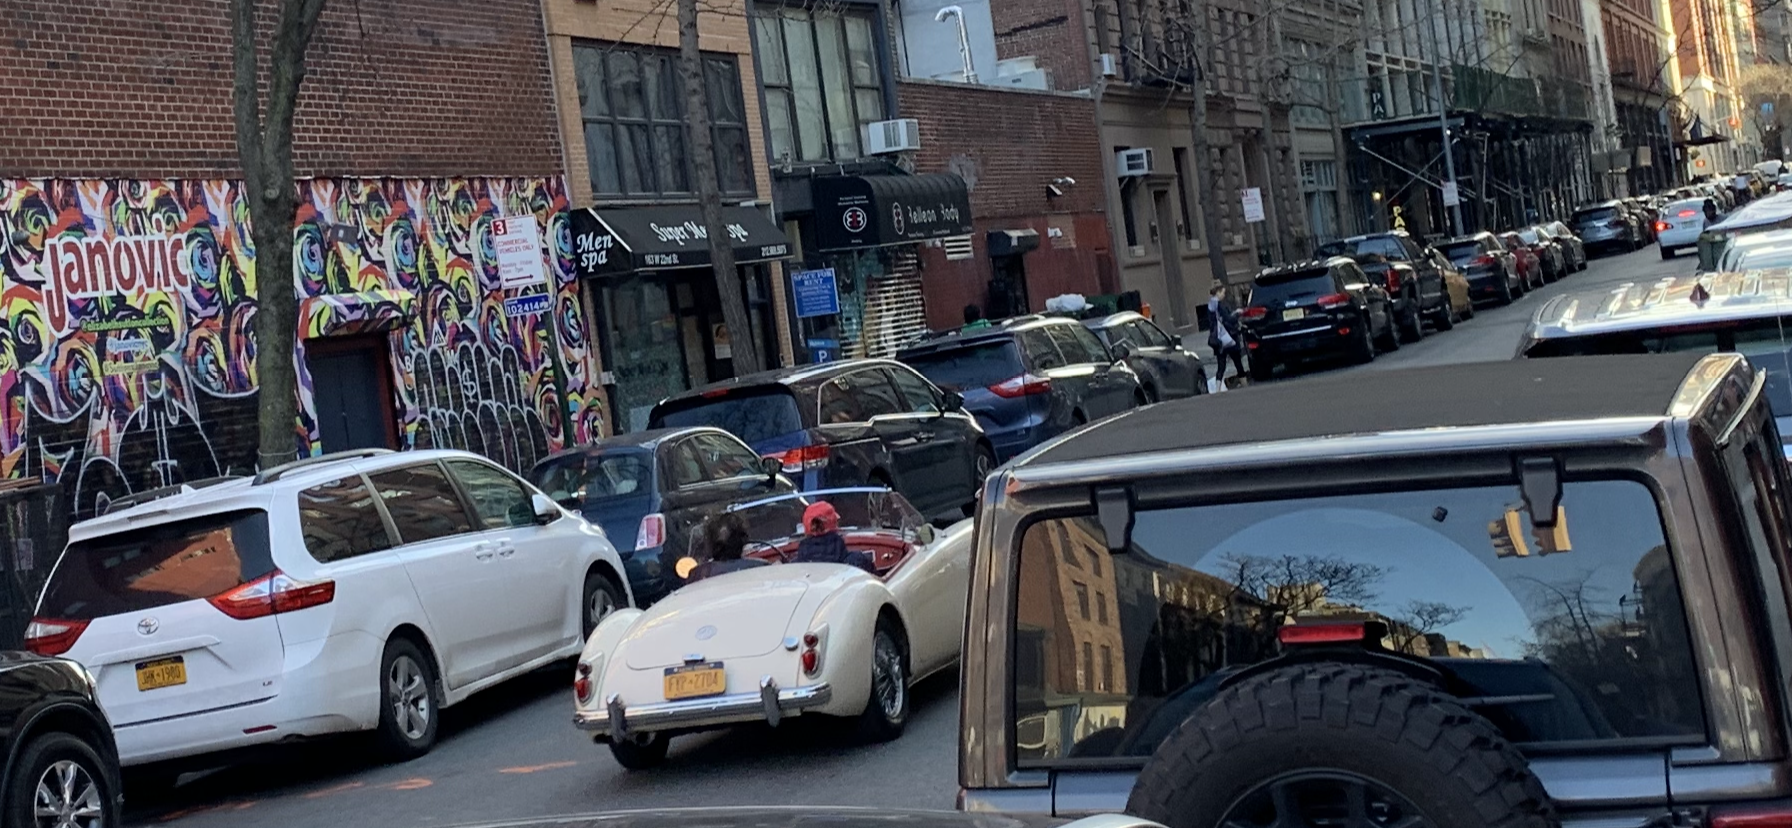
It’s been too cold here the last week for the really cool stuff to be put and about - but this truck parked outside my apartment caught my eye this week: And I went into Manhattan today for some hobby supplies and stopped this cute little MGA running around with the top down...was too slow to catch a good shot but it was nice and clean!
-
I think the trick is to have the material in a regular cordless drill, which spins a lot slower...that’s how I like to do it. I assume the Dremel in this case is shaping the material turning in the other drill?
-
Always a joy to watch your work! That subframe is GORGEOUS!
-
Ooof, yeah, that’s a rough commute - probably not too fun trying to get back after the meeting ends too with a late night service
-
I had never even heard of it until just now! You’d think there would be ONE model related thing to attend that’s actually somewhere easy to get to in the city. I’m in Bensonhurst so I’m CLOSER, but it’s still 90 minutes from here using the MightTakeAwhile
-
Oh cool! You got the JDM one! ?
-
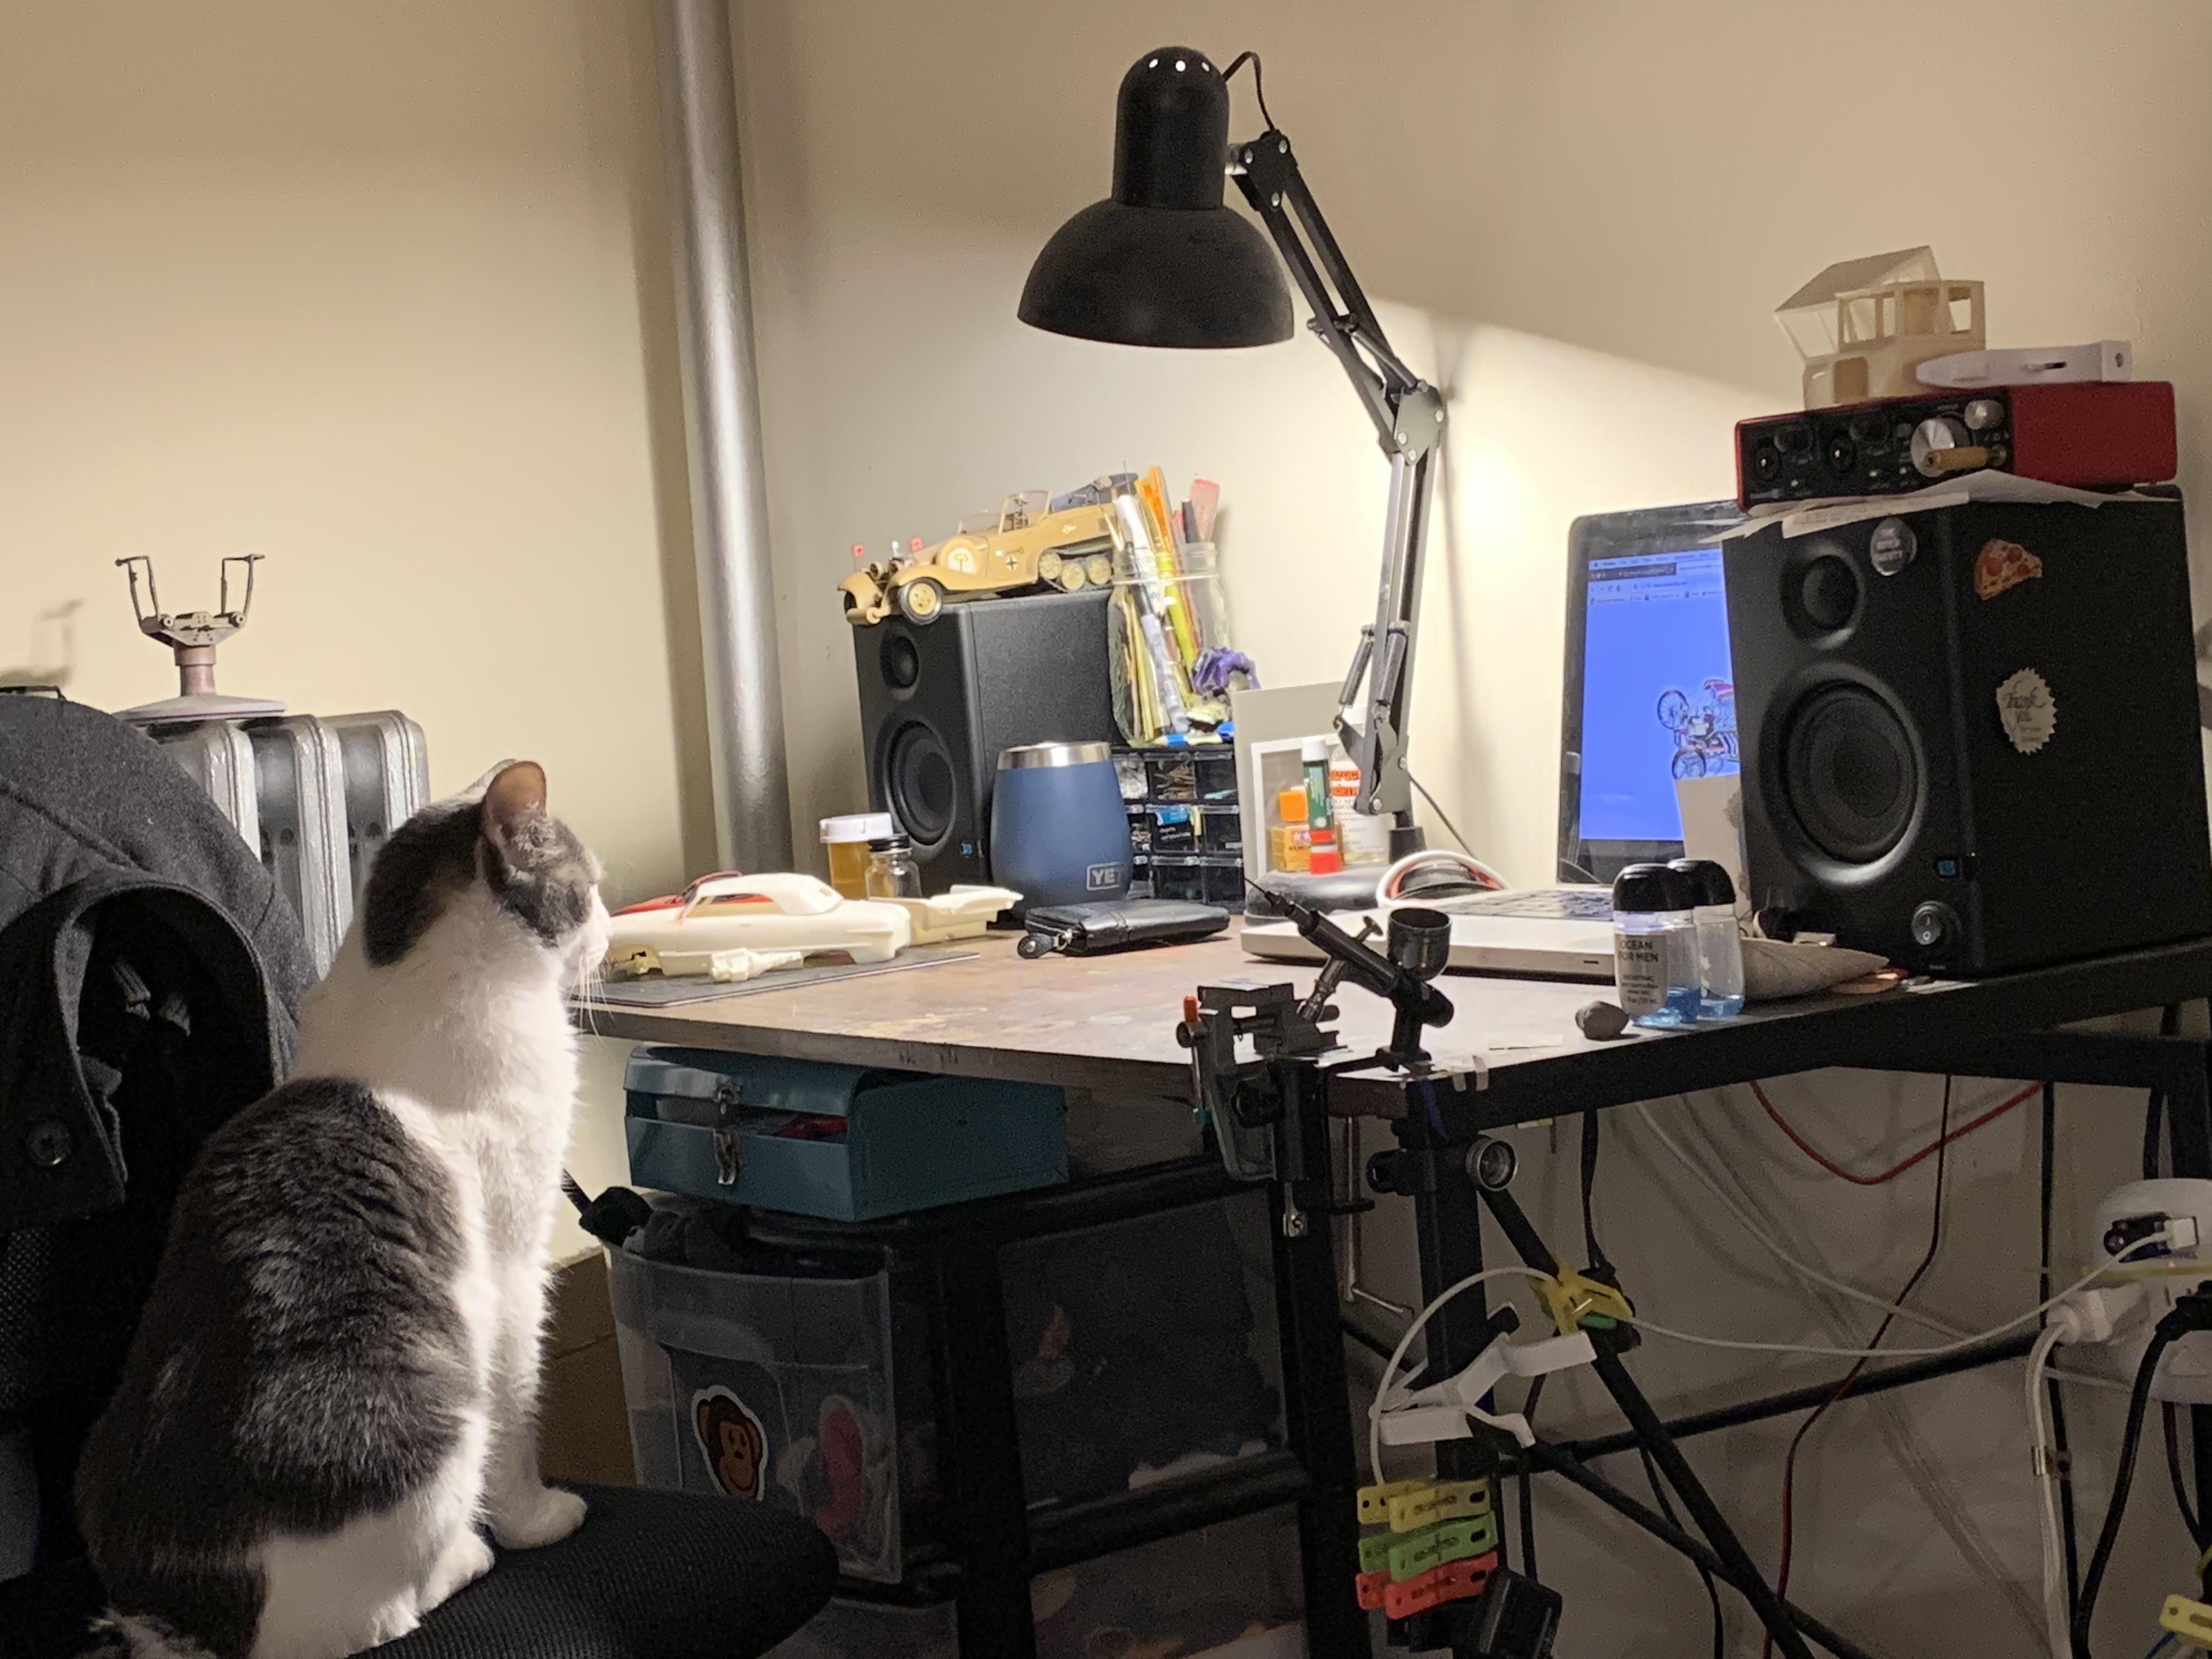
We just adopted this little guy...he’s already staged a coup on my bench ?