OldNYJim
-
Posts
250 -
Joined
-
Last visited
Content Type
Profiles
Forums
Events
Gallery
Everything posted by OldNYJim
-
 Haha, that’s cool! I saw something similar on a Beetle engine somewhere too. I remember those skull air intakes being a big deal a few years ago (unless I imagined it) - I picked up a bunch of skull-shaped beads that were about the right size to scratchbuild one but I never got around to it...maybe I should have a play with that idea some more! Skulls will always be cool, right? ?
 -
Ummmm.... IMG_3939.MP4
-
Bring back Cranky! Actually, I think I saw that he’s been posting some projects on YouTube but anyhoo - bring back Cranky!
-
Awesome! That’s really helpful - thanks everyone!
-
AMT Mod Rod 29 Ford RPU
OldNYJim replied to OldNYJim's topic in WIP: Model Trucks: Pickups, Vans, SUVs, Light Commercial
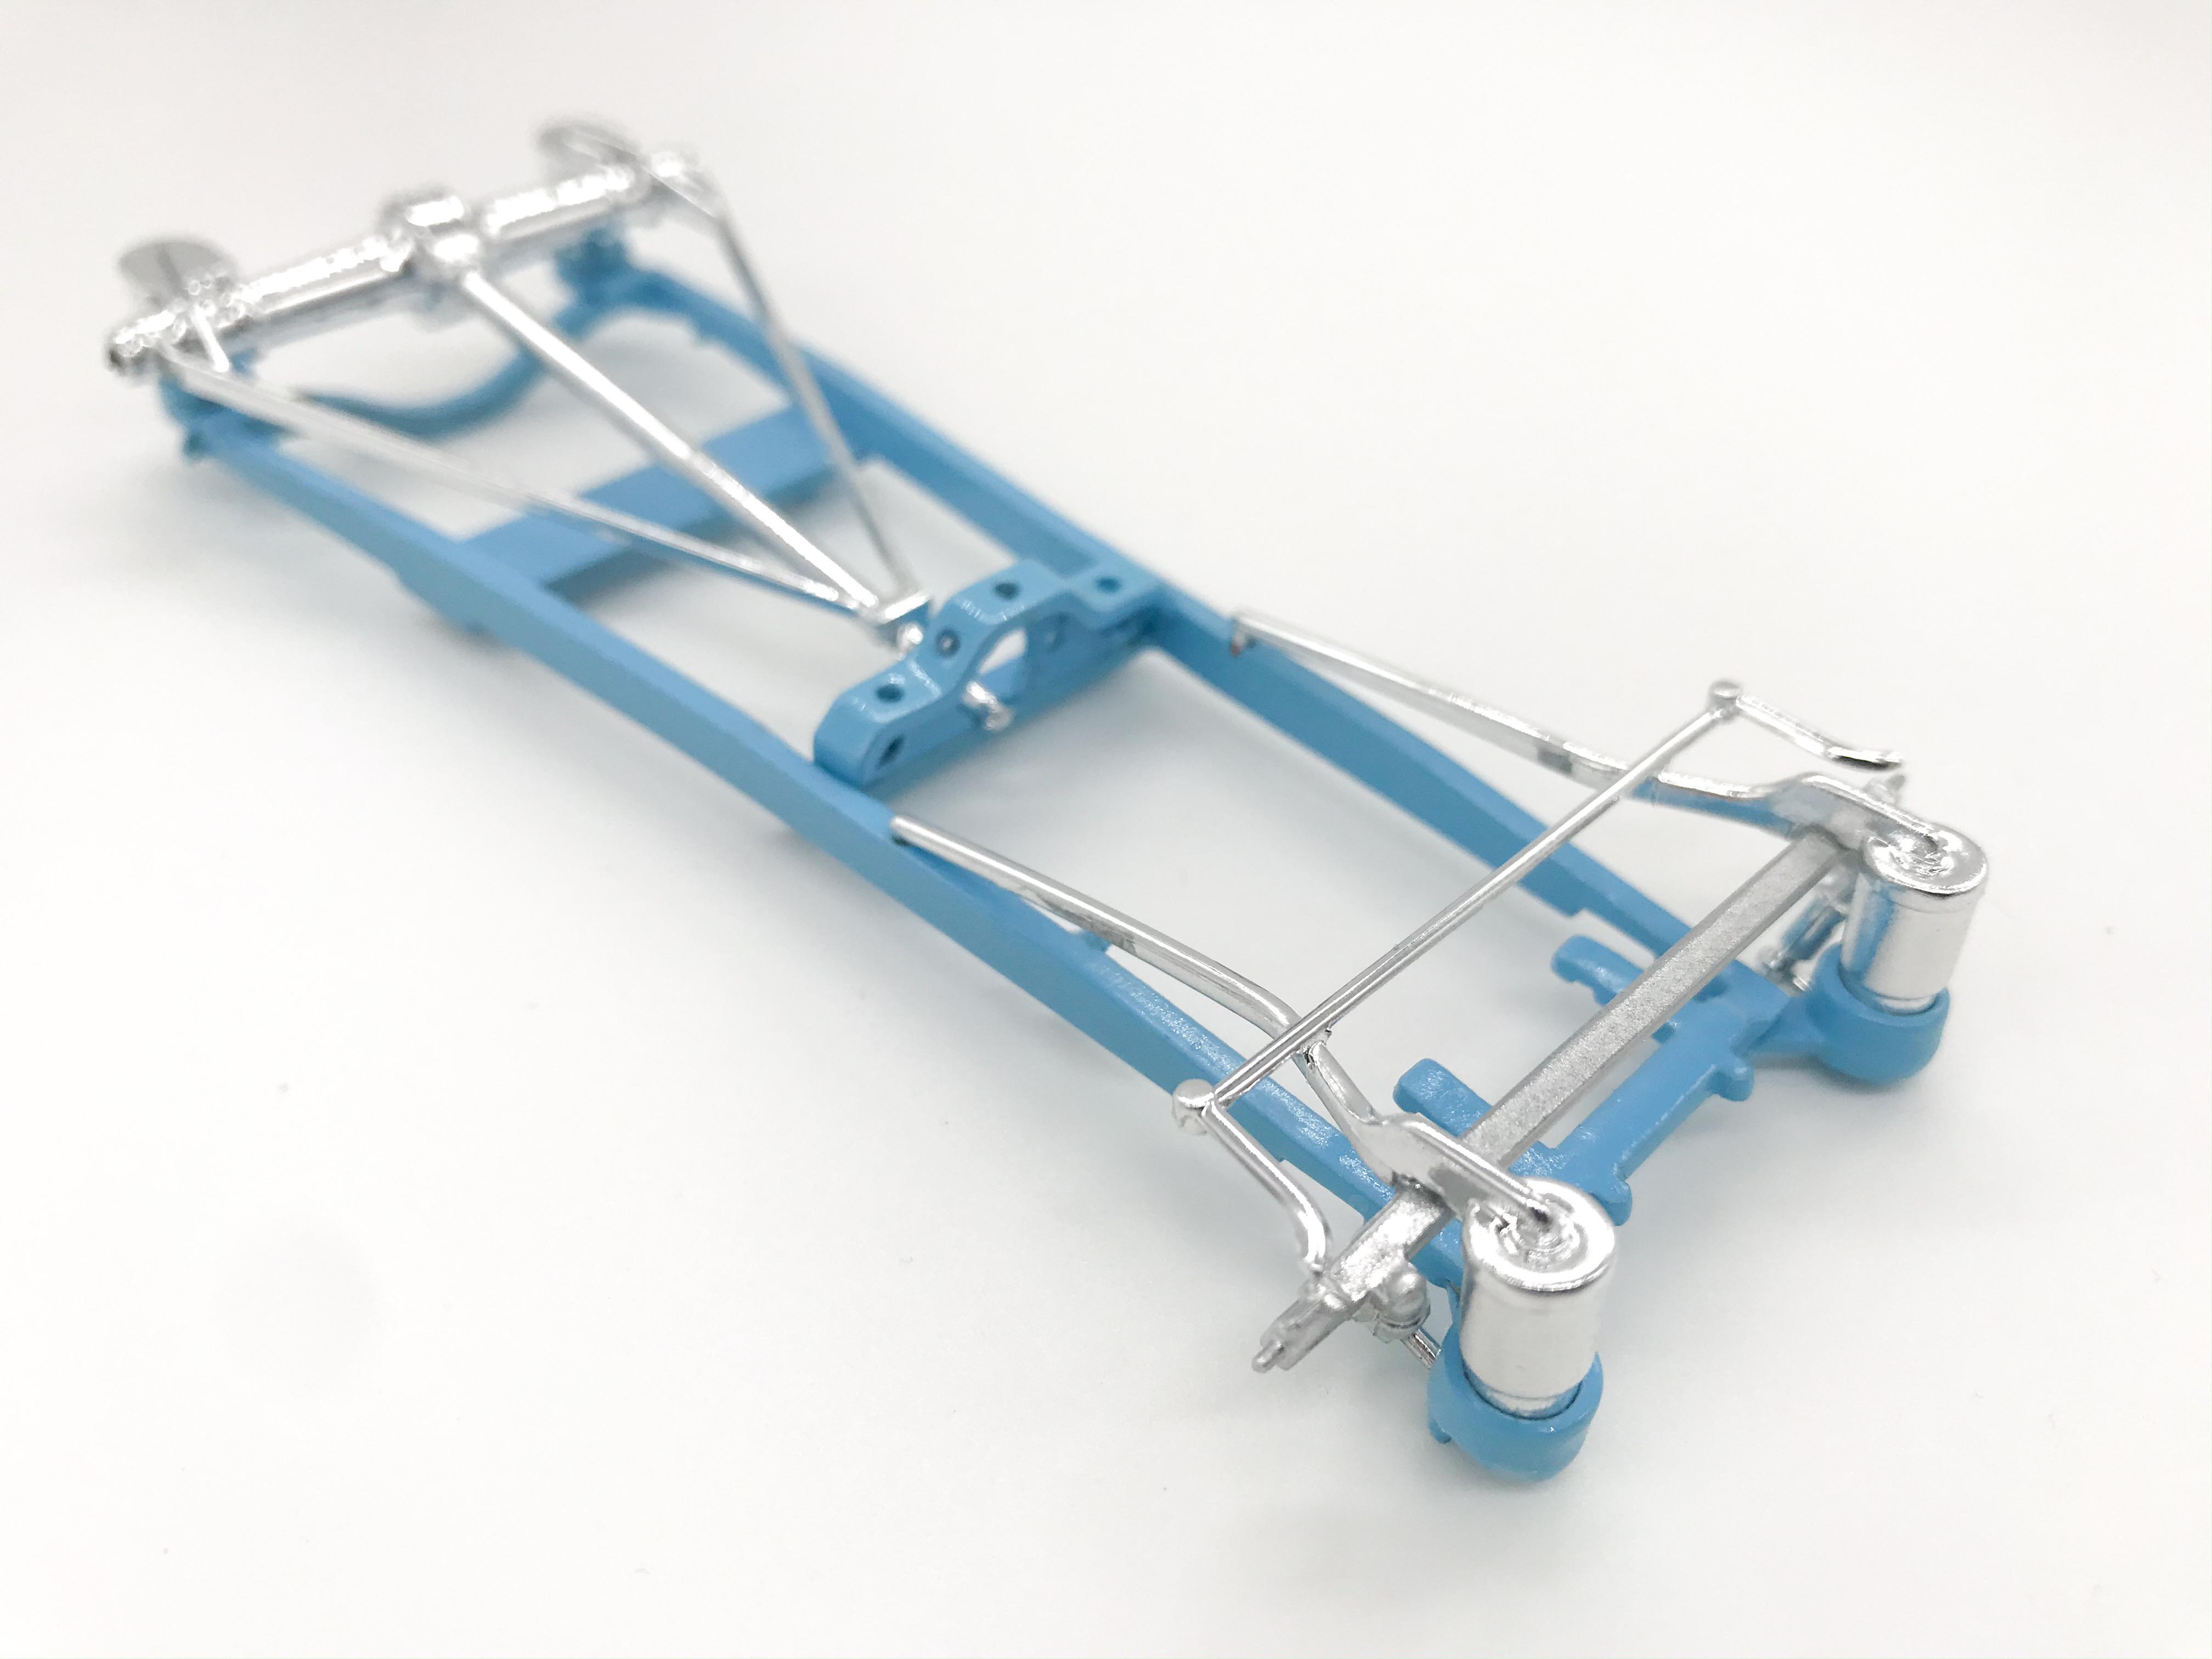
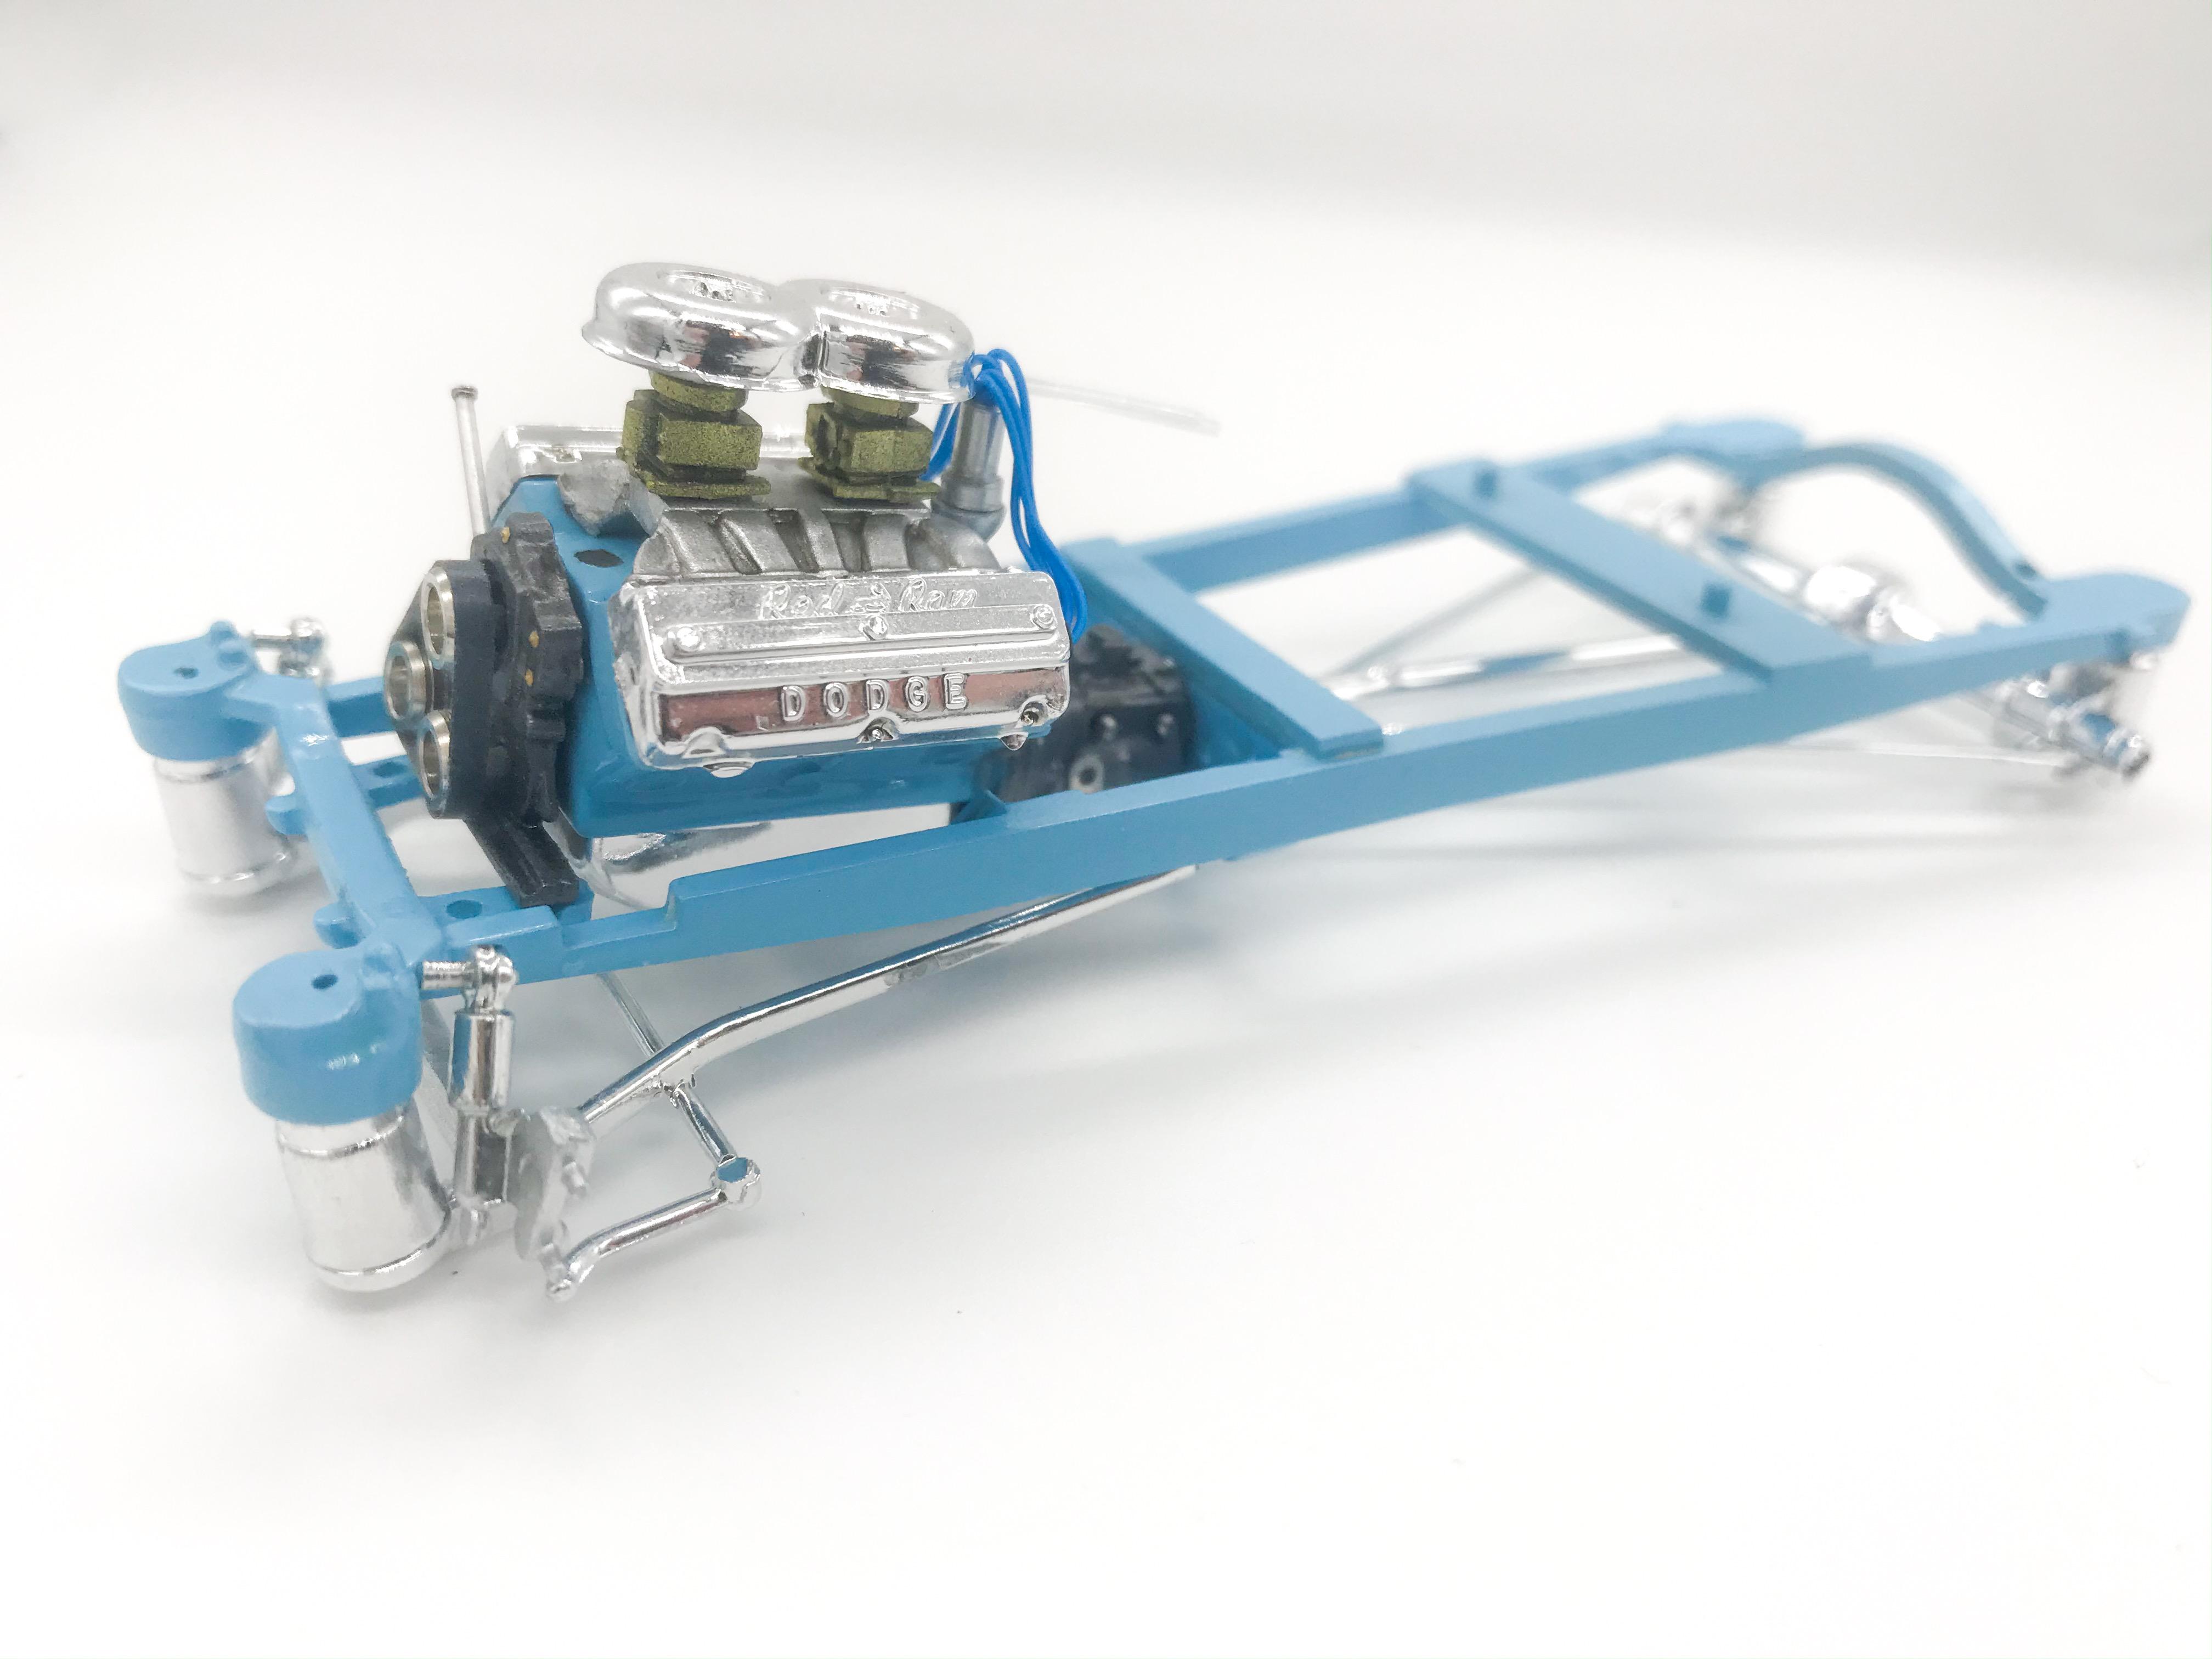
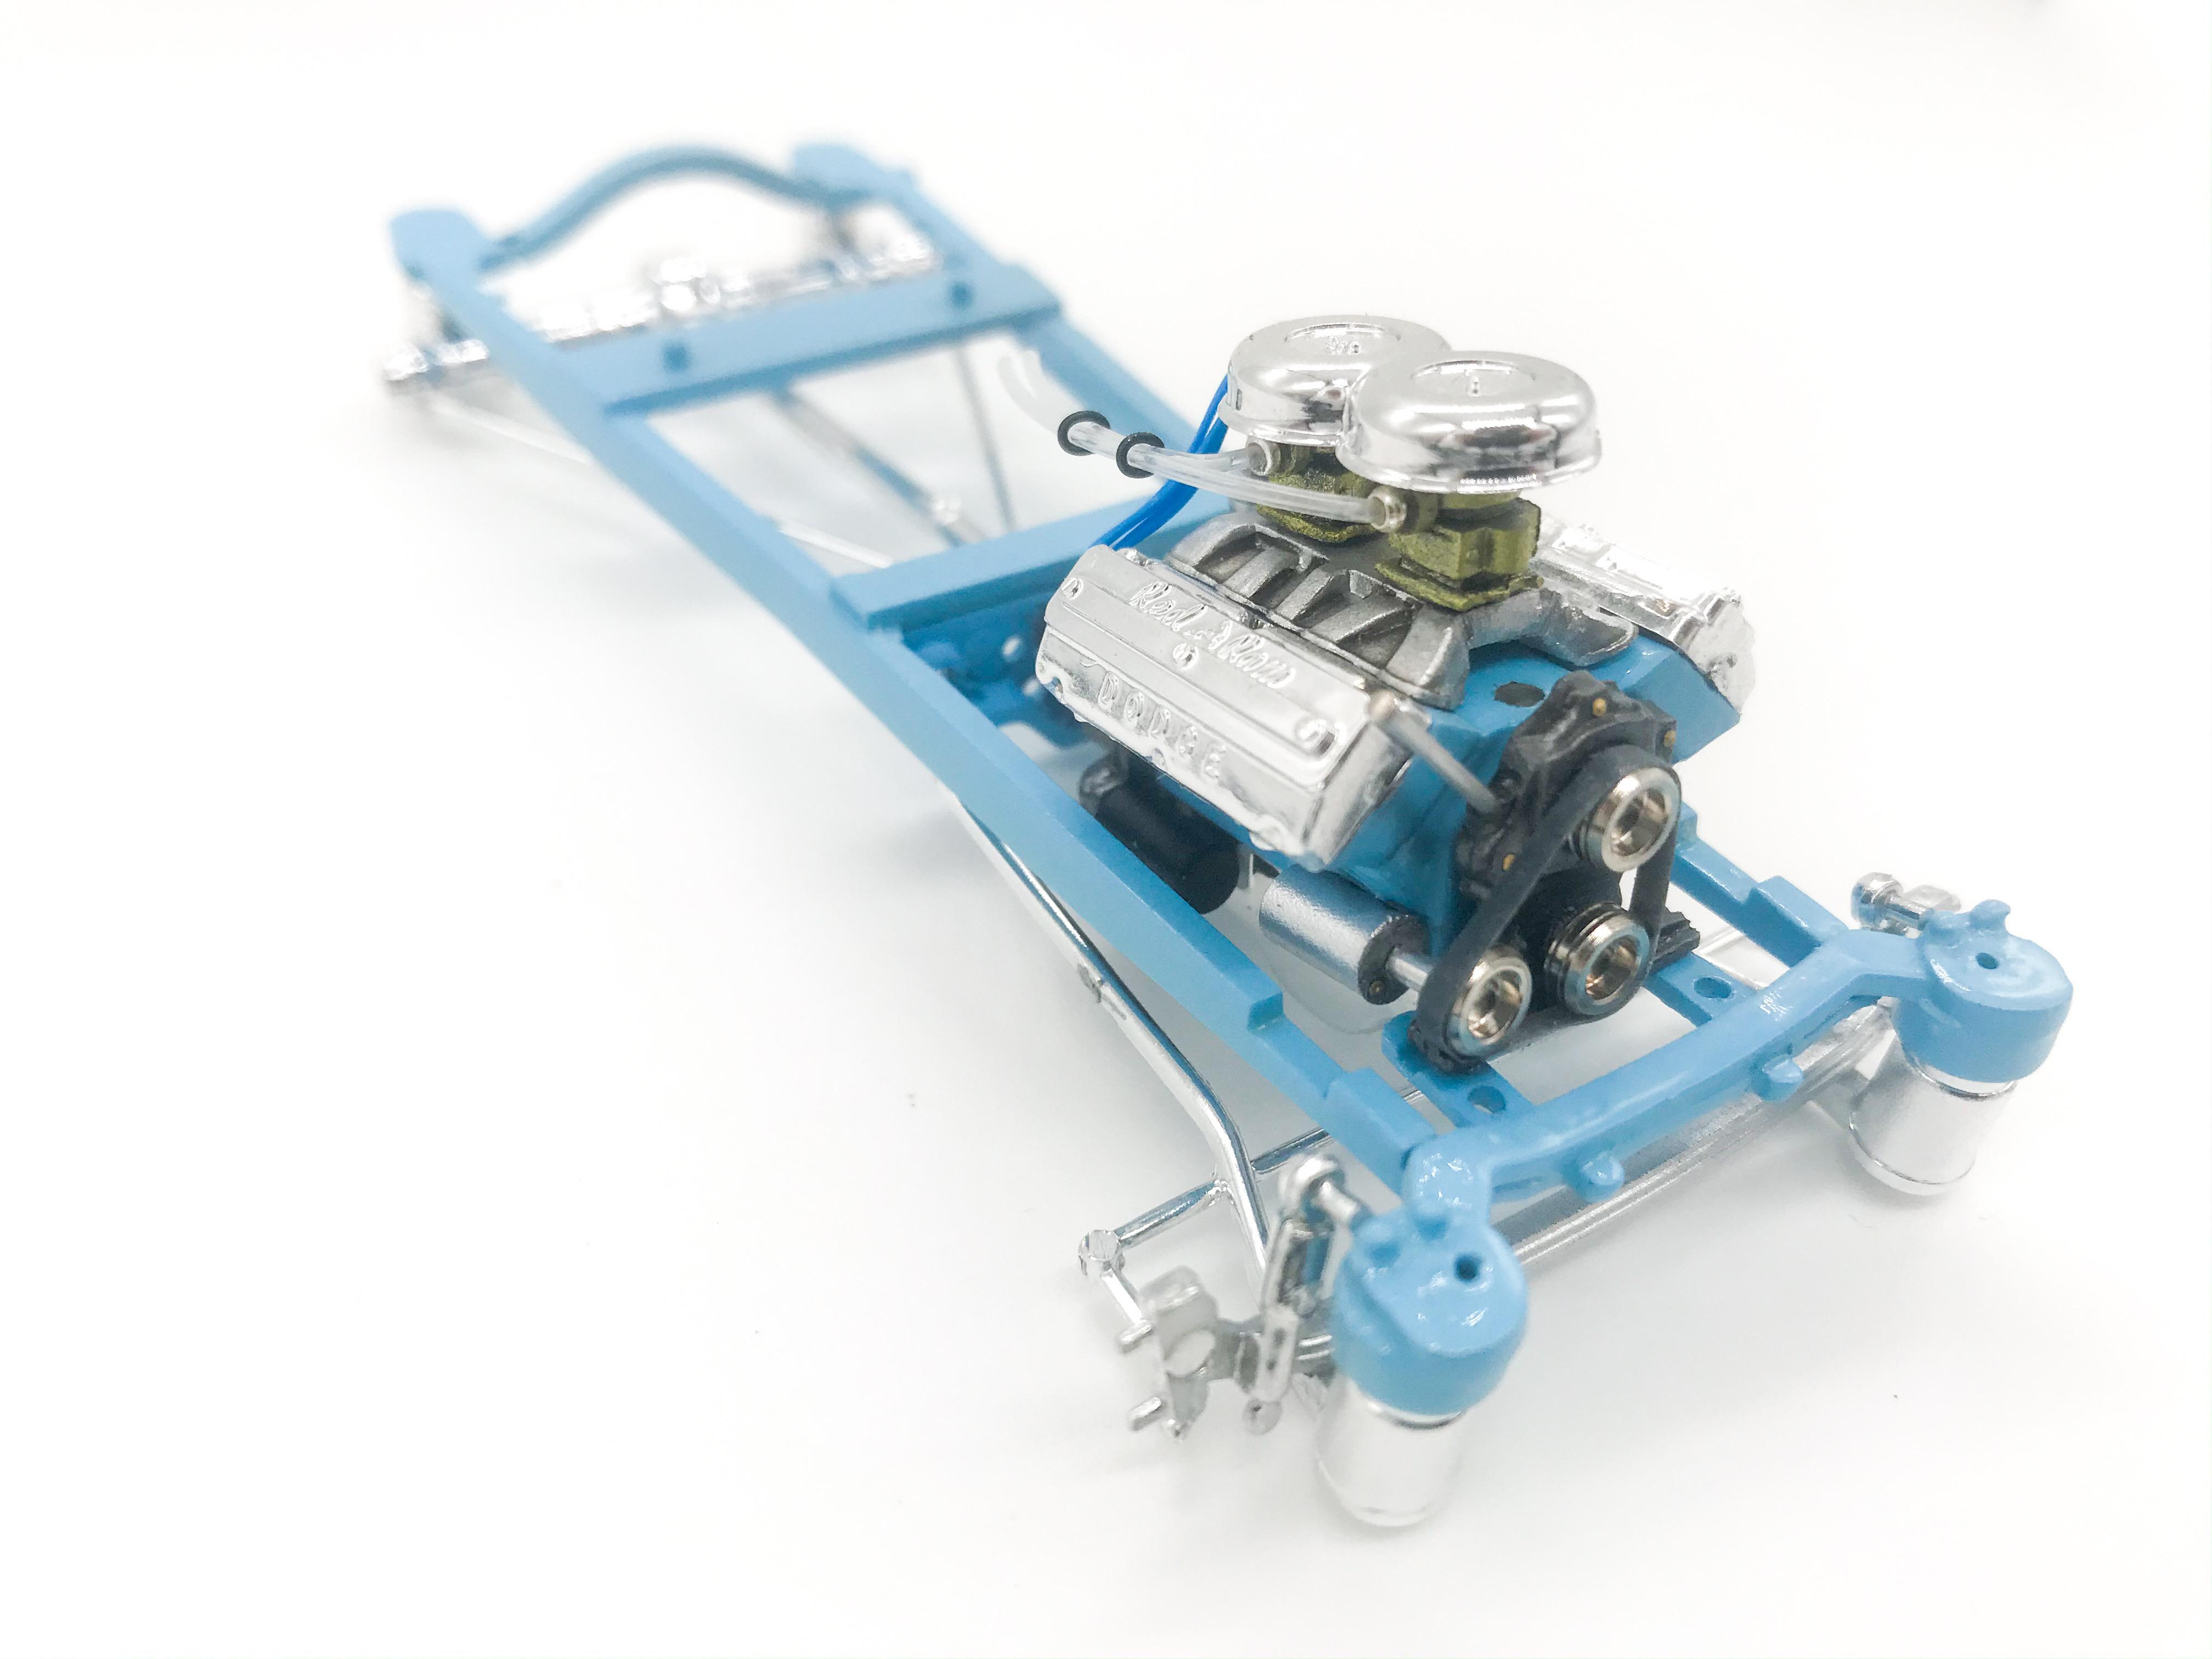
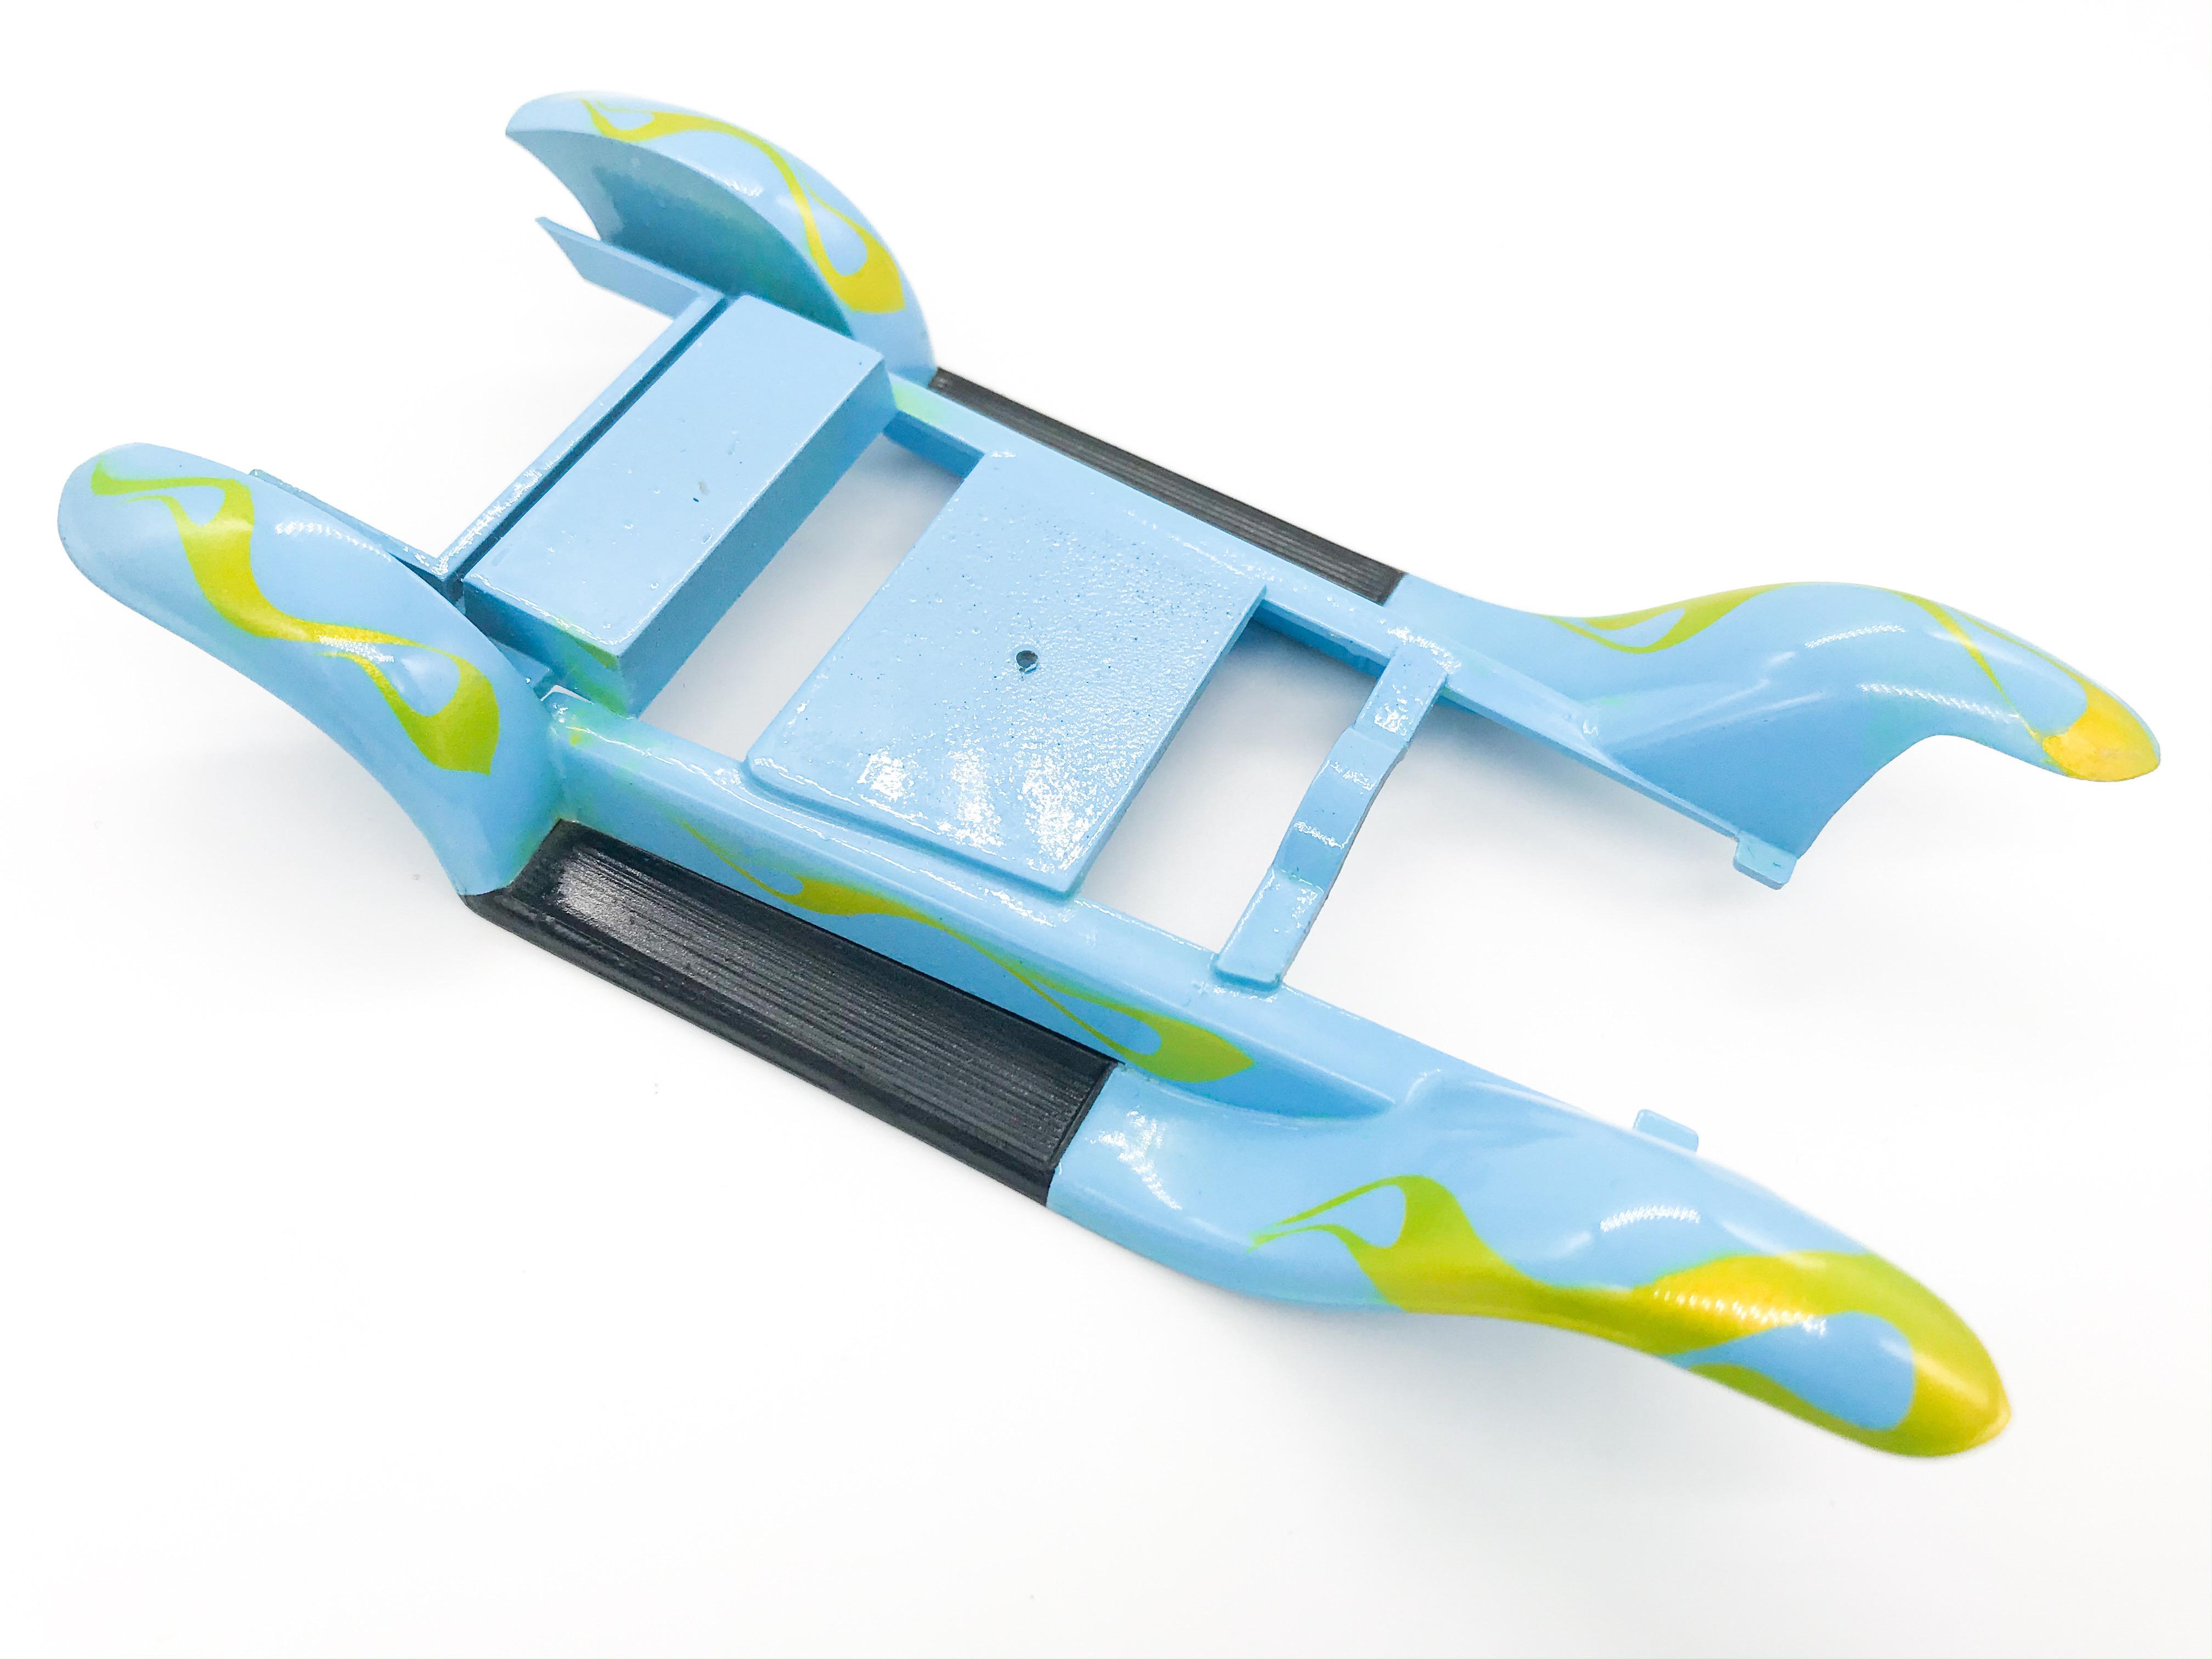
Assembly day! Well, first day anyway... Got some of those nice chrome bits attached to the frame today: The chrome on the axle was a disaster so I reshot that with my favorite rattle can aluminum-alike and touched up the bad bits everywhere else with some Molotow. Got the engine in there too: And shot the rubber bits on the fenders so they can dry whilst I do some other stuff: Im not going fenderless with this particular one, but man do these look cool without them! Im enjoying how the lettering on the top of the gas tank reflects in that rear panel too...didn’t even wax it all yet ?: More soon, soon as I’ve done more!
-
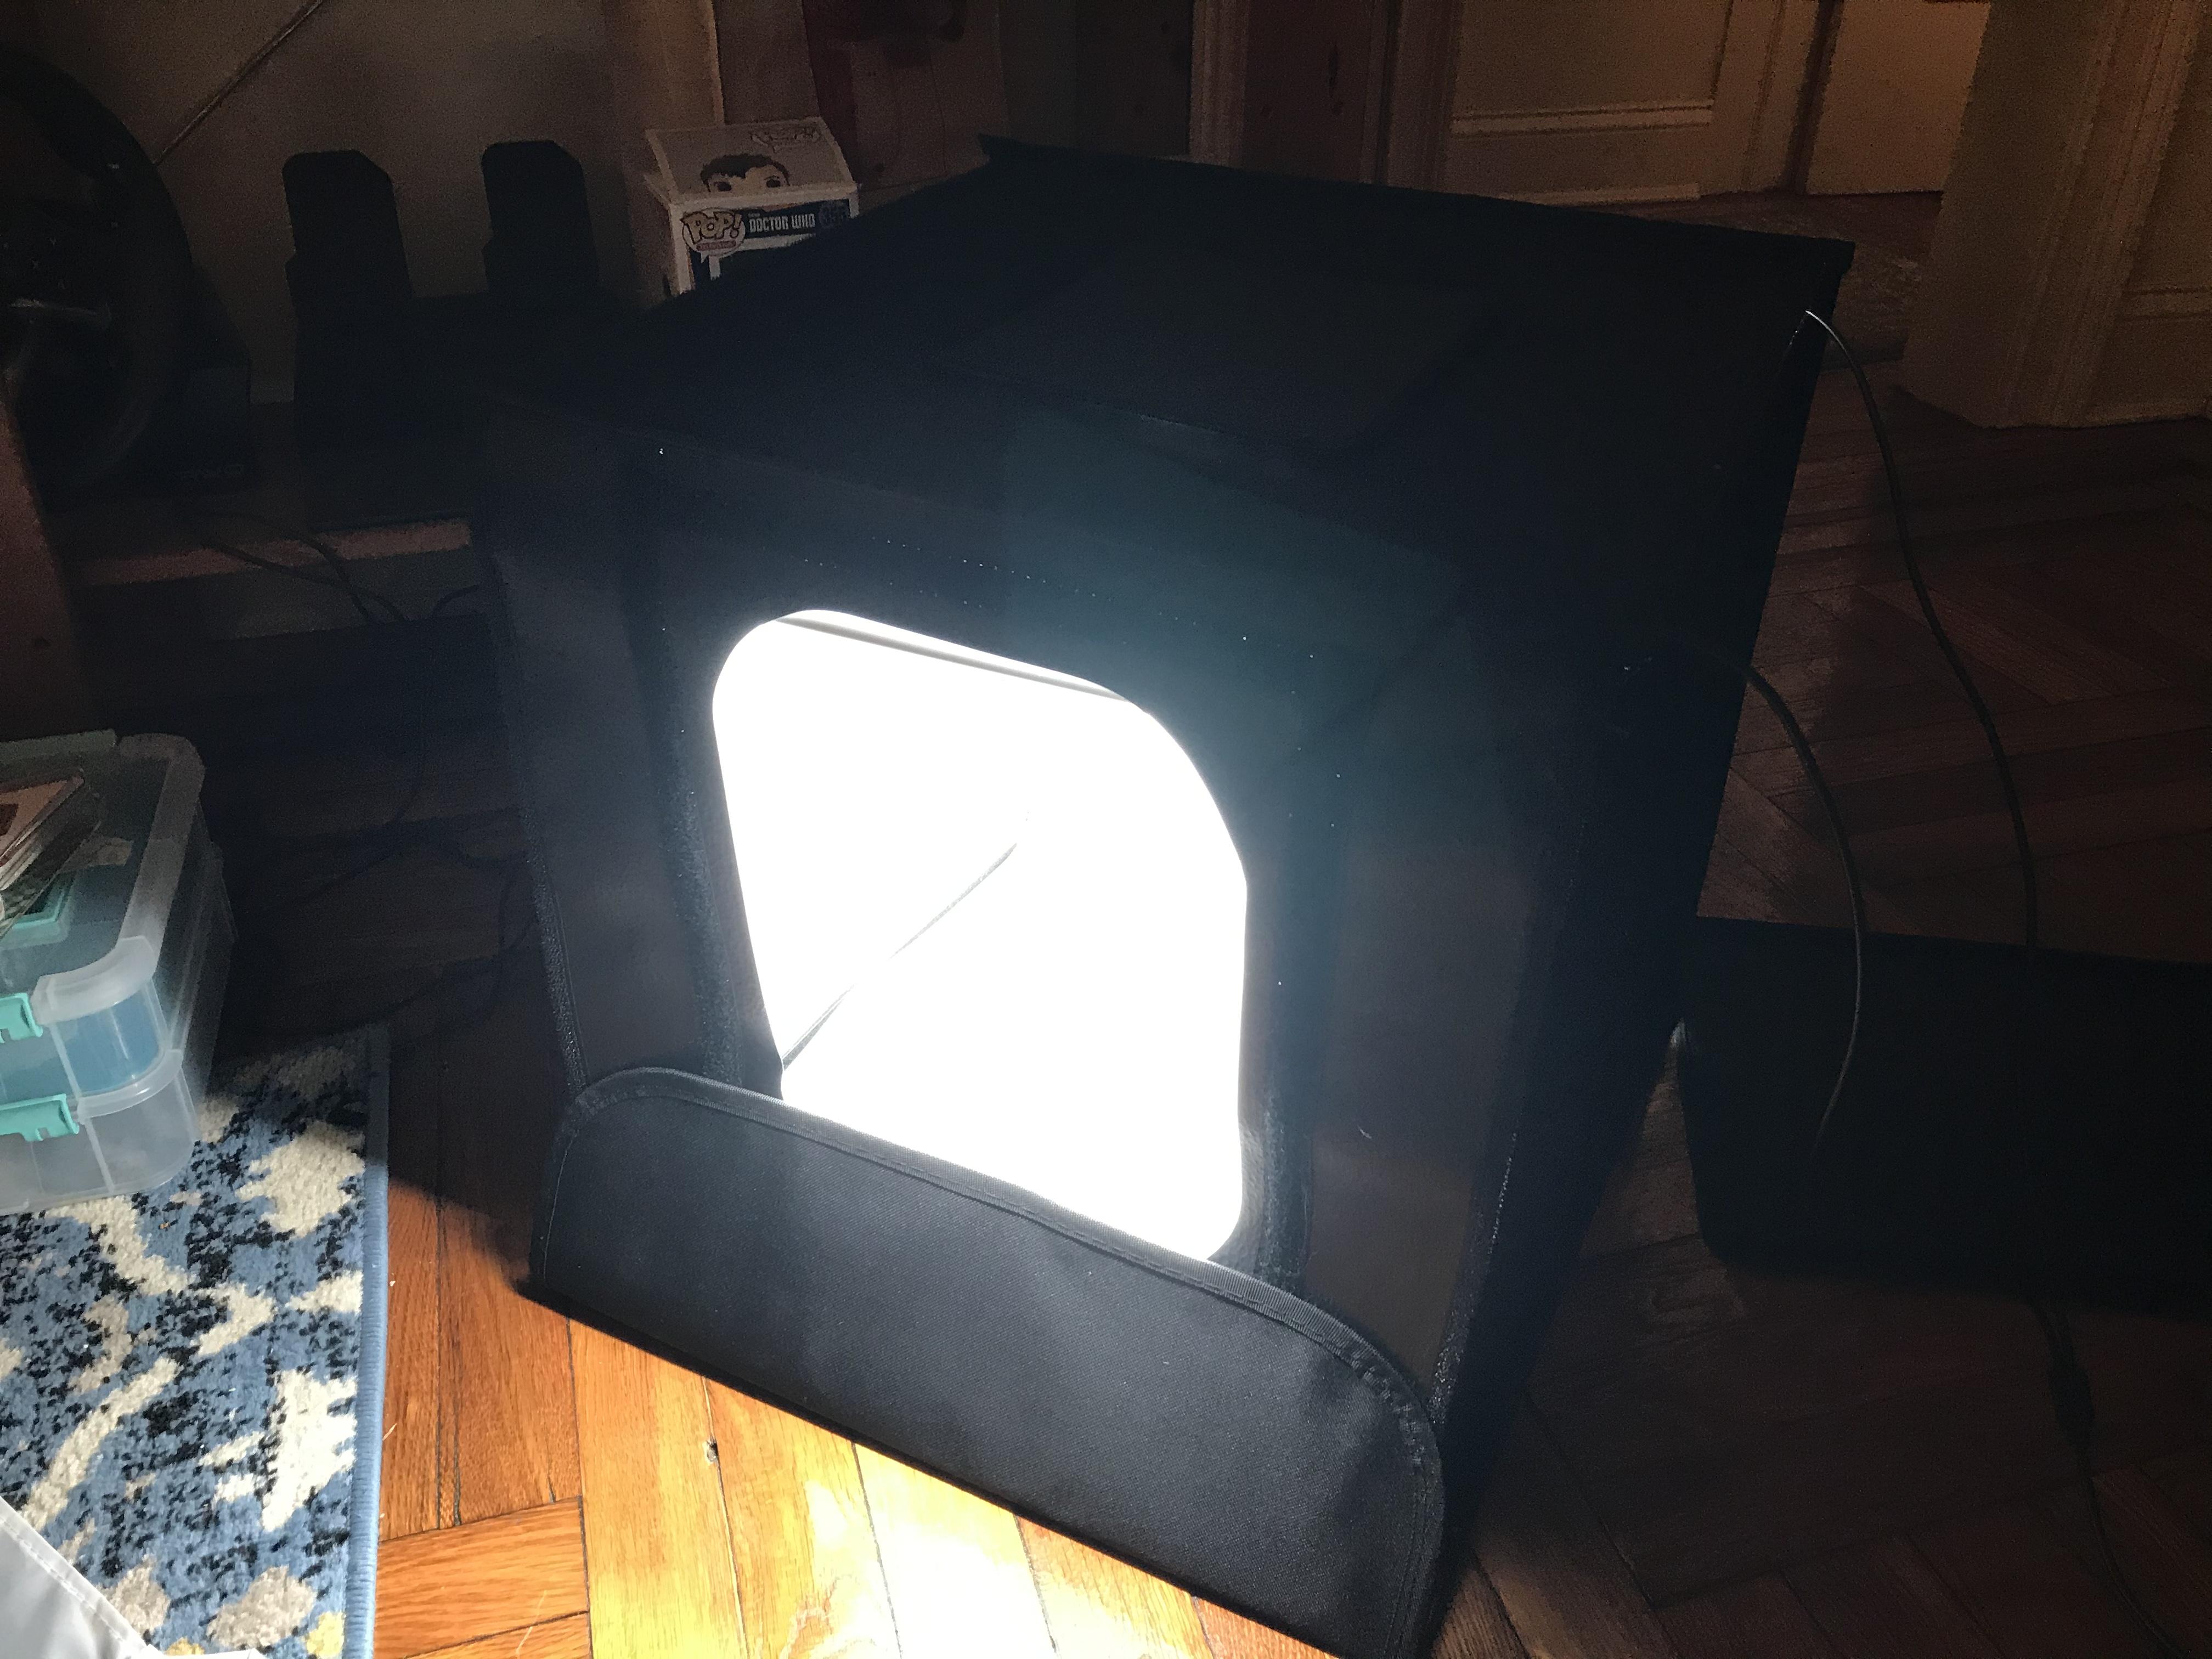
This is a ’Samtian’ brand booth - not that that means much to me but I like the quality! Mine is their 16” sized one, but they do a 24” one too. I’d be tempted to have the bigger one if I had the room, but apartment living in New York means that space is at a premium, so... Here’s a link to the one I’ve got: https://www.amazon.com/dp/B01N2OH2D3/ref=cm_sw_r_cp_api_i_NG5bEb081XK08
-
Does anyone have a good recommendation for a flathead that I could swap in easily that DOESN’T have the holes in the block but would still be correct for this car? I could just fill the holes in the block easily enough, but if there’s a better flathead in one of the other AMT kits that would drop right in that would make my job a little easier...
-
This looks like a fun kit - ripe for some simple upgrades to make a really nice detailed-up if one was so inclined. Your progress looks great so far - I’ll be watching!
-
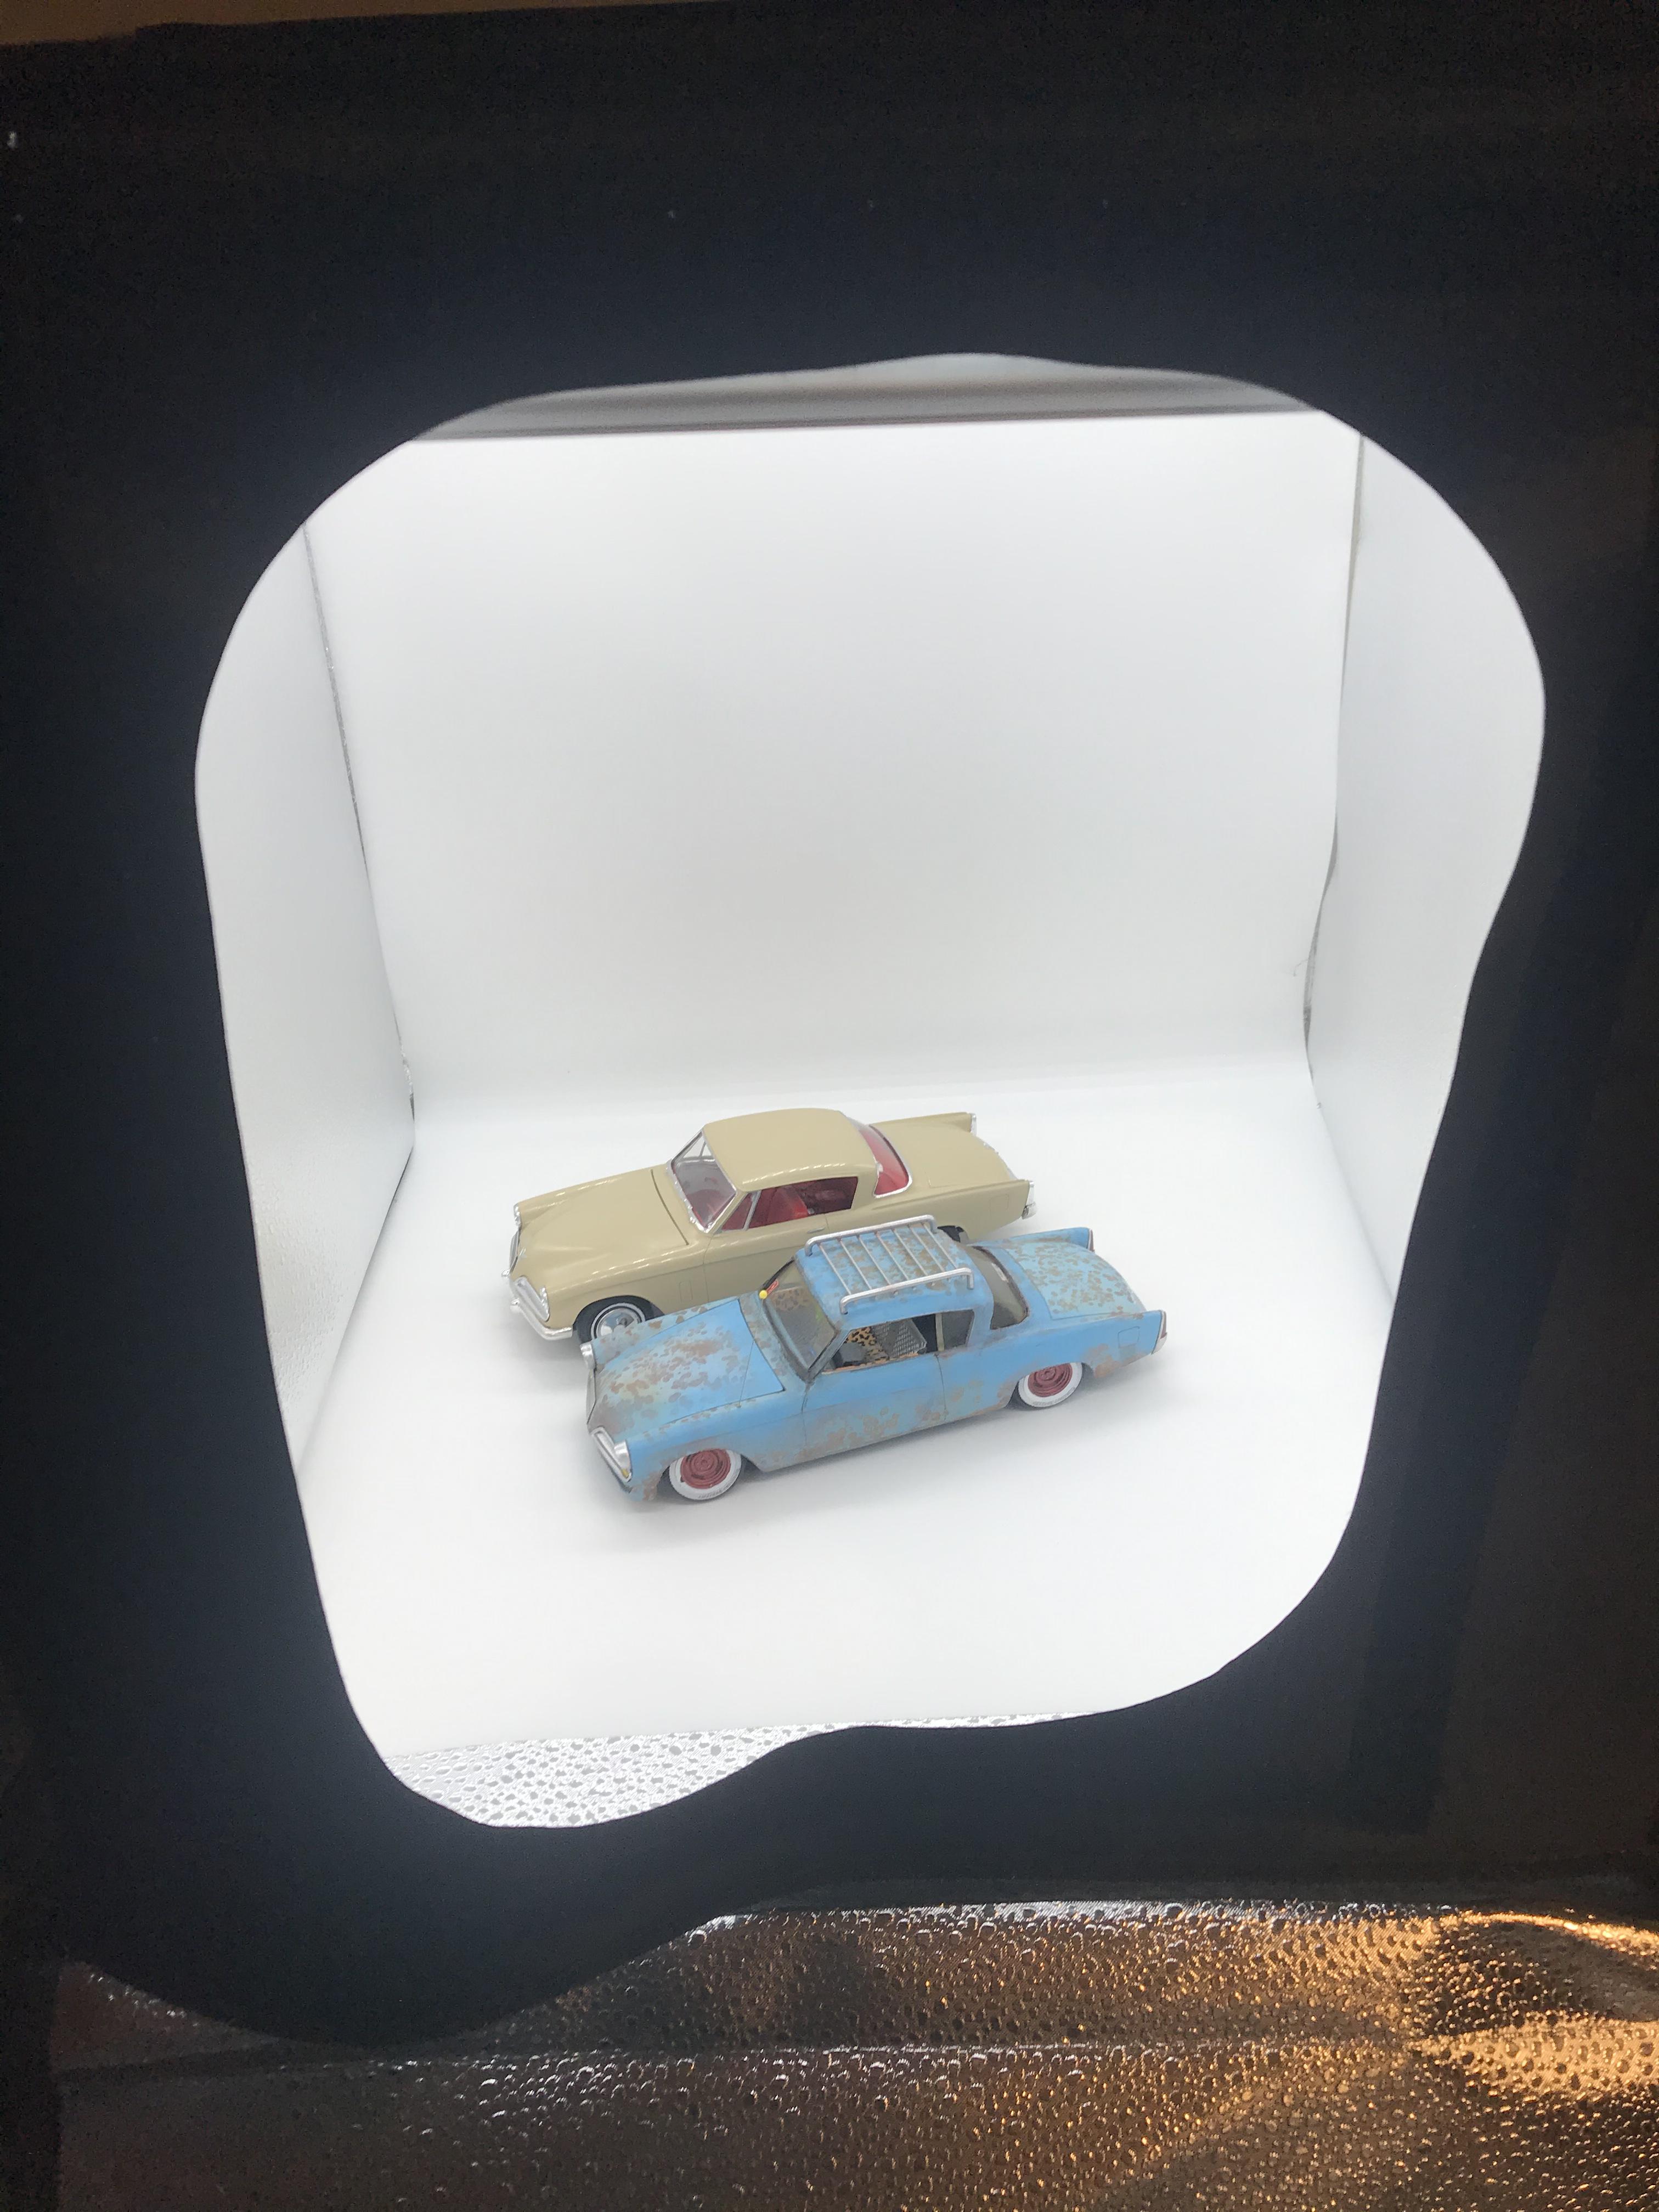
I was lucky enough to get a pretty cool modelling accessory for Christmas from my wife - a really cool photo booth! I’m impressed so far with it - it came with a bunch of different color backdrops and has two LED lightbars front and back and various diffusers and so on - way cool! I also scored a Shoebox Ford: And, not modelling related but still cool - a Miata shirt! ? There was some other stuff too, but I’m sure you all don’t want to see my socks that I got ?
-
AMT Mod Rod 29 Ford RPU
OldNYJim replied to OldNYJim's topic in WIP: Model Trucks: Pickups, Vans, SUVs, Light Commercial
No sir, not on this one - but I just figured out a great way to do that recently so I’m sure future builds will get some nice thin pinstriped edges to the flames. I could’ve done it on this one but imagined the flames being real simple, so here we are... Had to wait for my enamel clear to dry sufficiently to polish, and spent a few hours today getting that shine up: IMG_3878.MP4 Had a bunch of painted pieces to polish today...getting to the point where I can do some assembly now!
-
What did you see on the road today?
OldNYJim replied to Harry P.'s topic in General Automotive Talk (Trucks and Cars)
They’re showroom fresh for my neighborhood ? -
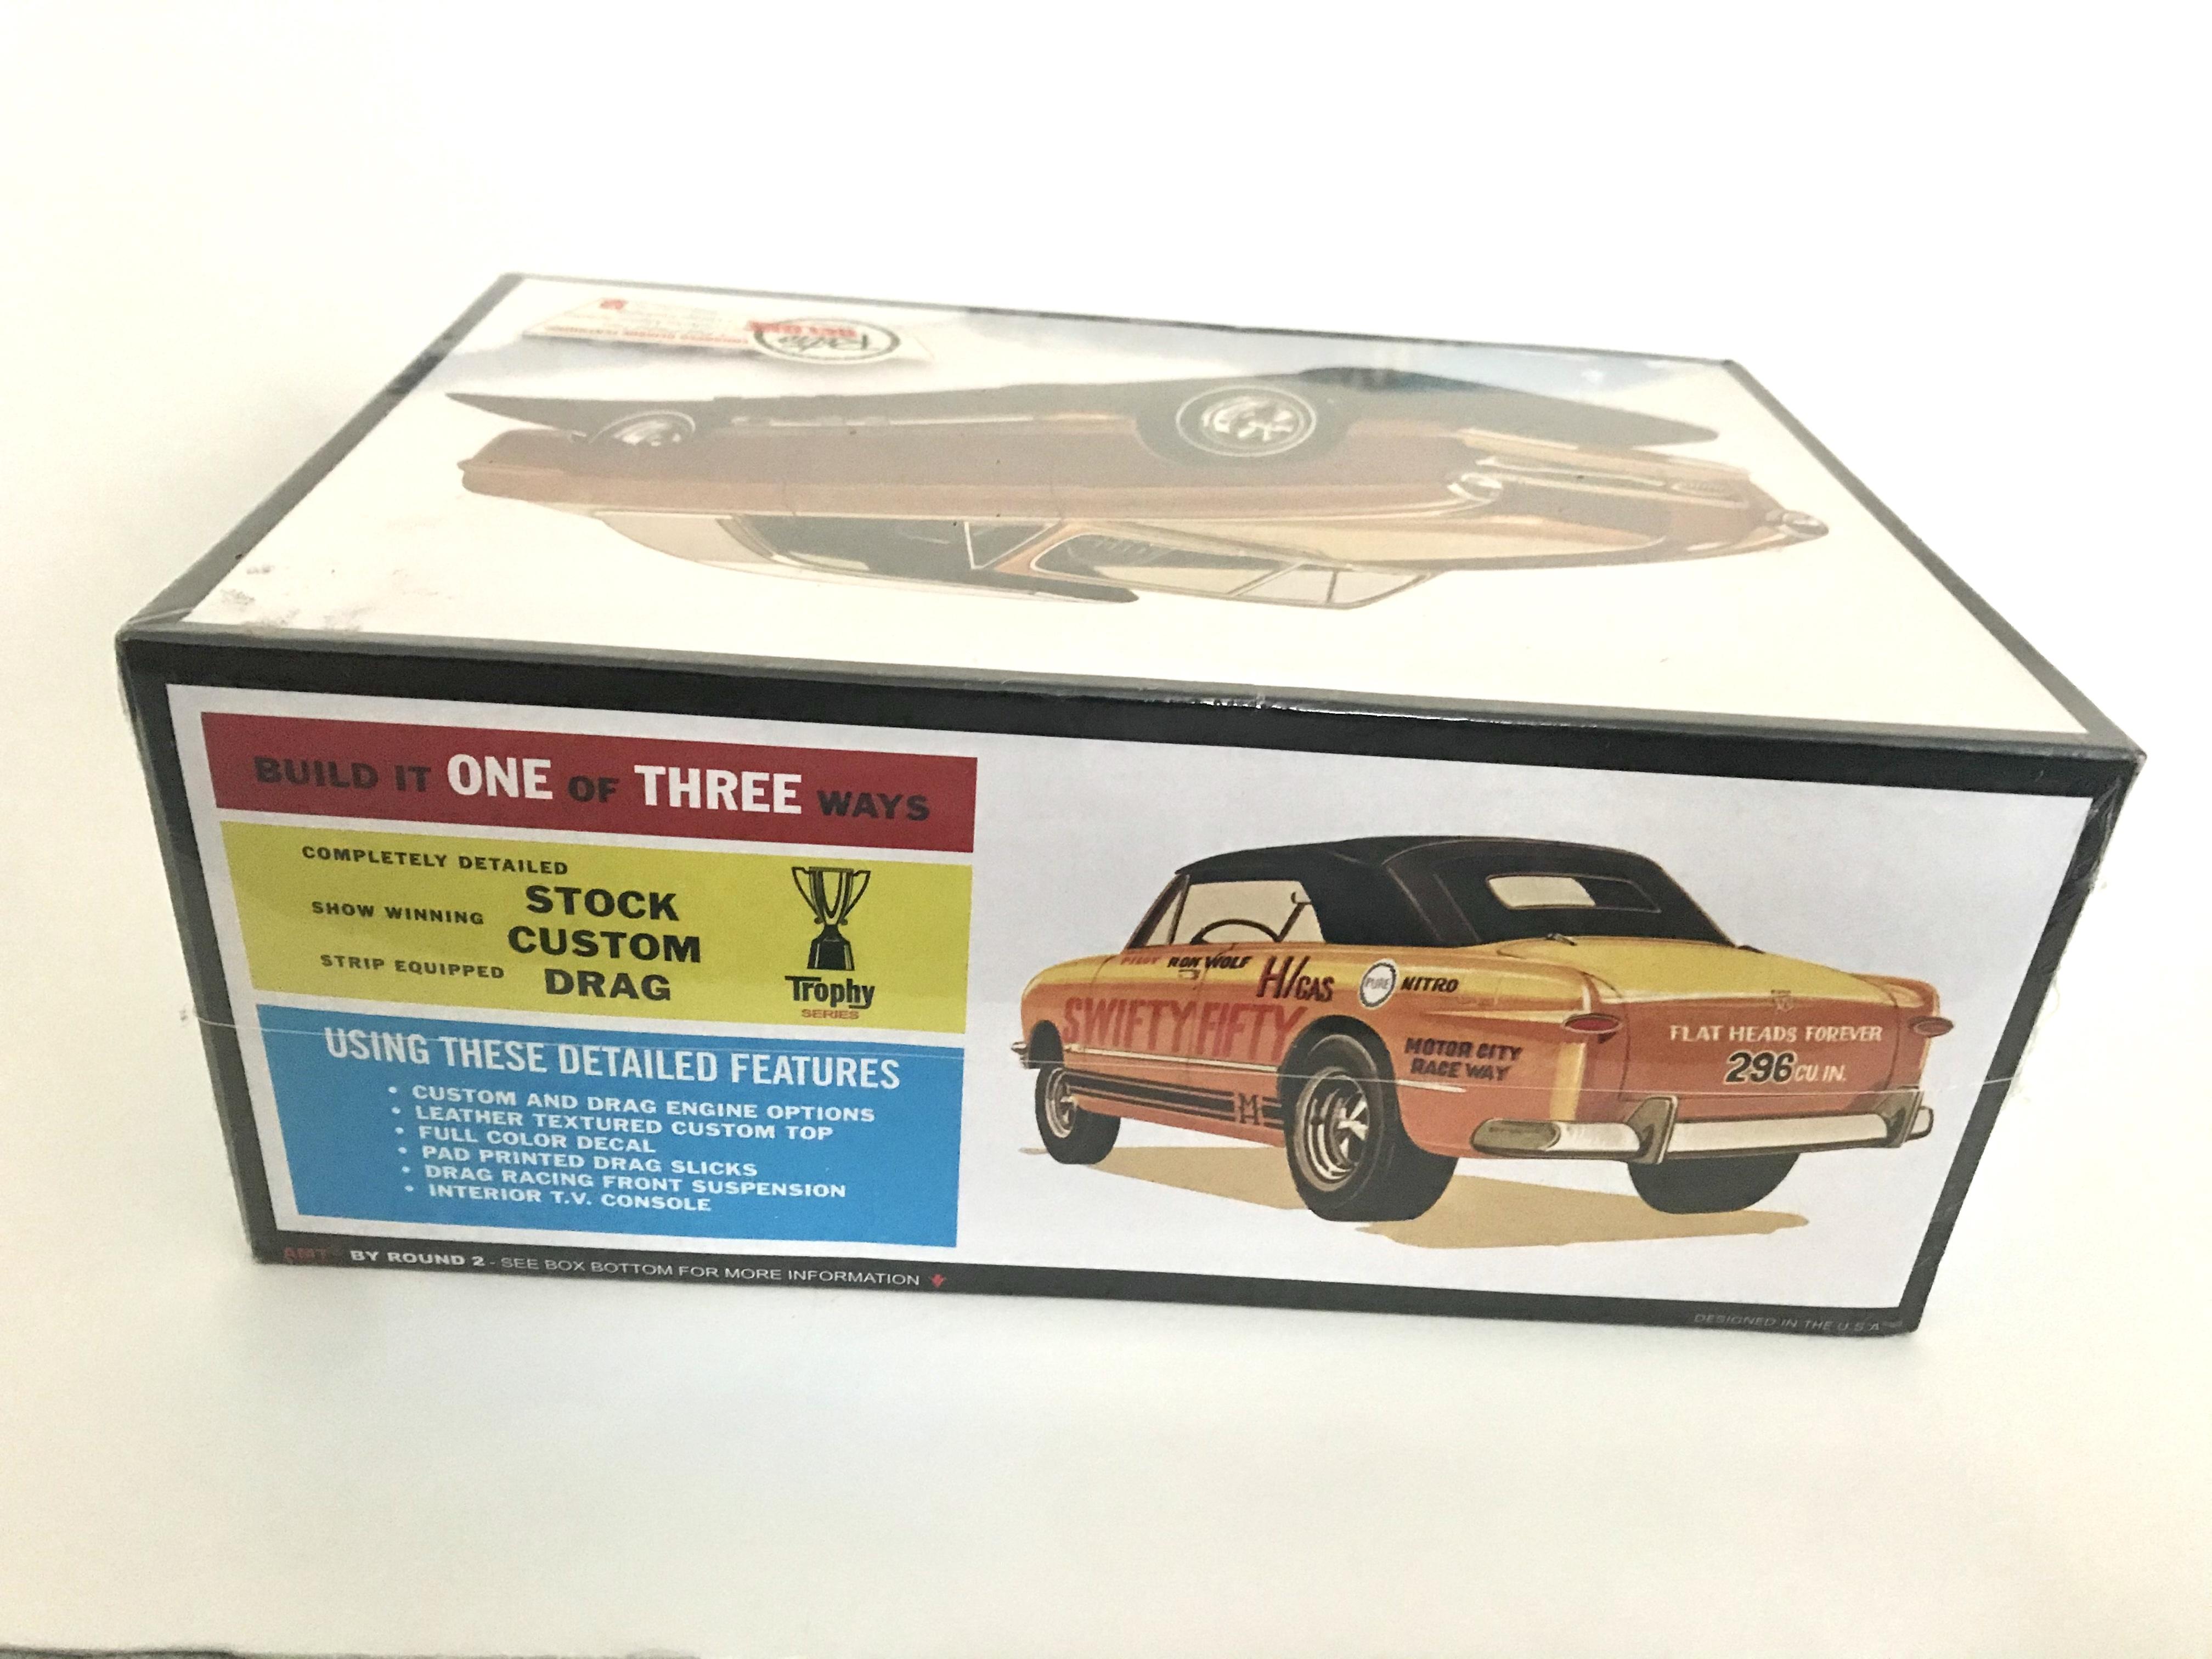
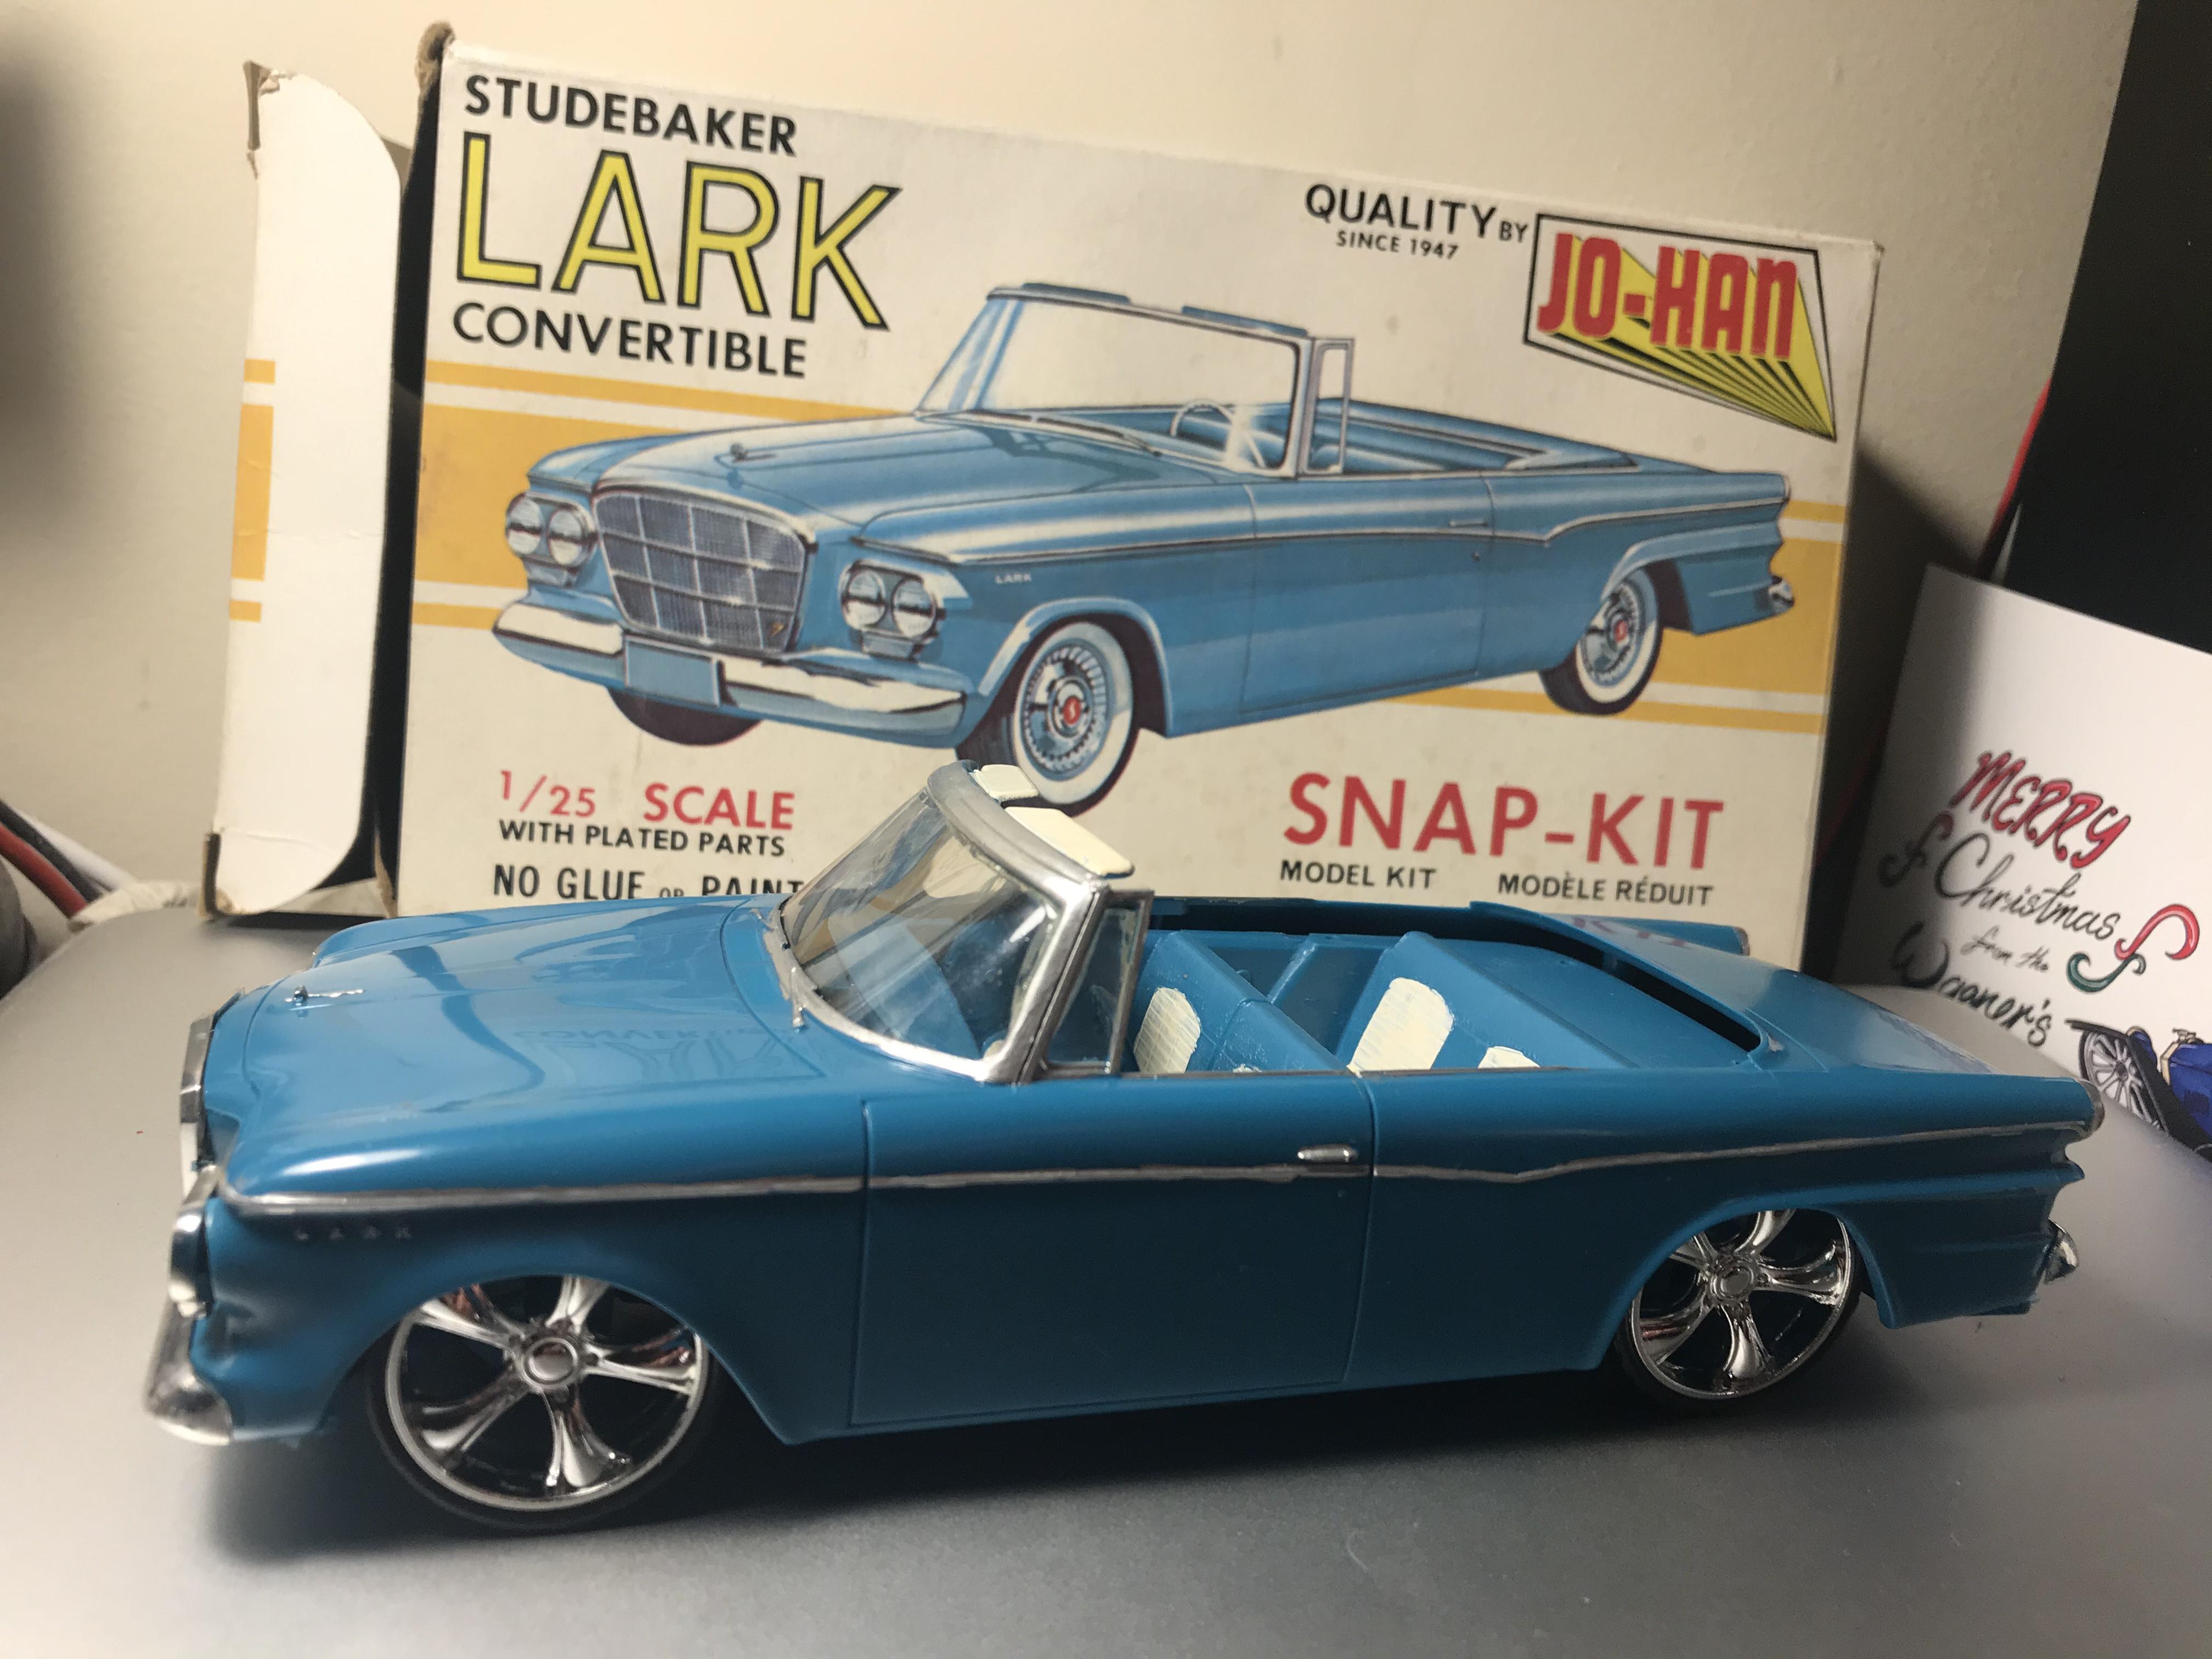
Chassis upgrade for Johan 62 Lark
OldNYJim replied to thatz4u's topic in Model Building Questions and Answers
Same as this one (minus the funky wheels)?
-
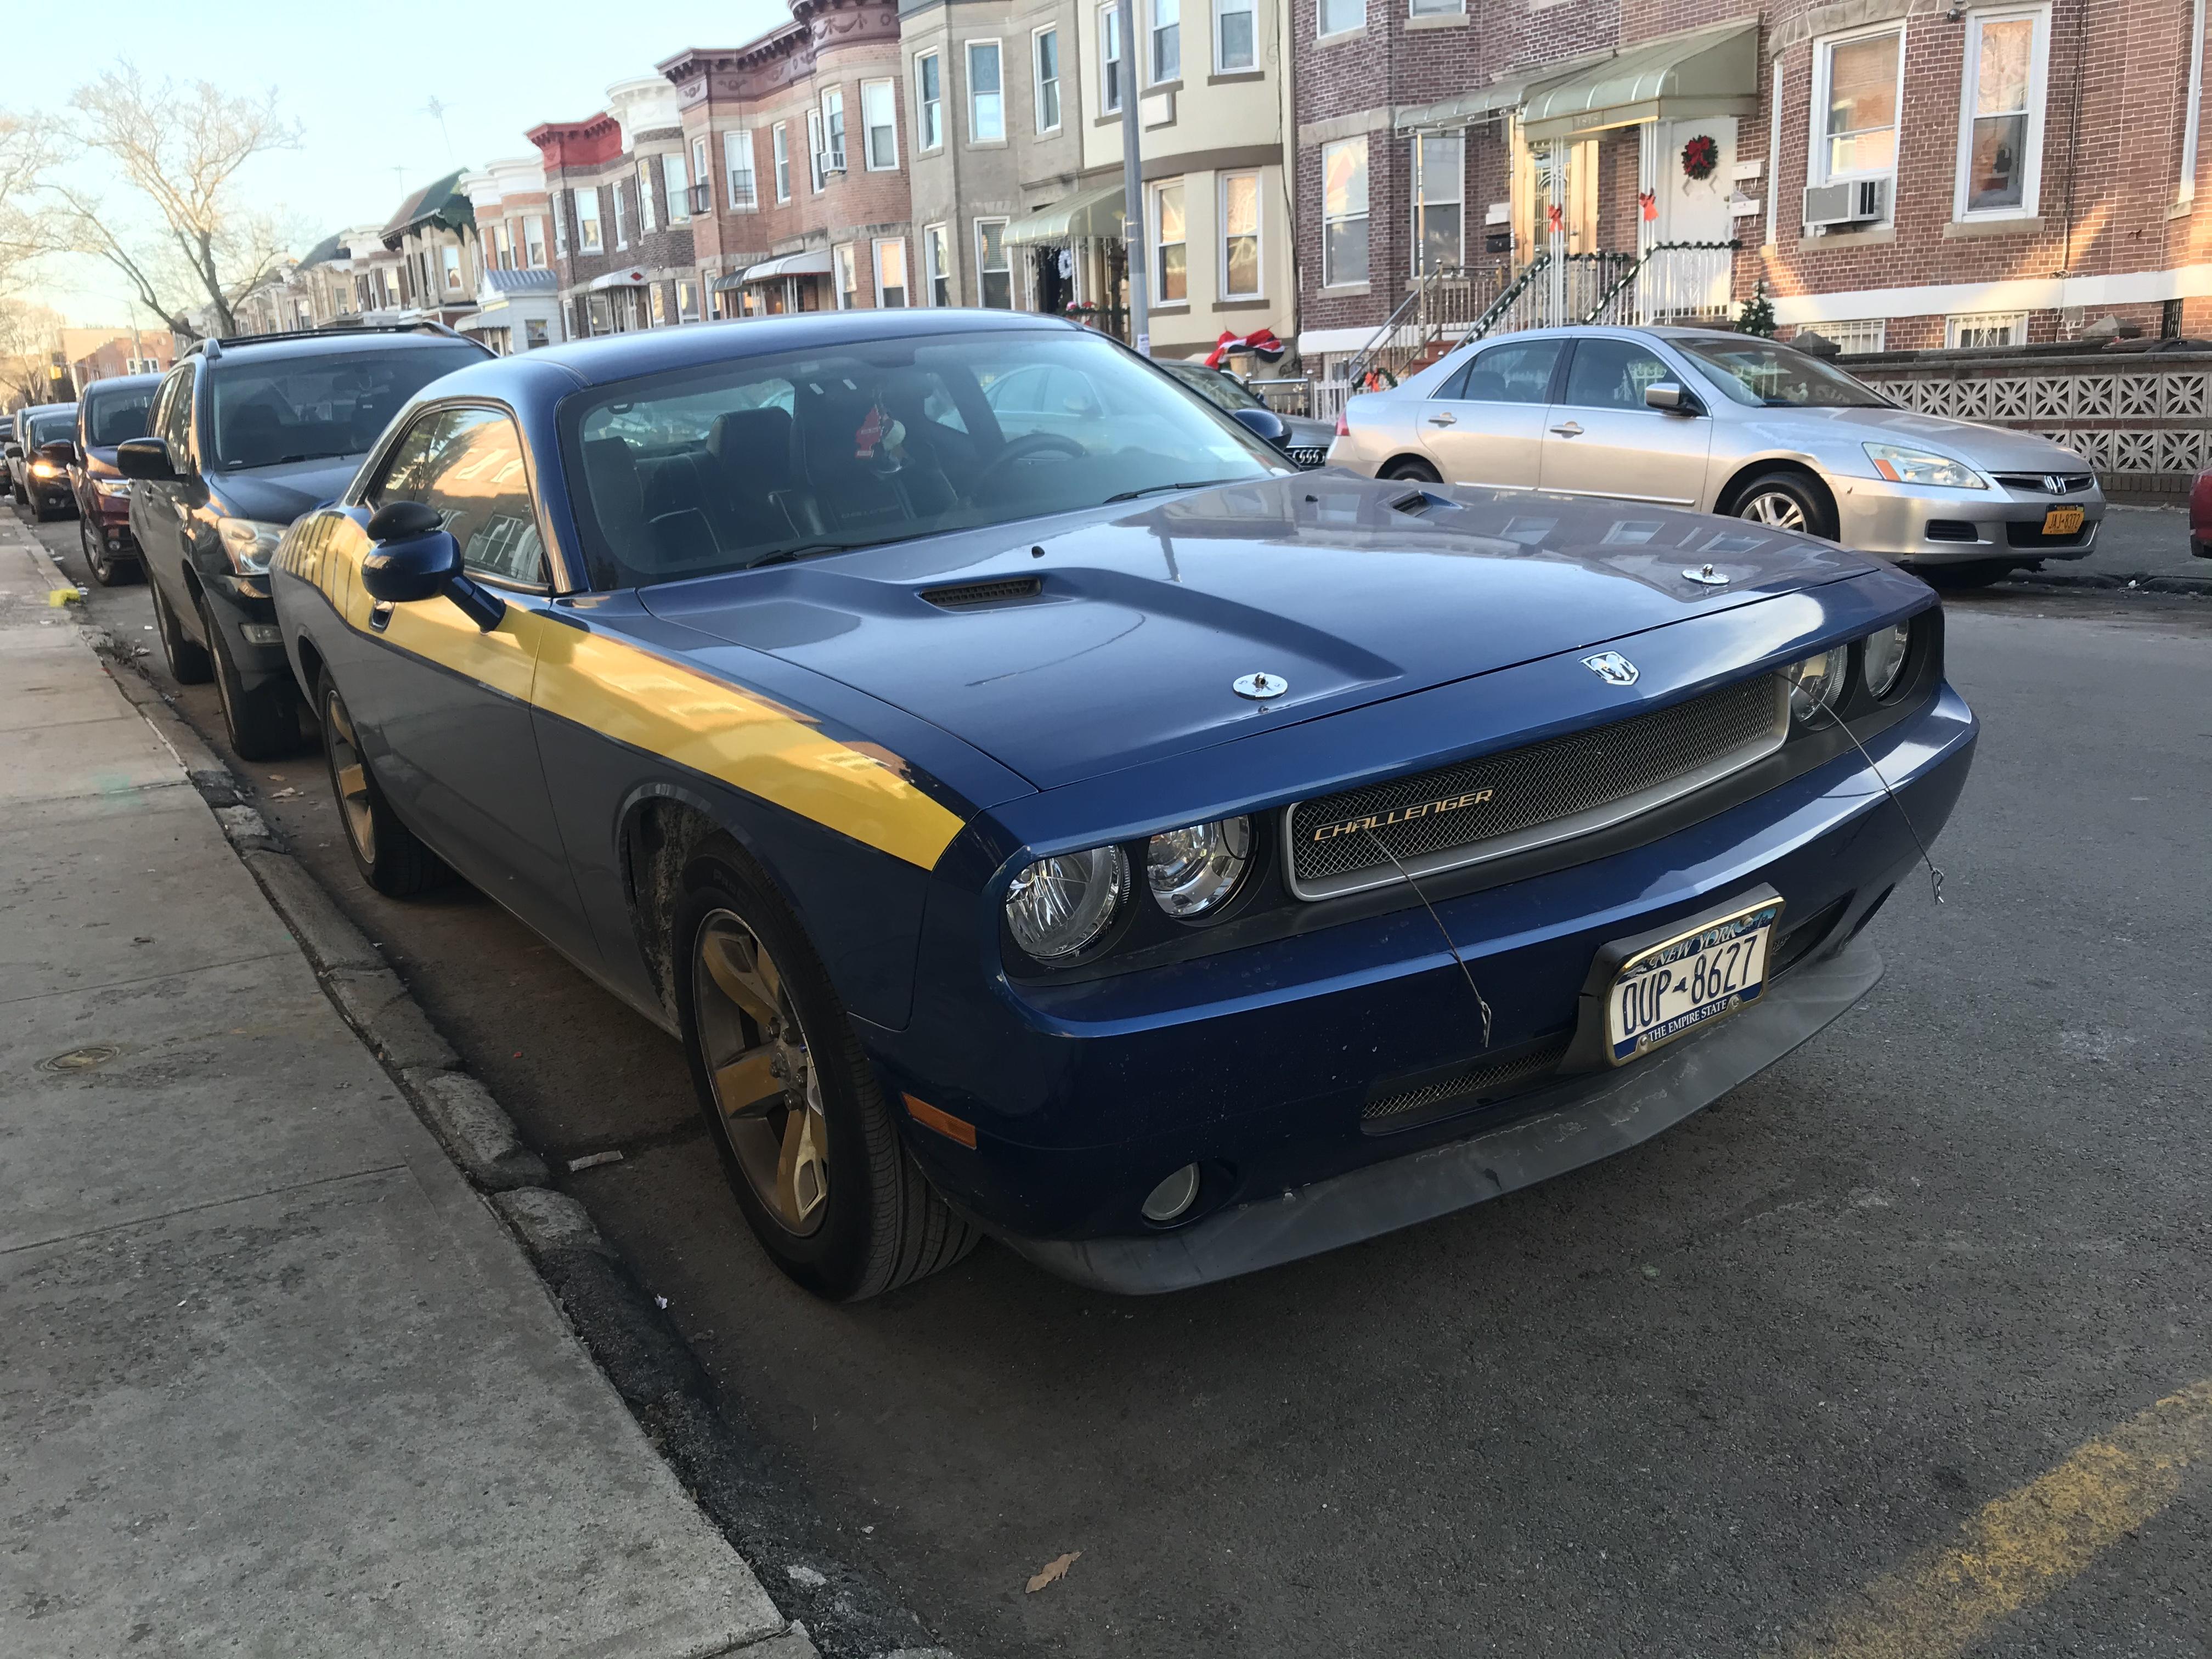
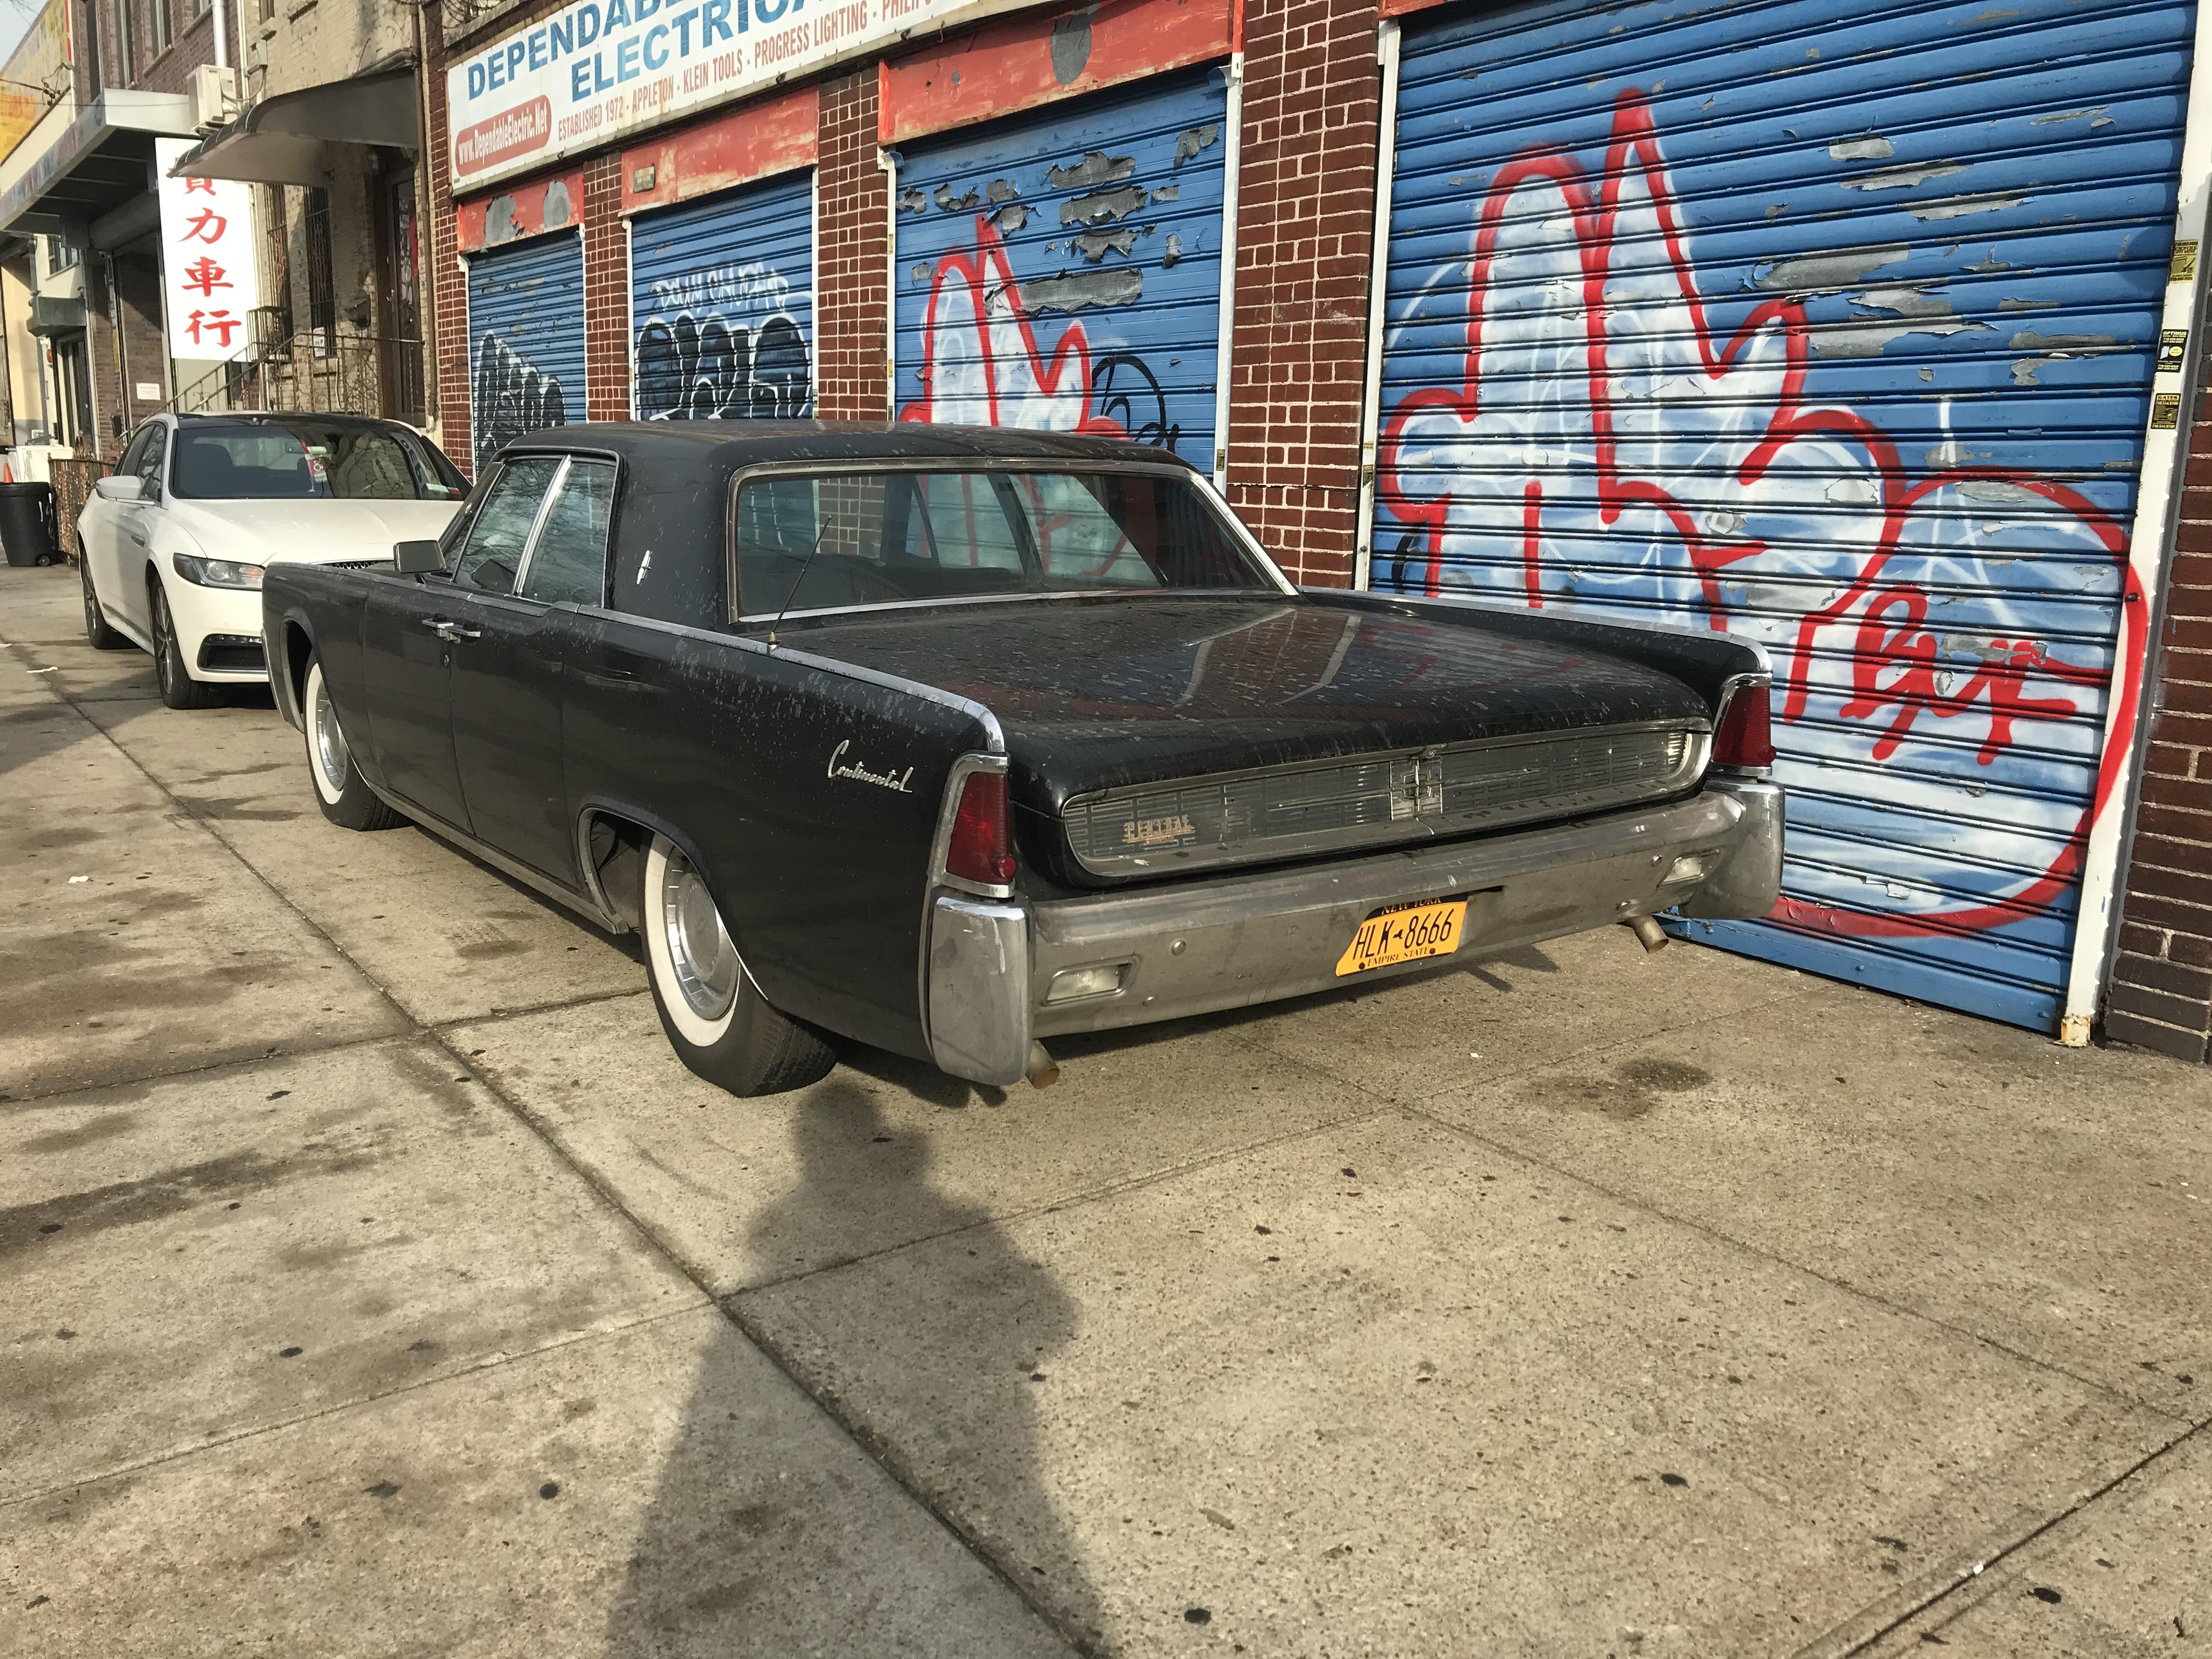
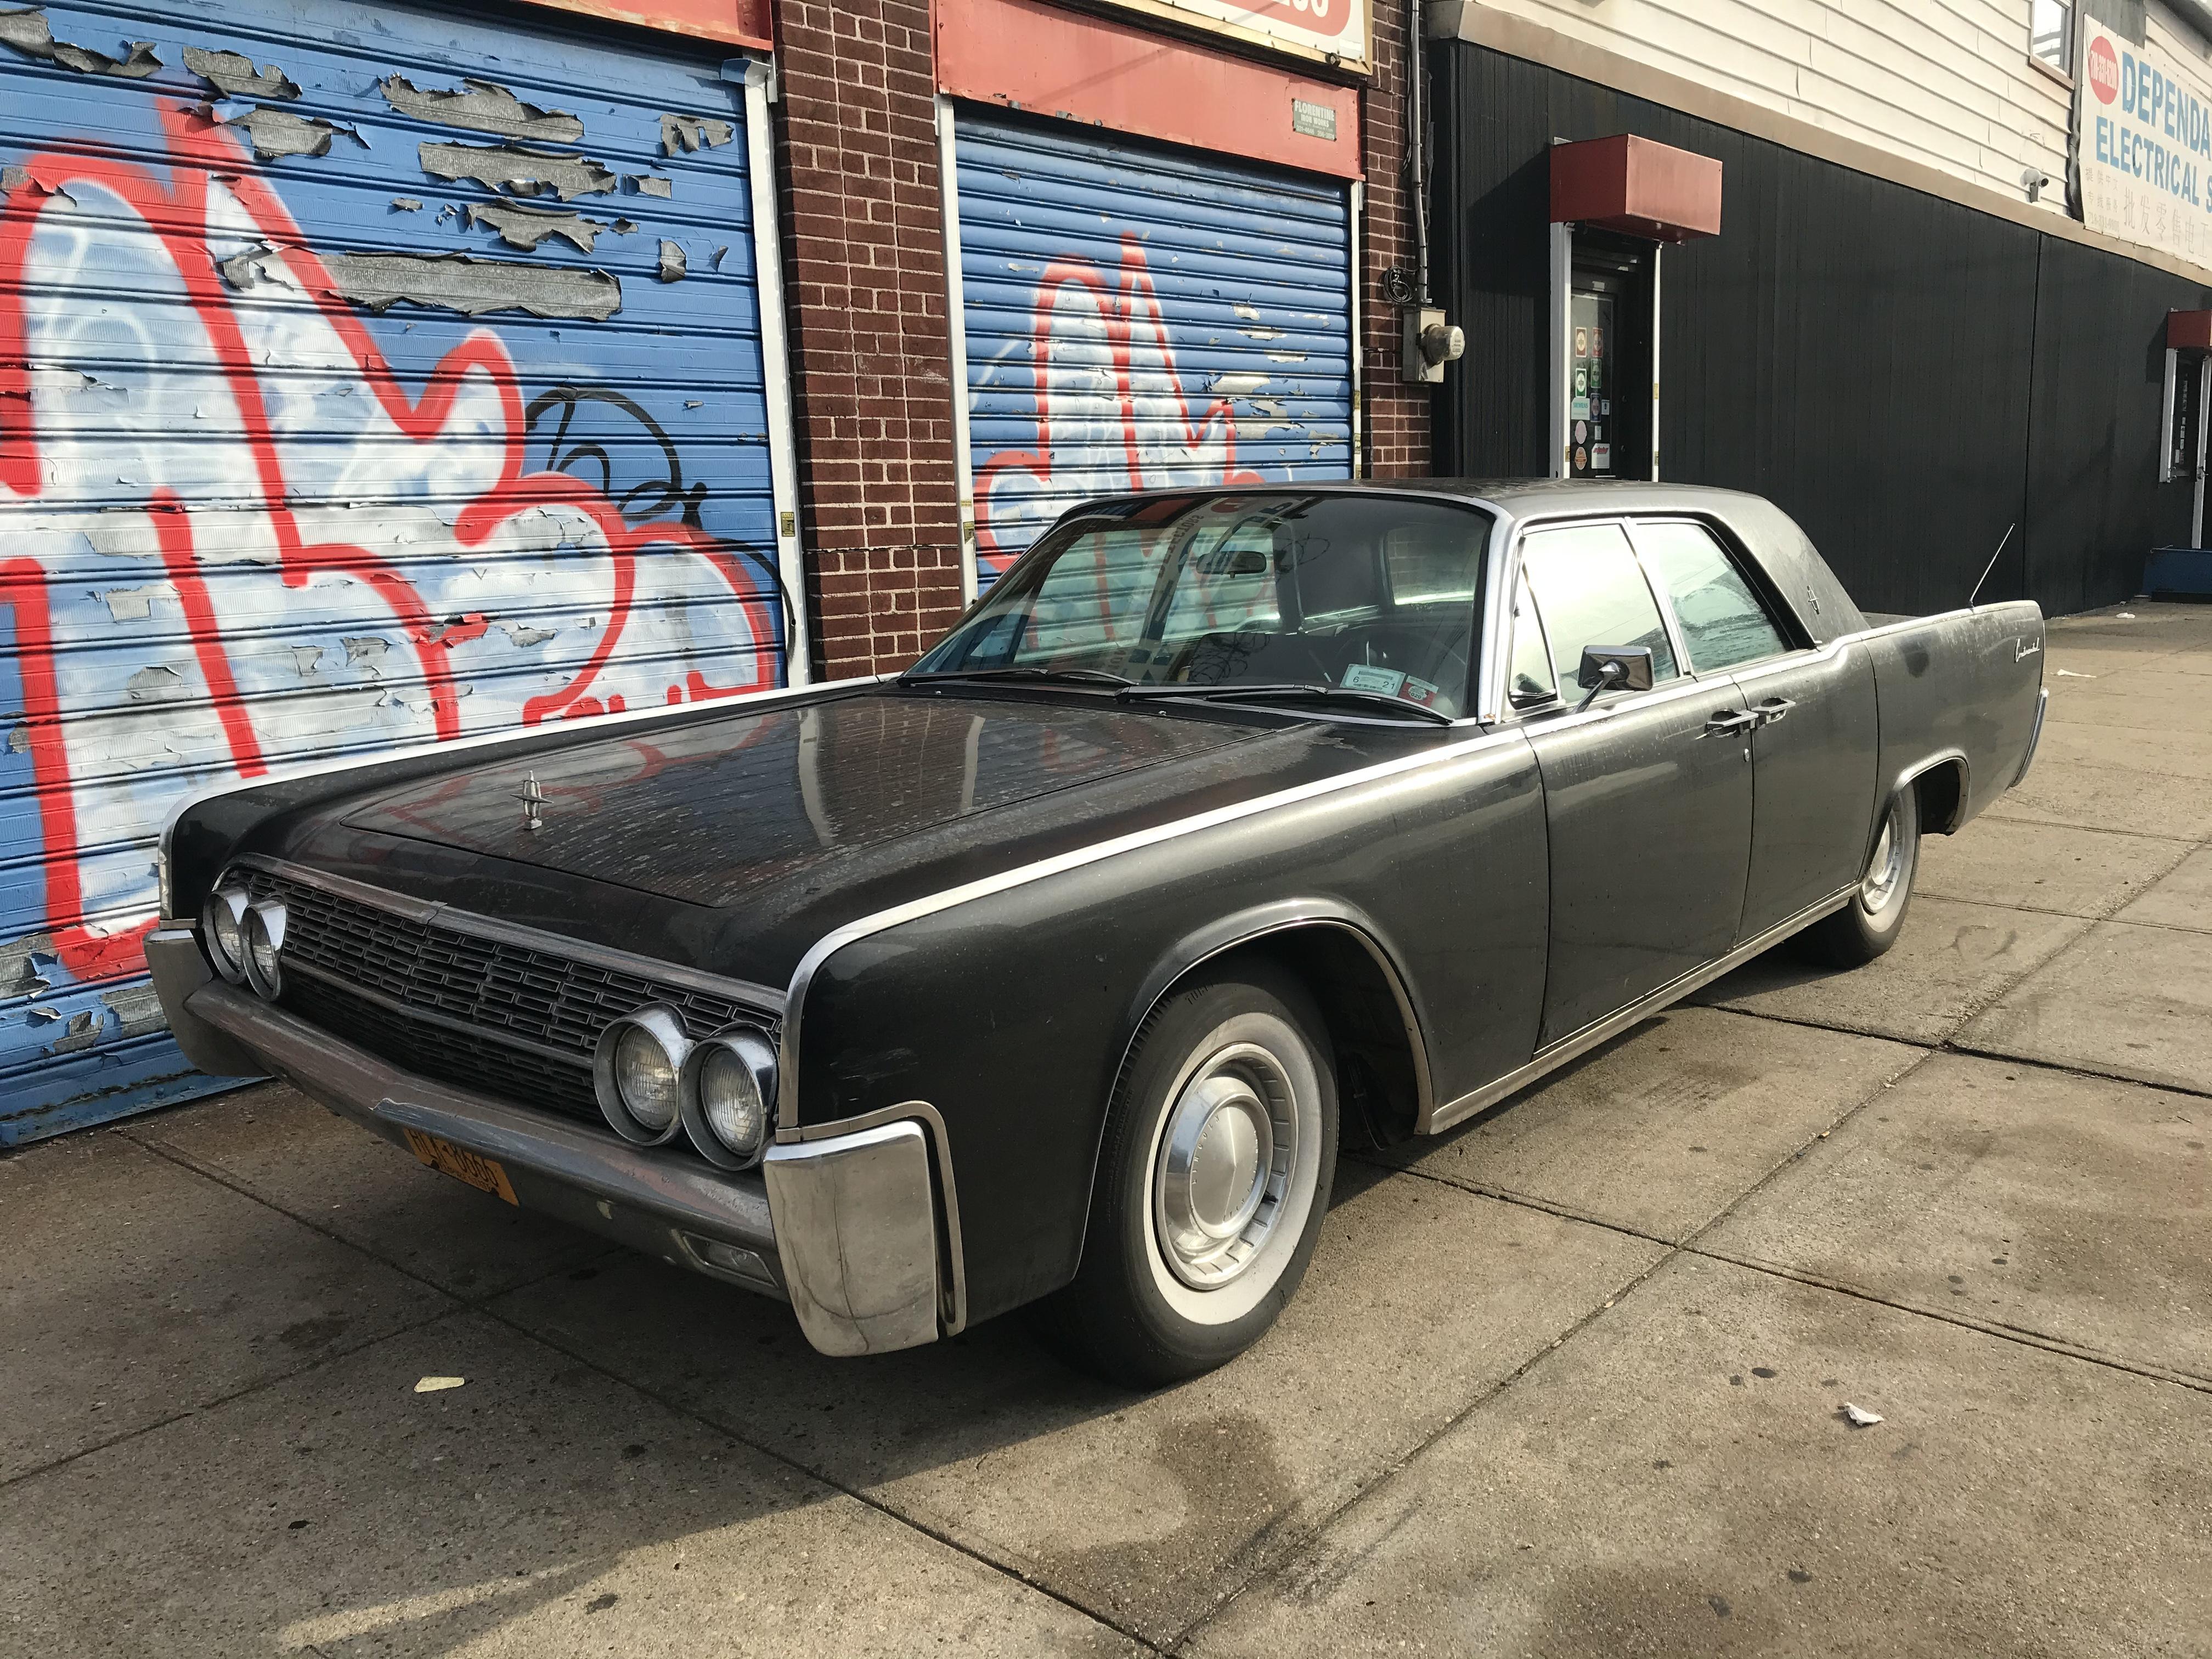
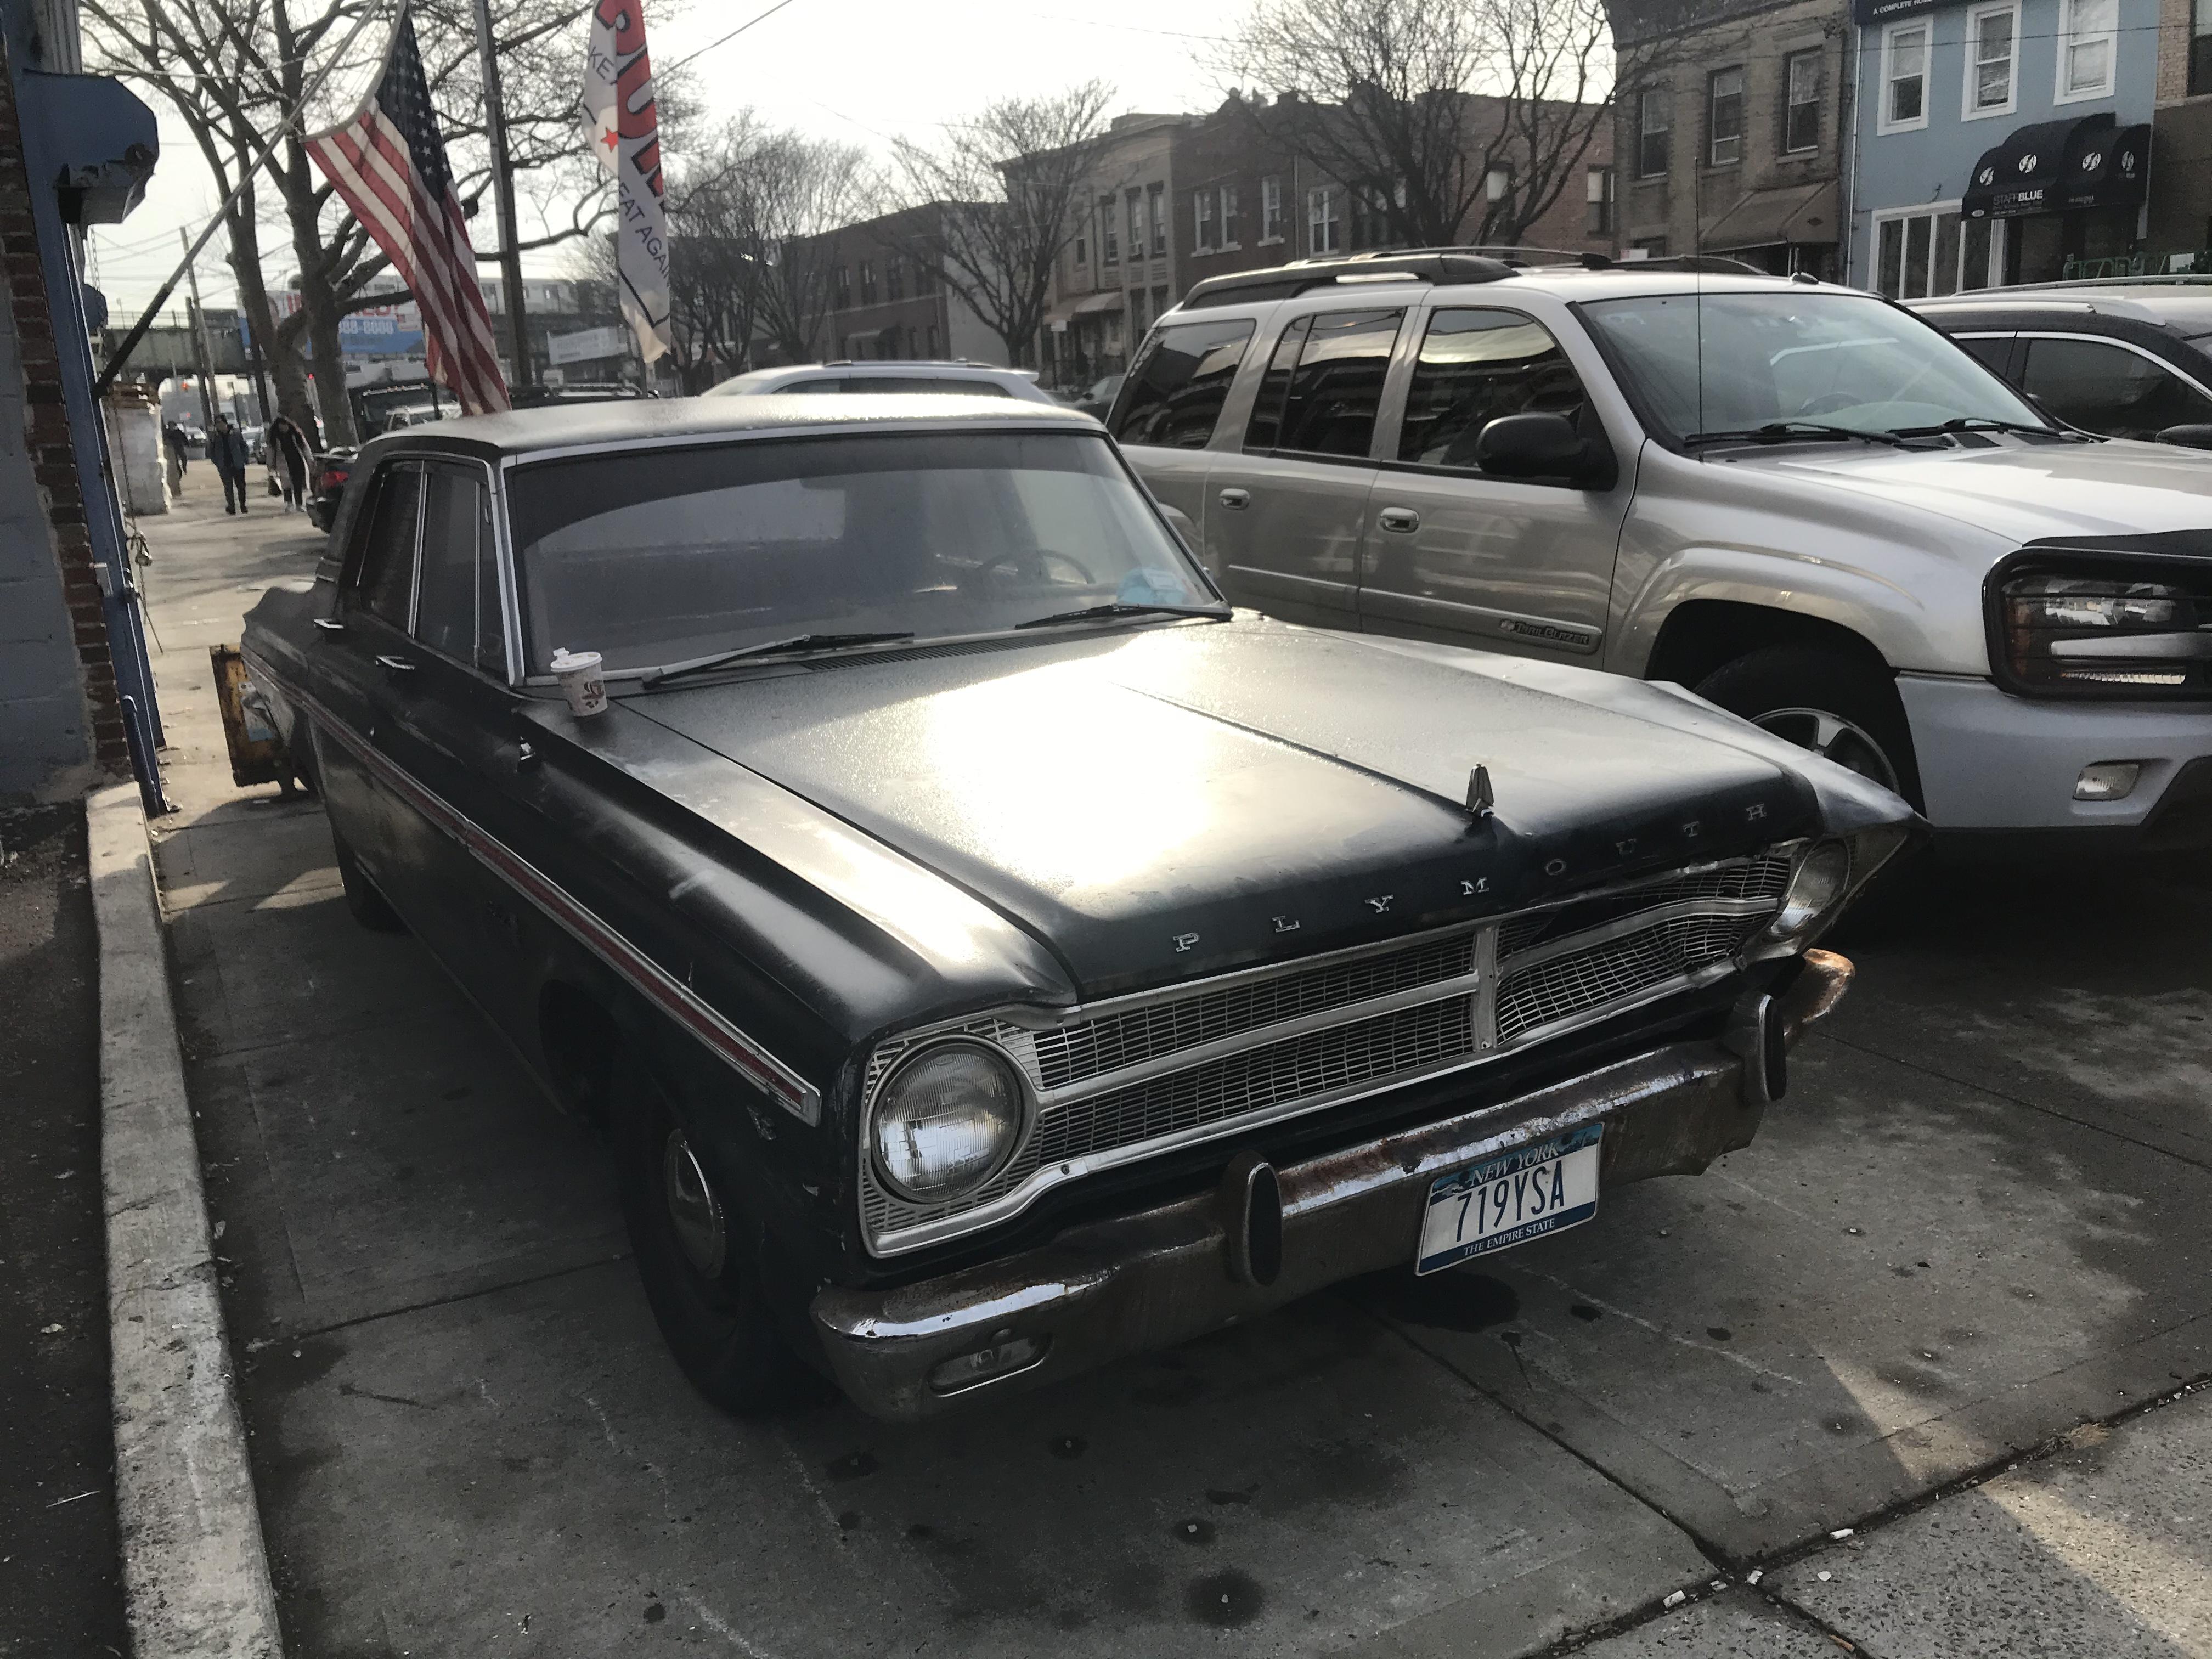
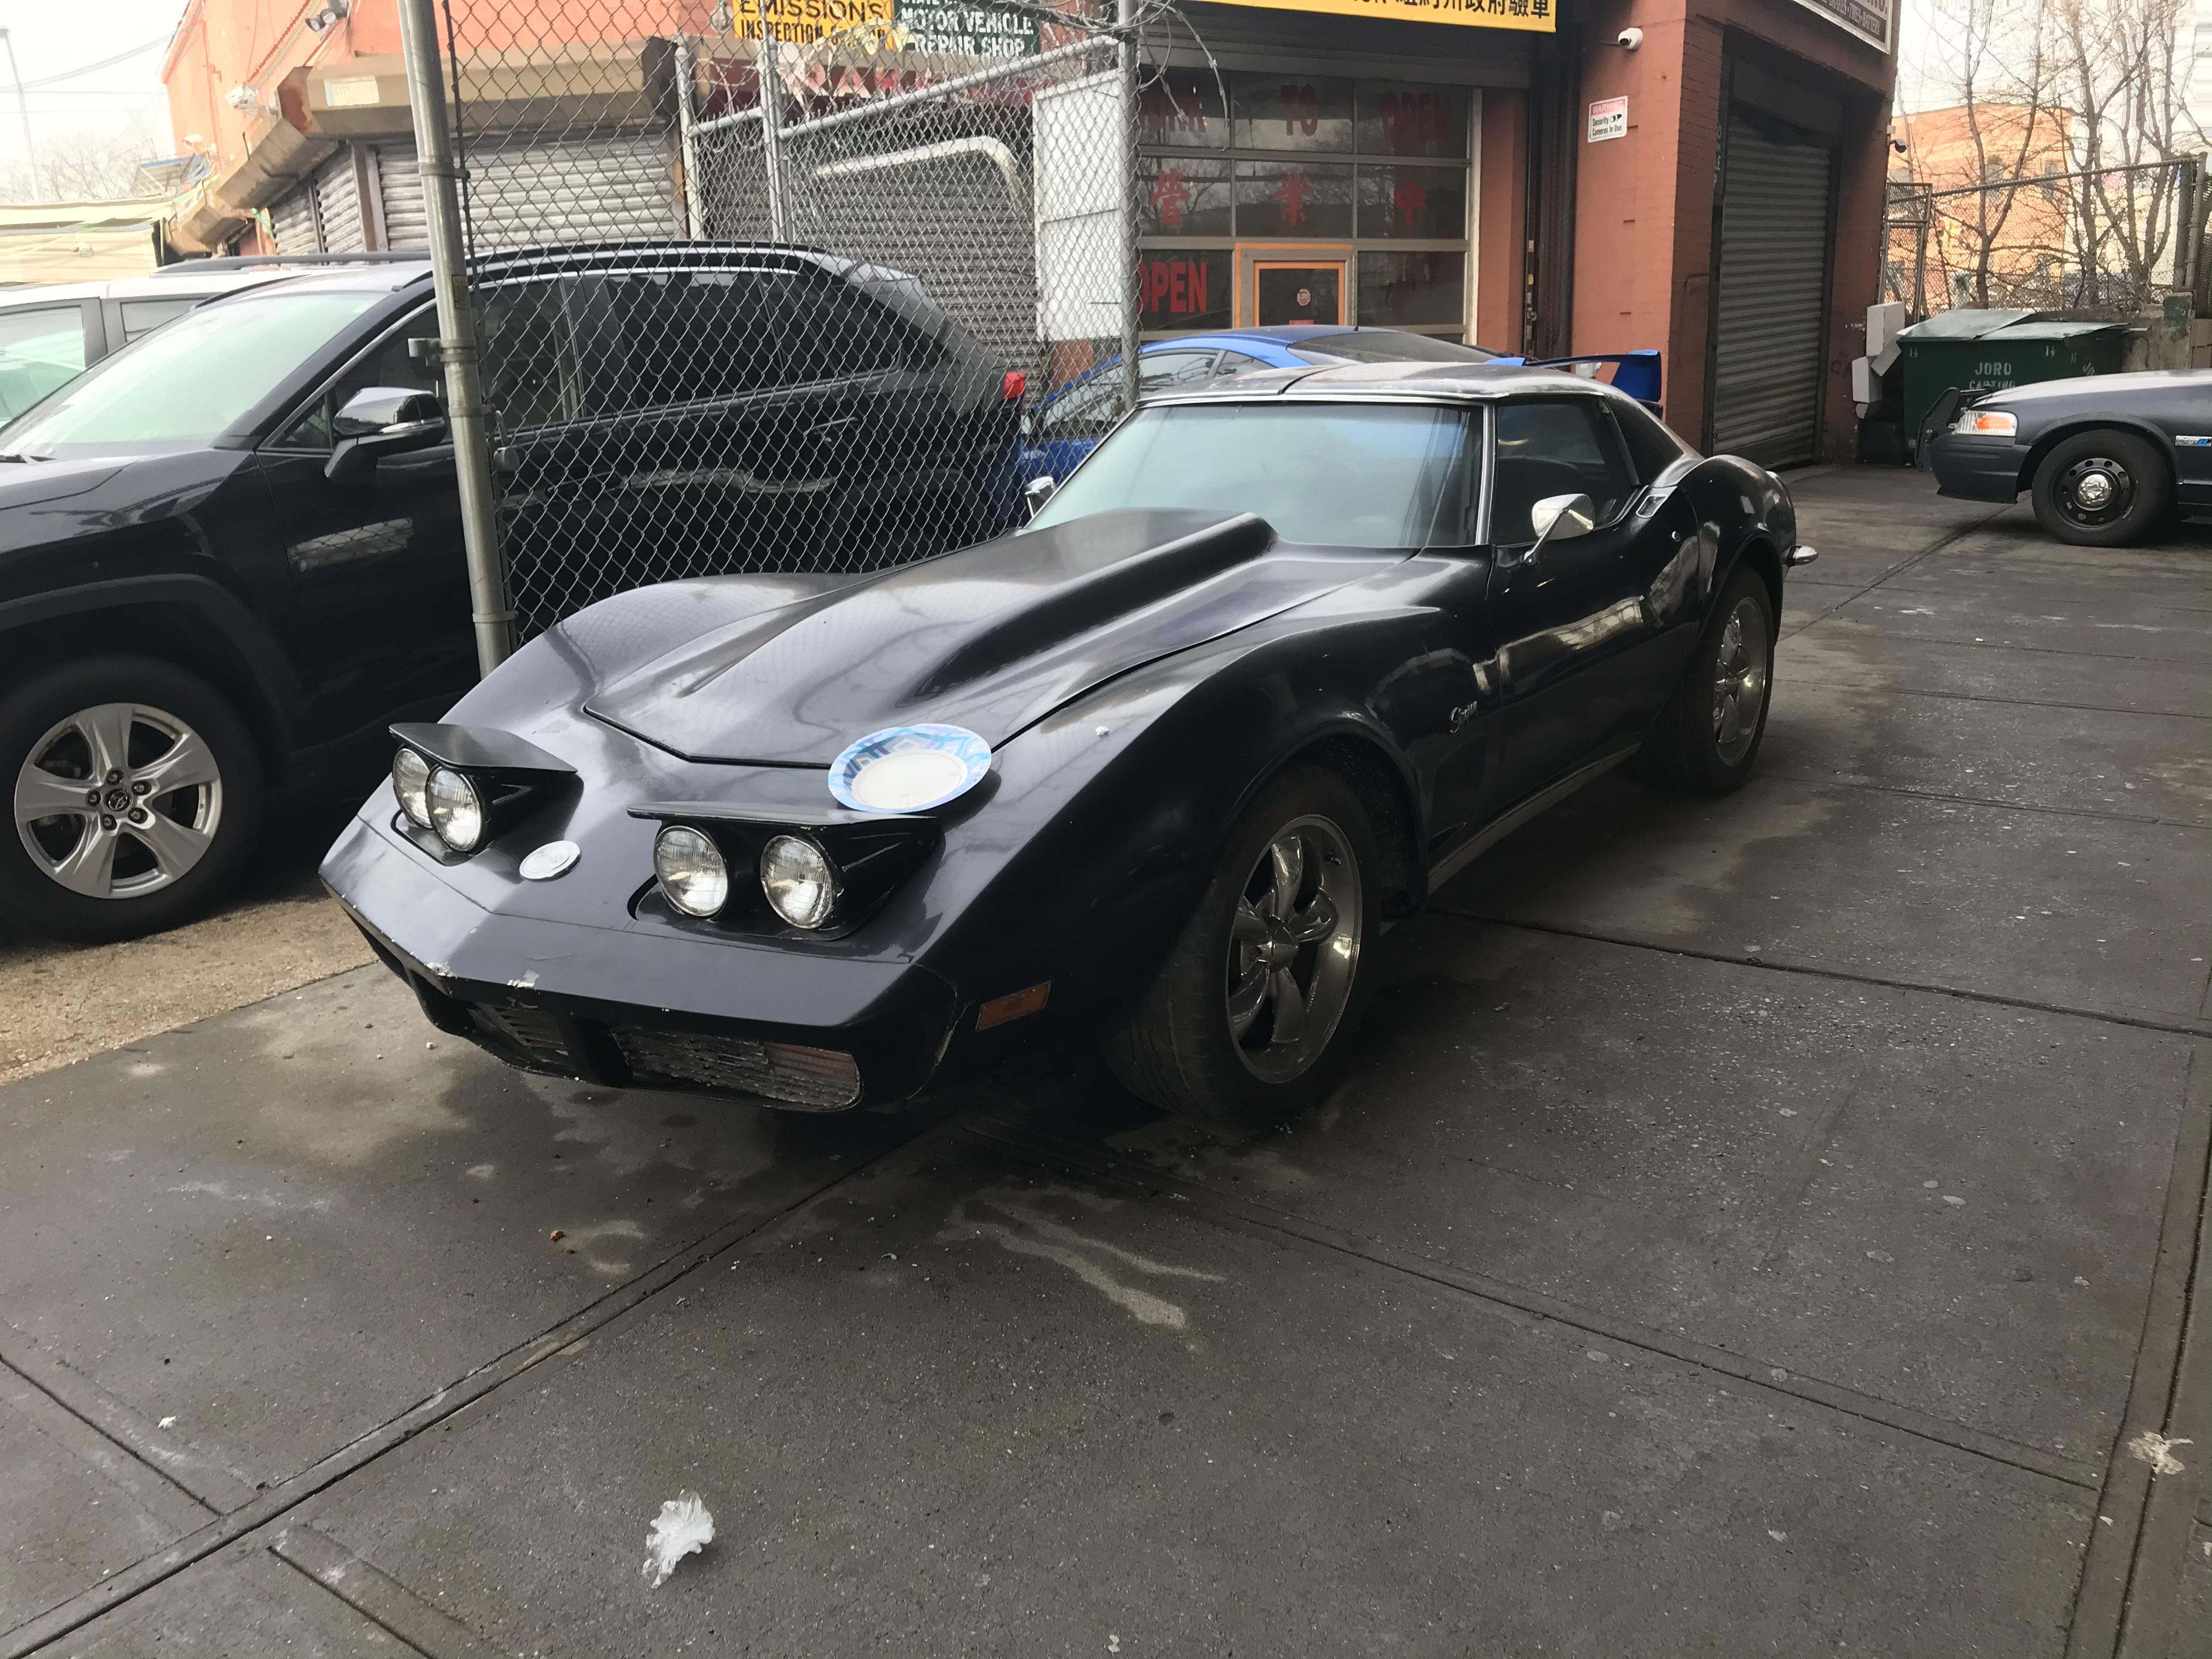
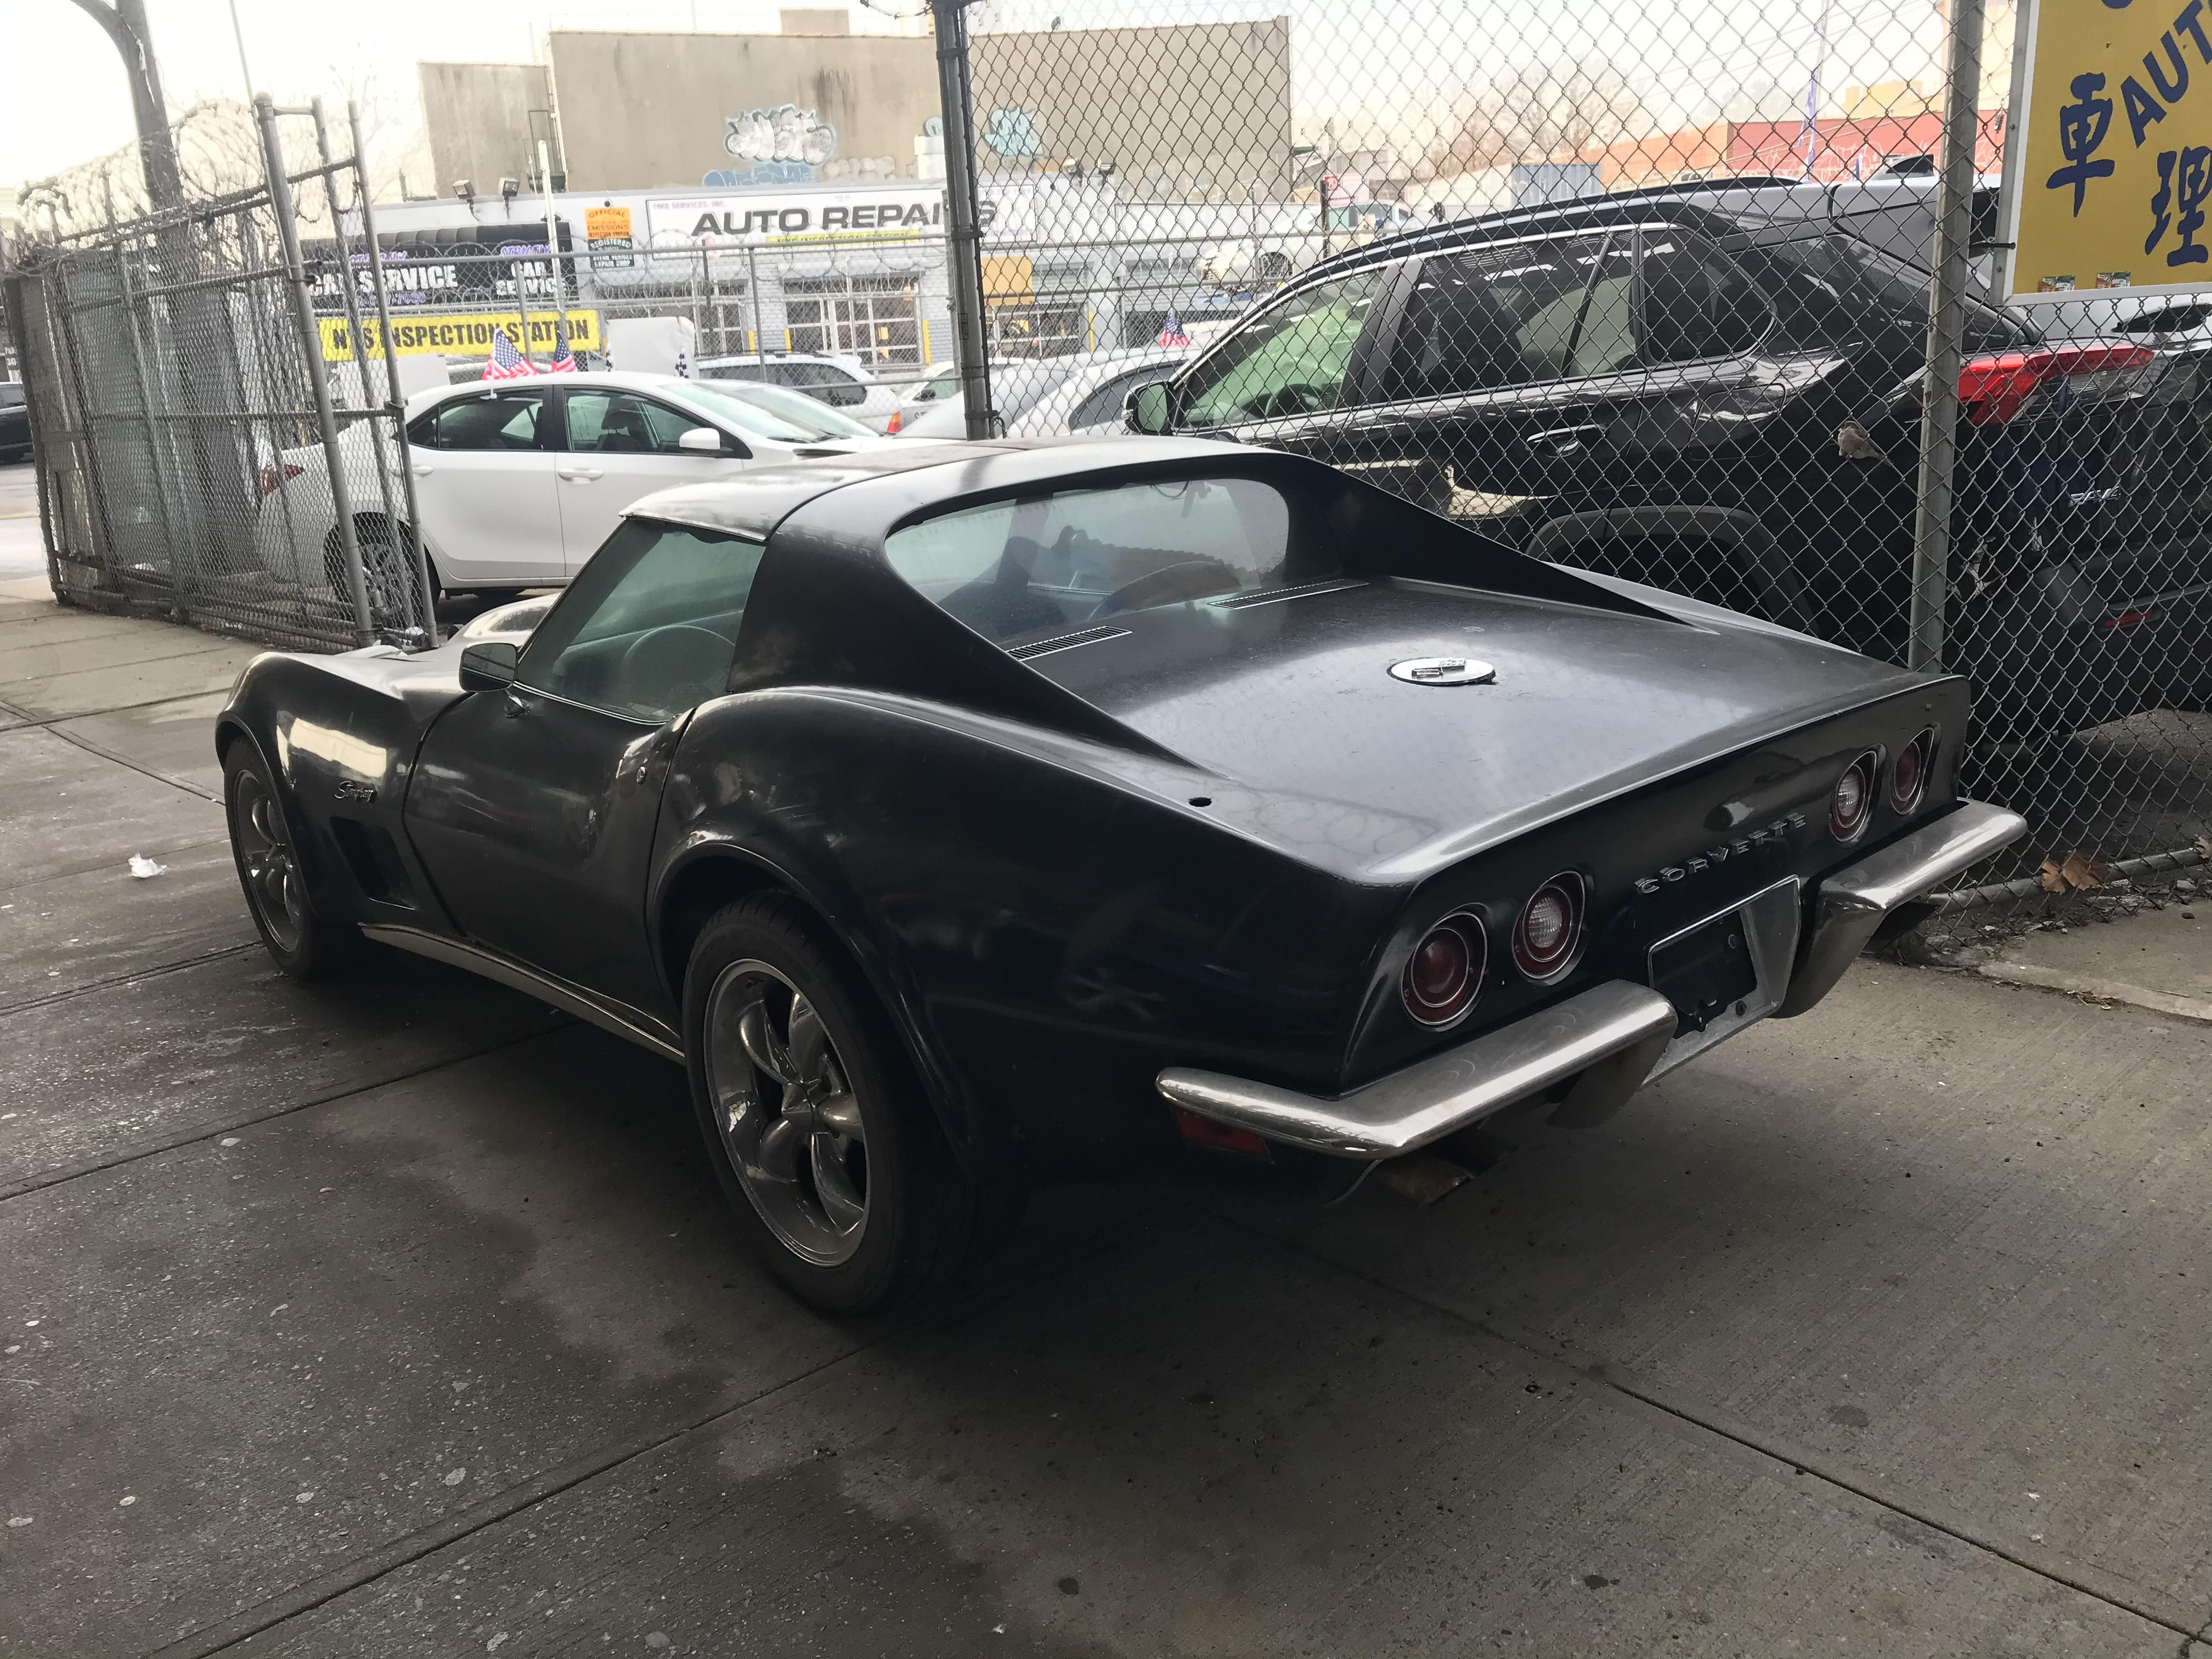
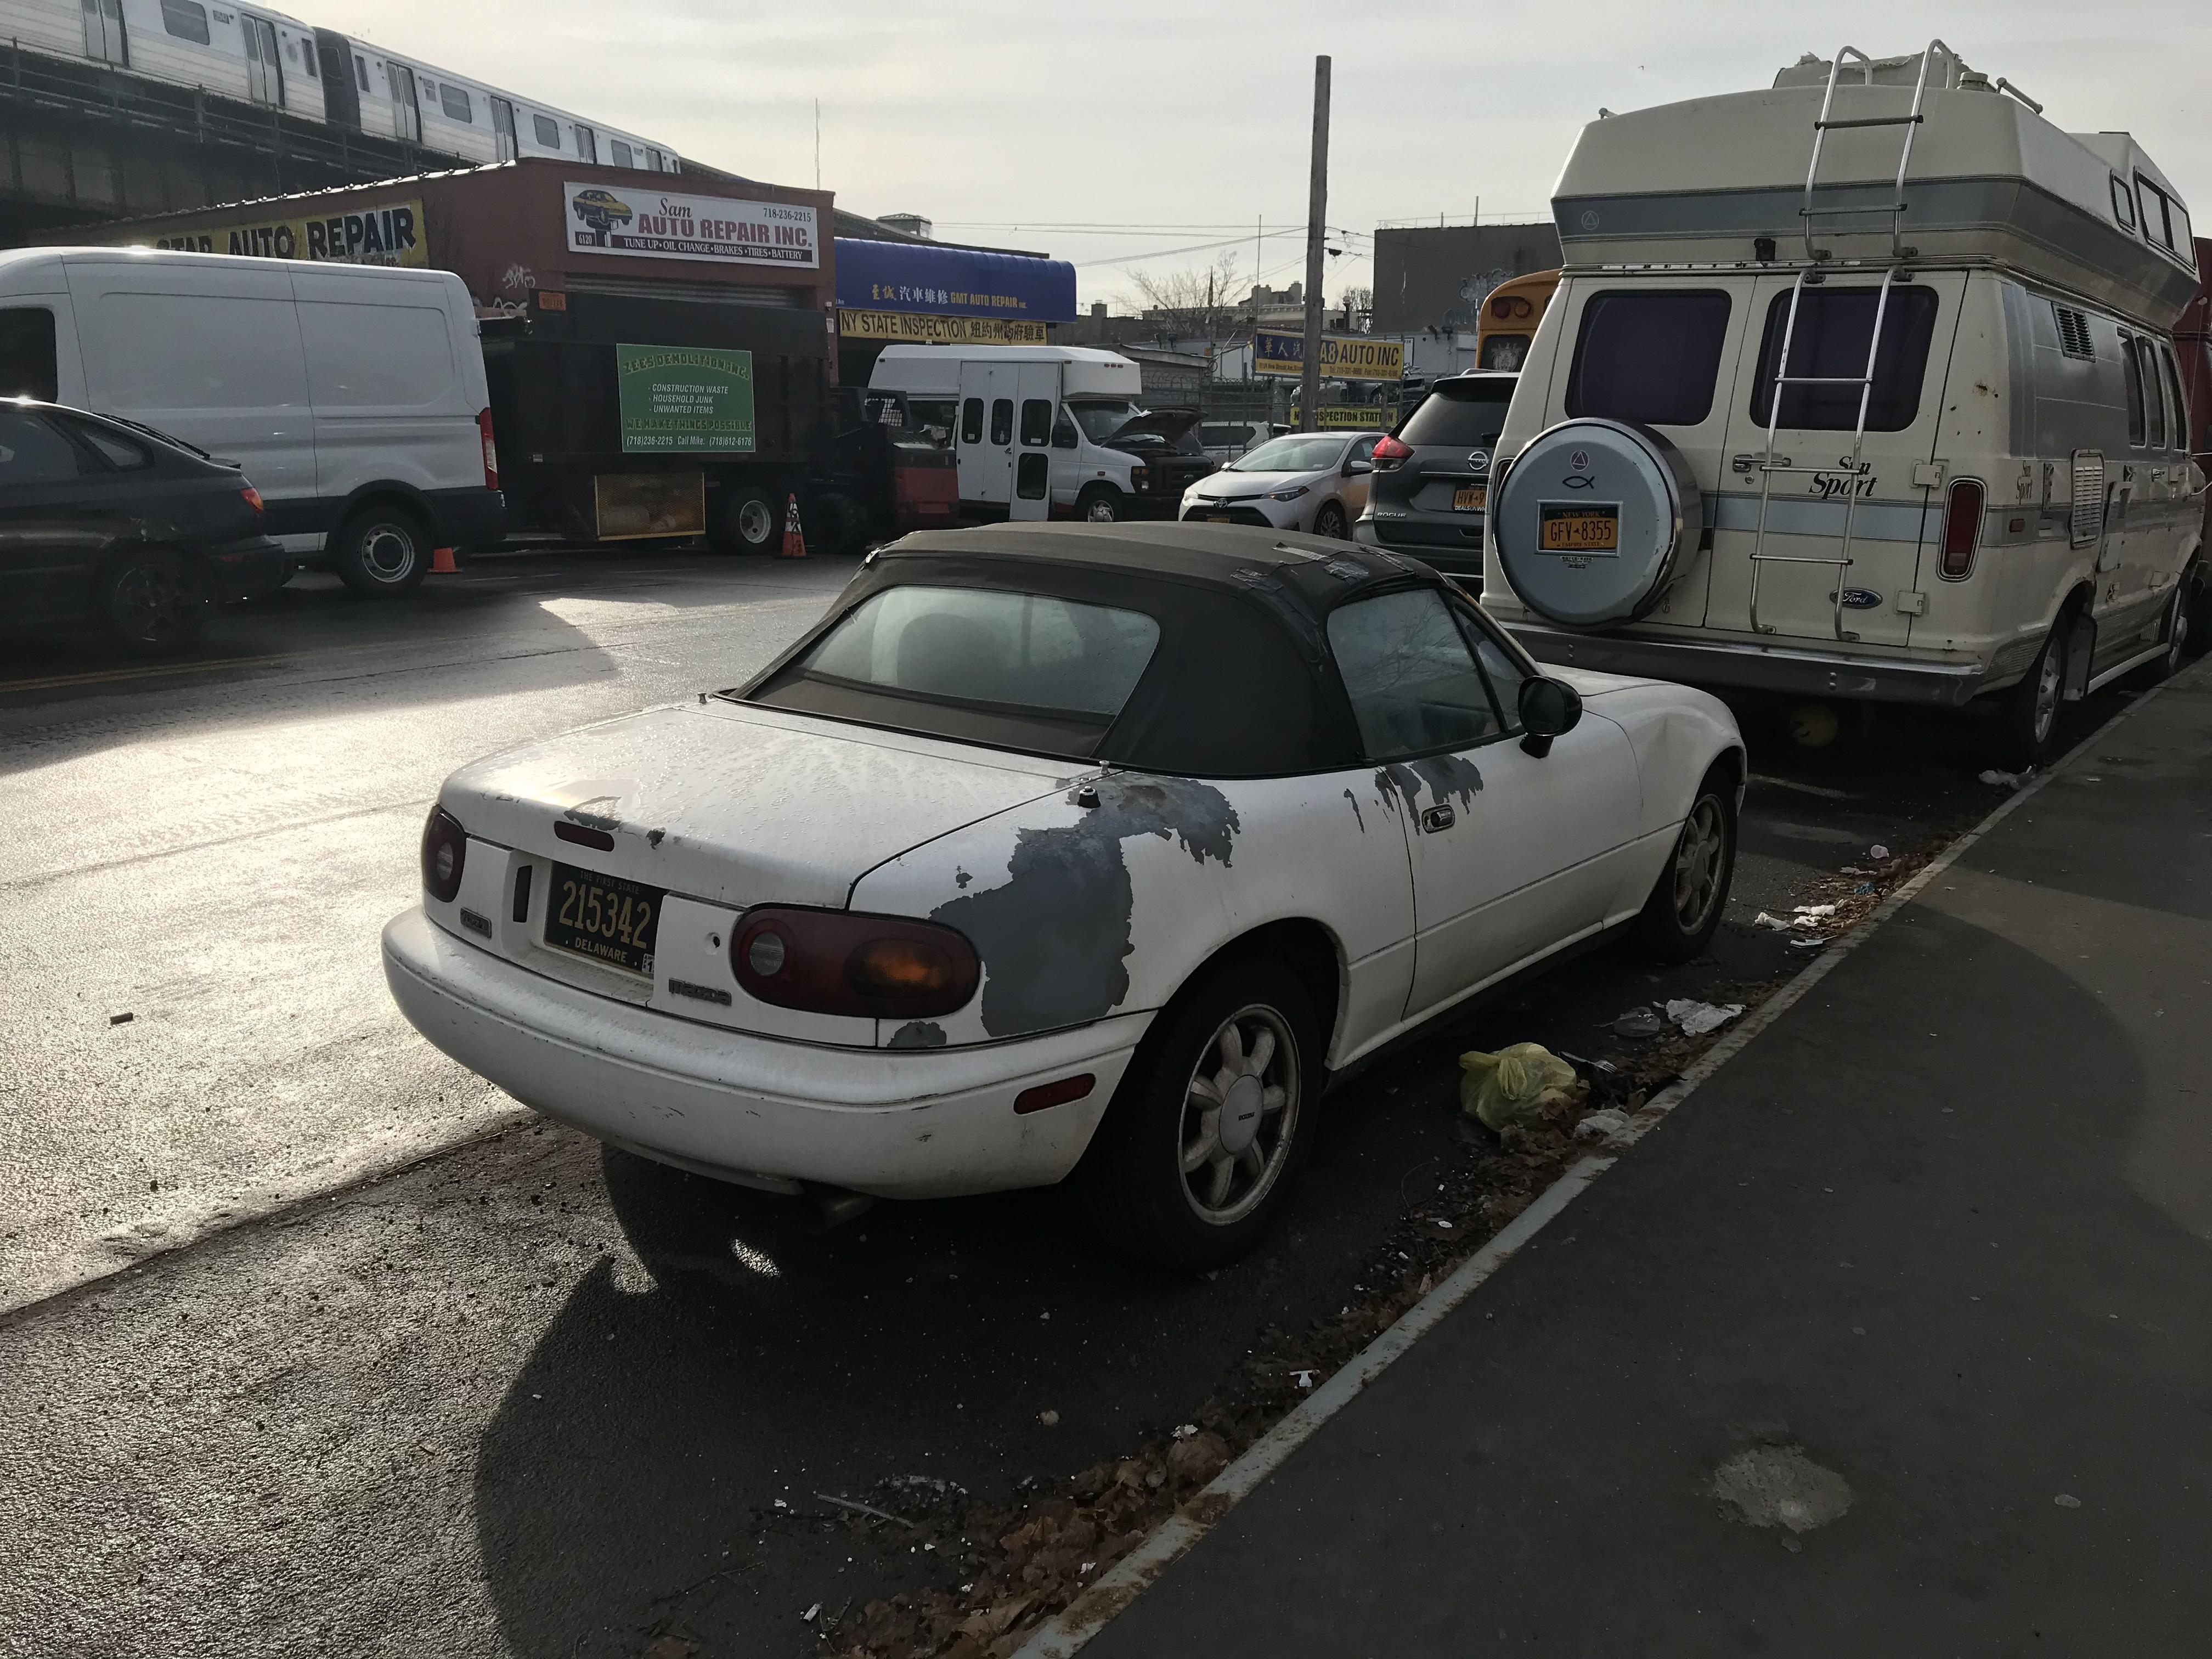
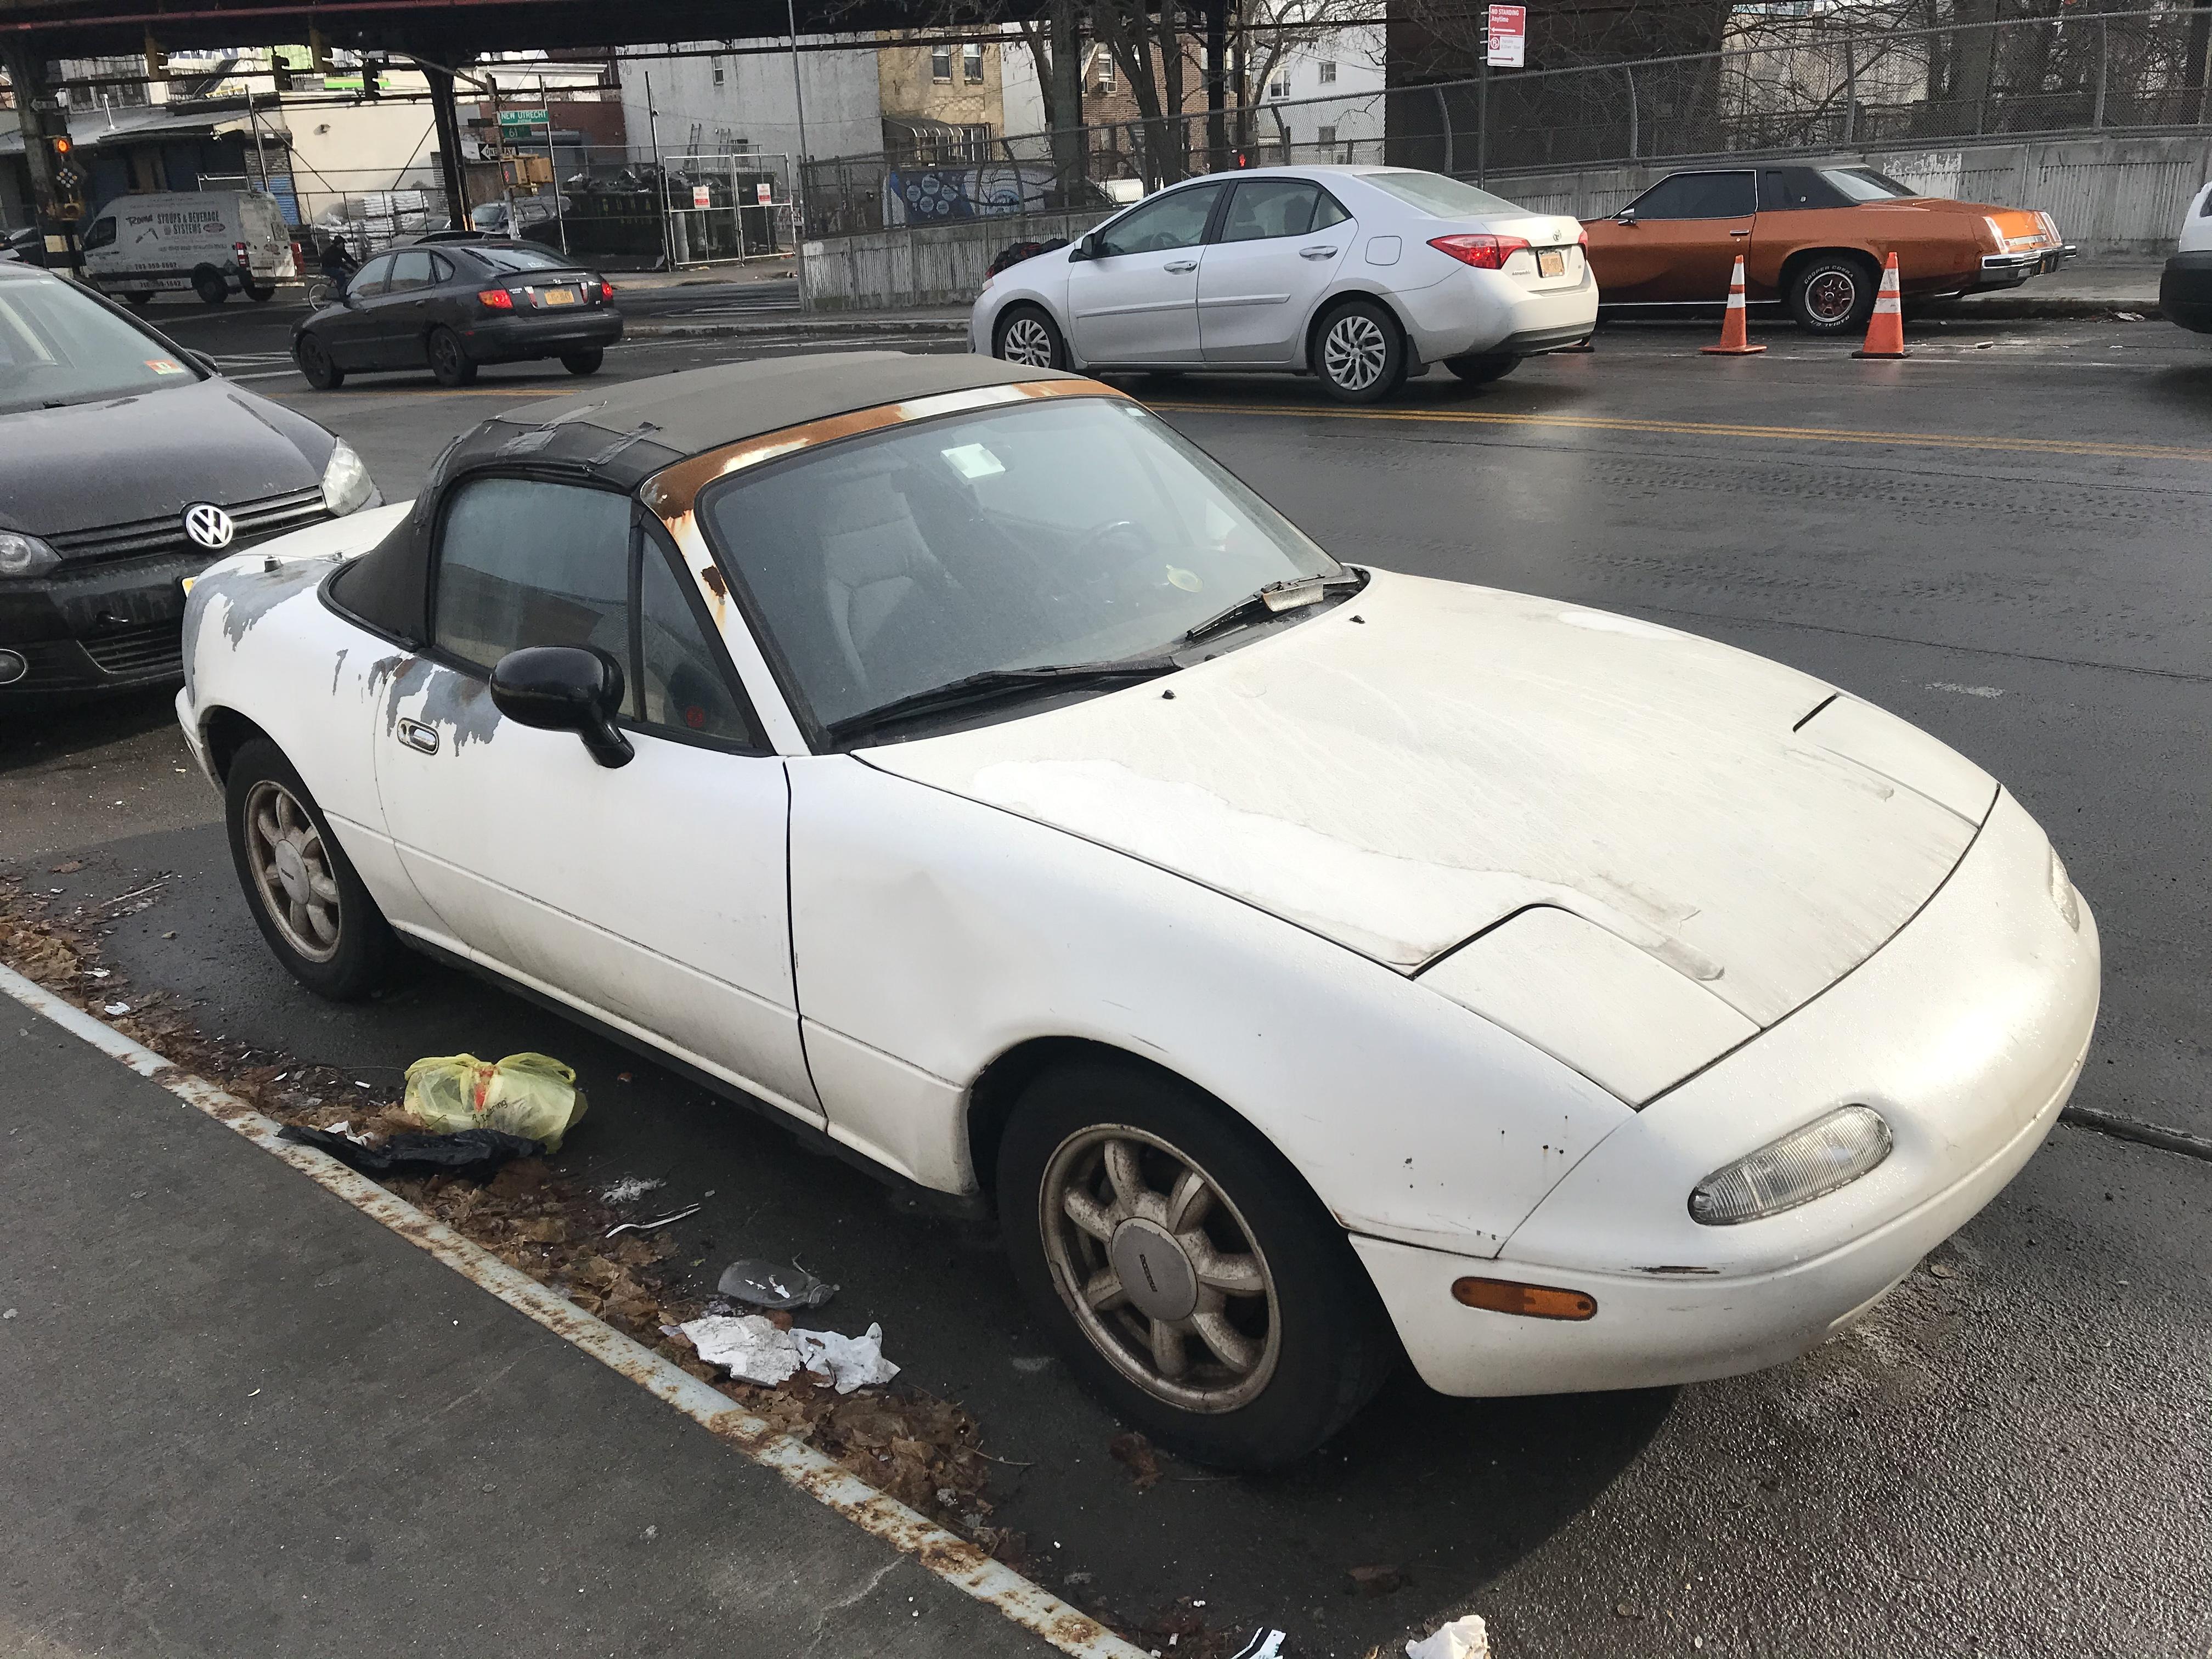
What did you see on the road today?
OldNYJim replied to Harry P.'s topic in General Automotive Talk (Trucks and Cars)
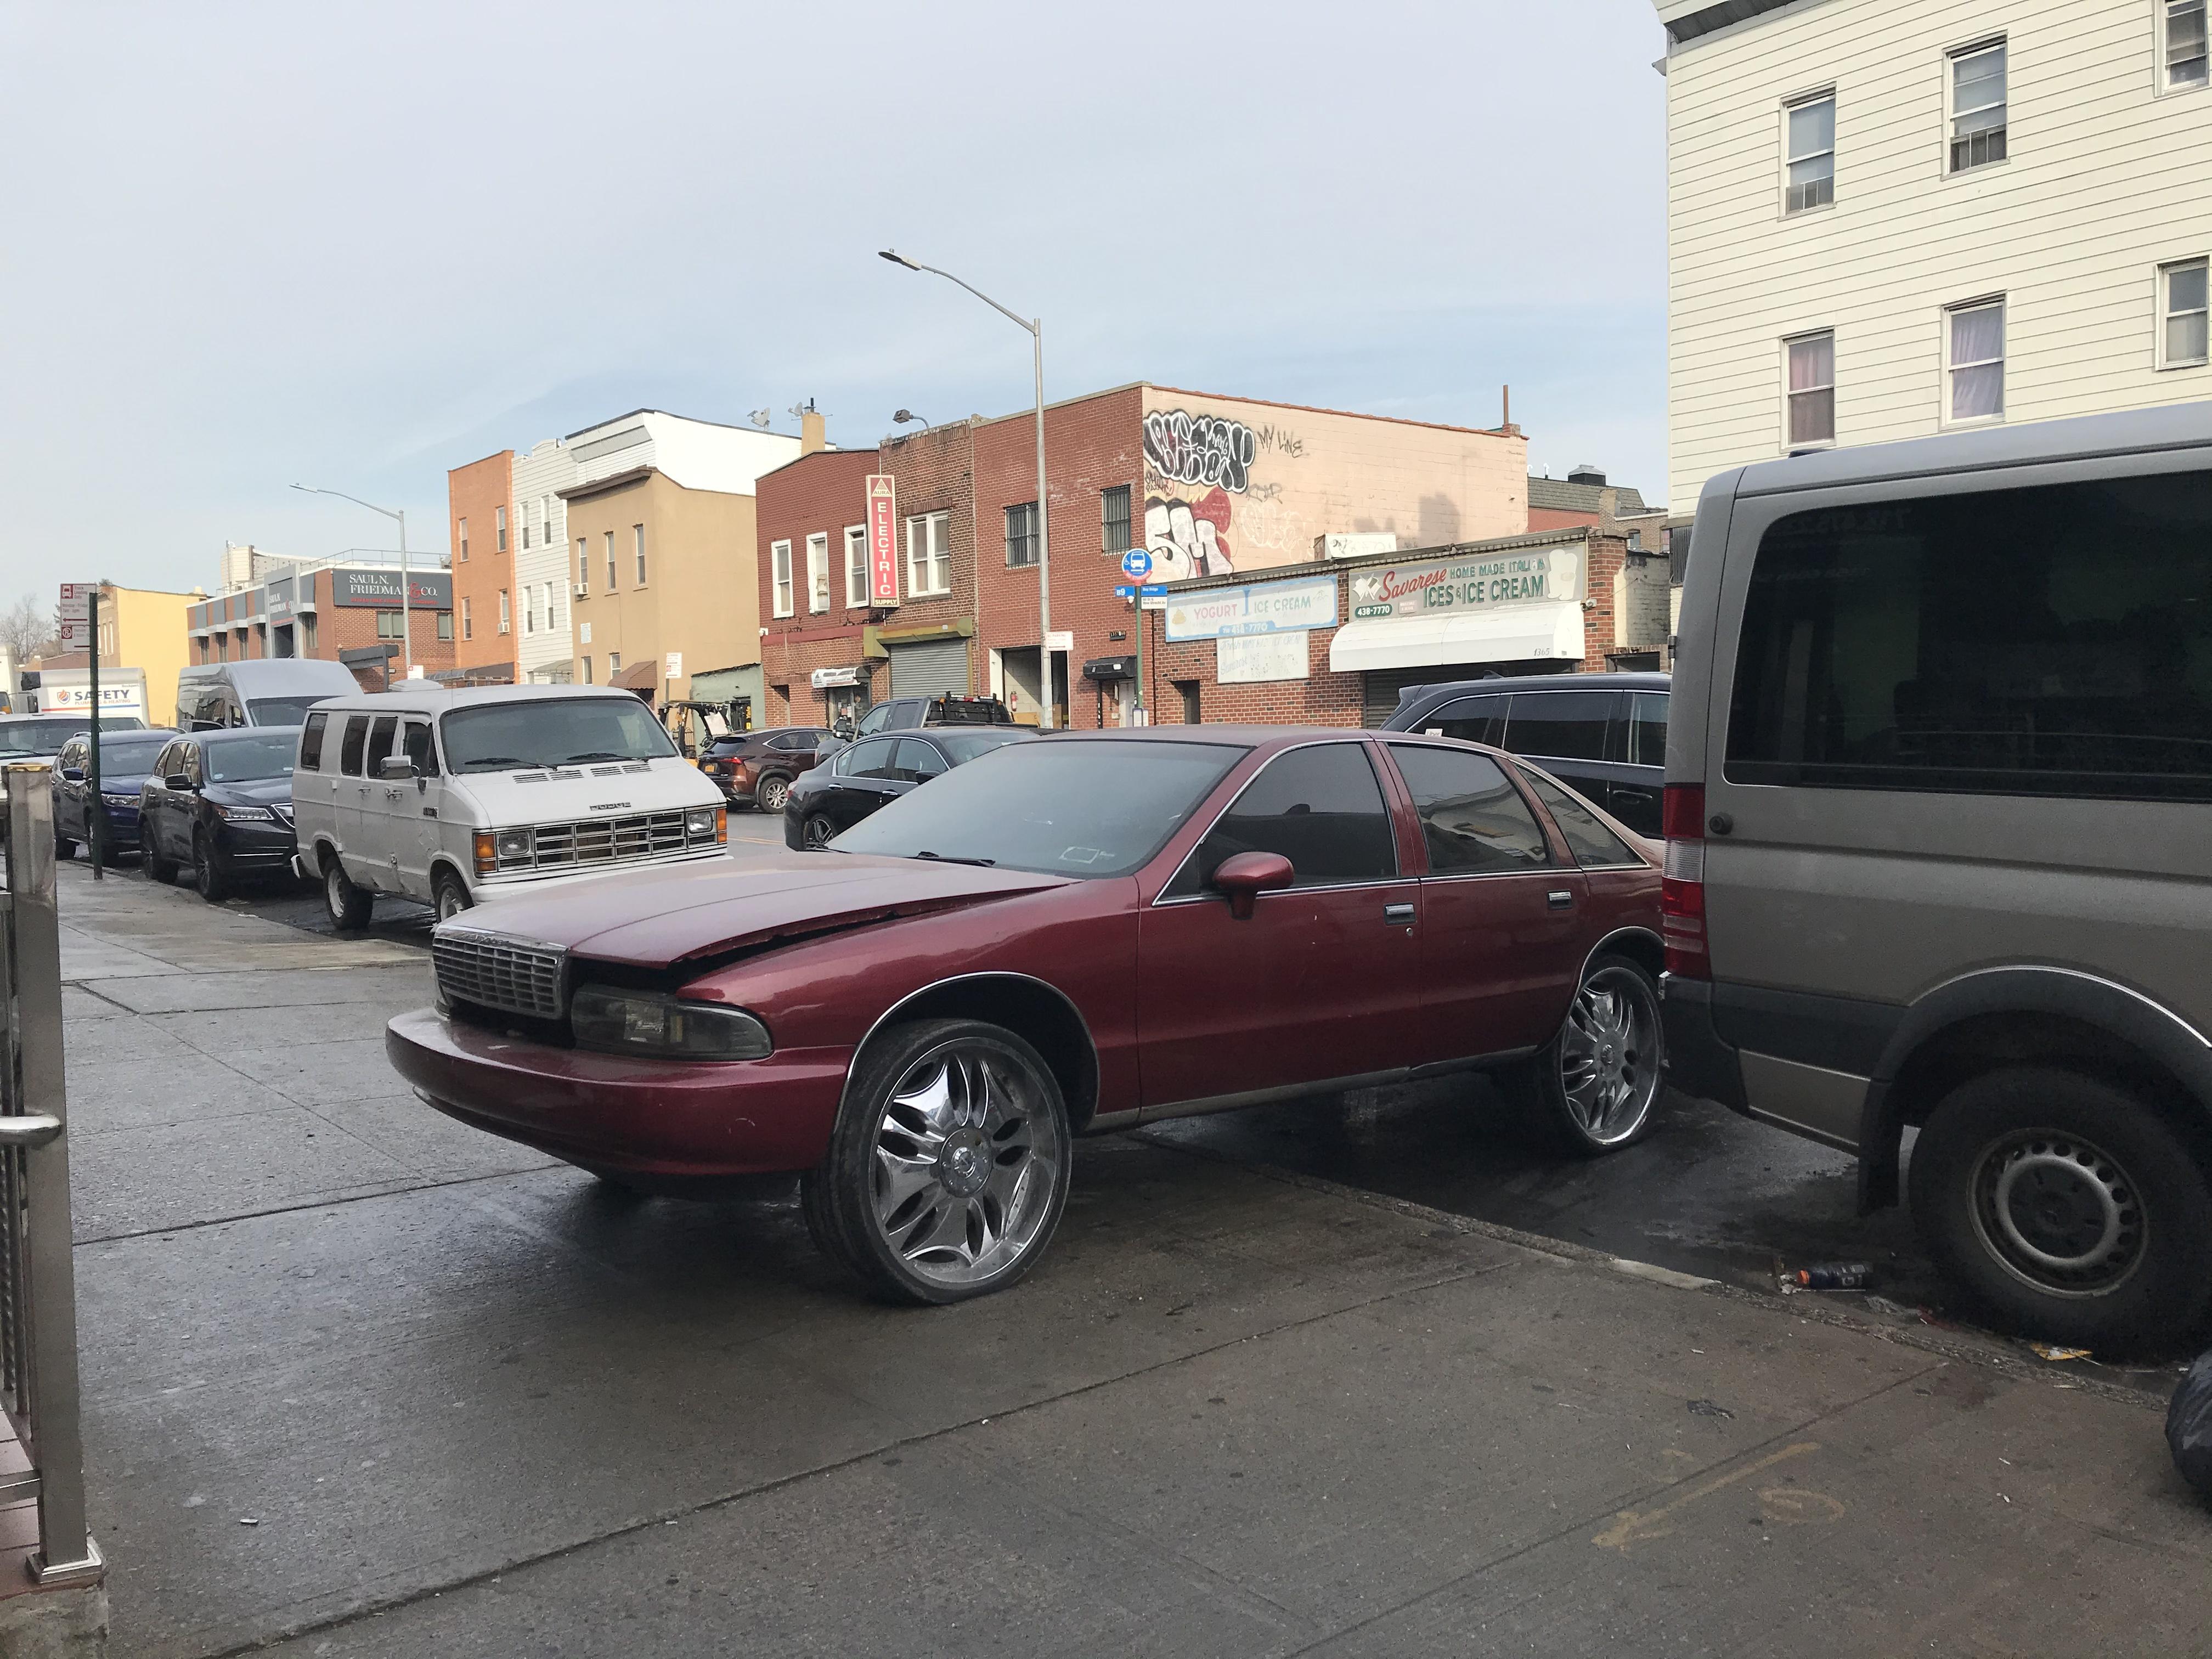
Another productive day’s car-spotting in Bensonhurst, Brooklyn. Felt sorry for that sweet little Miata!
-
I like that car too - still looks good today! I’ll be watching! Bodywork you’ve done already looks good ??
-
Can we see your model stash?
OldNYJim replied to Fifer's topic in General Automotive Talk (Trucks and Cars)
Nice stash! Got some nice showrods on the showrod shelf there! -
-
I like those salsa containers too - my wife bought me a bag of a hundred or so of them, and they’re SUPER useful!
-
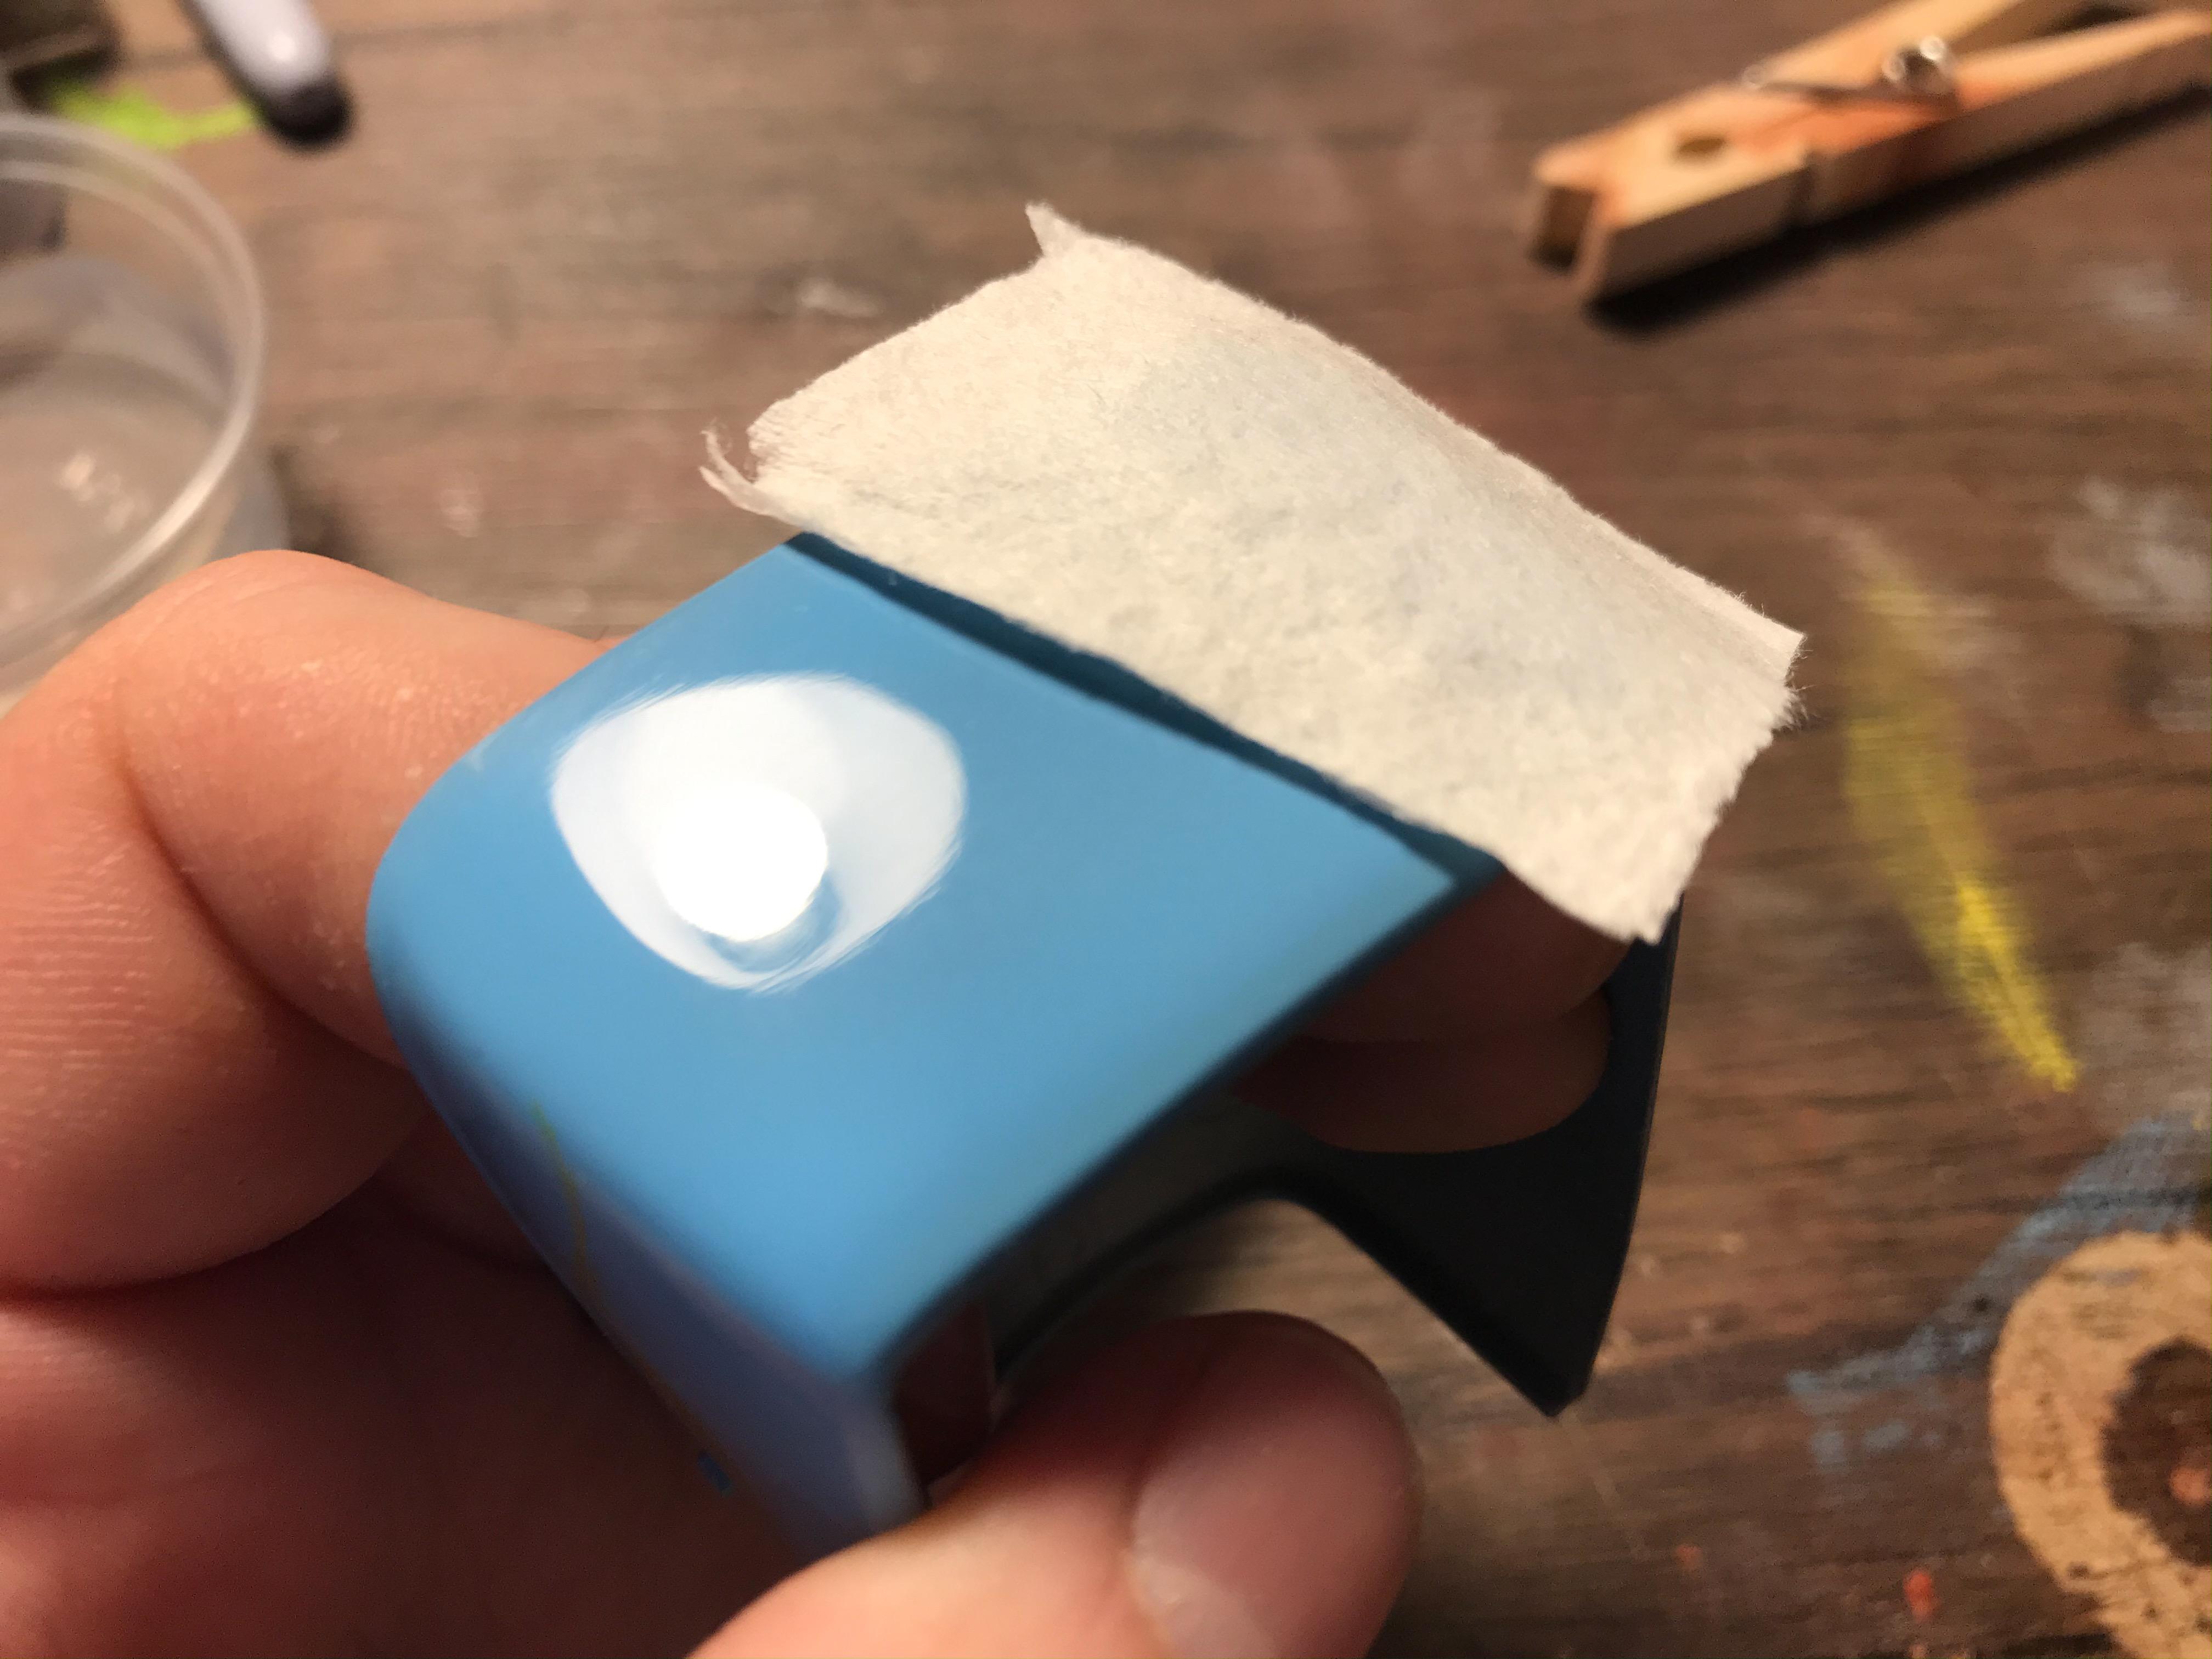
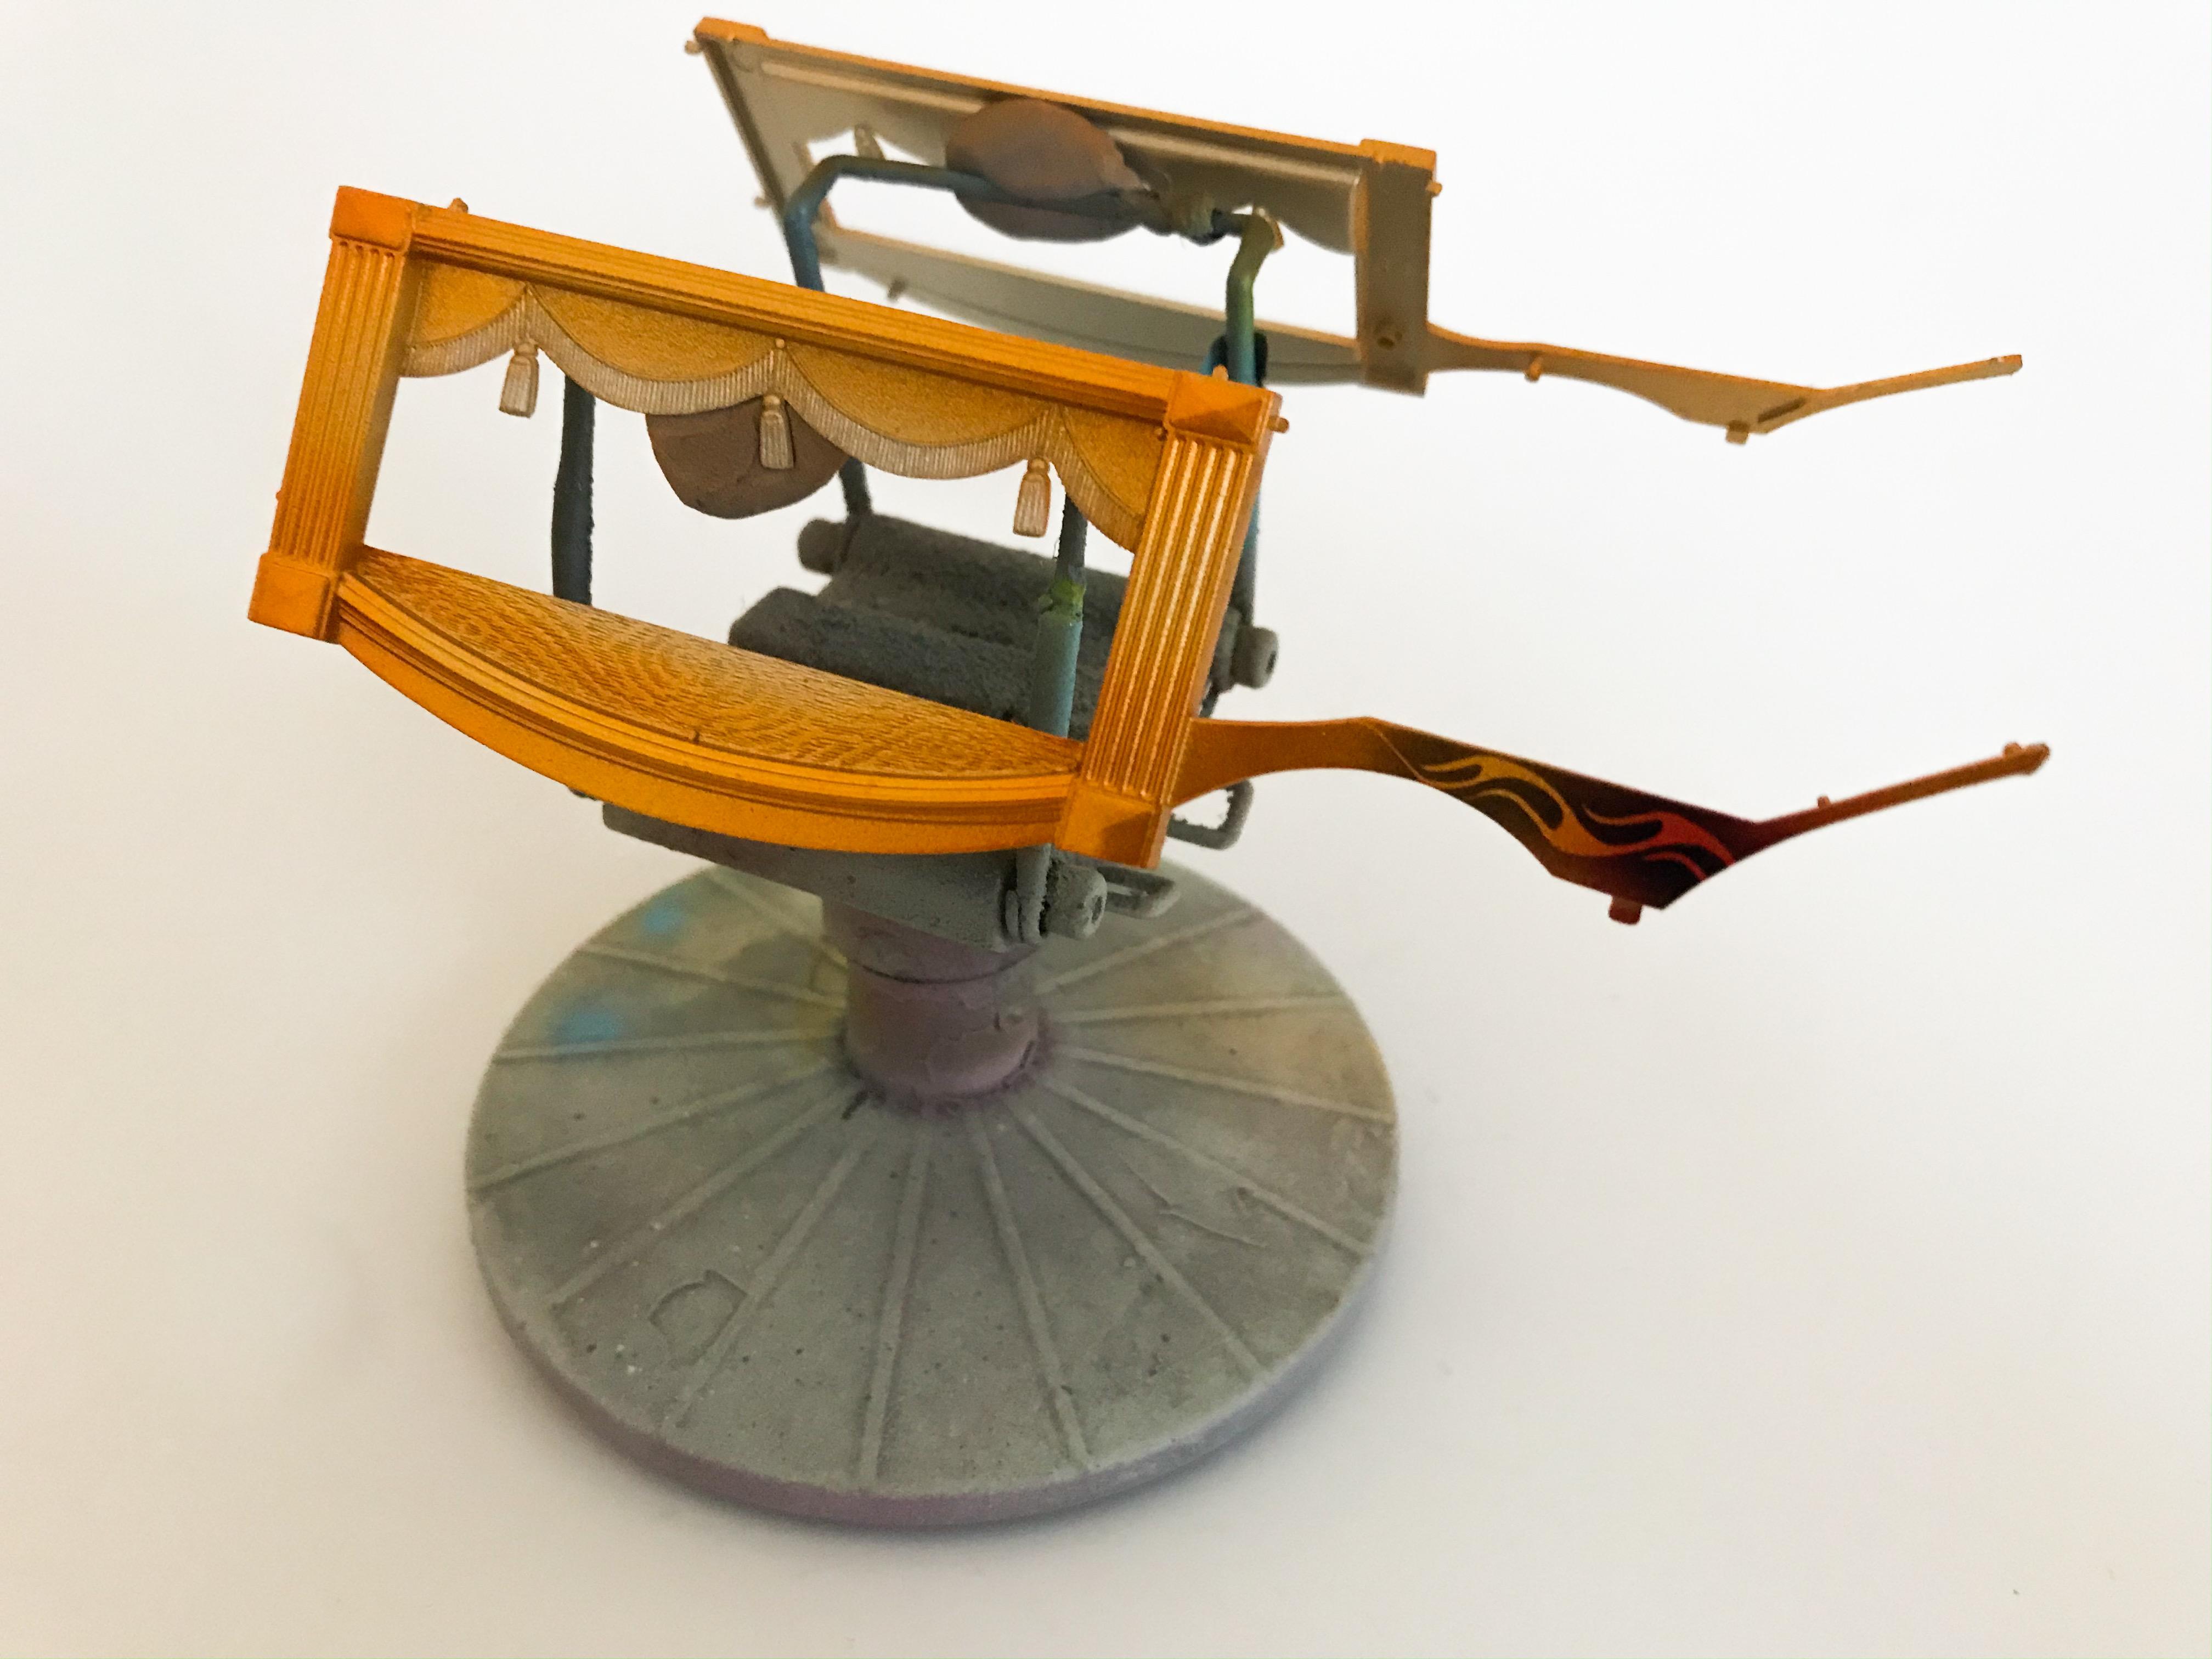
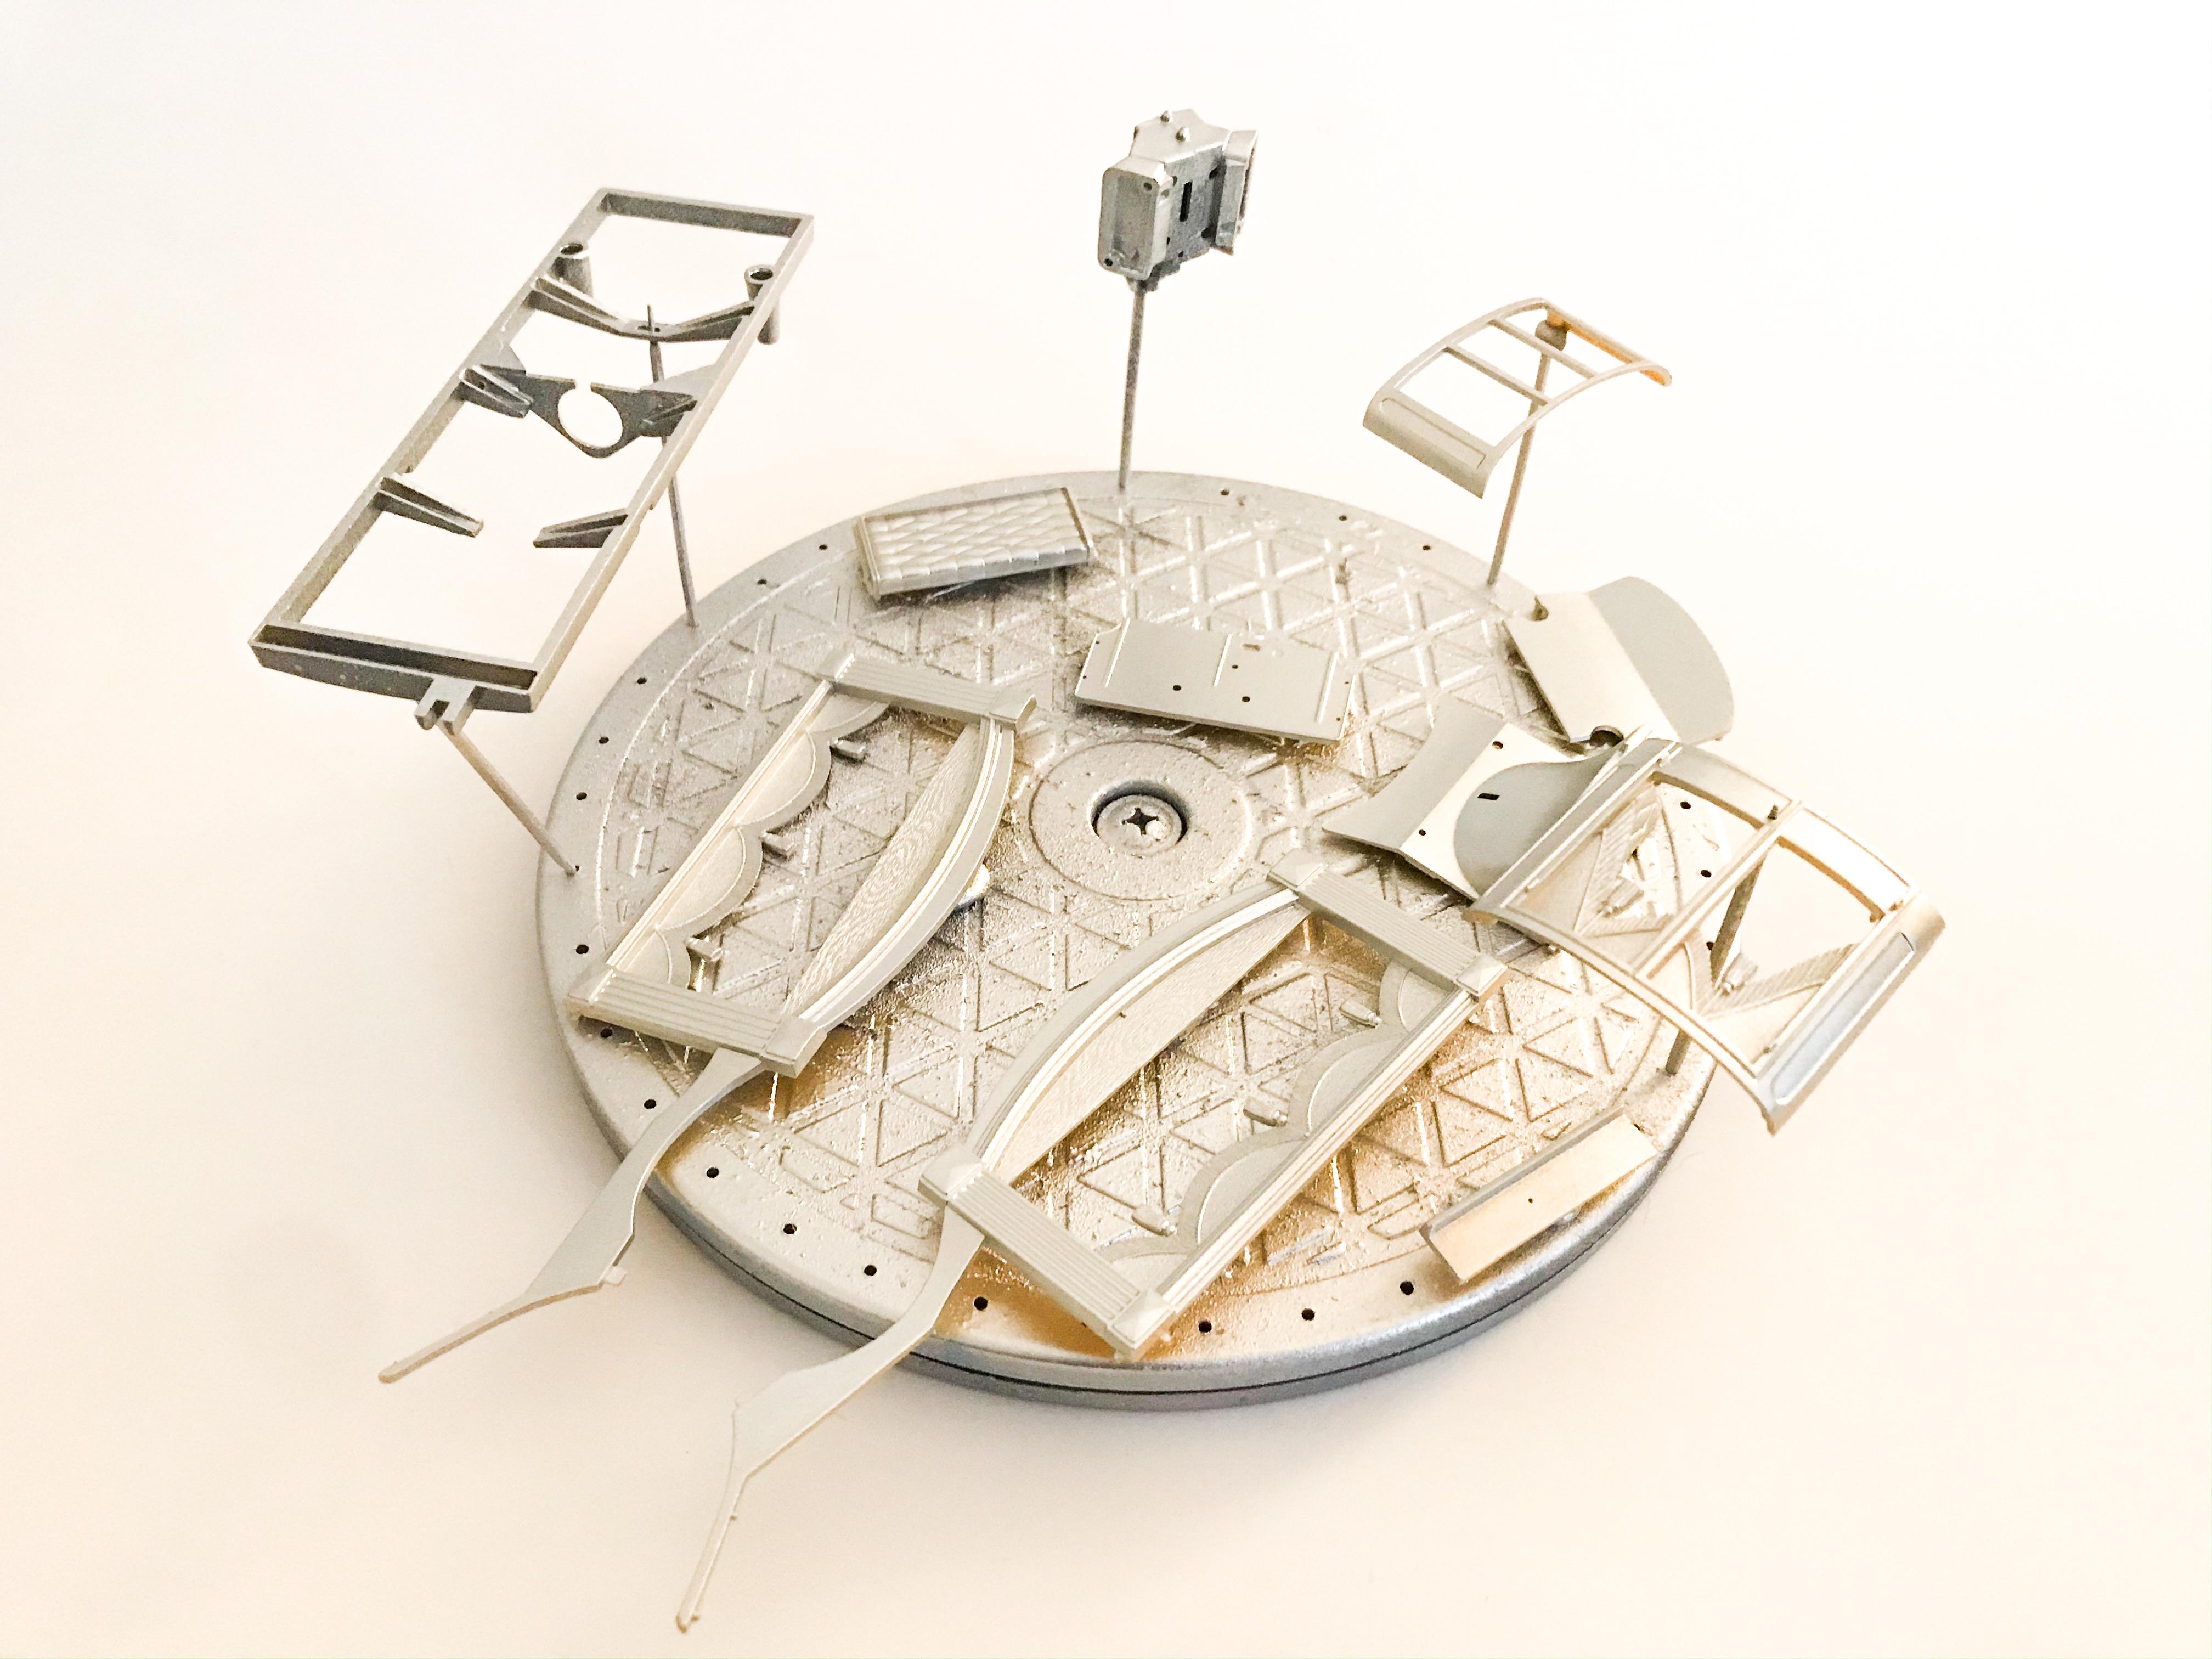
Thanks for all the comments and helpful pics guys - really useful! I’m not going for an exact replica but seeing all those details and pics is really cool! Cut some more masks to add a little detail to some of the body parts and frame today: Then gave them a little red candy: Then some yellow: And then the main color - pleased with how this candy orange looks on there! Got a bunch of clearing to do now! More soon, soon as I’ve done more!
-
AMT is bringing back the LiL' Gypsy wagon ?
OldNYJim replied to Mr mopar's topic in Car Kit News & Reviews
Like “Hey! Cool ride bro!”? -
Ohhhhh! Intriguing!!
-
Thanks Dave!
-
Olds W-30 Intake Tubing
OldNYJim replied to StevenGuthmiller's topic in Model Building Questions and Answers
Oh wow, beautiful work Steve! Looks brilliant! -
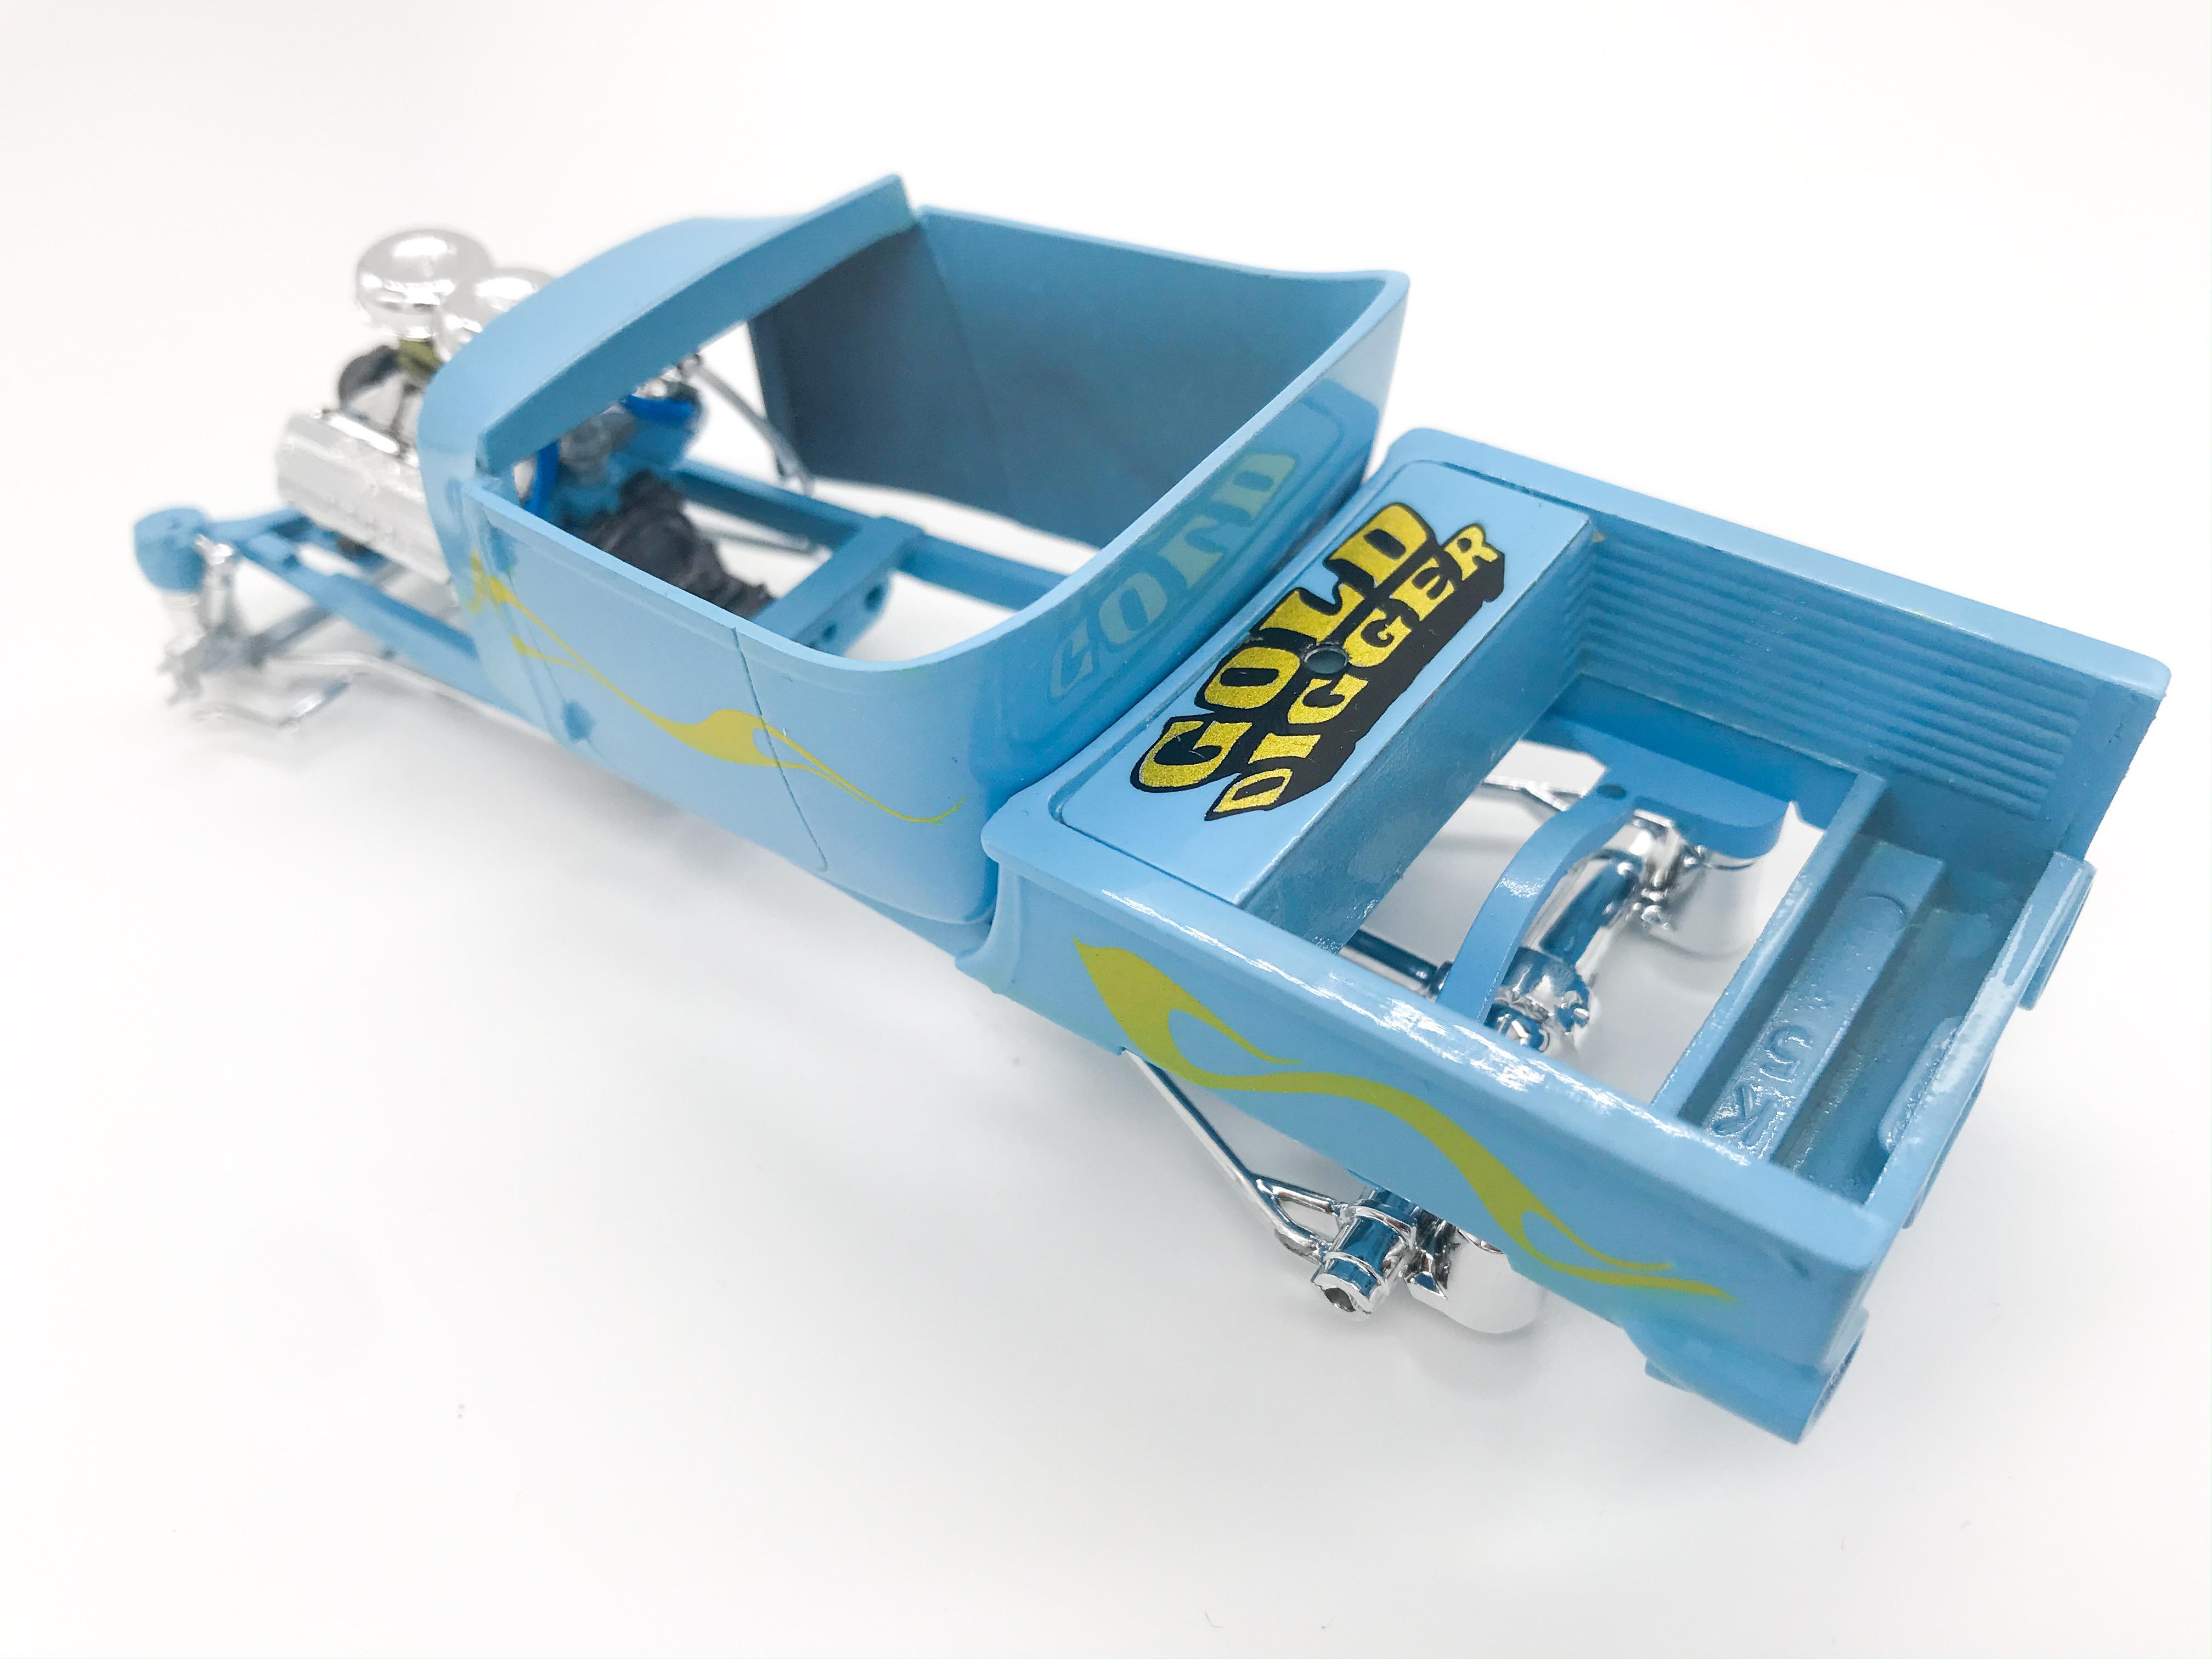
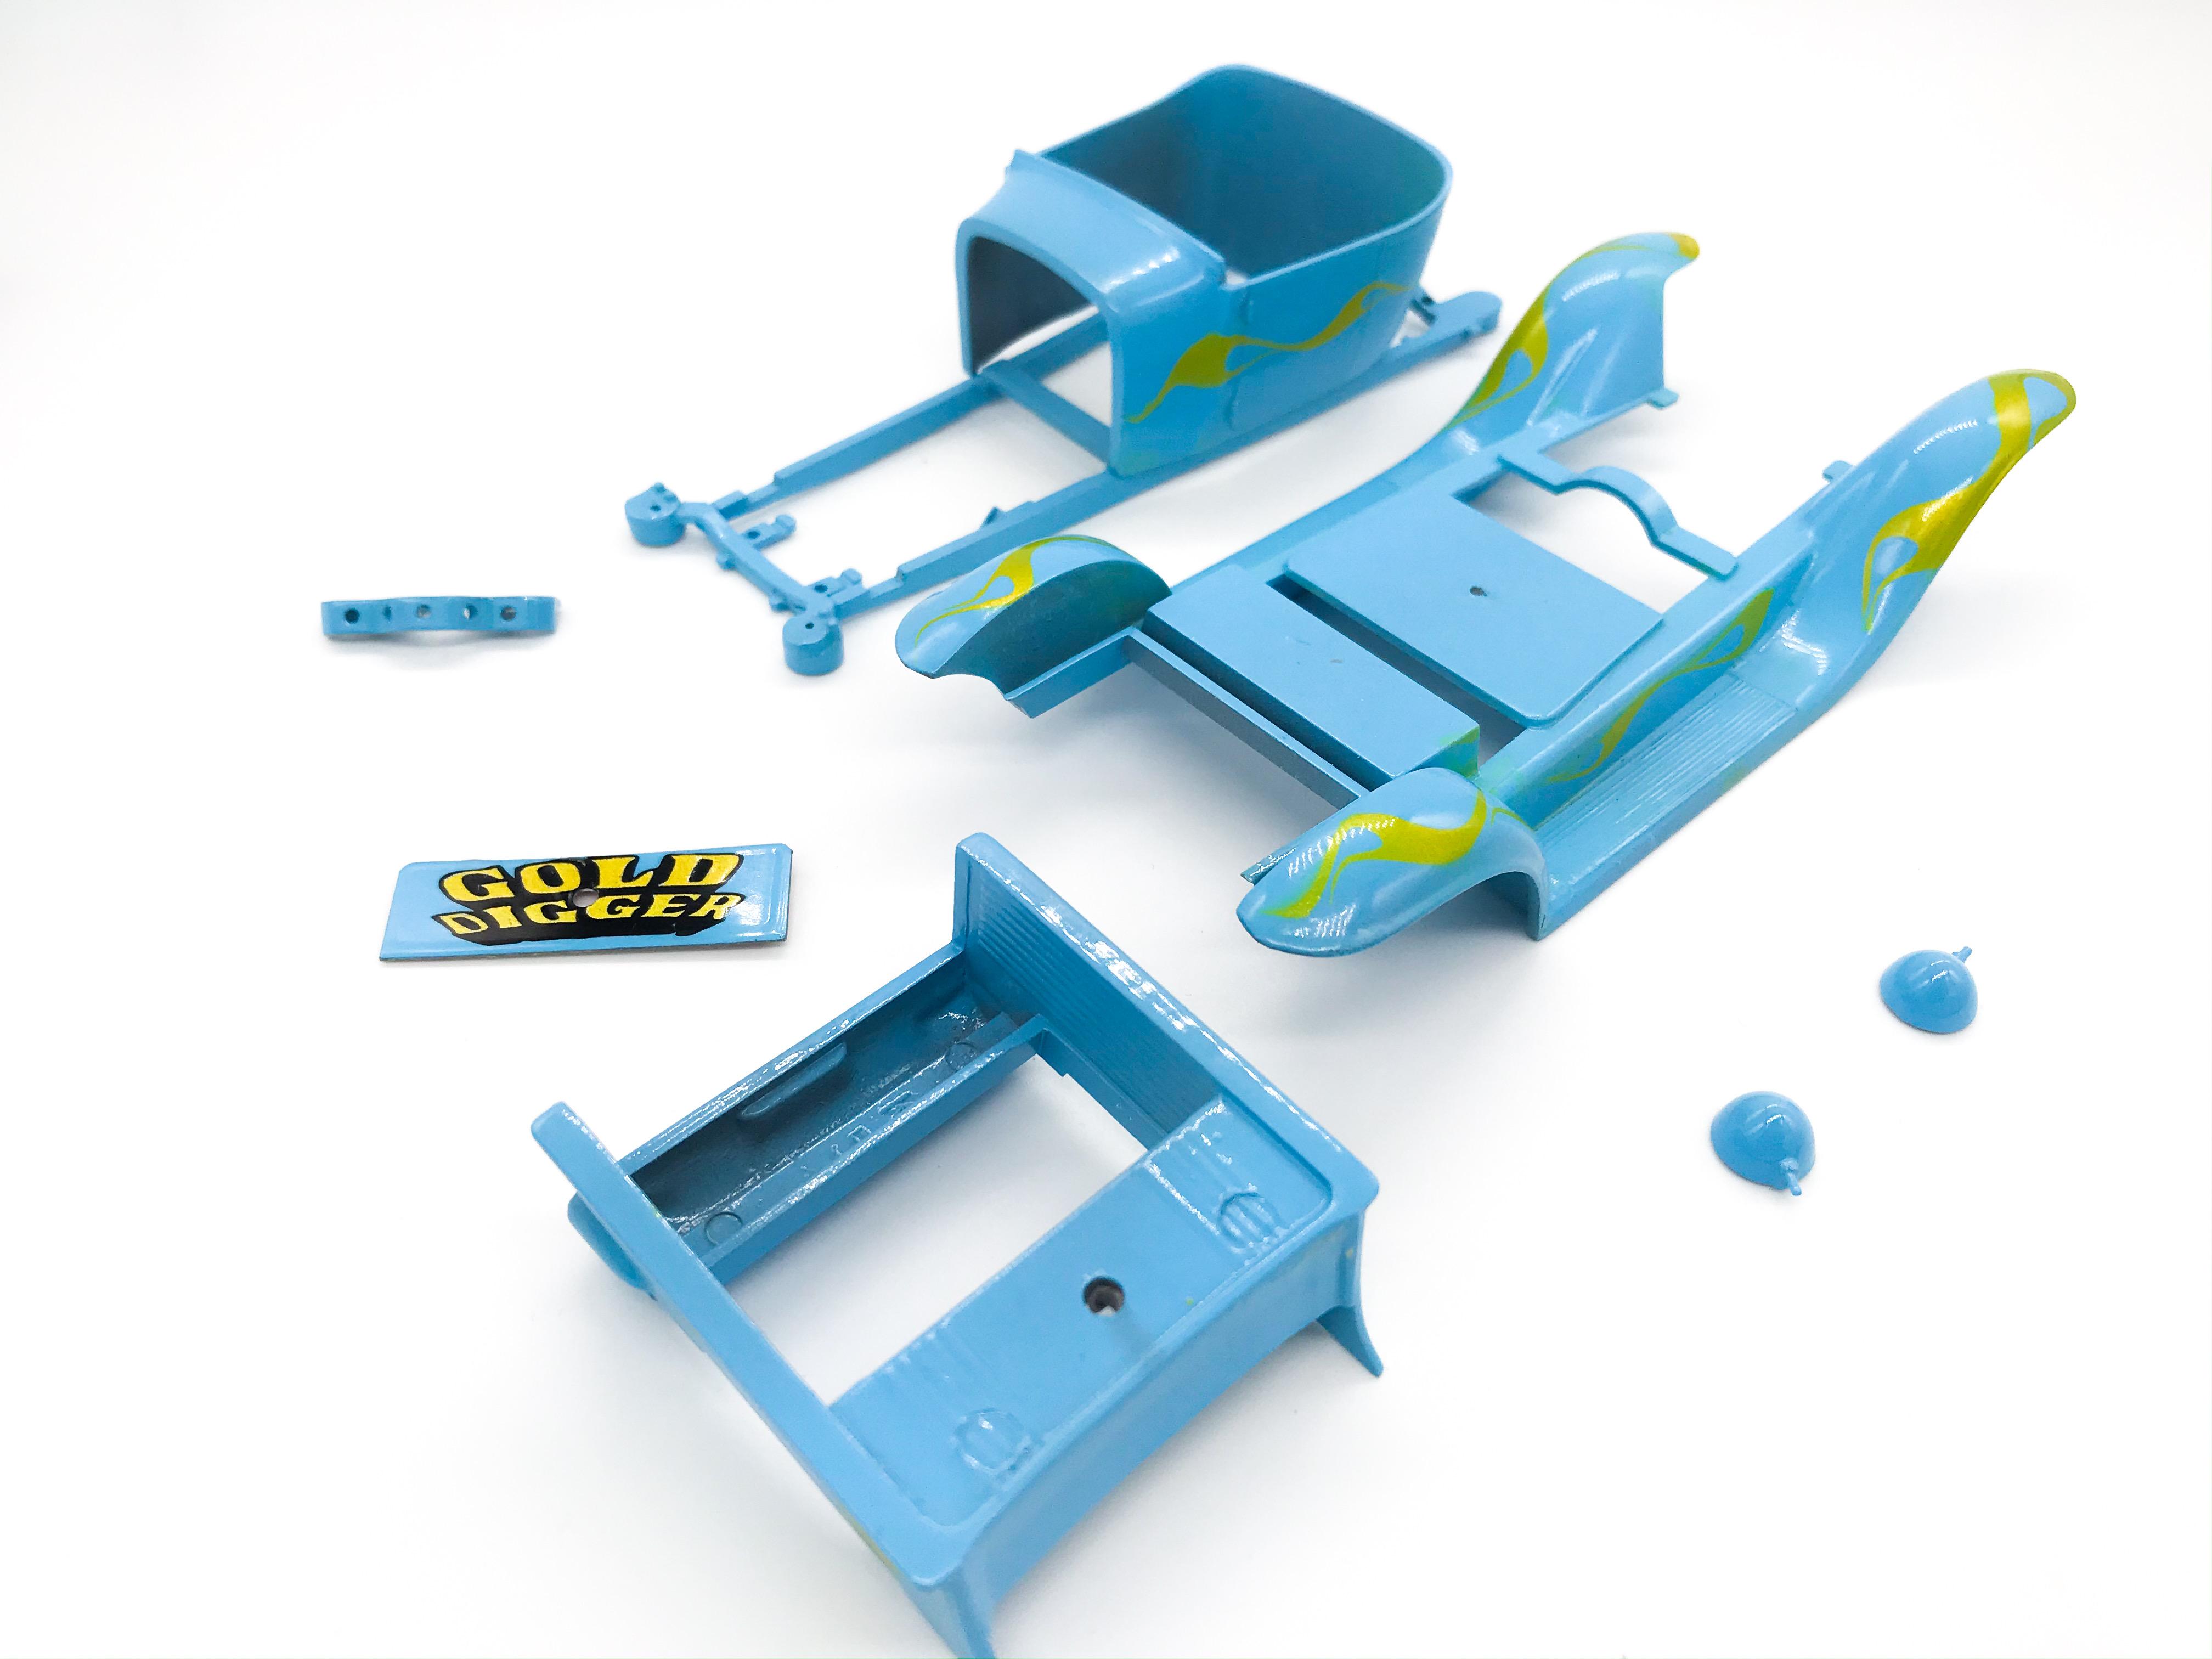
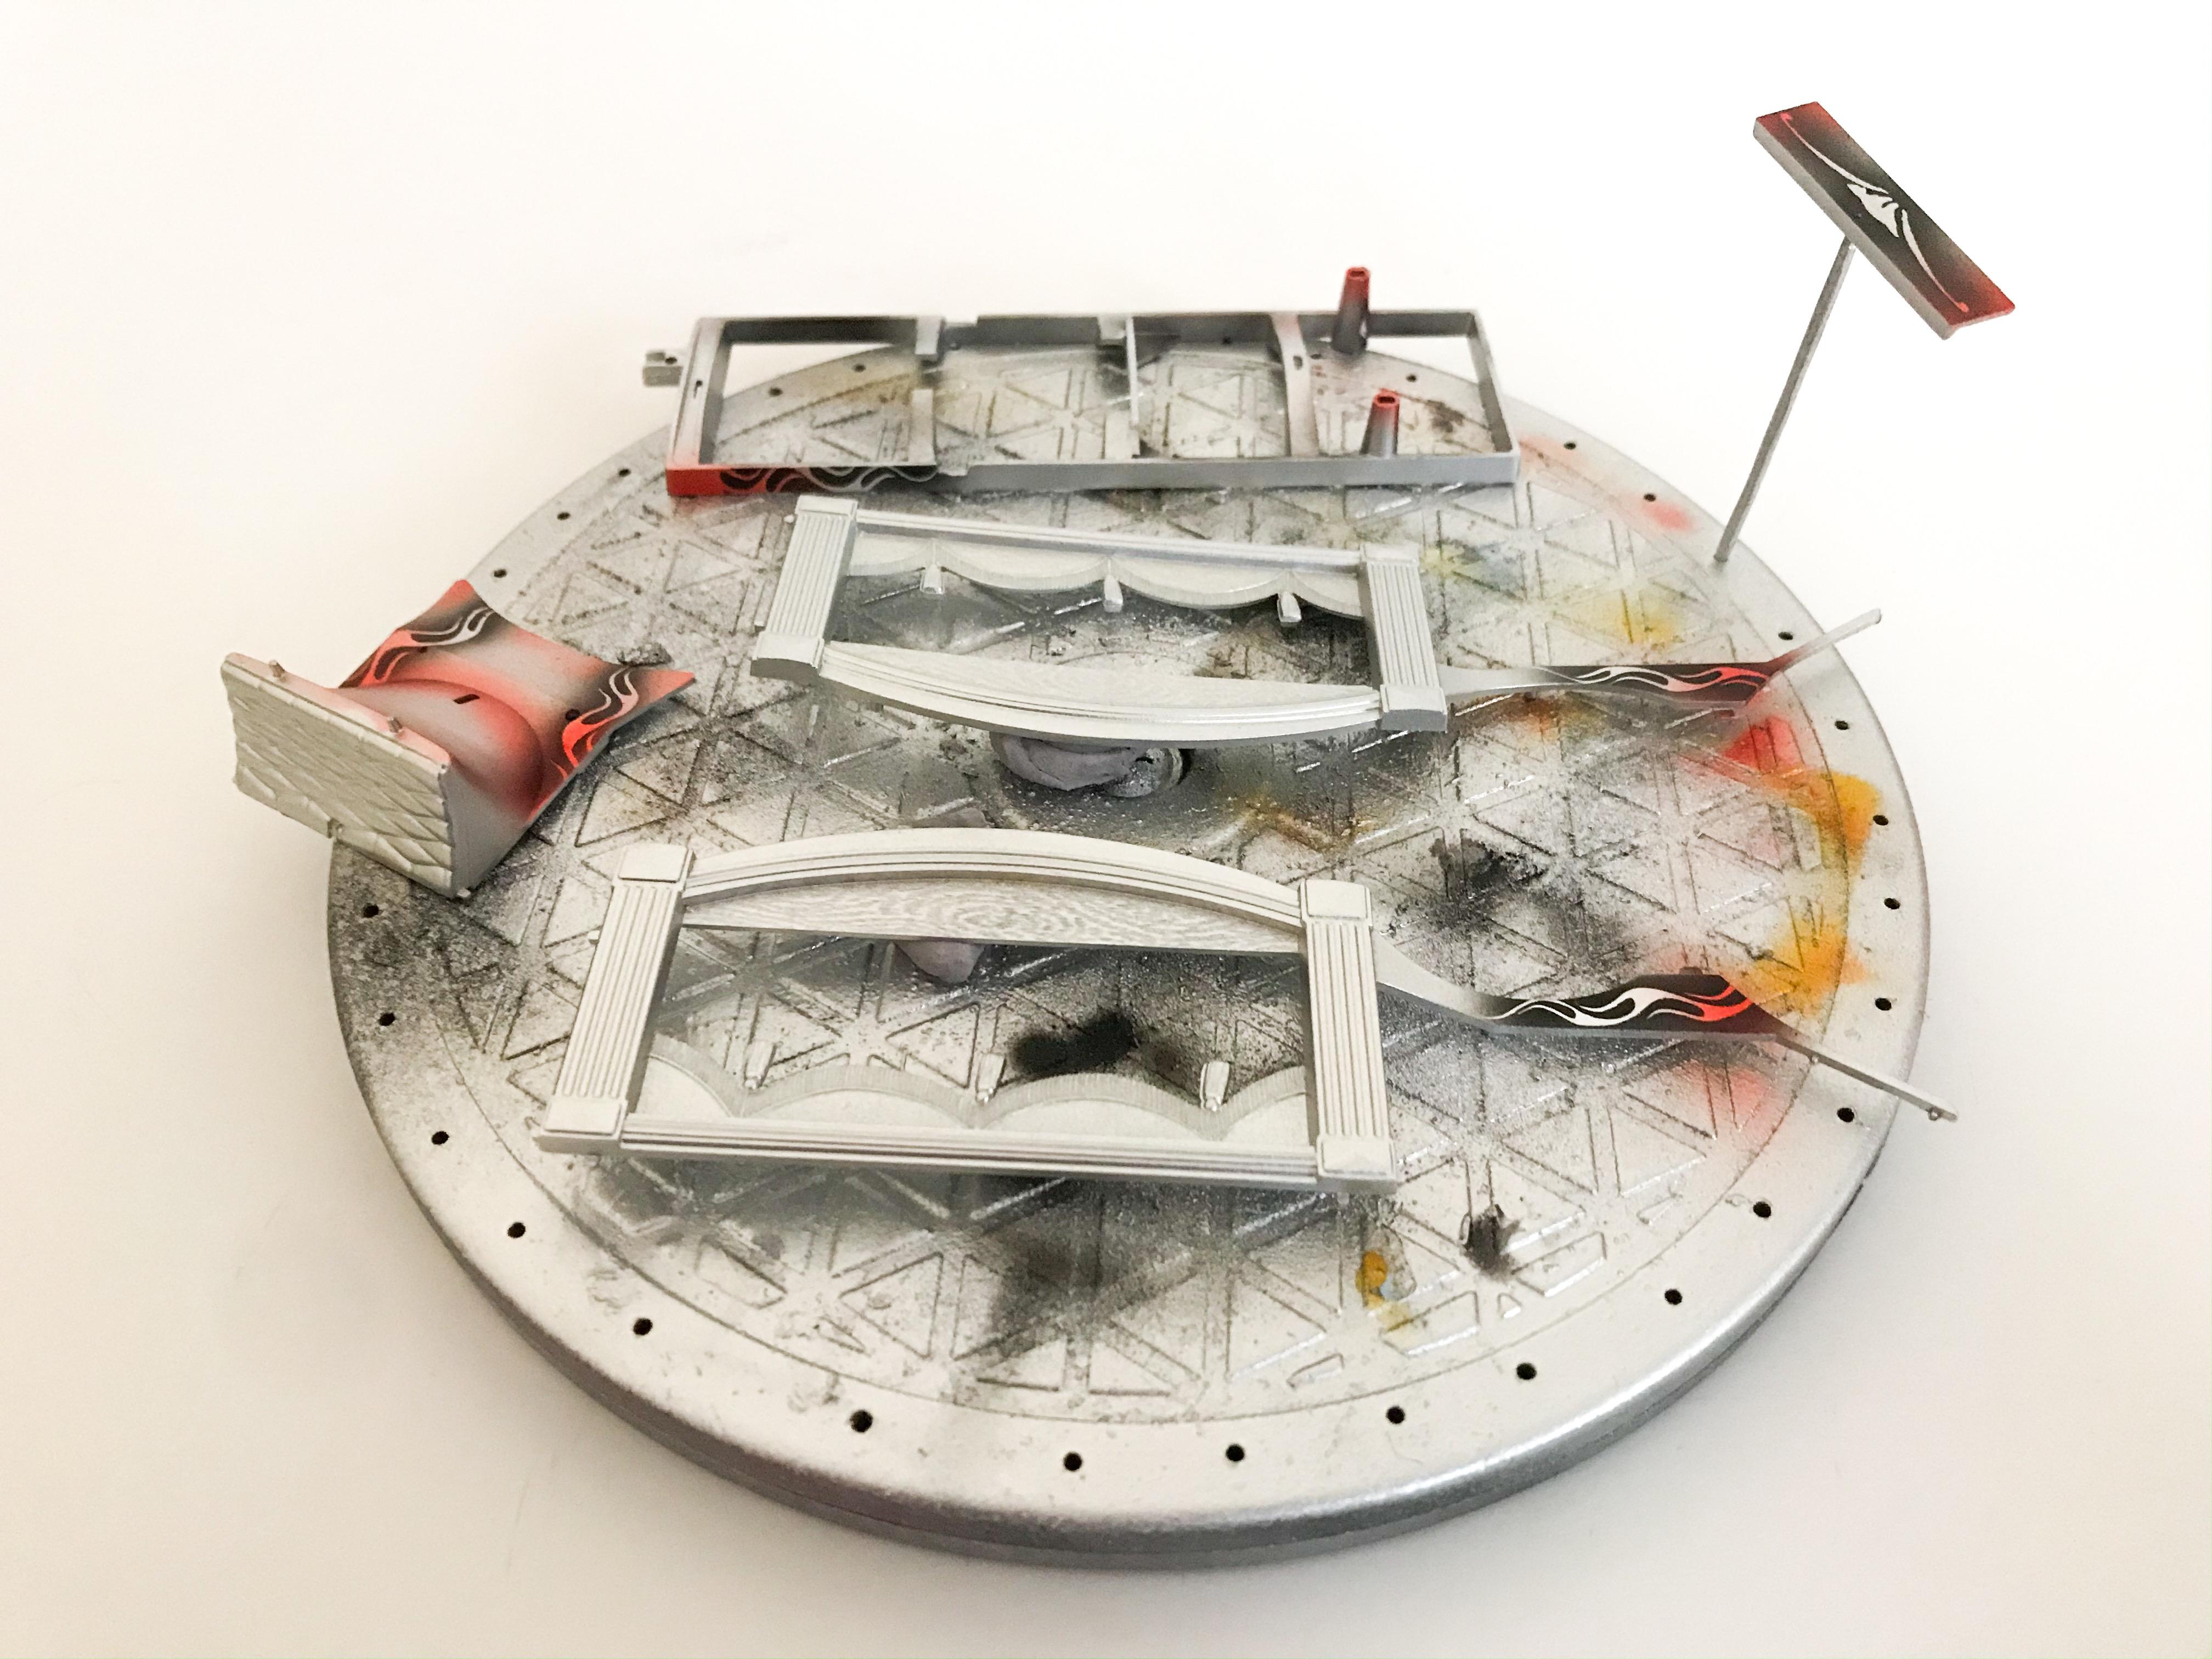
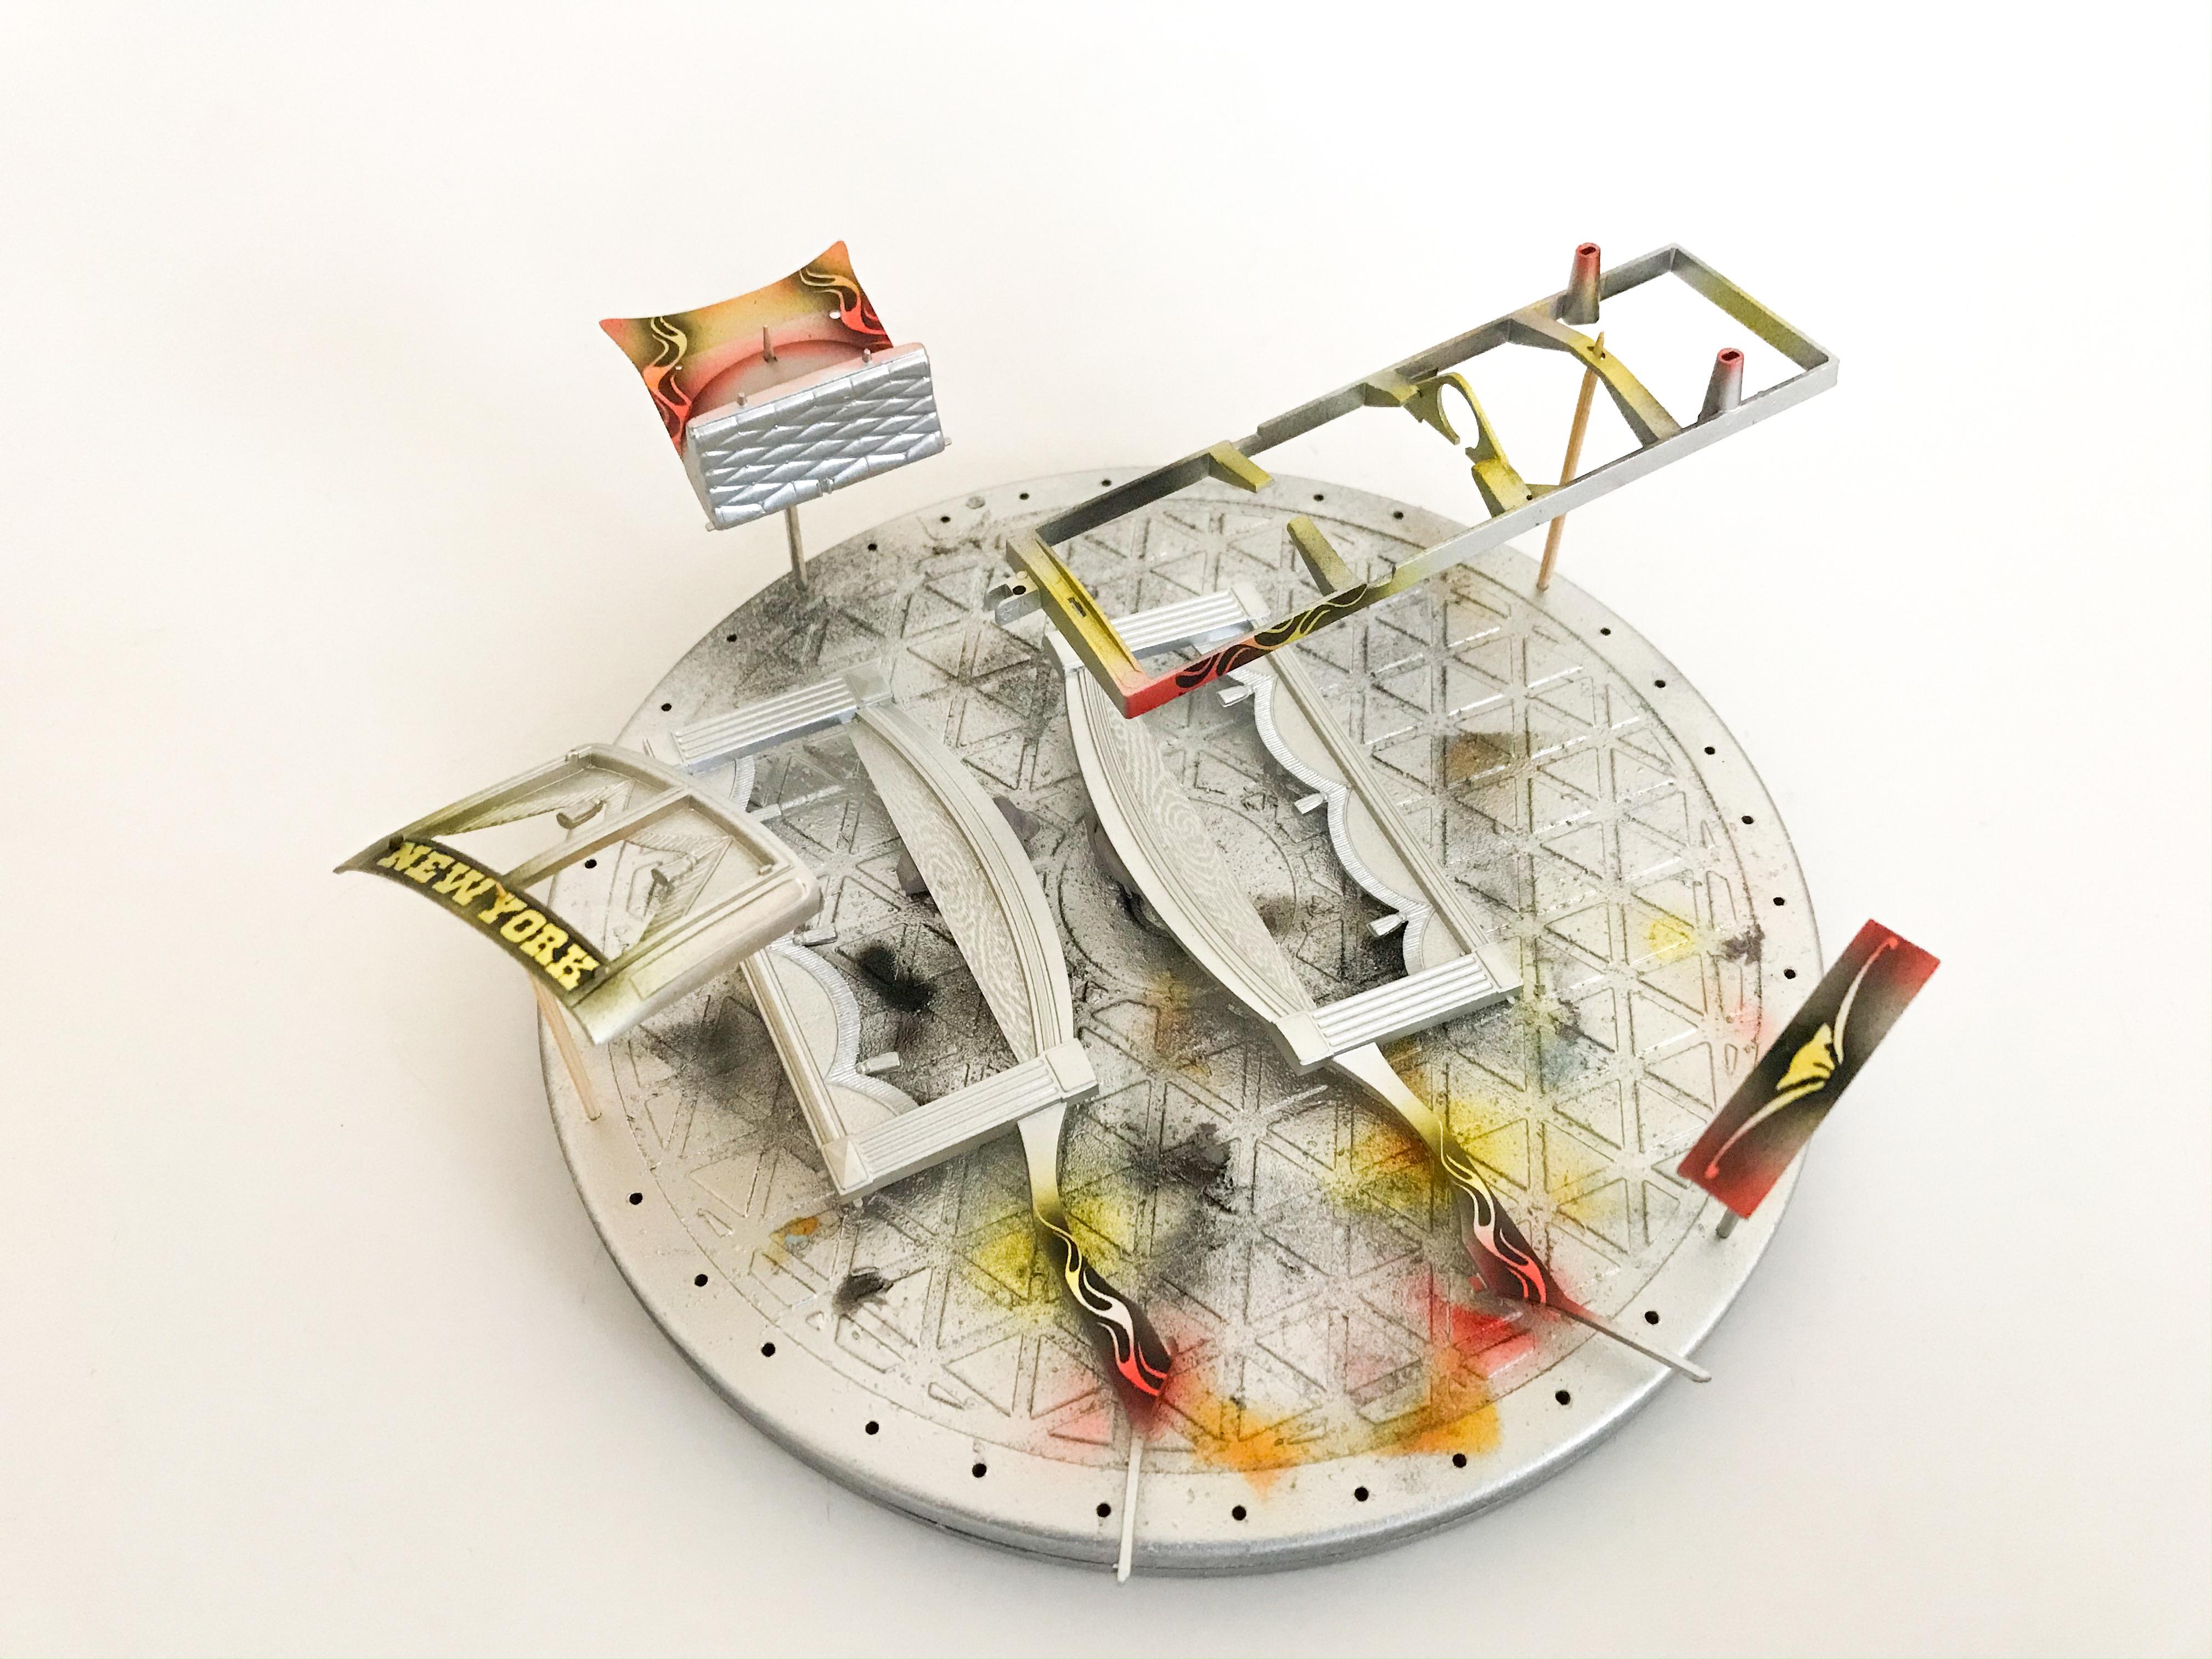
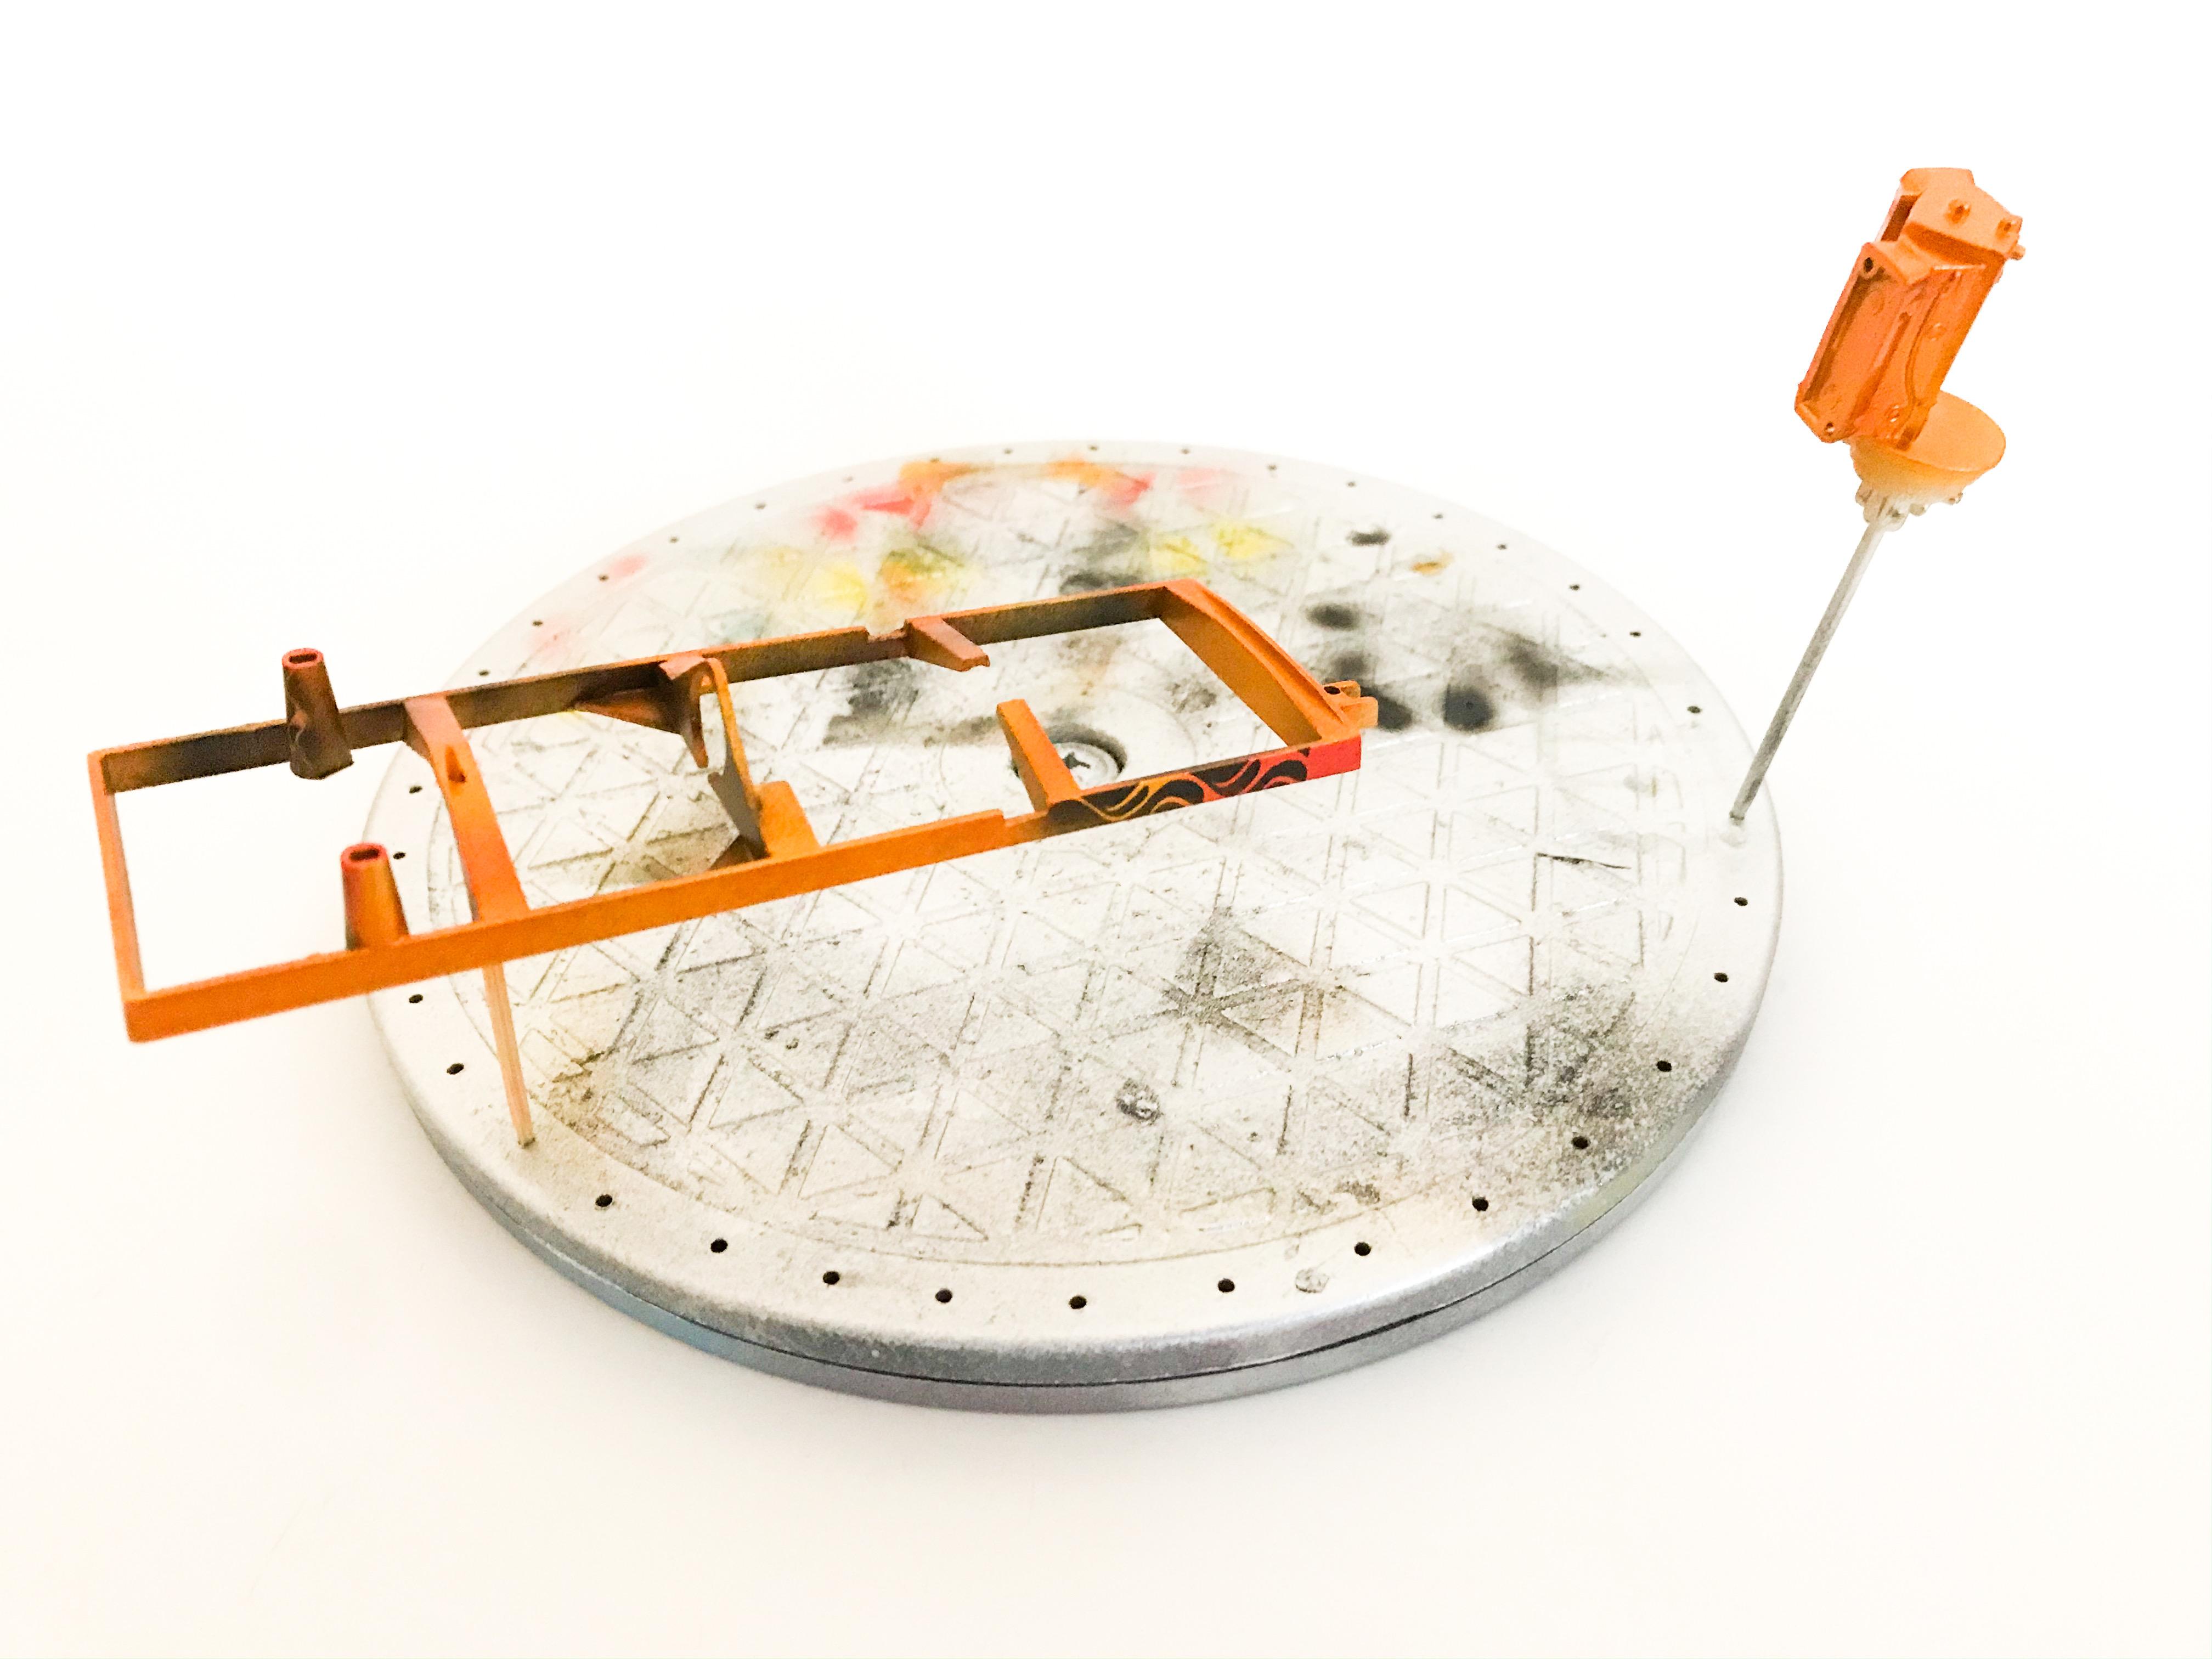
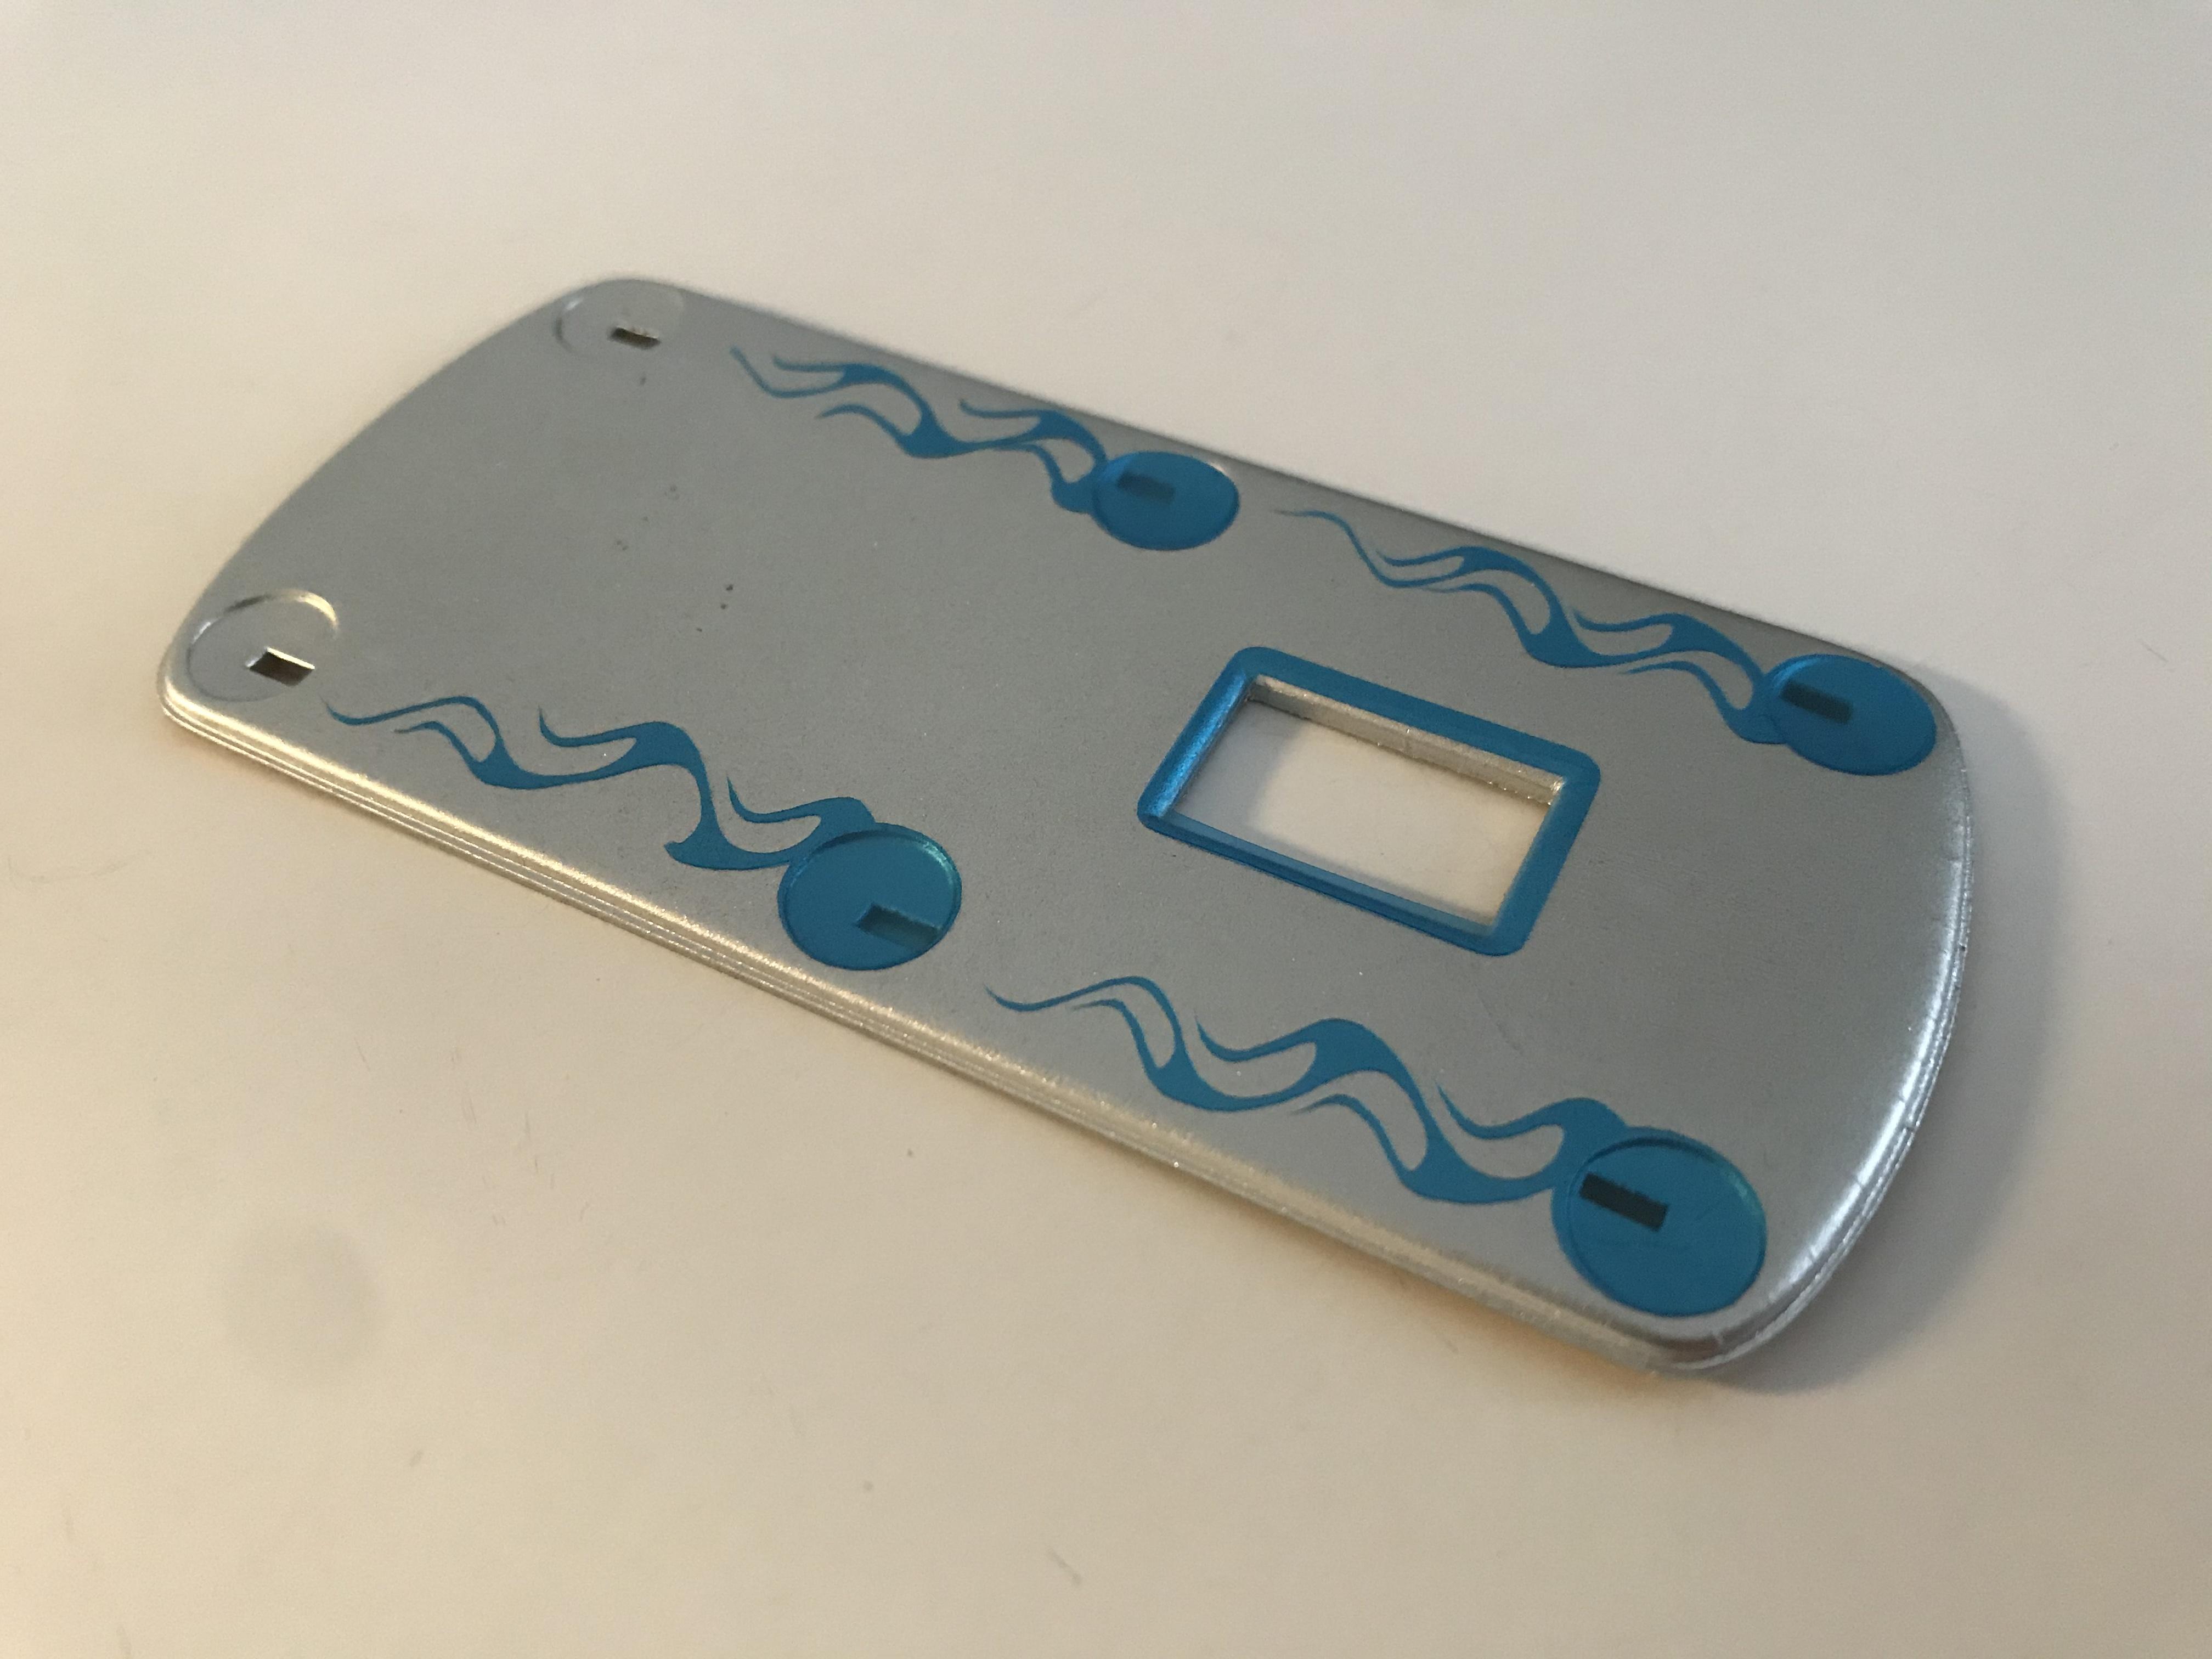
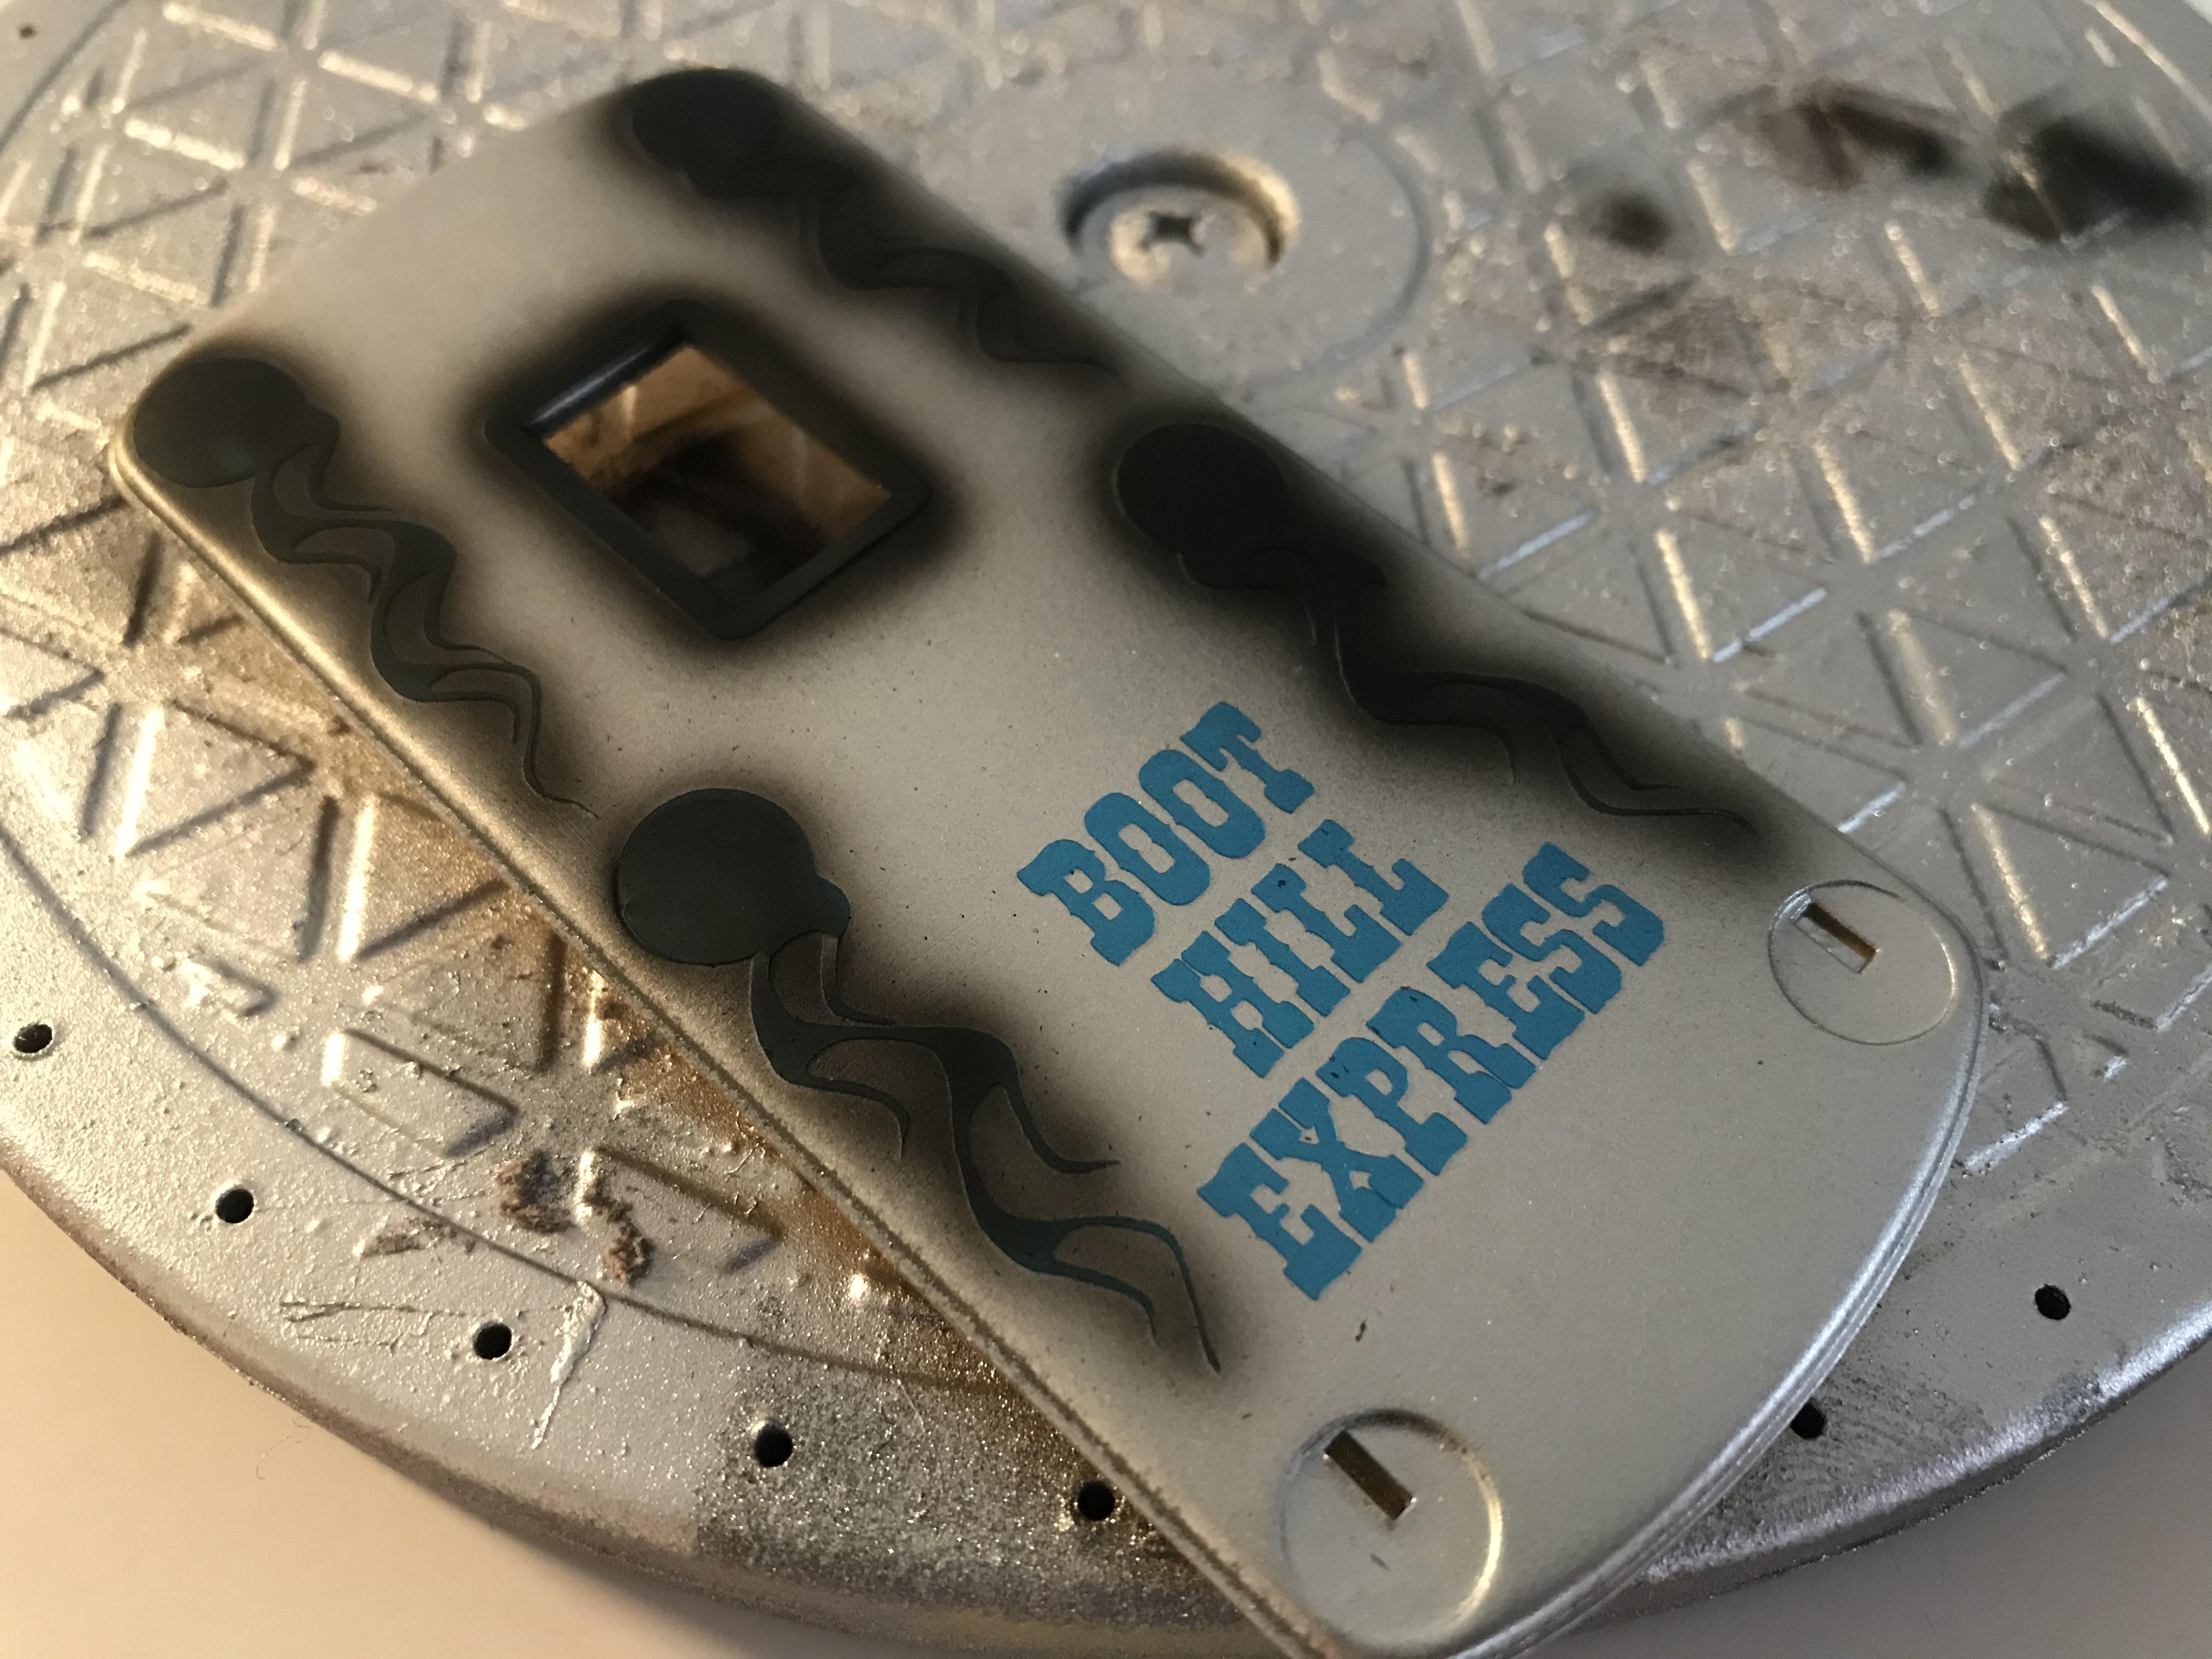
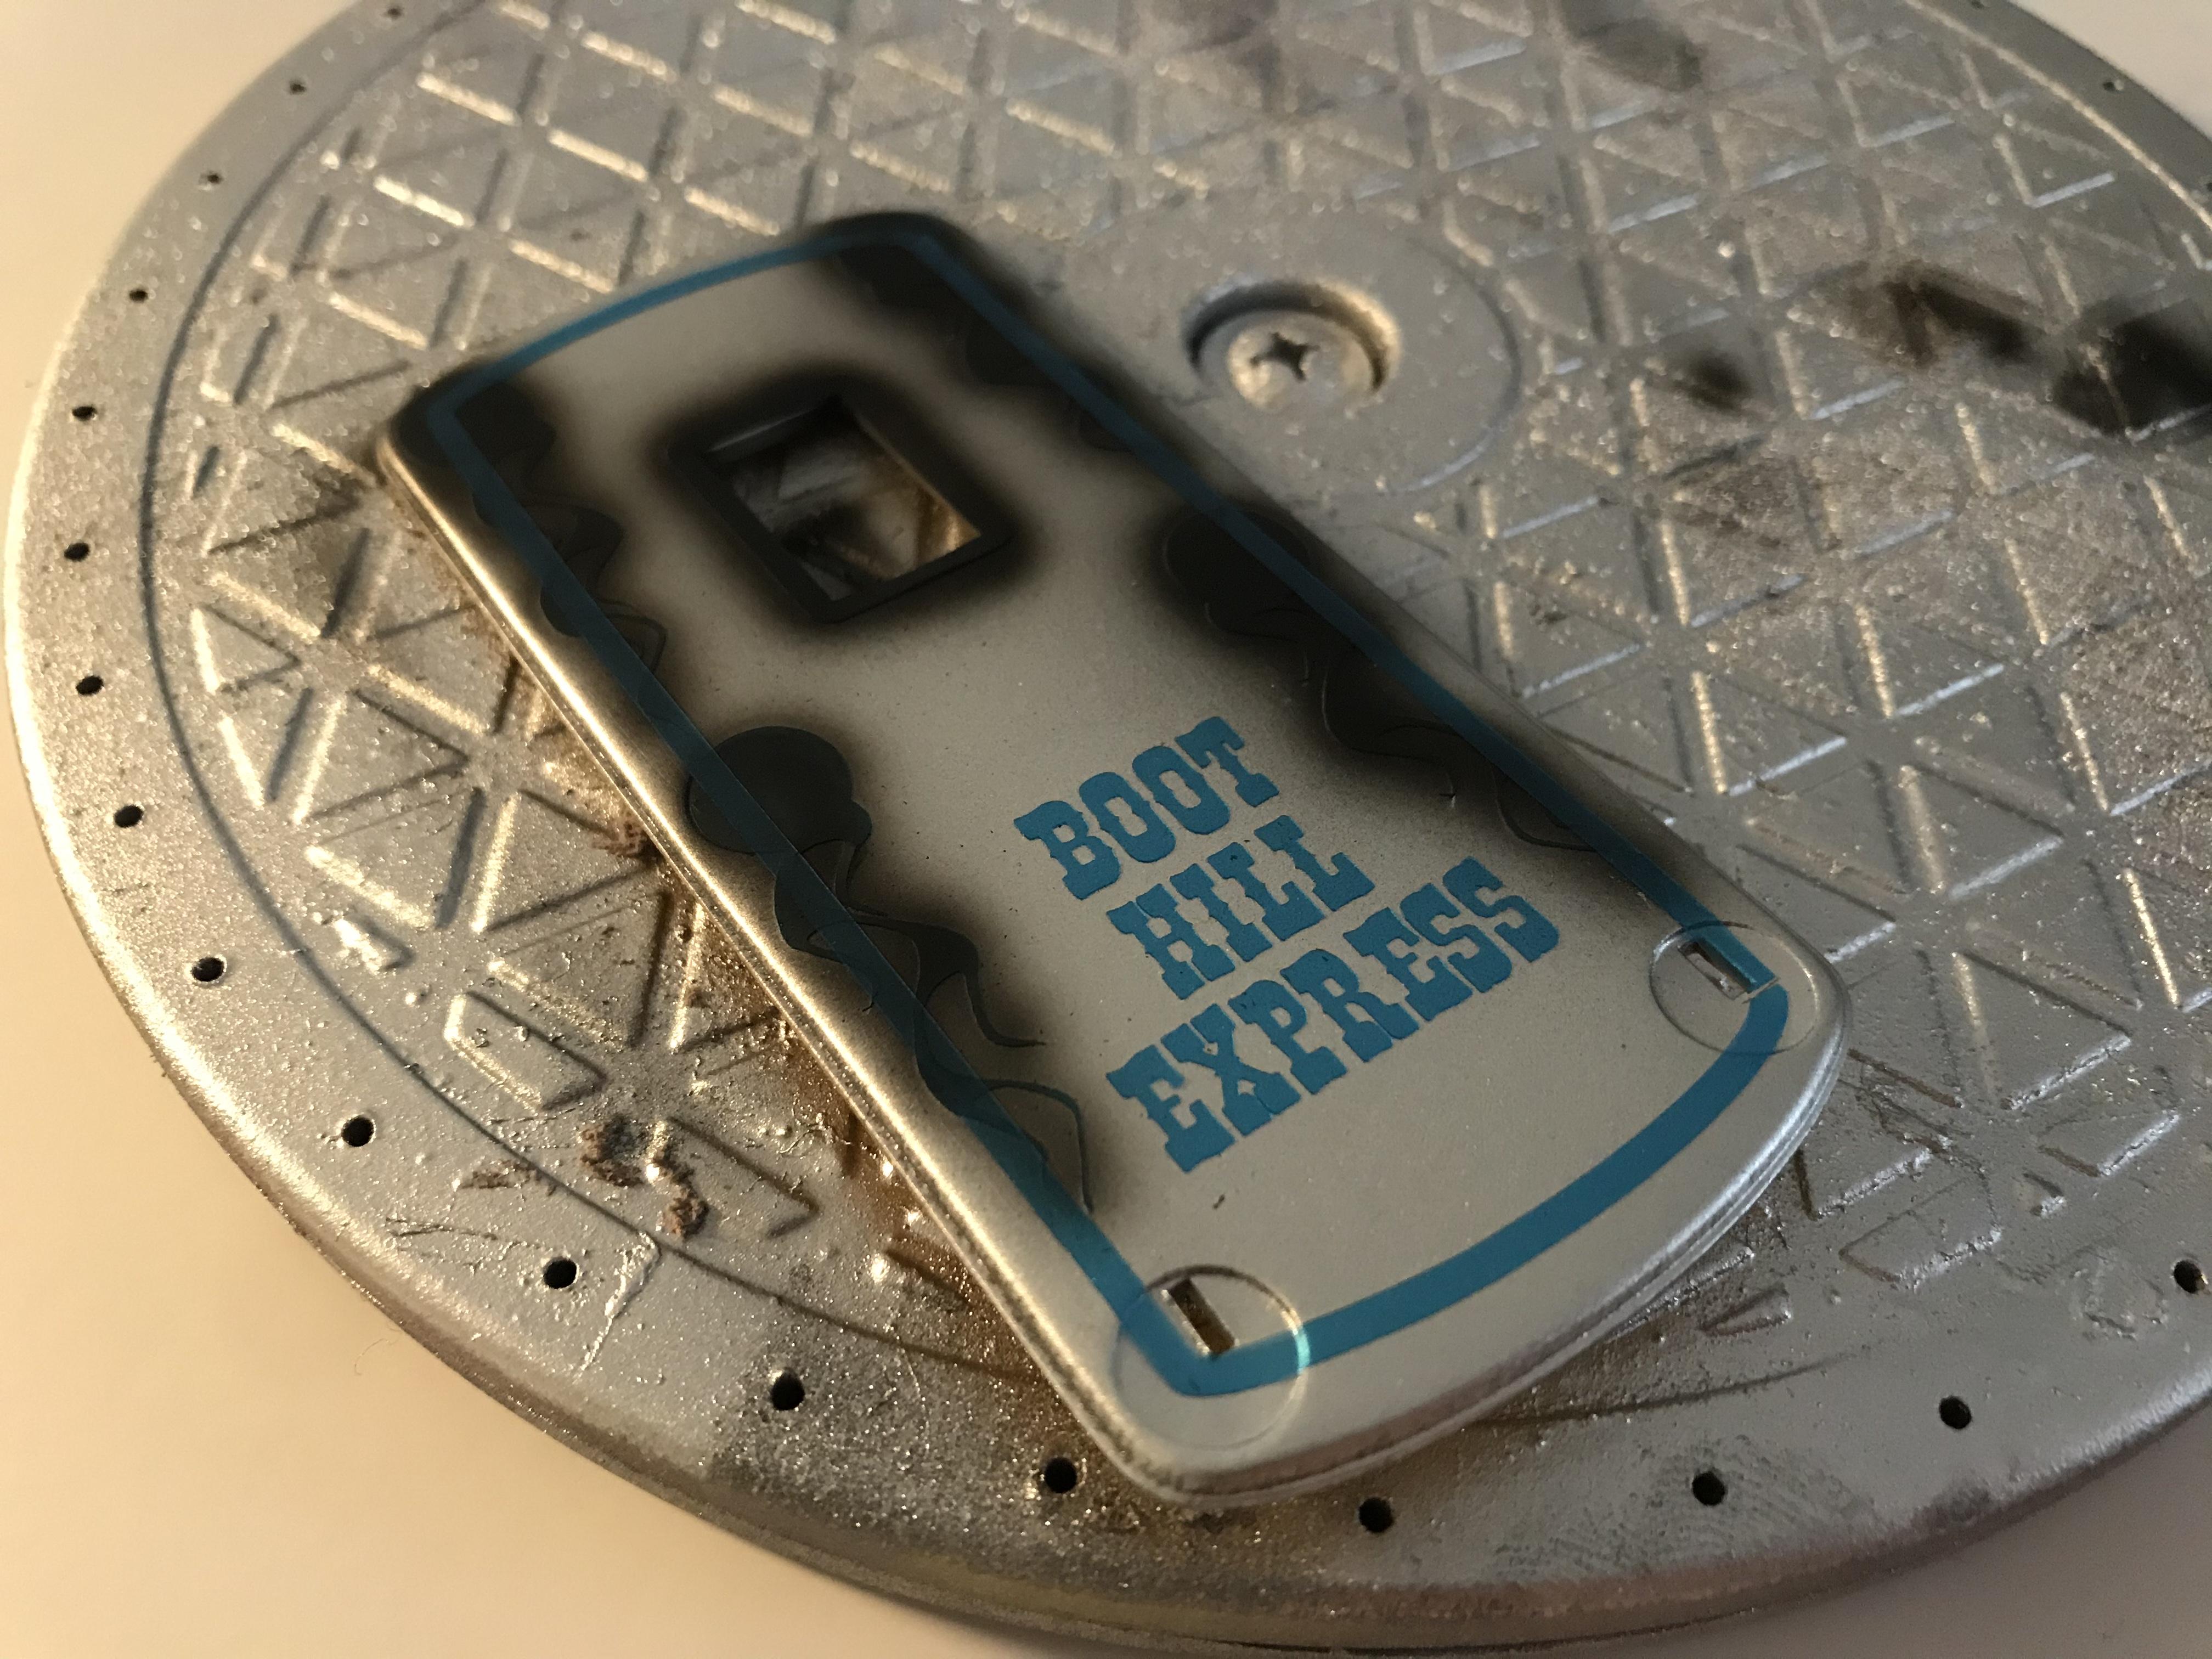
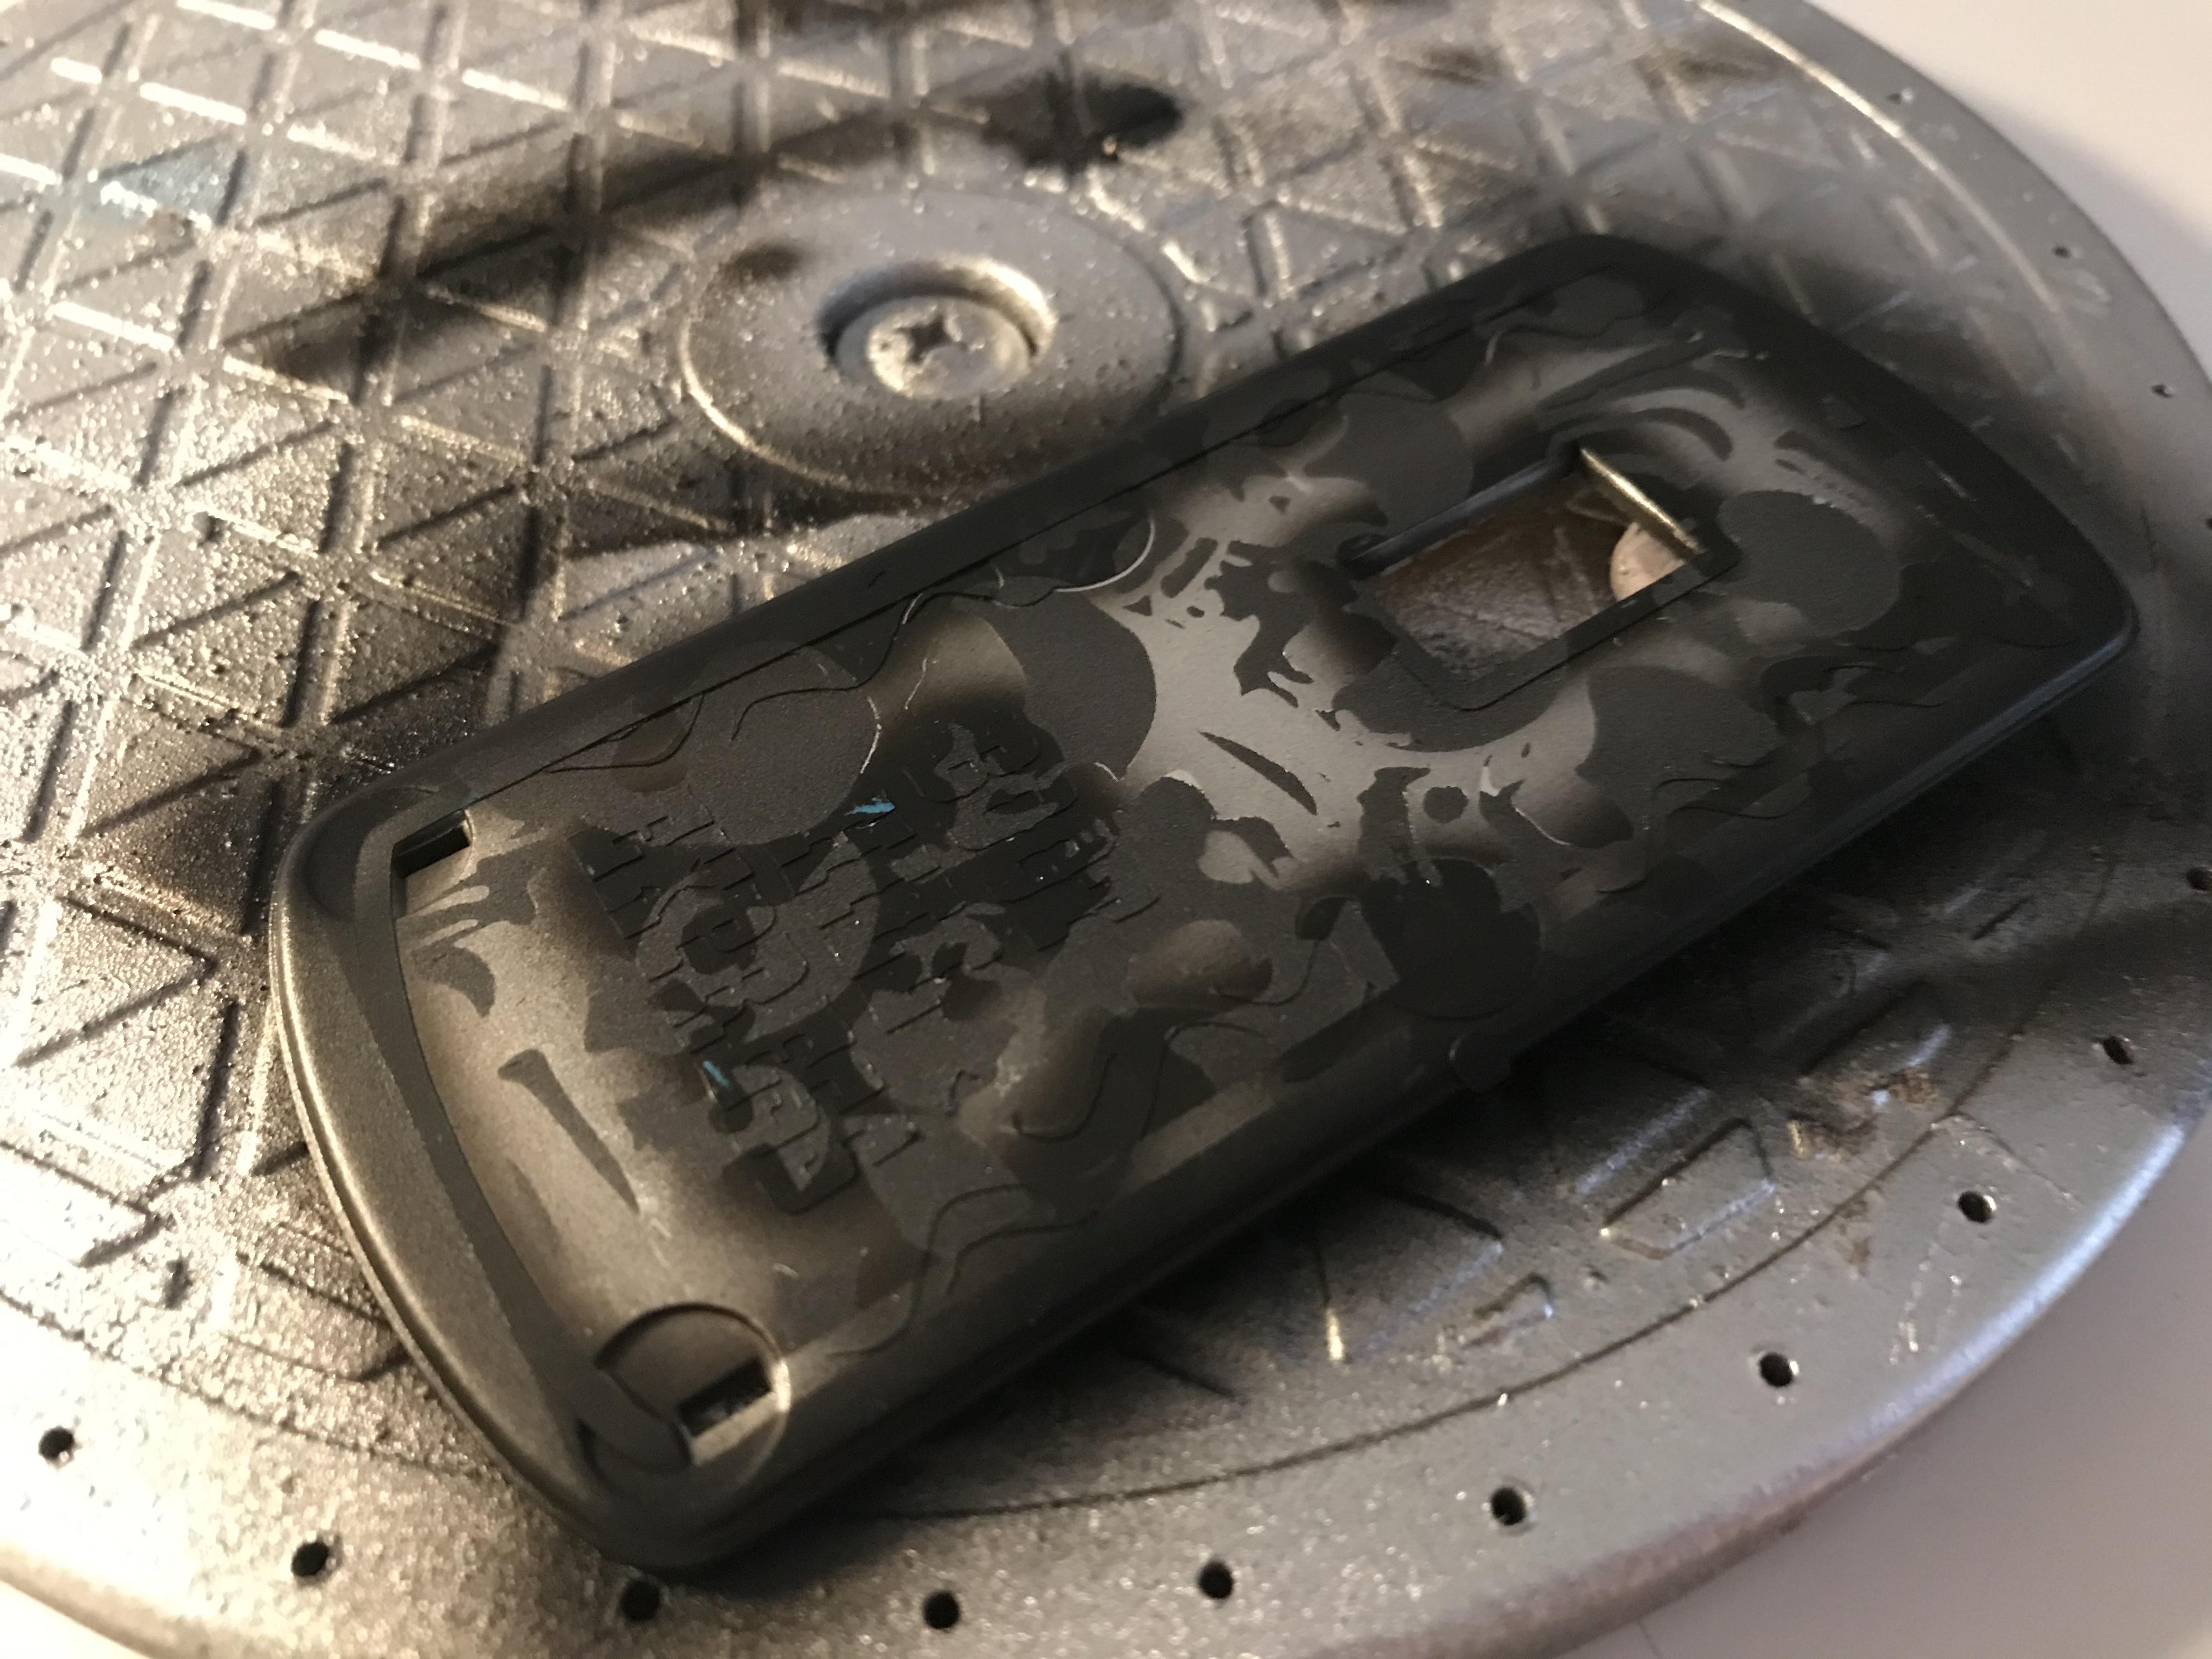
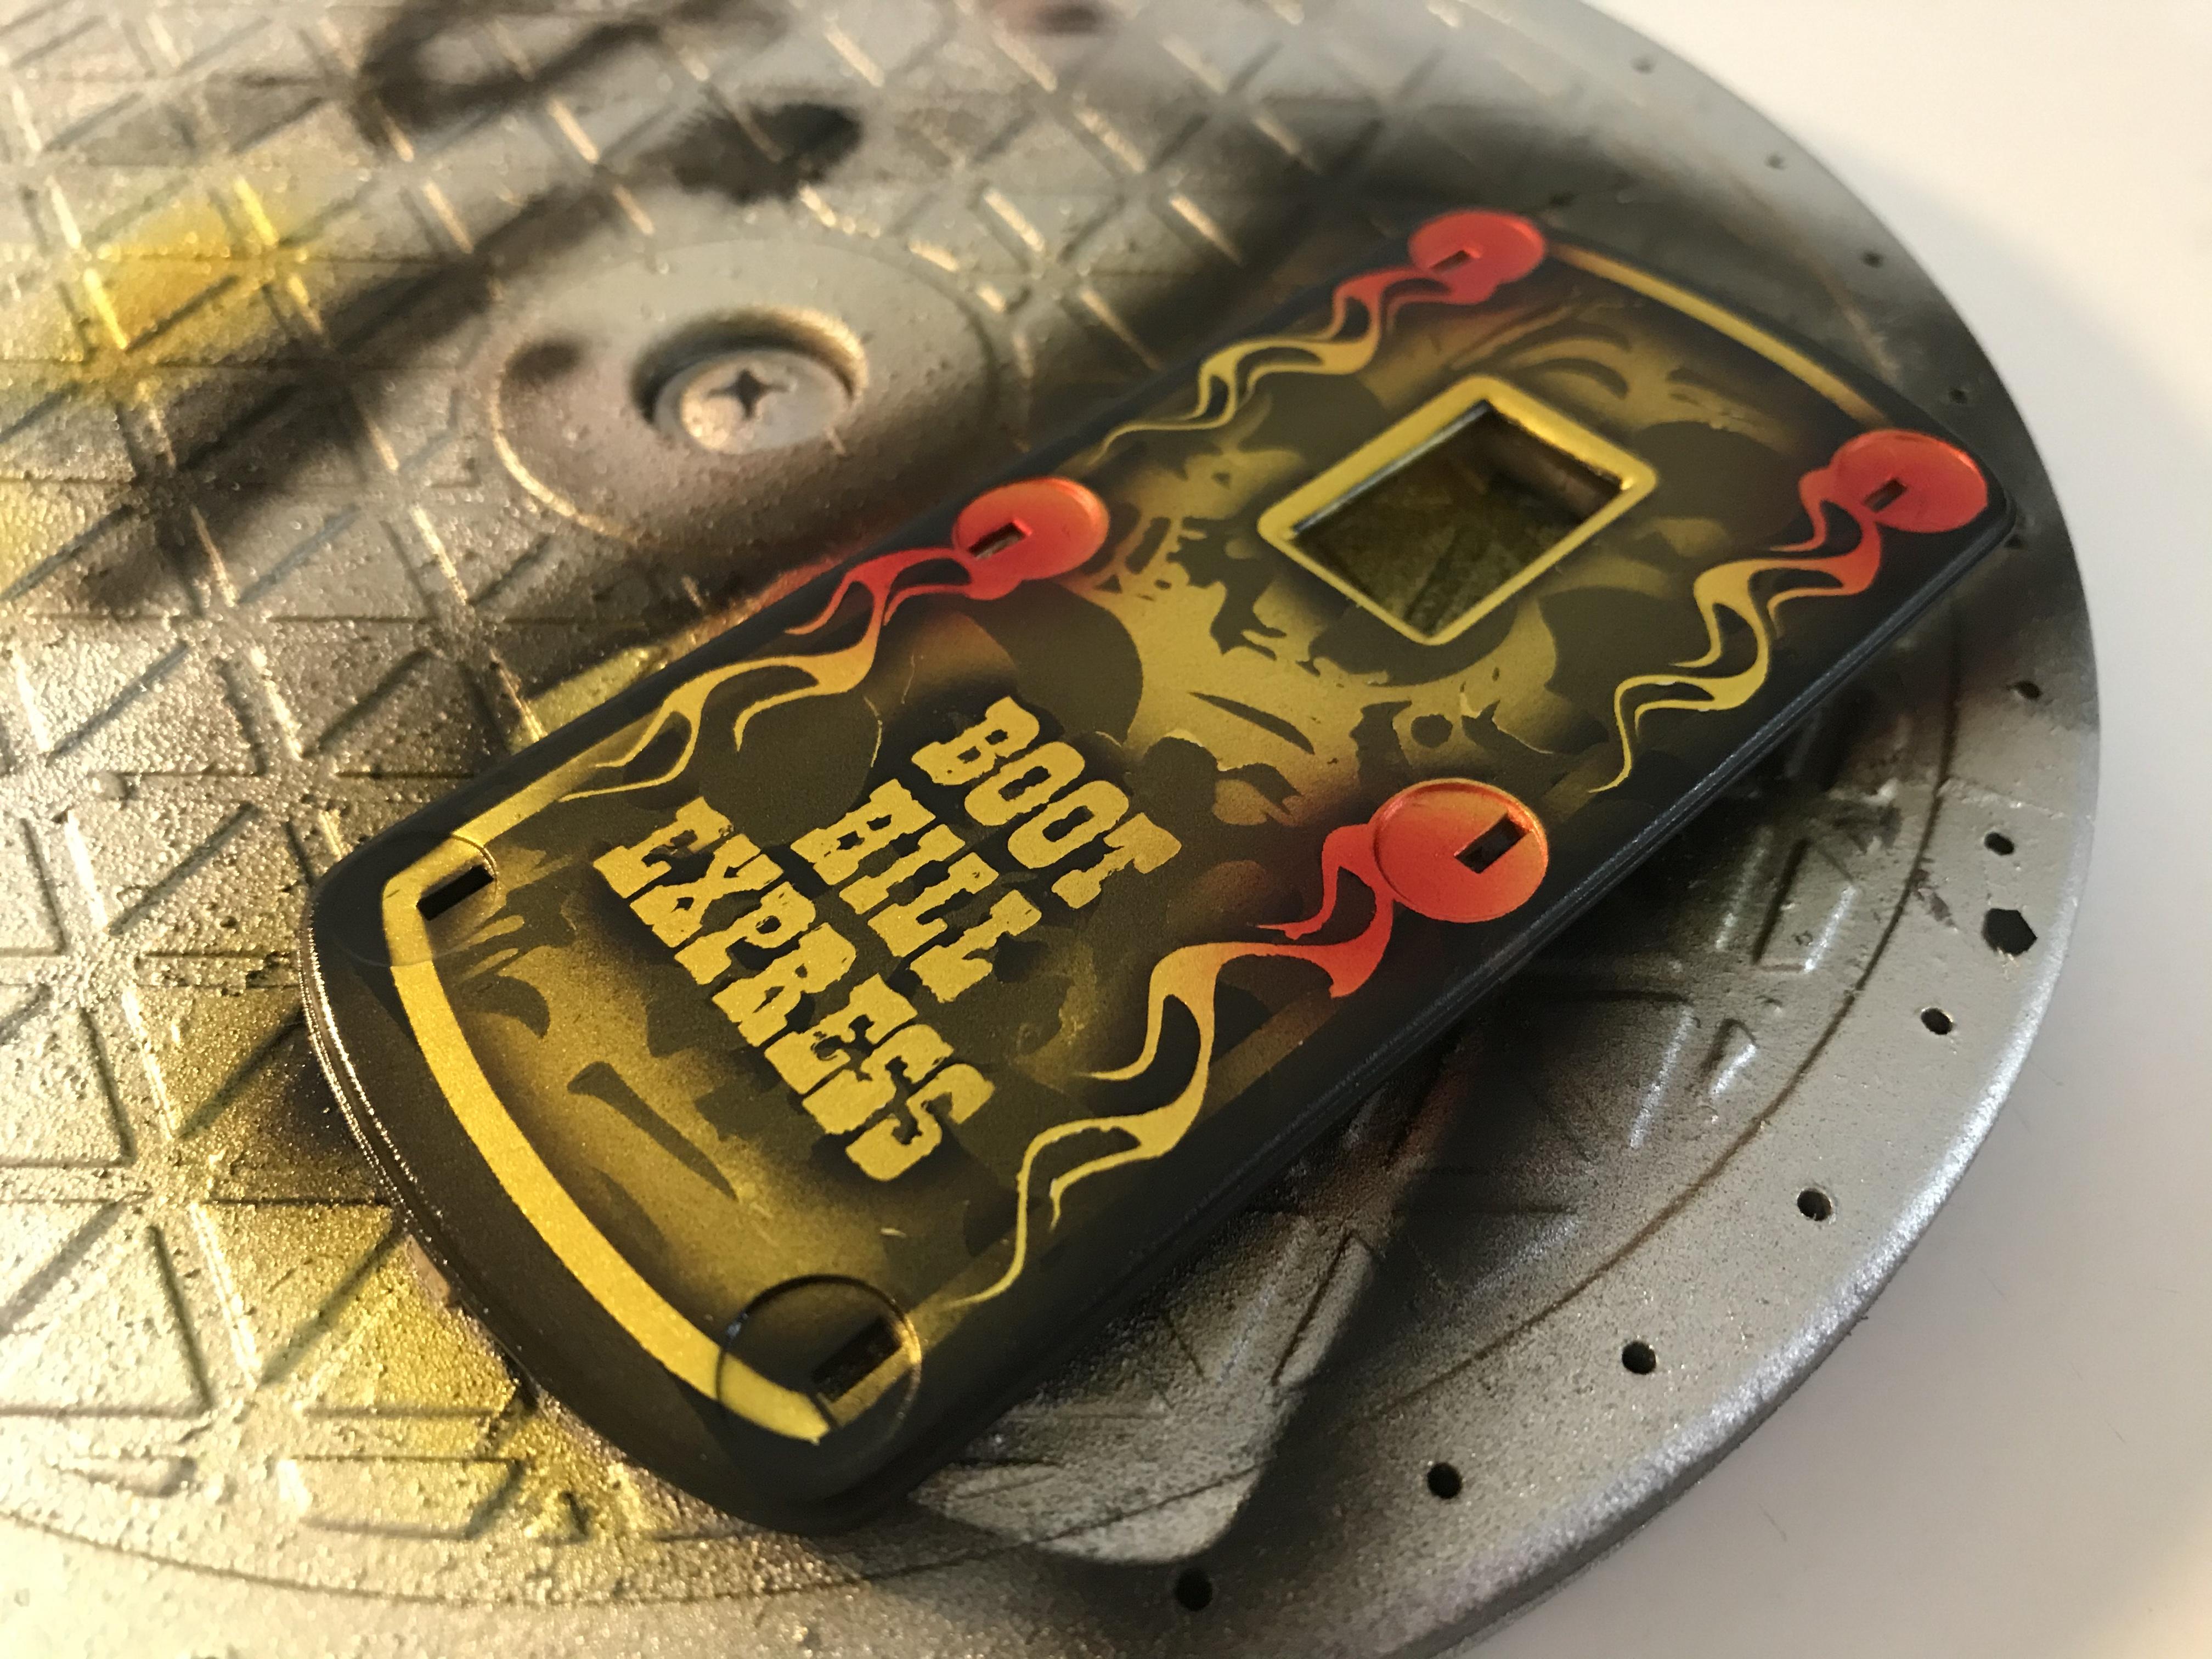
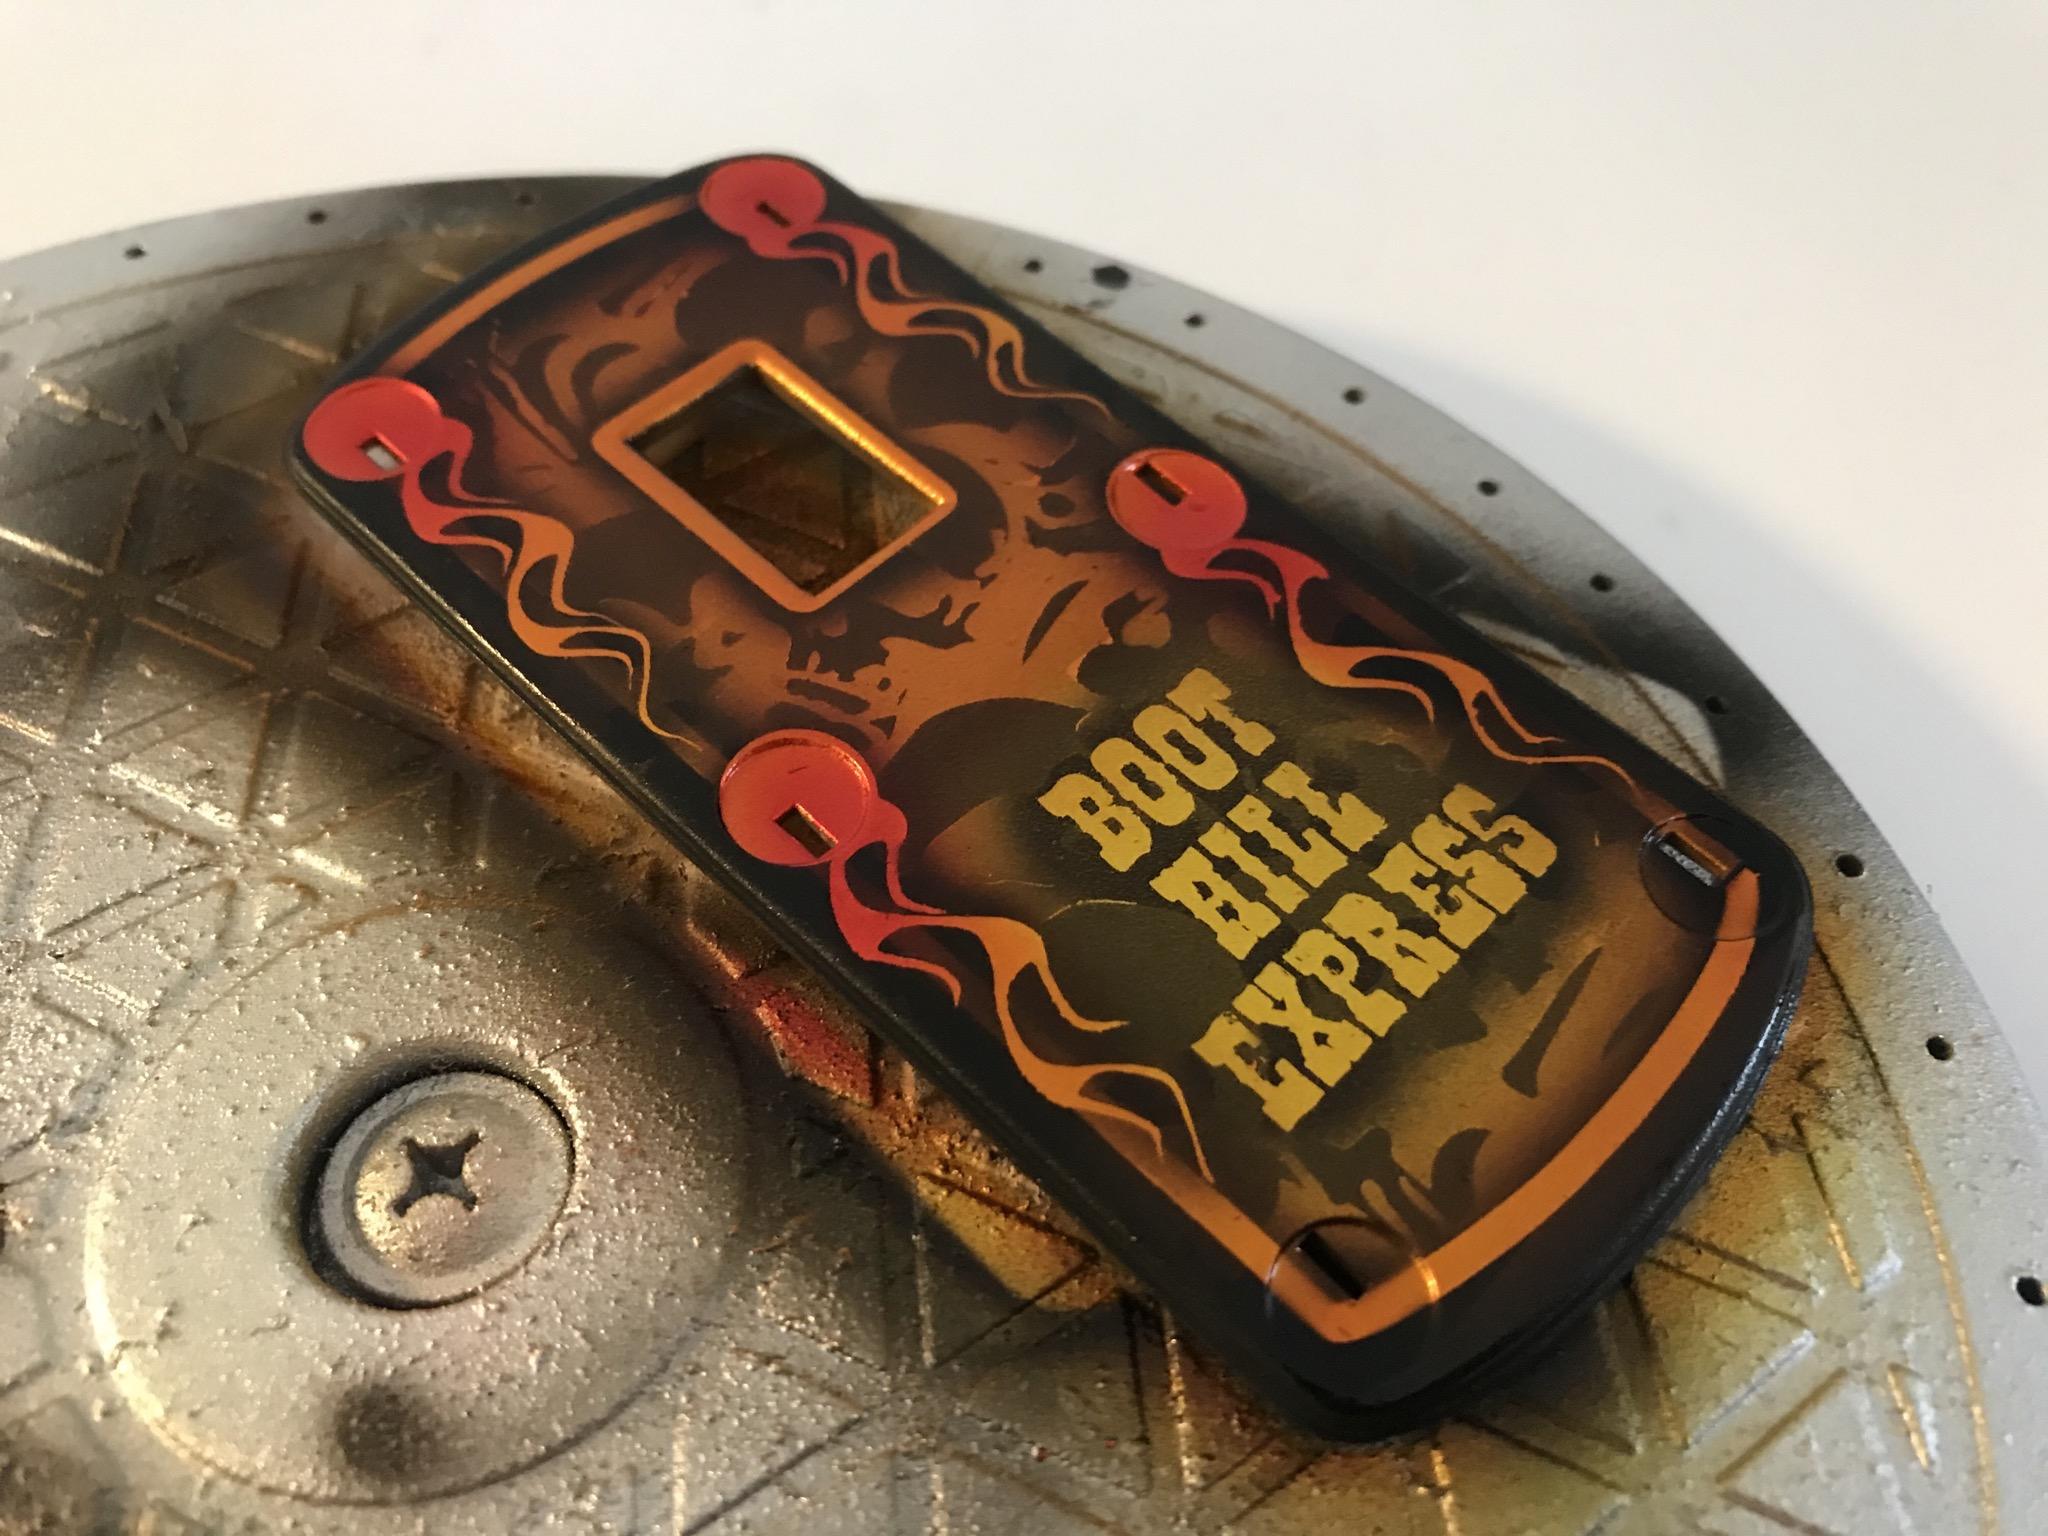
So, into some paint! I wanted to do a nice candy paint job on this one - still kinda looking like the 1:1 but less wood and more sparkles ?. So, first up, I shot the body, frame and roof with a chrome silver to act as a base: I had an idea I was excited to try on the roof panel, so I’m starting with that. First up. Some flames: Next, I gave them an outline - I’m going to run a kind of wide pinstripe around the edge of the roof but I wanted it to look like the flames were sitting over the top of it so I needed to add some depth with a light outline of black: Next up, I added the stripe and some lettering that I designed (using a font called ‘Boothill’, appropriately enough)... I did the same trick with the lettering as I’d done with the flames, and then cut a skull pattern mask and overlaid that...now, this pattern won’t be super obvious or easy to make out on this panel but I’ll be replicating it elsewhere on the car so I wanted it here too so it all ties together: I shot some Tamiya gunmetal through that to give some contrast between the bright chrome and the dark black - the gunmetal is somewhere in between so it works well for this part of the process. Then; we’re left with this: Finally, I fogged a band of flat back around the edge of the roof to cover those masking lines and then peeled off the masks: Super pleased with that! Next up, some candy yellow - I wanted the lettering to look gold so it stands out, but I added some shading to the whole roof with this color anyway: Then, some little bursts of red on the flames - I would normally do this after the last color but I didn’t want them quite as bold and bright as they would be if I did that... Then, finally, candy orange! I’m happy with how that turned out - I need to let it sit a couple of days to harden up before attempting to clear it...actually, I probably DON’T need to leave it that long but I’m cautious of ruining that work! Plenty more to do in the meantime though... More soon, soon as I’ve done more!
-
Krylon’s Colormaxx metallic silver is a nice match for that sort of finish - it has just enough shine and reflective quality to not look like silver paint but is tougher than Alclad and lays down really easily. It’s my go-to now for a matt aluminum kind of look, and gives a convincing finish - especially if you give the parts a light black wash afterwards too
-
Awesome! I love that color green, with the tan interior!