OldNYJim
-
Posts
250 -
Joined
-
Last visited
Content Type
Profiles
Forums
Events
Gallery
Everything posted by OldNYJim
-

Colors close to Postal Blue and Coca Cola Red
OldNYJim replied to fomocomav's topic in Model Building Questions and Answers
Wrap it up boys, case closed ???♂️ -
https://instagram.com/metalrys_chroming?igshid=1f0nq3bi4tyvi
-
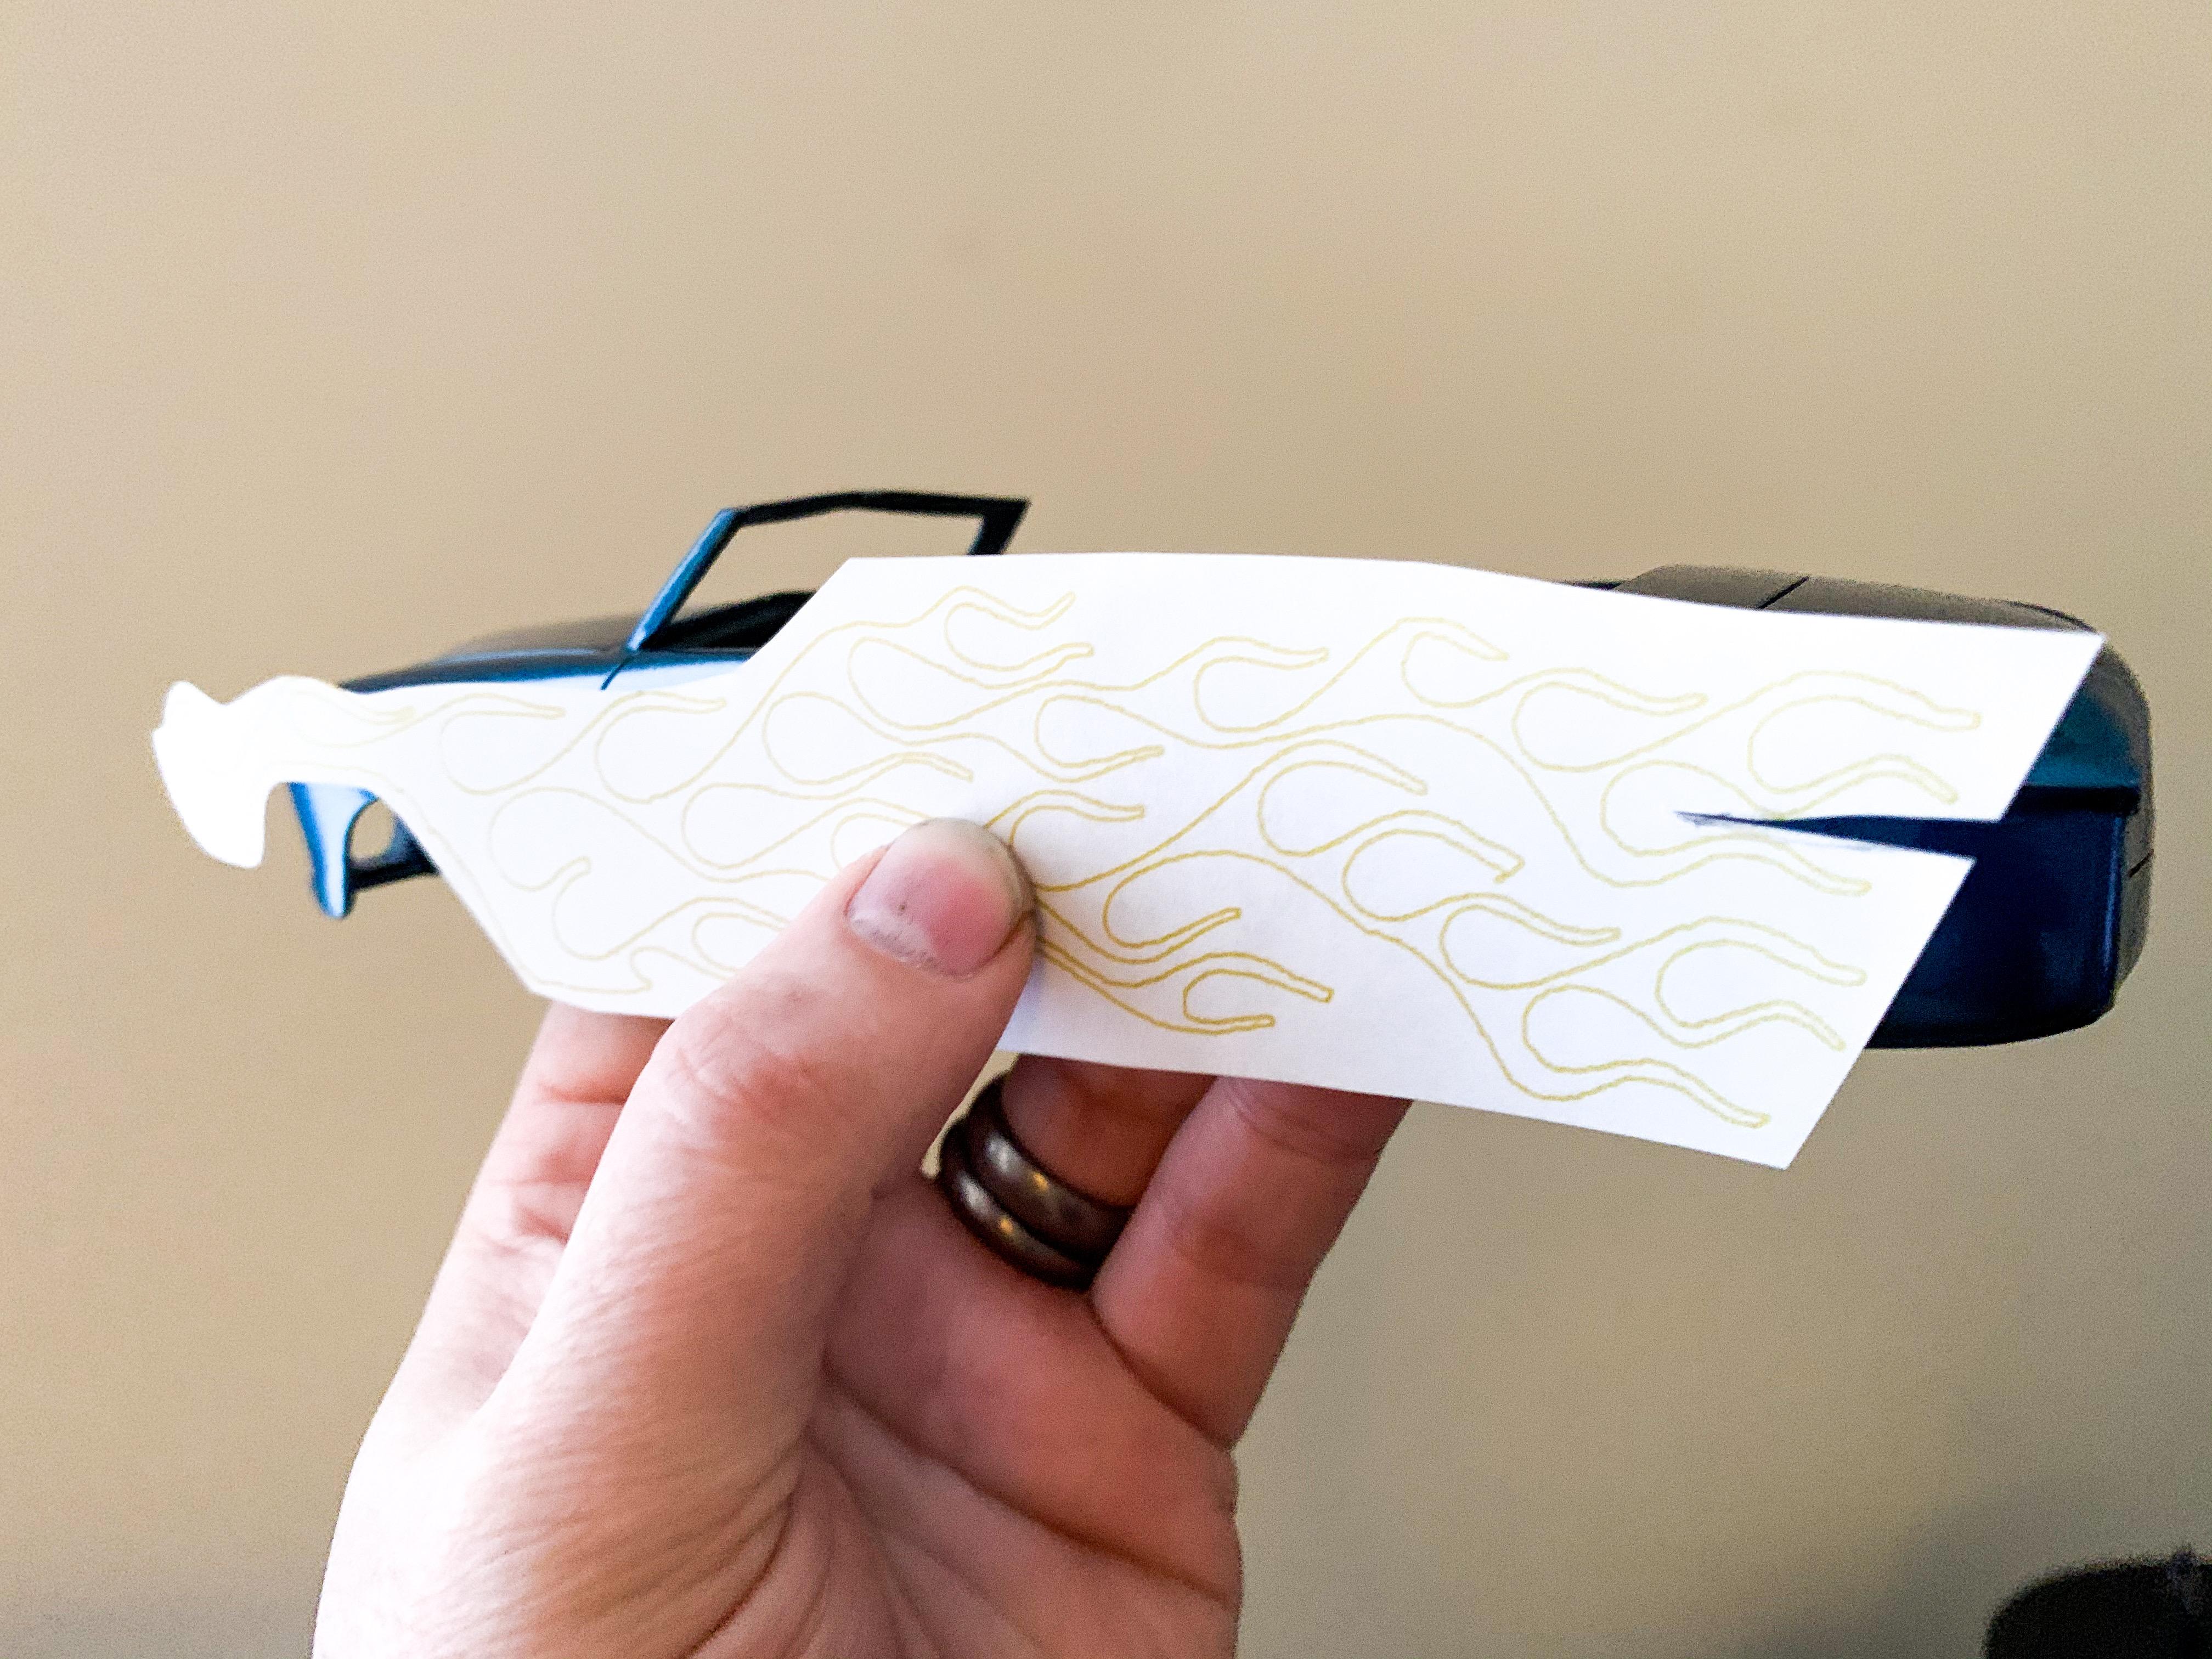
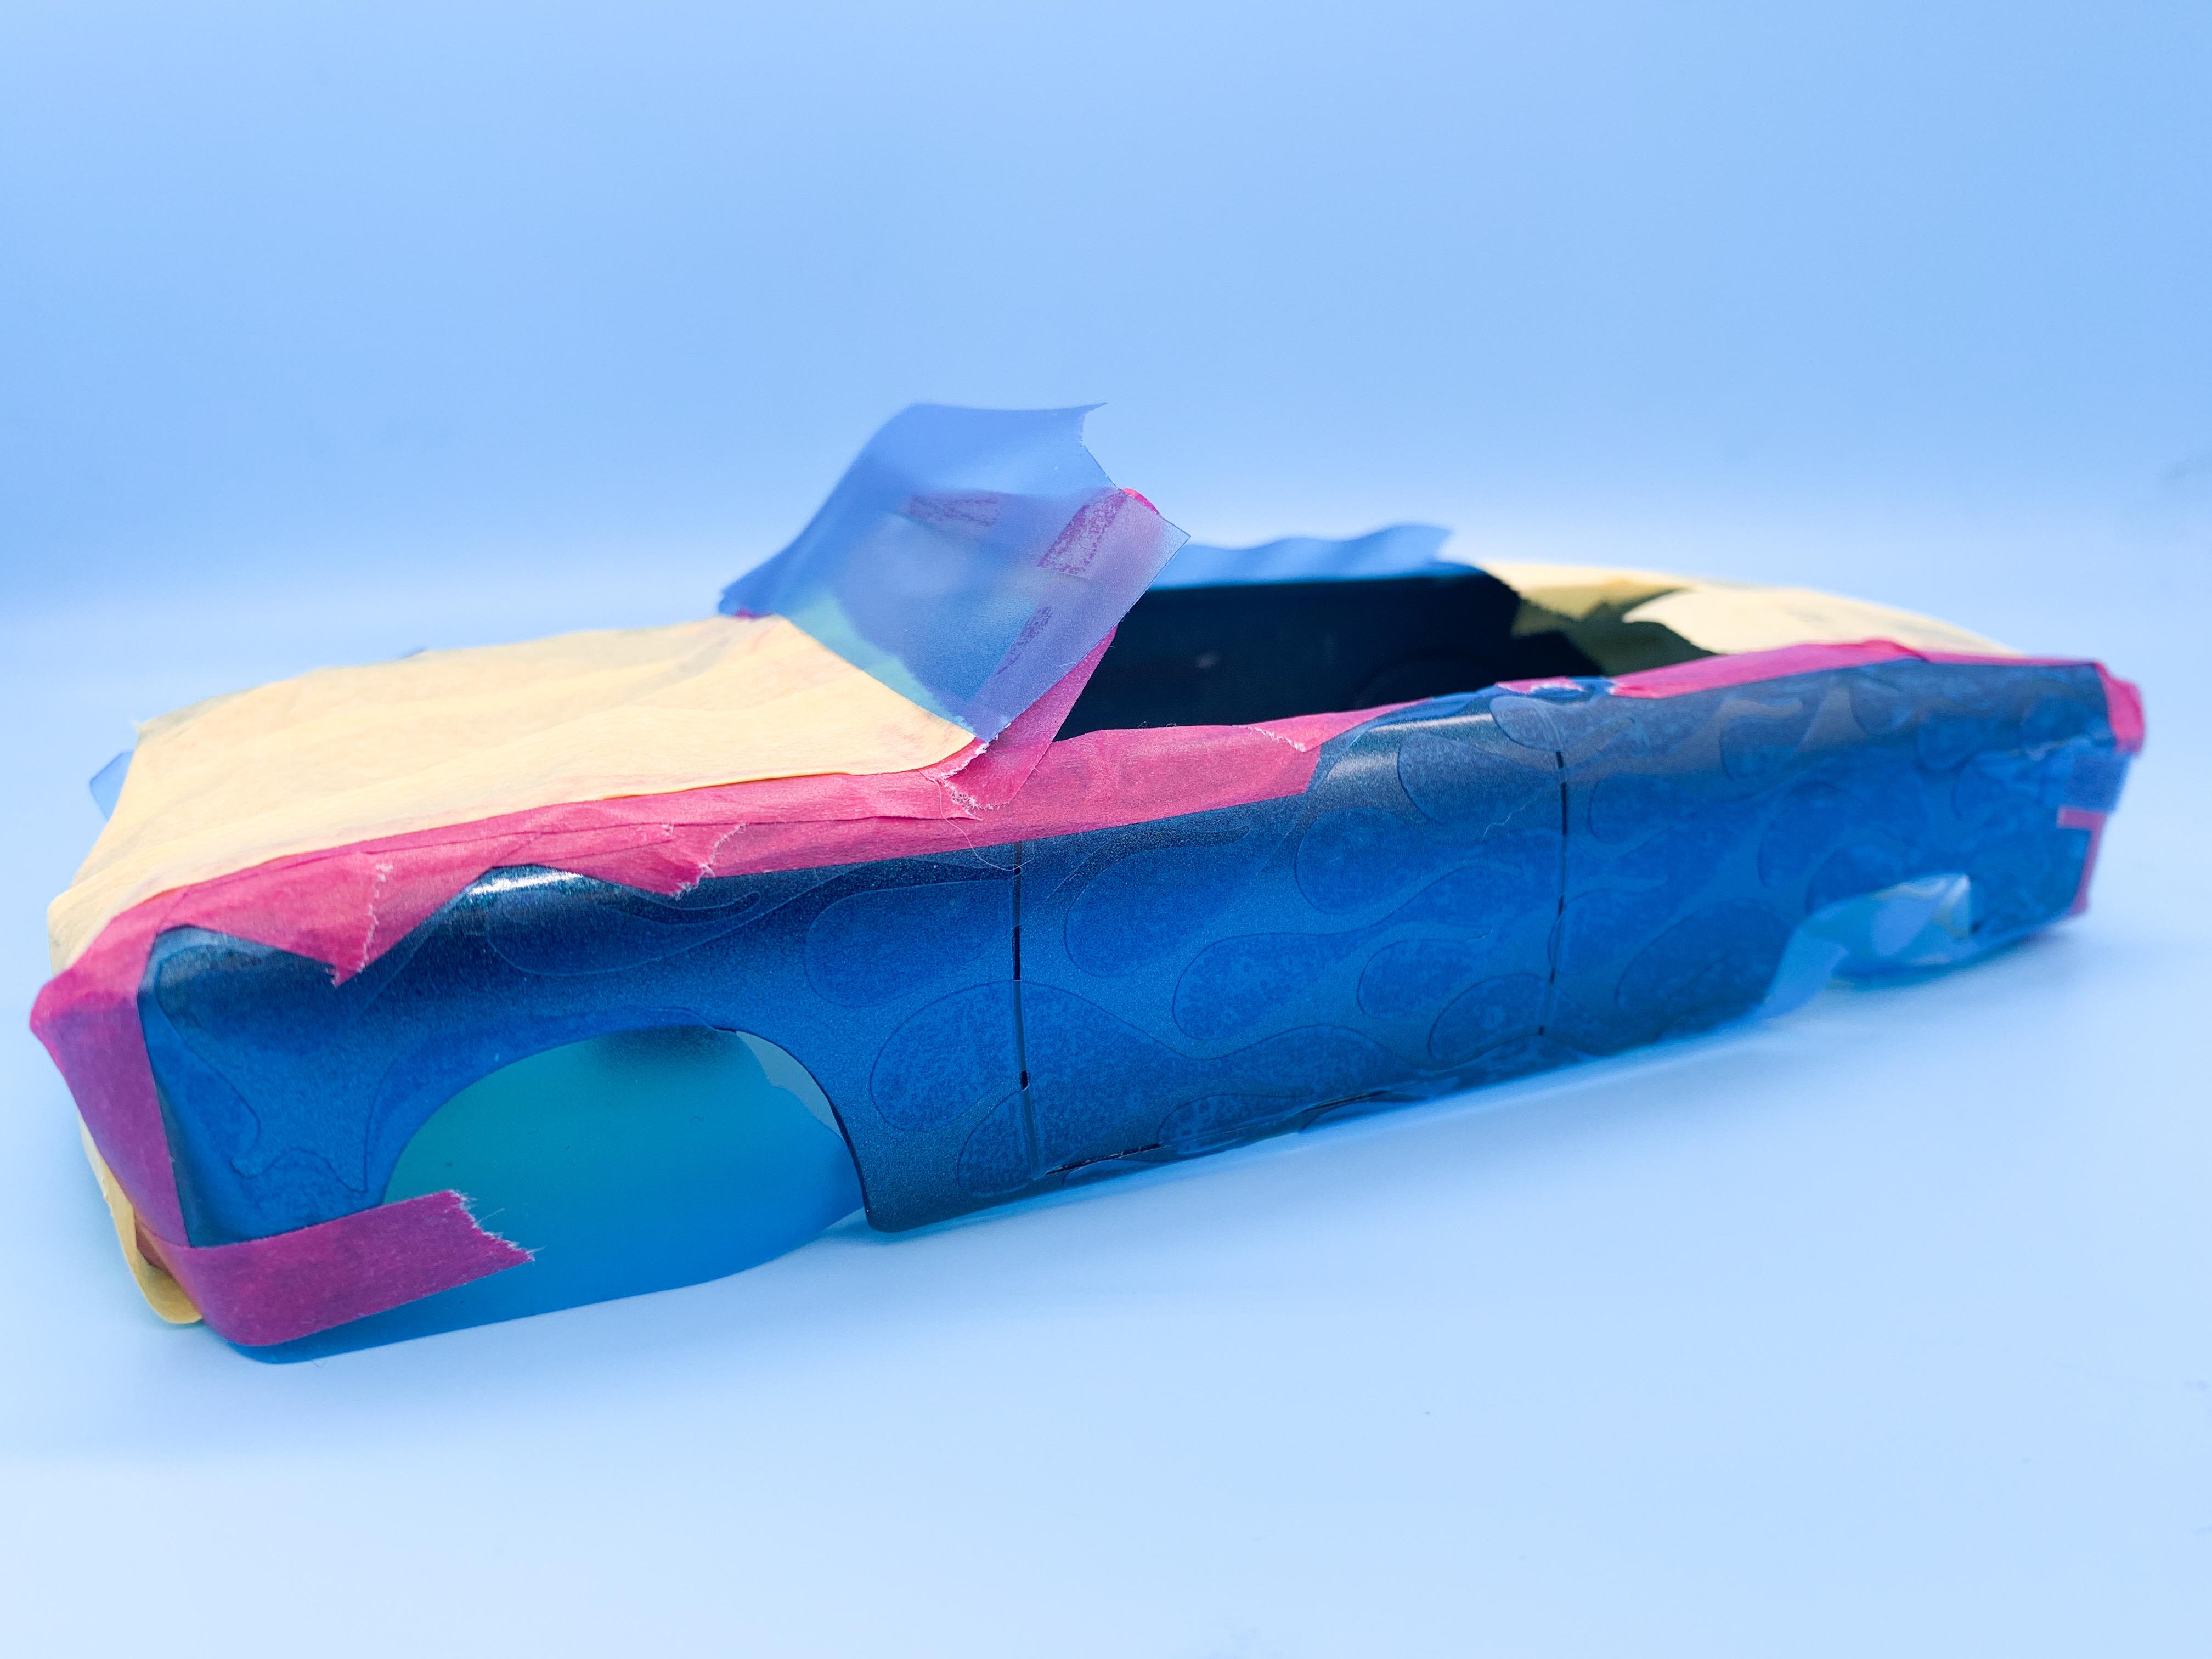
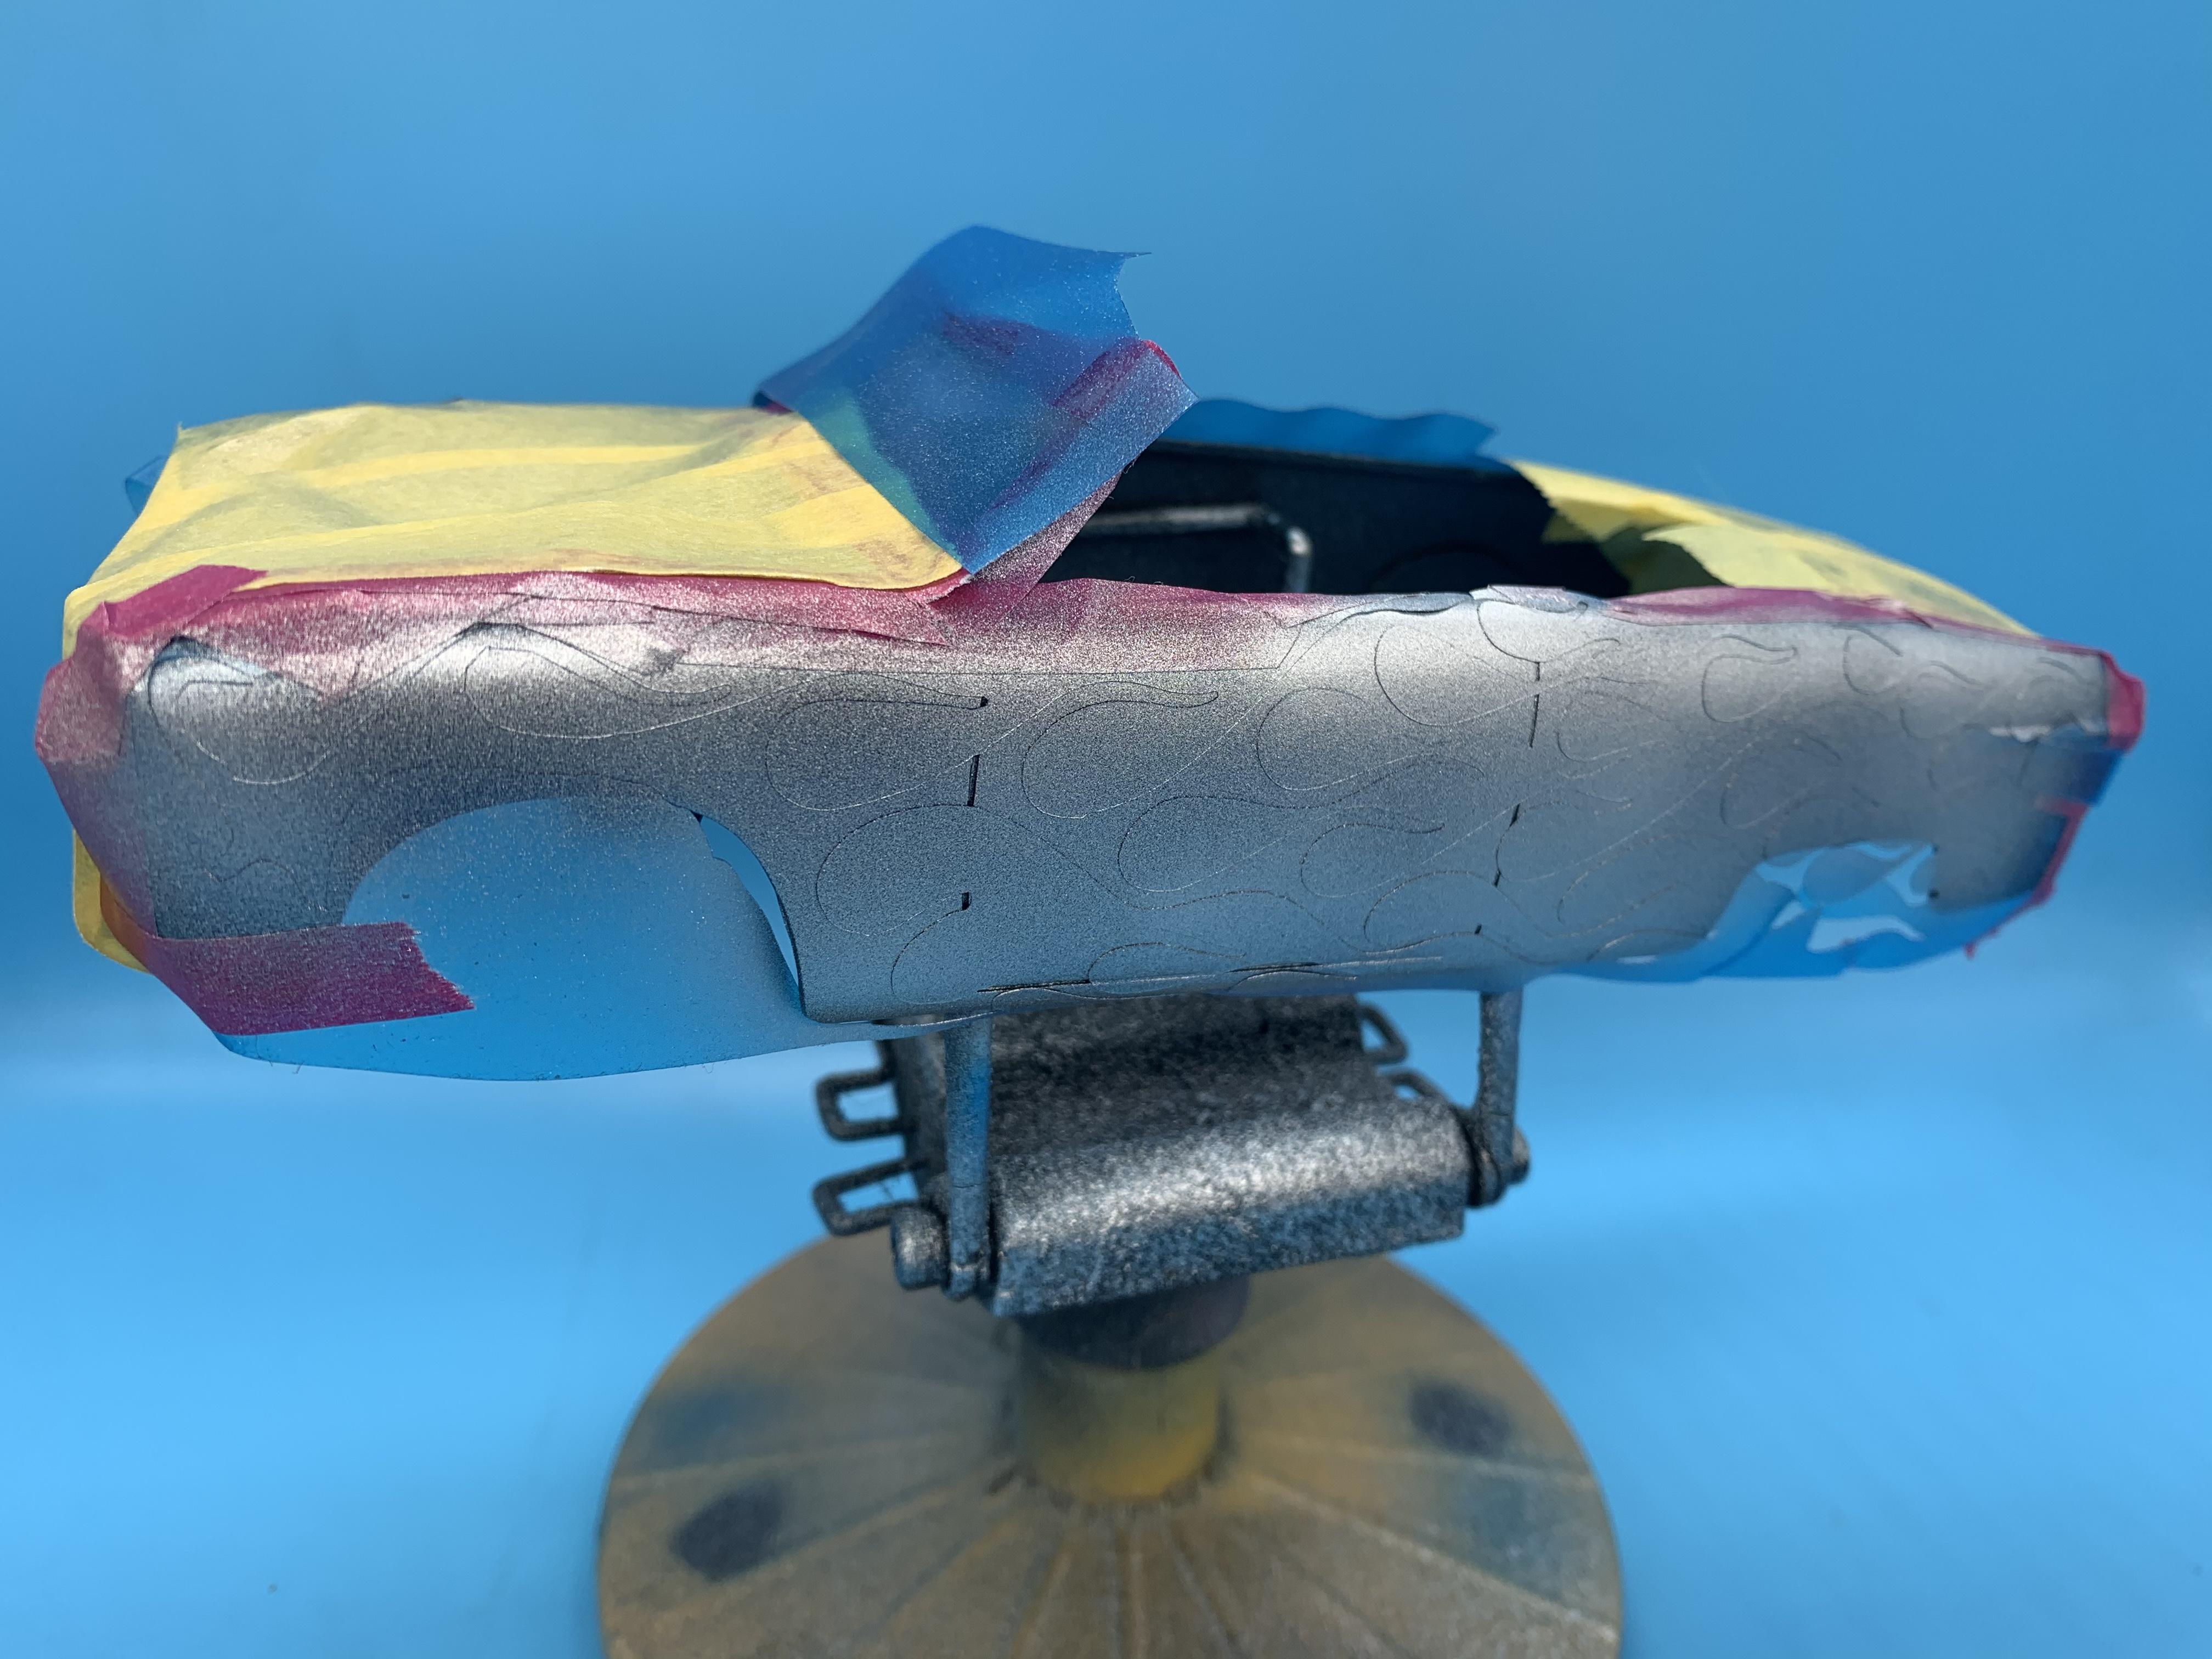
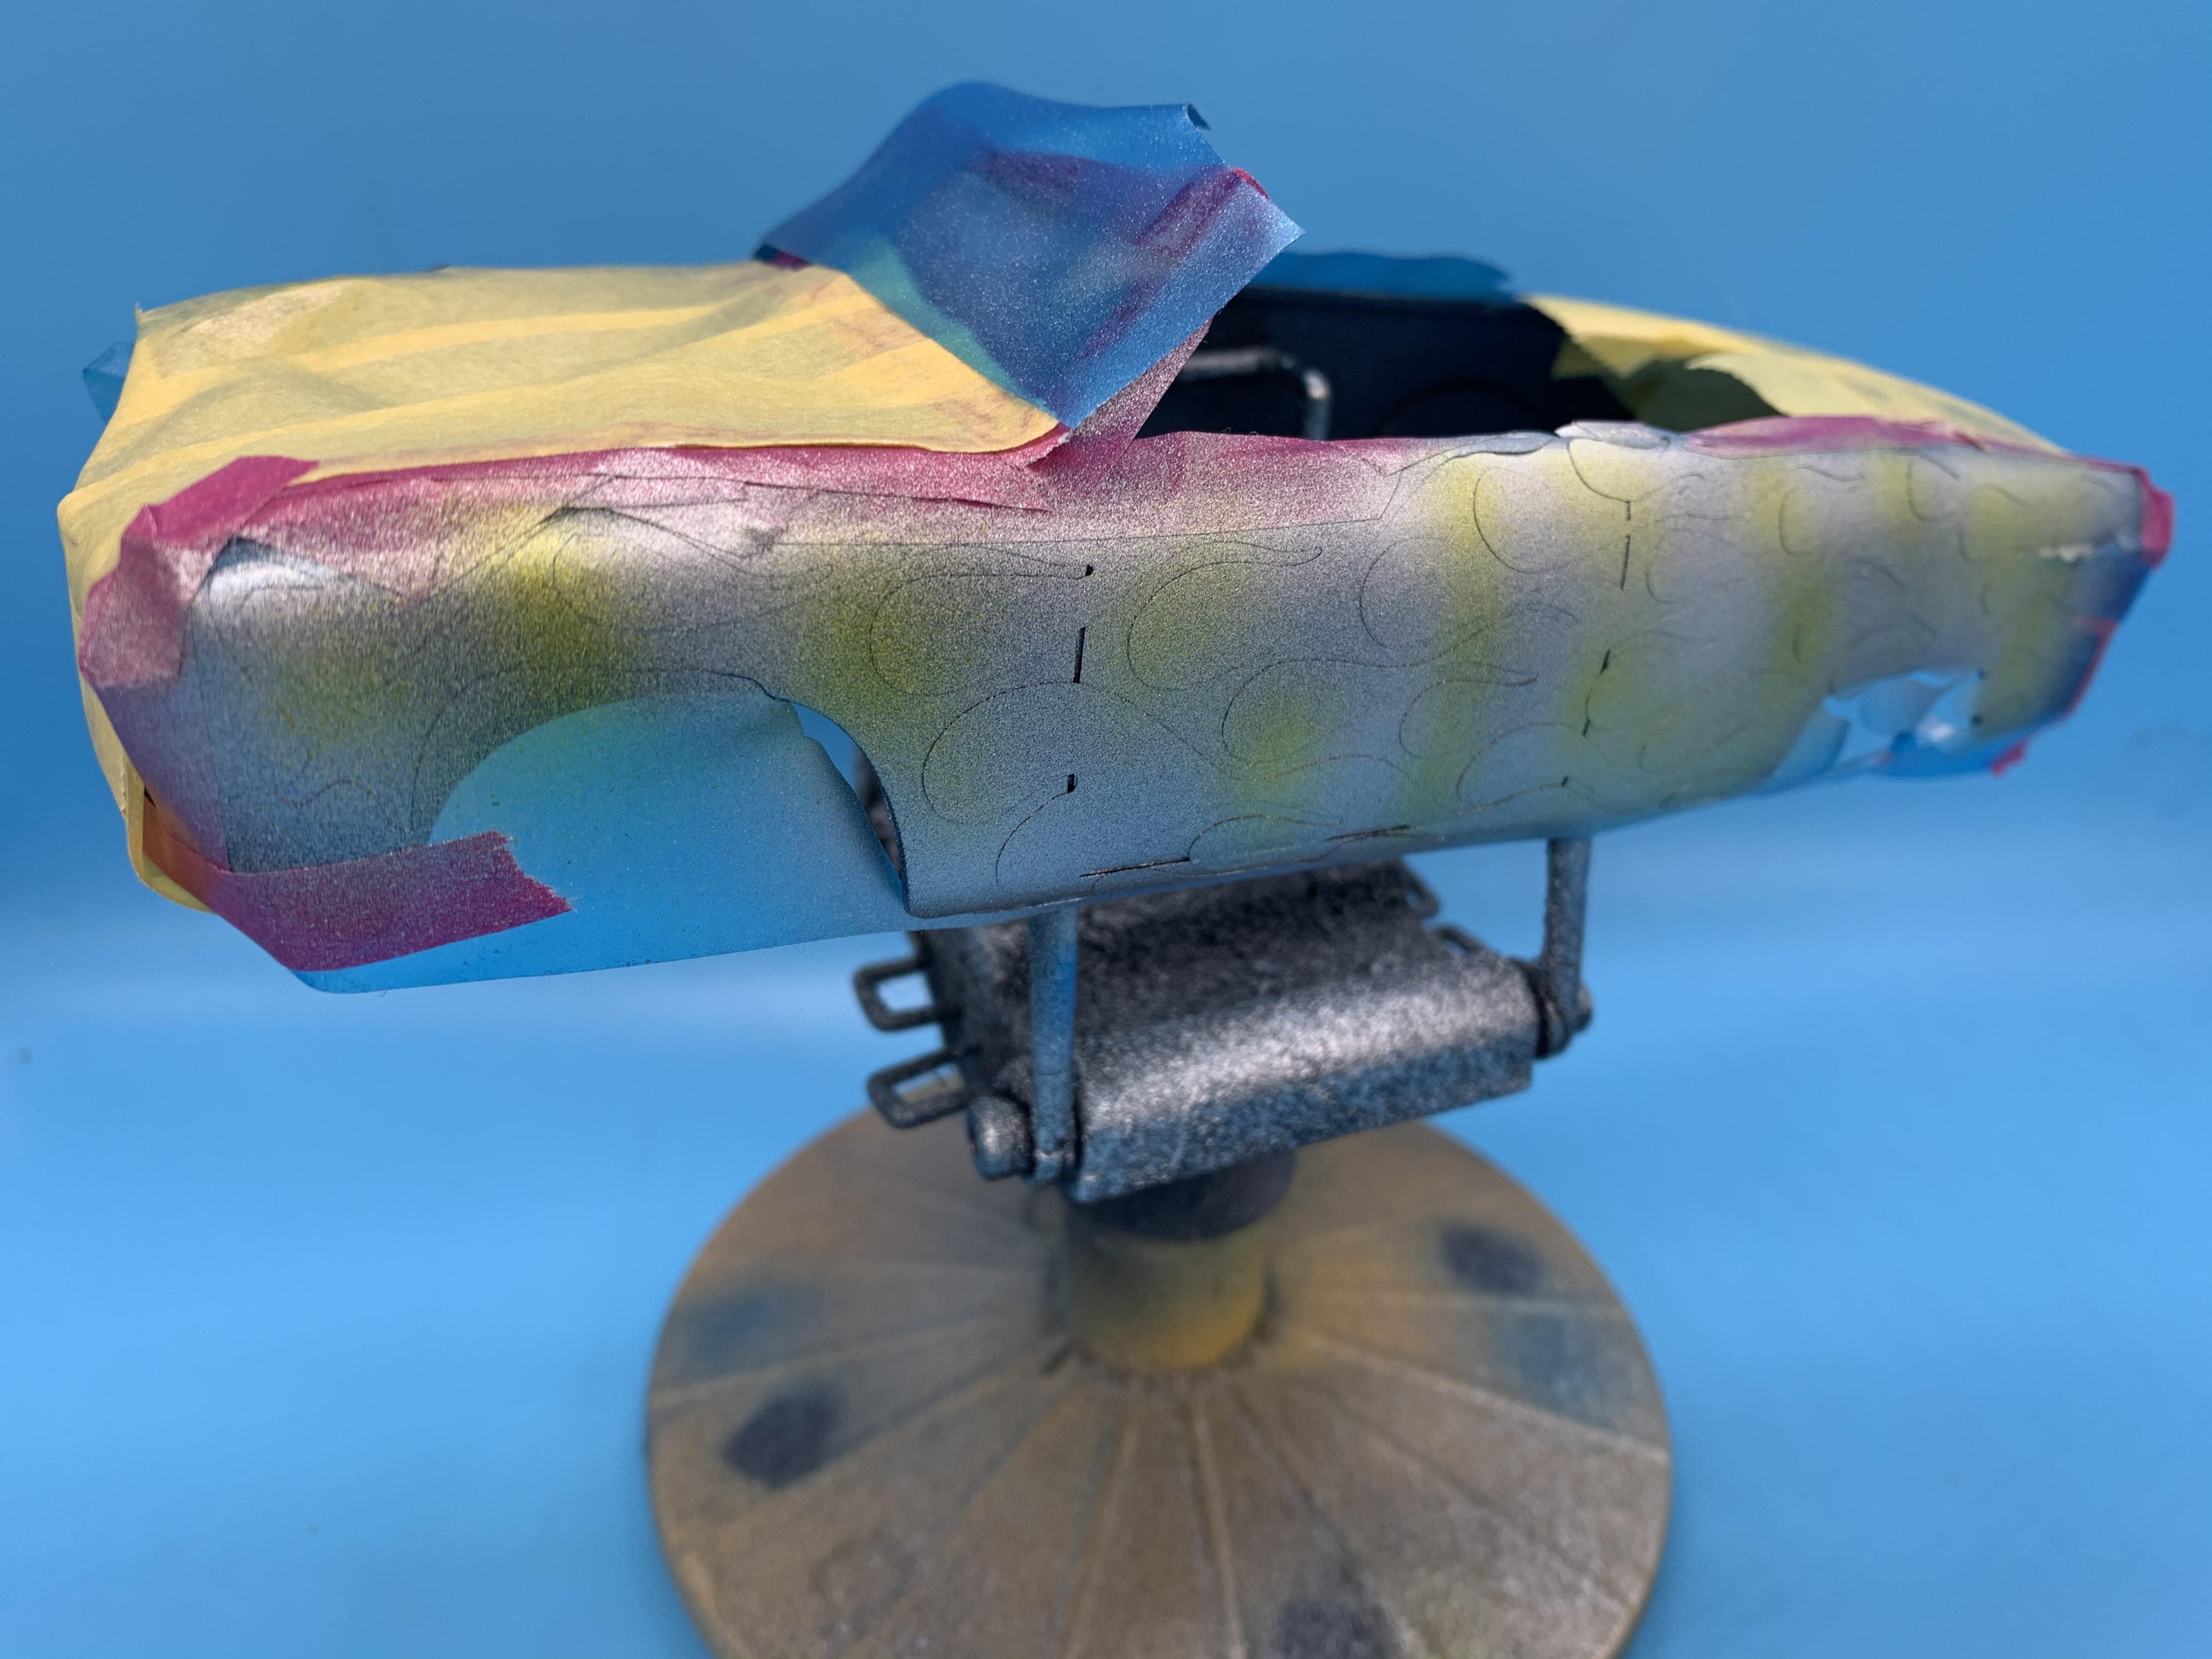
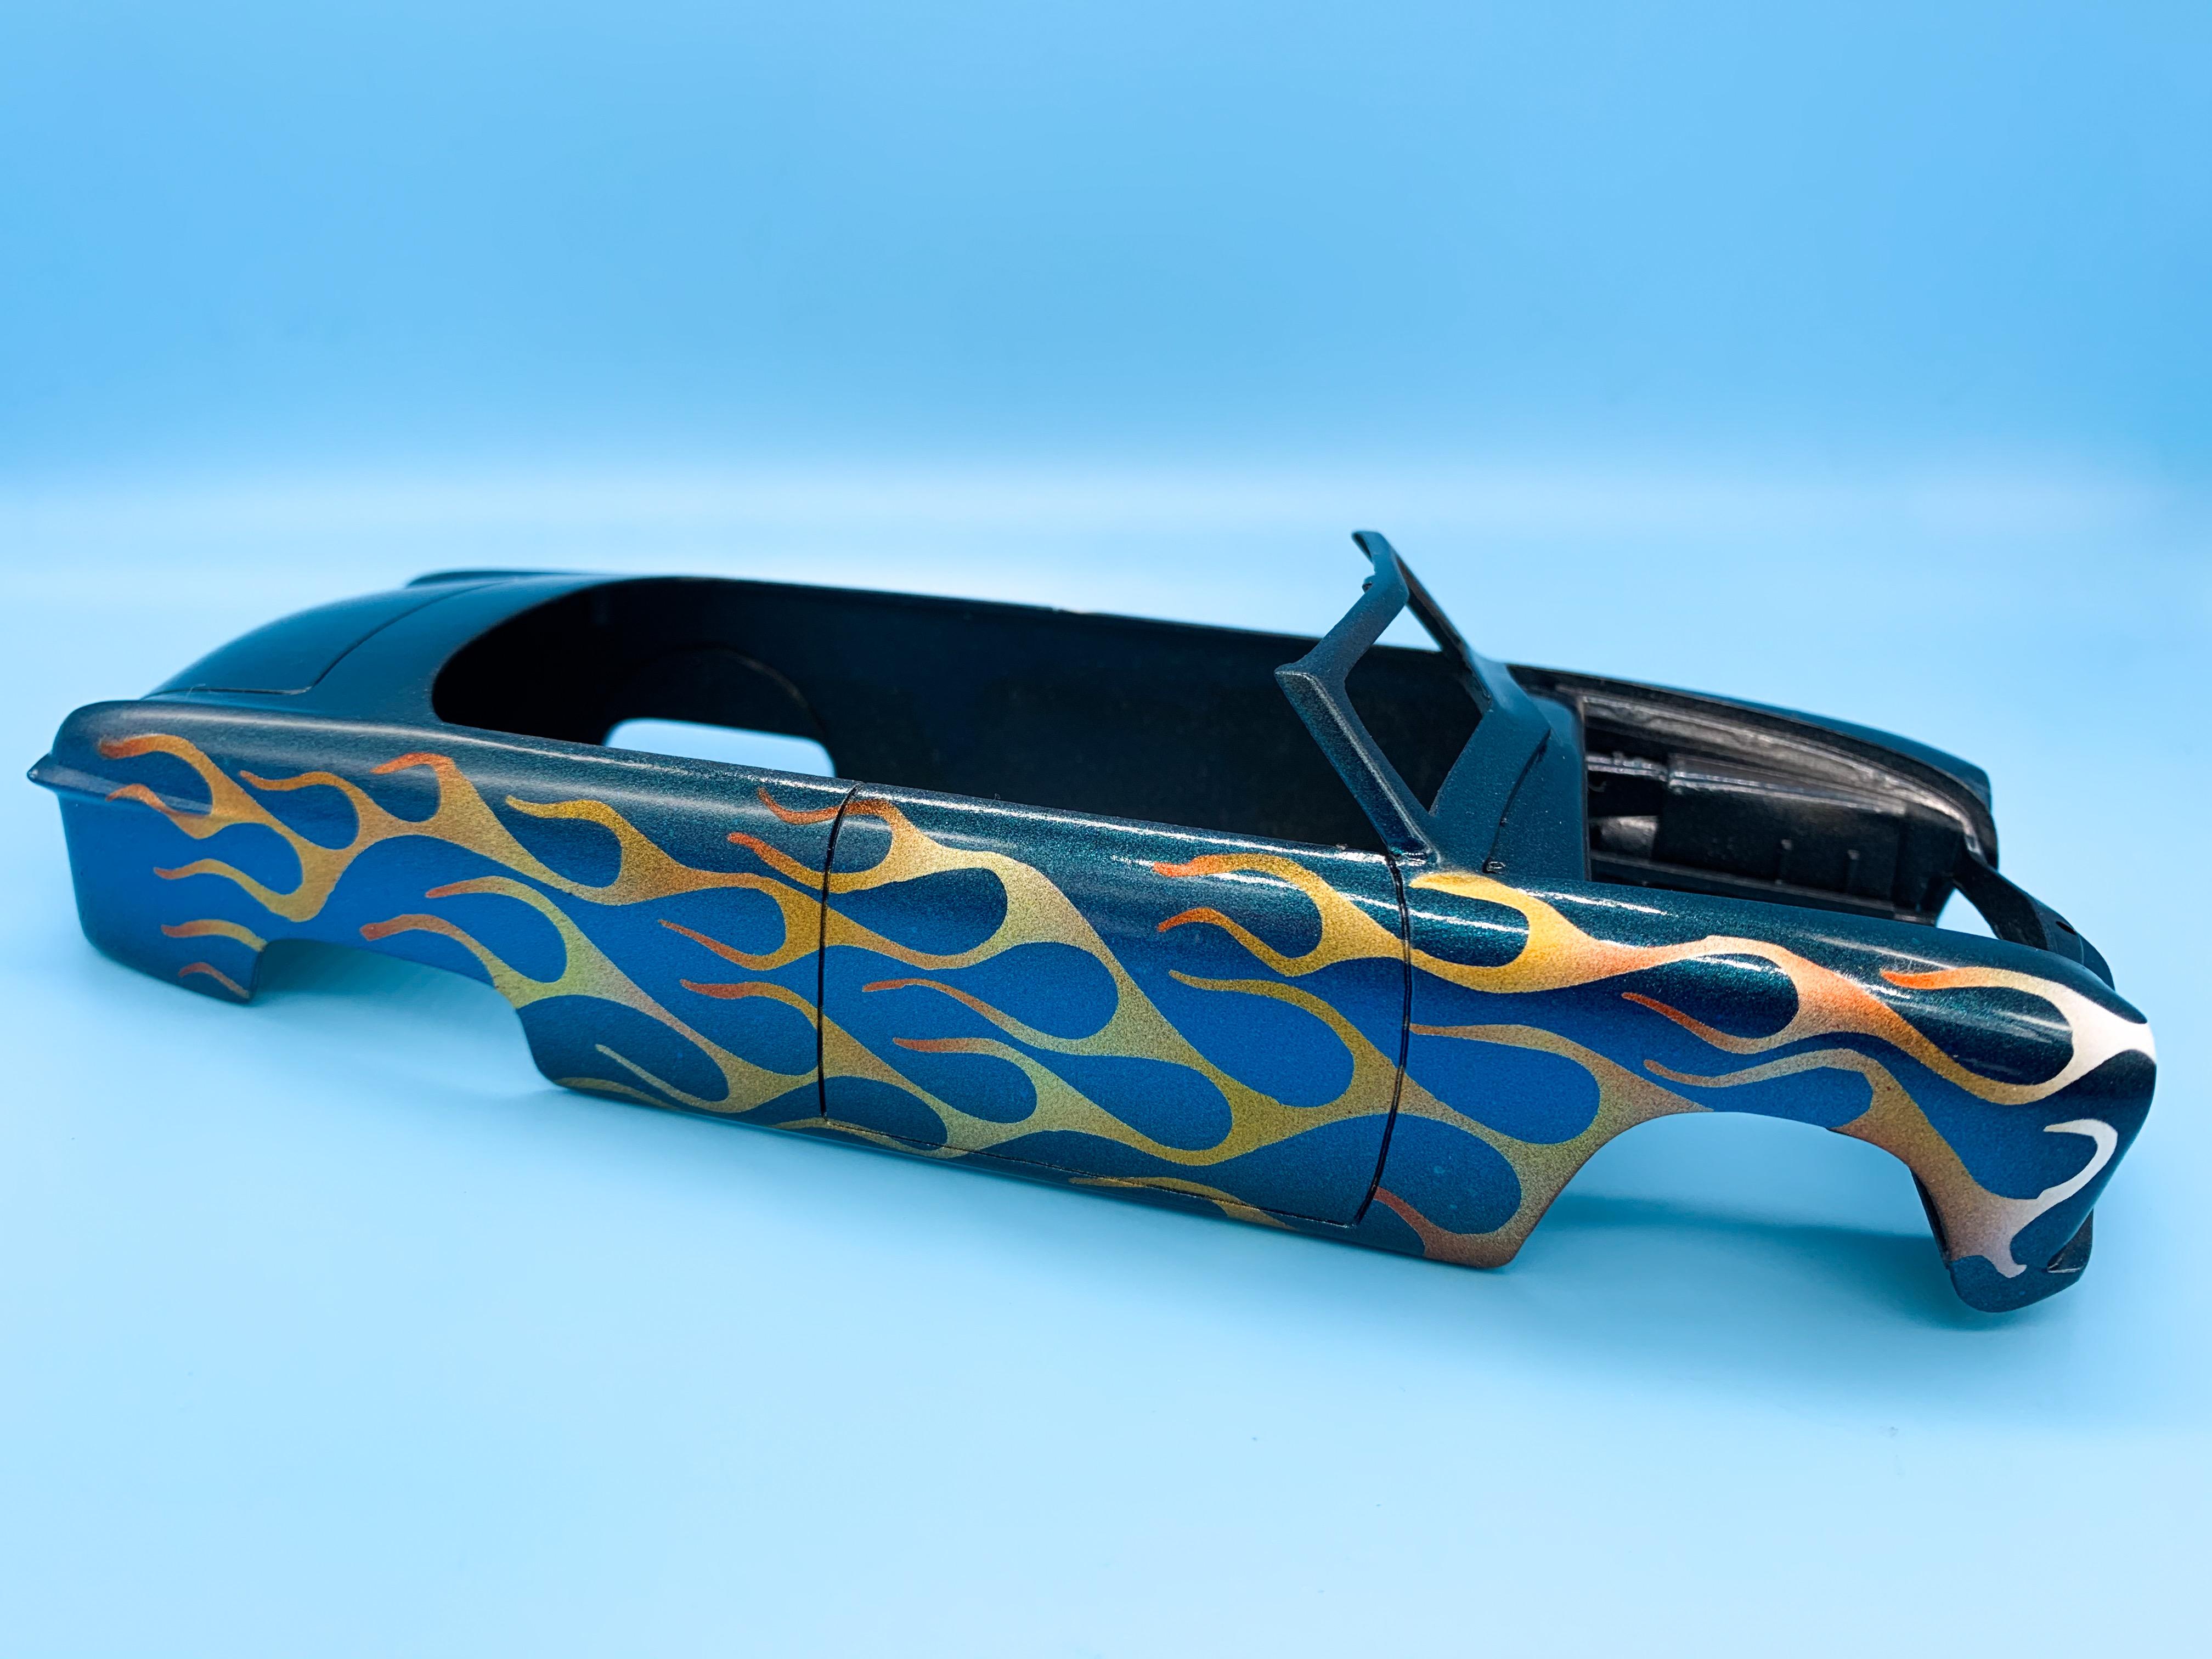
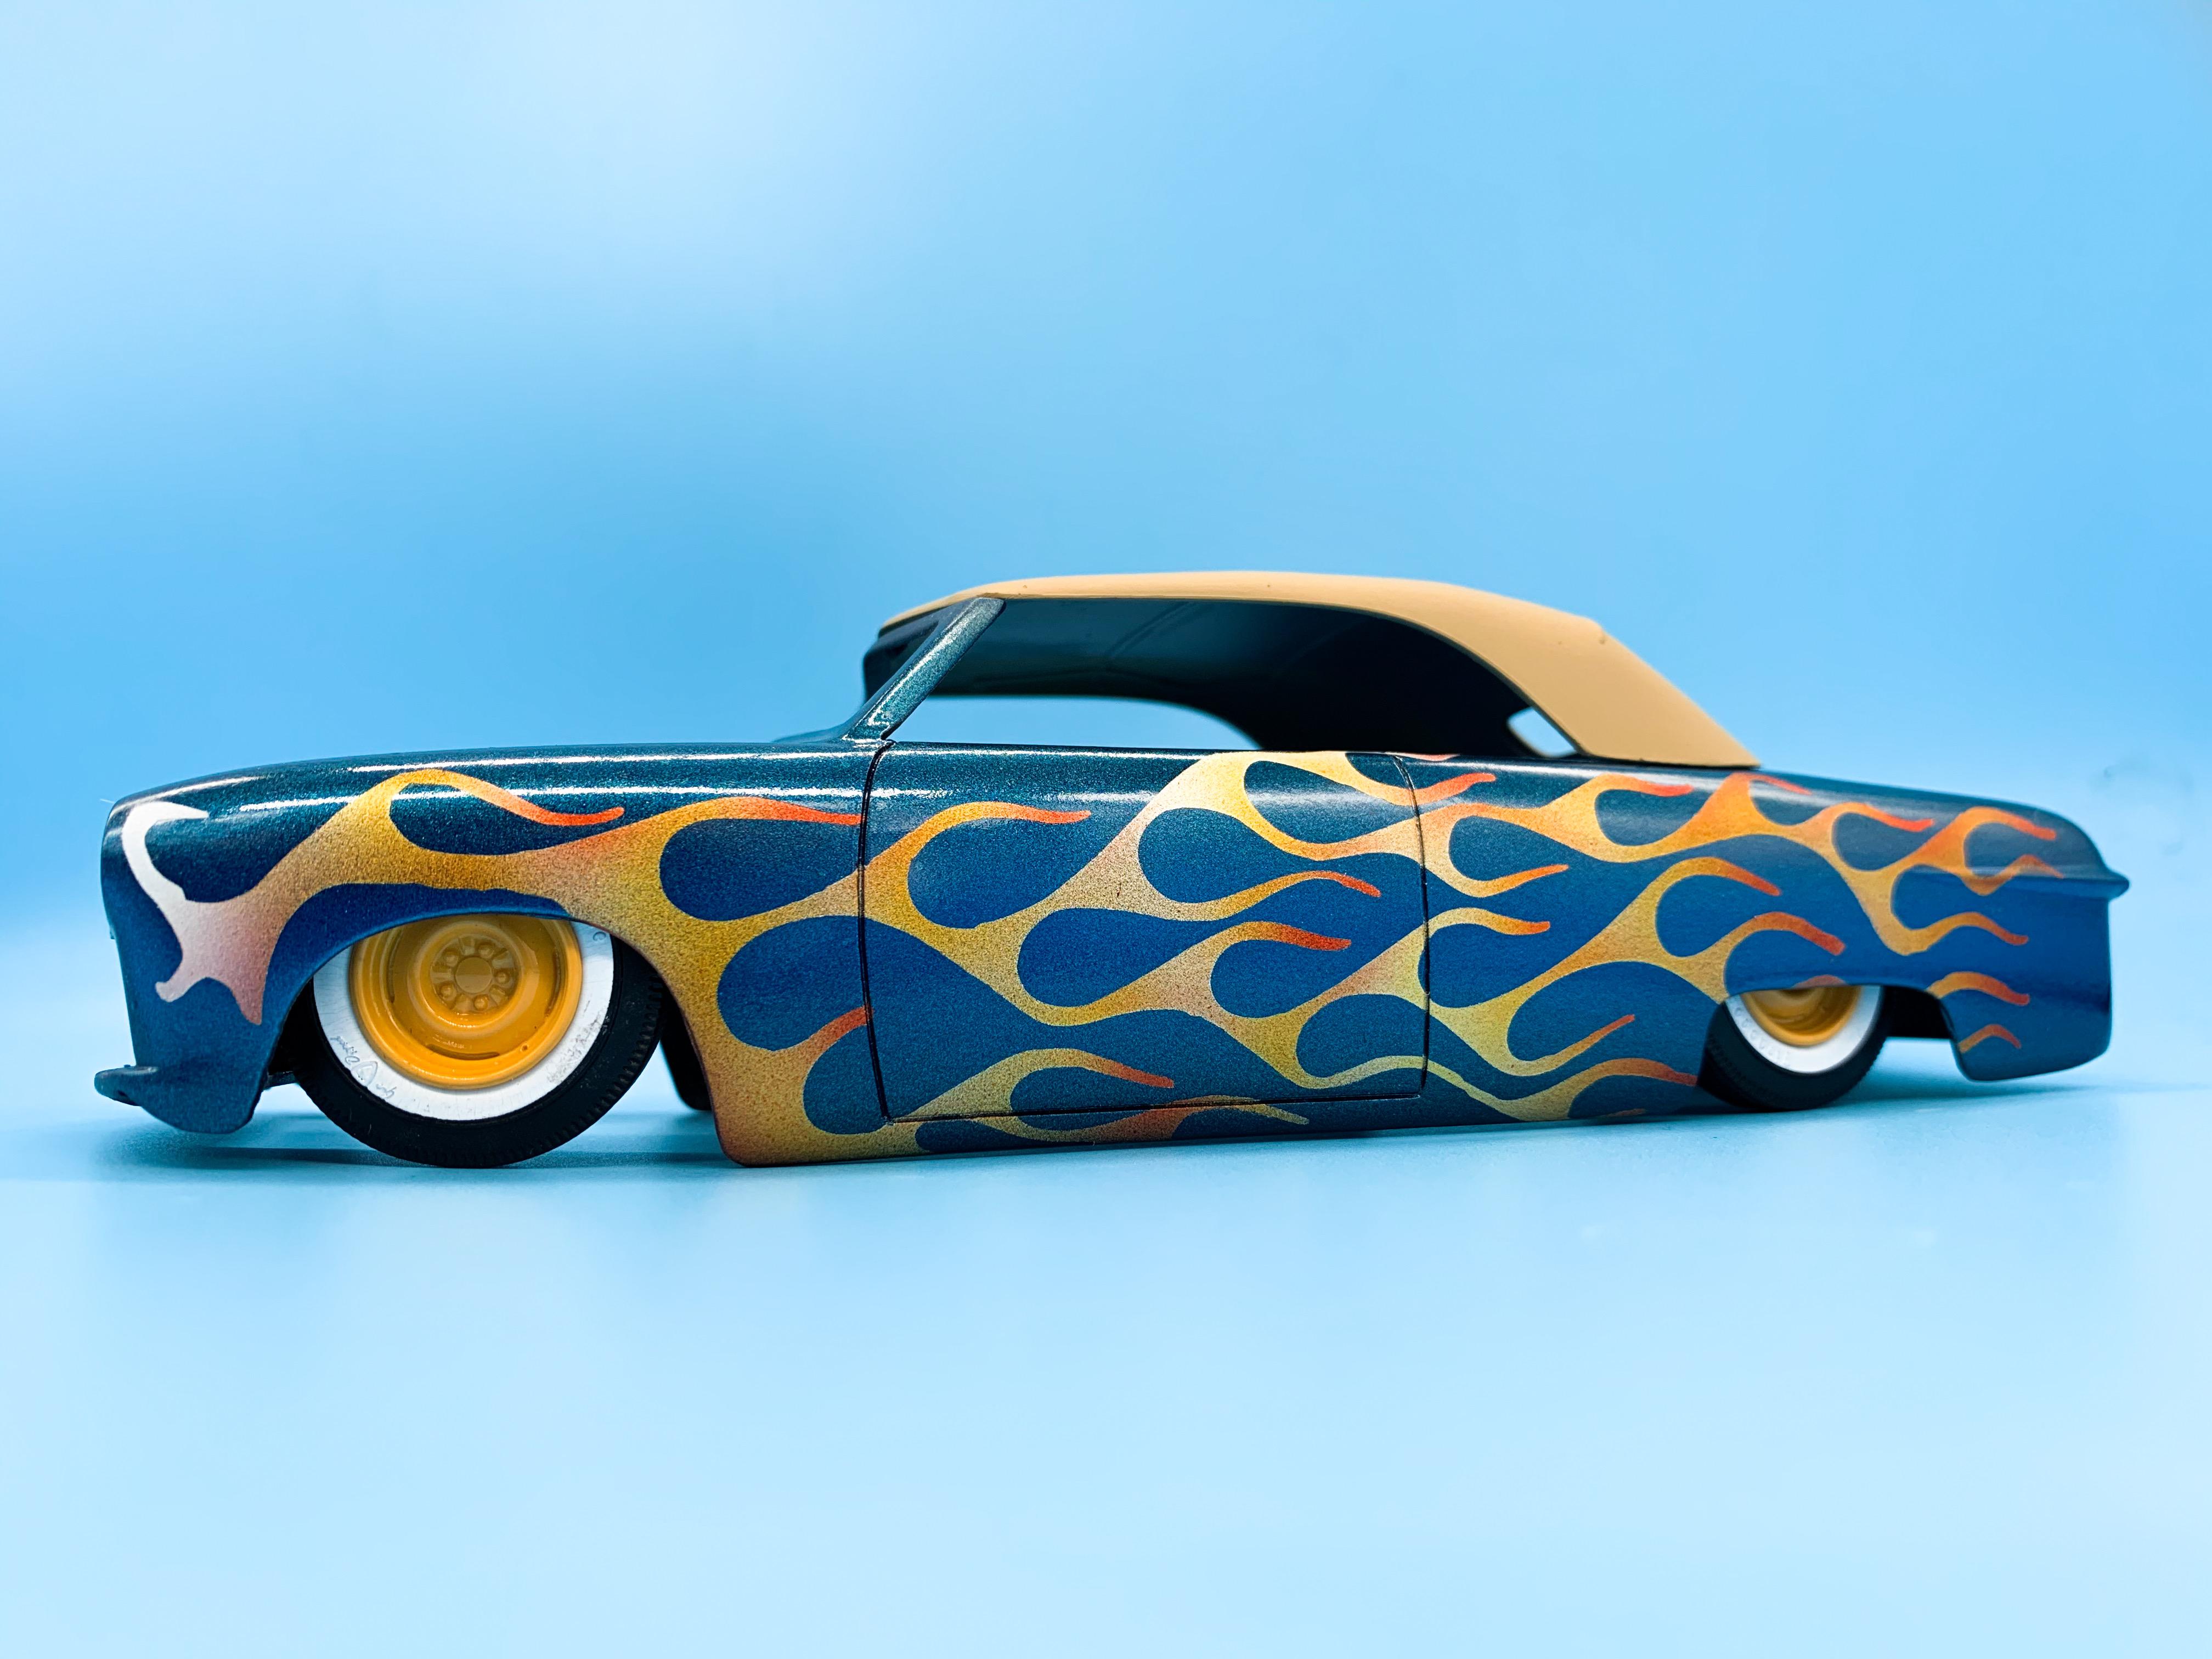
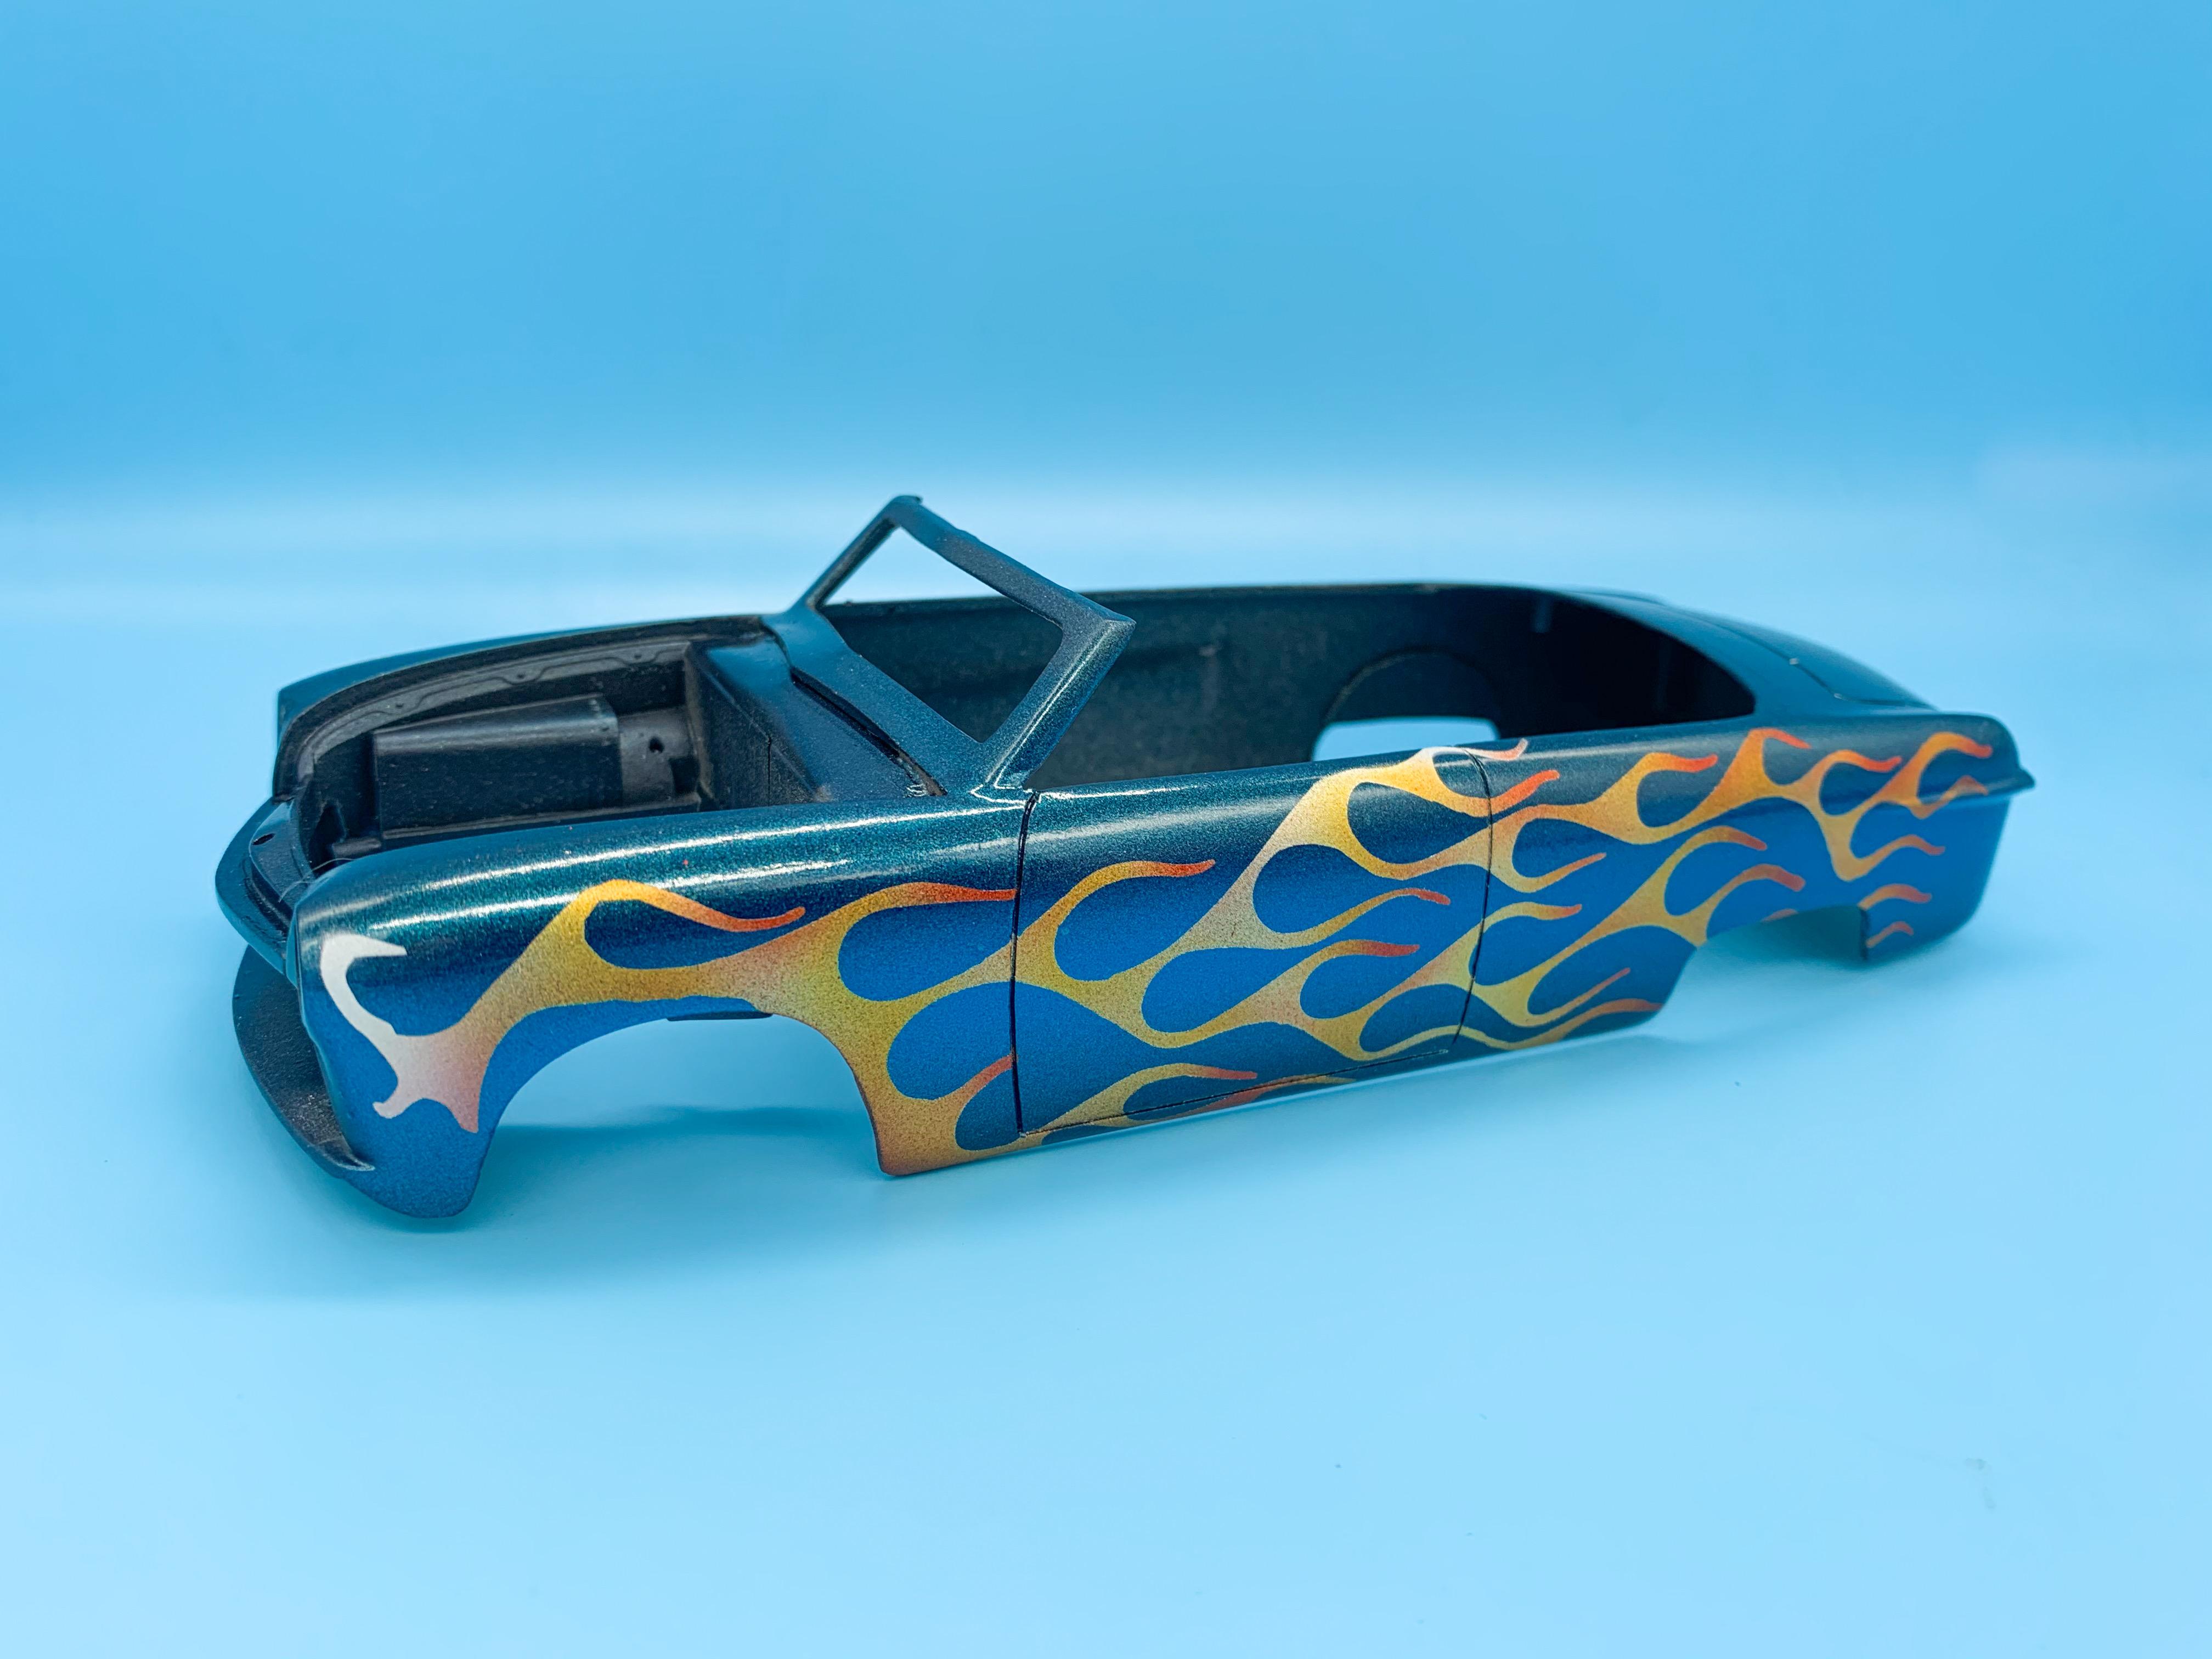
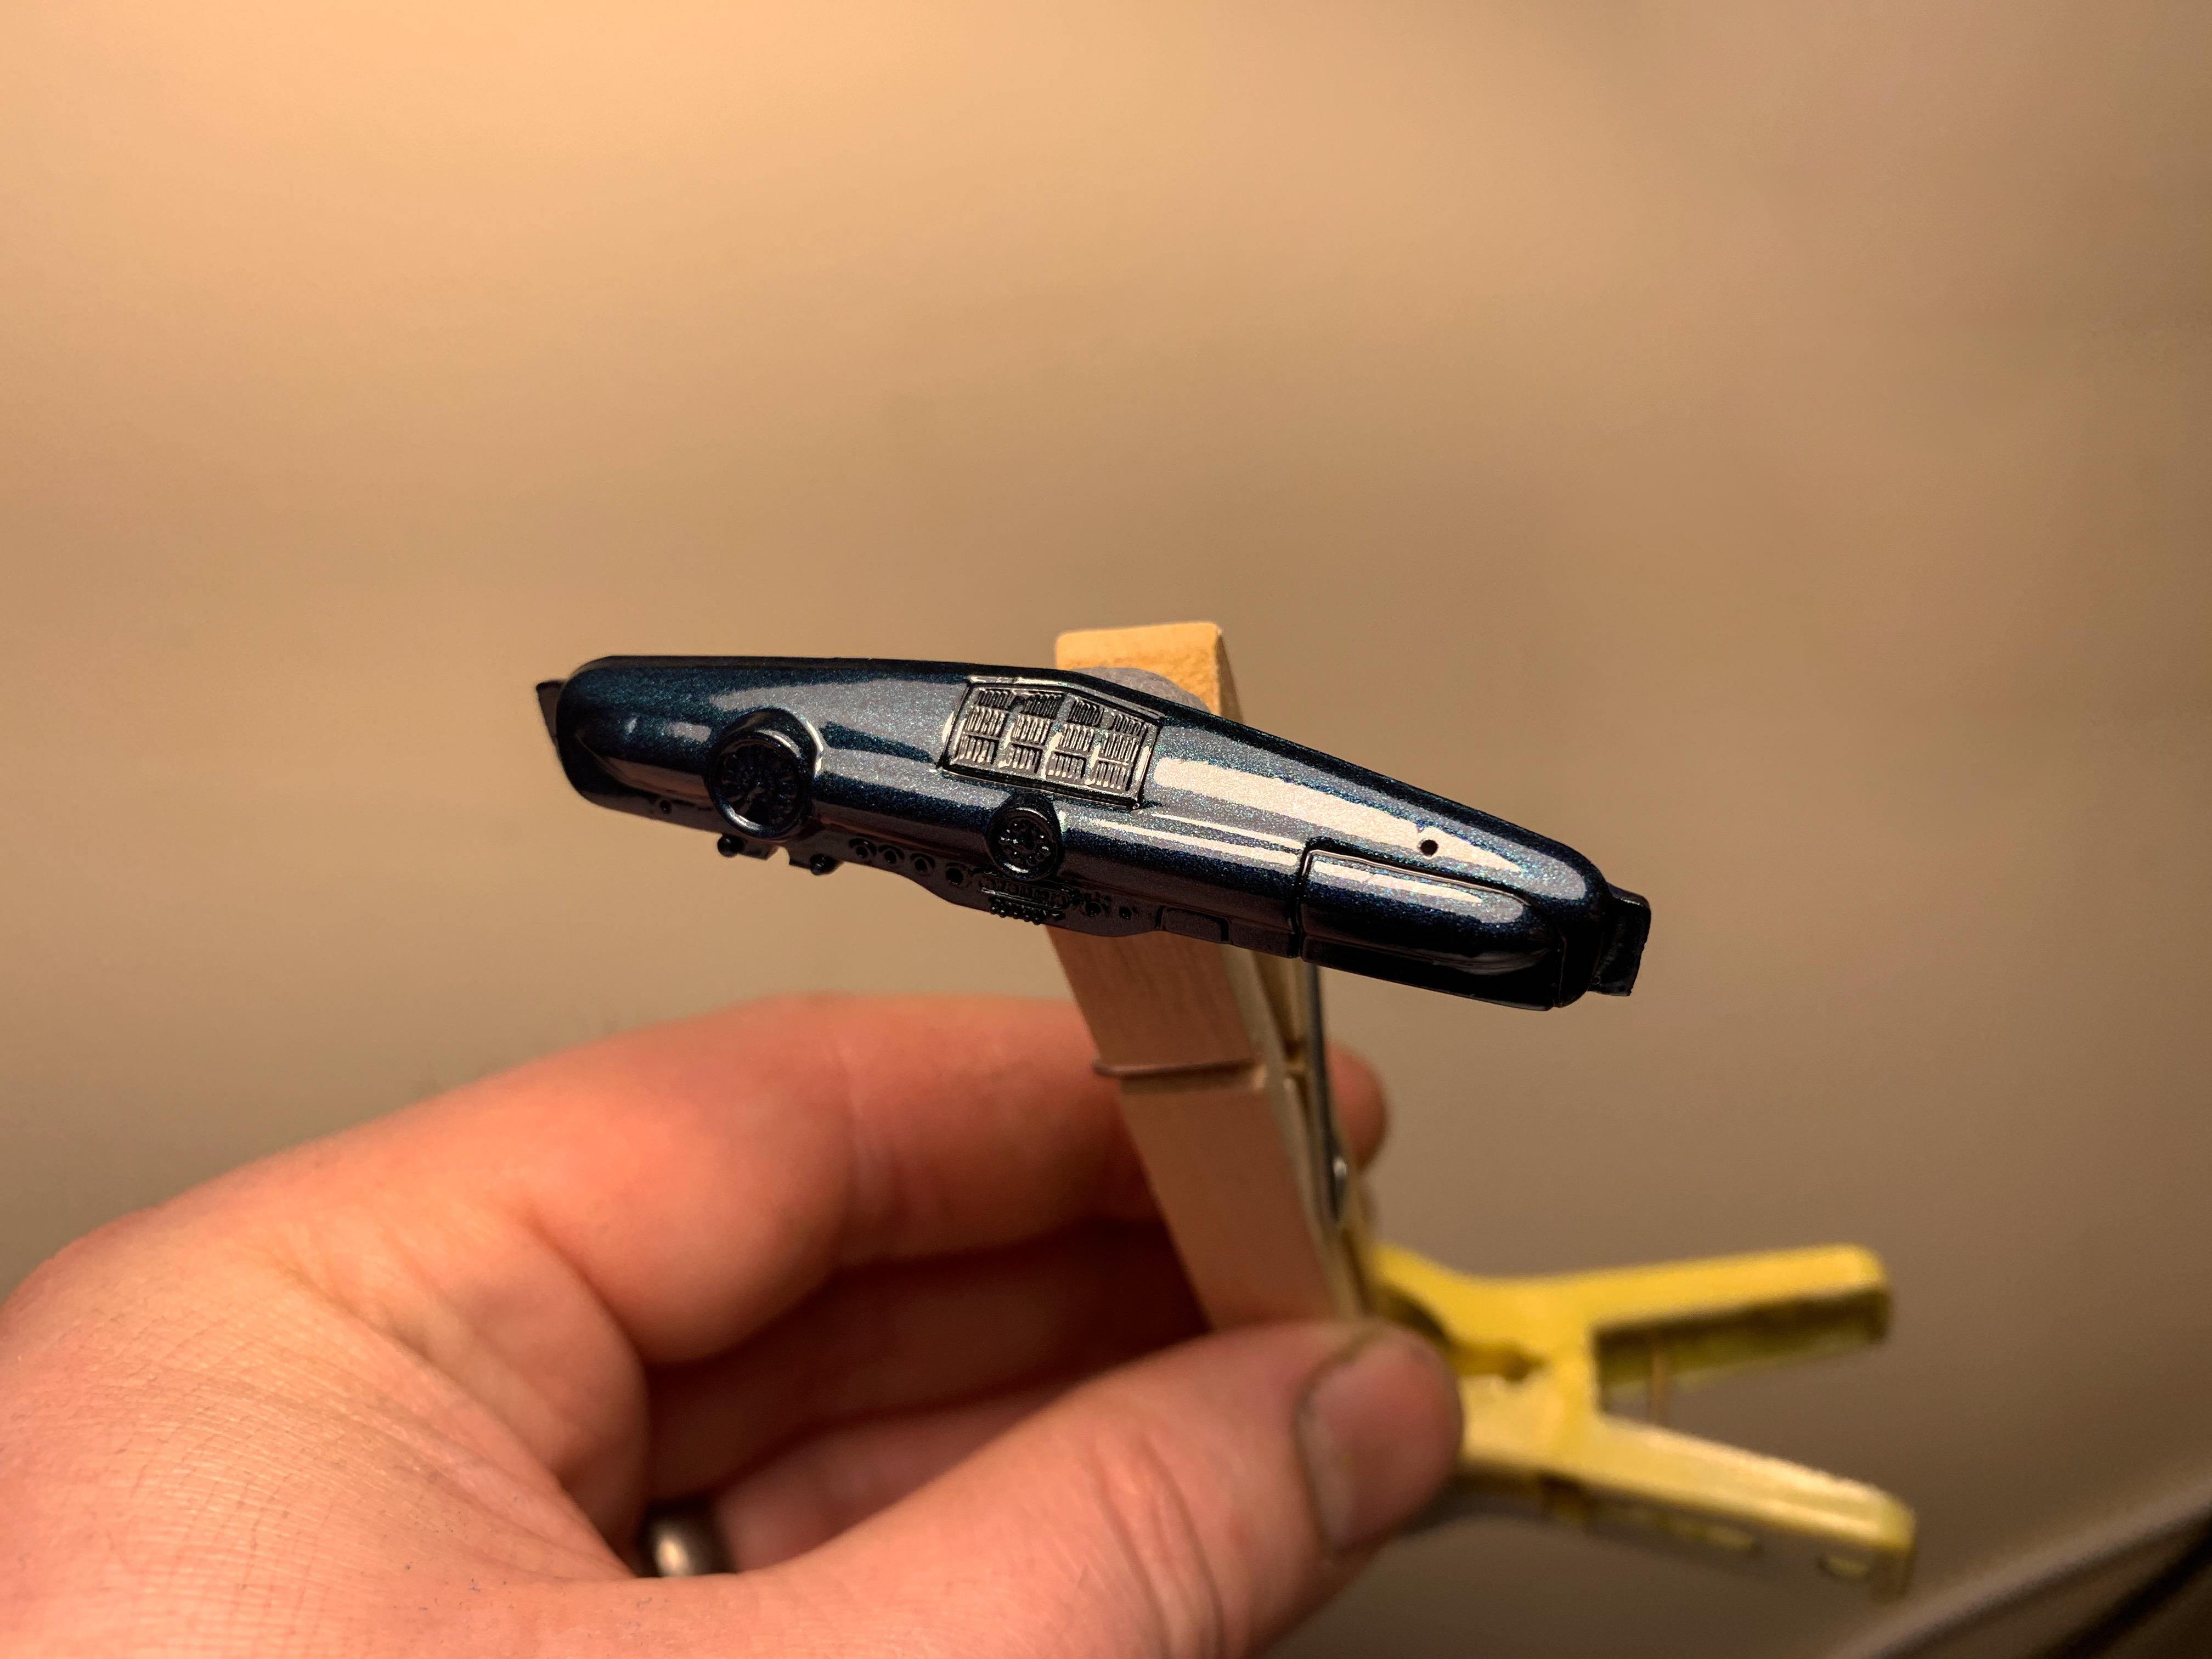
Thanks buddy! Once the clear had dried a week or so I hand-drew some flames in a kinda Larry Watson seaweed style, scanned them into my cutter software and then redrew them for the other side and scanned them again to cut masks. There wasn’t really any need to draw them a second time (I can just flip it in my mask-cutting software and cut a perfect copy) - but I figured a builder in the 60s would probably have laid these out by hand and there would be some differences from side to side so I did it the needlessly complicated way instead. I tried to get it similar enough from side to side that it didn’t look weird...but different enough that you’d be able to notice a couple of changes if you were observant ?♂️? Of course, if I was braver I would’ve just foiled the body, drawn them on there and cut them with a blade...but I wasn’t super excited about redoing all that base color if I didn’t like it so I cheated some there ?♂️?. First up, one of the drawn out versions that has been scanned then redrawn by my cutter so I can figure out if I got the sizes right before cutting the mask: Then, mask cut and applied to the body: Then a silver base, followed by candy yellow, orange and red: And then a little highlight of white at the front: Then after a couple of hours to let the candies set up and some nervous unmasking... Still got the hood and trunk to flame, but it’s a start! I think it’ll look cool with those yellow wheels and the tan interior/roof color I’m going with: More soon, soon as I’ve done more!

-
I understand how the “photo” part of photo-etching is done - I’m trying to figure out if you can use a cut vinyl graphic as the resist instead. What would happen to make a “toxic mess”?
-
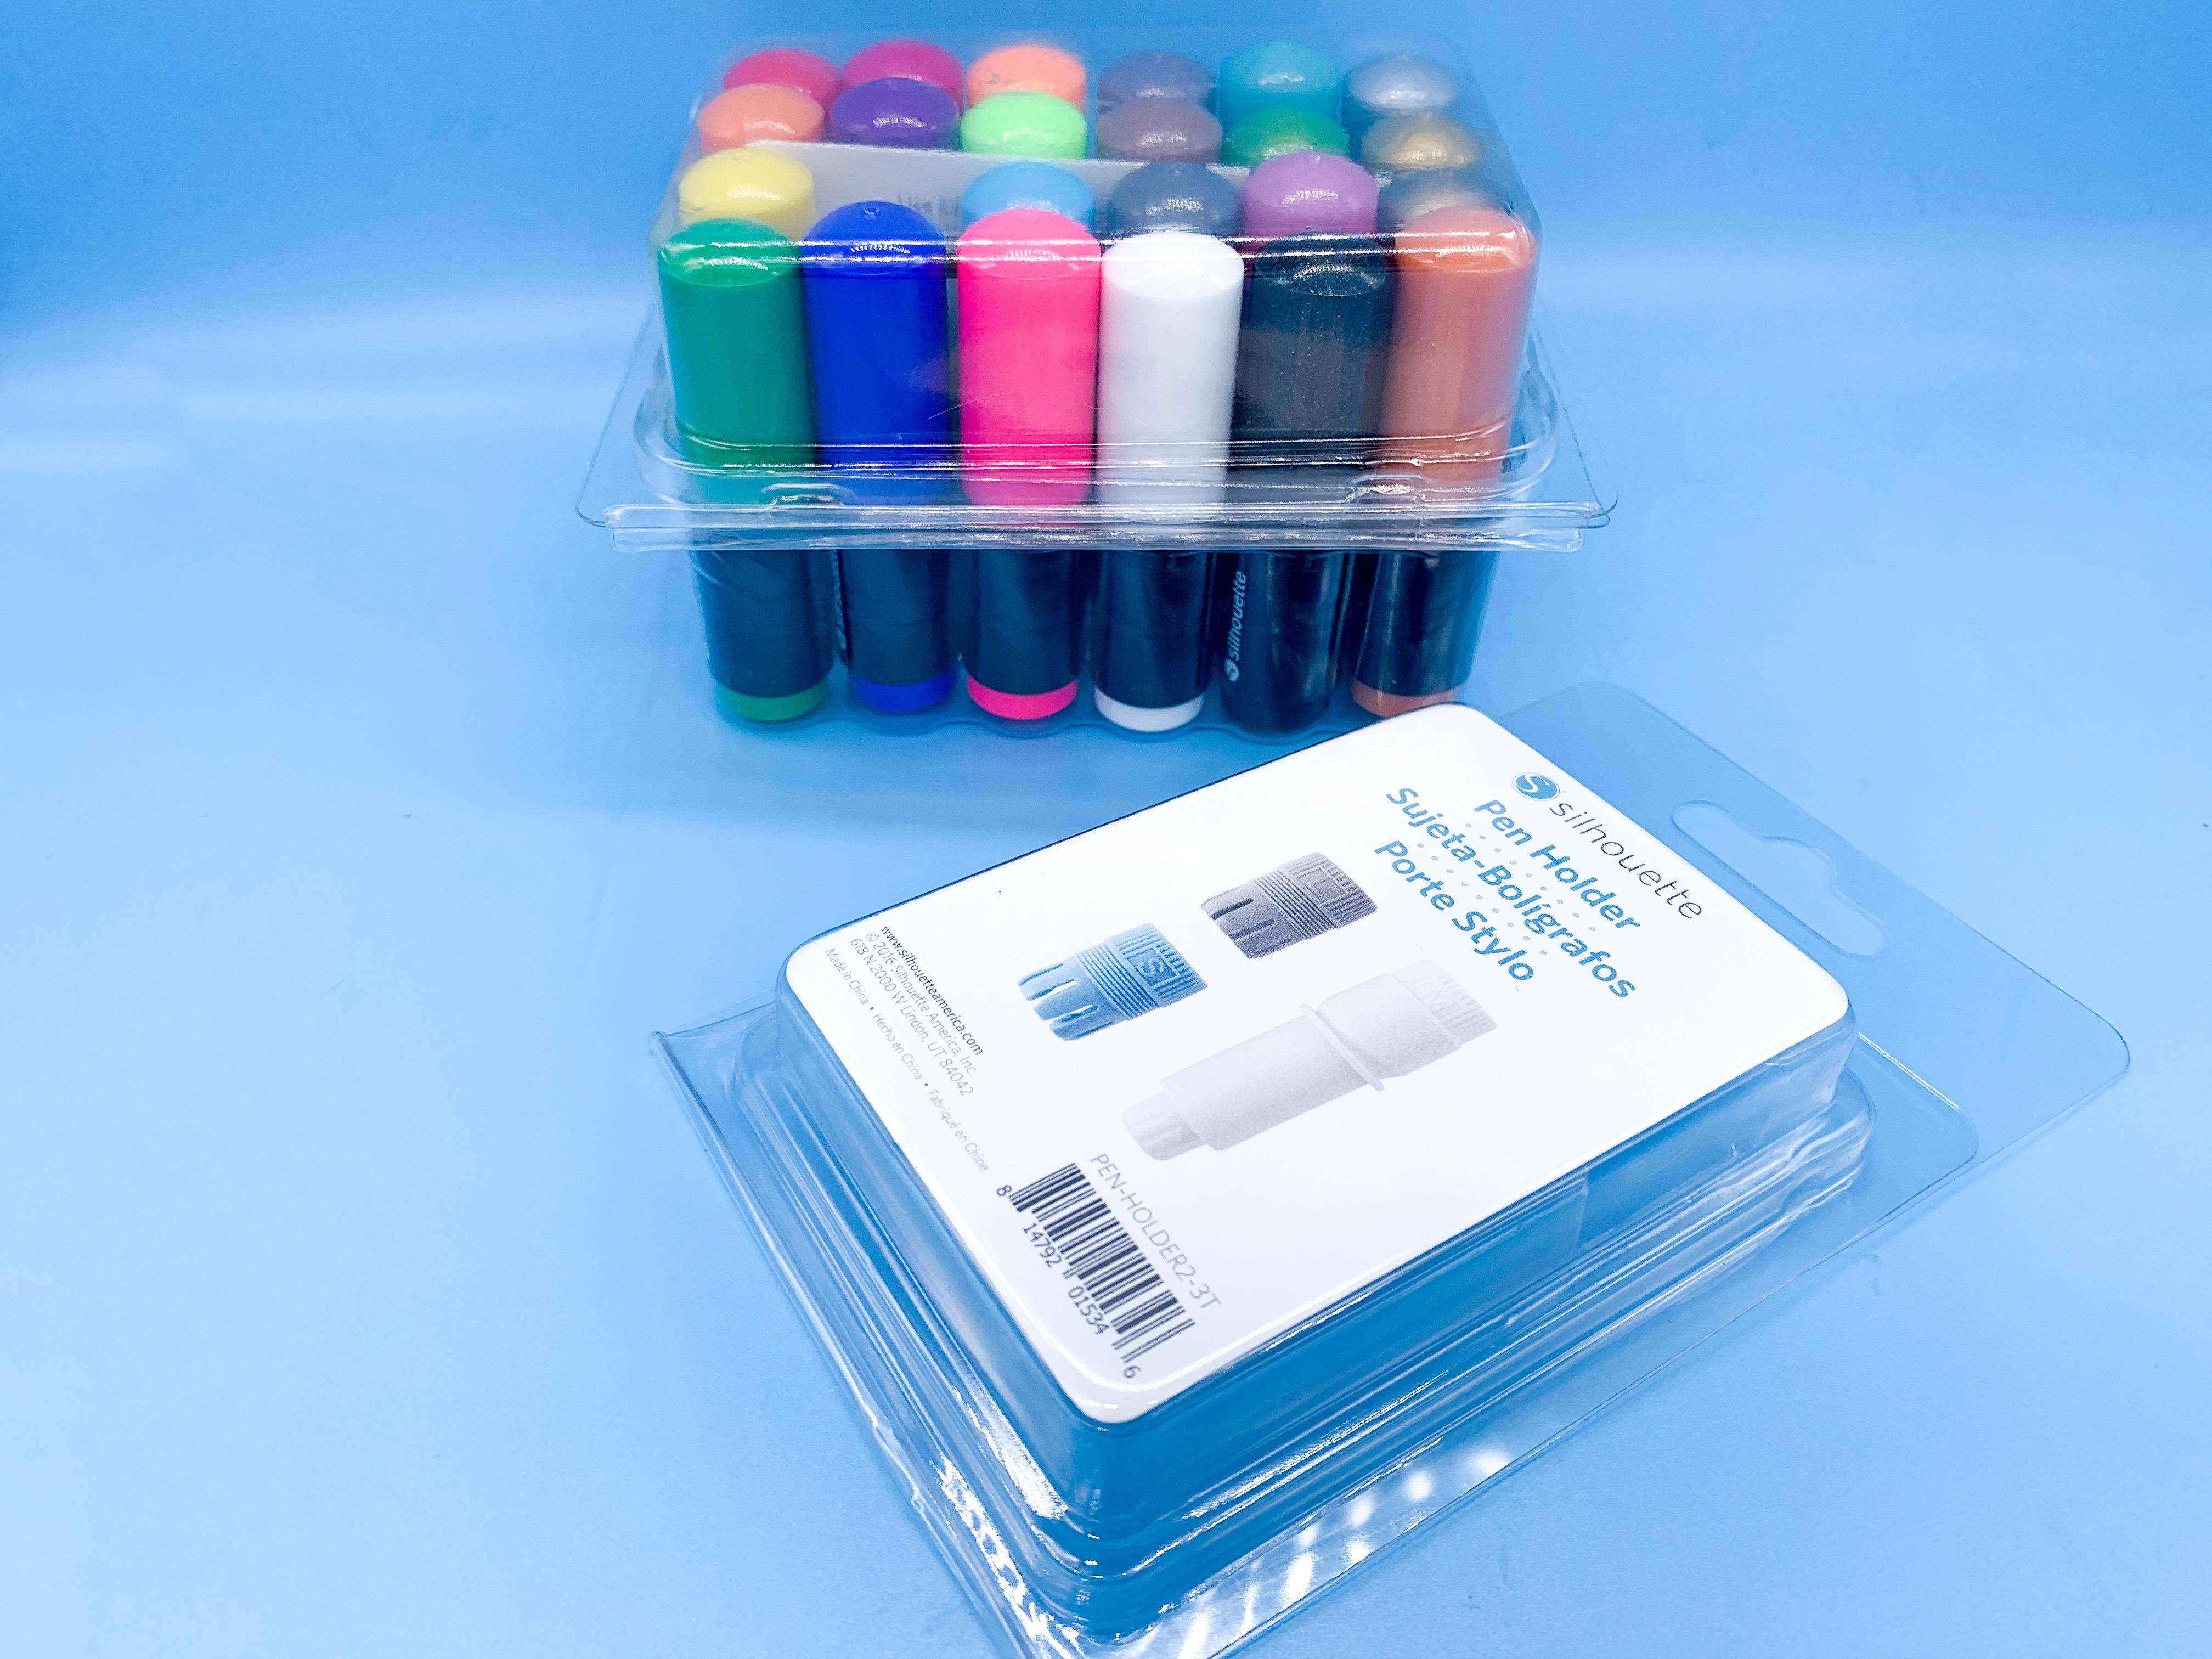
My wife surprised me with a couple of cool little add one for my Silhouette cutting machine today - a set of their pens and the collets that they sell so can mount a pen of your choice in the machine and have it draw instead of cut: I’m not totally sure what I can use the pens for yet - maybe have them draw patterned interiors on some kind of stickable fabric? I’d wanted the holders for a while though - I was wondering if I could mount a little scribing tool or similar in one of them and have my machine do a kind of low-budget engraving on metal or plastic. More experimenting awaits - but if anyone has any cool modelling ideas on what to use those pens for I’d be interested to hear it!
-
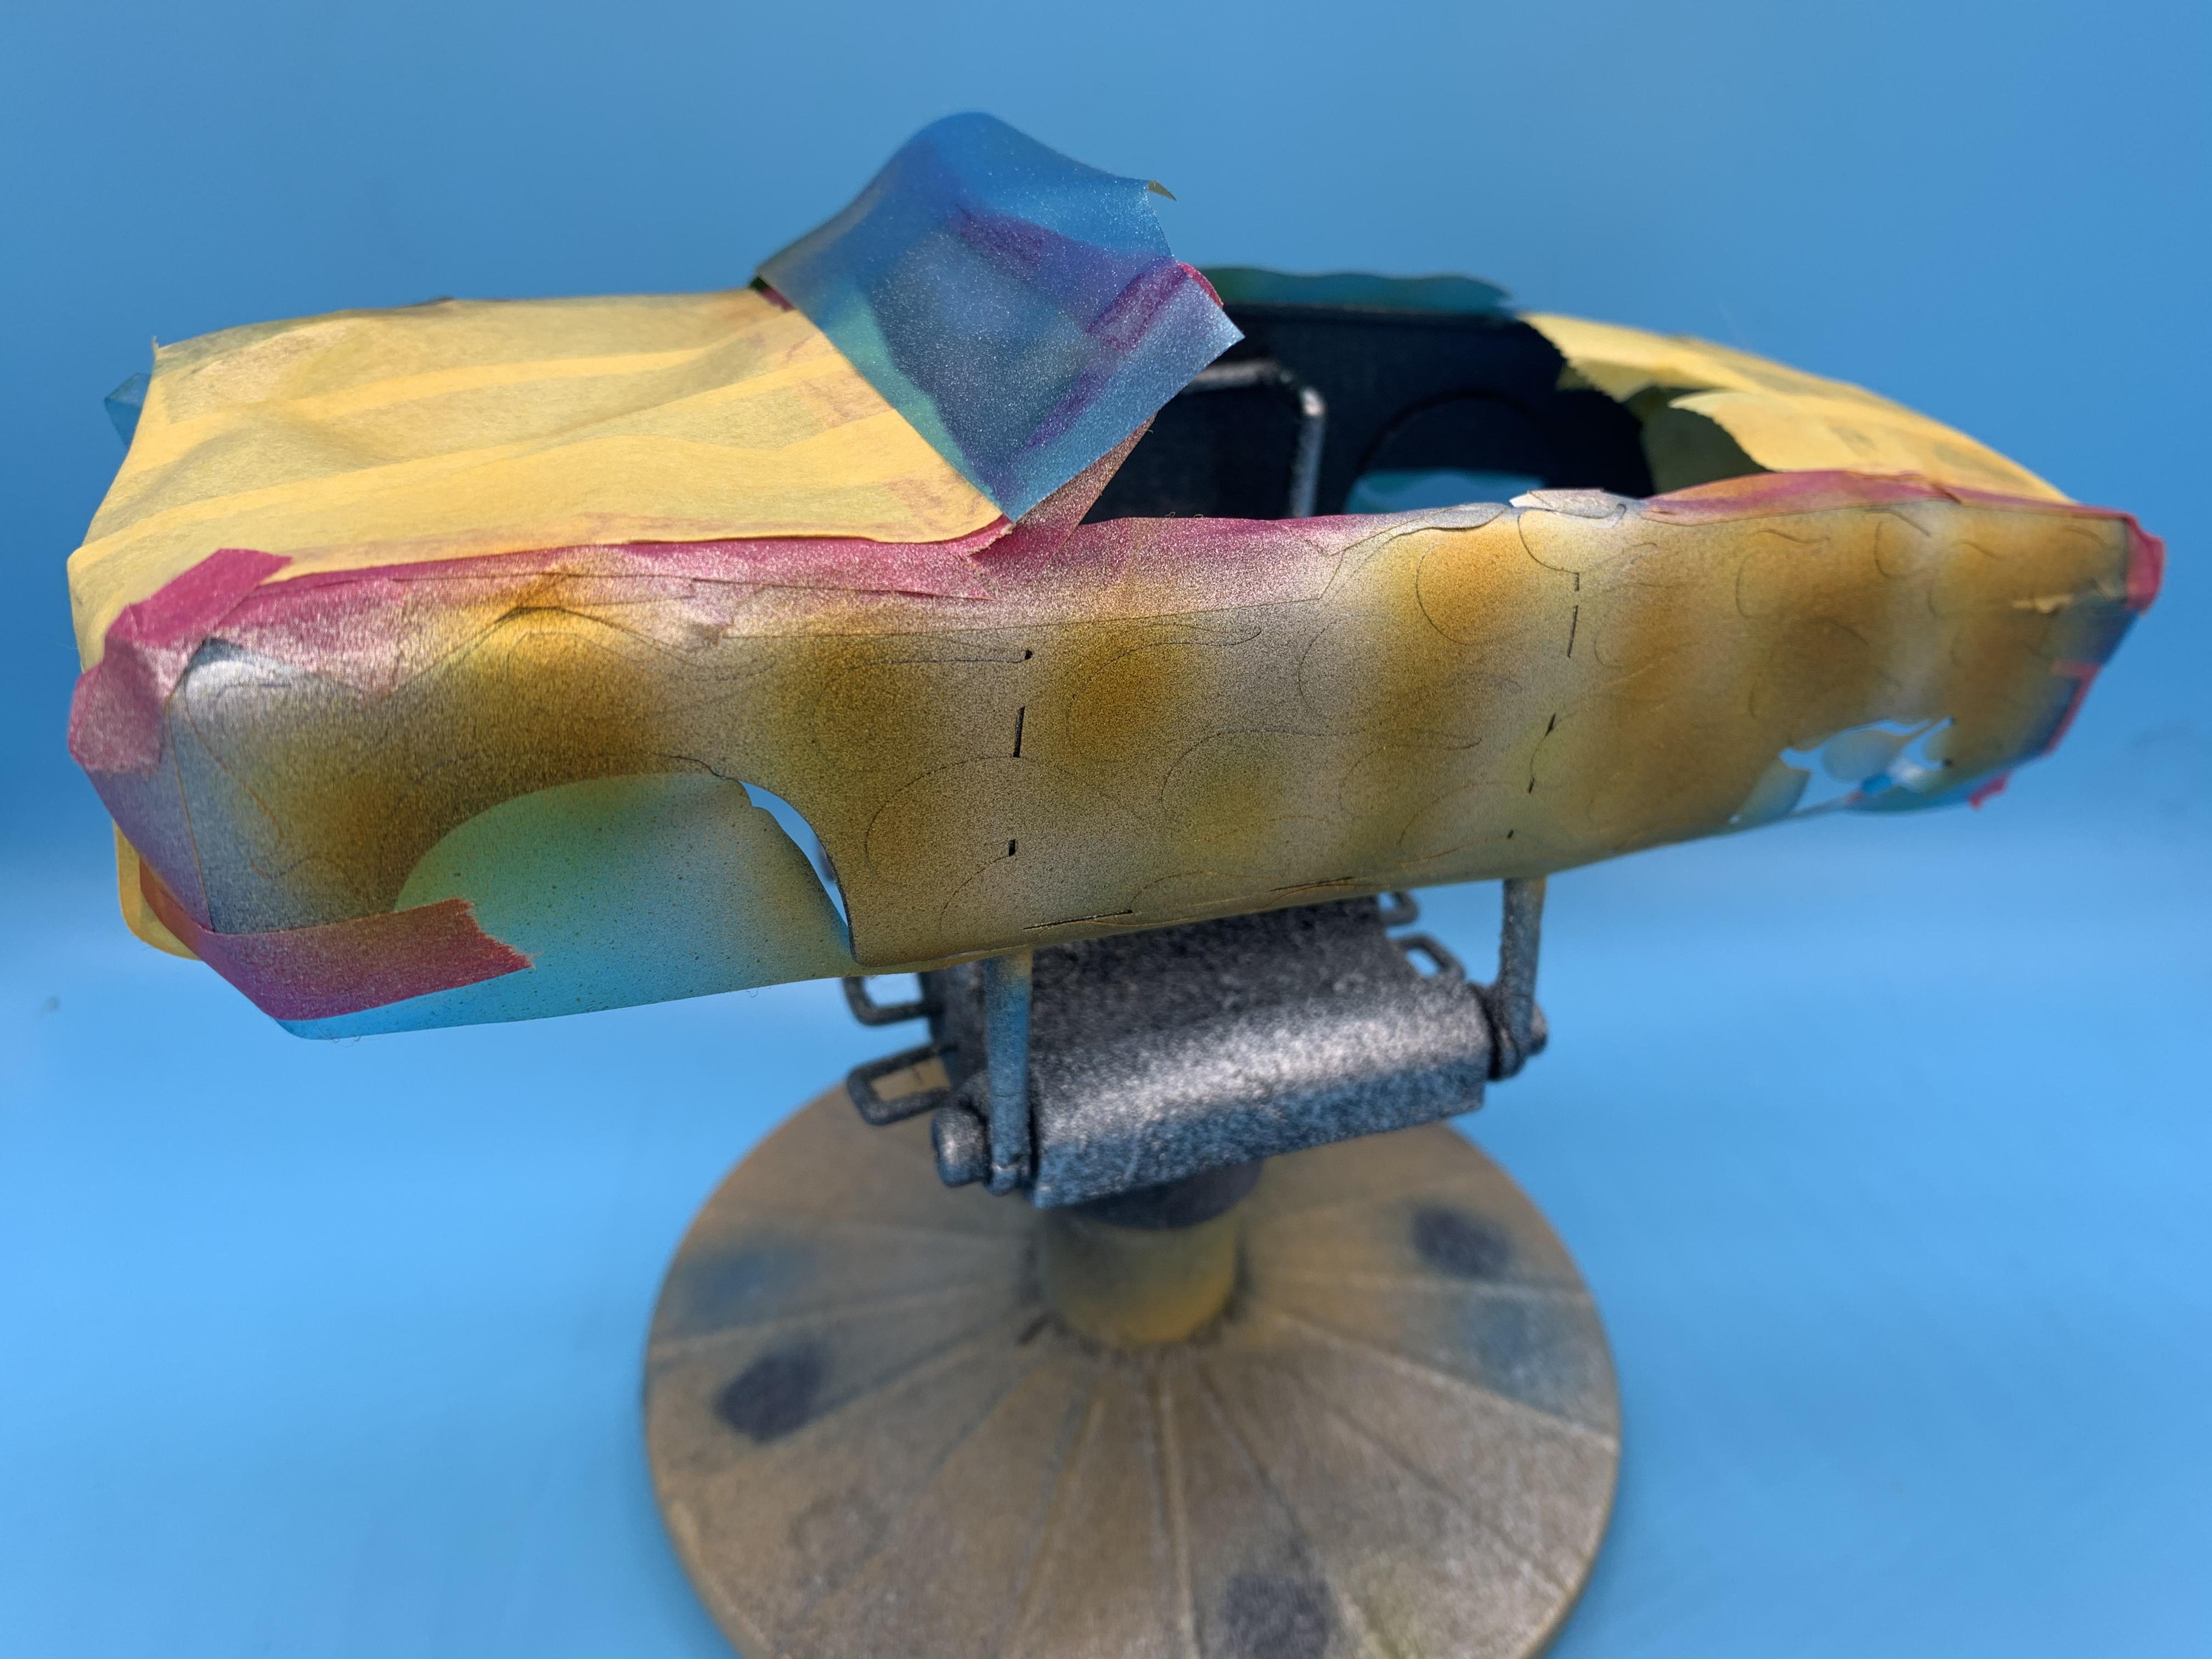
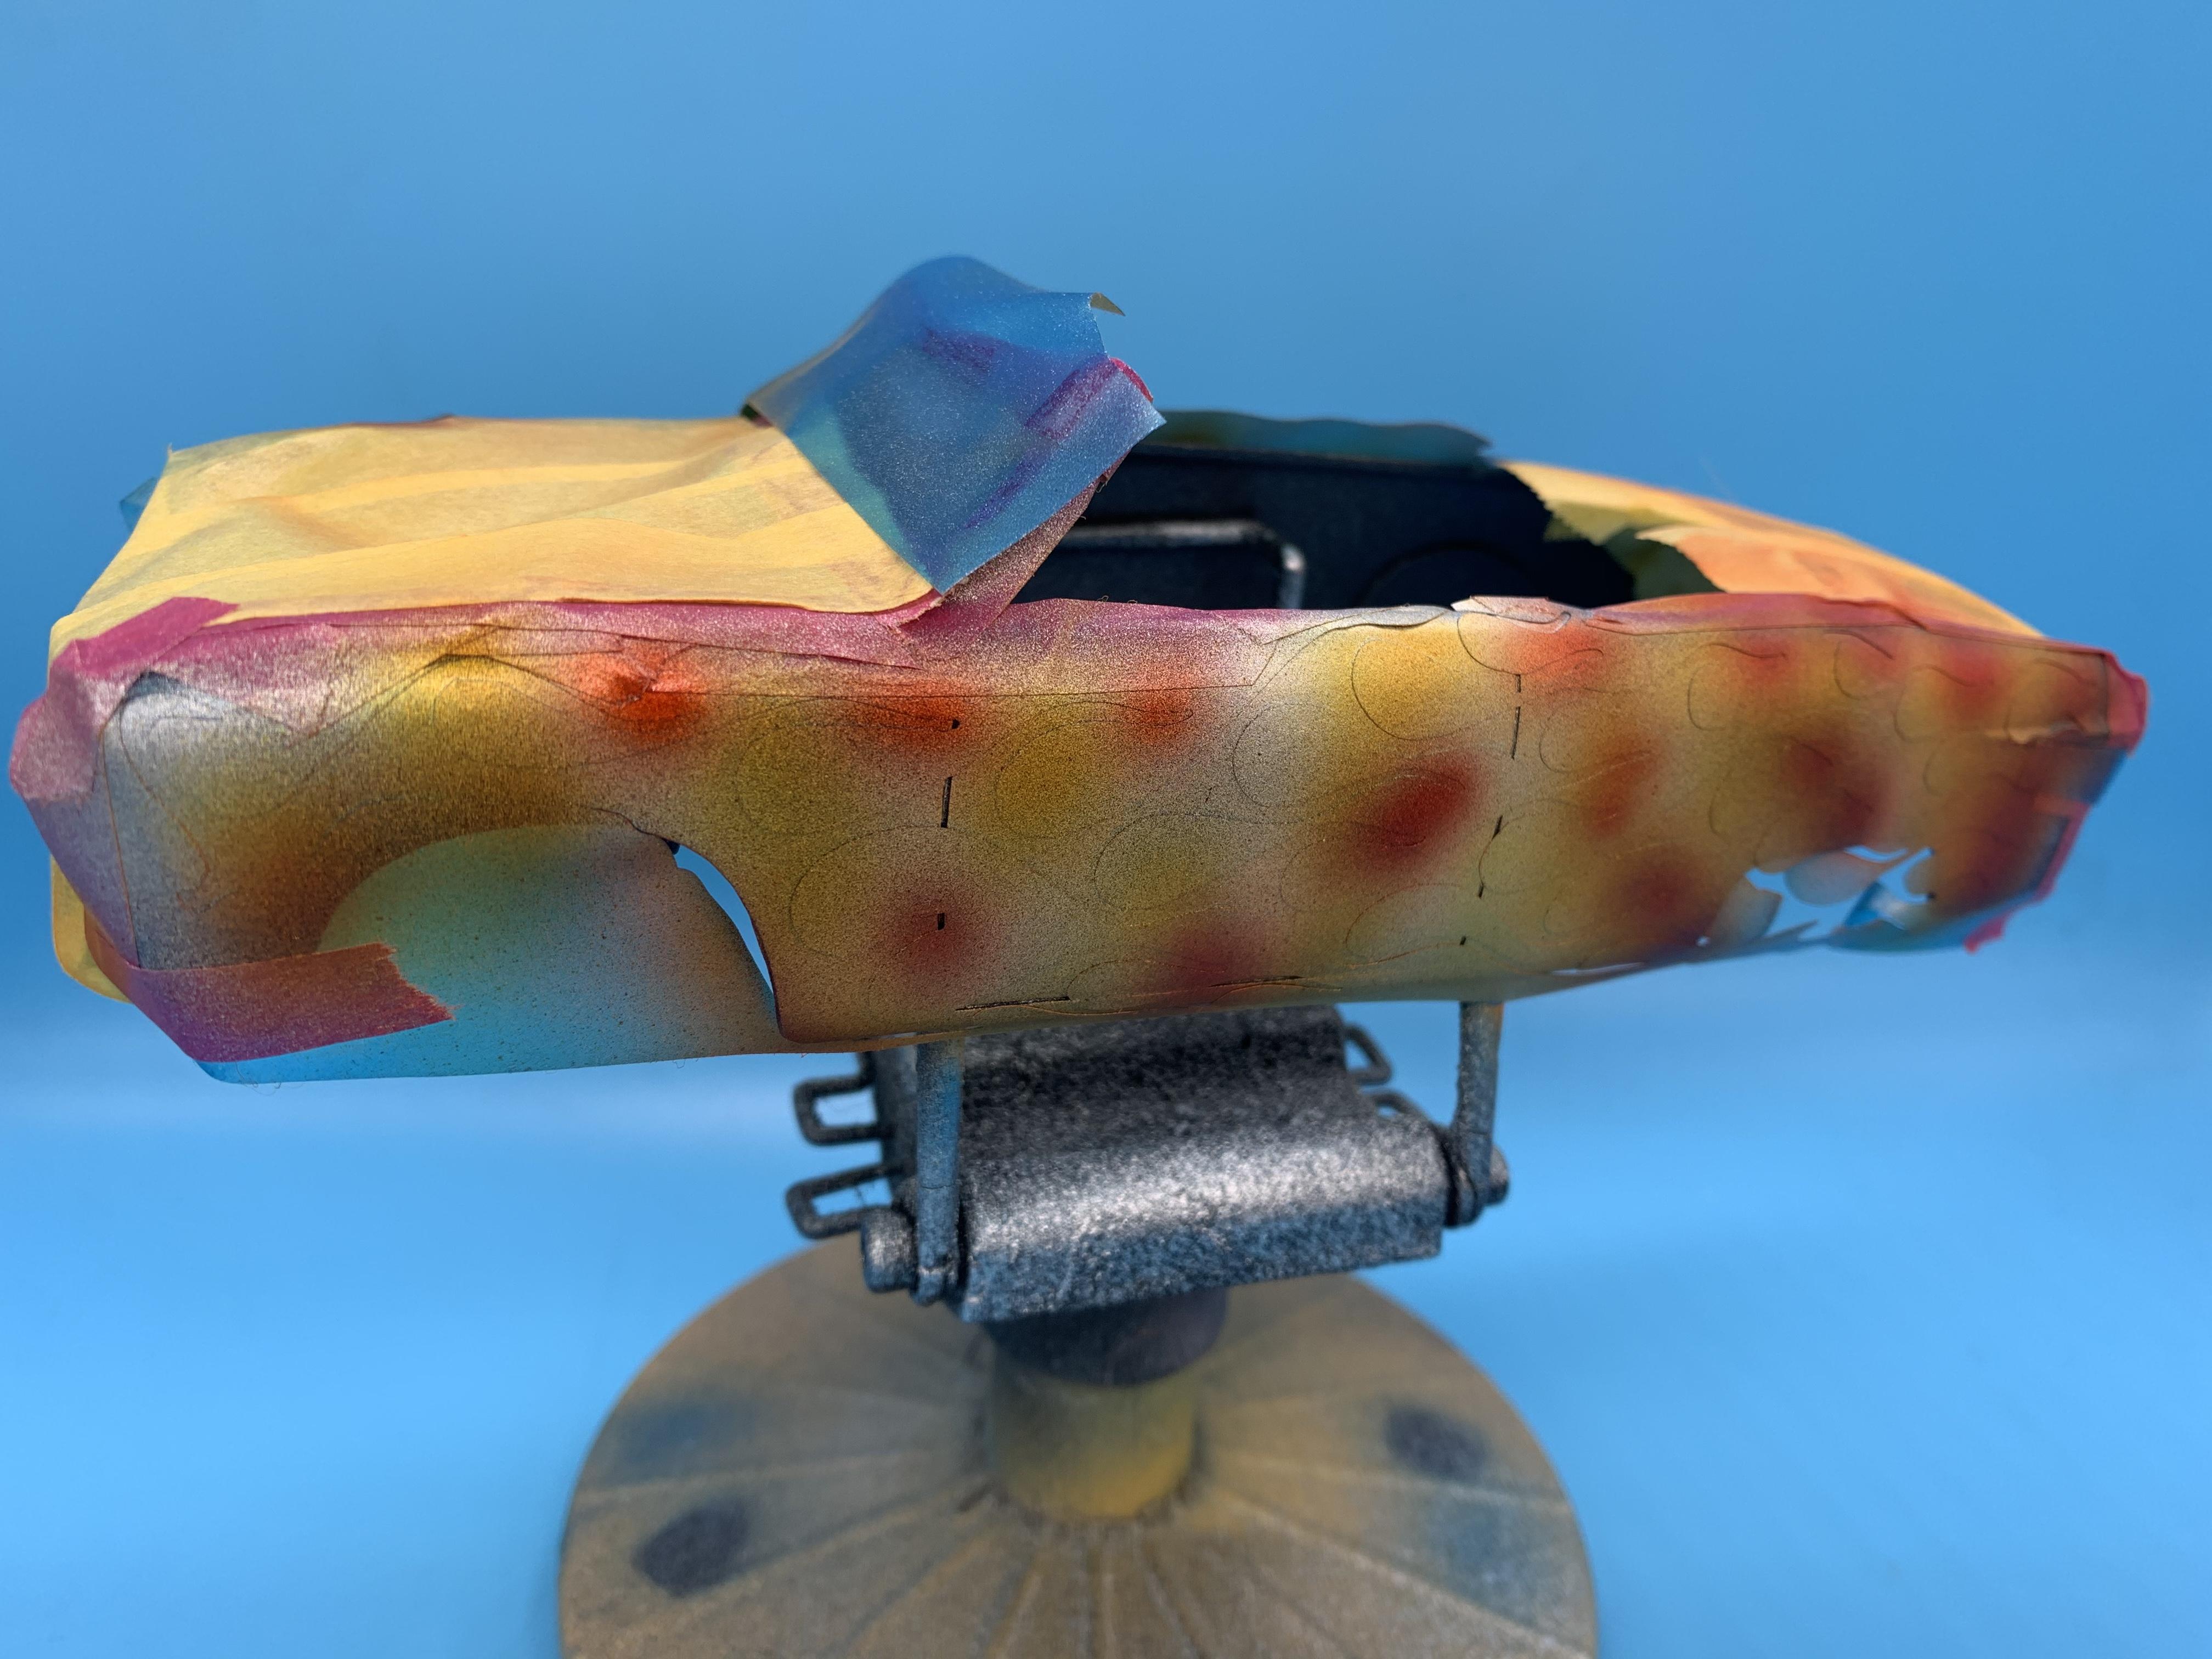
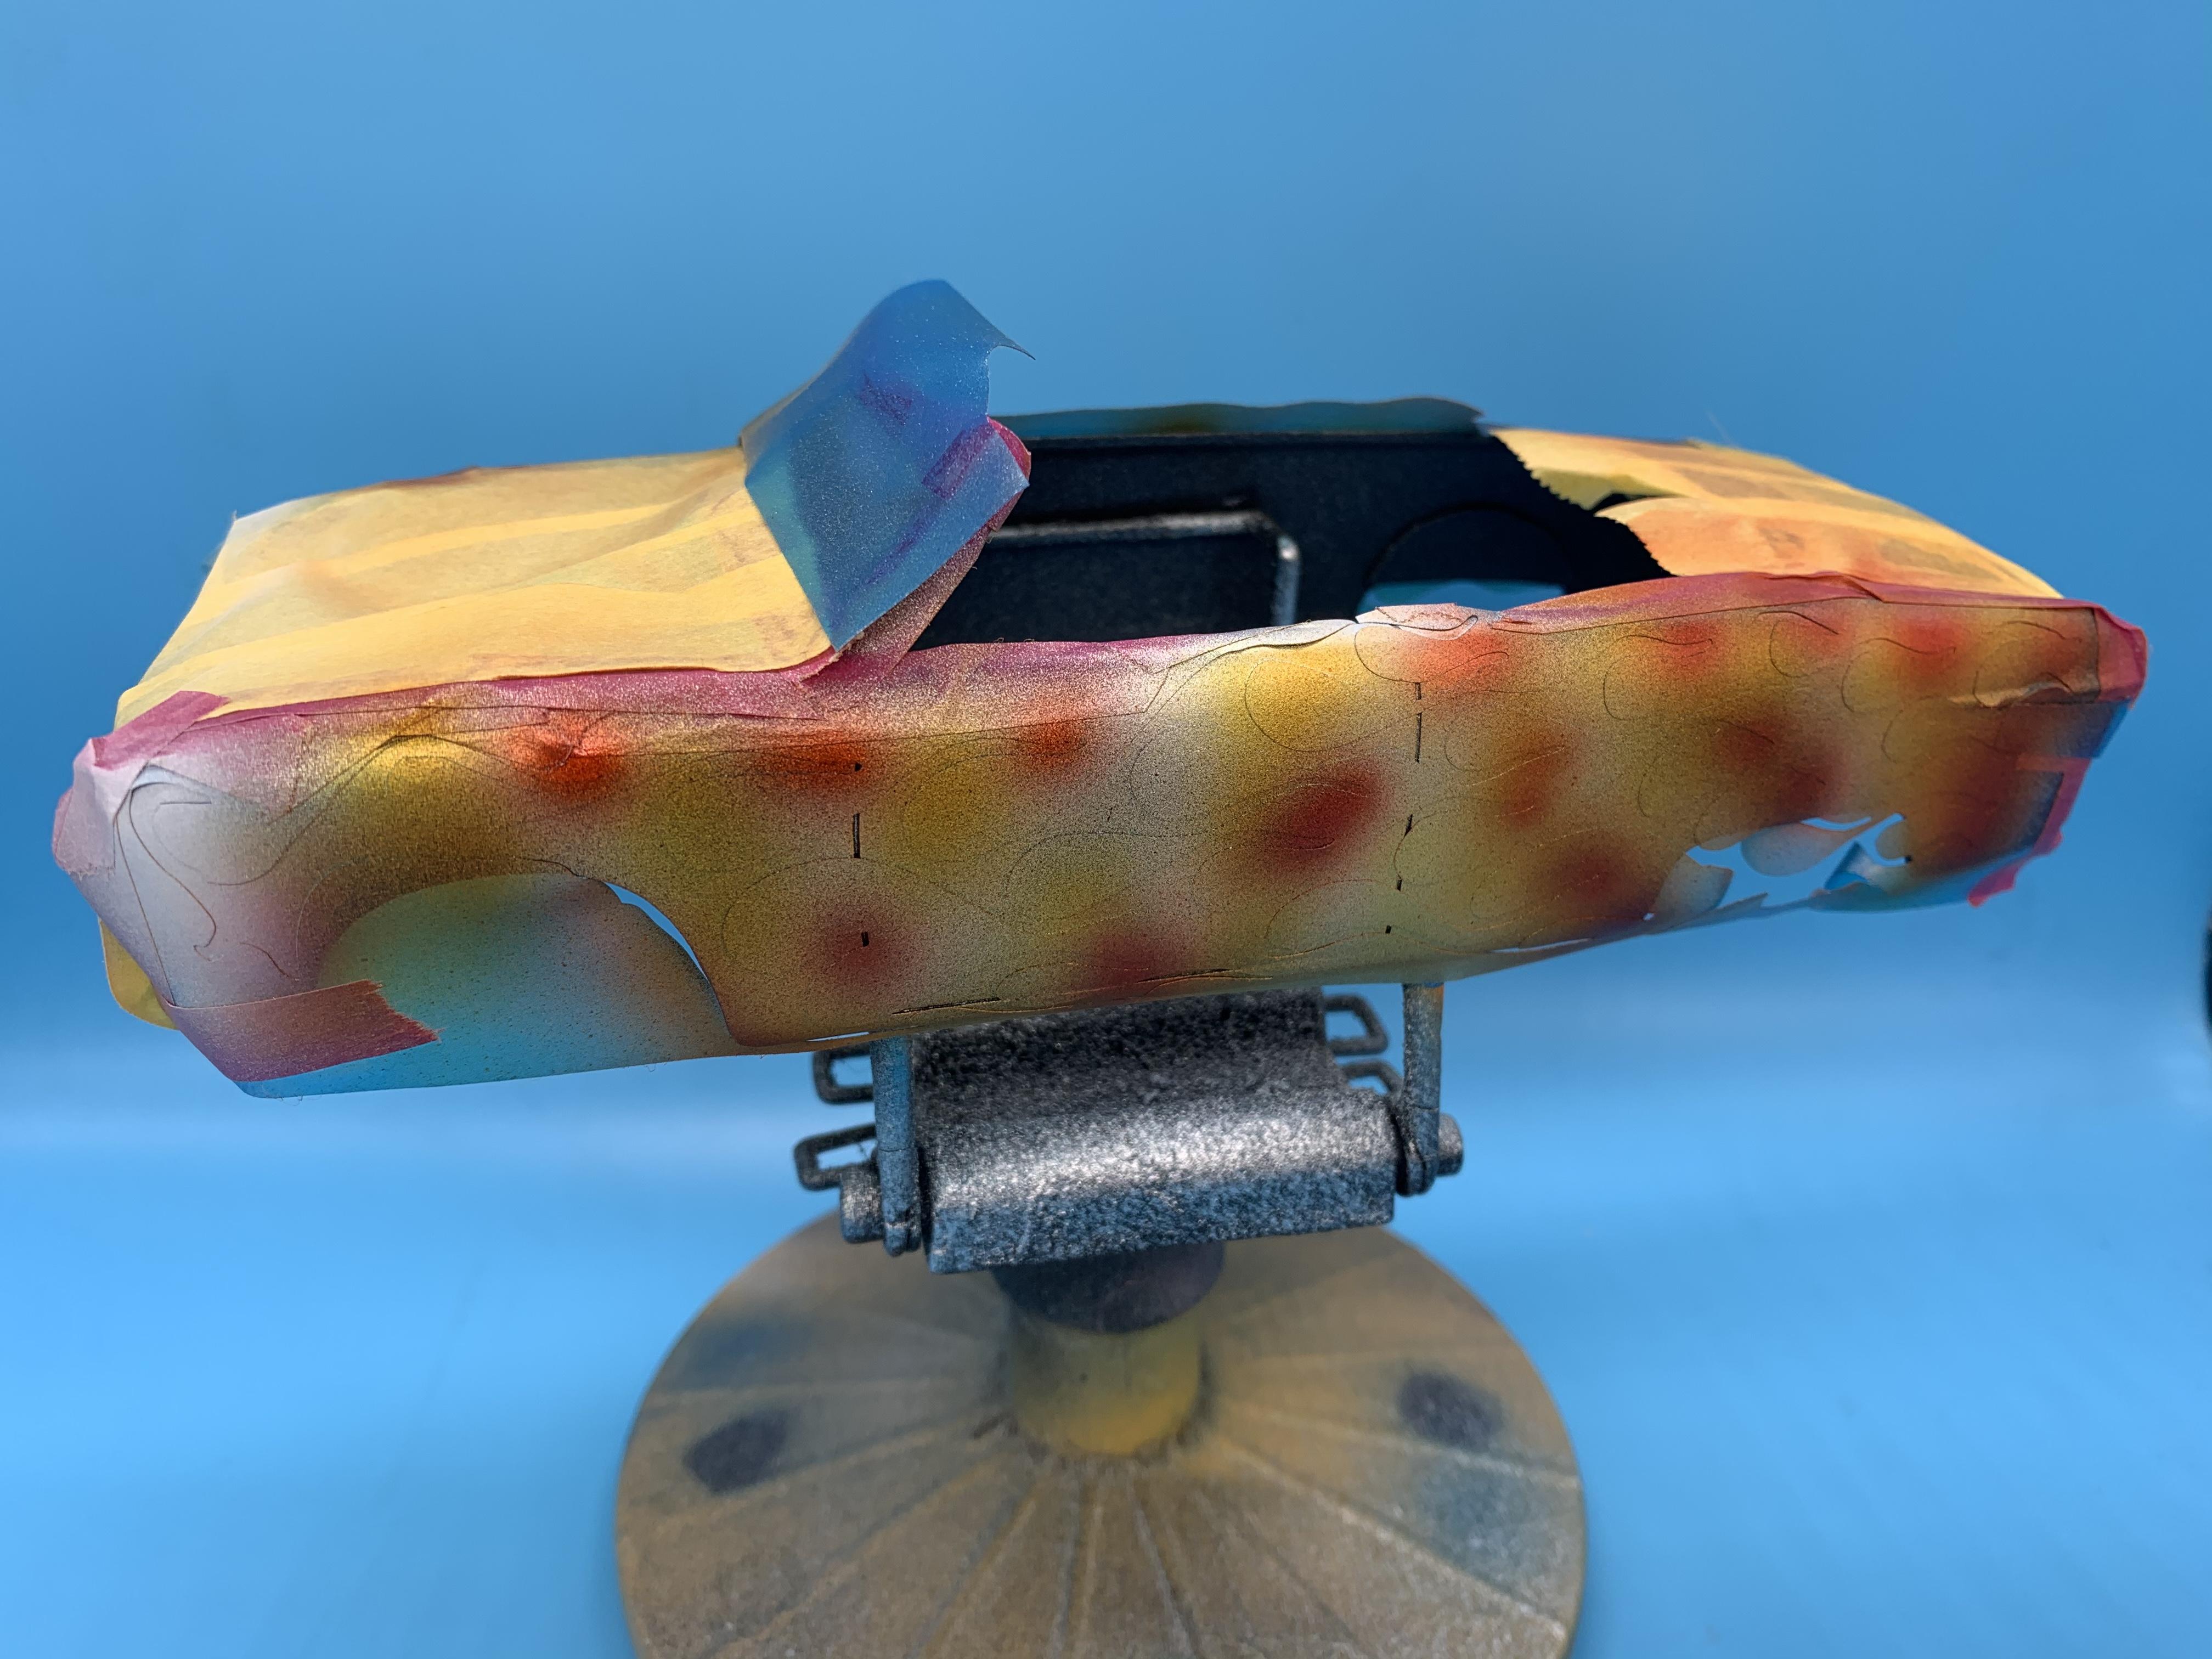
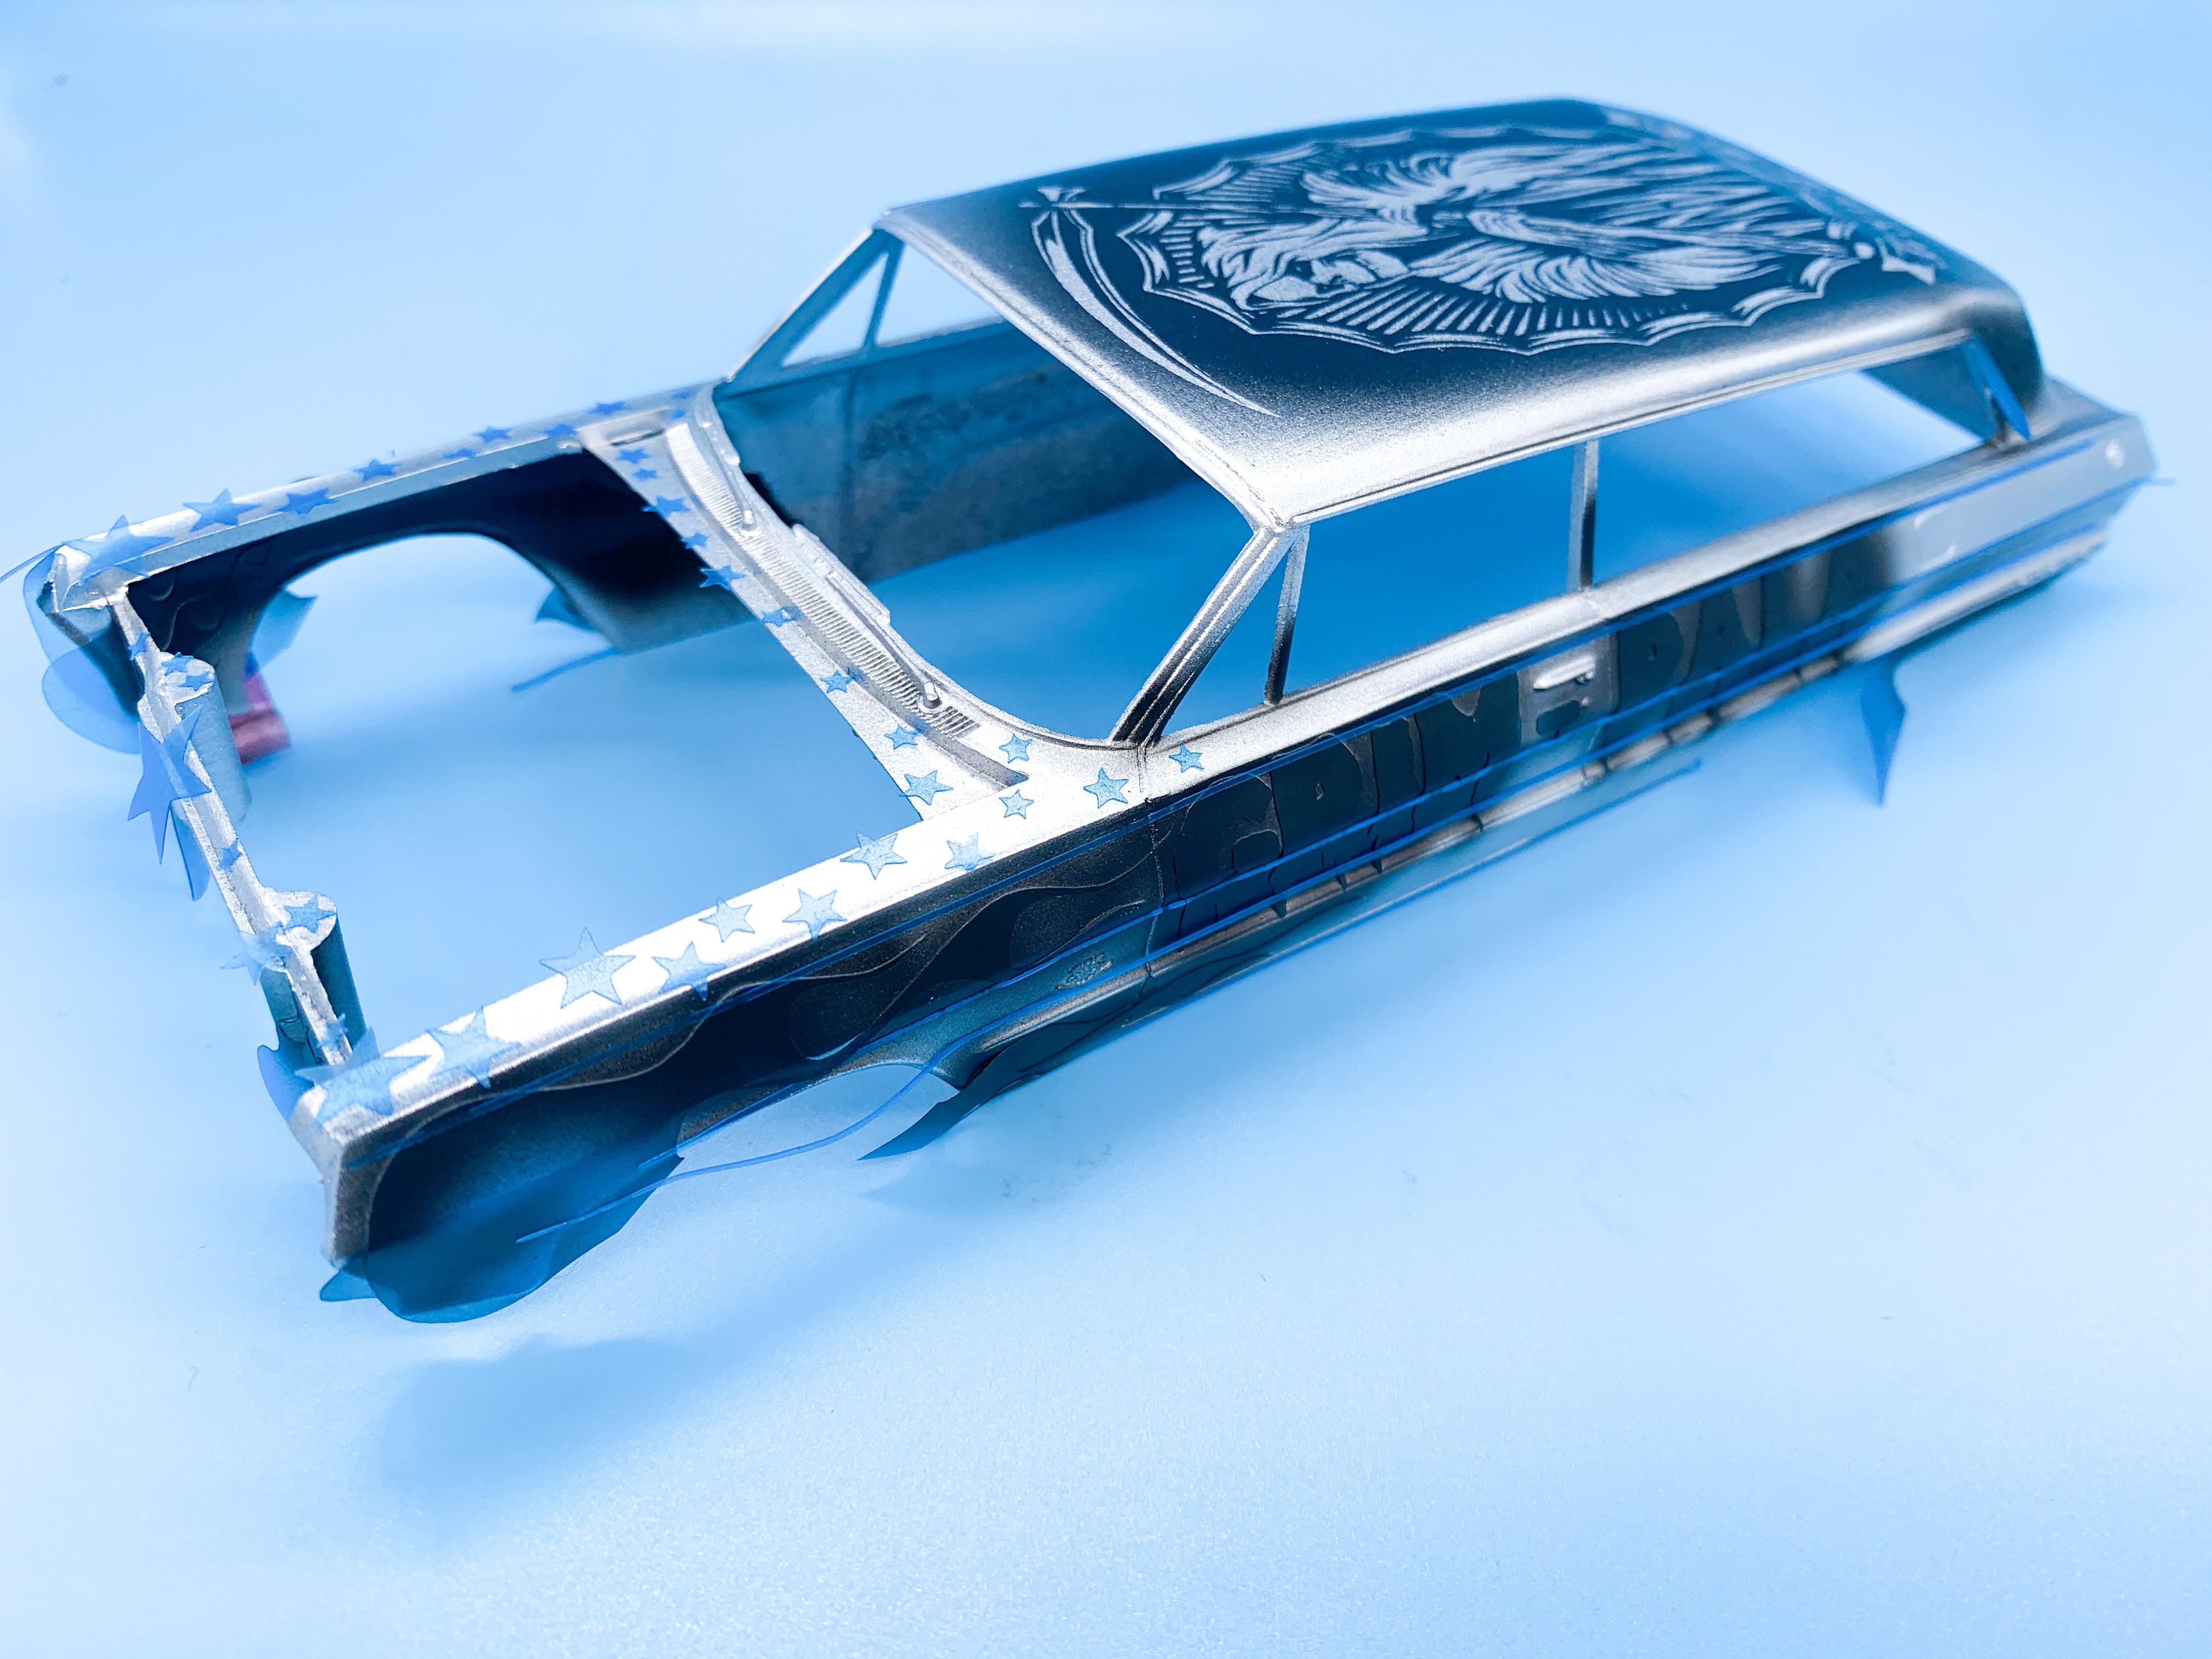
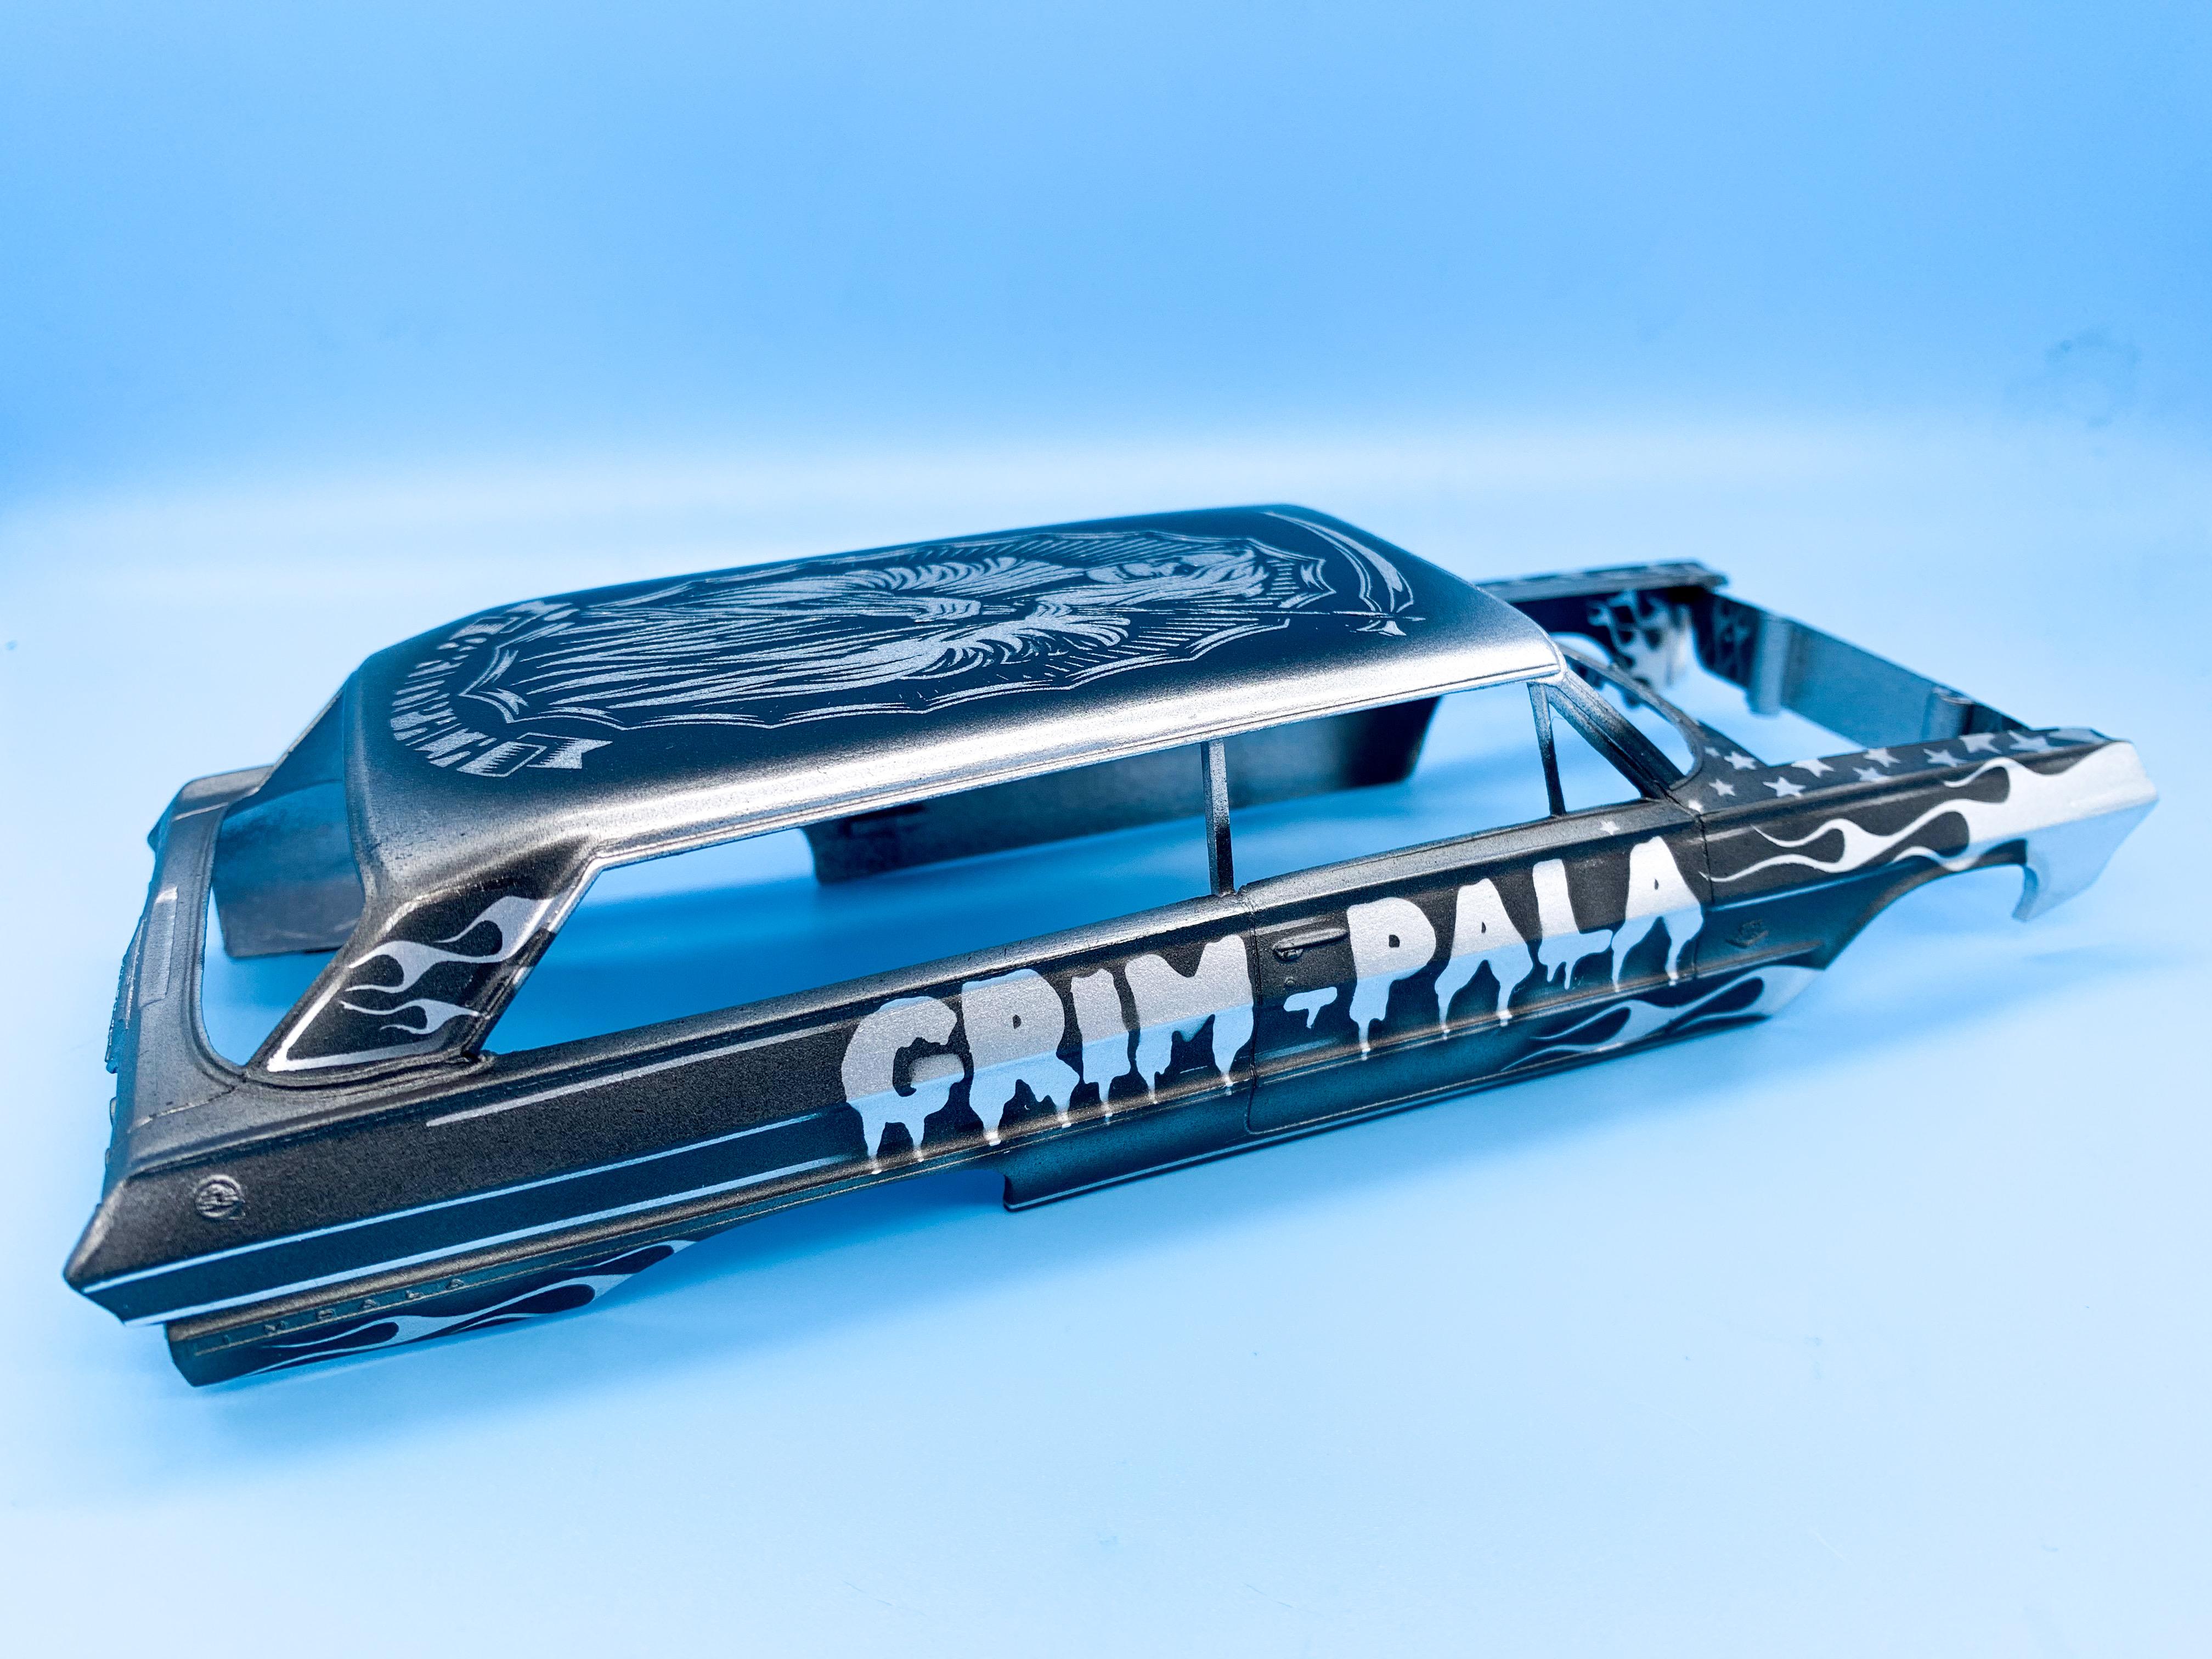
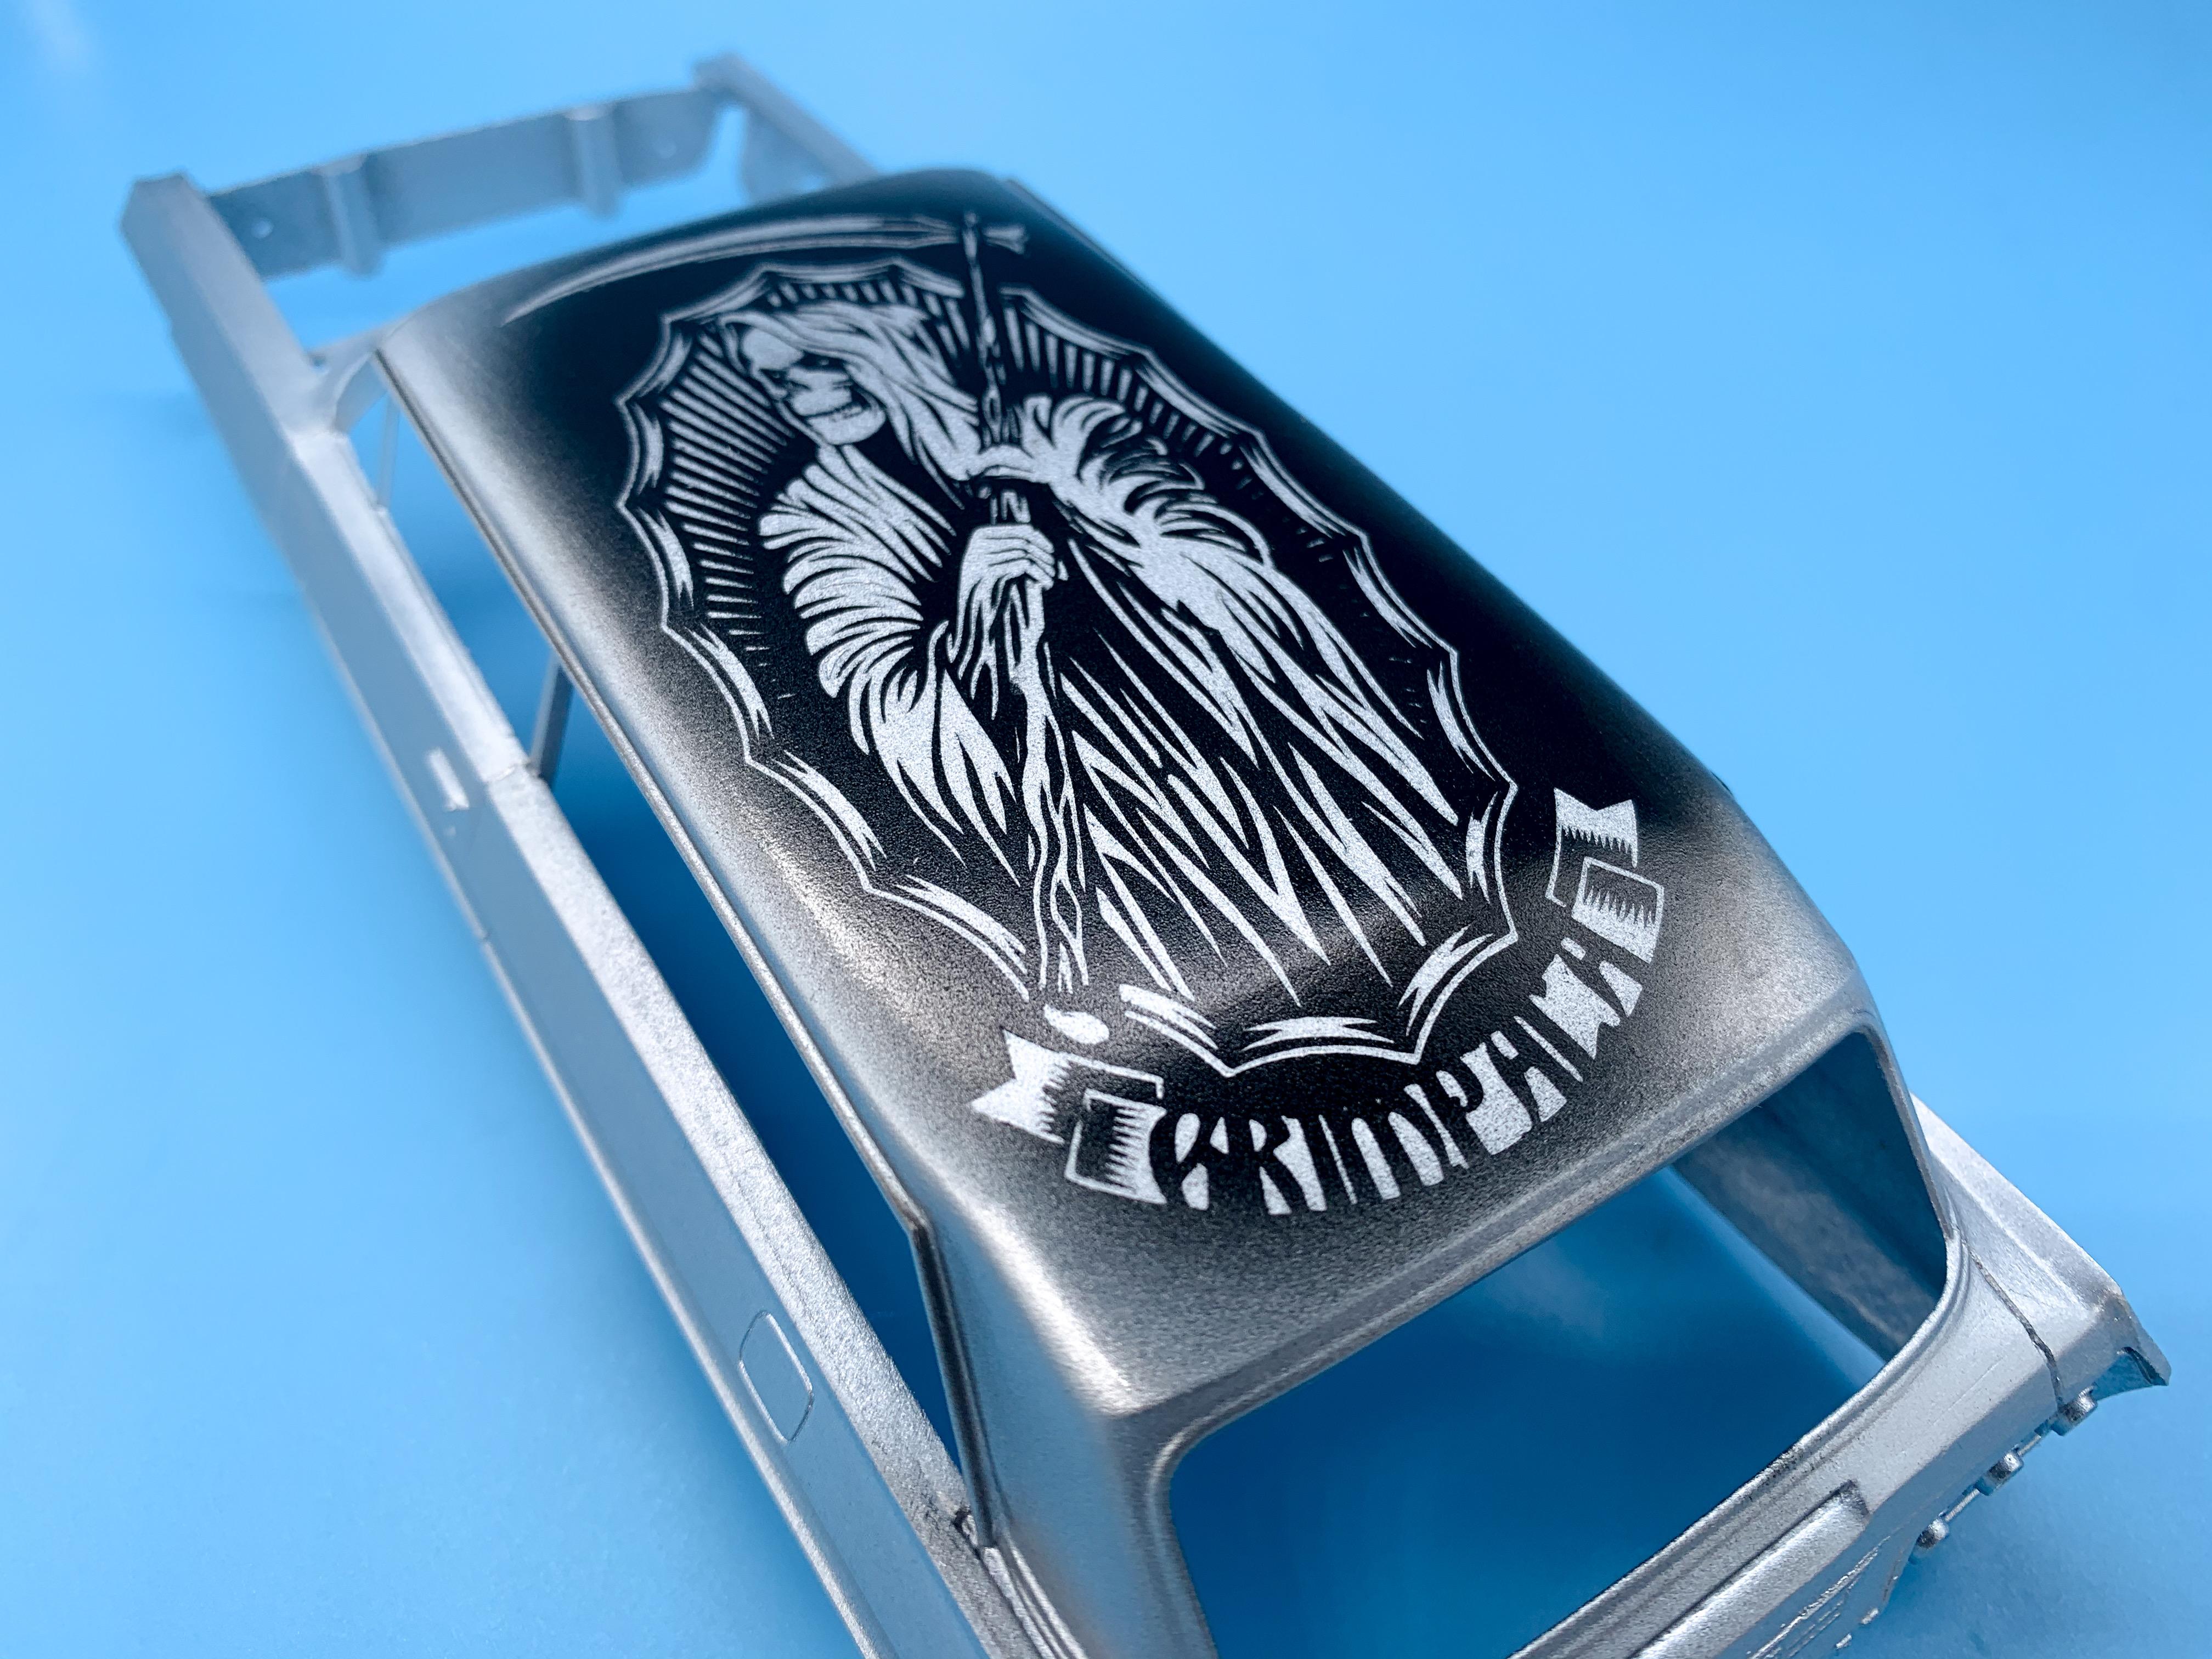
A little more on this one - laid out the lettering and flames which make up the biggest parts of the graphics: Then gave them a coat of black in the relevant spots and laid out some extra details: Then misted all THAT with some gunmetal silver in the relevant spots and pulled the masks off: Next up will be some candy colors over all this mess - It’s looking as bananas as I hoped it would though so far ?? More soon!
-
Interesting! Thank you so much for your feedback! Guess I need to get some material and enchant and try this out!
-
Kit Manufacturers Quality Control Or Lack Of It
OldNYJim replied to VW93's topic in General Automotive Talk (Trucks and Cars)
Ahhh...I figured that might be a joke but it was close enough to what I’ve seen on someone of the armor modeller sites that I couldn’t tell if it was or wasn’t ? -
Kit Manufacturers Quality Control Or Lack Of It
OldNYJim replied to VW93's topic in General Automotive Talk (Trucks and Cars)
This sounds interesting - is that a specific example of a real thing that happened? Panzer tanks were slightly different depending on which workers made them? -
I found that set on eBay from one of the Chinese sellers for a dollar shipped, or some ridiculous price like that. Took 2 months to get here but it did arrive and the quality is pretty good - plenty good enough for fishmouthing styrene rod! The red handled one is my most used one by far, but I’m sure I’ll find a use for all of them eventually ??
-
So, I’ve read about every topic I can find on here about DIY photoetch, and I’ve had an idea brewing in my mind for a while...and I guess I’d like to know from someone more knowledgable than me why it WOULDN’T work. I have a Silhouette scrapbook cutter here, and it occurred to me that I could maybe cut “masks” from signwriting vinyl, apply them to some brass/copper/aluminum sheet and use an appropriate etching fluid or acid to make my own metal parts Without going any further with my experiments, is my theory sound at least? If amateur electronics makers use a Sharpie or similar do mark out the parts of a PCB they don’t want etched I figure this might be a quick and easy way for anyone else with one of these scrapbook cutters to make some cool stuff!
-
another use for Elmer's glue?
OldNYJim replied to STYRENE-SURFER's topic in Tips, Tricks, and Tutorials
I really like both of these Elmer’s related tips! I always assumed Elmer’s wouldn’t be strong enough for a job like you demonstrated in the first tip - I guess I was wrong! I’ll be filing that one away for future reference. I like the technique for the pinning too - super clean precise work! -
'70 Dart Swinger Big Block Scratchbuilt 1/25 Scale
OldNYJim replied to AmericanMuscleFan's topic in WIP: Drag Racing Models
That’s a great idea - I should research that! Thank you! -
'70 Dart Swinger Big Block Scratchbuilt 1/25 Scale
OldNYJim replied to AmericanMuscleFan's topic in WIP: Drag Racing Models
They’re really outstanding - I’ve been thinking about how I could make gauges as crisp and scale-accurate all day! I wonder where one could find a 2400dpi (or higher) printer nowadays? Seems like it SHOULD be possible to find that easily in this day and age, but I’d bet I’d struggle to find one that the public could have short run work done on. -
What did you see on the road today?
OldNYJim replied to Harry P.'s topic in General Automotive Talk (Trucks and Cars)
I figured he was keeping the sidewalk trimmed, but that link is equally feasible -
What did you see on the road today?
OldNYJim replied to Harry P.'s topic in General Automotive Talk (Trucks and Cars)
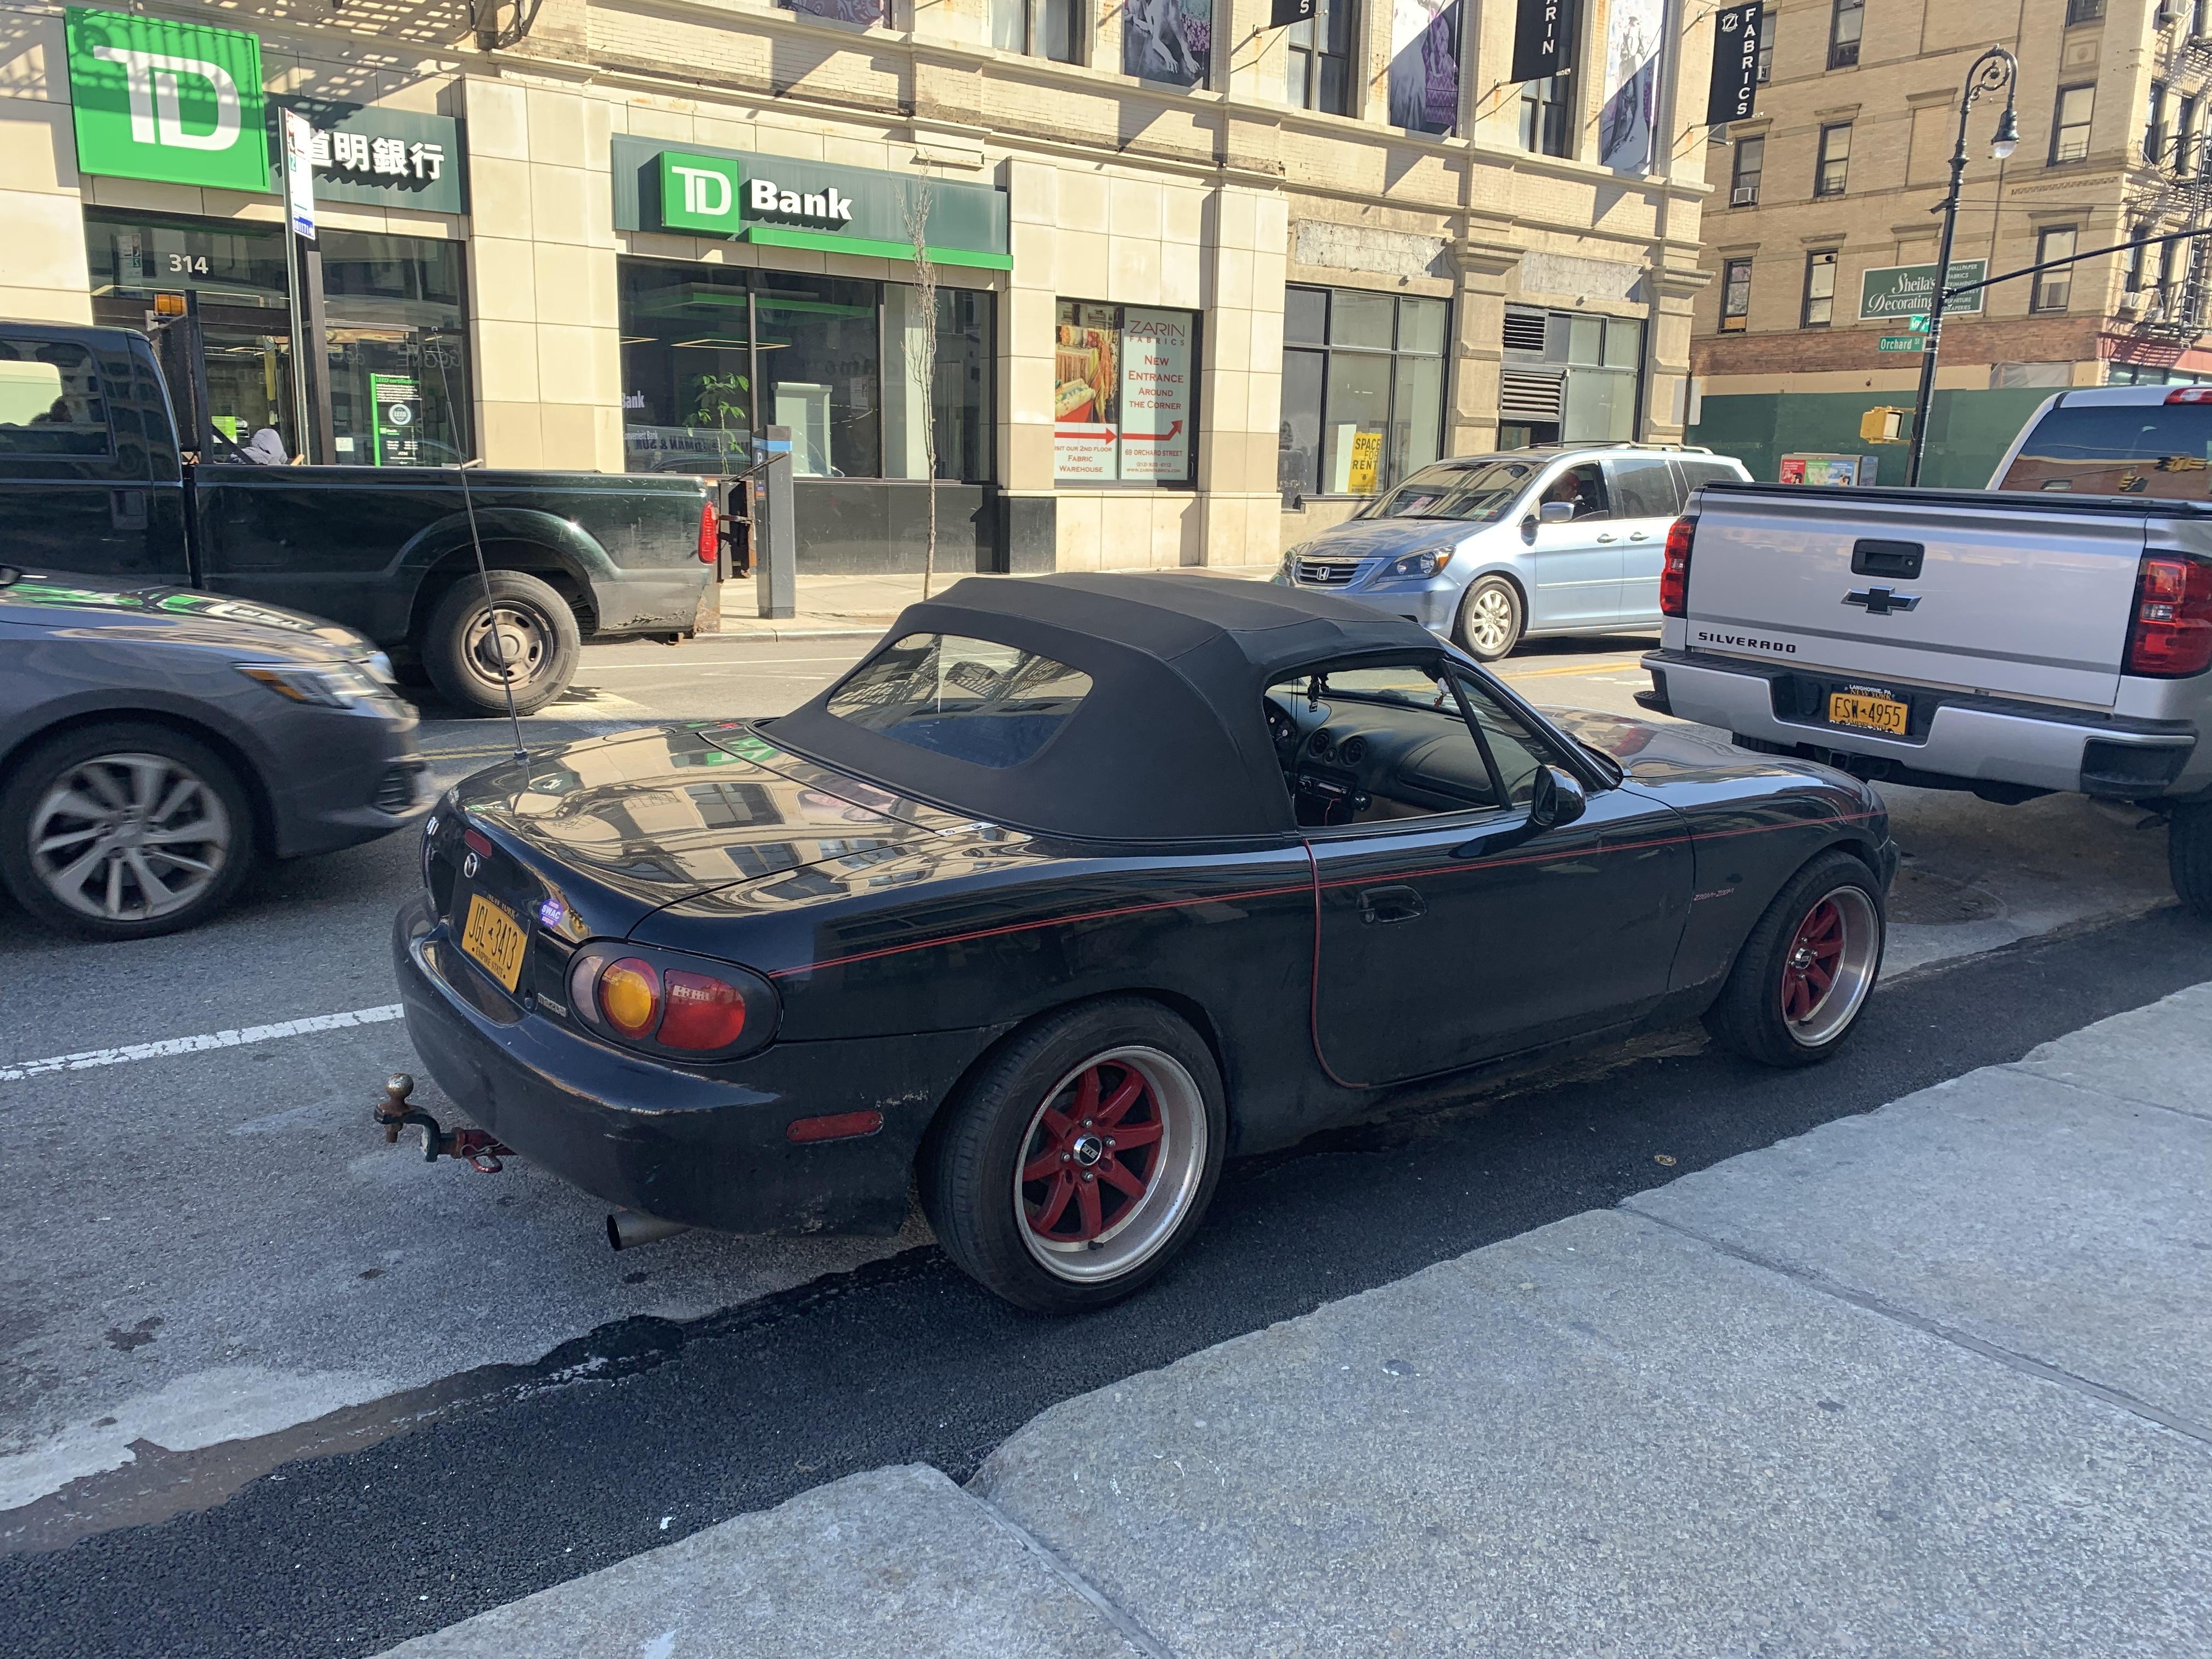
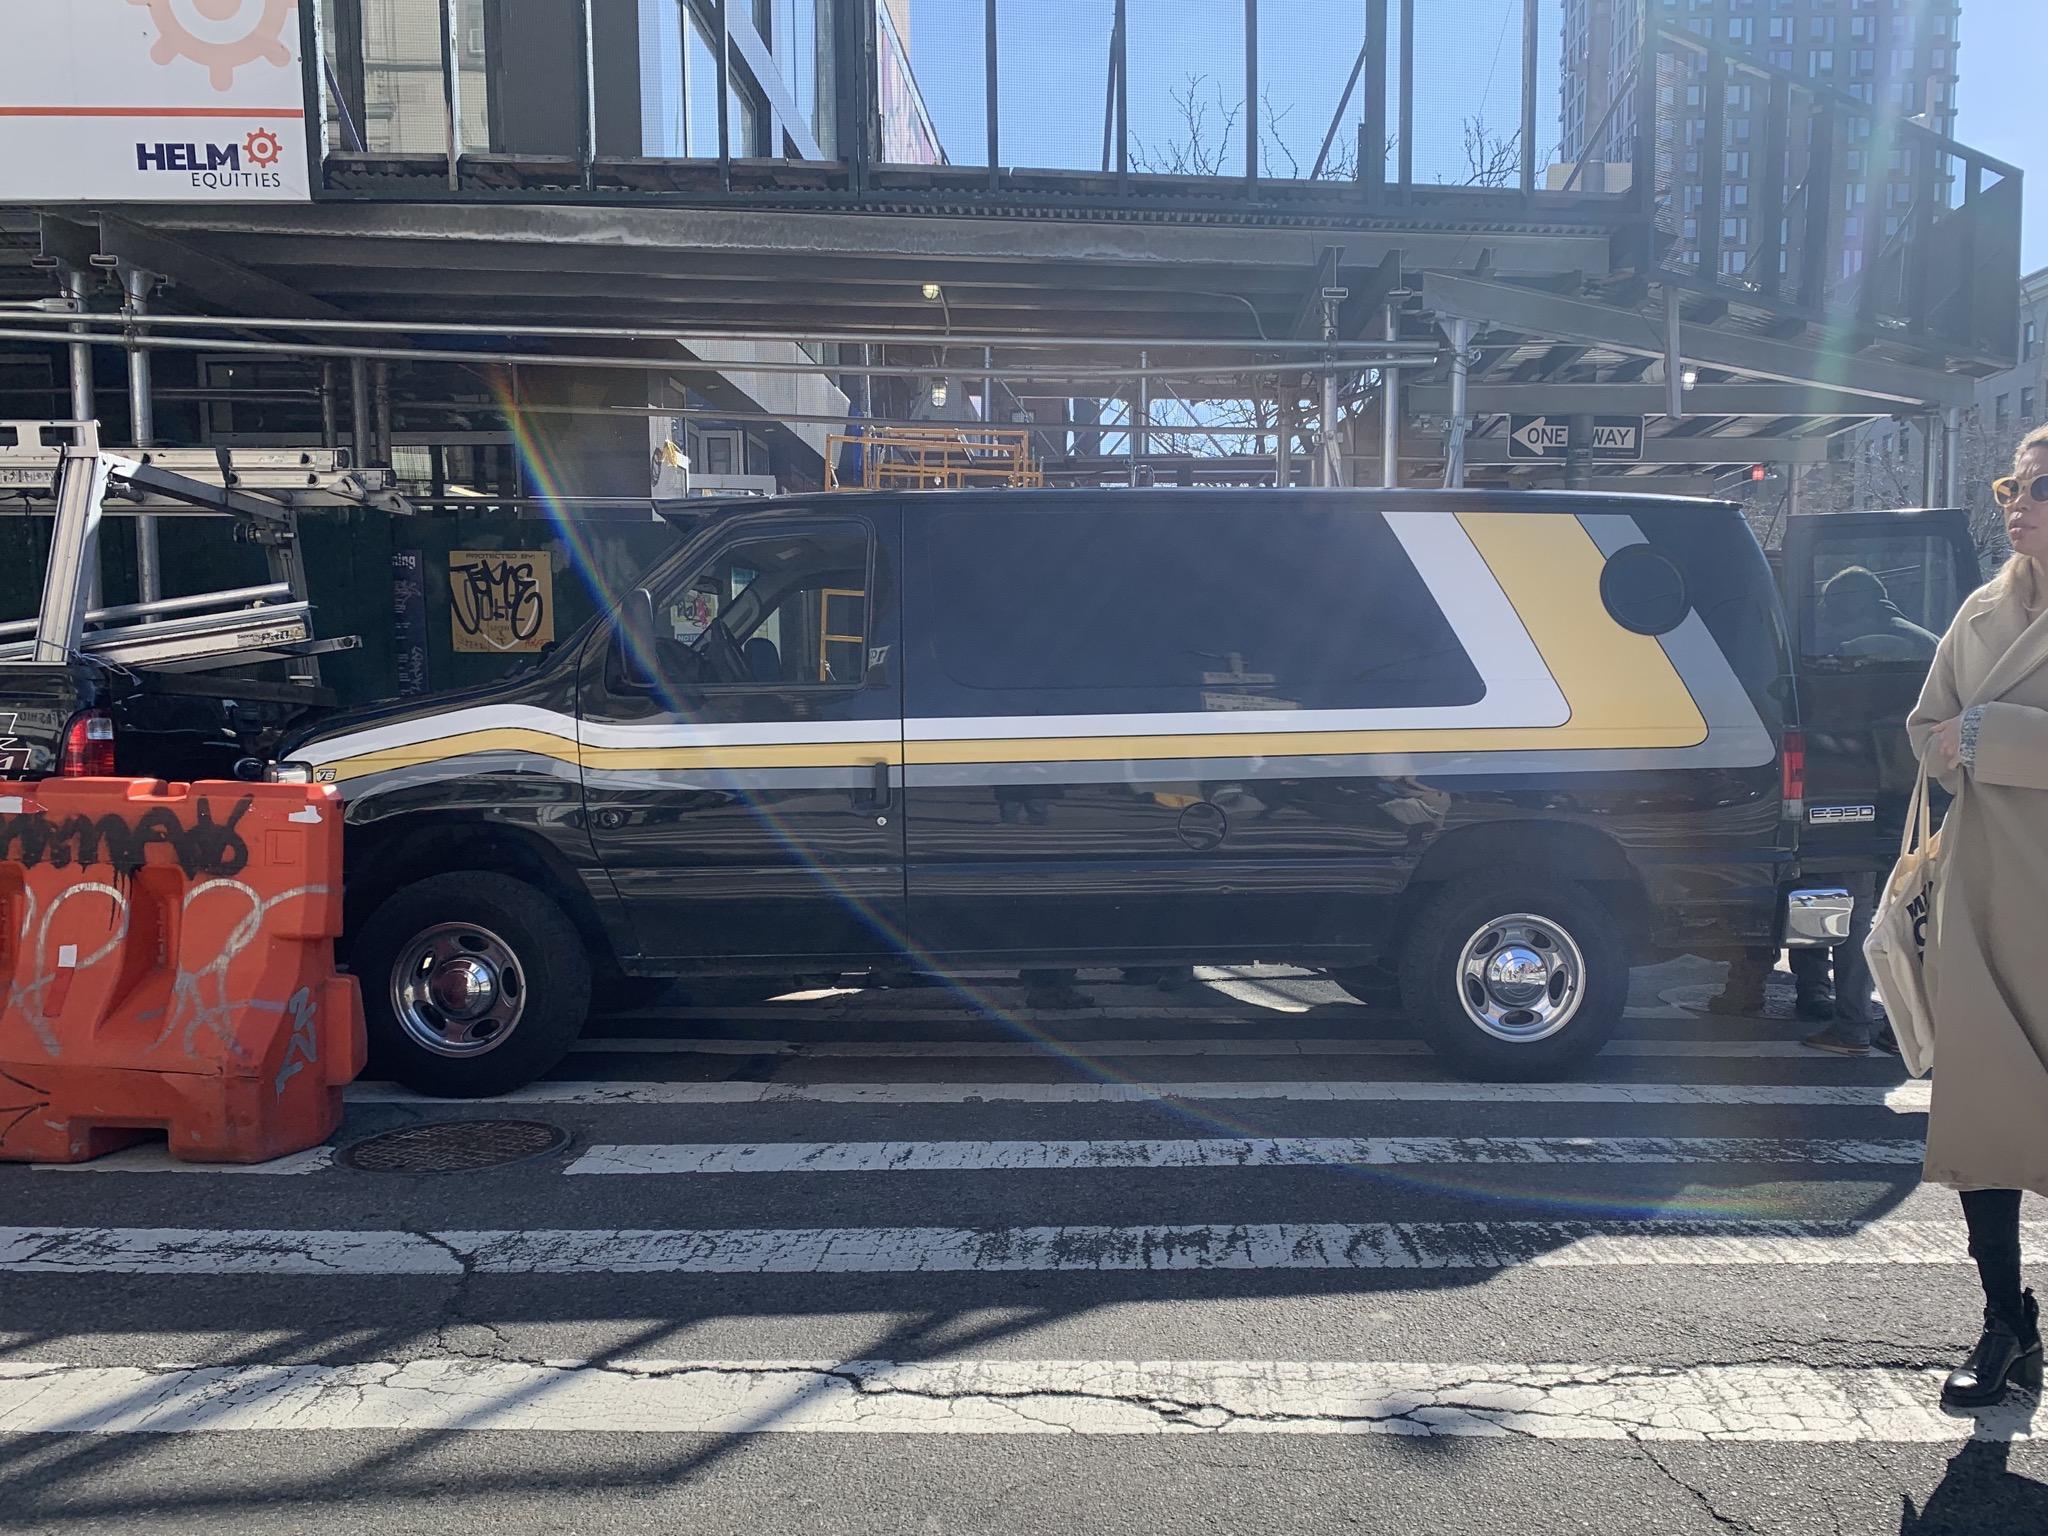
Any day I see one of these is a good day! And this was on the next block across: And this lawnmower wouldn’t be remarkable...except this is a busy intersection and there’s not a lawn to mow within 30 blocks of here ???
-
'70 Dart Swinger Big Block Scratchbuilt 1/25 Scale
OldNYJim replied to AmericanMuscleFan's topic in WIP: Drag Racing Models
I too was taken with the gauges (amongst 100 other cool things on this build)...I think buying an imagesetter is slightly out of my hobby budget, but the results are outstanding! I’d love to find something else on the market that could print as crisply as that! Gauges aside - beautiful build all round! Amazing work! -
Nice! ? This was one I was particularly looking forward to...not that I’ve started the first one of the six yet, but still...
-
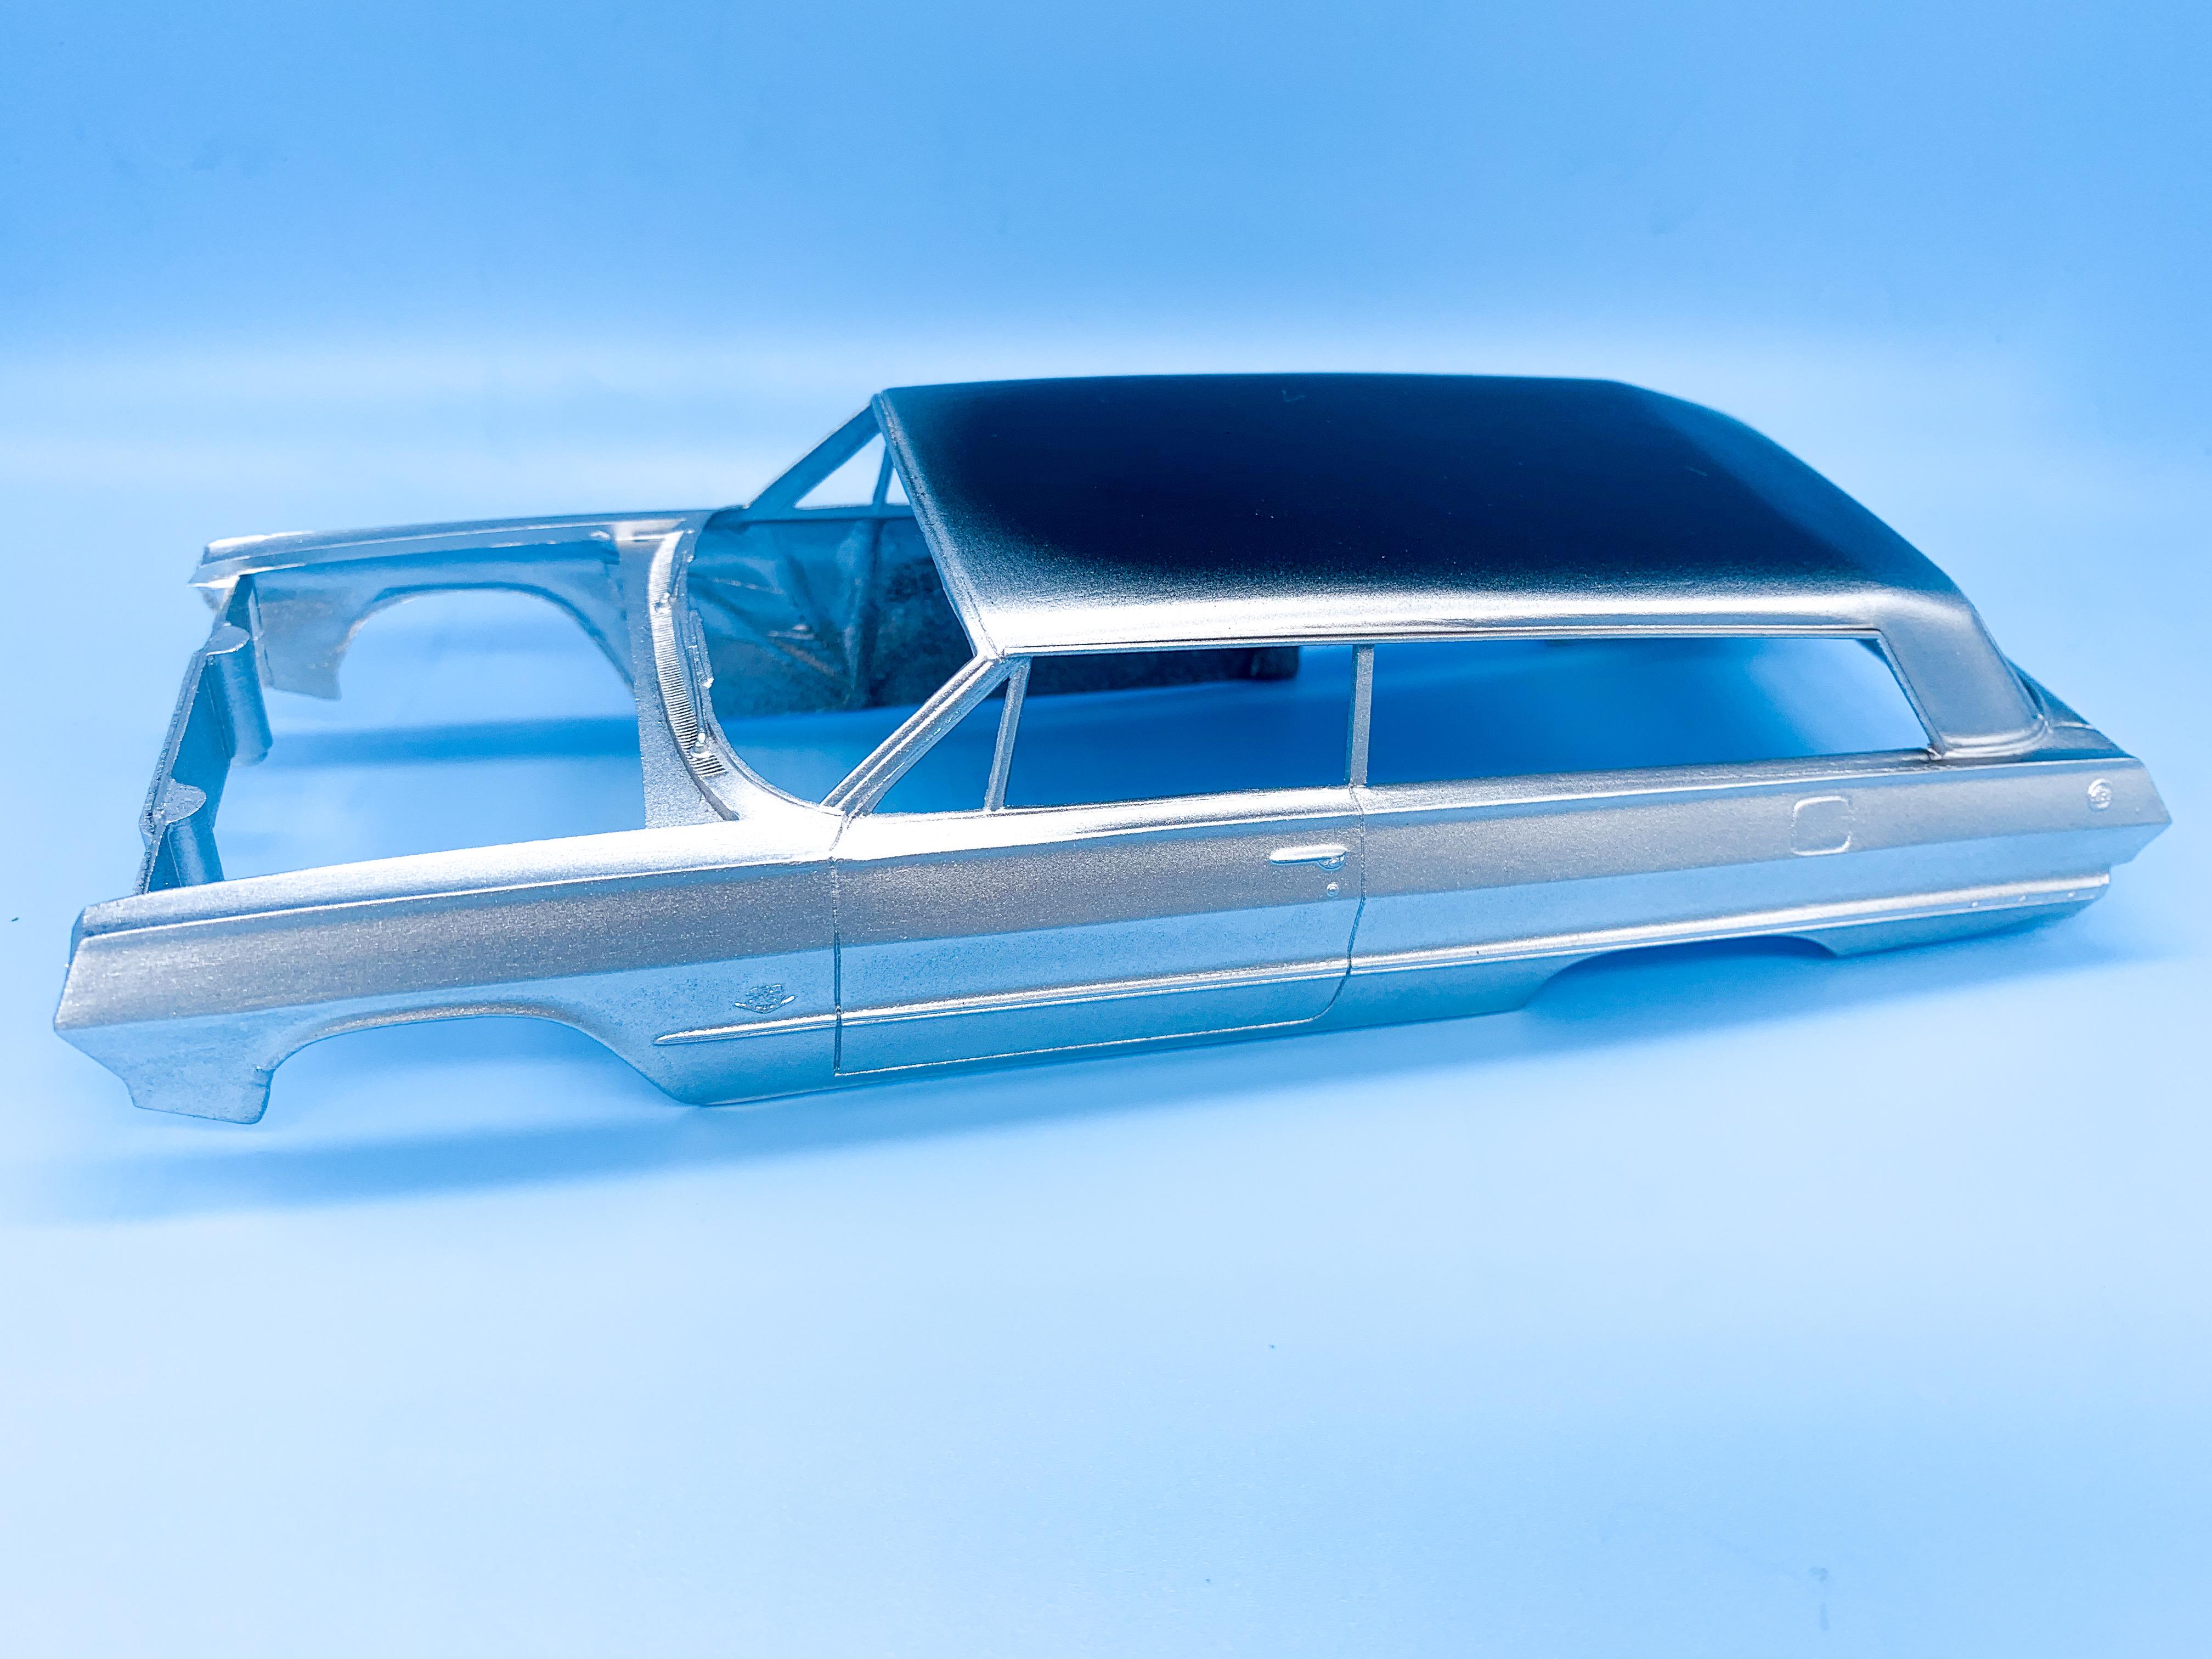
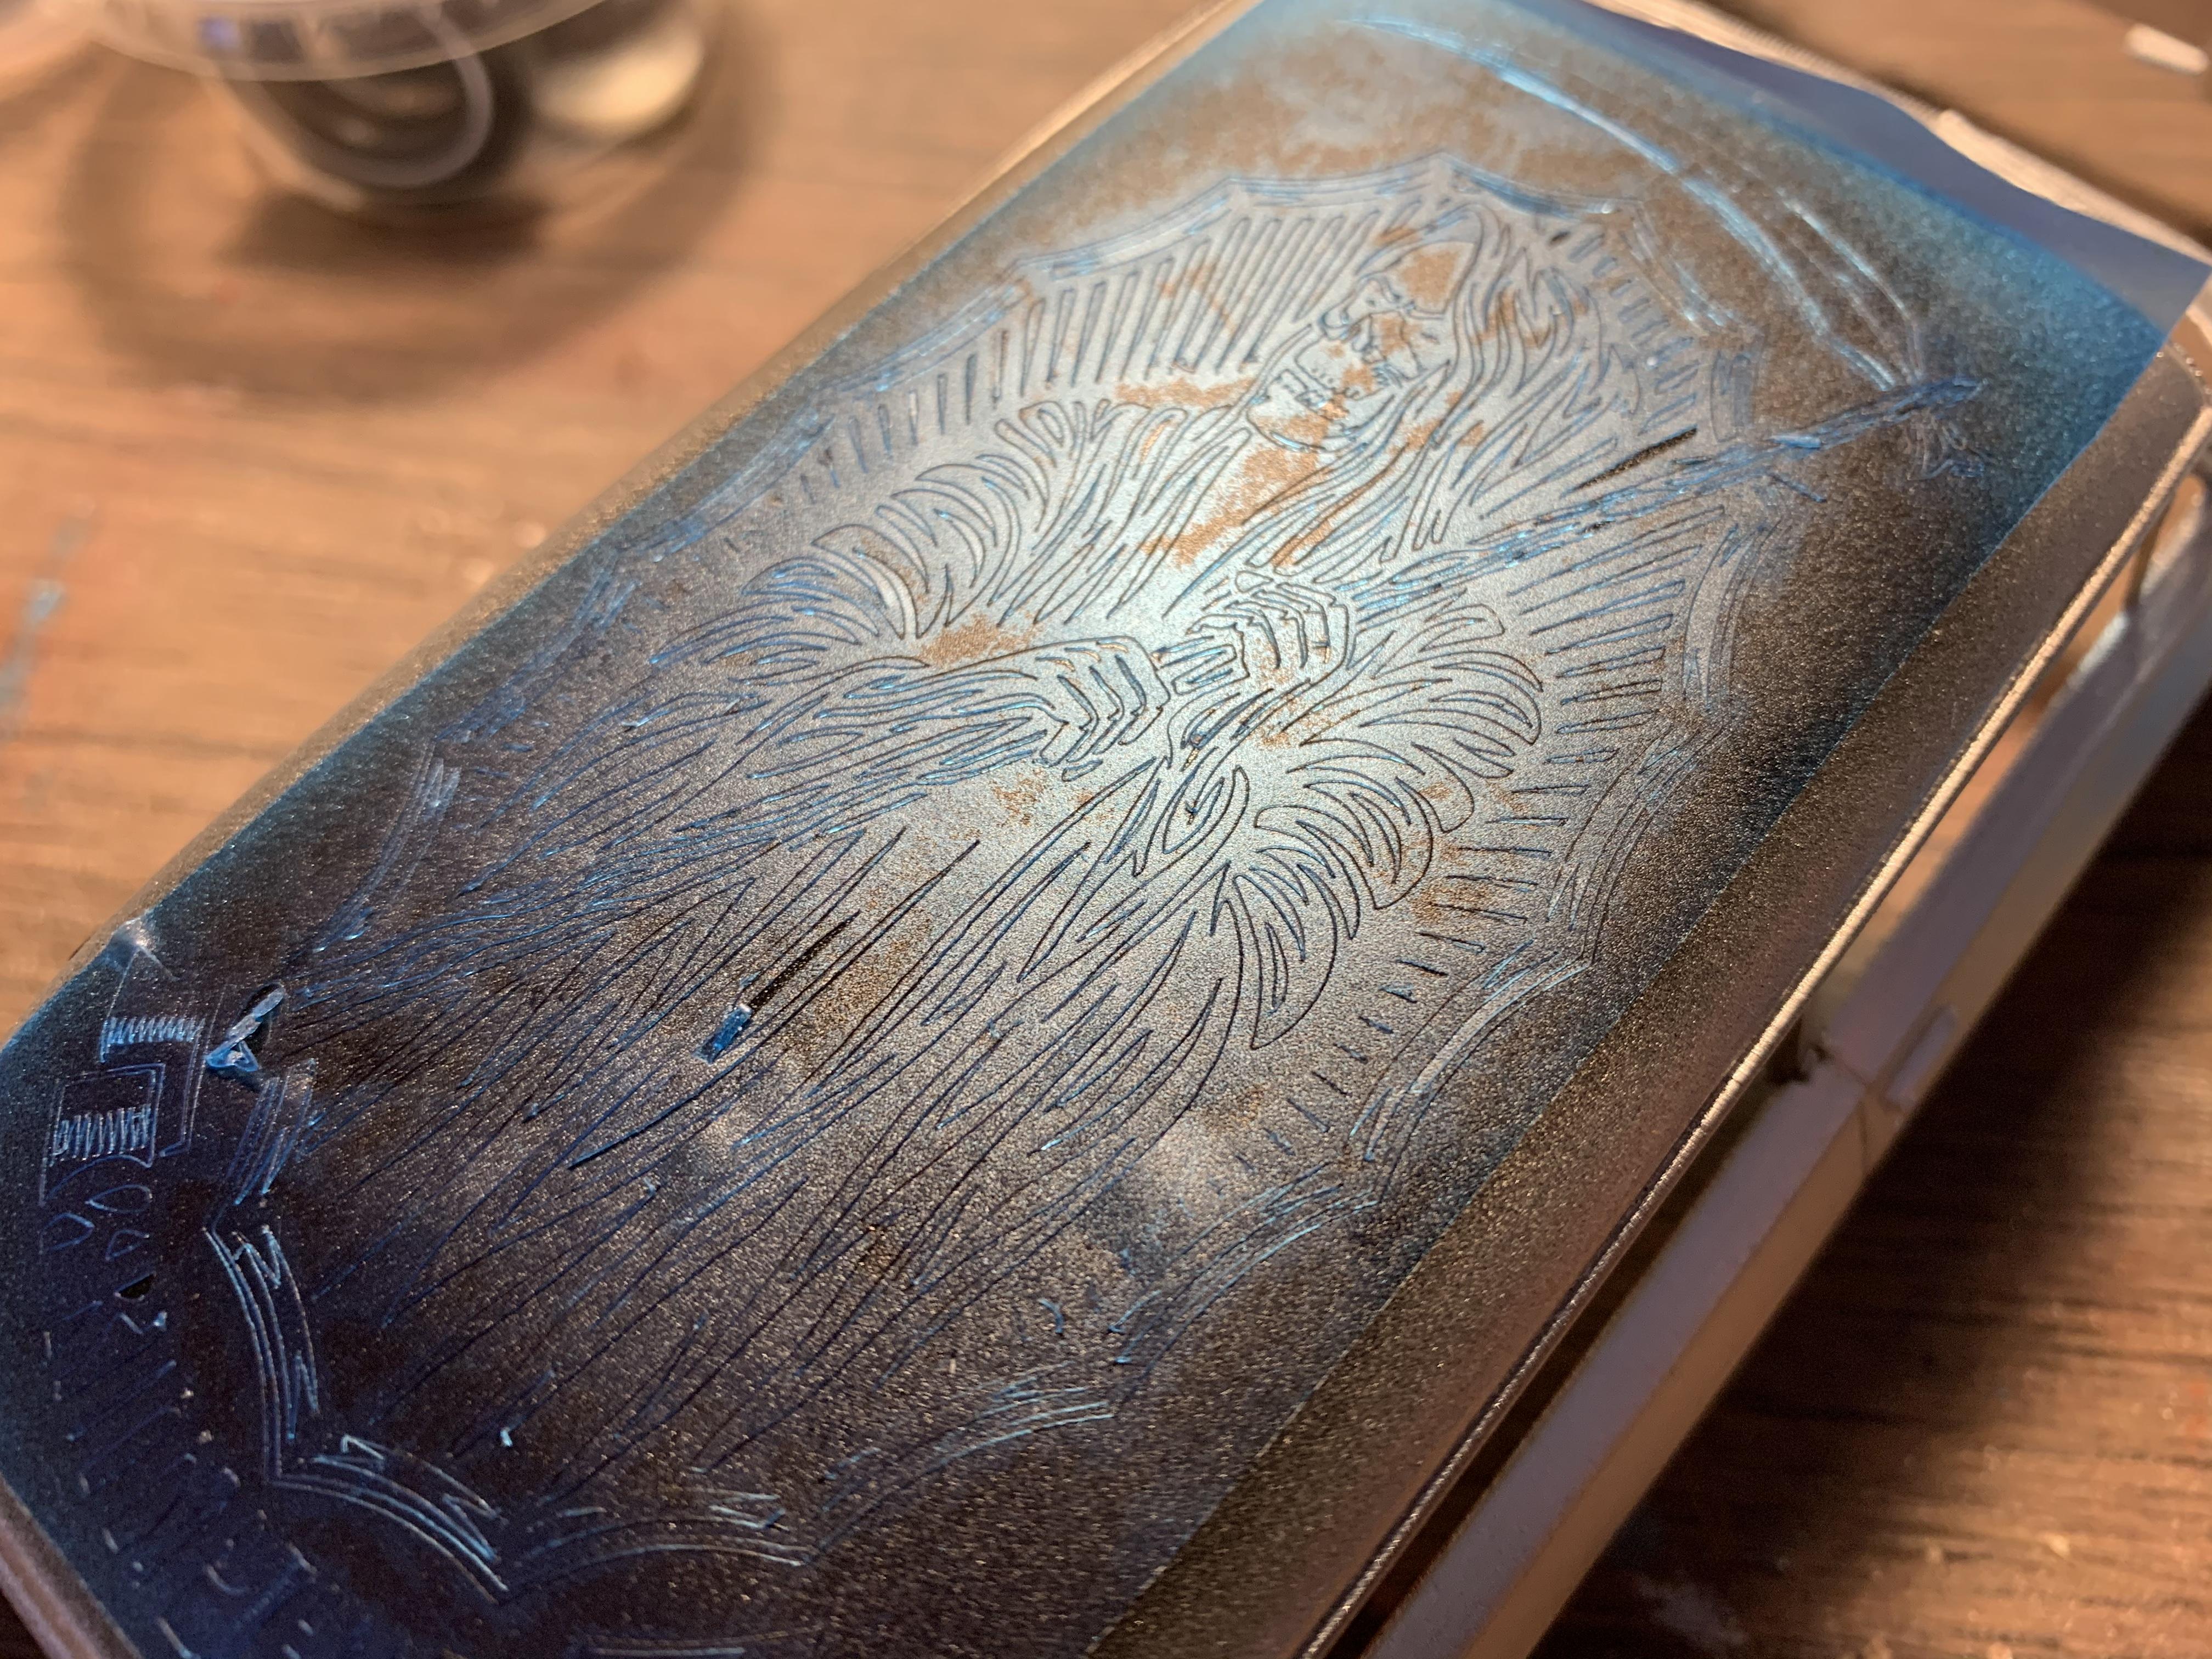
Did my first little bit of airbrushing this week on this thing...went for a spooky Grim Reaper full-length mural on the roof. First, a black blob as a base (because it was easier to weed the mask if I was removing all the lighter parts than the darker parts): Then a super-intricate mask: And two hours of weeding, two minutes of painting and then another hour of weeding later... I’ll candy over the top of that whole thing once I do a few little bits on the rear pillars and figure out the best way to spray the new Createx candies I picked up for this build...more soon!
-
1/25 Revell 1969 Dodge Charger R/T body wip pics.
OldNYJim replied to wisco8's topic in WIP: Model Cars
This one here: Didn’t meant to hijack your thread, my apologies ...looking forward to seeing more of this build! ? -
1/25 Revell 1969 Dodge Charger R/T body wip pics.
OldNYJim replied to wisco8's topic in WIP: Model Cars
I love both those guy’s videos - I just started using Donn Yost’s painting technique recently after trying a bunch of stuff - can’t argue with the results right out of the airbrush! Anyhoo, great start - if all the parts look as good as the body this is going to be a great looking build!
-
1/25 Revell 1969 Dodge Charger R/T body wip pics.
OldNYJim replied to wisco8's topic in WIP: Model Cars
I don’t think you need many suggestions - that looks GREAT! -
I really wish we had a Hobby Lobby near here...we have a bunch of Michael’s but no HL! I guess I could take the Metro North to the nearest one, but the cost of the ticket would outweigh the 40% HL voucher they email me every week ??
-
Oh wow! ?. That apoxie sculpt works really well, it looks like! This is gonna be BANANAS when it’s done, I can’t wait to see it in person Better get going bud - only 56 days to go ??
-
Hasegawas Lamborghini Miura SV....new update!
OldNYJim replied to Dann Tier's topic in WIP: Model Cars
Those louvres look great now! I’m enjoying this build a lot