OldNYJim
-
Posts
250 -
Joined
-
Last visited
Content Type
Profiles
Forums
Events
Gallery
Everything posted by OldNYJim
-
 I don’t think that kit chrome looks too bad - what don’t you like about it?
 -
Thanks fellas! Progress on this is REALLY disjointed...I’m trying to keep progressing to make sure it’s done by NNL East but that means doing a little on one thing and then a little on something else and then something else on the third thing then once the first thing is dry going back to that and so on and so forth...good thing I made a decent to-do list that I can refer to ? This week’s mini-projects included making some little chrome trim rings and gauges for the dash and doing the first of a few light washes on the radio-frequency gauge to bring out the tiny numbers that AMT helpfully put on there: Then I shot all the pieces that need to be leather-colored a flat tan color... And then added some shading to make them look a bit more leather-like: Love the look of that leather color against the body! More soon, soon as a BUNCH of paint dries and I can work on some more stuff ?

-
How to be competitive at contests.
OldNYJim replied to Jantrix's topic in Tips, Tricks, and Tutorials
Good thing I just got a new bottle of Elmer’s! -
I saw some of those fuzzy pipe cleaners at Target the other day and was trying to figure out a good modeling use for them...guess I found it! Good tip Mike!
-
How to be competitive at contests.
OldNYJim replied to Jantrix's topic in Tips, Tricks, and Tutorials
So your tip is to glue the body to the chassis securely? ? -
Oh, and re. those valve stems...what gauge wire do you like for making those? They look great!
-
Stunning work! Really enjoyed this thread, thanks for sharing your work on it! I know you just finished, but...what’s next? ?
-
Fiat 131 Abarth
OldNYJim replied to afx's topic in WIP: Other Racing: Road Racing, Land Speed Racers
Those headers look great! Super clean build so far! -
1/25 Revell 1969 Dodge Charger R/T body wip pics.
OldNYJim replied to wisco8's topic in WIP: Model Cars
This is a BEAUTIFUL build - really really impressive! Can’t wait to see more! -
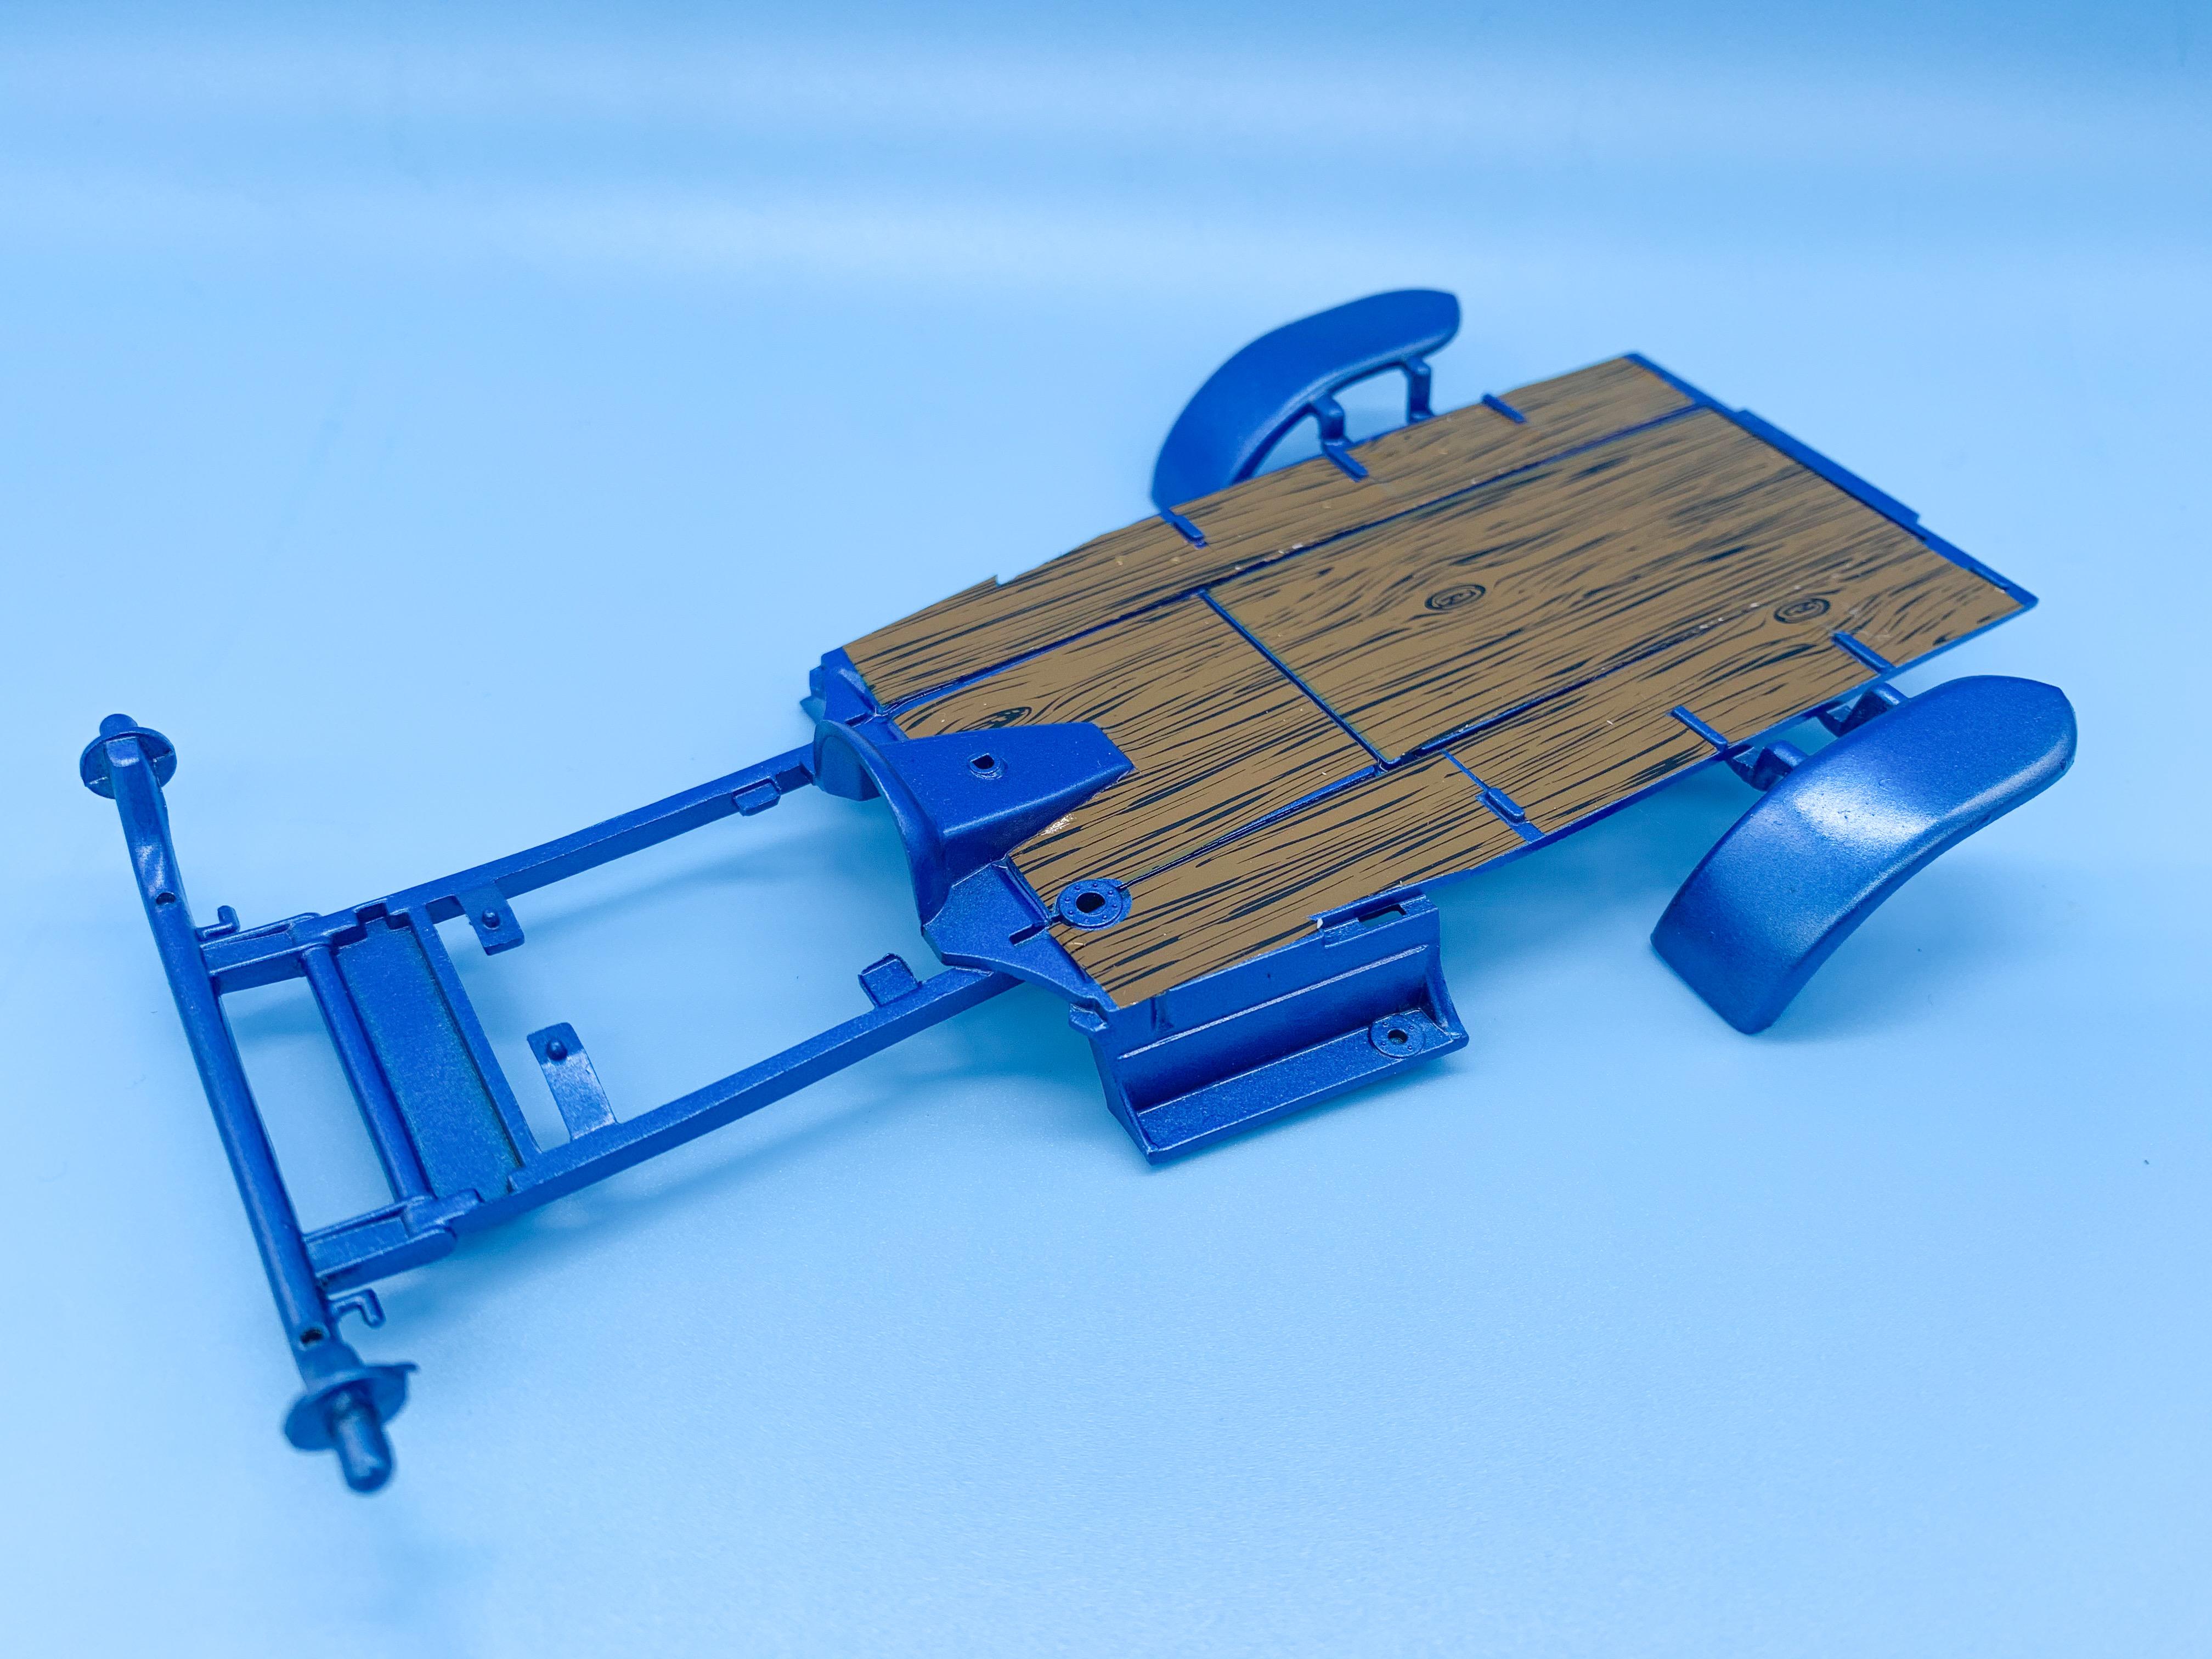
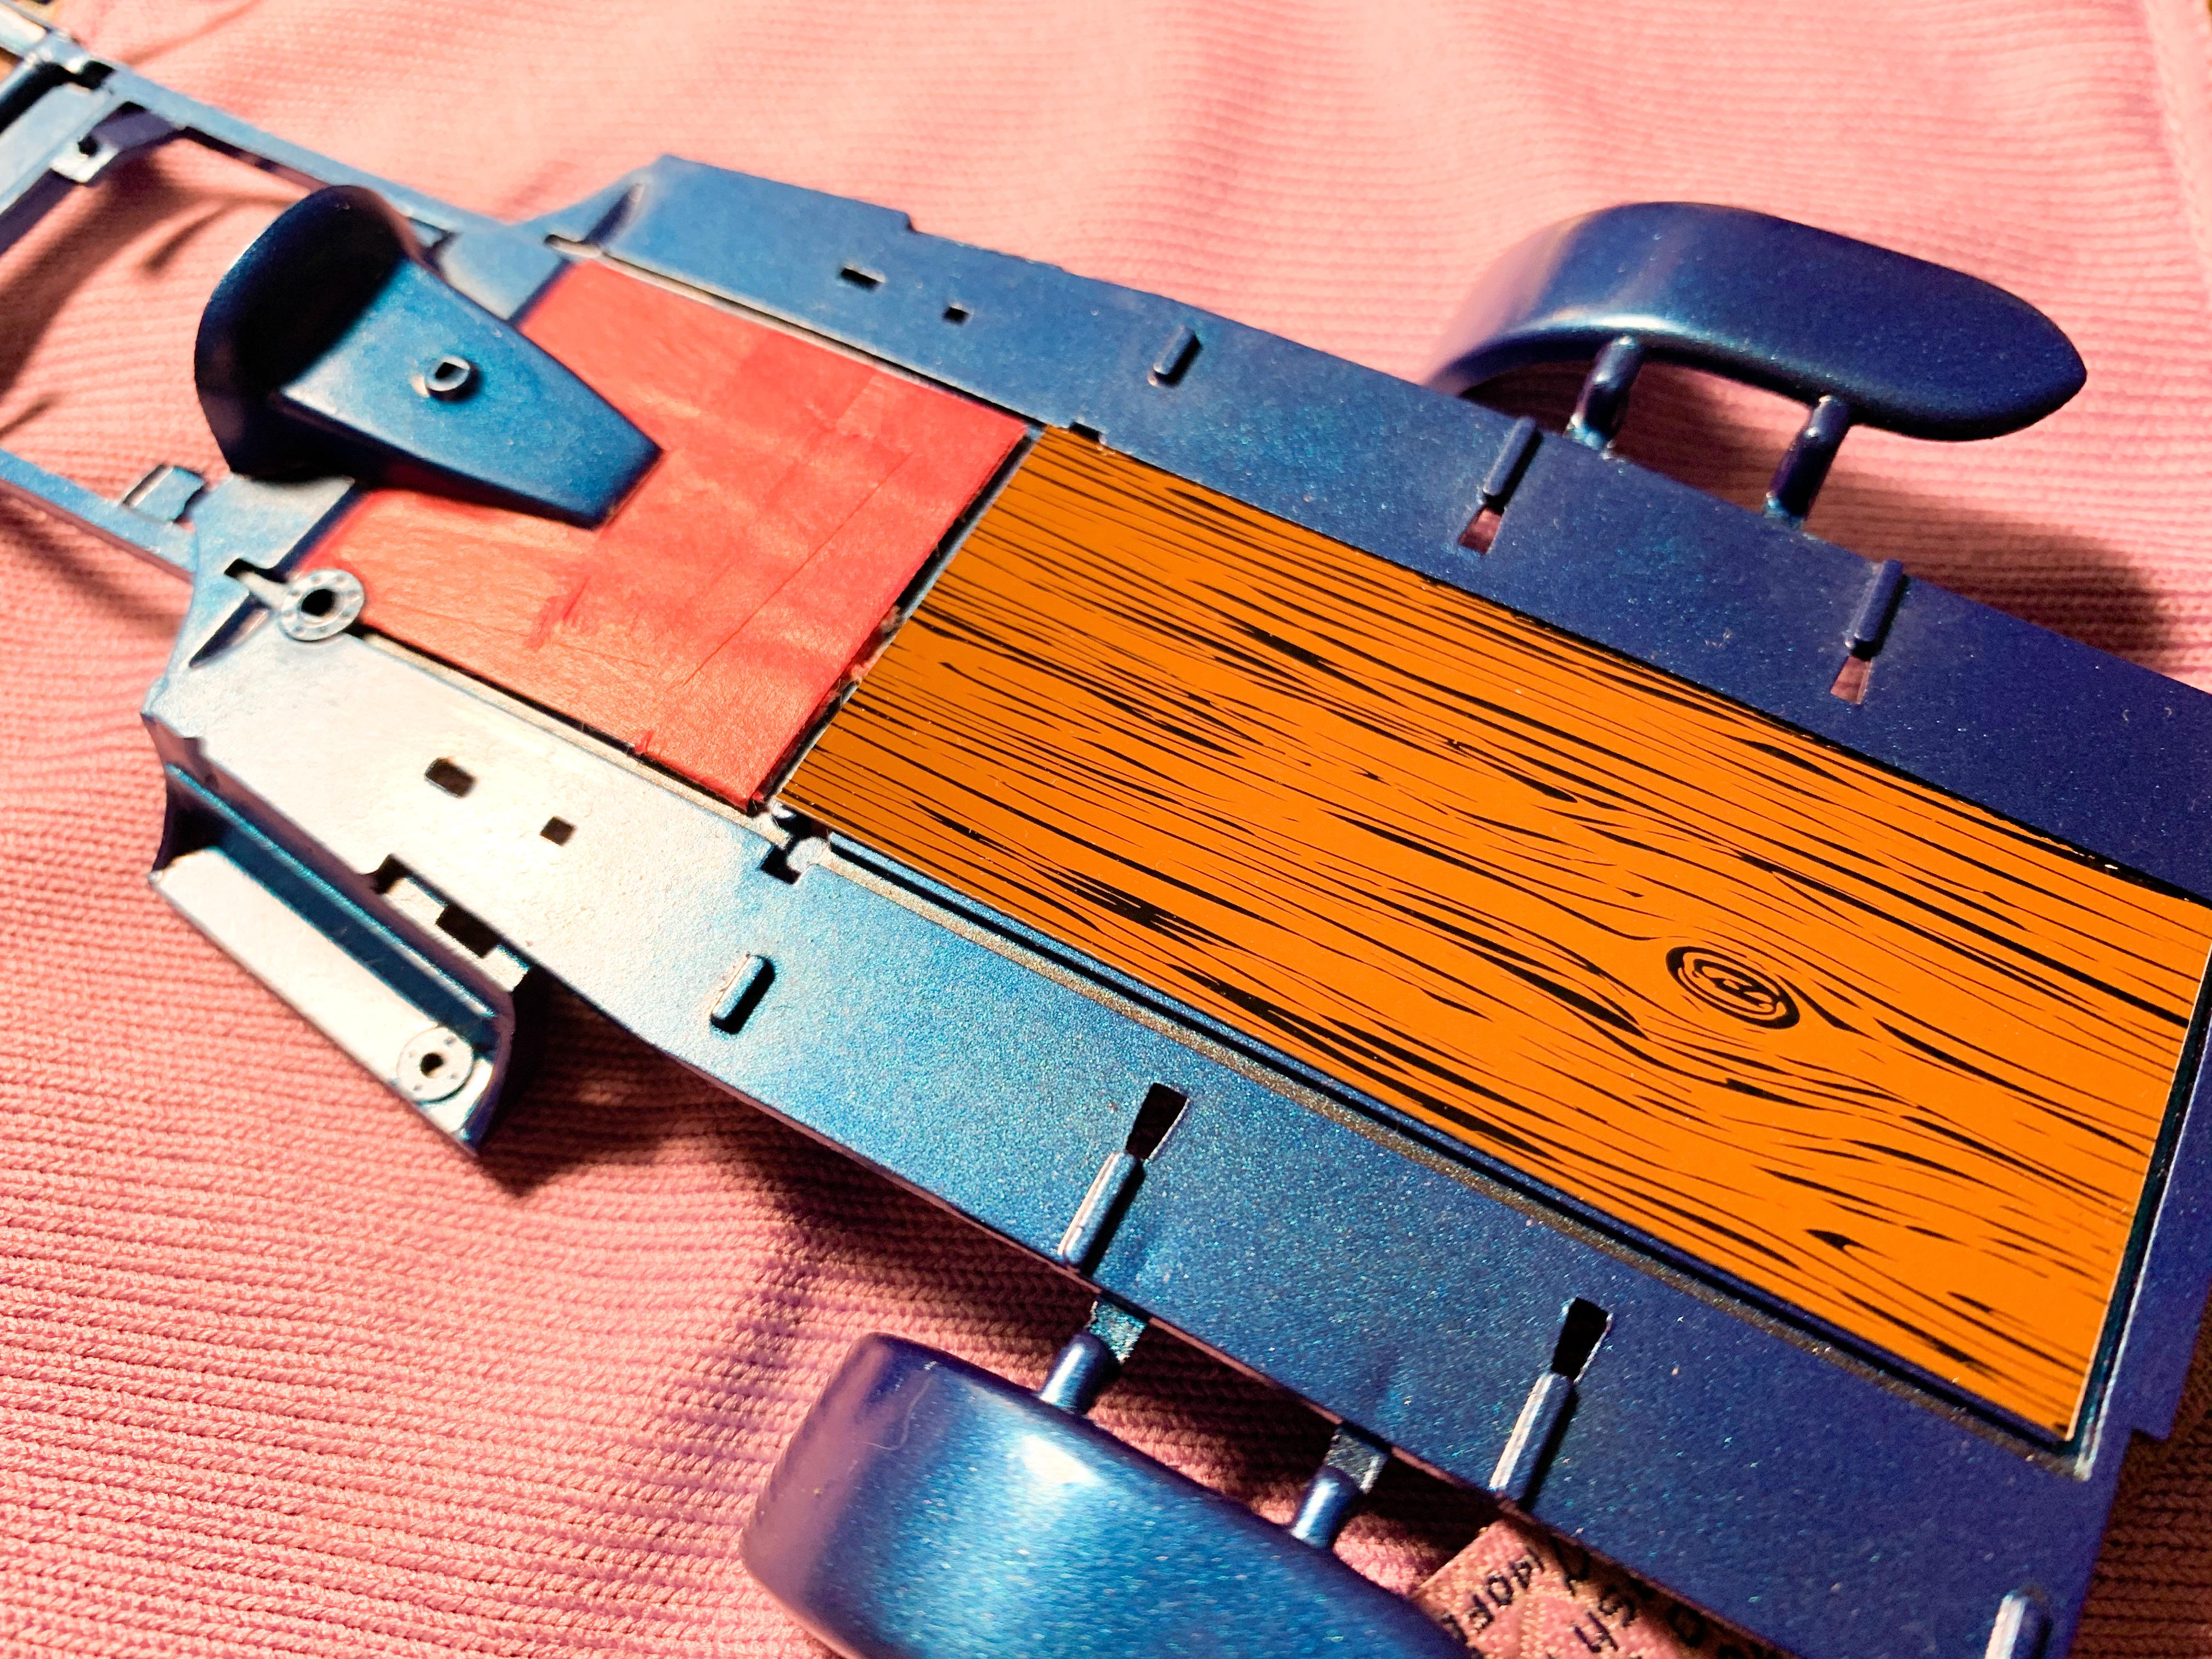
Another little update - but one I was looking forward to! Got all the templates cut from my Gopher Racing wood grain decal sheet: And got them in place! Pleased with how those look on there! Next job is a coat of clear over the whole lot, soon as they’ve had a day or two to dry. More soon!
-
What did you see on the road today?
OldNYJim replied to Harry P.'s topic in General Automotive Talk (Trucks and Cars)
He nearly fitted it in the space! ? It looks like it’s short enough that it WOULD have fitted if he’d gone nose-in -
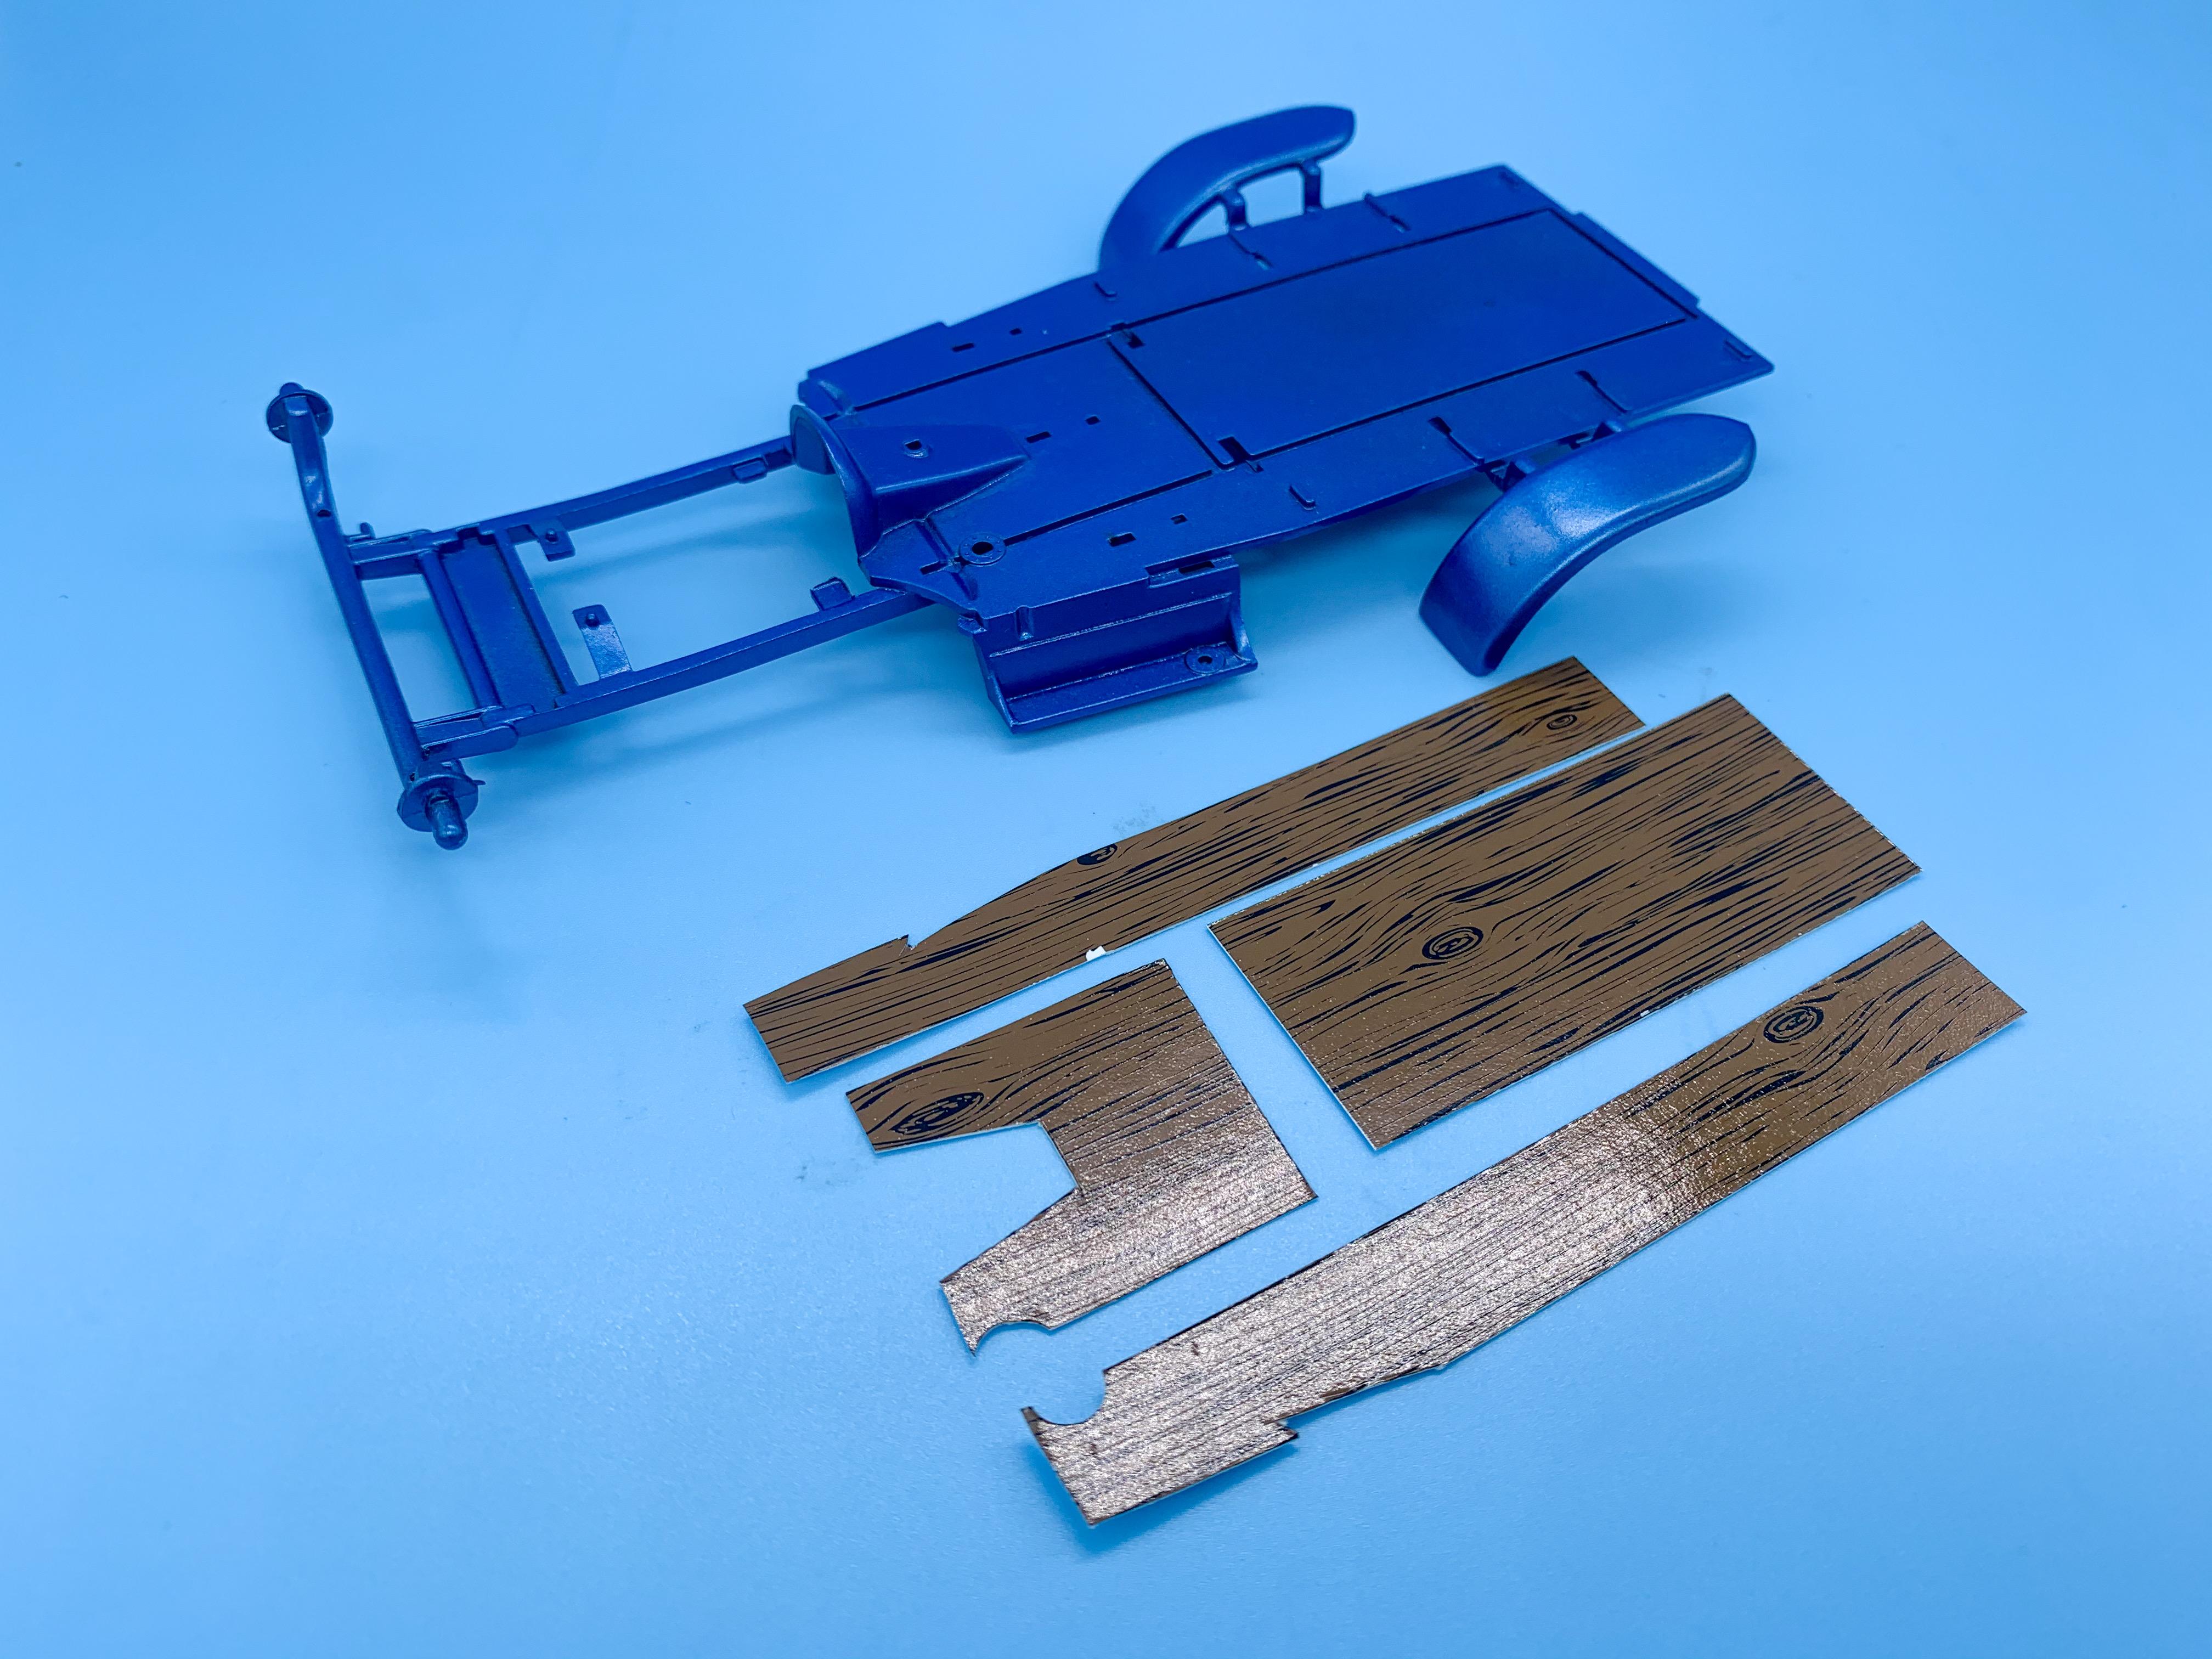
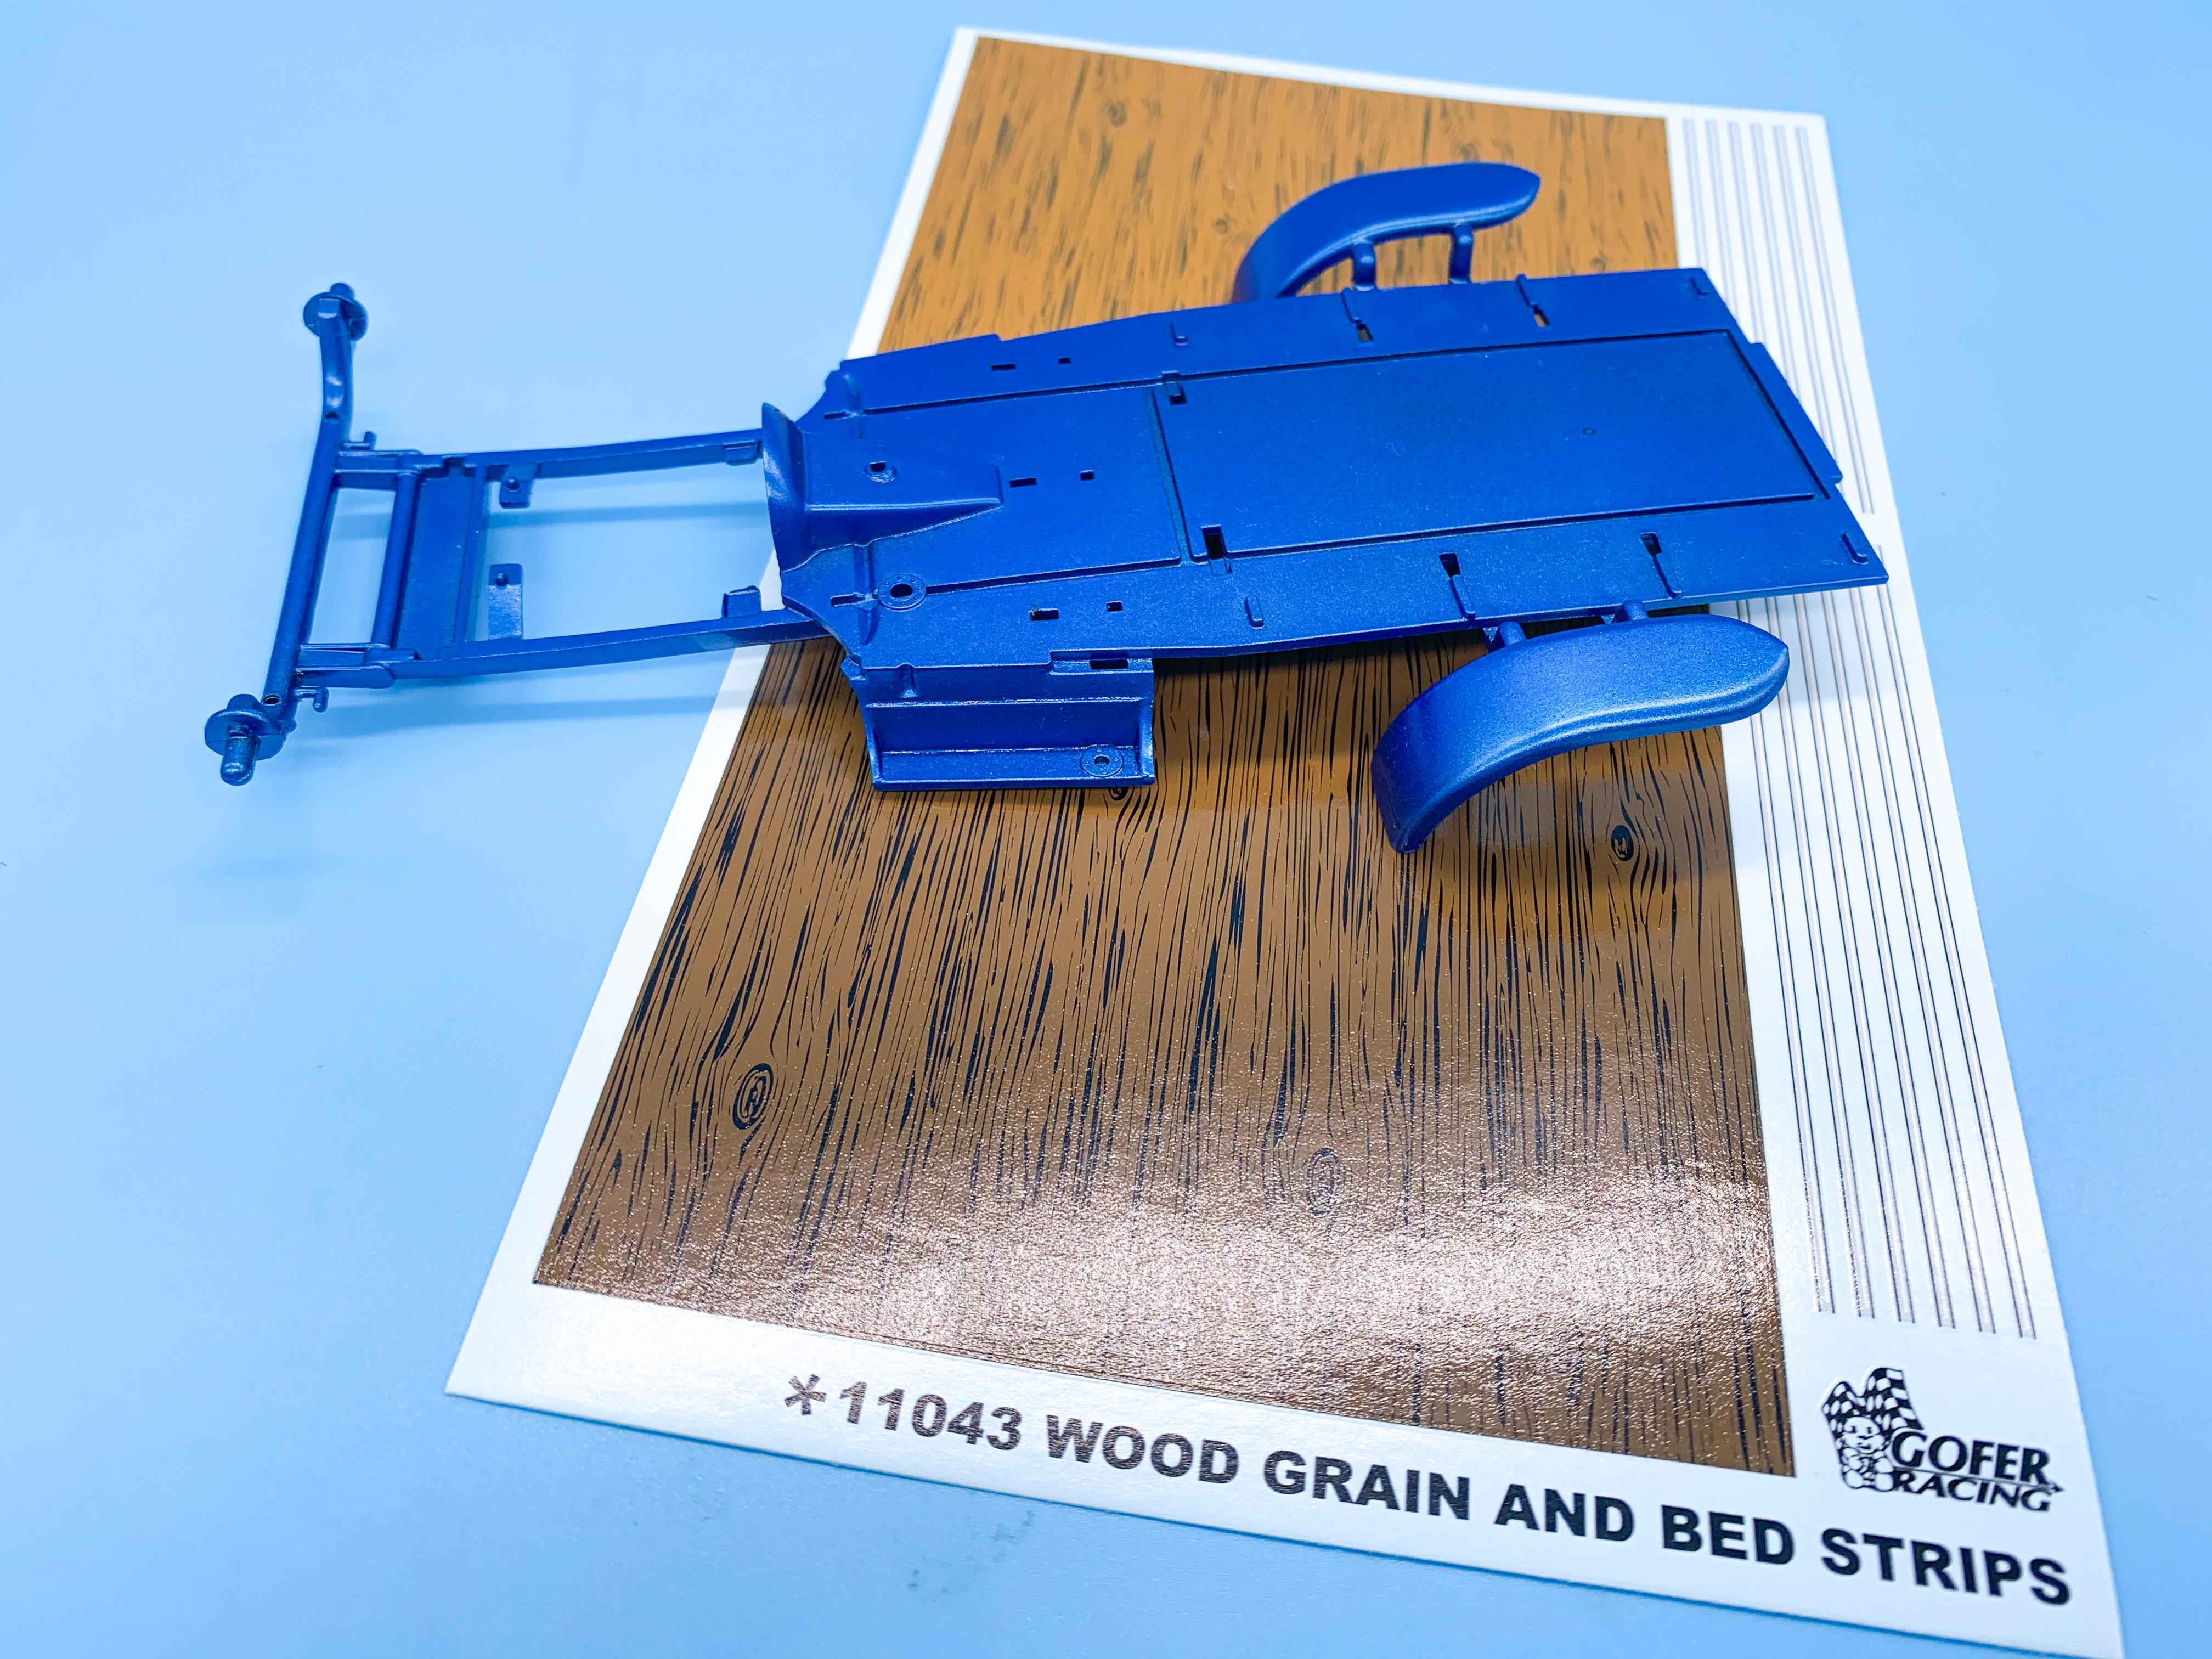
I like their Wicked Color line too, yes! The ‘regular’ ones tend to be easier to find where I am, but I’m sure in time I’ll end up springing for a set once I get bored of the regular colors. Seeing as I’m replying anyway, next job that I’m starting on this thing is the wooden floorboards in the interior. I picked up this woodgrain pattern decal sheet from Gopher Racing and I’ve been looking for a project to use it on - it’s a little cartoon-y looking I think for a ‘serious’ build...so it should fit right in on this one! ? Need to make a bunch more templates now and then get cuttin’ and decalin’: More soon!
-
Airbrushed some lettering today - the kit had decals but why use them and make things easy ??
-
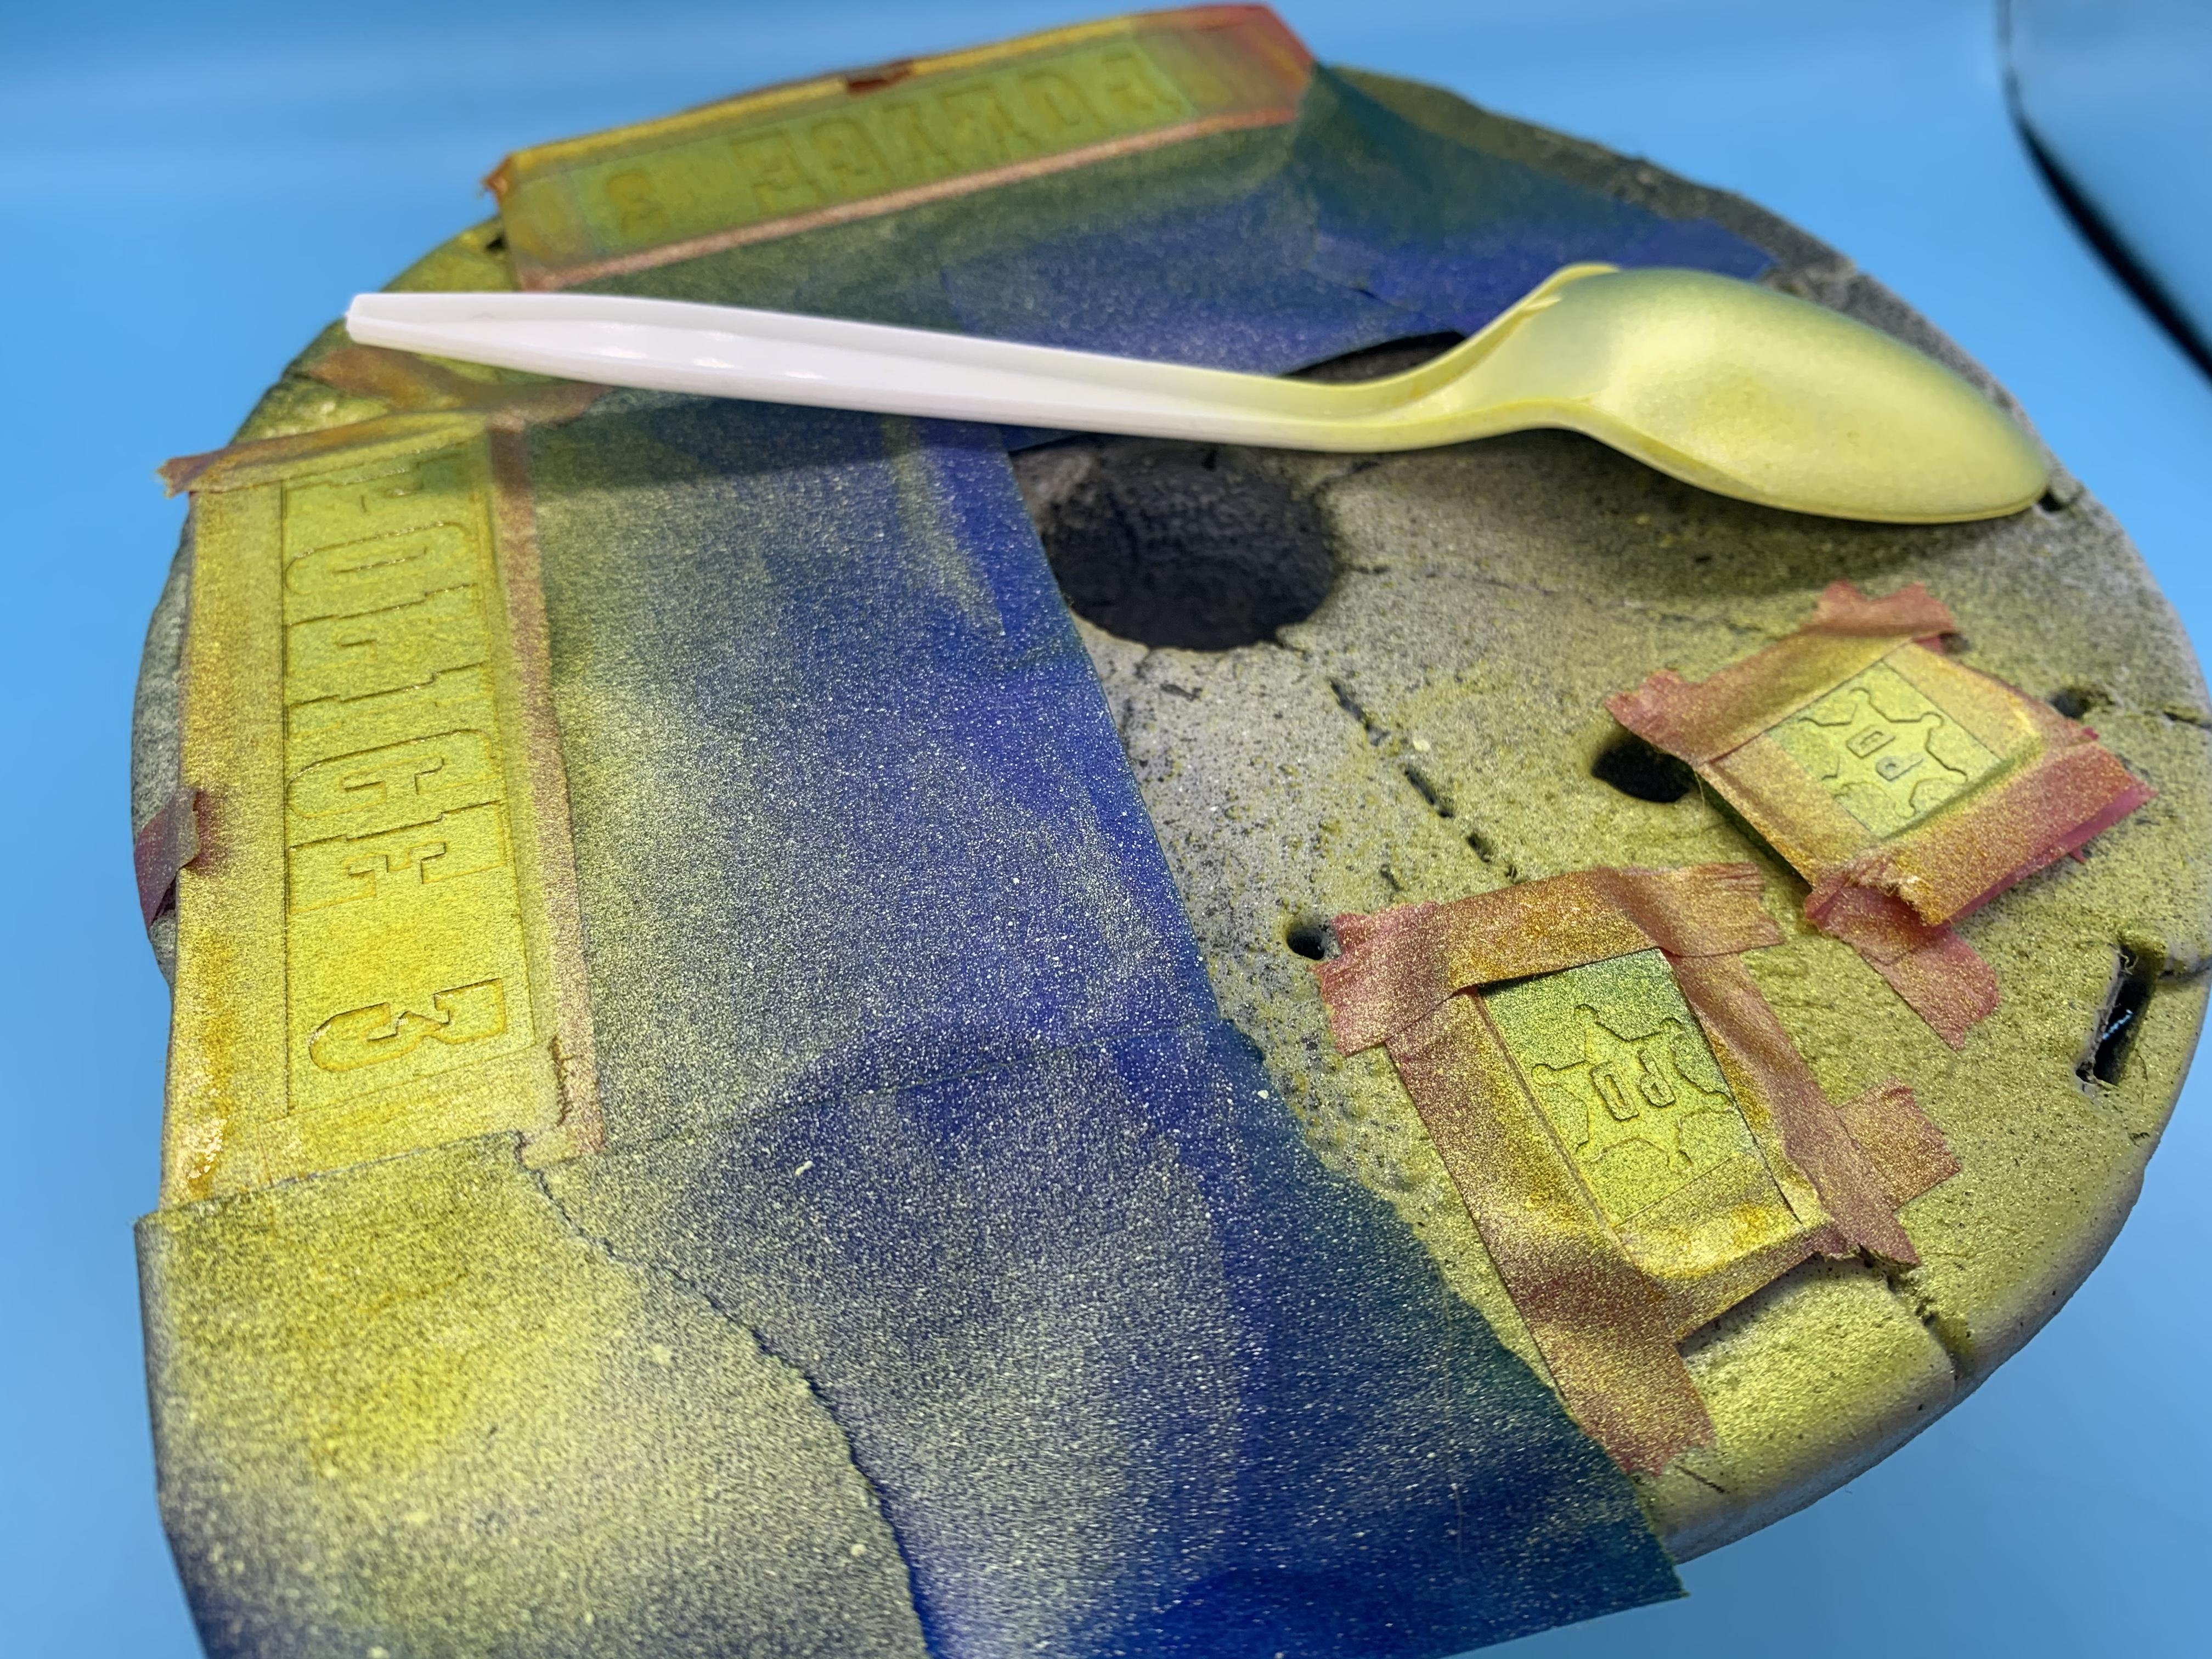
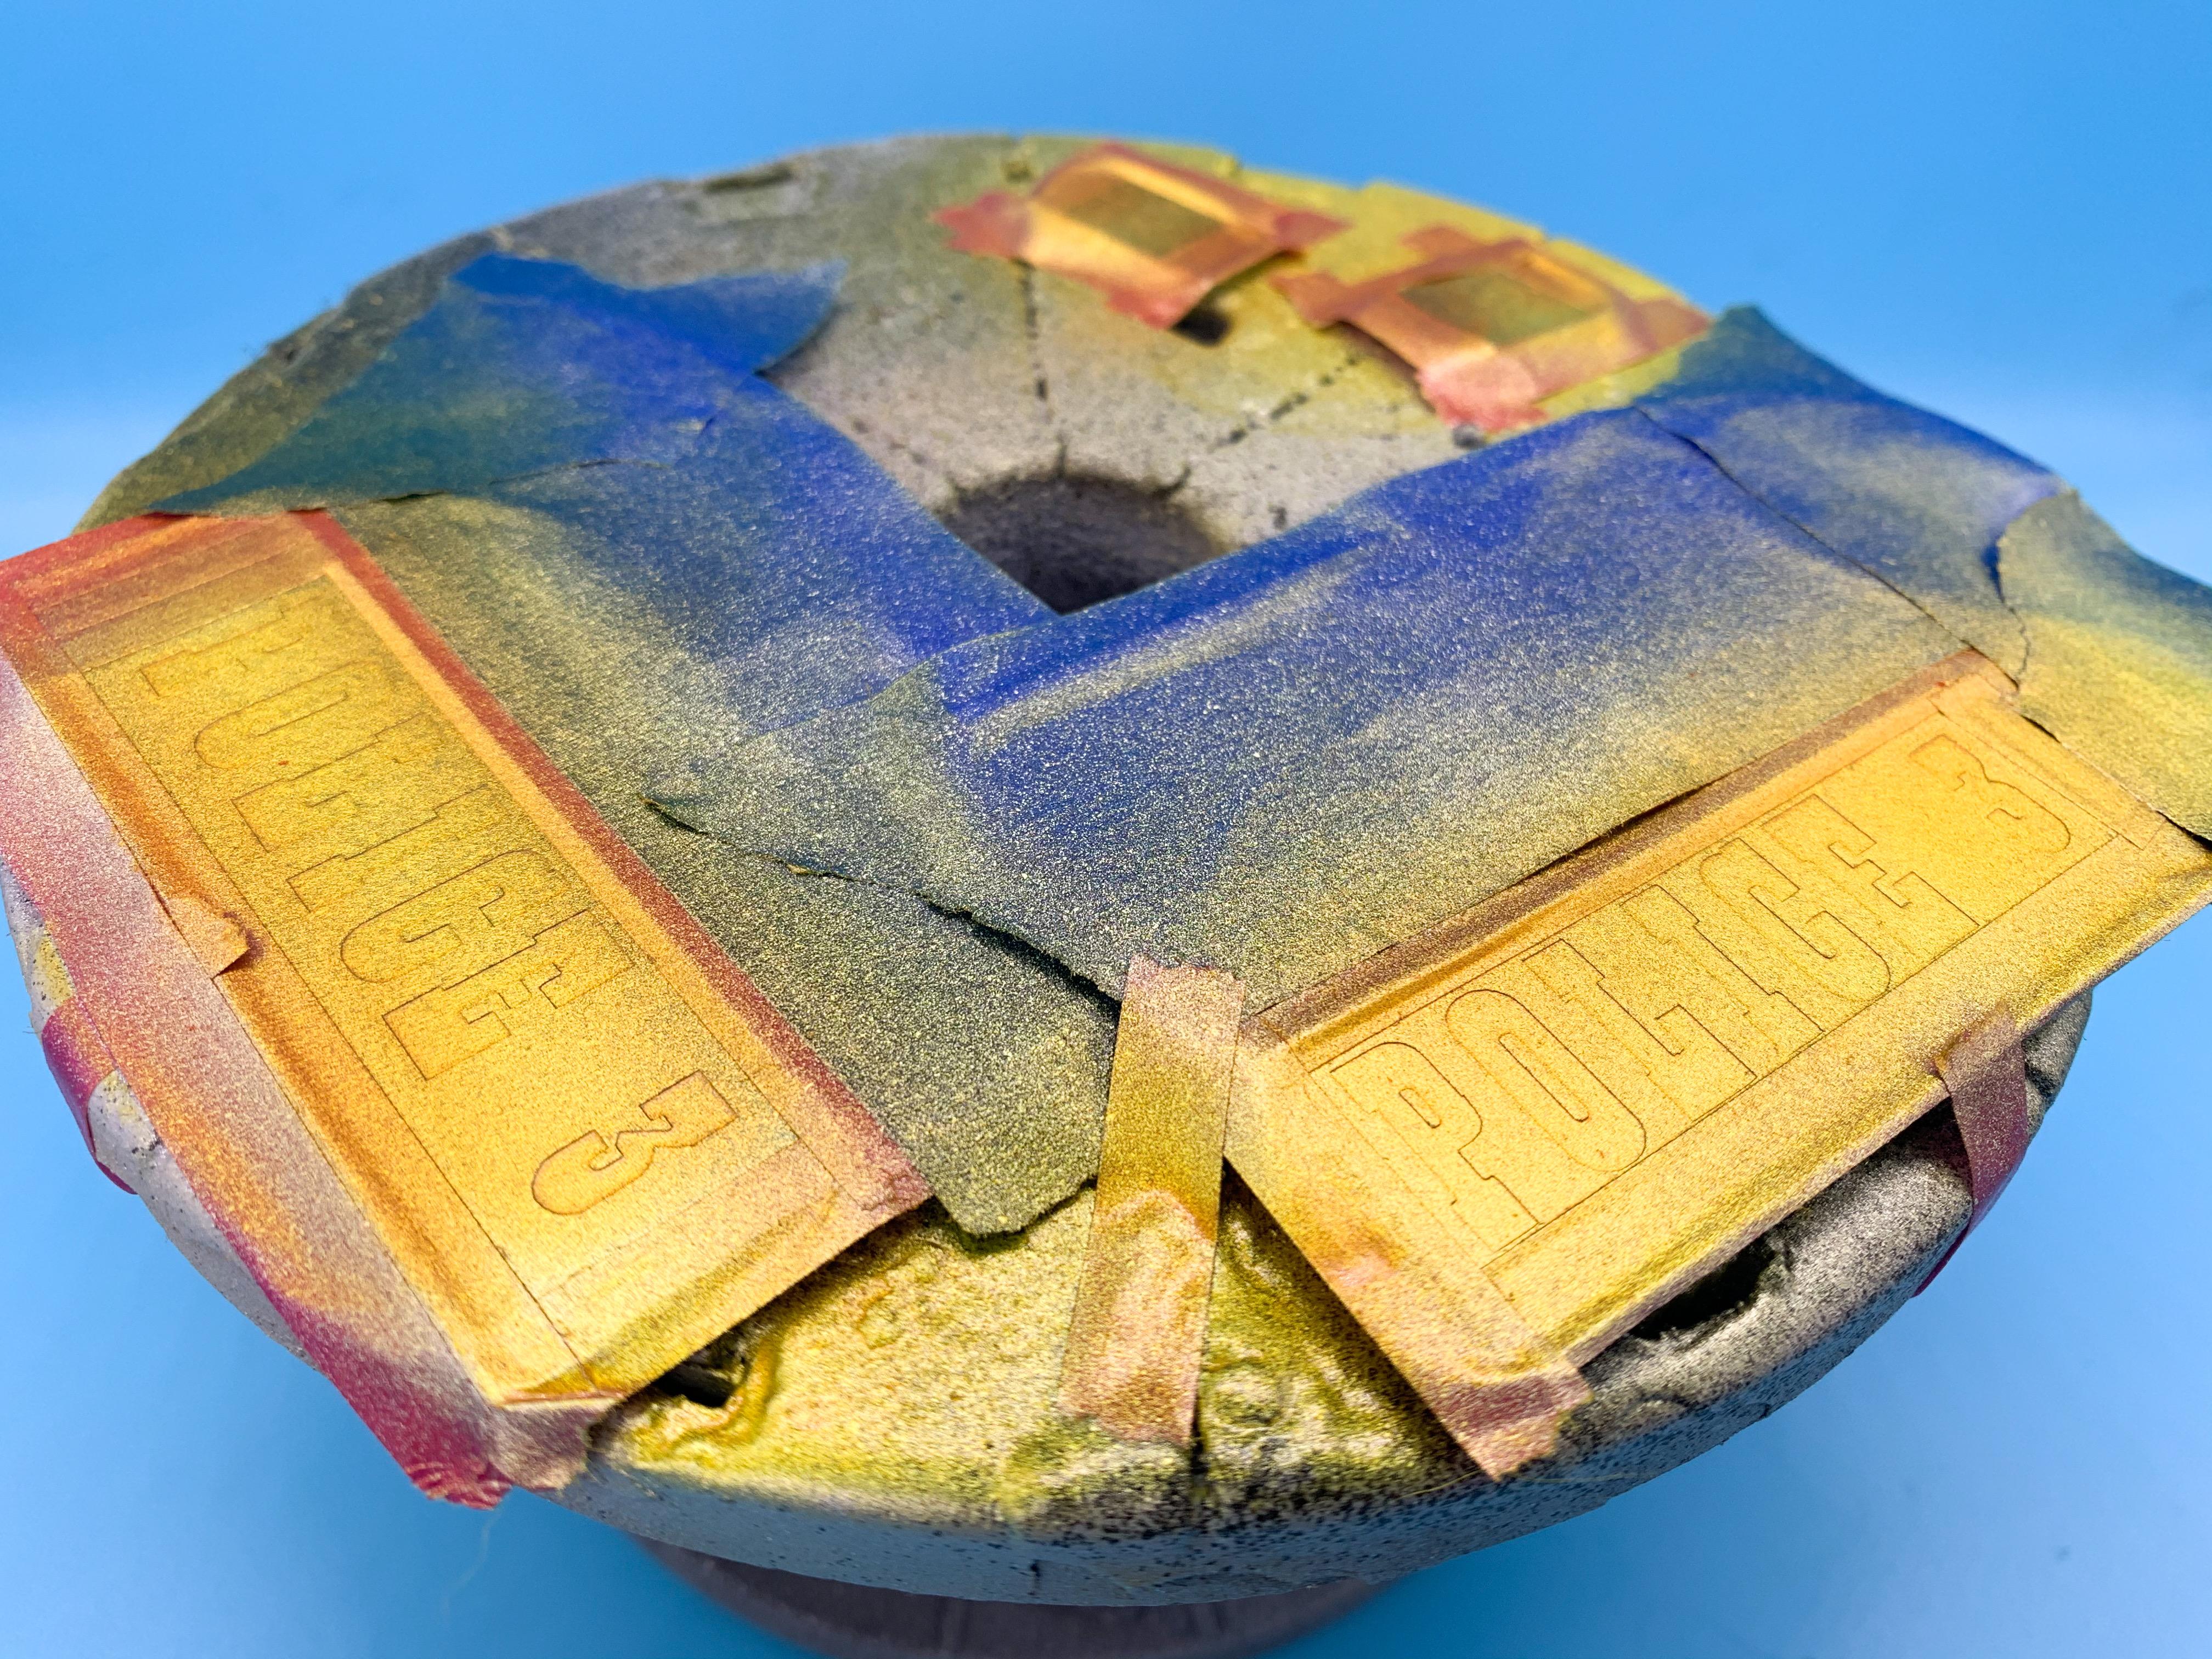
Ok, time’s up! Masks off! ? Just a couple of little touch ups that I need to do on the blue and then I can hit these with some clear! More soon!
-
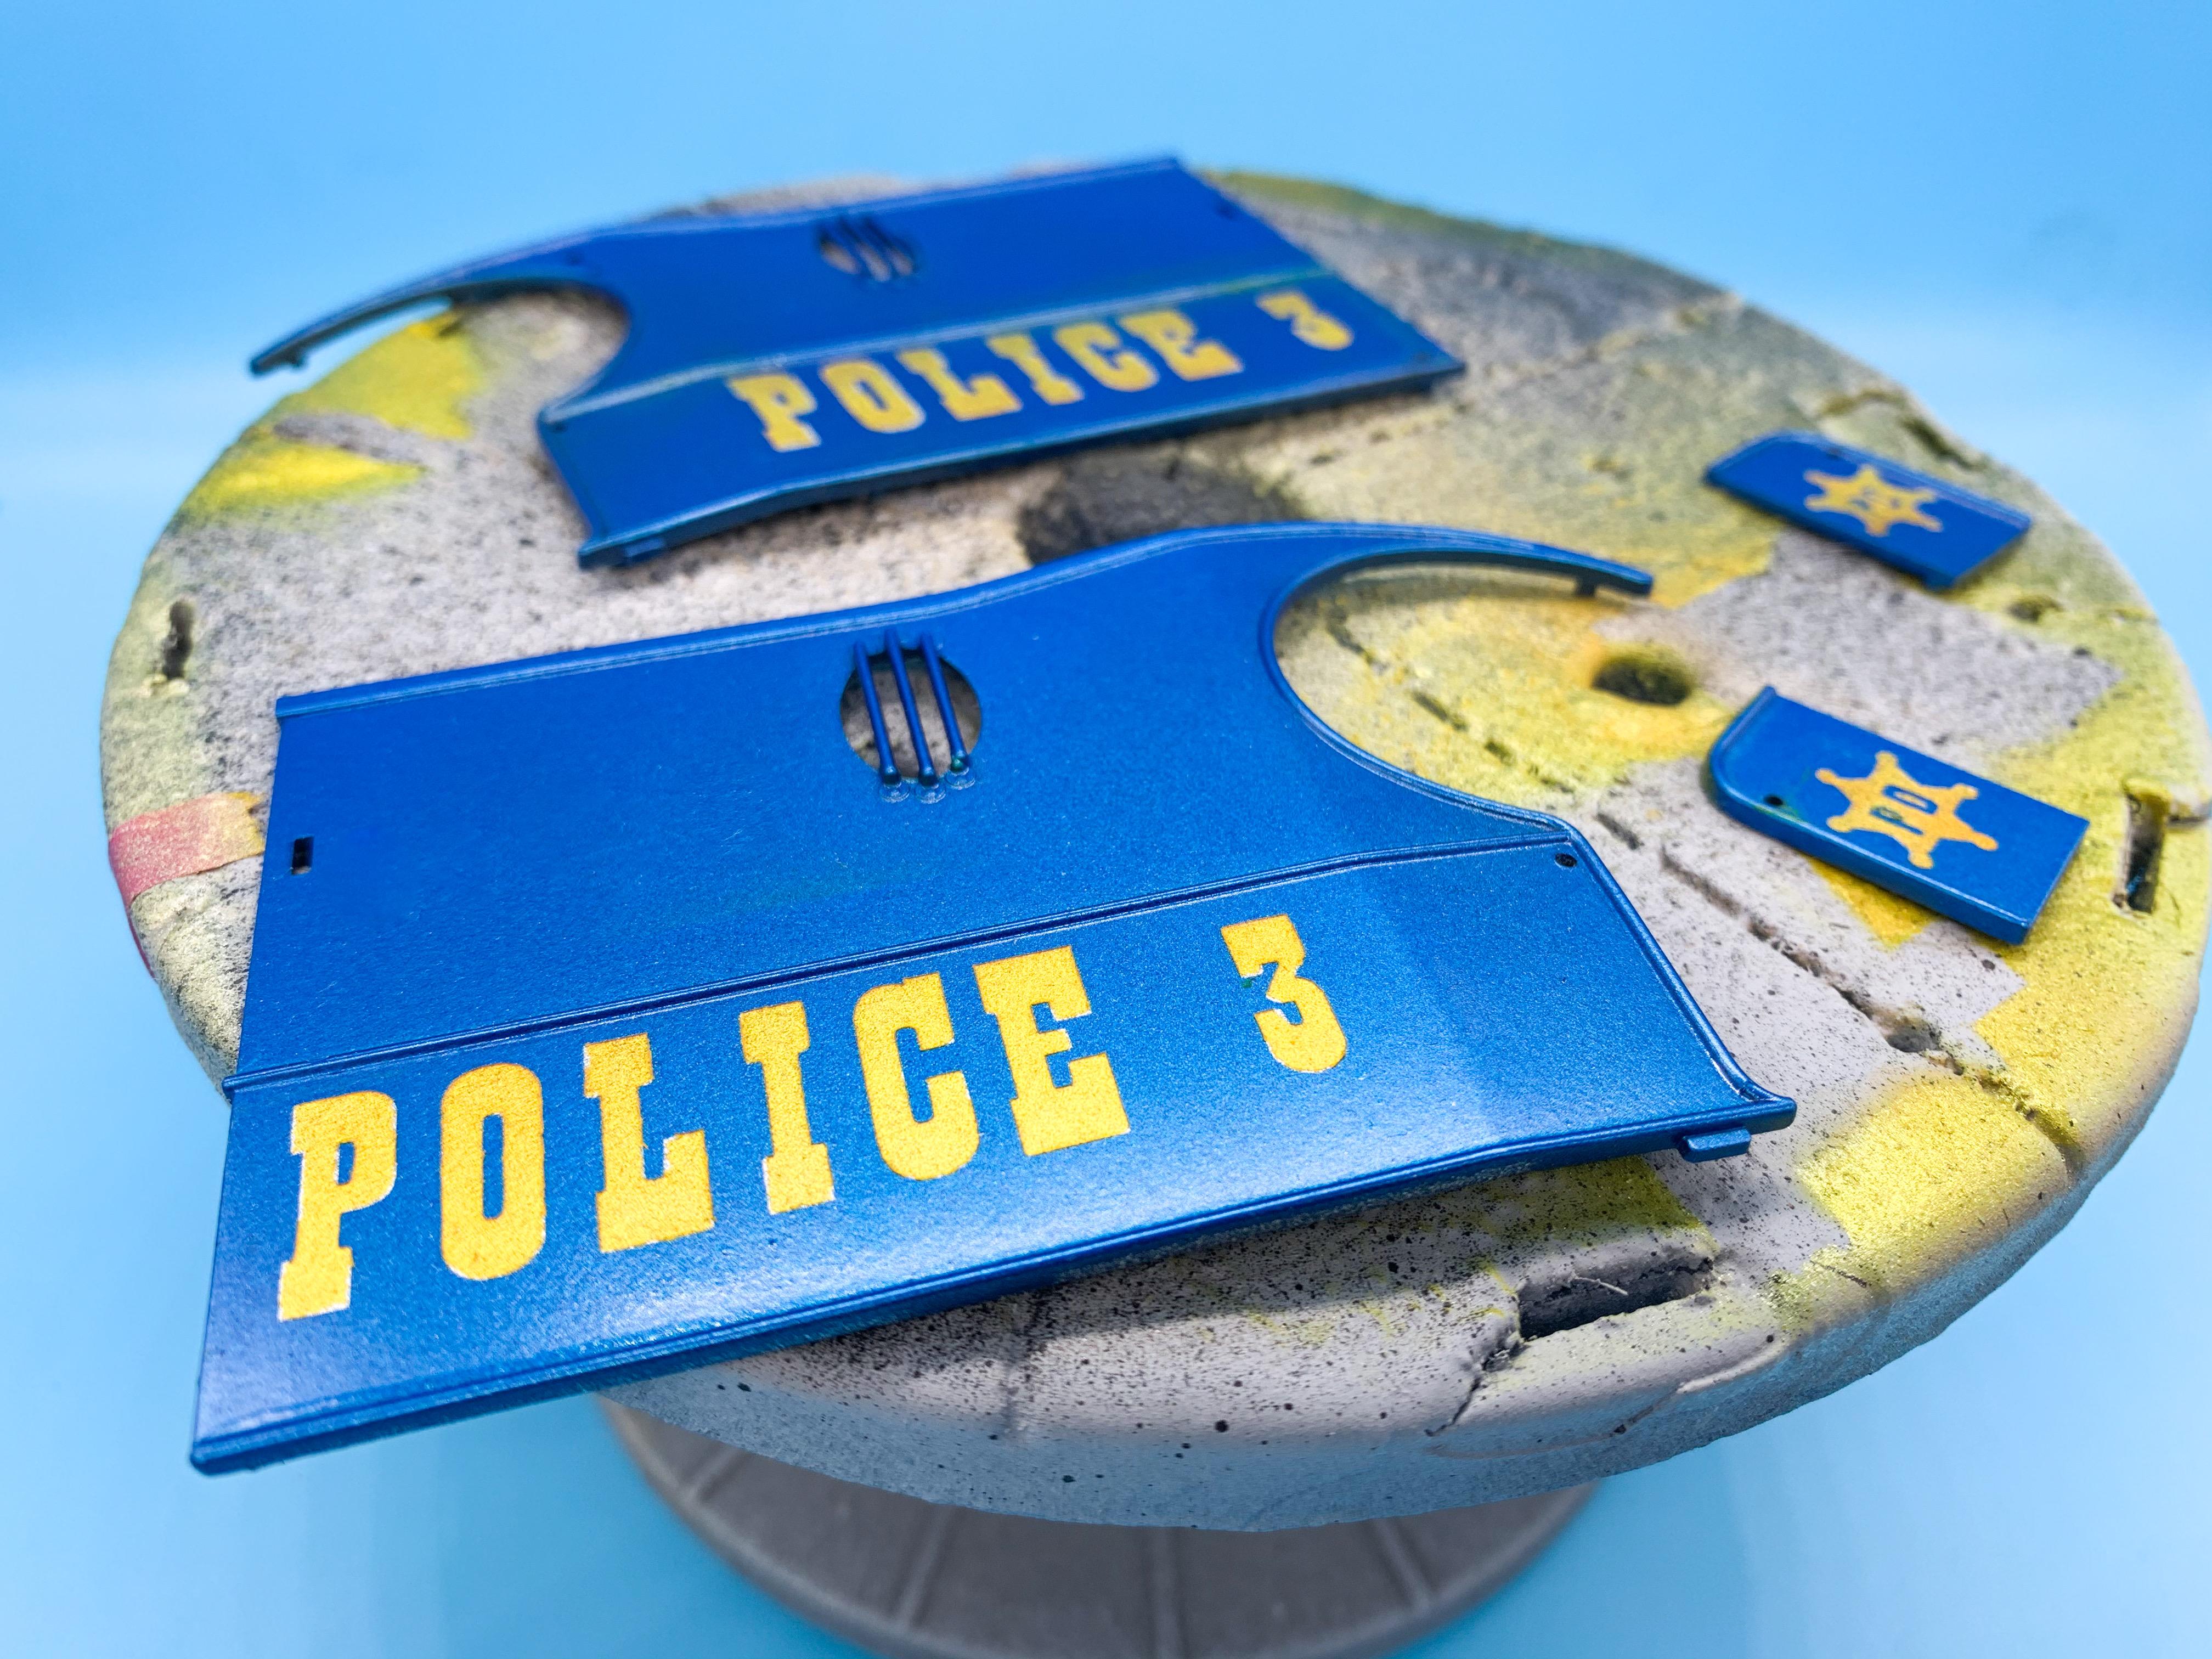
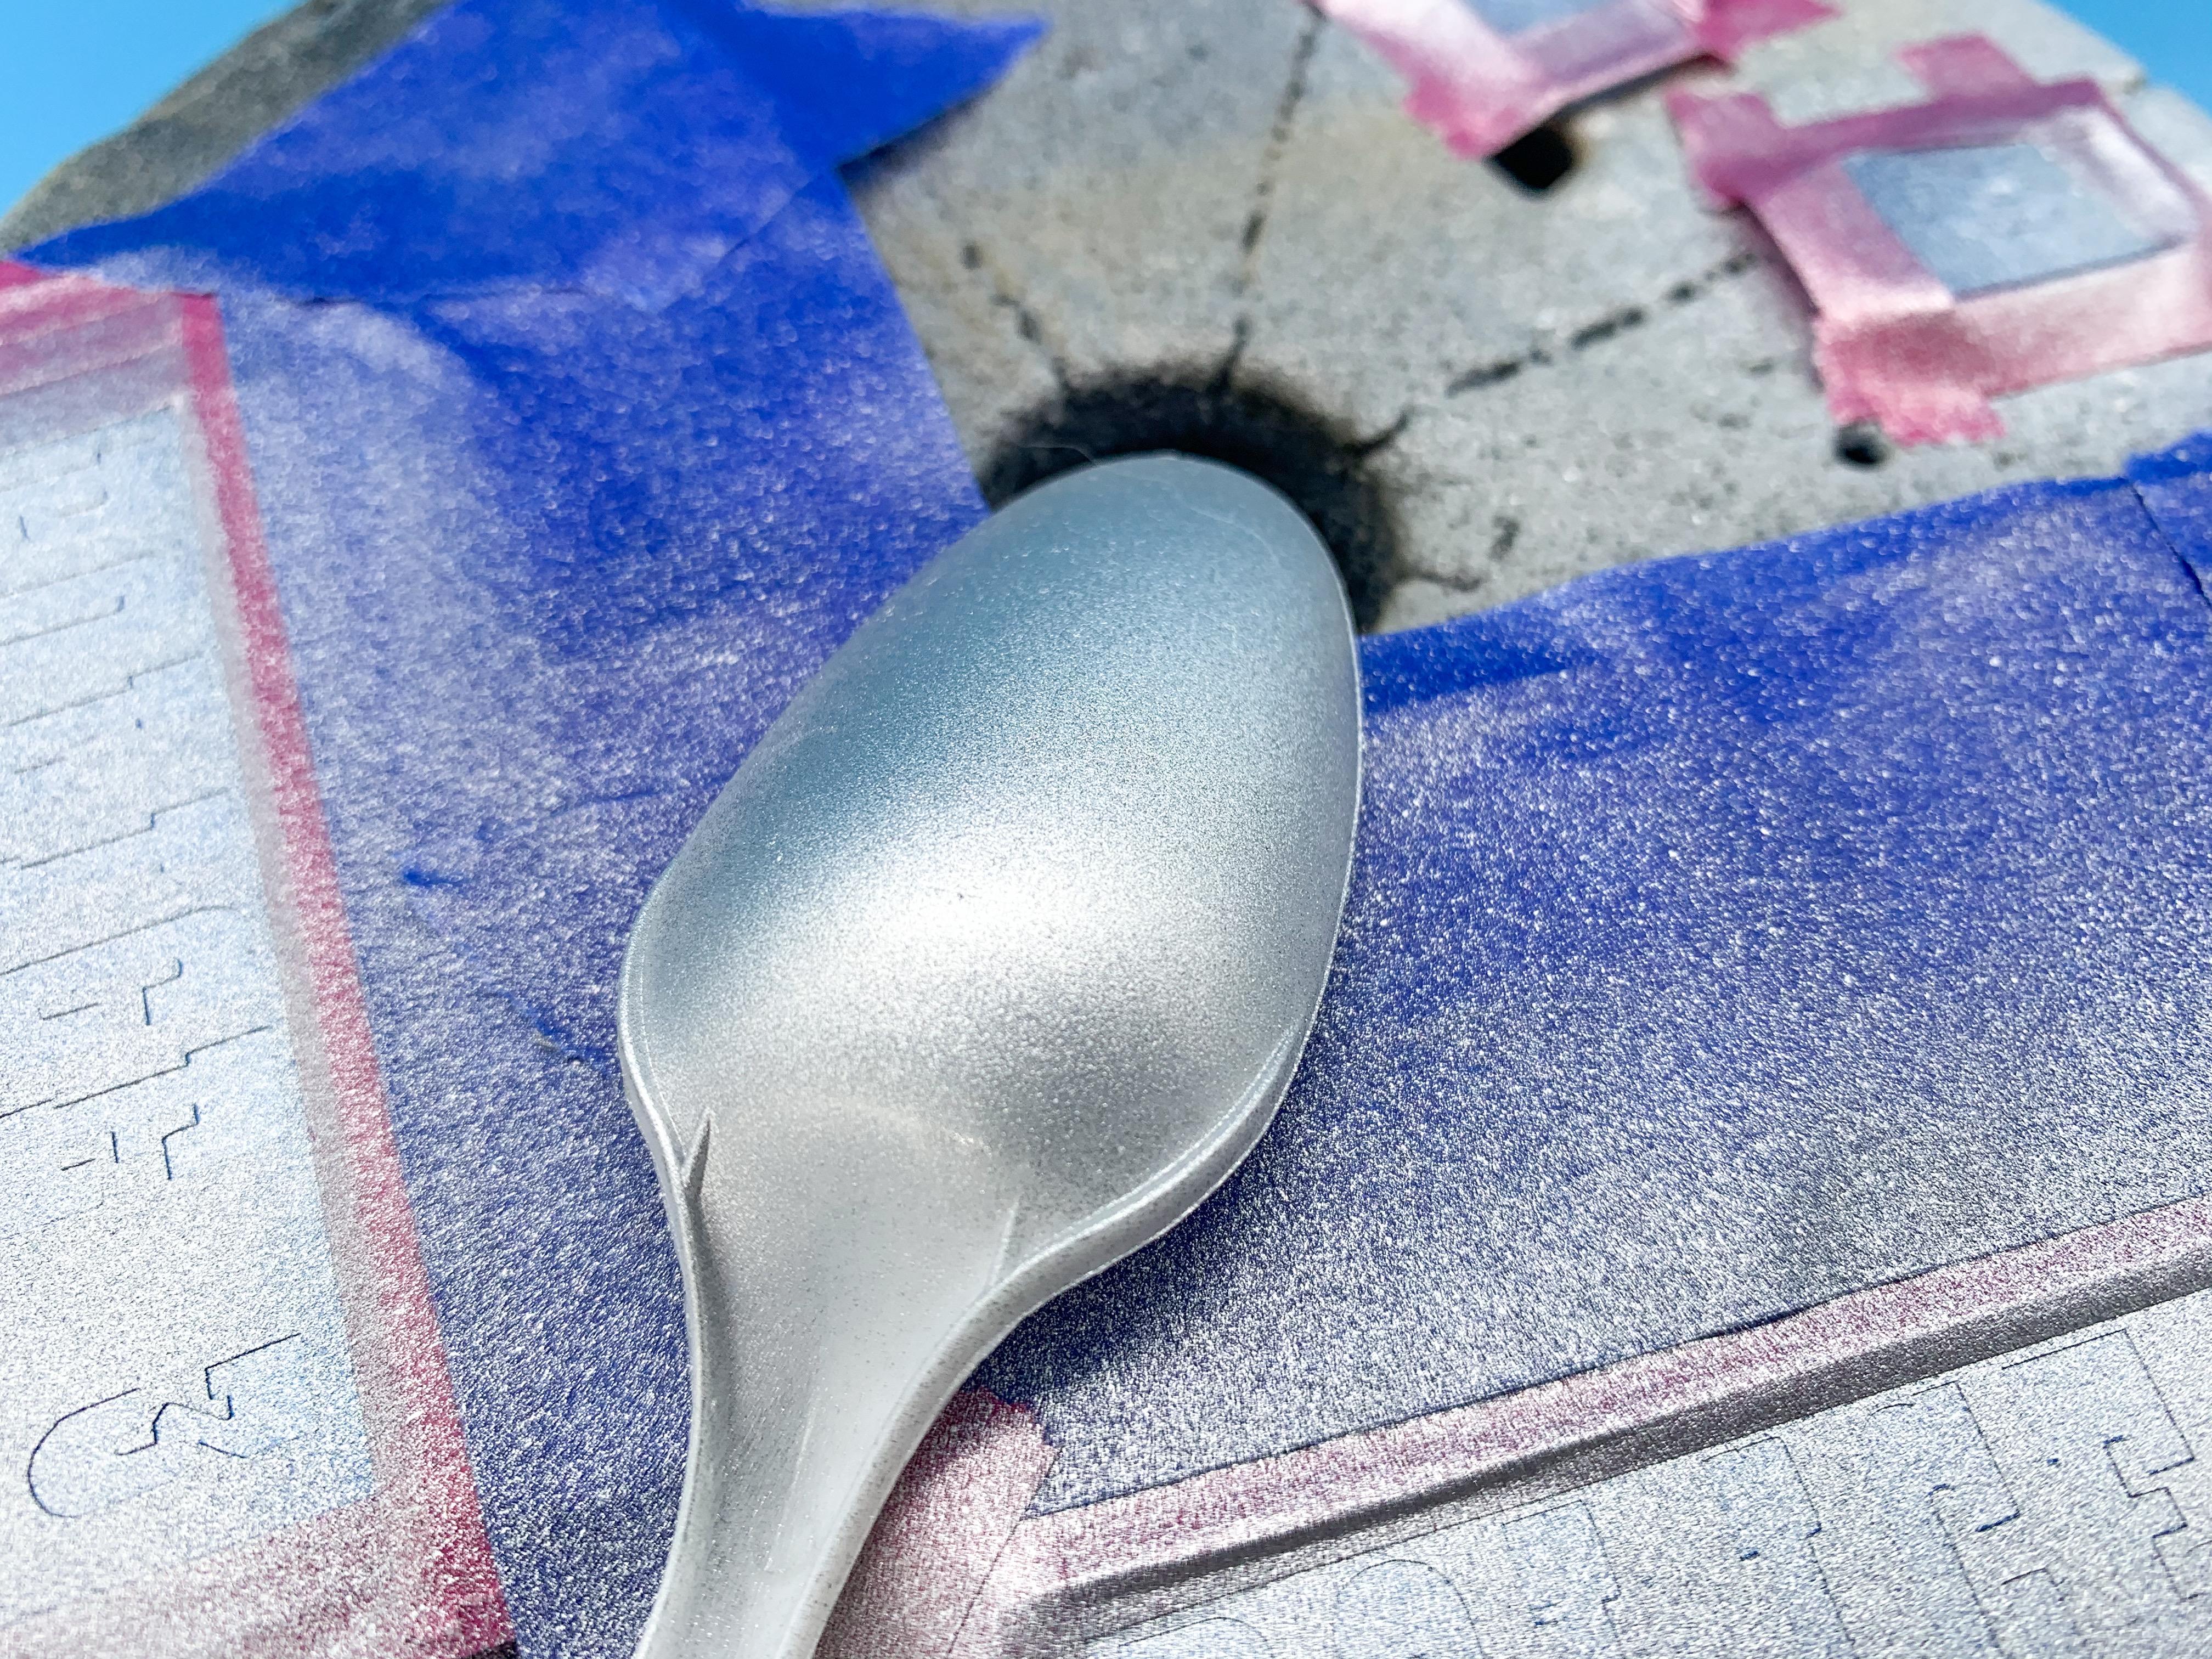
Wow, sure took me a long time to do any more on this one ? Next step, after getting the body parts in paint was the distinctive lettering. I could’ve used kit decals but I wanted to do something a step better than that, so I cut some masks so I could paint them: First up I shot a layer of Tamiya chrome through the airbrush - I wanted a little bit of a scale metalflake look and the grainy finish of this paint will help with that as demonstrated on this spoon I shot at the same time: Then a light coat of Createx candy yellow: And then a little candy Orange to add a little subtle depth and detail: And now I’ve gotta wait patiently an hour or so to let the candies set up (they can be a little gummy and tear if you remove the mask too soon) and we’ll see where we’re at on this one!
-
That’s an OUTSTANDING build - absolutely stunning! Just the kind of thing I was hoping to see in this thread! What scale is that?
-
Amazing! This board is the best for people having stuff you’d never see otherwise! Thanks for posting bud!
-
AWESOME! Thanks for the link - I’m going to read that now!
-
Couldn’t find much online about it from a quick search - but it looks COOL!
-
I'm running out of room.
OldNYJim replied to ewetwo's topic in General Automotive Talk (Trucks and Cars)
Is there swag this year Tom? I need some swag for my wall! See? ??
-
I really like this - the stance is good, those wheels are cool and the color’s unusual enough to be eye catching but still looks great on there! Way cool!
-
That color is gorgeous! I like these little Alfas - is this a Tamiya kit?
-
How to be competitive at contests.
OldNYJim replied to Jantrix's topic in Tips, Tricks, and Tutorials
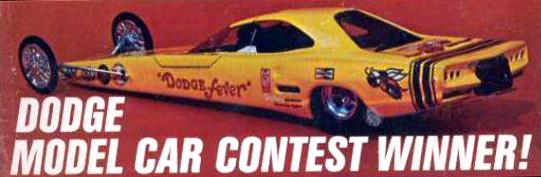
I was thinking more of if some OTHER guy built something similar previously and you ended up (internationally or not) building a close facsimile of that model, would that affect how the build was judged. Not that I’ve been to a show ever anyway (although I’m looking forward to NNL East next month), but I was just curious -
How to be competitive at contests.
OldNYJim replied to Jantrix's topic in Tips, Tricks, and Tutorials
Great idea! I’d be very interested to see a bunch of bar-raising contest winners! -
How to be competitive at contests.
OldNYJim replied to Jantrix's topic in Tips, Tricks, and Tutorials
On a related note, I wondered from those who judge shows how much the “someone did that last year” factor is considered. Say, a nice red 57 Chevy won last year’s show - is it maybe prudent not to bring another red 57 Chevy? I’d bet there’s plenty of originality and variety at most shows anyway, but I was curious if that was ever a consideration, even if maybe not intentionally, by the judges?