OldNYJim
-
Posts
249 -
Joined
-
Last visited
Content Type
Profiles
Forums
Events
Gallery
Everything posted by OldNYJim
-
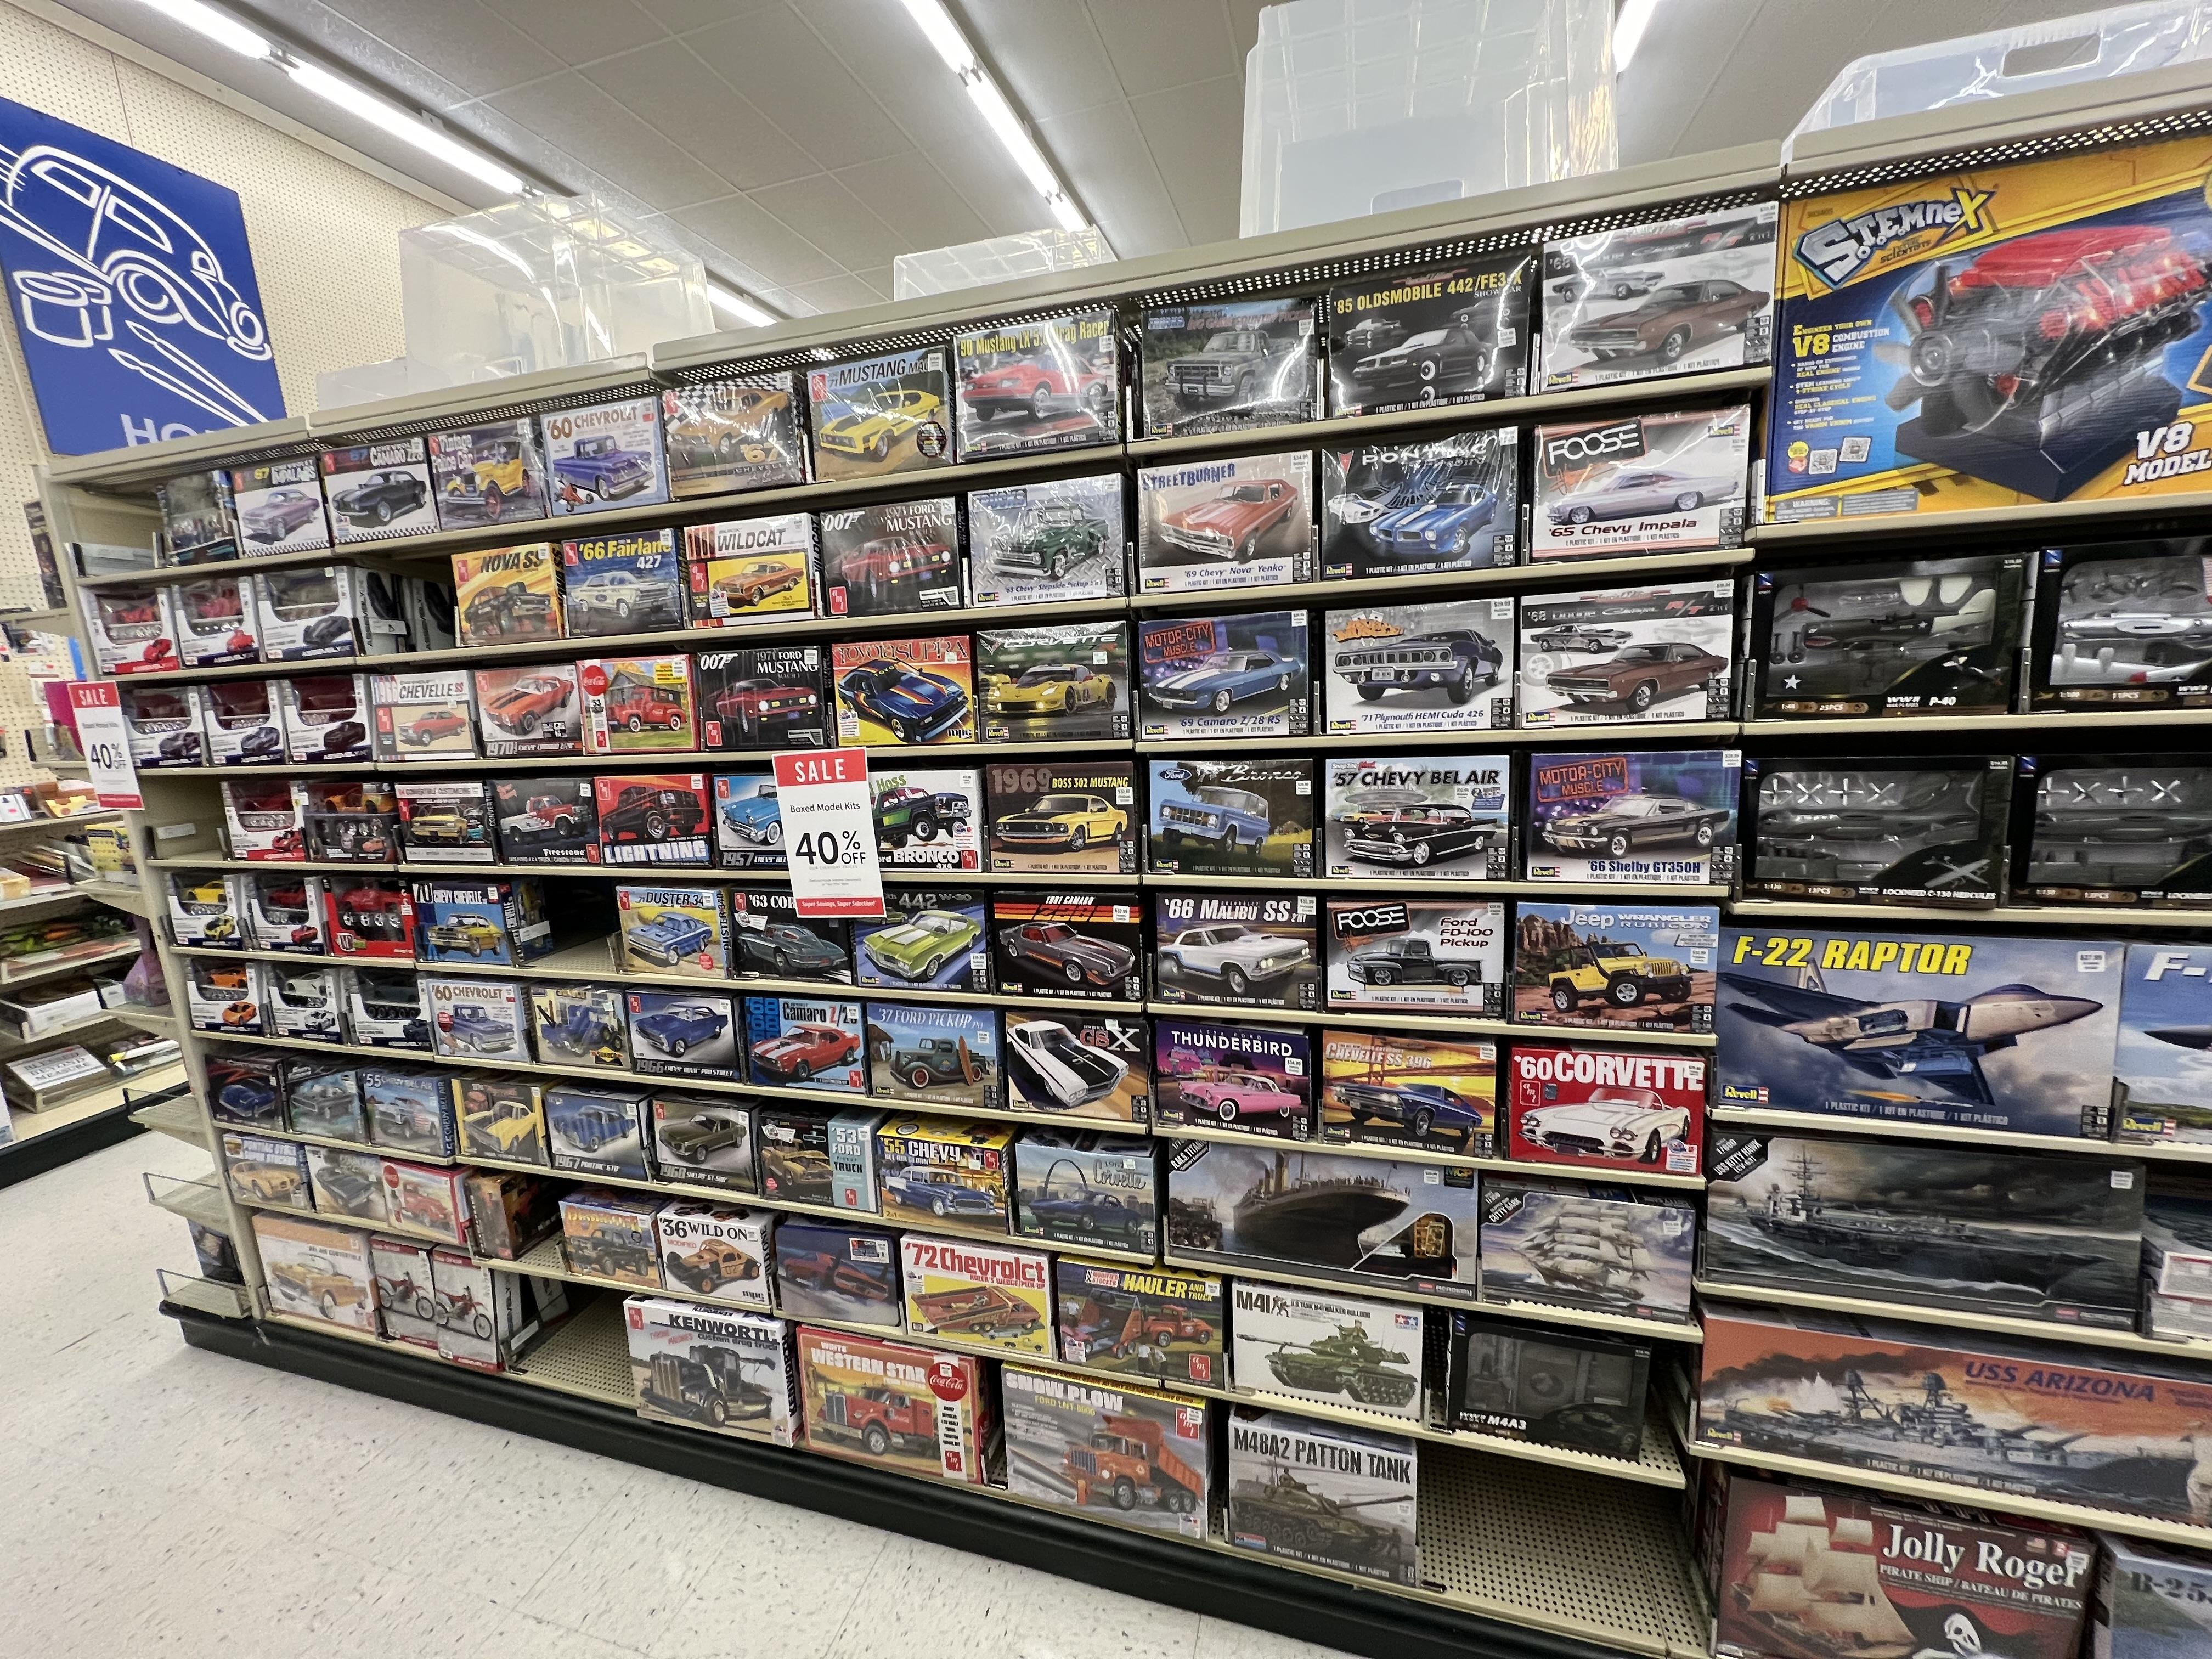
Mine has had a good restock since I last visited - I managed to leave without bringing anything with me (which is even more remarkable as my wife wasn’t there to curb my enthusiasm)…nothing on clearance, sadly…

-
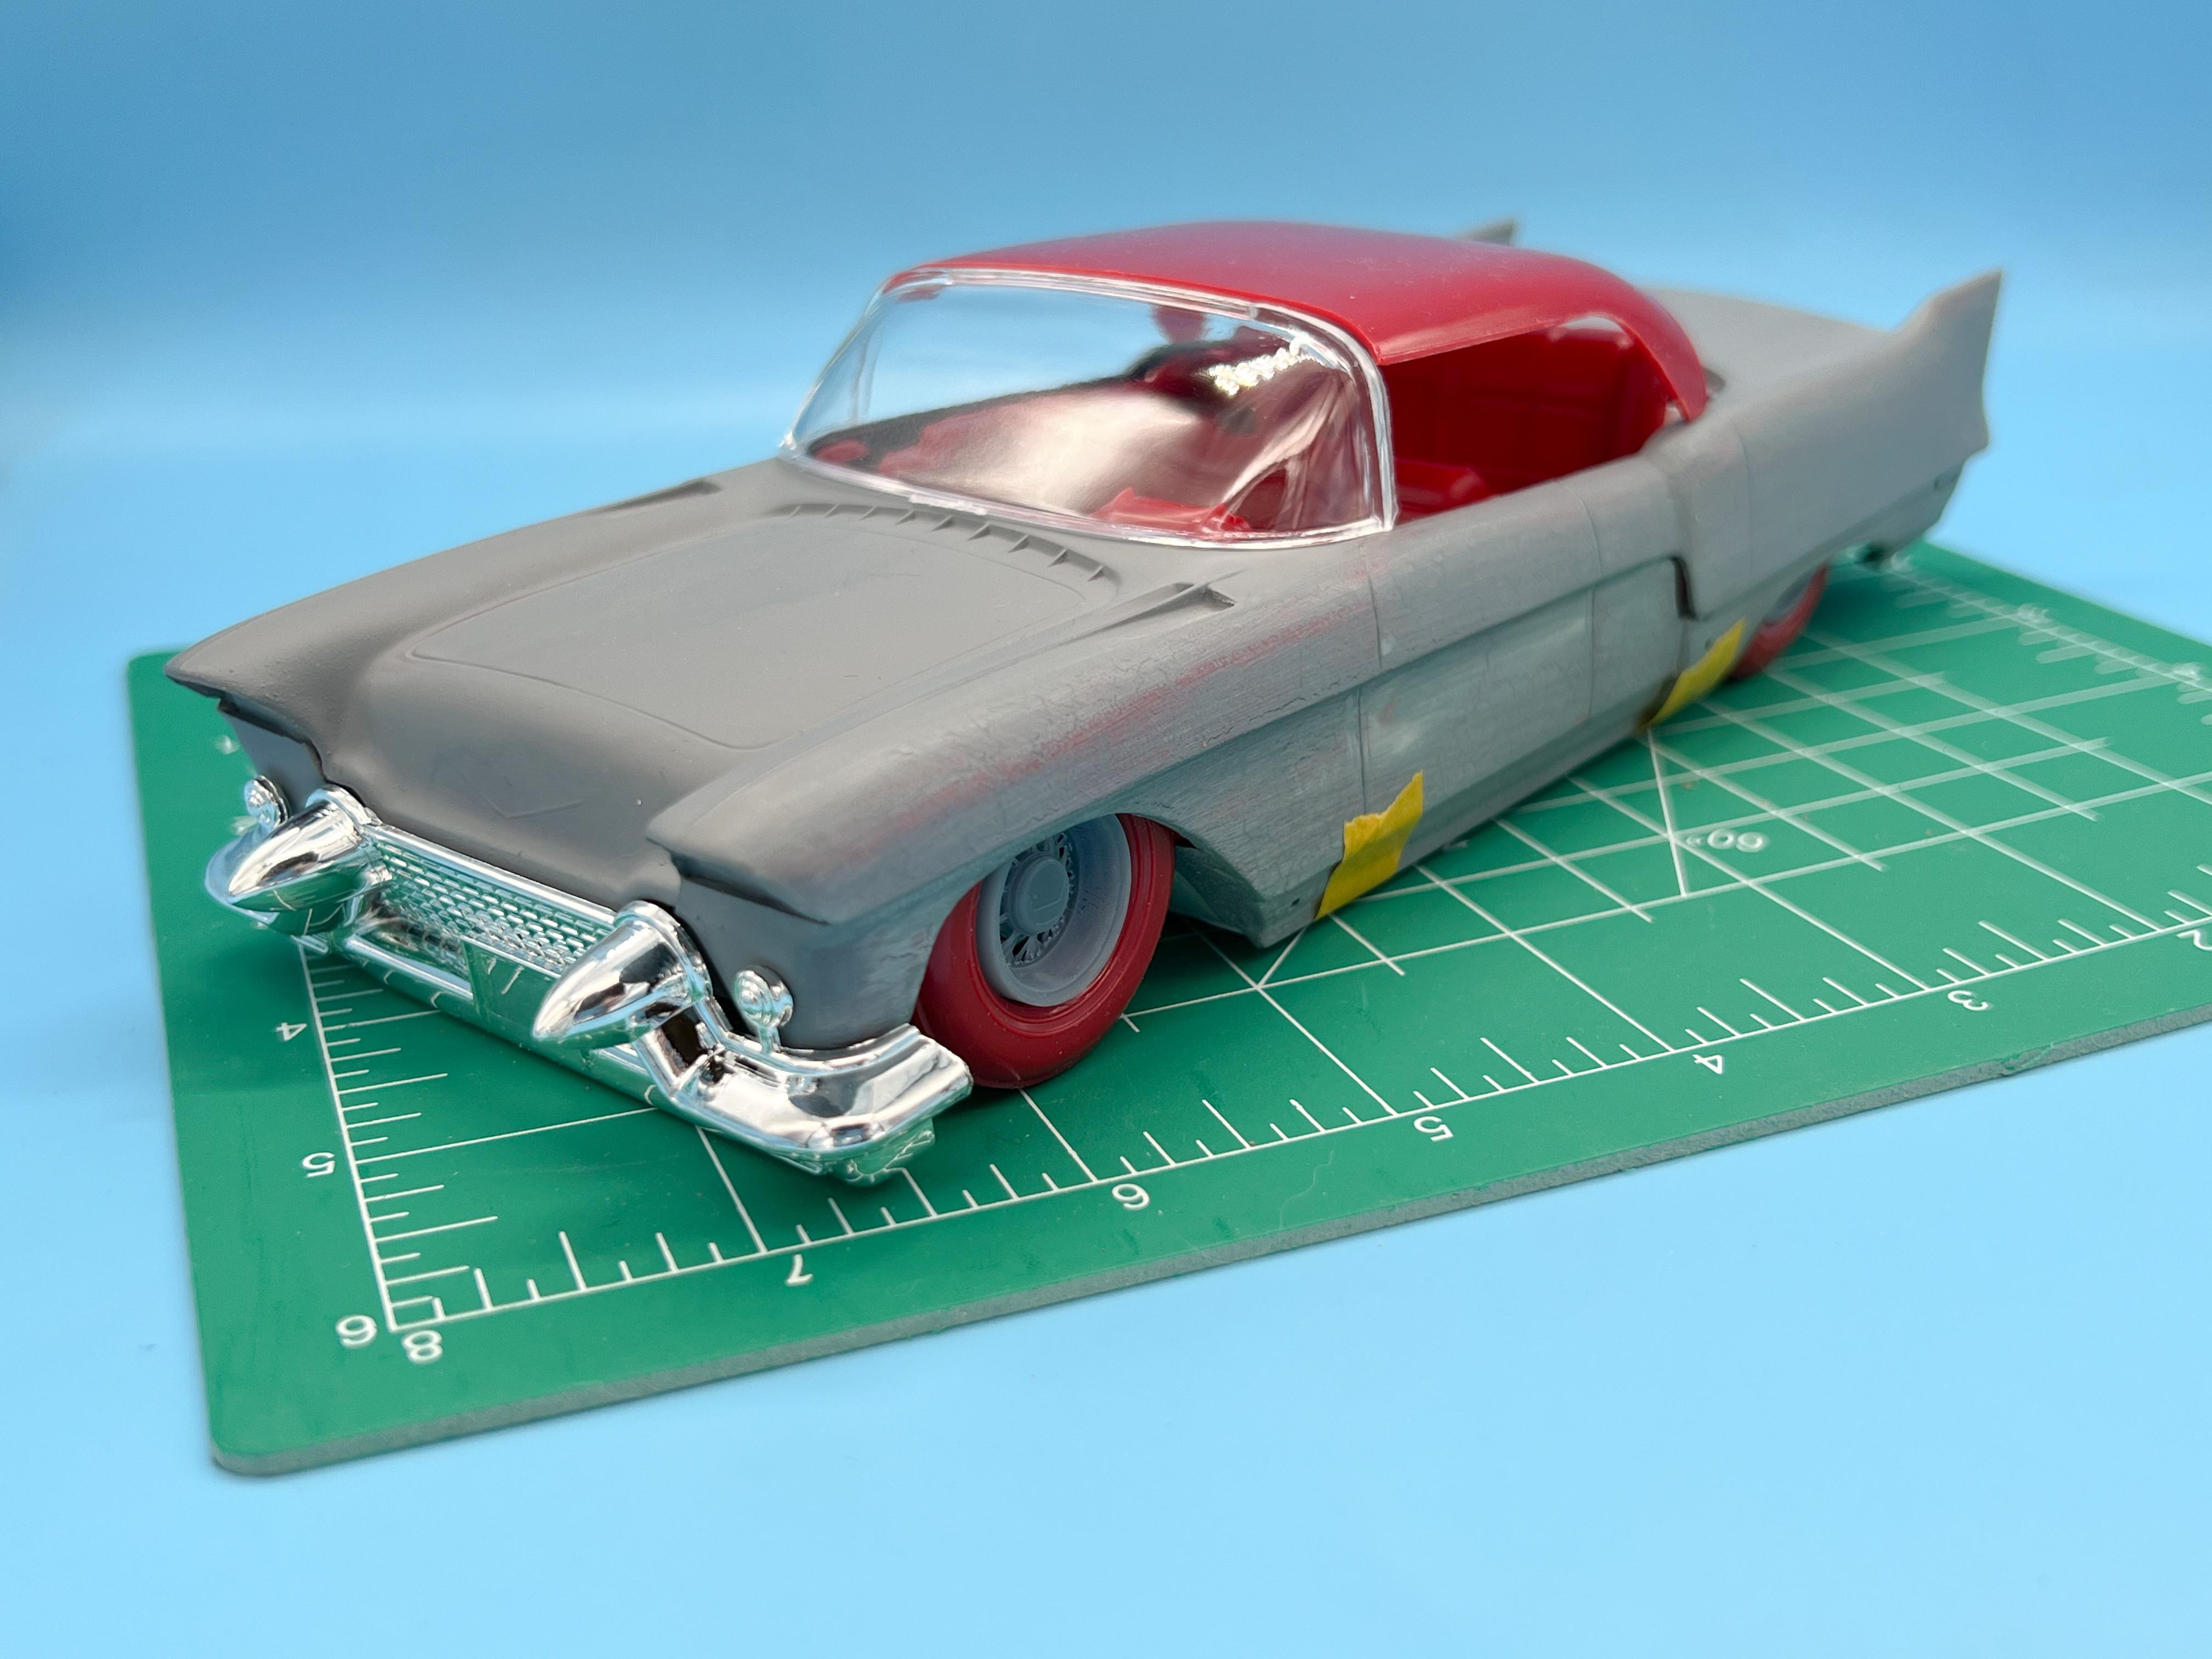
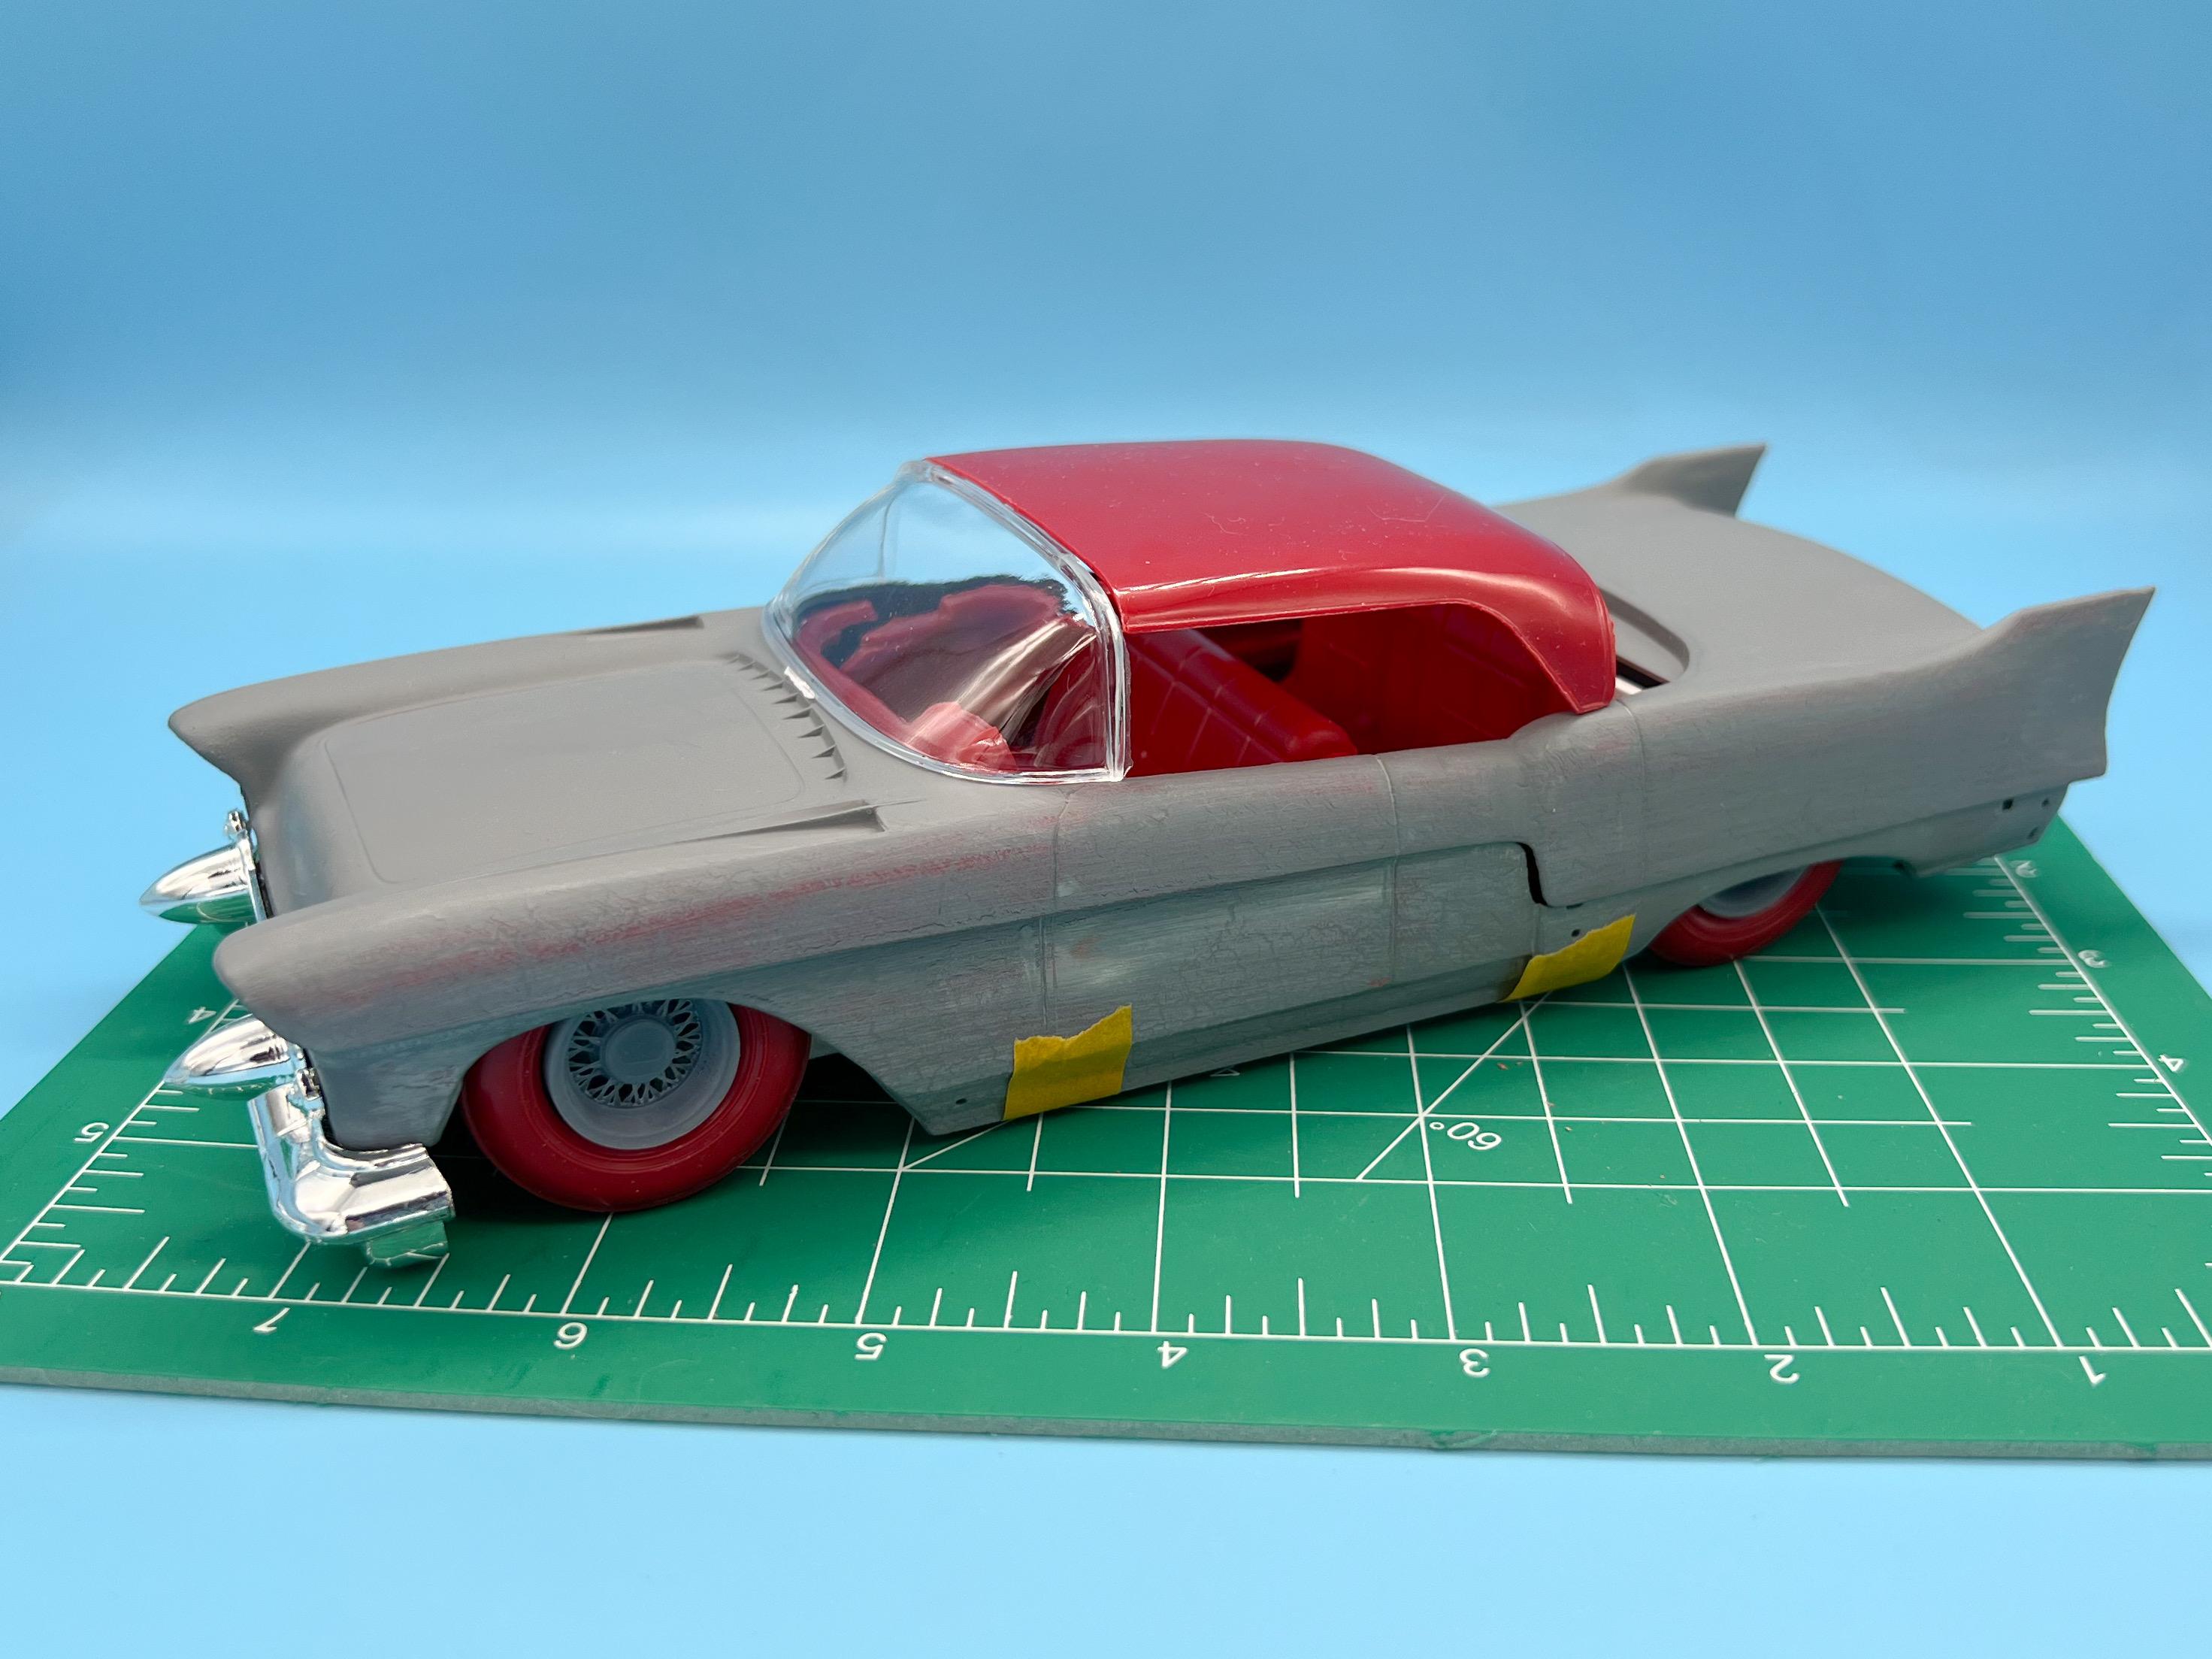
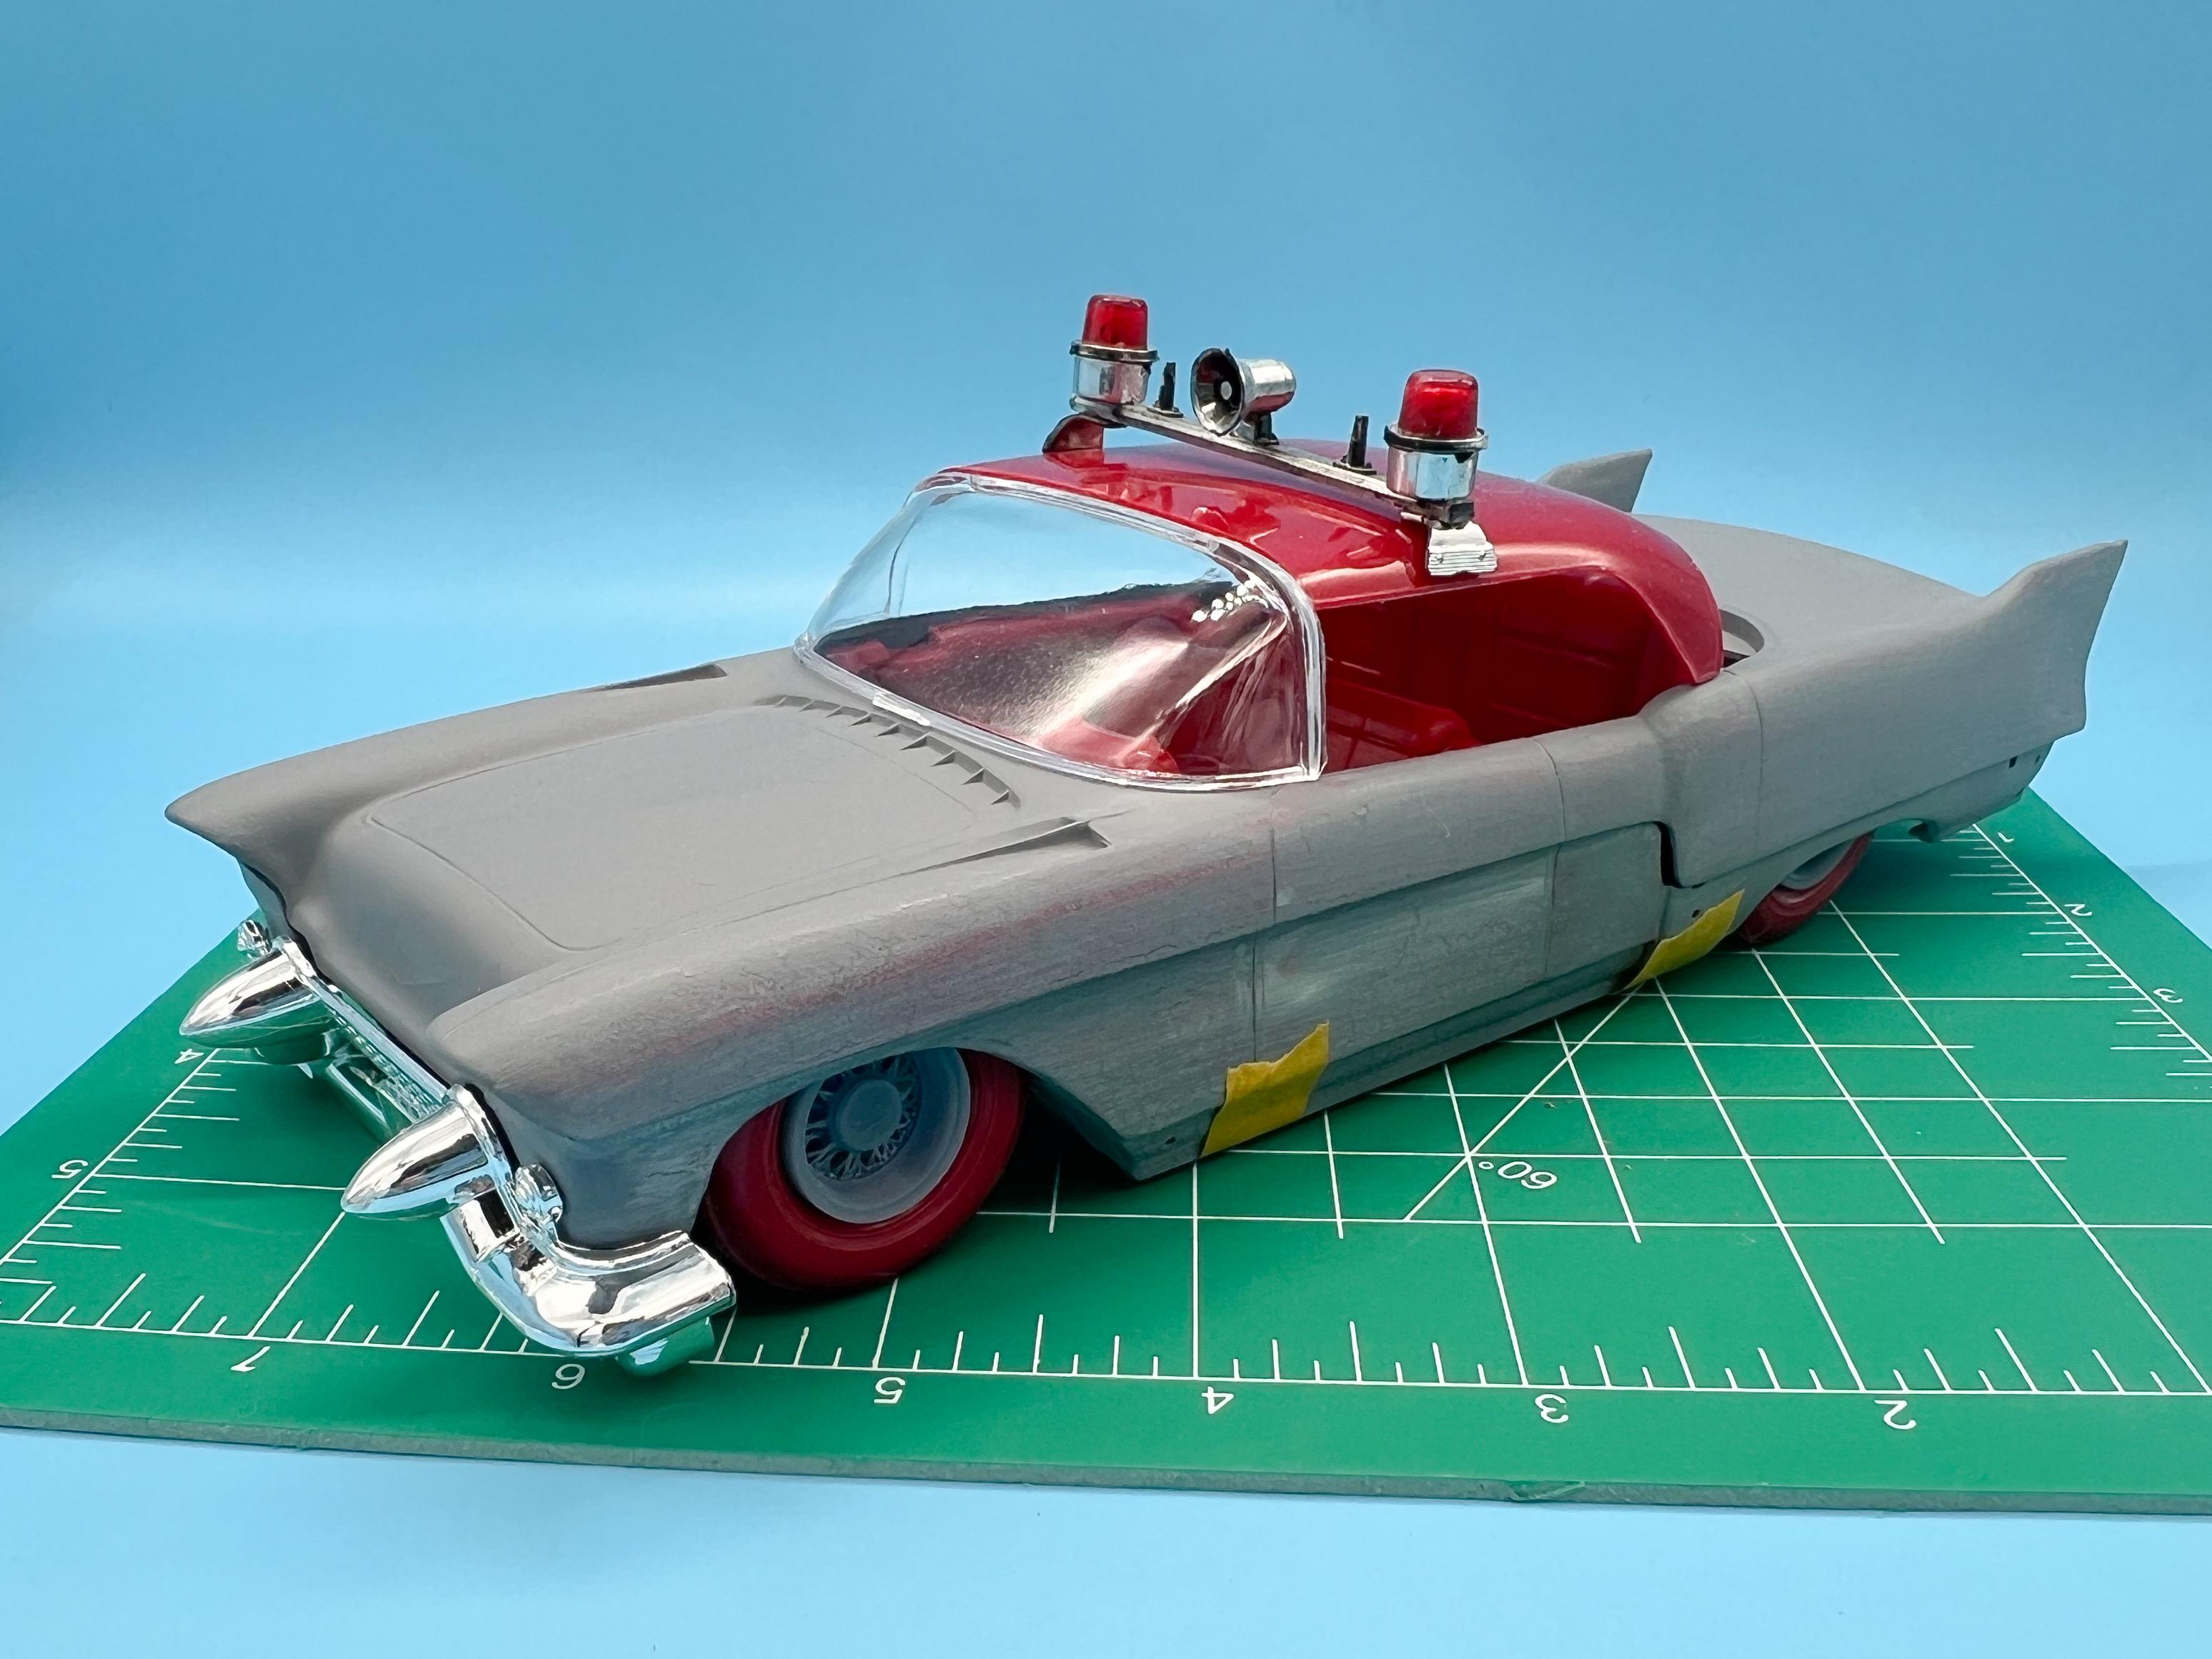
Tiny update, but an important step completed…got this thing on it’s wheels! First time fitting the glass and roof too - I added a couple of tabs to the b-pillars to give me something to use to glue it to the body…I can’t imagine this was much fun to assemble for a kid in the late 50s - it’s making me nervous even with the wide range of adhesives we have available now… Also started digging for some lights to replace the flat chromed lens-less kit pieces…found this whilst parts huntin’’- cop car variant? Spent the rest of my bench-time today getting that body dialed in…there’s a lot of real-estate on this one! More soon, soon as I’ve done more!
-

What did you see on the road today?
OldNYJim replied to Harry P.'s topic in General Automotive Talk (Trucks and Cars)
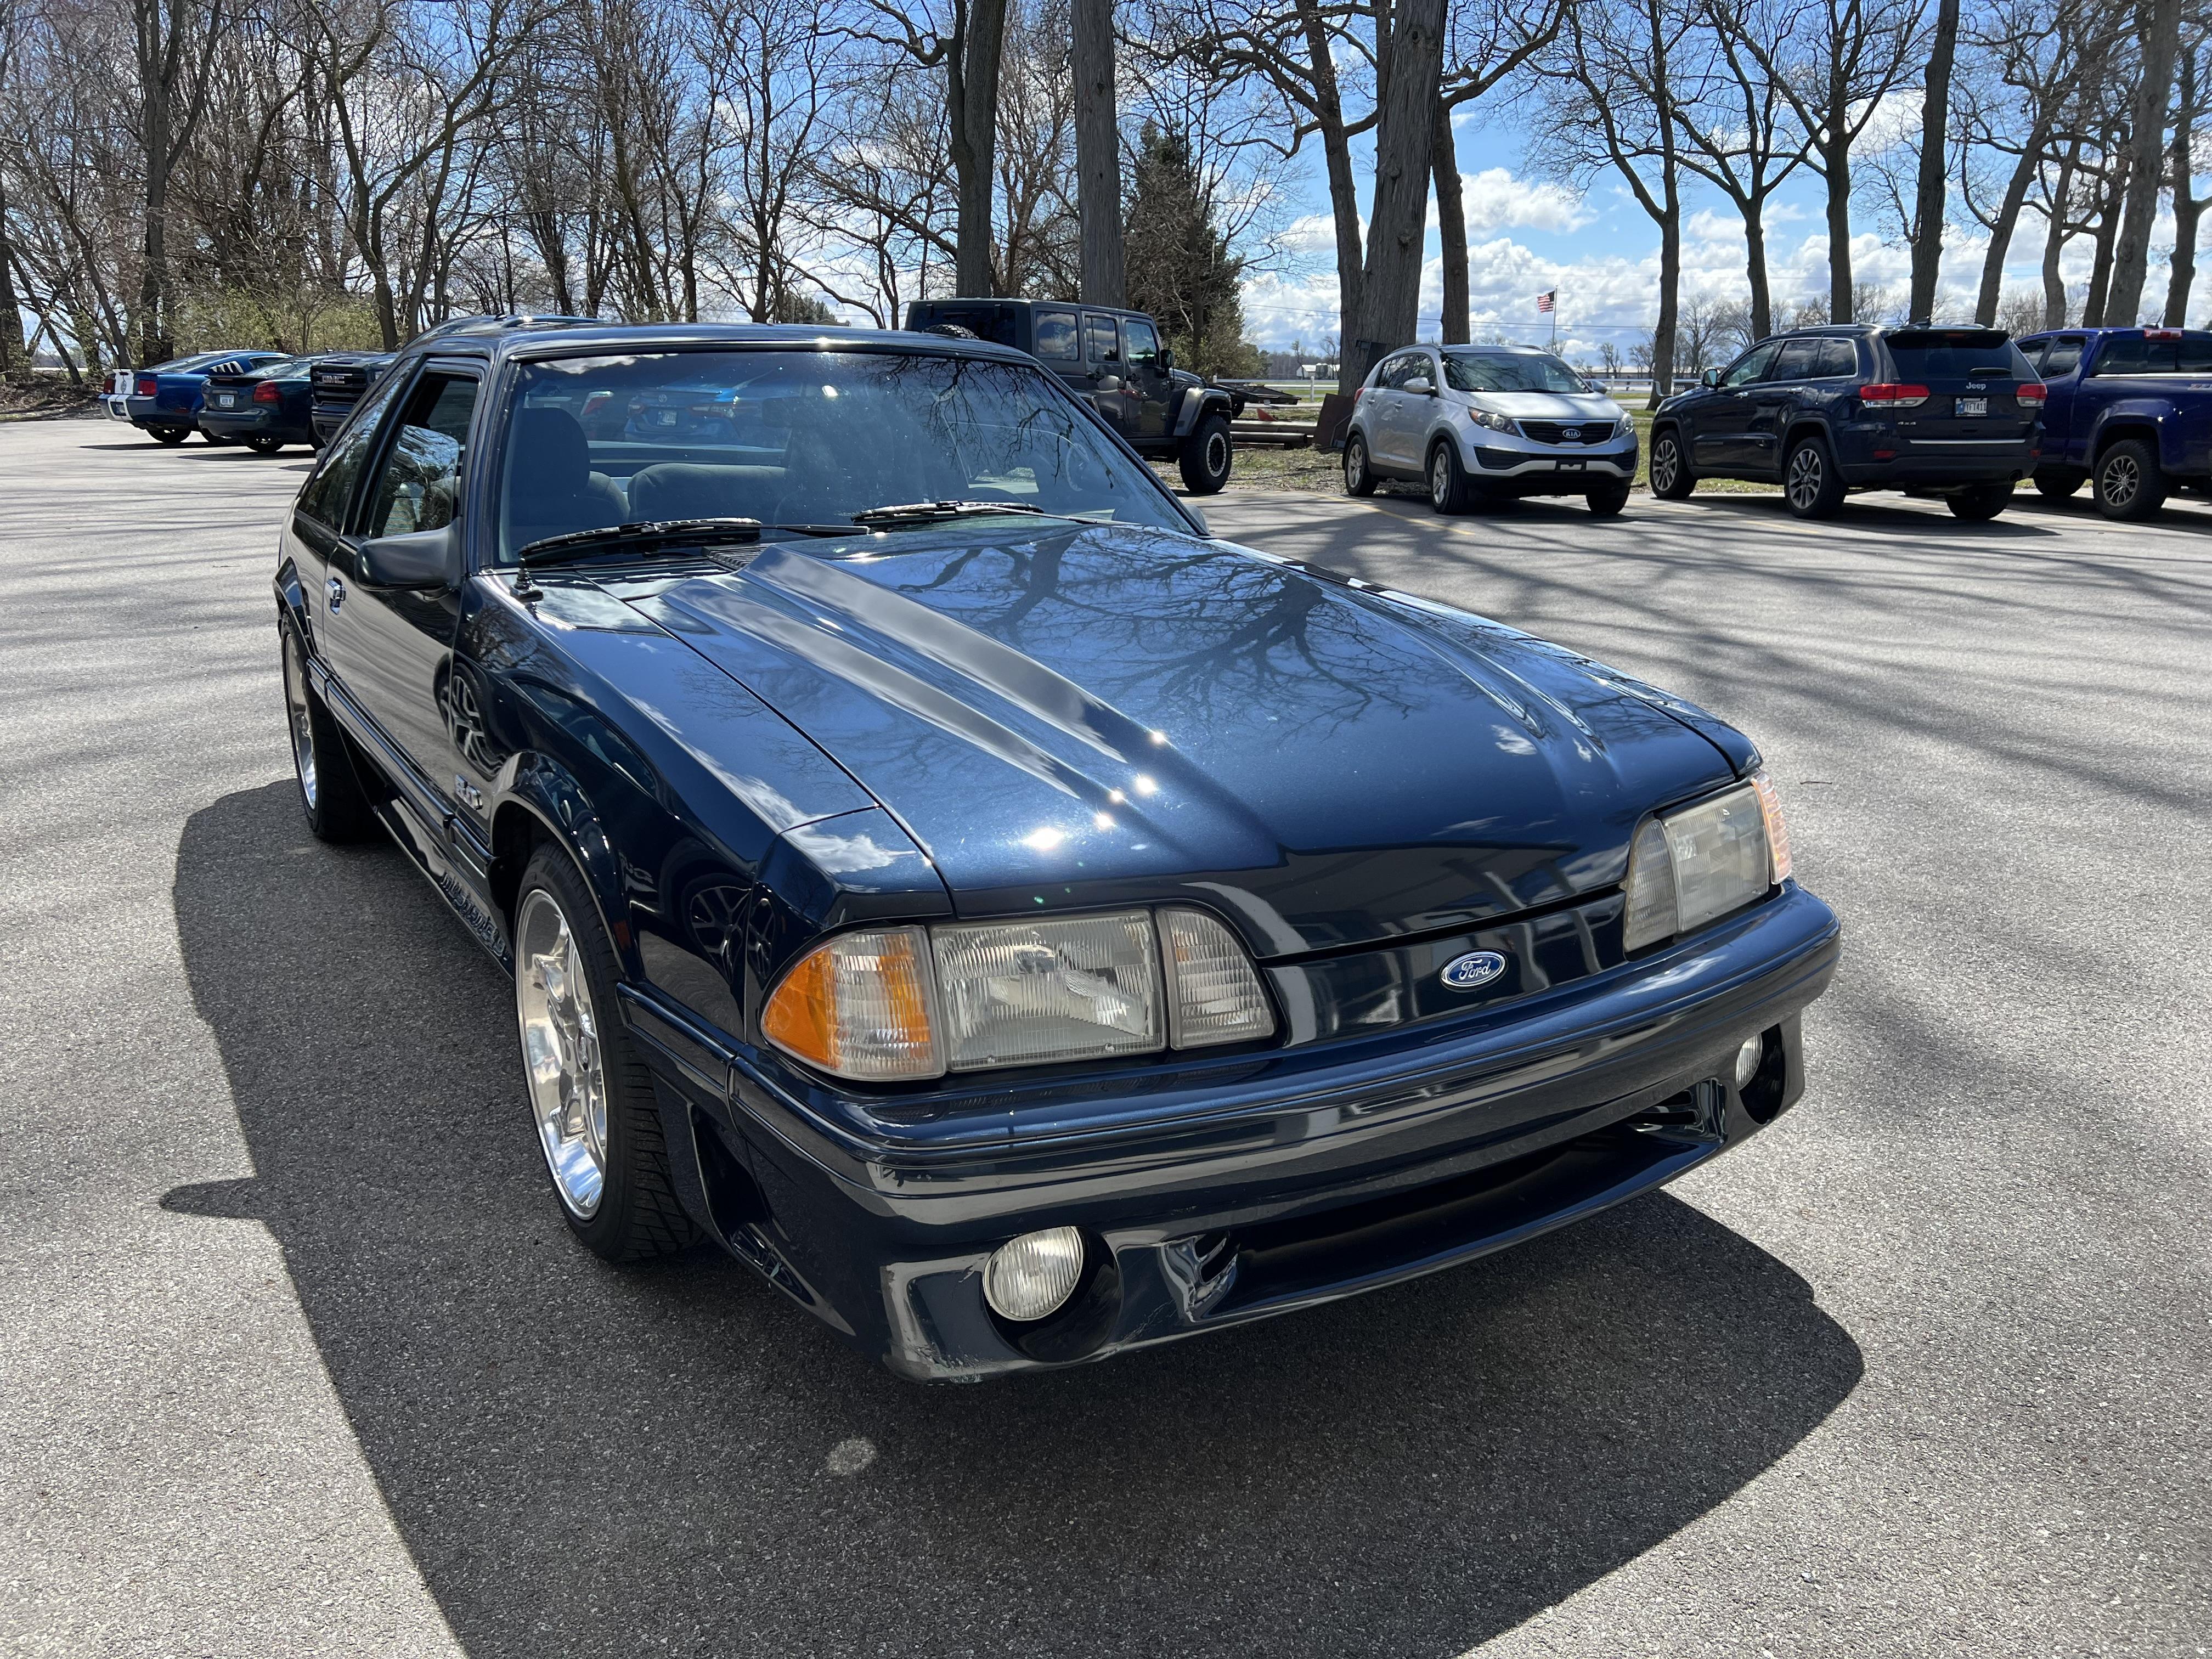
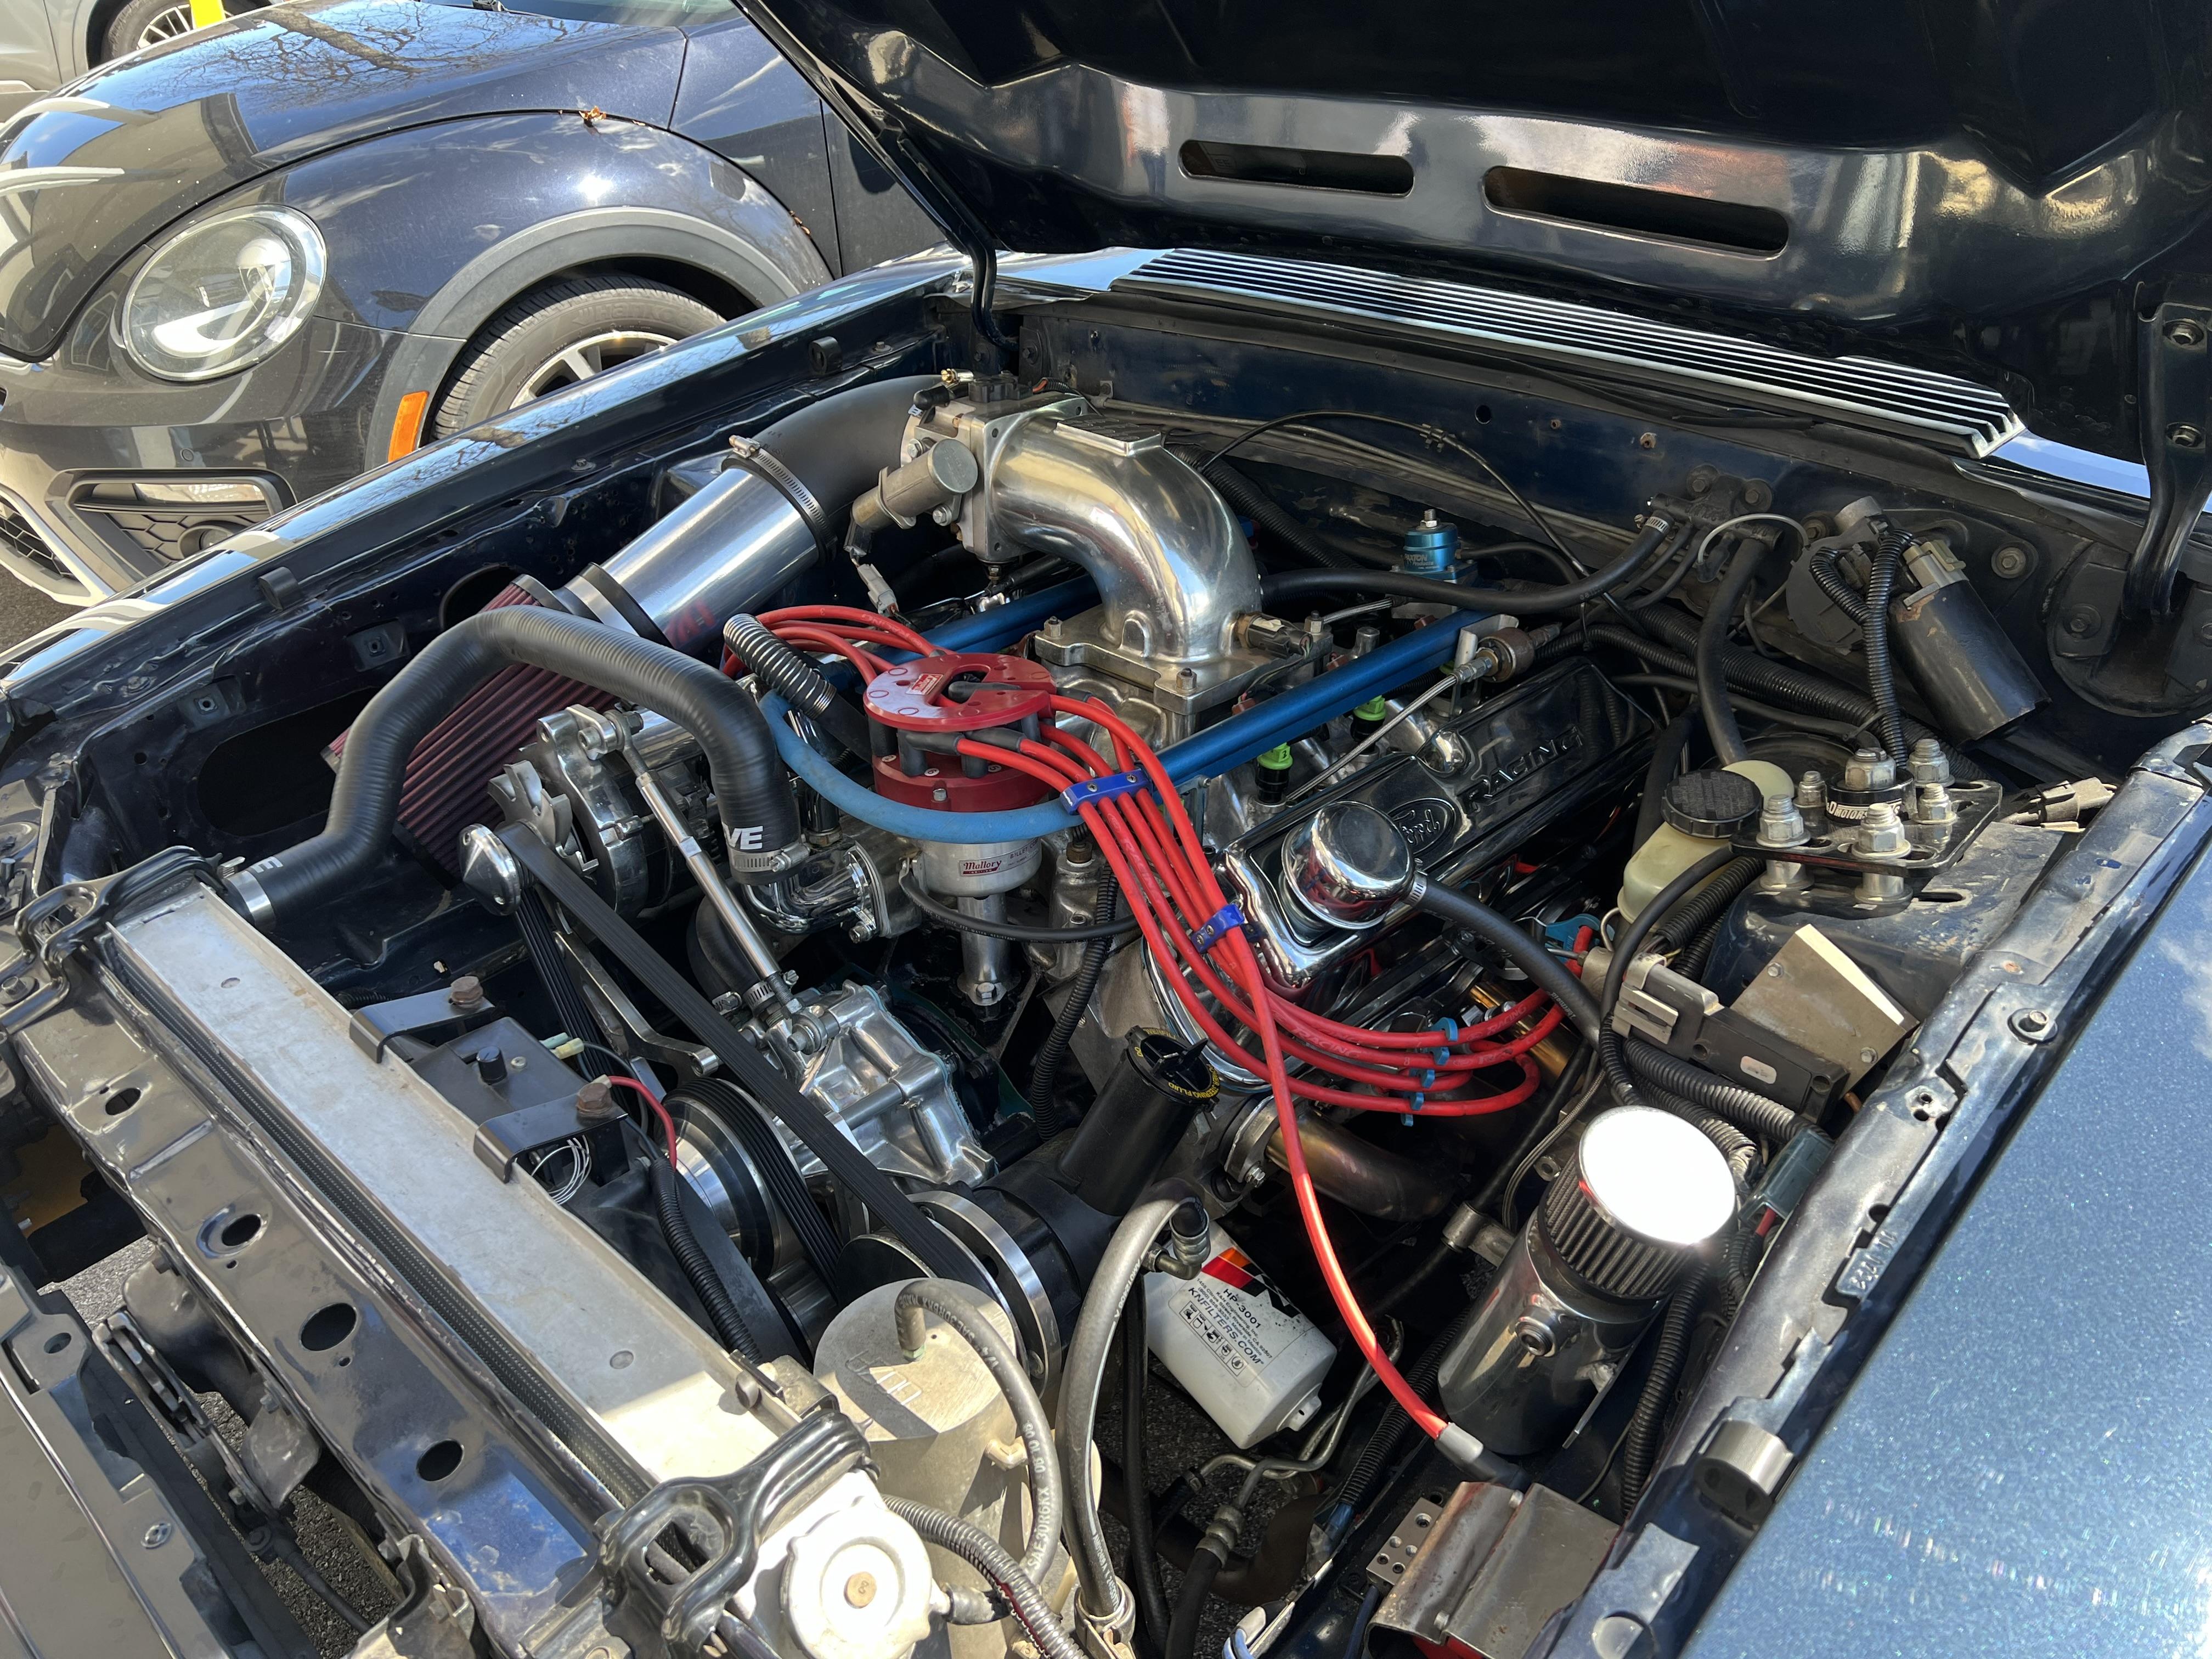
Nice 80s Mustang that a guy at work owns:
-
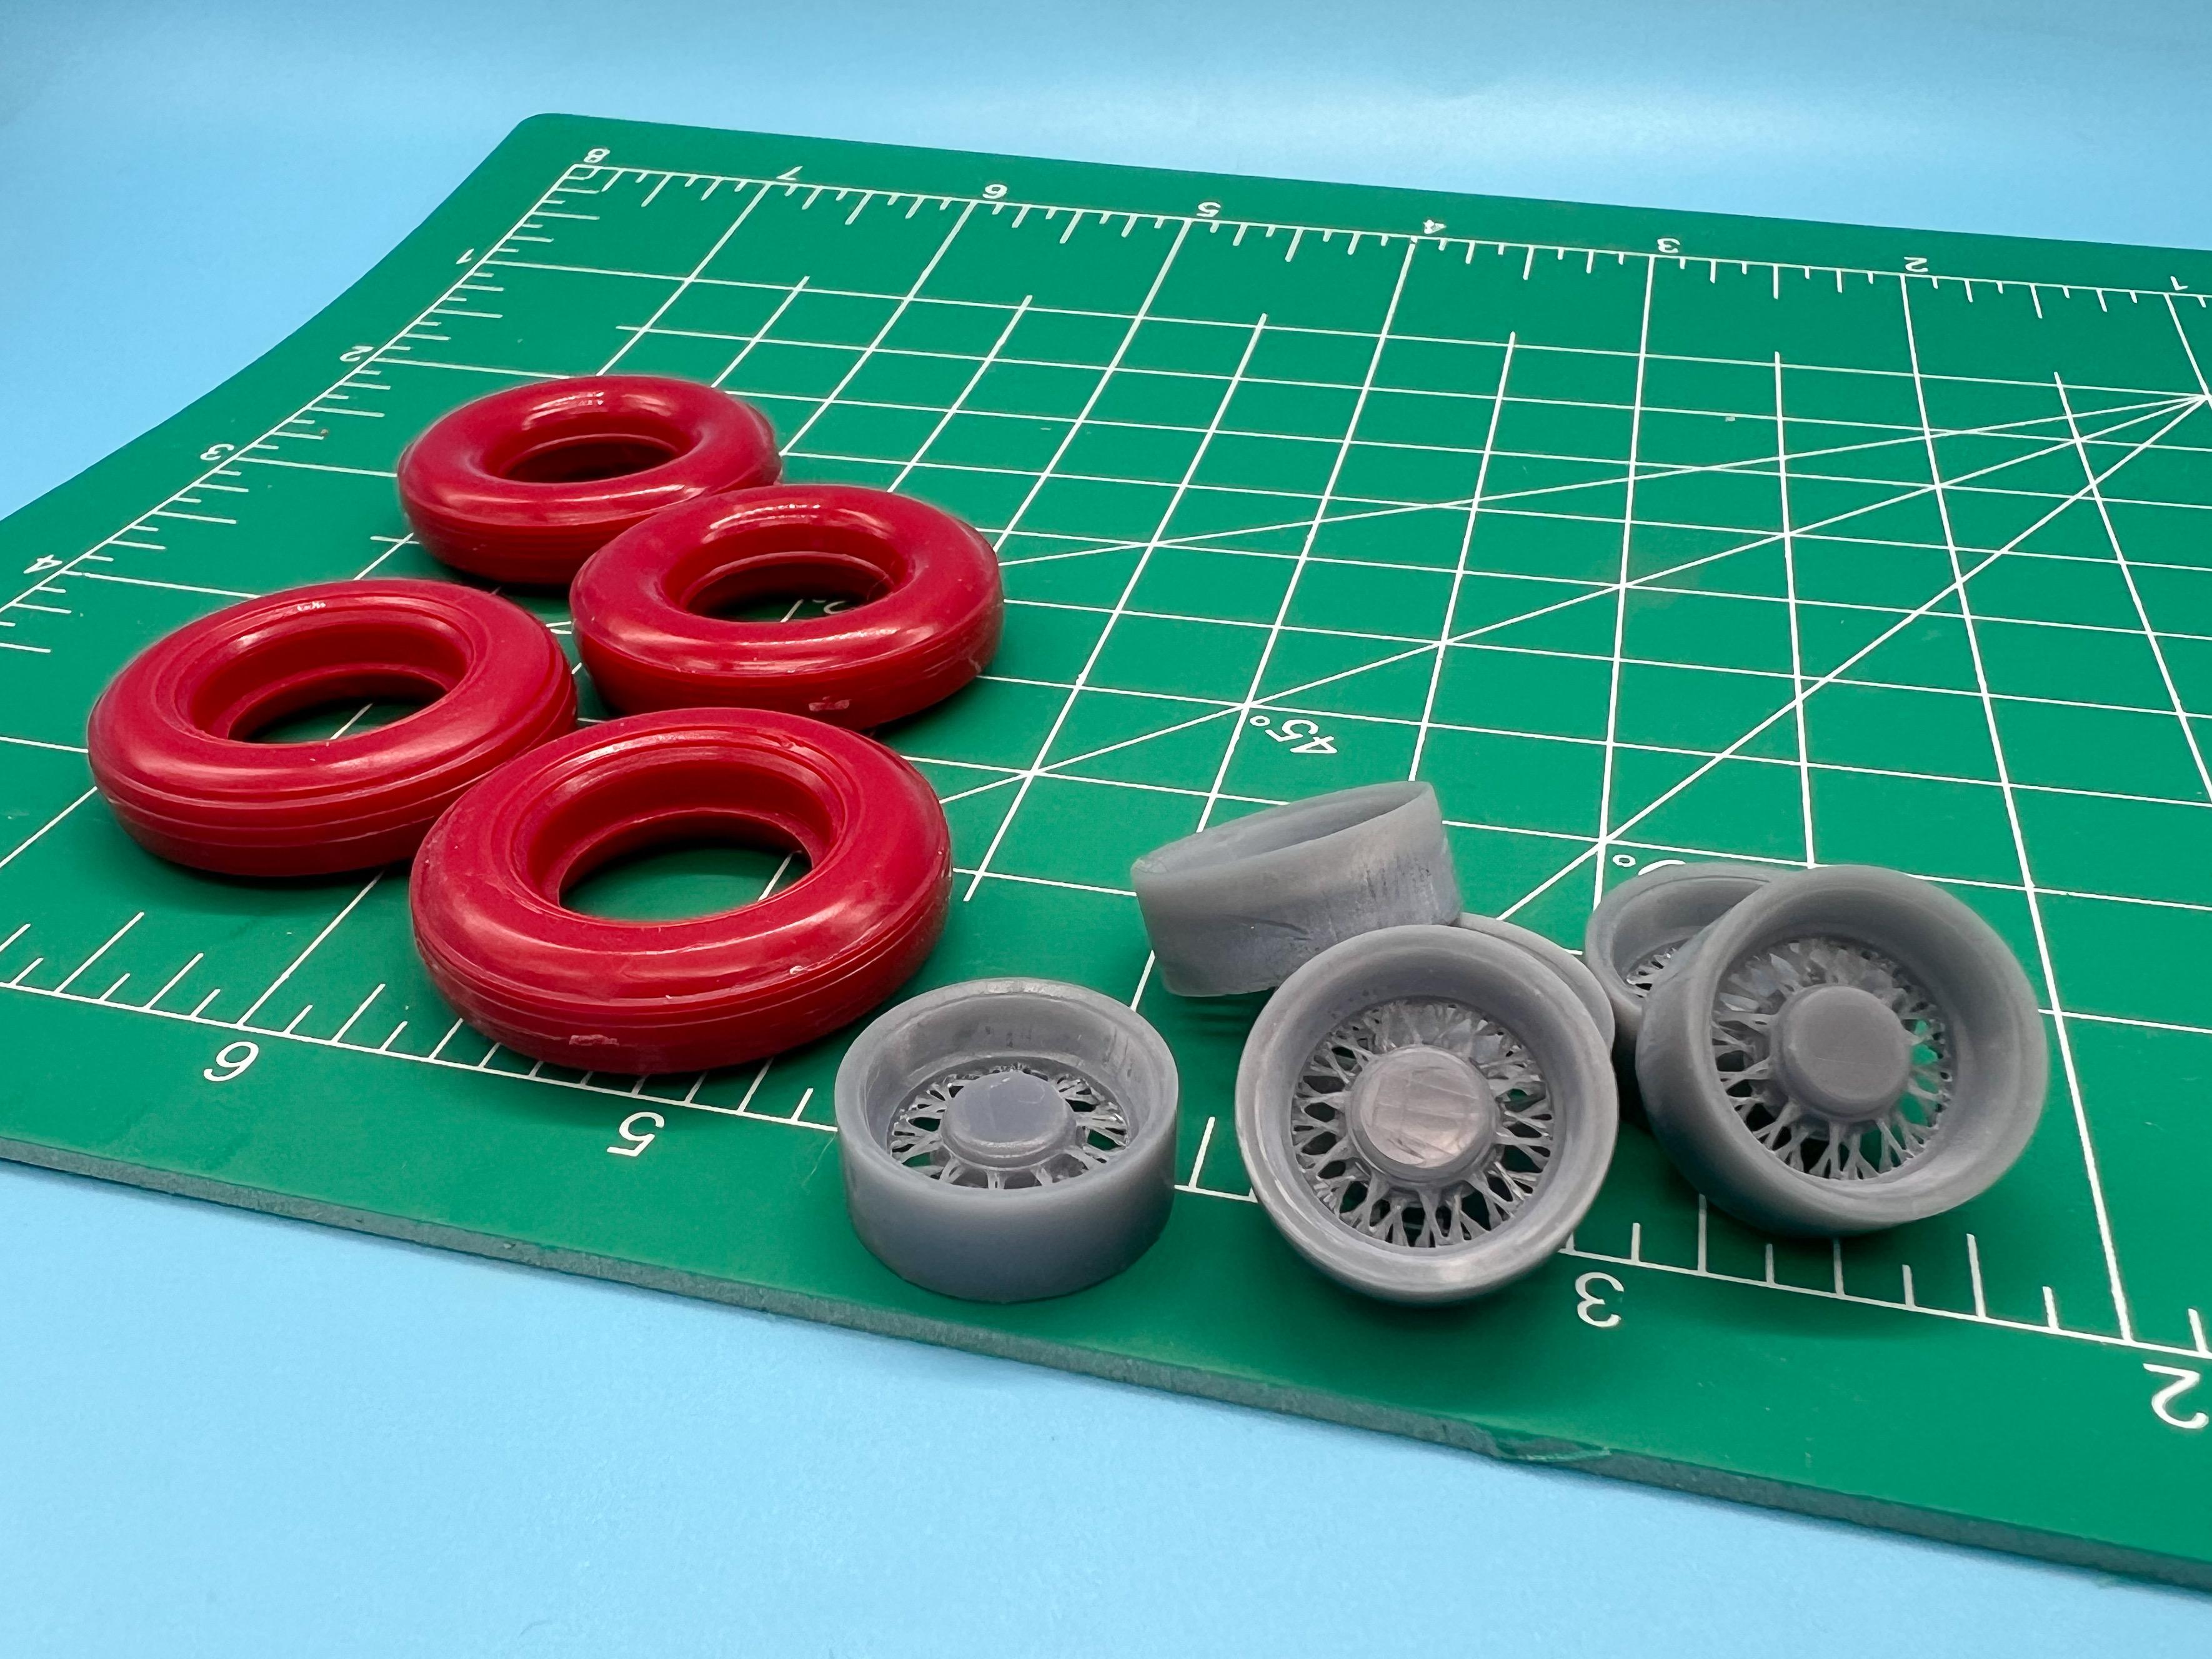
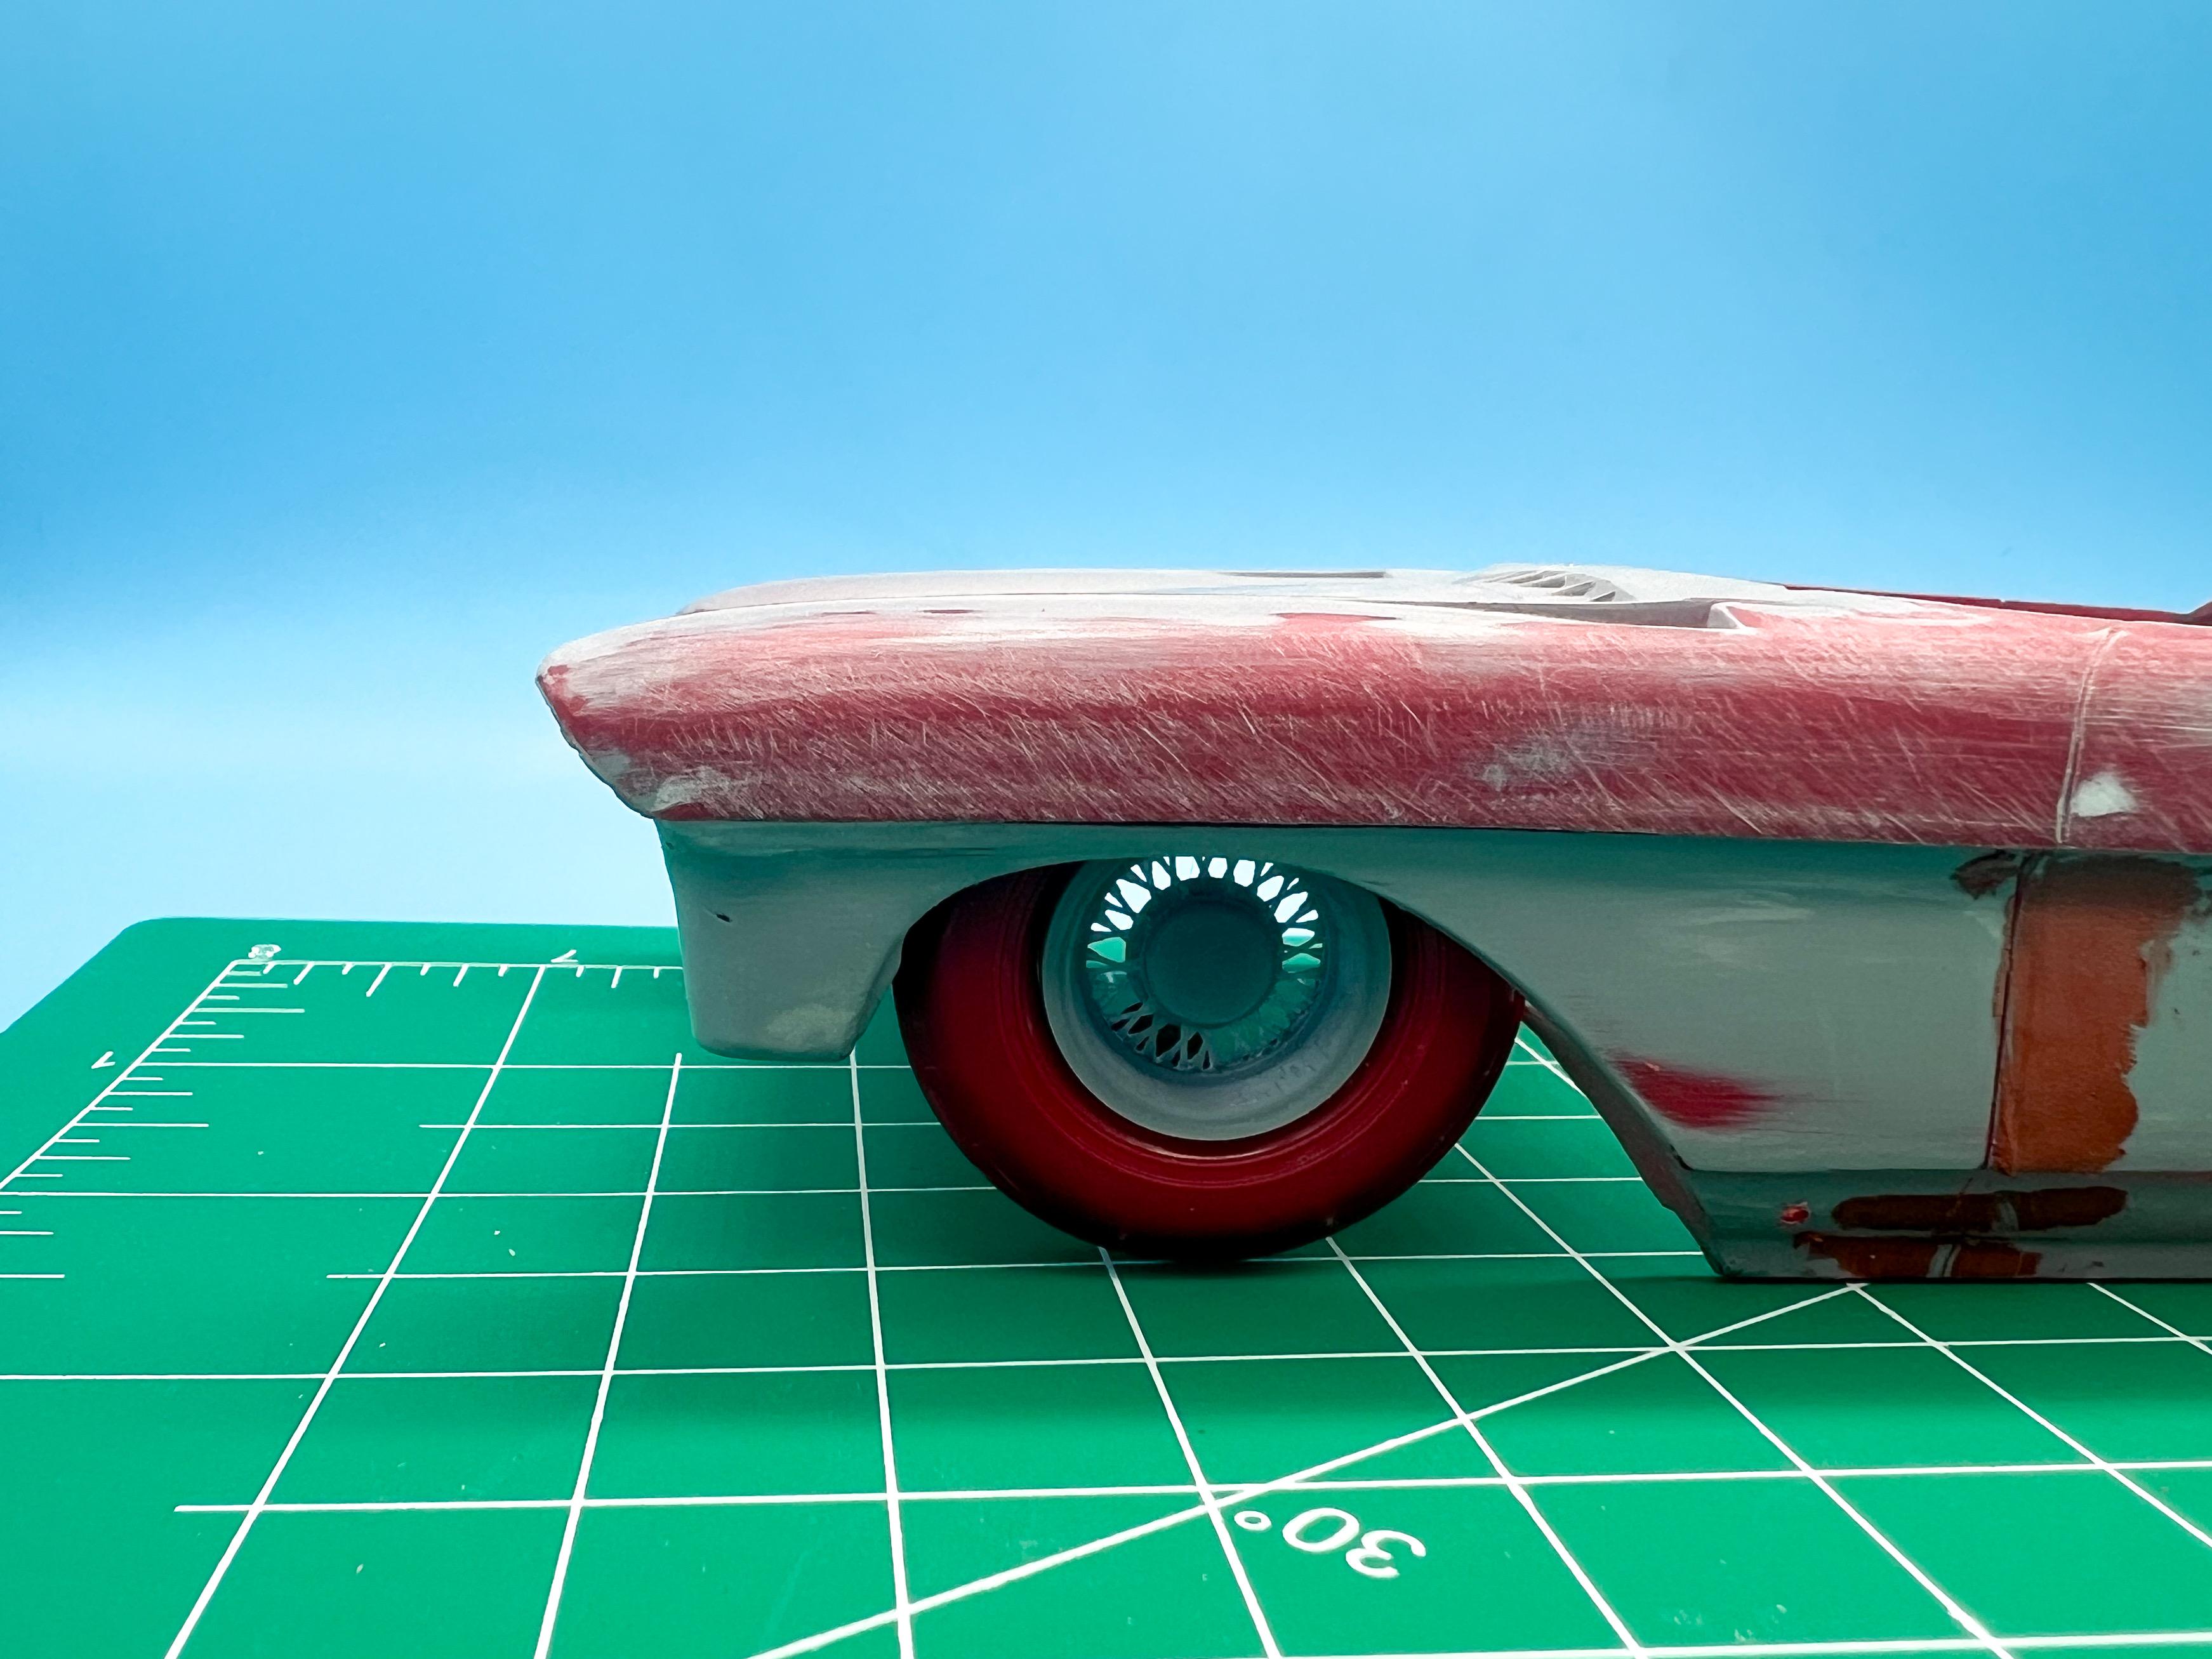
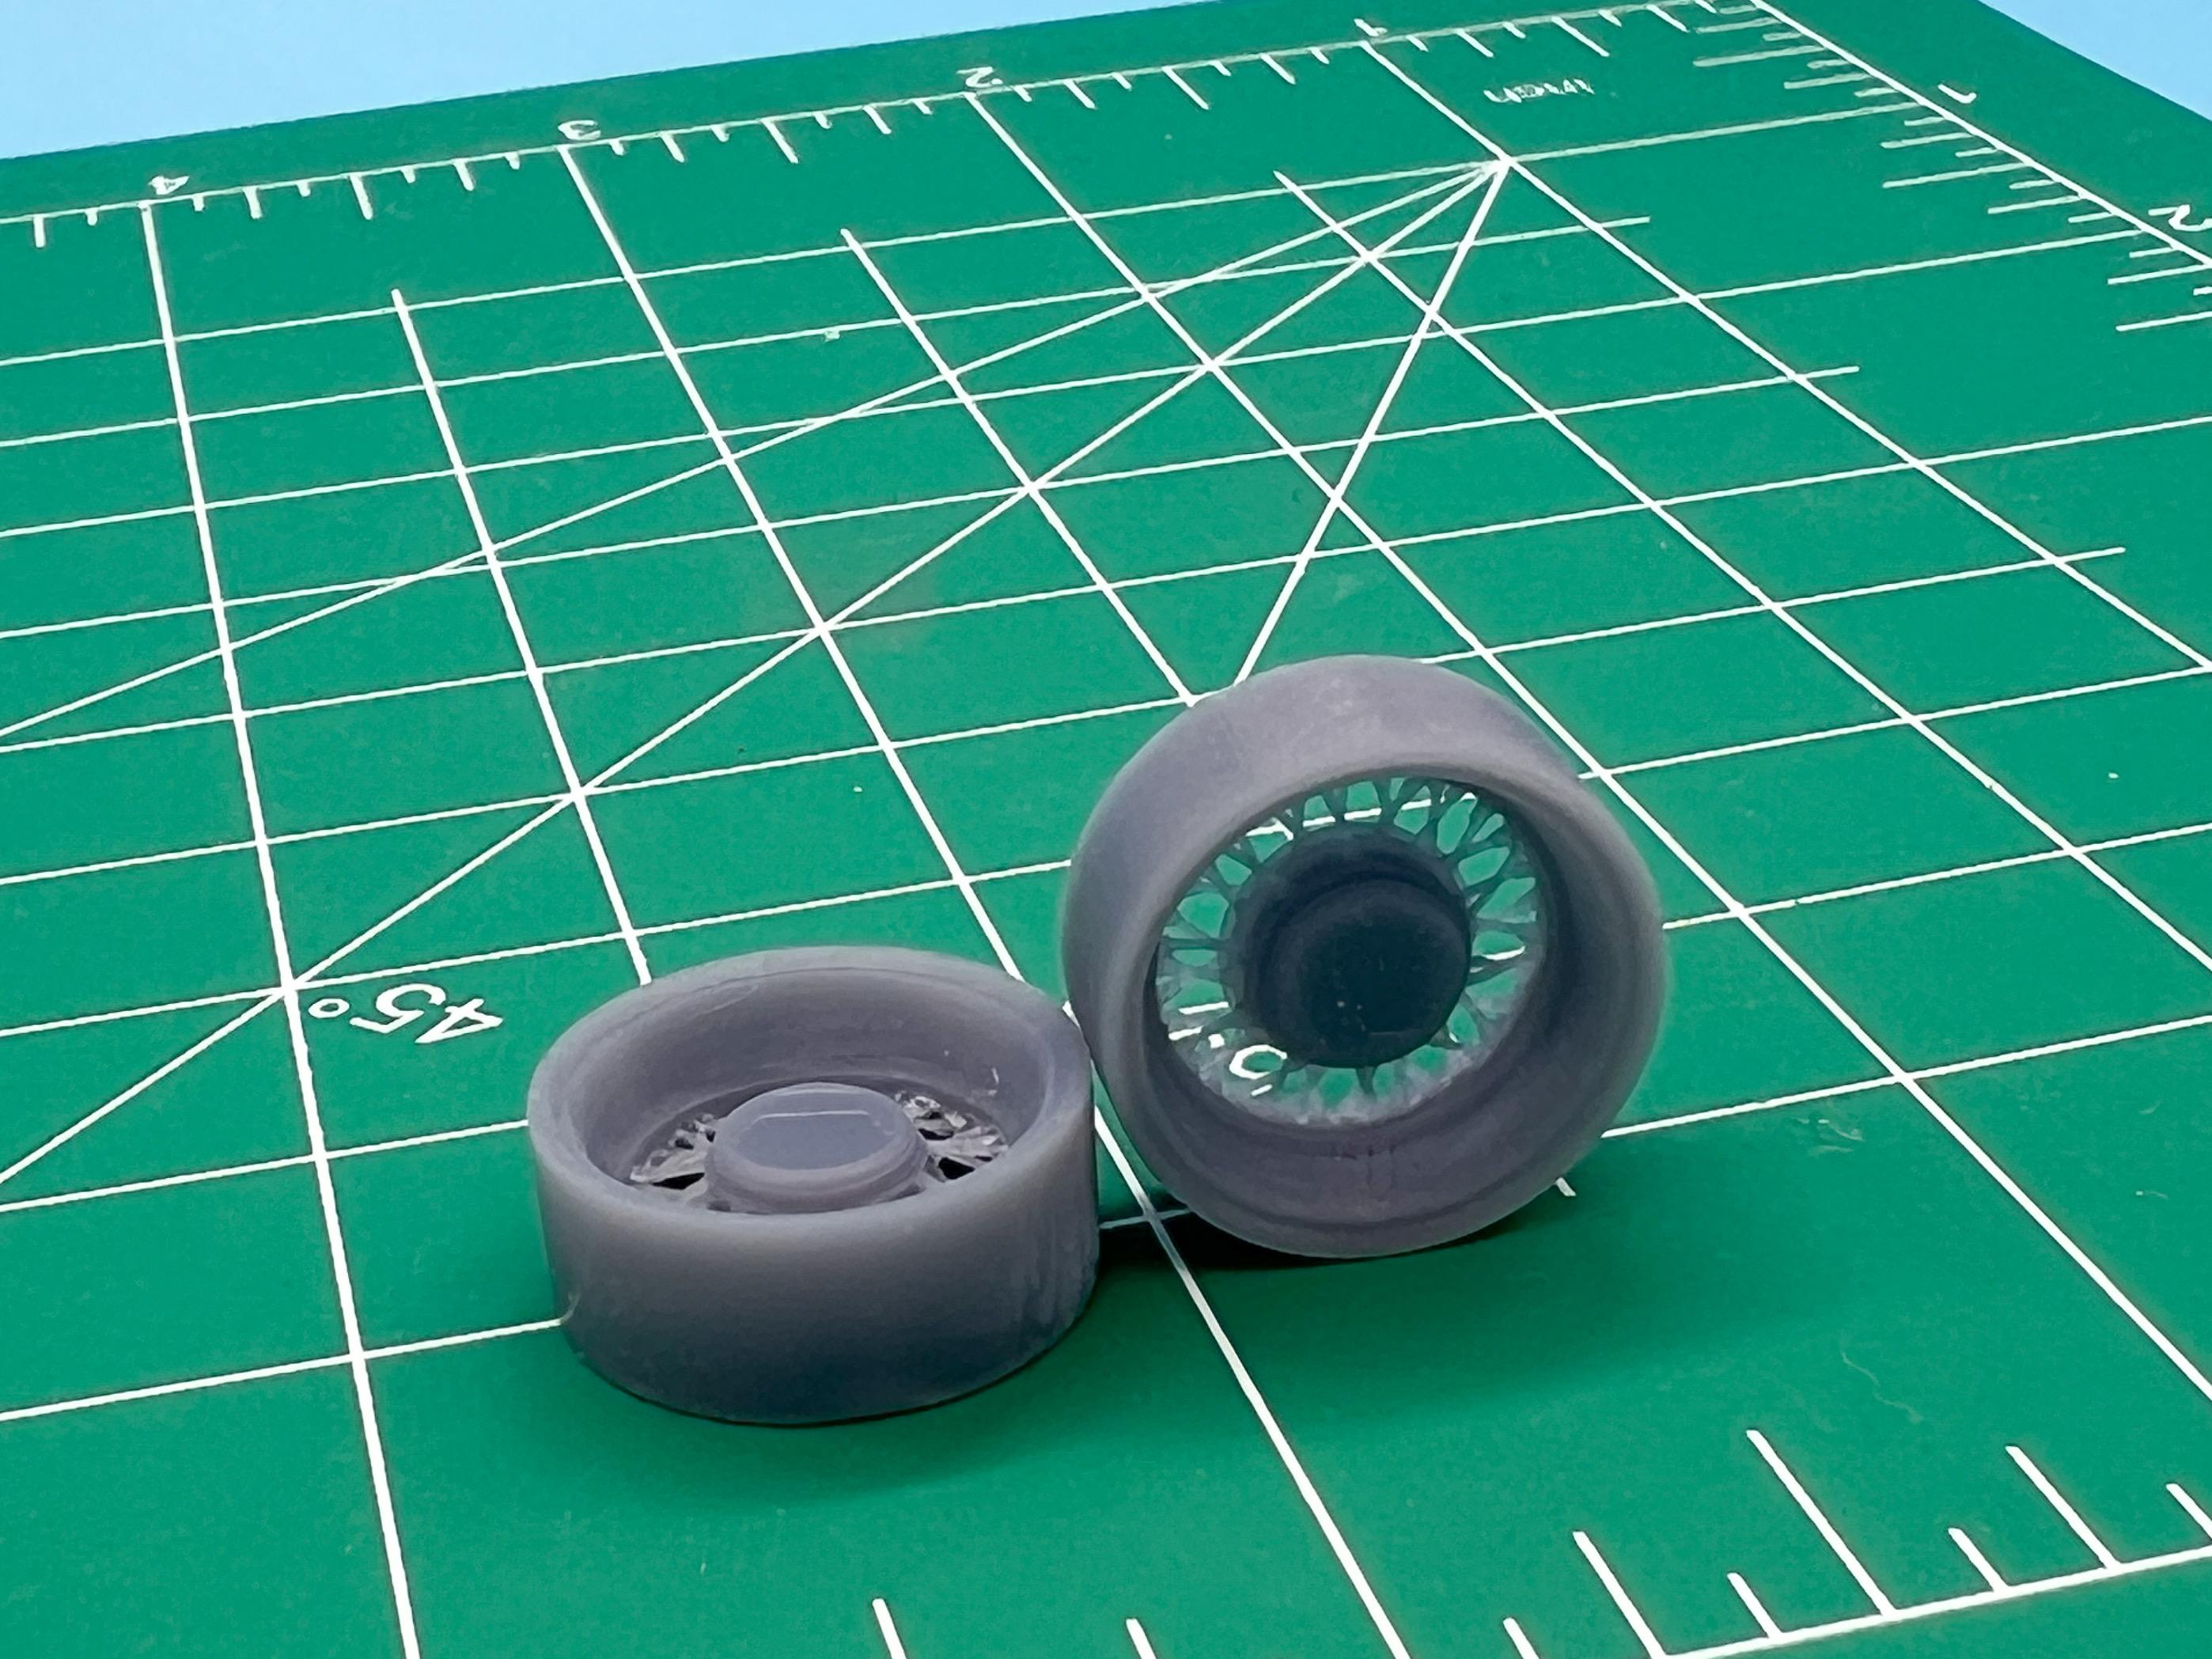
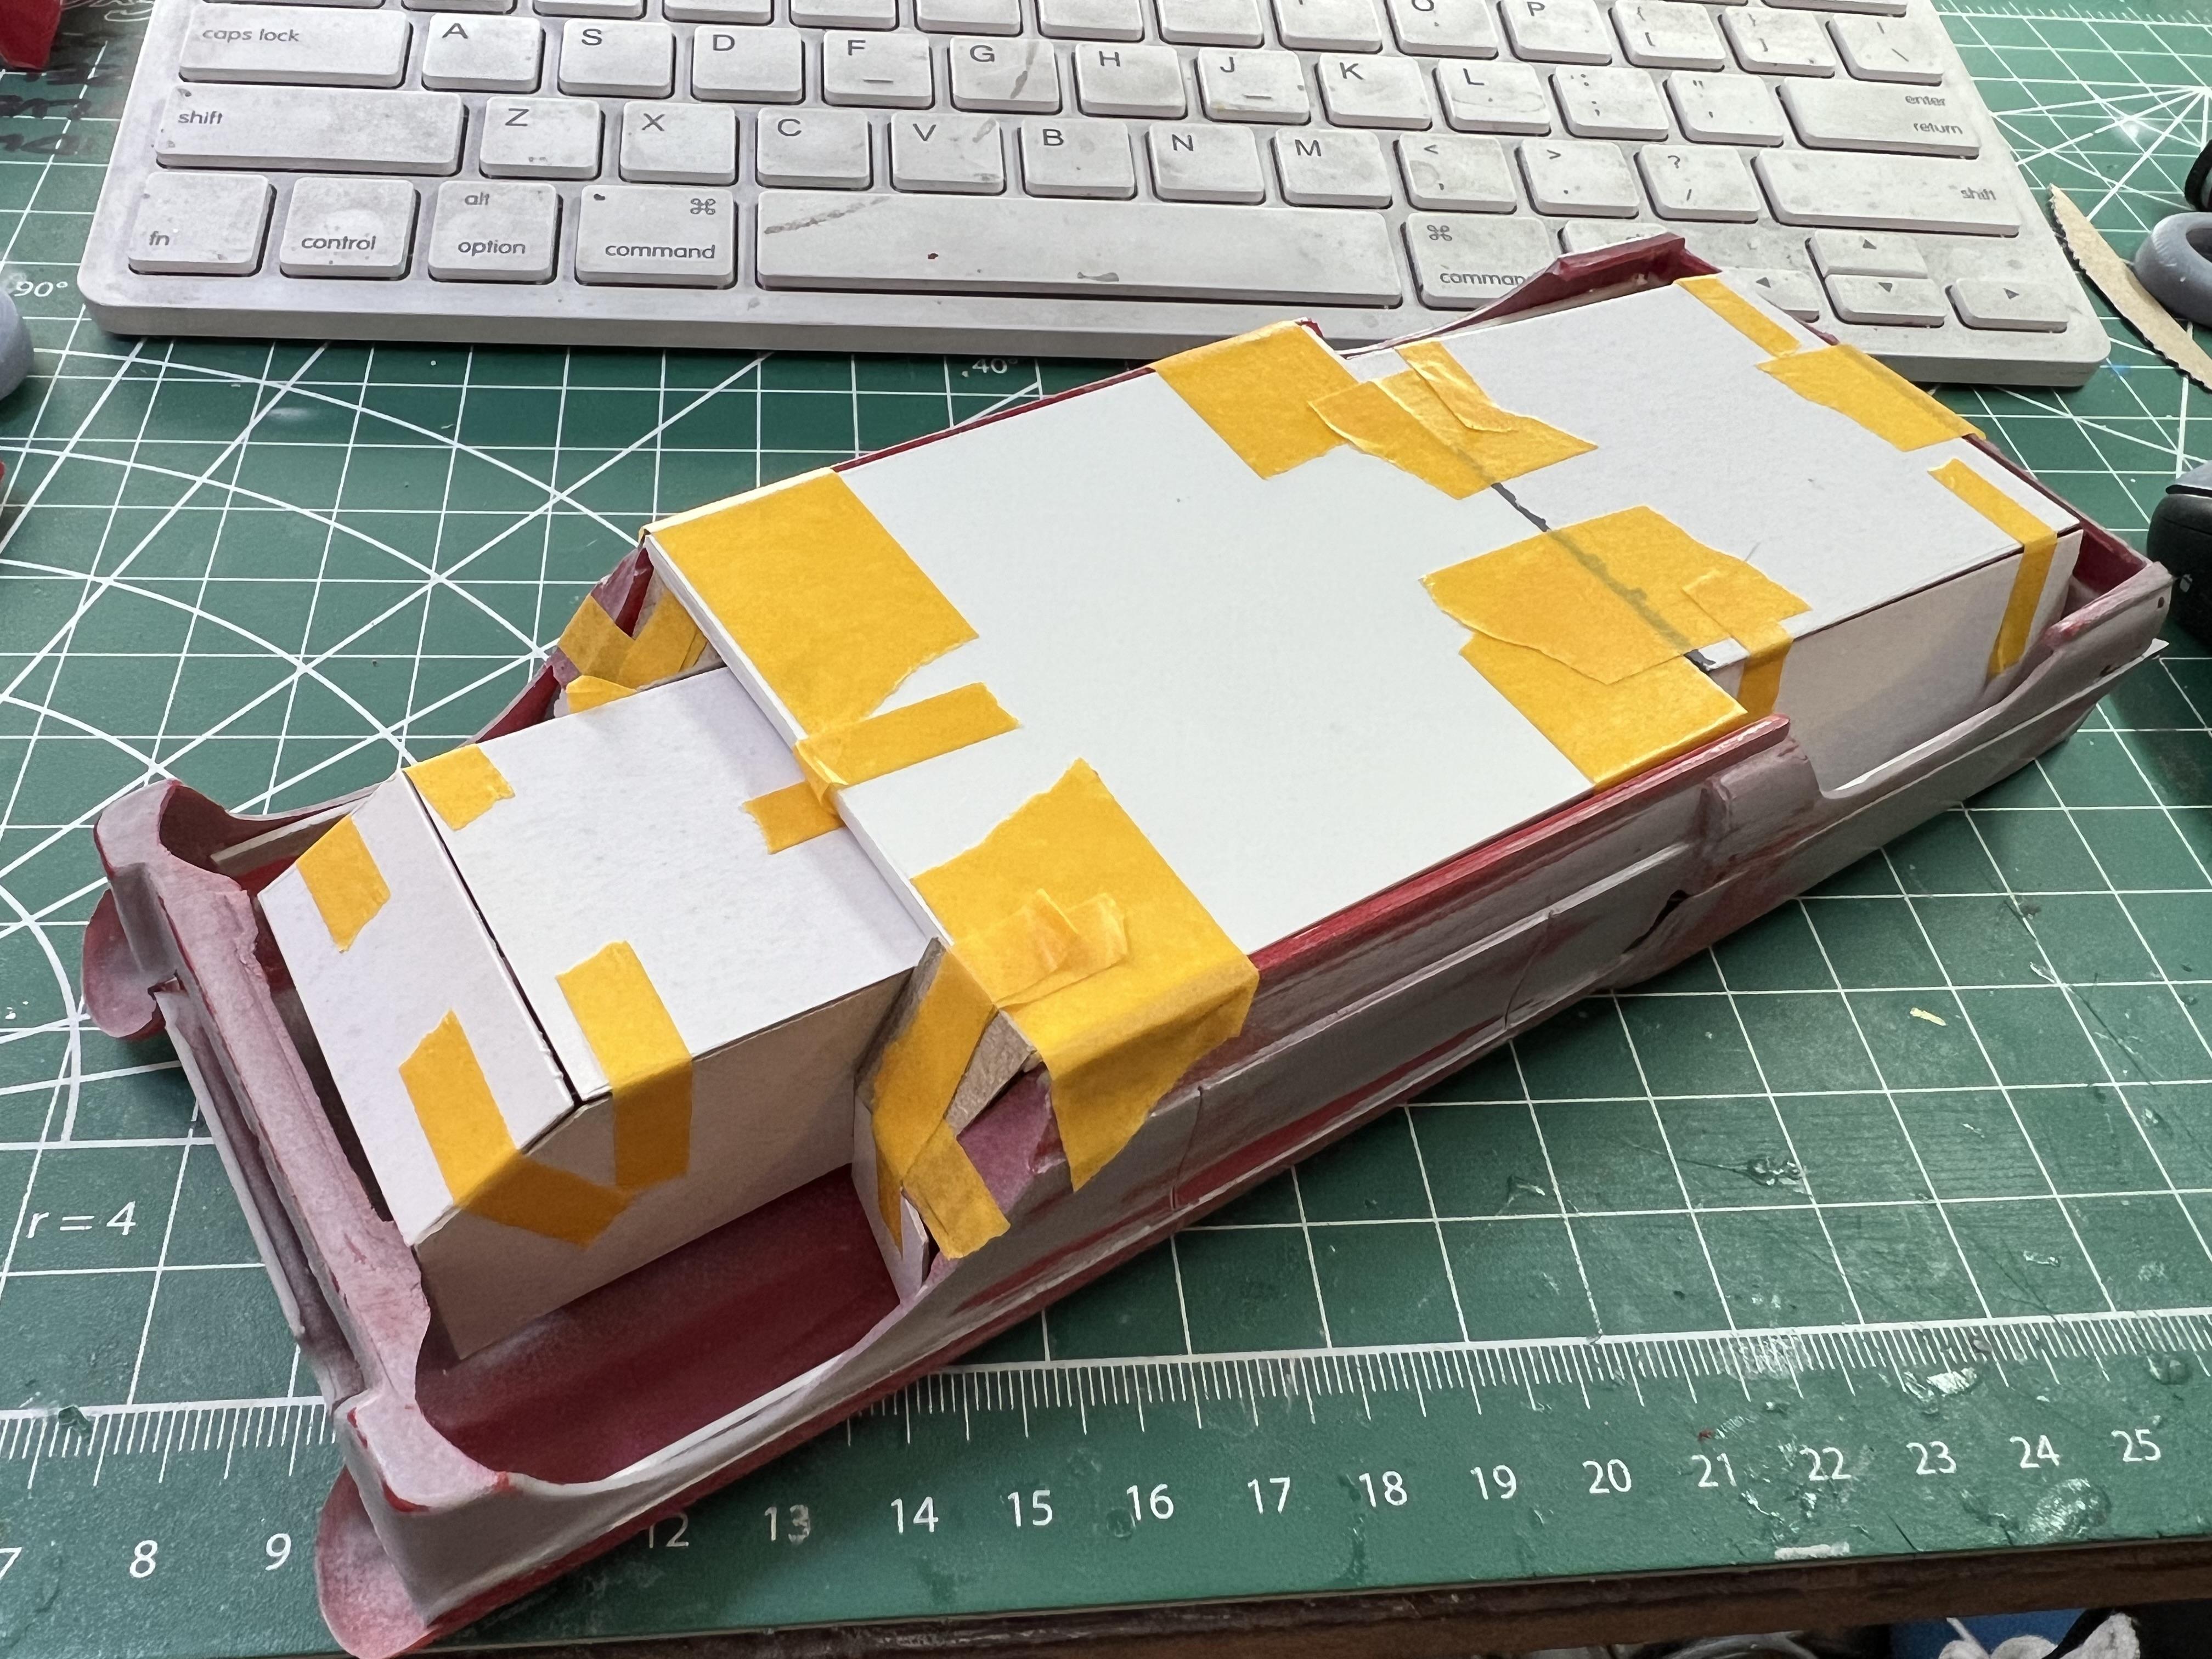
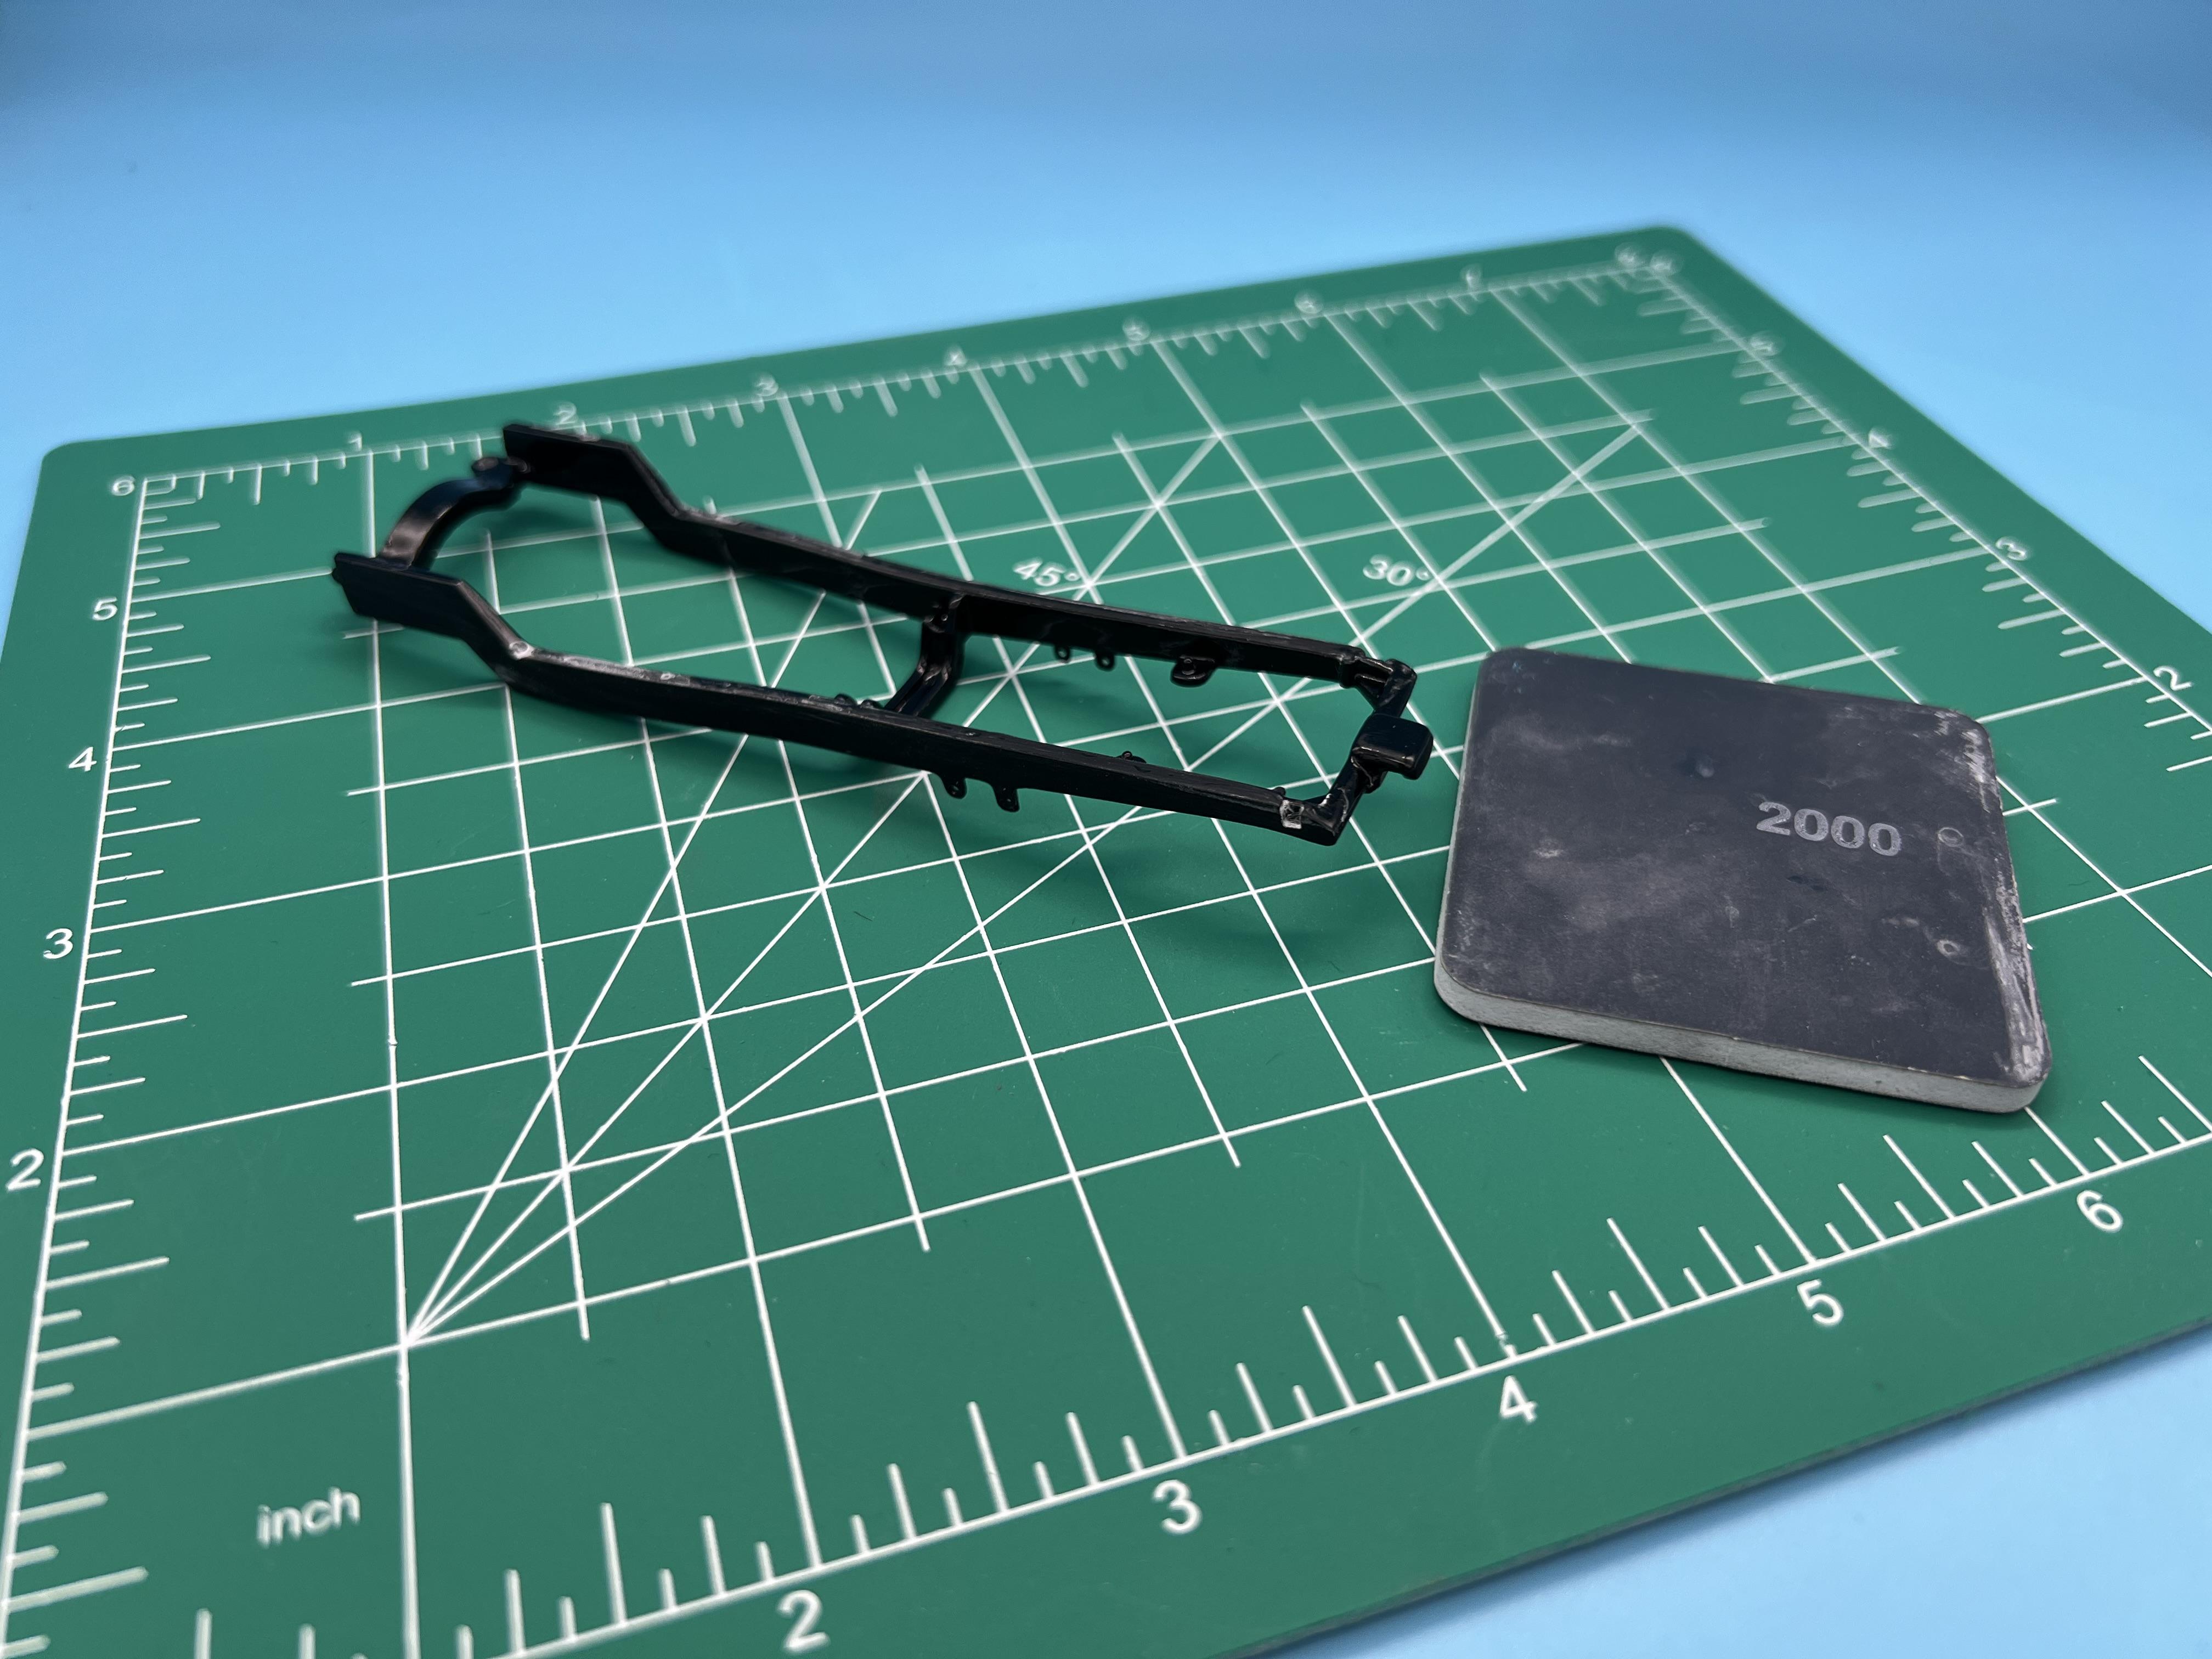
Thanks fellas! I like those big wheels too! I know that render isn’t the exact same model (at least, I don’t think it is?) but I like it all the same…I think I’m erring more on the side of the Watson look right now, but as usual that’s subject to change at any moment… A little progress this weekend so far…I wanted to try some wire wheels on this thing so I fired up the printer… Those kit tires have a recessed lip so I ground that out so I could use them…I think they’ll look cool on there… I’ve been doing some more (a lot more) bodywork, as you can see…also made a start on the chrome side trim…modified it slightly and then drilled and inserted styrene pins to help make it easier to lock in place nice and straight come assembly time… And today’s project was working on a new ‘frame’. Frame in inverted commas, because this build is going to be completely and utterly curbside but I didn’t feel good about hacking the remains of the kit underside into some kinda mess so I could mount wire axles where I wanted to. So, today I mocked up something in cardboard that will work just well enough to hold it all together… …and then built it with 2mm, 1mm and 0.75mm styrene sheet: This was all completely and utterly unnecessary, I could’ve messed with the kit frame to make this work, or swapped in one of a few actual detailed frames that would’ve worked…but I had the idea and wanted to build it, so I built it ? Next job is to get the wheels mounted to my ‘origami’ frame and then make sure it all fits together still…more soon, soon as I’ve done more!
-
Atlantis Models has bought another lot of tooling/molds.....
OldNYJim replied to Dave Van's topic in Car Kit News & Reviews
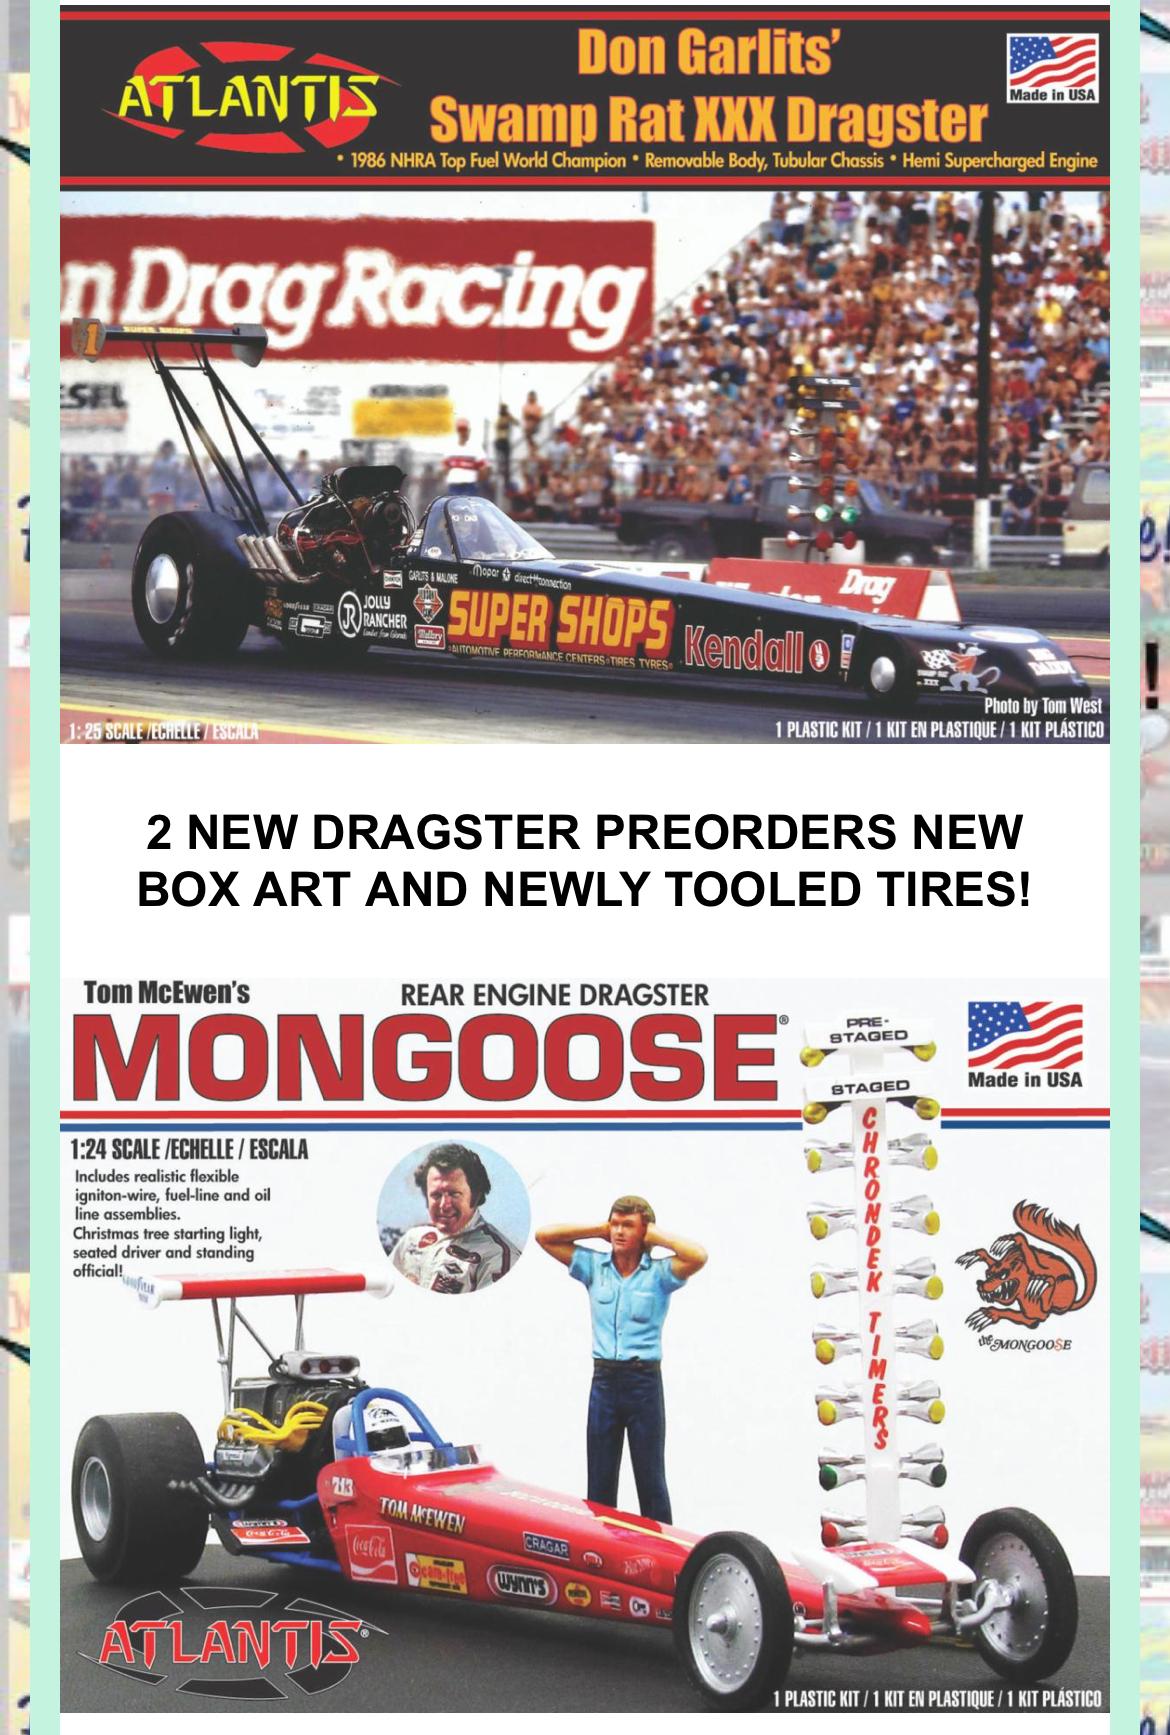
Two new preorders announced today too - Atlantis has been busy! I spotted the TD Vette too - I’d jump at the chance to get one of those!
-
Atlantis Models has bought another lot of tooling/molds.....
OldNYJim replied to Dave Van's topic in Car Kit News & Reviews
Is that what the yellow frame in the display case is? -
What Did You Get Today? (Not Model Related)
OldNYJim replied to LOBBS's topic in The Off-Topic Lounge
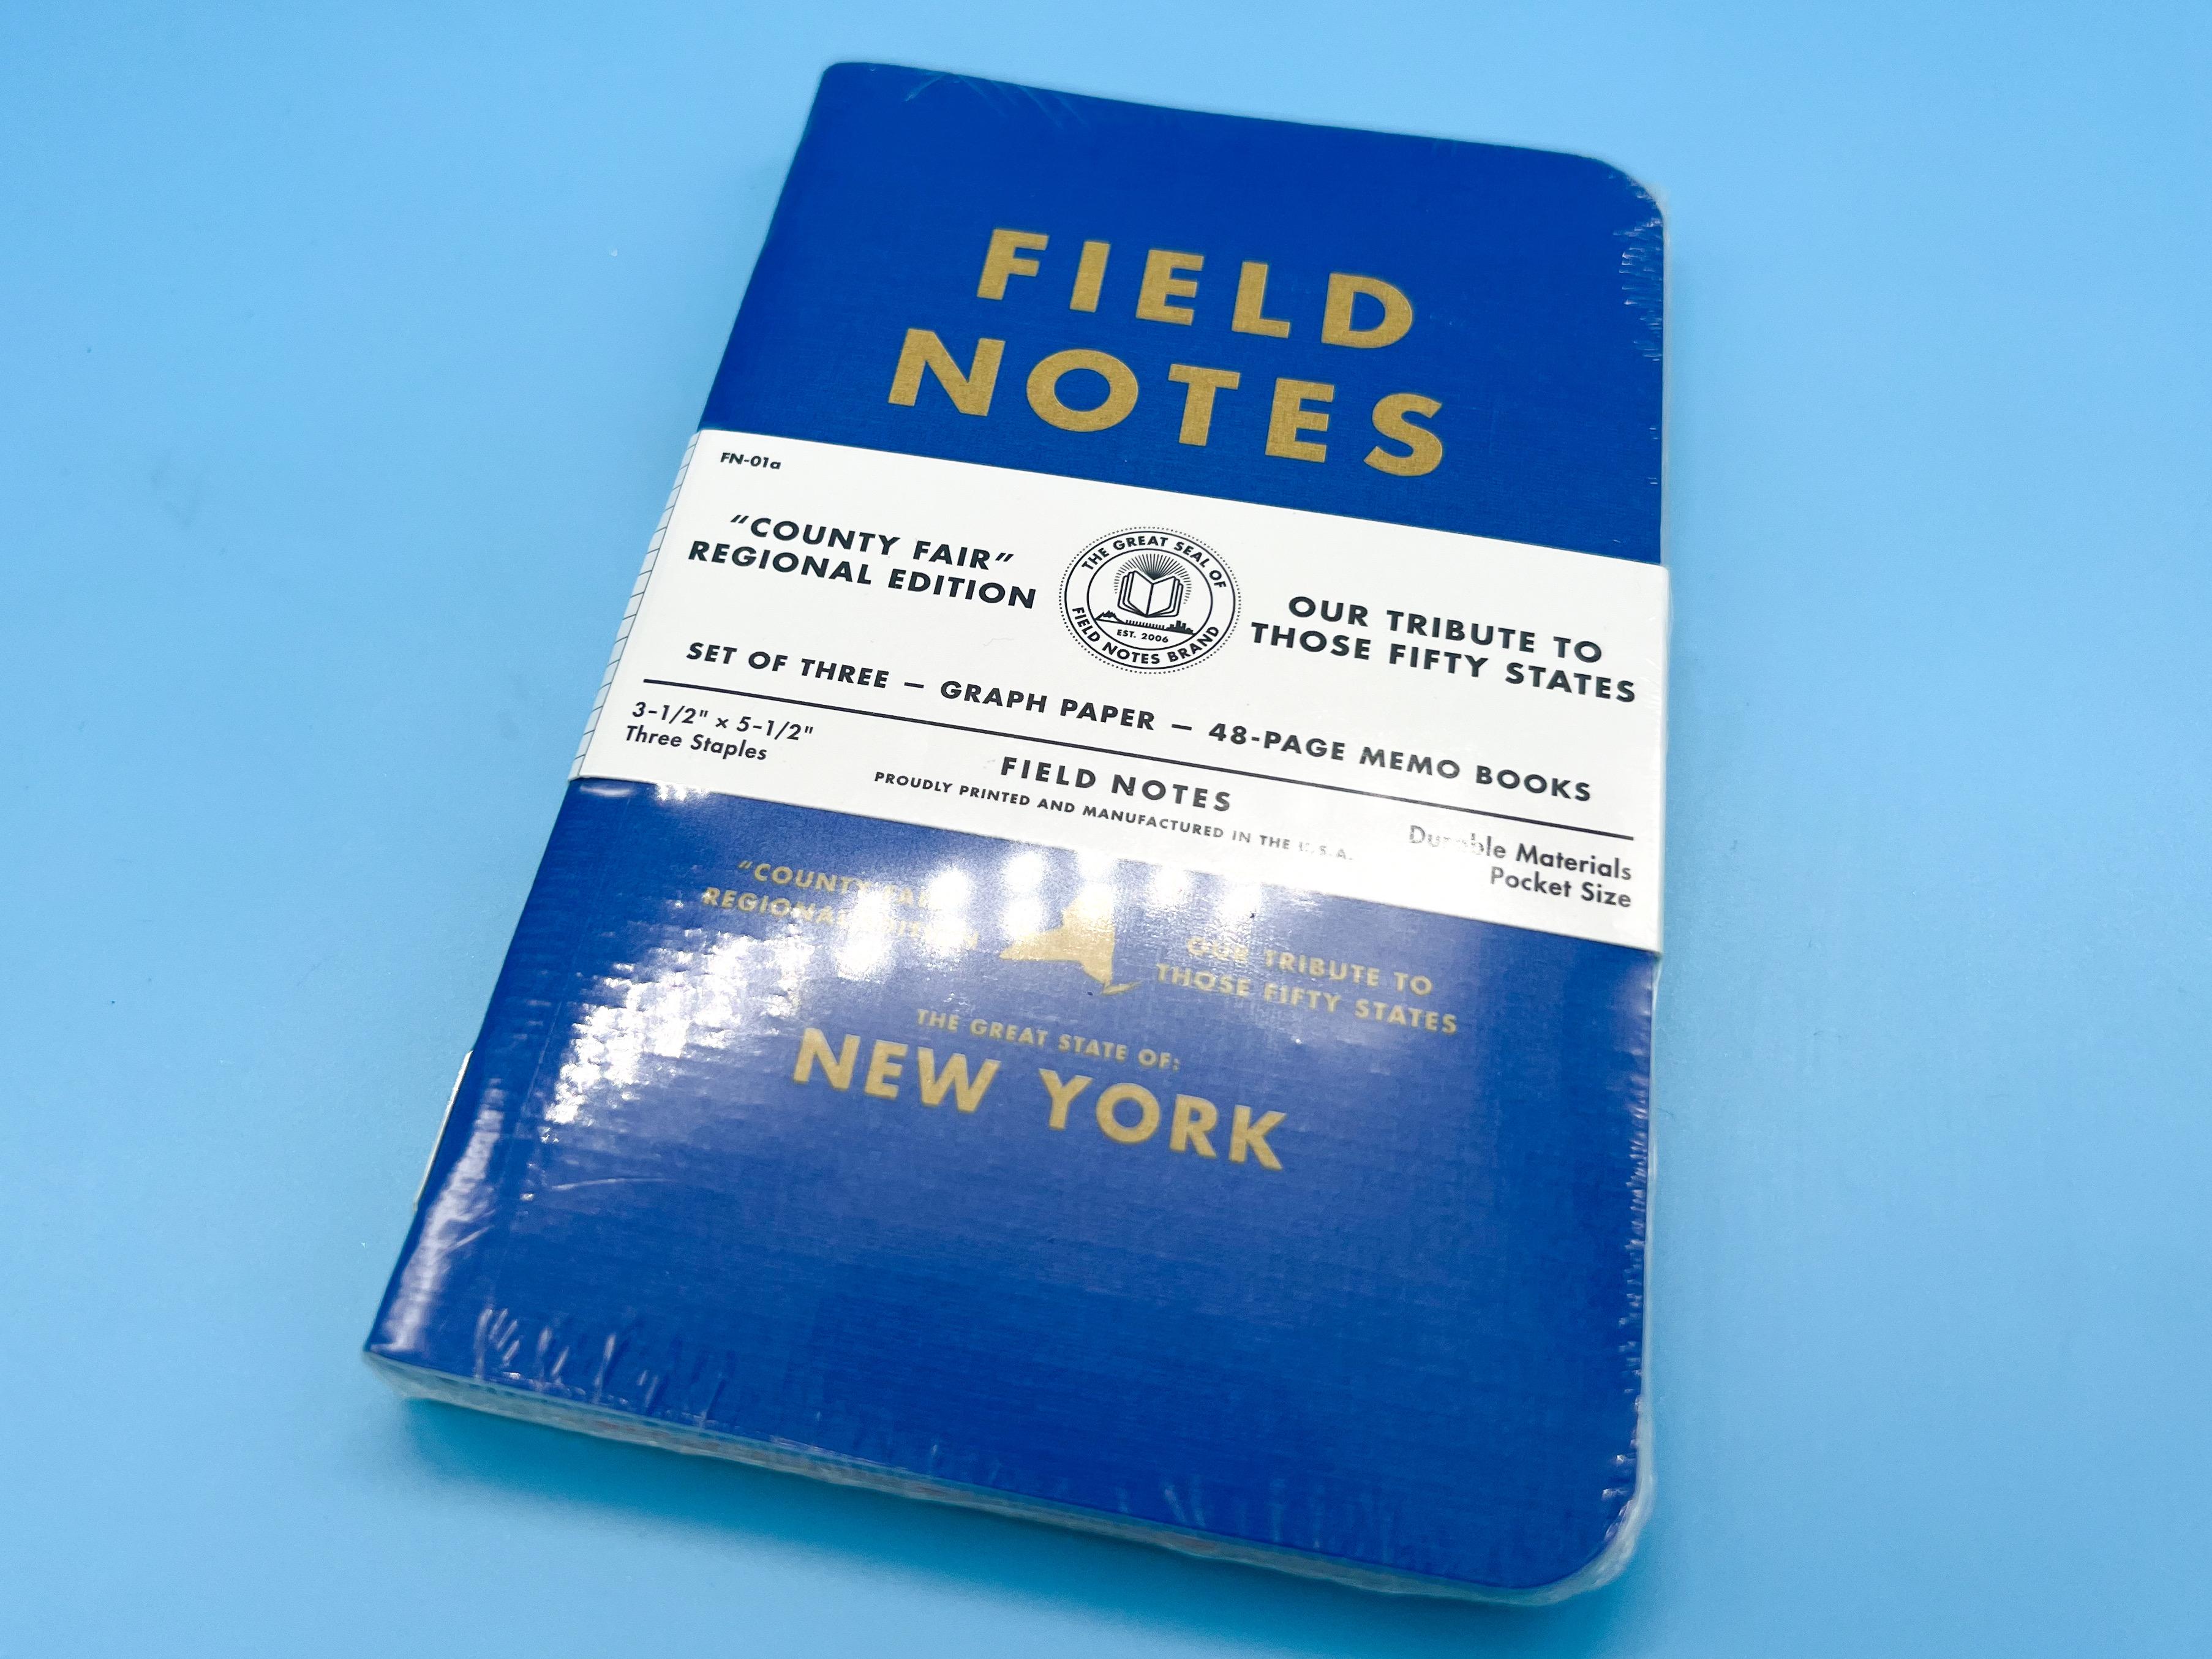
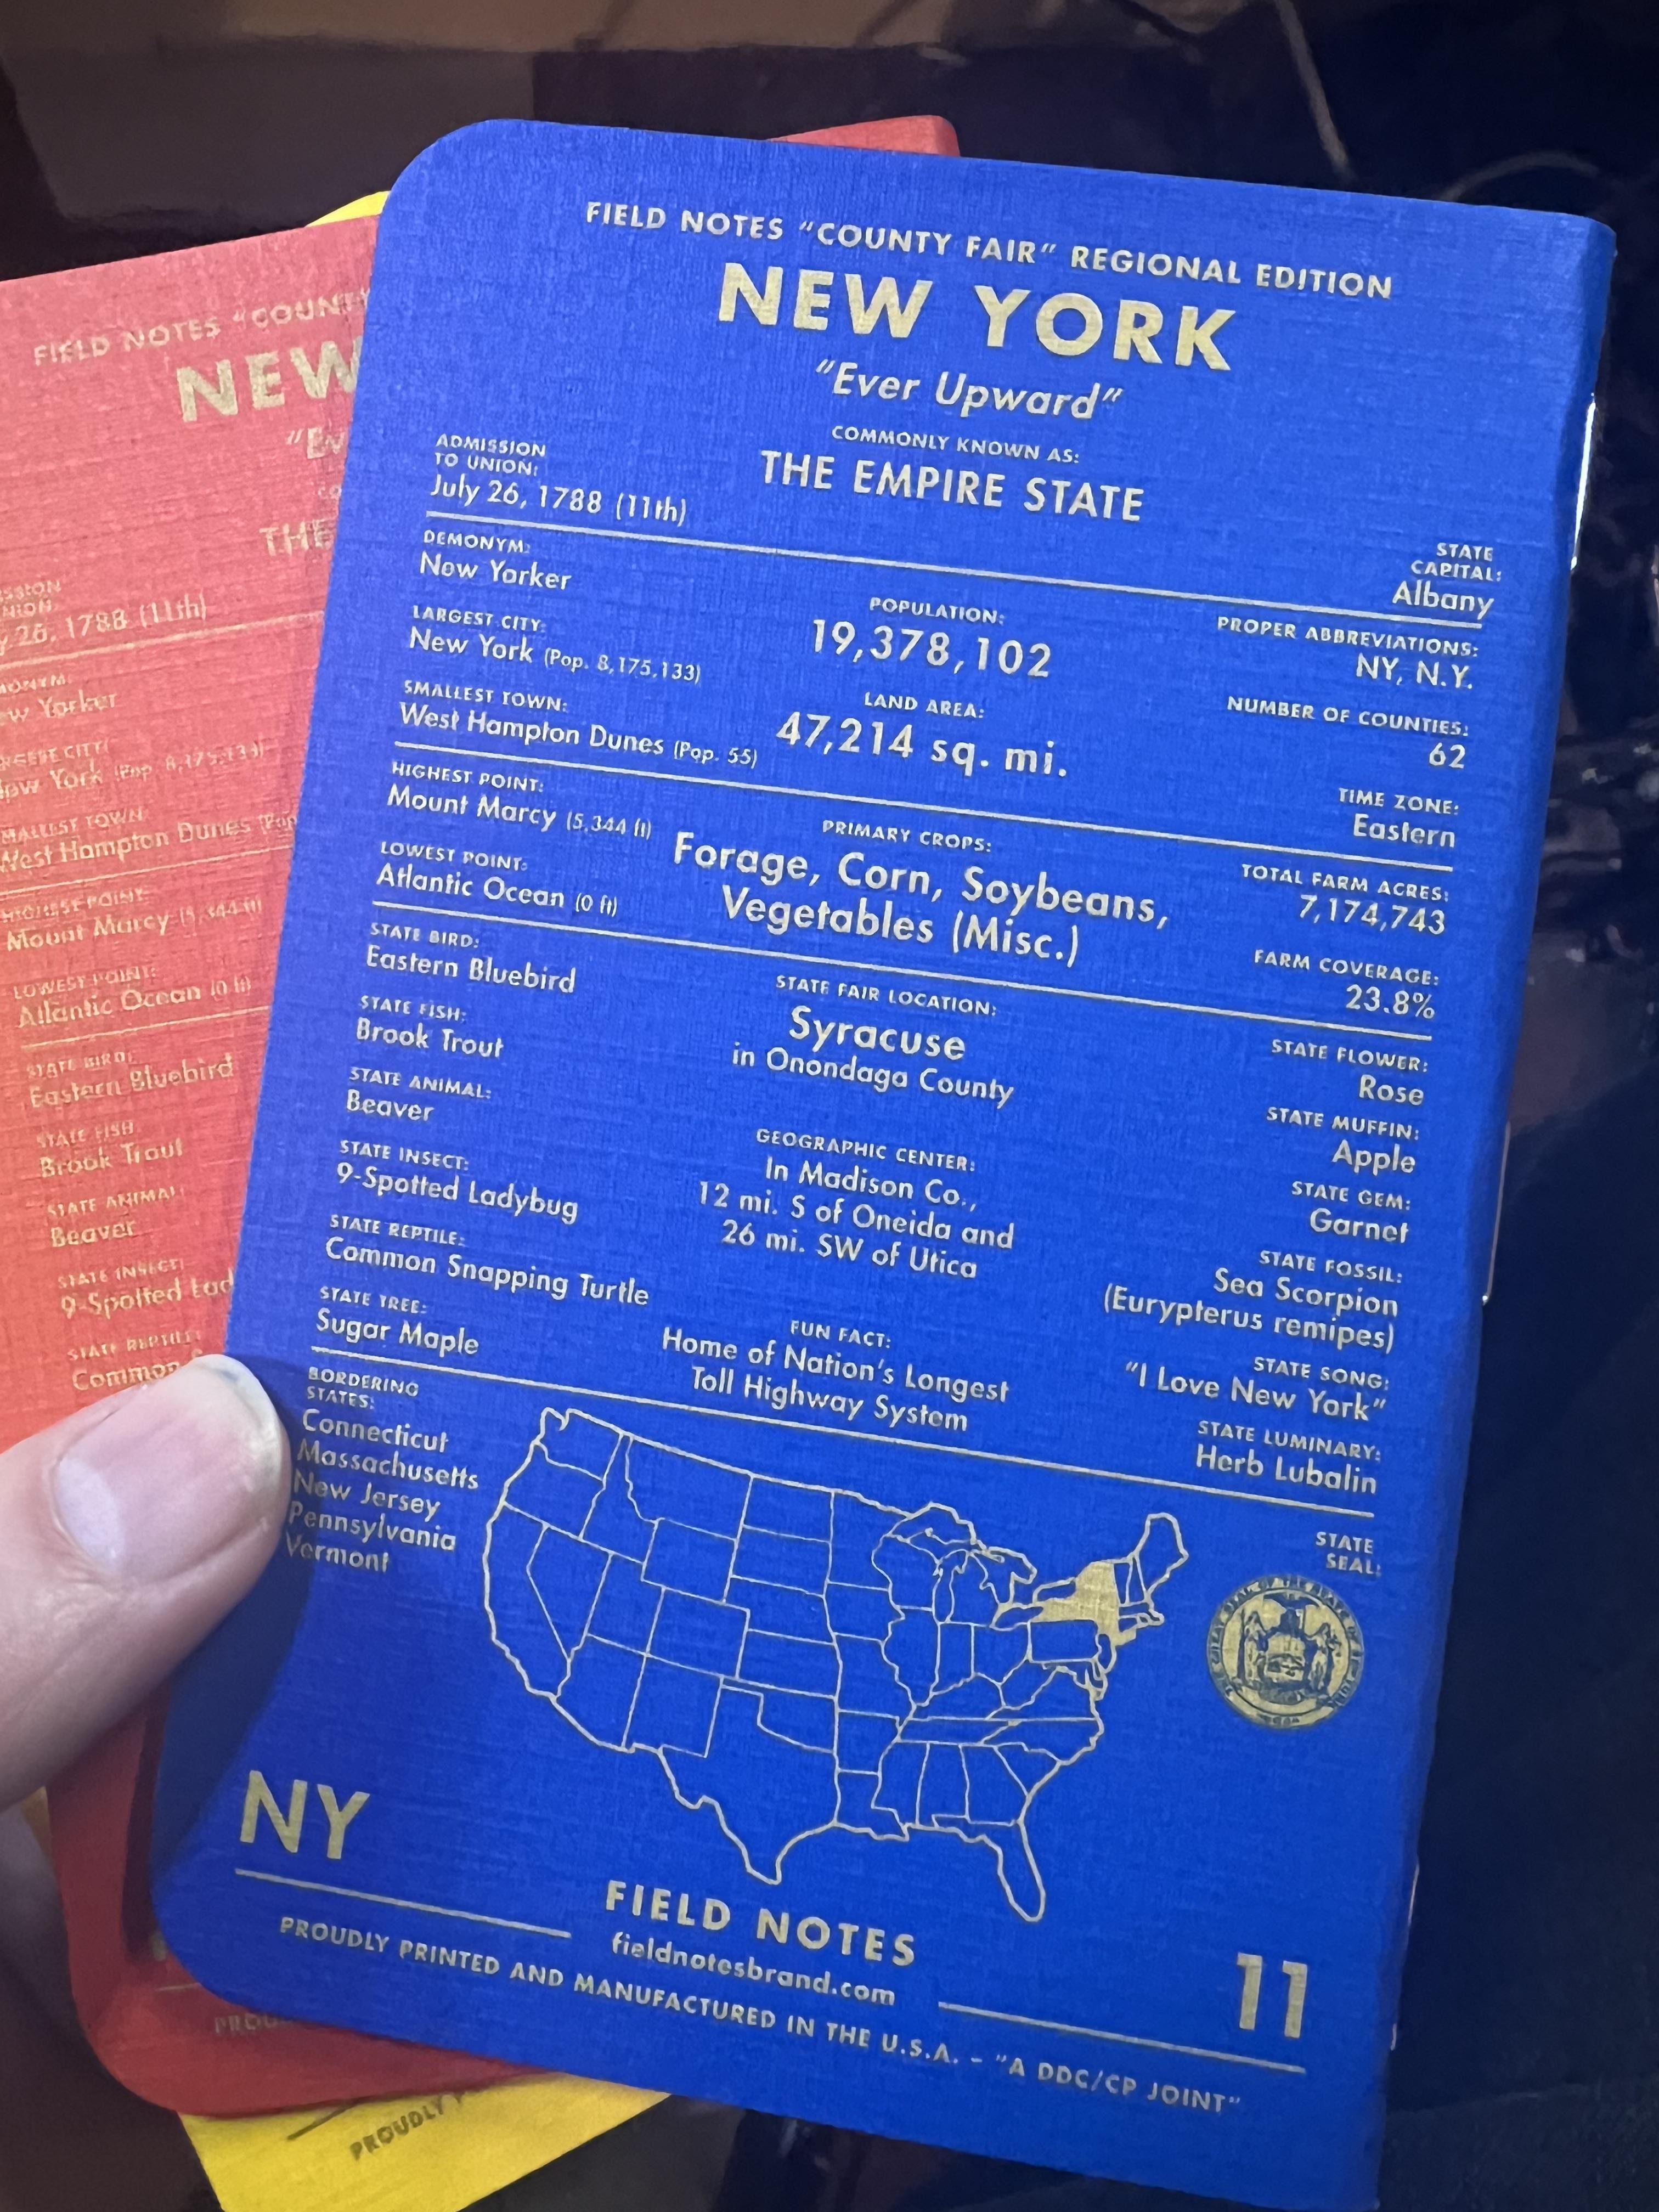
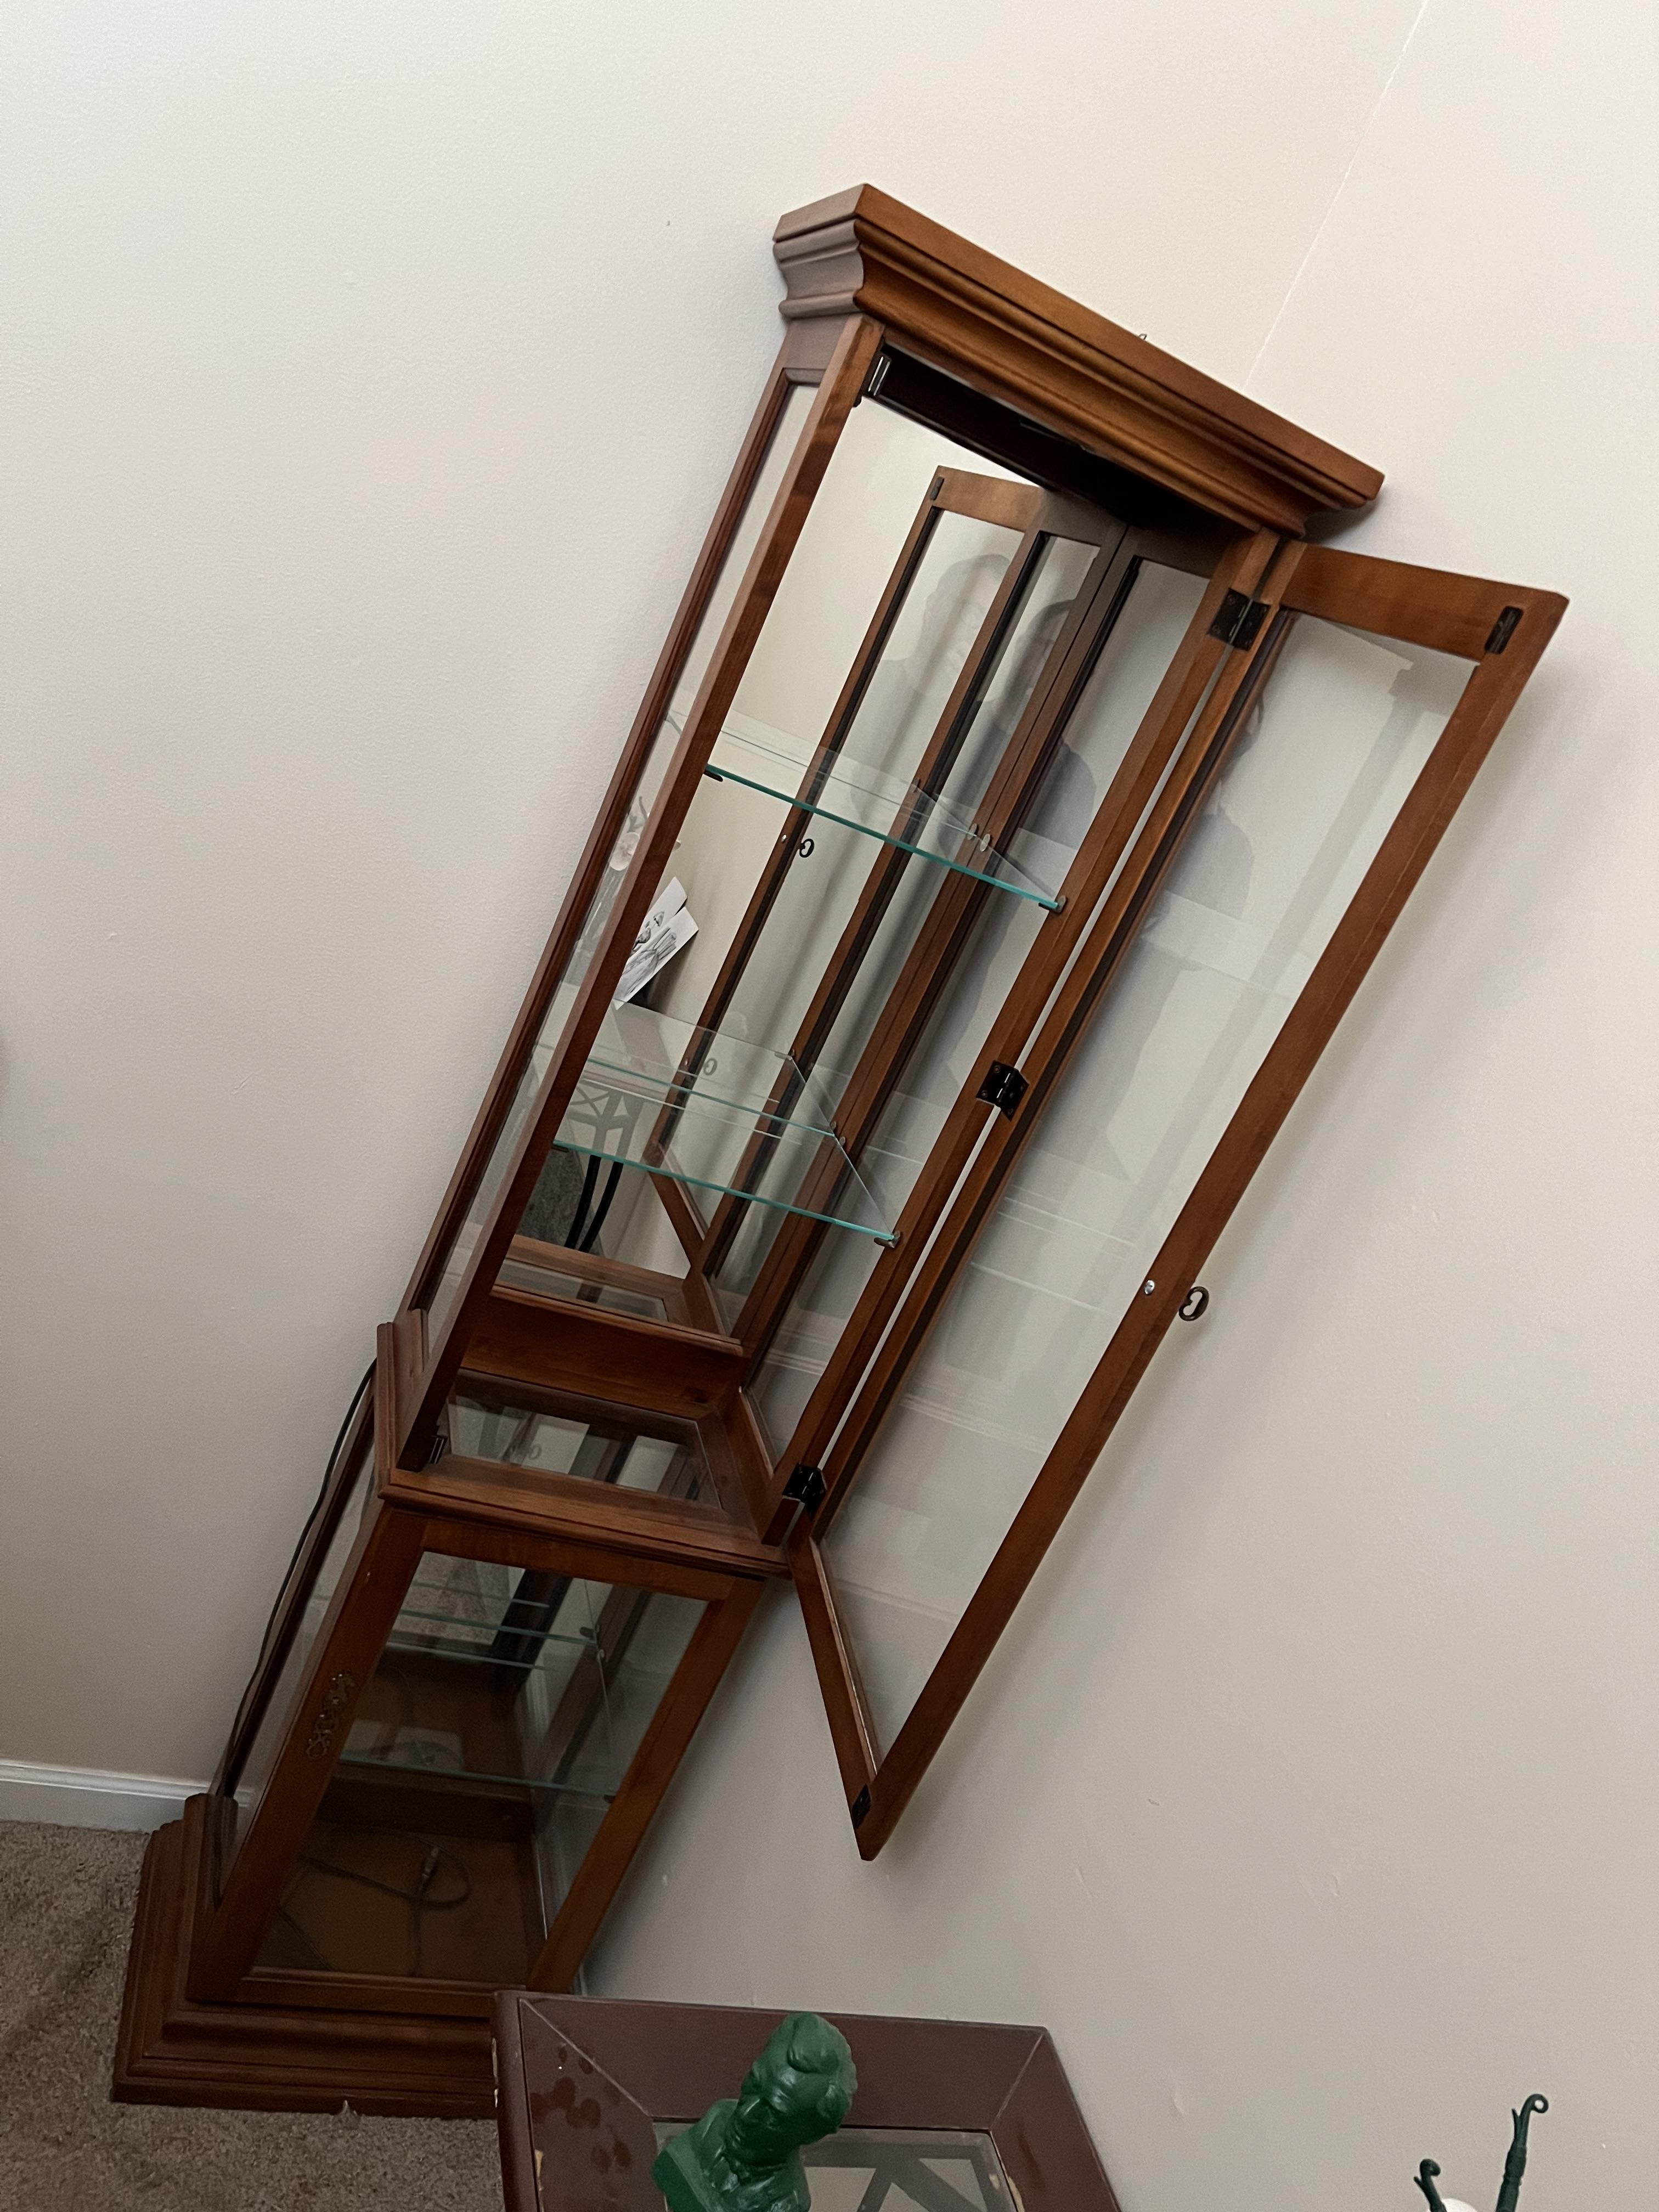
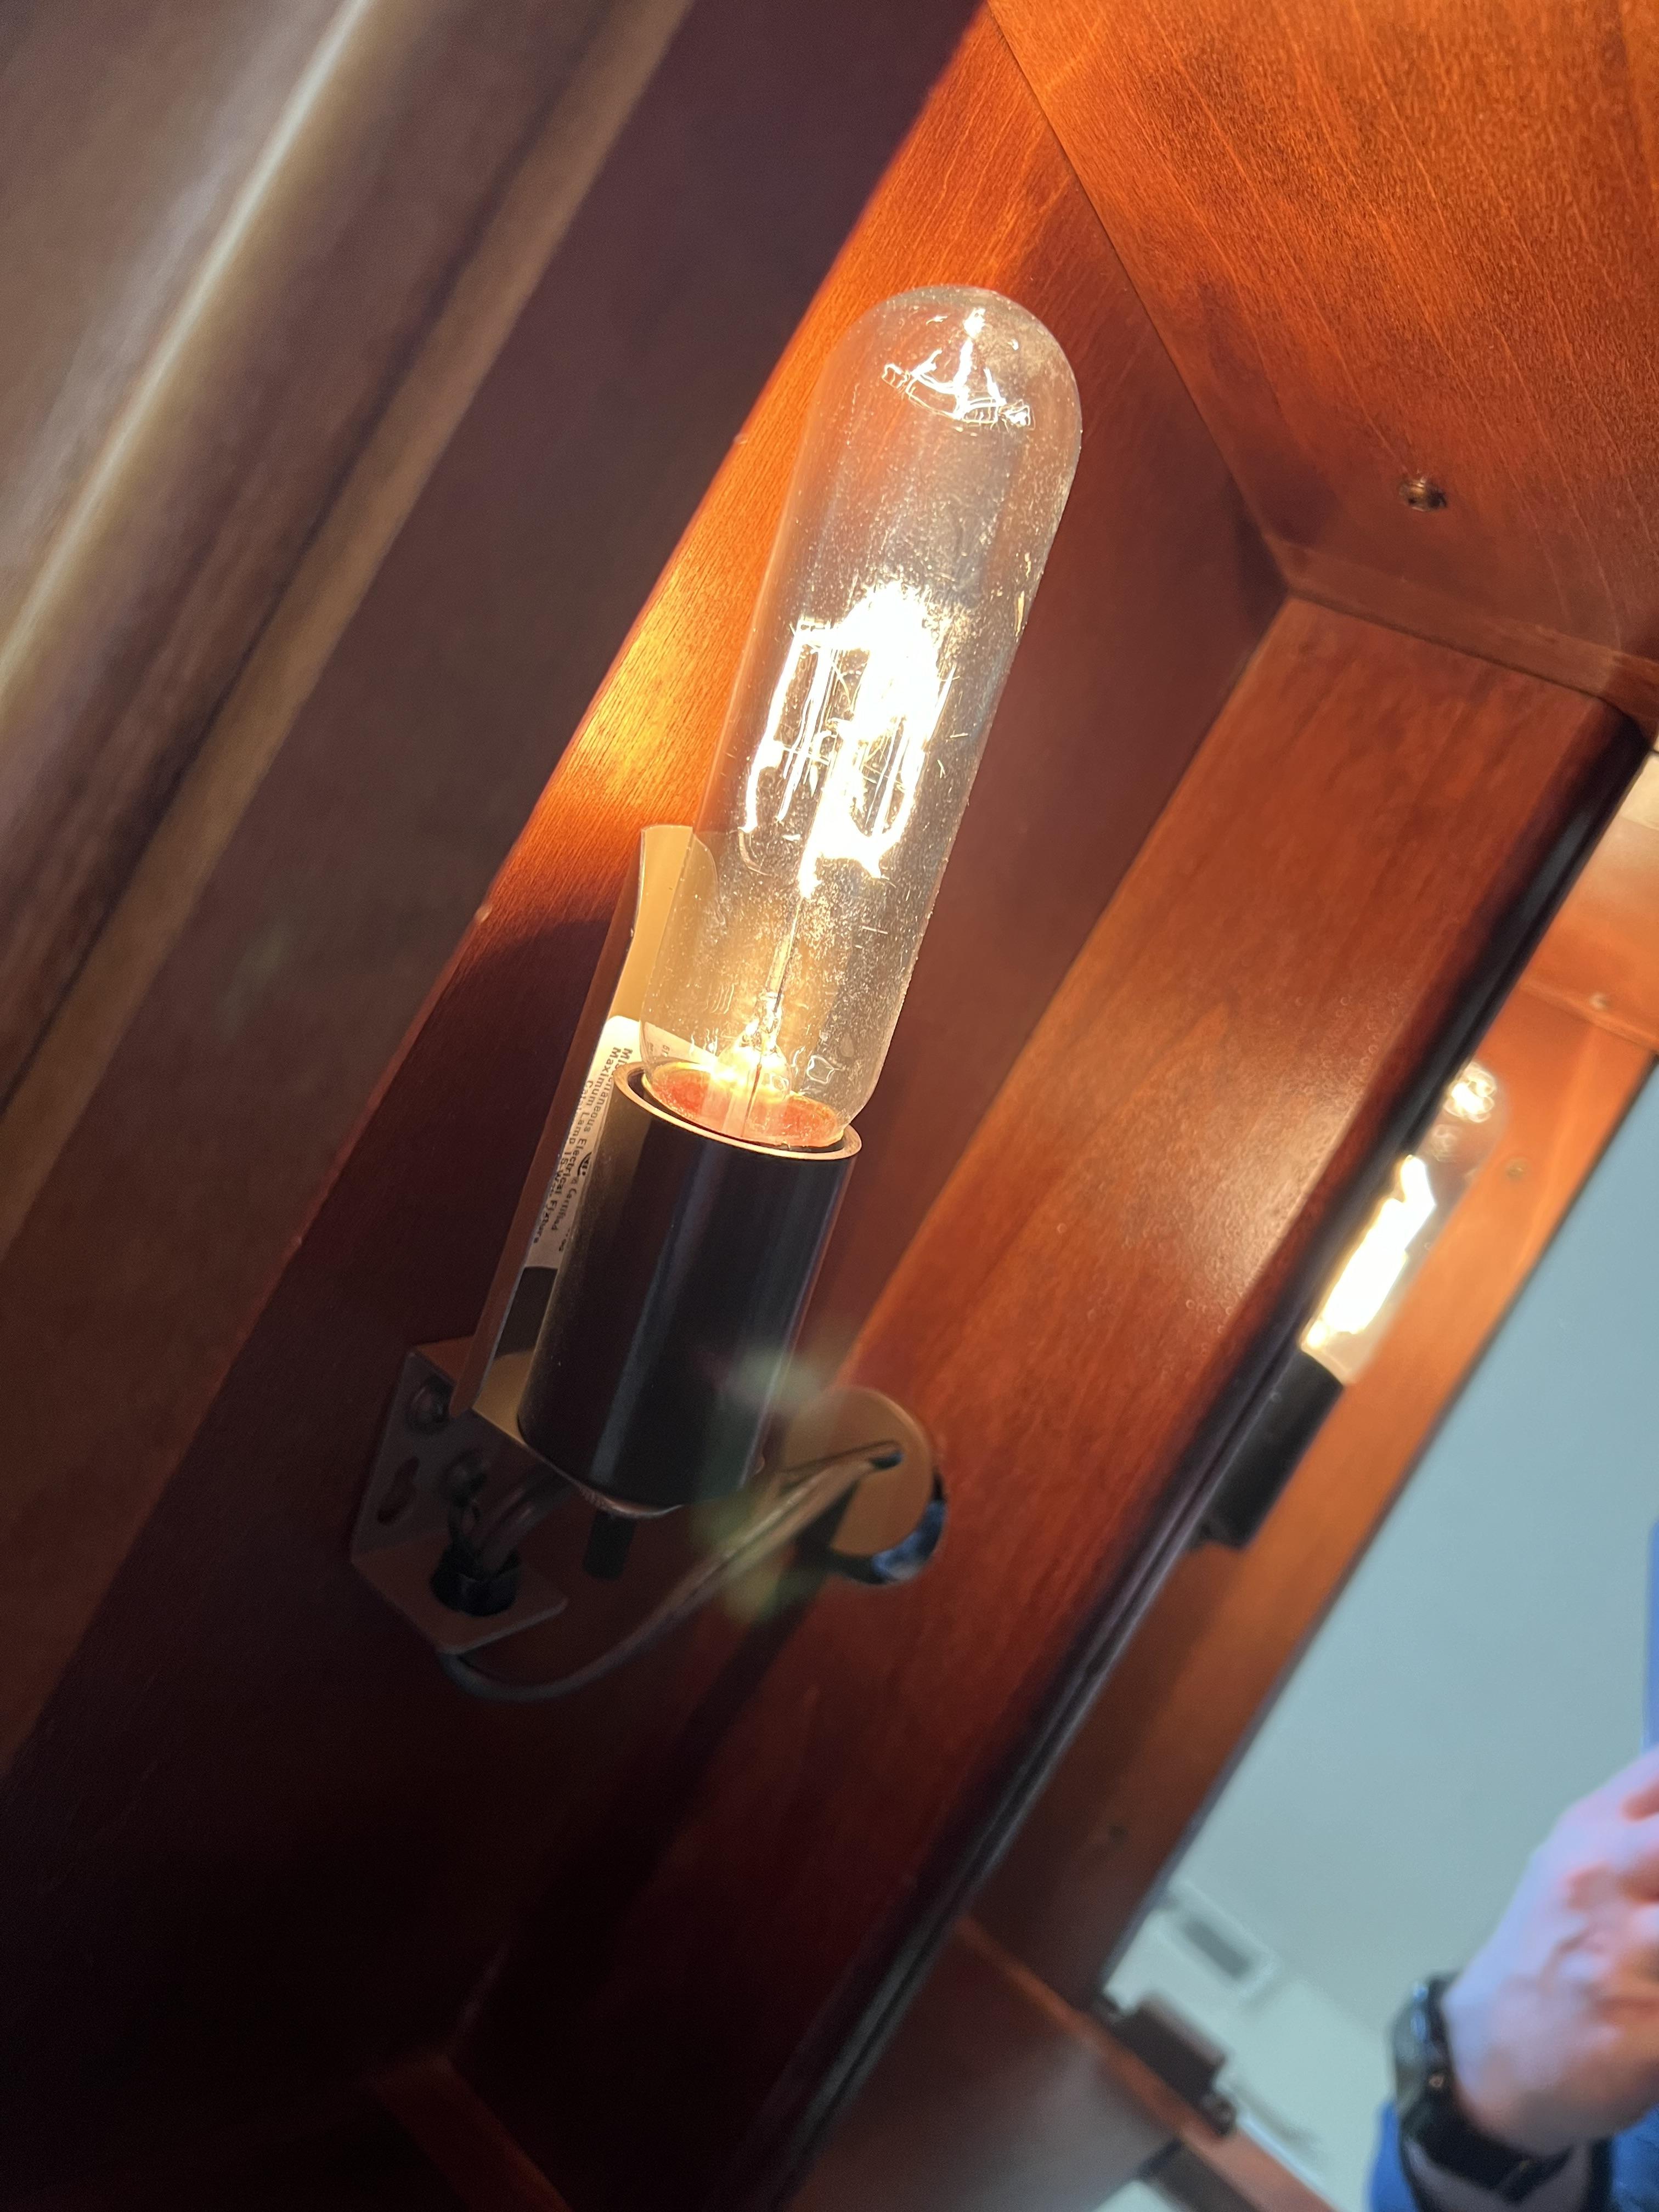
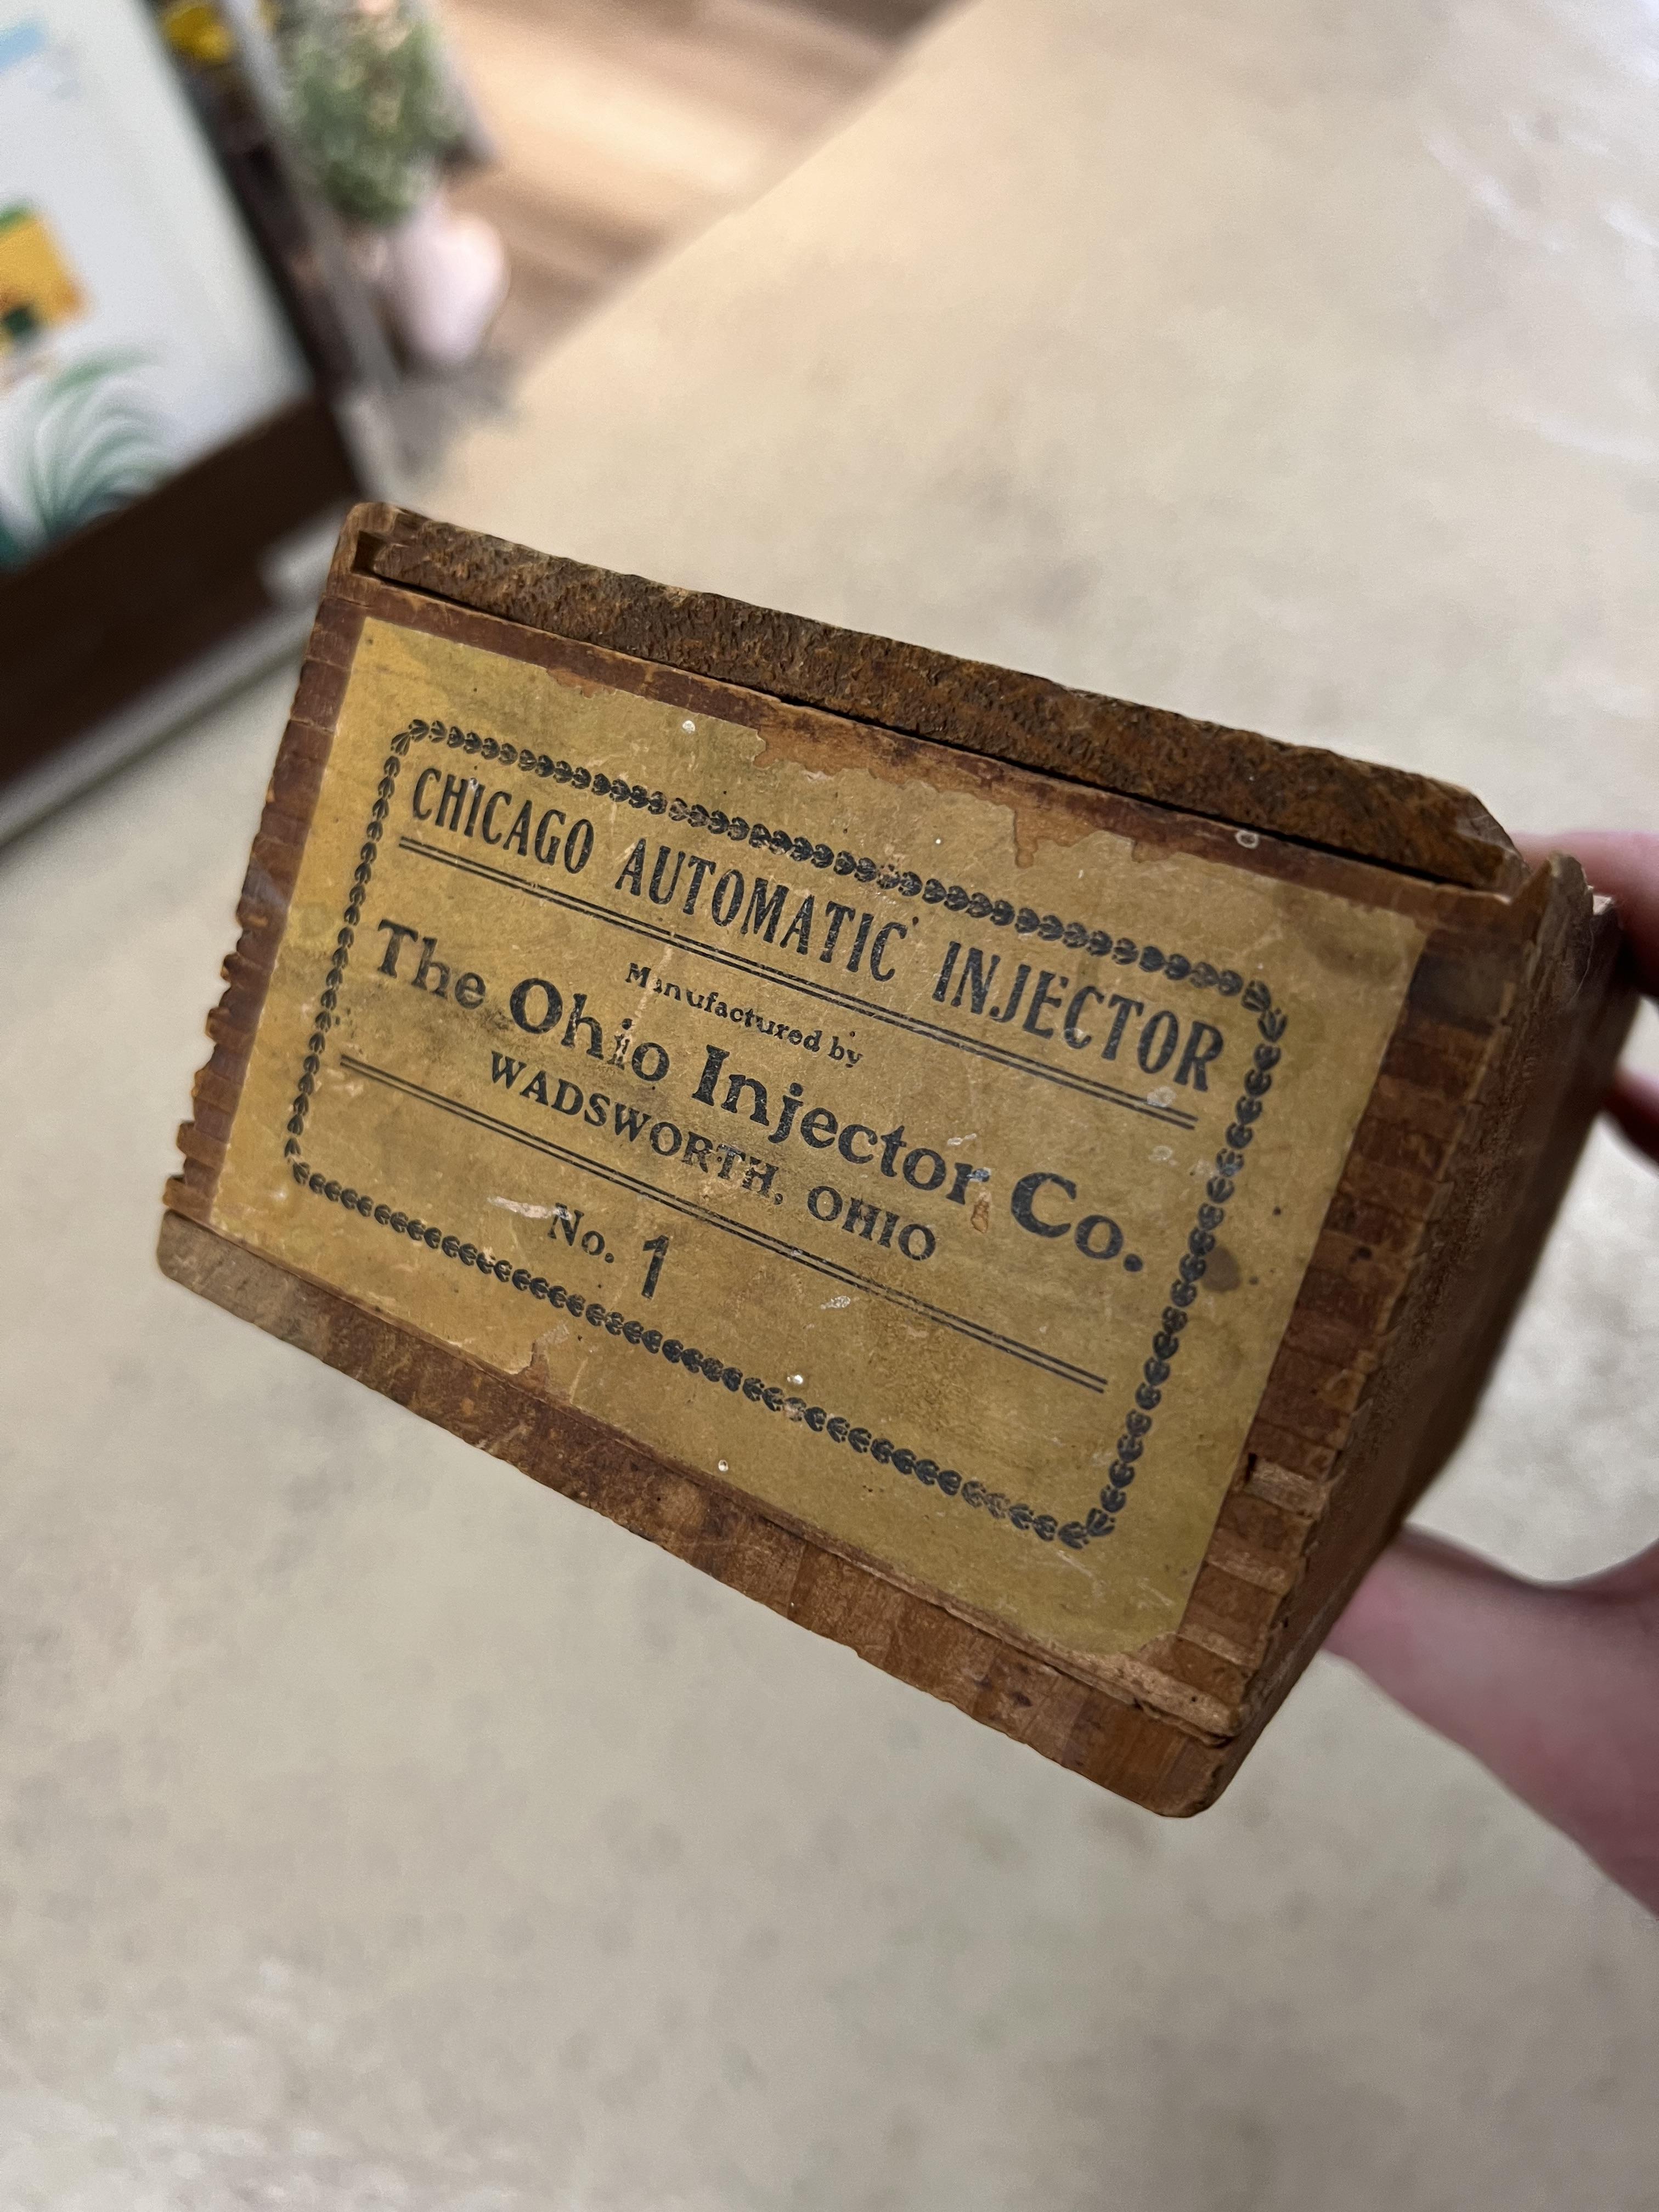
A new pack of my favorite notepads: Some fun facts from the rear cover: And this week I also picked up a display case…$40, because the light didn’t work: Plot twist…the light does work if you turn the switch to the ‘on’ position: Plus this cool old box that took my fancy:
-
How do I black wash a grille ?
OldNYJim replied to Ctmodeler's topic in Model Building Questions and Answers
Me too! For a more subtle wash, or for small parts, I like black India ink, and I mix up some artist’s acrylic as people above recommended for something larger like a grille -
Atlantis Models has bought another lot of tooling/molds.....
OldNYJim replied to Dave Van's topic in Car Kit News & Reviews
Great eye, thanks Mark! I wondered if that was a Newport I saw, but I wasn’t particularly confident in my guess…I’d be stoked if that one was reissued! -
Atlantis Models has bought another lot of tooling/molds.....
OldNYJim replied to Dave Van's topic in Car Kit News & Reviews
Intriguing !! Does anyone with better knowledge than me recognize what the test shots are? -
Atlantis Models has bought another lot of tooling/molds.....
OldNYJim replied to Dave Van's topic in Car Kit News & Reviews
“We’re working on some new items” said Atlantis in a vid they posted today - they had a couple of sets of test-shots plus some old kit boxes in the background…maybe some hints at stuff coming down the line soon? Excuse the blurry images, but it’s hard to get a still from a video…video link here, for anyone interested: https://www.instagram.com/reel/C5ZHoPburHb/?igsh=MmlzcnBxcW9tY2Y4
-
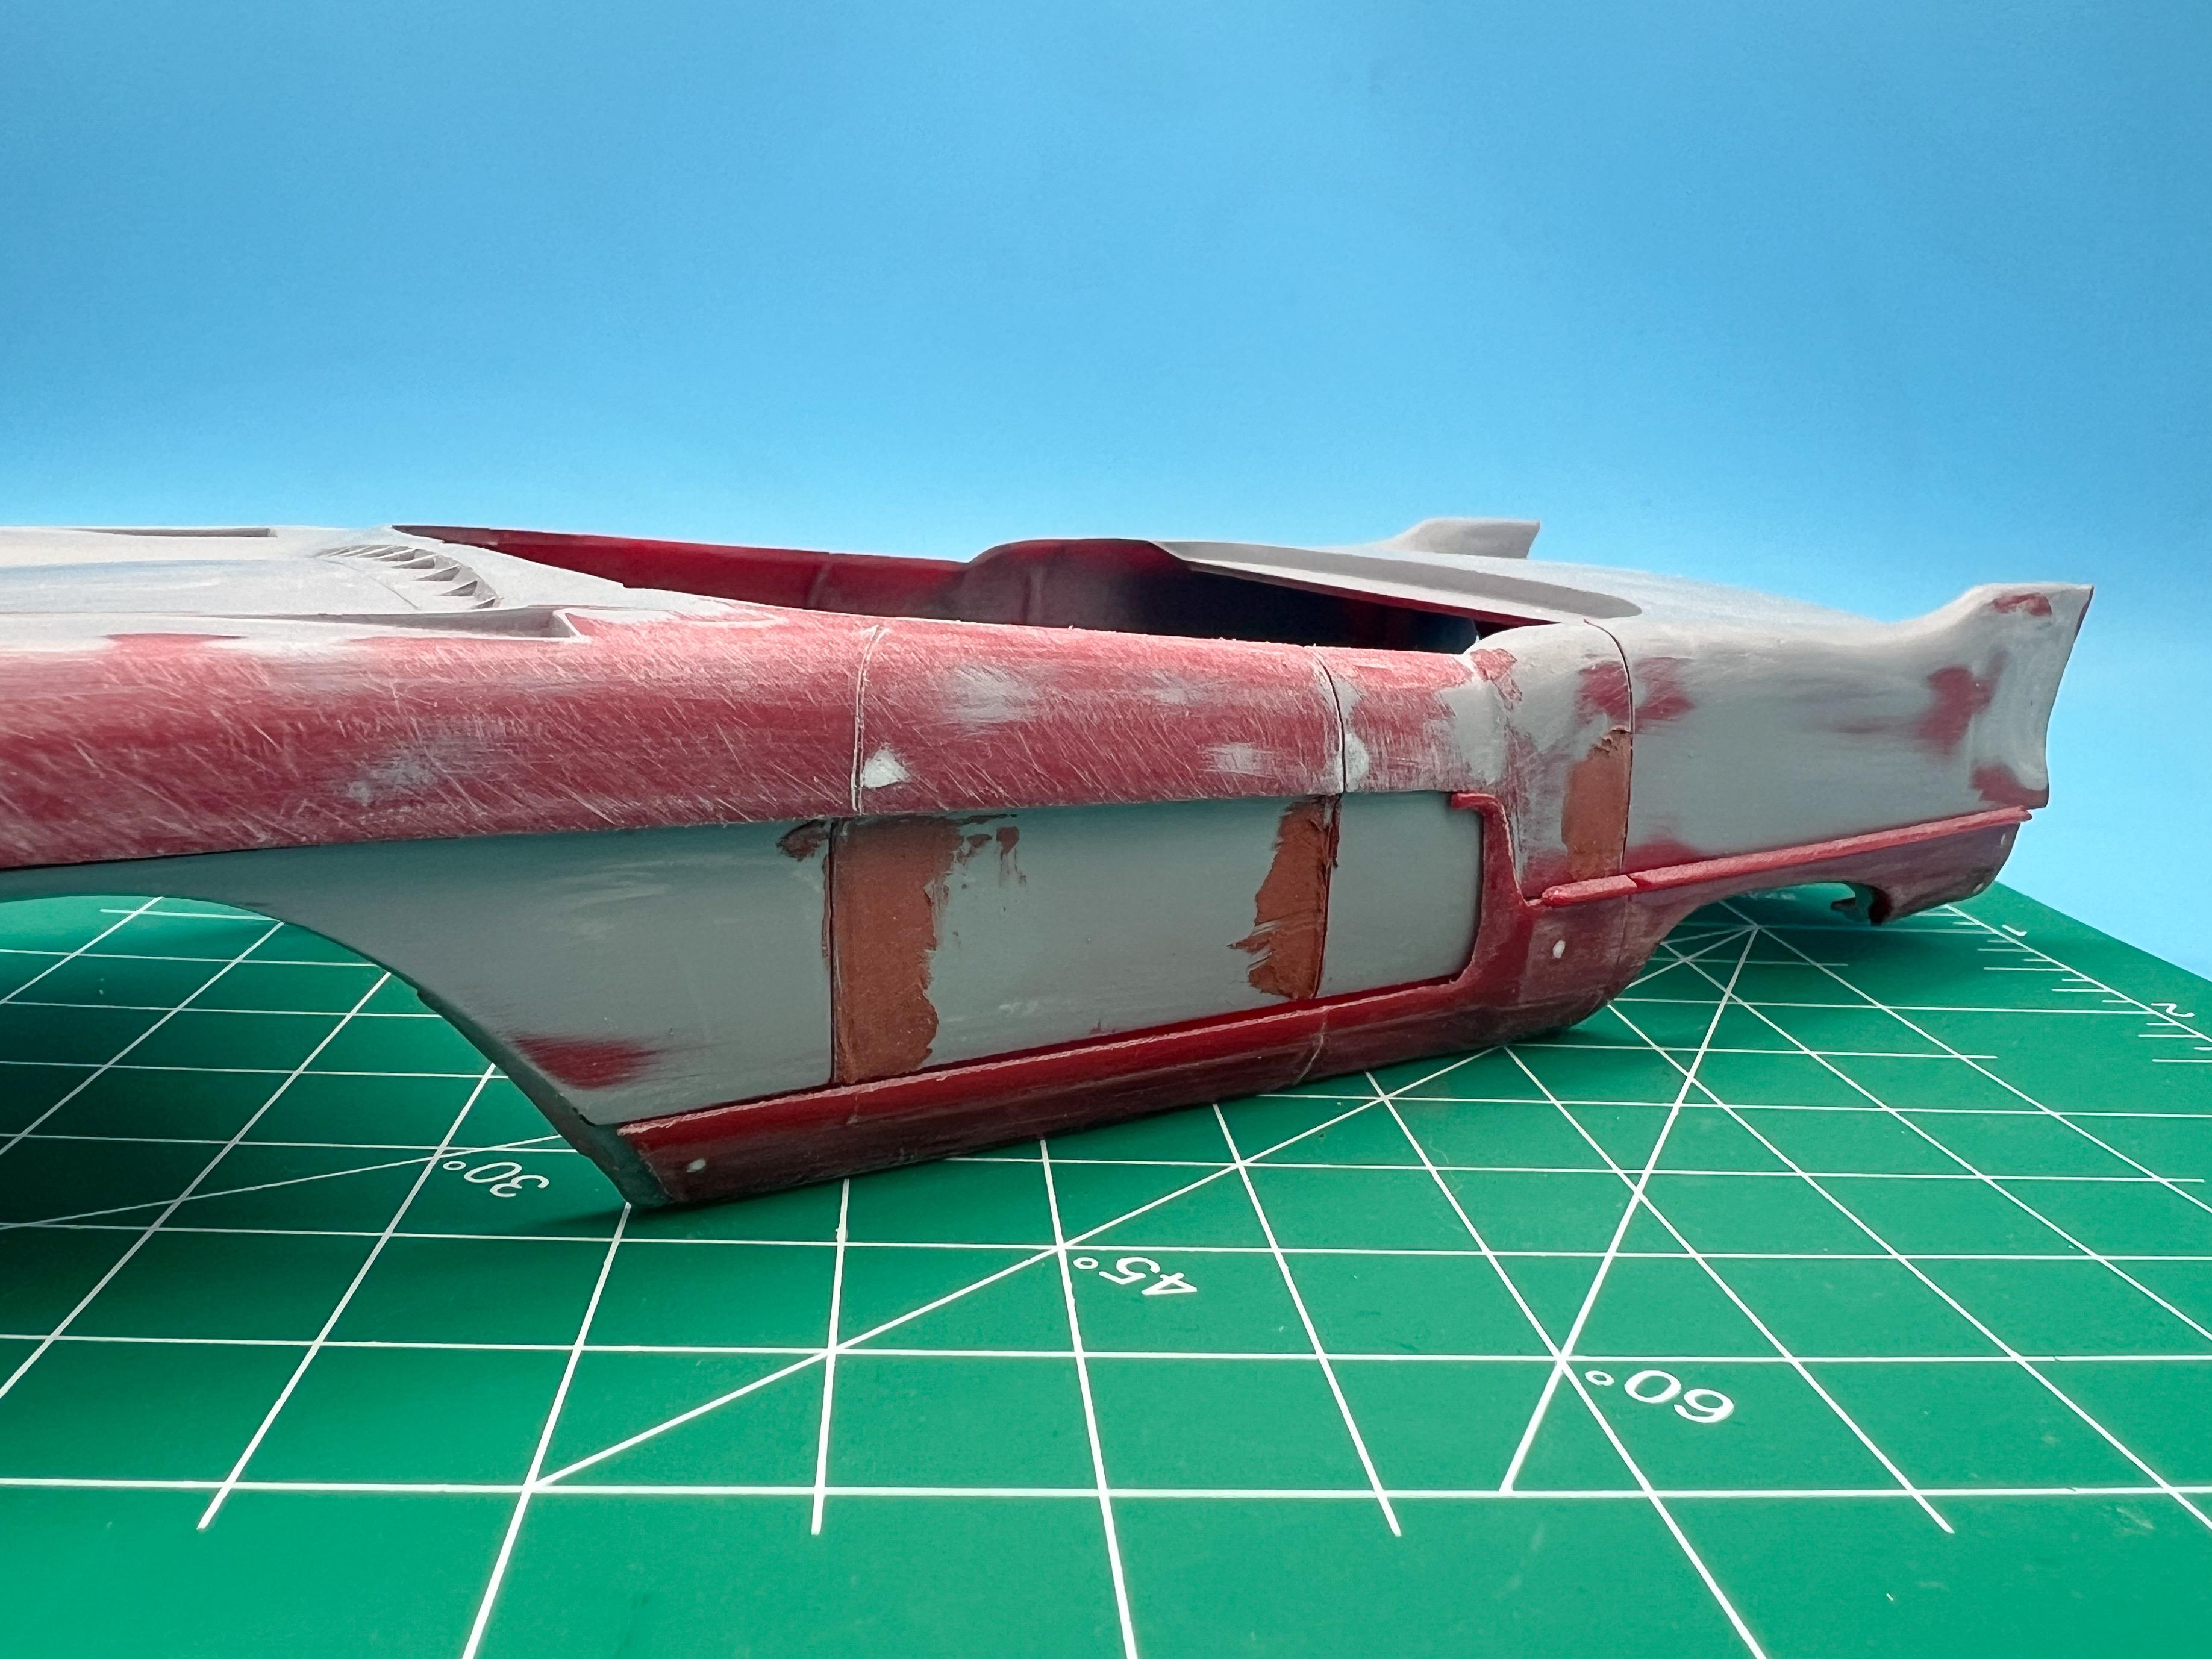
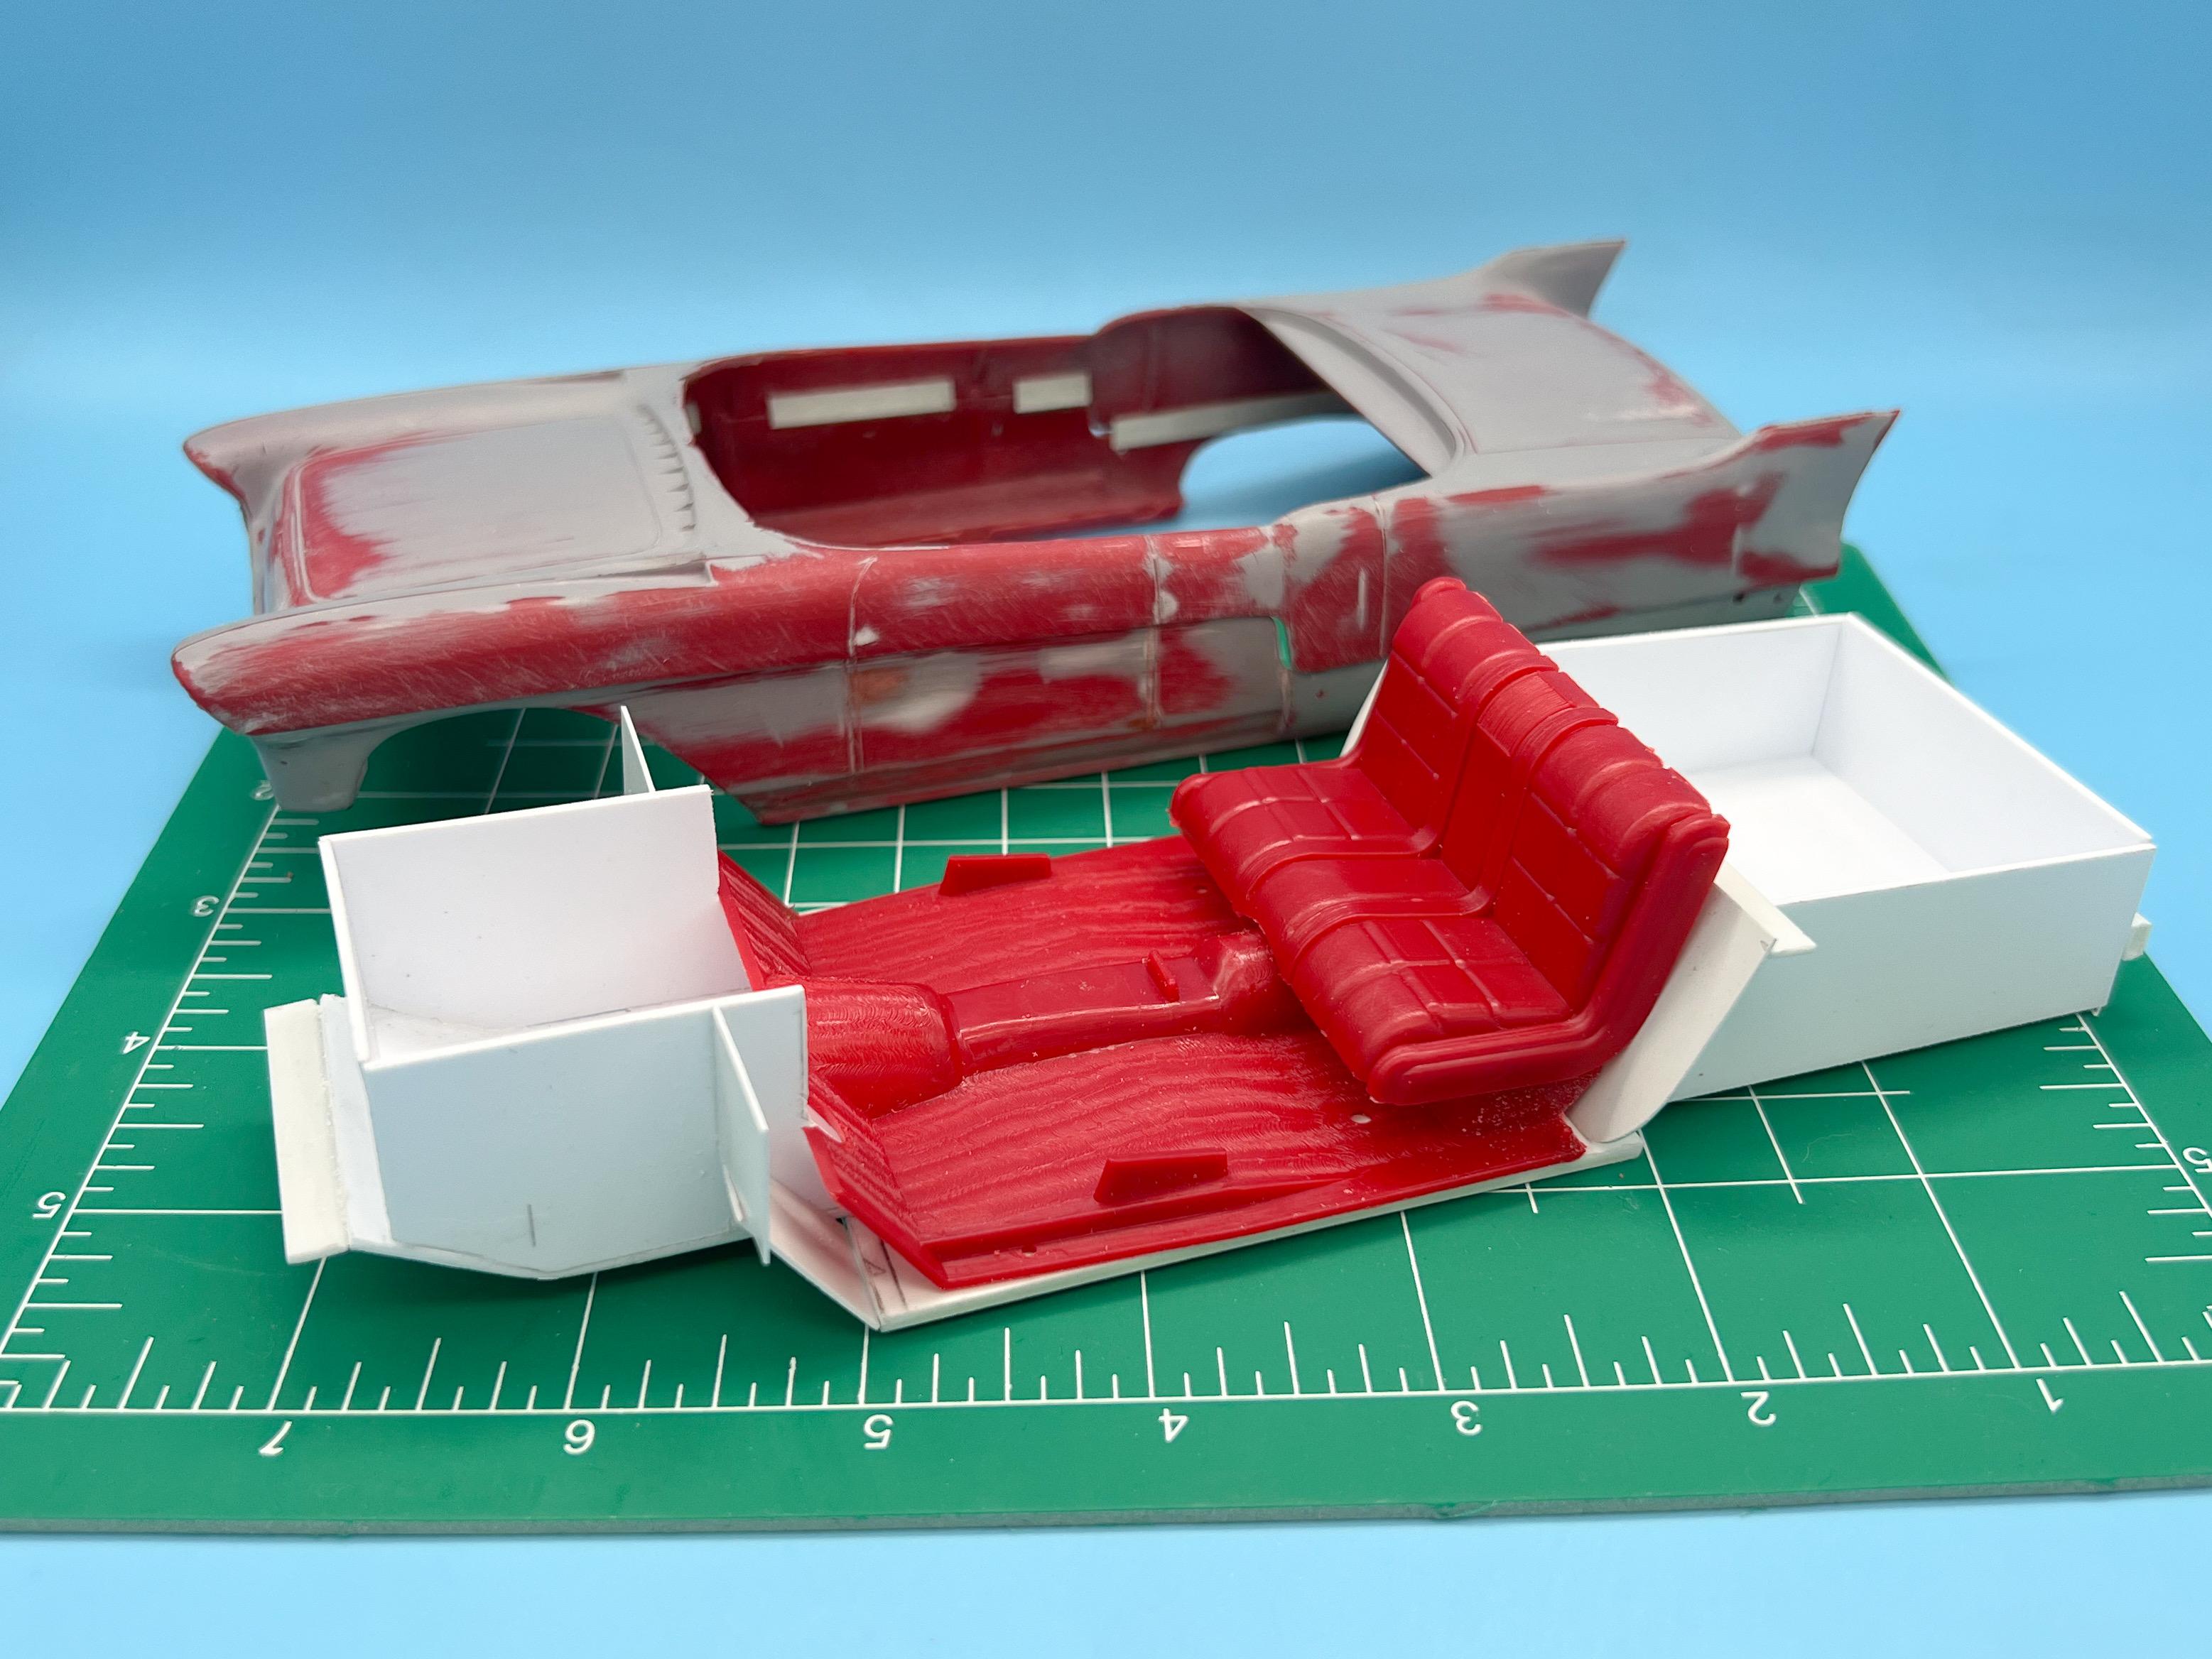
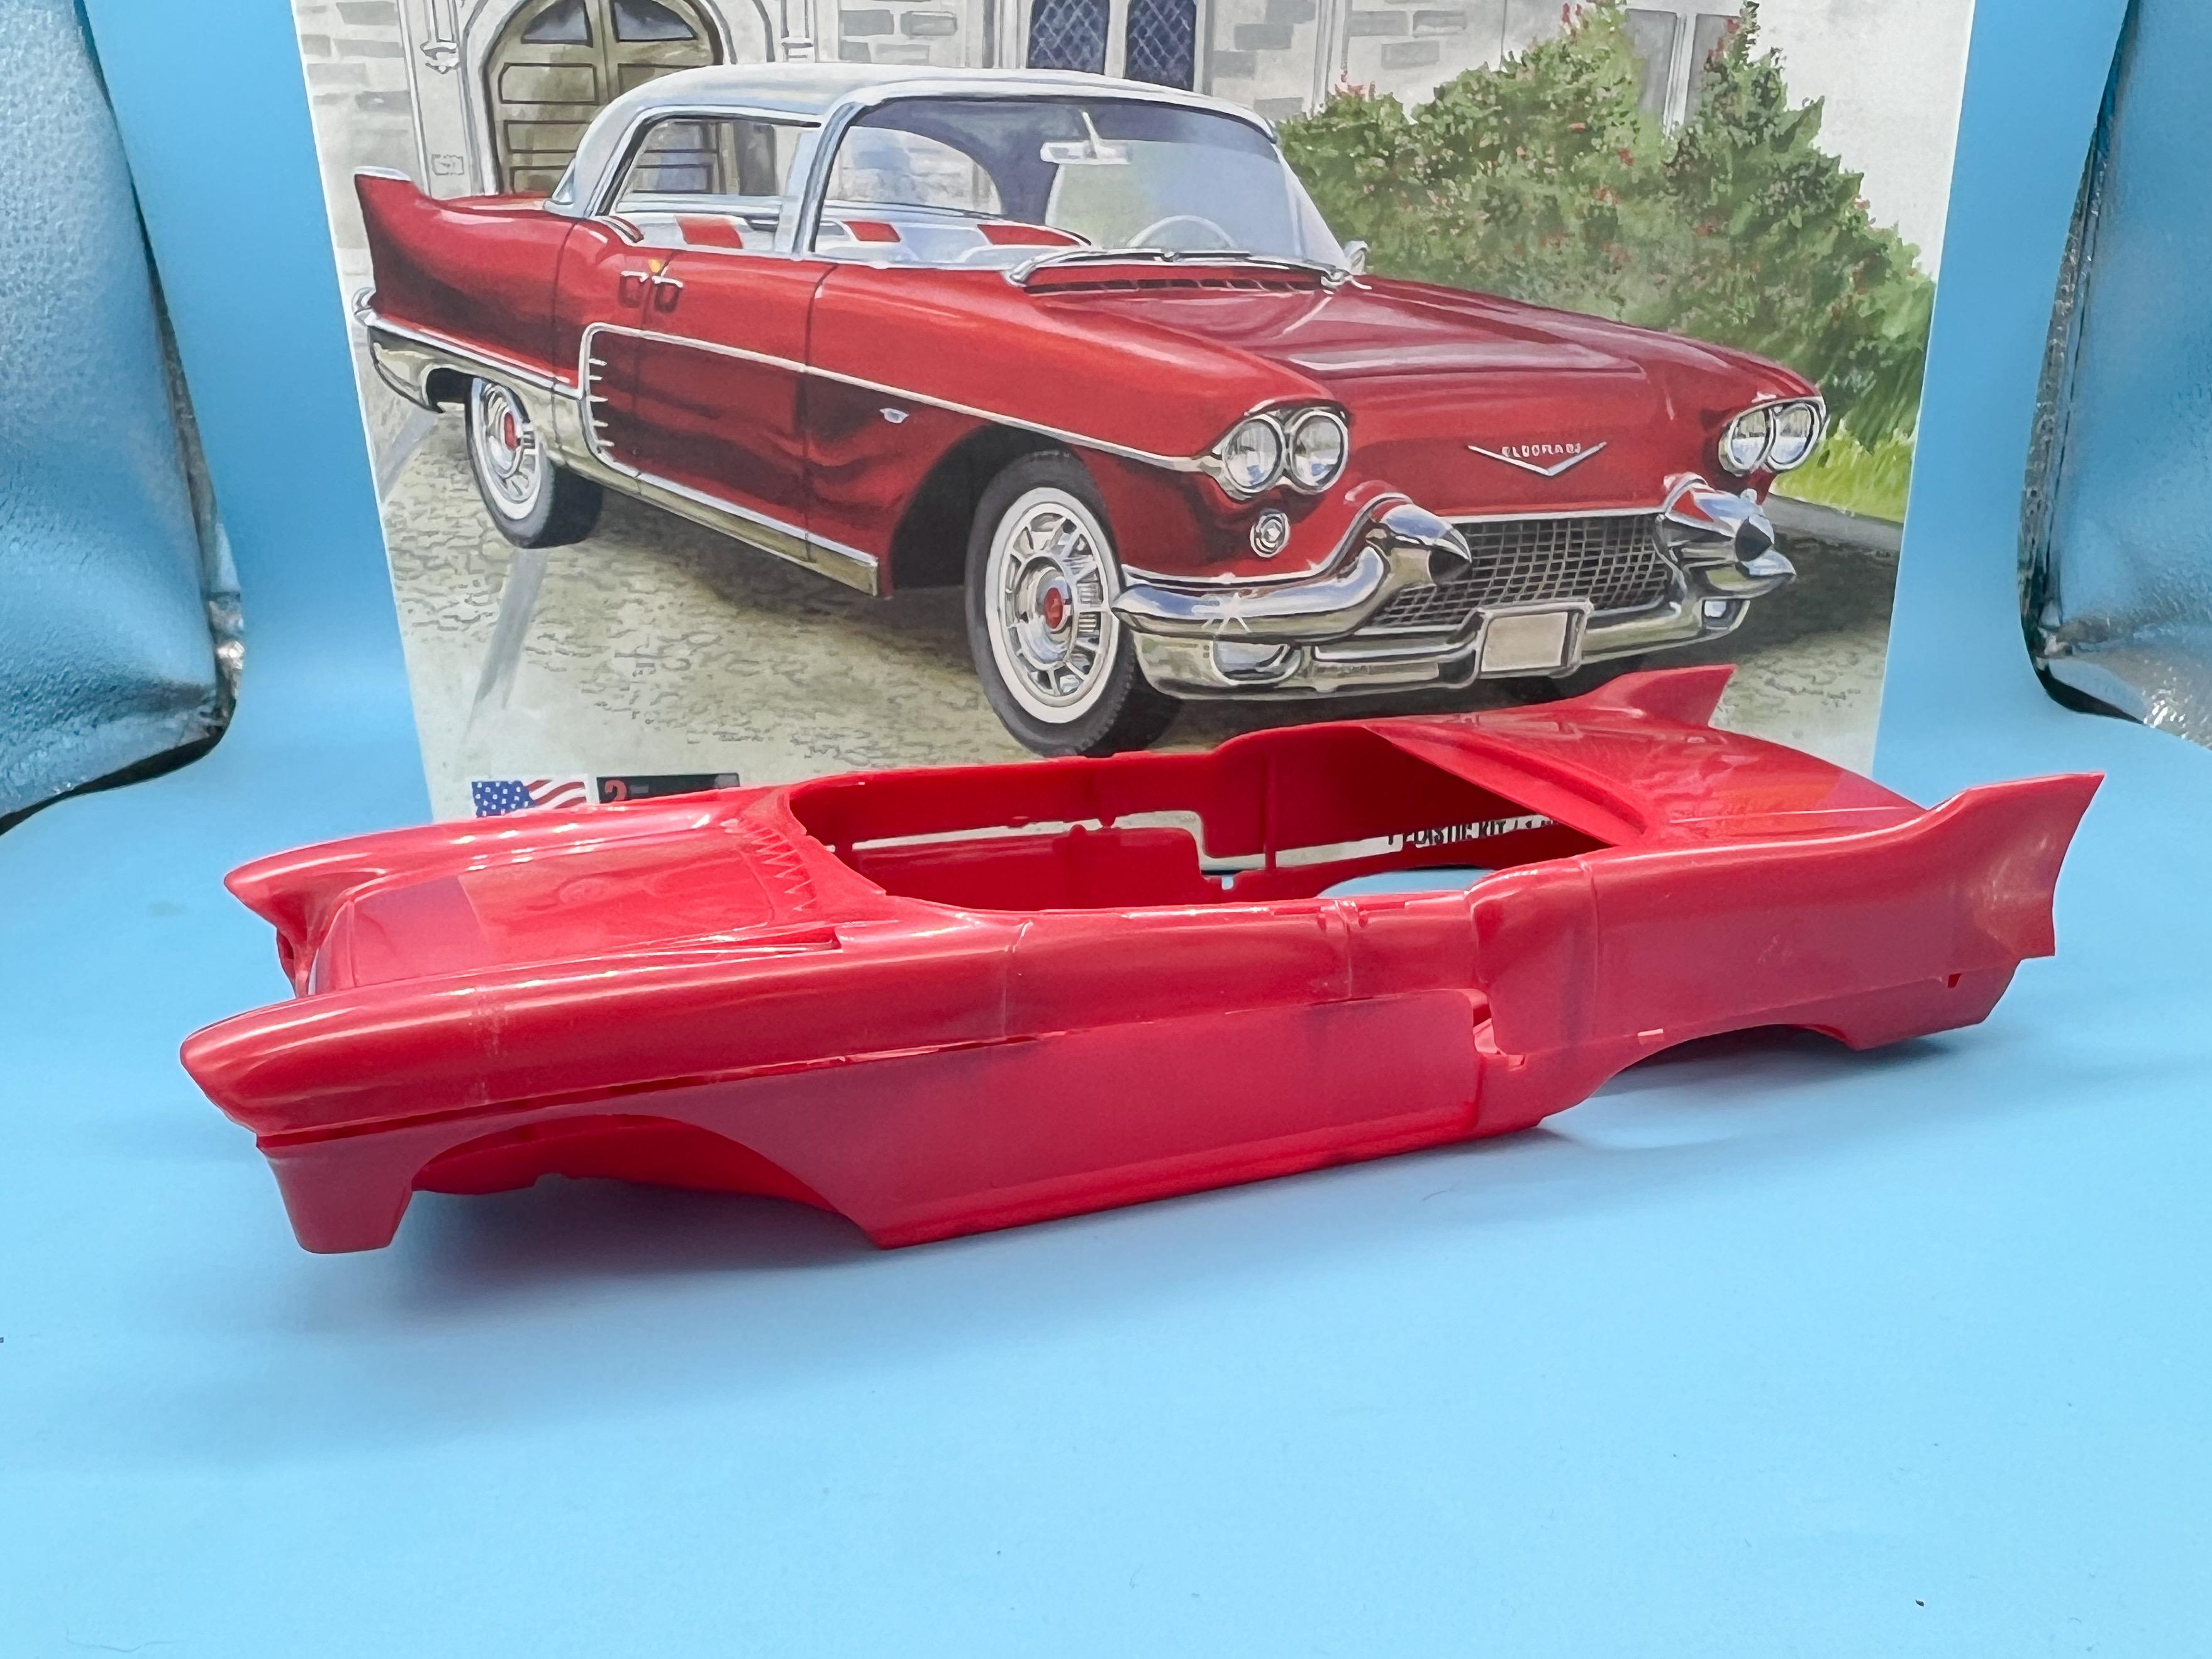
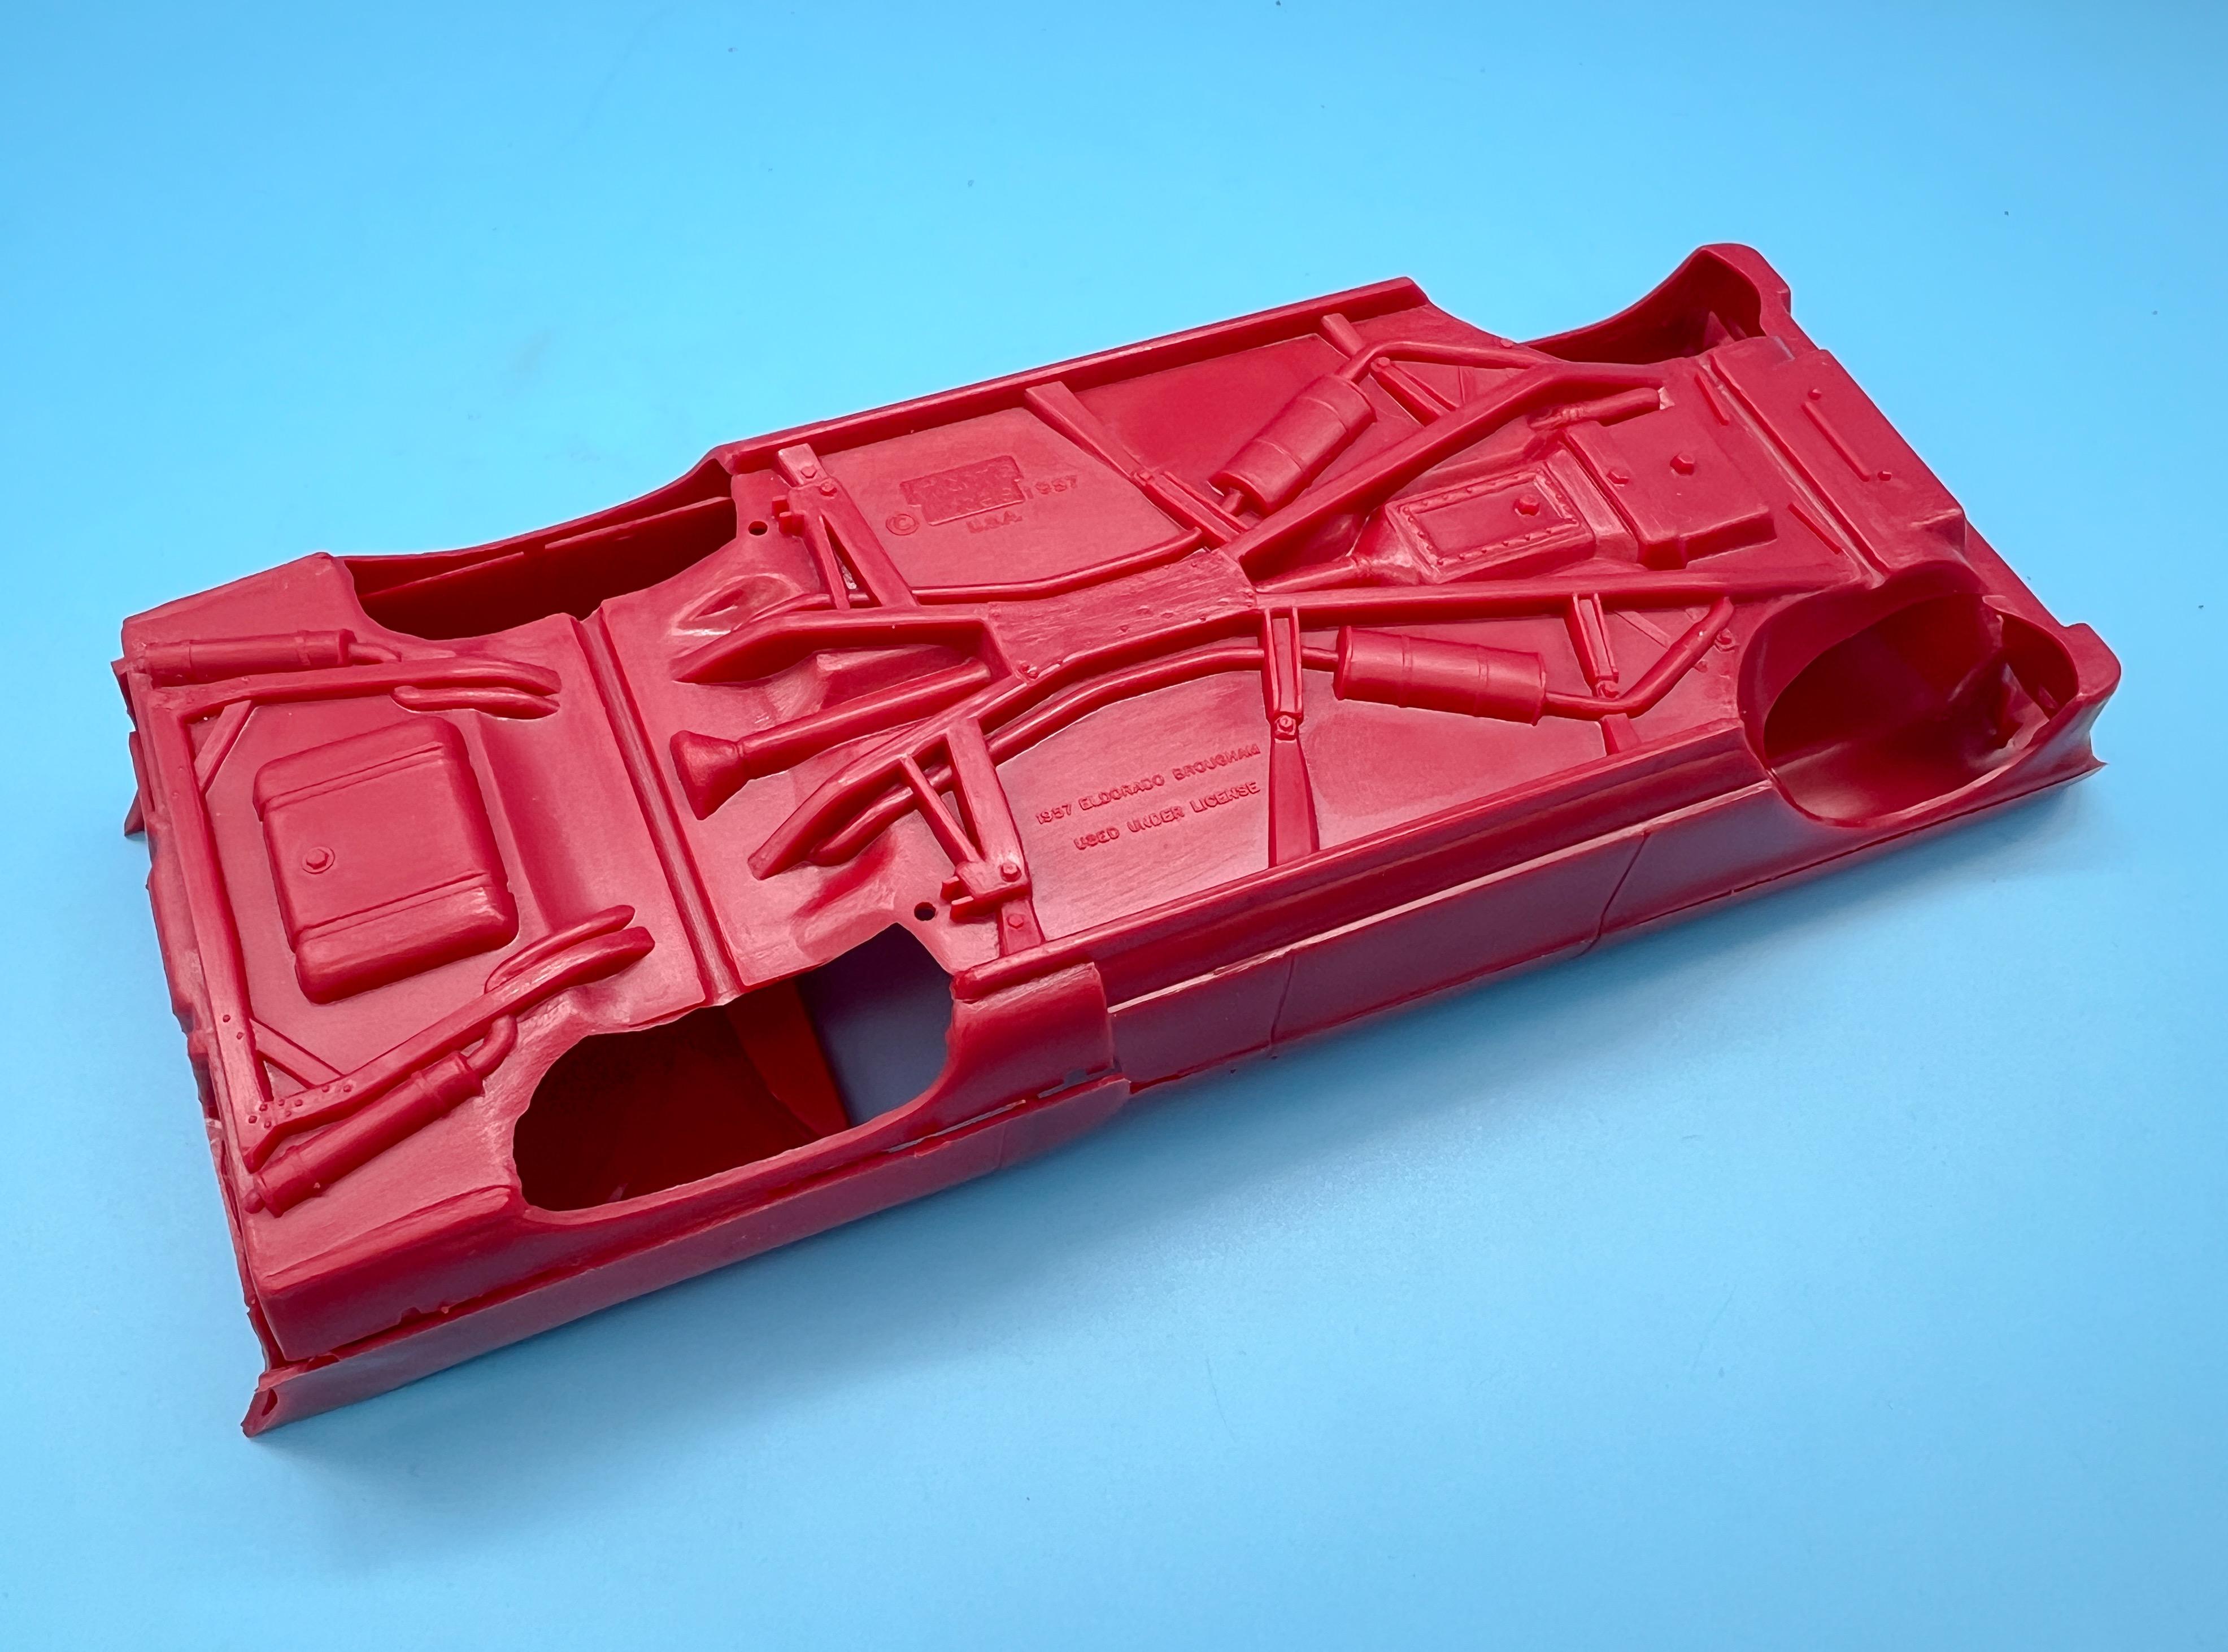
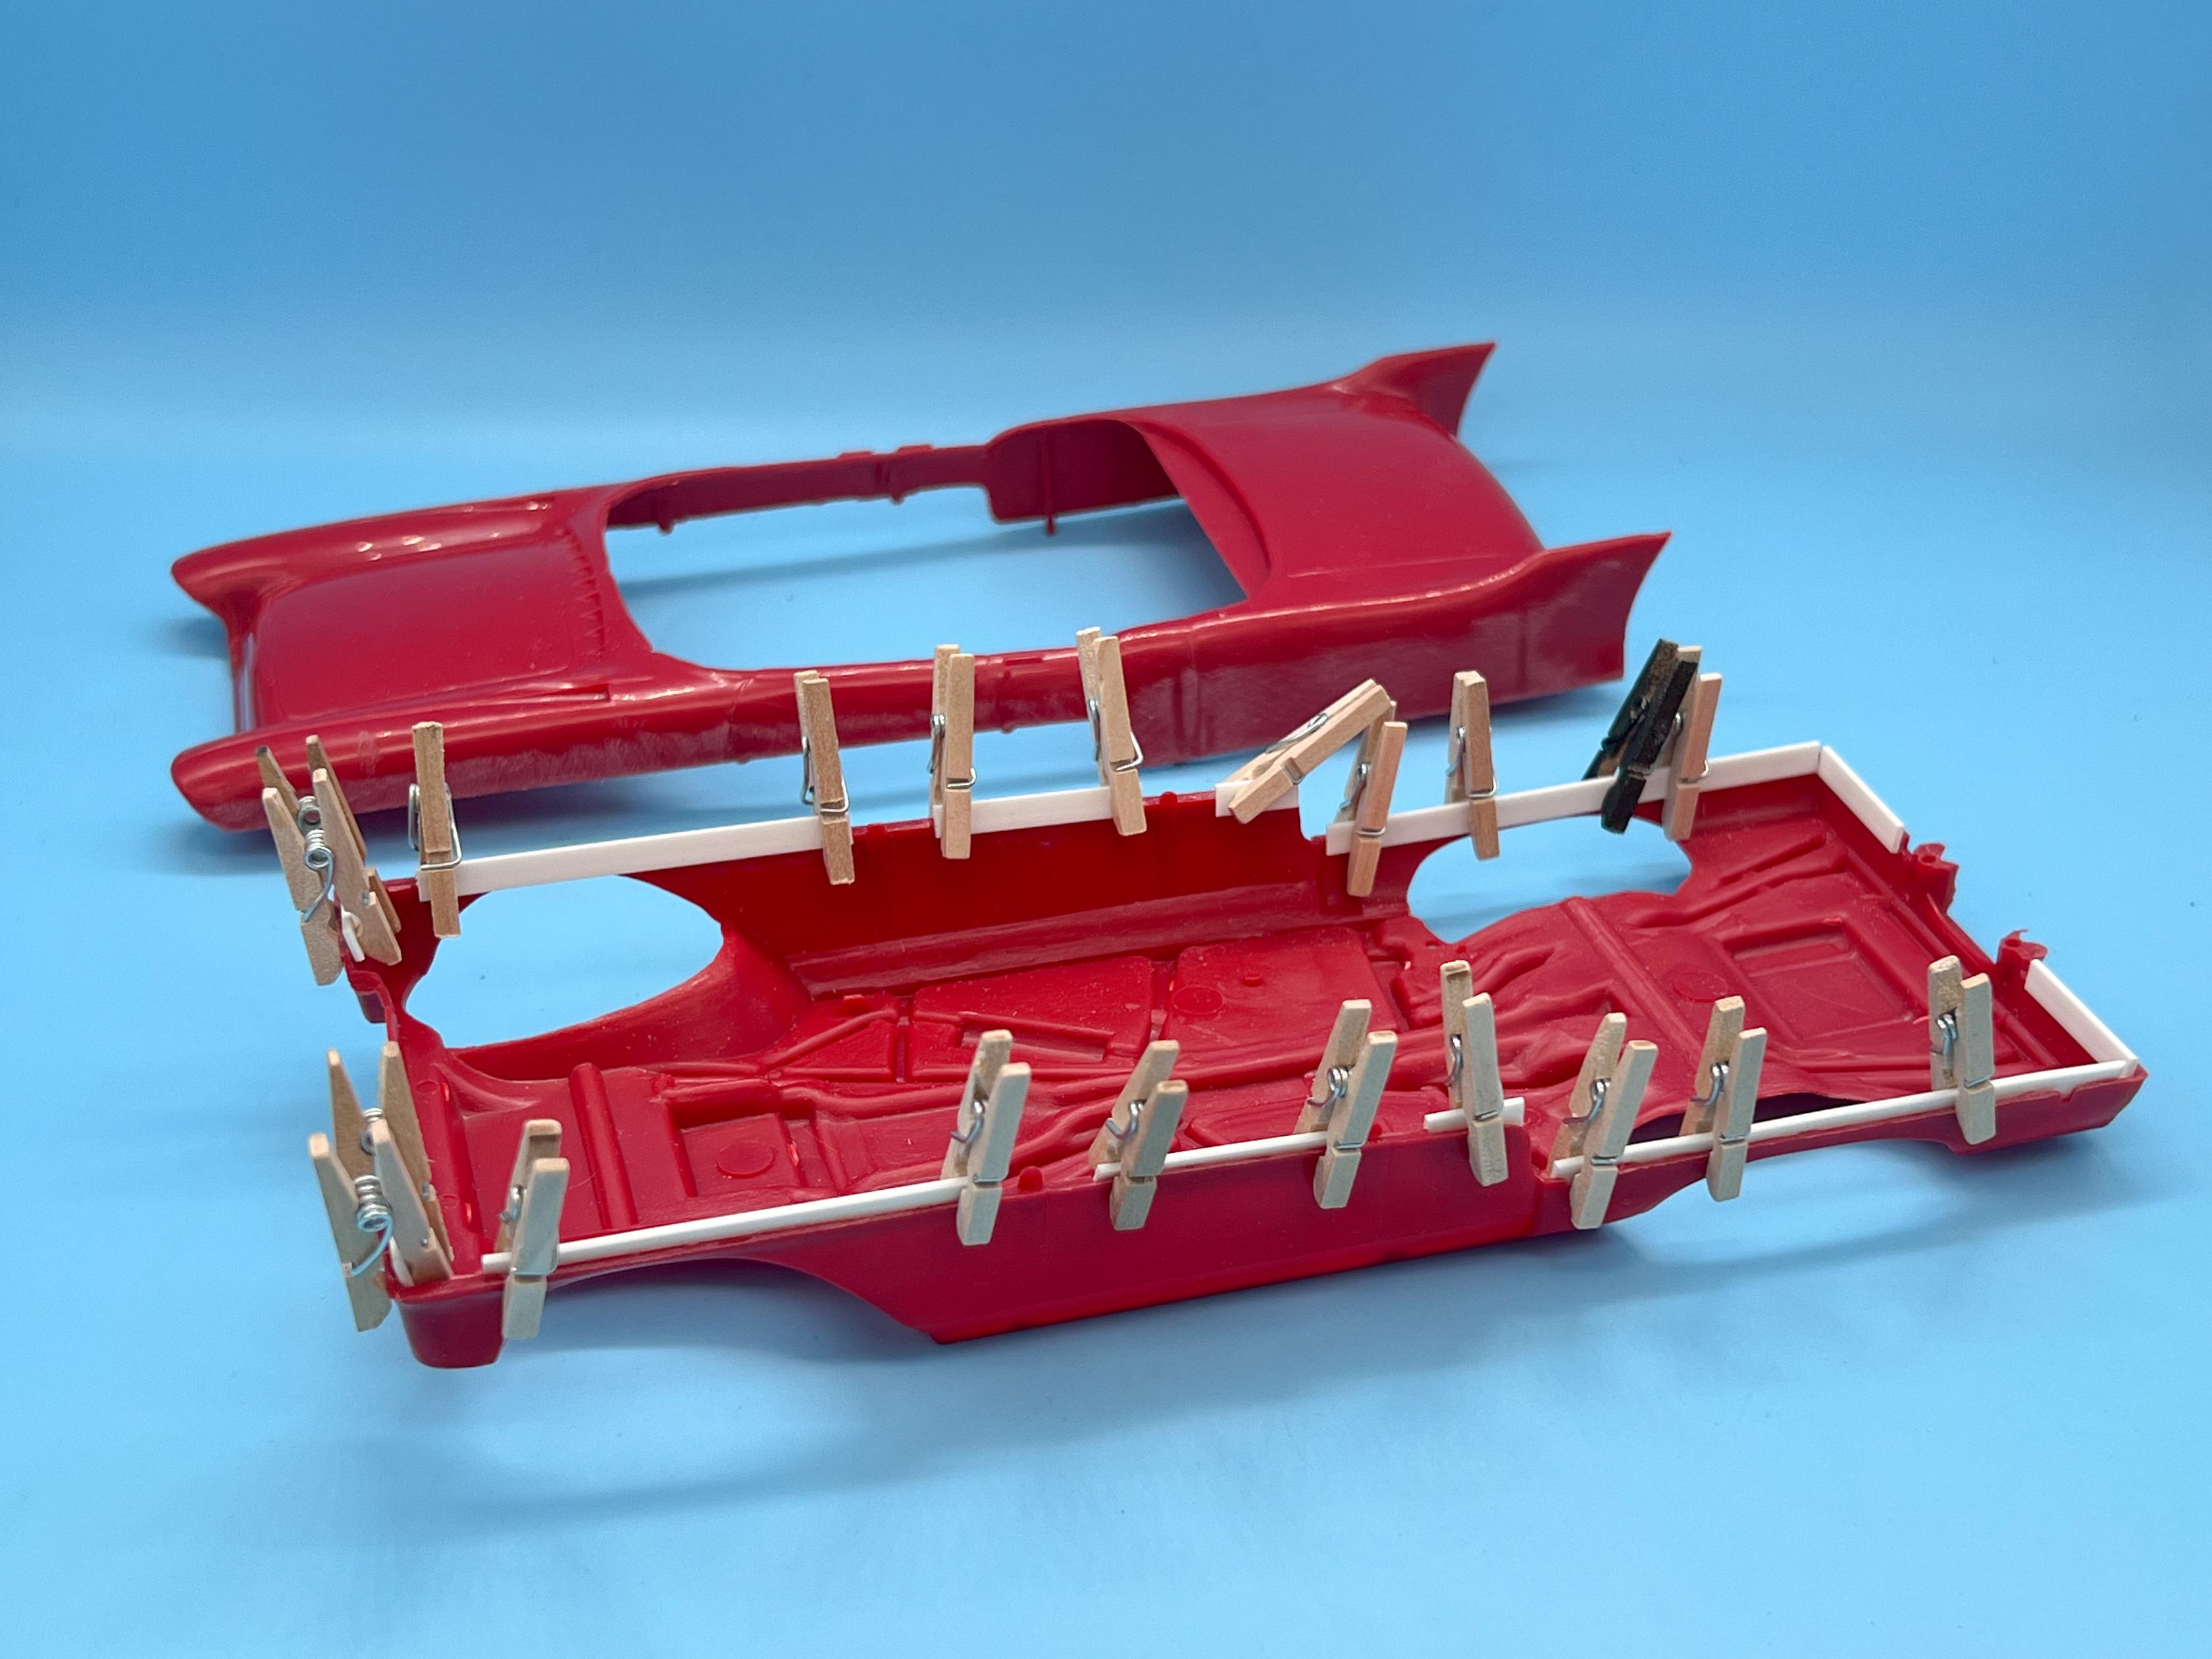
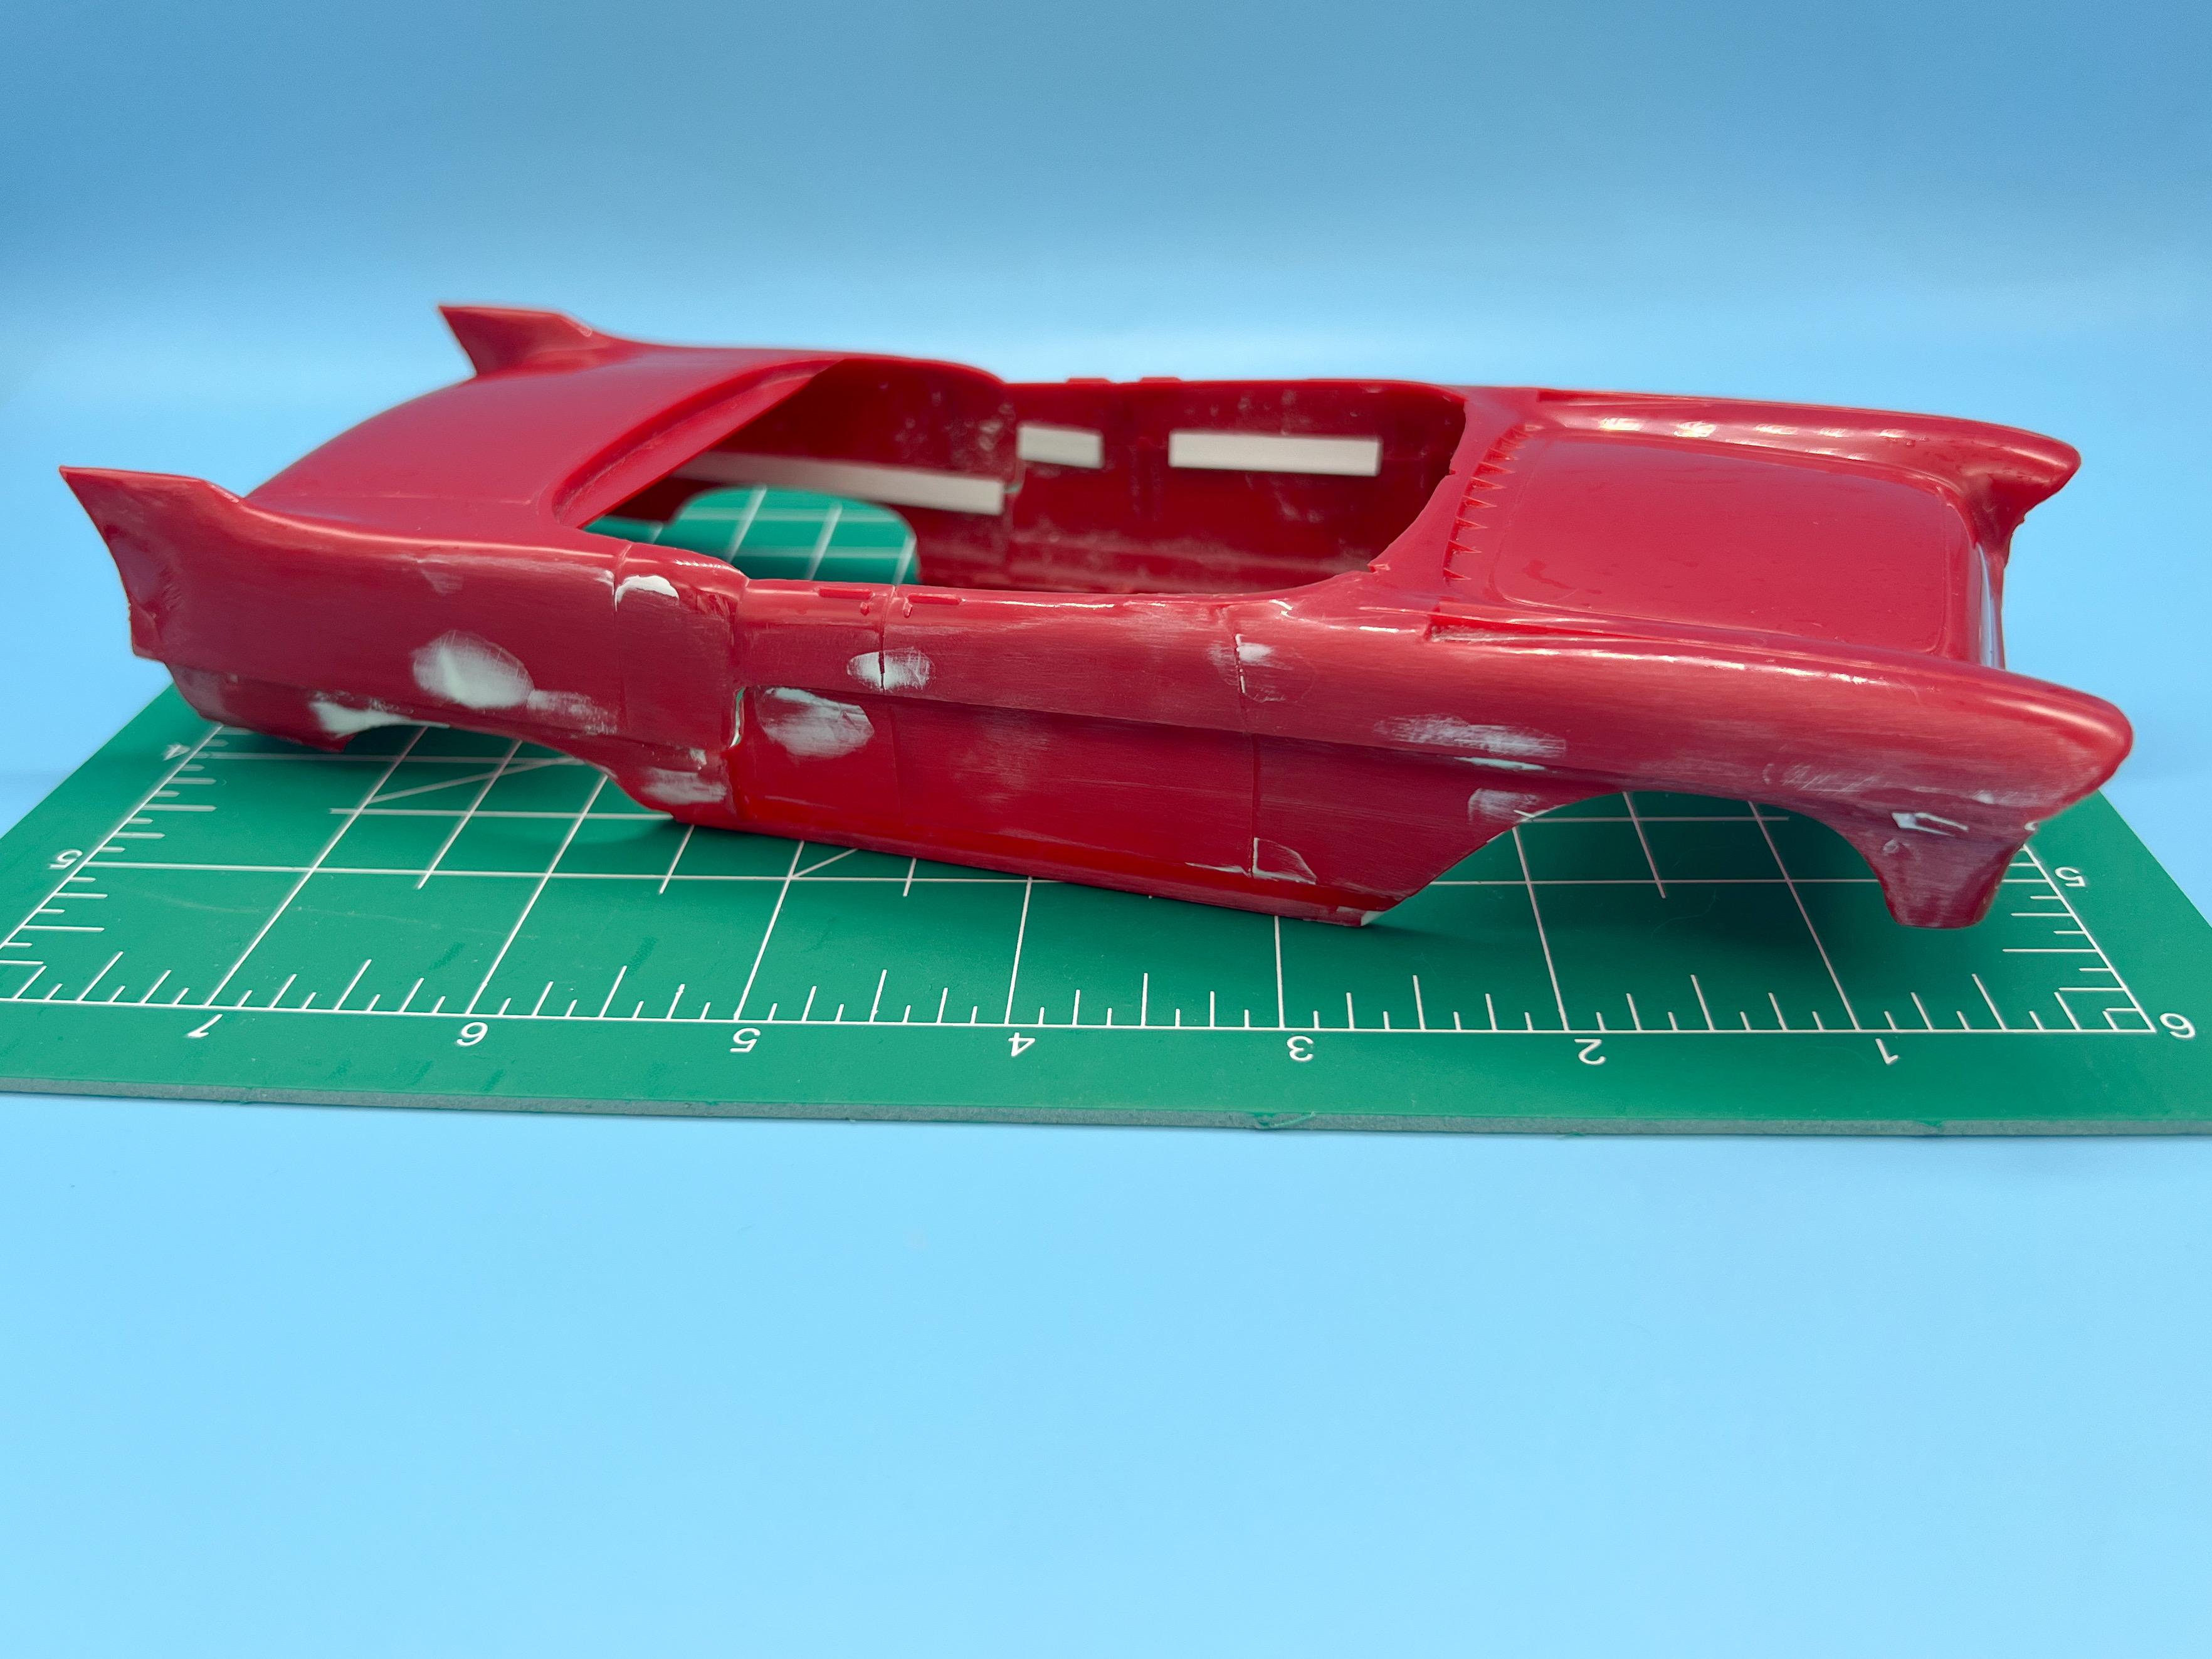
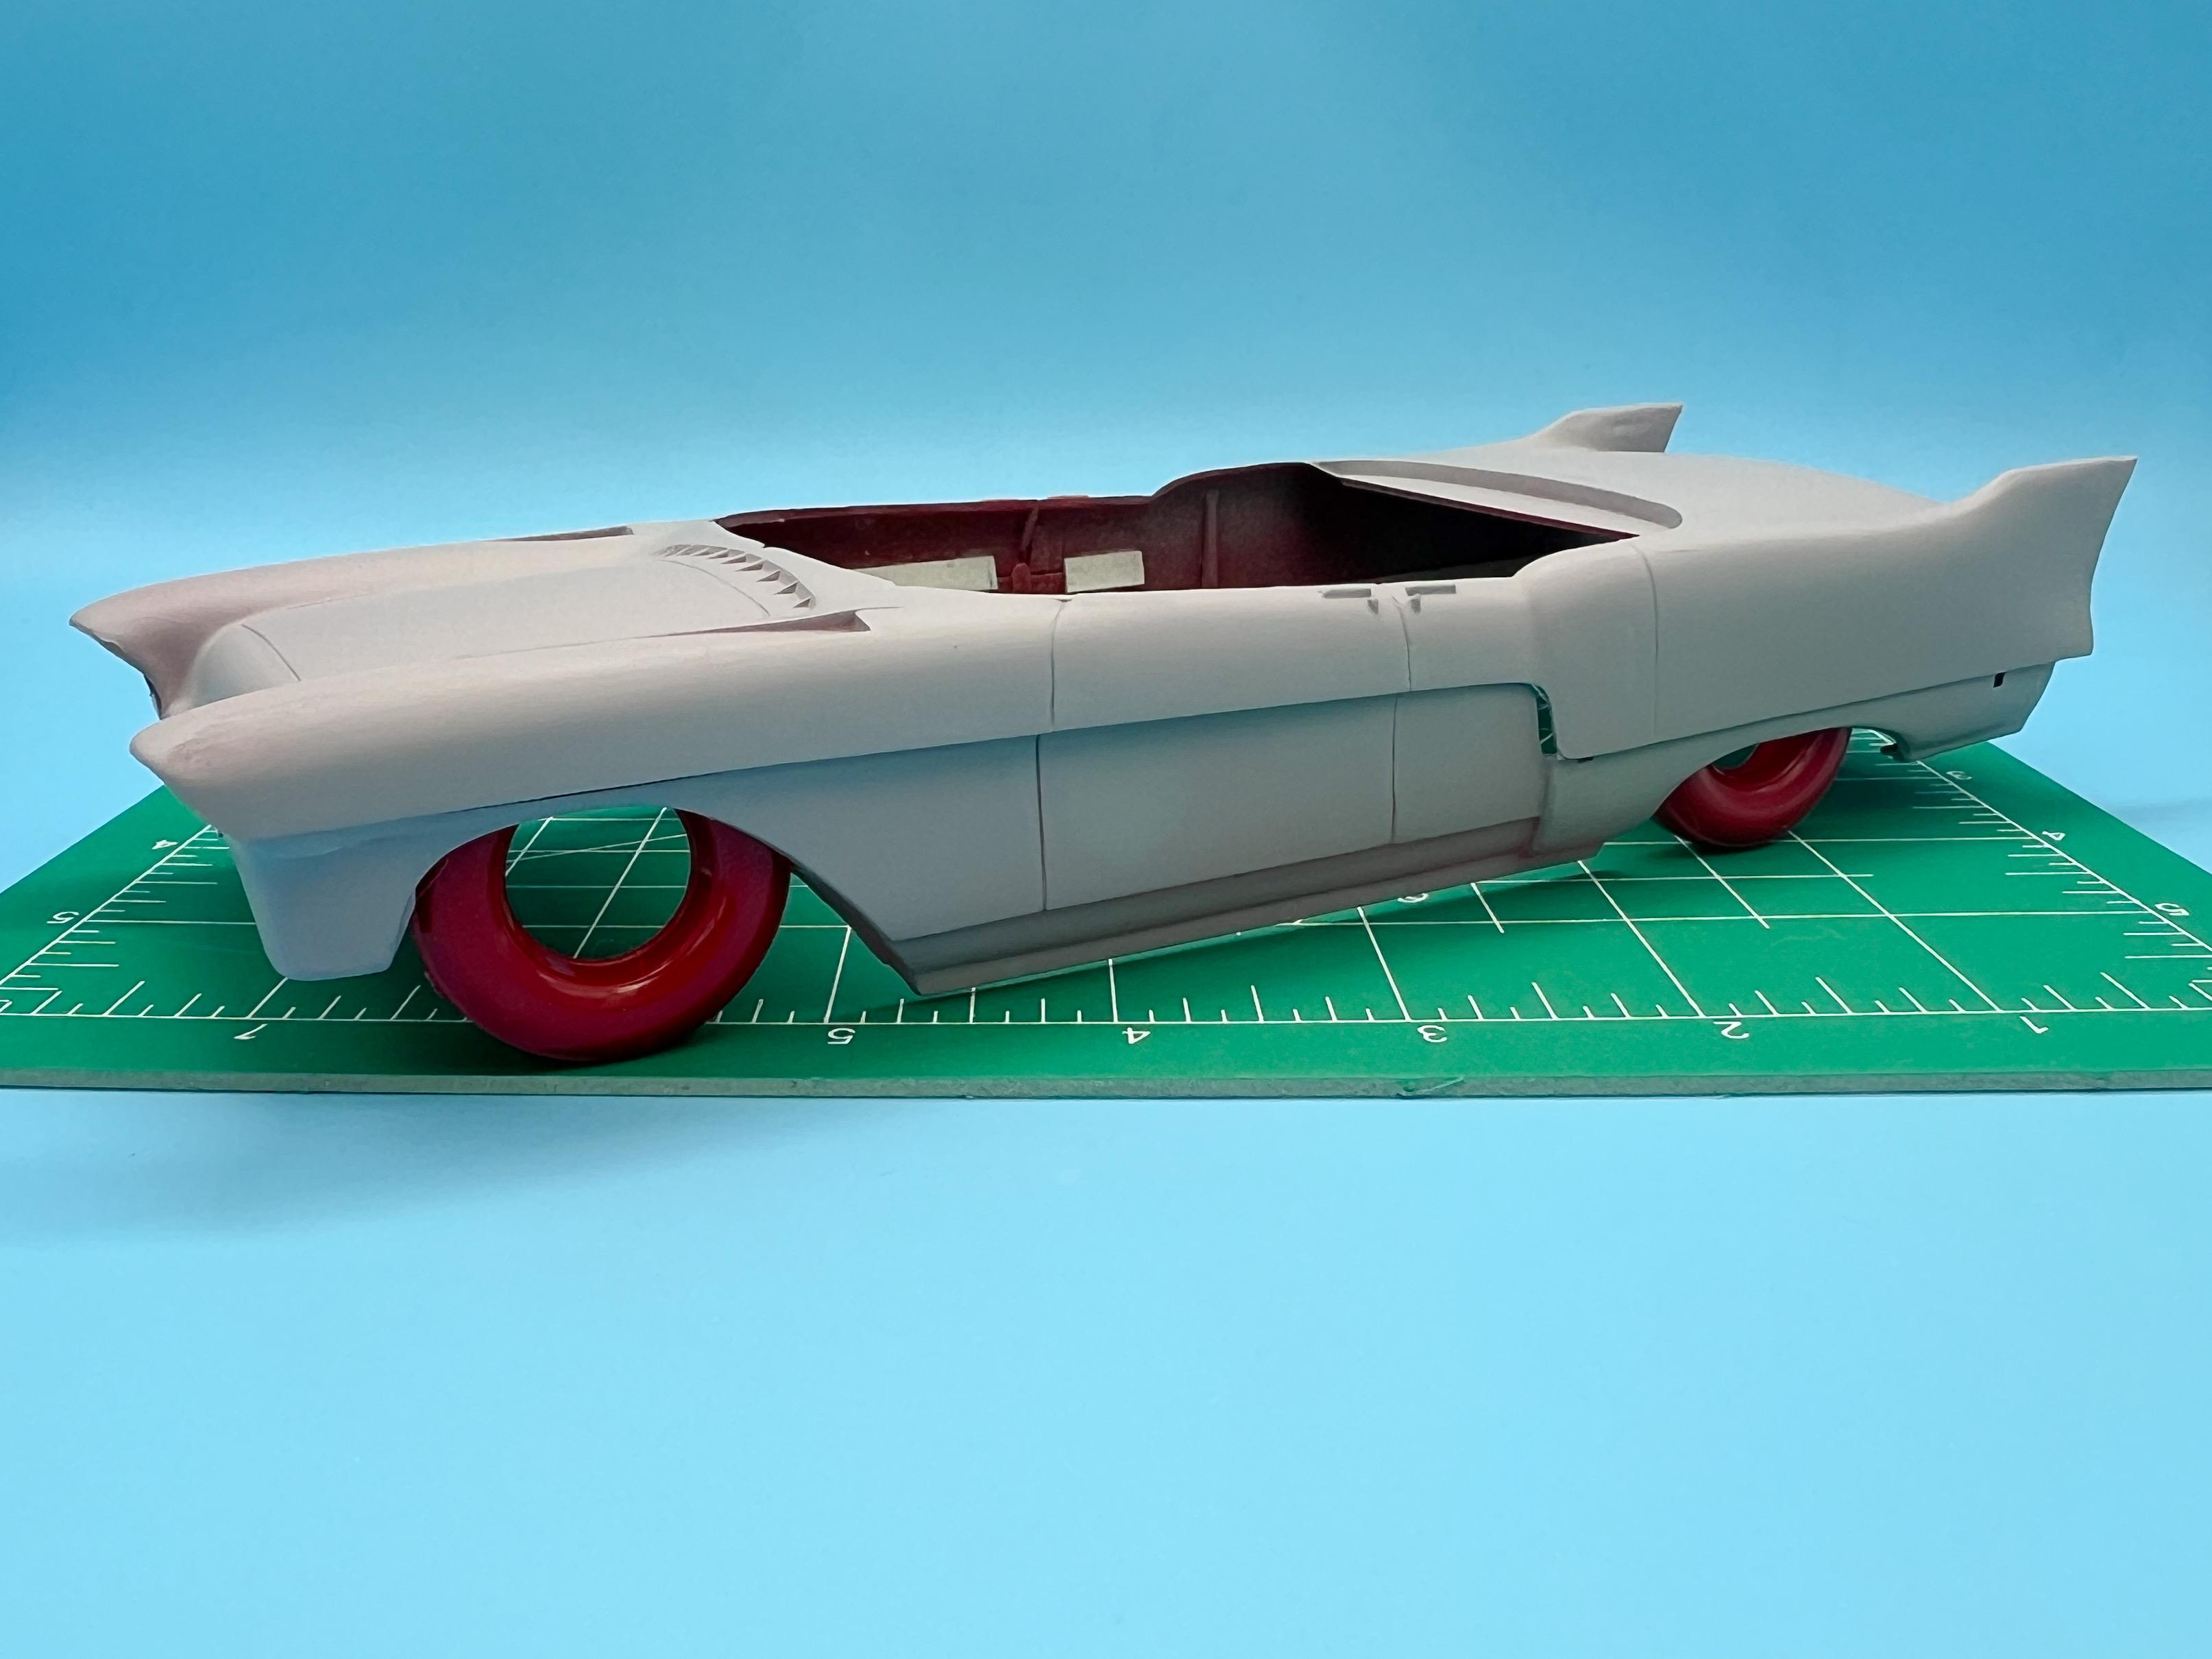
I’ve been collecting all of the Atlantis bi-scale kits since they announced purchasing all that old Revell tooling, with the intention of building them in release order and, well, my Atlantis stack is getting pretty tall now….time to build some of them! First kit they issued was the old, multi-piece-bodied 57 Cadillac, and it took me a while to get figured out how I could build that to my satisfaction. I don’t wanna deviate MILES from the ‘spirit’ of the kit, but it’s way too inaccurate to put together a great stock build without some MAJOR work…and I don’t care enough to put in a bunch of effort to build a stock Cadillac. I DO care enough to wrestle this thing into an awesome 60s era mild custom though - maybe along the lines of what Larry Watson did with his? Eric Brockmeyer, former designer for Boyd Coddington has some cool ideas for old 50s Caddys too… And thanks to the factory air suspension, you can drop them right in the weeds with immunity without feeling bad about building something that would be impossible or impractical in real life…perfect for a kit with pretty rudimentary chassis and engine detail if you were able to peek under it… Here’s the kit, multi part body and all… Excuse the poorly cropped photo, but this thing is WAY bigger than the average build I put in my photo booth… My plan is to remove the molded-in floor… …to more easily facilitate assembling and cleaning up that body nicely and then fabricate something to get those wheels really tucked up in the arches but to where I can still use the kit interior without opening a whole extra can of worms. First up tho, I added a bunch of styrene strip to the body to give myself some additional gluing surfaces to attach the body halves (top and bottom) and close off any gaps so I can fill more easily after: I got the top and bottom halves snuggled together nicely, and used some two-part Bondo to get some of the more obvious marks and depressions fixed before progressing too much further… Cost of primer, and we’re off to the races! The bodywork is going to be 90% of the work on this build, but I’ve got a pretty good idea of where I want to take it…next job will be the big chrome trim panels that sit either side, and I think I’d like to fancy up the wheels with something more interesting than stock Cadillac hubcaps…more soon!
-
Fujimi 1981 Ayrton Senna Kart
OldNYJim replied to IanH's topic in WIP: Other Racing: Road Racing, Land Speed Racers
Really nice work Ian - I like the extra details you added, and it looks super cleanly put together from here! Nice work! A fine tribute! -
T-Bucket (the pickup kind)
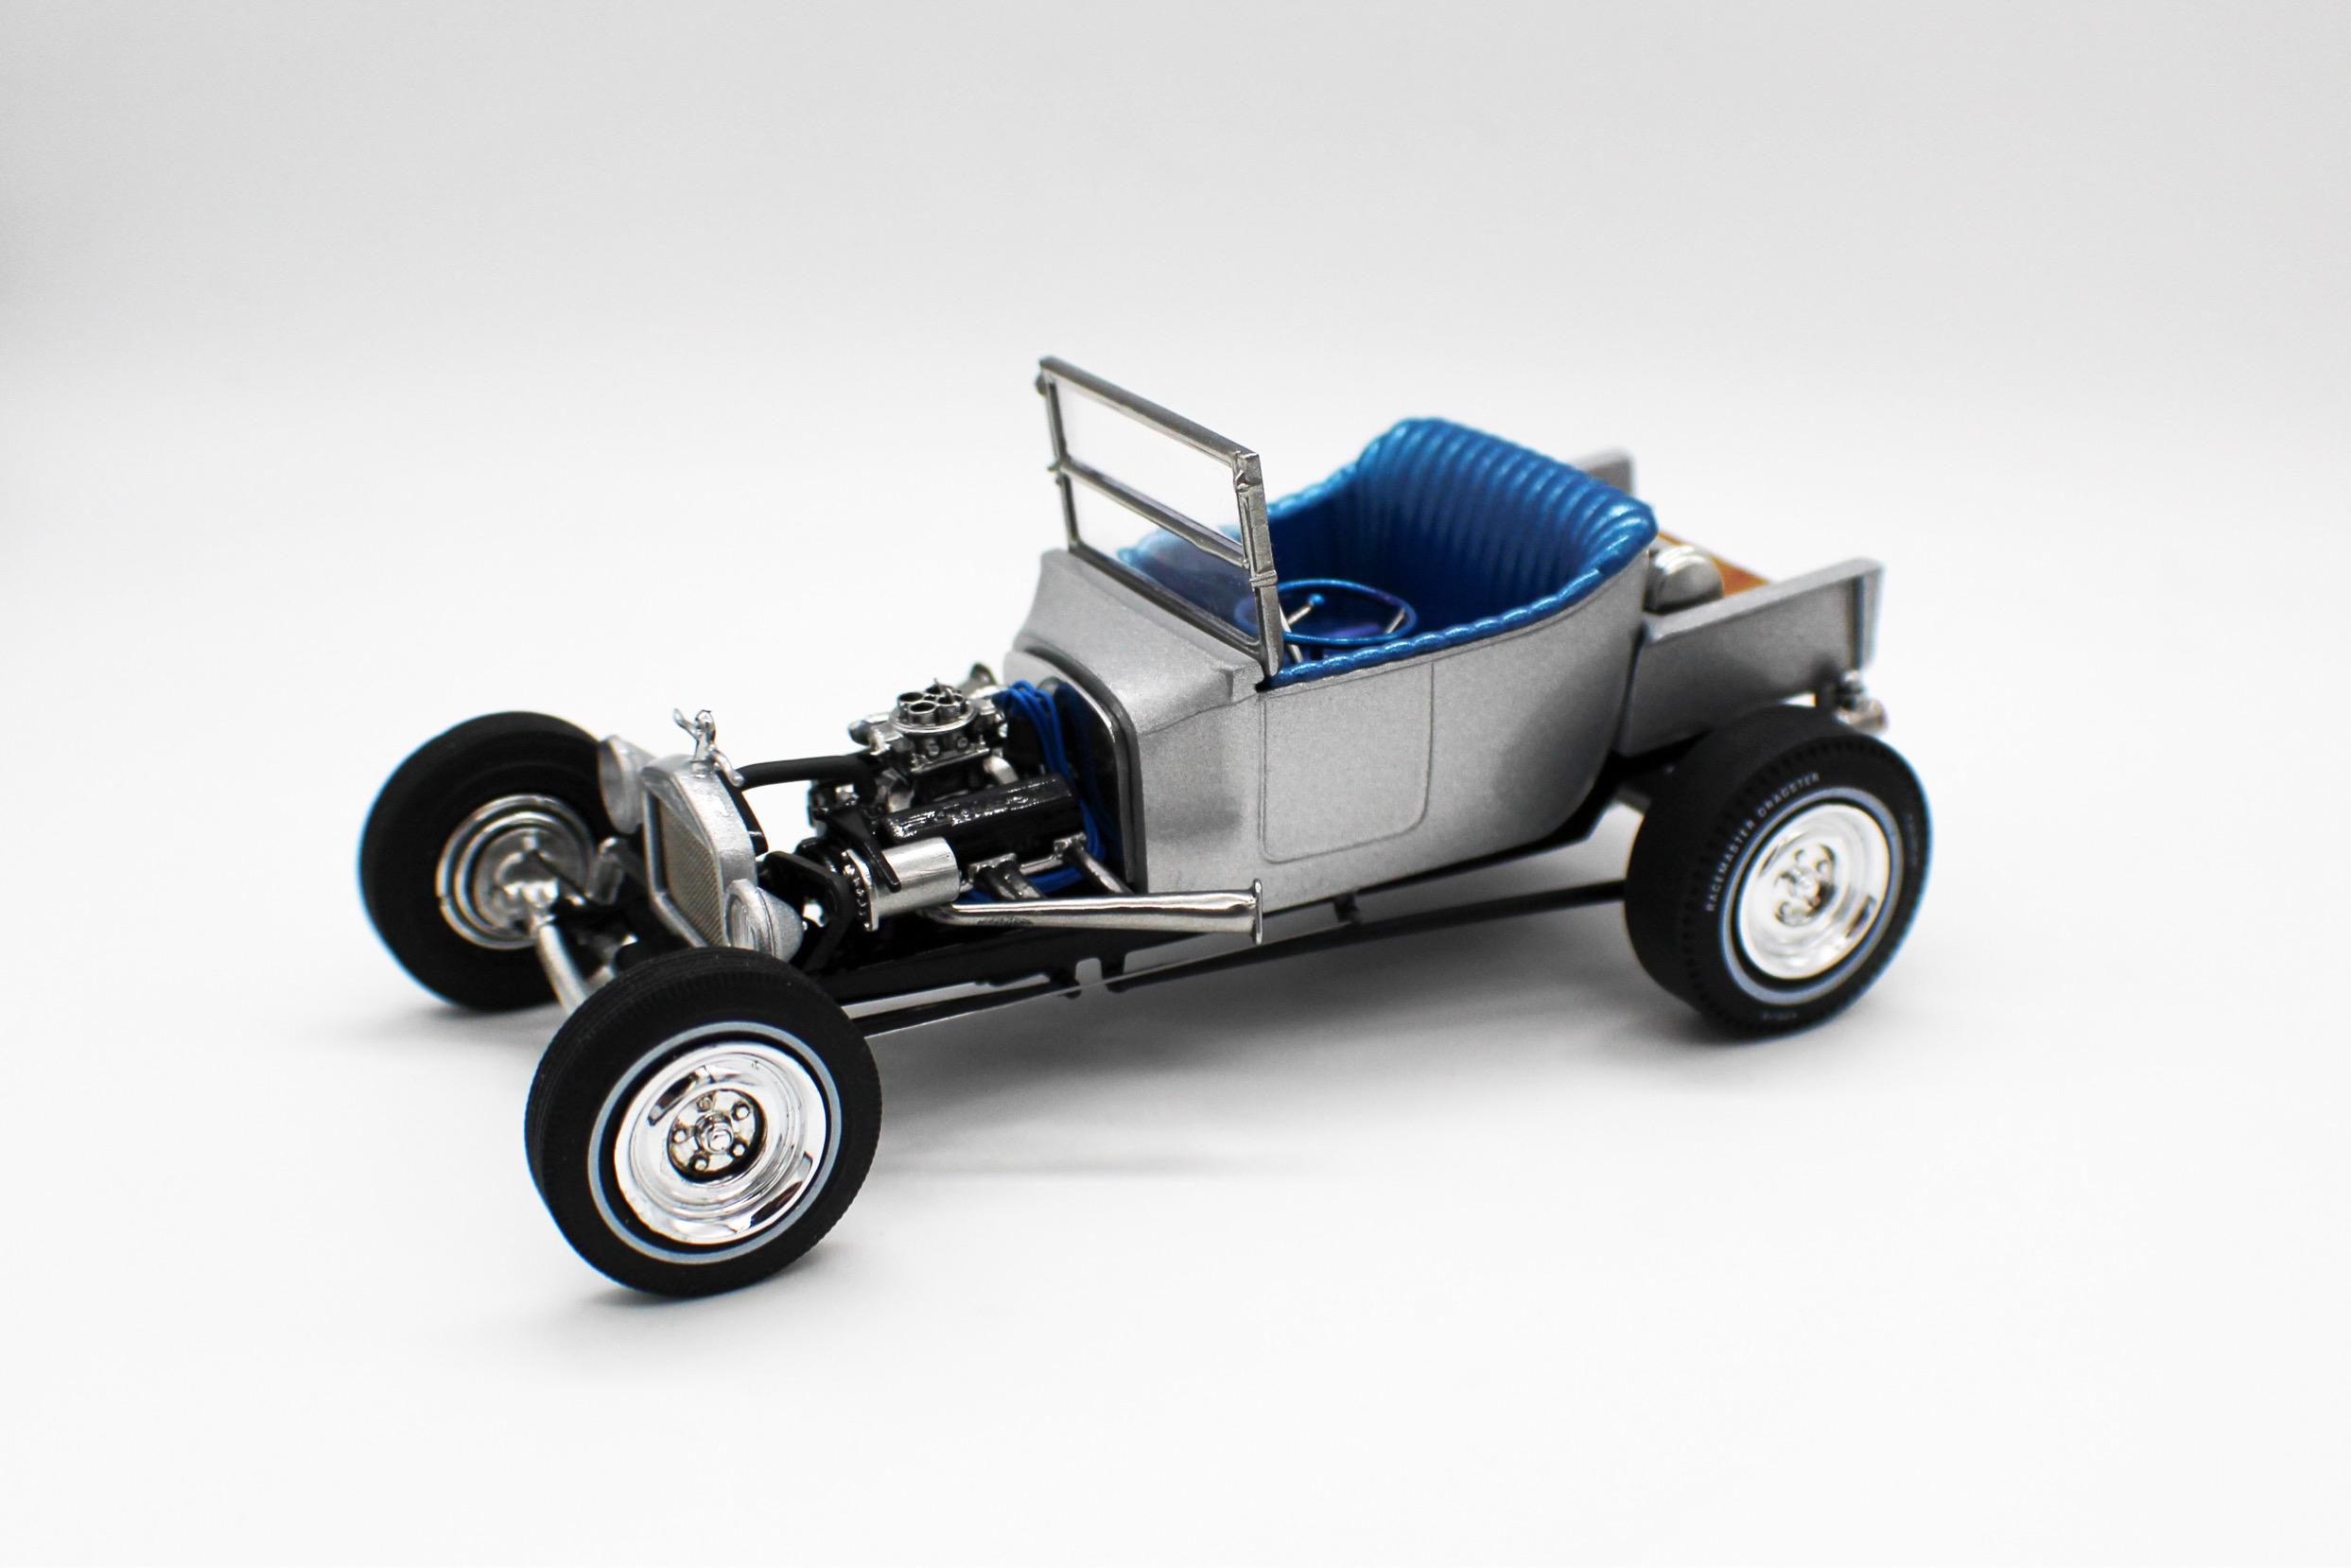
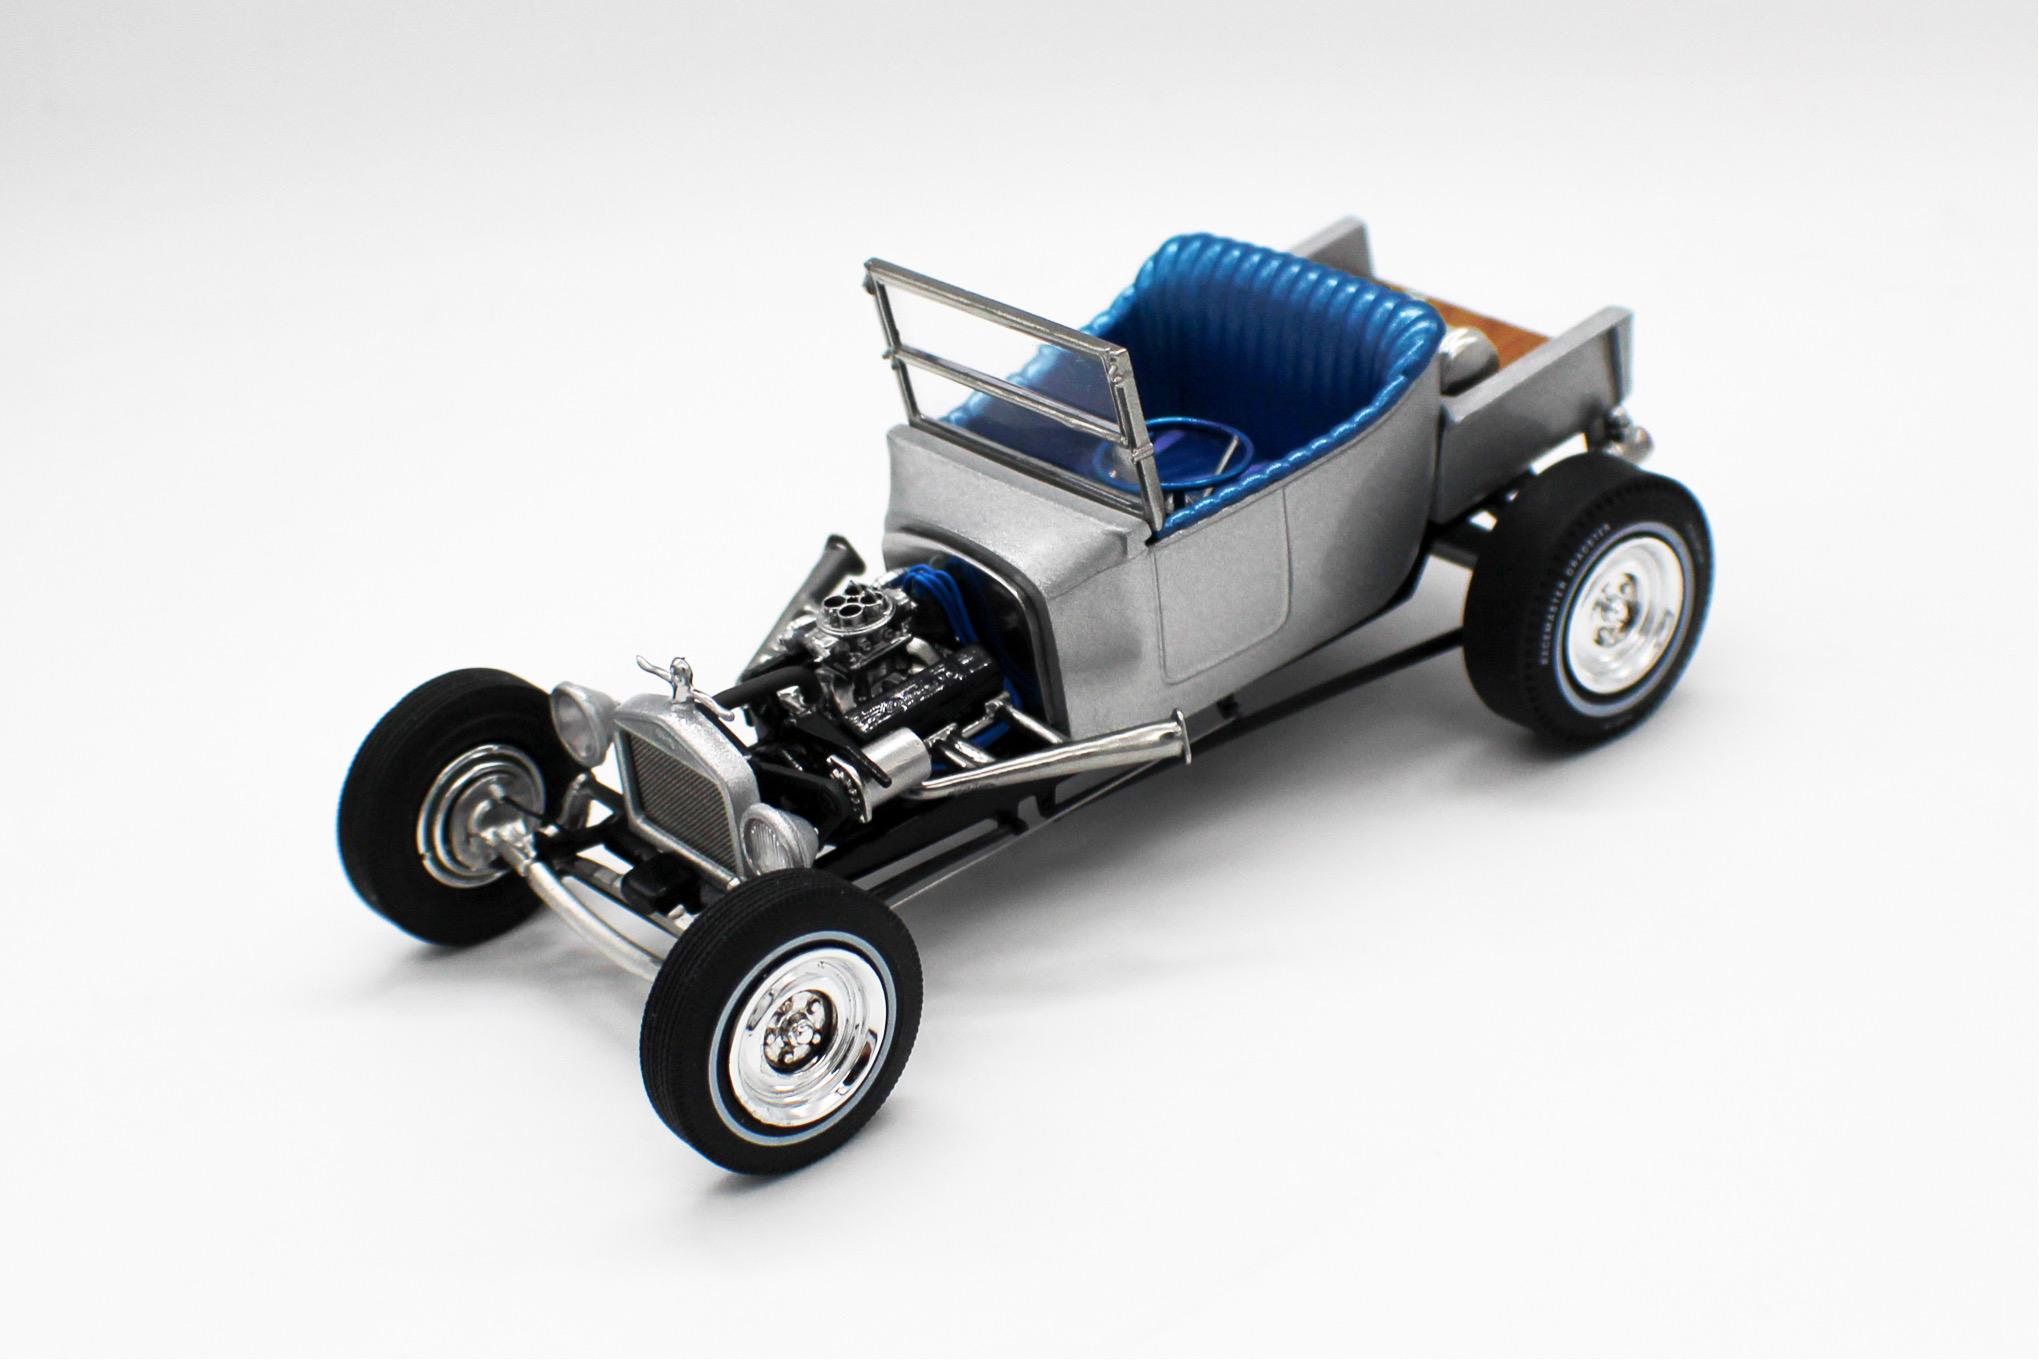
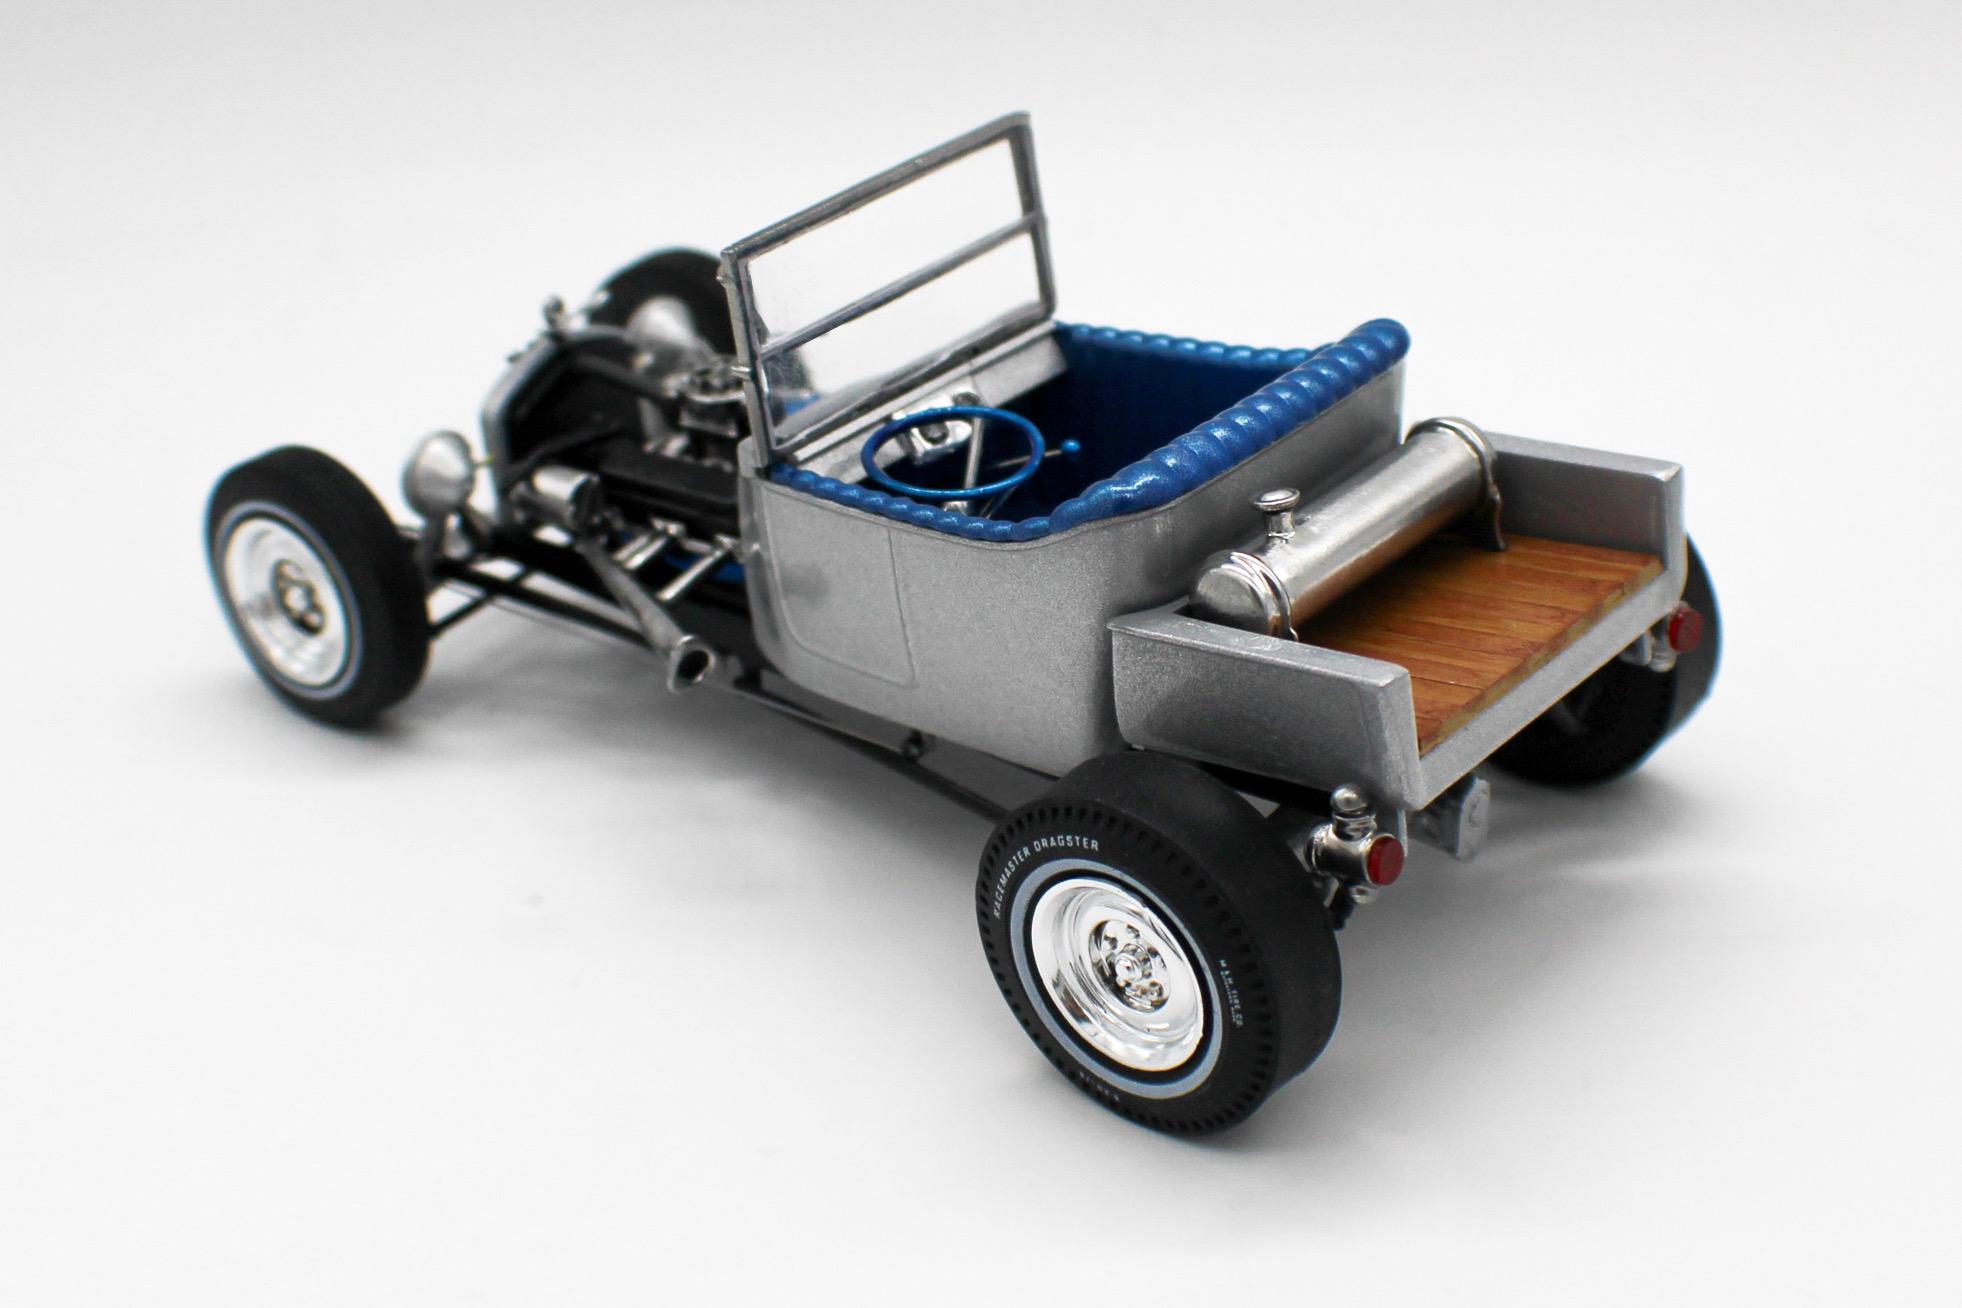
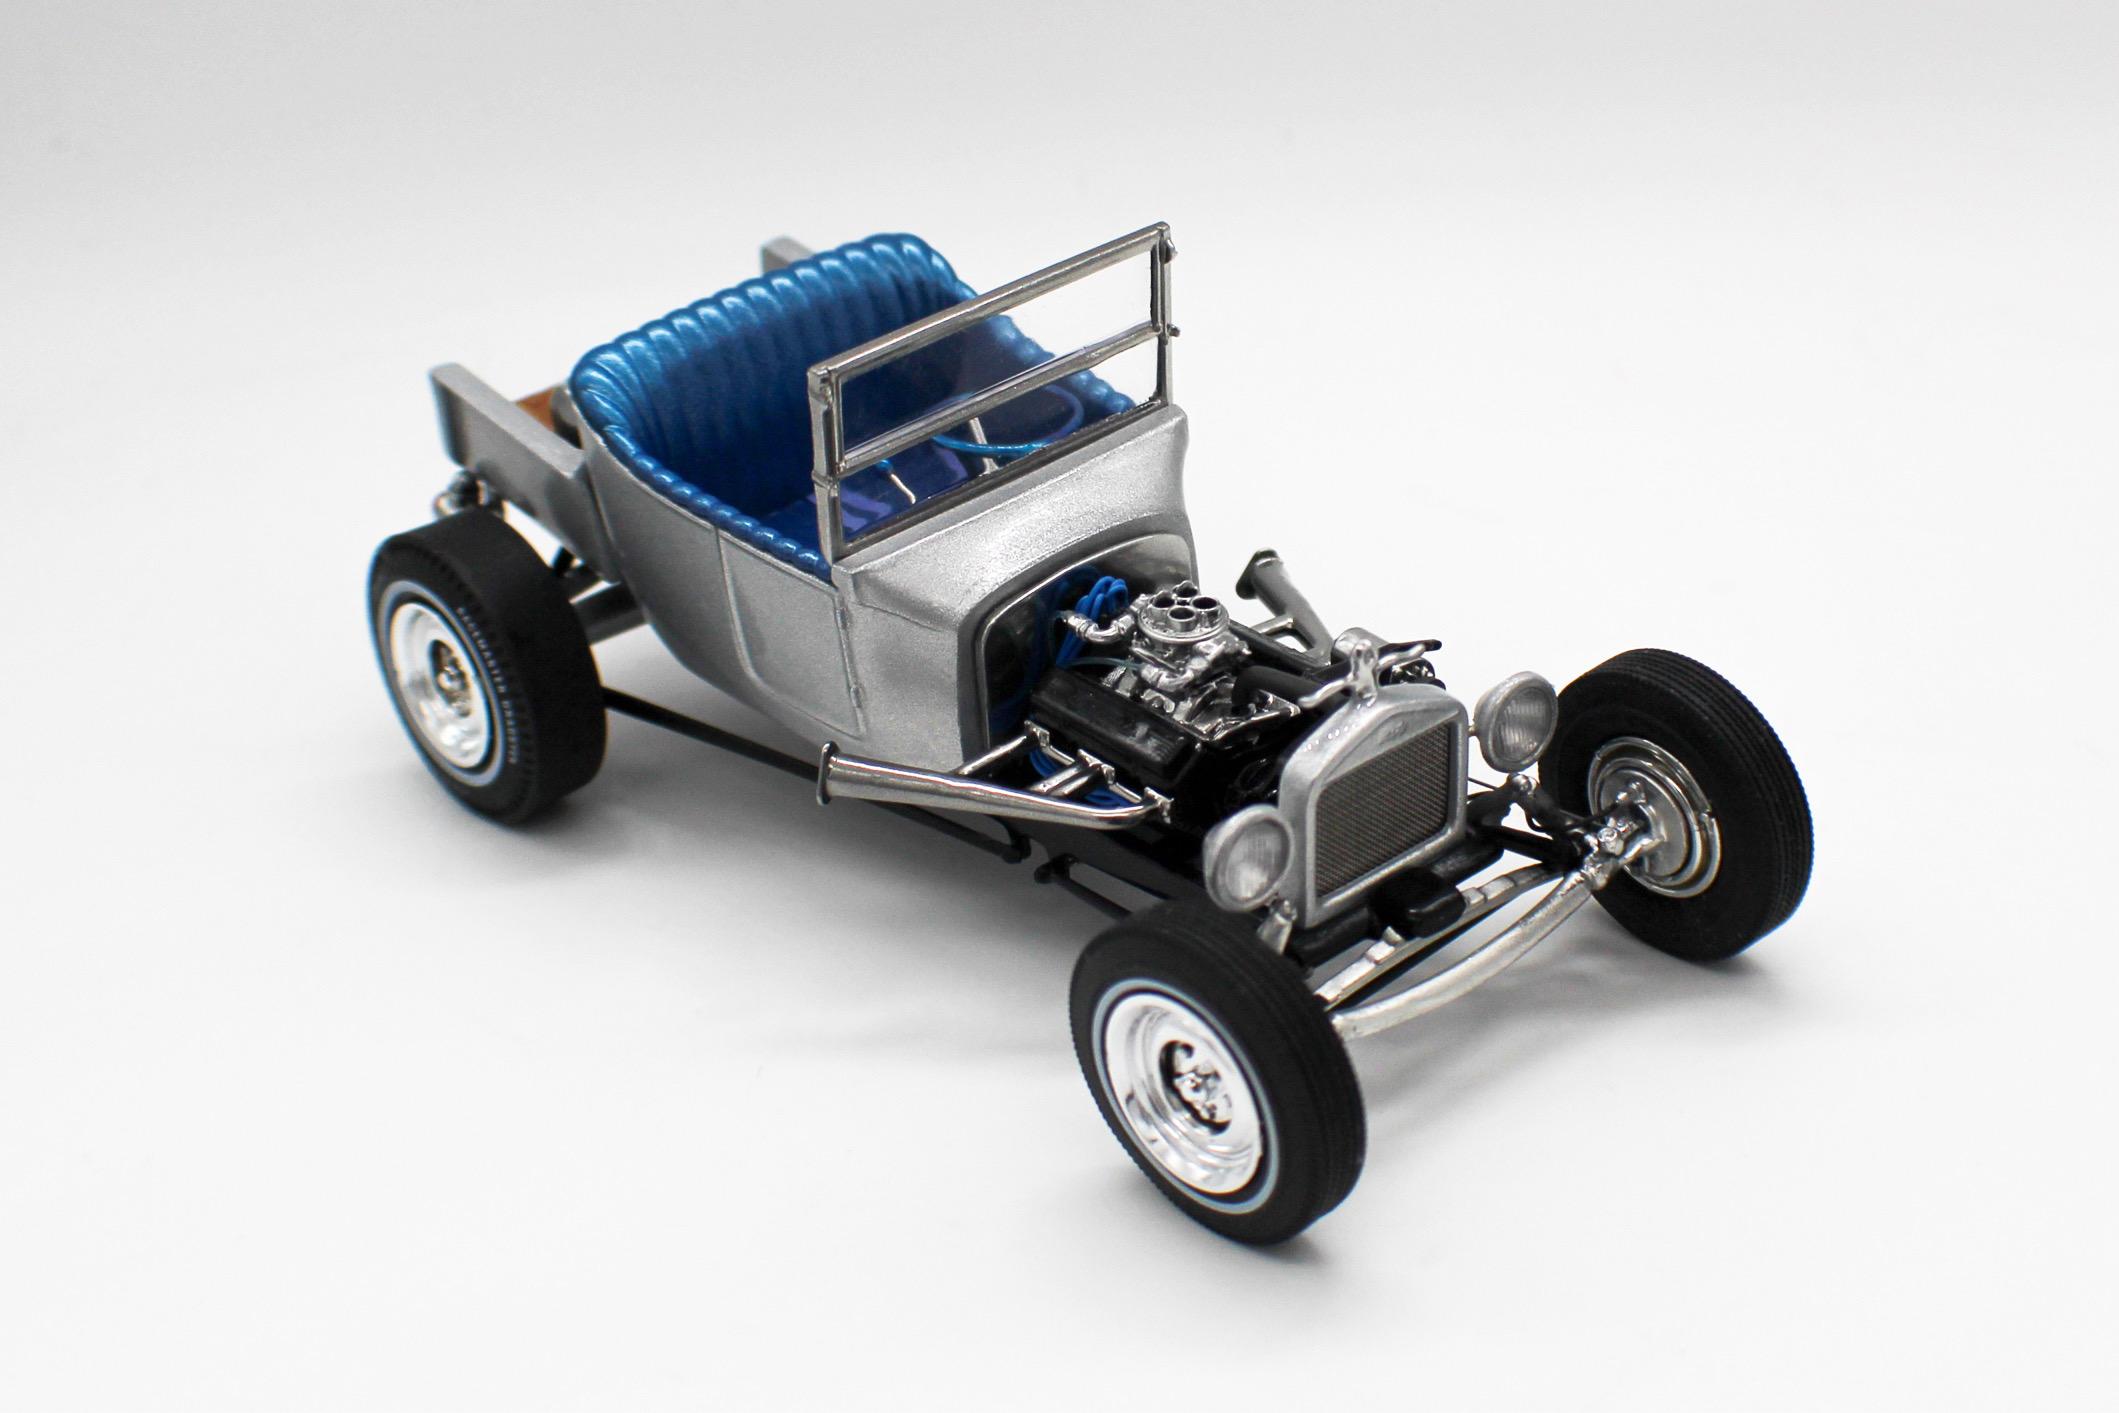
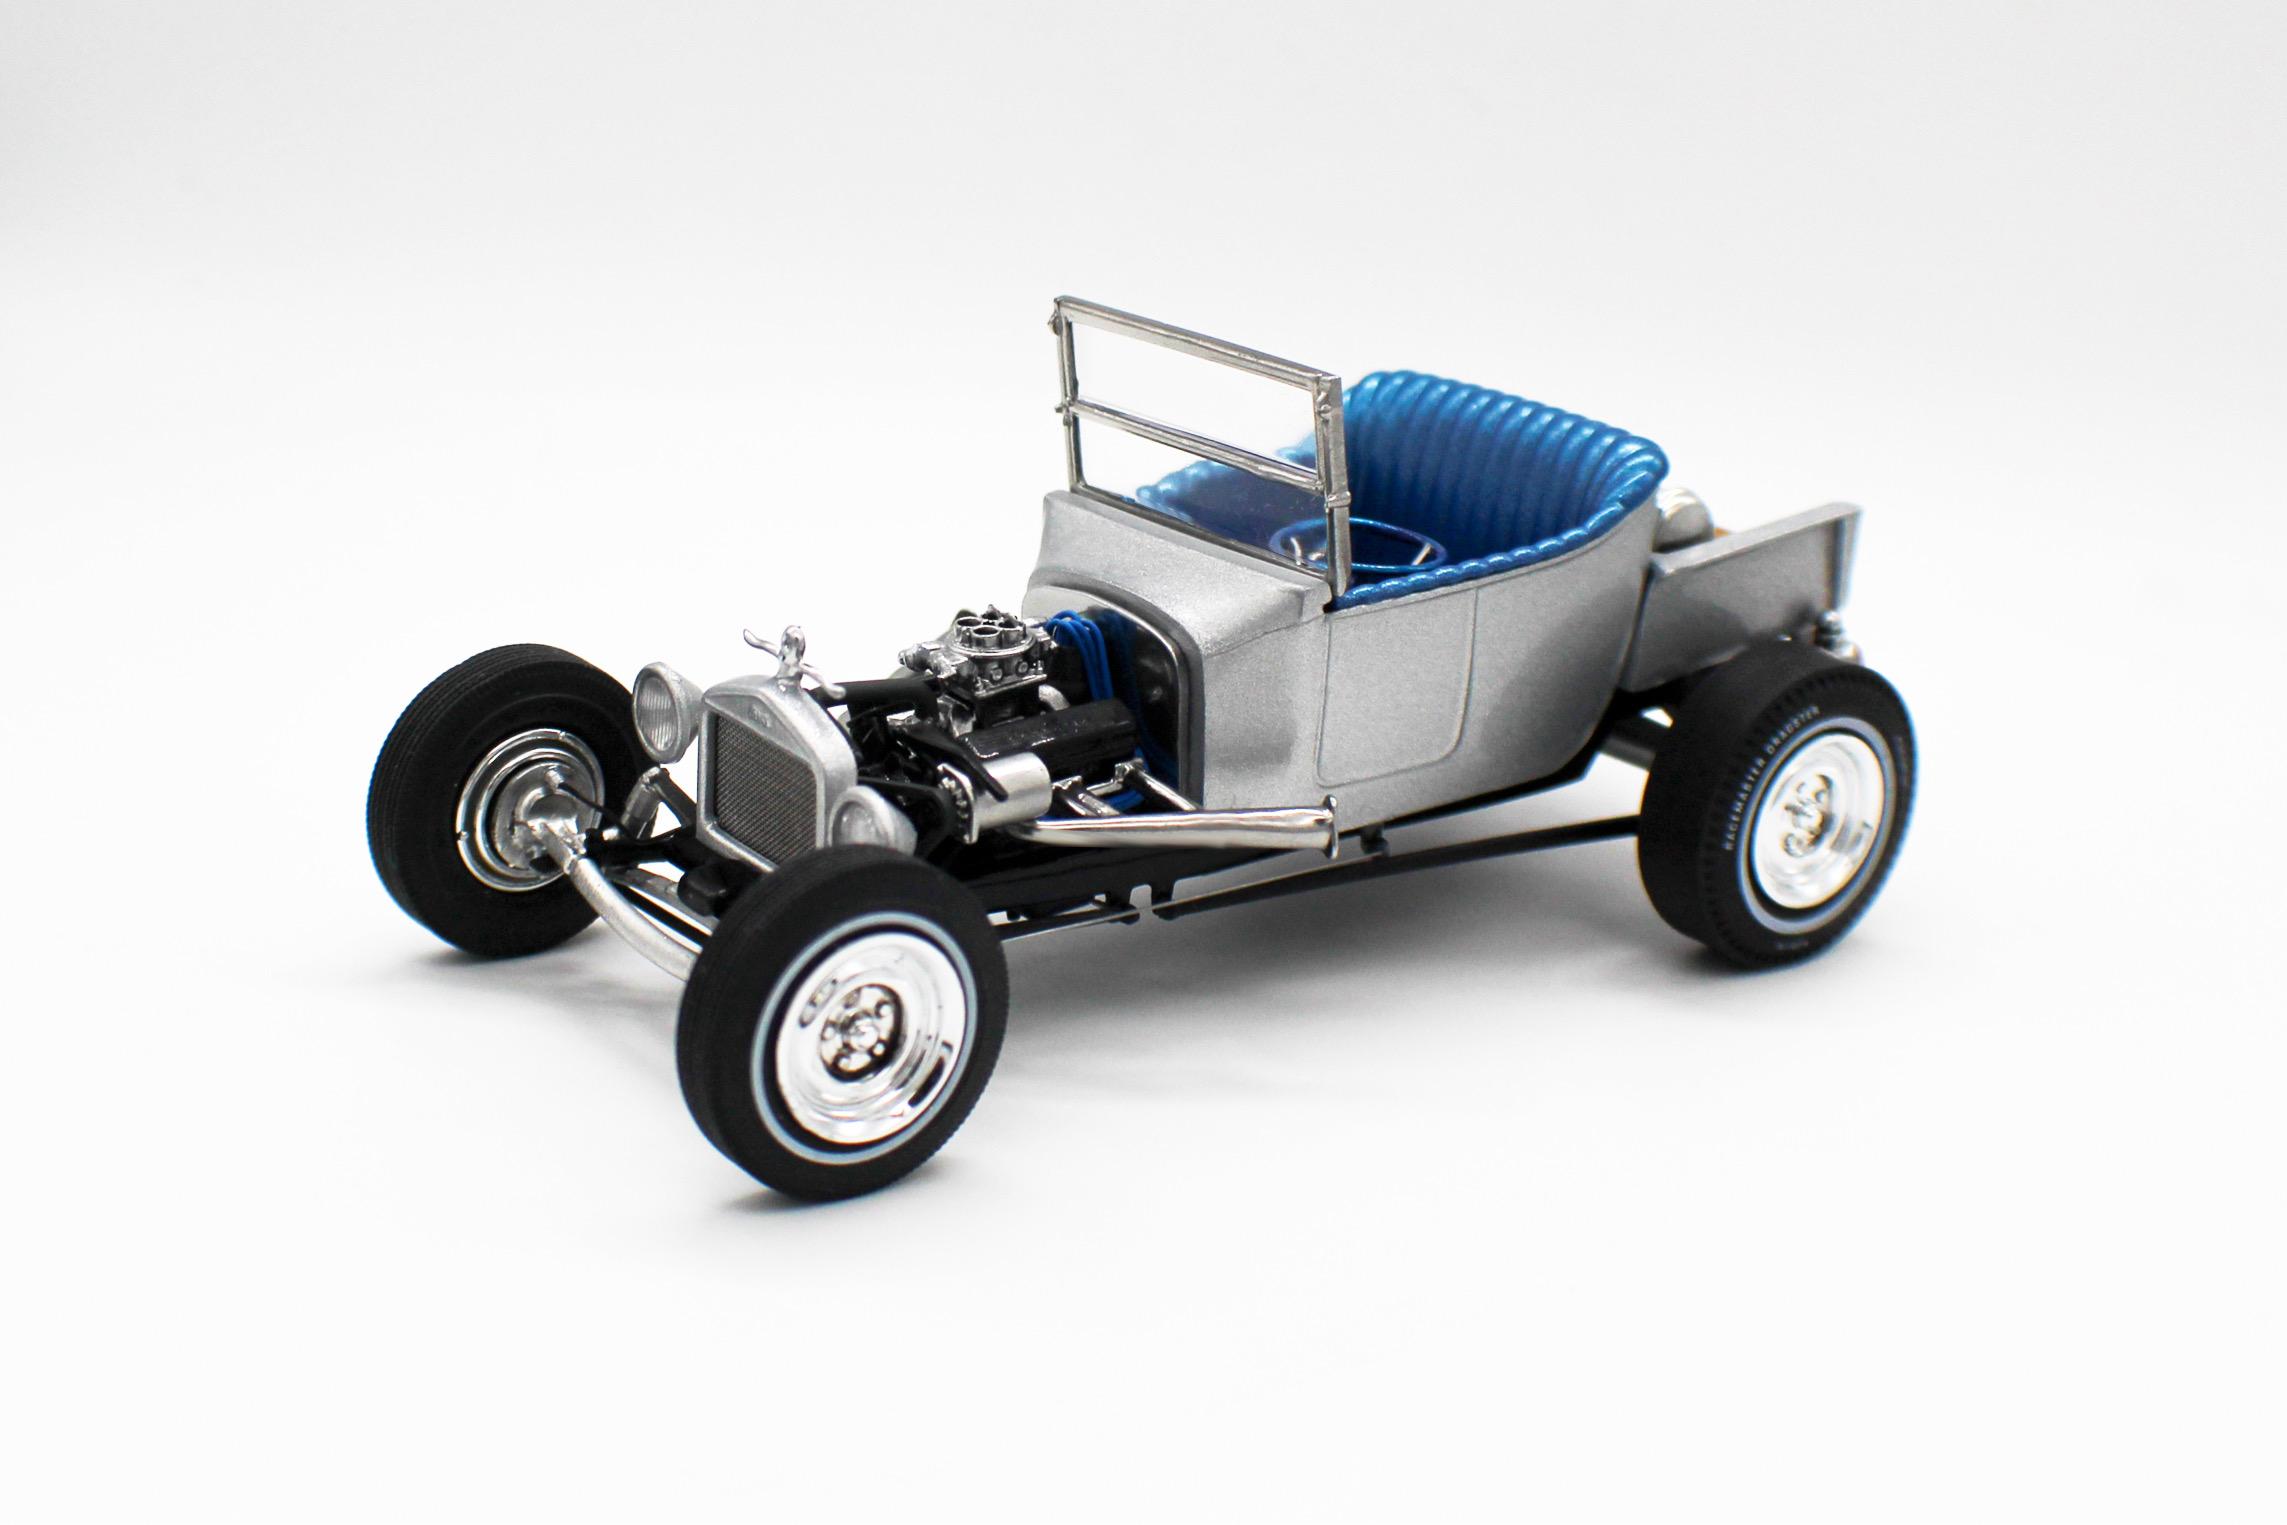
OldNYJim replied to OldNYJim's topic in WIP: Model Trucks: Pickups, Vans, SUVs, Light Commercial
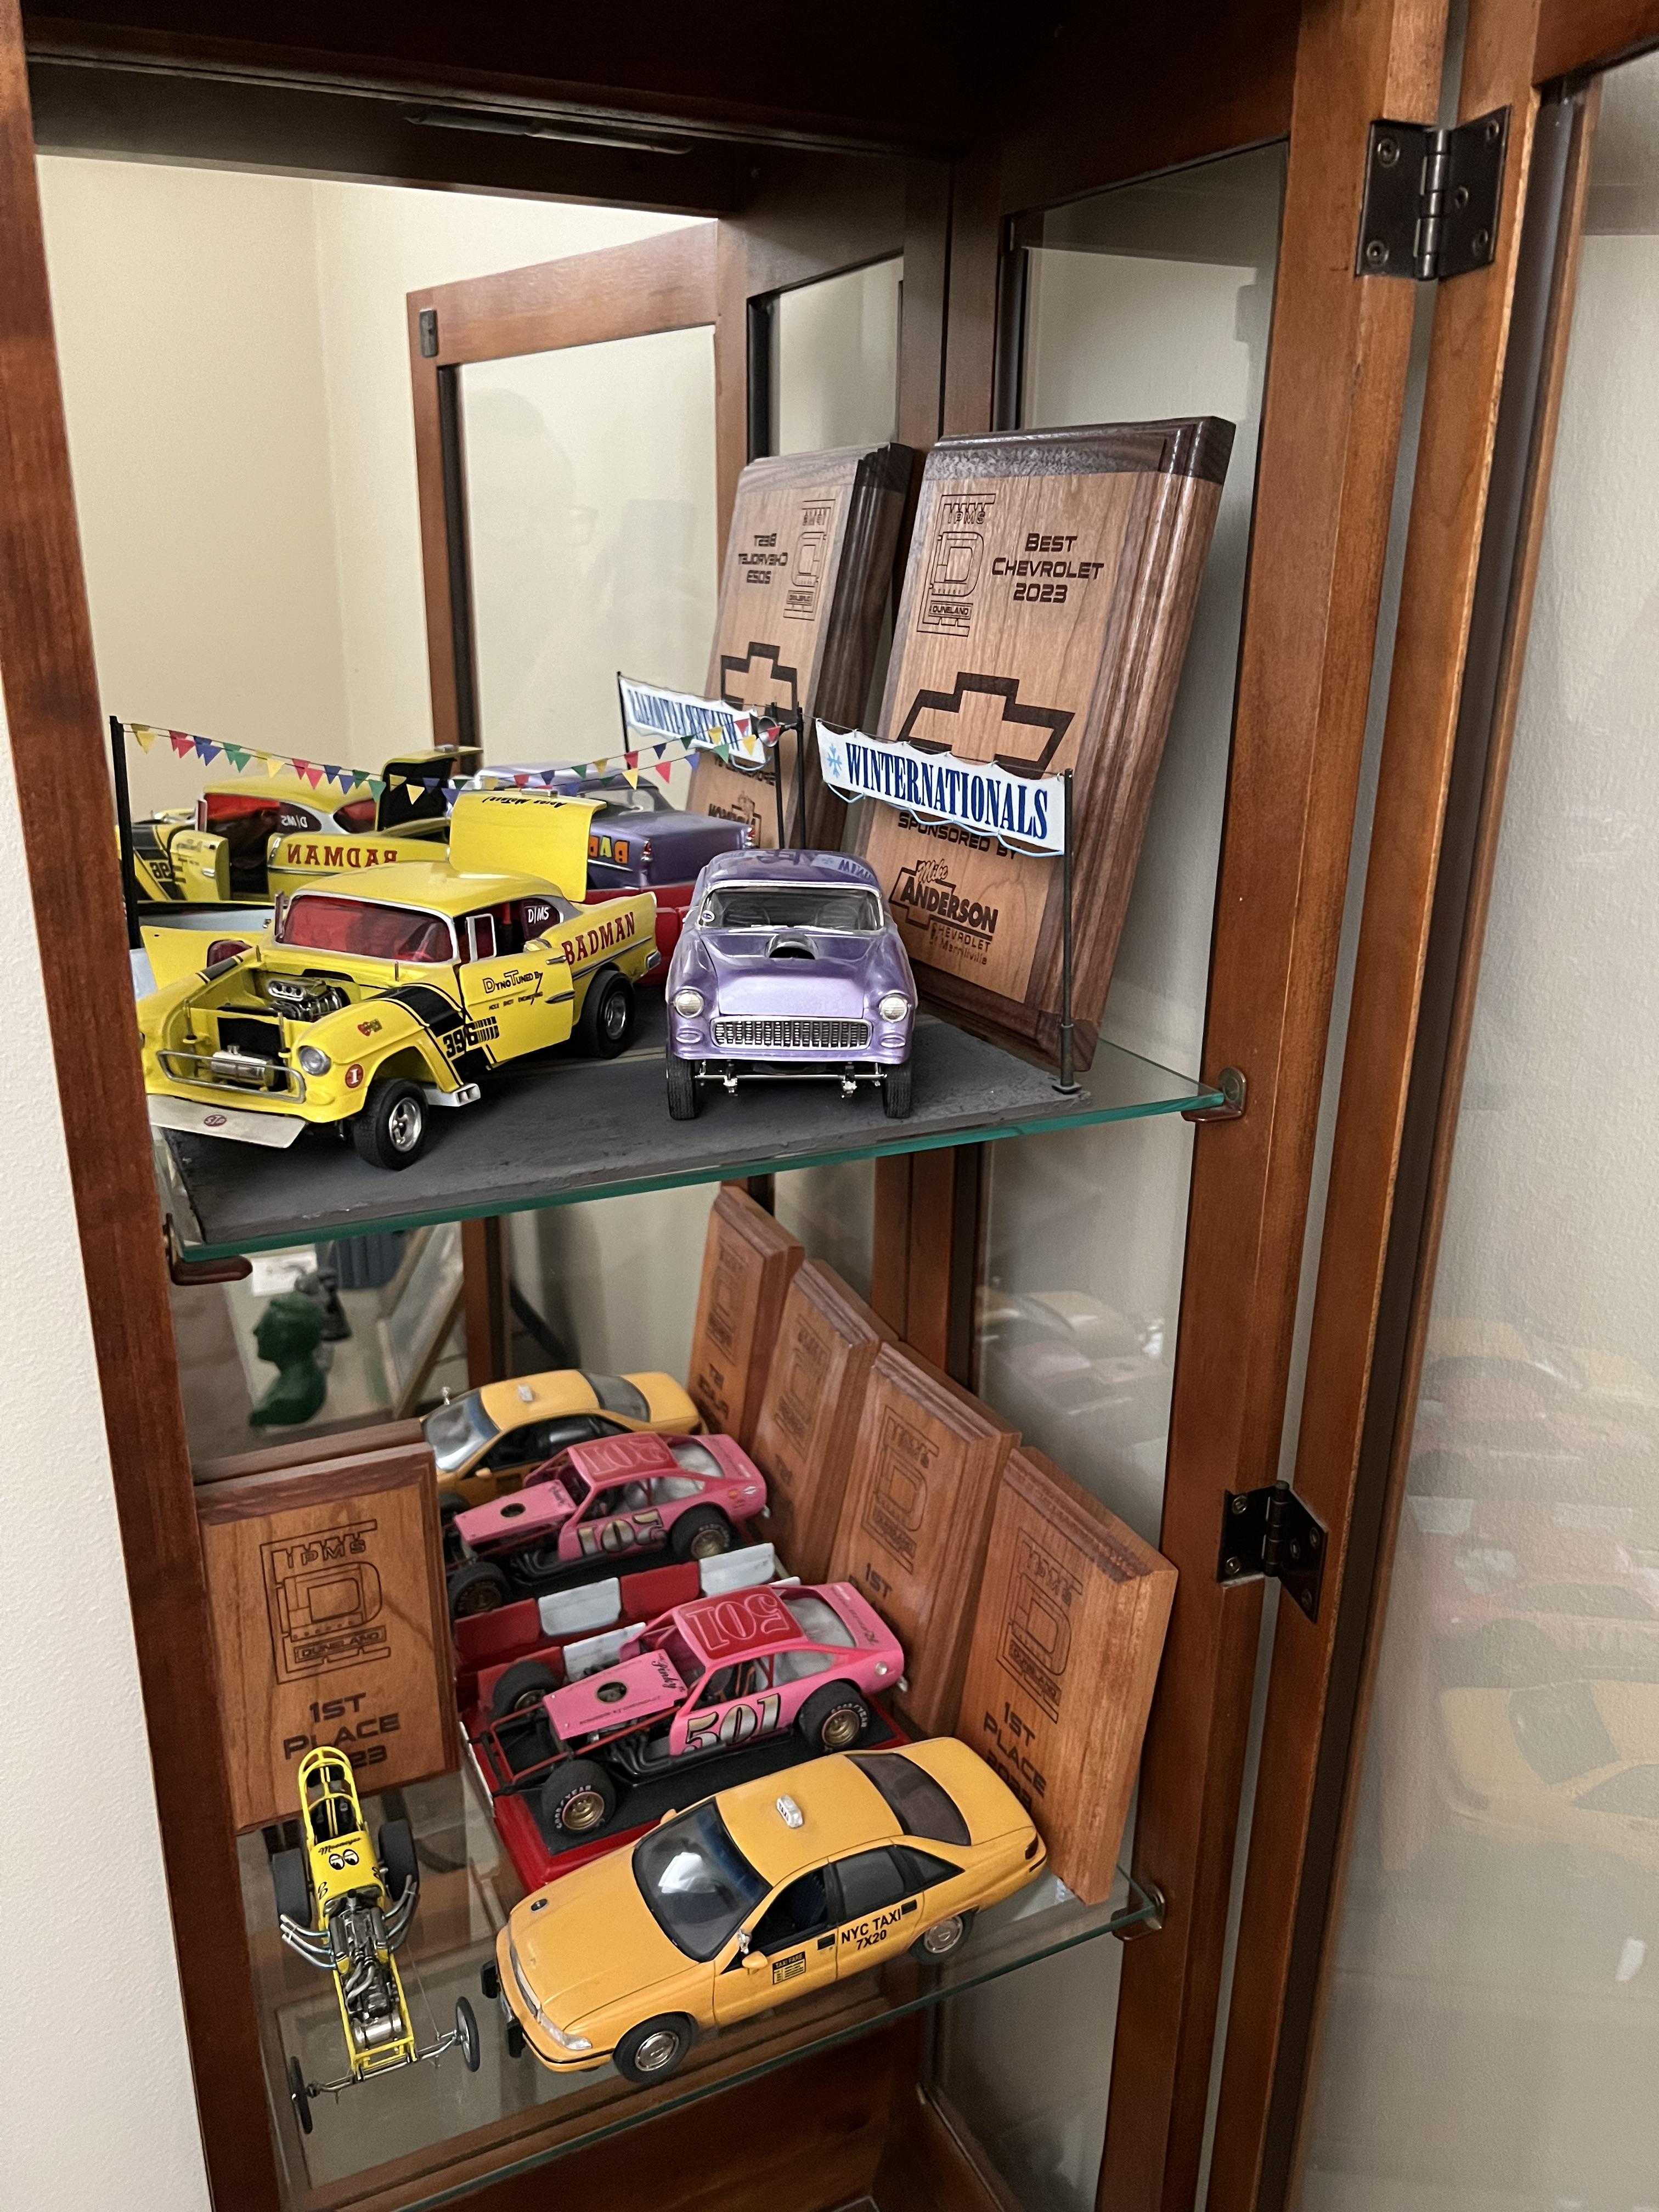
Thank you Sir! You know I’m a fan of your work - hope you keep posting updates on your projects!! Thank you too, David! I always appreciate your thoughtful comments! Most of my finished builds end up in Dollar Tree plastic storage tubs - they made one that will hold two of three builds and they have a snap-on lid to keep dust out, plus they’re stackable. I haven’t figured out a good dust-proof solution to display 75-ish models (and growing) yet, but I did just pick up a cool little curio cabinet cheap at a local vintage store…started to populate it slowly with a few builds but it needs some more shelves or some risers to make best use of the space: Speaking of on-the-shelf, some finished pics of this one. Far from my most complicated or interesting build, but I really wanted one of these on my shelf…I feel like I ought to build some of these classic kits stock(ish) before I indulge in my REALLY out there ideas…thanks for following along everyone!
-
Good start David! I’ll be following along!
-
T-Bucket (the pickup kind)
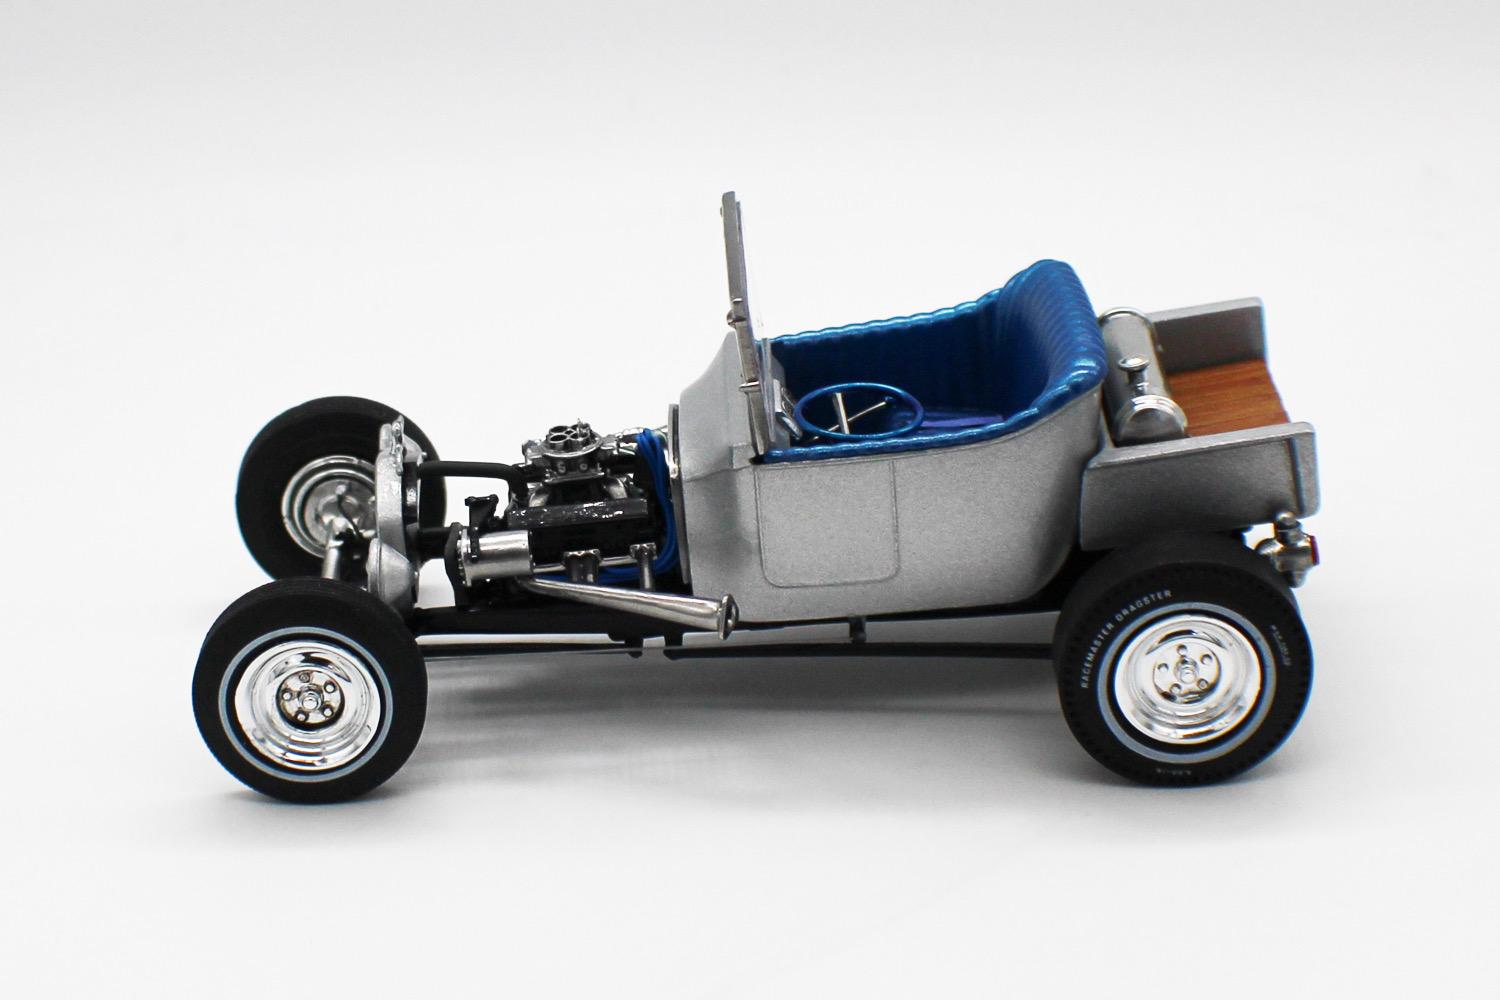
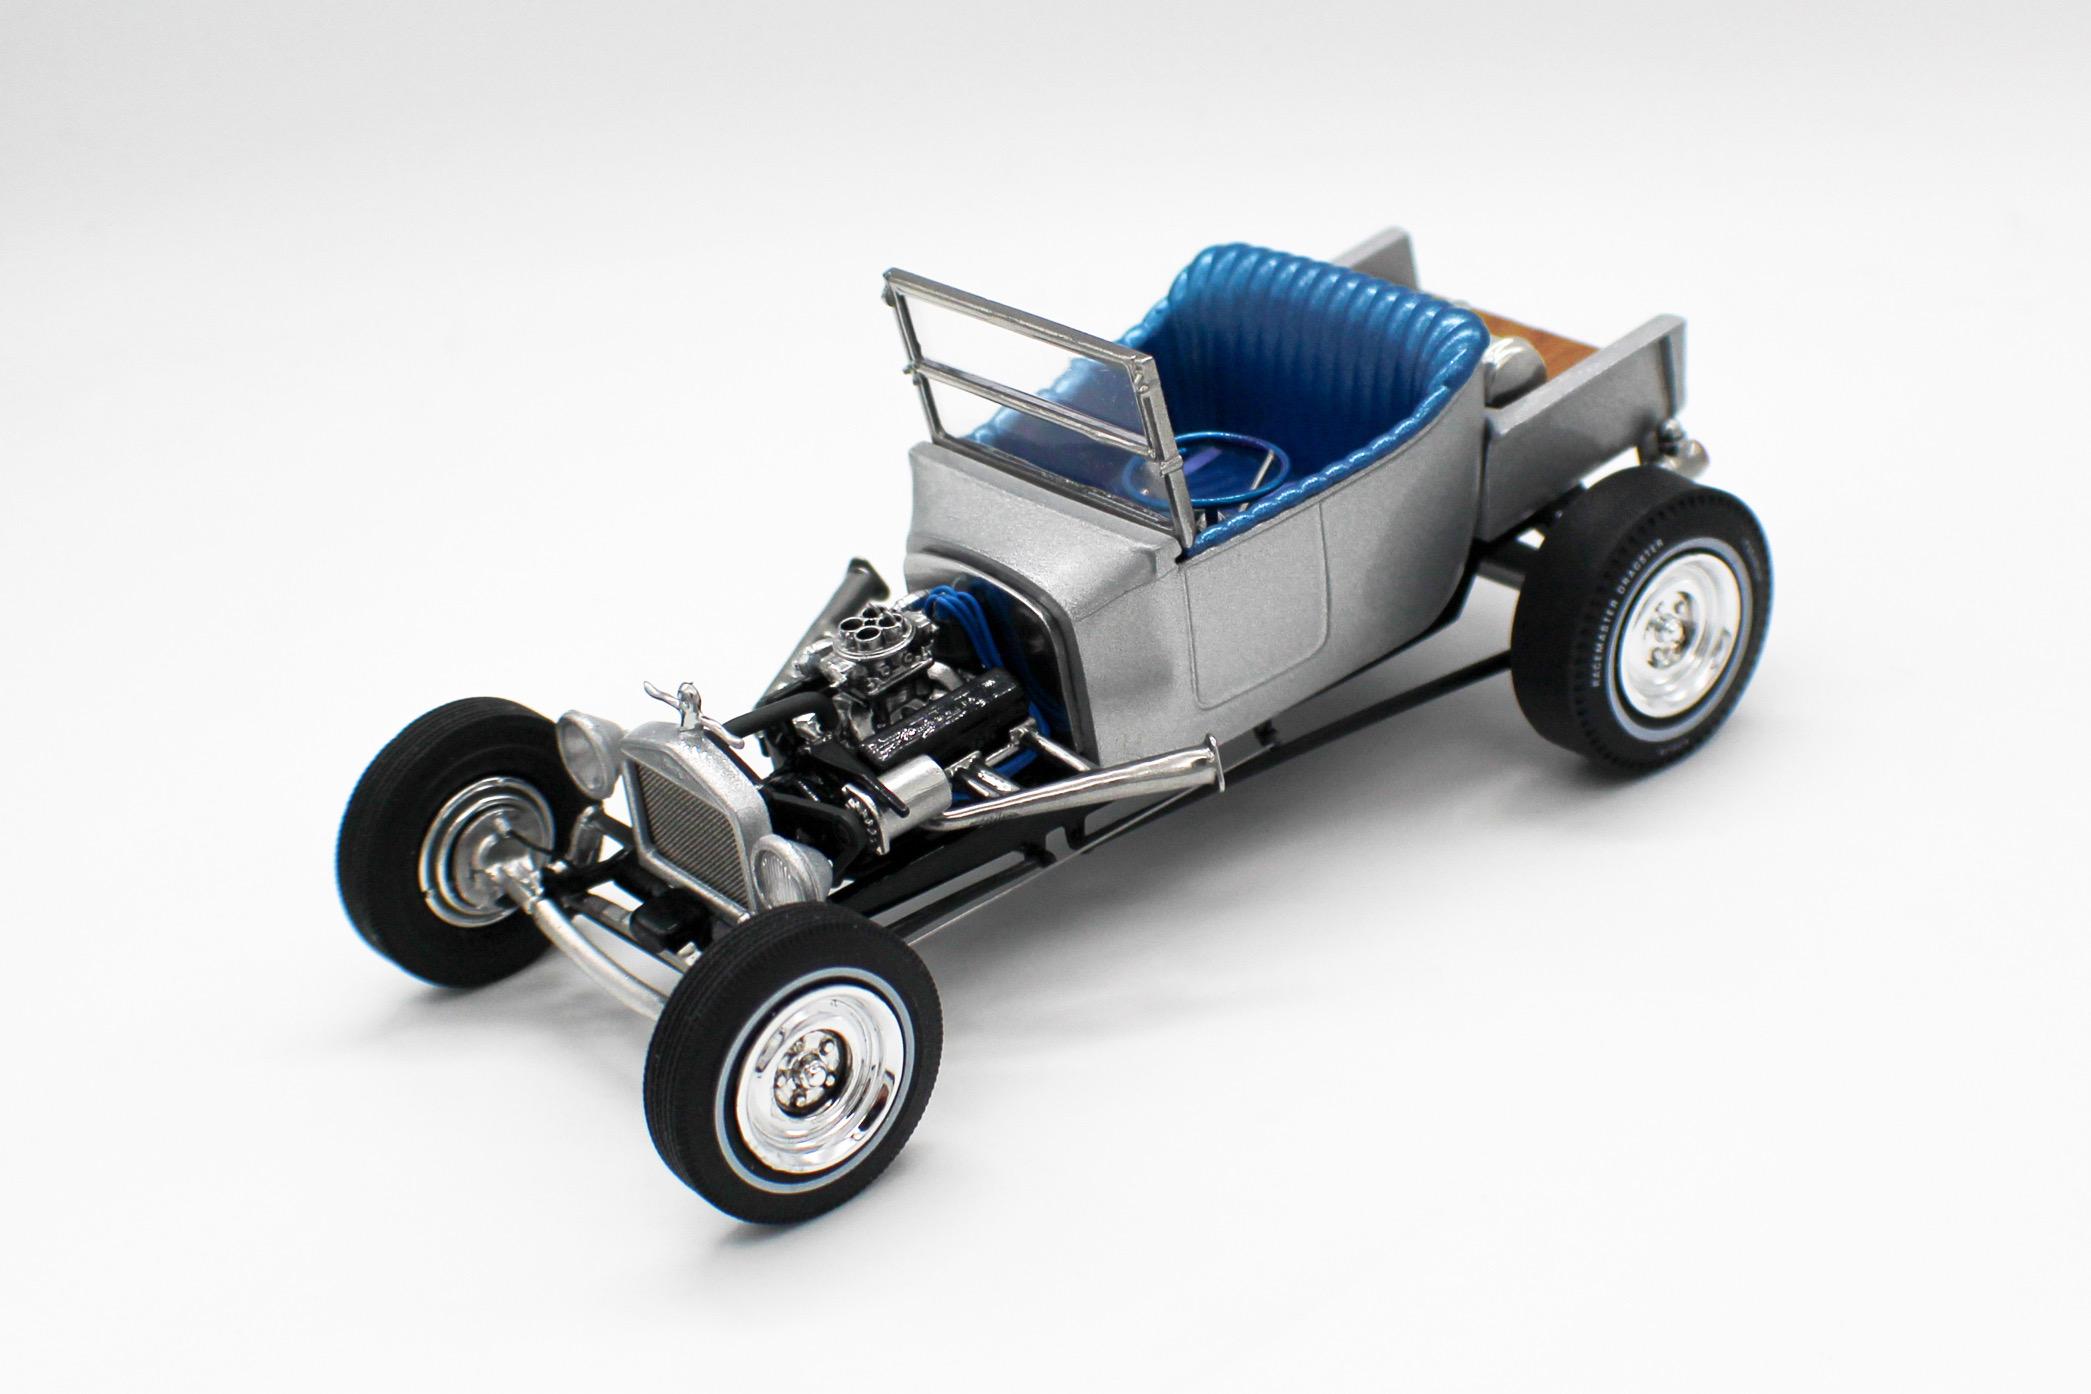
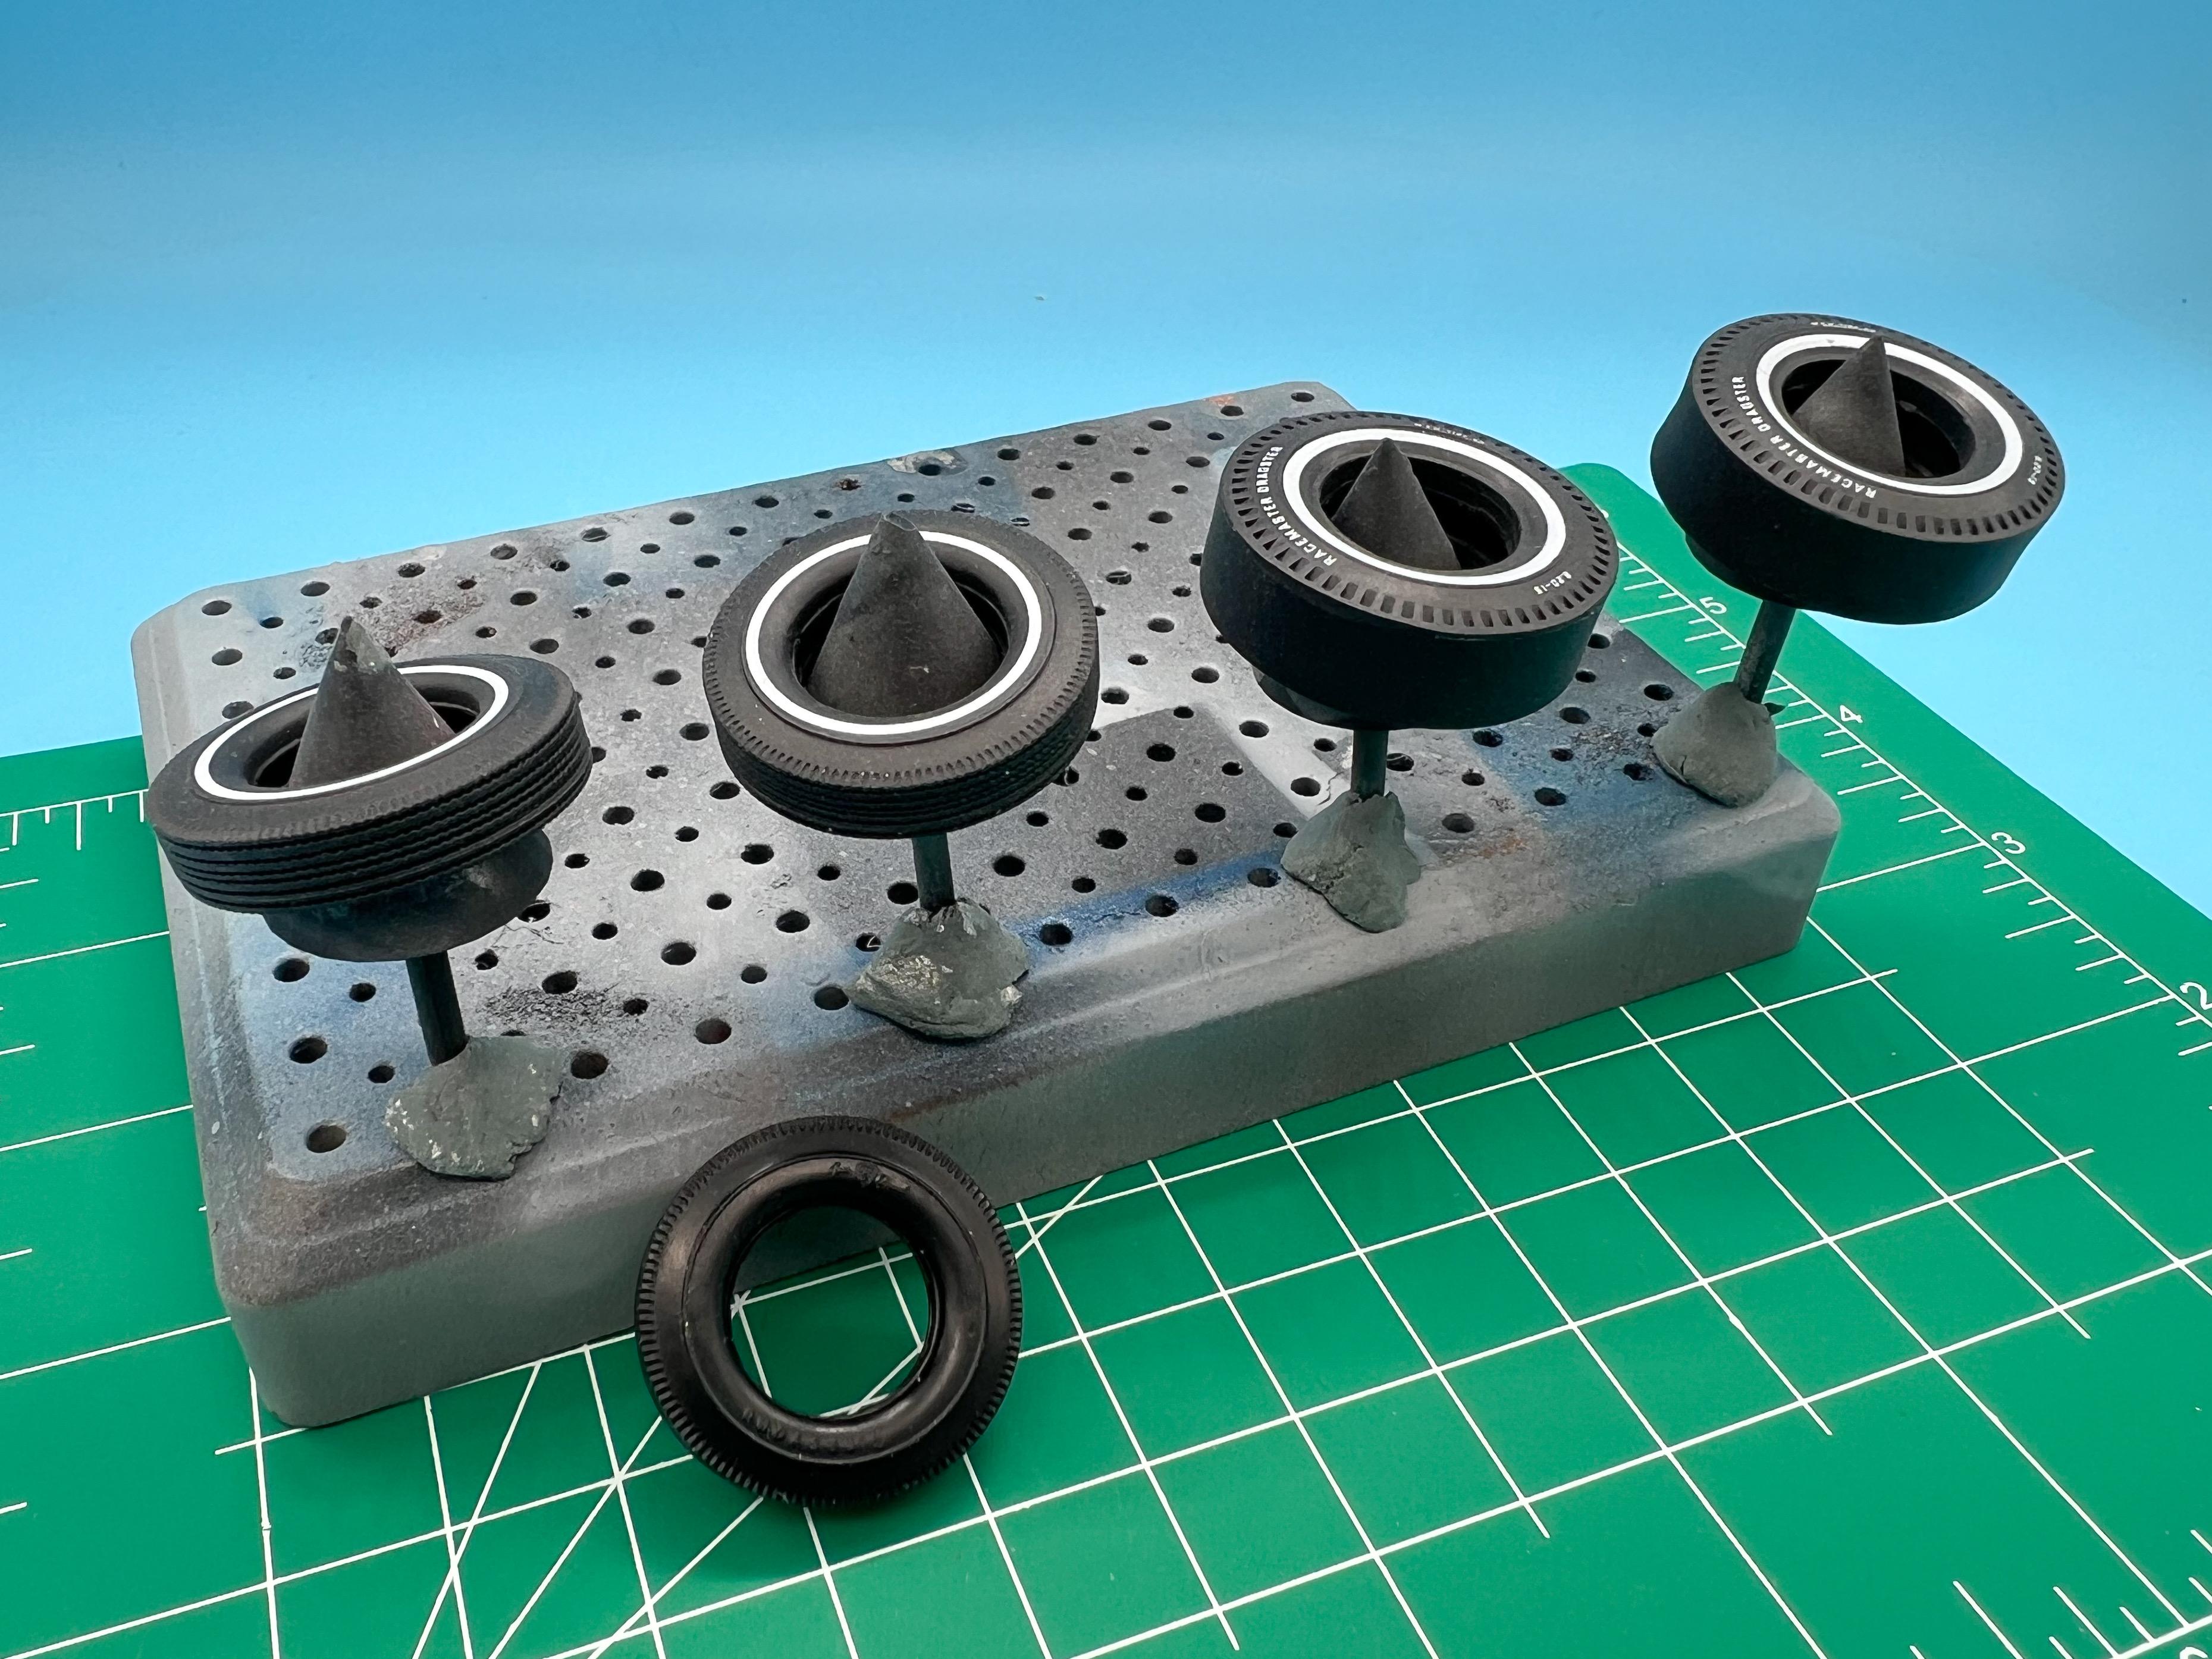
OldNYJim replied to OldNYJim's topic in WIP: Model Trucks: Pickups, Vans, SUVs, Light Commercial
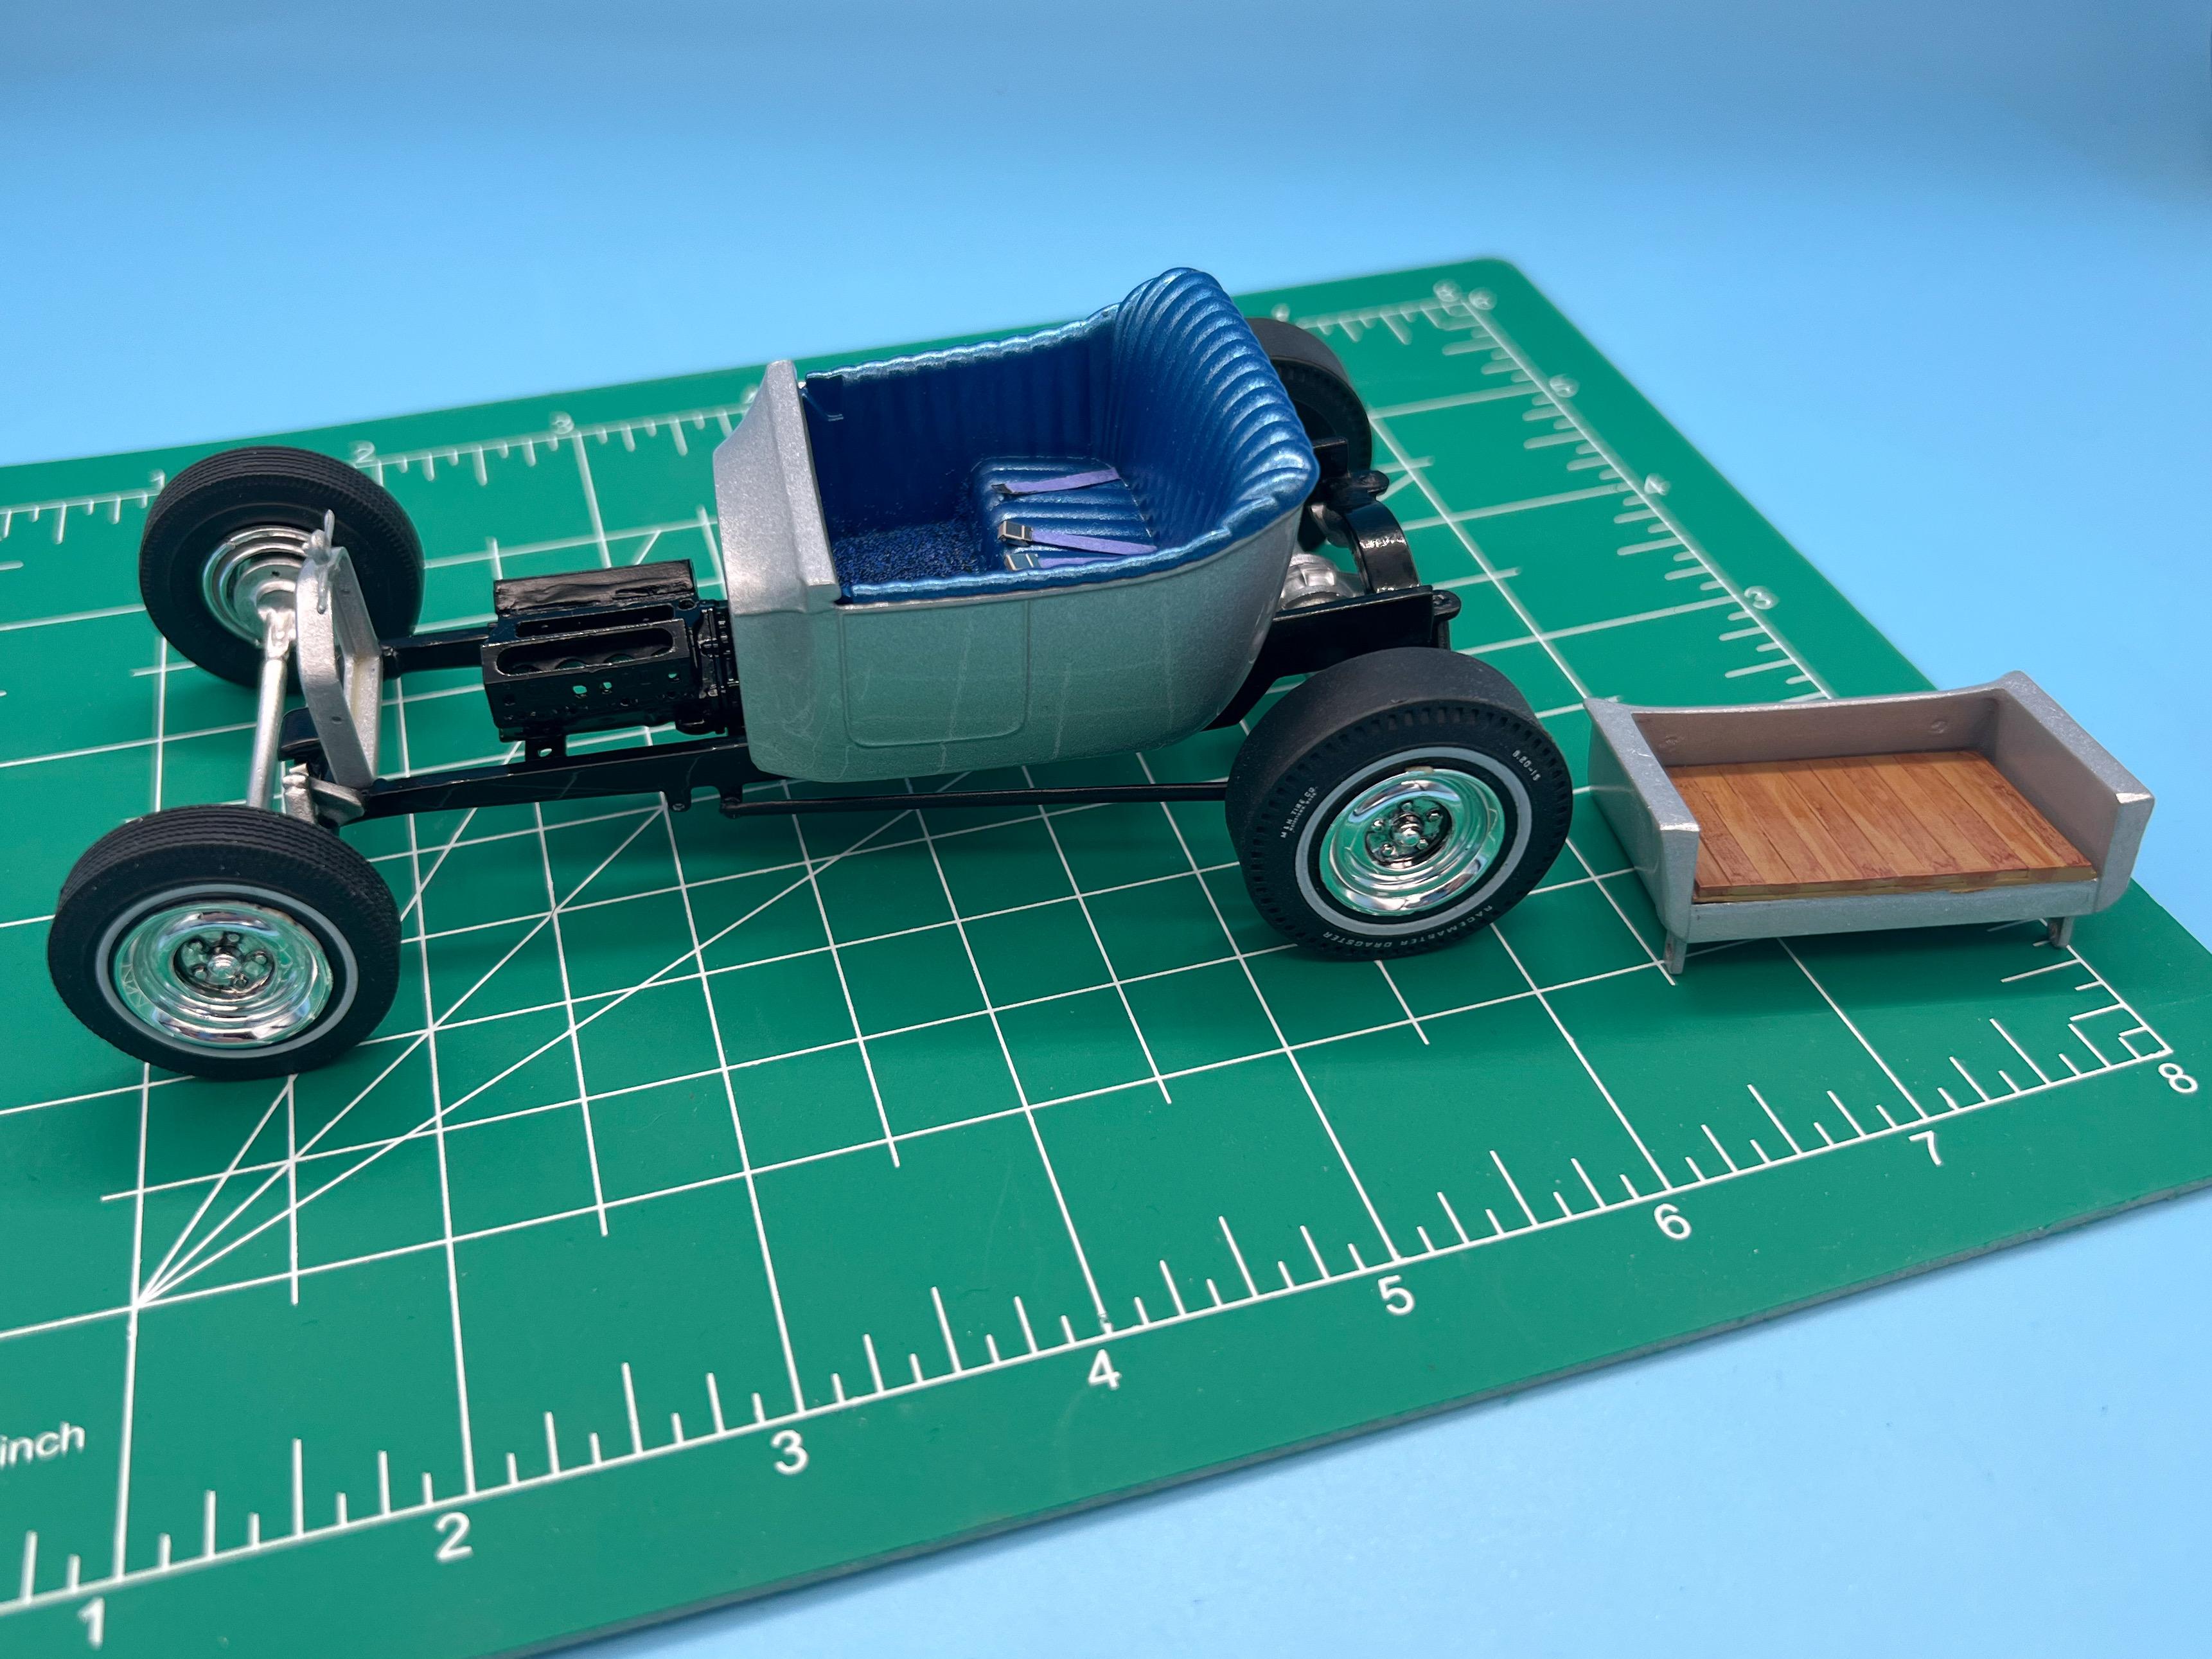
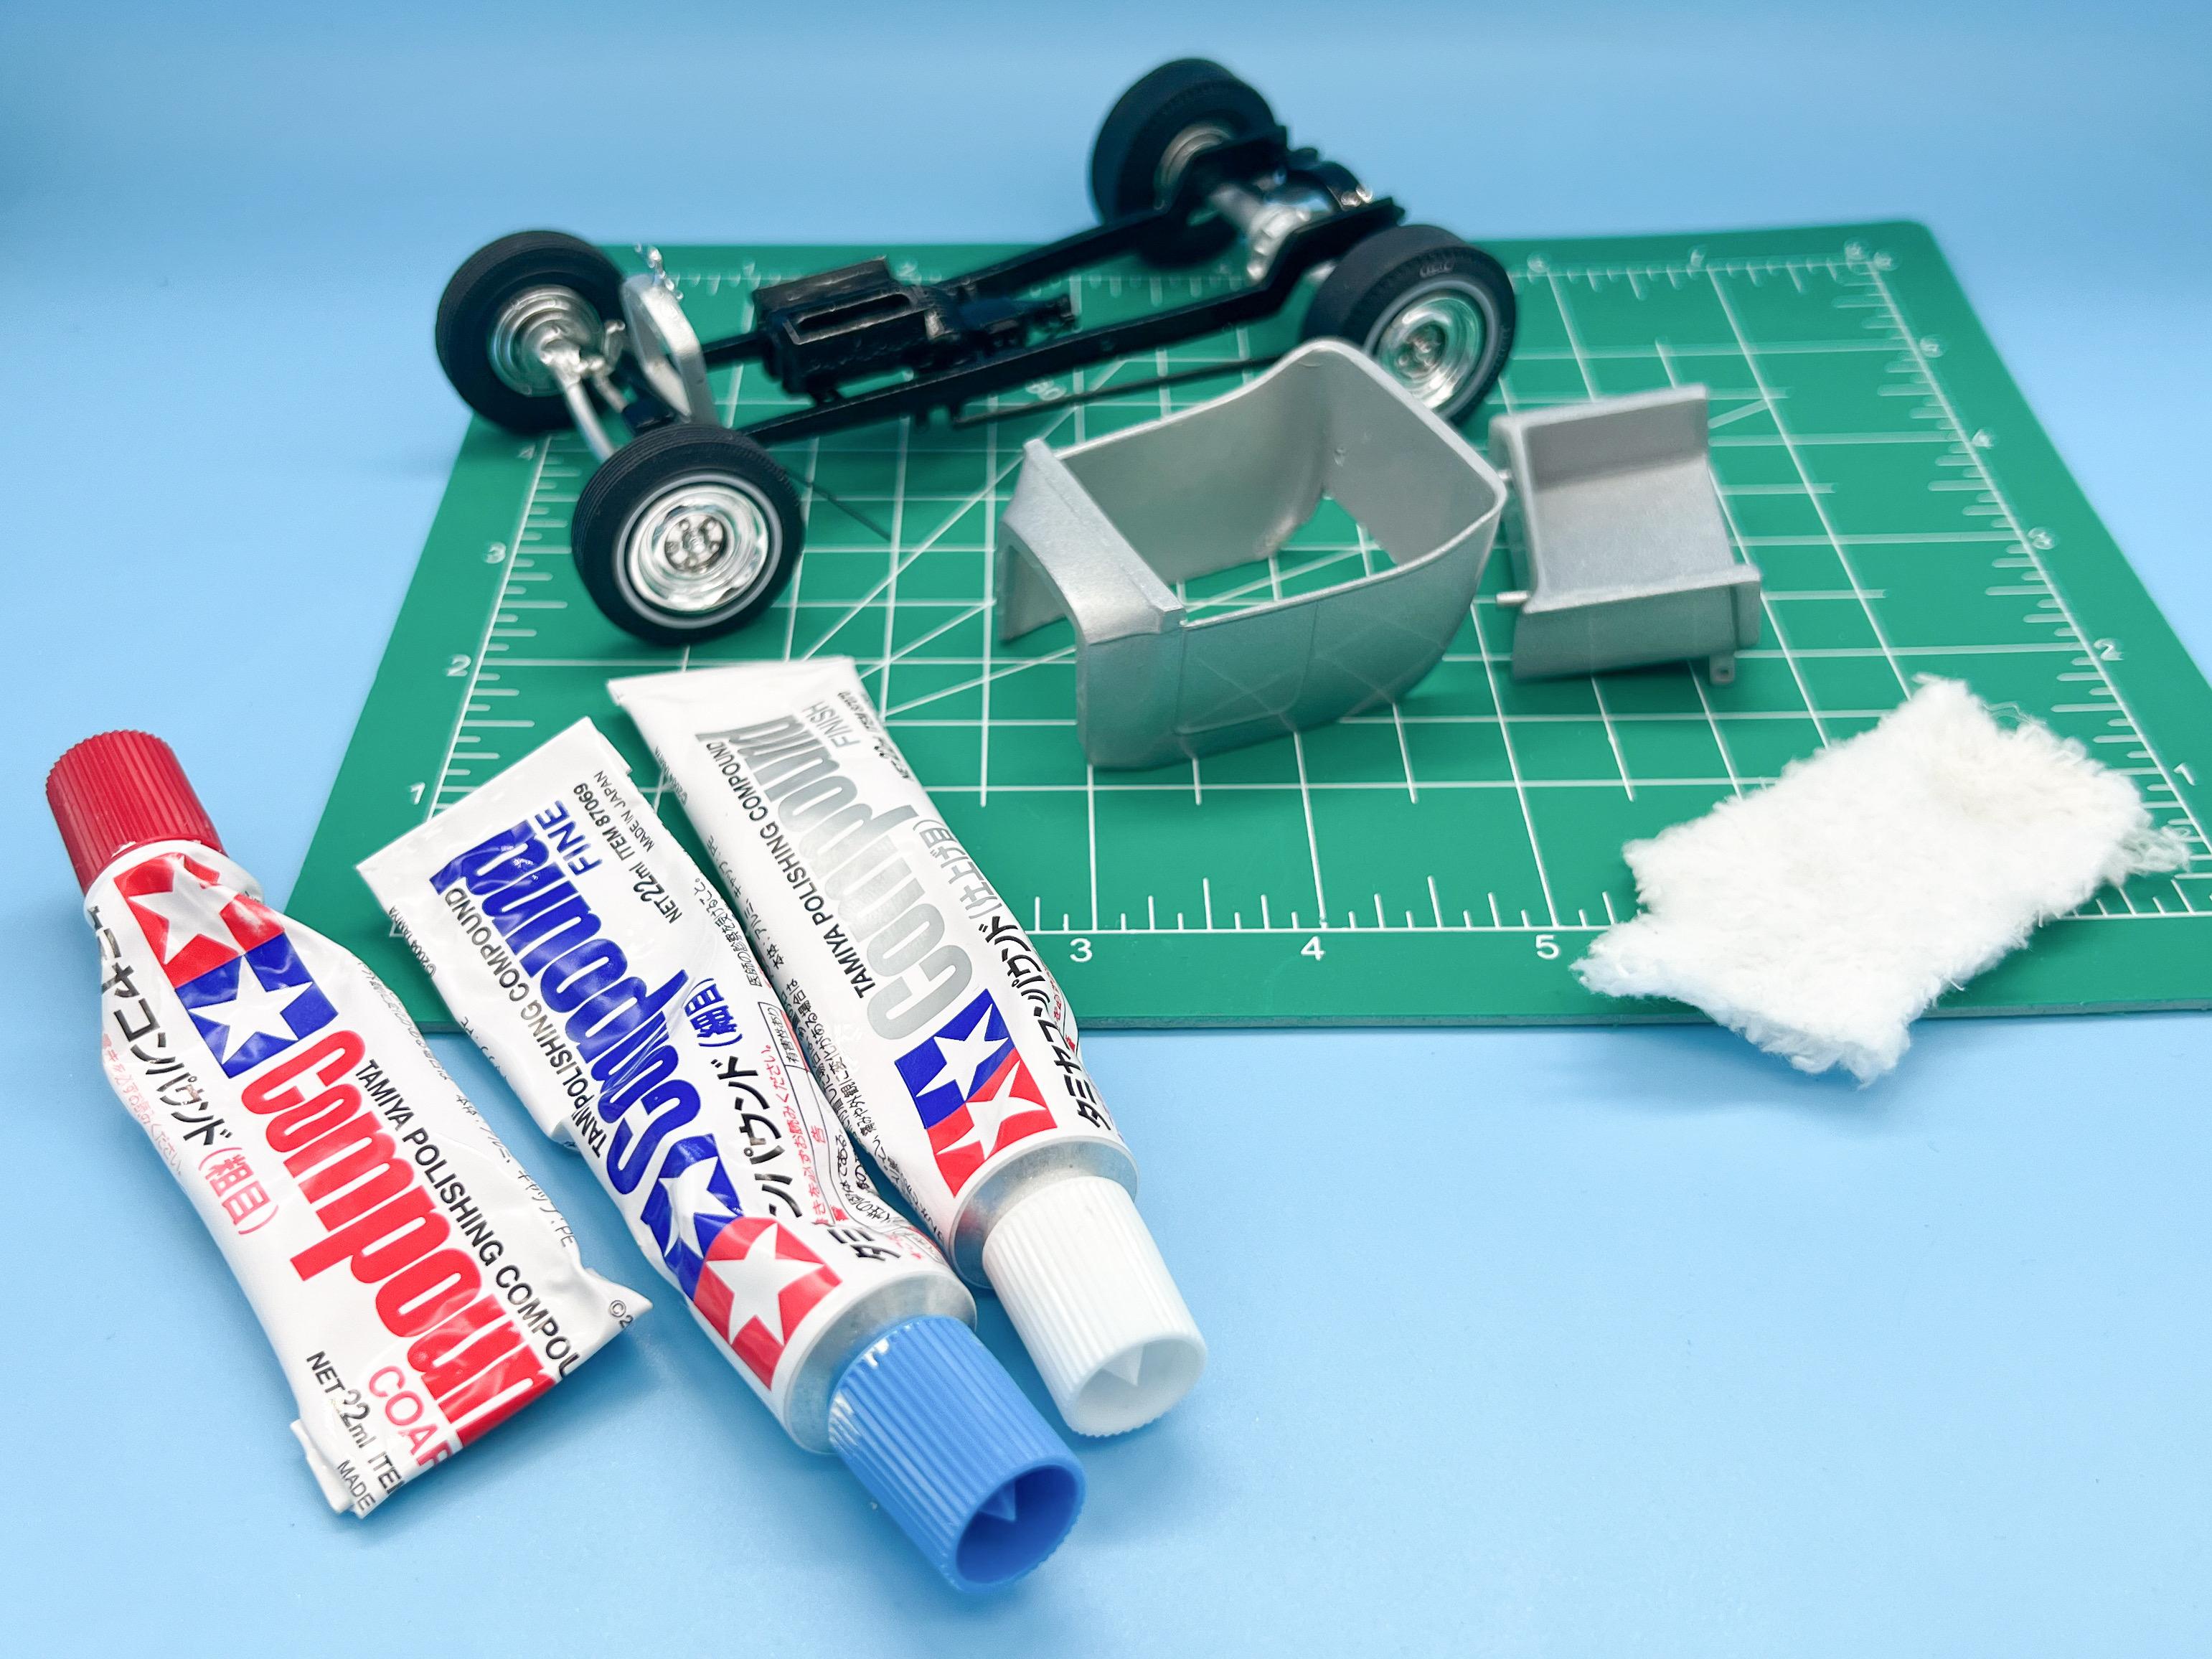
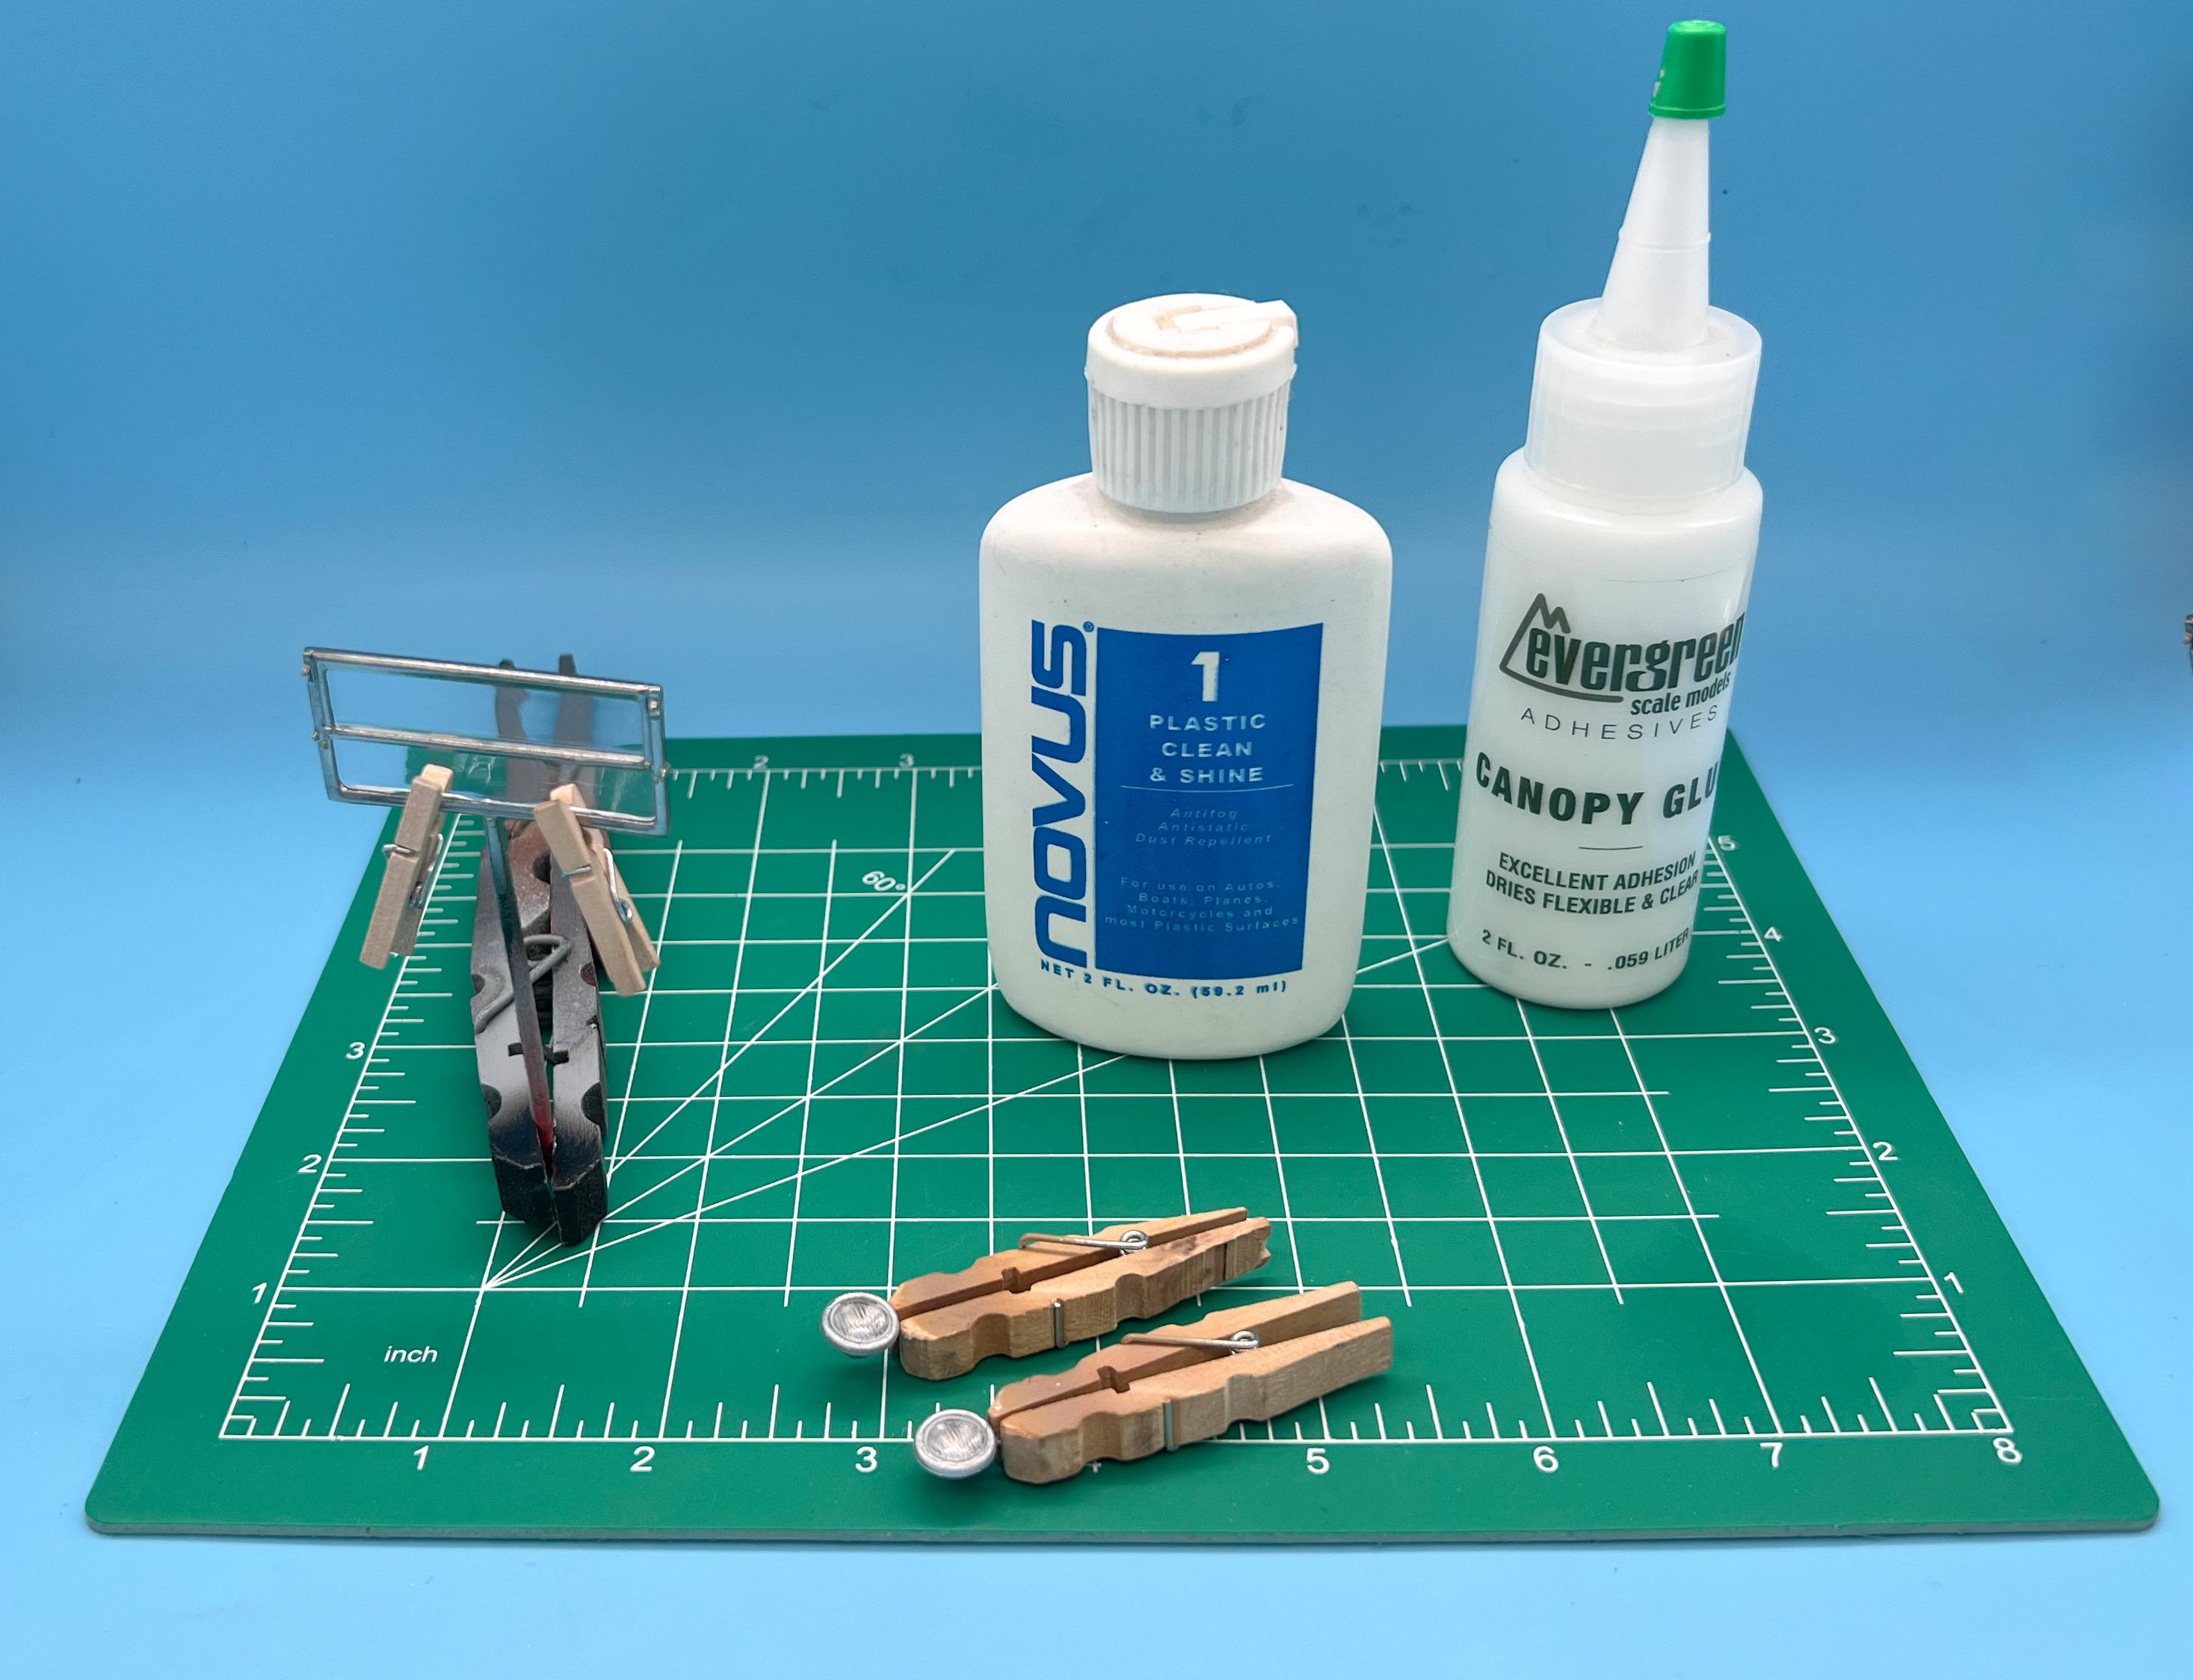
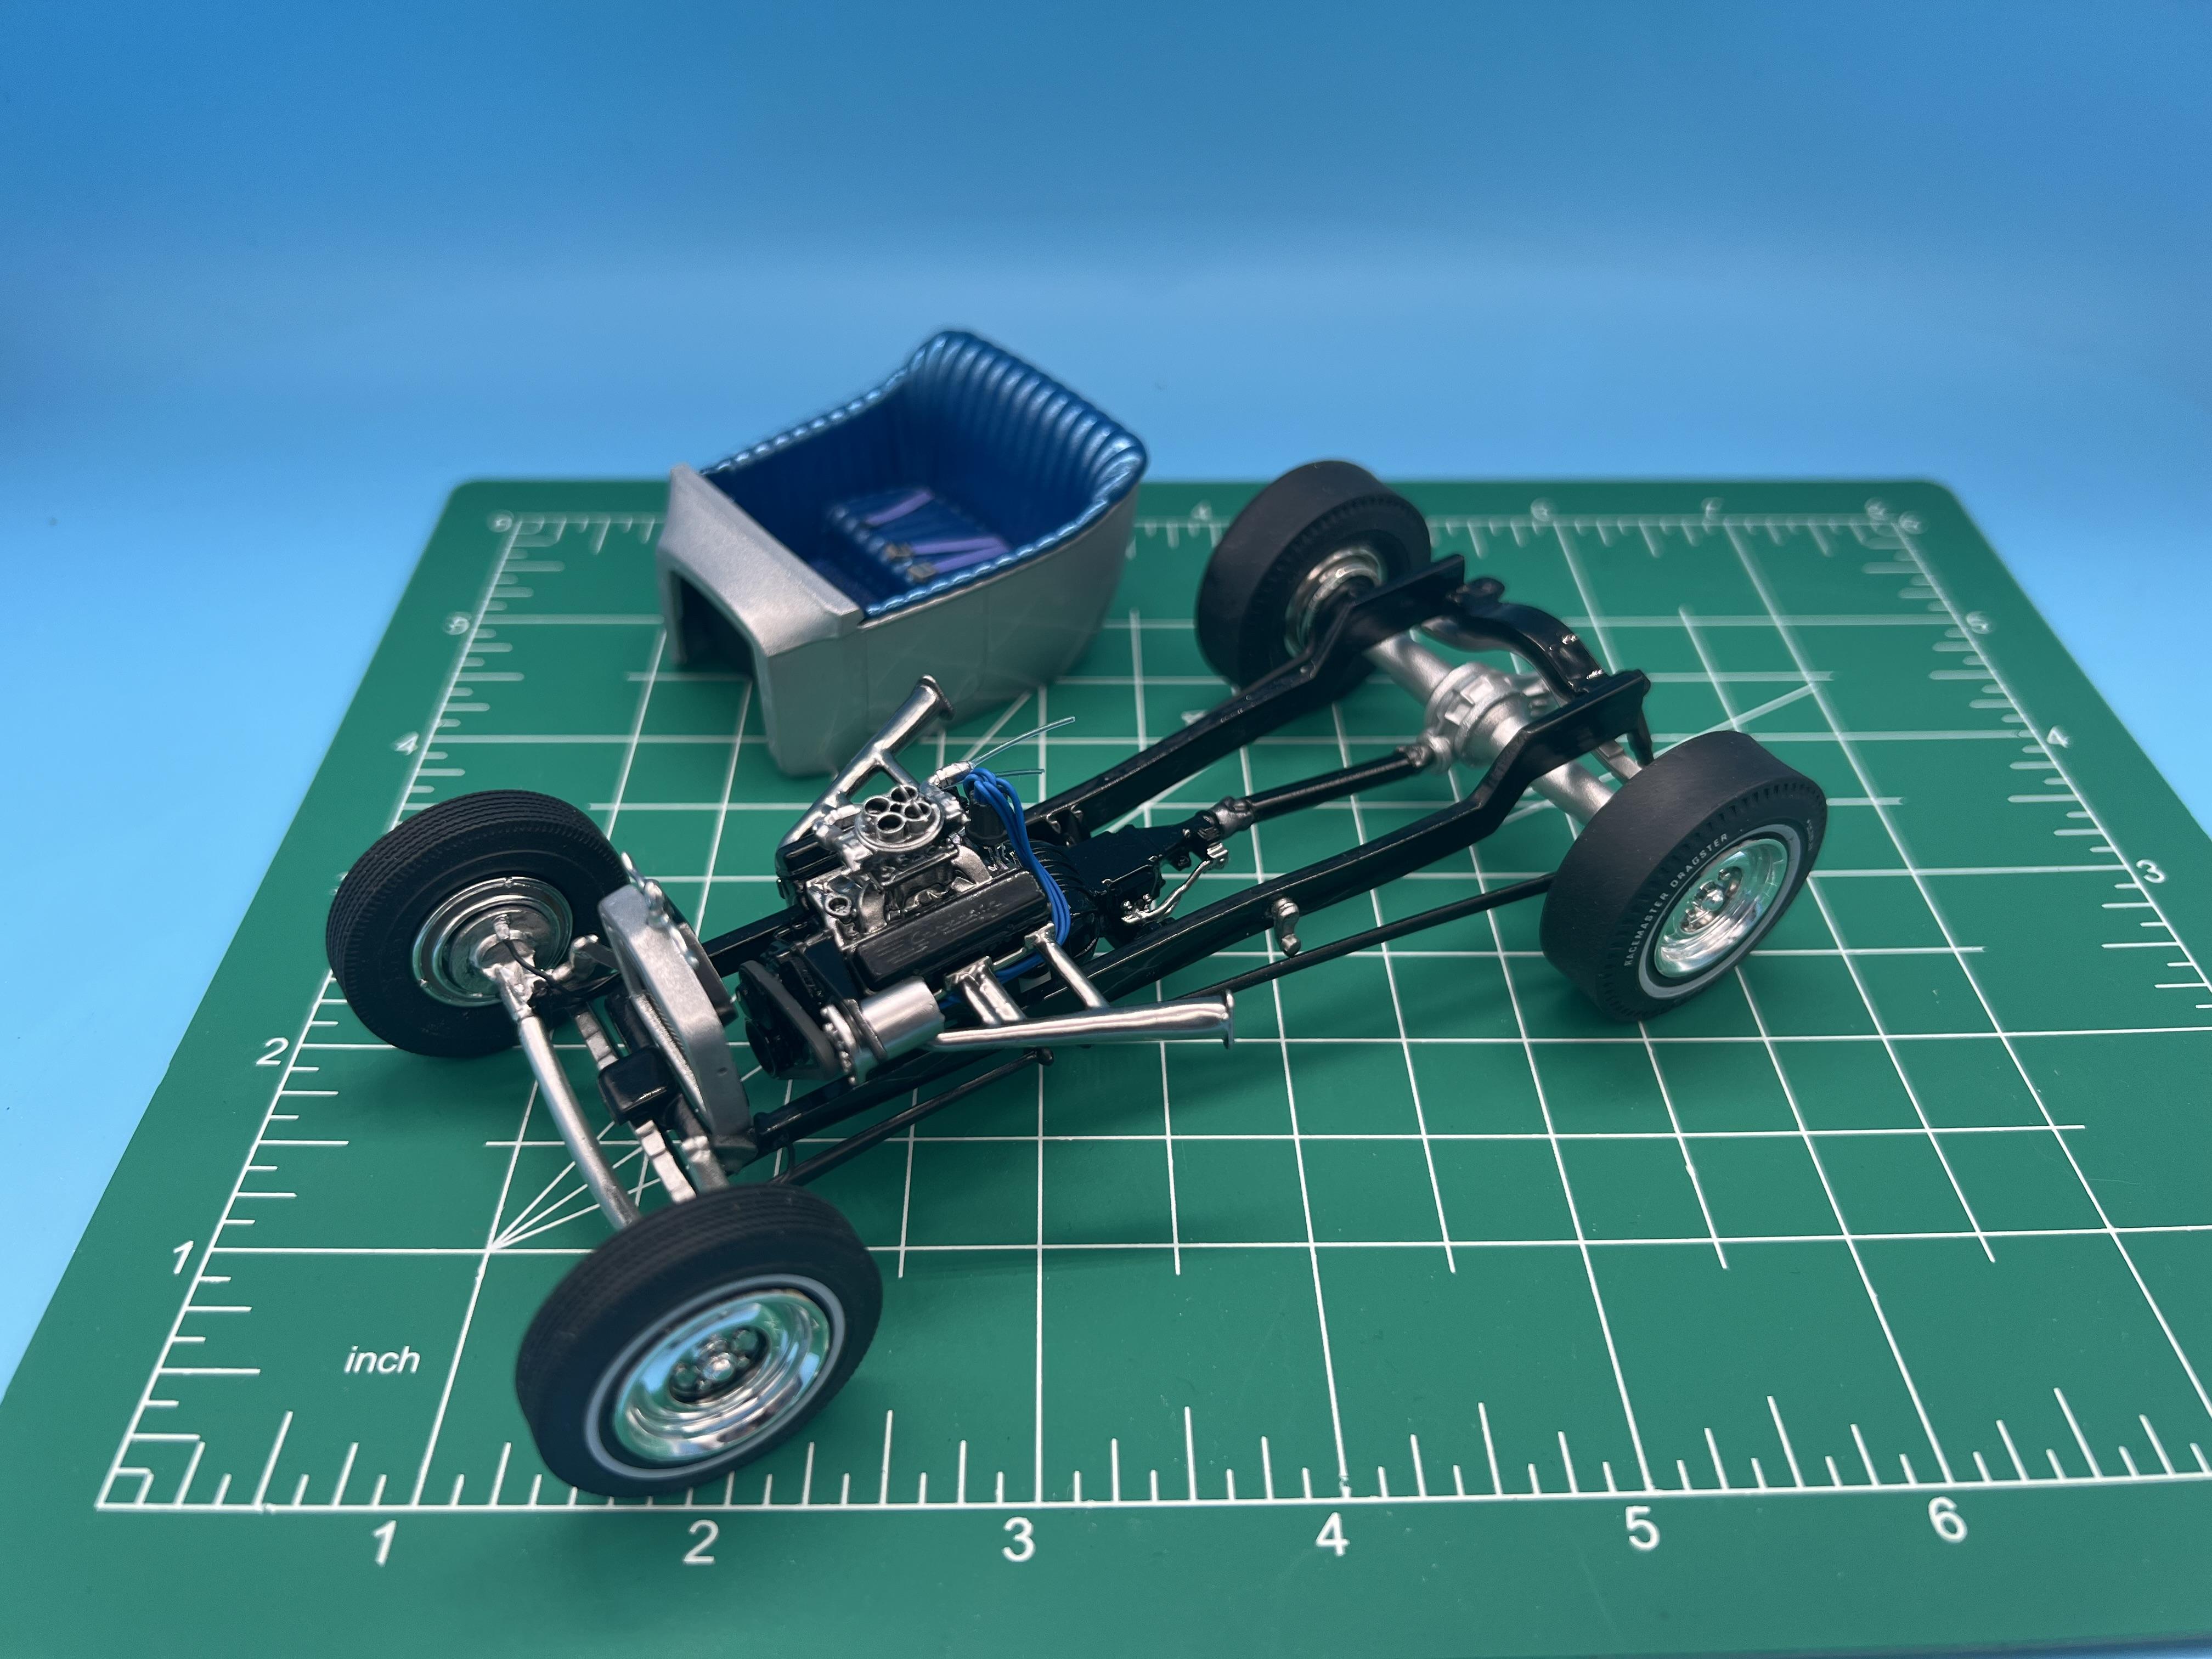
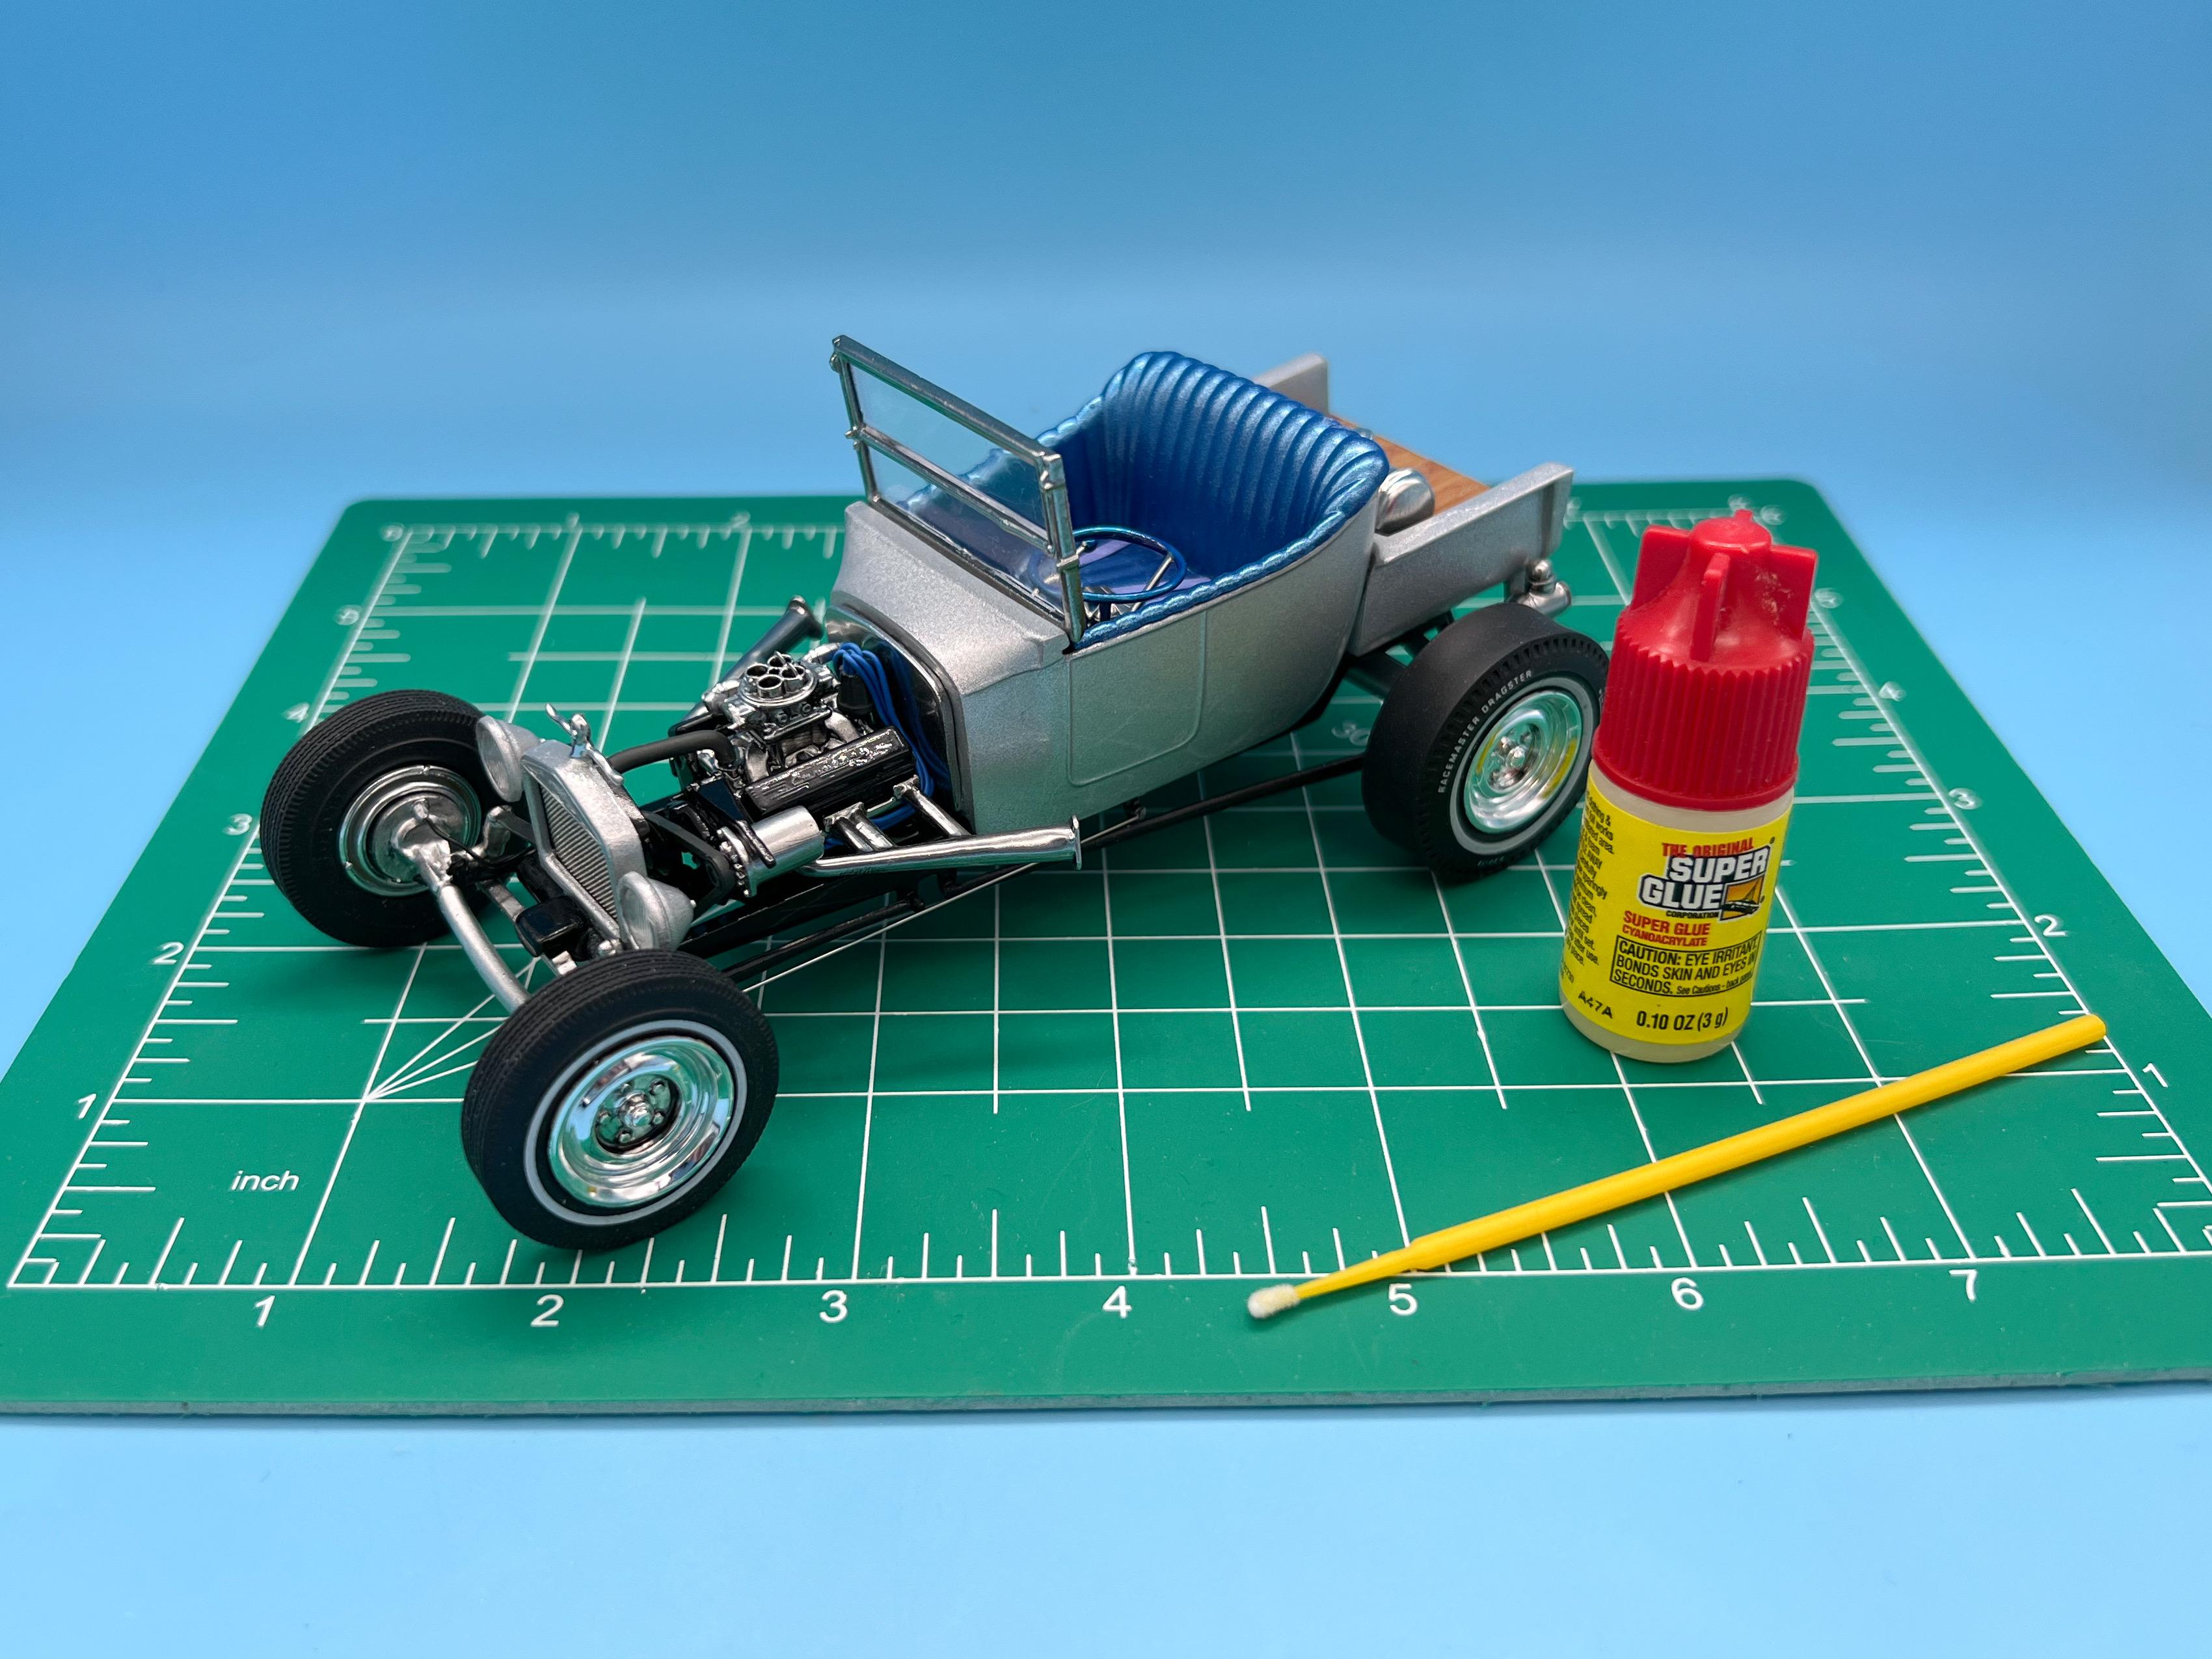
Thanks fellas! Hope everyone had a good weekend - pretty much wrapped this one up this last few days… I tried sanding the kit tires flat but I actually burned through the rubber trying to get it level…not sure if they’re just thin or I got a short-shot, but I ruined it…good thing I have a coupla three more of these kits on the shelf to steal parts from…I dullcoated them instead which worked well too…(un-coated tire out front) Got the wheels and tires mounted for good… Polished out the body… Got the glass glued in place…my windshield glass didn’t fit great and I tried to get it lined up nicely but REALLY didn’t want to ruin the chrome… Got the engine assembled - nothing super fancy, just a Small Block with a couple of upgrade parts… And then a few other little additions and it’s nearly a wrap on this one…not a very complicated or exciting build, but I really wanted one of these on my shelf pretty much out of the box…well besides the 15 changes and the motor swap and whatever else I did… I’ll snap some finished pics tomorrow once all the glue is dry and I’ve given it a once over…thanks for following along!
-
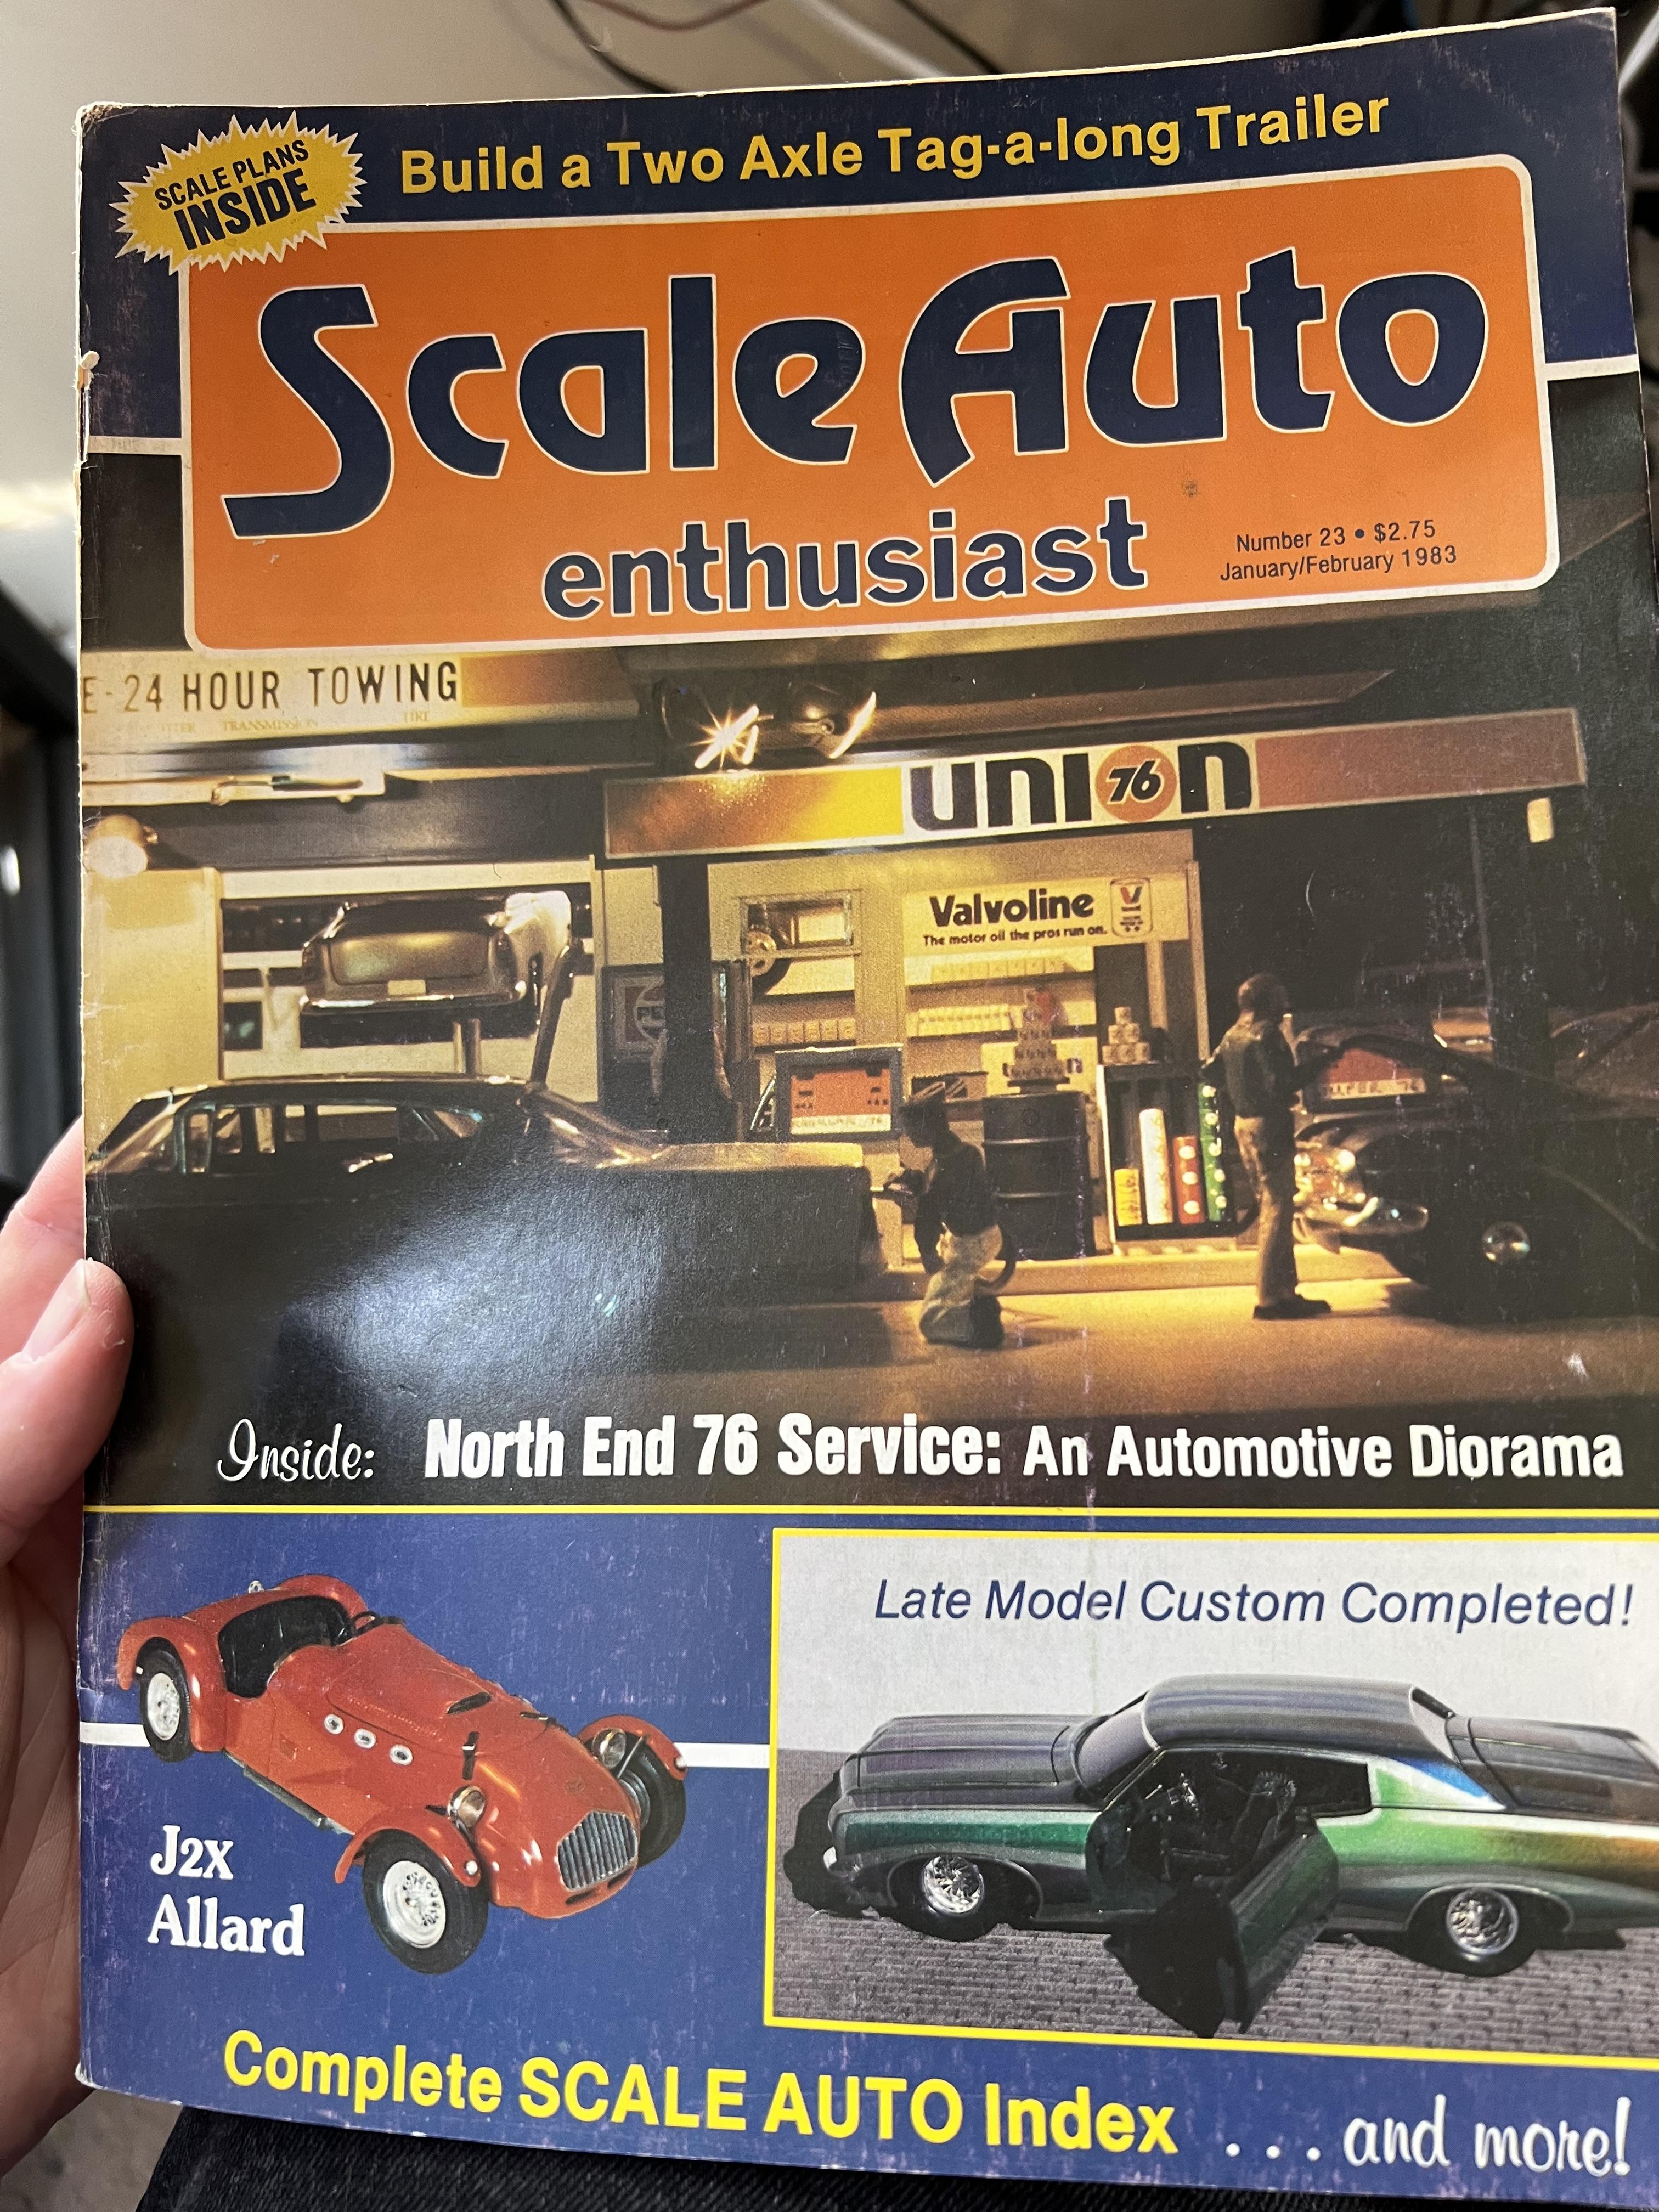
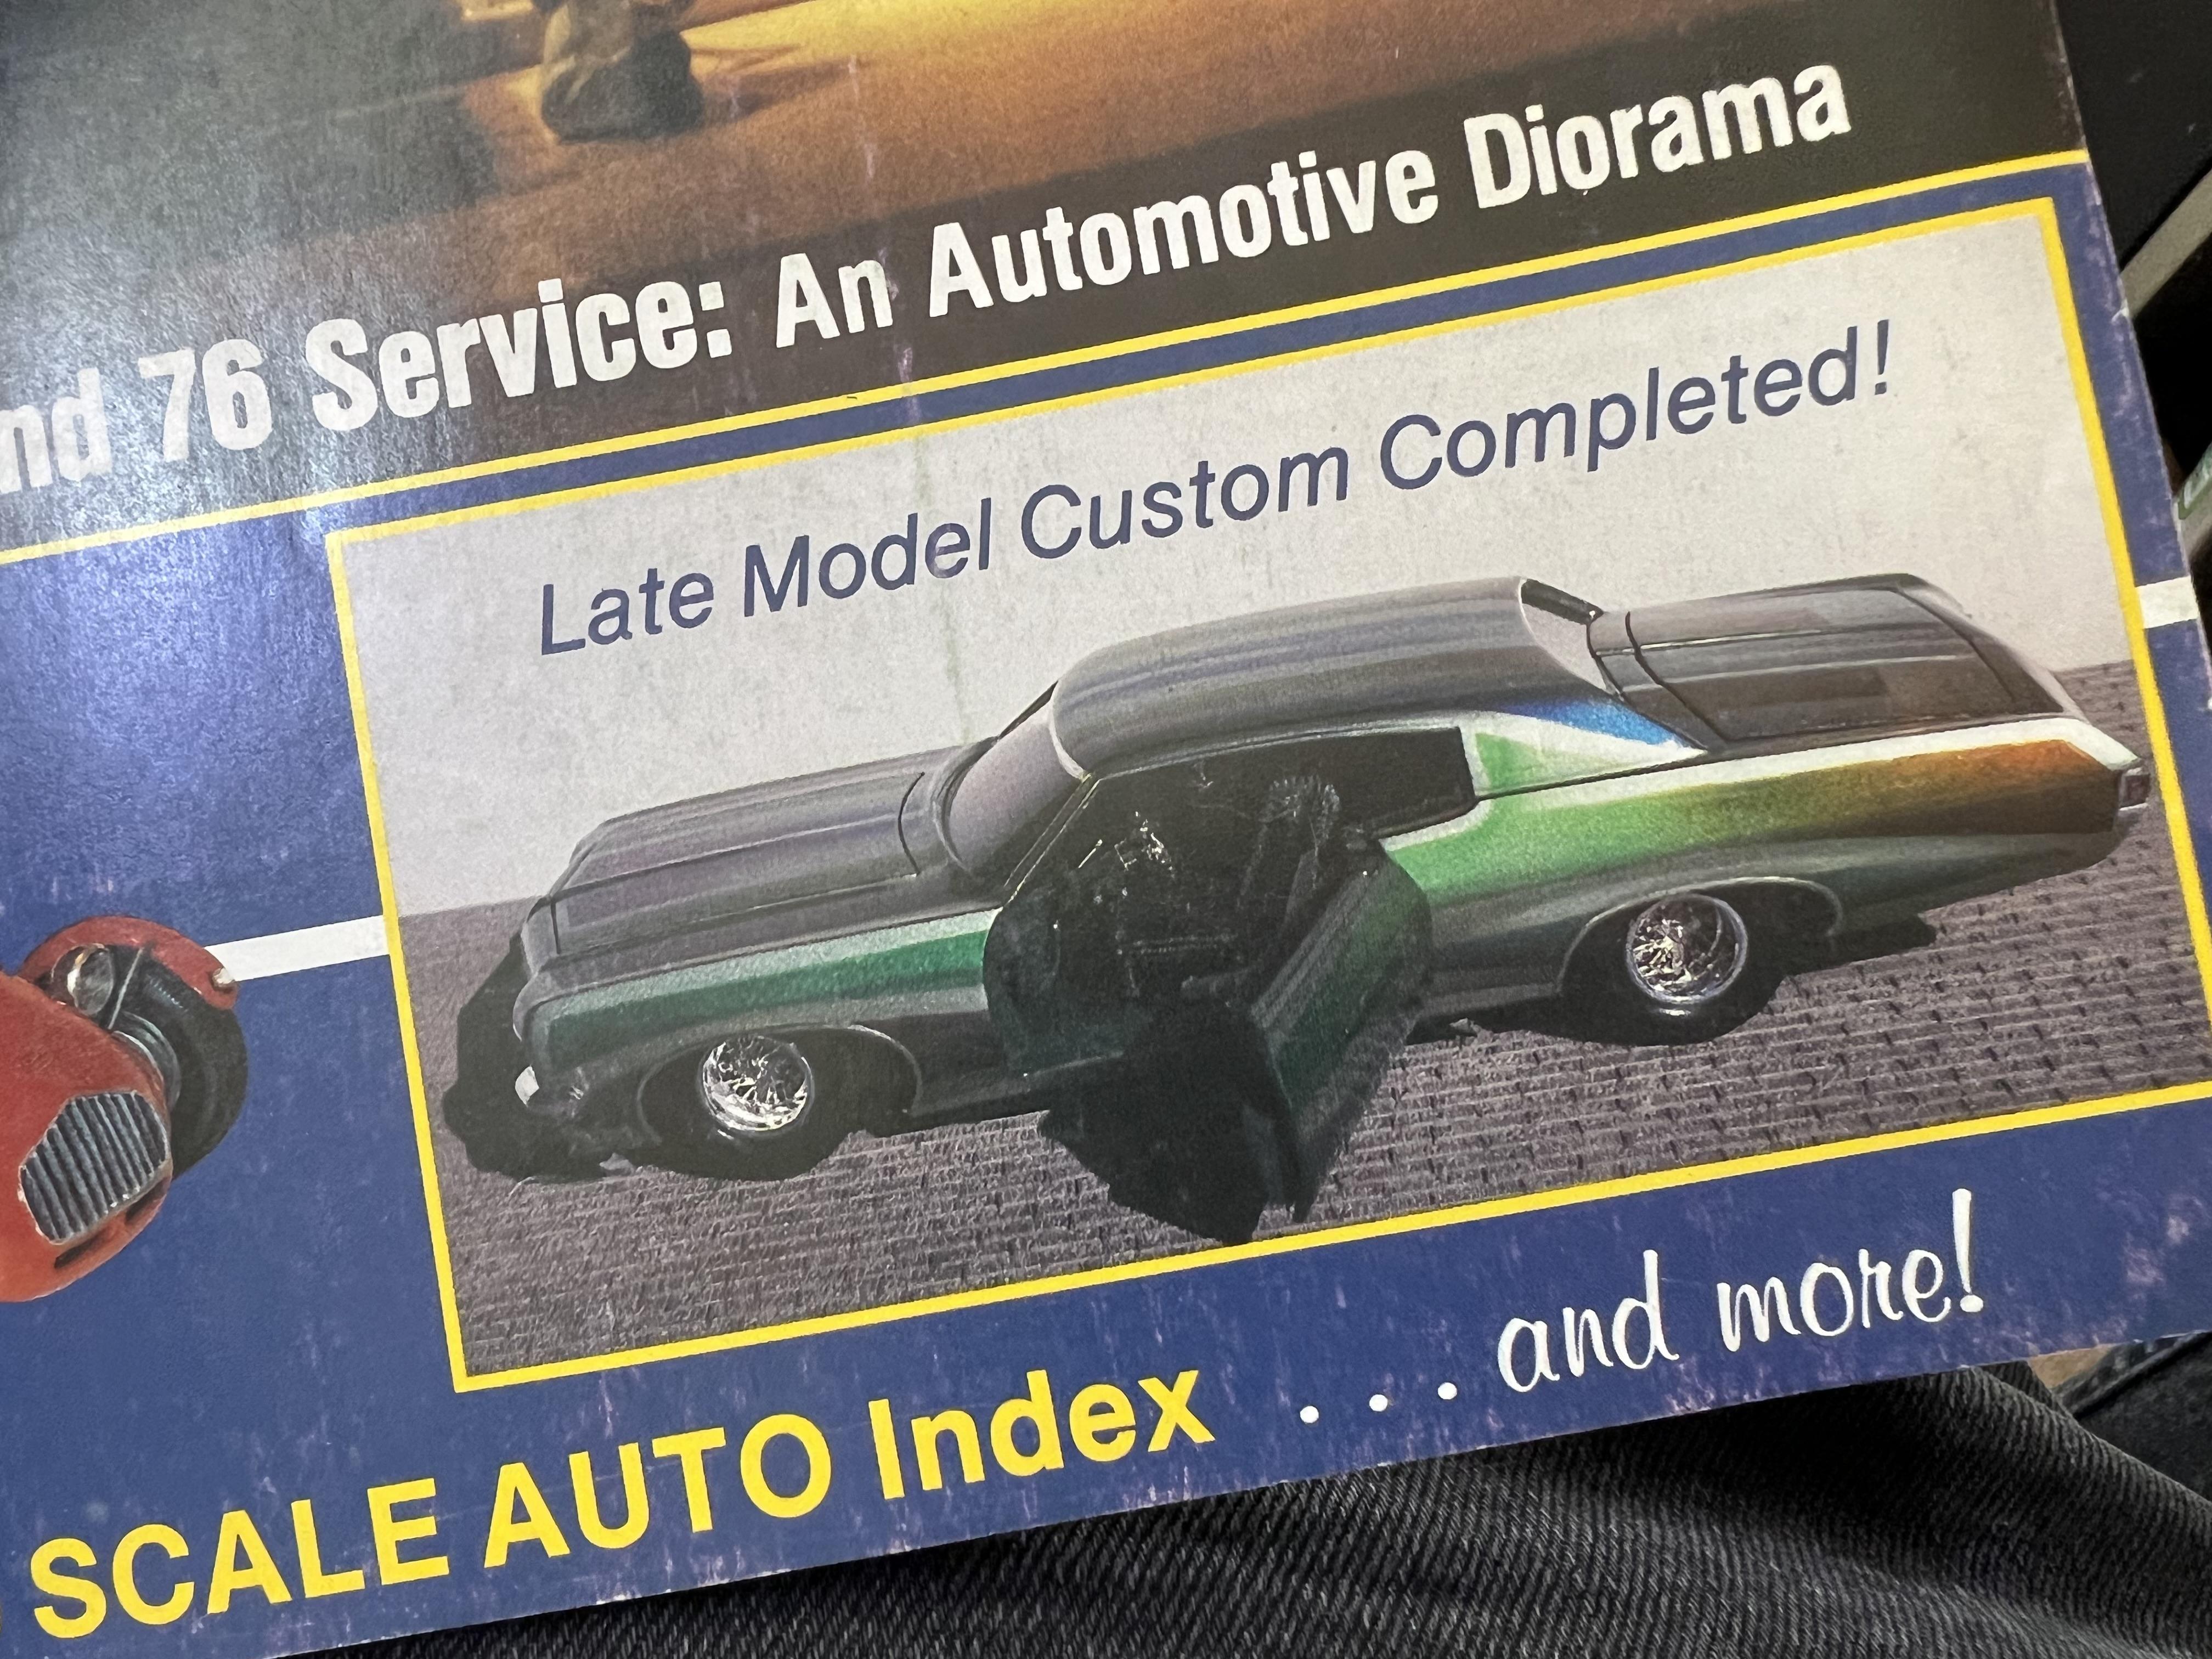
So, at a show last year I picked up forty or fifty Scale Autos and Model Cars magazines from a guy, and I’ve been just working through the pile. Finished the ‘latest’ one and this was next in the pile: Just a funny coincidence, with this thread popping up this week!
-
Atlantis Models has bought another lot of tooling/molds.....
OldNYJim replied to Dave Van's topic in Car Kit News & Reviews
Ohhh, hellloooo
-
Kustom pickup
OldNYJim replied to Rocking Rodney Rat's topic in WIP: Model Trucks: Pickups, Vans, SUVs, Light Commercial
Ohh, I never saw this one before - nice work! I love the custom ‘bed’, and the proportions are just-right Way cool! -
You’re doing an amazing job of scratchbuilding this - nice work!! Keep going!
-
T-Bucket (the pickup kind)
OldNYJim replied to OldNYJim's topic in WIP: Model Trucks: Pickups, Vans, SUVs, Light Commercial
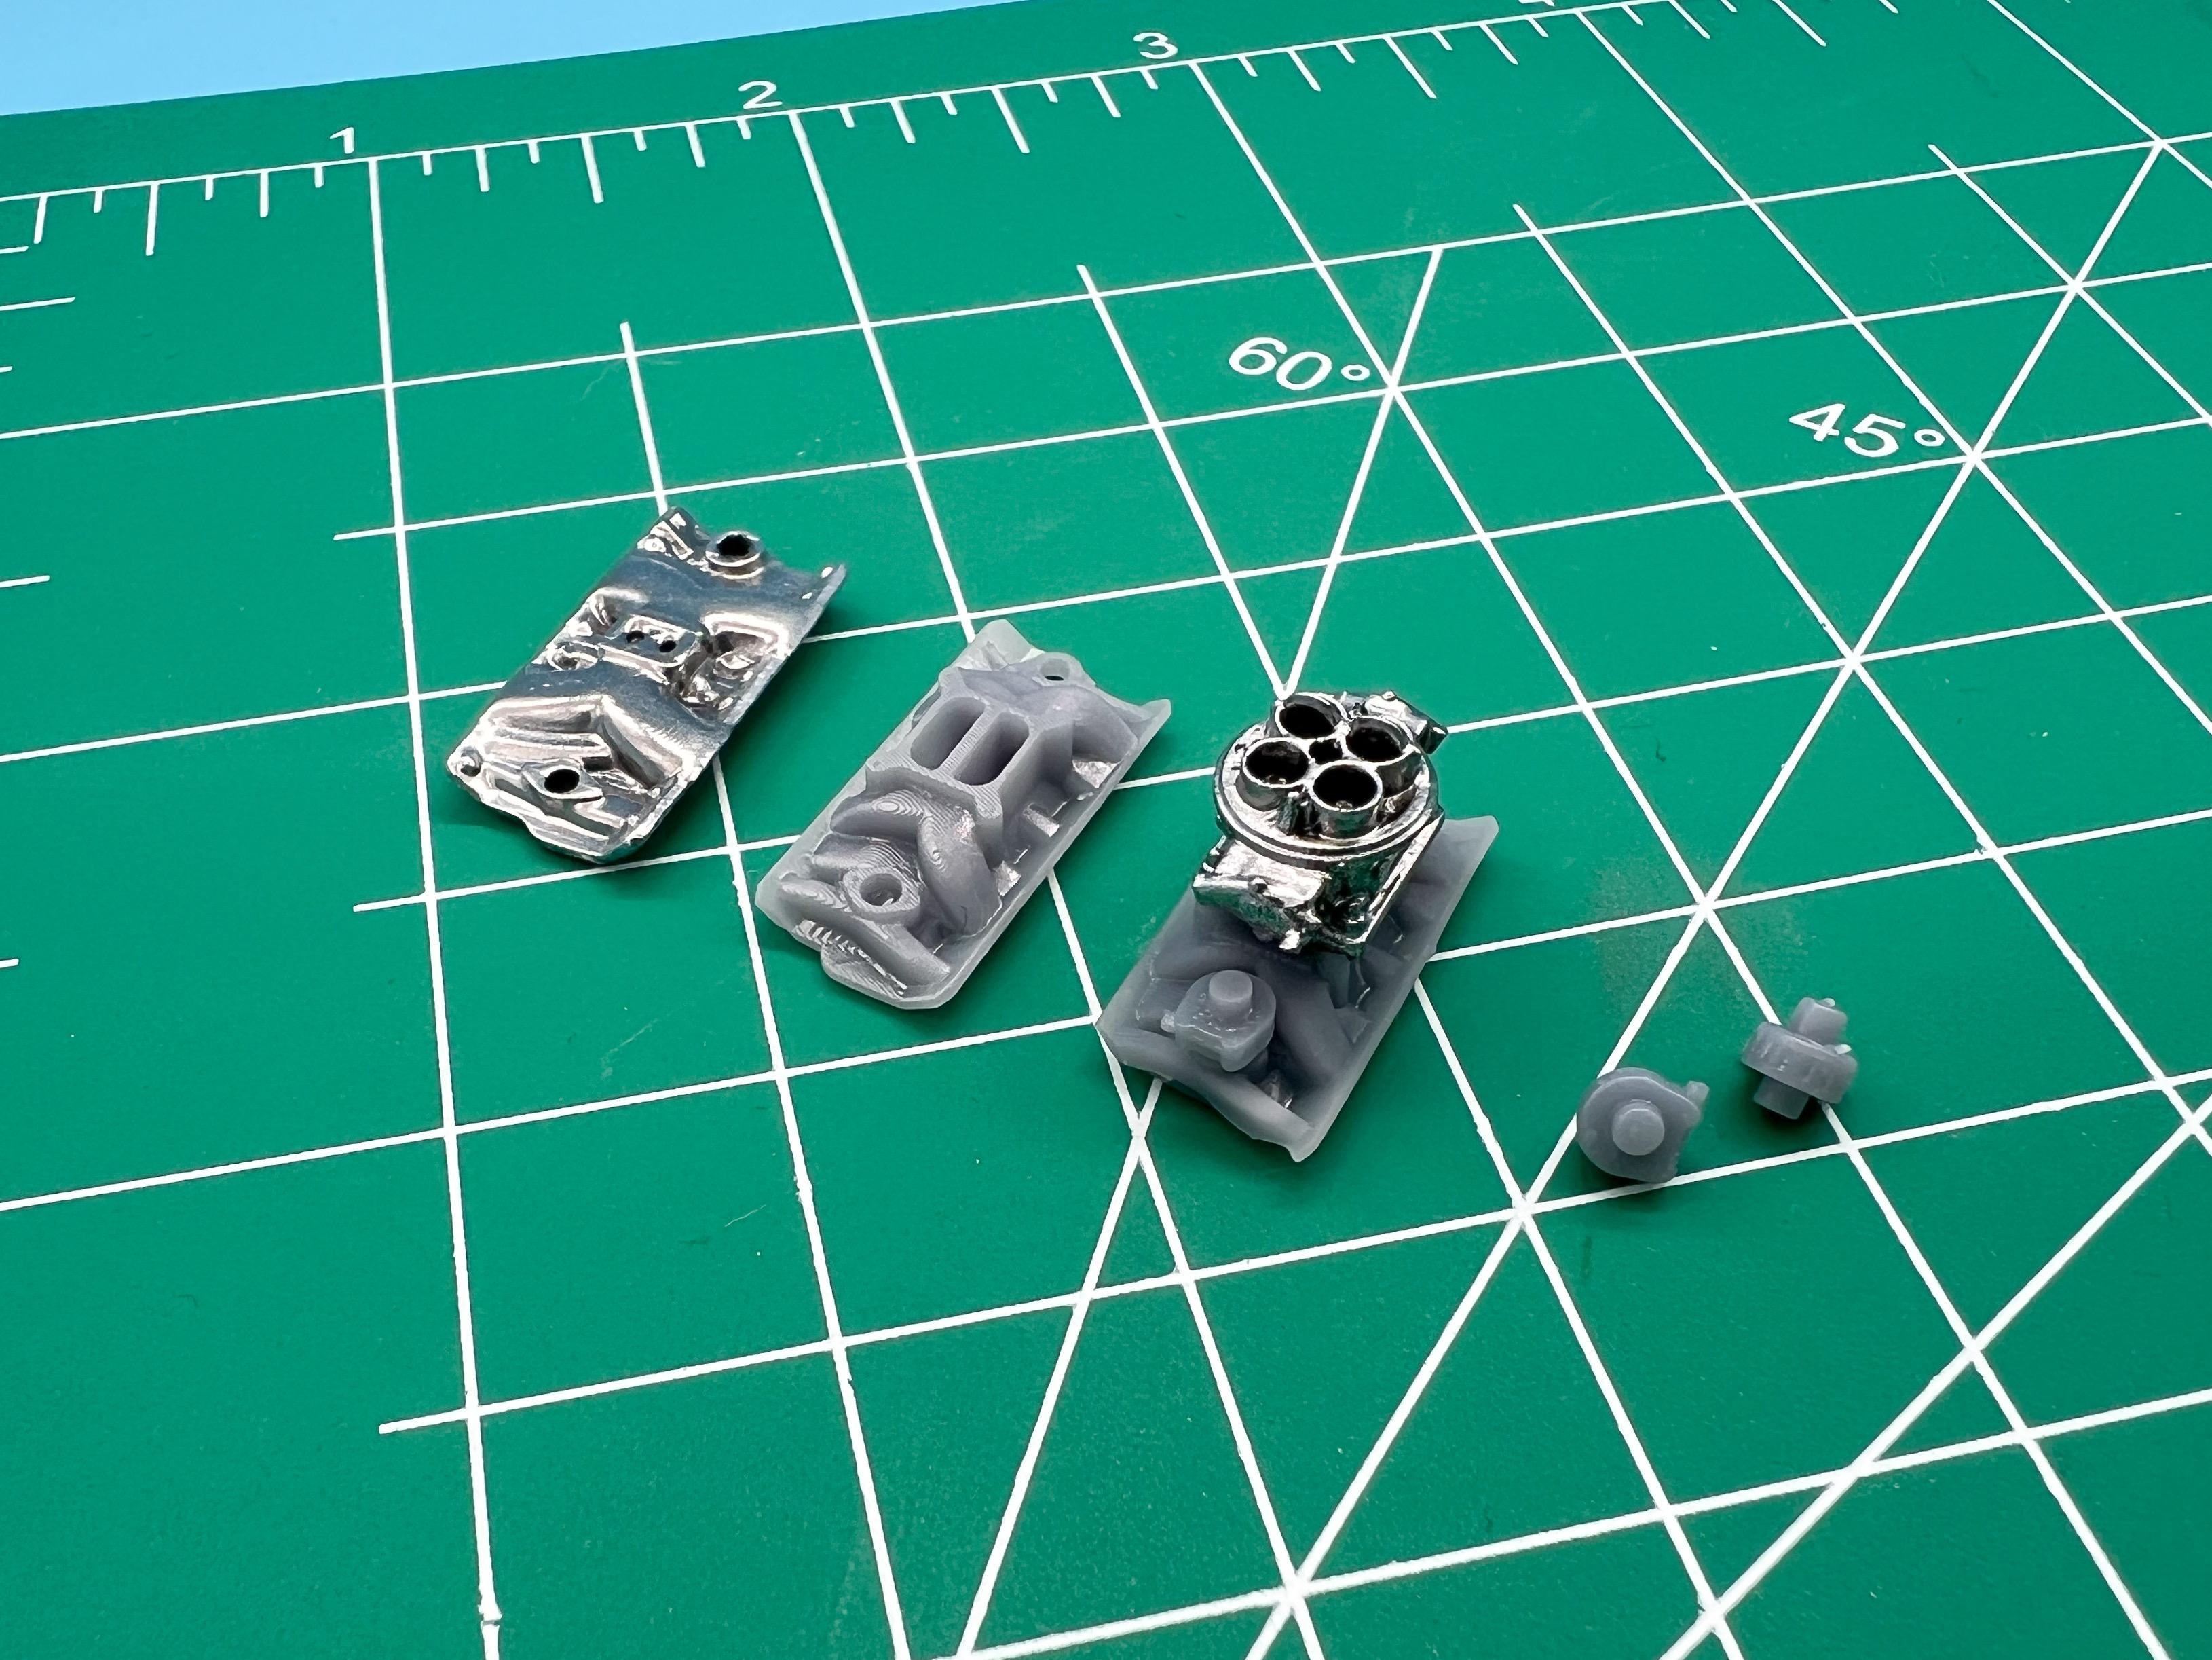
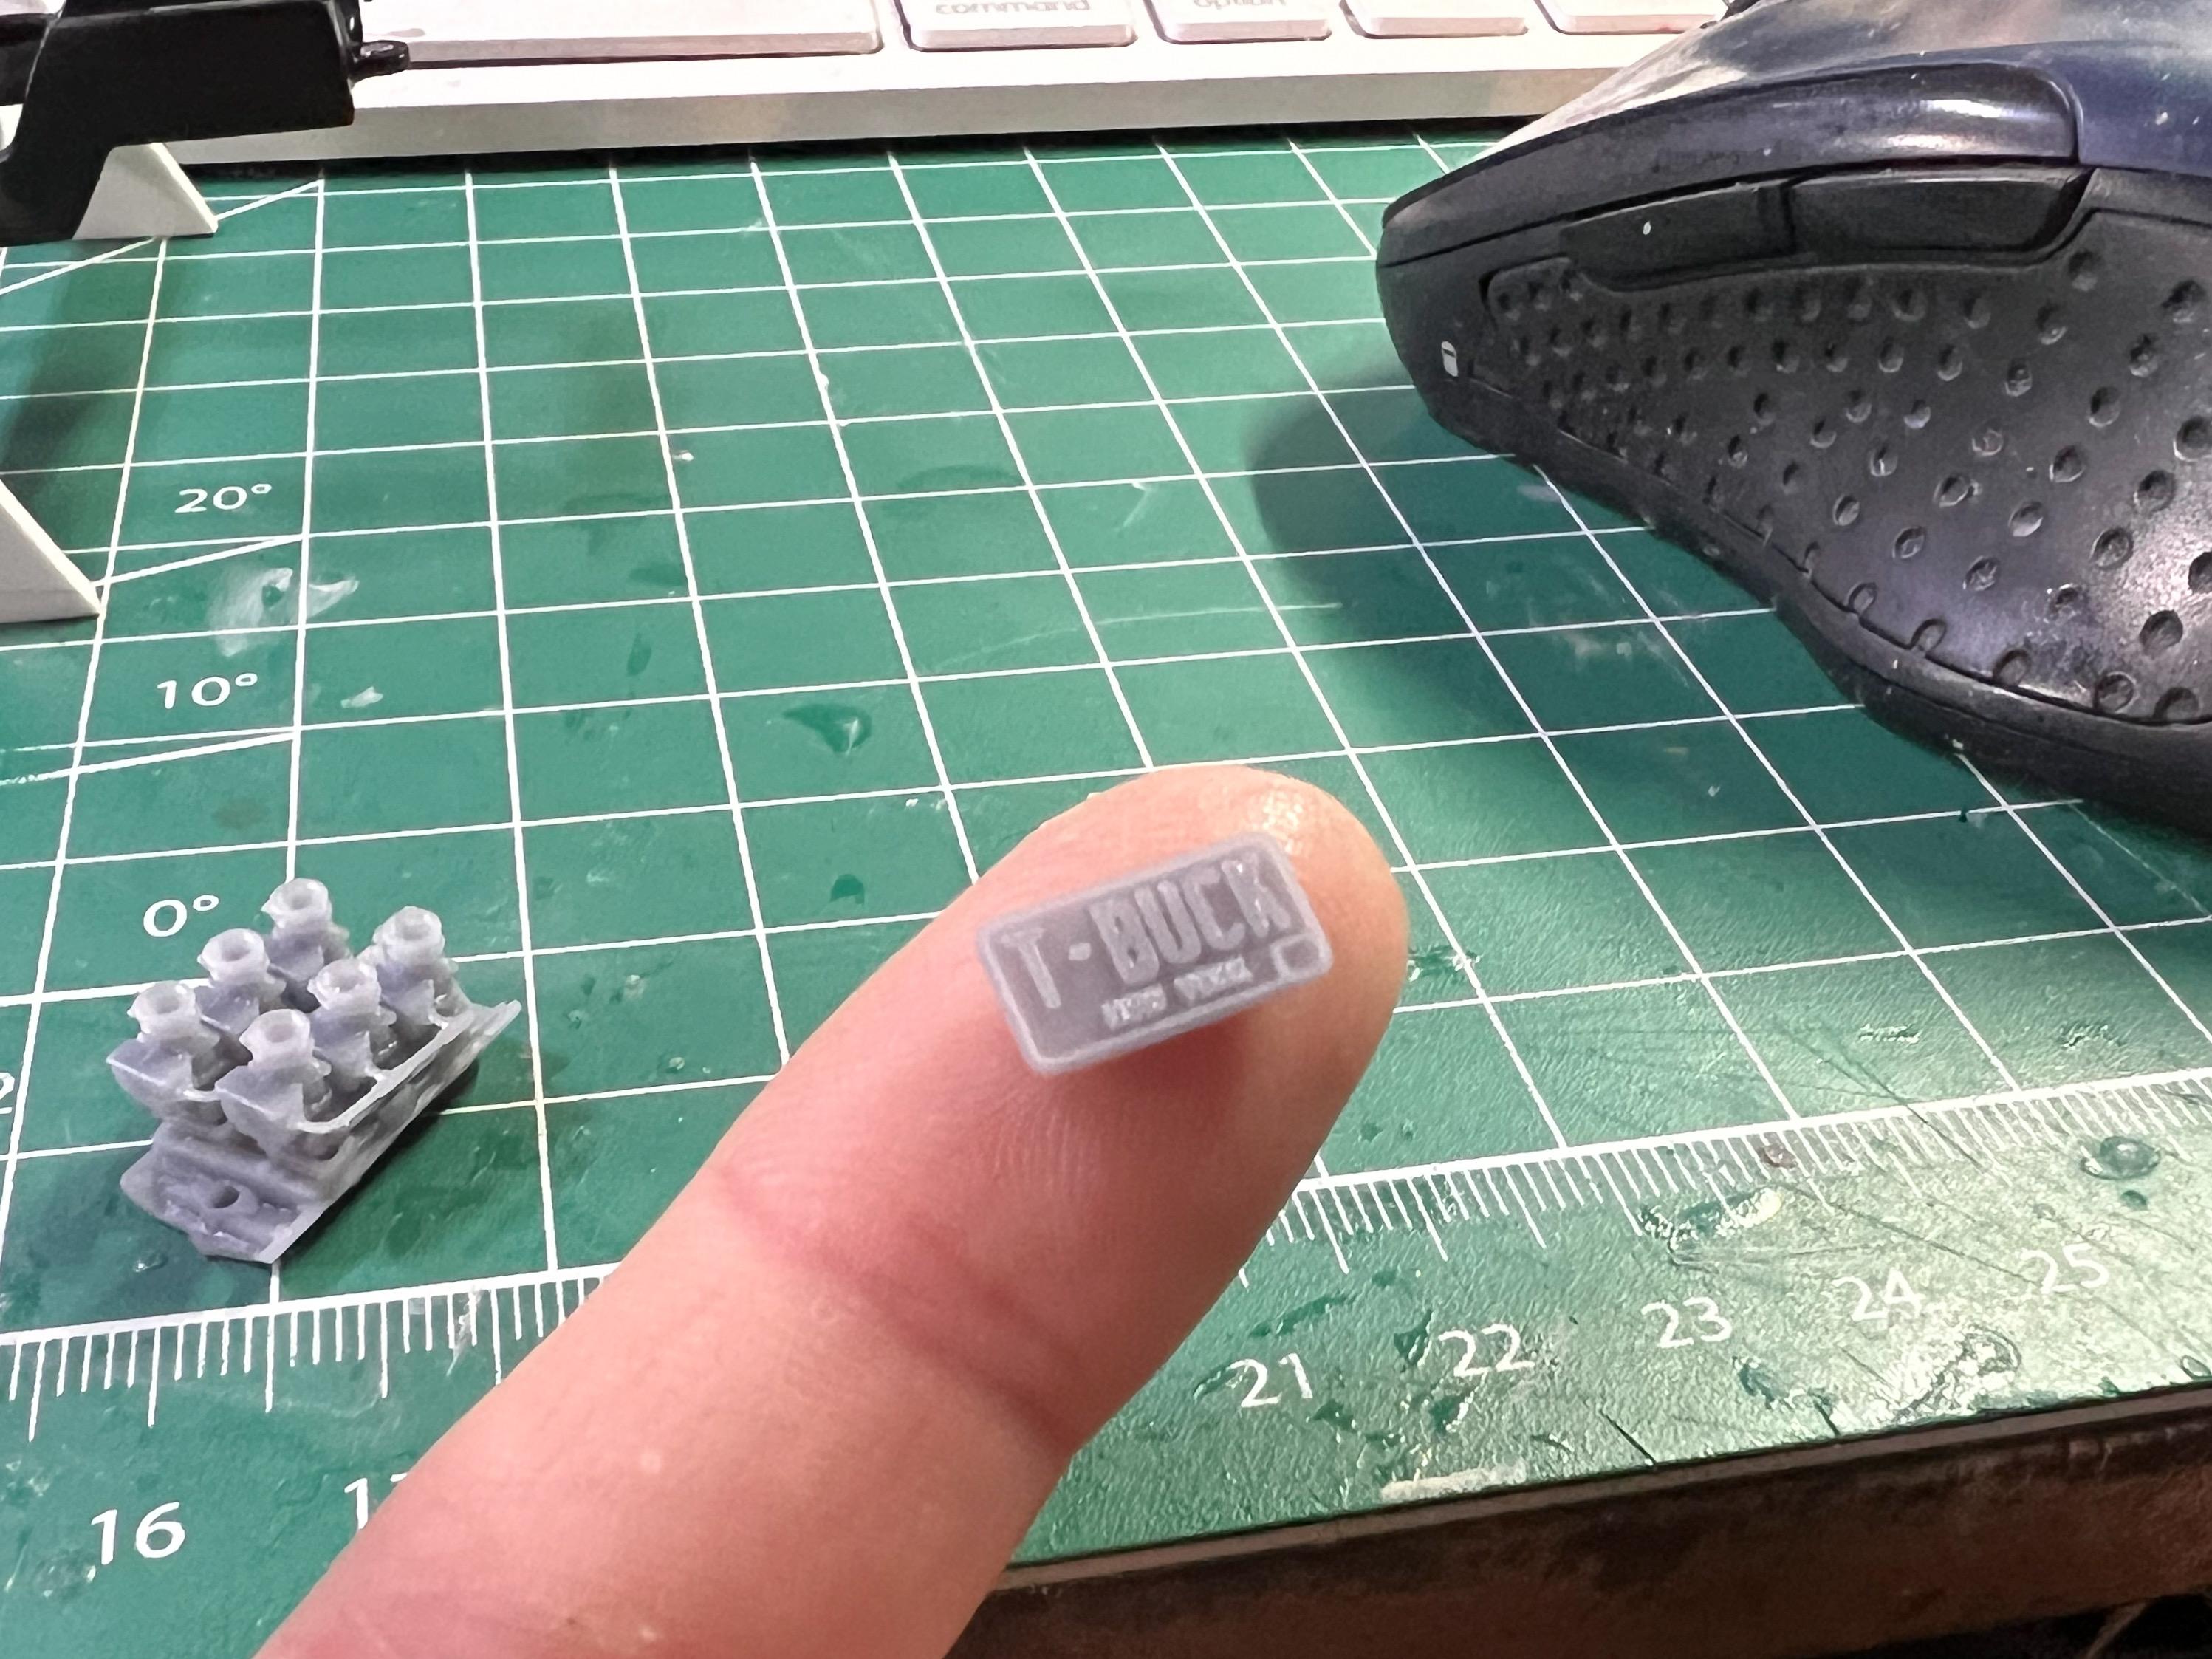
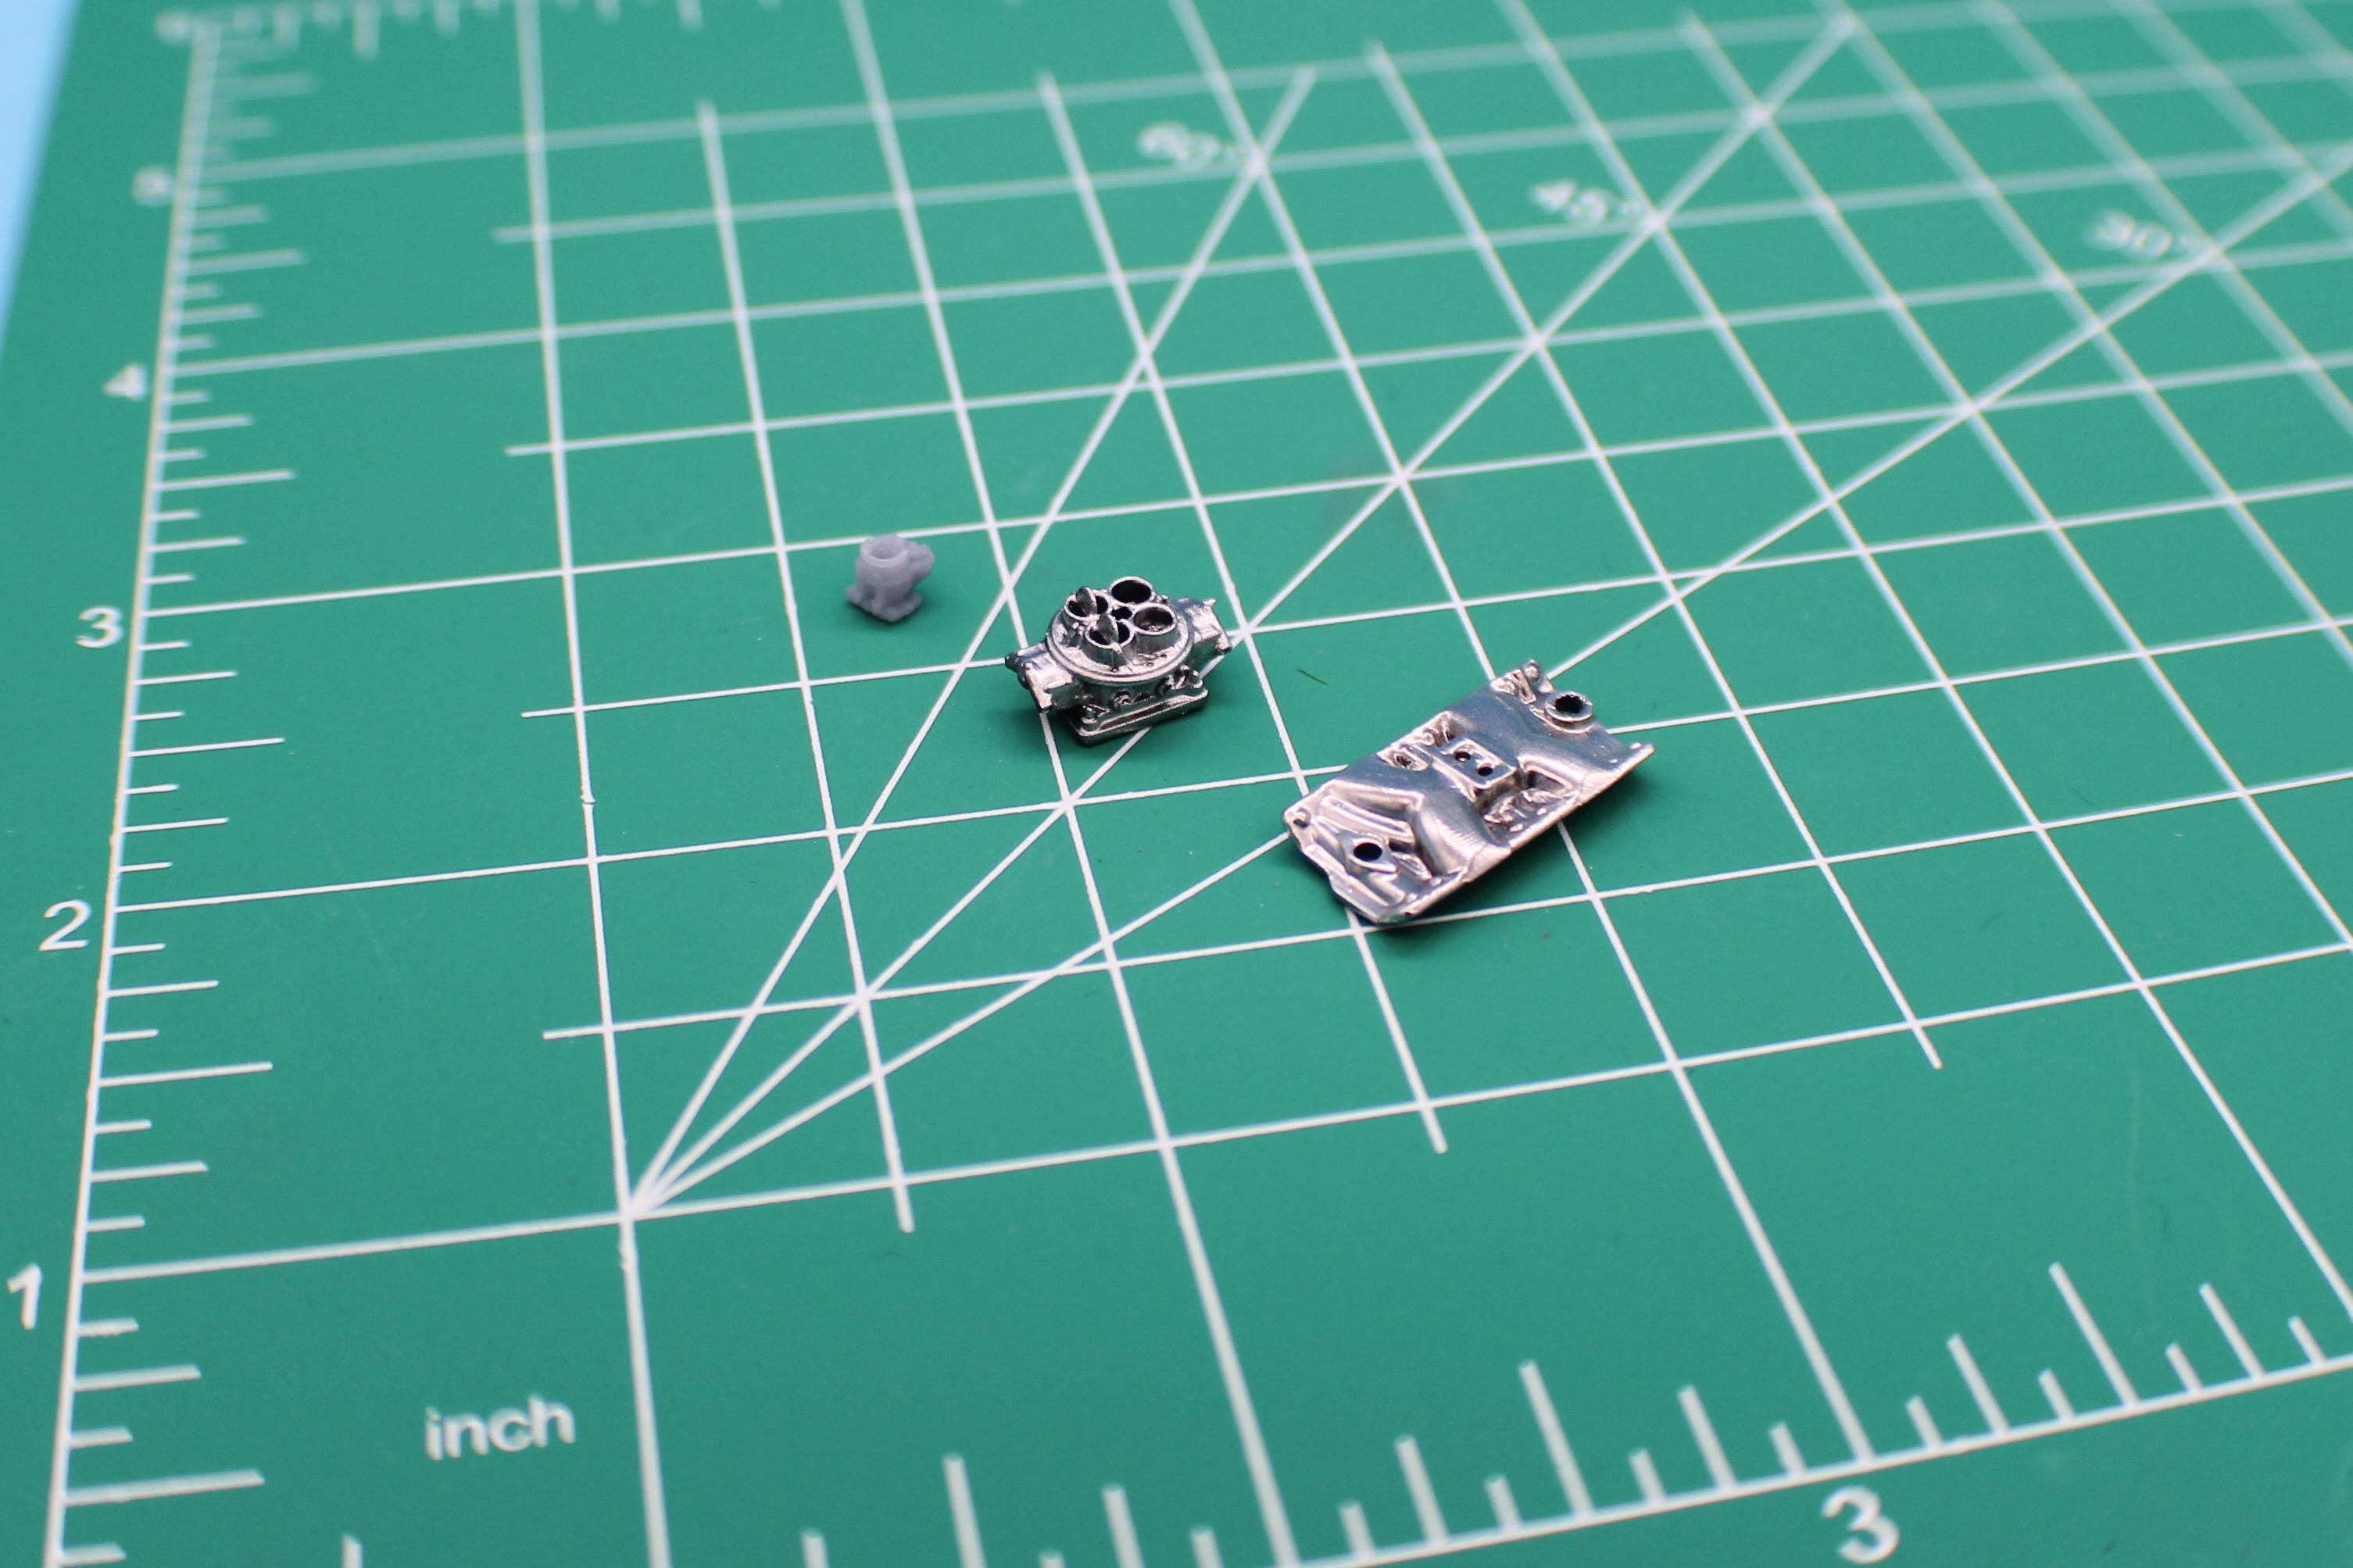
I really appreciate that, thank you David! I made a decision on the intake setup tonight and figured out what to do…you’re right, that ‘stock’ carb DOES seem small - I need to research if the person who made the file got their dimensions right and tweak accordingly… My original idea was to see if such a thing as an adaptor existed to mate a Dominator to a stock manifold (even if it wouldn’t be a perfect solution in real life) to fit with the theme I had in my head…but I came up short on that. So, plan B was to just upgrade the manifold too… Stock Chevy part left, Edelbrock manifold center and the manifold and my already-painted carb right: I’m also playing with those little round things there…I’m trying to figure out a good way of simulating hose clamps without having to try bending those awkward little photo etched ones…I’m wondering if I can do a trick where the ‘clamp’ is solid (so I can print it) and the radiator hoses slot onto them to give the impression they’re actually held in place by the clamp. It has a bolt head, an actual thread (not that my phone camera could see it) and I think with a wash and some careful painting it might look fairly convincing… Oh, and the DMV sent my plates ?
-
I actually don’t mind this (or any hot rod kit, pretty much) coming with a stock height roof. It’s a LOT easier to chop one to your own taste than try and restore the roof to standard height. Plus, Revell didn’t exactly do a great job of figuring out a good looking roof chop for the (otherwise really nicely done) ‘49 Merc kit. Pretty sure Drag City does a chopped Tudor body, if I remember rightly
-
Man, the panel lines on that green Holden are off the charts…they look so deep and perfect, as though all the doors really open (but I’m pretty sure they don’t) Nice work!
- 766 replies
-
- 1
-

-
- stalled builds
- quick builds
- (and 2 more)
-
T-Bucket (the pickup kind)
OldNYJim replied to OldNYJim's topic in WIP: Model Trucks: Pickups, Vans, SUVs, Light Commercial
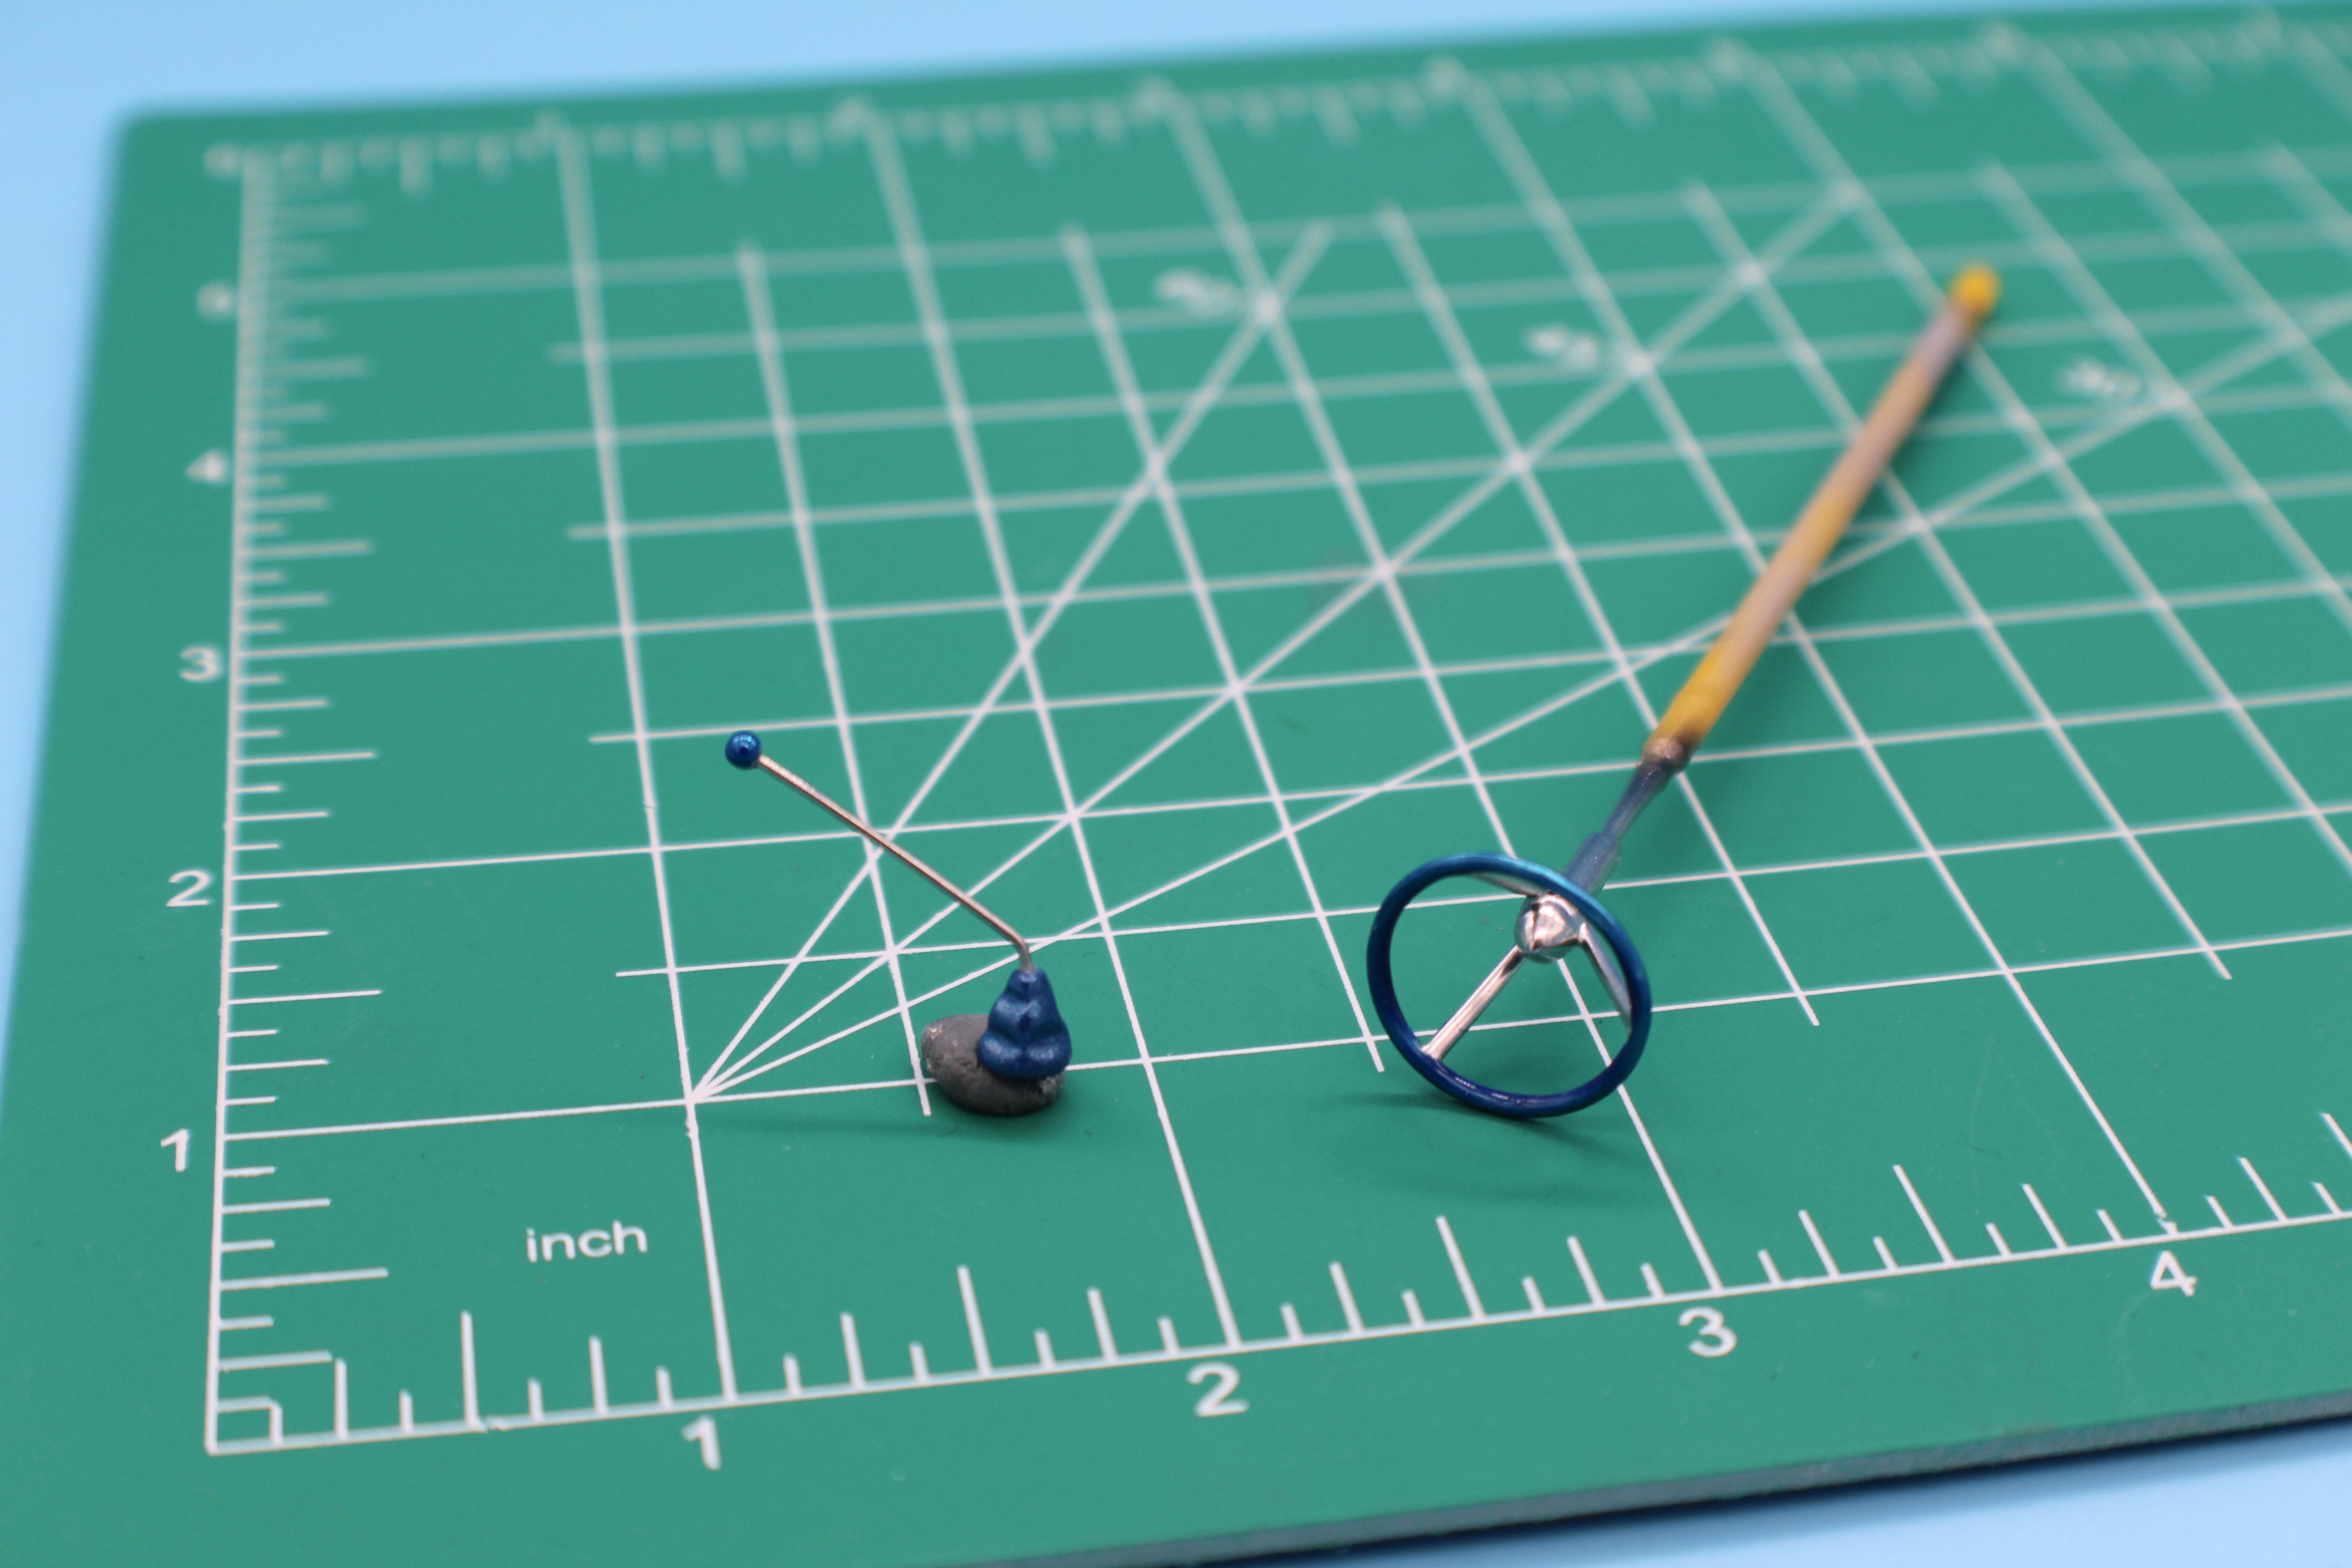
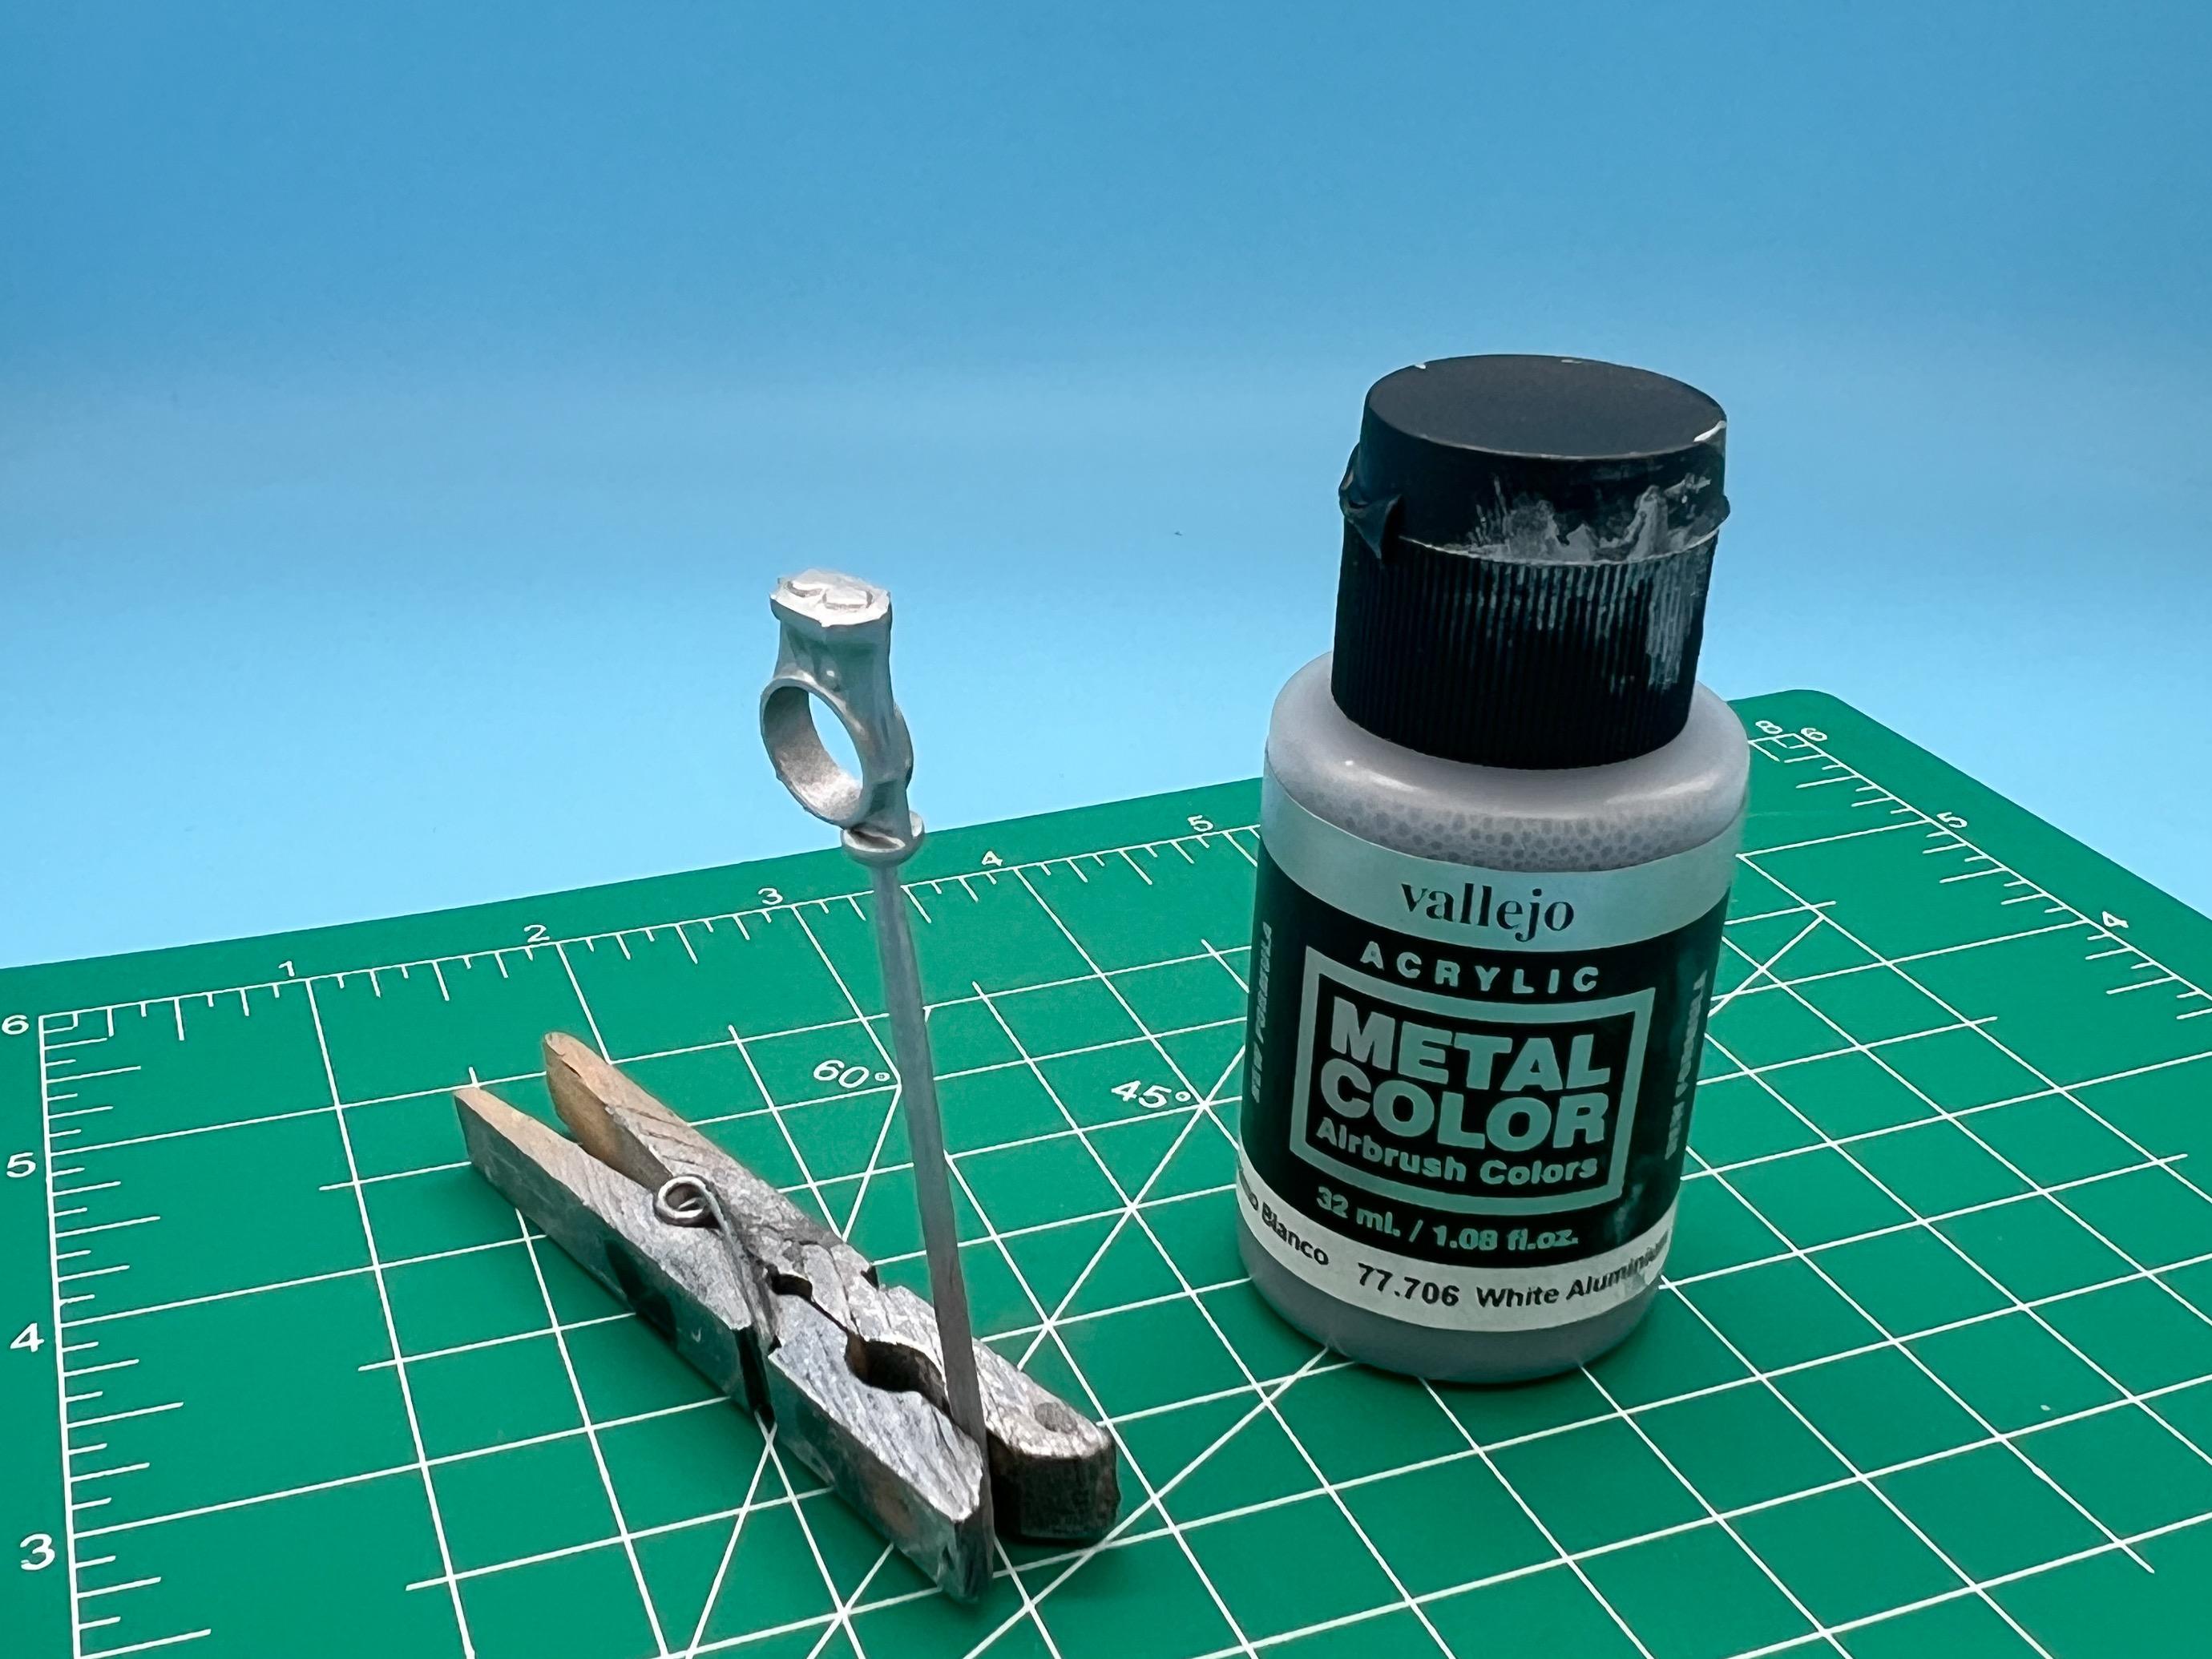
Haha! Thanks David! I picked up a few new ones at the weekend…Dollar Tree has them for $1.25 right now ? Great question! I’ve been struggling on the exact intake setup a little…my original idea was to use the stock carb, keeping in with the theme of the build…not super hopped up, not too crazy, just something achievable and easy for a garage builder in the 60s to have built. Thing is, the stock carb looks so WEEDY, plus this thing does have a Quickchange and drag slicks out back… Stock carb left, 4 barrel center and stock Manifold right… I chromed the stock manifold just in case I decided to go with it, but I think one of these plus the 4-barrel is how I’ll end up going… Tiny update, as I’m replying anyway…painted some stuff blue for the interior… Plus some aluminum for the Quickchange center - I really like these Vallejo colors for dull metal tones lately: And made a start on polishing the frame…I LOVE a nice straight shiny frame but I really hate polishing them… More soon, soon as I’ve done more!