OldNYJim
-
Posts
251 -
Joined
-
Last visited
Content Type
Profiles
Forums
Events
Gallery
Everything posted by OldNYJim
-

Tony Sirico (Pauley Walnuts) died today.
OldNYJim replied to Mike C.'s topic in The Off-Topic Lounge
I was really sad to hear this today. He lived in my neighborhood in Brooklyn until later in his life; occasionally frequented my local bar and was often at the local Italian cafe on our block. Would’ve loved to have hung out with him but never got the chance. Time for another Sopranos rewatch in his honor… ?? -
Interesting that you mention that - I went to pick up a few Revell '68 Beetle kits last week and they were all marked at $29.99 except one right at the back of the rack, caked in dust, with a $19.99 sticker. Same kit, just dusty and old and cheaper
-
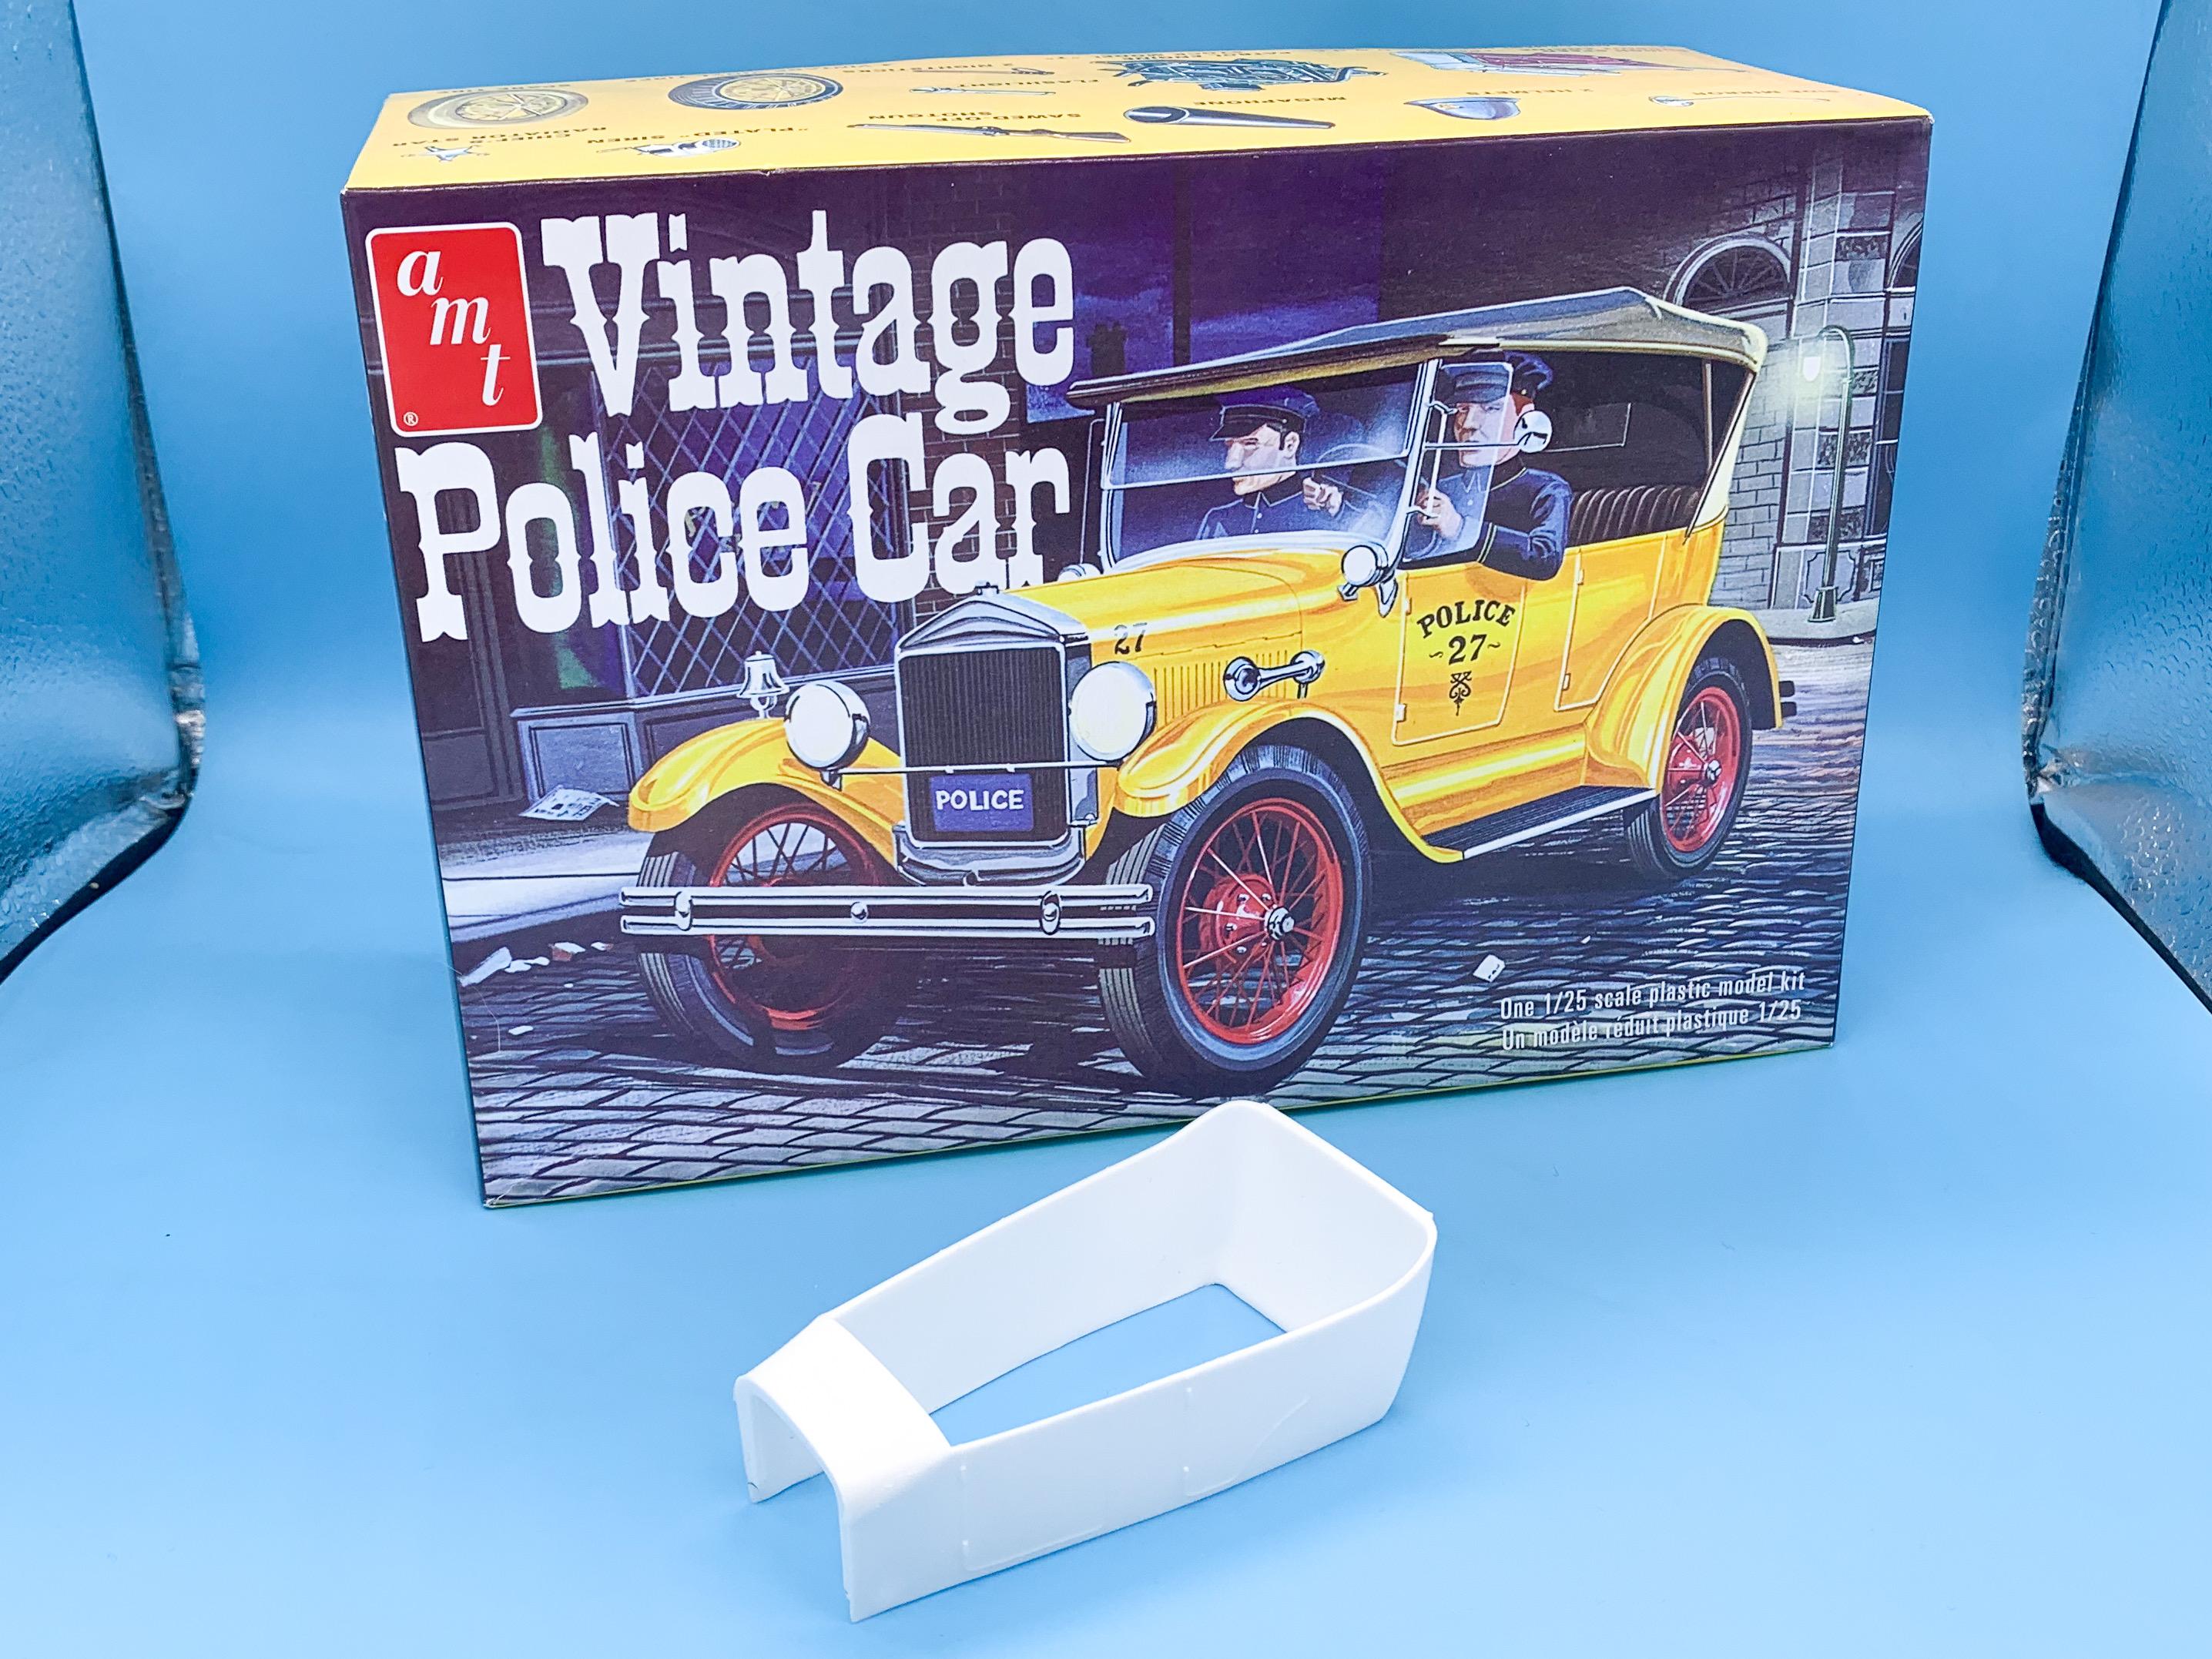
I’m waiting for the eBay parts sellers to start splitting these up - I just need the ramp and none of the truck for a Mooneyes hauler replica I want to build
-
AWESOME save! I actually like the stance like that - looks cool! Can’t wait to see some more progress!
-
Questions about MCW enamels
OldNYJim replied to Monty's topic in Model Building Questions and Answers
I can easily tell the difference in my finish between 8000 and 12000, and I’ve got a process I like now with three progressively finer polishing pastes and creams - but I didn’t know anyone was even making polishing cloths beyond the ‘standard’ 12000 grit. -
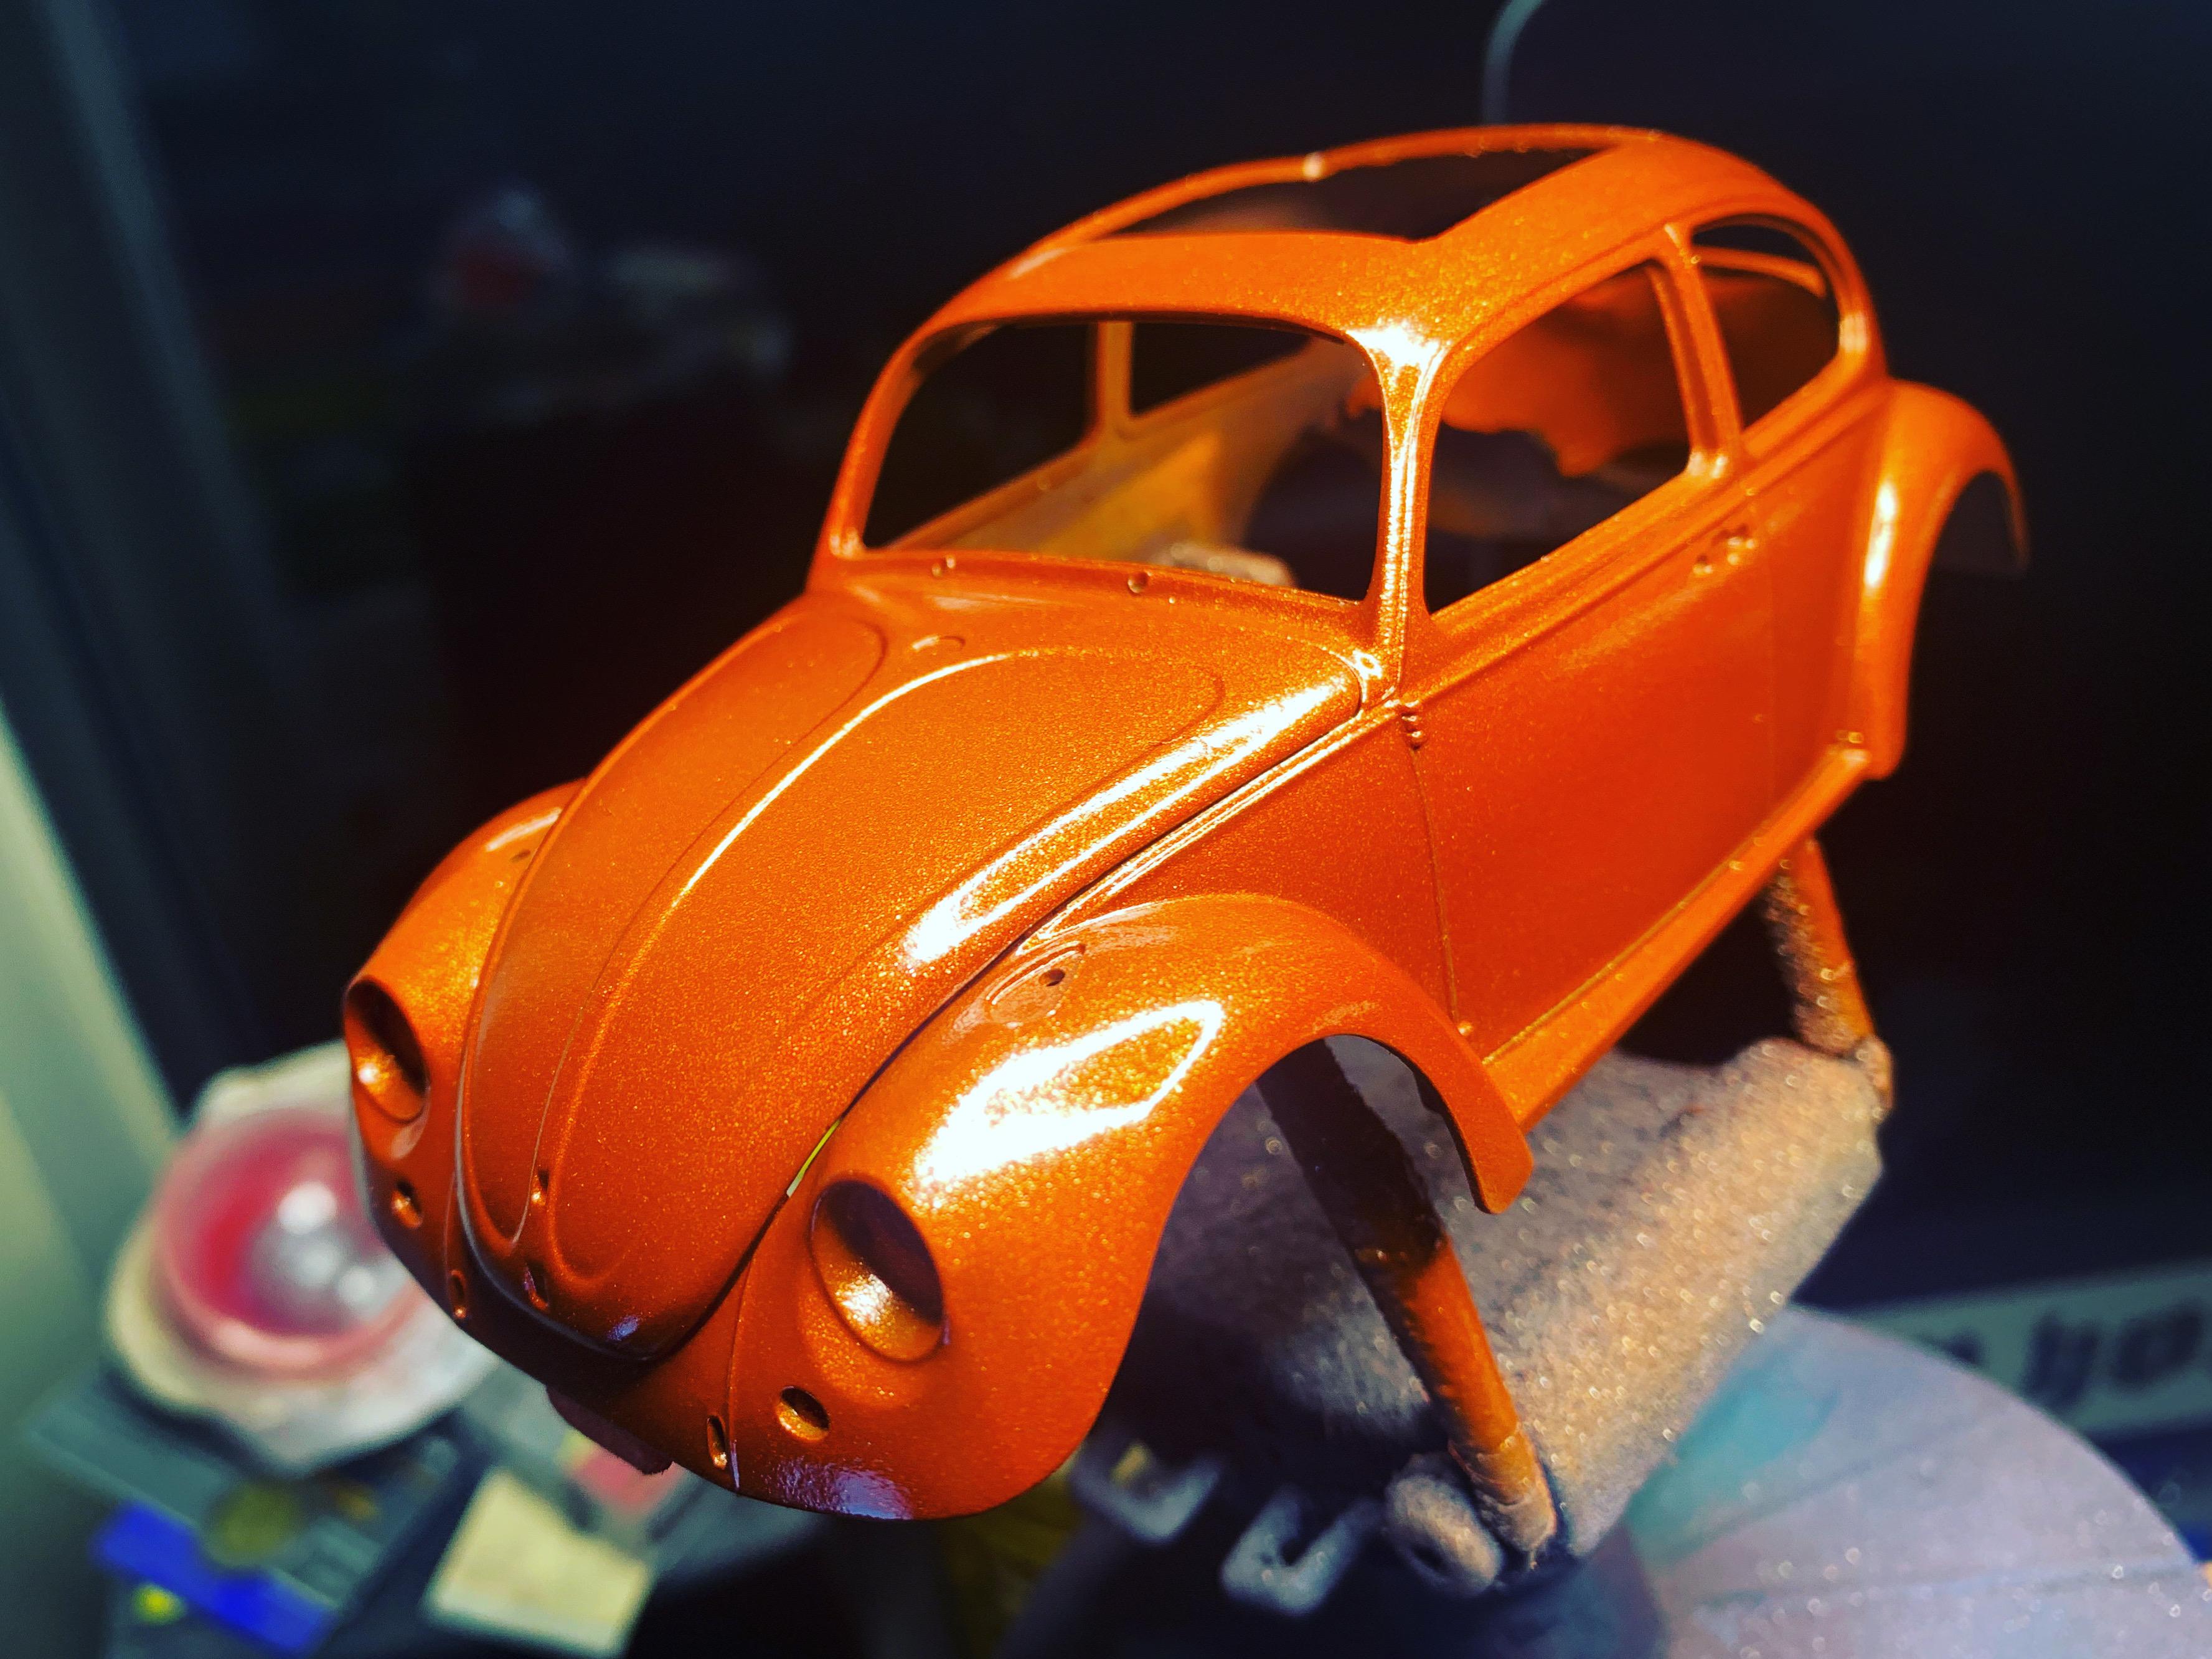
I’ll check those out, thanks! Thanks Carl! I wanna see! As far as I can work out, those bumpers ARE right for a GERMAN ‘68, but not an American one. I’m sure someone will correct me if I’m wrong…but I did some research and I think that almost everything everyone usually says is incorrect on this kit is actually because Revell of Germany based it on a German VW and not the equivalent version that we got. All that said, I wasn’t there at the time, and I don’t even begin to claim to be knowledgable about all the variations, so who knows… Very possibly! I did check out some aftermarket sunroof kits for reference and they mostly look like some variation of this so if it’s the wrong…it’s one of those instead! ? Thanks for all the nice comments everyone! Small update, as I’m replying anyway…I‘m going to be practicing some airbrush skills on this one for a definitely-not-stock paintjob, and I wanted a kind of burnt orange color as a base. Did a bunch of spoon tests and got what I had in my head with a dark gray primer and this Testor’s orange metallic: Looks kinda ‘meh’ in the photobooth: But it really pops in some better light! The flake is way too large to be in proper scale, I think, but I’ve got a pretty complex paintjob in mind and almost all of this will have a LITTLE of something else over top by the time I’m done. Actually, including Pearl-Ex laden clear ALL of this will have at least one more thing over top of it by the time I’m done, so I’m happy with it as a starting point. Just a mini update - more soon, soon as I’ve done more!

-
Questions about MCW enamels
OldNYJim replied to Monty's topic in Model Building Questions and Answers
Oh, you like the fancy stuff huh? Ours is lavender scented ?? -
Createx brand Autoborne Sealer
OldNYJim replied to TransAmMike's topic in Model Building Questions and Answers
I normally clear over about everything, so I’ll use it often as a main color coat yeah! It’s my go-to black for that…here’s a a couple showing how it looks with some clear over top: Lays down super smooth and nice, and you can lower the pressure on the airbrush to get it either completely matte or a semi-gloss if you prefer for fabrics and rubbers and underbody stuff - really versatile and easy to work with. I love the stuff…just not as a primer or sealer. Even the $2 Walmart primer is WAY better for THAT task, when shooting over Styrene. As usual, your mileage may vary…
-
Questions about MCW enamels
OldNYJim replied to Monty's topic in Model Building Questions and Answers
80000 grit?! Do you mean 8000? -
Createx brand Autoborne Sealer
OldNYJim replied to TransAmMike's topic in Model Building Questions and Answers
I replied in your other thread (because this one says "Moderator please delete, duplicate post") I basically said what @MeatMan said, although I don't thin the black sealer, personally... -
Retired Redneck From the Mid West
OldNYJim replied to KC FitiWerks's topic in Welcome! Introduce Yourself
Nice builds! I like the Bugs and the Jeep -
New resin model kit producer I found.
OldNYJim replied to PHolden74's topic in Car Kit News & Reviews
Good news is, seeing as they seem to have 3D models of all this stuff, they can print them whatever scale they want, from Micro Machine-size on up. Way cool! I’d like one of those Mercs for my collection -
Good to know, thank you - the kit rear end in the pics above isn’t the IRS version tho, right? It’s the swing arm kind? (I’m new at VW stuff…)
-
Nice savin’ so far!
-
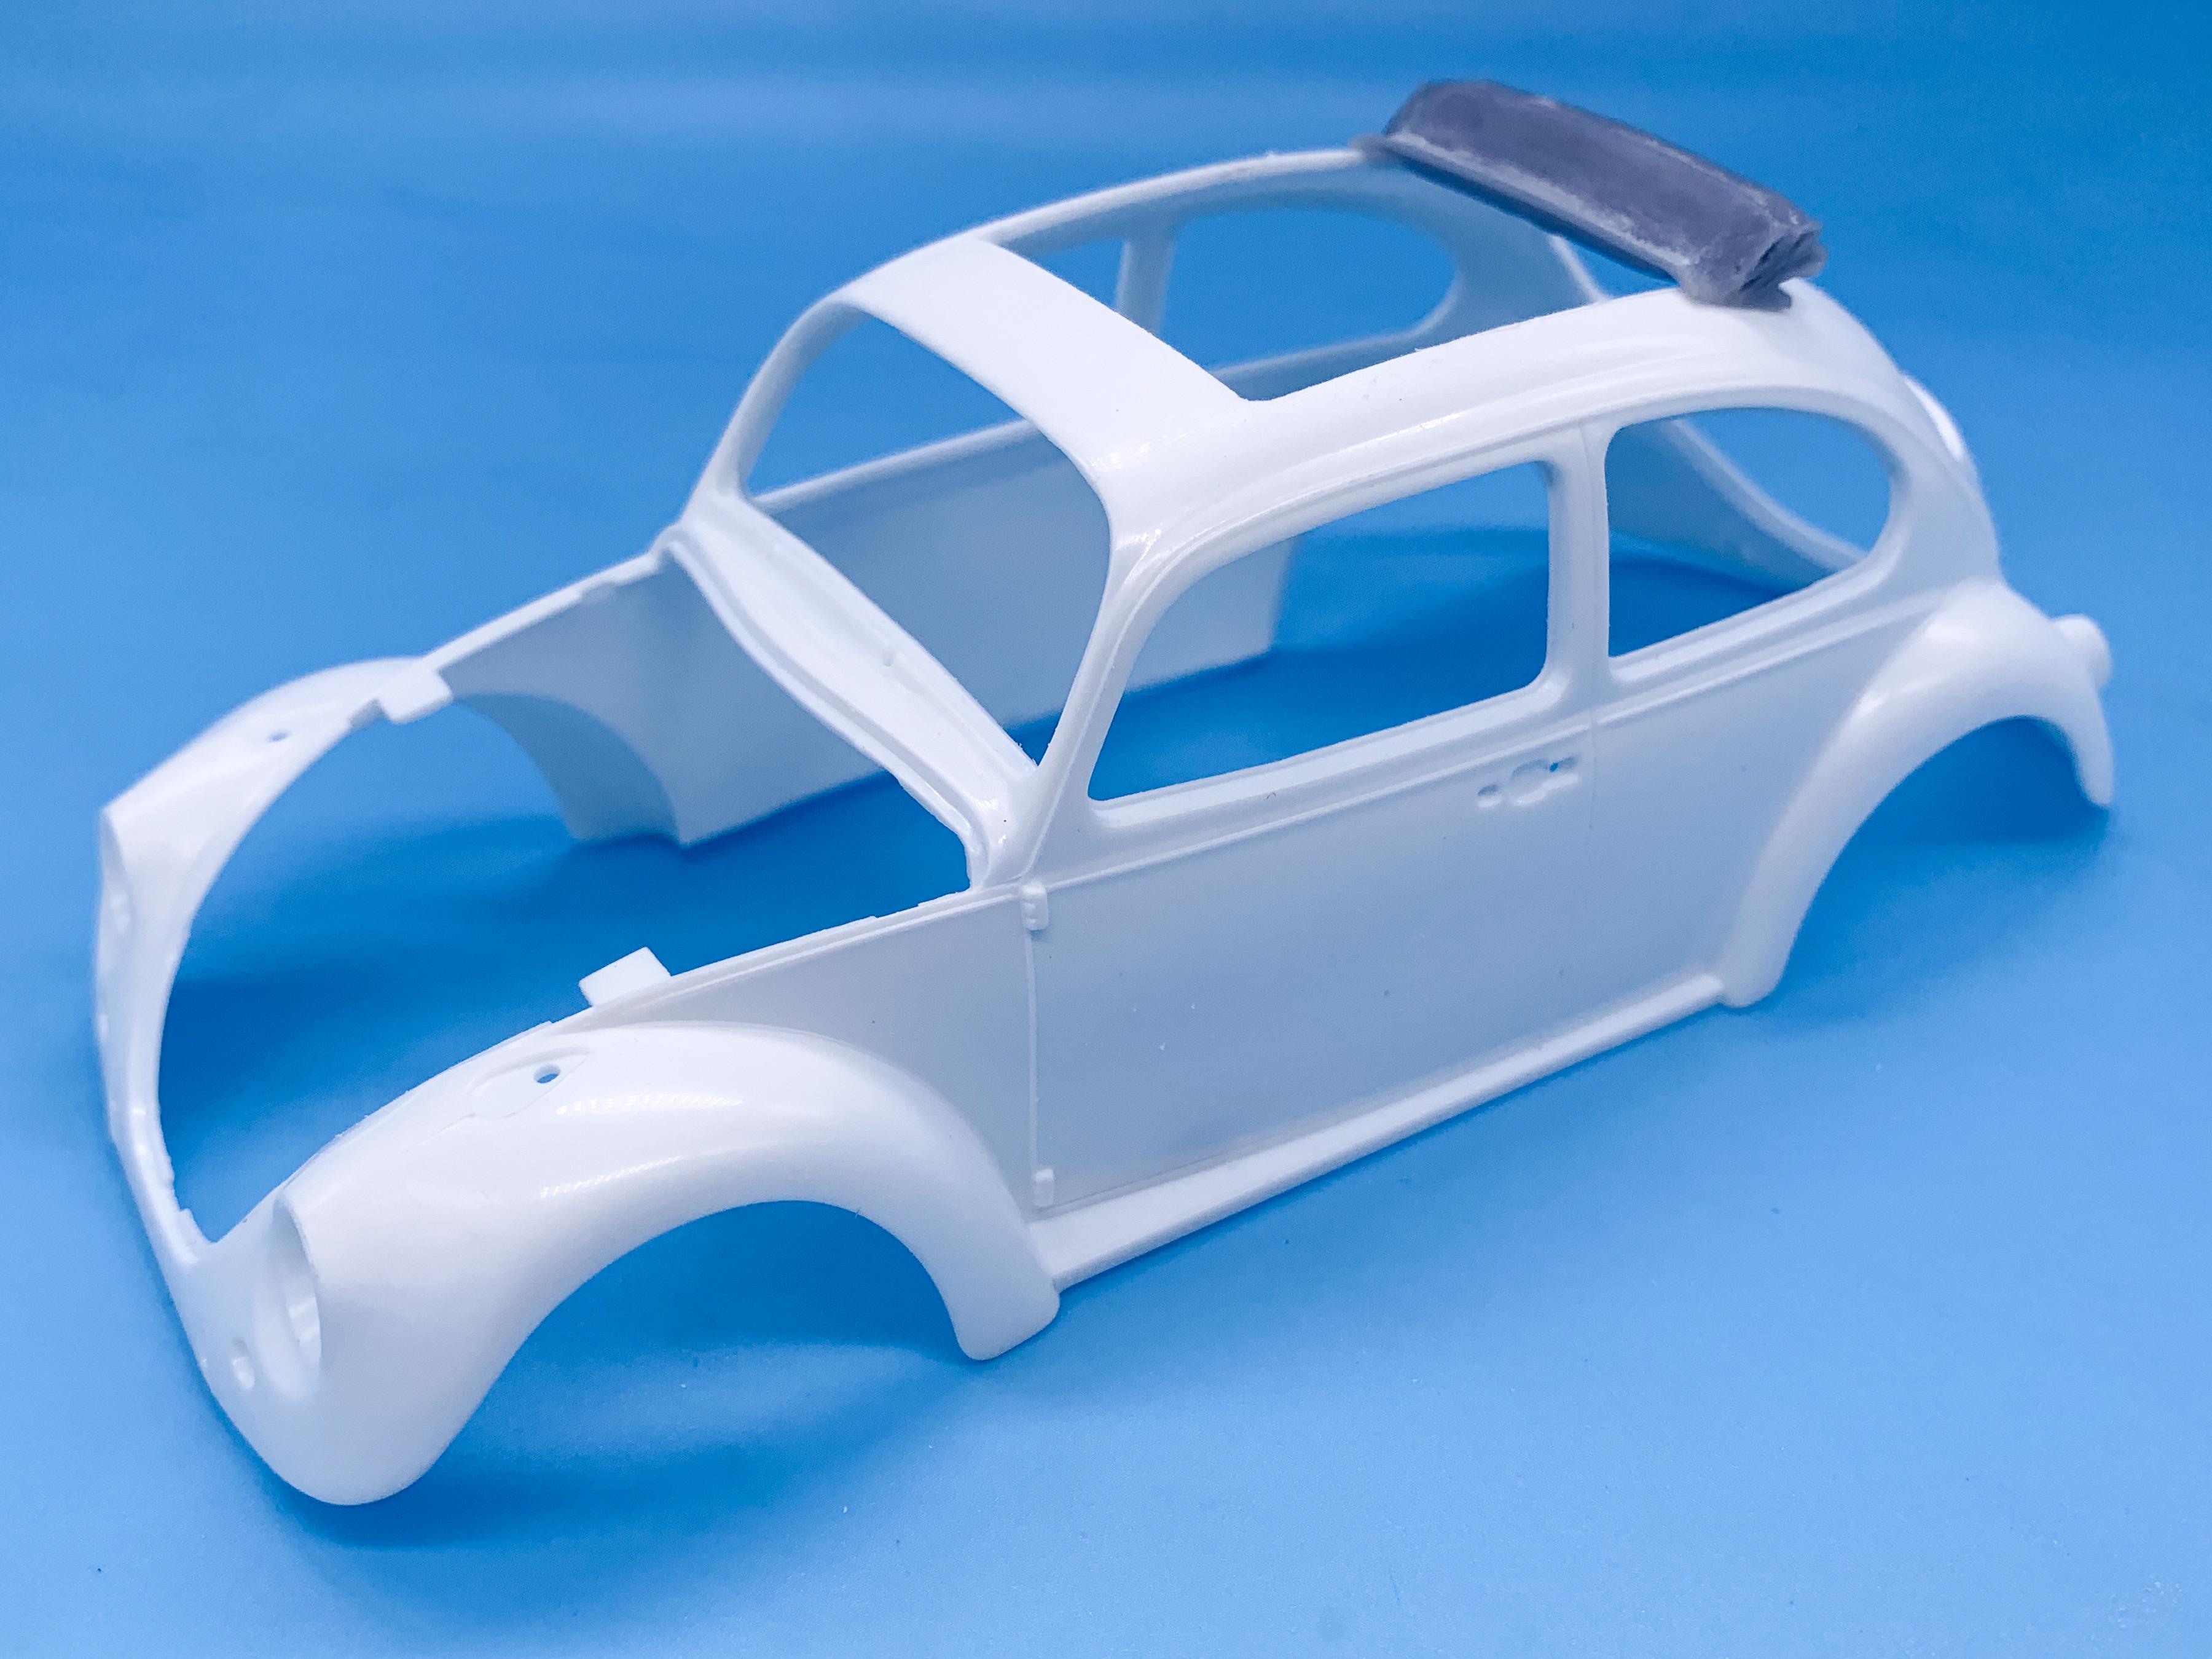
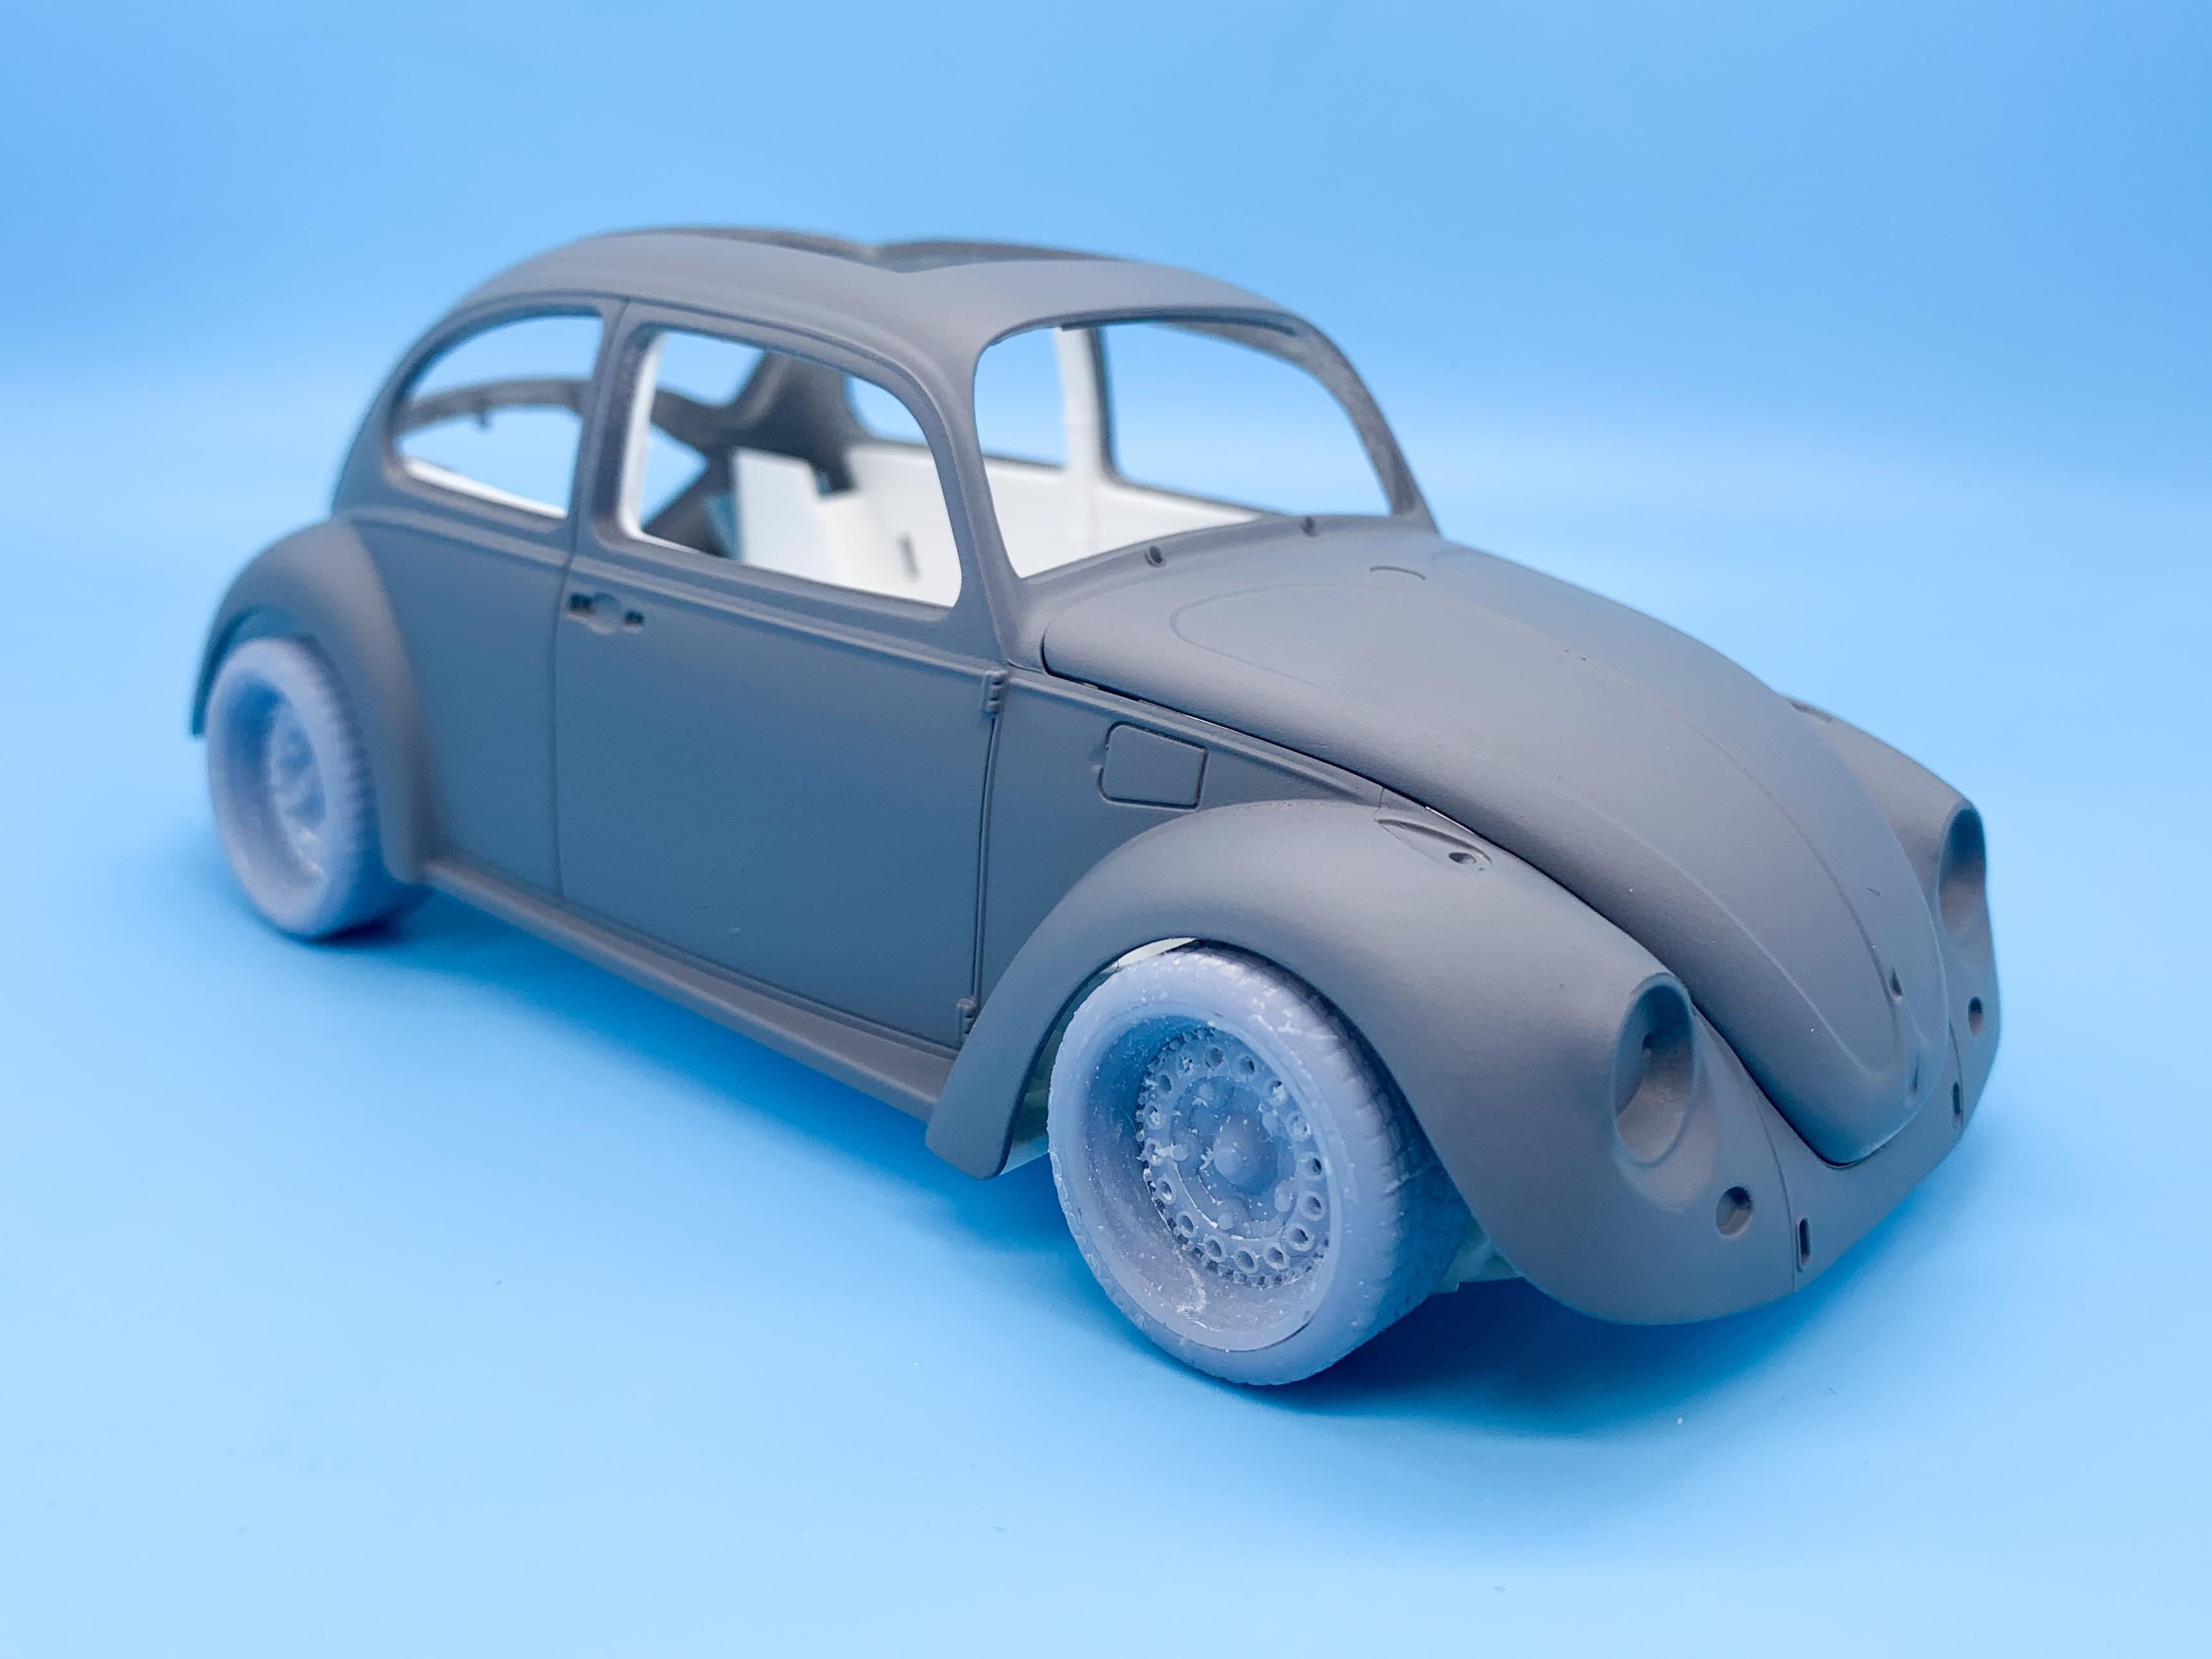
Not that I don’t have three (seven) projects on my bench already, but I got to thinking the other day…what would a typical Cal-Look Beetle look like if that whole trend originated in NYC rather than So-Cal? What would that whole trend have looked like if the whole custom-Beetle thing originated on the East coast rather than the west? What would VW customizers do to prep their cars for city streets and driving around the city (with an occasional trip to Coney Island or the Rockaways) rather than miles of coast and nice weather? That idea stuck in my head, and I picked up a Bug kit at Hobby Lobby yesterday to kinda mess with the idea. Starting point… A few starting concepts of what a NY-look Beetle might have been. Firstly, the bumpers would stay. People park by feel in the city, so if I’d spent a bunch of money on a nice paintjob I wouldn’t want to risk that. Perhaps powder coated or a simple-to-touch-up color instead of chrome on the bumpers to keep them looking fresh? Maybe the bodies would retain a lot of their chrome and doodads rather than having a lot of bodywork done to smooth them out. New Yorkers are good adapters and improvisers, and a Bug being the ‘wrong year’ wouldn’t stop them from picking it as a starting point for a project car, and it probably wouldn’t be backdated to pretend to be a cooler earlier model. It might have different influences on the parts used too - maybe less of a drag/performance influence and more focus on some visually-interesting styling tweaks instead. Anyhoo, onto the build…first thing I wanted to do was open up the roof - a seller on Cults3D makes a conversion kit that includes open and closed cloth roofs, and this handy template to make cutting the top open quick and easy: A little careful scribing later… Next job - lowering the SUV-like ride height somewhat…here’s the kit chassis assembled: I‘ve got some 3D printed wheels and tires that I want to use on this build, but even with them being a scale-inch smaller than the kit ones this thing sits way high compared to how I’d like. A little relocation of the wheel backs by moving them up on the trailing arms and replacing the driveshafts helped a lot in the back: I did a similar trick on the front - got it sitting roughly like this: The rears will camber in slightly once I get them glued in place, and with the interior and glass in the front sits a little higher, but that’s much more like what I imagined… Now, I know what you’re saying - “Jim, why do you want that low ride height for rough city streets with raised manhole covers and potholes big enough to eat a small child?” Well…for looks. A simple air-ride system would help though, for sure, or at least adjustable shocks where you could easily drop it down in the dirt at a parking lot car meet but crank it back up a couple of notches for everyday use. And a test fit of the kit bumpers…I think I’d like to tuck the rear one in a little more than it is now, but I like the look so far: By the way, those wheels are Rotiform Porsche 356-inspired Speedster wheels…something a little different from the usual choices for a Beetle but still ‘in the family’ - I’m excited to see them cleaned up and chromed! Or maybe in brushed aluminum? And that’s about the extend of my progress this weekend aside from cleaning some parts up and looking at 60s VW paint-schemes…thanks for looking - more soon, soon as I’ve done more!
-
Createx brand Autoborne Sealer
OldNYJim replied to TransAmMike's topic in Model Building Questions and Answers
Yep, I use that stuff…but using it as a primer isn’t a successful endeavor. It’s my favorite black paint by far and it ends up on about every build…but for a first coat on styrene - no good in my experience. -
Ohh, this’ll be a cool one! Excited to see you bring this one back to life!
-
Yup
-
I was one of the people who voted for the Moon Mixer (just because I'm curious to see one built up fully, and I don't have one in my collection) - so I'm excited to see this come together!
-
Yellow Fever Competition Coupe, Keeler's Kustoms
OldNYJim replied to stavanzer's topic in Car Kit News & Reviews
Huh! That's cool! My wife lived in Hammond - I wonder if that pic was taken at the old US 30 strip? -
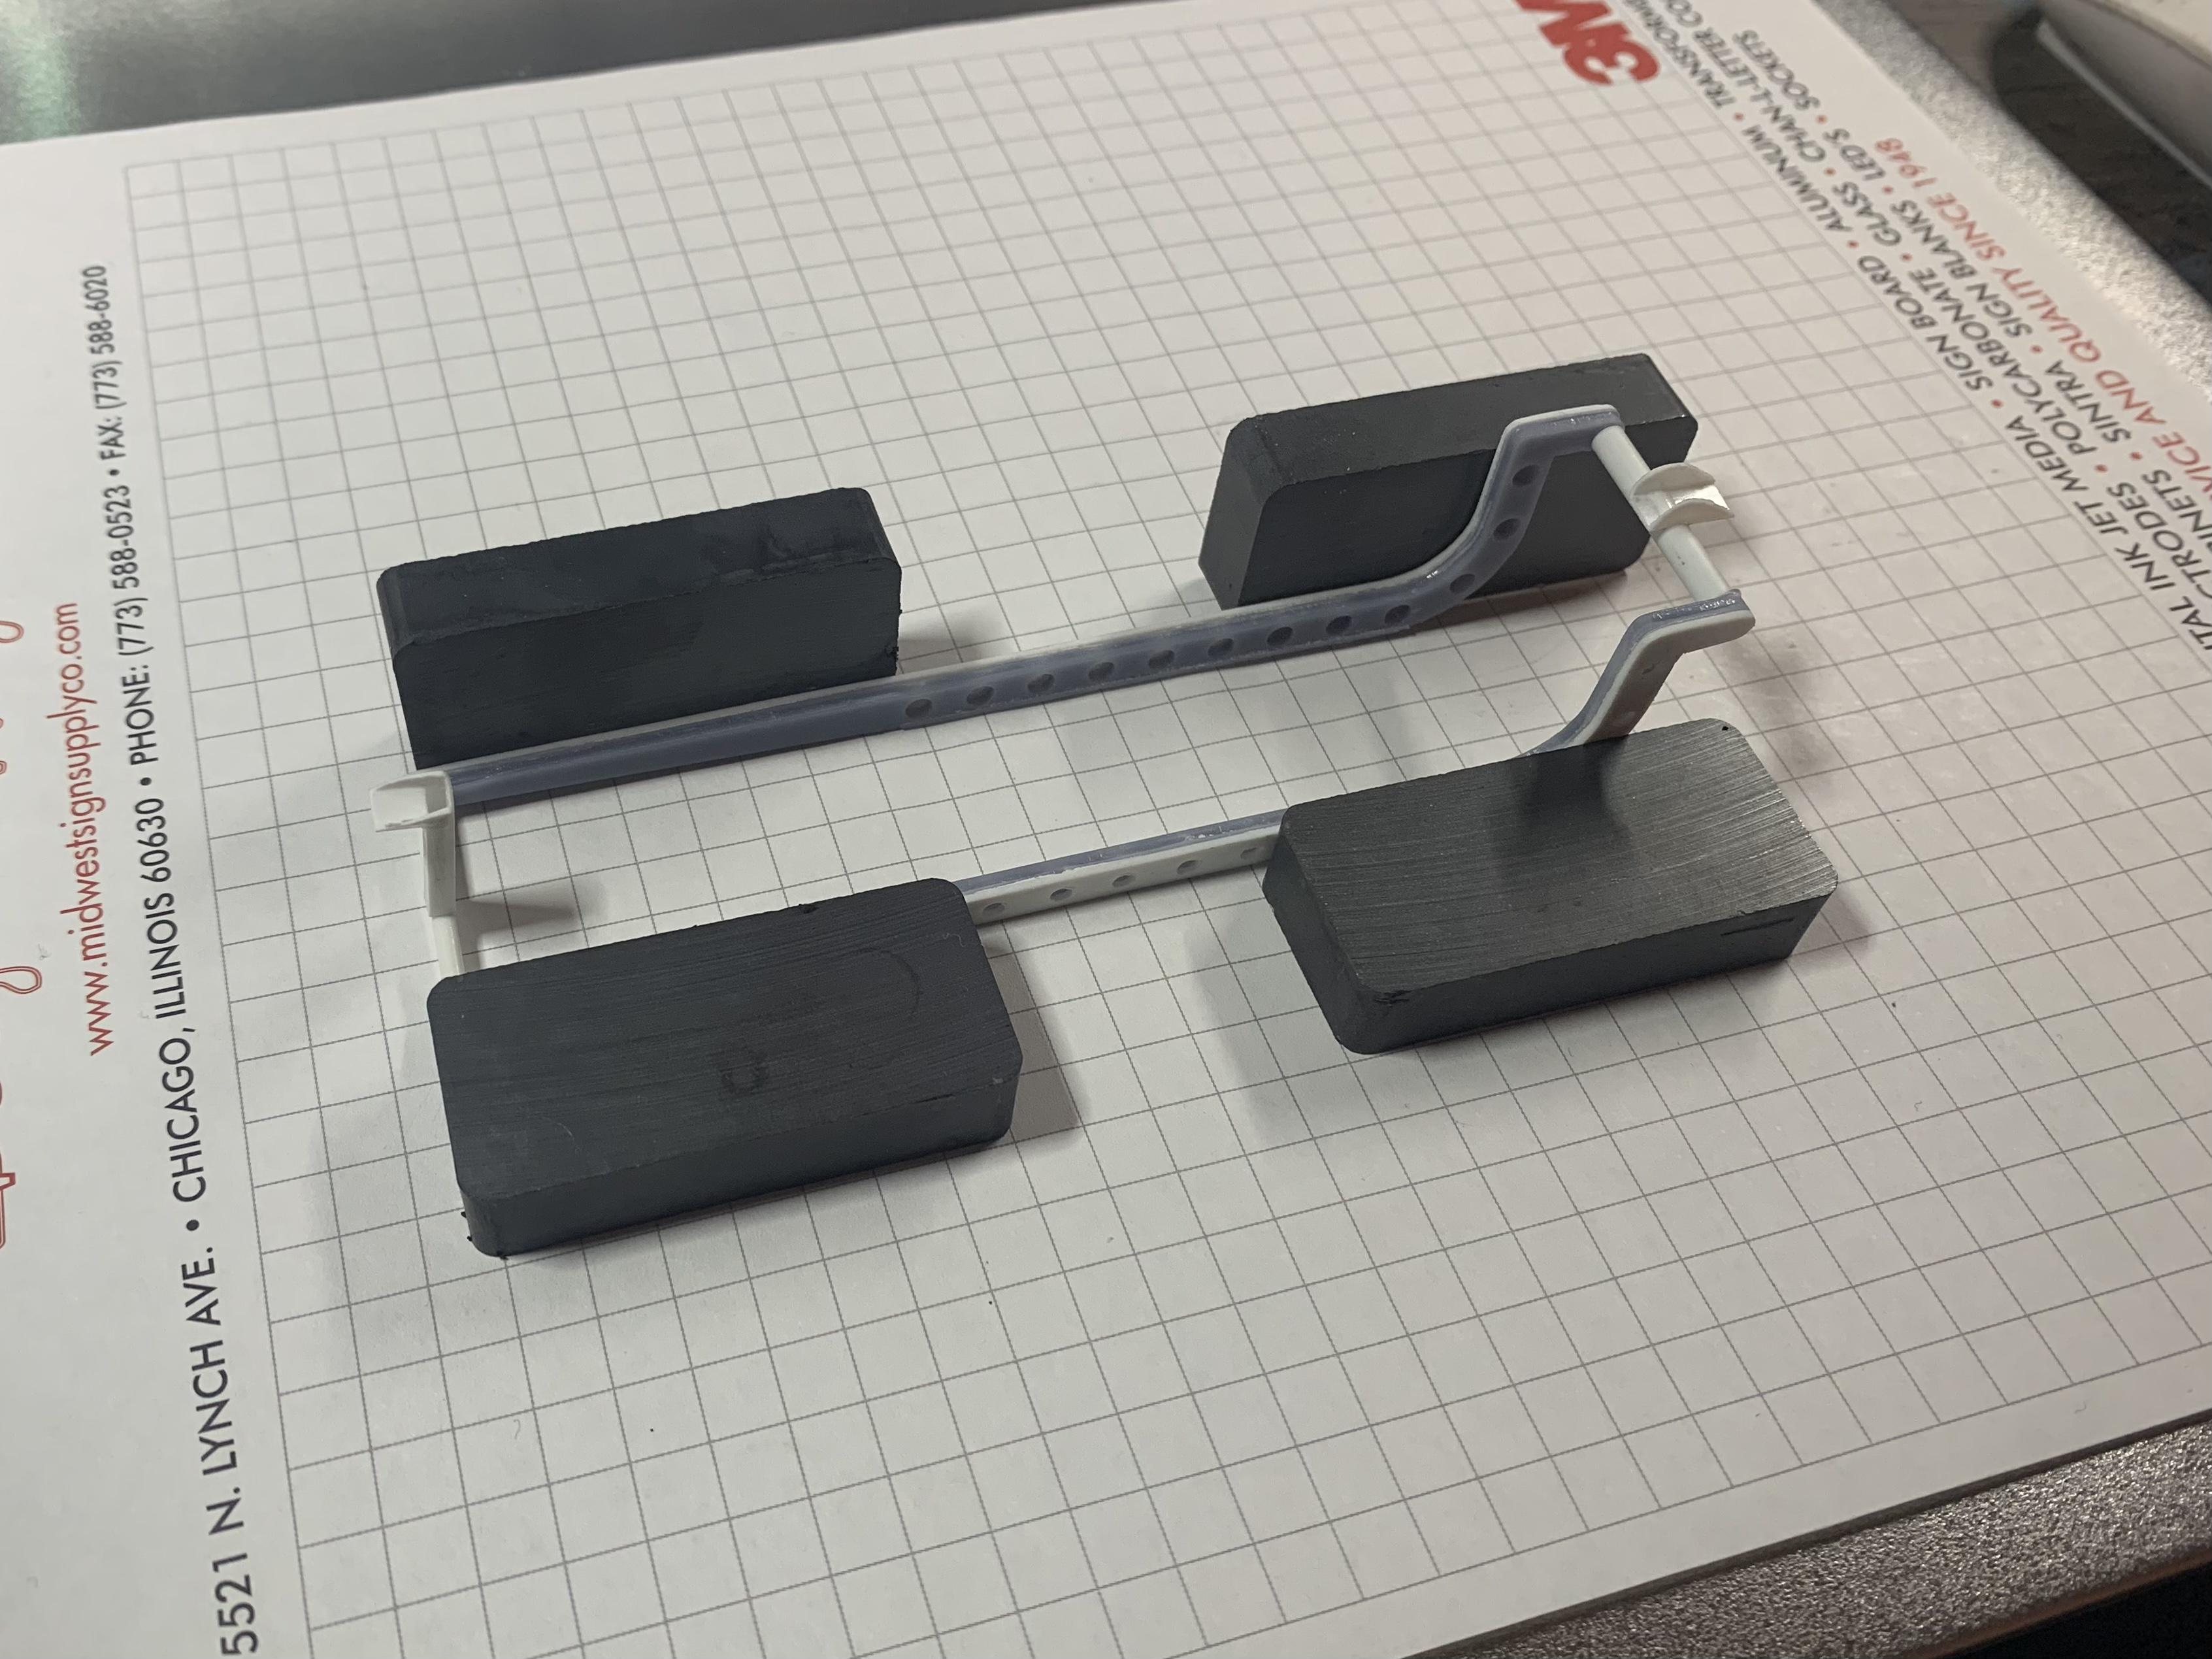
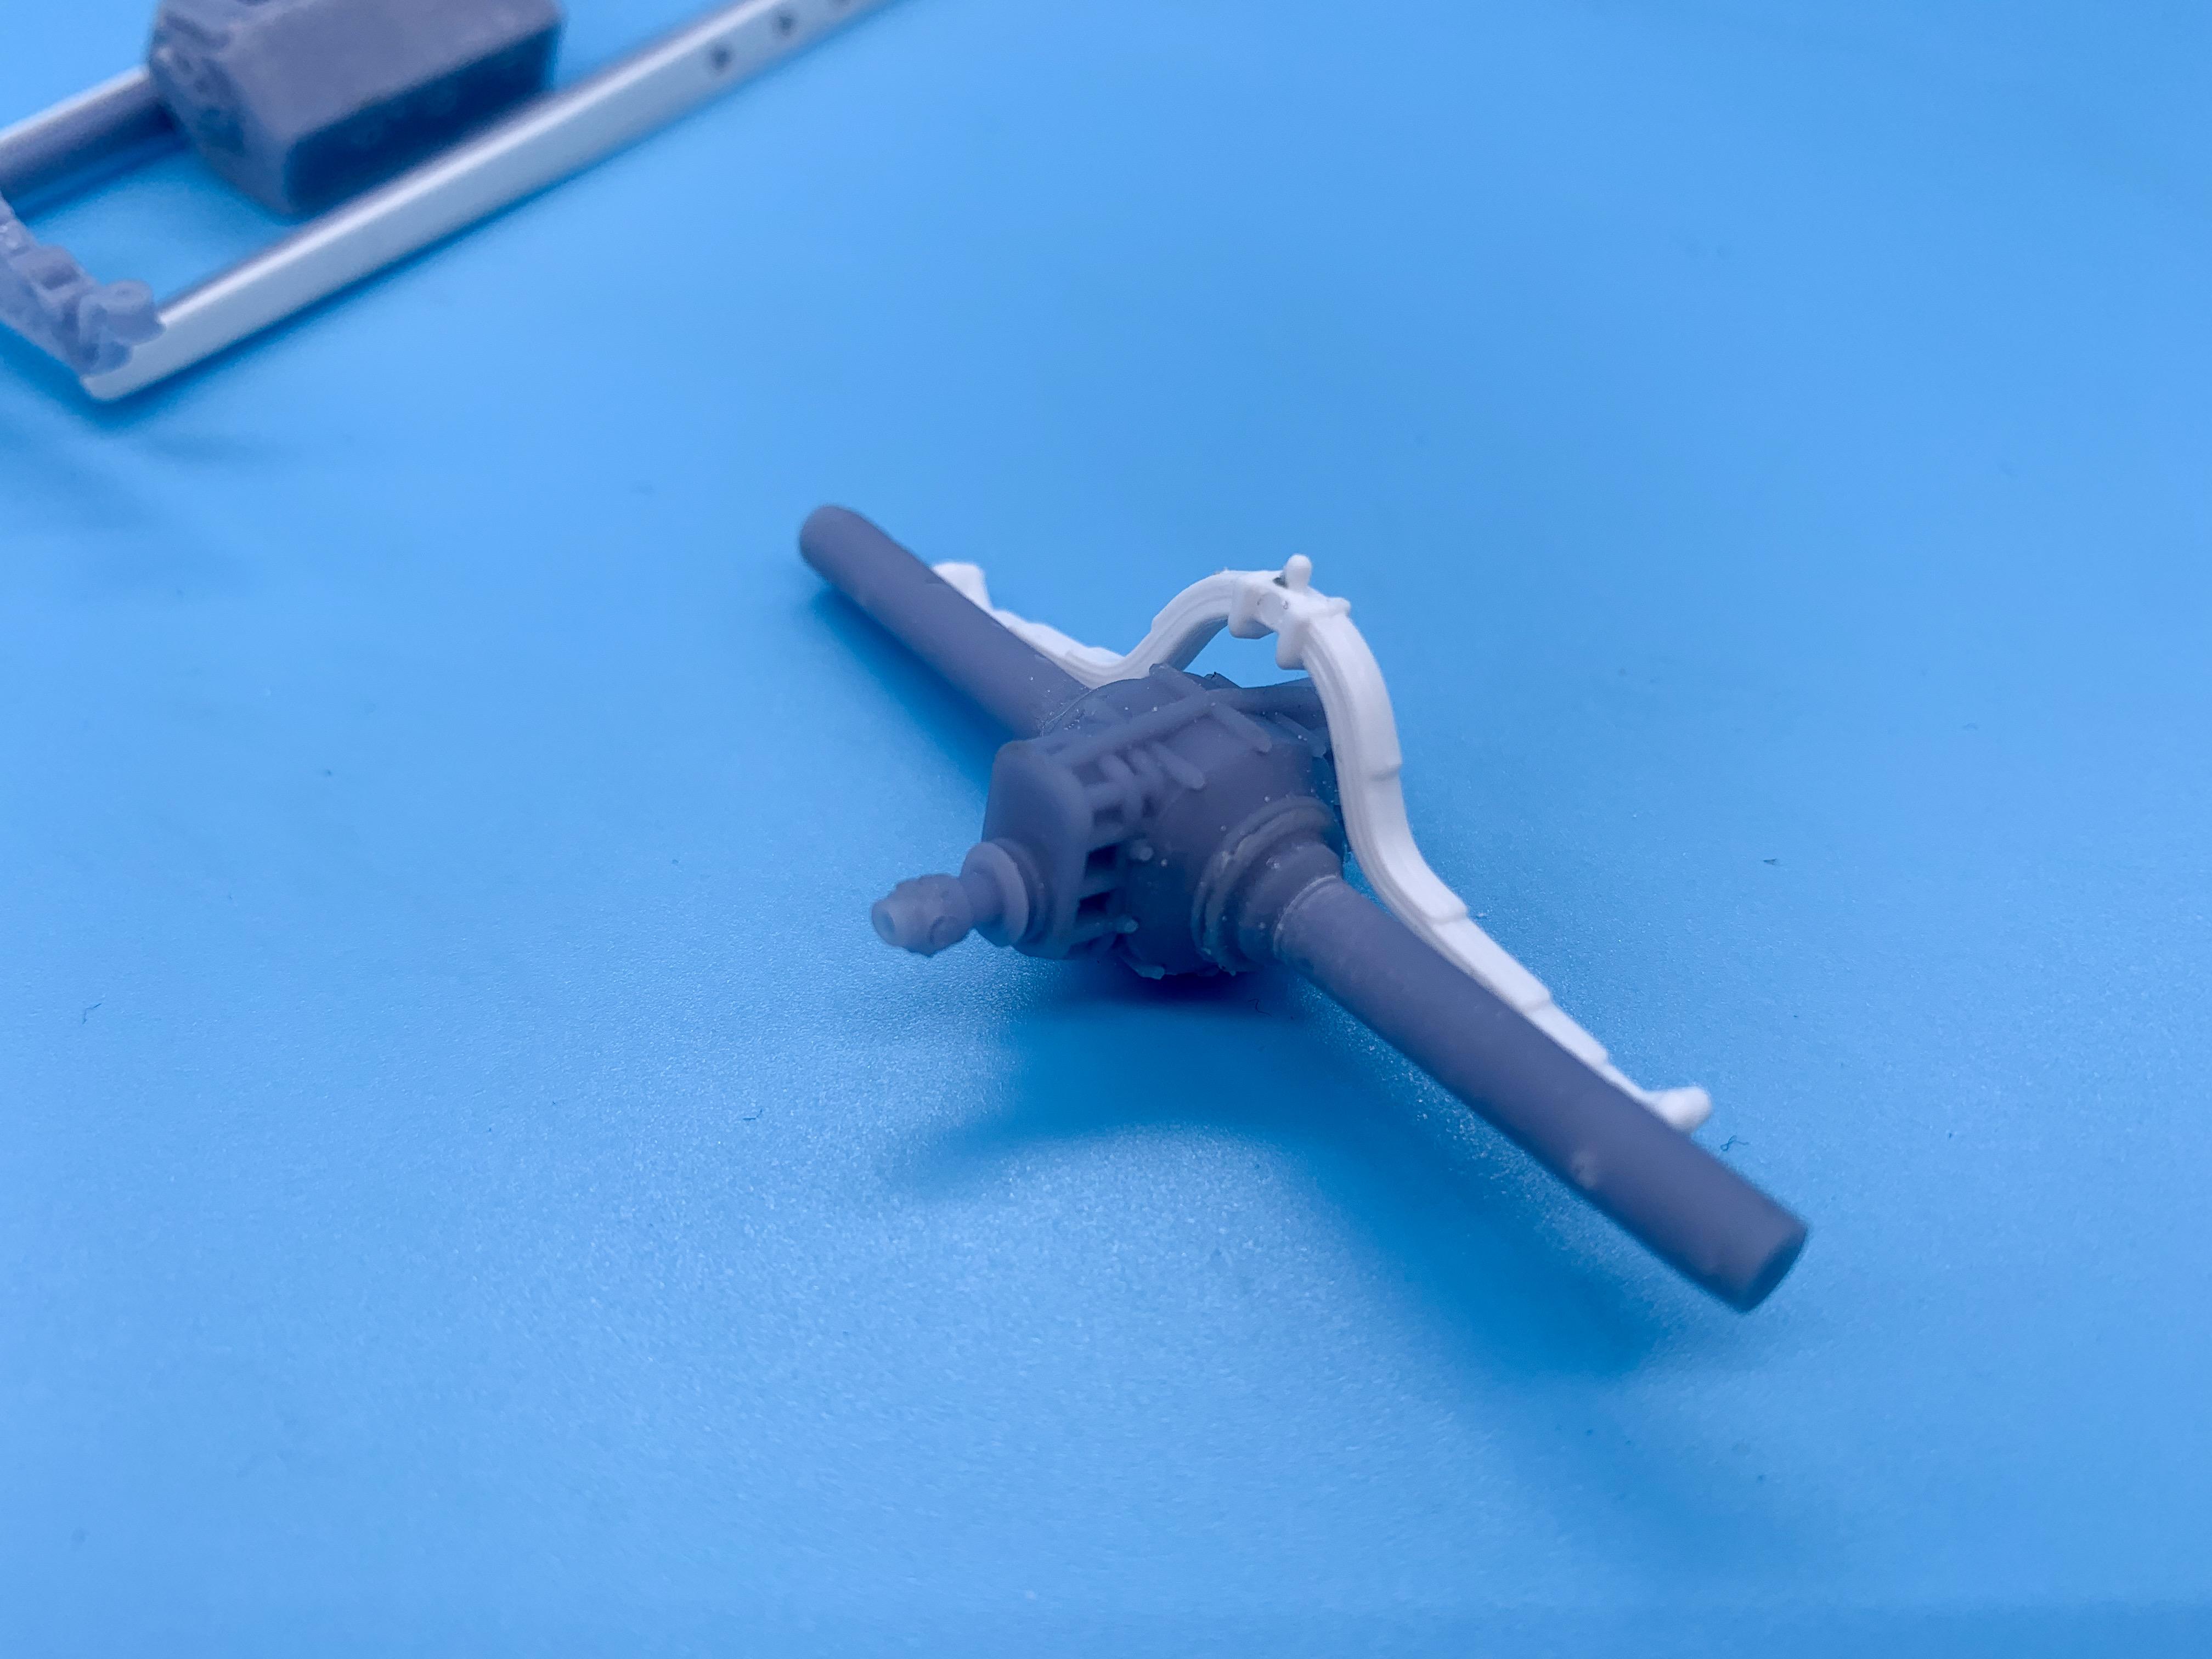
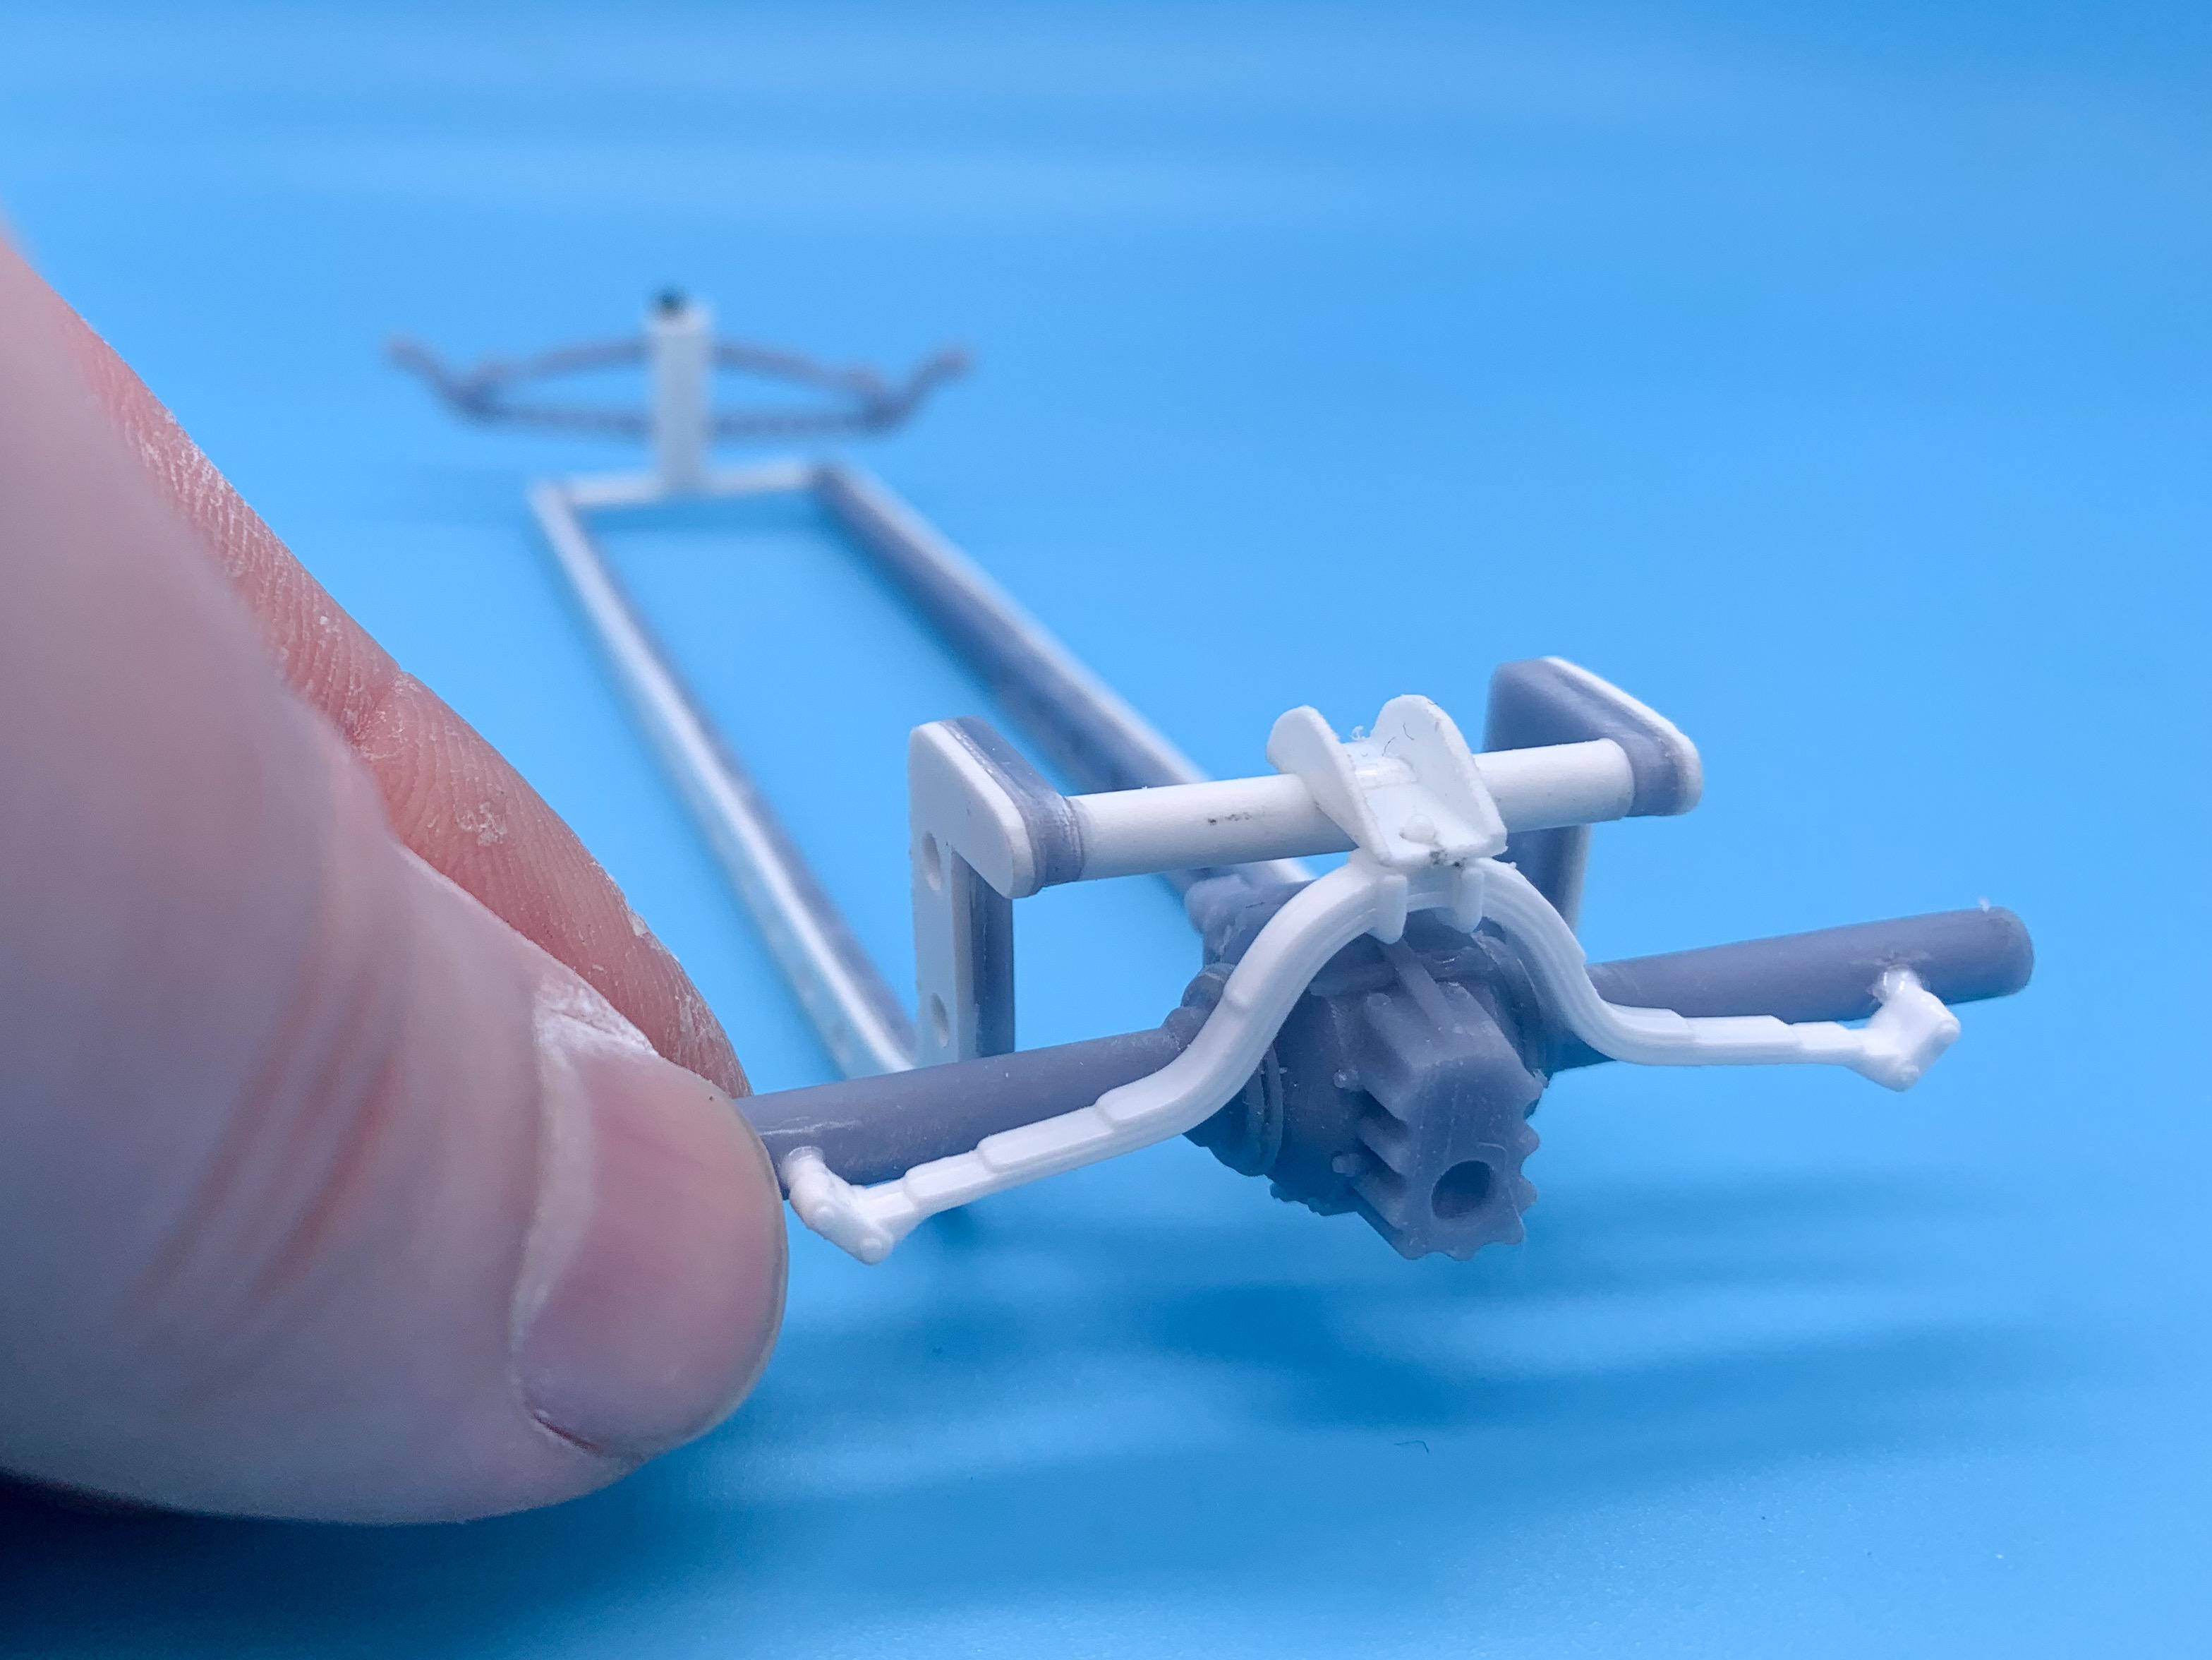
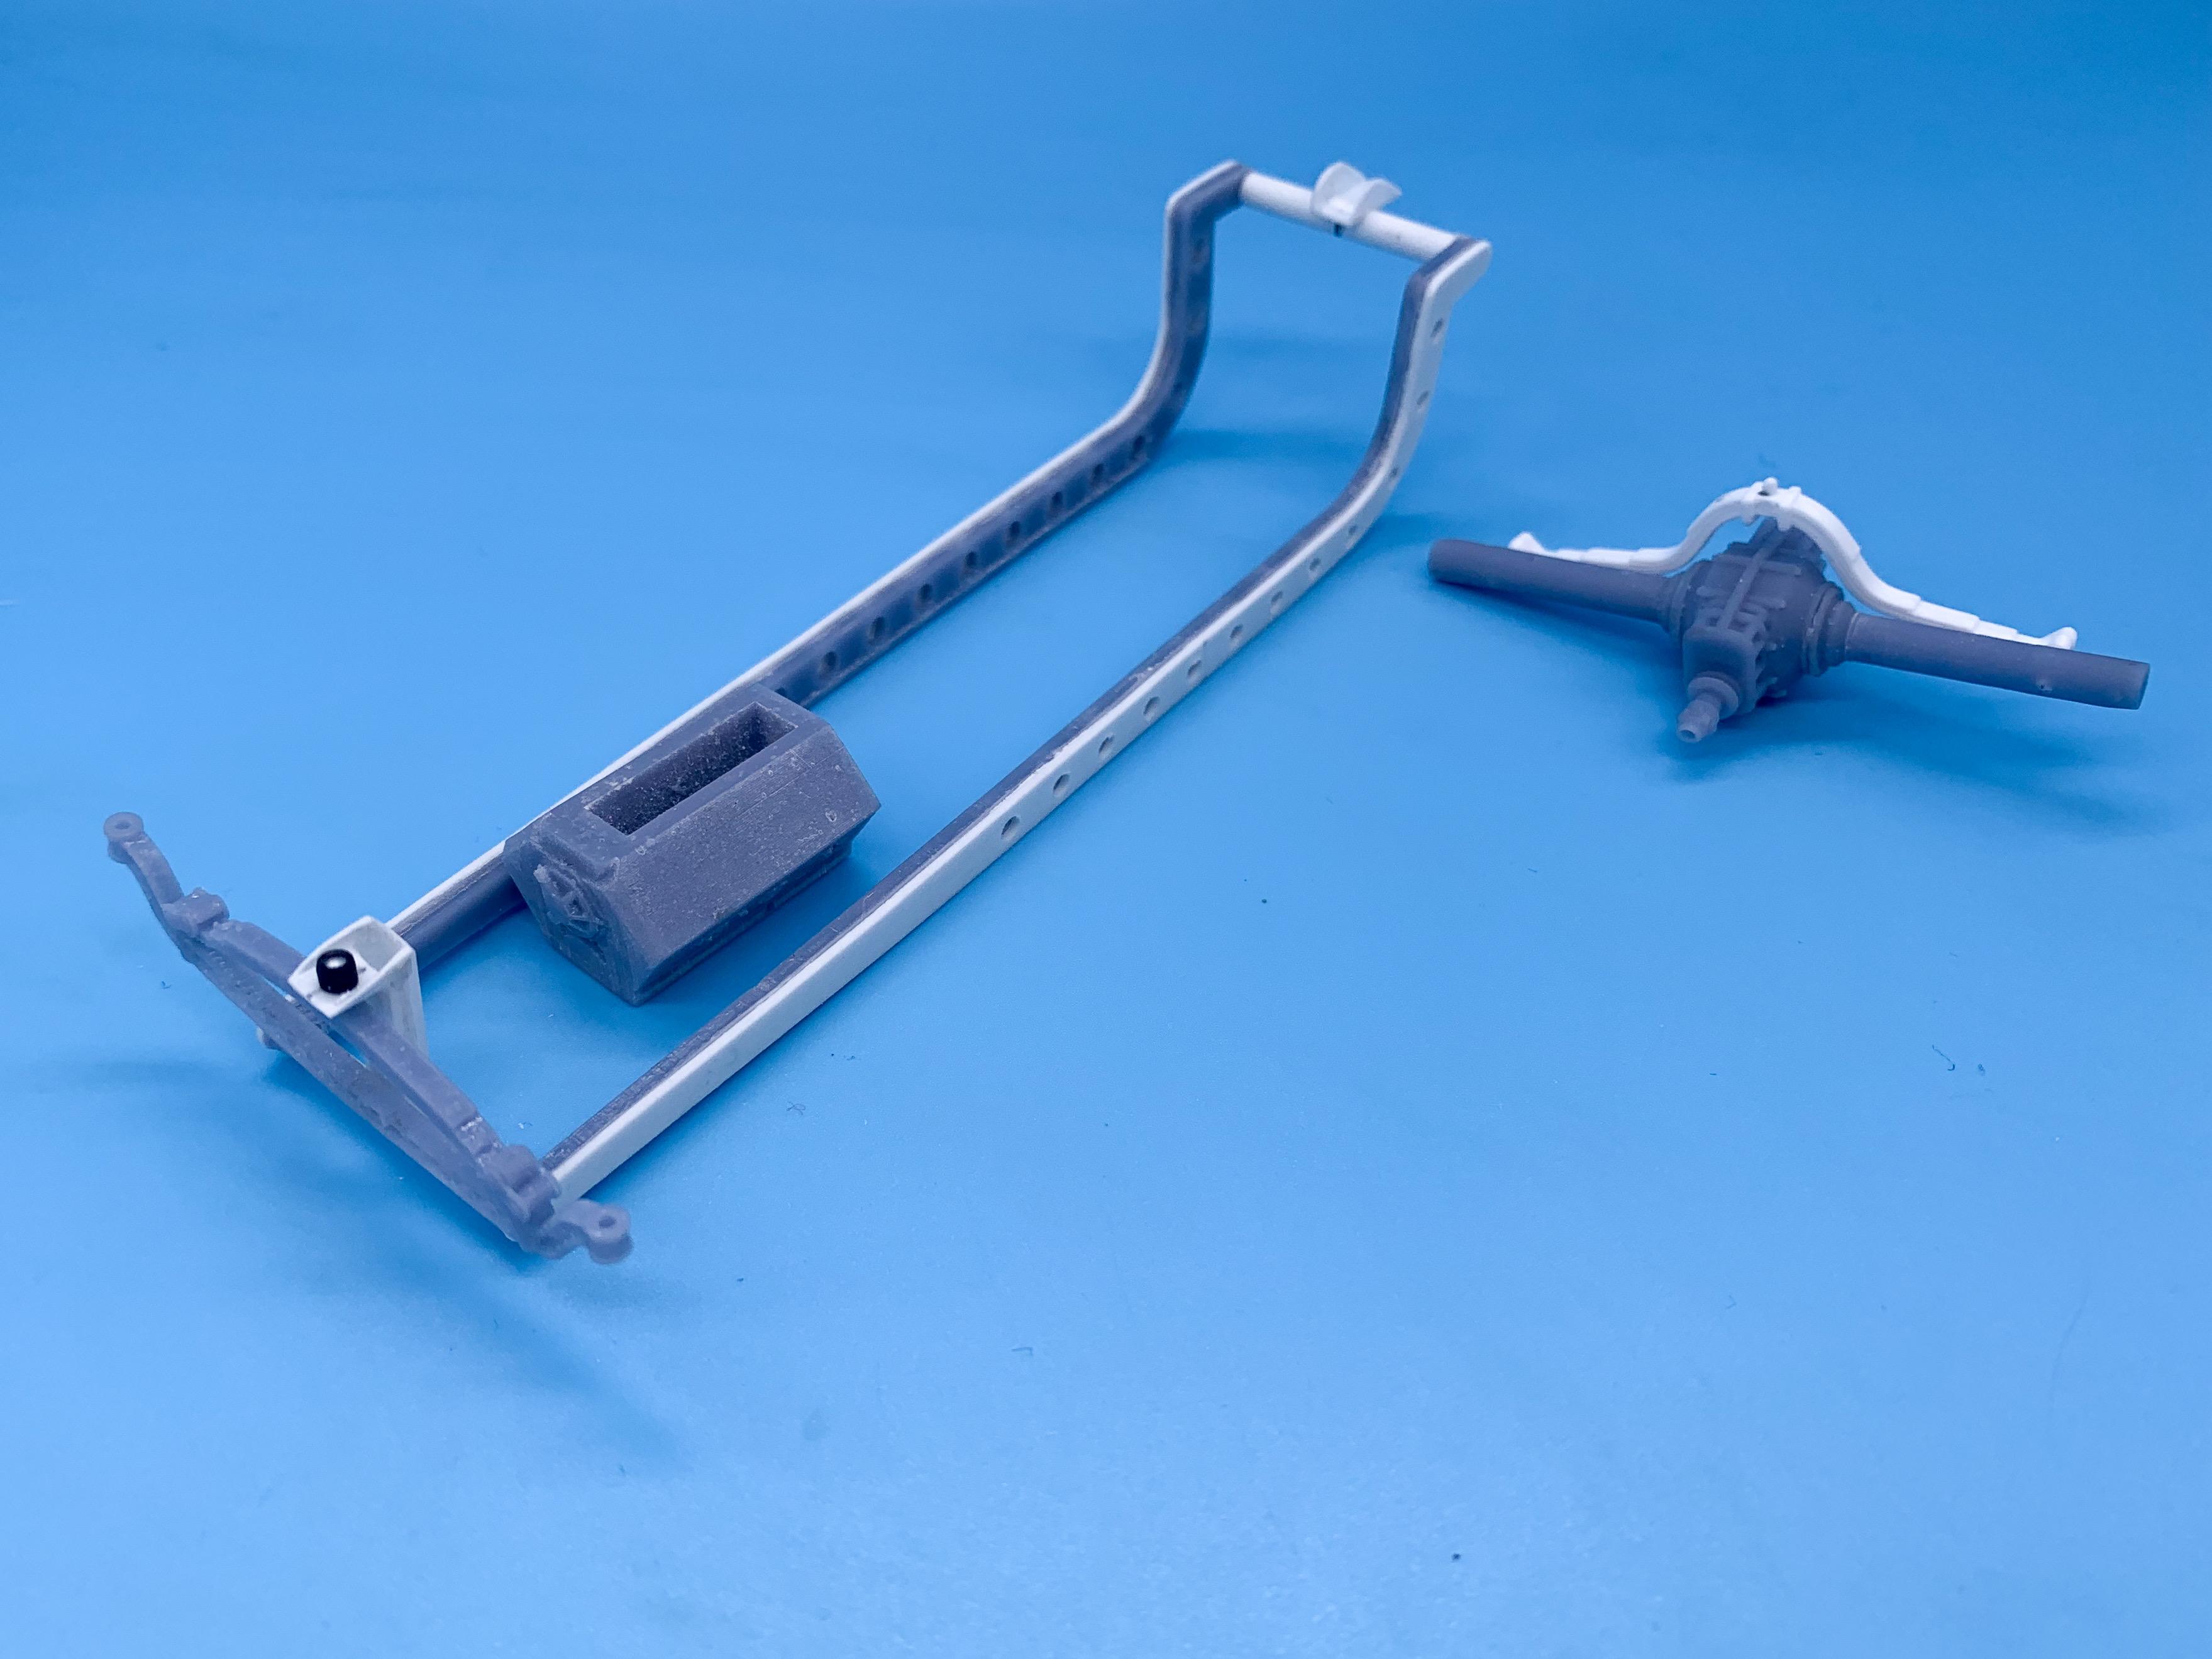
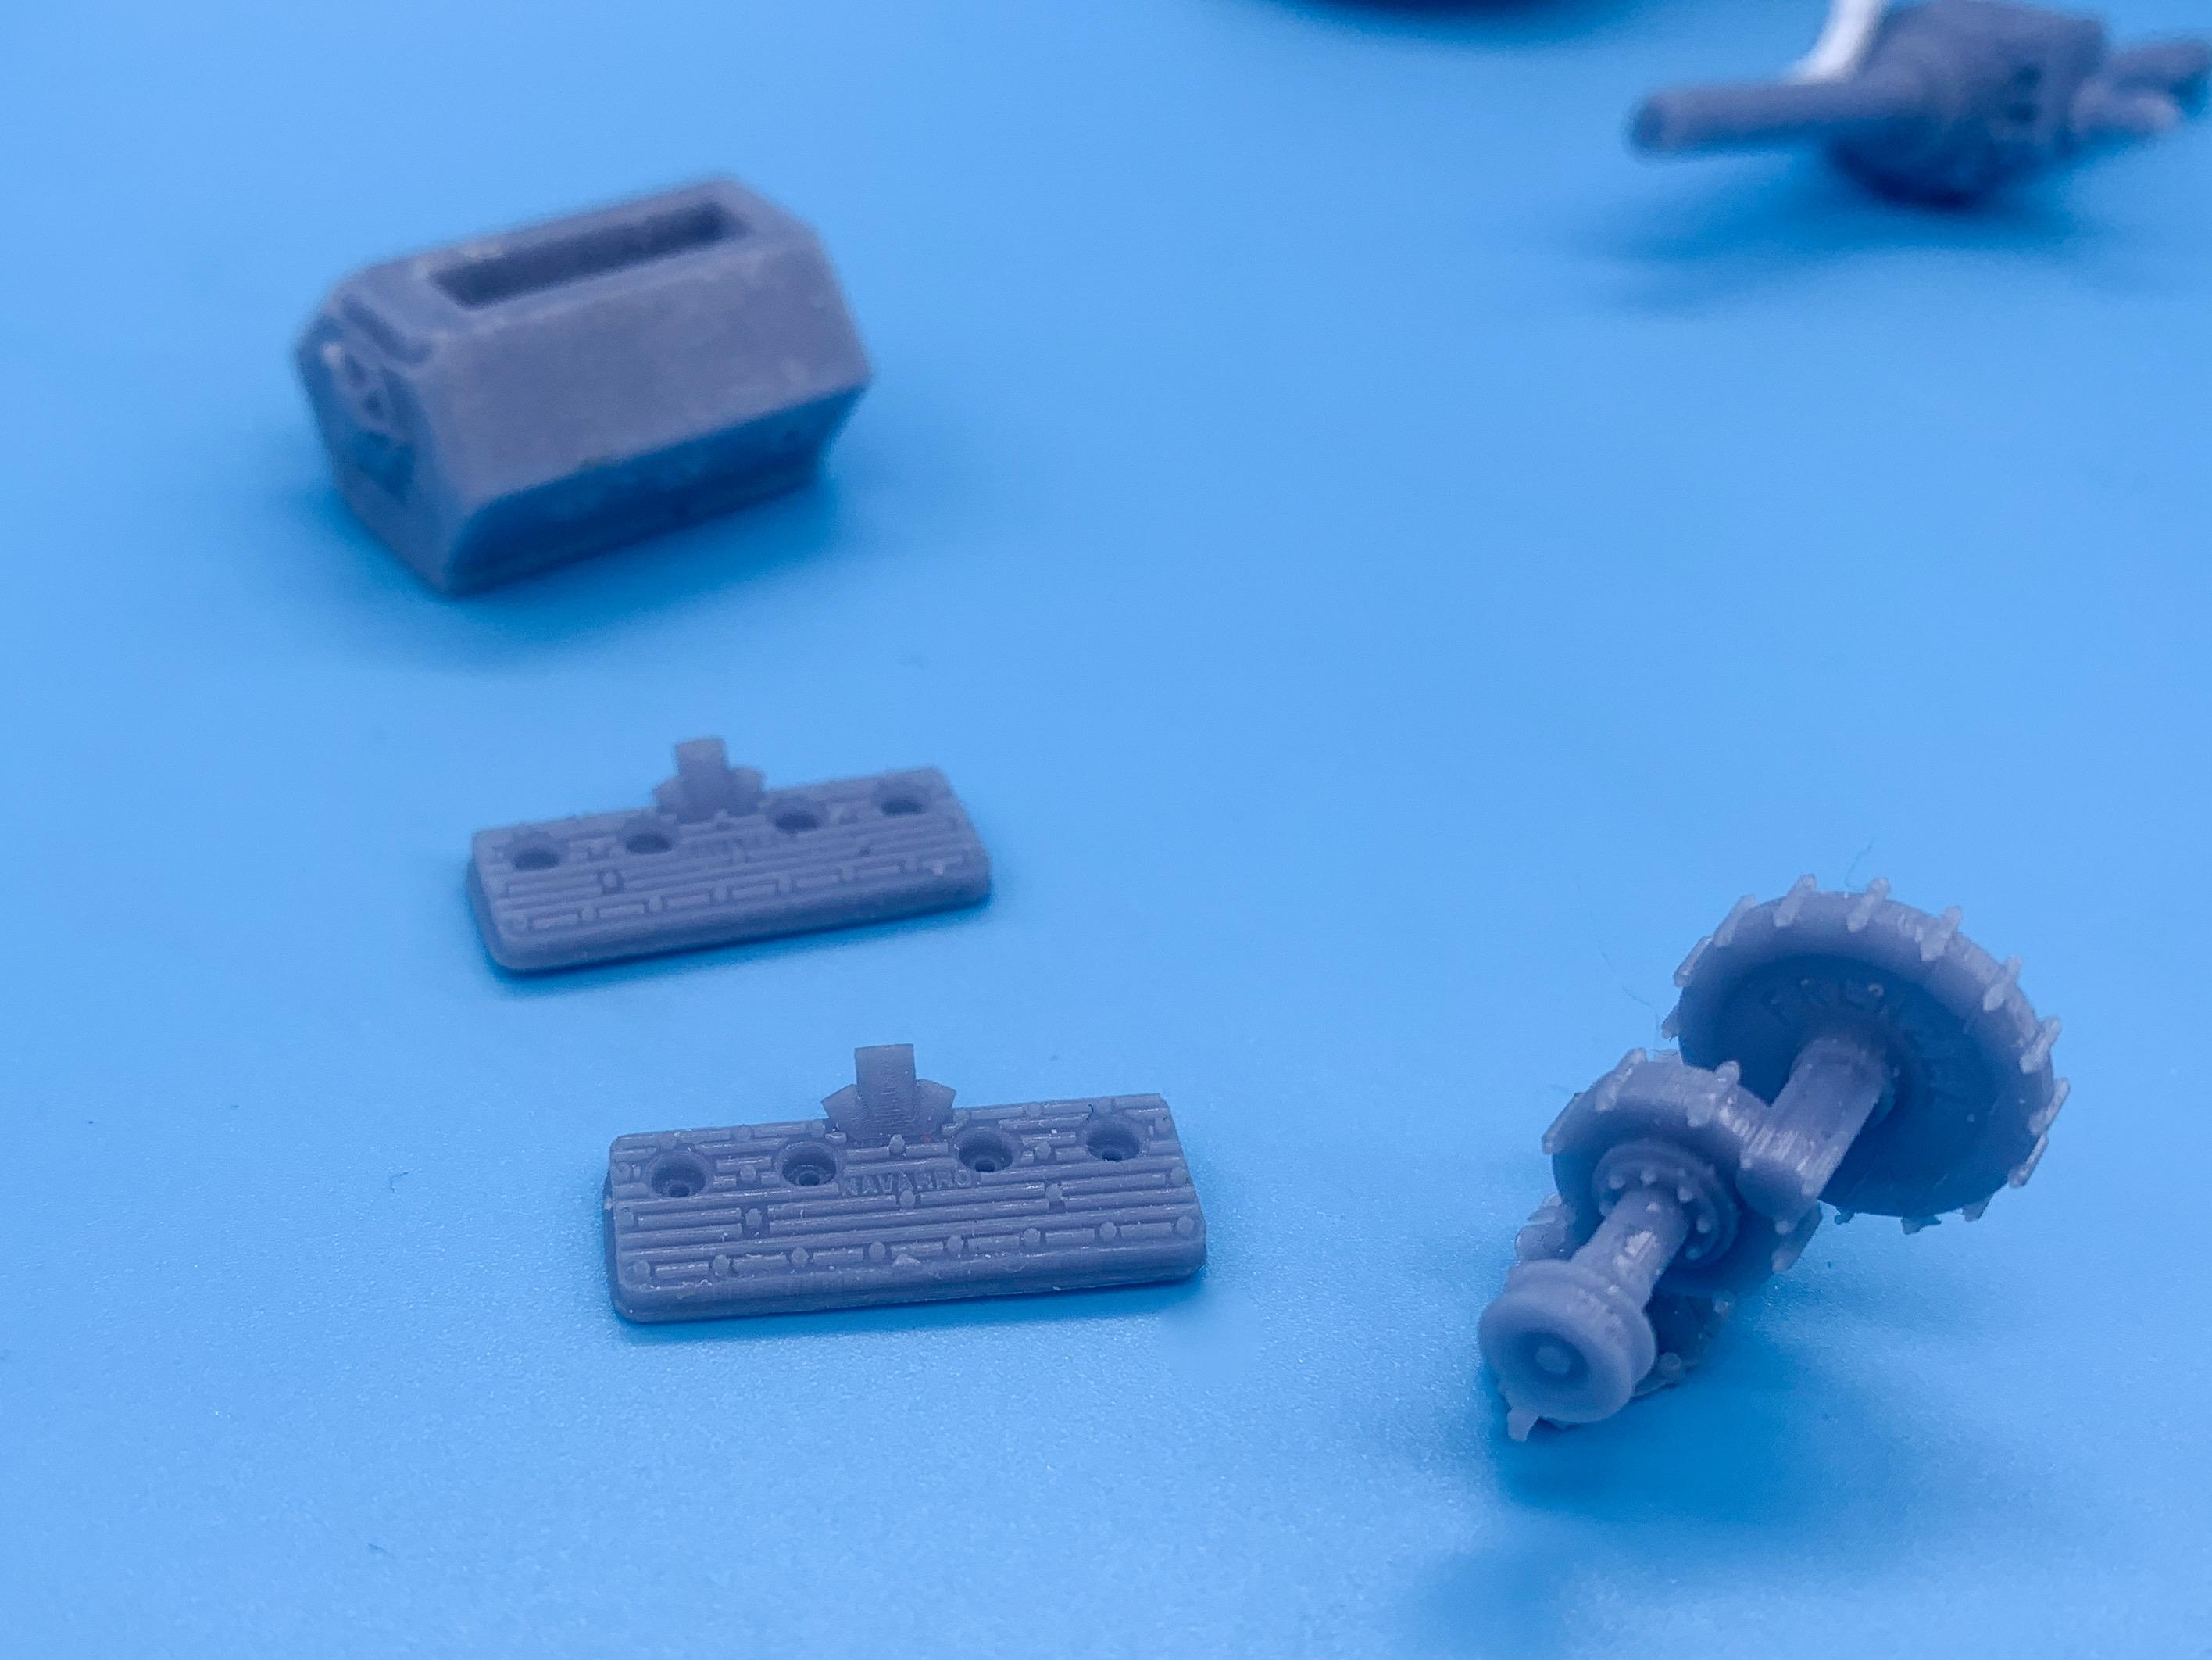
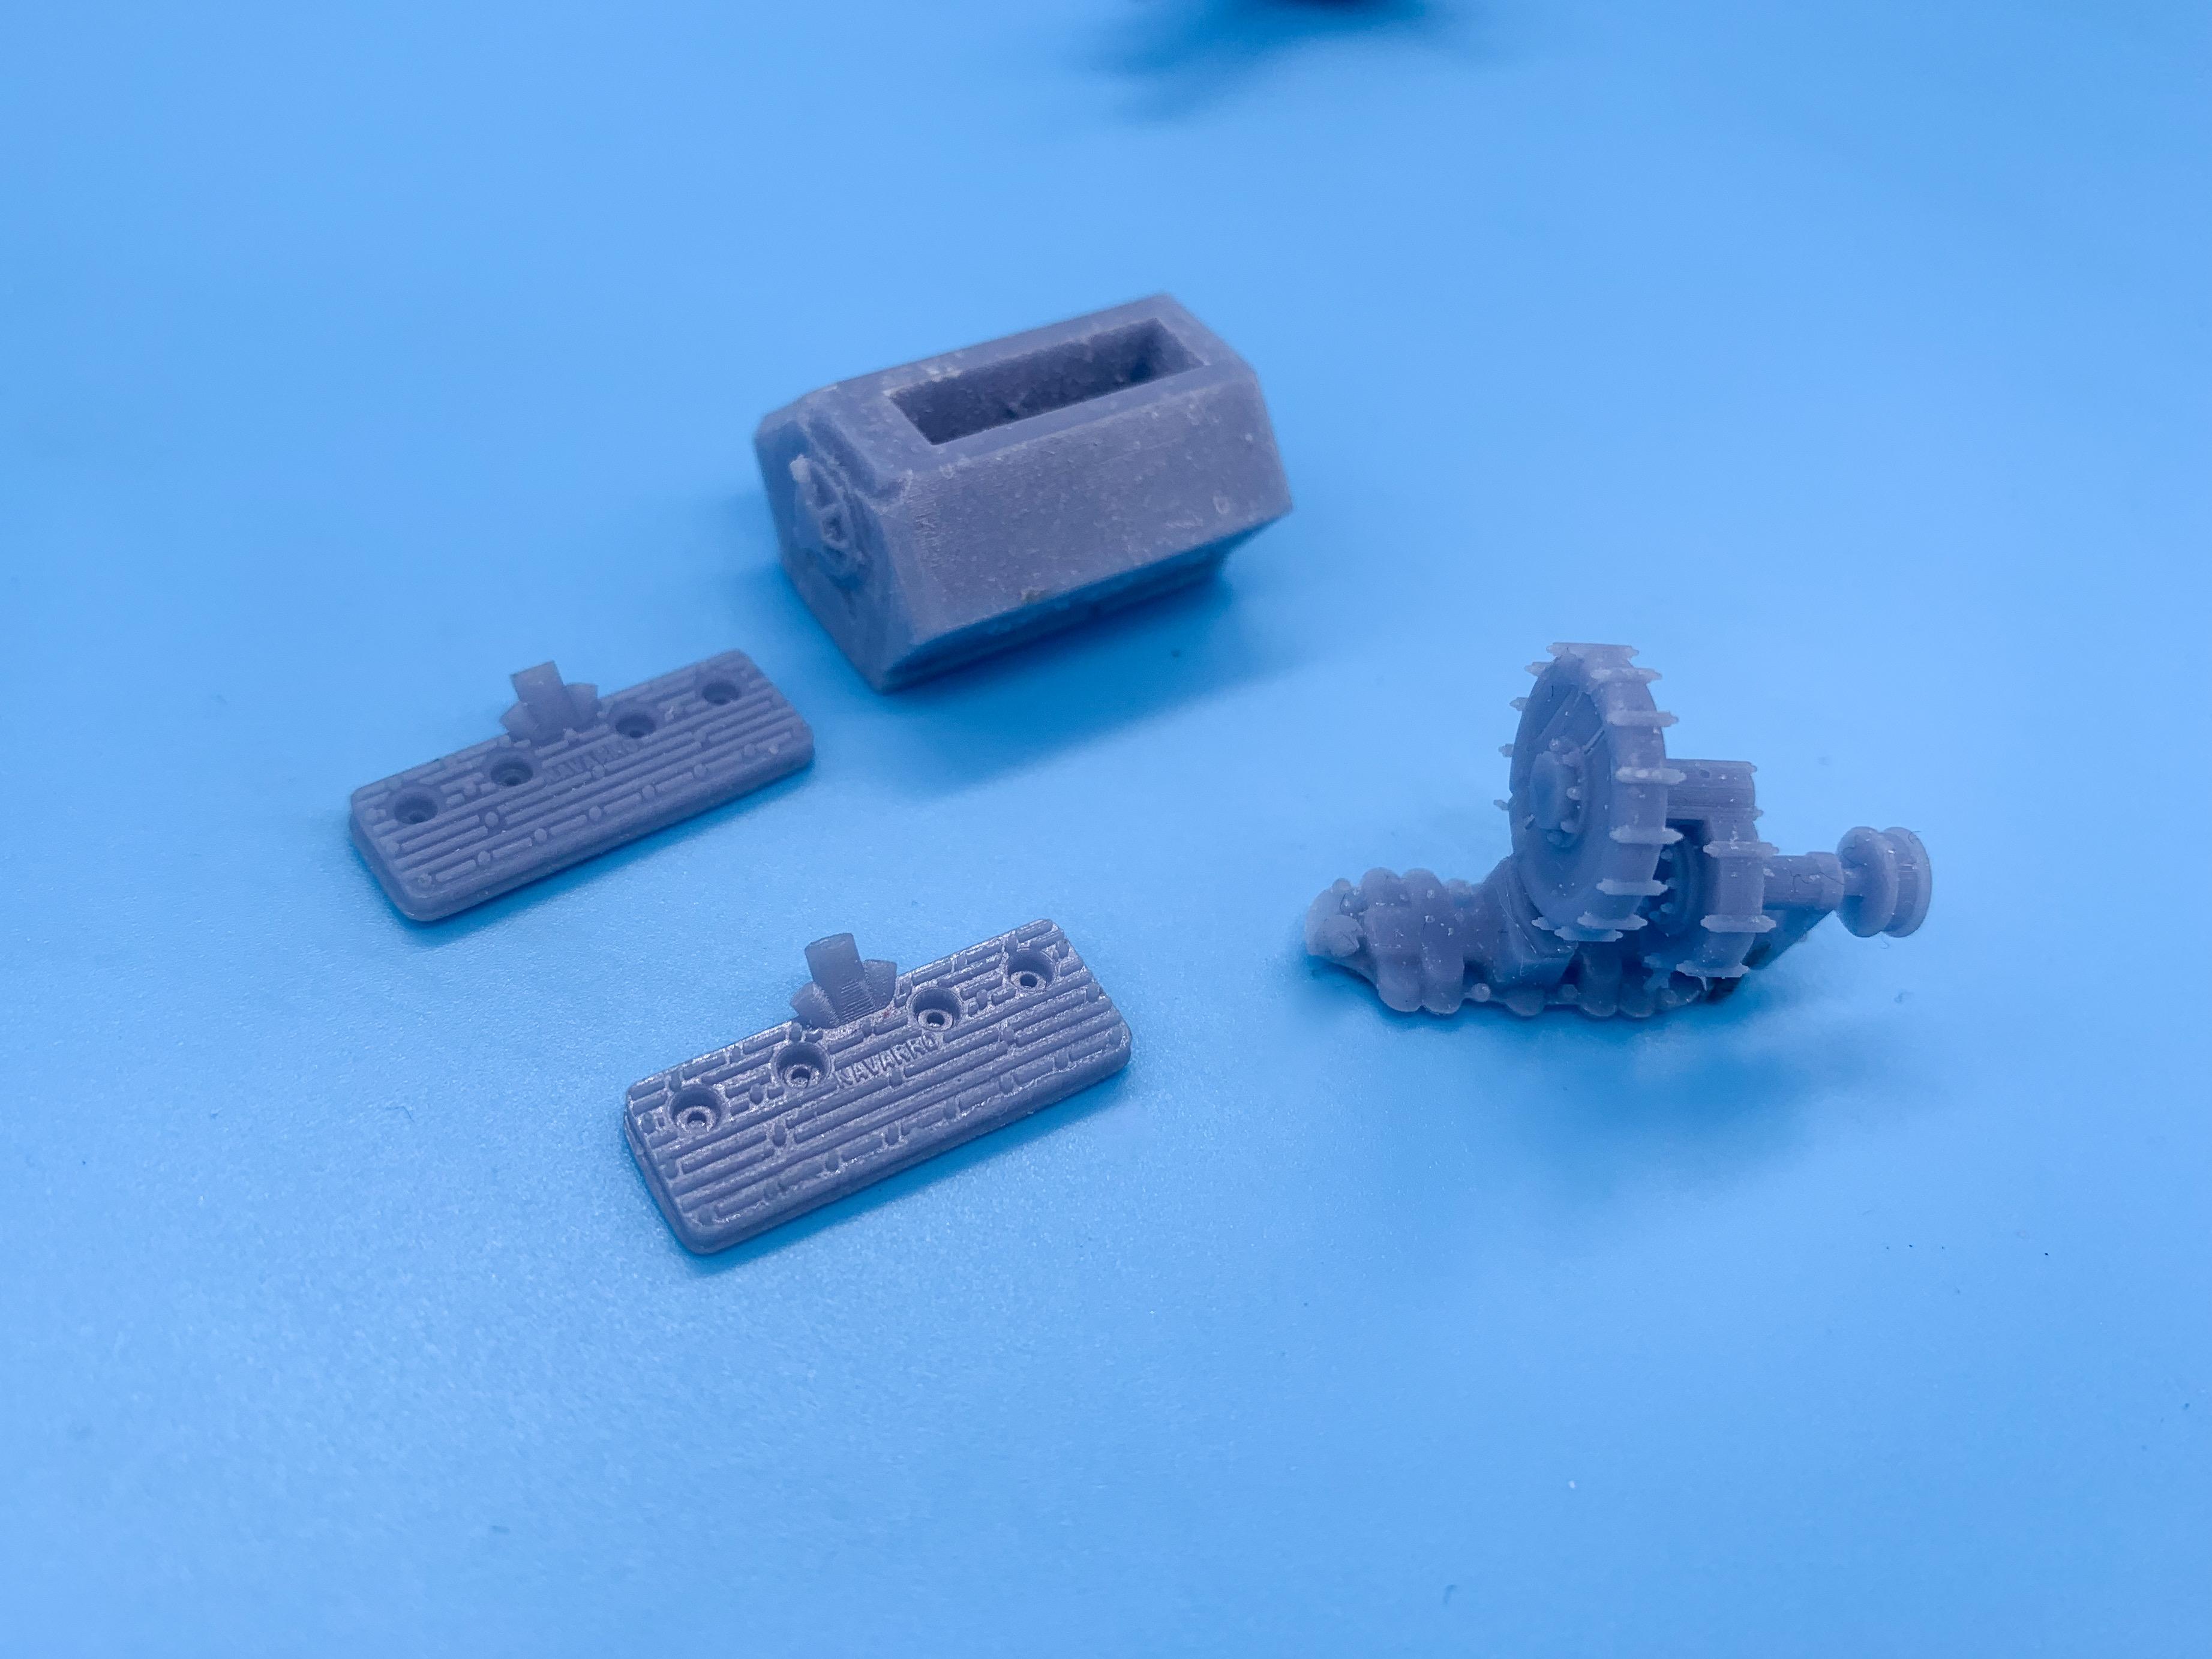
Thanks fellas! Appreciate the kind words! Yes sir! That’s the one! I have been digging through some of my old mags here trying to find the issue that that article was in, but no luck yet. Definitely the main inspiration for this one! A little progress…first up was getting the frame together with the help of the jig I made recently ($5 ‘magnetic’ board from Michael’s and $4’s worth of Home Depot magnets to stick to the not-magnetic board): Then, onto the axles. The front will be this 3D printed drilled Deuce axle and spring: I really wanted to keep the lines of the frame super simple and clean, so no zee…but that necessitated that super-high (and possibly dangerous) hanger…making a sacrifice in terms of real life safety and sensibility in return for hitting the look I have in my head on this one. I’m pleased with the frame so far though - looks like just the idea I had in my head! The rear will be this nice 3D printed Quickchange with a Revell (Atlantis) spring: Wheels rear are also new-old vintage Revell parts - are these Cragers? Need to find some matching front ones…. I’ll likely turn some nice aluminum rims for the front and rear of these when I get a few minutes: Next two major jobs are finishing up linkages for the suspension, and then making motor mounts to mount this Matty Custom Scale Flathead…check out the detail on these parts! Not much progress, but I’m having fun! More soon (soon as I’ve done more…) - thanks for looking!
-
Maybe Steve Scott is finally getting his new Uncertain T kits made…
-
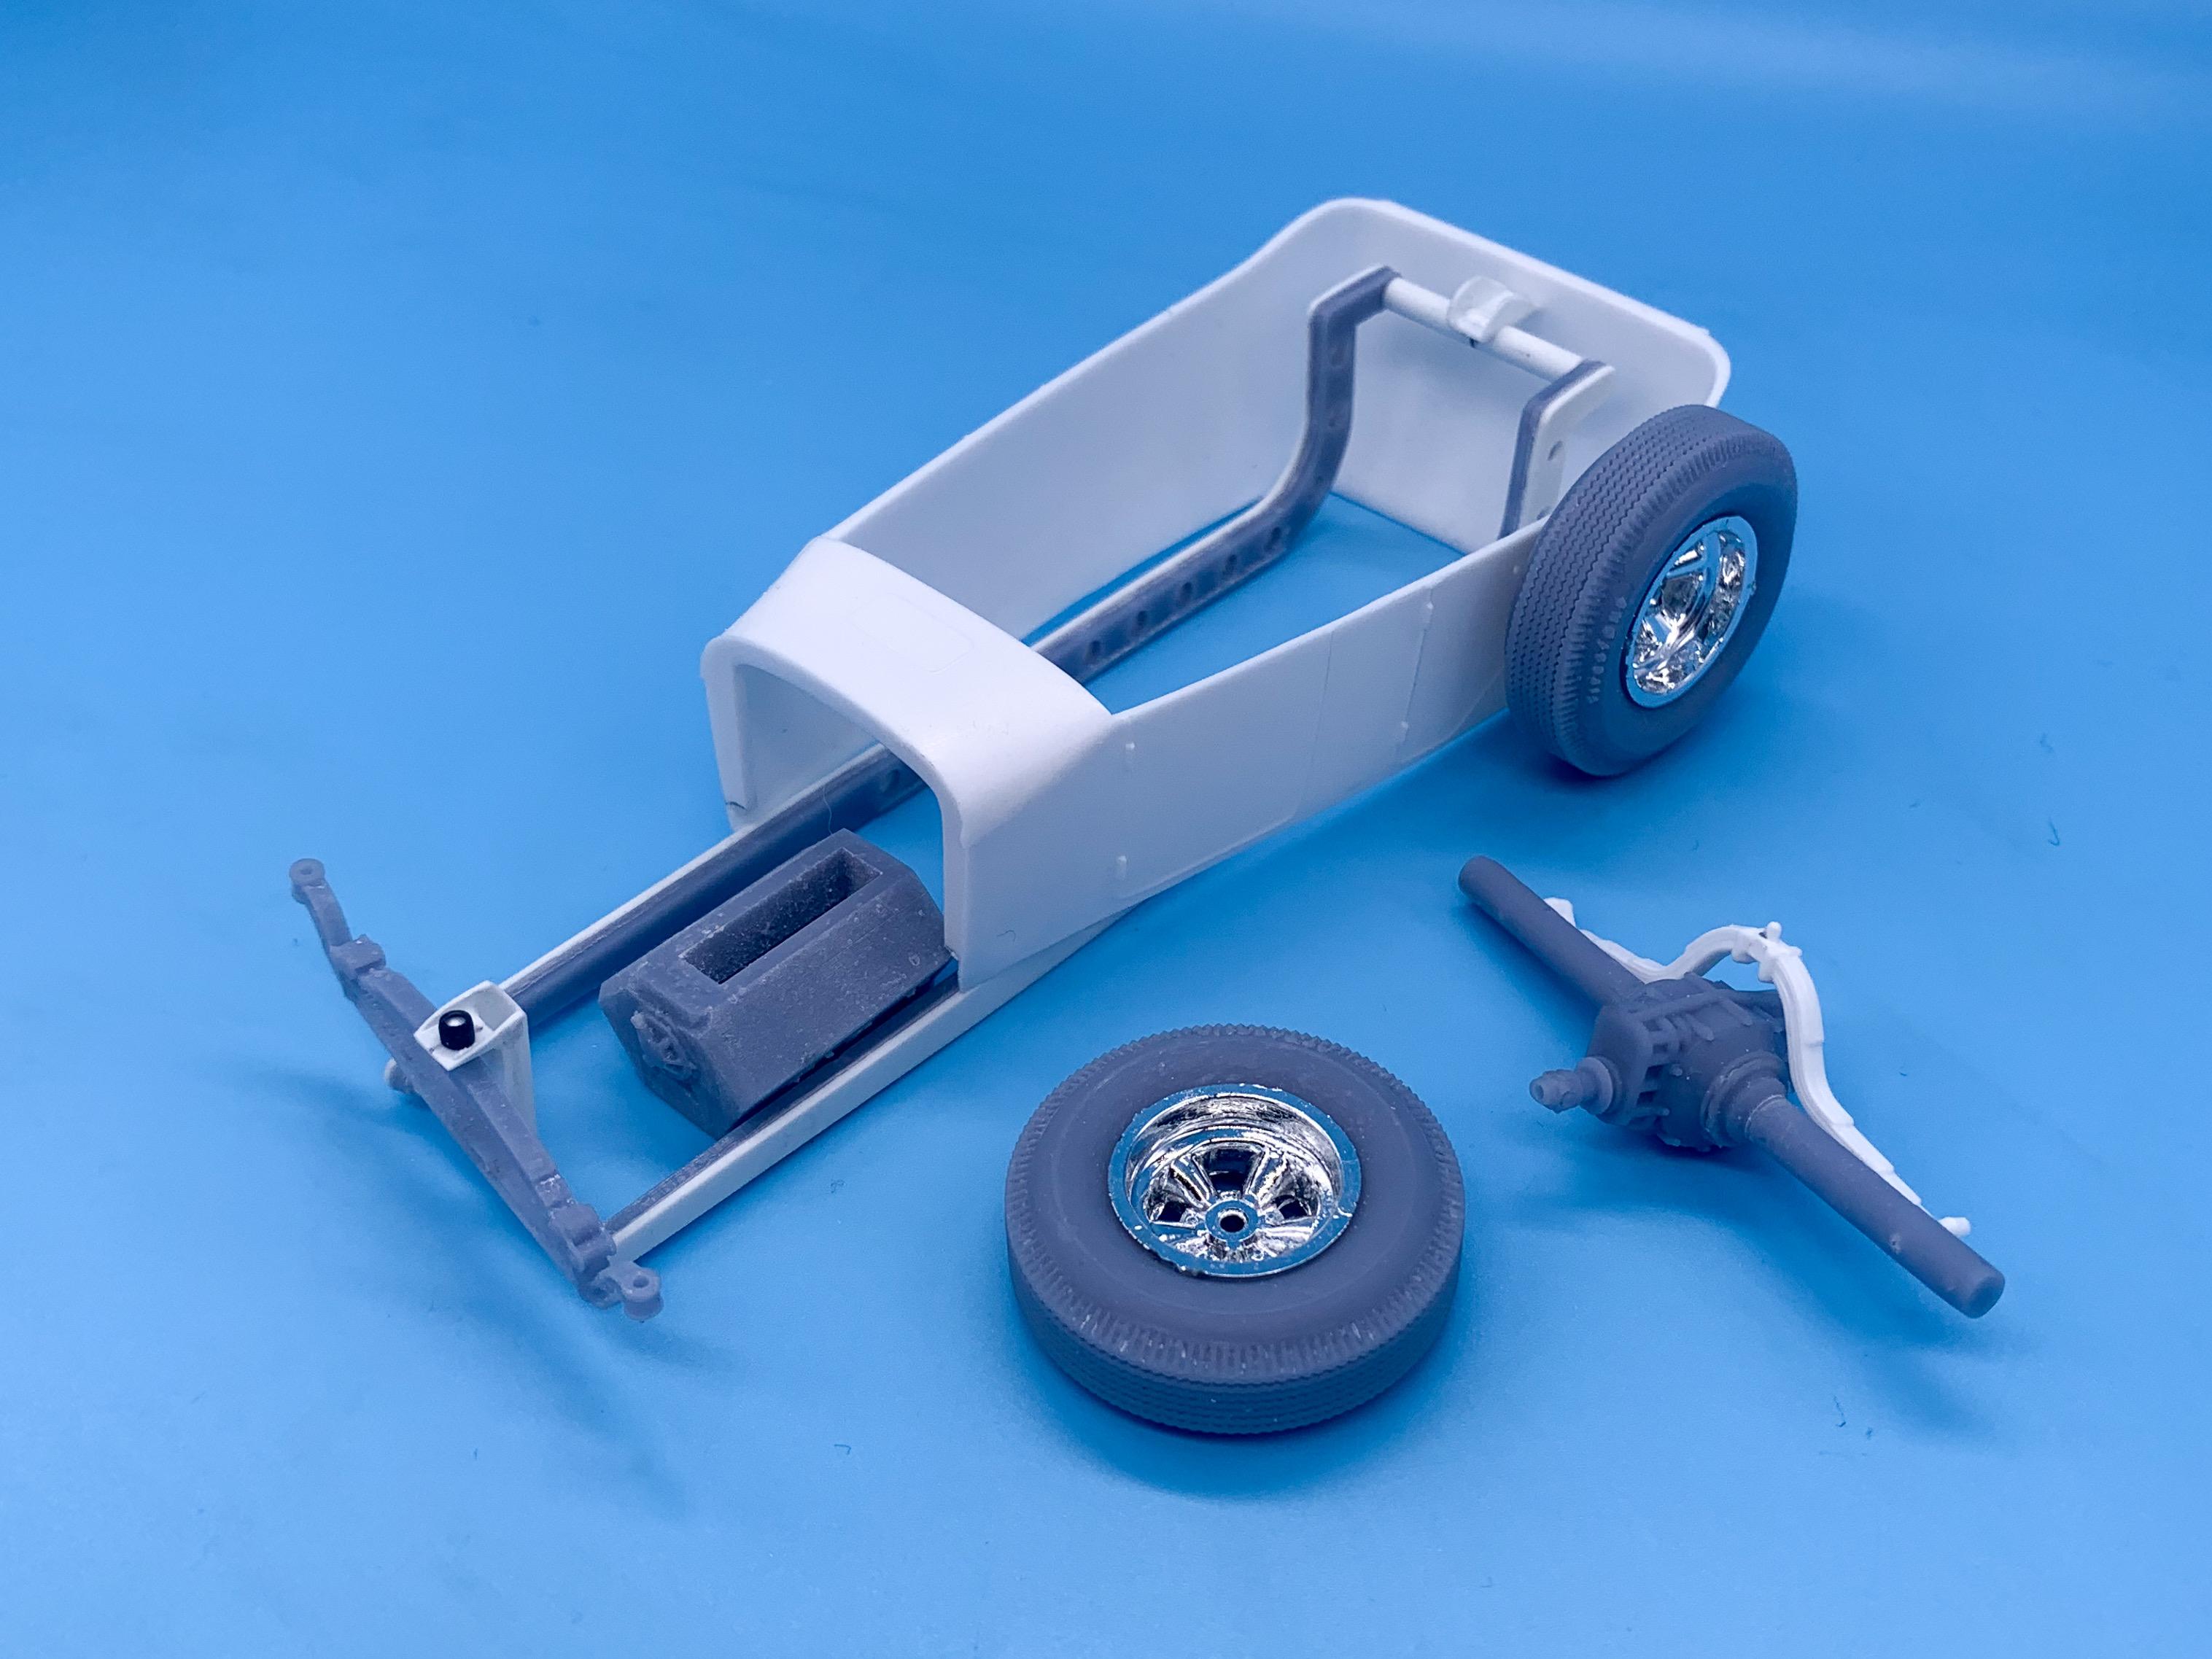
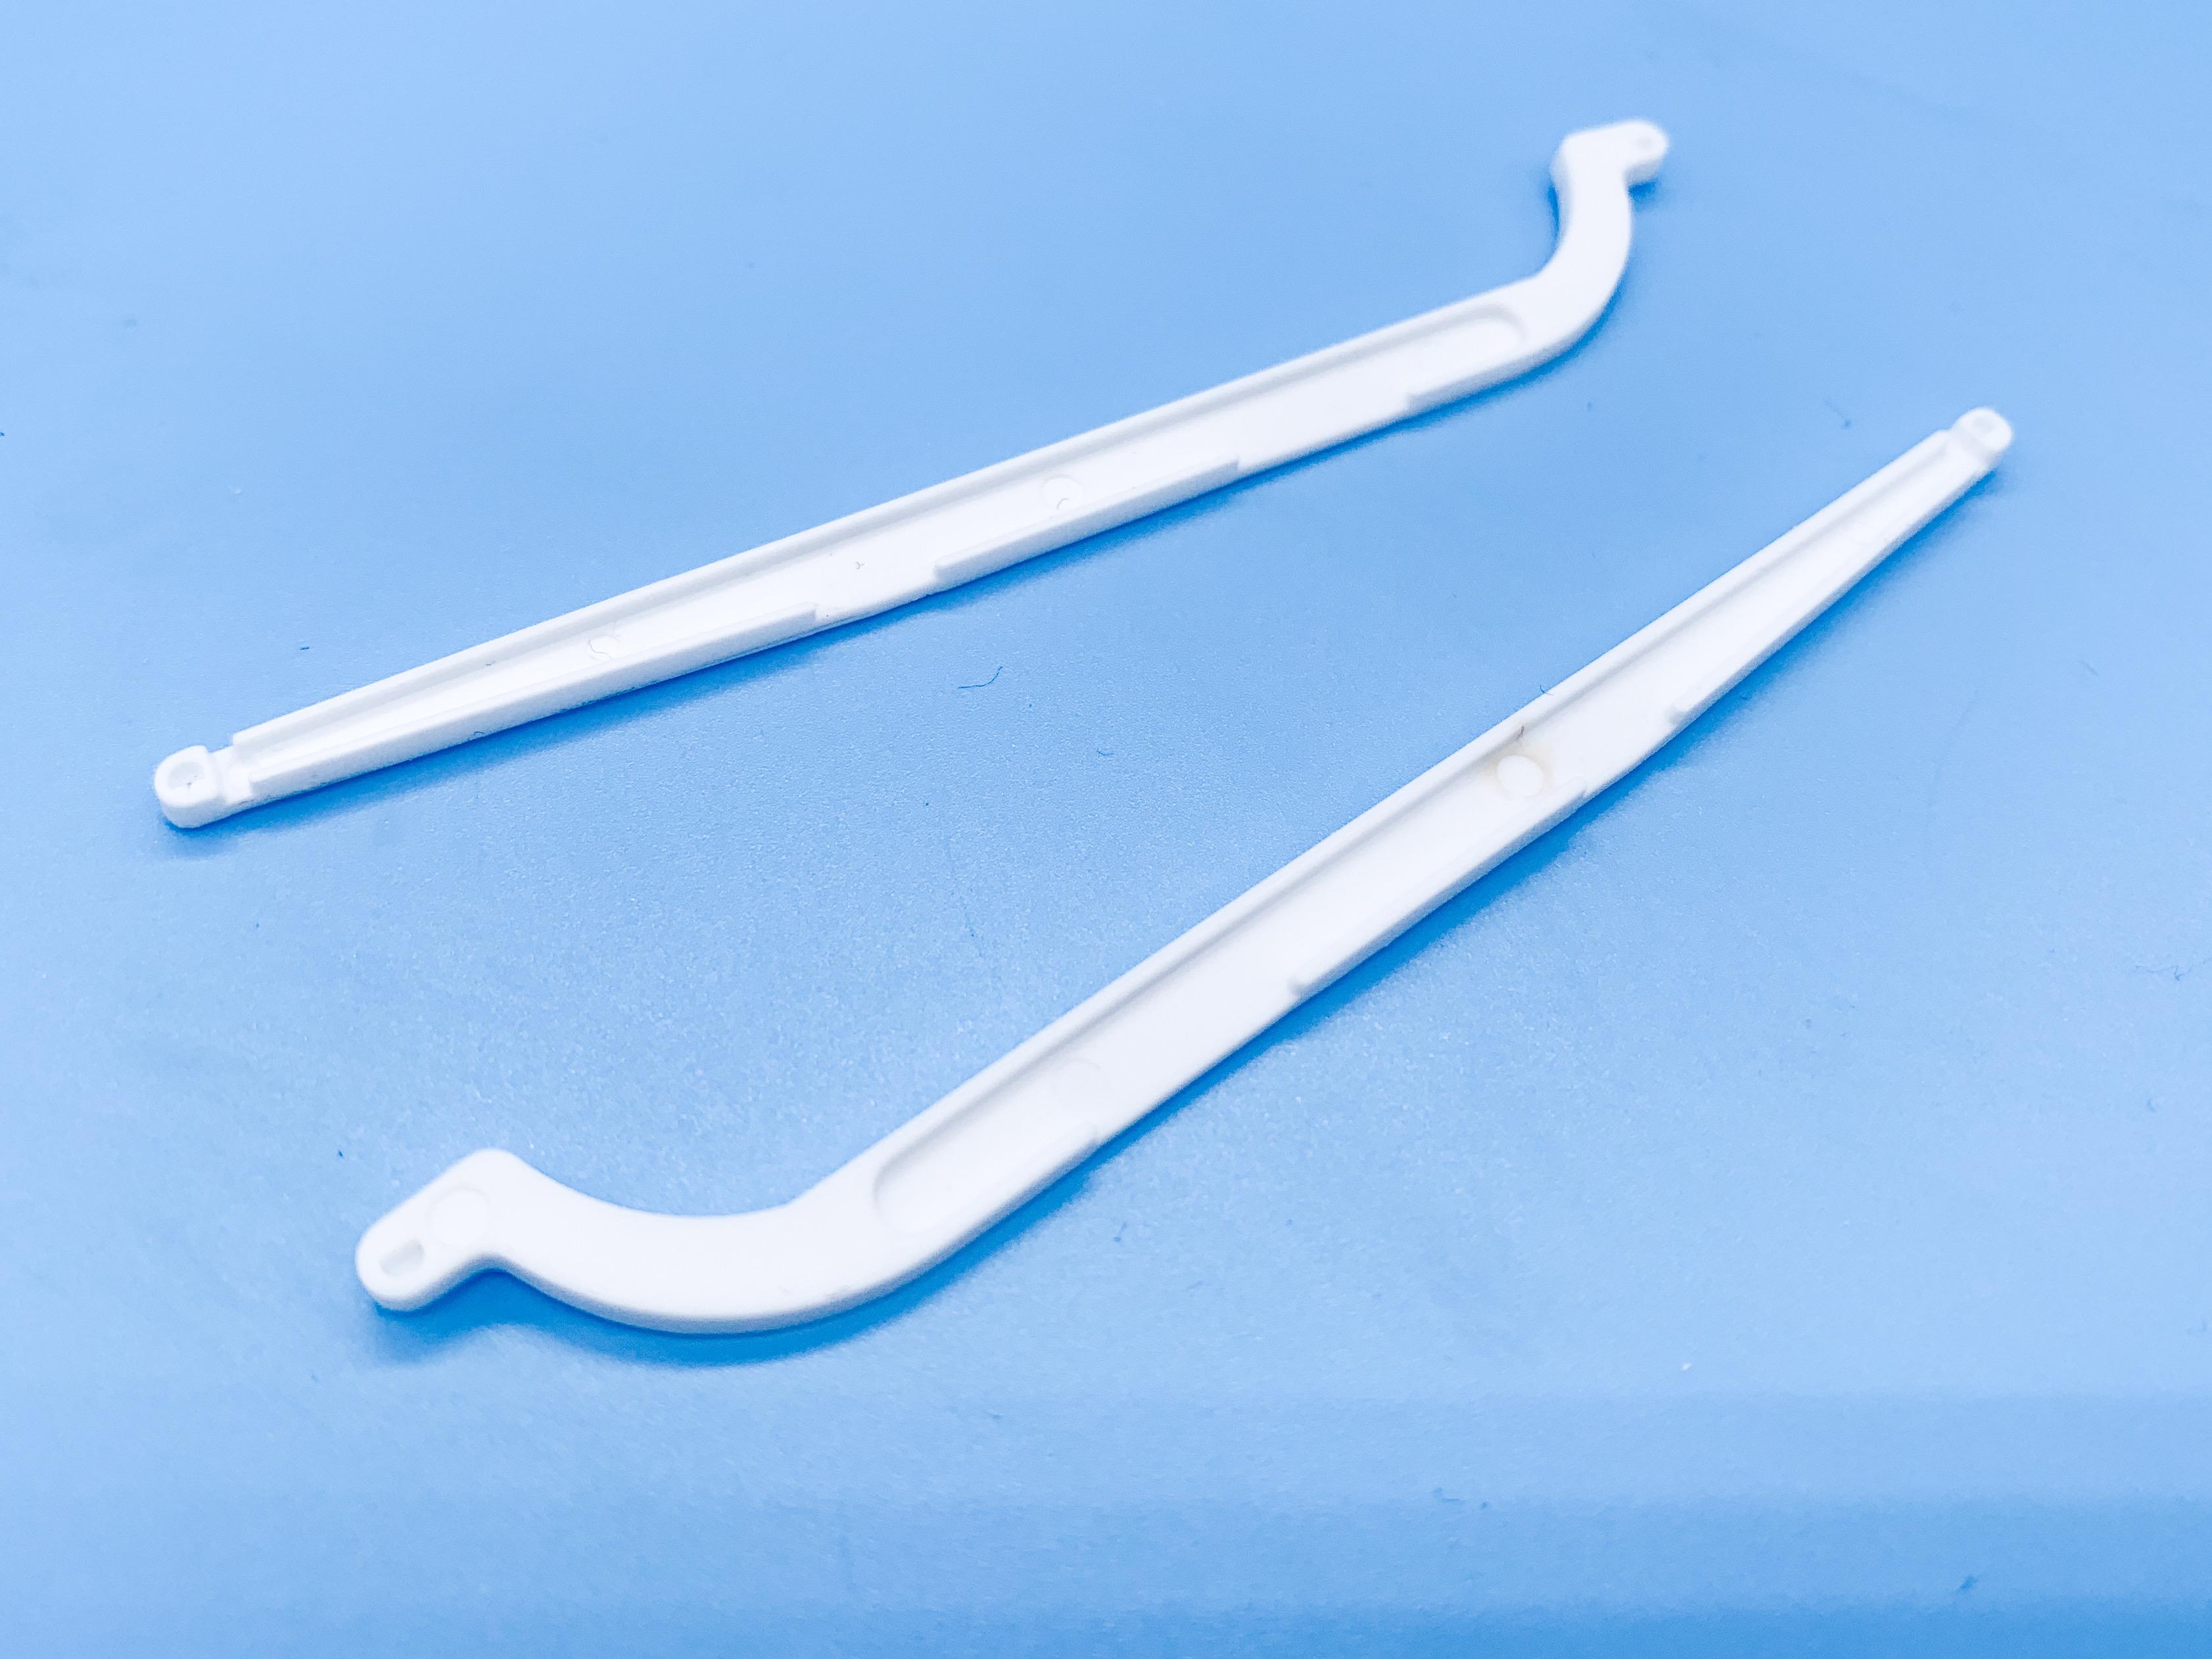
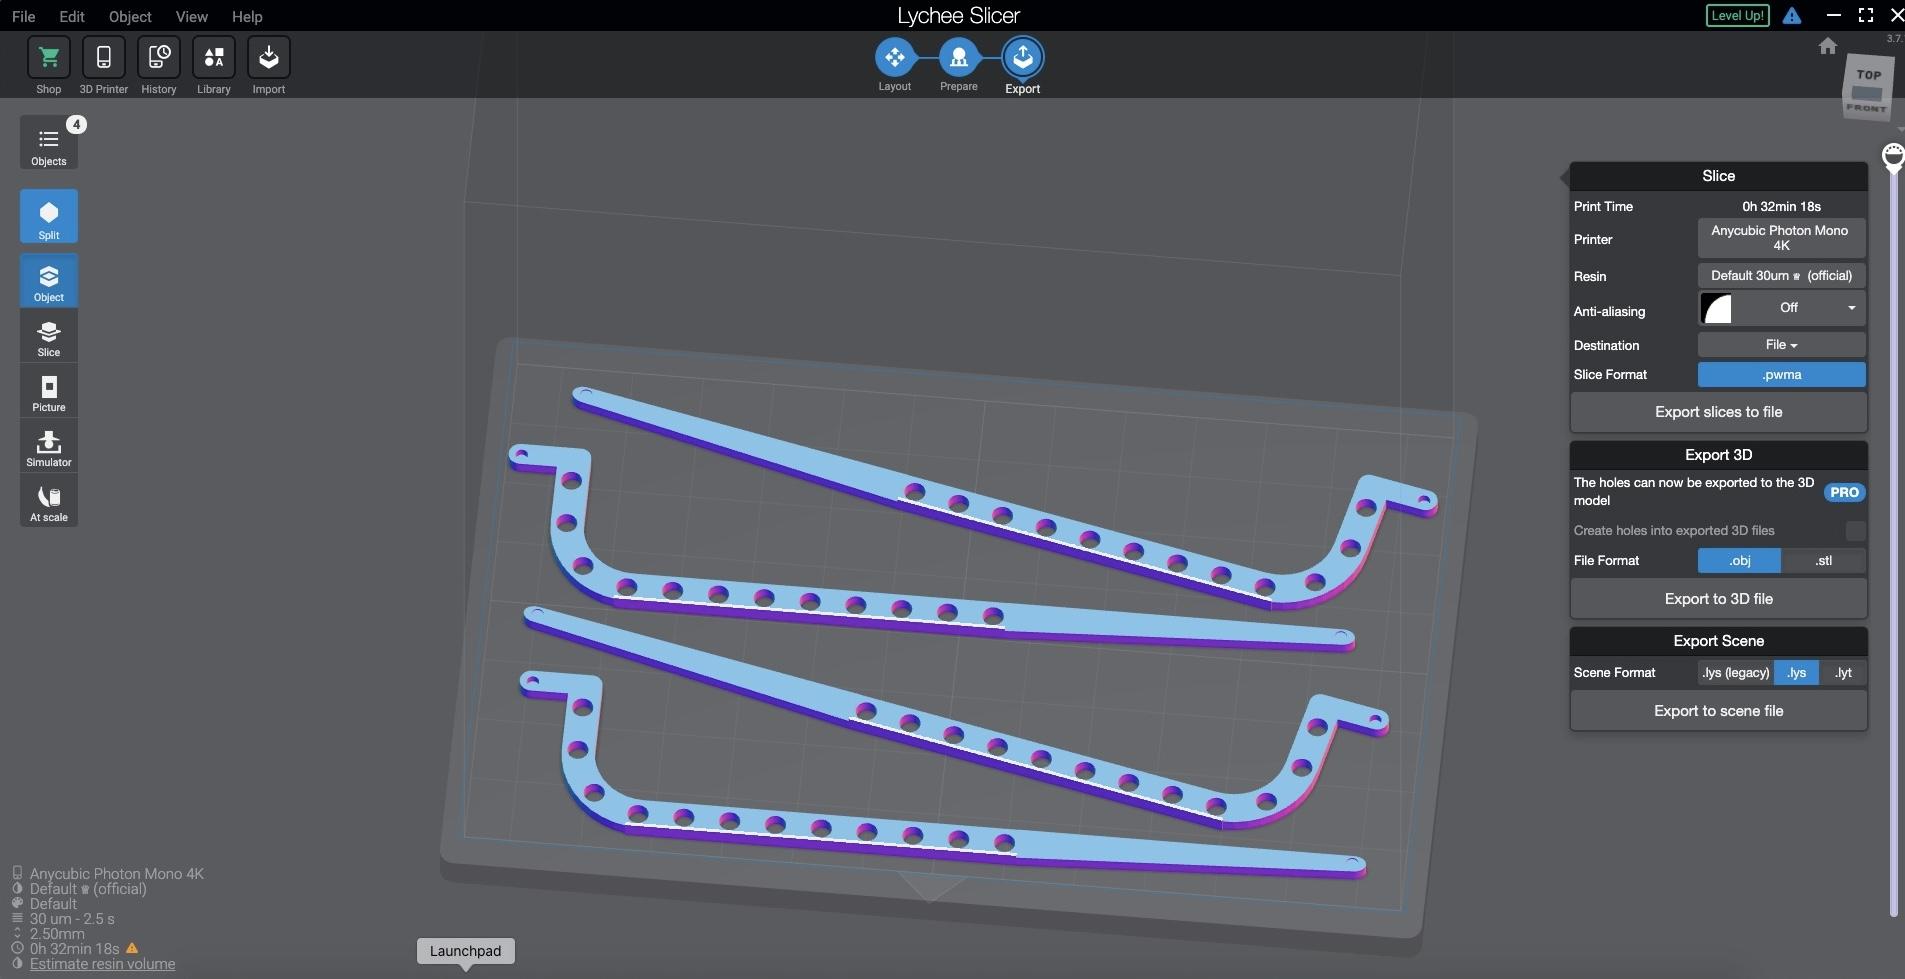
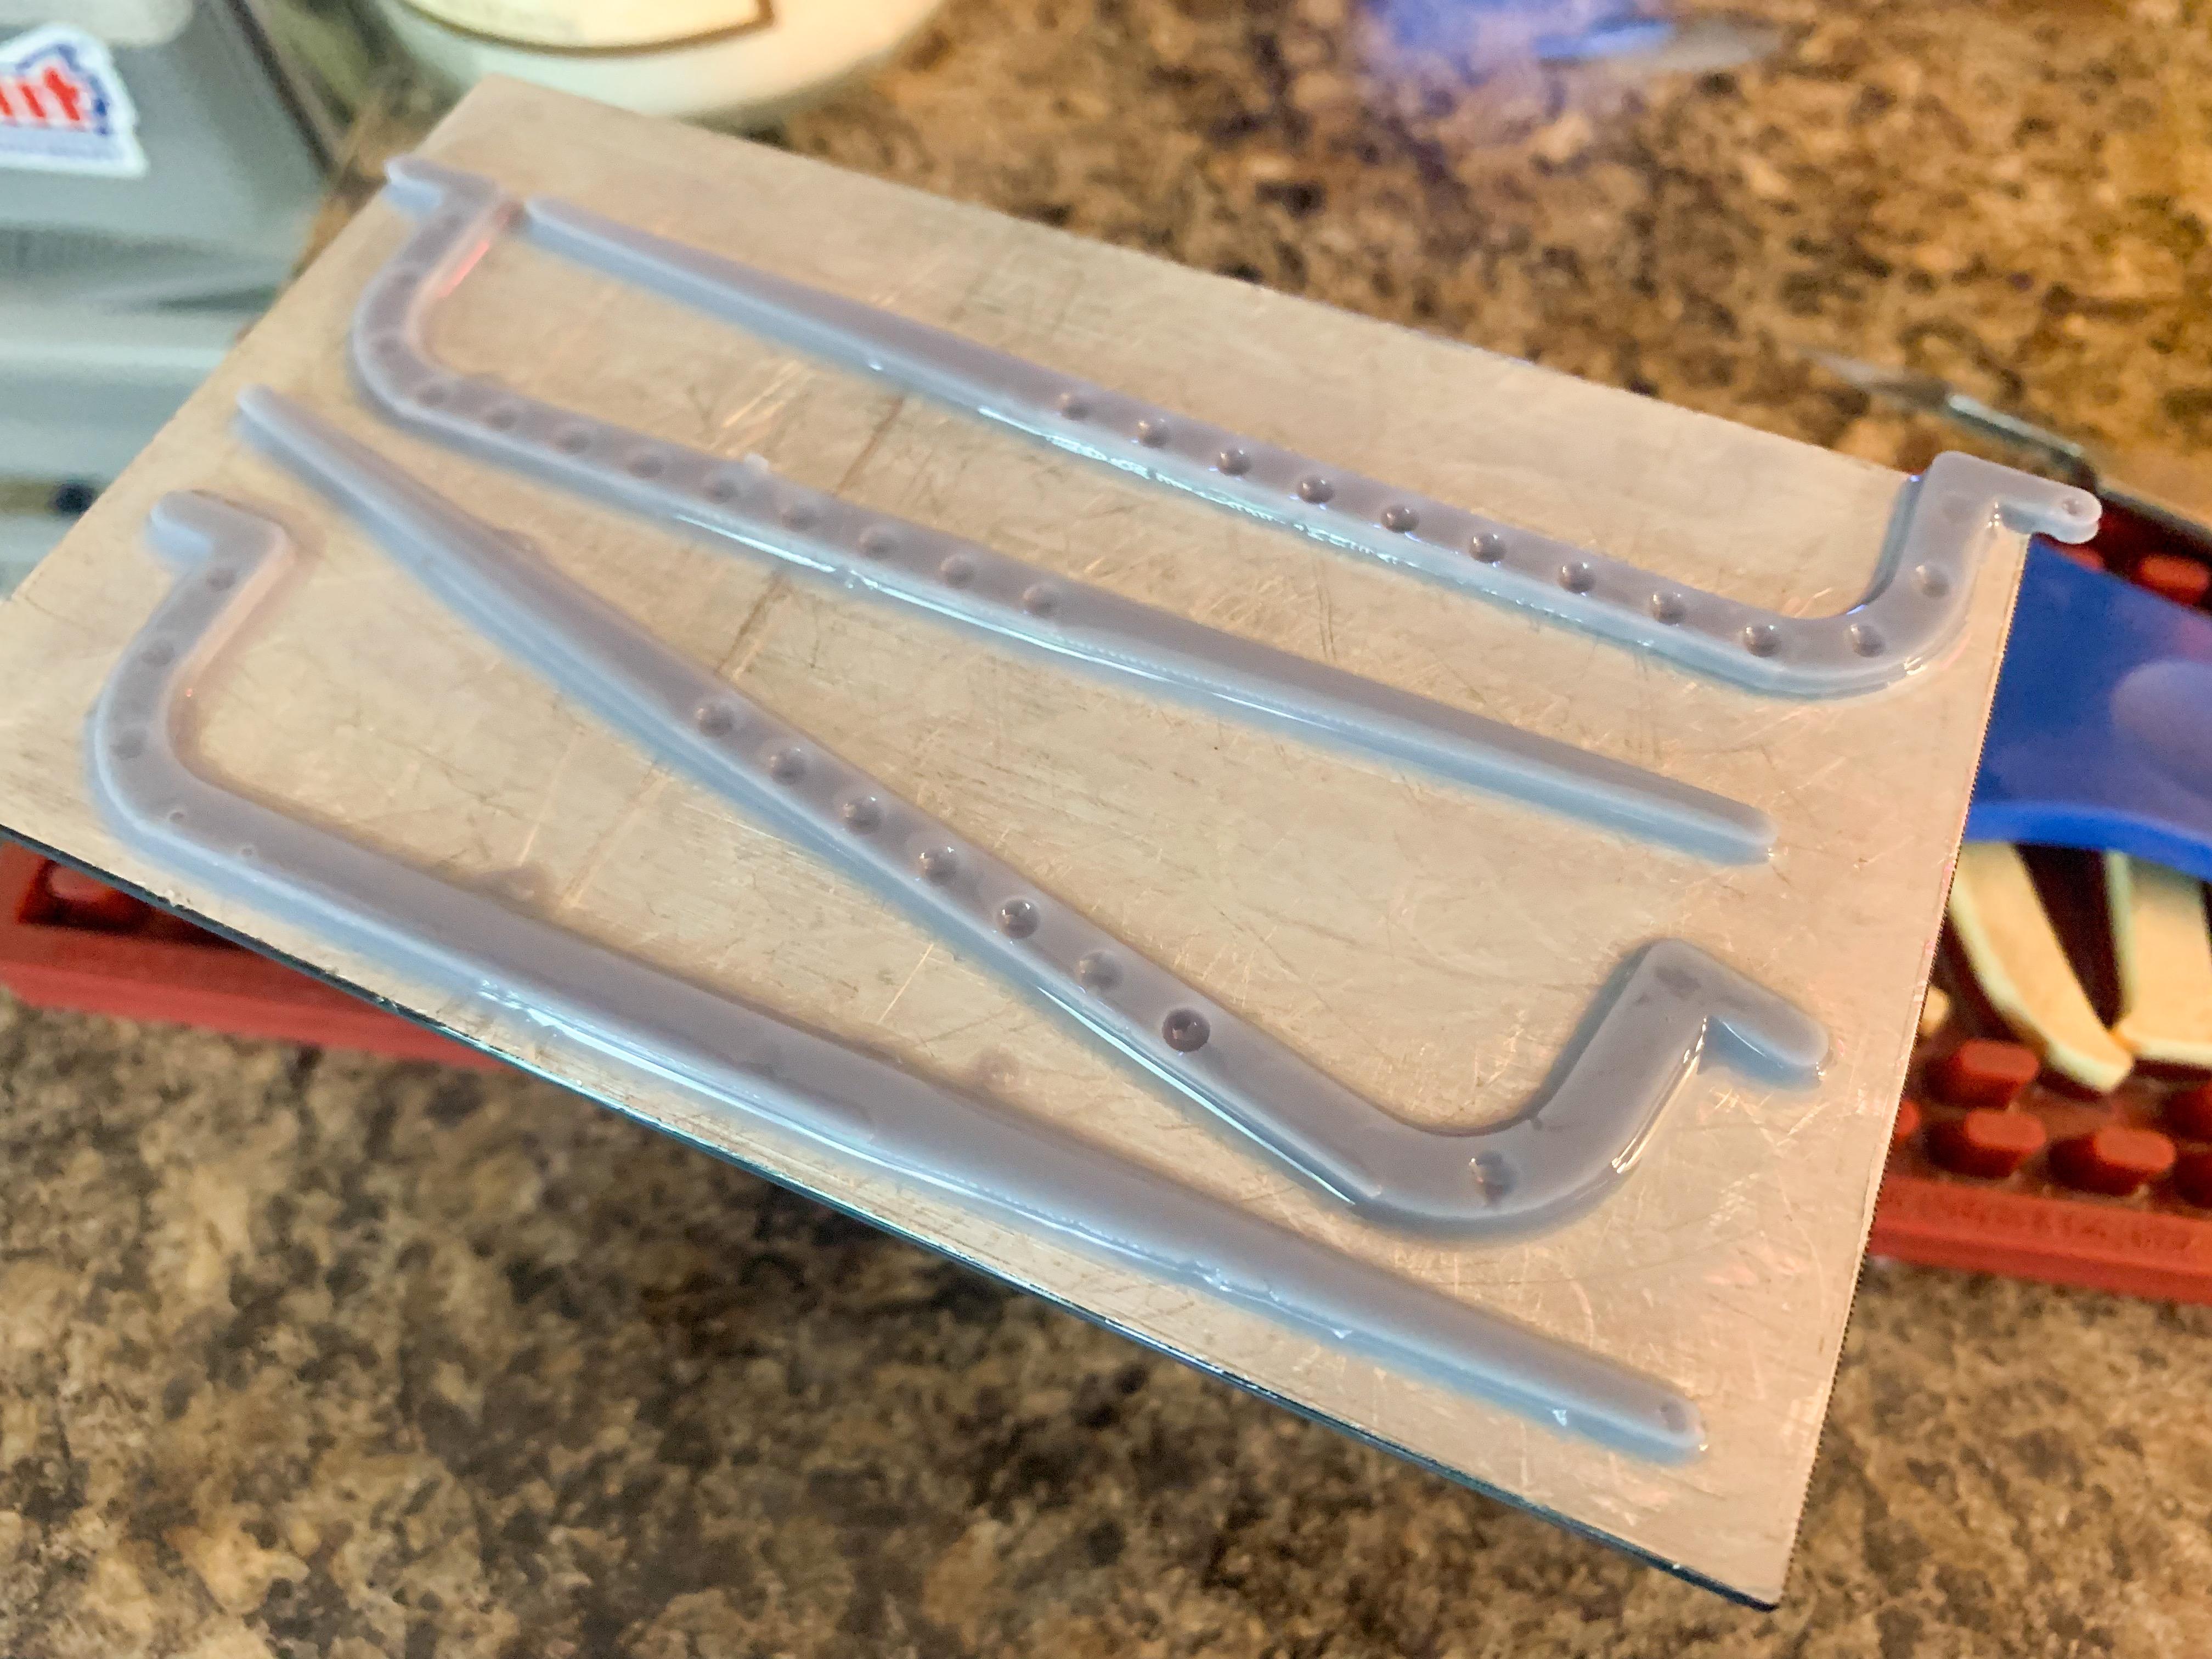
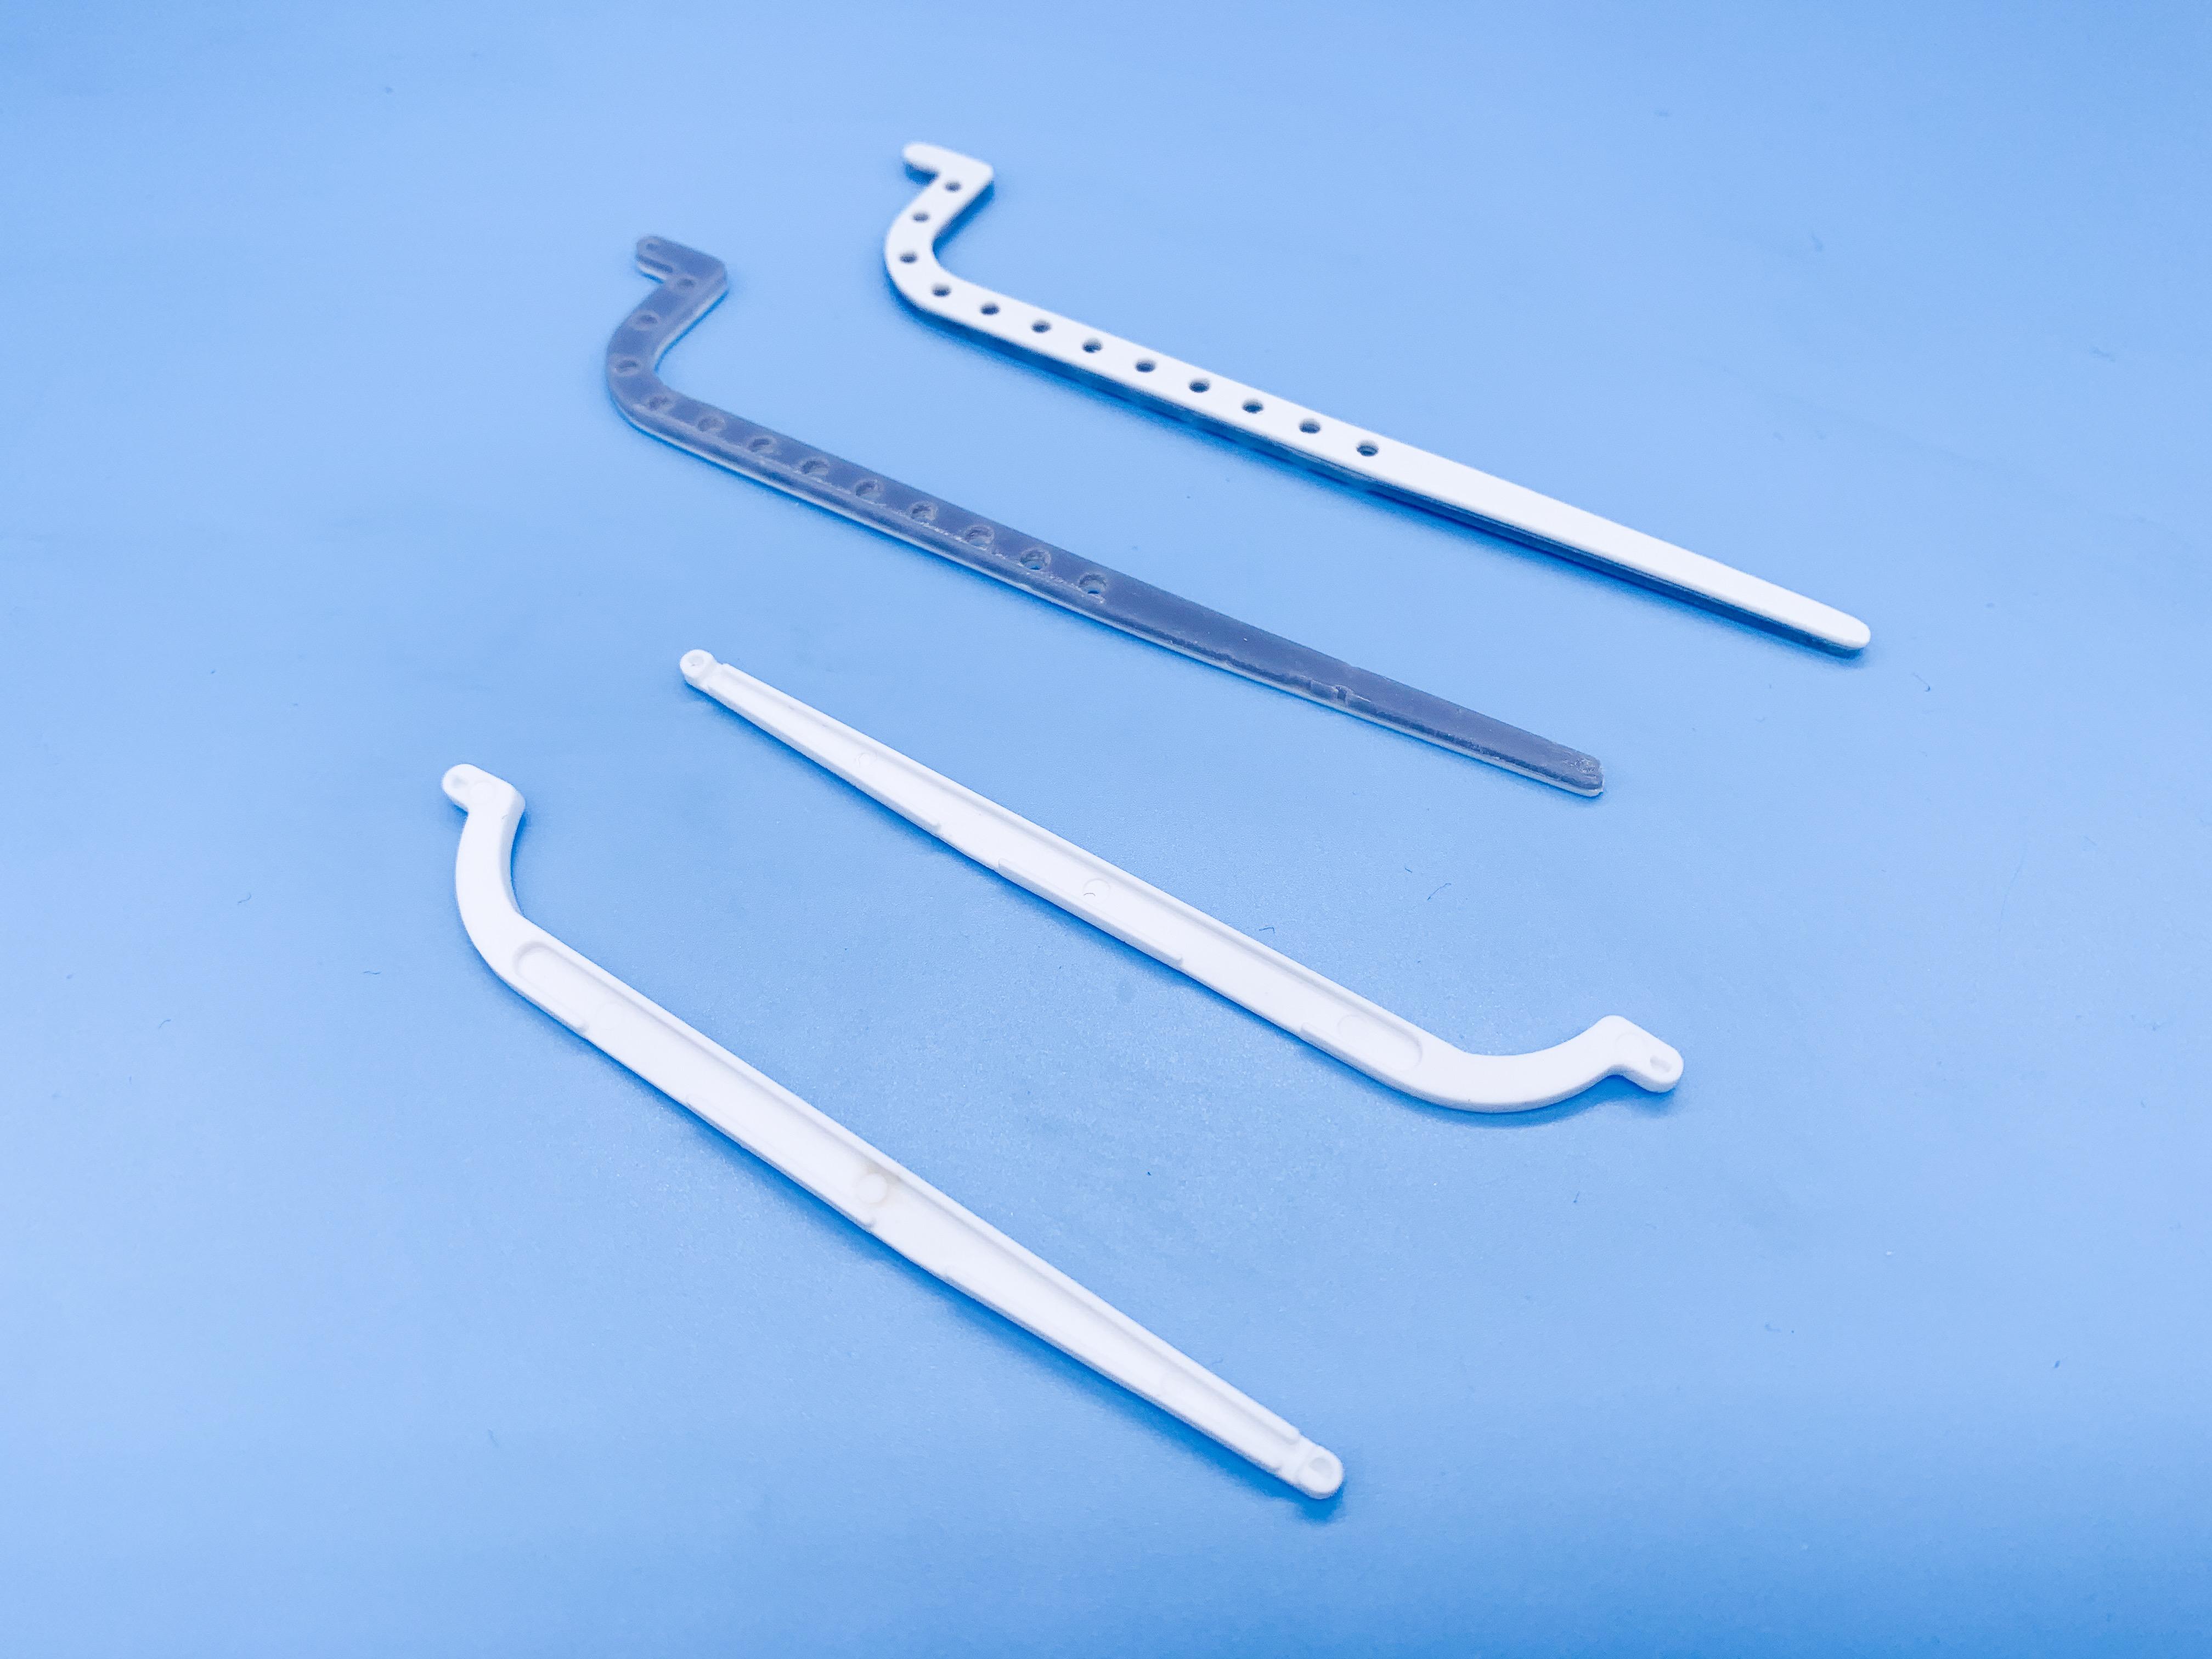
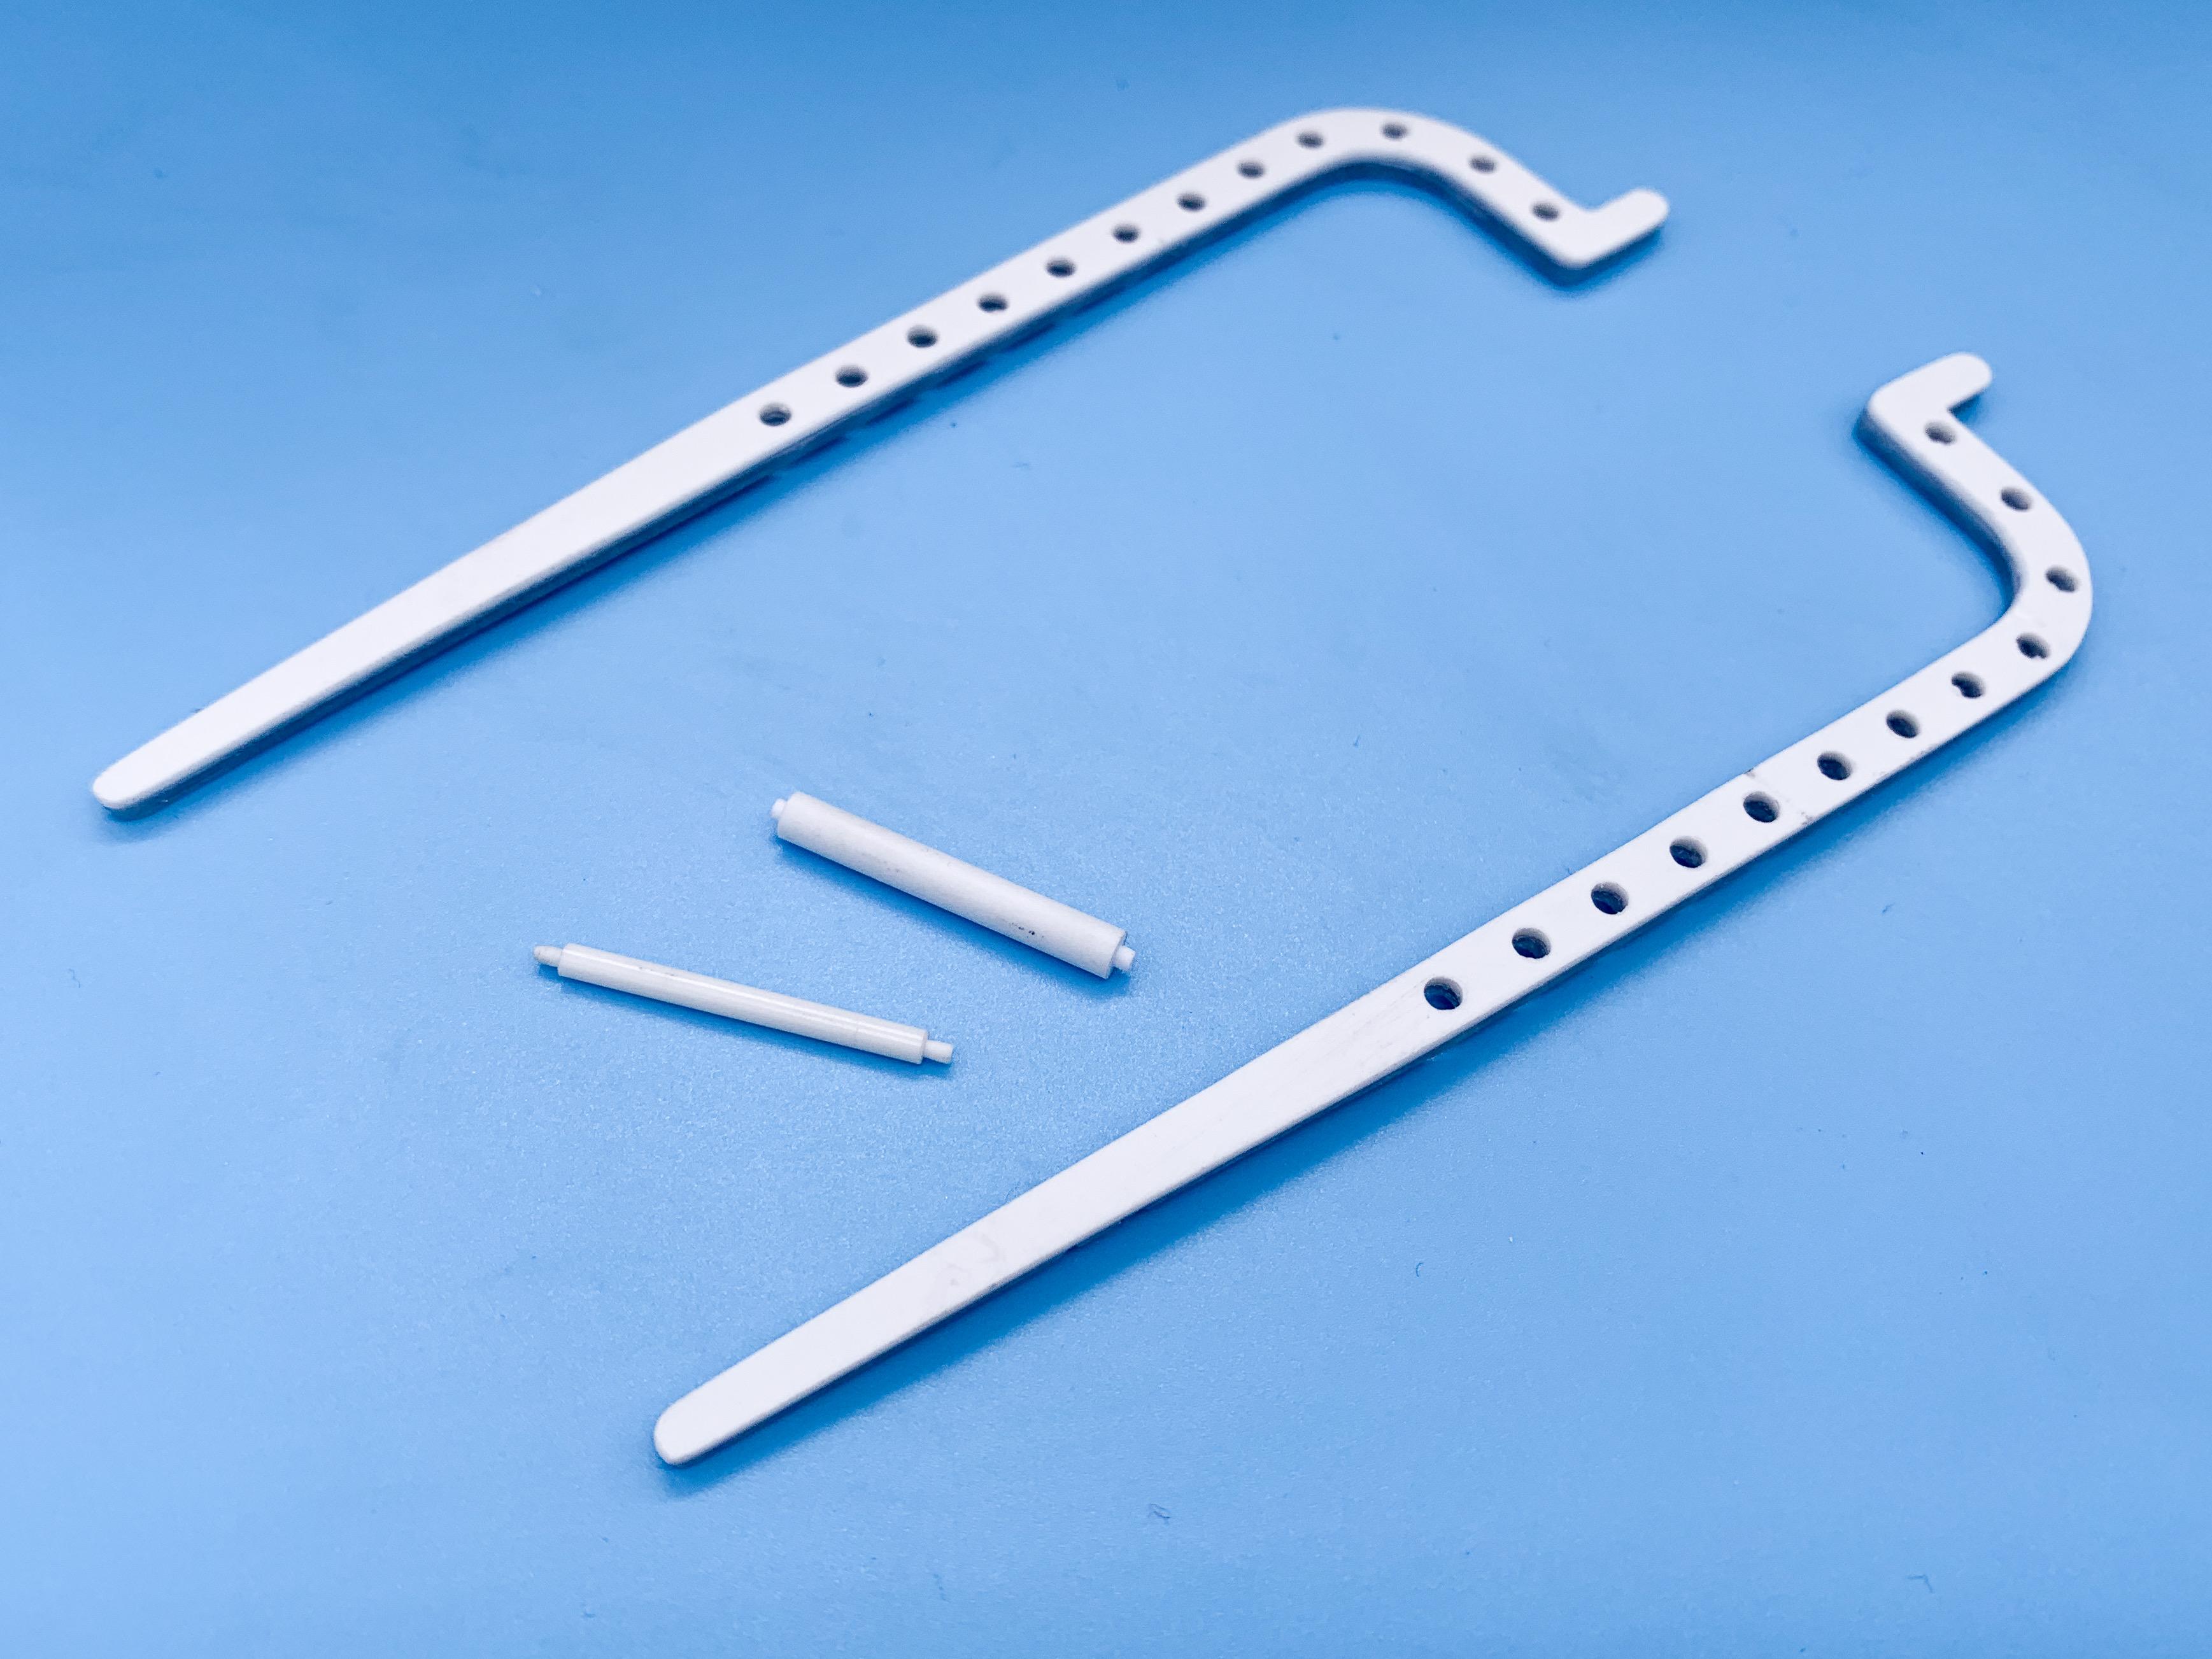
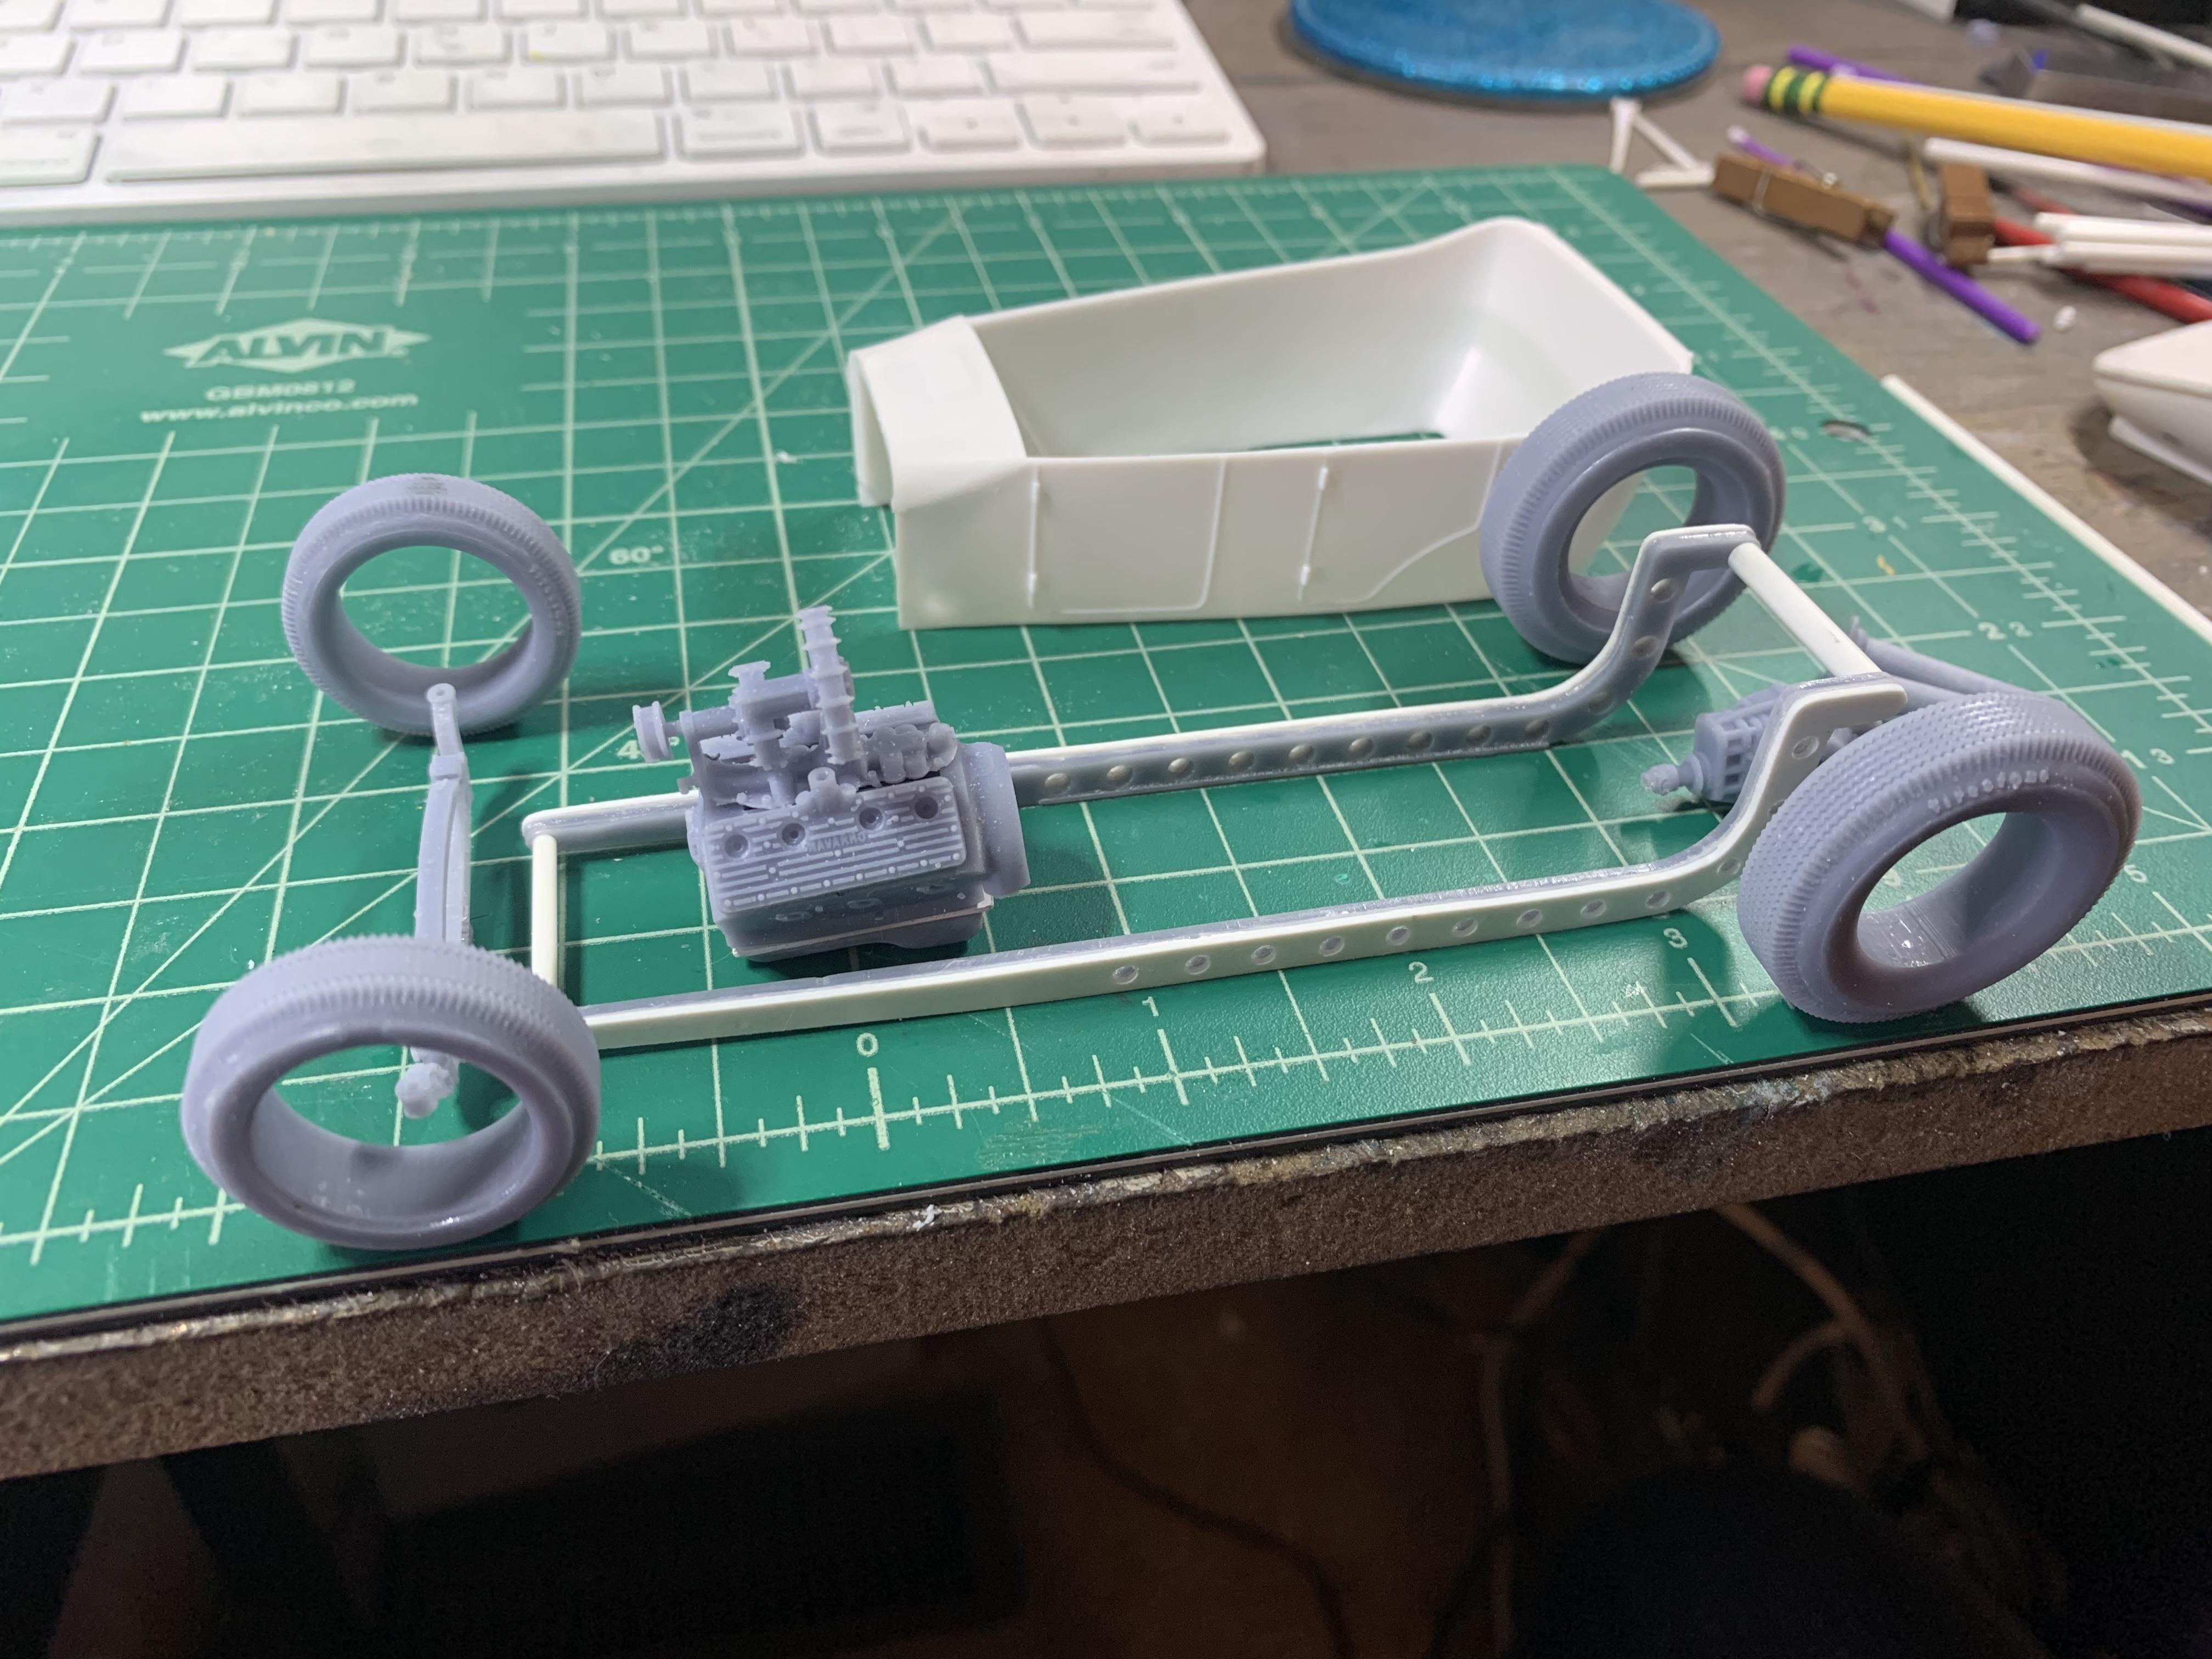
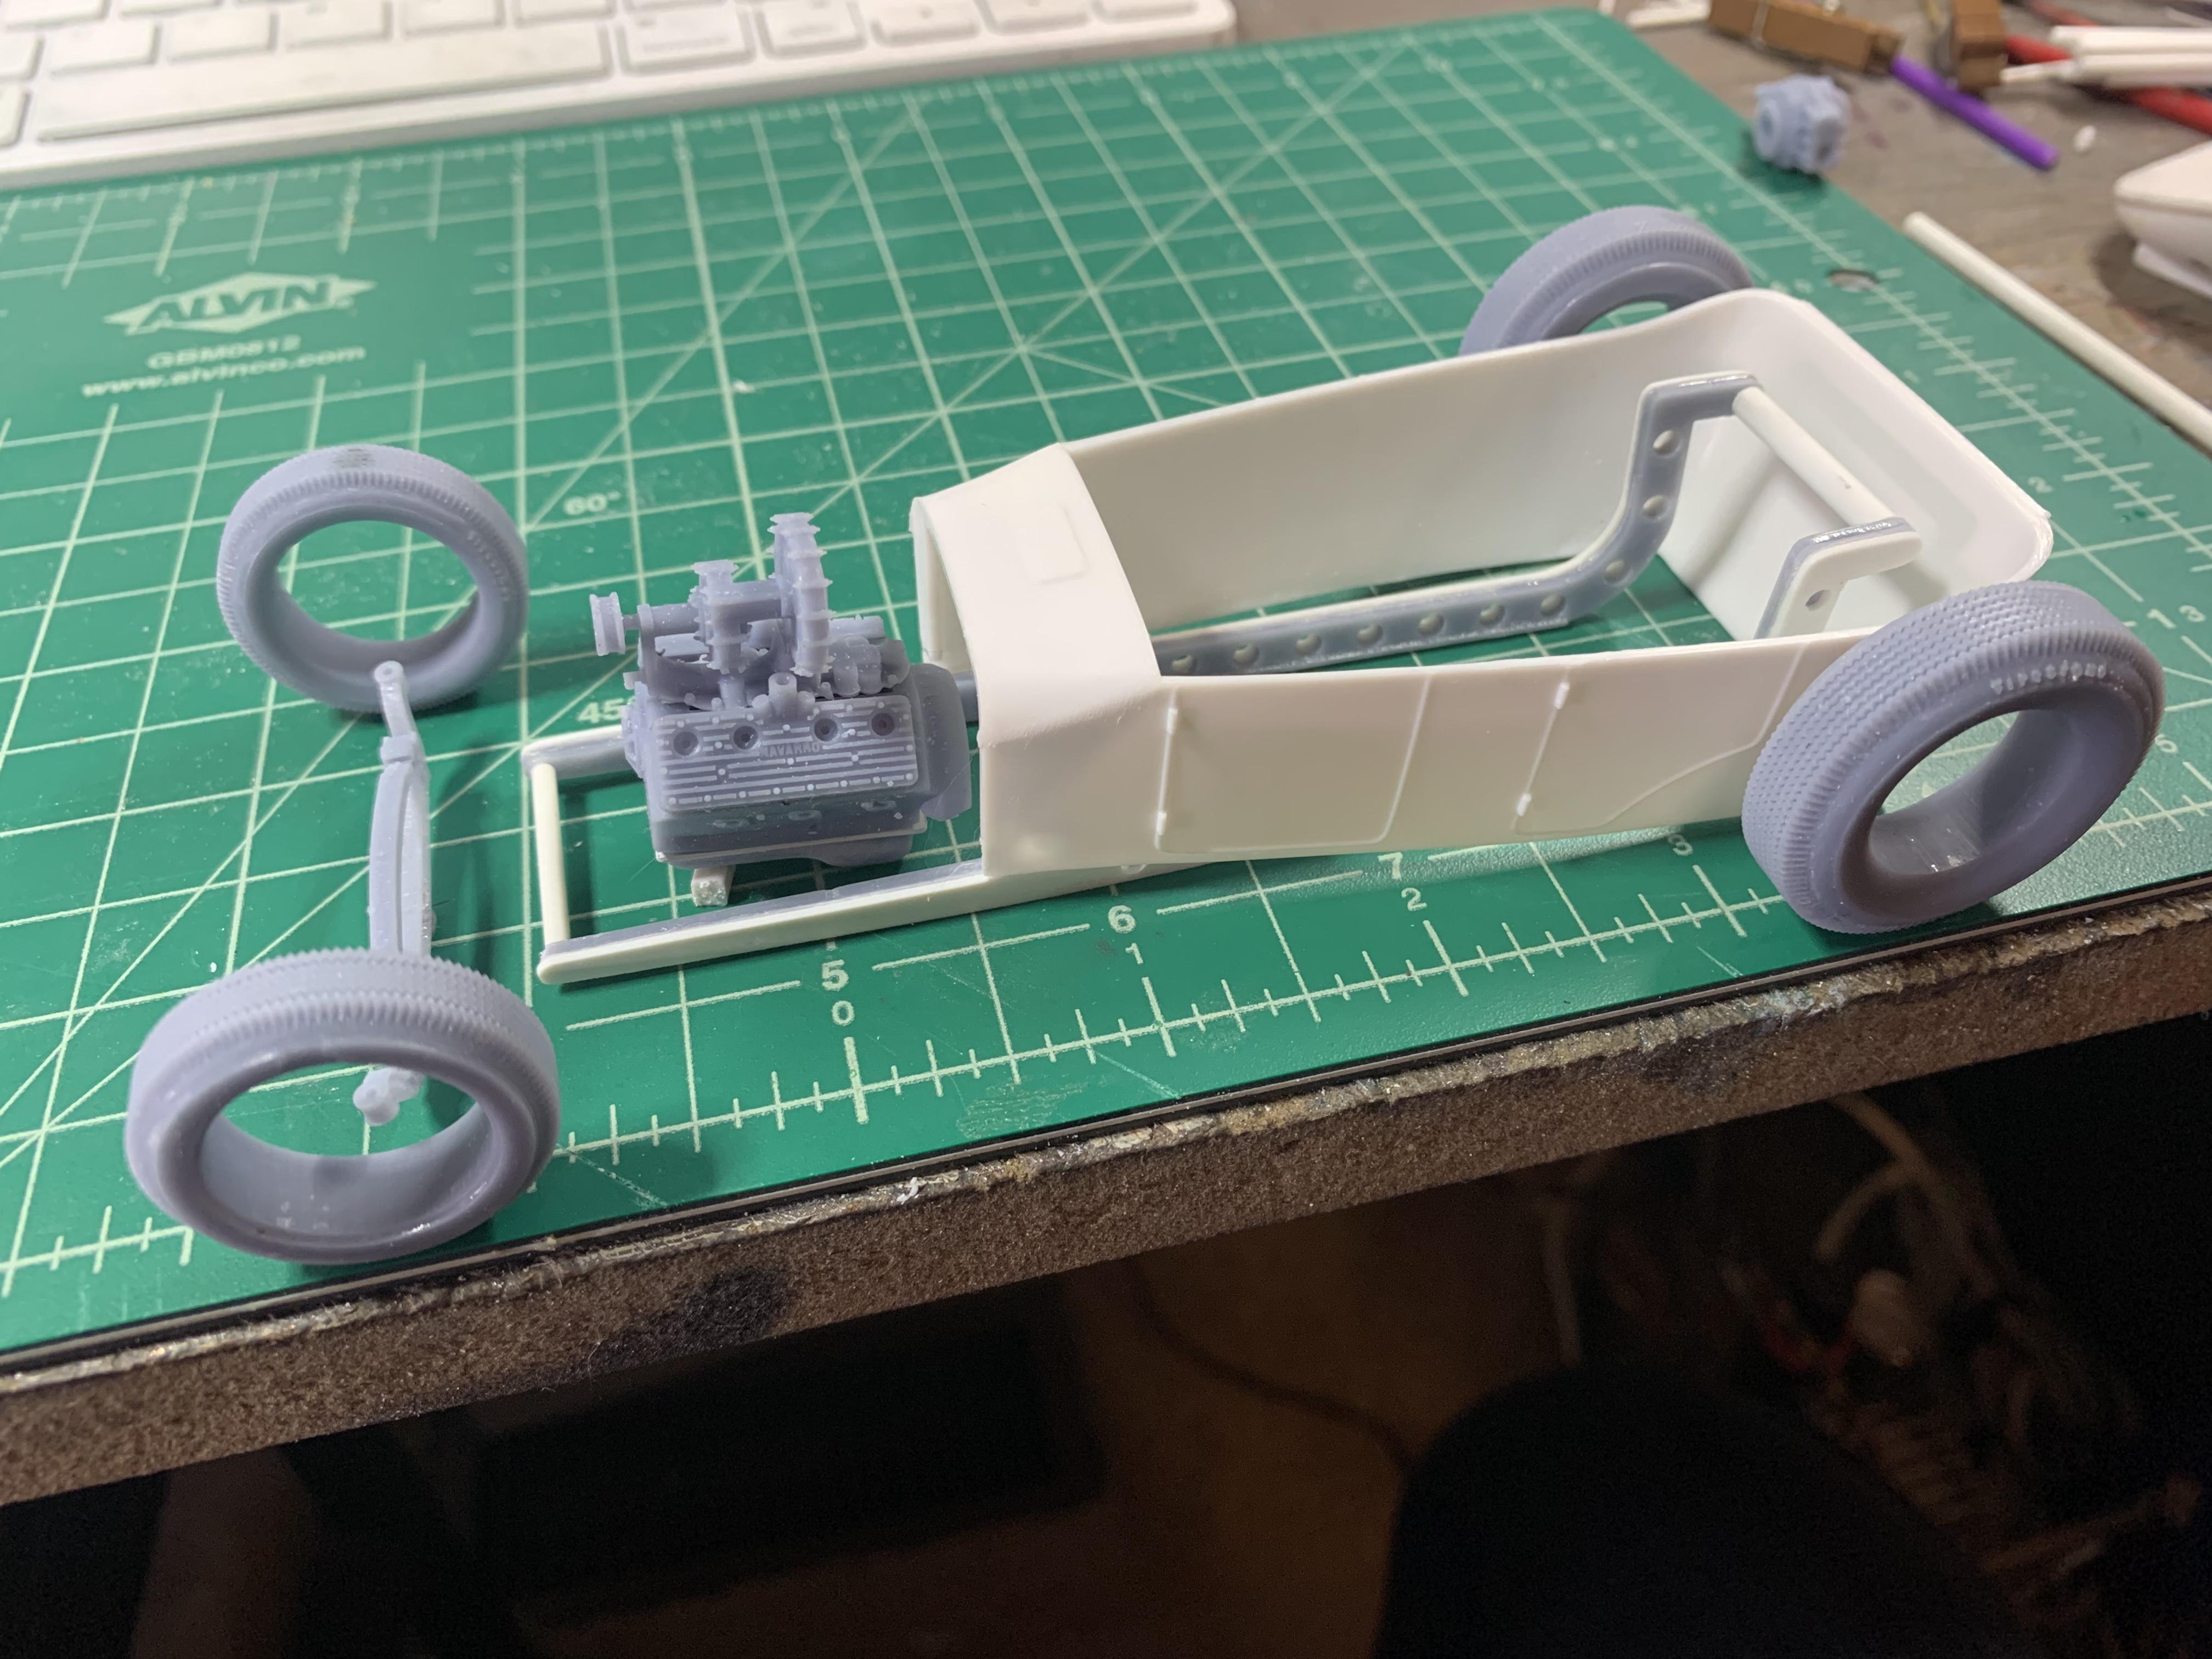
Another week, another new project…this build was inspired by one I saw YEARS ago in Scale Auto by @tim boyd to accompany an article about rat rods with extreme proportions (bonus points to anyone who can remember the issue that was in, because I can’t find it right now…) Anyhoo - I’m thinking low, big wheels, definitely not a rat-rod paintjob, and a blown Flathead (even if that might not fit the general 60s showcar aesthetic as well as a newer engine choice…) Here’s the starting point, and a photo of what might be most of the components I end up using out of the box… I picked up a couple of the Revell Parts Pack T frames that Atlantis just reissued recently - I really like the look of the rails: They’d work well for a little T bucket or something shorter, but to get the wheelbase and axle placement I want they’d need a LOT of modifications. Easier to start from scratch…so I drew up an ‘inspired by’ version that I can 3D print: I’m a little cautious of 3D printed flat parts like this warping or sagging over time, so I designed these with a couple of channels where I can reinforce them with some brass rod before laminating a layer of styrene over top to finish them off. Couple of sets, right off the printer: And some gluing and sanding, we have something close in spirit to those cool old Revell parts, but with a bunch more zee in the rear. Spun up some spacers on my lathe - these will require some more work tomorrow so I have mounting brackets for front and rear leaf springs… And a quick mock-up with a few of the other parts I’ll be using: This is gonna be a fun one, I’m excited! Thanks for looking, more soon!
-
Oh, and bonus points (I guess) to this guy for his unusual choice of a vanity plate…