-
Posts
251 -
Joined
-
Last visited
Content Type
Profiles
Forums
Events
Gallery
Everything posted by OldNYJim
-
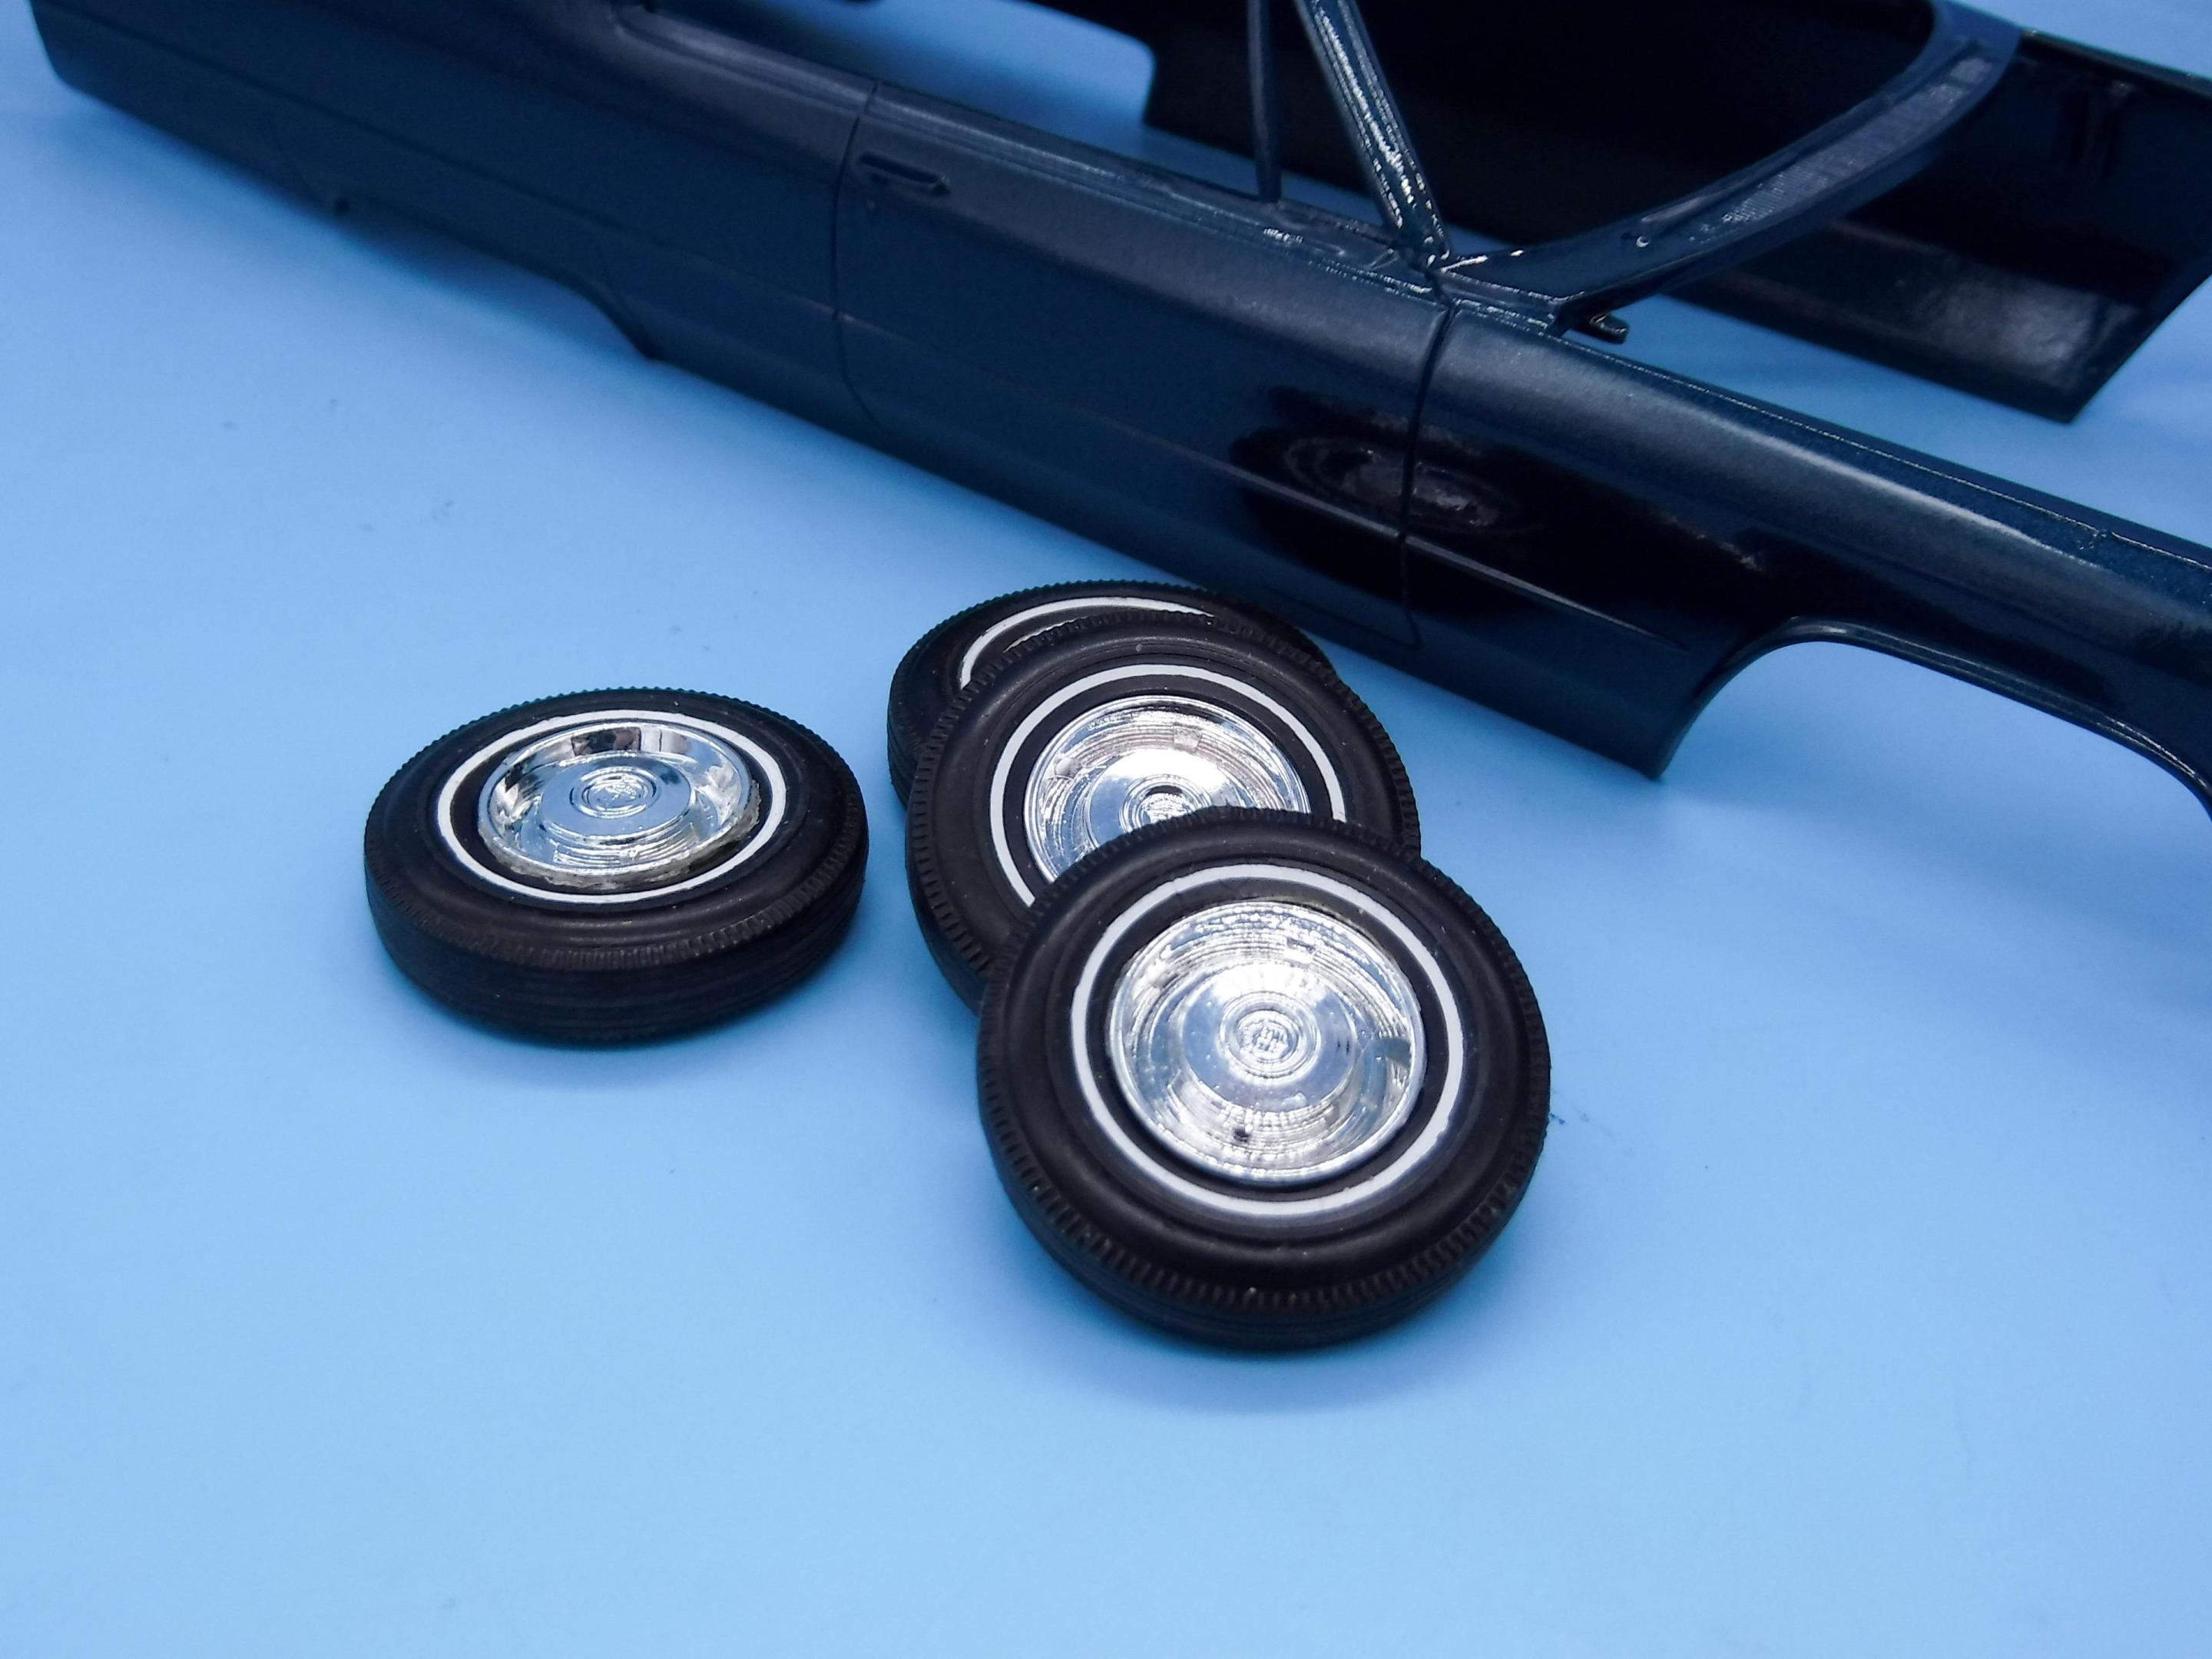
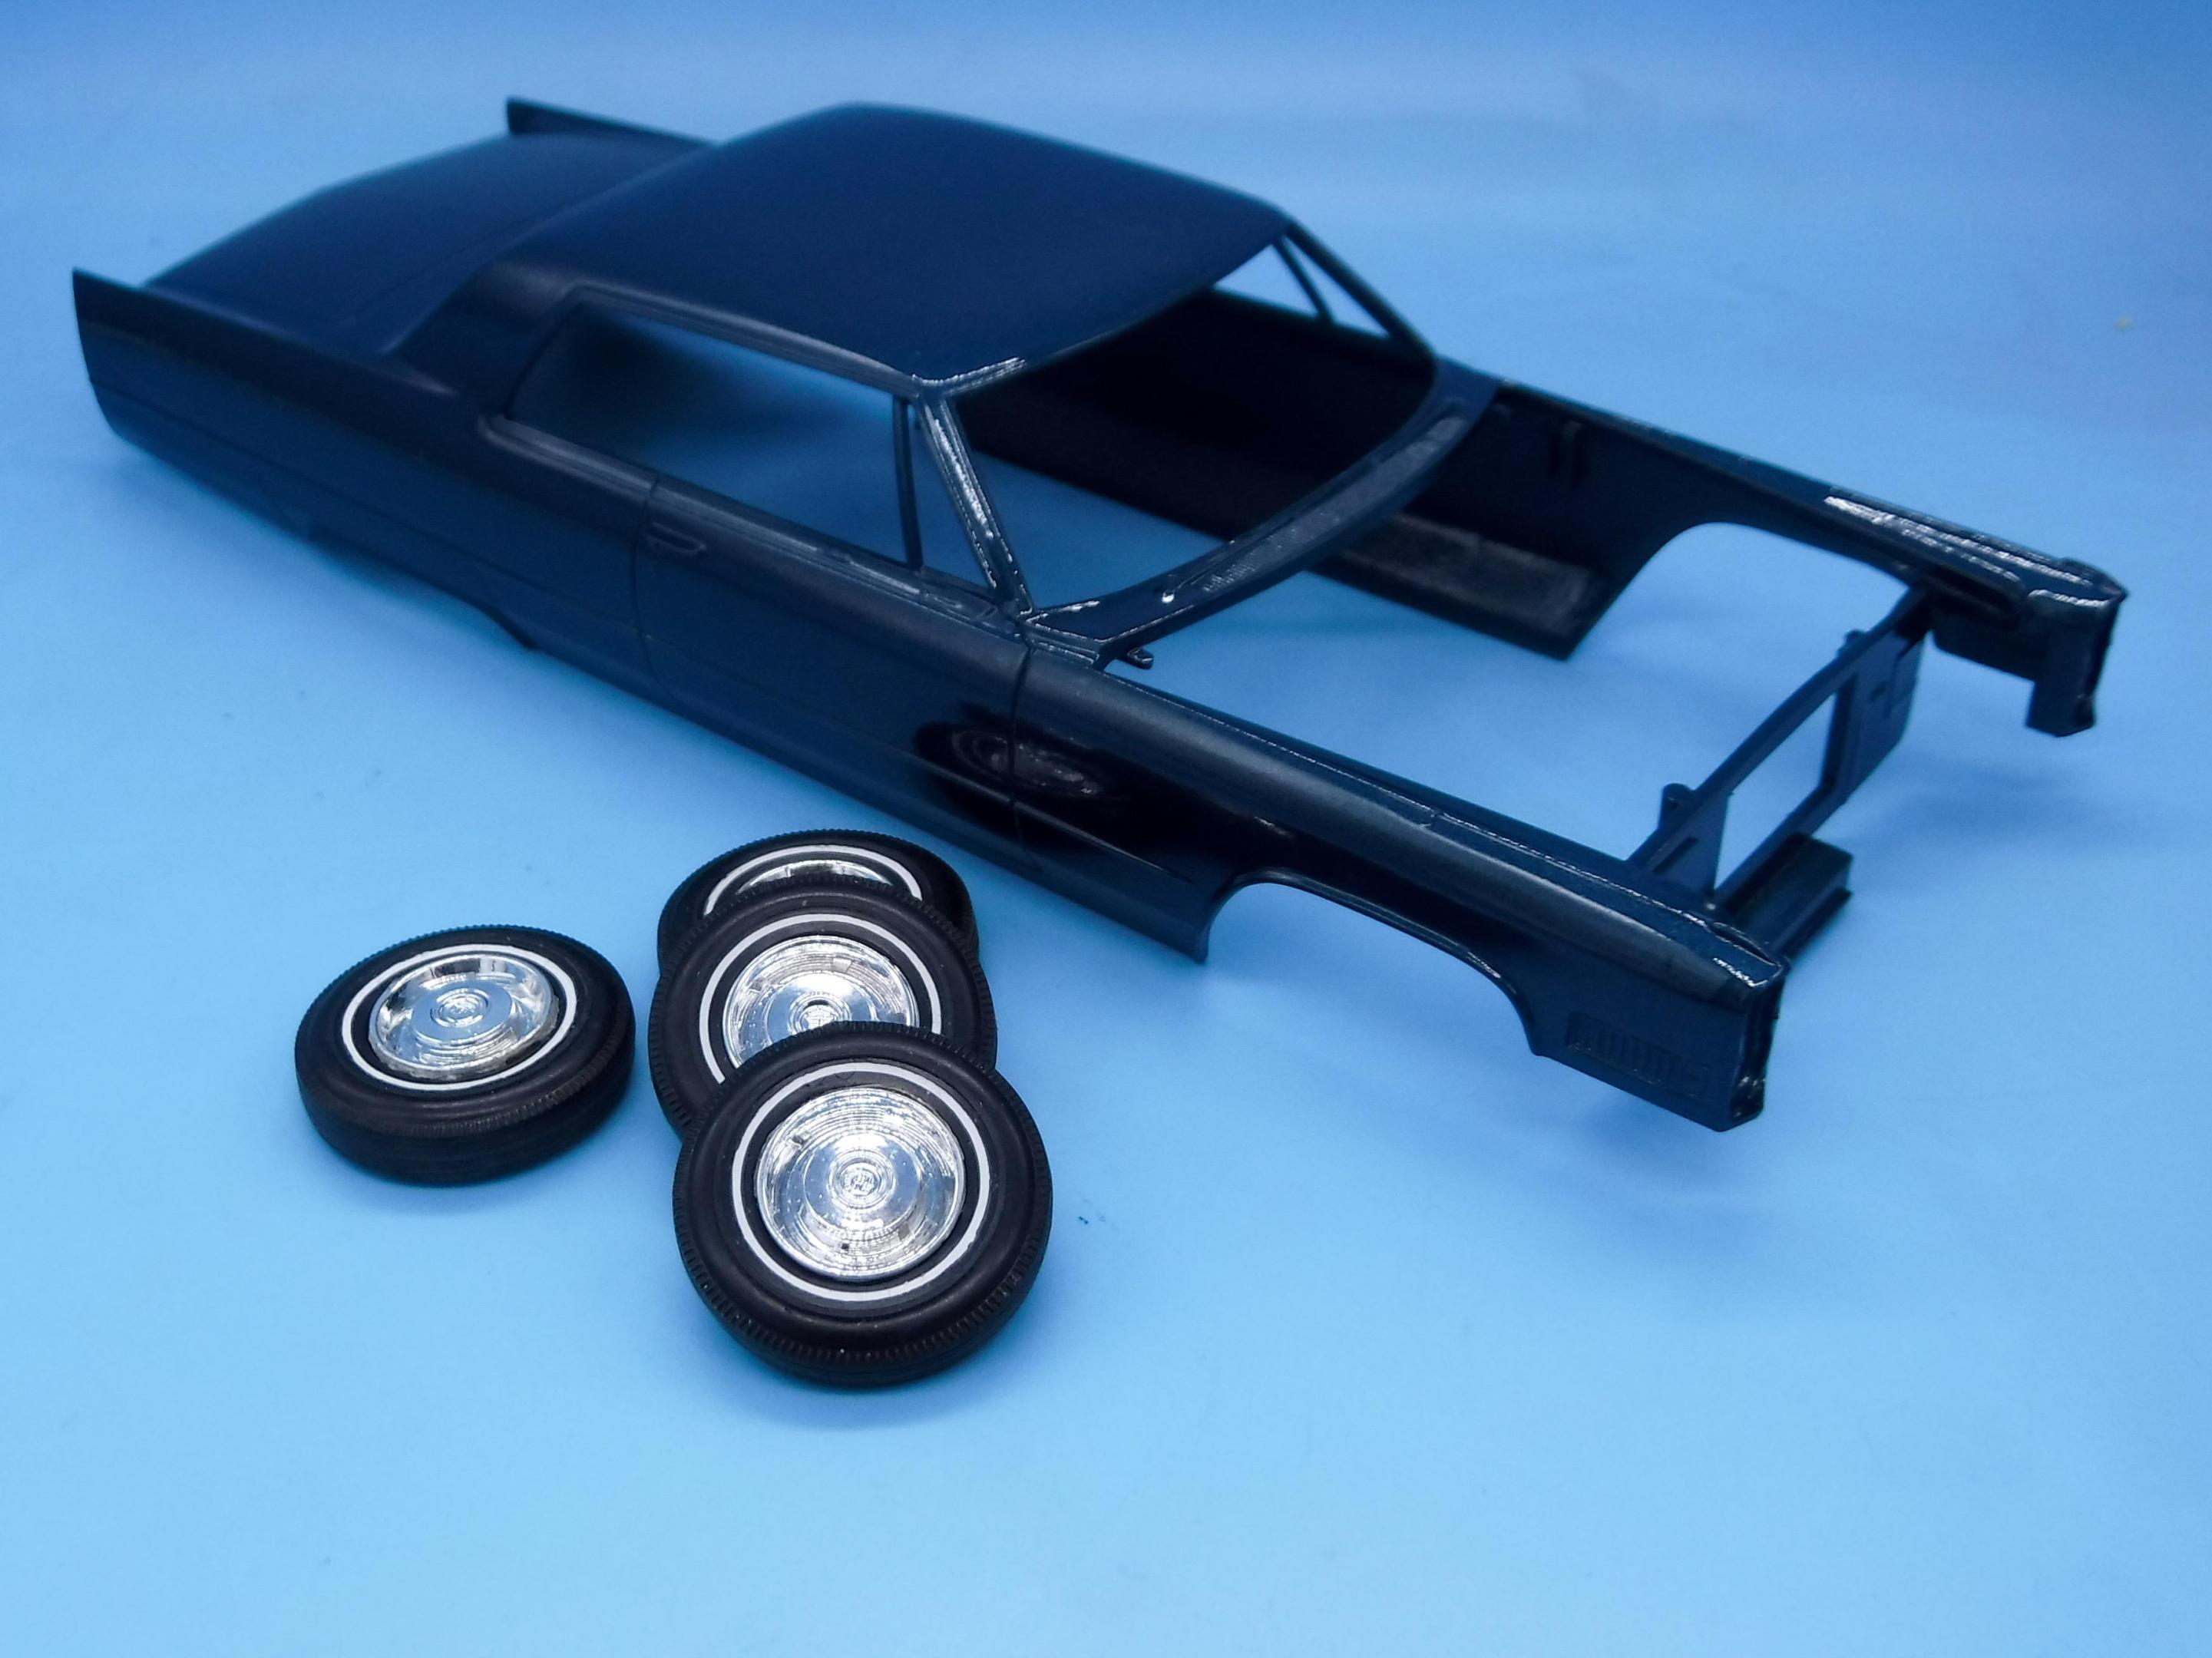
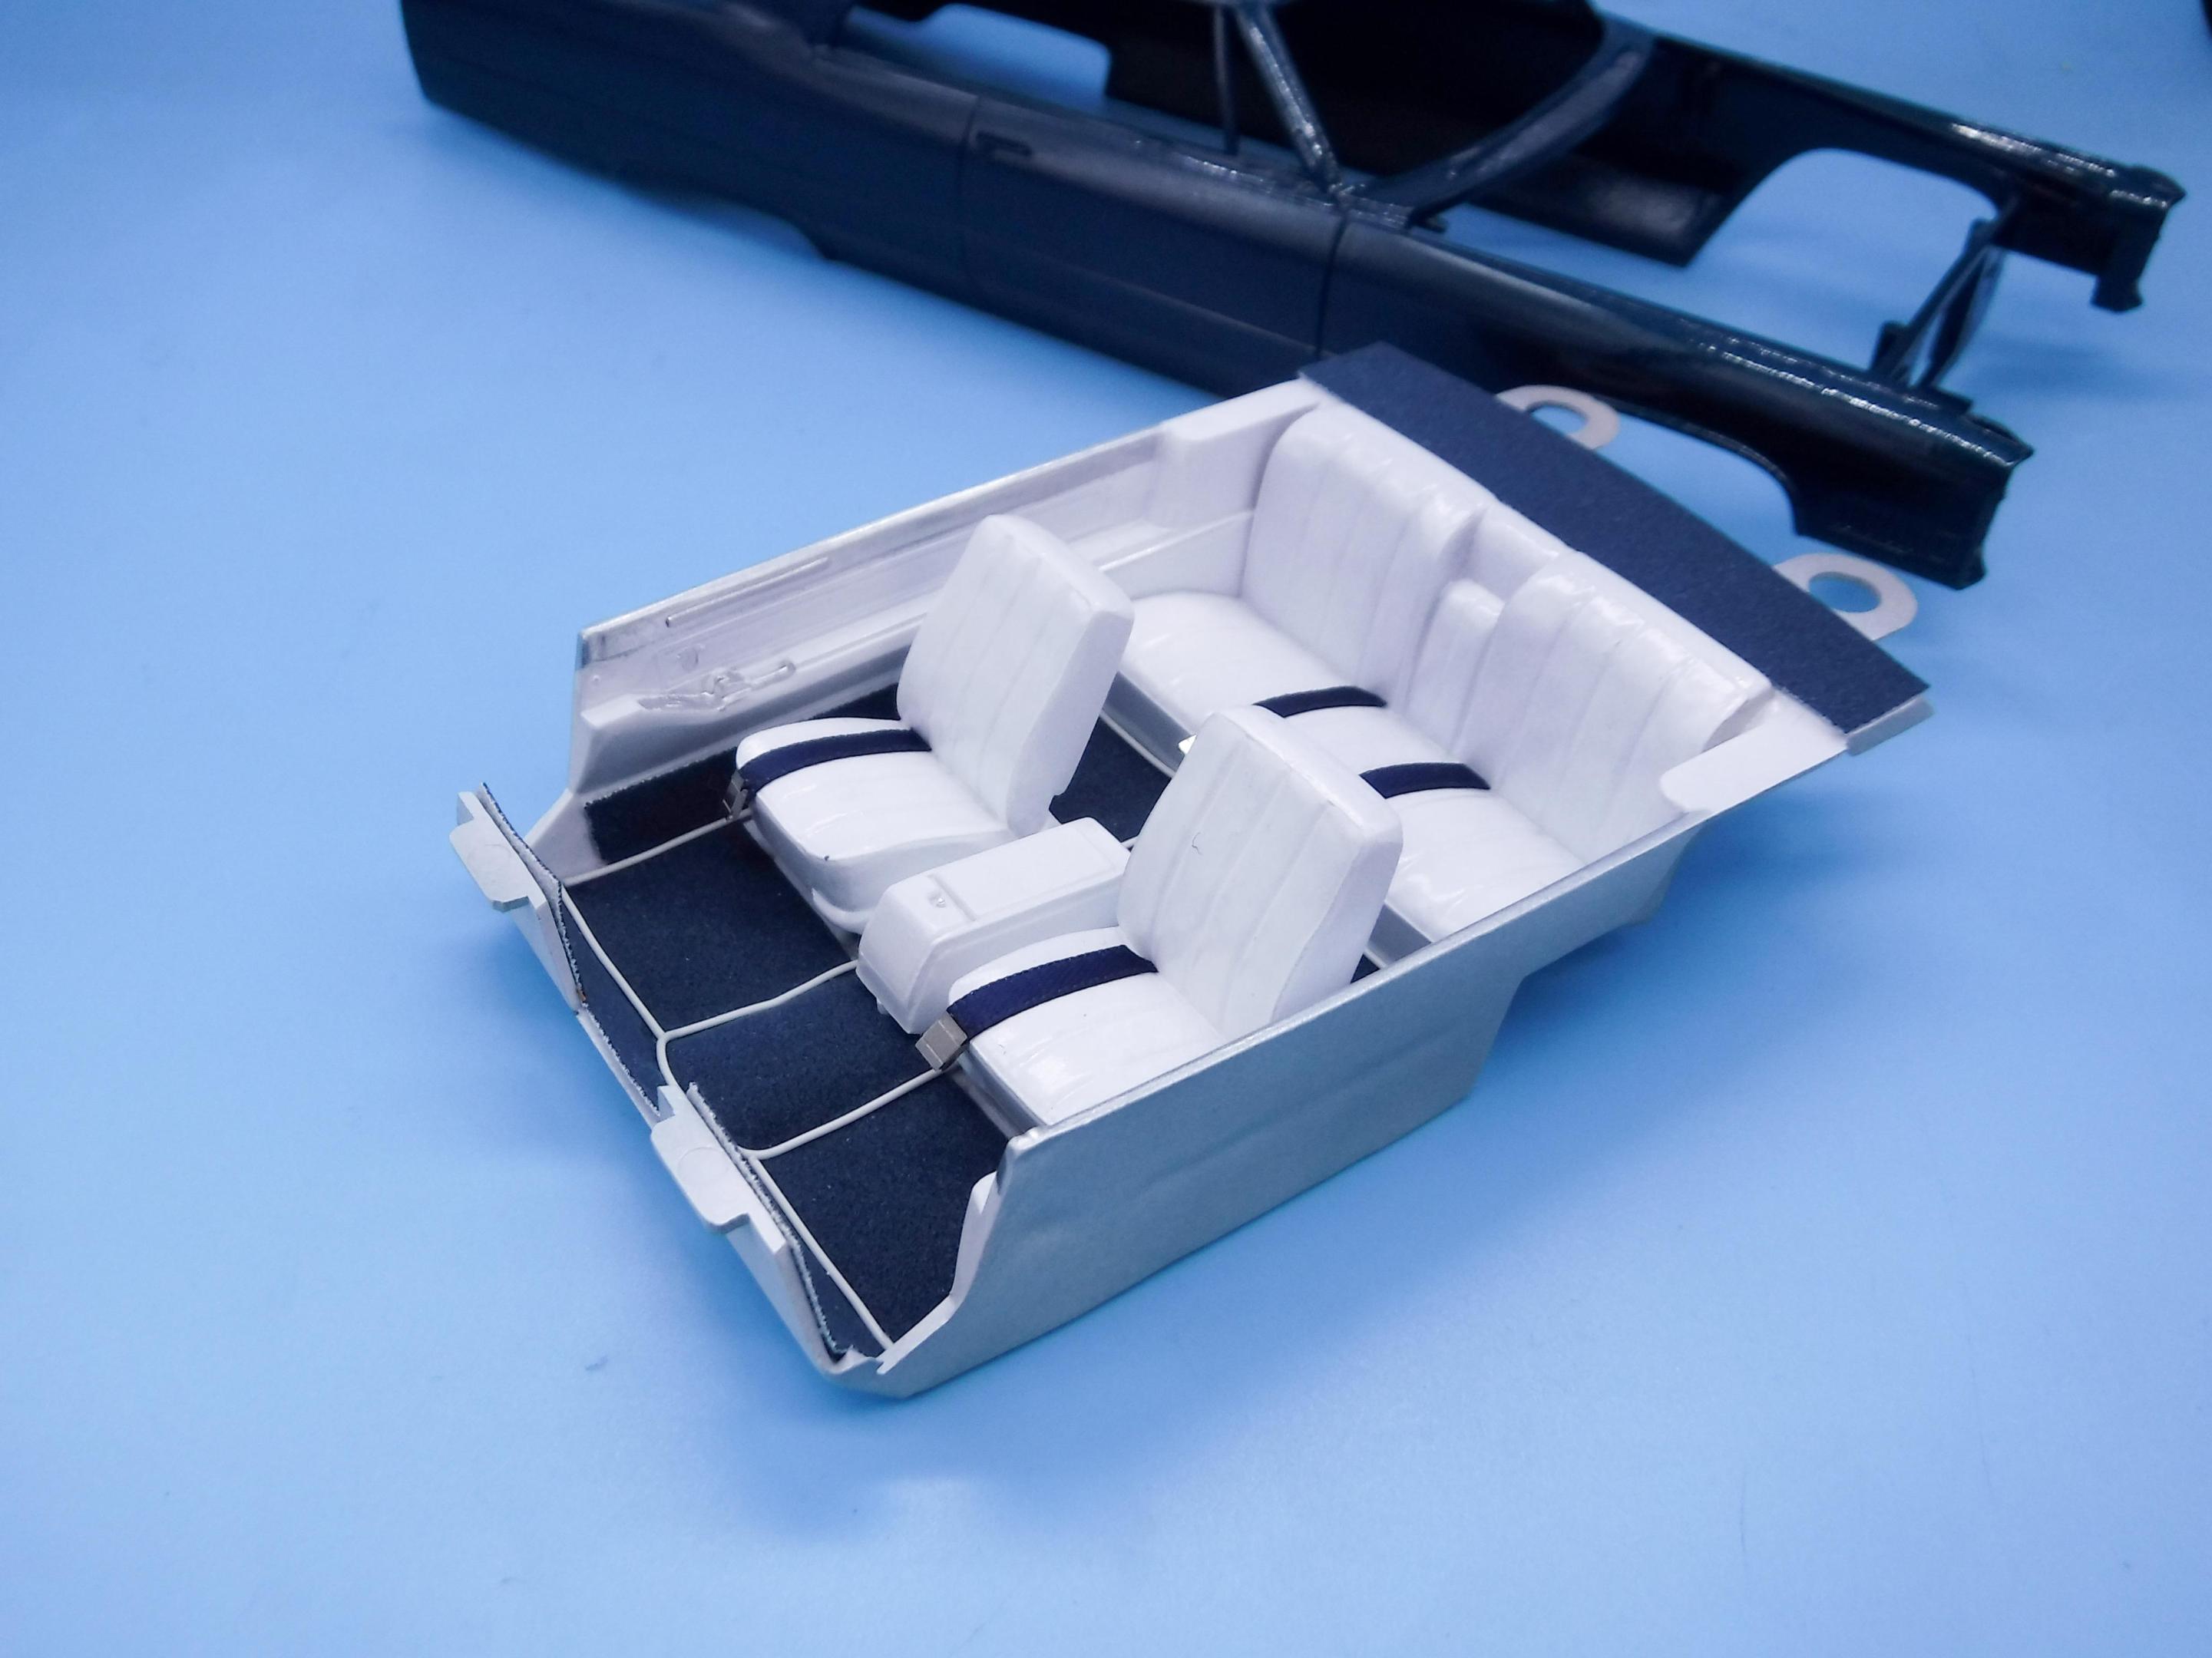
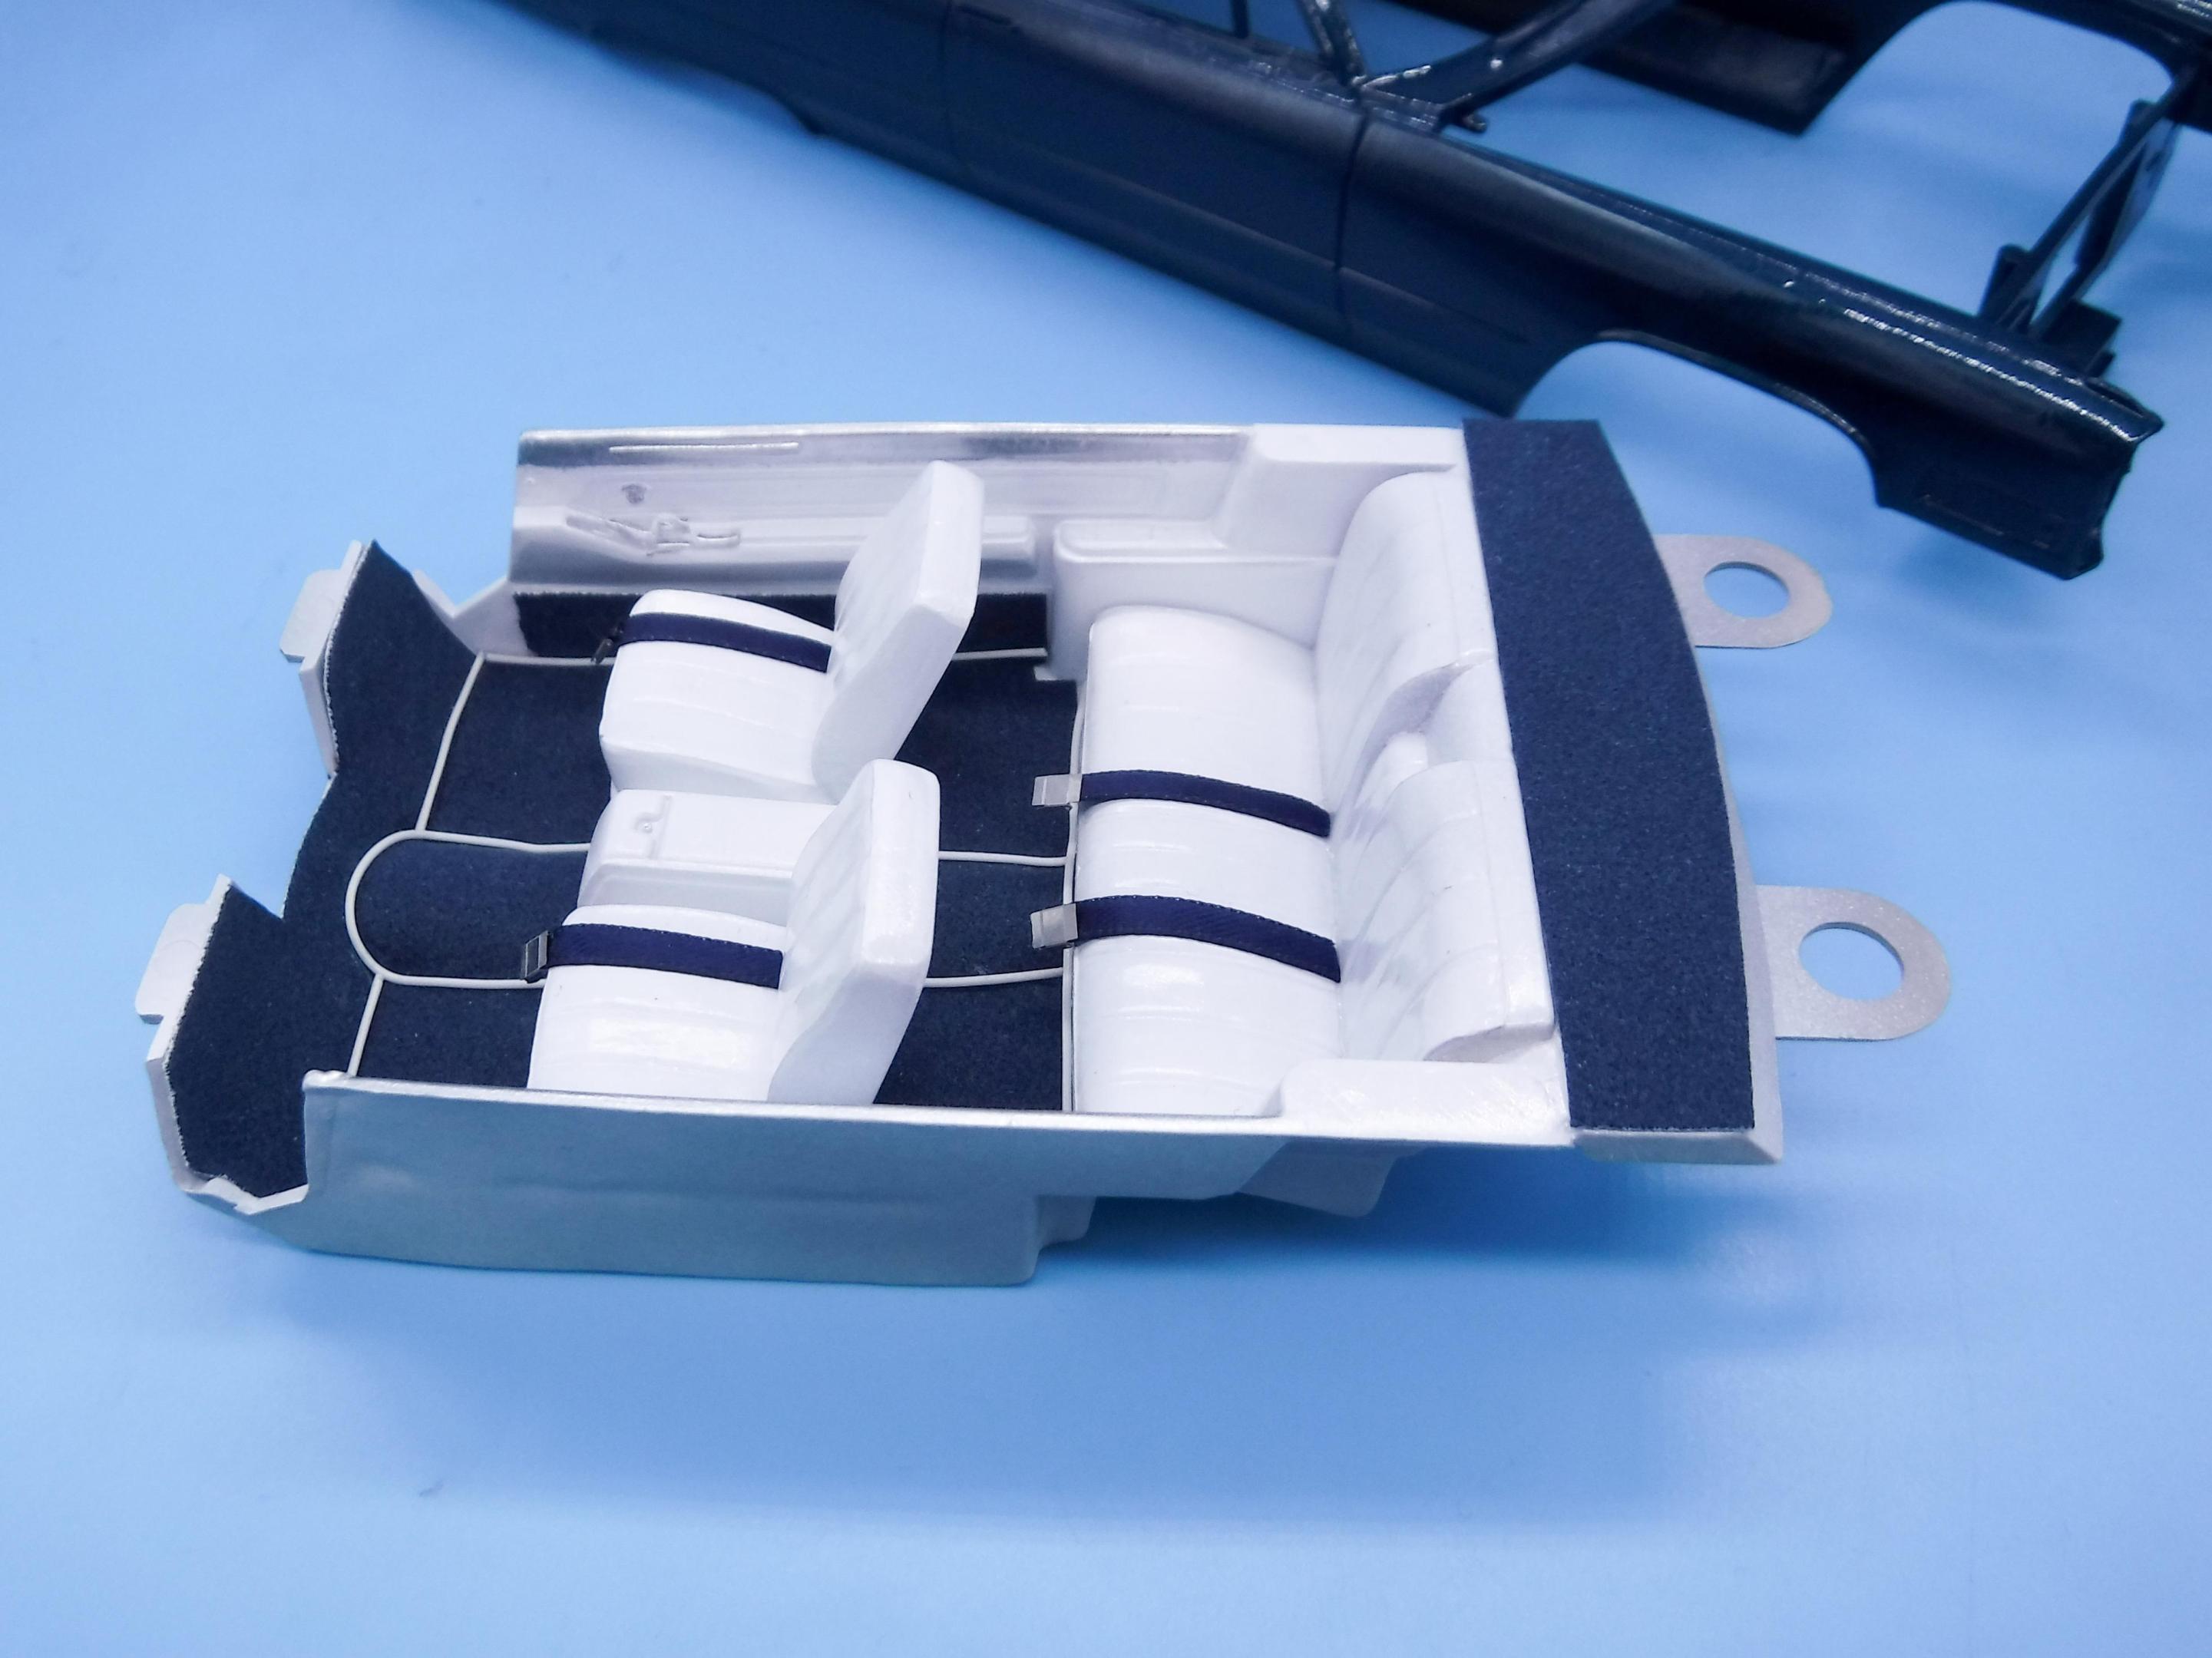
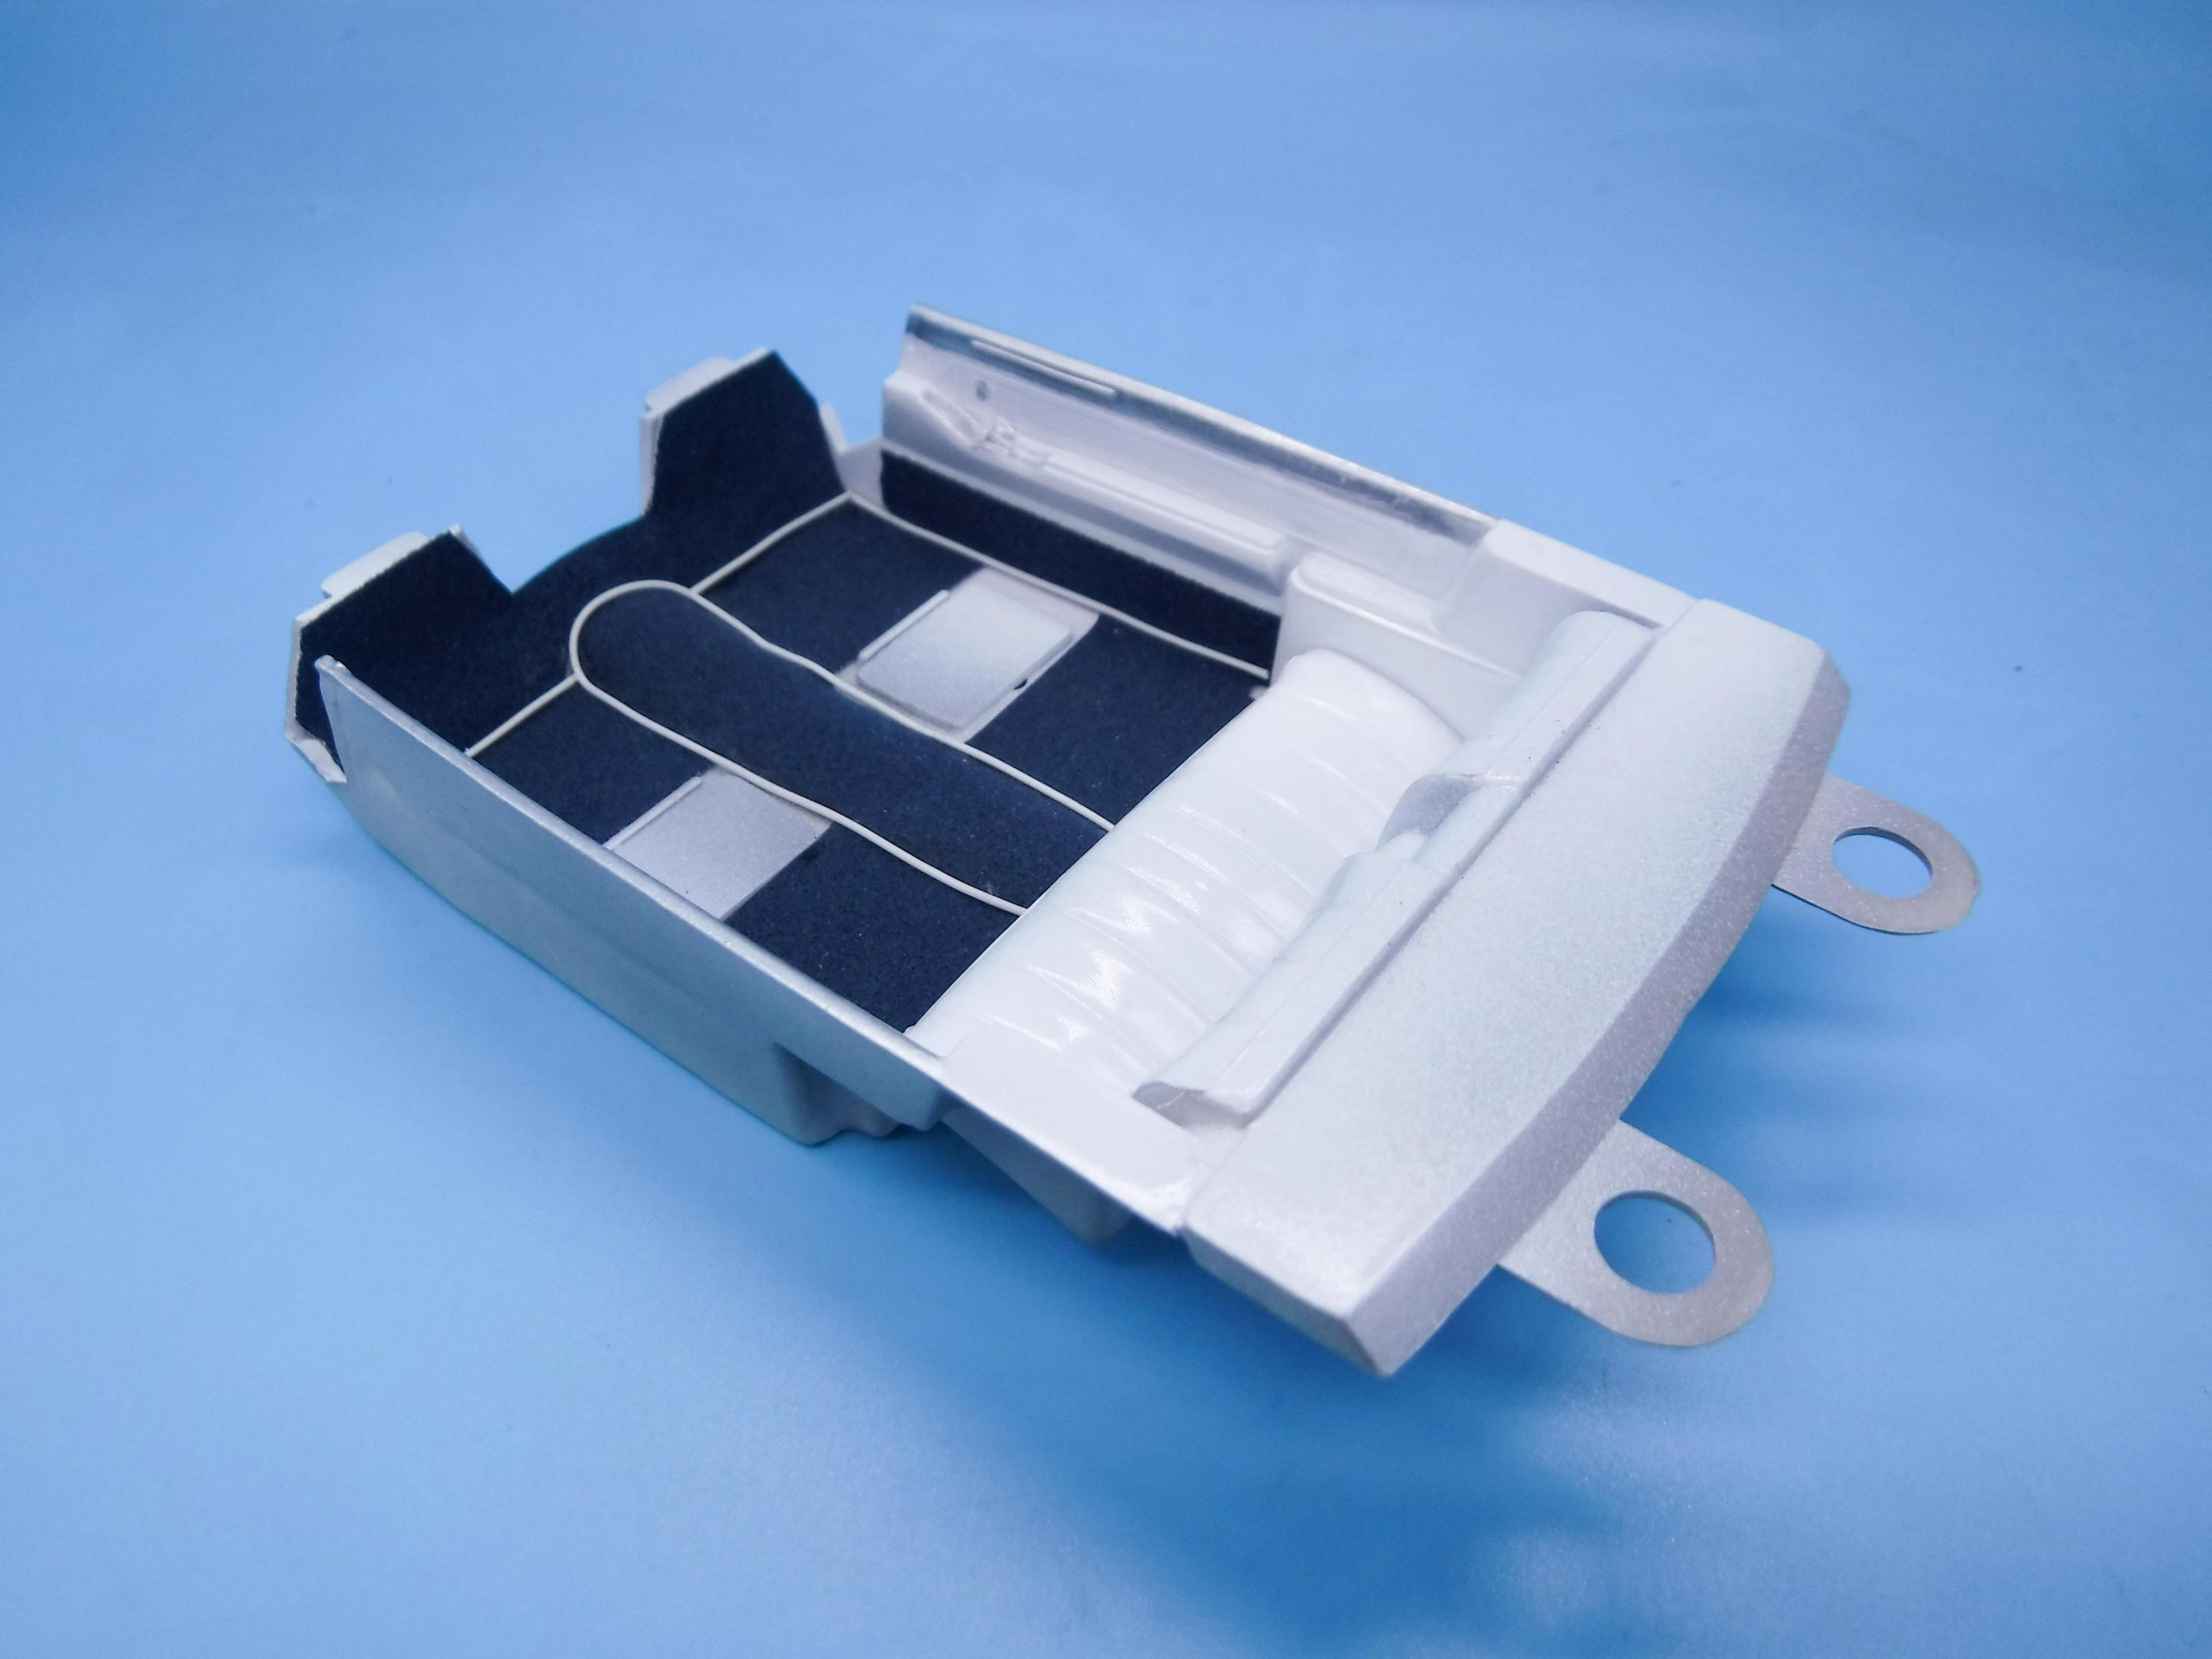
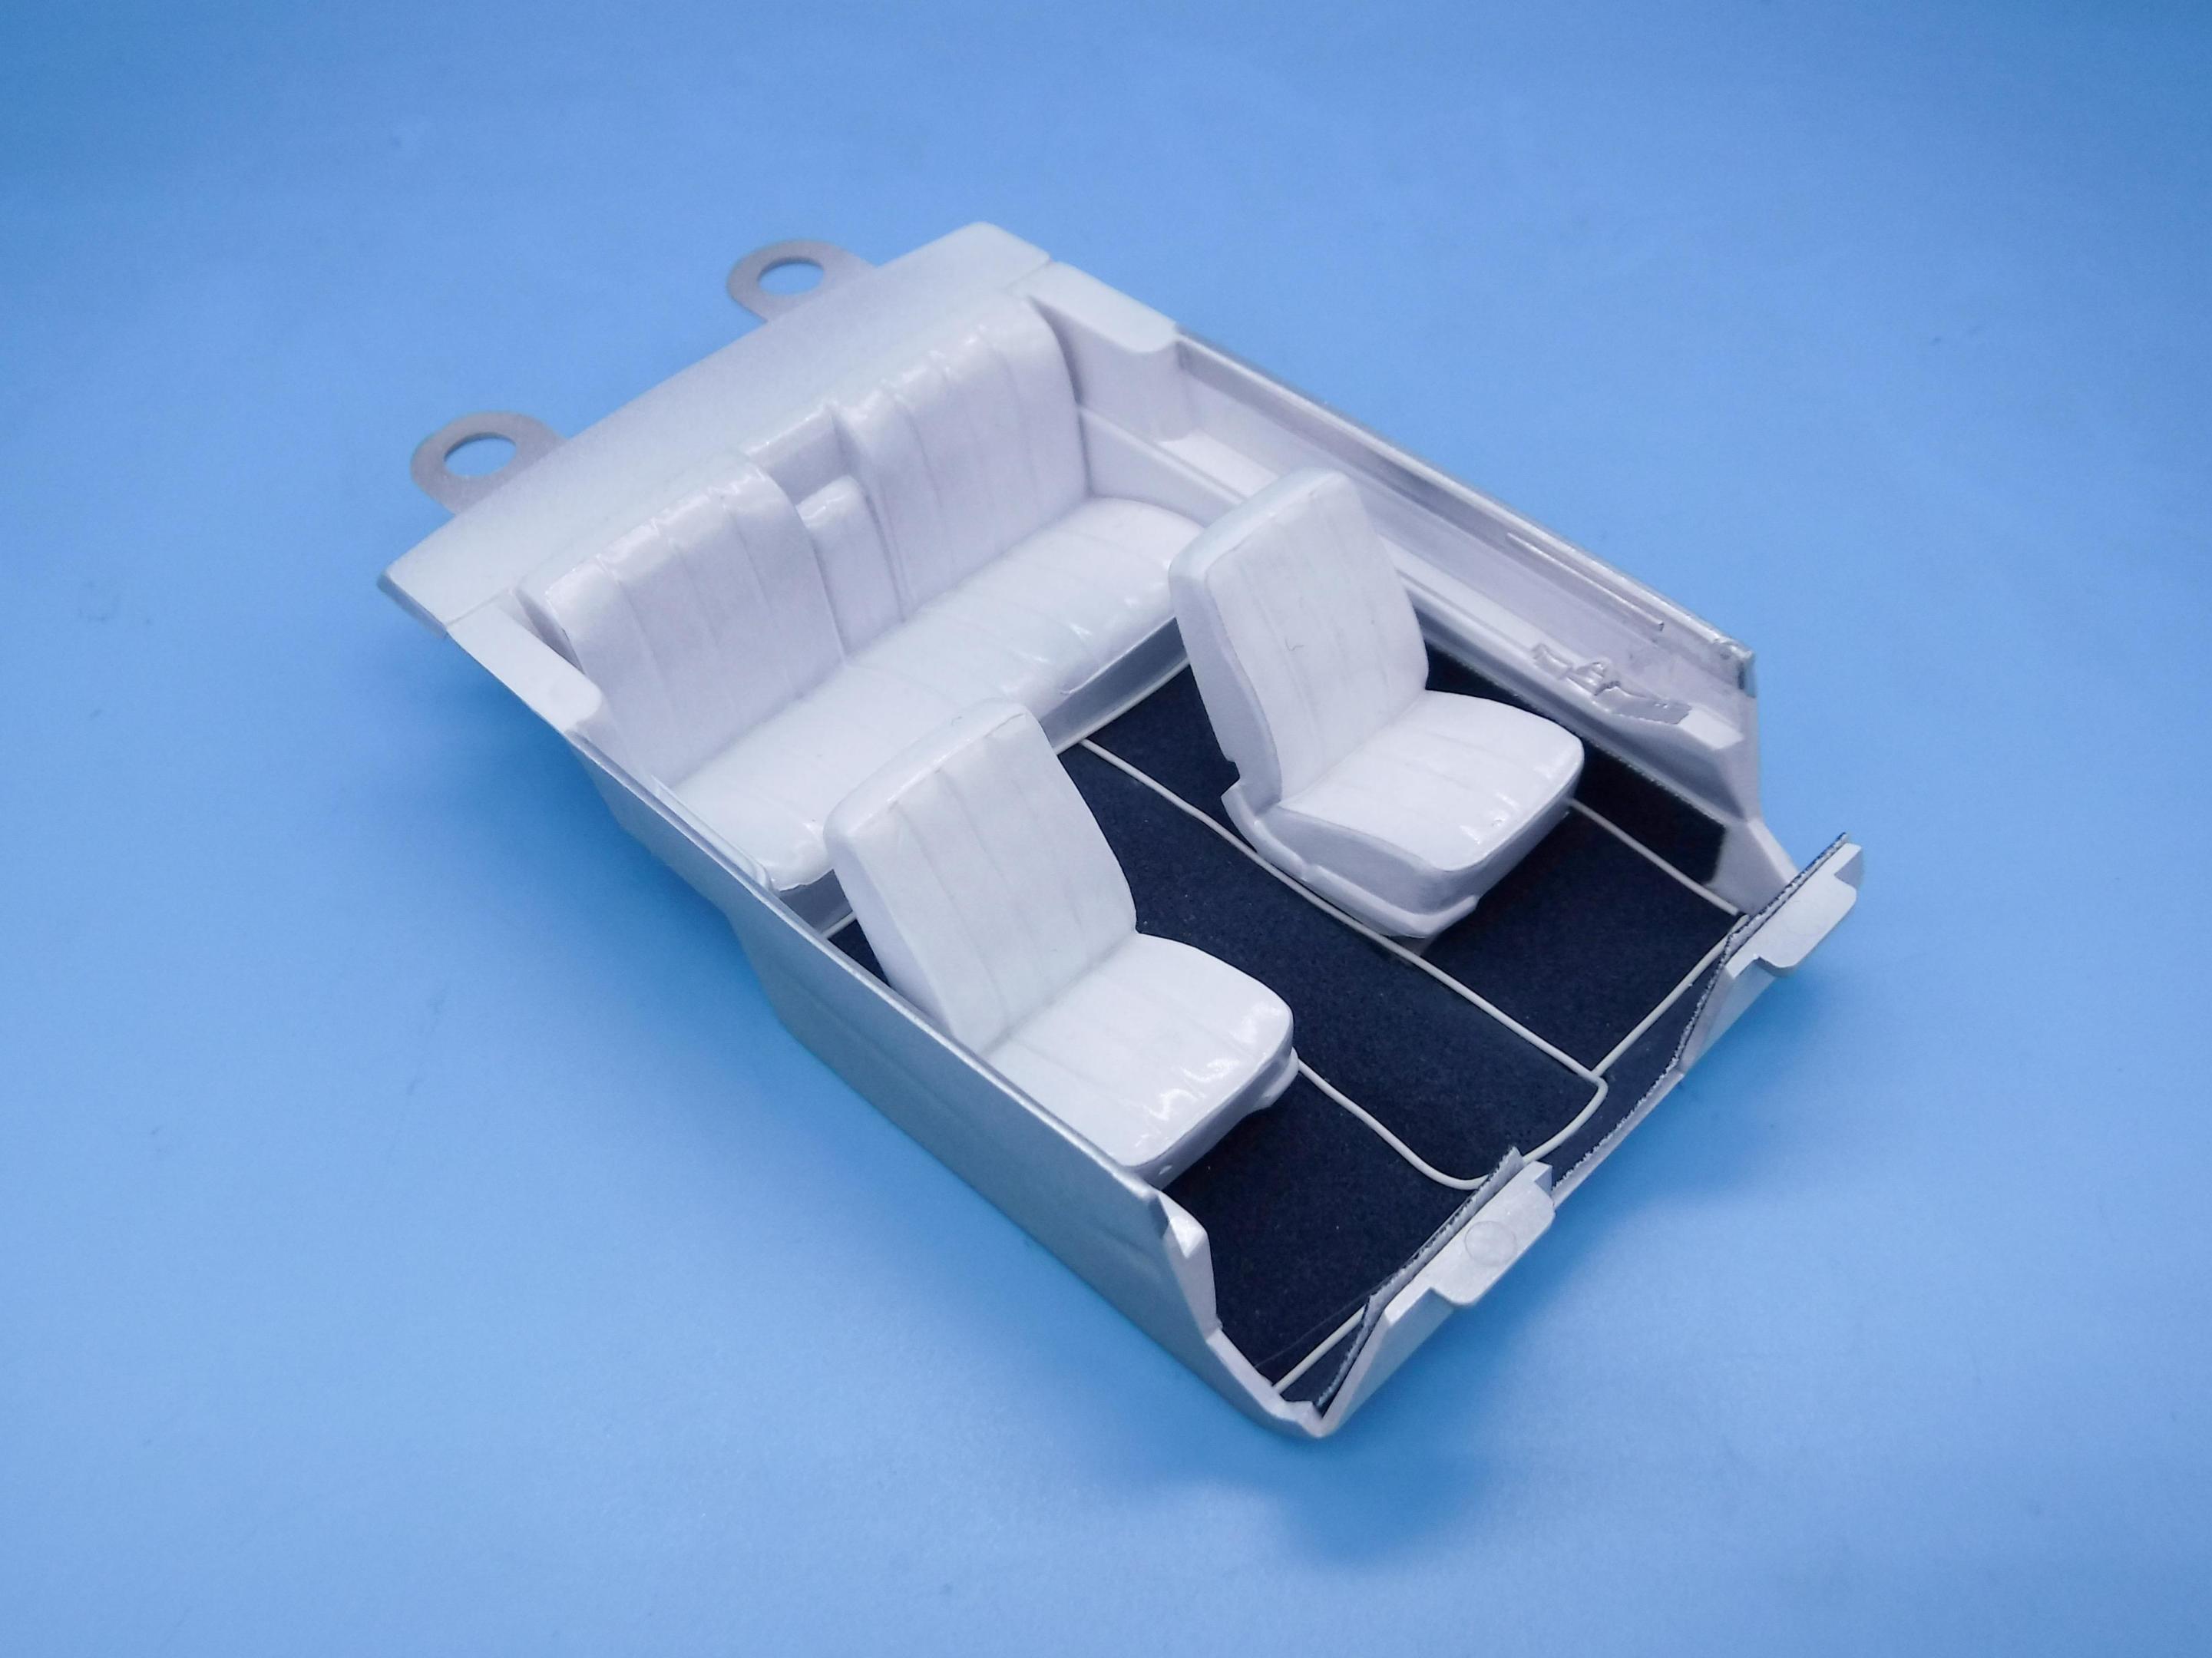
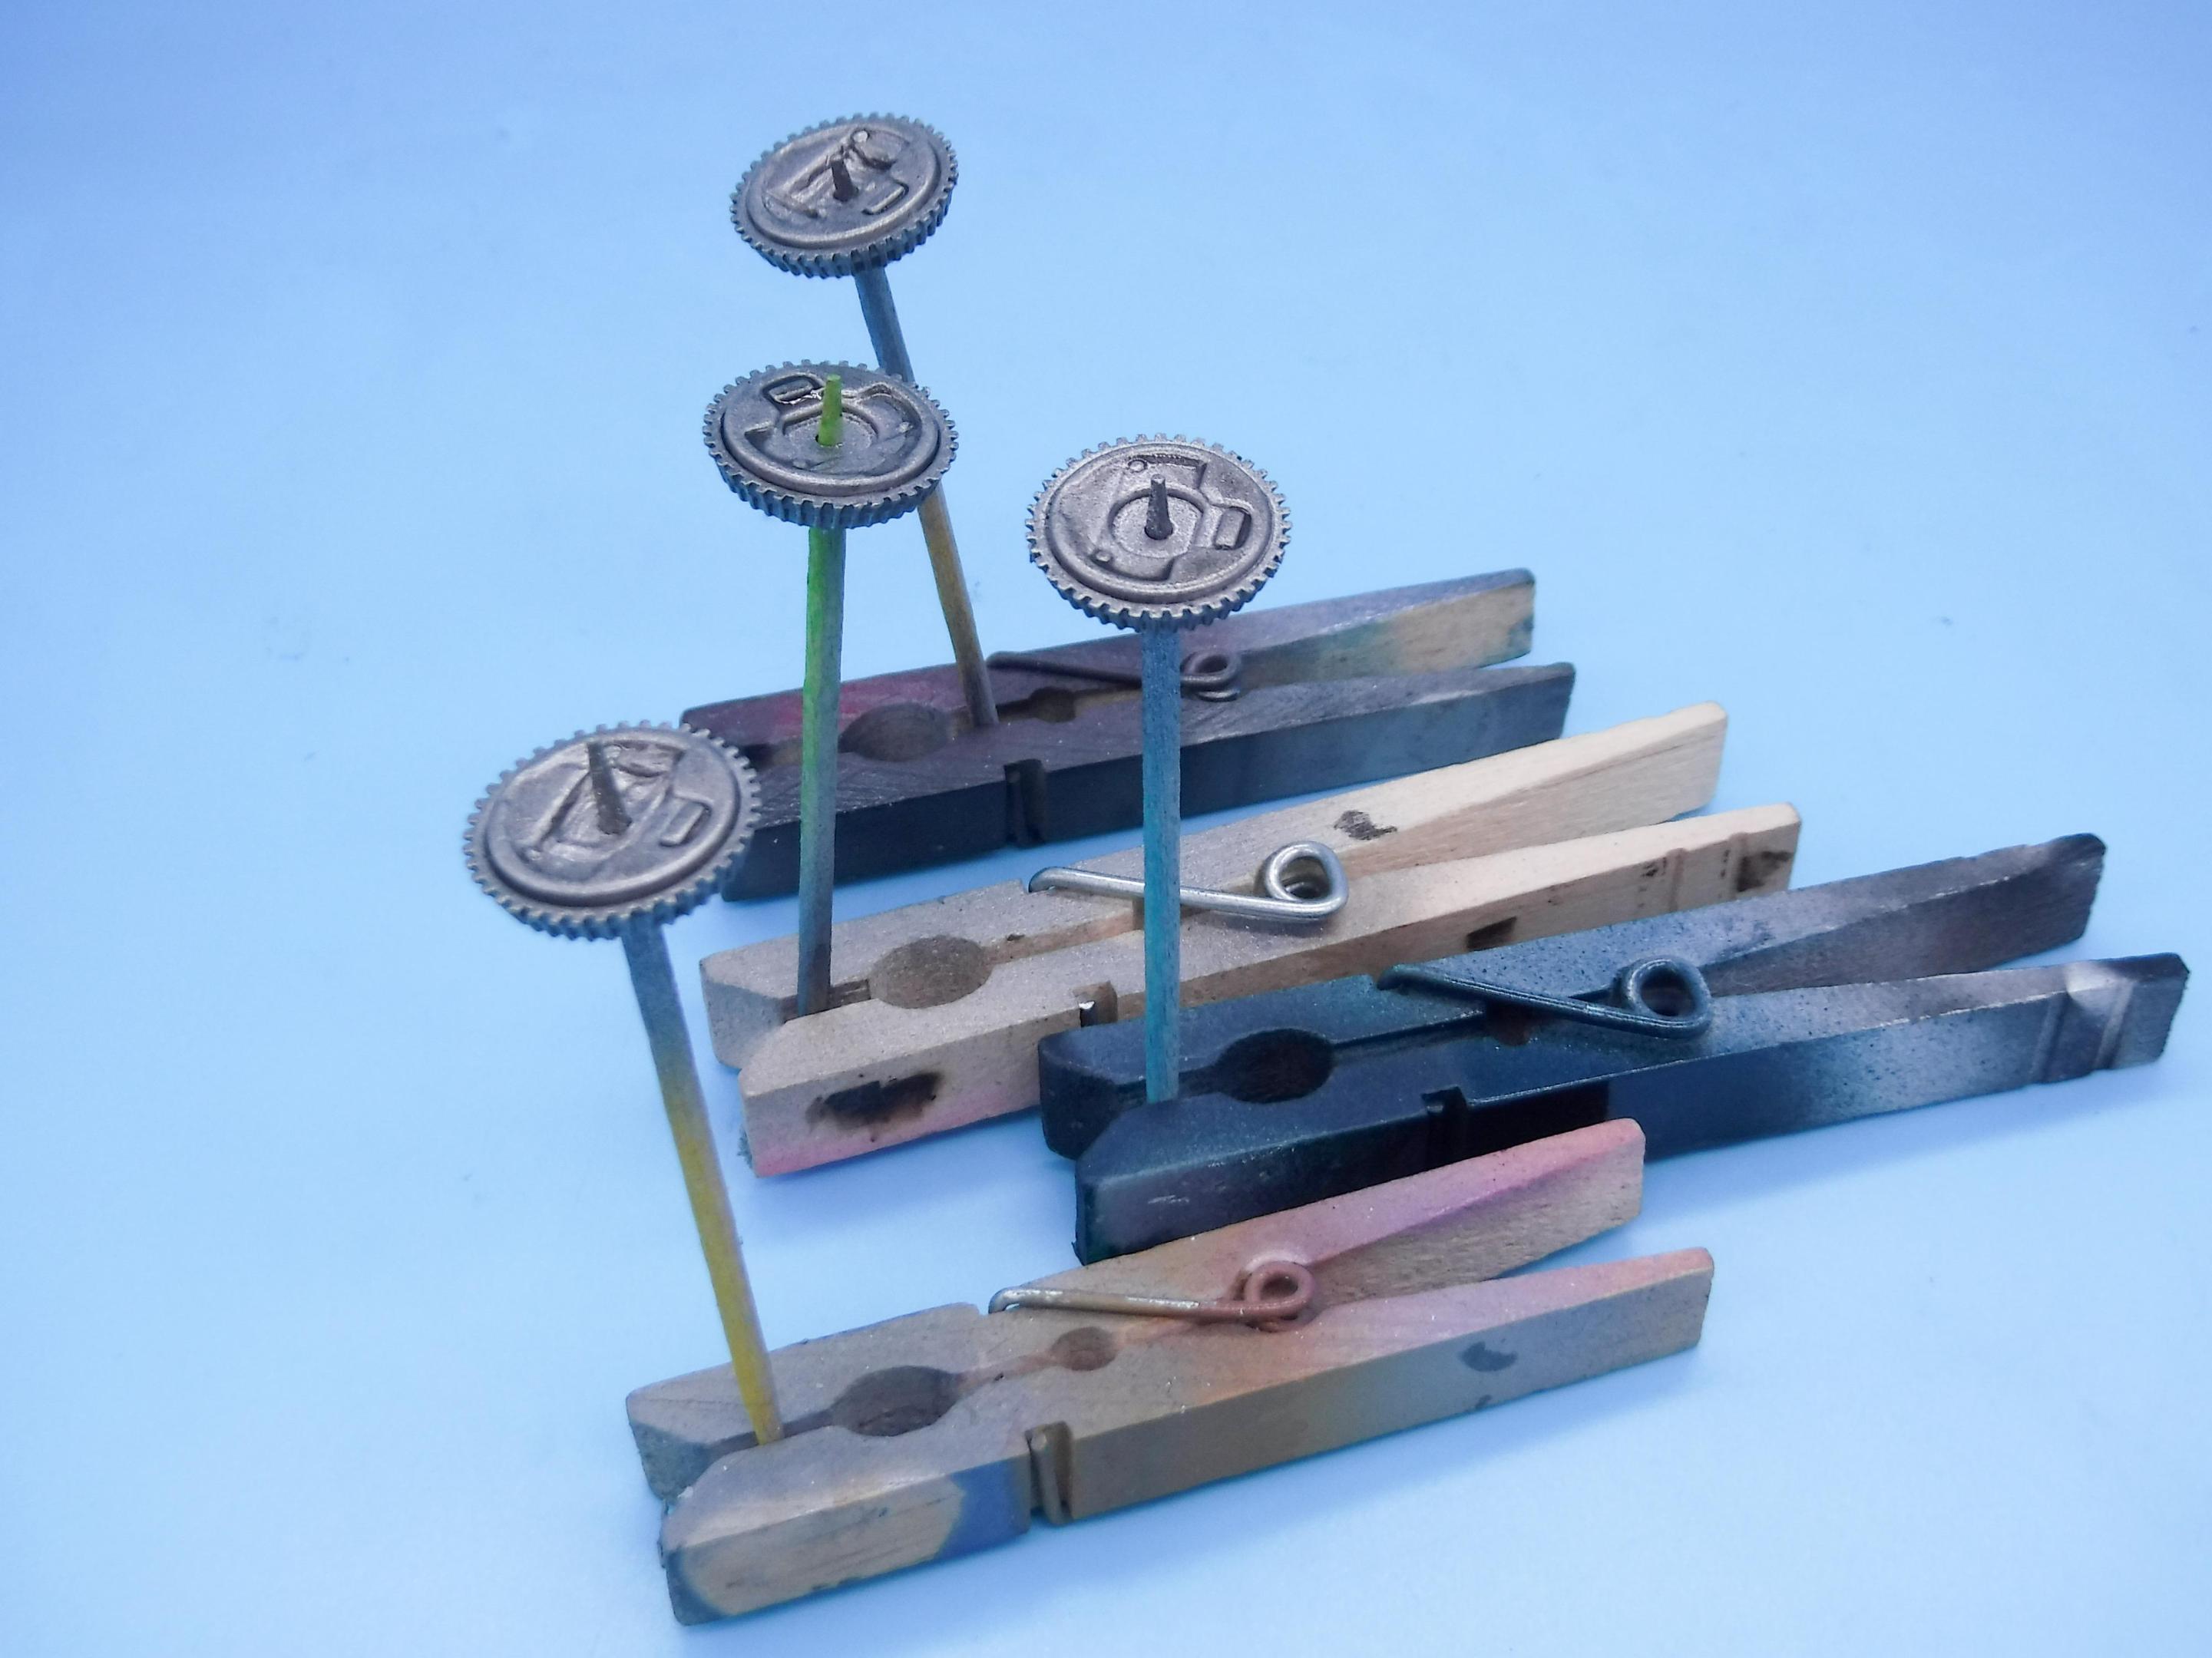
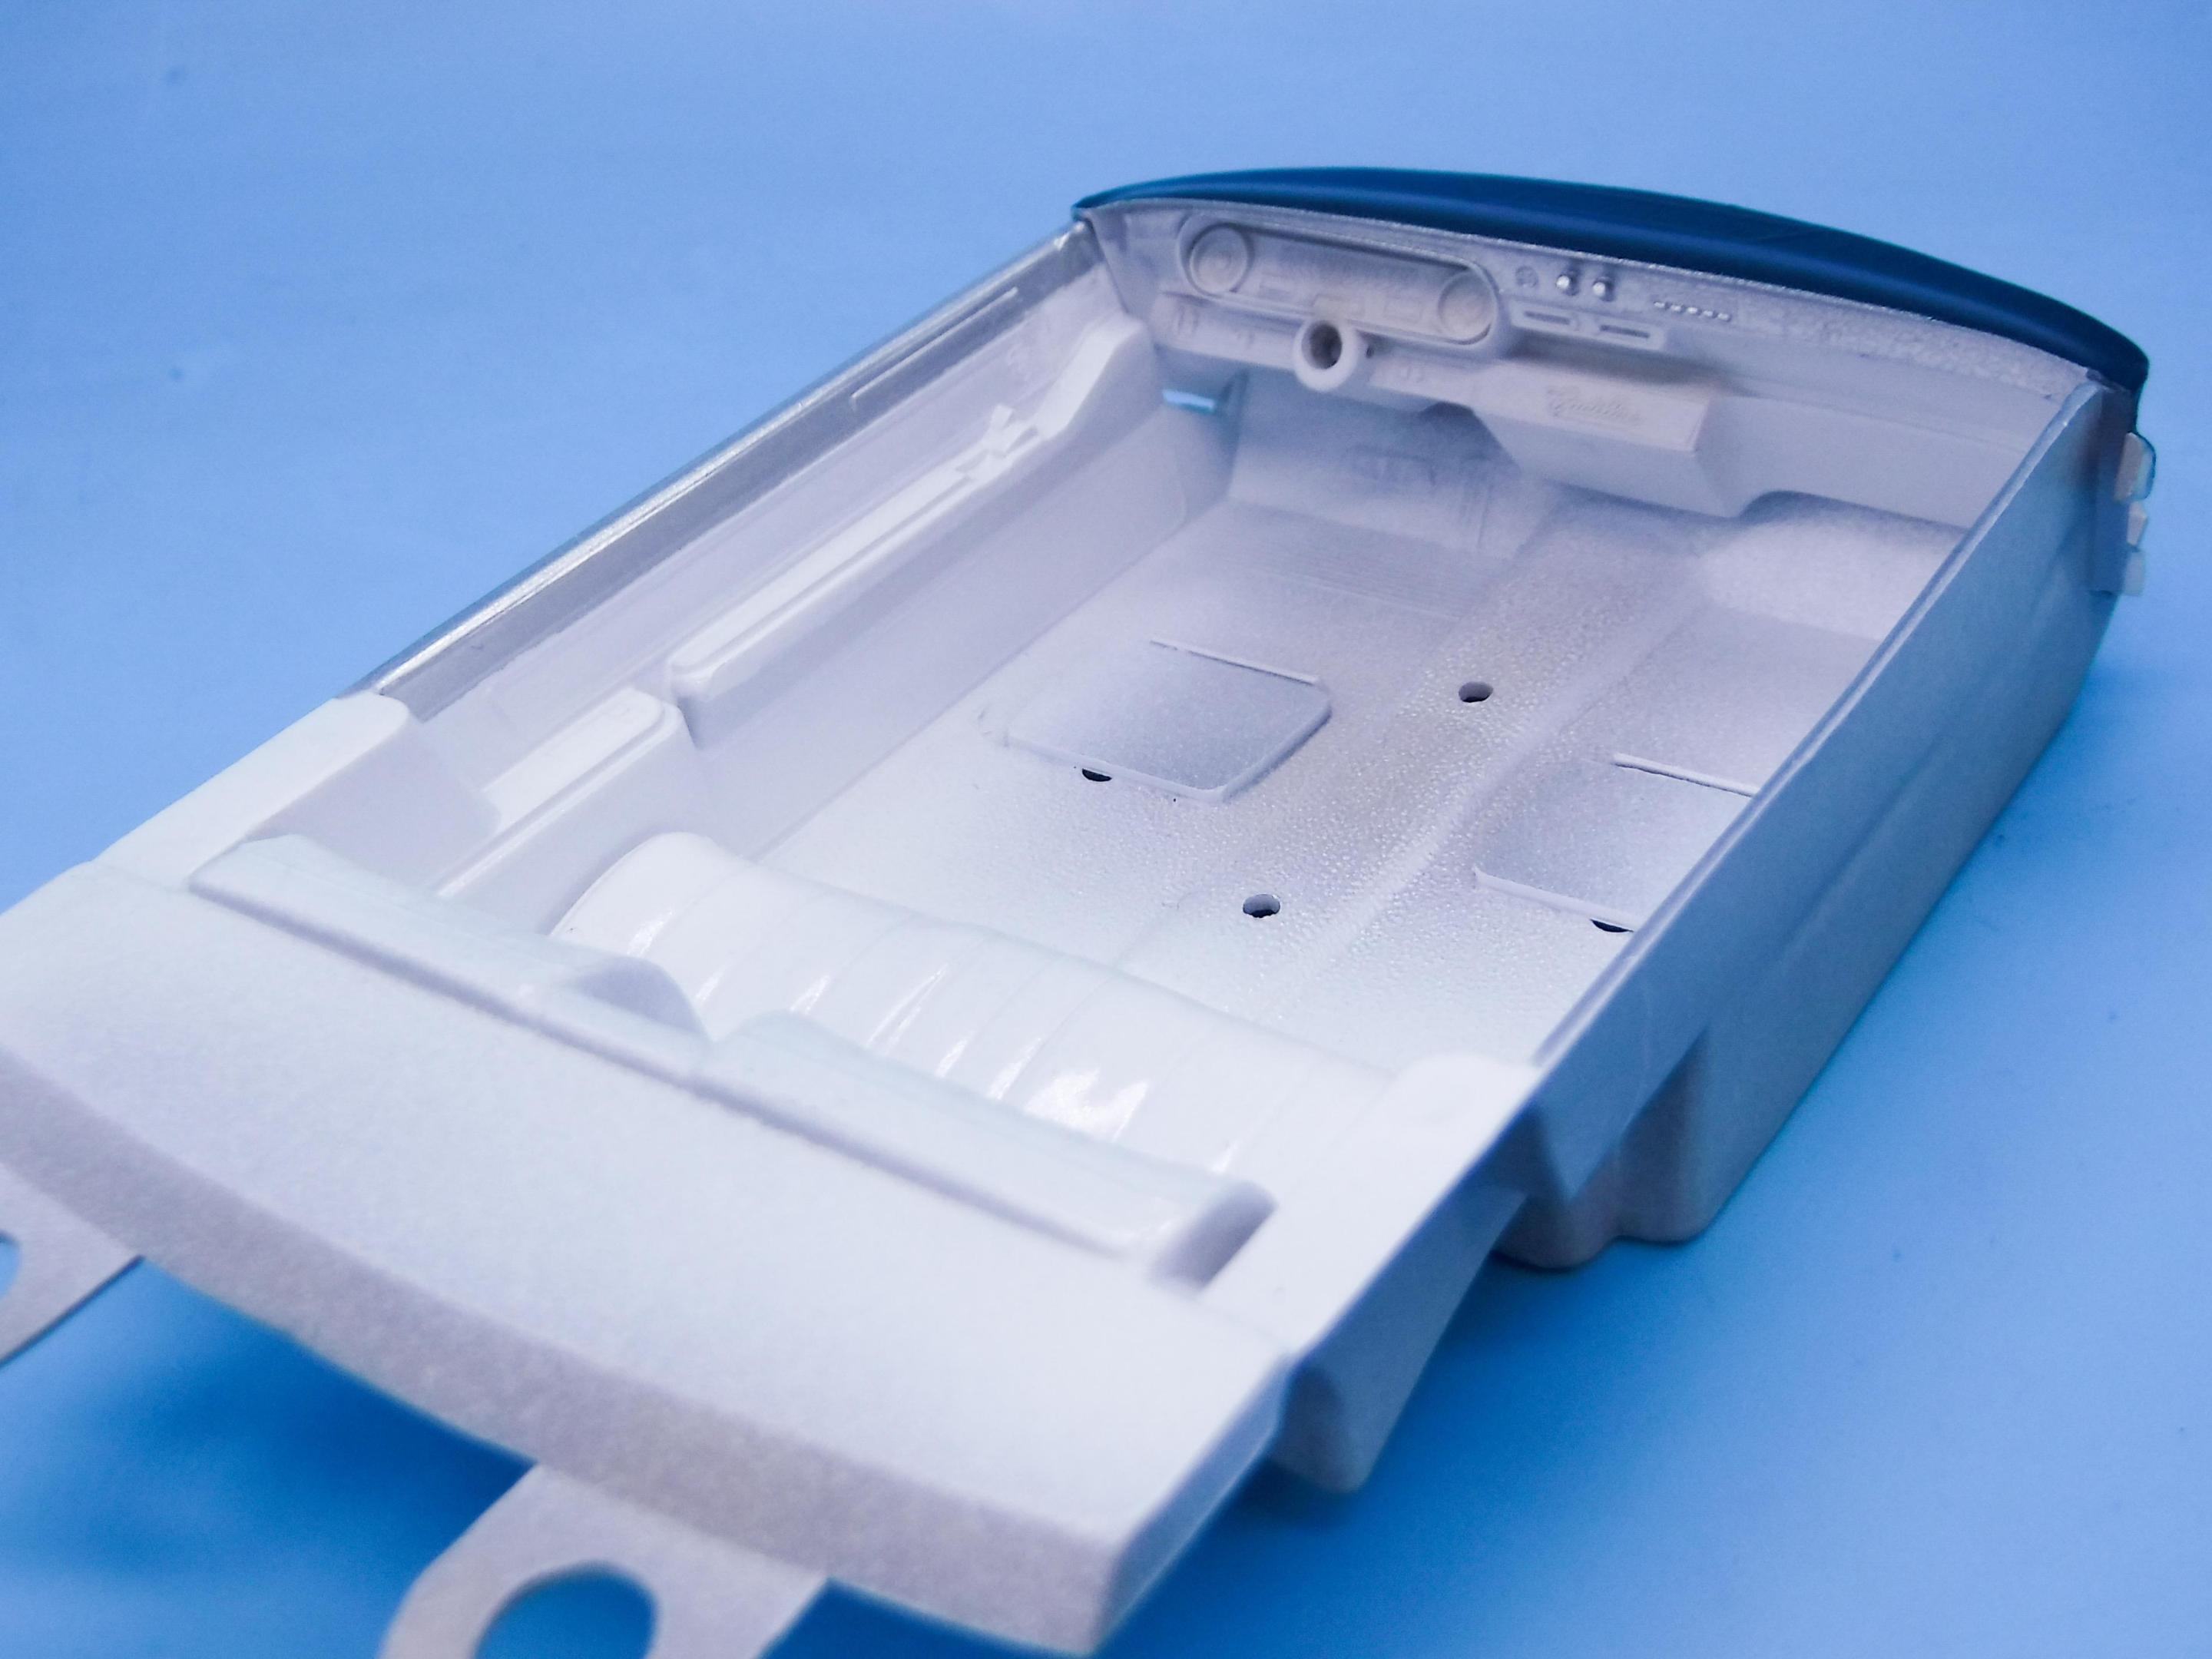
Thank you! It’ll definitely need polishing, but it’s a good starting point anyway… Tiny bit of progress again today…first up I wanted to handle the wheels and tires because I normally get to the end of a build and then I’m disappointed in myself that I didn’t do them sooner. Future me will thank me… I really didn’t want to strip the chrome on these, but they were kinda dirty and needed some attention - plus three of the four had some crusty glue smears on…did some very careful cleaning with Novus and they mostly came out good…one of the tires has a wonky white stripe on, but I can hide that by putting it on the back at least… A blackwash probably wouldn’t hurt these either - they’re nicely detailed and pretty accurate to the 1:1 Tonight’s other project was folding some Gopher racing seatbelt buckles and making some belts with a nice dark blue belt material that Hiroboy sells… Blue seatbelts like this were available from the factory in ‘66 - I think they make for a really nice looking interior! Love all that contrast with the white and blue. Conversely, I THINK the parcel shelf was normally black regardless of the color of all the other trim…but I’m pretending you could special order one to match the carpet ? Need to handle pedals next and some little bits of detailing to the tub itself (electric window buttons, primarily, but I think I have some nice photoetch that I’d like to use for those)…another couple of steps further along! Thanks for looking, and for all the nice comments so far!
-

Update: '33 Ford Coupe 4-wheel independent suspension
OldNYJim replied to Kruzn's topic in WIP: Model Cars
That looks GREAT! Beautiful work so far! Love the wheels! -

Yellow Fever Competition Coupe, Keeler's Kustoms
OldNYJim replied to stavanzer's topic in Car Kit News & Reviews
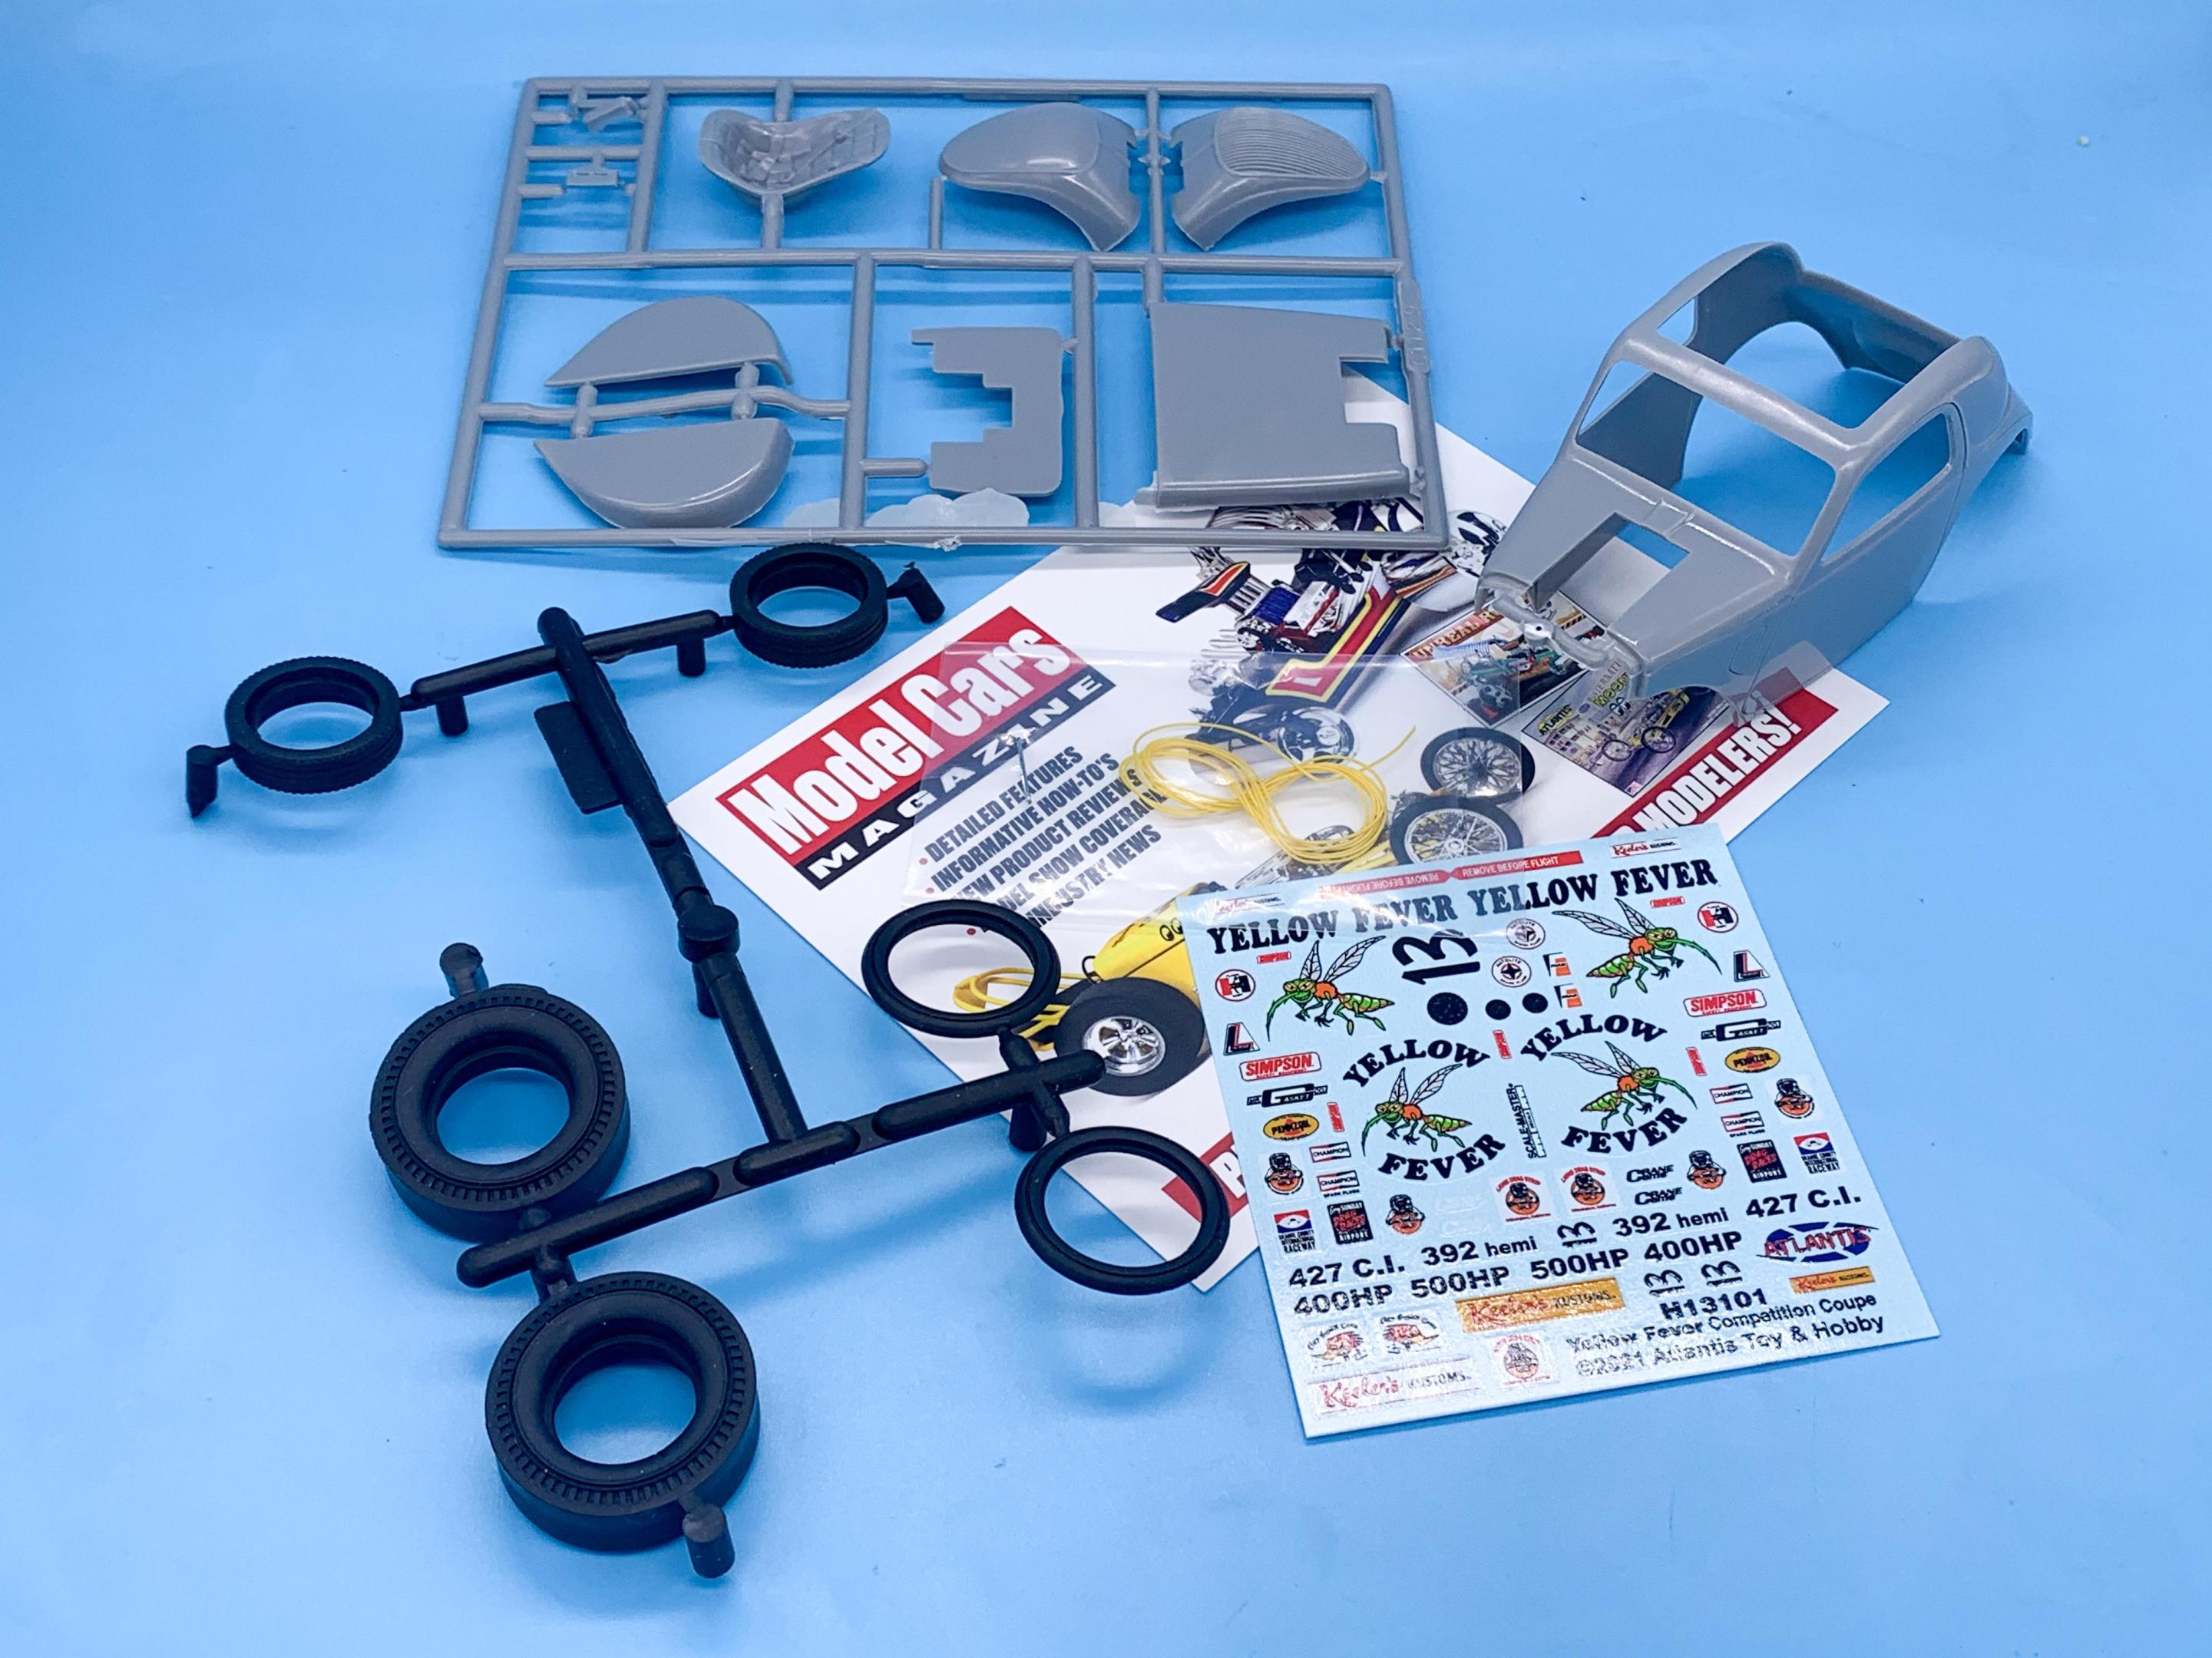
They’re starting to sell some of the parts trees separately too…$8 a tree seems VERY fair to me. Managed to pick up a couple of the Mooneyes kit for $18 each on eBay a while back, so I’m getting a nice stock of brand-new vintage parts pack parts myself now! -
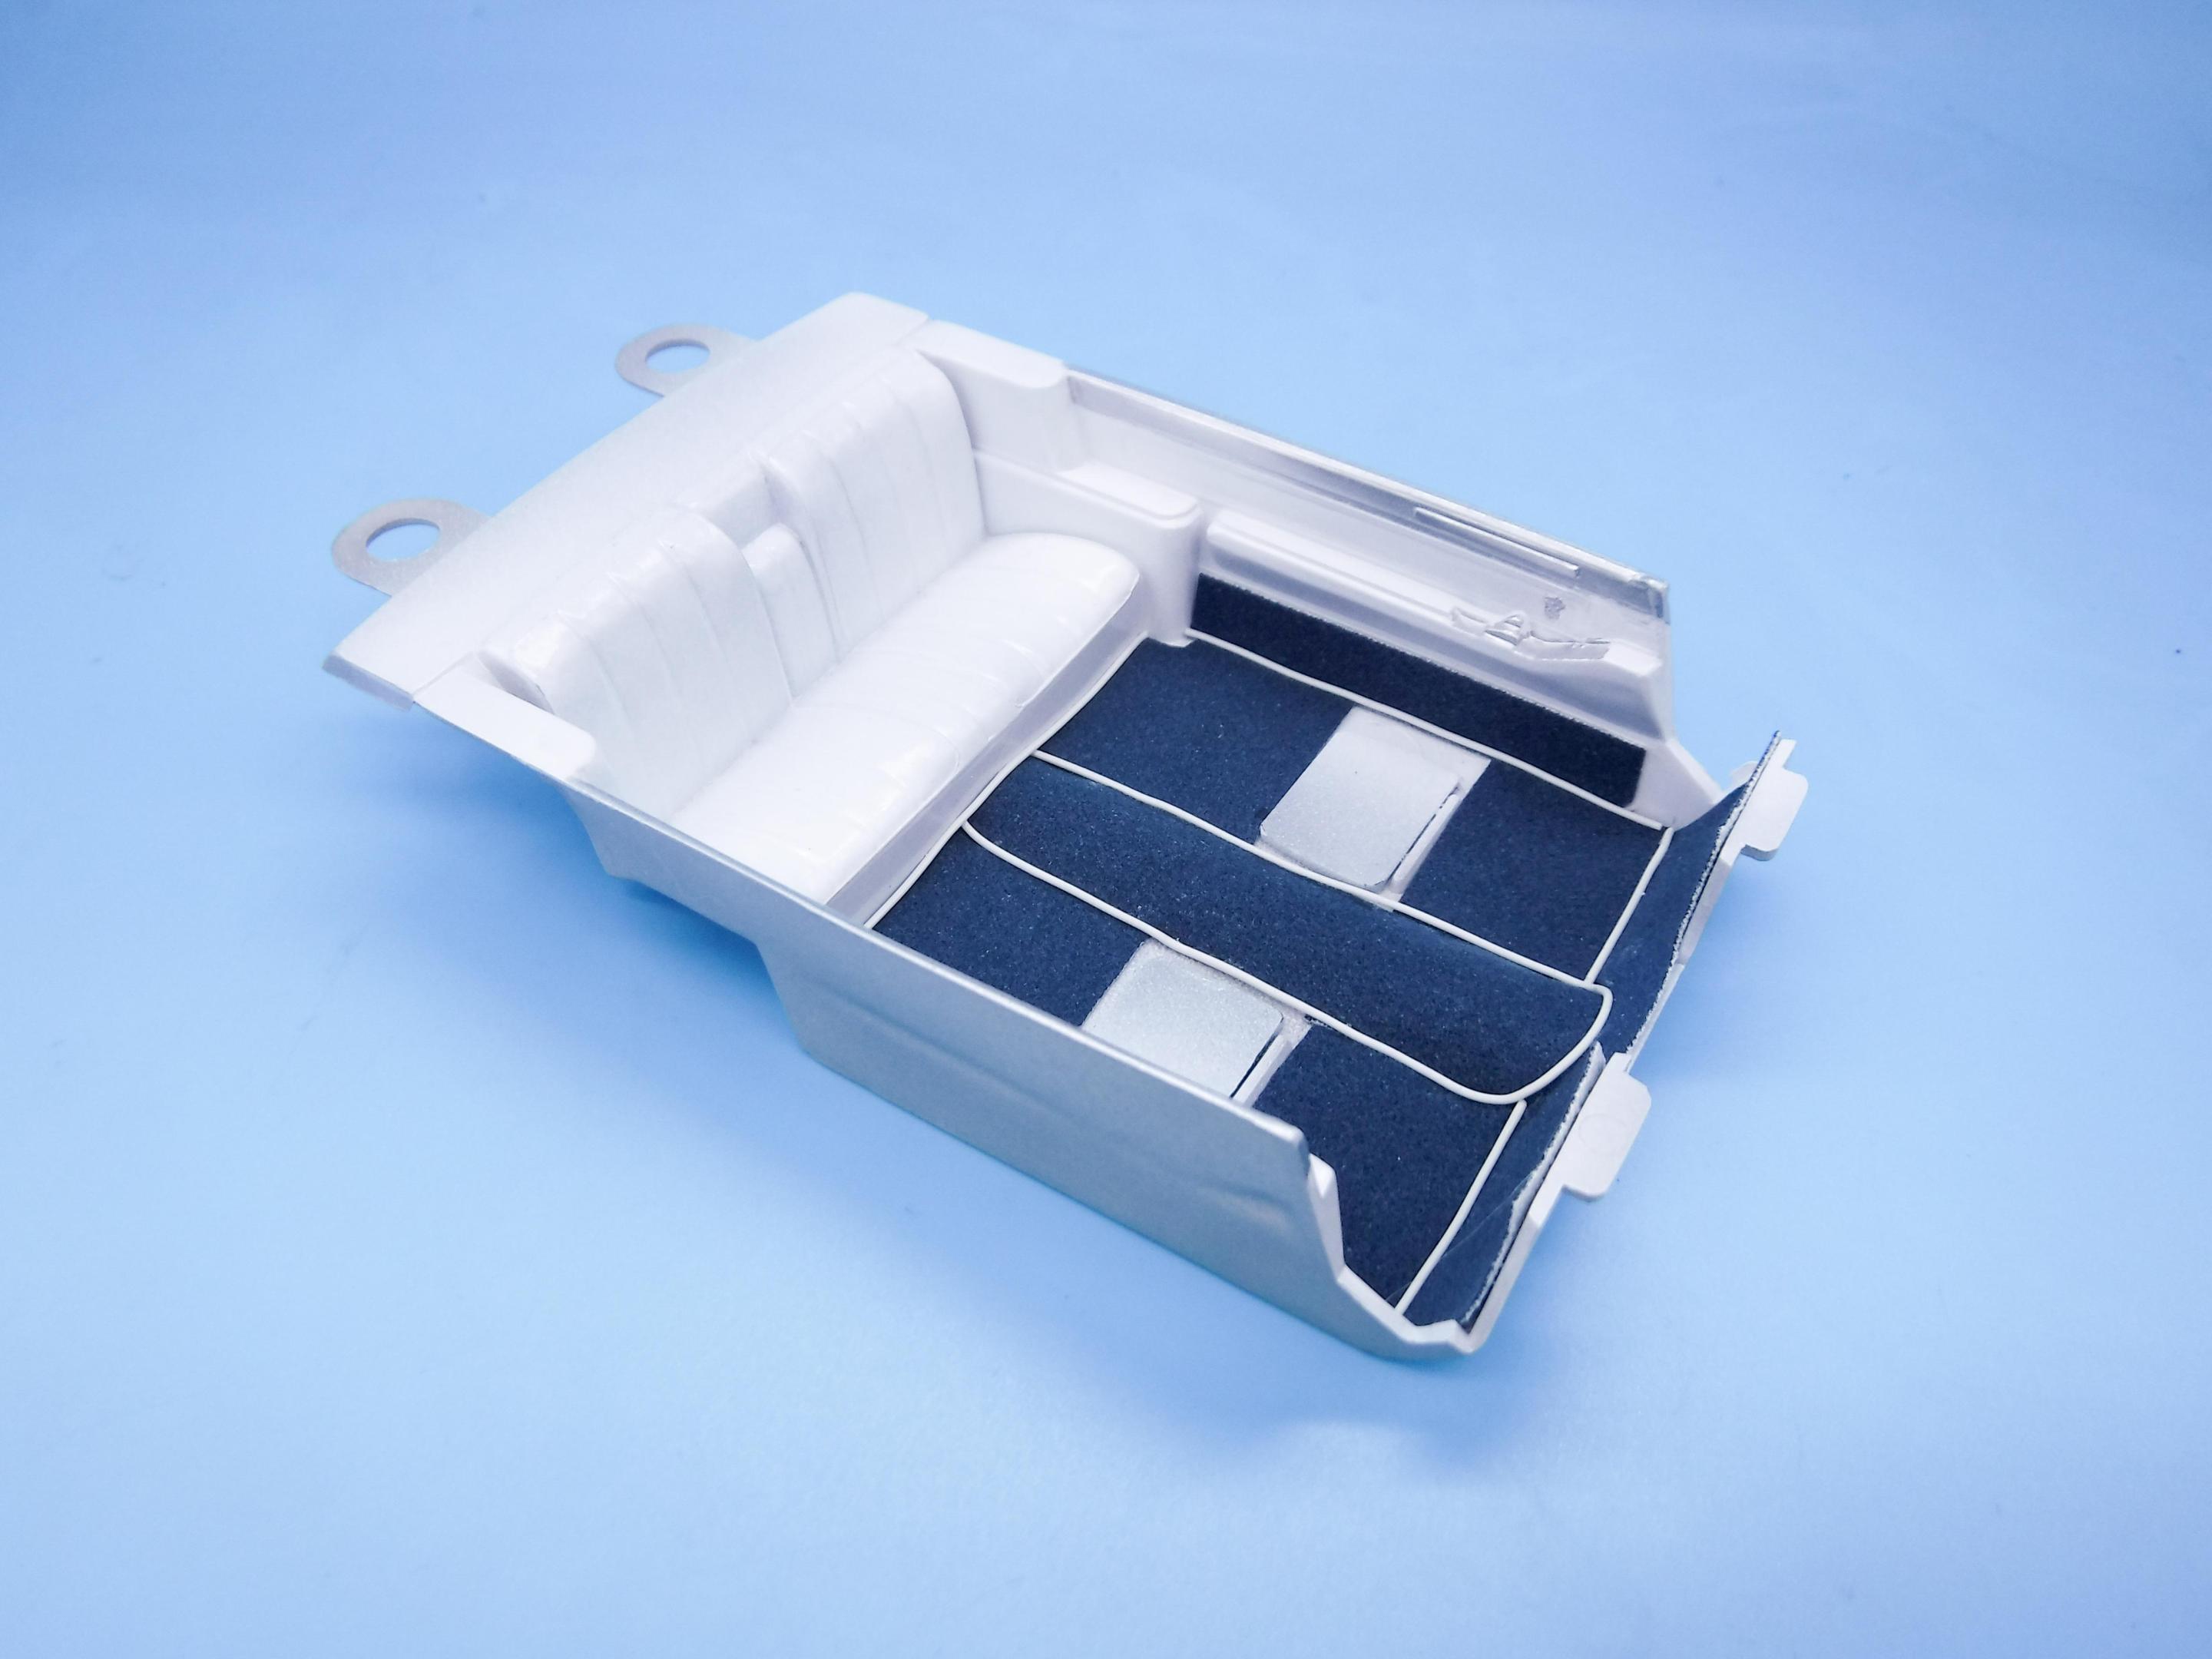
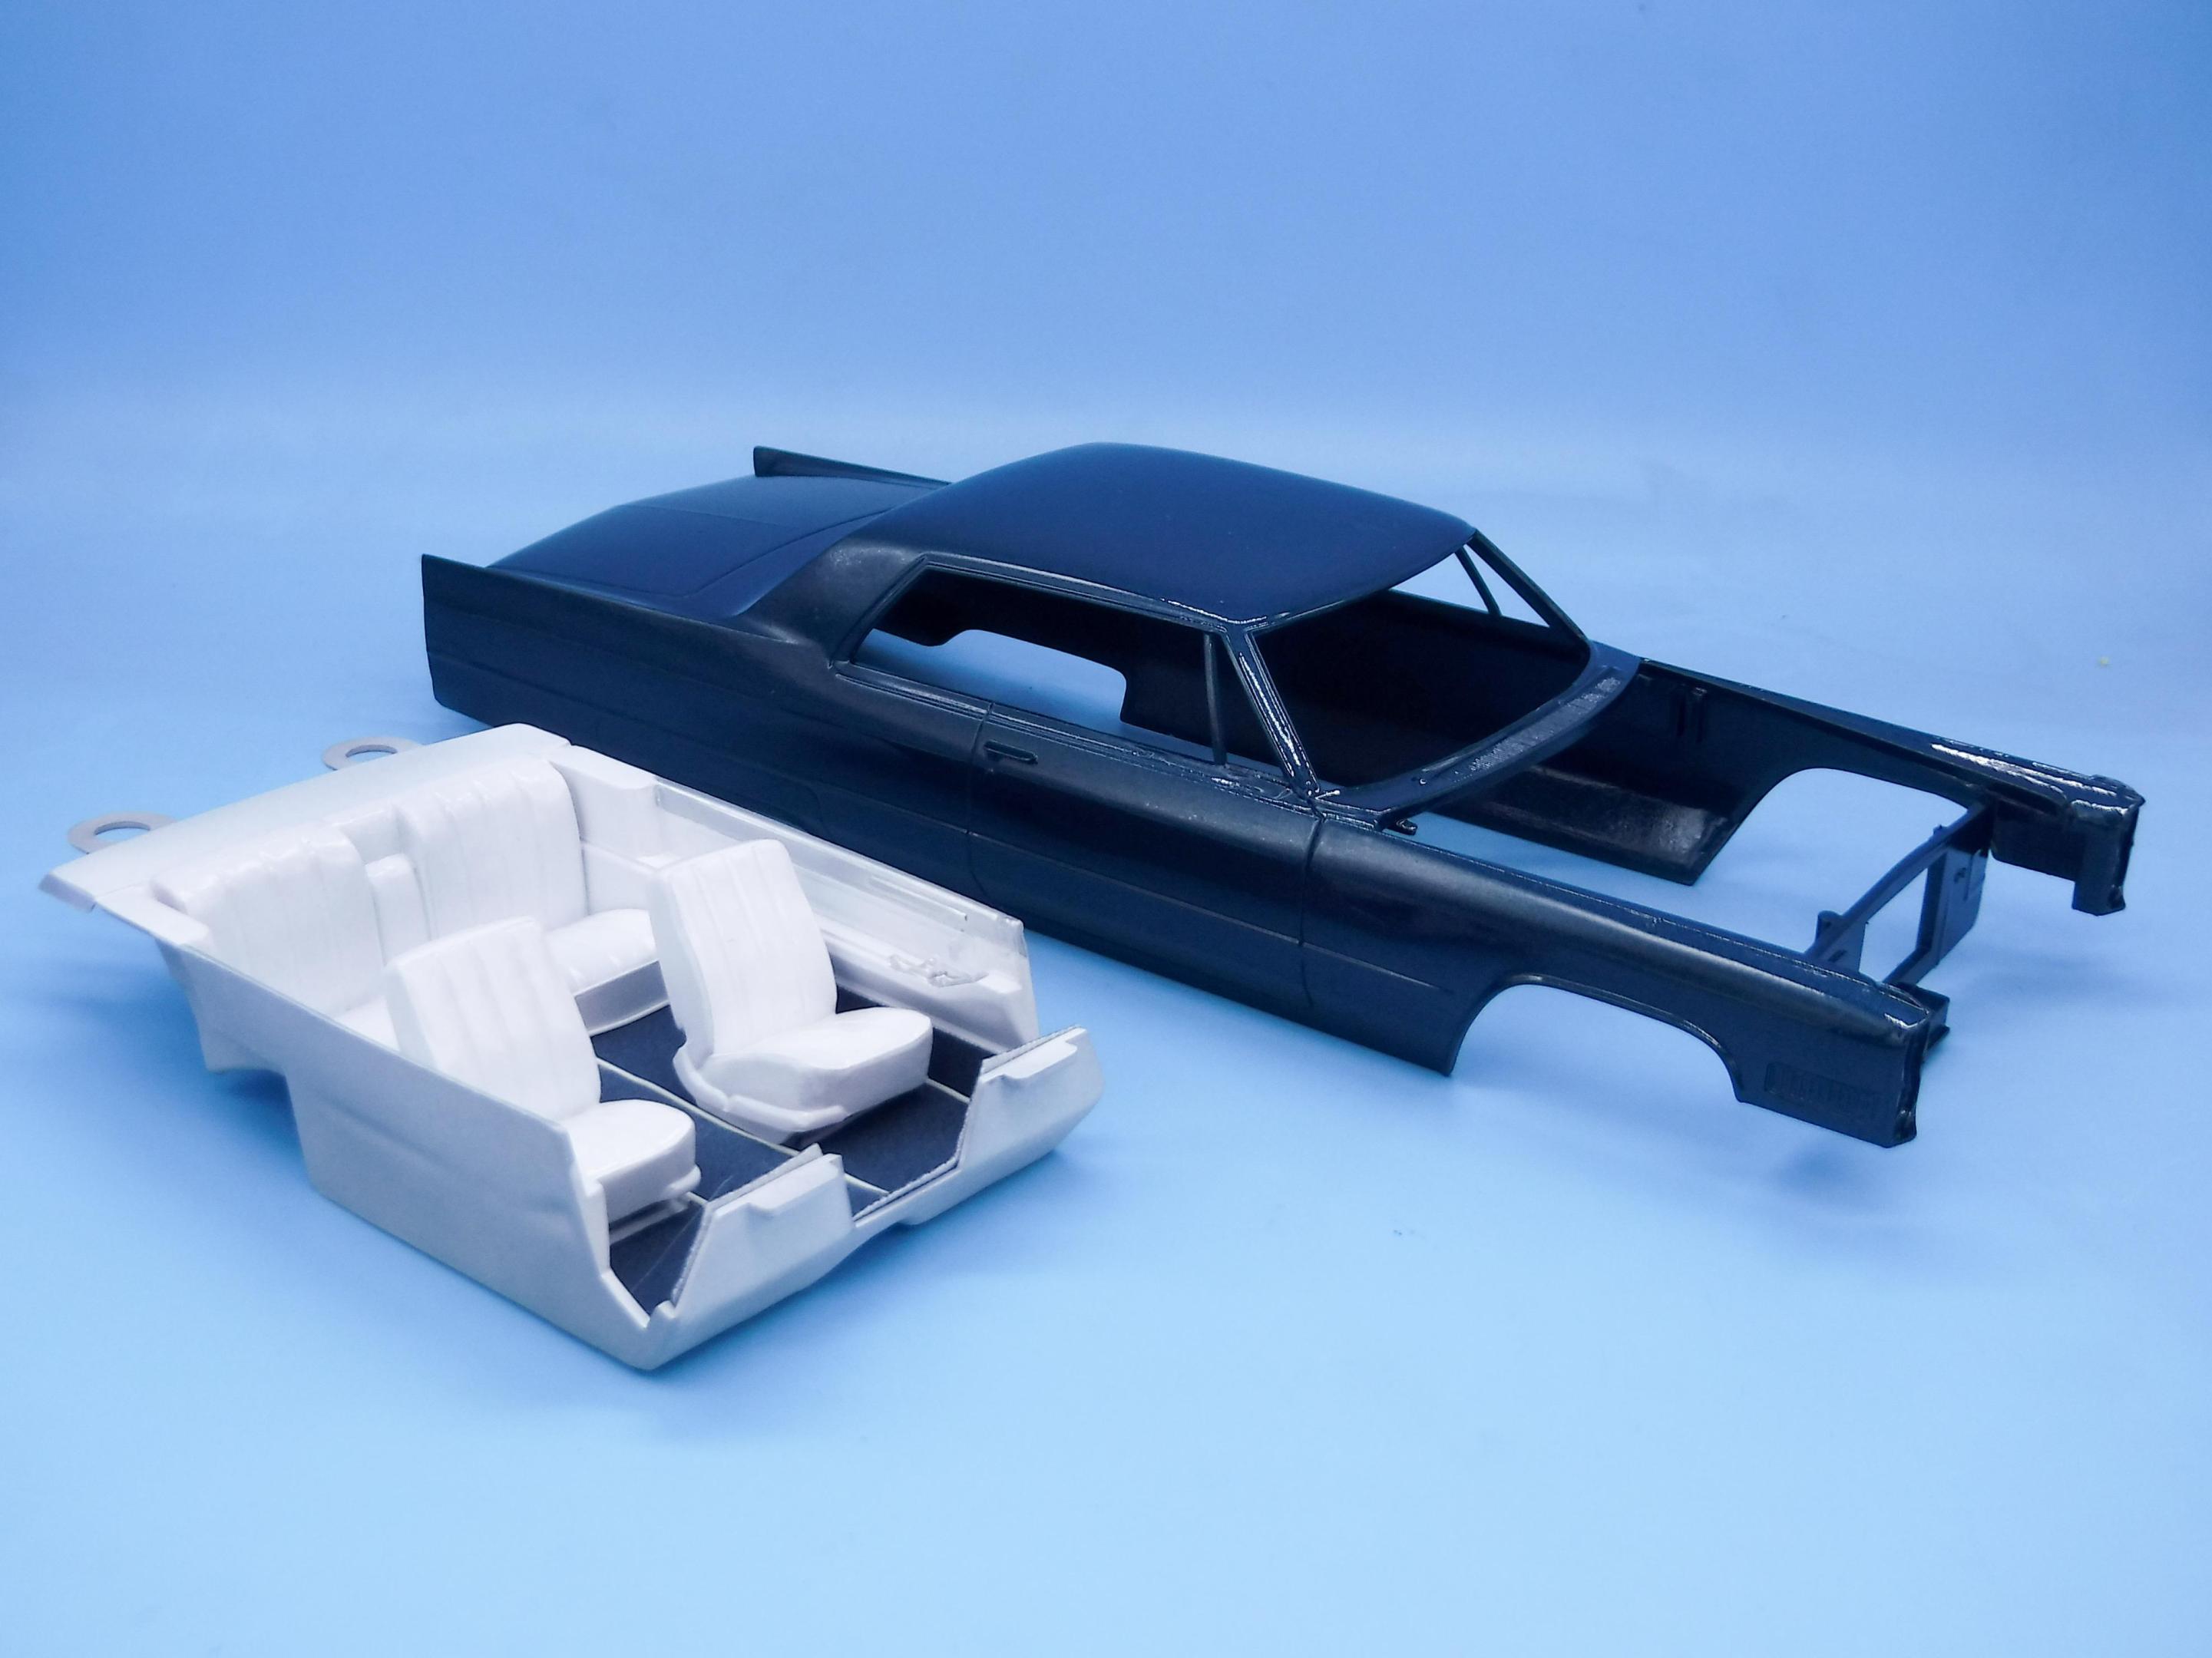
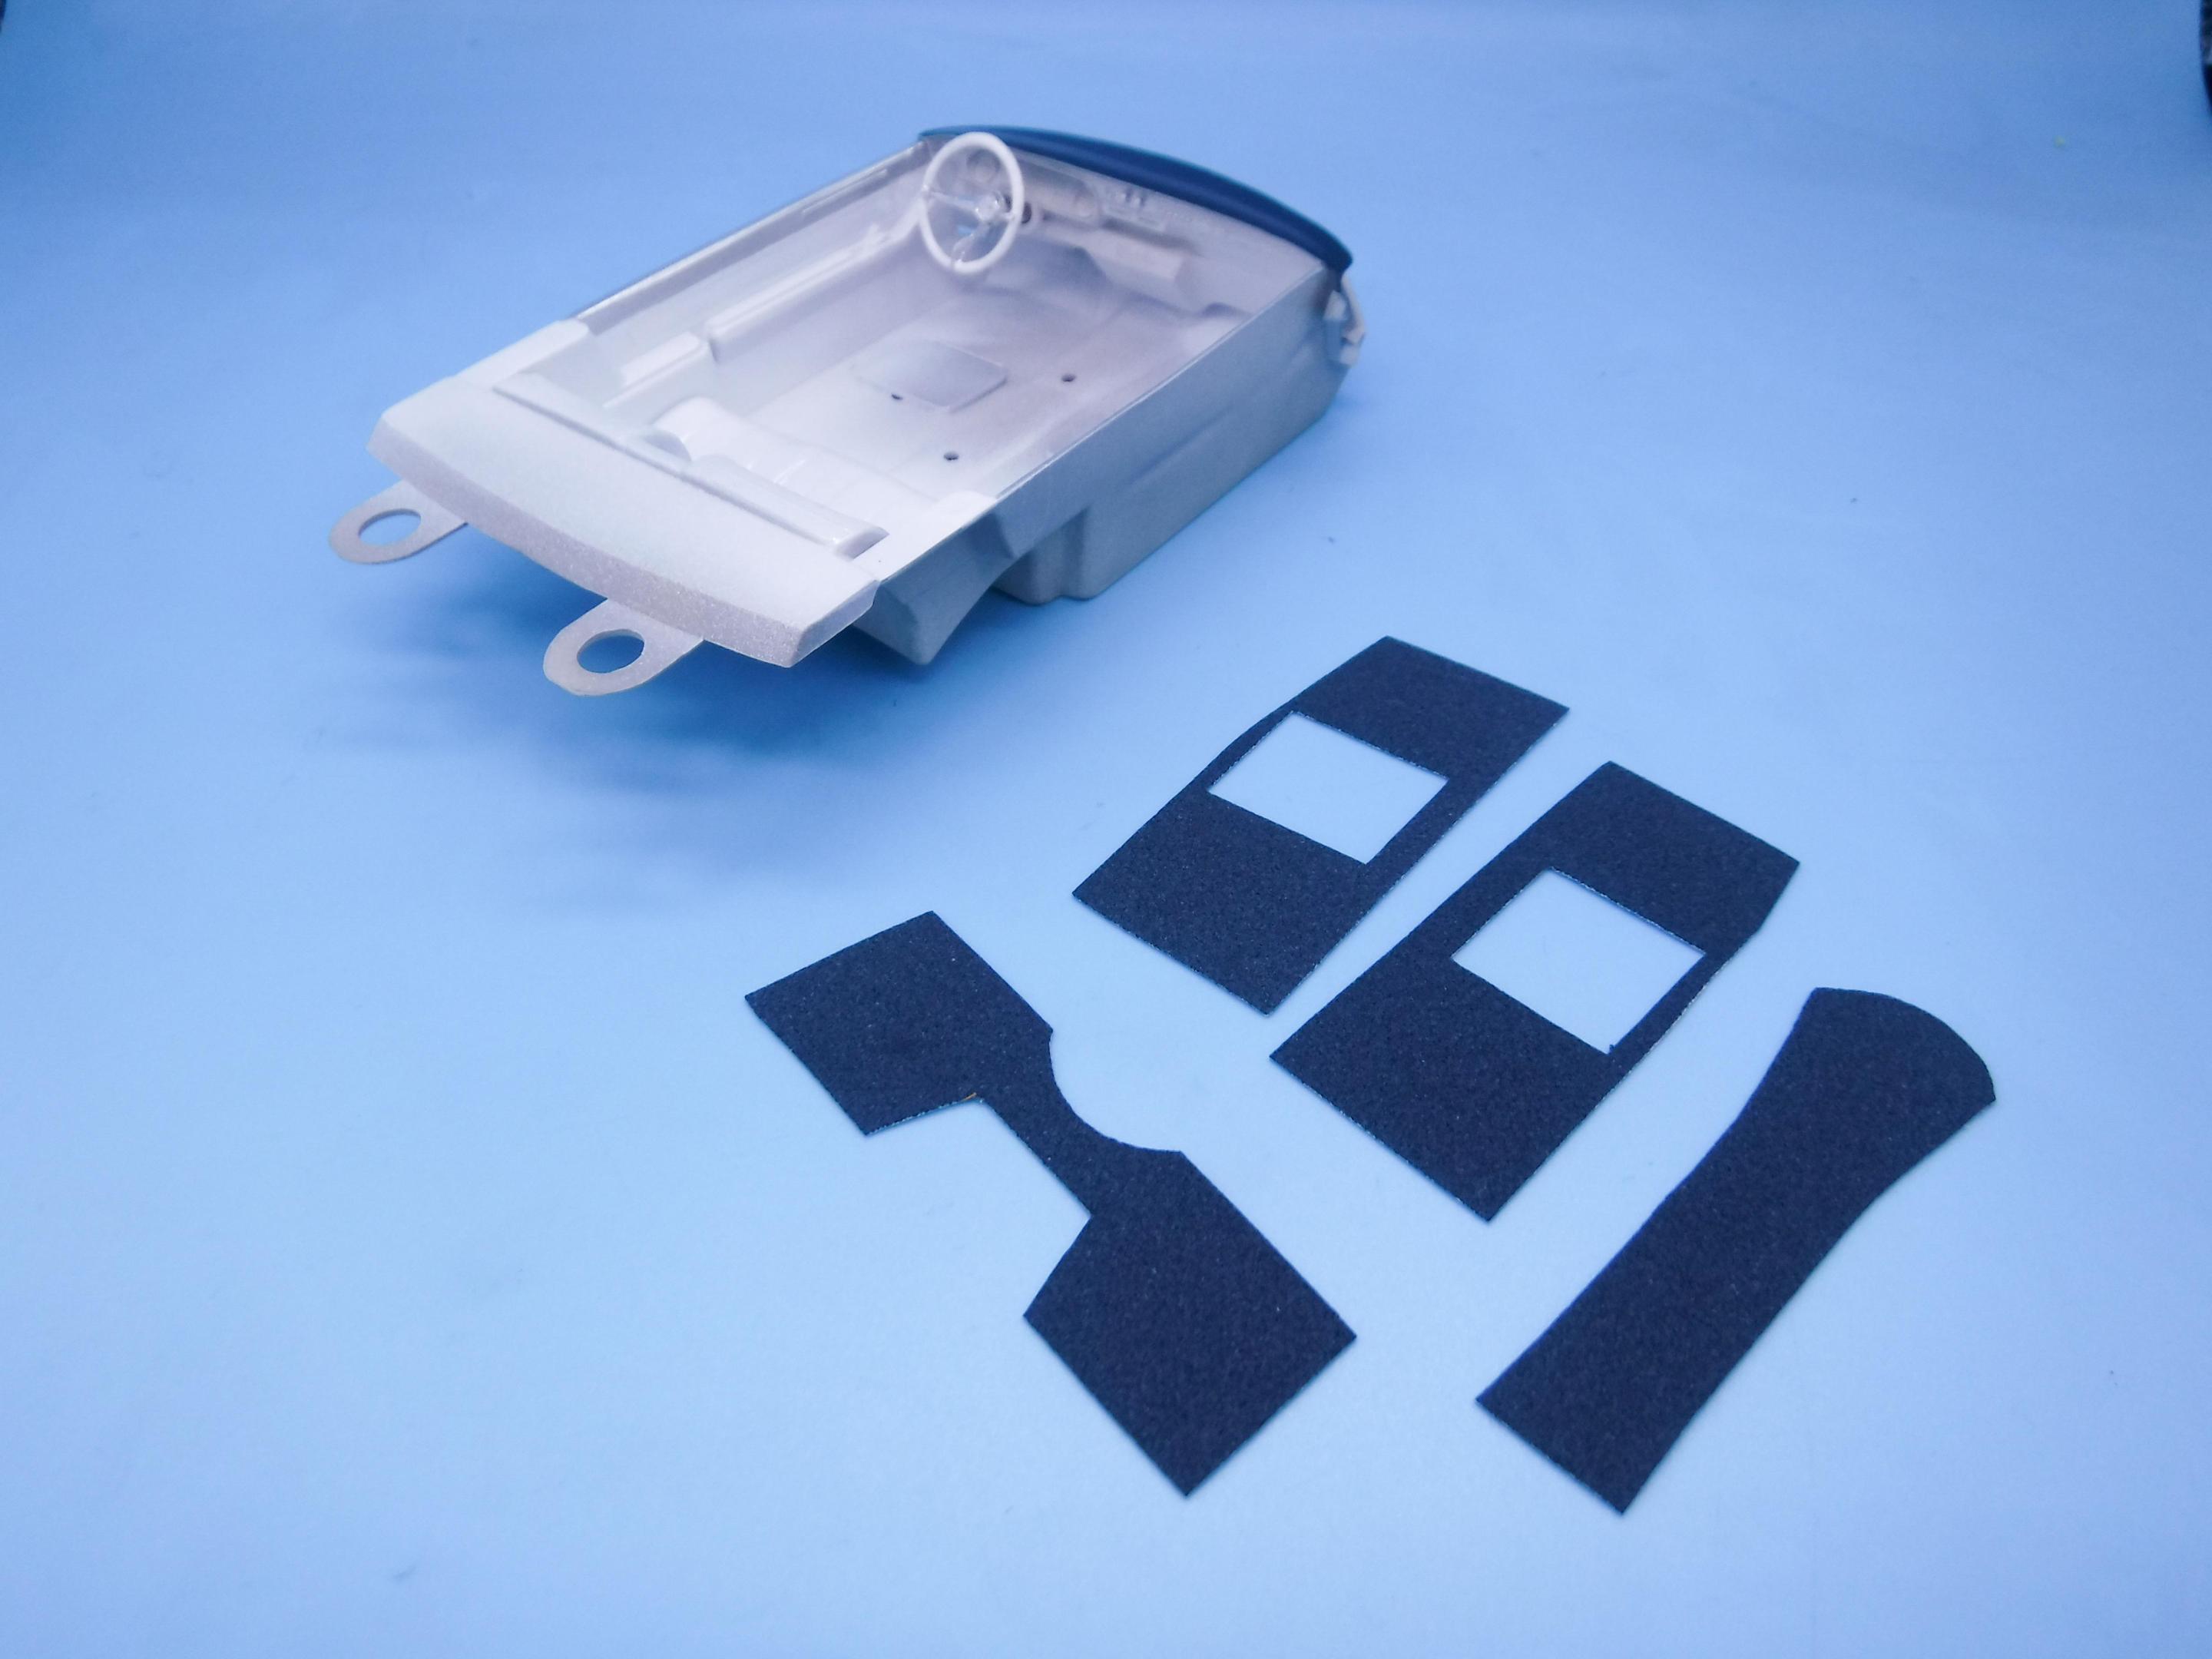
Thanks for the kind words everybody! Testor’s enamel, thinned with lacquer finish…my favorite route to a low-fuss shine! Thinned with the lacquer thinner it doesn’t end up too dipped-in-syrup-y looking (at least to my eyes) and it’s a nice tough clear that polishes out well. I’m starting to run low on my supplies of it…I’ll miss it when I get through the rest of my stash of it… Tiny bit of progress tonight - I wanted to get the carpet pieces into the interior tub…mostly because I thought it was going to be difficult and tedious to get them all laid down, so I wanted to get it out of the way… Actually went pretty smooth! I had some blue wire I was going to use for the trim, but it didn’t look as nice as the white (even though it would’ve been more correct…) Quick check with the seats in place to make sure I’ll still be able to snap them into place ok without the carpet interfering… Looks like that’ll work! Still a LOT to do on the interior, but I got the part I was least excited about out of the way…I think this white interior with the blue carpet and seatbelts is going to be a nice looking combination! Thanks for looking everybody…more soon!
-
So, as I understand it, their job isn't even to INSPECT the mail...just sort it, then hand off to customs so THEY can inspect it (if they so wish). Customs is actually relatively fast compared to the USPS side of things (at least, at this particular facility).
-
Yep - same message I've had for 5 or 6 weeks now. I miss living near the NY international sorting center - parcel would go in on say a Monday and almost always come back out by Wednesday at the latest. Now, if I order anything from overseas and it routes through Chicago (which makes sense, seeing as we're right by Chicago now) it'll take 6-8 weeks MINIMUM. I had a kit from Japan that took 3.5 MONTHS. I've been pondering that it would be a LOT quicker to have any overseas parcels sent to a friend in NY and have them forward them...but it would be better if the Chicago mail peeps would tidy up and move faster (and, optionally, get rid of the rodent infestation)...
-
I'd be interested to hear how fast your goods move through the Chicago sorting center - I've had a parcel (a kit from the UK) that was mailed on April 23rd, arrived at Chicago on April 28th...and hasn't moved since. Apparently the Postmaster General identified multiple problems at that hub that need addressing, including slow processing of mail, poor organization, garbage (and mail) all over the floors...and a rodent infestation.
-
Sounds like a fun project! And man, did they pick an awful color for that styrene ??
-
Interesting! I let my subscription lapse when it lapsed. I saw that they're cutting the number of issues per year in half, ongoing - people on the FSM forum had an thread going this afternoon to exchange email addresses in case the forum got turned off like Scale Auto's forum did...
-
Curious if anyone has ‘what’s in the box’ pics of this kit (or one of it’s earlier Revell incarnations? I’m weirdly tempted to pick one up, even though I already know it’ll be hard to build and there’s better options out there…
-
Has anyone seen a decent print file for a 66 Cadillac Coupe De Ville anywhere? Seems like something @MrObsessive might have come across at some point… I’m building a Johan ‘66 now… …and the kit comes with a bunch of custom parts (like a lot of the AMT kits did too). I’d really like to find a body that I can attach them all to without spending $150 on another rare old Johan kit…
-
@Texas_3D_Customs - what is that bottom body? And the 50s looking racer with the fin behind the driver’s head? Love the looks of both of those!
-
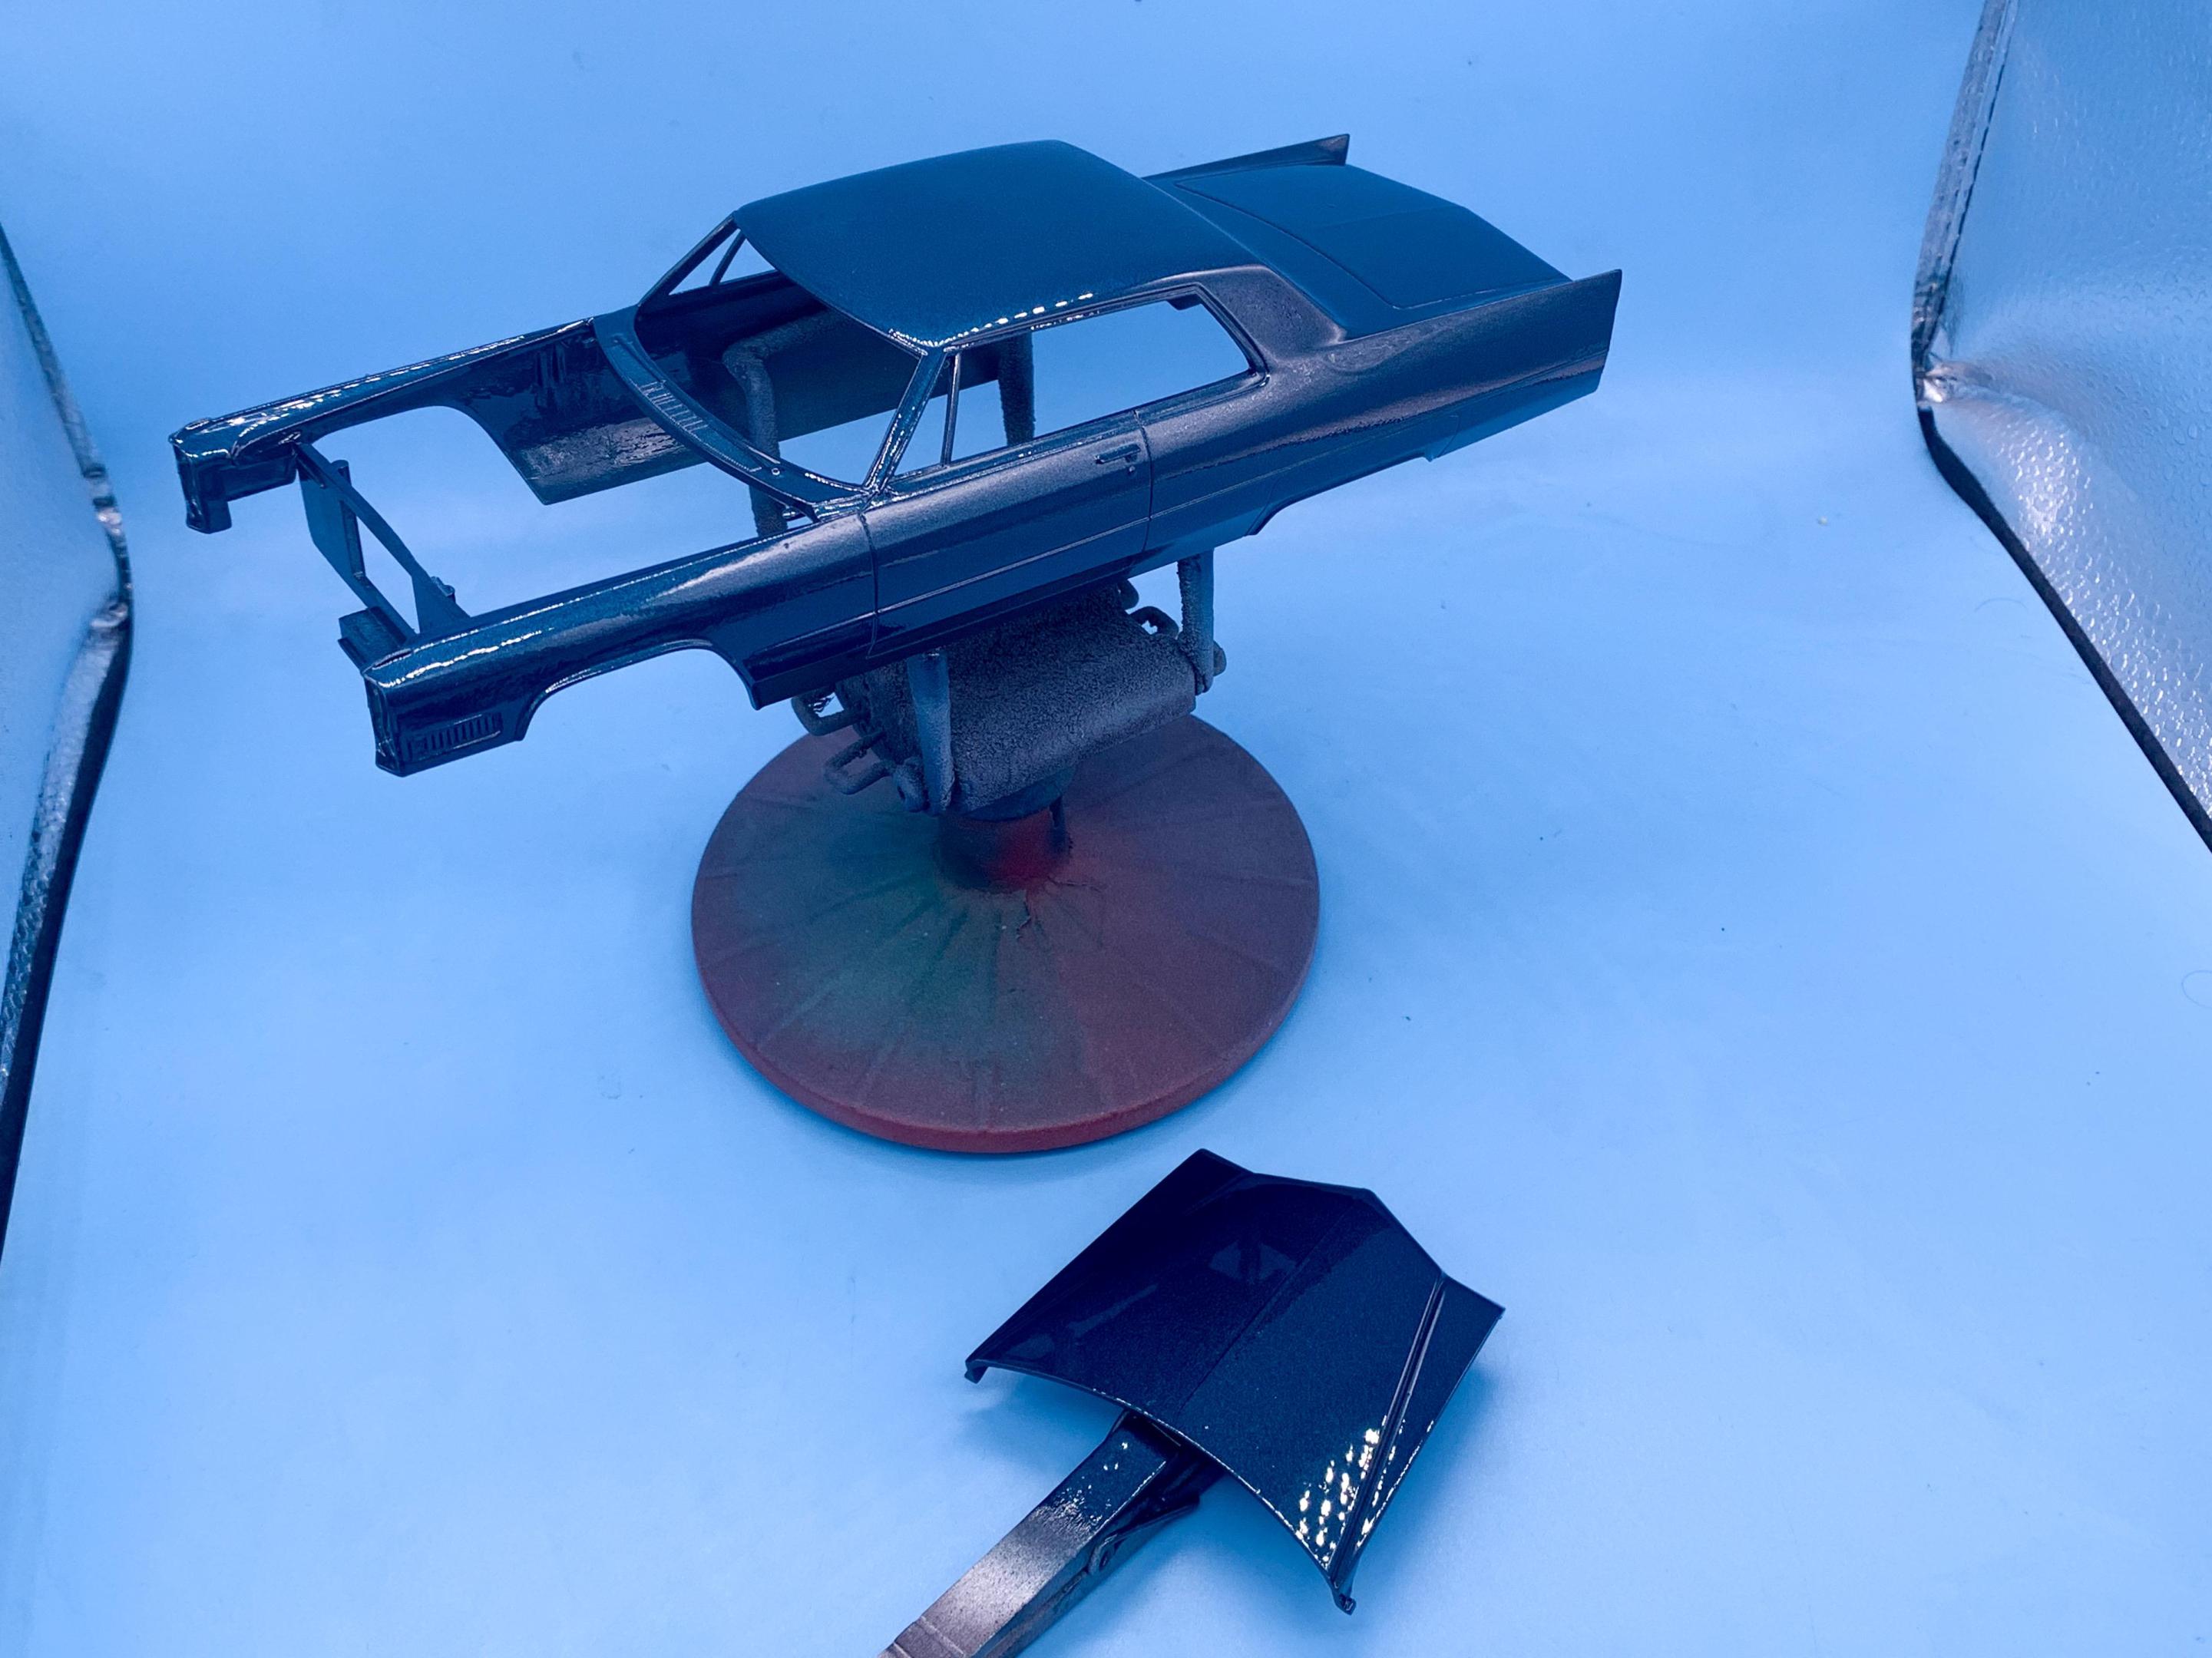
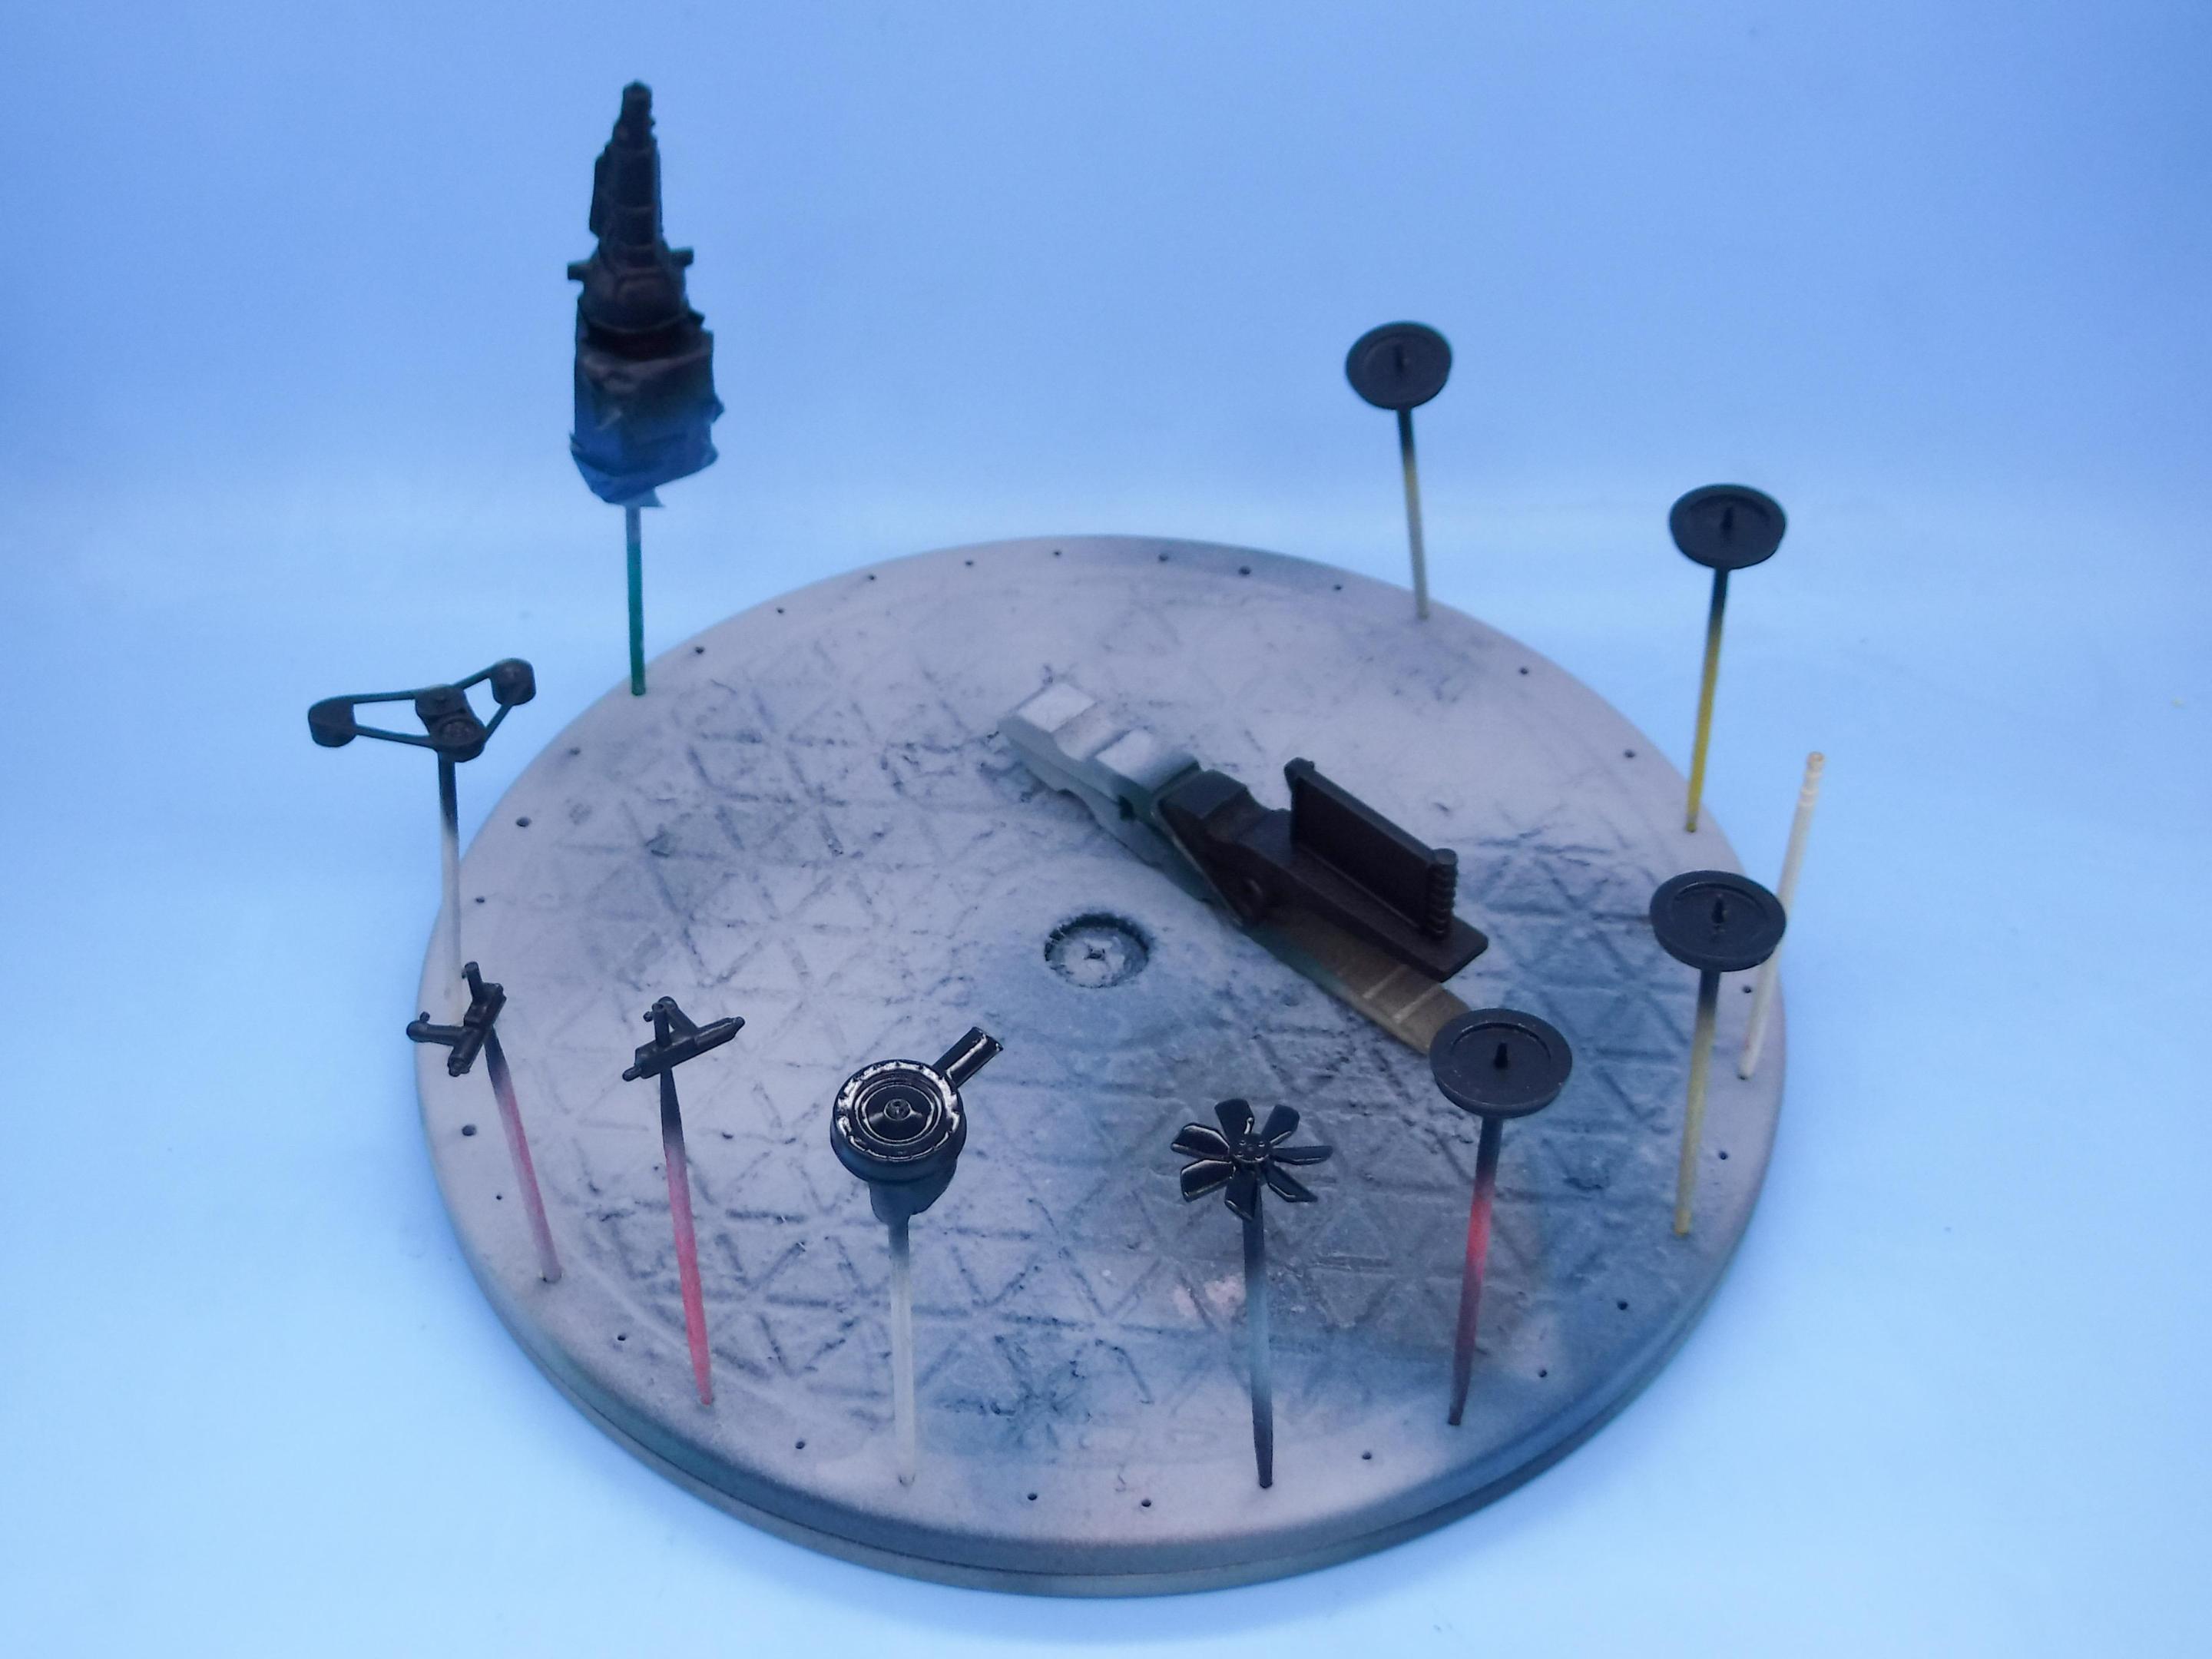
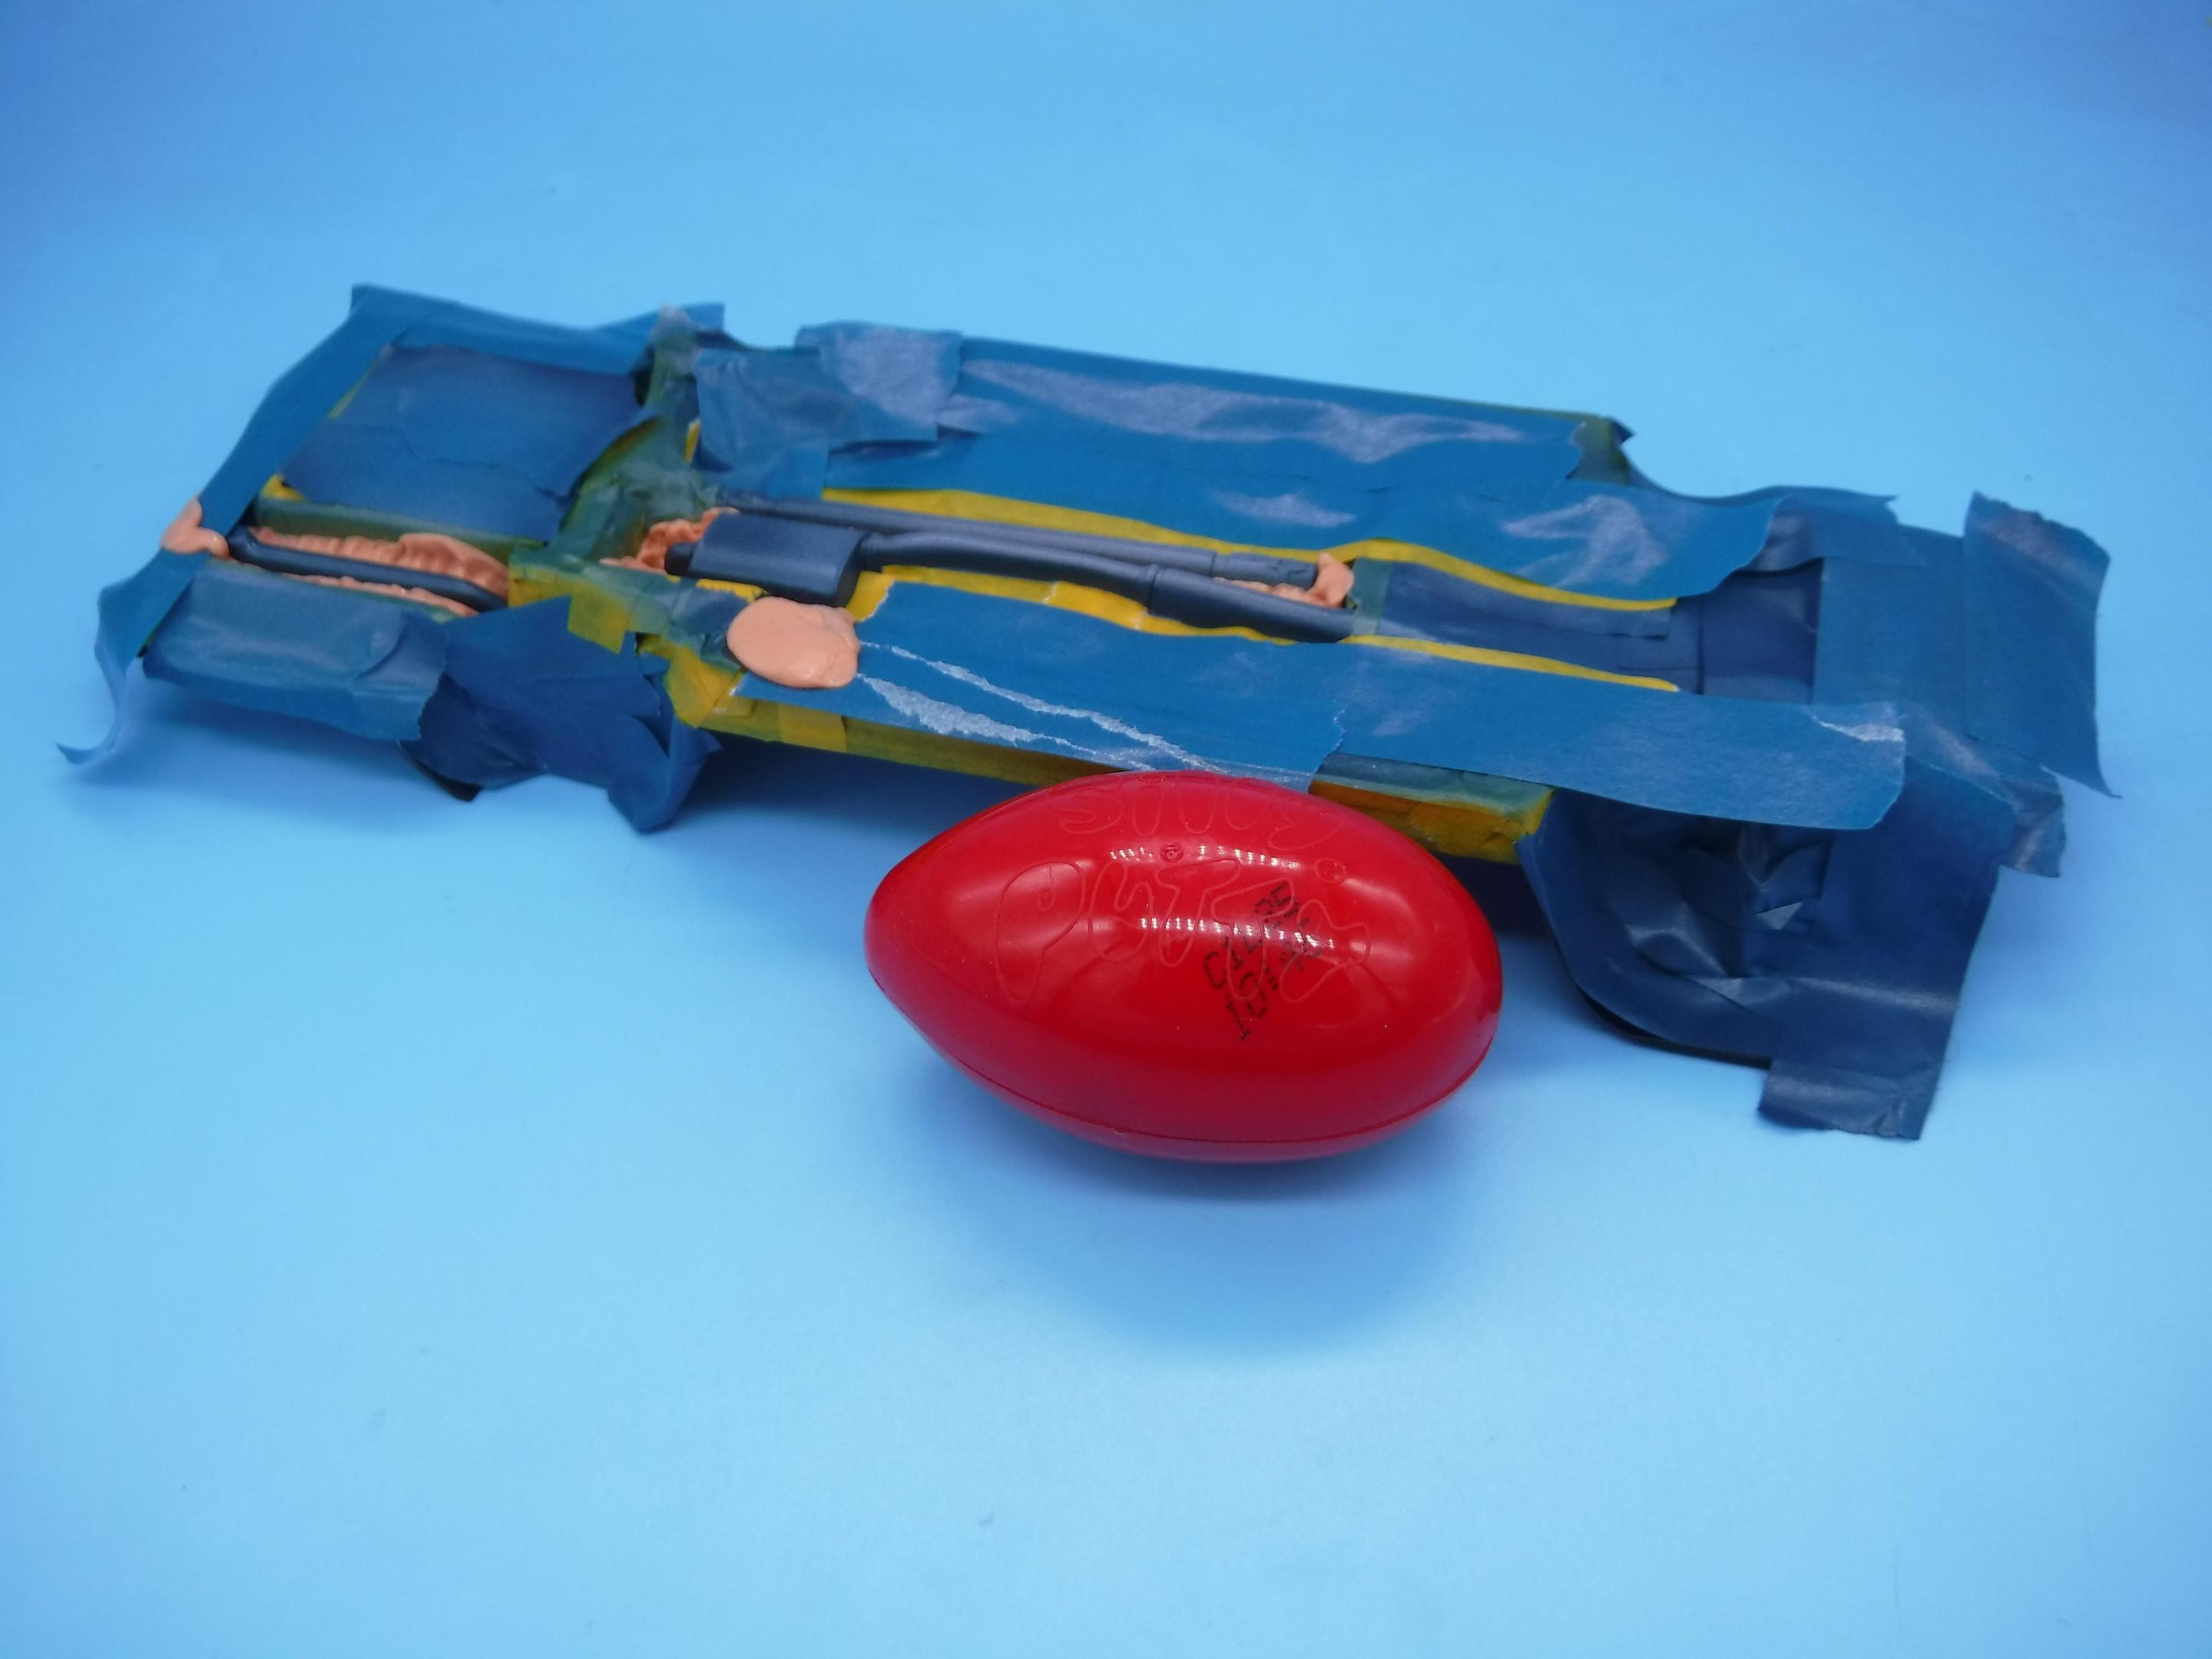
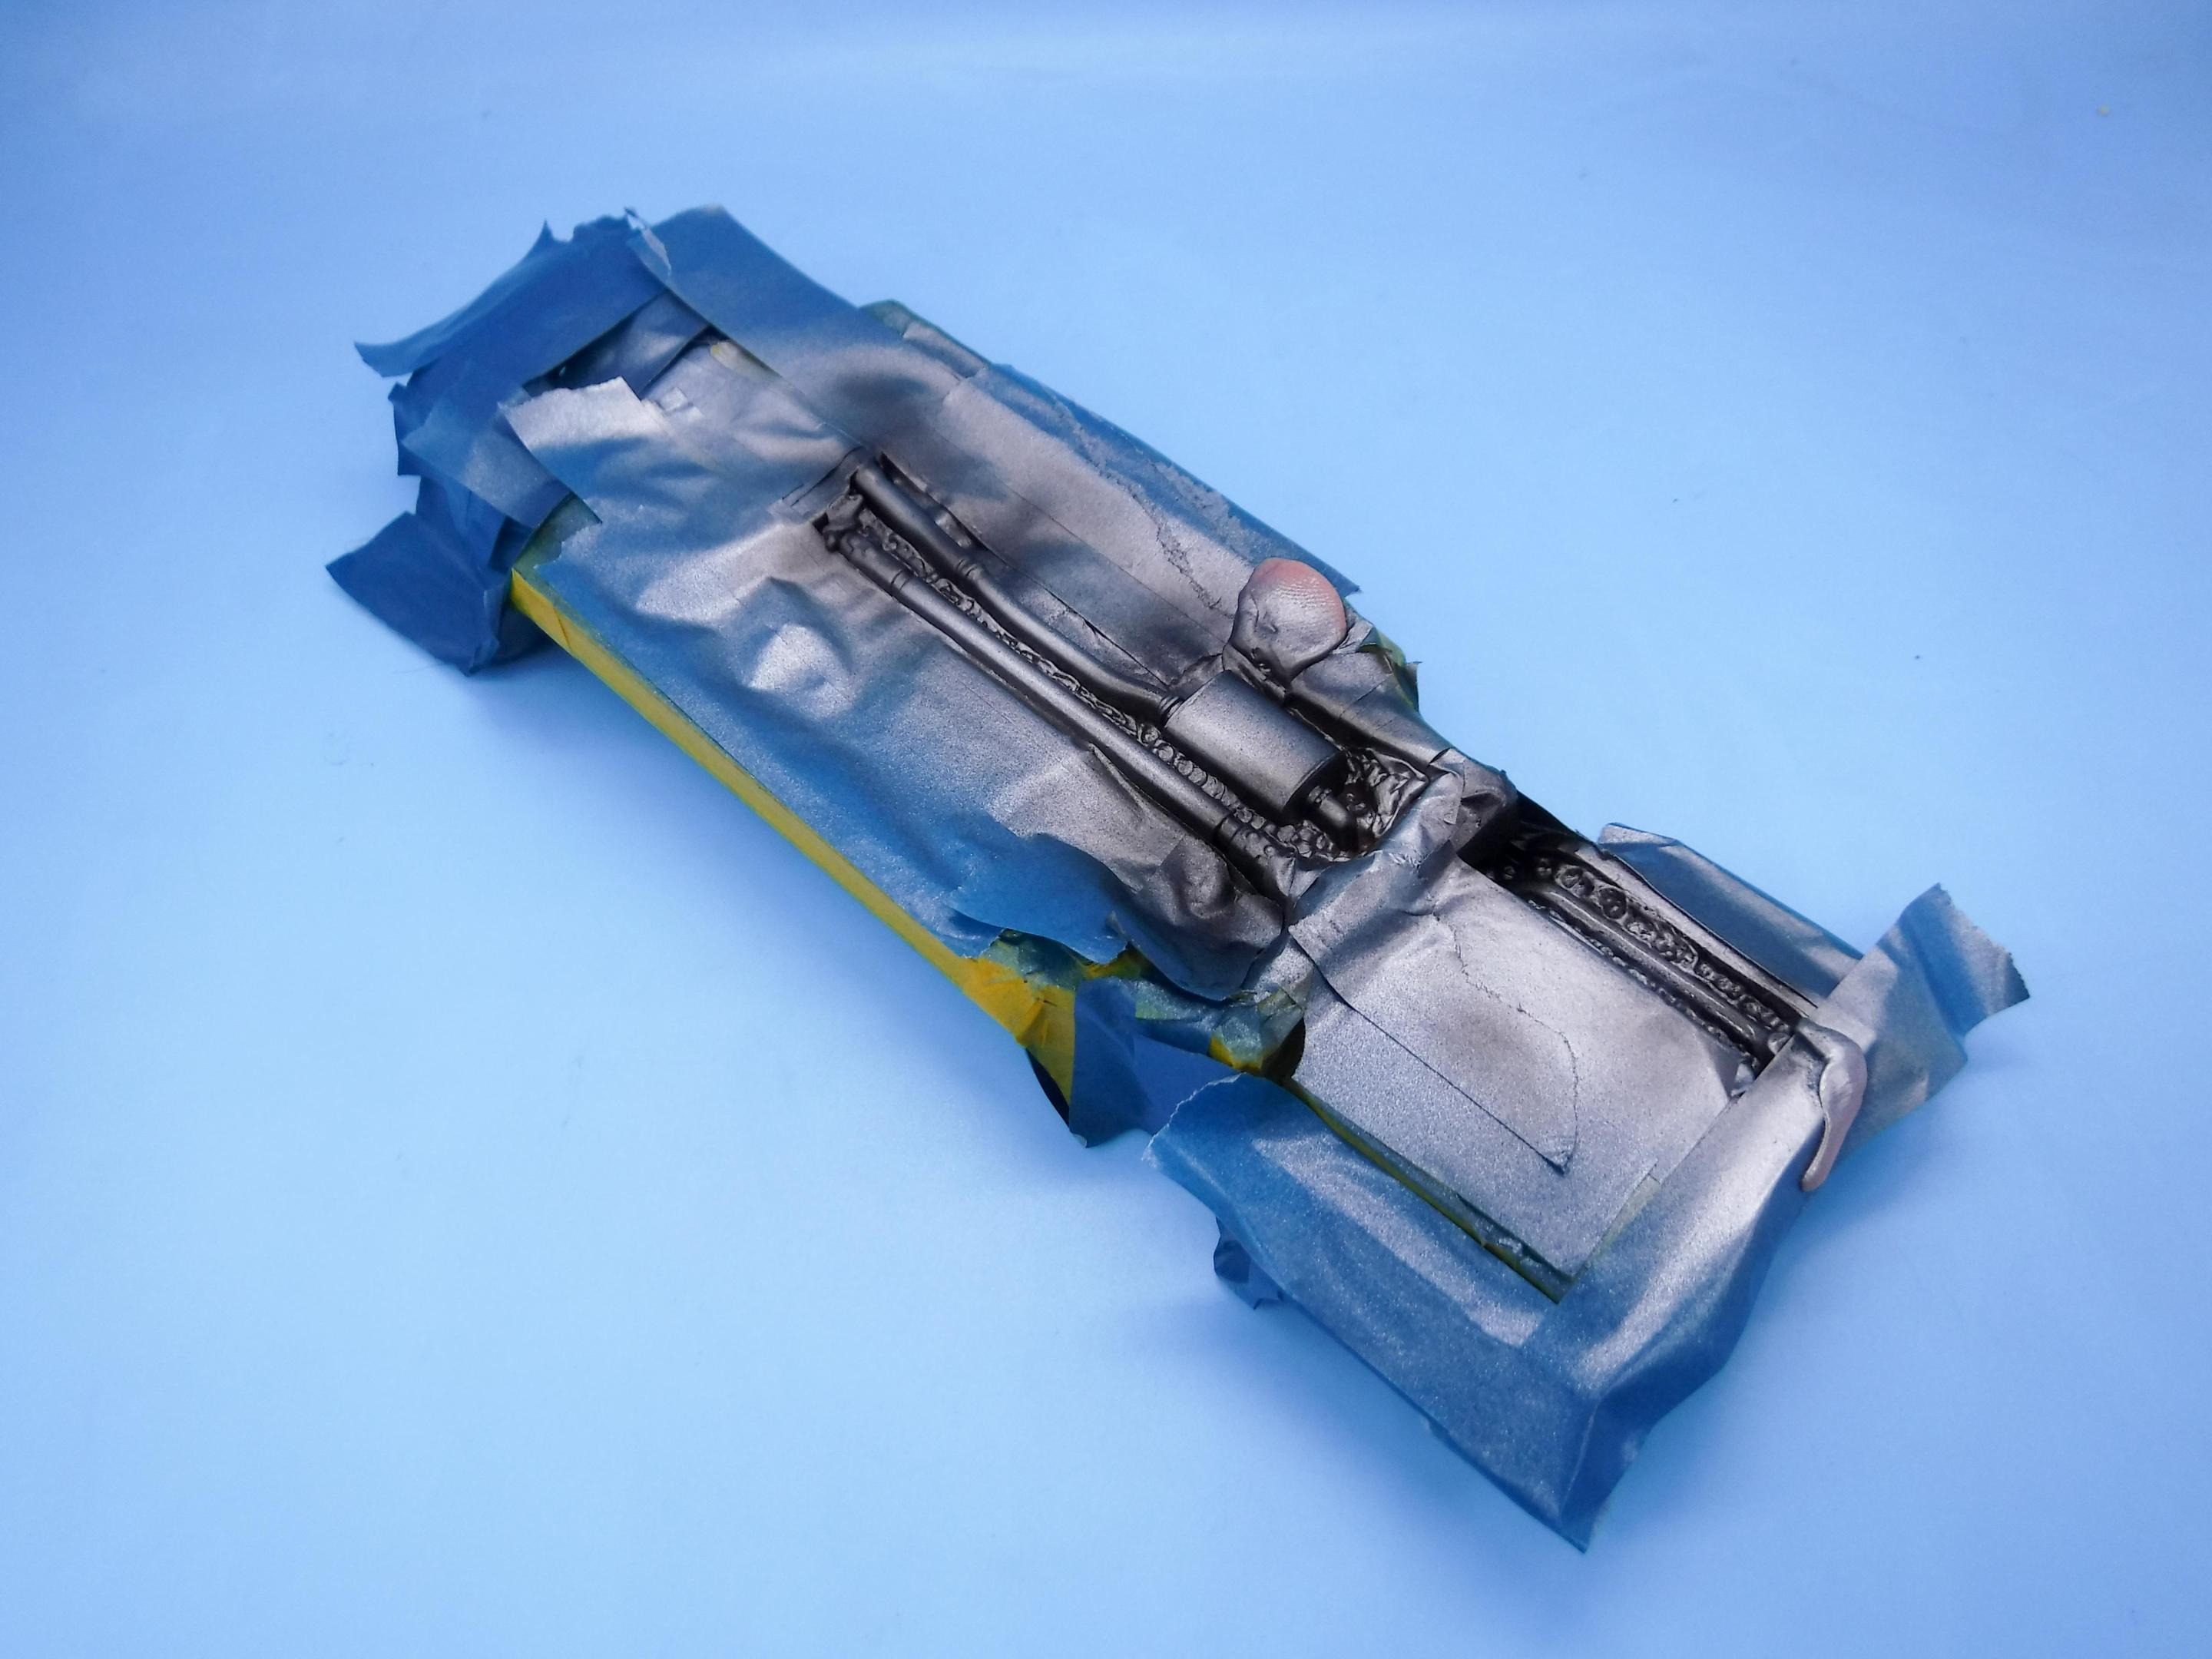
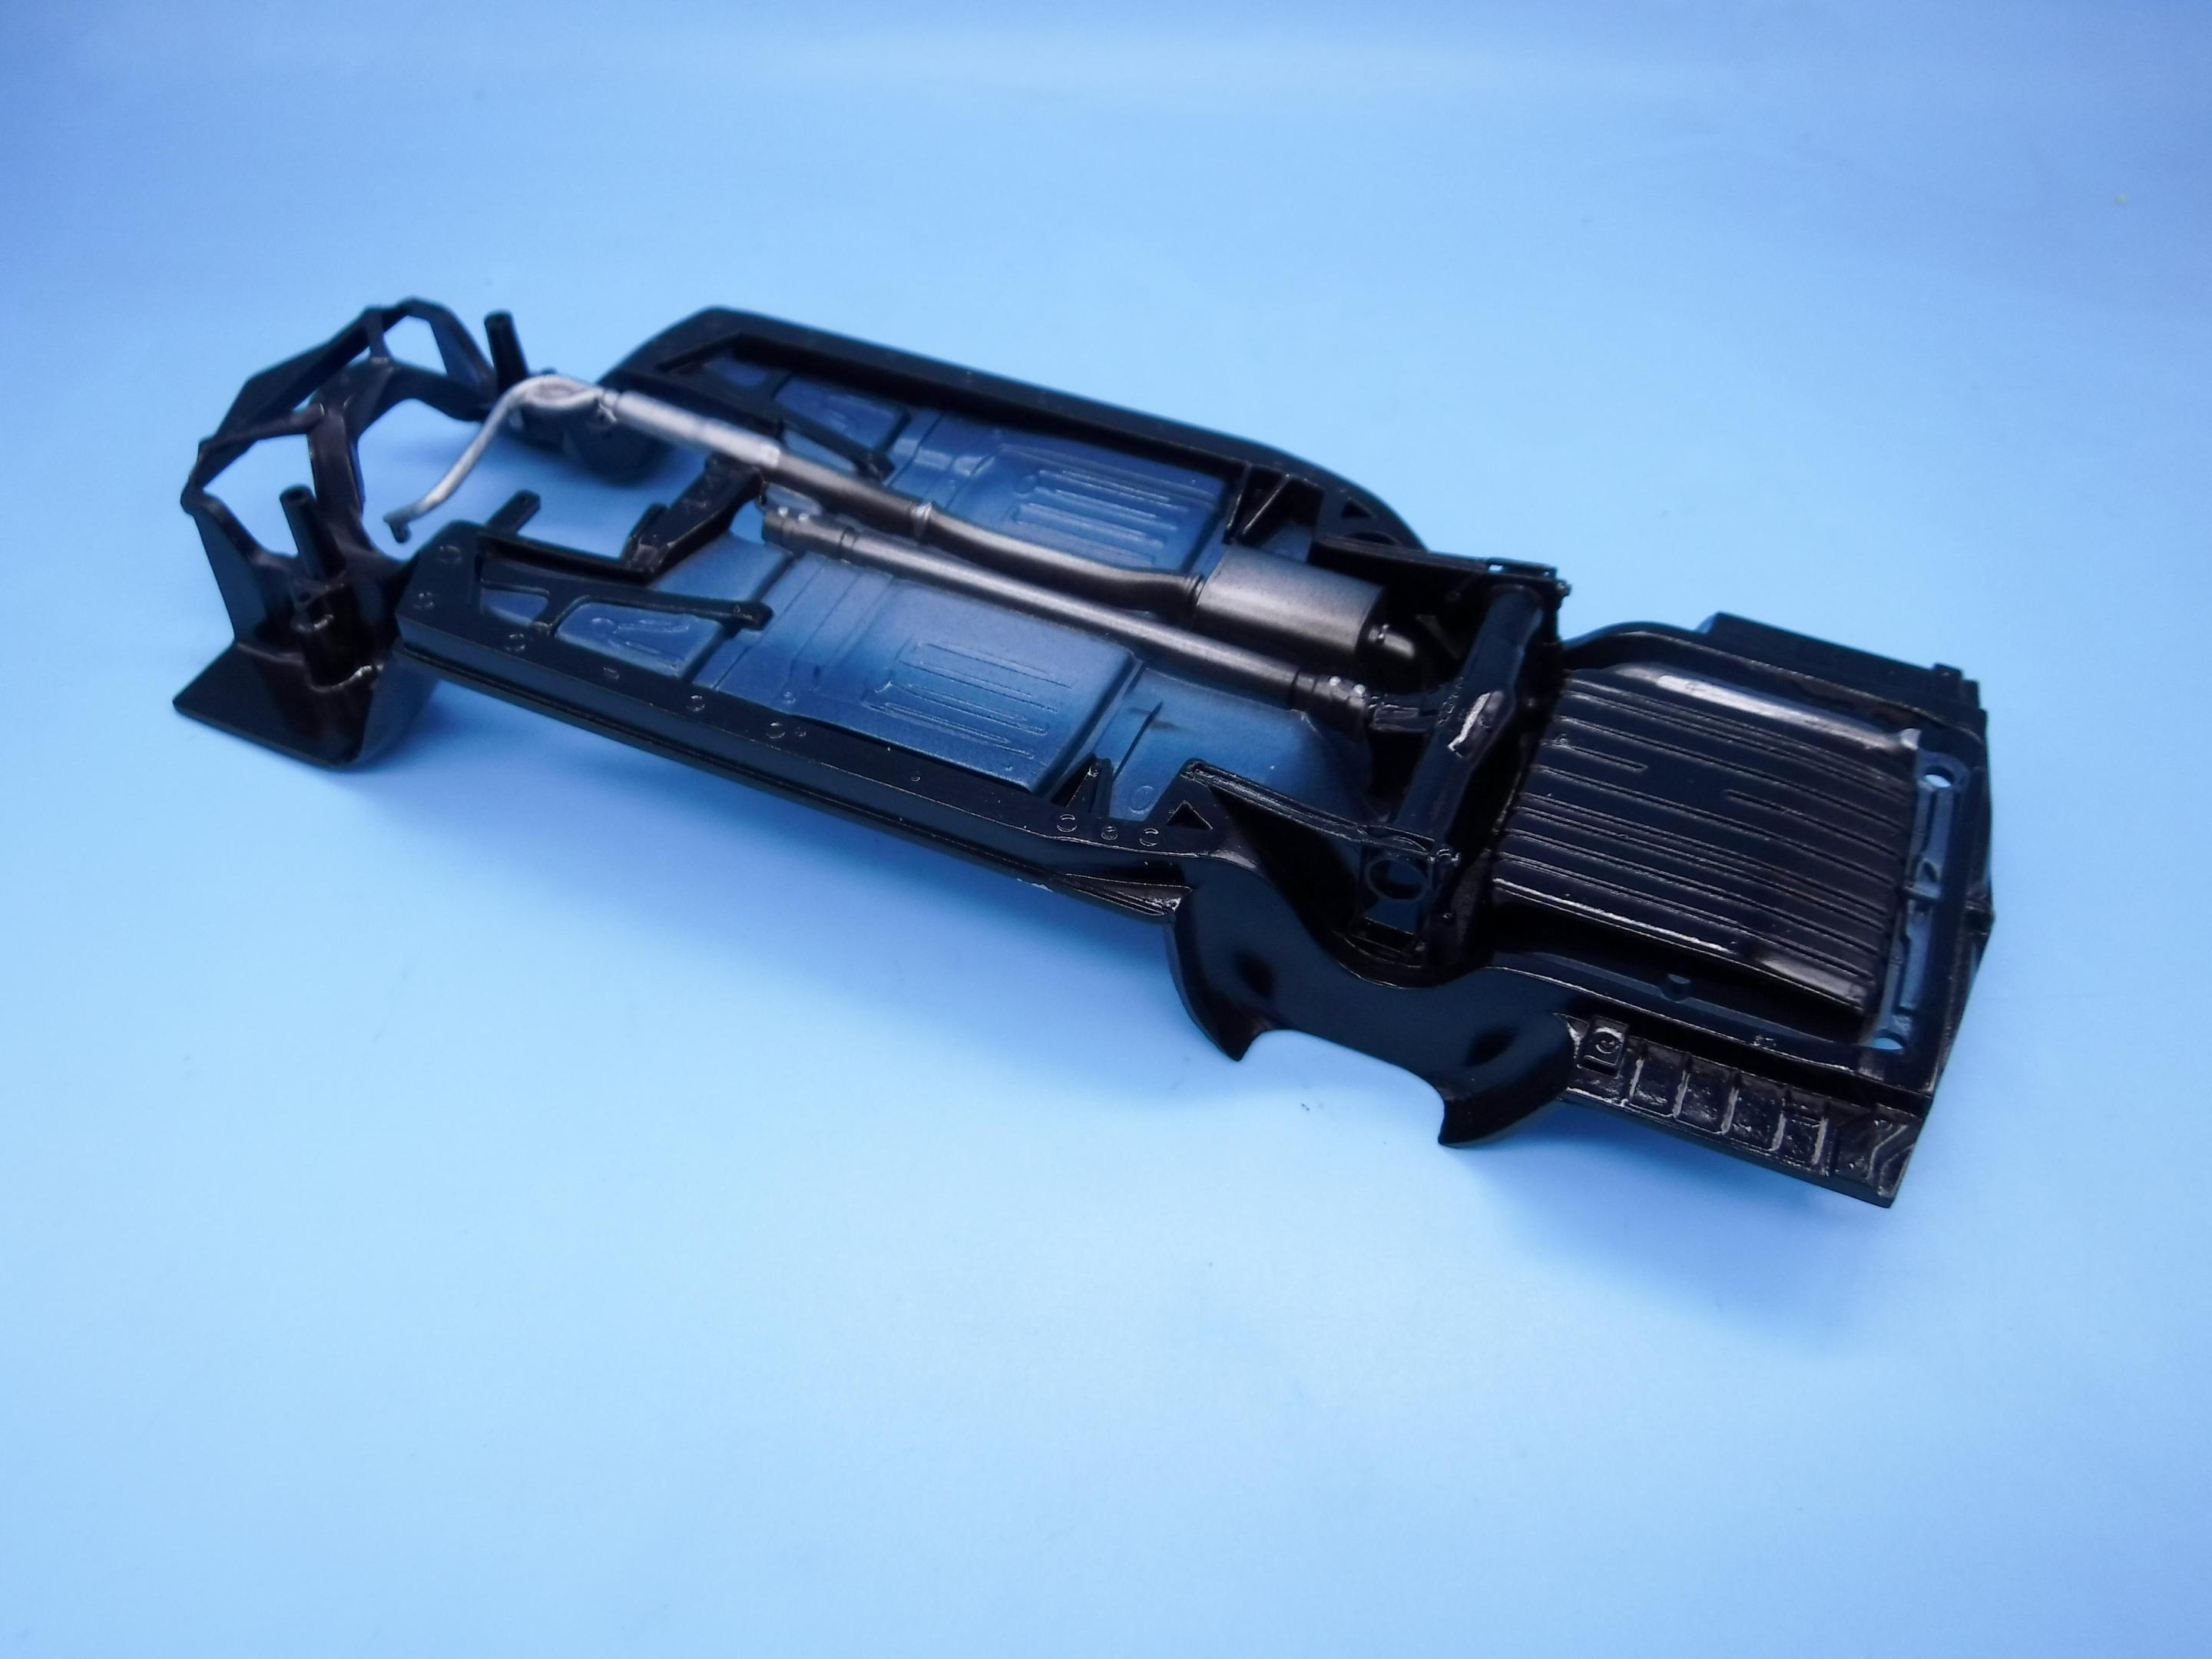
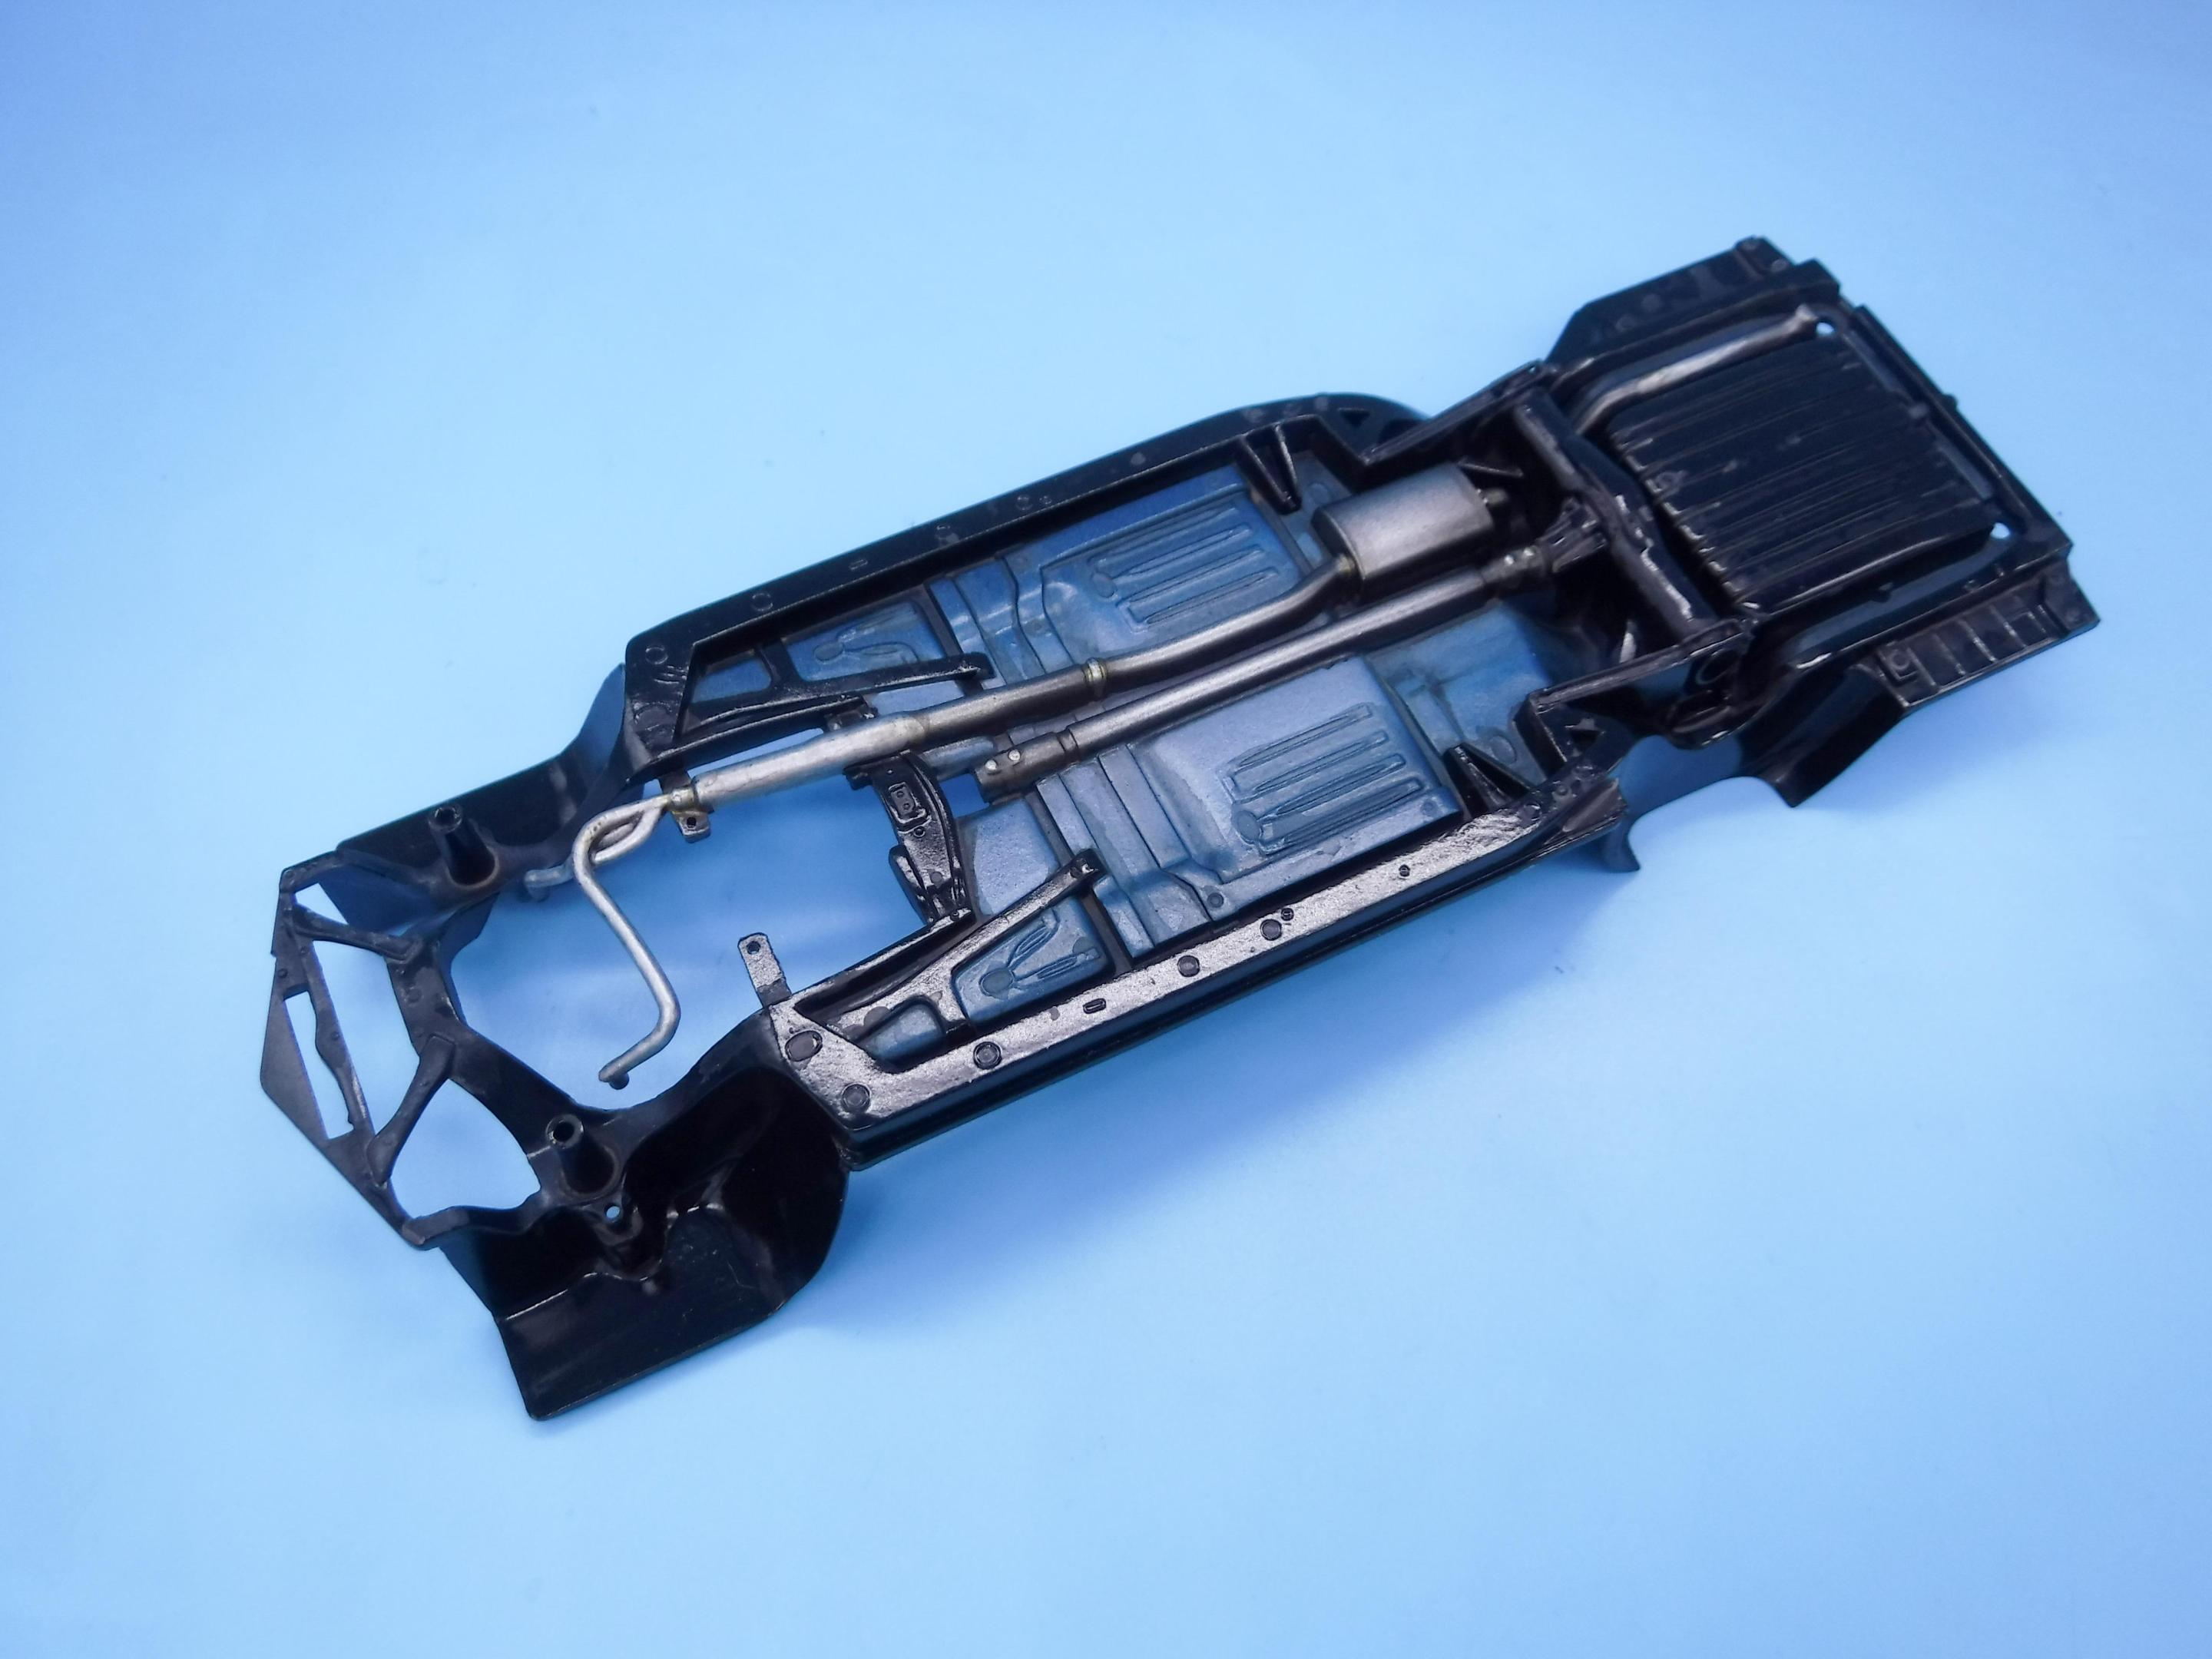
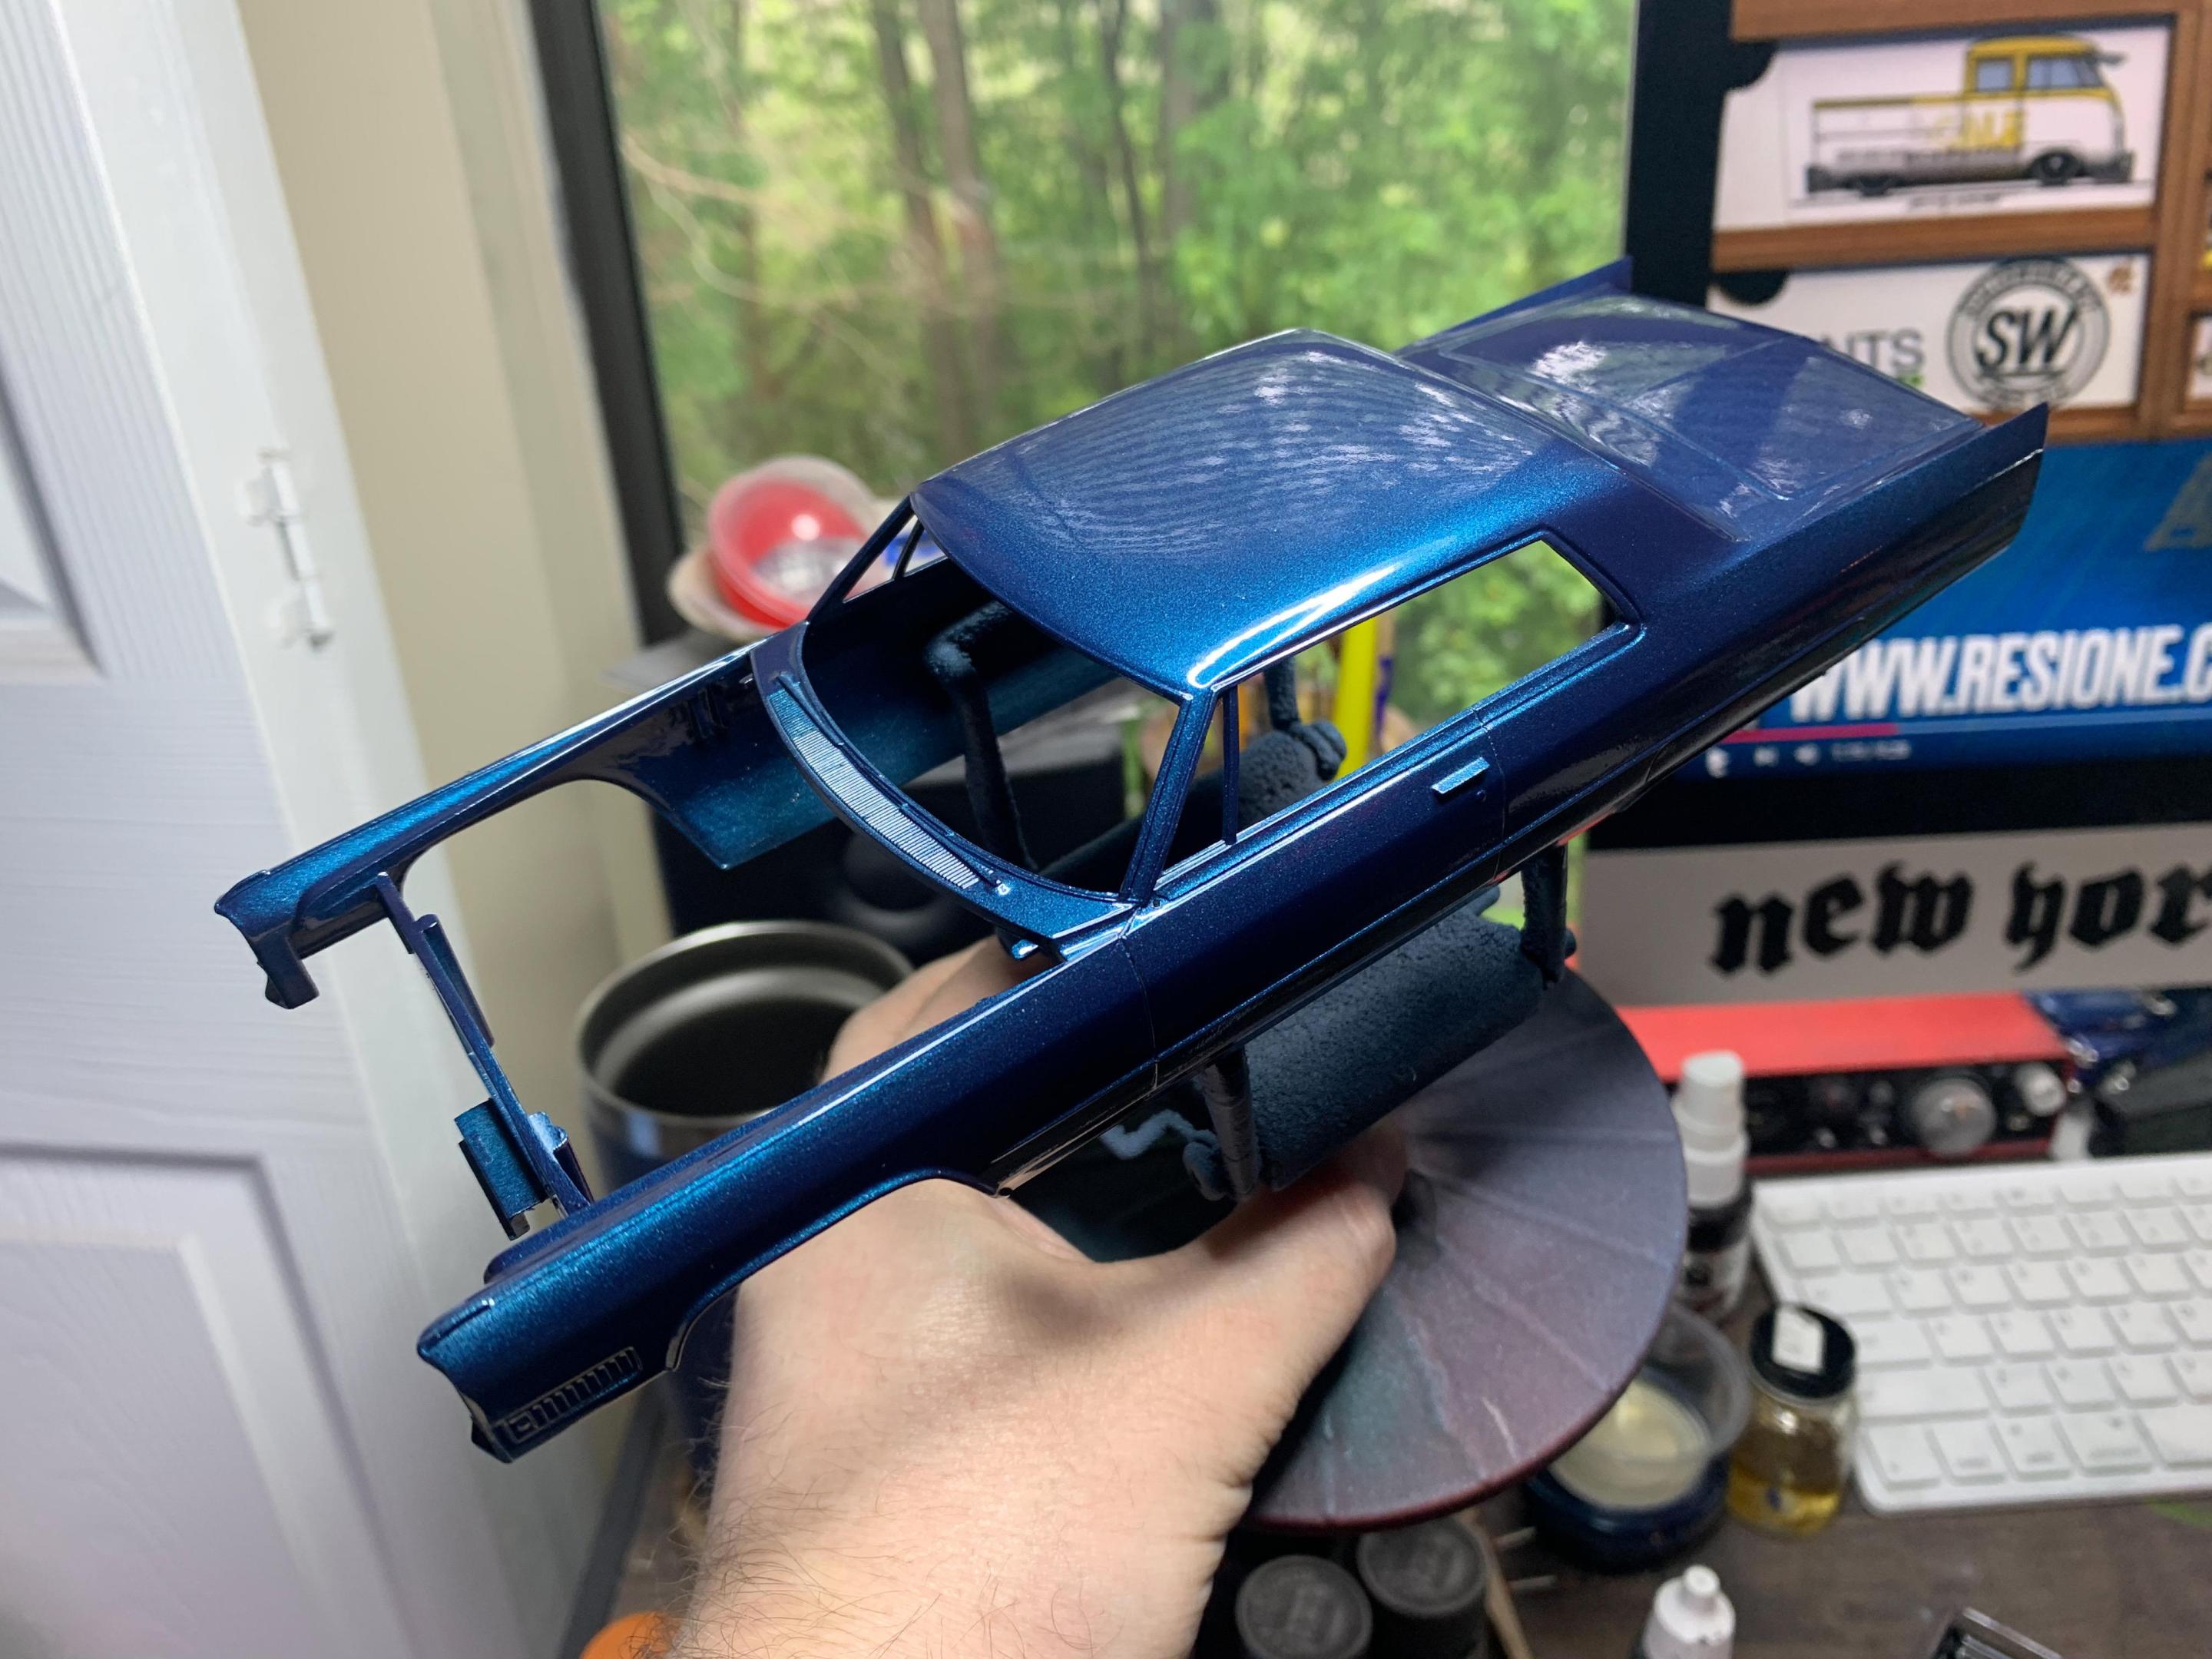
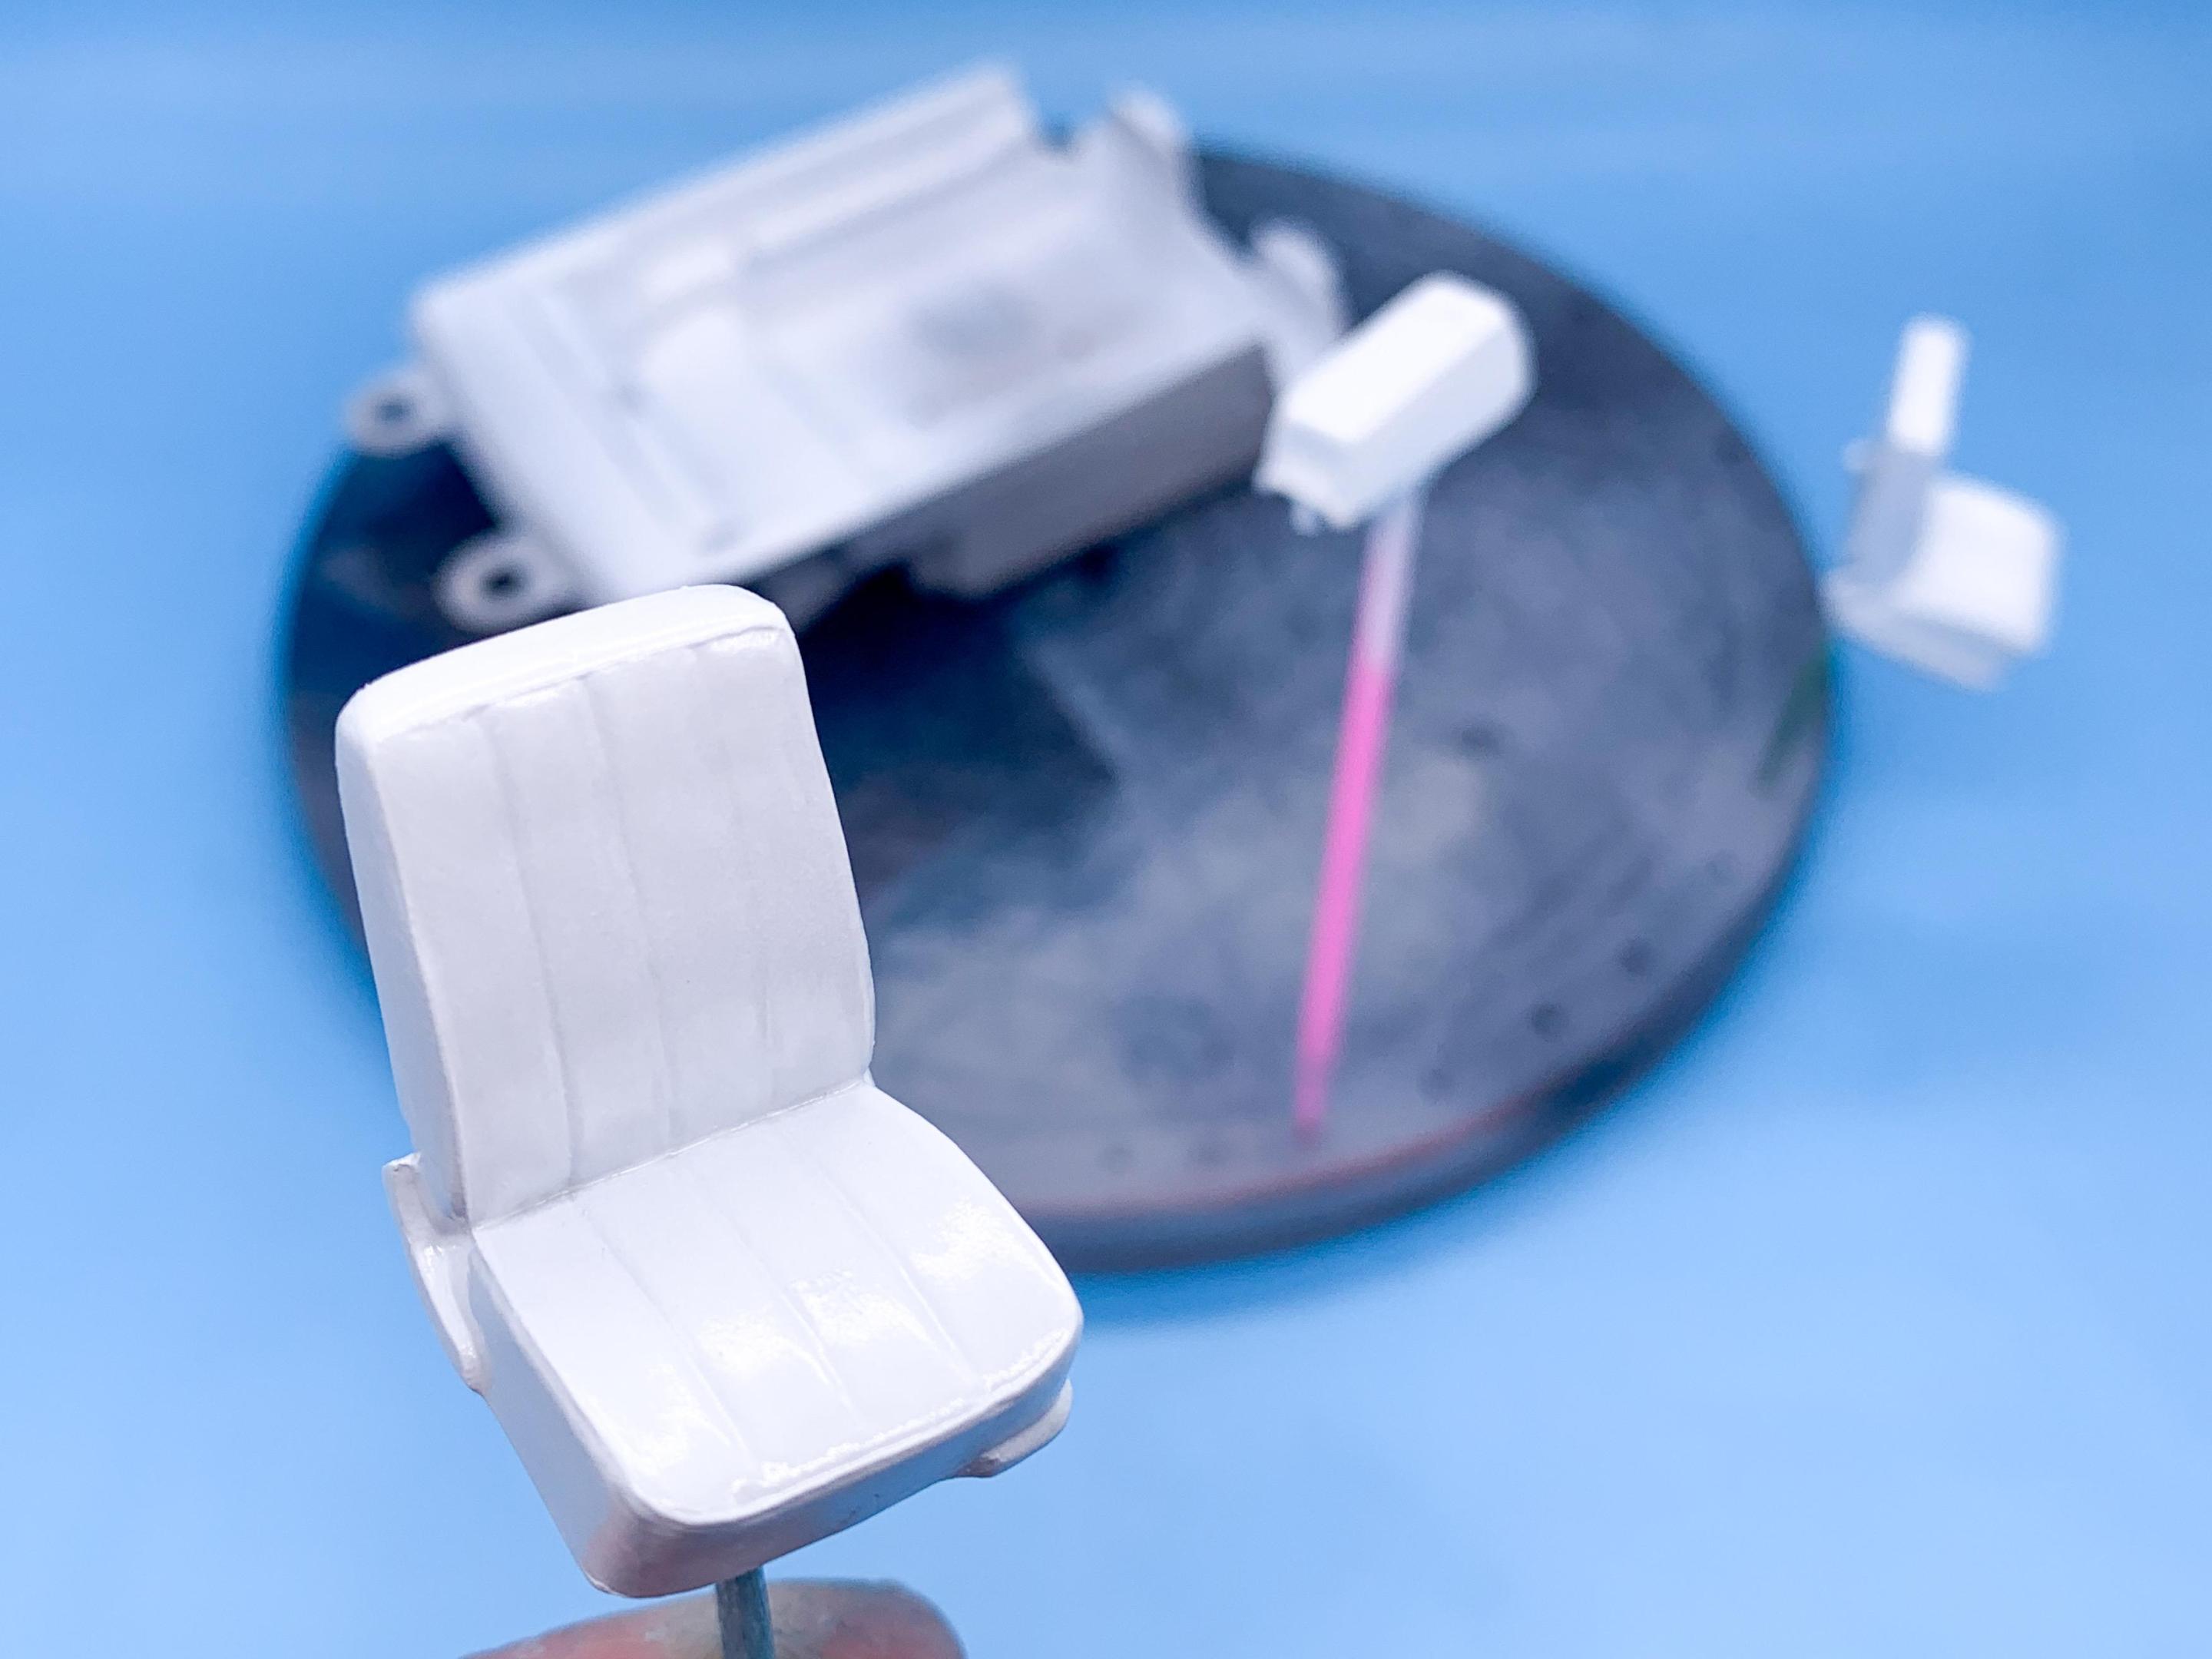
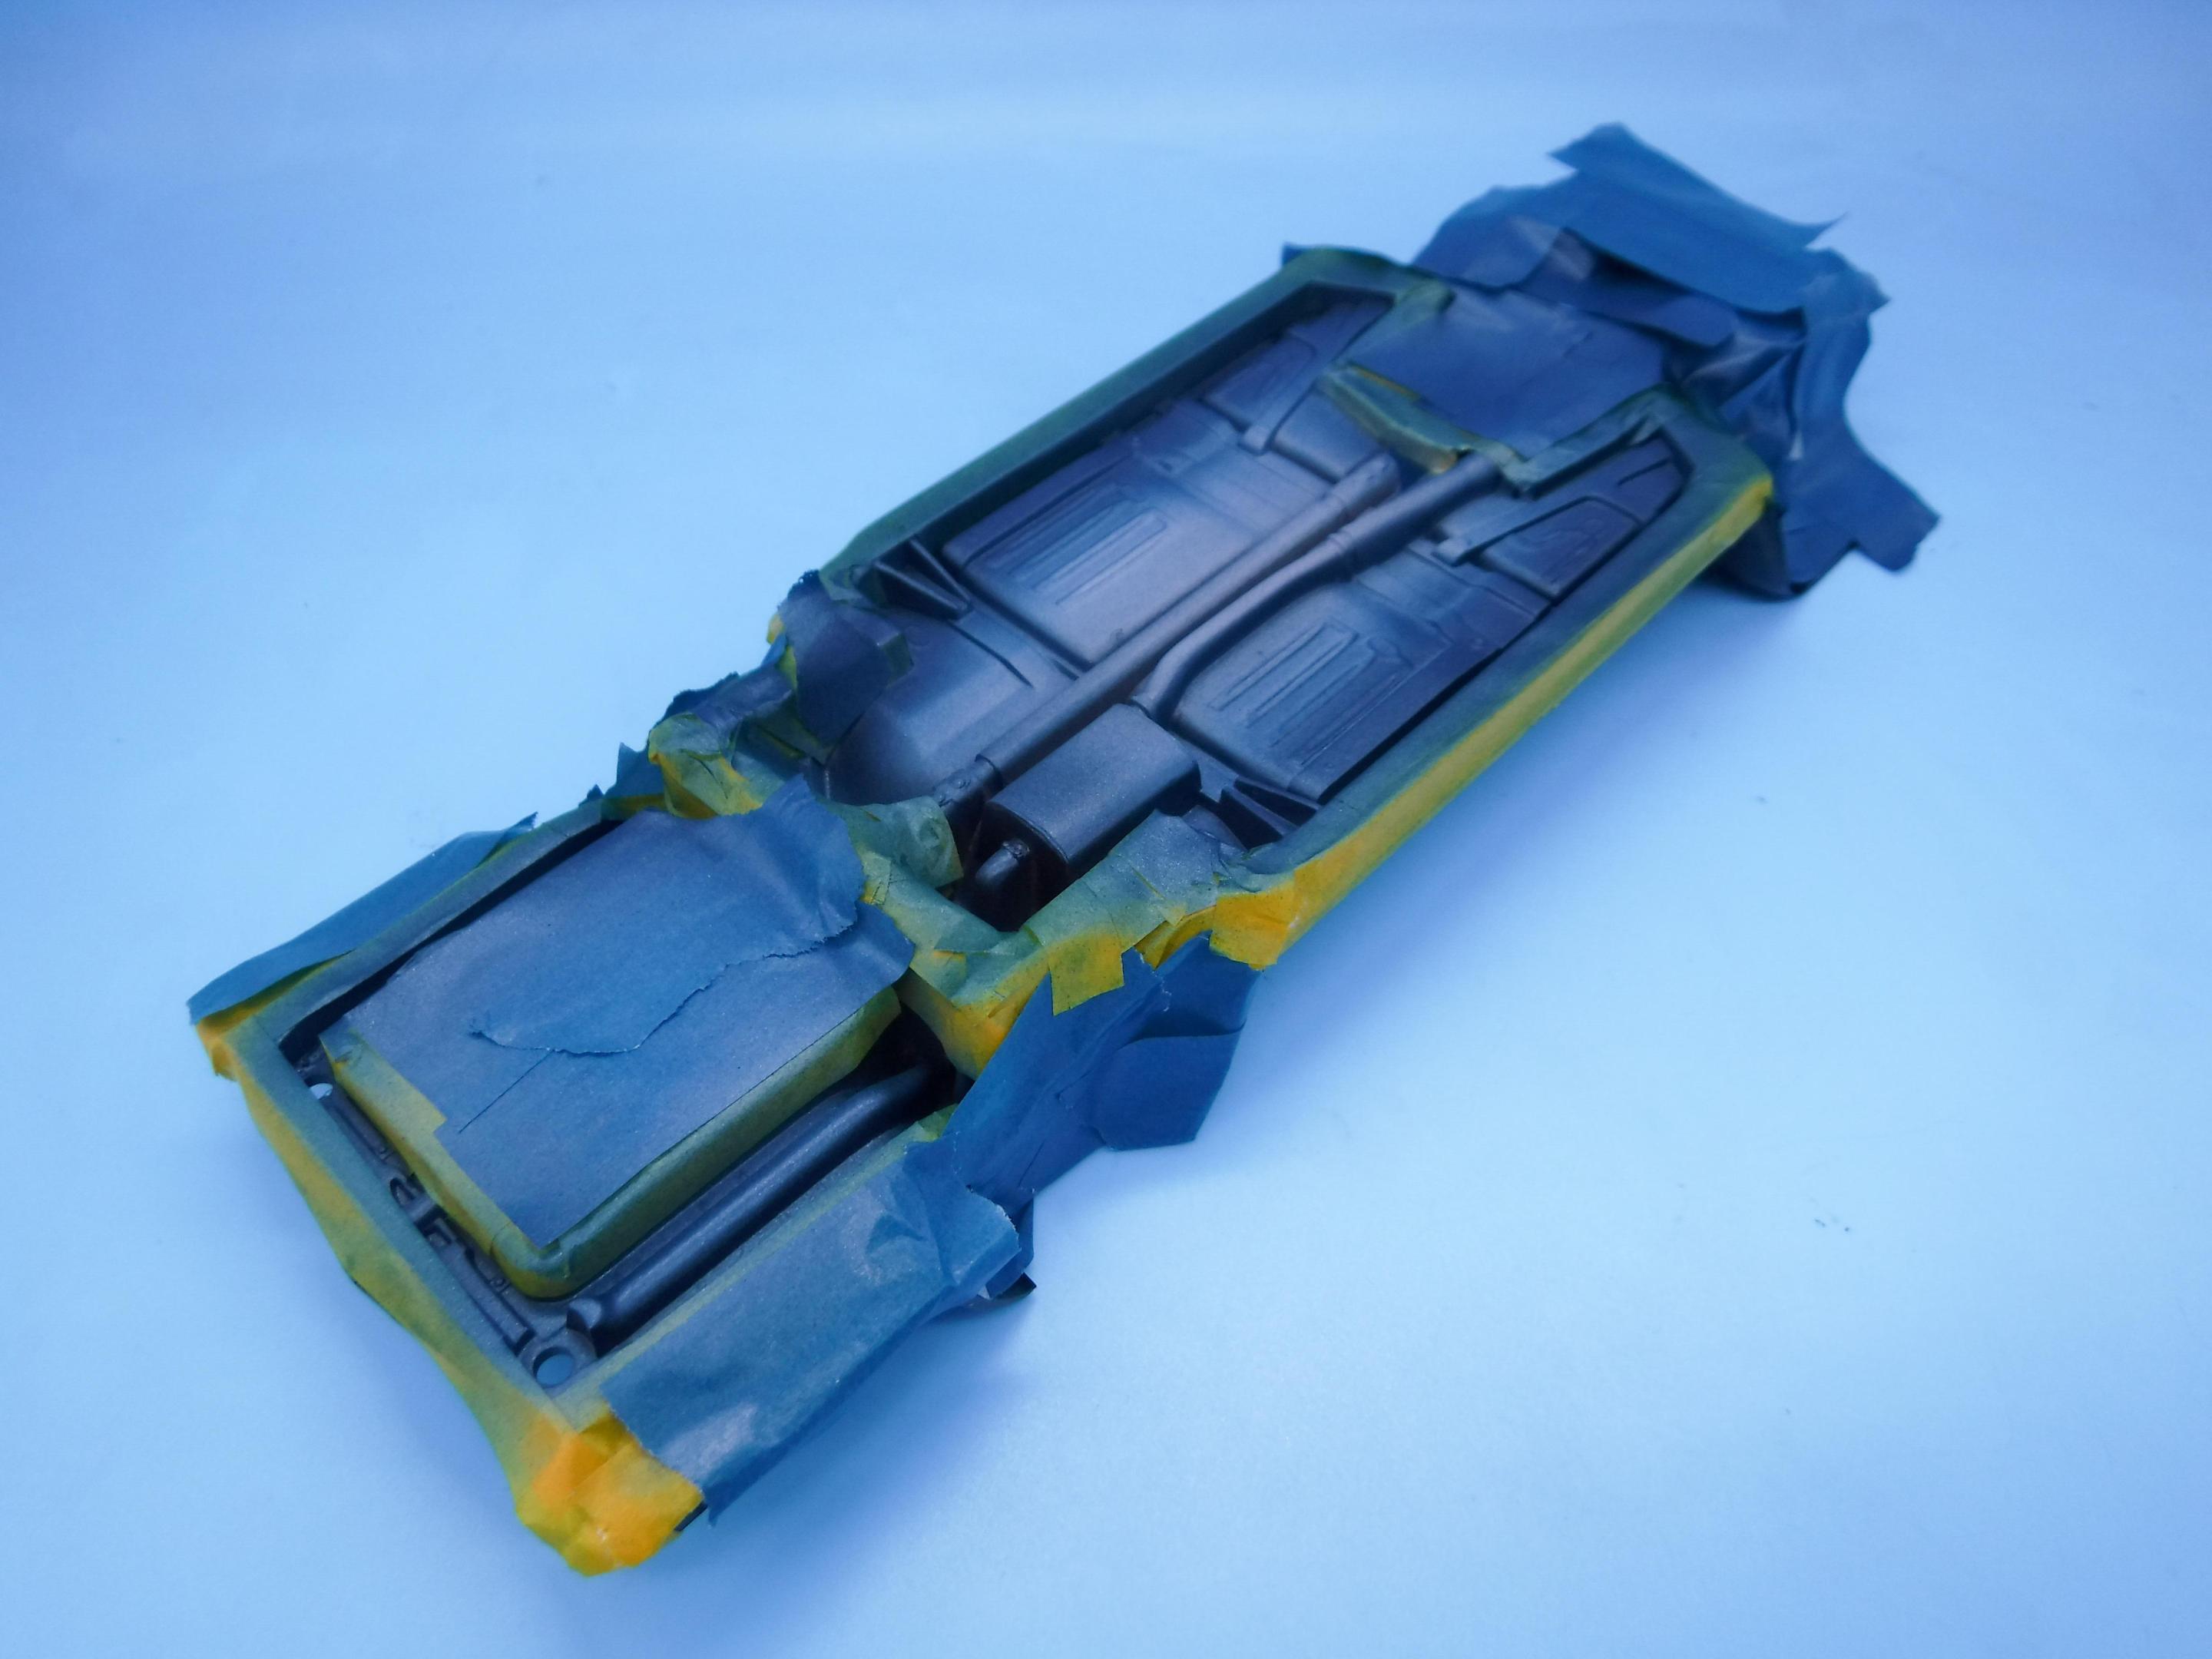
Had a GREAT day at the bench today - got a bunch done! Boring stuff first…painted a bunch of little parts: Then, whilst those bits were drying, spent some time masking up the frame…Silly Putty is a lifesaver for jobs like this… Shot some metal tones: And peeled the masks and putty…tada! I started going through and adding some light washes and detail painting…not done with that yet though…going for some really light realistic weathering under there, but still basically new-car clean… Added some washes to some of the ‘metal’ parts too - in a LOT of the reference pics I found of these cars, the brake drums are REALLY rusty - I wonder if they were just unpainted steel? Couldn’t find exact confirmation, but I don’t mind adding another metal finish to the underside just for a tiny bit of visual interest… Started the second step of paint on the interior - painted the white portion of the two-tone dash, then remasked later and shot some brushed aluminum on the dash and along the tops of the doors to match my reference pics - still plenty of tricky detailing to do on all the interior parts but that’s another step closer… Made carpets, using the templates that I had drawn up last week… And finally (and the part I’m most excited about today…) - successfully laid down clear on the body! SO pleased to get that handled after the failure last week…but that Nocturne Blue looks REALLY pretty under a coat of gloss! Daylight shot: Not a bad day’s progress! Body is in the booth now for 48 hours before I pull it out, inspect and lay down some more clear if necessary, but I’m pleased to have overcome THAT hurdle successfully. Thank for looking - more soon!
-
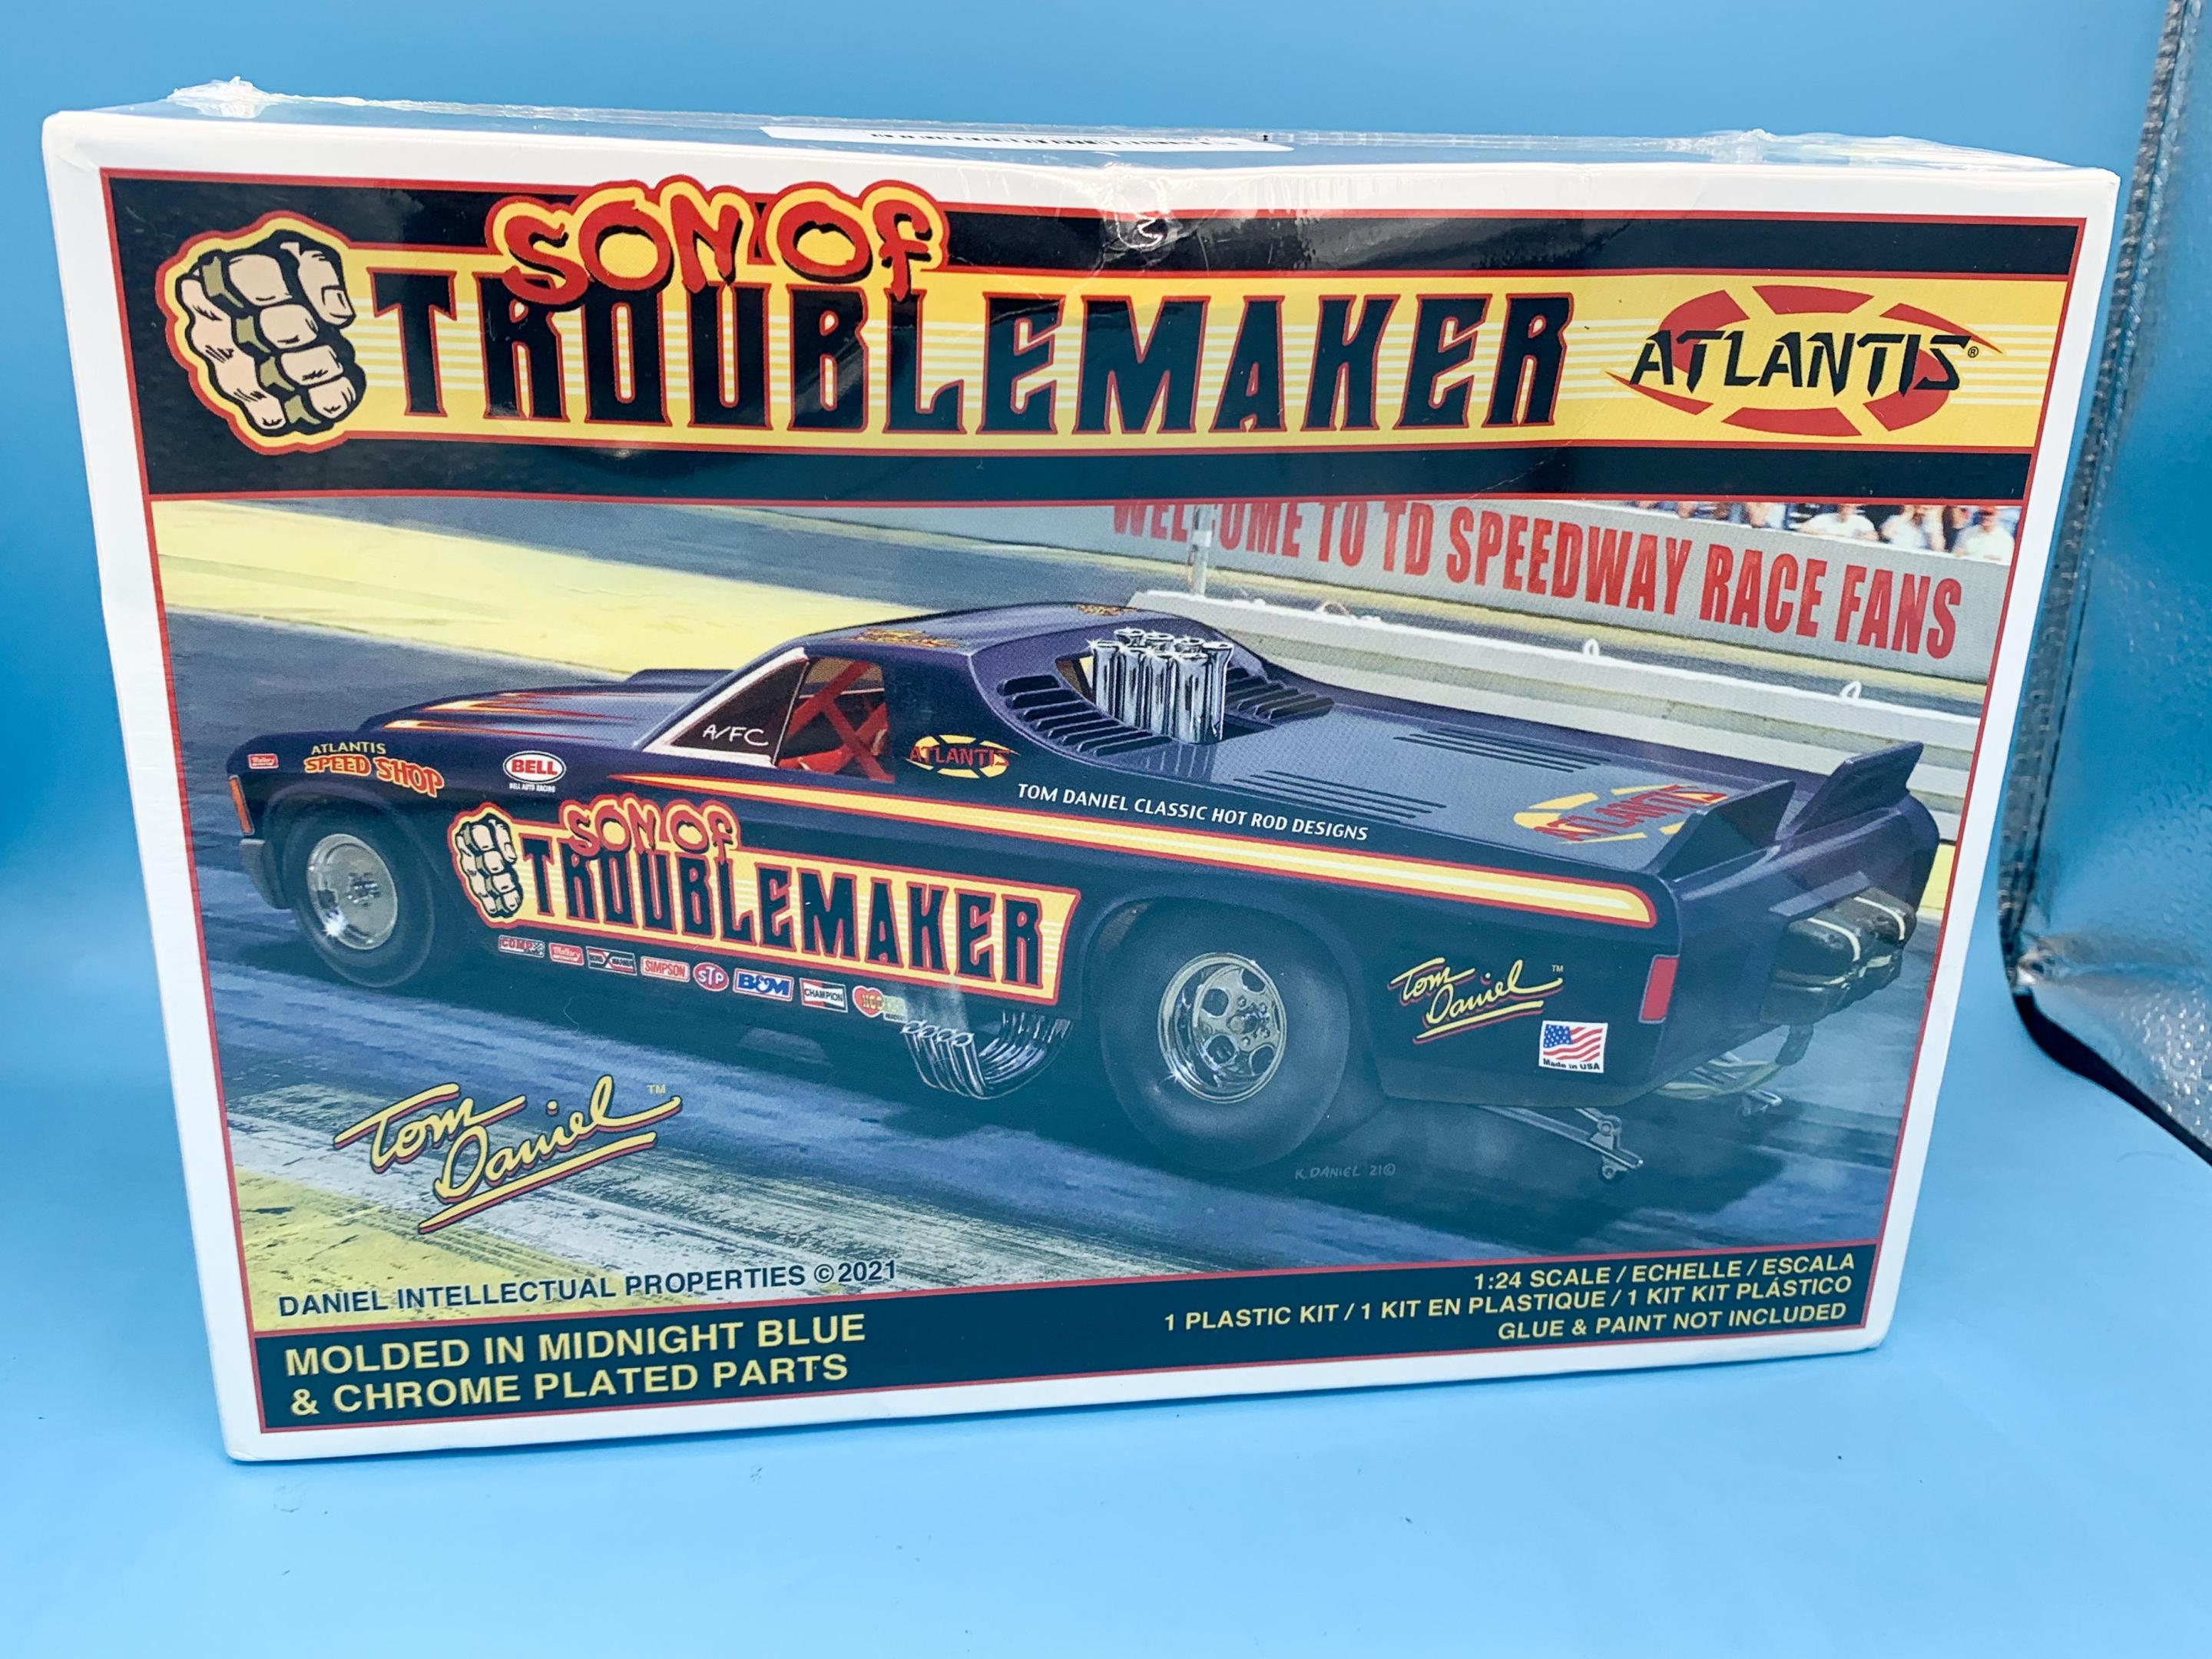
Got the reissued Tom Daniel Troublemaker from Atlantis - I never had one of these before! Looks like a fun kit - usual TD kind of deal, somewhat simplified but will no doubt take well to some additional detailing. Need to find a good 3D file for a Chevy Rat motor and whatever other drag goodies I can find to help me detail this thing up!
- 38,884 replies
-
- 2
-

-
- johan
- glue bombs
-
(and 1 more)
Tagged with:
-
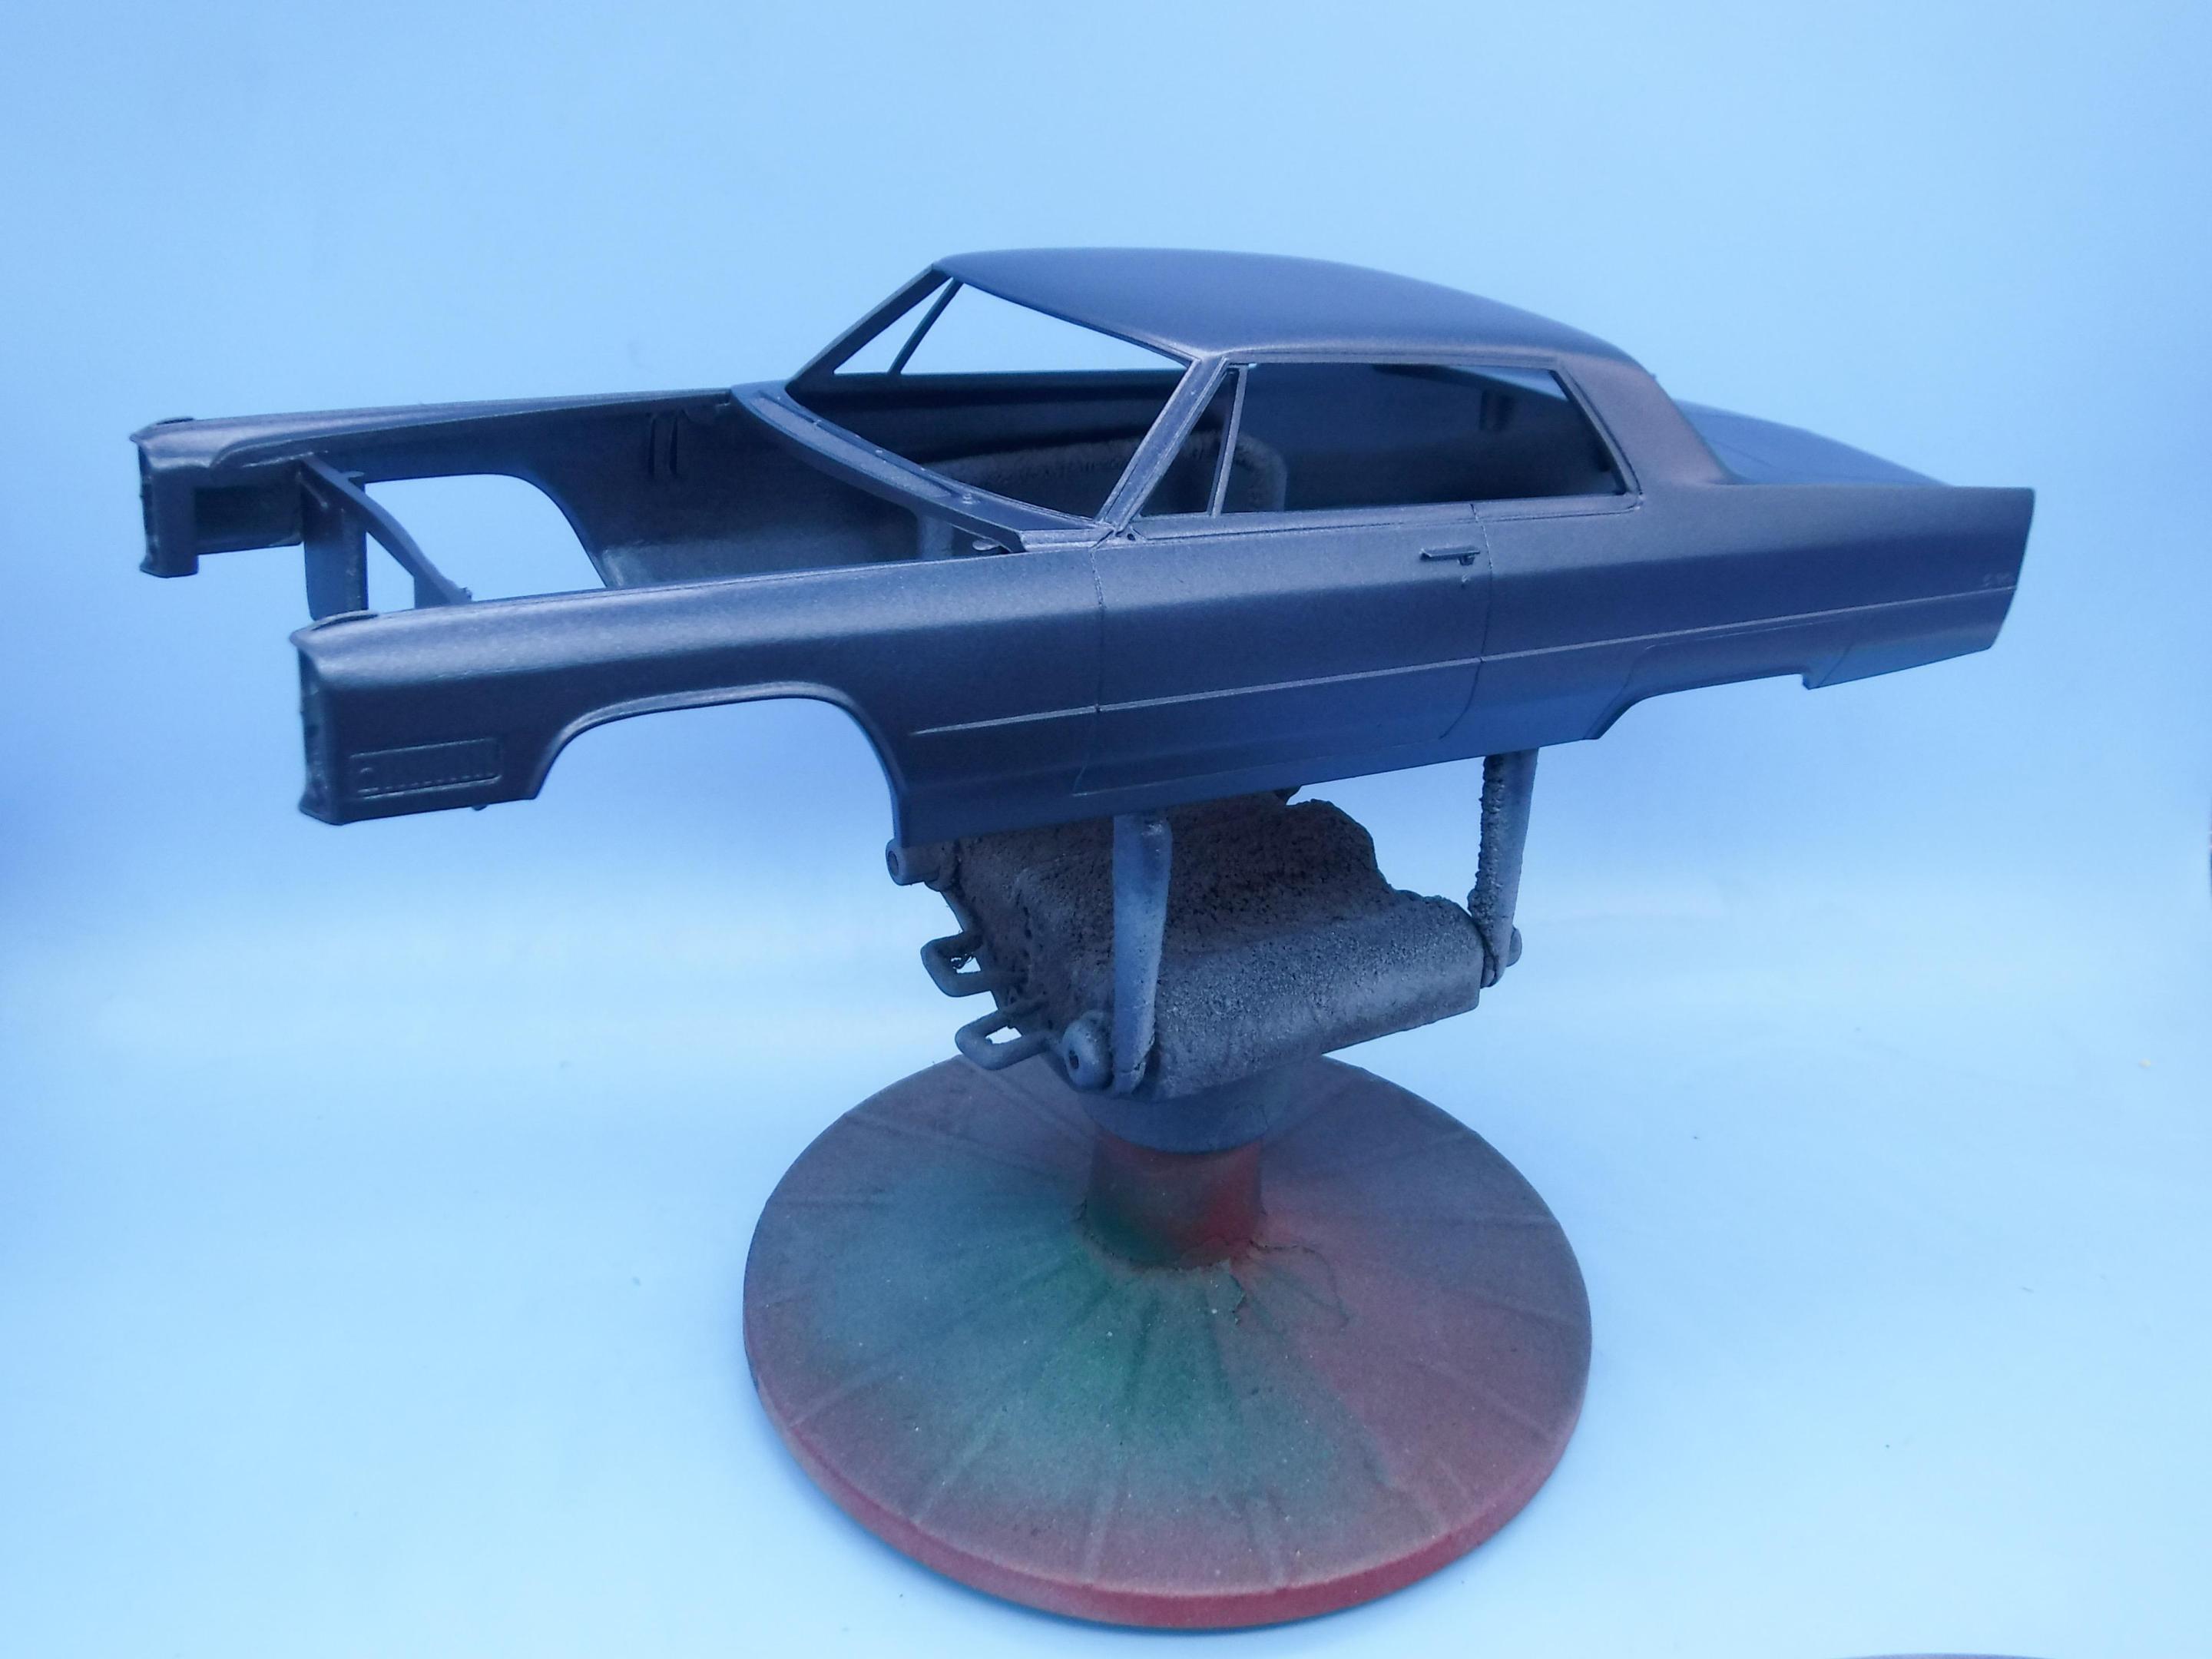
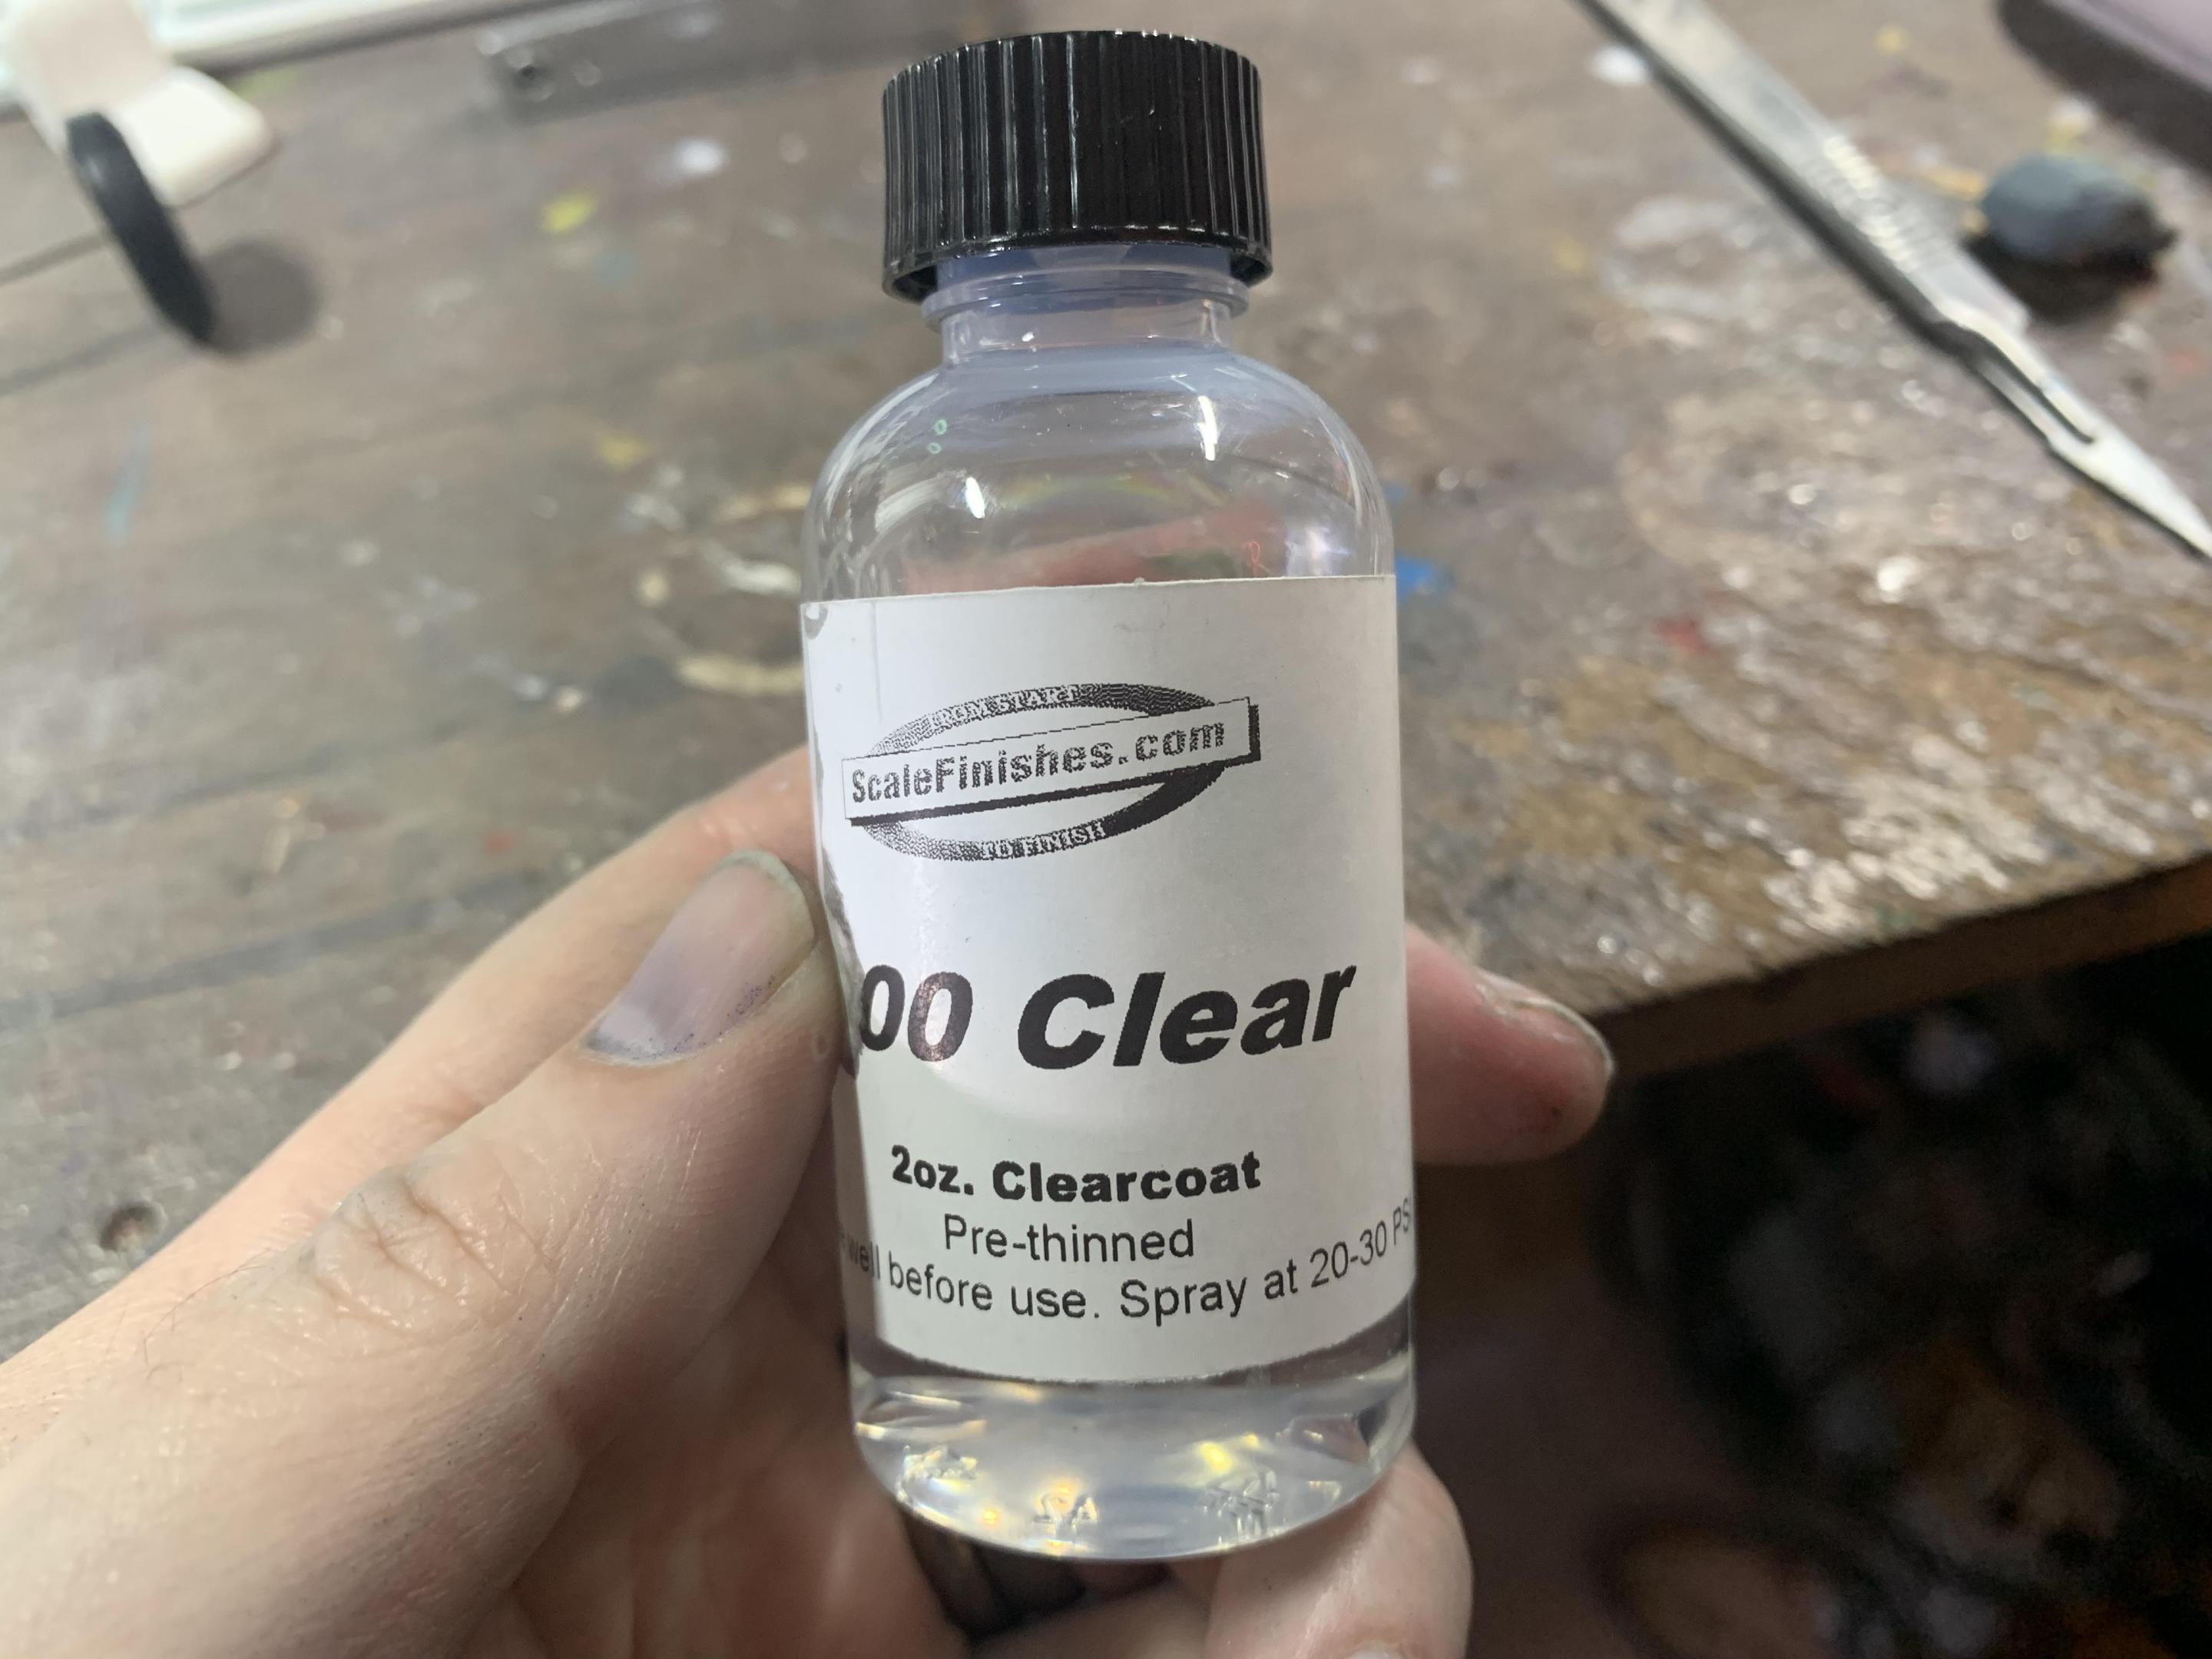
Thanks fellas! How long do you let their lacquer flash out before clearing? Curious to know if I caught it in a window where the clear wrinkled it or something…odd… Got that right brother! ? Regardless…we’re back in color a week later - take 2! Definitely NOT using their clear this time around - back to one of my trusty favorites… Spent a bunch of time today cleaning up and printing bunch of little parts for a marathon painting session tomorrow, got the interior into color ready for the next stages: And spent some time masking up the frame (which I had already painted black) ready for the next steps. Today‘s fun was shooting a typical primer-with-body-color-fades type deal, and tomorrow I’ll start shooting the metal colored bits metal colors: Actually, most reference pics I can find of these cars show about everything black under there so this might not be accurate…but I wanted to make a little more effort than to just shoot it one color and call it good. Maybe this one will represent an inaccurately-restored car - or perhaps some DID roll off the production line like this…it’ll give me a chance to do some nice detail painting anyway and show off the nice detail under there… Anyhoo - that’s today’s pitiful progress - thanks for looking!
-

Yellow Fever Competition Coupe, Keeler's Kustoms
OldNYJim replied to stavanzer's topic in Car Kit News & Reviews
I agree - I’d rather paint my own chrome (usually) than strip kit chrome and redo it…and I’m sure Atlantis isn’t targeting the ‘shake the box’ builders with this one - I’m sure people who know about this kit and know why it’s cool are capable of shooting their own Alclad or similar… -

Yellow Fever Competition Coupe, Keeler's Kustoms
OldNYJim replied to stavanzer's topic in Car Kit News & Reviews
-
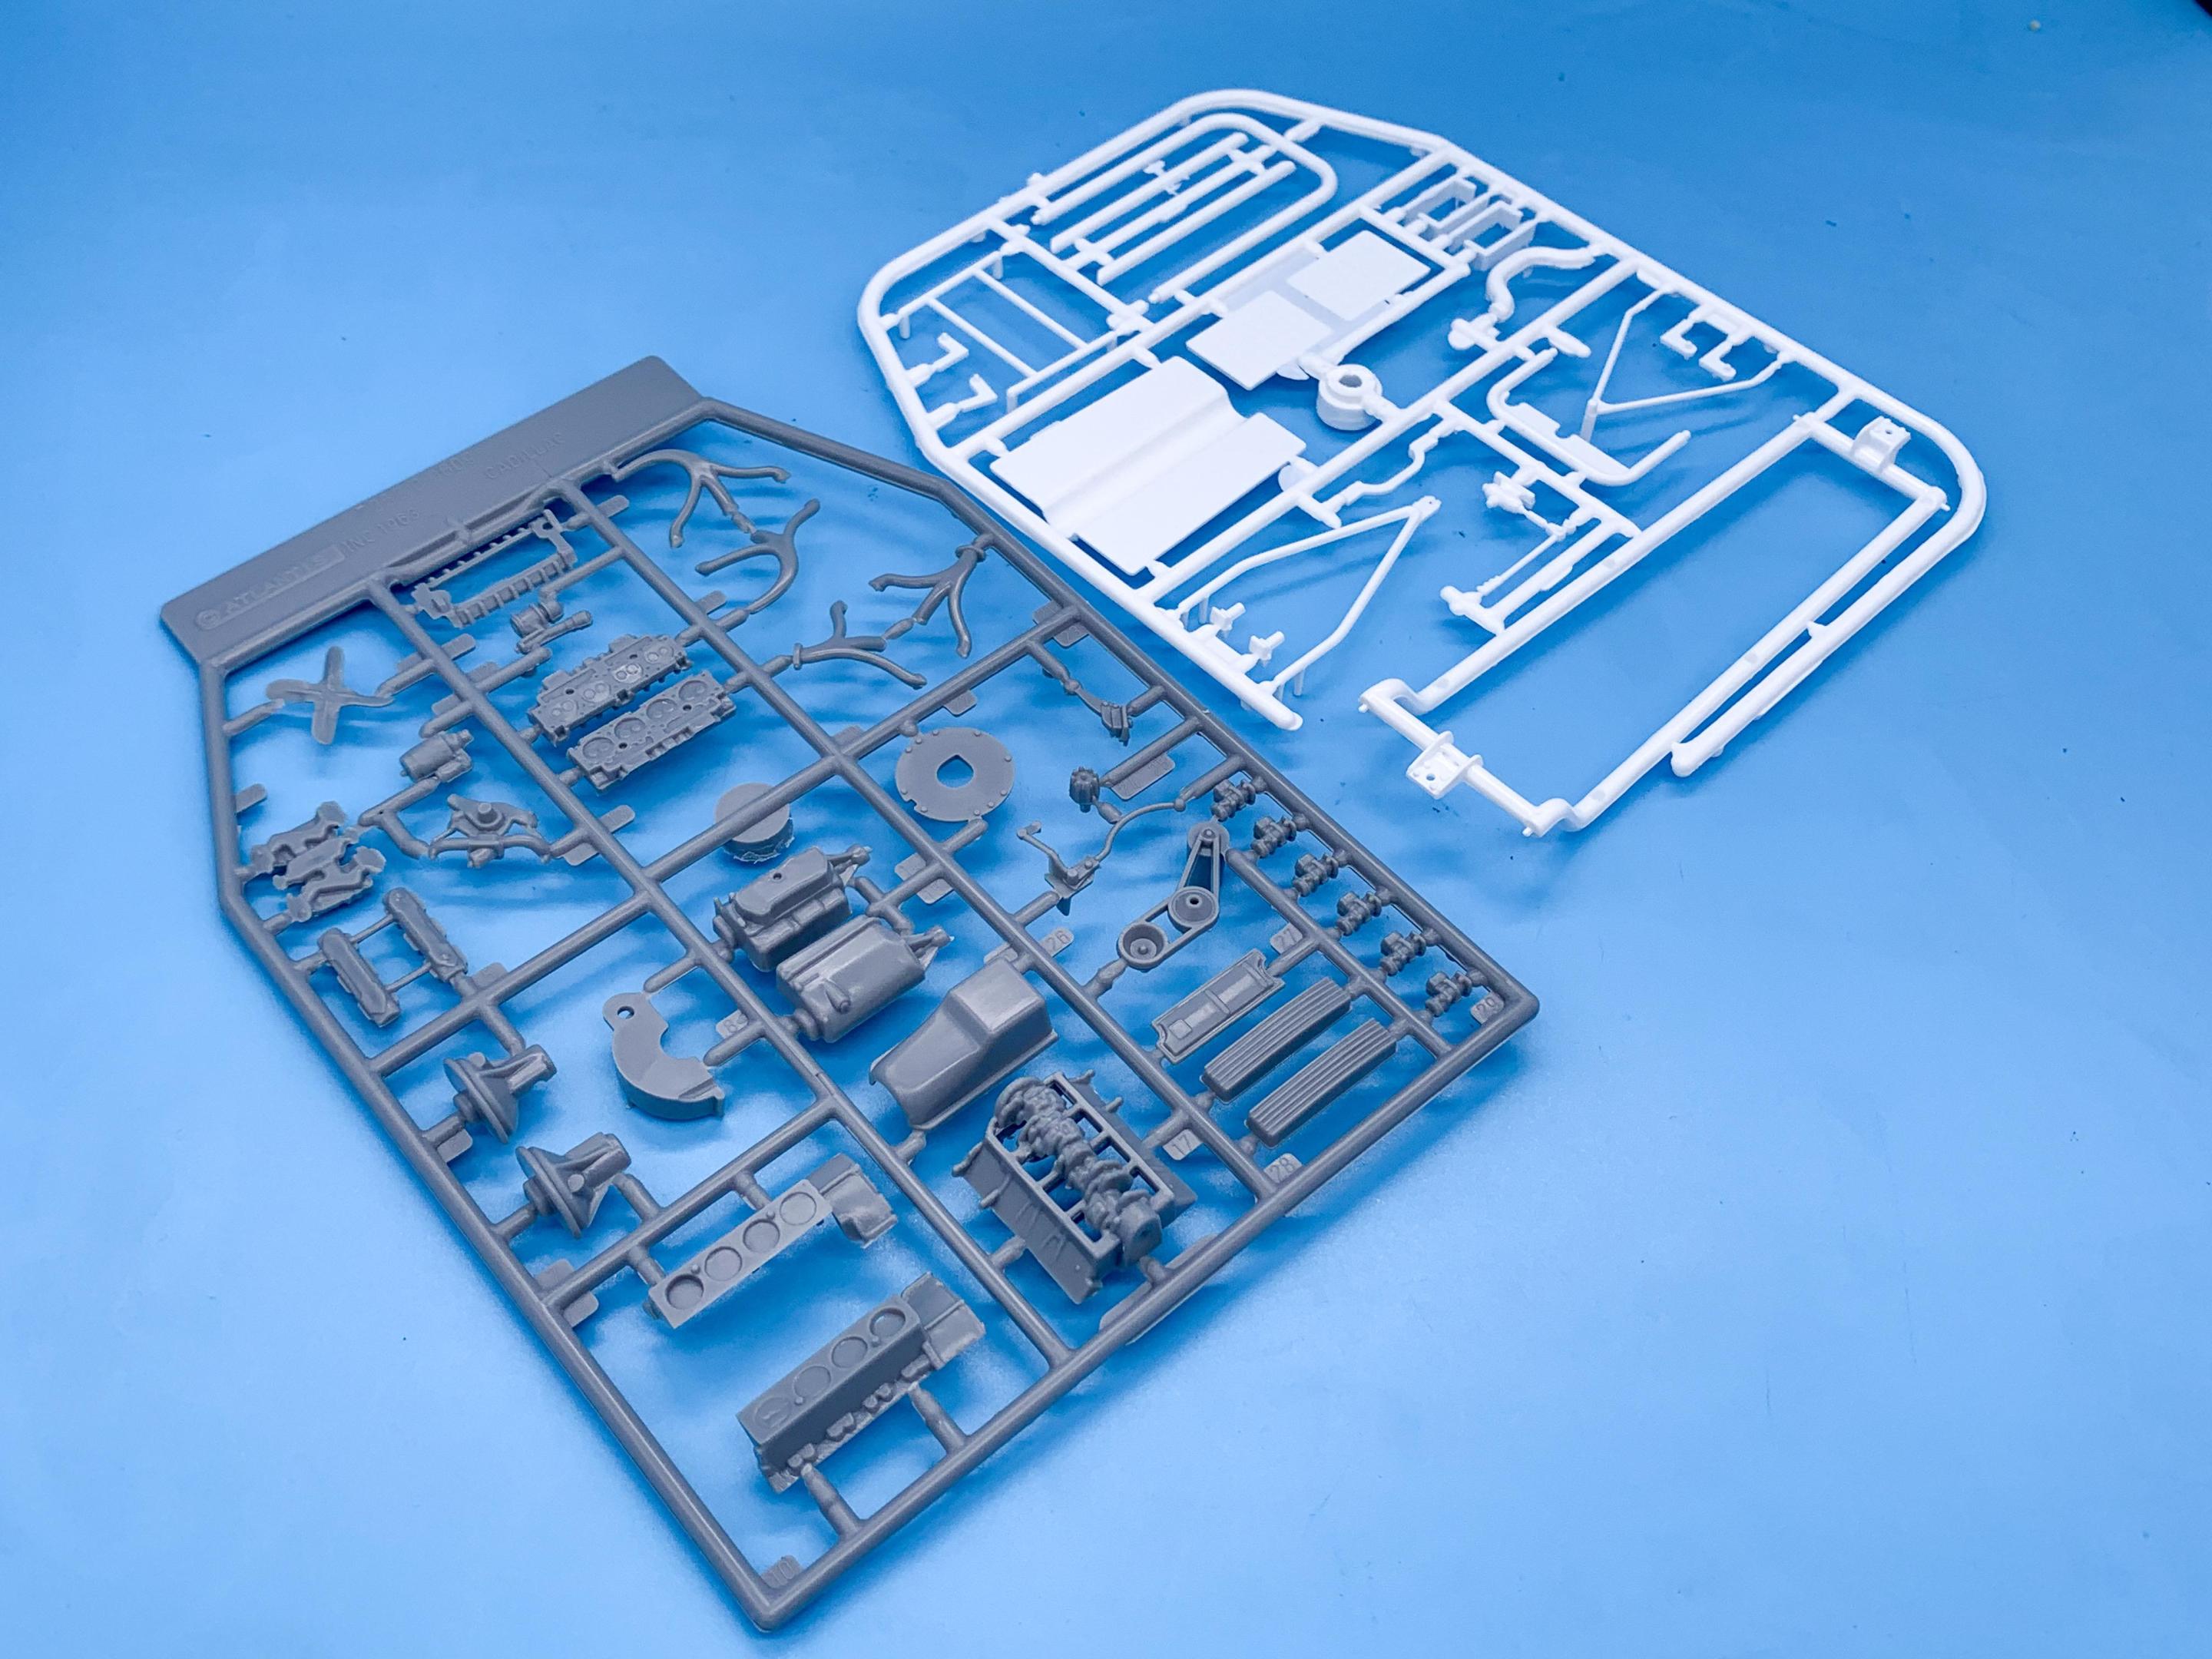
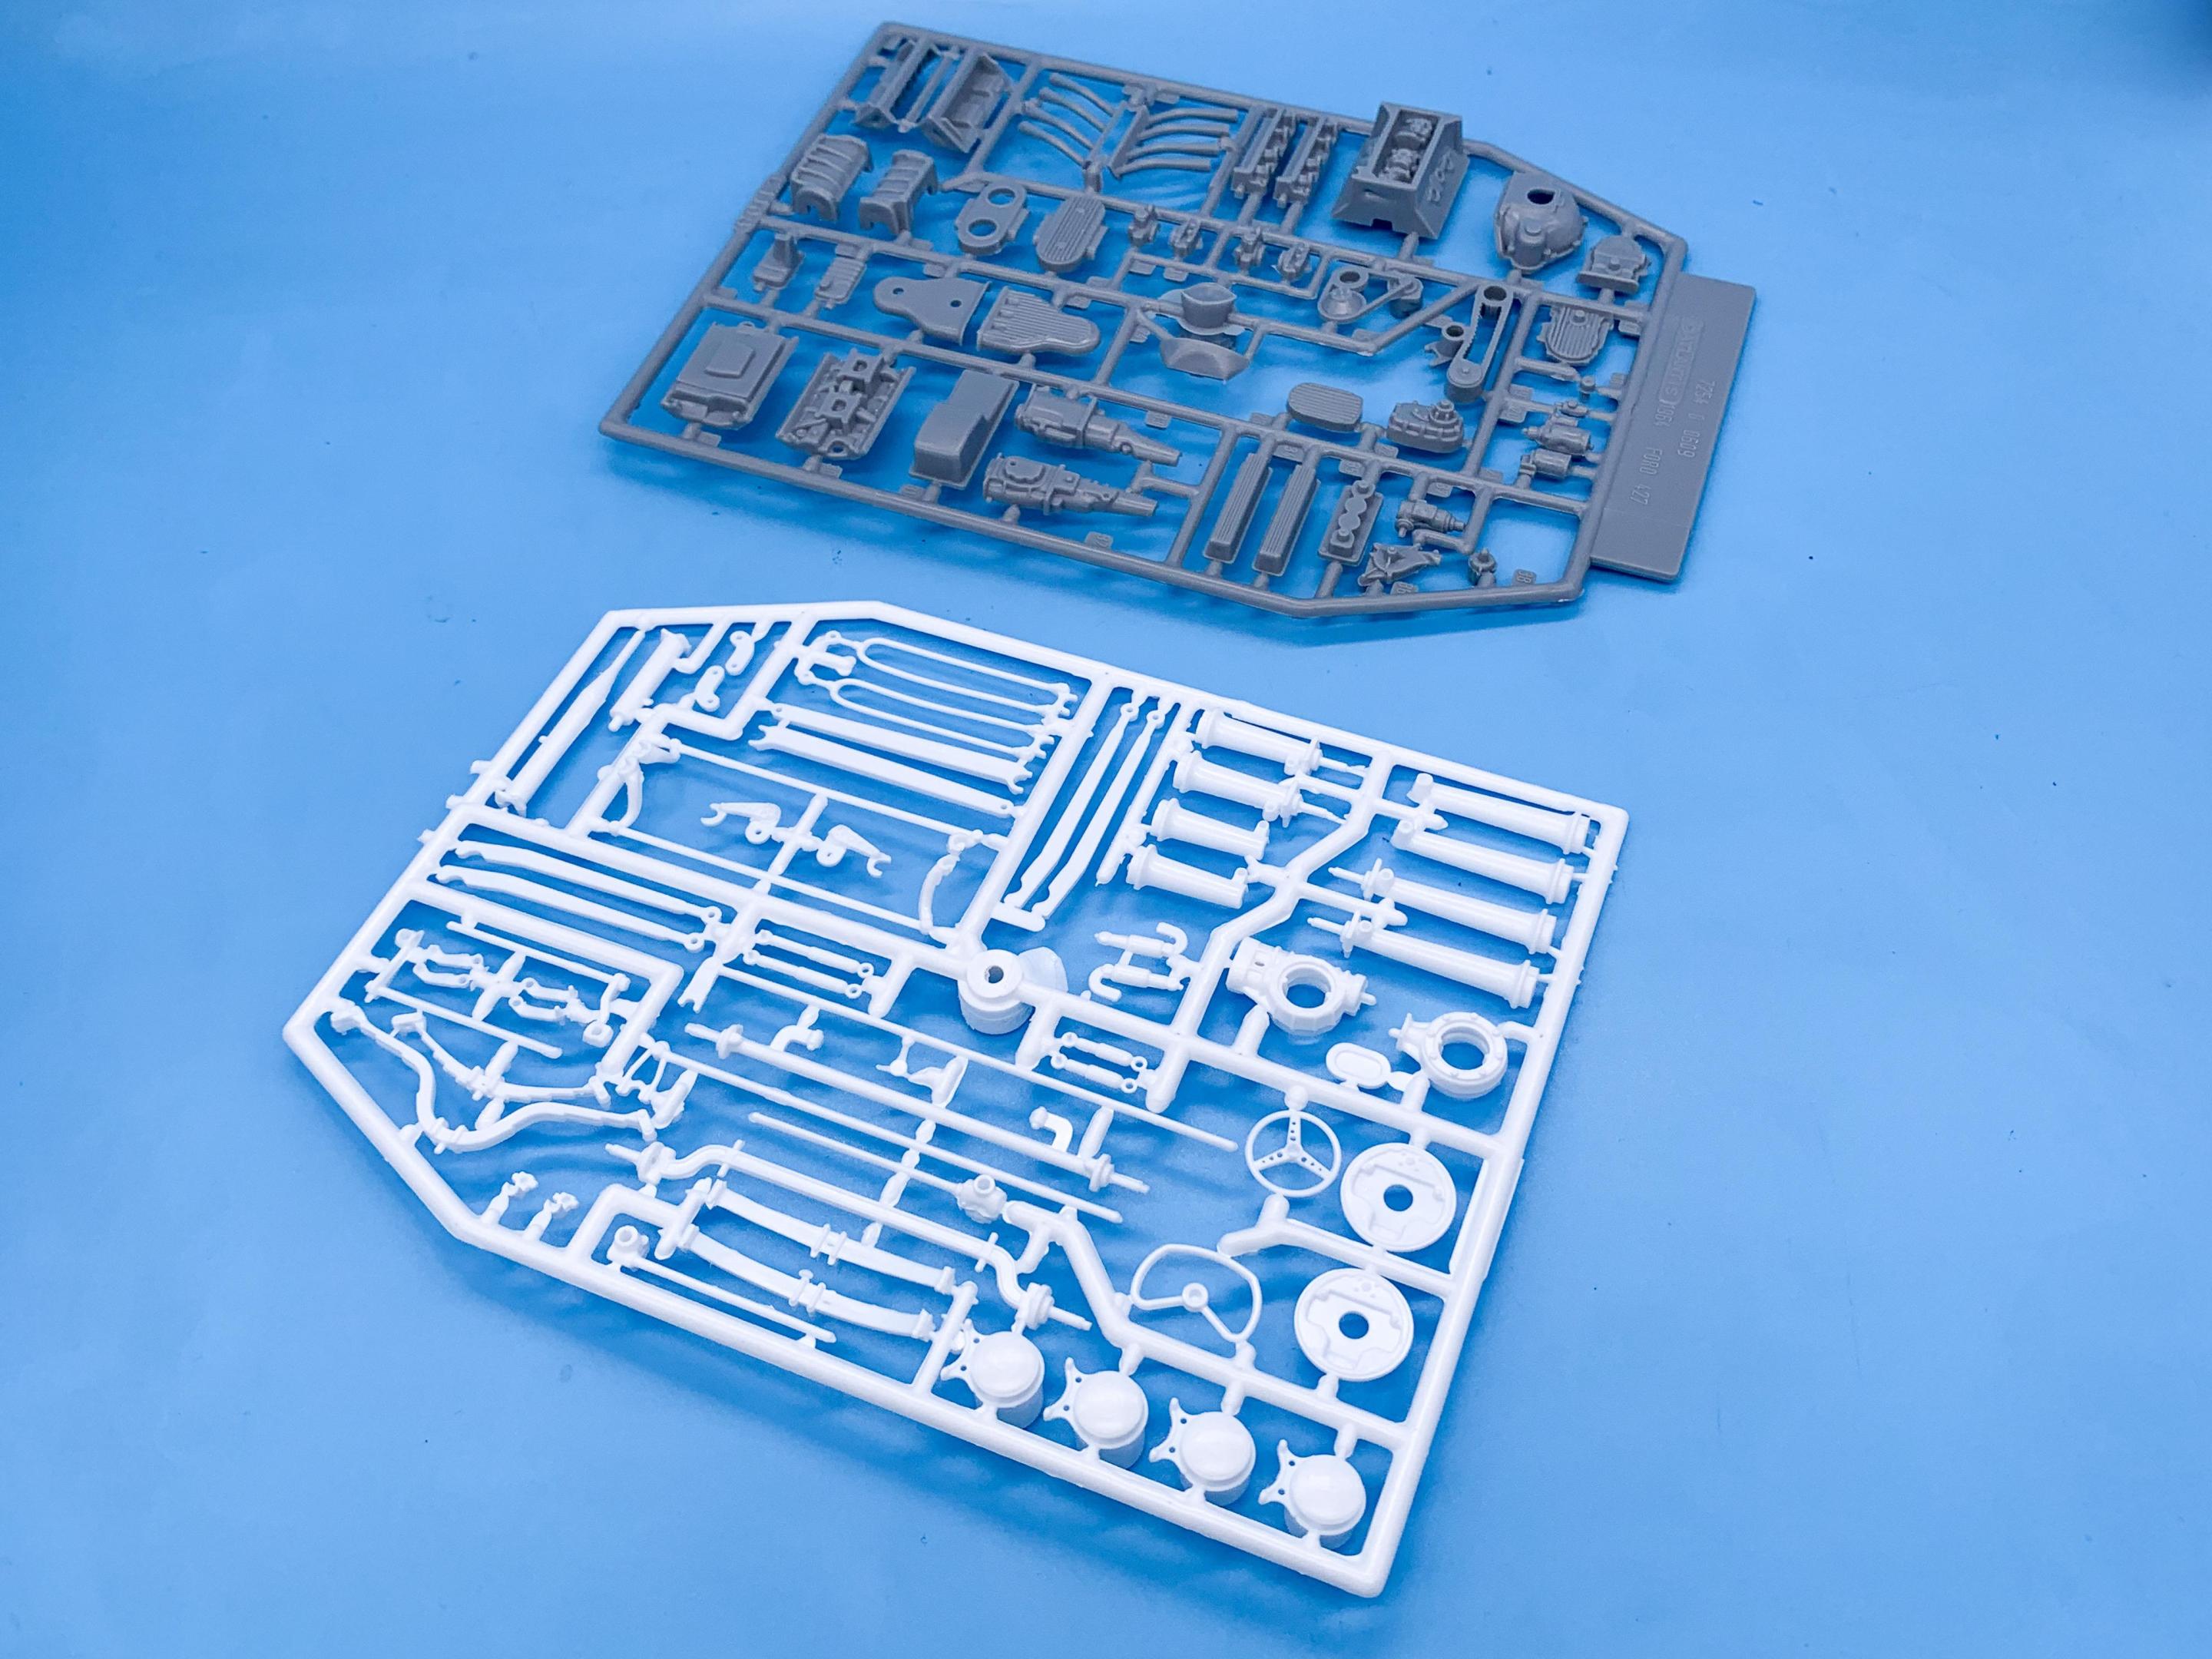
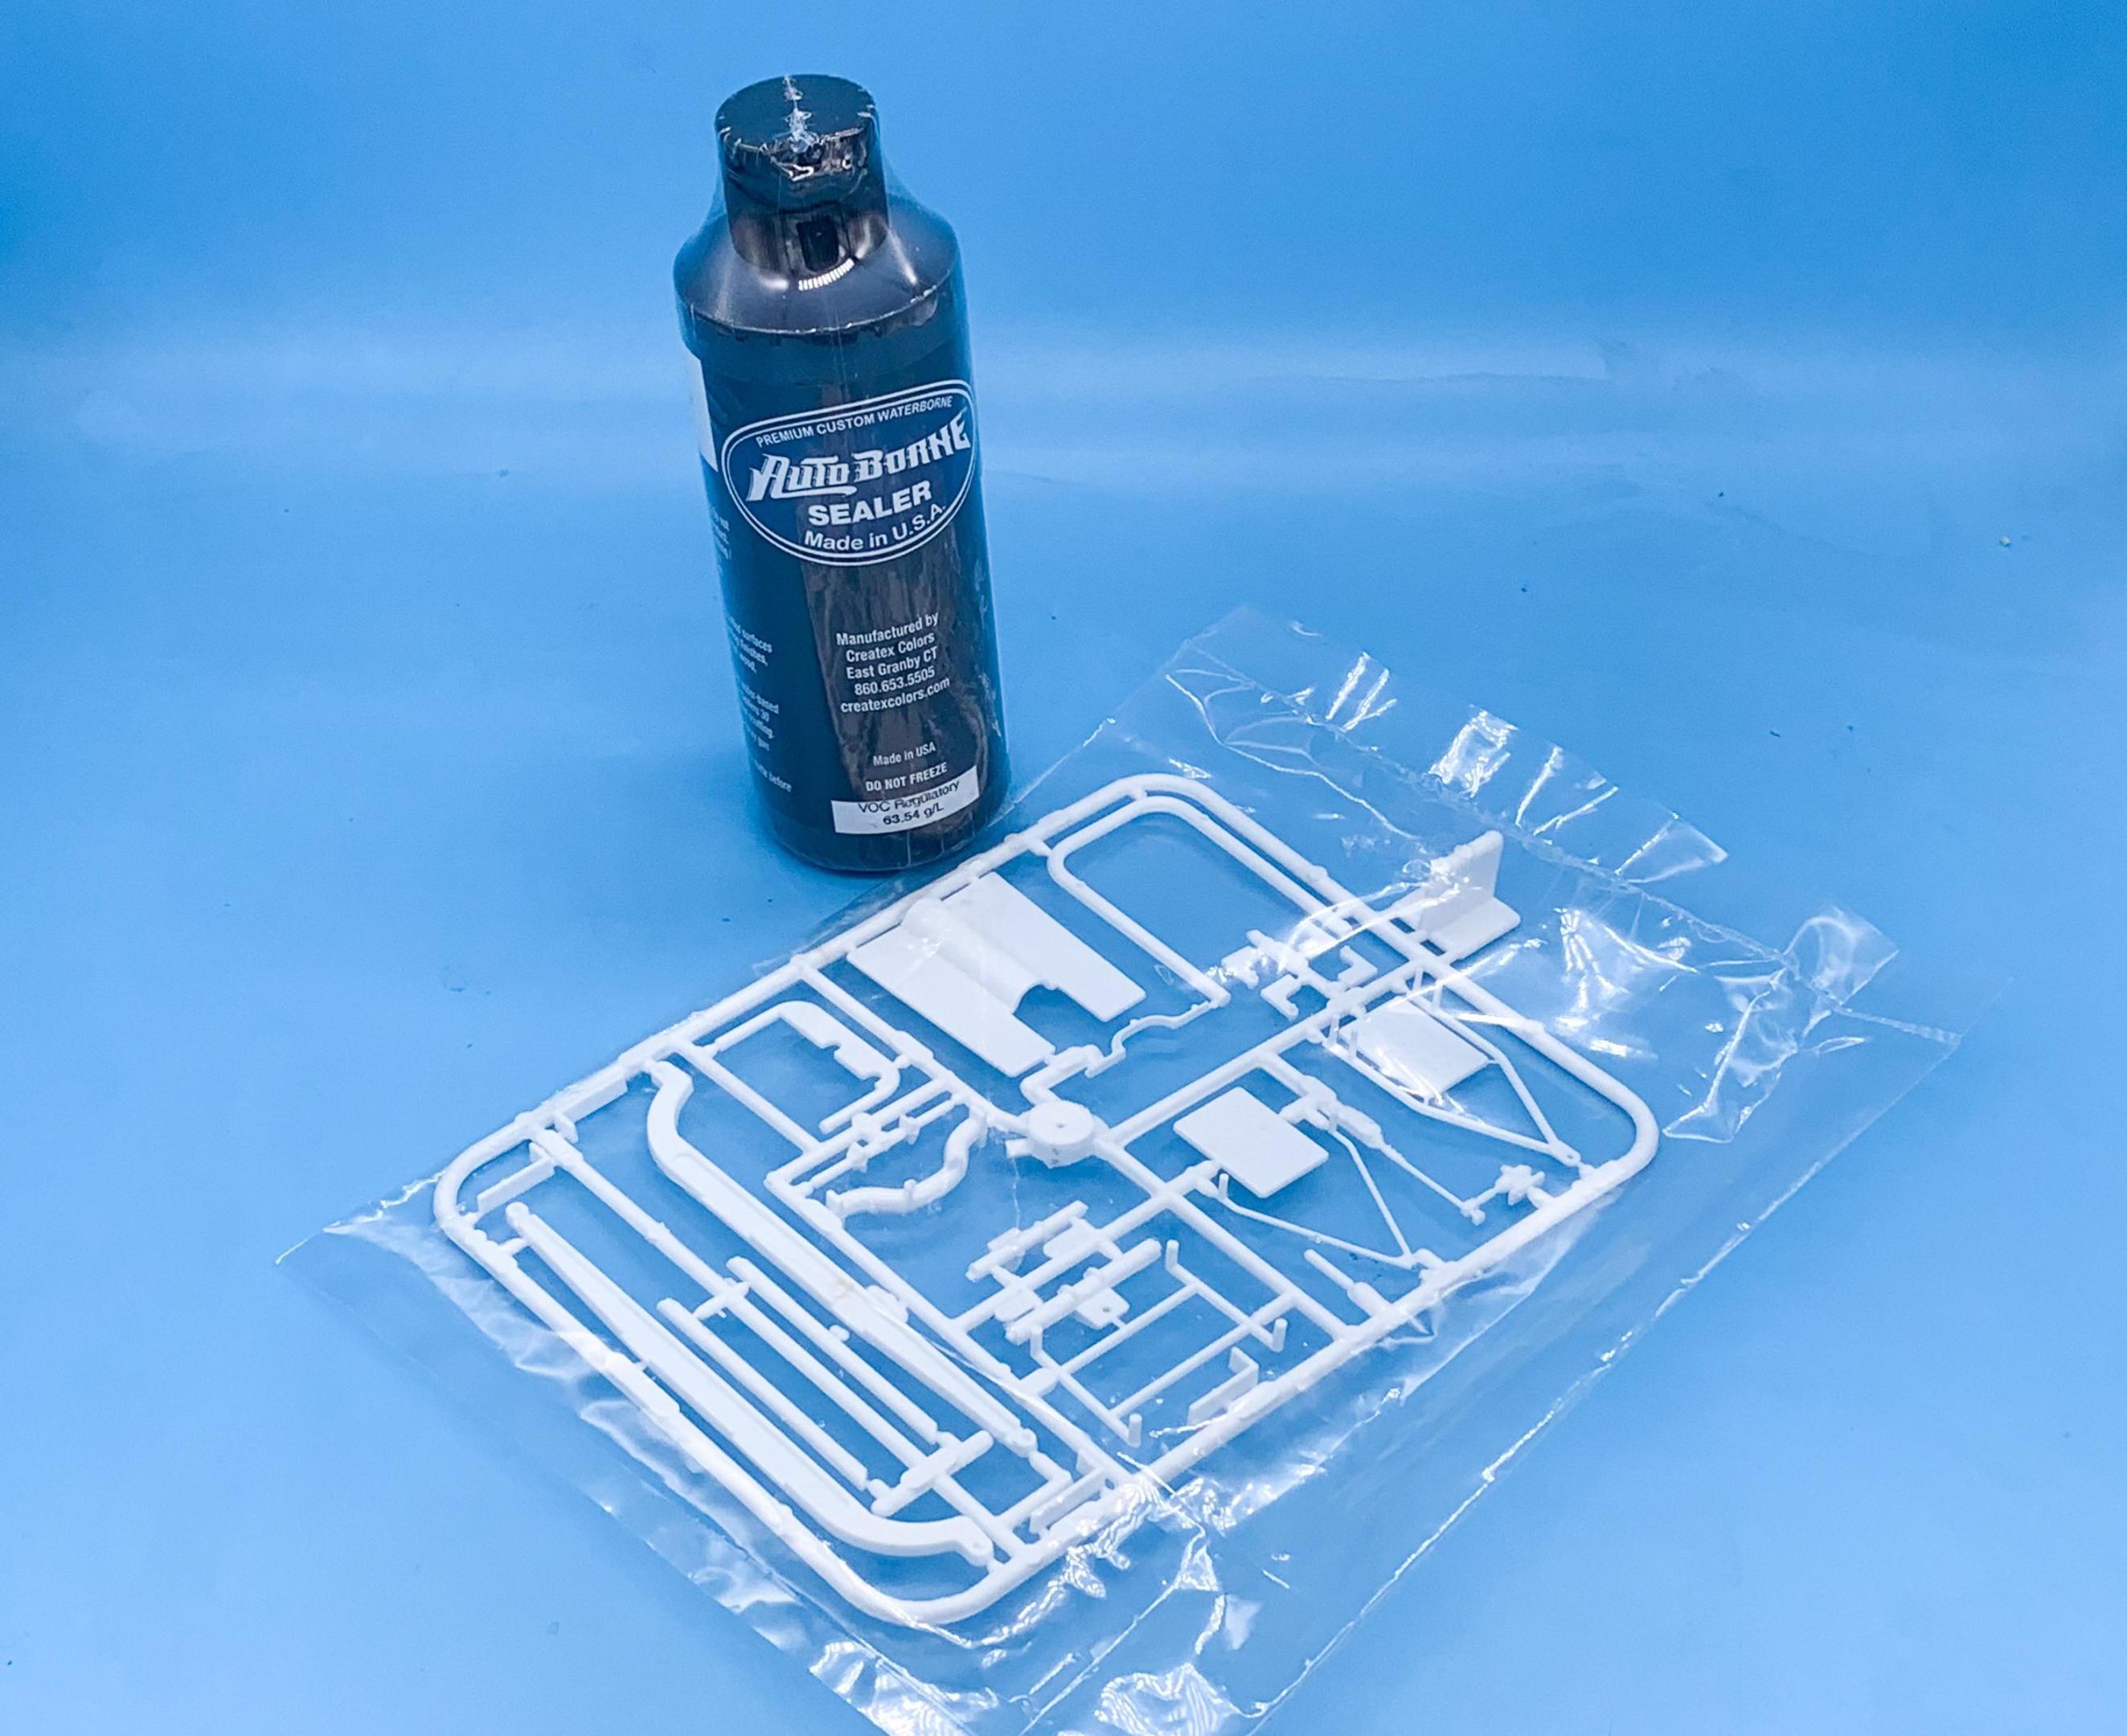
Couple of goodies from the mailman…Createx black sealer (my go-to black for about anything black or gray that I paint), and a ‘Parts Pack’ T roadster frame tree that I ordered from Atlantis…they’re starting to sell some of these parts independently of the kits, which is cool! Hope they do more!
- 38,884 replies
-
- 2
-

-
- johan
- glue bombs
-
(and 1 more)
Tagged with:
-
That video with Jim Keeler was a great watch! Thanks for sharing! Really exciting to hear that Atlantis is actually tooling up that custom C-cab body that we had seen preciously and that it’s not from an existing kit…way cool!
-

What did you see on the road today?
OldNYJim replied to Harry P.'s topic in General Automotive Talk (Trucks and Cars)
I saw one of those new SUV Mustangs - they’re uglier in real life than in the photos I’d seen ?????? -

Revell 32 Ford Roadster REVISED (former Rat Roaster tool)
OldNYJim replied to Mr. Metallic's topic in Car Kit News & Reviews
I suspect Revell may not even know…if these are on the water they’re likely at the mercy of the still-messed-up global logistics situation and may not have a firm dock-date for whatever ship they’re on. Assuming they’re even ON a ship - may not even be in production yet. I wouldn’t get super excited just yet (but I’d love to be wrong)… -
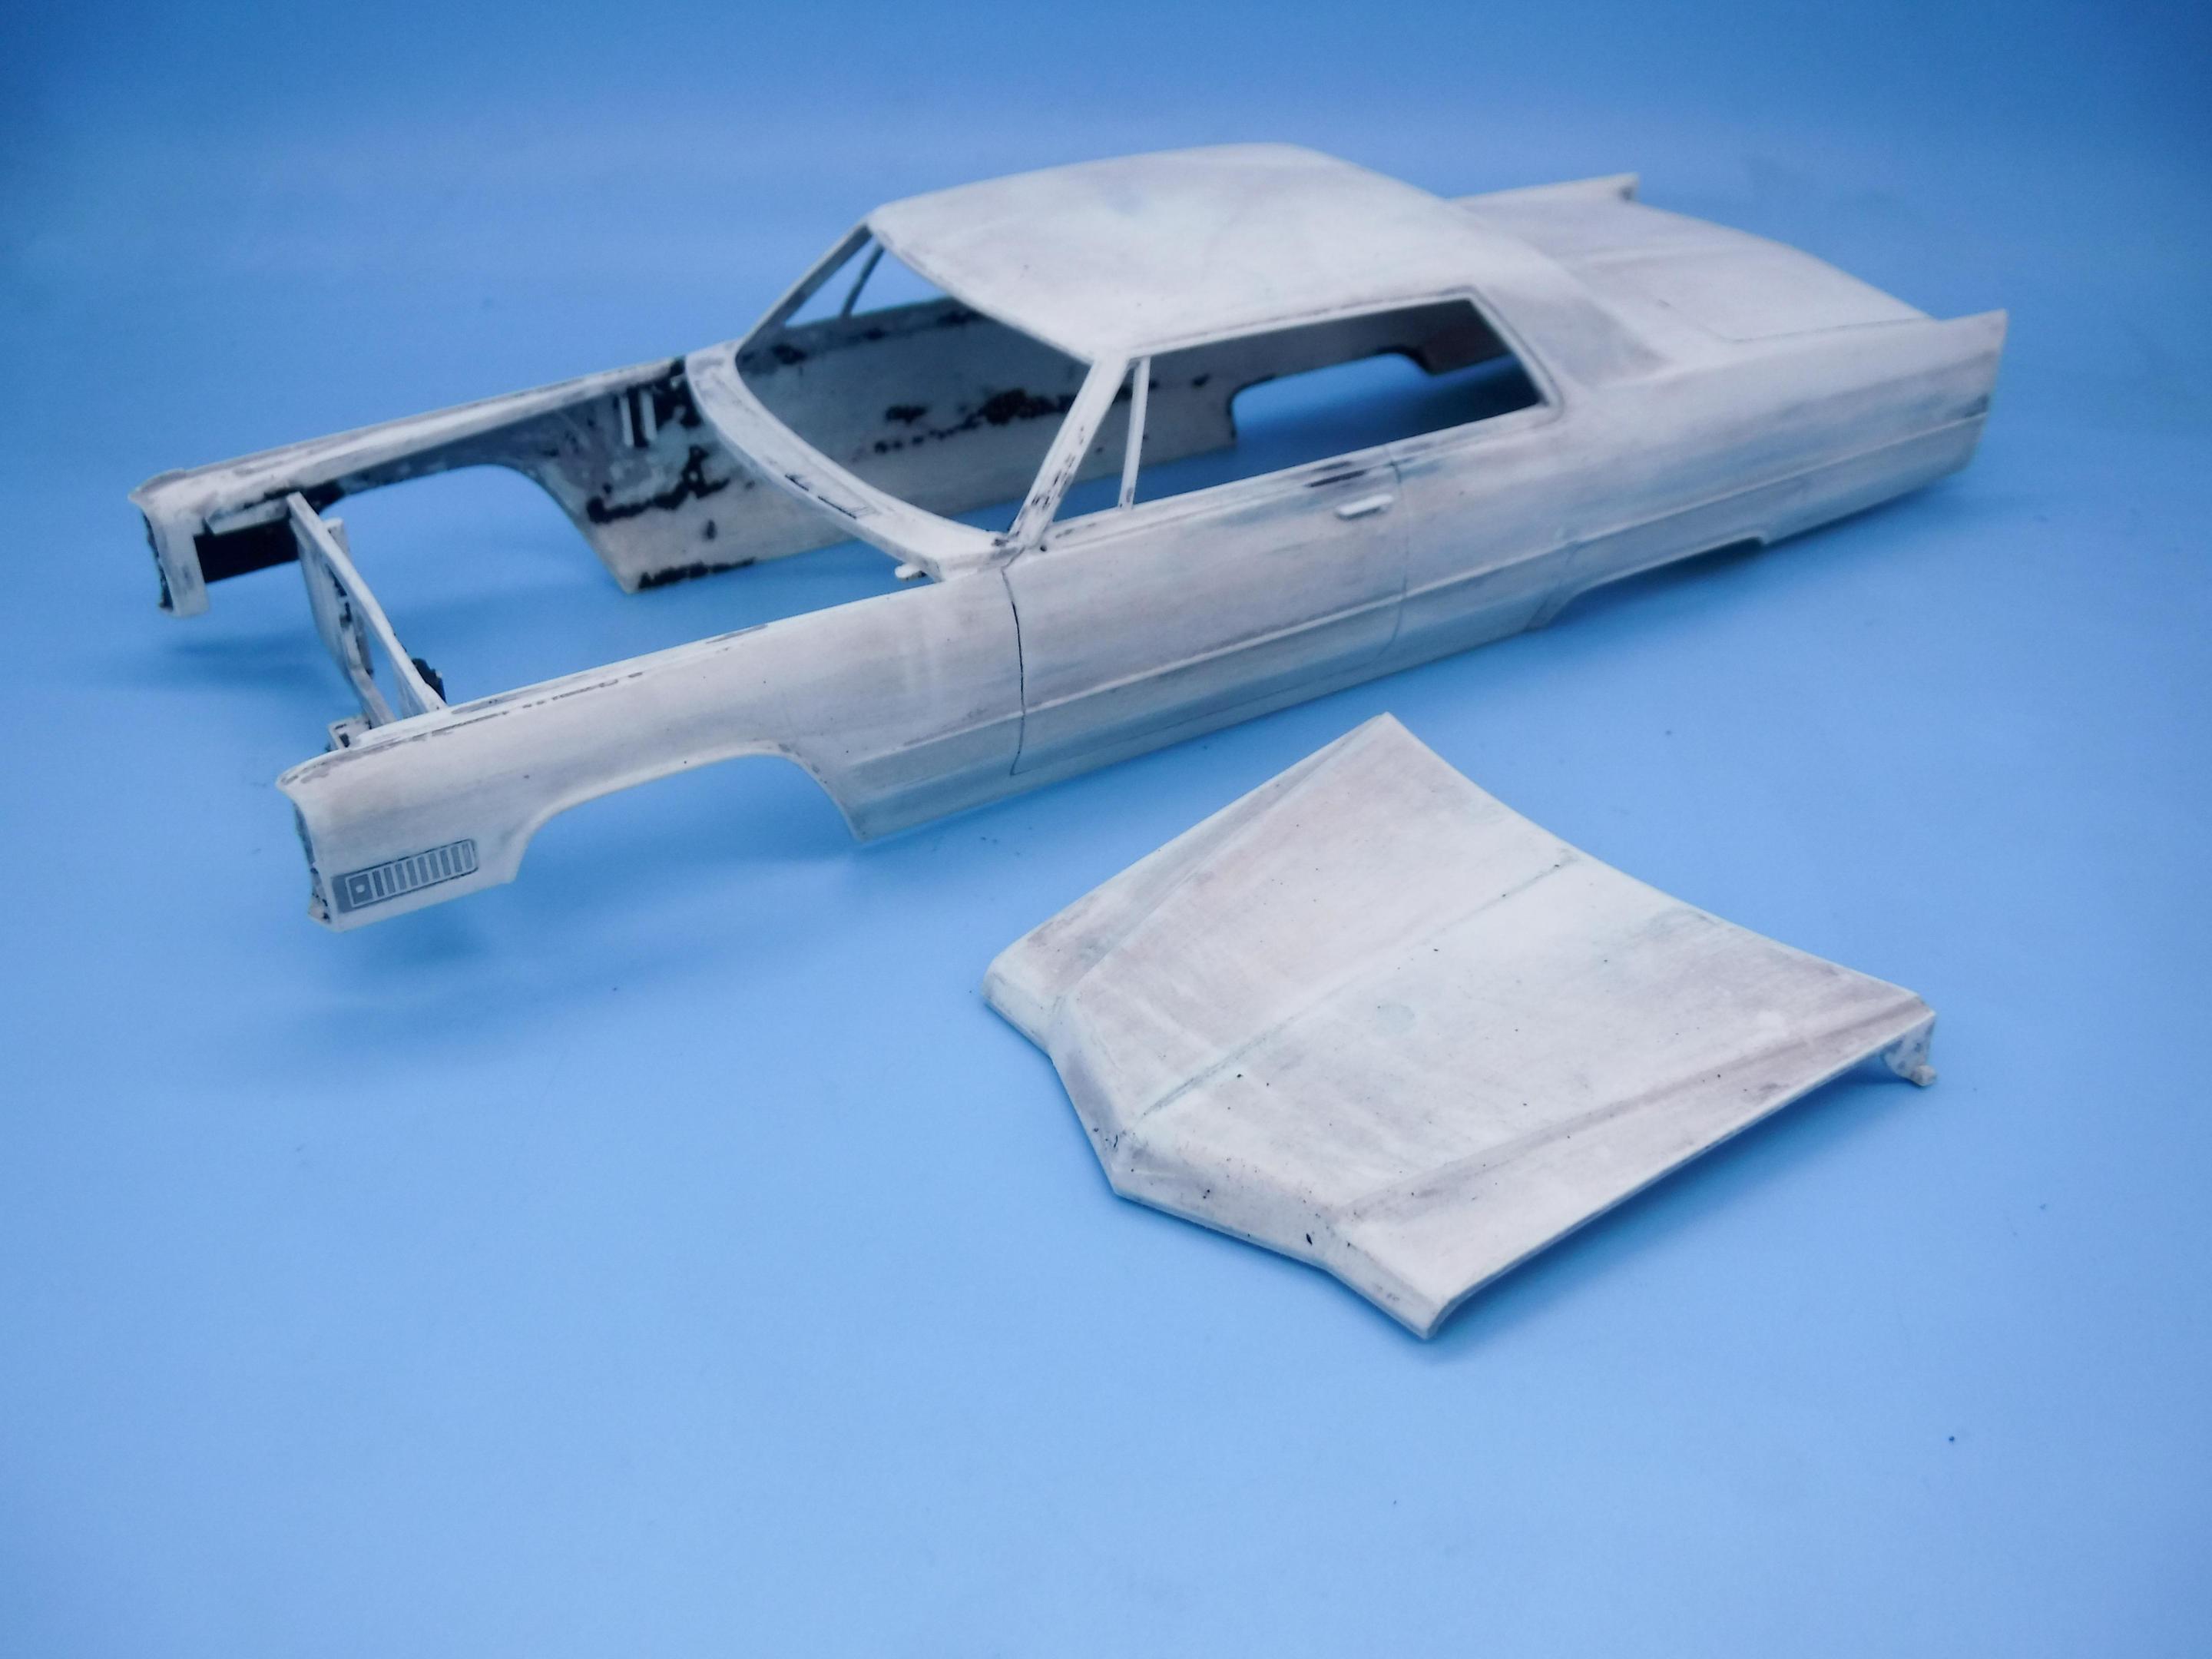
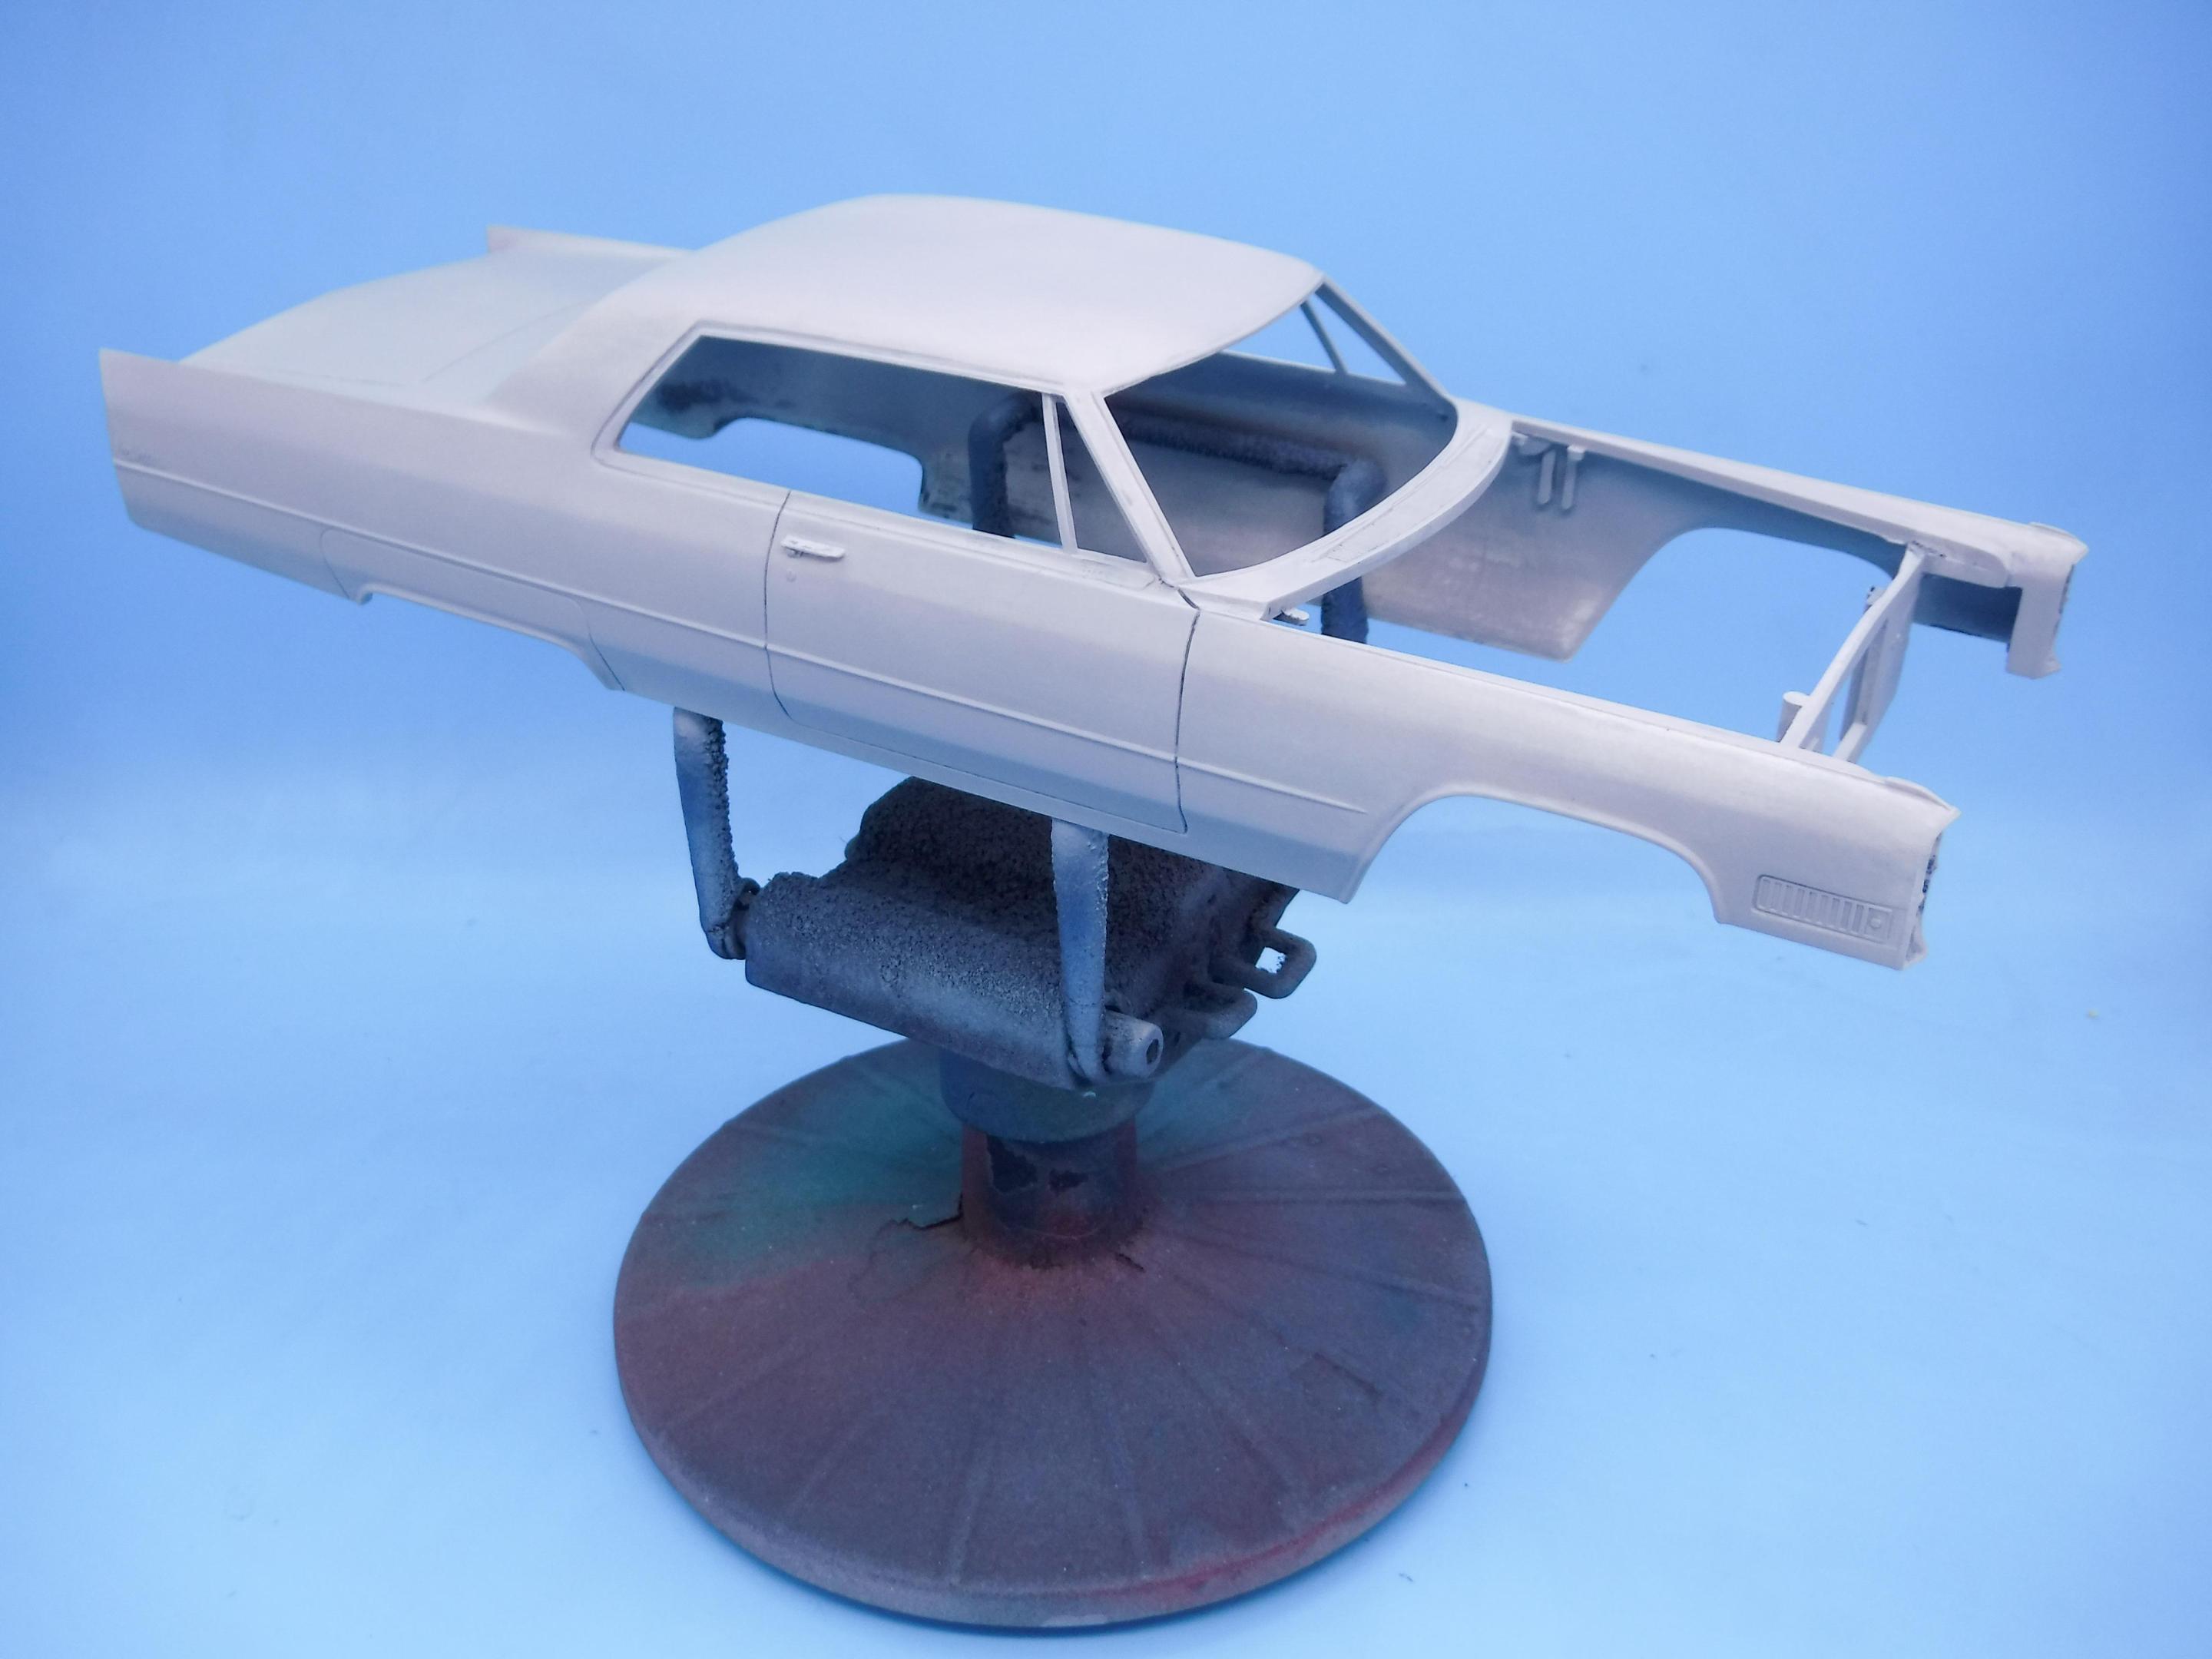
Thanks fellas. Appreciate all the kind words! It was actually pre-thinned…you’d THINK with a styrene-safe lacquer thinner, or at a minimum a thinner that’s inert enough for their own paint - but apparently not… Not impressed, won’t use a second time… That said…got the body out of the purple pond this evening - no visible surface damage to the styrene at all, and just needs a scrub with a toothbrush (don’t use your own - find an old one or borrow a friend’s) and with some clean-up with a plastic razorblade it’ll be almost good as new: Some clean-up later and light coat of primer so I can spot the imperfections I need to fix (again) and we’re almost back in business here: Need to re-sand, re-scribe the panel lines and check it all carefully, but it does seem like I got lucky and it really WAS just the paint that ate itself rather than the paint eating the plastic. Good news! Also shot the interior parts with some primer today, but they were still in the paint booth (Amazon box) drying so more on those tomorrow. Hoping to make some good progress this weekend! Thanks for looking, more soon!
-

1961 Mercedes Benz 190SL - Revell with a few modifications
OldNYJim replied to 89AKurt's topic in WIP: Model Cars
I like mm’s too - it’s just inches, but in 1:25! Love the modest thread title - “a few modifications’ ?. I really enjoy your work and have so much respect for the craftsmanship you share in your build threads - GREAT project! Keep it going!

