-
Posts
251 -
Joined
-
Last visited
Content Type
Profiles
Forums
Events
Gallery
Everything posted by OldNYJim
-
If you (or anyone else) has any pics of what’s in the box I’d be really interested in seeing them!
-
Ohh, AWESOME news! I never tackled this one either…building a straight replica of the 1:1, as significant as it is, doesn’t excite me too much, but I’d like to build something close to it. And yes, @Jantrix, the newer version has a an out of scale engine (this thread has a little info on it, and there’s a more in depth thread somewhere on here talking about the differences between the kits
-

Just a nice clean traditional Deuce Roadster
OldNYJim replied to OldNYJim's topic in WIP: Model Cars
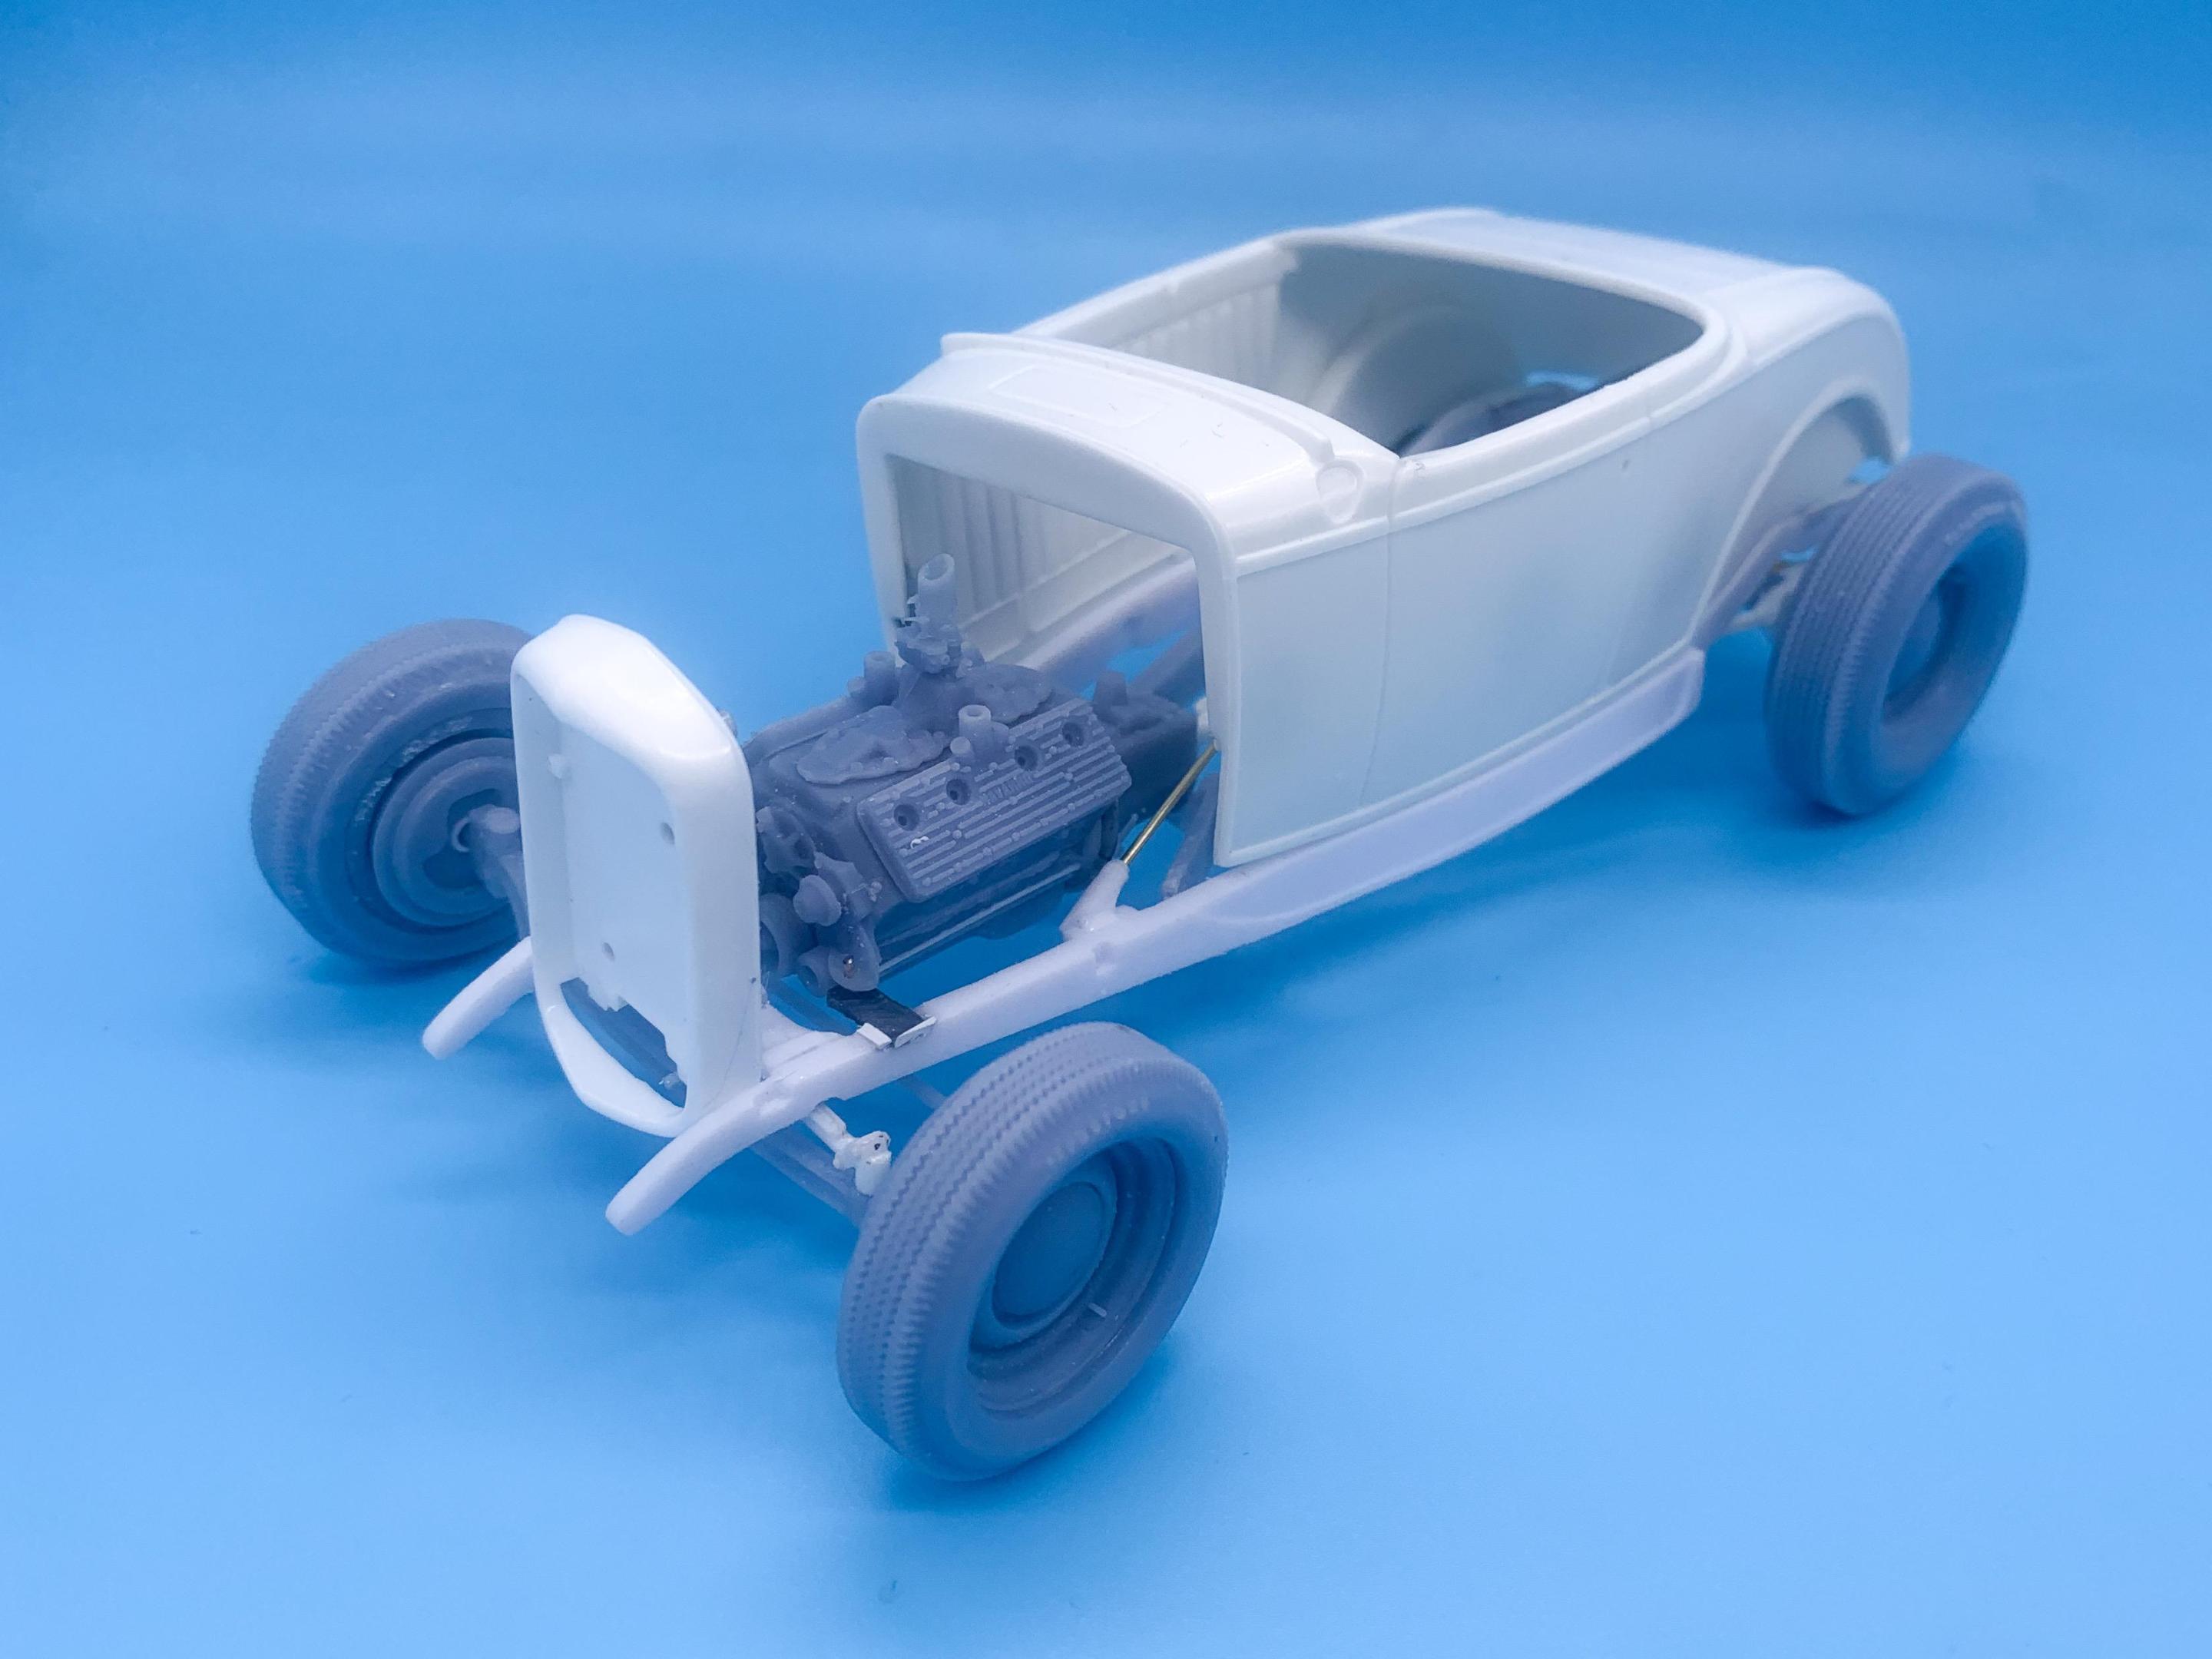
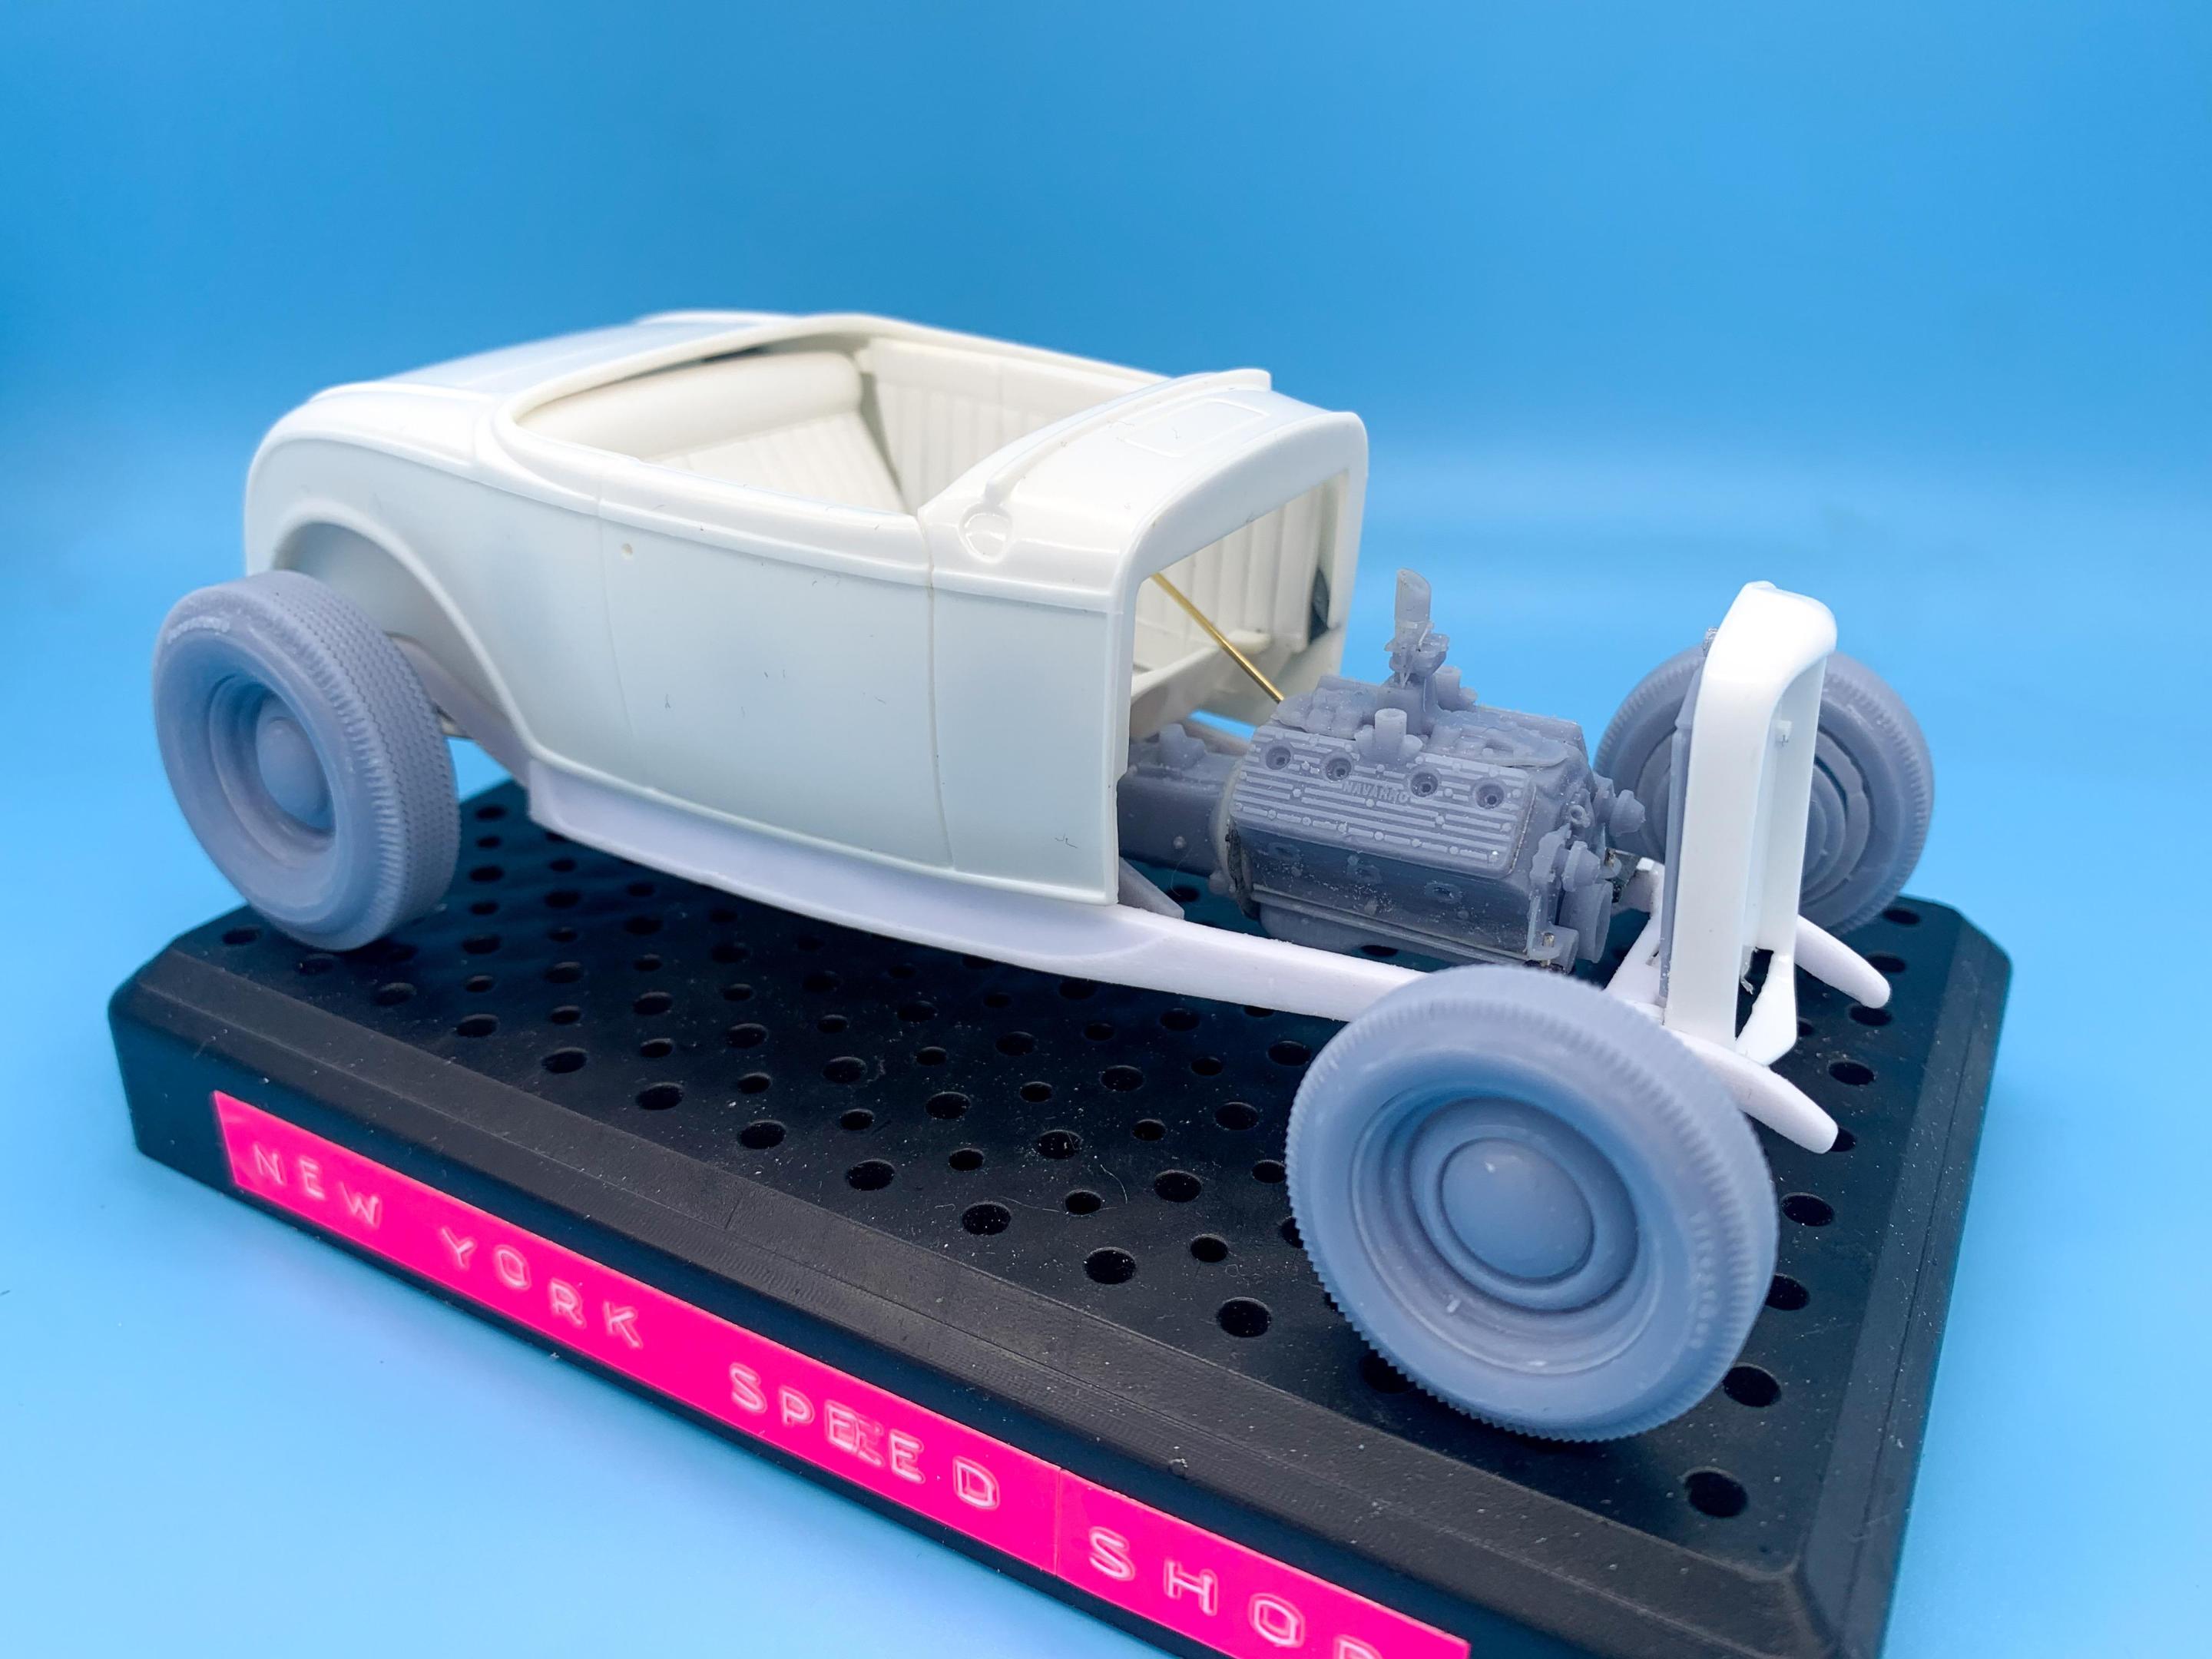
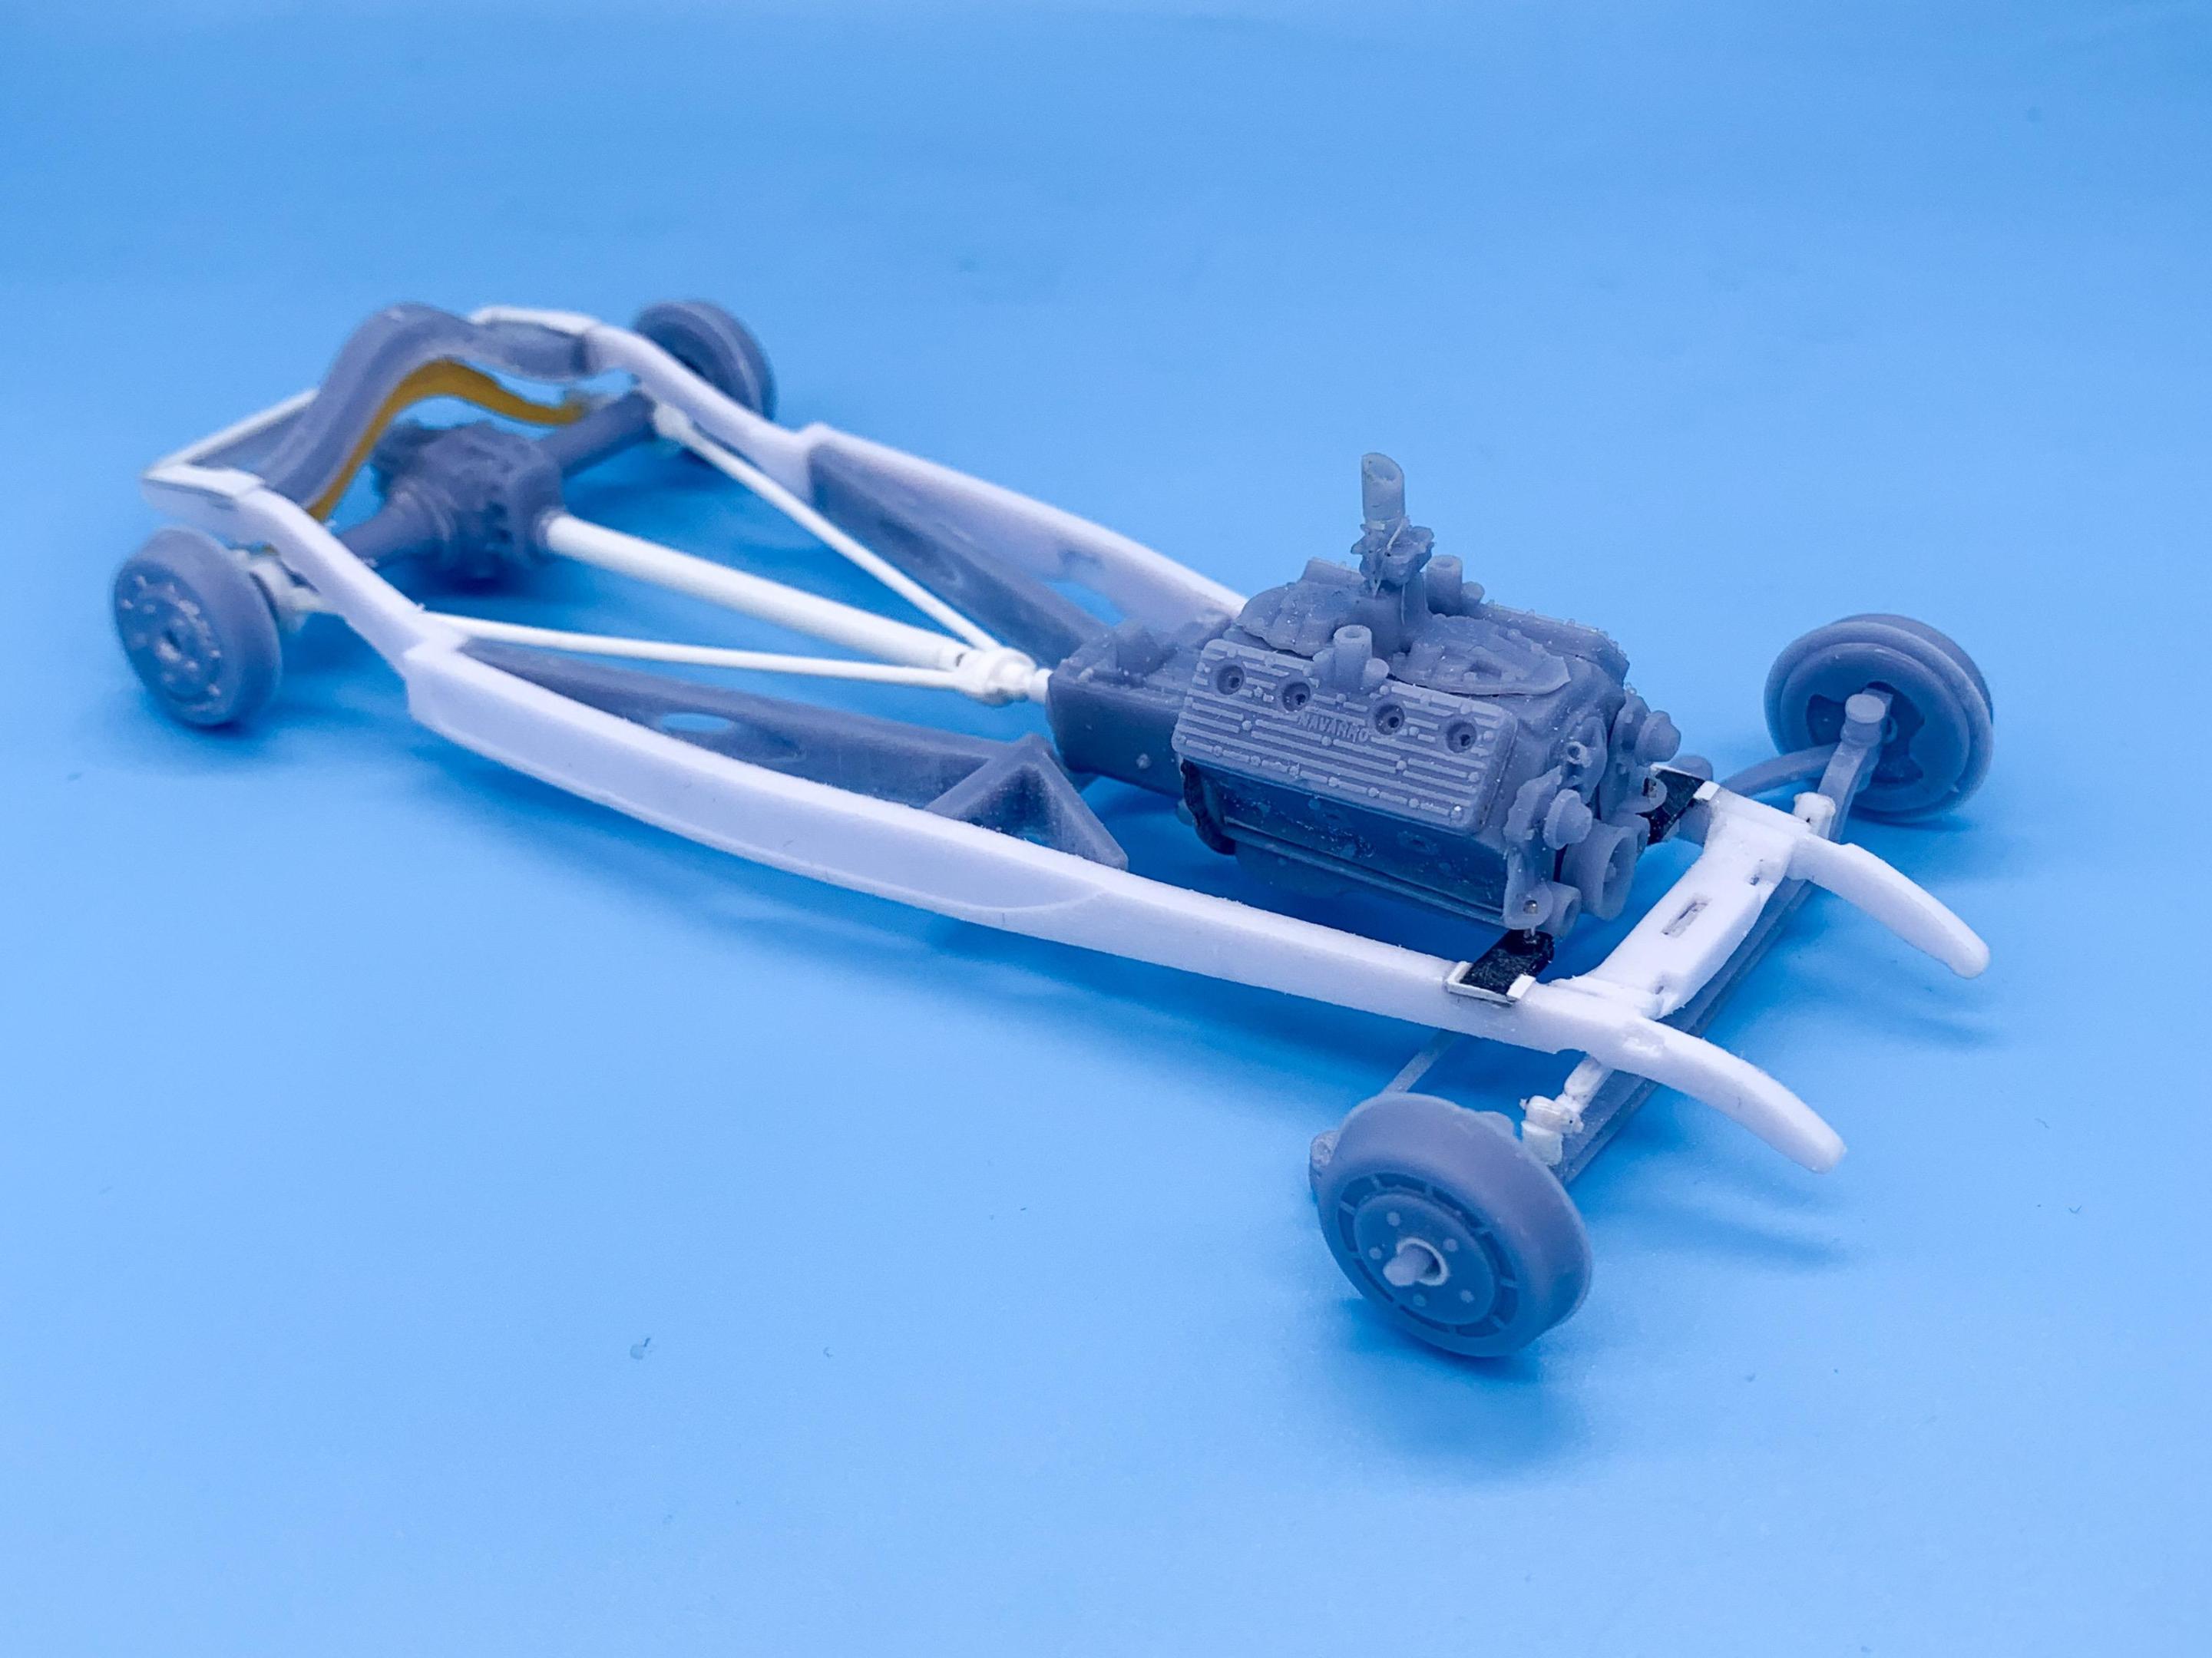
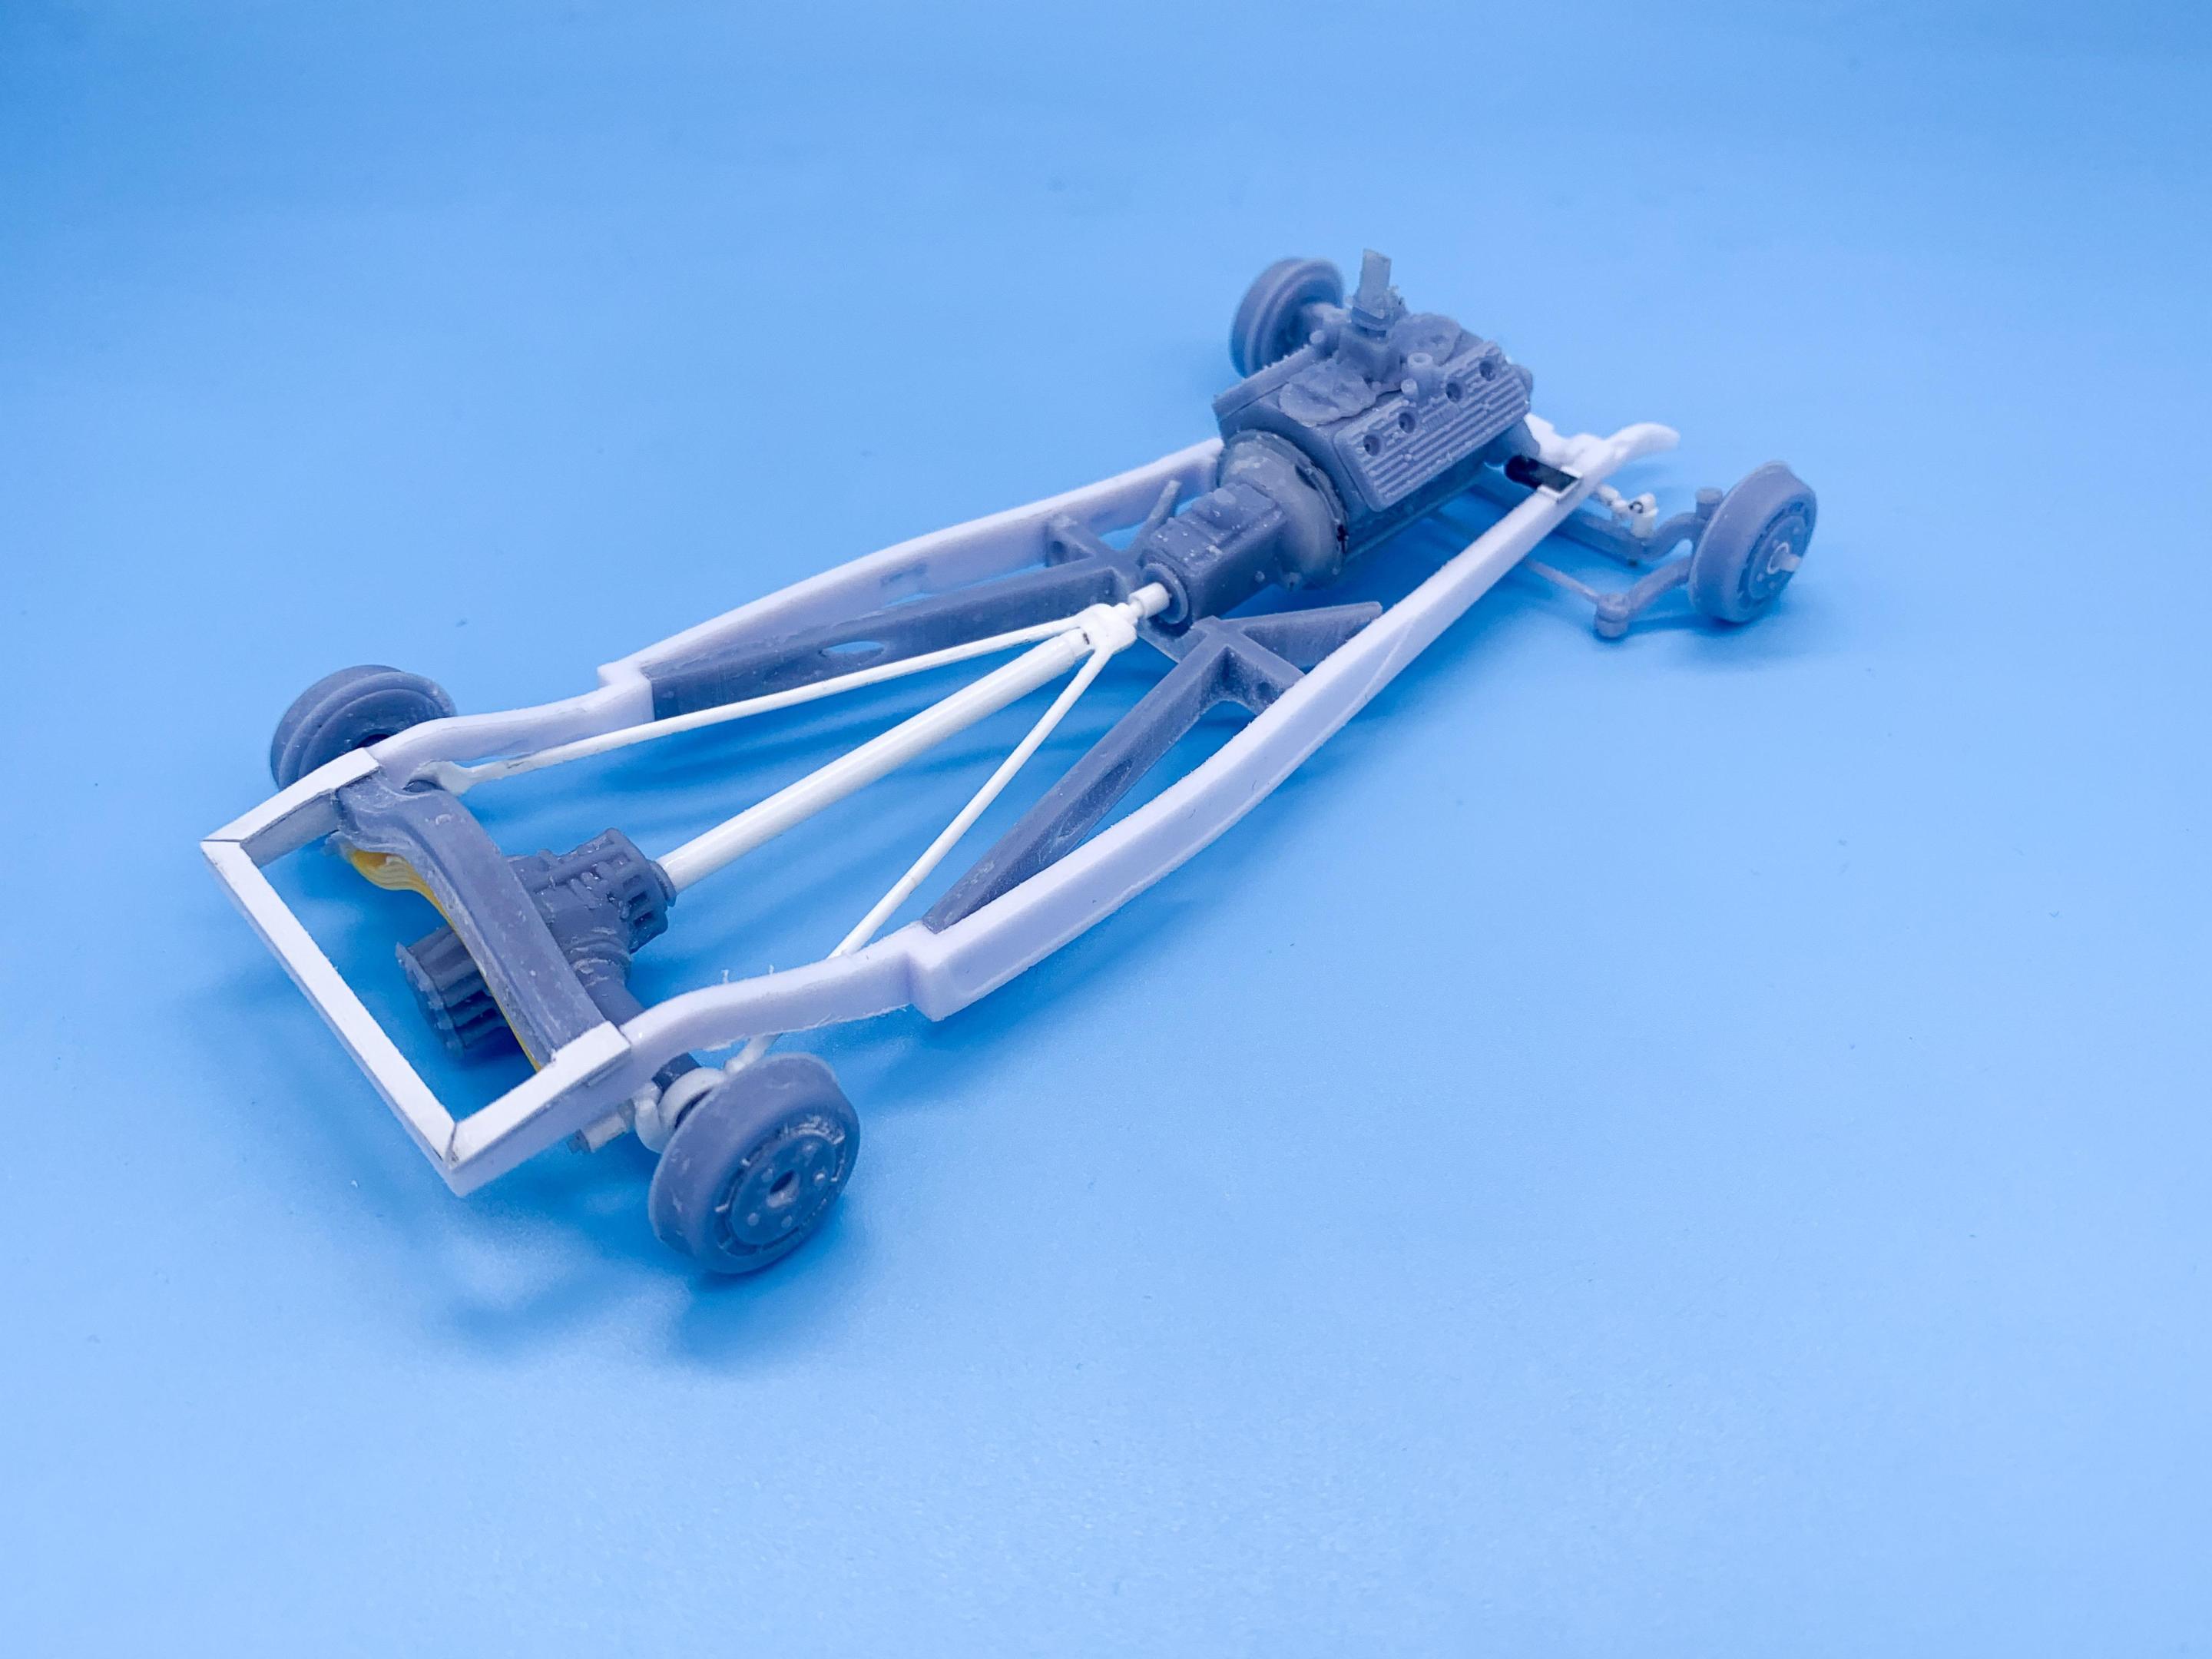
Thanks fellas! A little progress tonight - got far enough along for a mock-up with wheels and tires to see how it’ll look! Still need to make some proper wheel backs - it’s just poster-tacked and Elmer’d together right now but good enough for a quick mock-up… Not perfect, but not TOO far off - looks like an old hot rod! ? These wheels and tires are a really nicely done design that isn’t on the market yet but they will be soon-ish…someone else’s design that they kindly allowed me early access to so I could mess with them a little. I’ll post details on them once they’re out there to buy… Not a big update, but it was fun seeing it on it’s wheels properly for the first time! Still need to work on linkages for the front axle, finish up the steering and then next major project is the floor. Thanks for looking, more soon! -
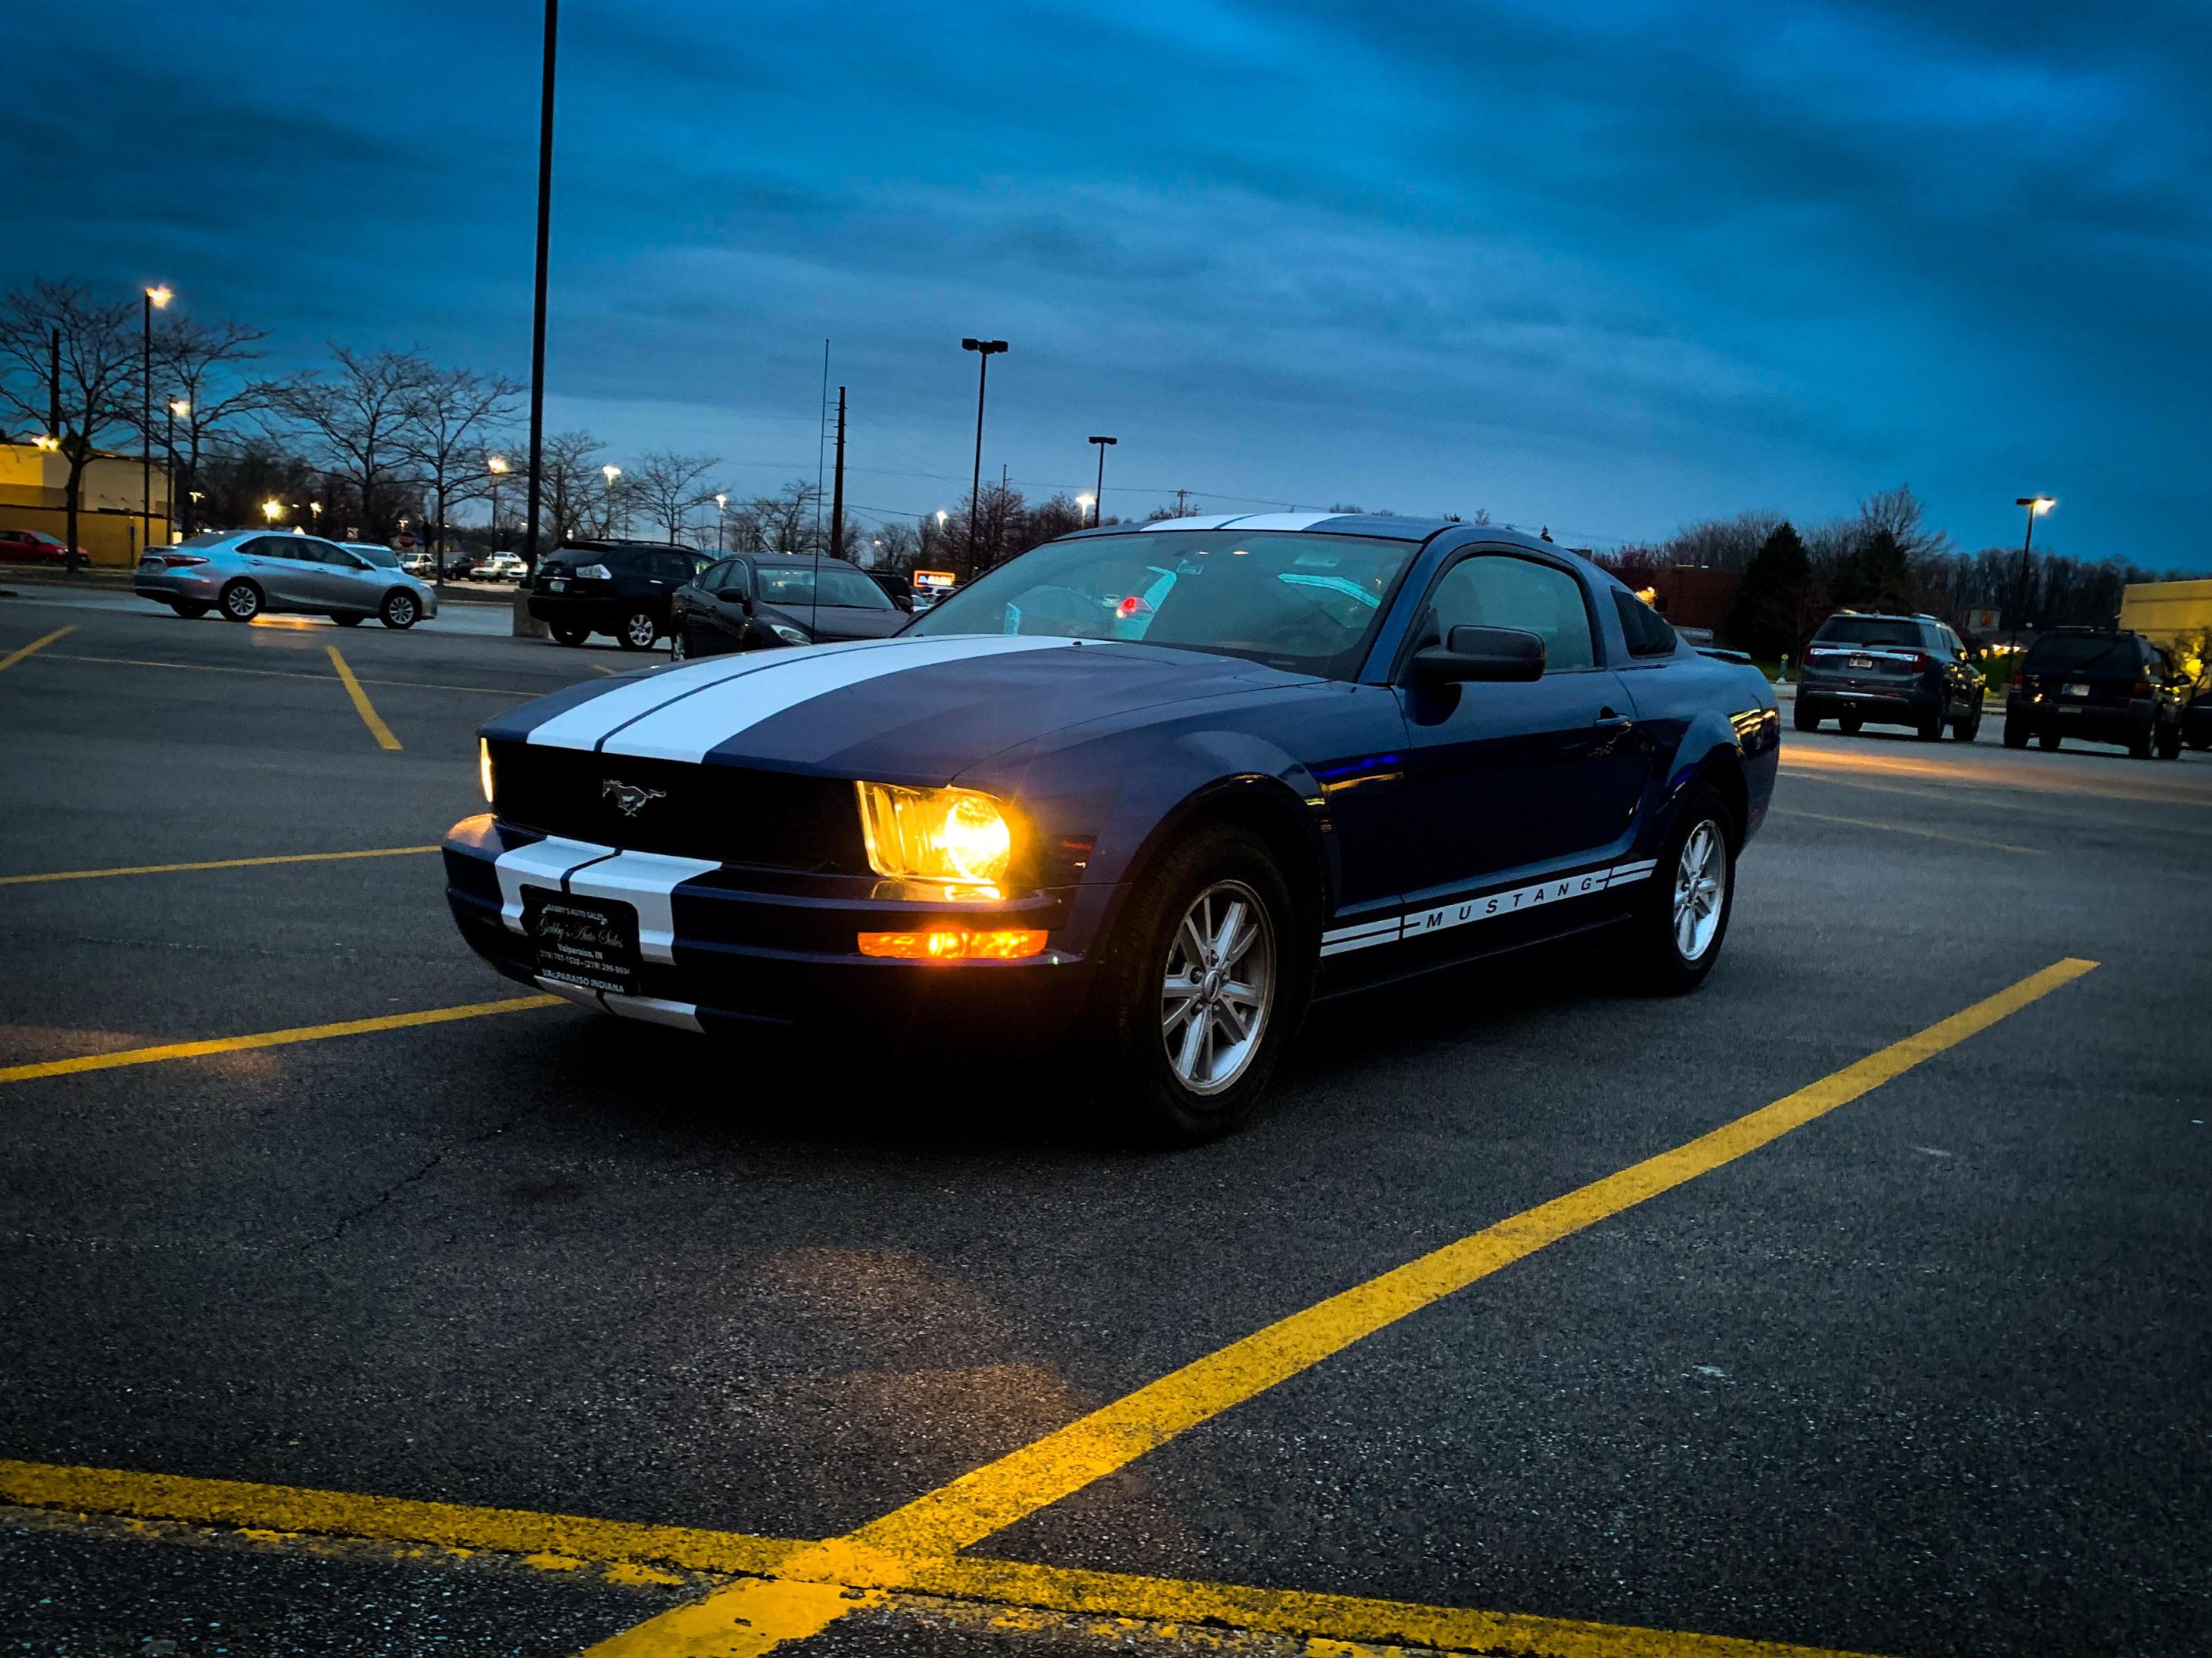
I don't wanna break the chain...my Miata was my favorite car too. The perfect balance of being inexpensive to run, comfortable, affordable whilst still making me smile every time I felt like putting my foot down a little and throwing it around. My current 'stang is close, and more practical, but not QUITE as good as any of the Miatas I've owned, overall...
-
That’s even better news - my next major hurdle was figuring out a source for the manual trans too ?. SUPER helpful, thank you! Which year Ranger kit do you have there? AMT did a couple of years at least, is looks like…
-

1960 Ferrari 256F1
OldNYJim replied to Chris Smith's topic in WIP: Other Racing: Road Racing, Land Speed Racers
Those seats look INCREDIBLE! Stunning! So, that paint set some with the base terracotta color, a darker shade and what looks like a blue from their website? Is the blue translucent, or is that an error on their site? Great work - really impressive! -

Just a nice clean traditional Deuce Roadster
OldNYJim replied to OldNYJim's topic in WIP: Model Cars
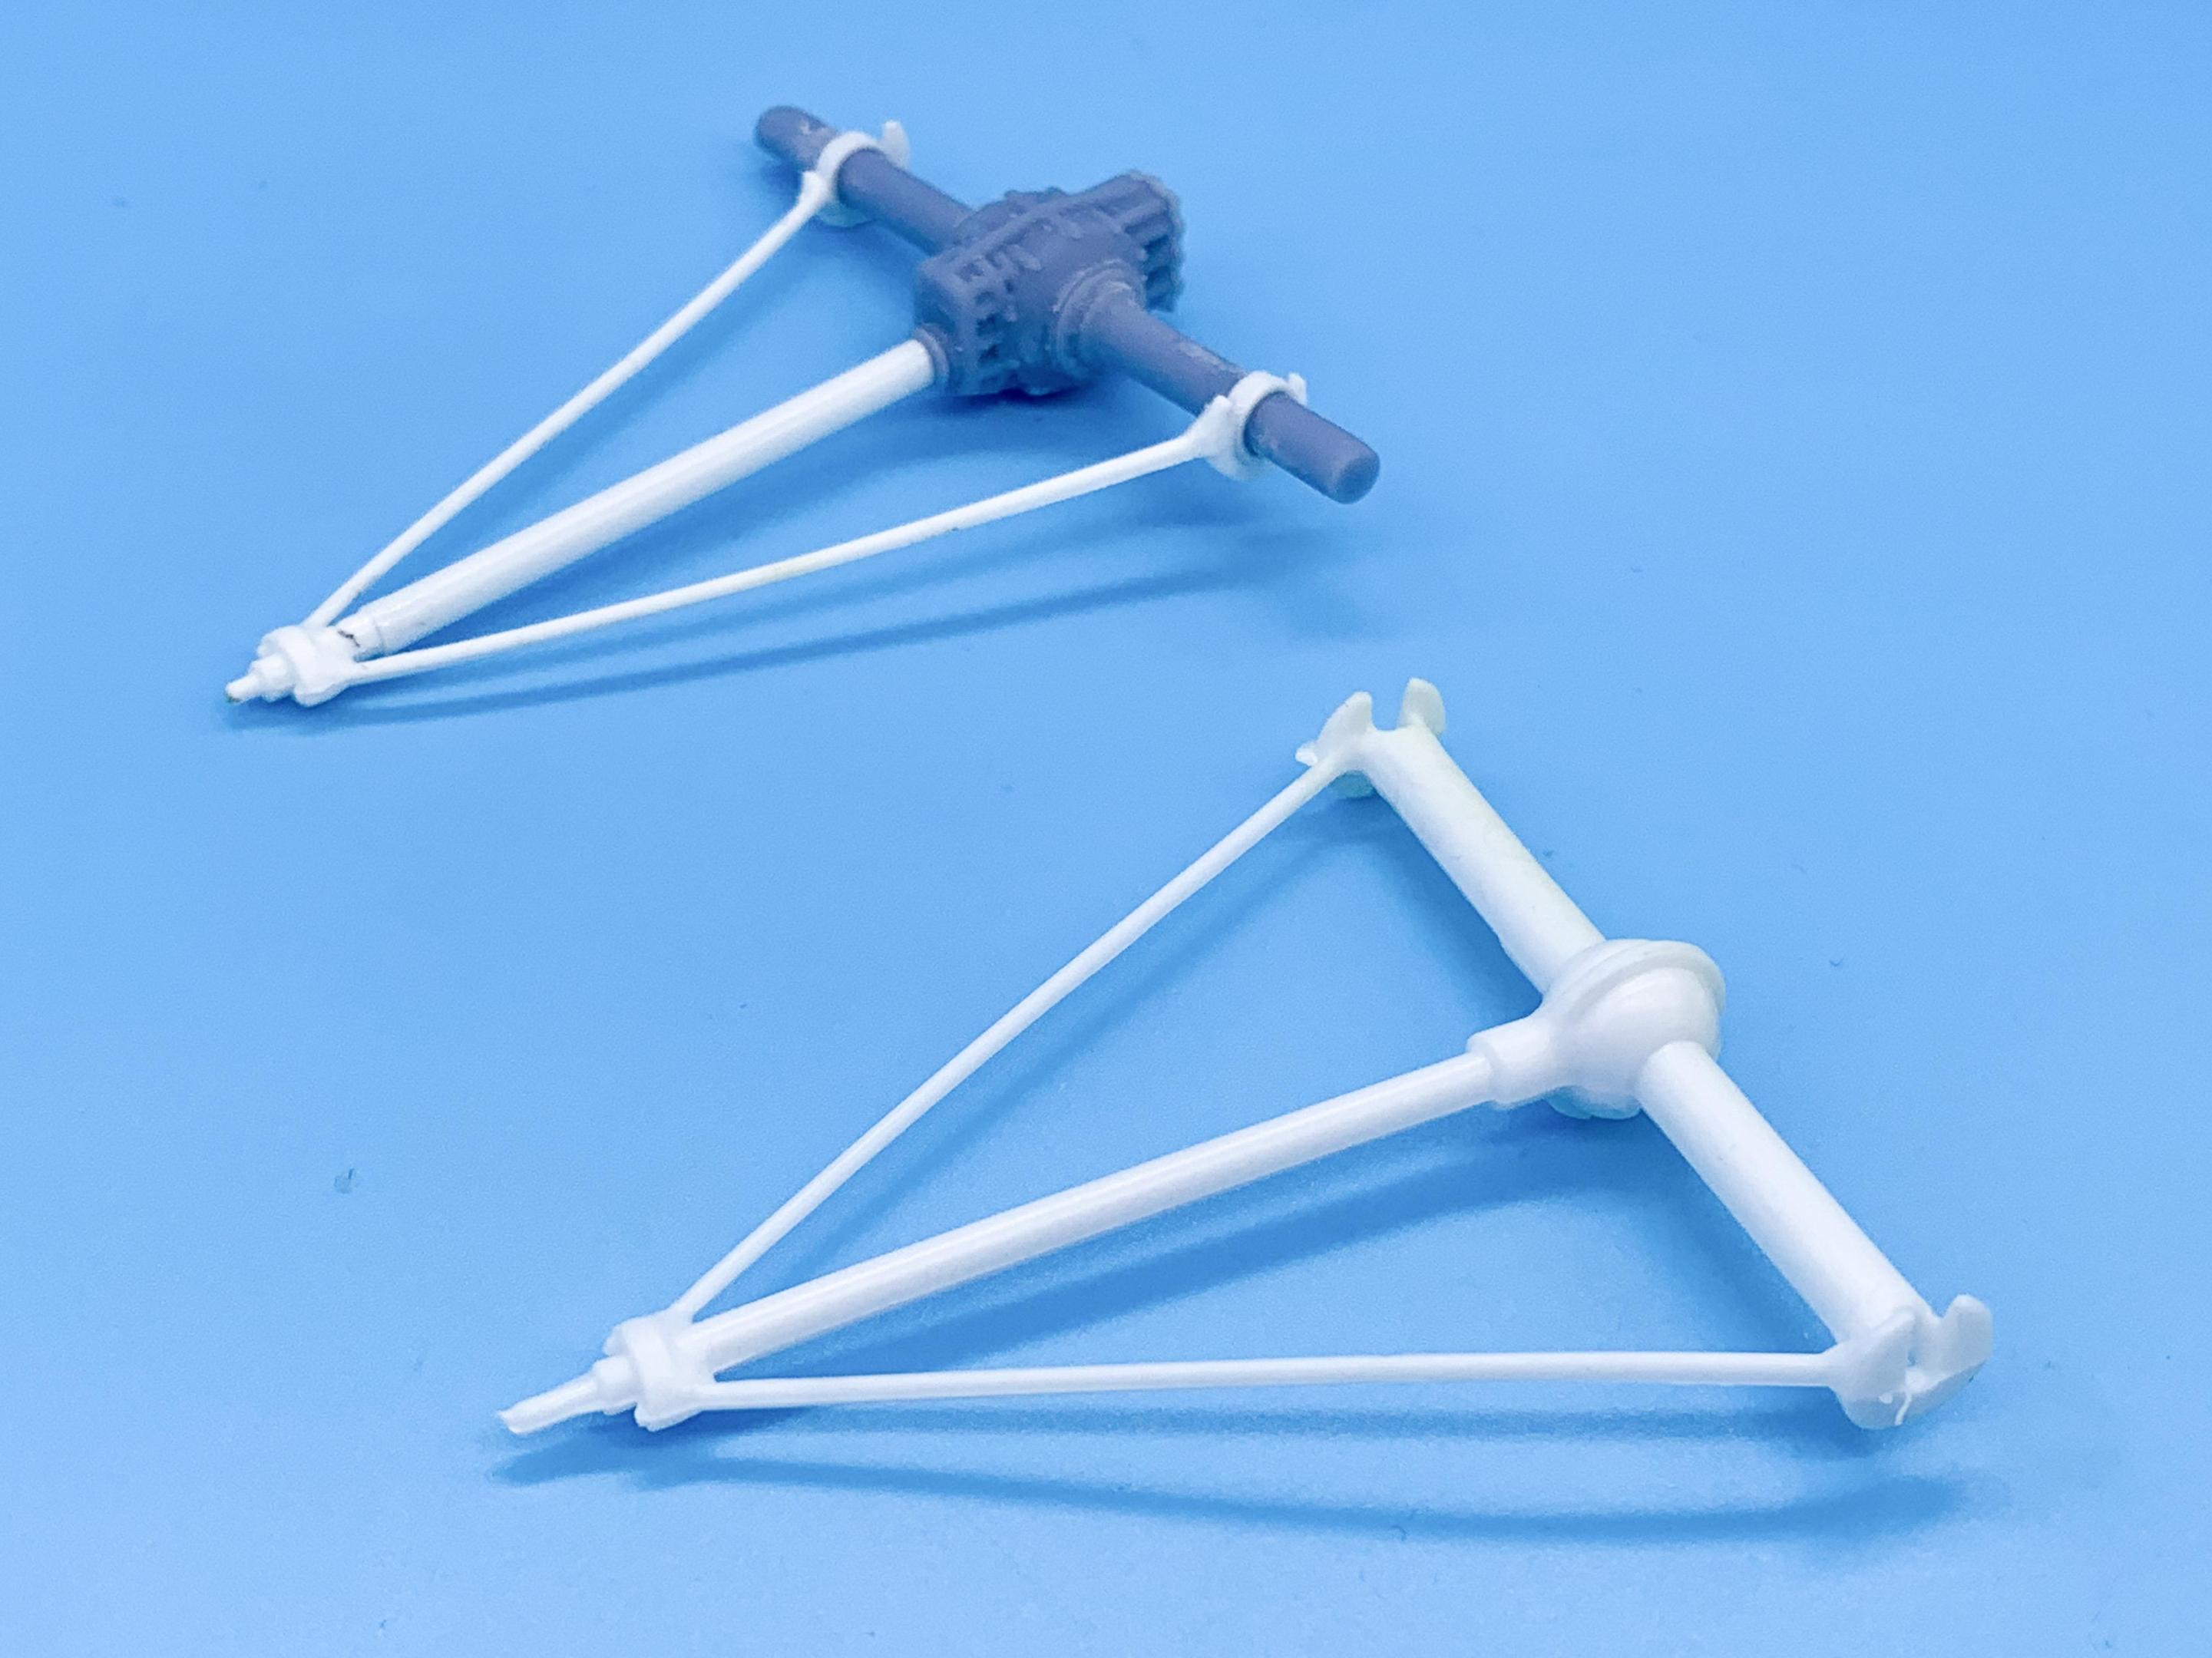
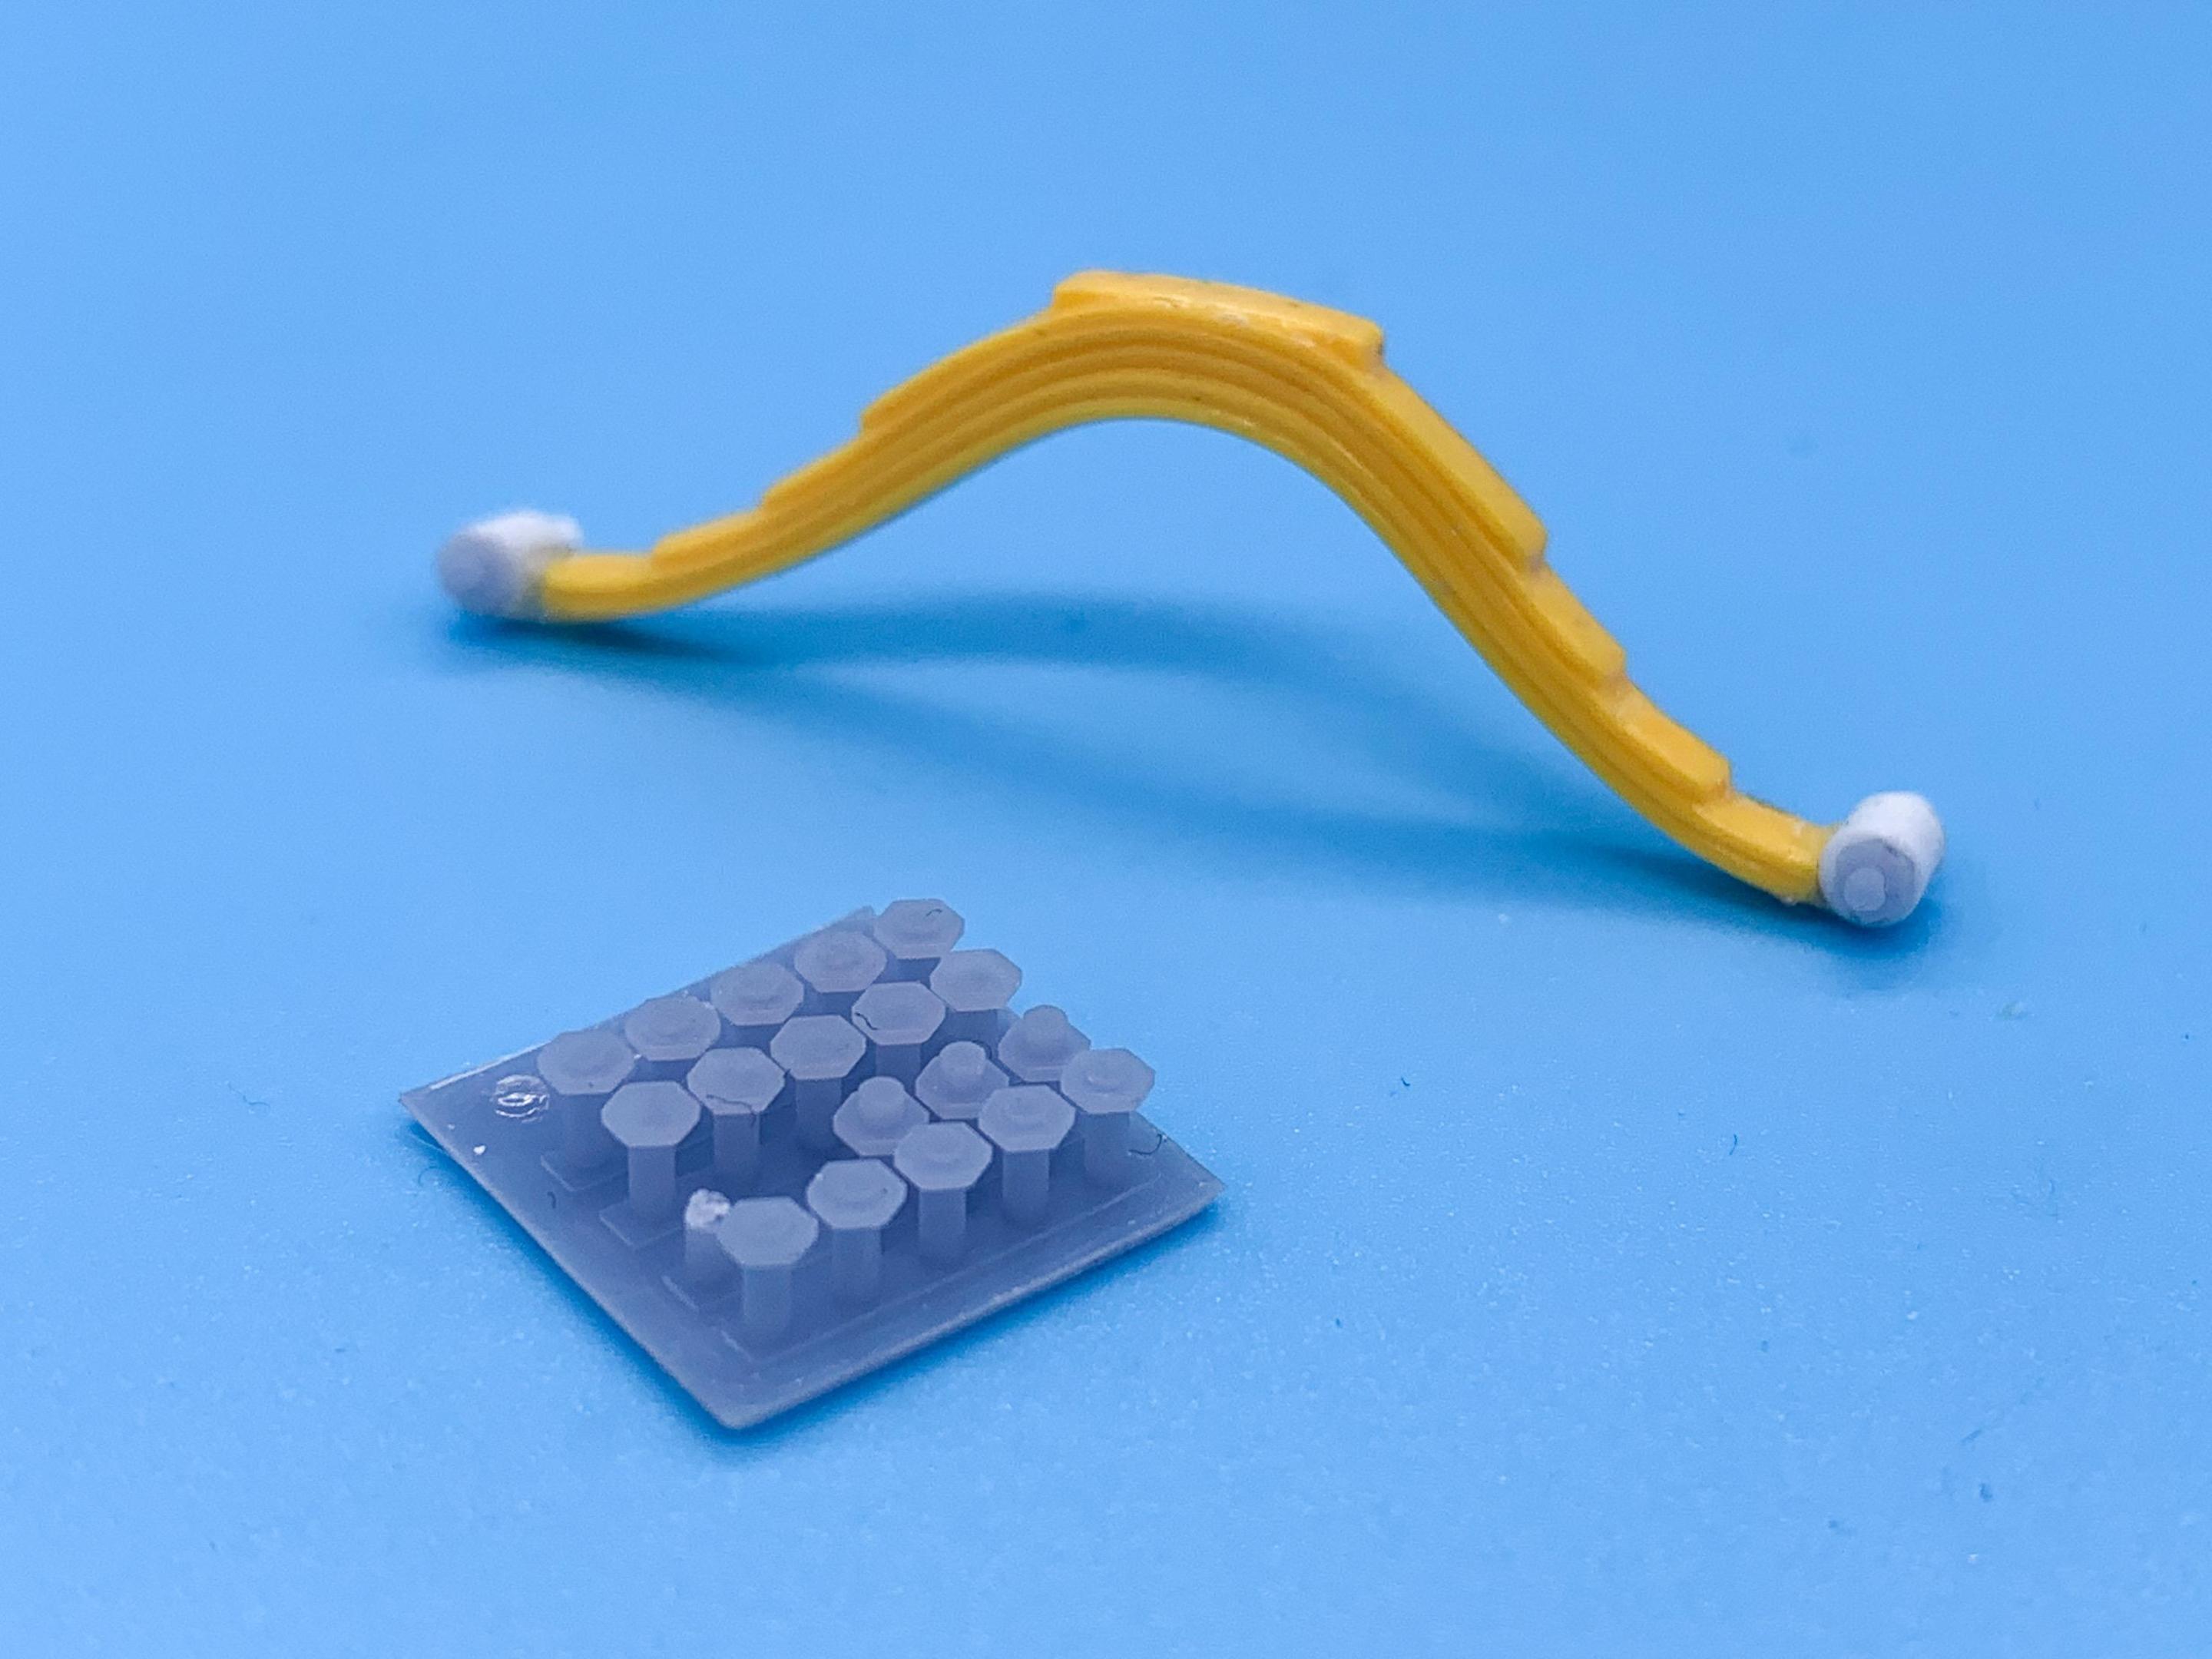
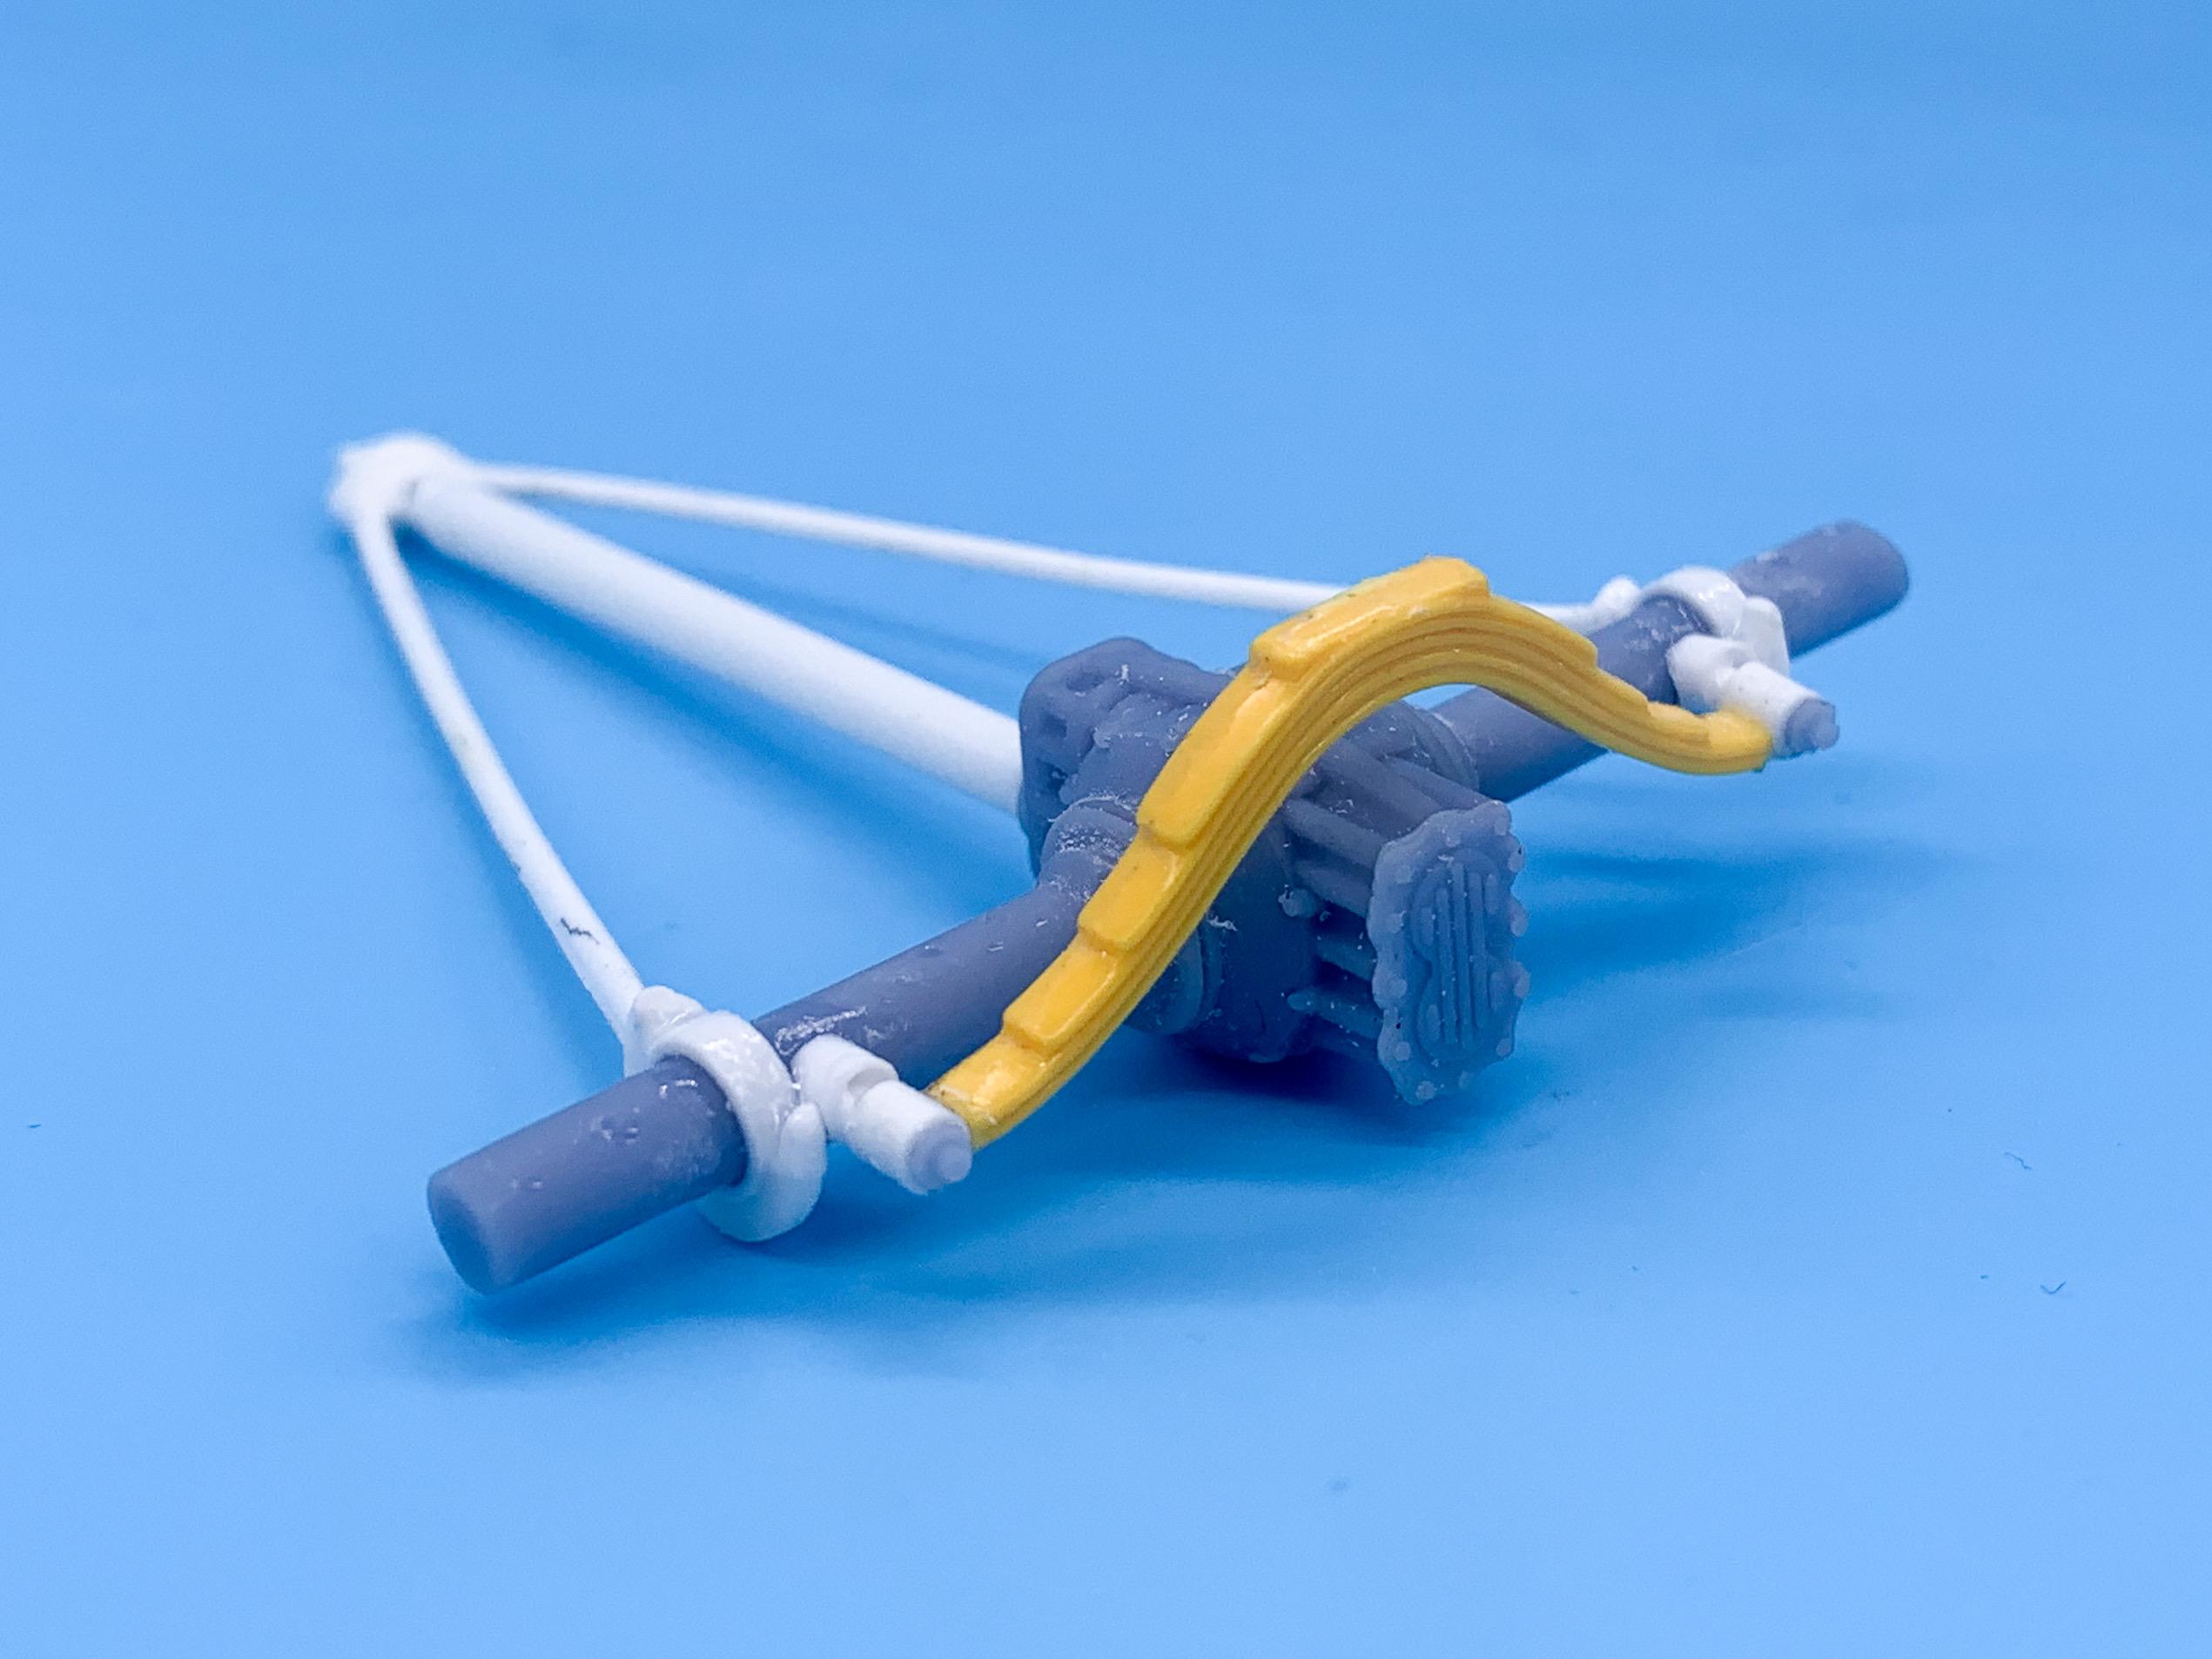
I’m using regular old Any Cubic UV cured resin - I haven’t of any longevity issues past the same stuff you might experience with regular resin that people have been casting parts with for years (parts warping if stored wrong, left in extreme heat or printed too thin)…slightly different product, granted, but I’m fairly confident in it. Guess we’ll see in a few years! Tonight’s project was modifying some parts box early-Ford kit suspension pieces to finish up the rear end assembly: Plus, a parts box rear spring modified to suit: Starting to get somewhere now… I’m sacrificing a little scale fidelity on the rear end for having good strong attachment points when I come to assemble this thing - the resin tires I’ve got are relatively heavy and most of this assembly will be hidden once the body’s on and the exhausts are in place so I’m sacrificing a little detail for not having too delicate of a build by the end… Another mock-up to see if we’re still copacetic…needed some fine tuning but it’s starting to look like a hot rod! Next job is finishing up the front end properly…more soon, soon as I’ve done more! -
I would be really interested in seeing that - thank you! Probably as close to the one in my 1:1 as I’m going to get in styrene, I’d bet… Not sure if my CAD skills would be up to the task…but I have good reference material! ?
-
So the 60 degree V6 engines we're talking about above are variations on the Cologne/Taunus engine, correct? I'm starting to collect some parts for a replica of my 1:1 Mustang, which has the 4.0 liter V6 that I BELIEVE is from the same lineage as, say, the 70s kits listed above. I figure I'm going to have some pretty intensive scratch-building to do to make an accurate replica, but have at least a STARTING point would be nice....
-

Yellow Fever Competition Coupe, Keeler's Kustoms
OldNYJim replied to stavanzer's topic in Car Kit News & Reviews
Getting closer…from Atlantis’s newsletter: Shipping next week will be the H1440 Jungle Jim Funny Car followed by the L543 Curtiss Jenny, H1371 57 Chevy, M2204 SOT Funny Car and 13101 Yellow fever along with the M3308 Bismarck, M3006 Wisconsin and 3005 Metaluna Mutant. We are hoping to ship all these kits within the month of April however with the Holiday it could push into May. -
Interesting! I got on the Any Cubic train but I’ve heard great things about those too. What has you experience been with having to replace the LEDs on those? I understand they only had a certain number of hours life before they need to be changed, but I suspect by the time mine needs changing it may be time to upgrade the whole machine anyway…
-

Just a nice clean traditional Deuce Roadster
OldNYJim replied to OldNYJim's topic in WIP: Model Cars
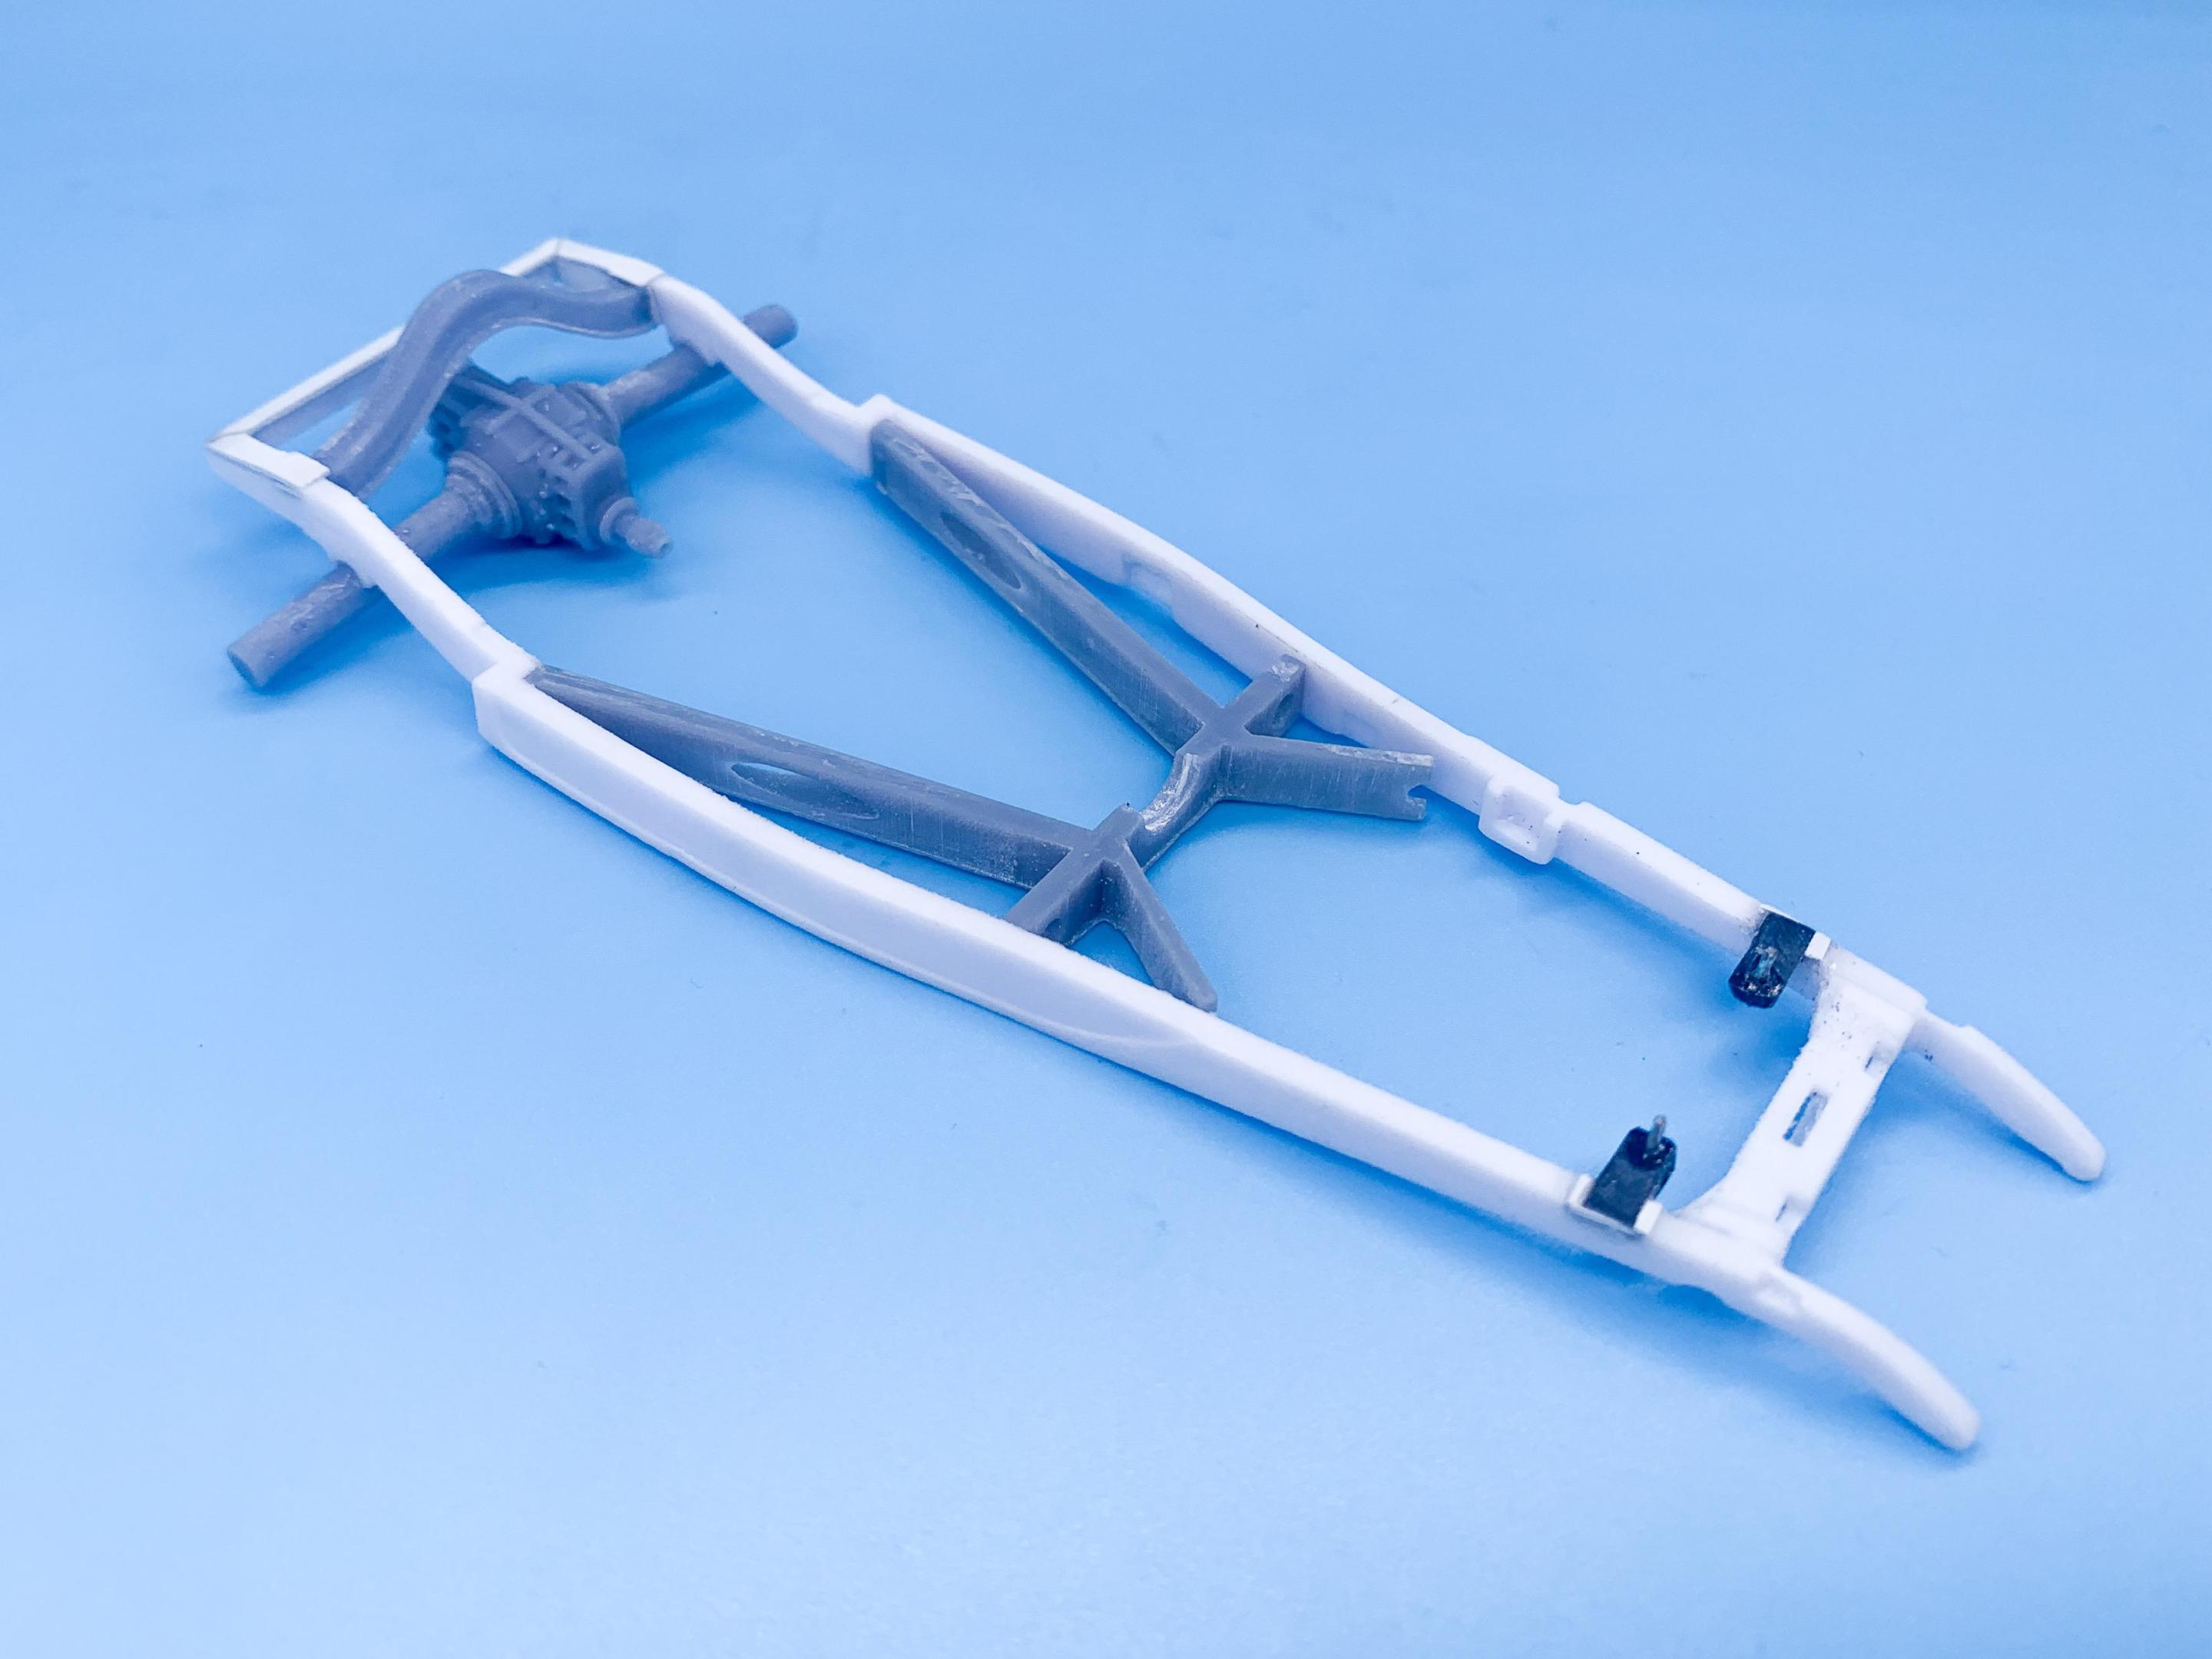
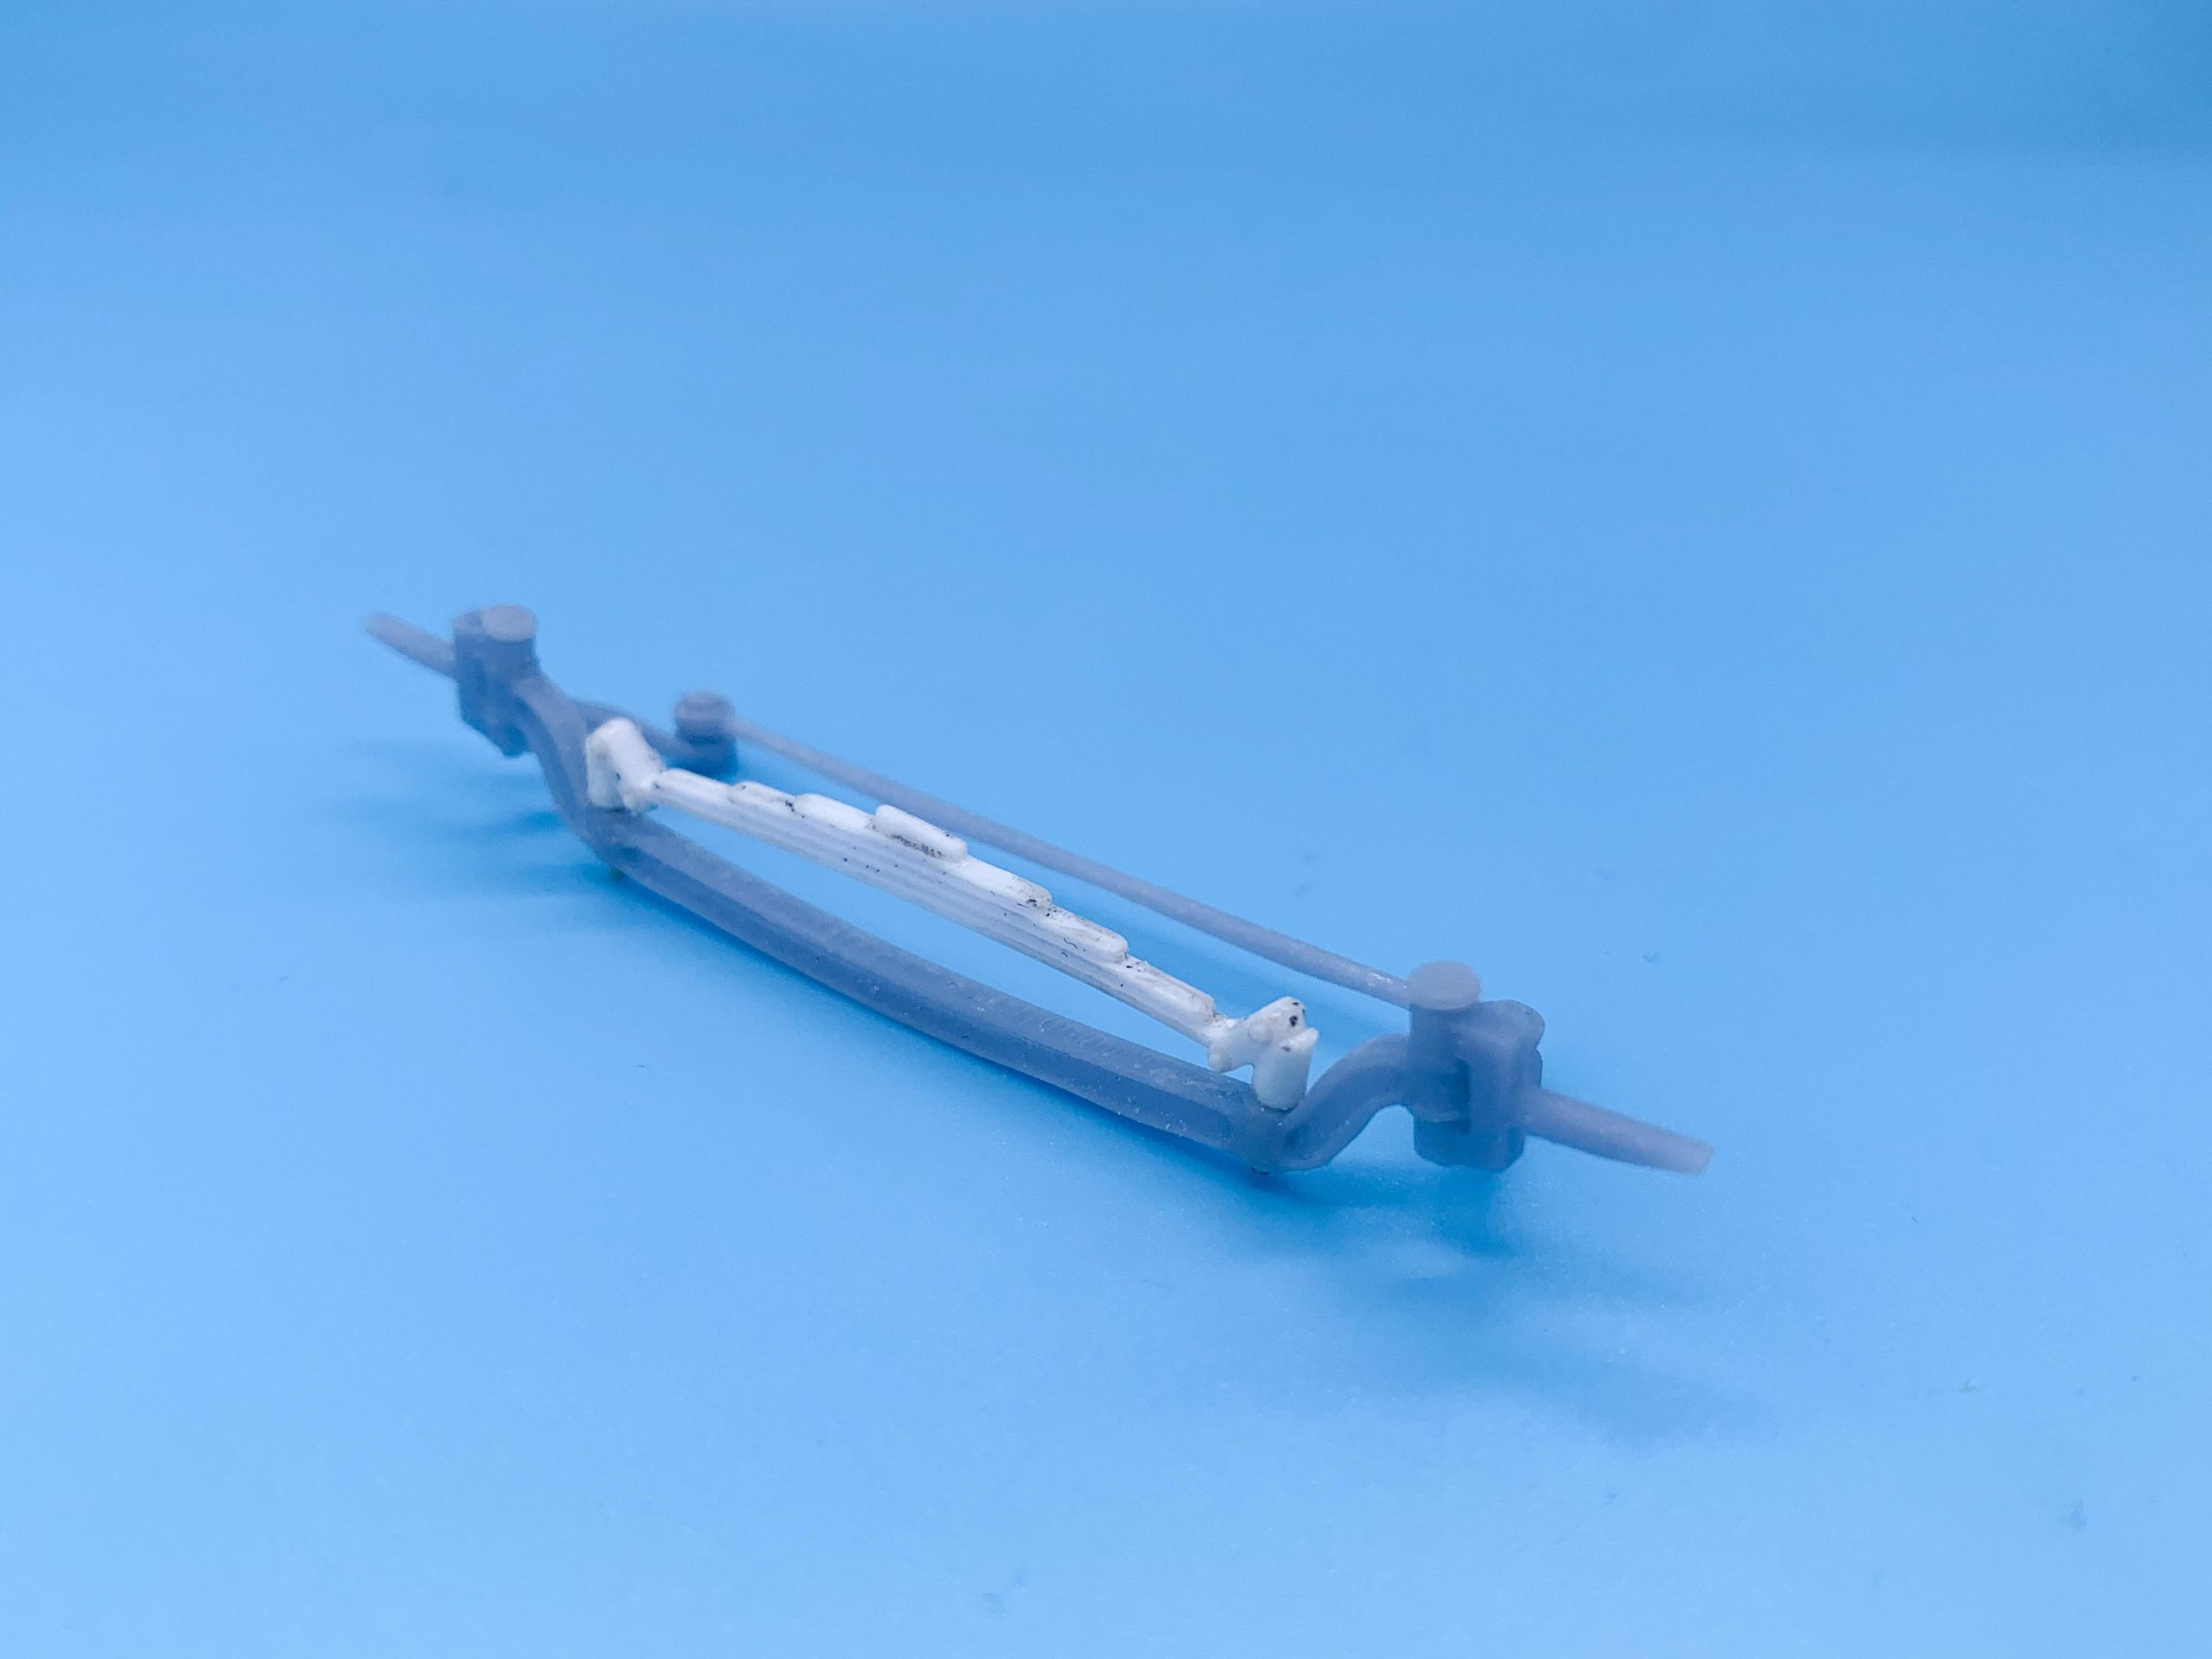
Thanks buddy! Yeah, it sure can! I’m pleased with how well it does, considering the price… Me too! ??. Thank you! My stuff’s not good enough to sell…maybe when I get better at this stuff…but there’s a really good one on the market already! https://www.shapeways.com/product/MFSMNC2QL/2x-1-25-quickchange-rear-spring-and-crossmember MUCH better than I can do! Speaking of which… Hope you consider putting your parts out there too for people to print at home - you do beautiful work sir! Thanks for all the nice comments everyone! Good spot! Thank you!!! I couldn’t tell what was bugging me about that front end…you helped me figure it out without having to exert any brainpower ?. Thanks for the tip on those rear wheel-wells…I should look and see how visible they’ll be on the finished build - I never knew about that issue - appreciate you bringing it up! As for the crossmember… I couldn’t bring myself to pick up a Revell 40 kit to get the crossmember, only to modify it beyond recognition to get what I had in my head…so I just drew what I had in my head in CAD. My idea for this build was to simplify and cleanup as much as I can and really boil this build down into a really nice clean flowing design, but not in the street rod sense…just a SUPER cleaned up traditional-inspired build. Not lacking in detail, or something that wouldn’t be feasible in the real world (hopefully), but super tidy. So, here’s my simple crossmember design: And installed in the frame: I’ve got a more detailed version that I’ll mess with for some future builds, but this was a good test and perfect for what I was going for on this one… Back on the suspension; here’s my solution to the implausible spring…ended up using a slightly modified kit part from something or other…I also moved the crossmember on the kit frame up a couple of scale inches to drop the nose down somewhat - it won’t be super low but I was trying to stay fairly traditional and close to a ‘standard’ setup Not much progress for an entire Sunday and most of this evening…but I can get into some bigger projects now these are done - need to either design and print or modify a rear spring and get this thing on it’s wheels. Thanks for looking - more soon, soon as I’ve done more! -
Beautiful work! Those wire wheels are beautiful!
-
Yessir…I’m not sure how accurately scaled it is, but it was always marked as 1/24th scale on the box
-
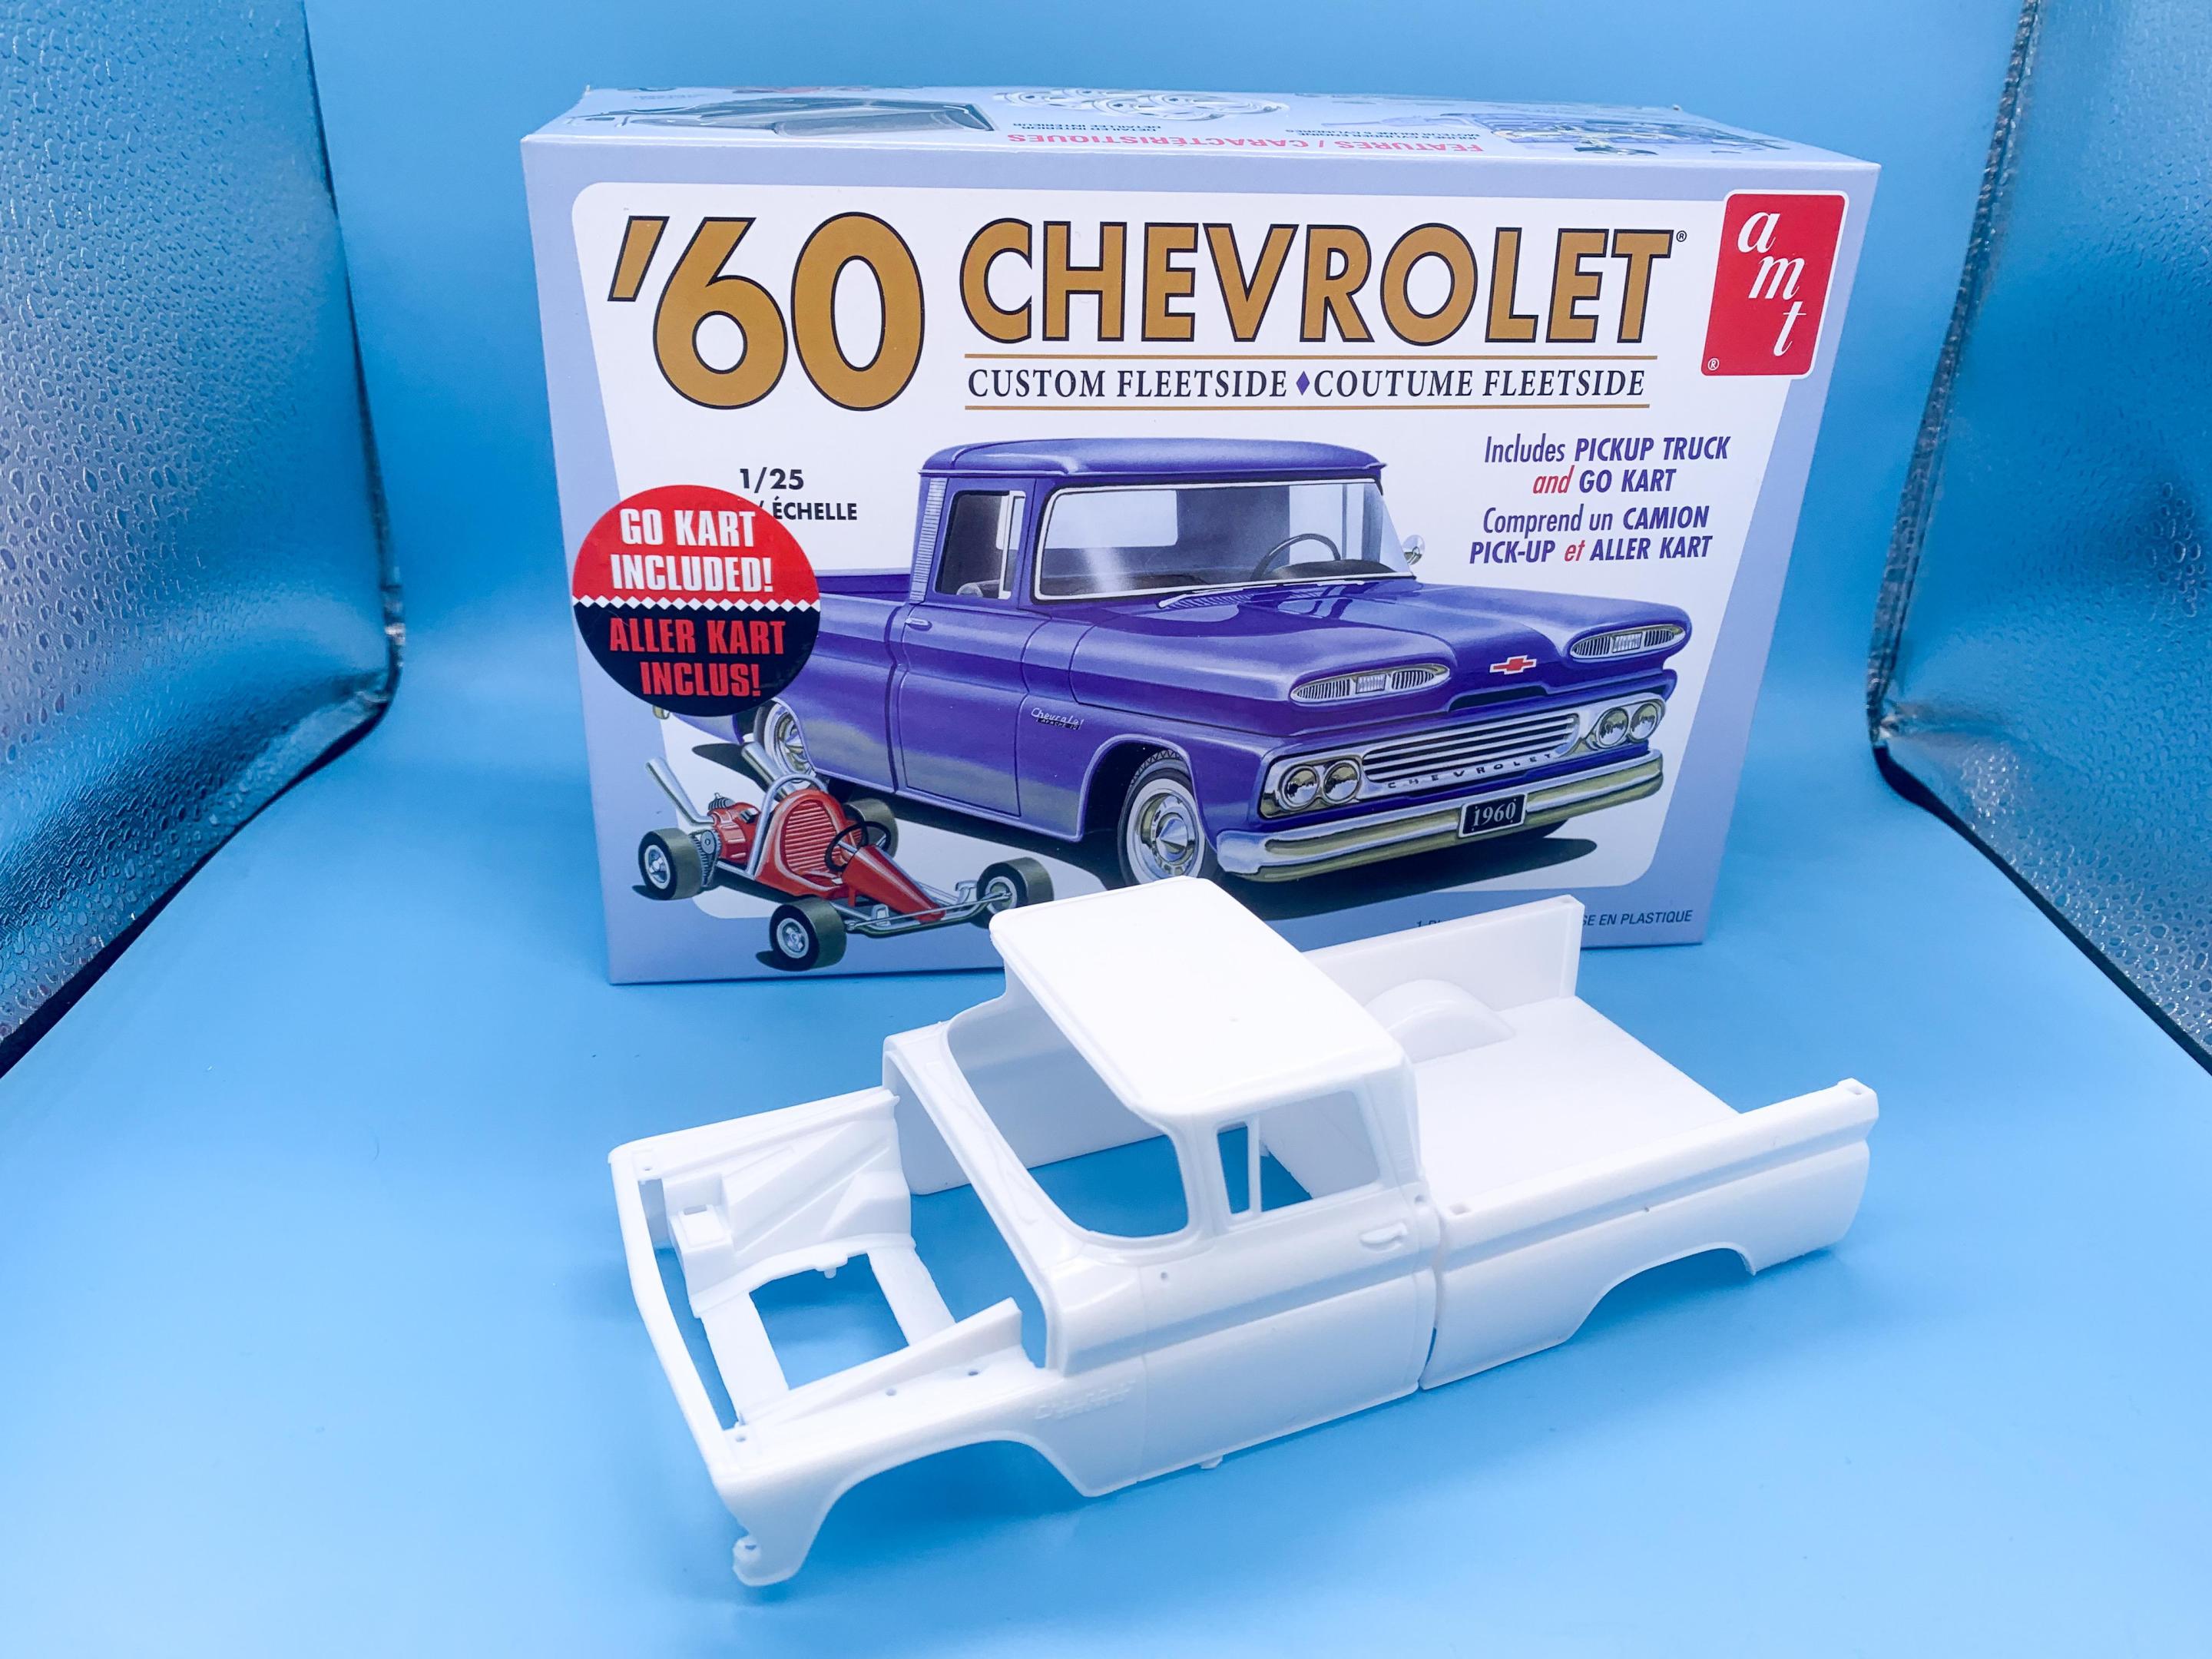
My wife has a side-job in Michael’s a couple of nights a week, and I stopped in last night and spotted this on the shelf, with the cellophane cut open and loose Manager on duty offered me 50% off if I wanted it when my wife asked her…brought it home for $14 and change. Looks like it IS complete too - score! I’ve been wanting to build the kart in particular, and the truck will make for a fun project at some point I’m sure…
- 38,884 replies
-
- johan
- glue bombs
-
(and 1 more)
Tagged with:
-
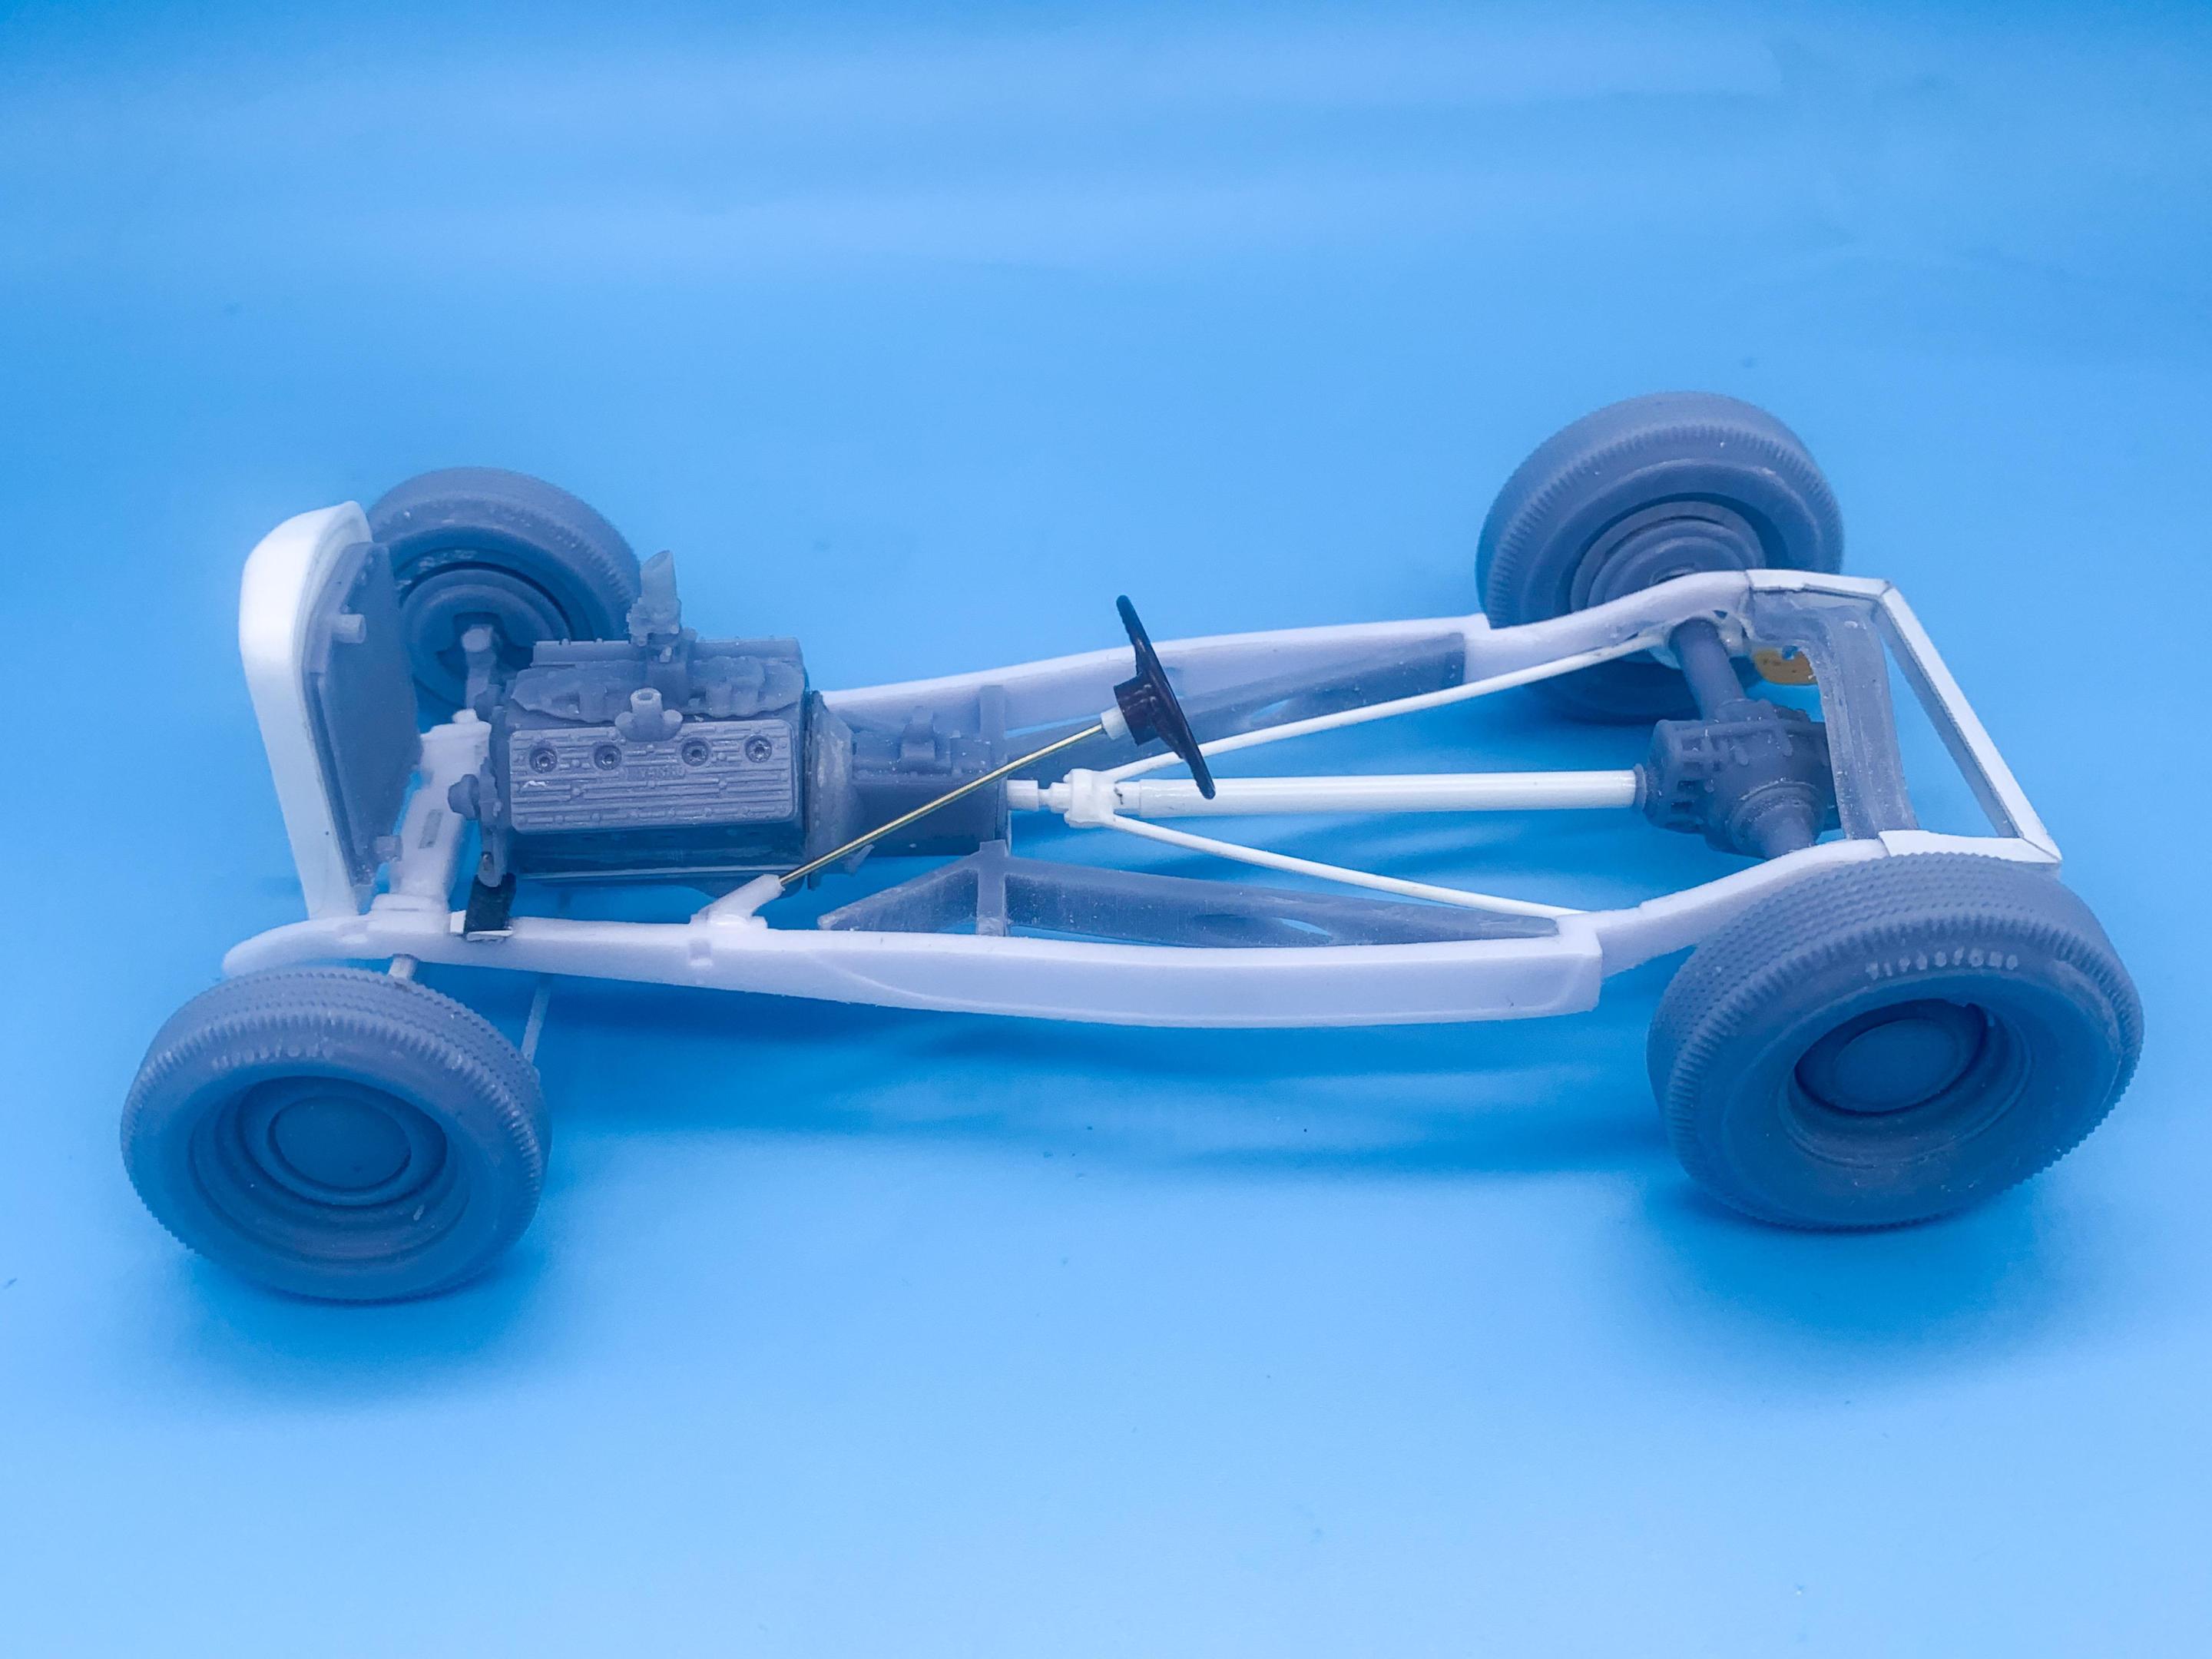
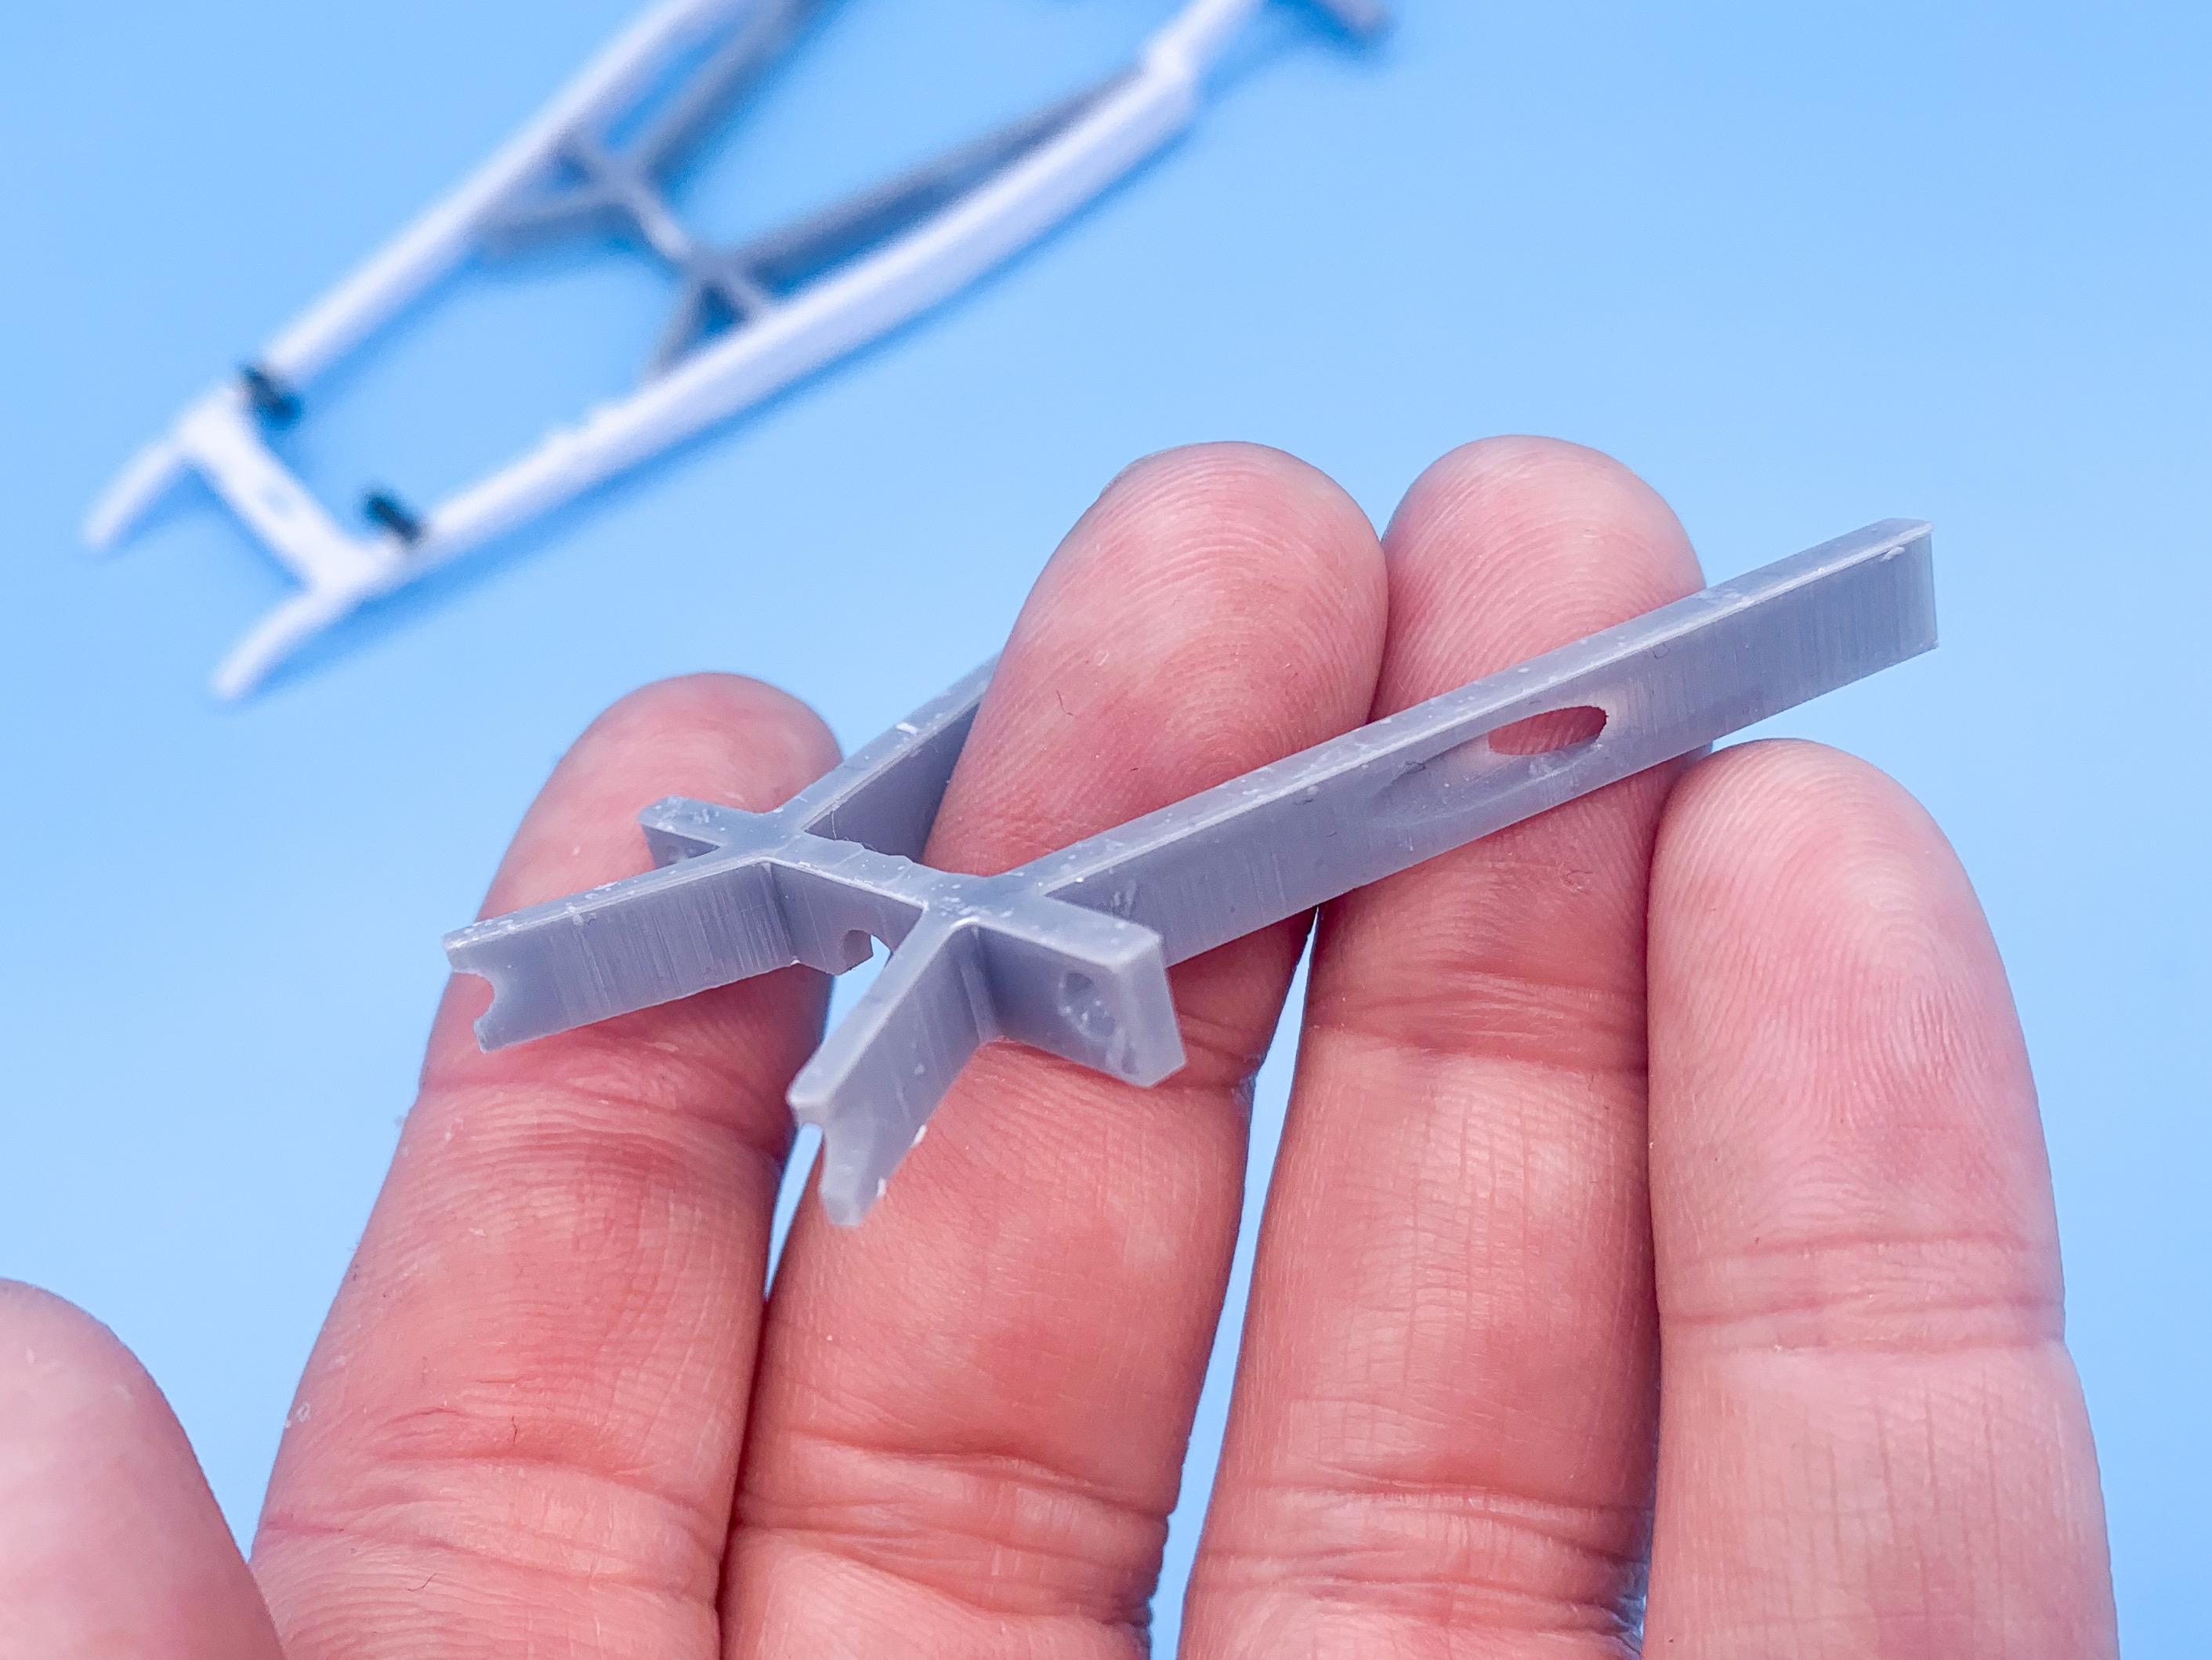
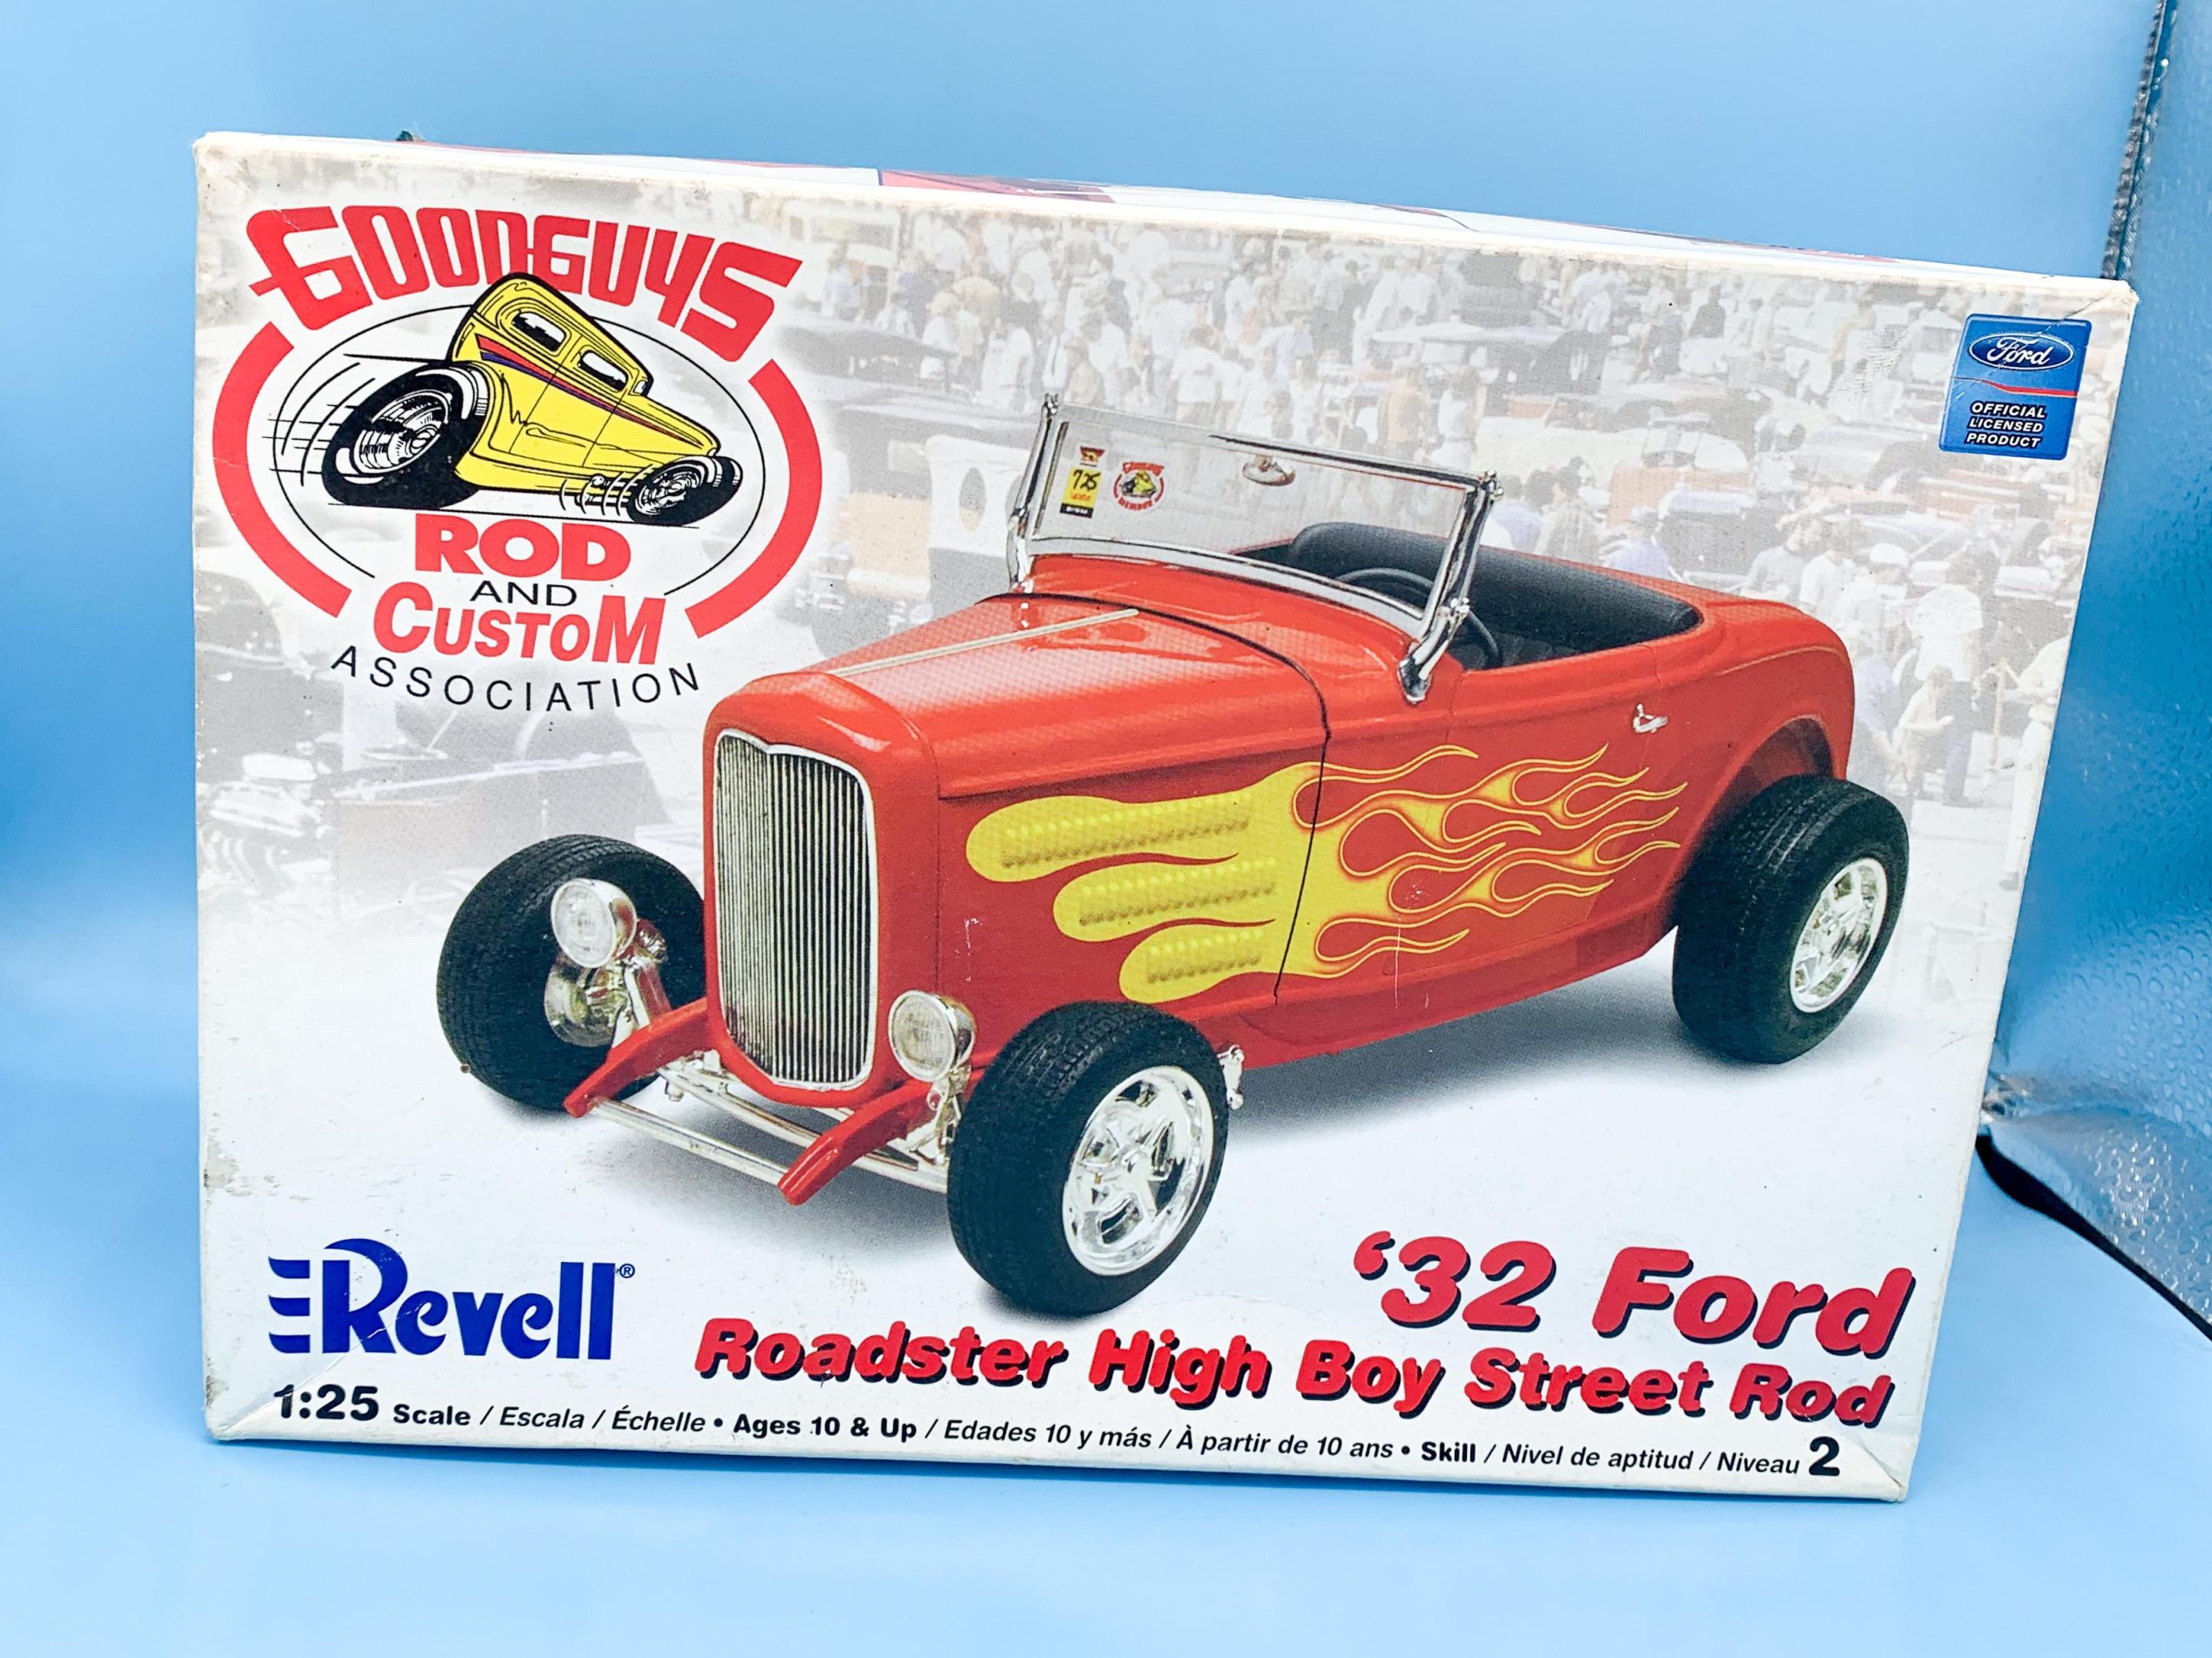
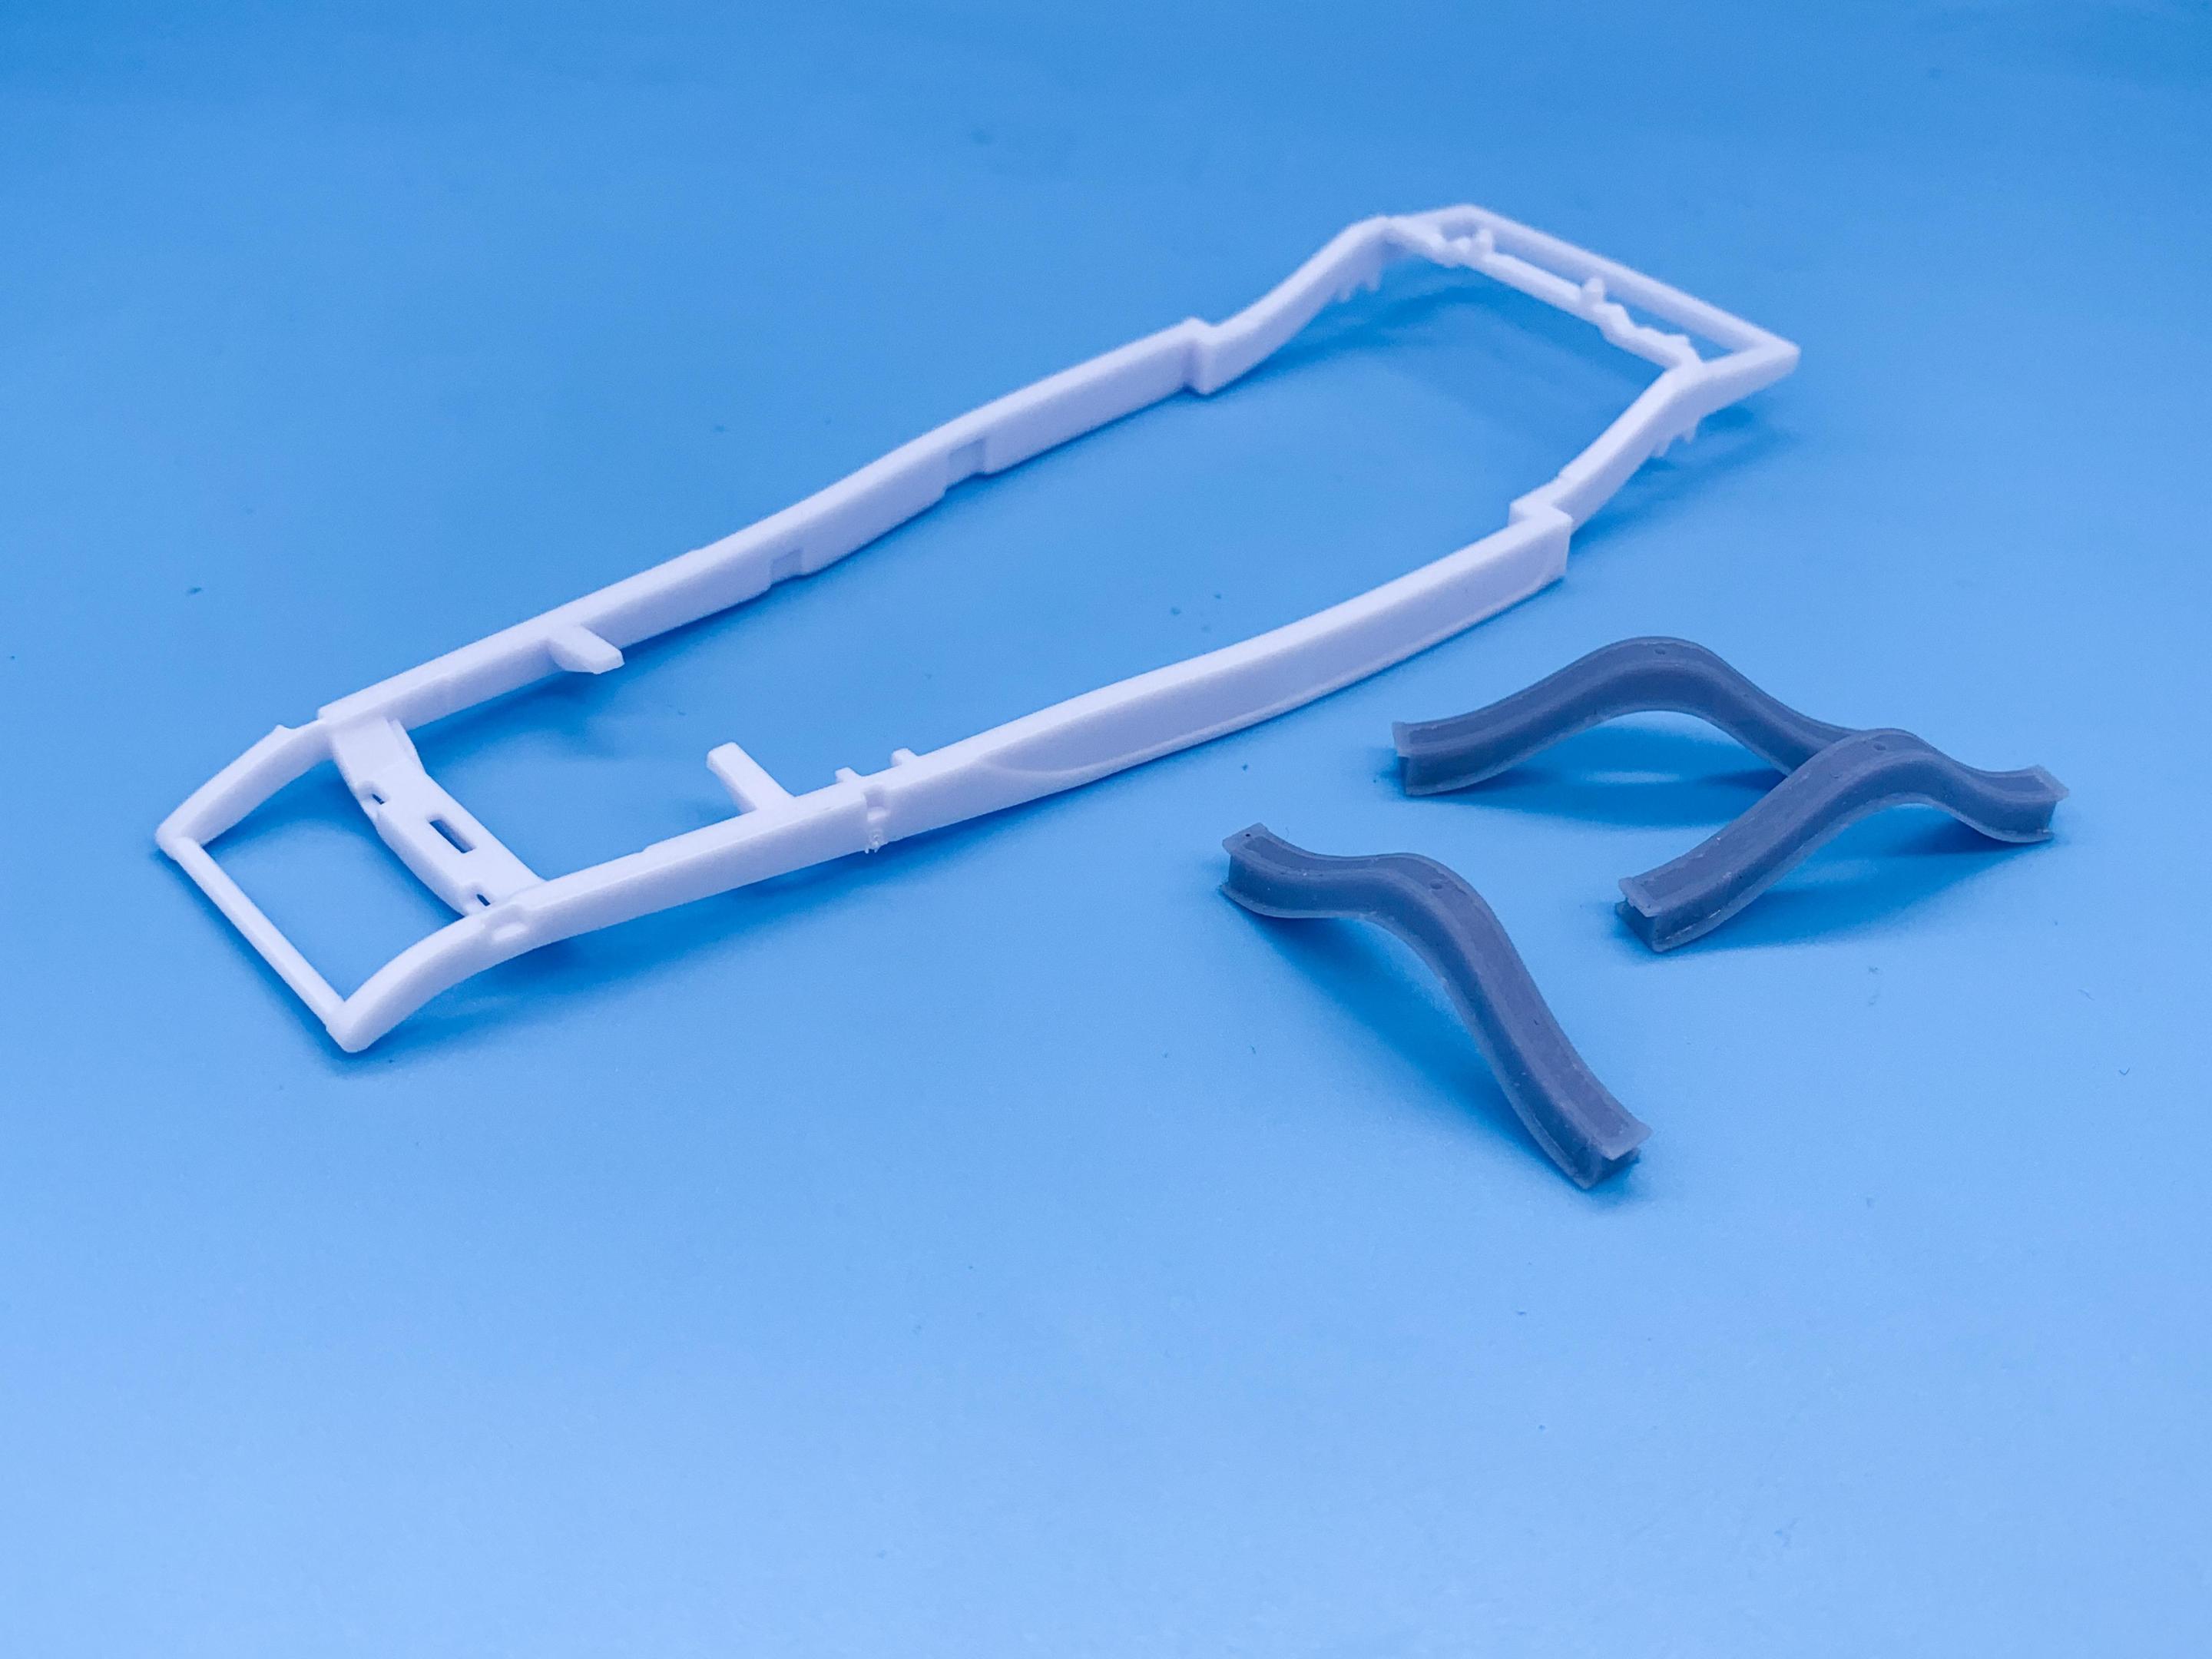
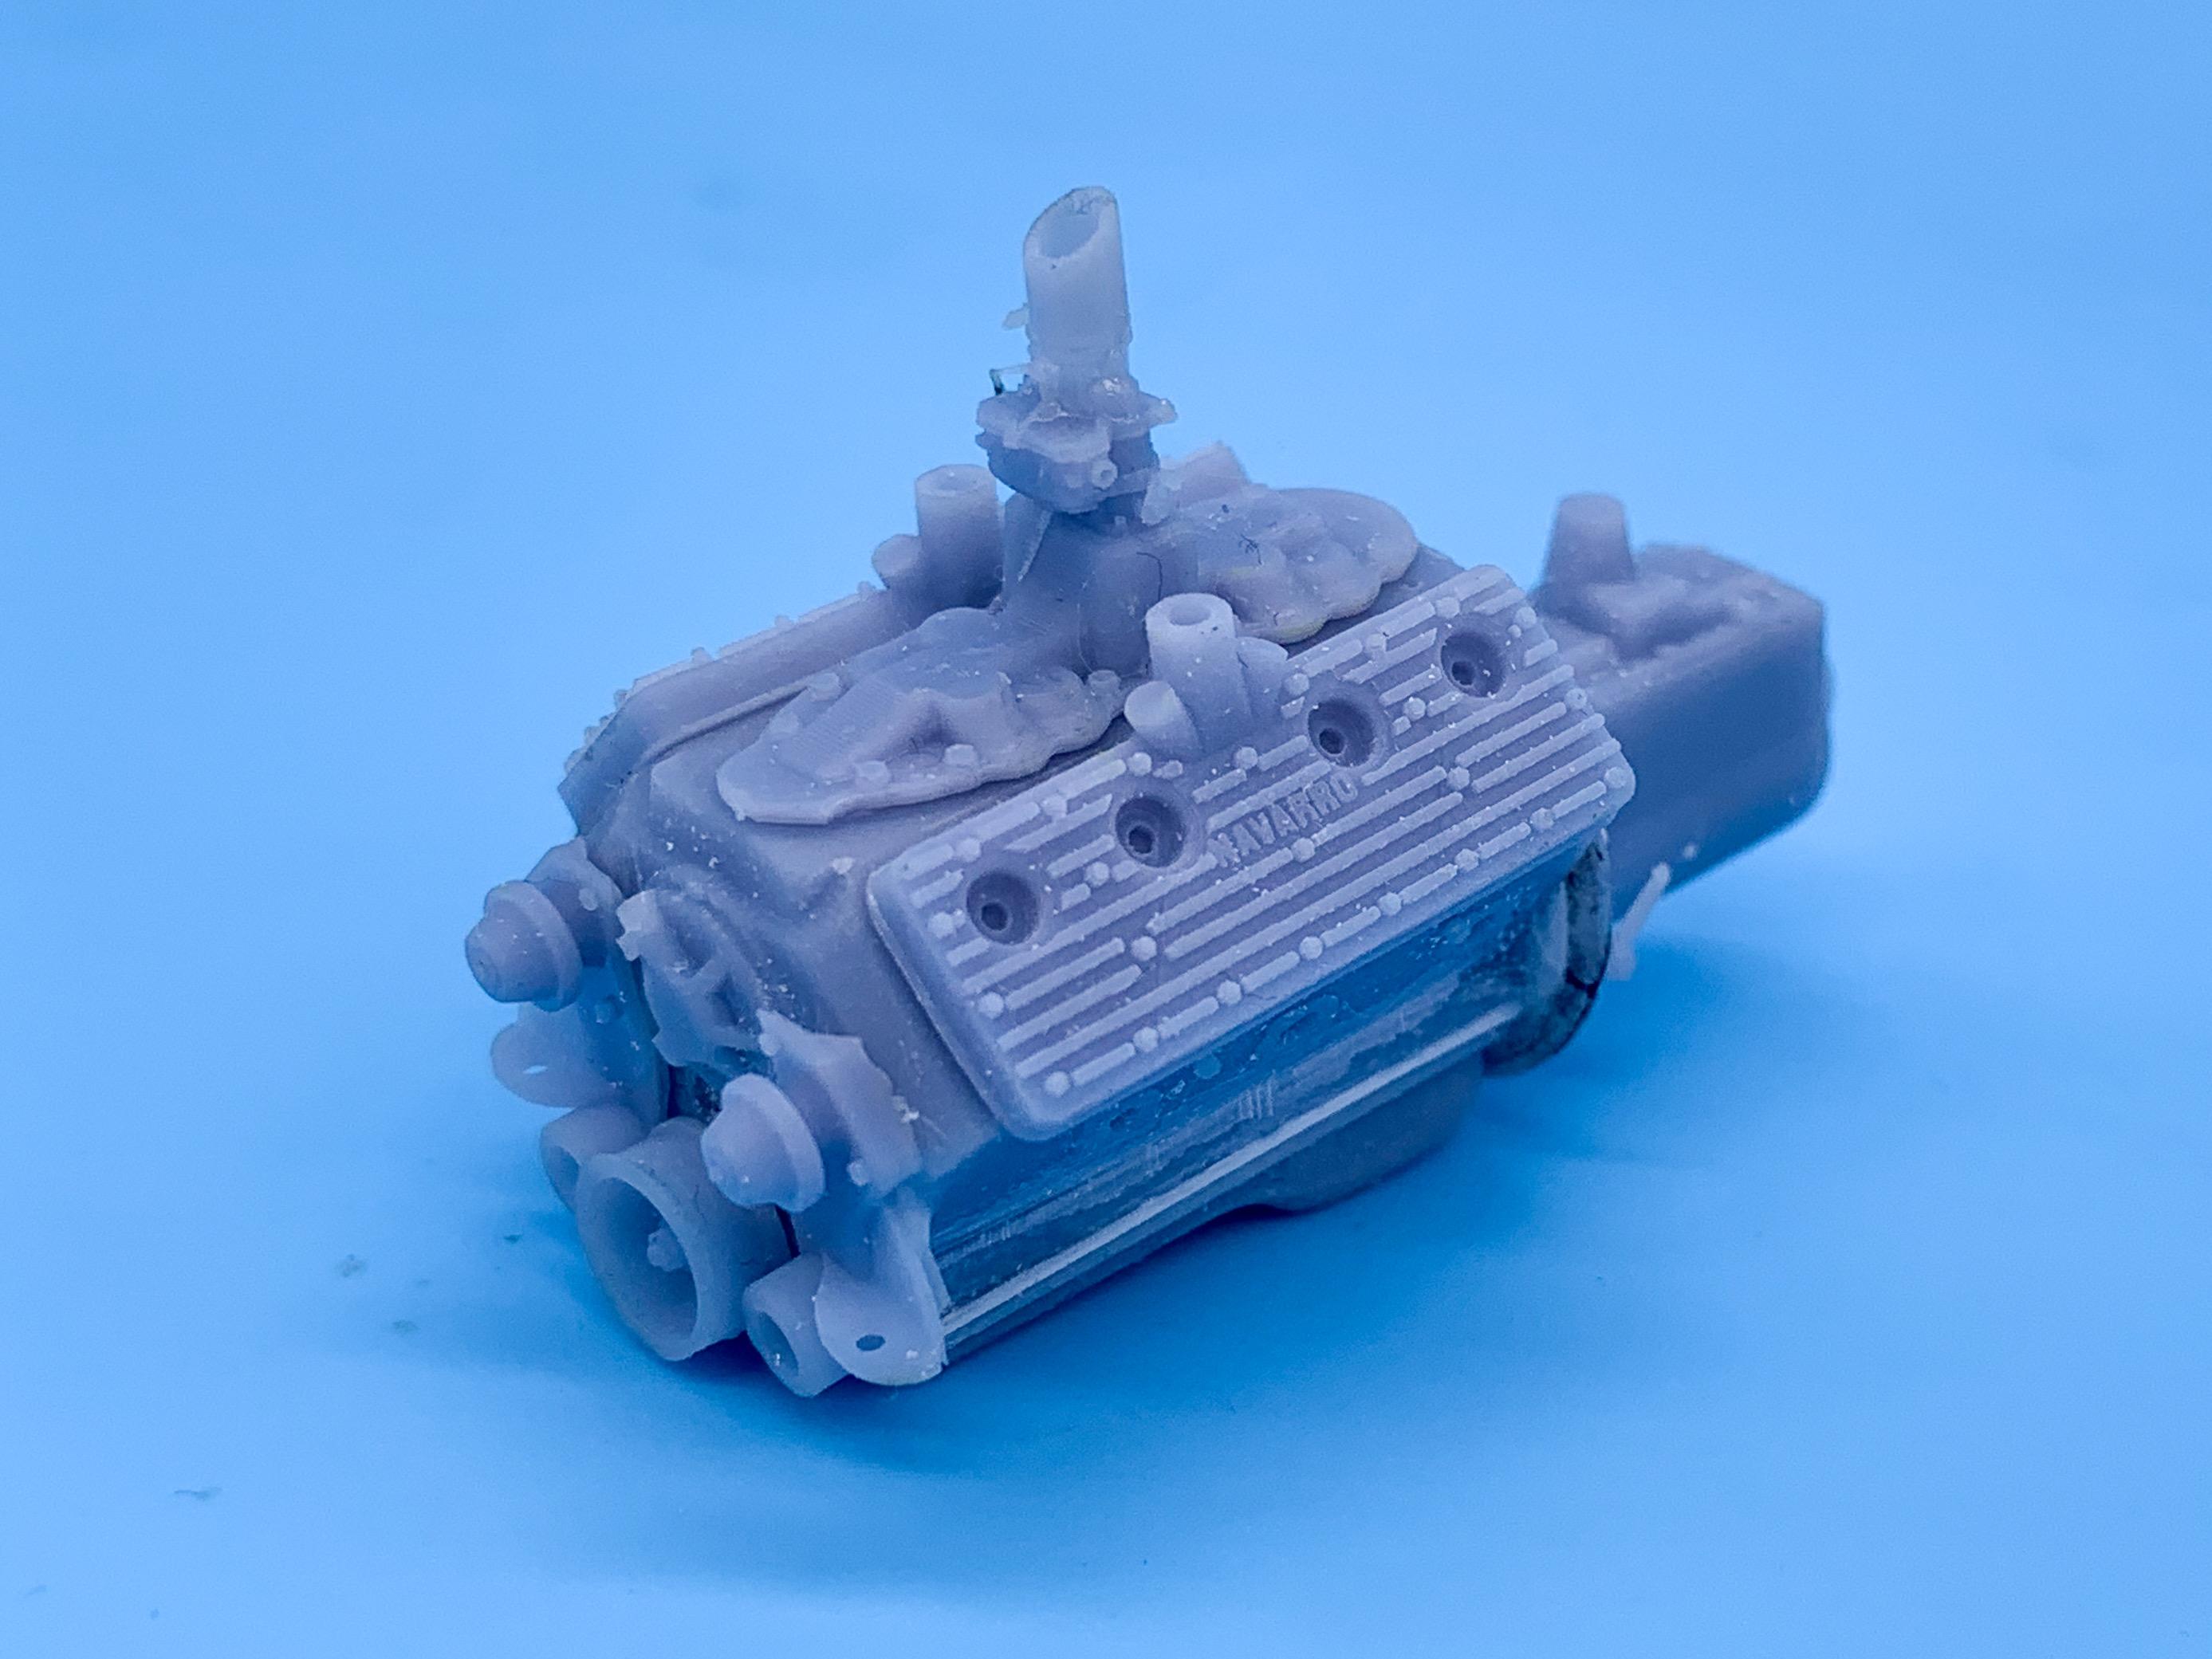
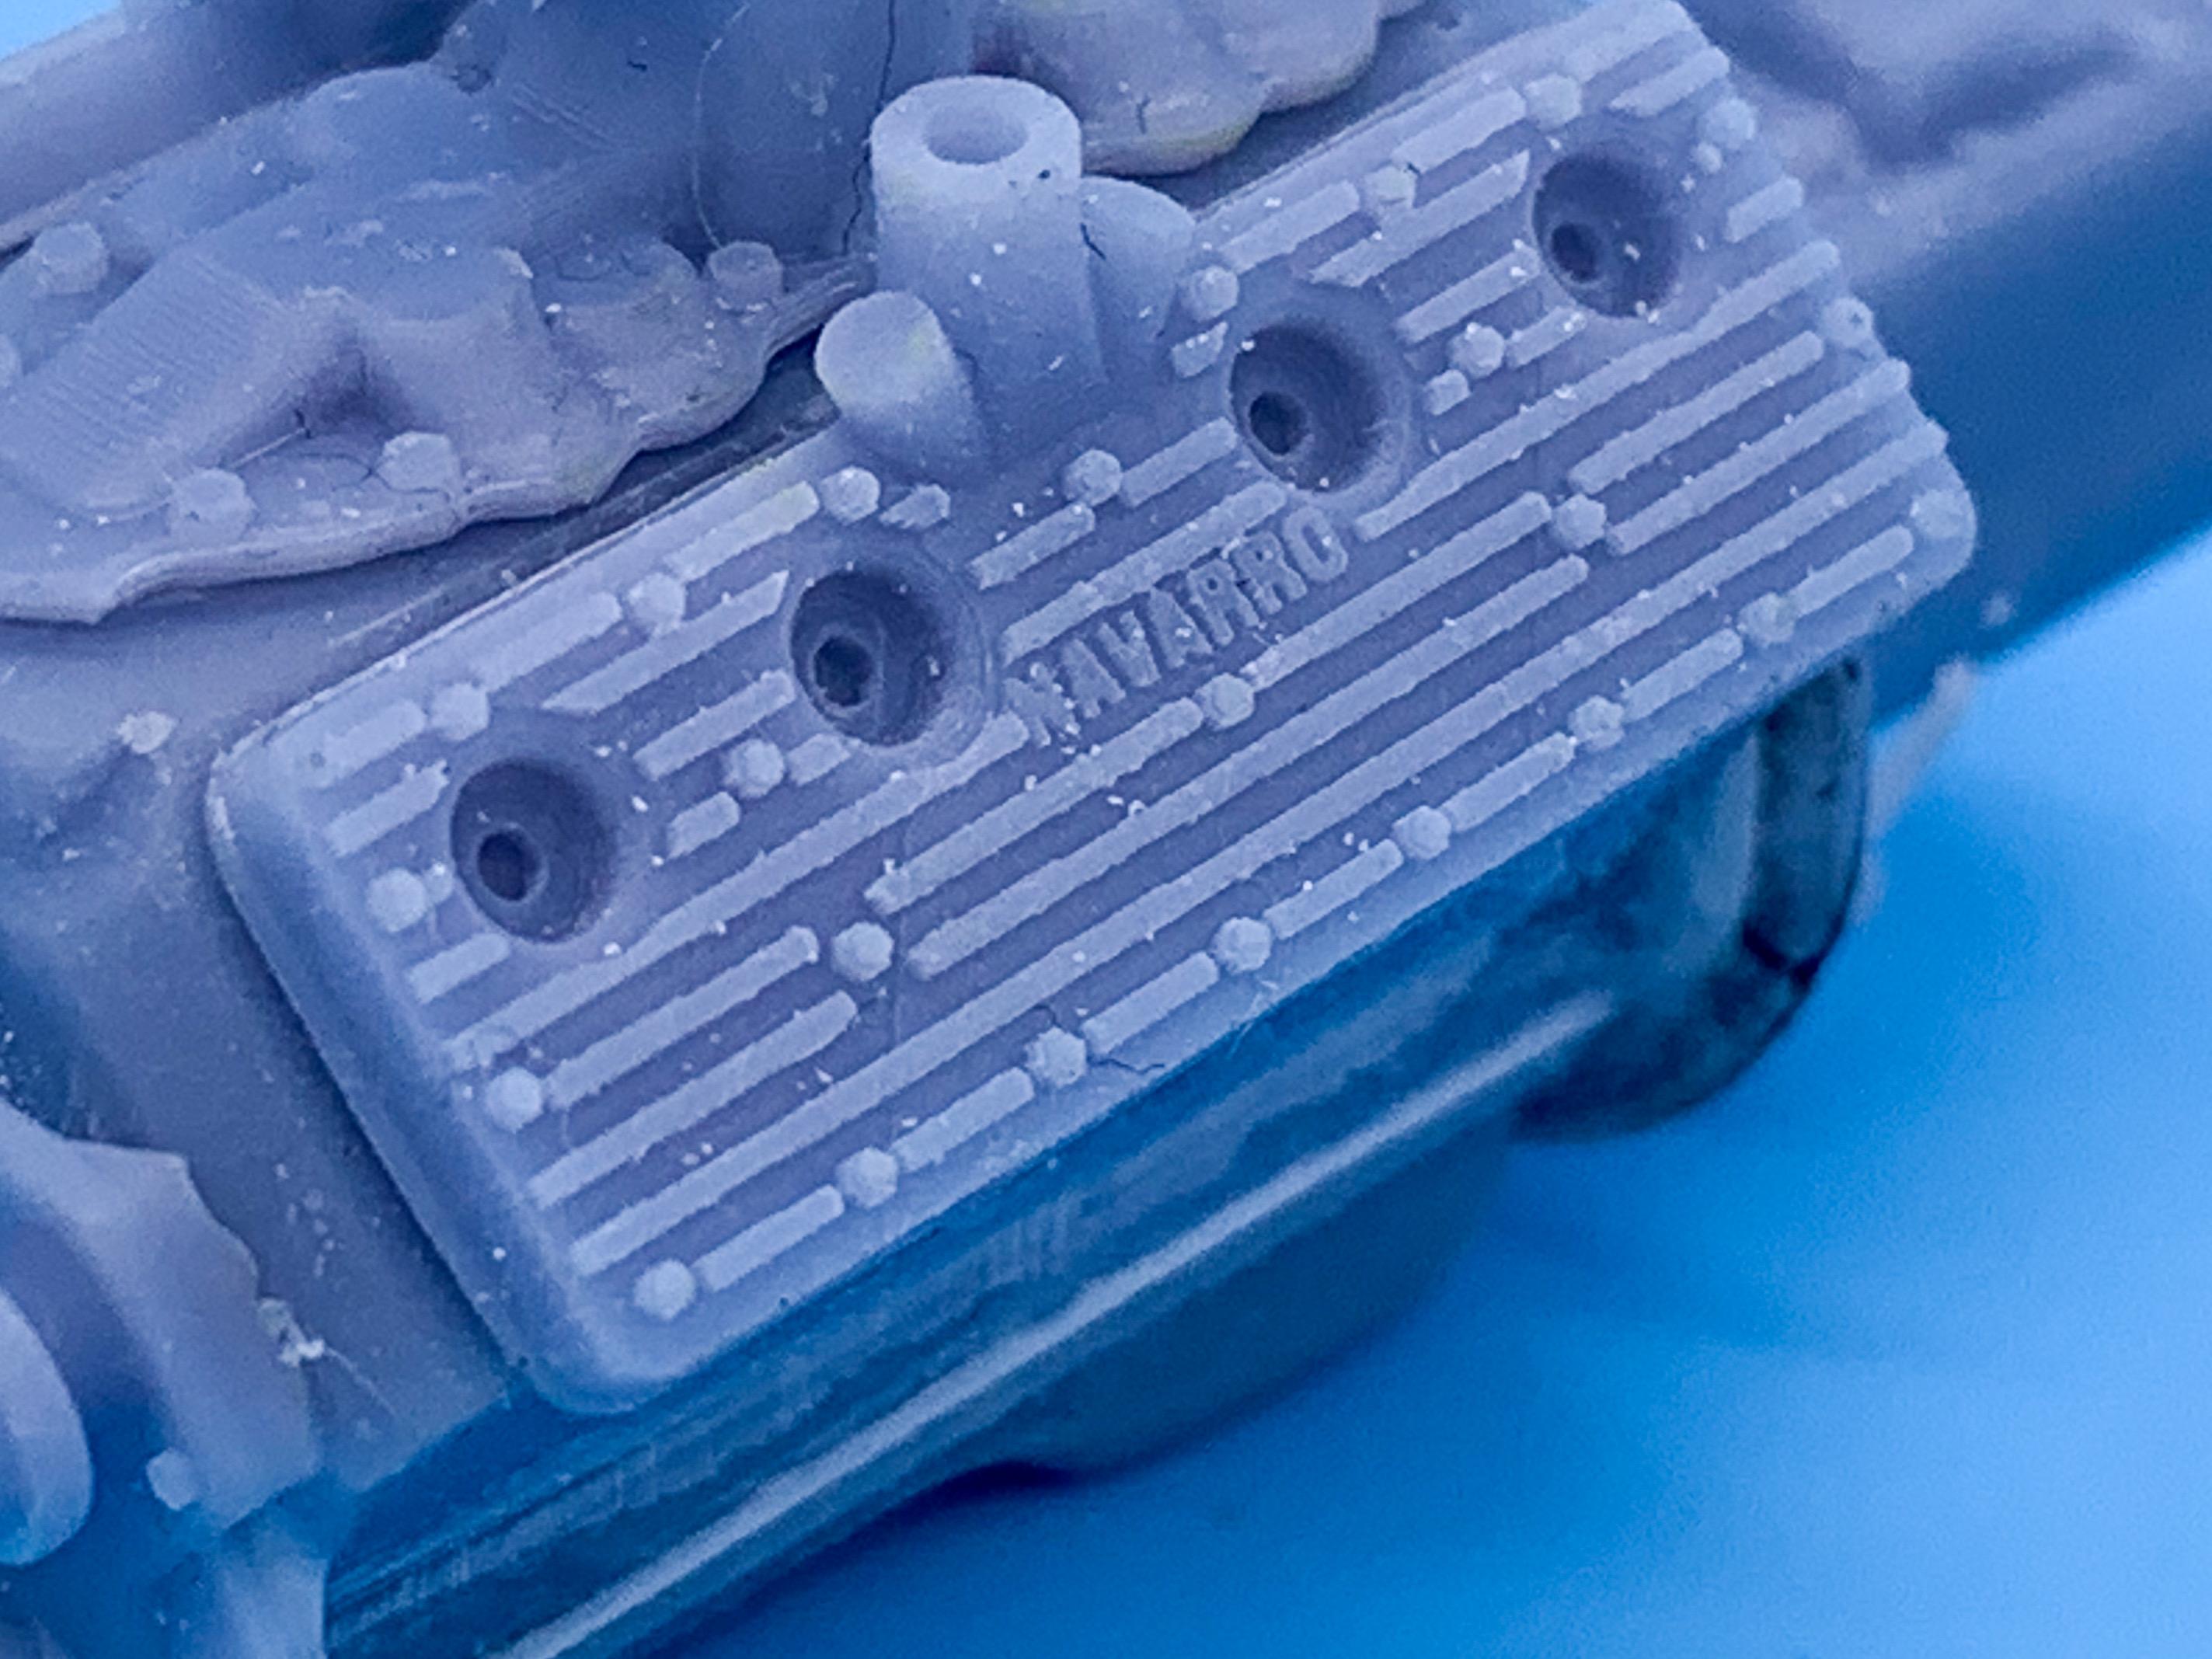
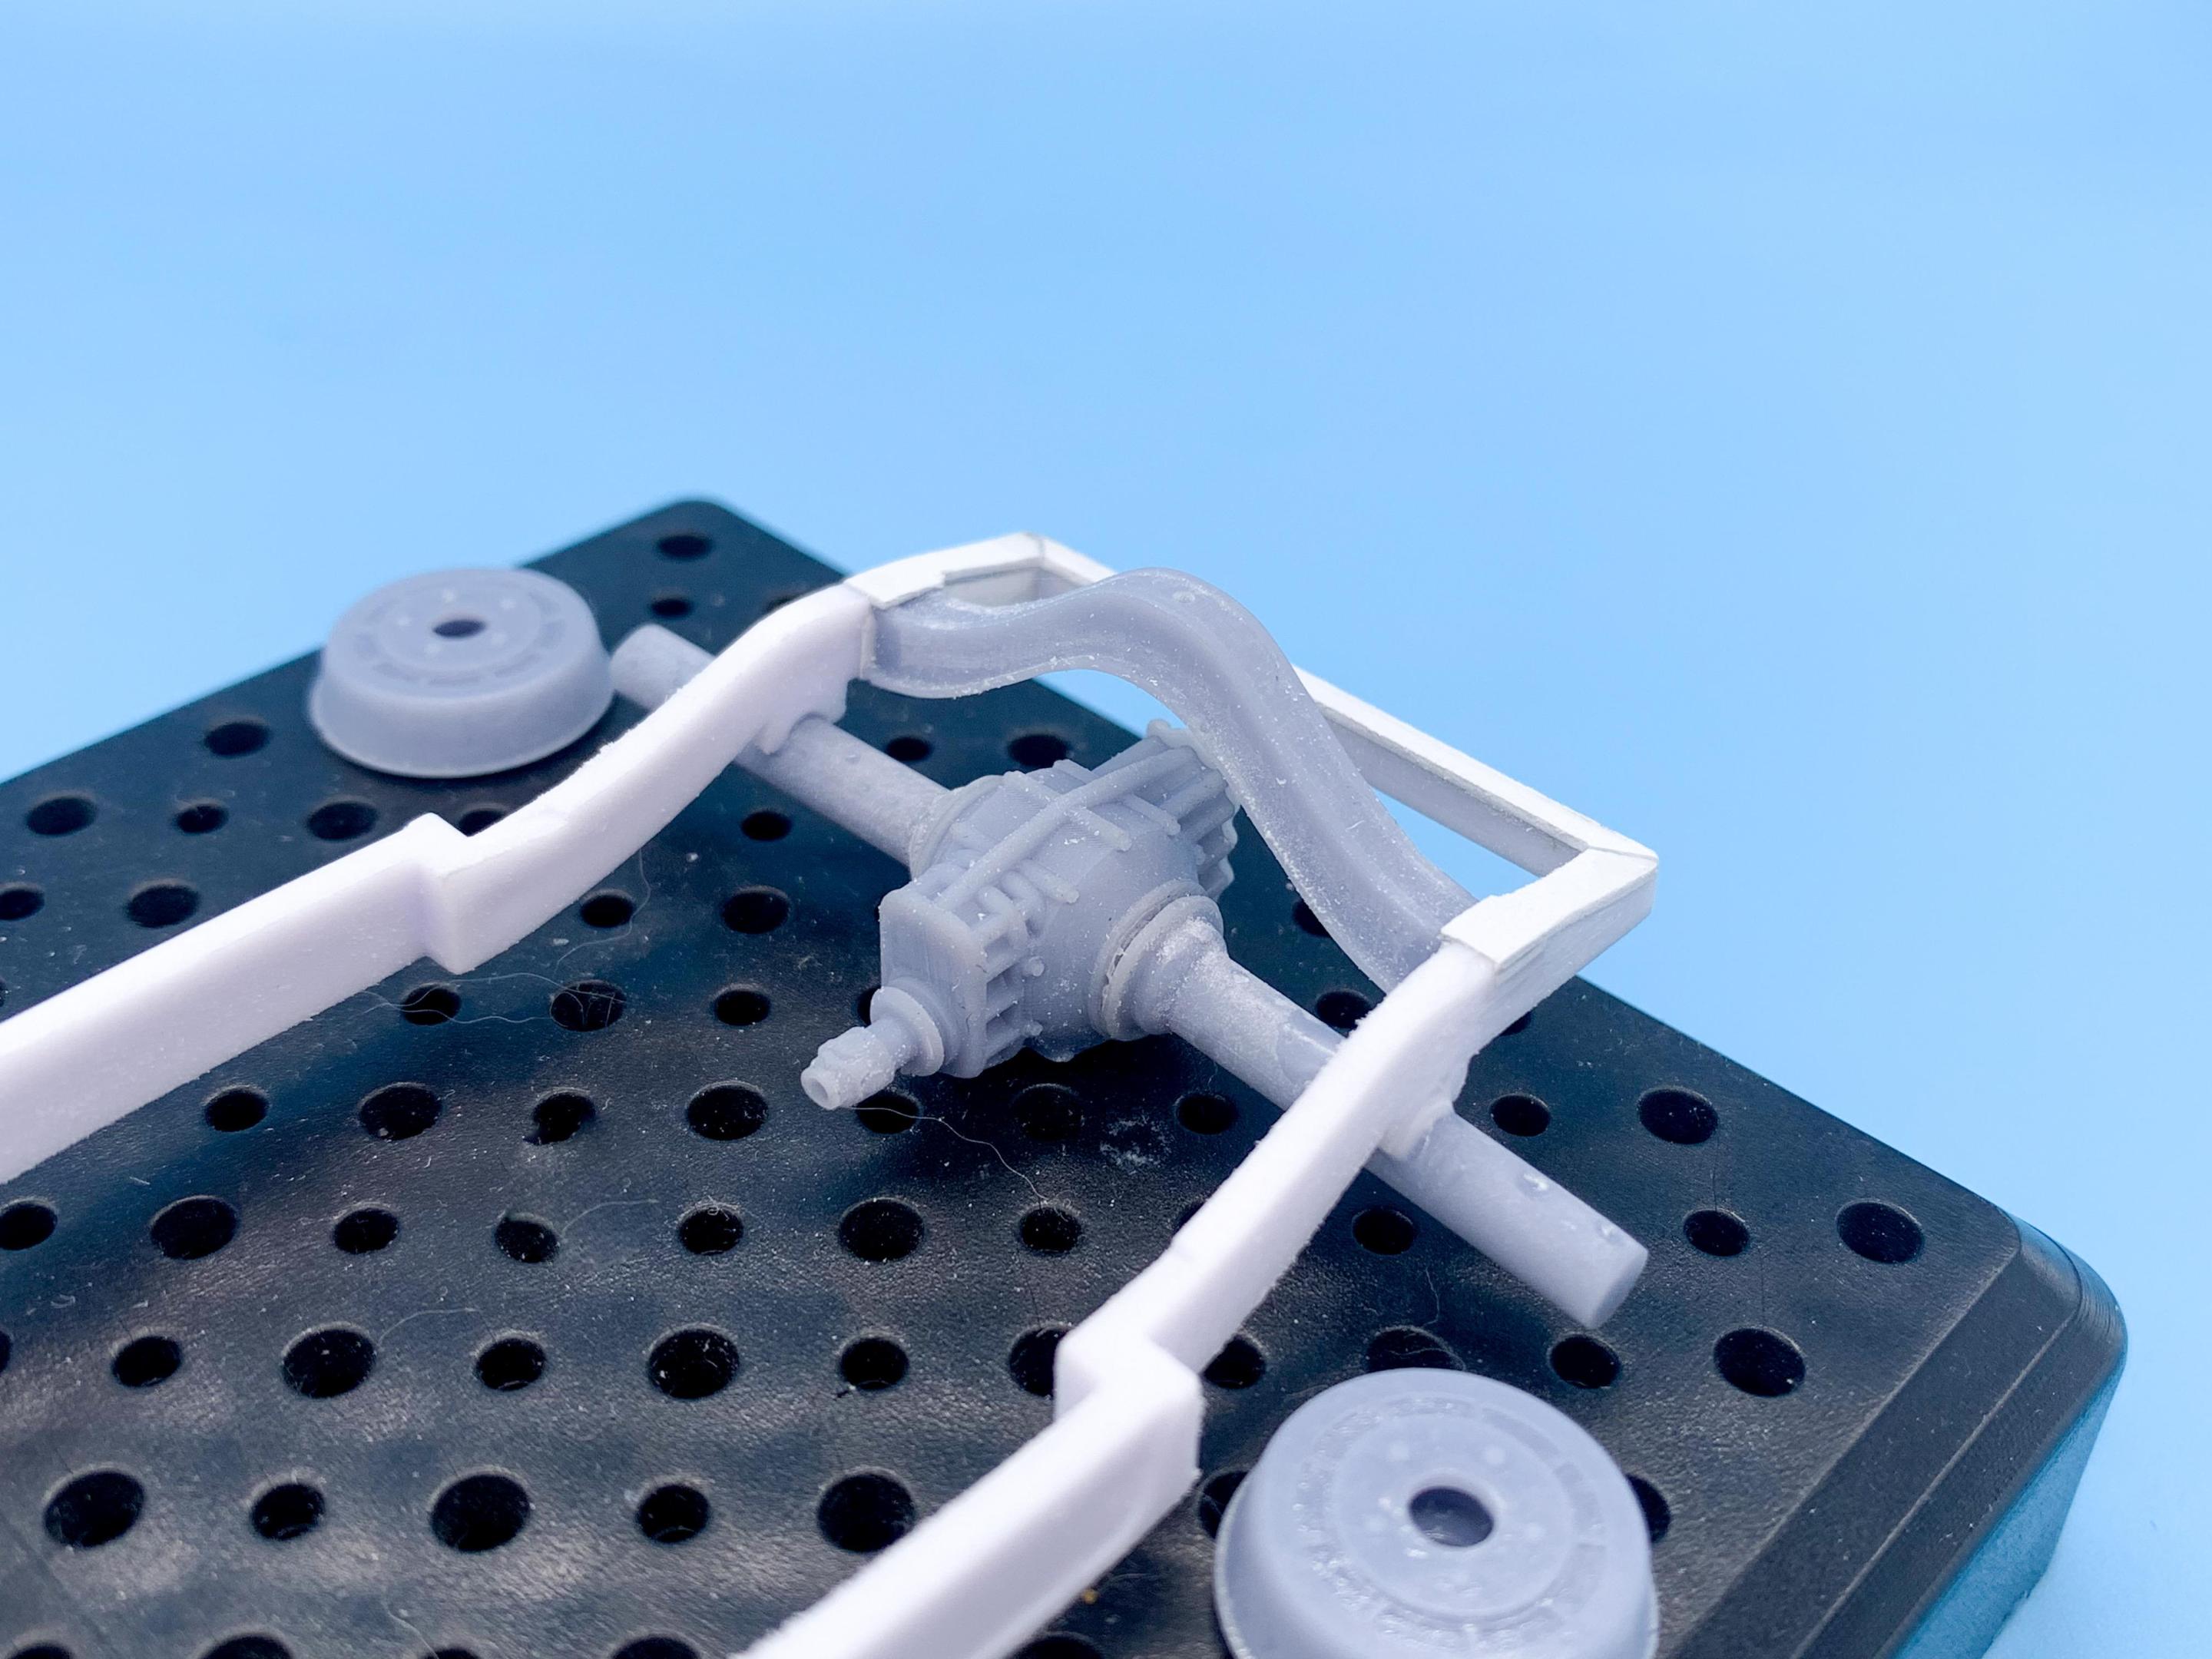
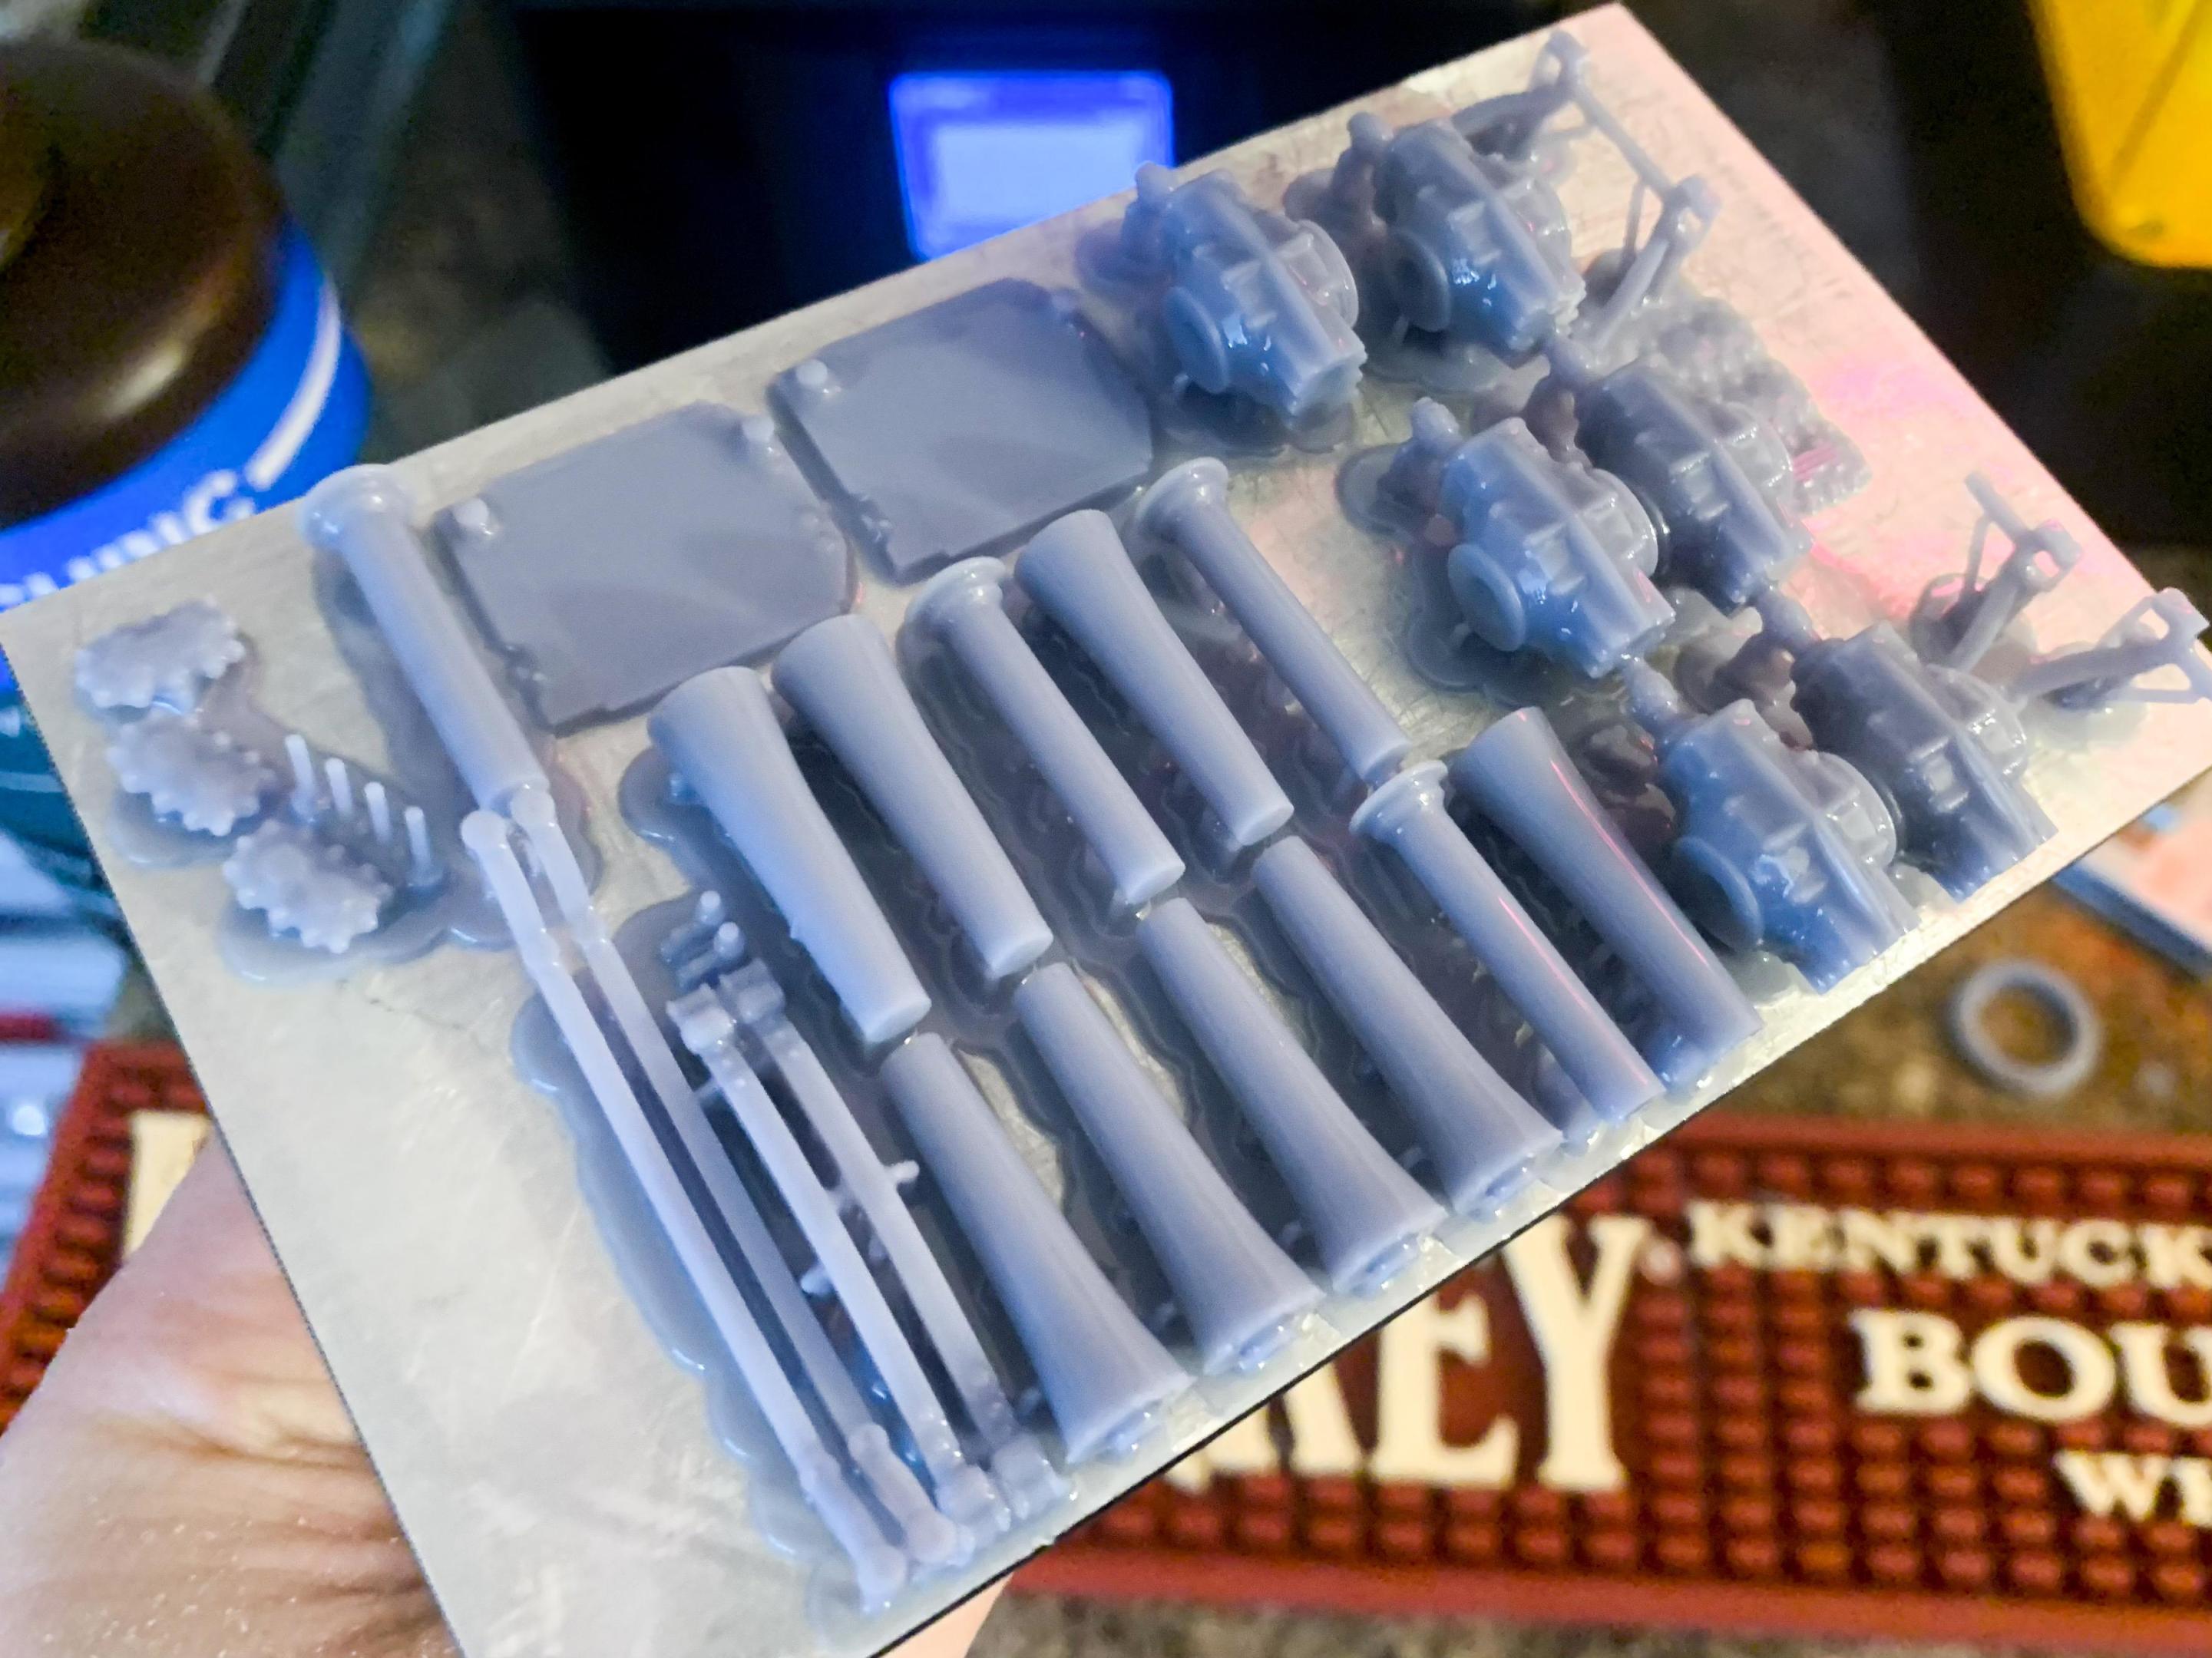
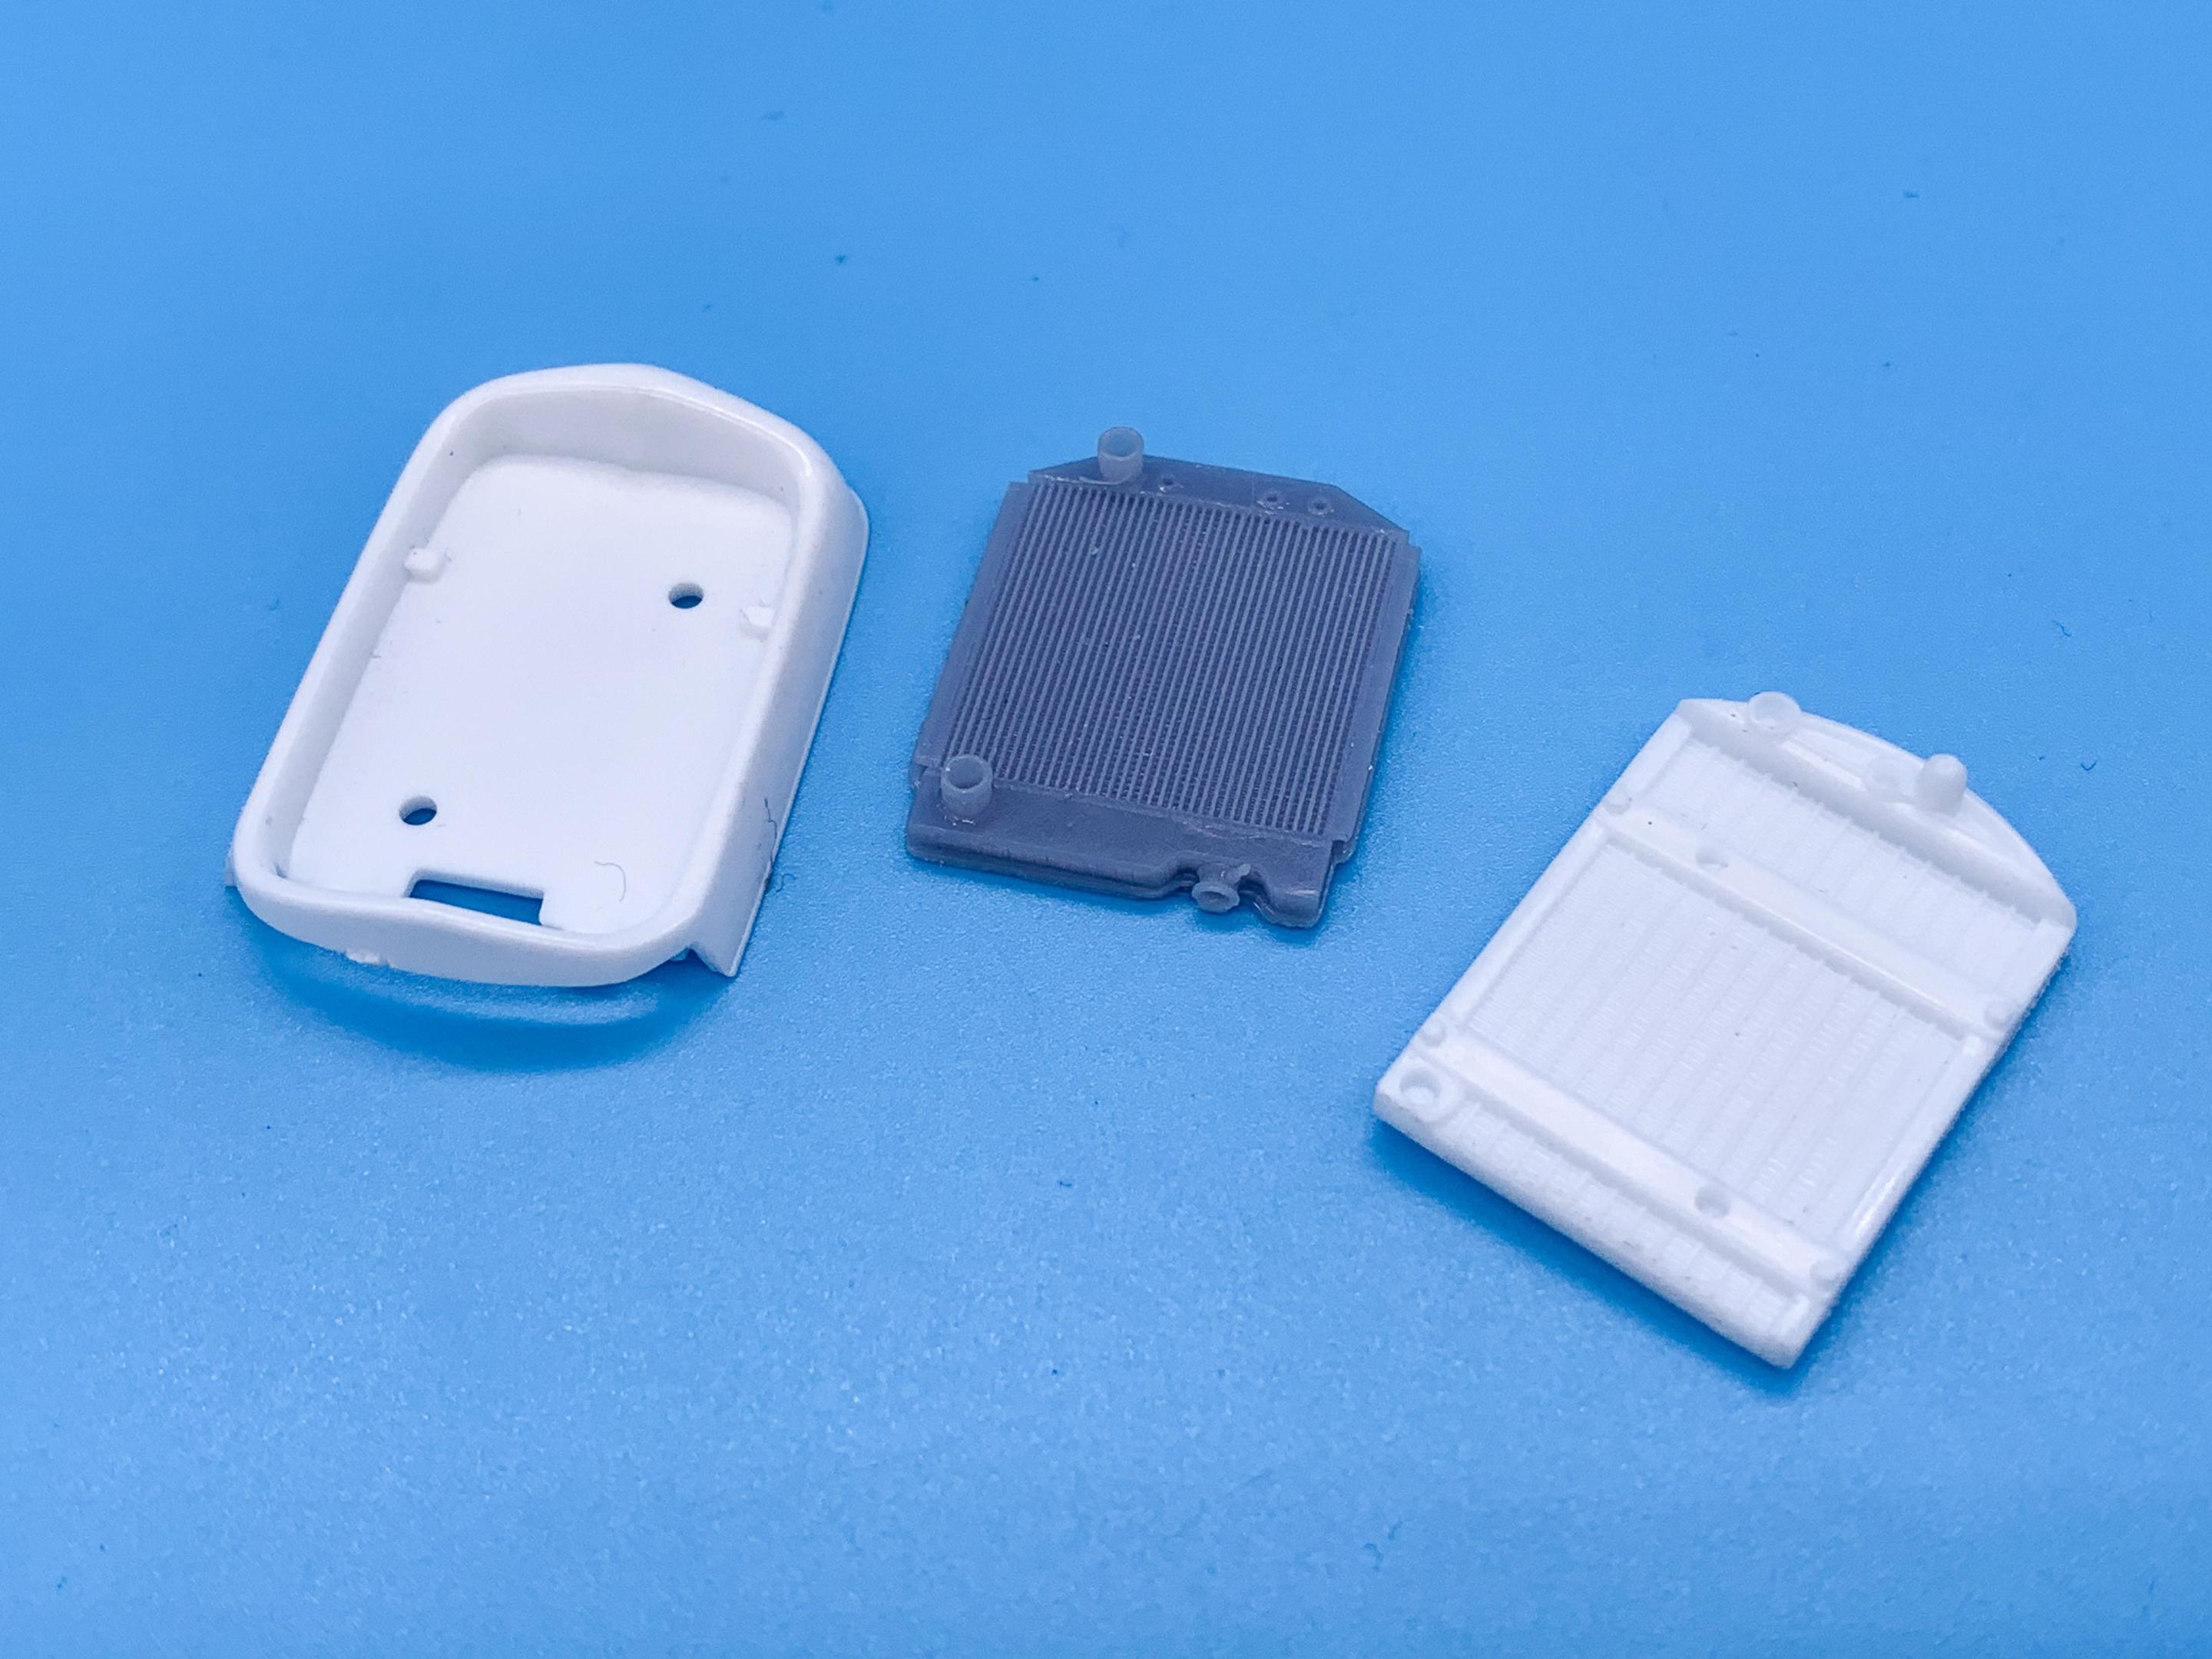
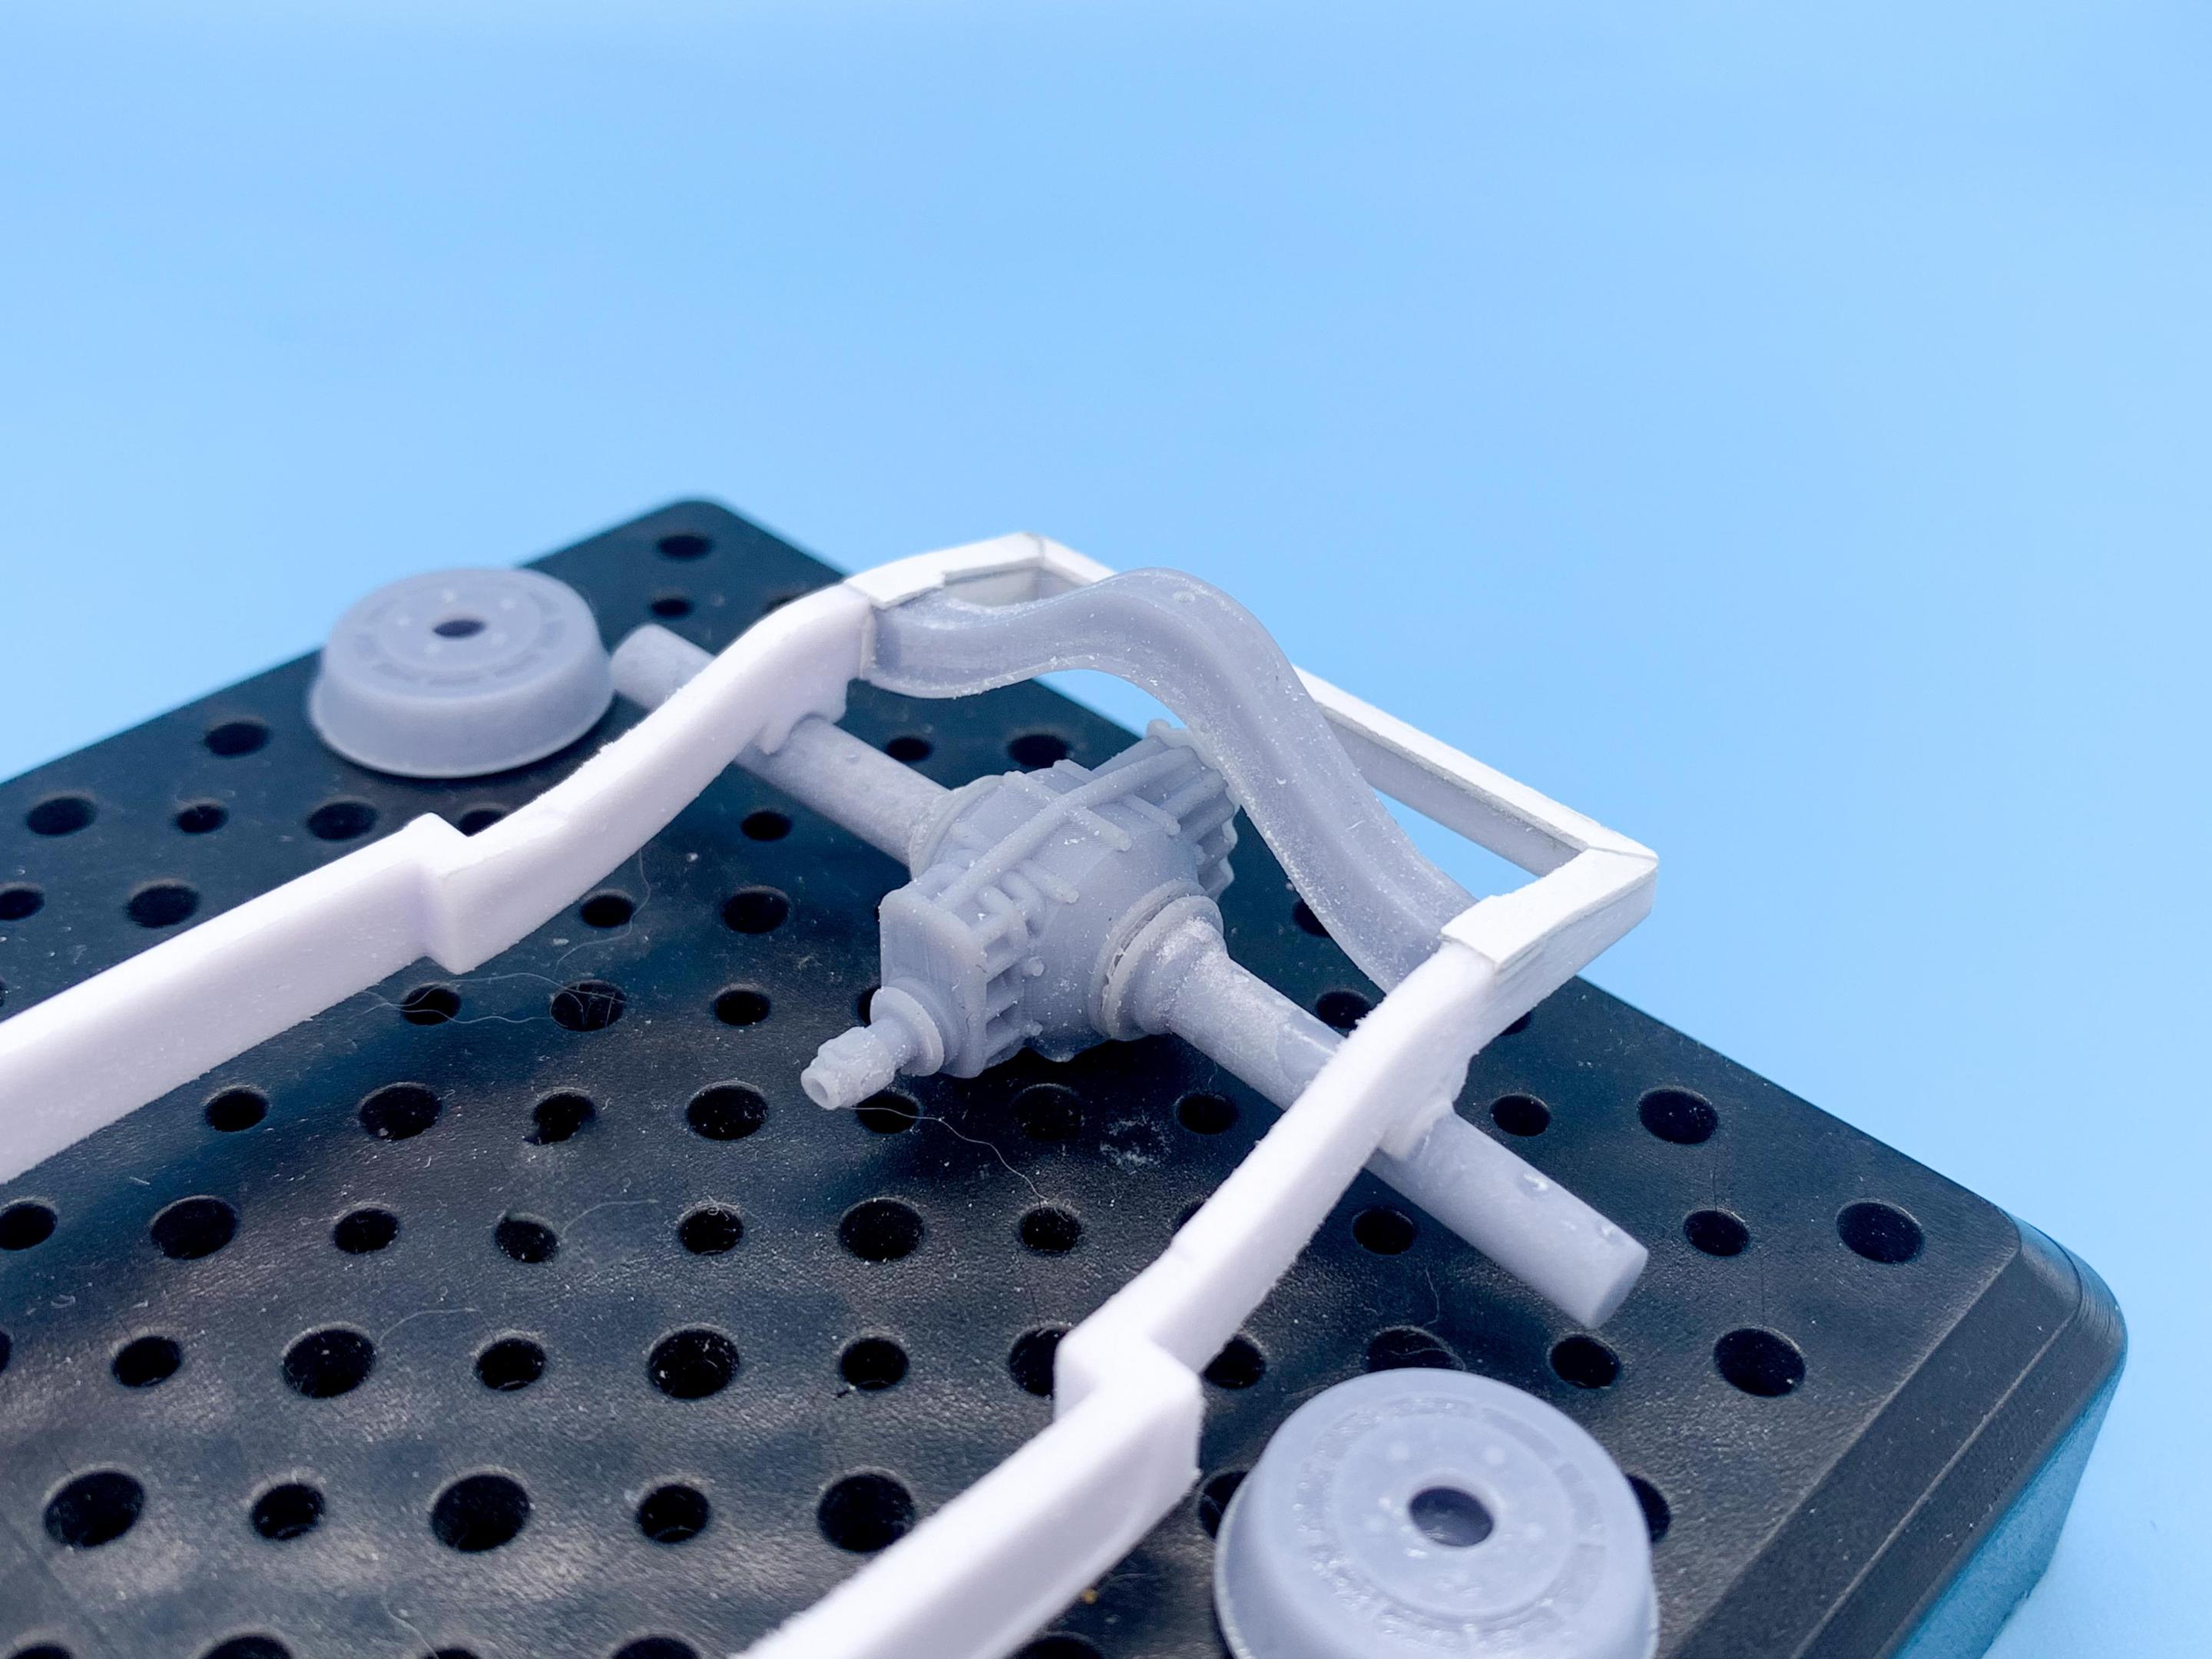
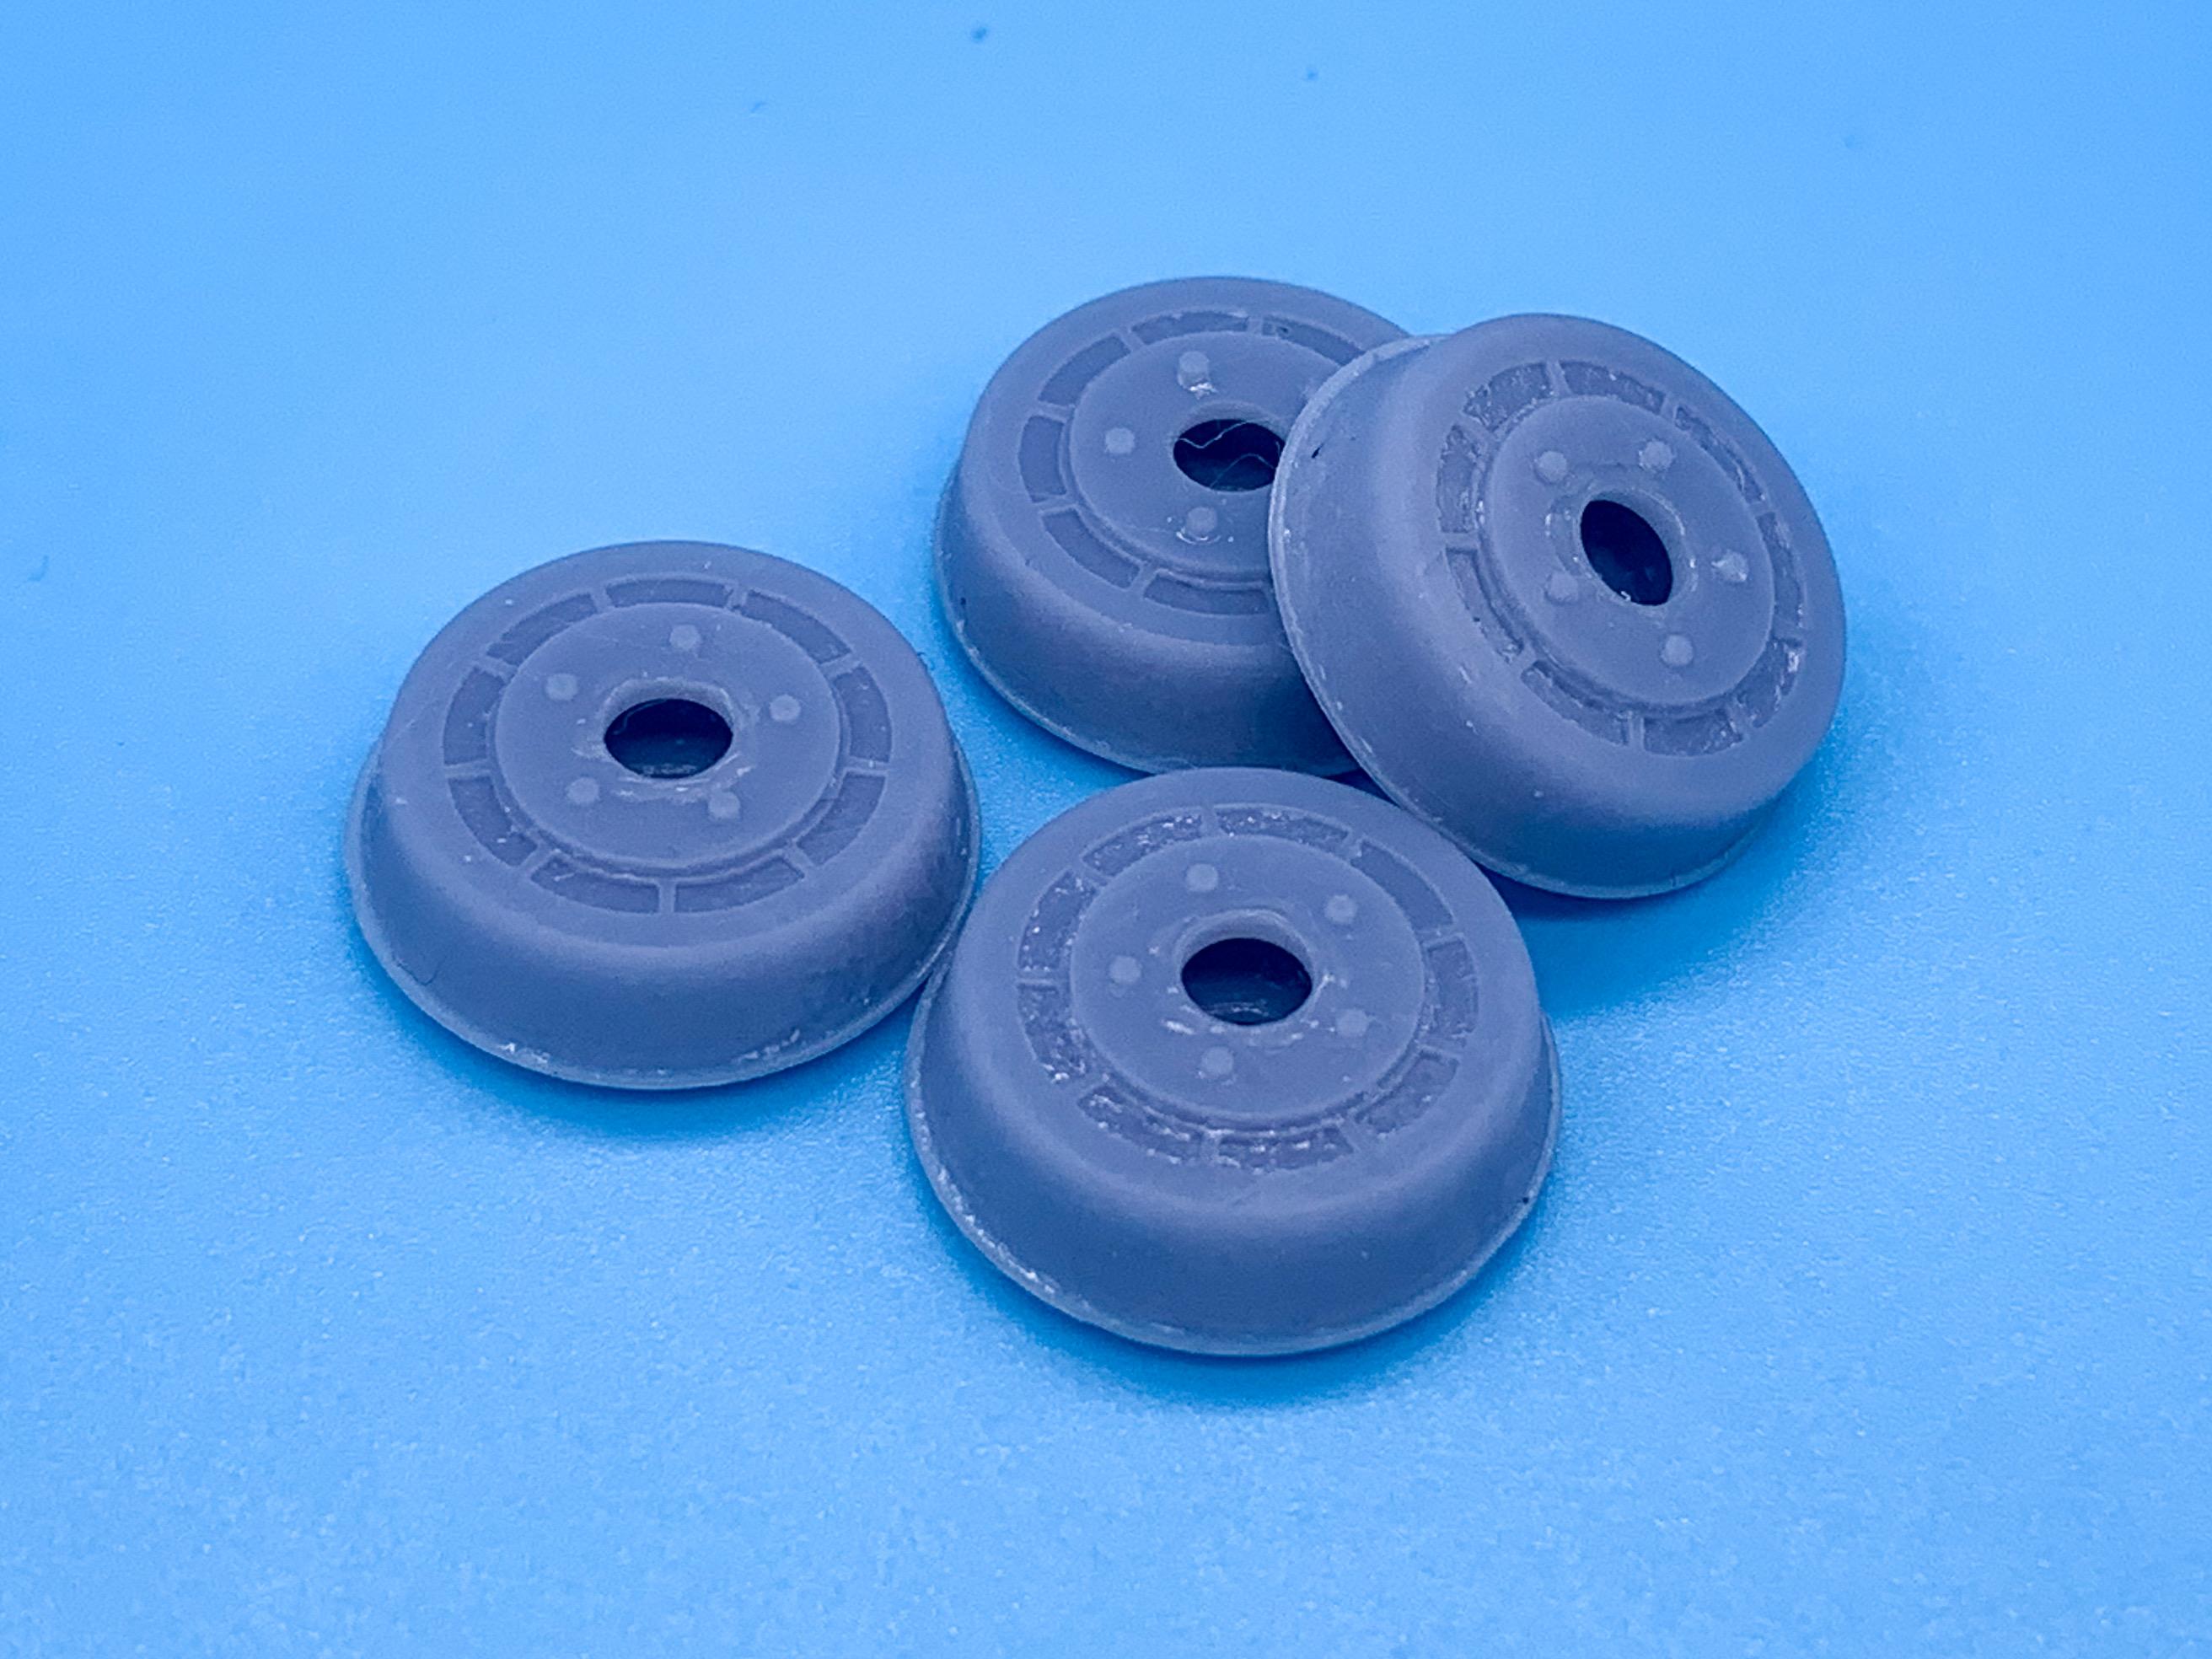
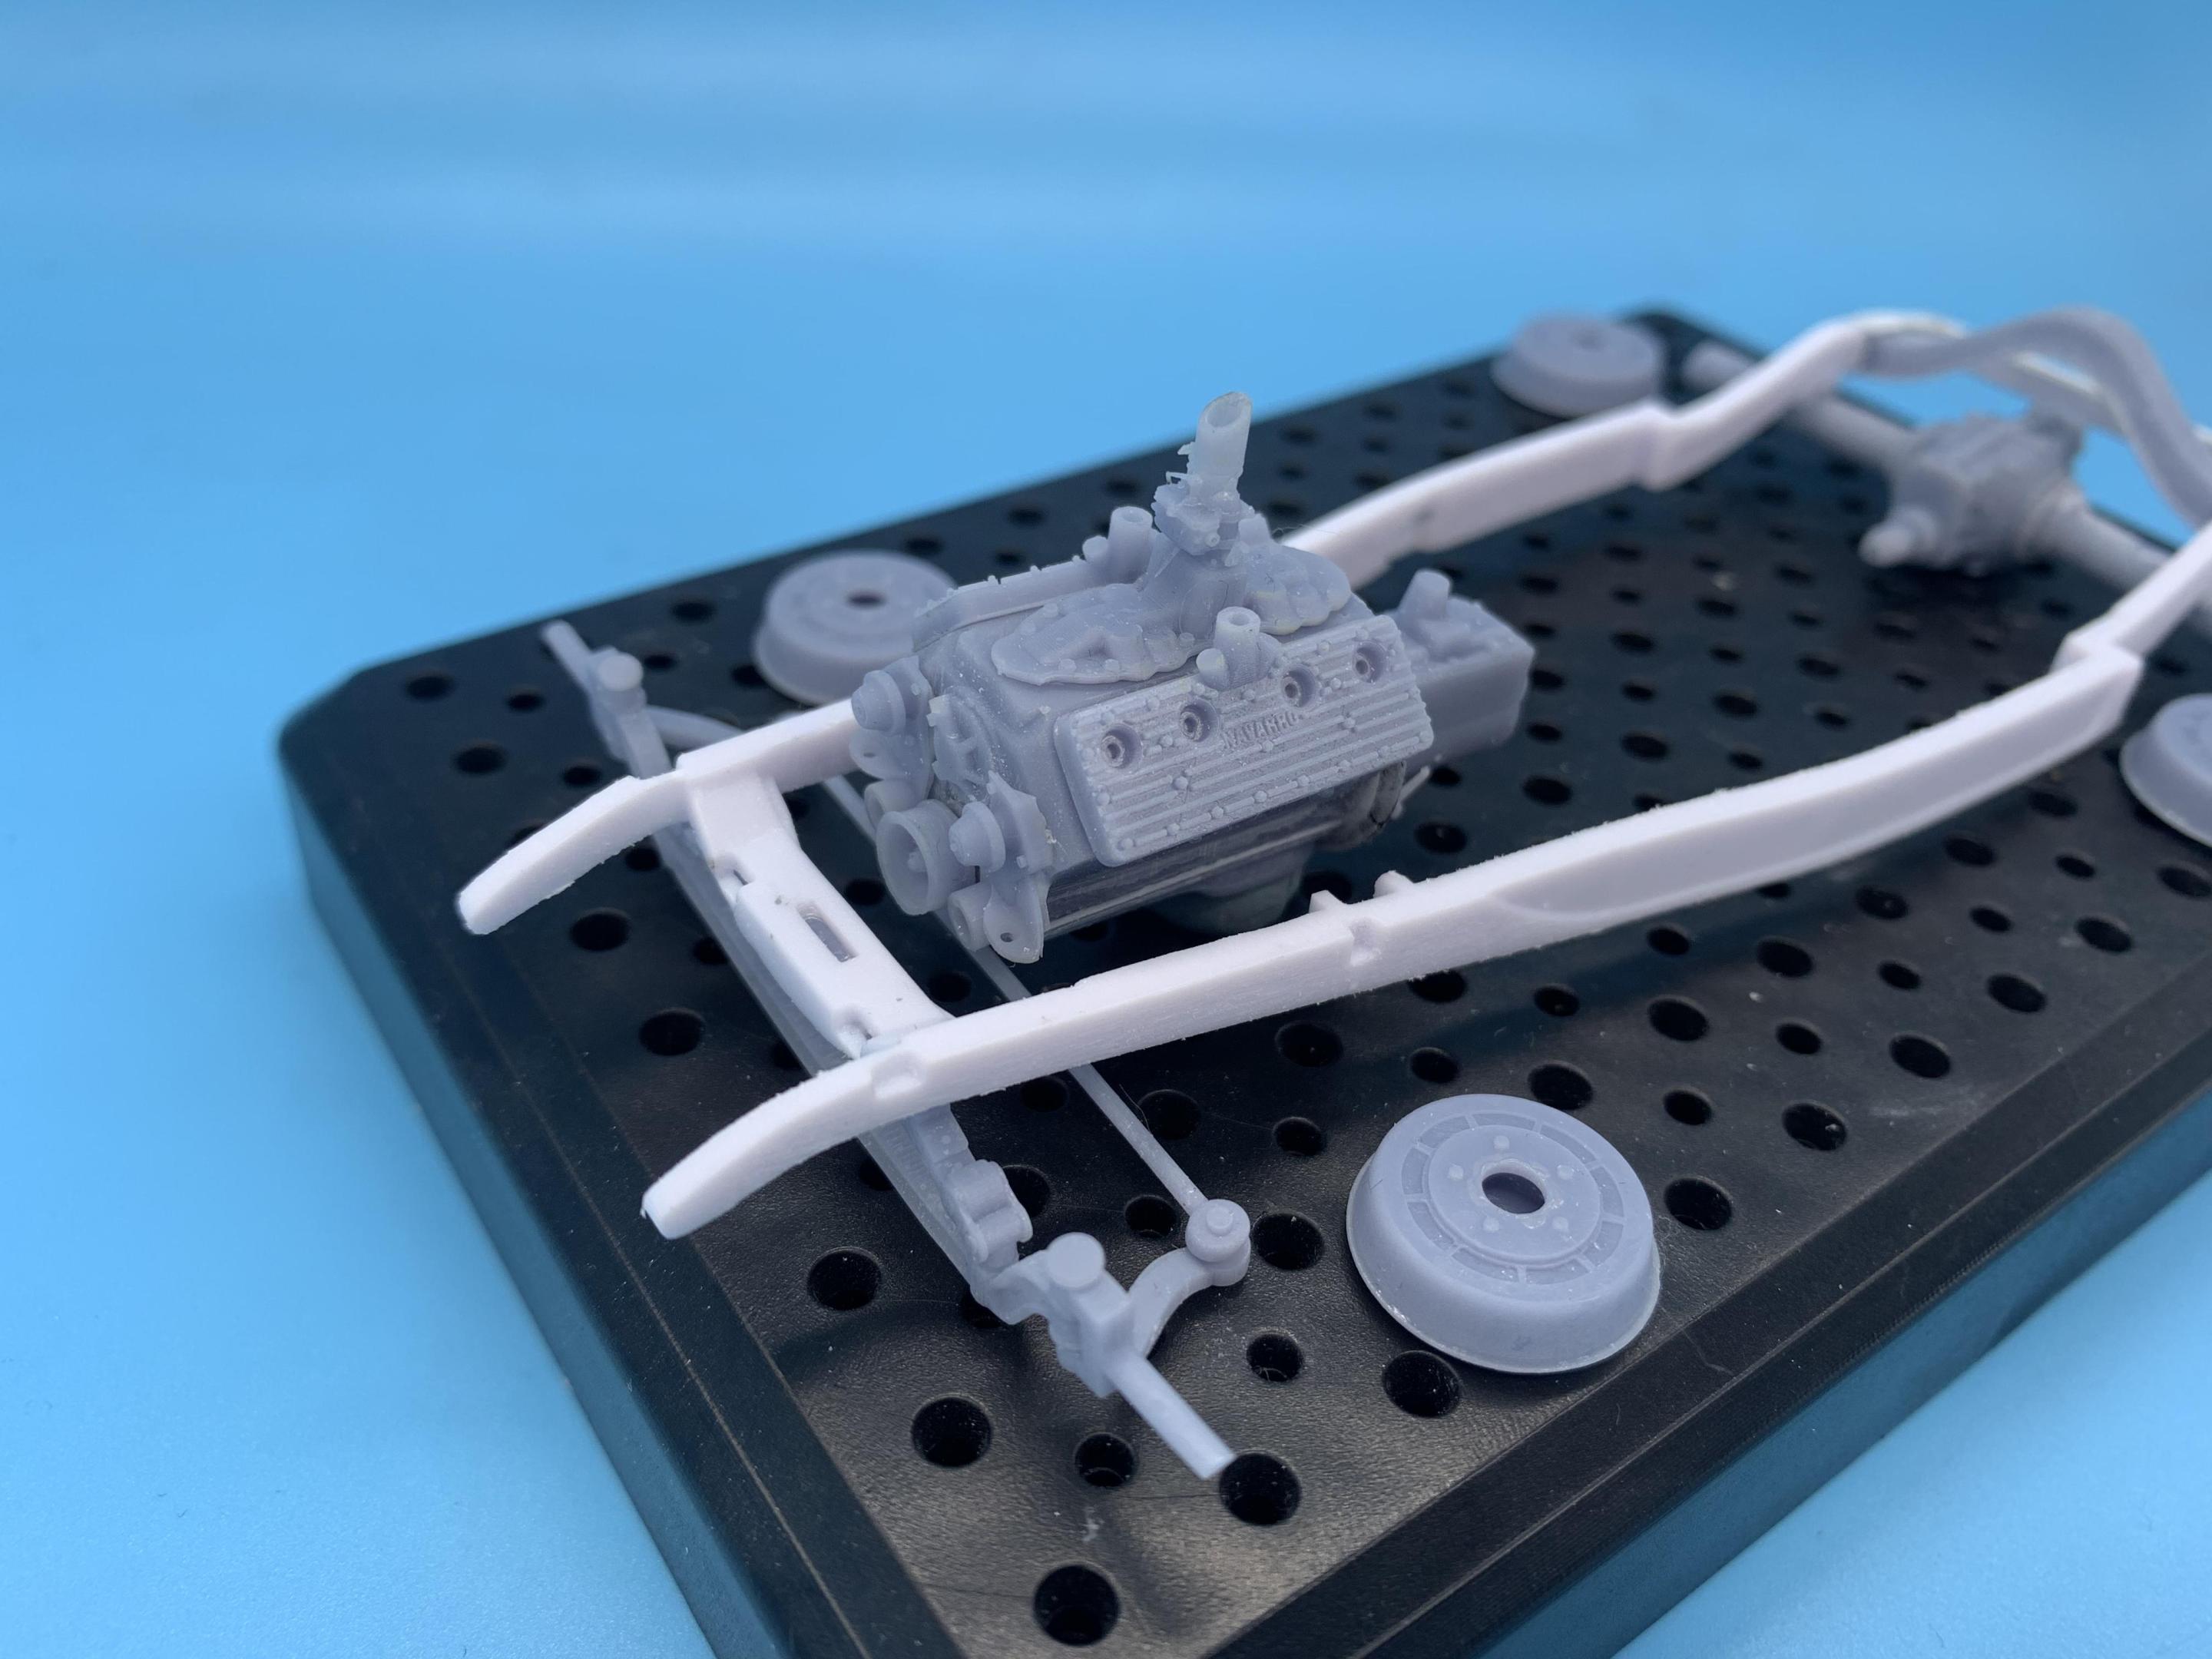
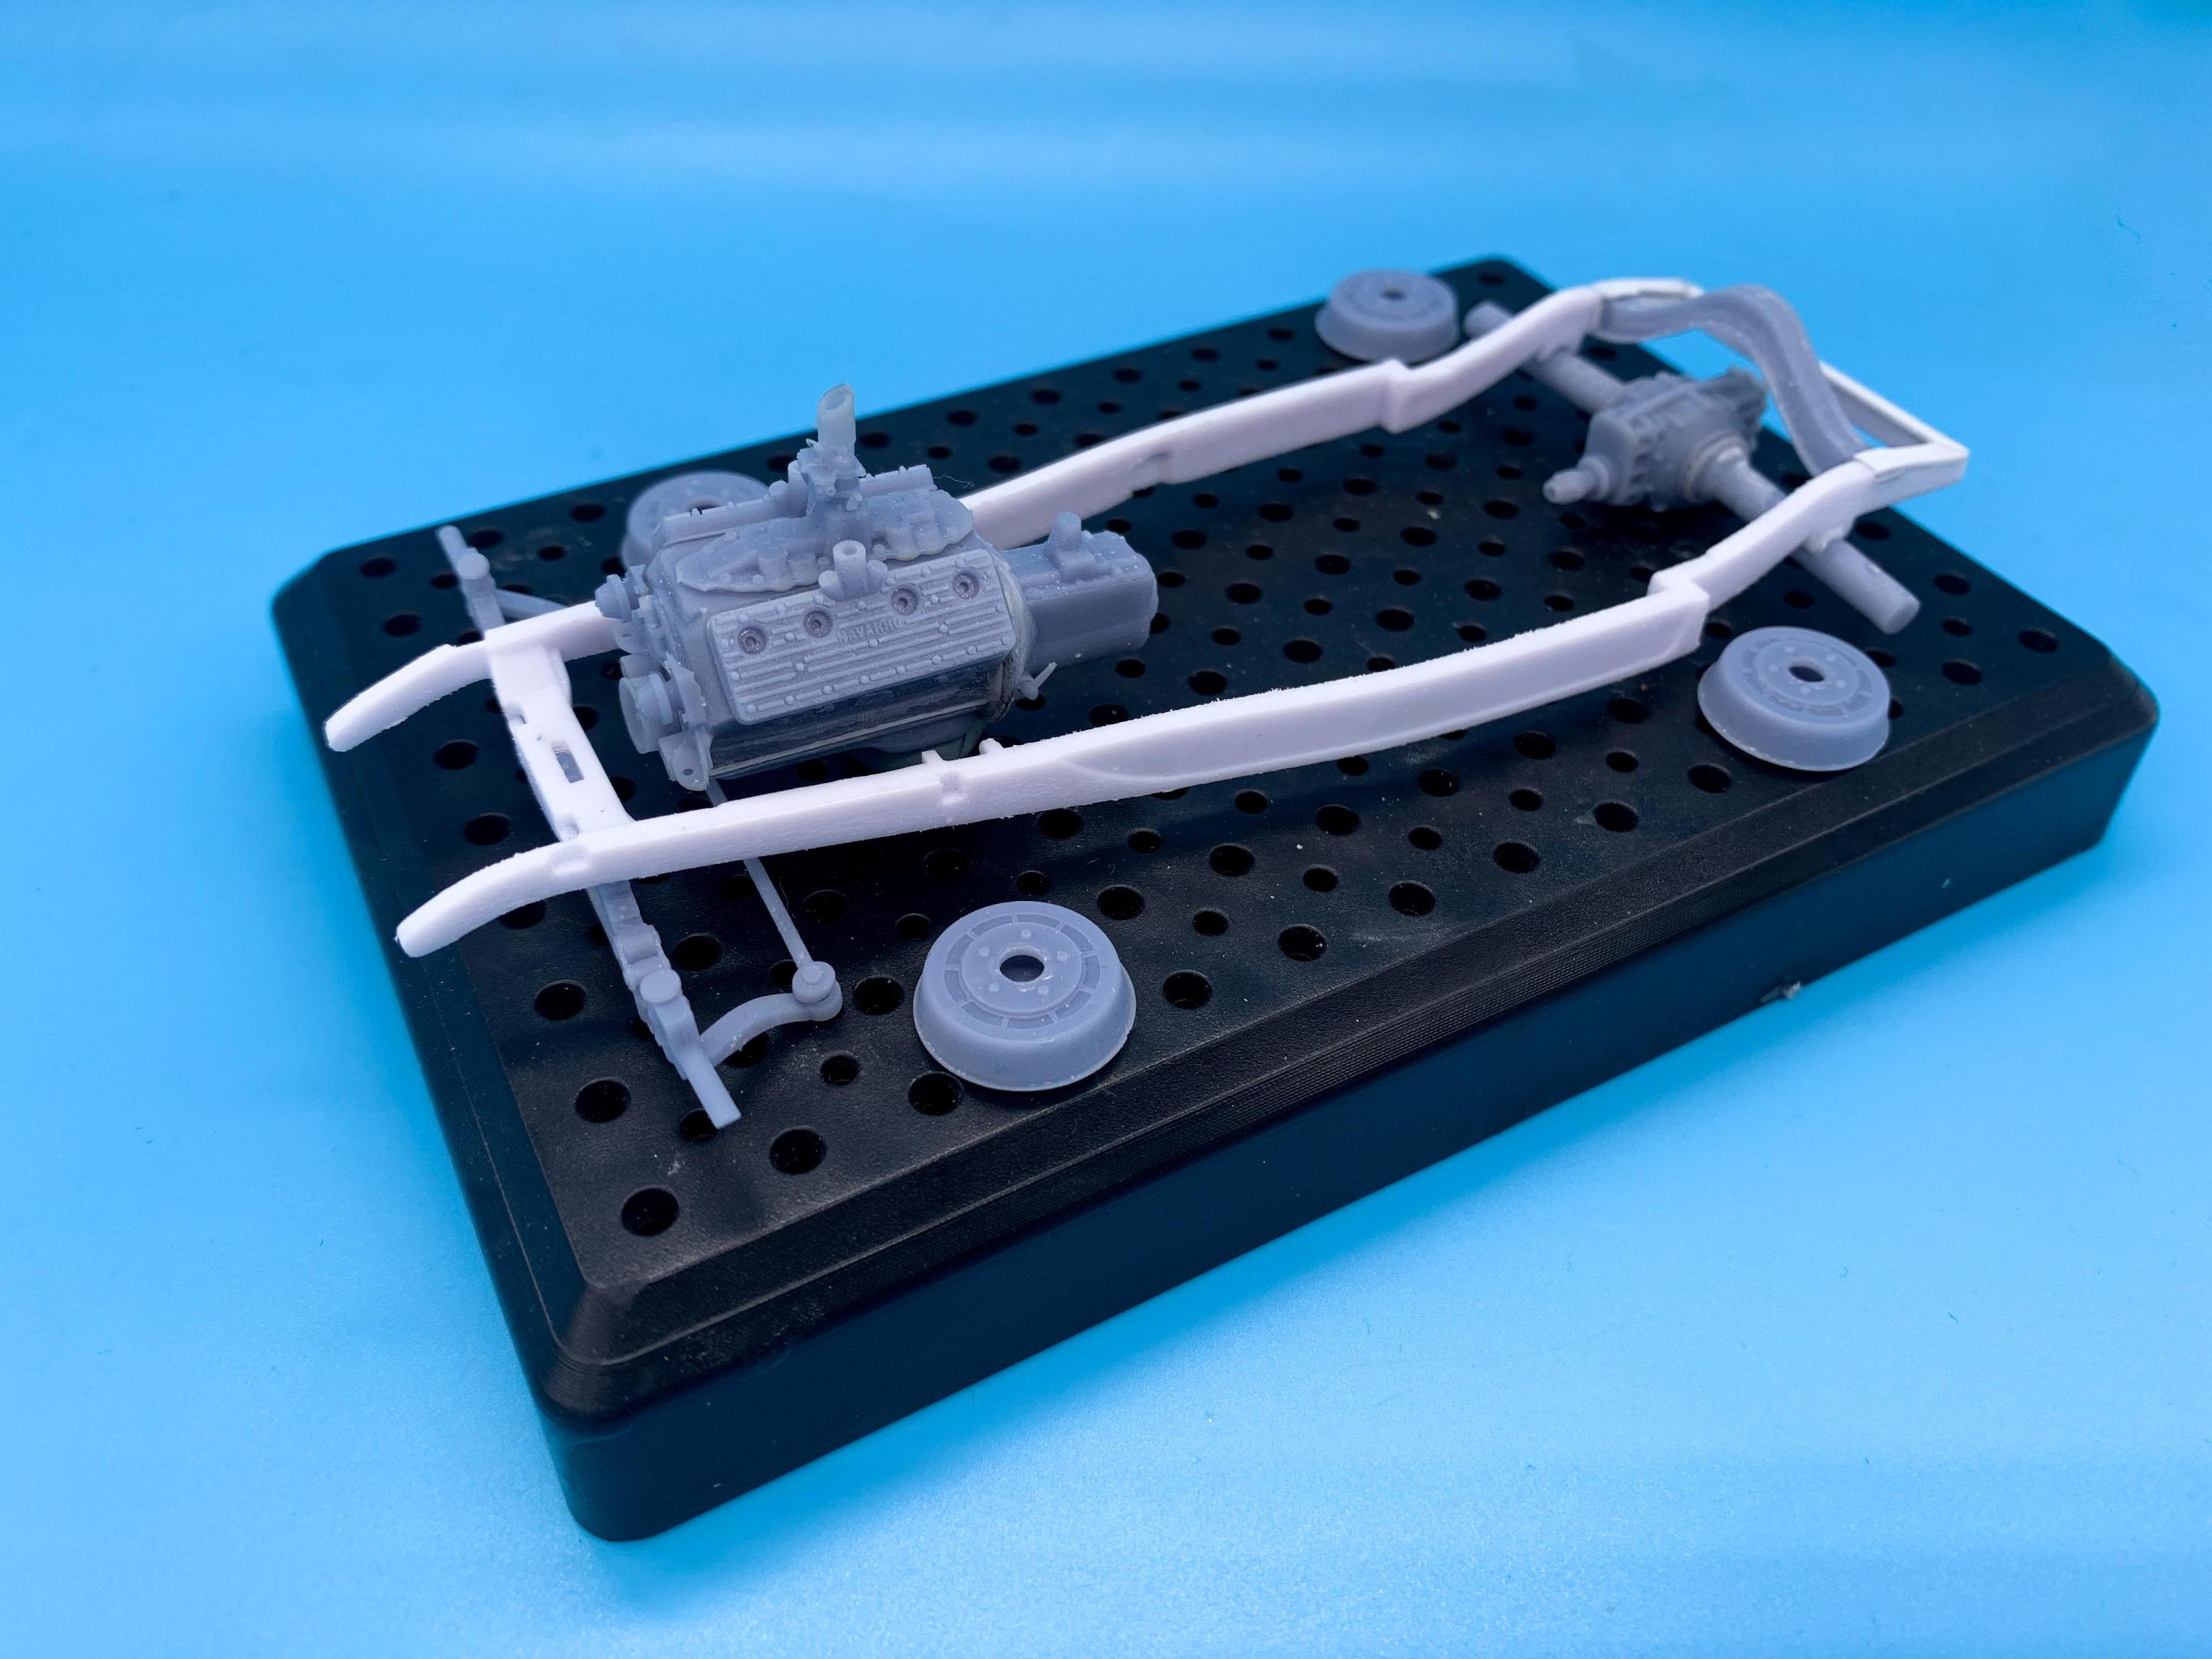
The Deuce is 90 years old this year, and I’d been wanting to build a Roadster from the Revell kit for a while, so here goes… I’m going for a super clean, traditionally-INFLUENCED build…probably not particularly accurate to what an early hot-rodder would’ve come up with but not the street rod on the box either. I’m thinking a Flathead, no Z to the frame at either end, and nothing too fancy or flashy - just all the stuff that makes a Deuce a Deuce. Started off with the frame…I’m actually going to use the one from the 29/30 Revell kits - but modified for a leaf spring. I didn’t have a spare Revell Model A frame to steal the crucial spring arch from, so I drew one up in CAD and printed a few: Whilst I was printing stuff, I printed a Matty’s Custom Scale Flathead Check out the detail on those heads! Gorgeous! I know I said no flashy stuff on this build…but those heads are SO nicely done… Next batch of parts was front and rear axles and some radiators for this and future projects: I really didn’t NEED to print any radiators, I’ve got a bunch of the kit ones, but I had the file sitting there and space on my print plate - they’re nicely done though! Rear axle mocked up with Elmer’s: I didn’t wanna run disk brakes on this car, and the GORGEOUS finned parts you find in the Revell Model A kits were a bit too fancy for what I had in mind, so I printed some simpler drums: And once I mocked up the 3D printed axle… …we’ve got a decent start on a chassis: I was really trying NOT to 3D print every single little thing on this build, especially as I have another complex build like that on the bench already…but in my defense the donor kit was missing a couple of parts and the rest needed backdating anyway ? Thanks for looking…more soon!
-
A lot of negative Amazon reviews for model kits seem to be that they’re neither painted nor assembled already…so I bet they’re trying to minimize the number of dum-dums who don’t know what they’re buying and then complain about it…
-
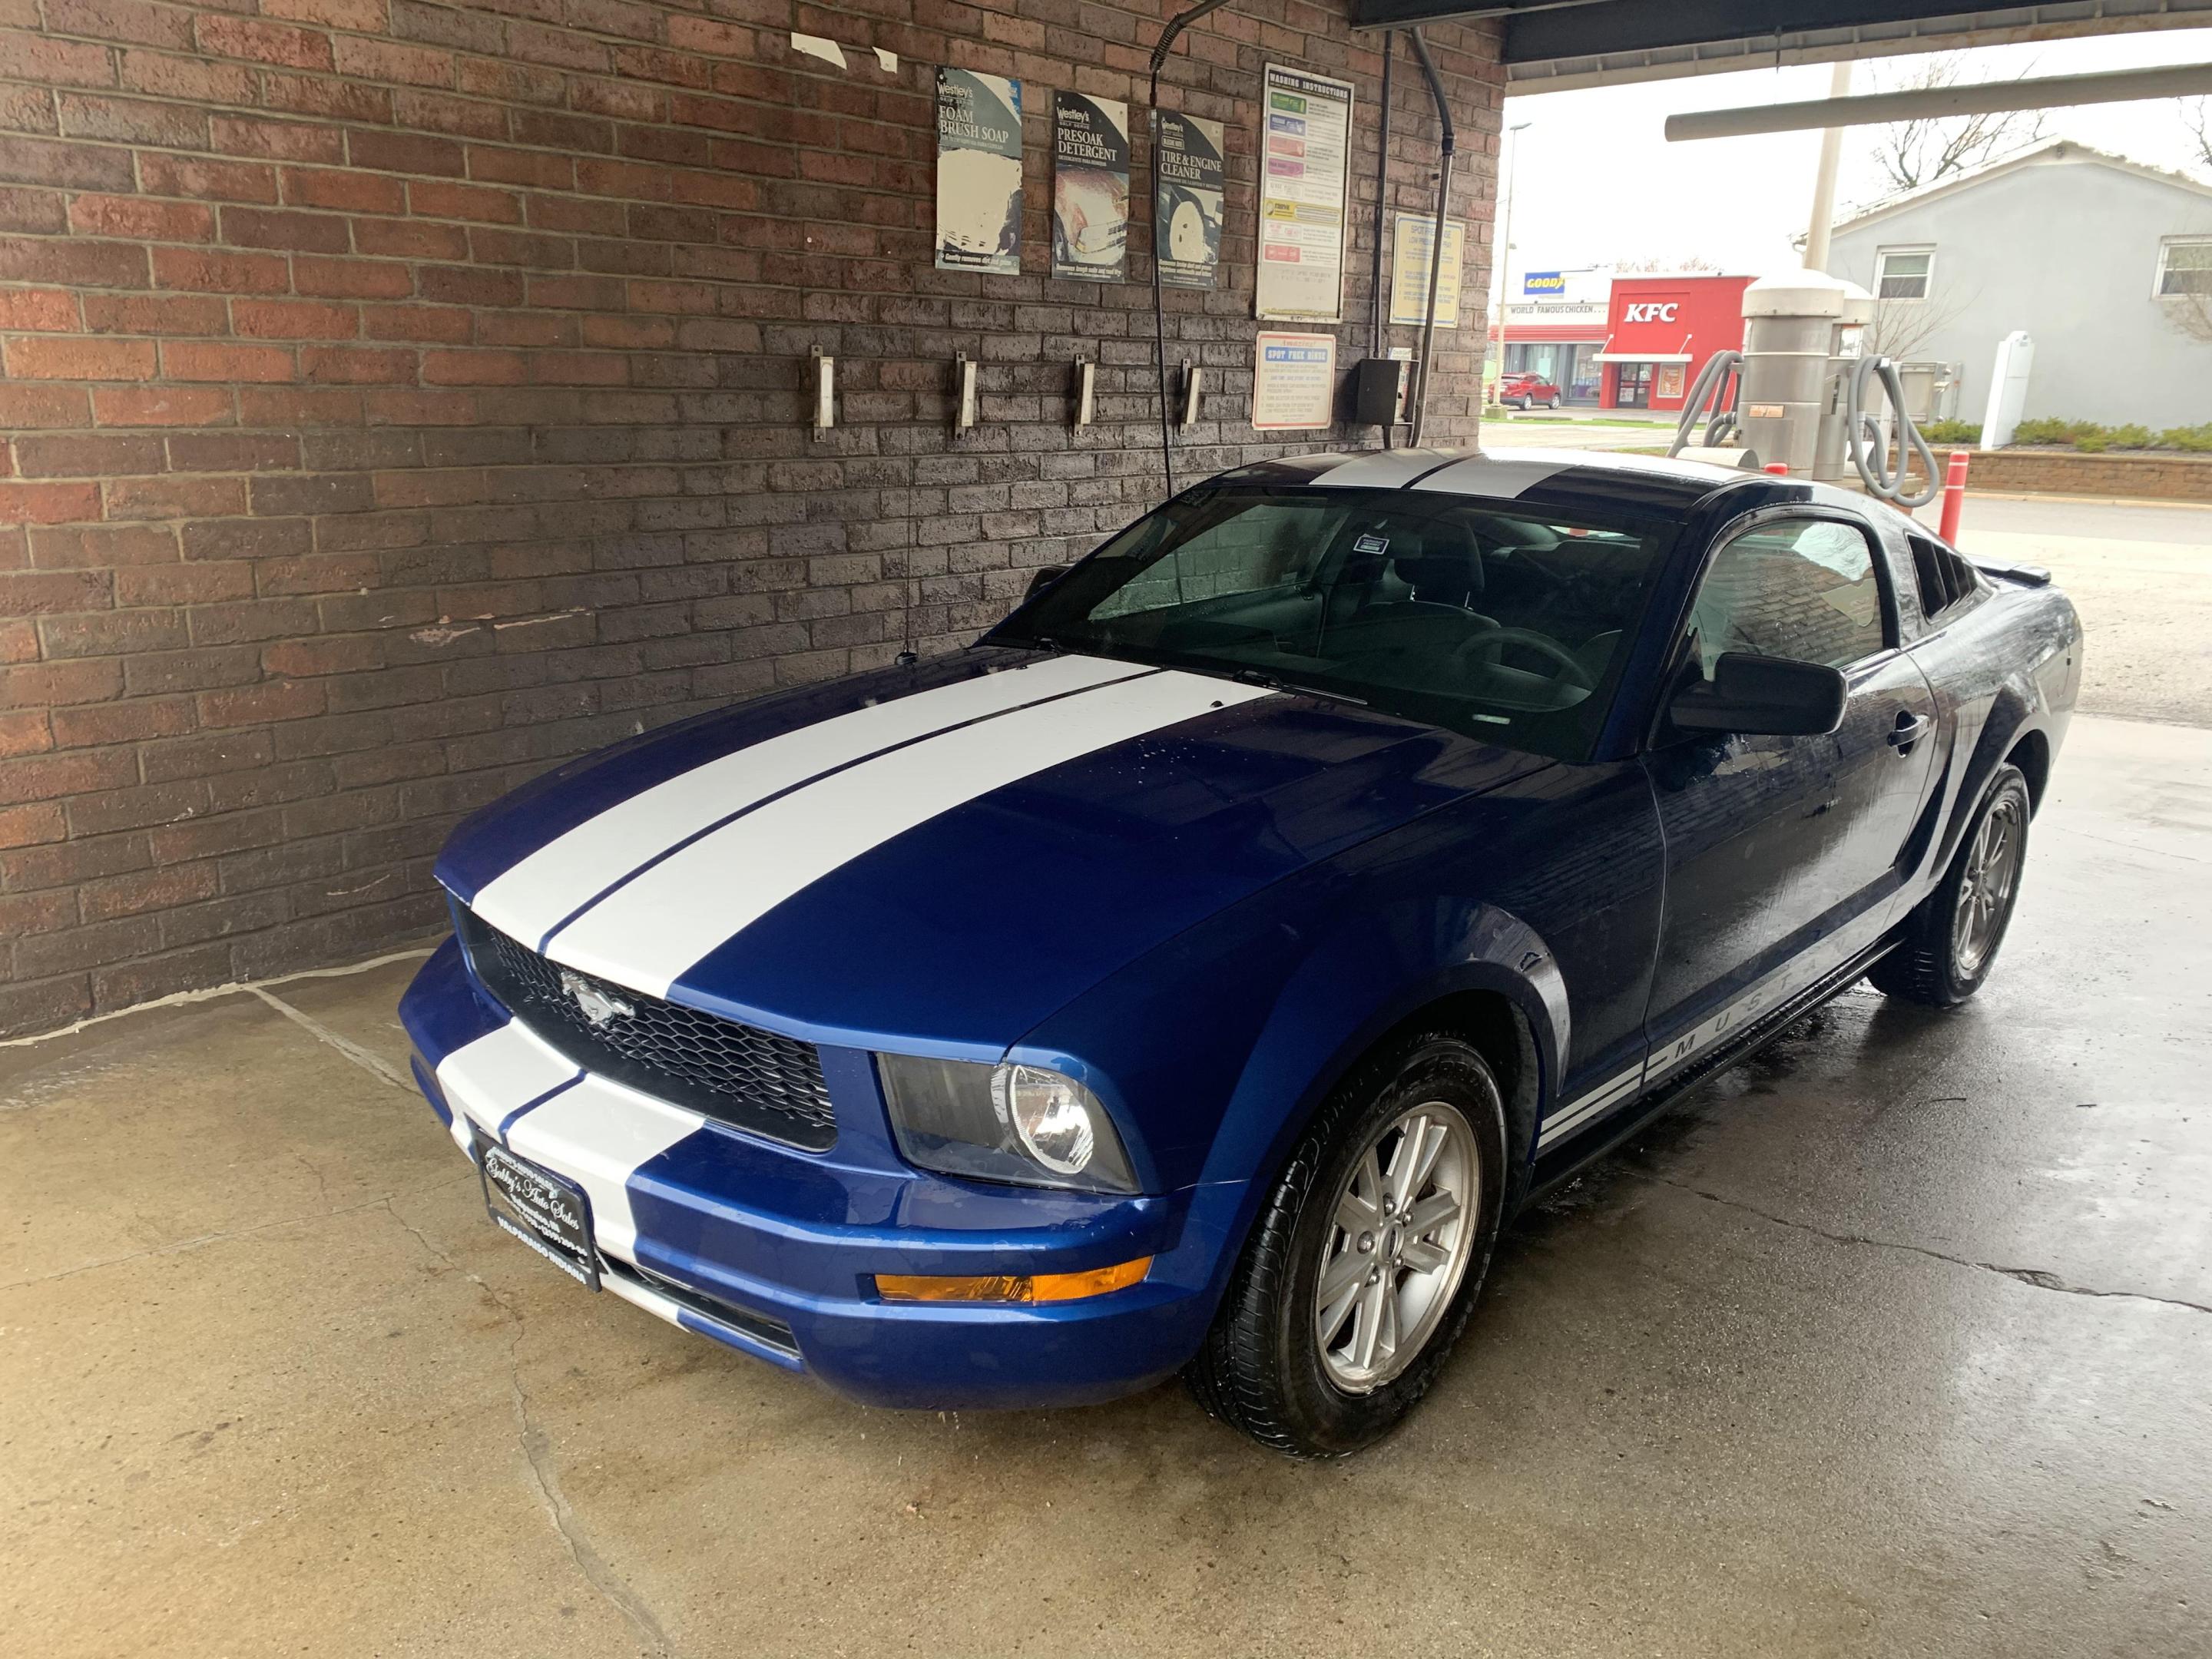
Looked it up today - it was actually only taken care of by the LAST owner last year…but handled regardless. Thanks for the heads up! Funny thing - the previous owner was named Shelby ?
-
-
That’s a great tip, thank you! I had been meaning to register with the local dealer to see what history they had on file for it (or do a Carfax or similar if not) but I hadn’t read about that particular issue. Will look into that this weekend - thank you!
-
That’s exactly what I did too! ? Not certain I got ALL of it, but I sure got a lot on the floor of the car wash ?
-

Plymouth Salt Flat Slammer
OldNYJim replied to OldNYJim's topic in WIP: Other Racing: Road Racing, Land Speed Racers
Don't worry Rob - they're Moon disks - they pop right off! ? (These ones actually DO - I made little tubular receivers on the back of the disks to mount them, and I don't think I even actually glued them on). Thanks for all the nice comments everyone! -
That's a smart way to handle that - none of the edges of the hood meet the body nicely (or at ALL in some cases - there's some pretty big gaps as it comes) so anything you can do to improve fit there adds a lot to these kits I think

