OldNYJim
-
Posts
251 -
Joined
-
Last visited
Content Type
Profiles
Forums
Events
Gallery
Everything posted by OldNYJim
-

1934 Ford
OldNYJim replied to Vintage AMT's topic in WIP: Model Trucks: Pickups, Vans, SUVs, Light Commercial
Nice patina - that looks awesome! -
Great start Scott! It'll look great with a Quickchange poking out from under the back of the body there
-
SUPER helpful - thank you Claude! Yep, those Caddy drivers were living the dream - they even had seatbelts in these things! ?
-
Wonder if it whistles when you drive it down the street?
-
Offenhauser Engine for 3D print
OldNYJim replied to Oldmopars's topic in Car Aftermarket / Resin / 3D Printed
No one specifically answered this question, but yes, it’s the bigger variation. I assume (but don’t KNOW) that the block sizes are the same for all three displacements? -
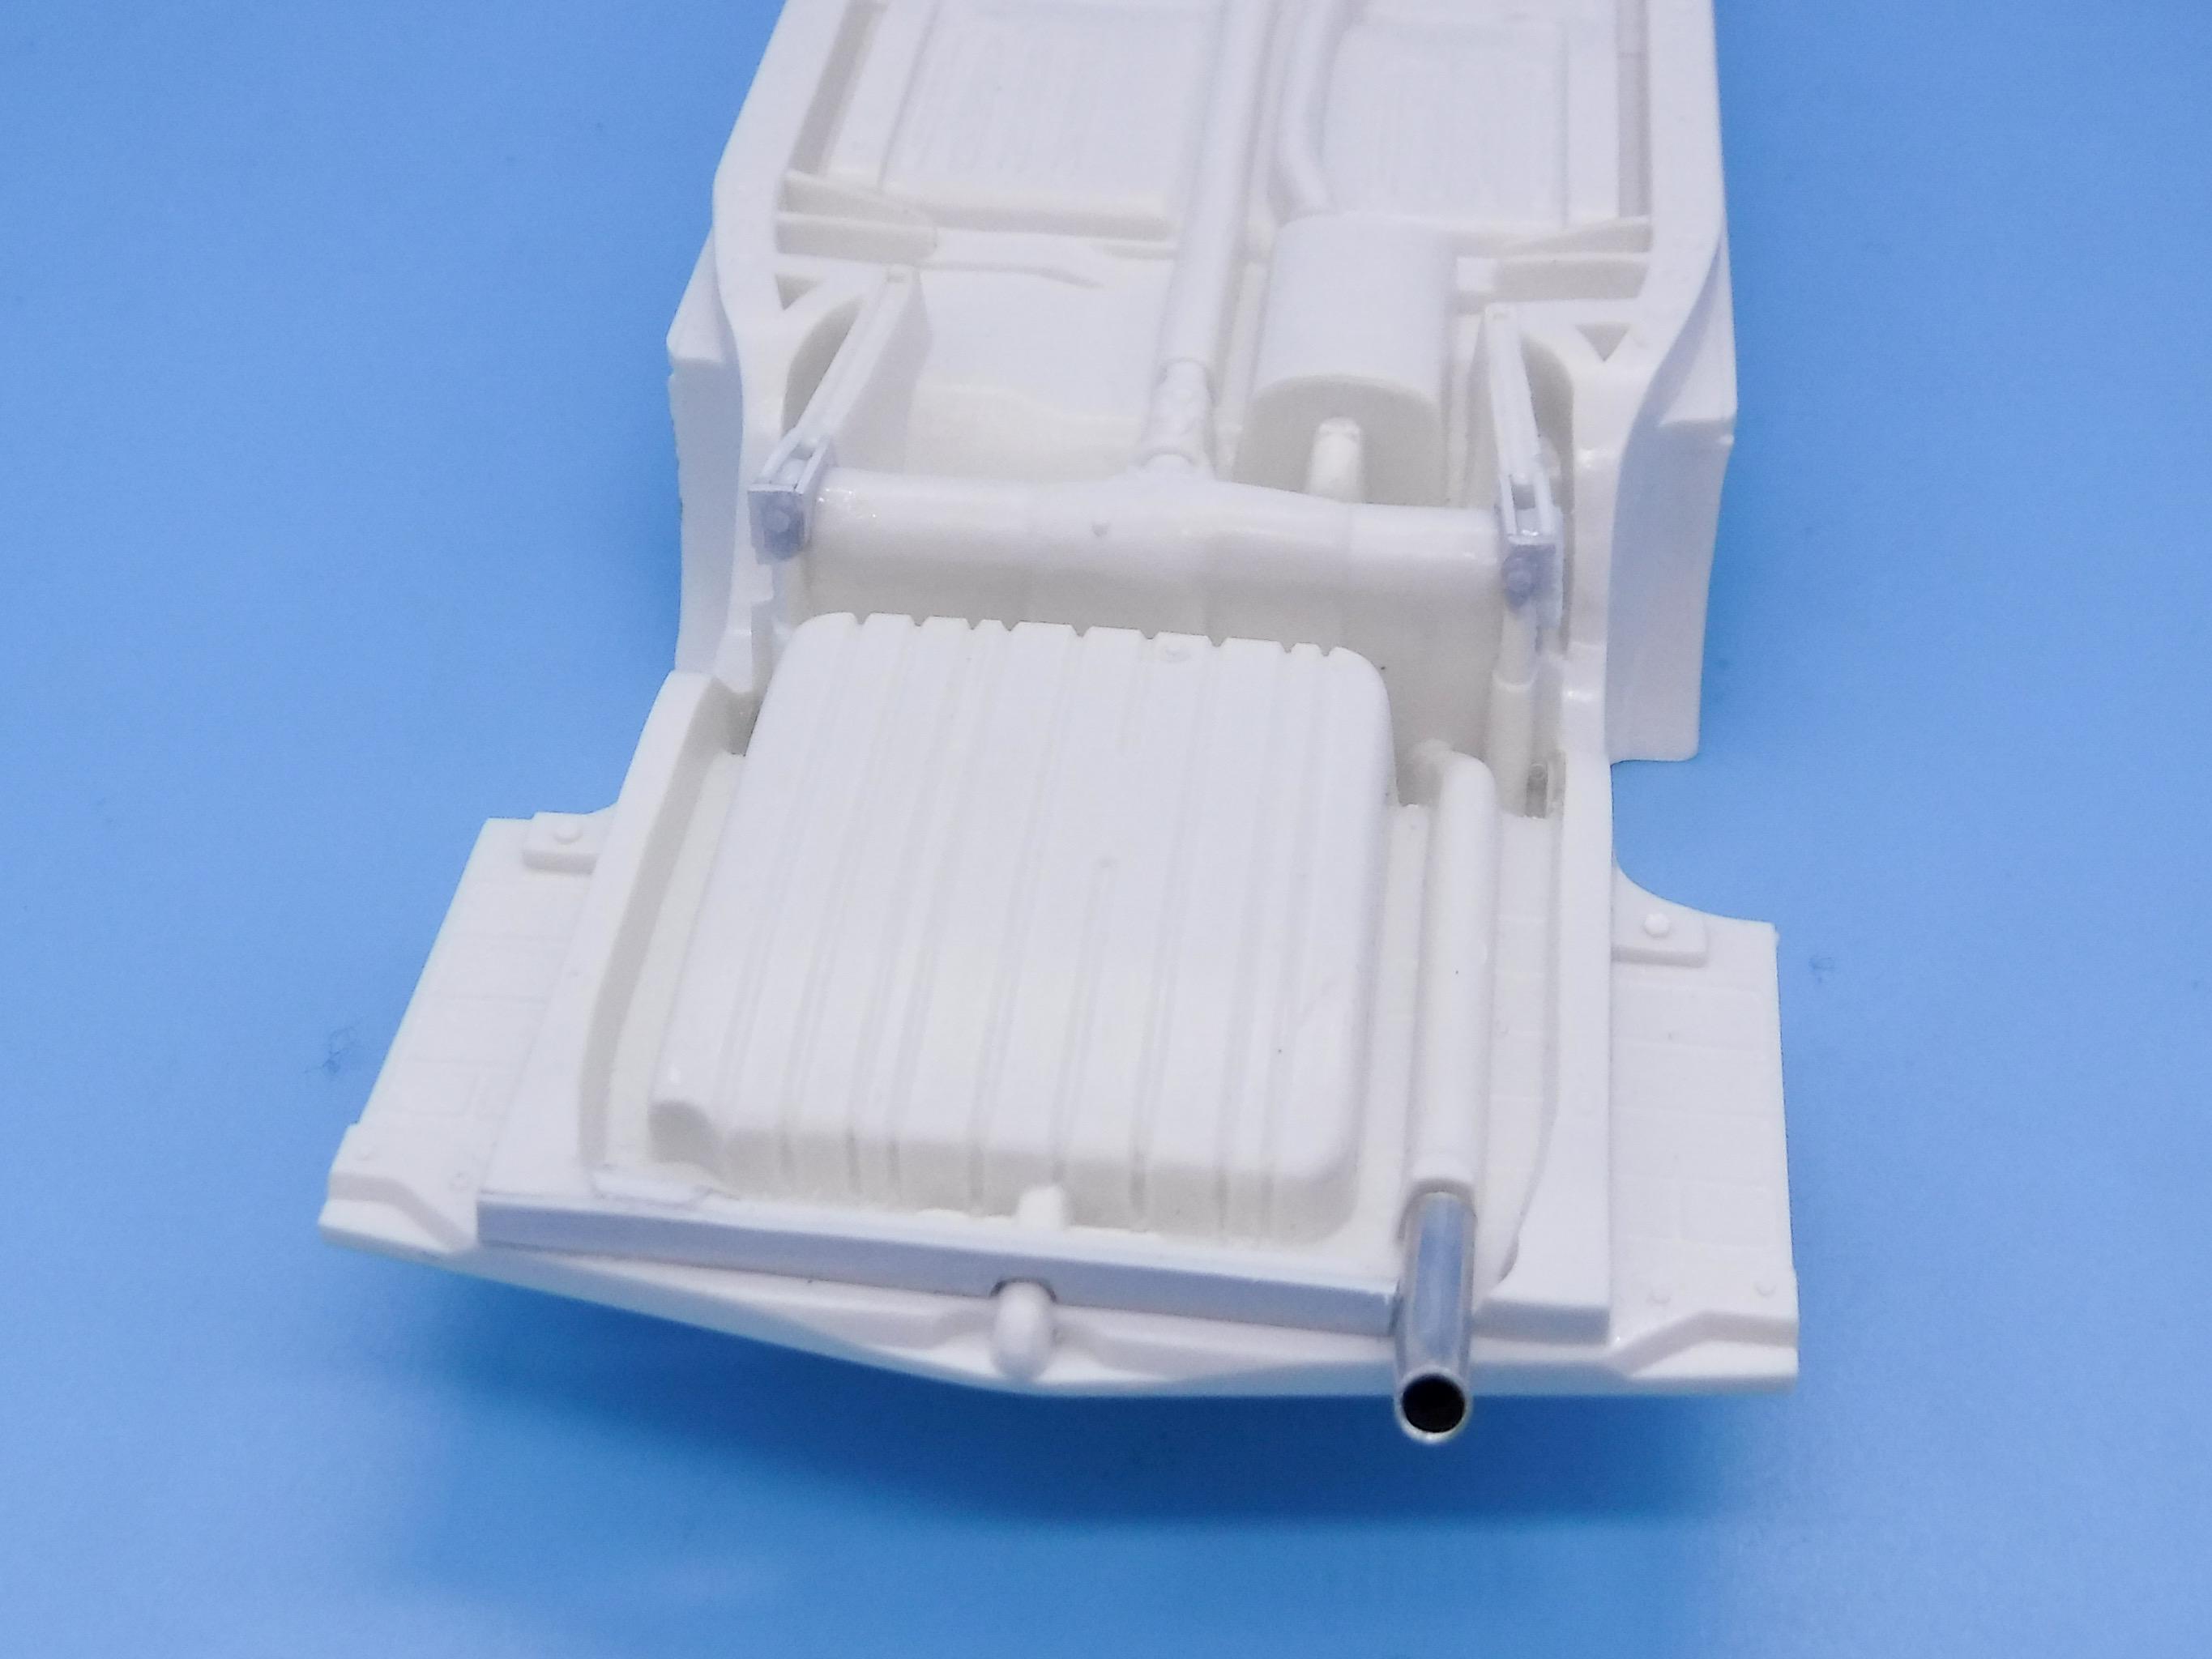
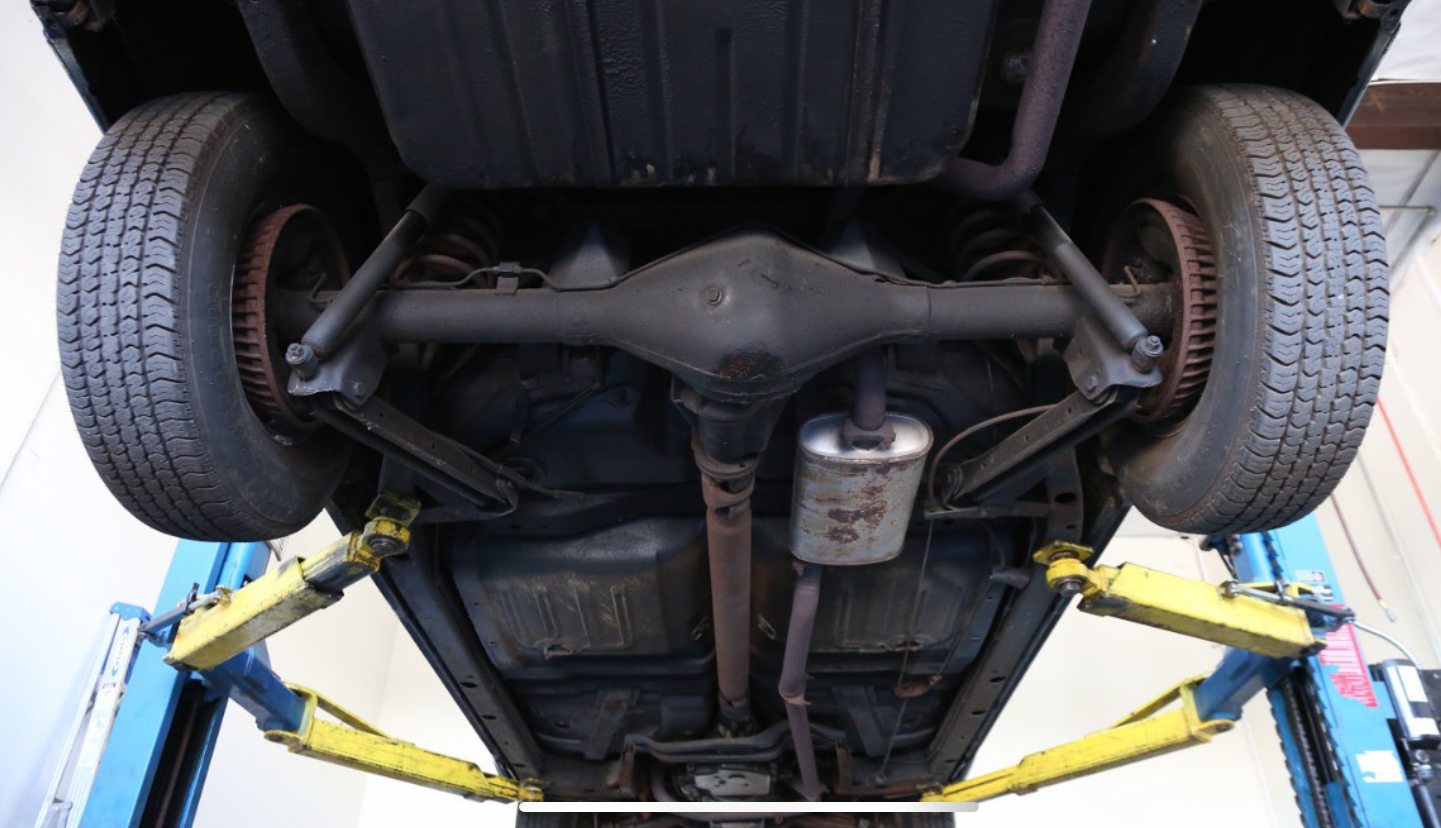
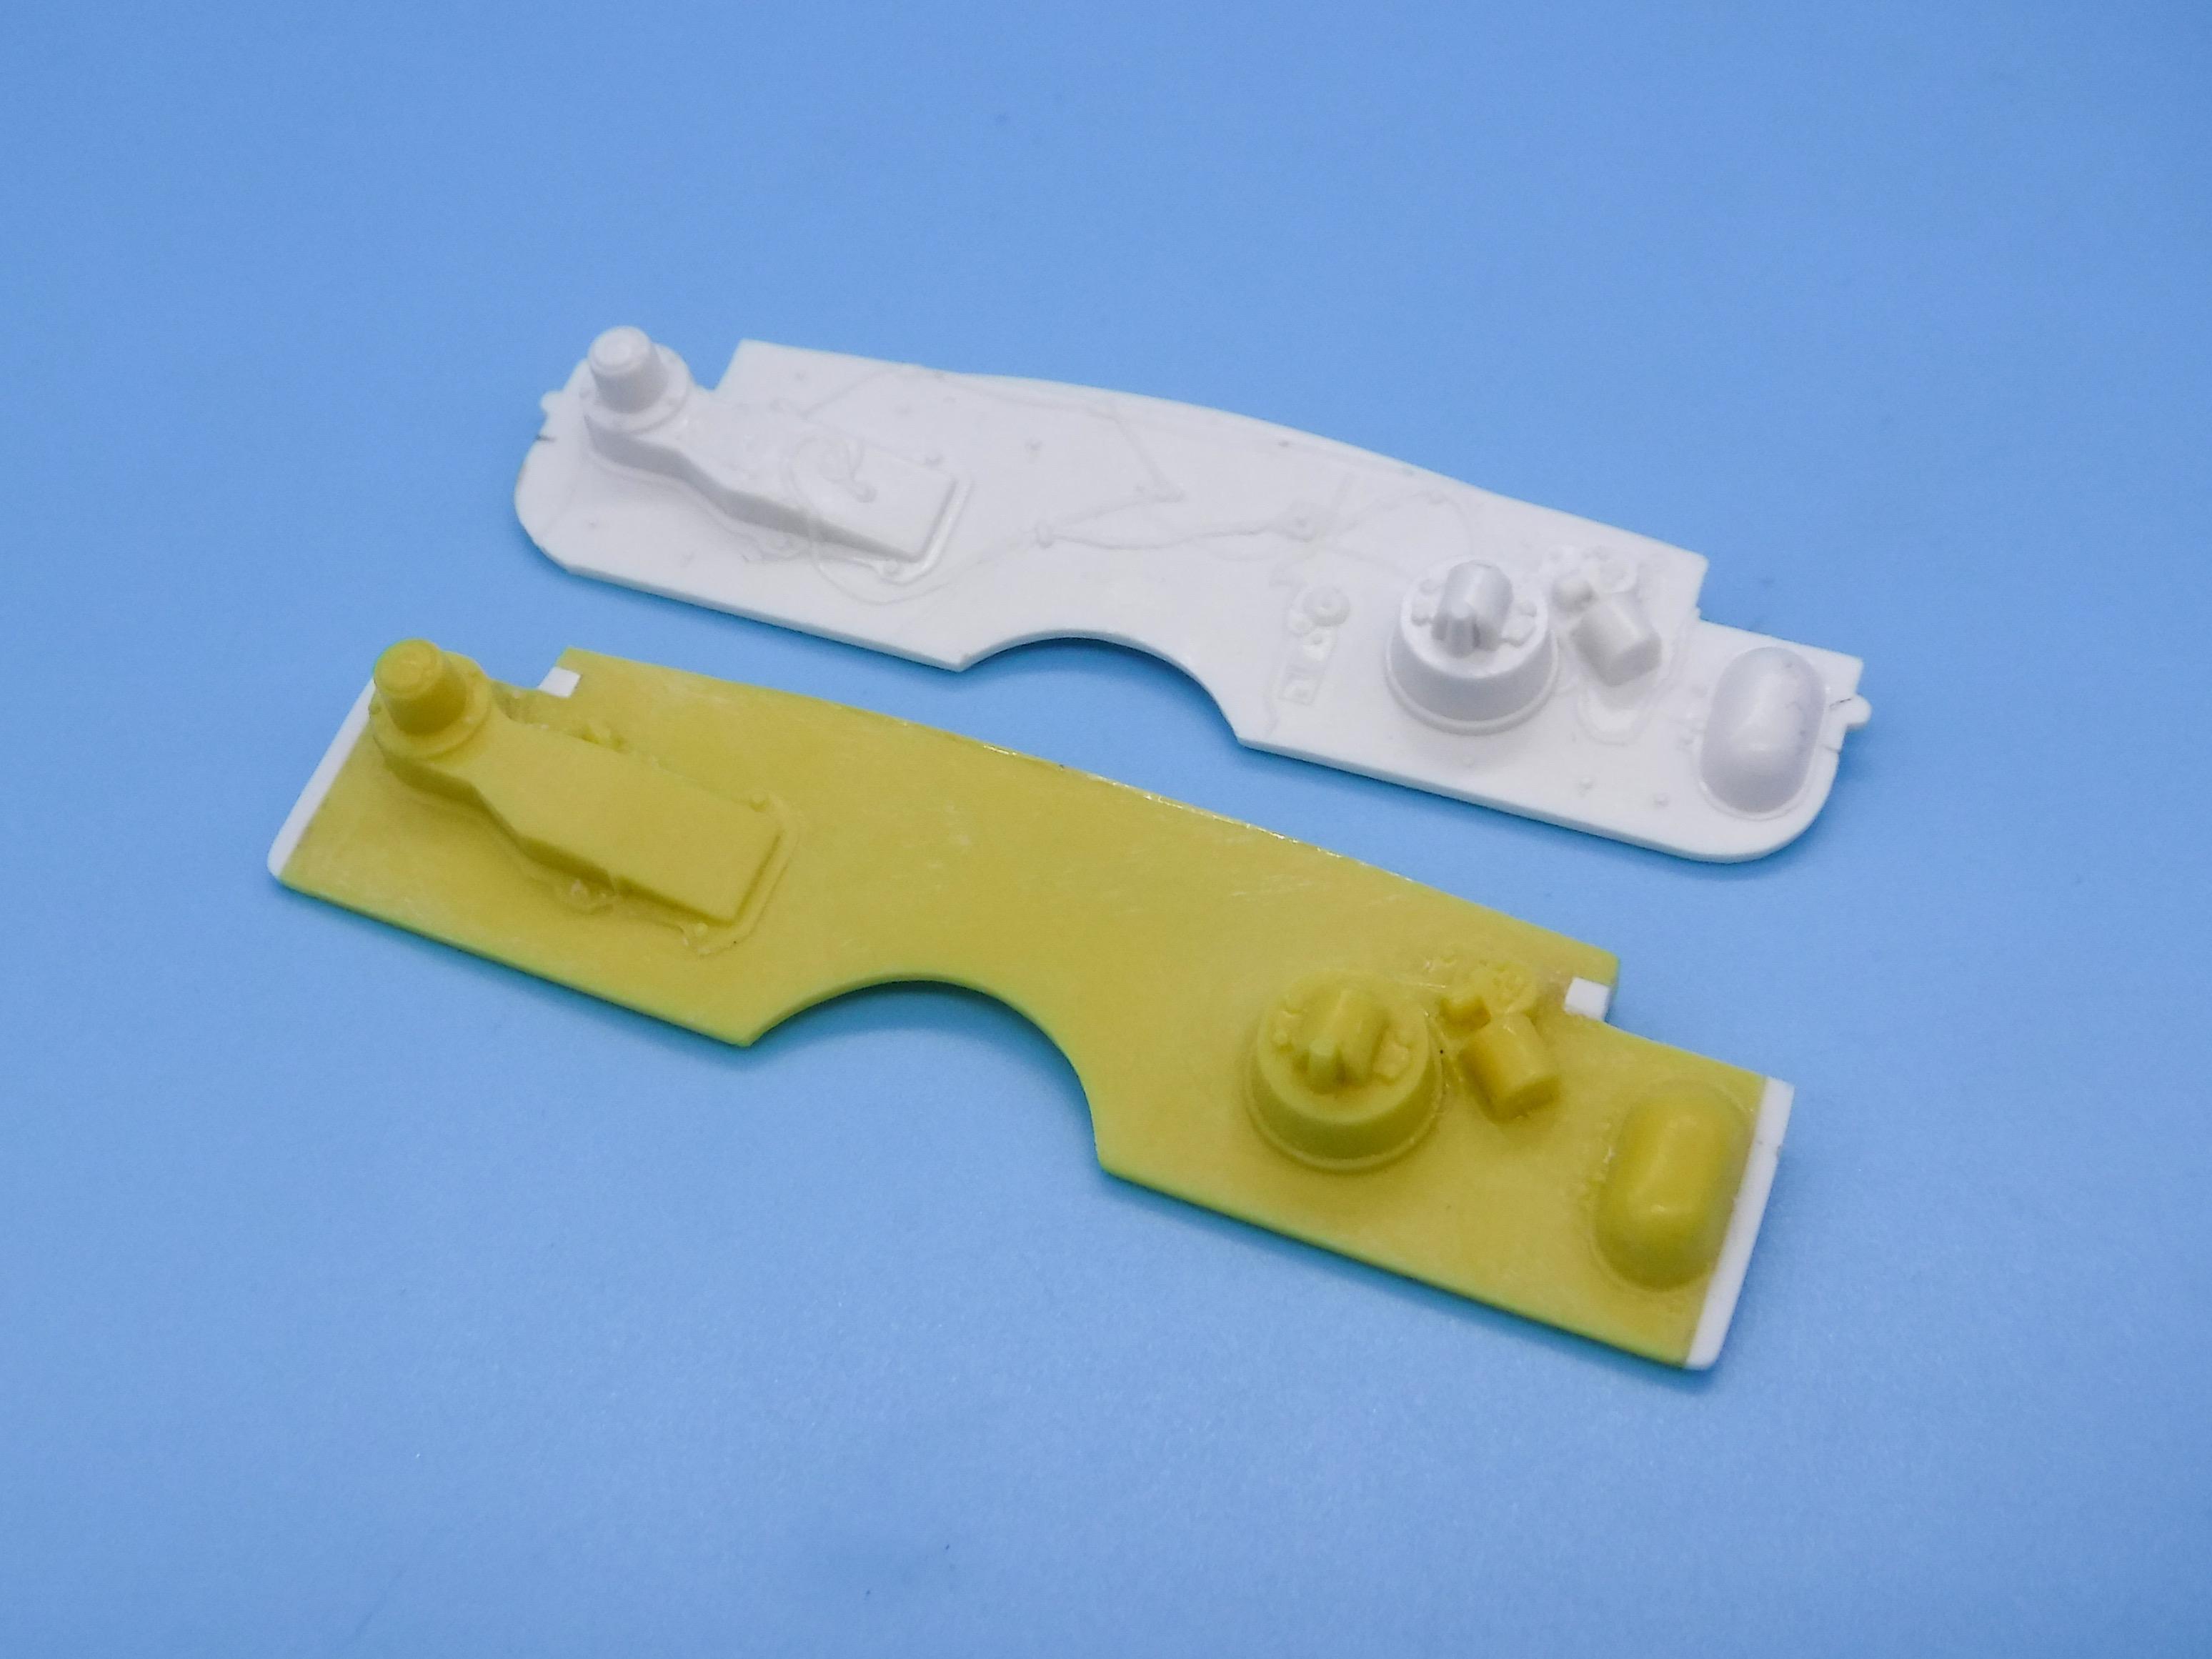
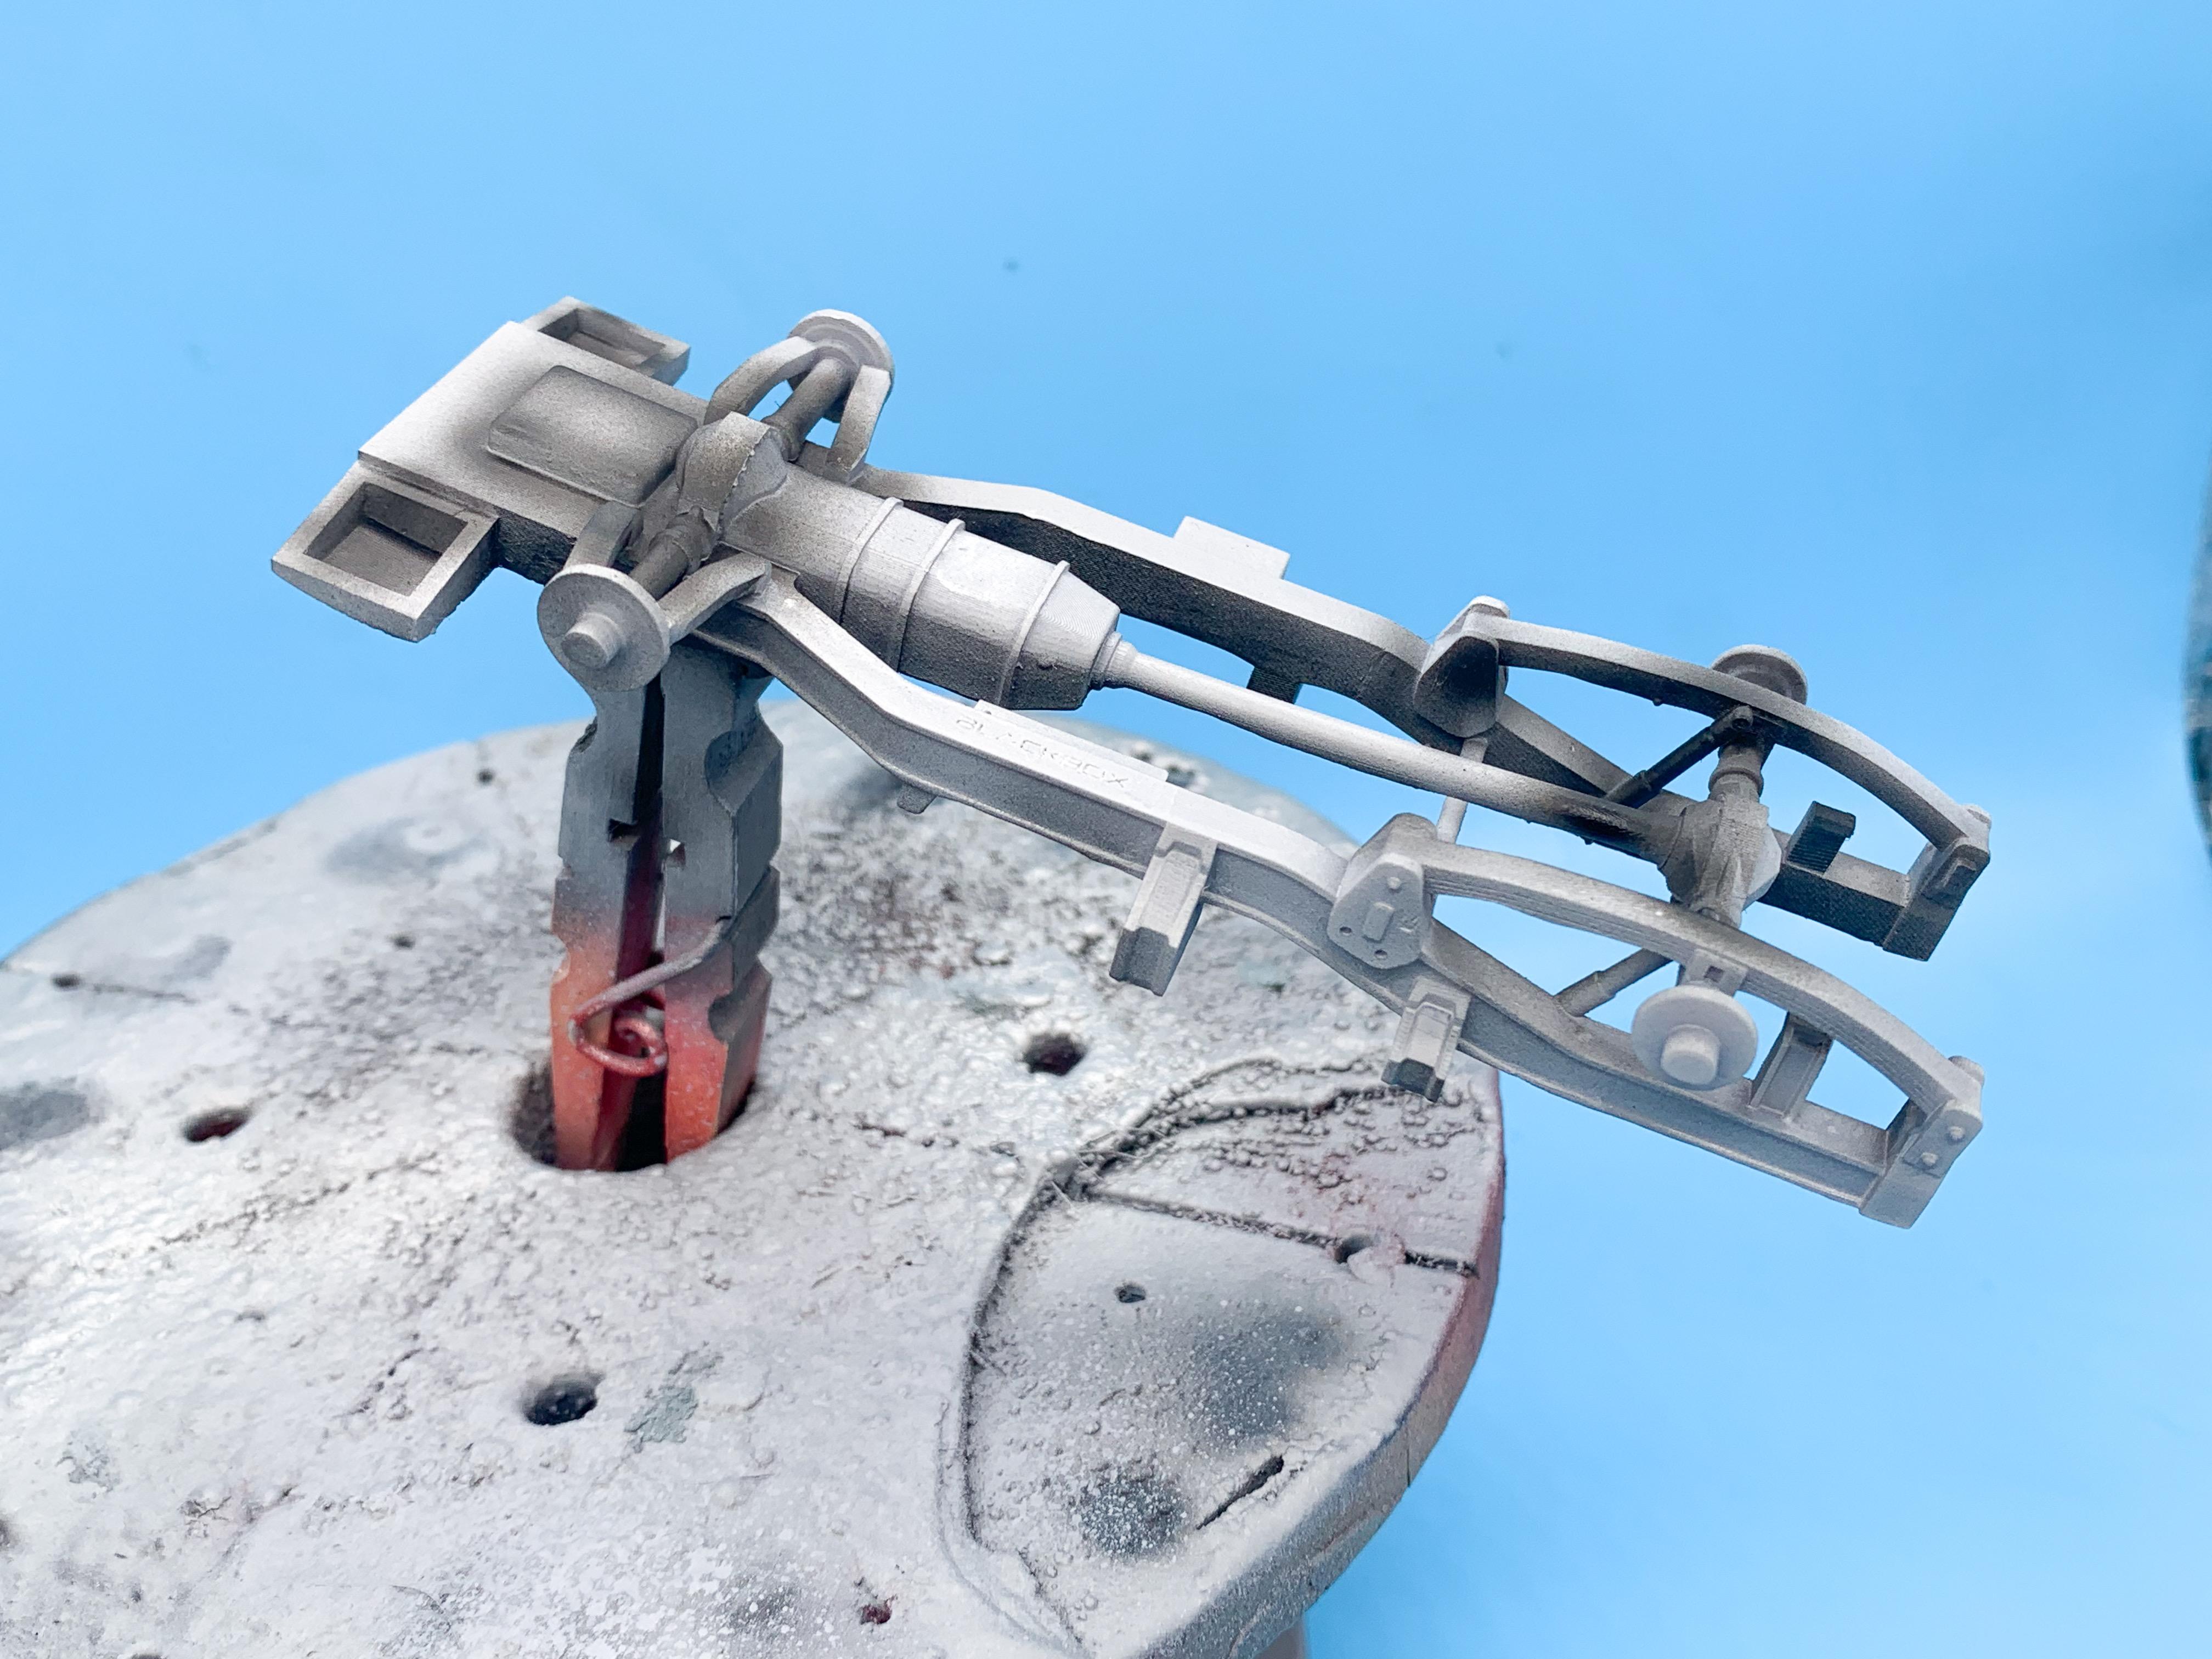
Thanks fellas! A little work on the chassis this evening. It’s your standard one-piece type deal with everything moulded-in, and I’m not intending to hack up a somewhat rare old kit to redo it all (tempting as it is…), but I had a couple of little tweaks that I wanted to make to add some realism - or at least to improve what you’d see if you were standing at a curb looking at this thing. Unmolested frame: Most obvious thing that was missing was a tip for the rear exhaust, and if you peek underneath the rear of one of these cars you see the back edge of the frame a little so I wanted to fix a gap that shouldn’t be there too: Looking forward to the rear axle; this kit doesn’t include any brakes, and there’s a decent sized gap visible where the axle, trailing arms and shocks disappear into thin air so I made some little filler pieces and printed some rod ends to make that a little more realistic: Starting to look more like the 1:1 already! Tomorrow’s job will be figuring out brake drums and then the front end… Meanwhile, whilst glue was drying, I worked on the firewall a little. I wanted to remove the moulded-in wiring and replace it, but I really didn’t want to ruin that nice kit piece either. Lucky this kit came with an extra firewall (allegedly for the same kit, but different enough that I had to modify it some). Kit part top, modified part bottom: I know that, from left to right, we’re seeing the heater, then the brake master - but what are the two parts to the left? Coil maybe, for the smaller part? Not sure what the pill-shaped part represents, and haven’t fully researched…if anyone knows I’d be interested to know too! And that’s about all I got done this evening, aside from starting some clean-up on the engine…more to come on that when I’ve actually made some progress. Thanks for looking!

-
Acrylics, I THINK - never tried with enamels or lacquers, in honestly…
-
A cheap (or likely free, if you have a wife or girlfriend) alternative to that chipping medium is regular hairspray. Shoot the 'base' color first (in this case, the metal tone. Then, once it's good and dry, shoot hairspray and let THAT dry. Then, paint your top color (that dark gray / black in this case). Then, using a toothpick, a brush, or whatever else you have to hand and some water, gentlypick at the paint. The water will dissolve the hairspray (which has to be water soluble, or you'd never be able to wash it out of your hair), loosening up the paint on top in a controllable way so you can add chips, scratches, or achieve that 'scaling' look. Simple!
-
Thanks buddy!
-
This is really awesome. Honestly, when I saw that 3D file online for one of these I HAD to have it, and ordered and started printing it right away. Never occurred to me that there might have been an actual kit I could buy instead ??
- 766 replies
-
- 1
-

-
- stalled builds
- quick builds
- (and 2 more)
-
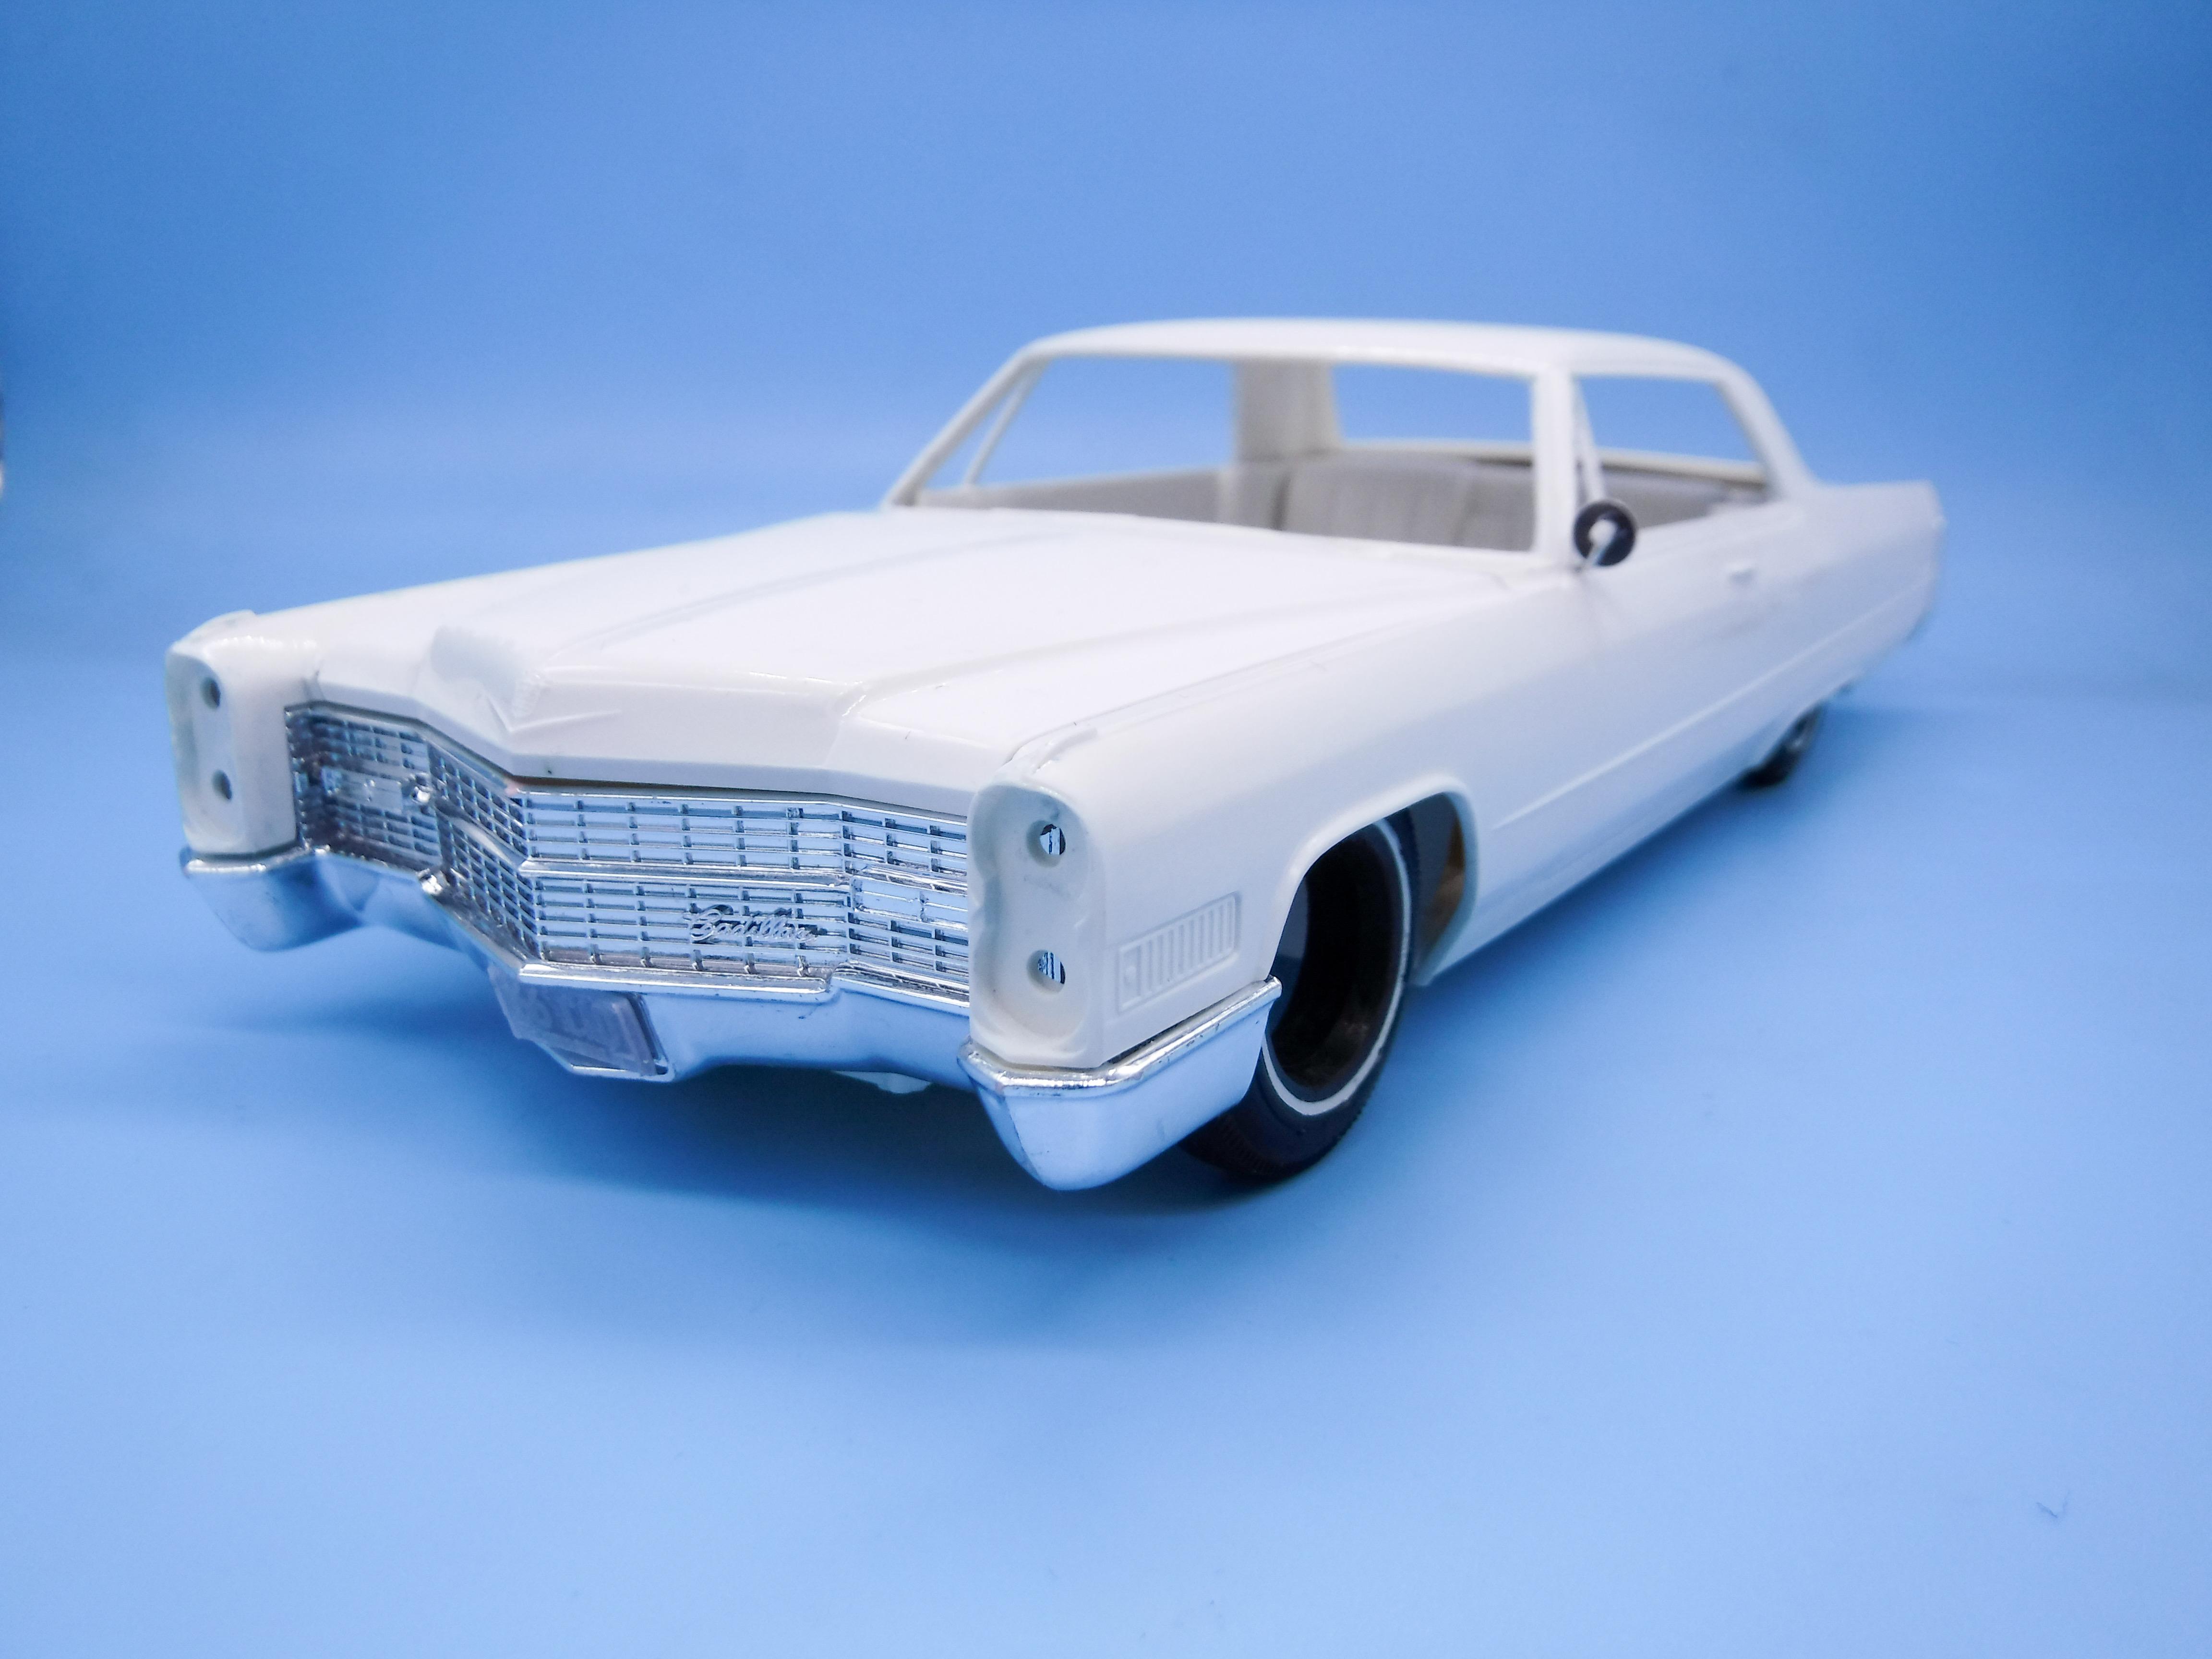
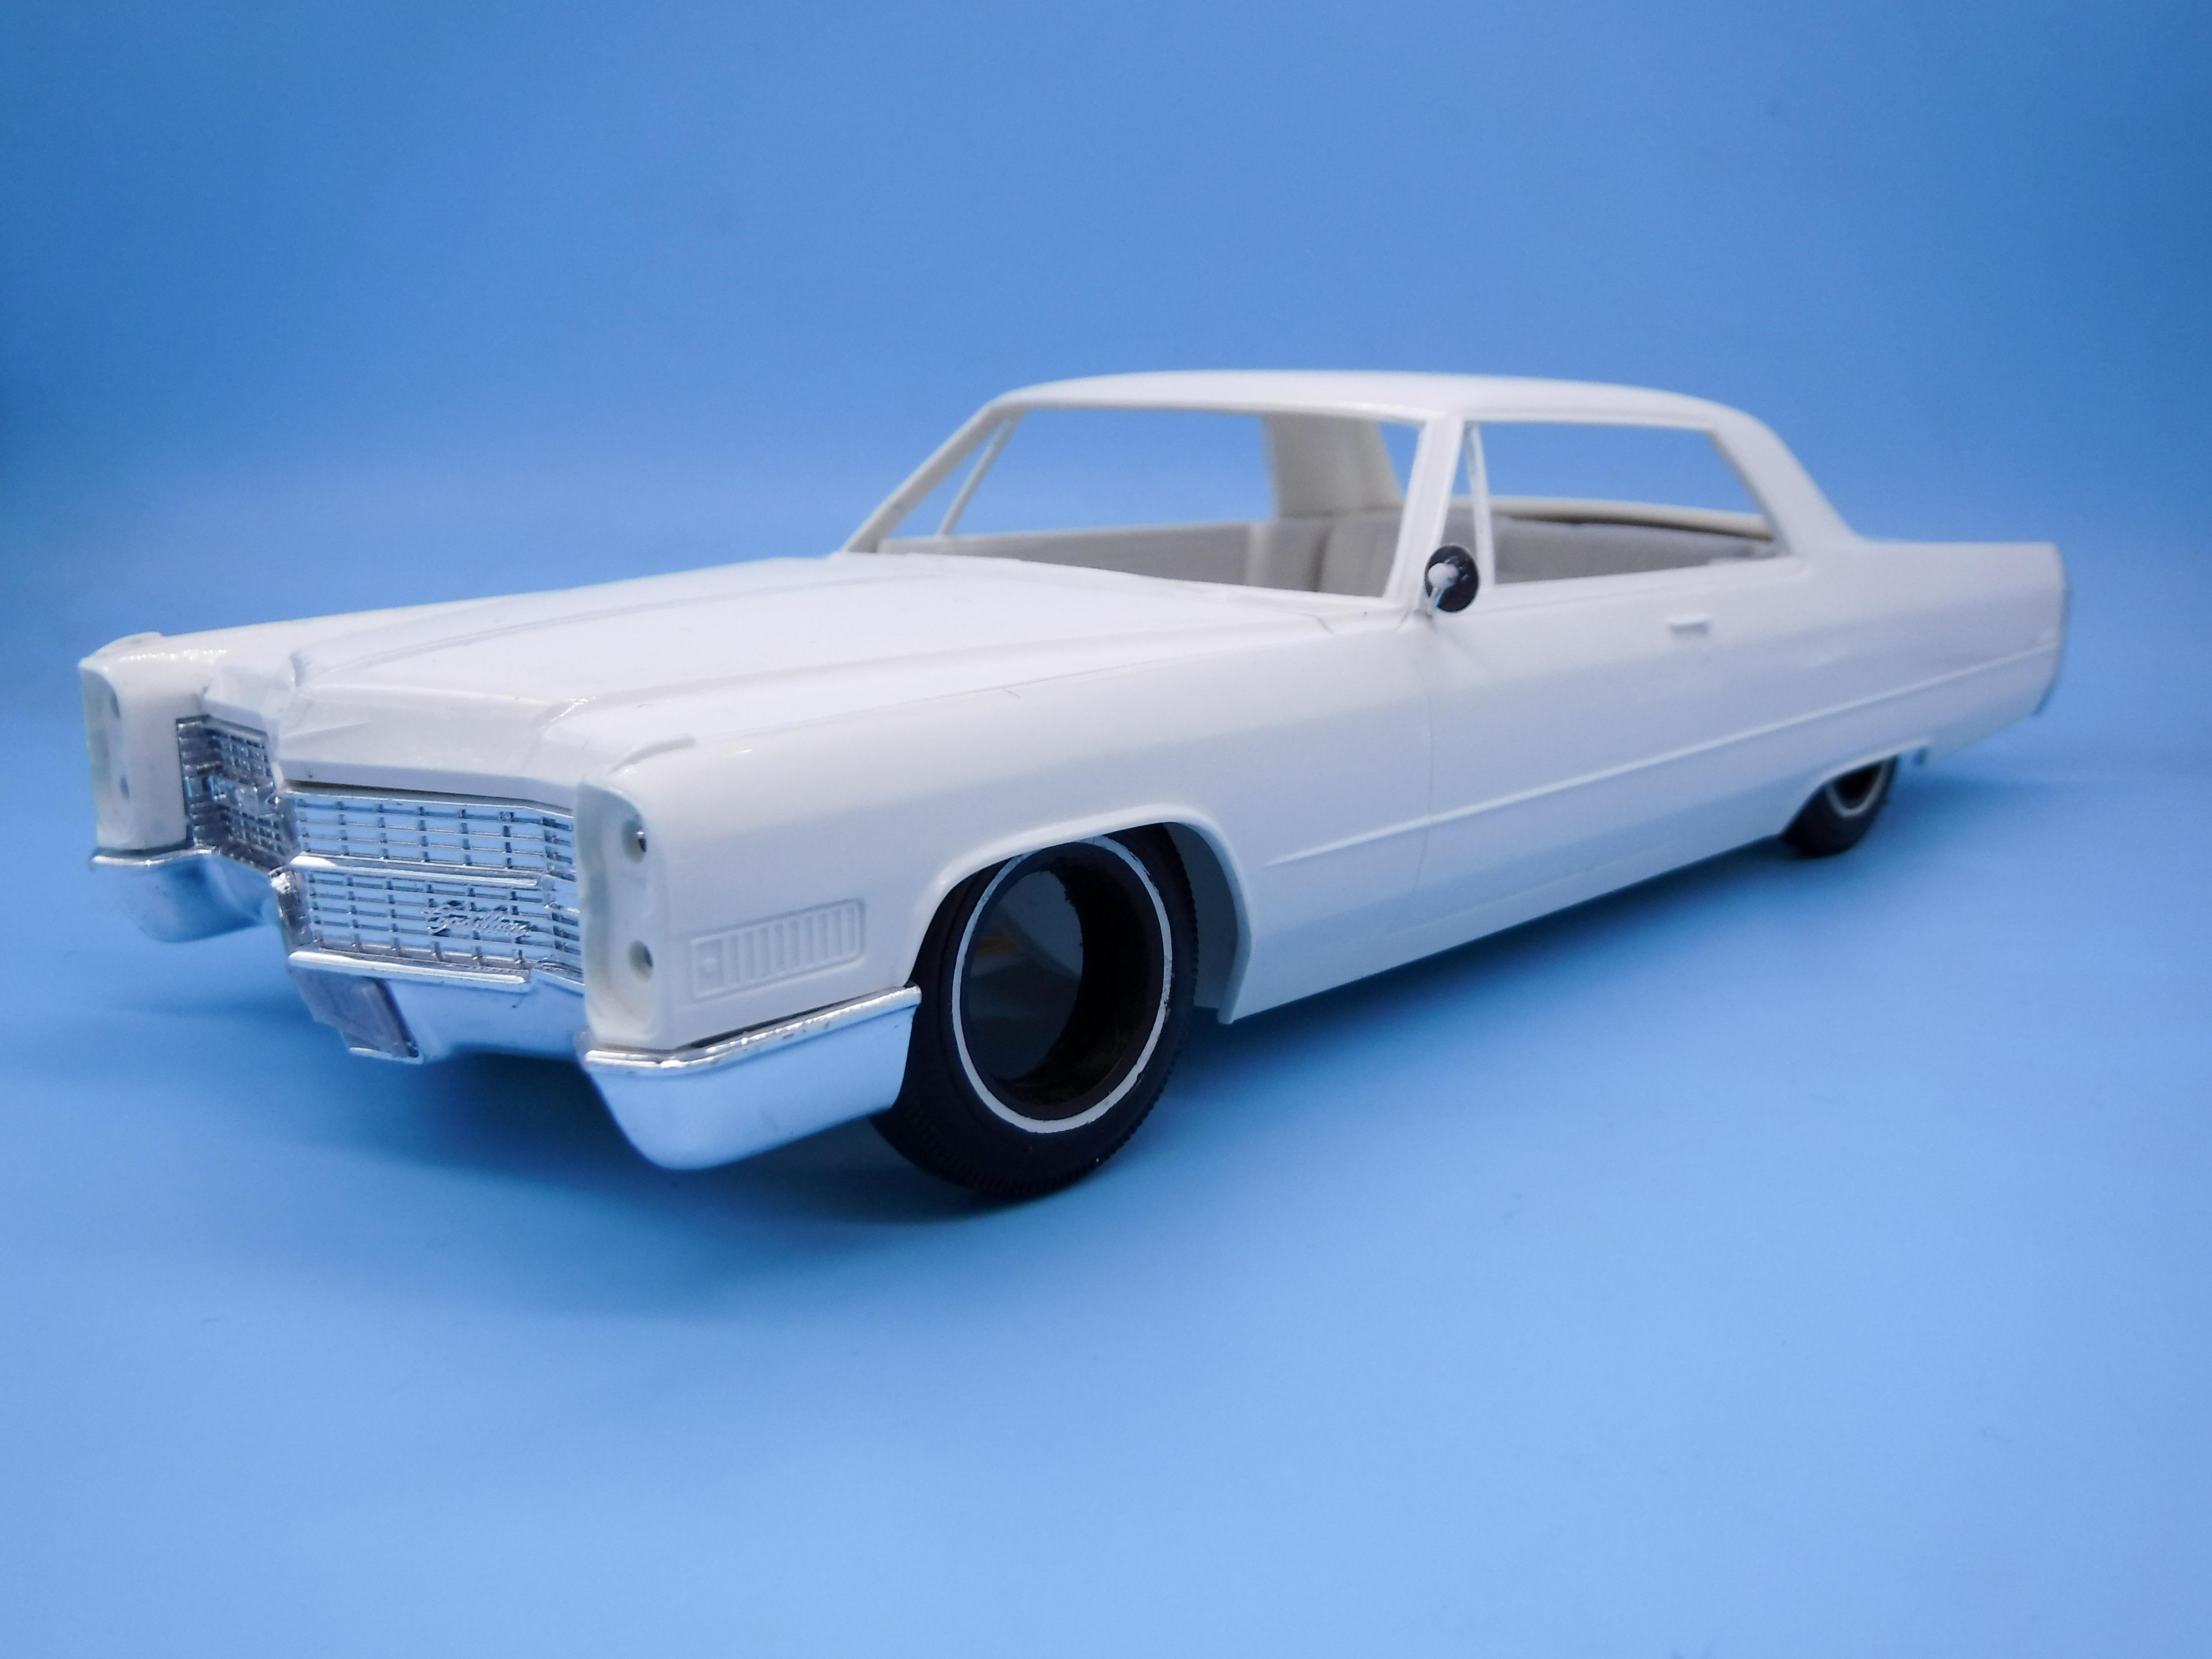
Thanks guys - and thanks @Repstockfor those REALLY helpful links! I’ve been referring to those all day! A little more progress today… First job was finishing up the cleanup on those pieces of window trim behind the door. Took WAY longer than it should’ve but it’s a tricky spot to sand without damaging anything or sanding a dip where I didn’t want one… Worked through and scribed all the panel lines - if I was going with a lighter color I would’ve gone deeper to help add more depth to them, but honestly with a dark color the difference won’t be as noticeable… 3D printed raised-print license plates…went for era correct NY plates (unsurprisingly) ? The chrome on these bumpers is still pretty nice so I’m hoping to keep it that way and not have to refinish them… I don’t know if it’s something particular to this car, but all the reference pics I found of this particular generation Caddy only have a drivers door mirror - nothing on the passenger side. Regardless, my kit didn’t have one so I made one… And then final job of the day was checking the fit of those bumpers to see how they’re going to work out. Front is pretty good, not perfect but close… …and the rear looks pretty good to me - won’t need much finessing at all: Should be a handsome car when it’s done! Still a little more fine detailing to do on the body before I’m ready to lay down primer (which is when we’ll REALLY see how straight this is…) but it’s closer than it was! More soon, soon as I’ve done more!
-
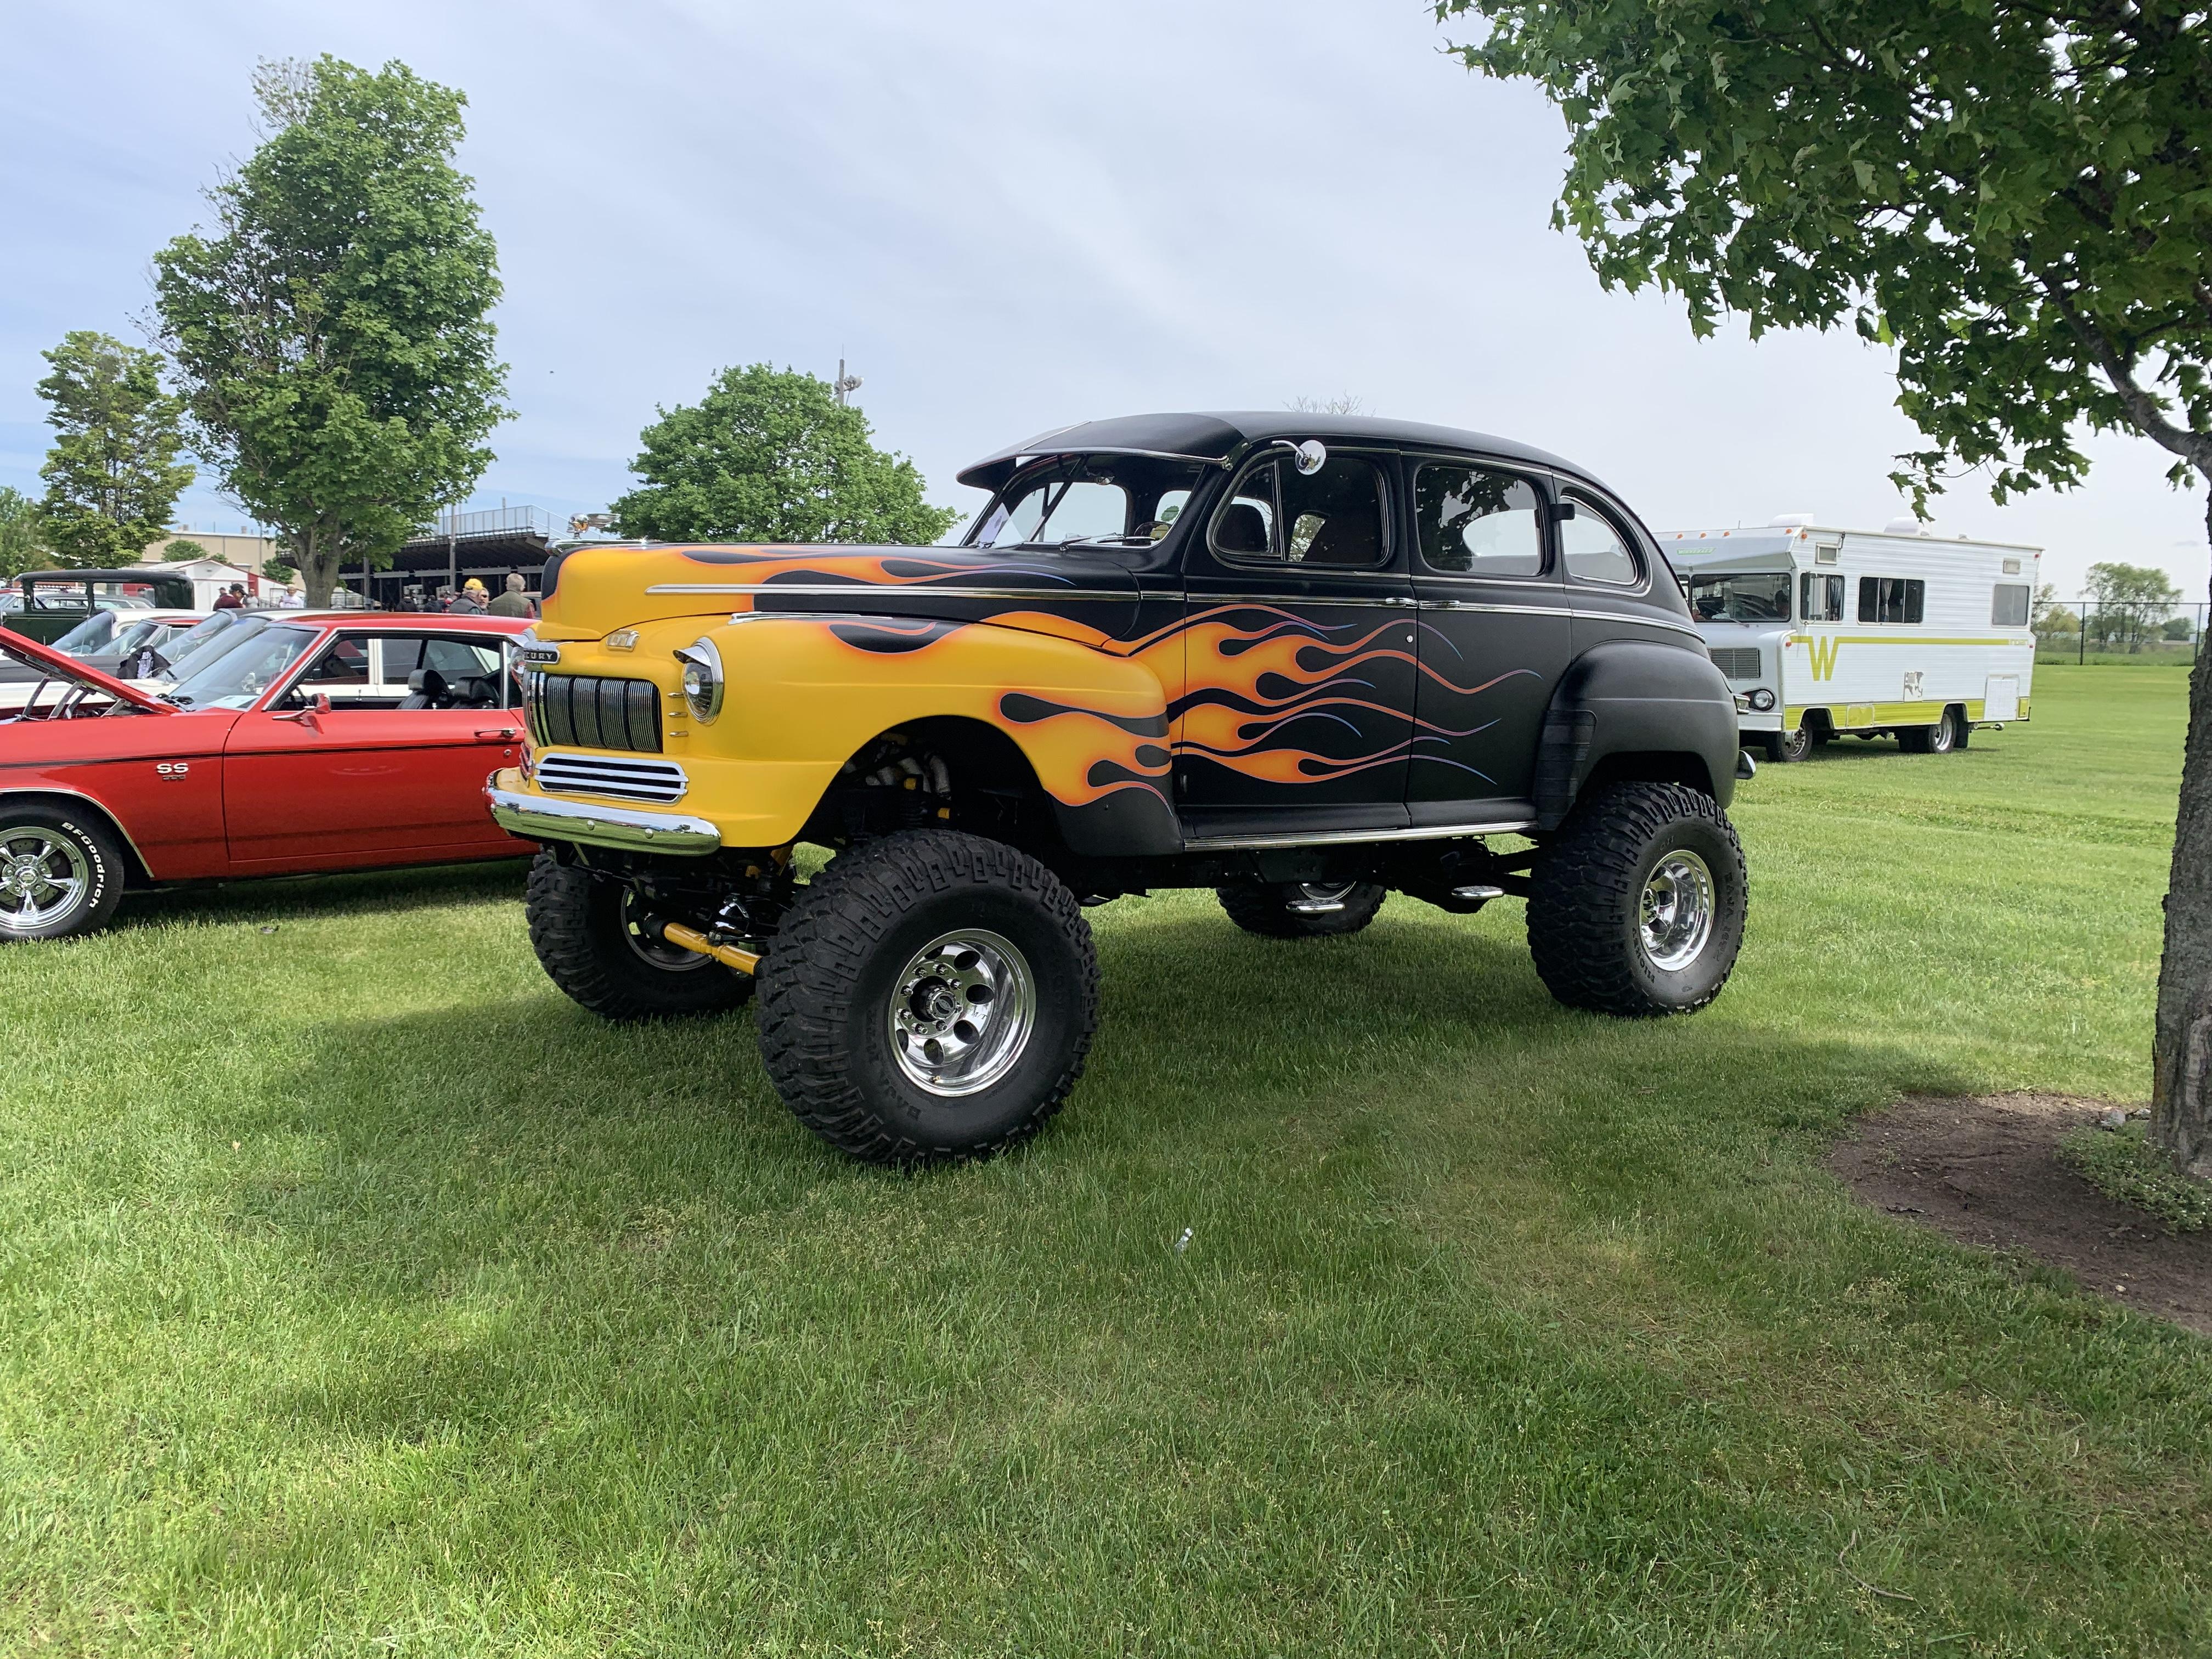
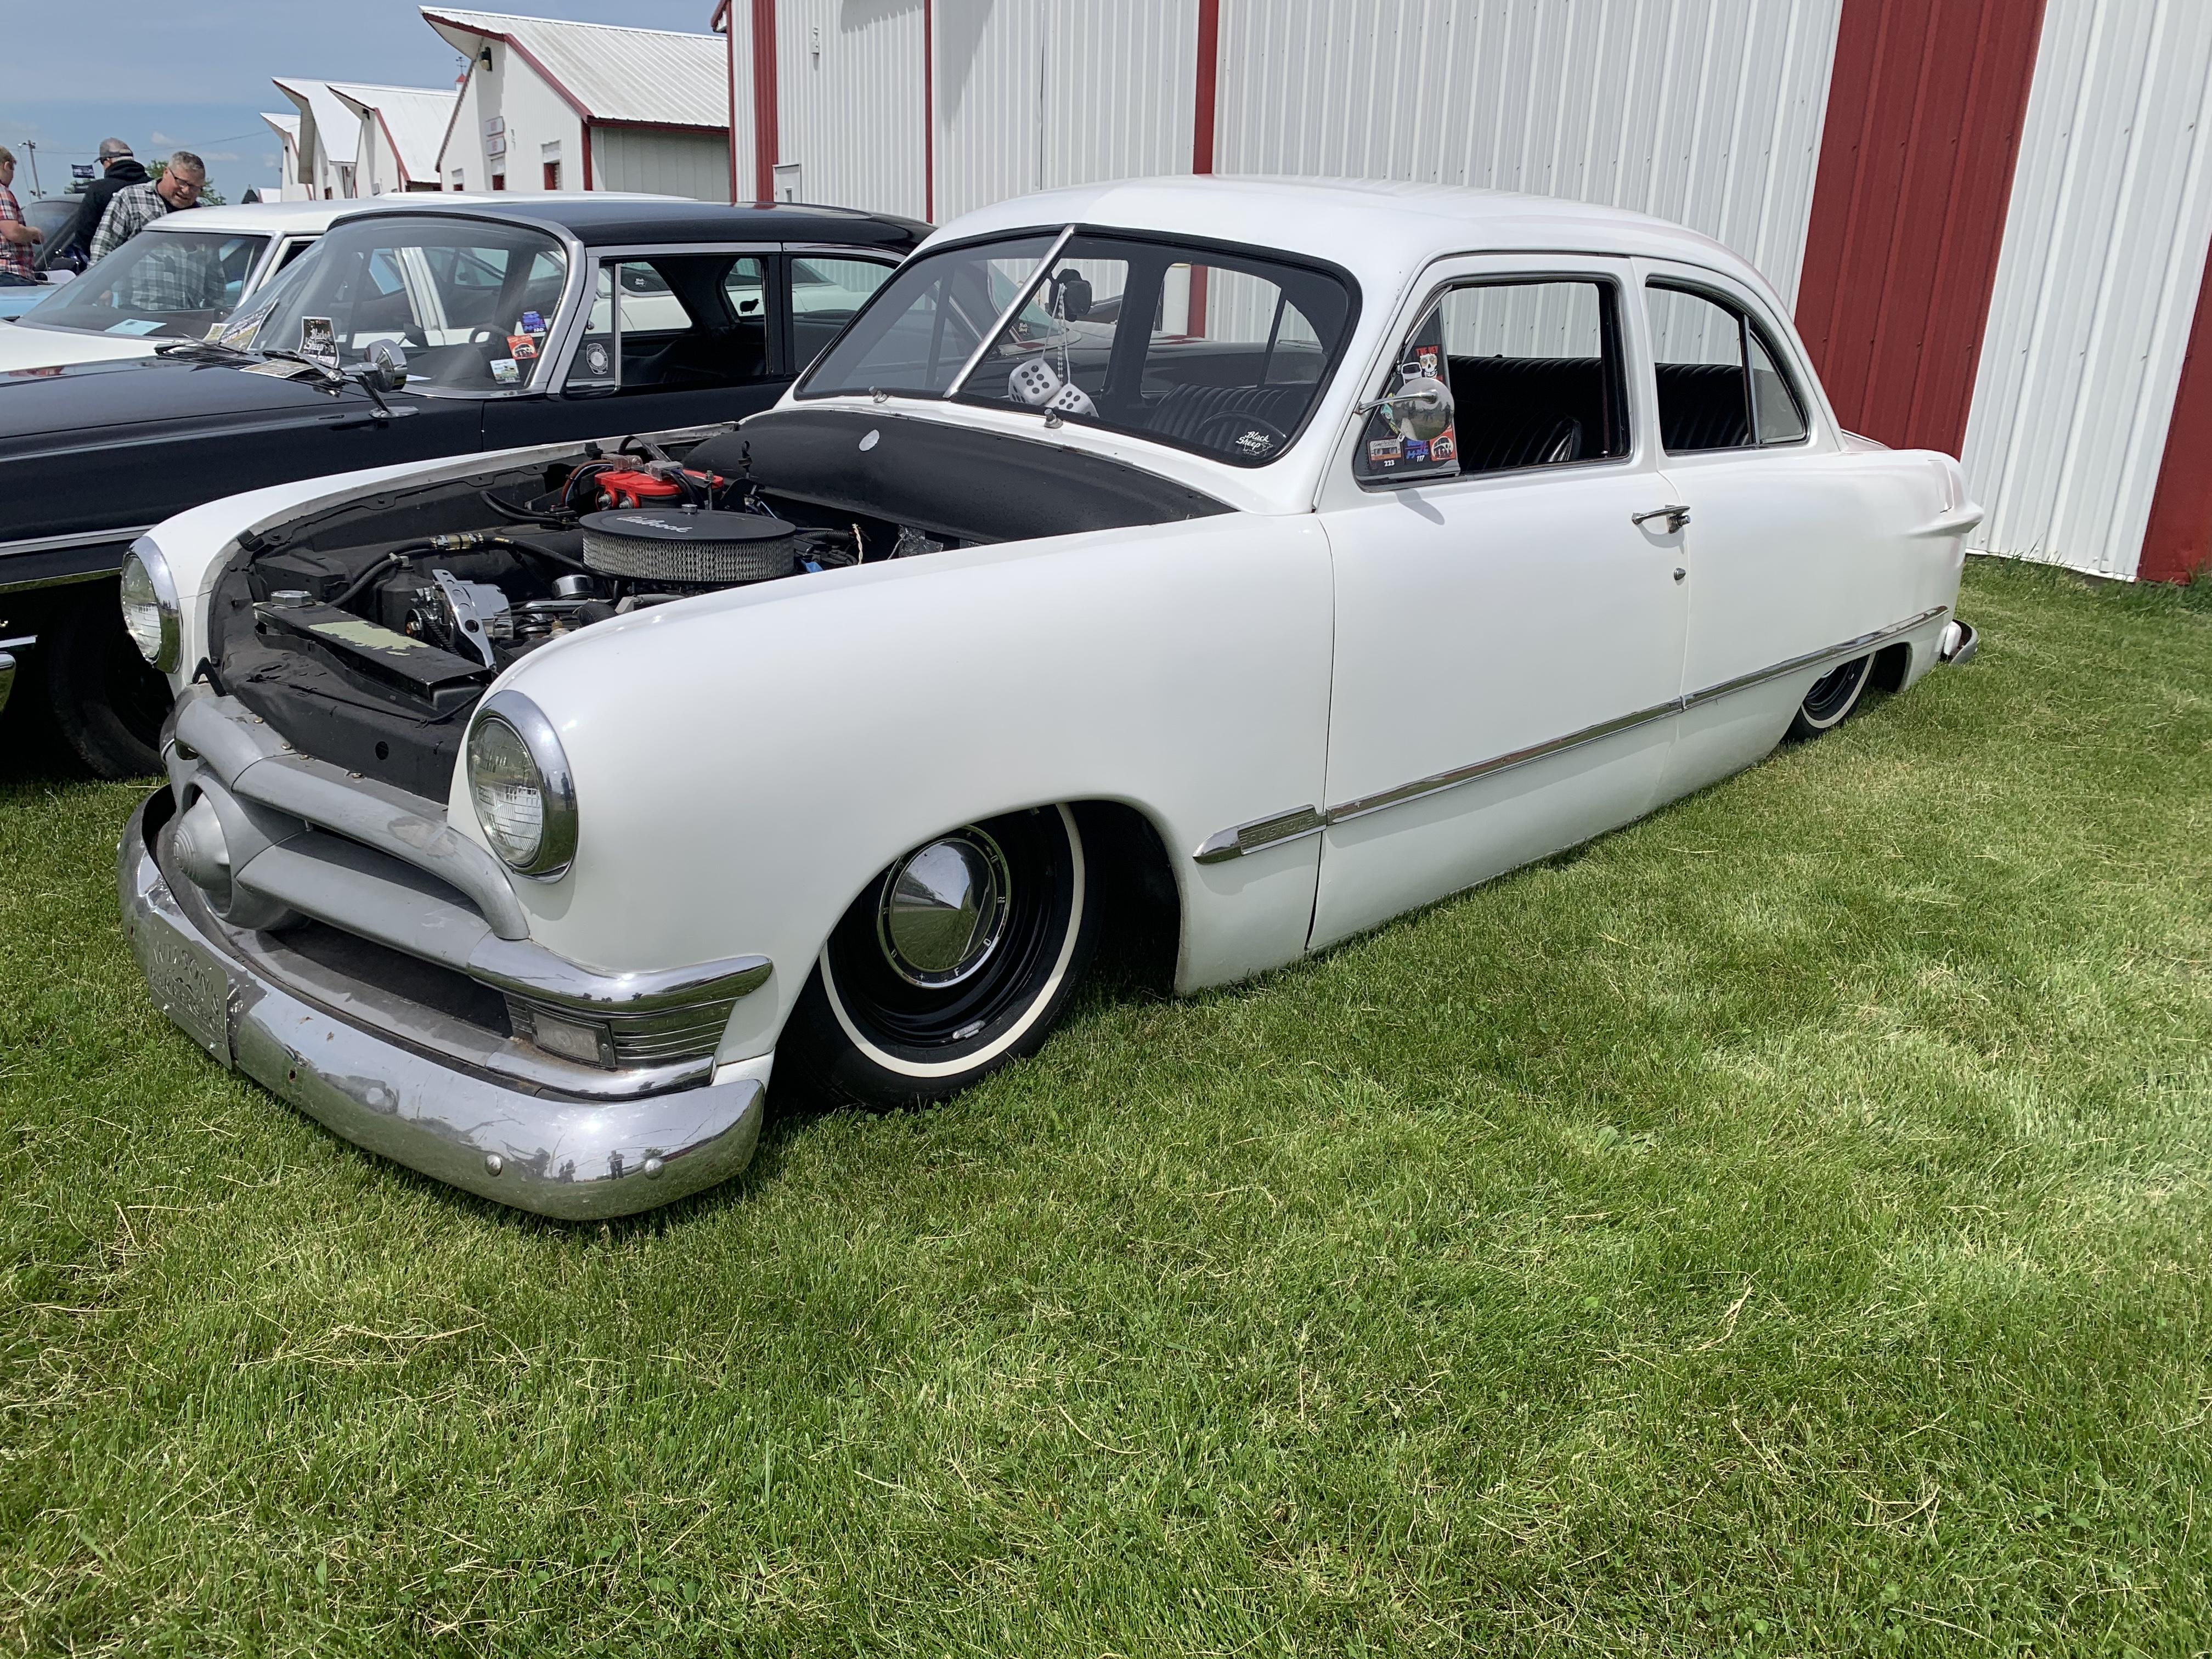
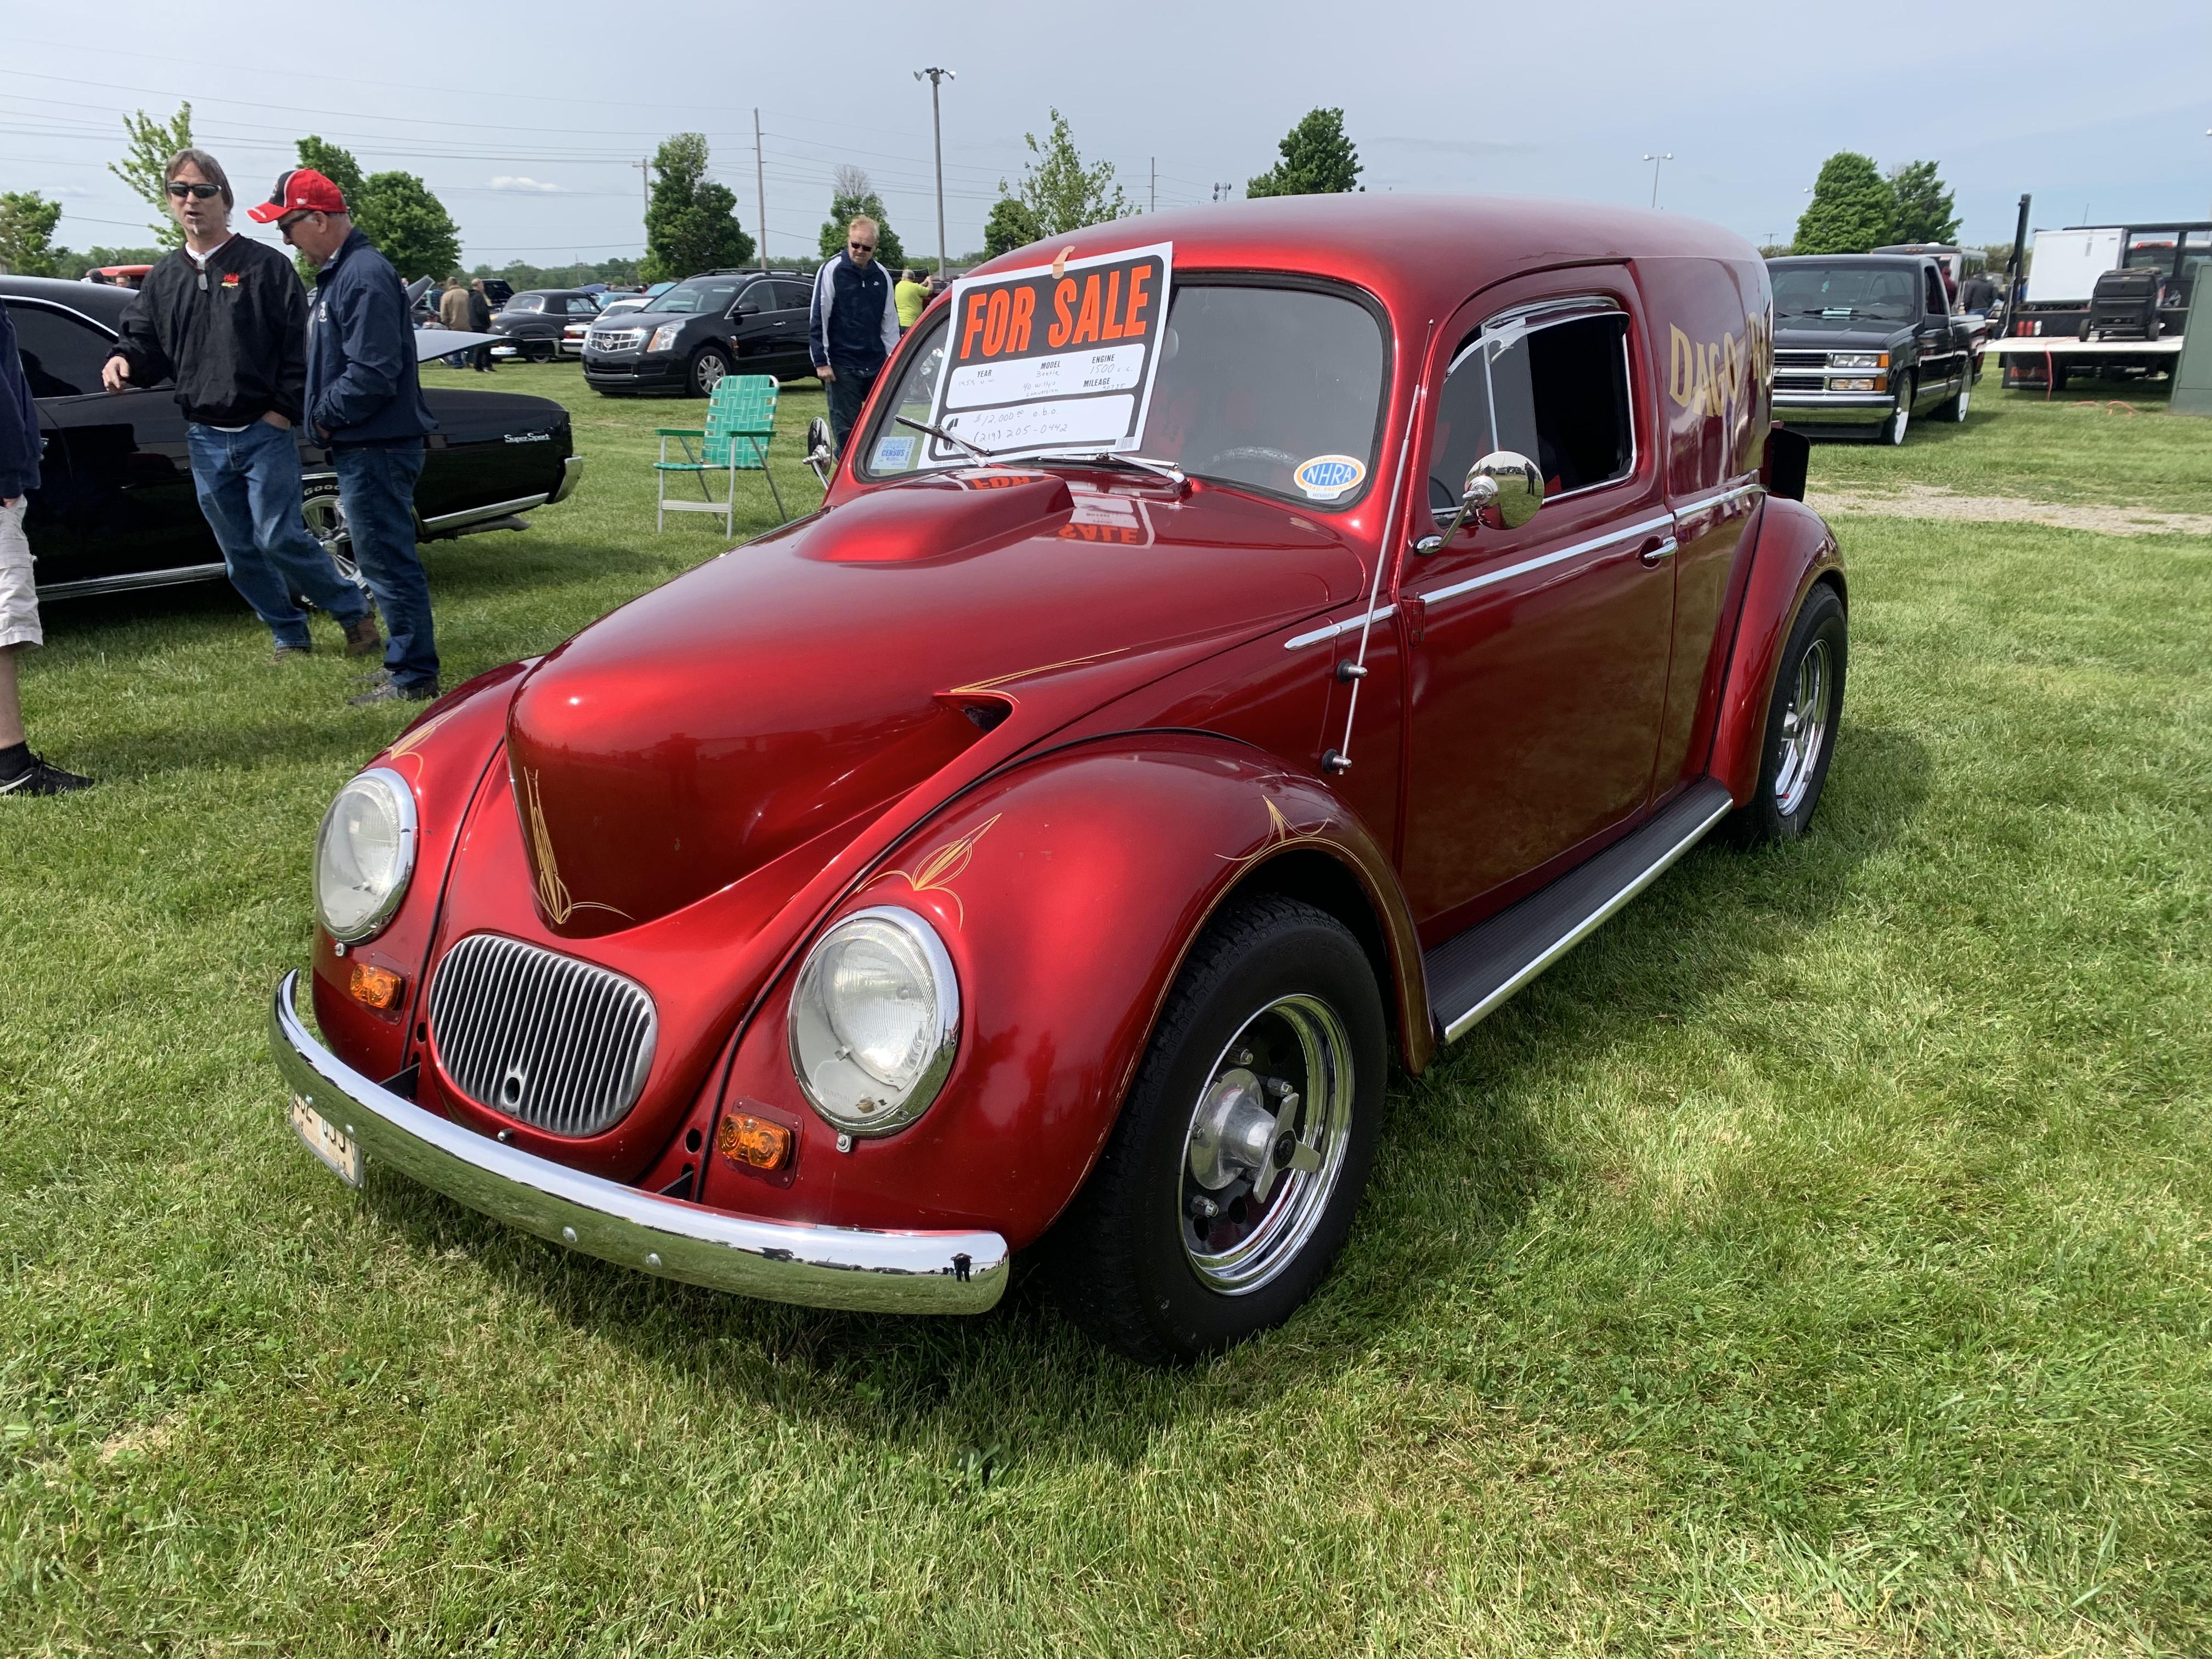
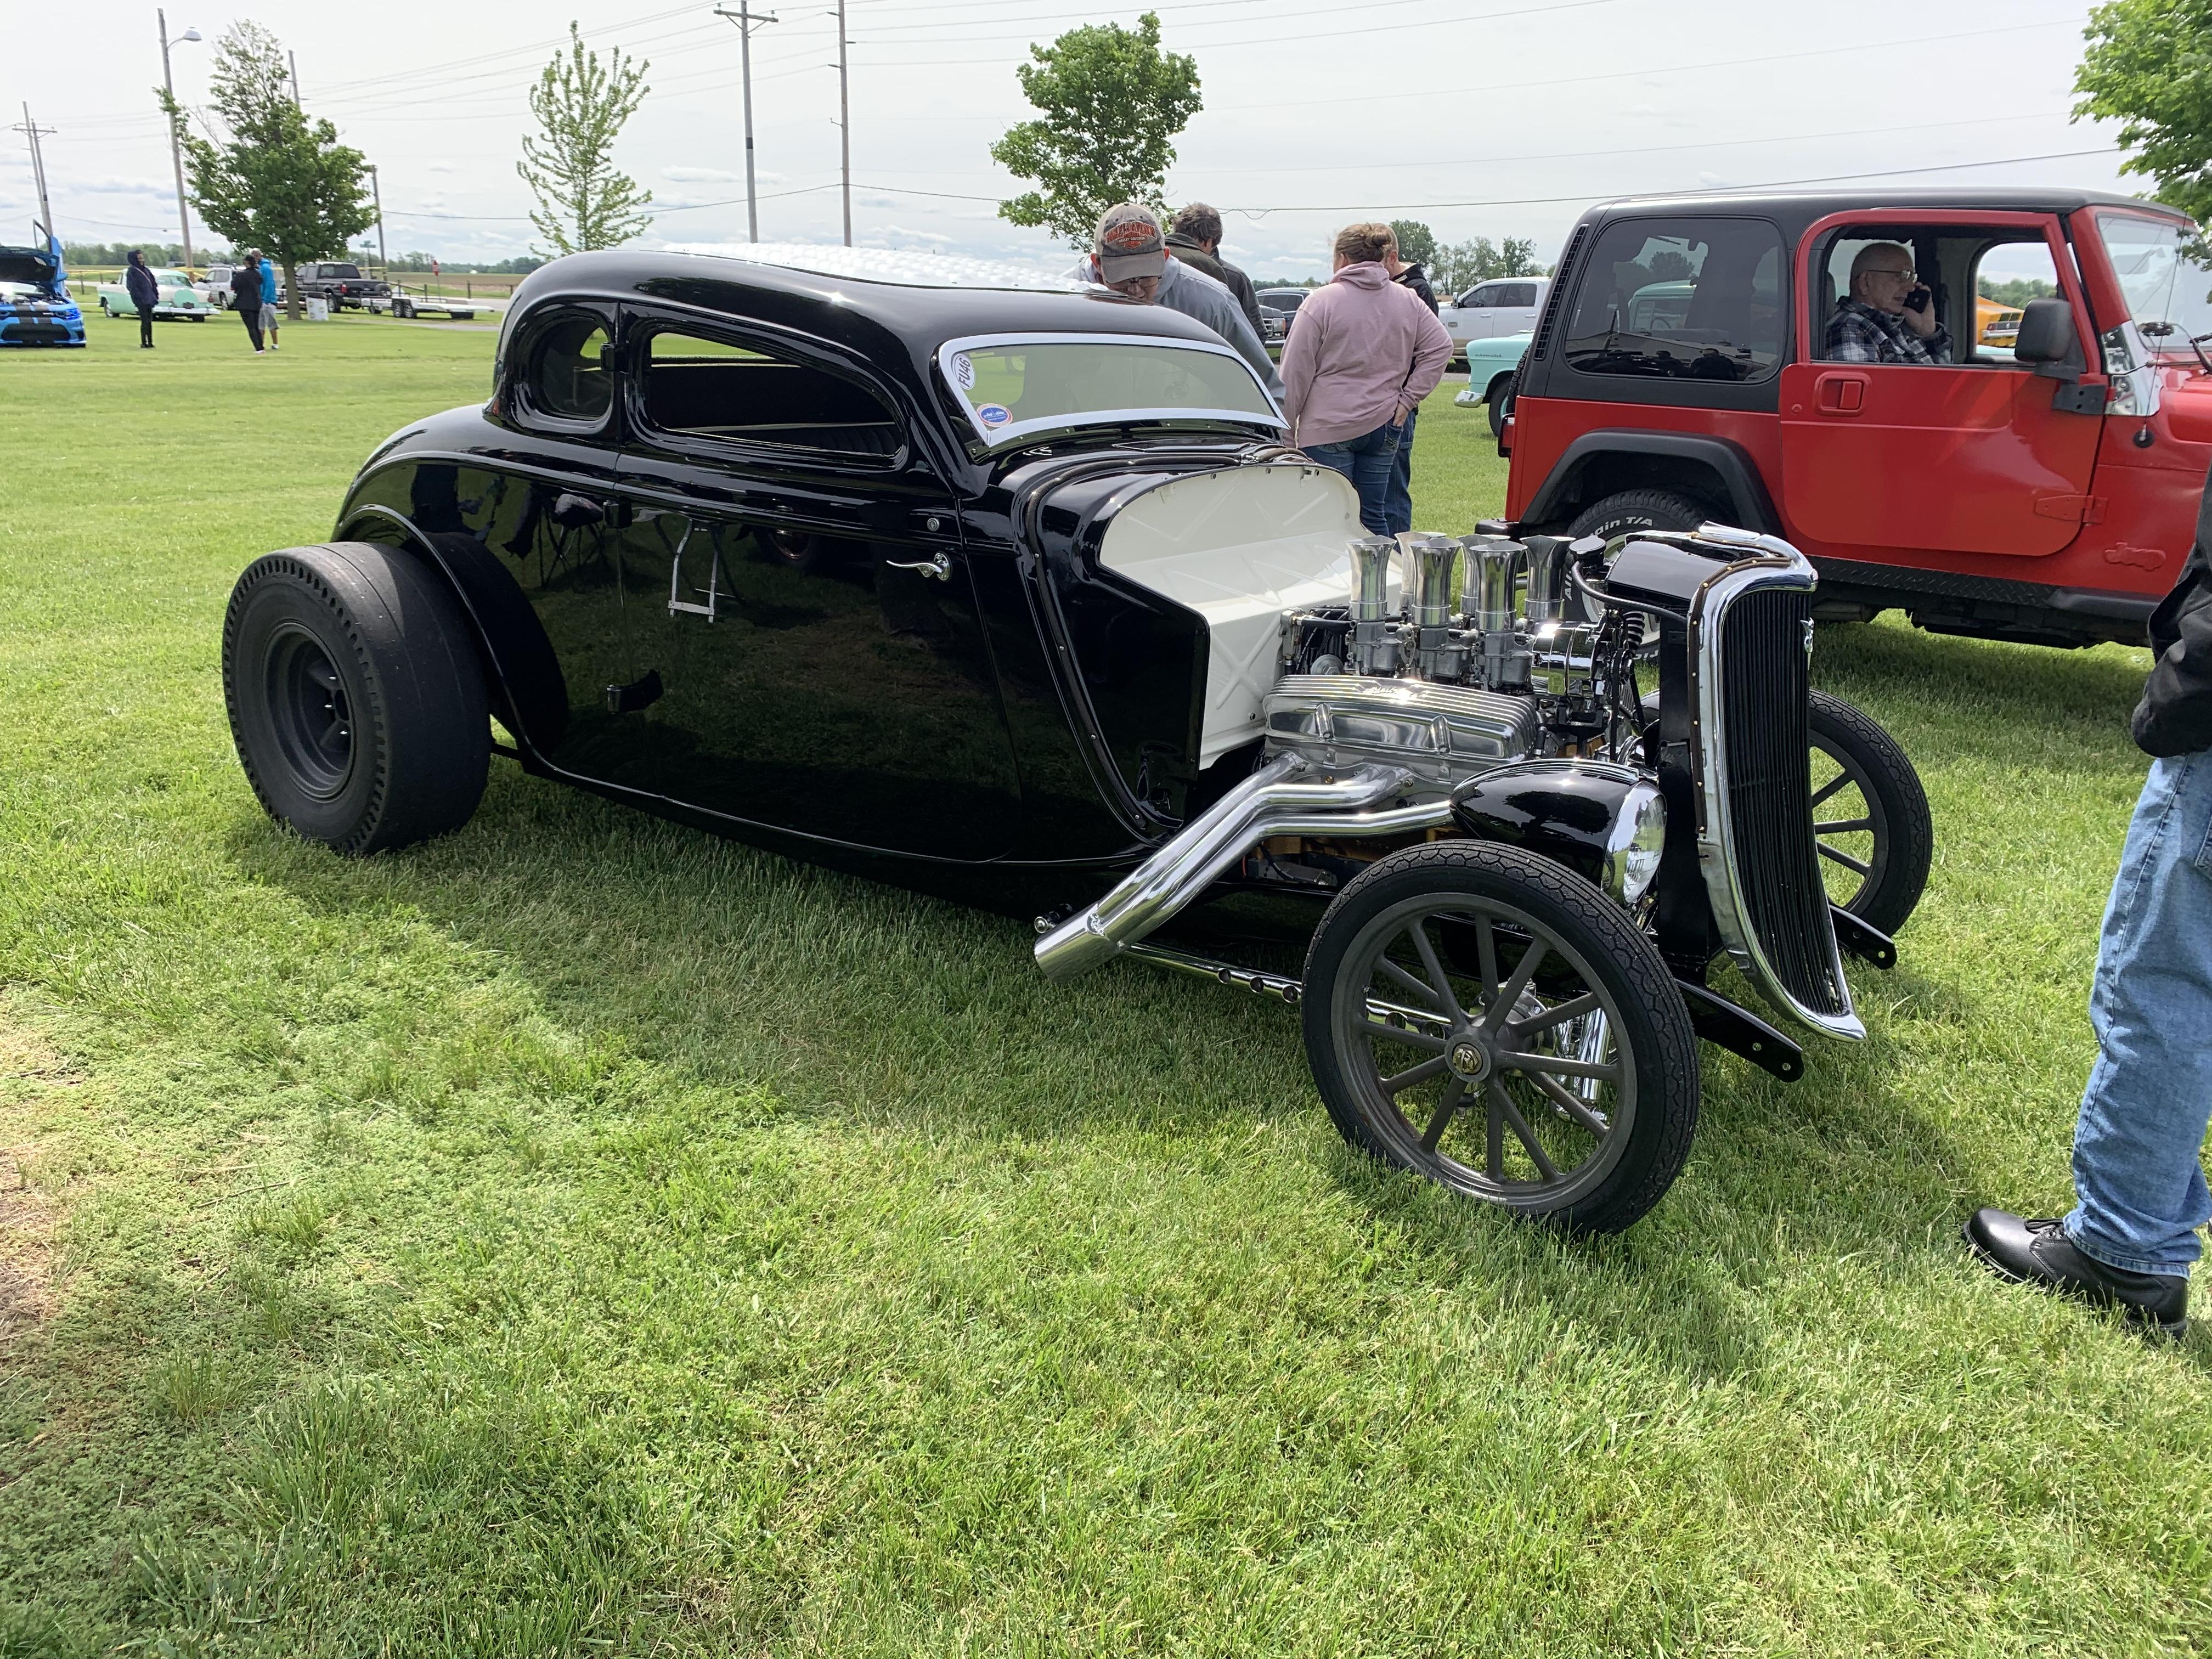
There’s a decent sized car show here a couple of times a year, and this was e. First of the season…bunch of cool hot rods and classic iron, plus some weird stuff…gallery of pics here, if anyone’s interested: https://public.fotki.com/NewYorkSpeedShop/11-cars/car-shows/valpo-car-show-swap/
-
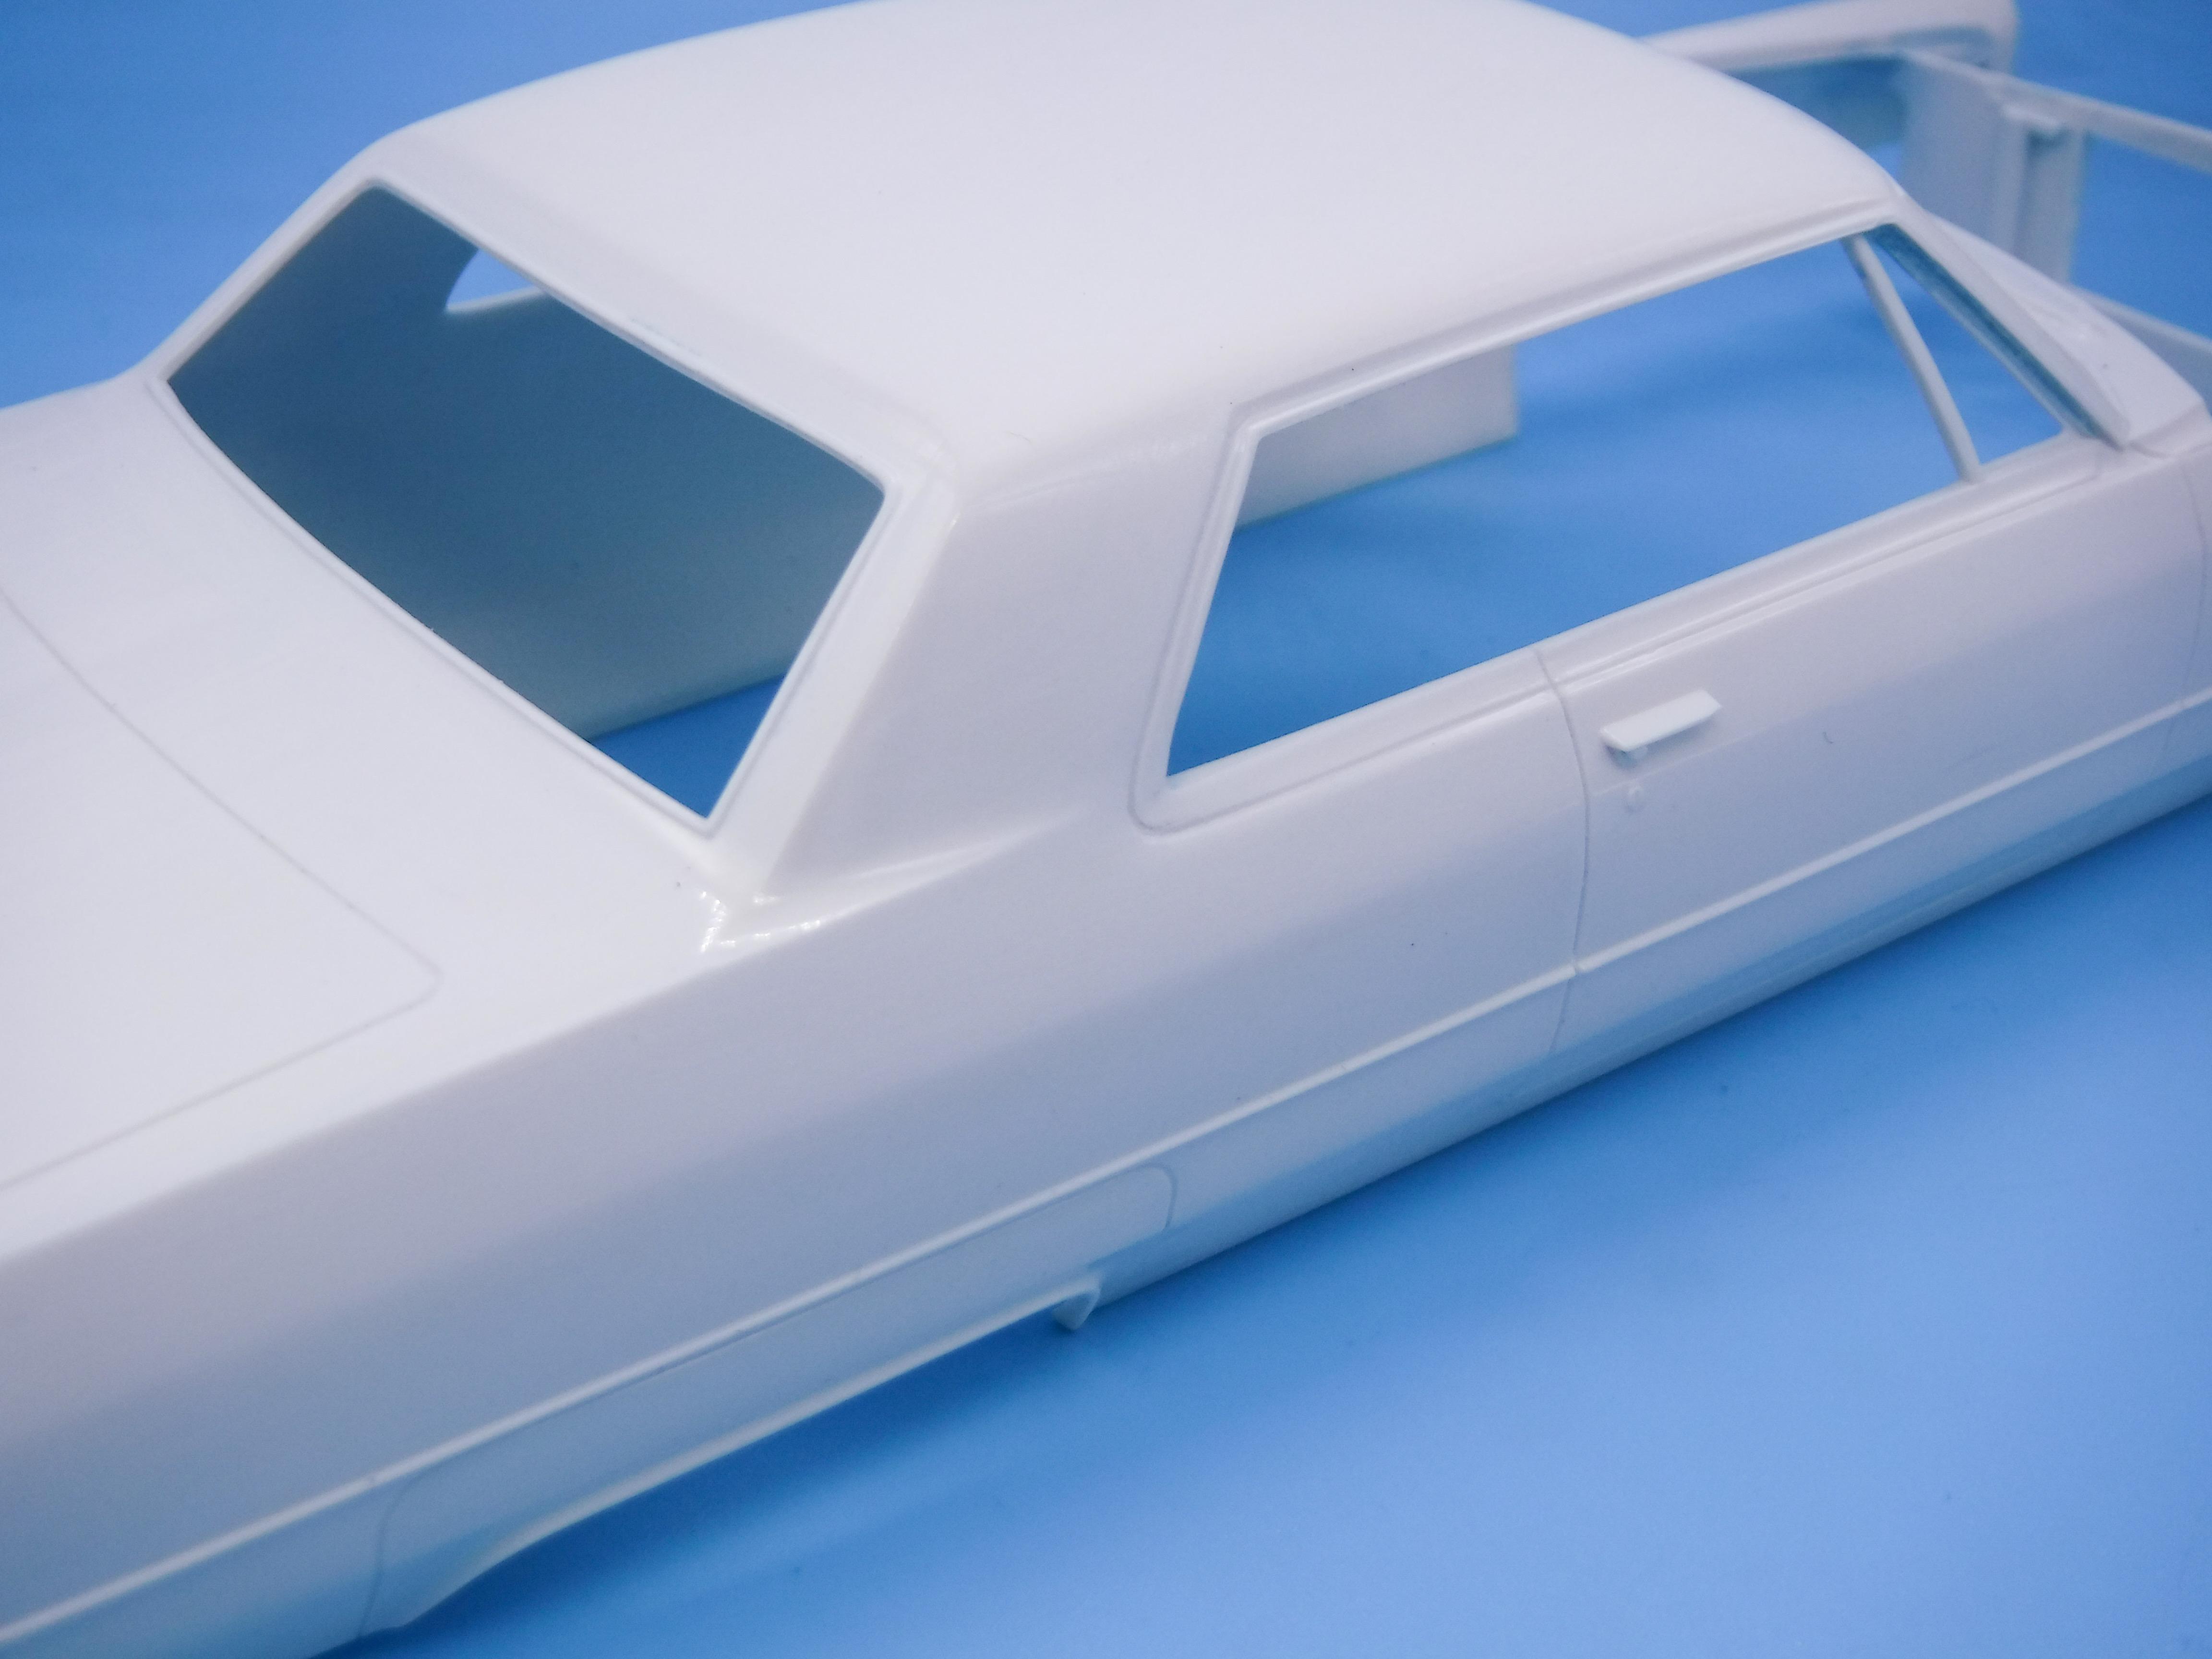
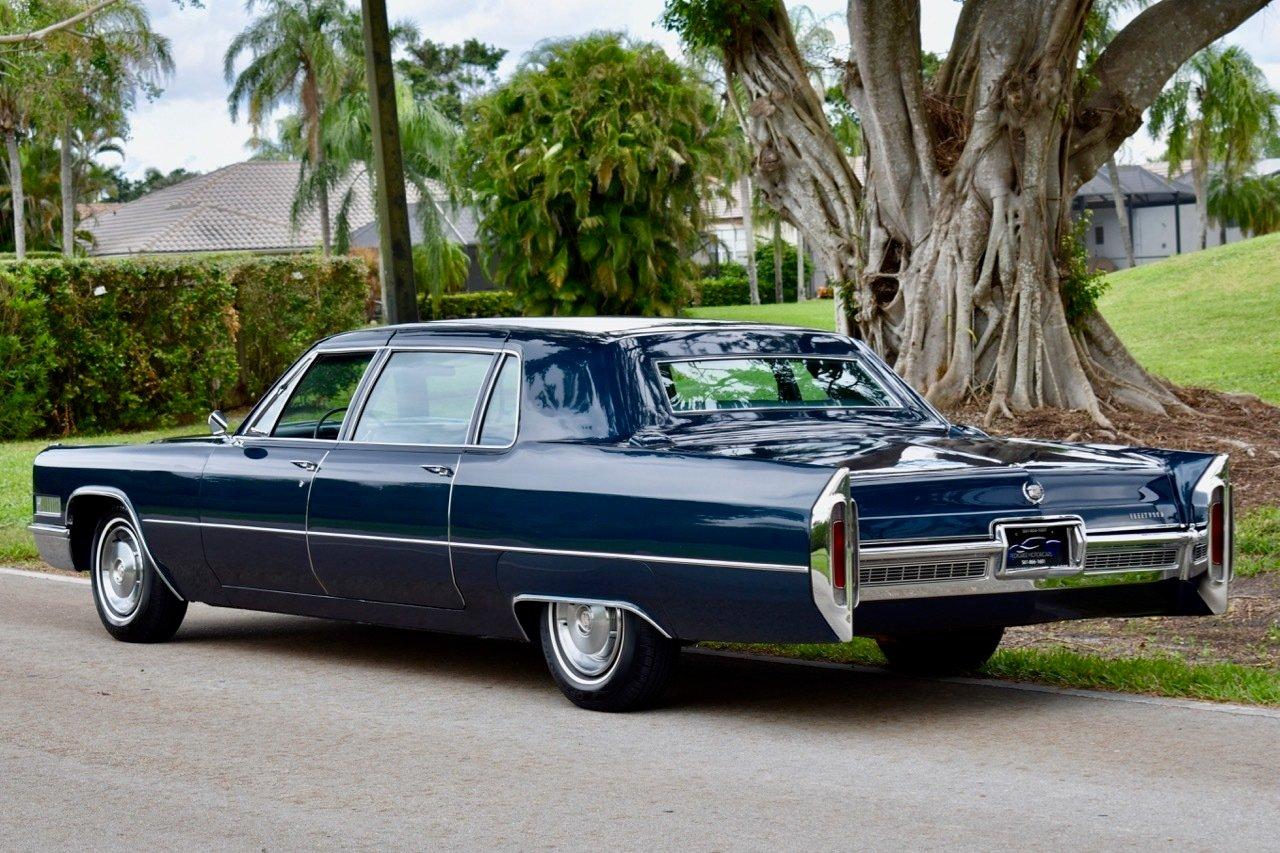
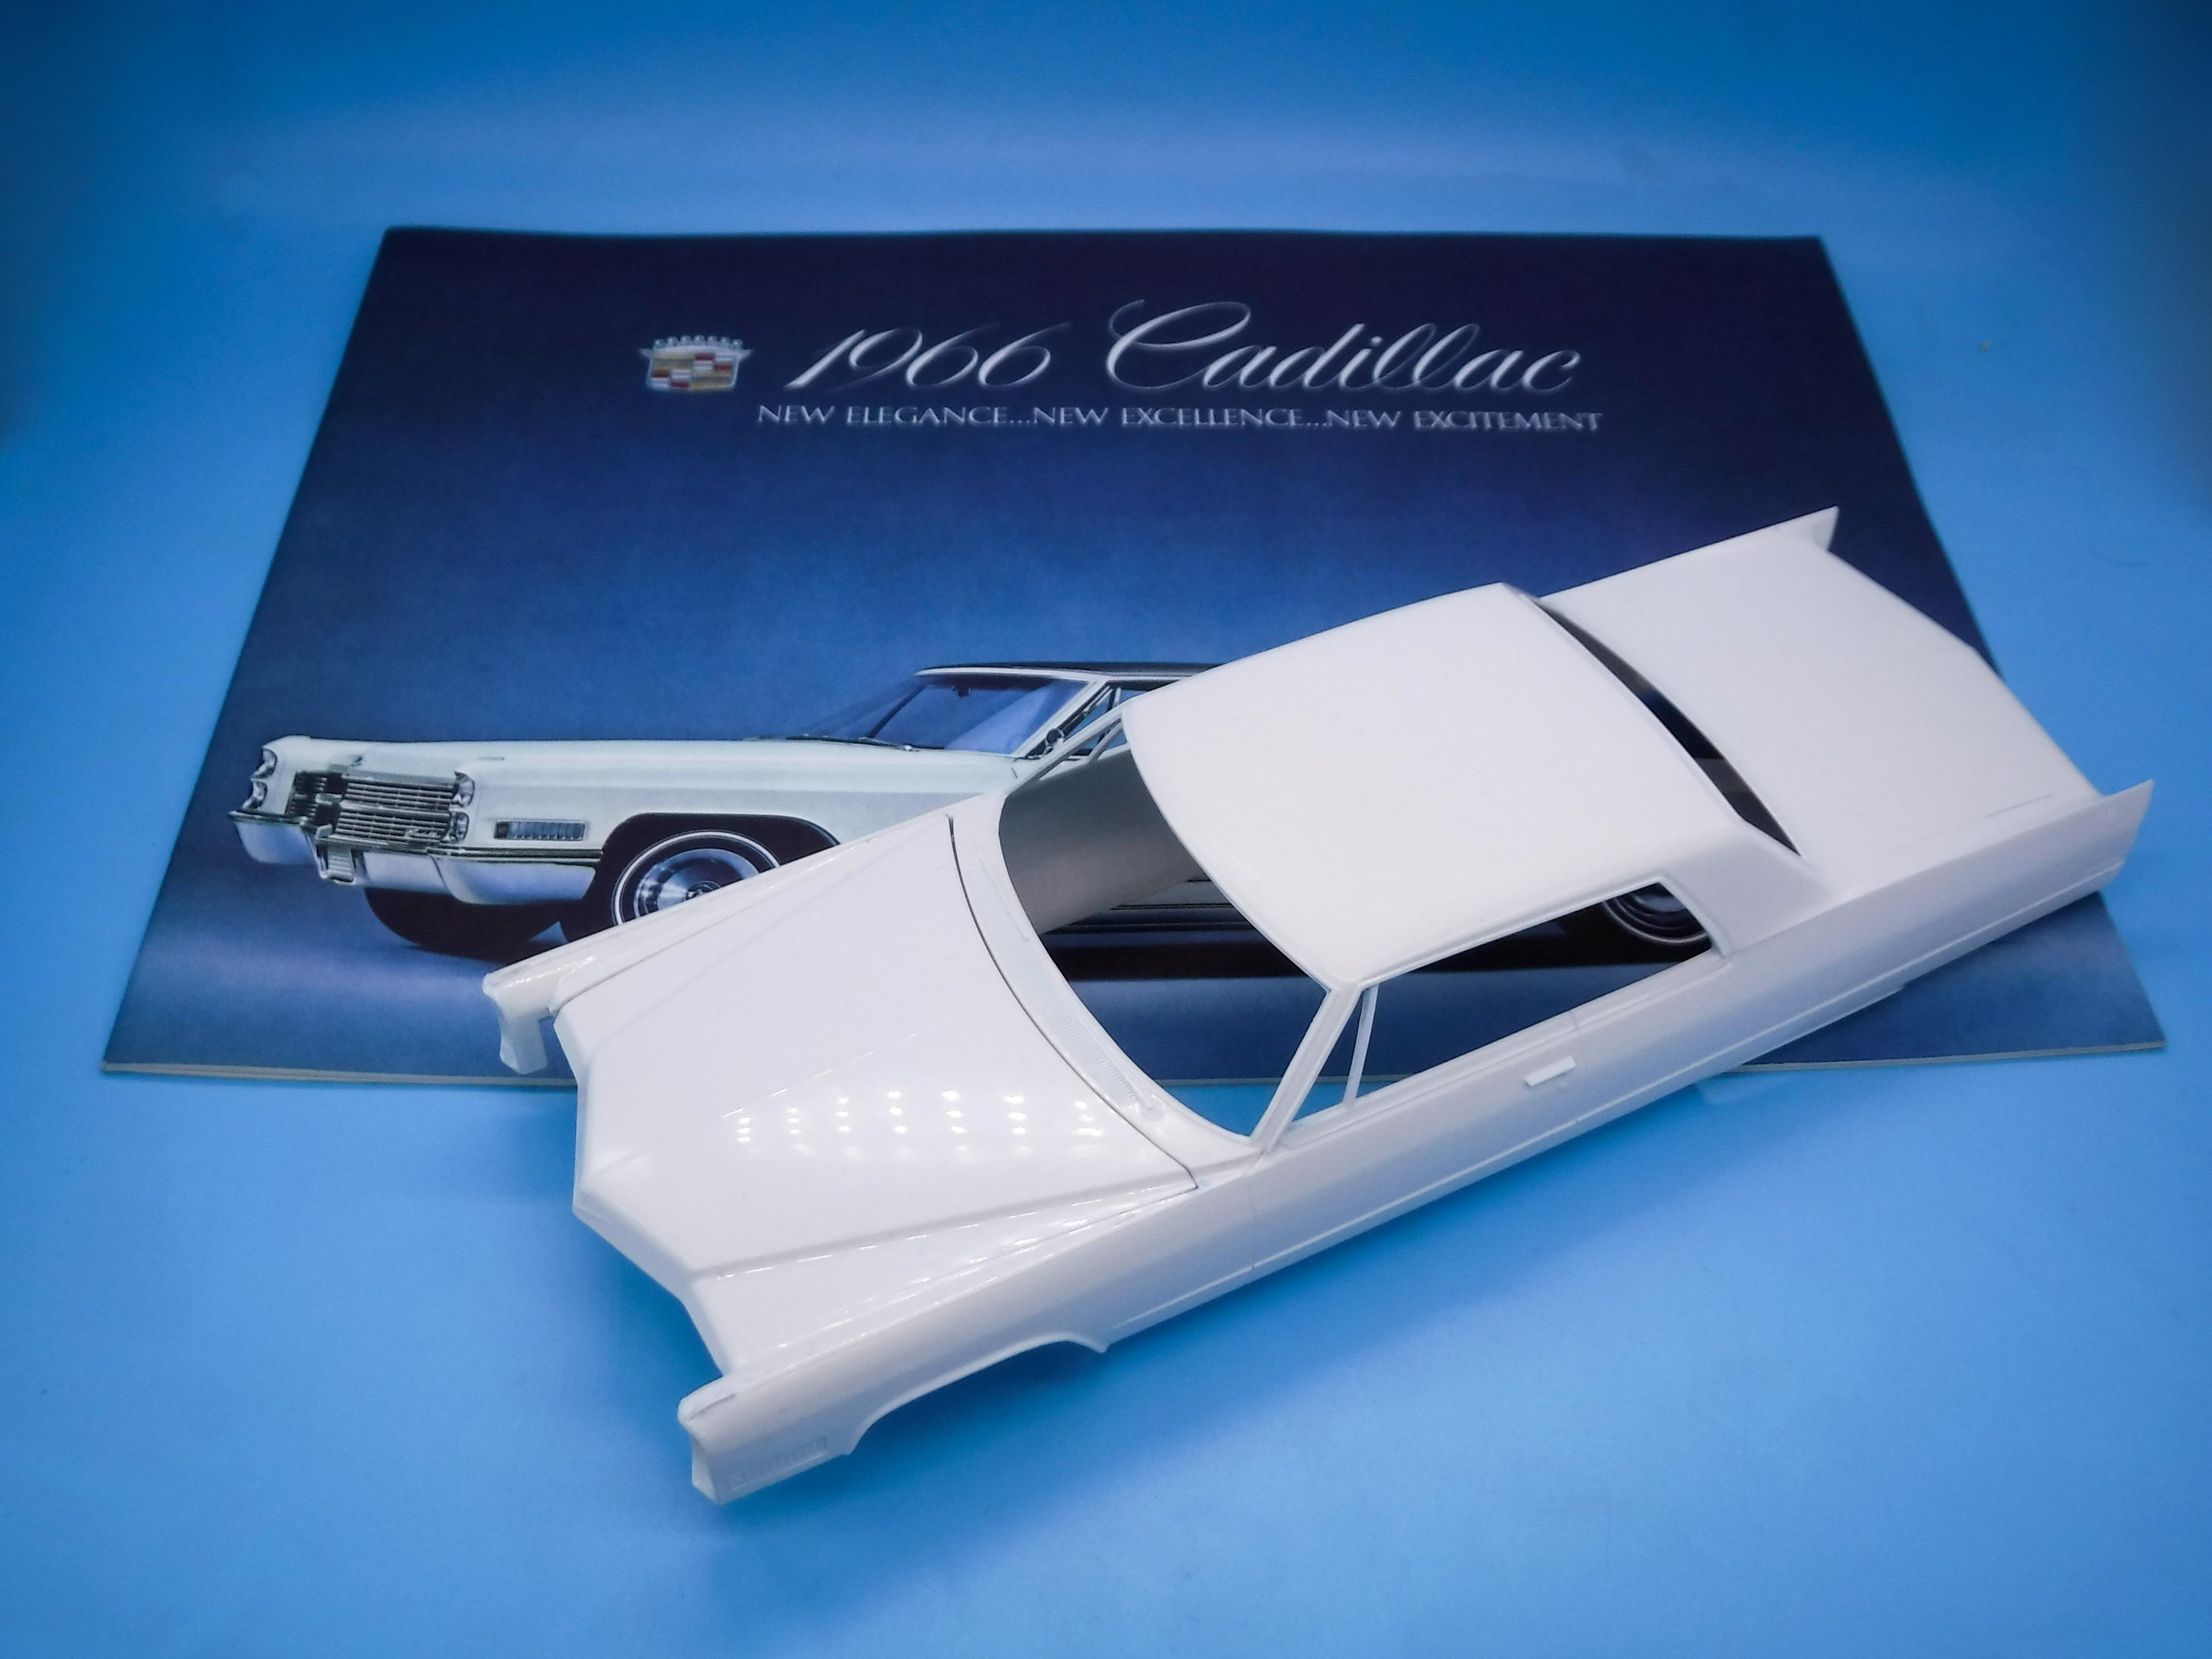
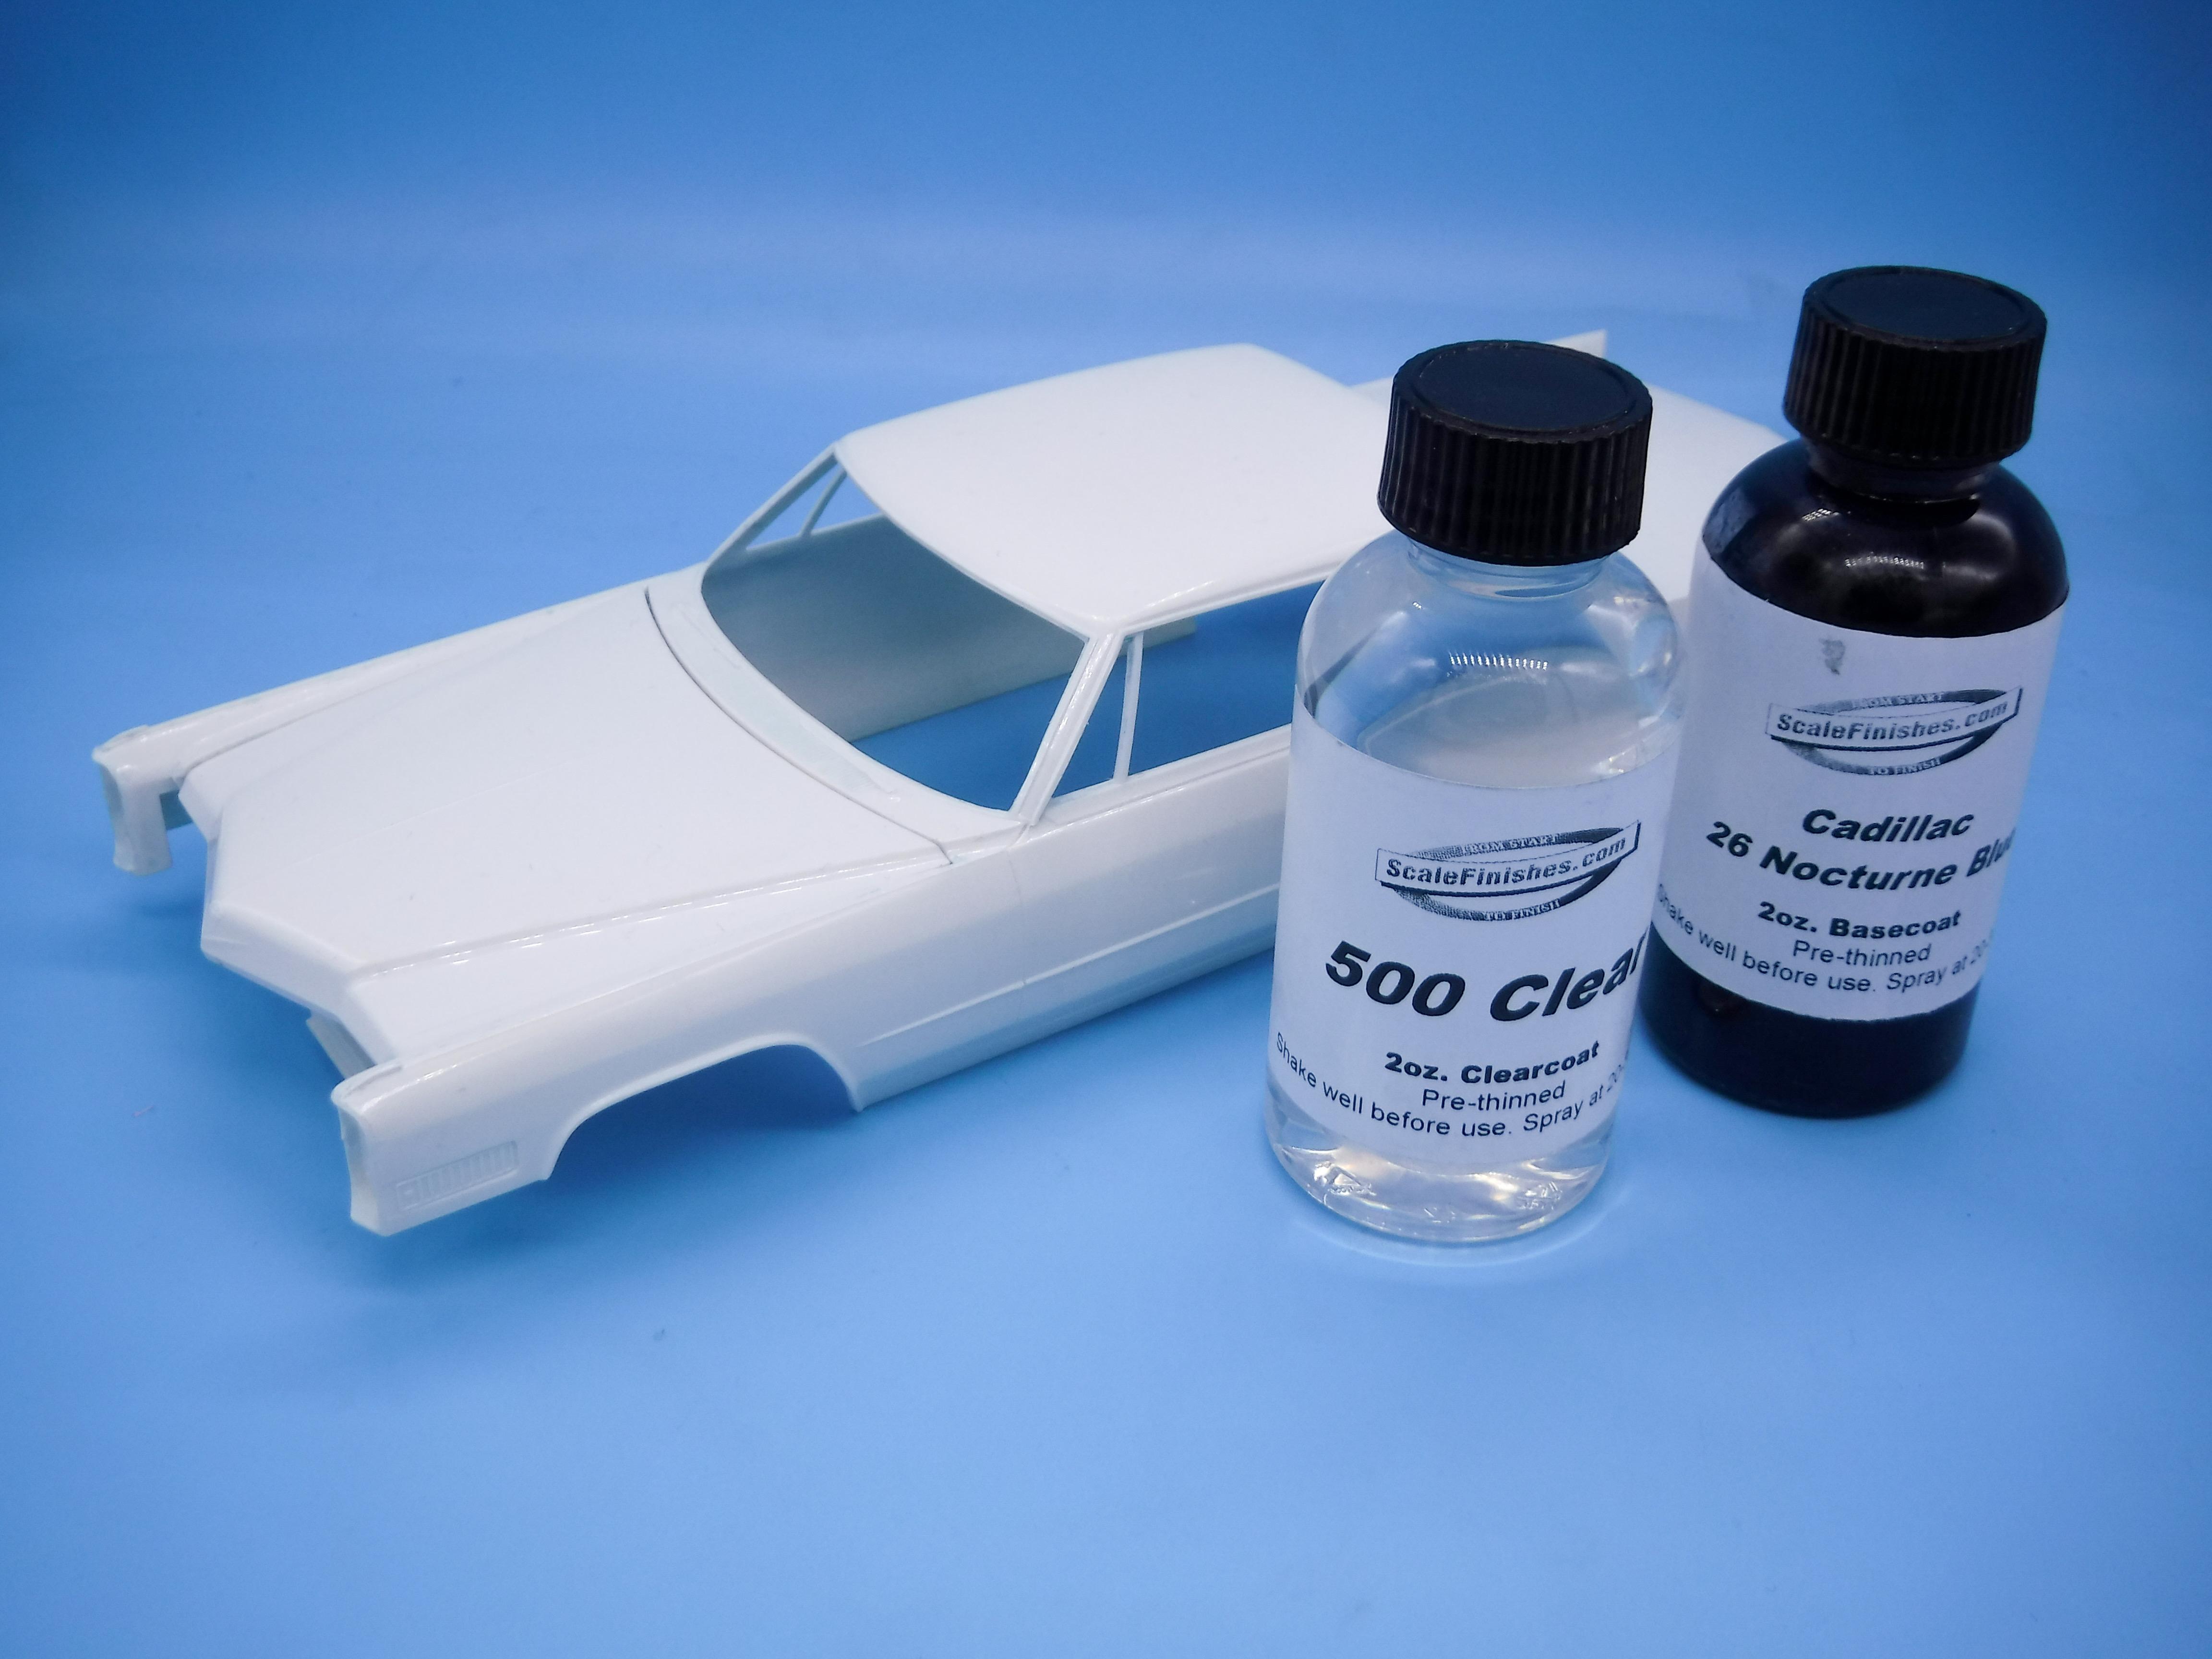
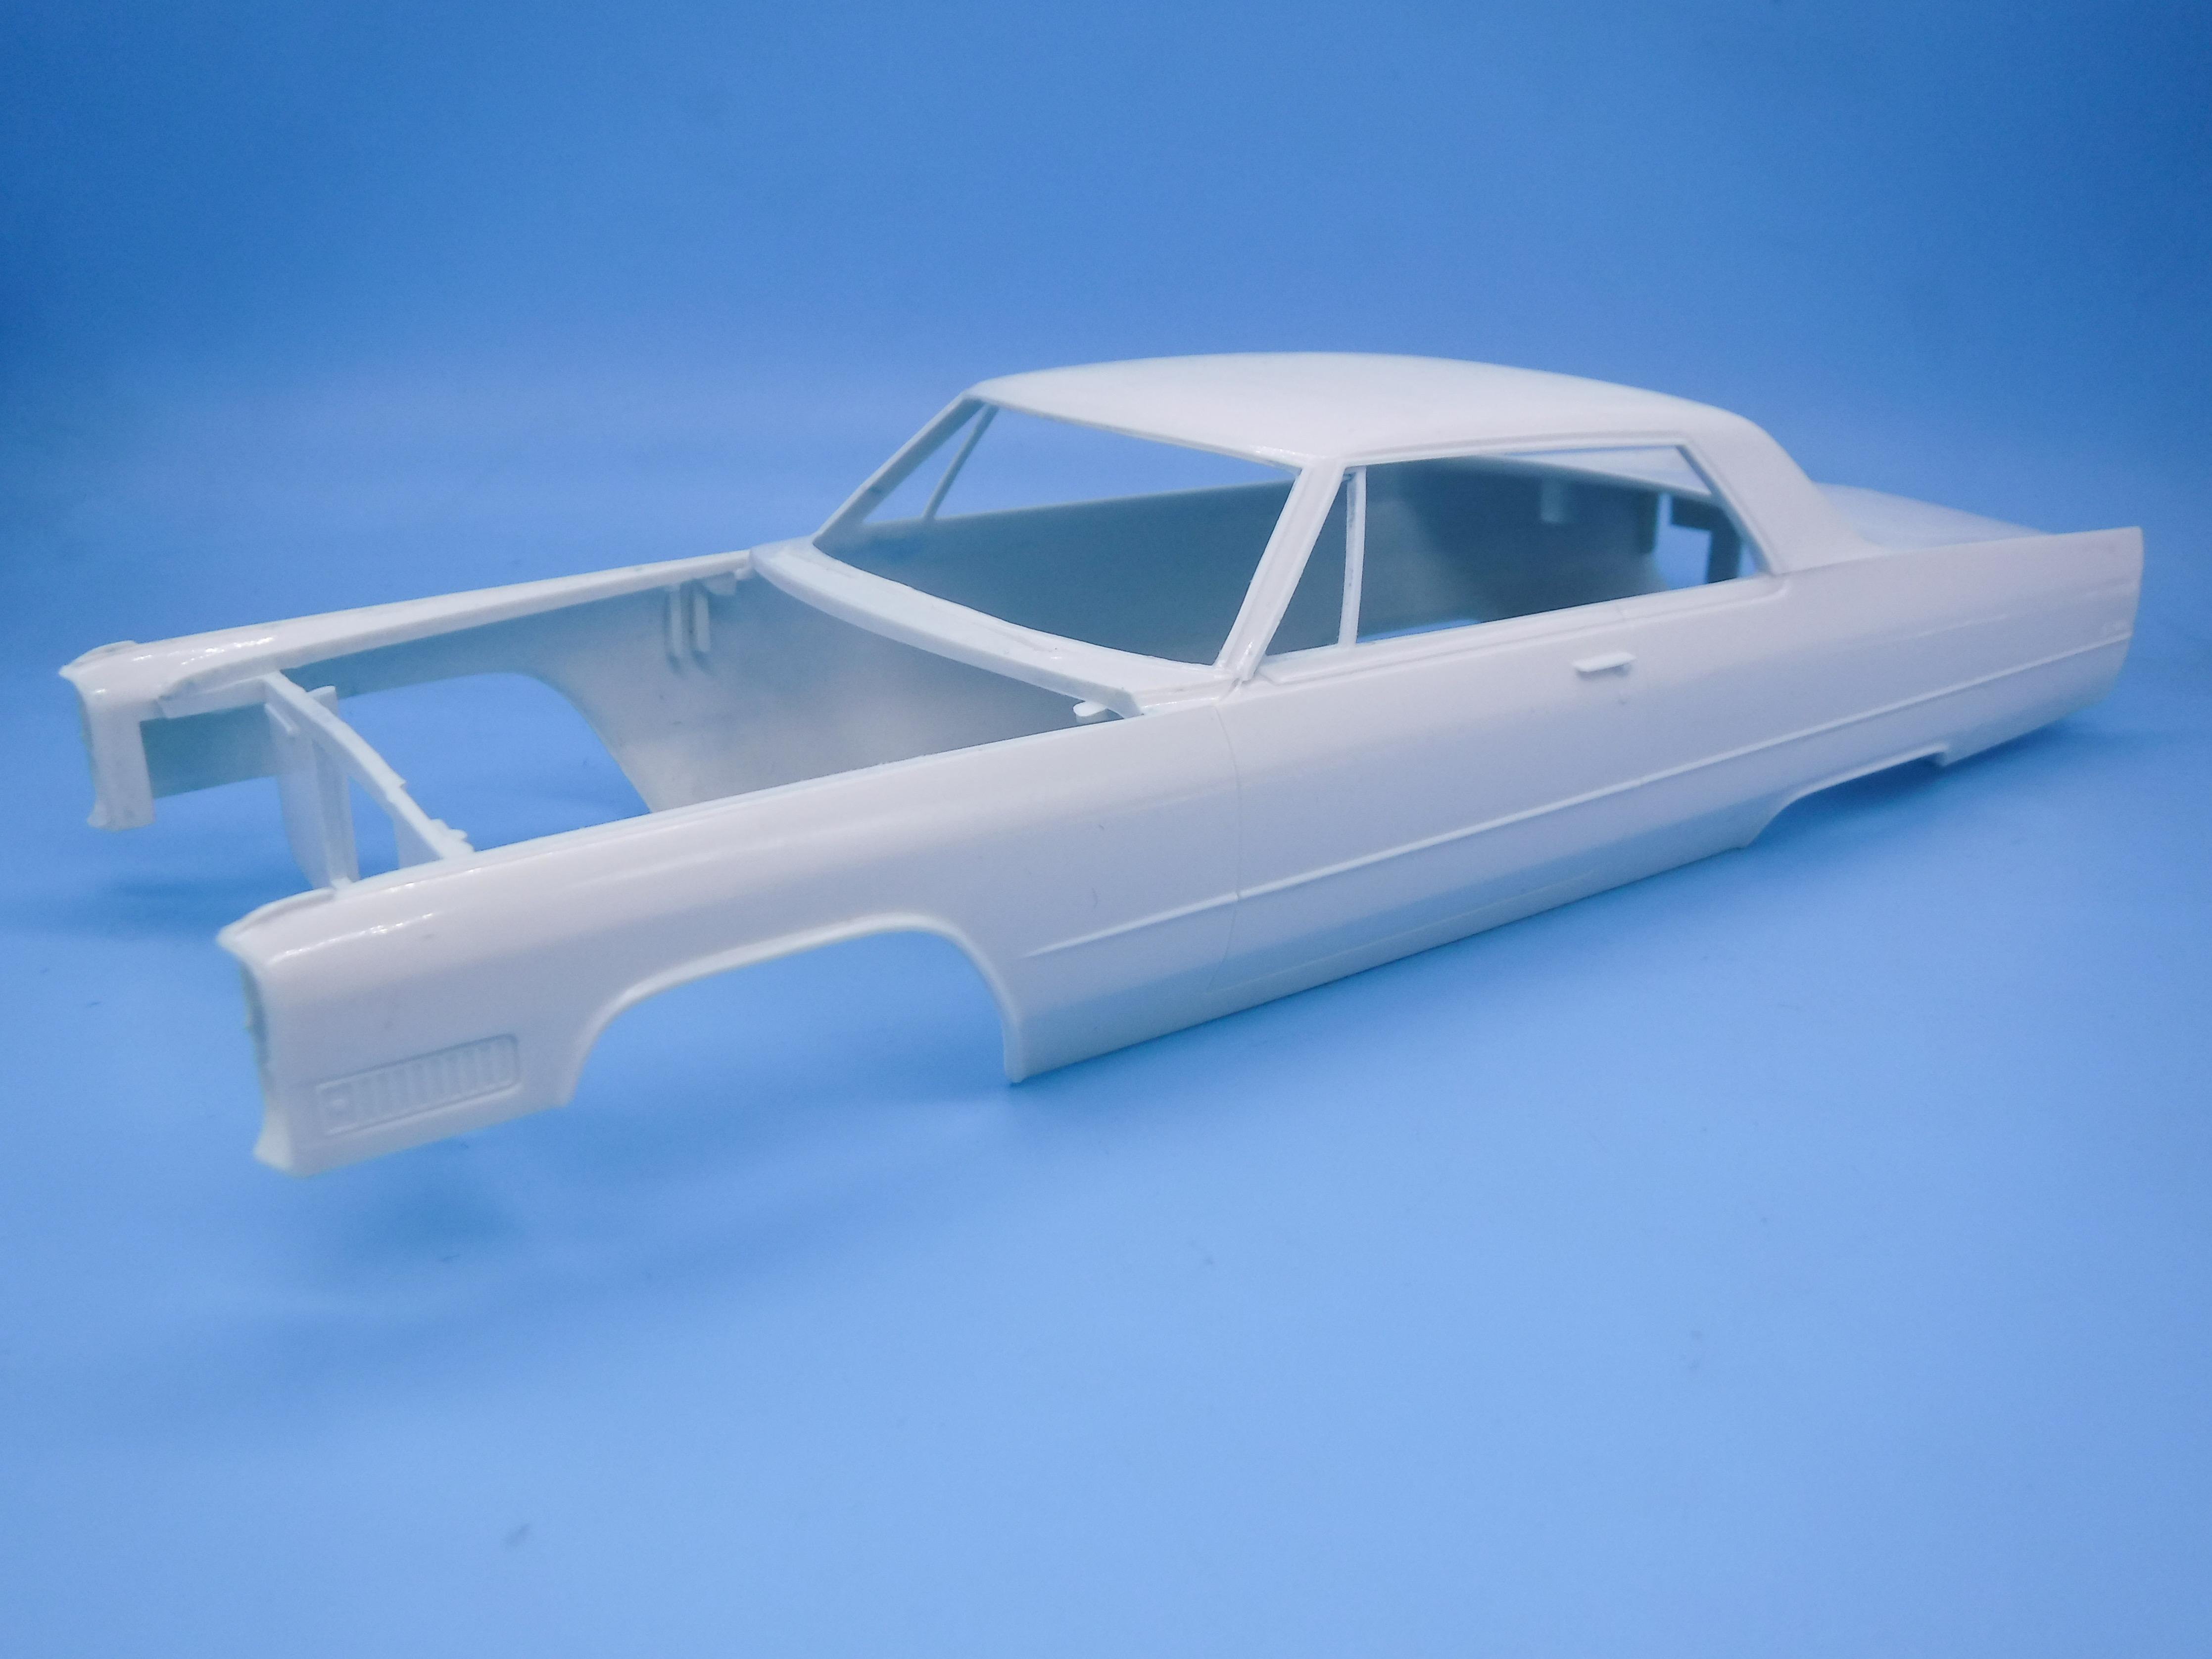
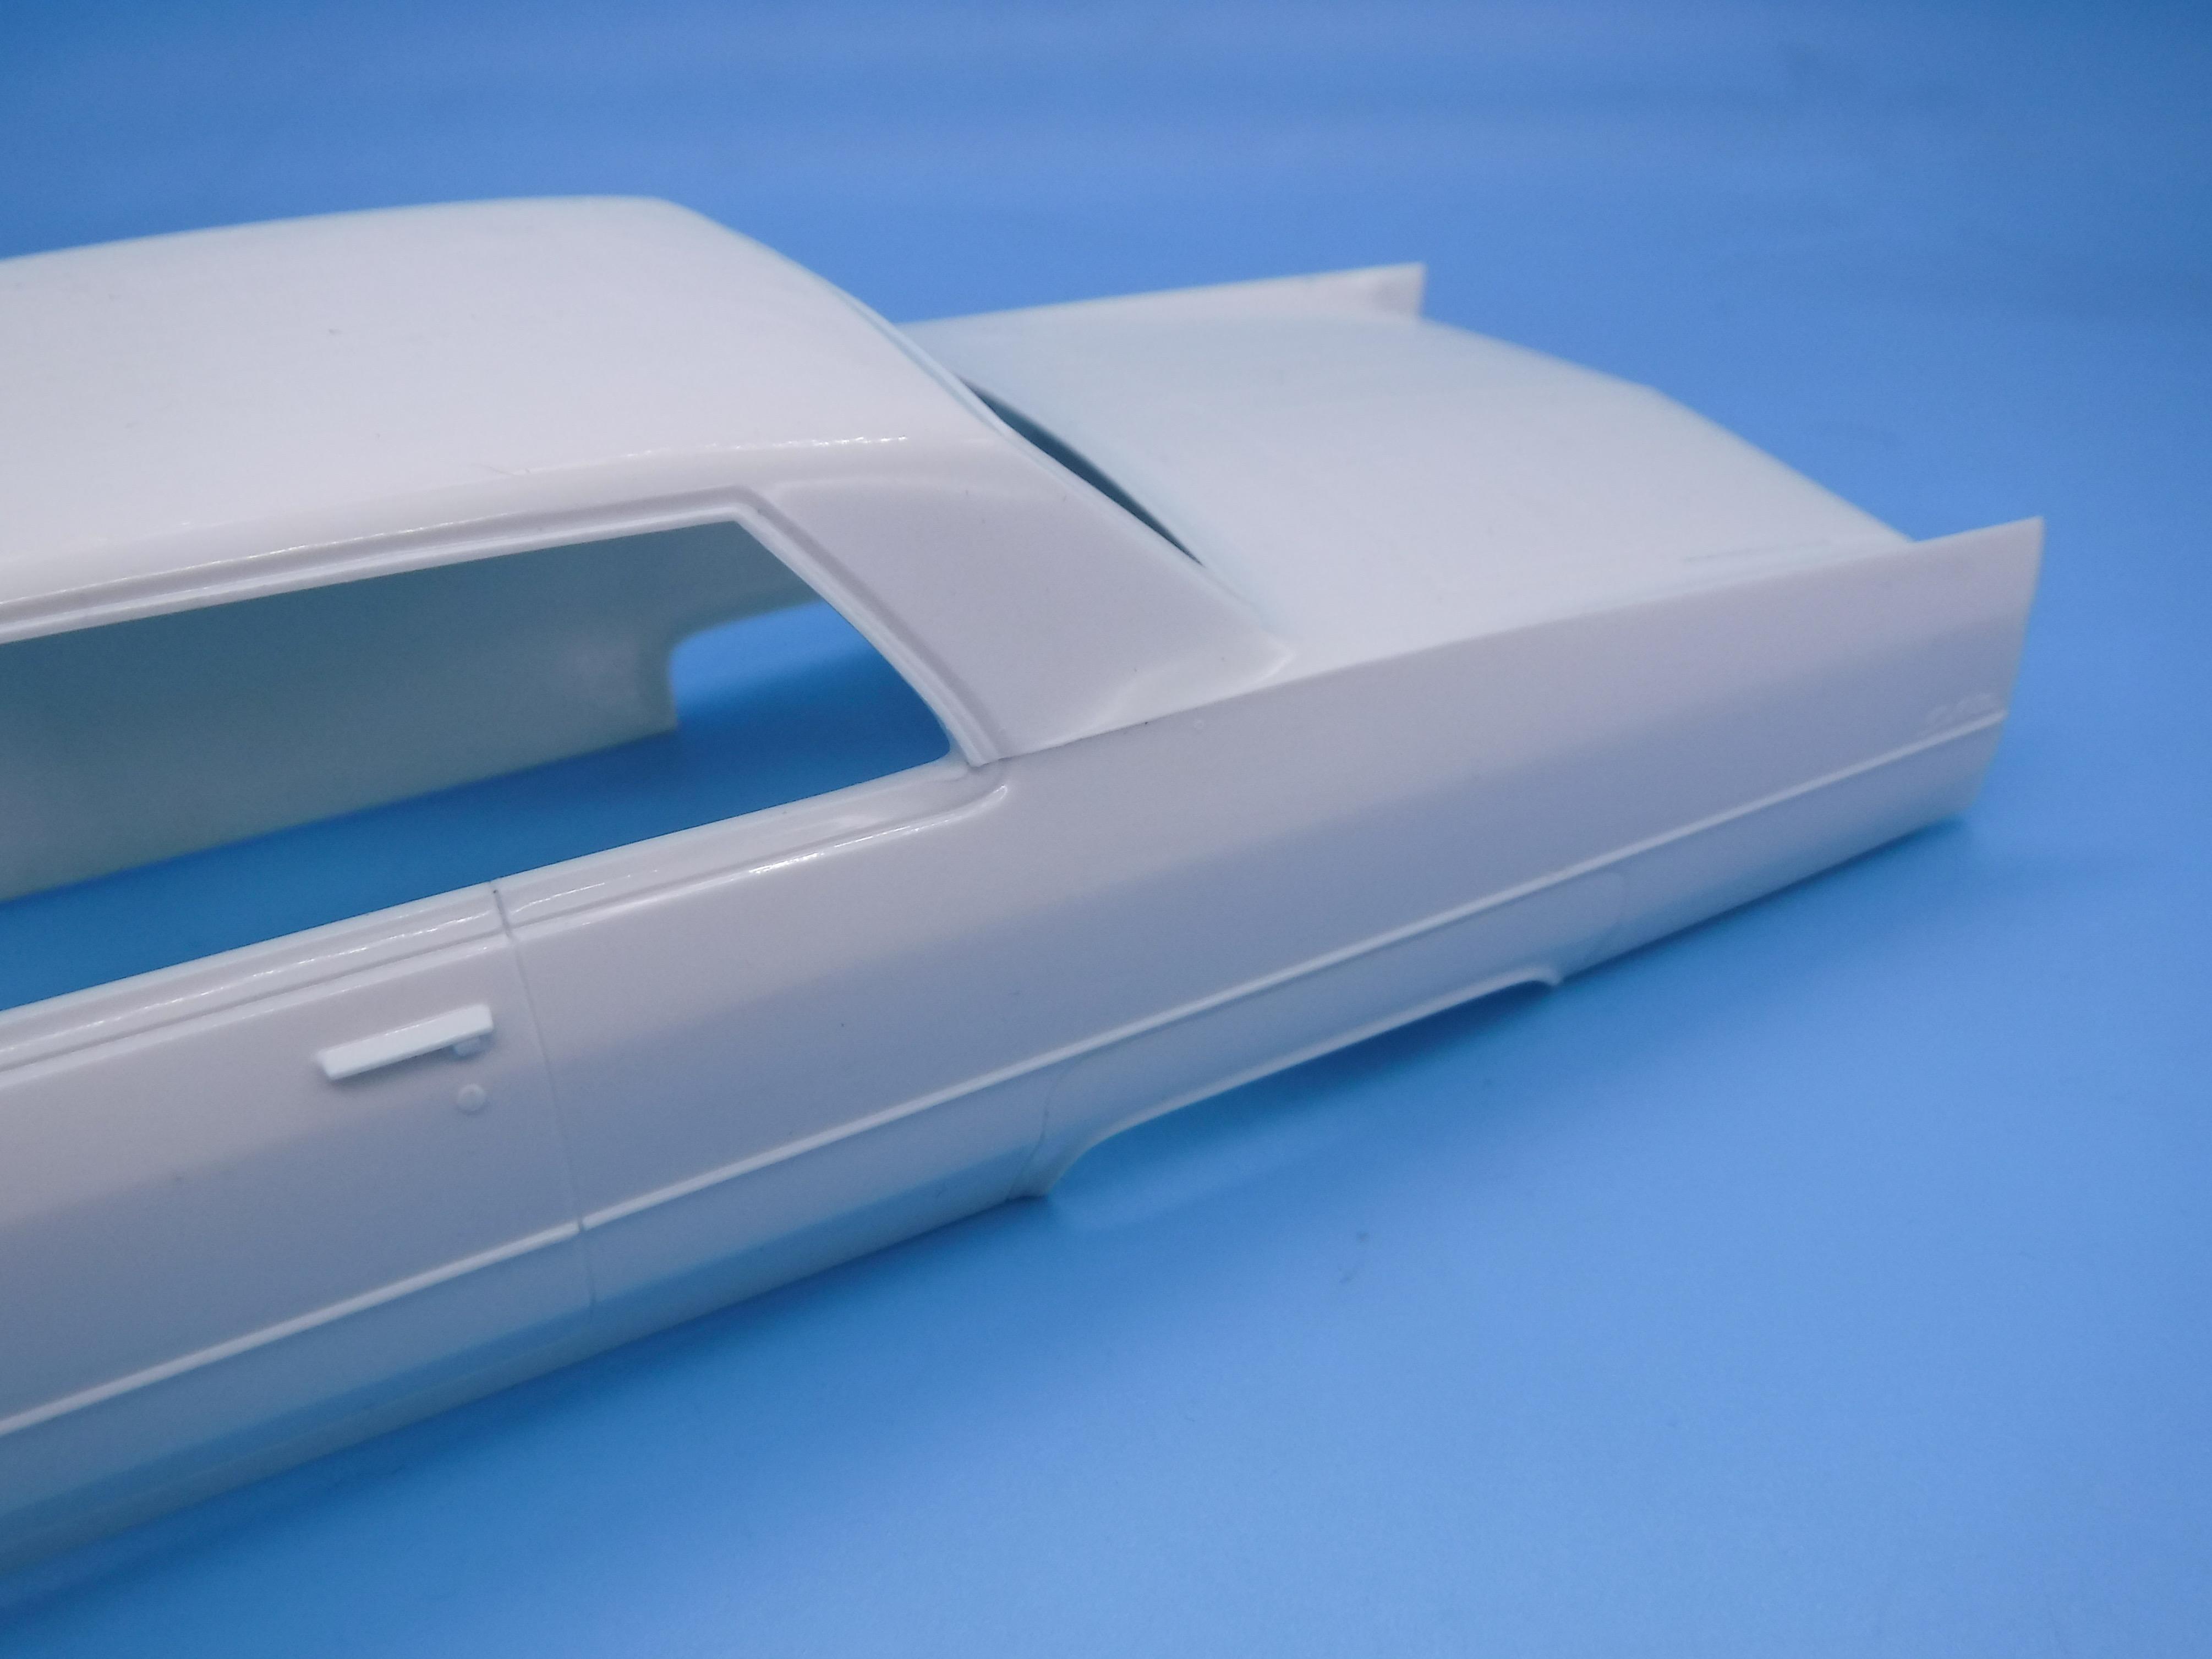
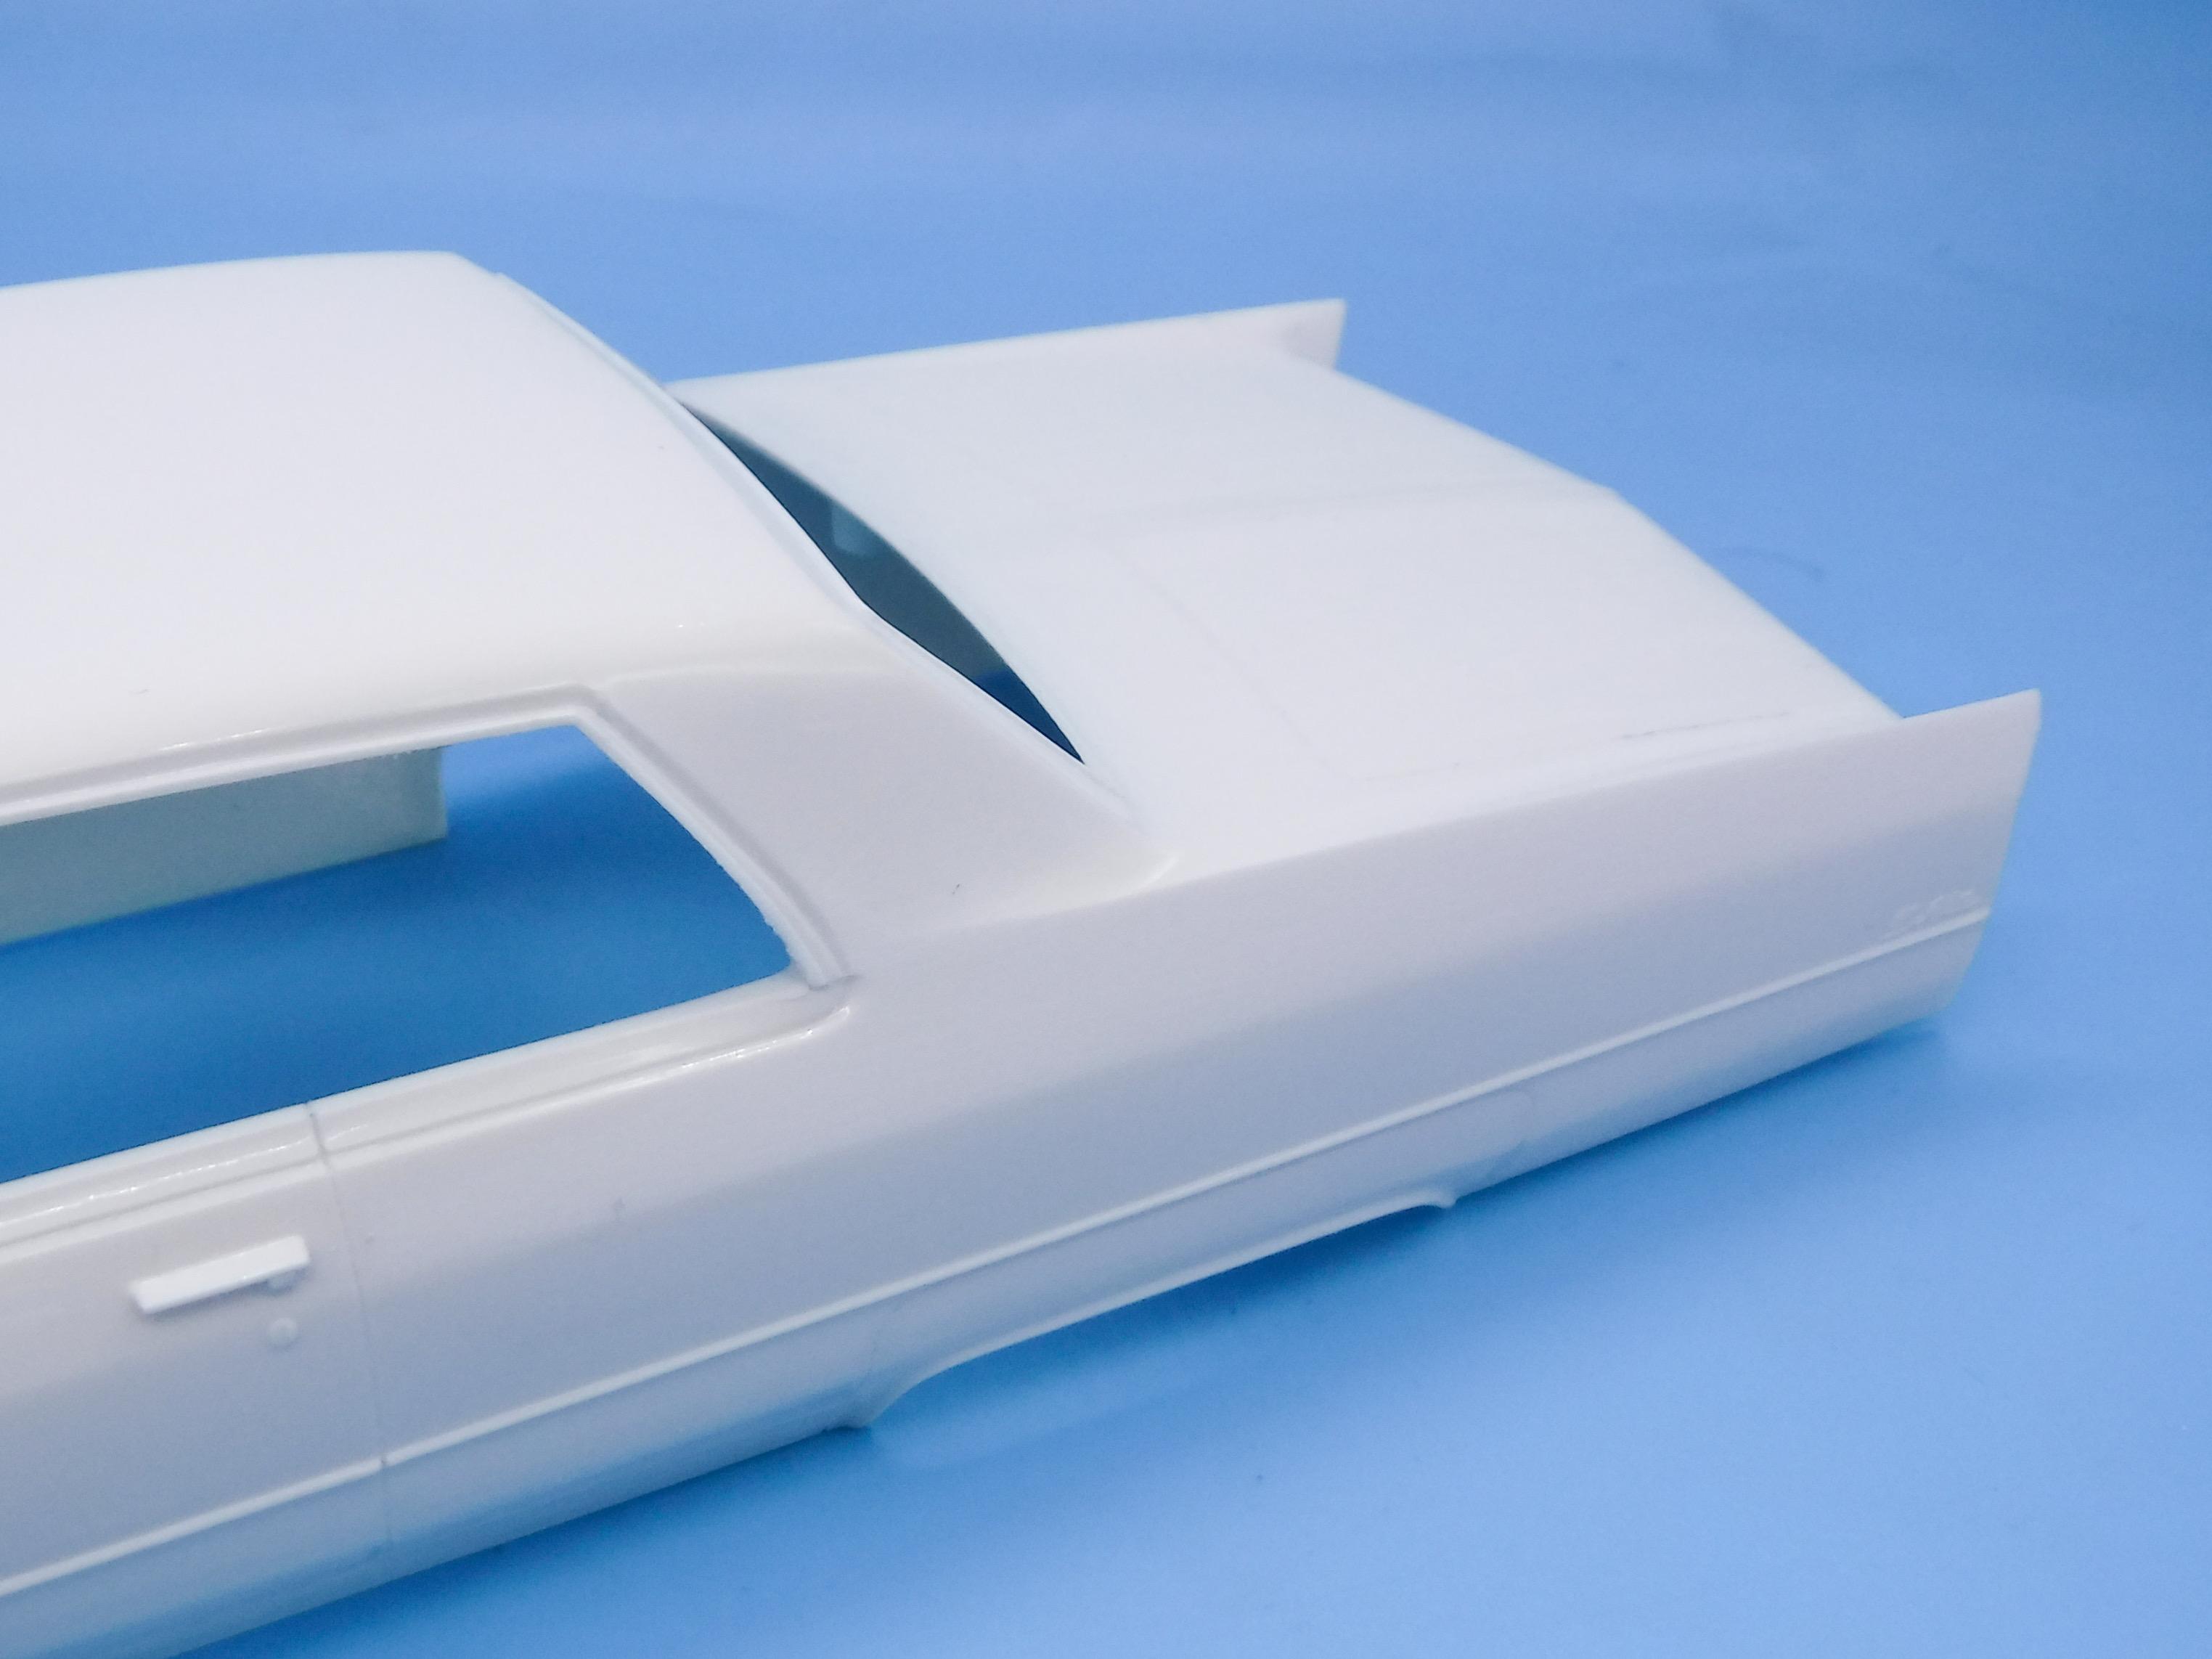
A friend gifted me this kit a few months back, and whilst I don’t build a lot of factory-stock projects I’ve always liked this year of Caddy and was super grateful to get the chance to build one. The kit itself is complete (actually, with some extras from a second kit) and had only some light assembly done to it already, so it’s practically like getting to start one of these in 1966 when they were originally issued! There’s not a tonne of detail on the underside of this thing (typical molded-in fuel tank, exhausts, driveshaft, axle etc etc) and I really don’t think there’s much point in getting a cool old vintage kit like this and redoing every little thing…but also, I really like the kind of detailed factory stock builds that people like @StevenGuthmiller build so well - so I’m thinking of adding to and optimizing what IS there but not getting into 3D printing frames and axles and leaf springs and whatnot. I picked up an original dealer brochure for reference… …and thanks to @SfanGoch and a few others on the board, I got a good lead on factory-correct Nocturne Blue paint which arrived this week: Should look something like this, once I get that far (only, a 2 door, obviously…): Like most of these old kits, the body looks GREAT - can’t see anything too obvious that it’s missing or that needs correcting (although I need to study it properly to see…and figure out if there’s meant to be a pillar behind that driver’s door or not on this particular model…) First order of business was to fix this one oversize mould line where the rear fin meets the rear pillar: Need to clean up that window moulding now, but some careful sanding made it look a LOT better already: Getting those big long flat planes along the body is gonna to make or break this build, so I need to do my best work on prep before I shoot any color, but hopefully it’ll all be worth it once I start laying down some paint. Just getting started on this one - any tips or tricks from any Cadillac experts would be much appreciated! More soon, soon as I do more!
-
I’ve got one of these in this stash ready to be backdated to the original Boyd version, before Foose redid it…I’m excited to see this one come together! Looks great so far - nice work on those interior parts!
-
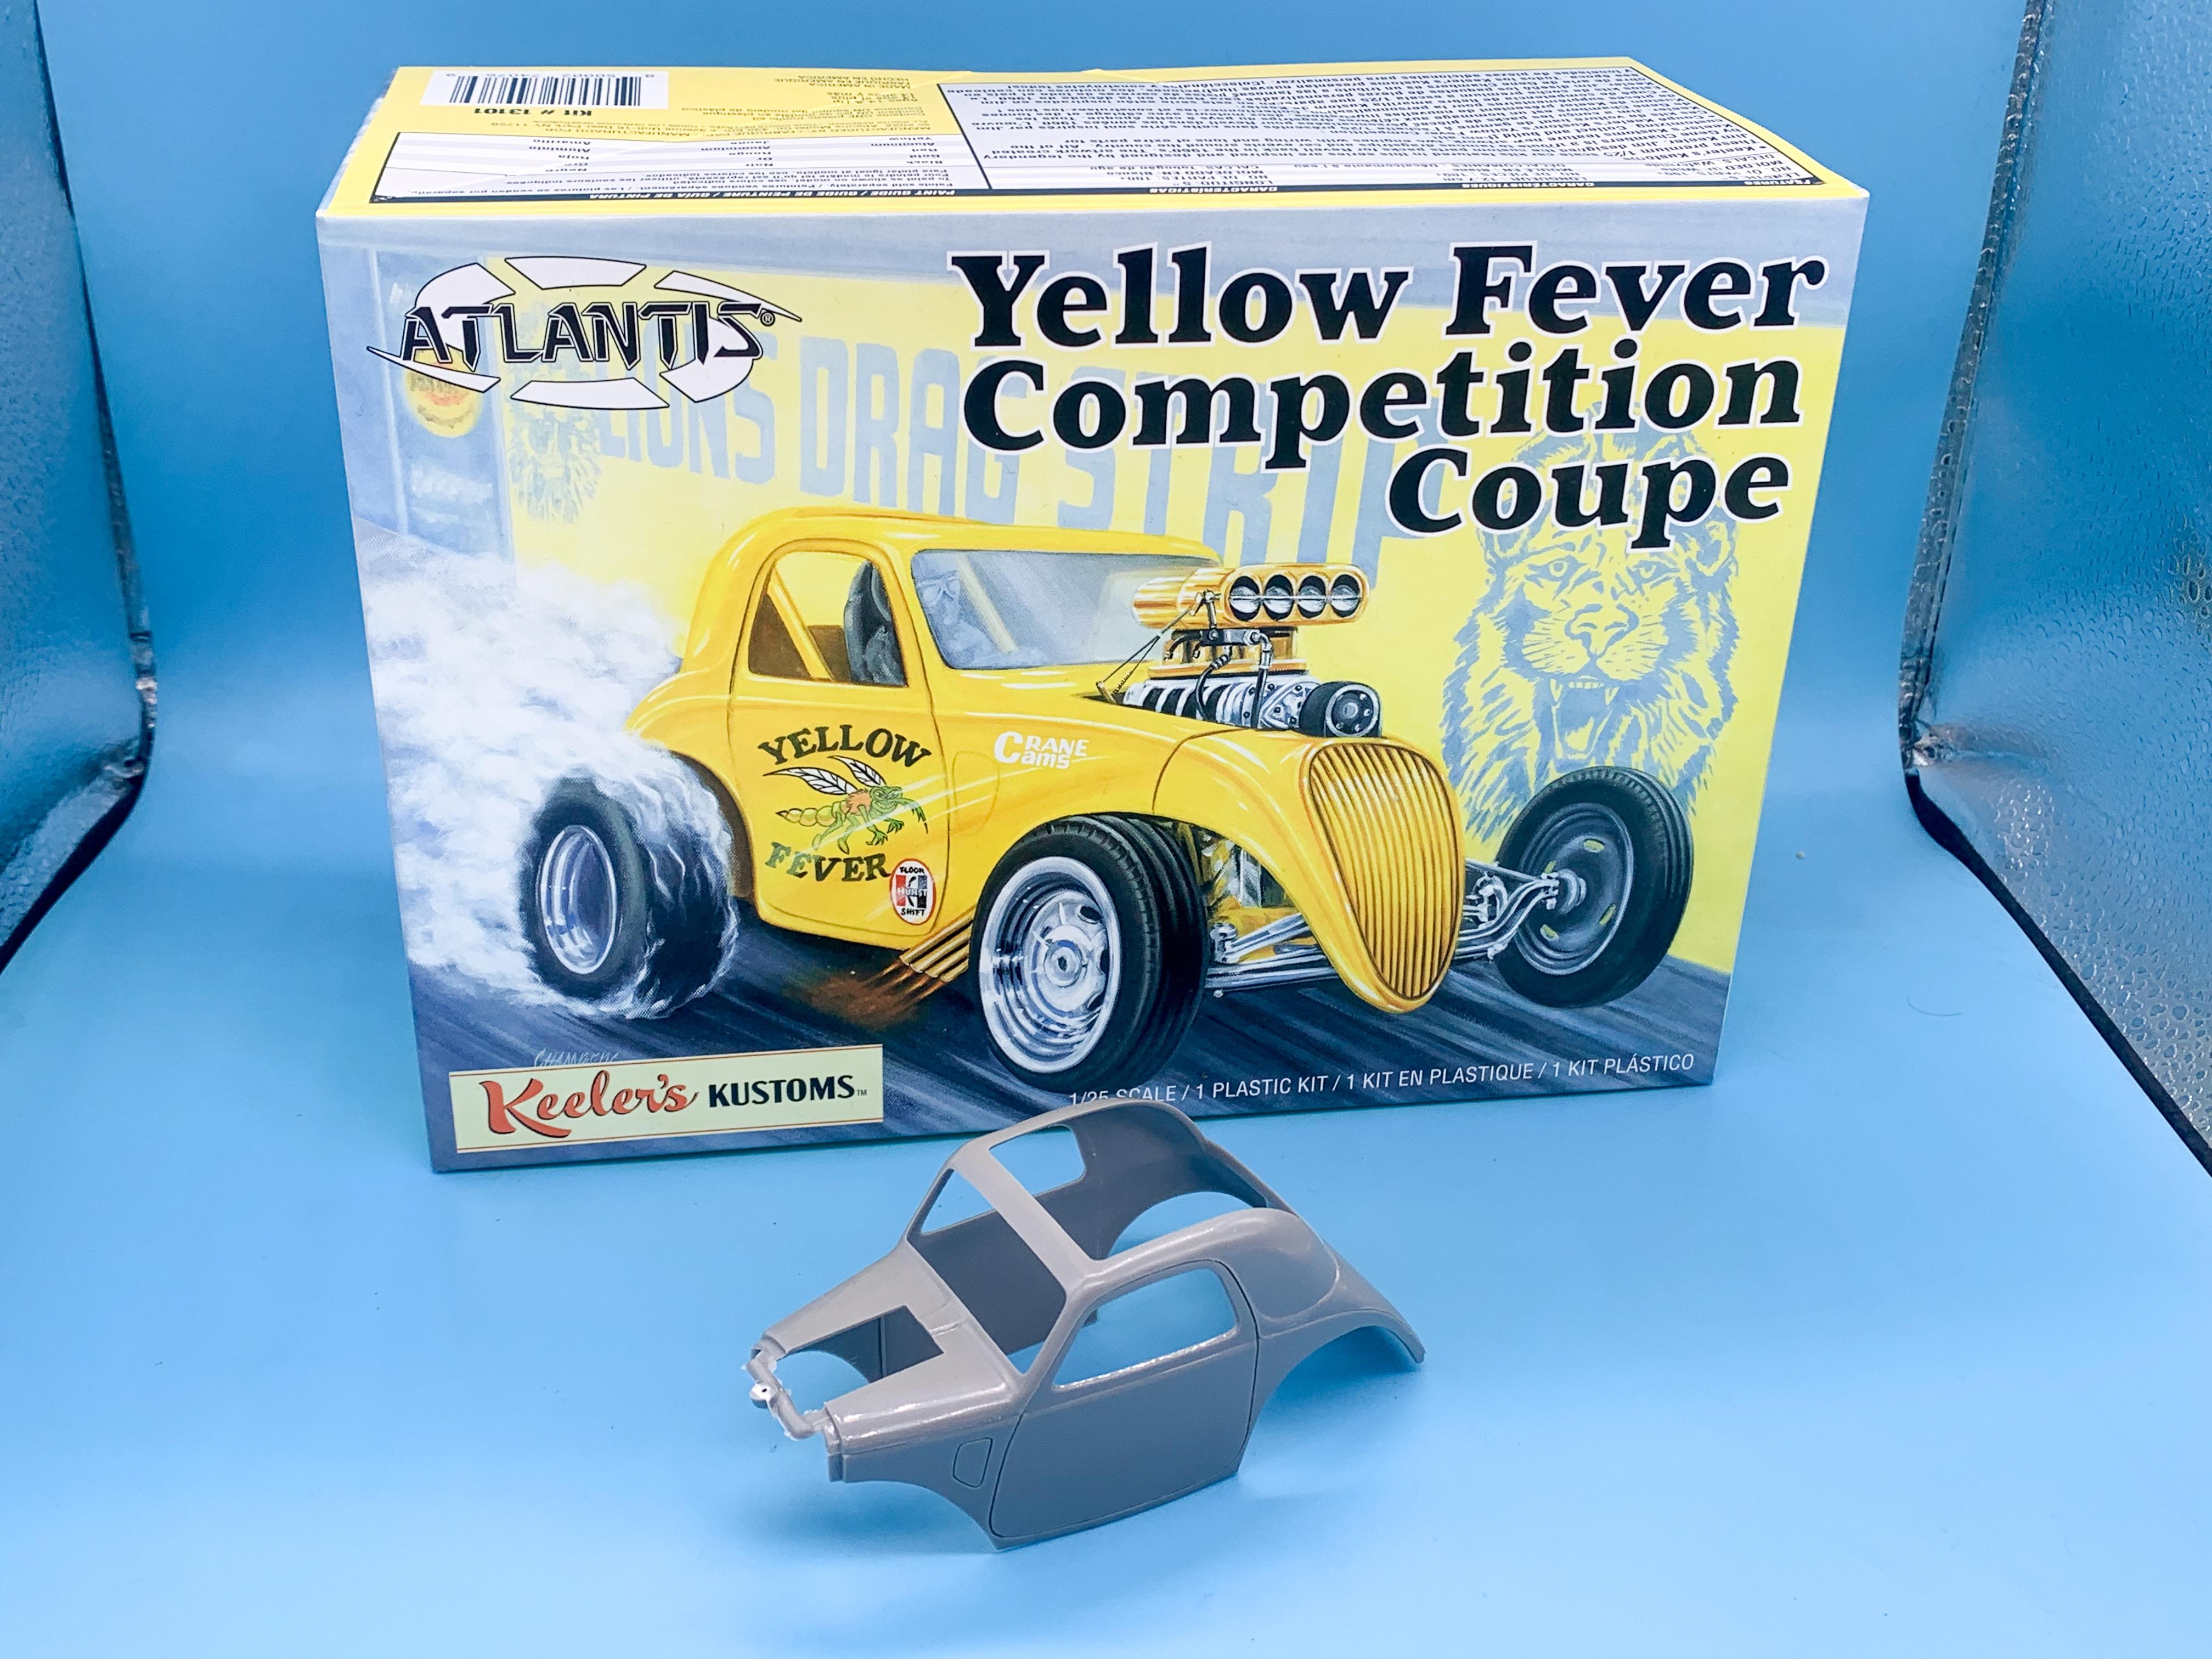
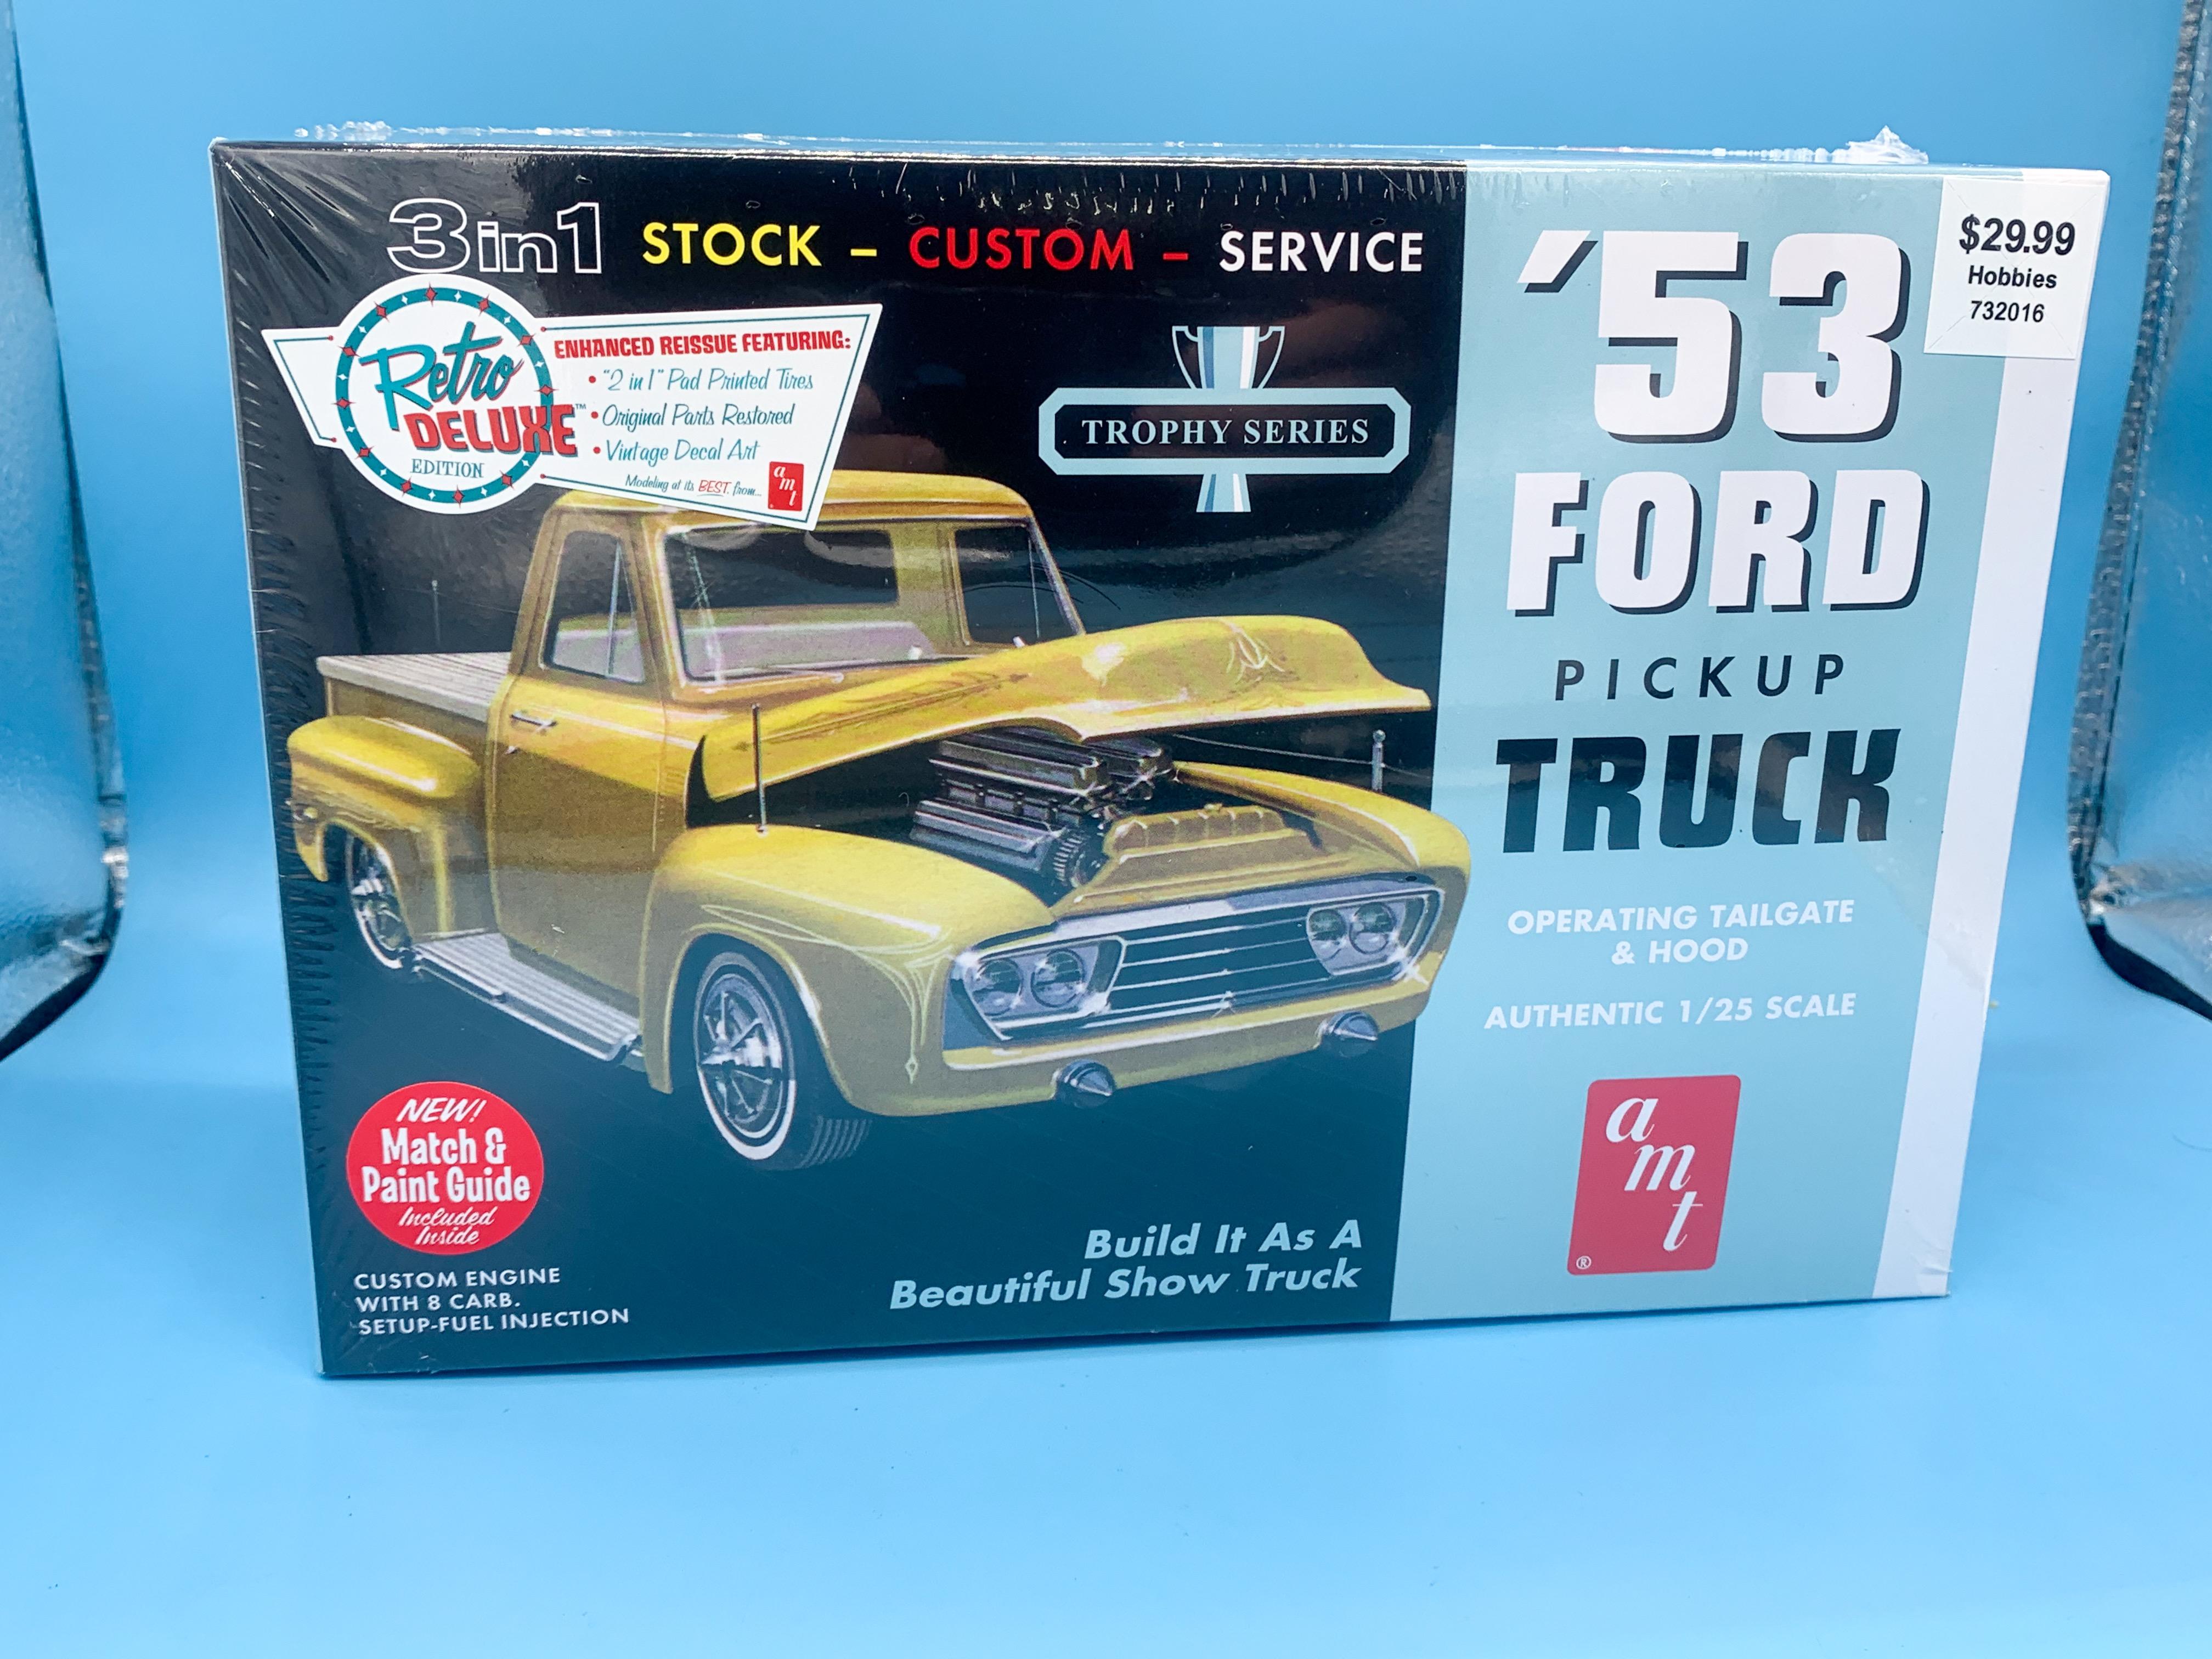
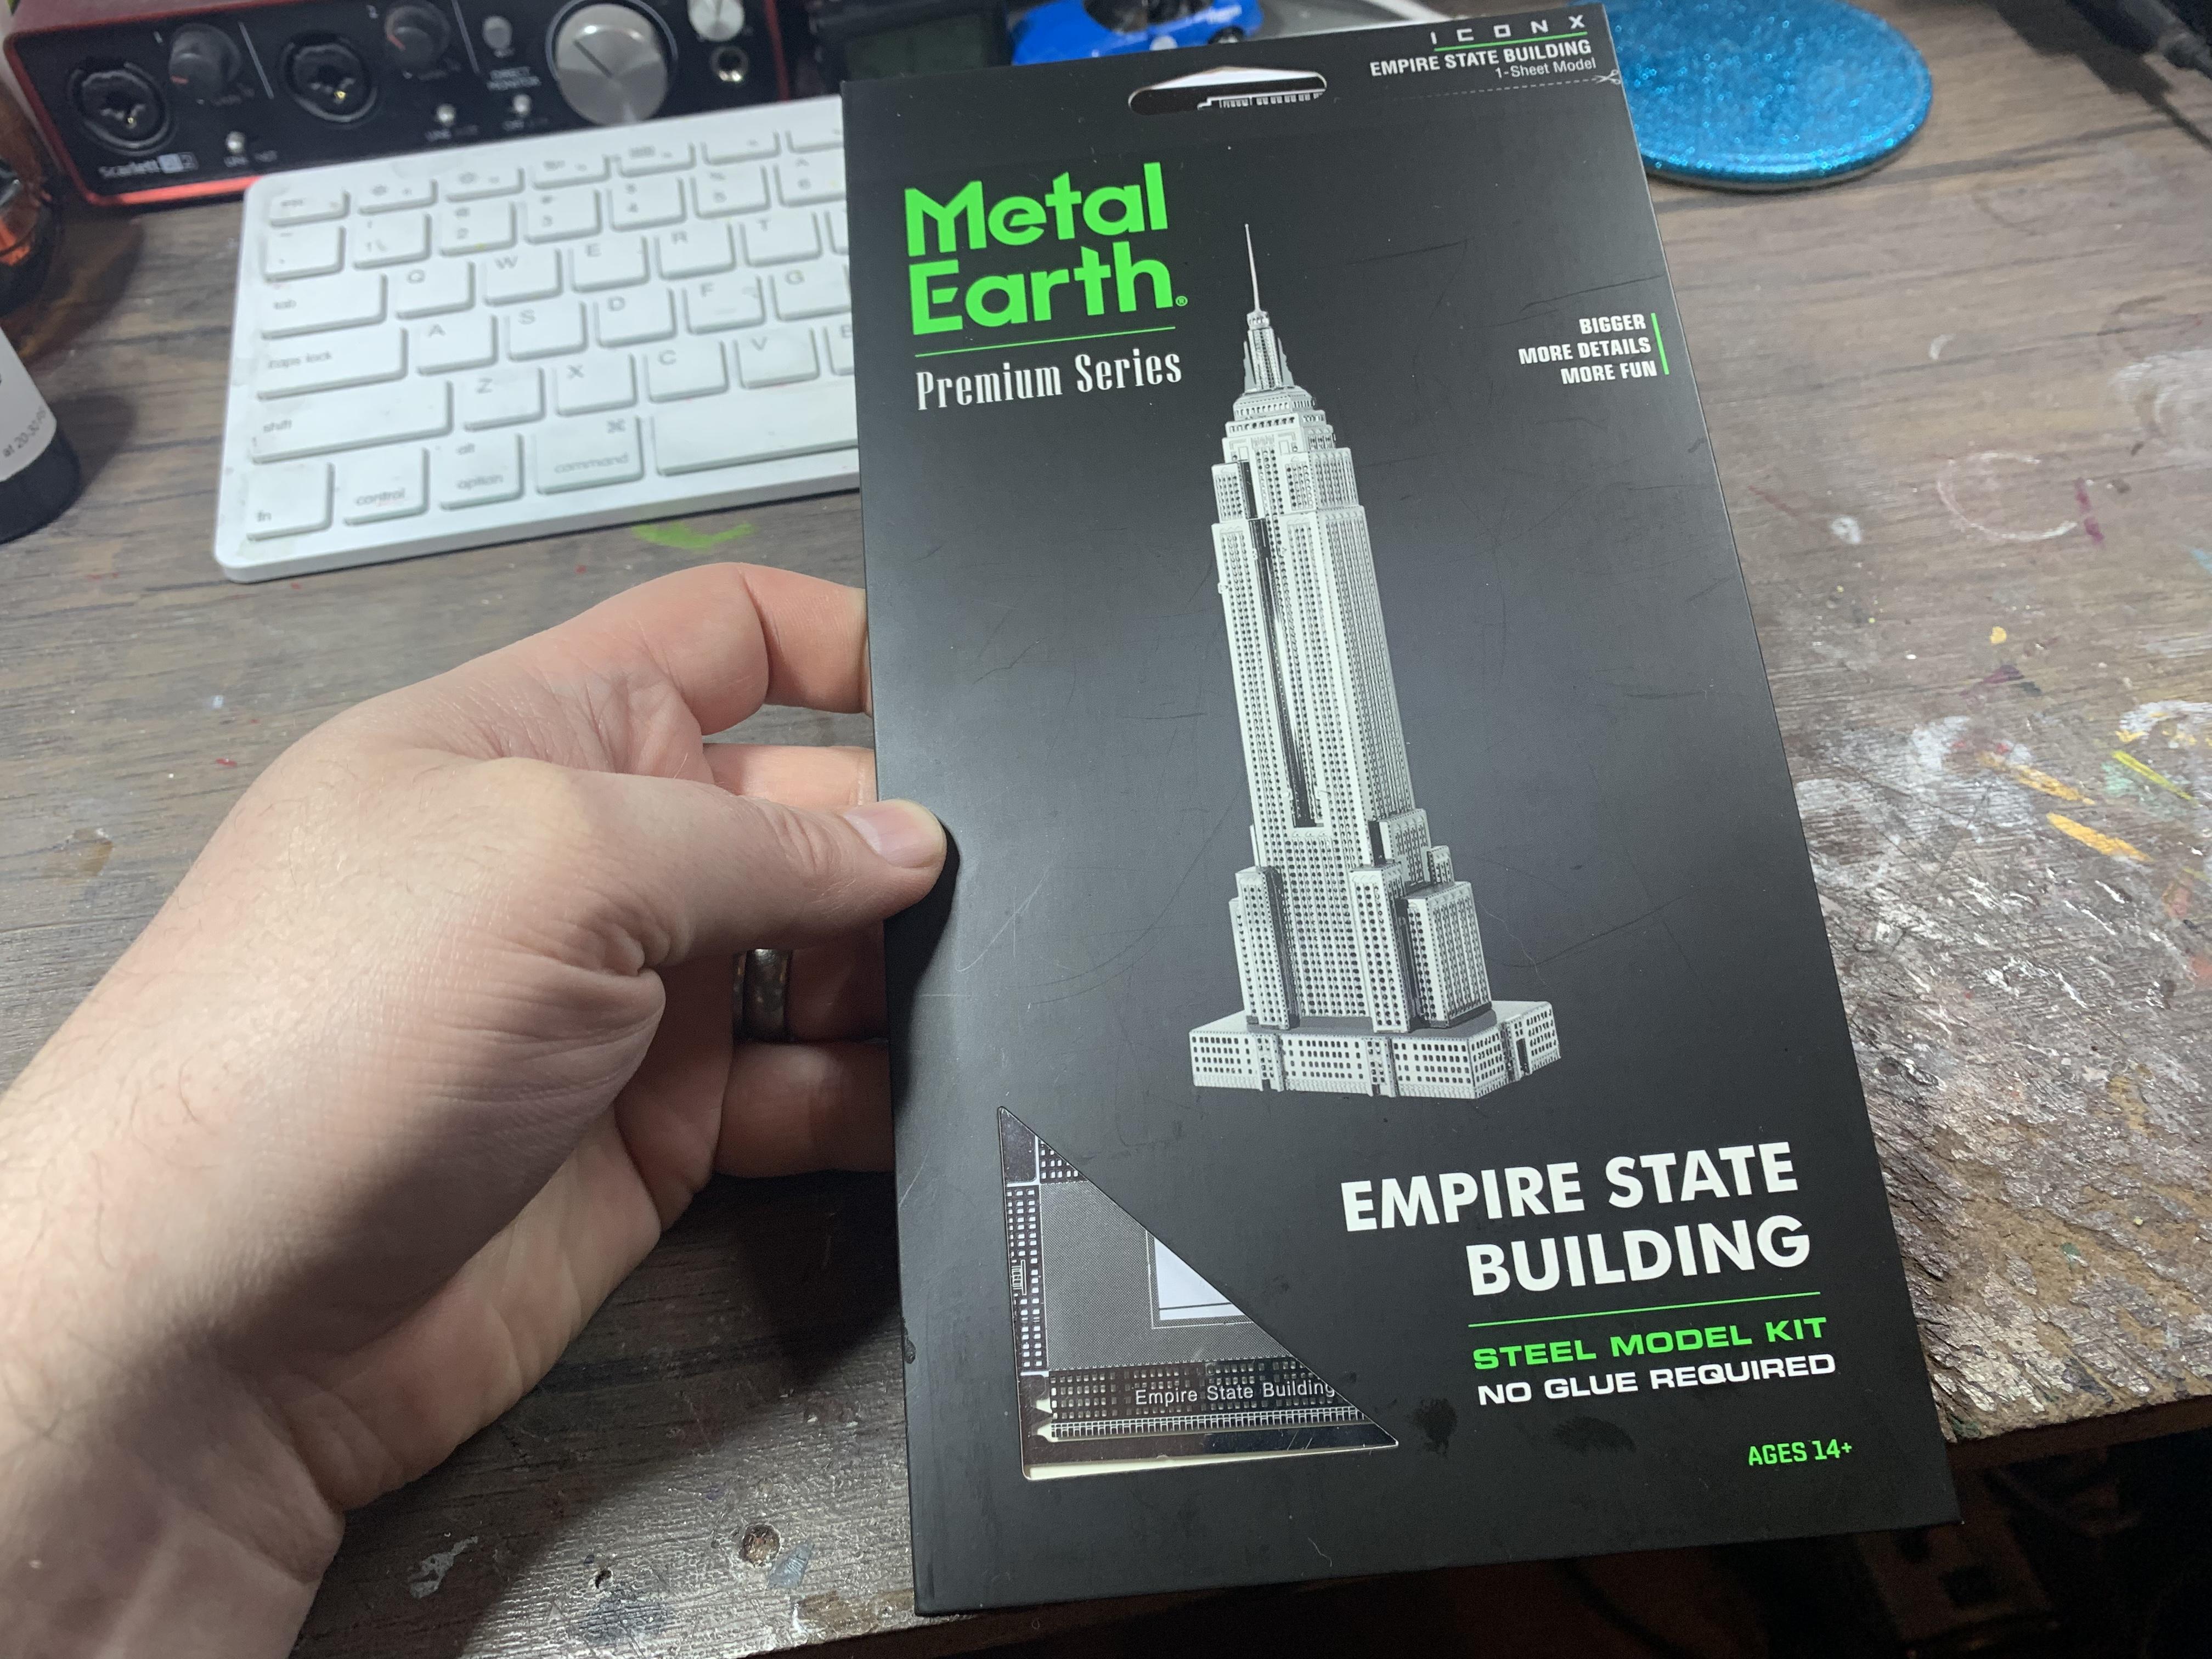
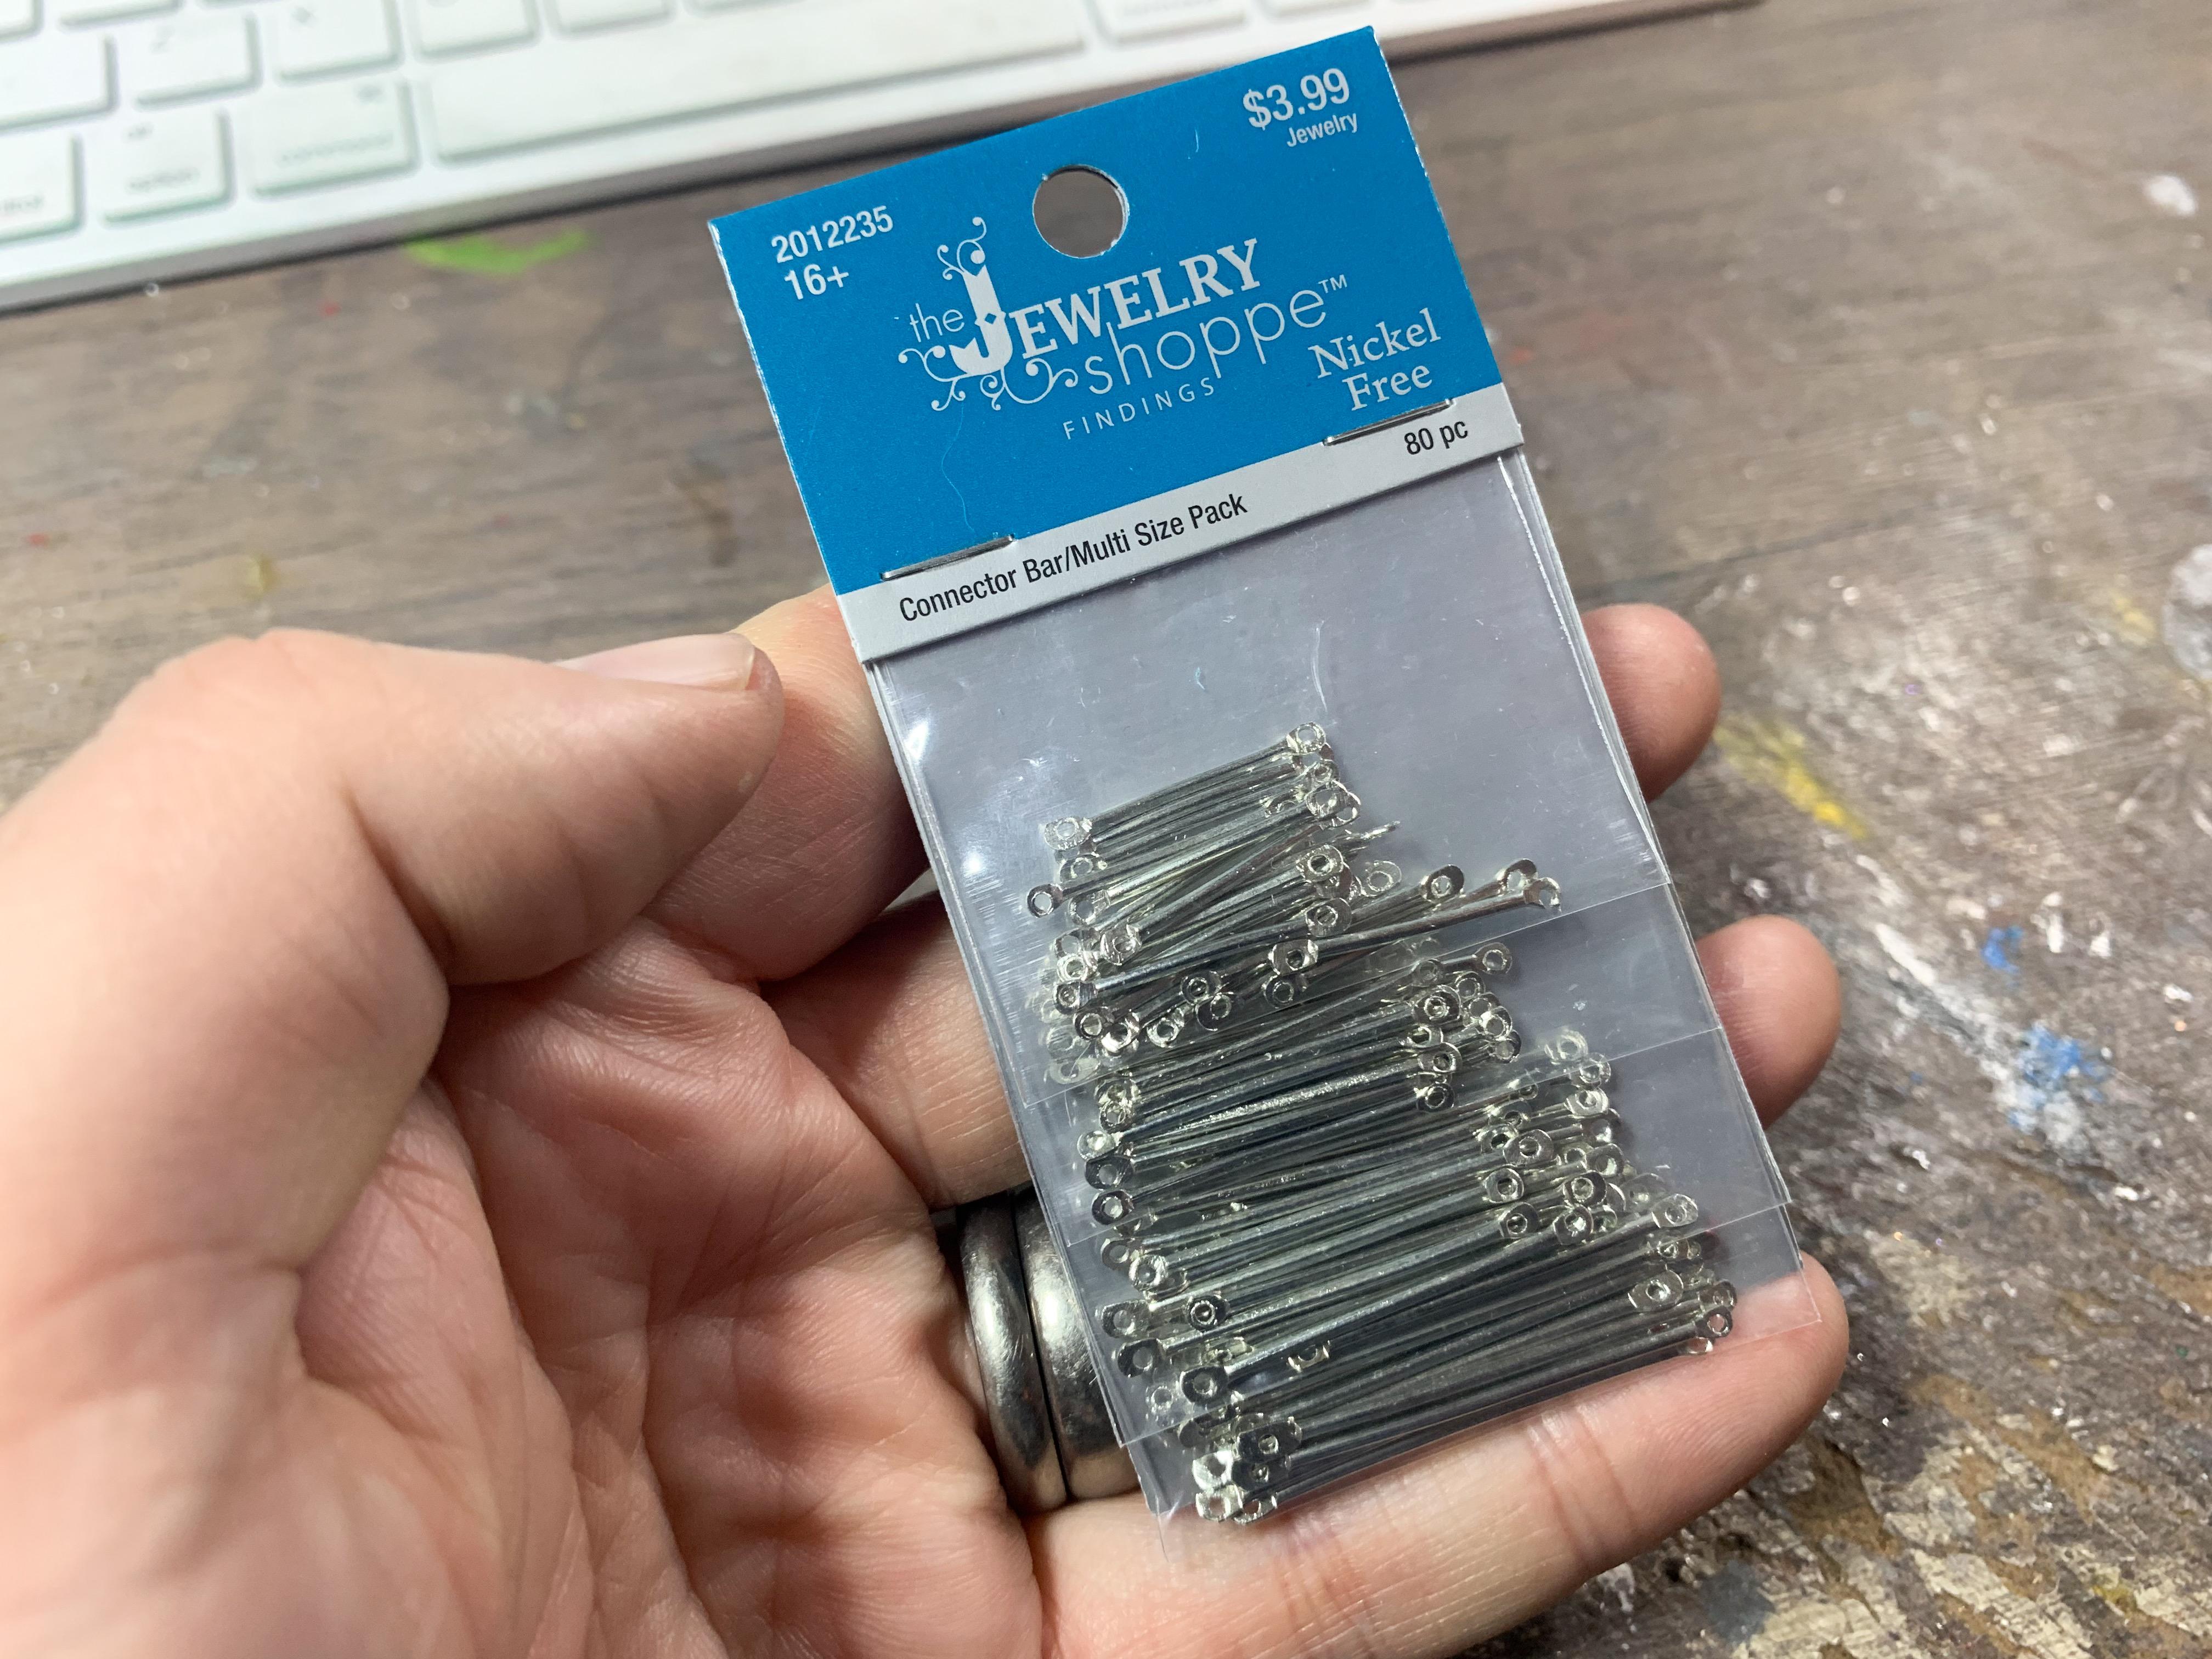
Had a birthday today (reluctantly) and got a few cool modeling-related bits… Cheated, and got this for myself… This one was a gift - I’m excited to dig into it…there’s a TONNE of parts in the box for this one! My wife cleared out Hobby Lobby of all their Letraset dry-transfer lettering (she knows how I love this stuff…) Plus this (not car related, but will still make for a fun little project…) And I found these in the jewelry section - they’ll be perfect for little suspension linkages or something similar! Got a bunch of not-model-related car stuff too - stickers, Rat Fink merch, some parts for my 1:1 Mustang, a Mustang shirt (because everyone knows you can’t own a Mustang or Vette without wearing a matching shirt)…I’m a lucky guy!
- 38,884 replies
-
- 2
-

-
- johan
- glue bombs
- (and 1 more)
-
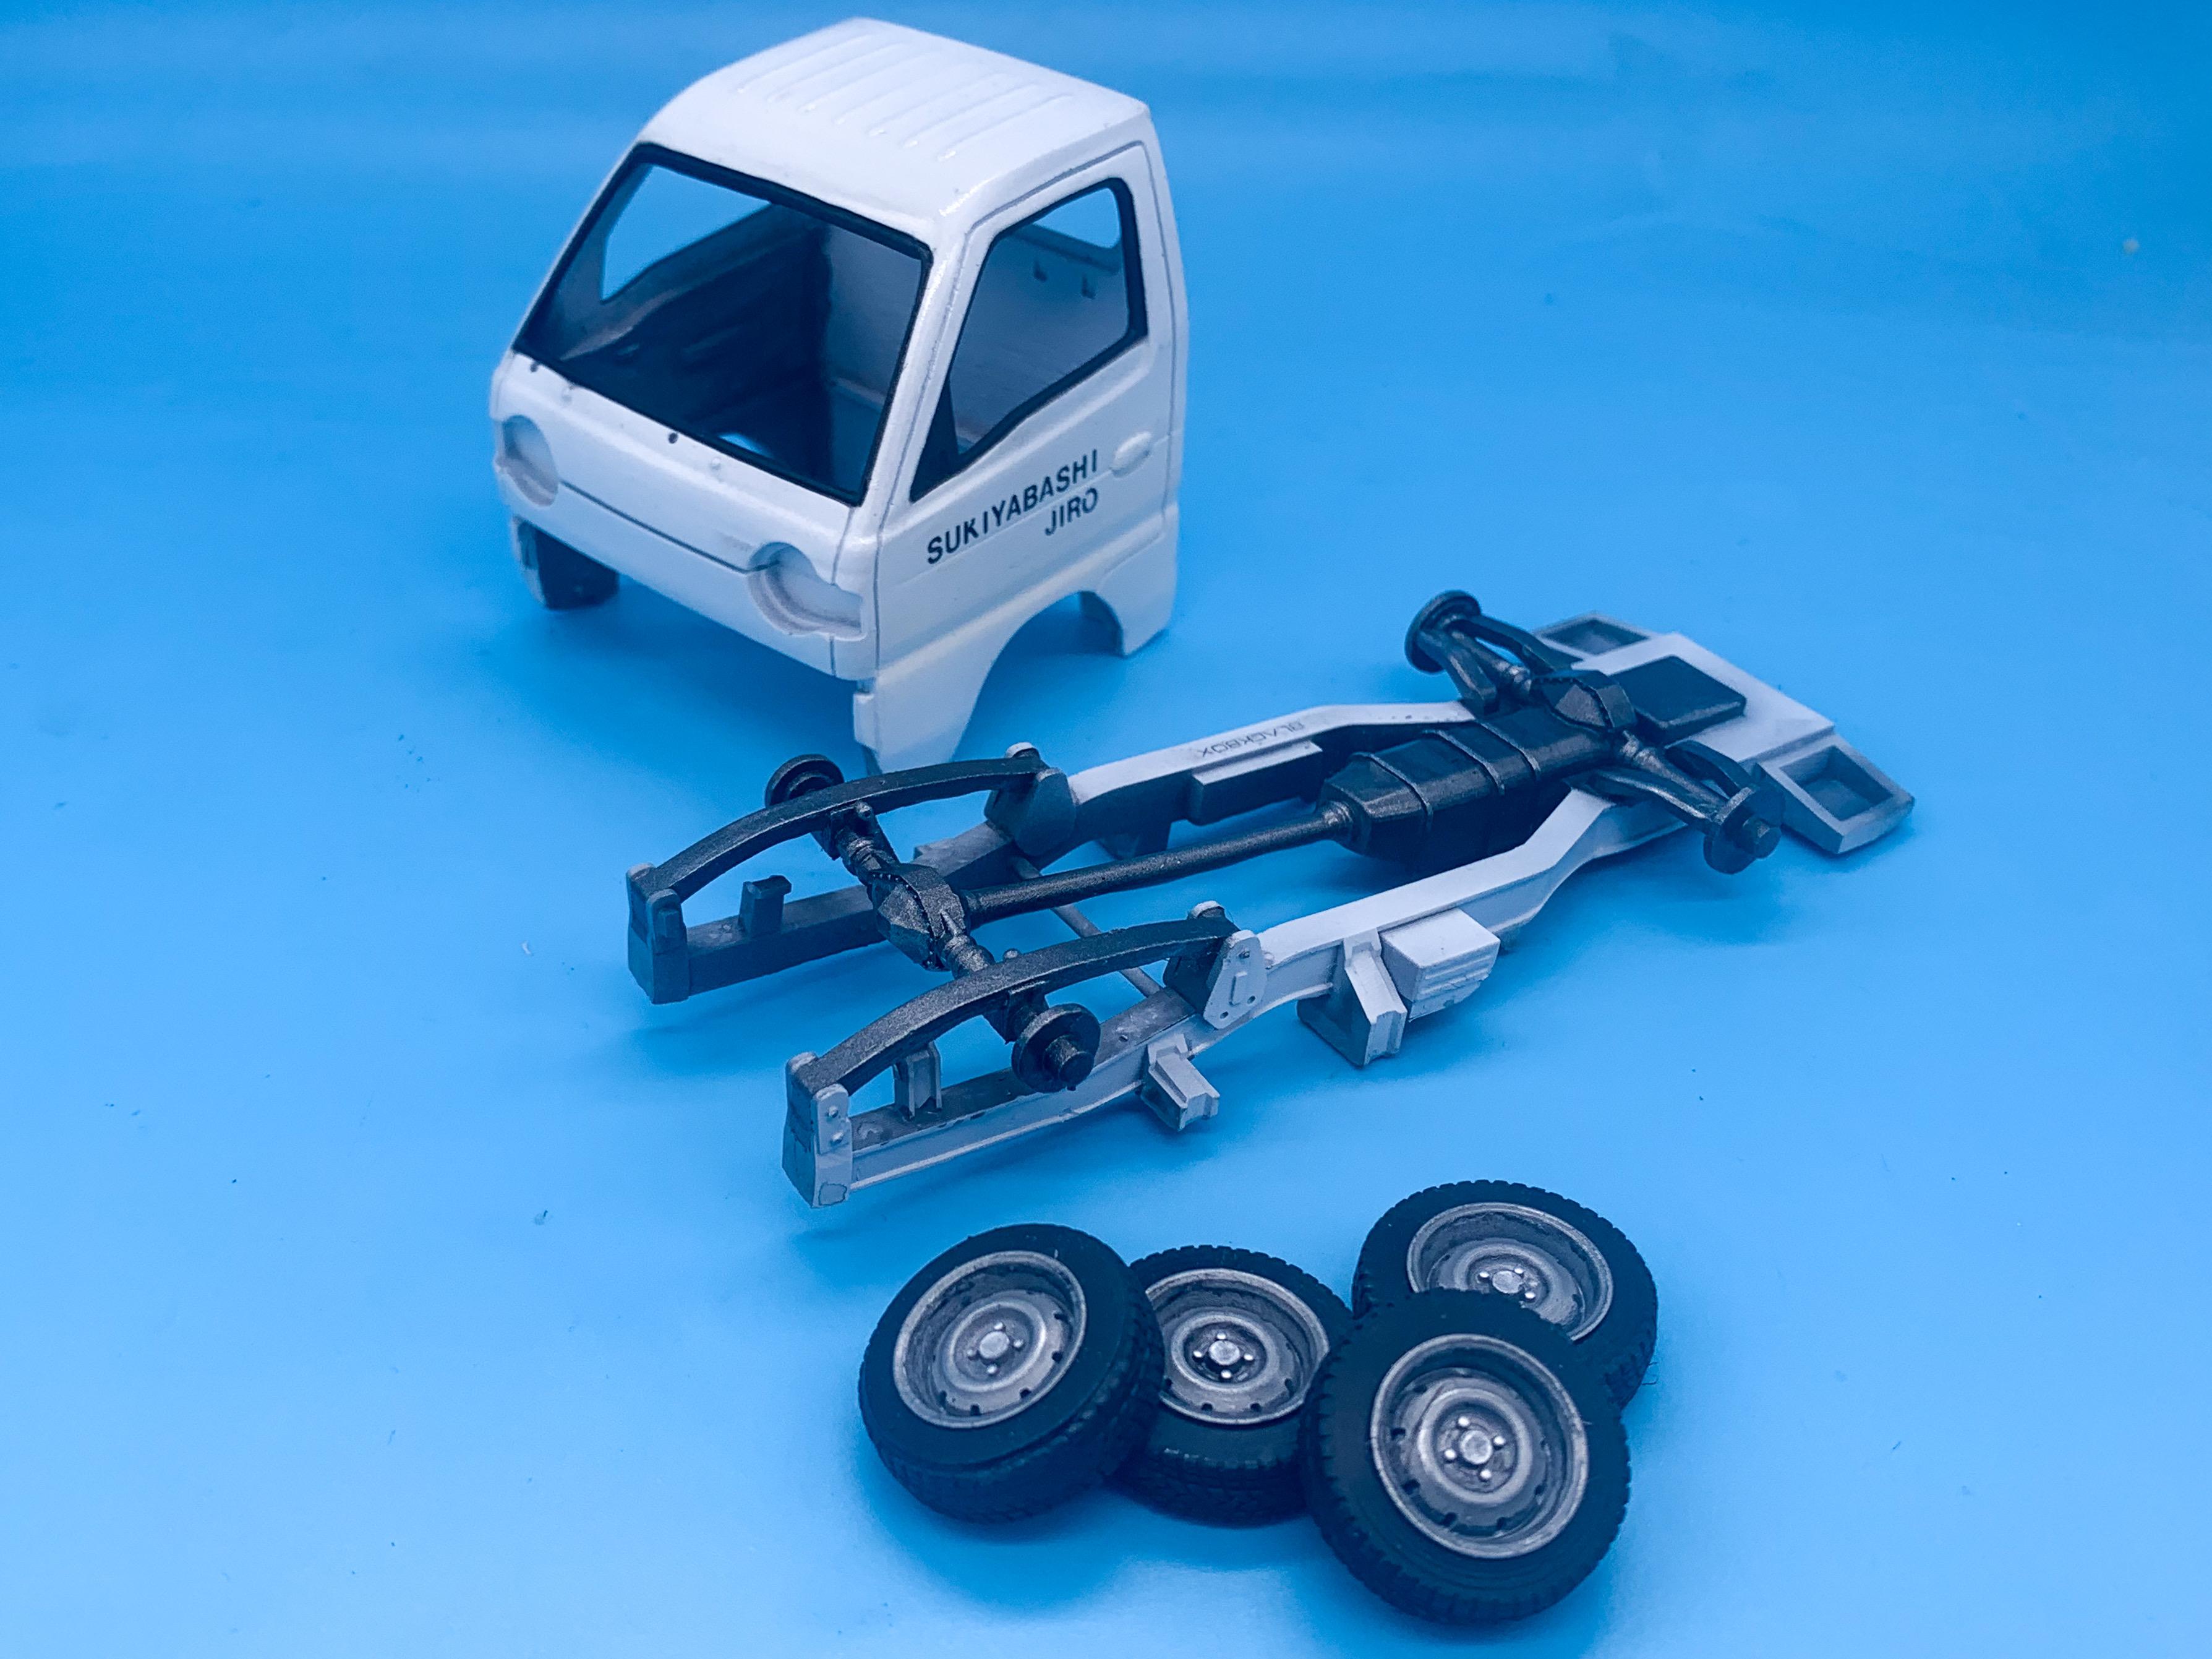
Still tinkering away with this one - realized I hadn’t posted an update so here’s how it sits now… Got the body painted, and added some lettering: Shot black to try and generate some shadows under the frame to stop it looking too toy-like, and then overlaid some white to match the body…I’m going for a lightly weathered kind of look here but not totally ruined, so I’m going to use this shading to help build realism (hopefully)… Cleared that, and masked to paint some metal tones under there: Went with a mix of Vallejo and acrylic craft paints - I’m not going crazy with the underside, but you can see the rear suspension and driveshaft on the 1:1 trucks pretty easily so I’m just trying to capture that… And finally for this update, shot some metal colors on the steelie wheels and got the tires painted…these will receive some further weathering too: And that’s where I’m at so far…more soon, soon as I’ve done more!
-
I LOVE it! I wanna build one just like it! Also, what’s that coupe in the background with the pointy nose? I love that too!
-
What did you see on the road today?
OldNYJim replied to Harry P.'s topic in General Automotive Talk (Trucks and Cars)
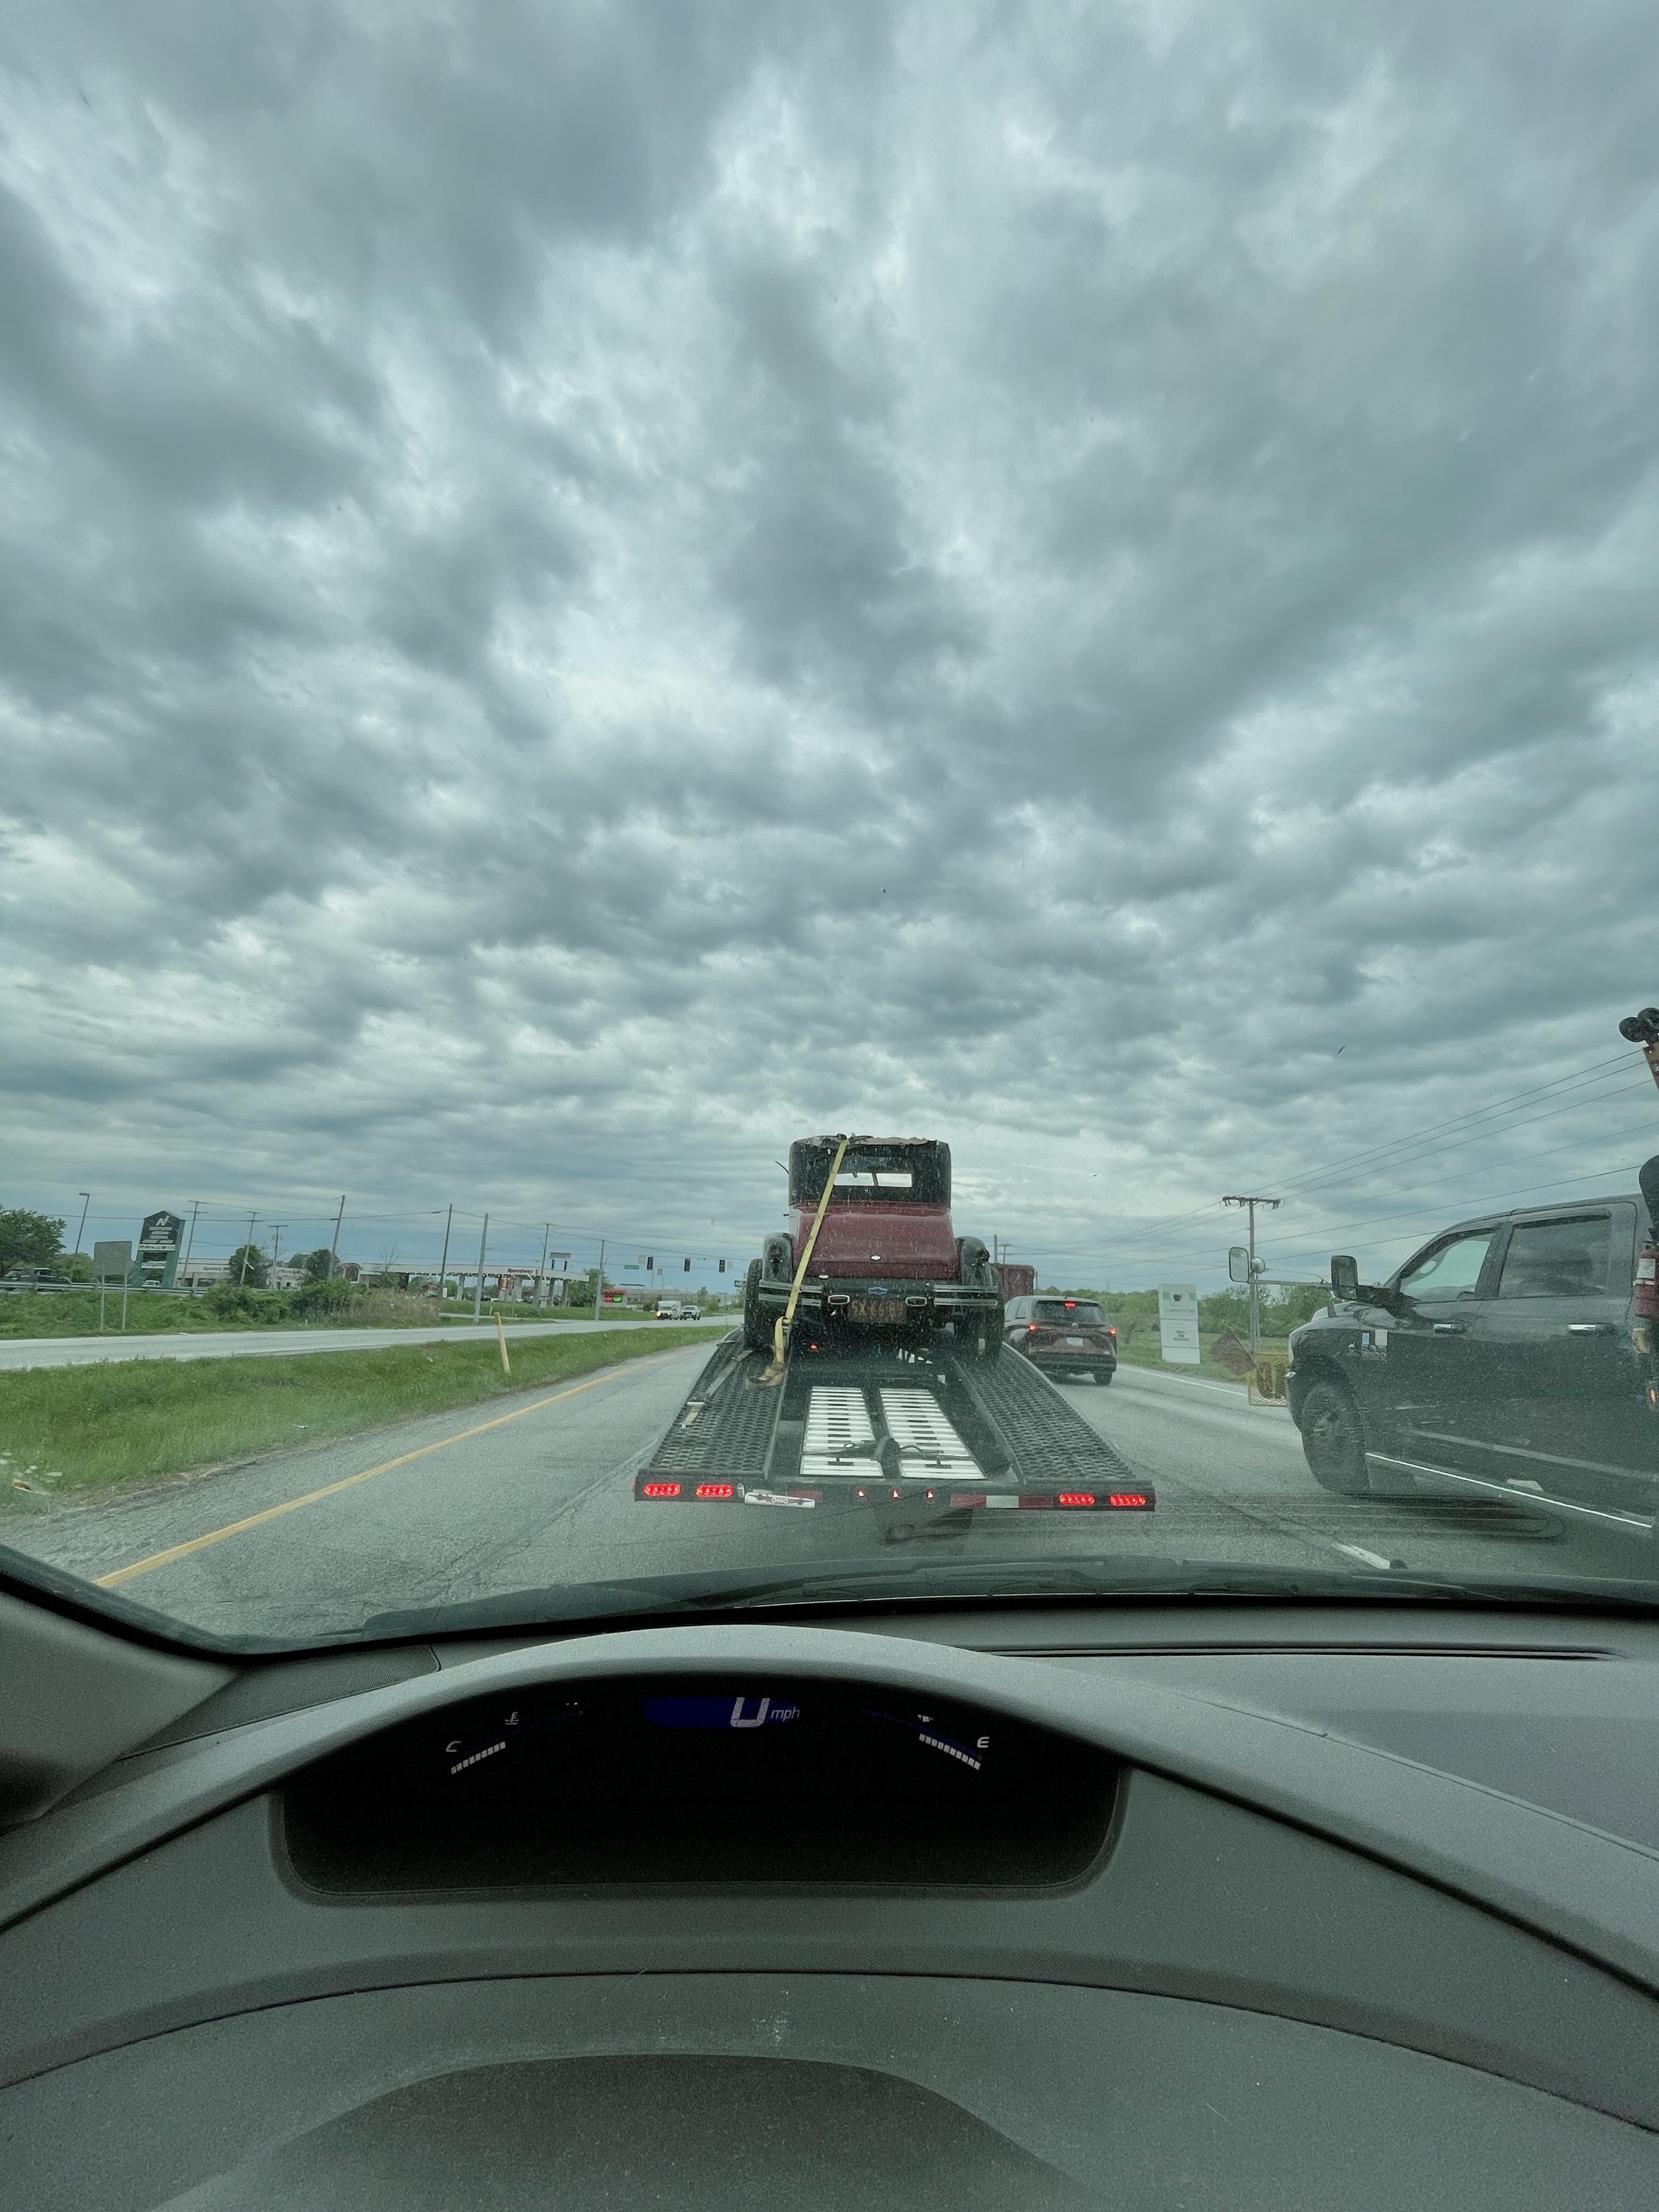
I noticed that too - I'd like to give them the benefit of the doubt and hope it's just to stop an already-damaged roof from blowing away or further damaging itself...but who knows... -
What did you see on the road today?
OldNYJim replied to Harry P.'s topic in General Automotive Talk (Trucks and Cars)
My wife spotted this today - she did the right thing and snapped a pic (when it was safe to do so) and sent it over to me:
-
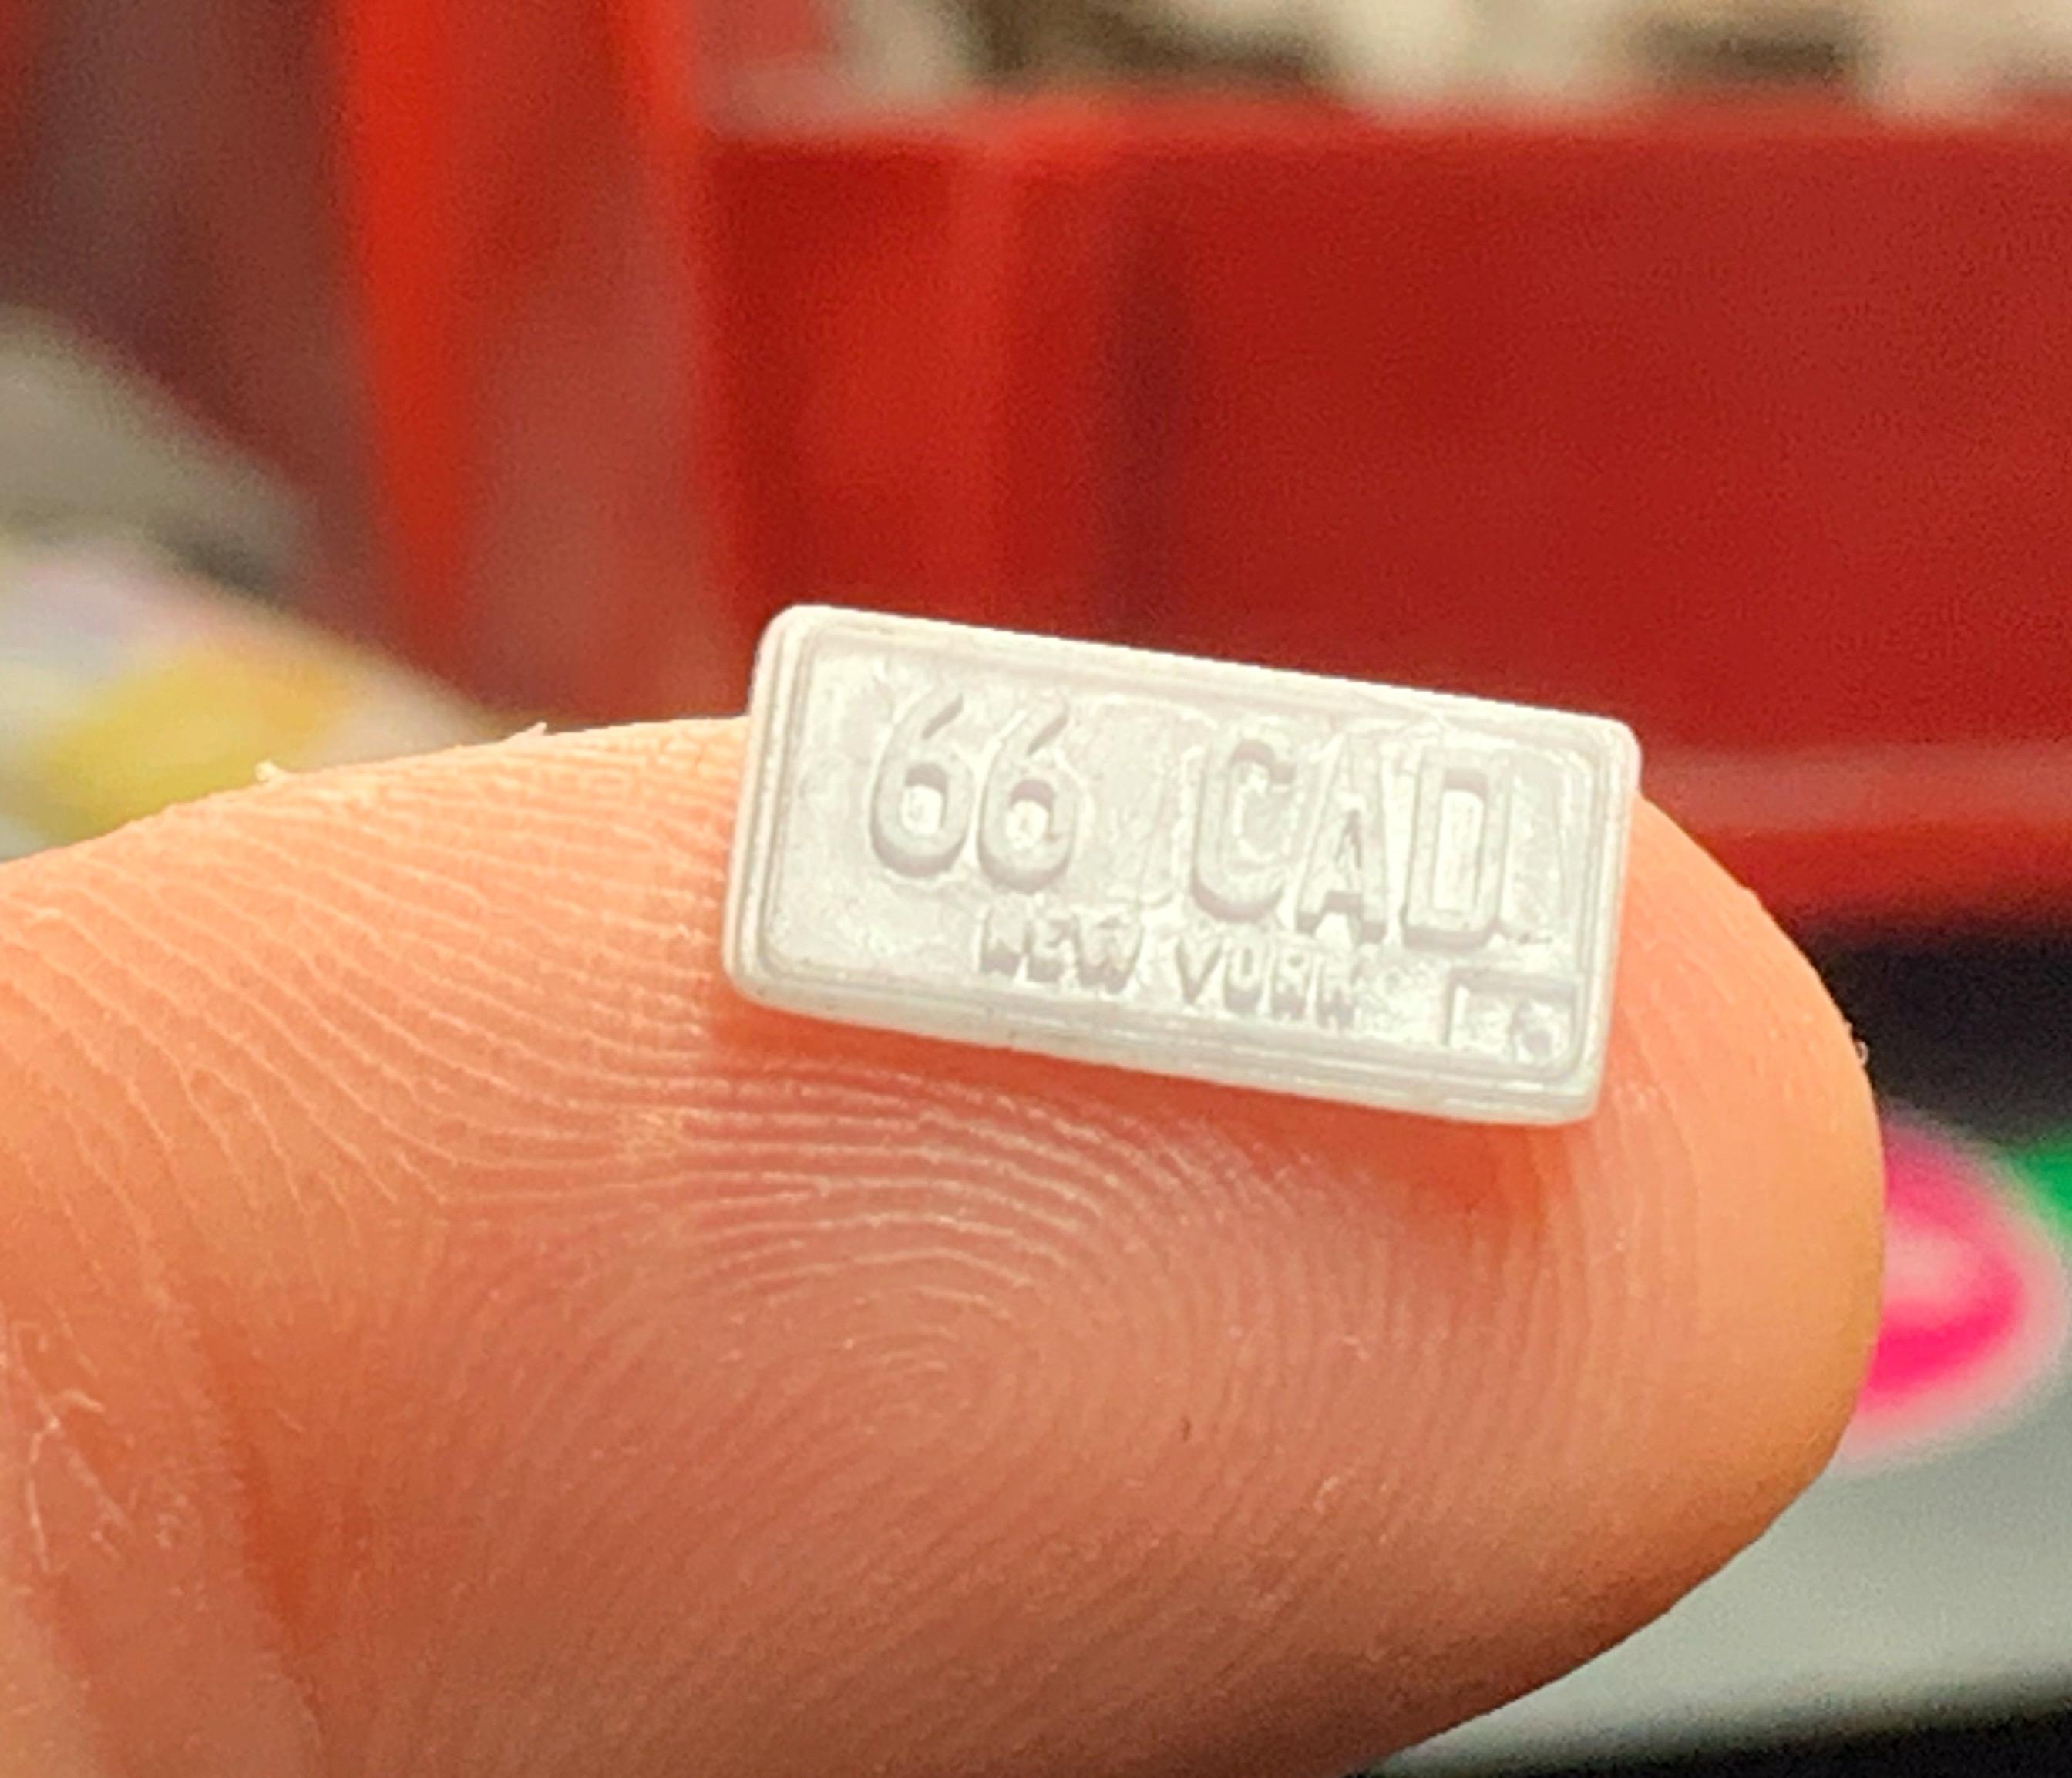
Made a template so I can print customized license plates with actual raised copy - ran a test print of a 60s NY plate tonight to see how they’ll work out
-
Smart idea to magnetize the wheel nuts - this is a great looking build! Nice job!
-
AMT '70s Short Body R.E. Dragster (05/22/2022)
OldNYJim replied to Straightliner59's topic in WIP: Drag Racing Models
Those aluminum-infused resin parts came out GREAT! I experimented with that technique a little but never got such nice pieces as yours. Enjoying this whole build! -
1960 Ferrari 256F1
OldNYJim replied to Chris Smith's topic in WIP: Other Racing: Road Racing, Land Speed Racers
A stunning build - beautiful masterful work! -
I think you’re probably right - but I saw some good results achieved when I was researching too, so I’m interested to try it and see! Even actual stand-alone 3D scanners are nowhere close to being ‘scan-it-and-print’ quite yet, but even something USABLE would be exciting at this stage. It’s VERY early days though in the life of this technology (at least, for us do-it-home-cheaply users)
-
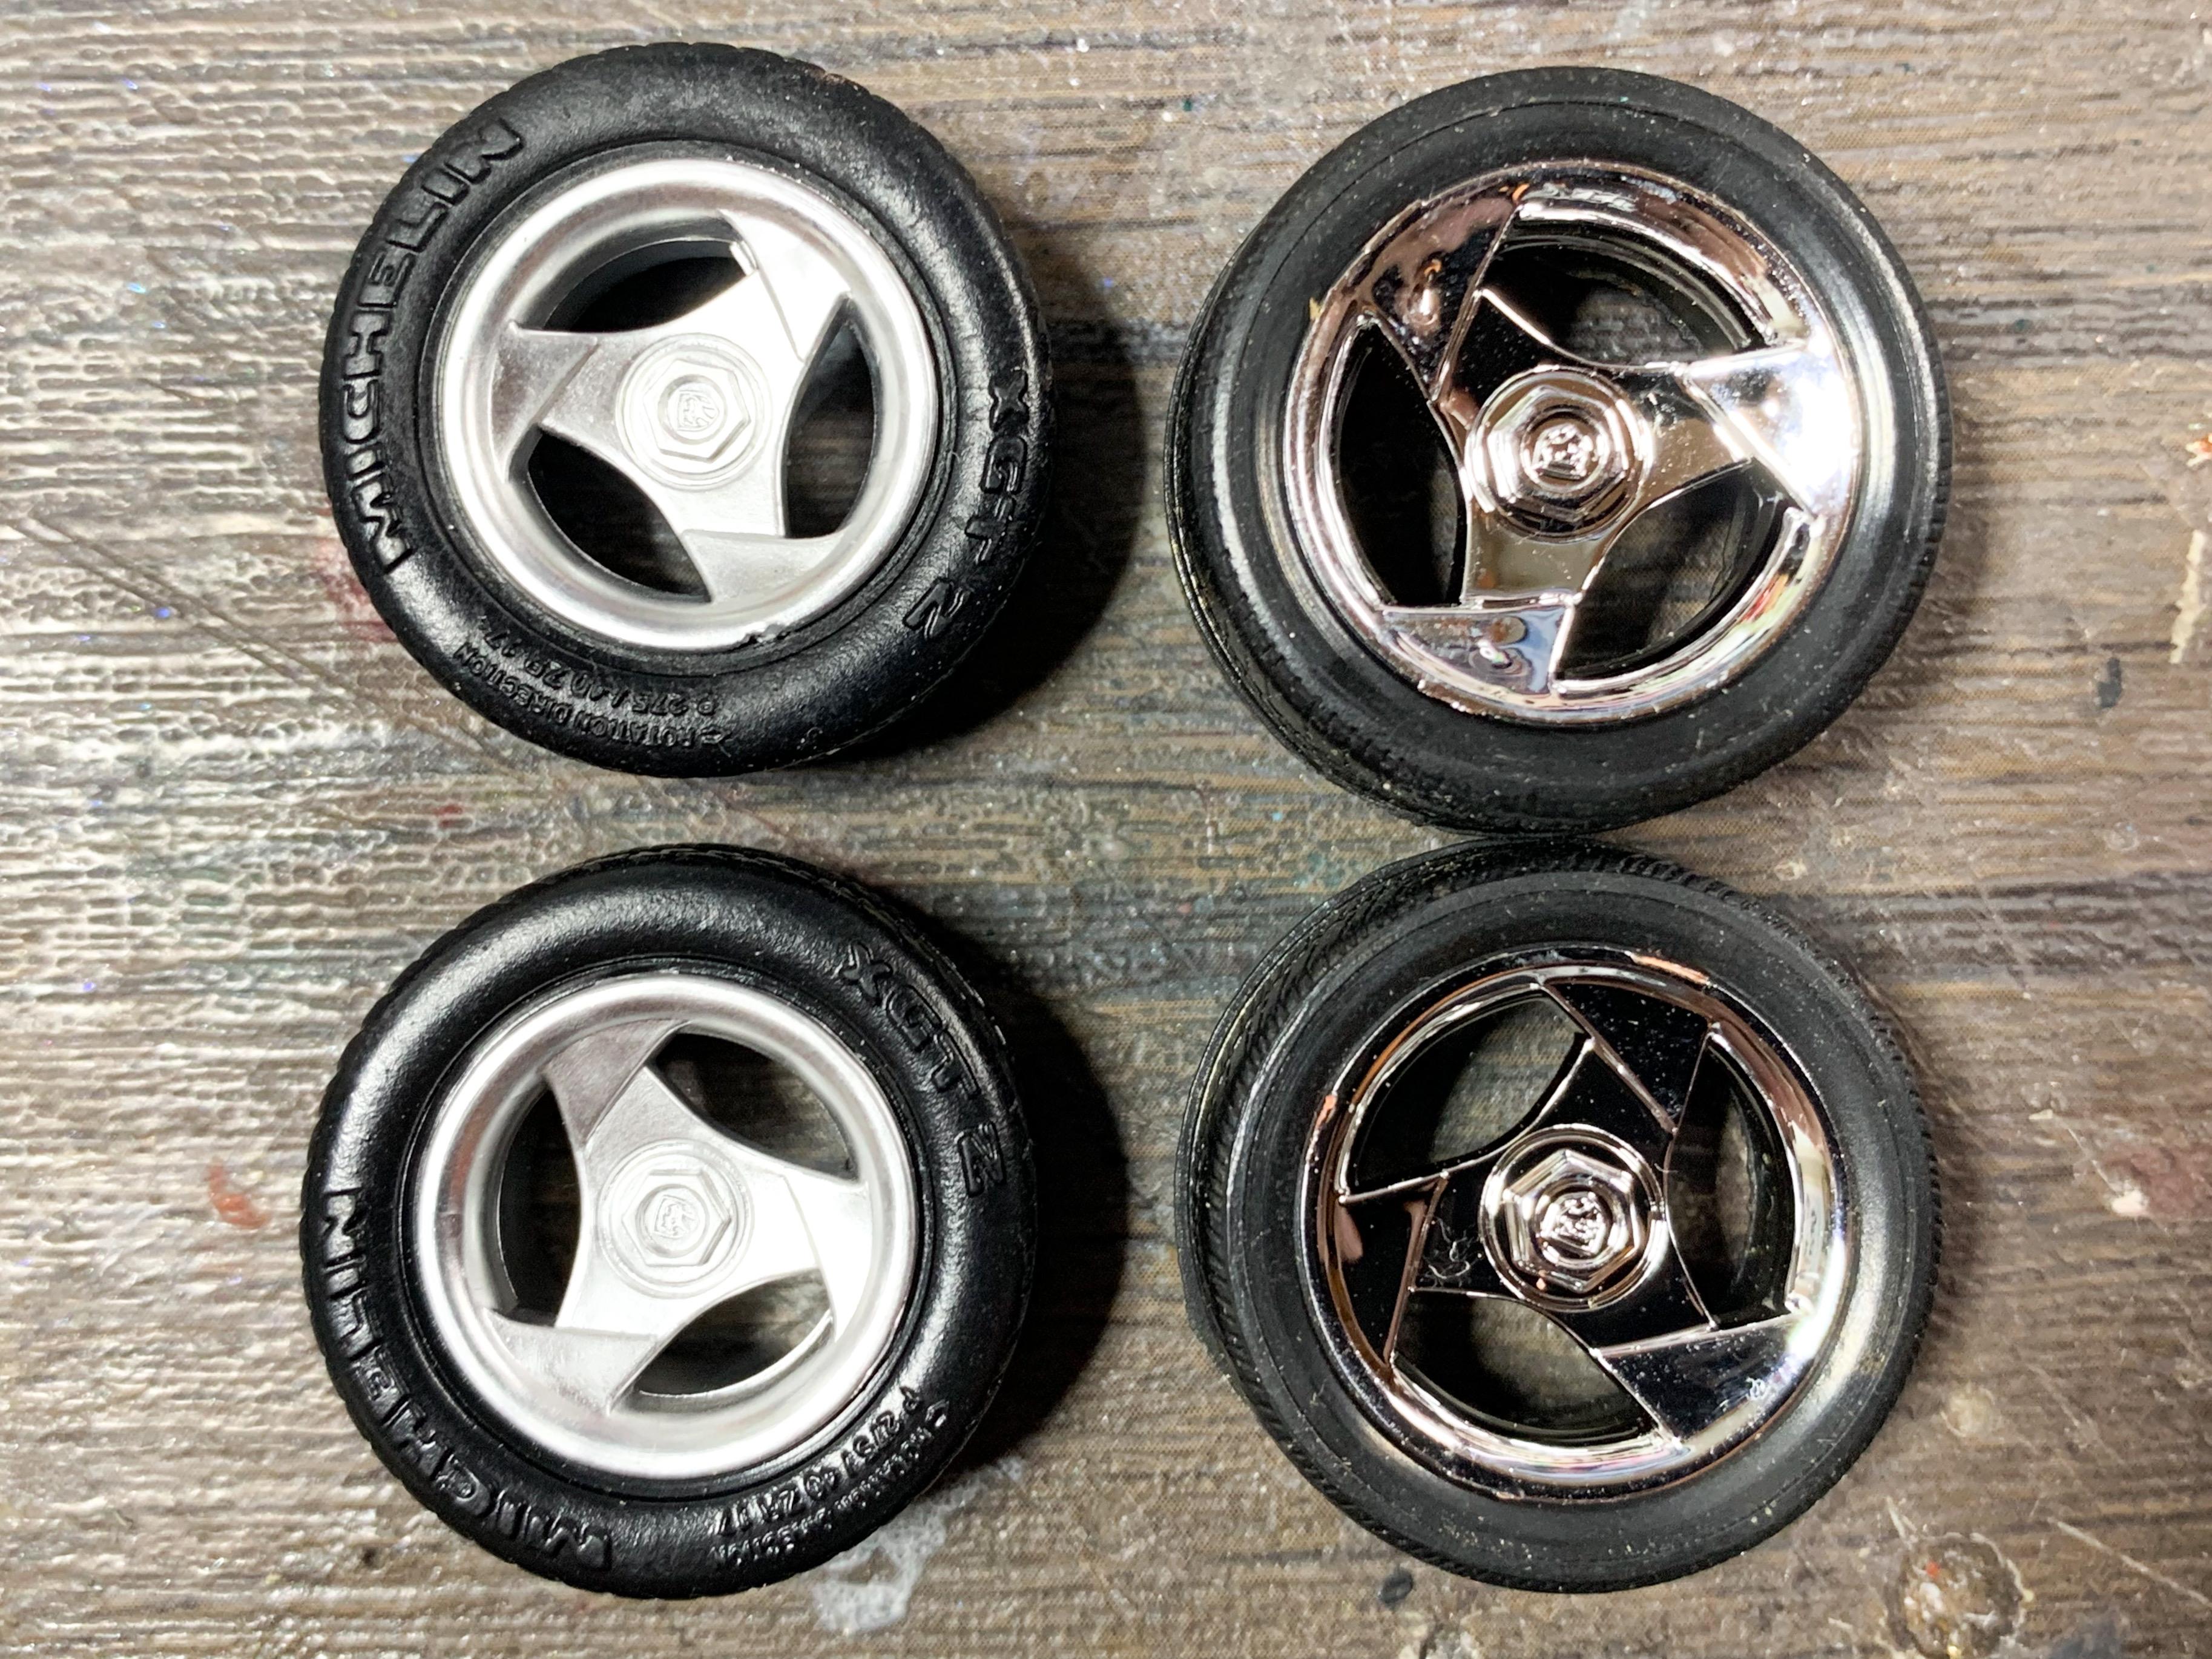
Looking good so far! I picked up a Revell Viper kit on @Paul Payne’s recommendation - the wheels look MUCH better compared to the AMT ones… AMT on the left, Revell on the right: The Revell rear tires are a few scale inches wider too: Disregard if this isn’t useful for your build - but for $5 plus shipping that I paid for this second kit I definitely am happy with these as an upgrade to the AMT parts