OldNYJim
-
Posts
251 -
Joined
-
Last visited
Content Type
Profiles
Forums
Events
Gallery
Everything posted by OldNYJim
-
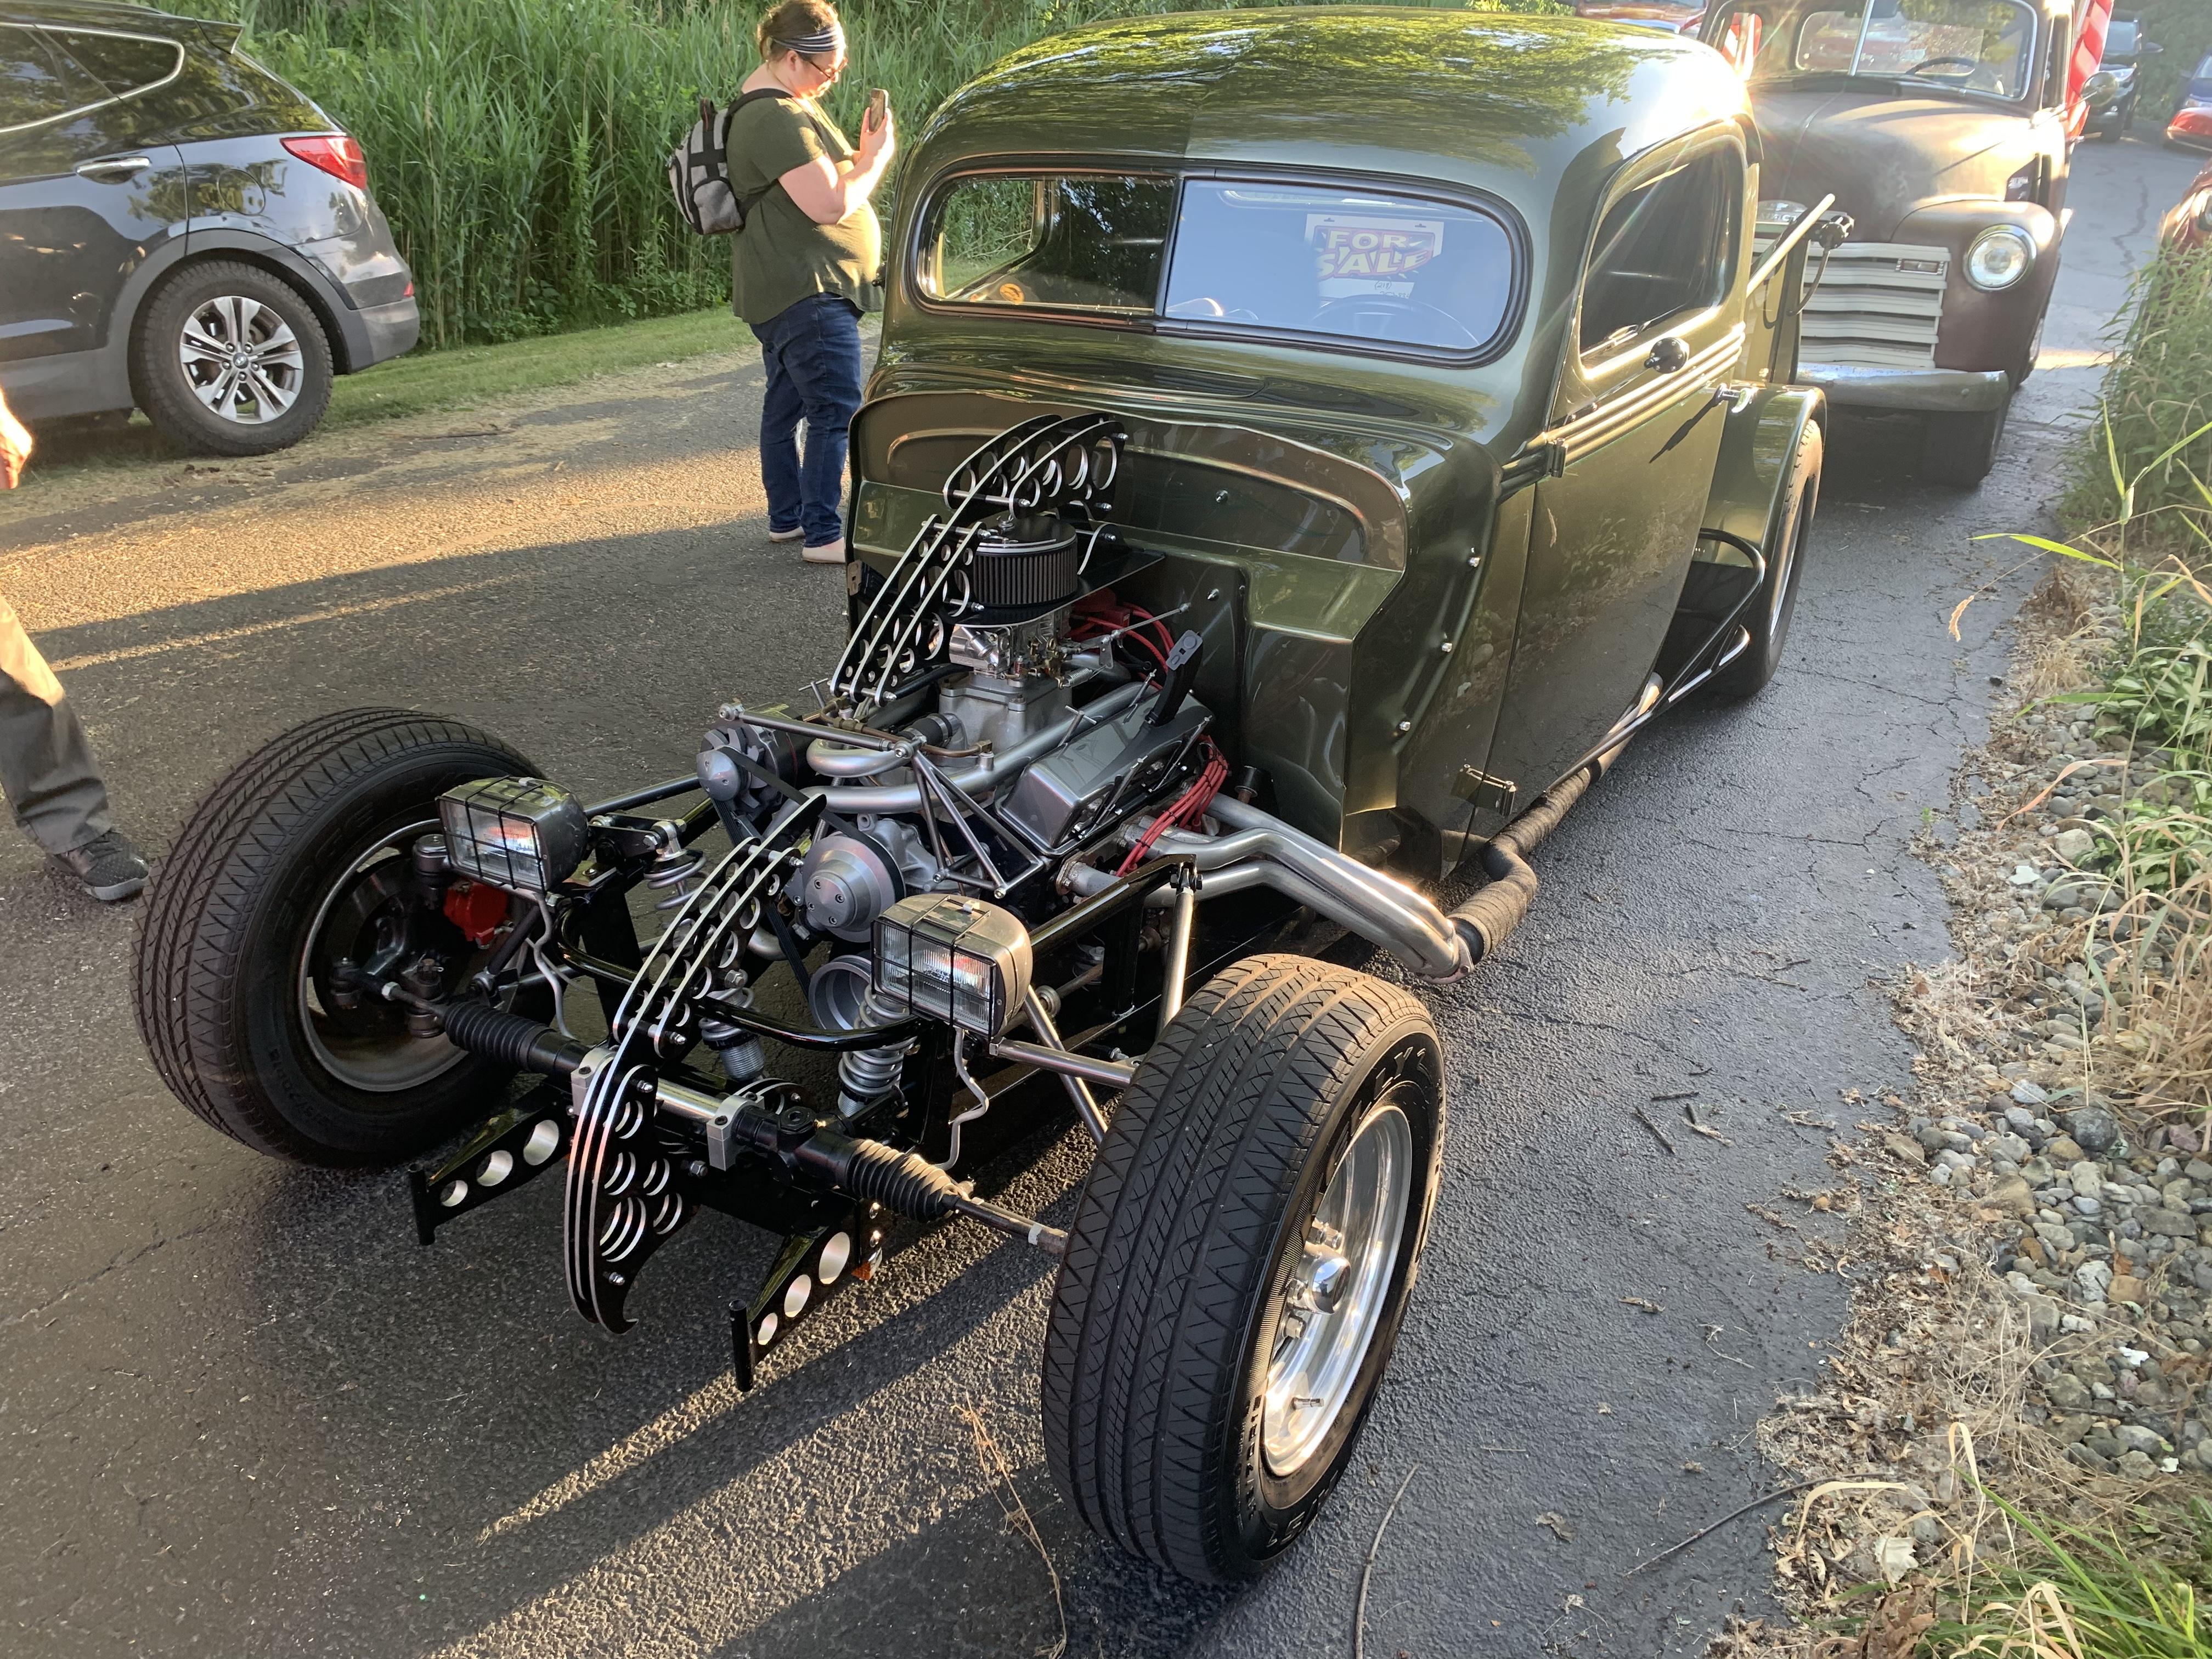
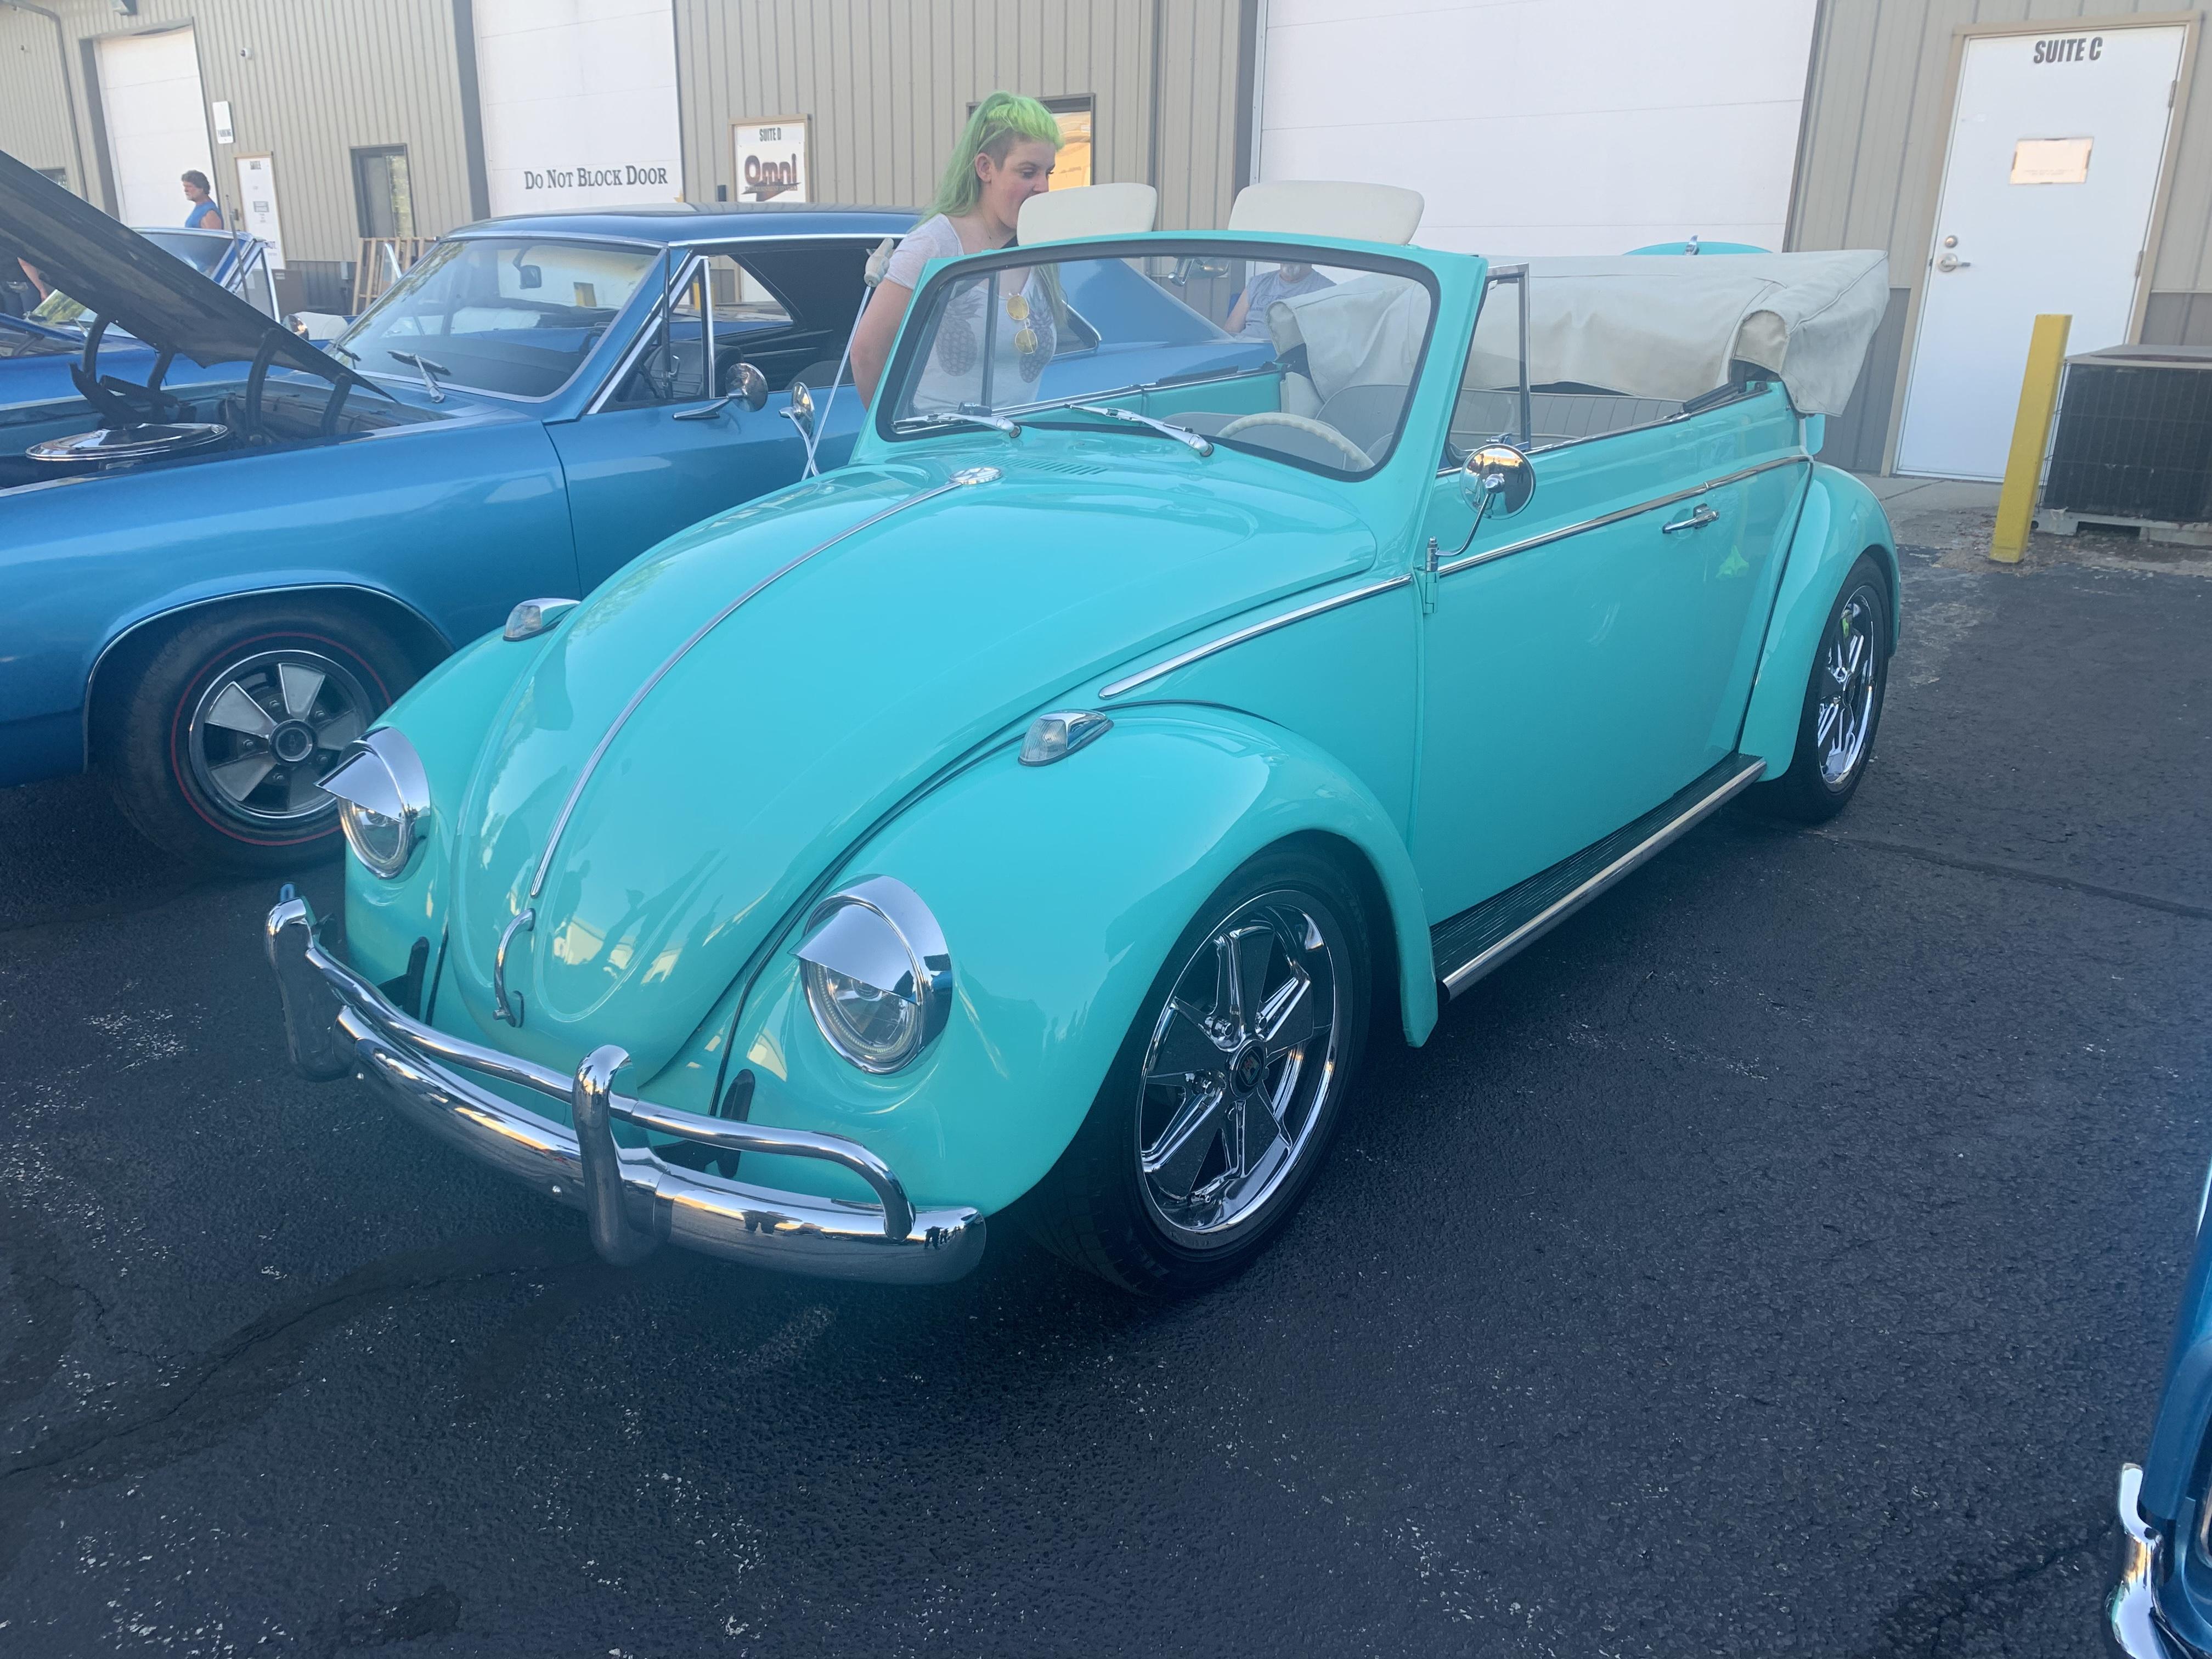
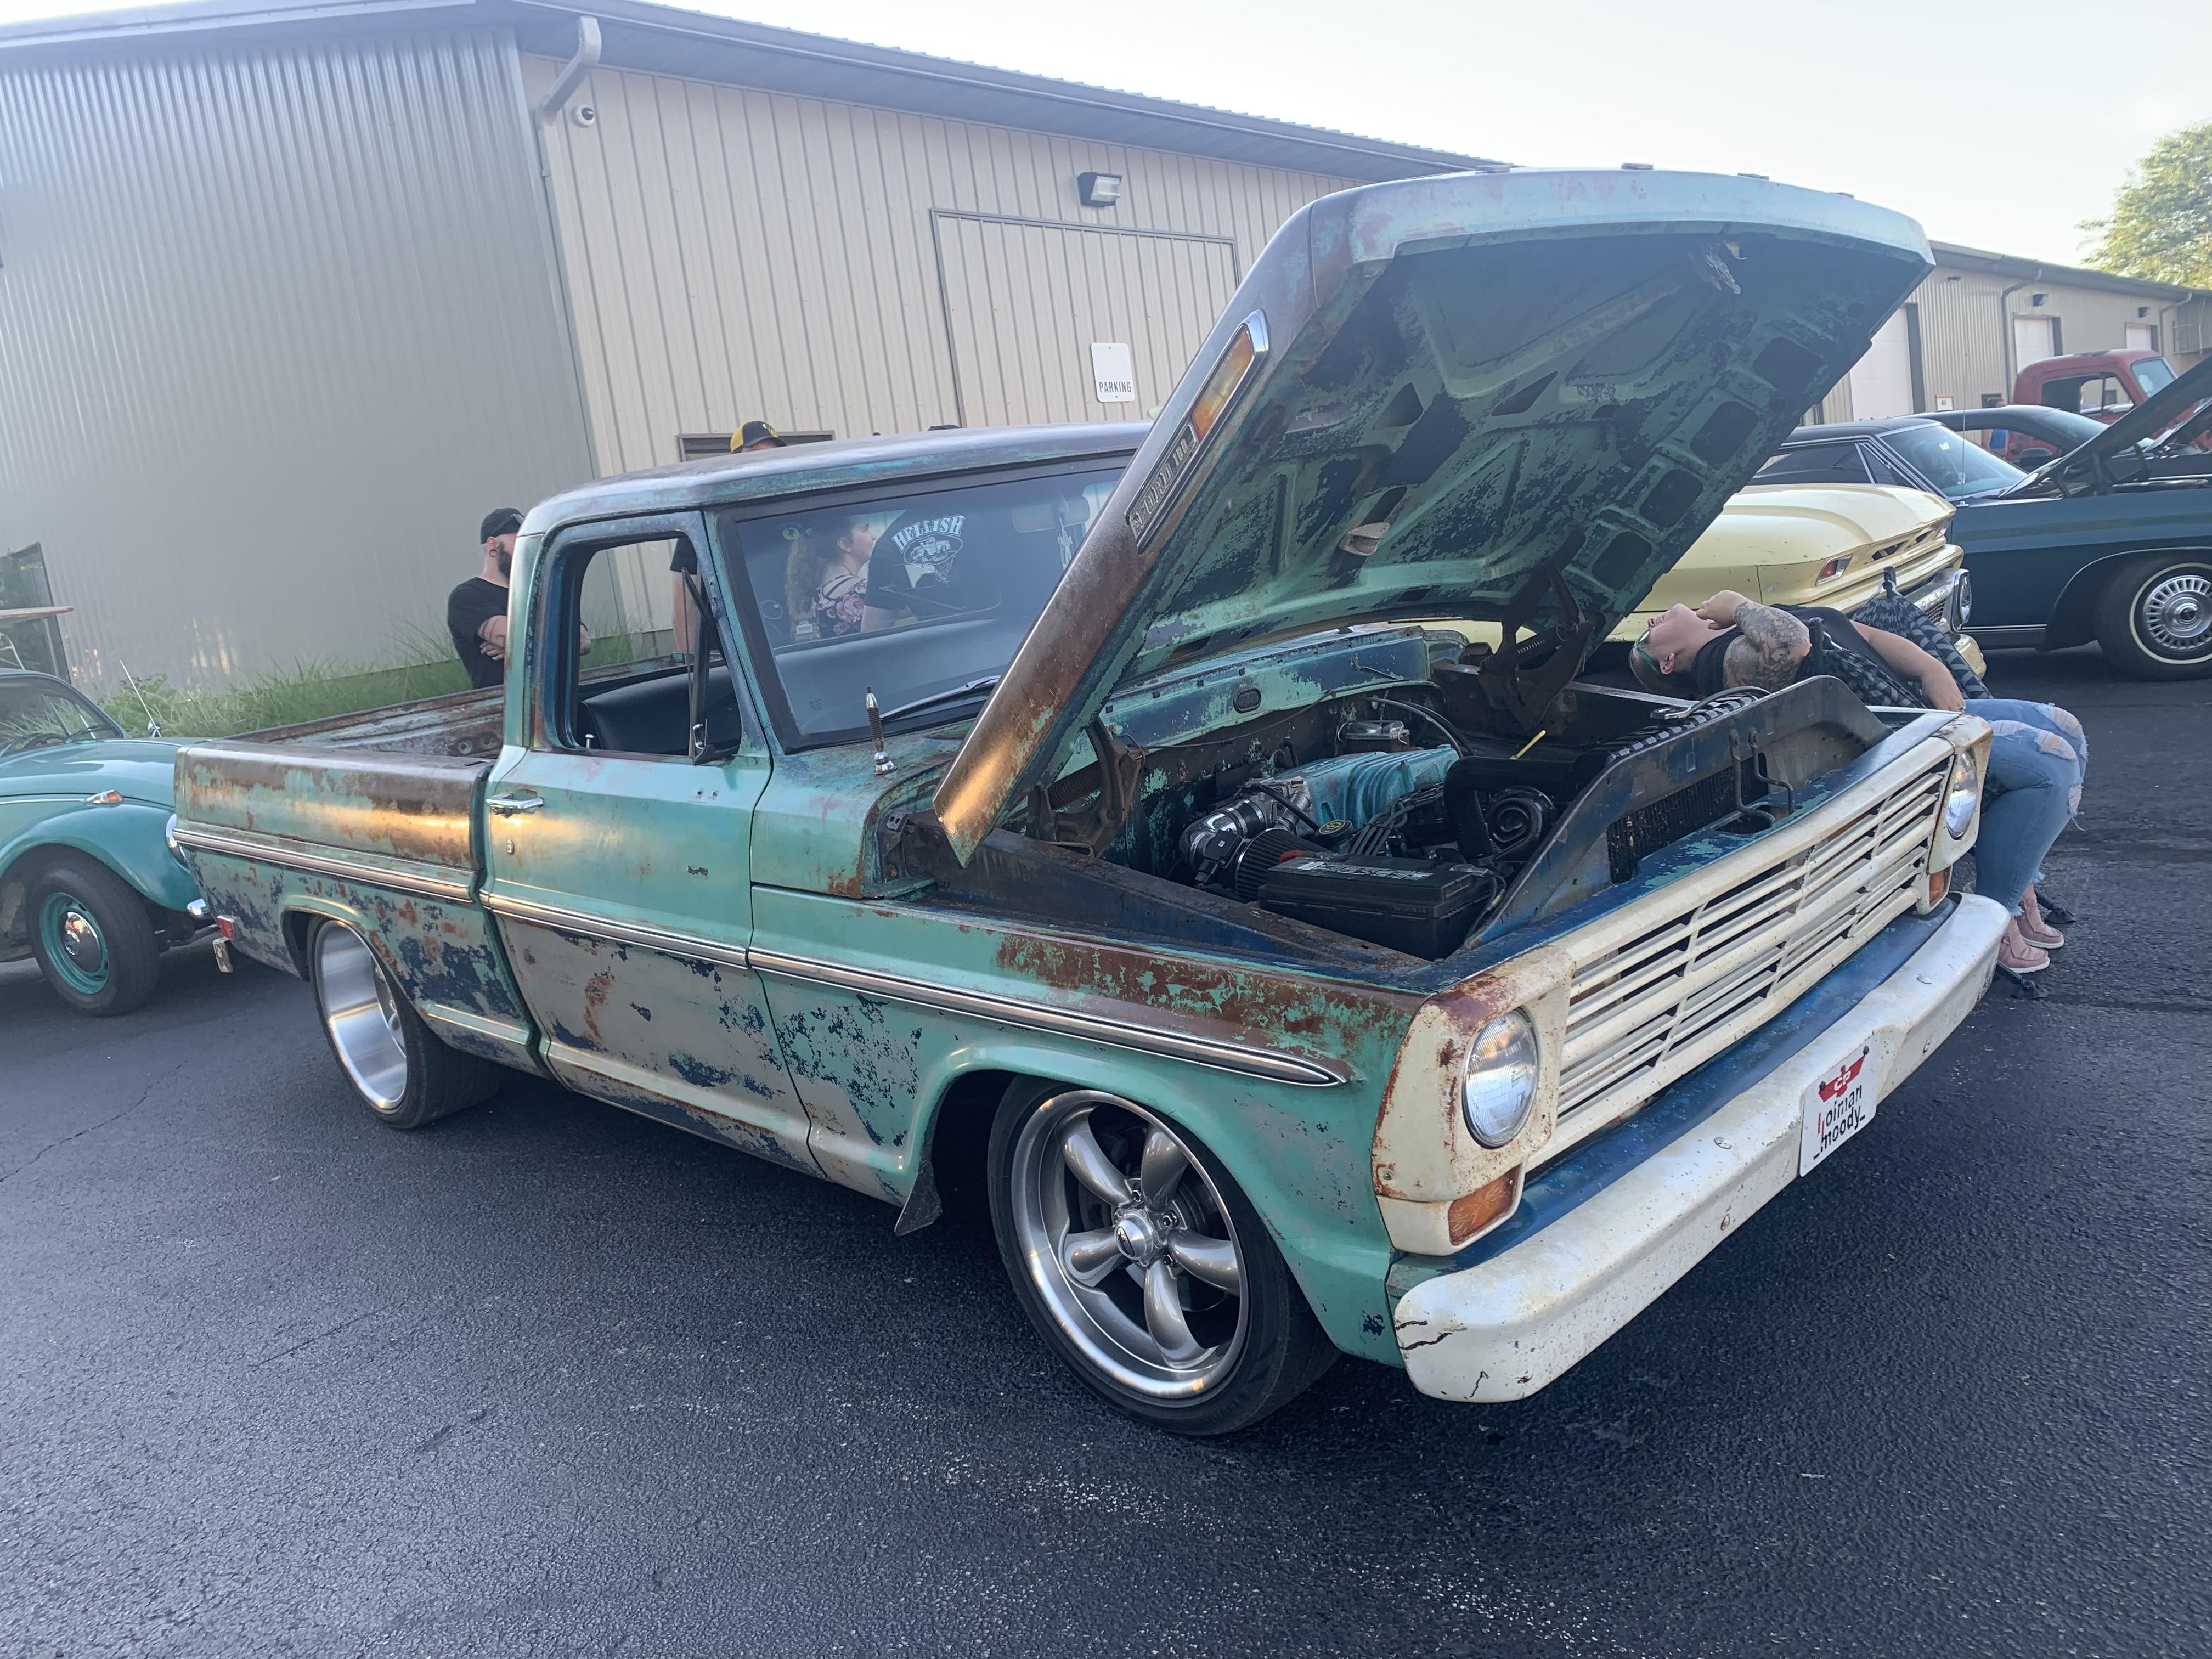
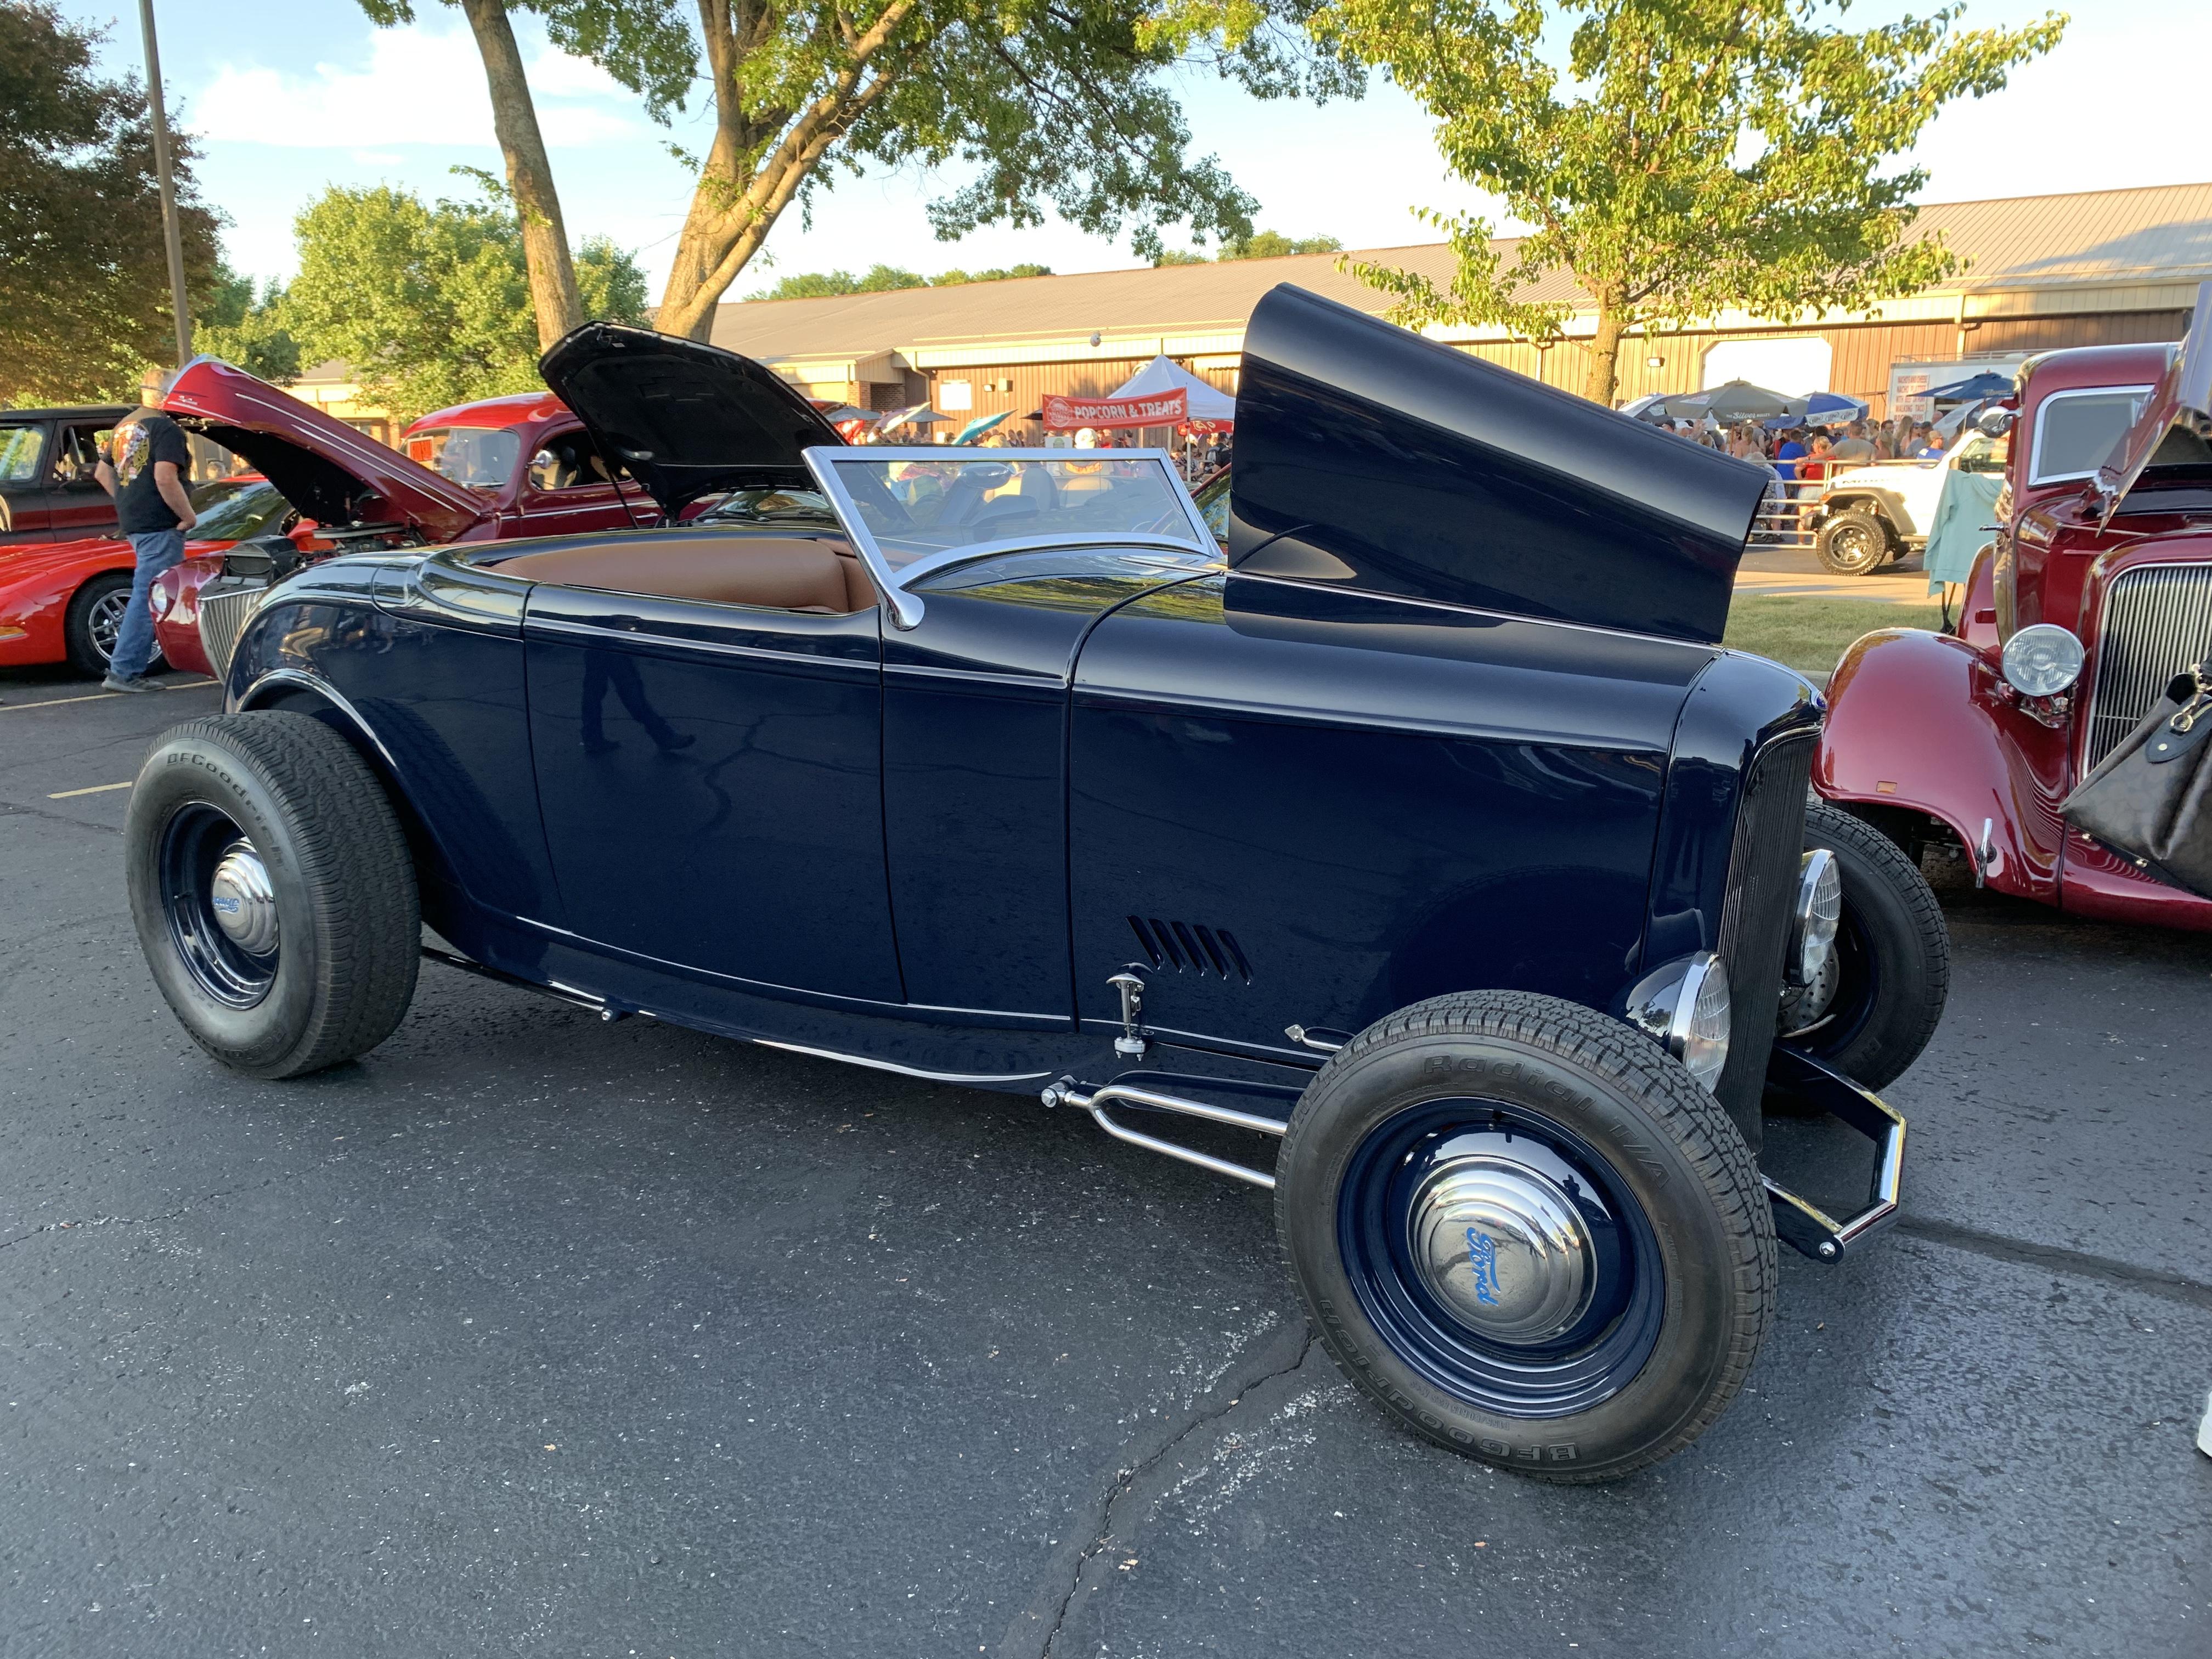
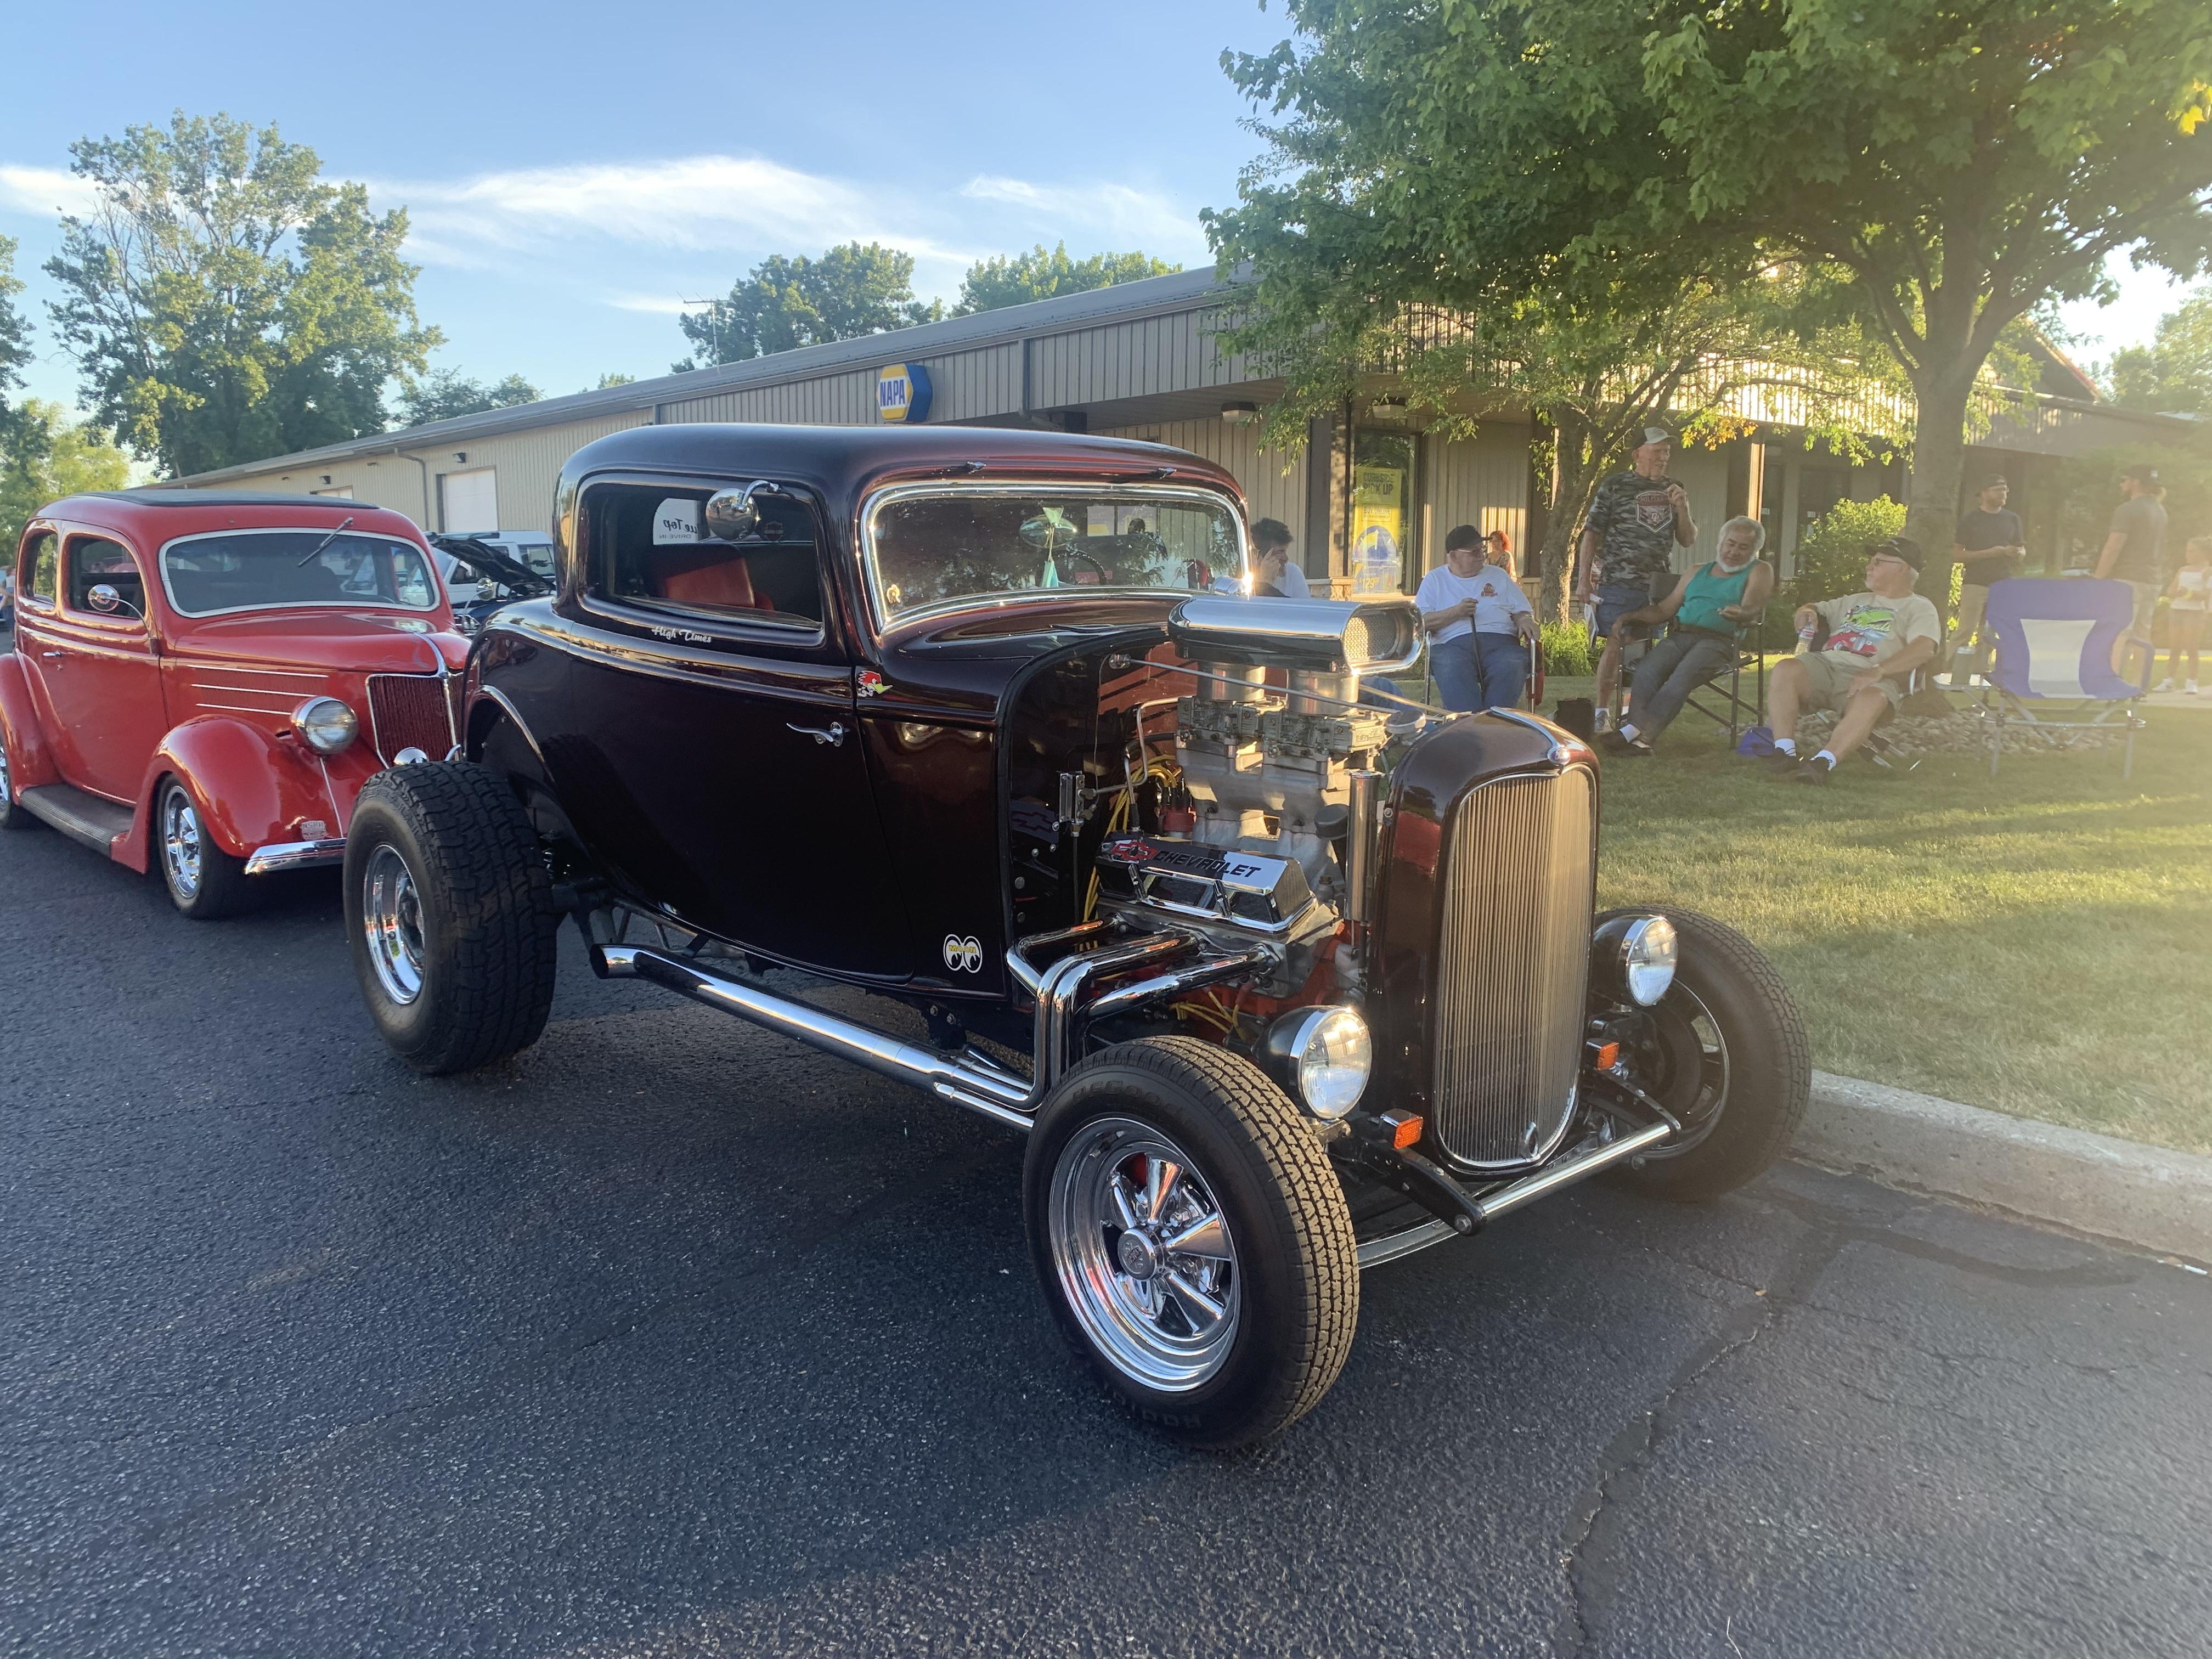
 Went to check out the weekly show at our local Harley dealer here in Indiana…was way bigger and more varied than I thought! A tonne of cool stuff! A bunch of pics here… https://public.fotki.com/NewYorkSpeedShop/11-cars/car-shows/cars-bikes-at-valpa/ …and a lil’ preview below…
-
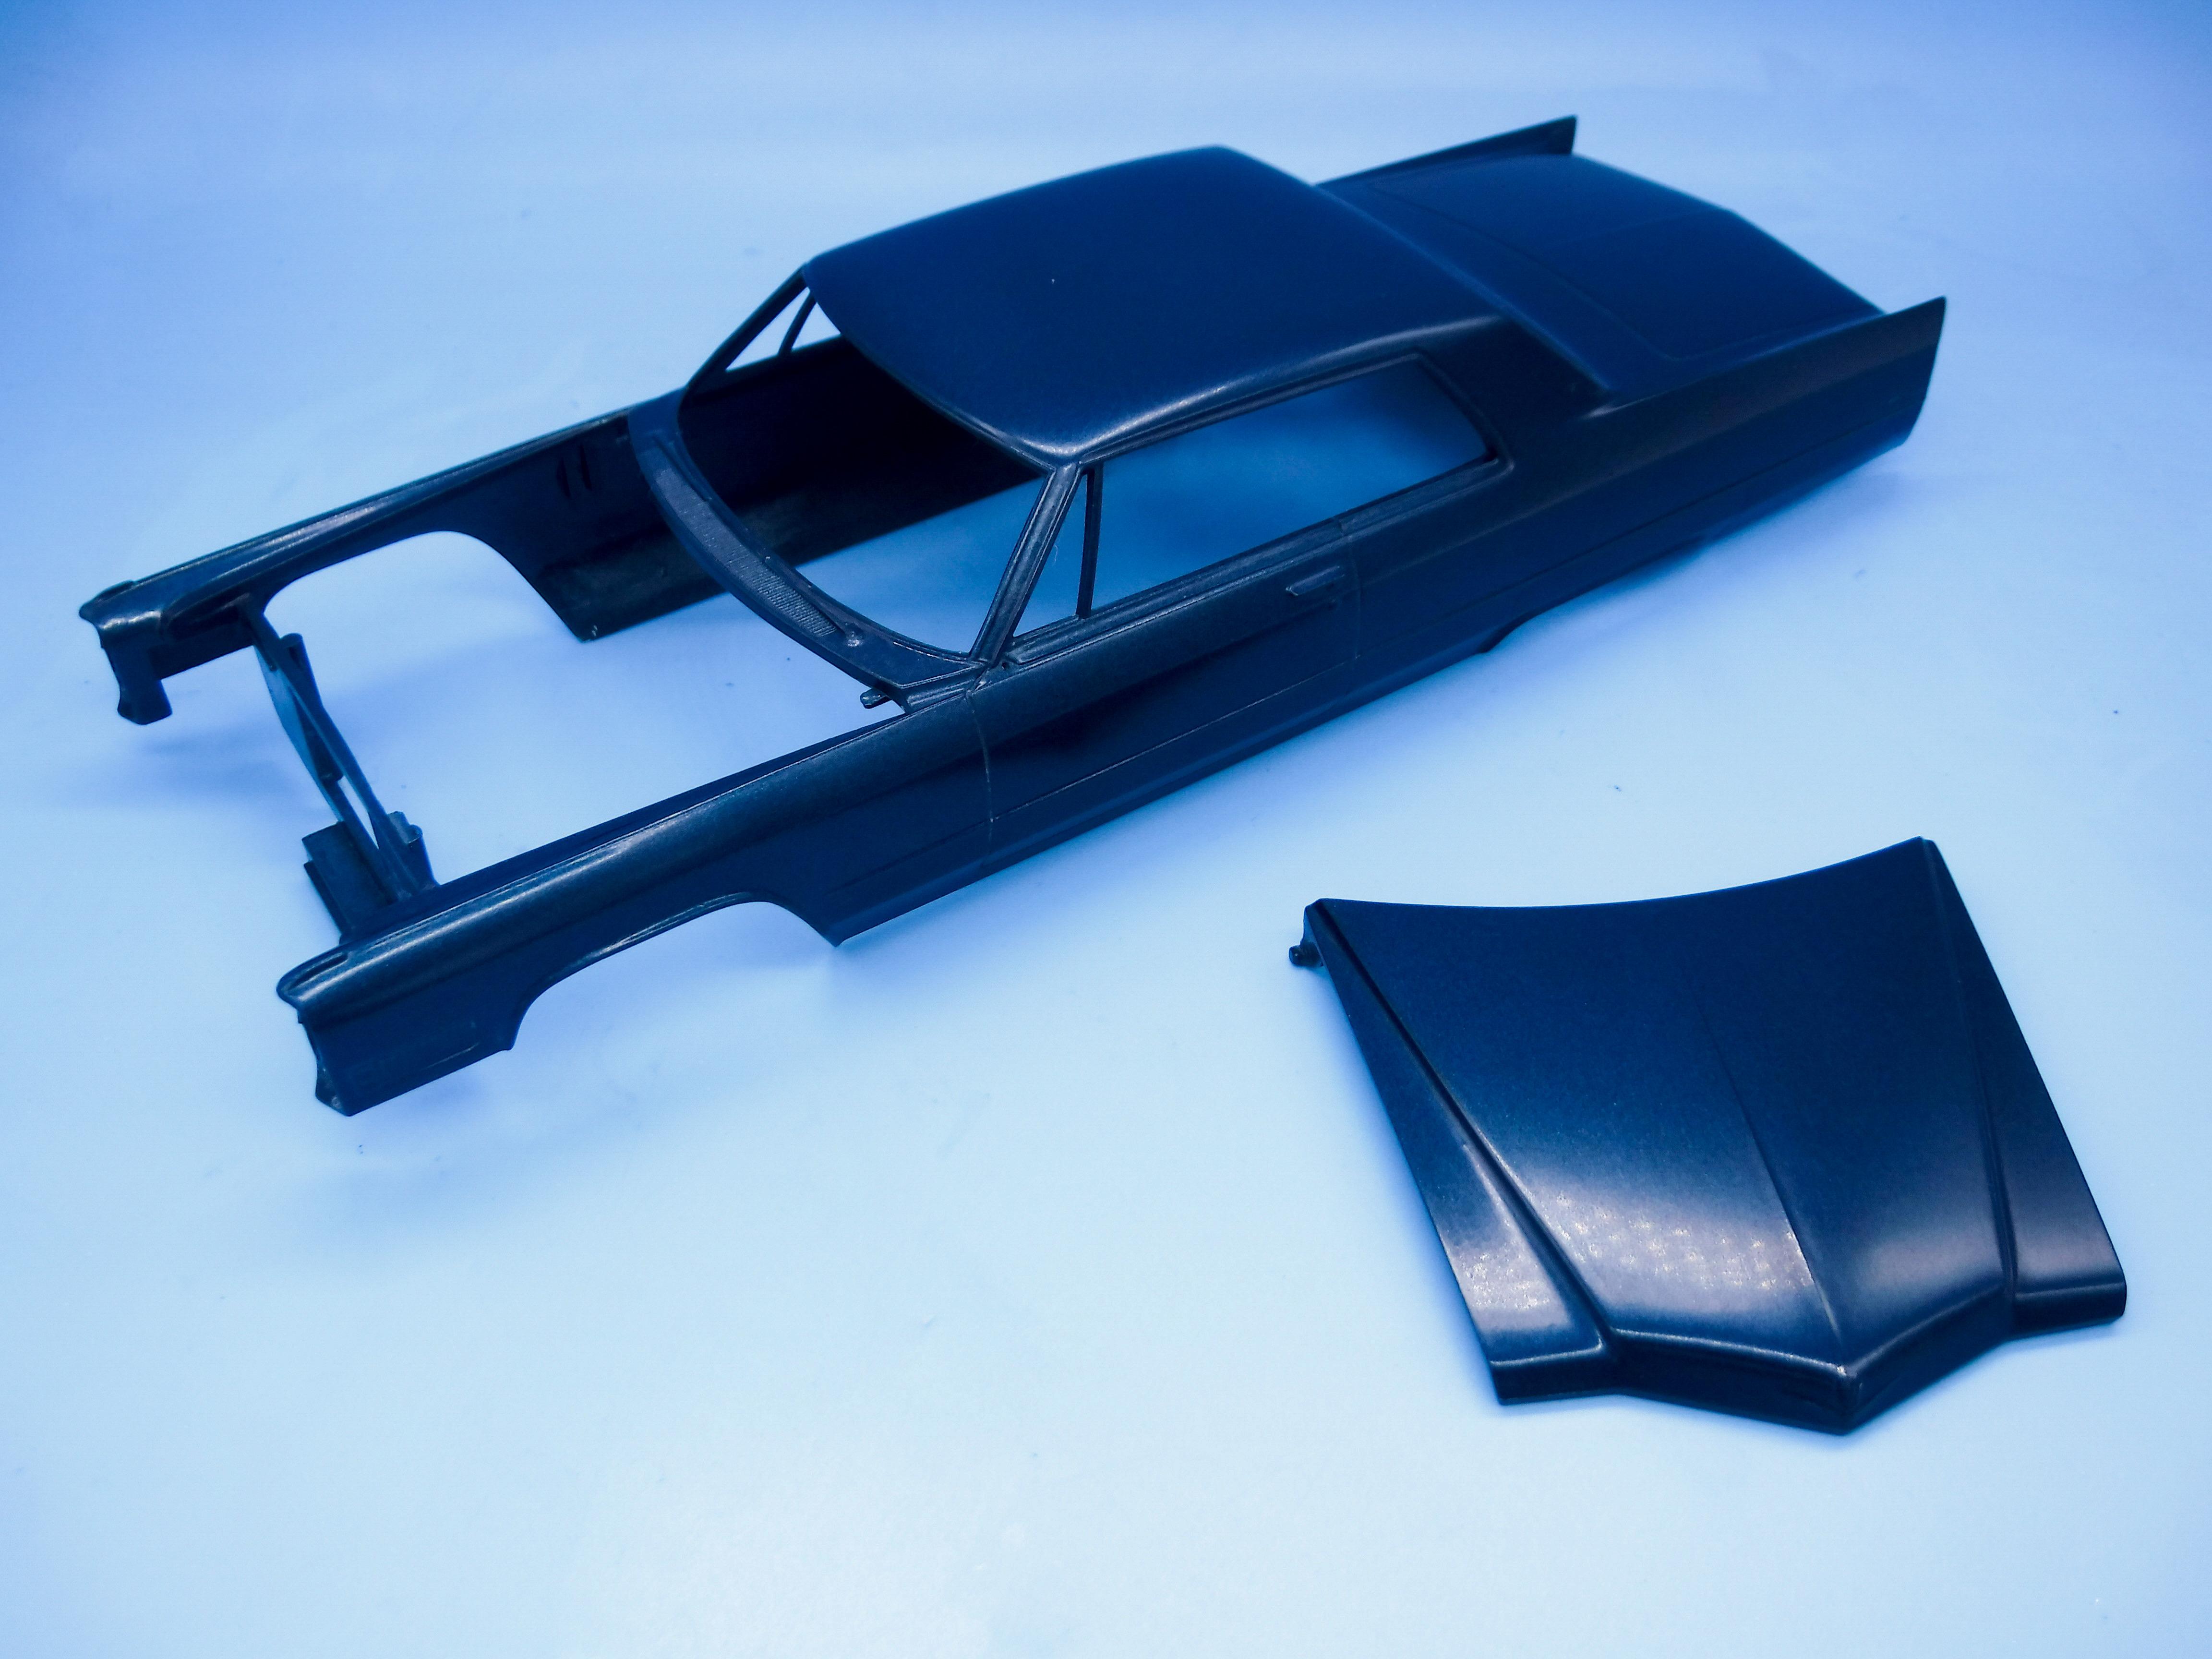
Started building a frame… That should be enough zee on the back, right? ?
-
https://www.tedsmodelingmarketplace.com/miniscurtraitzing/
-
Just got 214 in my mailbox today - nice surprise to come home to! Looks like another great one!
-
Thanks buddy! Appreciate all the nice comments! Wrapped this one up at the weekend - need to snap some finished shots when I get a few minutes…this was a fun project! Thanks for following along!
-
What did you see on the road today?
OldNYJim replied to Harry P.'s topic in General Automotive Talk (Trucks and Cars)
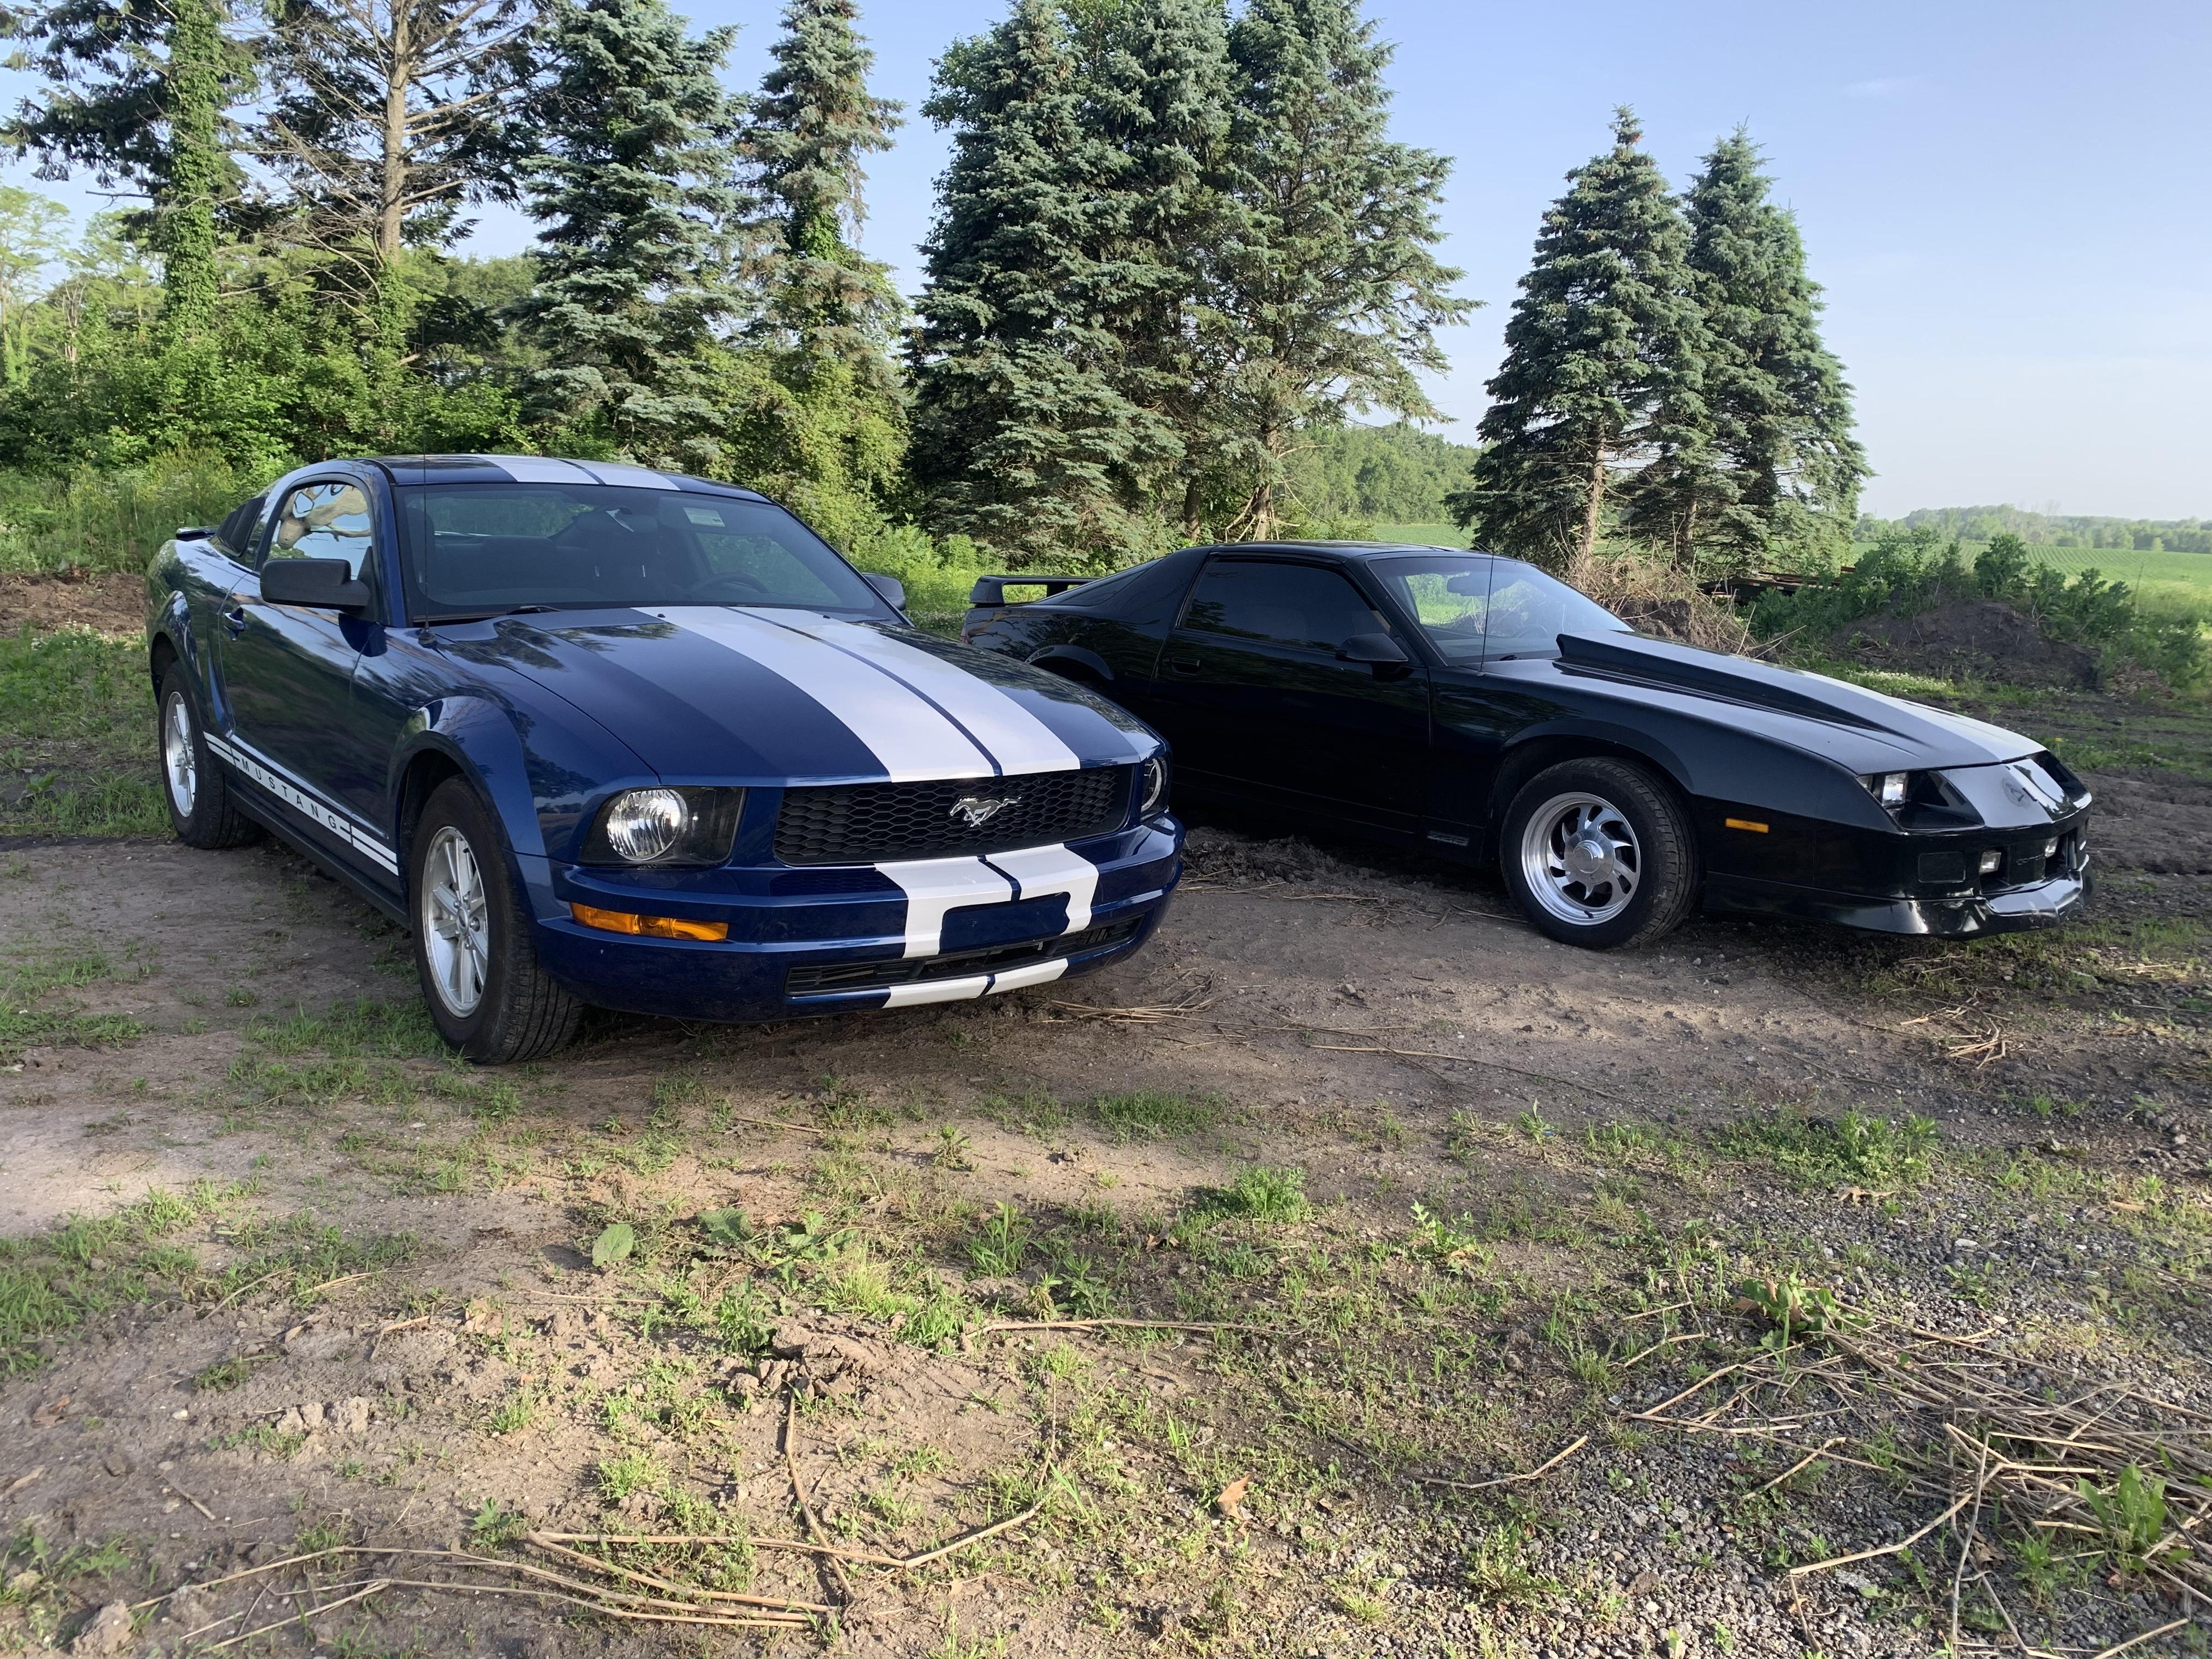
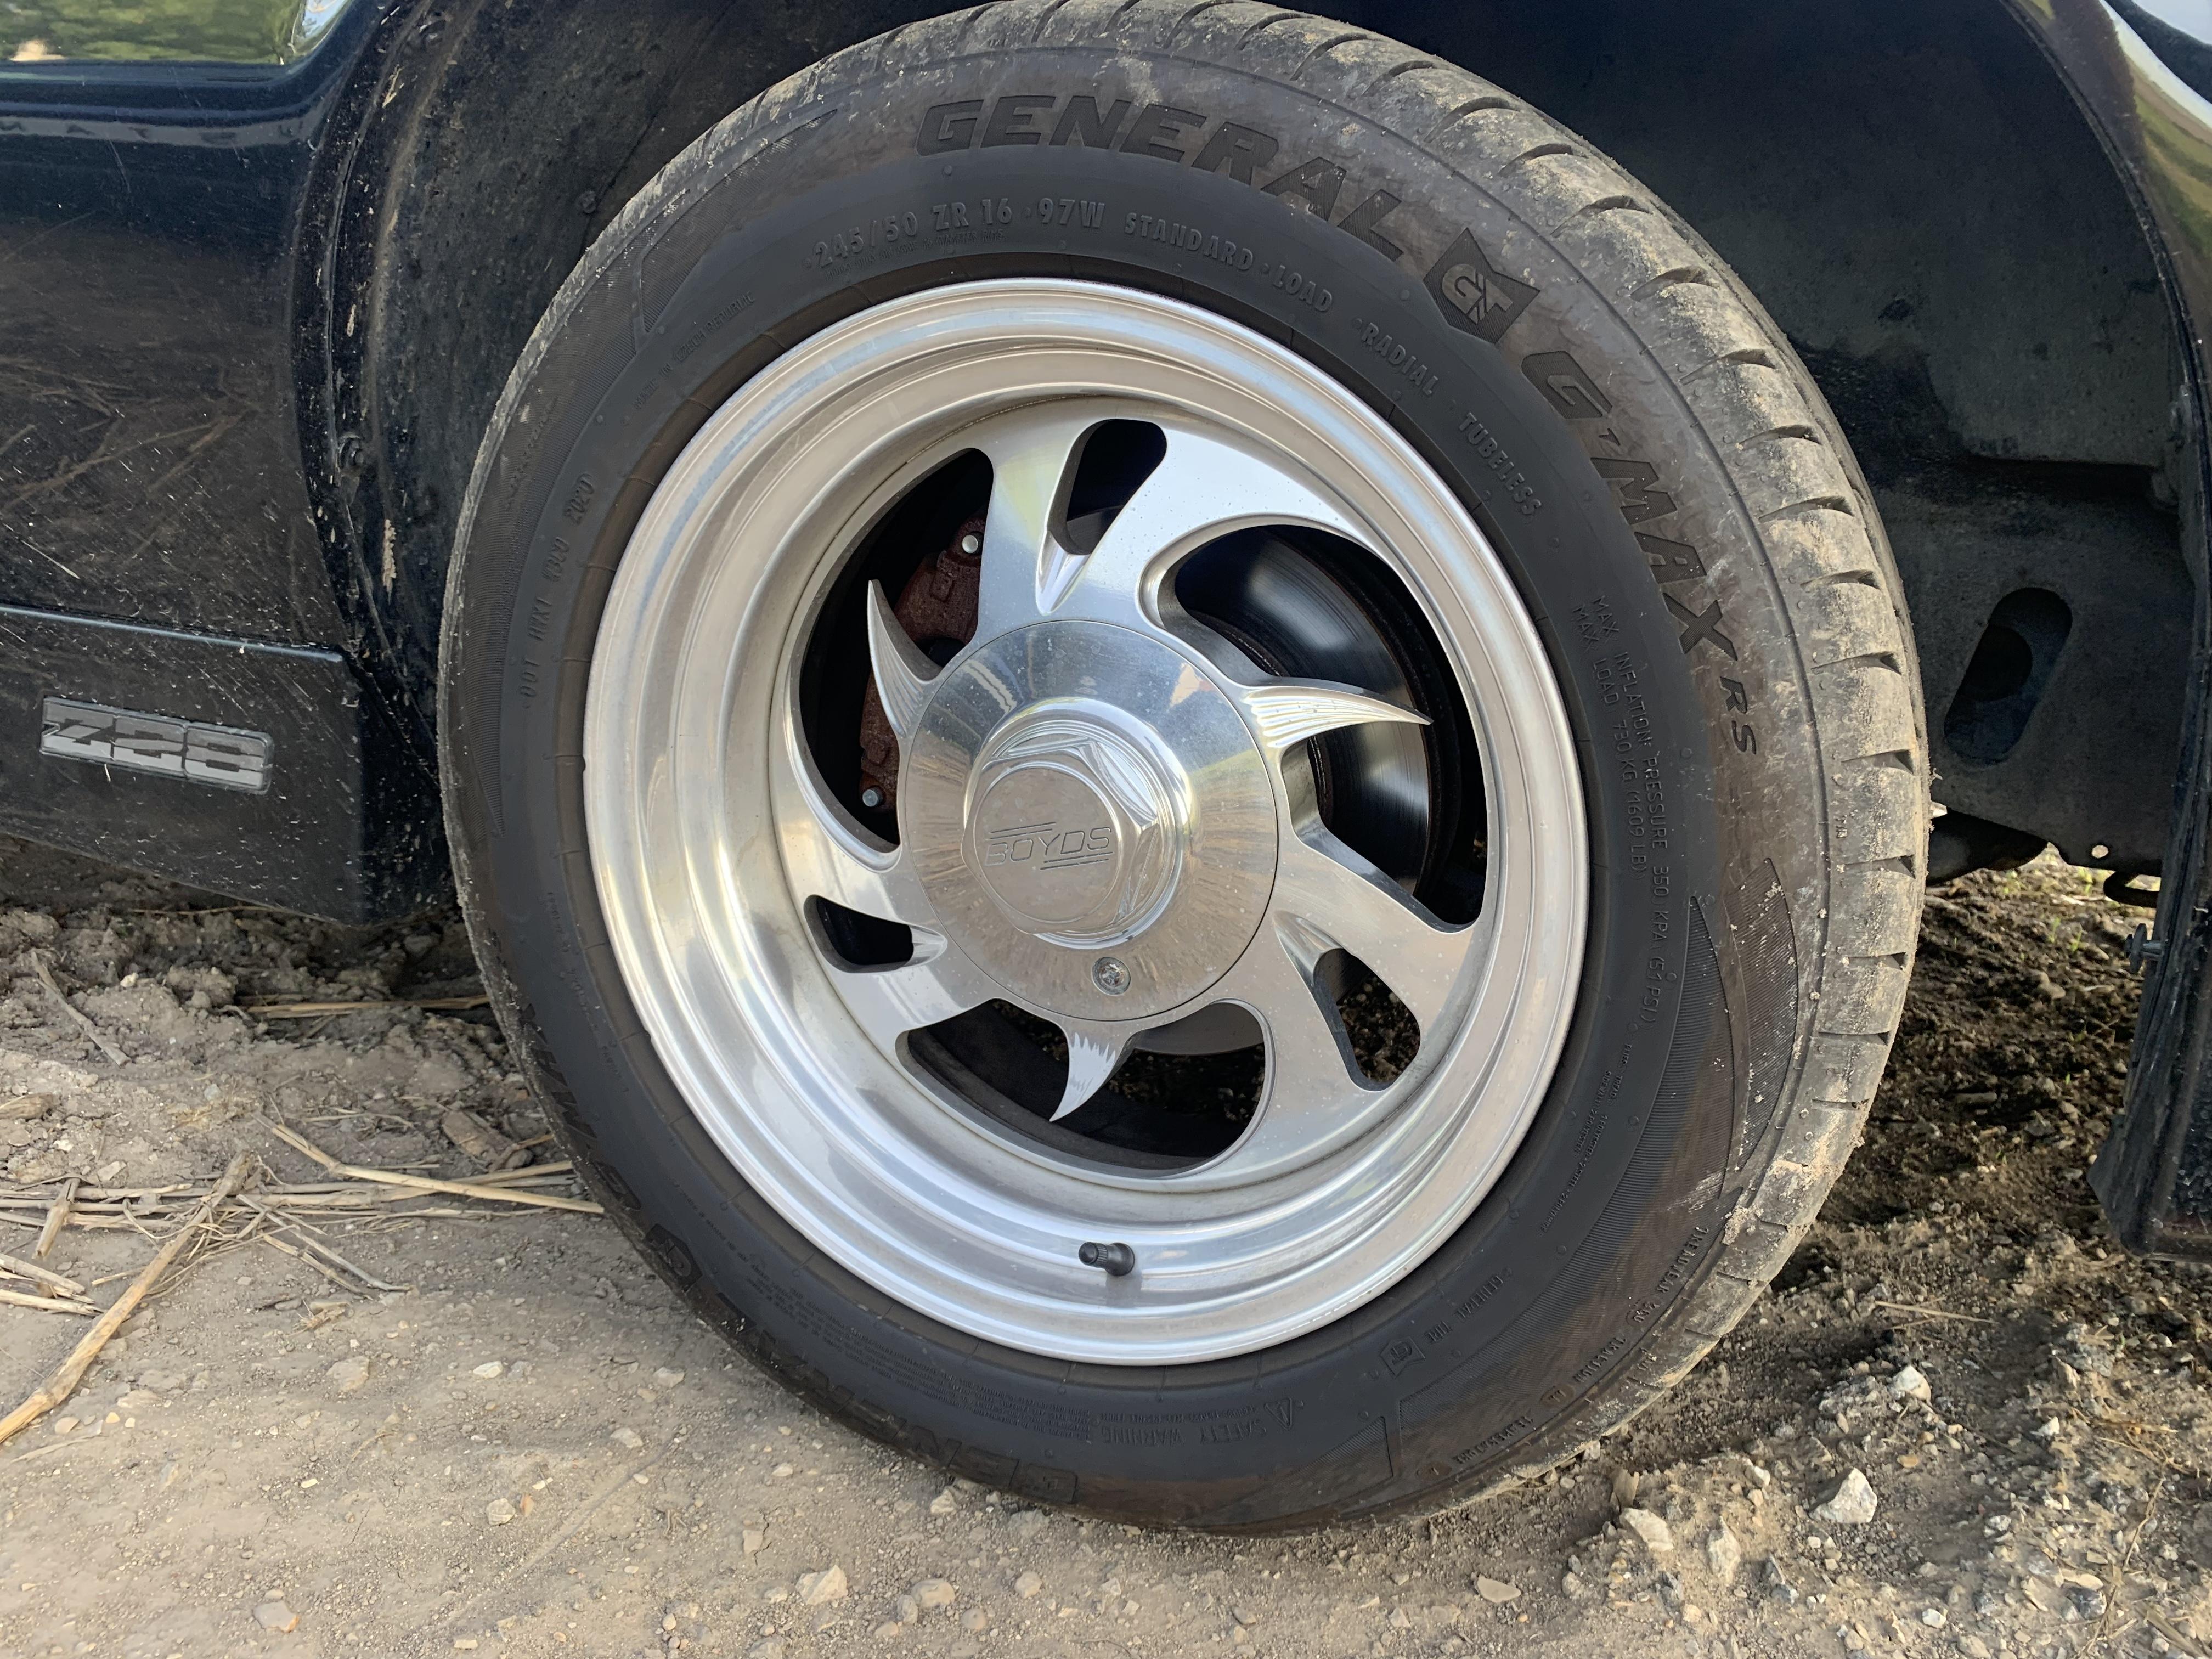
Kid at work got an IROC with Boyd wheels - my Mustang enjoyed having a parking buddy who wasn’t a pickup for a change…
-
Making tires look aged.
OldNYJim replied to James Maynard's topic in Model Building Questions and Answers
A great video on using media blasting on model car parts: I tried a rock tumbler like some have mentioned above…it worked ok, but it was a real pain getting all the grit out of the tire treads. Works well on slicks though! -
Thank you David! You’ve been really kind with your comments and encouragement! Polishing night tonight! Polishing at night isn’t my preferred time to do it, no matter how good the lighting is it’s just easier in decent daylight for me. That said, got it fairly close, ready for fine-tuning over the weekend… When I can read the numbers from the bill in the reflection I know it’s getting close! I’m hoping it’ll look pretty good once it’s been waxed, but I need to do the BMF-ing before I can get to that stage, so that’ll be this weekend’s project. Exciting to see it shiny though! Thanks for looking - more soon!
-
Making tires look aged.
OldNYJim replied to James Maynard's topic in Model Building Questions and Answers
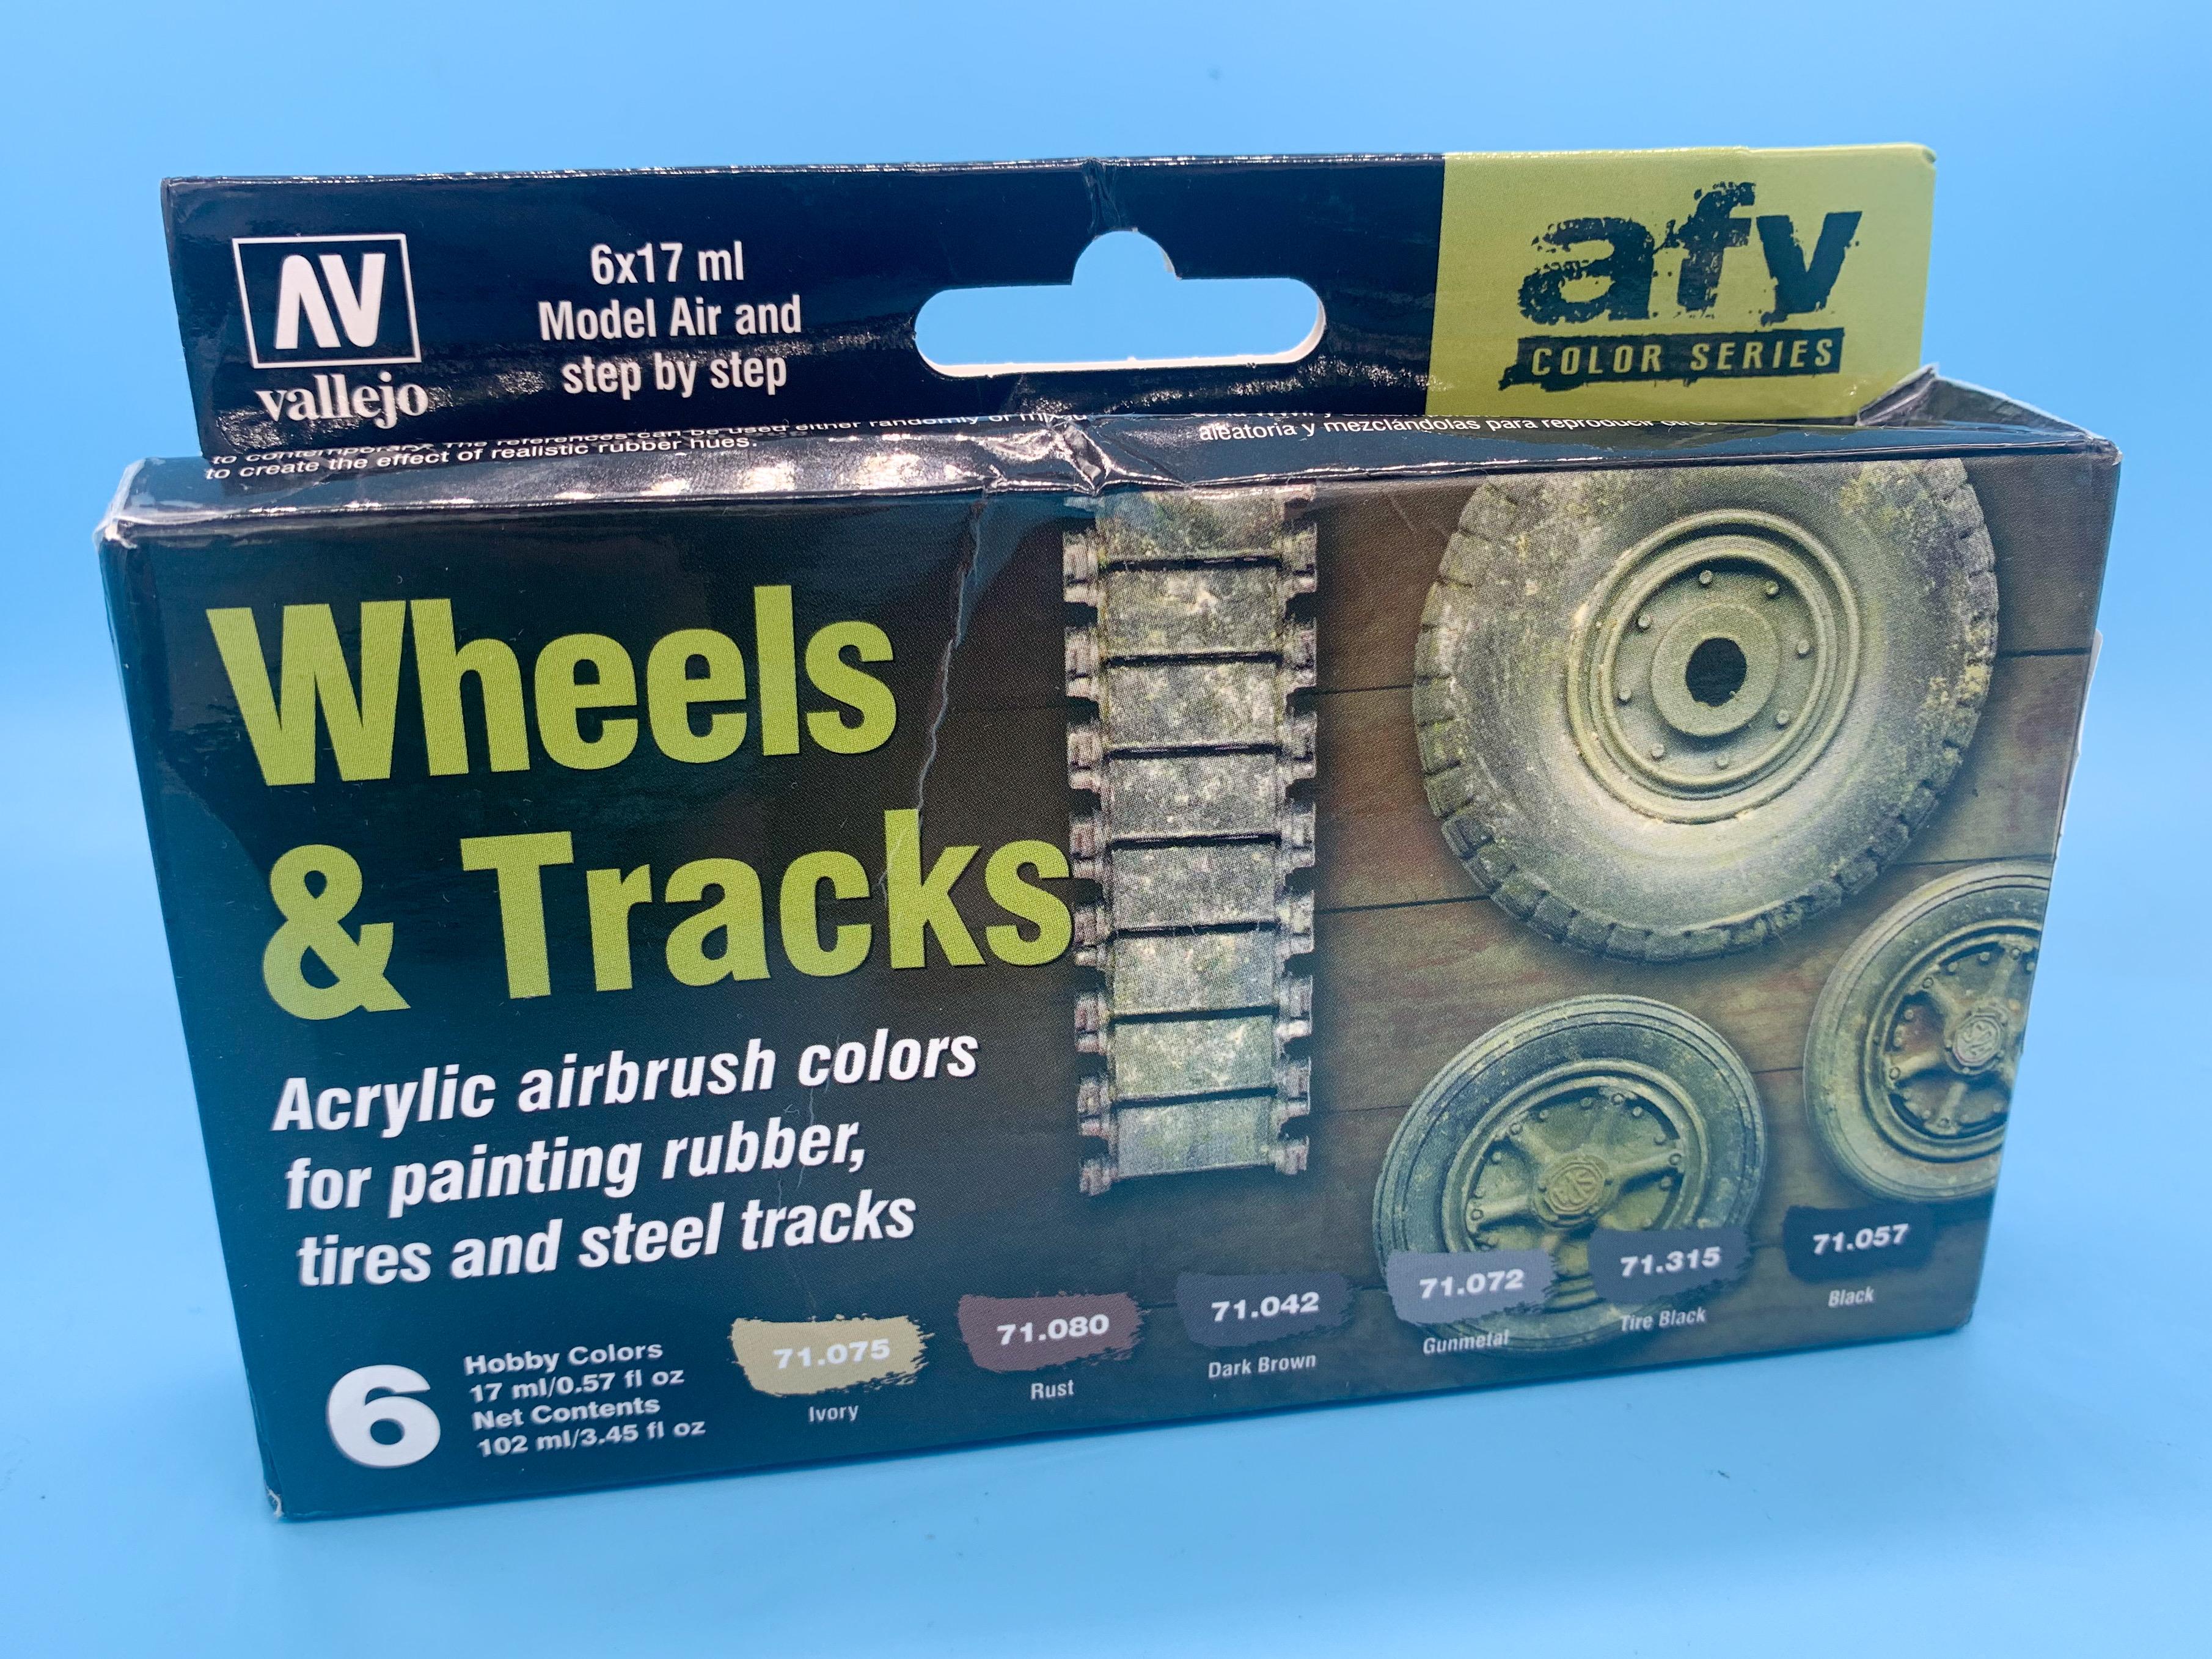
Will do! https://www.amazon.com/Model-Air-Color-Wheels-Tracks/dp/B00XVX5NVE/ref=sr_1_6?crid=3P0Z2JBR0GX9L&keywords=vallejo+rubber&qid=1655388829&sprefix=vallejo+rubbe%2Caps%2C130&sr=8-6 Less than $20, delivered...admittedly, the gunmetal and rust colors they include aren't needed for what you're doing, but they're useful for a bunch of other stuff... -
Making tires look aged.
OldNYJim replied to James Maynard's topic in Model Building Questions and Answers
Vallejo makes a paint set designed to do what you’re trying to do - I just picked one up myself!
-
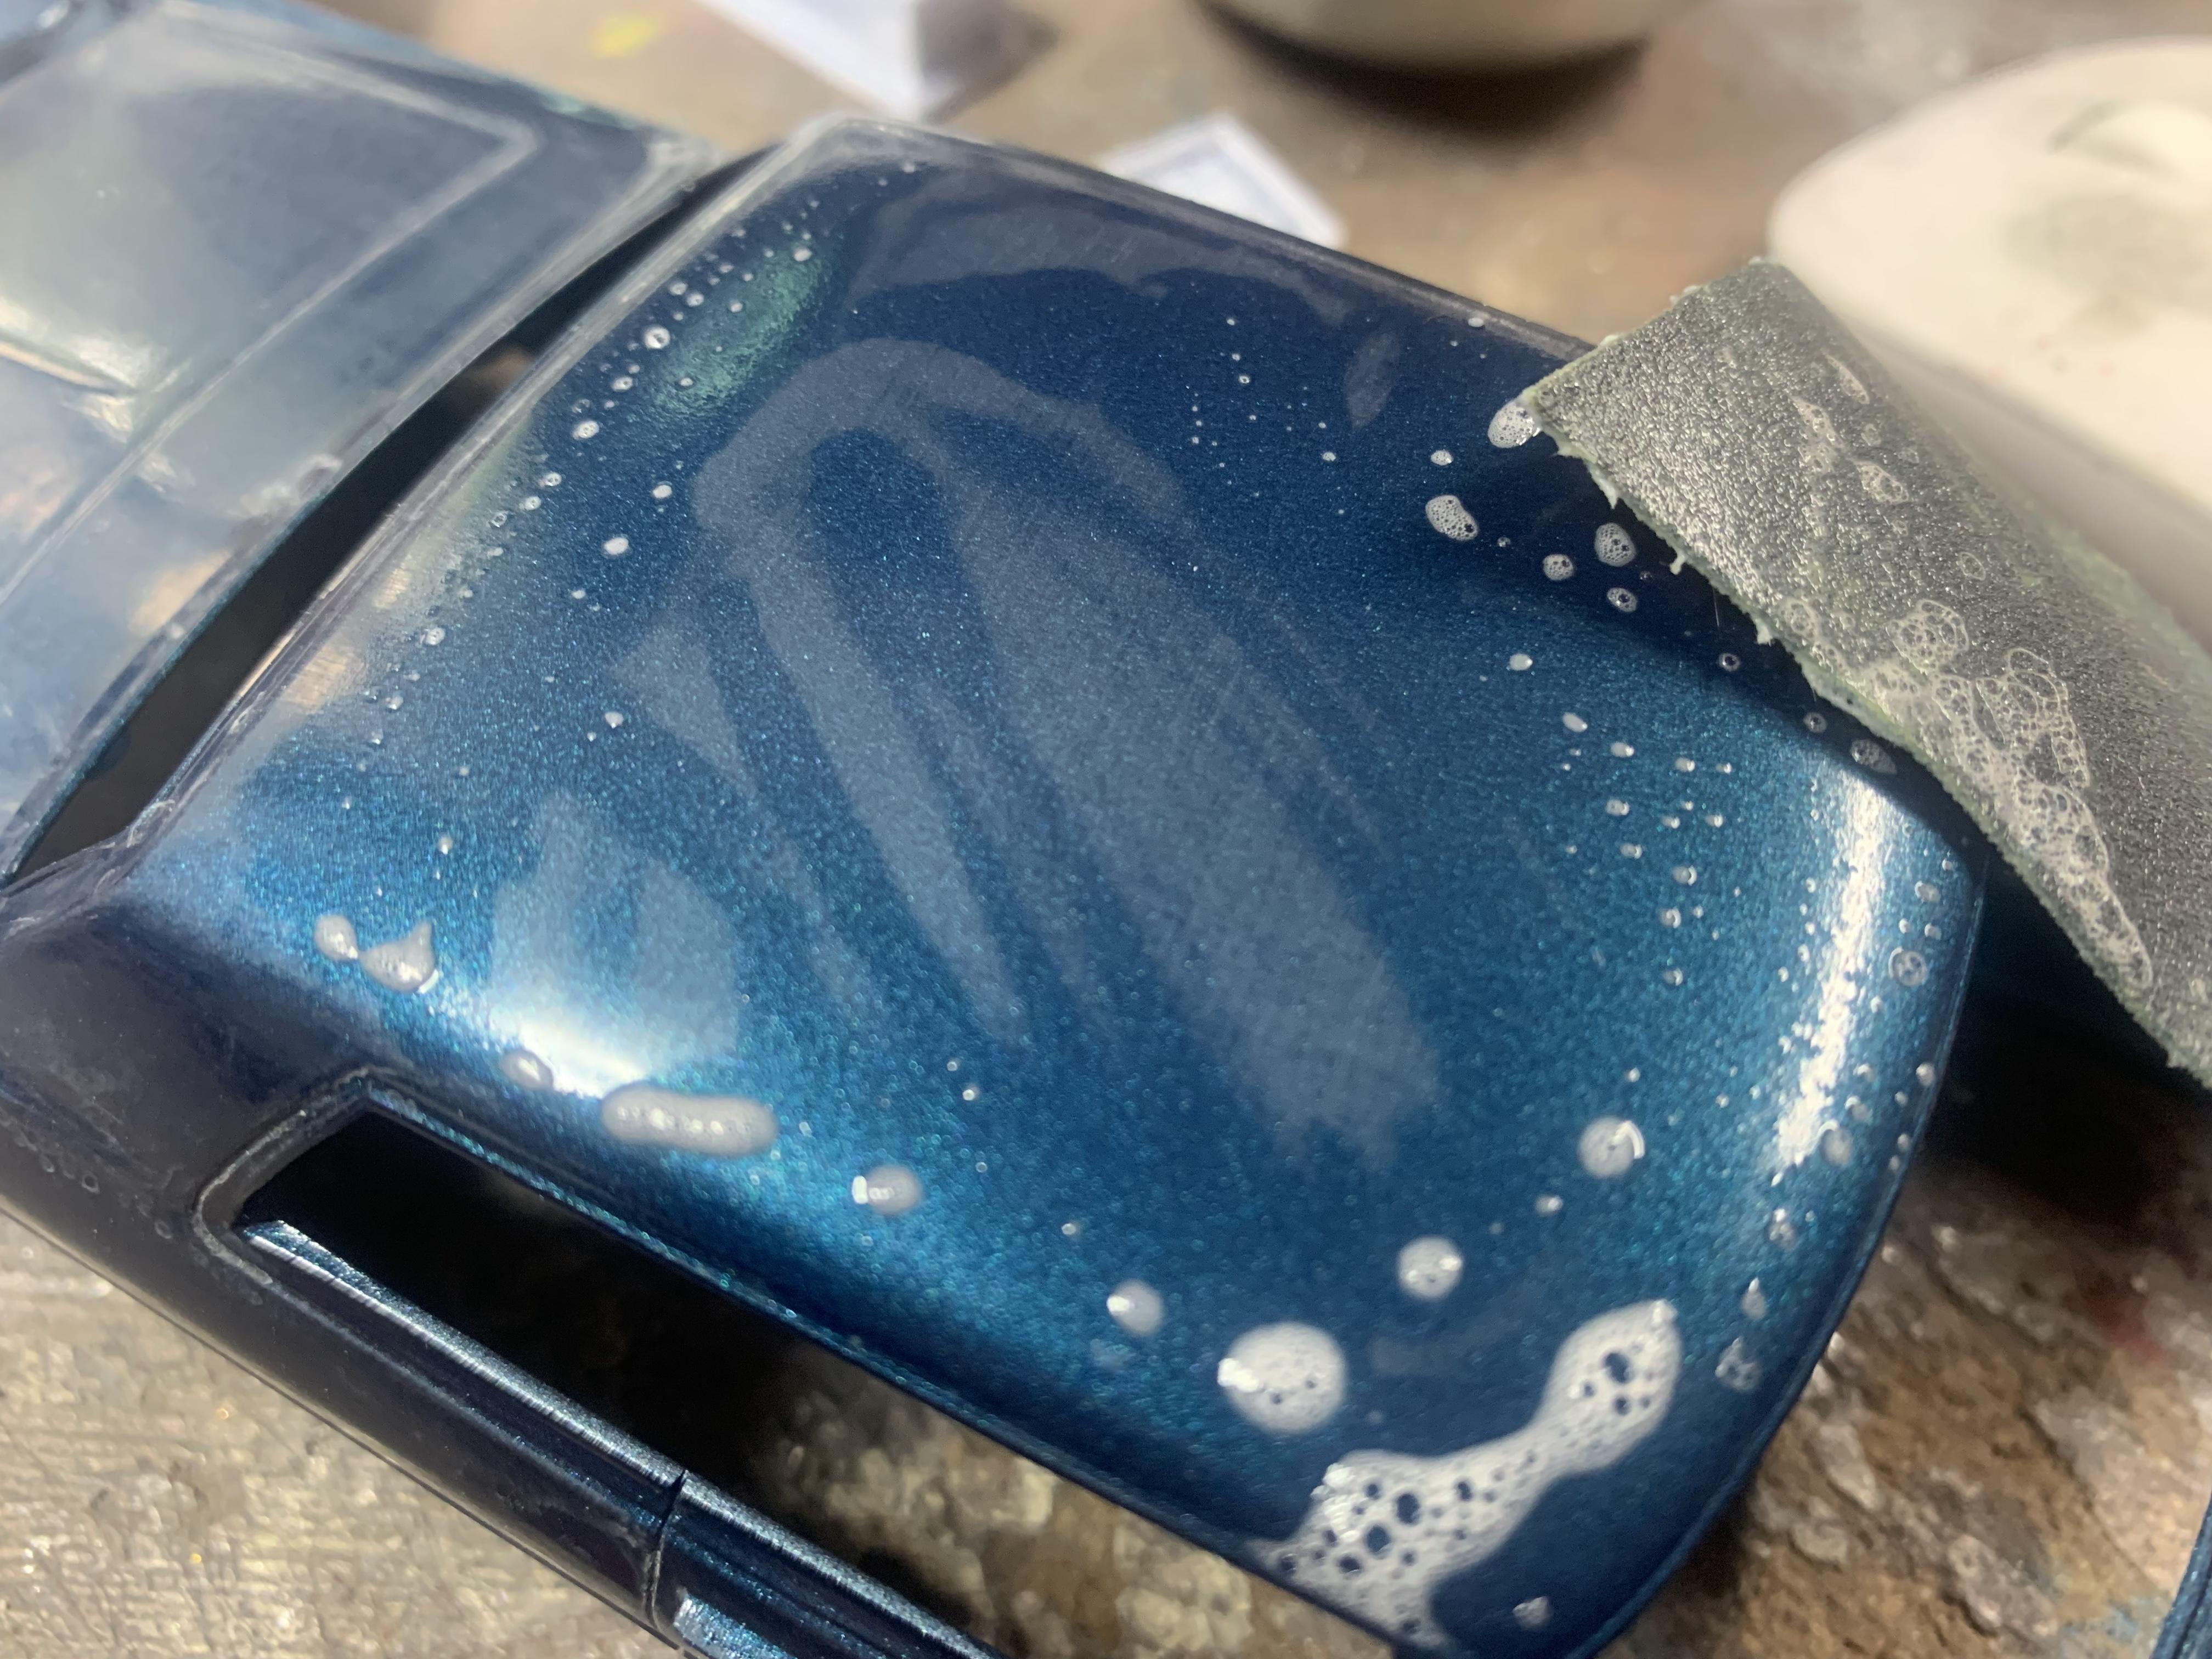
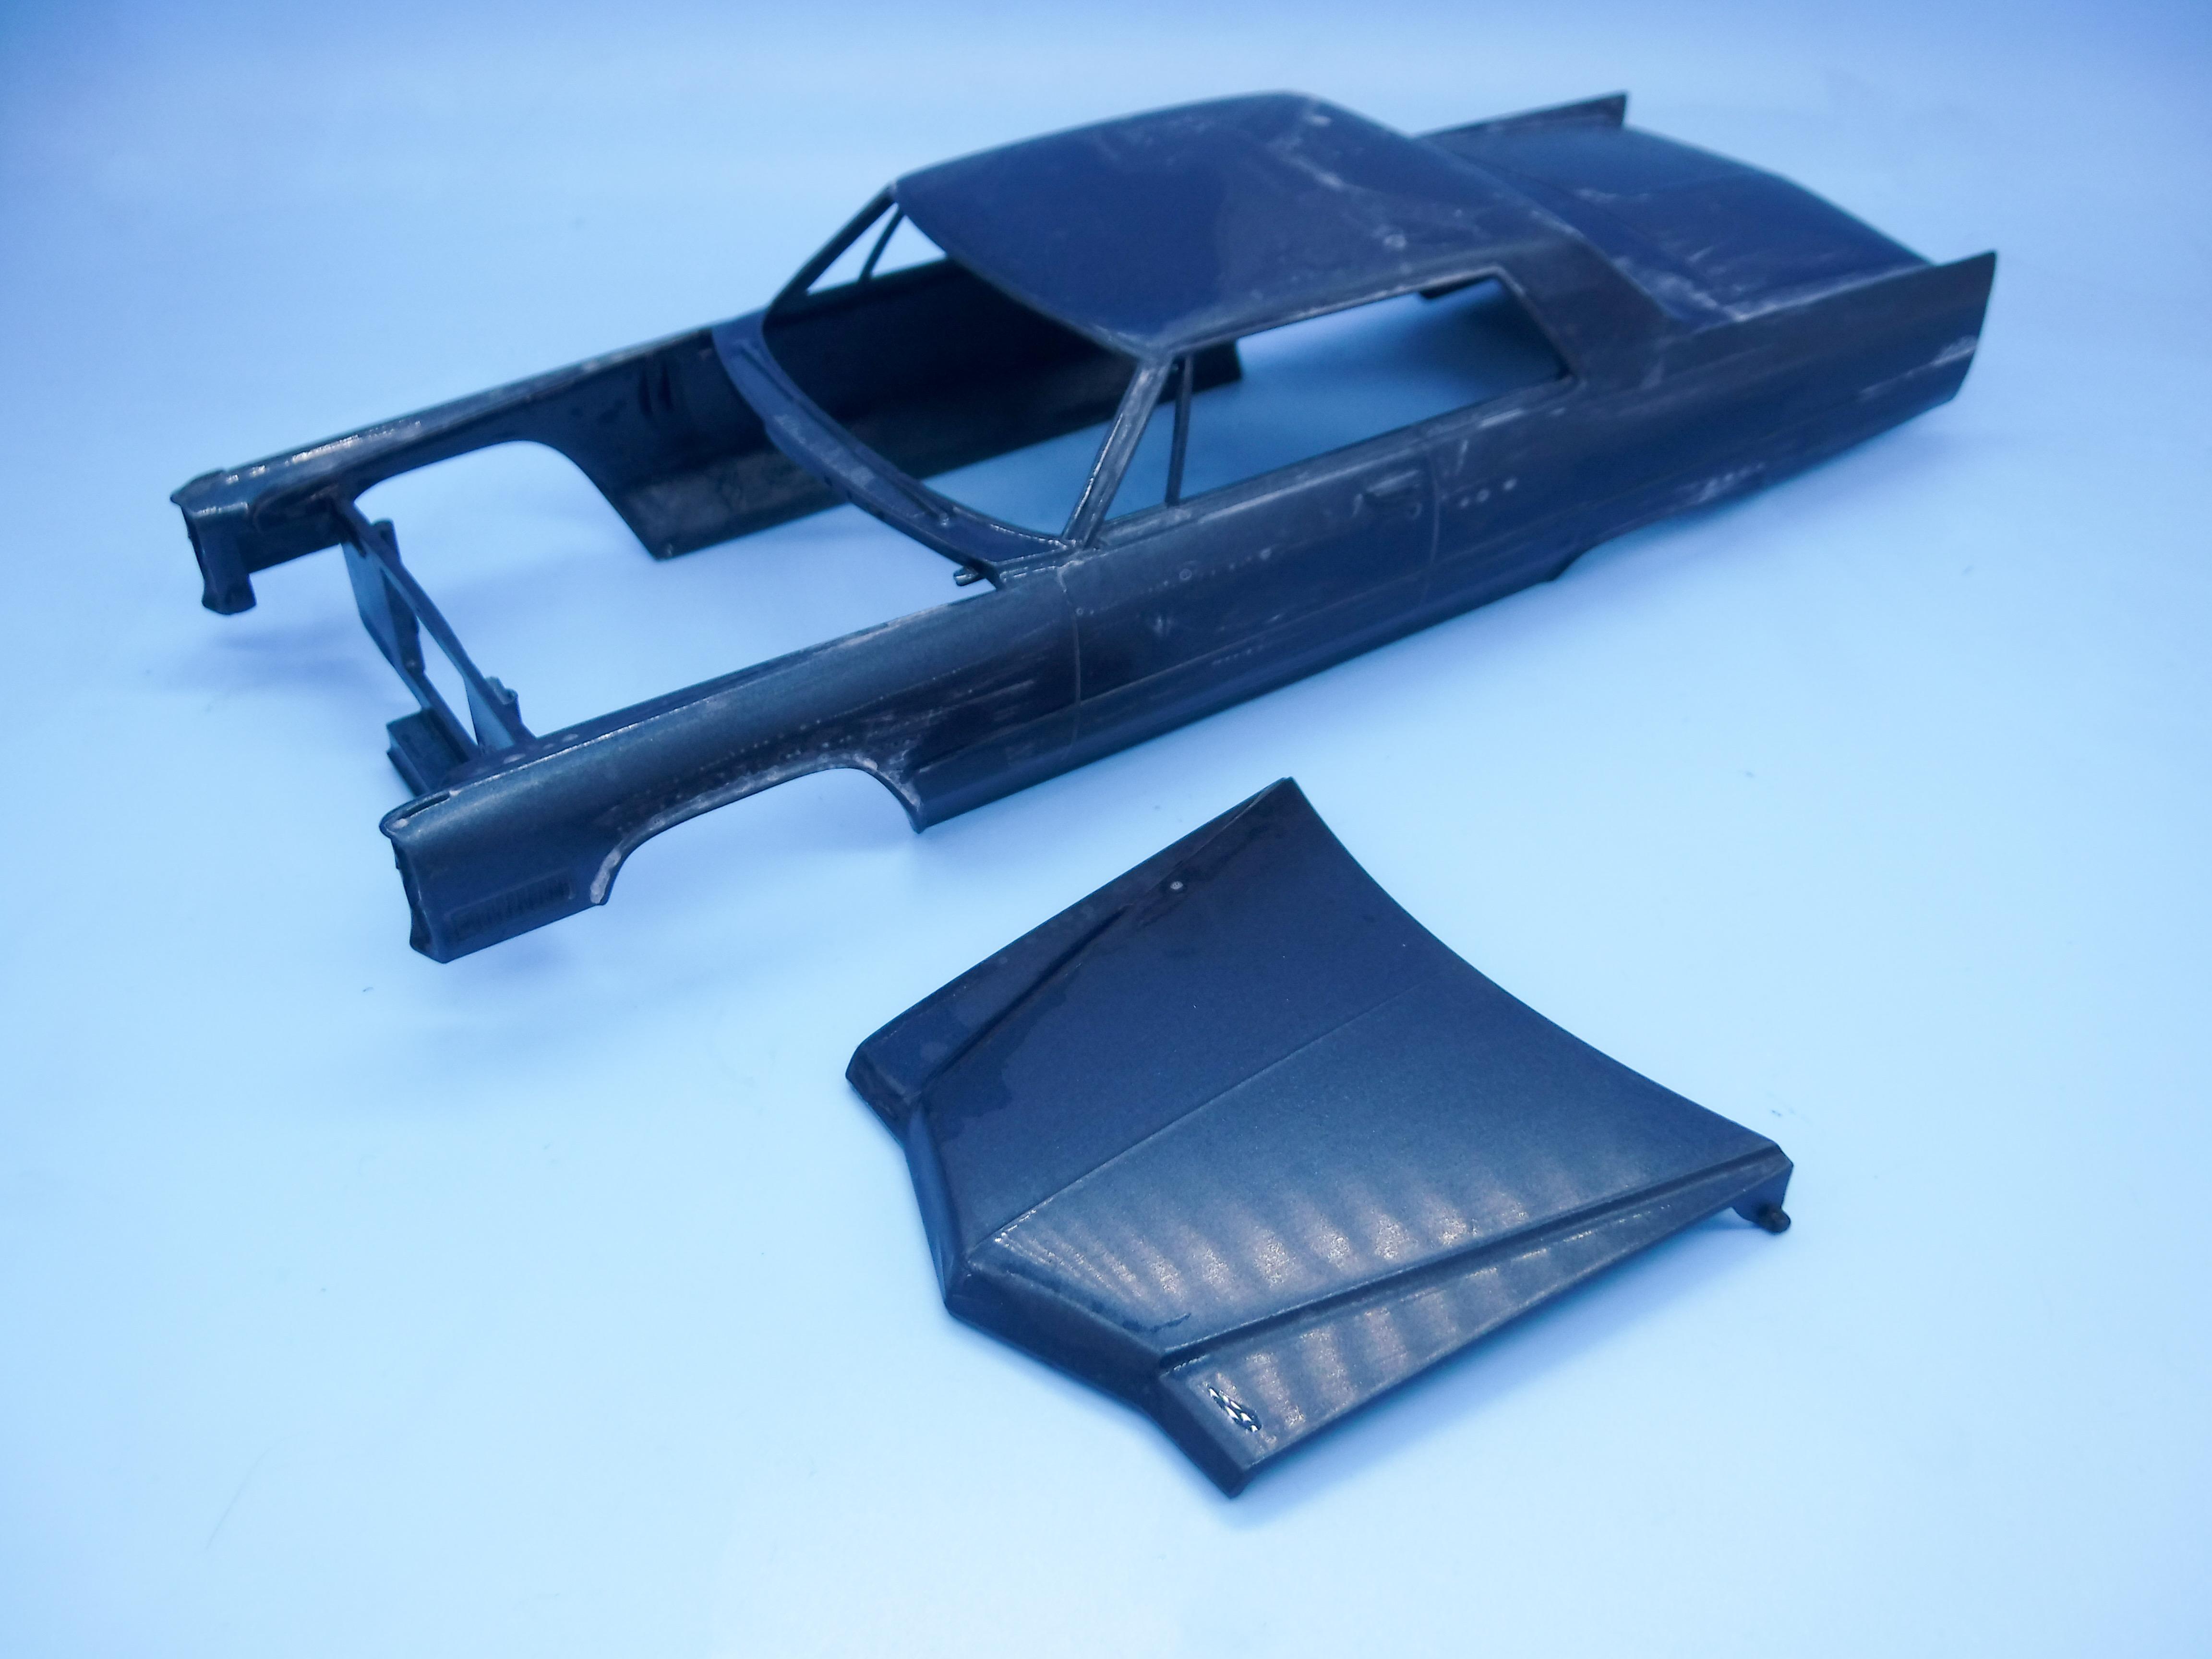
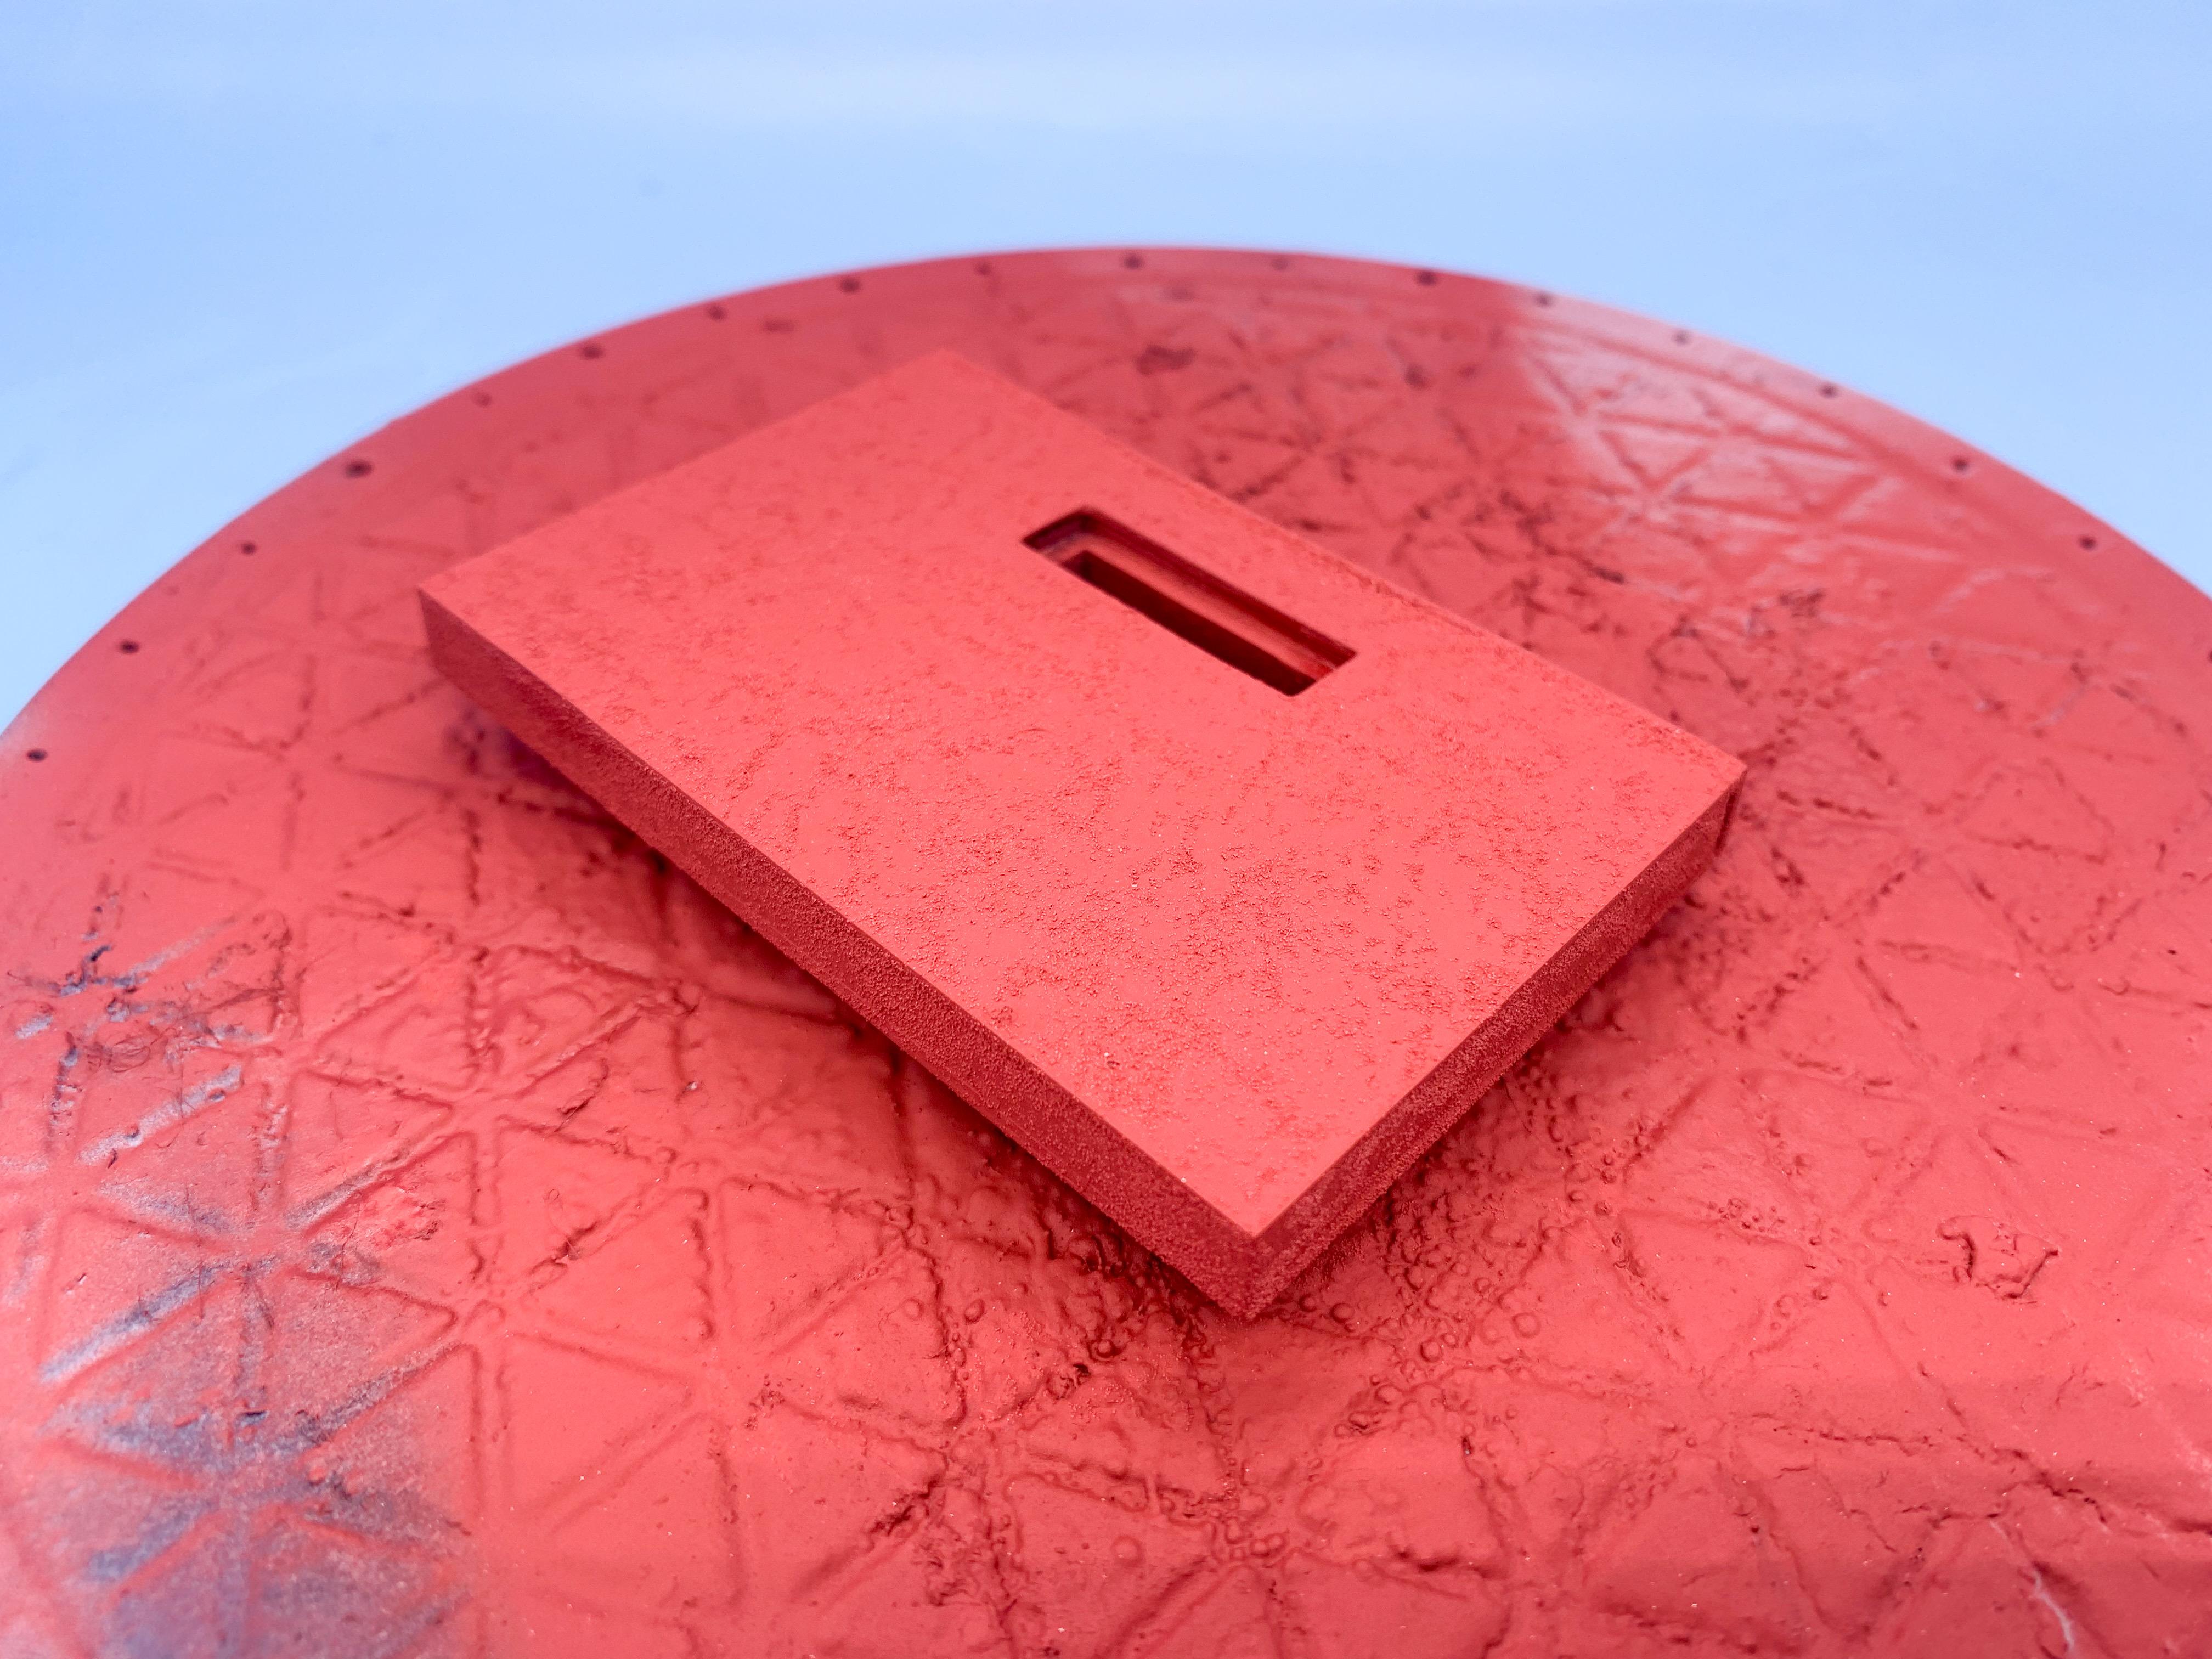
Thank you sir! Some more progress this last couple of nights…we had some SERIOUSLY hot days this week, so I figured I’d see if my little spot repair on the roof of the body was ready to be buffed out yet. Looks good to me! Worked through and wet sanded the rest of the body and got it ready for a second look tomorrow with a fresh set of eyes - it’s looking ok though! I’m excited to start with the final step if everything looks good! This part of the process is always kinda funny to me - you spend hours sanding to have it look WAY worse than when you started…but once you get to the final couple of stages it all starts to pay off… In other news, I wanted to add a little texture to the base of the sign I printed at the weekend to make it look more cement-y…my wife picked up this textured Crayola kids paint that she thought I might have a use for and I was curious to try it - worked pretty well I think! And a shot of primer to lock it in… Ready for airbrushing tomorrow! I realize a concrete block might be the most boring thing ever posted on here, but the rest of this side project will be a little more interesting hopefully… Thanks for looking - more soon!
-
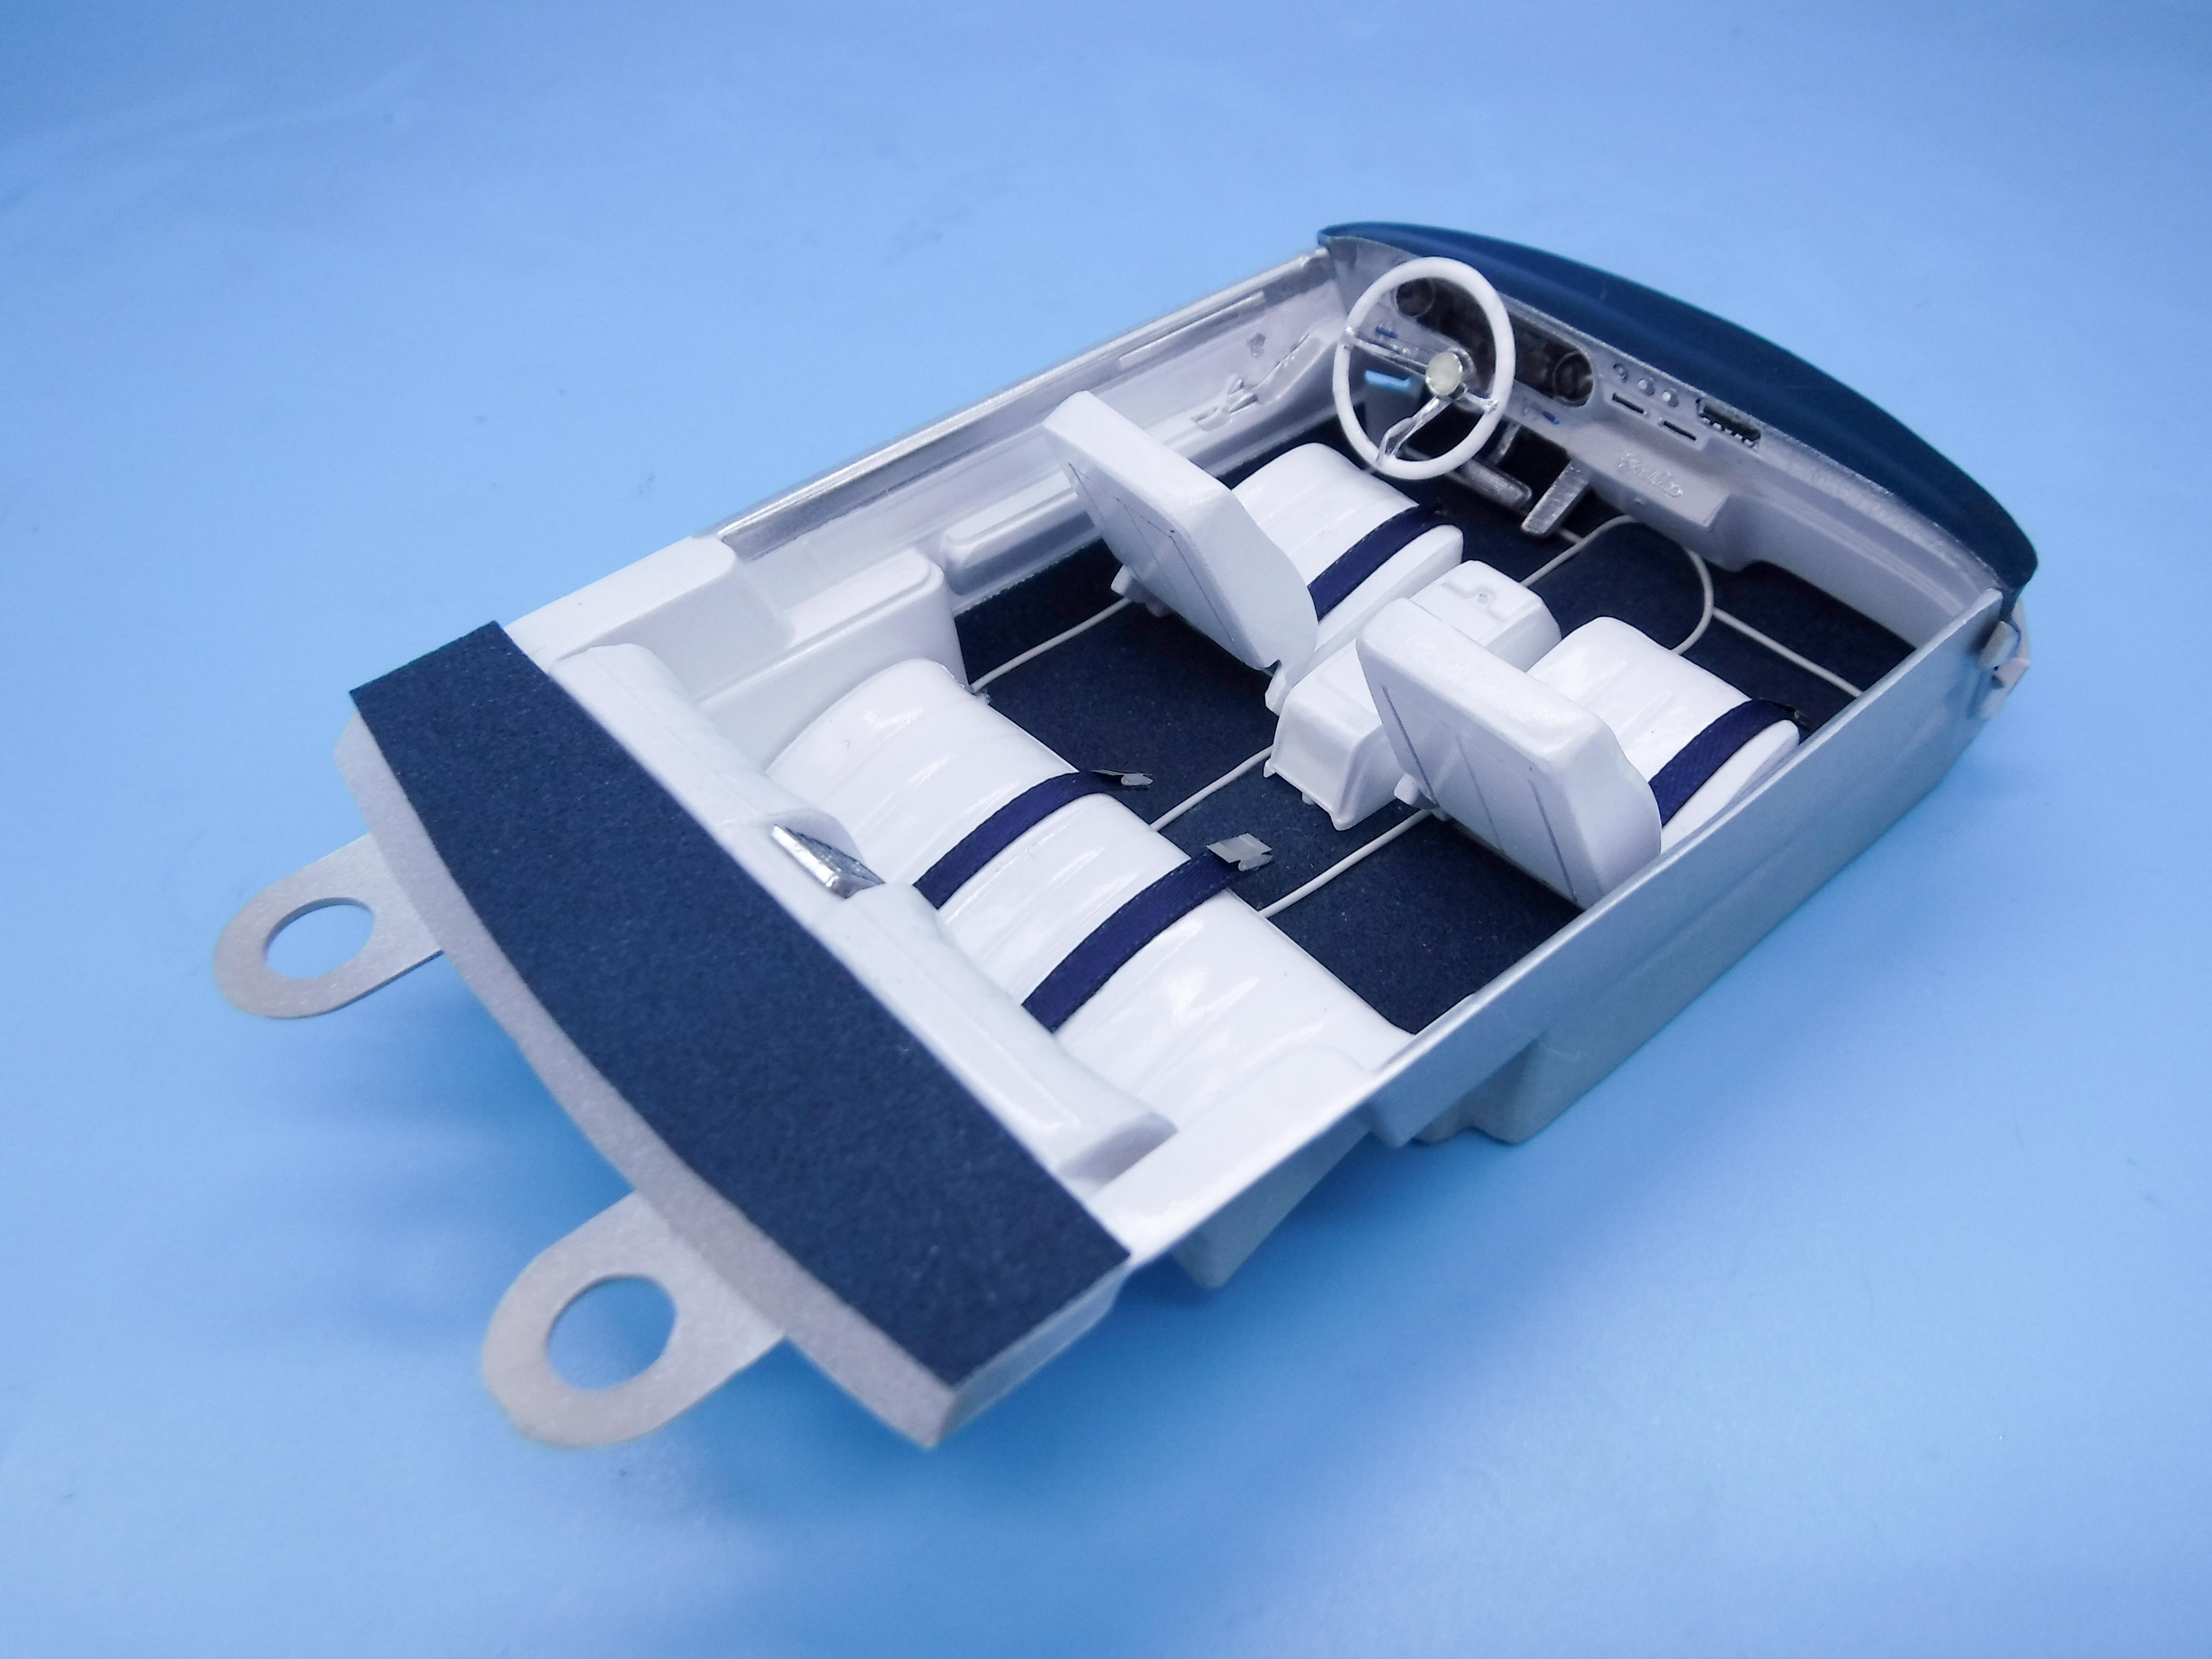
Thanks Pierre! I had a list of little jobs to complete this evening…and then this happened: It passed by without too much drama…but seriously curtailed my building time this evening. That said, got the interior mostly finished up ready for installation: I’m really excited to get this thing together now…got some little pieces to work on (radiator, mirrors, polish the glass, detail the battery) and then I’m just waiting on the body being polished out and the chrome added. Exciting! Thanks for looking - hopefully a ‘real’ update tomorrow!
-
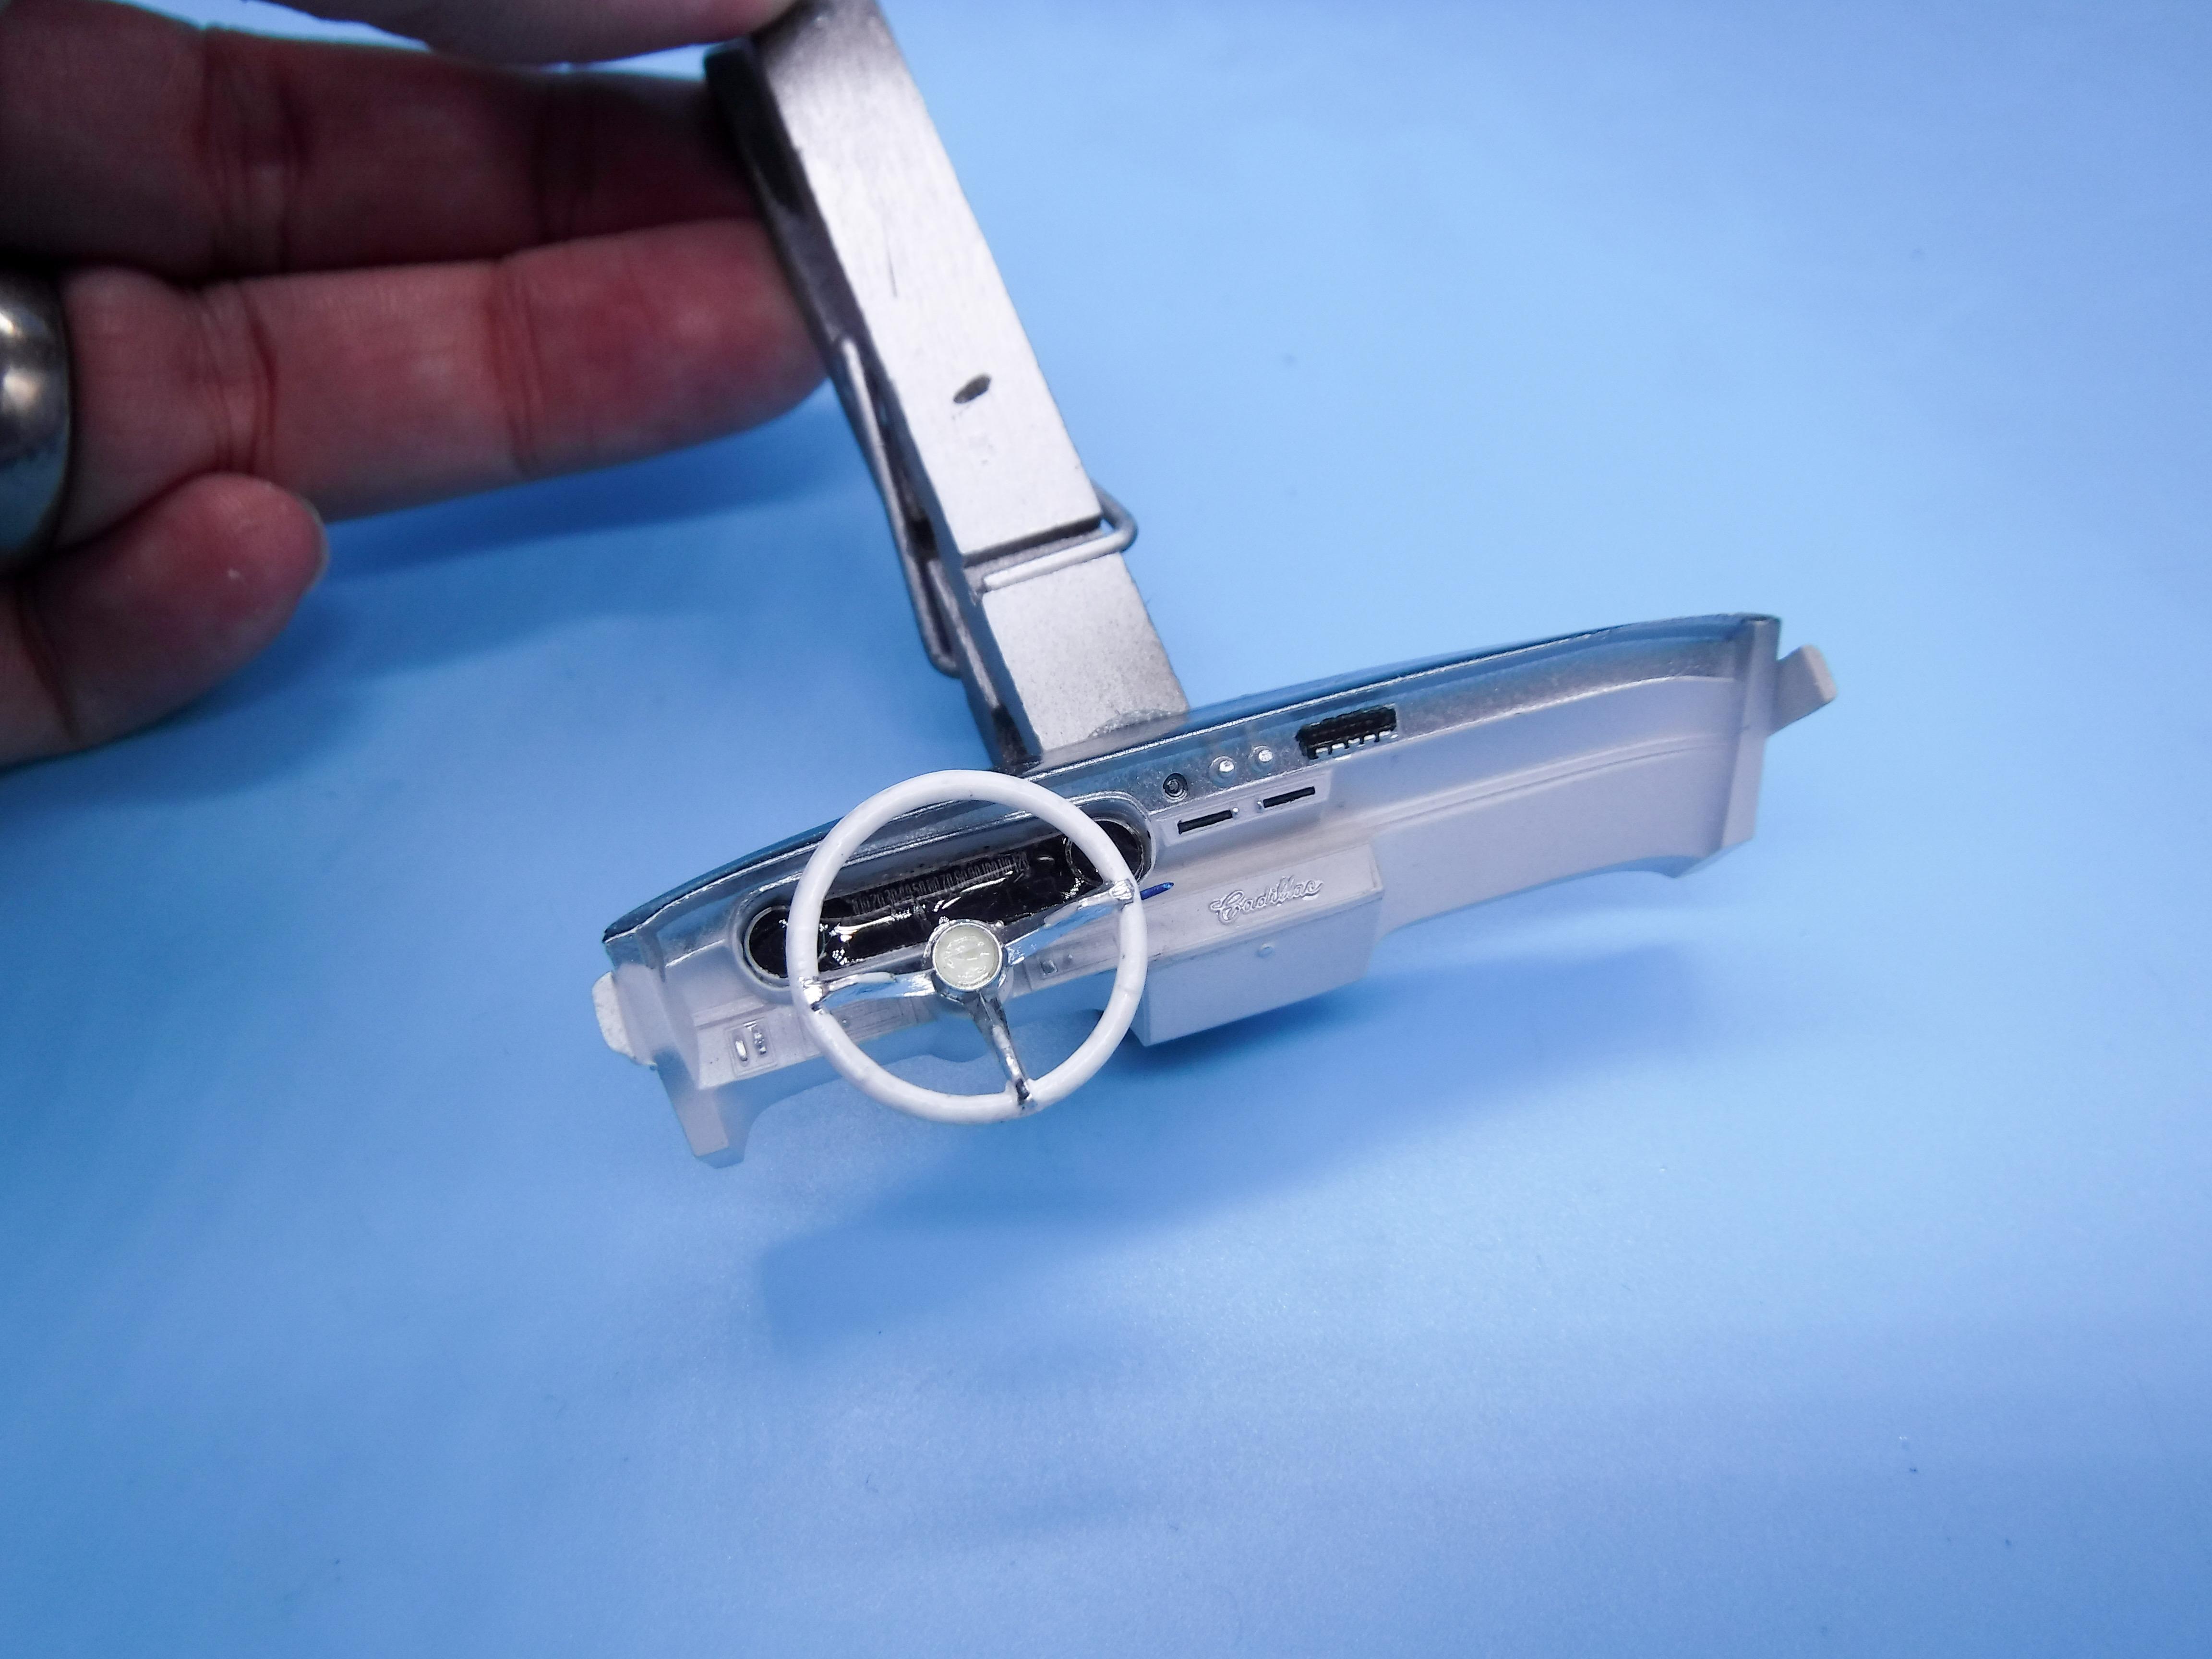
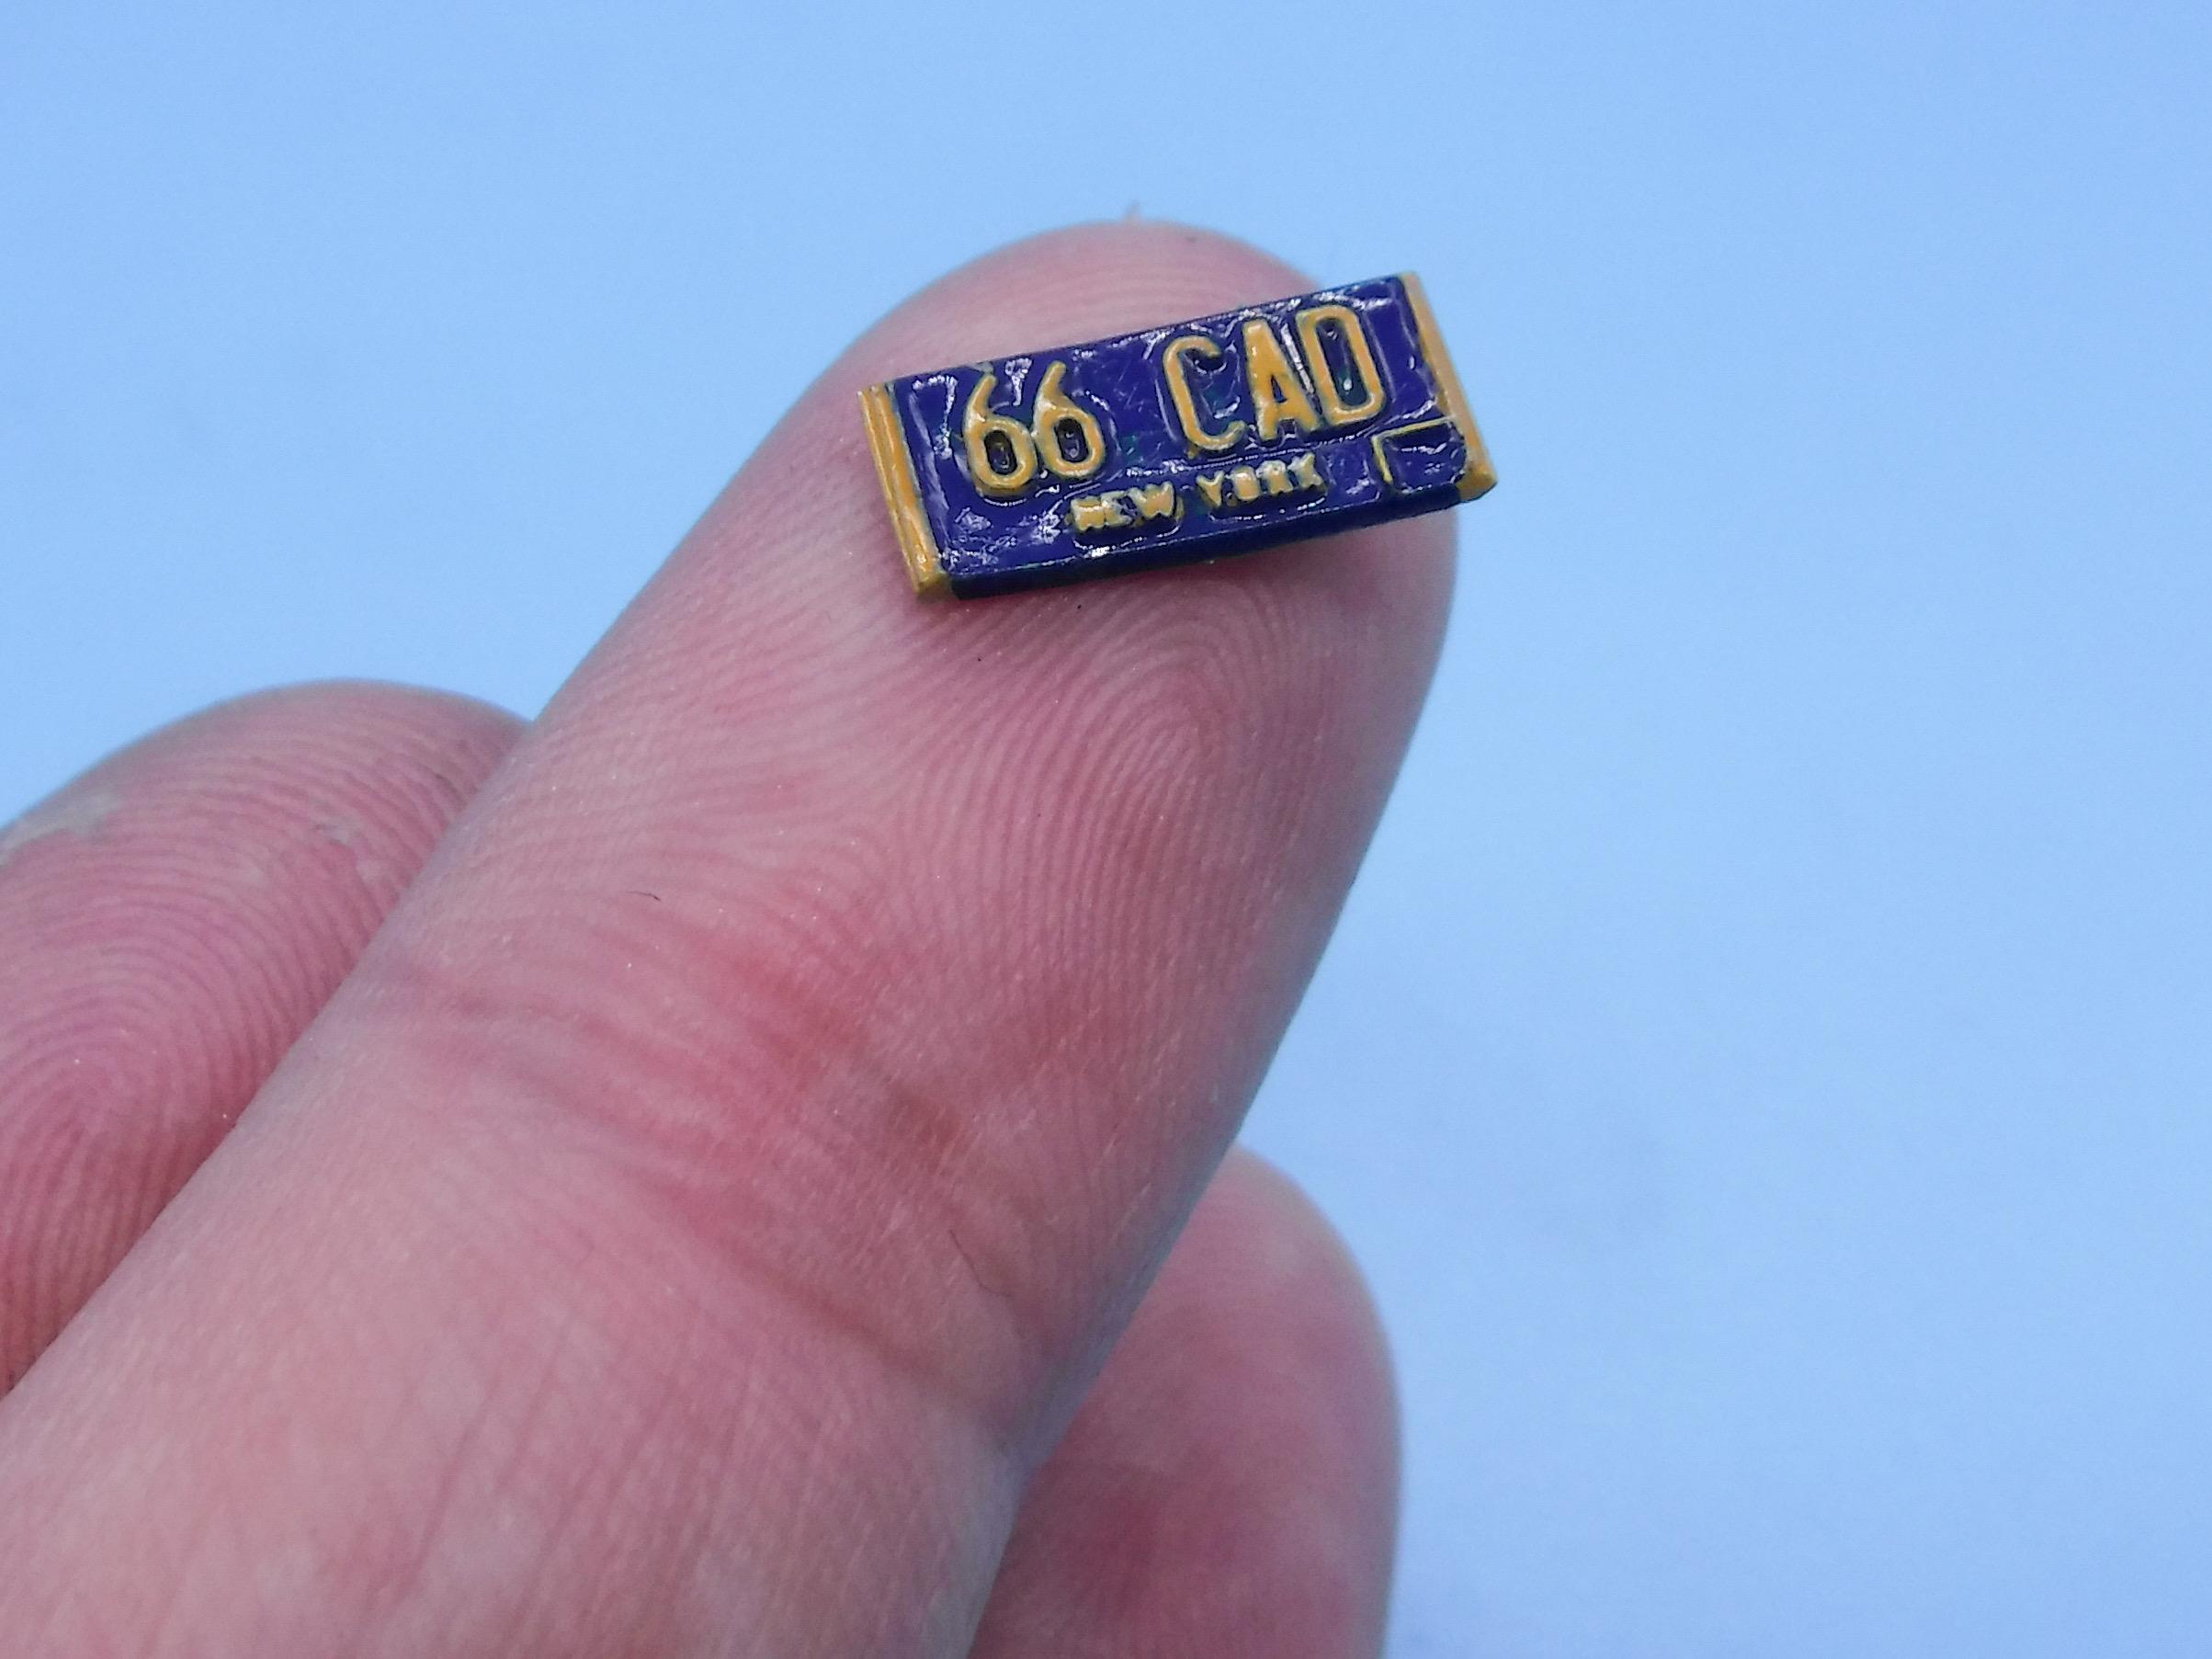
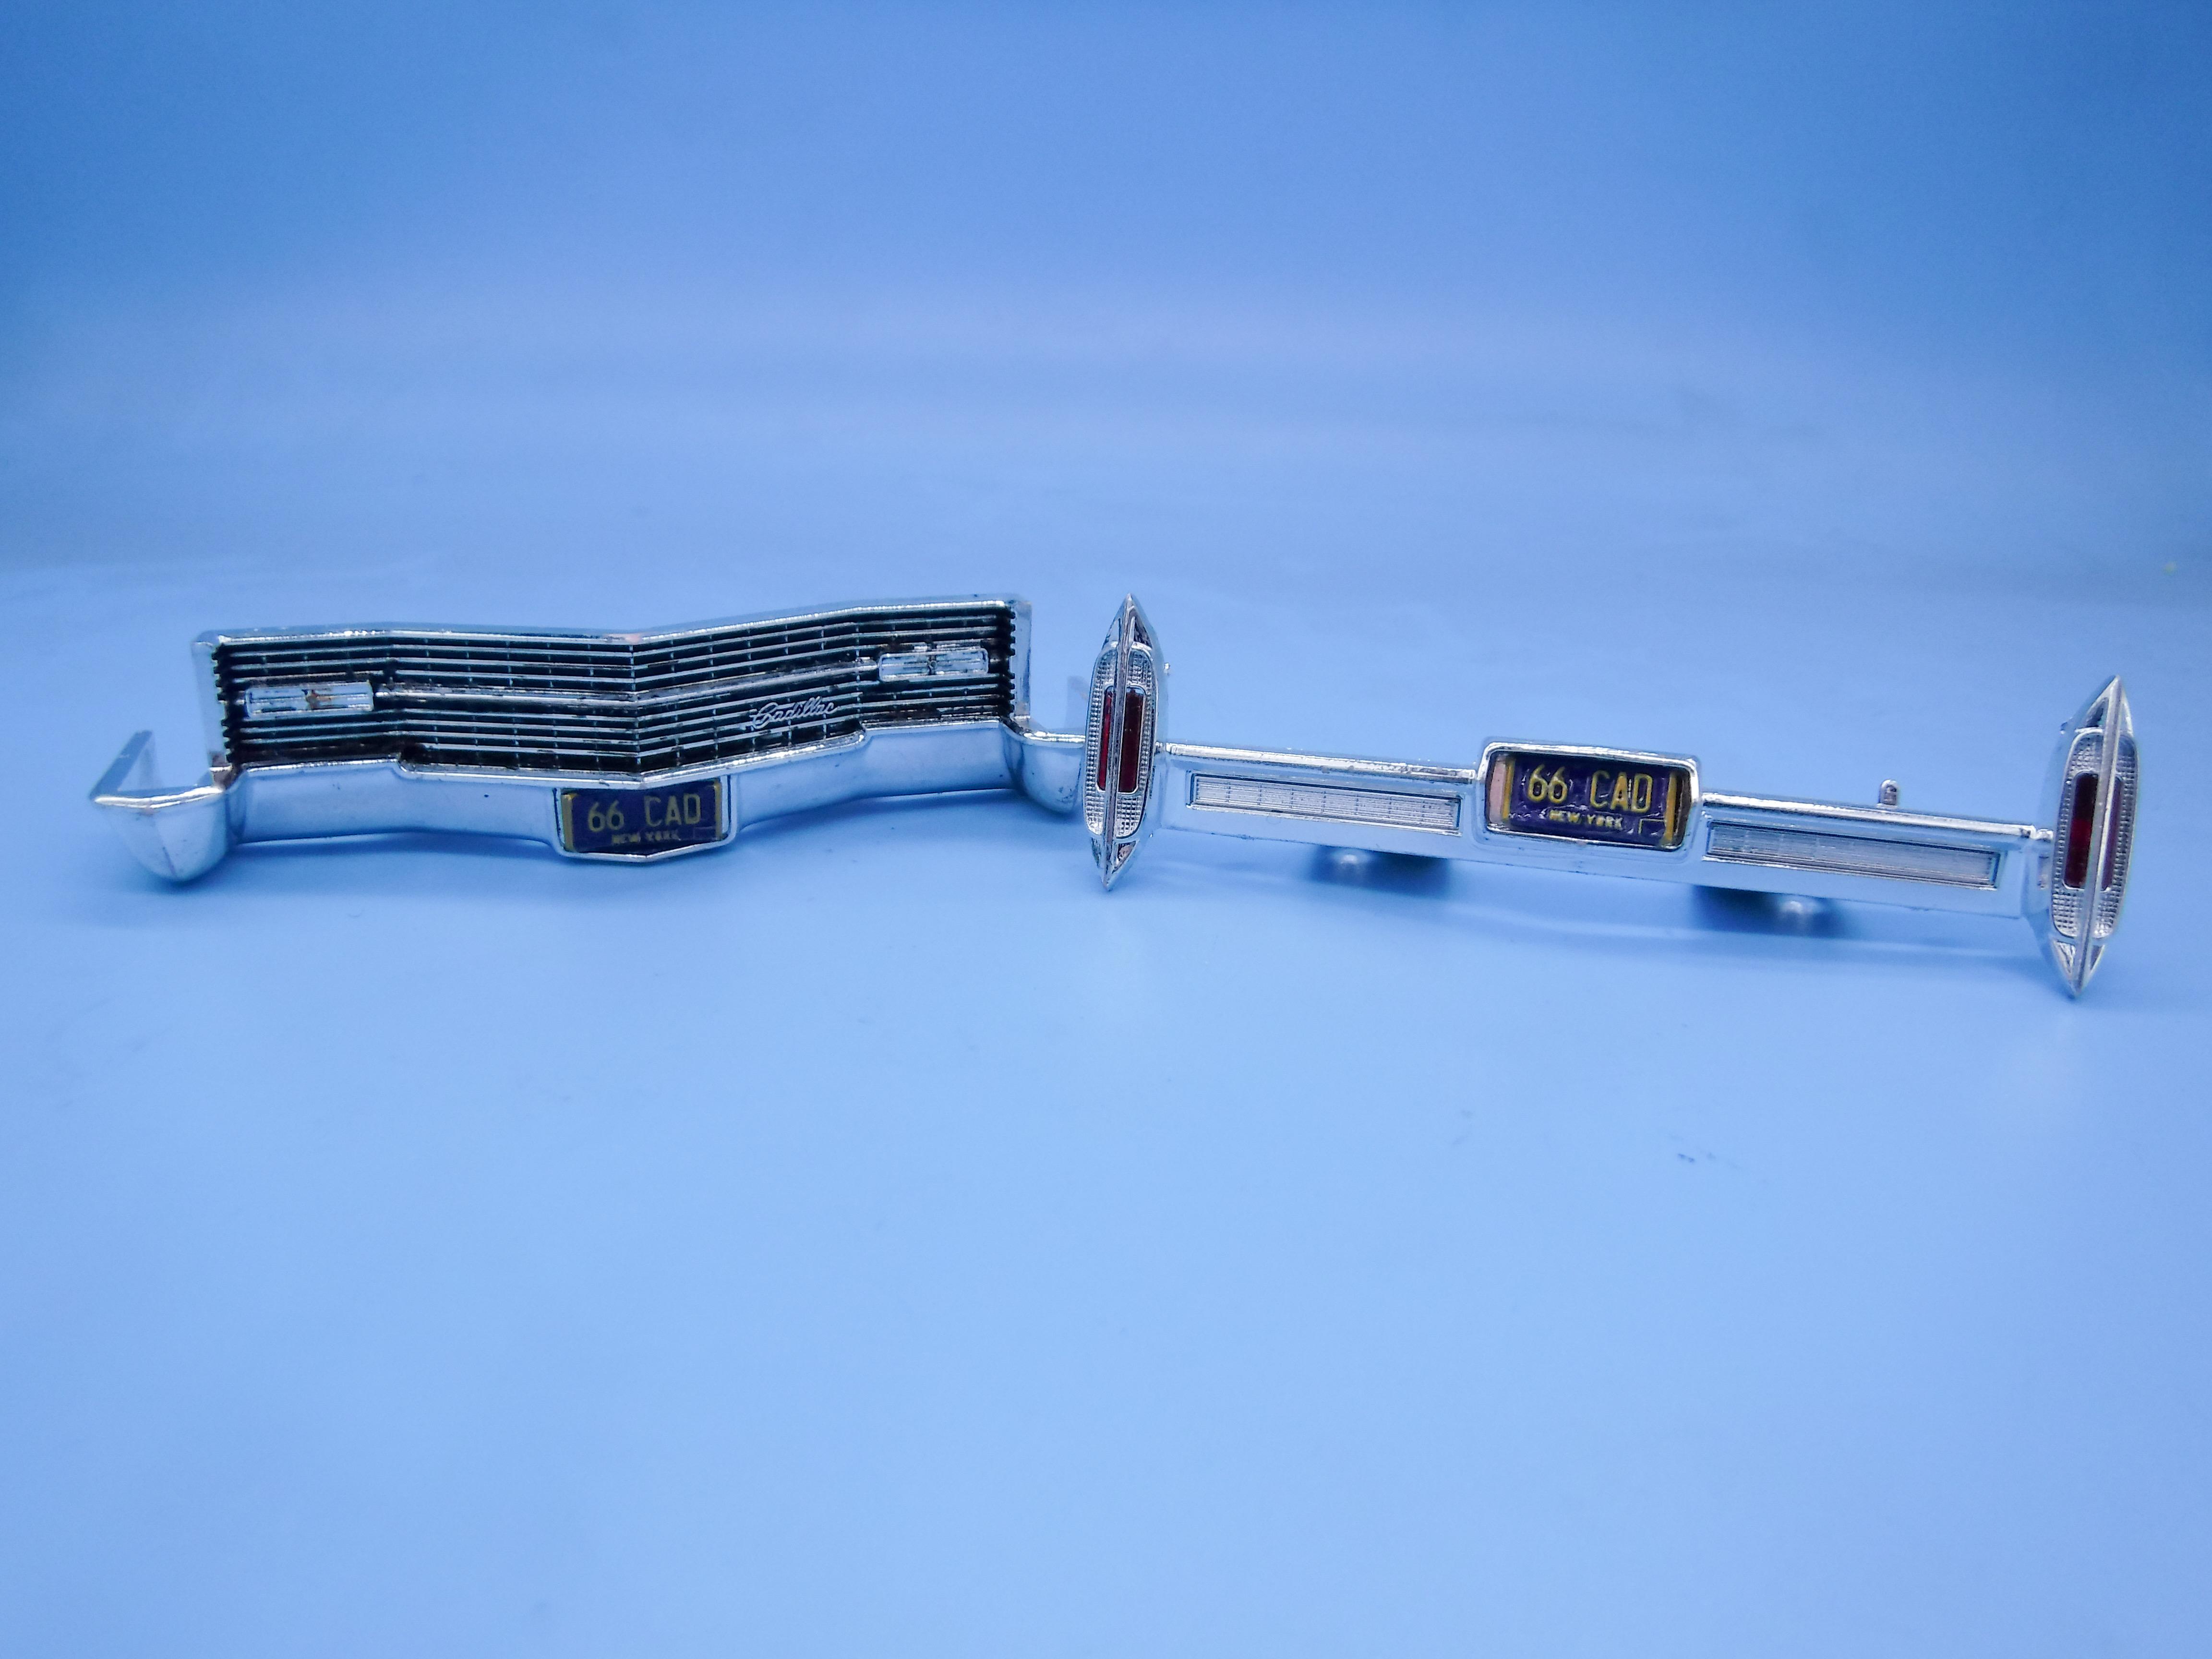
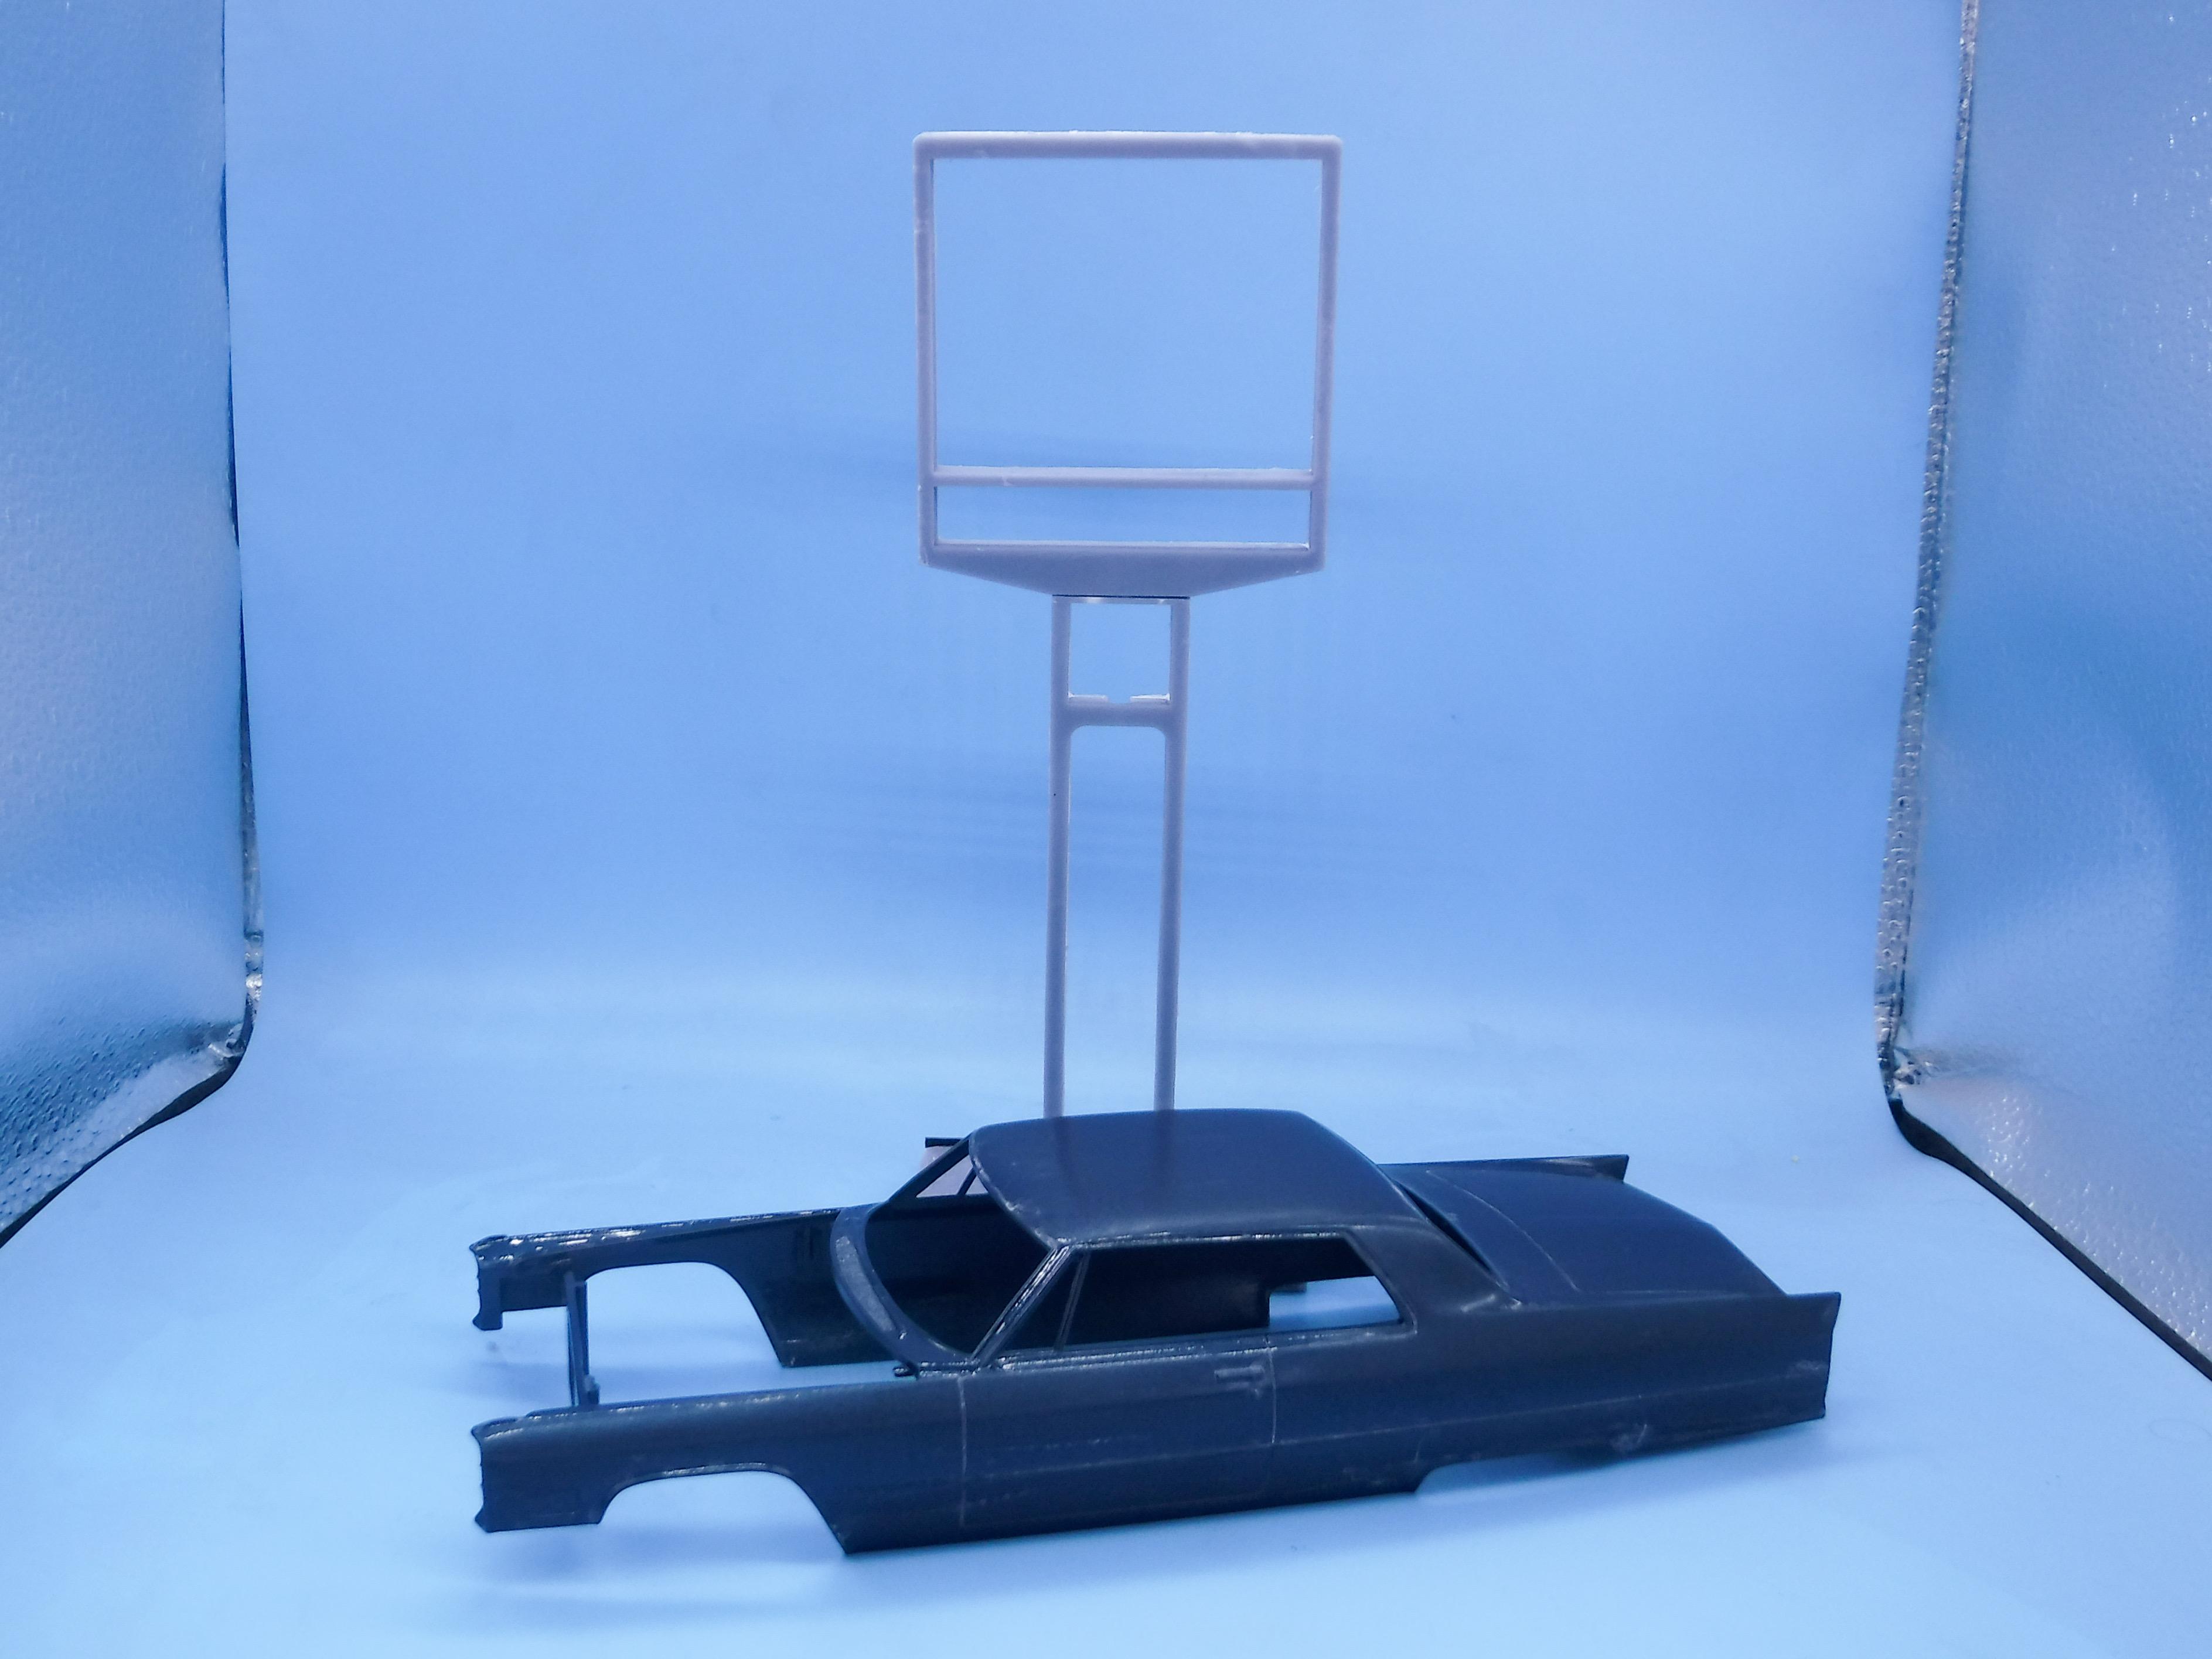
Thanks fellas! I was planning on polishing out the body today, but I found a tiny little pinhole in the clear on the roof…no biggie, I just dotted a drop of clear on there and I’ll let it dry for a few days and have another try later in the week: Seeing as I didn’t end up doing a bunch of polishing, instead I wired the firewall (not that it’ll be particularly visible when this is done anyway…) Epoxied the gauge ‘glass’ and started detail painting the dash…need to do a little cleanup and a couple more steps before it’s ready to install: Painted the 3D printed license plates that I’ll be using: They need a coat of satin clear to dumb down the shine a little, but I’m pleased with the embossed-looking effect! They’ll look something like this, once installed… And finally, did some clean-up on the dealer sign frame and base and mocked it up…sure looks big next to the car! Thanks for looking - more soon!
-
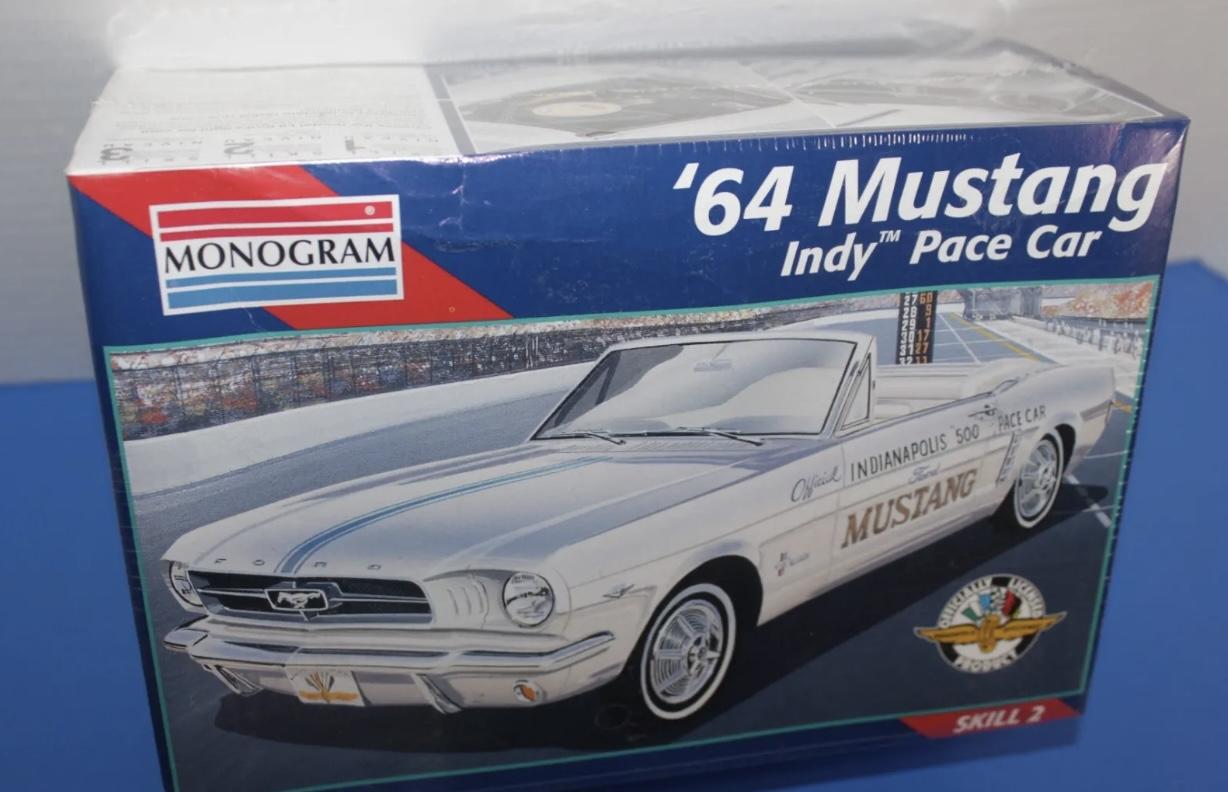
Revell / Monogram 64 Mustang kit - anyone built one?
OldNYJim replied to OldNYJim's topic in Car Kit News & Reviews
I wondered if the space between the grille and the headlights needs to be filed down a little - although, admittedly, I haven’t studied one of these kits in person YET… -
Who doesn't love a mock-up? Let's see yours!
OldNYJim replied to Belairconvertable's topic in WIP: Model Cars
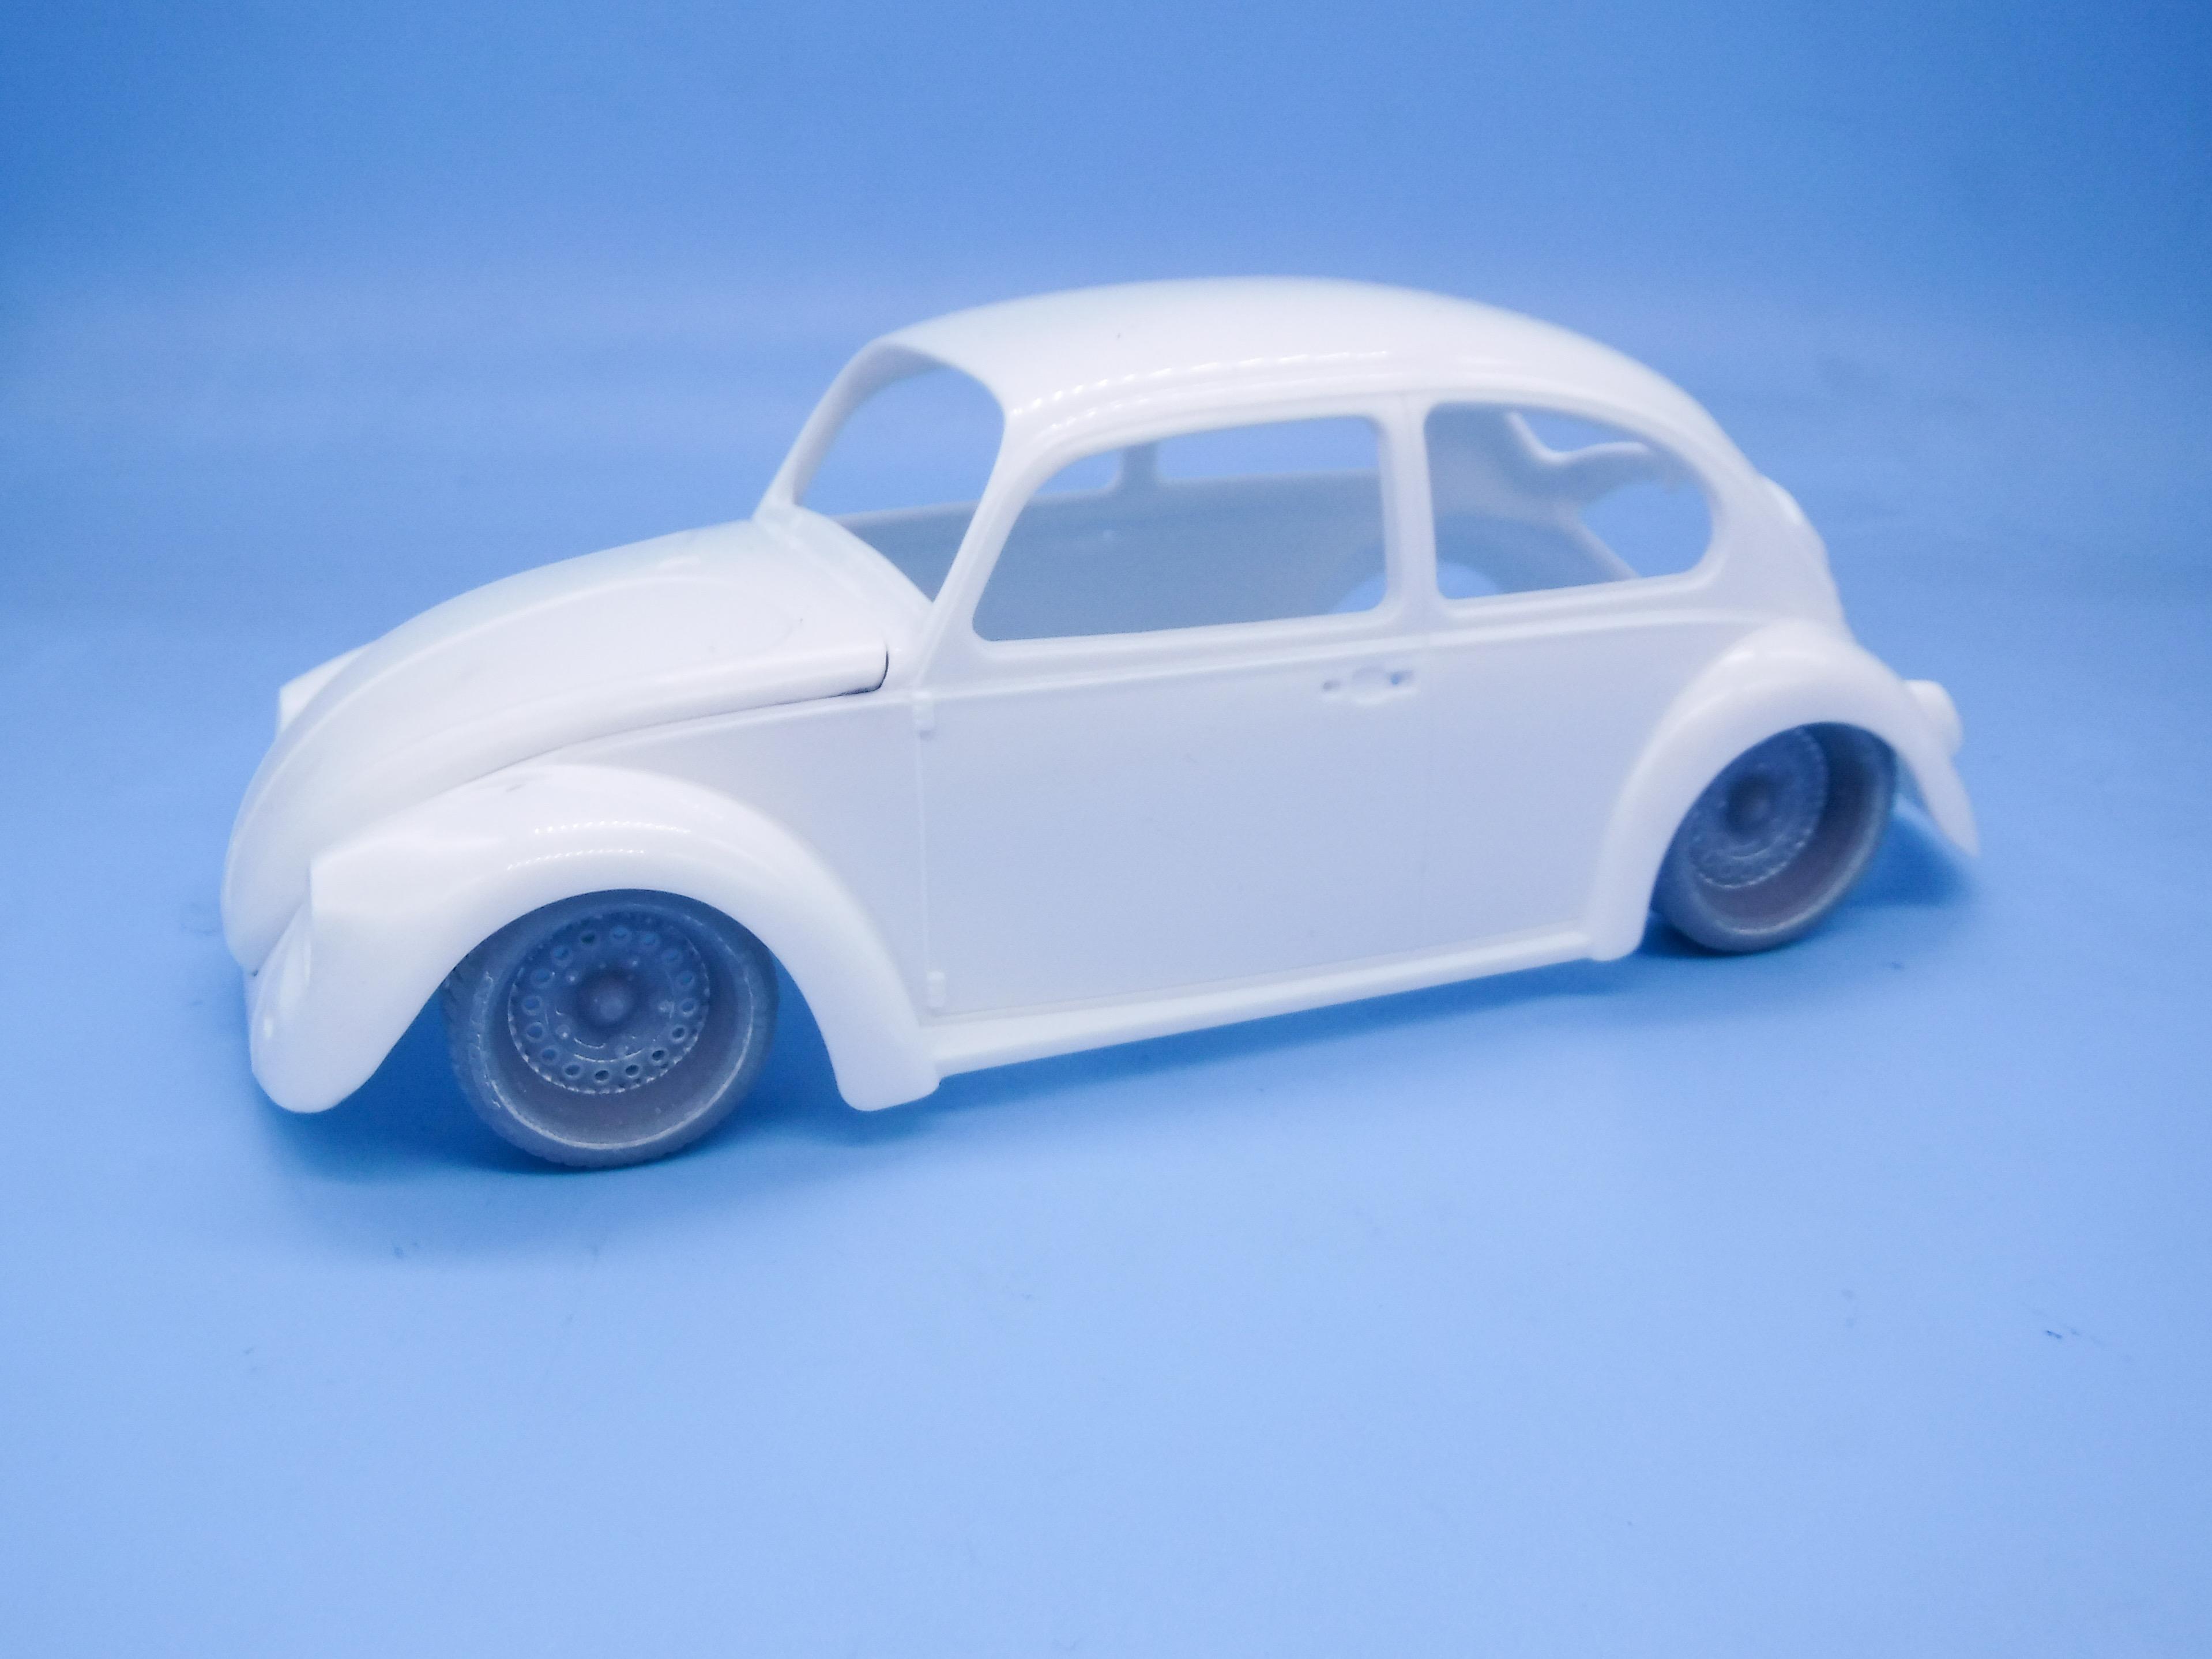
Been slowly building a Bug in my head for a couple of months now - started printing some parts for it today:
-
I was in the market for some rubber-black paint and found this set fairly cheap online…more and more Vallejo paints seem to be finding their way into my paint rack lately. I didn’t really NEED the rust or gunmetal colors right now - but metal tones and rust tones are always useful too!
- 38,884 replies
-
- 1
-

-
- johan
- glue bombs
- (and 1 more)
-
Thanks David! The carpet is flocked sheet - I picked it up at Hobby Lobby. This particular variant is designed to be used with a Cricut for lettering on teeshirts and whatnot, but they have a bunch of similar products in the paper section too. I’m really enjoying using this stuff instead of regular flocking - super fast and easy, looks in-scale to me and it’s really clean. A little more progress today - working through some of the little projects that would normally slow me down come assembly time. Found some parts-box lens ‘glass’ for the headlights: Gave the lenses a wash of white pearl Createx paint and then installed the glass: Best way would’ve been to drill them out, but I didn’t have the heart to ‘ruin’ these old kit parts. Added some Molotow chrome to the rear taillights and installed those to the rear bumper: Replacement license plates are in progress…more on those soon…and today’s big (literally) project was printing the 1/25 dealer sign that I showed in the last post. I printed some much smaller test pieces last night, made some tweaks and then let the printer run for a few hours today to make the base, frame, cans and sign faces: As you can see, they still need to be cleaned up and then I can start test fitting the pieces before paint, but this is a fun little side-project…it’s in 1:25 scale and stands about 11 inches when assembled. Thanks for looking…tomorrow’s project is likely going to be polishing out the body - shiny Sunday!
-
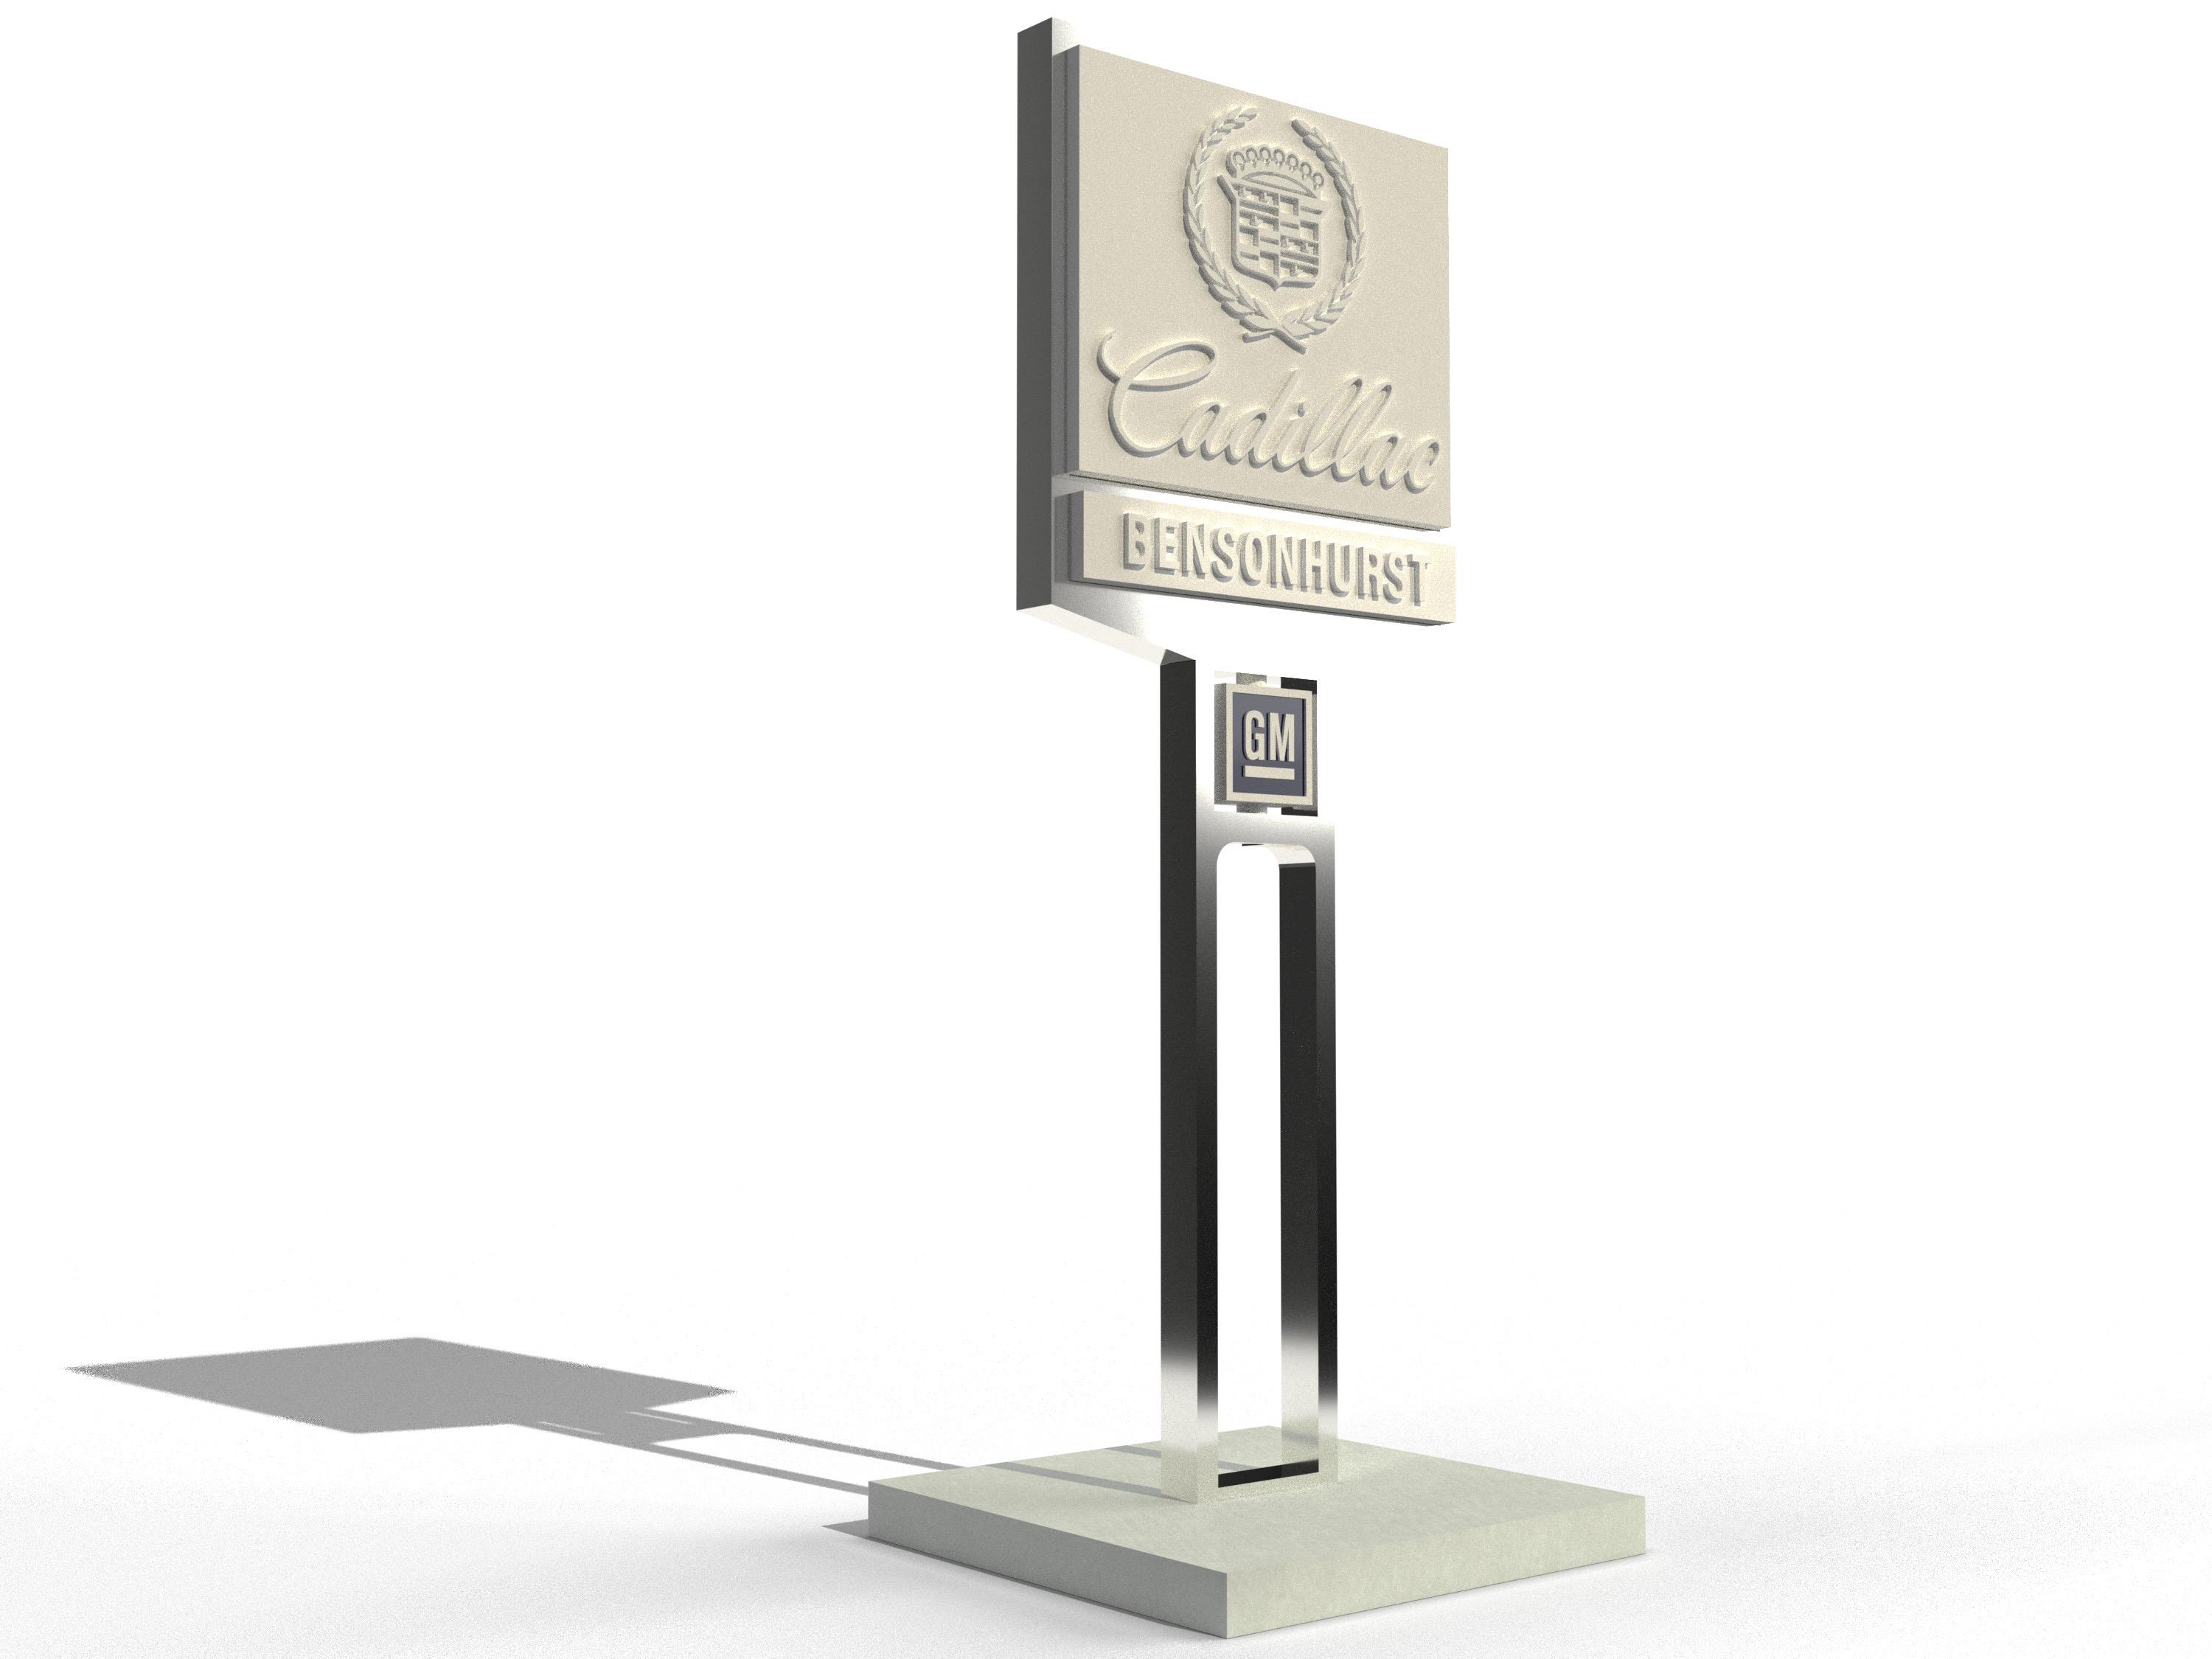
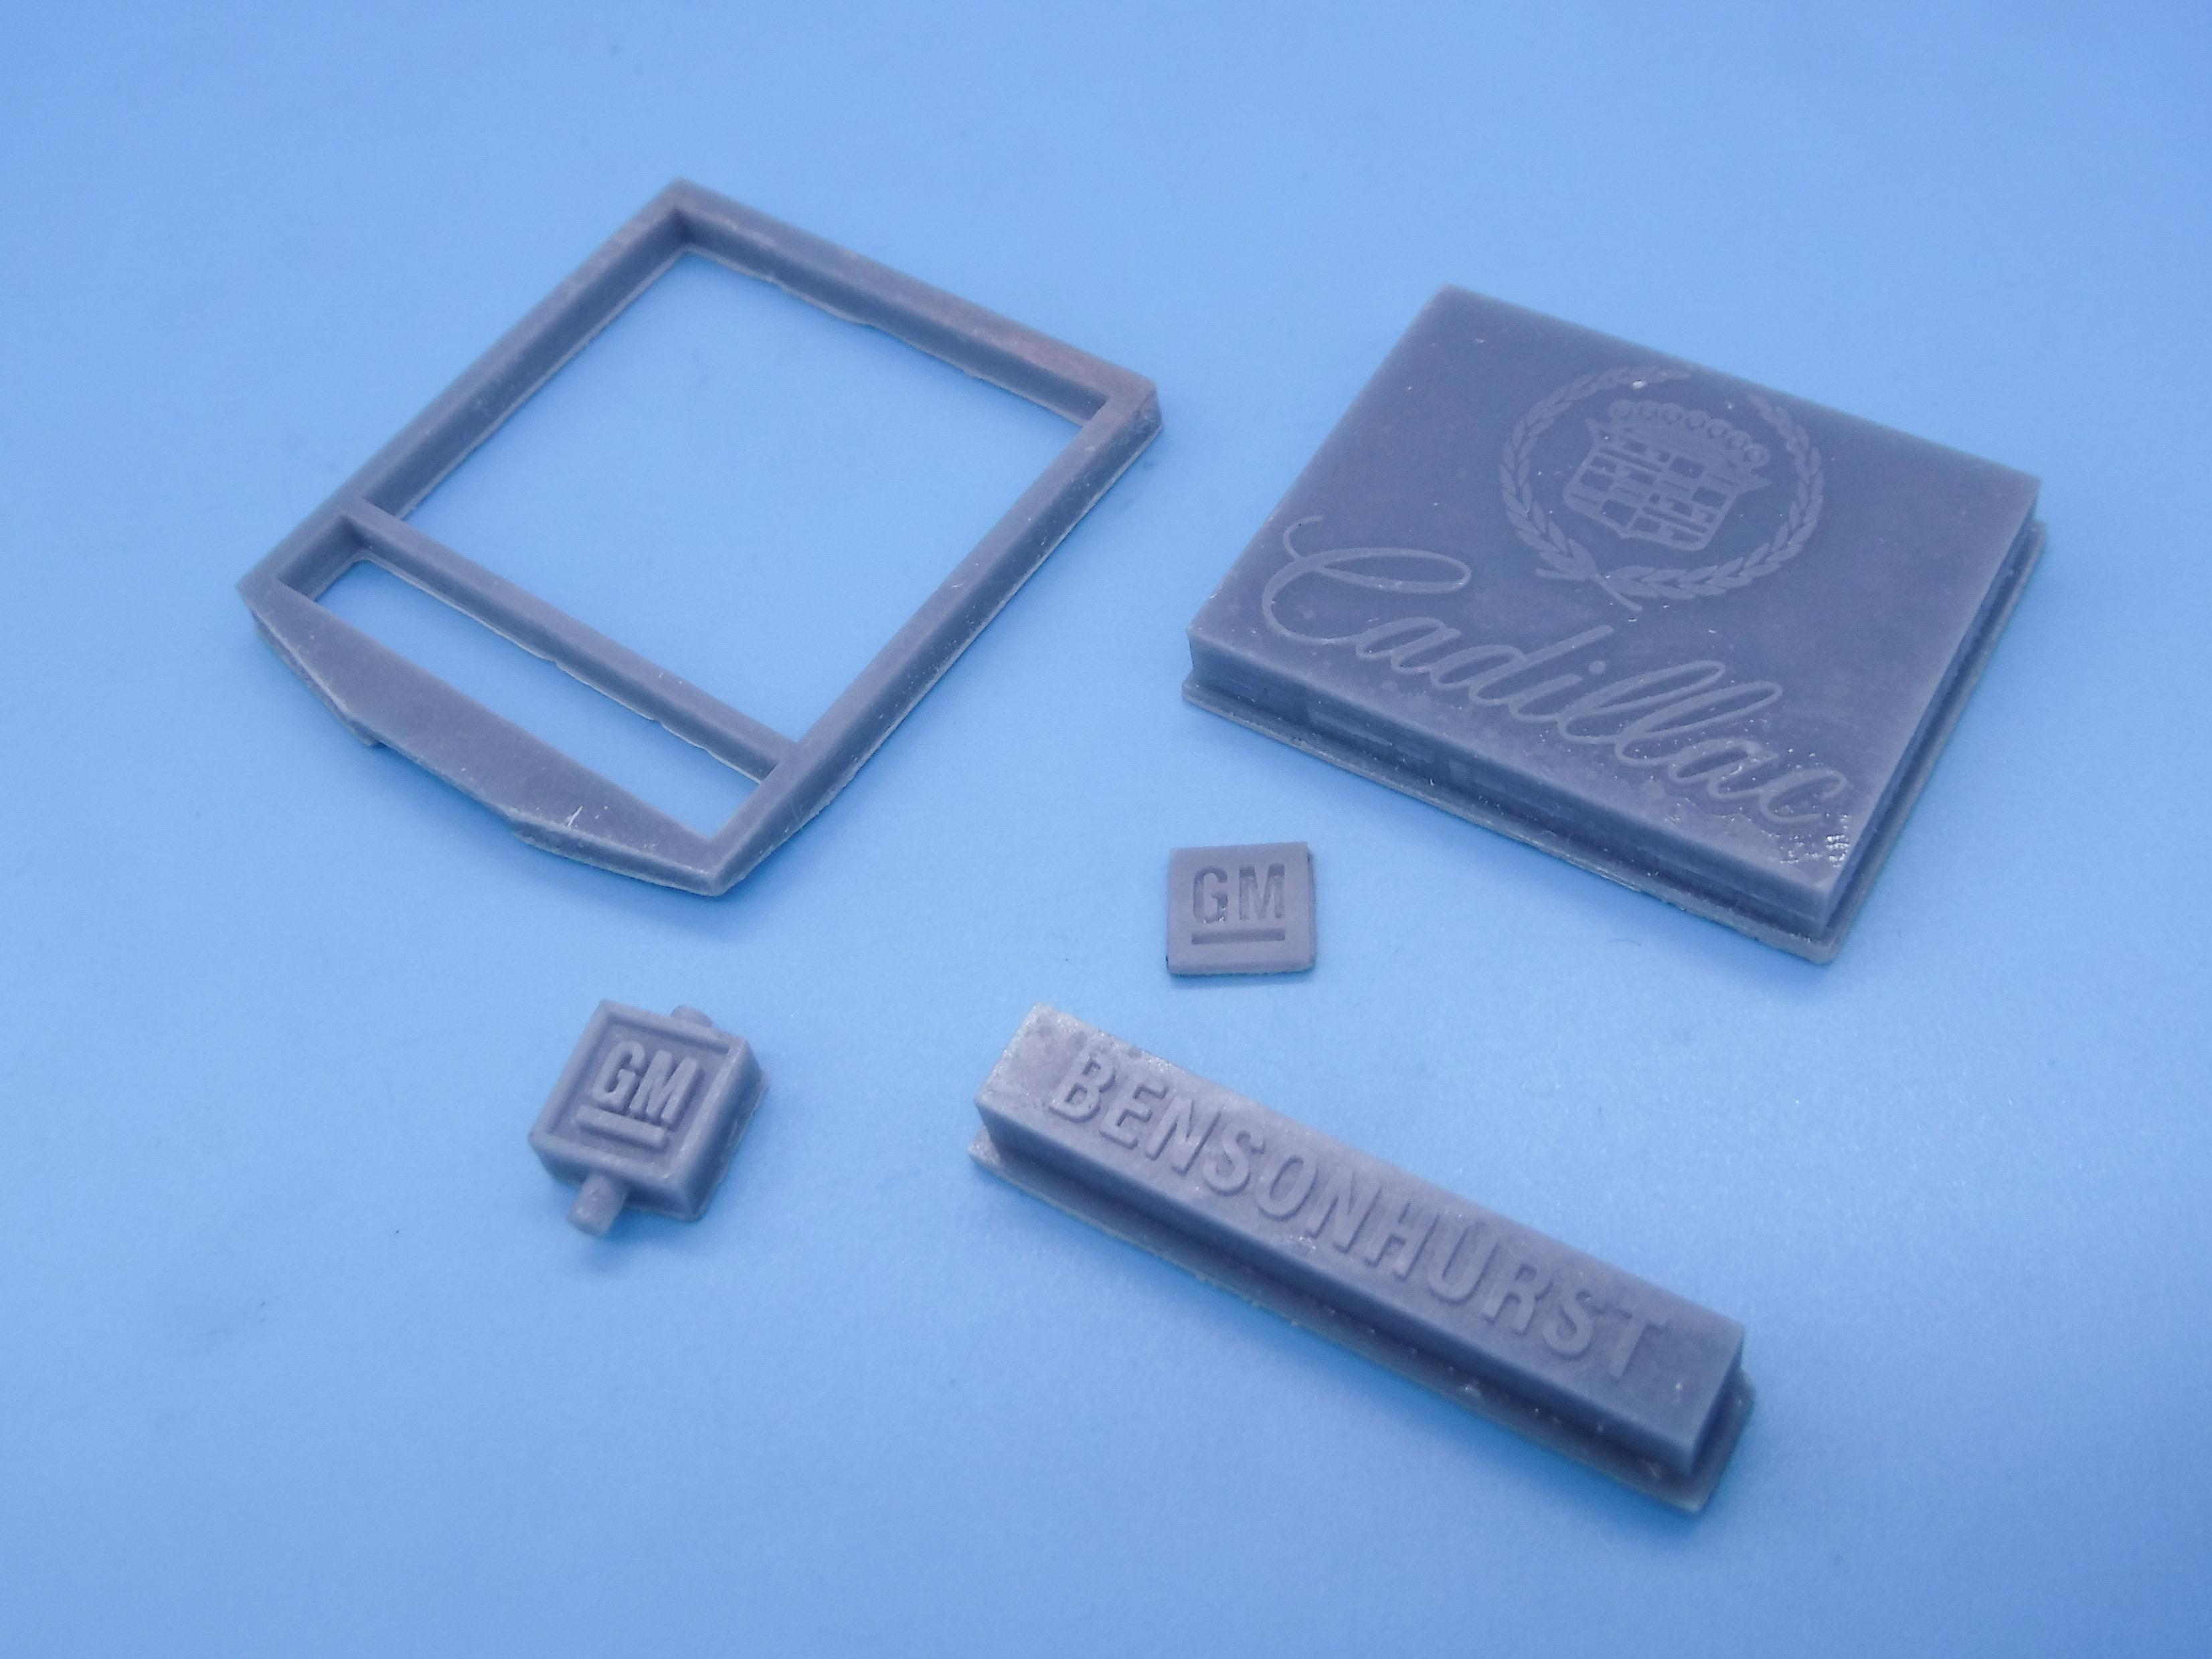
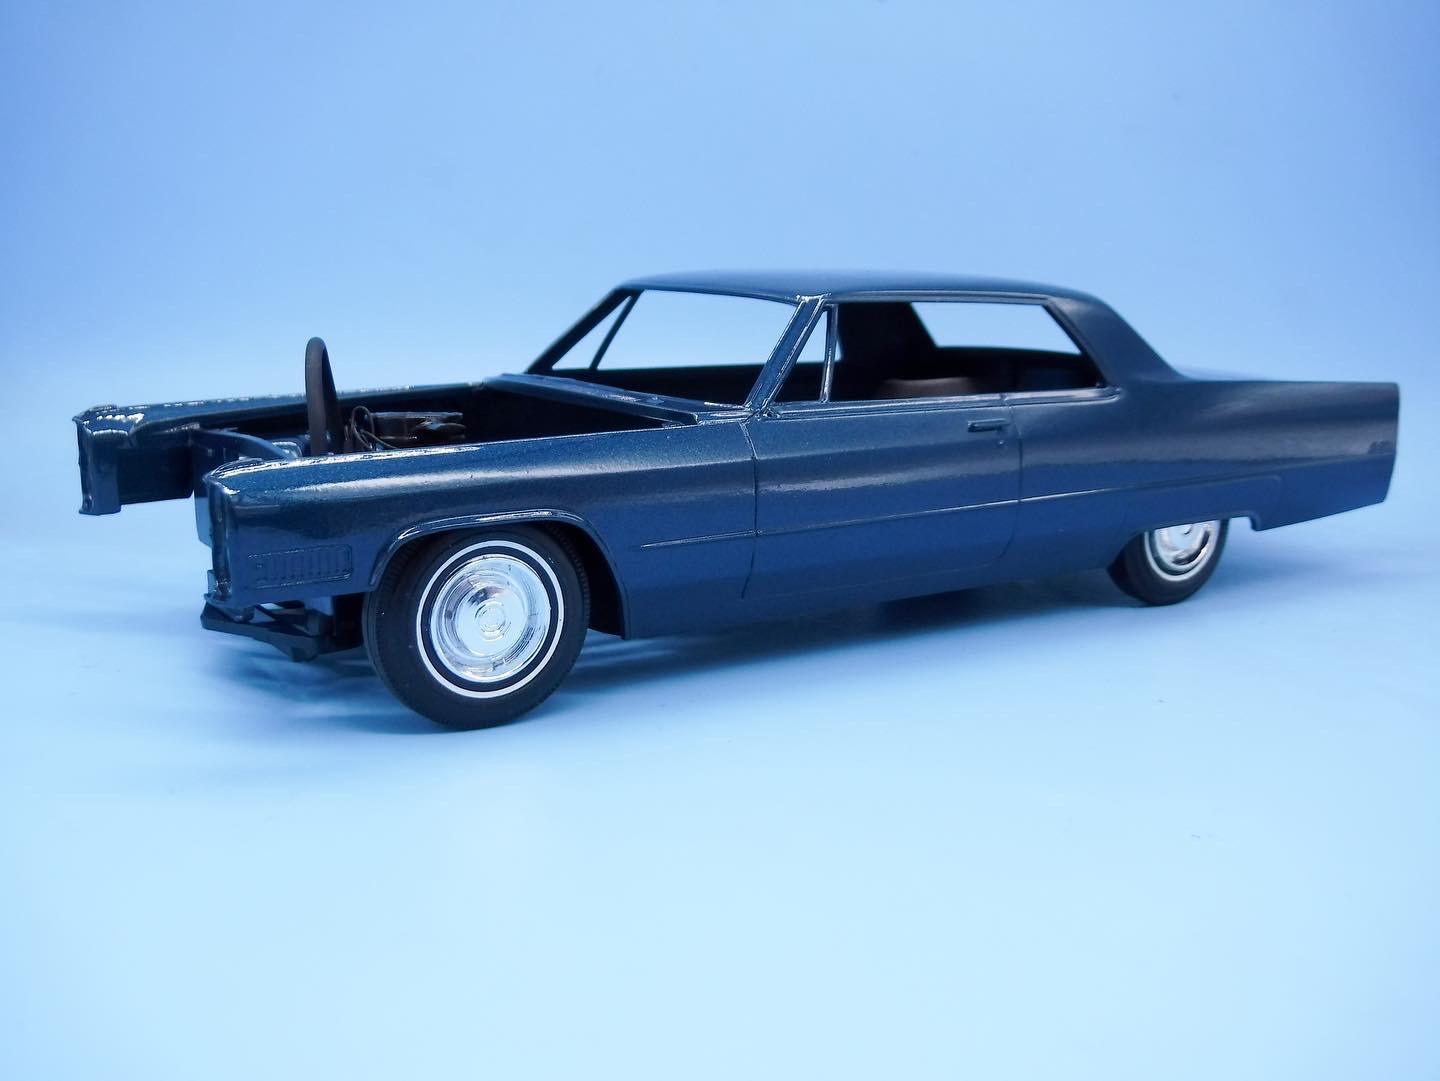
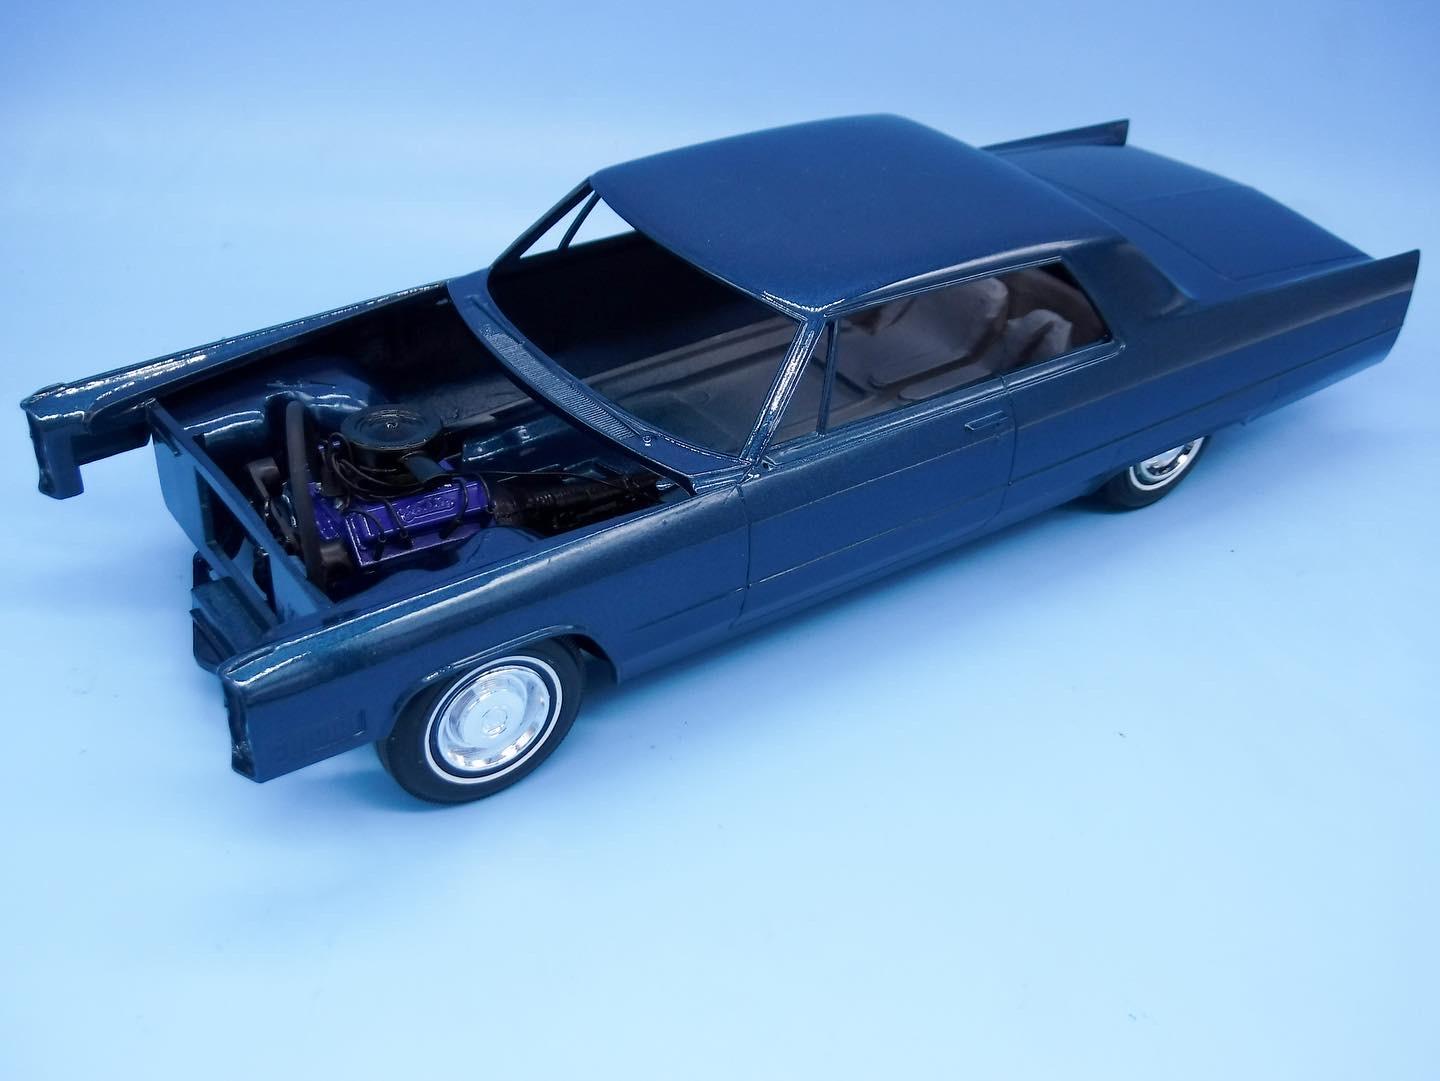
Thank you! White piping probably wouldn’t be very practical for a floor in real life, but I agree, this kinda adds a little to the carpet! I like how it looks! Thanks brother Carl! Tying up some little bits and pieces this evening - some boring stuff…priming a few little parts and cleaning up some others - but I did work on one interesting thing today… Some of the Cadillac dealers would give away miniature signs along with promos - just some cool little things that matched the big signs out in their lots but designed to sit on your desk. They seem to fetch decent money online, but they’re not so complex that I couldn’t just redraw one in software and make a little mini kit of my own… above pic is the 3D model in software, and here’s a test print of a few of the parts: Need to mess with this a little more to get it perfect, but I think it’ll be a fun little companion piece to the car… Speaking of the car, quick test fit of the body on the rolling chassis just for my own amusement - excited to get this body polished out and to the point I can do some assembly ? (Excuse the long radiator hose…that’ll be cut to length in due course) Thanks for looking everyone - the weekend is upon us, so hopefully some good progress to come over the next couple of days!
-
What Carl said! Looks GREAT!
-
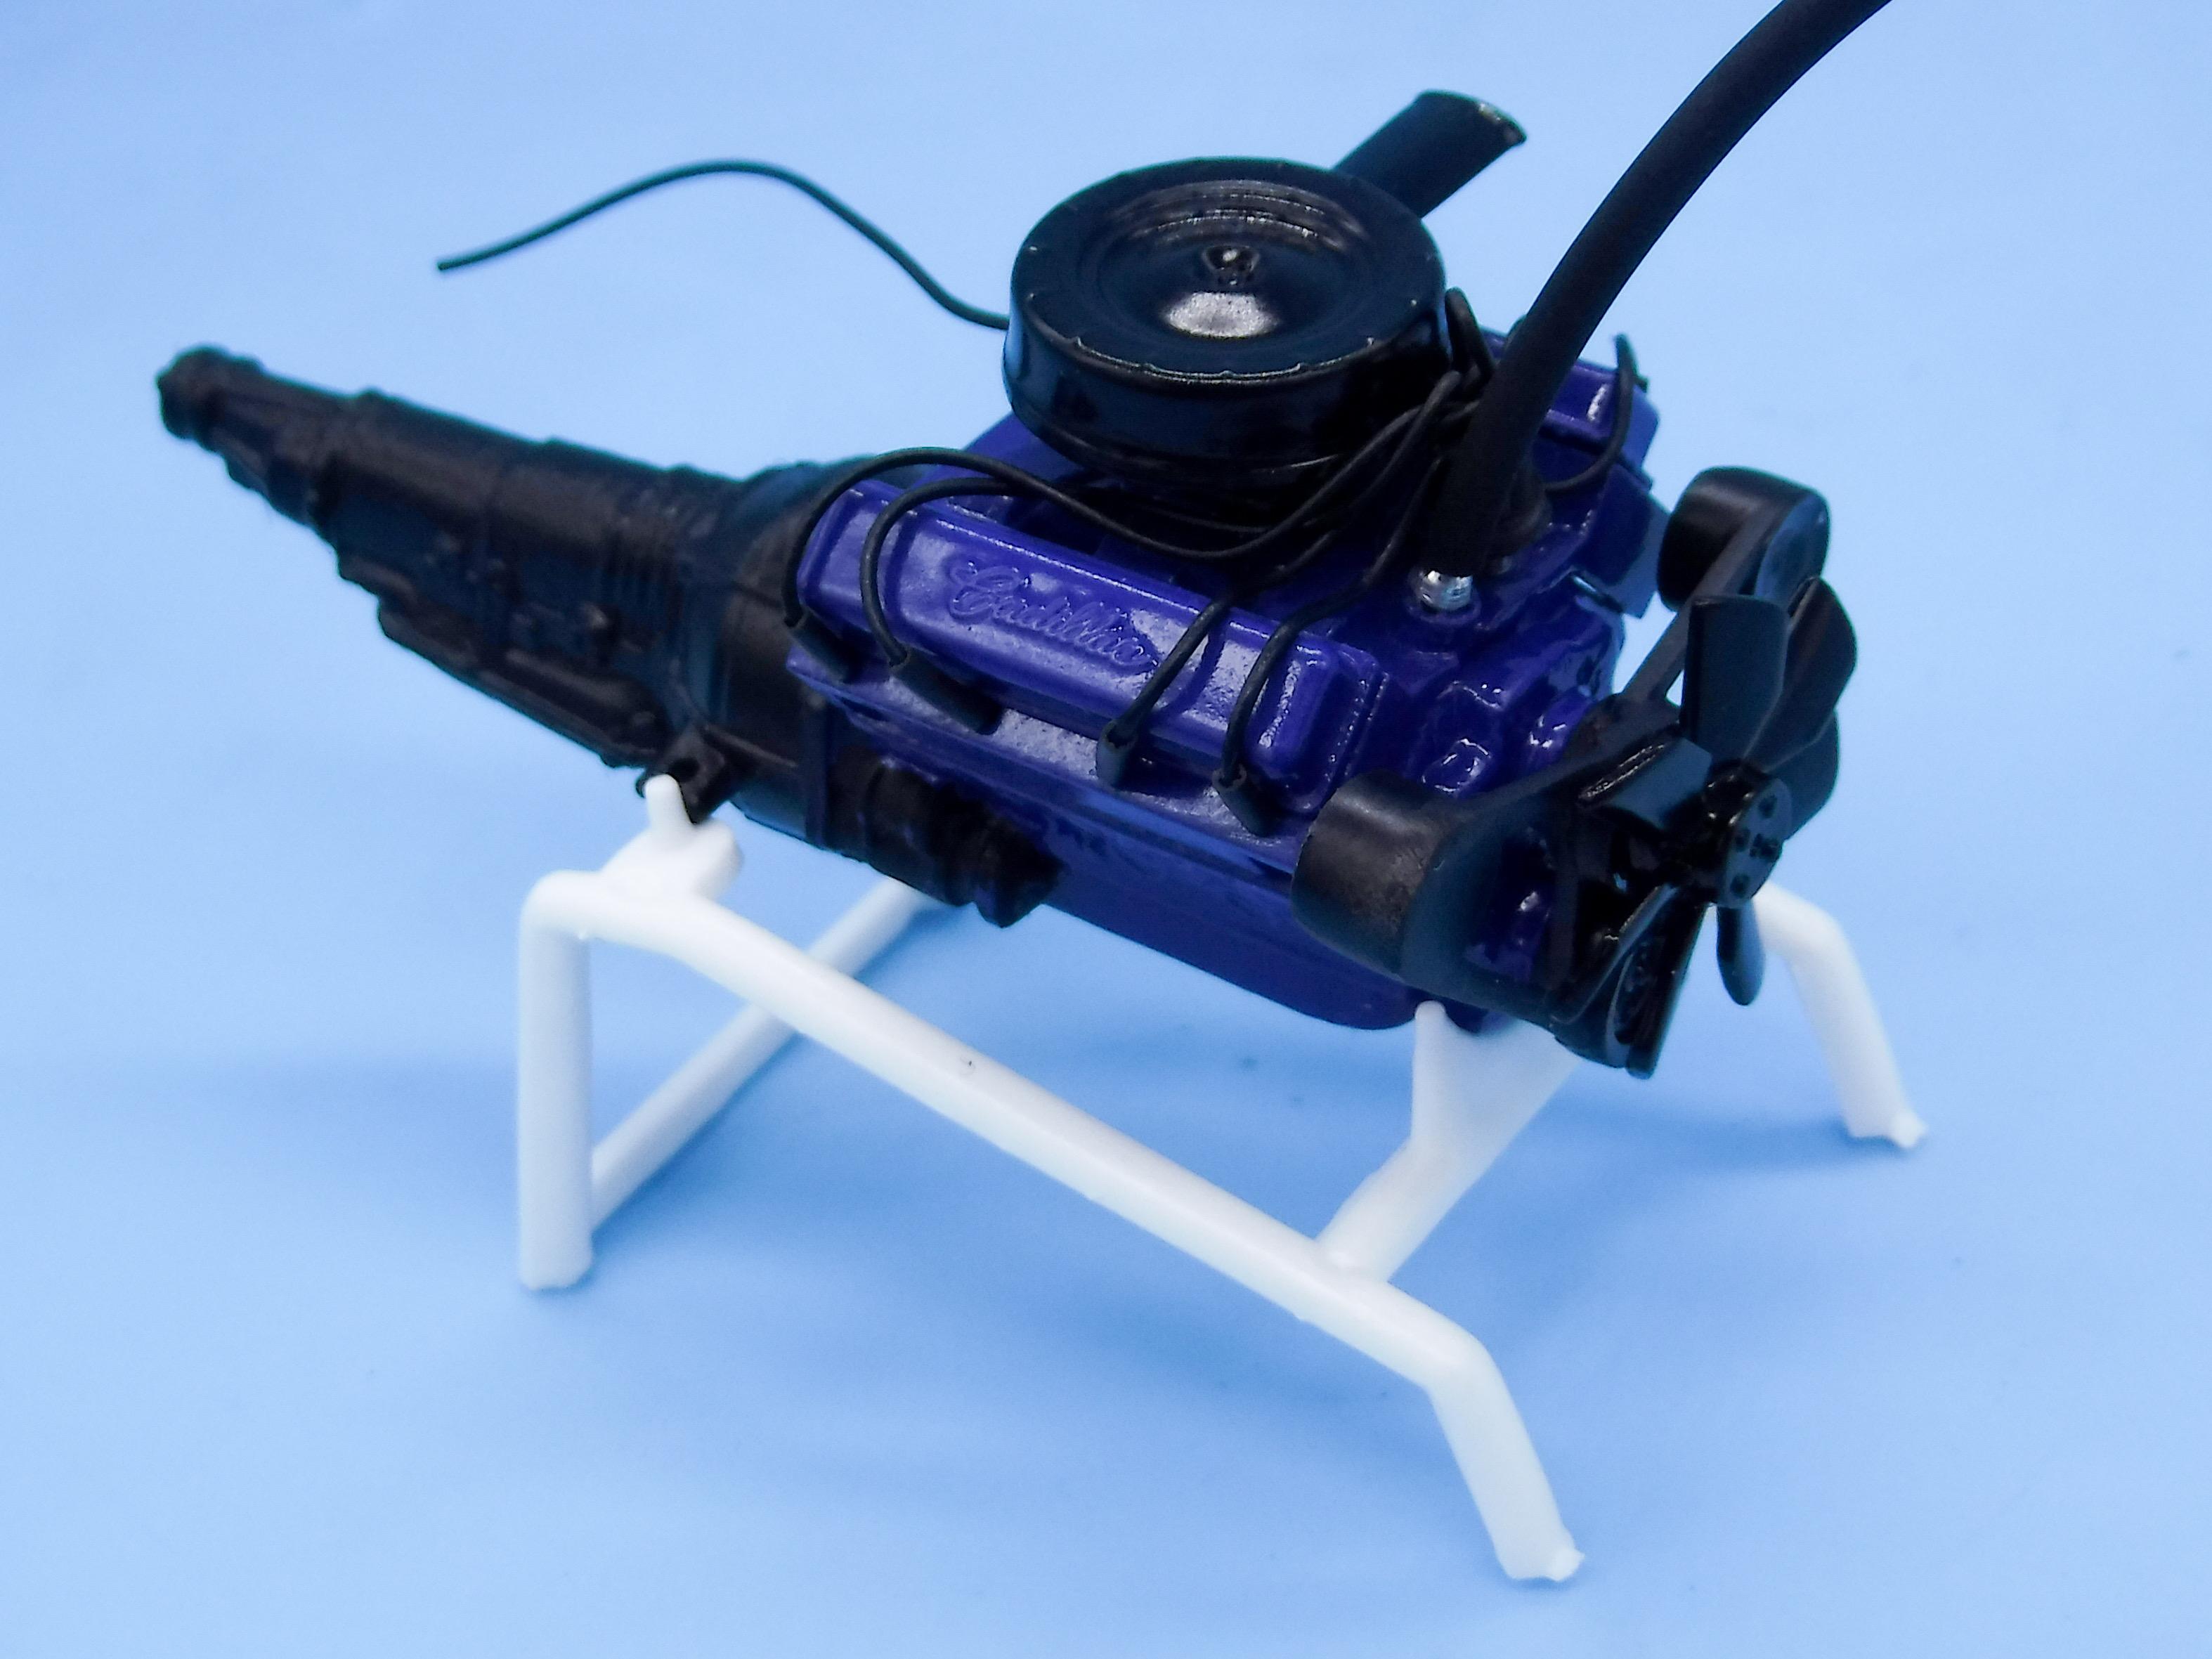
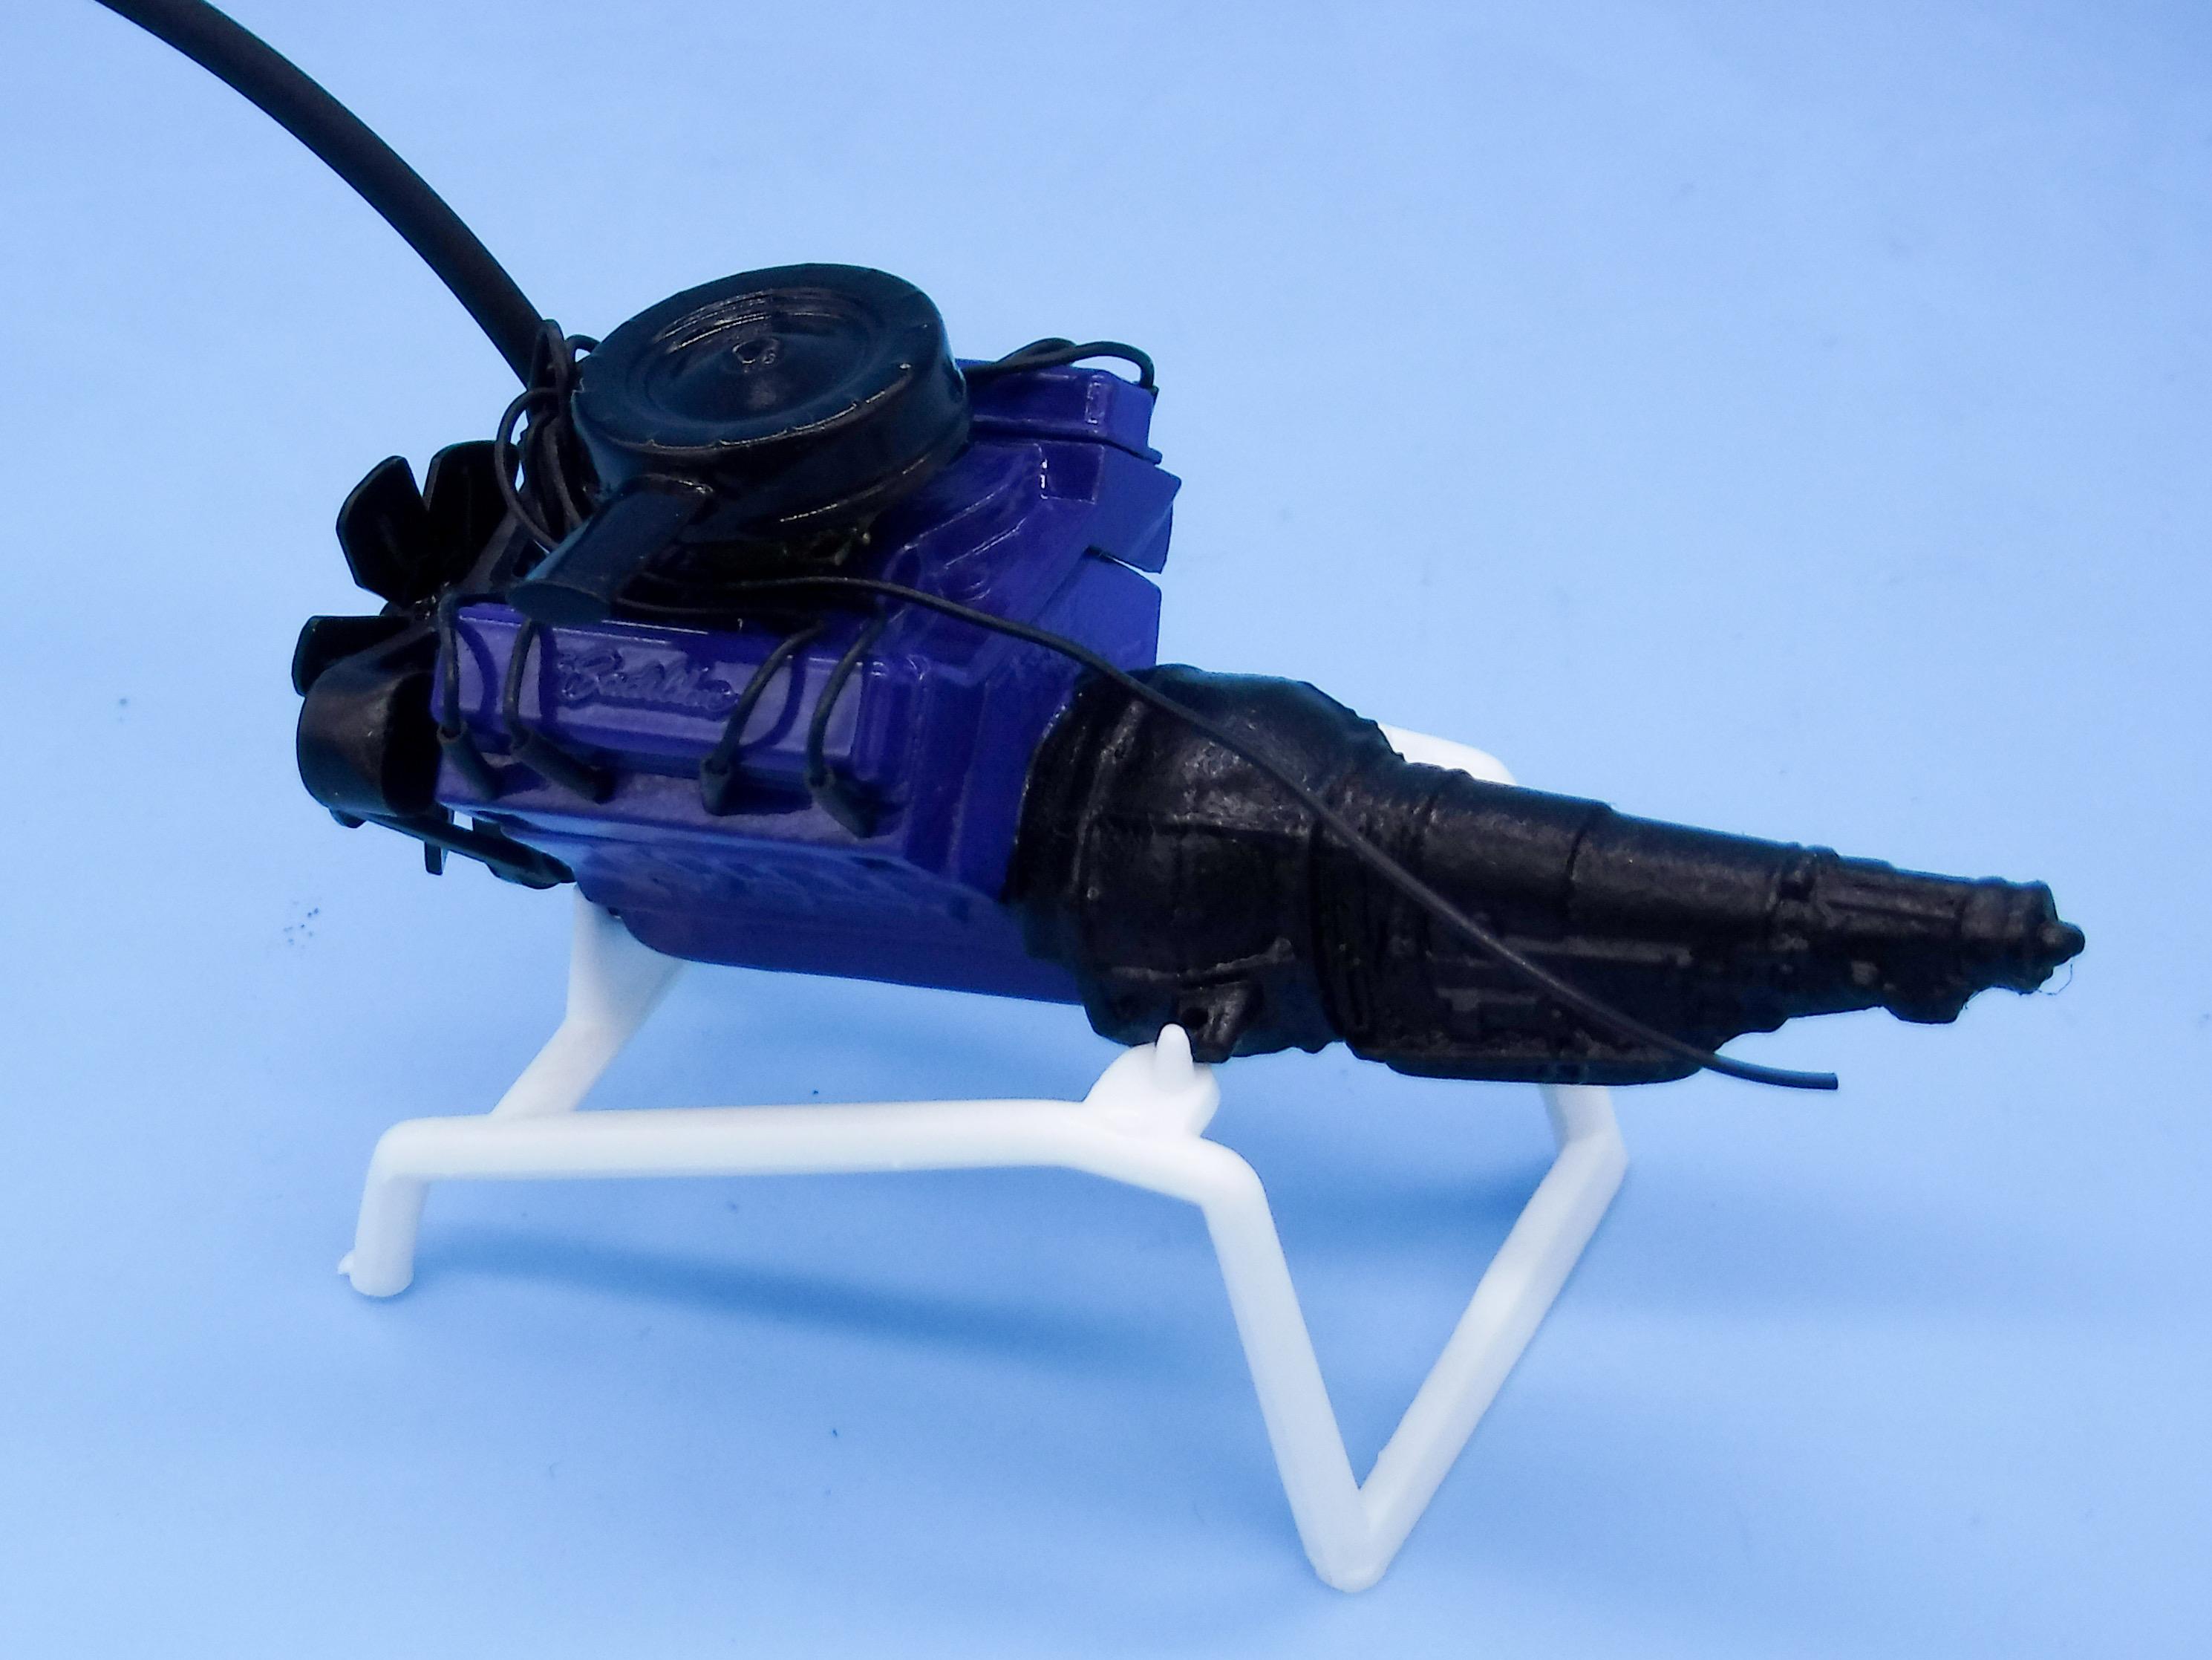
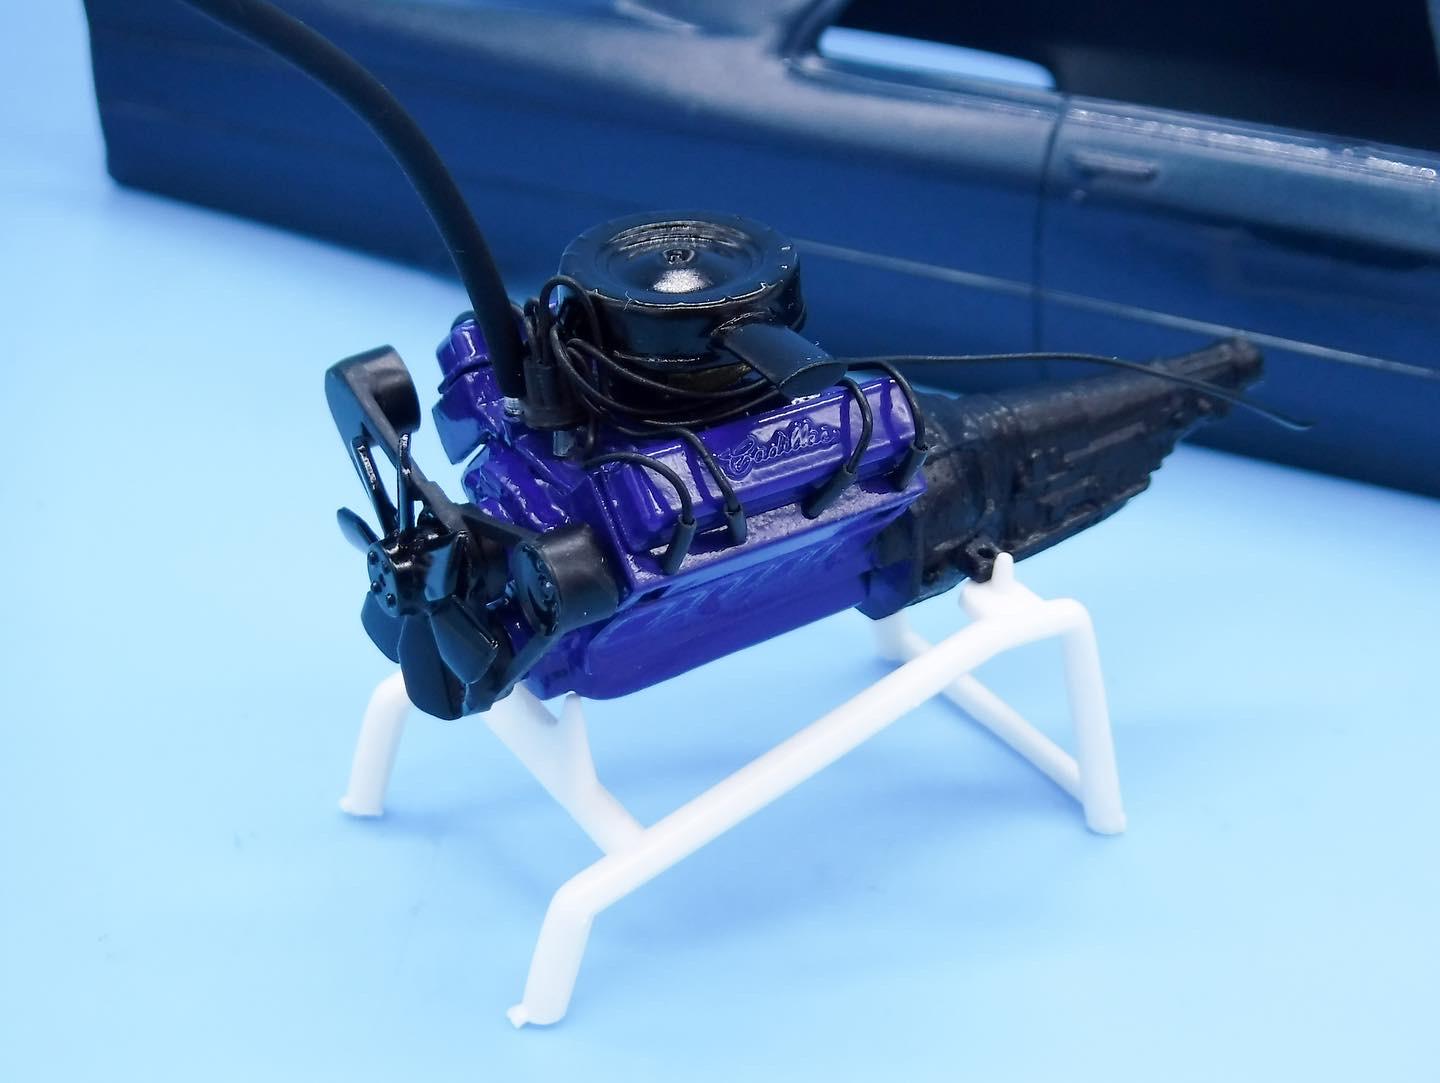
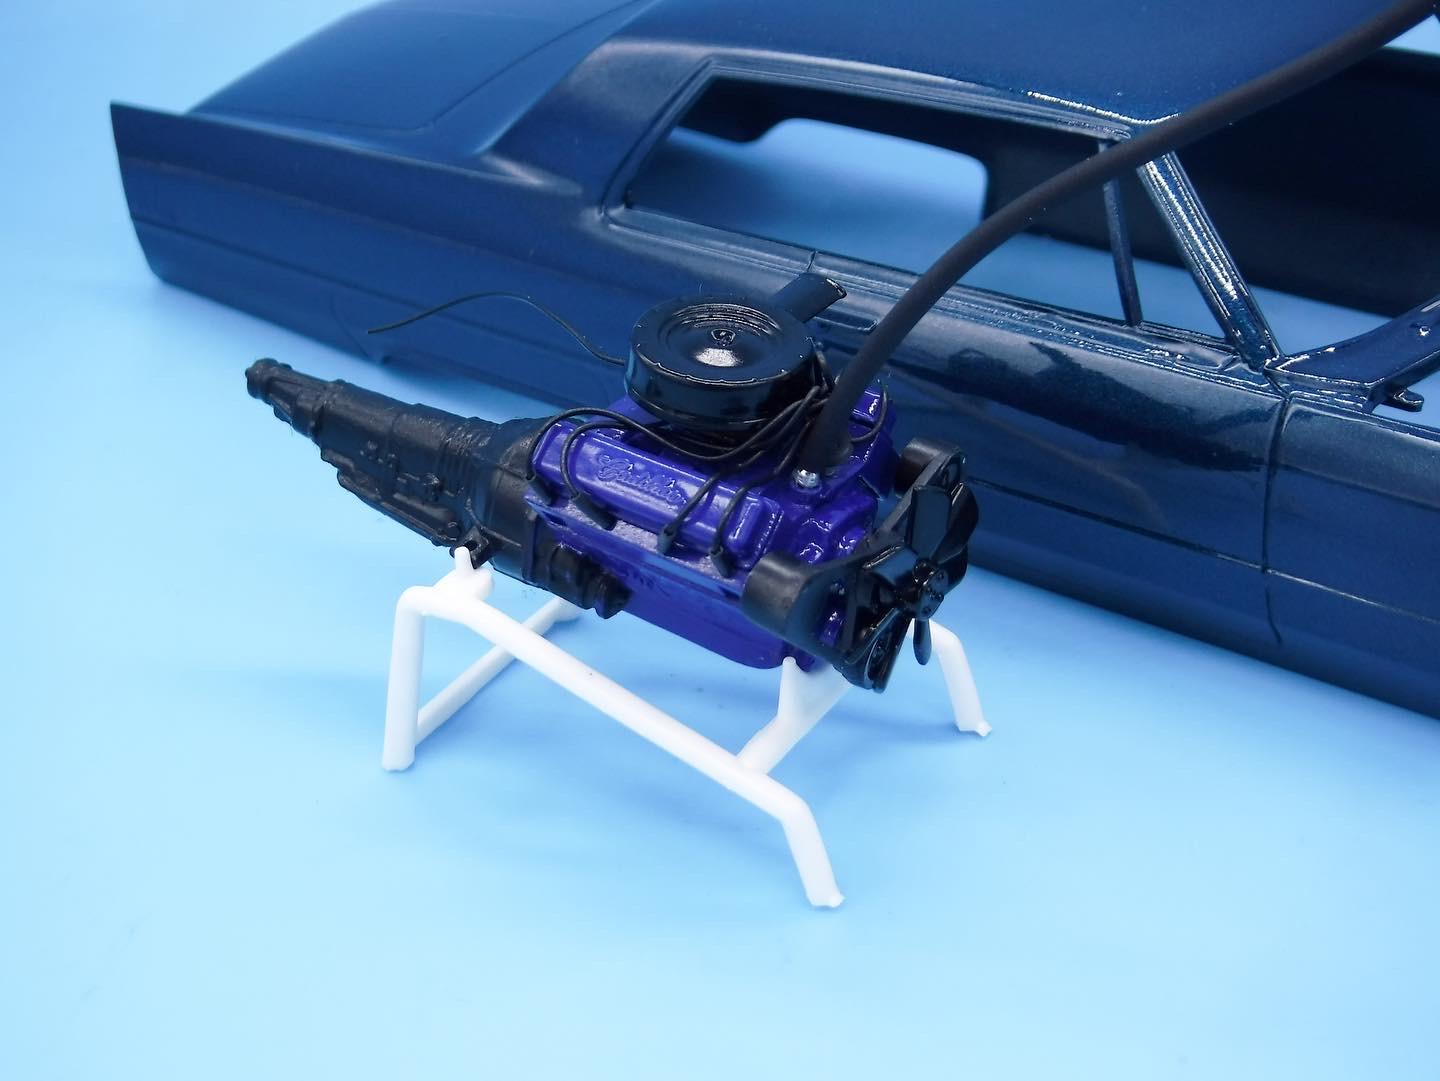
Thanks fellas! Didnt get a bunch of bench time tonight, my wife invited company over…but got the engine assembled and wired at least… I really wanted to keep close to box-stock with this build (ish), so I limited myself to adding a 3D printed distributor, plug wires and radiator hoses. If I was allowing myself to make the change, I would’ve gone with a darker color than factory Cadillac engine blue…the brightness relative to the body color bothers me a little…a white block would’ve looked sharp too with the white interior, but this IS meant to be a fairly stock looking build, so I showed restraint… That’s tonight little bits of progress - thanks for looking! More soon!
-
These Maseratis certainly attract the master builders don't they? I'd love to see a fresh-off-the-printer photo of that frame - I had no doubt it was POSSIBLE, but I'm sure it was no walk in the park either... (Sorry for the slight hijack of your thread Randy)
-
Vallejo does - I posted some photos of my first attempts at using it here: I tried shooting it like Alclad (misting it on gently), and that KINDA worked, but I've since discovered that shooting it nice and wet over a gloss enamel base gives a much better chrome look..
-
I suspect that trying to 3D print that frame would require so many supports and such careful cleanup, the 'old school' way is by far a better technique for something like this. A great example of a craftsman using the BEST way to achieve an end result, rather than the easiest or newest way. Really inspiring work Randy! I'd be happy to have HALF the skill you have working with brass!
-
Revell / Monogram 64 Mustang kit - anyone built one?
OldNYJim replied to OldNYJim's topic in Car Kit News & Reviews
Thanks everybody! Looks like I know what I'll be ordering! Those two builds look great, thanks for posting @Fat Brian and @Hard_2_Handle_454- doesn't look like there's much I'd need to mess with to get a nice looking build. Maybe replace those molded-in window and door cranks, but nothing too major... Appreciate the feedback! -
I’d like to build a 64 1/2 Mustang convertible, and from what I can tell this is about the only game in town…anyone have any experience with building one of these?