OldNYJim
-
Posts
251 -
Joined
-
Last visited
Content Type
Profiles
Forums
Events
Gallery
Everything posted by OldNYJim
-
Somewhat related, I'm not all about the 'murdered out' (wherever that phrase came from) all-black-everything trend on older cars right now. Black wheels, paint the all the chrome black, all-black interior, black body, tinted windows, tinted lights...doesn't do anything for me. Ditto the stupid extreme-camber fad, that I hope goes away soon. It's just donks, all over again (but this time, the opposite! ?)
-
There were a lot of purple and blue builds, for sure!
-
Howdy Claude! Alas, I do not - they had everyone leave their names off the info sheets that were displayed with the cars...but they were going to post photos of the winning cars and the builder's names on their Facebook page, and as I suspect that one probably had a good shot at a trophy we may find out in due course. Was a cool build - a tonne of detail, and well thought out!
-

1960’s Traditional Blown ‘23 T Bucket UPDATE 10/31/22
OldNYJim replied to Dennis Lacy's topic in WIP: Model Cars
Awesome!! I’d been looking forward to seeing another hot rod project of yours! Excited to read about the Deuce build in the mag when that comes out too! Question about the leaf spring arrangement on the rear end - was mounting the spring directly on top of the axle like that a relatively common thing, back in the day? It never occurred to me to mount one like that as opposed to having it behind the axle, but I love how it looks! -
The 20th is a Thursday, so I suspect that won't be it... Just a heads up @Six (in case you're in any way involved in the organization of this...) - the IPMS Duneland has a big show on October 15th that is close by, so I'd try and avoid scheduling for that weekend. I'll try and make it tho! Only about 20 mins from me, and I'd been meaning to check out that store
-
I like these kits! I don't believe them when they say it's 1/24 though... ?
-
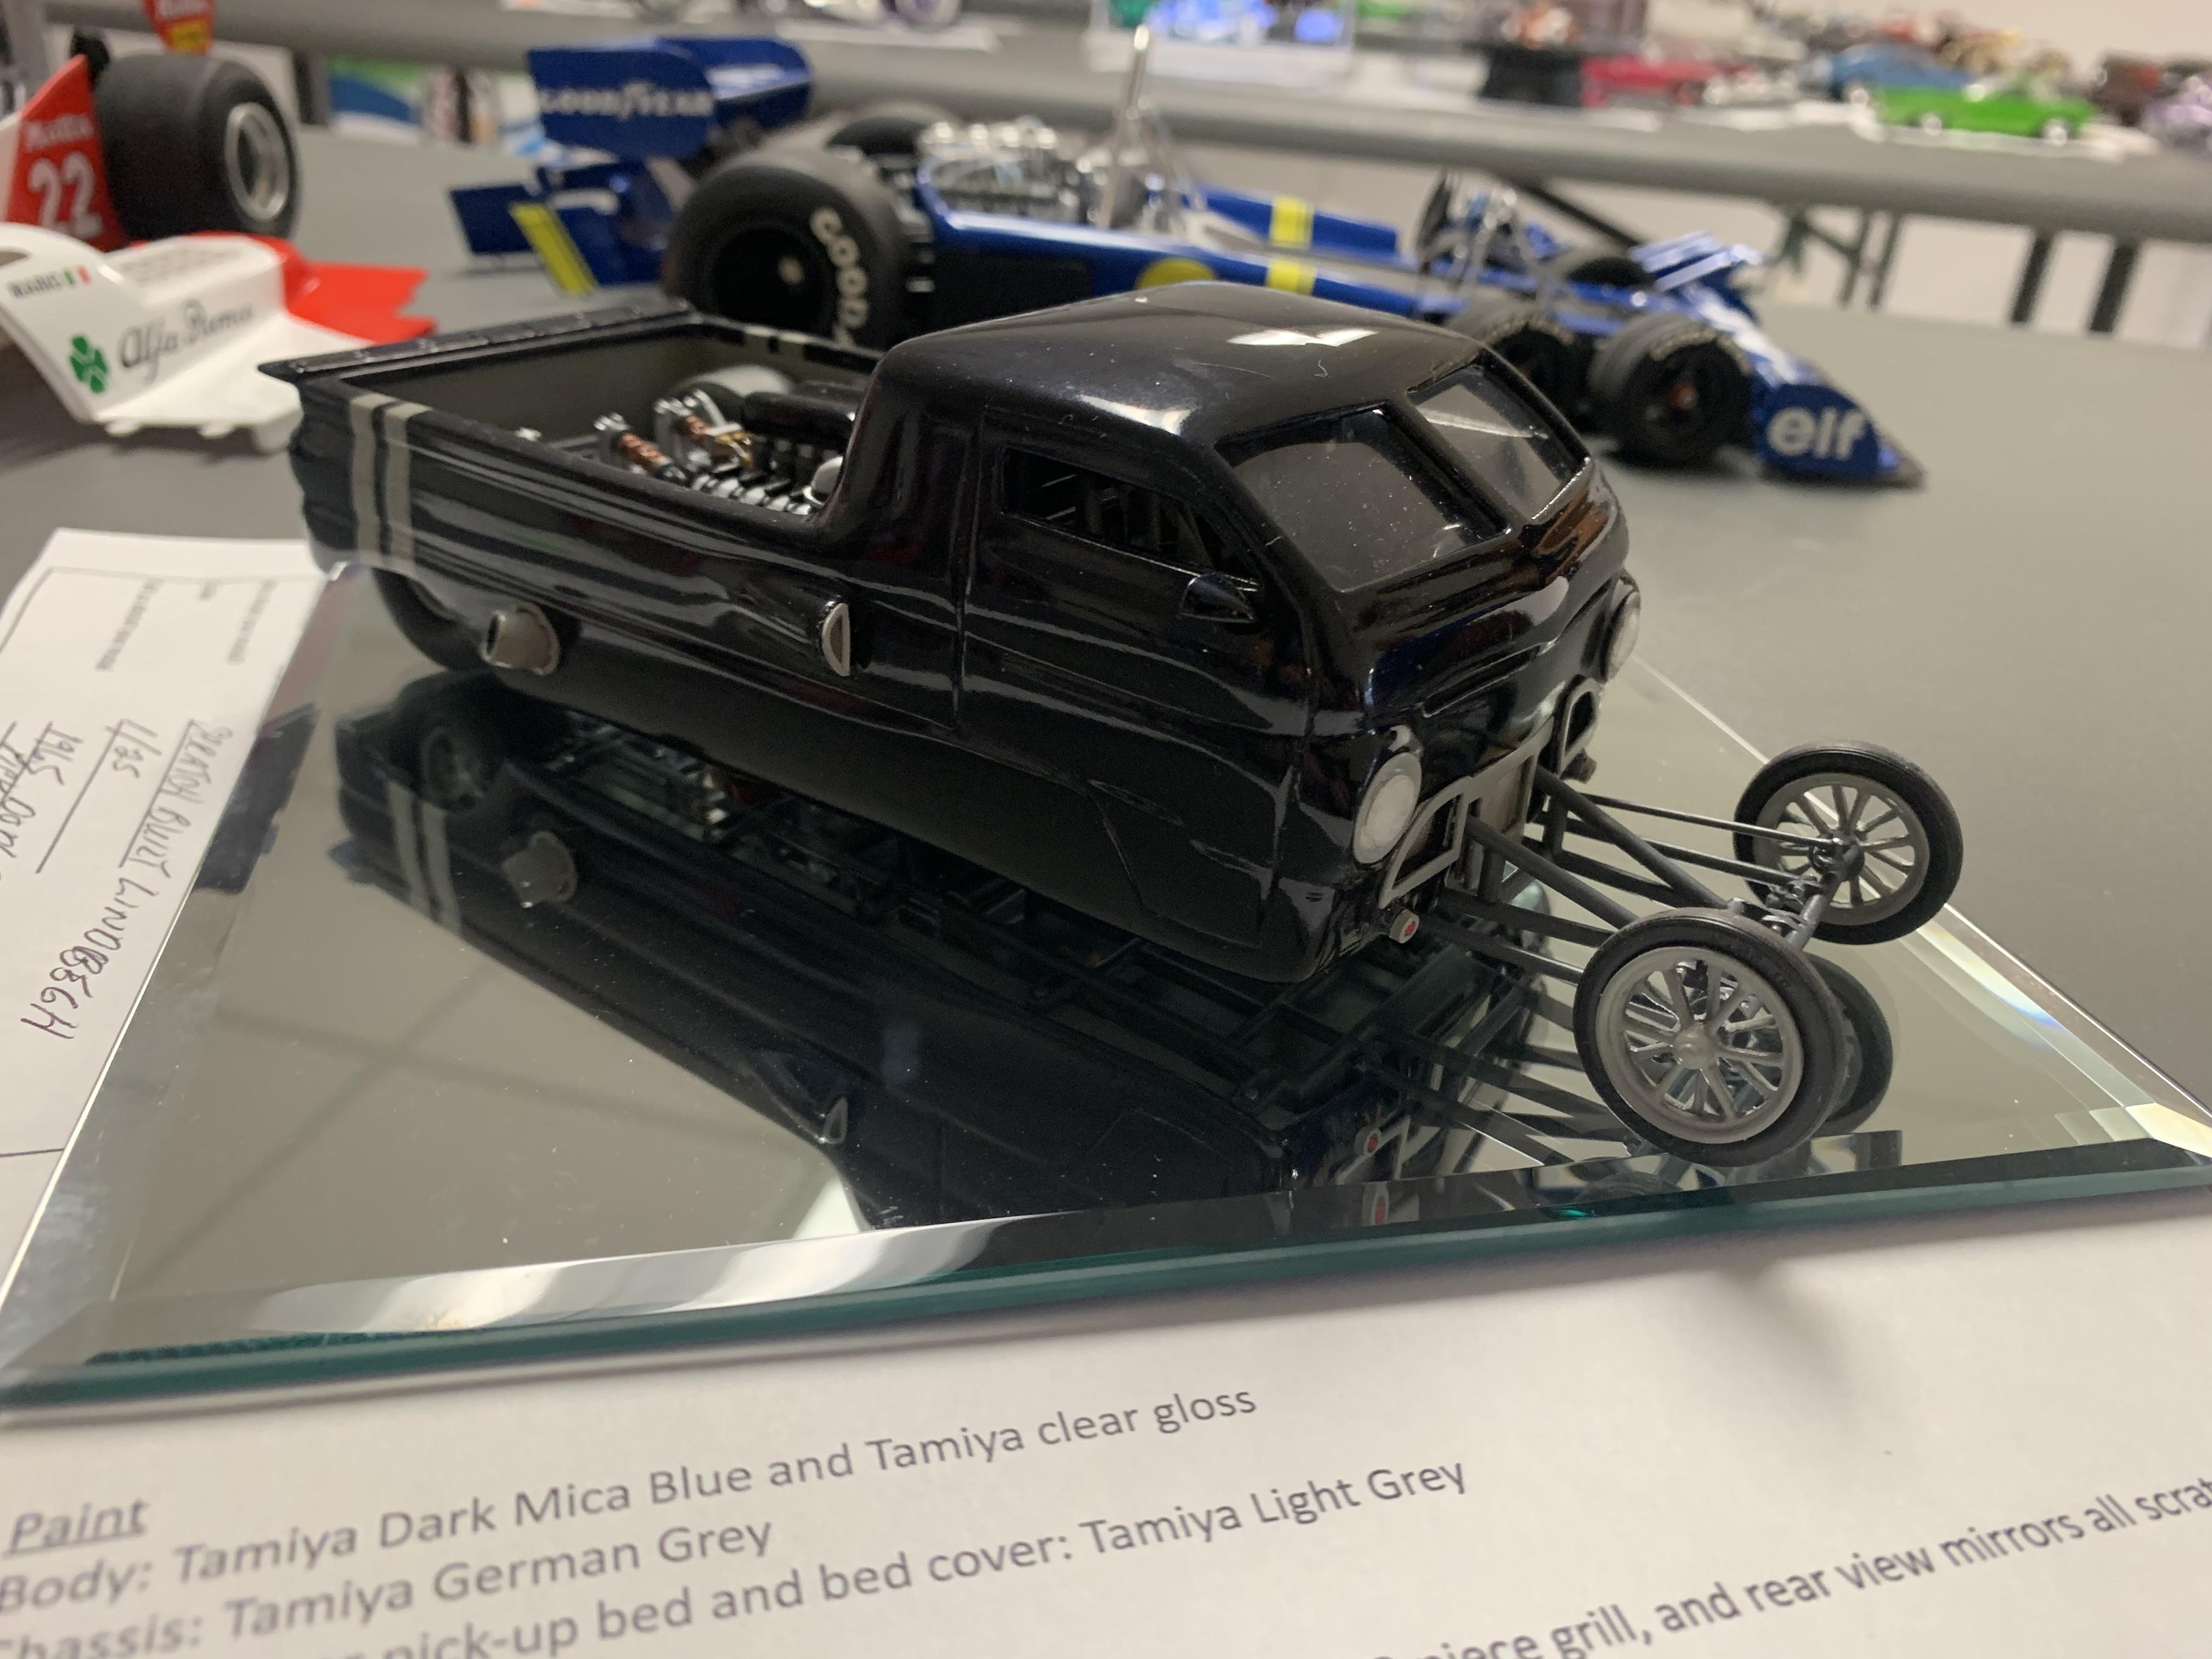
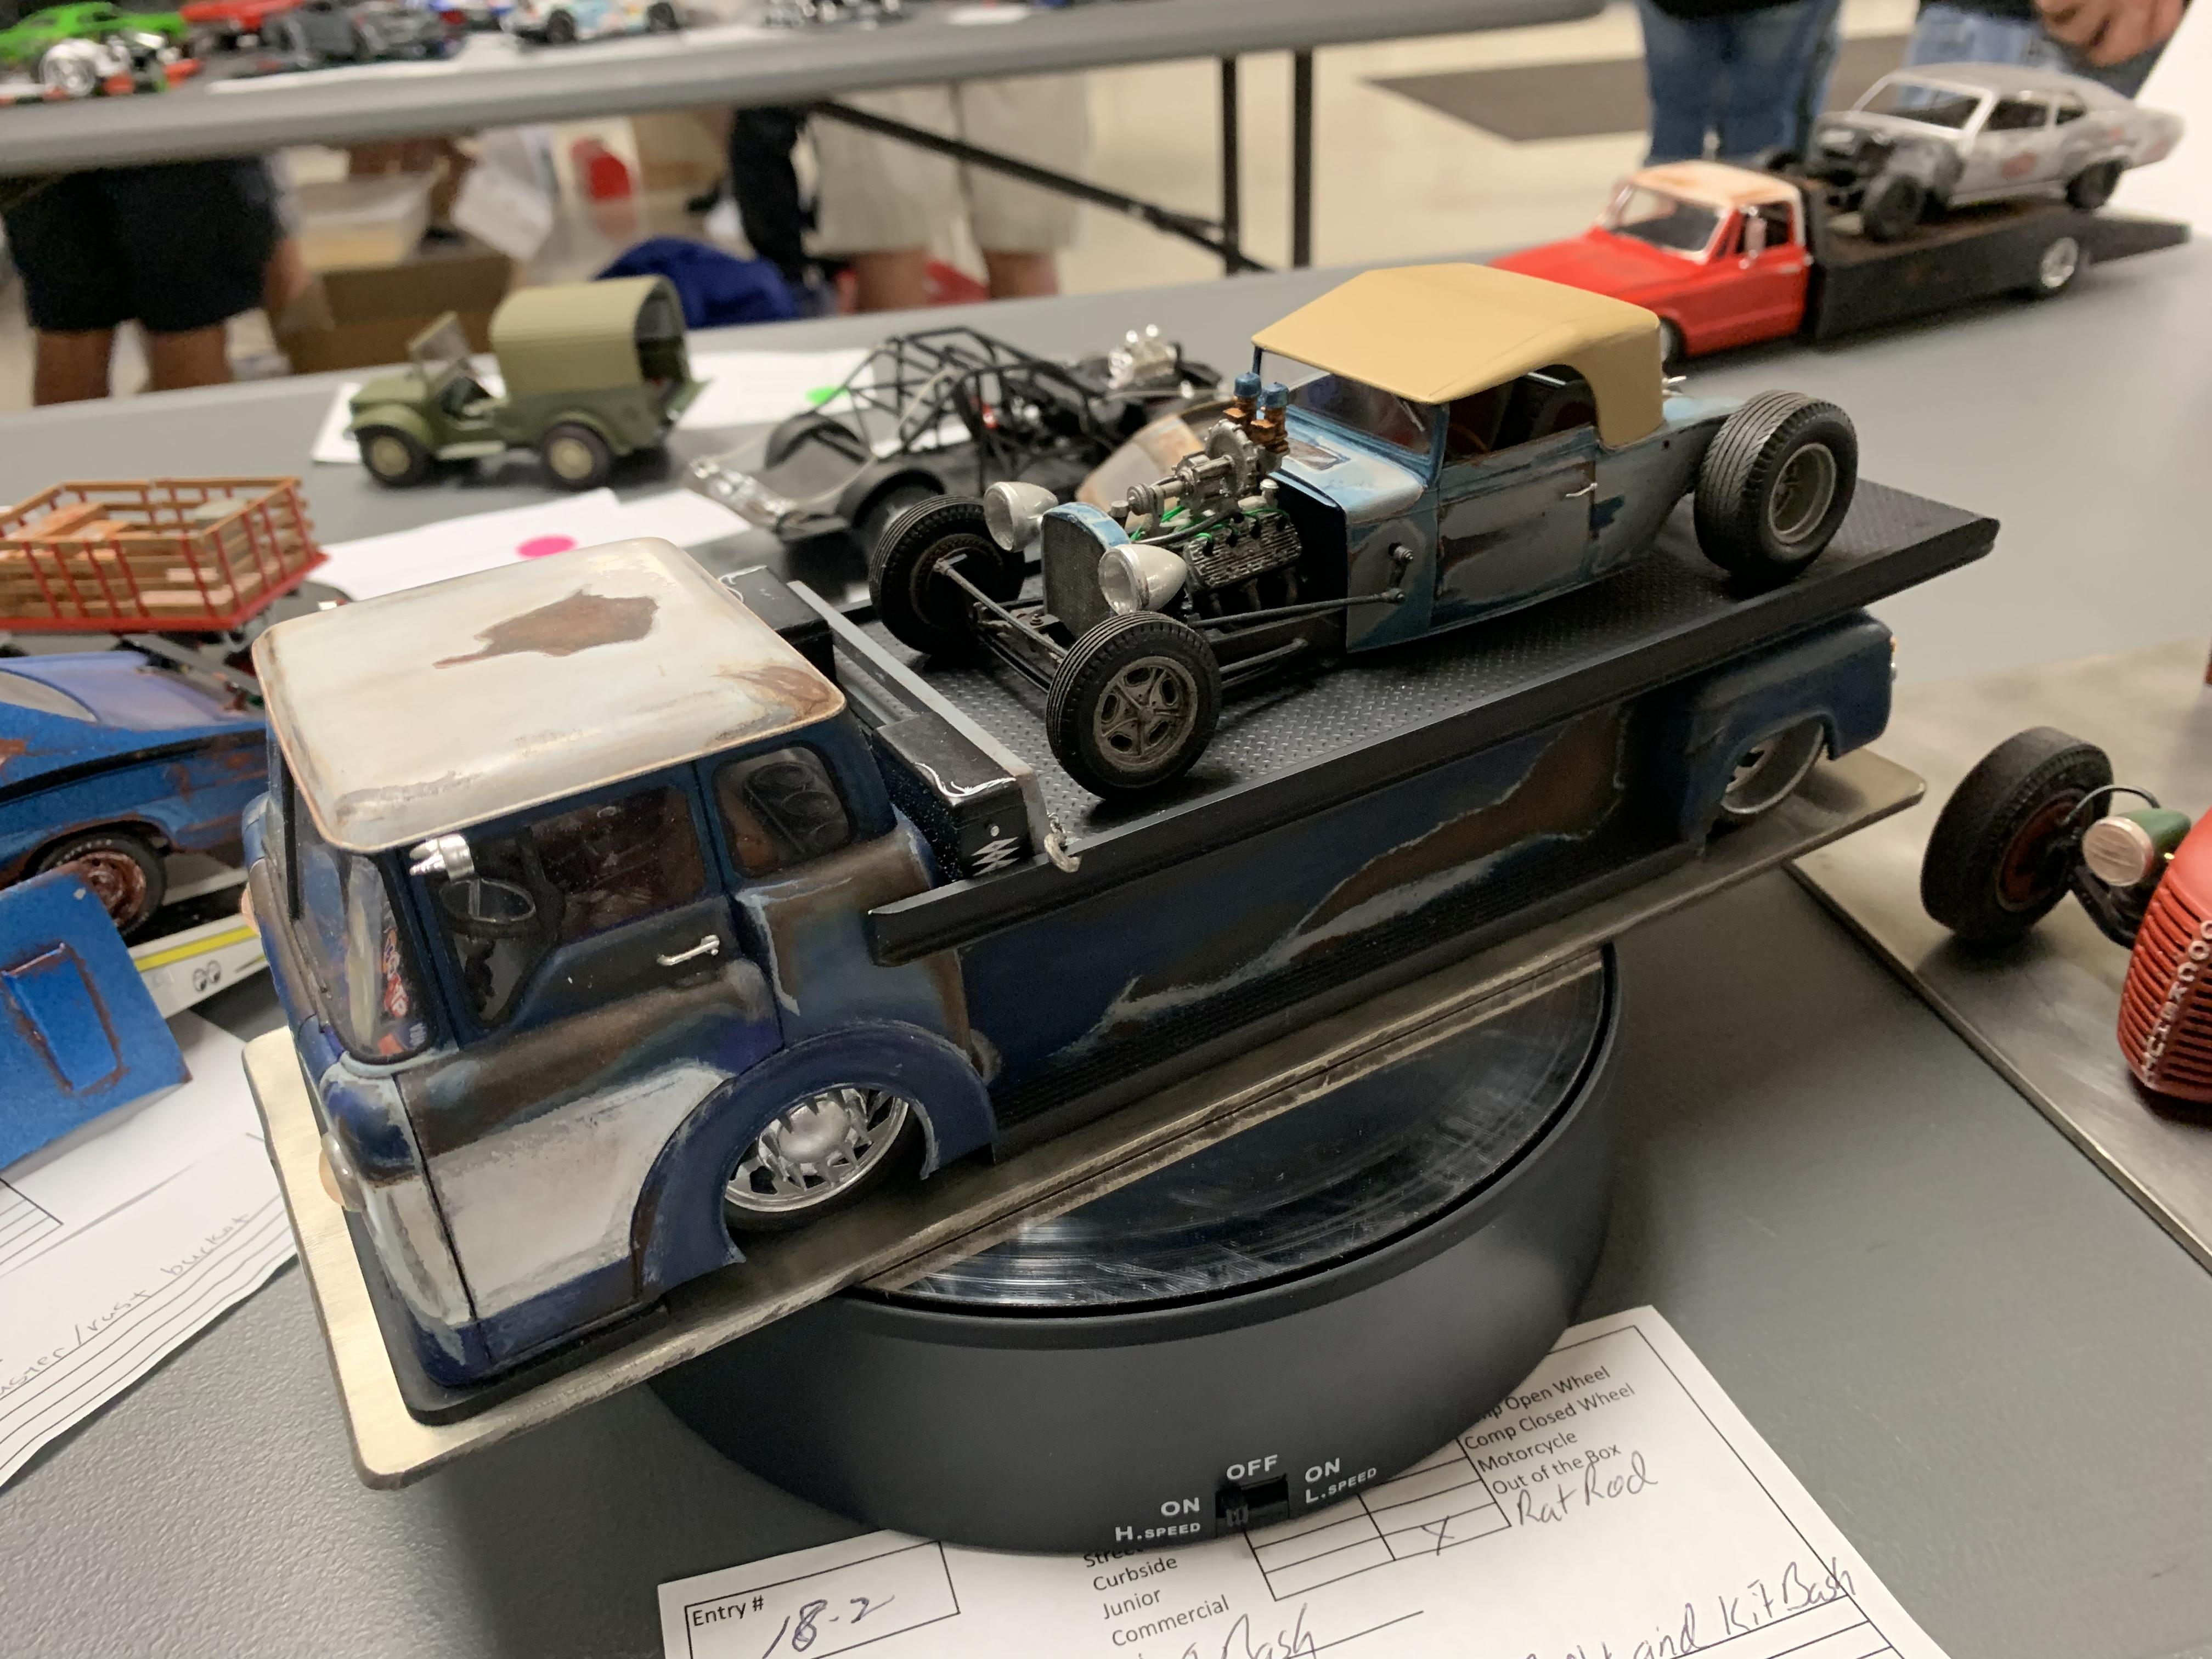
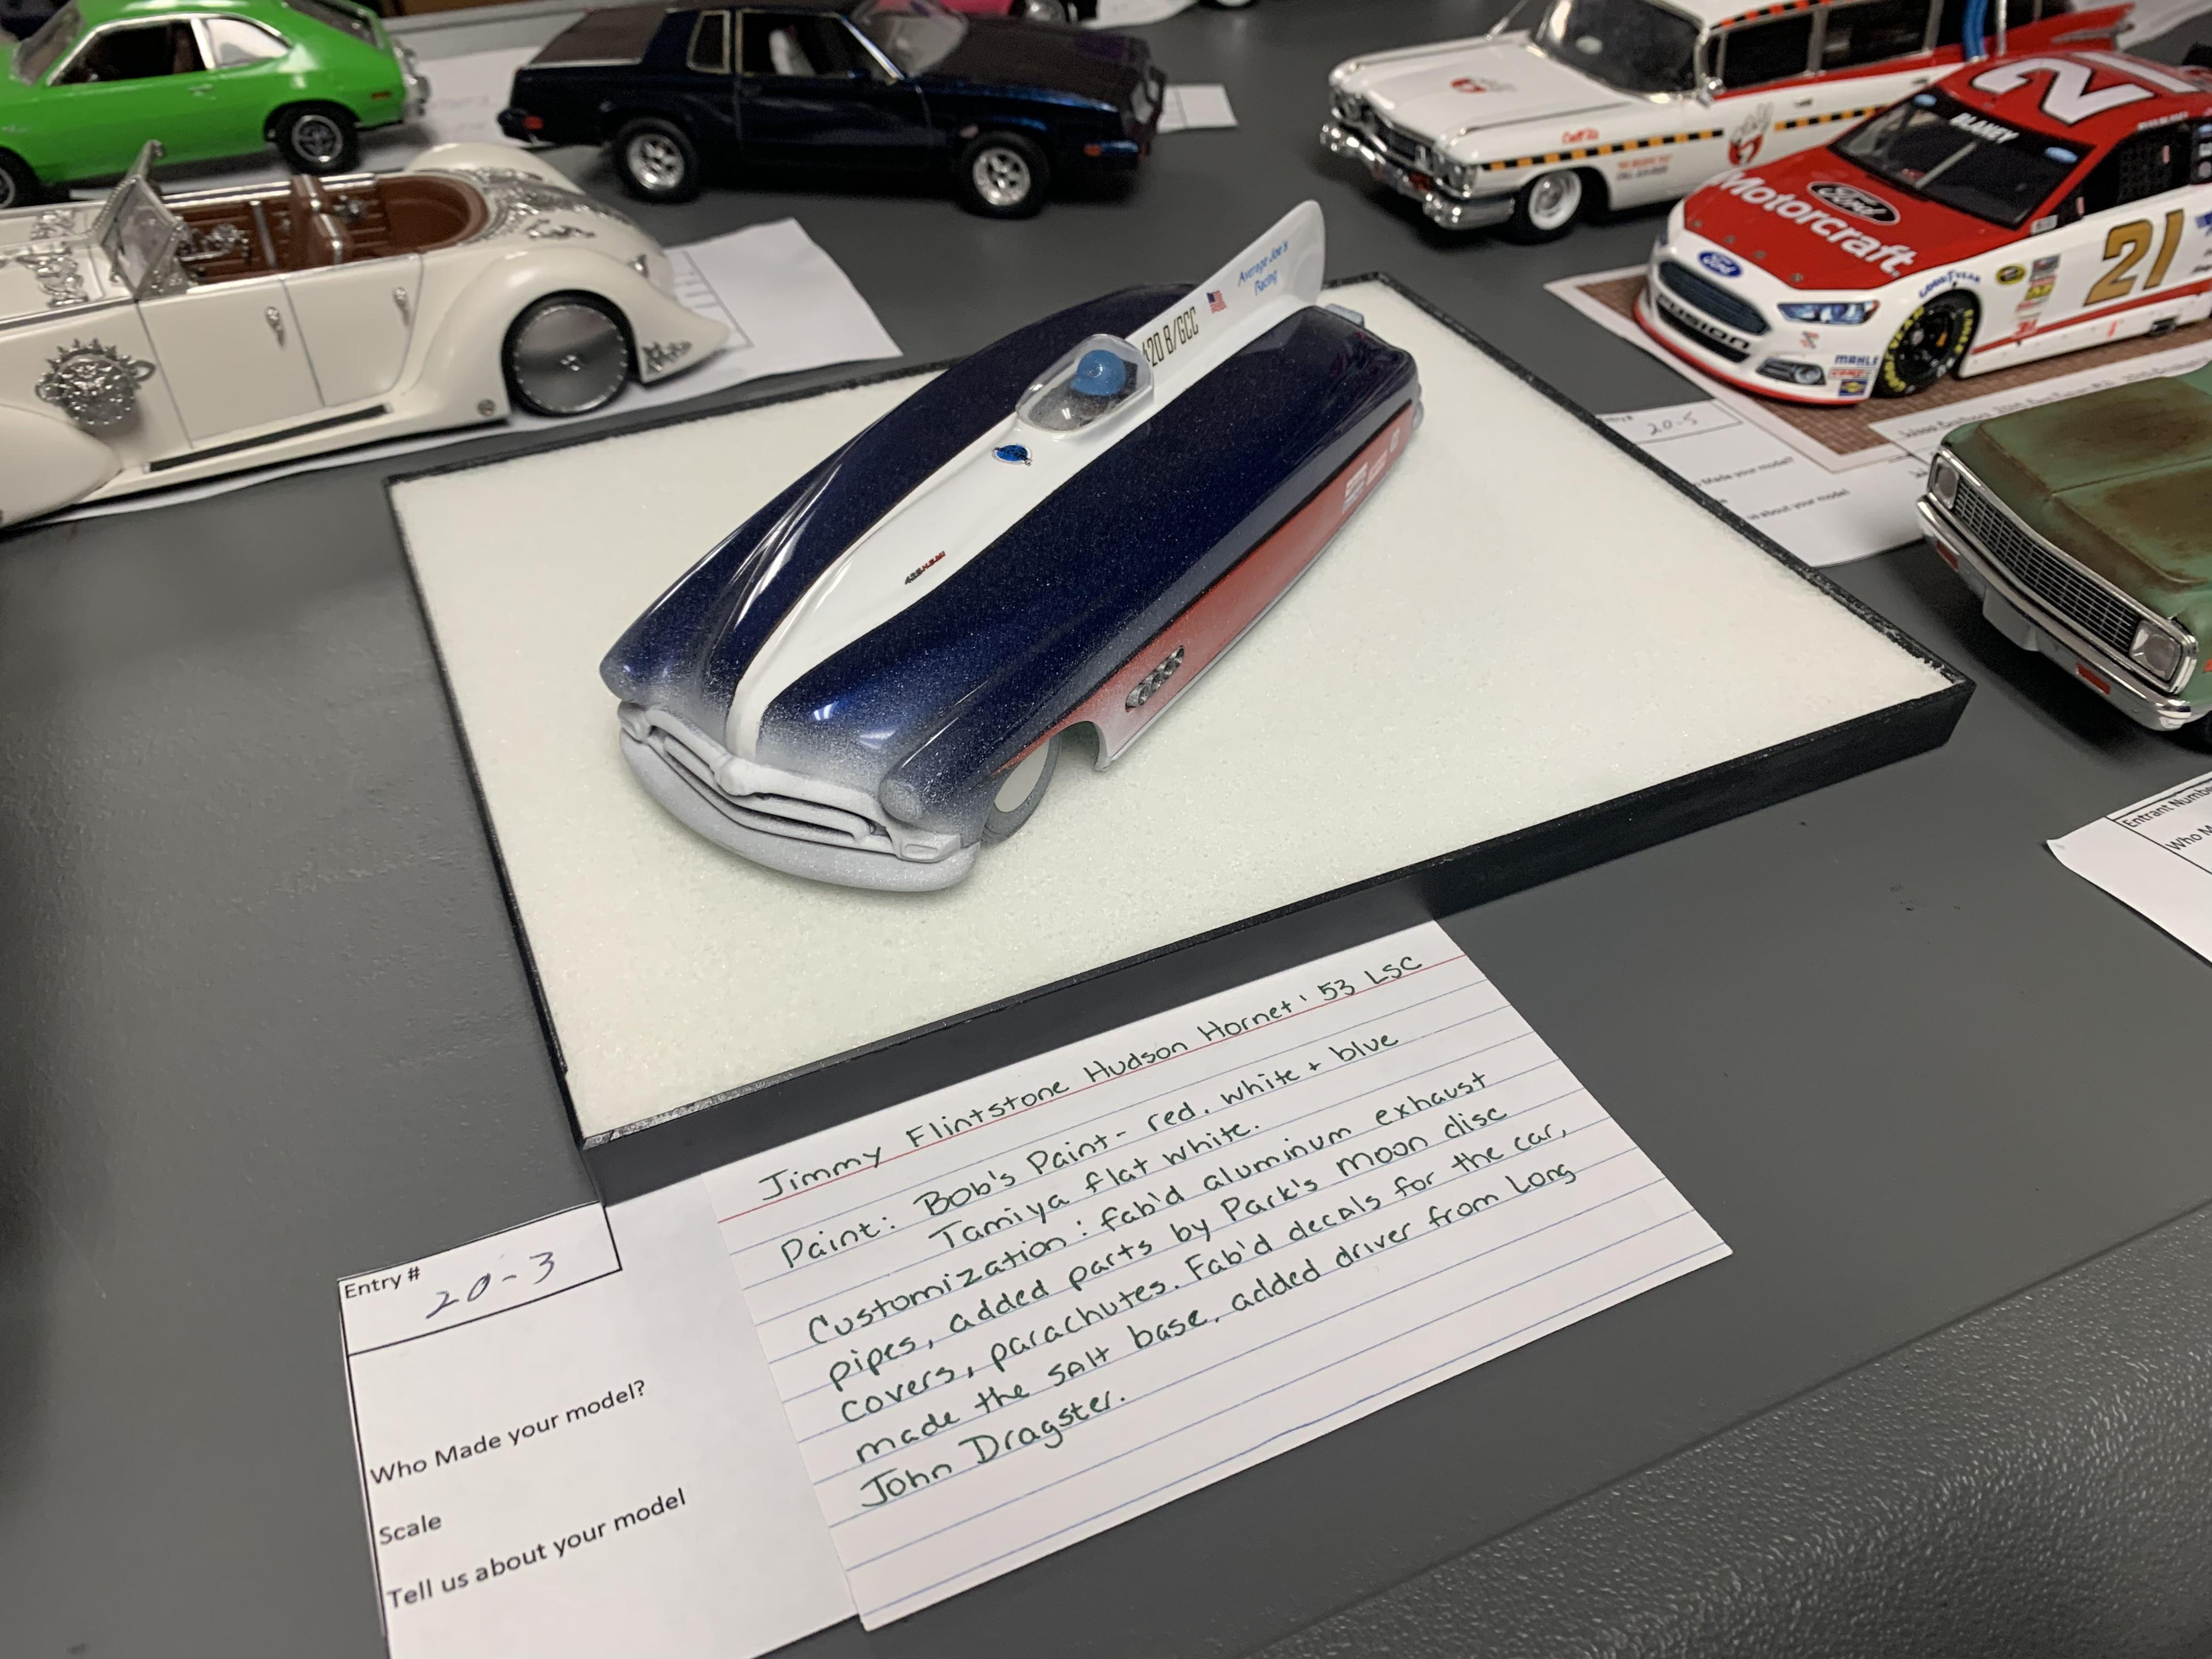
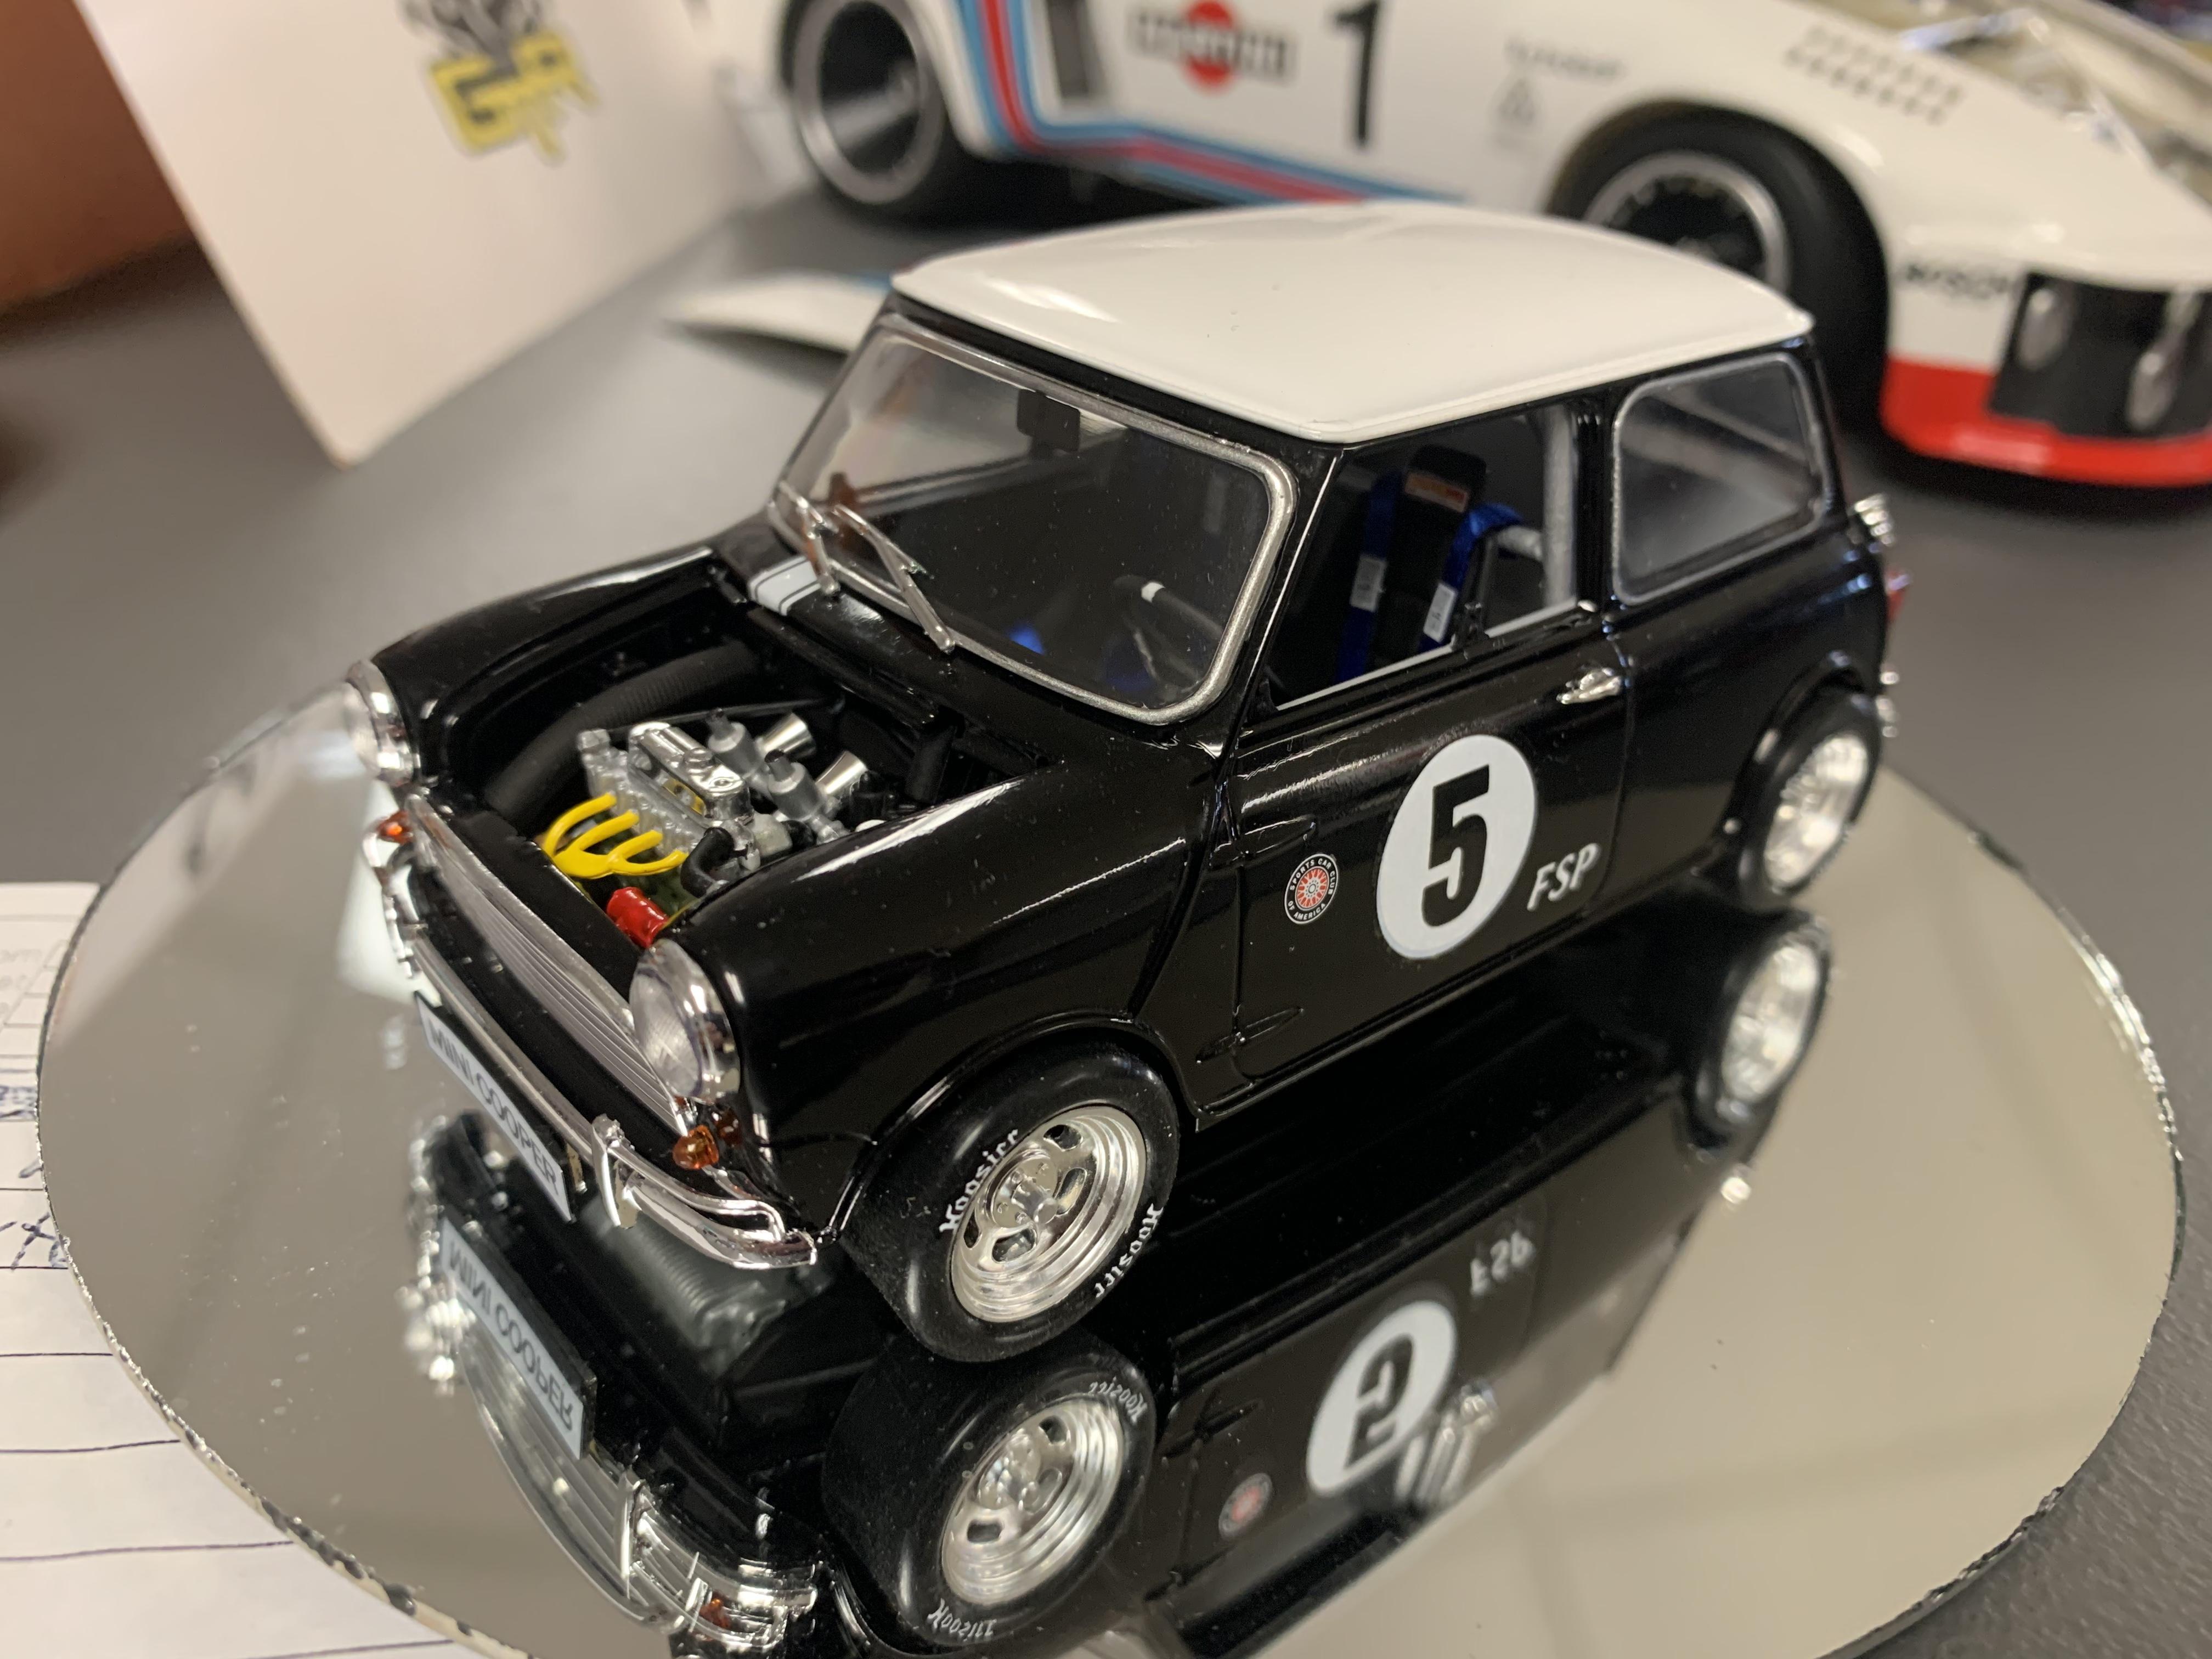
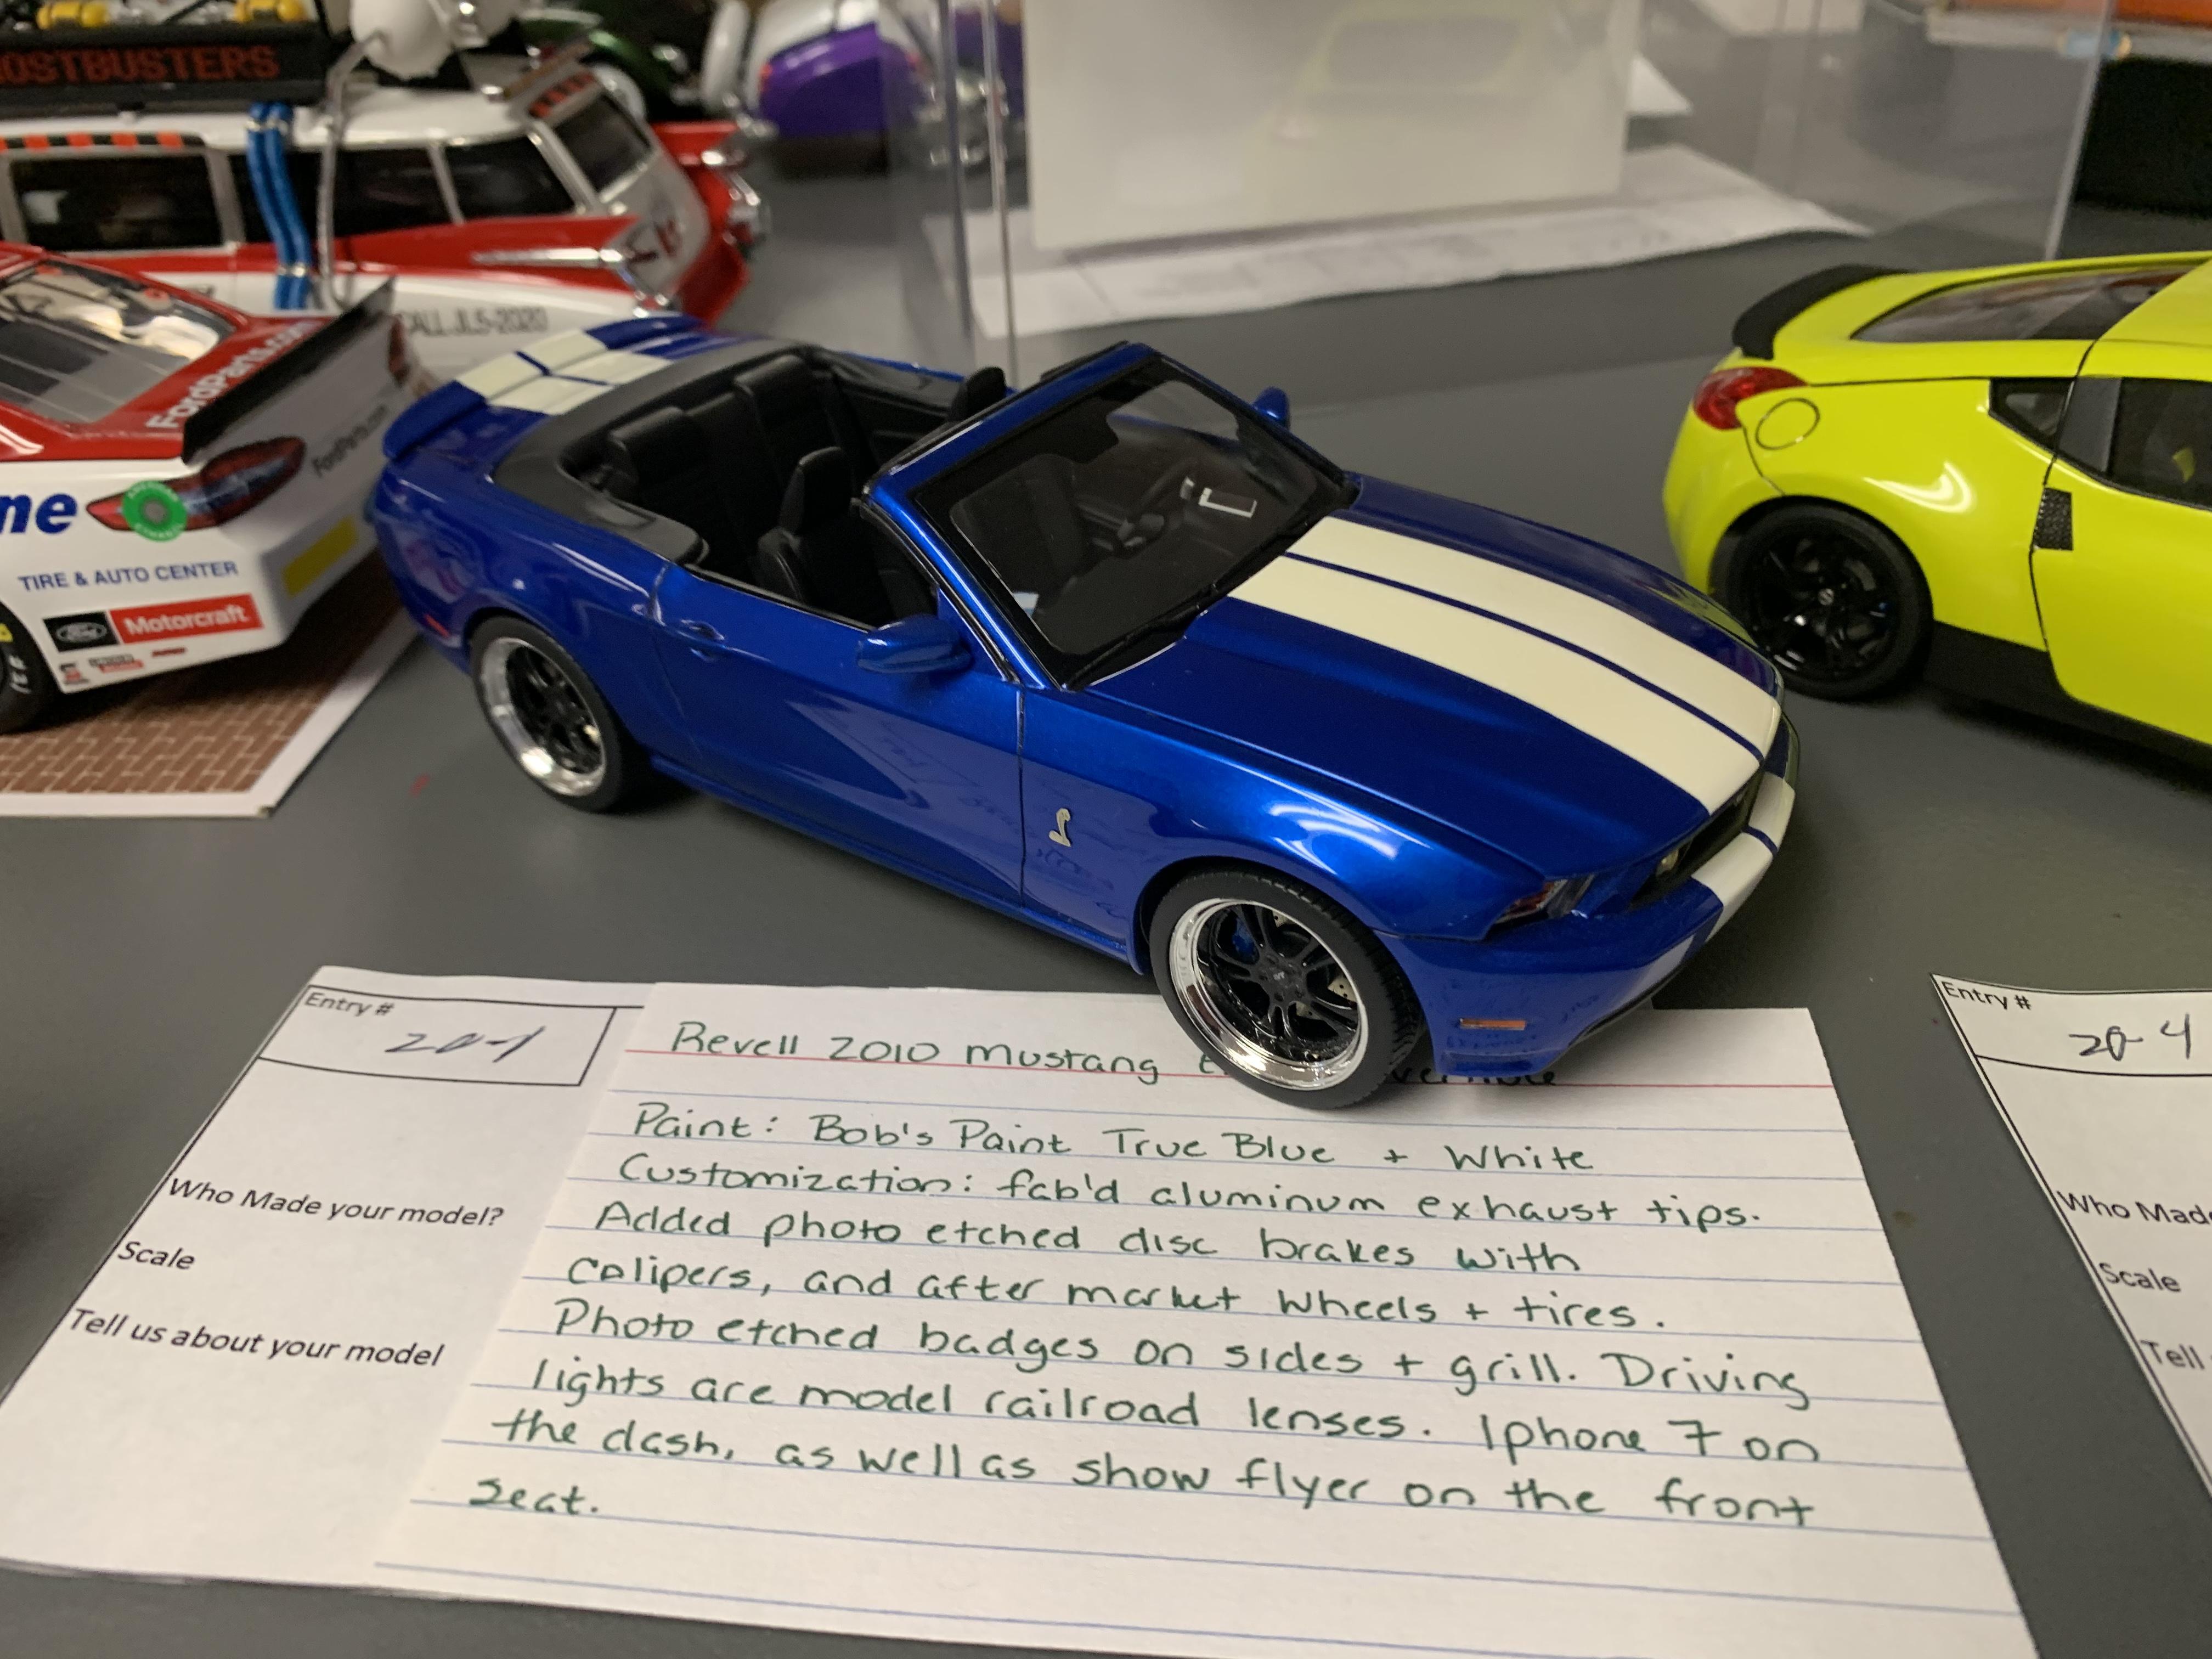
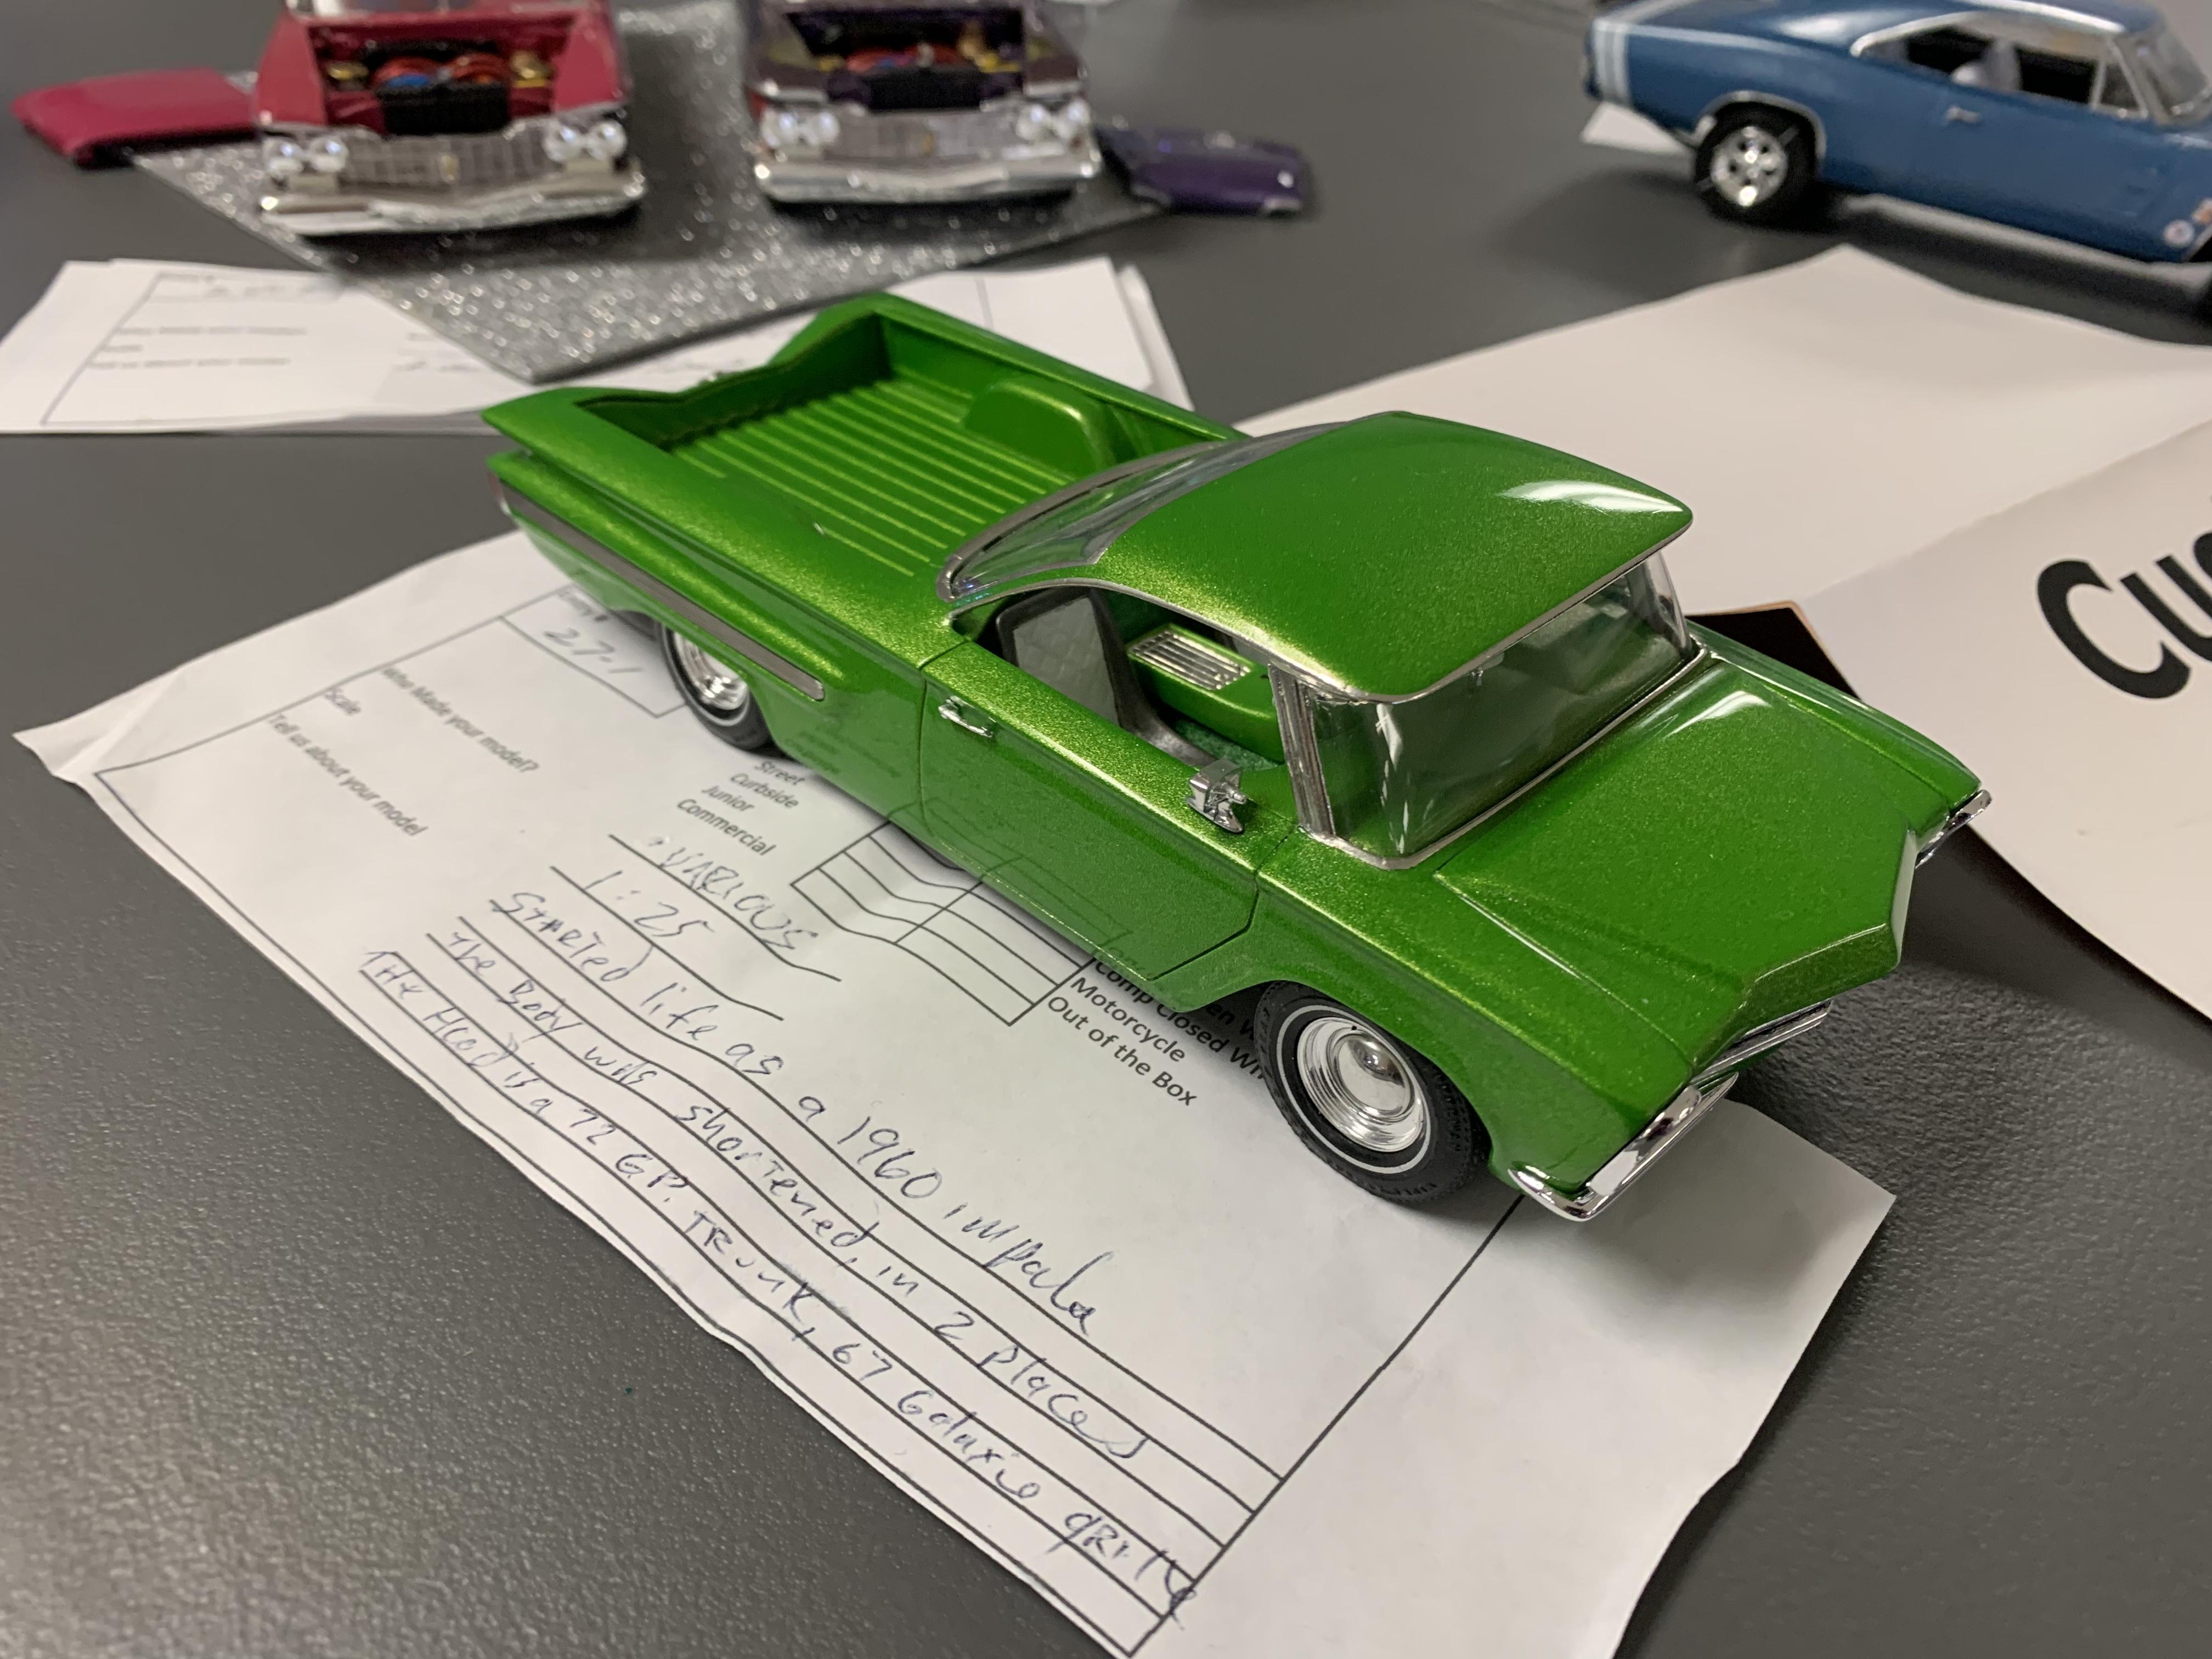
Made a trip up to Algonquin this weekend for the GTR club’s Summer NNL…a few pics below, and a bunch more here: https://public.fotki.com/NewYorkSpeedShop/scale-models/model-shows-contests/summer-nnl-2022/

-
Old VW Bus built-up - anyone recognize this kit?
OldNYJim replied to OldNYJim's topic in Model Building Questions and Answers
Man you guys are good! I had no idea those ‘Bed Bug’ kits were a ‘standard’ non-cartoony kit - I assumed from the box art they were something caricature looking, like a Zinger kit or similar. Every day’s a school day! -
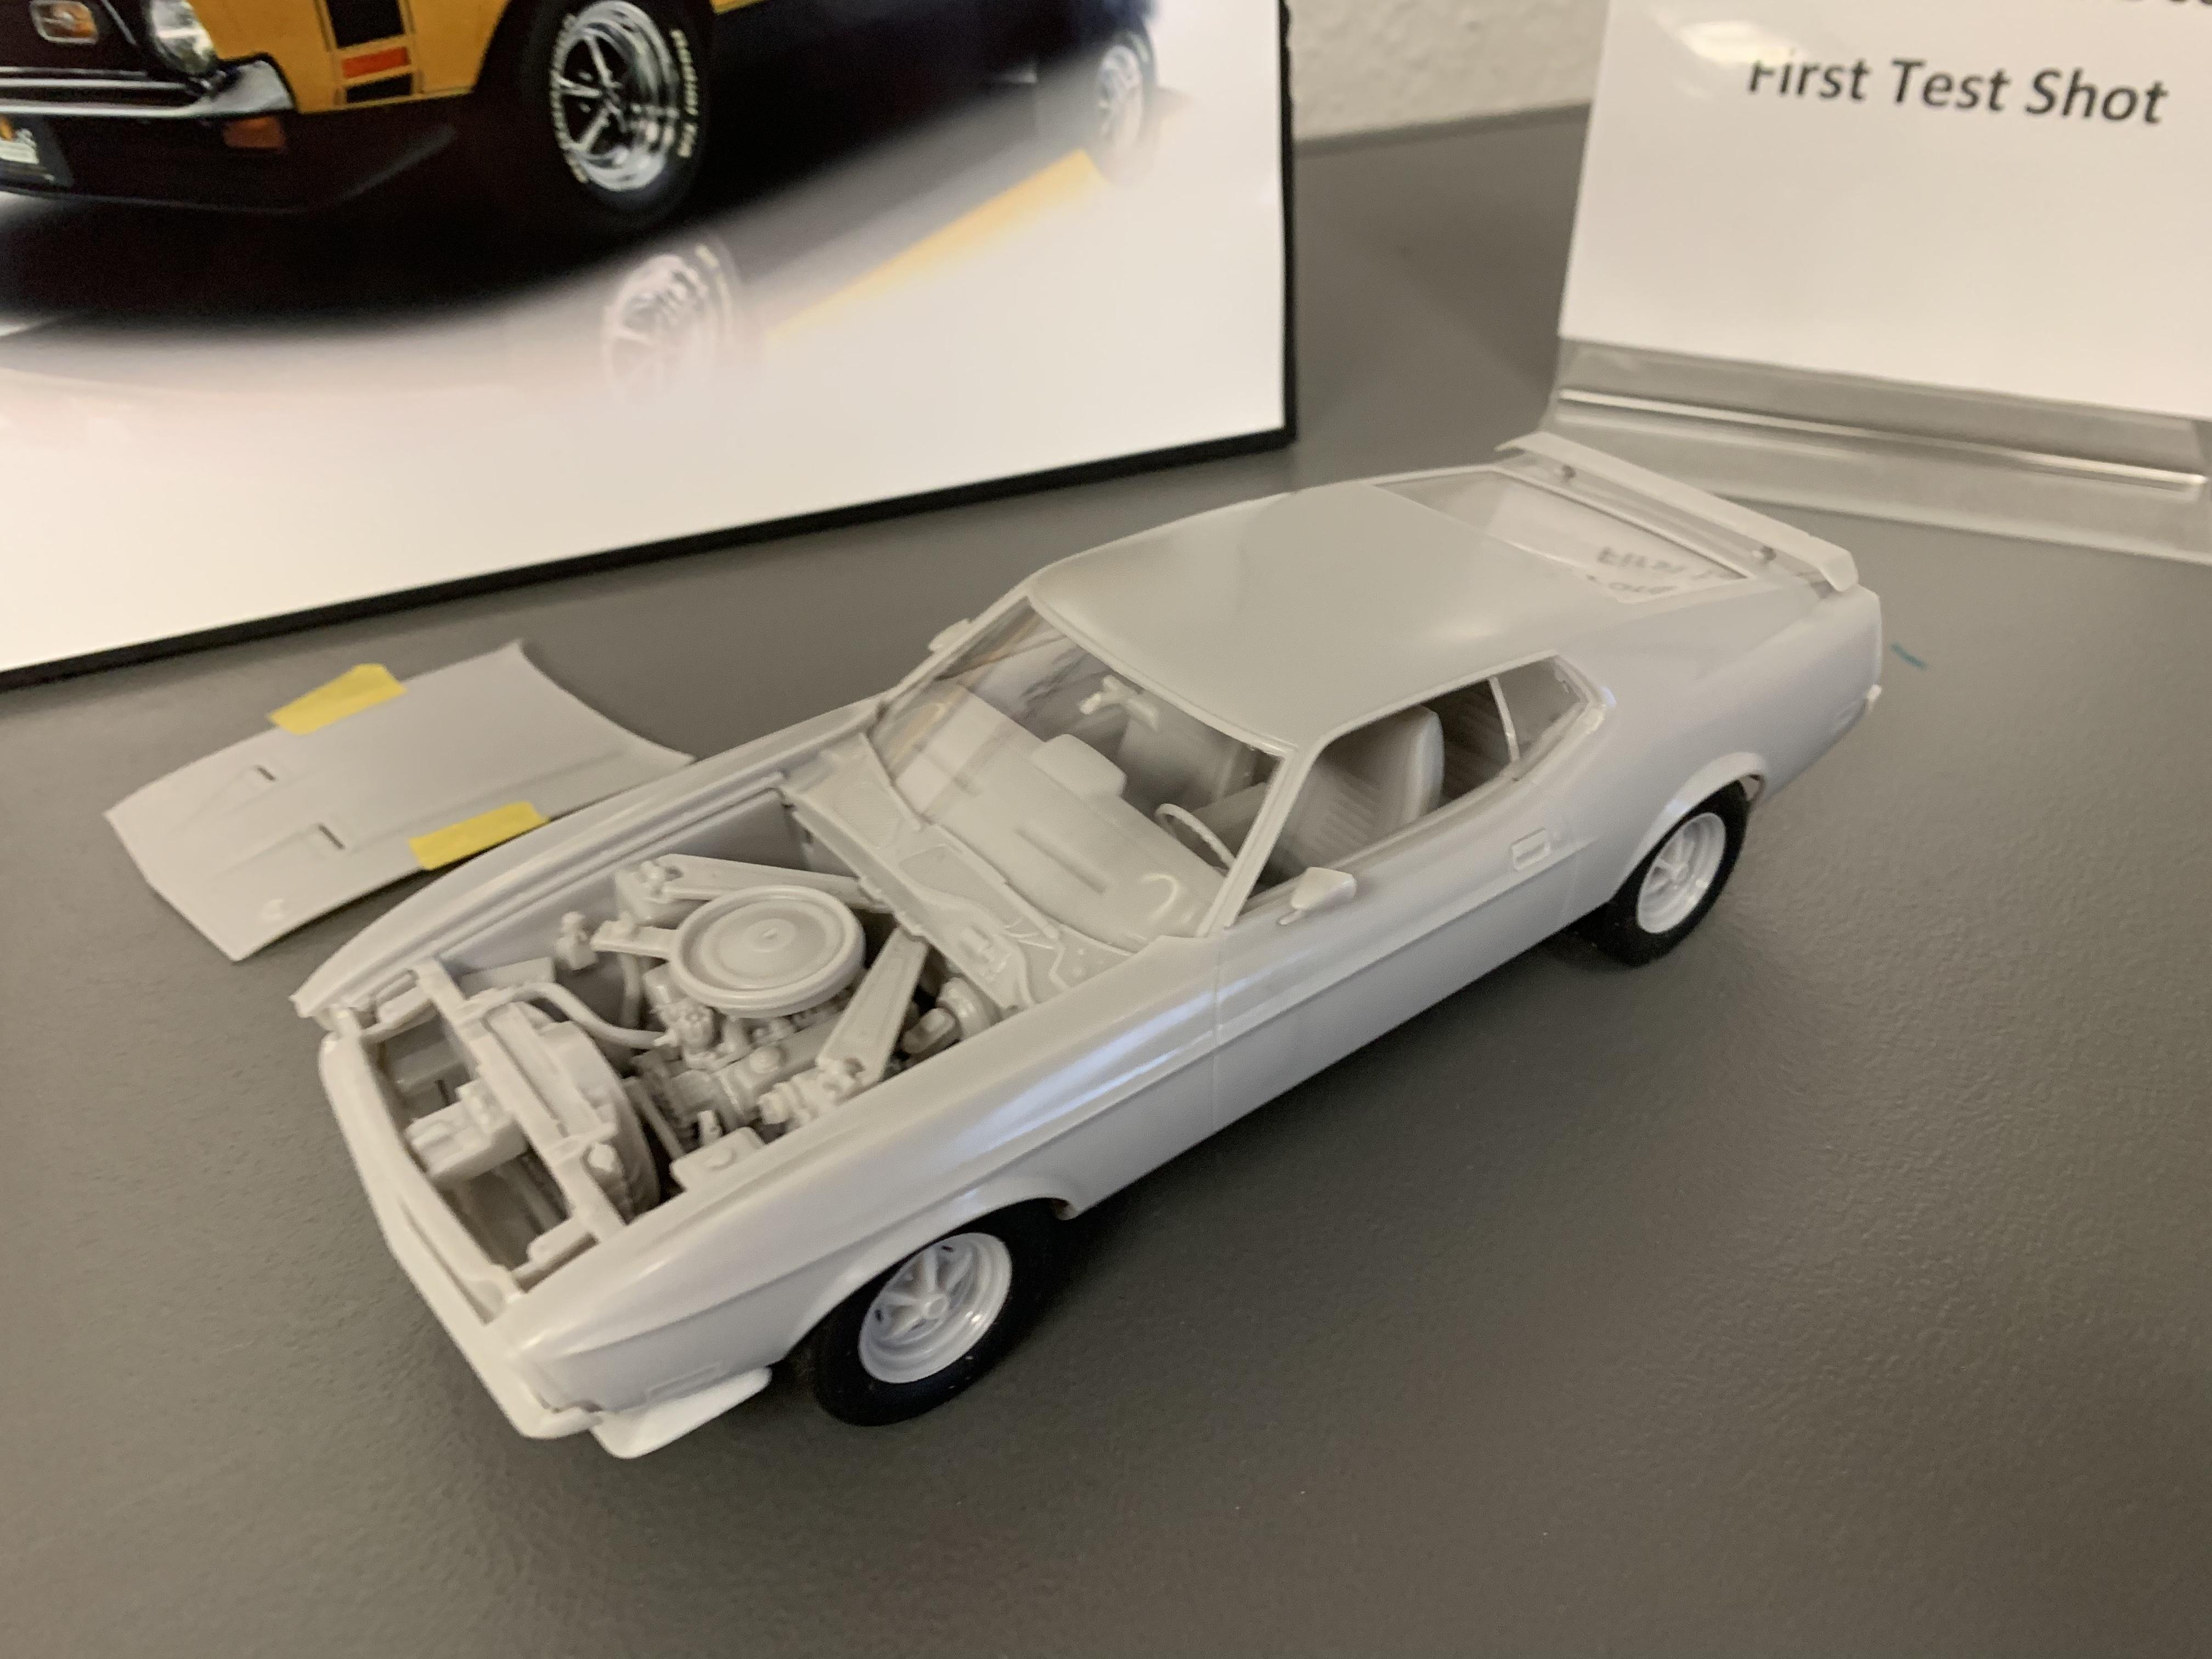
The test shot was at the GTR club’s NNL today - looked really impressive, in person. Lots of nice finely-molded detail. Although I’m no expert in Mustangs, but it just looked WELL DONE to me. Nice and crisp and like it’ll build up into a nice model:
-
I think the repair work you did on that seam is outstanding - nice job hiding it and reconstructing the texture! I thought about working through one of these skulls and laying in pieces of medical tape and airbrushing over THAT, but your way worked way better than I imagined it could. Nice shading with the paint too!
-
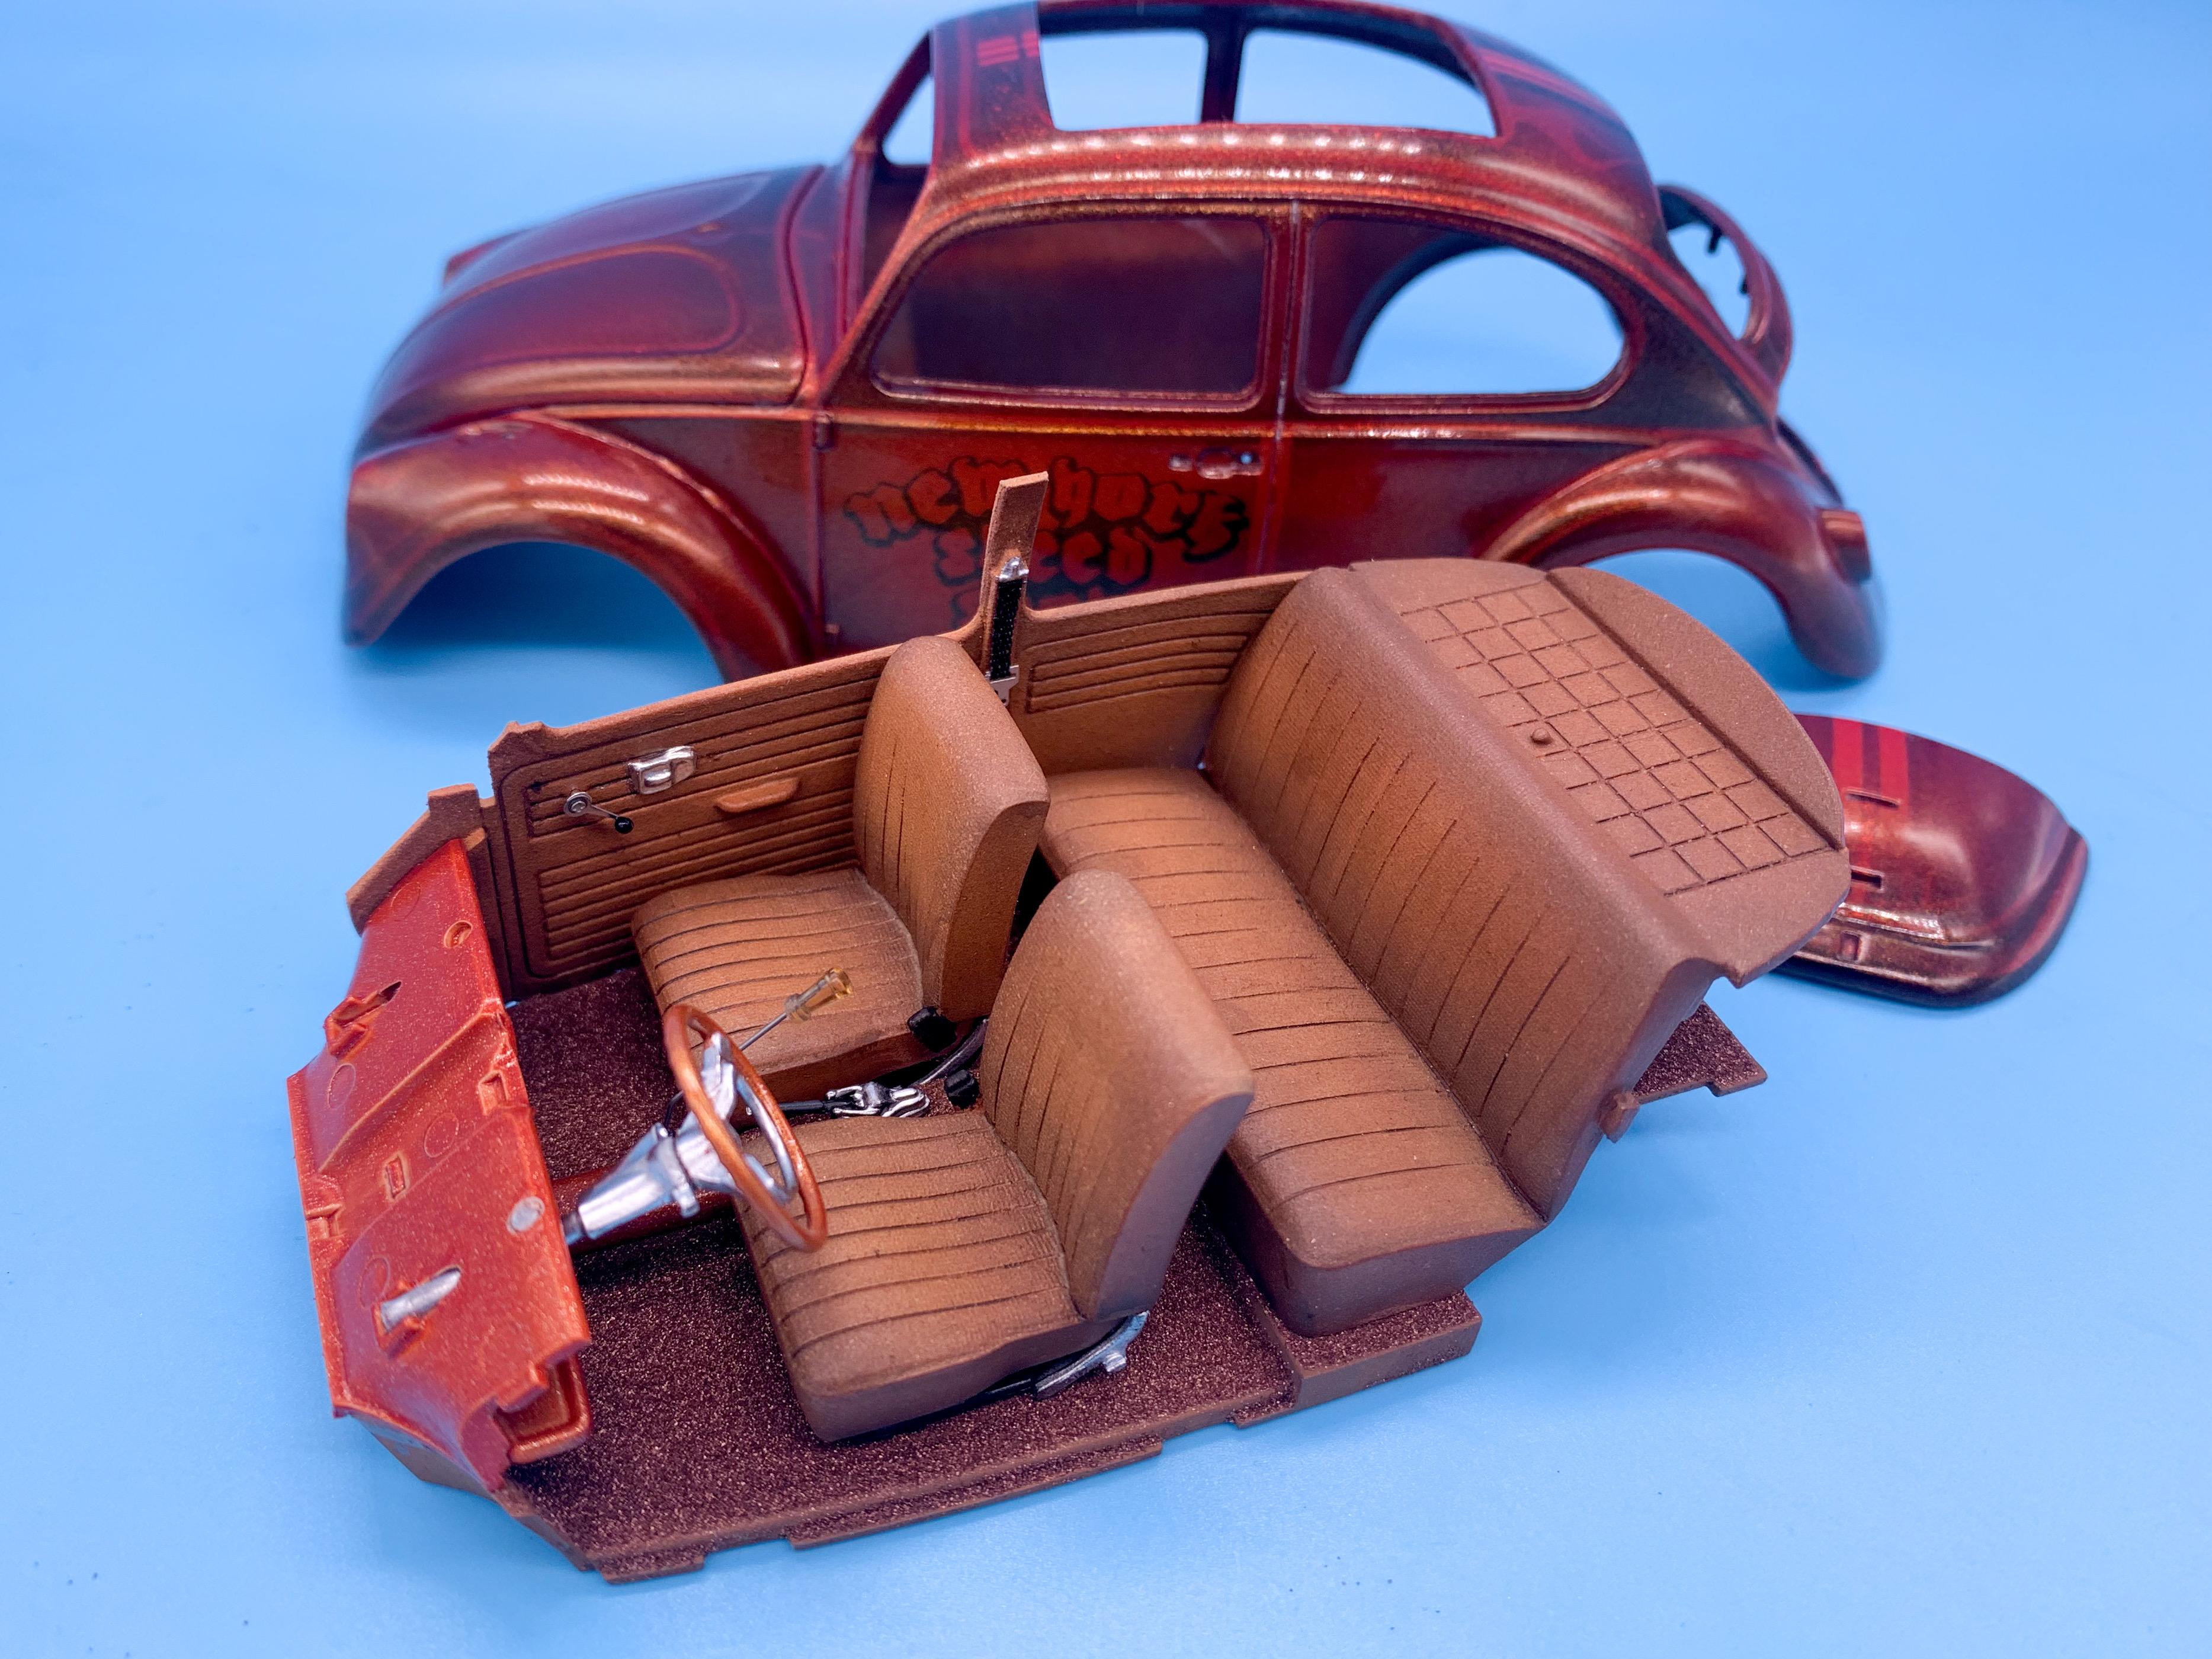
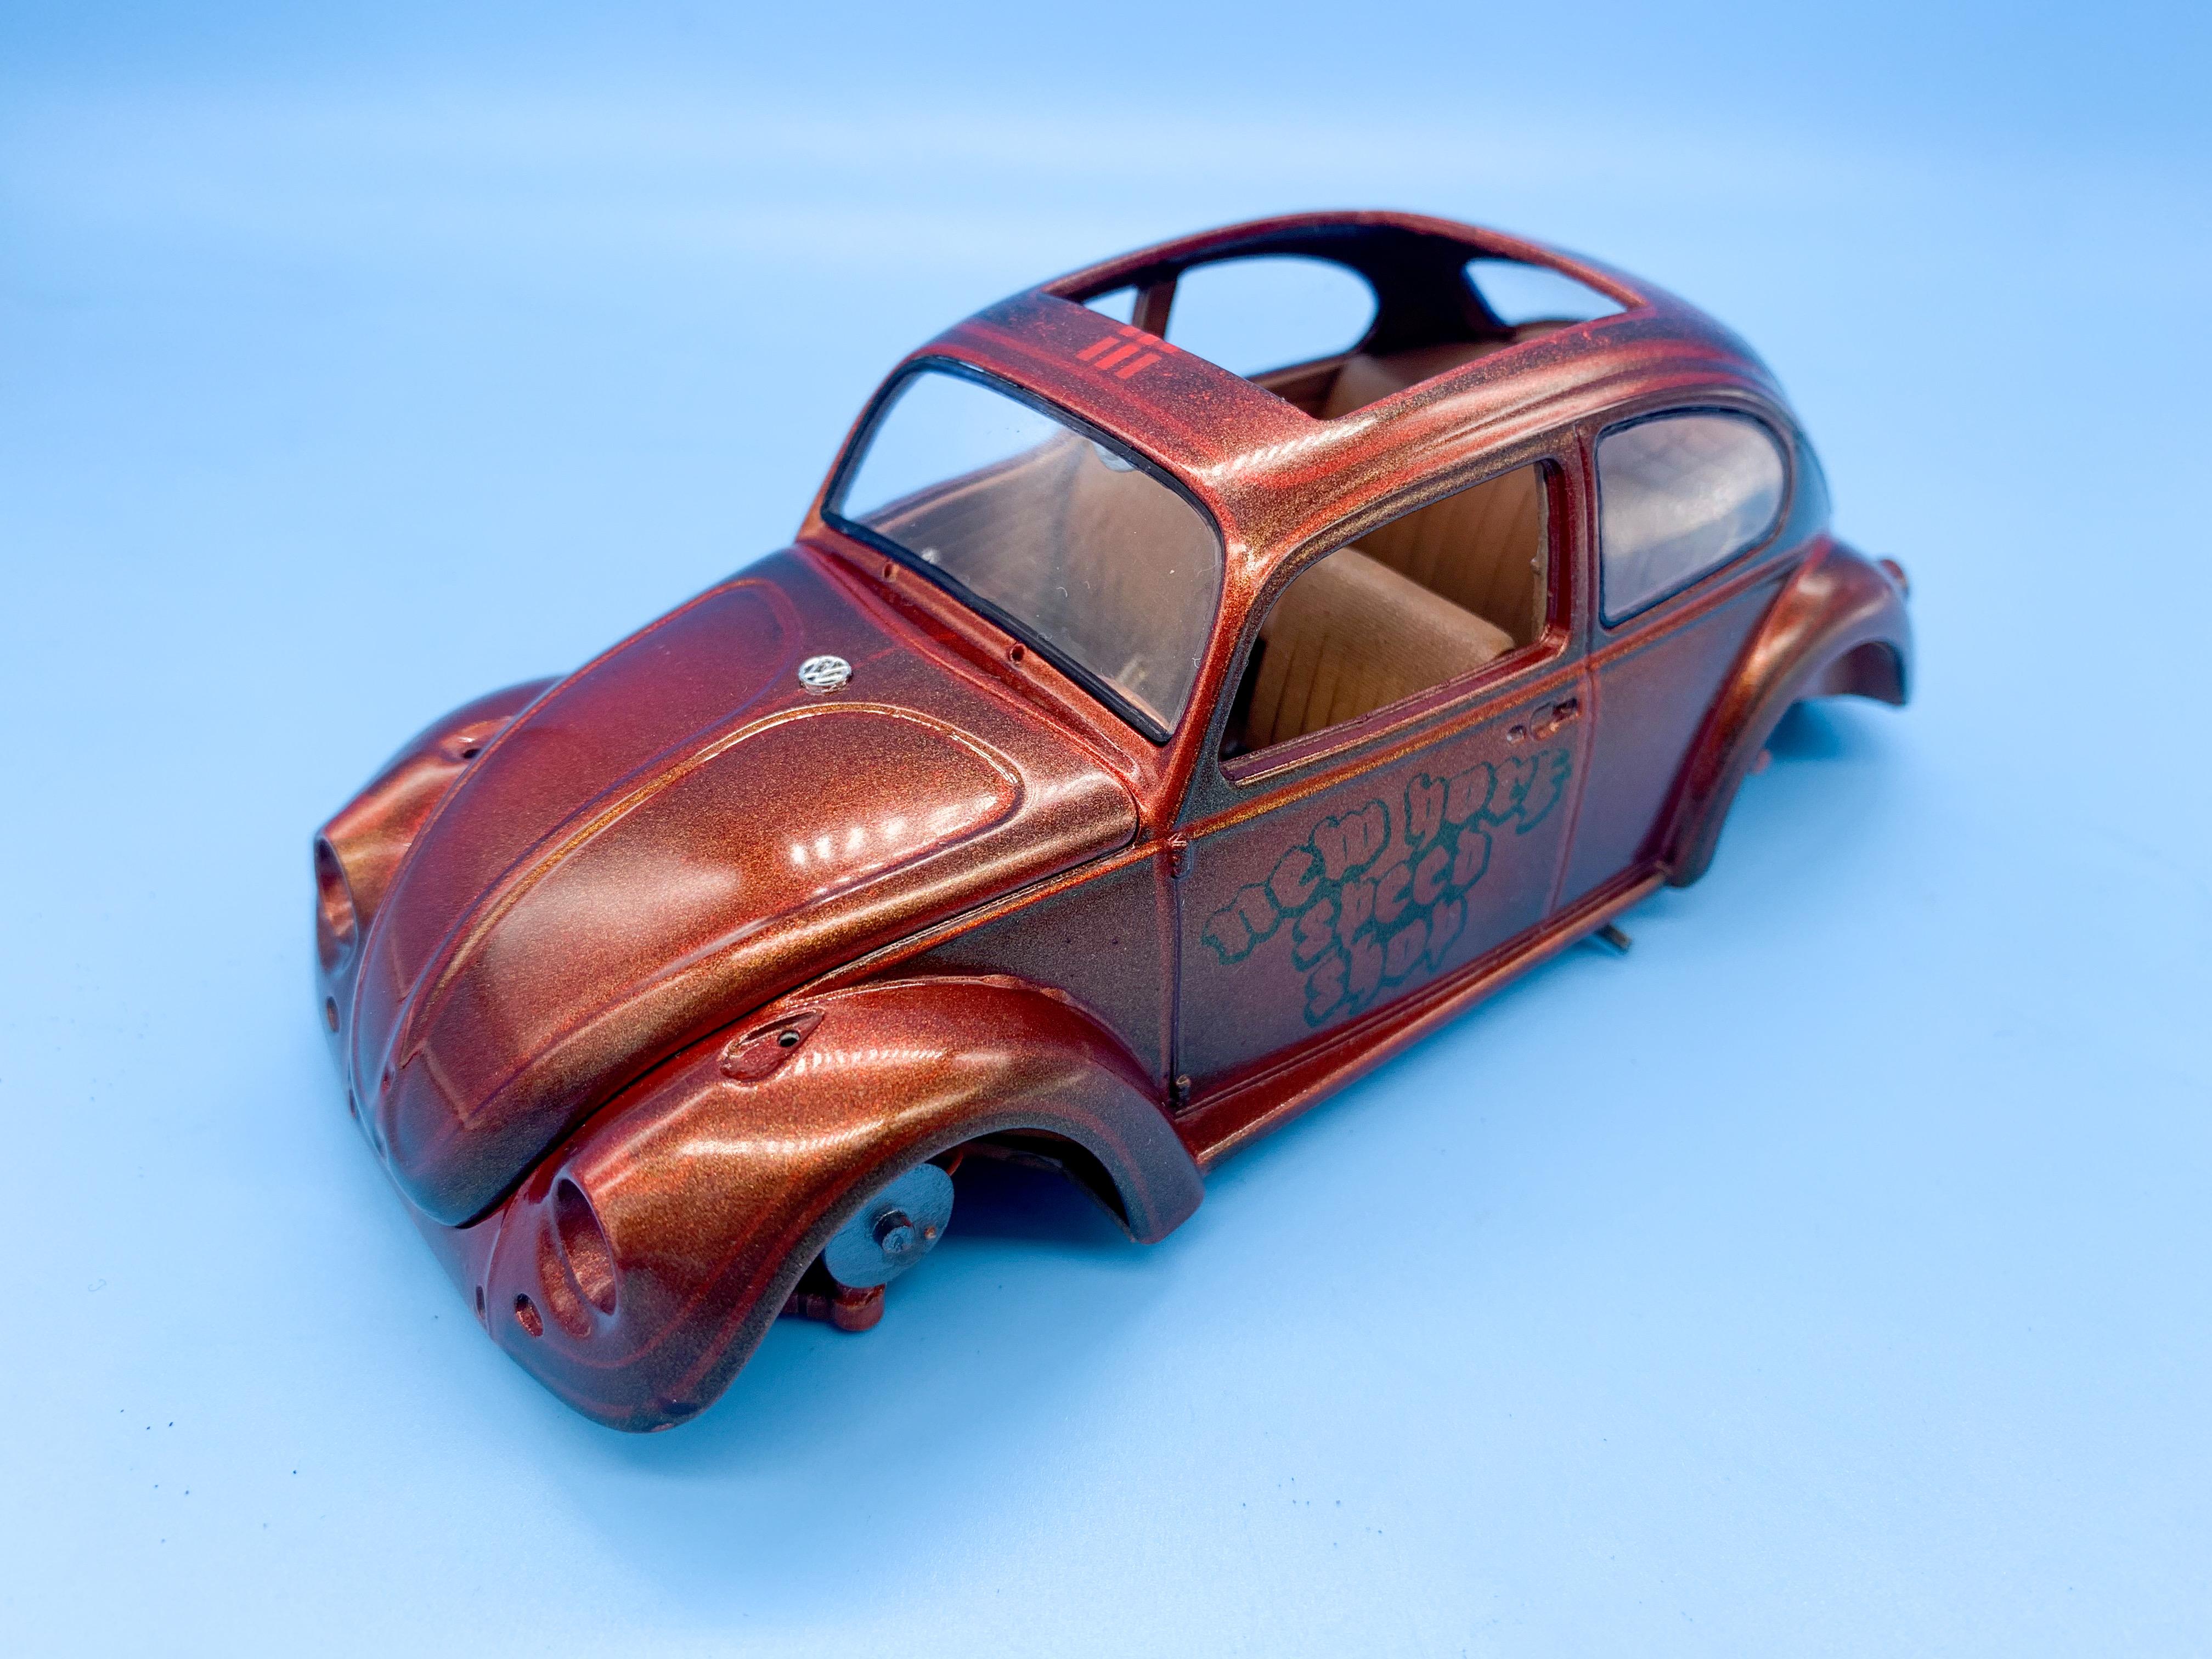
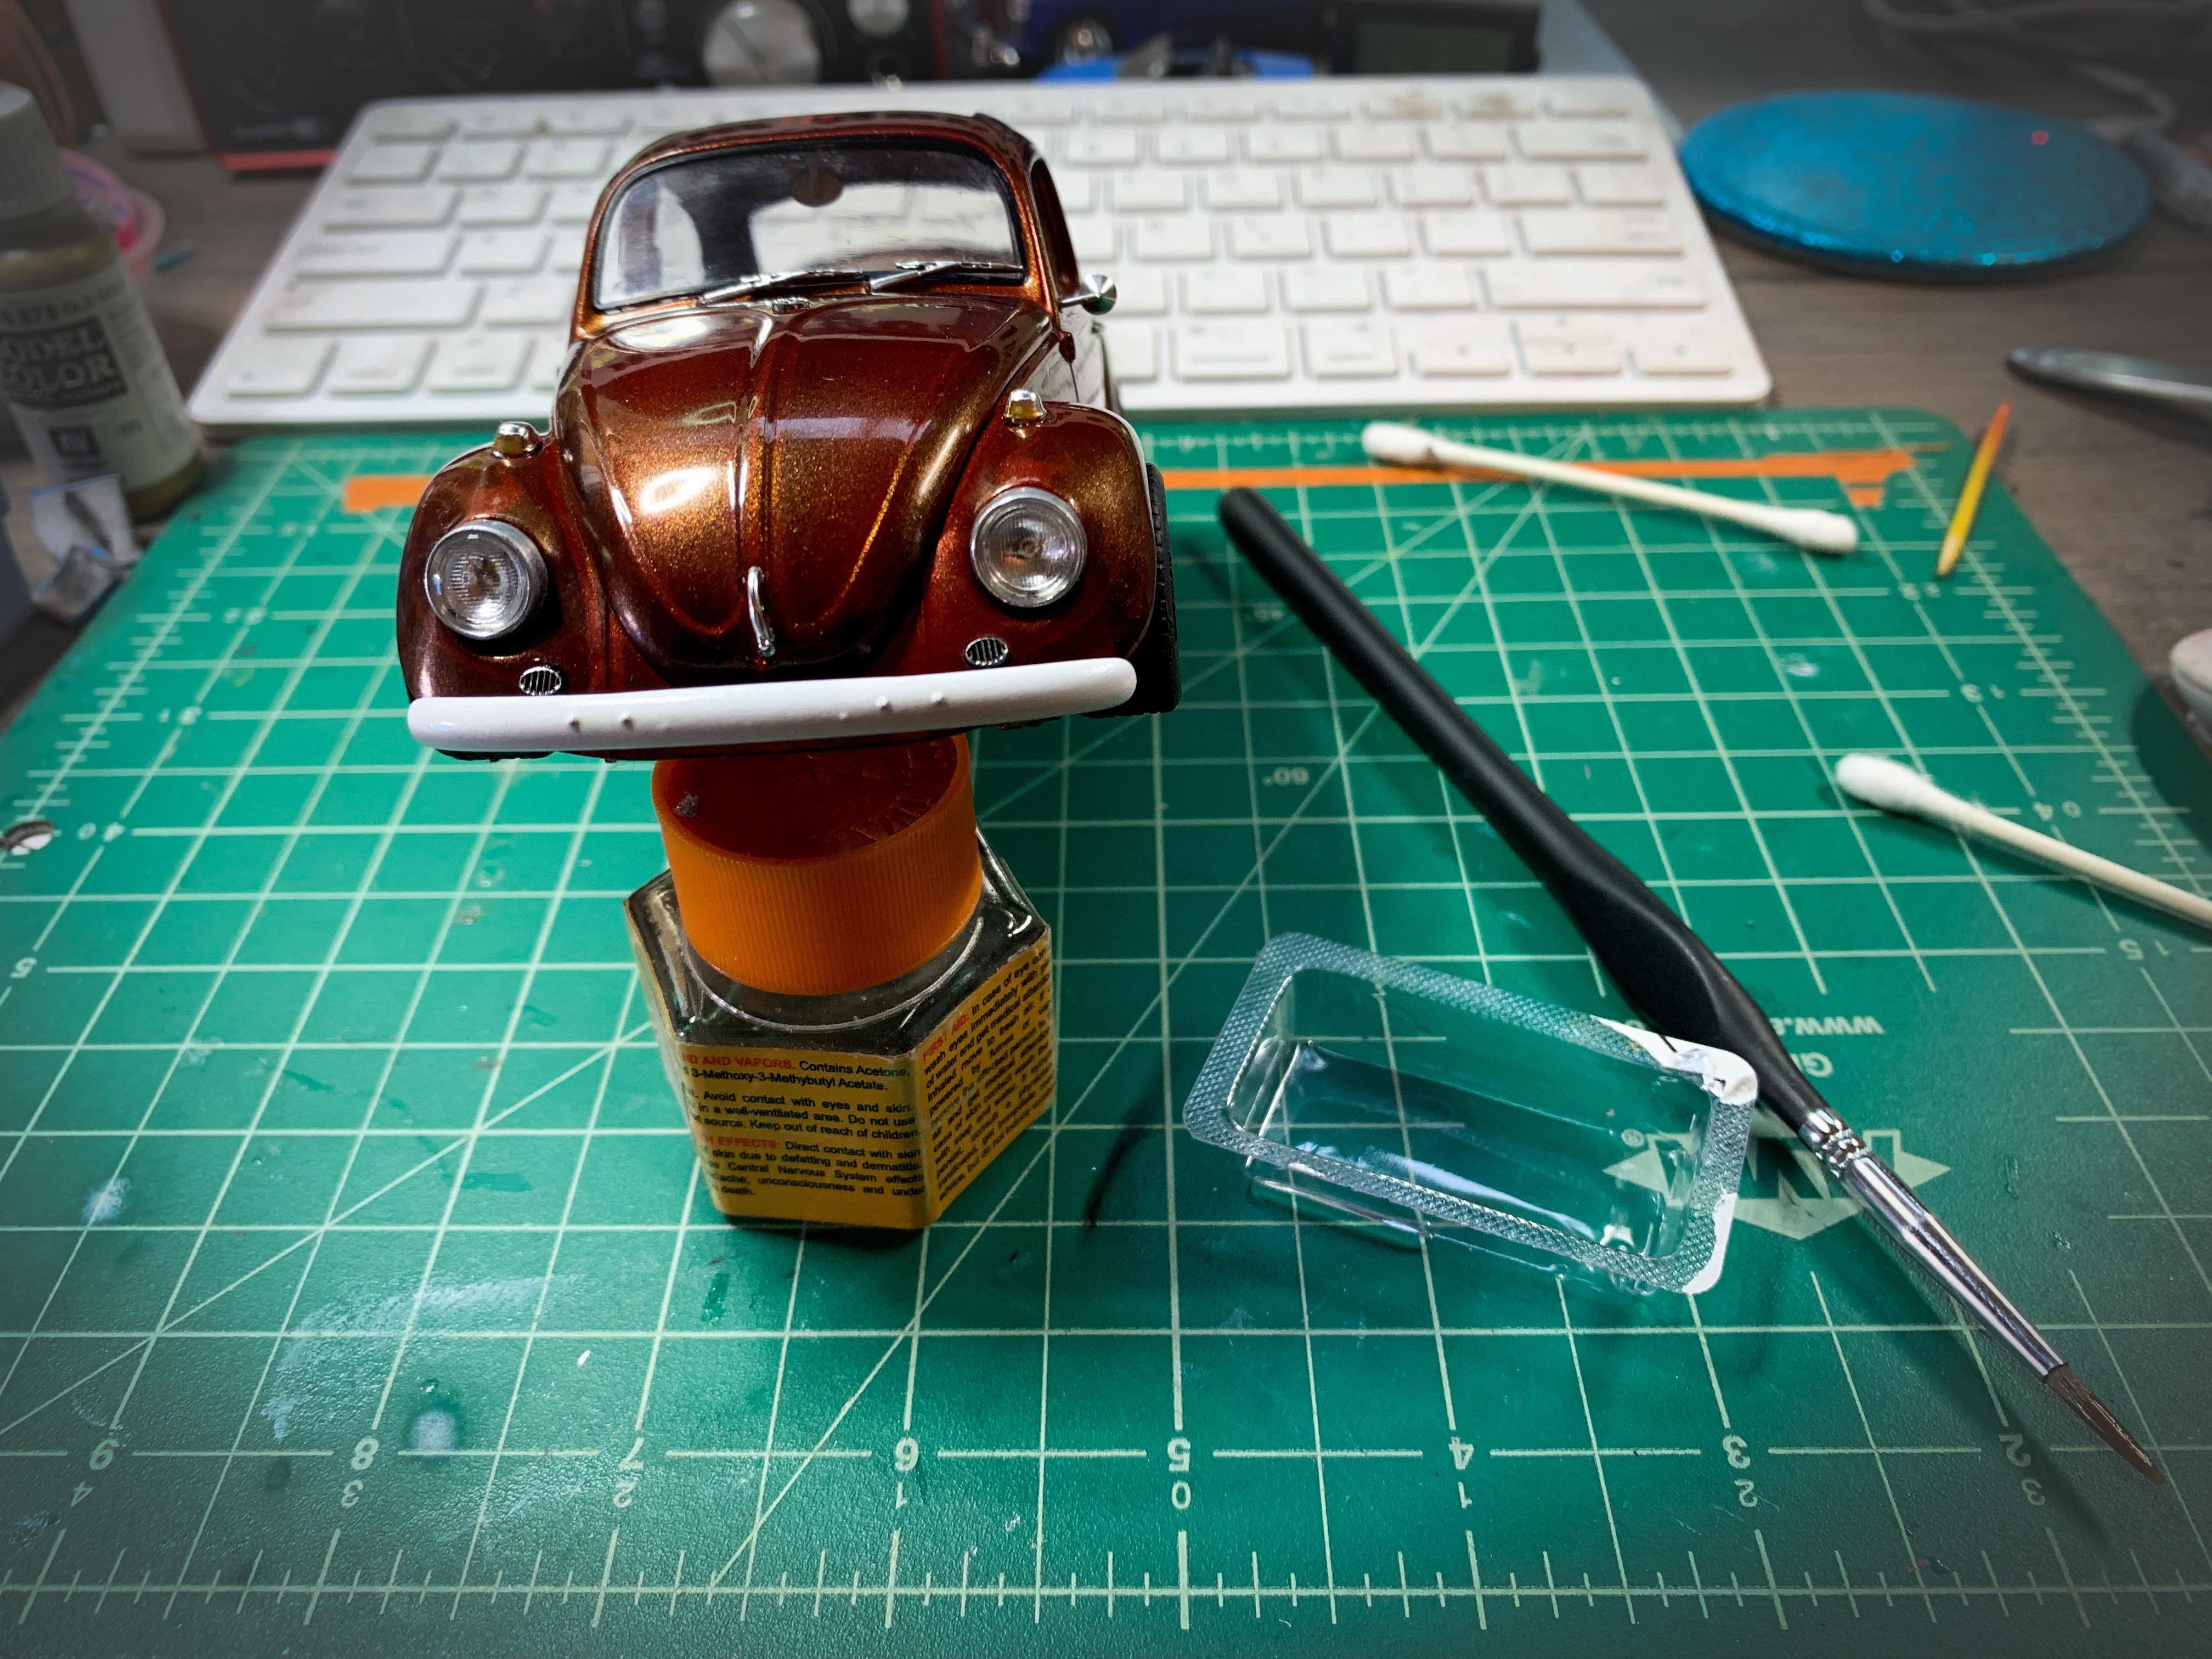
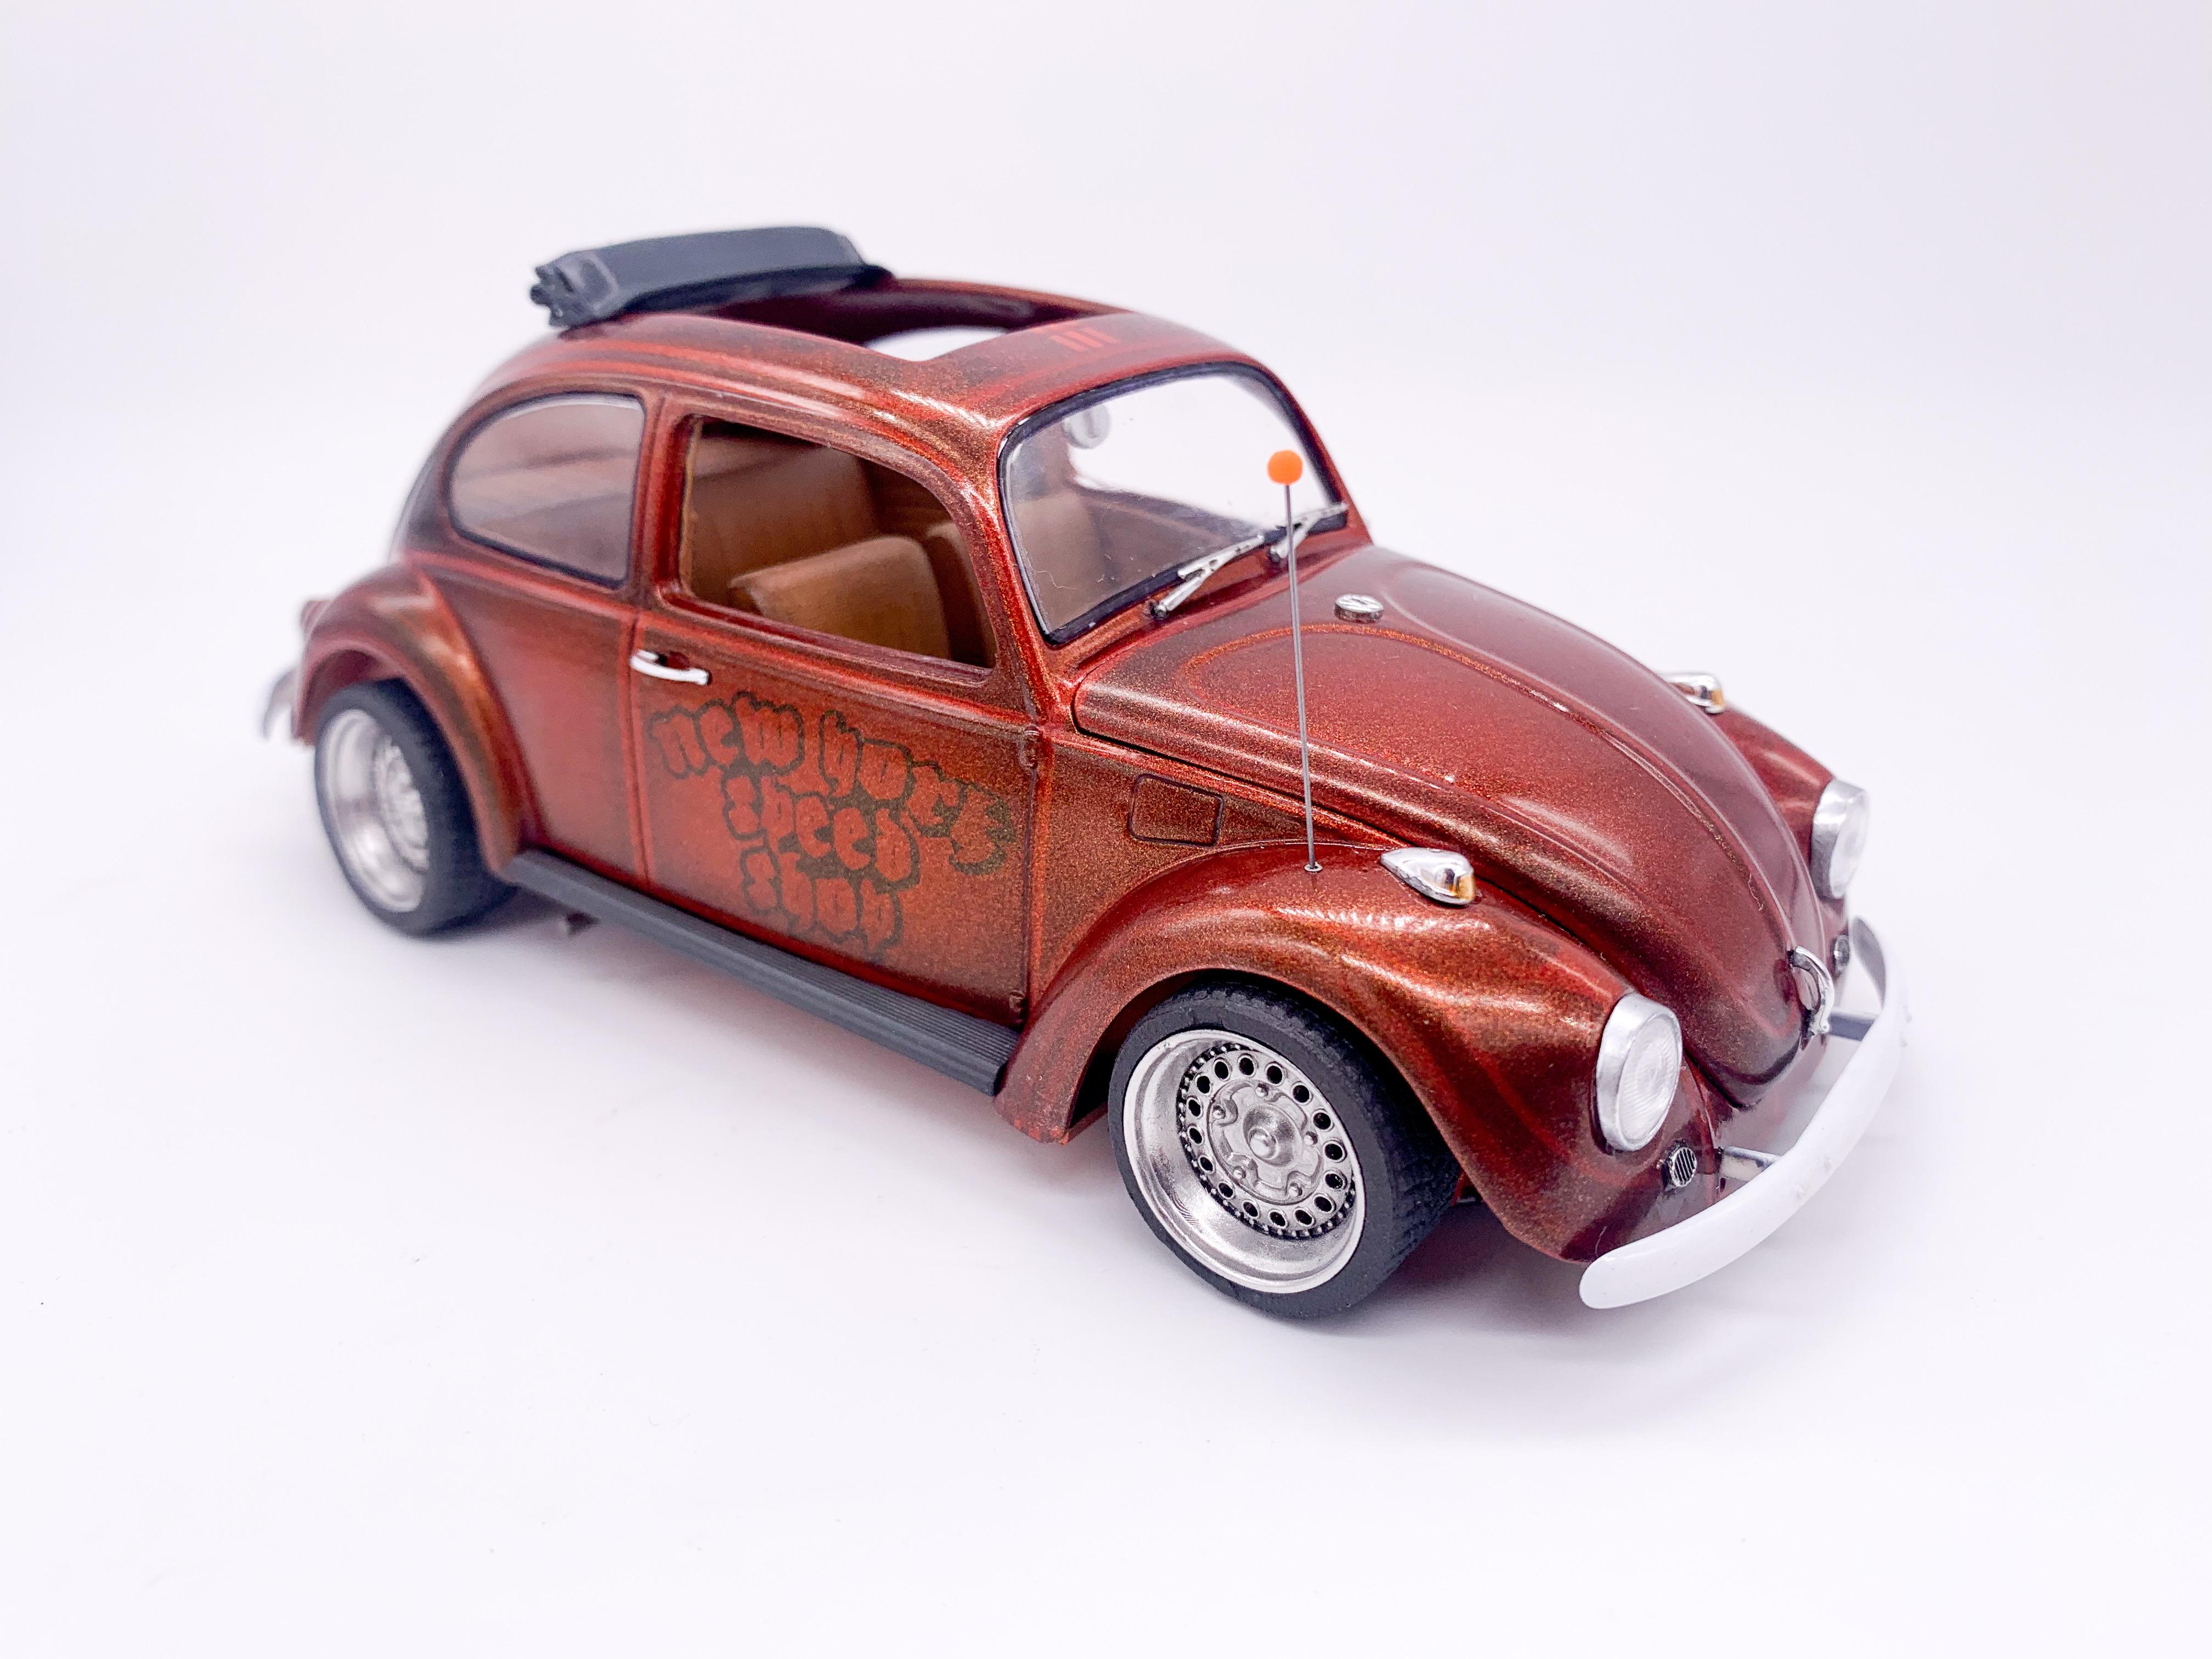
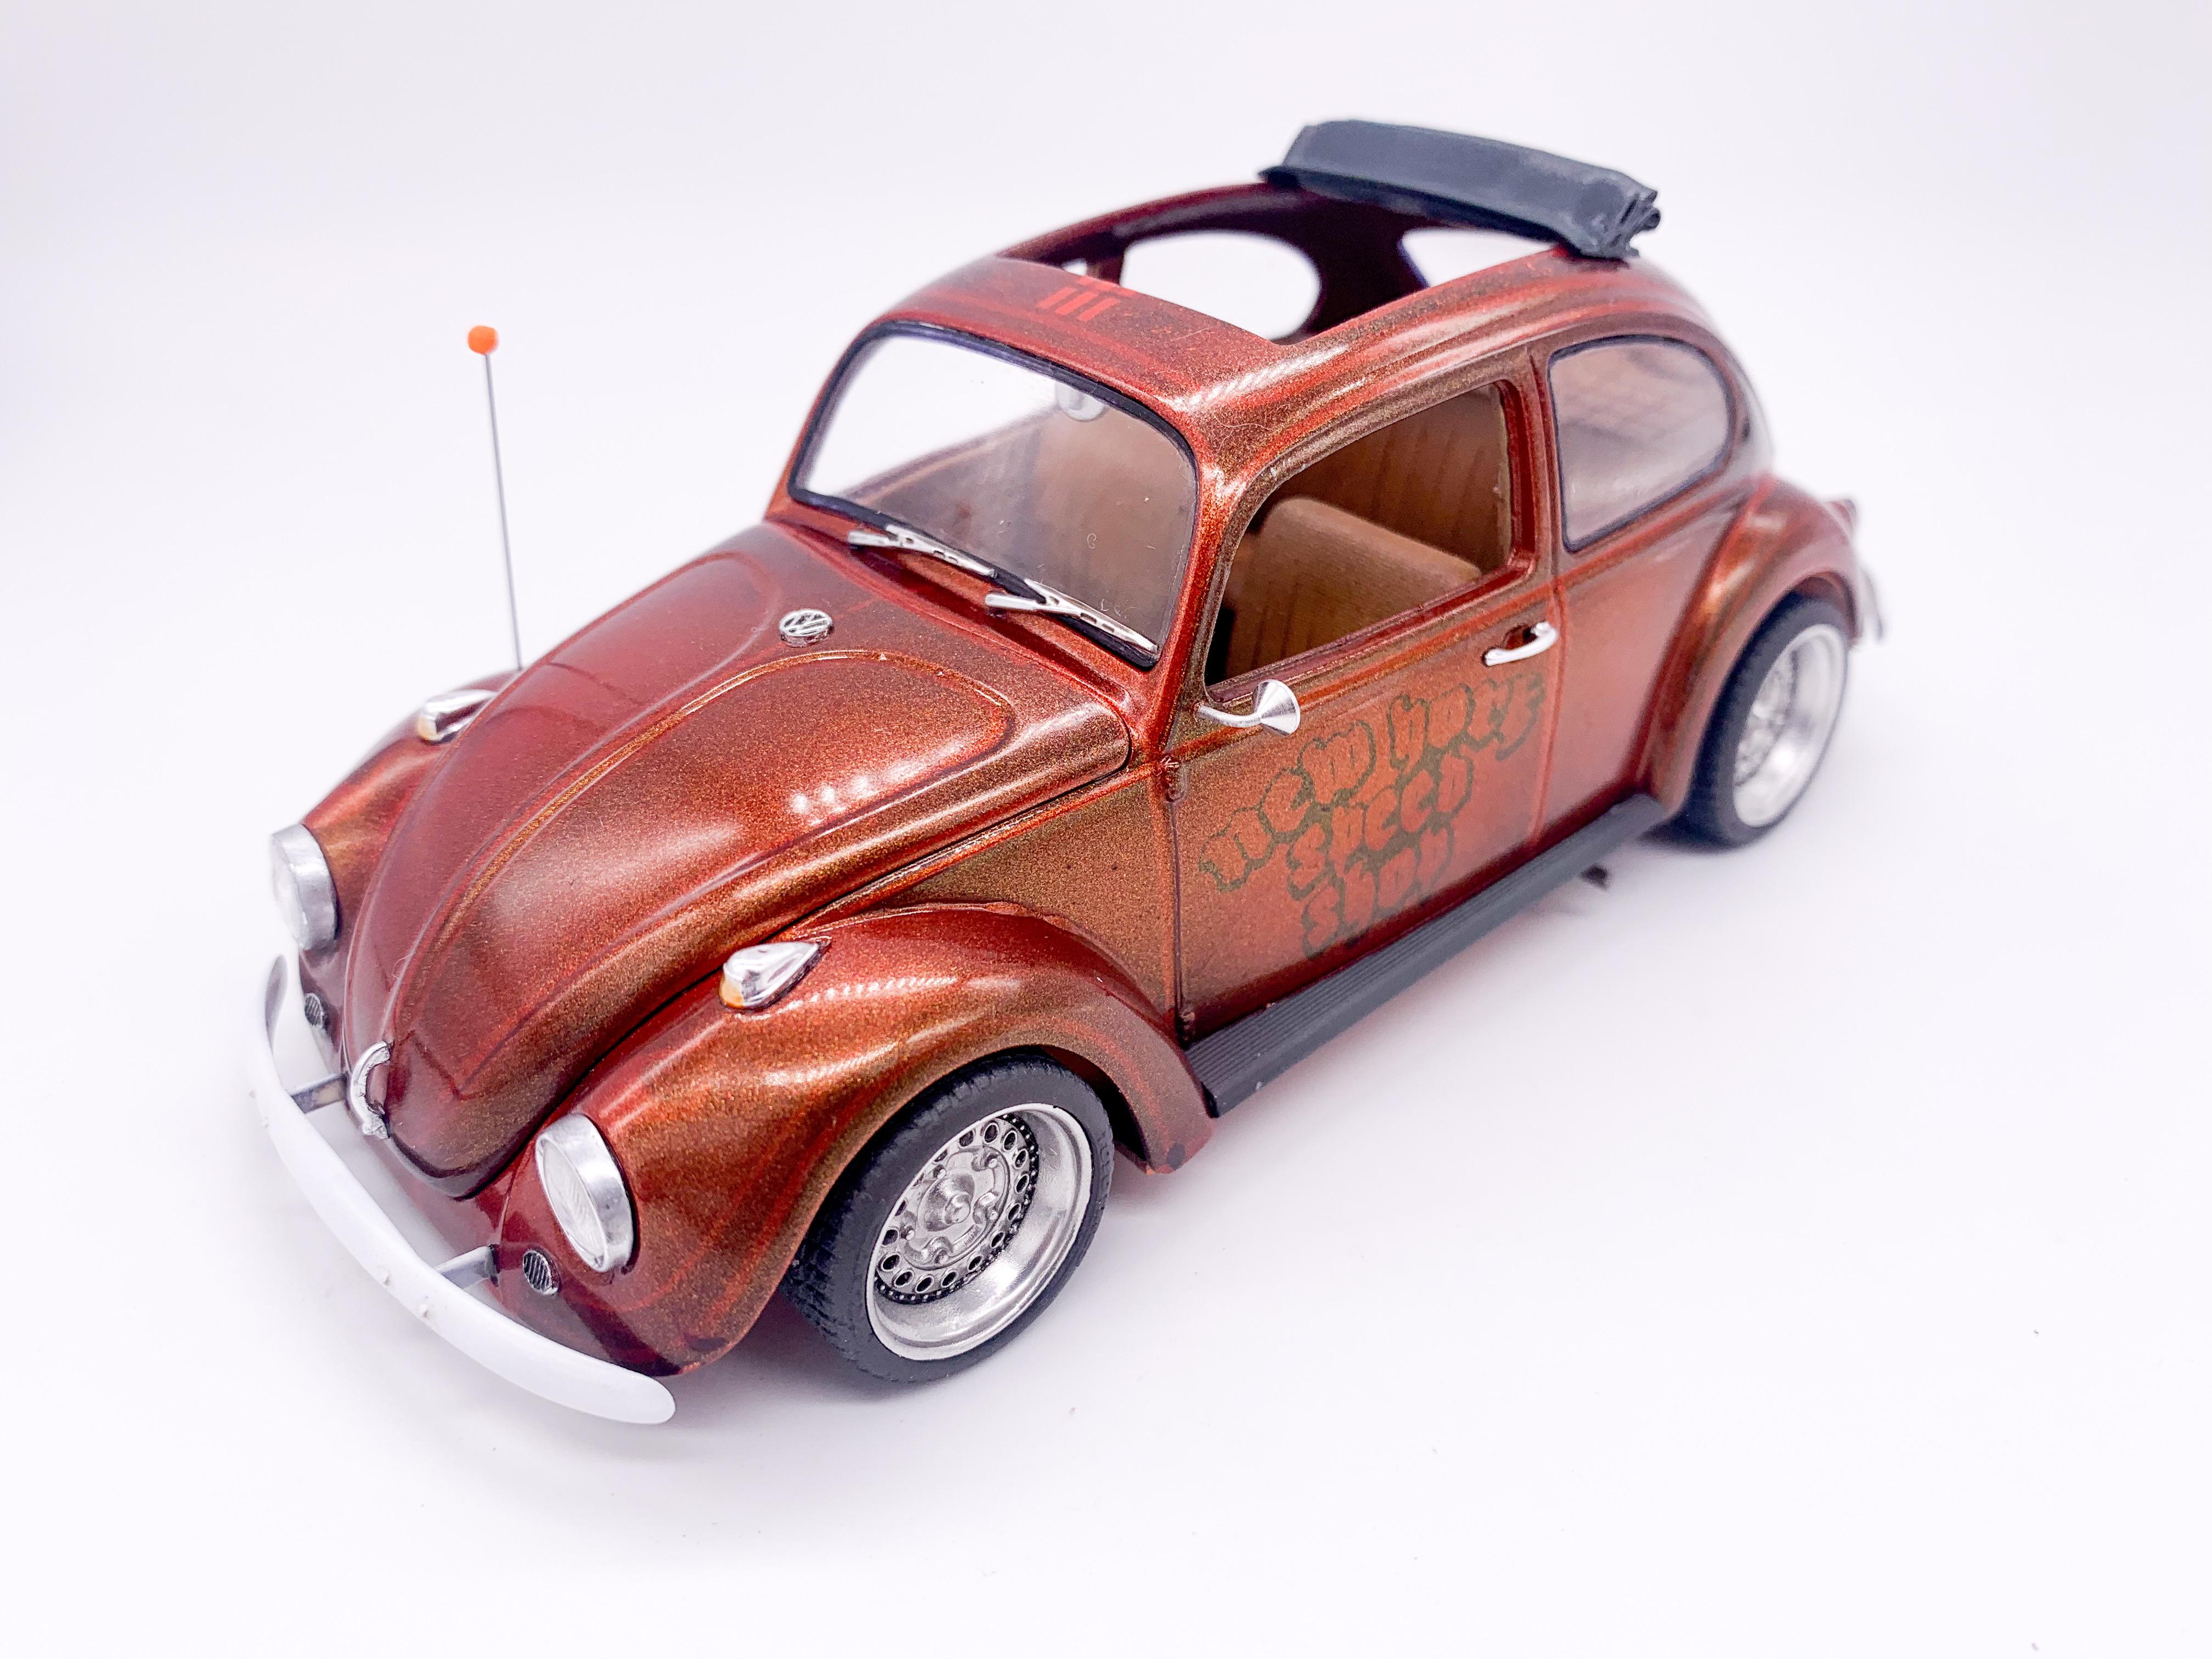
I’ve been wanting to build up my Beetle collection a little, and I hadn’t built the current Revell ‘68 kit yet; concept was ‘what if the Cal-look trend happened on the EAST coast instead?’. Went with some Porsche 356-inspired wheels, cut the roof open, painted some subtle graphics to hide under a Createx candy paint job, added some flake and pearl and pure-white bumpers for the same reason people like showing off perfect white sneakers on the dirty subway platform ? It all made sense in MY head anyway ? Had fun building this one - I’ve actually got a bunch of ideas for these that I’d like to do but wanted a relatively simple build to learn about this kit. I was actually impressed with about everything about how it goes together except the weird 2-layer engine they came up with - the top half is assembled separately from the bottom half and then they mount above and behind the chassis plate. Weird, and doesn’t look very realistic if you want to show the engine off. Anyhoo - some finished pics - thanks for looking!
-
There’s one particular kit I have in my stash, although I can’t remember which right now, that changed difficulty rating between issues. Exact same kit, almost identical box art…but one year it was harder to build than another year. Maybe they figured the average person got dumber? ?
-
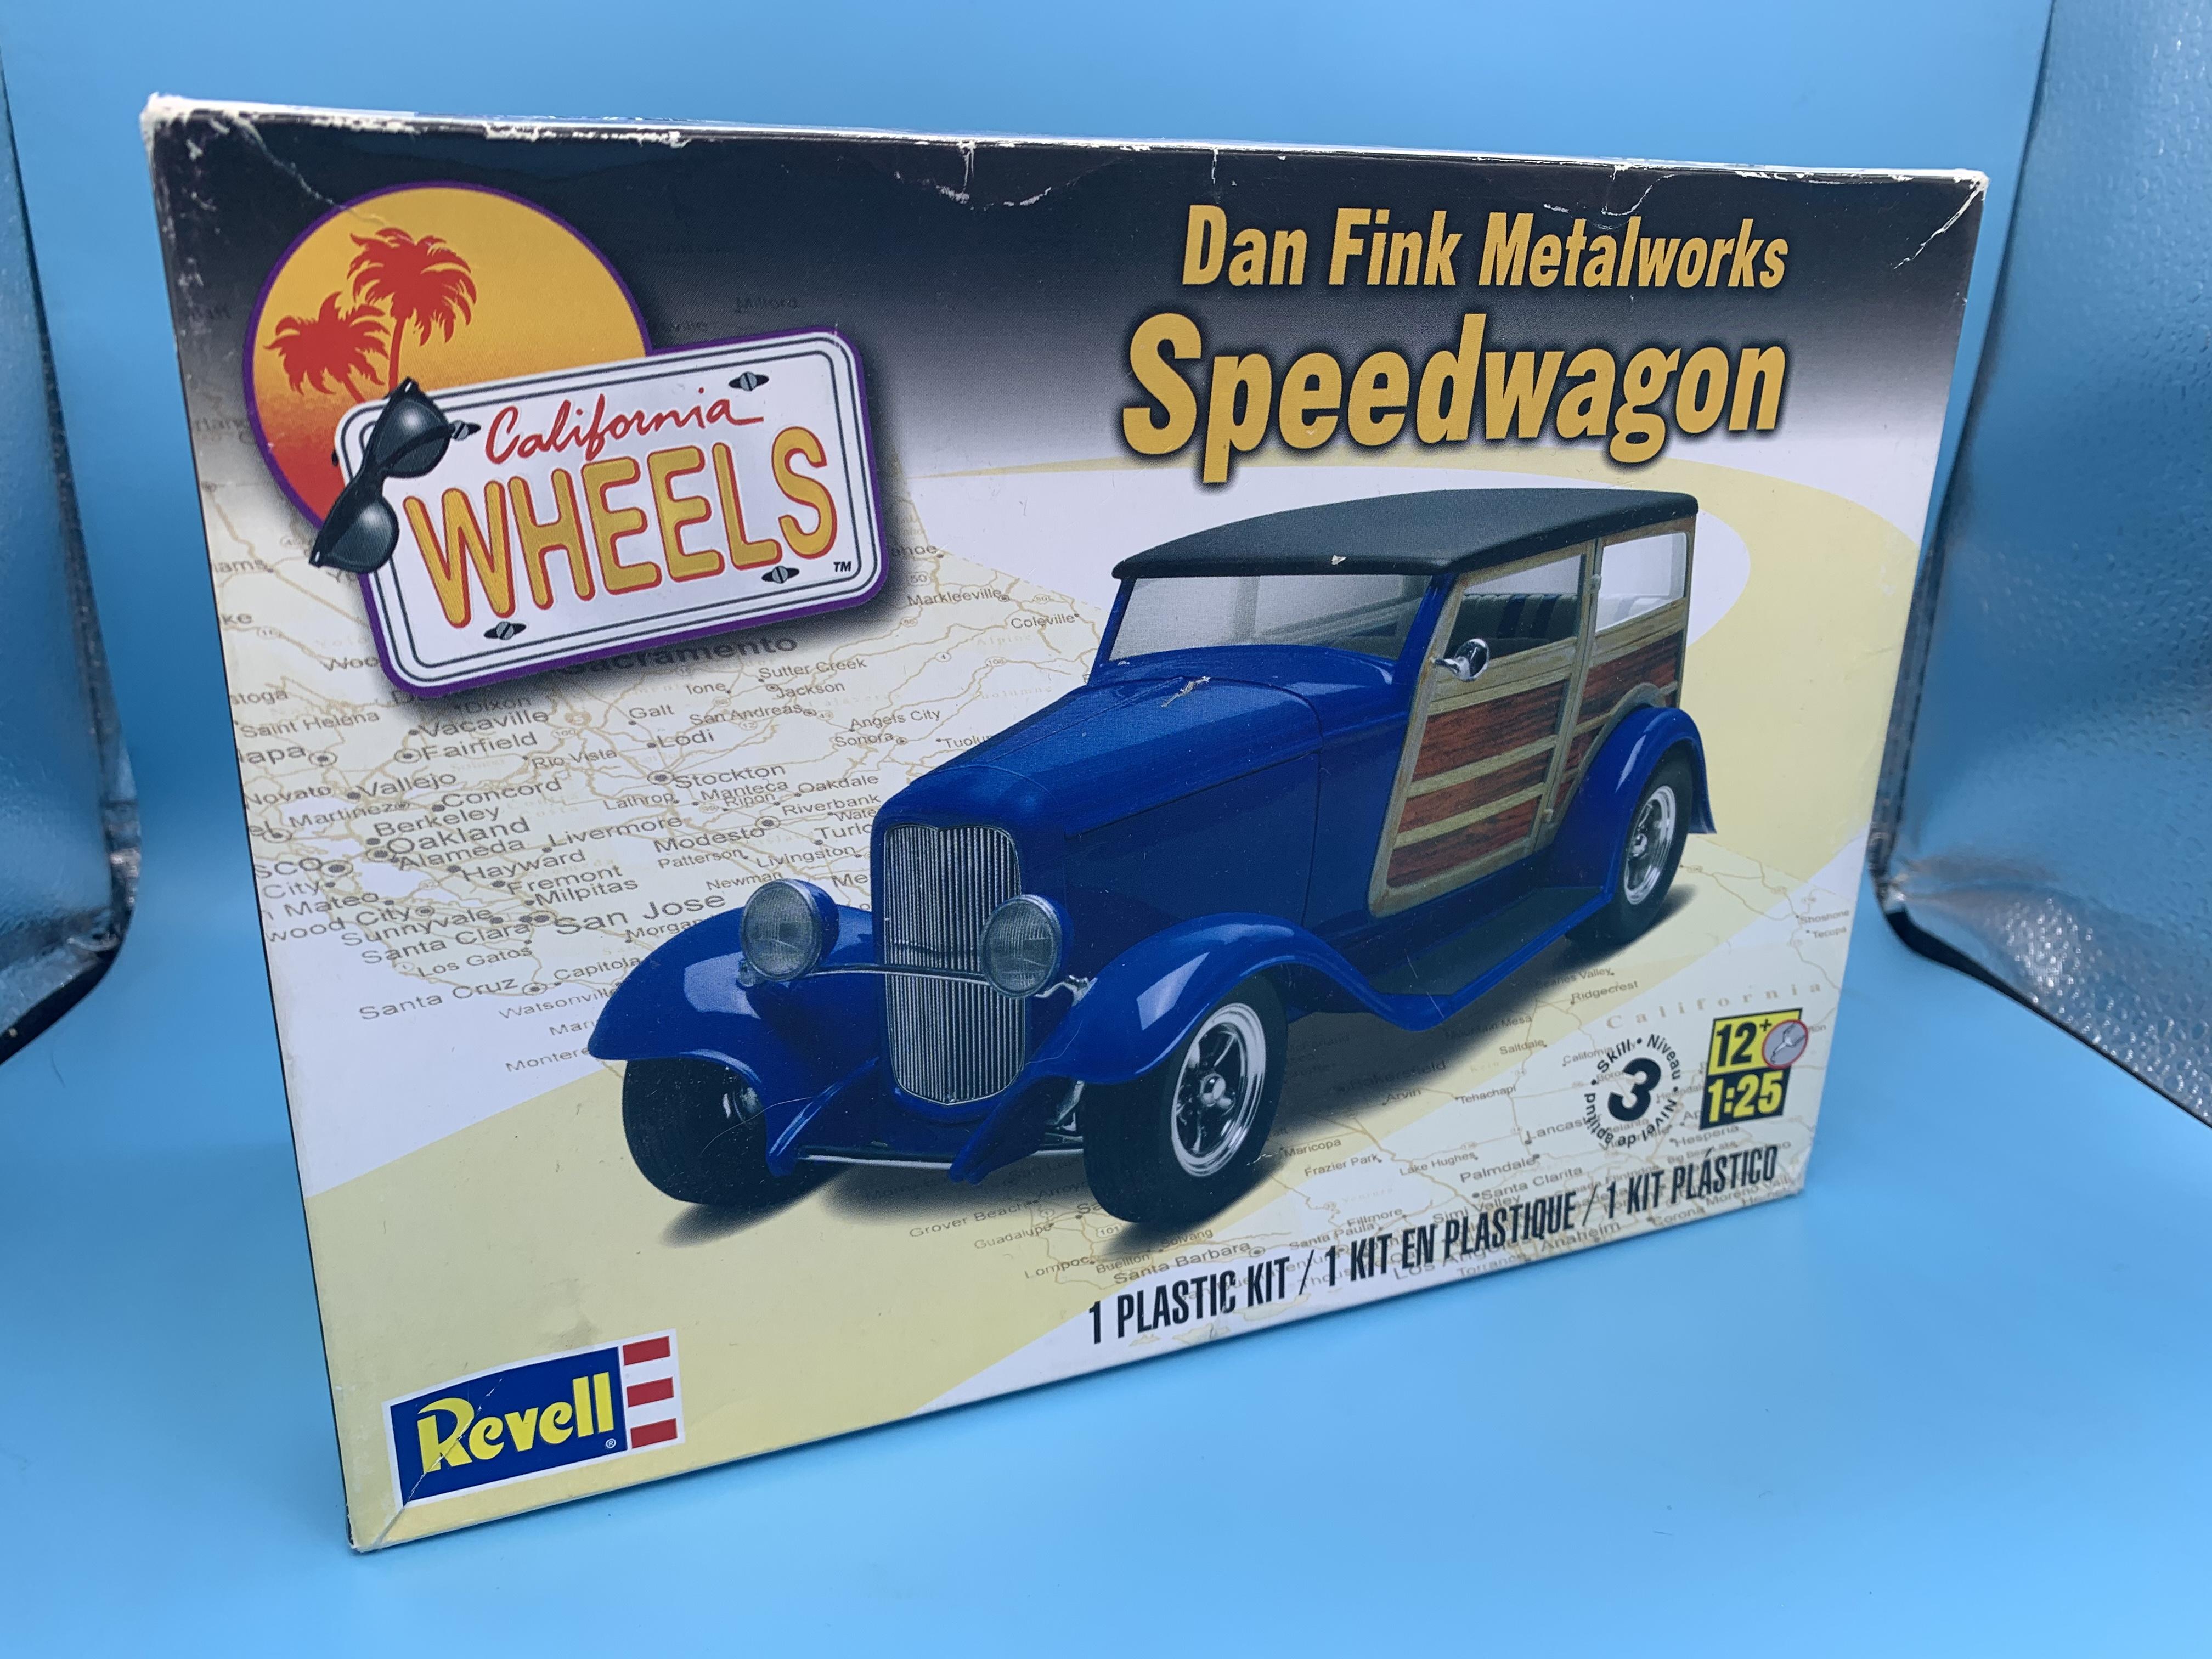
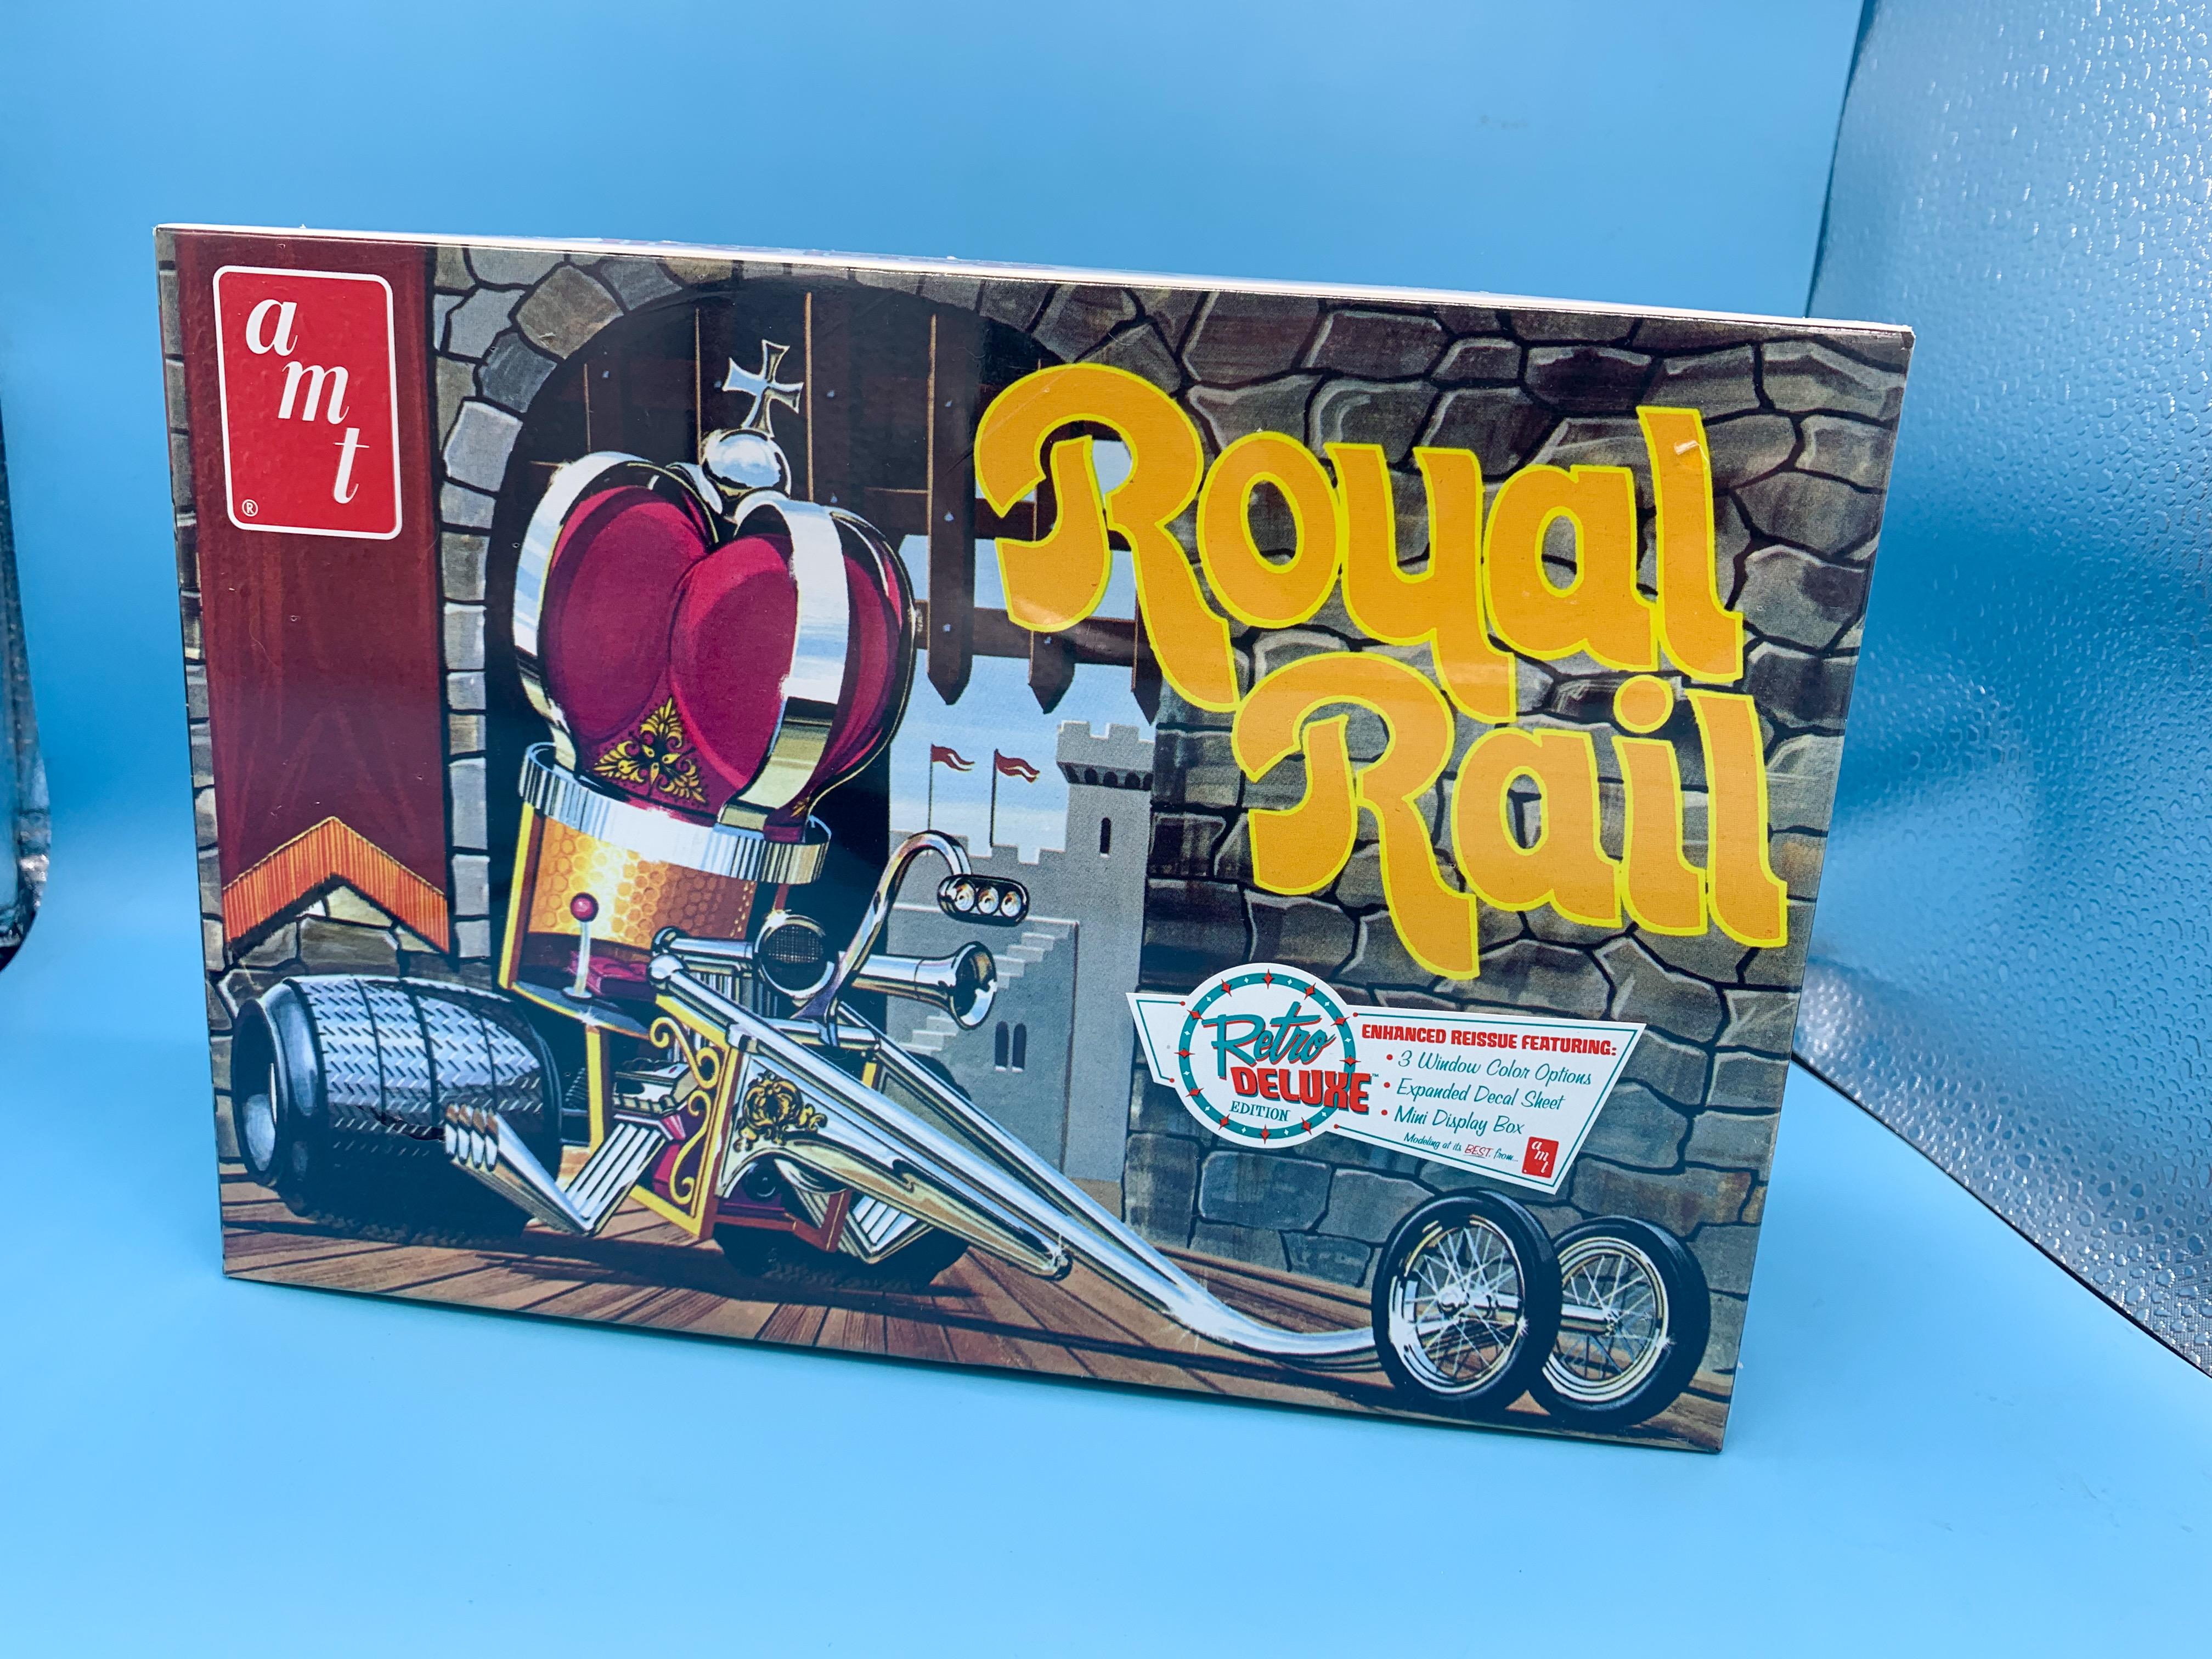
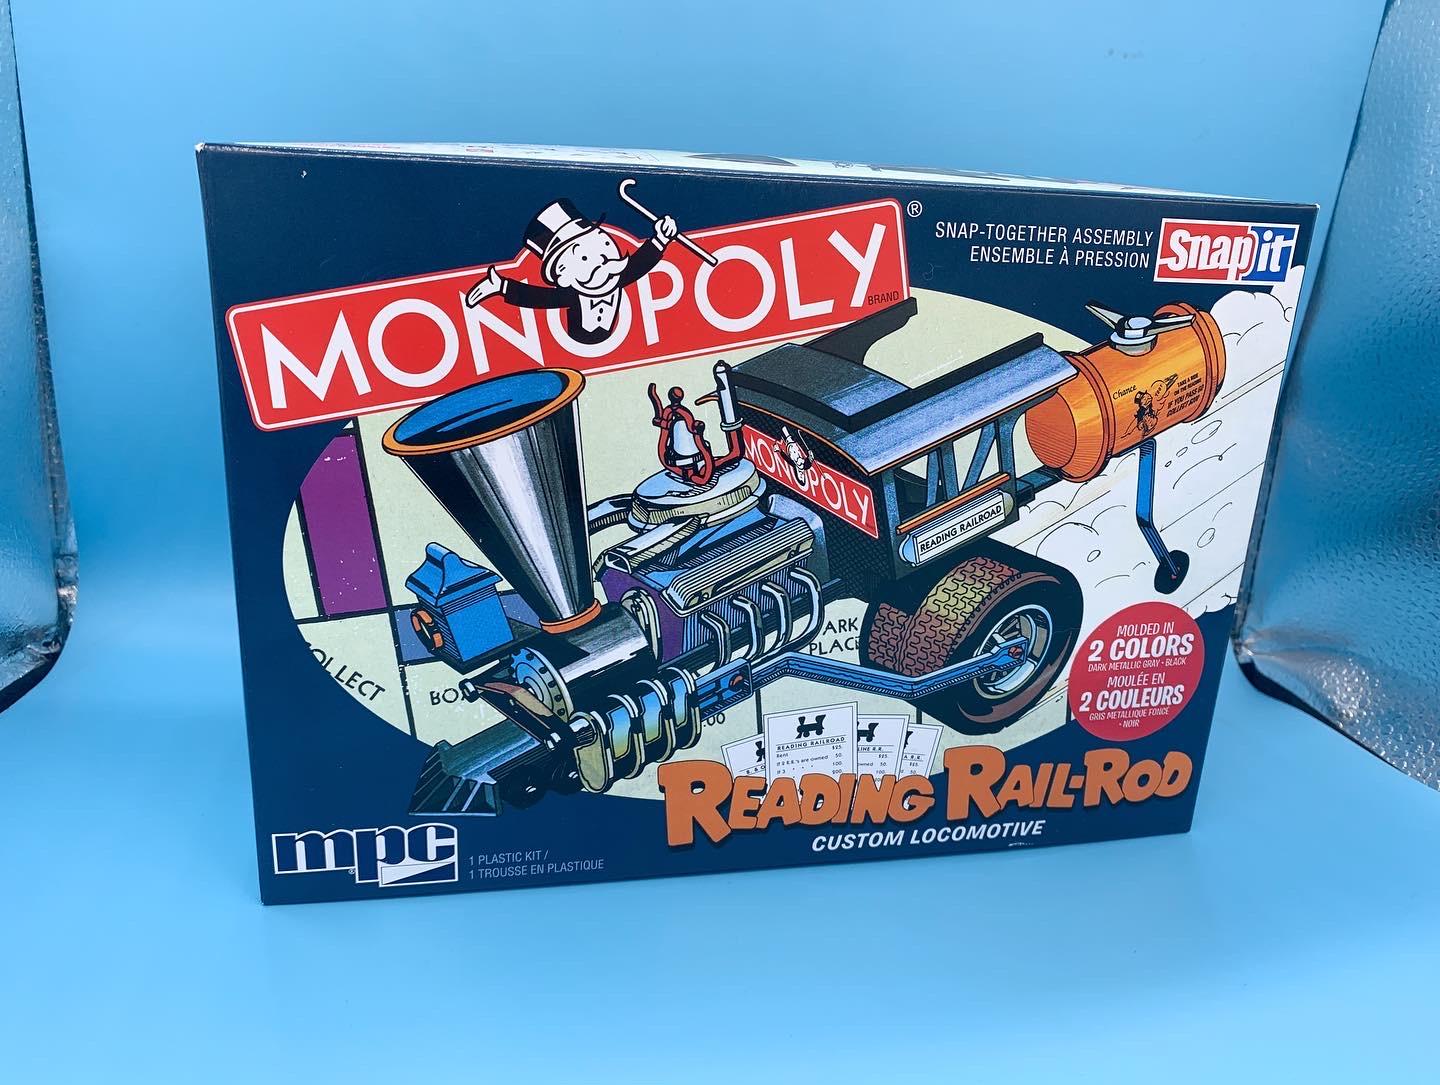
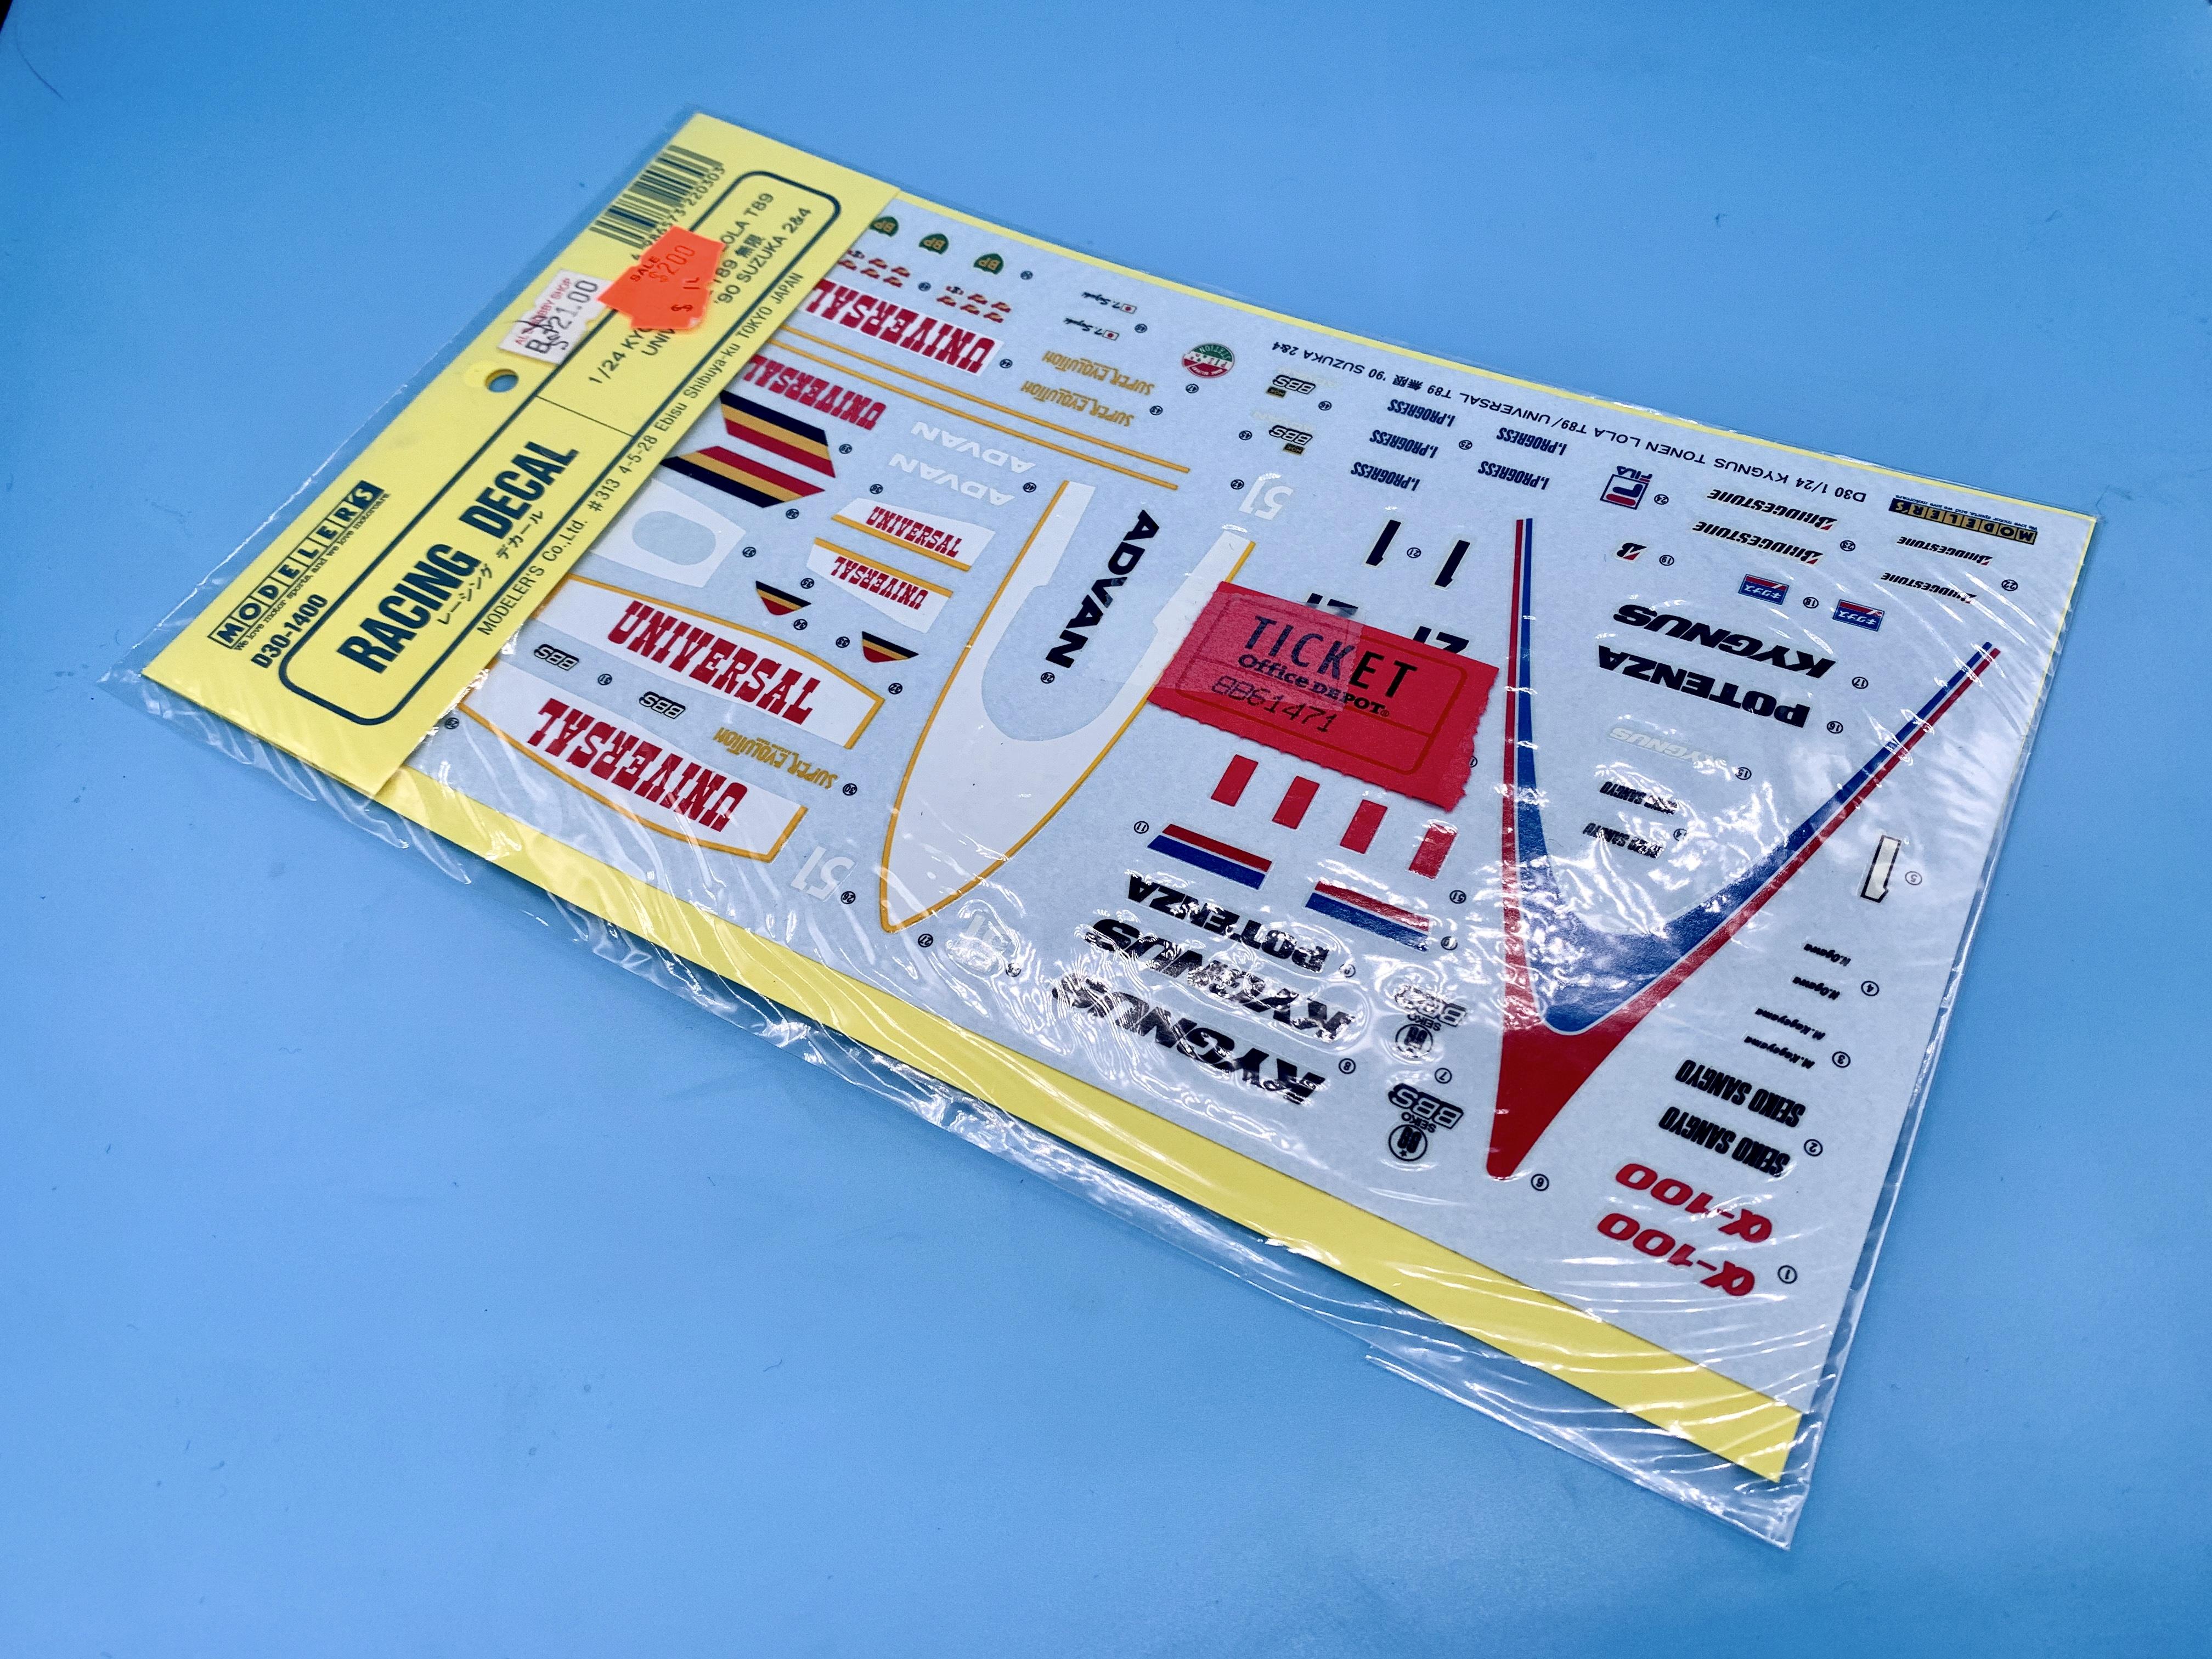
Hit the Summer NNL today - pretty small swap meet but picked up a coupla three kits… This, because I want to build an NY cab…surprisingly detailed kit for one labelled ‘Snap Tite’ - looks like it has about as many parts as their Beetle glue kit that I just finished up: This for $10, just because it’s the only Revell Deuce I didn’t have on the shelf: This, because I can’t resist a dumb 70s showrod ? And I got lucky with the raffle too: Oh, and a random set of decals for ??? And about 2/3rds of maybe a Revell VW bus: A good haul - good thing all the raffle prizes had tickets stuck on them or my wife might’ve wondered how much I spent ?
- 38,884 replies
-
- 1
-

-
- johan
- glue bombs
- (and 1 more)
-
Molotow Chrome Pens at Hobby Lobby
OldNYJim replied to DanR's topic in General Automotive Talk (Trucks and Cars)
Literally old news - the original post was from 5 years ago ? -
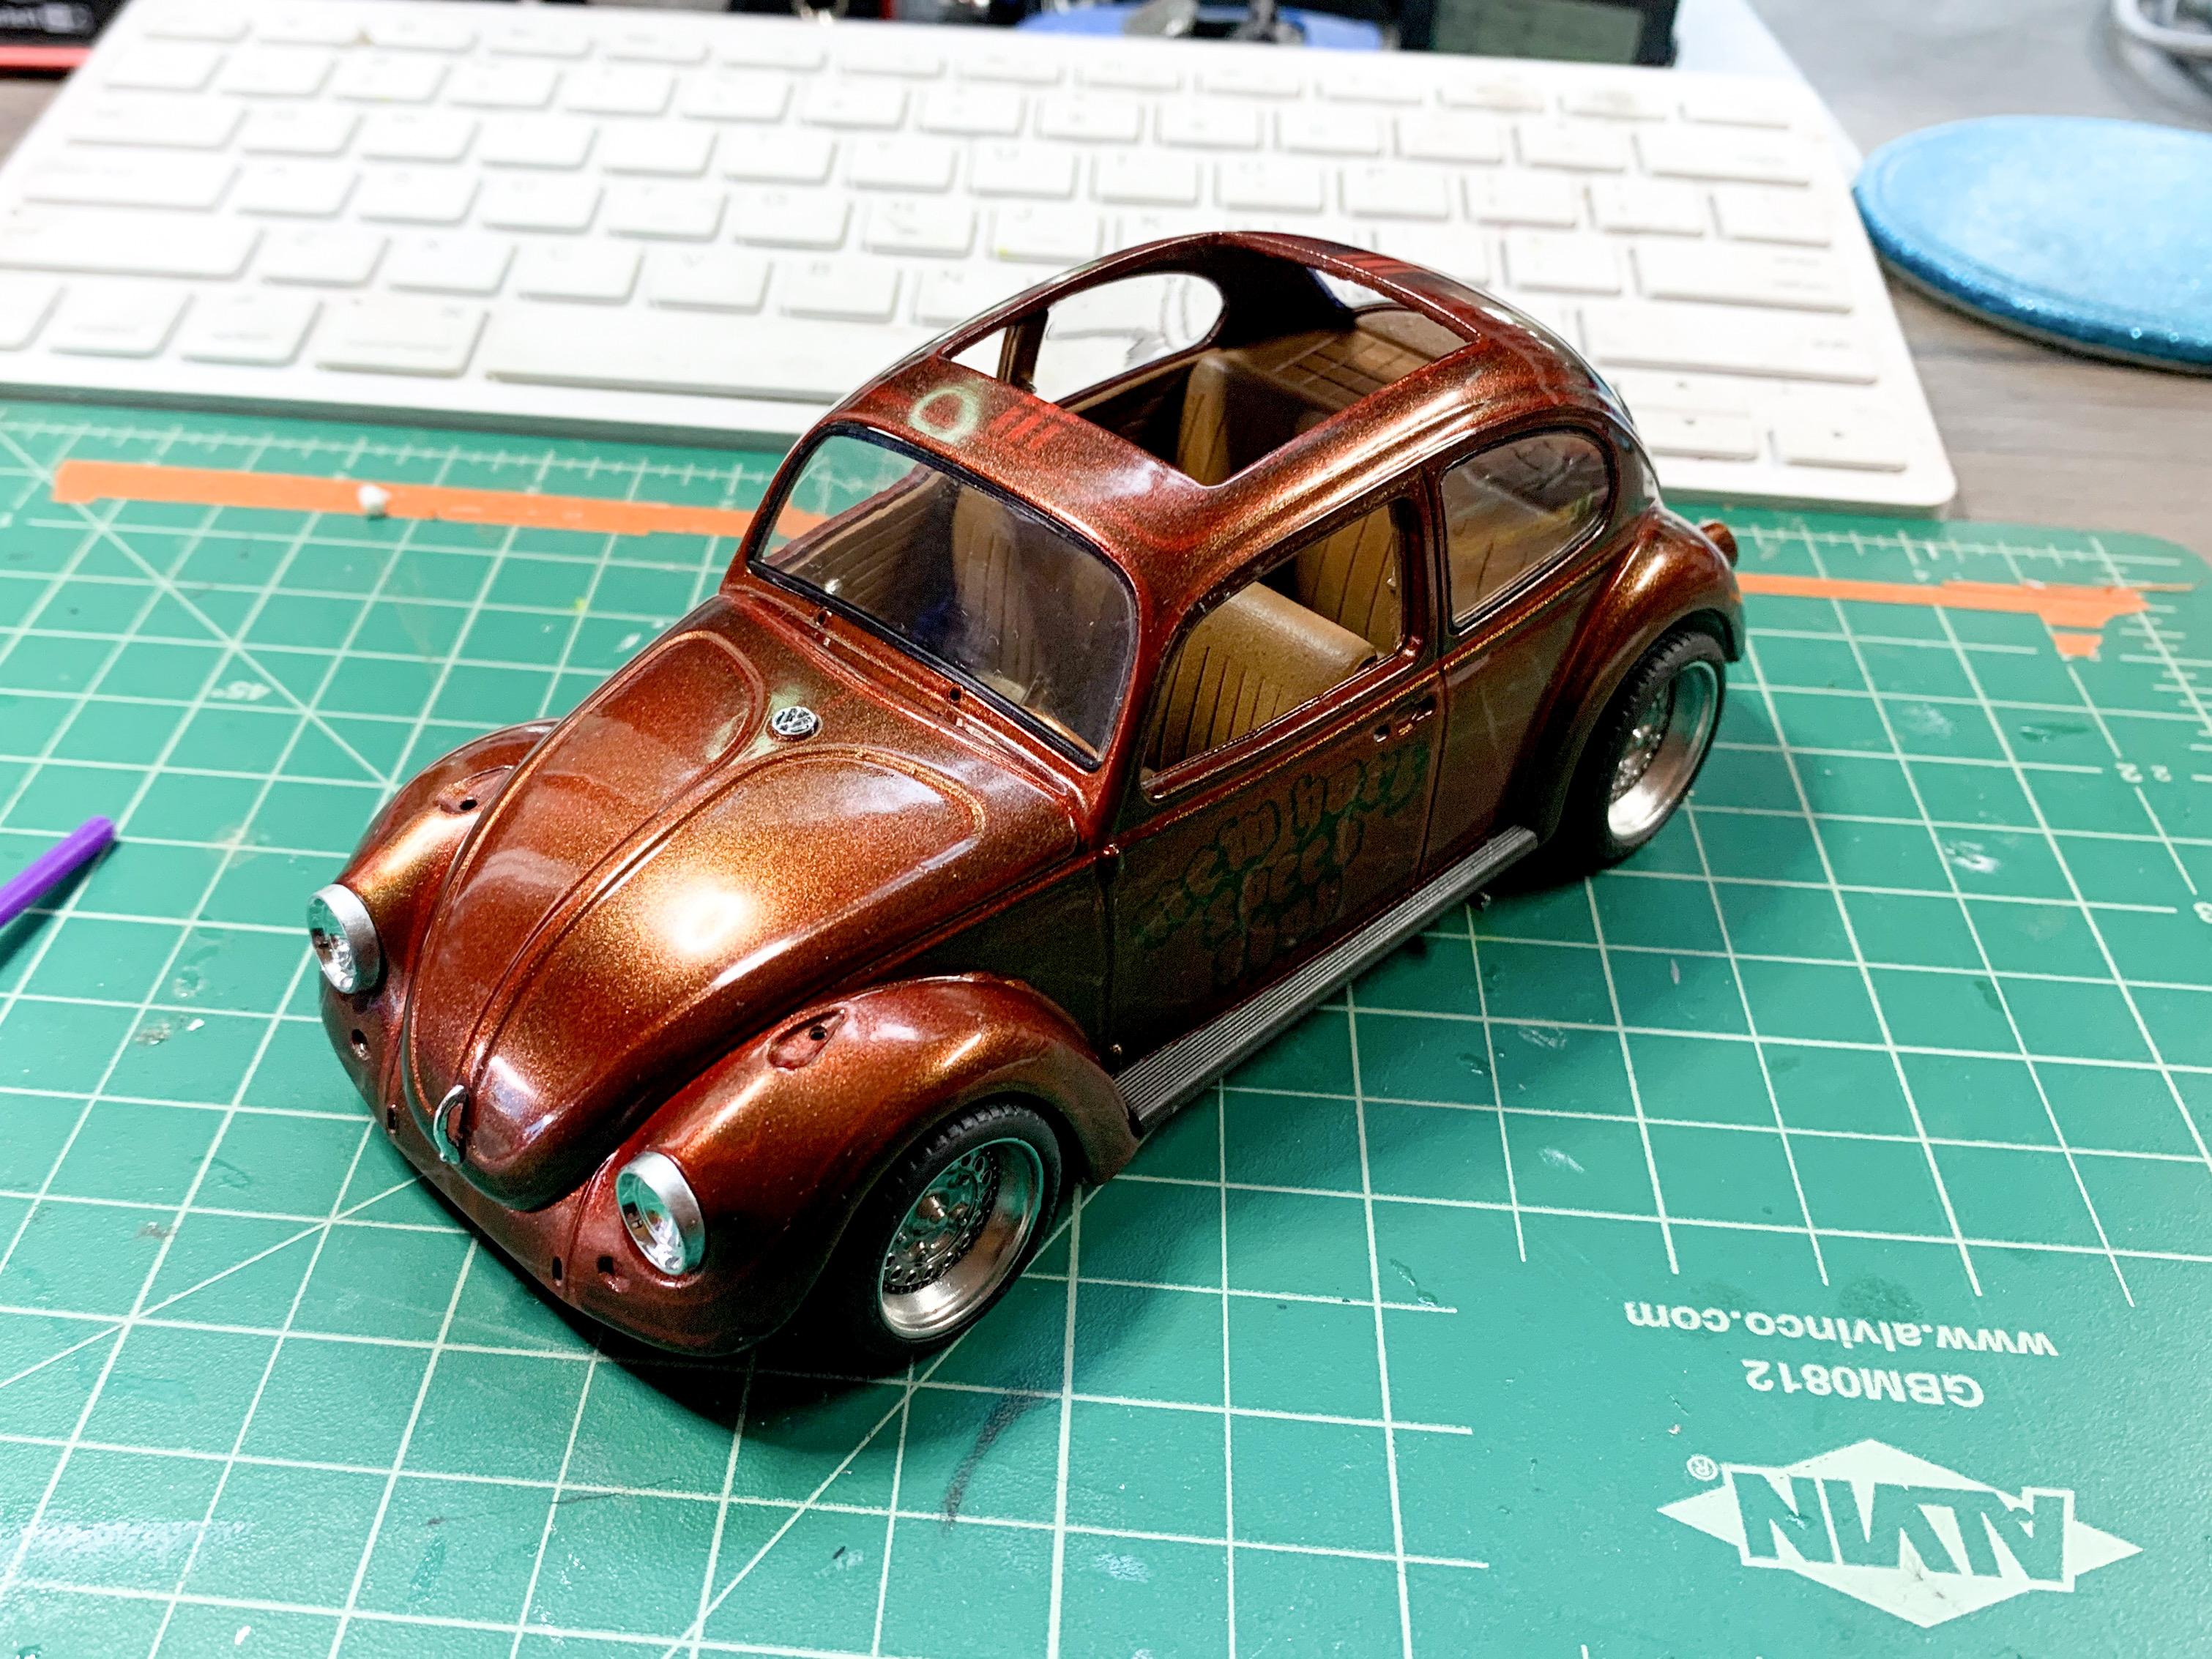
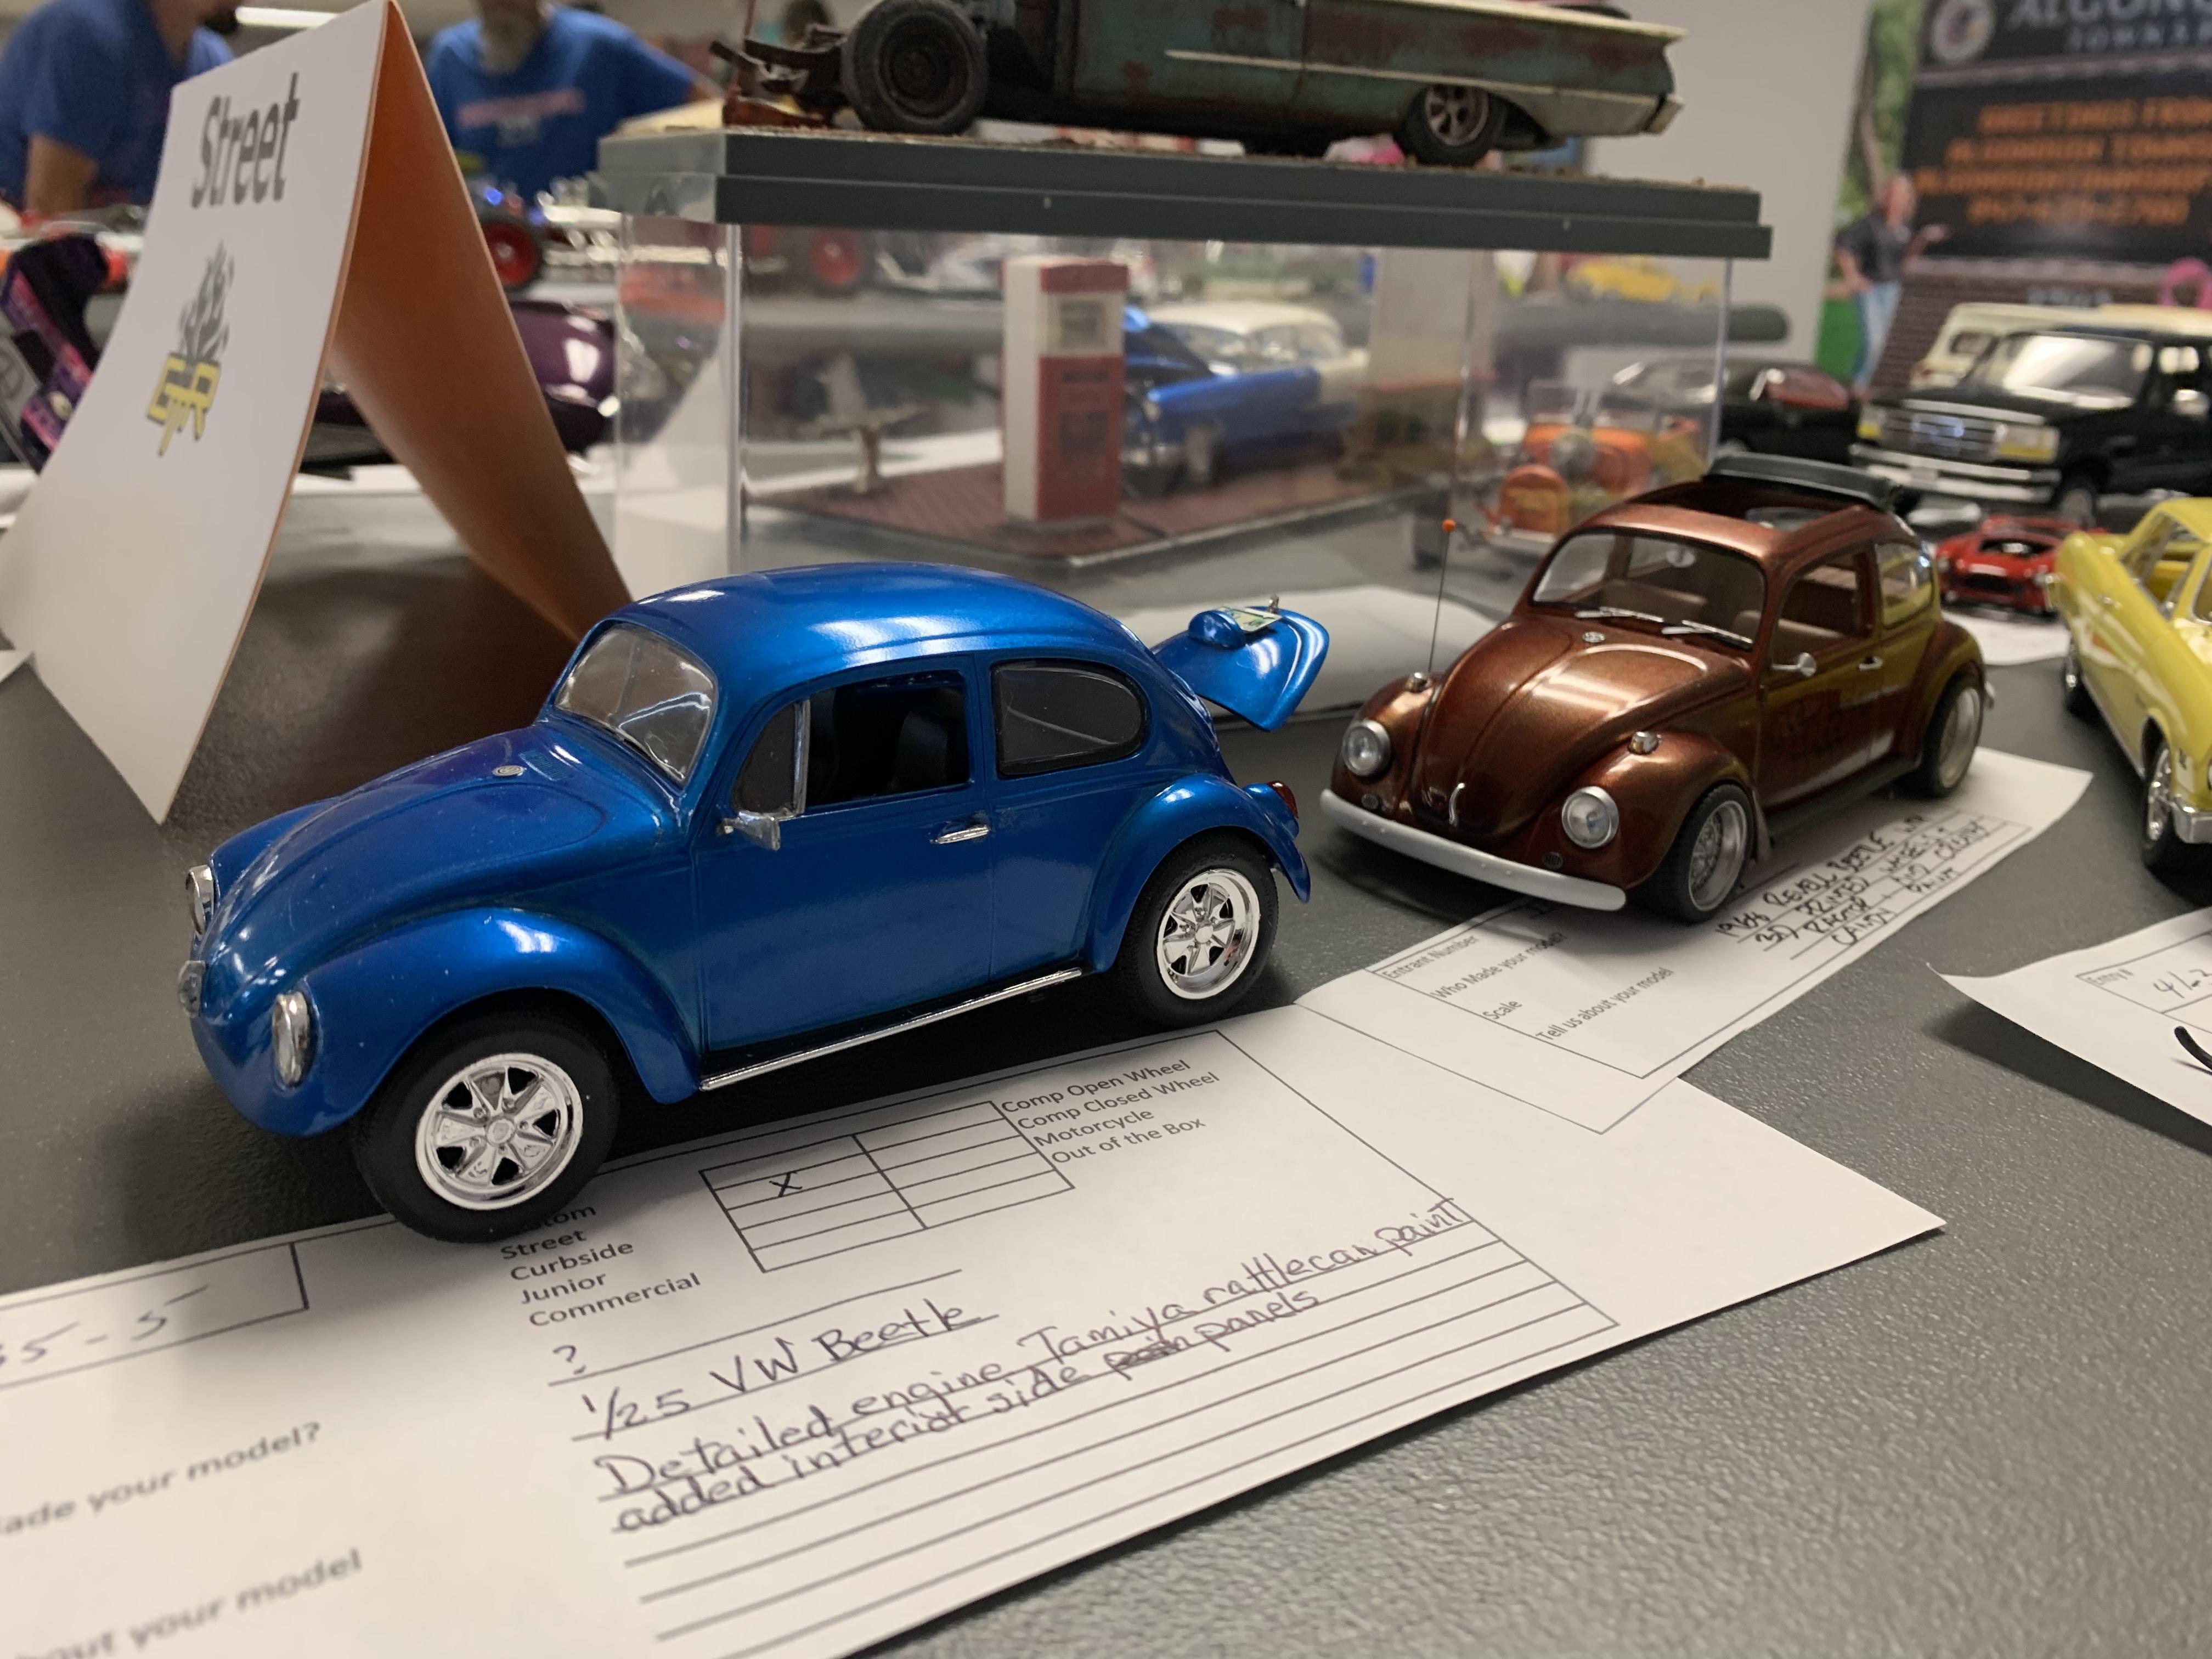
Thanks for all the nice comments everyone! Was hustling to get this one finished for the Summer NNL today, so excuse the lack of updates… Got the interior finished - made some window cranks with photoetch and the pupils out of some TINY googly eyes and faked the seatbelts with some cloth medical tape laid over the molded-in ones: Then, mated interior and chassis to the body - the fit was a little tricky to get good, so I need to mess with that some more on the next one I build: Then from there it was a case of attaching the wheels (with a little camber in the rear - not a bunch because I didn’t want that ‘broken suspension’ look, even if it IS correct for a lowered Bug): Installing all the chrome doodads on the body, then the bumpers: Designing and 3D printing a license plate - I haven’t perfected the design for these plates with the raised letters yet, but I still like it more than a totally flat plate: And with that, it was about done! And…it made it to the show on time (and found another Beetle to park next to): Thanks for following along everyone, appreciate all the kind comments - I’ll post some more pics ‘under glass’…I’ve already got a bunch of ideas for the next one I want to build!
-
Picked up this (kinda) built-up from the Summer NNL today, but I haven’t been able to figure out what kit it is. Molded in orange plastic, all opening doors, came with an AMT/Ertl decal sheet that may or may not be from the kit, and no obvious manufacturer’s markings…any ideas?
-
Super Gas '77 Vega--Completed! (11/12)
OldNYJim replied to Straightliner59's topic in WIP: Drag Racing Models
Love all that fabricated aluminum! Great work! -
Firetruck show rod
OldNYJim replied to BIGTRUCK's topic in WIP: Model Trucks: Pickups, Vans, SUVs, Light Commercial
Great start! Love how this looks so far! -
Who doesn't love a mock-up? Let's see yours!
OldNYJim replied to Belairconvertable's topic in WIP: Model Cars
I like it channeled just like you have it - looks great!! -
The Official EBay Discussion Thread
OldNYJim replied to iamsuperdan's topic in General Automotive Talk (Trucks and Cars)
See? And you thought they weren't listening -
Ebbro/Tamiya 1:12 1968 Matra MS11 F1
OldNYJim replied to Nacho Z's topic in WIP: Other Racing: Road Racing, Land Speed Racers
That engine turned out GREAT! Love the super-neat wiring job you did! -
What Carl said ⤴️ That’ll be a cool build!
-
Revell Porsche 917 - New, re-release or rebox?
OldNYJim replied to Monty's topic in Car Kit News & Reviews
Huh! Did not know that! Thanks for the info! -
R model Mack garbage truck Finished
OldNYJim replied to gotnitro?'s topic in WIP: Model Trucks: Big Rigs and Heavy Equipment
Beautiful scratchbuilding! Super clean work, too (for a garbage truck ?) -
The Official EBay Discussion Thread
OldNYJim replied to iamsuperdan's topic in General Automotive Talk (Trucks and Cars)
Nobody’s getting paid a six-or-seven figure salary for leaving something well enough alone ?