dino246gt
-
Posts
2,244 -
Joined
-
Last visited
Content Type
Profiles
Forums
Events
Gallery
Everything posted by dino246gt
-
I found that the windshield from a Dodge Sidewinder kit had the correct curvature so I cut it down for my T-Bird "speedster". You might search any kit "glass" to find a better fit and file it to shape, MAYBE even the original kit piece.

-
Yours looks cool, I also built this one:
-
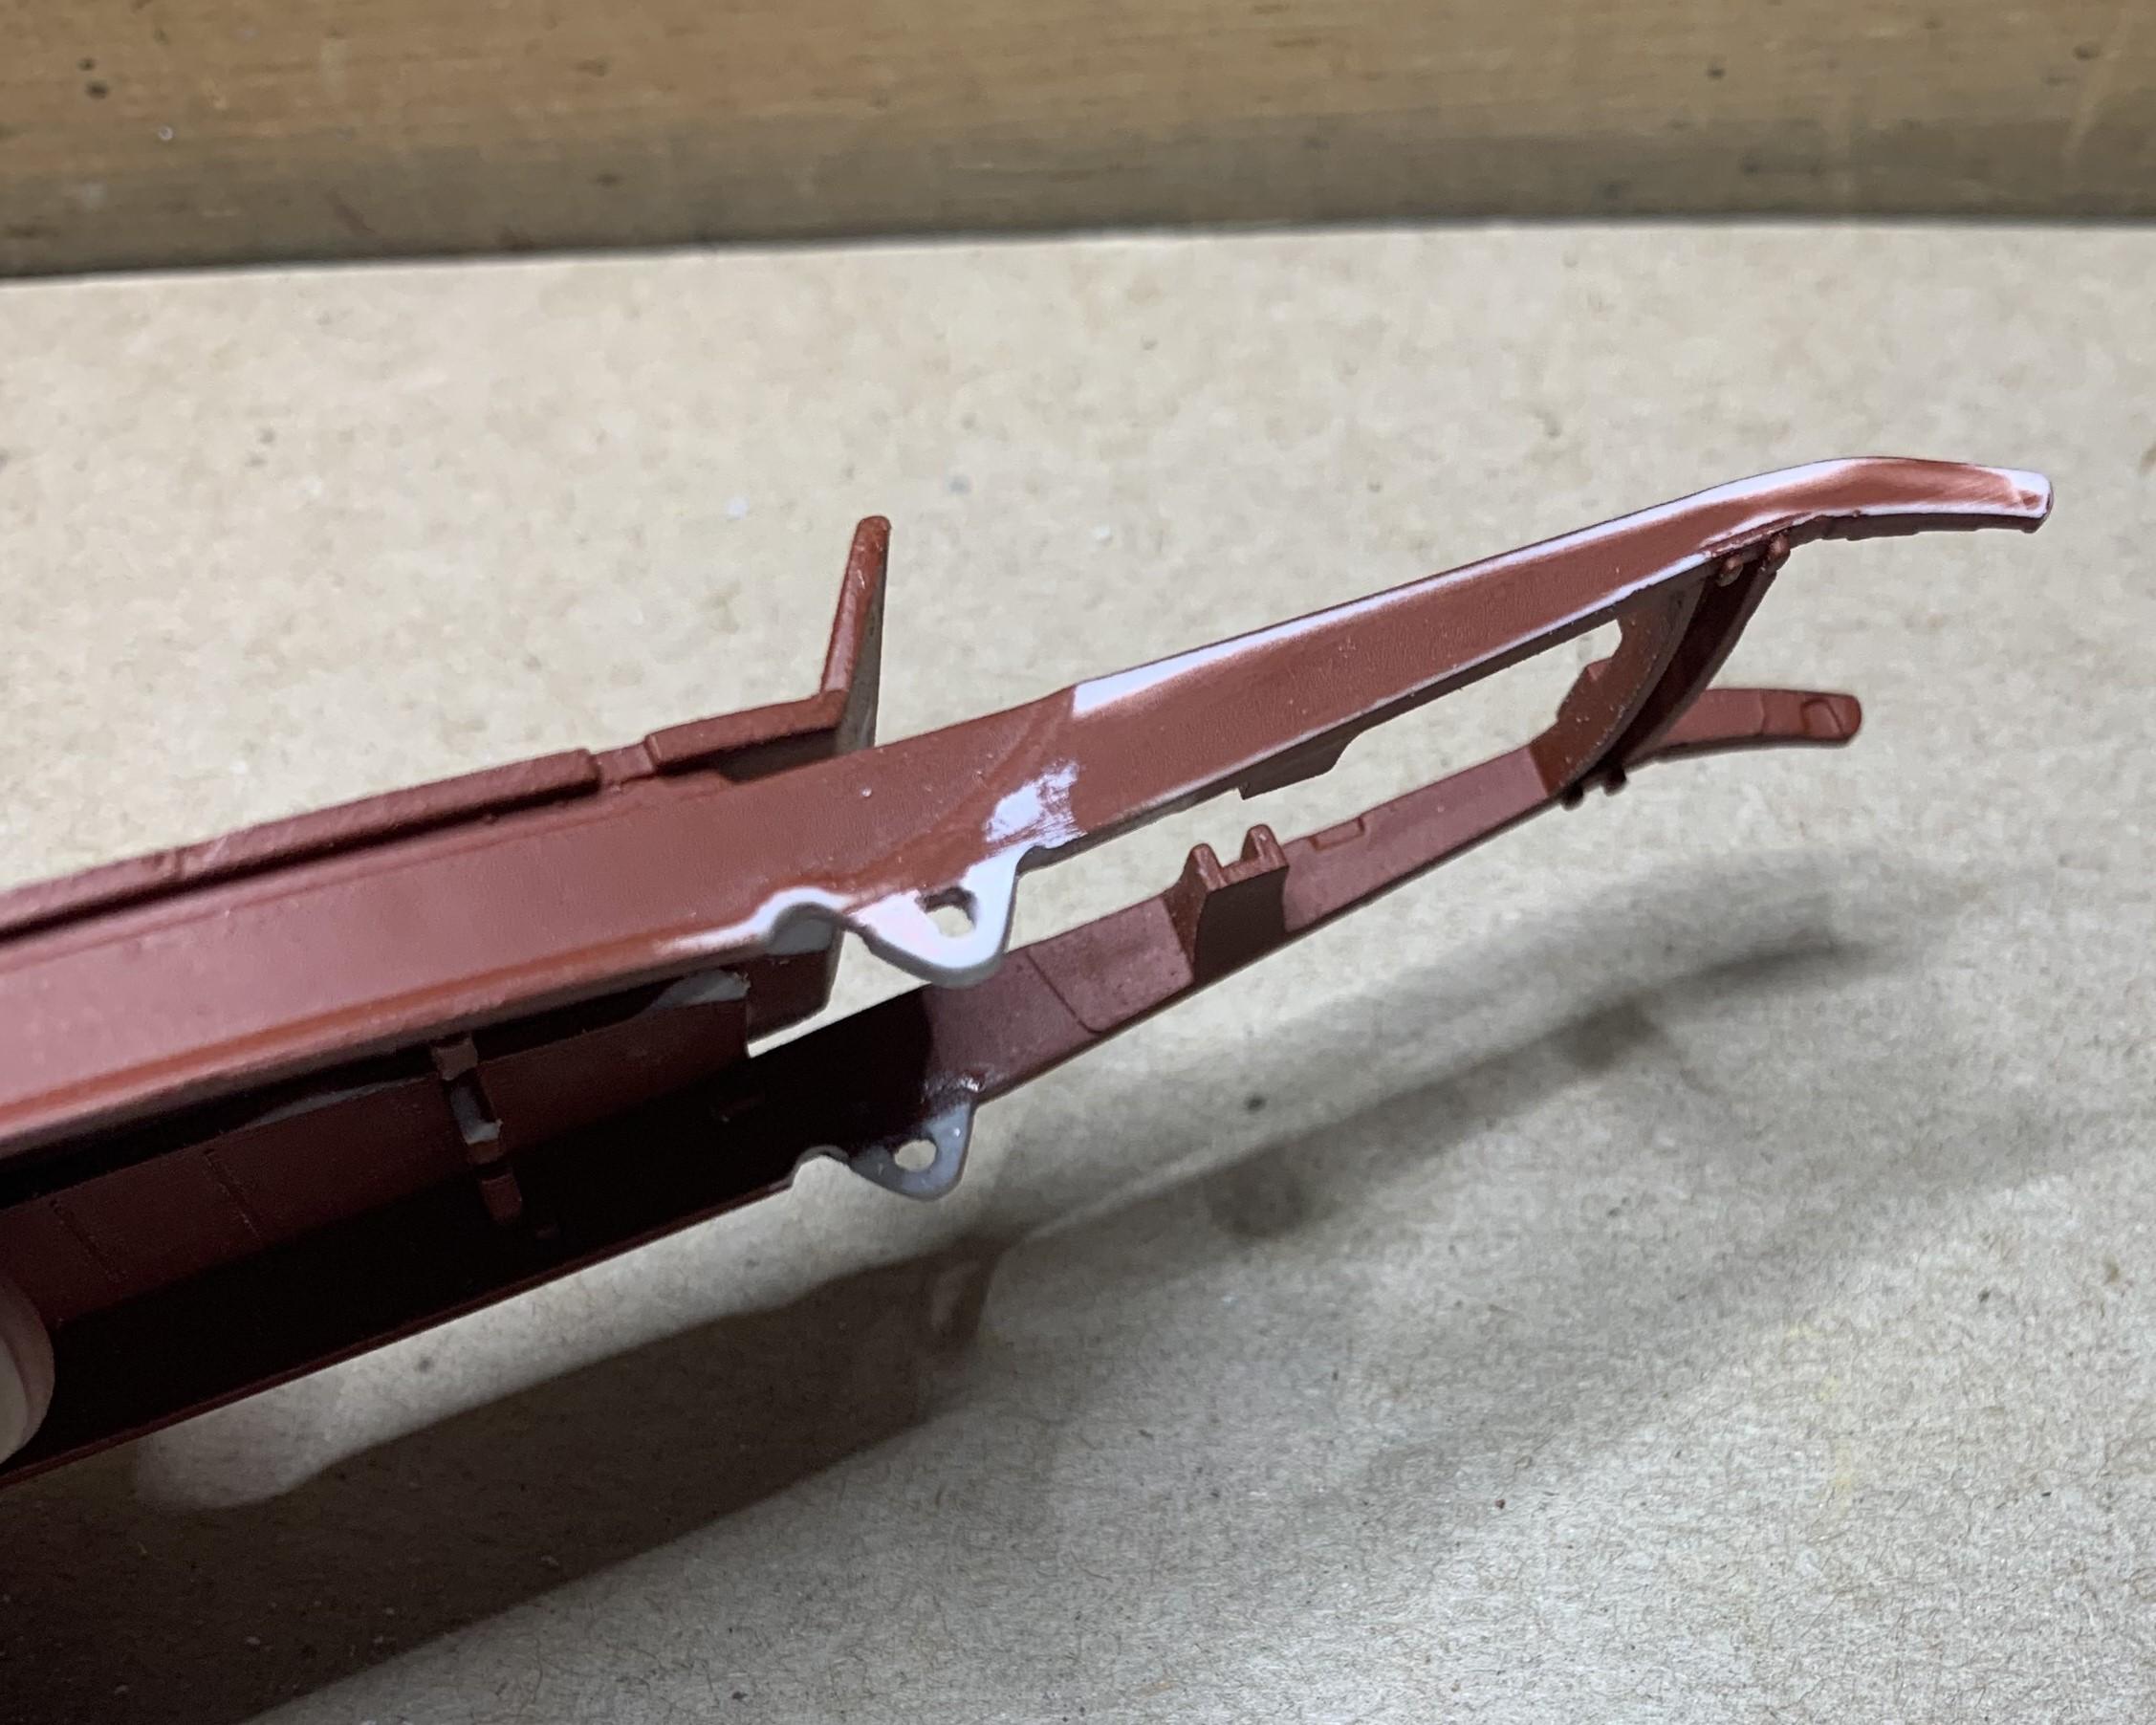
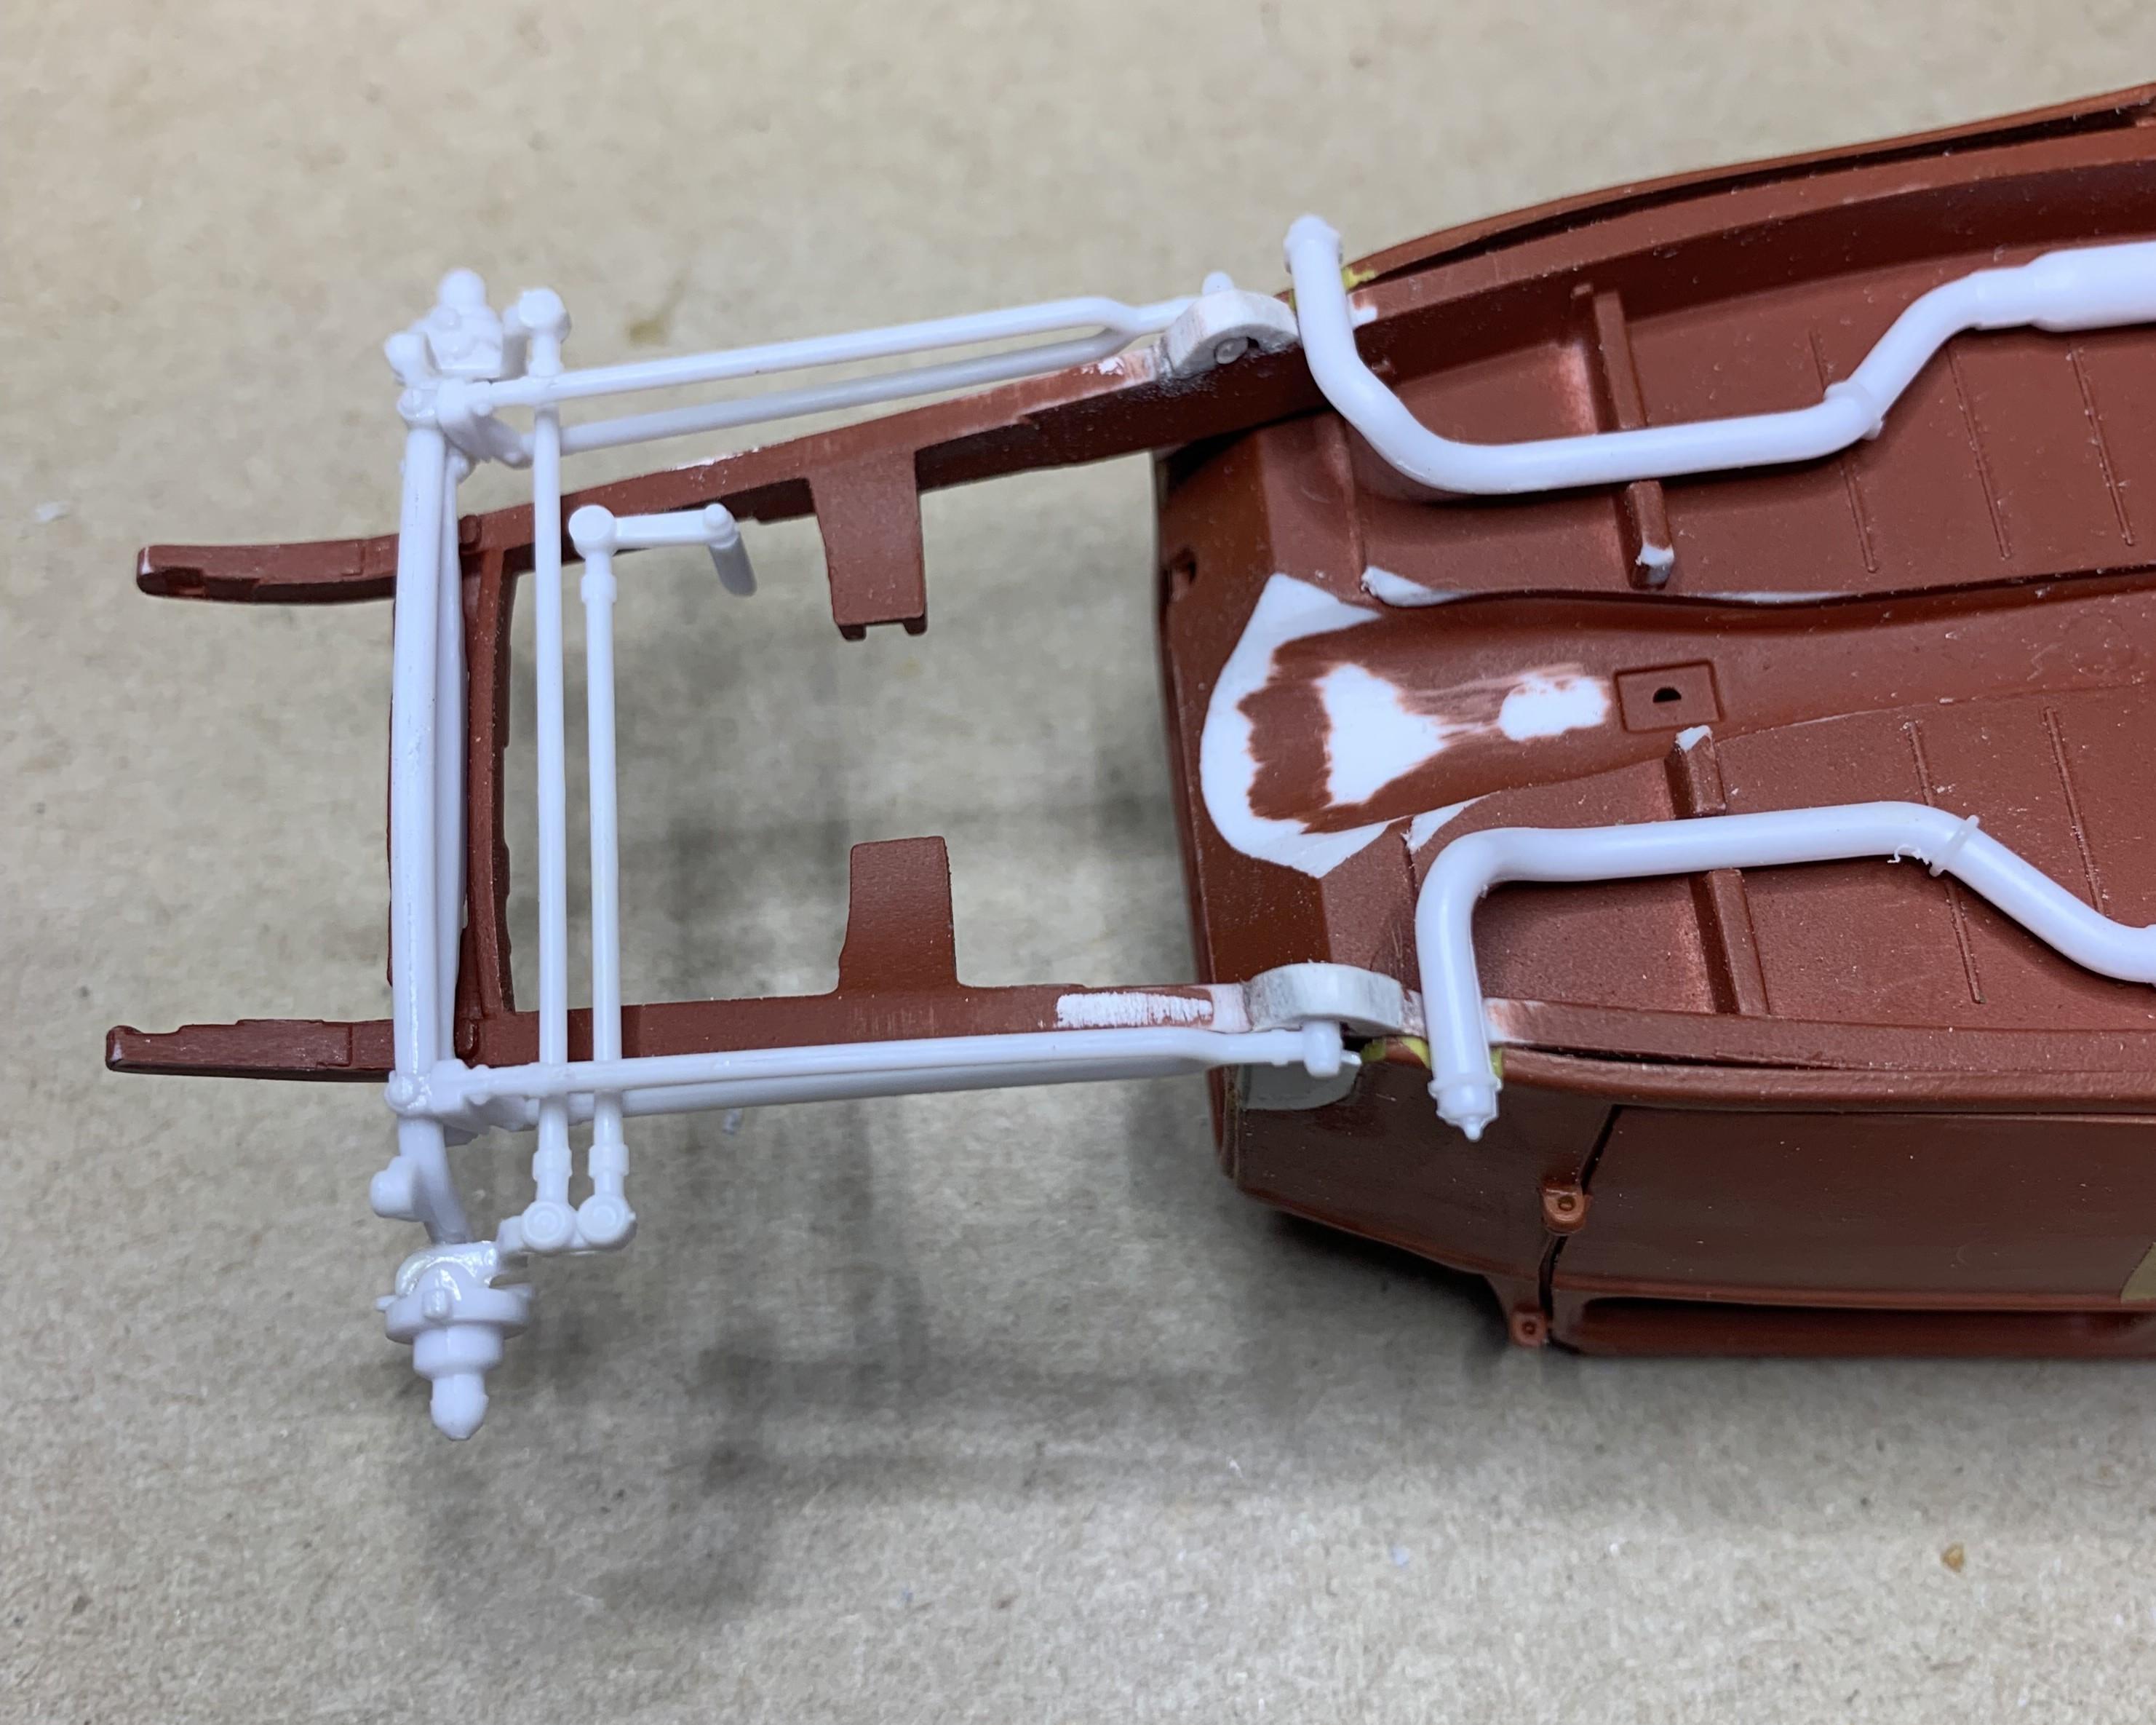
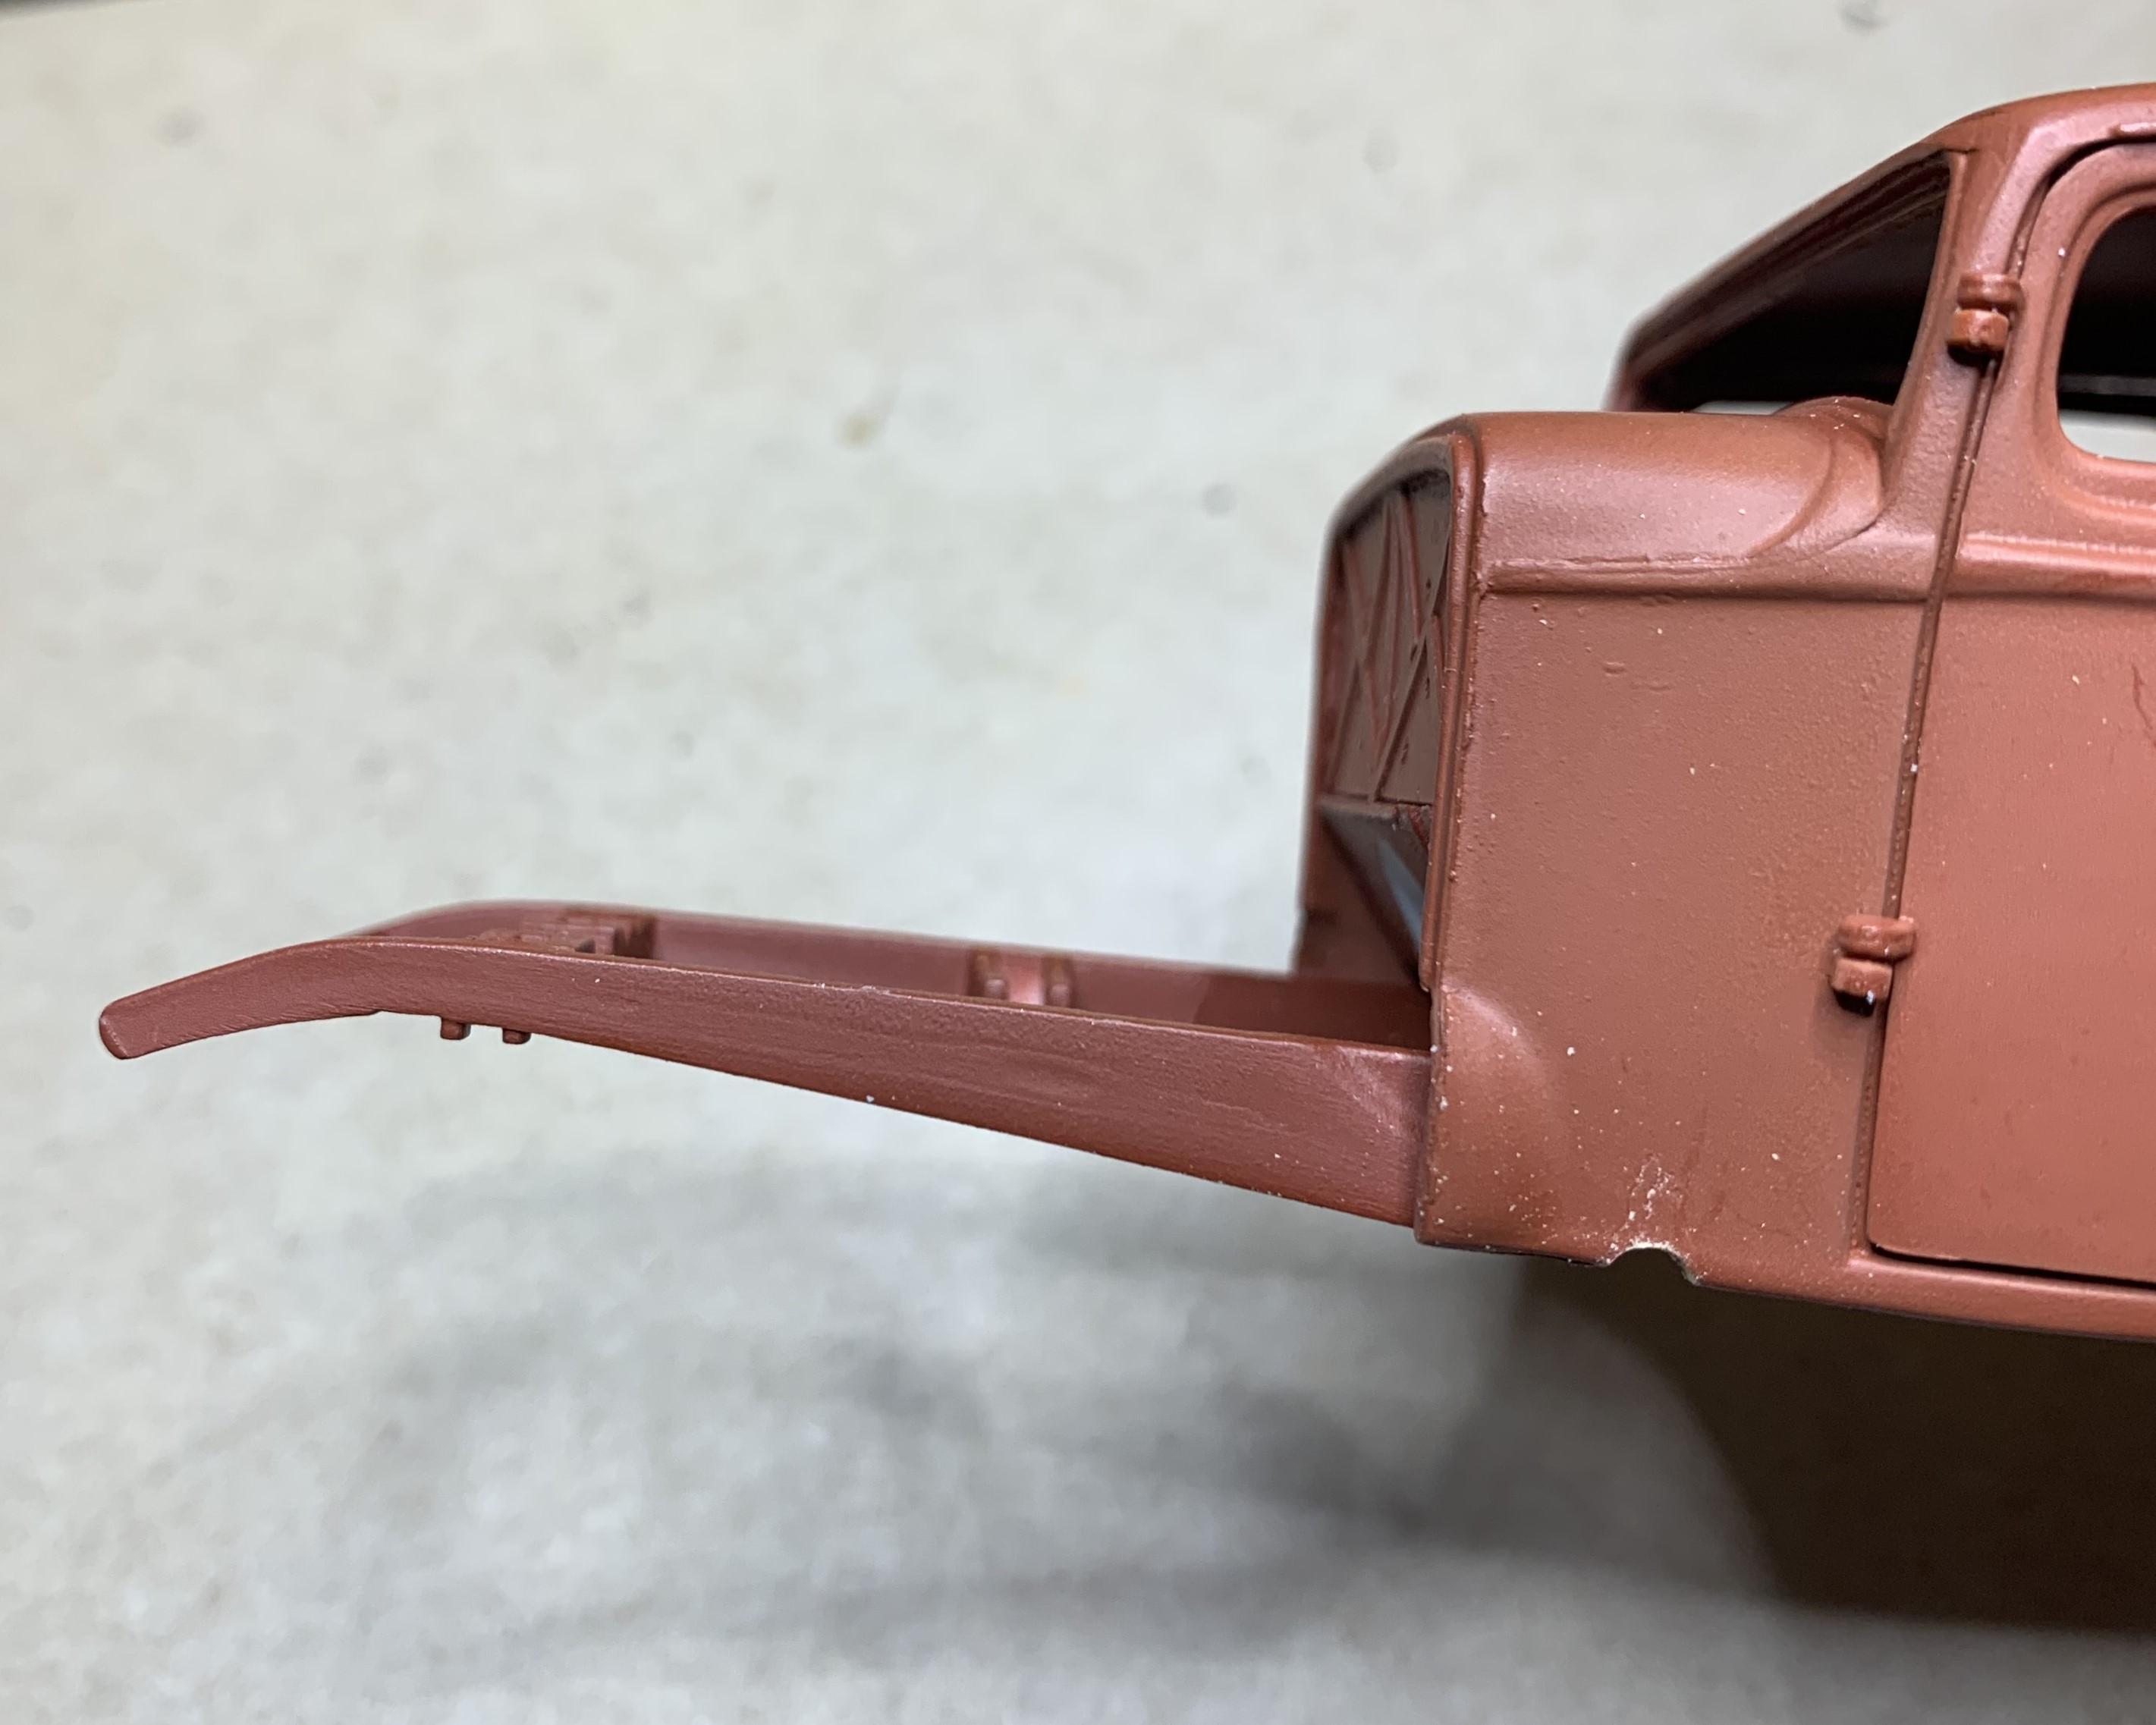
I'm using the exhaust from the '32 Ford Roadster (modified re-issue Rat Roaster) kit so I had to notch the body to match the notches in the frame. I'll use the front suspension from that same kit and I've already de-chromed it. Now I see that the older Revell chassis doesn't have any place to attach that suspension! I'll have to make some brackets to go under the frame rails. I made them from styrene the same width as the frame. Looks like everything will work out quite easily, all good.............so far!
-
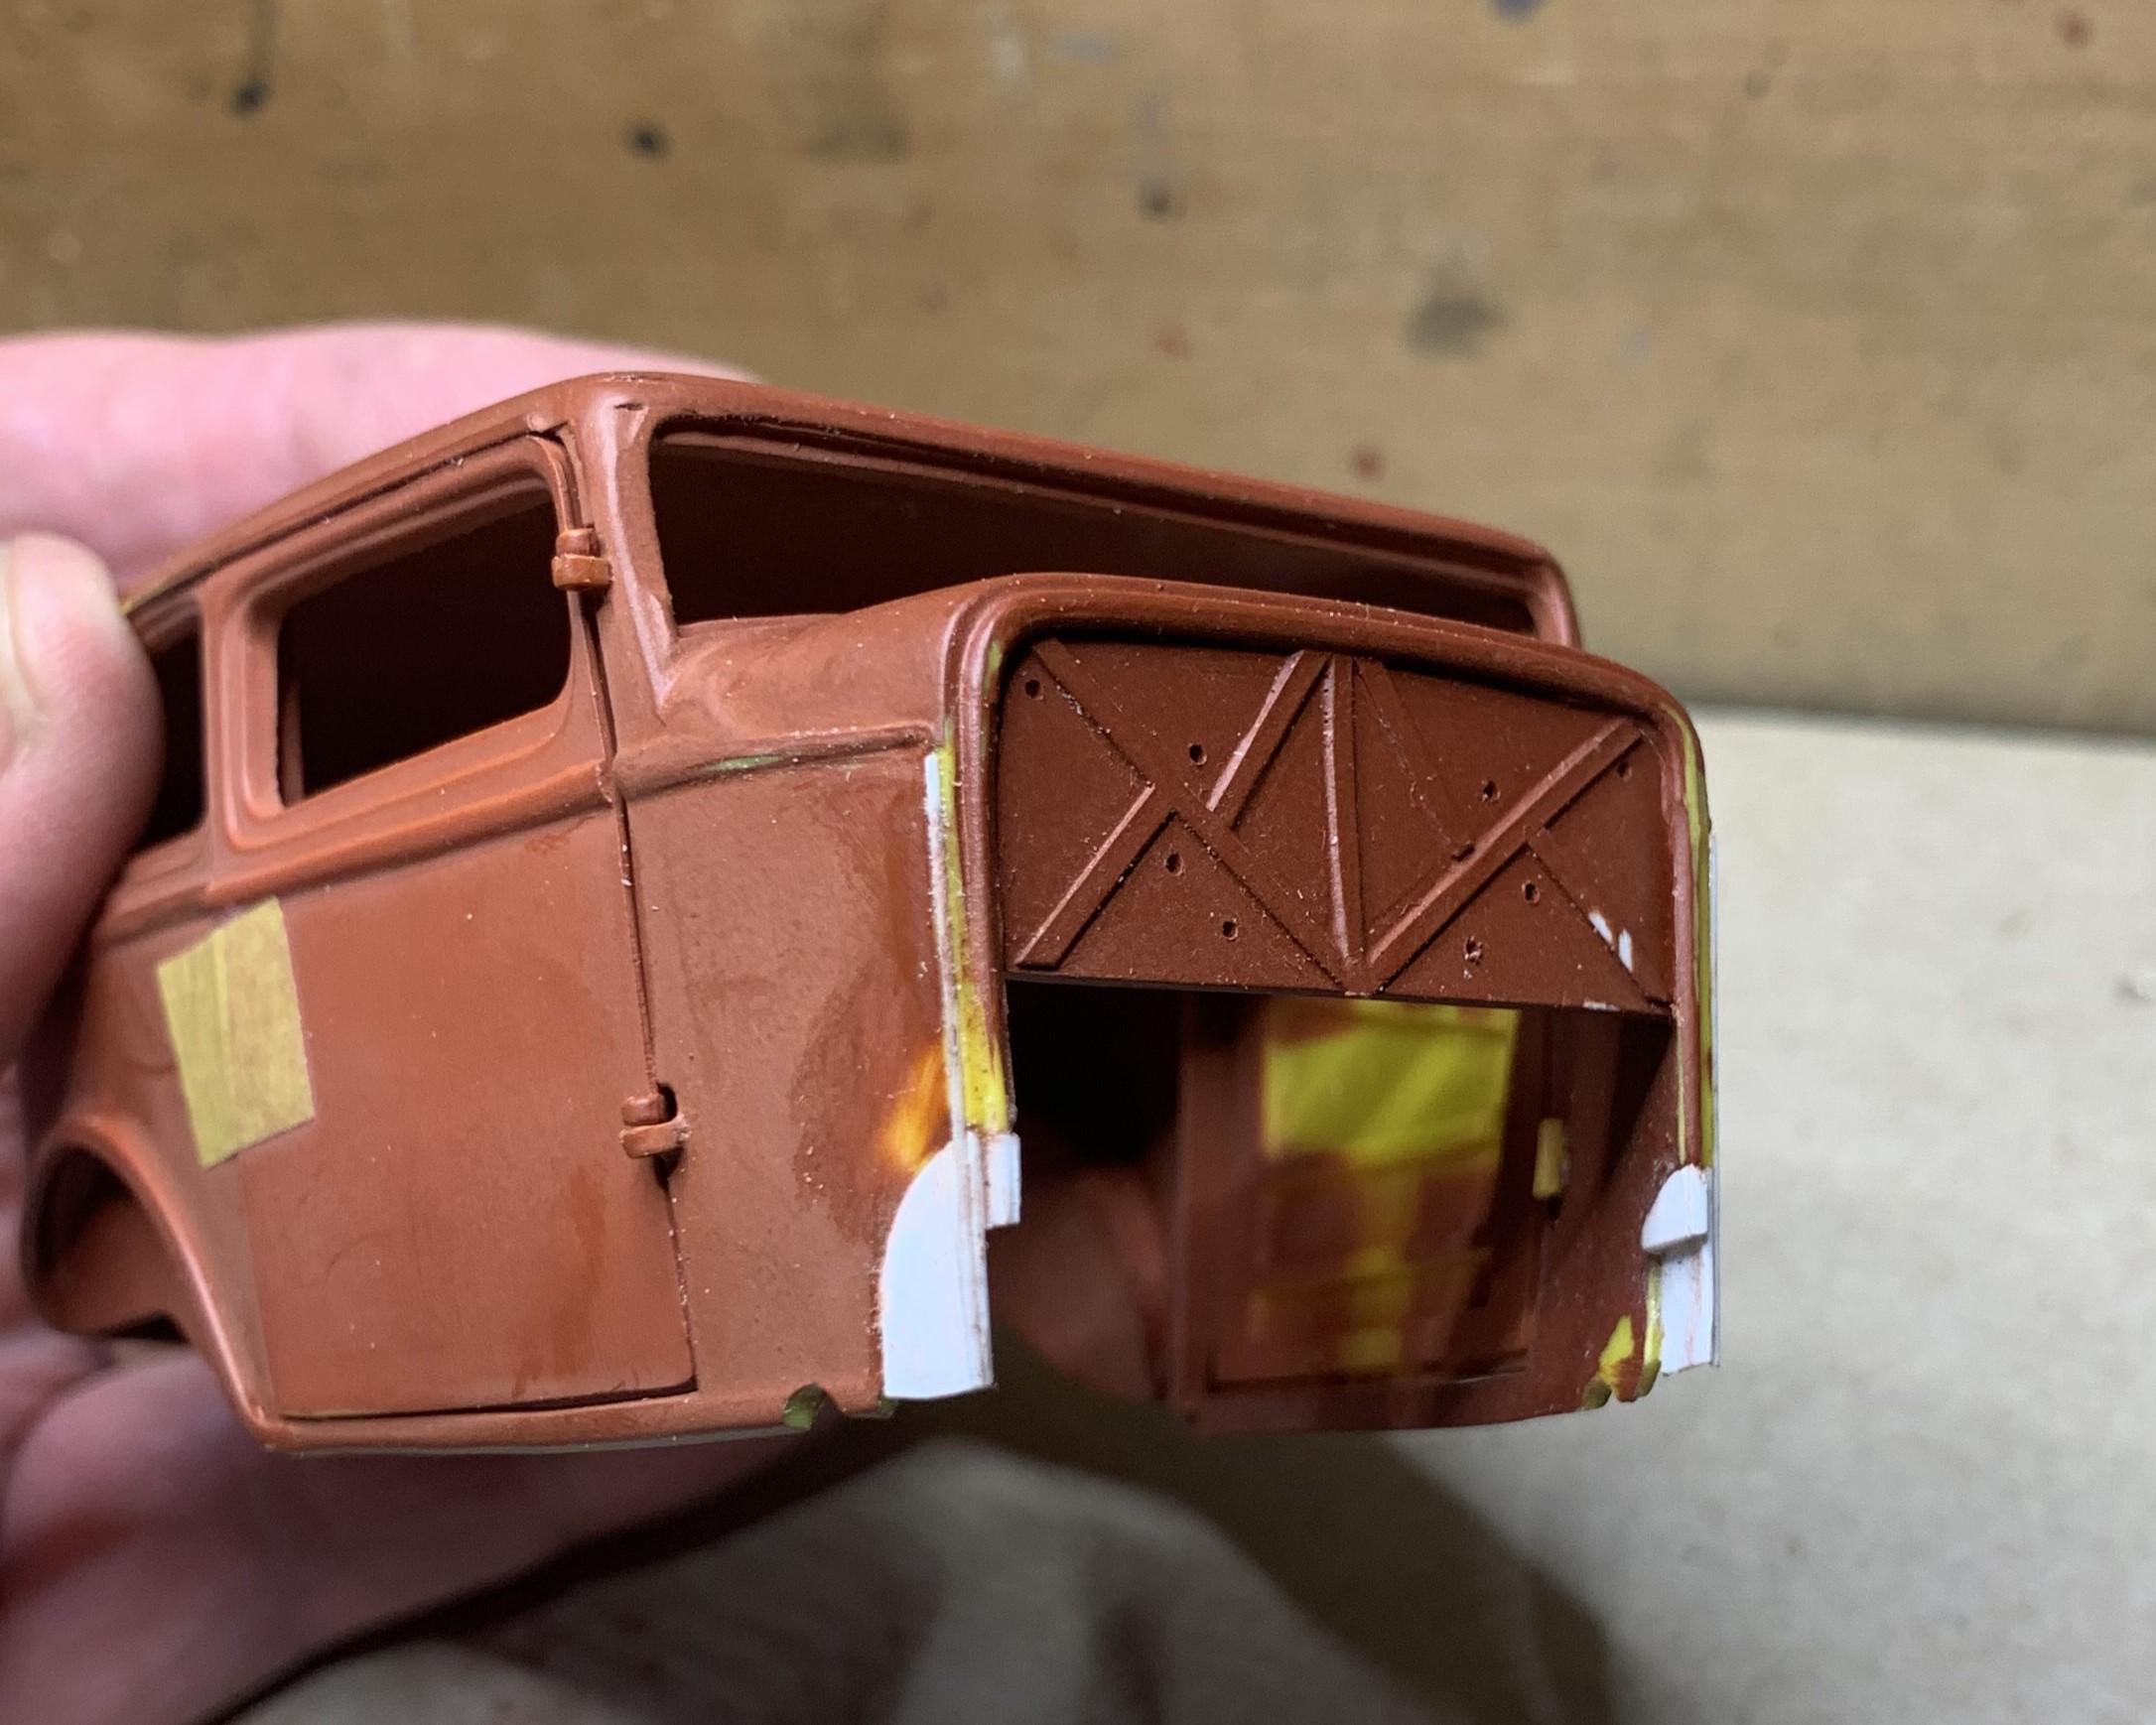
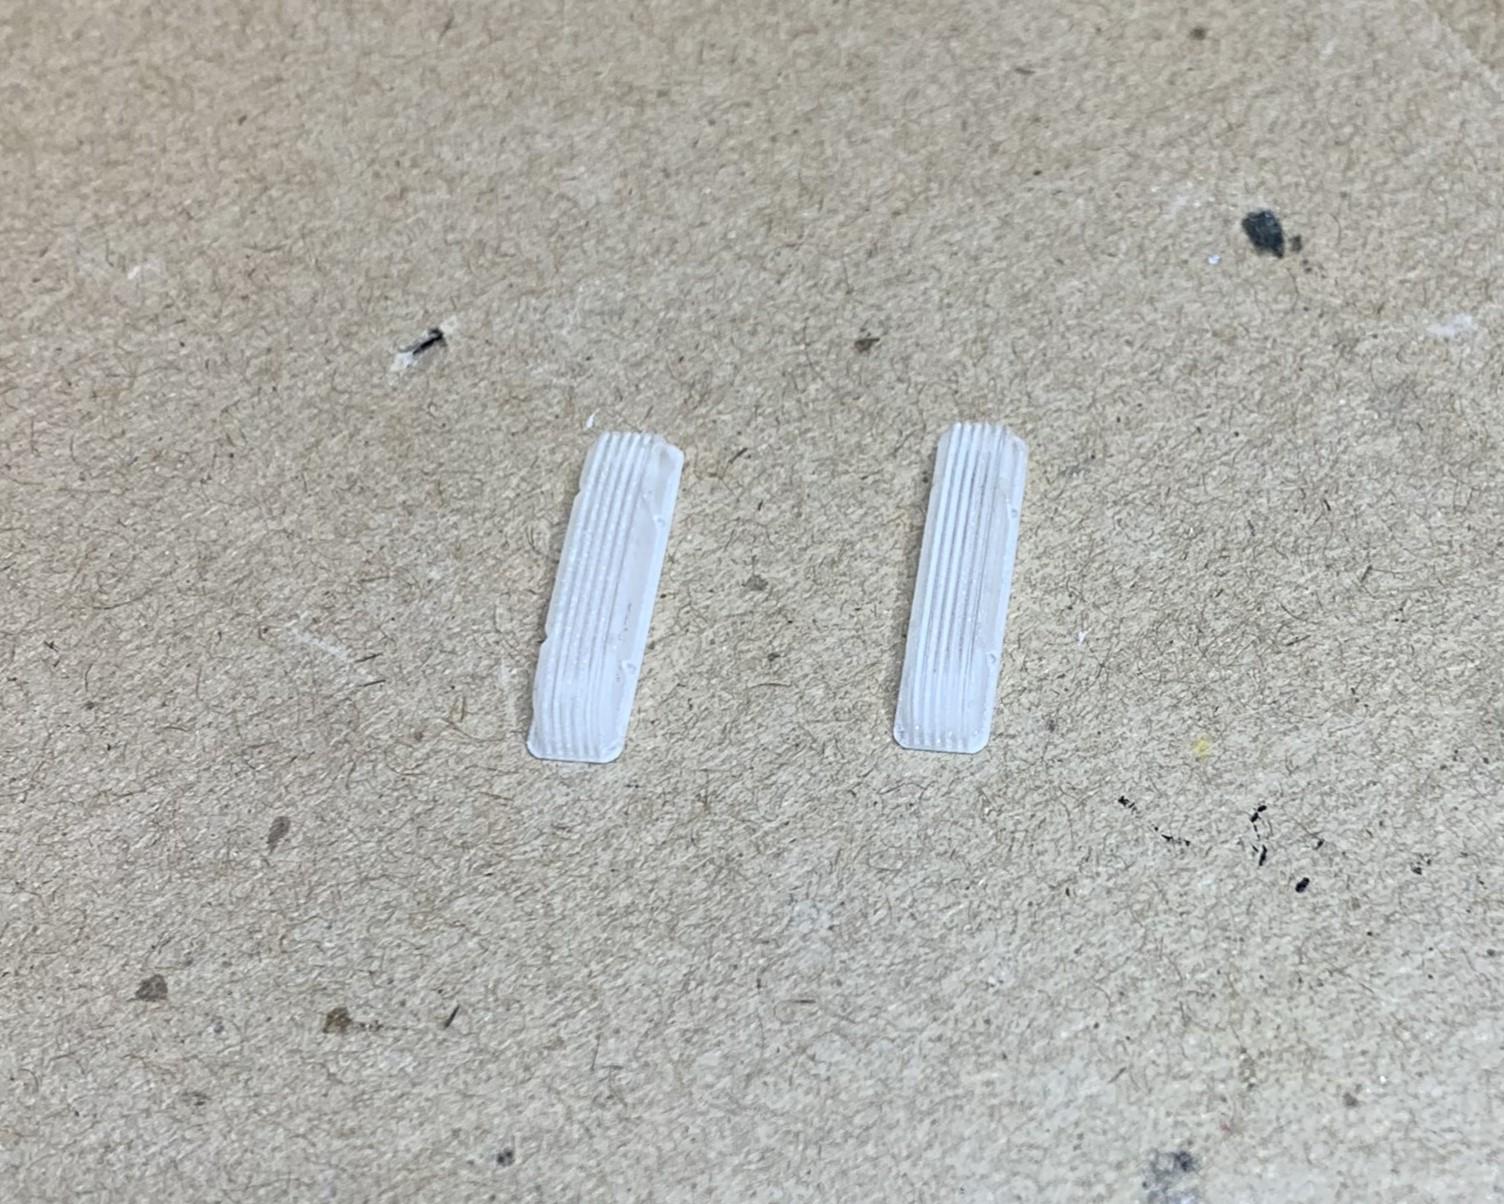
That Orange Crate body has these bulges that I don't want, so I cut them off and started making replacement bits. I say I'm "un-crating" this thing, LOL.
-
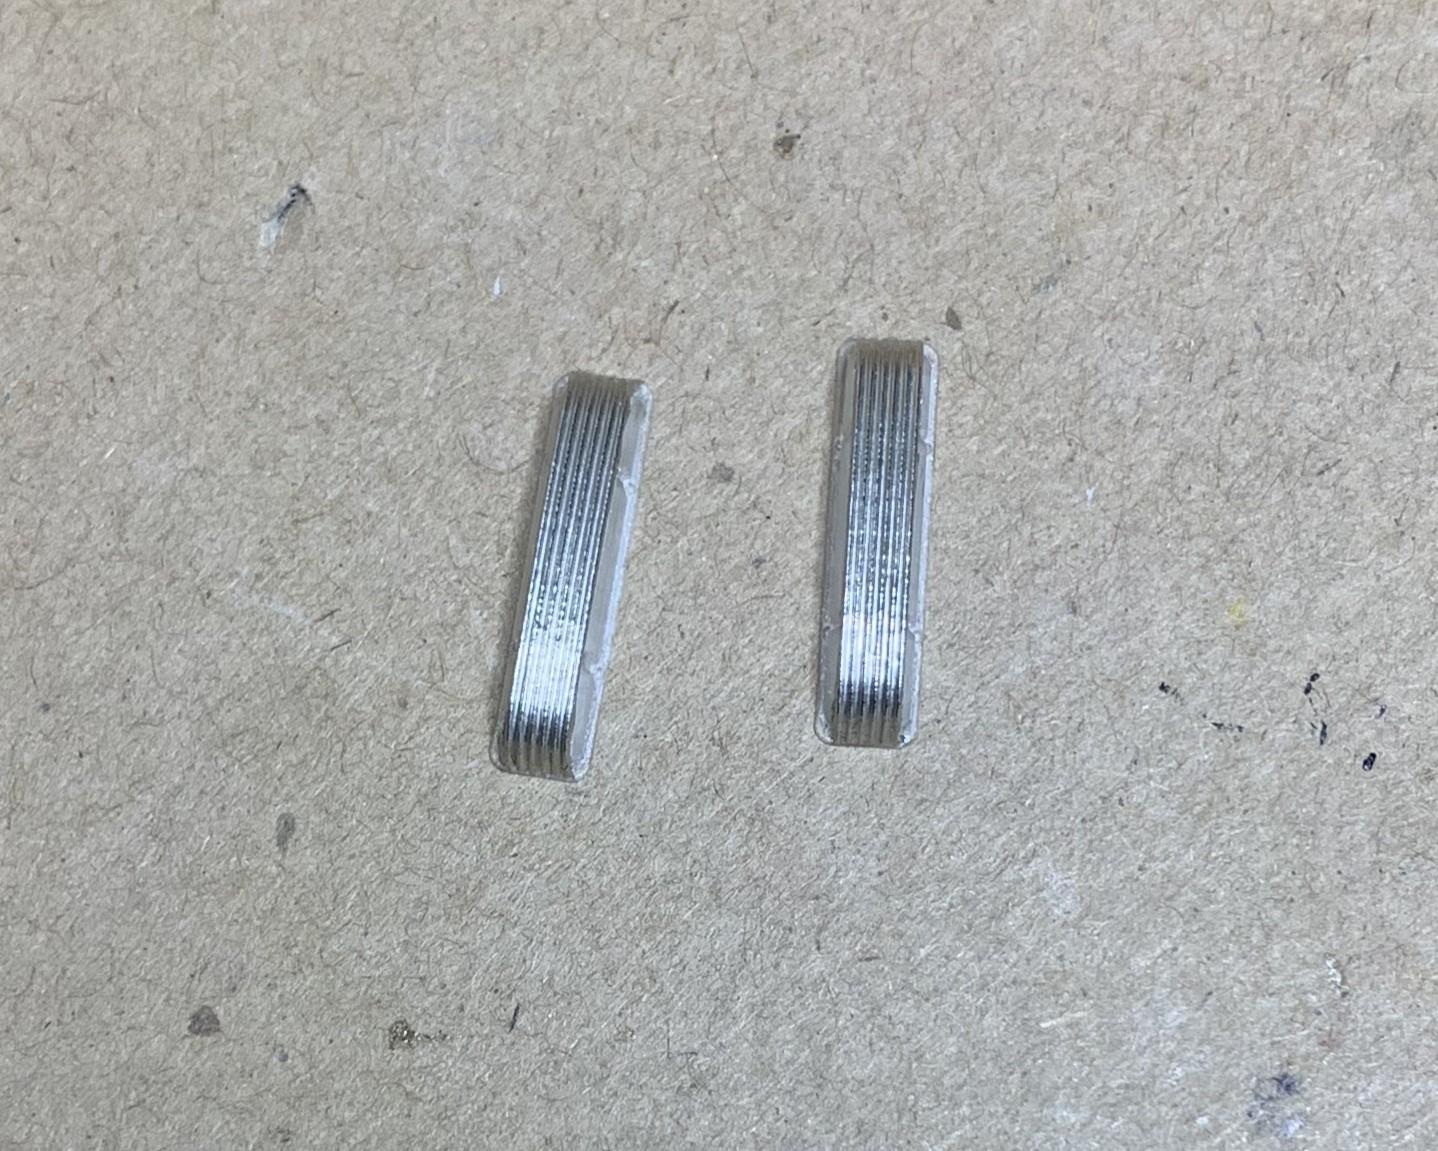
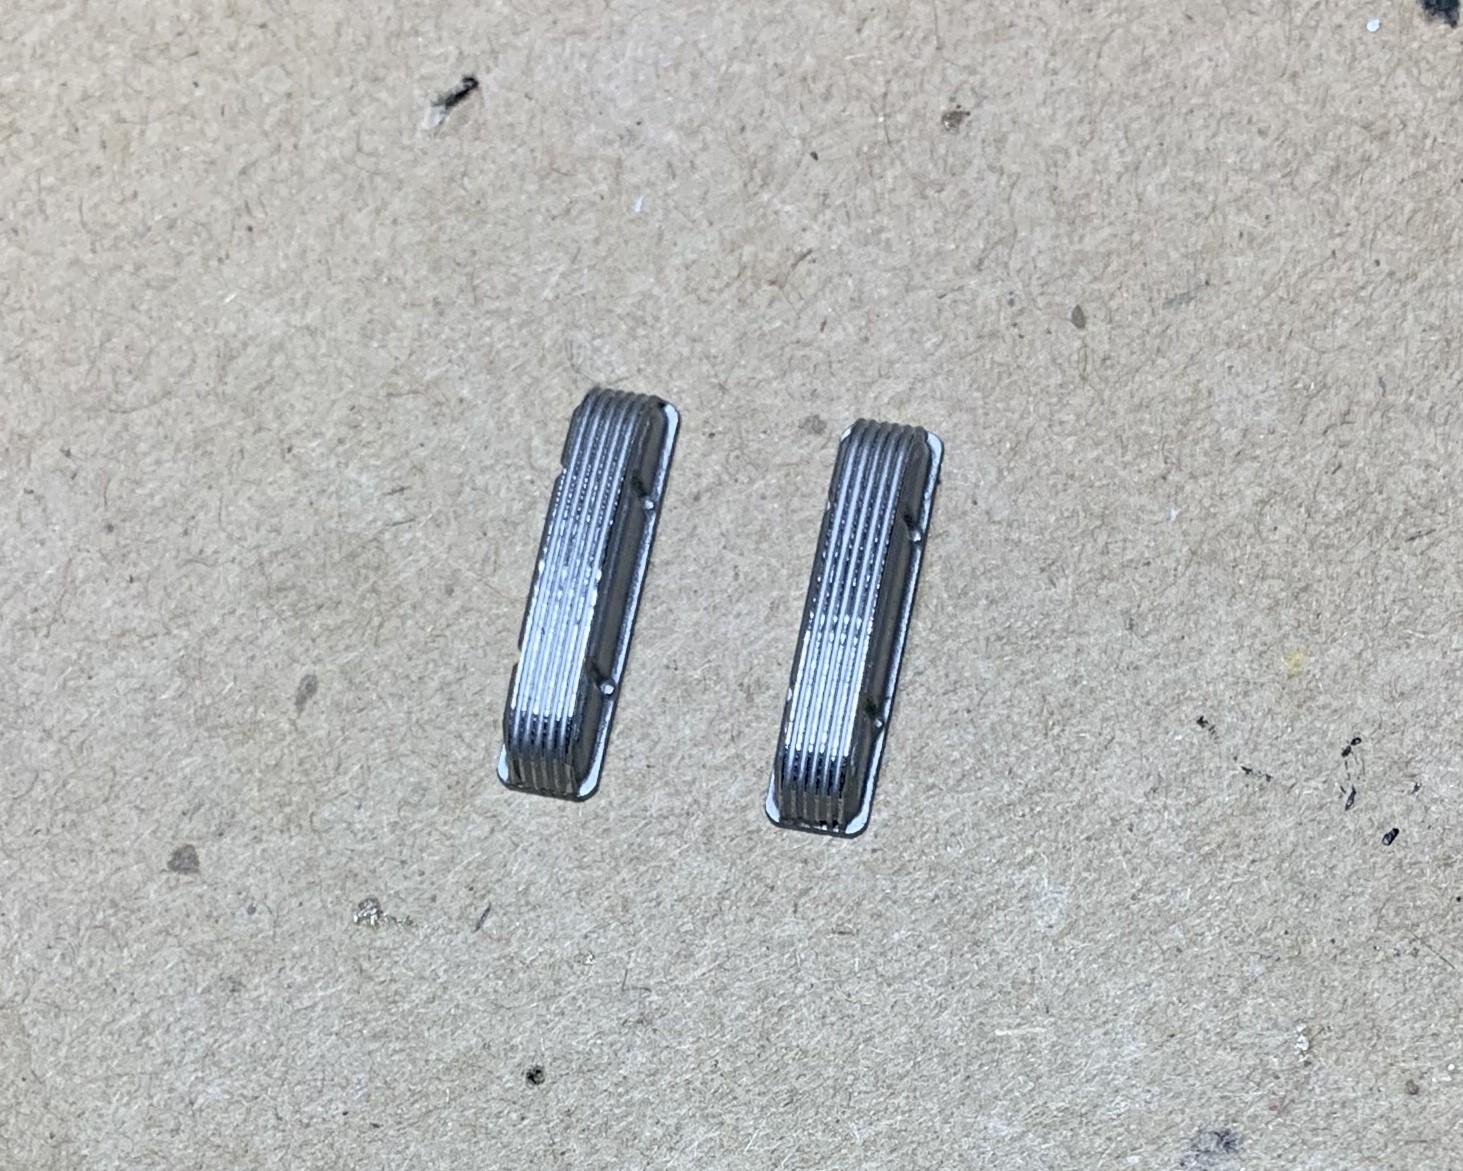
Here's those 3D printed valve covers, semi-translucent. I foiled ONLY the tops, then airbrushed Alclad "aluminum" right over them. Then I used a hard Tamiya "Q-tip" and polished only the tops of the fins, got the look I was after. I'll add little photo-etch bold heads after they're installed.
-
High praise indeed! Not sure I deserve it though, but thank you, I'm glad you like it! It did turn out a lot better than I was expecting. I did it just to go along with these old stock builds:
-
MRM, those modern seats looks so cool, wow, great idea and execution! Can we say "execution"? LOL I love the look!!
-
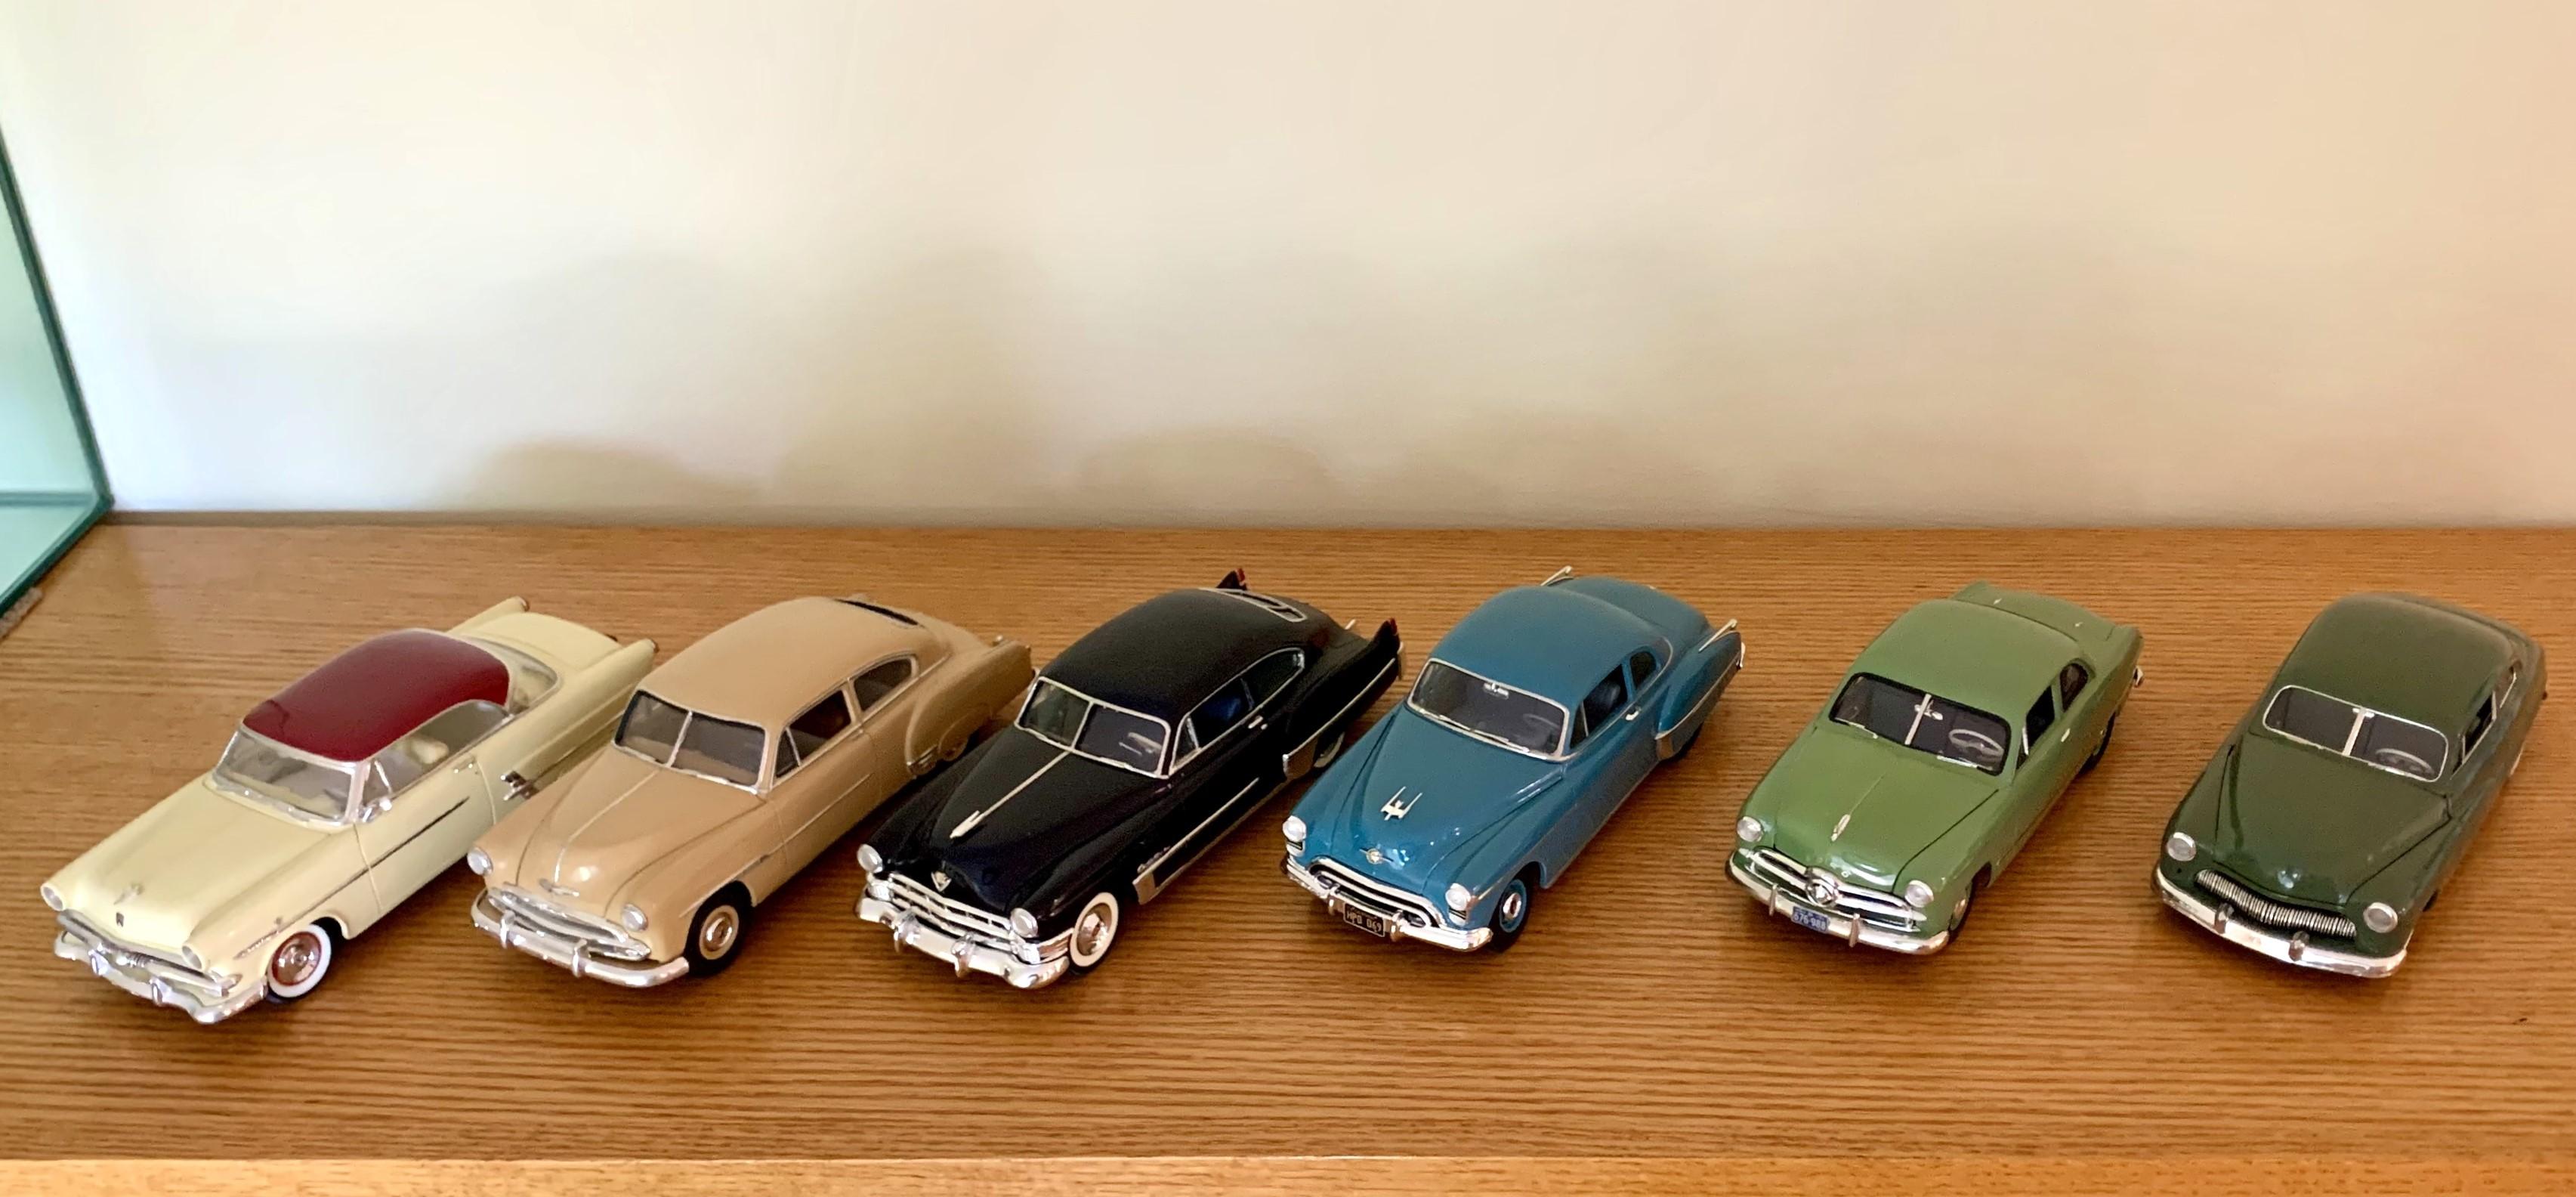
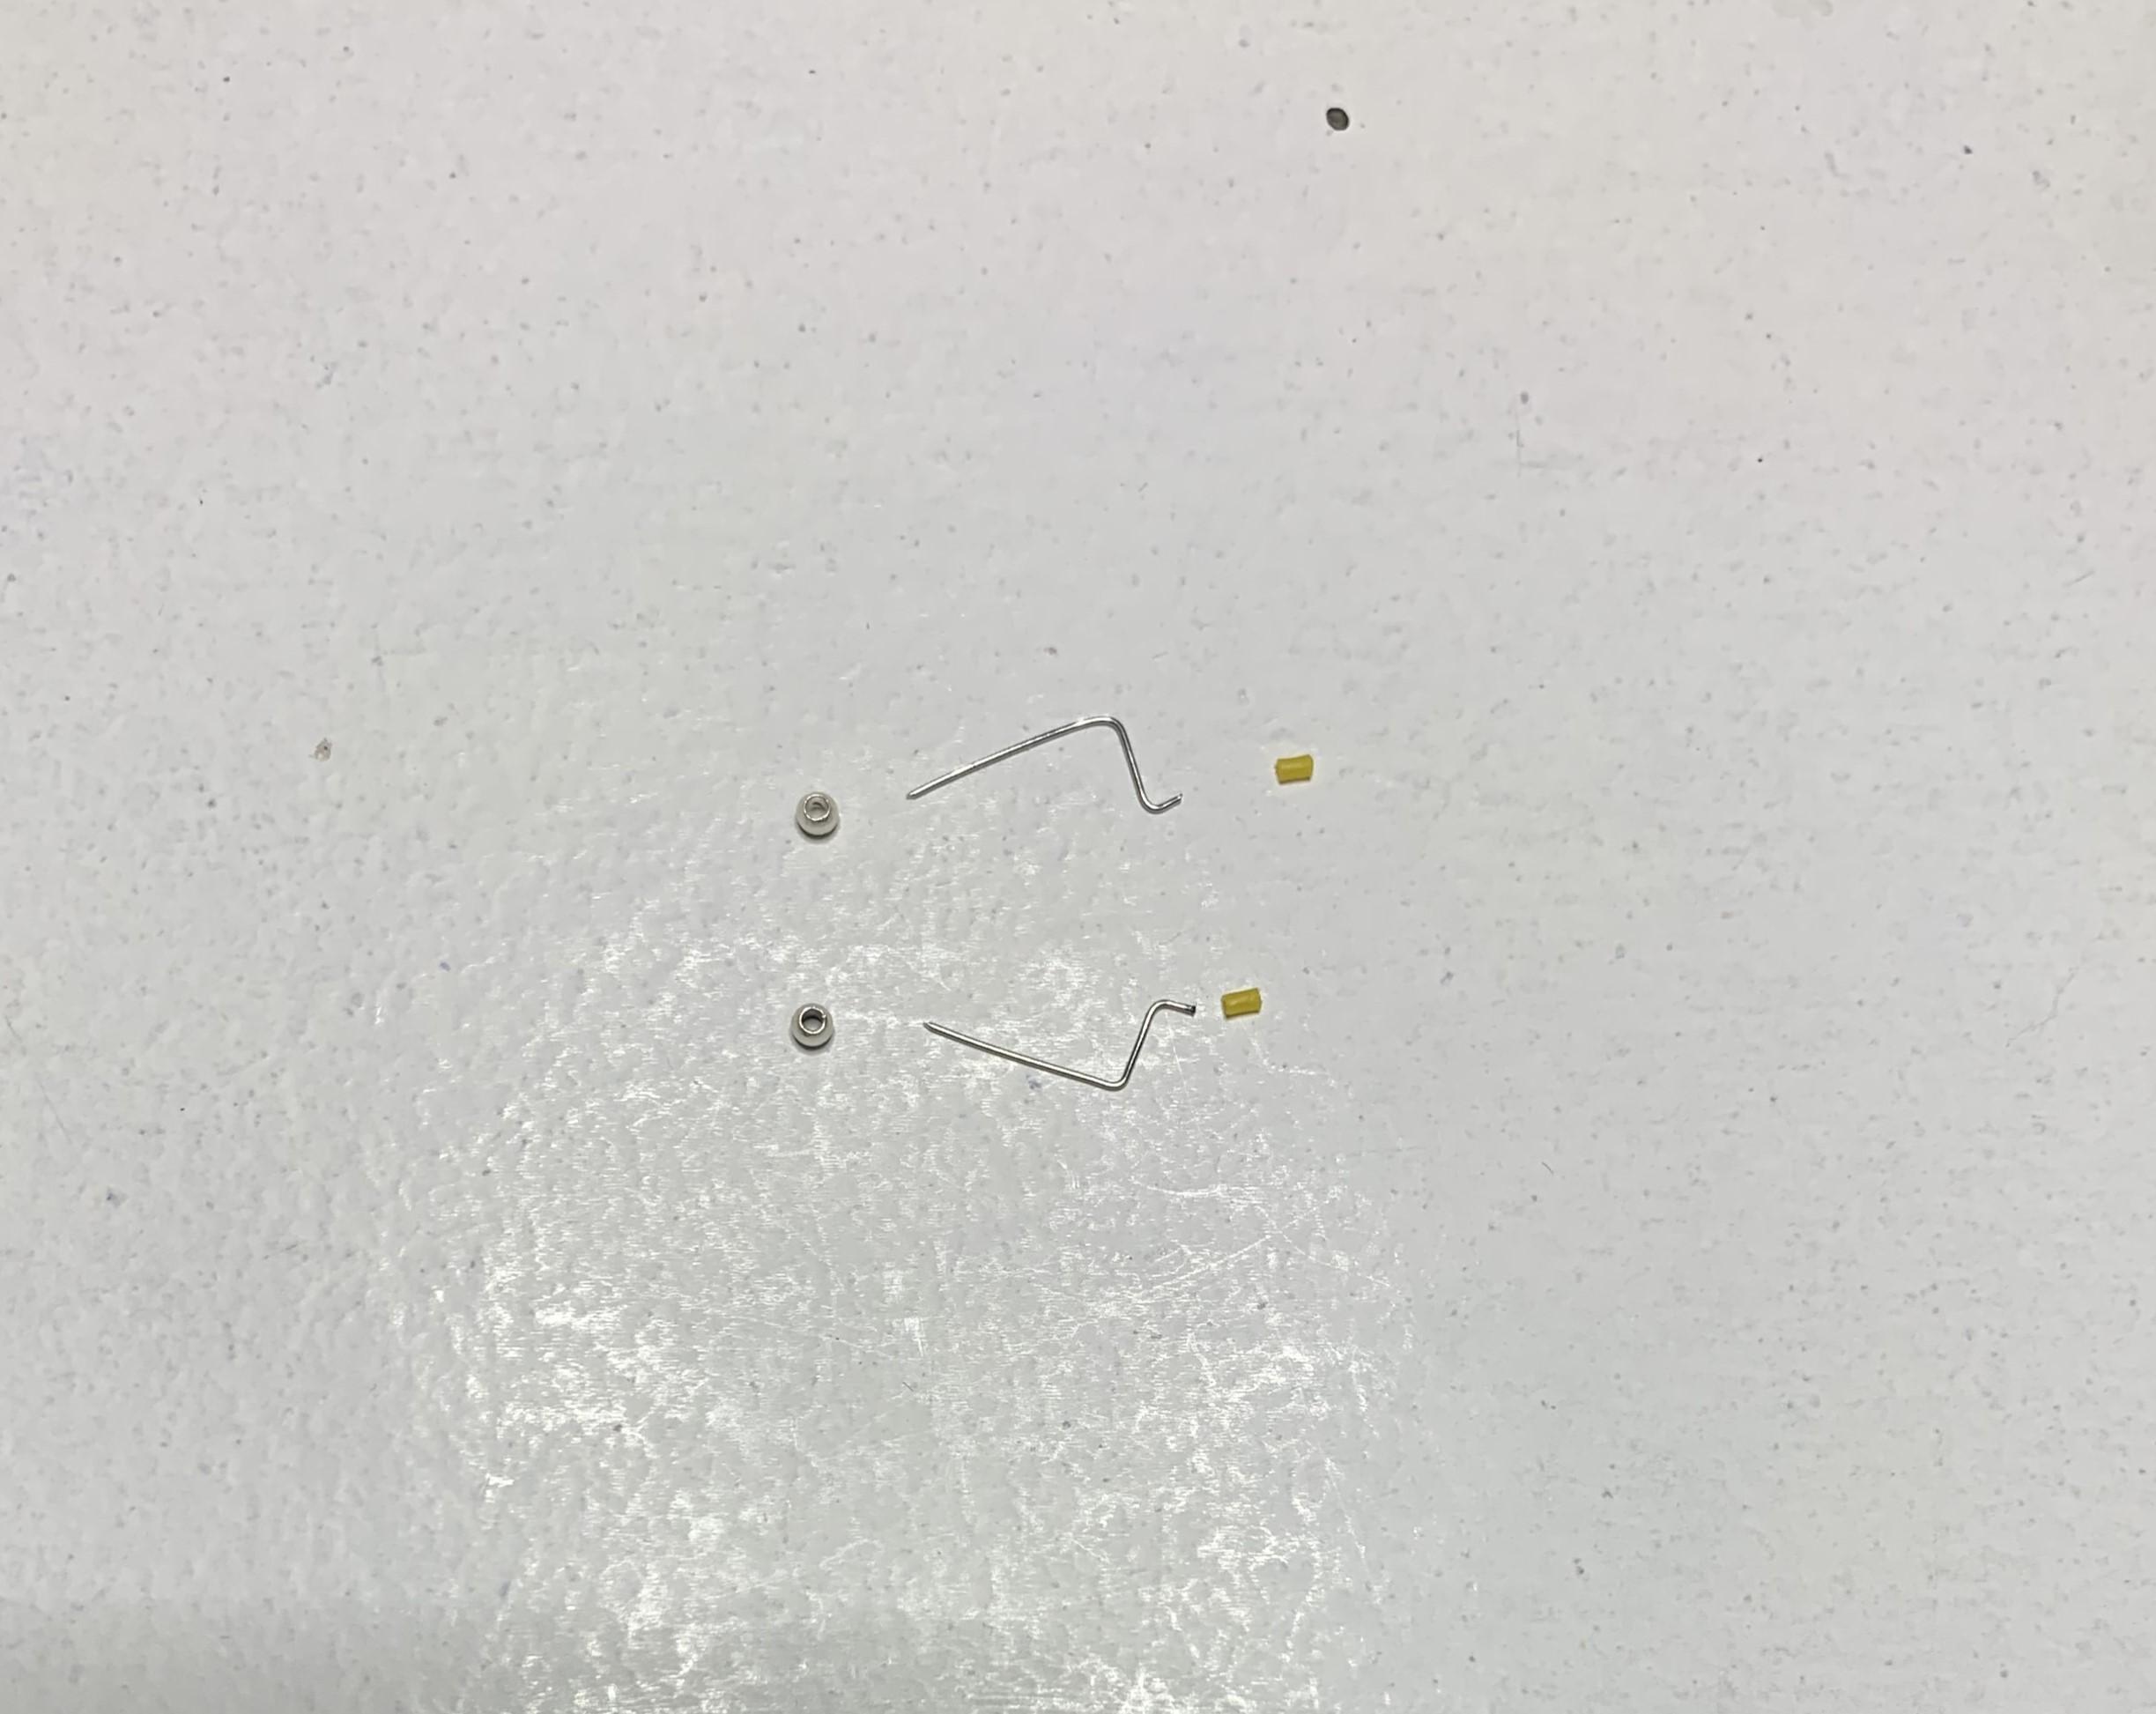
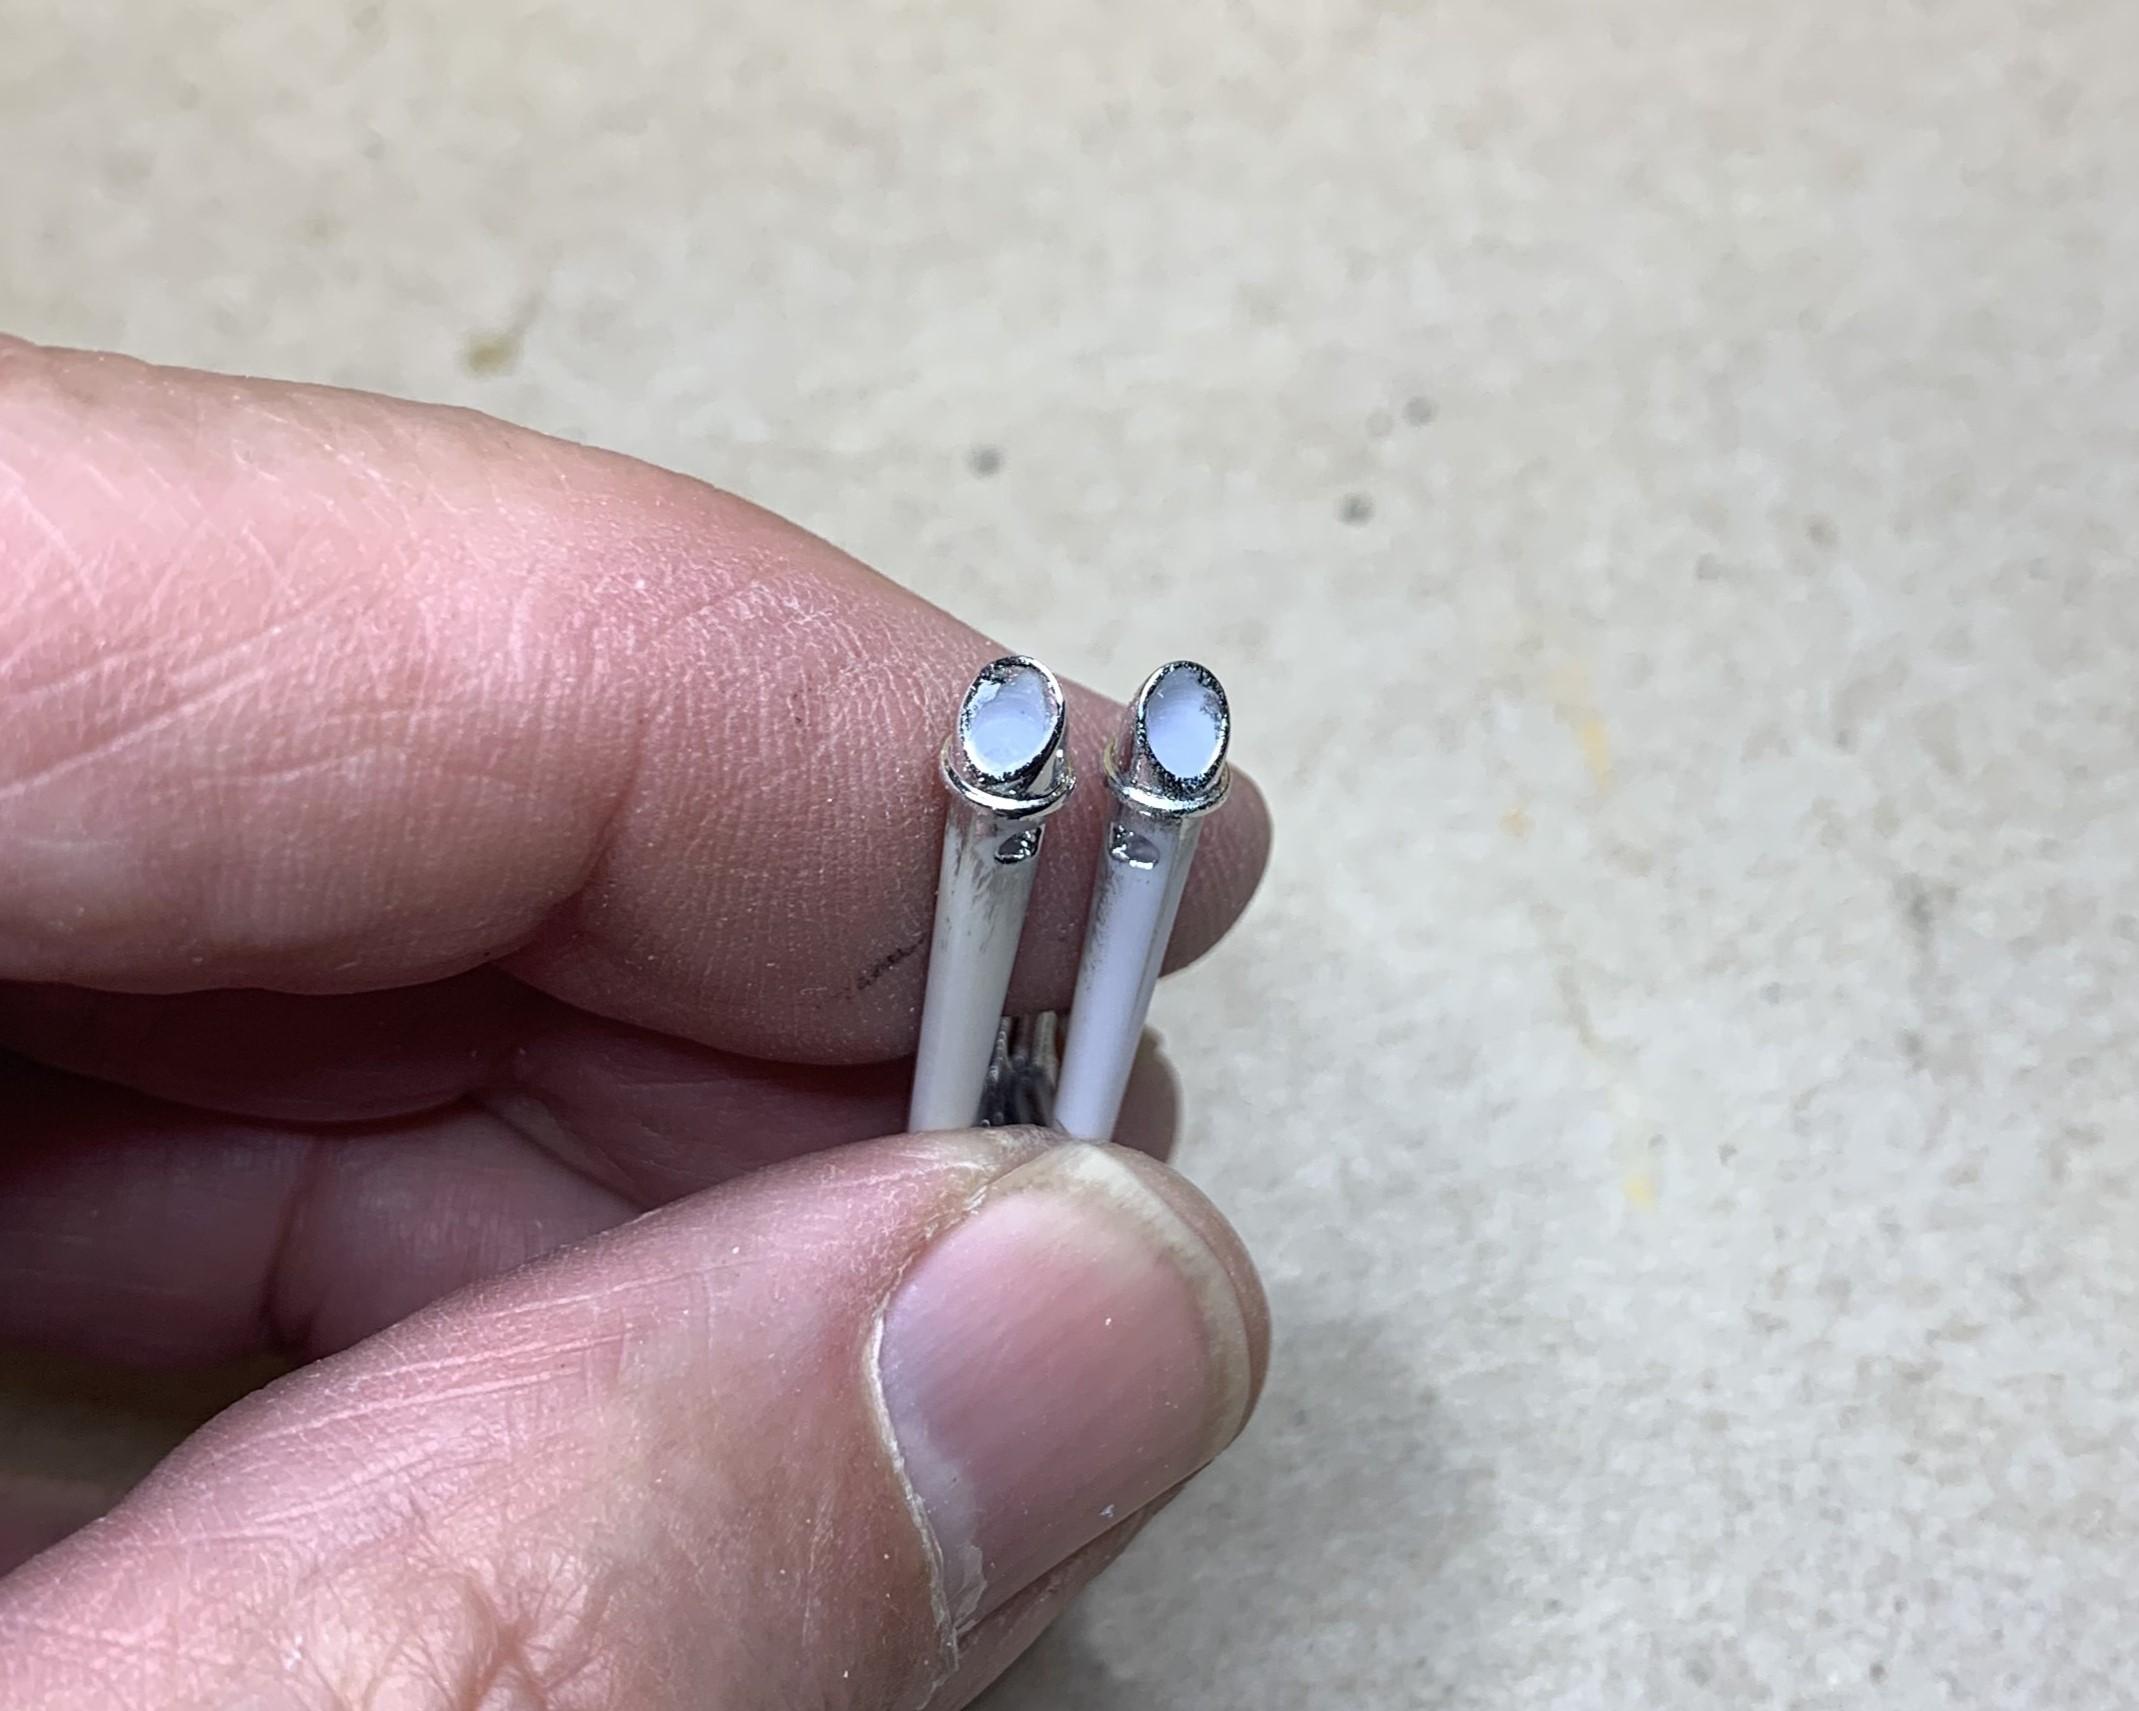
 Here's how I made those interior handles and cranks. These are from bent guitar string, tiny round beads from Michael's and small wire insulation. They're not good enough for open cars but in these old coupes, like the '49 Ford (last picture) and '49 Merc, '50 Olds and a few others, they're better than kit door card relief. They go through the holes before any glue, I can position them from outside then super glue them also from outside, then cut off the excess, again from the outside. I brush some Moltow on after.
-
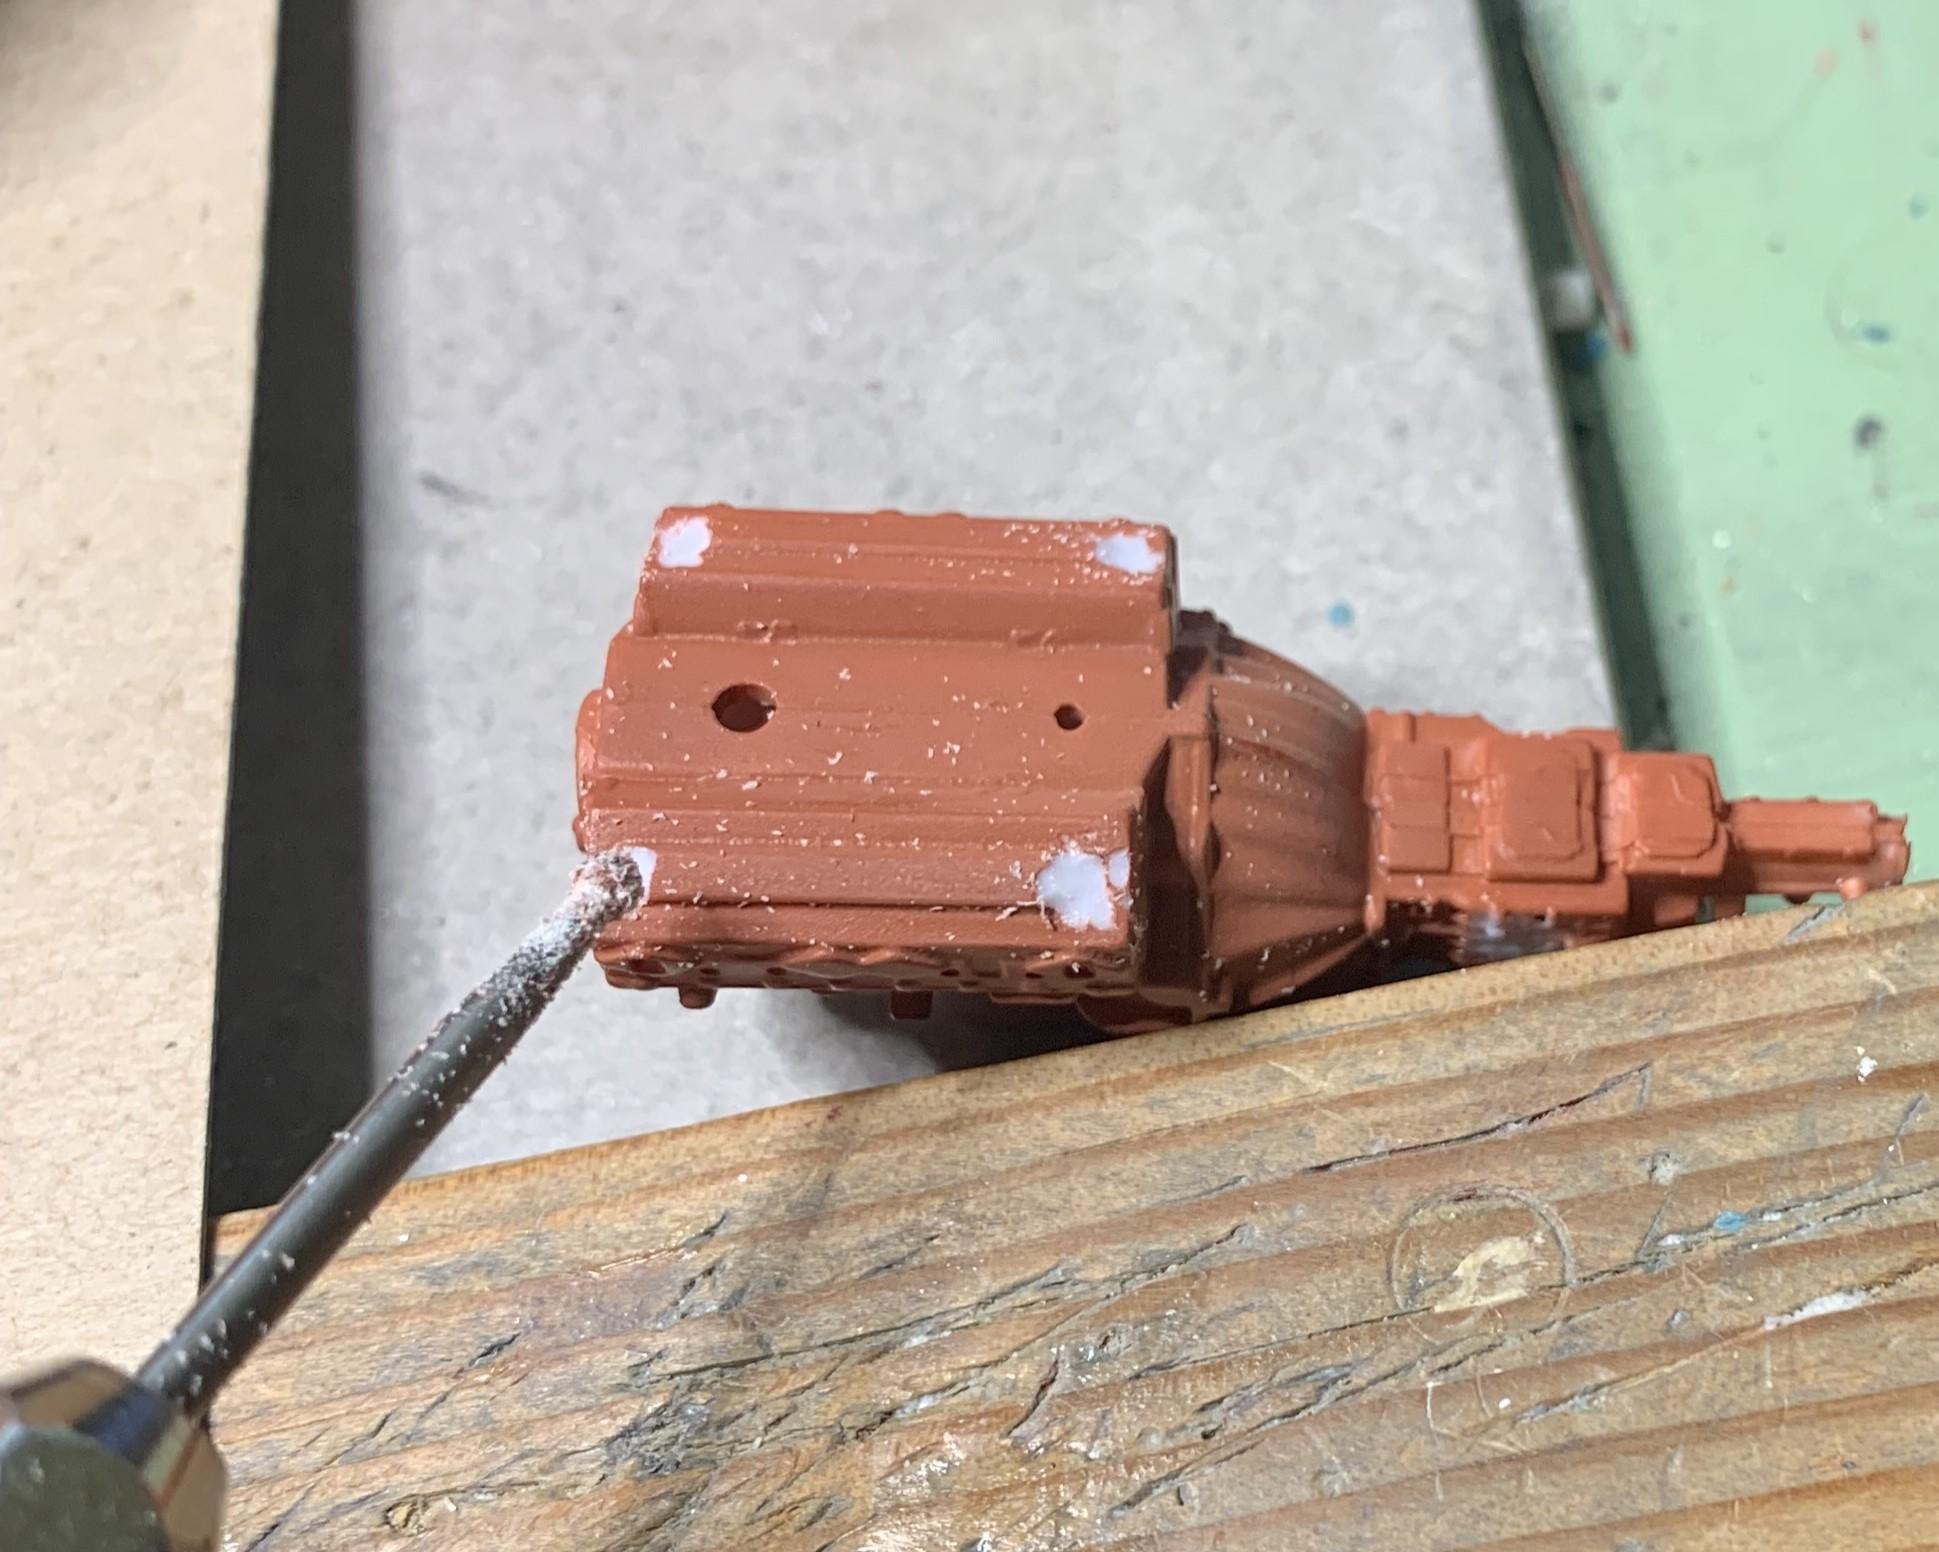
I have these old school finned valve covers with rounded ends, I like those. The heads have a mounting block that's too long so I used a small grinding burr to make the valve covers fit. The '29 Model A Roadster Revell kit's triple carb intake also needed the mounting block removed. Headers from the '32 Ford Roadster Revell kit won't stay chrome and I've drilled out the ends. Exhaust pipes and mufflers also from that '32 Ford Roadster kit, and I drilled out those ends as well. I'm having so much fun with this thing, even though I still don't know what it'll look like! Building as I go with parts I can find on hand.
-
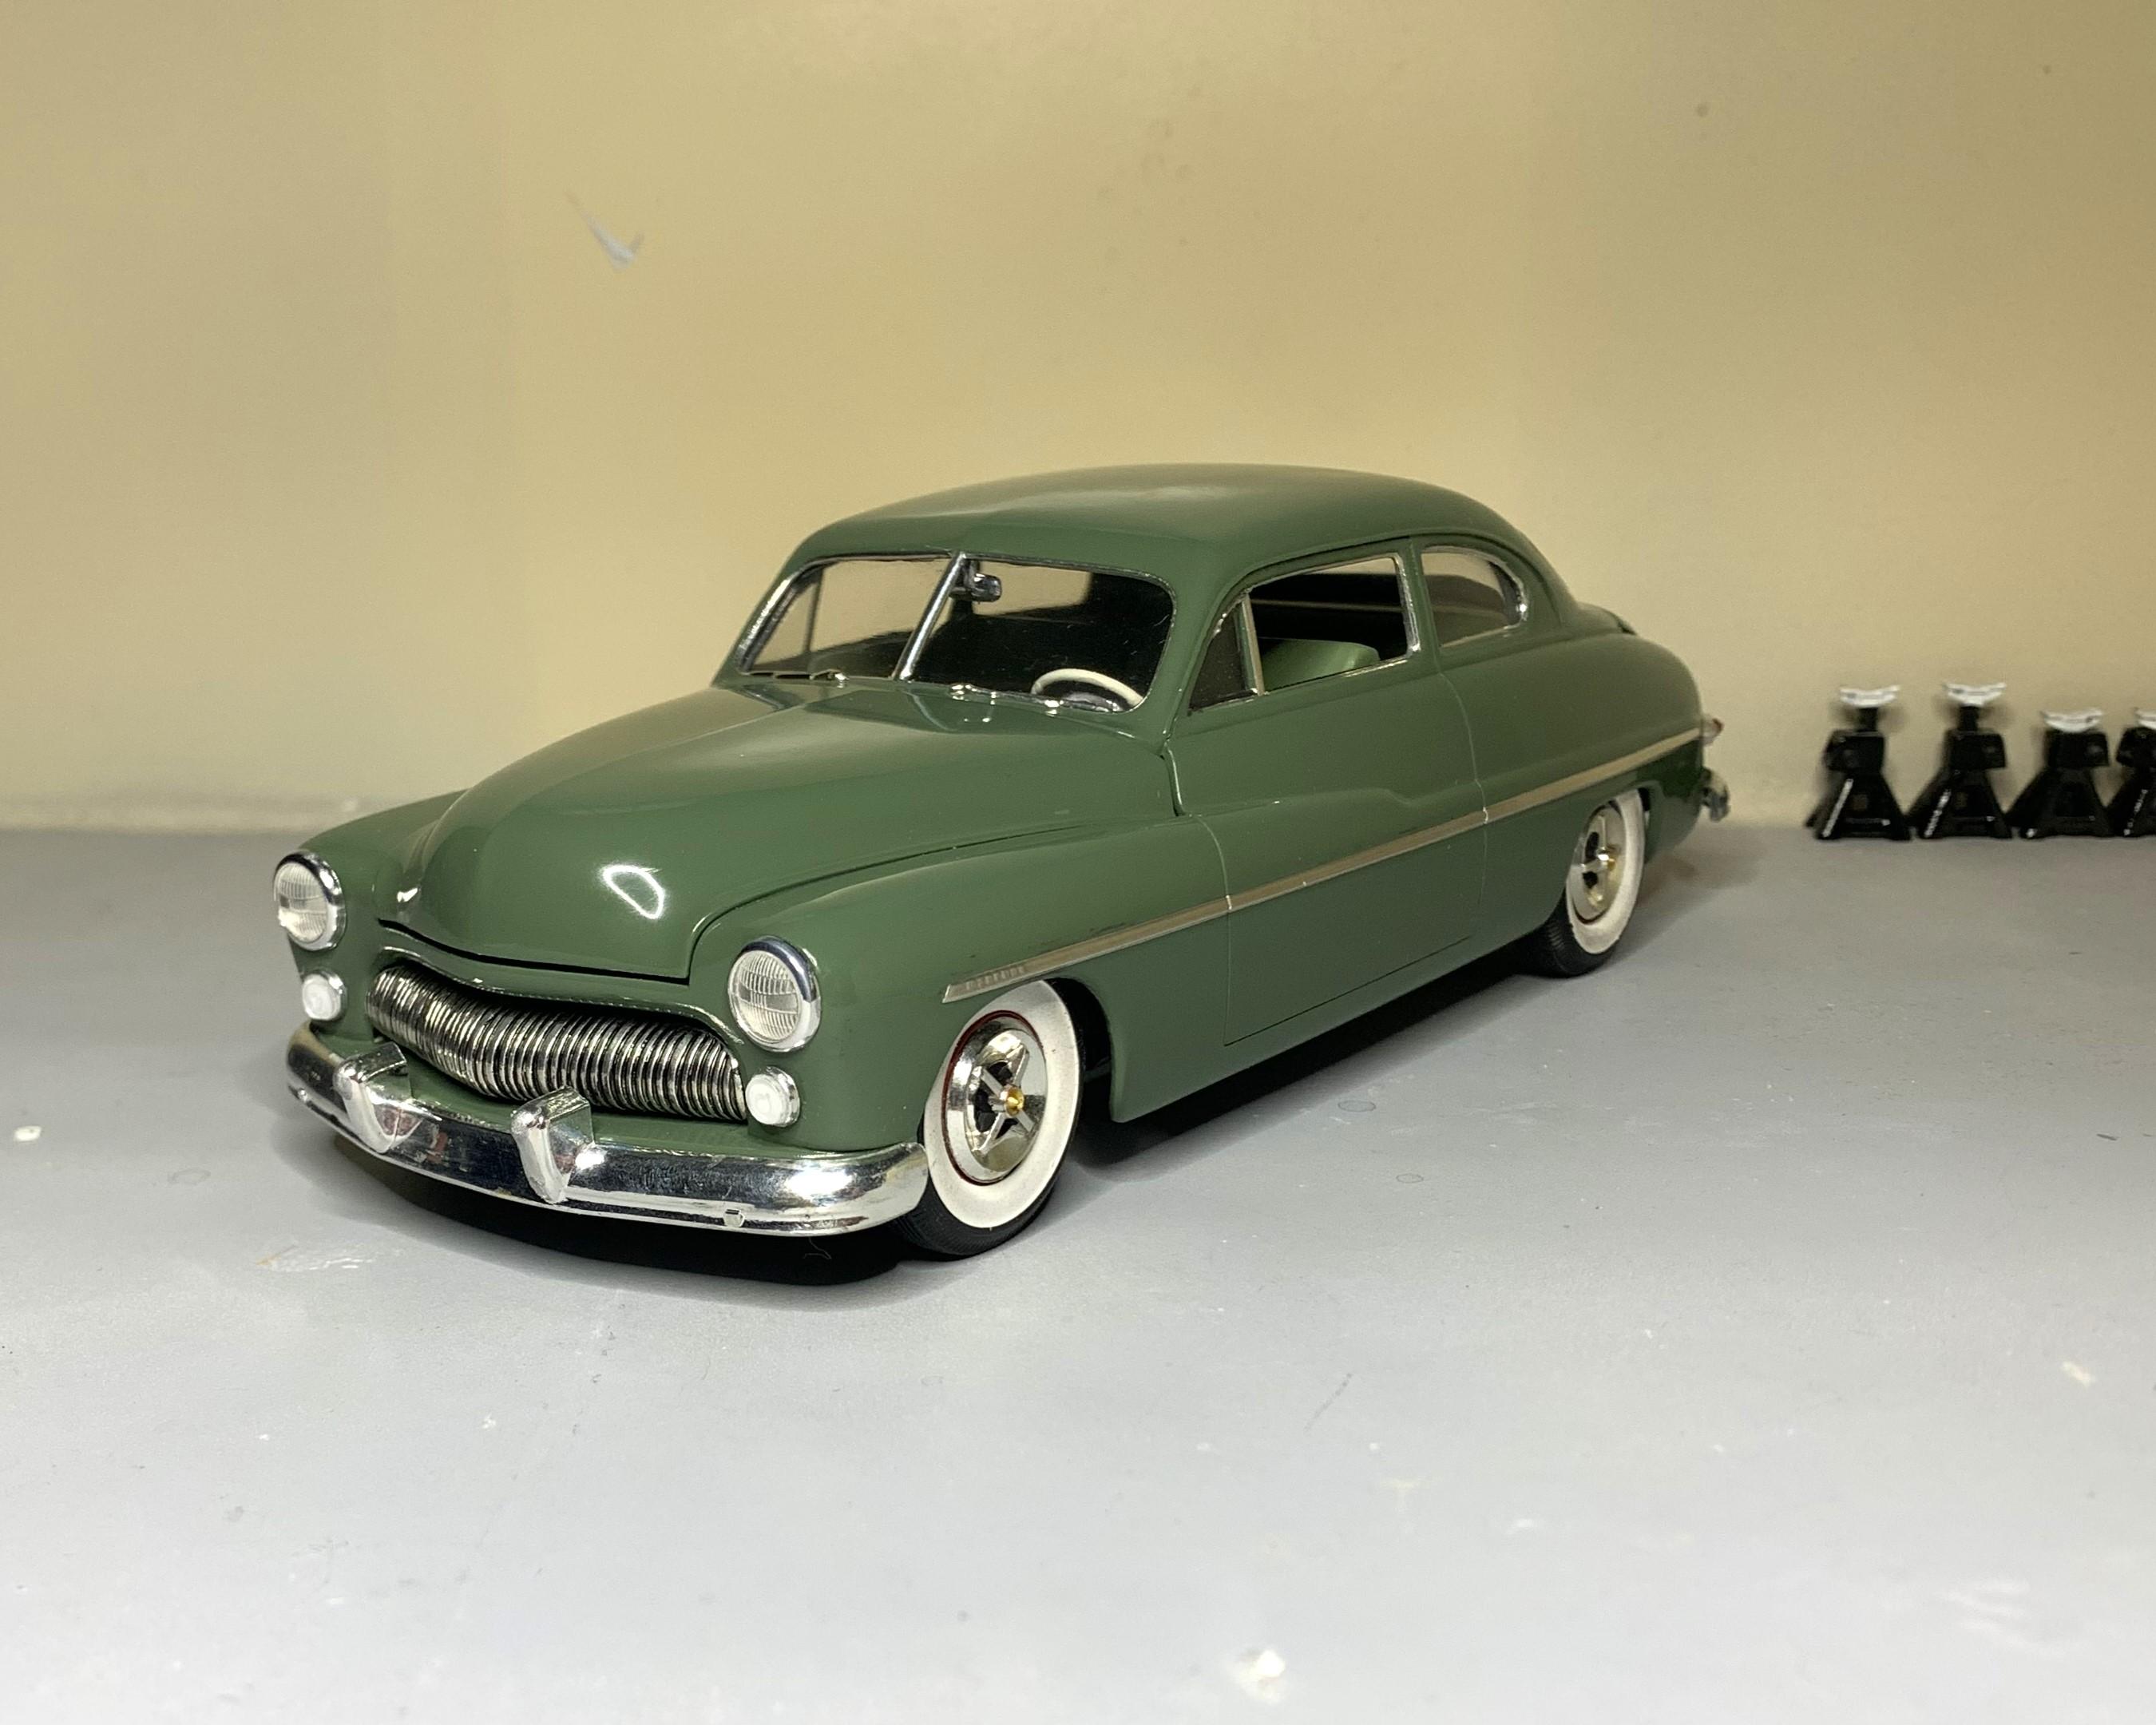
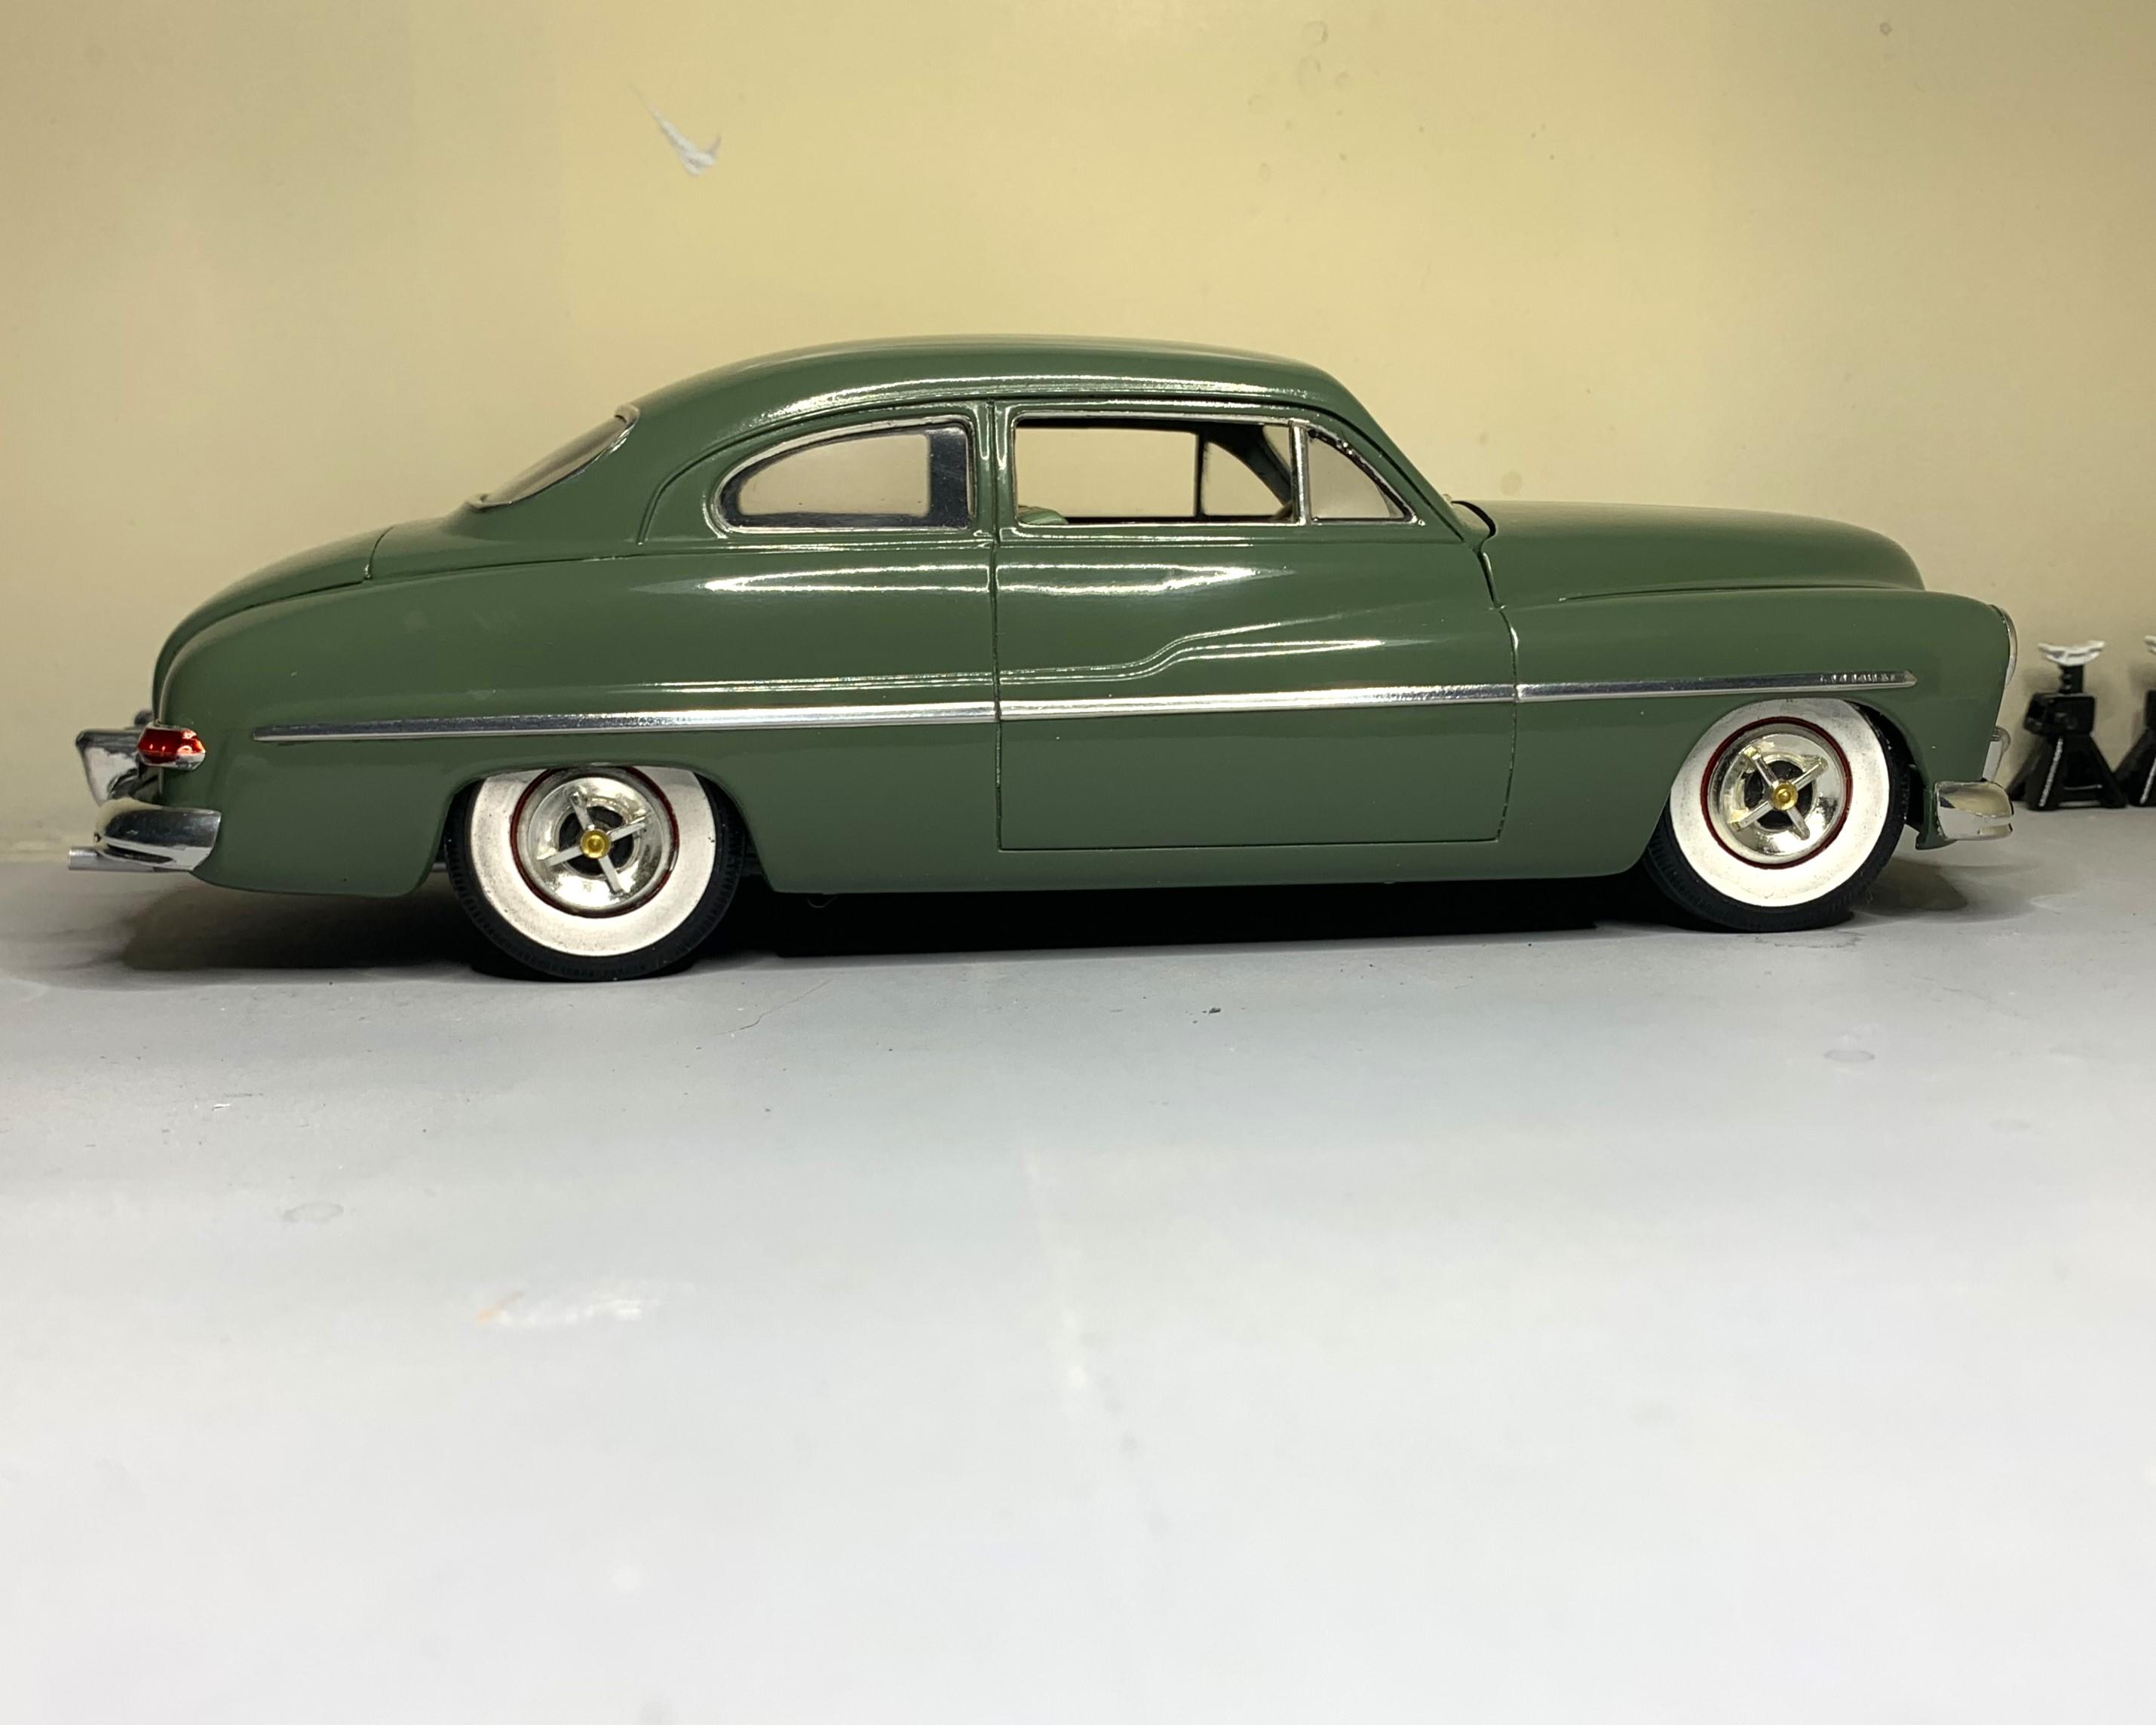
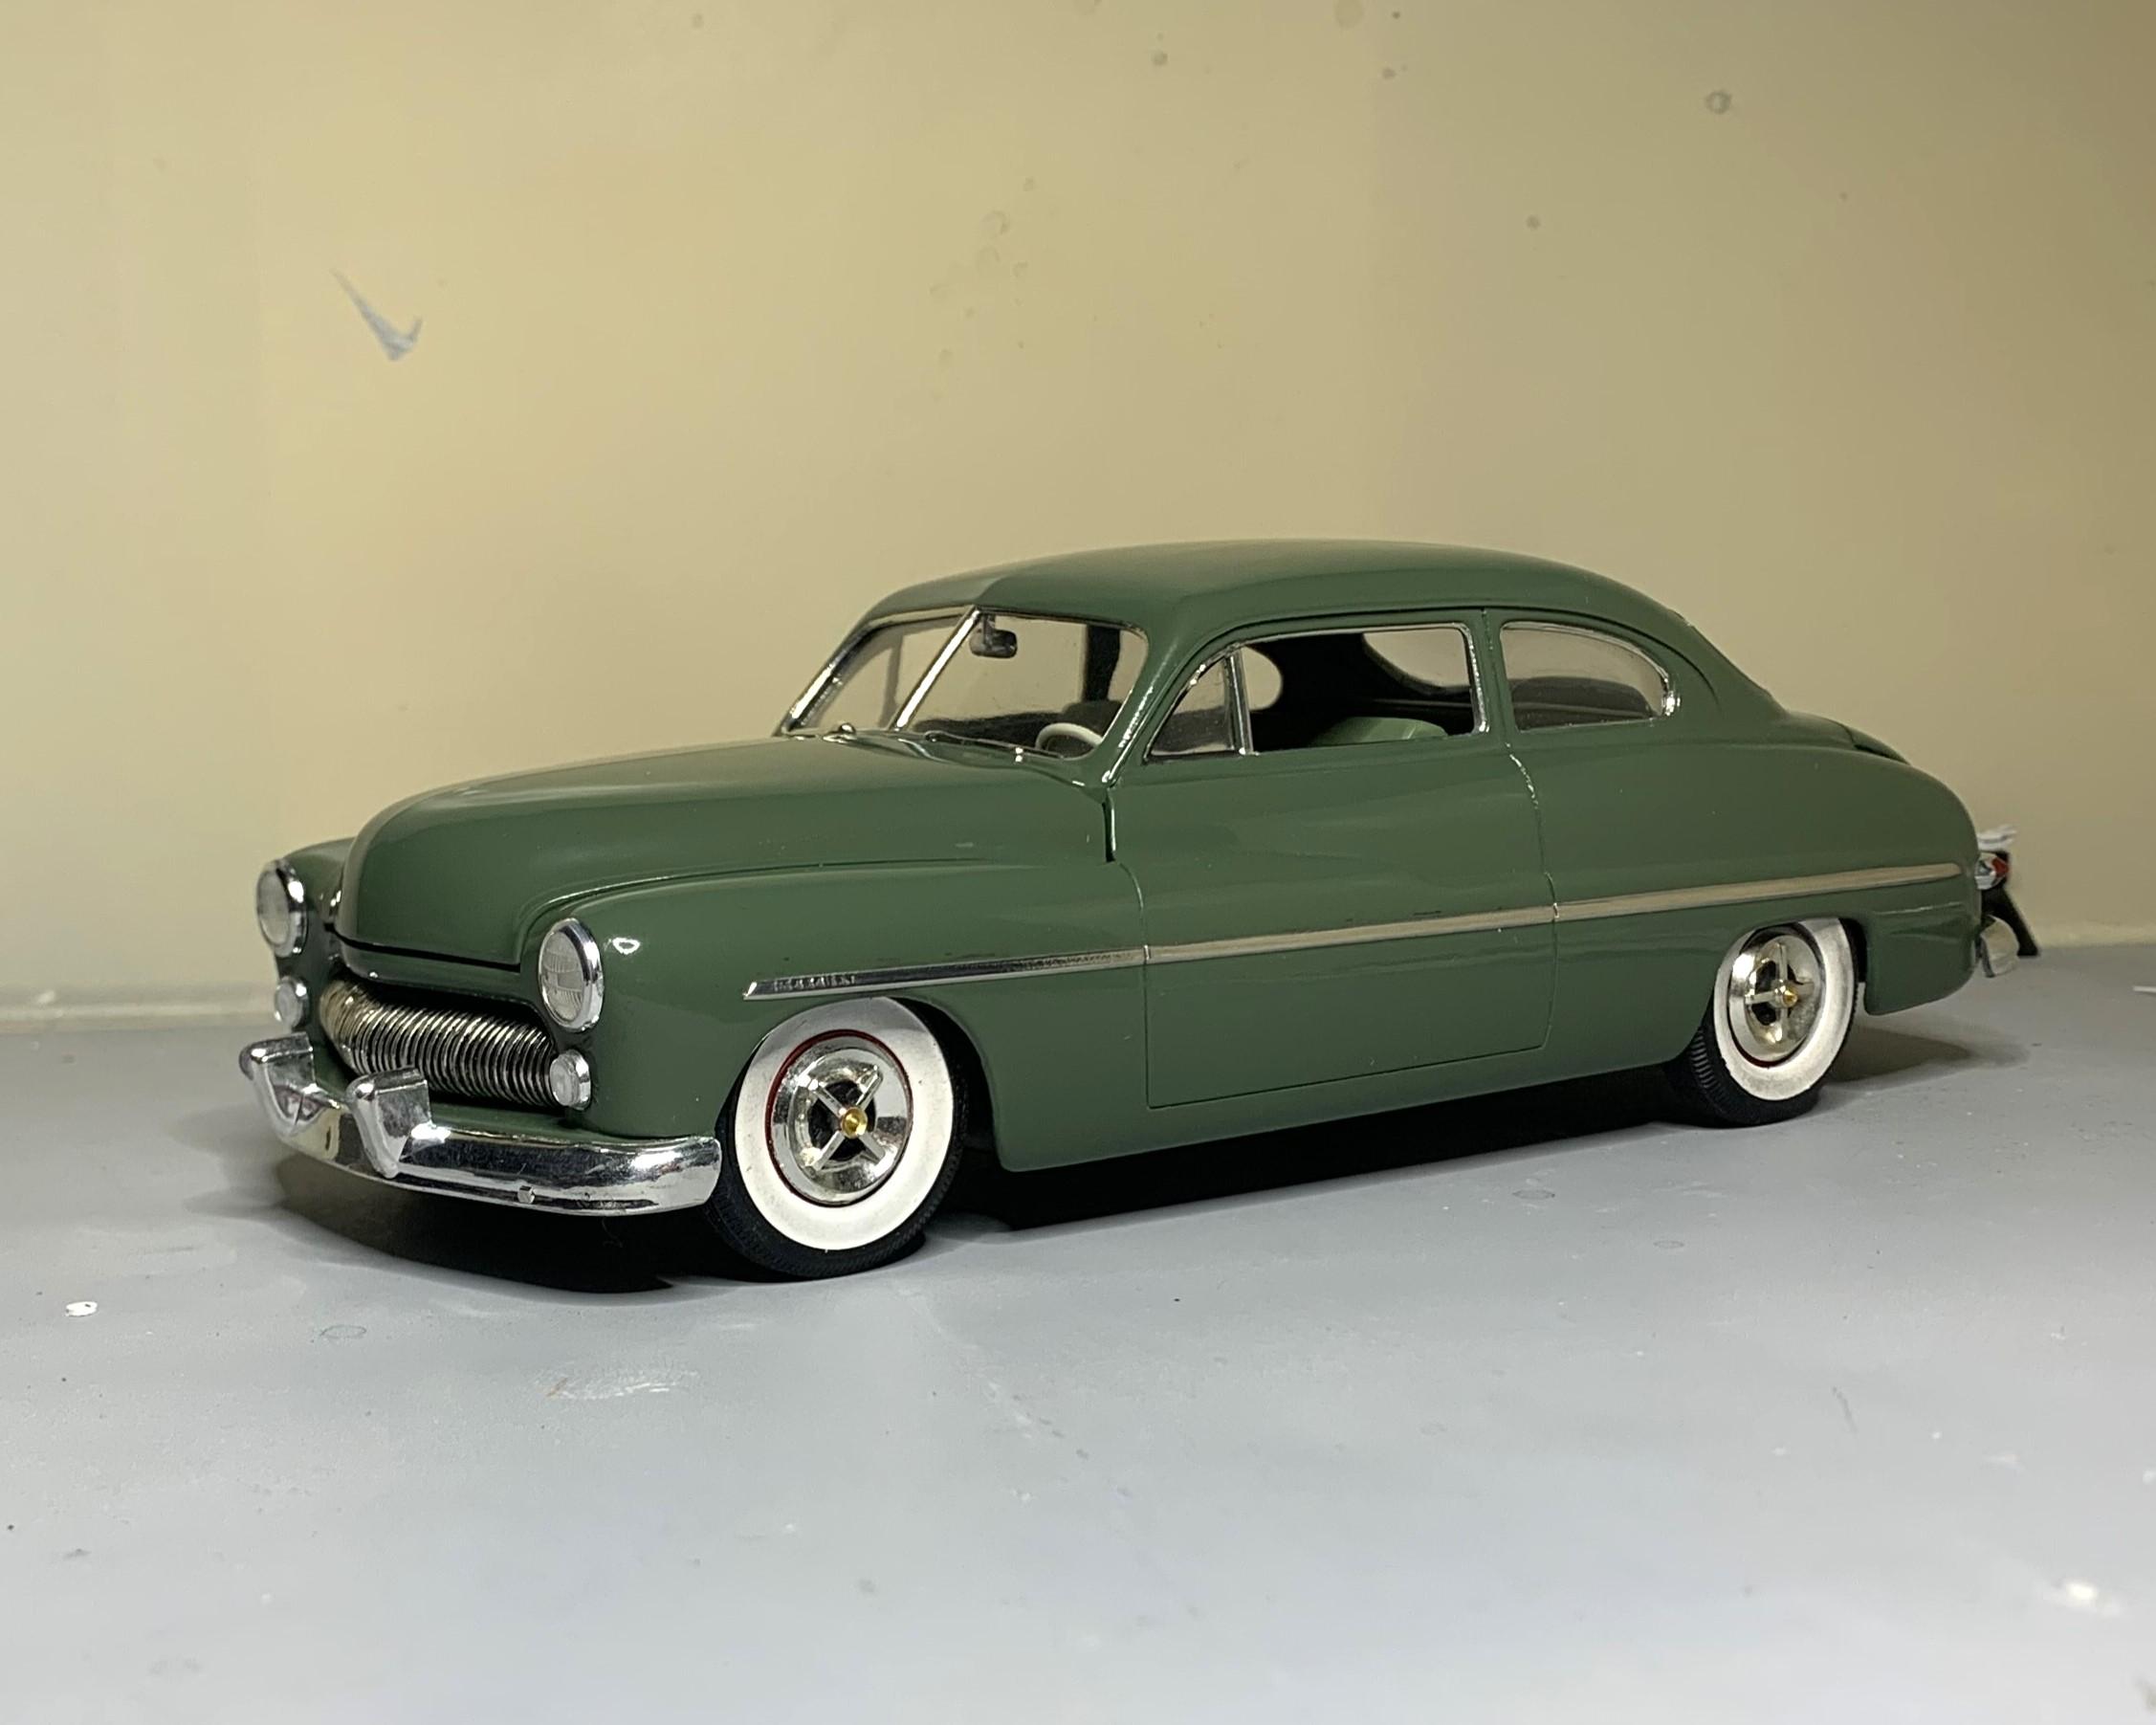
AMT's '49 Merc kit is a classic and every modeller should build or probably already has built one. Revell kit is also great, but chopped and somewhat simplified, but I've built that one as well as the cool Woody Wagon from Revell. Here's an old AMT glue bomb that I dis-assembled and re-did. Cheers!
-
-
I just added the tiniest bit of weathering to the underside:
-
Hey Jim, it's just rattle can Tamiya and Mr. Hobby clear, also from the can. I use Novus 2 as a polish. I'm getting better with spray cans! I usually use my airbrush, but this turned out better than I expected.
-
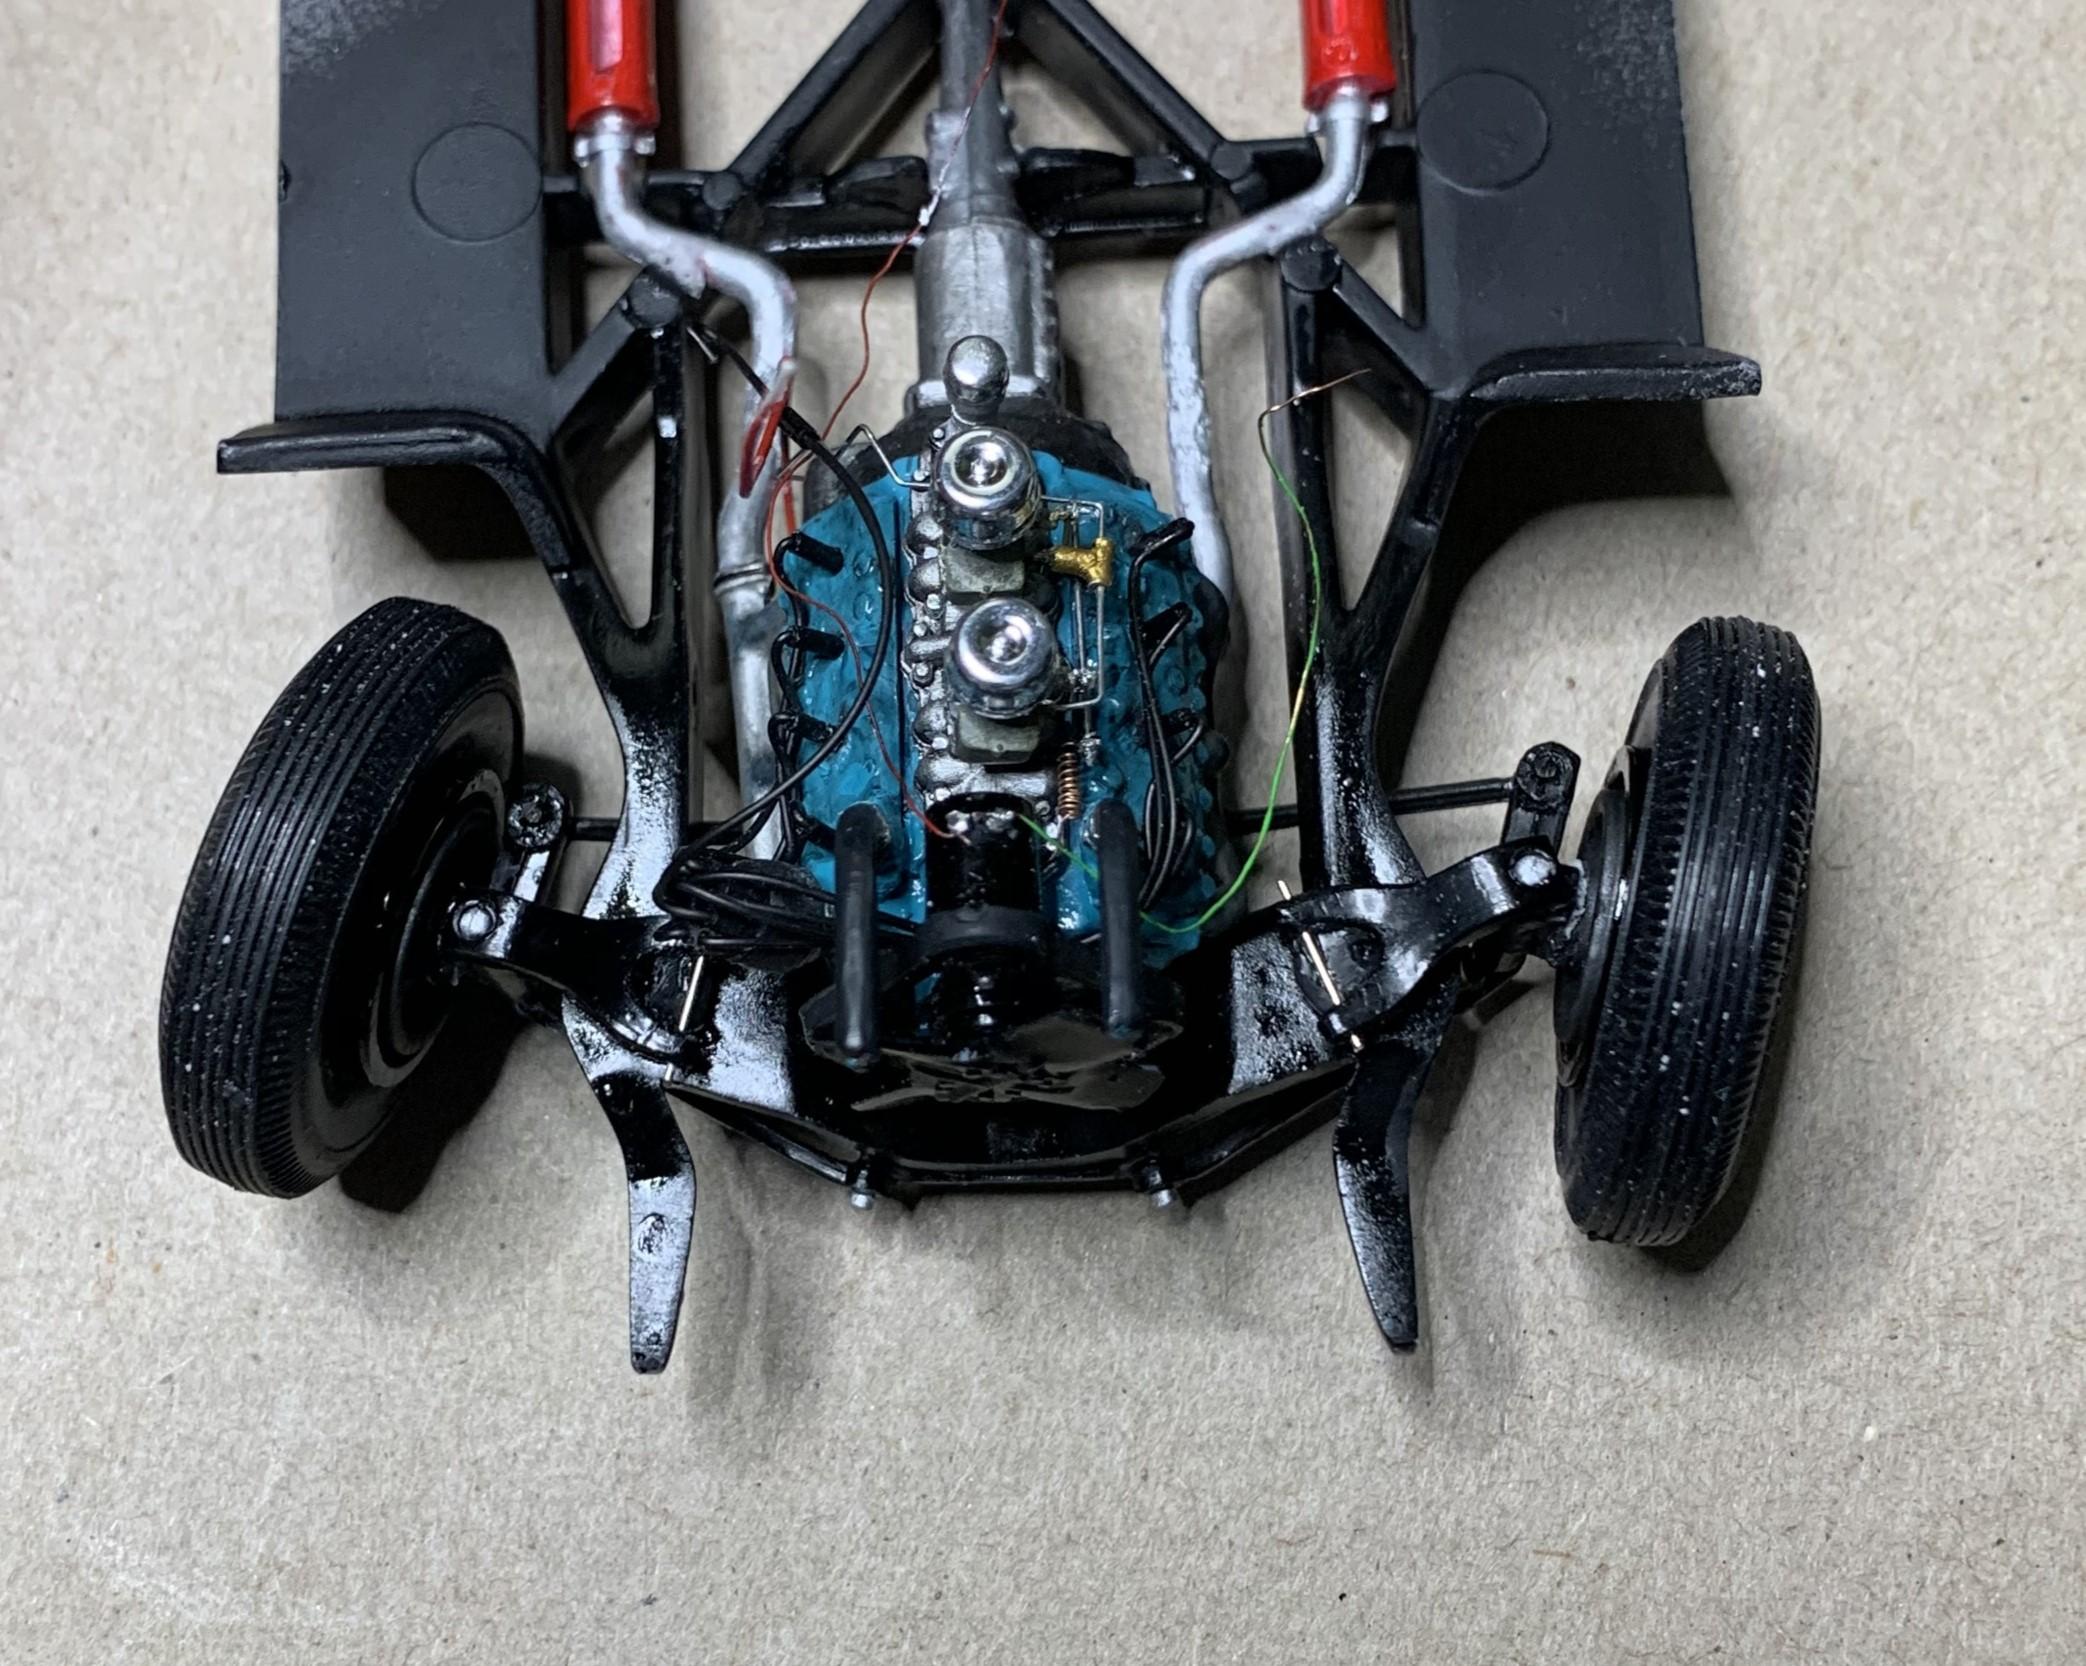
I wanted a small block Chevy in my sedan, old school-ish. I found this one in the Rat-Roaster kit, but the oil pan was too modern so I took one out of an OLD '55 Chevy kit. That oil pan had a bump on the top and a pin on the bottom and was too long. No problem though, I made it fit and kept the side motor mounts. I also drilled for a new drain plug! After I test fitted it I needed a tiny bit more clearance under my cobbled together parts box build. Should I keep posting all these pictures of such little progress on this thread or is it too much?
-
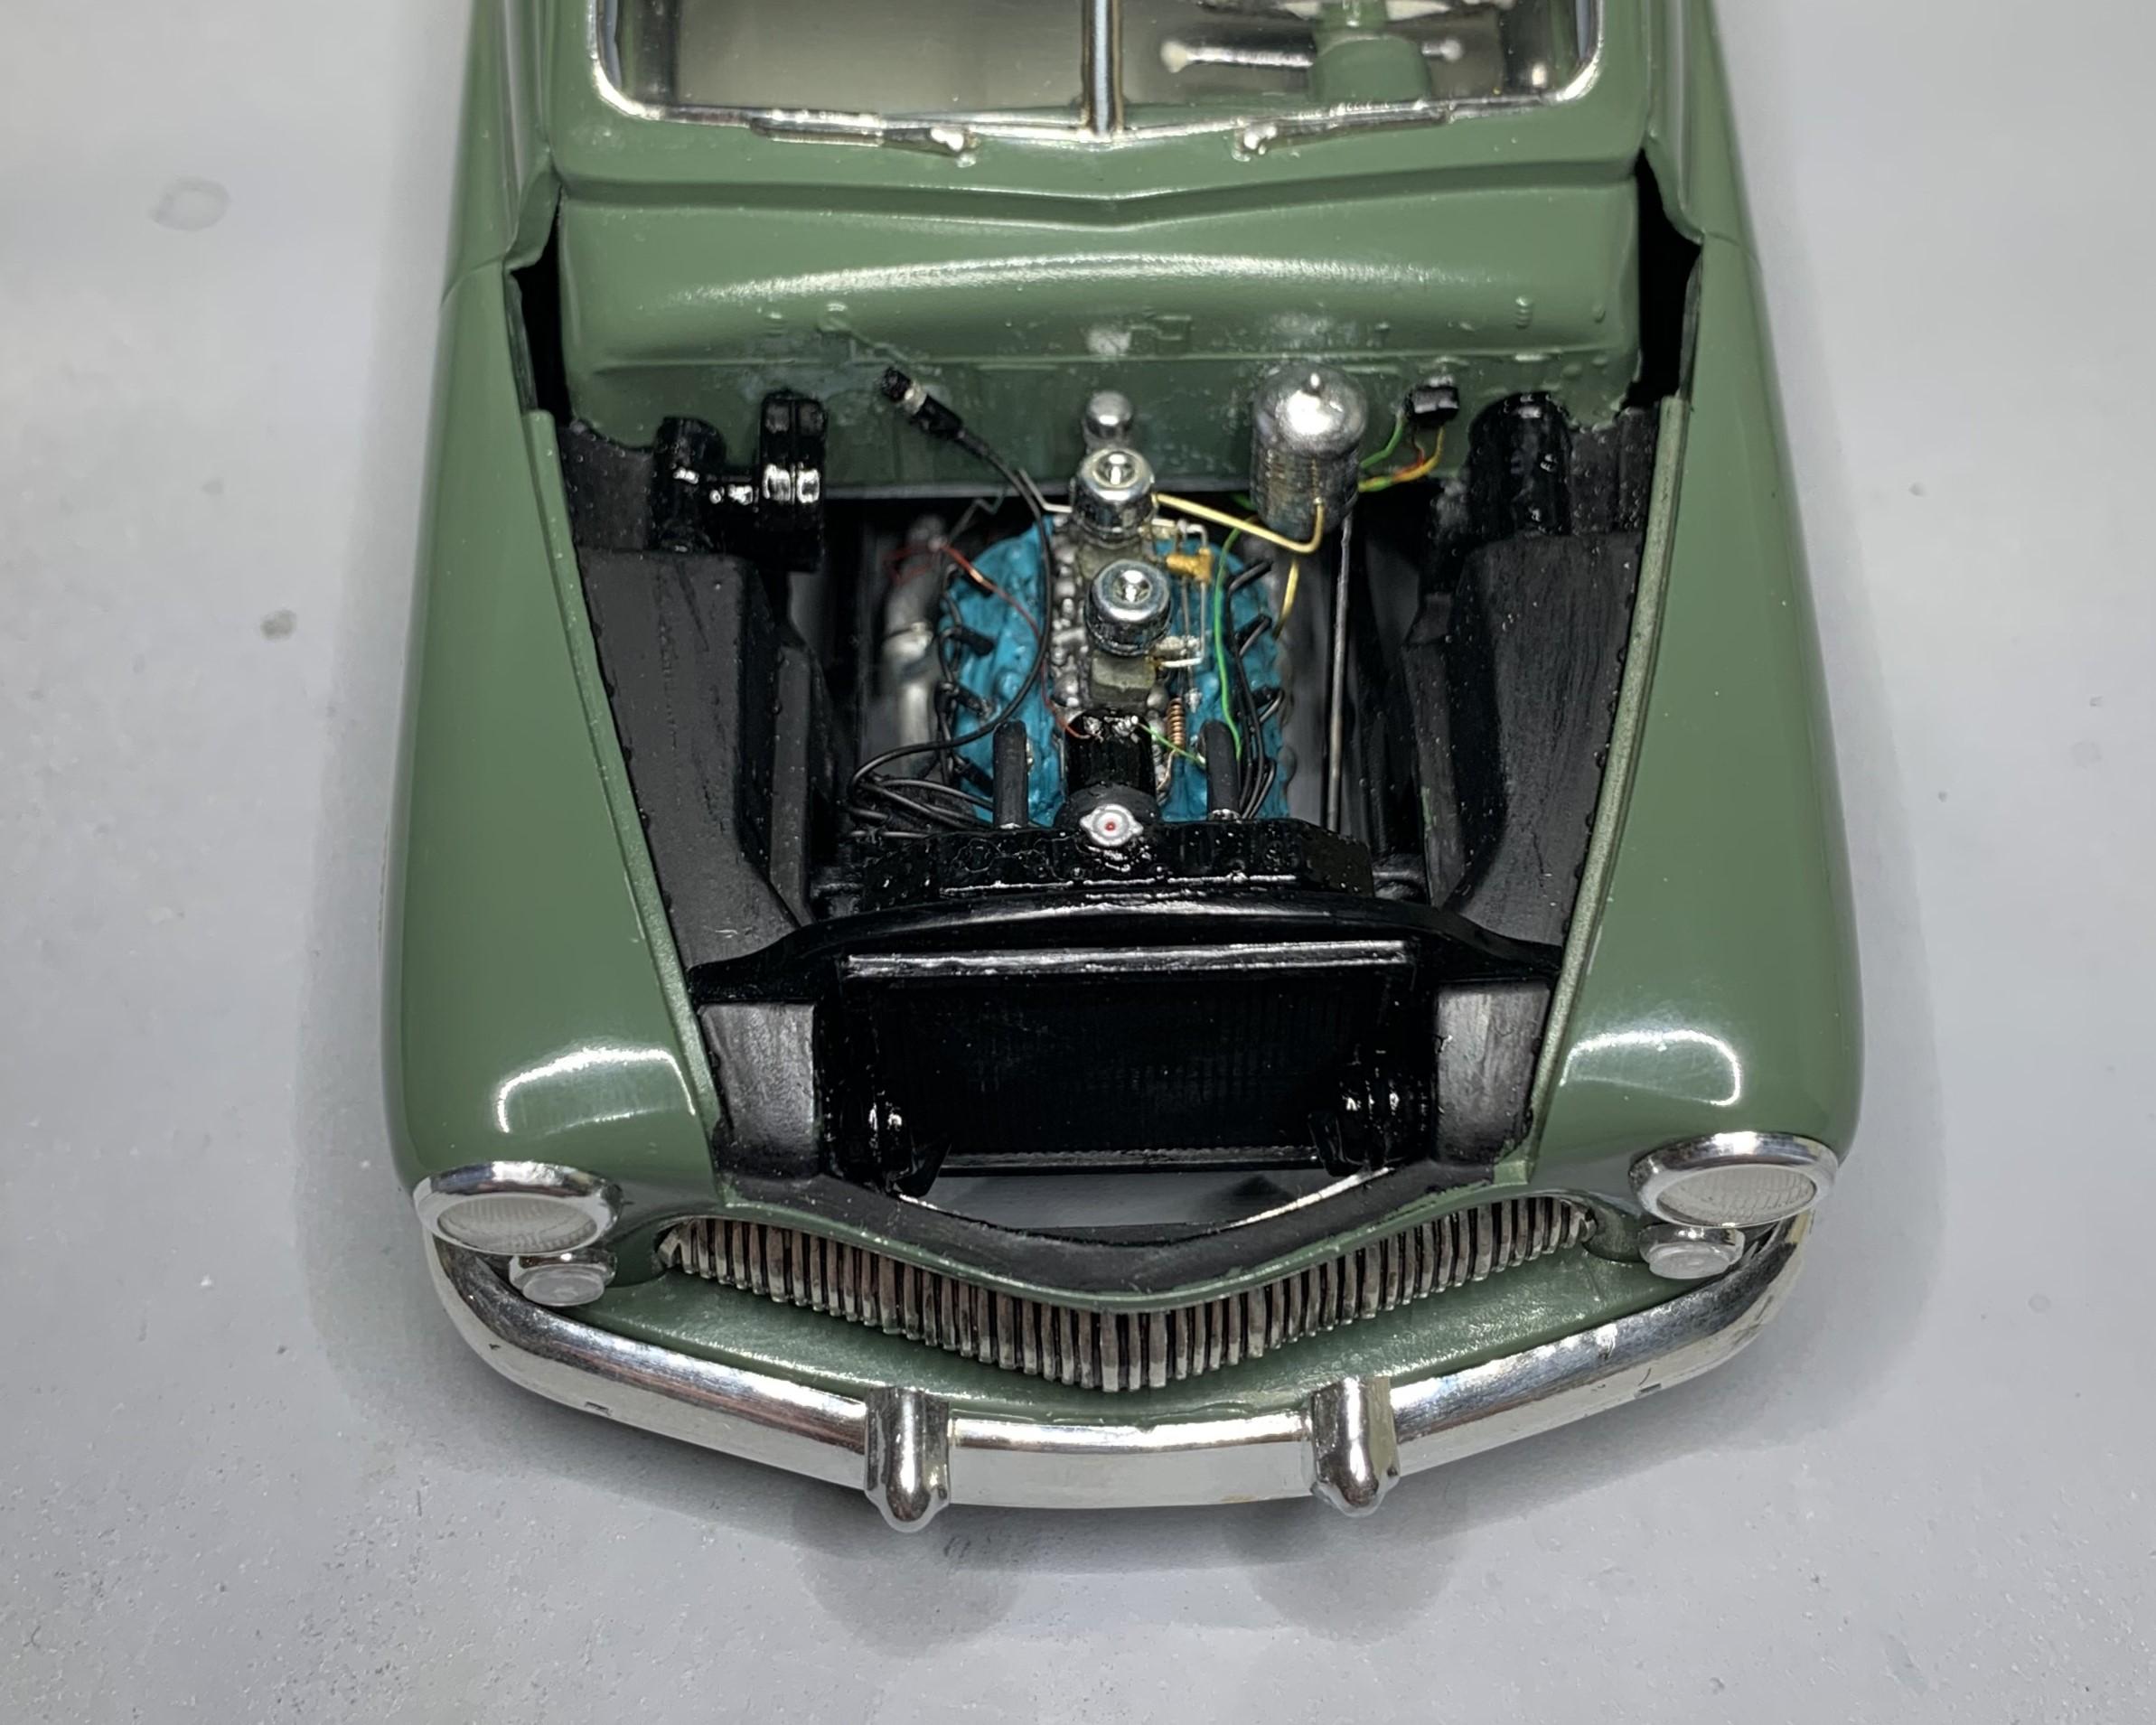
I made a little battery box for under the seat. I added the horns, heater, coil, beehive, voltage regulator and steering gear and rod. I got the hood to fit better by carefully sanding the sides at the front. Pretty much finished this one, still trying to make the hood open farther, anyone who's built one knows that it snaps in place and opens, but not very far.
-
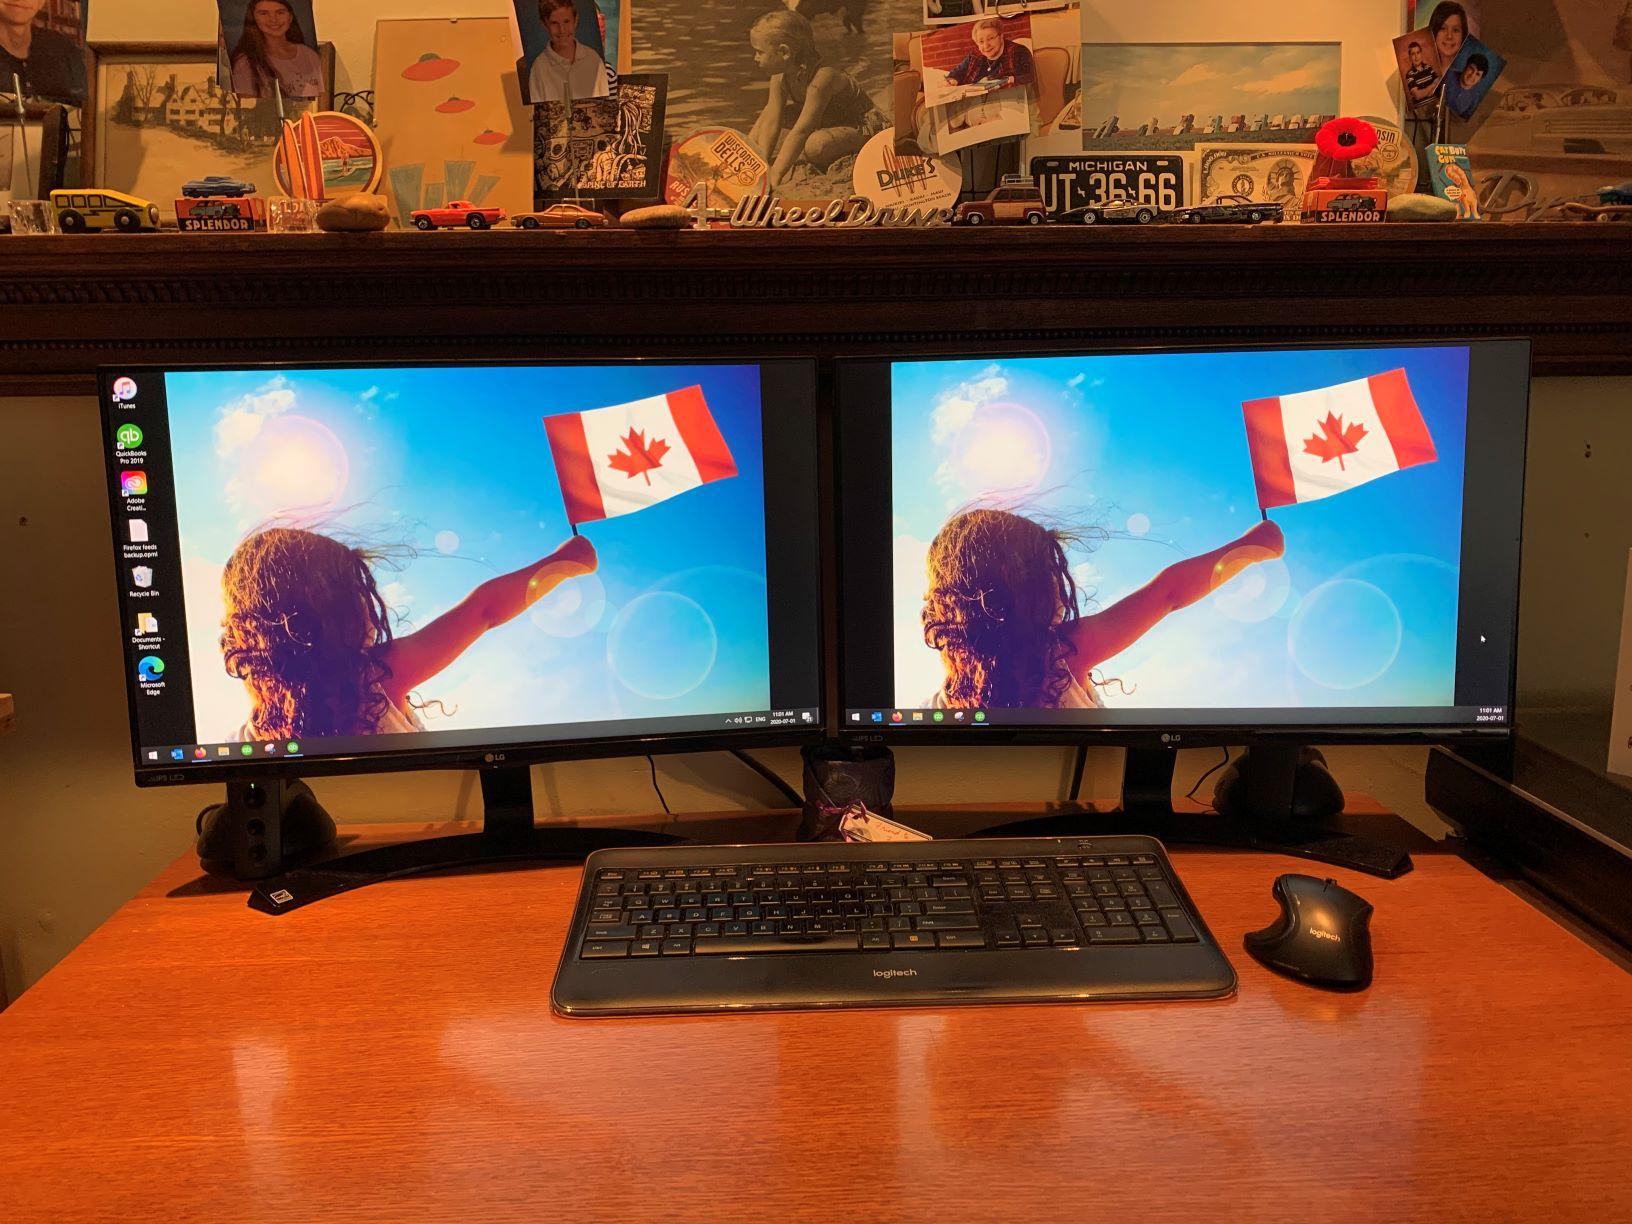
So.............am I good to enter? I thought it had to be the Revell sedan kit only? Cheers, and HAPPY CANADA DAY!
-
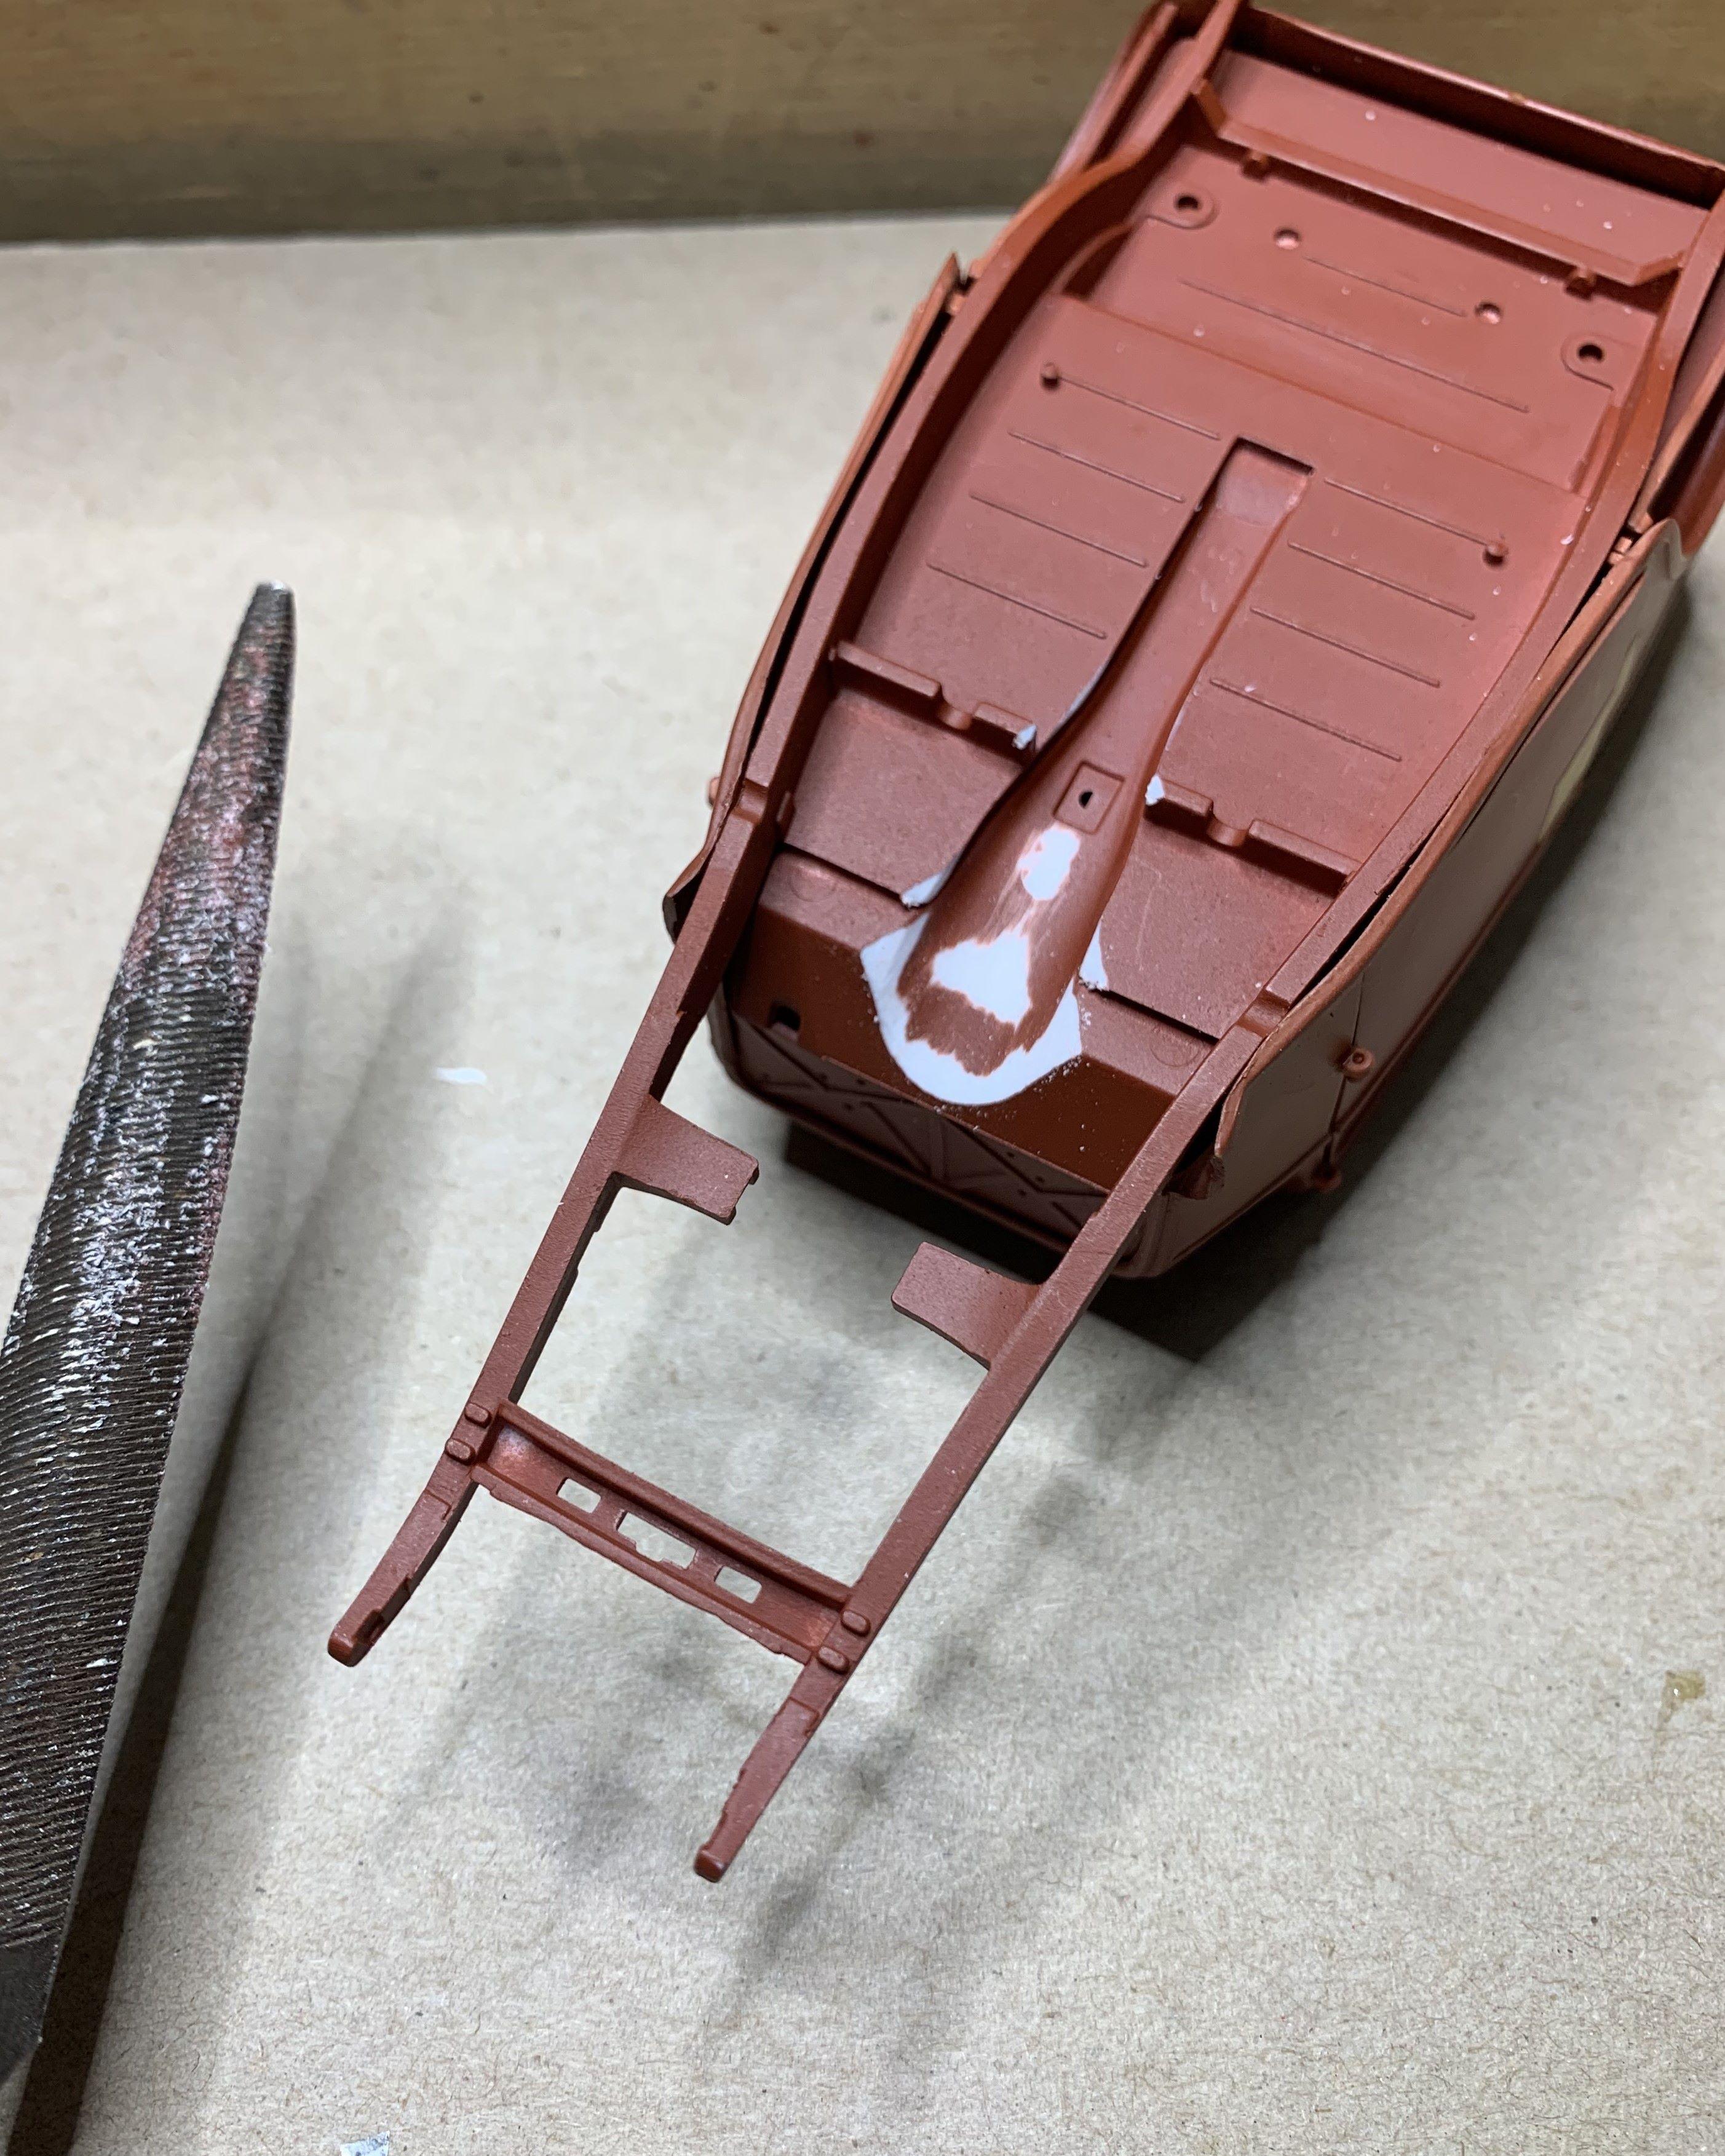
I'll join in the Sedan Build Off with this if I may. It's not really a '32, but I'll use a '32 frame and grille. I had this old body, so FIRST, I removed those little rear fenders. Then I made somewhat of a firewall from styrene sheet and strips. I removed the fuel tank from a Revell '32 frame. I fitted some inner rear fenders. I made a flat rear floor for the sedan, again from styrene sheet. I cut open a cowl vent hole. For now it's just sitting in the shop while I work on other projects, waiting to see if it's acceptable for this Build Off.
- 706 replies
-
- 10
-

-
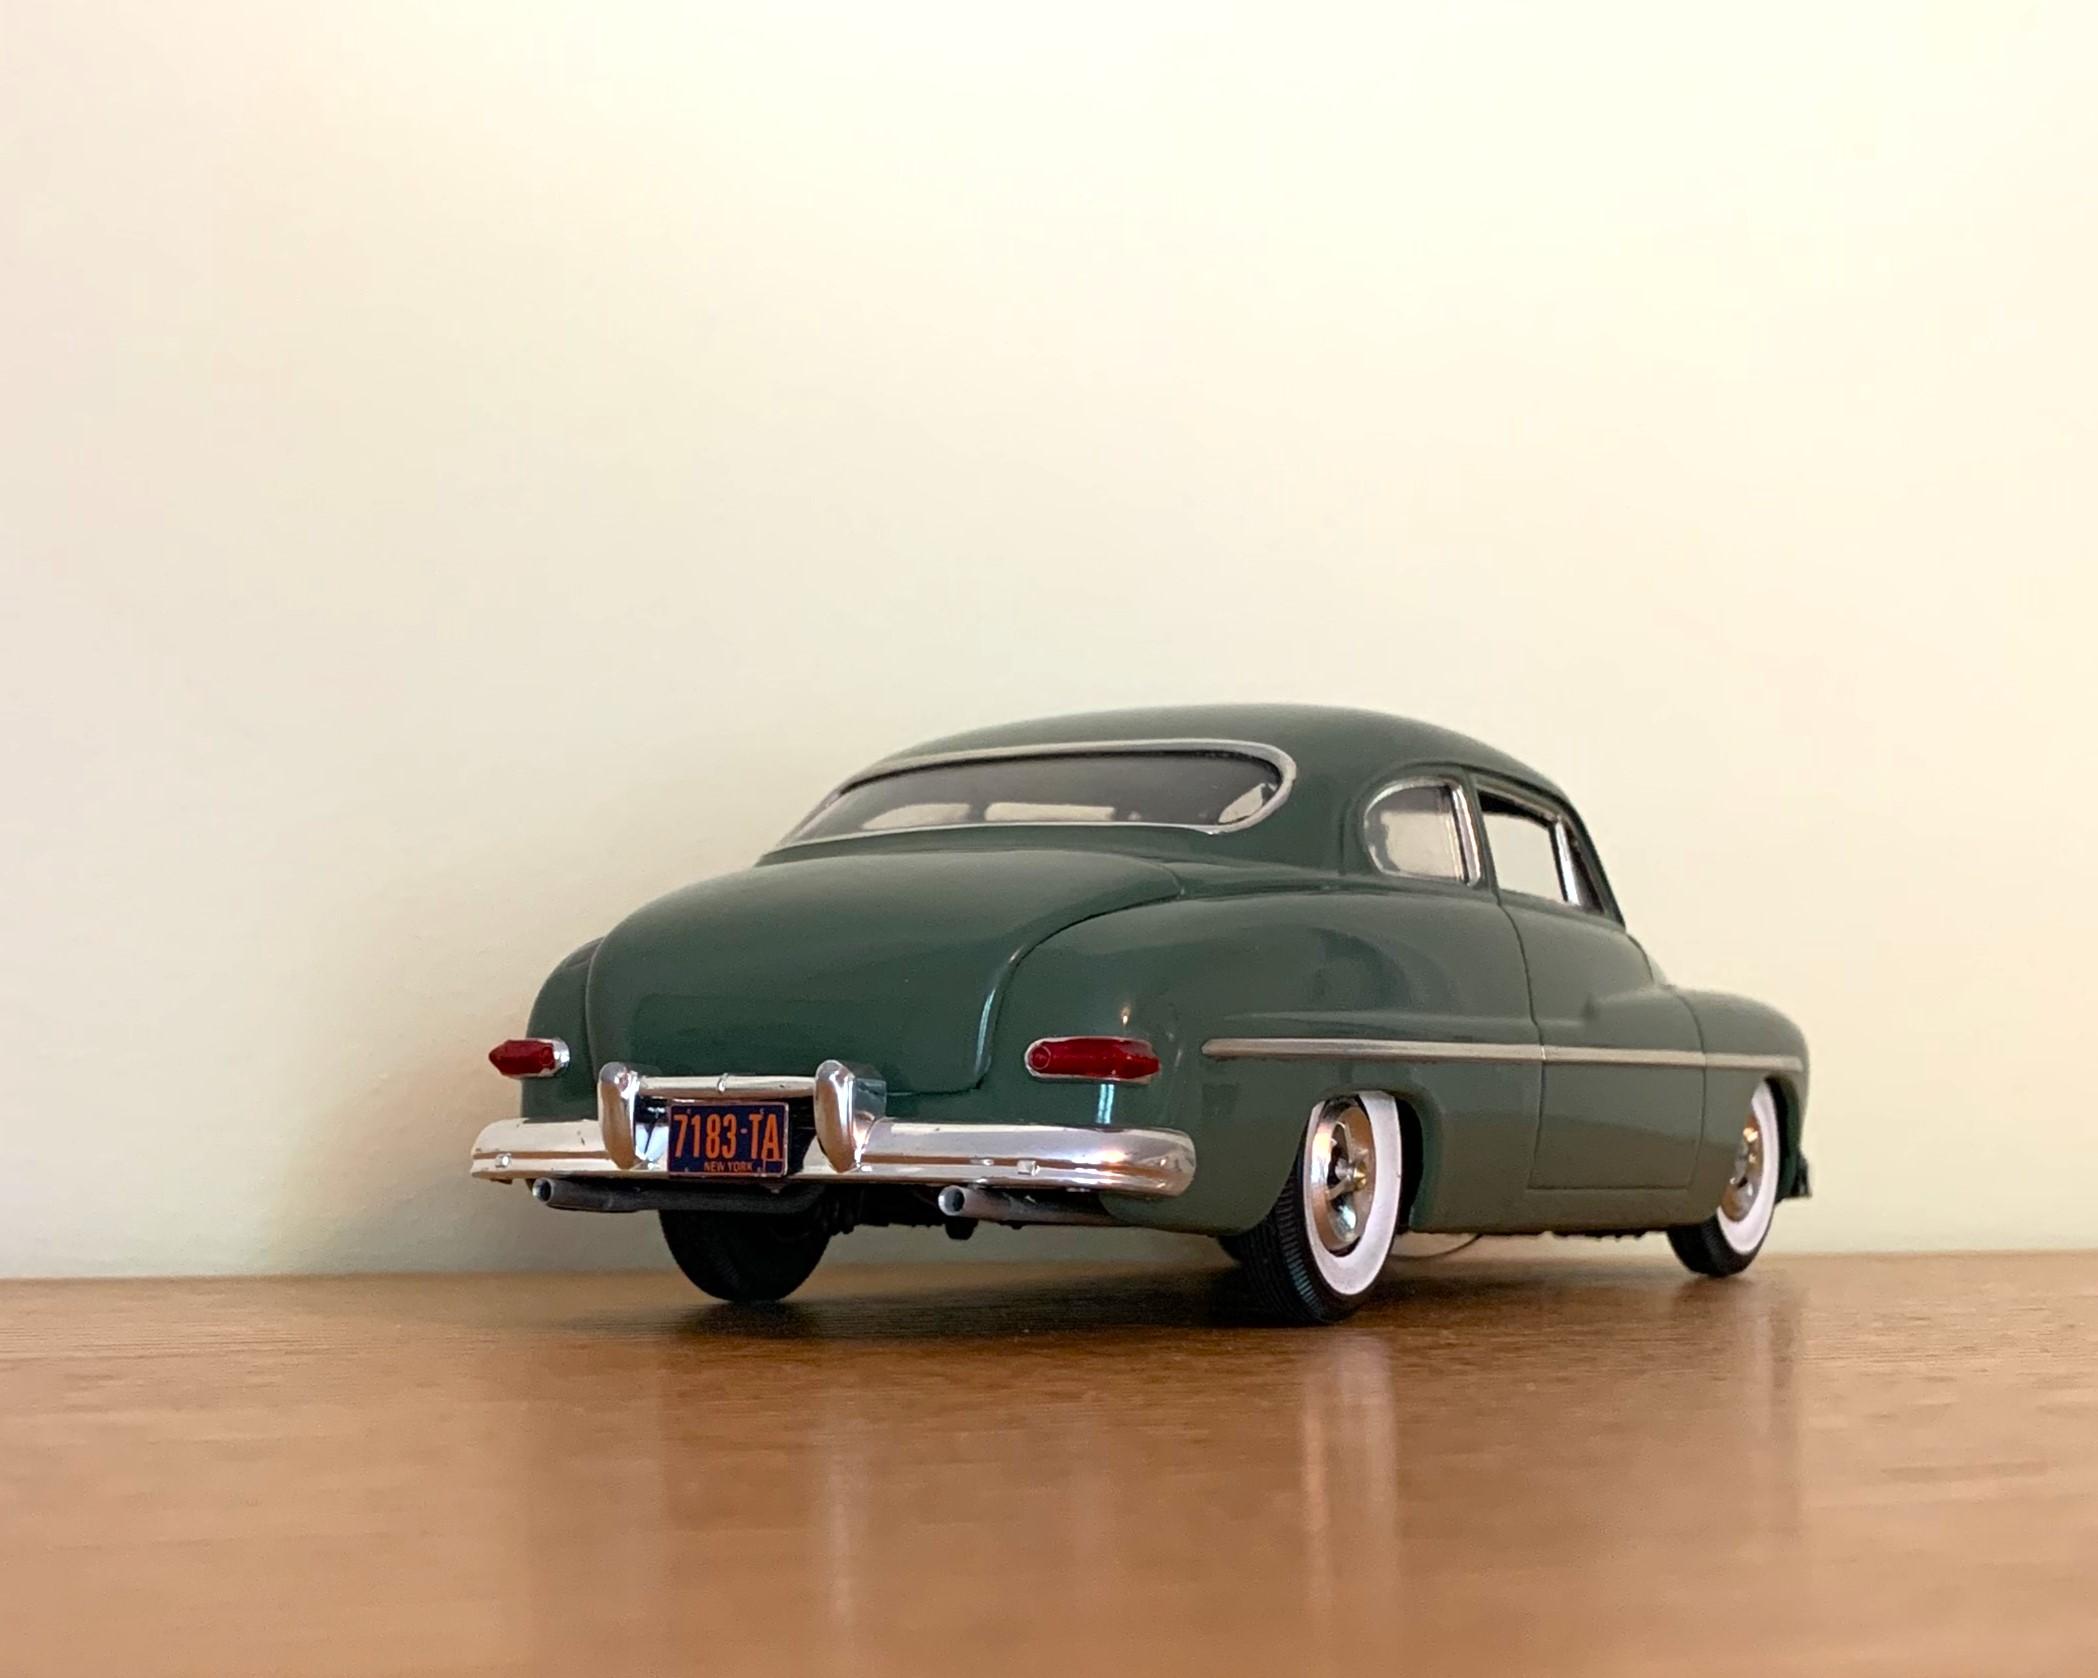
Here's how it looks, I added clear red paint over the old tail lights after I smoothed around the edges and foiled them.
-
I removed the chrome from the centers of the parking lights and added clear lenses from the parts box, likely '32 cowl lights. Everything is restored from the original built up except headlight lenses, parking light lenses and hubcaps! That was my goal, NOT to get carried away with new stuff!
-
1:16 Gunze Sangyo 1937 Rolls-Royce Phantom III Sports Saloon
dino246gt replied to Anglia105E's topic in WIP: Model Cars
Looks fantastic, now how are you going to hide those wires? -
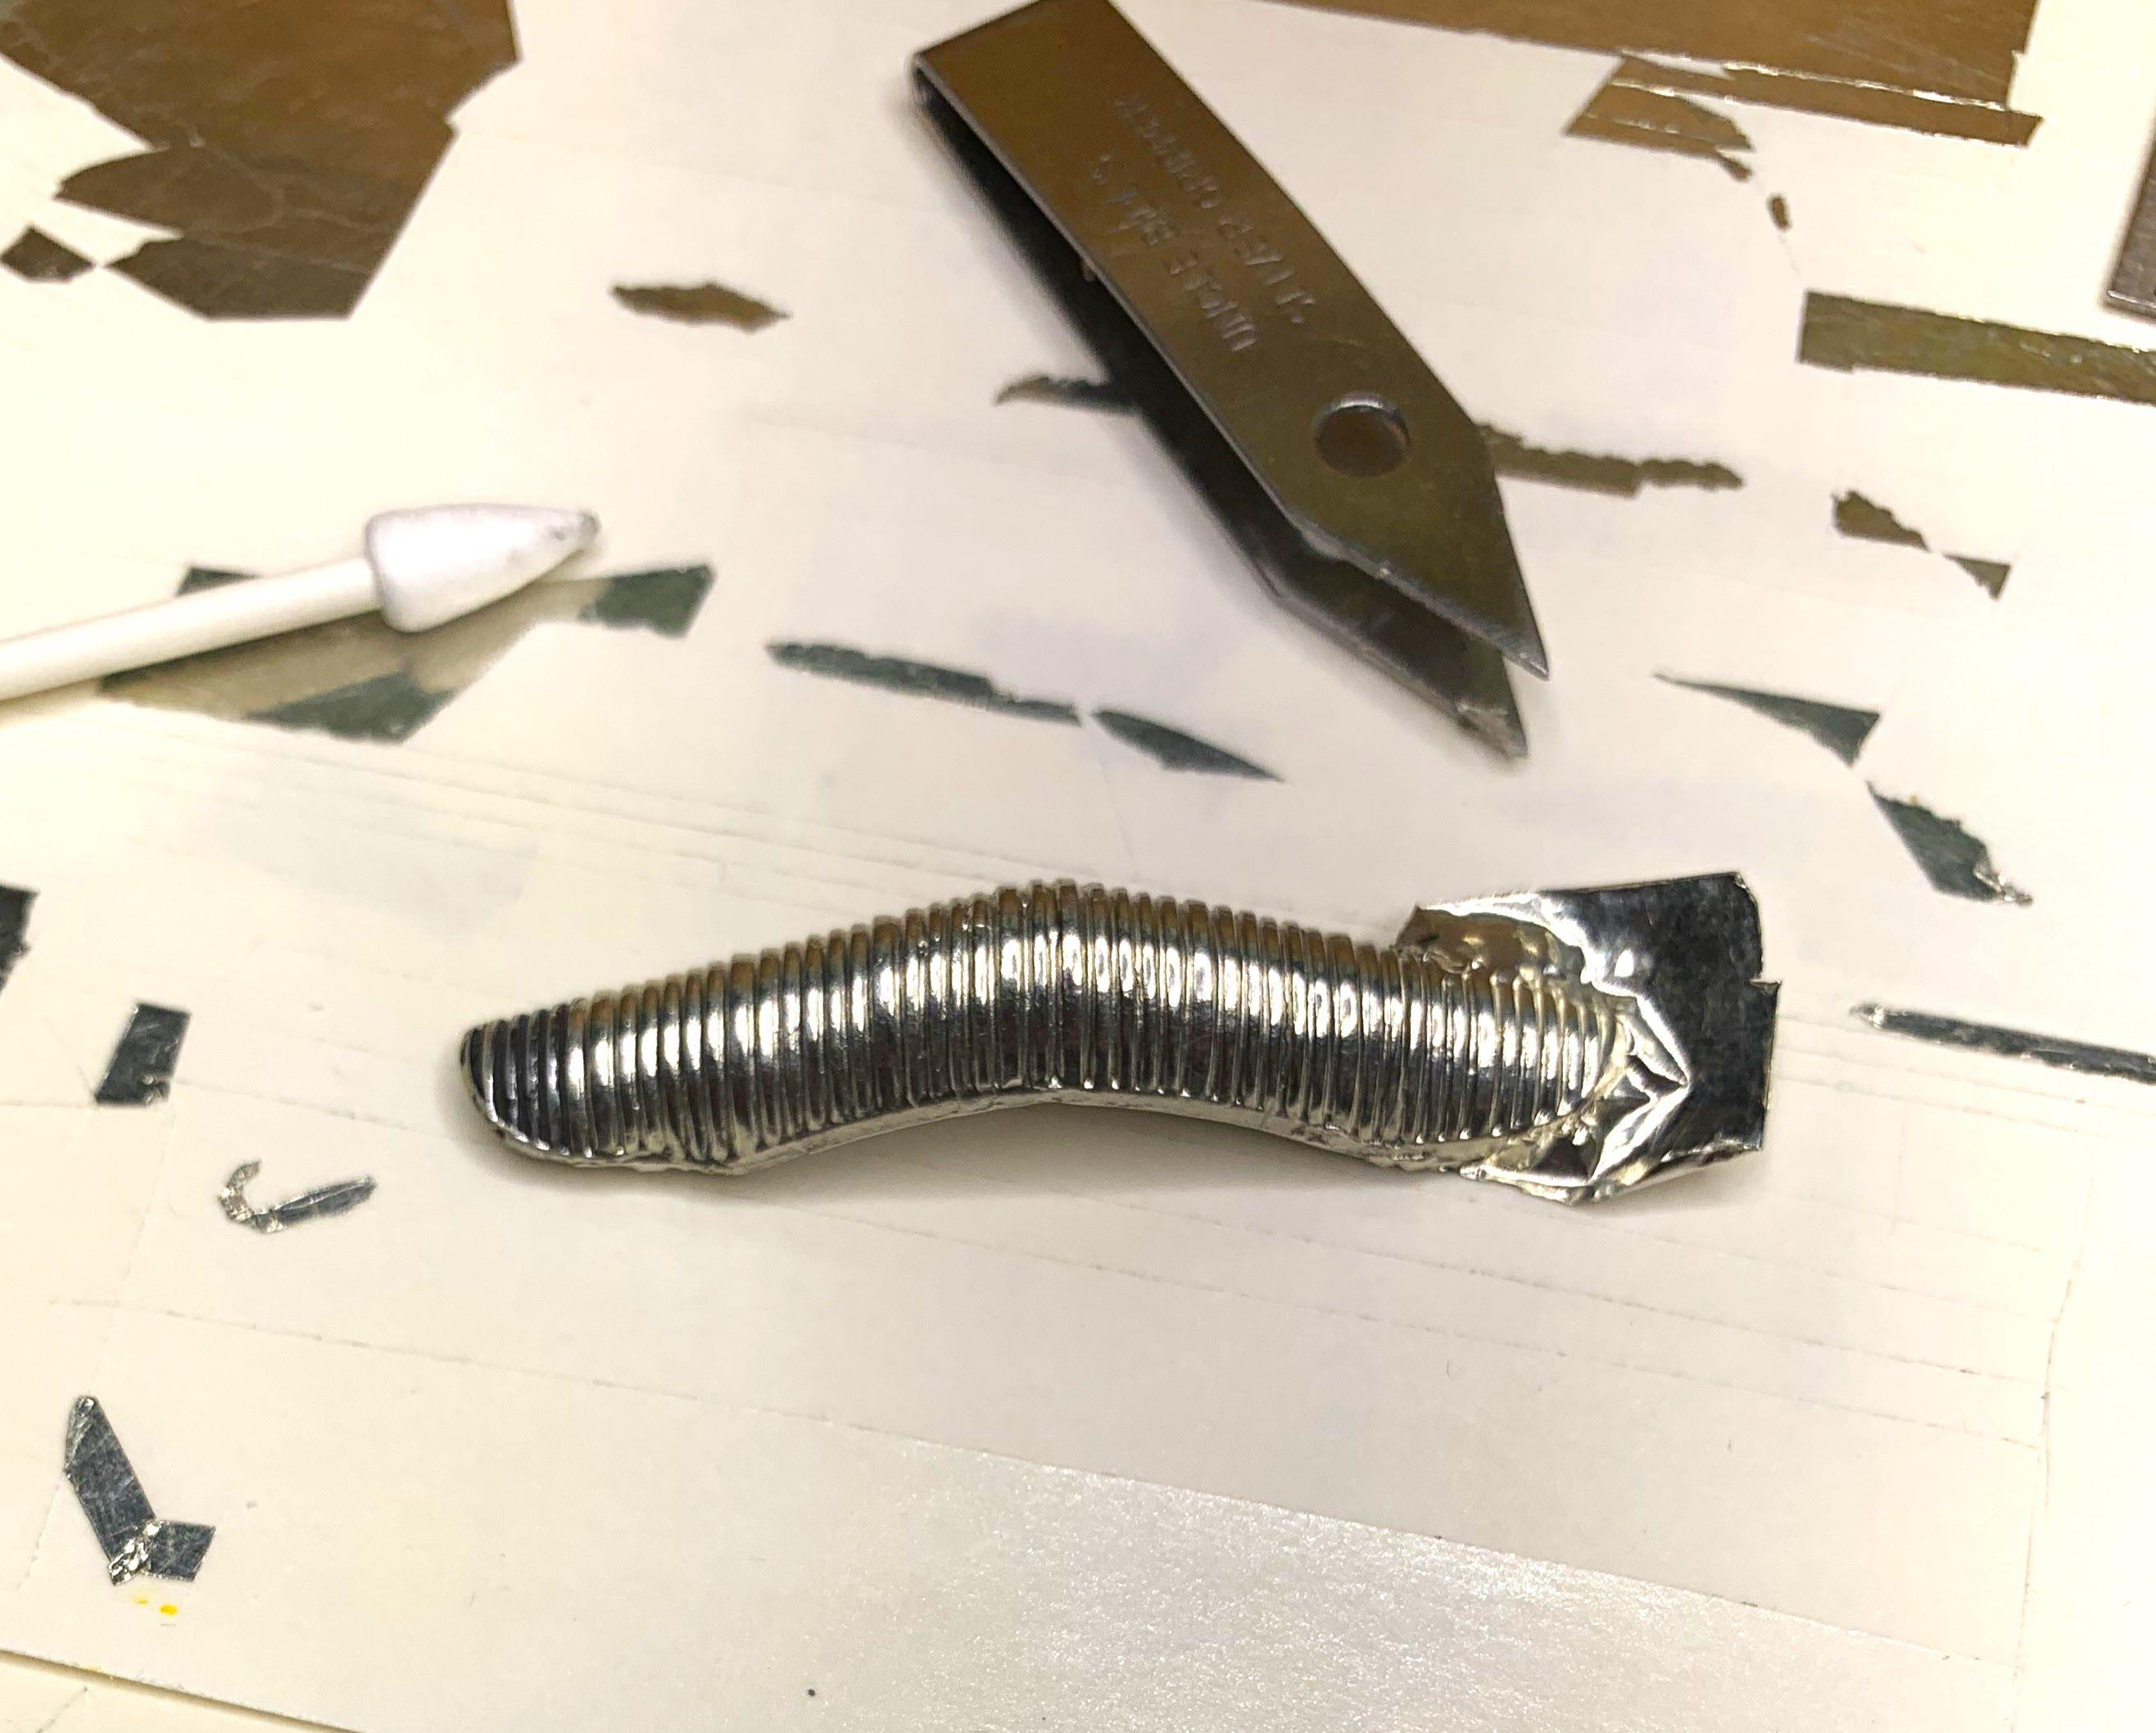
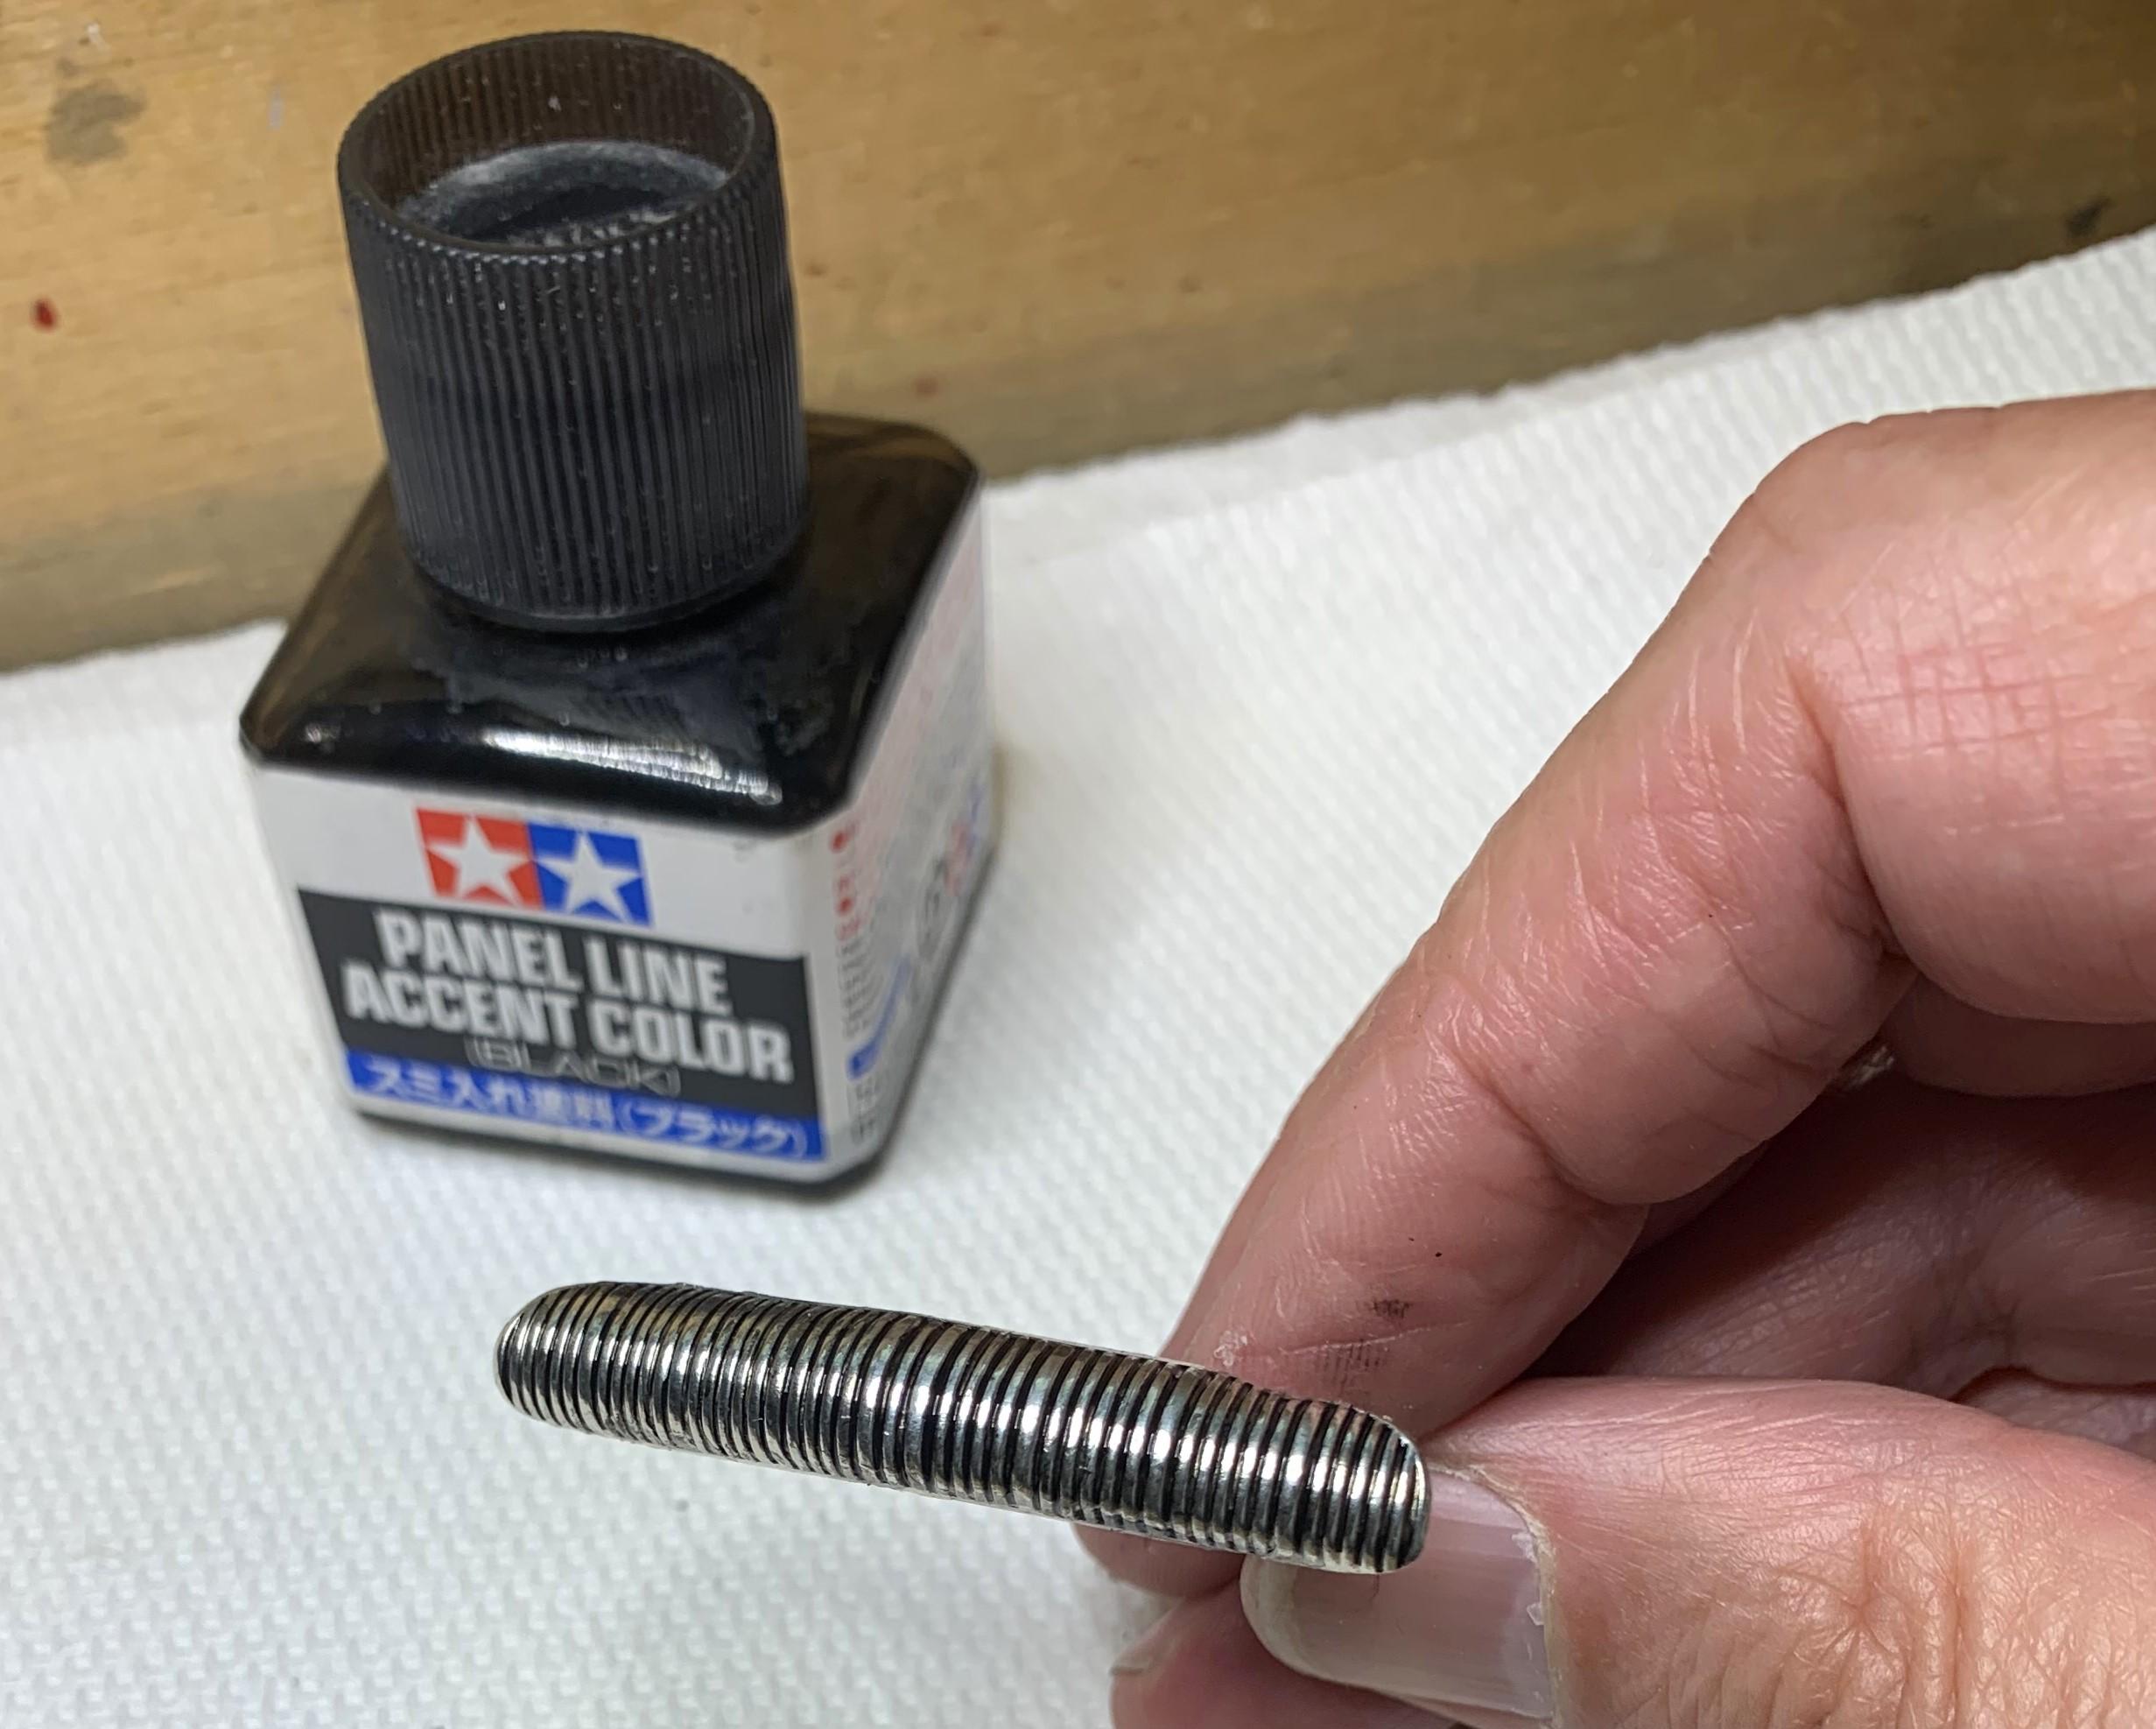
I foiled the original grille, and it wasn't as easy as I thought! Had to do it in sections, and there's a lot of burnishing involved! Some black panel line brings it to life! Original bumpers too, but new headlight lenses, these are from Jim Pelosi, resin or 3D I'm not sure but I bought a ton of both sizes and they're great! Bumper guards were brushed with Molotow after the bumper was attached, chrome was worn, still is in some areas but that's okay for this one.
-
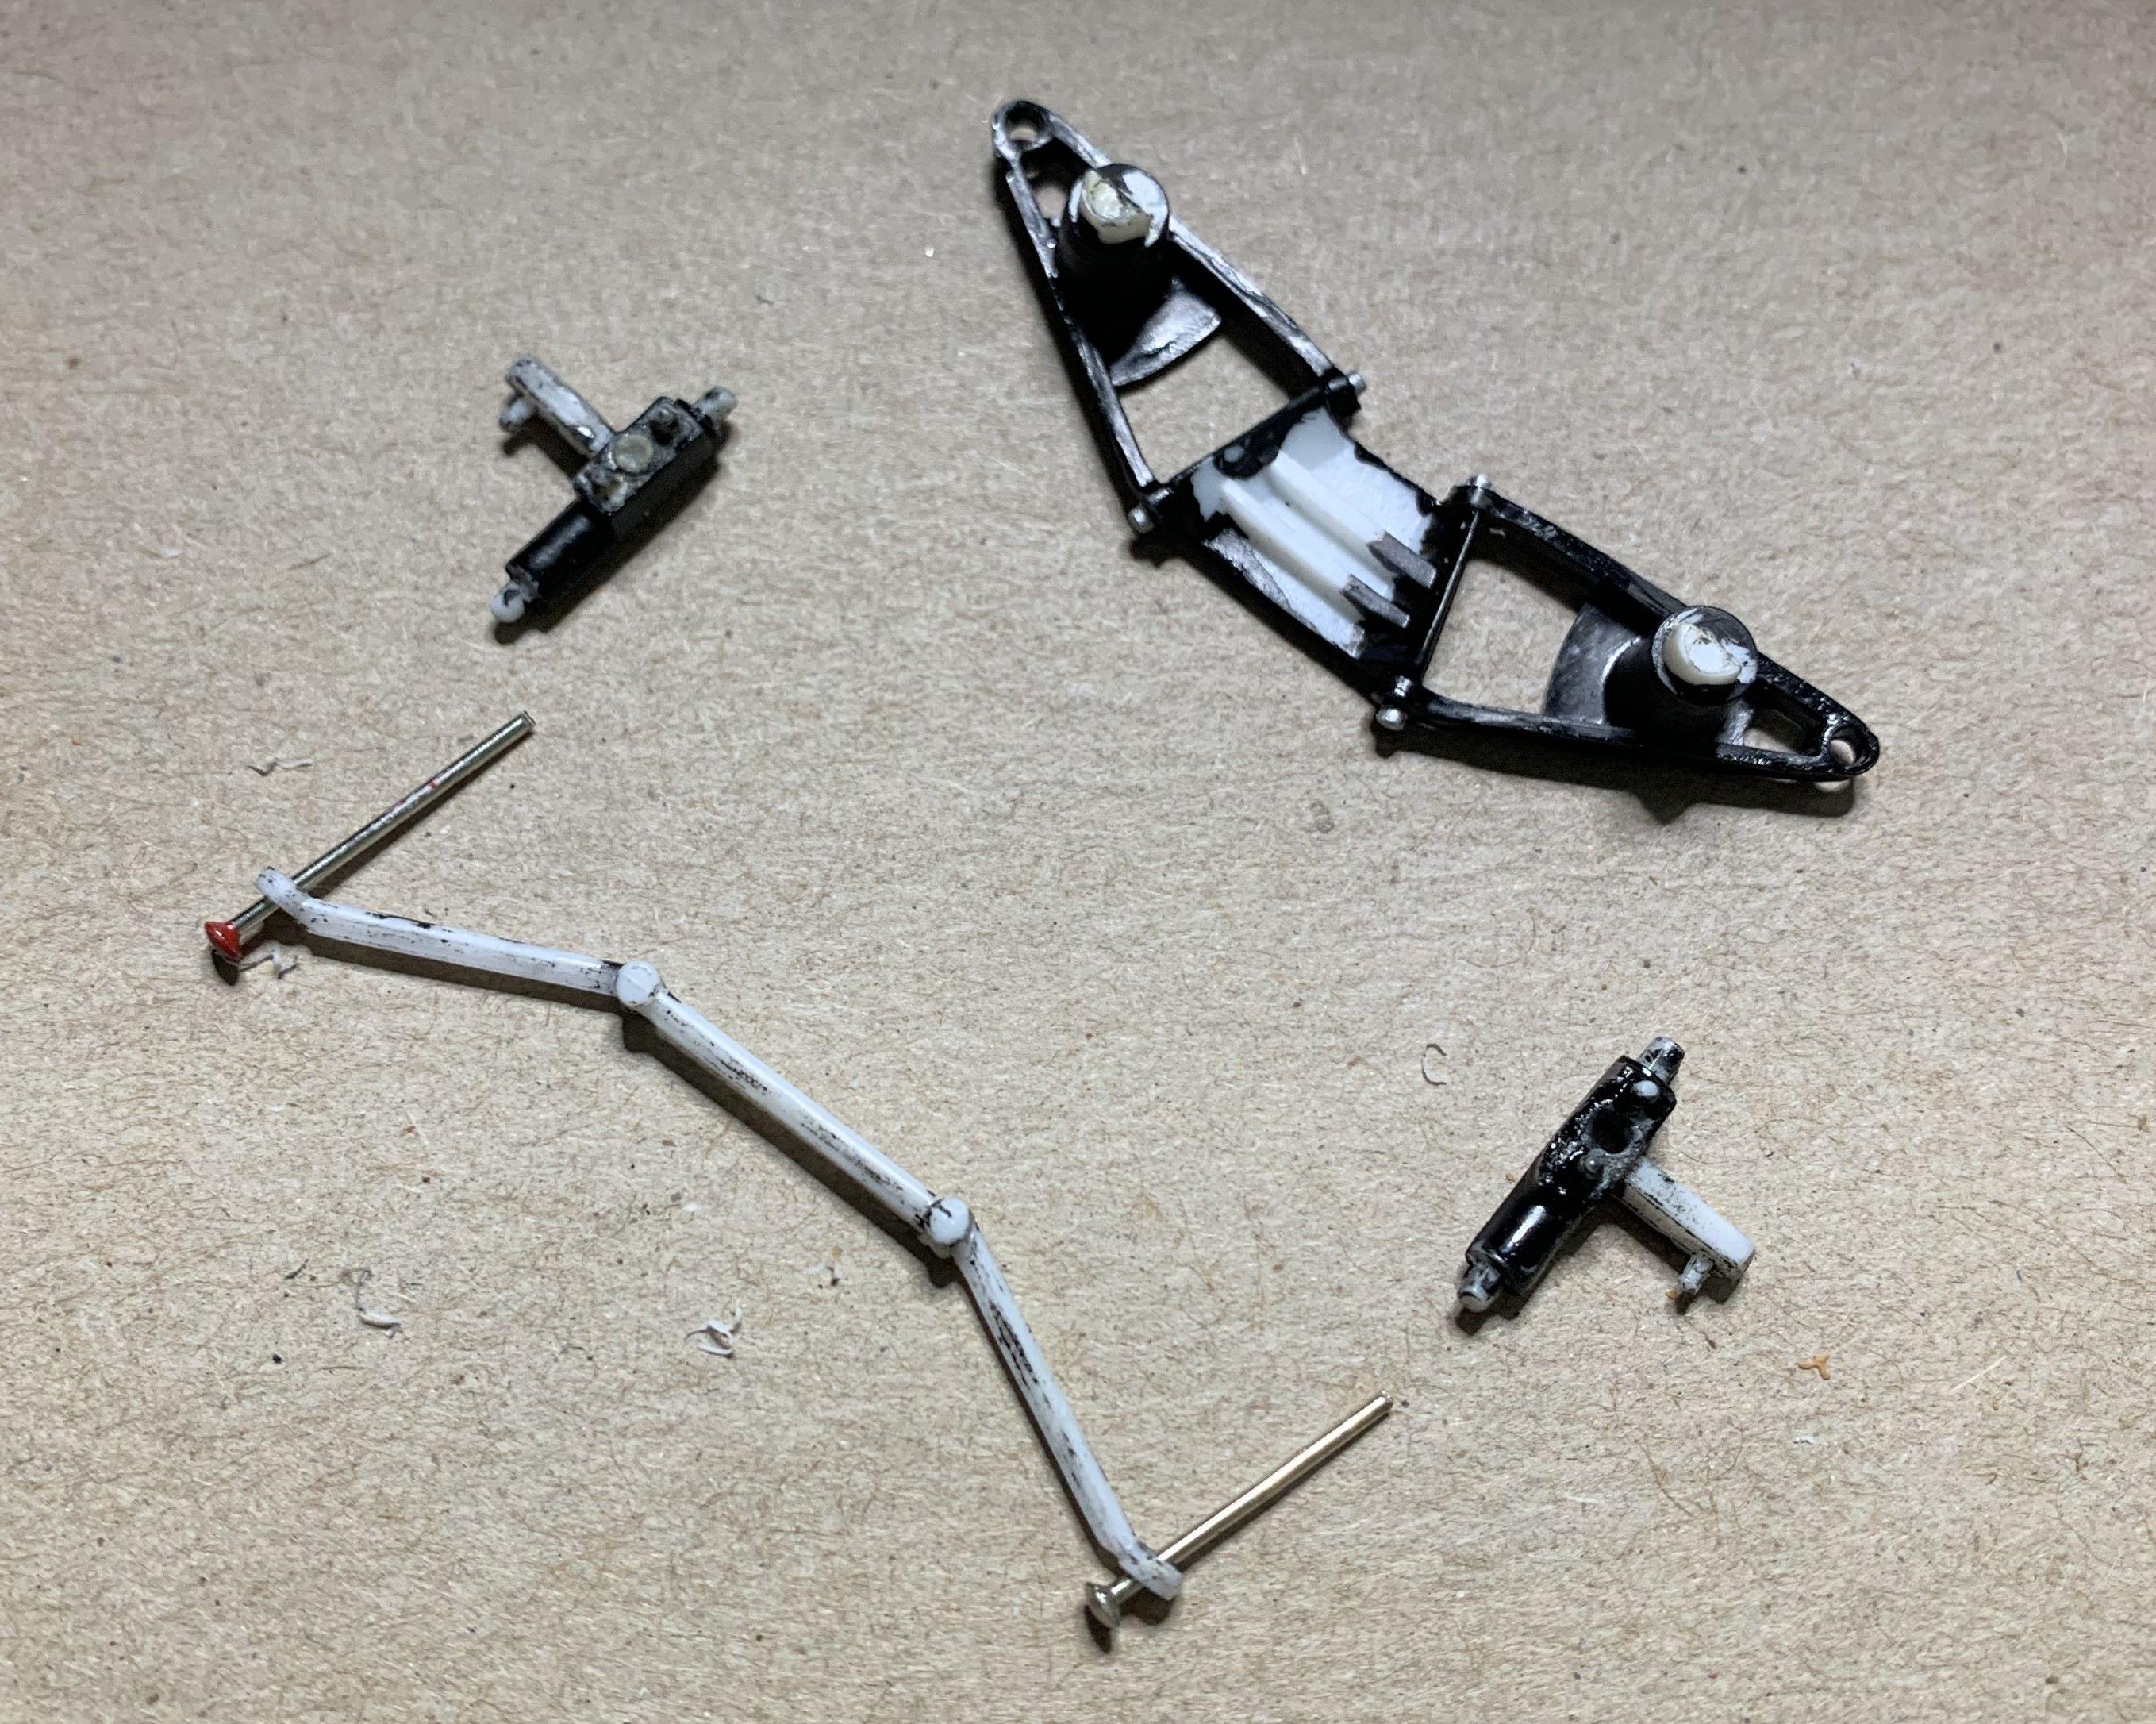
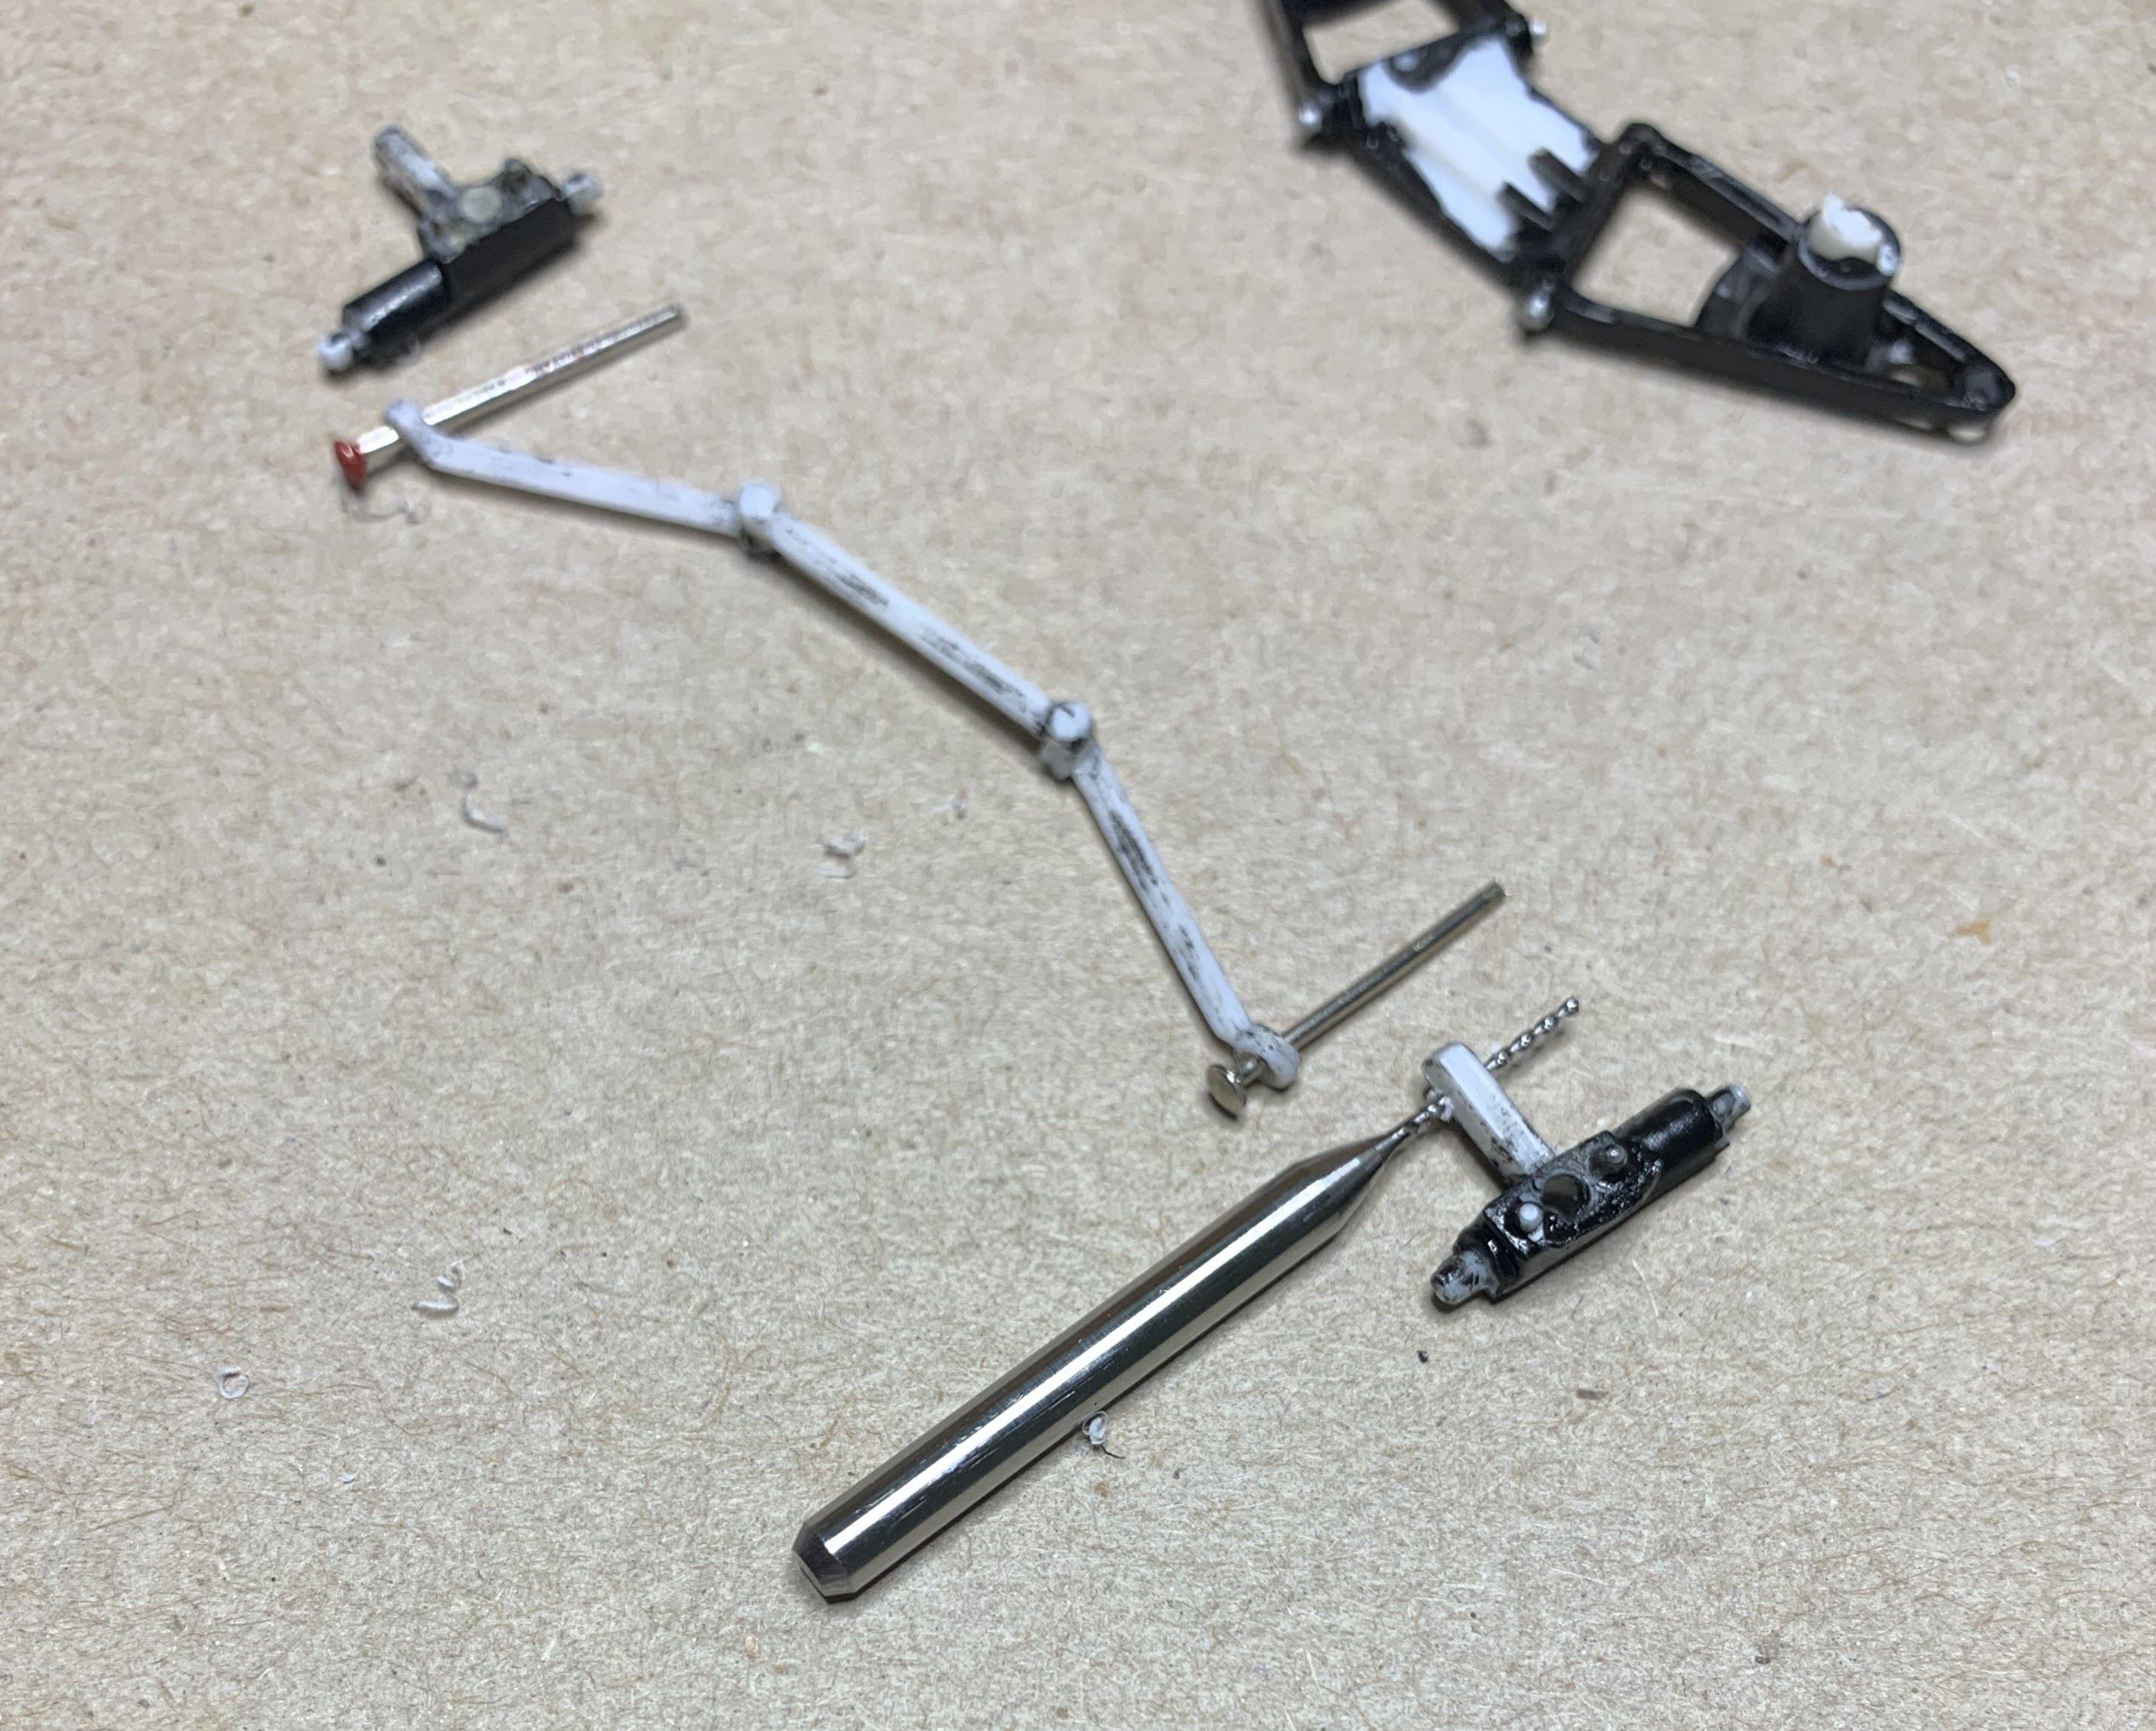
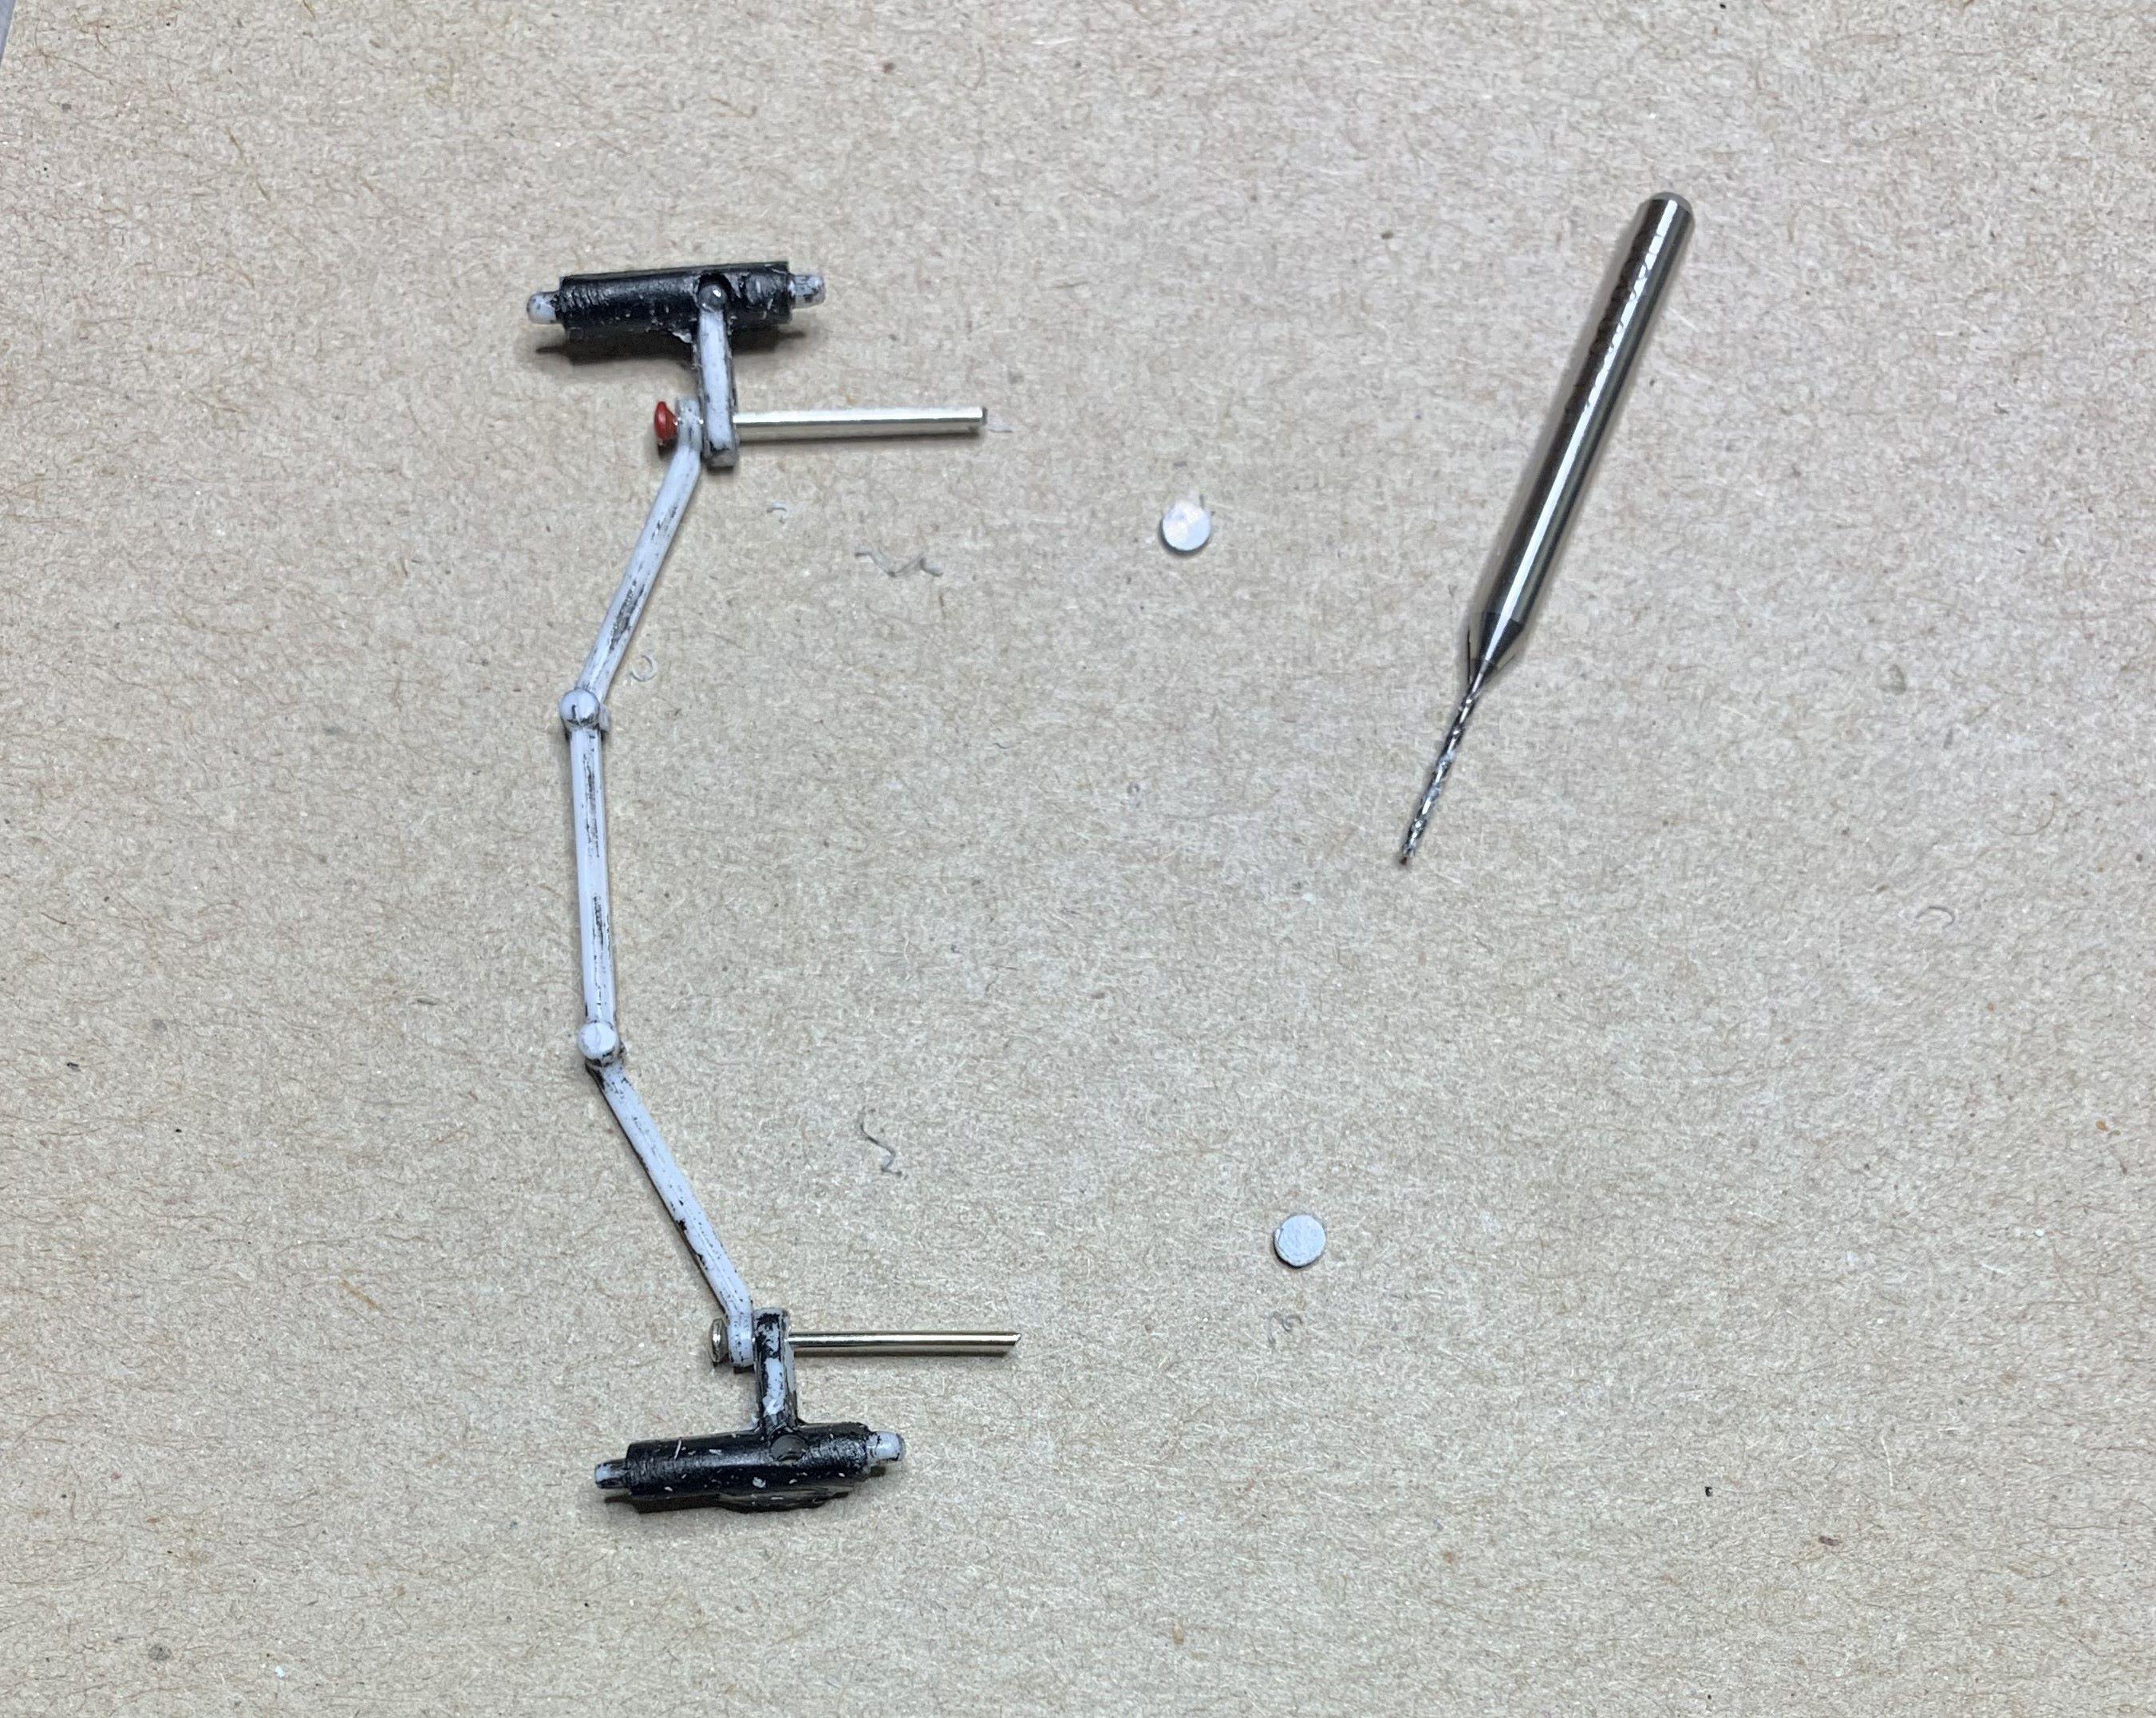
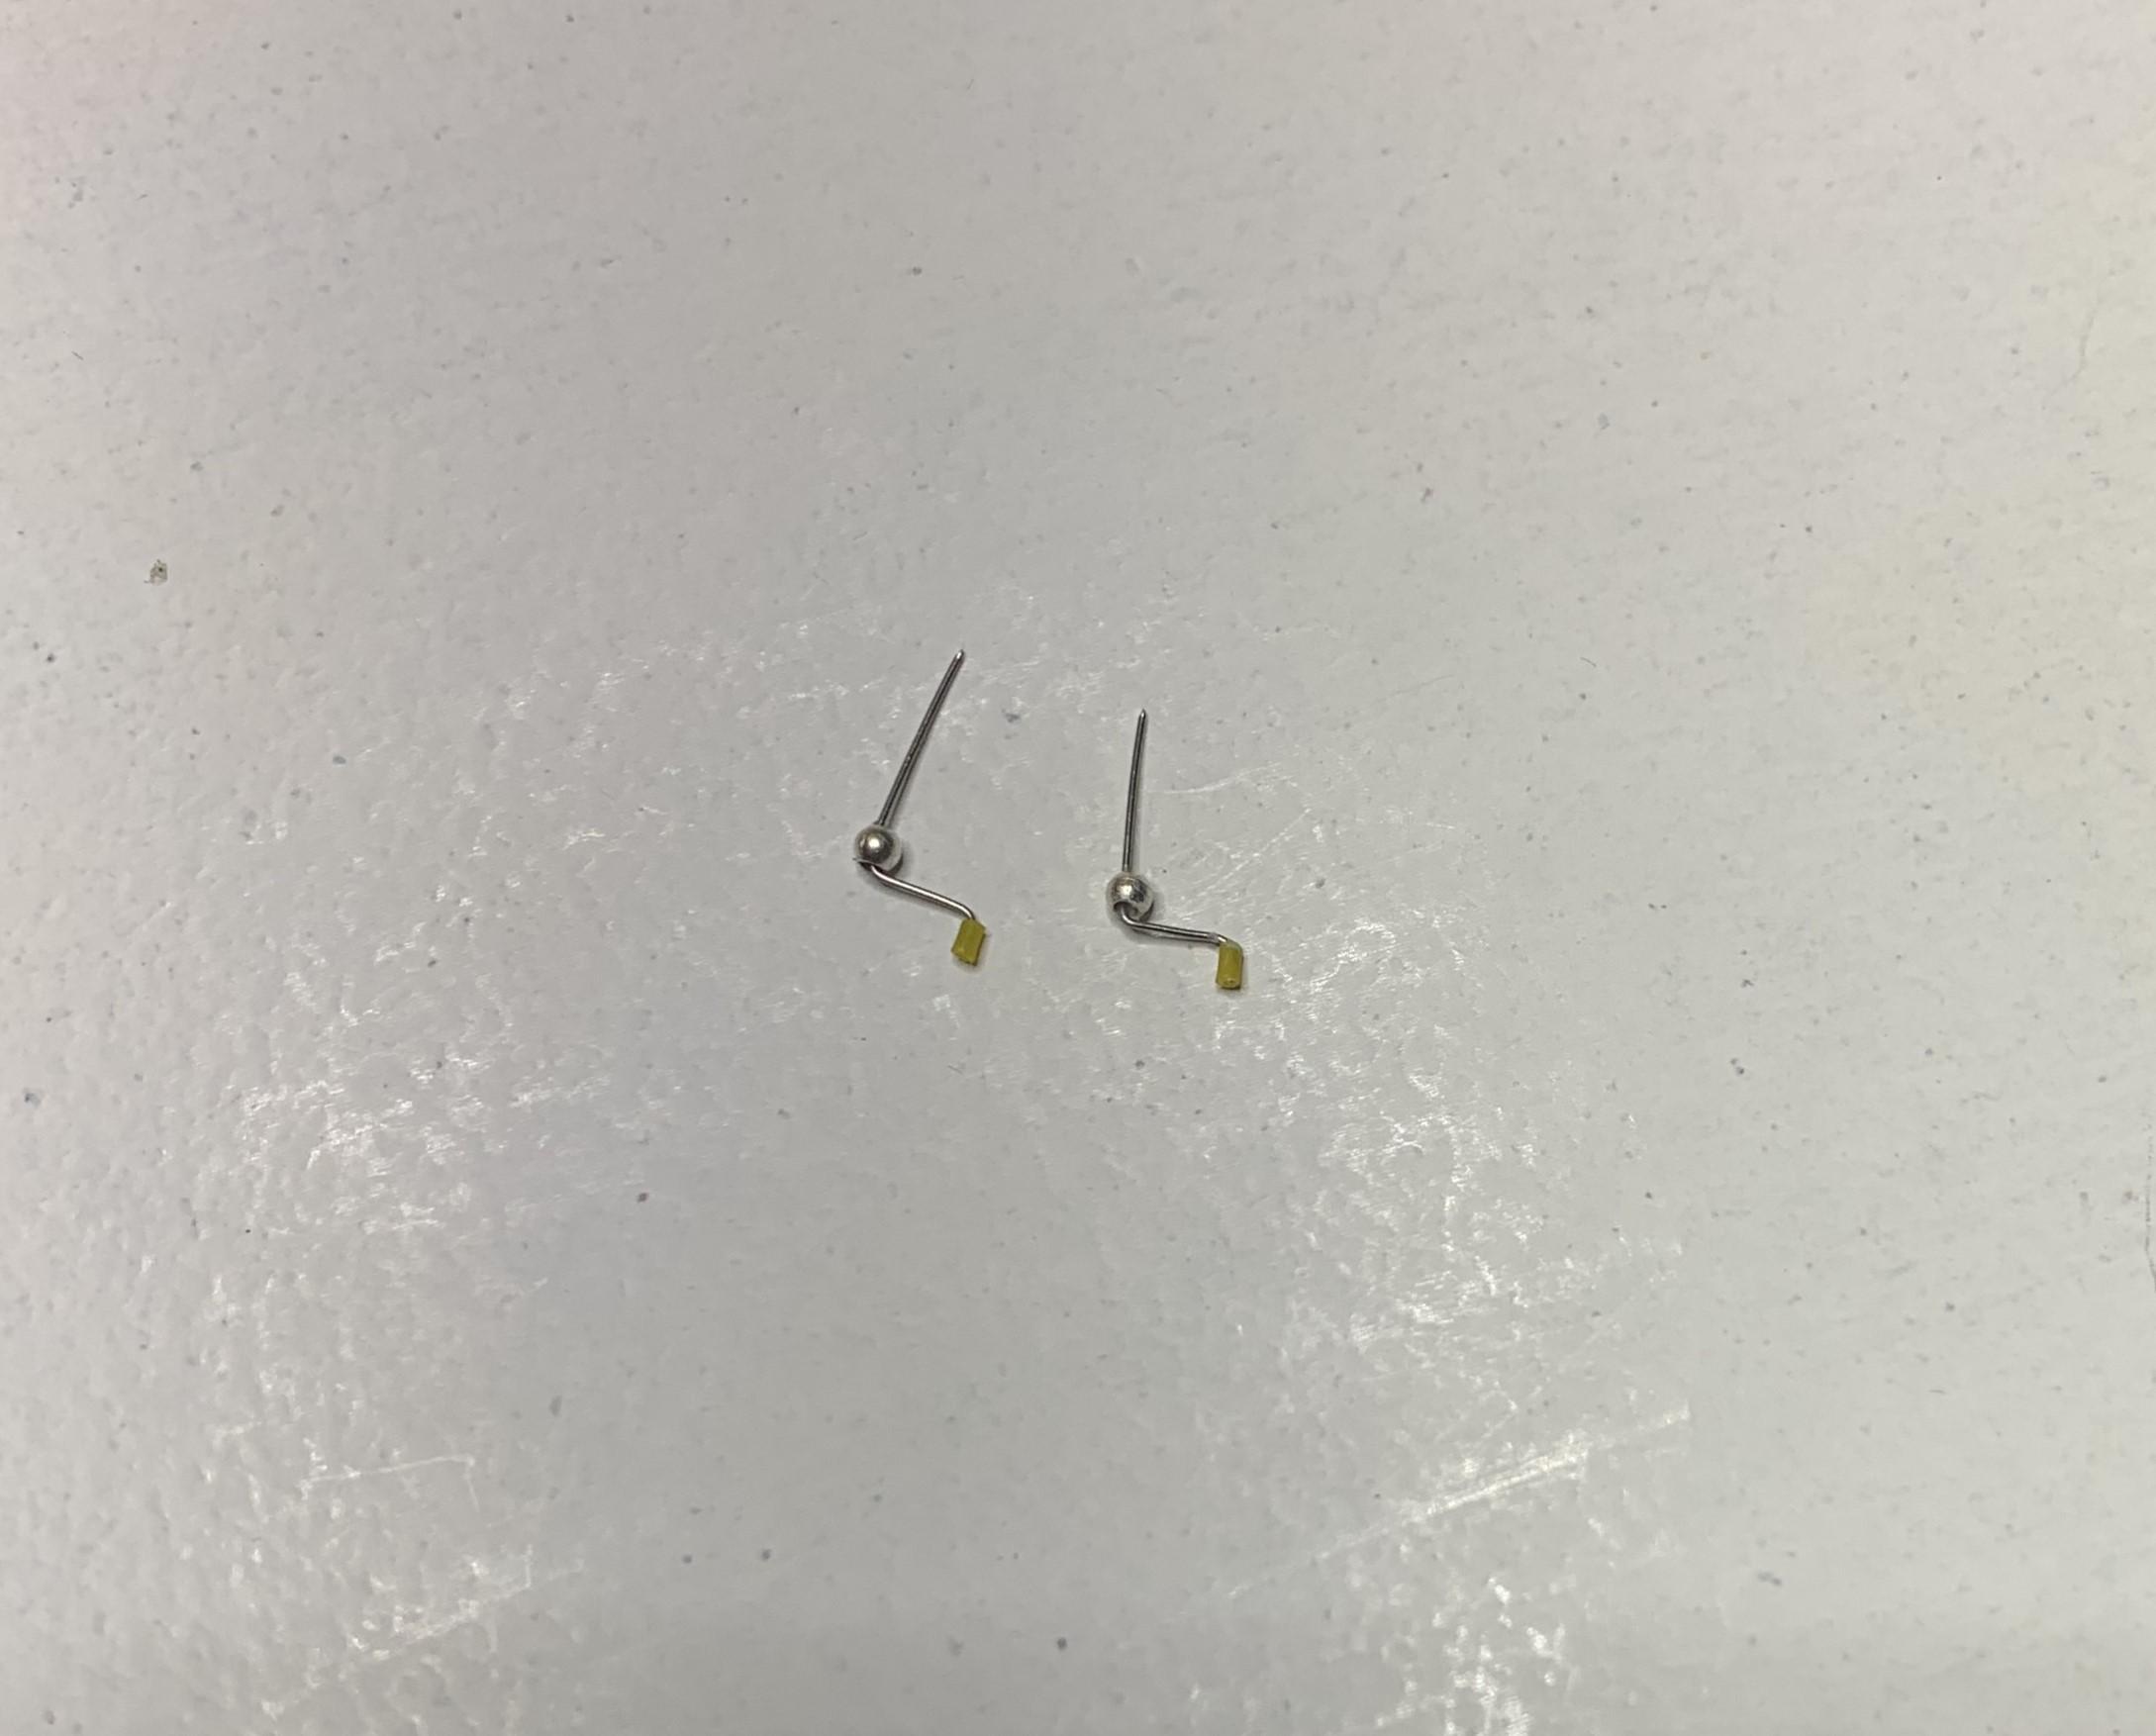
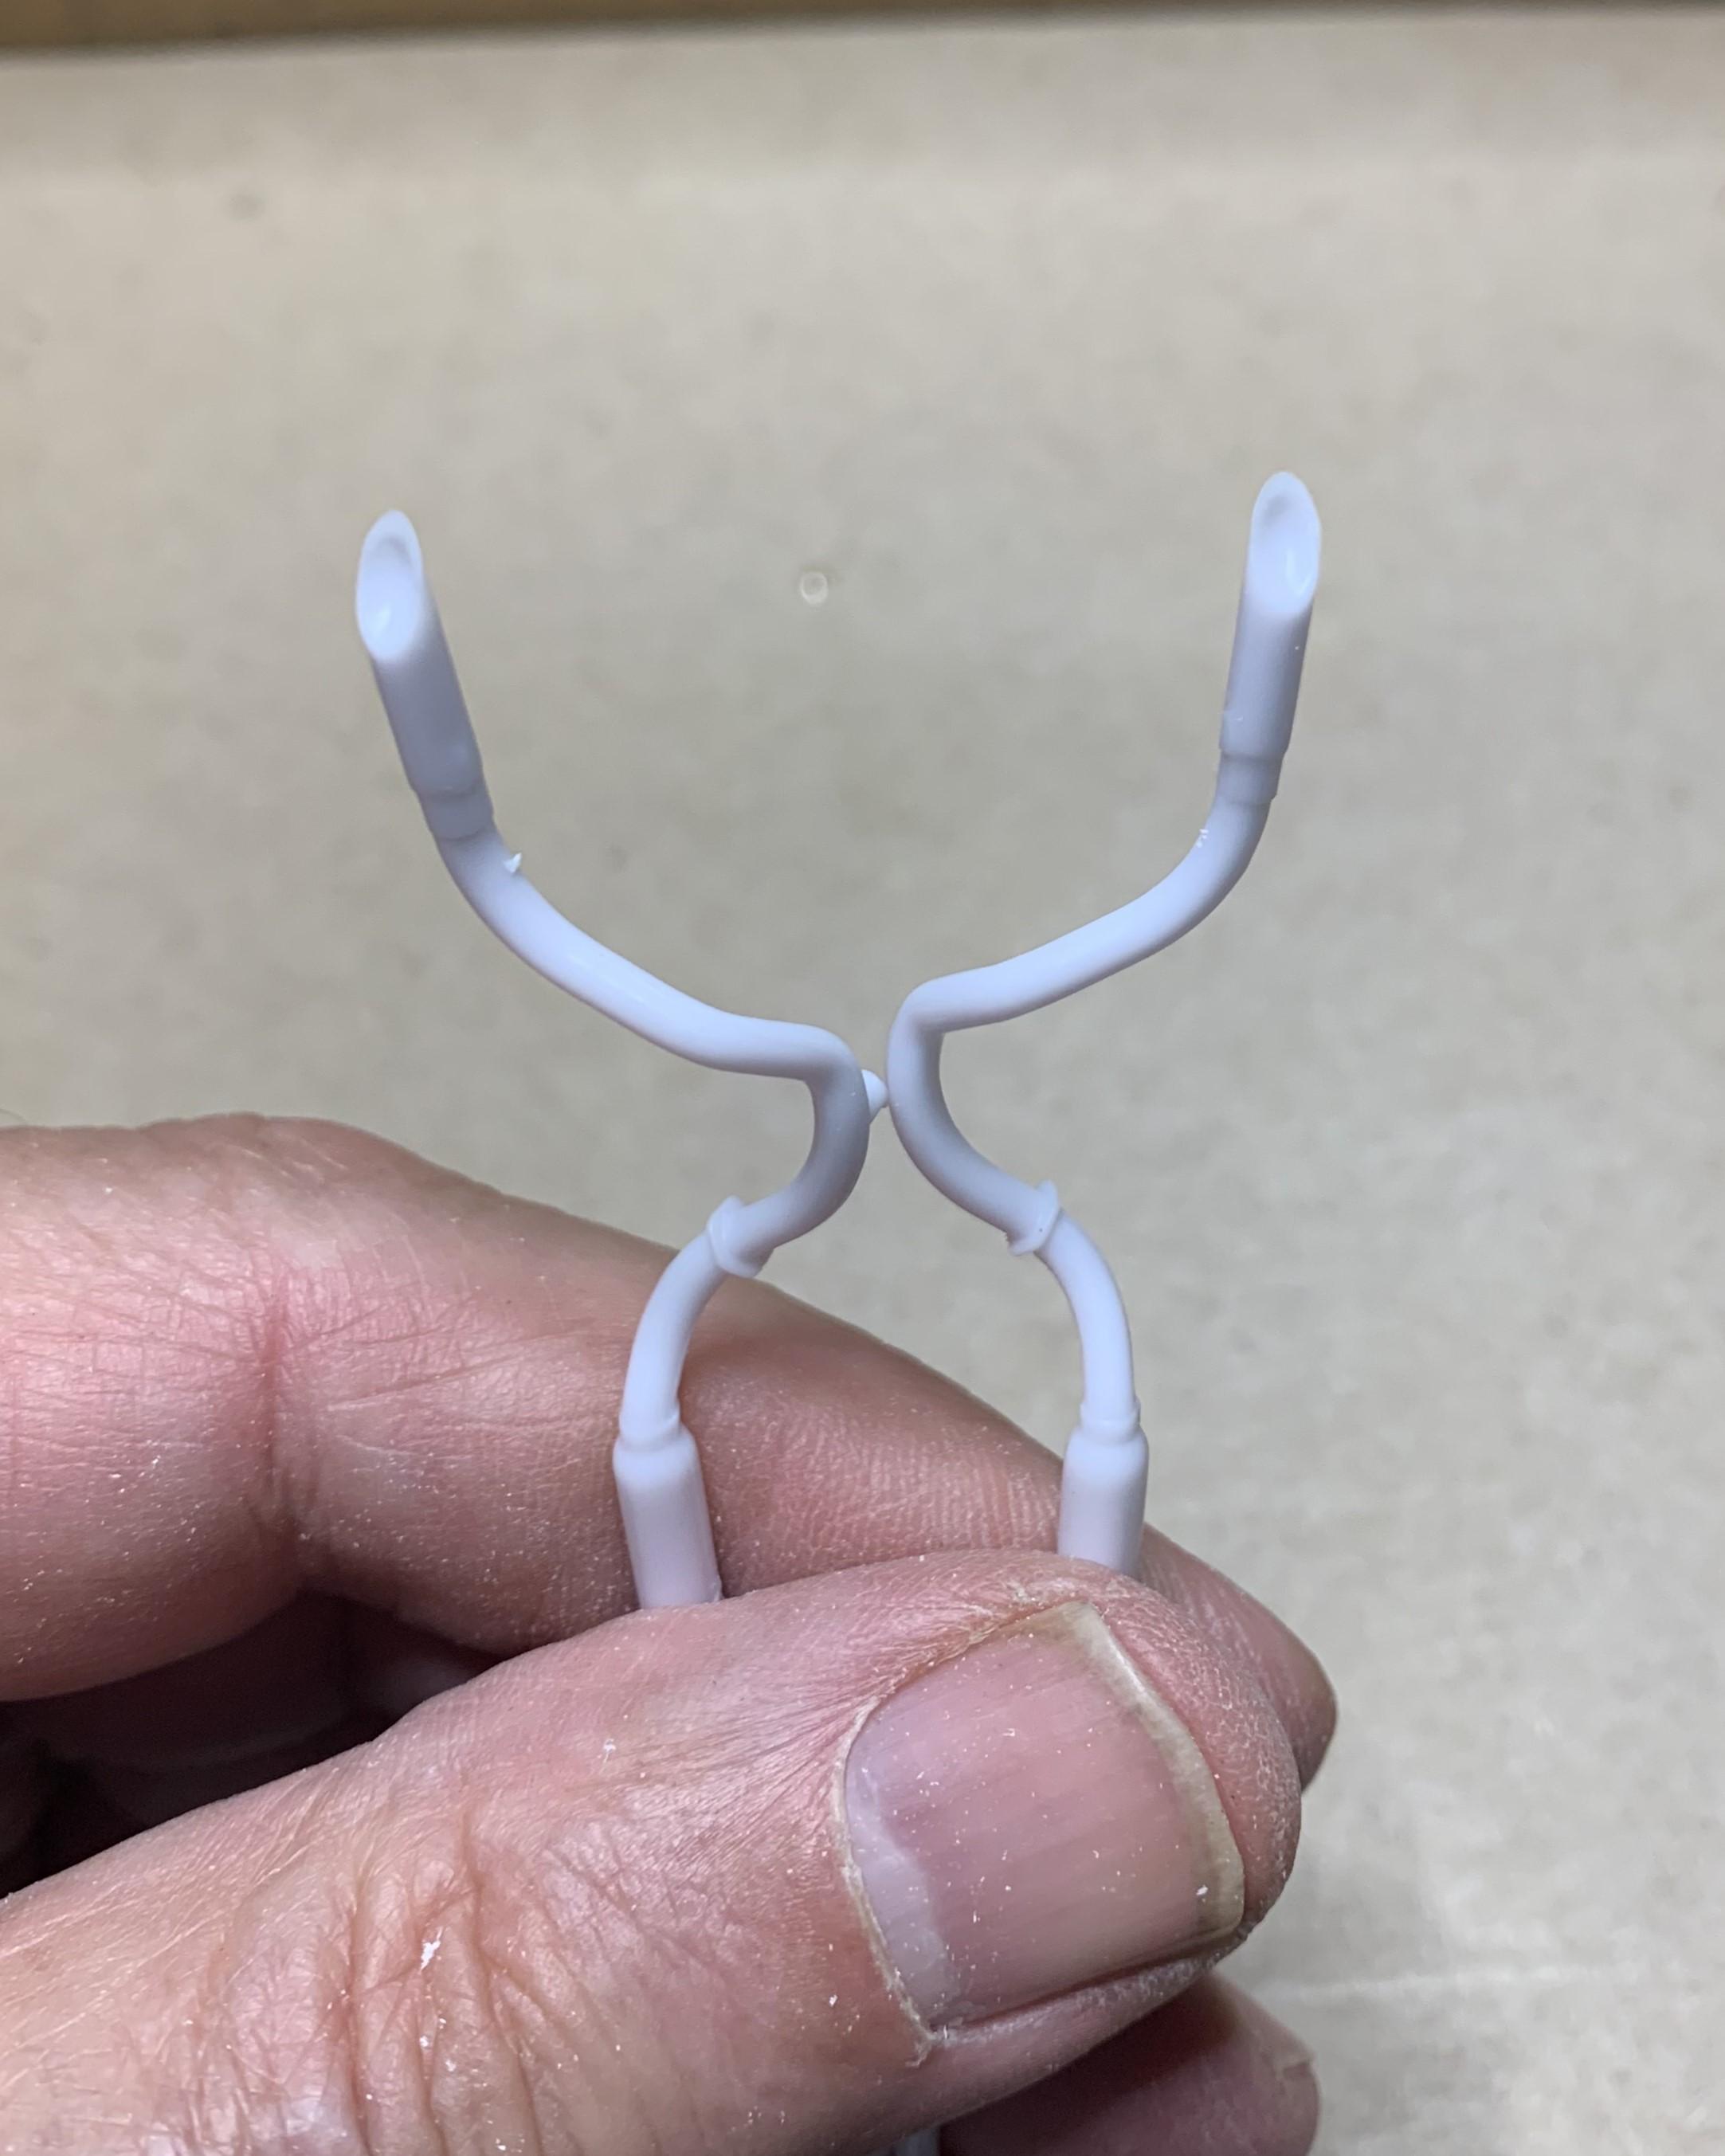
Here's the front suspension bits. Since I'll be mounting the king pins upside down for the lowered look, the tie rod won't stay on, so I snipped off those pegs and drilled for straight pins. I made little styrene circles with a hole punch, and to drill them, I put them on tape because they're too small to hold and drill. The wheel backs are not from this kit, and they're too long, so they got cut off! These little bolts hold the wheels on, and now I have poseable steering! (the kit did have poseable steering, but because mine is a re-build, there was glue and paint and it just wasn't working for me)
-
Looking........GREAT!
-
Nice project and I like the way you wired that engine, looks natural, very cool!
-
1:16 Gunze Sangyo 1937 Rolls-Royce Phantom III Sports Saloon
dino246gt replied to Anglia105E's topic in WIP: Model Cars
WOW, It's fantastic! You really made that into something so special, I love it!


.JPG.5a7b8a8308362f02242a05b75ef31a8c.JPG)

.JPG.305cc30f965275d4136cf7c7098db6fd.JPG)
.JPG.795f11ff3909411e2eb734e4f0191966.JPG)

.JPG.e048009549a1e97b9ae7000f6011ea37.JPG)
.JPG.2e4ec40650de576d777591182c1604a3.JPG)