dino246gt
-
Posts
2,244 -
Joined
-
Last visited
Content Type
Profiles
Forums
Events
Gallery
Everything posted by dino246gt
-
Very nicely done........... so far! I'm sure it'll be fantastic when finished! It's almost there already, cheers!
-
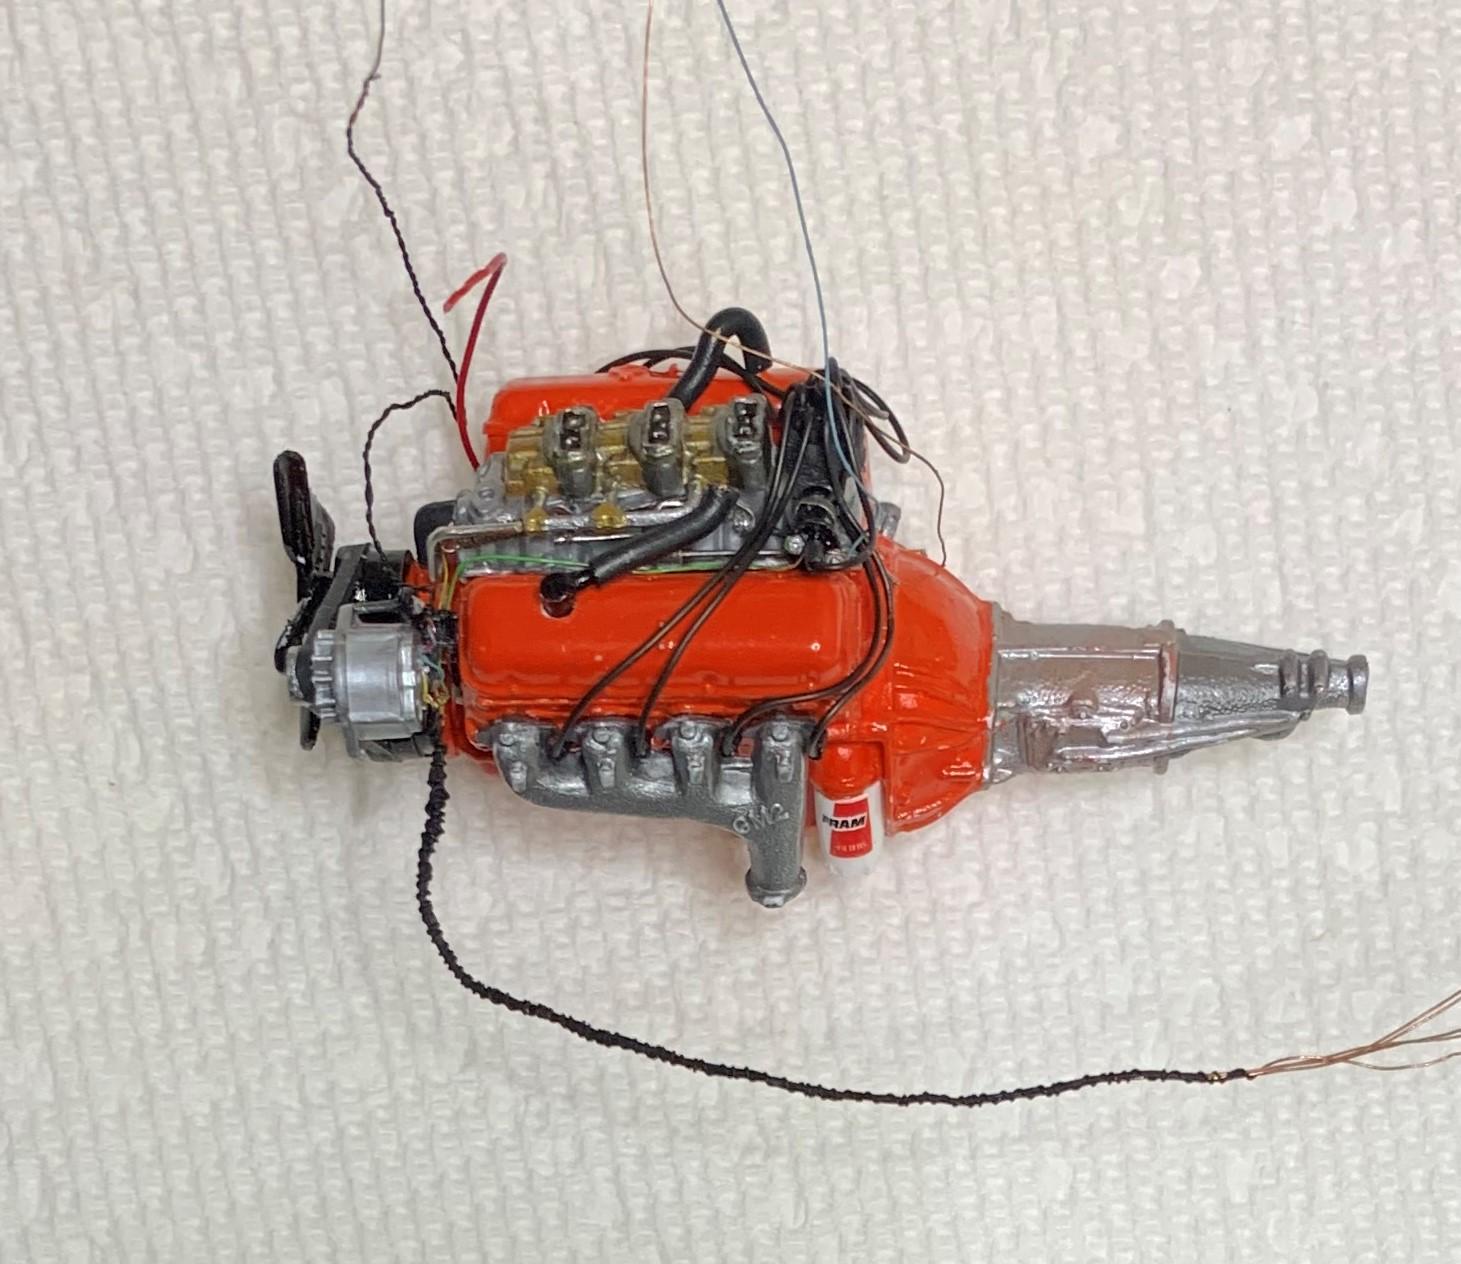
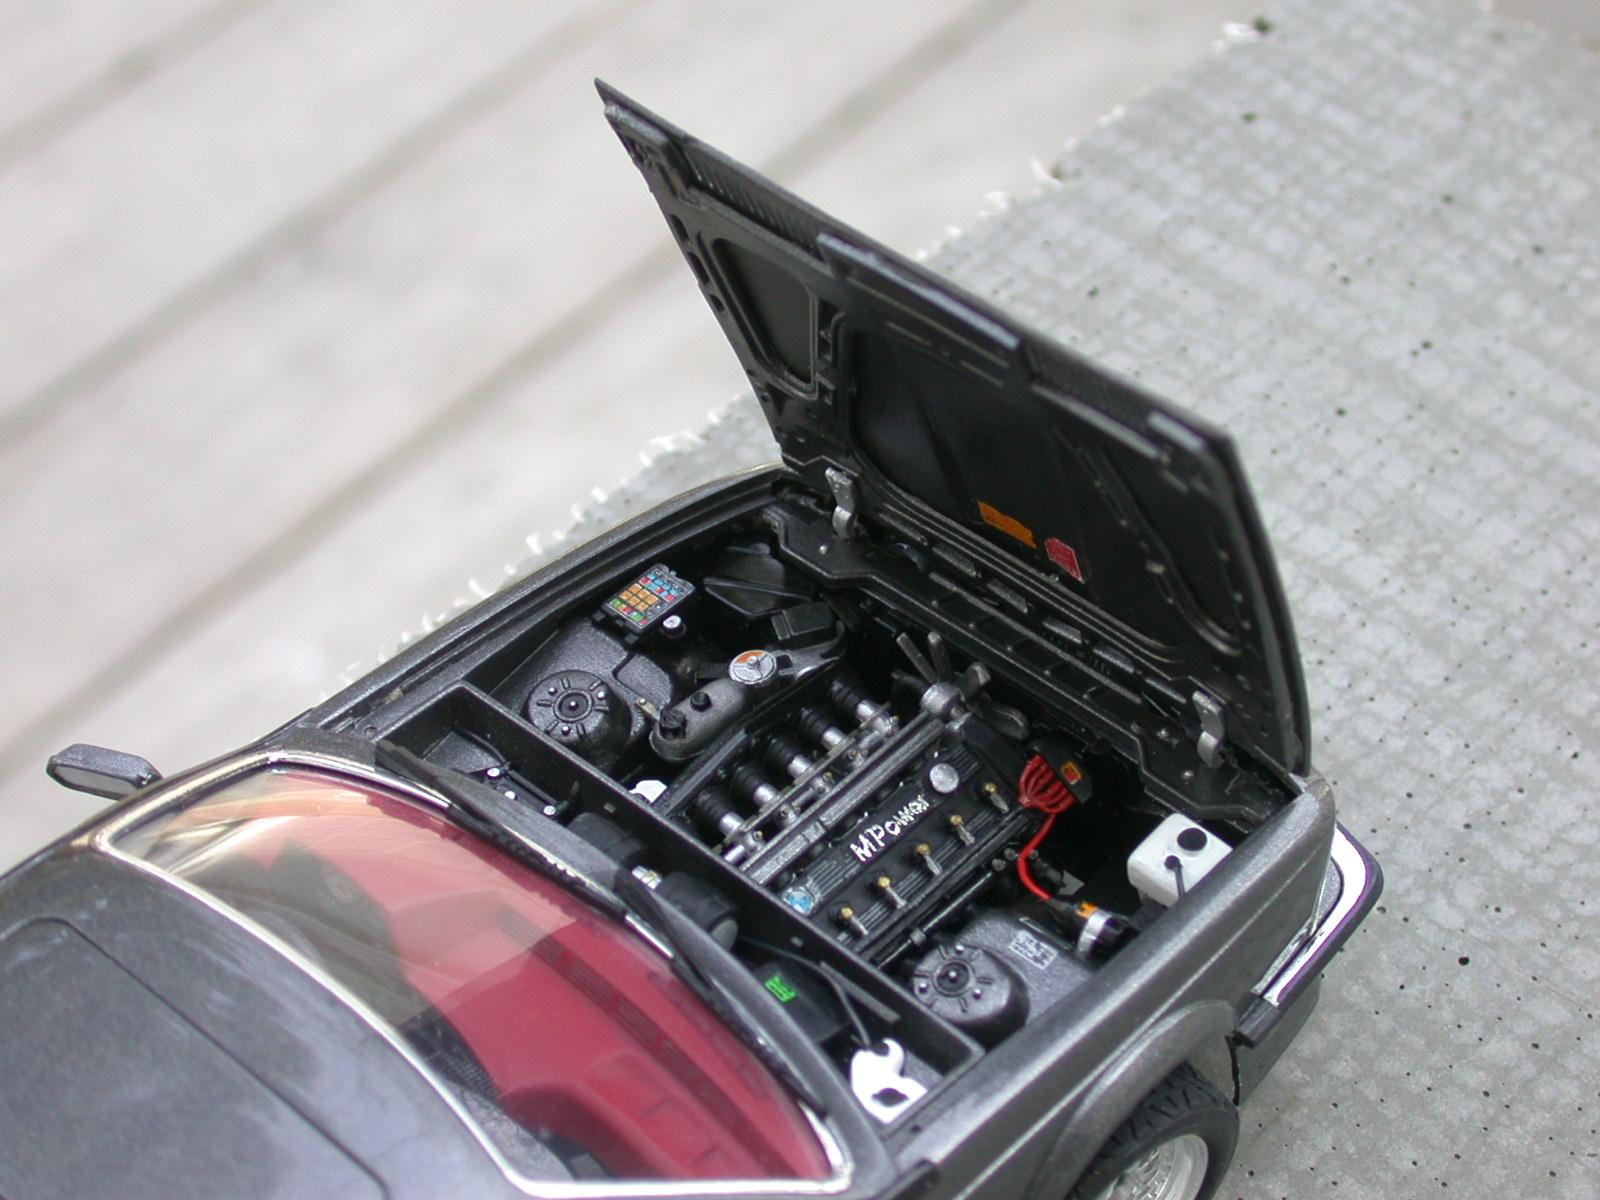
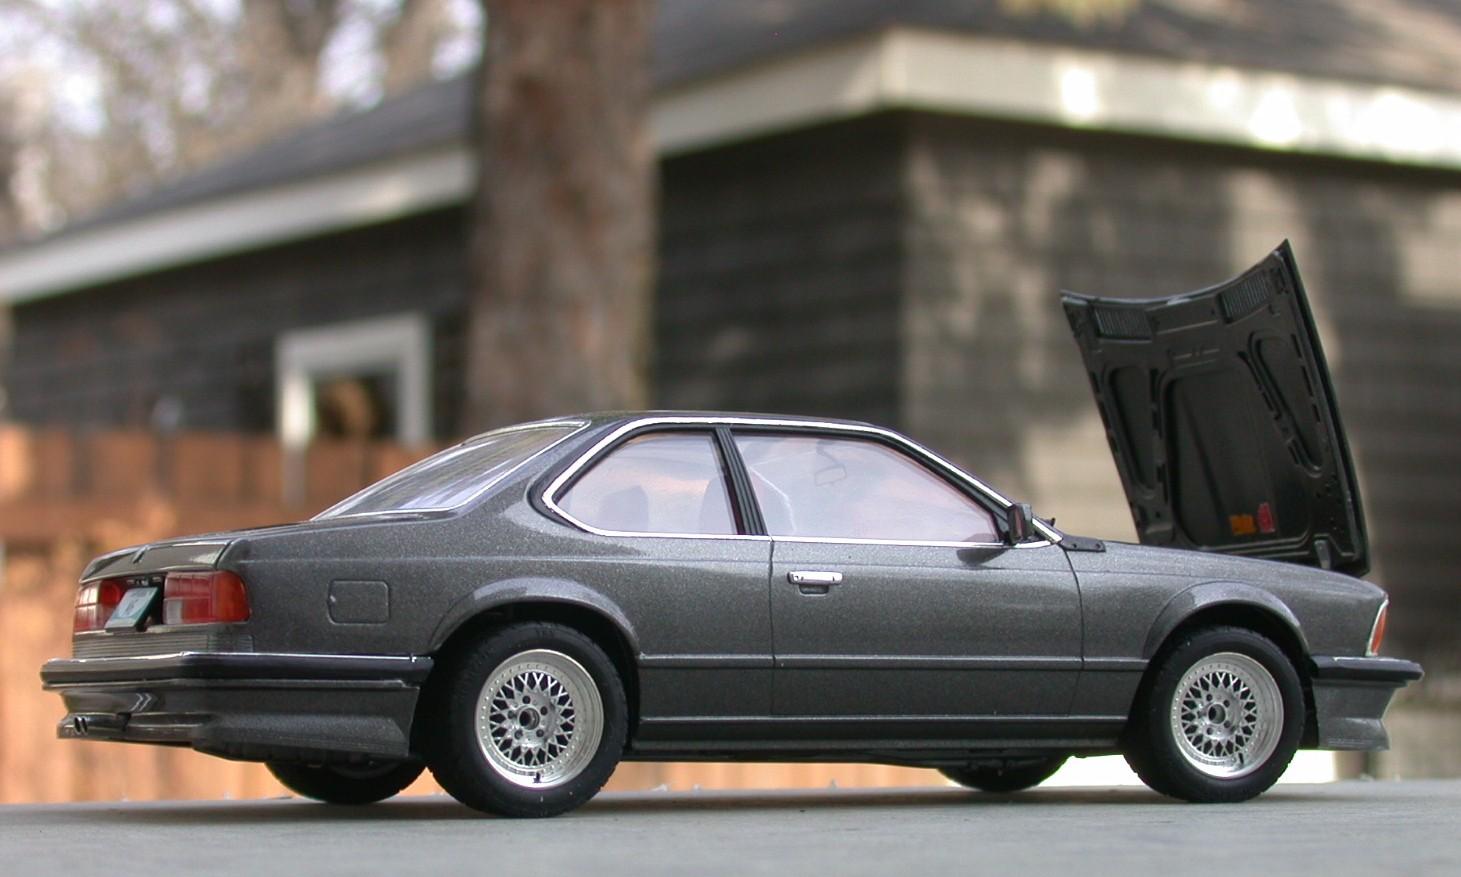
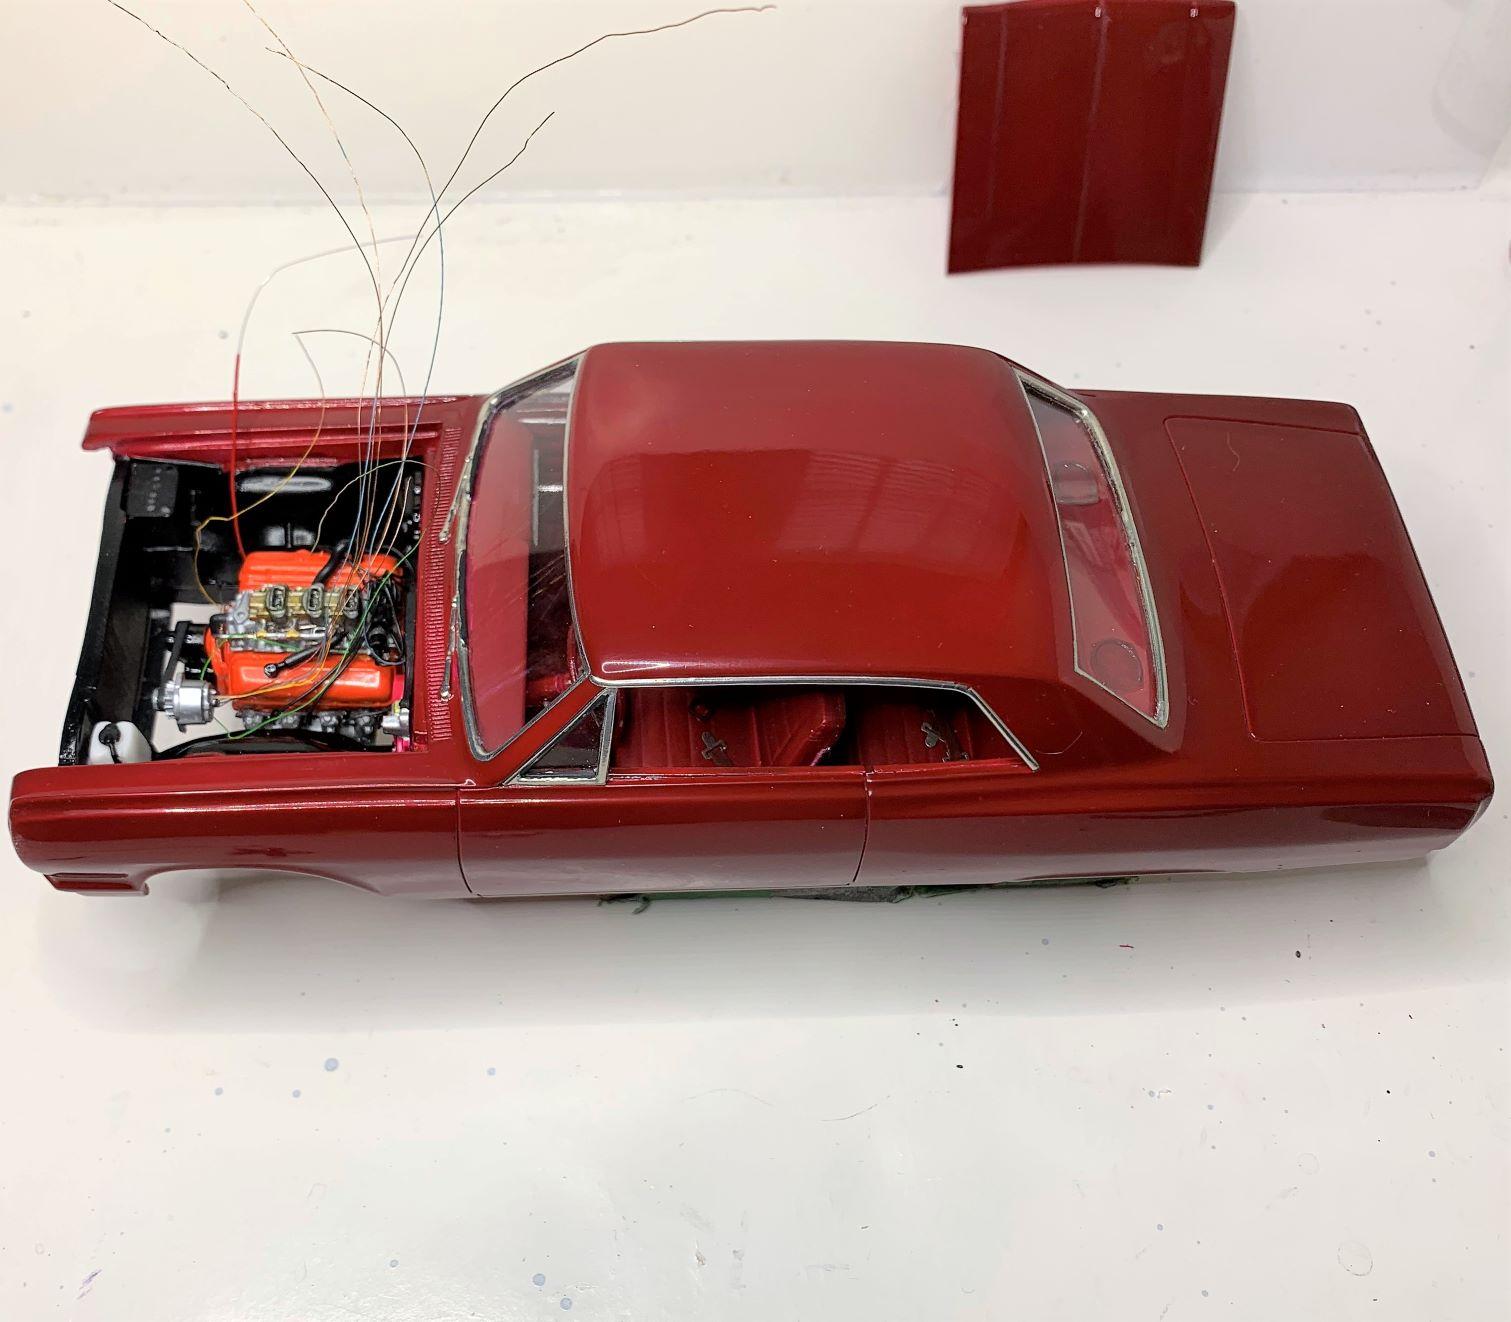
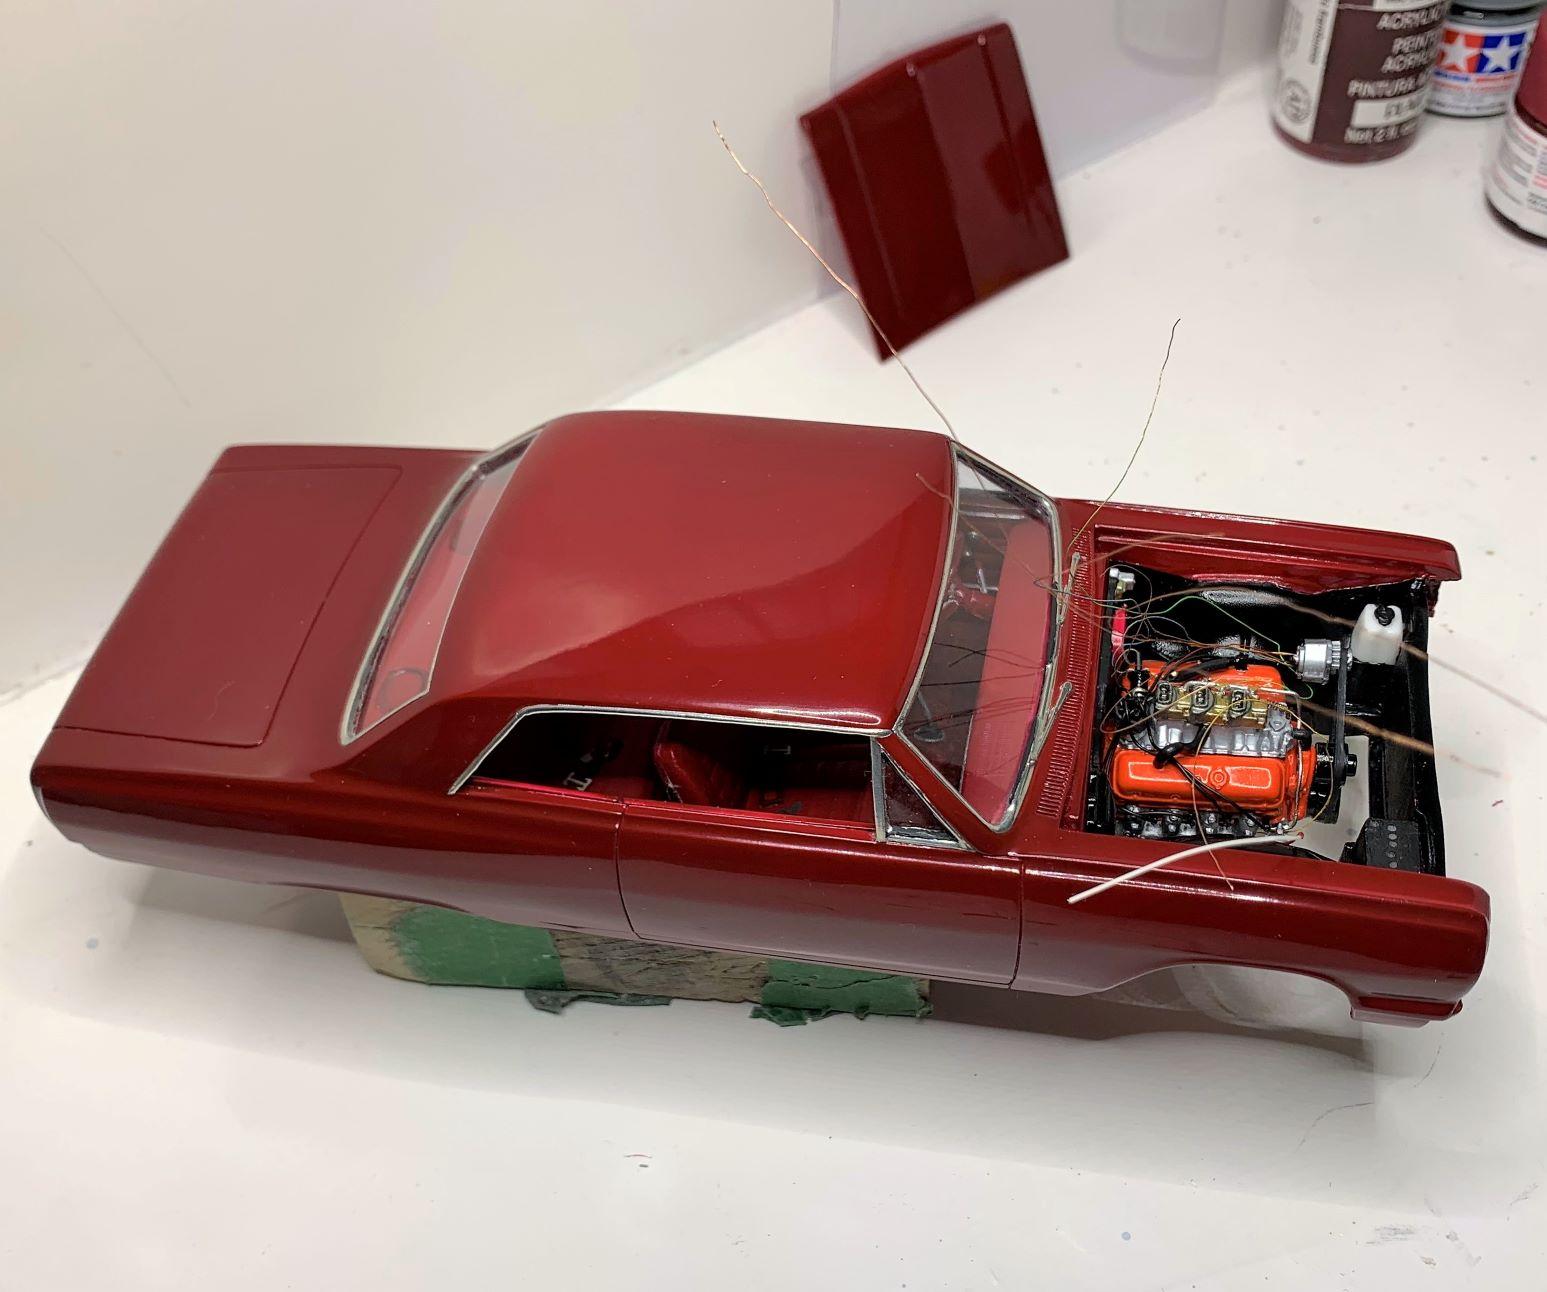
Here's the motor just getting ready for installation, added an alternator bracket and oil filter, plus a few other small goodies. Will do paint touch-ups and add more details after installation, previous post was just a test fit. Cheers!

-
I built mine stock, what a wonderful kit though, you should really enjoy building it, taking time to make sure all the small parts fit correctly, which they do. As always, a bit of fine tuning with emery boards and small files make any model kit parts fit better!
-
Yes my 1/14th is from Marshall, CMA. Still haven't started it though. Here's just a few cool pictures:
-
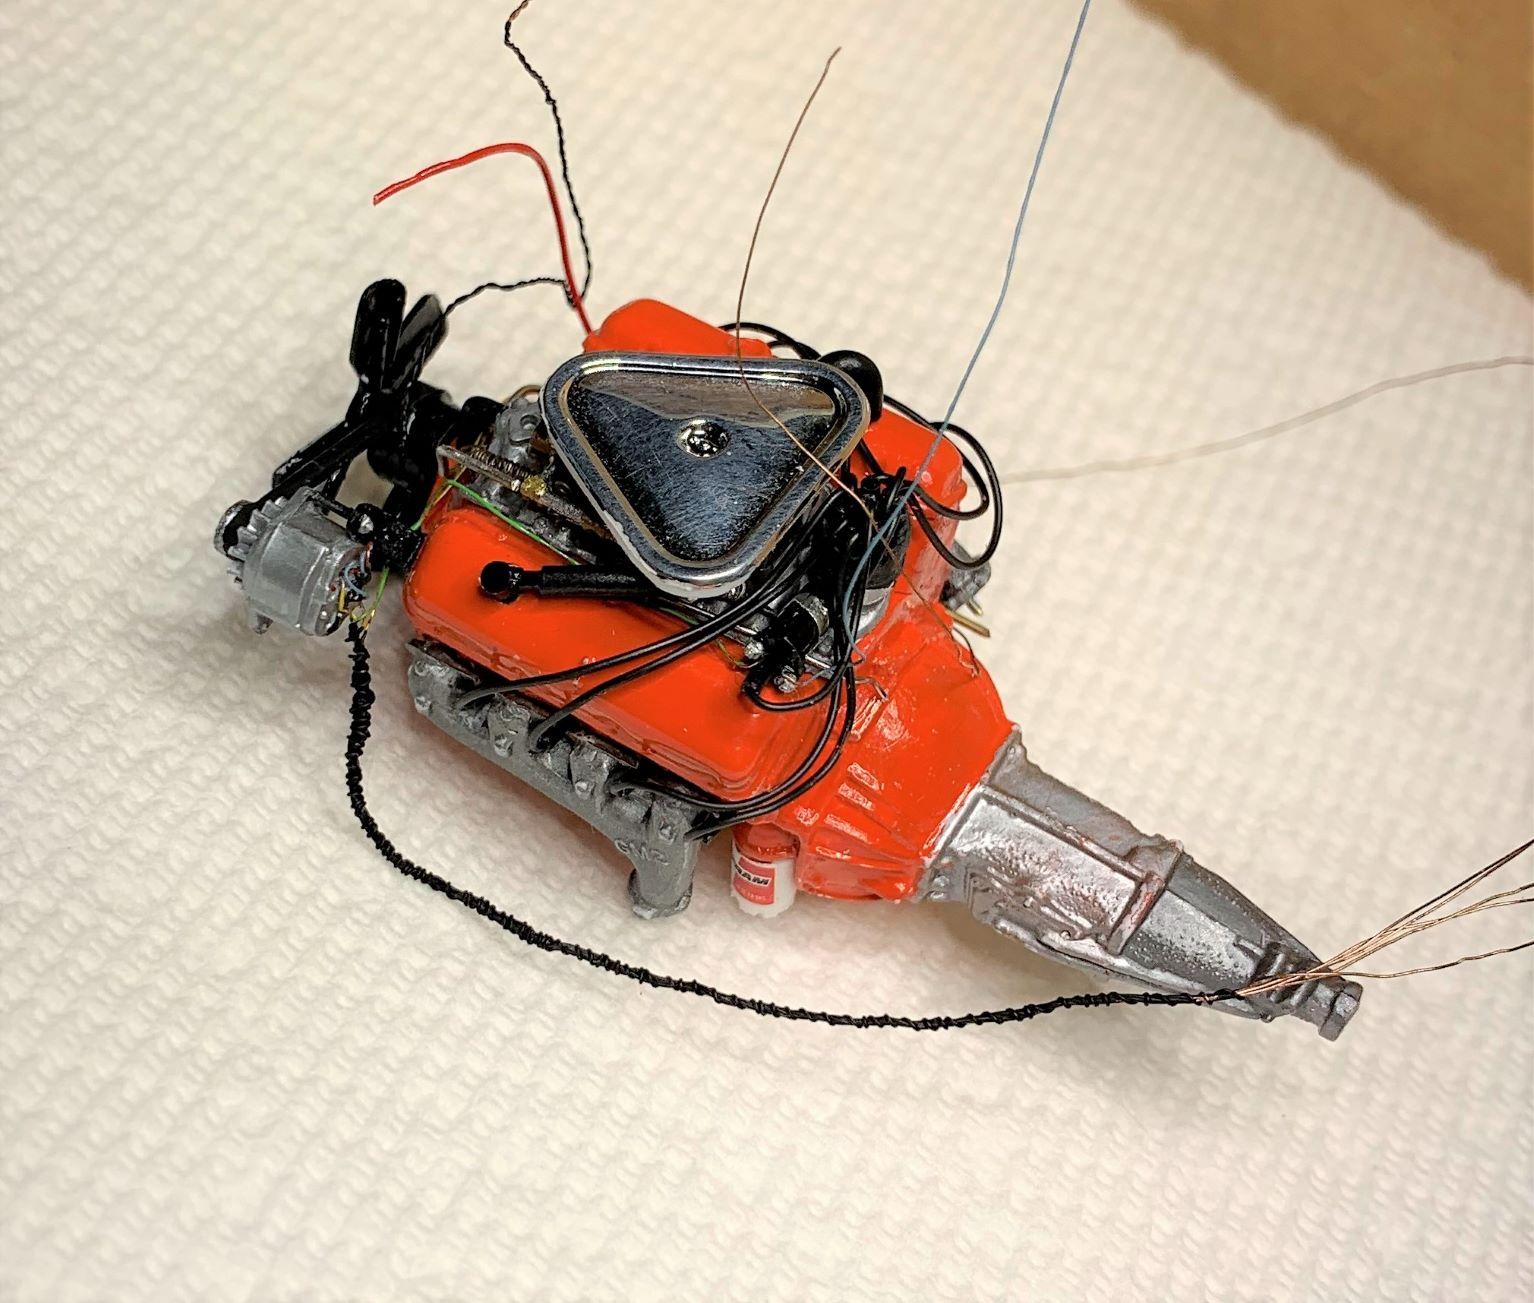
Well, the engine fits!
-
Excellent colour choices!
-
I can already tell that it's going to be a sensation on the streets, nice start!!!
-
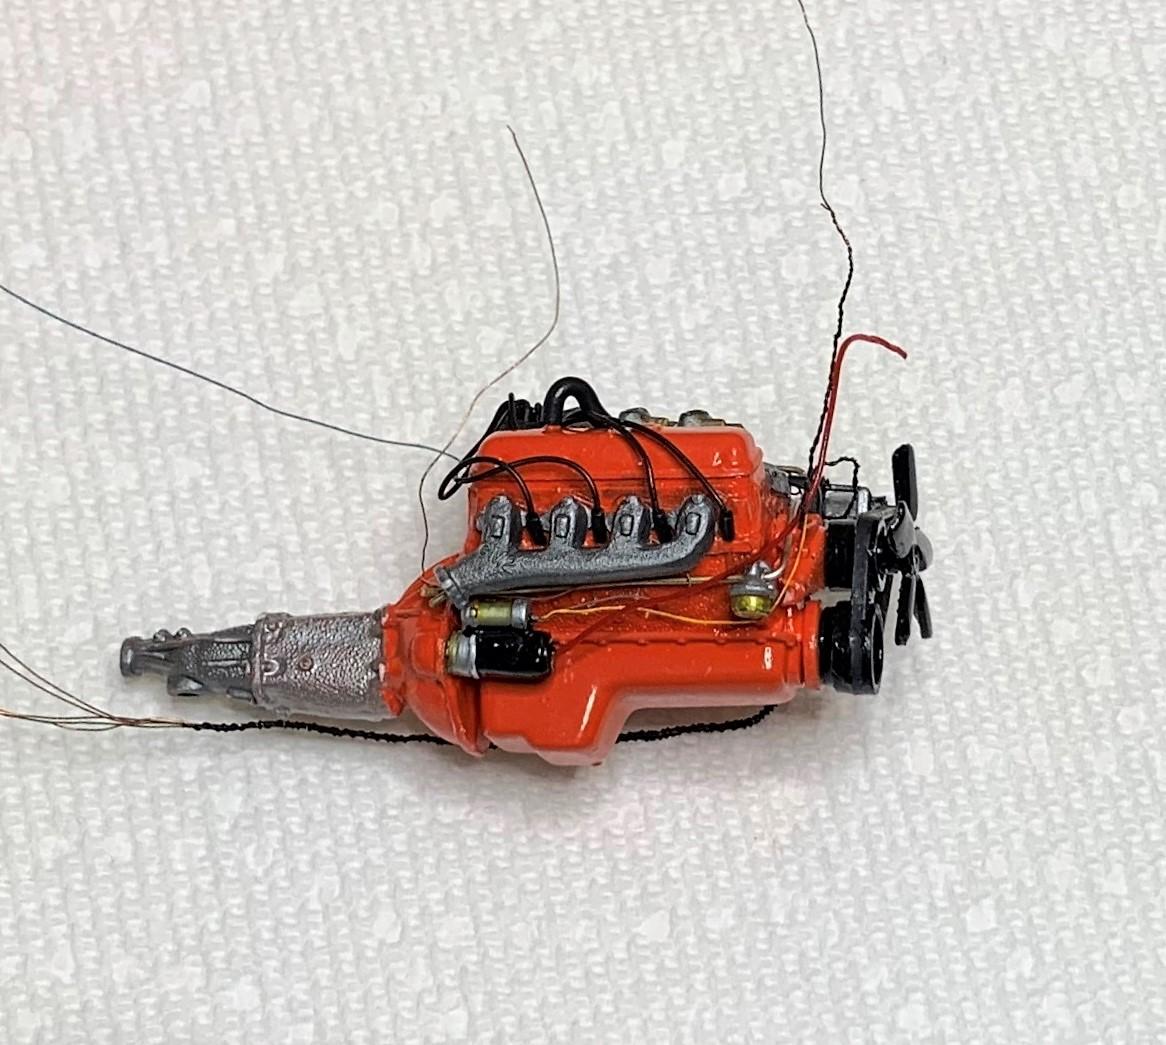
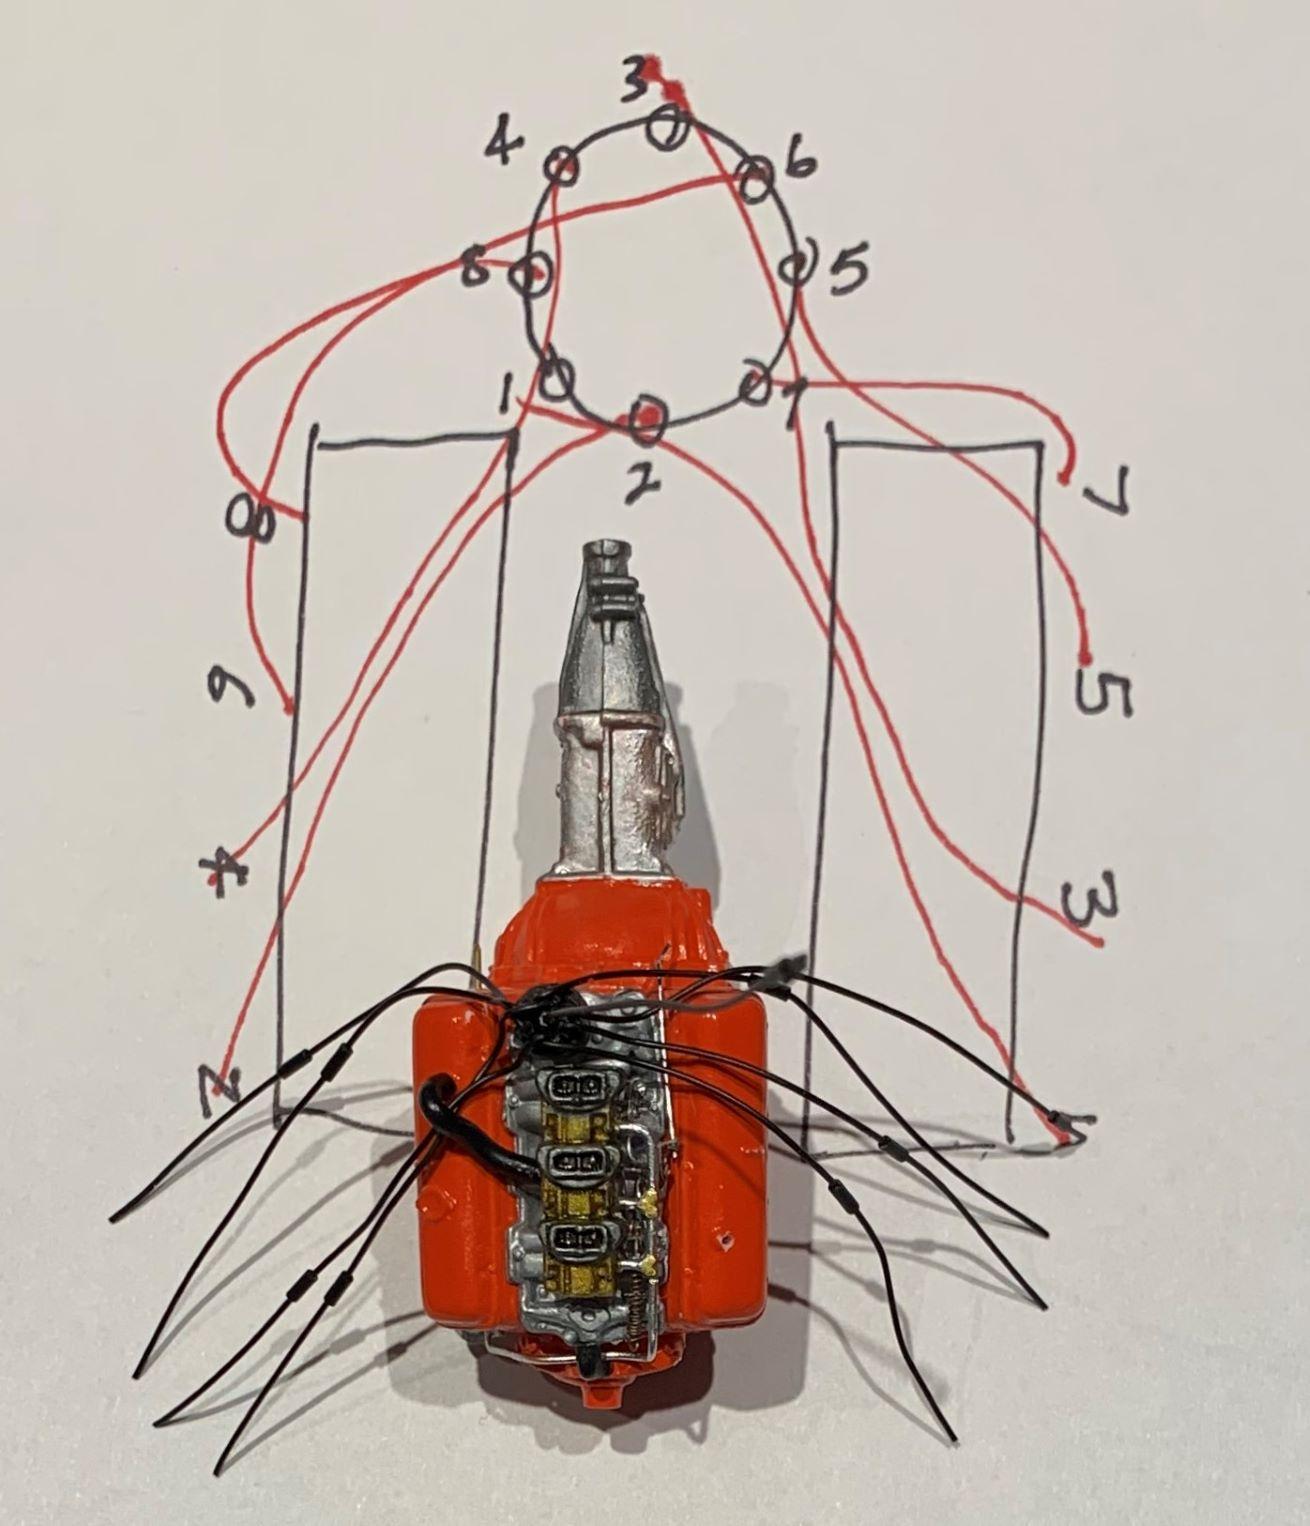
Started wiring the 427 today, spark plugs, and the small parts got pre-wired ready for paint, cheers.
-
Beautiful work so far, I like it and I'm sure it'll be a beauty when finished, nice!
-
Looking good! Sweet dashboard!
-
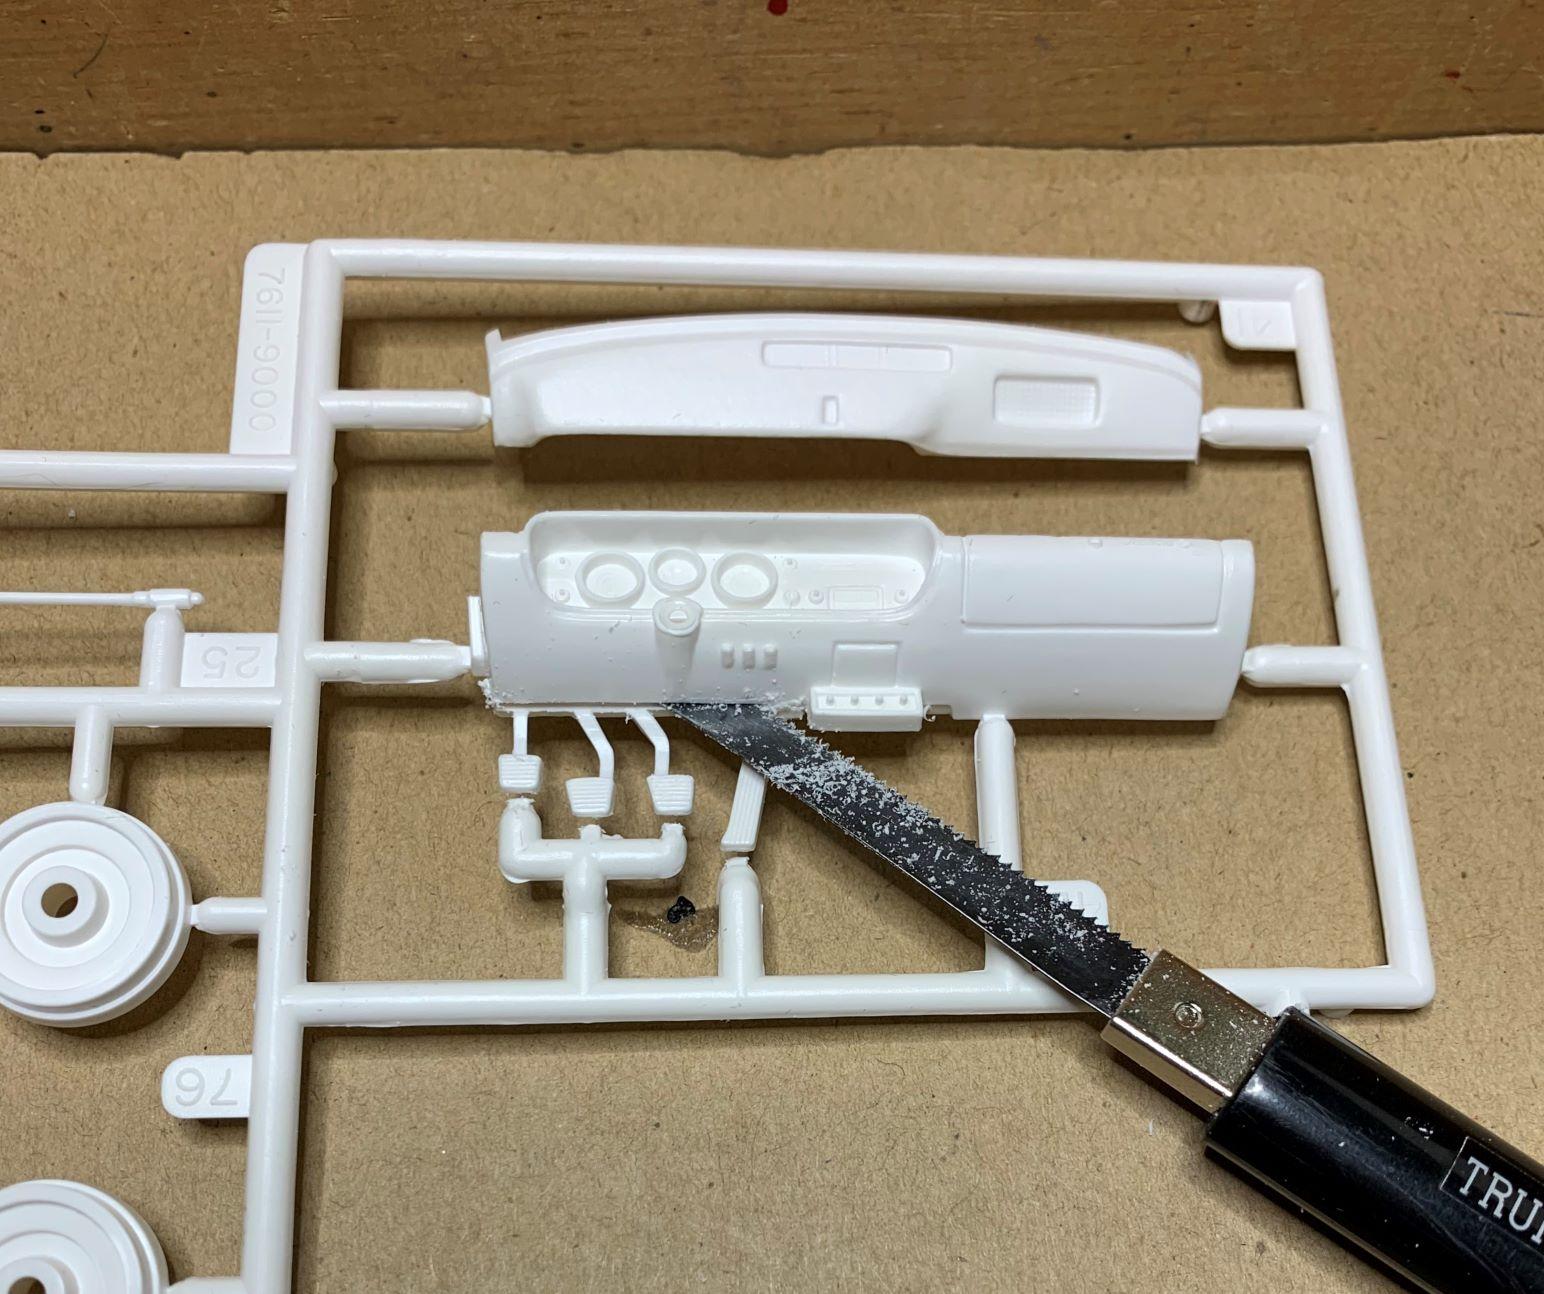
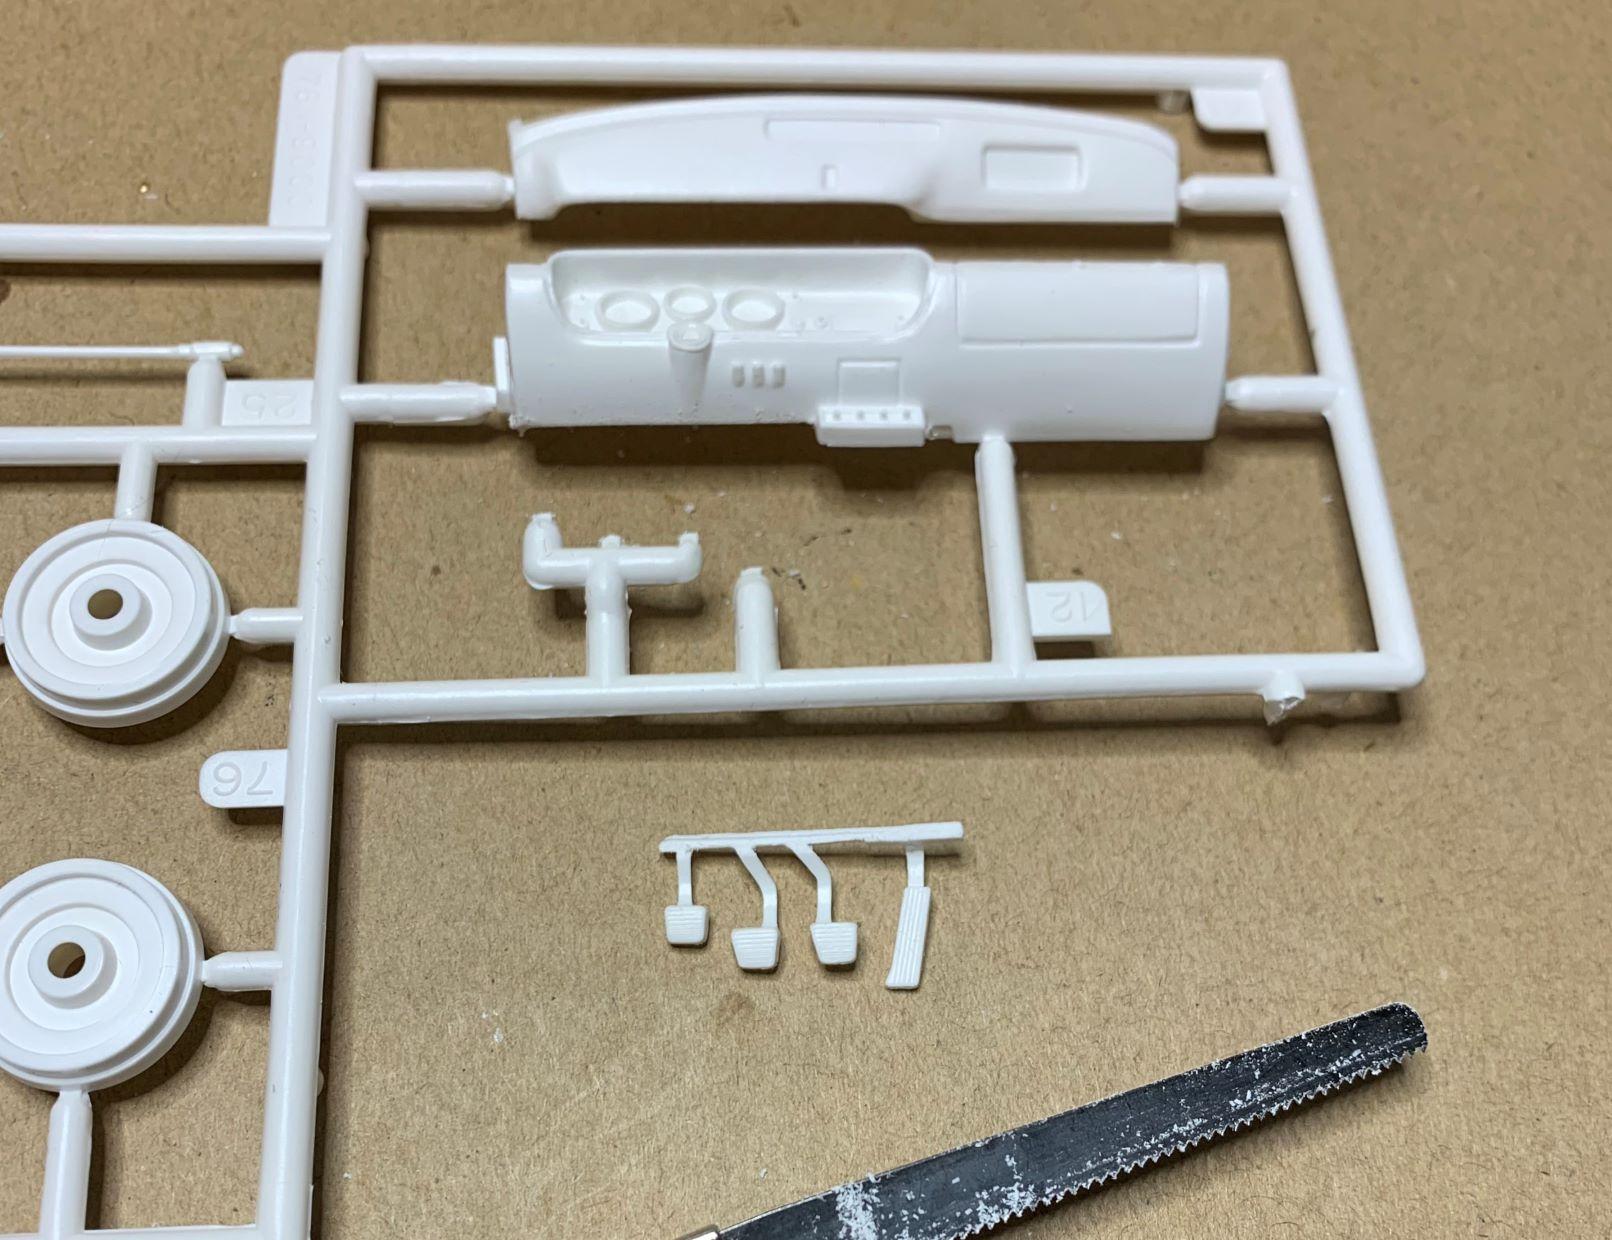
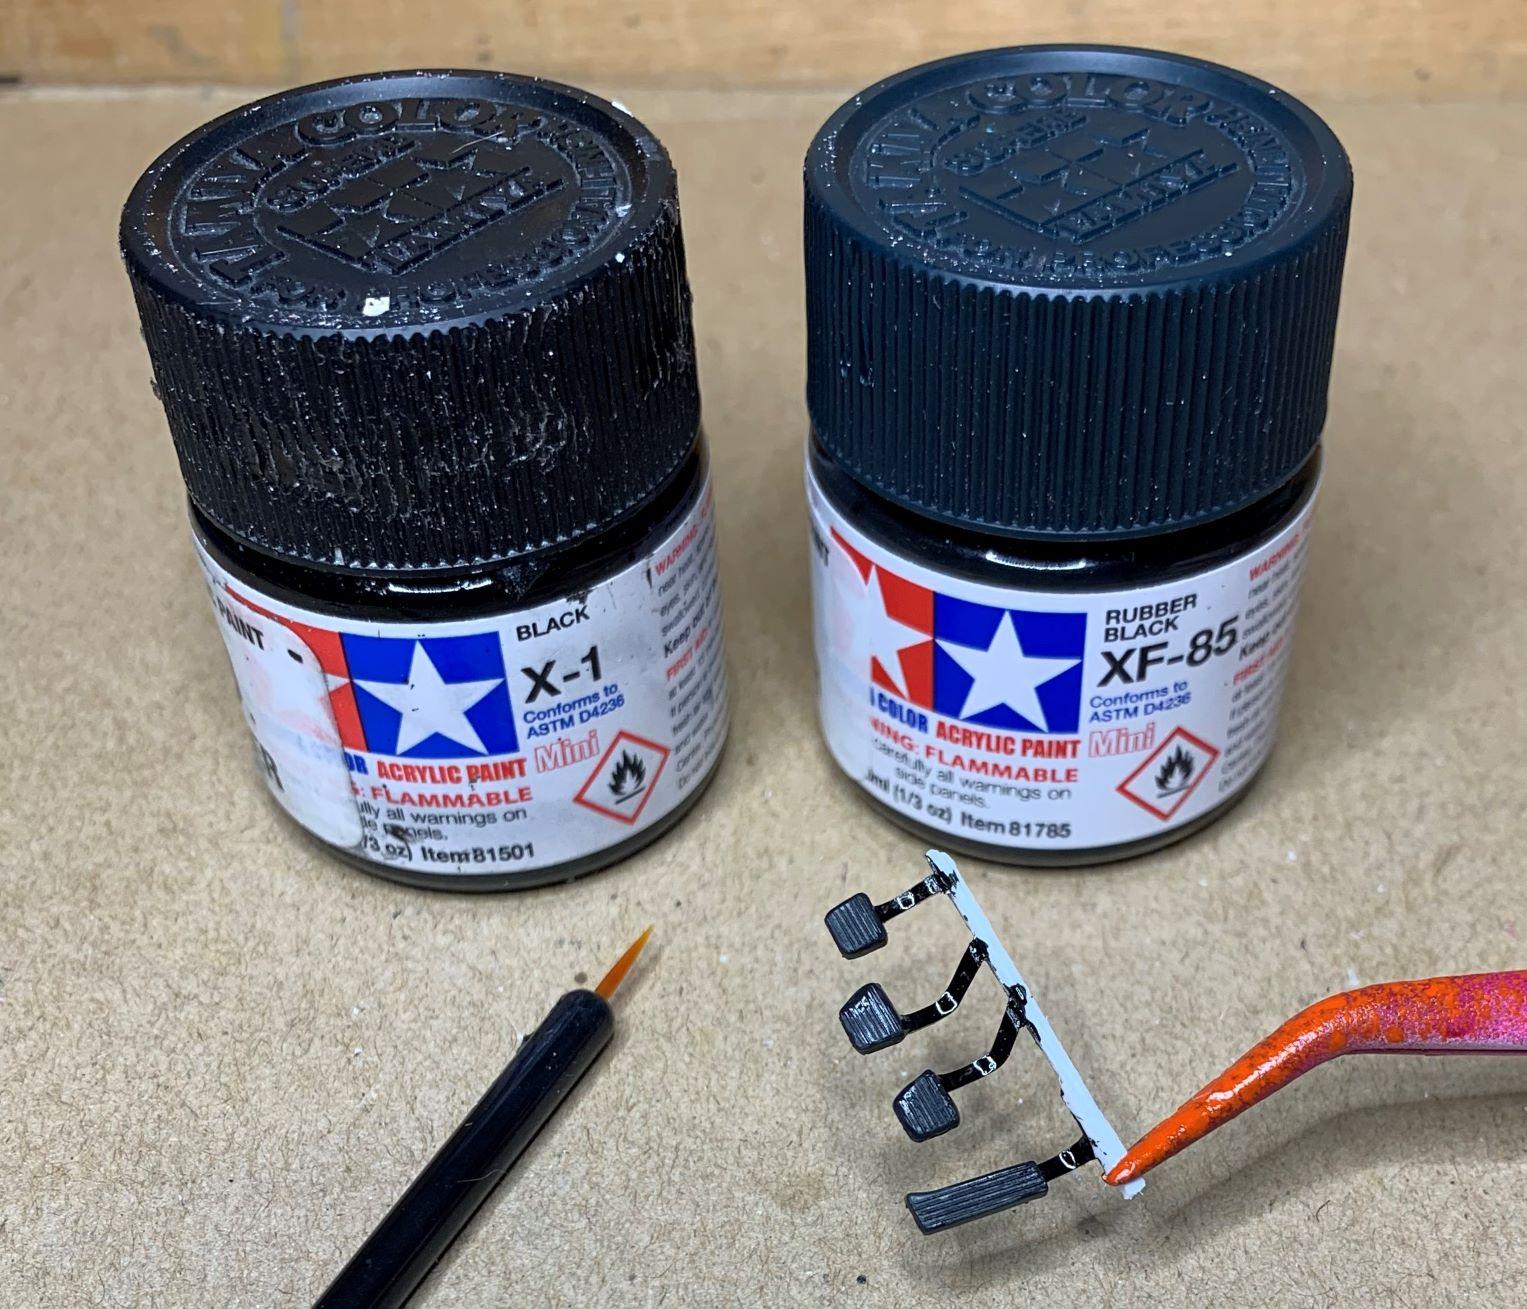
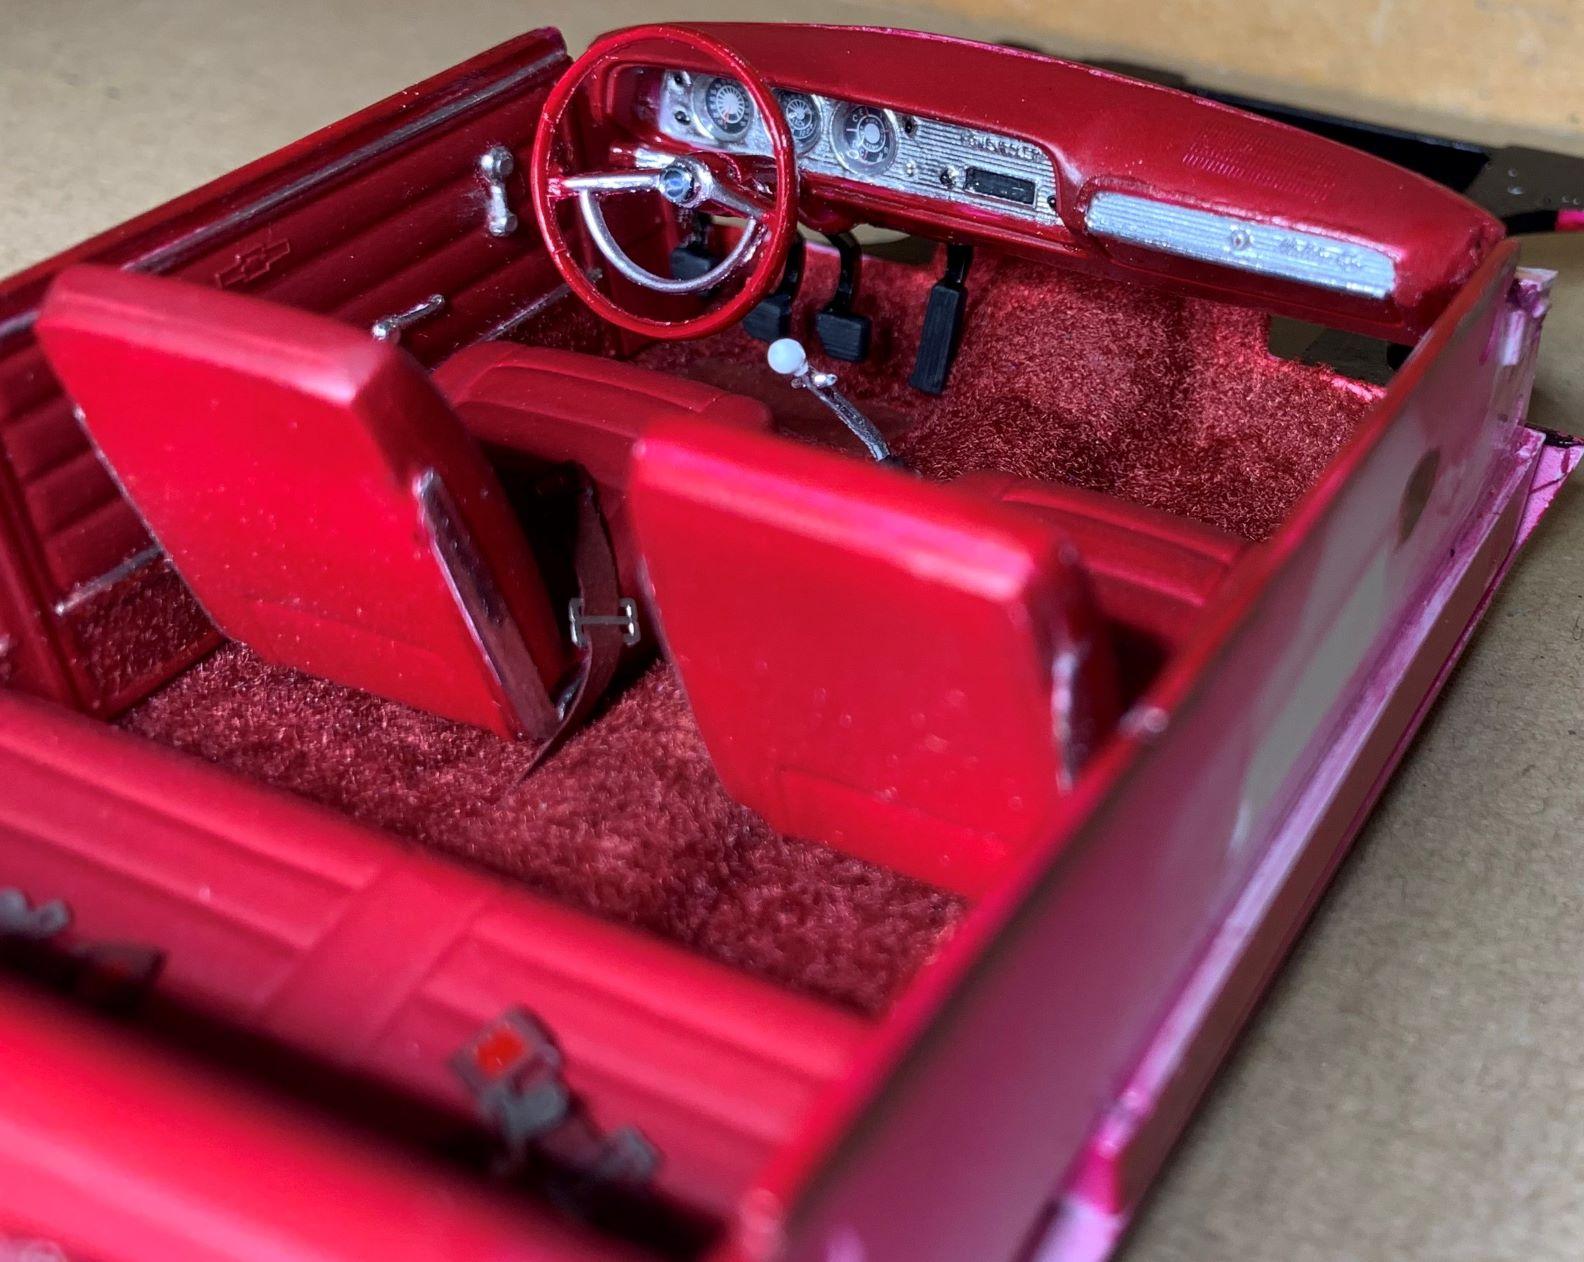
So I'm using the excellent Revell '65 interior for my resin '64, except I'll stick with the '64 dash, so that required some adjustments. First I cut the pedals from the '65, straight forward, and so are the other pictures, just a step by step of a simple job, so hope you enjoy it.
-
 Fantastic build, love all the extras, sweet!
 -
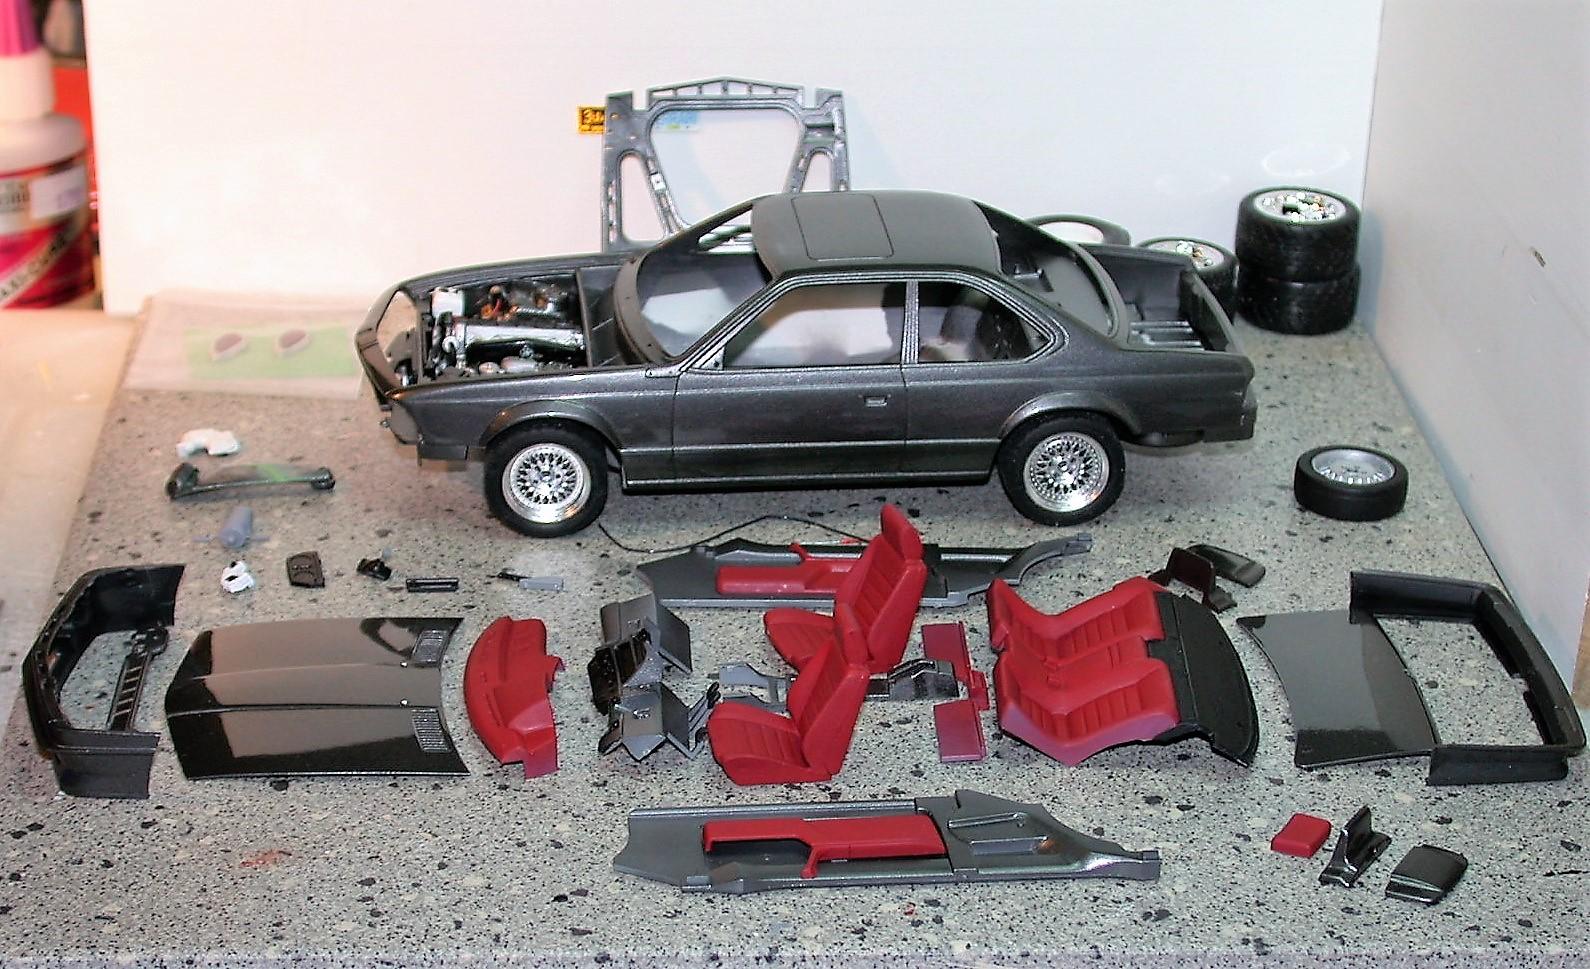
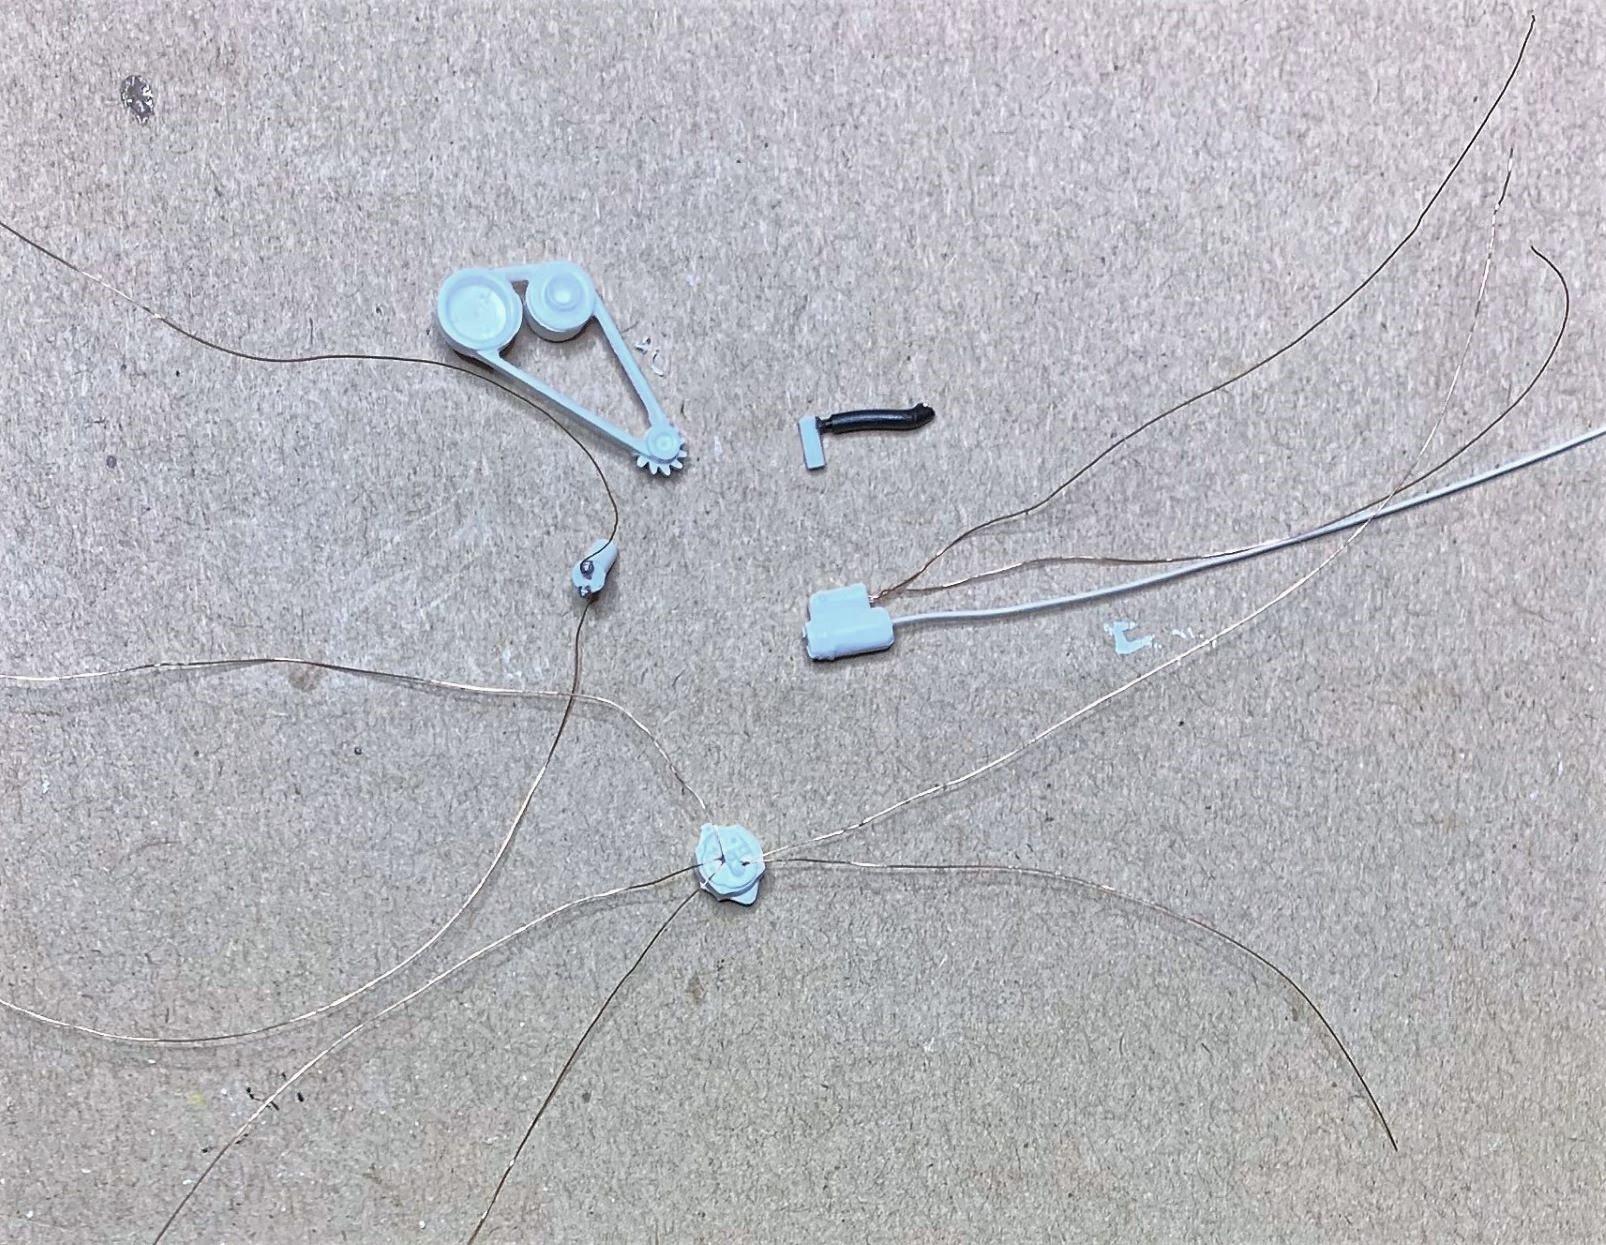
Here's my progress today, foiled around windows, made and installed "glass" from thin sheet plastic, started dashboard and still thinking about everything else!
-
Wow, I can't believe how small that one is, should be a fun project though, cheers!
-
I love these more than the Plymouths!
-
Love the East Coast coupe info and progress. Enjoy the beautiful West Coast weather and keep us posted on the model, cheers!
-
'62 Ford Galaxie 500 Update! 12/23/22 Finally Done! Pic pg. 7
dino246gt replied to Plowboy's topic in WIP: Model Cars
Wow, that is looking great! -
Nicely integrated, the lines flow as if it were factory.
-
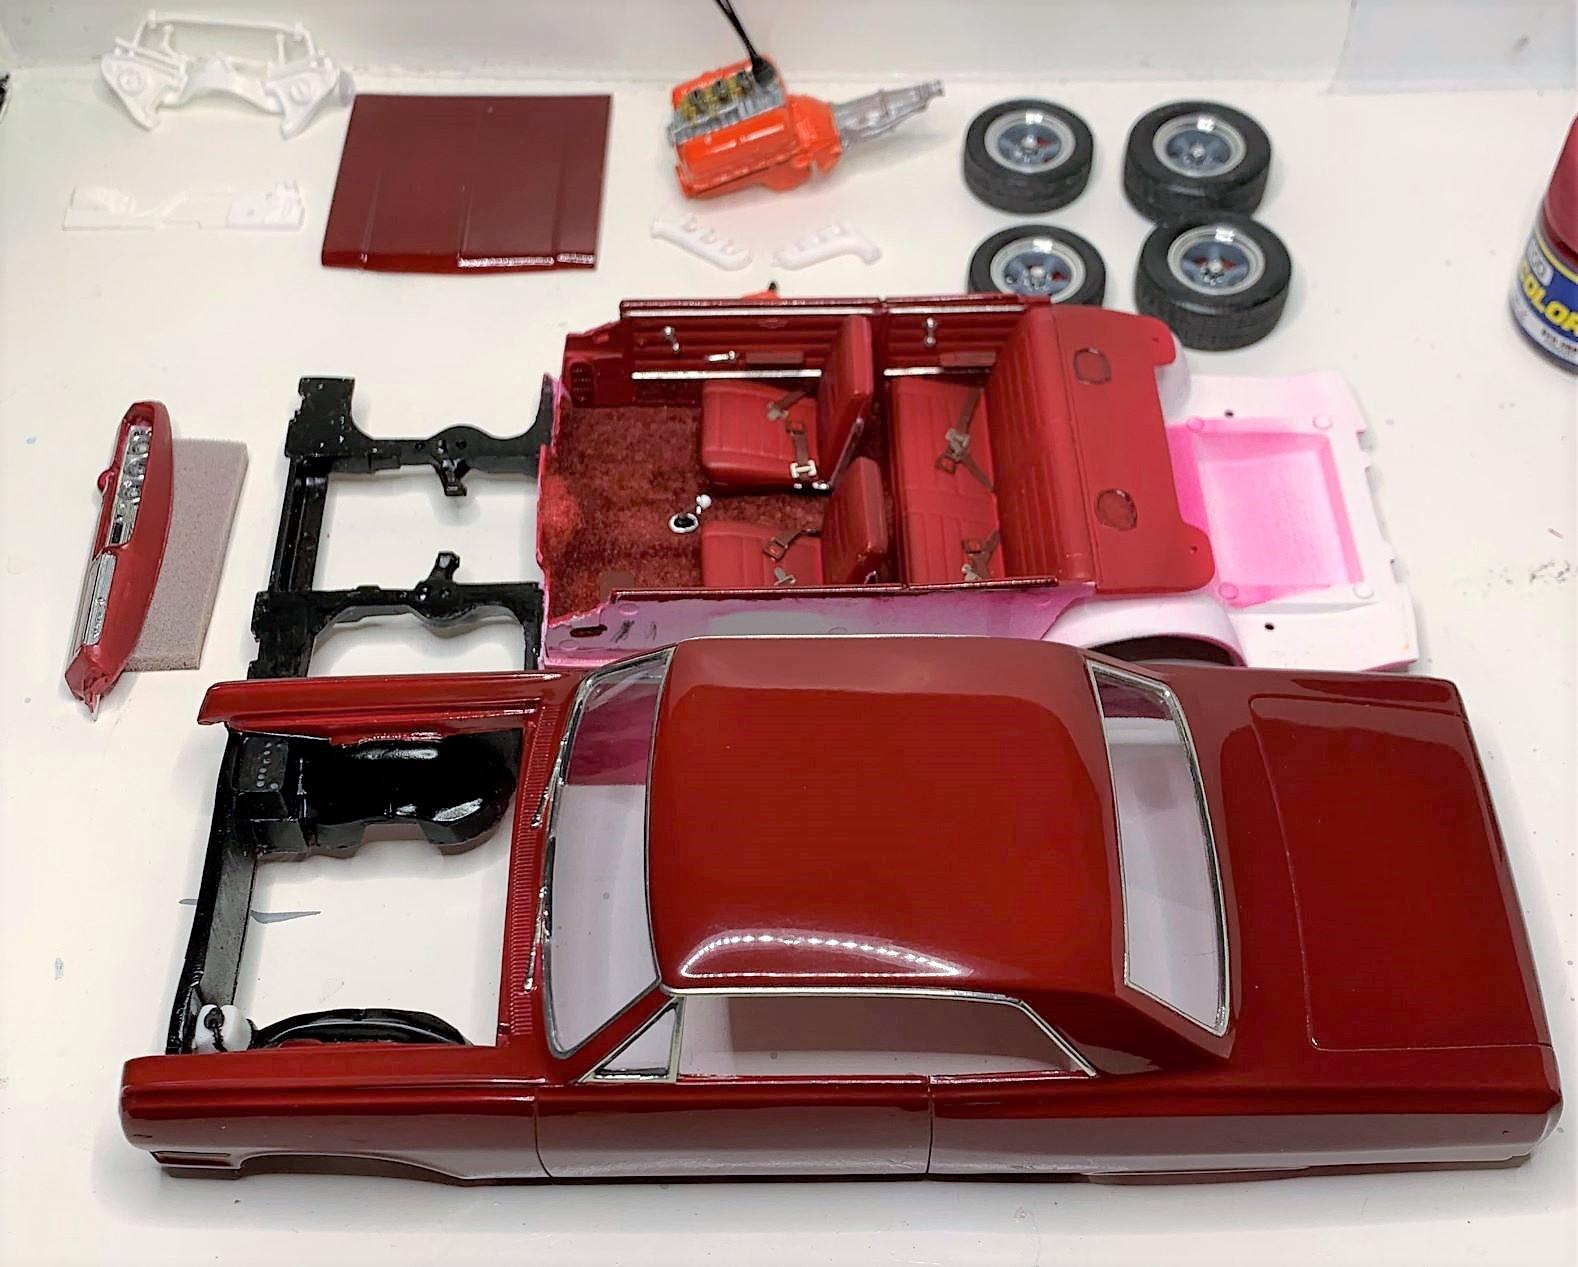
Thank you, the interior isn't great but will look fine inside the hardtop. I just like '64 Chevelle hardtops, not an easy kit to find, so I'm using a resin body.
-
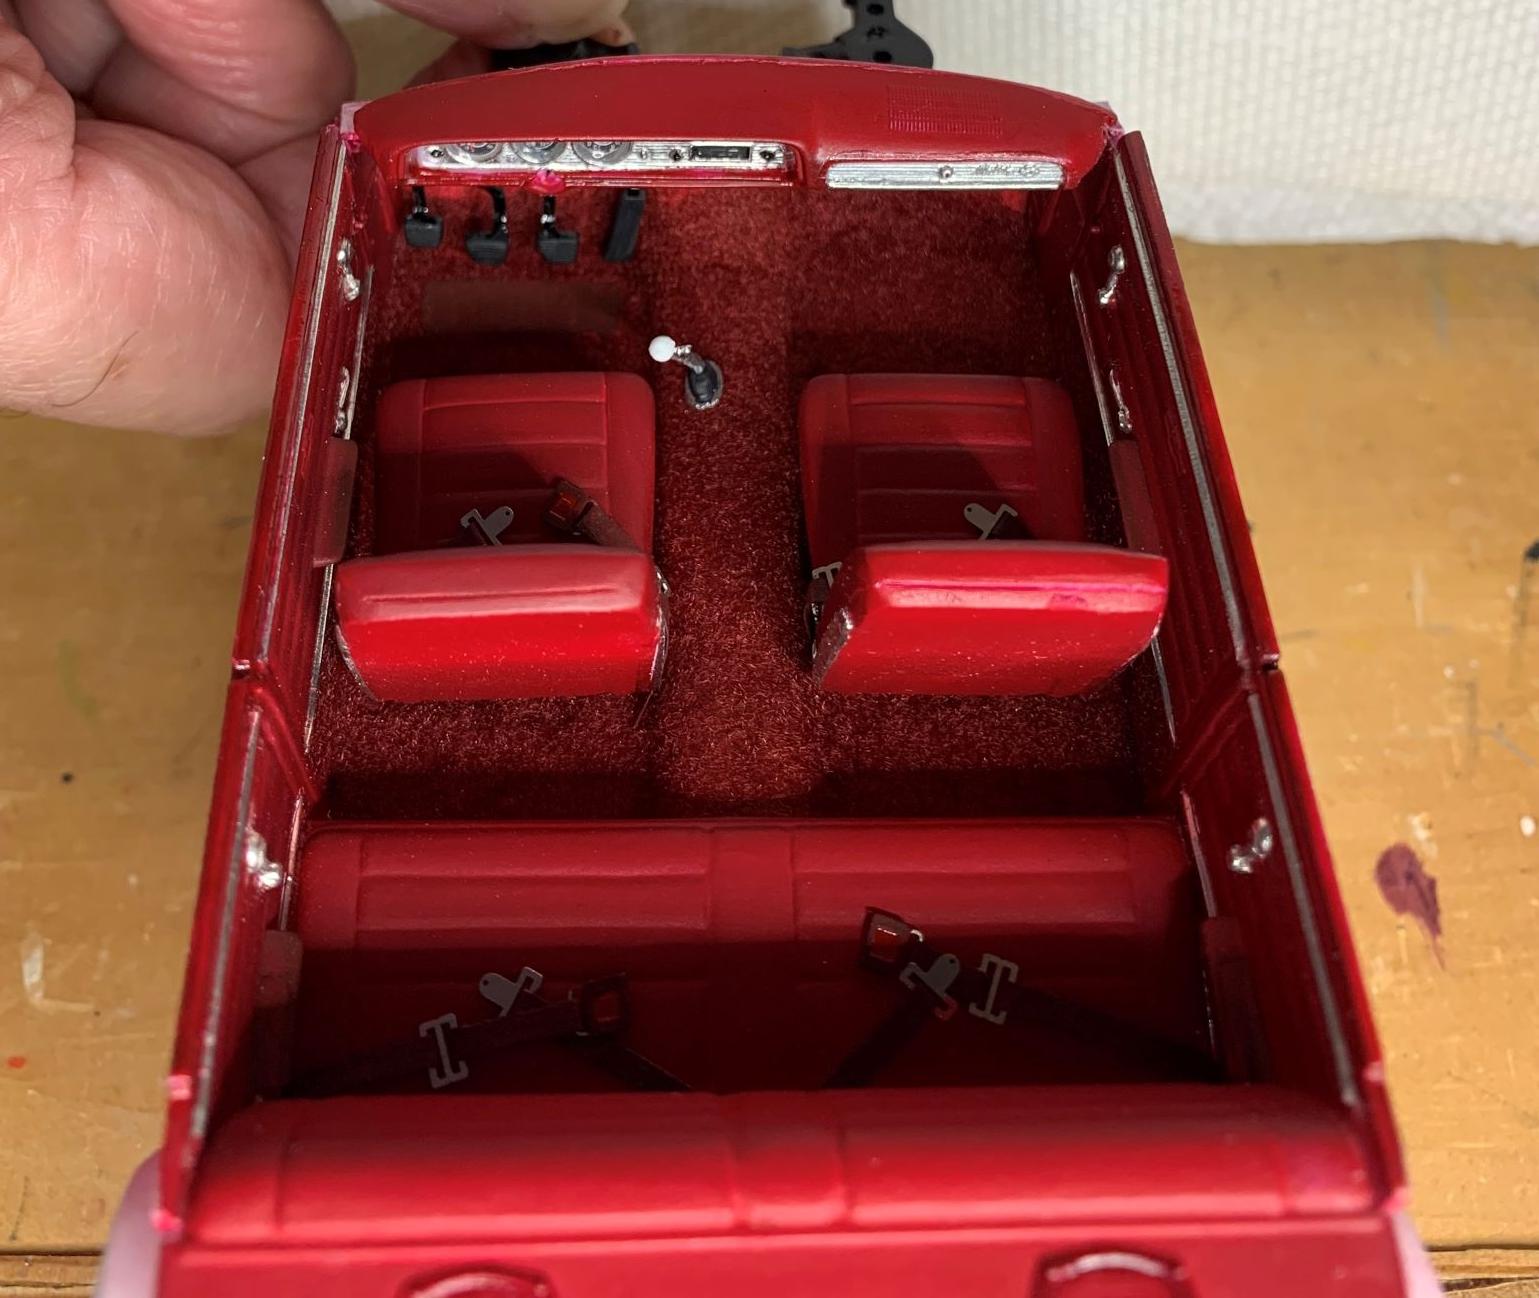
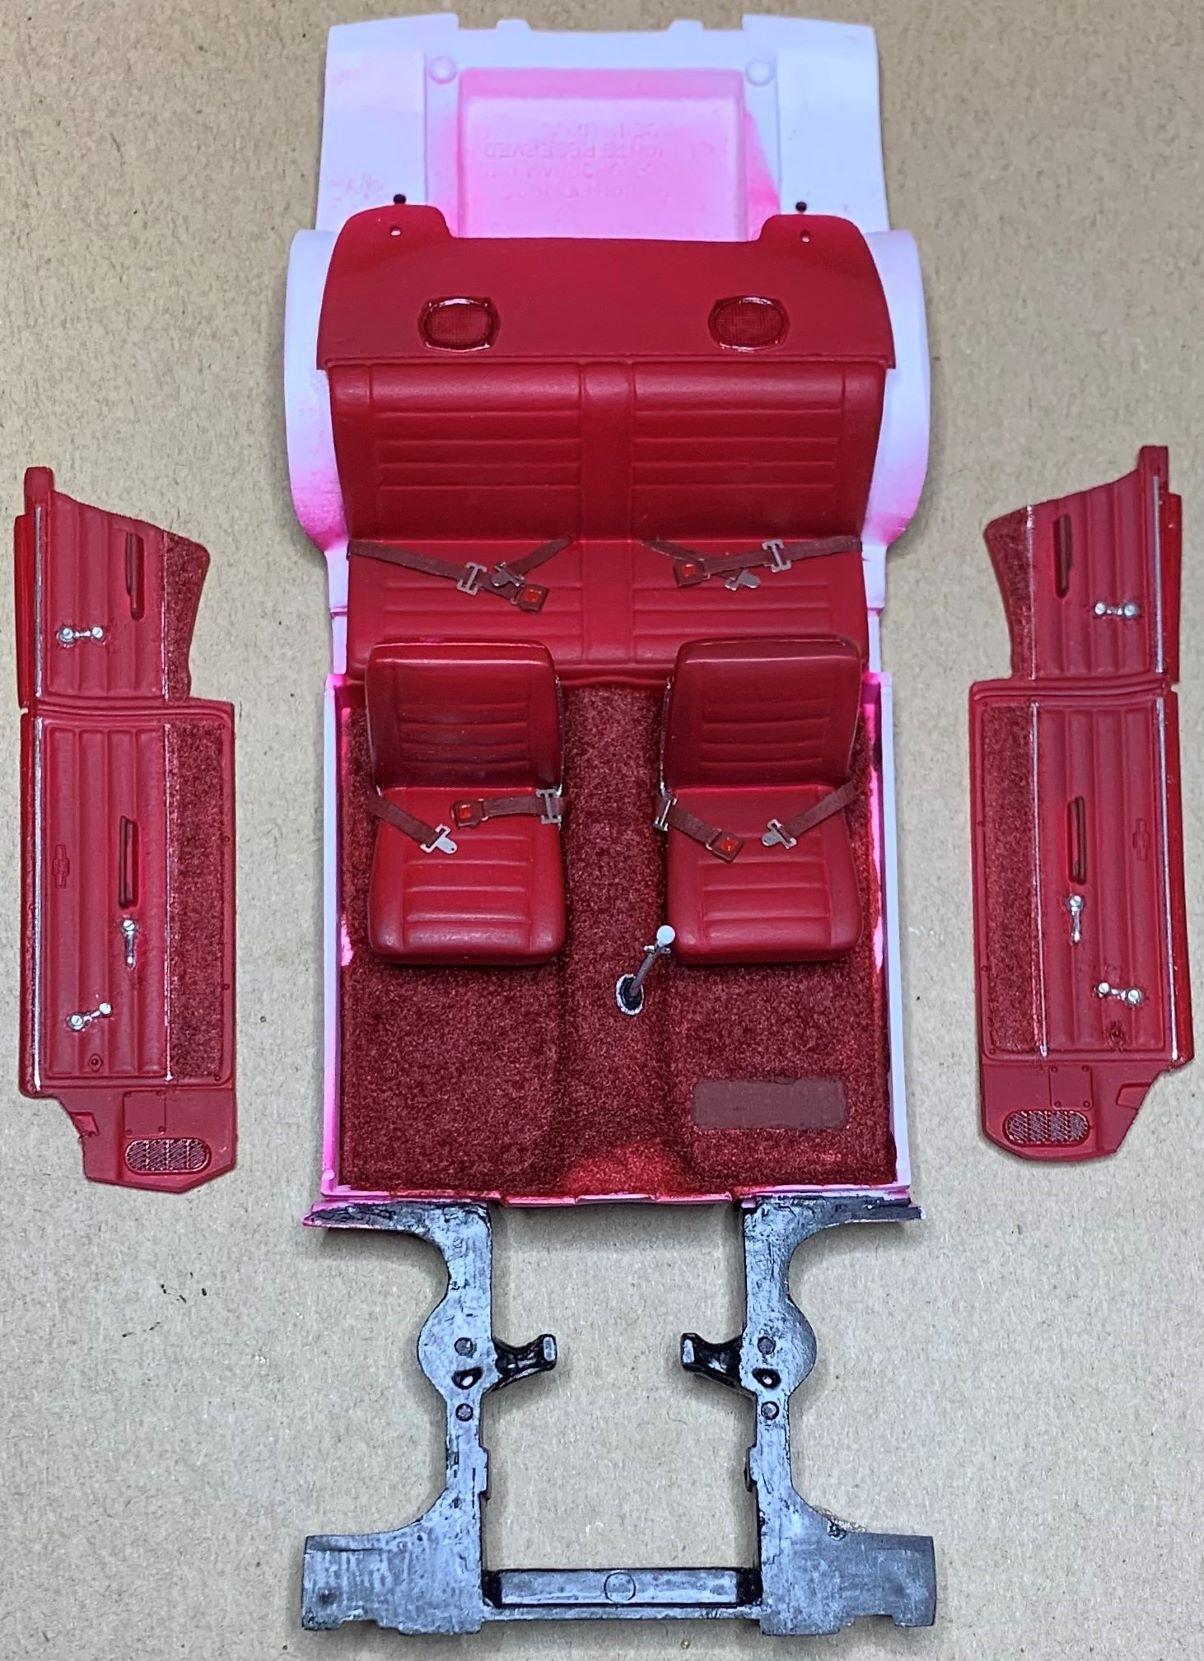
I'm using the excellent Revell '65 Chevelle interior, with the original '64 dashboard. 1: The Revell kit does have rear quarter "glass" so the interior side panels are too short for me. 2: I wont have rear quarter glass so I added a bit o styrene. 3: I've decided to match the interior to the exterior as was common back then, so here's where it's at so far, cheers!
-
Yes, I use that name because I used to have one! Sold it to settle a divorce back in 1983! Got back on my feet and after 20 years I was able to get a 308GTB. Dino 246GT is now out of my price range, sadly.
-
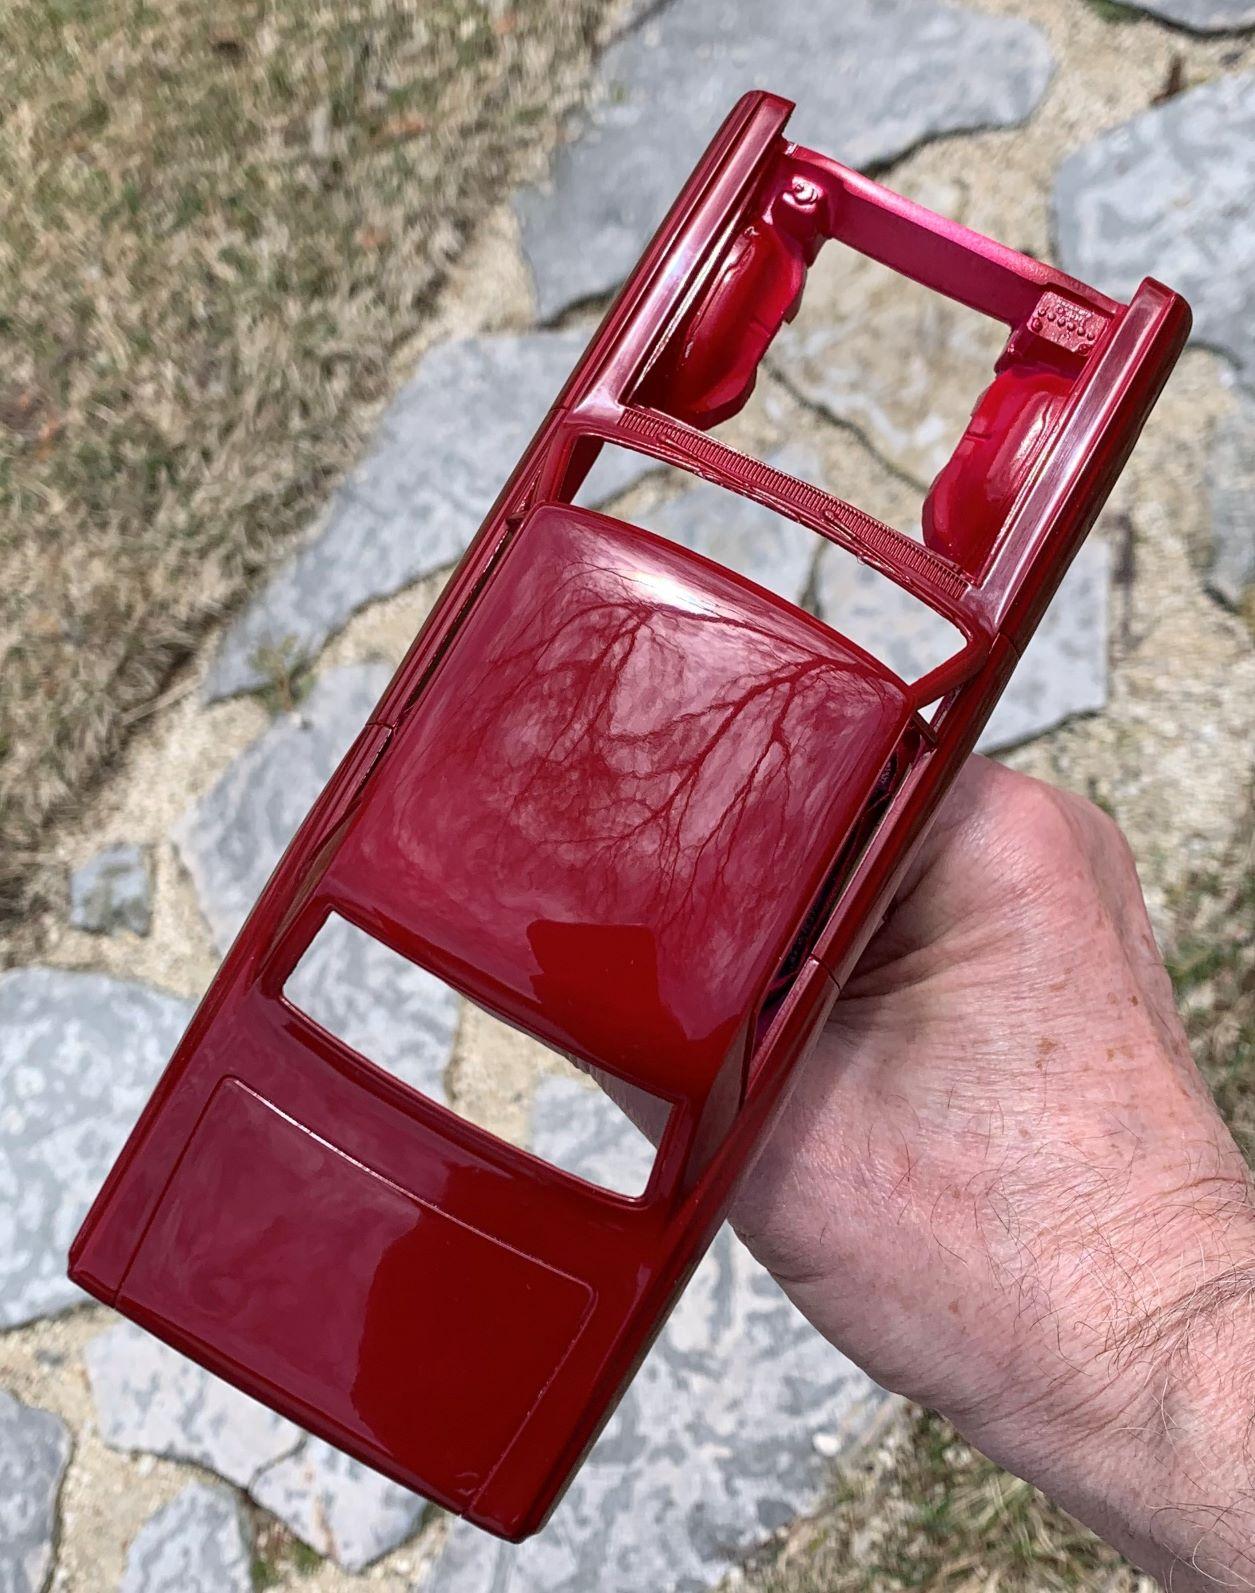
Here's how the paint turned out, I'm quite pleased. These non-metallic colours are not very forgiving! I used Mr. Color "Wine Red" lacquer, thinned 50/50 and cleared with Mr. Hobby "UV-cut clear"
-
You're doing a great job on that kit, looks like it's going to be a fantastic model after you finish it, FORZA FERRARI!
-
1961 Mercedes Benz 190SL - Revell with a few modifications
dino246gt replied to 89AKurt's topic in WIP: Model Cars
I'm liking it already, can't wait to see your progress, step by step! Will be very cool I'm sure, and yes the date stamped on the bottom is a good thing to keep! -
This is looking great already, and I do love the Pantera. At one time there was a transaxle transkit for it, engines are plentiful. I had planned to open it up and do the conversion, but now I can't seem to find that transaxle! As for "glass" I'd make my own from clear plastic, no complex curves, and use epoxy to hold it in. Keep posting your progress pictures for all of us Pantera fans to enjoy!