Art Anderson
-
Posts
5,052 -
Joined
-
Last visited
Content Type
Profiles
Forums
Events
Gallery
Everything posted by Art Anderson
-
Exspensive starting up
Art Anderson replied to Chris Evans's topic in General Automotive Talk (Trucks and Cars)
True of course. Back about 1980, when a group of local (West Lafayette) TV Studio engineers and cameramen were pitching the idea of becoming one of the fledgling ESPN traveling television teams, I used exactly those signs to scratch build a mobile semitrailer based remote broadcasting trailer for them, in 1/25 scale. I found the stuff to be perfect, at about .080" (two scale inches in 1/25) for the job. (Oh, and they were successful--did contract broadcasting for ESPN for about 15 years or so) Art -
Exspensive starting up
Art Anderson replied to Chris Evans's topic in General Automotive Talk (Trucks and Cars)
With a caviat, of course! Those styrene signs are rather thick--often far thicker than many modelers want, or need. That's where the likes of Evergreen really step up to the plate. Art -
Something to consider here: After studying the new Revell '29 A roadster on Deuce rails, I believe that on this model, Revell worked from an aftermarket '29 Roadster body, which itself may be wider than what Ford produced in 1929. The old Revell '29 A pickup kit bodies (both roadster and closed cab, are actually quite accurately scaled from stock vehicles. Art
-
Exspensive starting up
Art Anderson replied to Chris Evans's topic in General Automotive Talk (Trucks and Cars)
I second this one! Rather than run out and spend a lot of $$ to "stock up", be it paint & materials, or tools--I tend to buy what I need for the project at the moment, although when I see a tool that I believe I will have a use for it, I will buy it "out of sequence" to my first statement here. I'd rather do it this way (and recommend that you consider it as well) lest I (and you perhaps) wind up with a ton of stuff that doesn't get used, and have to ask myself "WHY?". Art -
Thinning Plastikote primer
Art Anderson replied to Glen Powers's topic in Model Building Questions and Answers
I second that! Works for me every time I use it. -
How should I do with these doors?
Art Anderson replied to Zoom's topic in Model Building Questions and Answers
The very first Heller model car kit I bought (way back in 1979) was their Delahaye 135 Coupe (mid-30's car) and it has the doors done in clear plastic, in the same manner as the one shown above. Art -
How should I do with these doors?
Art Anderson replied to Zoom's topic in Model Building Questions and Answers
Ask Heller! They've been doing that with closed car bodies for years now. Art -
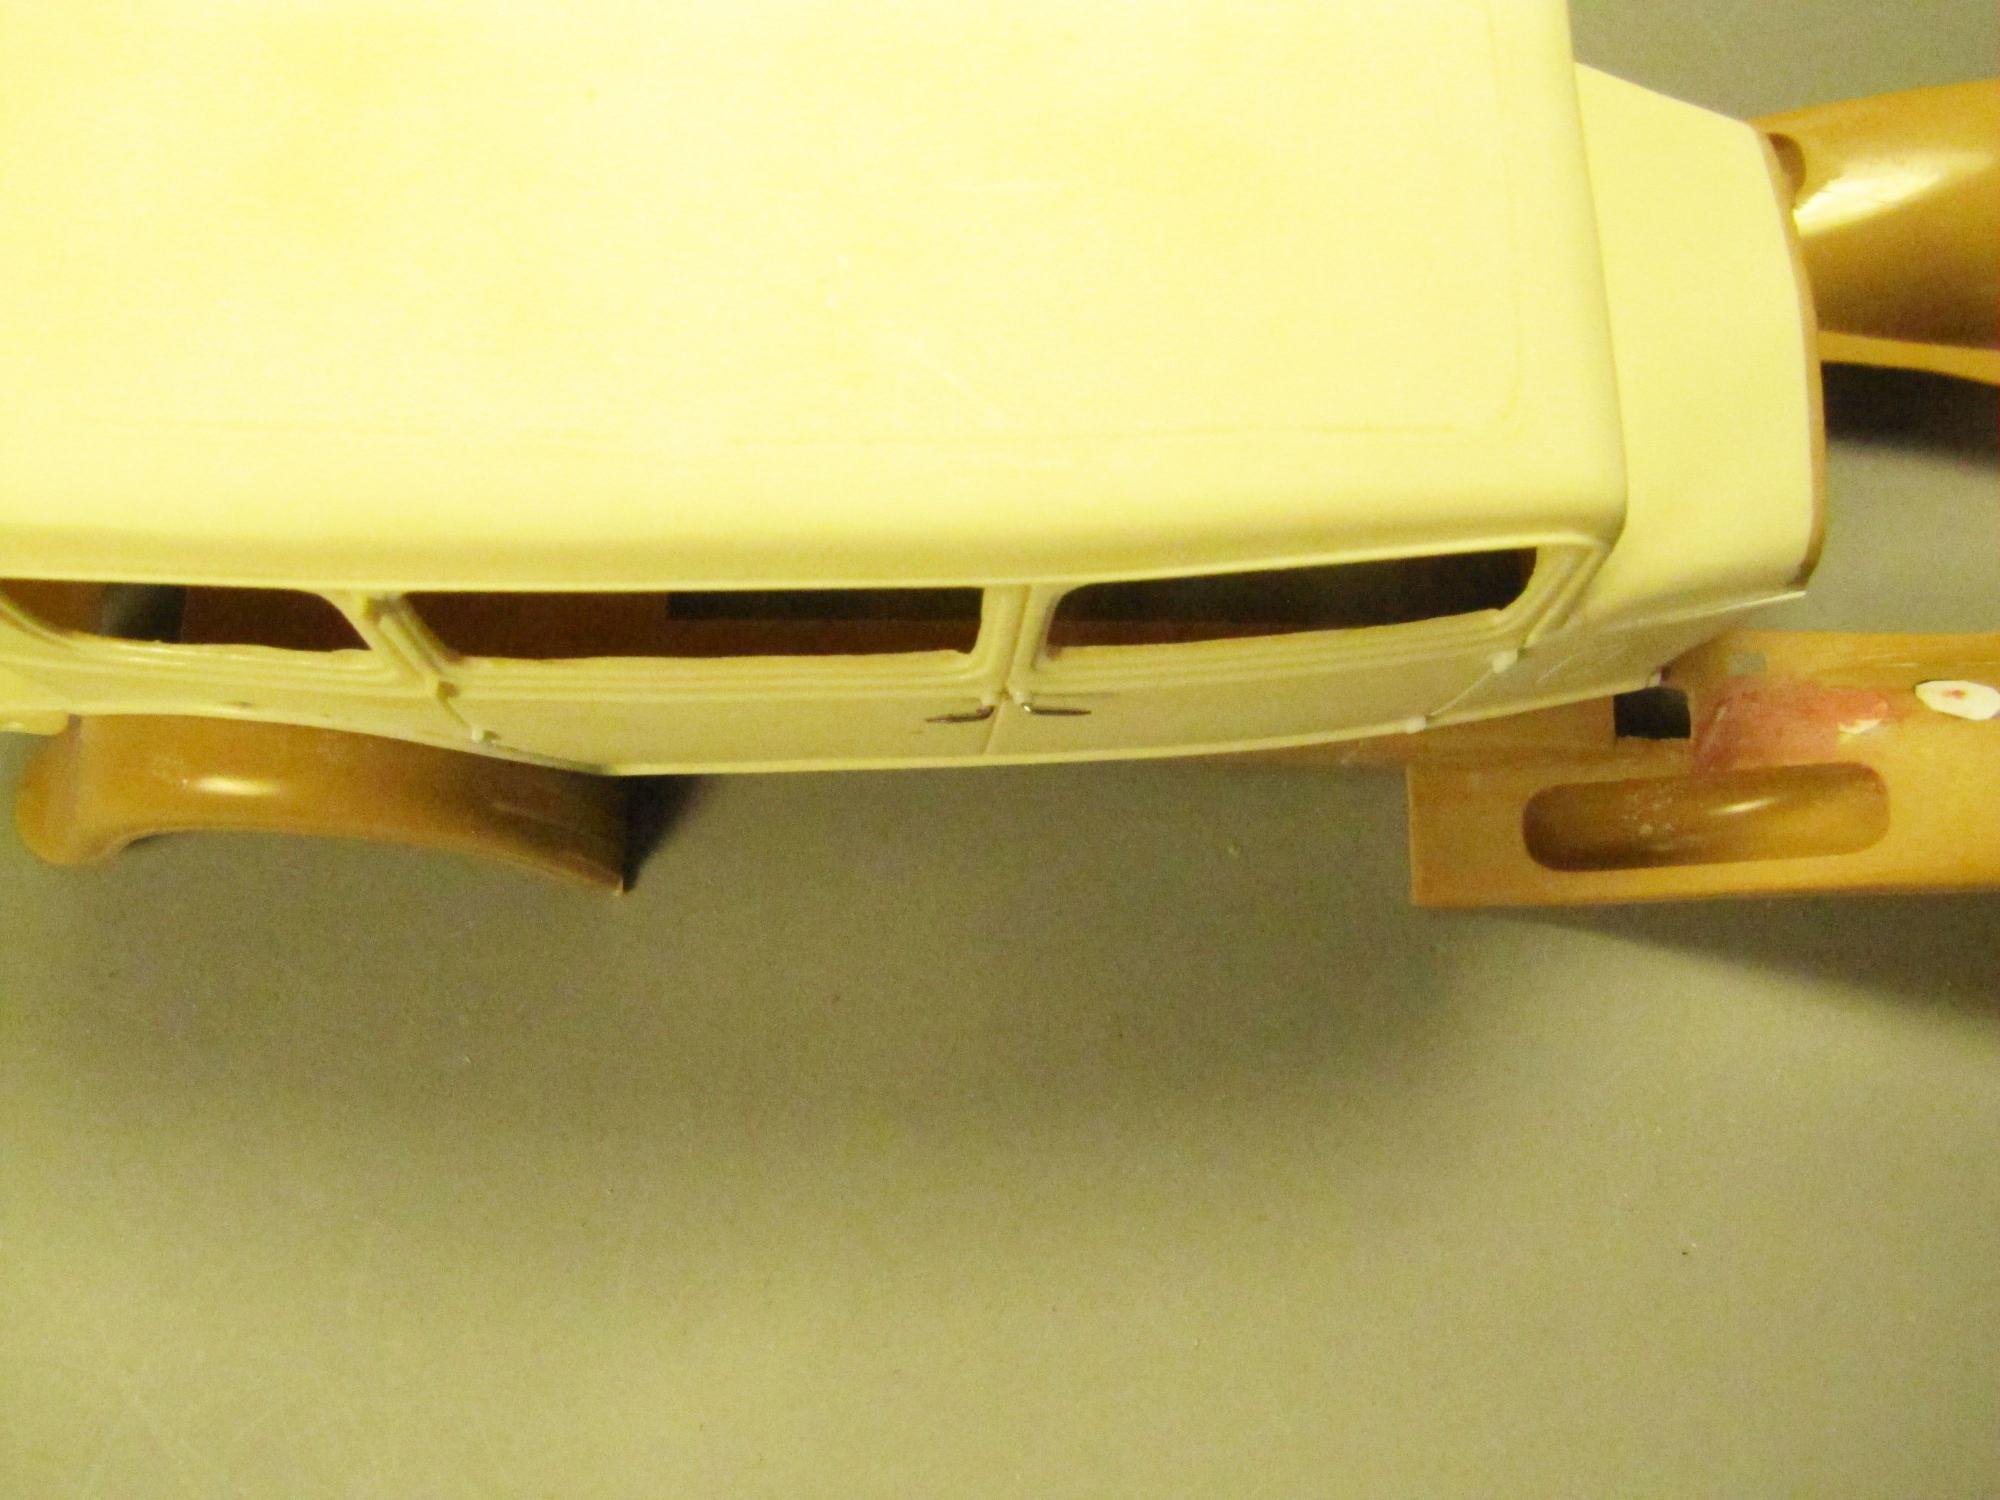
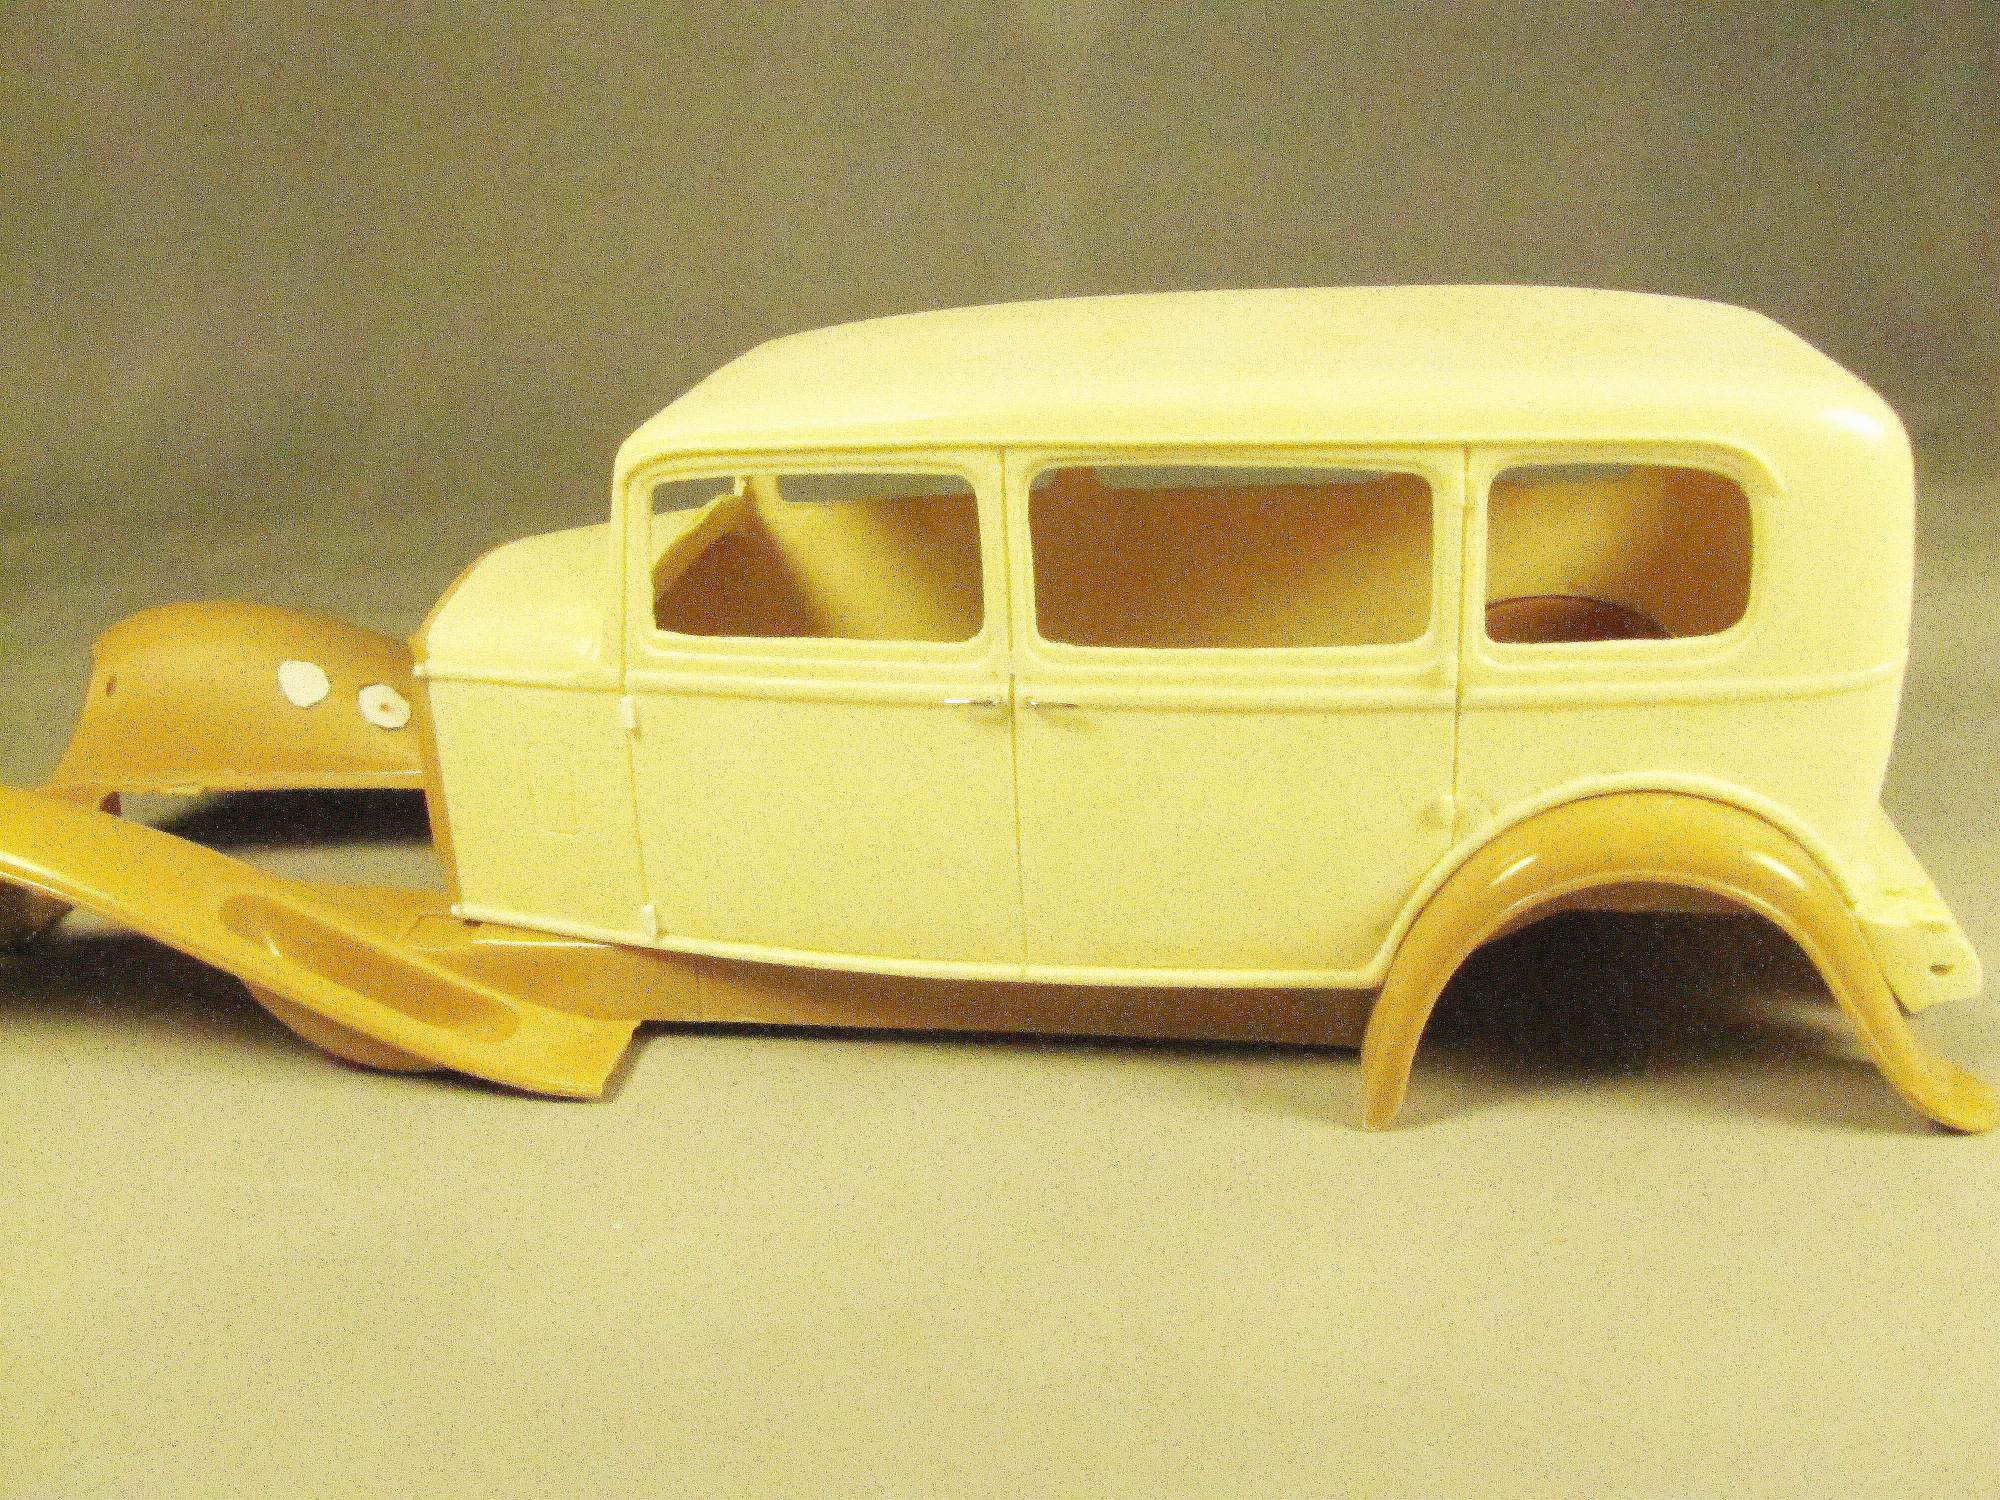
Just got done adding bezels for the door handles--more tedious, fiddly stuff! 1/16" styrene rod, drilled out to match the straight pin sourced handles, then CA glued in place, and CAREFULLY sanded down to a proper "height". These space the door handles out prototypically correct from the body surfaces, and will be foile in finish work:

-
I've been working on a bunch of very tedious, fiddly detailing on the body shell--correcting the right side wheel arch, moving the door hinges for the front doors to conventional opening, rescribing door lines, and finally, testing out an idea I had regarding the door handles. While looking at my stock of dressmaker straight pins, it occurred to me that yeah, they would make perfect slimline tapered door handles. So, after "blunting" the points down (no need for them to be sharp enough to BLAH_BLAH_BLAH_BLAH my fingers easily), then bending them at a fairly sharp right angle, I drilled #73 holes in the beltline molding, and tried my theory--I think it works! Next step? Make thin, small diameter bezels that can be foiled to a chromed appearance.
-
Never done in a plastic model kit (don't think I've ever seen one in diecast either), and not likely anyone ever did it in resin as well. Big problem: That is a one-year only body--nothing carried over from 1939, and none of the shapes of the '40 Chevy were carried forward for the 1941 model. Art
-
Ferrari 250 GTO - Fujimi or Revell Germany?
Art Anderson replied to Kmb0319's topic in Car Kit News & Reviews
Something to consider when thinking accuracy of any of these kits: Every 250 GTO was slightly different in body panels/shapes that the others, for the simple reason that these cars were hand-built, with body panels that were individually hammered out of aluminum with minimal wood forming templates. I've read that some panels were even formed "freehand" as well, which accounts for perhaps even the variations between model kits--at least that seems plausible. Art -
Down to brass tacks...
Art Anderson replied to charlie8575's topic in Model Building Questions and Answers
Tamiya's Clear Yellow Acrylic does a great job on chrome plated plastic, makes it look just like polished brass. Art -
I strongly suggest the use of "self-etching" primer on diecast, as many ordinary primers, both for real cars and for model cars, tend not to adhere (grip) non-ferrous metals reliably. Art
-
Paint crazing ?
Art Anderson replied to Jon Haigwood's topic in Model Building Questions and Answers
Joe, you don't say what brand of "enamel" paint you used on this, or whether or not you sprayed that over another coat of paint, but that's what it appears to be. All enamel paints are not created equal--many brands sold as consumer rather than hobby products can have solvents that are "hotter" than say, Testors, and can cause this every problem if used over Testors. Art -
To fill this out a bit: When Ford began production of the T-Bucket with it's compound curved shapes in 1915, they omitted the left side (driver's side in the US) door, due mostly to the placement of the reverse gear/handbrake lever, while stamping a raised molding on the left side of the roadster (and forward side panel on touring cars) just to "balance things up" visually. This feature was carried forward through 1925, when the new-for-1926 Model T open car bodies got a driver's side door. Just to making things interesting, AC, ALL Model T open cars of those years produced in Canada, did have fully functional doors on open body styles (roadsters and touring cars), probably as Ford of Canada produced cars for sale across the British Empire, where so many countries drive on the left side of the road. AMT's '25 T roadster body shell is actually quite correct for US domestic market. Art
-
Mufflers are getting exhausting
Art Anderson replied to Jon Haigwood's topic in Model Building Questions and Answers
I've made oval cross-section mufflers more than a few times from laminated Evergreen styrene, filed to shape, with end caps made from shee styrene, cut and filed to shape, then sanded--far easier to just do than try to describe. (Speaking from more than 60 yrs of plastic model car building experience here) Art -
Not to mention humidy. Art
-
Mufflers are getting exhausting
Art Anderson replied to Jon Haigwood's topic in Model Building Questions and Answers
Yes! If you keep your eyes open at places like Hobby Lobby, even hardware stores, pure tin solder is available--it's much stiffer than the old-fashioned "lead-tin" solder, and does come in a small variety of sizes (diameters). The advantage? Pure tin solder is a good bit harder, stiffer than ordinary solder, and will hold its shape a lot better. Art -
Rubbery resin from paint remover?
Art Anderson replied to JPolli's topic in Car Aftermarket / Resin / 3D Printed
Unfortunately not. Resin, more specifically polyurethane resin, is very sensitive to many chemicals we use for stripping paint, and Scalecoat is one of those. Art -
My Oster is preset at 120F, which is quite safe for polystyrene and any paint that I will ever use. I usually let a body shell air dry at room temperature for 25-30 minutes, which is enough time for lacquers to dry to the touch, even Scale Finishes Acrylic Enamels. When I put the body in the dehydrator, I plan on leaving it in there for at least a couple of hours, but at least once I forgot a body in that unit for several hours--and no deleterious effects occurred! But, a couple of hours on an airbrushed paintjob I've found to be quite adequate, after which the body shell can be polished and waxed. Art
-
And yet, I let body shells "air dry" then simply set them in my Dehydrator (Oster, bought at Walmart about 4 yrs ago), finish the drying process that way--have yet to see any marks along the bottom edges of any body shell I've baked that way! Art
-
Bear in mind that a true Berline from the Classic Era could be had as "transformable", meaning that it could be configured for a chauffeur, thus functioning as a formal sedan or limousine, and for those occasions when the owner wanted to drive it as a family car, that "privacy" panel behind the chauffeur's seat could be removed (on many Berlines, but not all). In addition, while most any exotic luxury car built in the US at least in 1931-32 tended to be painted in conservative colors, often quite dark (so as to not be conspicuous in those years of soup kitchens and bread lines, many that were sold in places such as Florida, or certainly in Southern California could be very brightly painted. So, there was a lot of room for a prospective buyer to maneuver, to make a decision on such as color and color schemes. Art
-
Duesenberg's wire wheels were unique to that marque, however--very visually different. Unfortunately, Monogram felt it necessary to simplify the spoke pattern for the outer row of spokes, as in real life, those wheels are "triple laced", meaning that about 1/3 or so of those spokes went to the inner row at the rim, for greater strength. It's rather understandable, given Fred Duesenberg's heritage of building race cars (Duesenbergs won at Indianapolis in 1924, 1925 and 1927, as well as the 1921 French Grand Prix. Also consider that the Model J in normally aspirated form had the most powerful production automobile engine built up to 1929--265hp from 420cid, and that was raised to 320hp with the addition of a supercharger (SJ version) with a couple of those engines being further "breathed upon" by Fred's younger brother in 1935--an incredible 425hp from that same 420 cid unit. In addition, they were massive, and rather heavy cars--a simple roadster could weigh in at nearly 5000 lbs, with limousines, town cars, even phaetons more than that--up to an incredible nearly 7,000 lbs for the one-off "Father Divine Throne Car"! Art
-
The very dark green (flat finish) in the small "square bottle" Testors enamel line is virtually a dead ringer for the original Ford Engine Green as was used beginning with the 1928 Model A through the end of civilian car & truck production in early 1942. Art
-
I don't much care for red undersides, but this one likely will have the chassis painted in Duesenberg, Inc.'s standard maroon--will be picking a J-Number for the chassis from Fred Roe's excellent book on Duesenberg, for which the body installed is today unknown, however. But, bear in mind that metallic paints were available by 1929, Indianapolis 500 winner (1928) Louis Meyer's #28 was painted a brilliant metallic gold lacquer, which DuPont had just developed. Art