Kit Karson
-
Posts
1,540 -
Joined
-
Last visited
Content Type
Profiles
Forums
Events
Gallery
Everything posted by Kit Karson
-
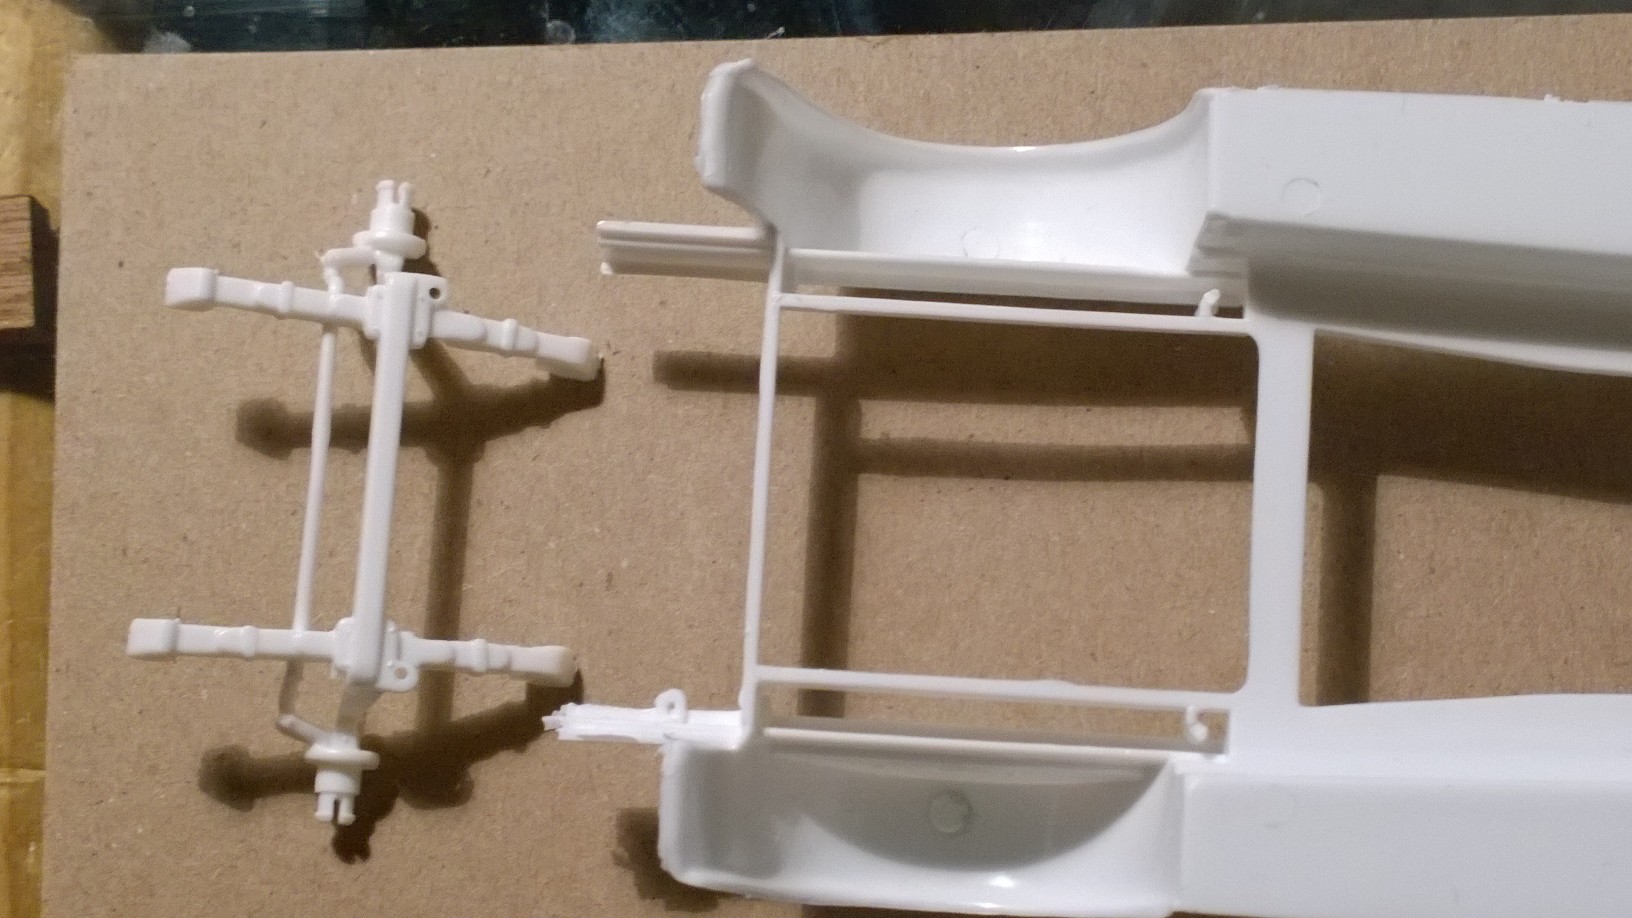
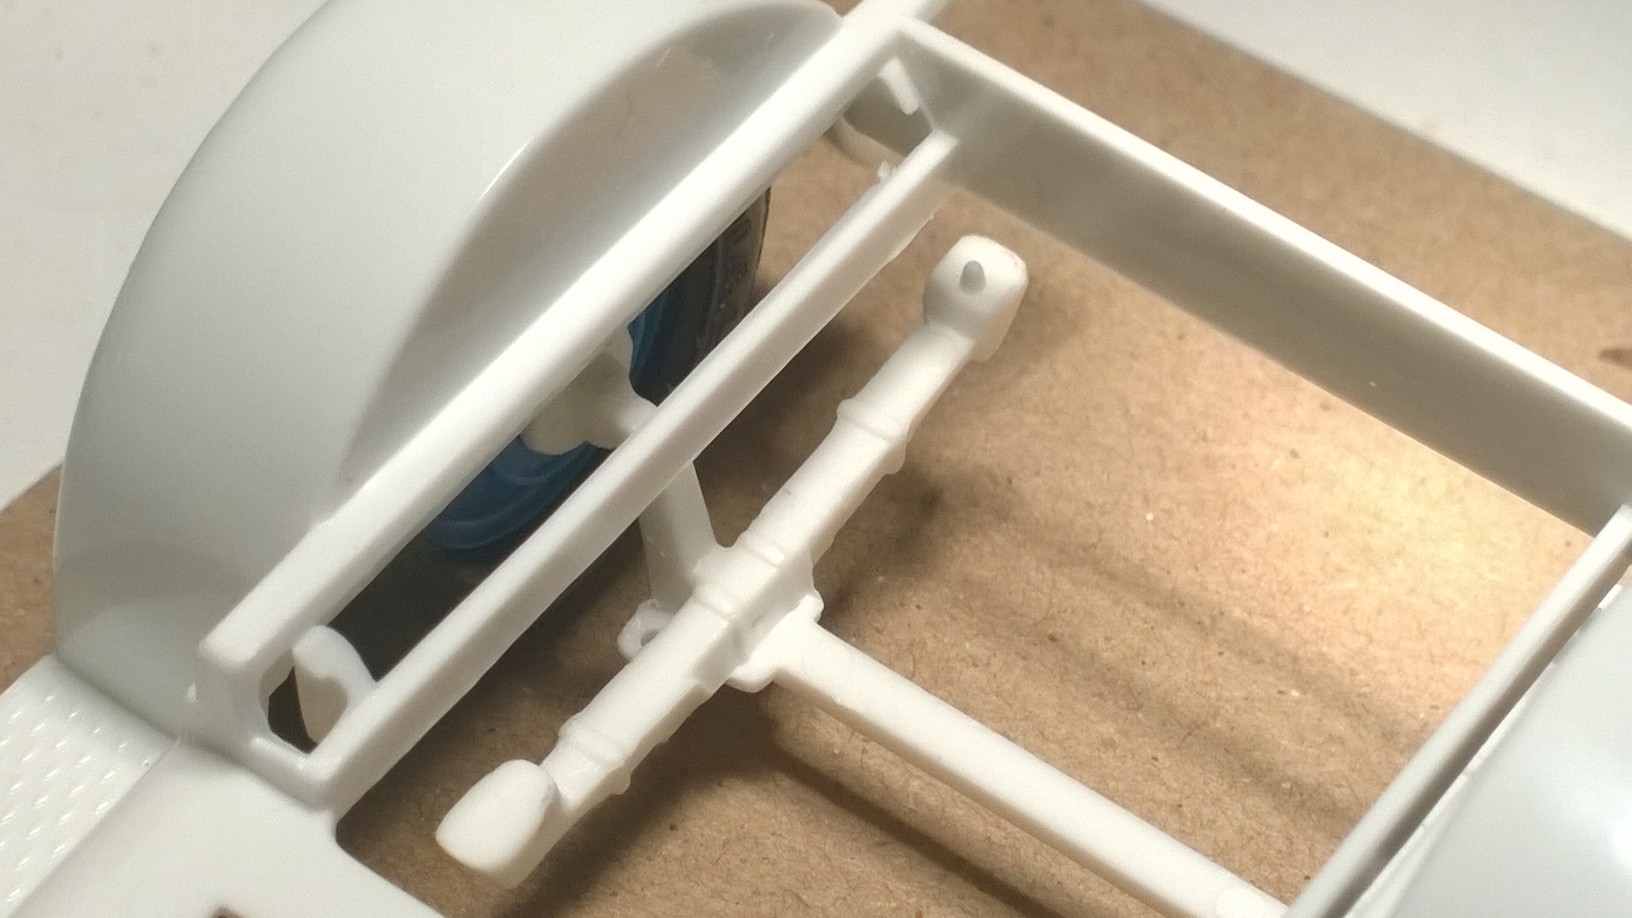
 Love watching things coming together! There is even chatter on fb regarding this thread!! Keep up the great work and As for my project, I've updated the rims. Now going with the sawtooth rims & tires from the Revell 1937 Ford Convertible and Trailer. And, here's why: (It sure wasn't because I didn't have another set of 5 spokes & tires) but you may have already figured out the reason was because I'm adding a trailer! When I start cutting things up, I'll bring y'all up to date with step-by-step construction, OK? btw I found this axle & parallel leaf springs (unidentified donor) for under the box & rear fenders: Kleaned up, nicely, but needs the drop in the axles reduced: Work continues on...
-
And, out of no where comes a super sharp deuce 2dr sedan! Wasn't sure this one would turn out so kool, RRR! Don't know anyone that could pie-cut the '32 hood to match the chopped top!! Outstanding, Brother!!! -KK
-
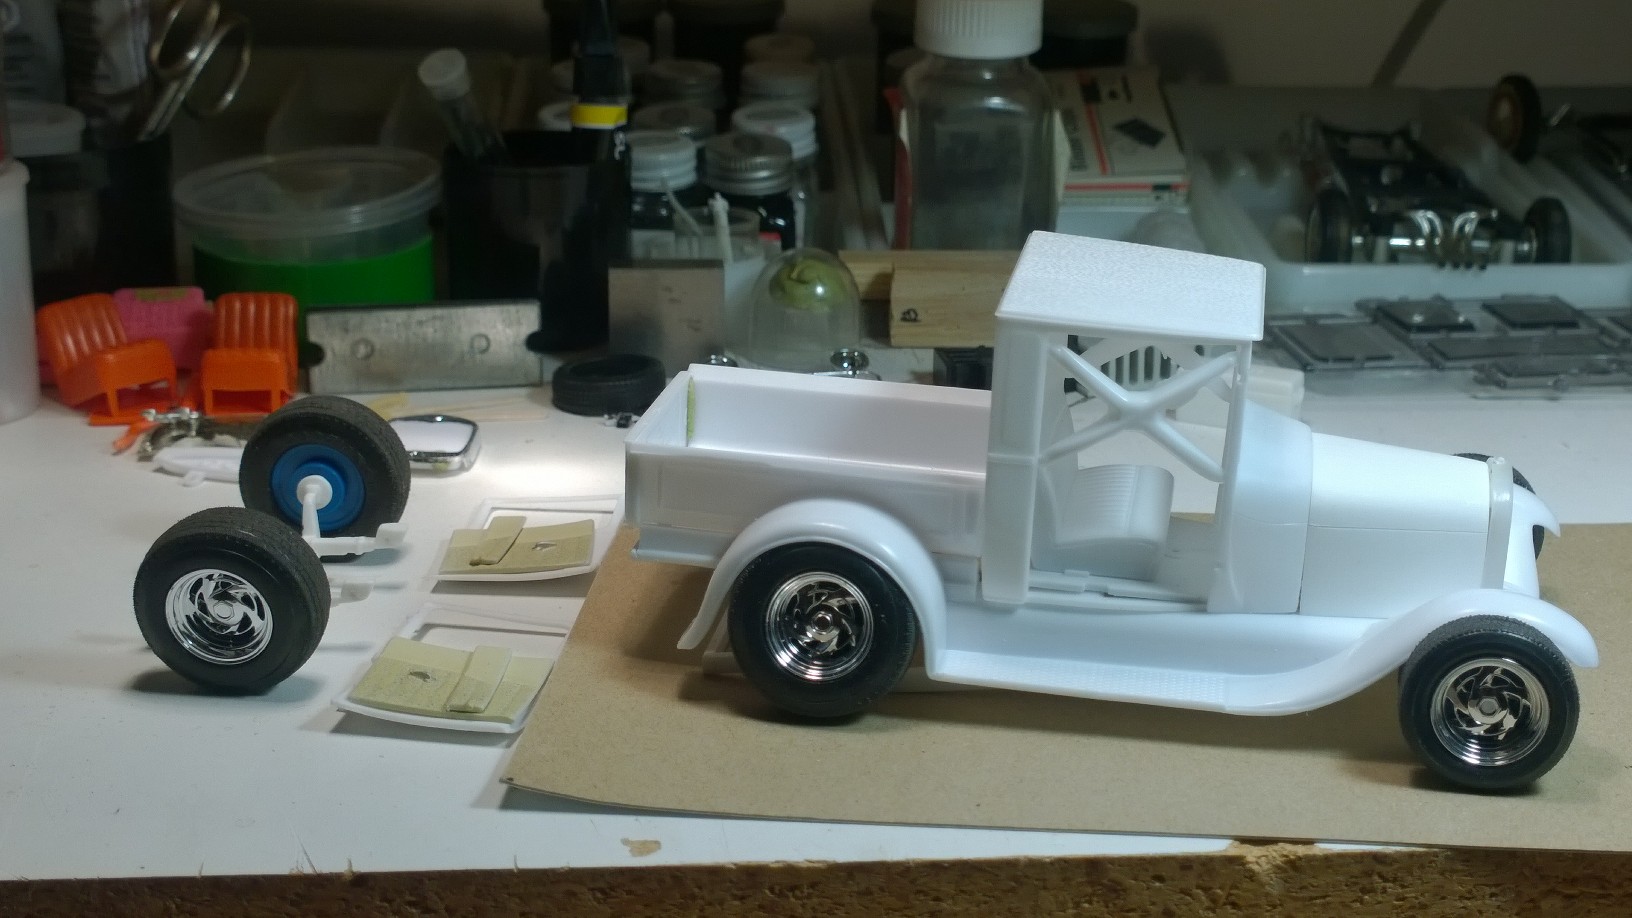
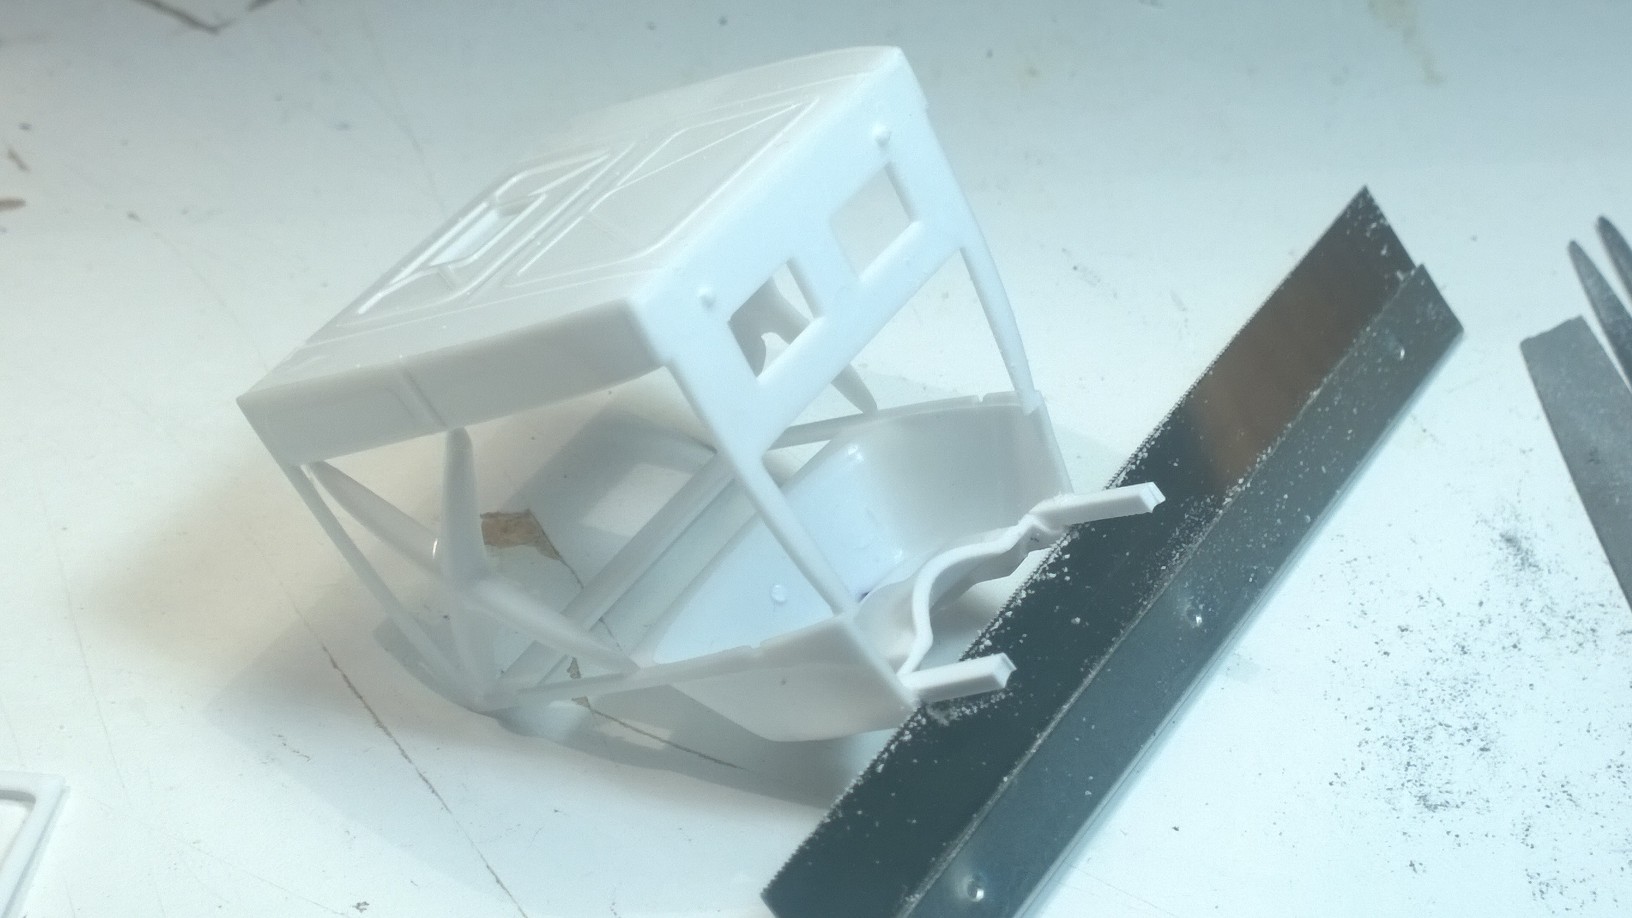
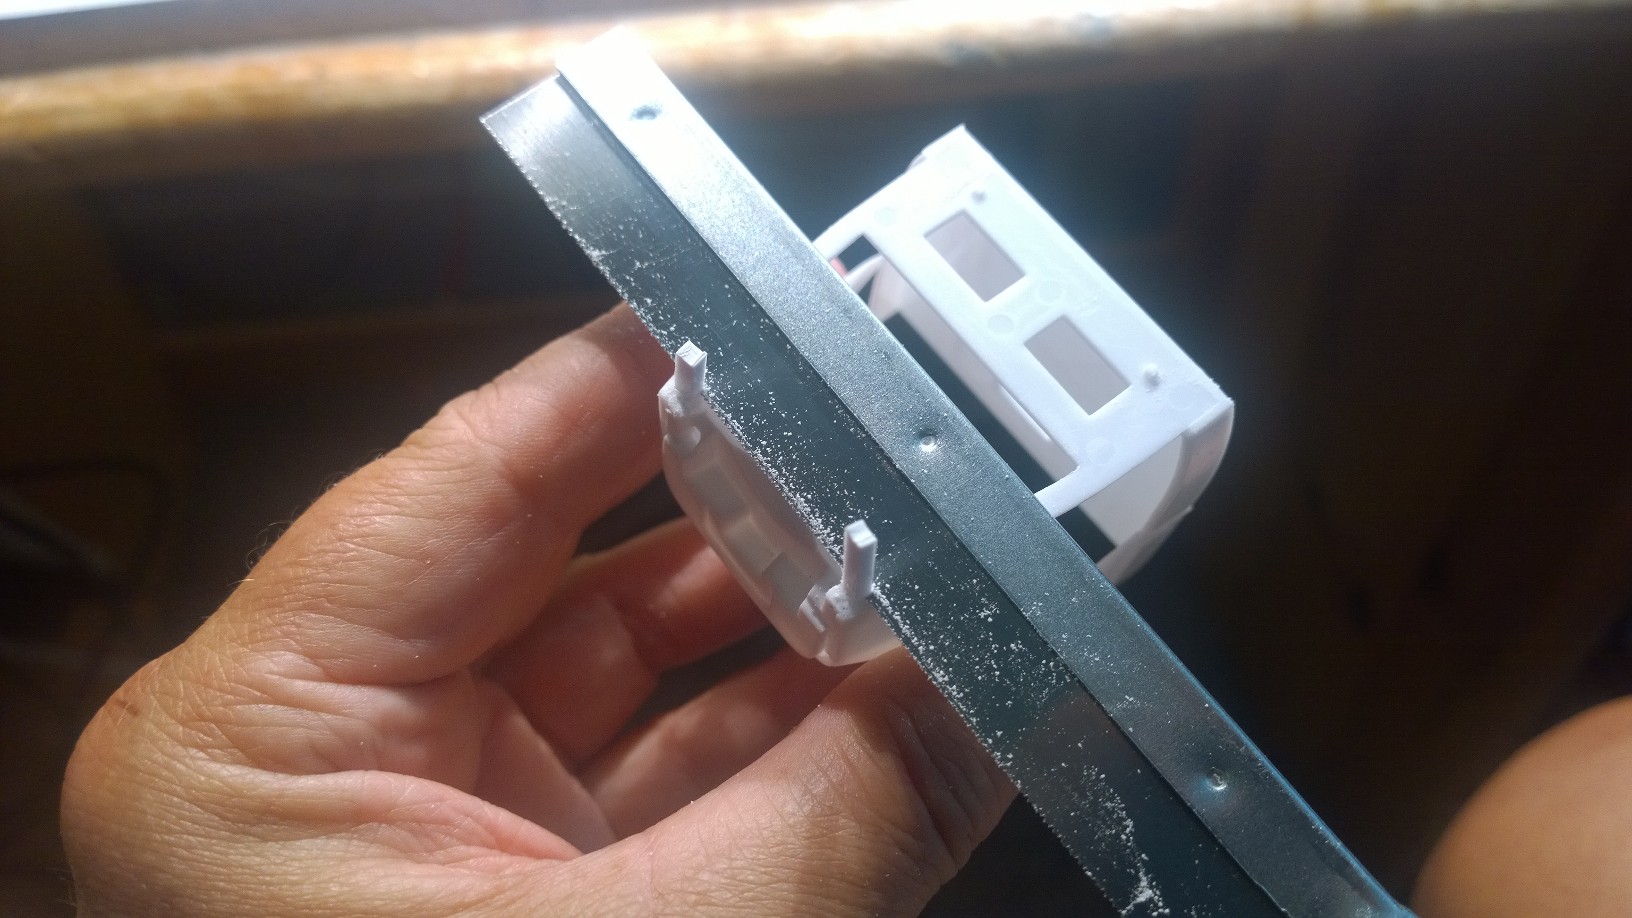
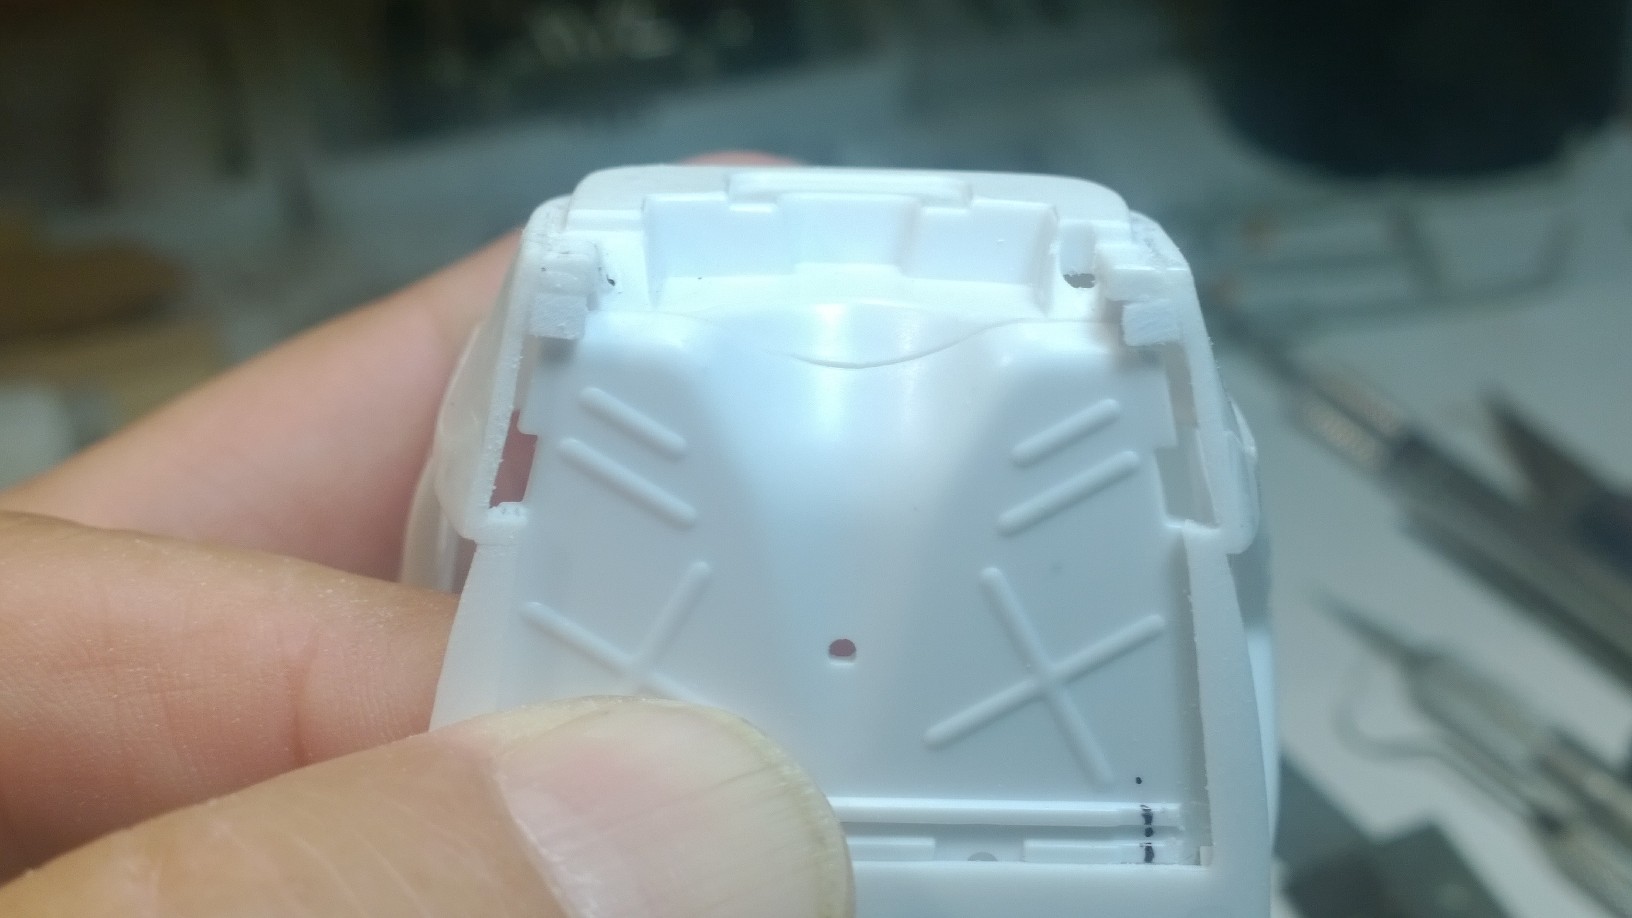
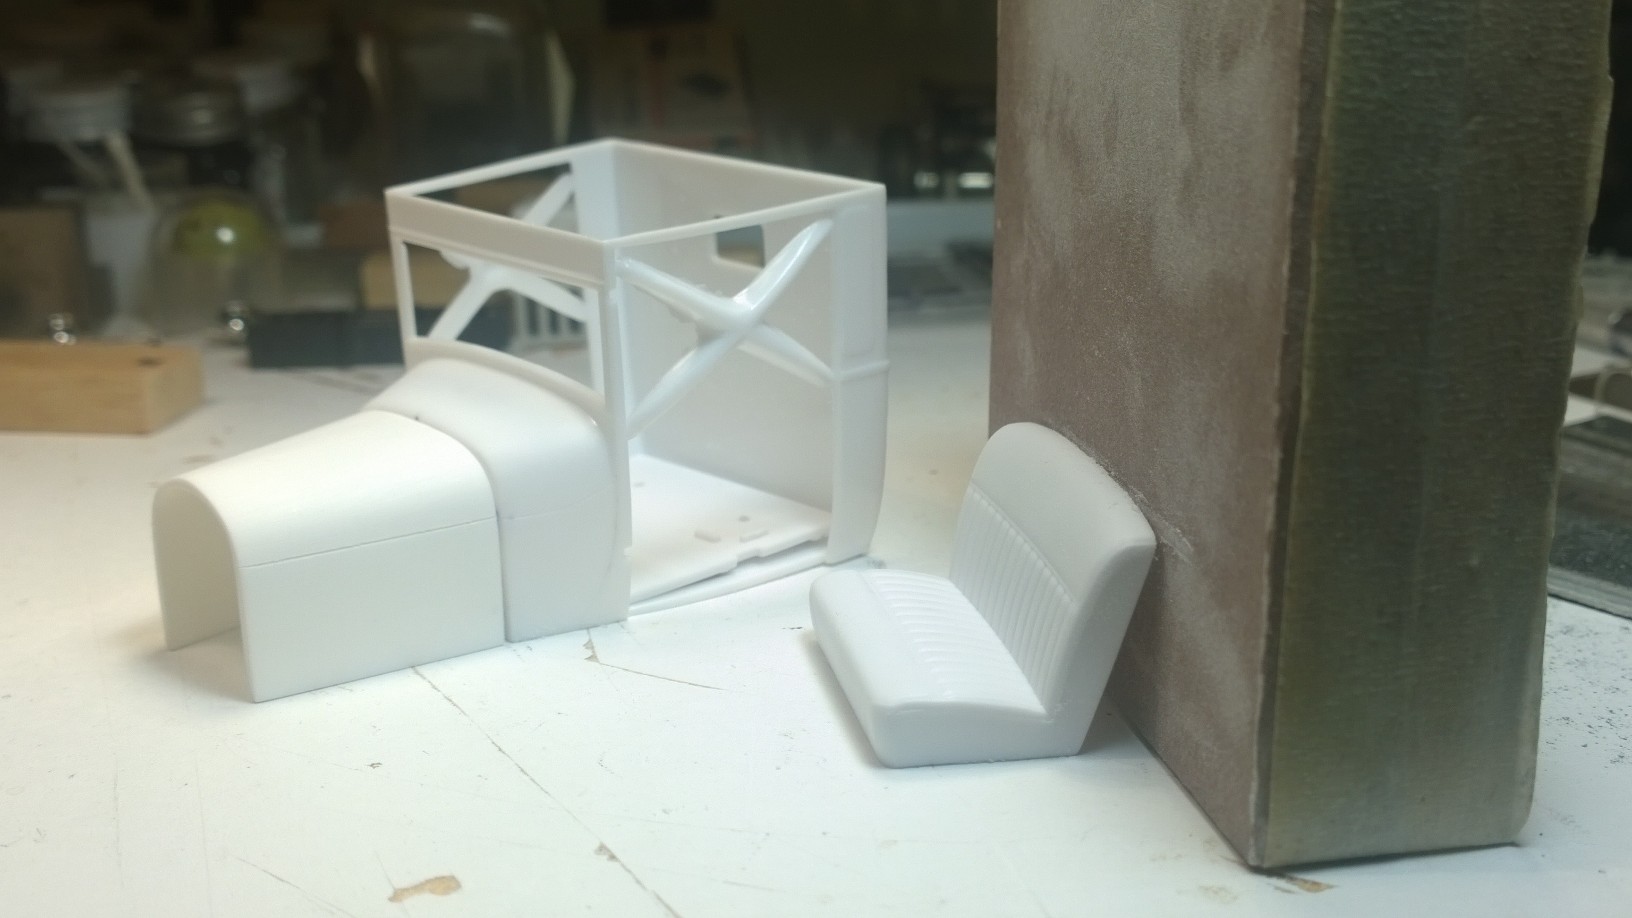
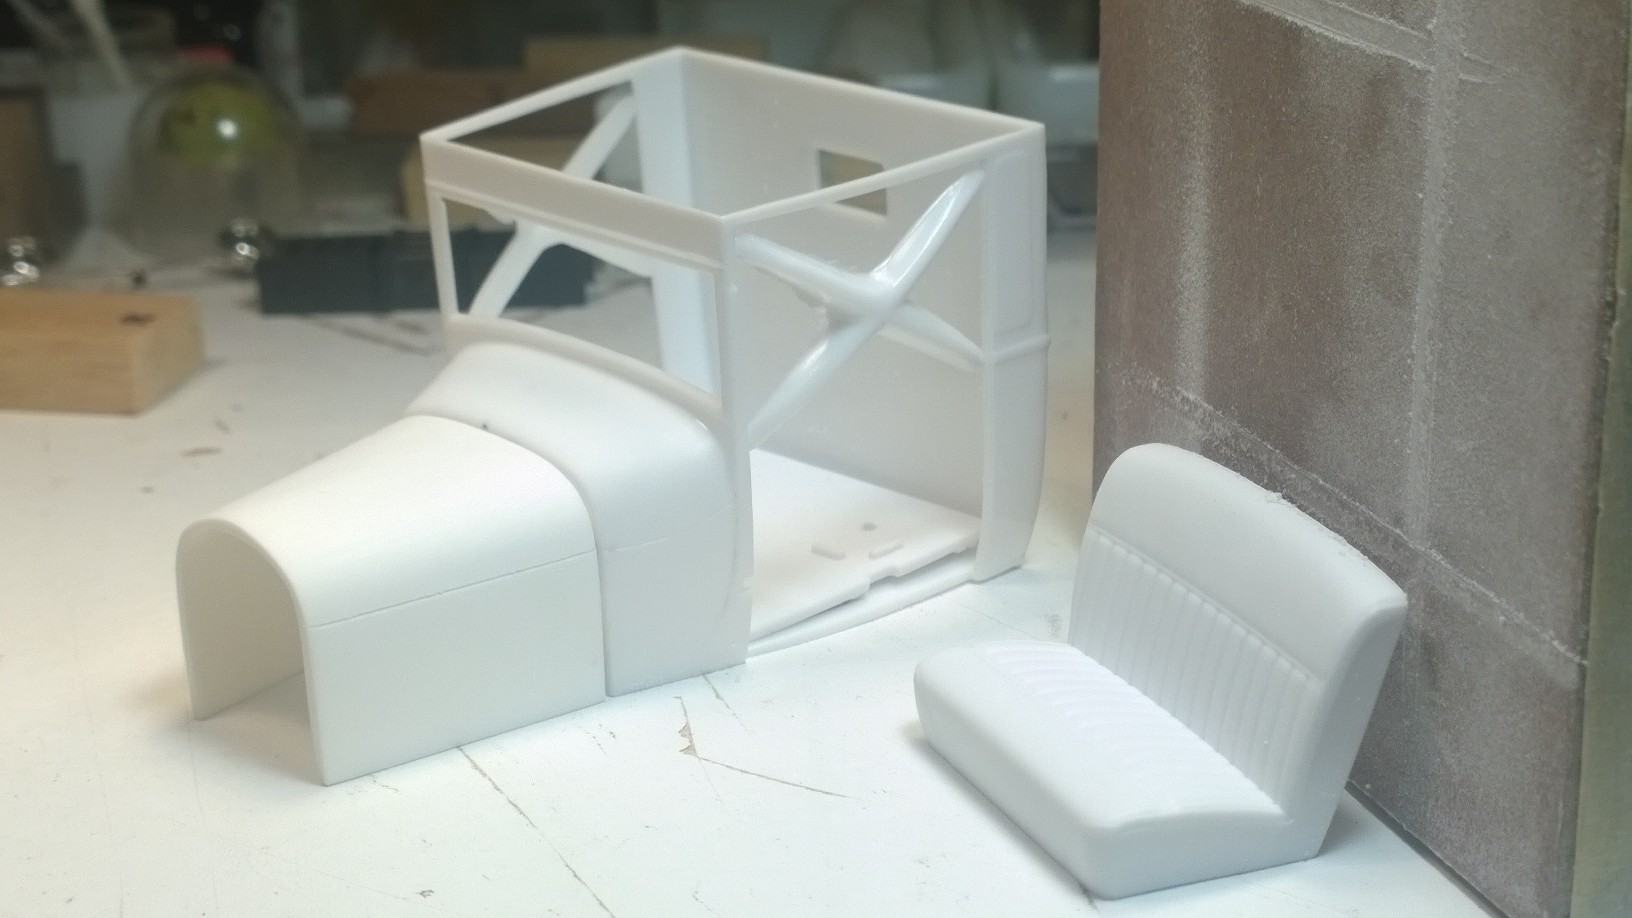
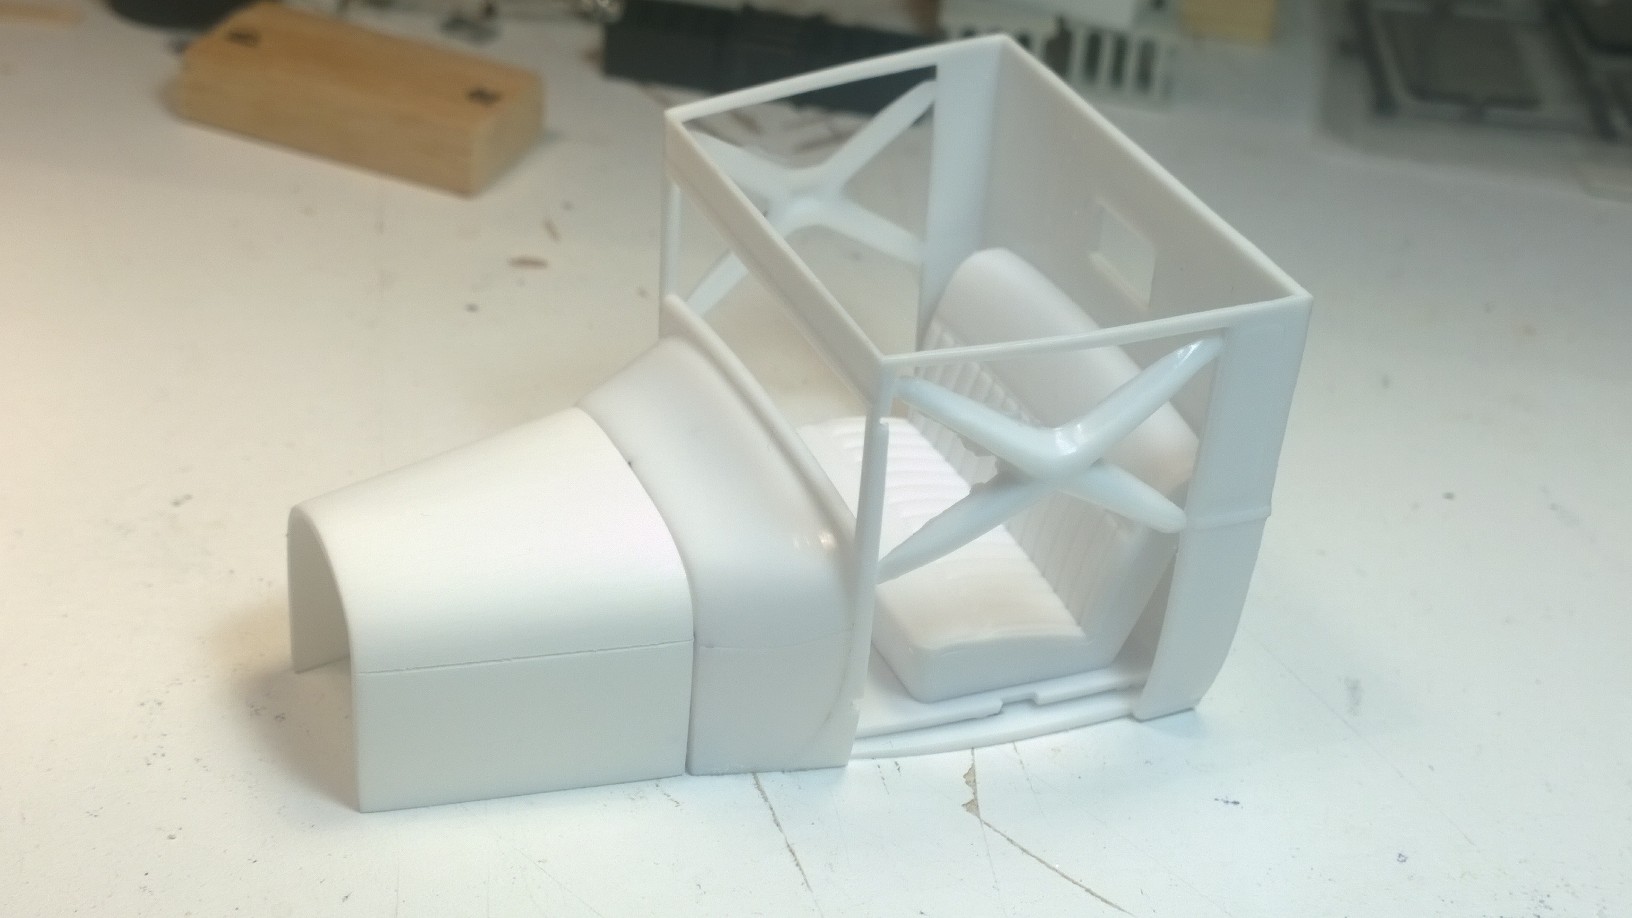
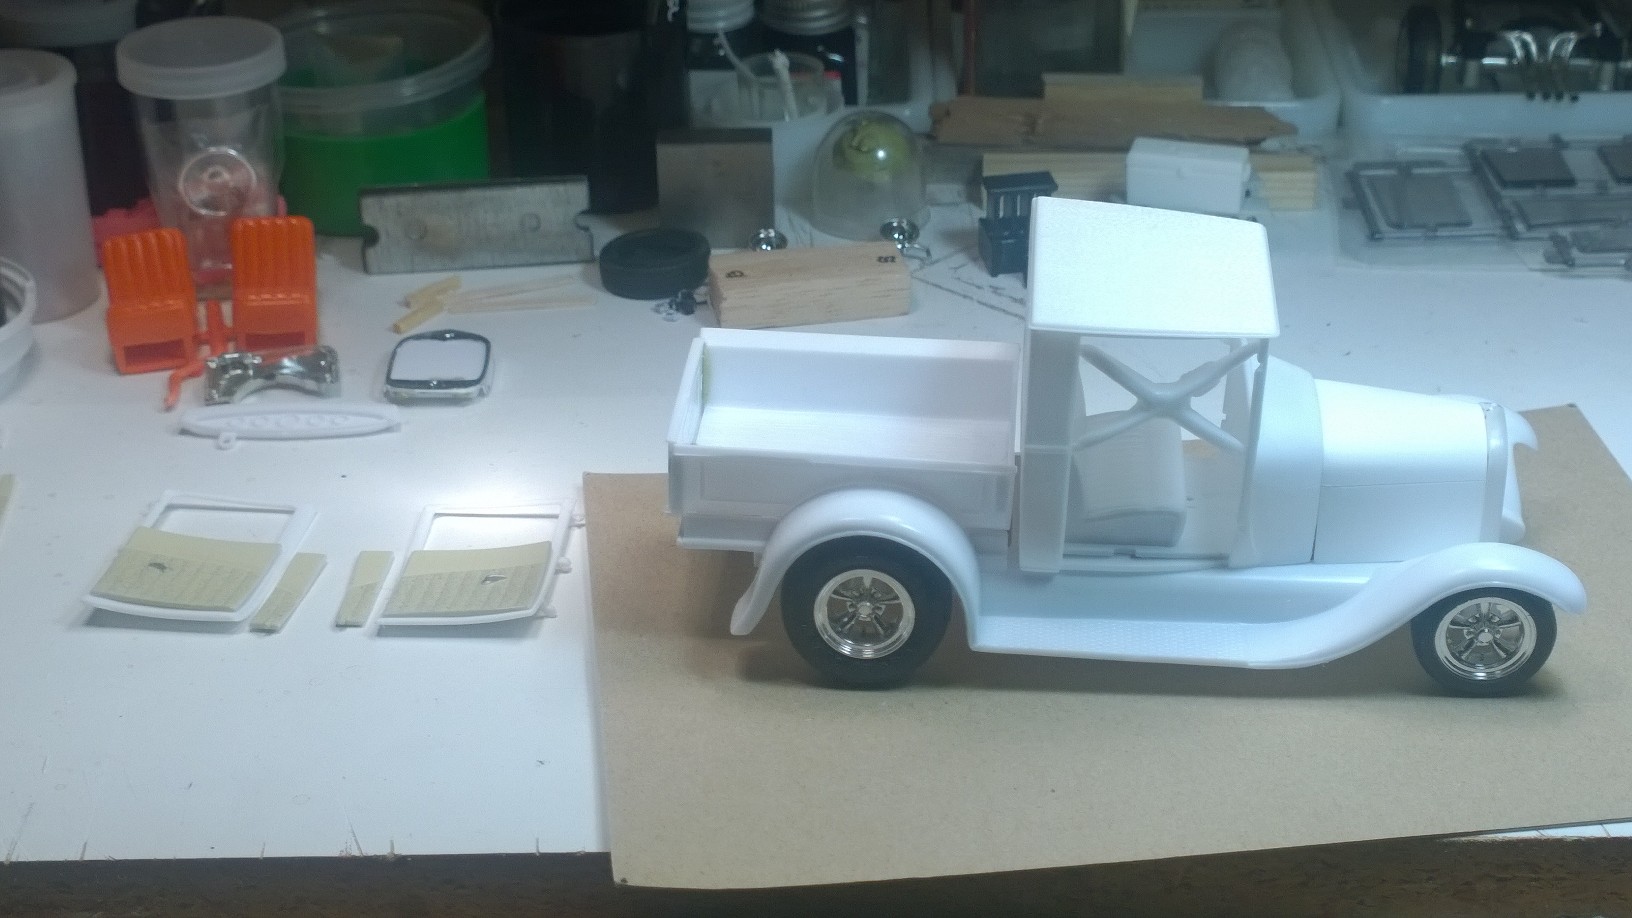
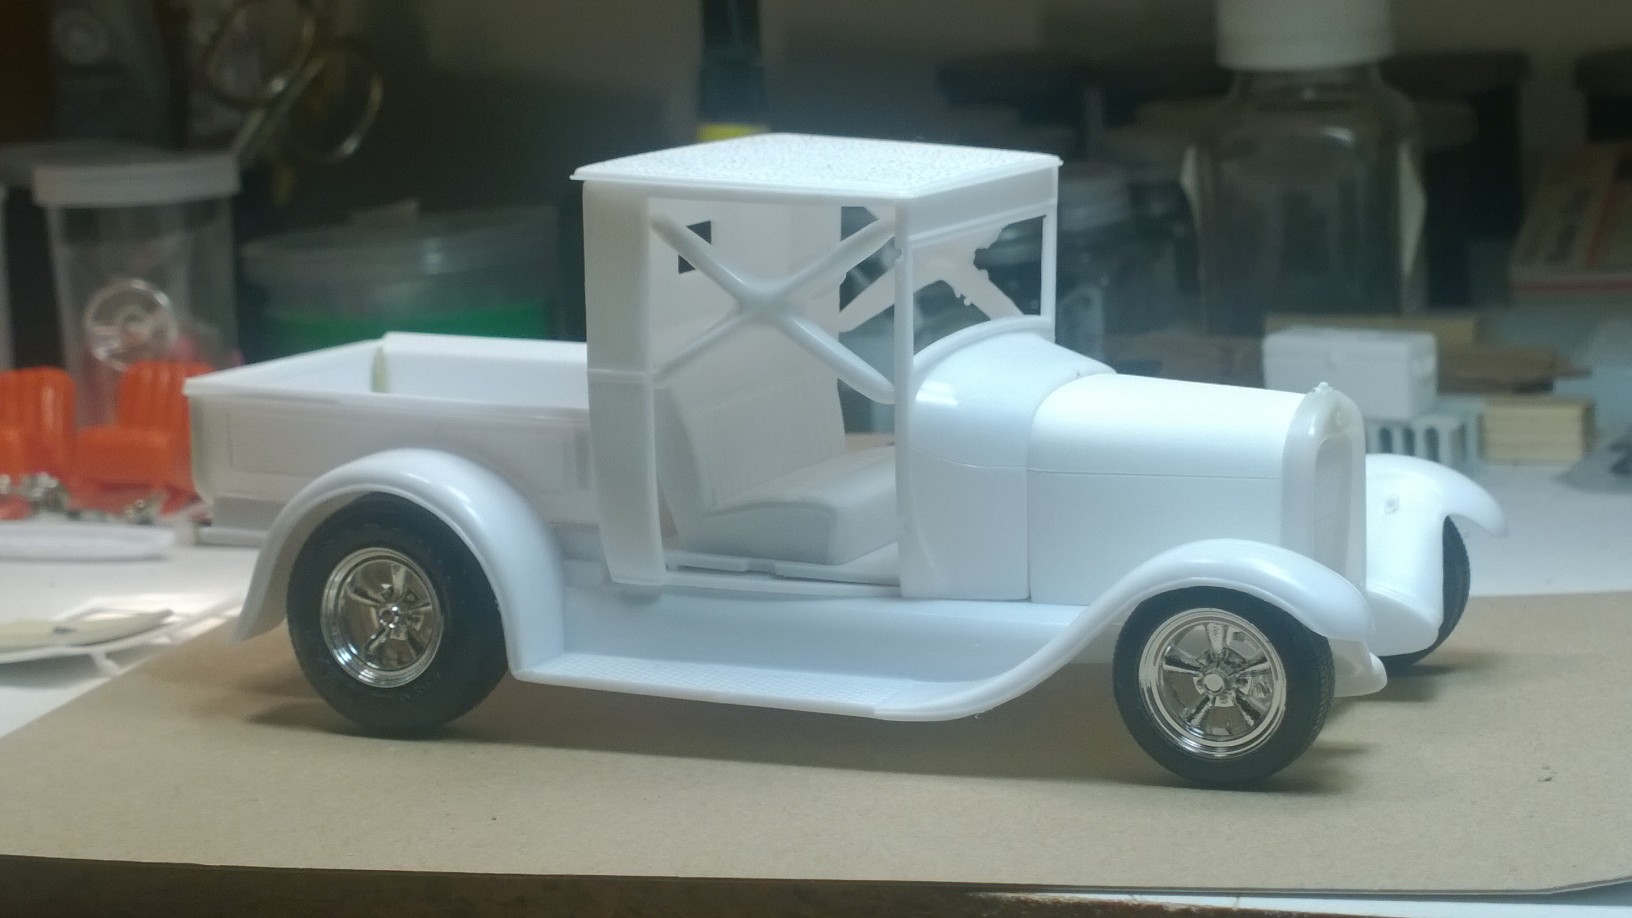
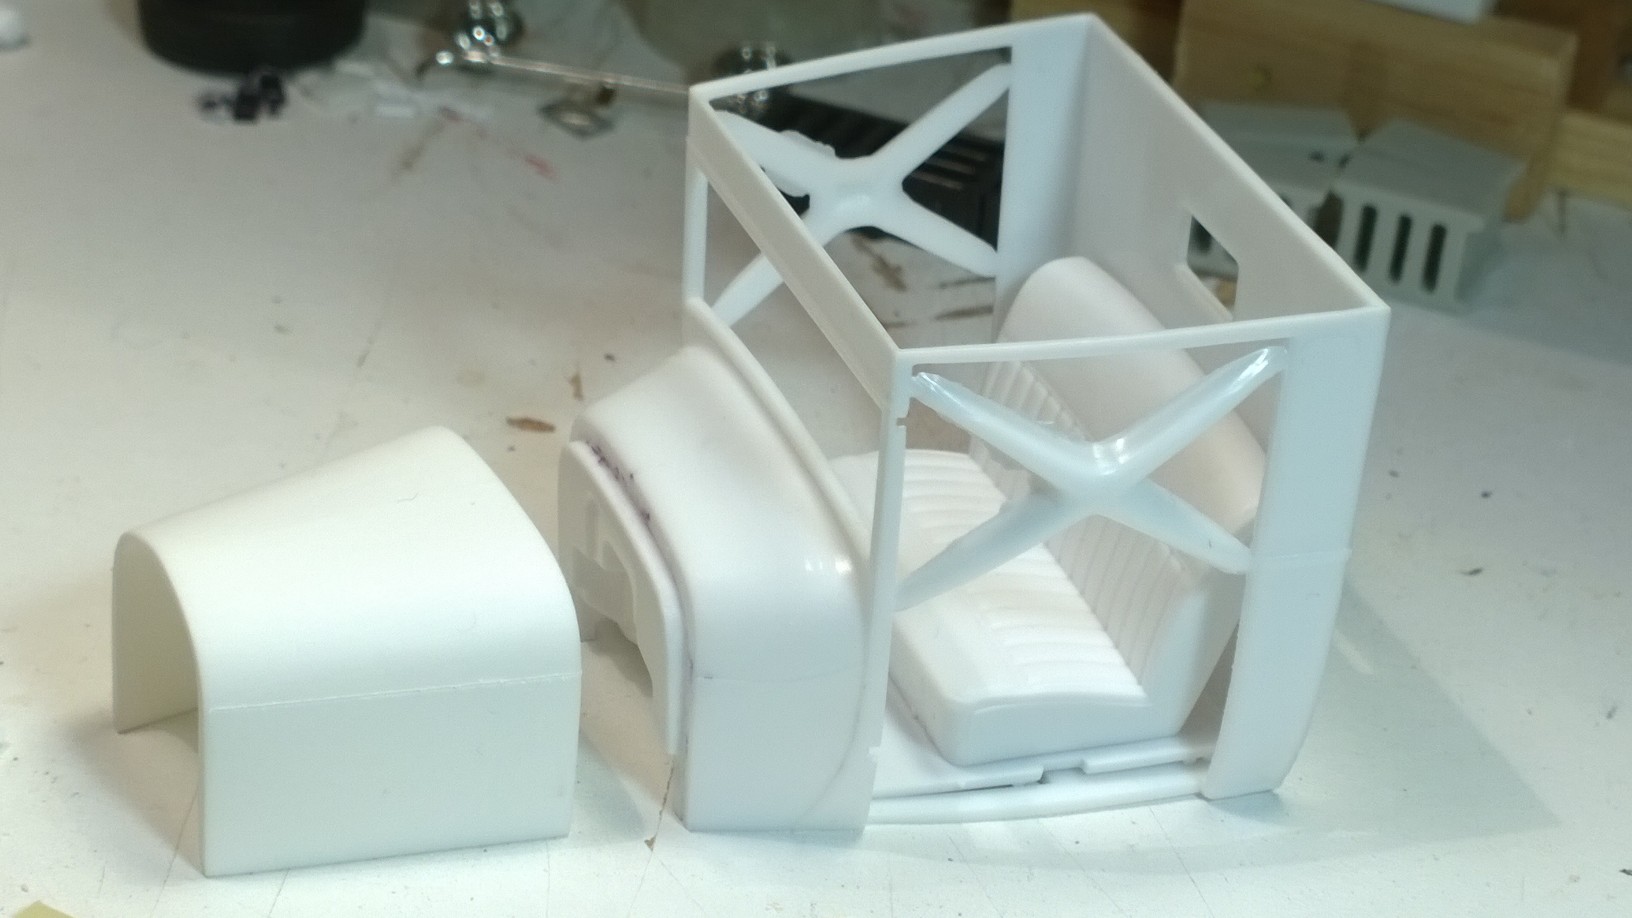
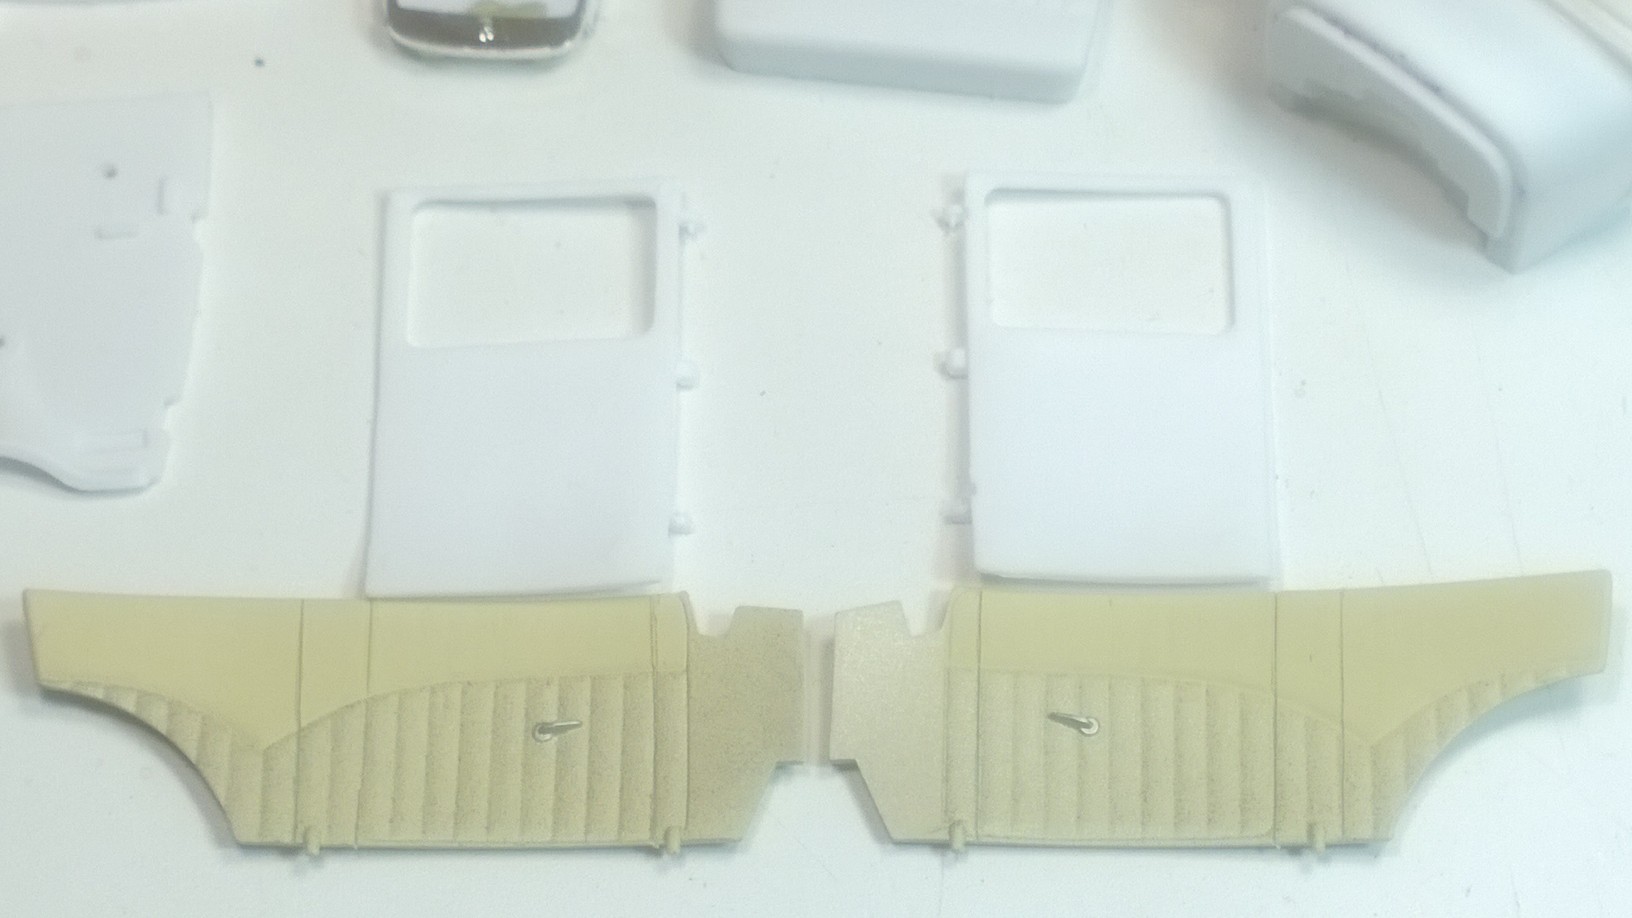
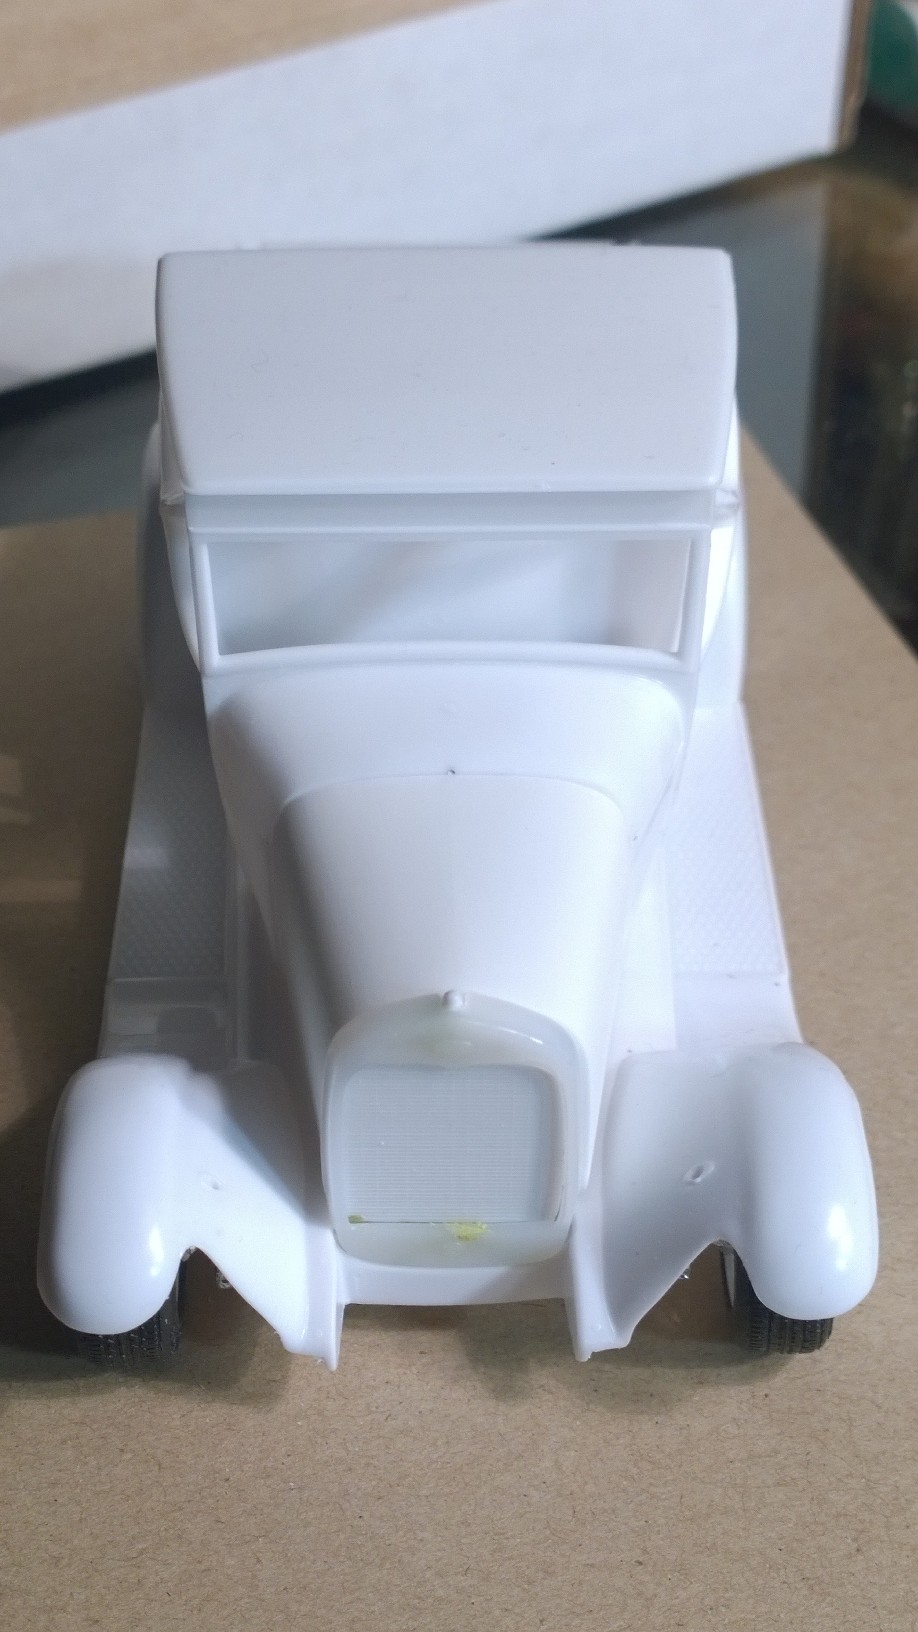
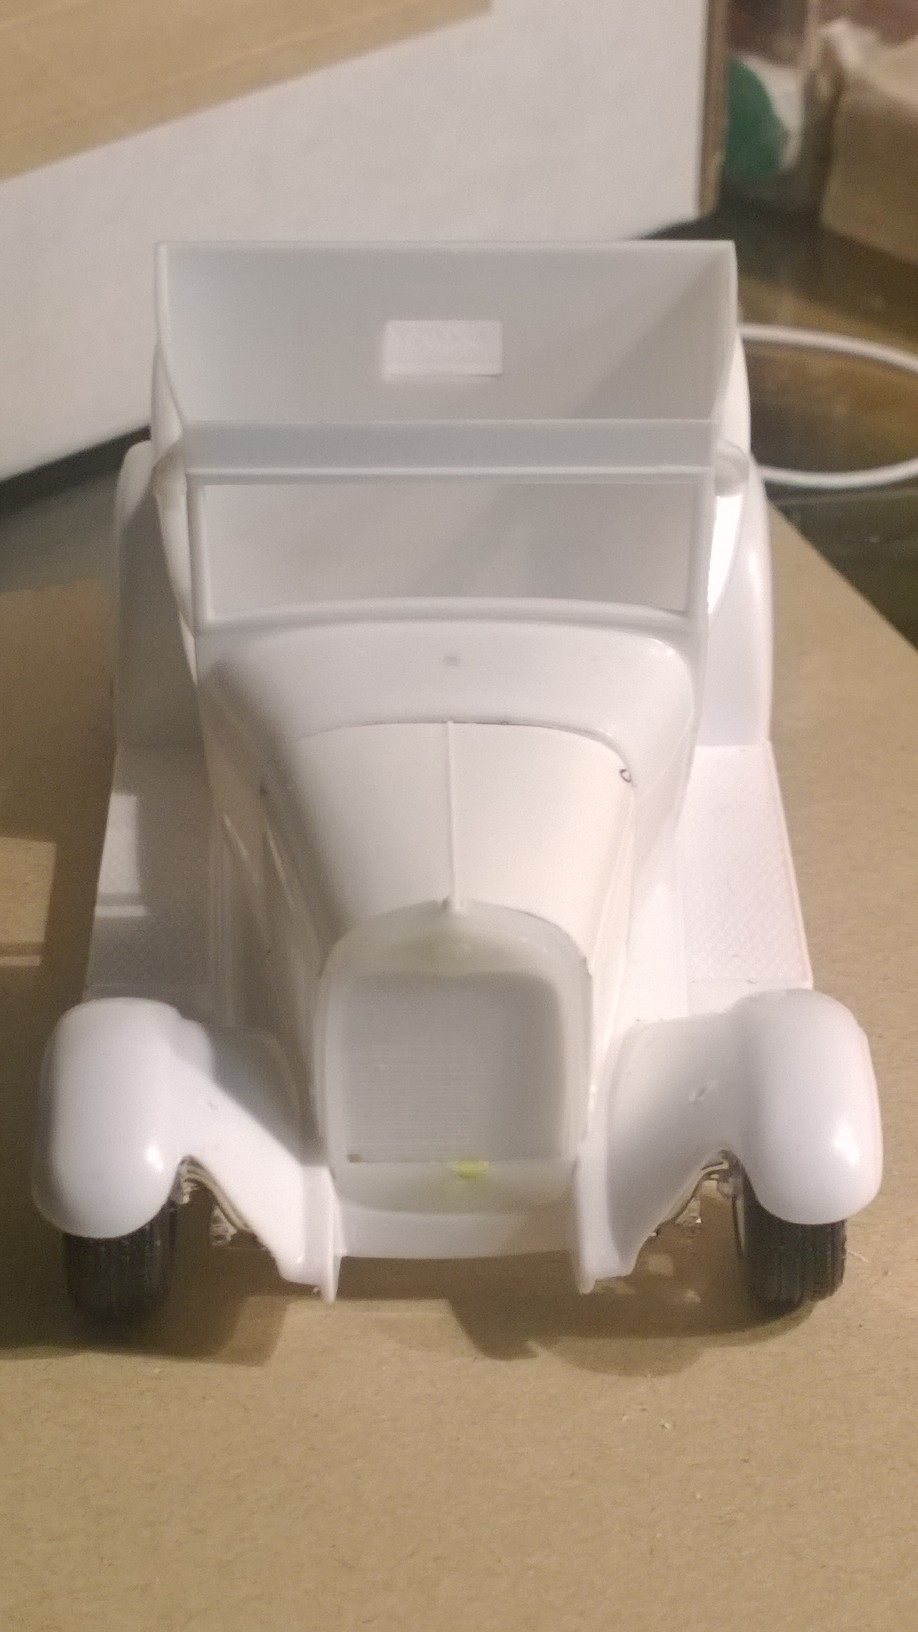
A little square stock to fill a couple of openings between the cab firewall and the roadster floorboard. Cut off the excess... Floorboard matches up with the firewall right where it belongs! Taking out the bow in the back of the roadster seat... and, sanding it square to the floorboard was a must... is going to make it fit the cab so much better! So happy with the fit! Trying to get to the point where I will have to deal with the doors. I know the door panels are going to really give the interior the finishing detail this kit has always missed! OK! You've been really patient with me and I've been holding back pictures of the mock-up! So, what do you think? -KK
-
@Painted Black WOW! Good to have you aboard! Jump in here and continue our quest in getting @tim boydto finish his tribute '29A Closed Cab! Paint is in the on the horizon... need to do a full-on white glue mock-up! Stay tuned... -KK
-
'29 PU hood scribed passenger's side '29 PU hood scribed driver's side
-
Outstanding!
-
You nailed it, ADL! Both your T Touring and your 1:1 experience have brought you to the same conclusion that I have had as a basic rule of model car building: The final result has to appear to be "street worthy"! If it isn't street-able or plausible, even in theory, the builder has missed the mark. Reality is a bitch, so if your fantasy is to create a vehicle that reflects your interests or personality, then make sure that if it were constructed for the road that it is legal and safe, even in concept! -KK
-
I think you're on to something about the longer wheel base and those rims... They made the difference on the Saltster -KK Saltster Rims - Front & Back
-
Nice job! Looks spot on!! I'll be expecting to see it under glass... -KK
-
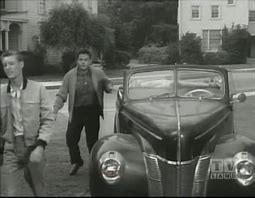
Always on of my favorite TV cars! Lumpy's Ford Convertible from Leave It to Beaver! Like the subject and your progress is right on! -KK
-
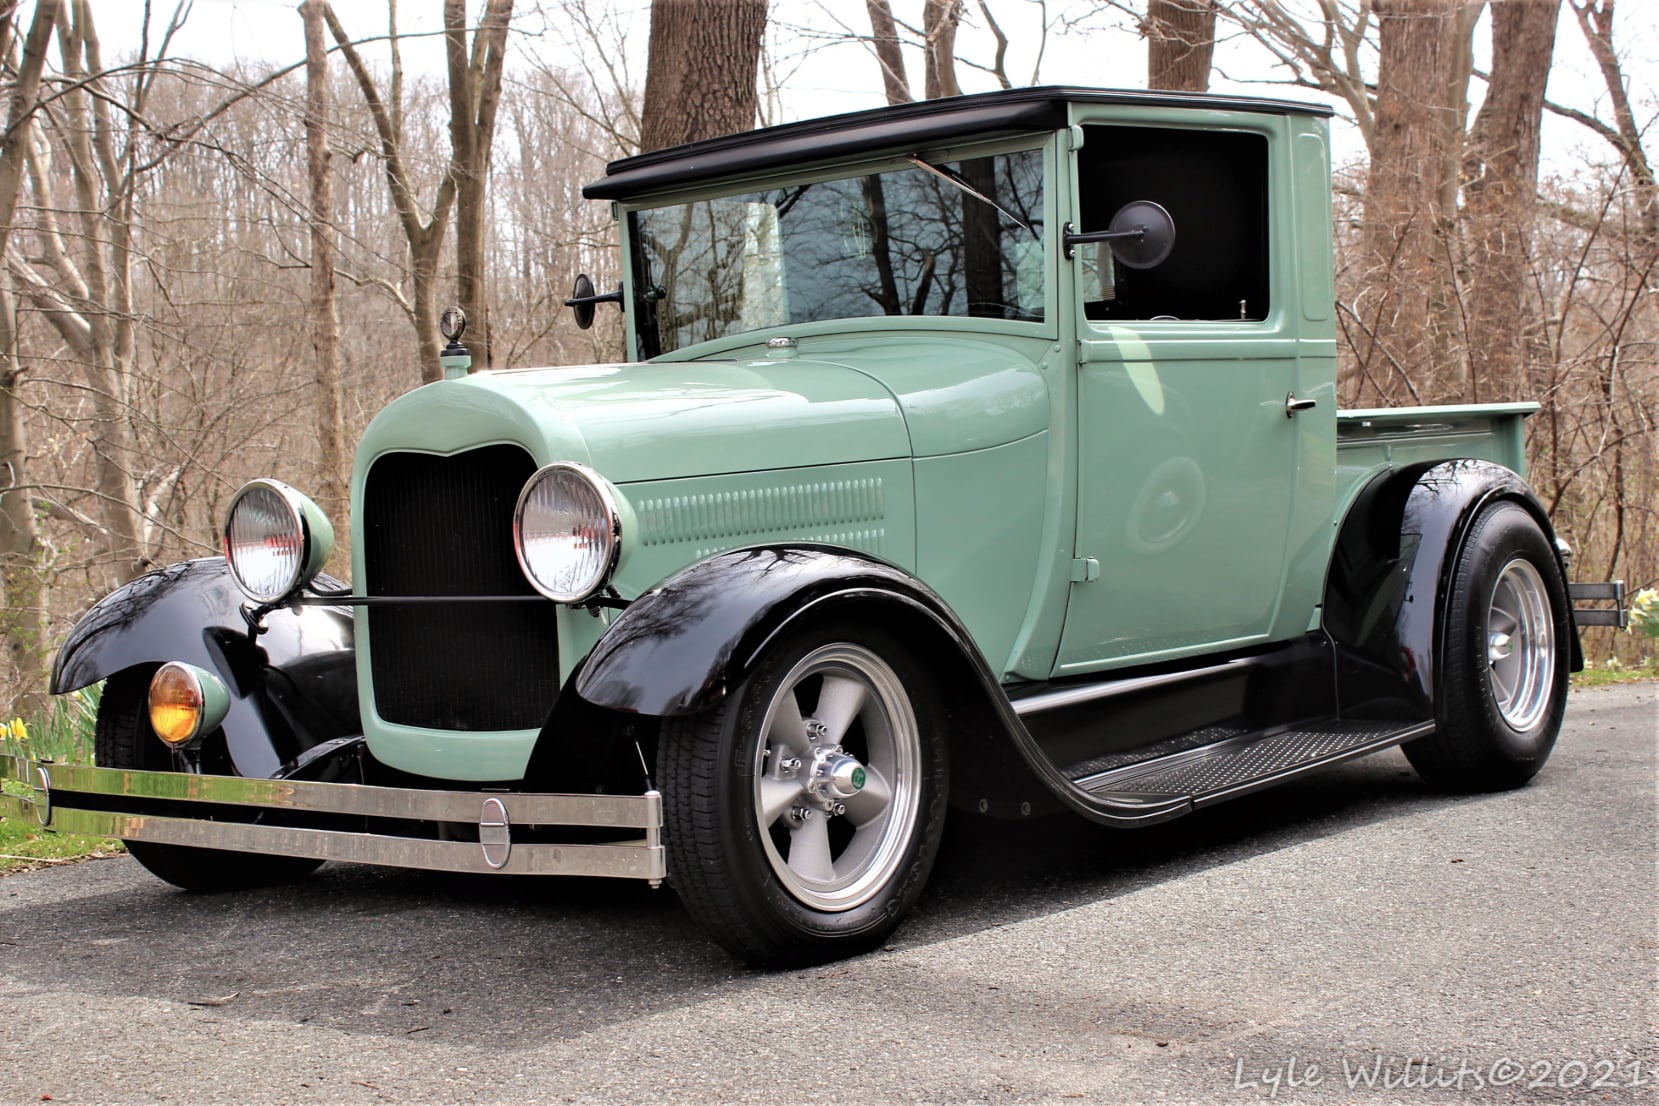
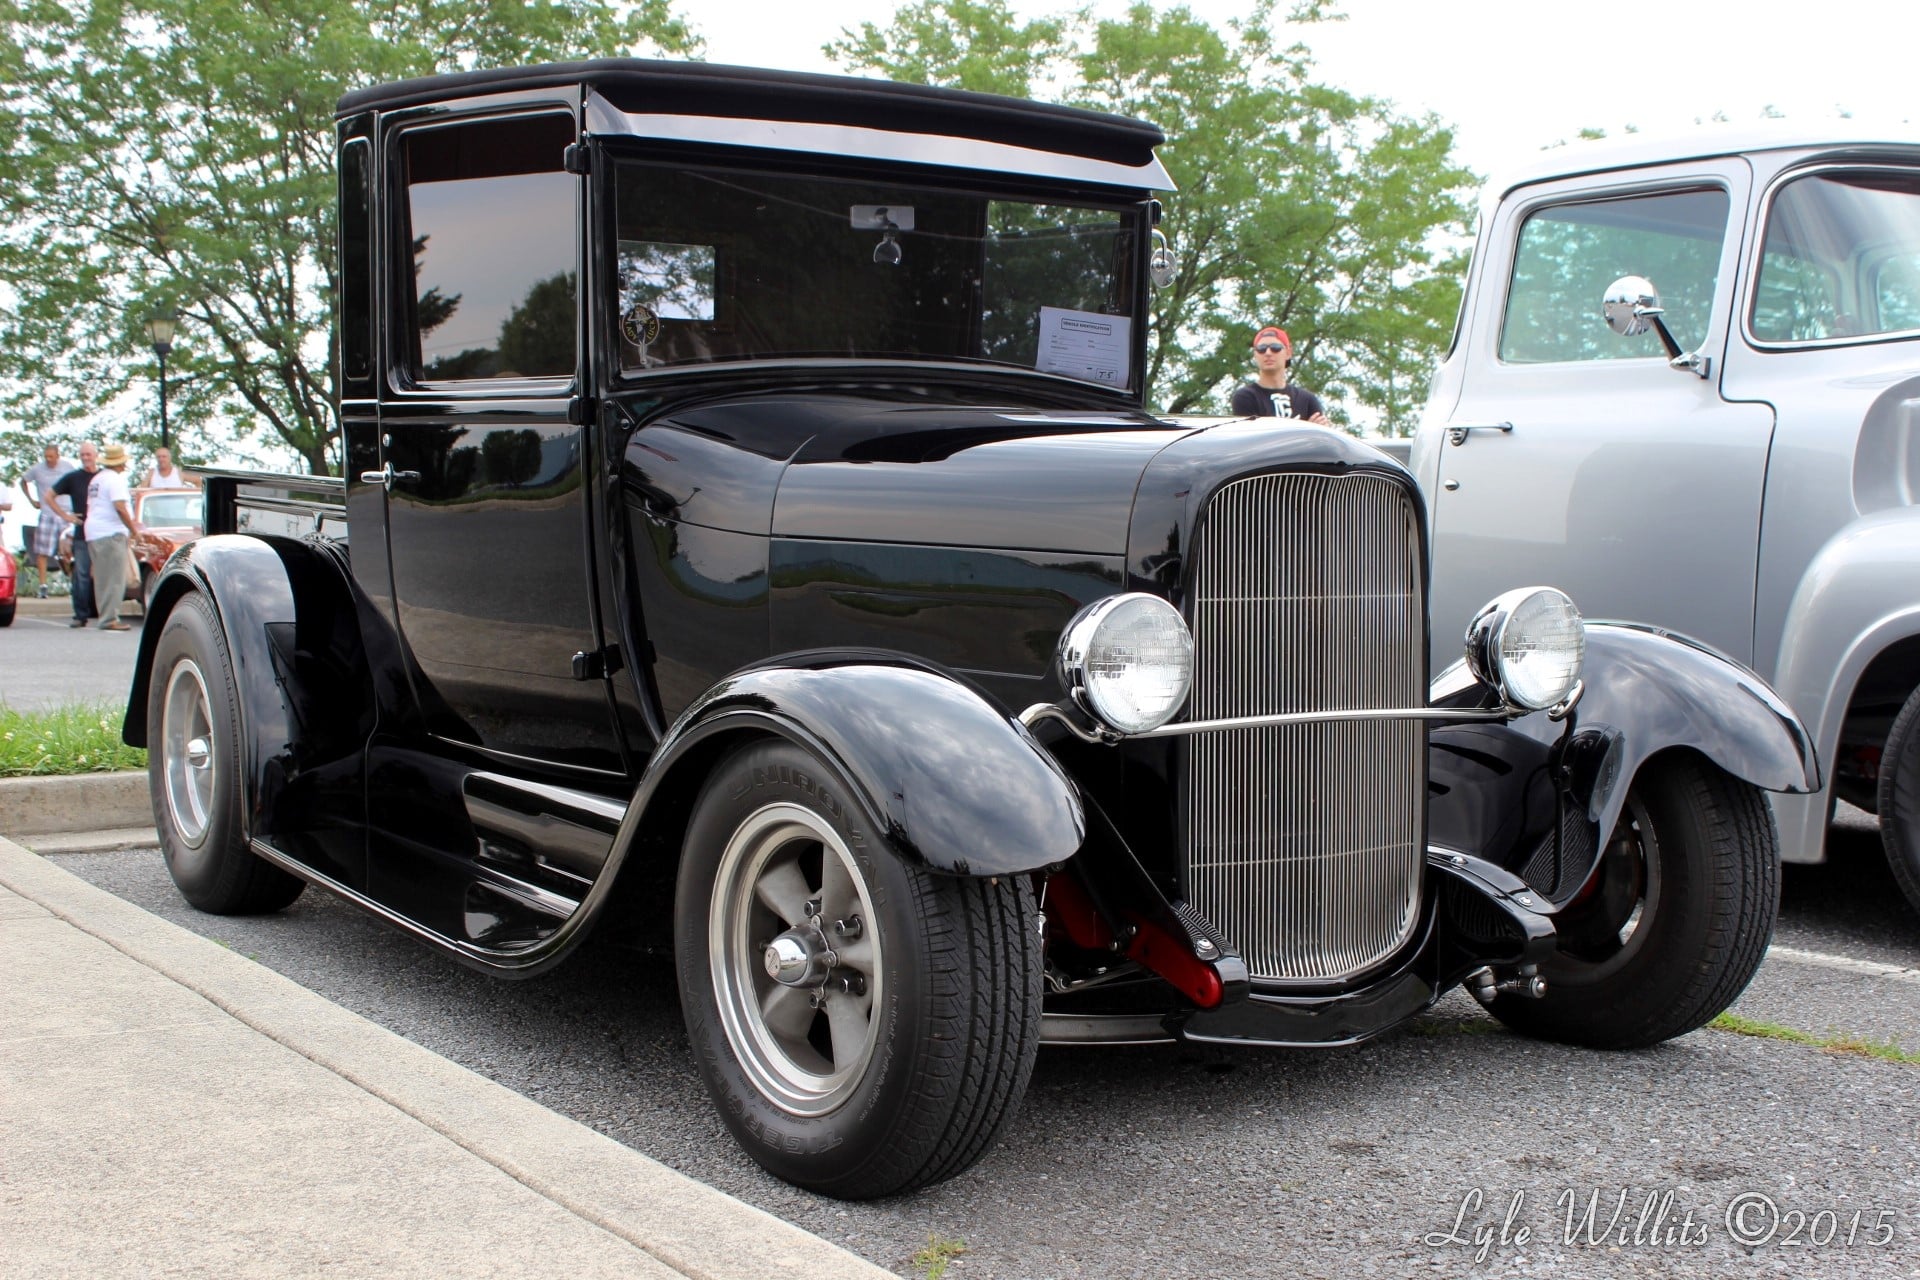
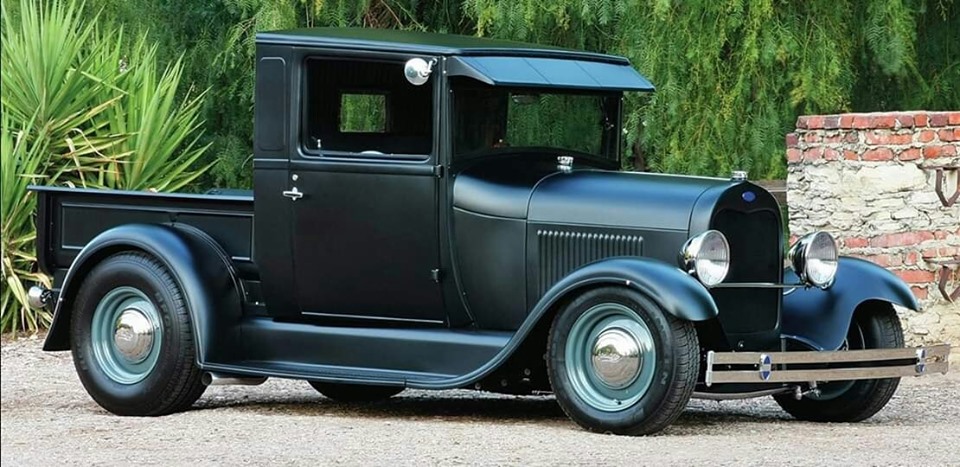
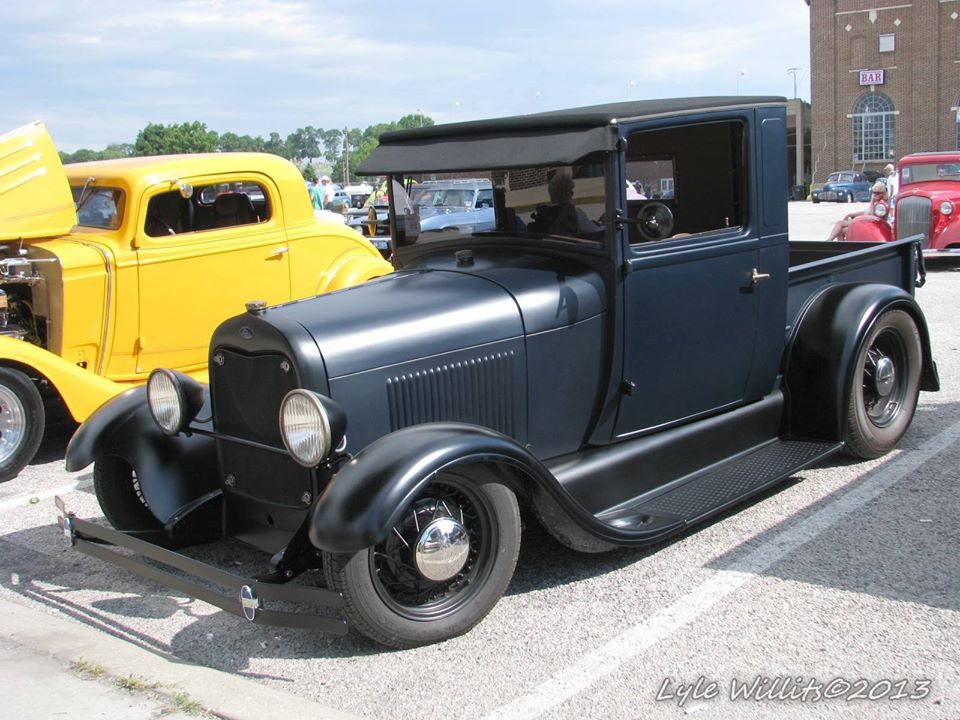
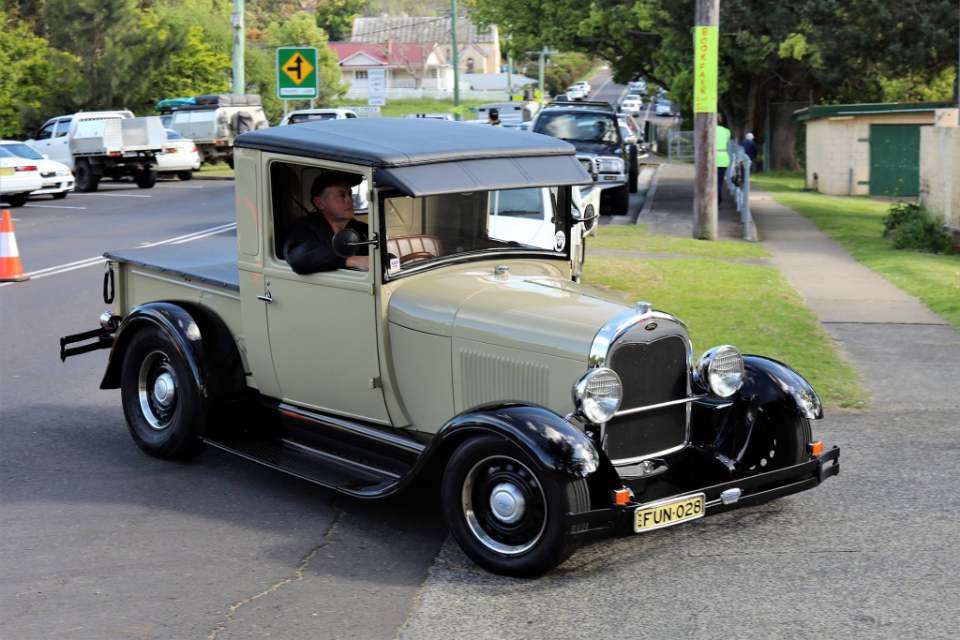
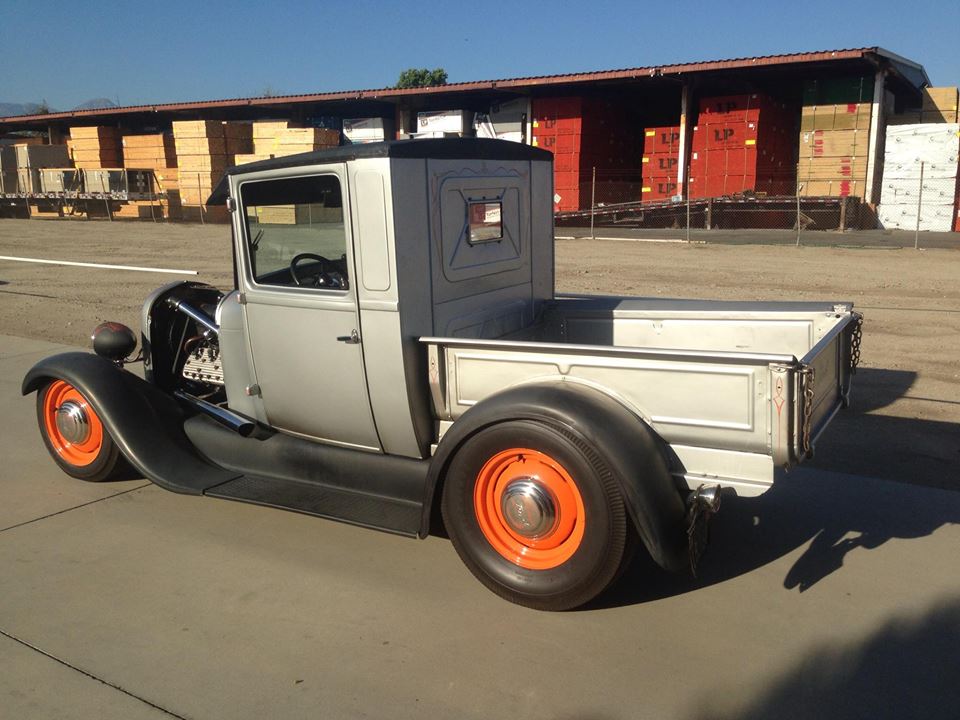
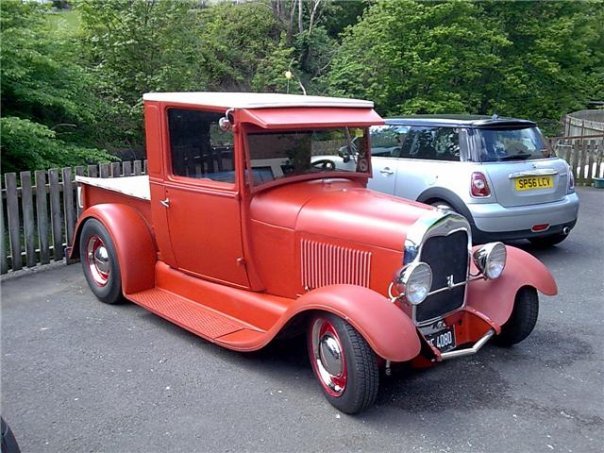
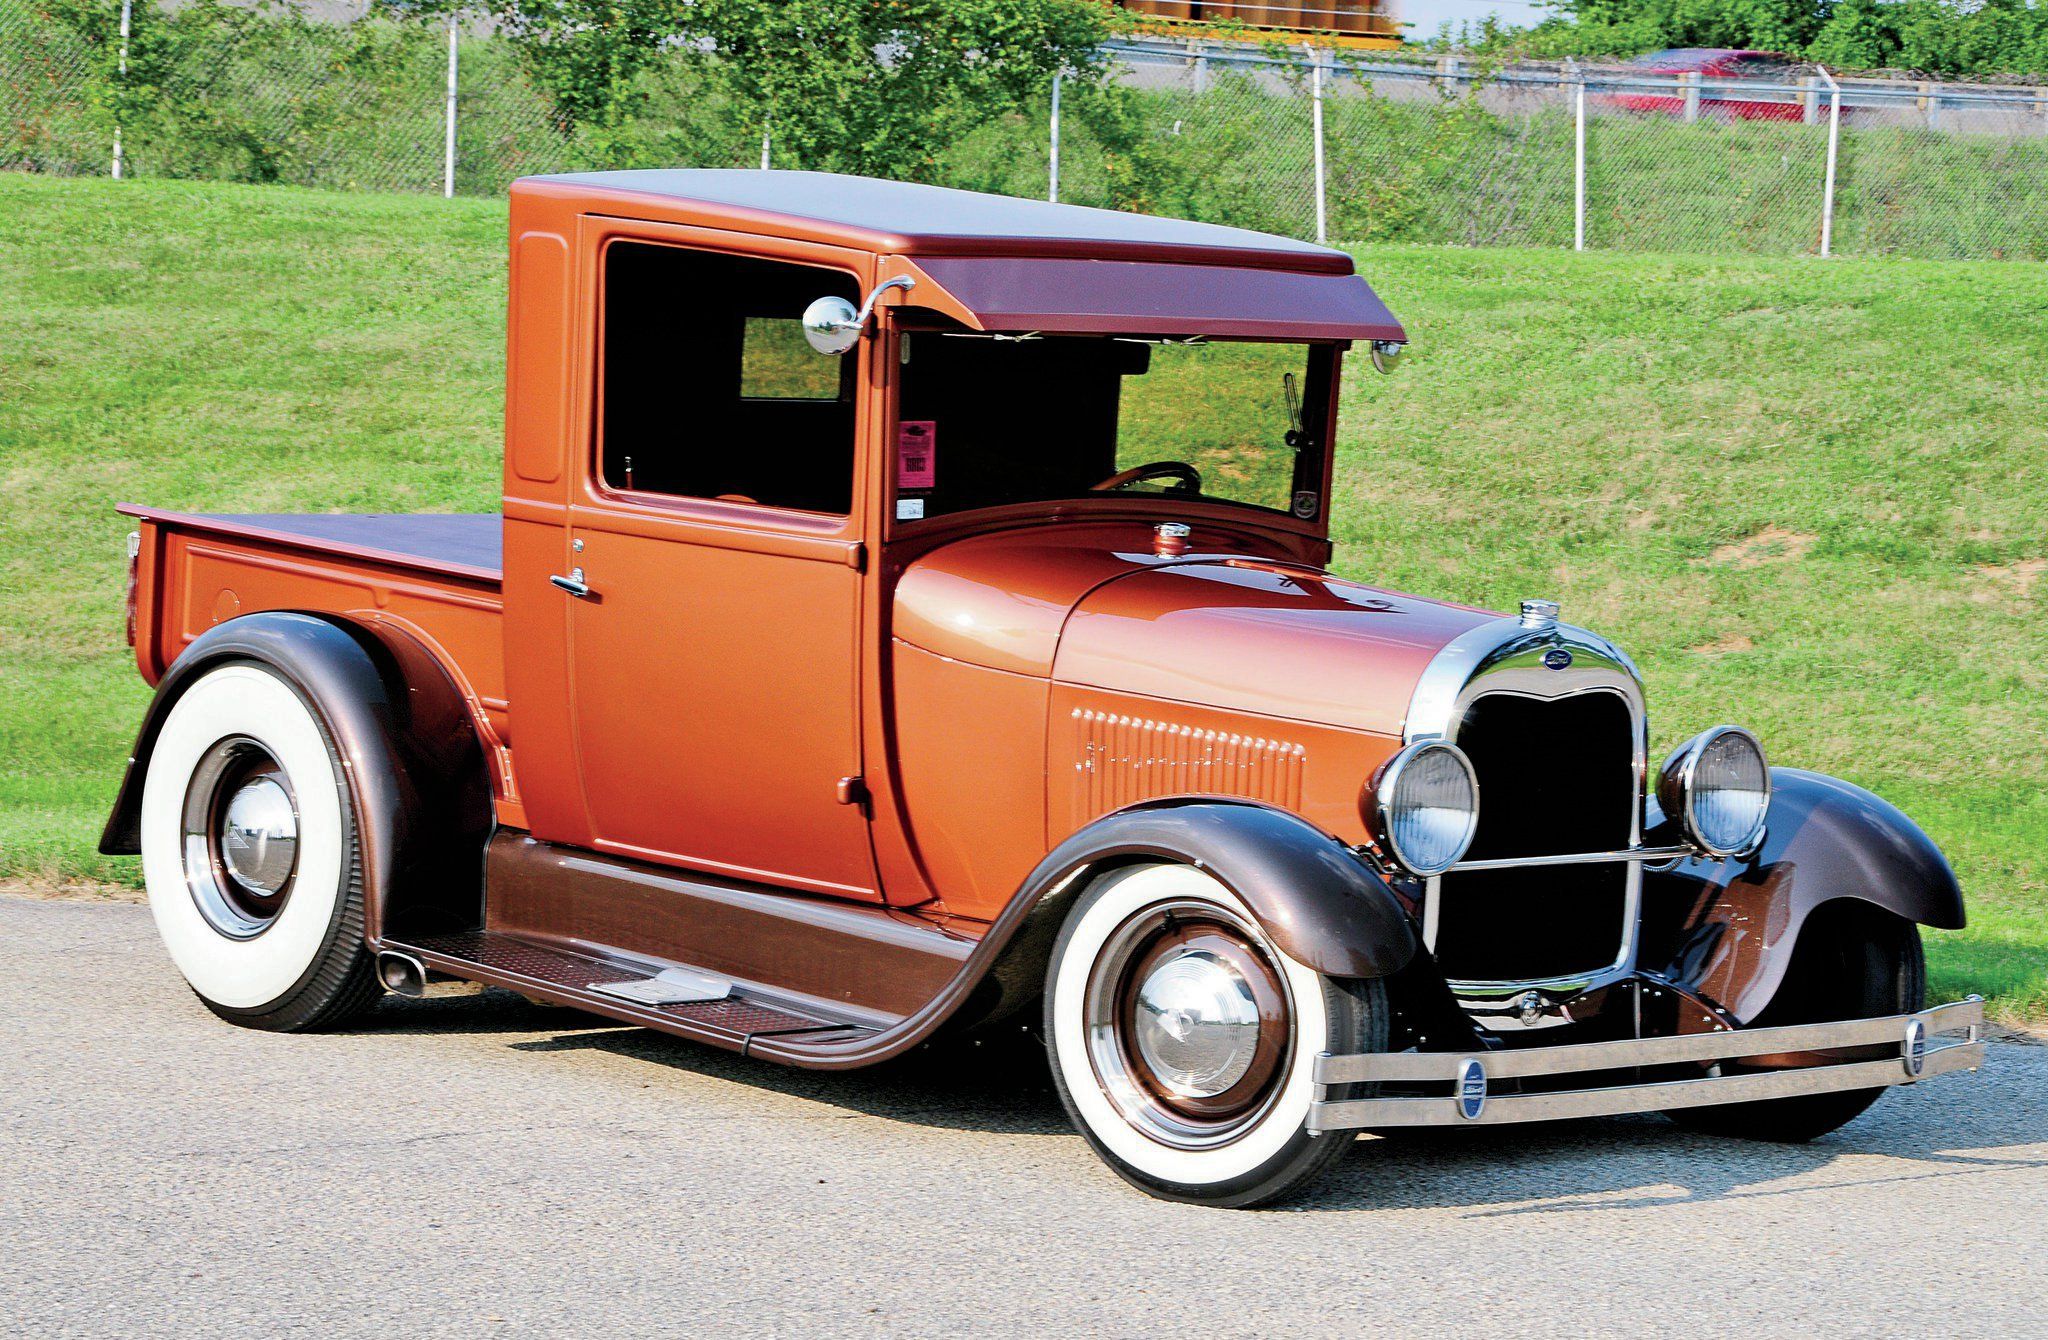
I was hoping we might entice you into finishing the 1980's project of a scale replica of the Jim Jacobs Model A pickup, @tim boyd! @Dennis Lacy and I had talked about the possibility!! @Rocking Rodney Rat ( @Rockin' Rodney Rat ) was very instrumental in continuing this tribute thread, as well!! @alan barton's contribution has moved this thread around the world! Thanks to everyone, especially those that just checked in on us having fun with the Revell '29 PU! -KK 16.7K VIEWS WOW!!!! And, @bill-e-boy's Tribute thread has also been fun to watch, too!
-
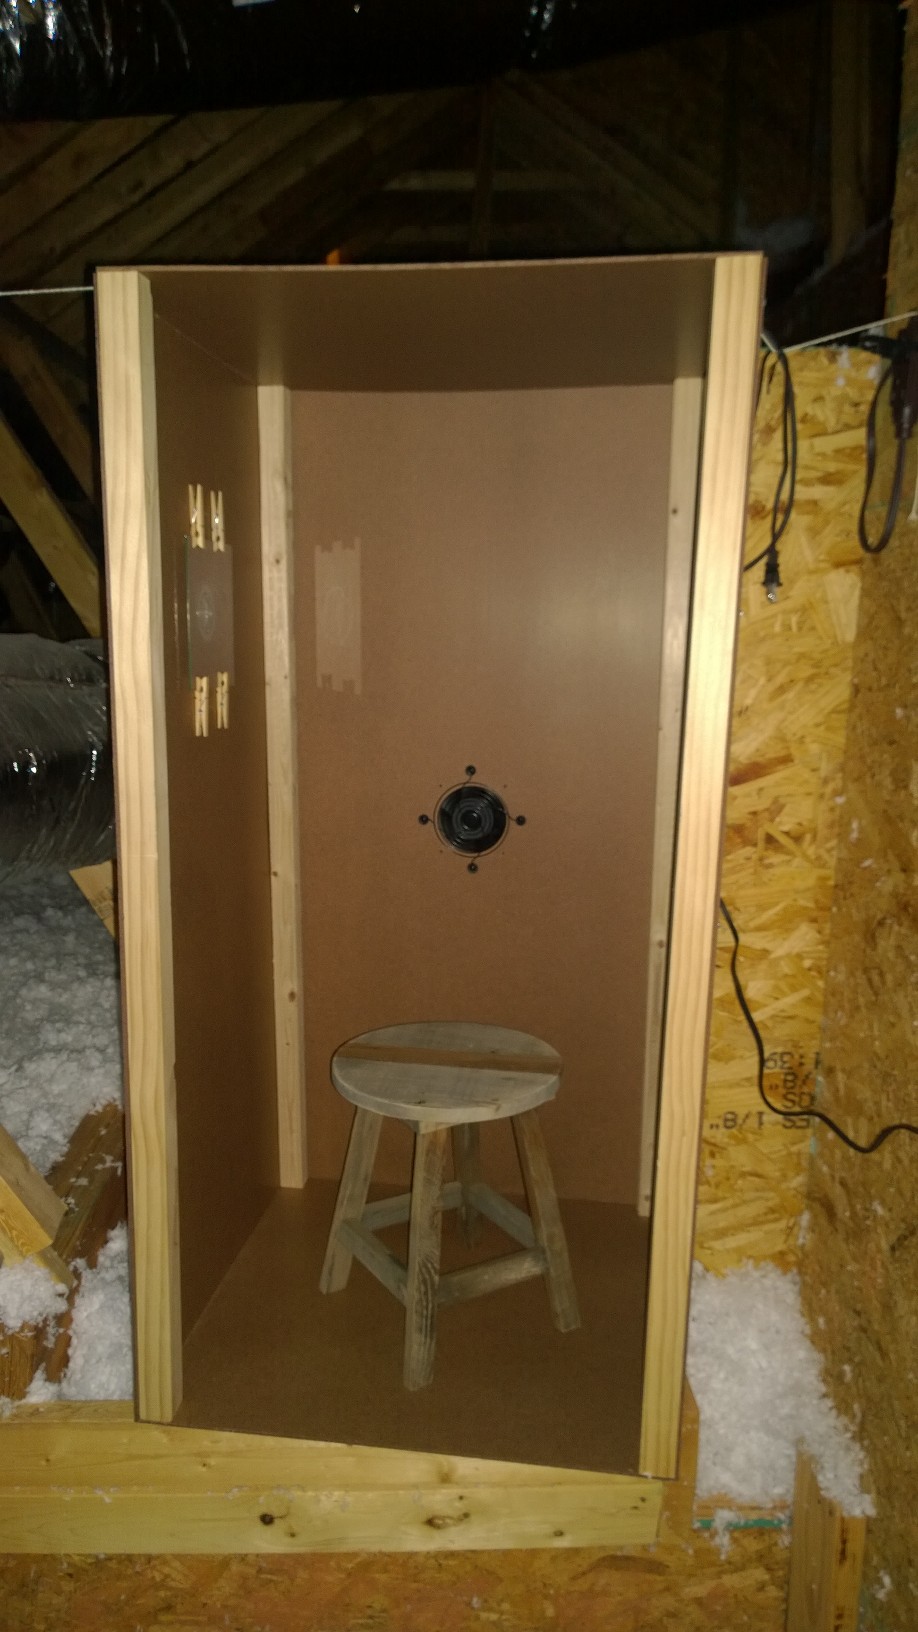
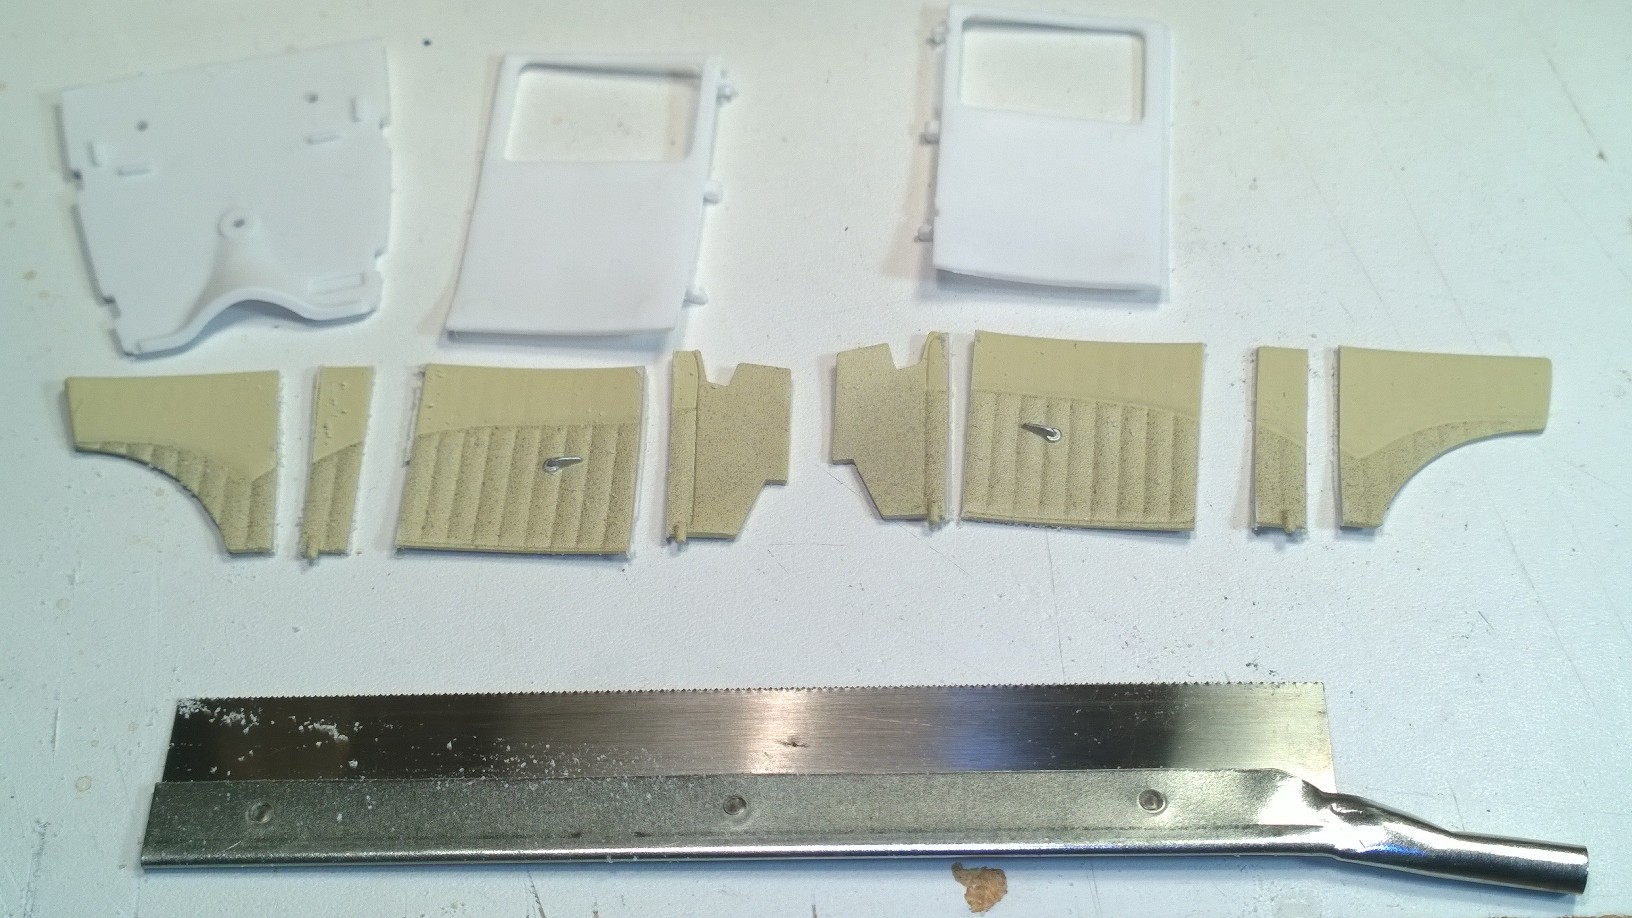
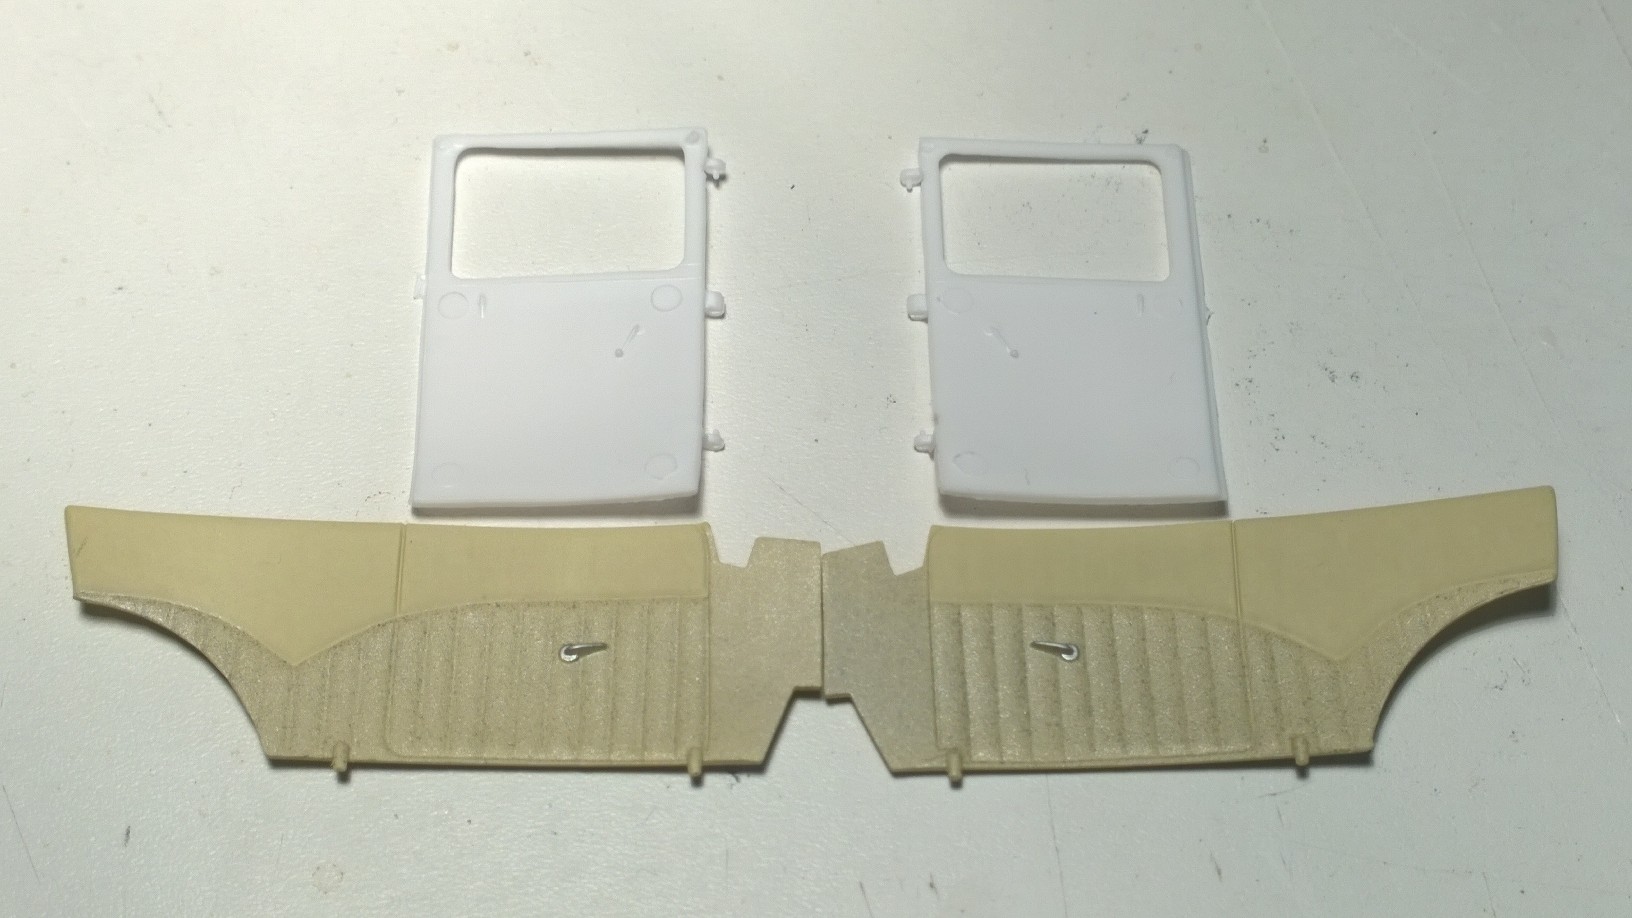
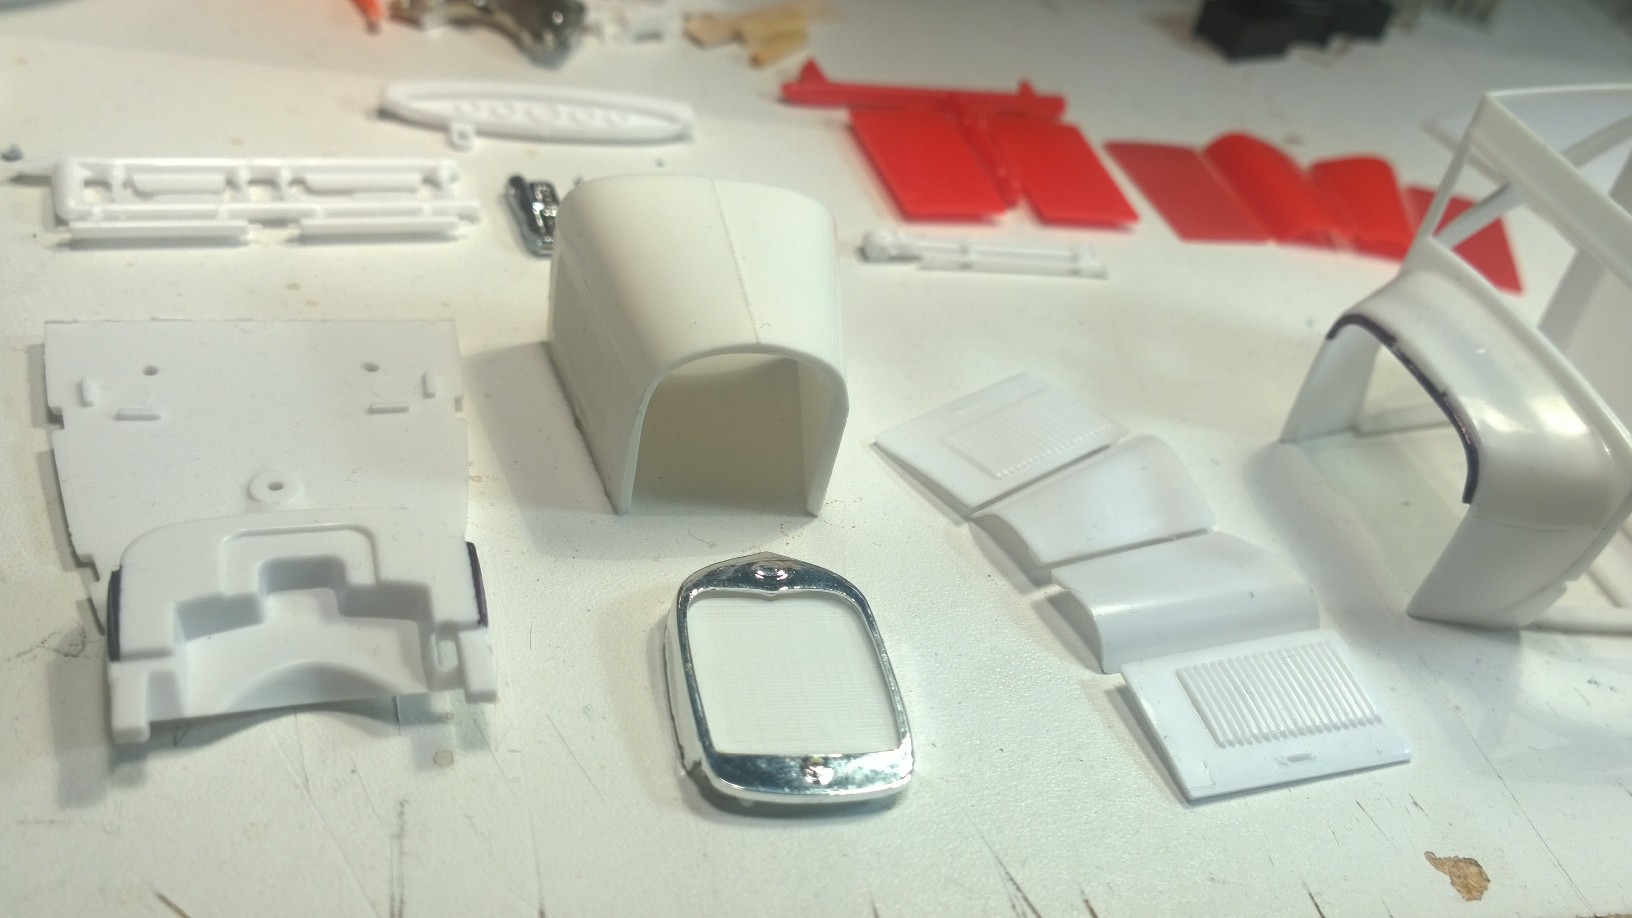
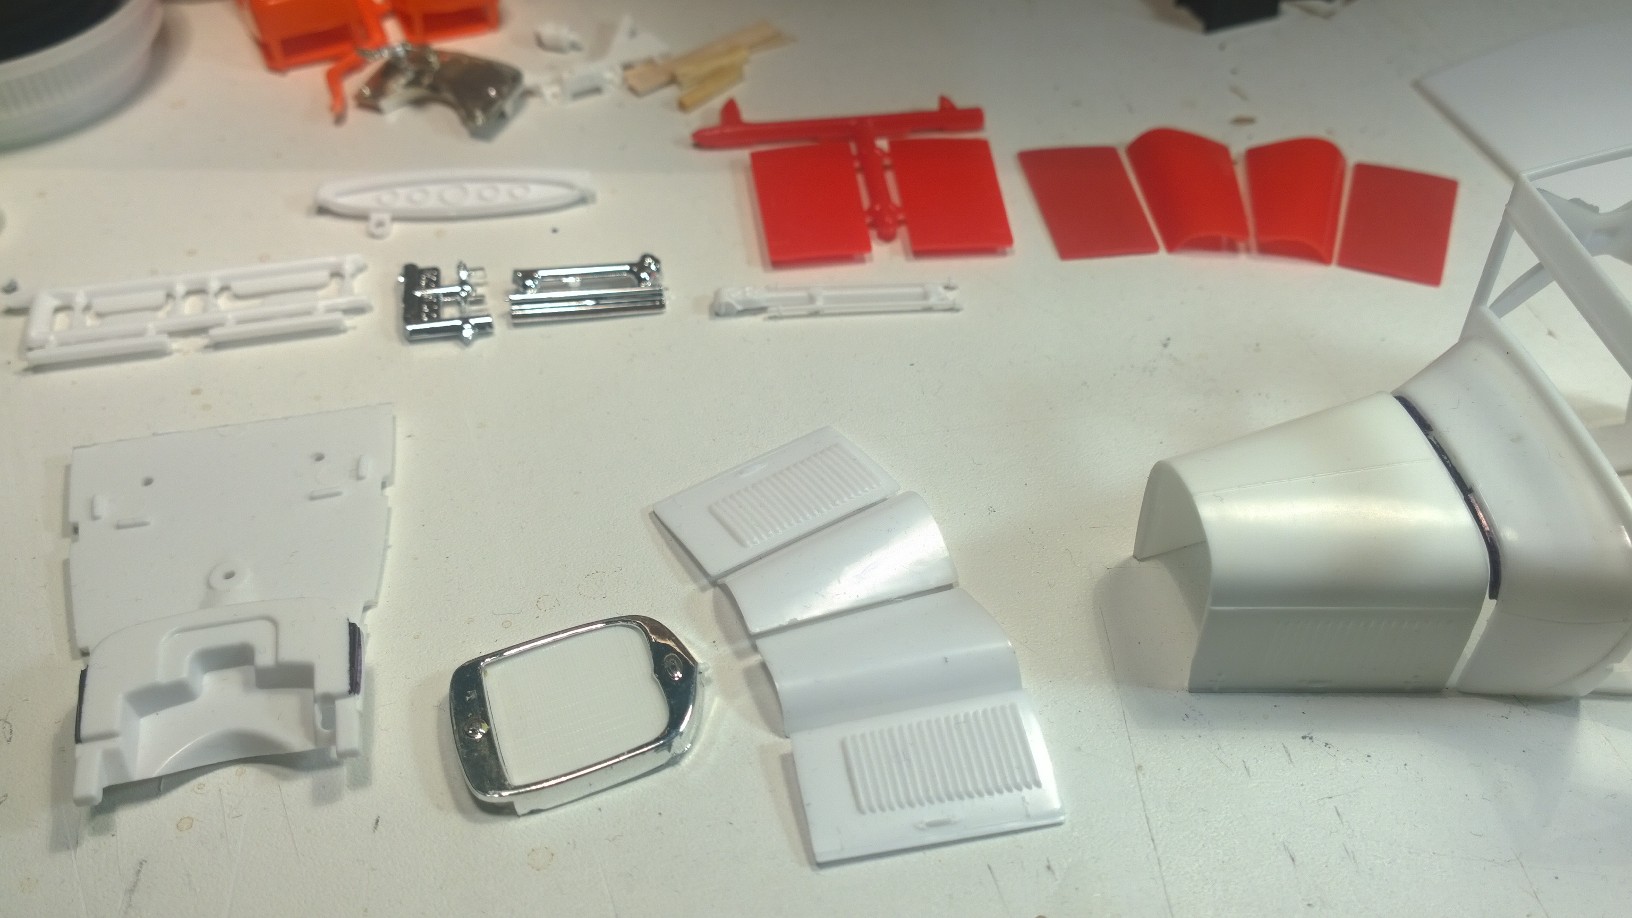
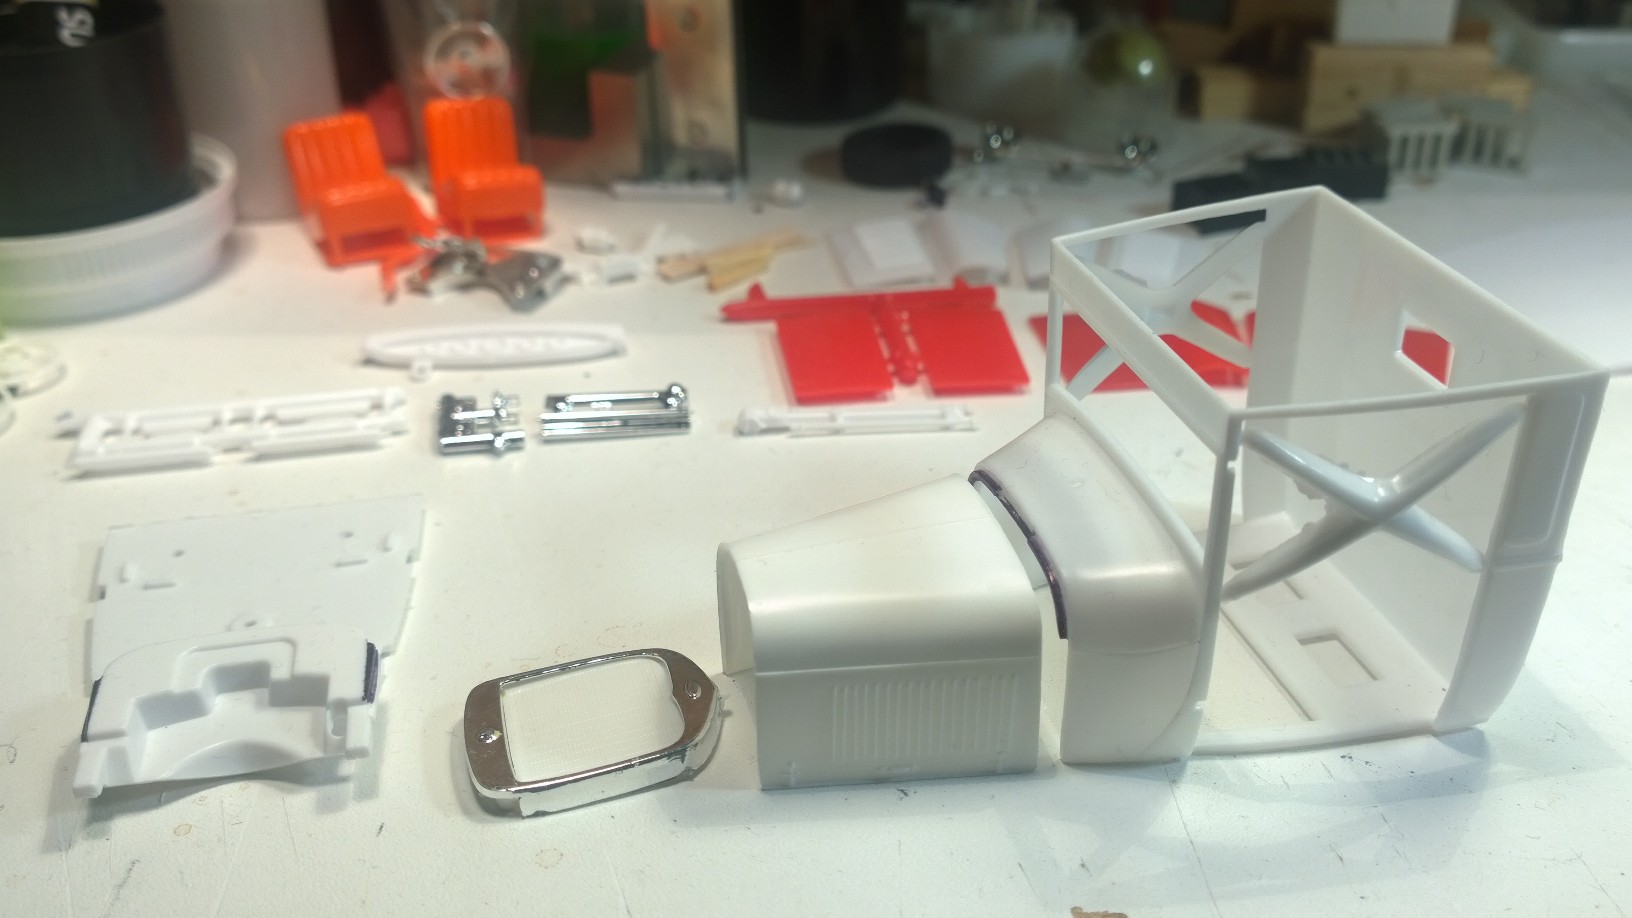
With a few parts from a whole lot of other kits! This went sideways about the introduction of parts from other than REVELL/MONOGRAM. Kit bashing may be an art in it's own!! Kleaned up the door panels... and, filled a couple of floorboard holes... It's gonna all get set aside, as painting is getting close... And, even got a couple of pieces to do the back corners of the cab behind the seat back... Picked up a couple of pieces of glass to go in front of the cabinet lights! Have a Lazy Susan to go on the stool! Lights up!!
-
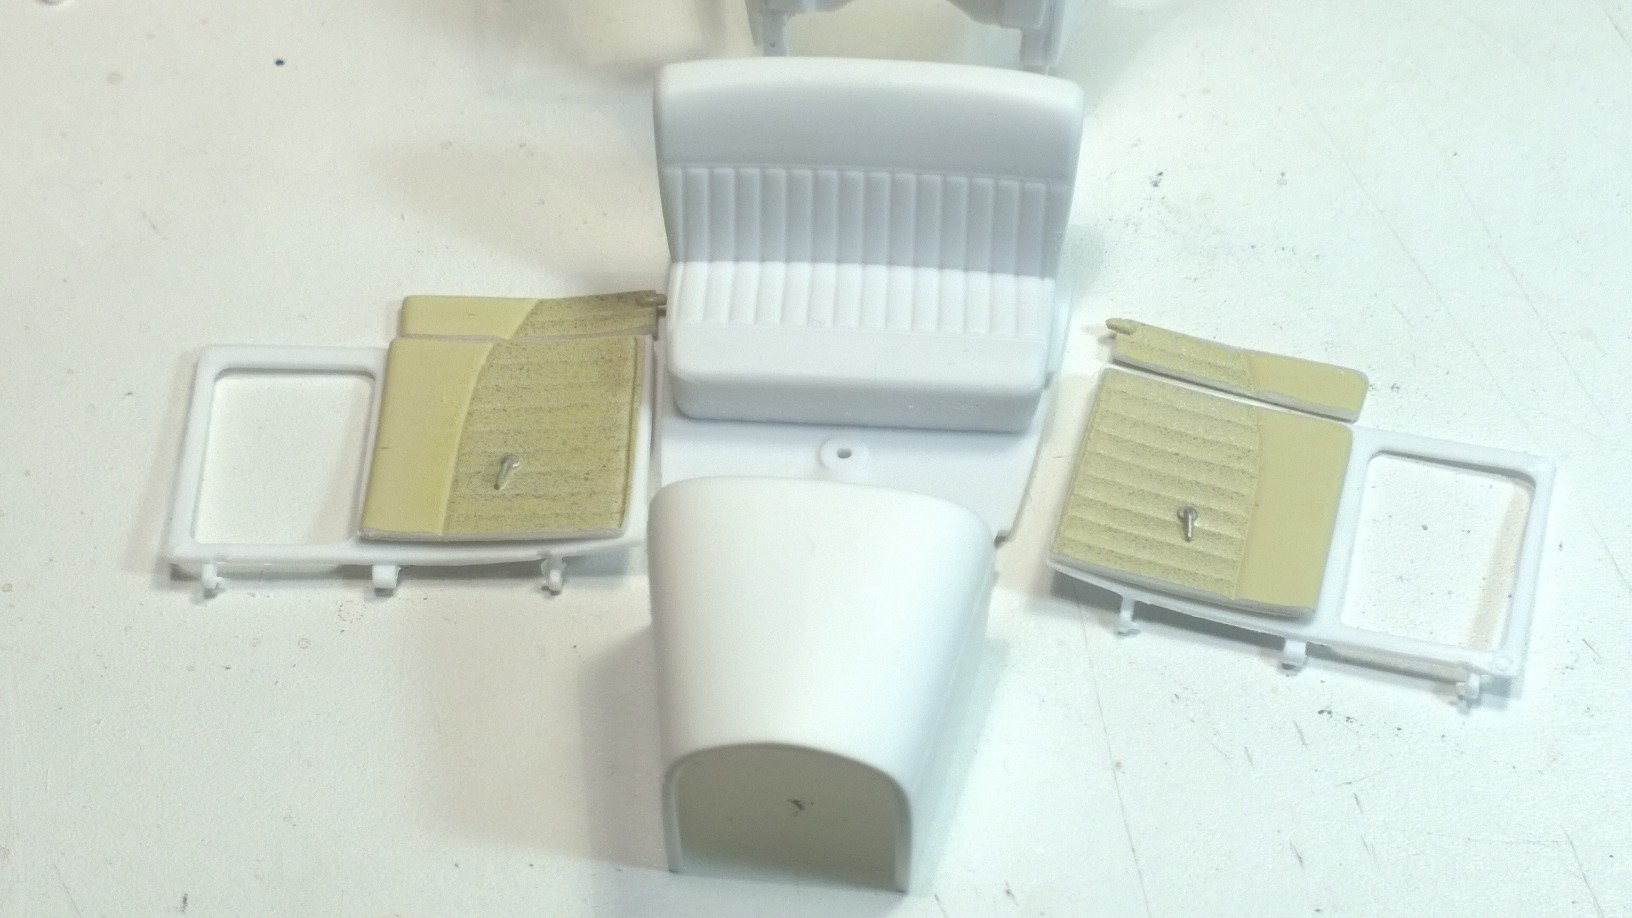
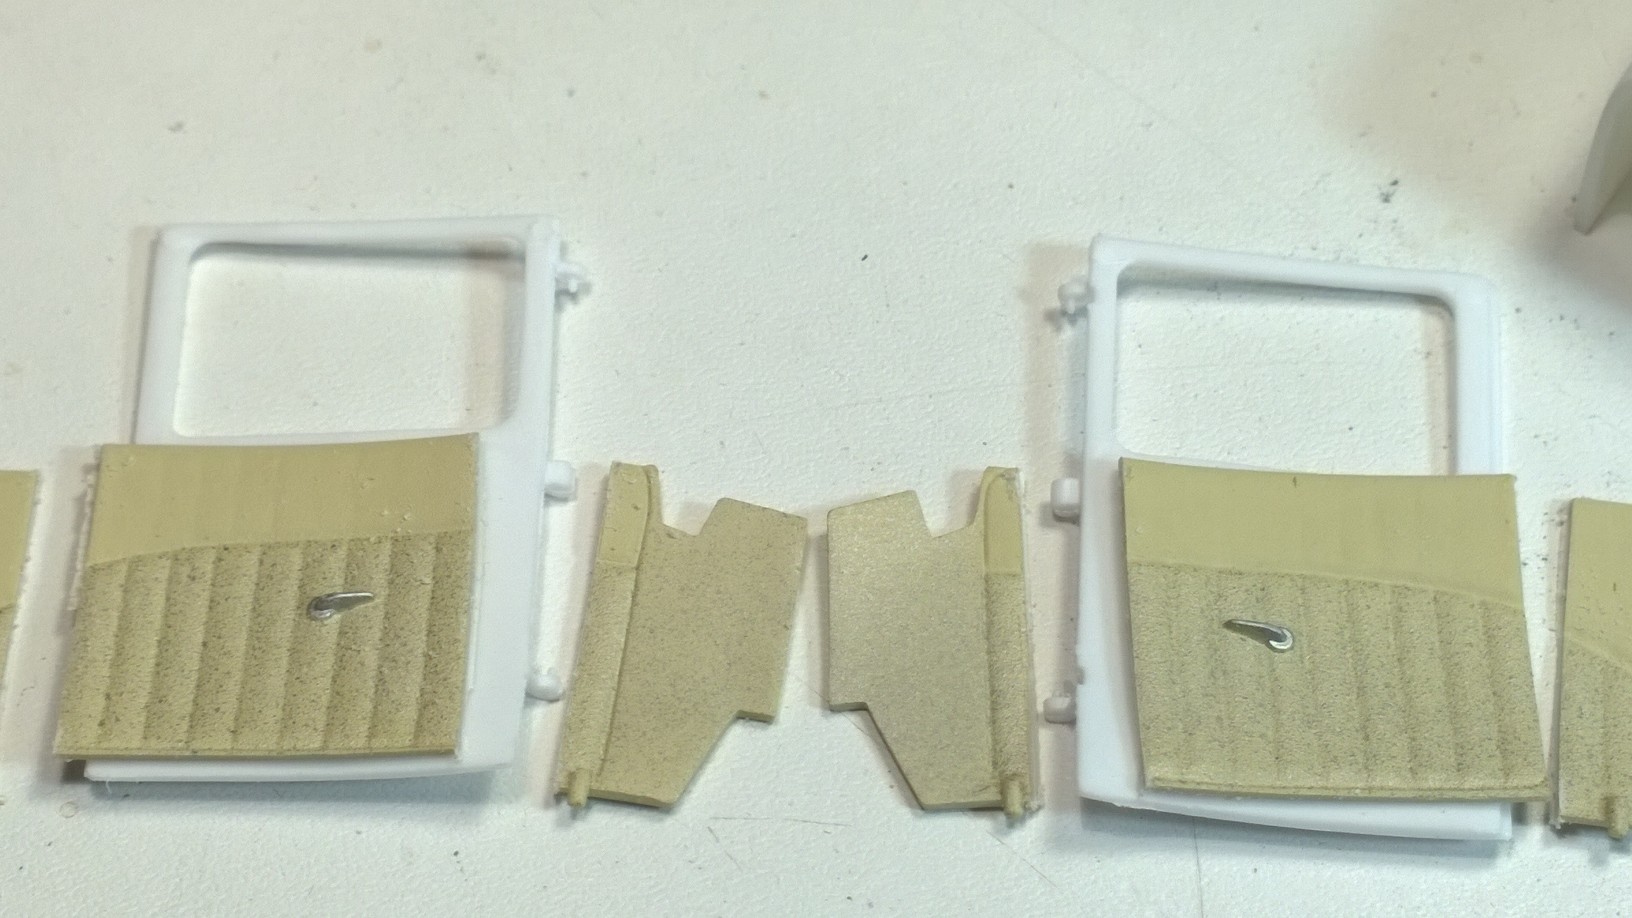
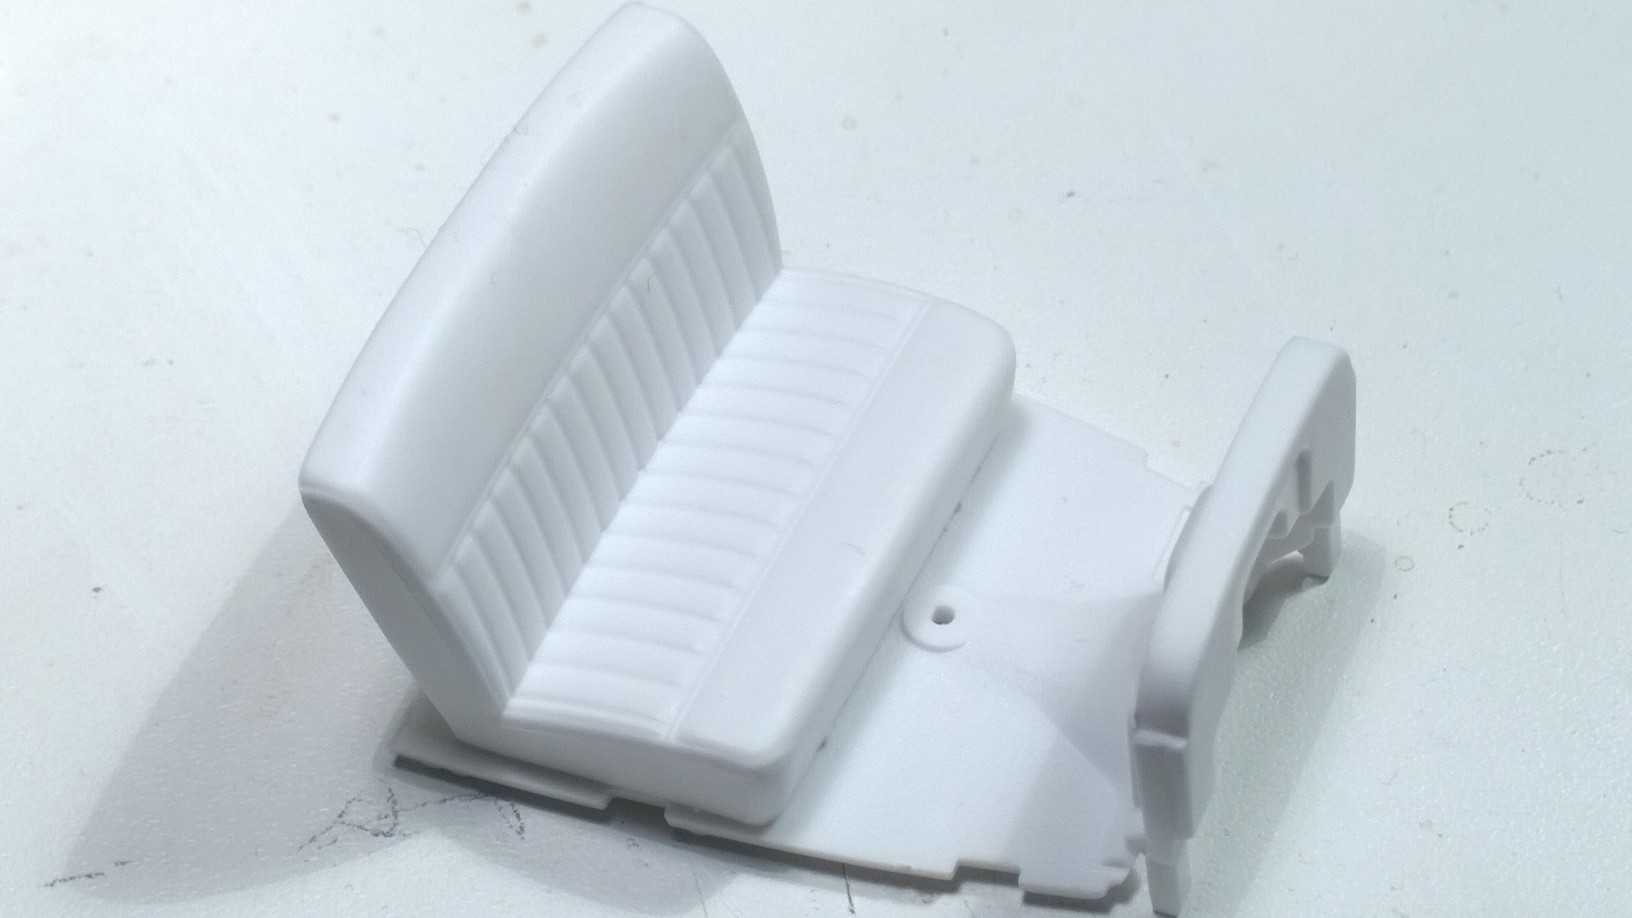
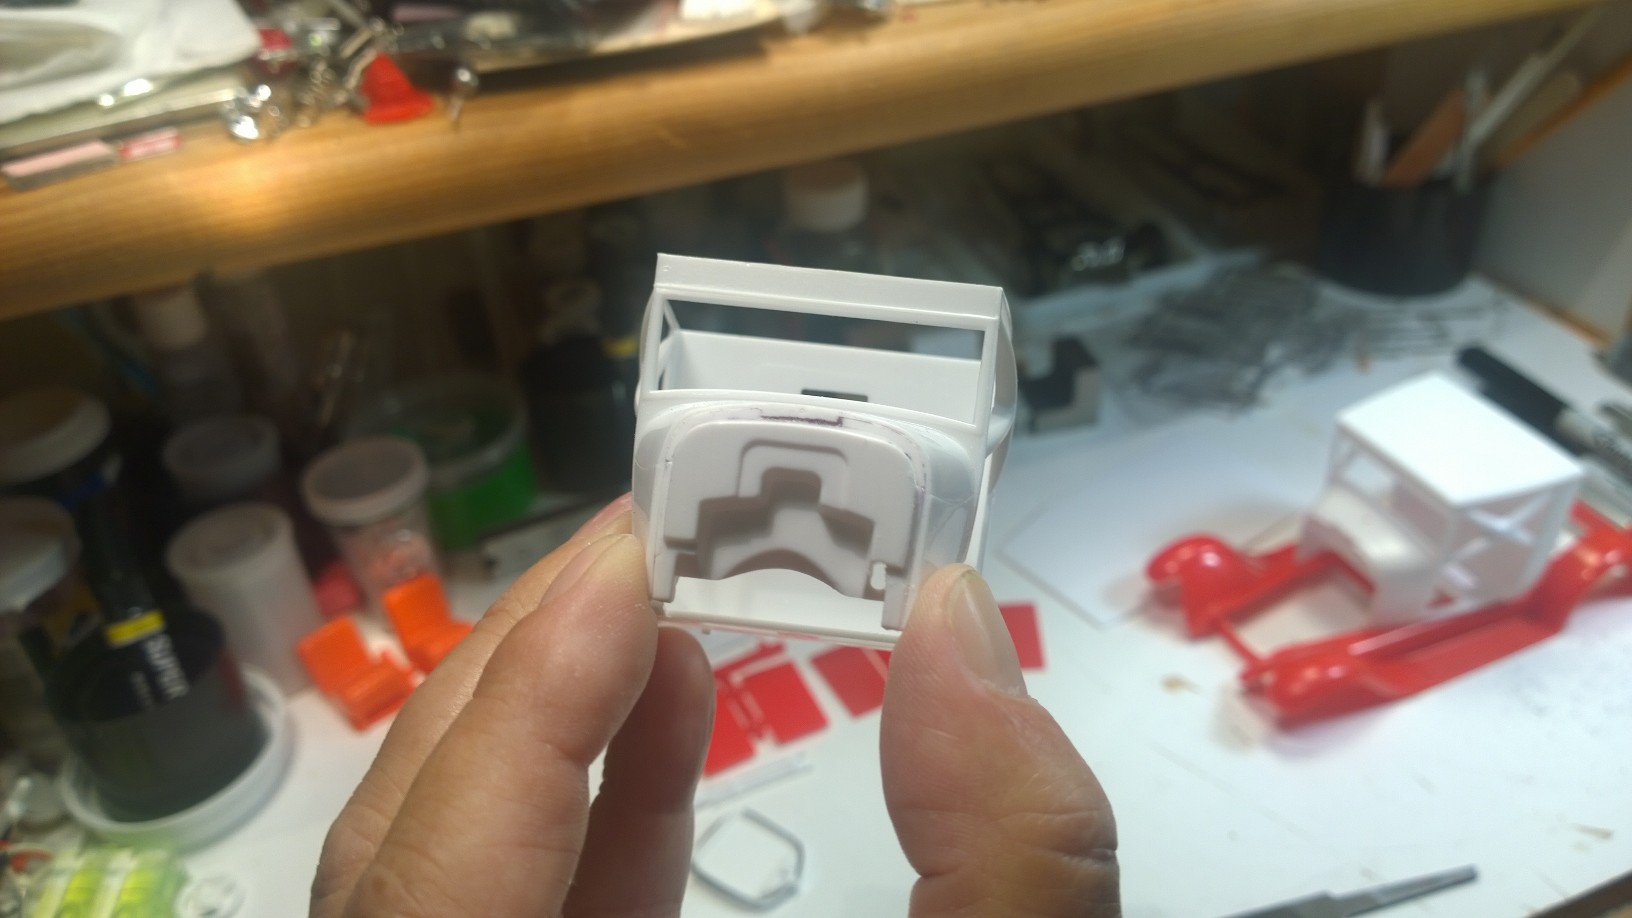
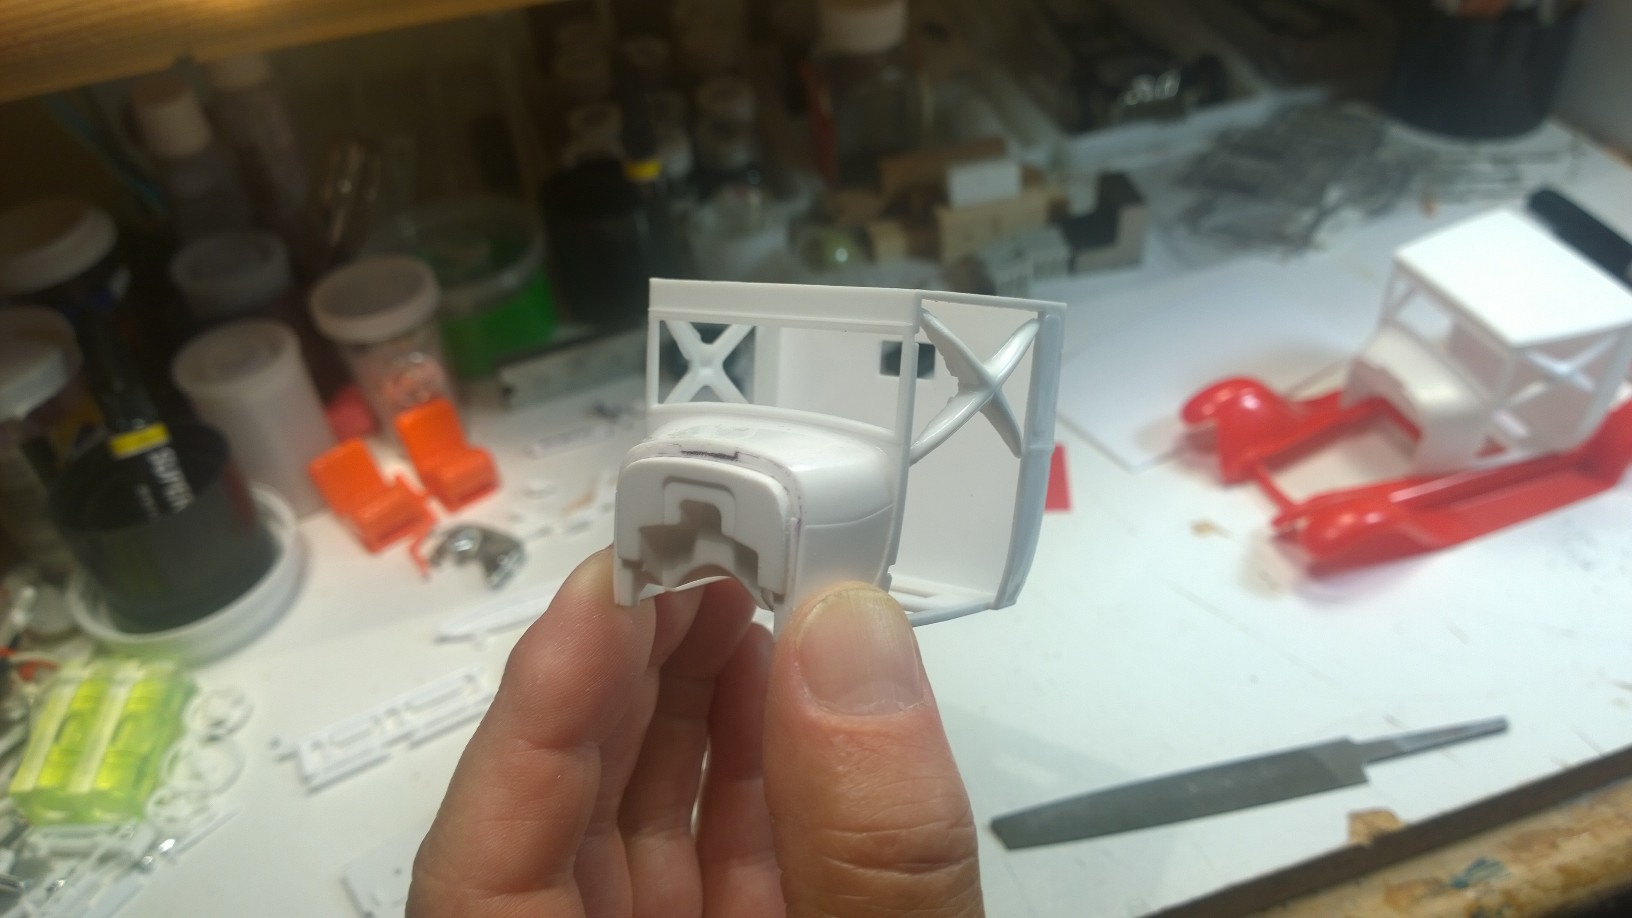
Cut the door panels... Seems to match the roadster seat... Scribed the hood sides, too...
-
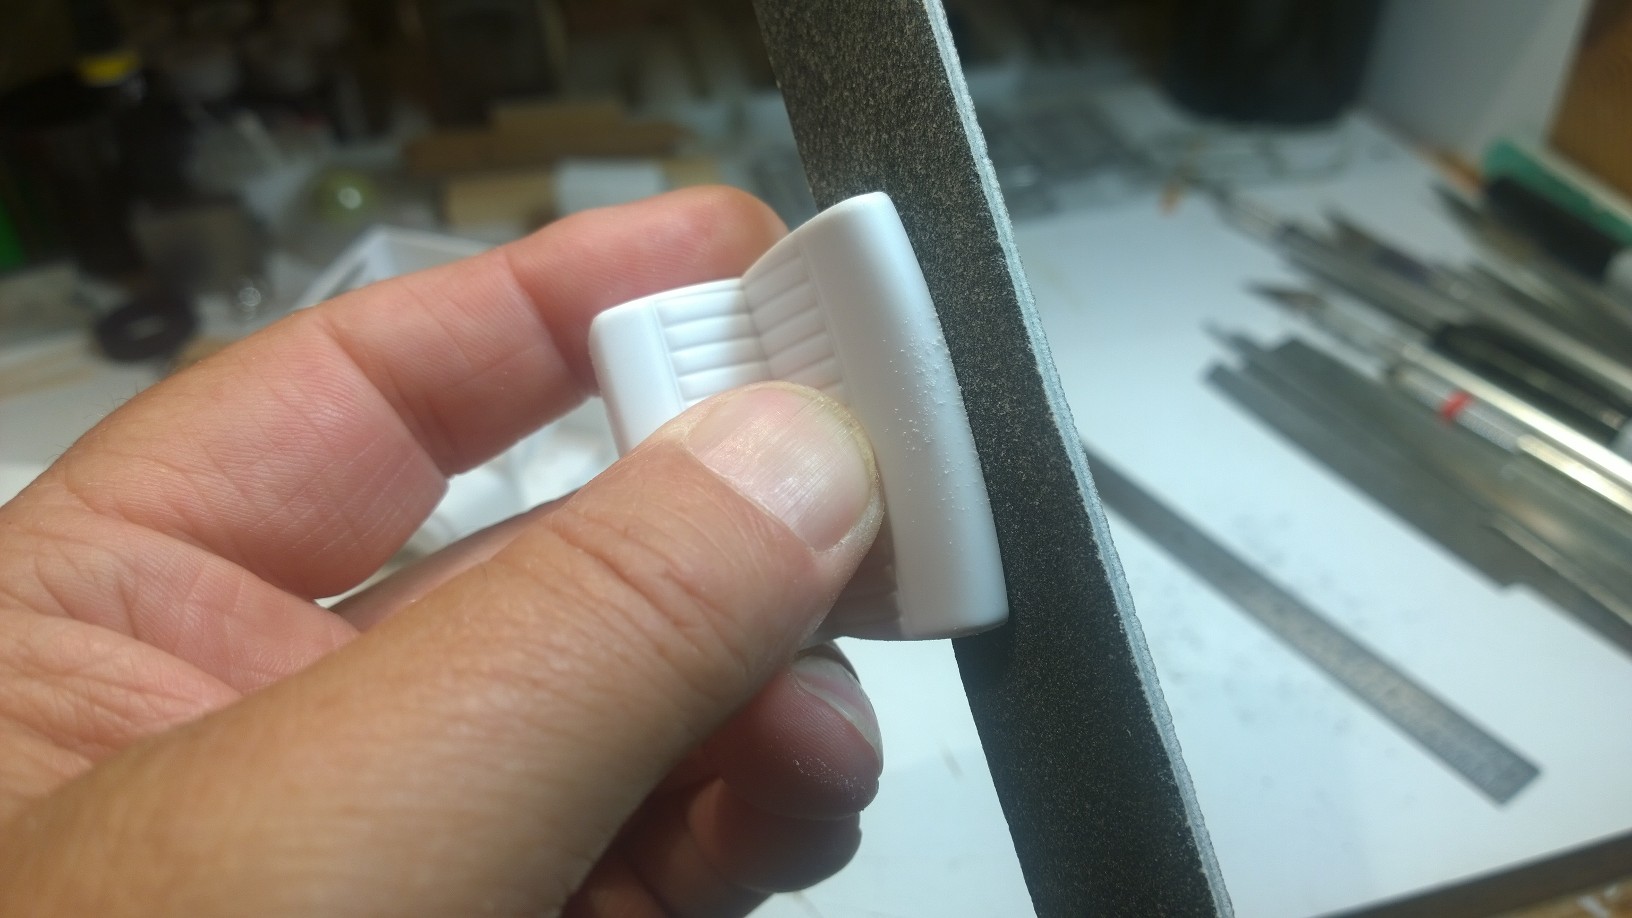
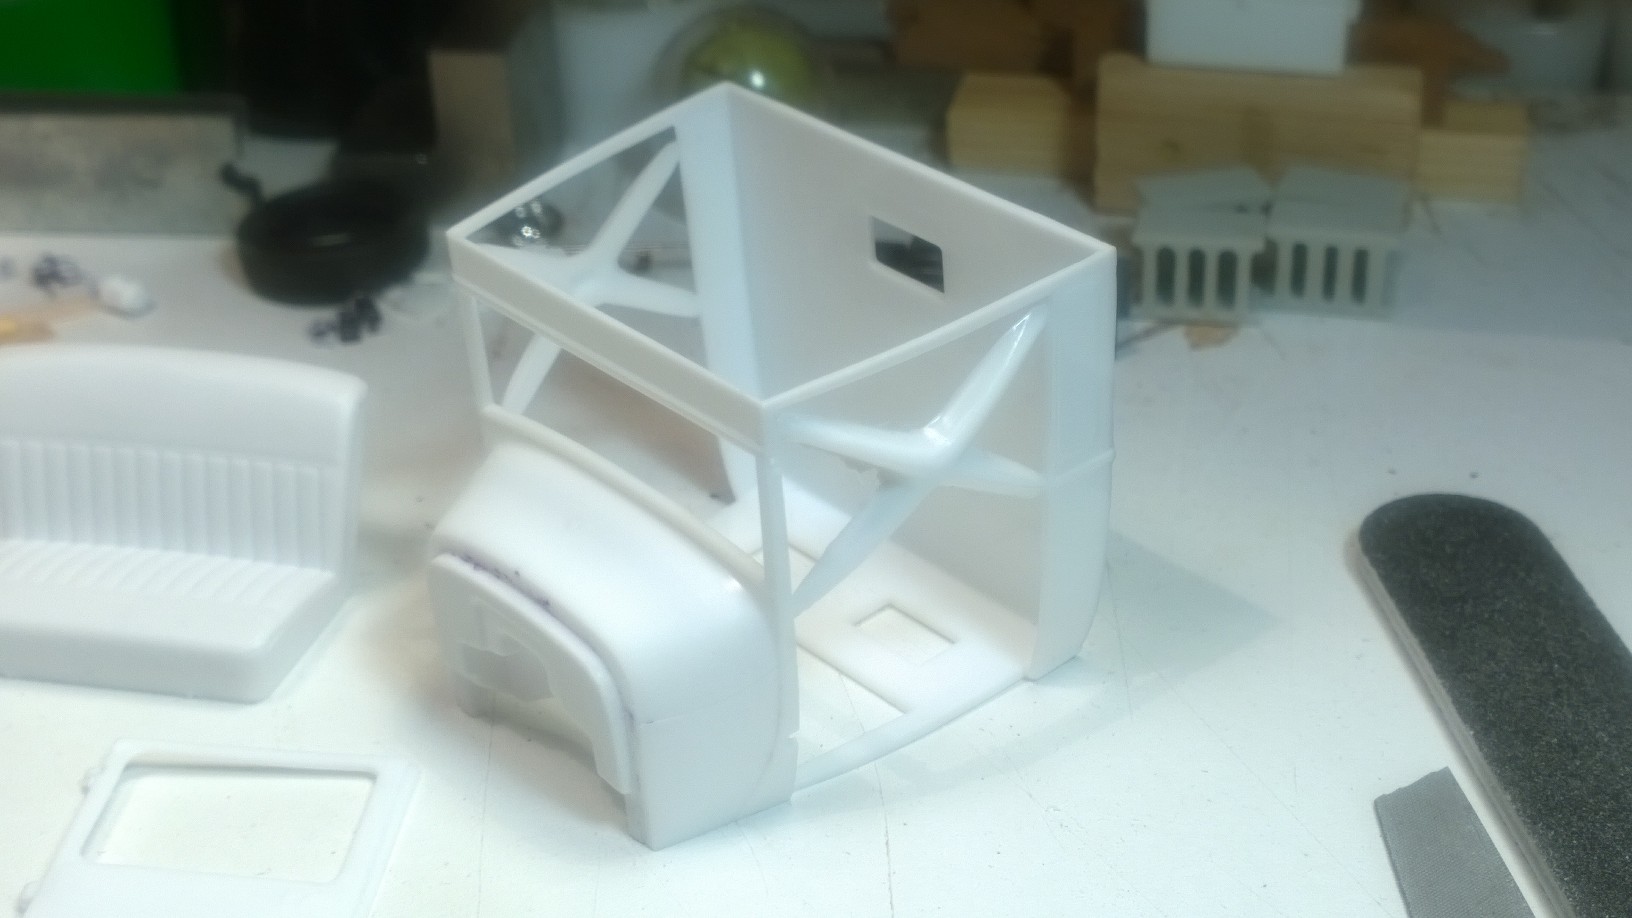
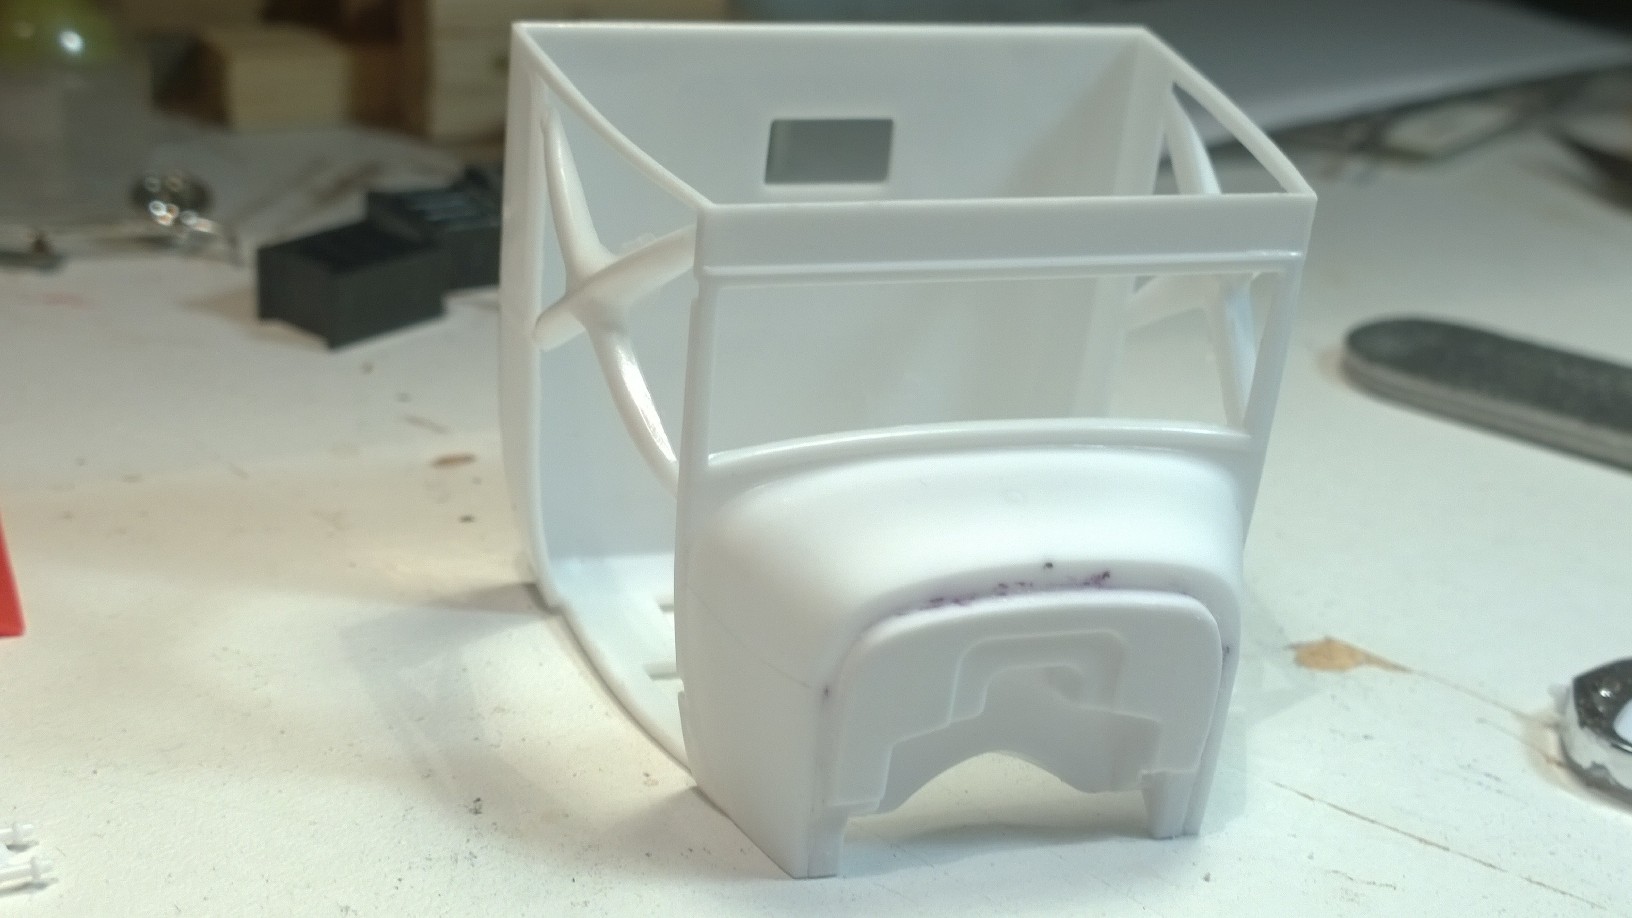
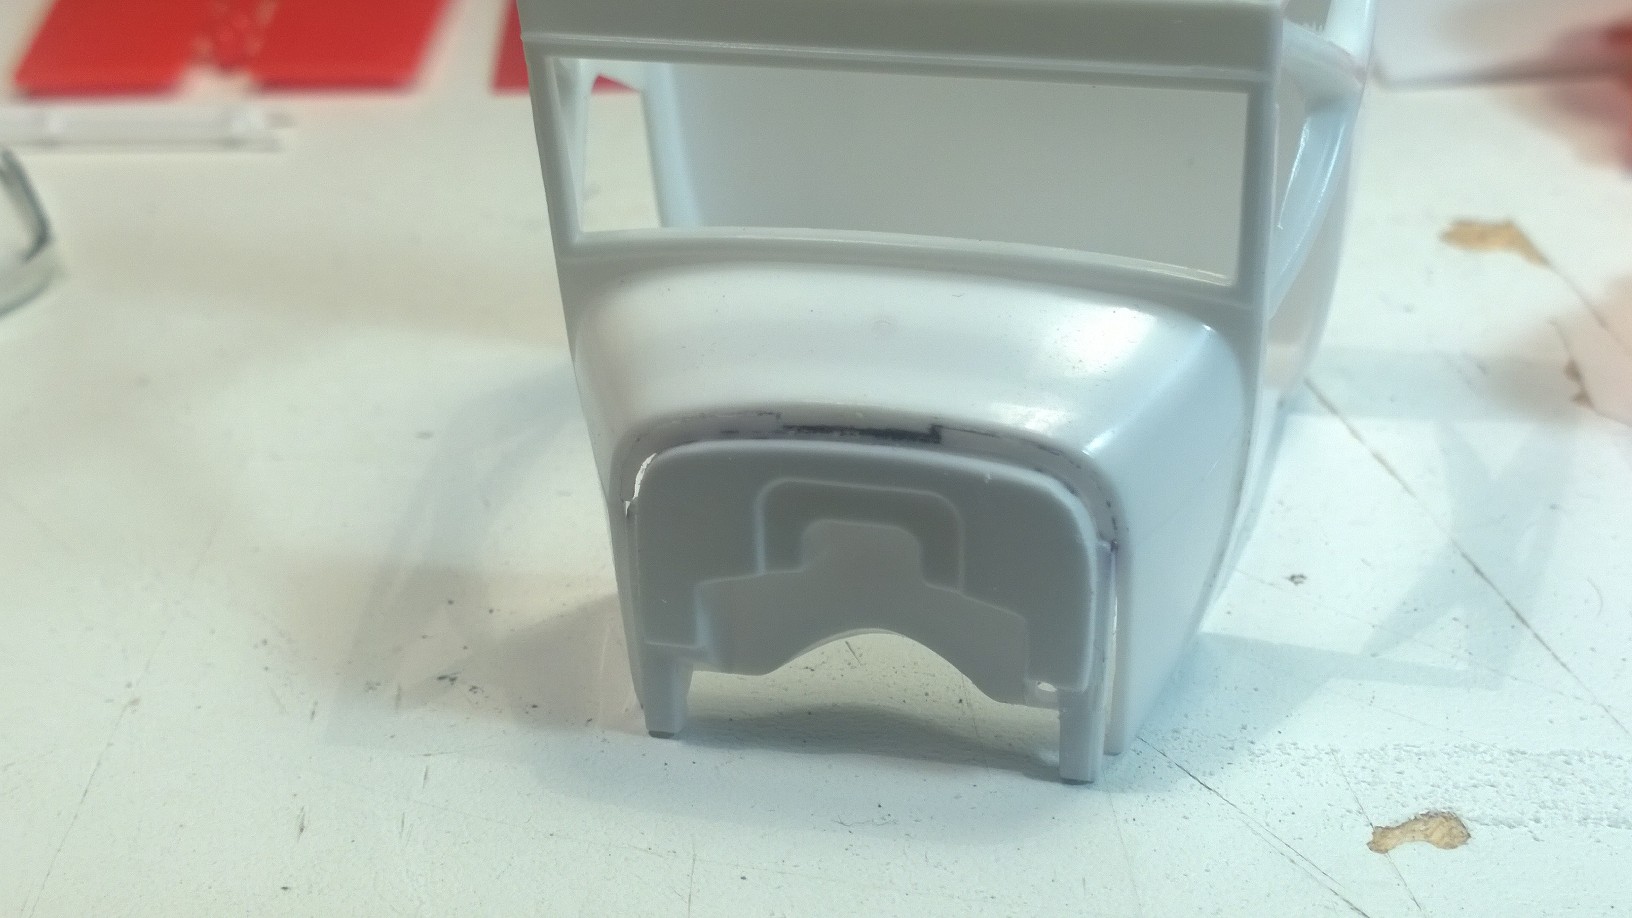
Scribed the cut lines for the '29 PU door panels... Time to remove the "X" casting brace... Been busy with the Honey Do List! -KK
-
Spent a little time at the bench, yesterday... Found some door panels that sorta match the '29 Roadster bench seat Found them in the AMT '32 Ford Phantom Vickie
-
Sounds Kool! -KK
-
All well & good, Brother! Let's see, was it his first highboy roadster? -KK
-
1930 Ford Model A Pickup
Kit Karson replied to Mike F.'s topic in WIP: Model Trucks: Pickups, Vans, SUVs, Light Commercial
Impressive build, Brother! You need to move it over to Under Glass always, -KK -
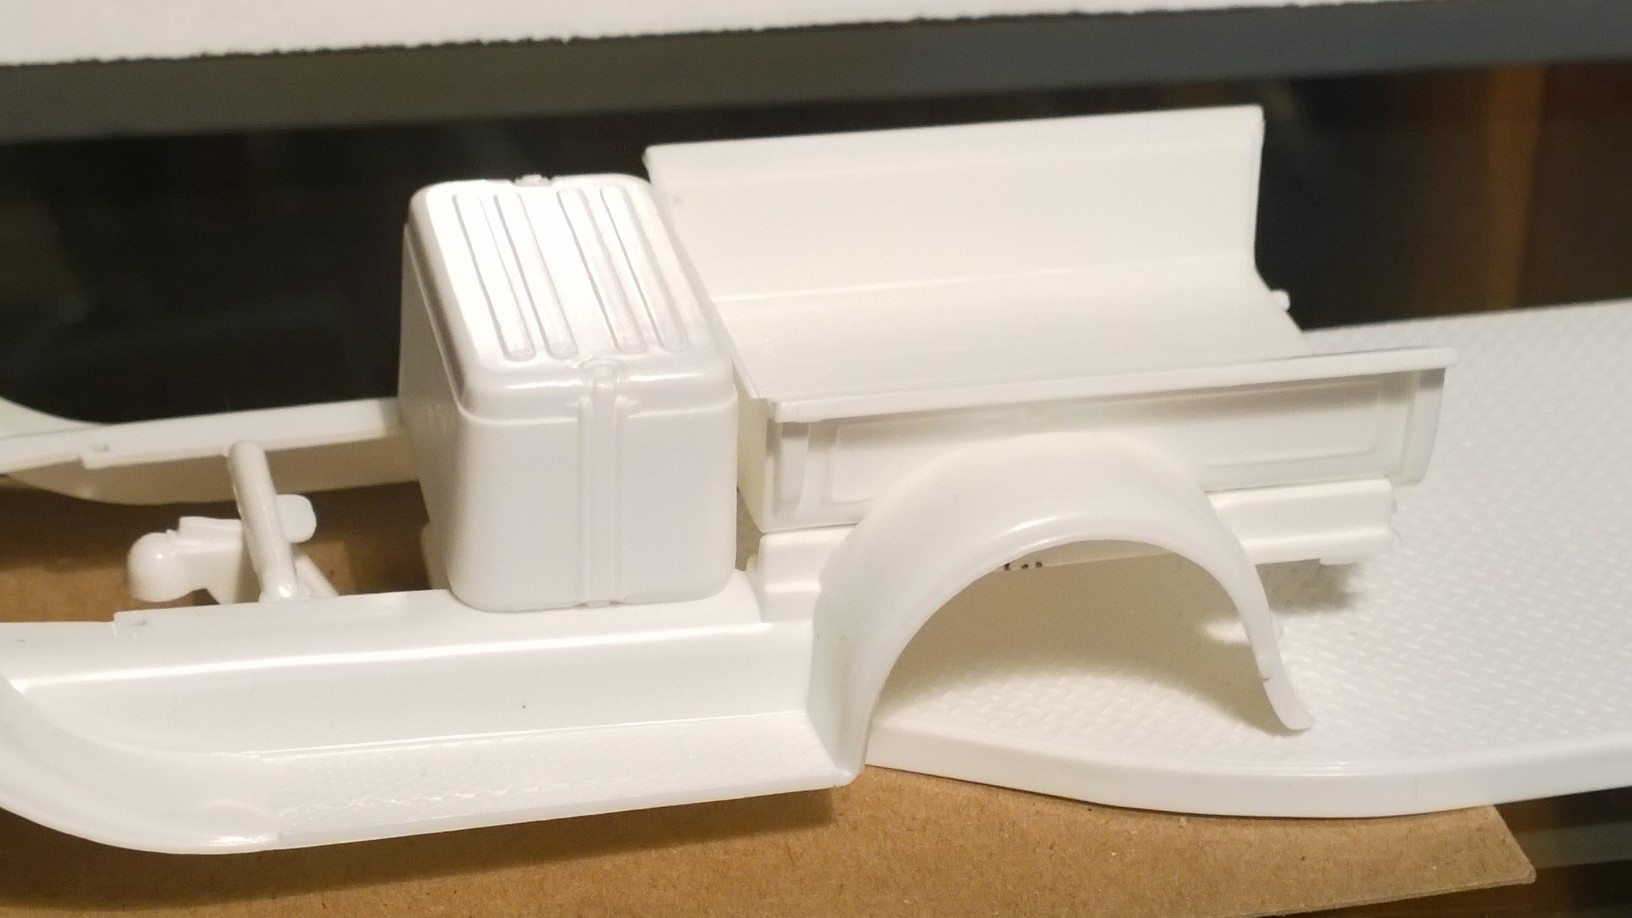
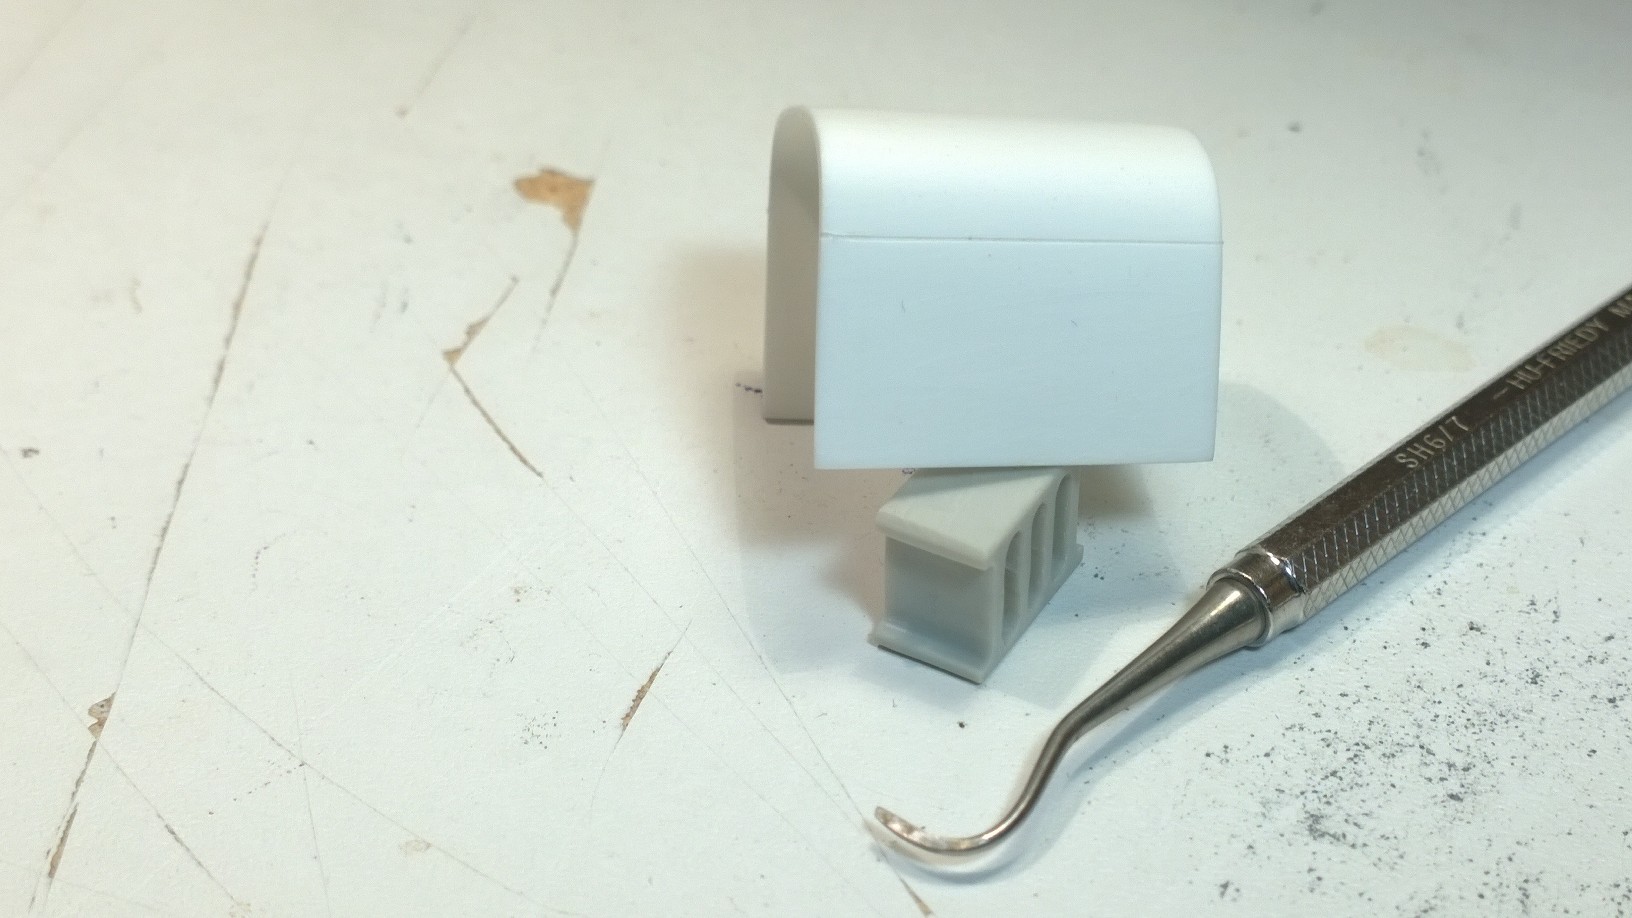
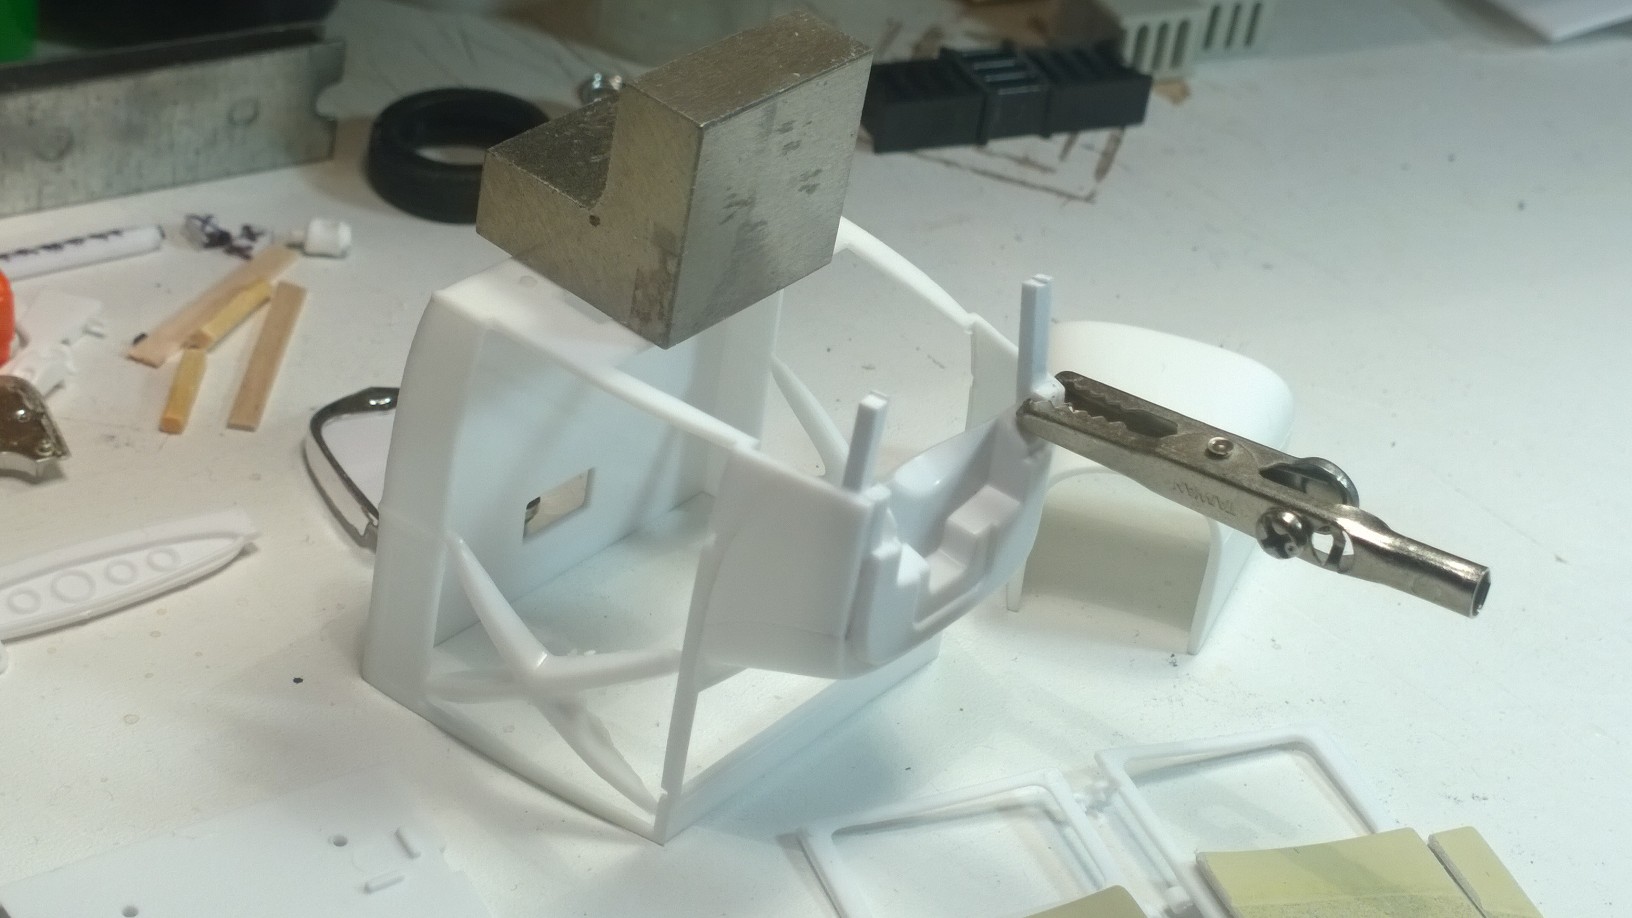
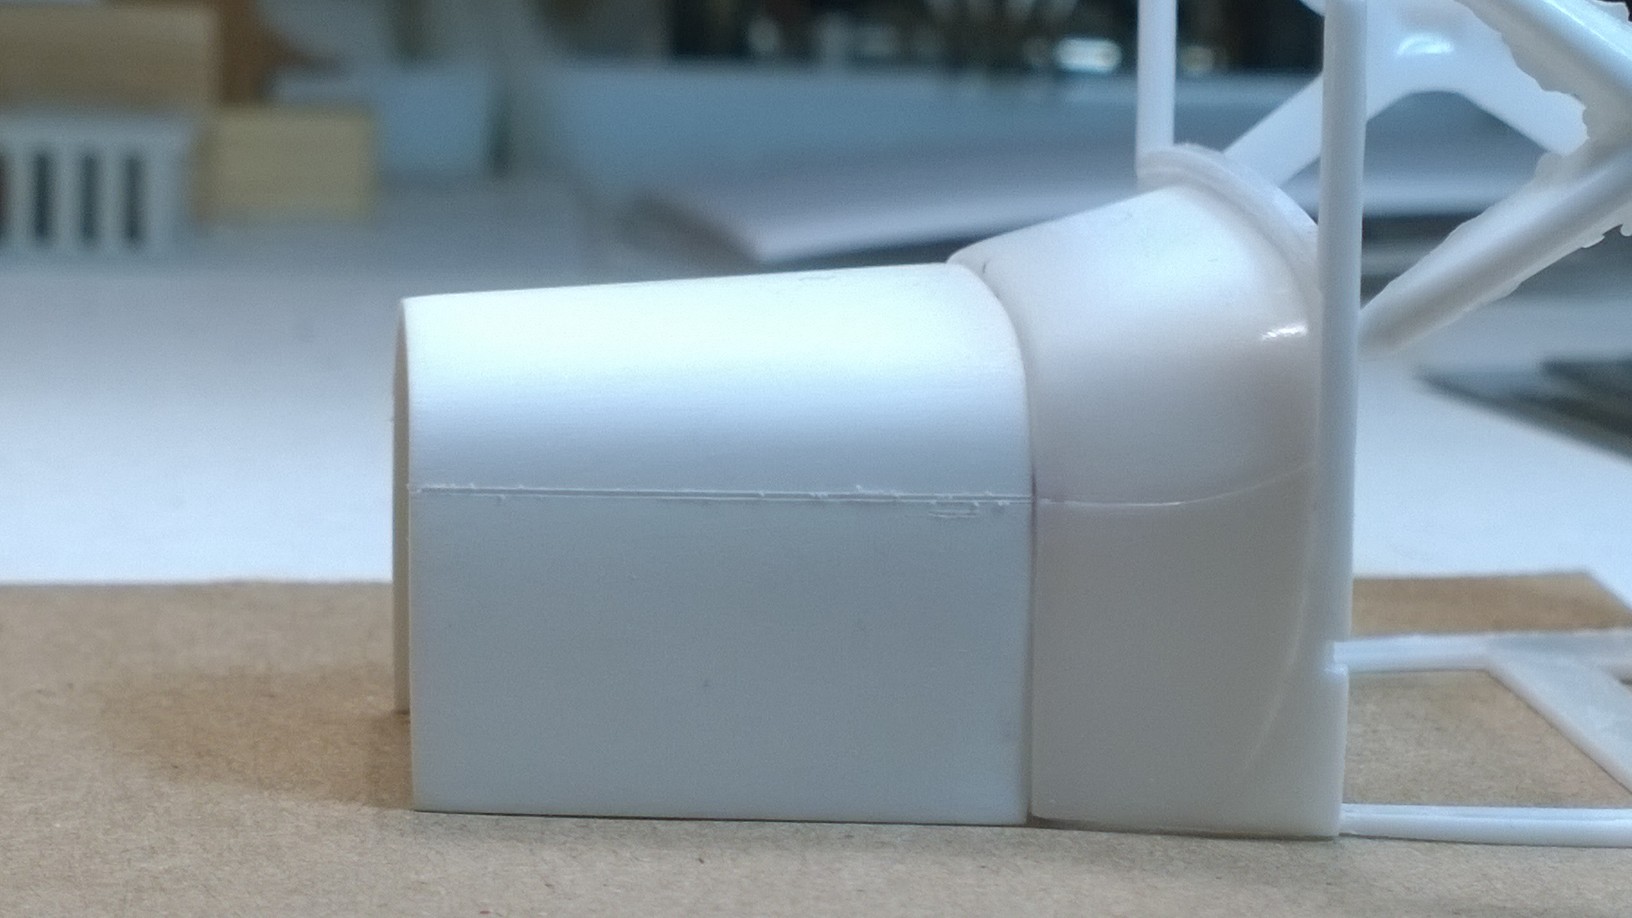
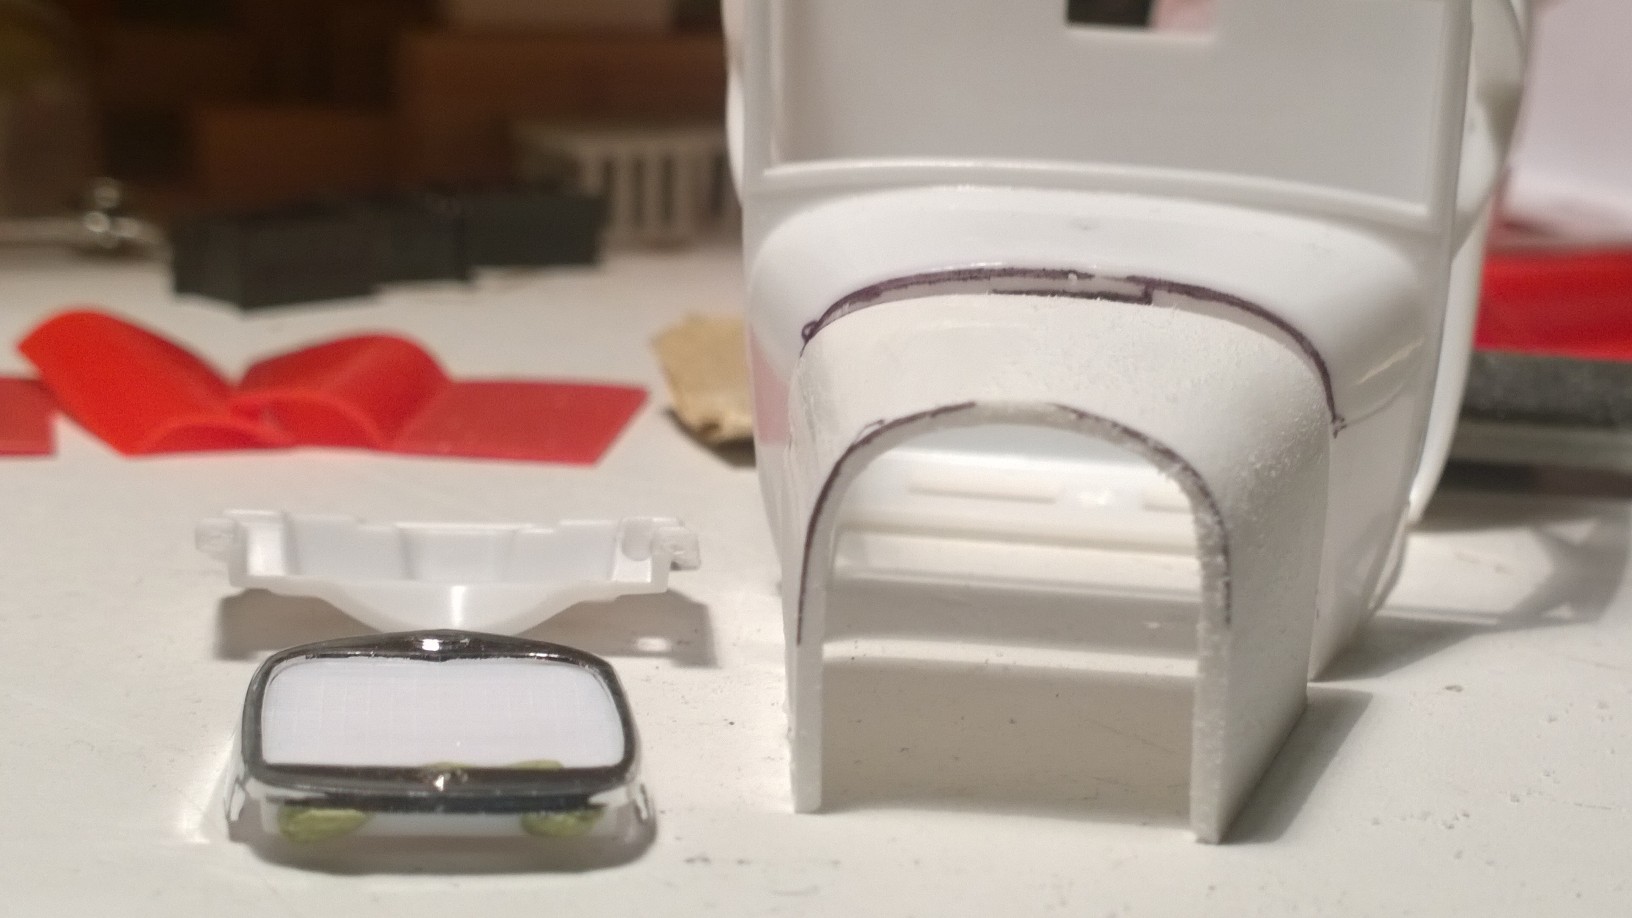
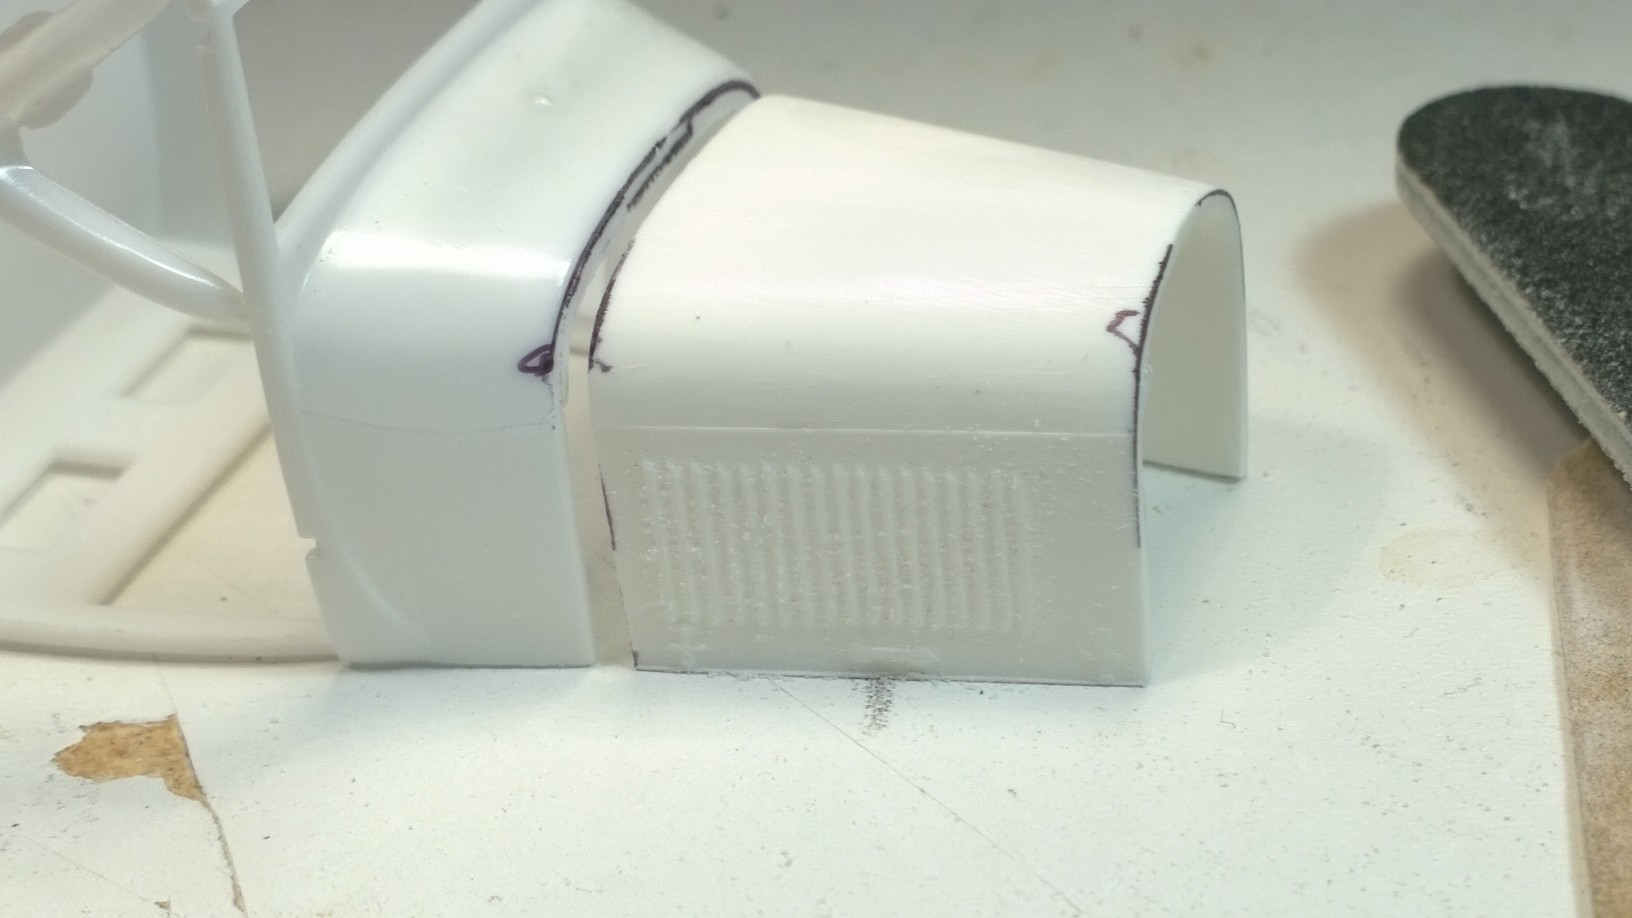
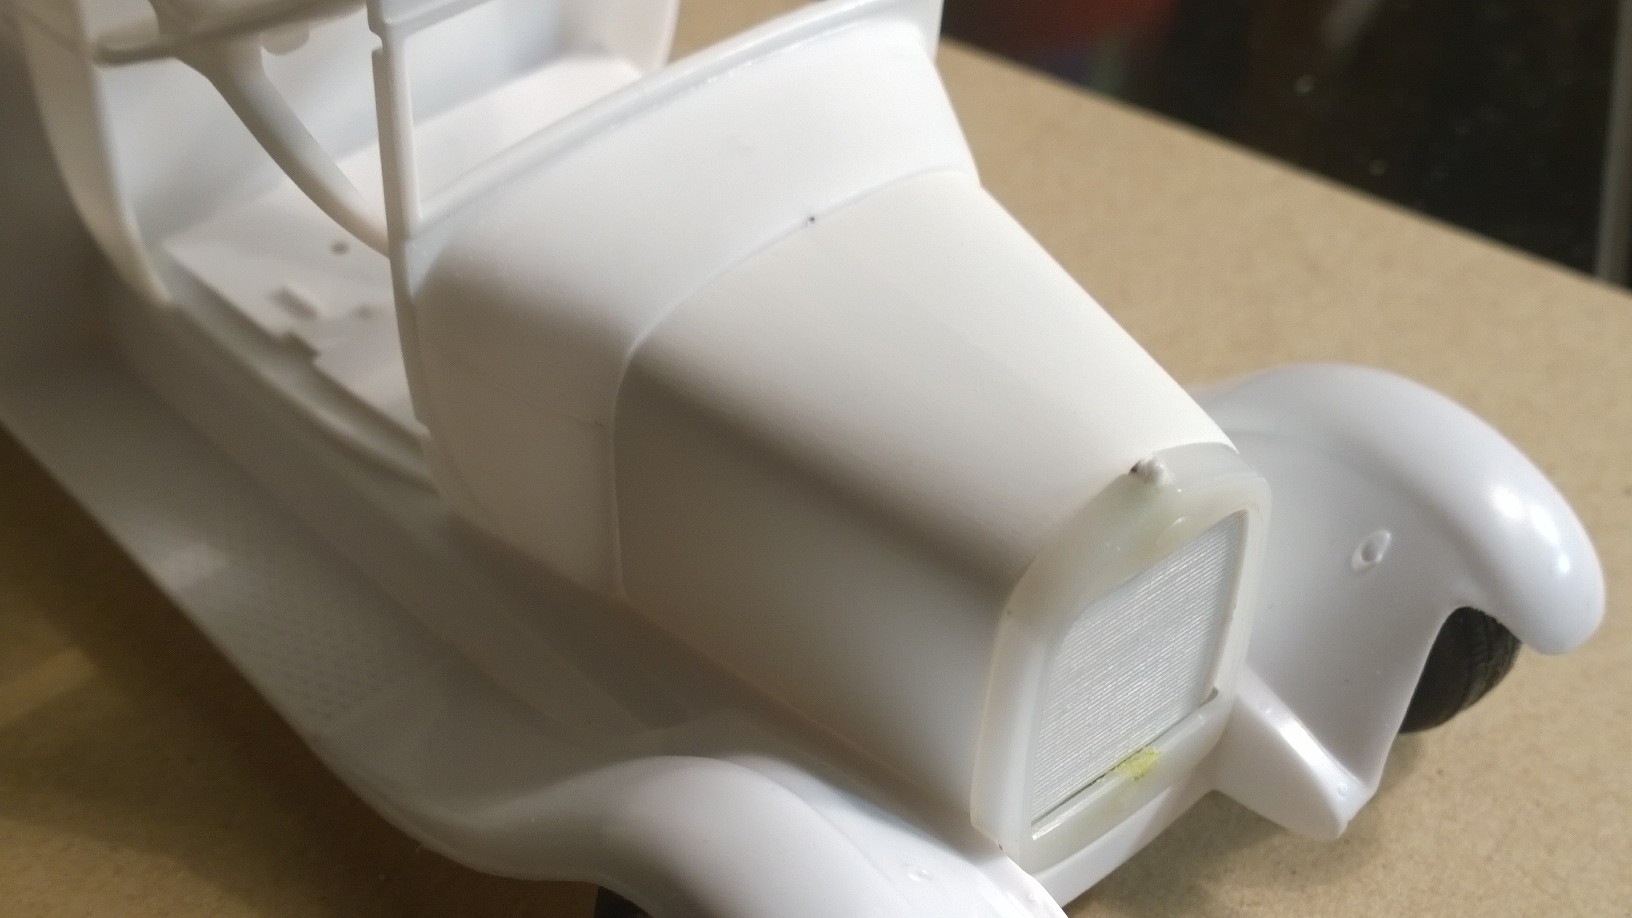
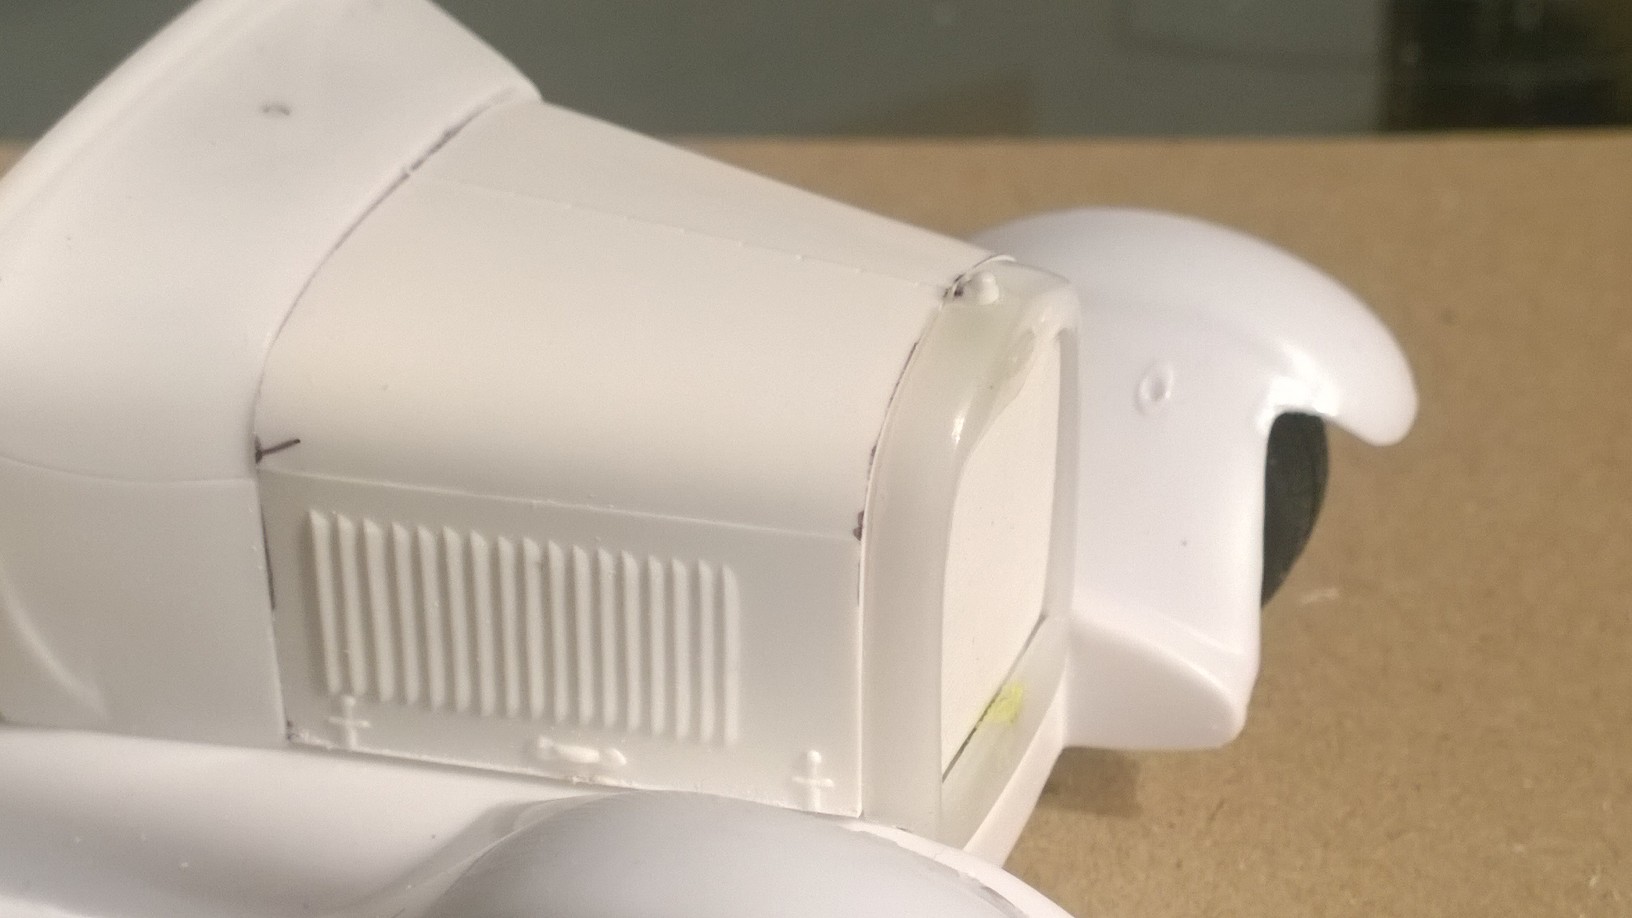
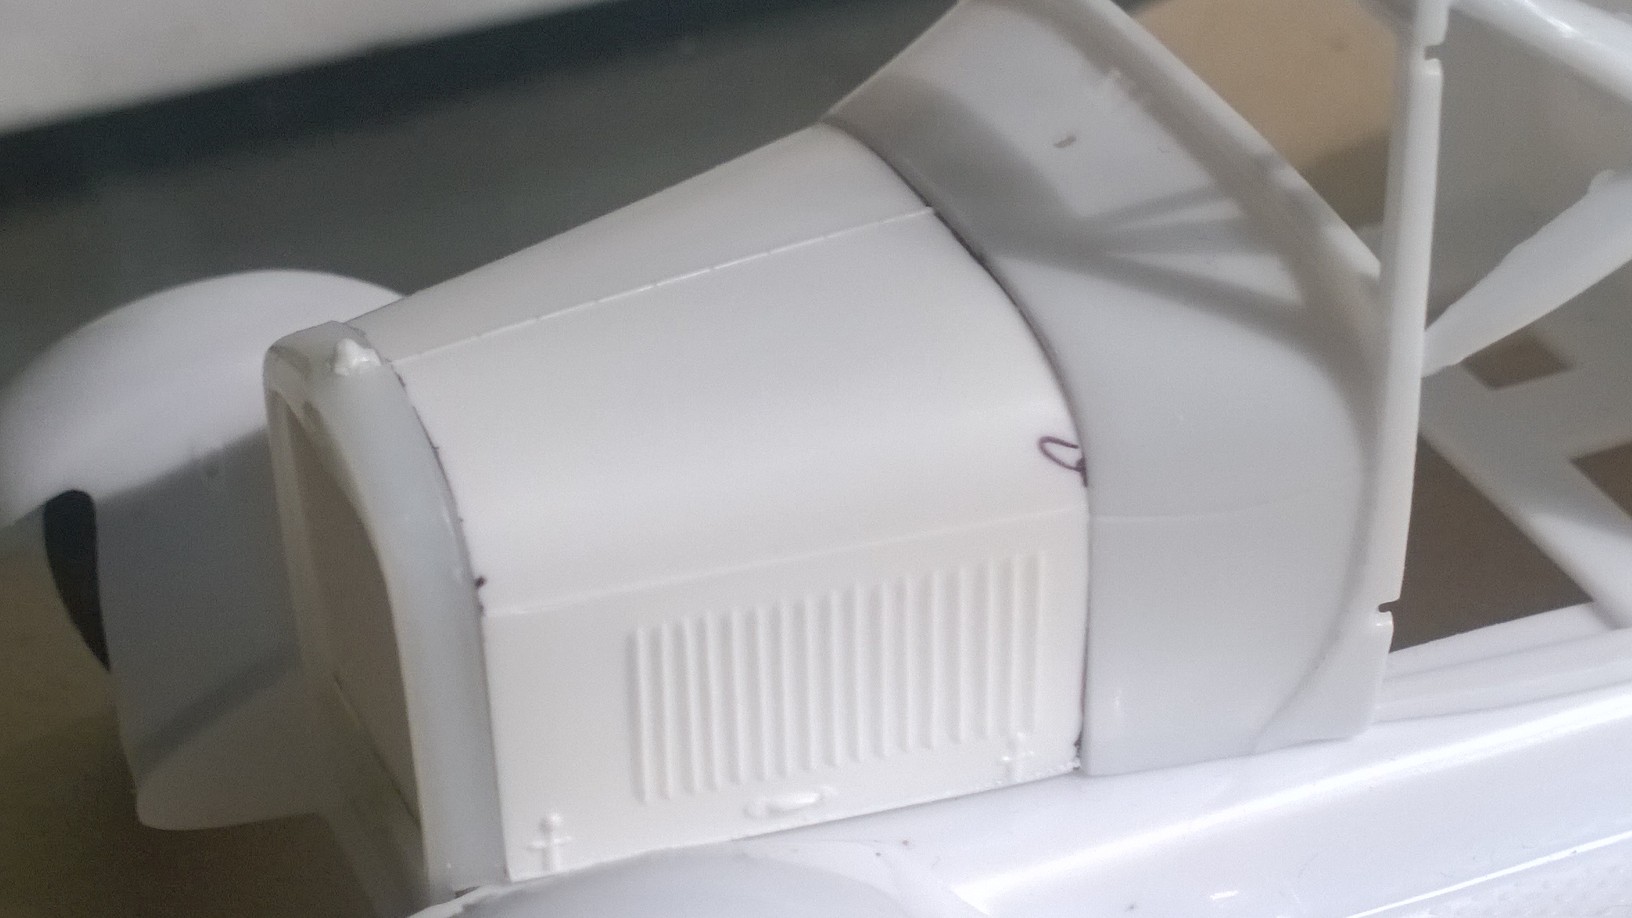
Did some work on the '28-'29 one piece hood from the MPC '28 Ford PU Part #3 Shorten it first... Smoothed and reshaped it... Under the hood, a little fit & finish work on the firewall... Need to fit the doors and get this over to the paint shop...
-
Take a look at a couple of different examples of the '28-'29 A Closed Cab Pickup I'm sure we could gather together enough parts for you to join the build, Brother. Let us play a part in your model building experience! Any one of us have more than enough parts to build your choice of the above? PM me -KK
-
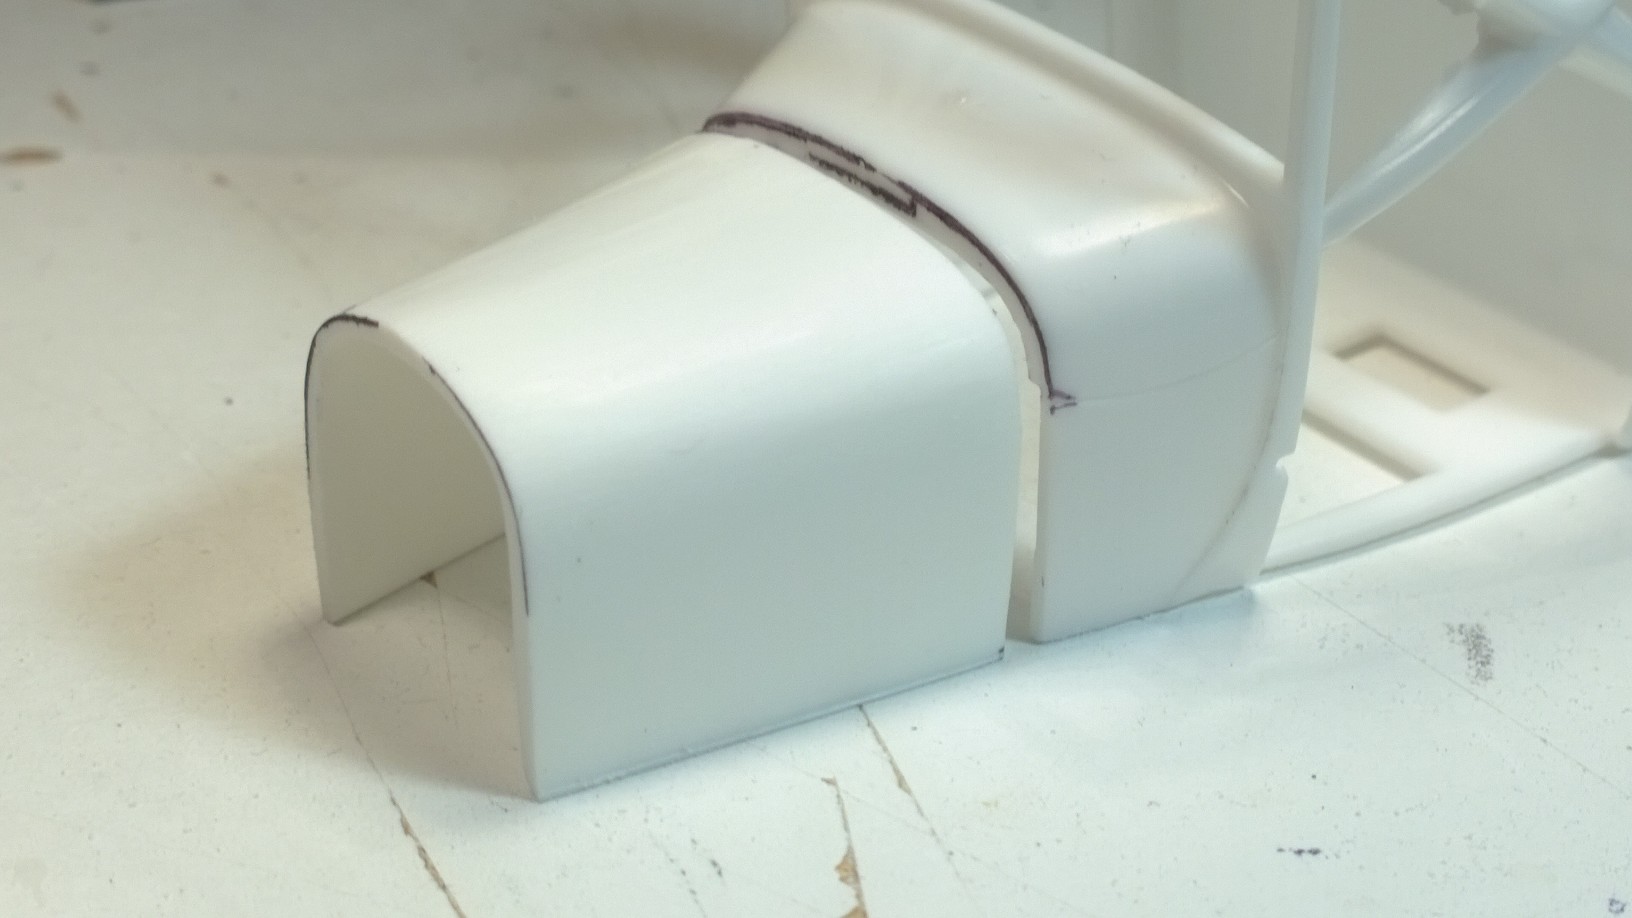
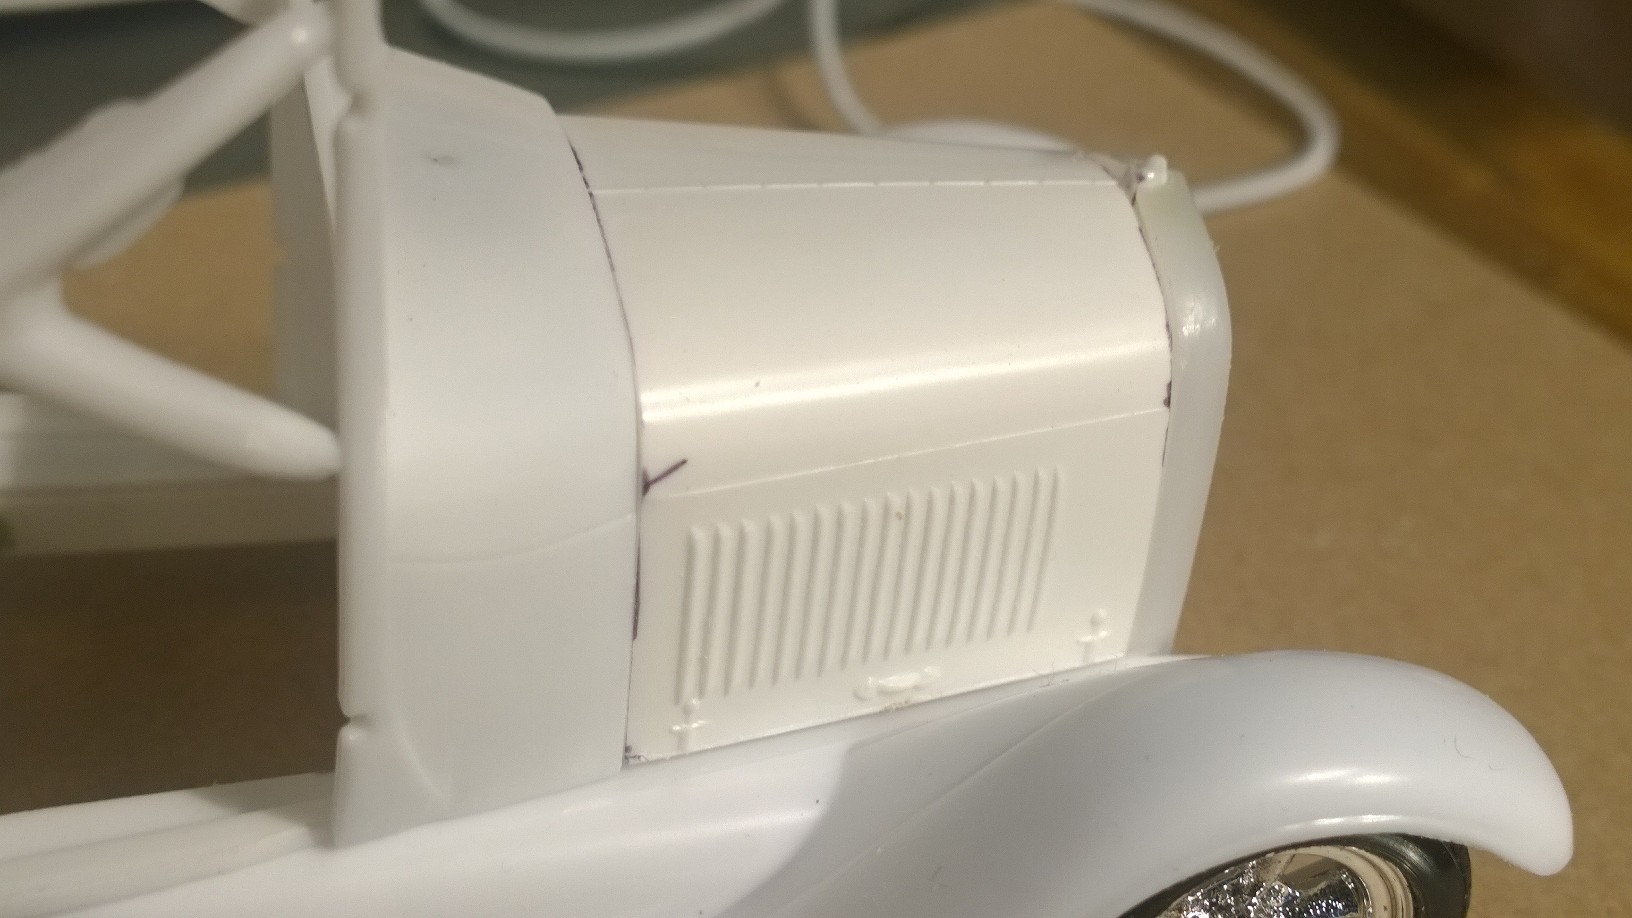
'29 PU Firewall & Hood Work Stock '29 Hood vs MPC '28 Hood Here's the '28 Hood trim job... Had to do a little work on the '29 Roadster Firewall... Then turned to the '28 Hood... Shaver it down to fit between the cab & radiator... Looks too tight for paint! -KK
-
Mike, Make it a personal self challenge! If we have the parts, I know I'd get 'em to you, if you like to work on something at your level. We got better with every build (and I'll tell you, we have all started something and ended putting it away for another day!) -KK
-
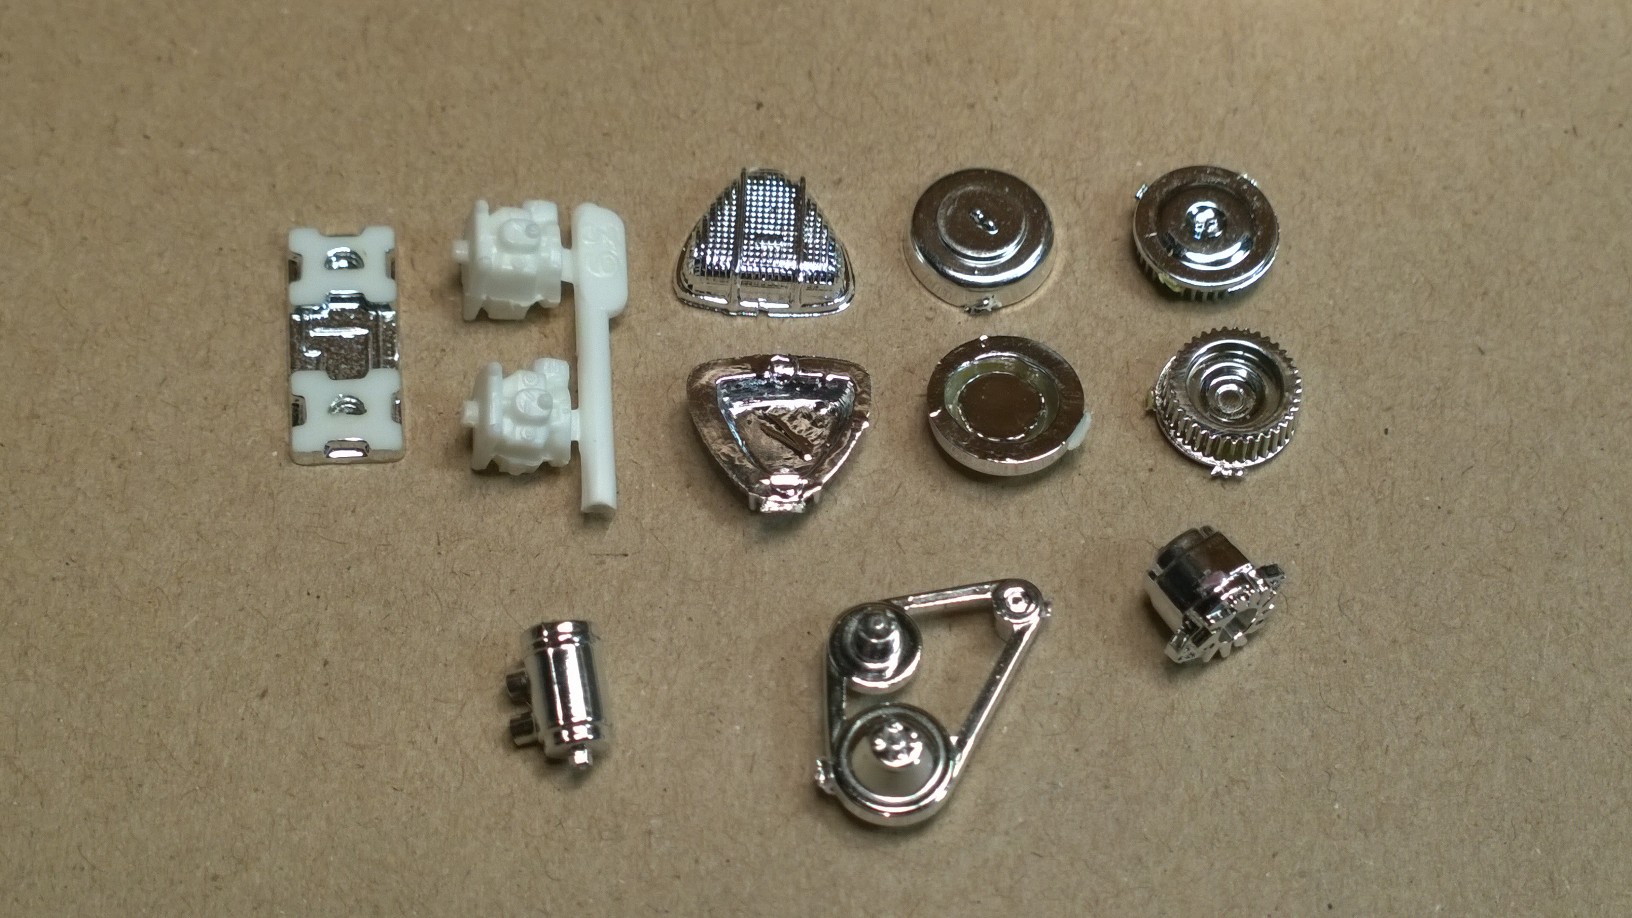
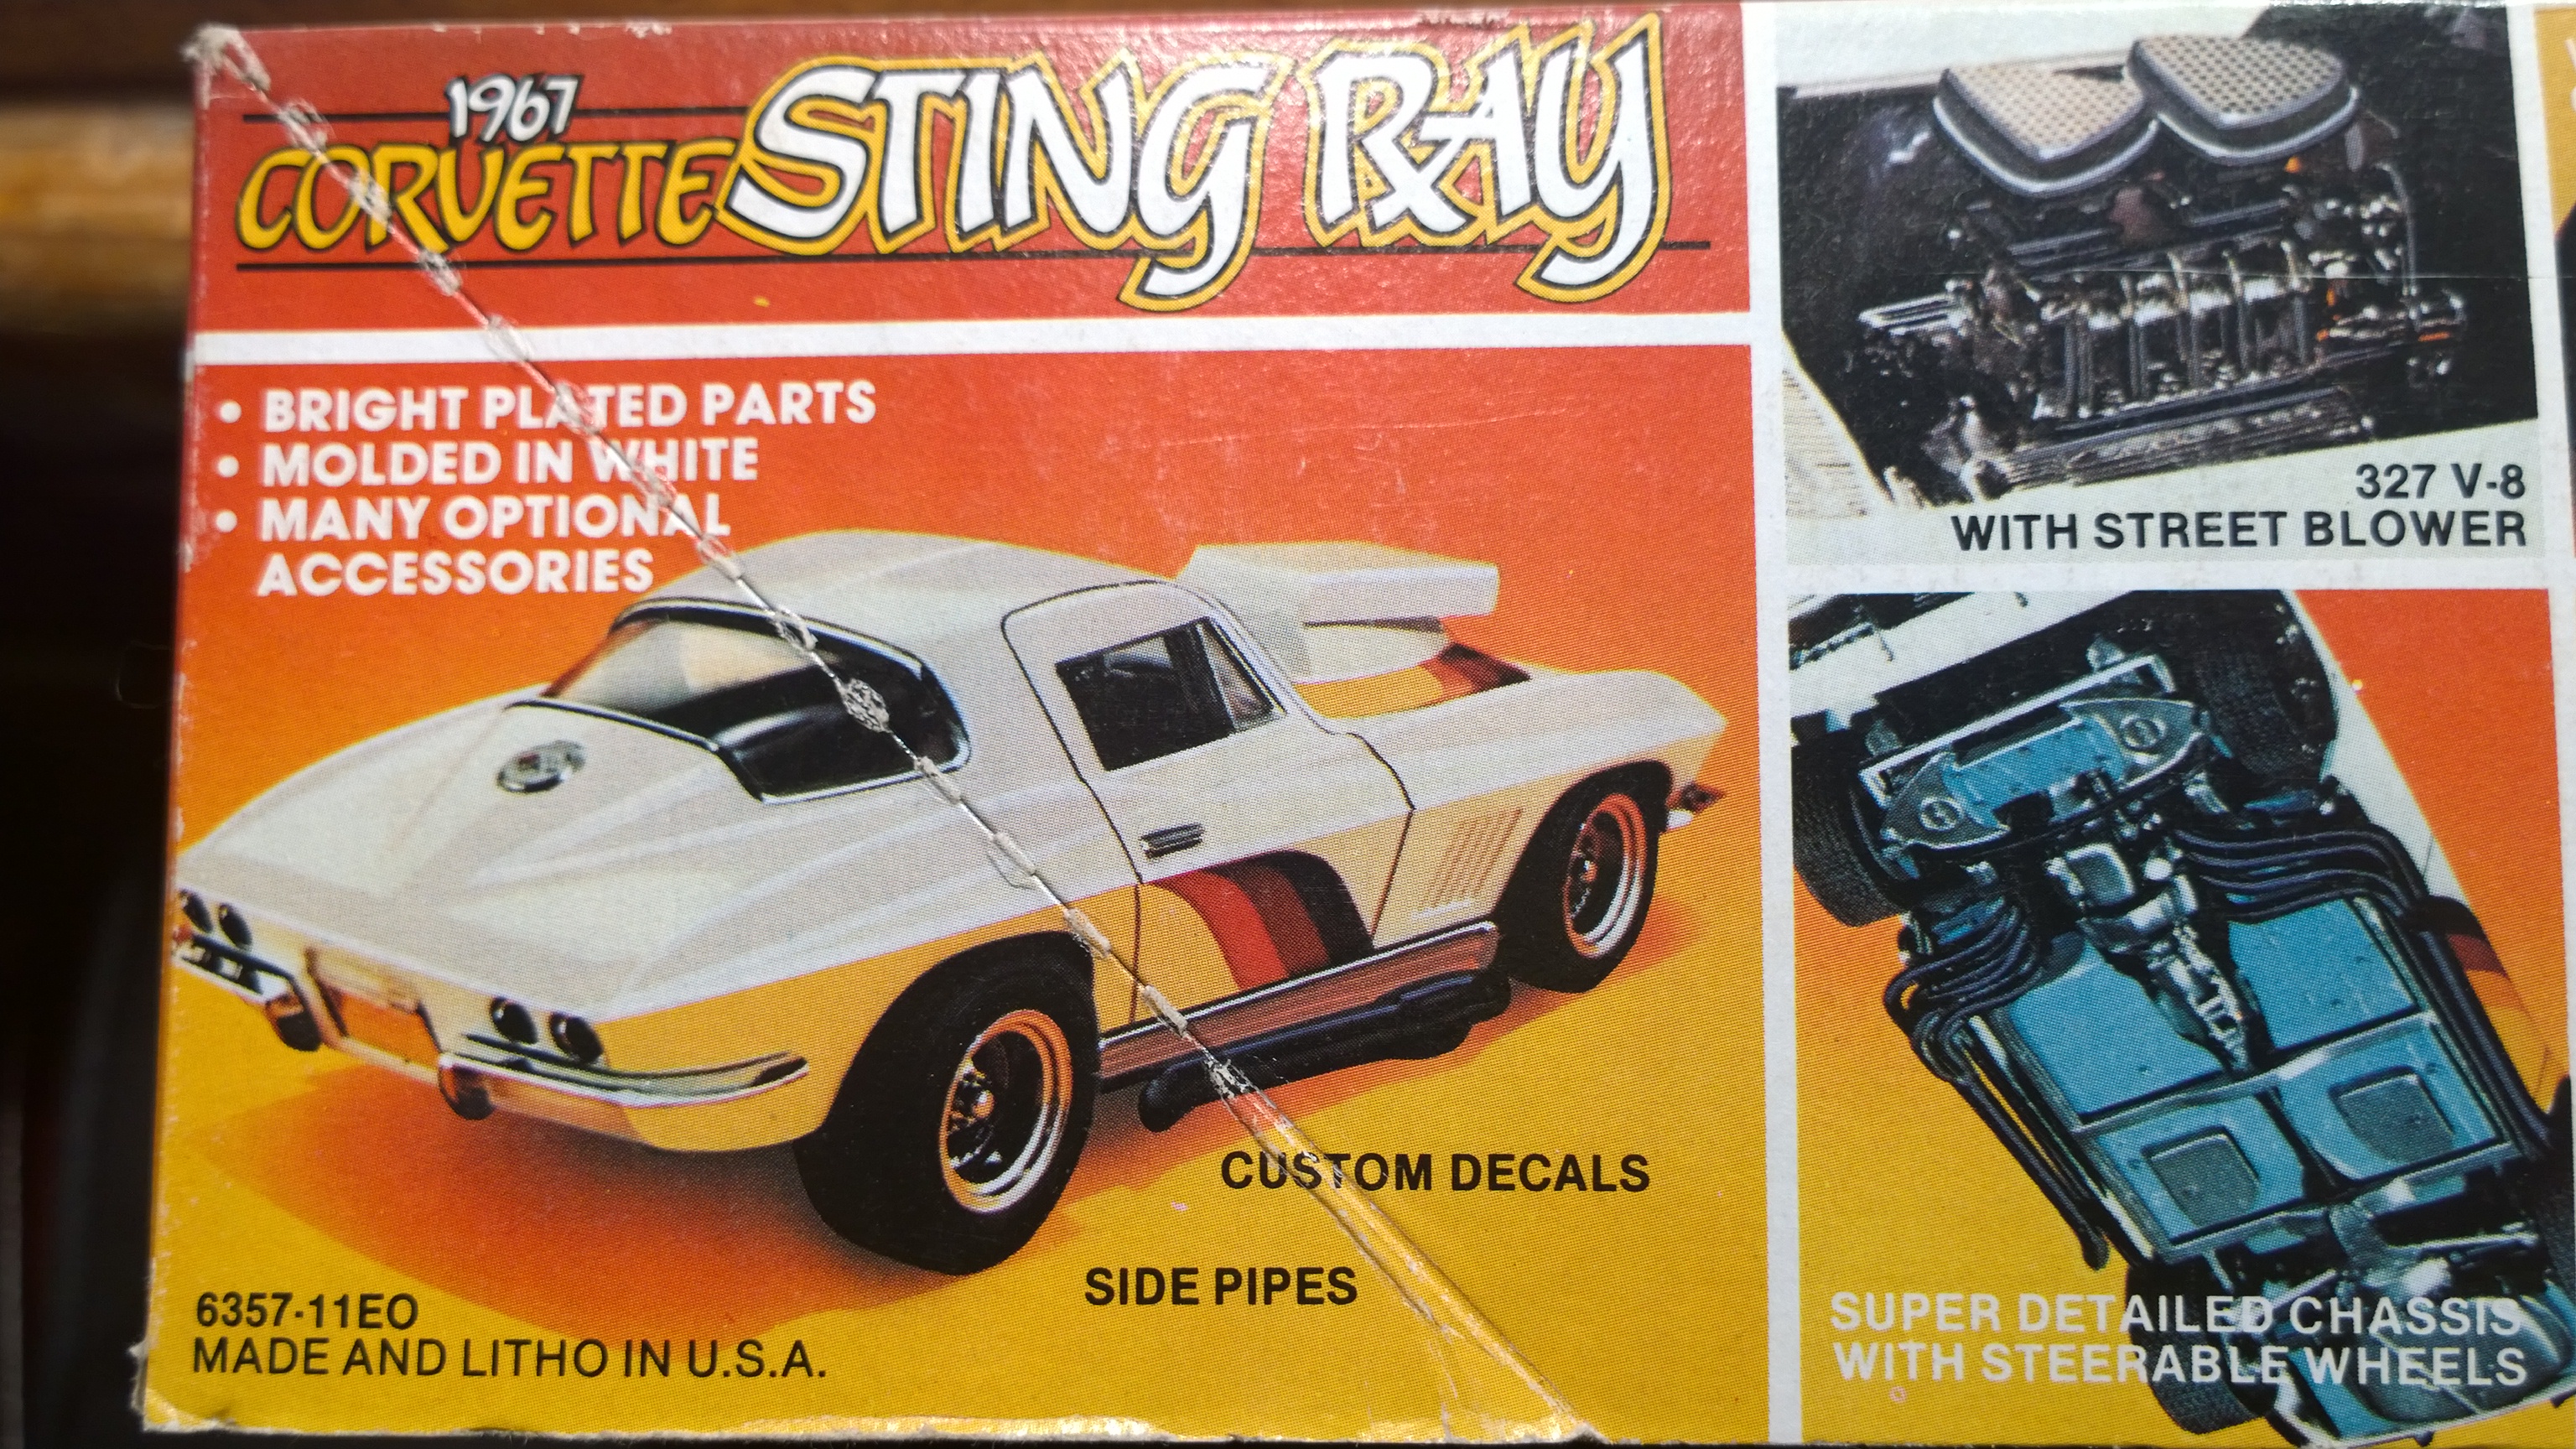
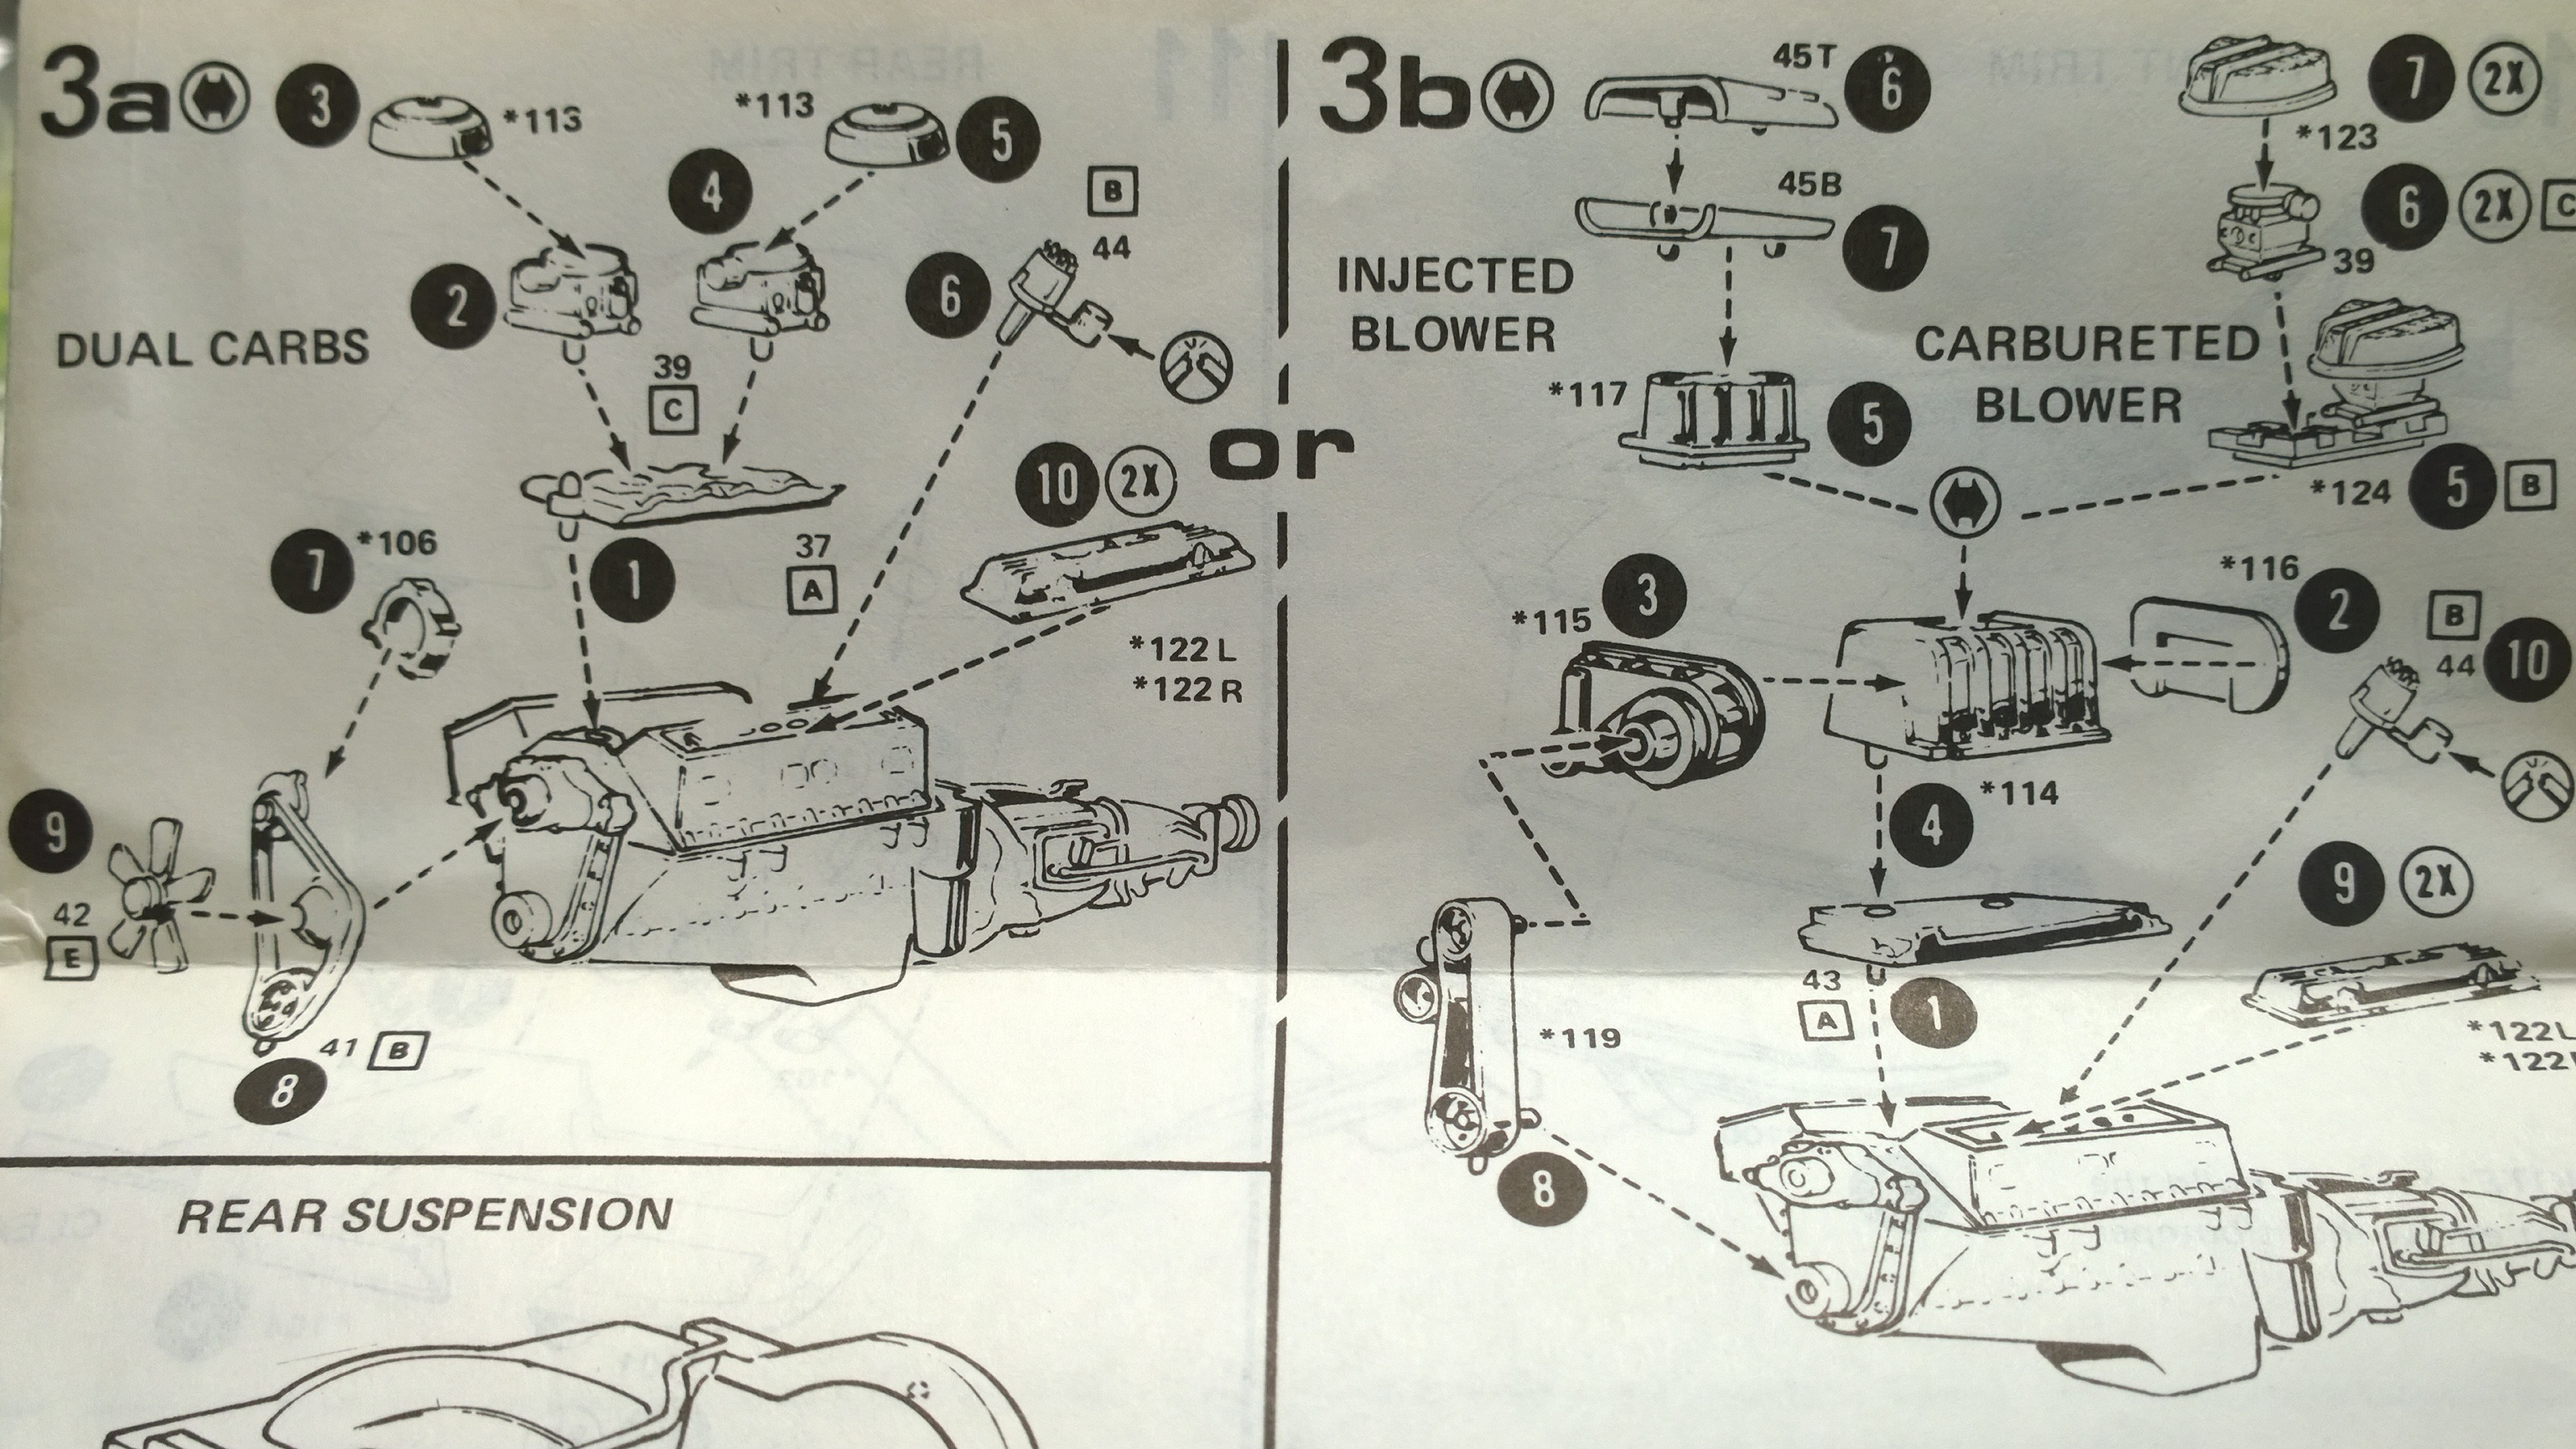
Home Work While pickin' parts I came across a couple of parts that my 1929 Ford Pickup 80's Contemporary Street Rod - A @tim boyd Tribute build will be incorporating were mystery parts. First came the carbs; followed by the triangle air cleaners. Found 'em! MPC 1967 Corvette Sting Ray Carbs & Triangle Air Cleaners Up in the upper righthand corner, you'll see the parts!
-
OK... well not just OK, but OK! Brother, when you first shared your '57 project with @Rocking Rodney Rat and me, I wasn't sure where you were headed with it. Back in the day, the kustom parts provided in the early release of this kit were a bit over the top. And, when RRR asked if you were going to chop the top, I cheered you on... but, now that I see the mods you made to the body, I agree with you re not chopping the top! btw, the offer still stands... I'll be more than delighted to ship you my stash of '57 Chevys, Brother! Including the '57 Nomad I mastered for Scale Equipment Ltd.
-
Bill, Your off to an awesome start! Fab work is on a level with some of the finest modelers anywhere on our planet, Brother! -KK