Modlbldr
-
Posts
6,885 -
Joined
-
Last visited
Content Type
Profiles
Forums
Events
Gallery
Everything posted by Modlbldr
-
Oooh. I'm gonna like this! Waiting to see the progress. I have a 62 Bonneville that I have been thinking about starting. This may give me the boost needed to bump it up in the line-up. Later-
-
Thanks Sam. Later-
-
I took Tom's advice and resized and printed a dash picture and printed it out on paper. Couldn't find a very clear photo and I am no computer wiz so... I think it looks alright. Then I cut a piece of clear packaging to put over it and coated it with Future. Made window roller and door handles. Made a horn ring for the steering wheel and a turn signal lever.

-
That sounds great. I'd love that. Later-
-
I redid a bit on the dash this morning. Instead of Molotow pen for the chrome strips I added silver beading wire. Not much change but a little better definition. Later-
-
Wow! Superb work on this one! I like all of the extra effort you put into the interior. It's going to pay off well for a convertible. Later-
-
Got the tires on and looking to see how it sits. Looks a bit higher than I was shooting for. I think it will sit a bit lower when I get the body glued on the chassis. Got the dash done (hard to get it to show up well due to the color) and started work on the engine. Going to convert it to a dual carb set up. Later-
-
Thanks guys. I haven't given a lot of thought to it but so far the plan is to use the Deora chassis because I have it. I don't have the chassis and suspension for the Rivi. I made some down and dirty cuts tonight. No real measuring. Just eyeballing it. Hopefully I'm not off. Later-
-
That is amazing!! I love the fact that the base is red and not the more common silver. You are getting very good at this style of paintjob Geoff. Later-
-

1935 LaSalle convertible coupe-a 3d printed model
Modlbldr replied to my66s55's topic in WIP: Model Cars
Ooh man, that's cool. Much respect for what you have accomplished already. I'd be happy with just the test subjects. BTW- what are your plans for them? Later- -
Well, thanks for the interest in this guys! I appreciate it very much. Snake- I'm not sure exactly how it's going to work out for the moment. Right now the only plausible answer I have is Physics, schmysics.... Lol. I got the side window openings roughly shaped in. I have to figure out where and how to shorten the nose of the Rivi and attach it, including the windshield since the shape of the windshield in the drawing is definitely Riviera and not Deora. My first thought is to cut the entire front clip of the Riviera, including the windshield frame, remove the front of the Deora, including windshield frame, swap the parts and then shorten the nose of the Riviera. Fortunately I don't have my saws at home with me so I won't get in a rush to cut. I have a day to think about it first. Later-
-
Here is the first step I took which was to cut the B pillars and lower the rear of the roof. Next is to reshape the side window openings by removing the darkened areas. I have had these wheels in my stash forever and I think they are a close representation to the drawing so I will be using them. That's it for now on my progress. I just started slicing on this an hour ago. Comments and criticisms welcomed. Later-
-
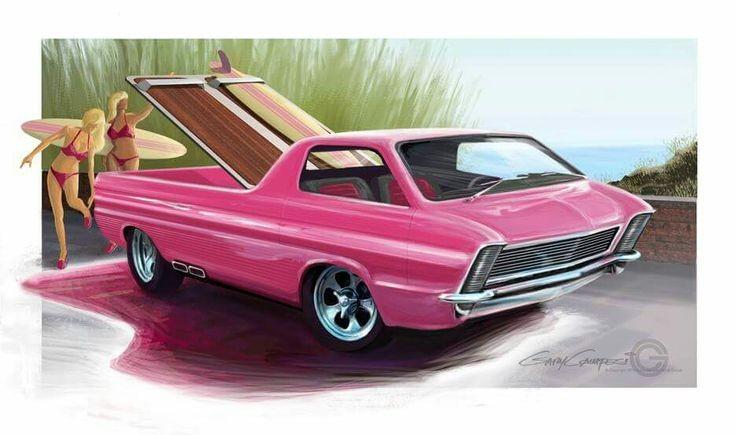
Unlike most at this time, i have not been forced to stay home. My job, for now, still requires me to be at work in case of any emergencies that might arise. So, while at home this weekend without most of my building supplies and current builds I decided to start a bit of work on this project. With that said, it will probably be pretty sporadic due to my 41 Plymouth being my primary build. Anywho- I have had this rendering of a Rivi based Deora on my phone for a while and love it. I got this "in progress" Deora build from a buddy and a Rivi body and bumpers donated from one of our builders here. By combining these I am building the "Riviora" Later-
-
Wow! That's gorgeous! Beautiful paintwork. Nice and clean. Later-
-
Thanks fellas. It took a while to find the right tires and wheels for it. I am painting the centers with a touch of white. I also painted the dash in the body color and white lightning on the bottom portion. Also did the engine bay in white with white lightning misted over it. Pics in a future post. Later-
-
I love the work you are putting into this. It is coming along nicely, with the exception of your last pic. That firewall looks like it's going to need to be notched to fit the engine. Later-
-
Thanks fellas. I appreciate it. David, I actually removed the fender welts for a bit of a cleaner, more custom look. Later-
-
I started this build recently after seeing a tiny picture in one of my car mags. I loved the stance and the color of this otherwise ugly duckling. So far I've got it in paint. Tamiya AS-29 Gray Green with a mist of Testors White Lightning. The tires and wheels are from the Tweedy Pie kit. I lowered the stance a bit. Nothing fancy as far as chassis work. Plans are for a green and white T&R interior and other than removal of the running boards, the body is going to be stock. Enjoy, and feel free to comment. Later-
-
Help ID'ing this tree
Modlbldr replied to Modlbldr's topic in General Automotive Talk (Trucks and Cars)
Sam, Fantastic! That is perfect because I need only one. You are great!! Later- -
I need help identifying what kit this tree is from and if anyone has one of the missing parts I can trade for. The part number is #507. I only have three and need a fourth. Later-
-
What a highly detailed build. It all looks great. I like everything you did to it. Thanks for sharing it. Later-
-
1955 Big Block Truck
Modlbldr replied to Lorne's topic in WIP: Model Trucks: Pickups, Vans, SUVs, Light Commercial
I like the mock up of this. What a beautiful engine too! Can't wait to see the progress you make on this. Later- -
72 Blazer
Modlbldr replied to Nbseddie's topic in WIP: Model Trucks: Pickups, Vans, SUVs, Light Commercial
I have a few of these old Blazer kits worth of parts kickin around. I want to do a similar project soon. I'll be watching. Later- -
Thanks for the info. Some day I am going to have to look into a cutter of some sort. Too many interesting things can be done with them. Later-
-
Very intricate work on the paint. How did you make the mask? How did you cut out the spots you weeded? Later-