David G.
-
Posts
11,314 -
Joined
-
Last visited
Content Type
Profiles
Forums
Events
Gallery
Everything posted by David G.
-
That came out really nice. It's good seeing stock builds. David G.
-

MPC/Round 2 - Pony Express is back from the grave!
David G. replied to Faust's topic in Car Kit News & Reviews
I found this one at the Desert Scale Classic in Phoenix last year. It had the punch-outs for the rear quarter fuel dump, hood scoop and roll cage so I think it was designed to accommodate both styles. It actually built-up to be a pretty nice model when done. Thanks, David G. -
Thank you Dann. David G.
-
Wow, thanks for the clarification. David G.
-
Thanks Peter. BTW, if the New Zealander is looking for Old Zealand, he's nearly there; it's farther north near Denmark. David G.
-
Thanks Craig, I do tend to like the unusual ones. Thanks Carl, I'm glad you like it. Thank you Chris. David G.
-
Thanks David, it was a challenge but I think I kicked it. Thanks Donald Thanks Bruce. When researching this build, I did find a number of them on line that looked to have been originally painted in a dark red. The shade of red I picked for this one did not turn out as dark as I had planned. I think it does too, thanks Mike. Thank you Matija. David G.
-
Whatever you want to call it, it looks great! David G.
-
Thanks Marty. Thank you Erik. Yup, gotta love Phoenix in January. Thank you Dave. There do seem to be a lot of people on this forum from AZ. Thanks Jim, and it's.... SHINY! David G.
-
Impressive detail for a less than impressive kit. Most impressive! David G.
-
Thanks Dan. Thank You Wayne I agree Steve. Hot rods are nice, but I like stock every bit as much and maybe just a little more. Thanks Charlie, it was a bit tricky but I'm pretty happy with the way they came out. Thanks Tulio, it's nice to have those efforts recognized. Thanks Bo. I wanted to build a streamliner and I was deciding between this one and Revell's 1948 Ford Police Coupe and I wanted an relatively easy "knock together" kit. I was a little surprised by the way AMT chose to engineer the front panel assembly. Had I known, I probably would have chosen the Ford. I believe I'll pick up one eventually, but I would have grabbed it first that day. Thanks again! David G.
-
Finished this one up. It now in the Under Glass section. Thanks for following! David G.
-
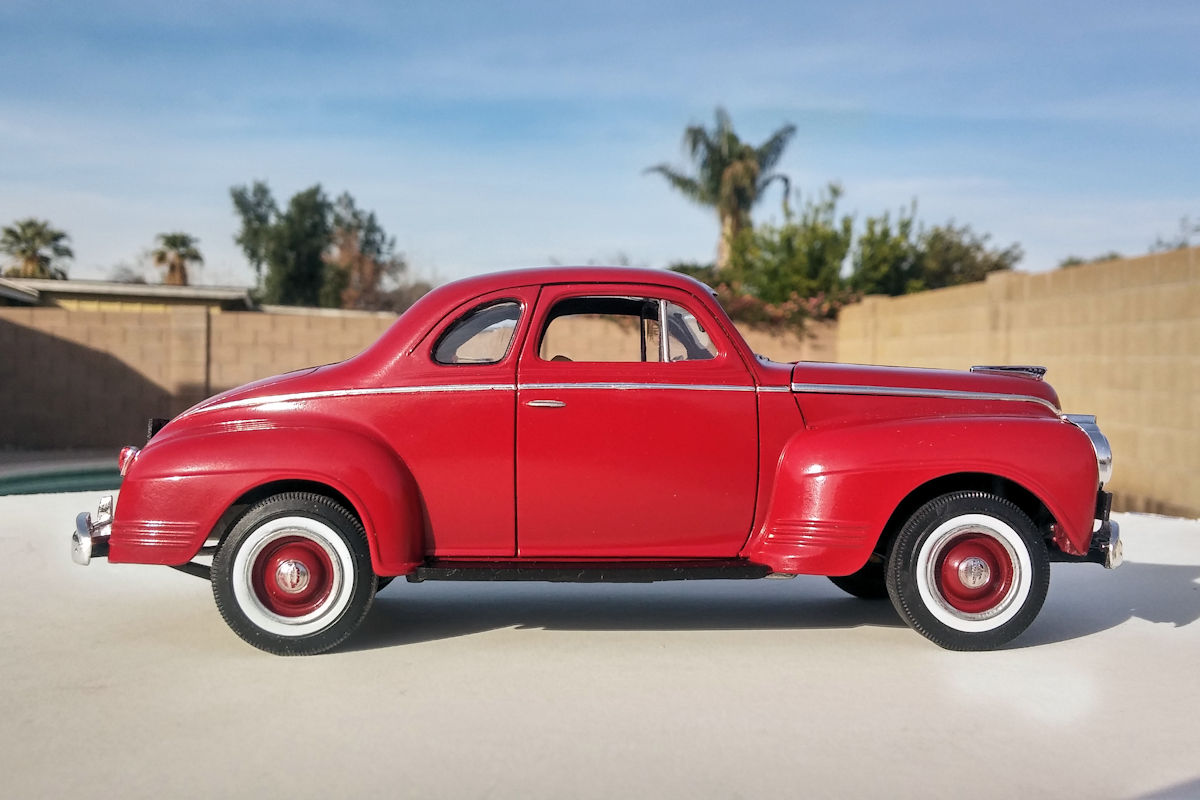
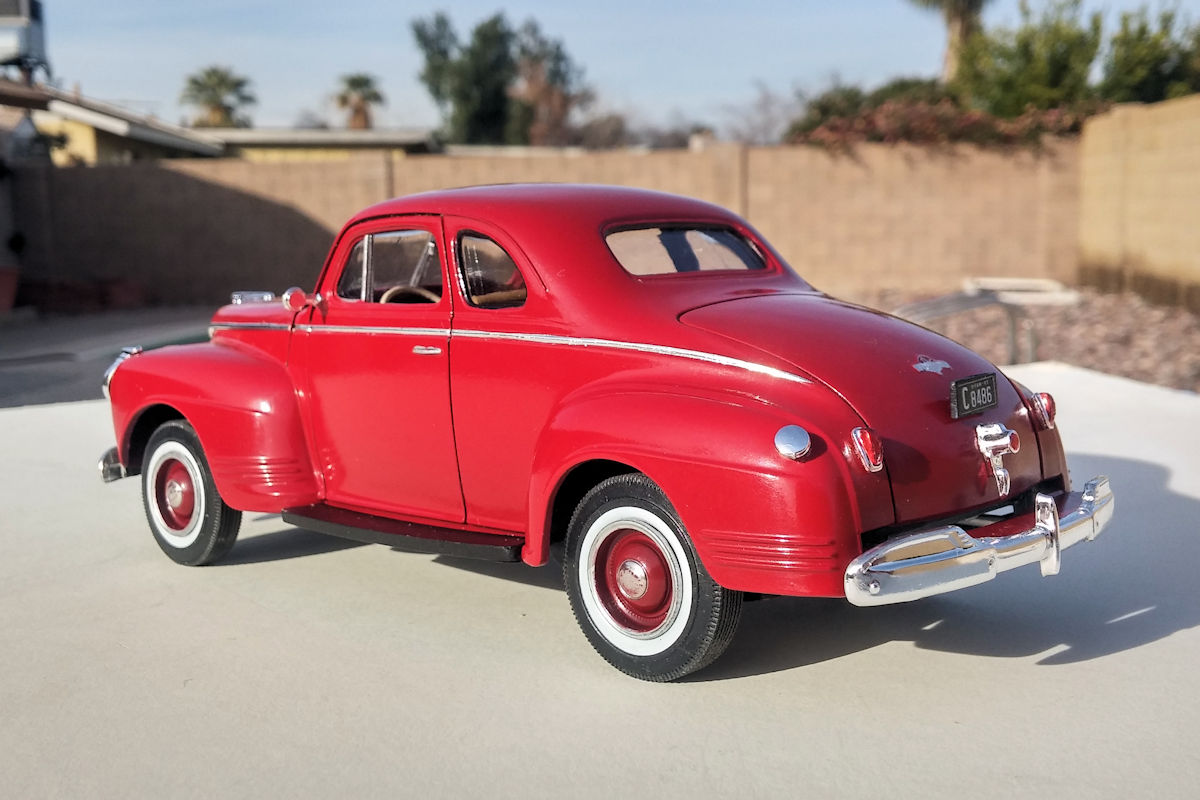
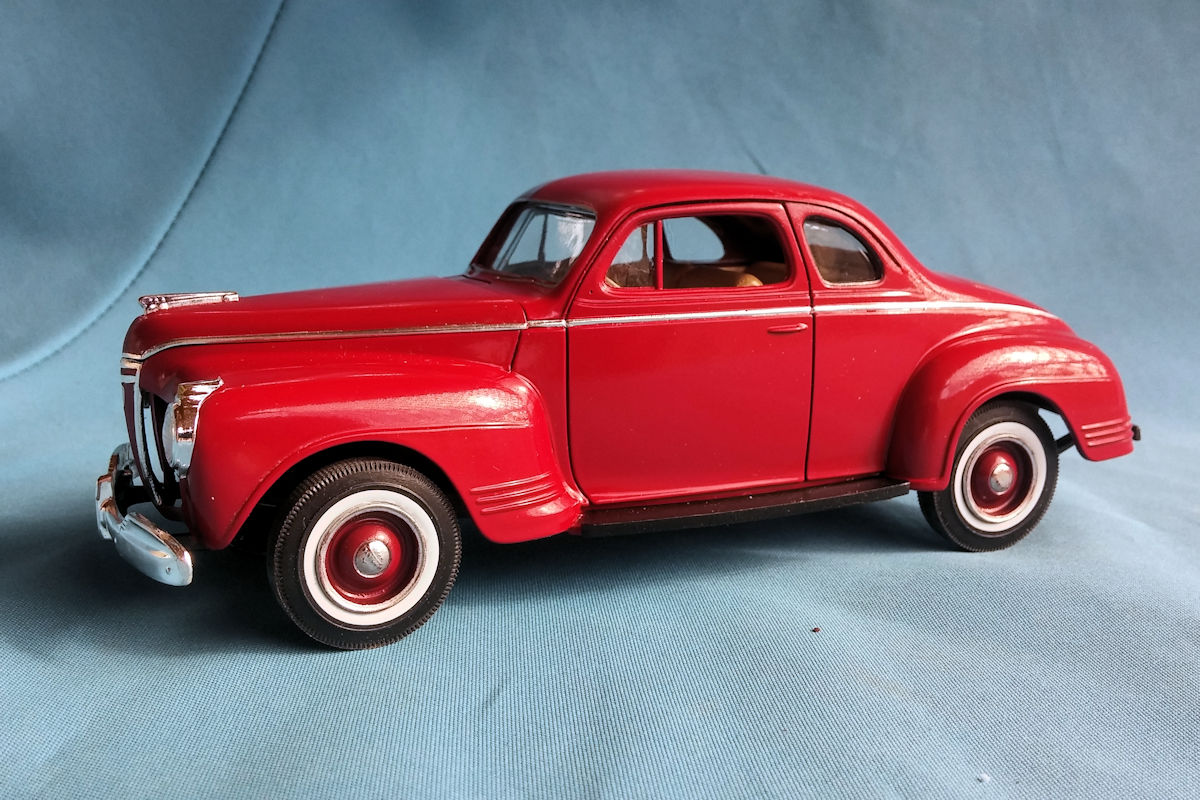
My first build of 2017. The biggest hurdle with this kit was blending in the front panel insert. I think it came out pretty good. License Plates and Mirrors! I'm very pleased with the paint and foil work on this one. The ride height may be a little high, but it's not too bad. The original third brake light! This was a fun kit to build and it makes a good looking model when it's finished. As always, thanks for taking the time to look and please feel free to comment. David G.

-
Very clever, thanks for sharing this. David G.
-
Nicely done, excellent photos, love the mud splatters! David G.
-
Beautifully done! David G.
-
Count me in! David G.
-
Nicely done! David G.
-
Thanks John. I hope to get some time to work on it this weekend. Hmmm I may get this one finished soon. David G.
-
Superb workmanship and excellent details! David G.
-
Wow! David G.
-
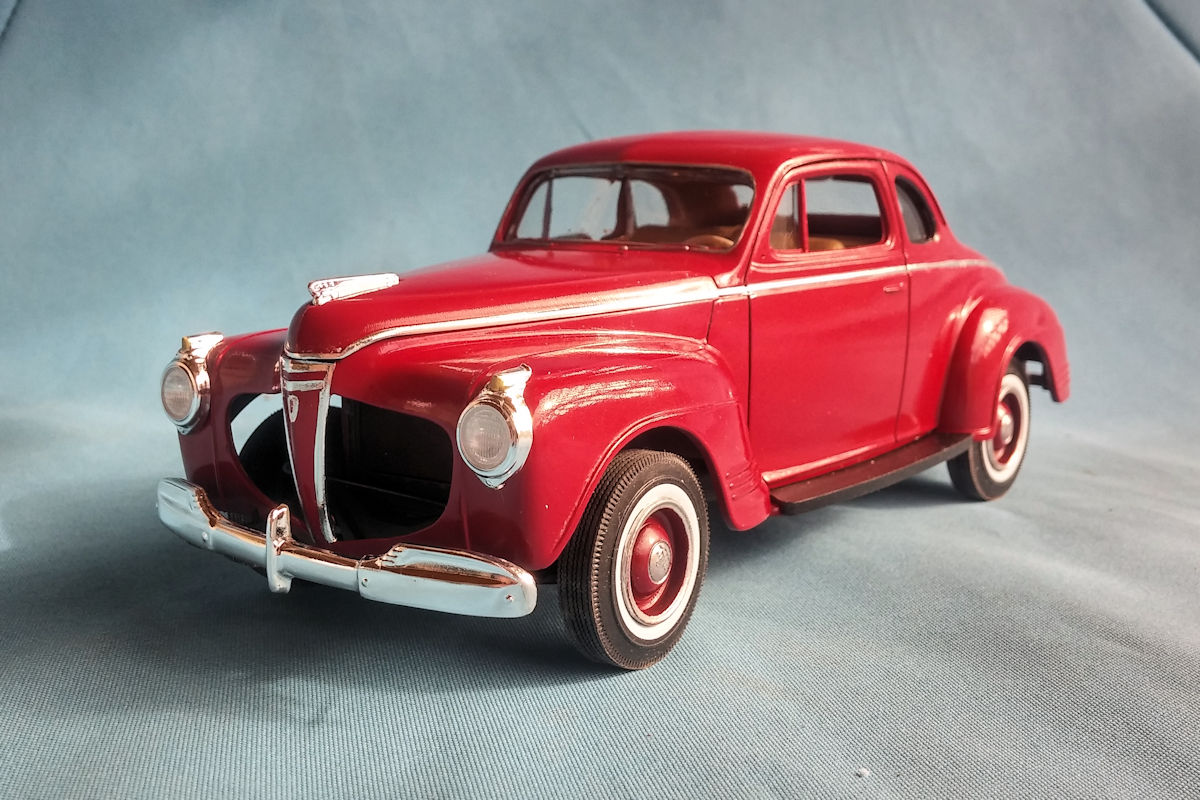
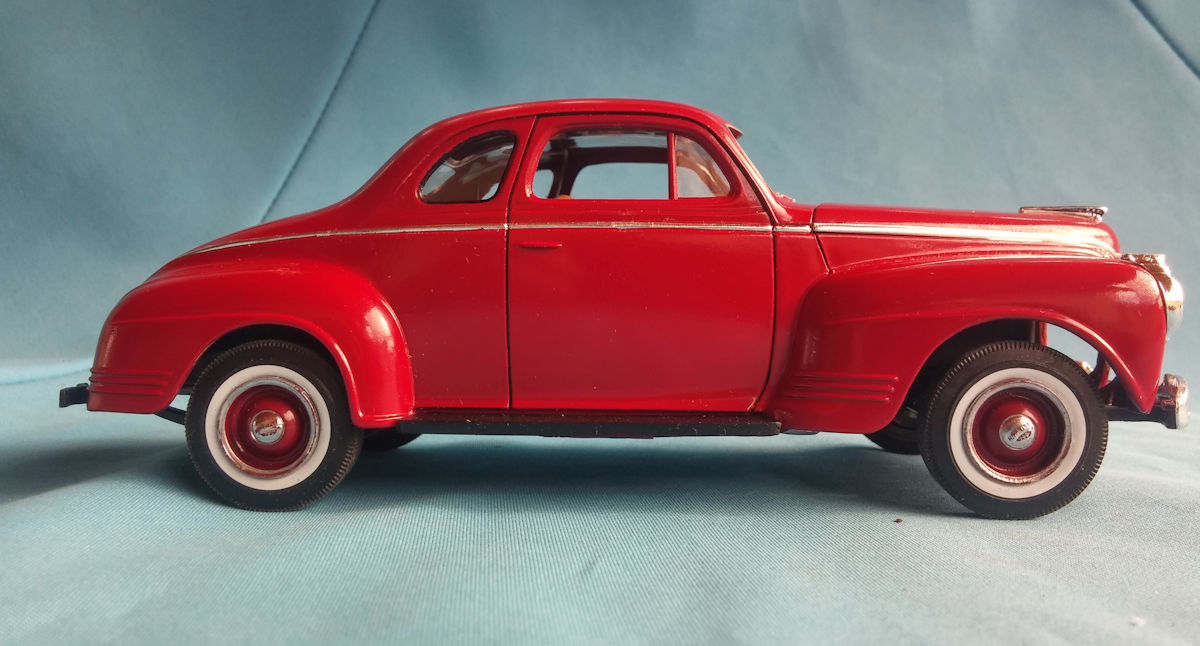
I was hoping that this was going to be my last build of 2016, bit it looks like it will be my first one for 2017. I thought the foil was done but I forgot about the beak. While I was doing that part, I went back and reapplied the foil in some of the less than optimal areas. I also got the headlight and front bumper assemblies fitted. As always, thanks for taking the time to look and please feel free to comment. David G.
-
Thanks John, I actually went back and reapplied the foil in a few areas. I think it was a bit of an improvement. David G.
-
Beautiful work! David G.
-
You're off to a good start. Excellent color choices. David G.