David G.
-
Posts
11,320 -
Joined
-
Last visited
Content Type
Profiles
Forums
Events
Gallery
Everything posted by David G.
-
 Superb workmanship and excellent details! David G.
 -
Wow! David G.
-
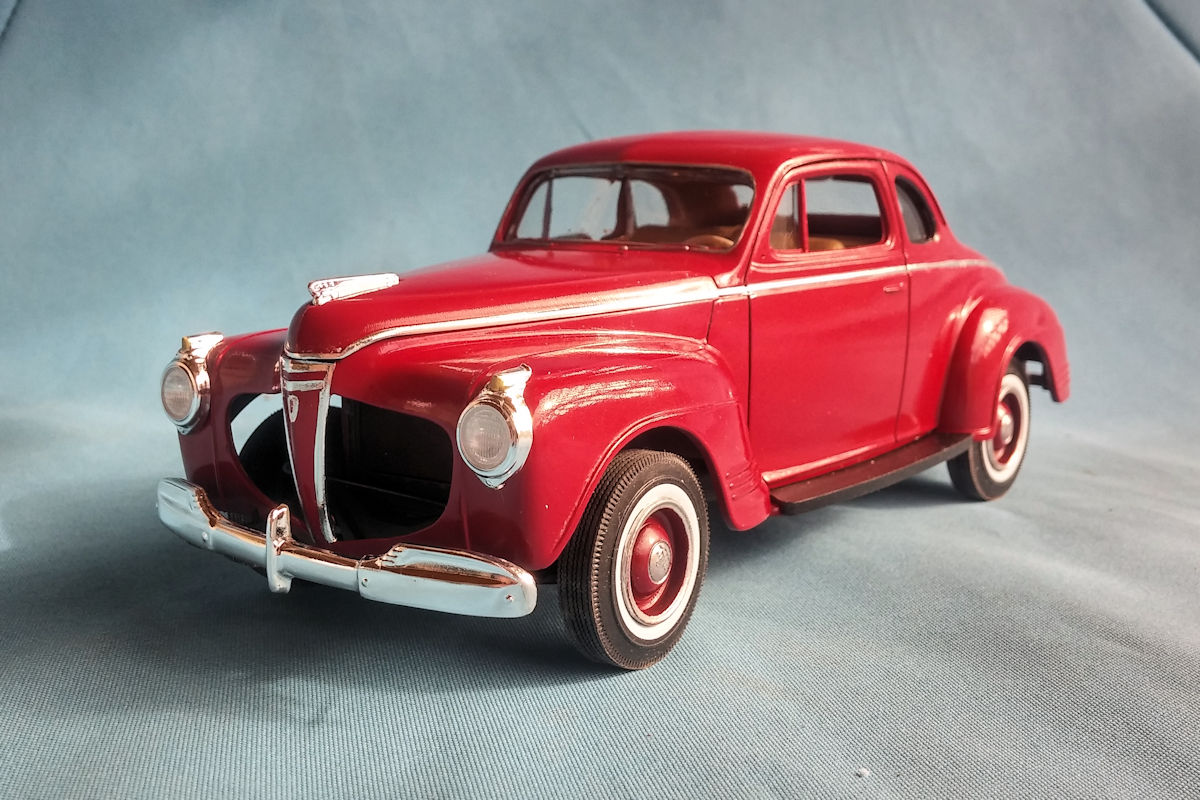
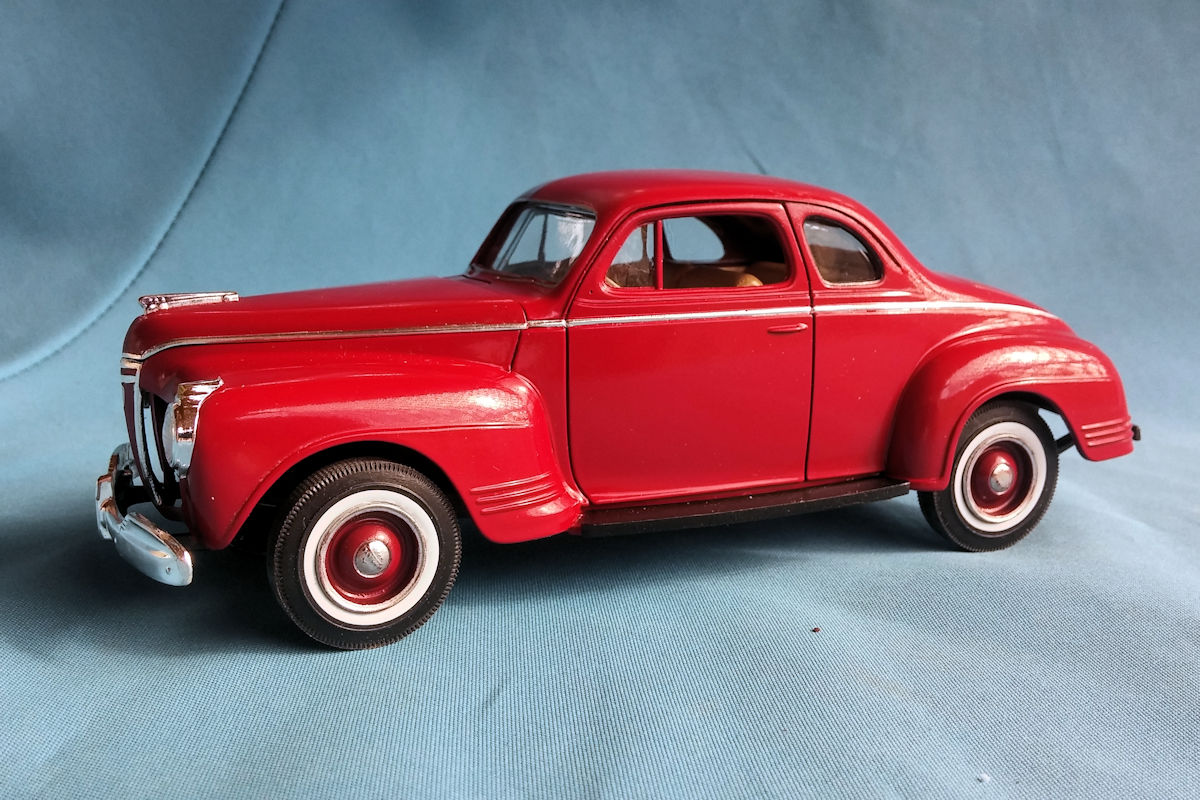
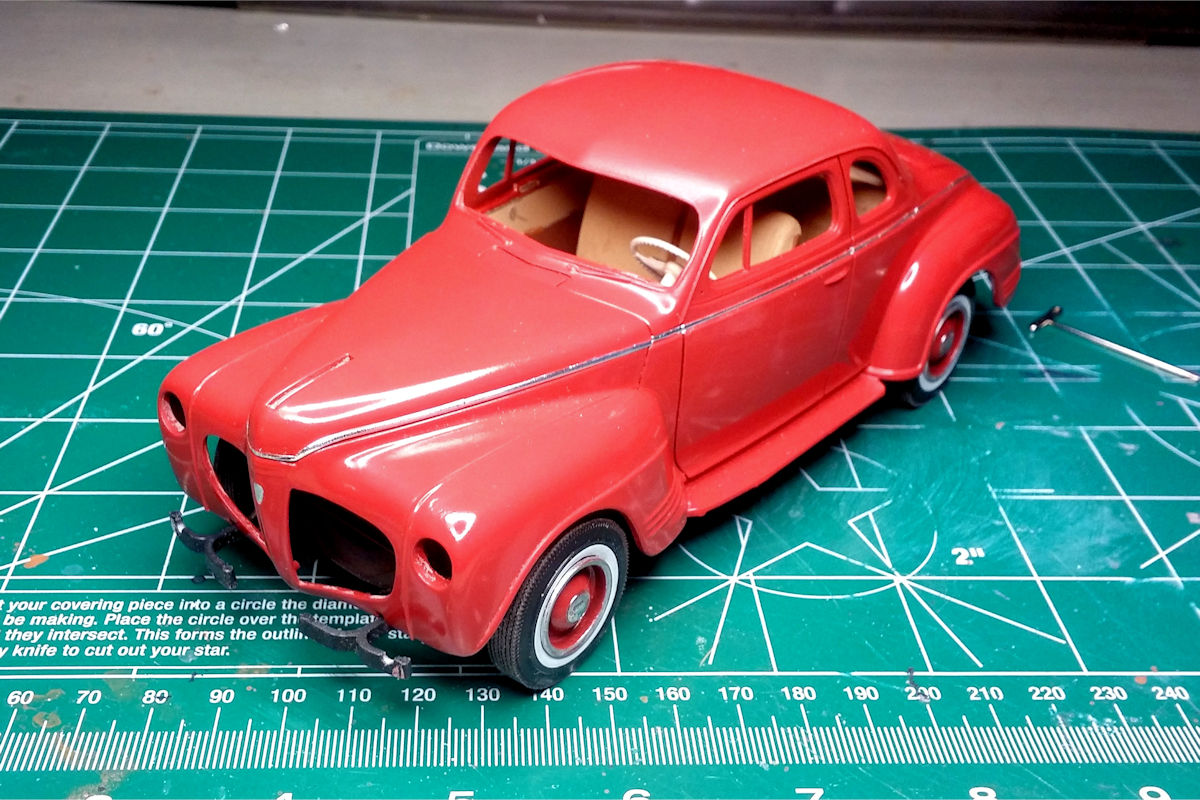
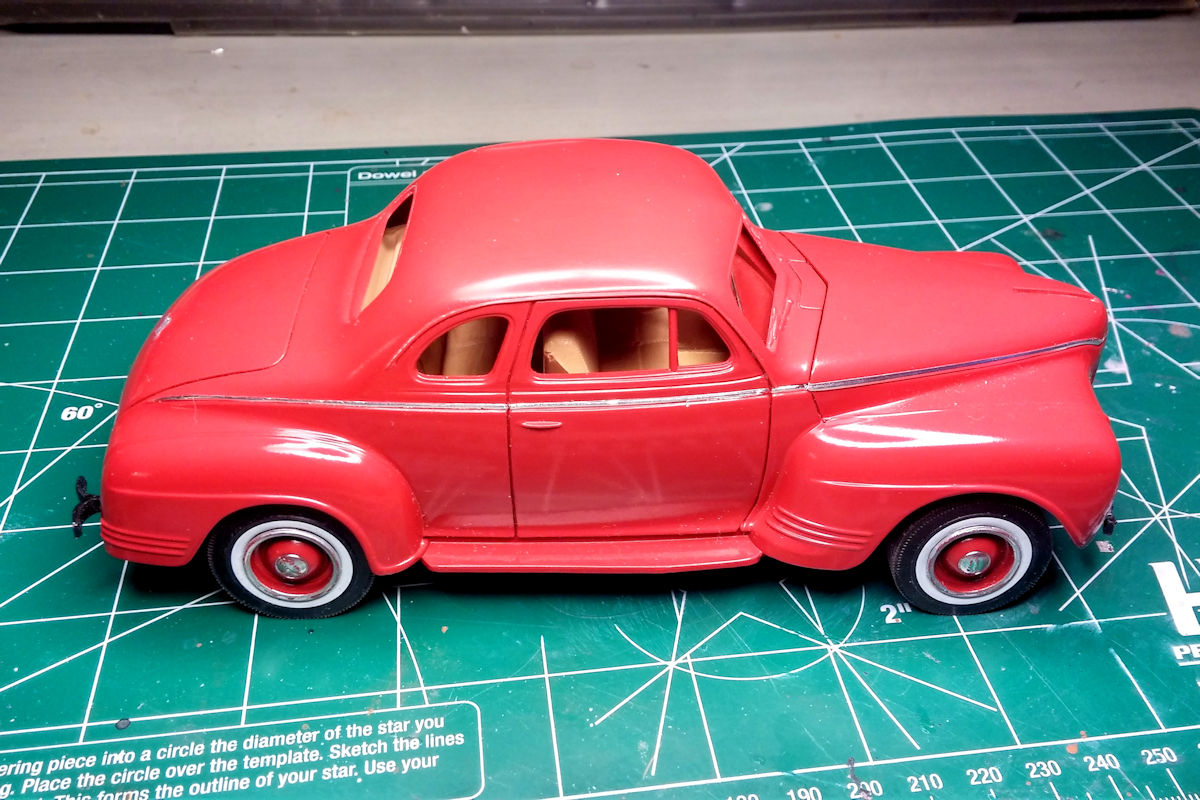
I was hoping that this was going to be my last build of 2016, bit it looks like it will be my first one for 2017. I thought the foil was done but I forgot about the beak. While I was doing that part, I went back and reapplied the foil in some of the less than optimal areas. I also got the headlight and front bumper assemblies fitted. As always, thanks for taking the time to look and please feel free to comment. David G.

-
Thanks John, I actually went back and reapplied the foil in a few areas. I think it was a bit of an improvement. David G.
-
Beautiful work! David G.
-
You're off to a good start. Excellent color choices. David G.
-
Good work so far, love the details. David G.
-
Looks great! Love the weathering. David G.
-
Thanks Danno! Thanks Guy, that's one the things I most enjoy doing. David G.
-
Absolutely Amazing! Davis G.
-
They look good. David G.
-
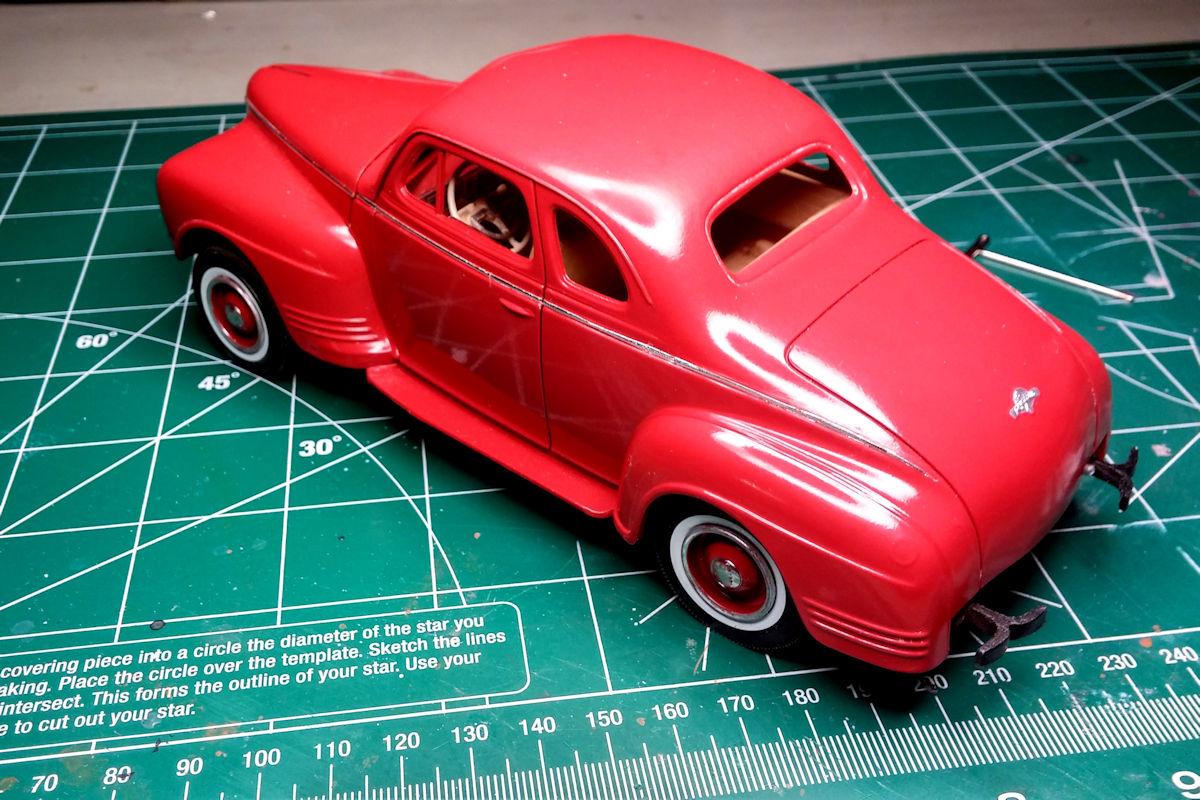
Thanks John. There are a few areas that still need cleaned up and one spot that I may re-do. It's amazing what these cameras pick up! David G.
-
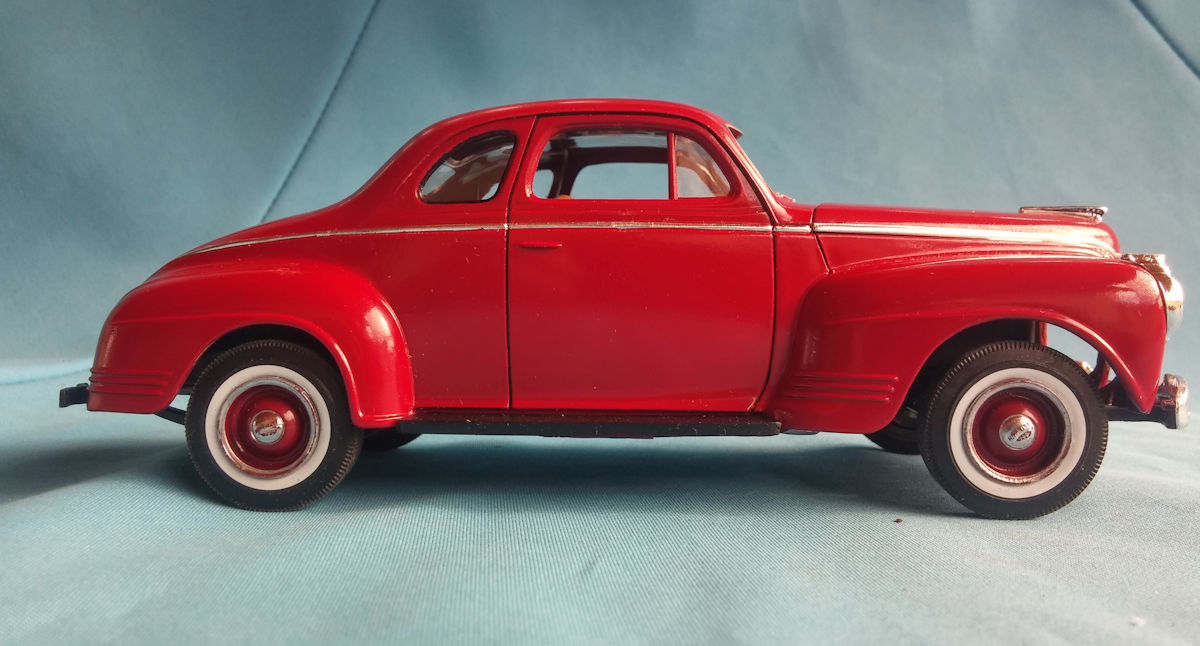
I actually have been working on this time and energy permitting. As proof, here is another minor update. I've polished the paint and finished the foil work. Thanks for looking and as always, please feel free to comment. David G.
-
Interesting. David G.
-
Your weathering and detail are absolutely fantastic. Everything looks realistic. David G.
-
Nicely Done! David G.
-
AMT Piranha Super Spy Car -minor update 1/7/17
David G. replied to talon63's topic in WIP: Model Cars
I have one of these in my stash so I'll be watching for all those pointers, tips and pitfalls. David G. -
Looks absolutely perfect! David G.
-
I agree, best version ever. David G.
-
Excellent work- the weathering is great. David G.
-
Nice work so far! David G.
-
Thanks JT, I'm glad you like it. David G.
-
Spectacular work and well photographed! Any of them could easily pass for 1:1. David G.
-
Very well done! The woodwork and added details are excellent, David G.
-
Spectacular work! David G.