mrmike
-
Posts
5,325 -
Joined
-
Last visited
Content Type
Profiles
Forums
Events
Gallery
Everything posted by mrmike
-
Thank you Carl!
-
Great looking T-Bird! Love the color!
-
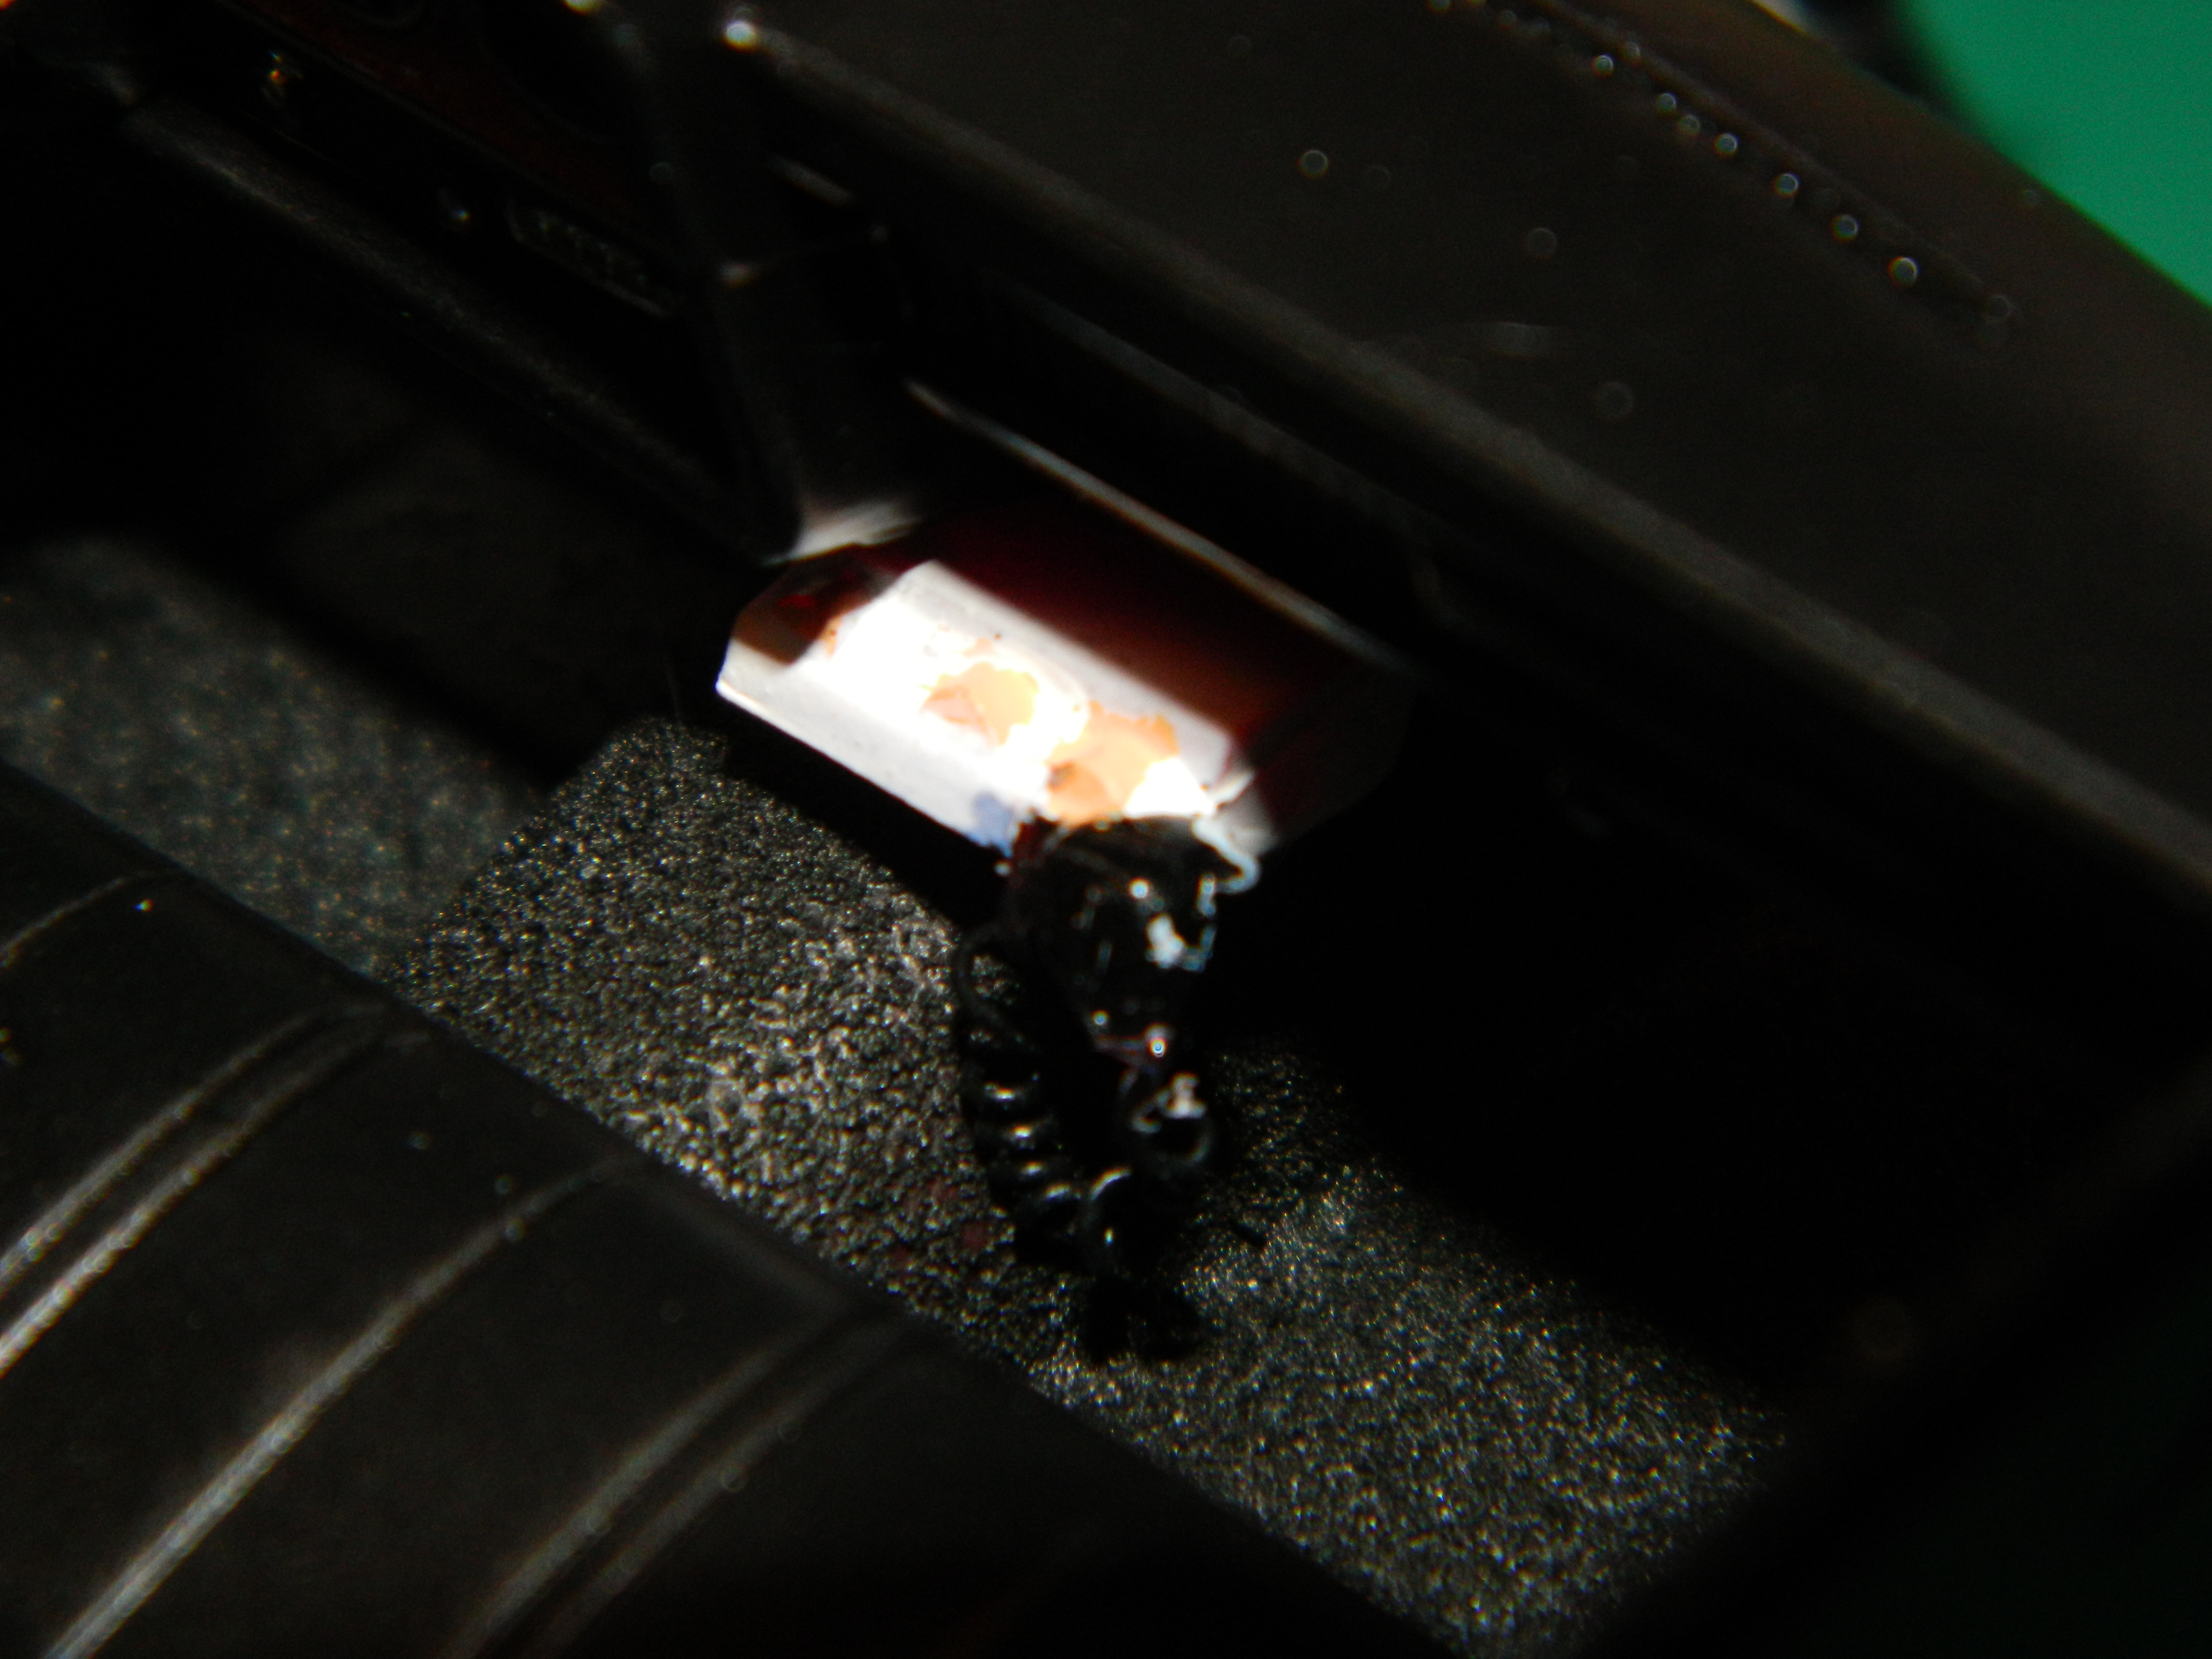
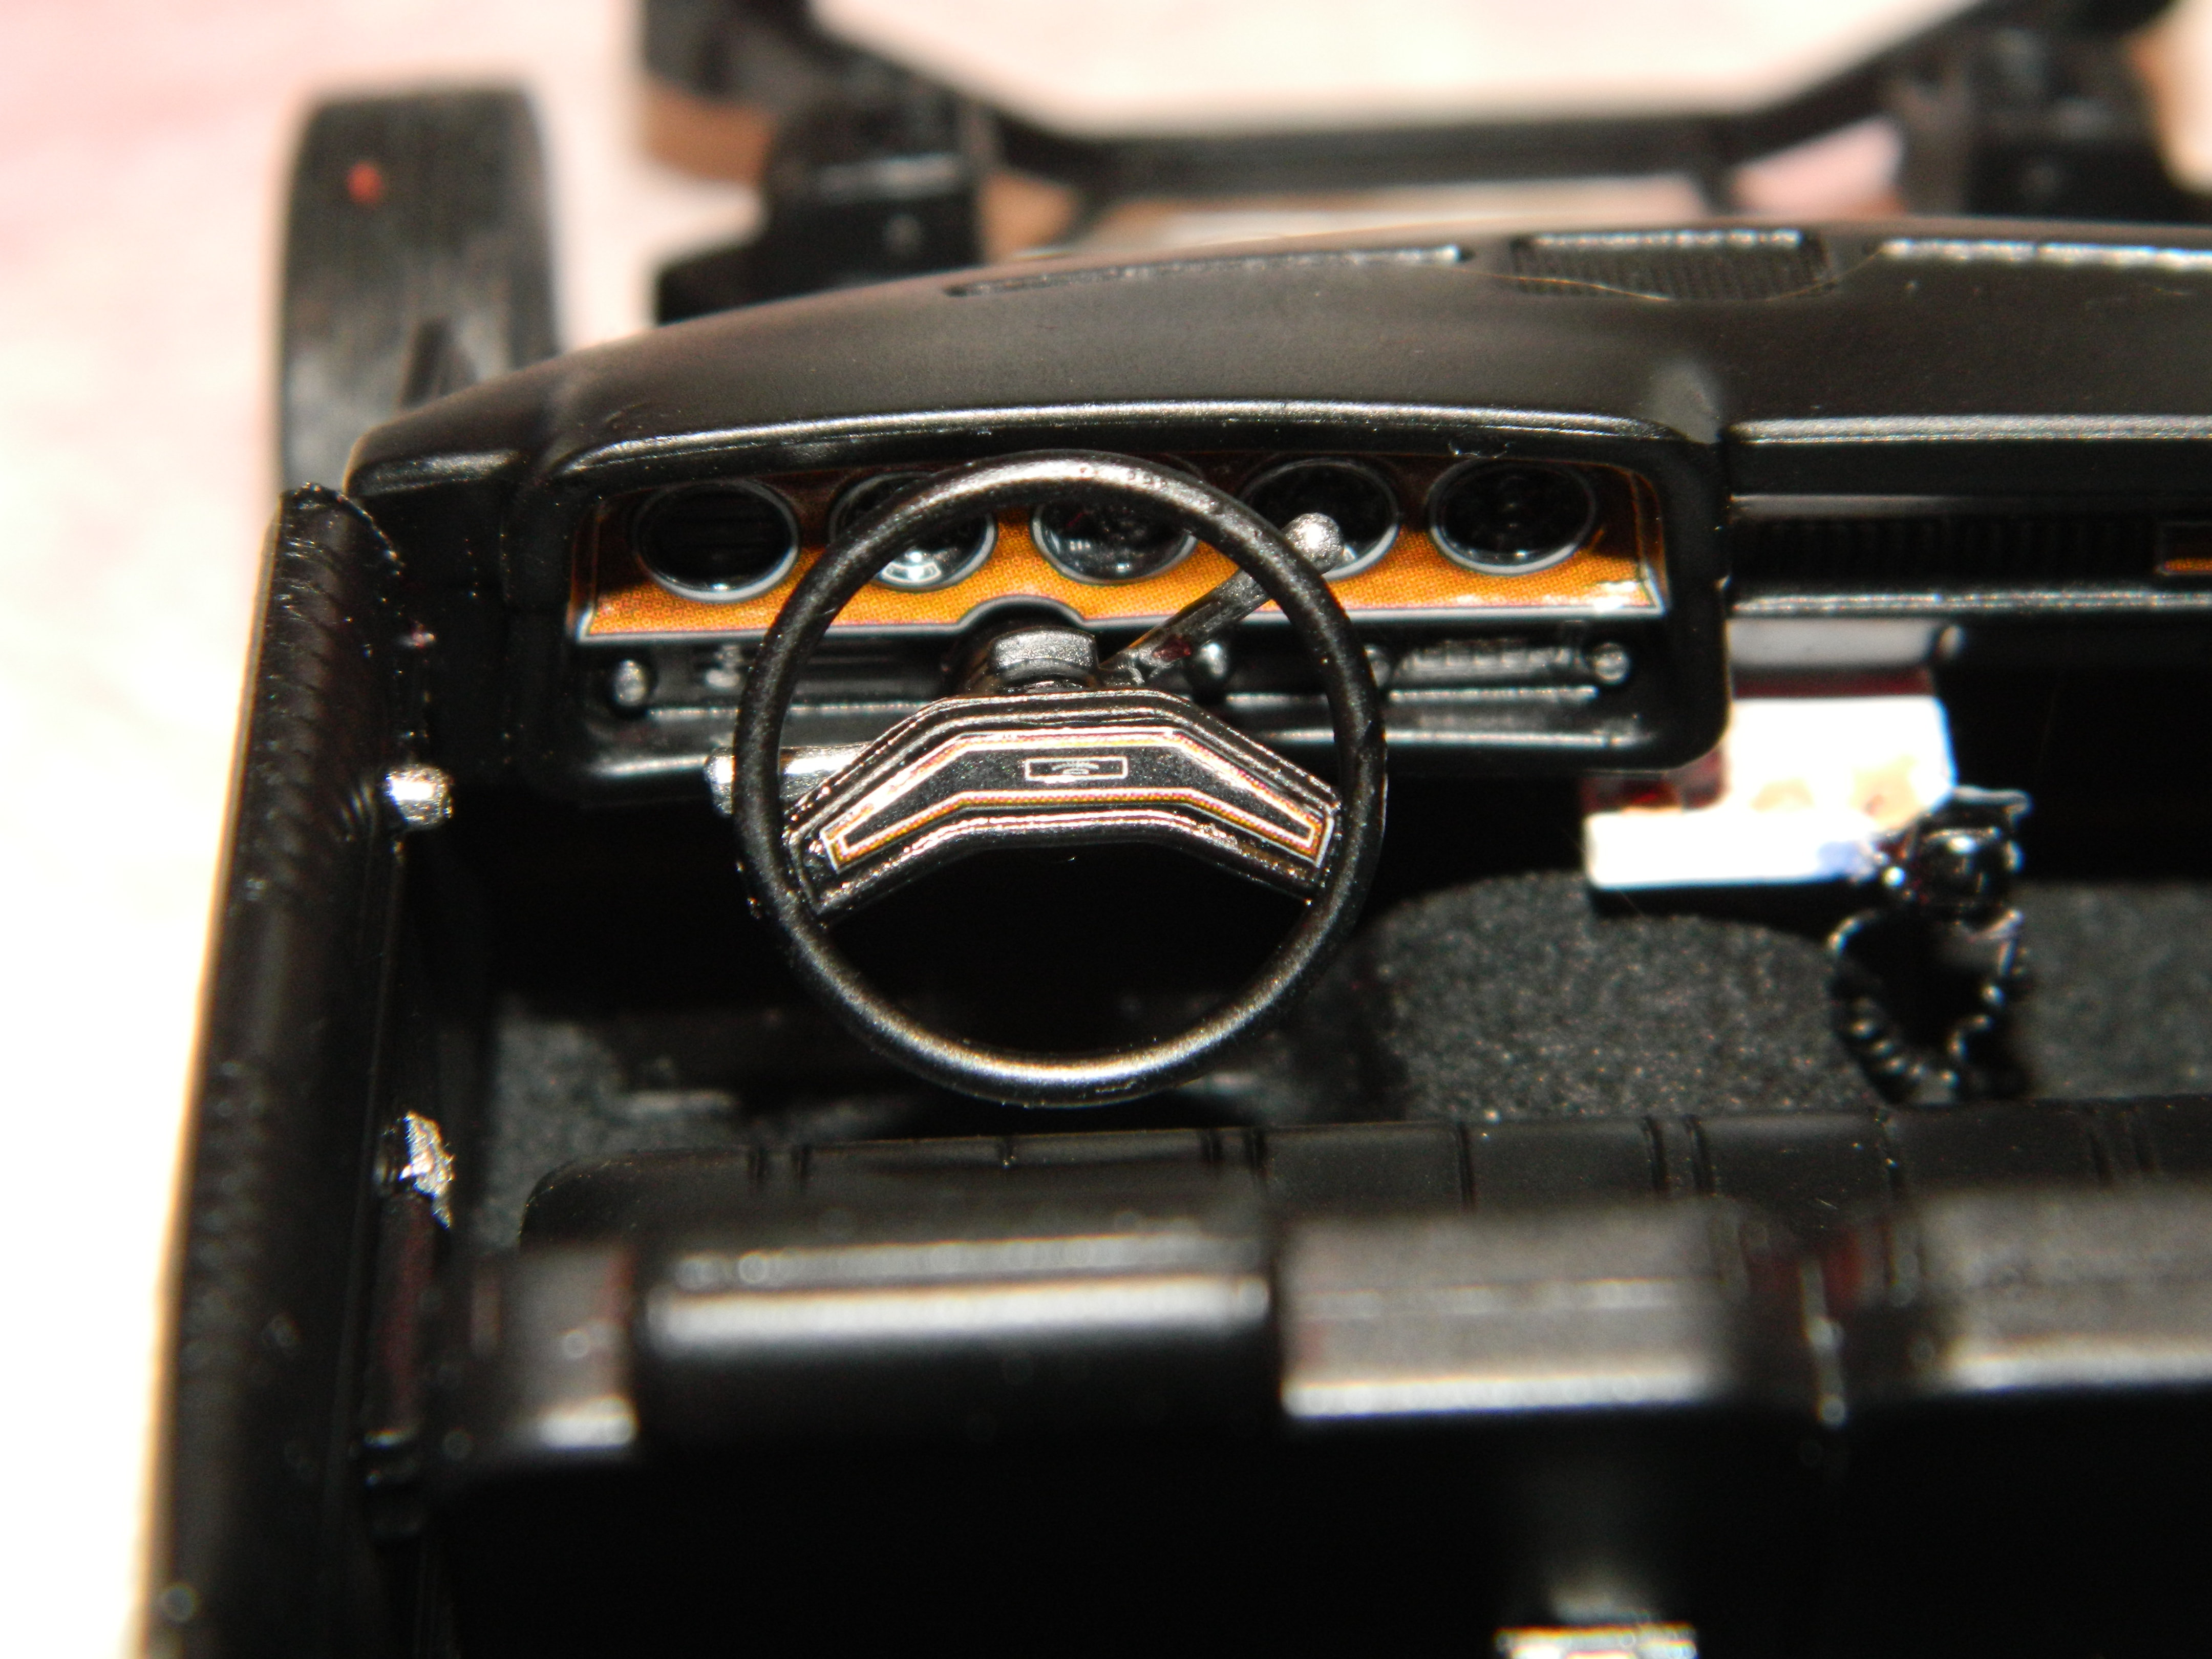
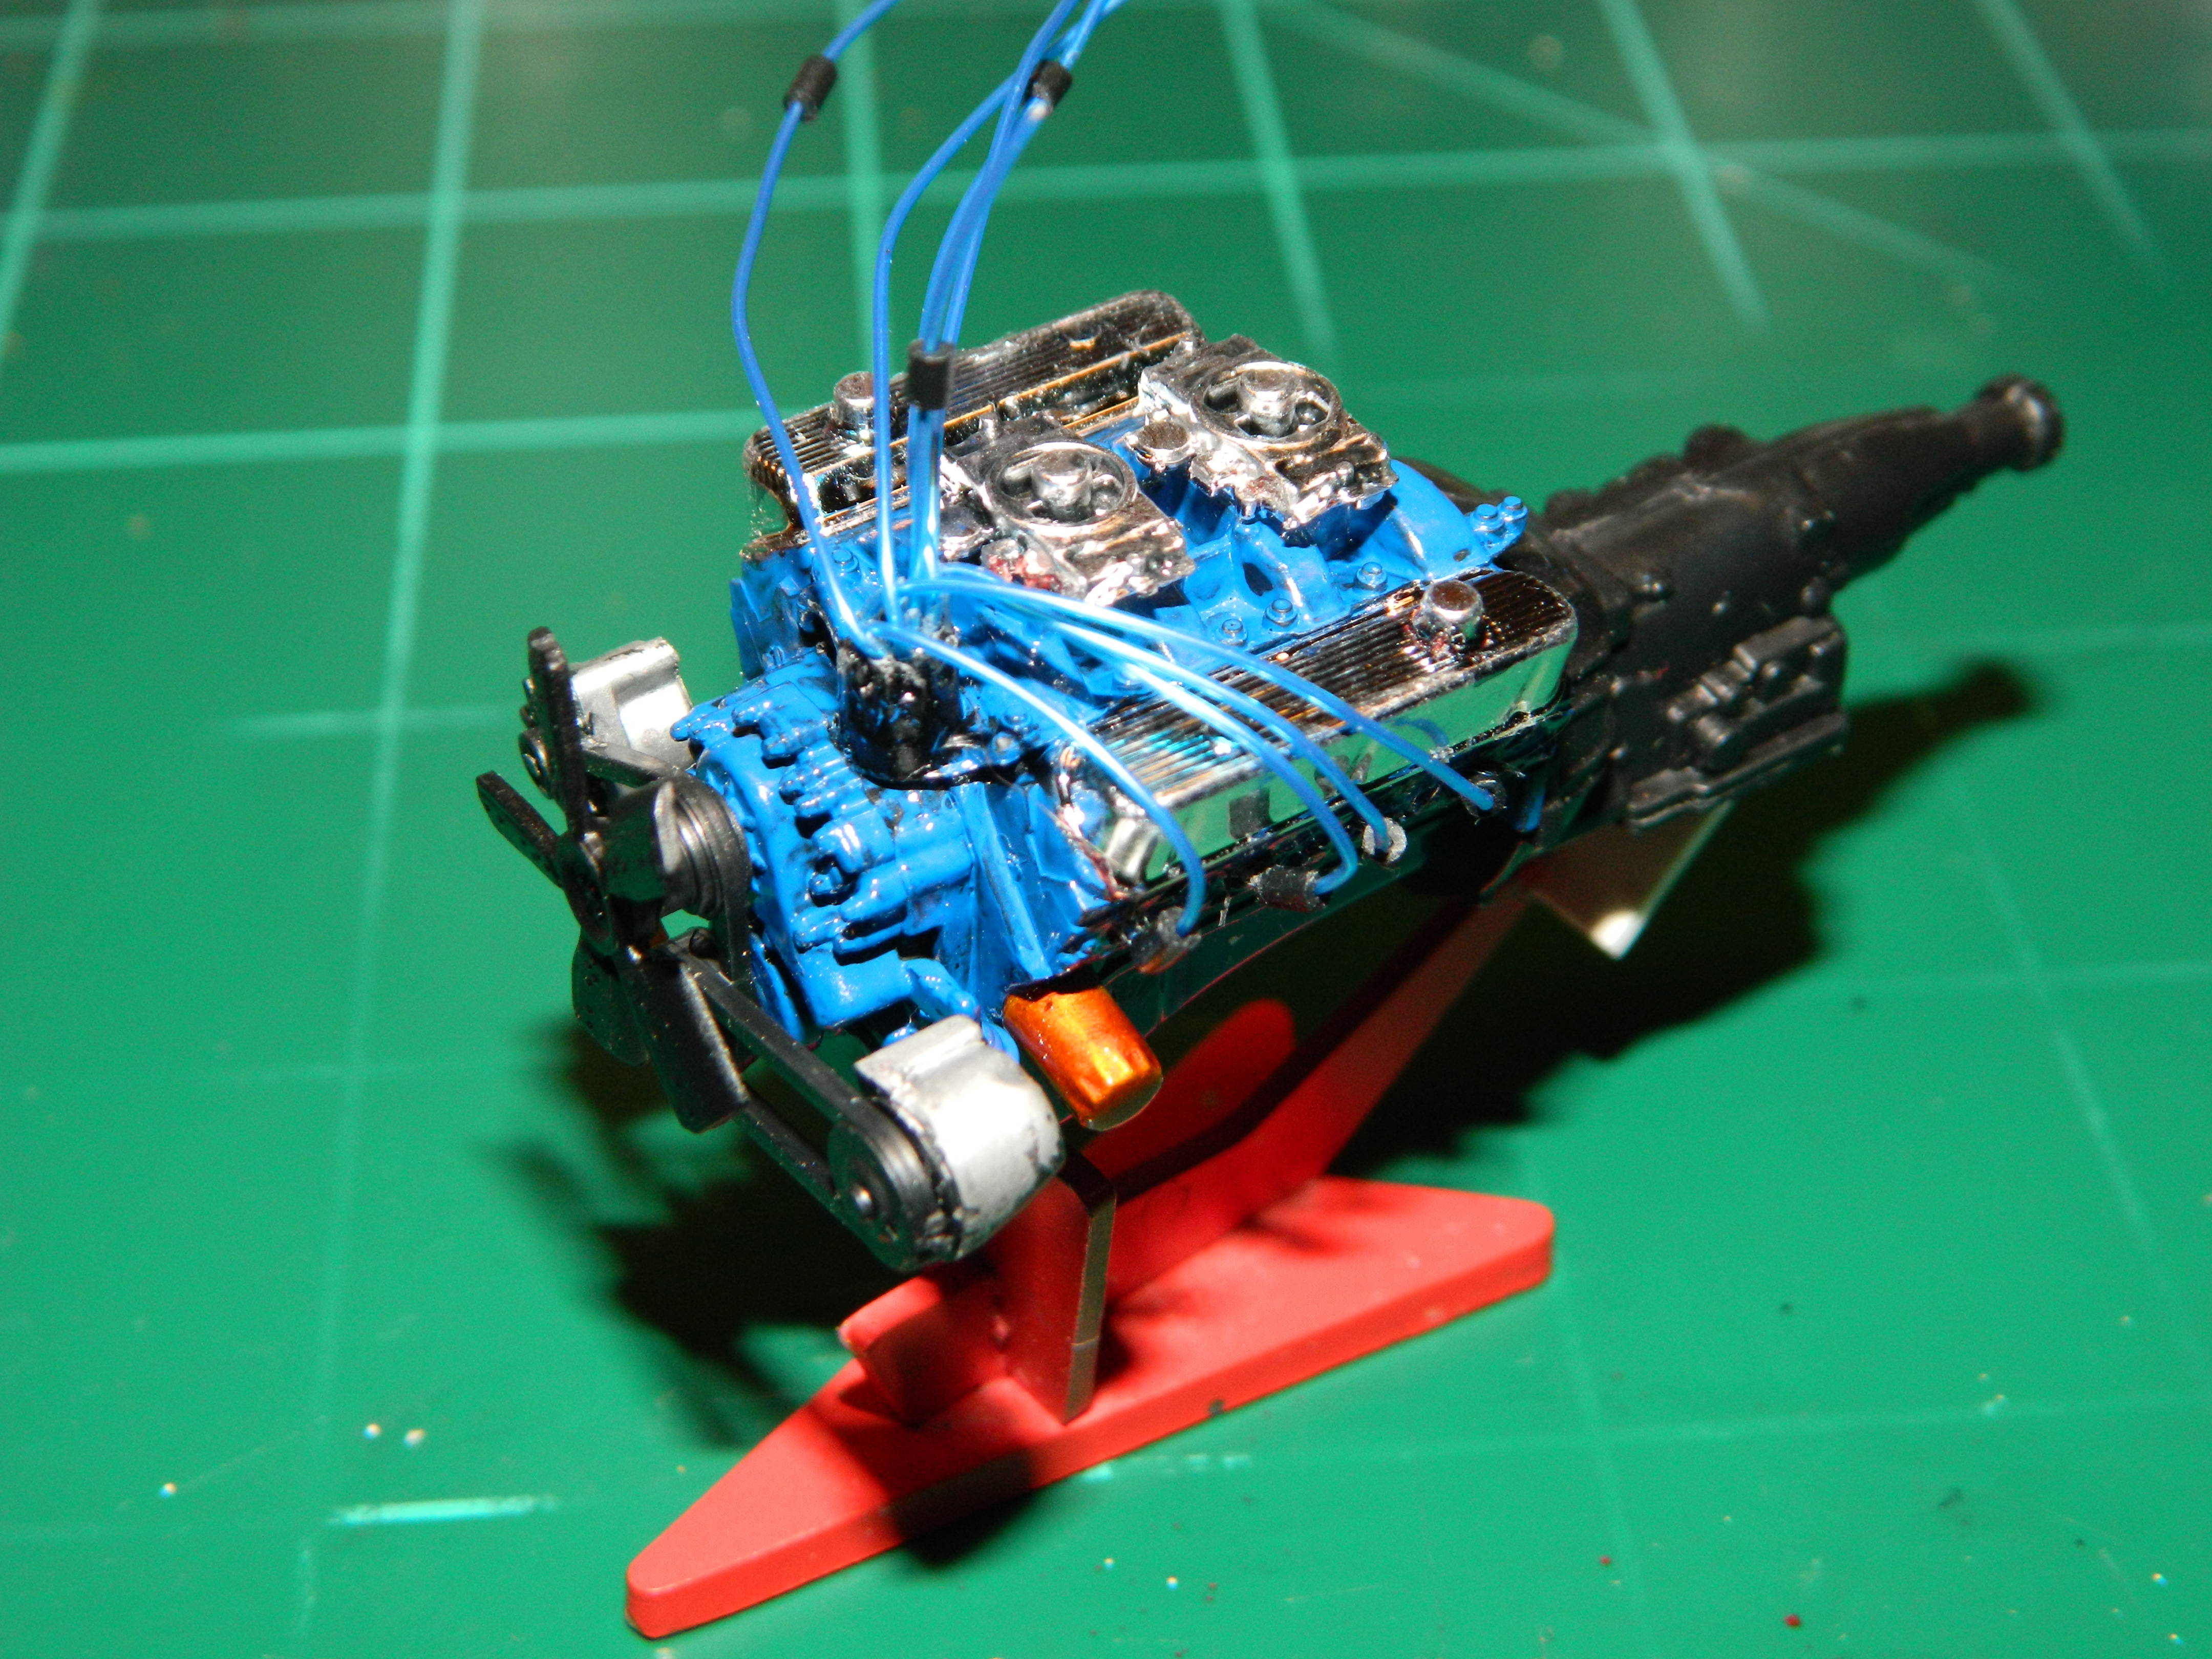
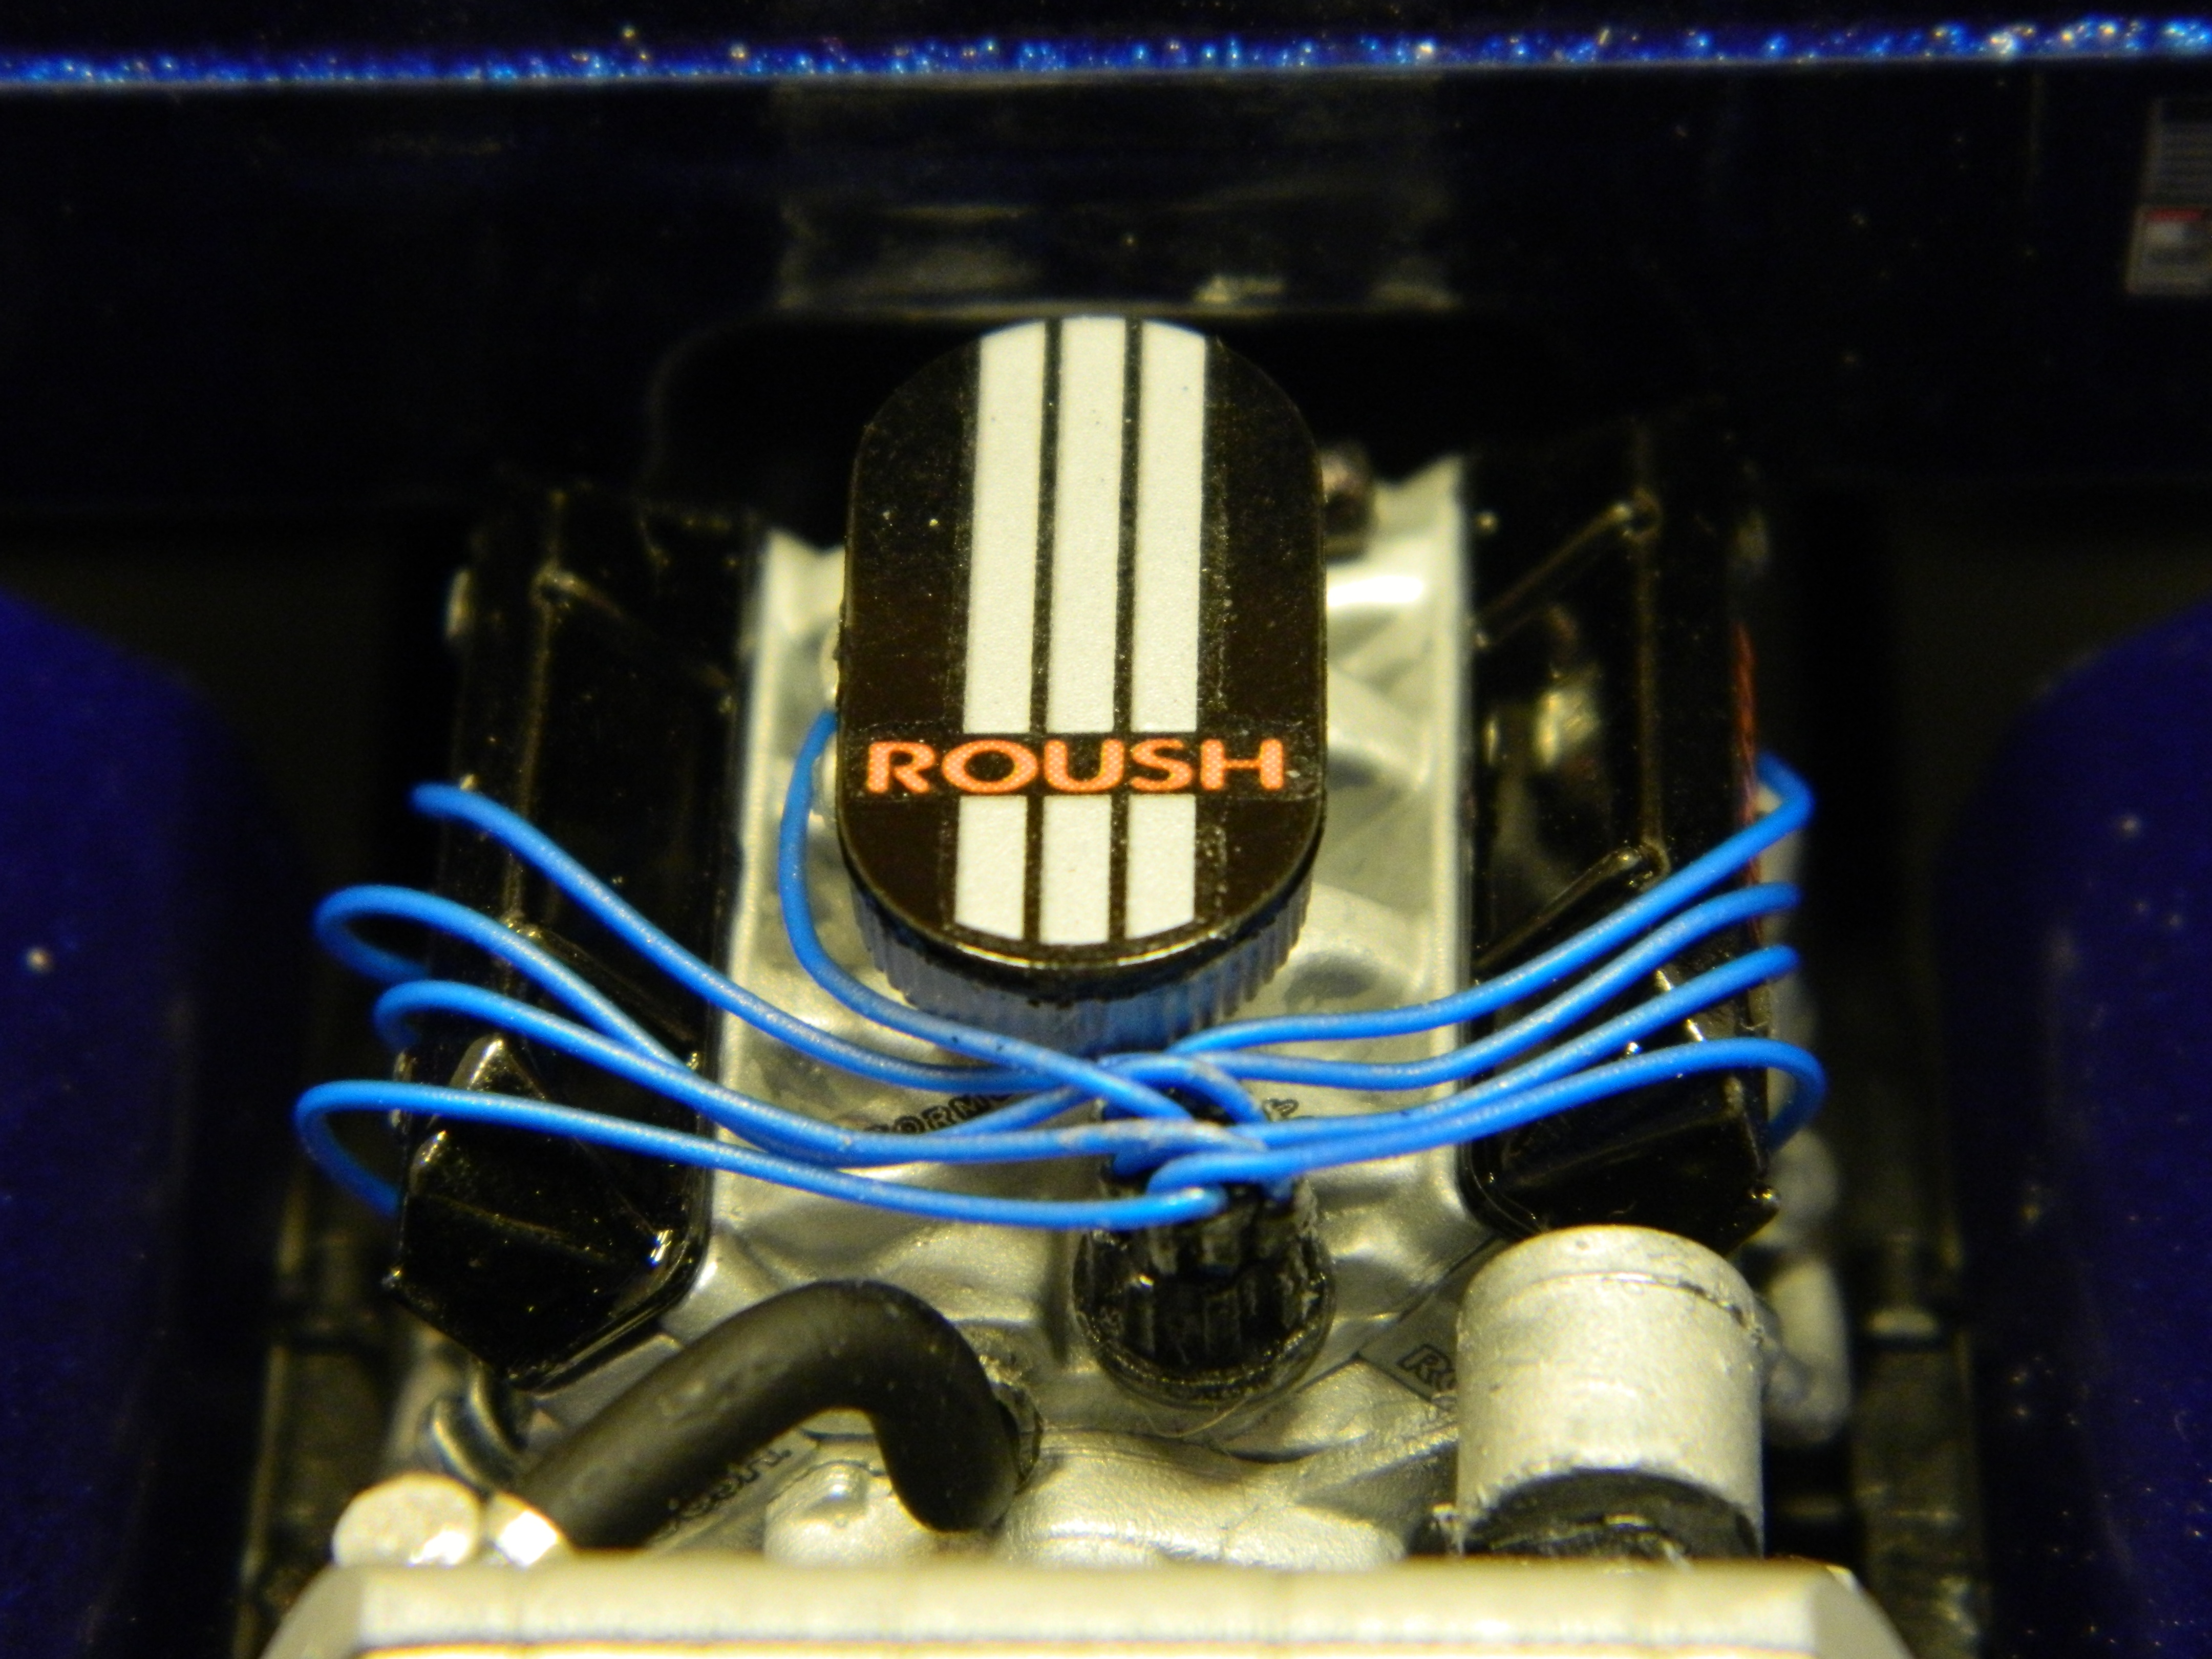
Thank you Dave! I decided to change the microphone cord on the two-way radio. I coiled a piece of black coated wire and drilled two holes in the radio and glued the wire in. I removed and remounted the steering wheel since it was on the steering column cock-eyed. I added a coat of flat clear to the chrome carbs and when that was dry, I started wiring the engine. One side done, the other to go... More to come...

-
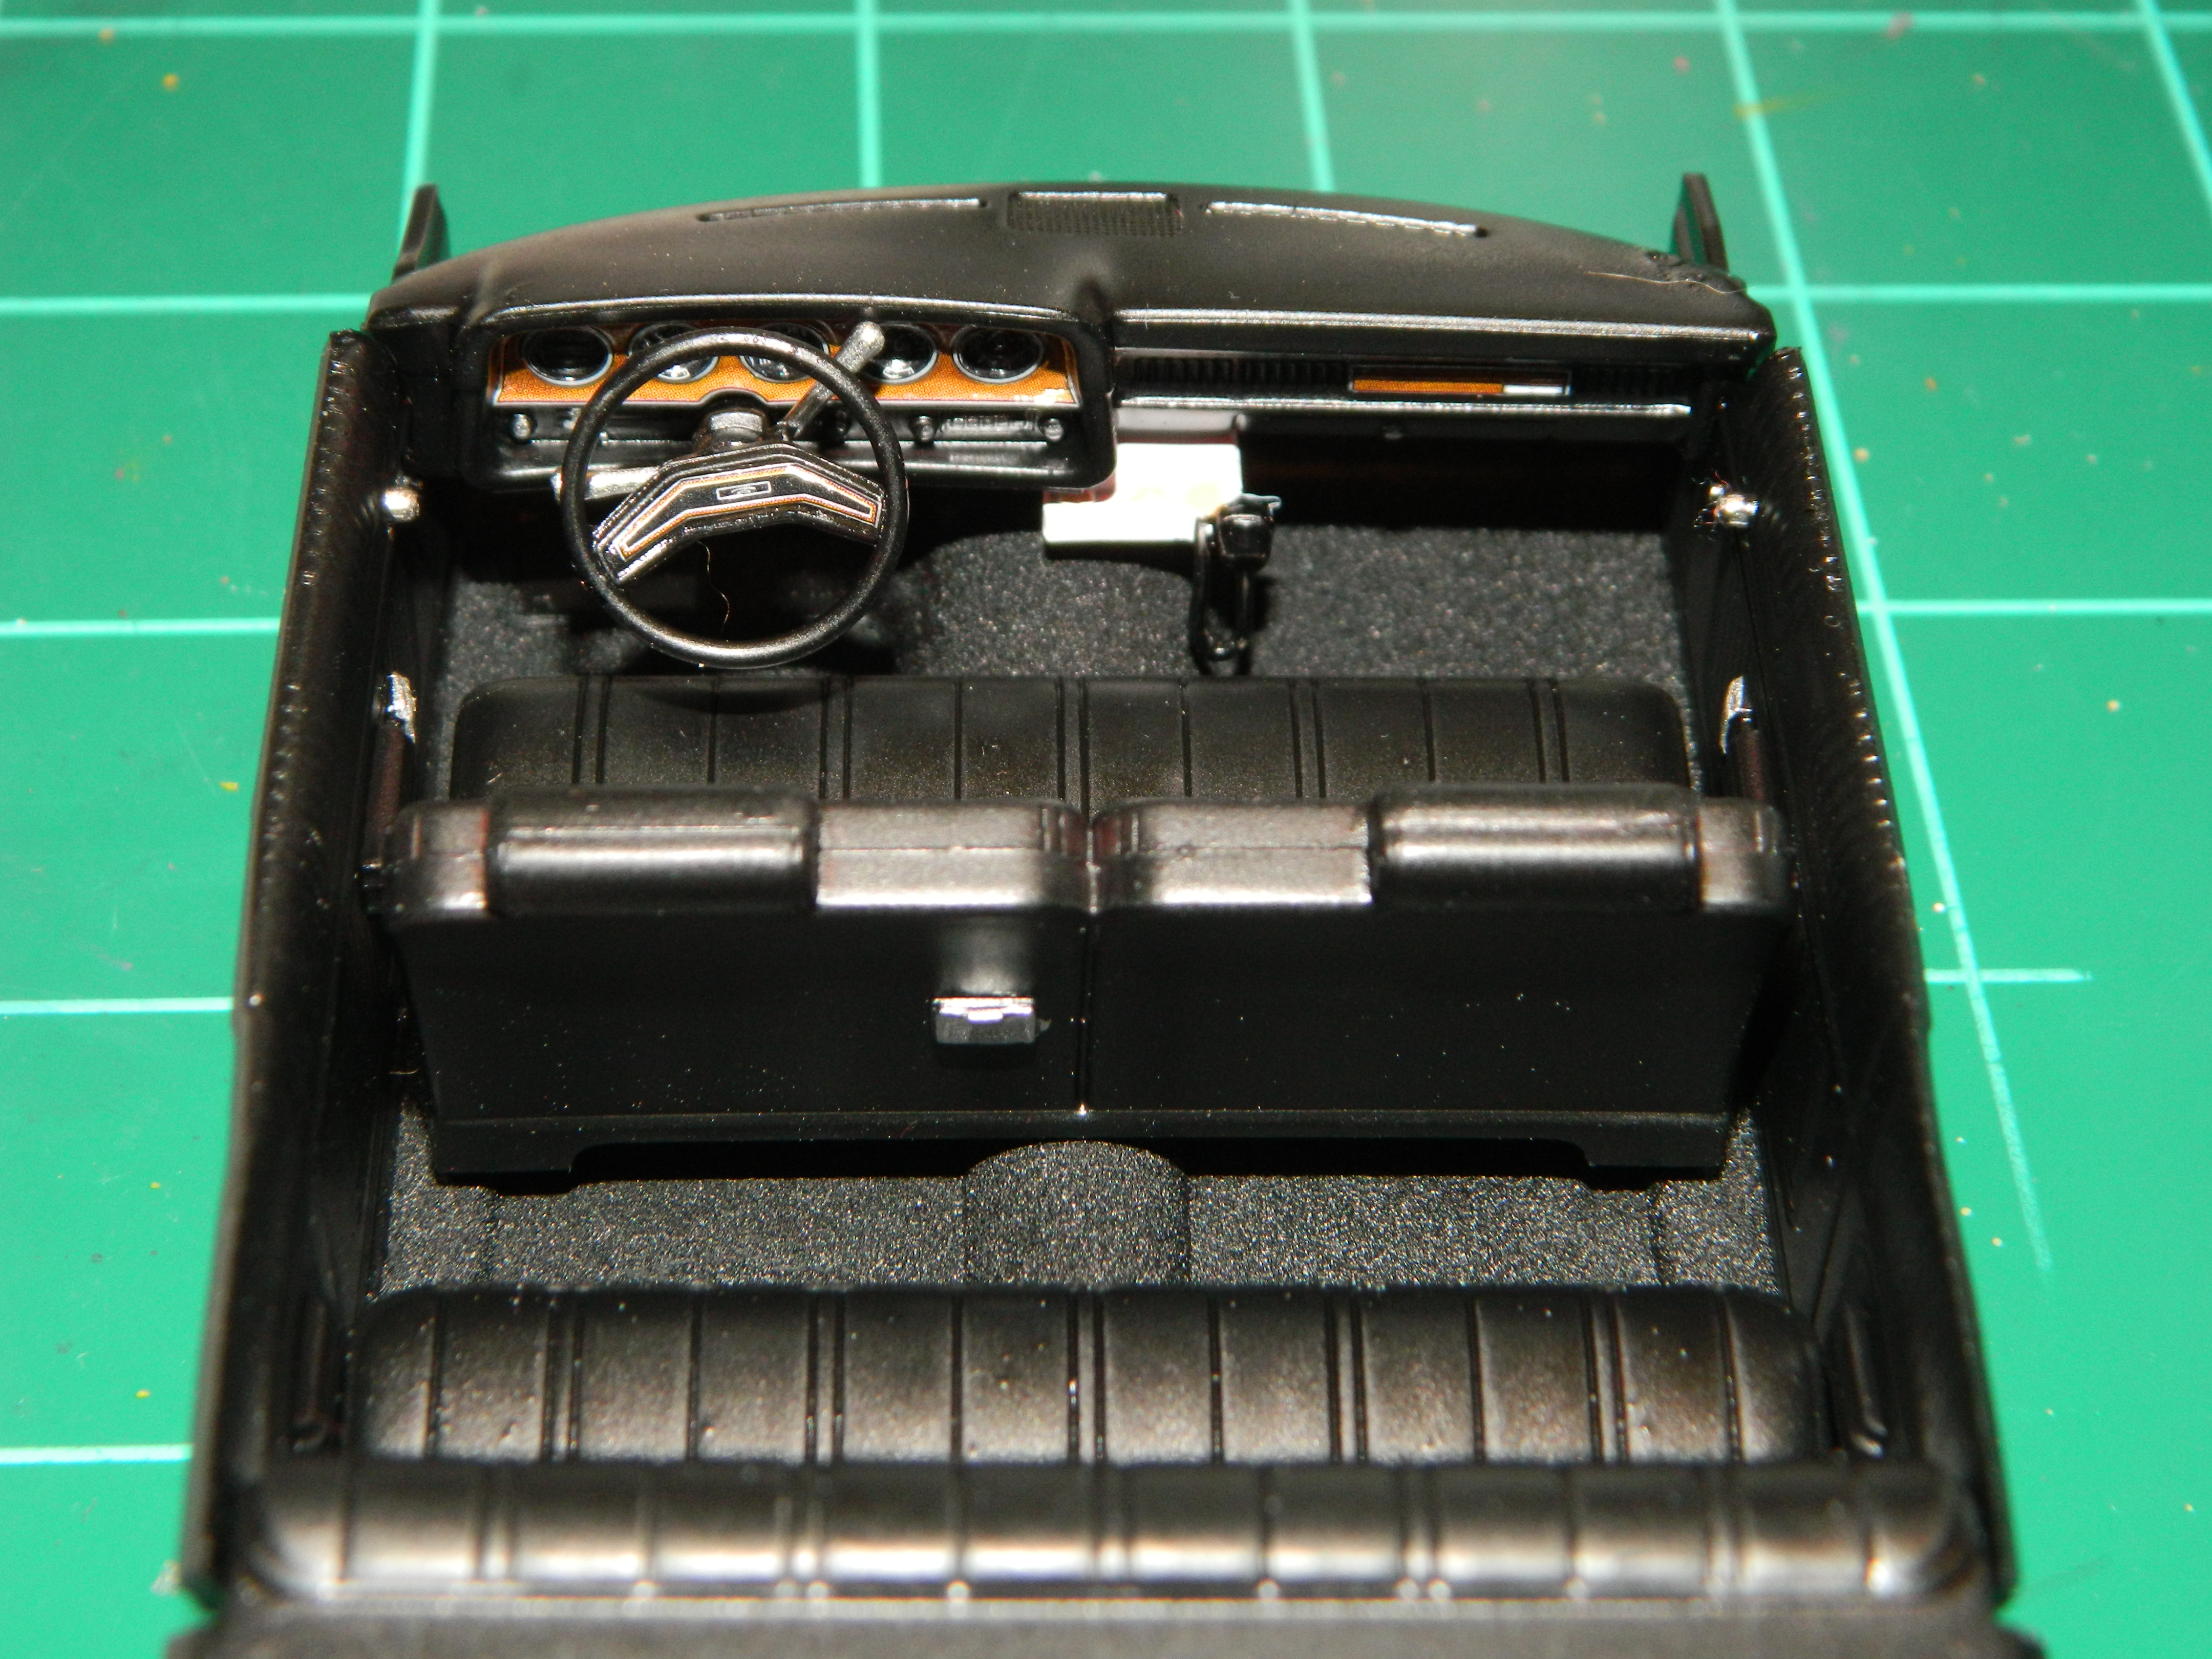
Thanks Jeremy! Last night before turning in, I applied the decals to the dash and let them dry overnight. I assembled the dash and the interior this morning. More to come...
-
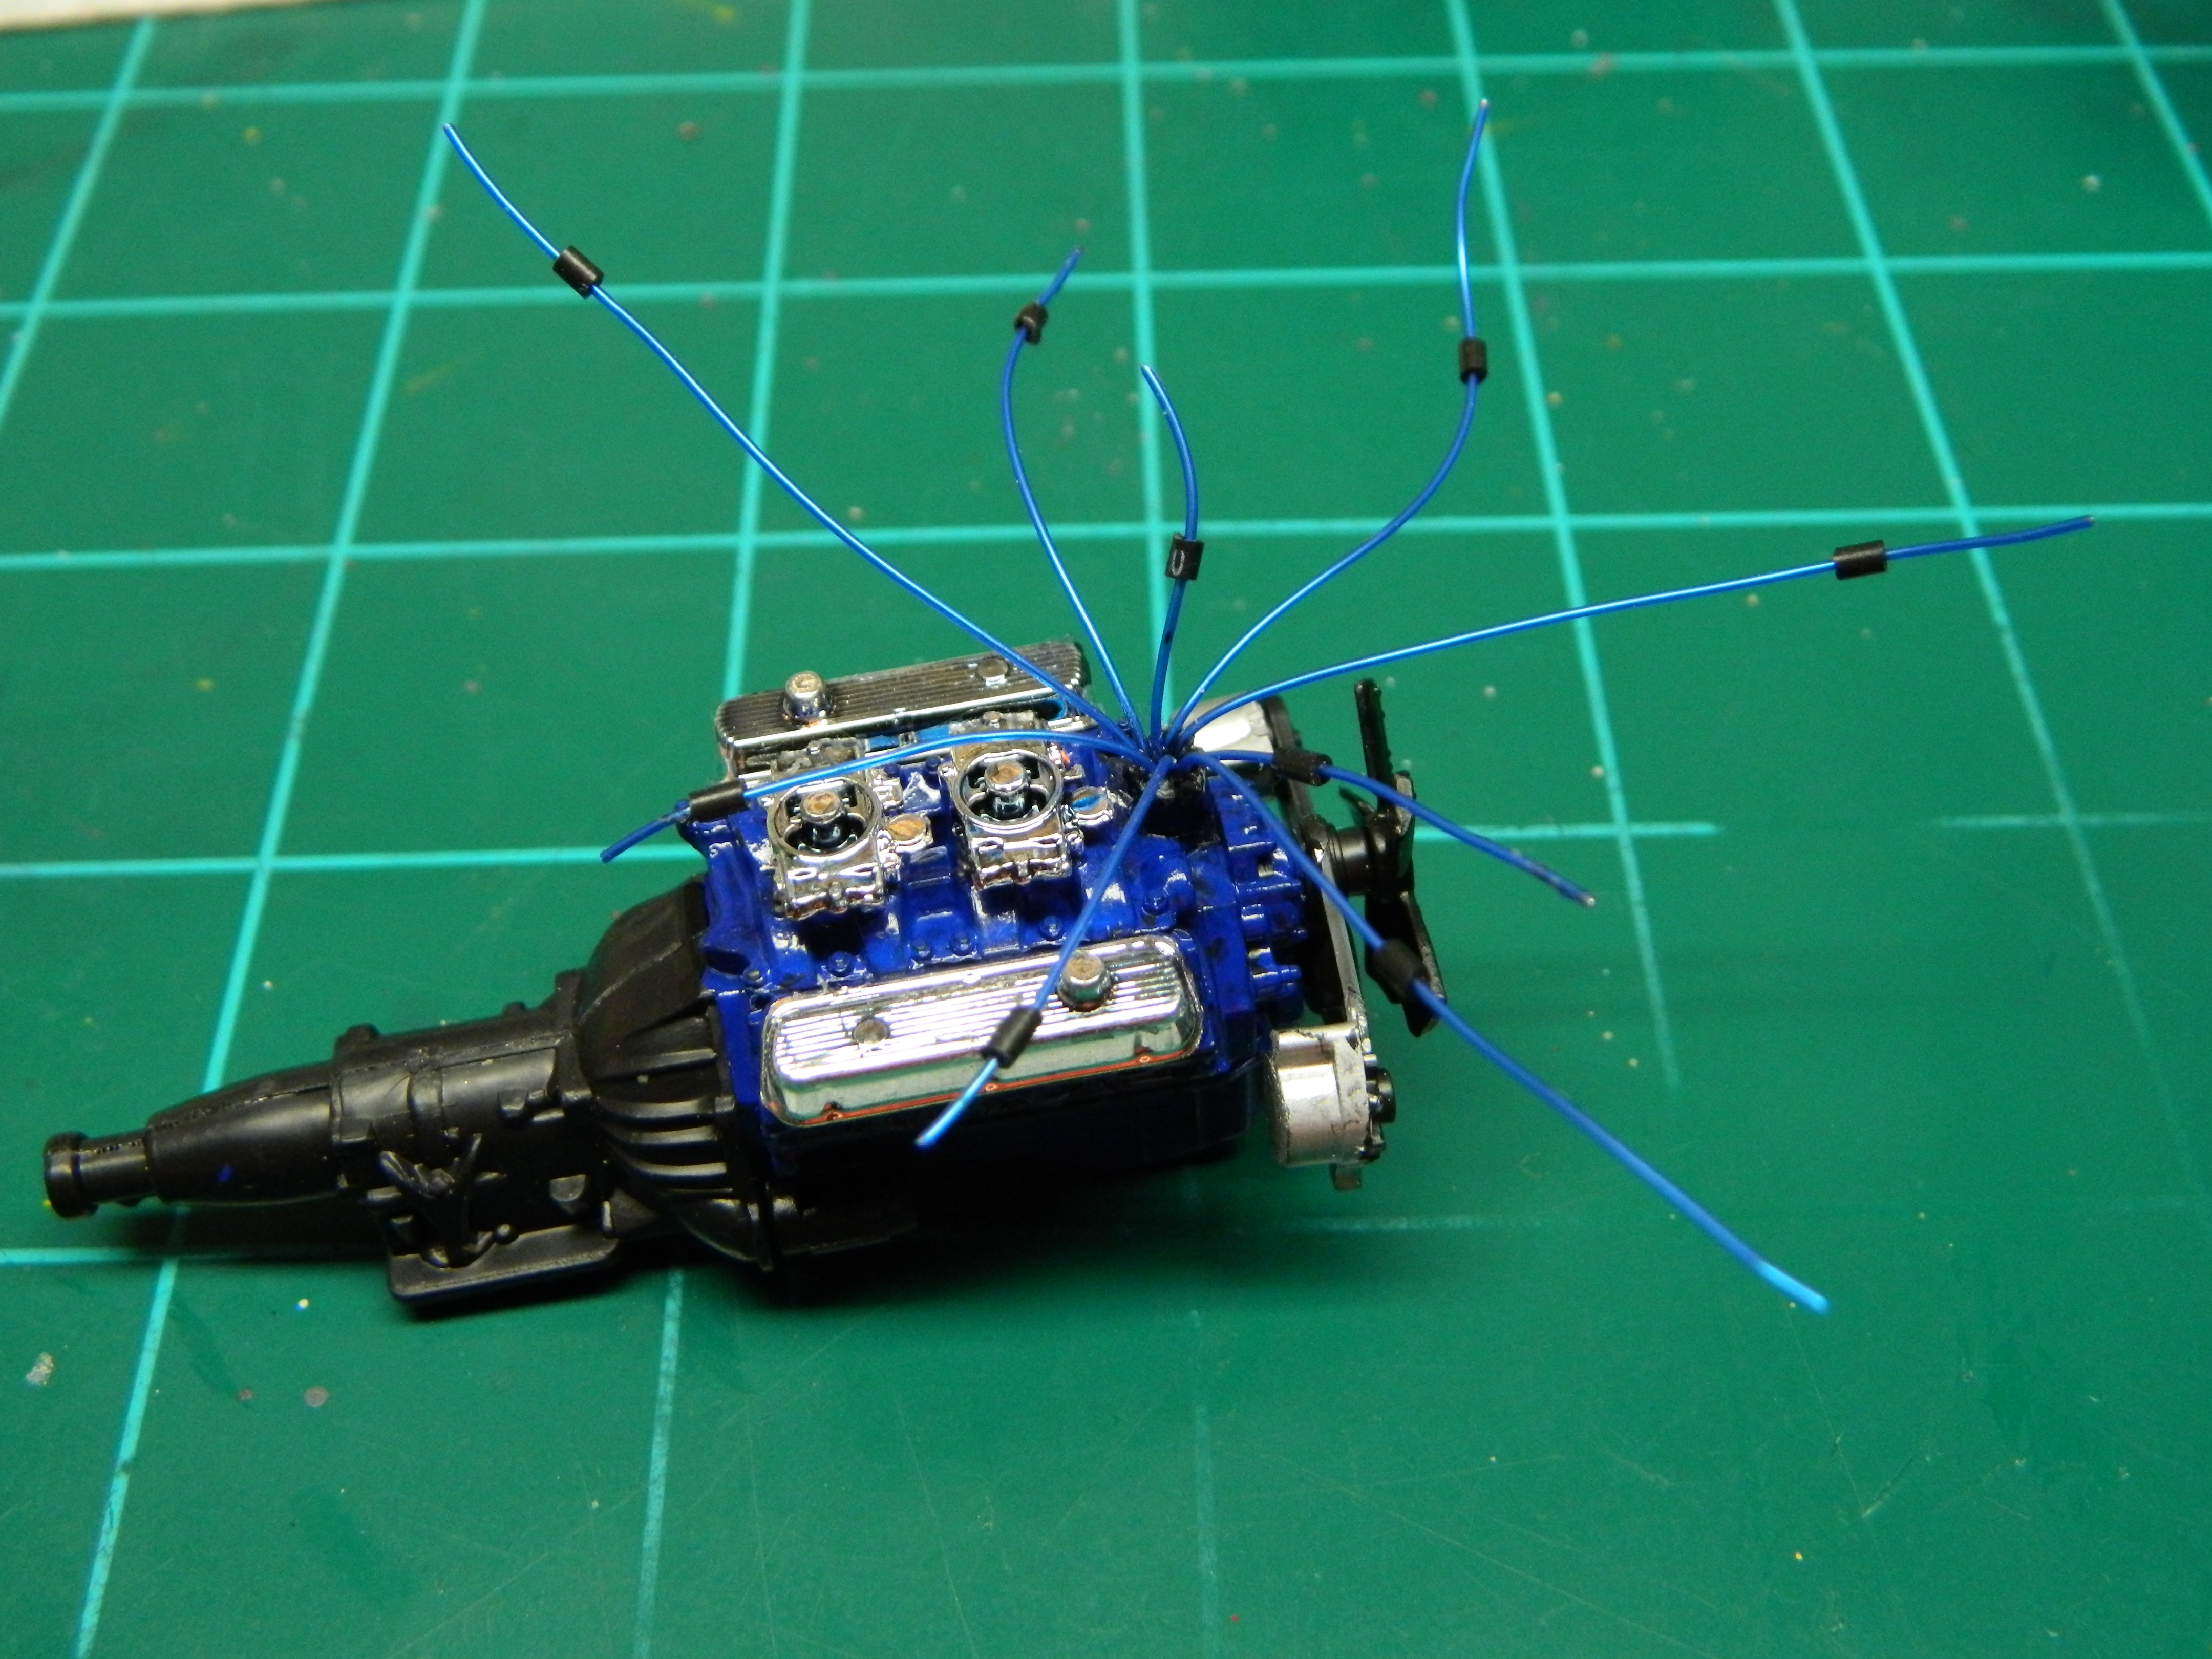
A little bit of progress this morning. I added another coat of Tamiya TS-29 Semi Gloss Black to all of the interior parts. There is a nicely detailed distributor on this engine and I had attempted to add individual wires to the cap. That didn't work out so well and I drilled one hole in the center and added all the plug wires to and fanned them out. I'll cross them over the top of the cap to the various plug holes I drilled in the block. More to come...
-

SSRN Seaview
mrmike replied to mrmike's topic in WIP: All The Rest: Motorcycles, Aviation, Military, Sci-Fi, Figures
WOW! 4 1/2 years since my last posting on this thread. Lately, I have been staring at the incomplete Seaview sitting in front of my bookcase and thinking about it some. I think I should get back to working on the Seaview and try to finish it this year. -
Foose Ford FD100 Pickup
mrmike replied to mrmike's topic in Model Trucks: Pickups, Vans, SUVs, Light Commercial
I brought the Foose Ford FD100 Pickup to my Club meeting yesterday and was awarded an award for Best Show-N-Tell.
-
1971 Mustang Mach1 upgraded with Missing Link front end conversion kit.
mrmike replied to RandyB.'s topic in Model Cars
Fantastic looking Mach I Randy! Great job! -
`Polished Plastic ; Please Share'
mrmike replied to 1972coronet's topic in General Automotive Talk (Trucks and Cars)
If the flaws on the body are minimal to non-existent, painting the inside of the body flat black is fine. If there are sink marks or other defects, then fill the mark with putty and paint the body after your bodywork is finished in whatever color you want. The flaws in mine were so small that I didn't bother trying to correct them. I polished mine because I like the color of the plastic and painting the body would have been more work for me at the time. -
`Polished Plastic ; Please Share'
mrmike replied to 1972coronet's topic in General Automotive Talk (Trucks and Cars)
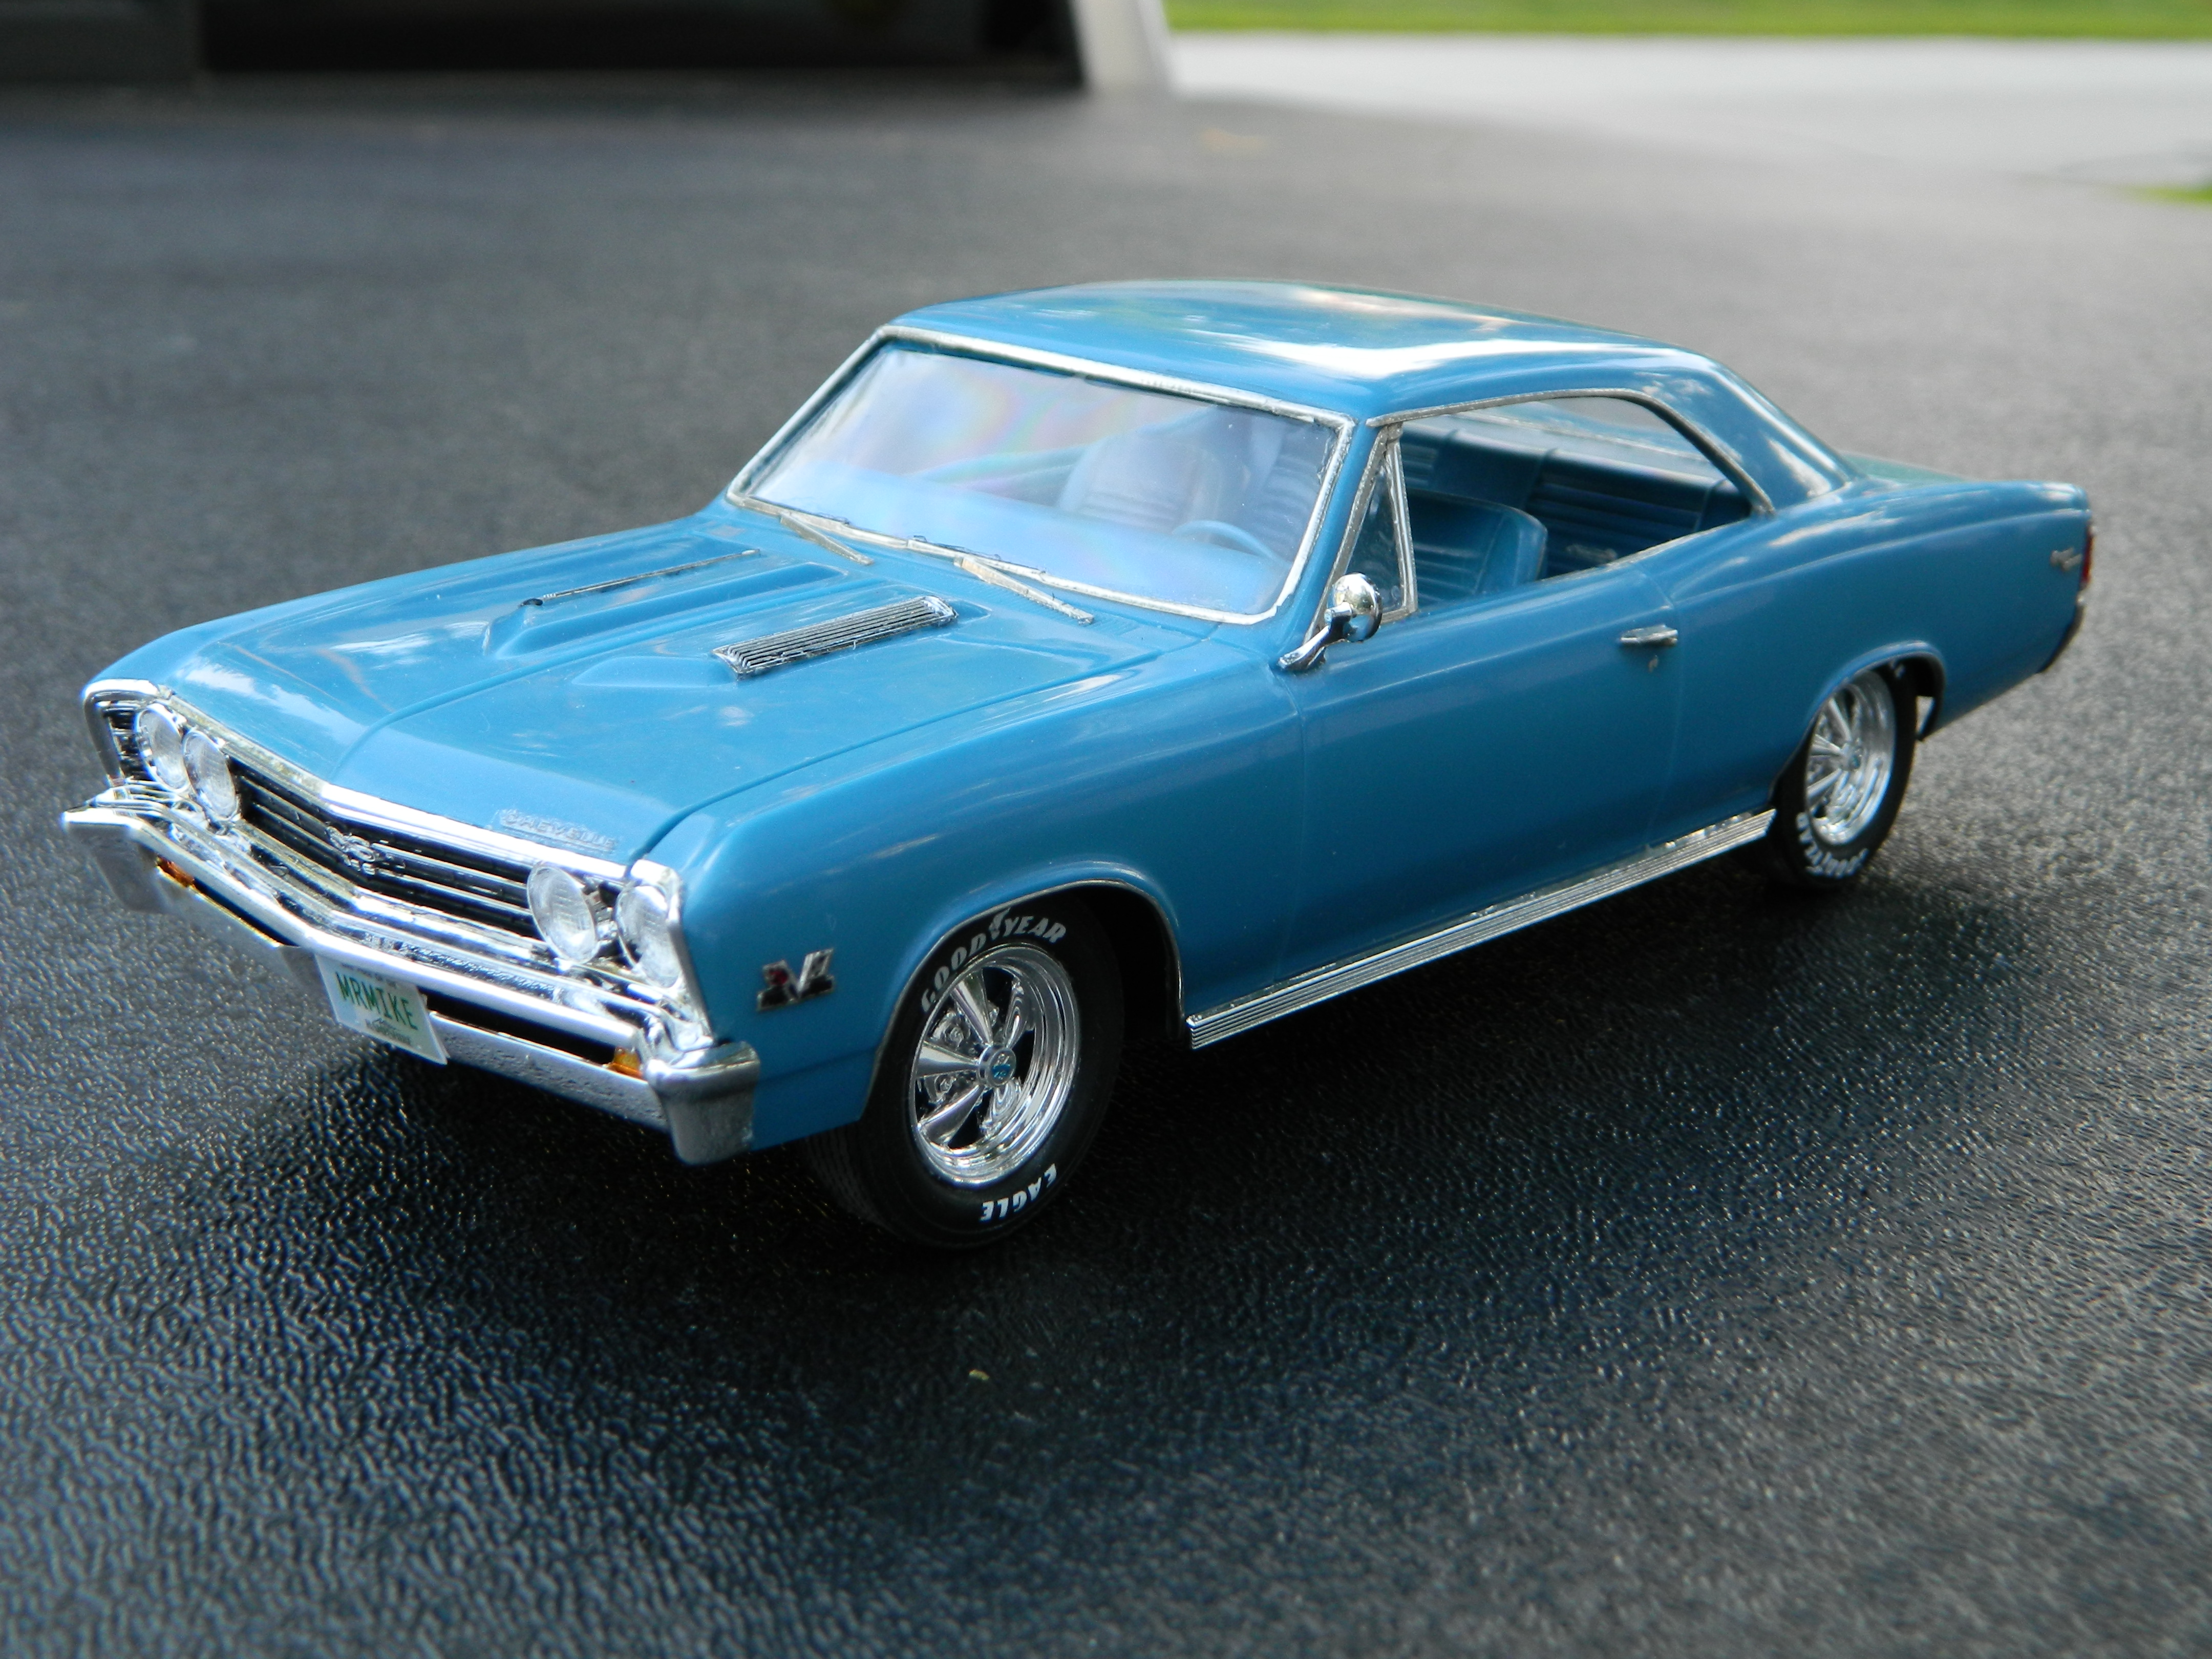
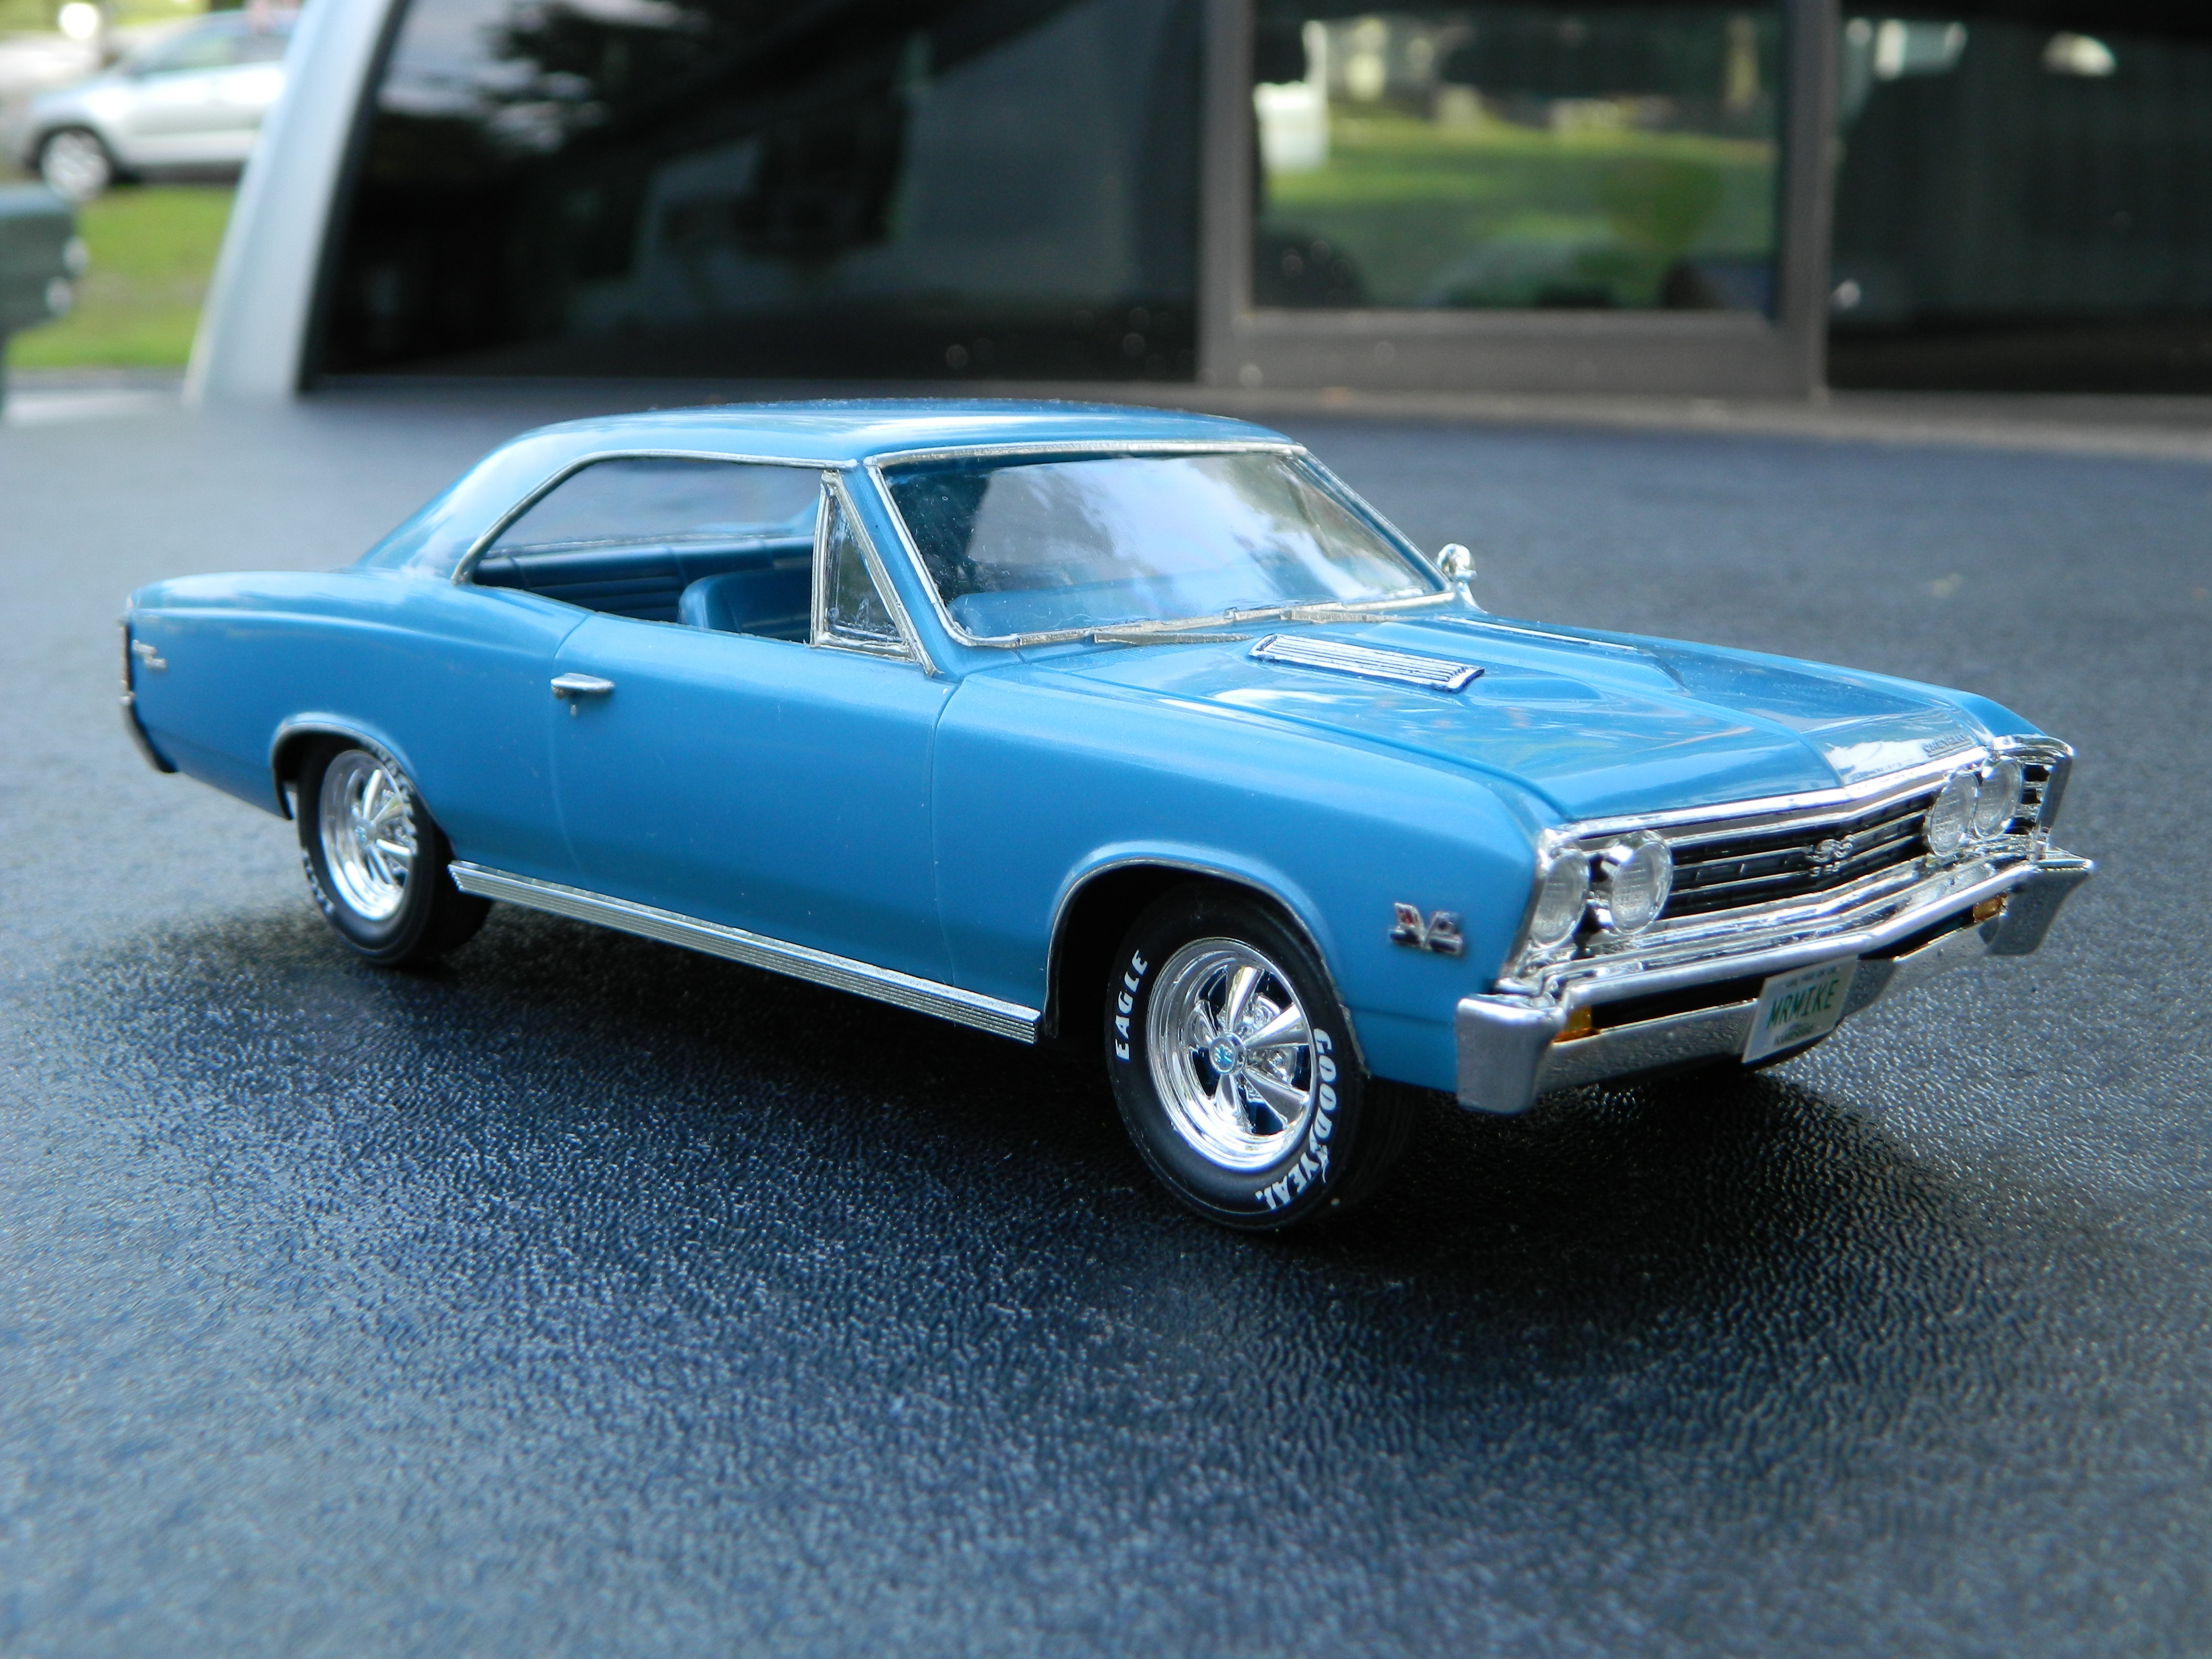
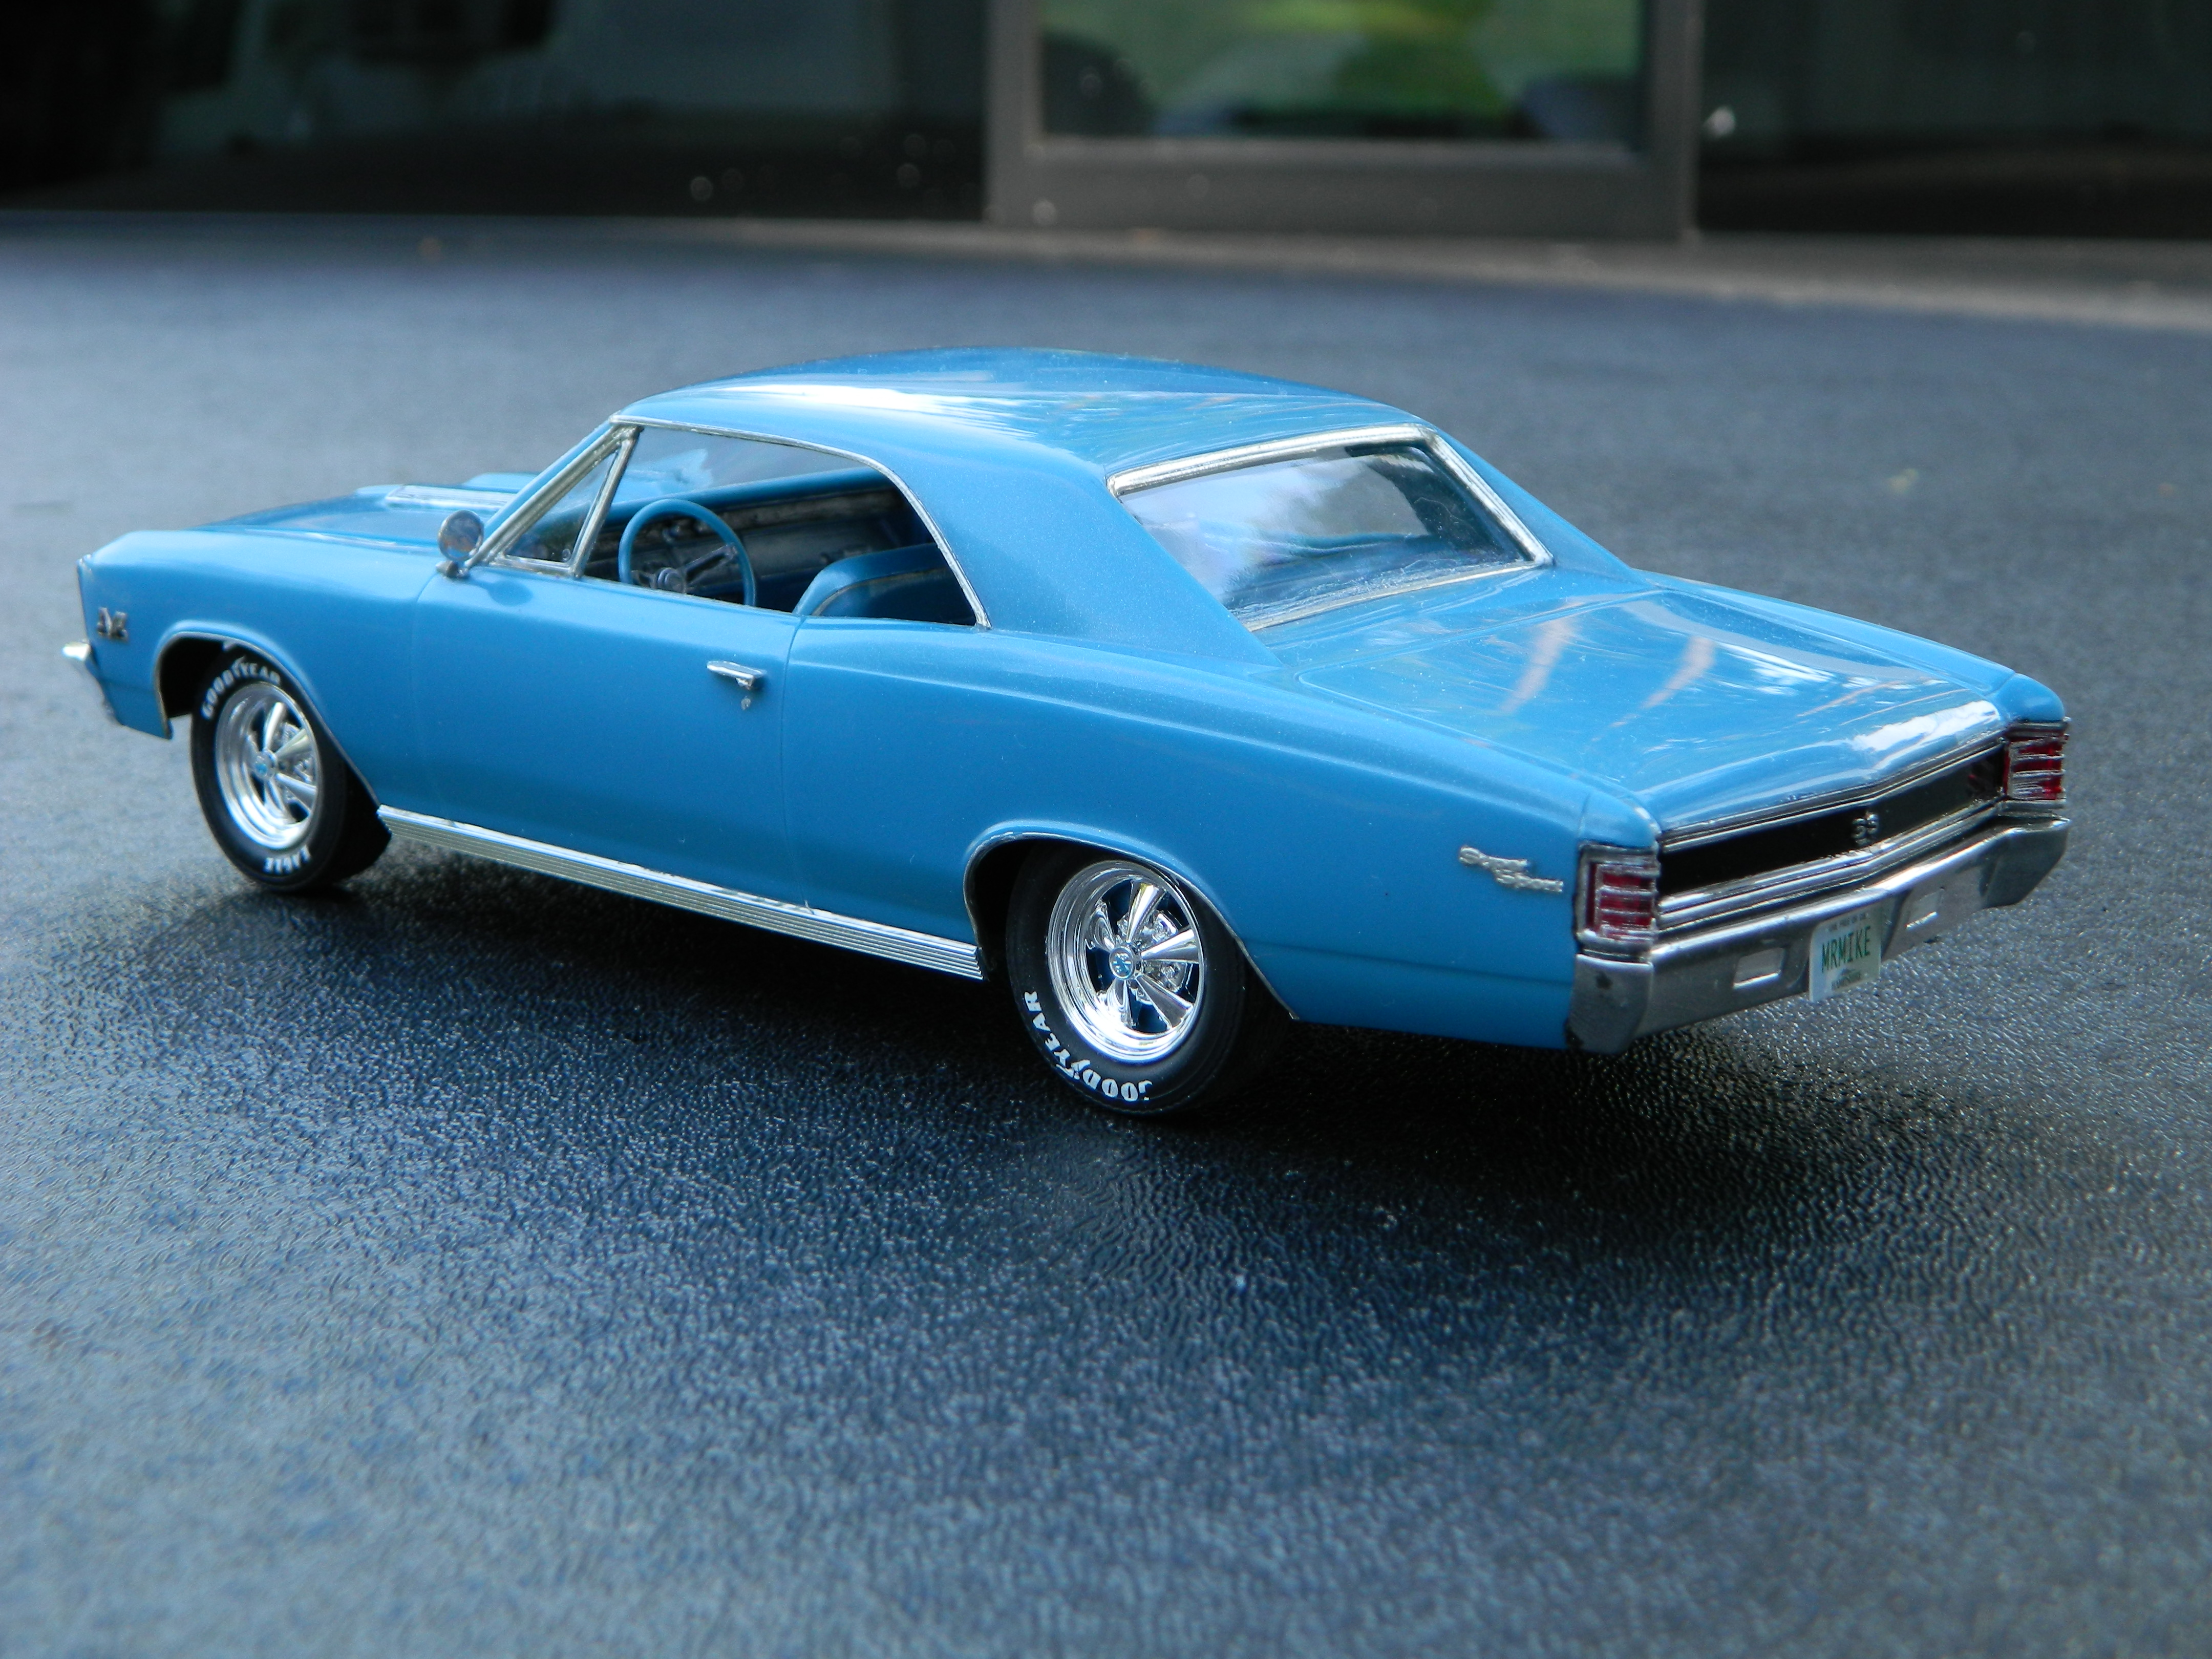
WOW! Such high praise John! Thank you! I have posted some pictures of that '67 Chevelle SS396 for you to continually be inspired to build yours. I used Meguiar's Scratch X 2.0 to polish my Chevelle. The shine is impressive! The only issue with the body is were the metallic plastic had joined in the mold leaving a line on the passenger door.
-
Thank you guys! So far it's coming along as I hope it would. I'm really liking the wheels and the new springs I have put it place of the kit pieces.
-
Thank you Jeremy!
-
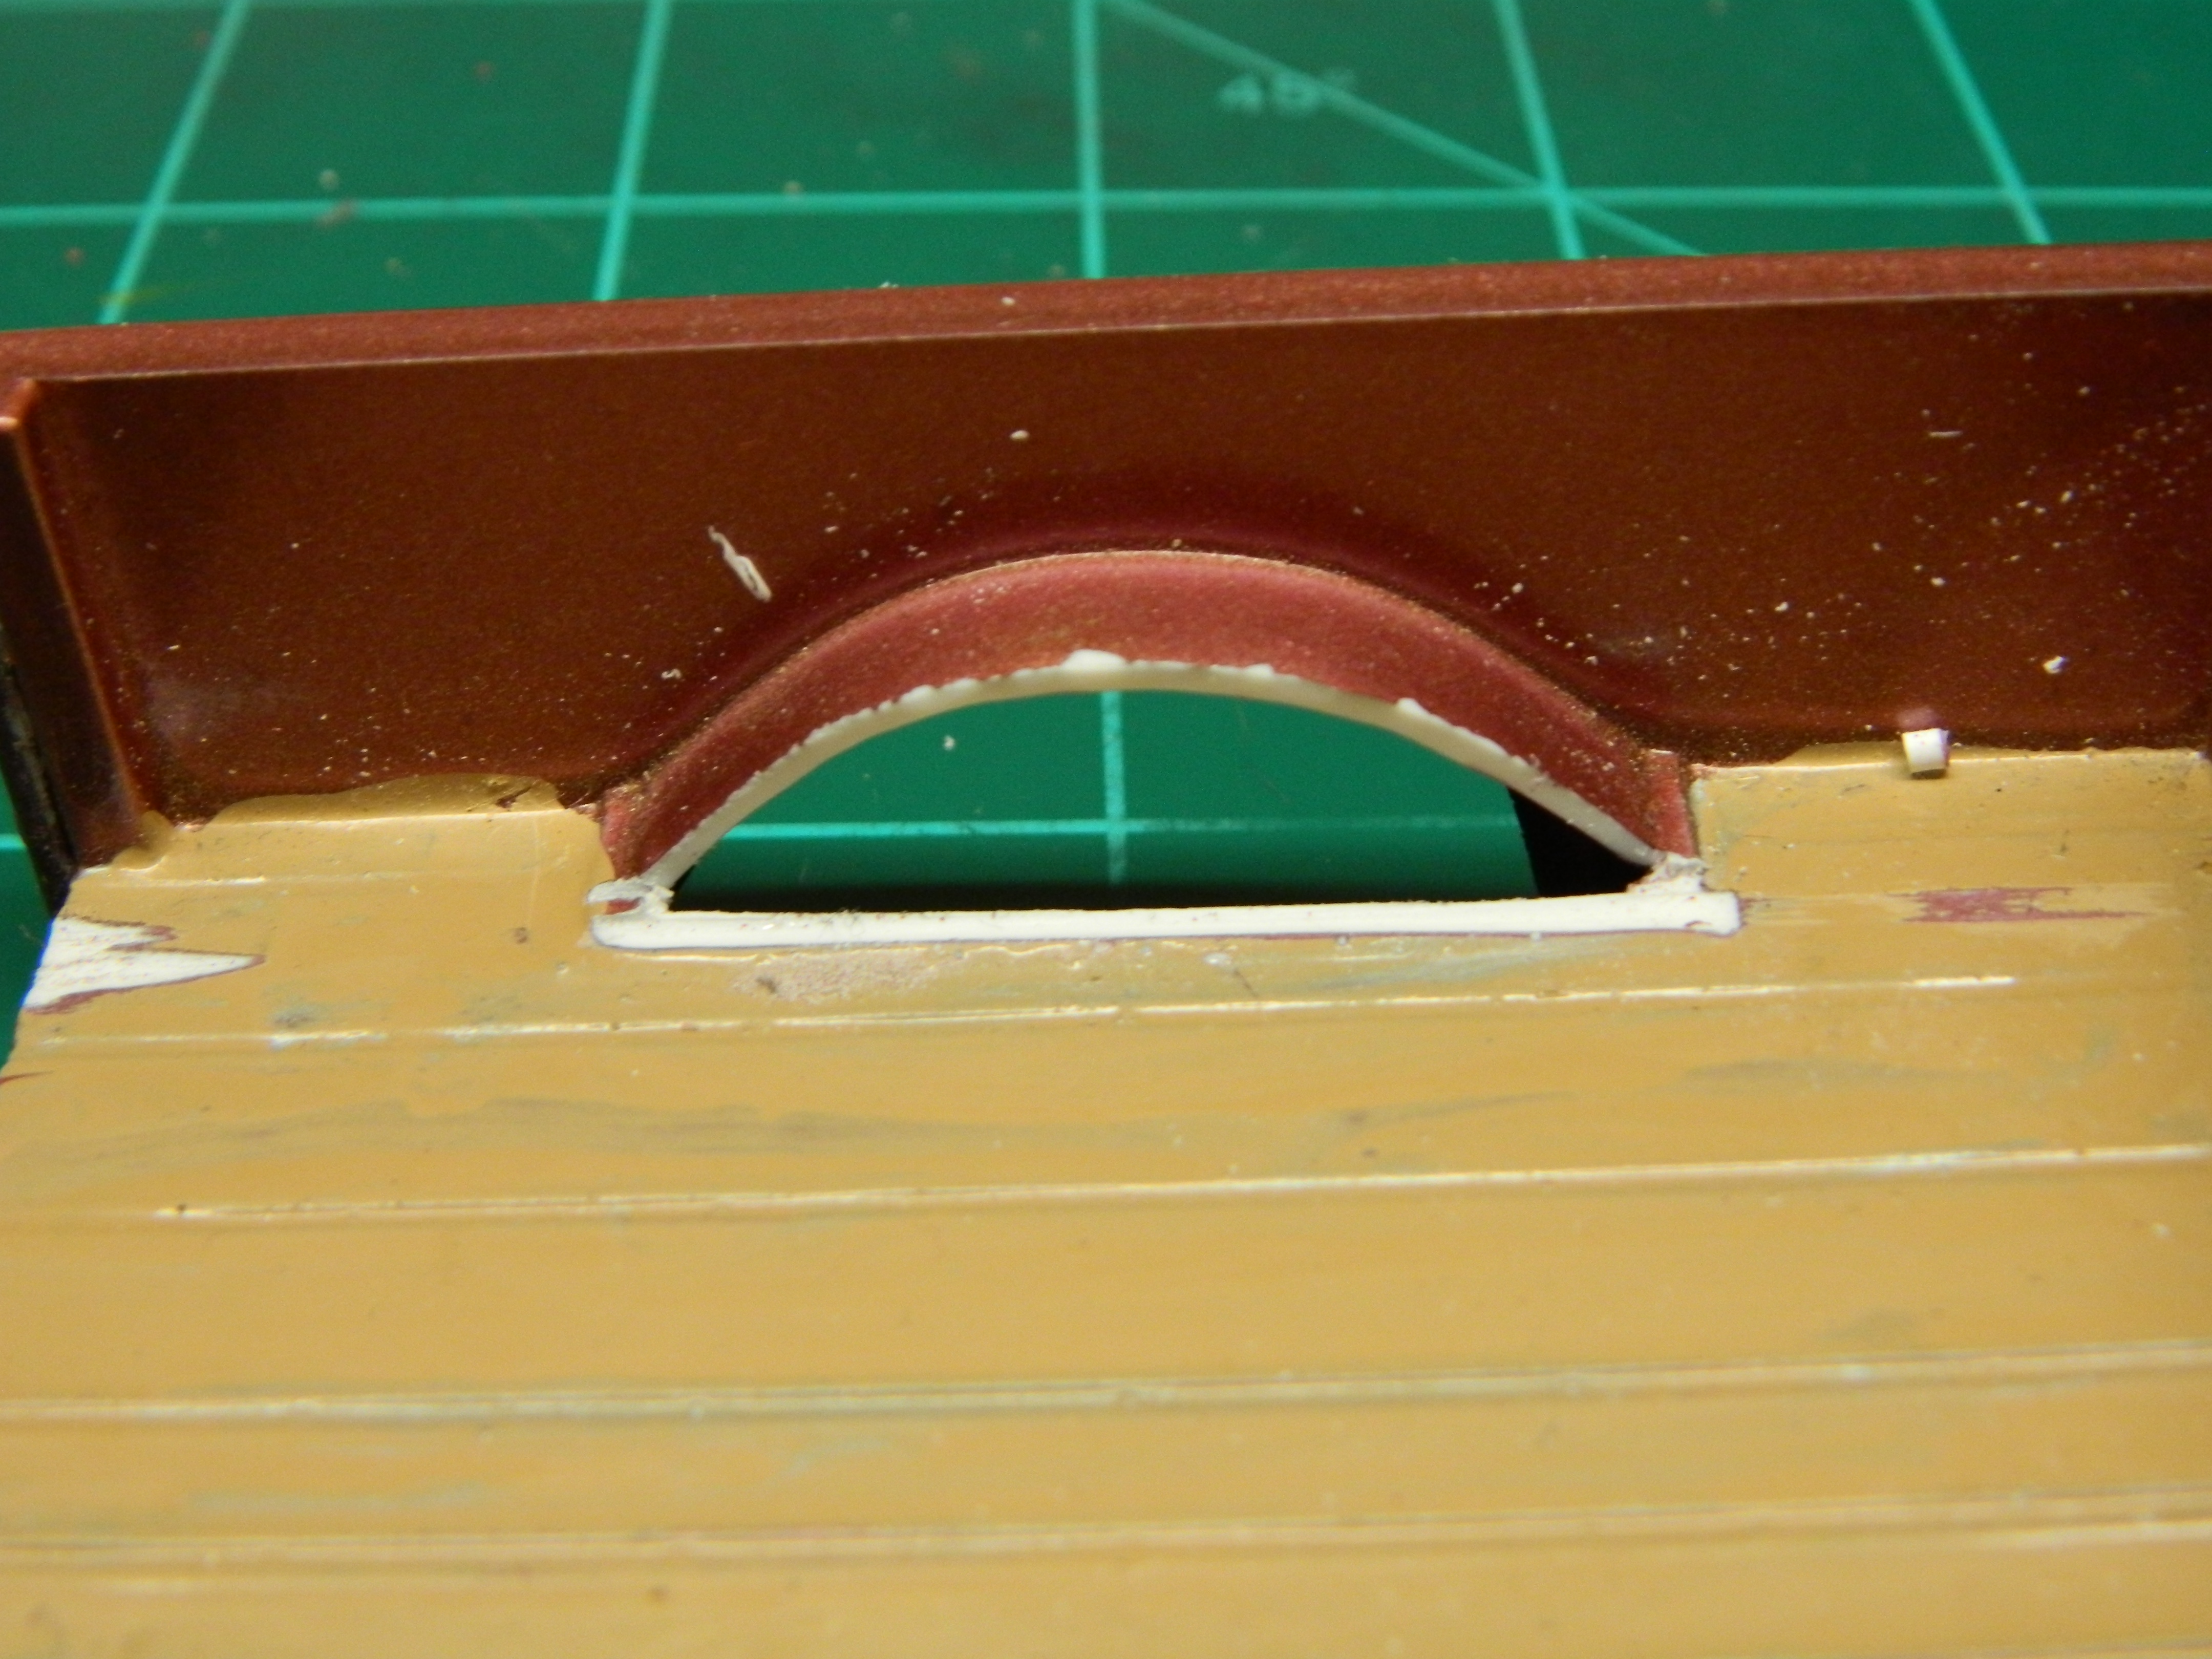
The Story As McNally drives down to a pool hall called Sticks-n-Cues, he wonders about the chop shop he just left. They seem to be running a fully functioning body shop, but how are they processing the chopped cars without getting caught? Apparently, BPD Auto Theft suspects them as a chop shop and they got someone undercover in there, how did they come to suspect them? Could the Chevy Pickup be there? He may have to find a way in there for a peek. The Build I removed part of the inner fenders to enlarge the fender wells and I cut out the new inner fenders. McNally will return...
-
Yes, there are. I chose to more popular of the two. I painted up the 2-way radio and the body and hood yesterday. Now to wet sand the paint and remove the trash and dog hair. The engine is in-process and the chassis is complete with suspension and wheels and tires. More to come...
-
I did some priming and painting this morning to get the Striped Tomato ready for paint and assembly. And, it's time to clean the paintbooth and replace the filter again! More to come...
-
Foose Ford FD100 Pickup
mrmike replied to mrmike's topic in Model Trucks: Pickups, Vans, SUVs, Light Commercial
Thank you Jeremy! Even out-of-box, it's a good kit. I just had to change a few things. -
Thank you Ron!
-
Foose Ford FD100 Pickup
mrmike replied to mrmike's topic in Model Trucks: Pickups, Vans, SUVs, Light Commercial
Thank you guys! This truck was well worth the effort I had put into it. I do need to go back and make a change or two on it. I need to darken the door lines and rub out the bed fenders a bit more. -
Thank you Steve!
-
Steve, I have known about the mis-leading instructions for some time now. I believe it was Fury3 who had told me about them and I am grateful for him to passed on that knowledge (well, some of it at least) to me. I looked at the instructions and said, "Oh yeah! He's right!" and corrected my mistake. I think that error also extends to the '70 Super Bee as well, but I'm not 100% sure. Now, I look over the instructions before building and if I see an error, I research it and make note of a correction on the sheet.
-
Thank you Carl!
-
Foose Ford FD100 Pickup
mrmike posted a topic in Model Trucks: Pickups, Vans, SUVs, Light Commercial
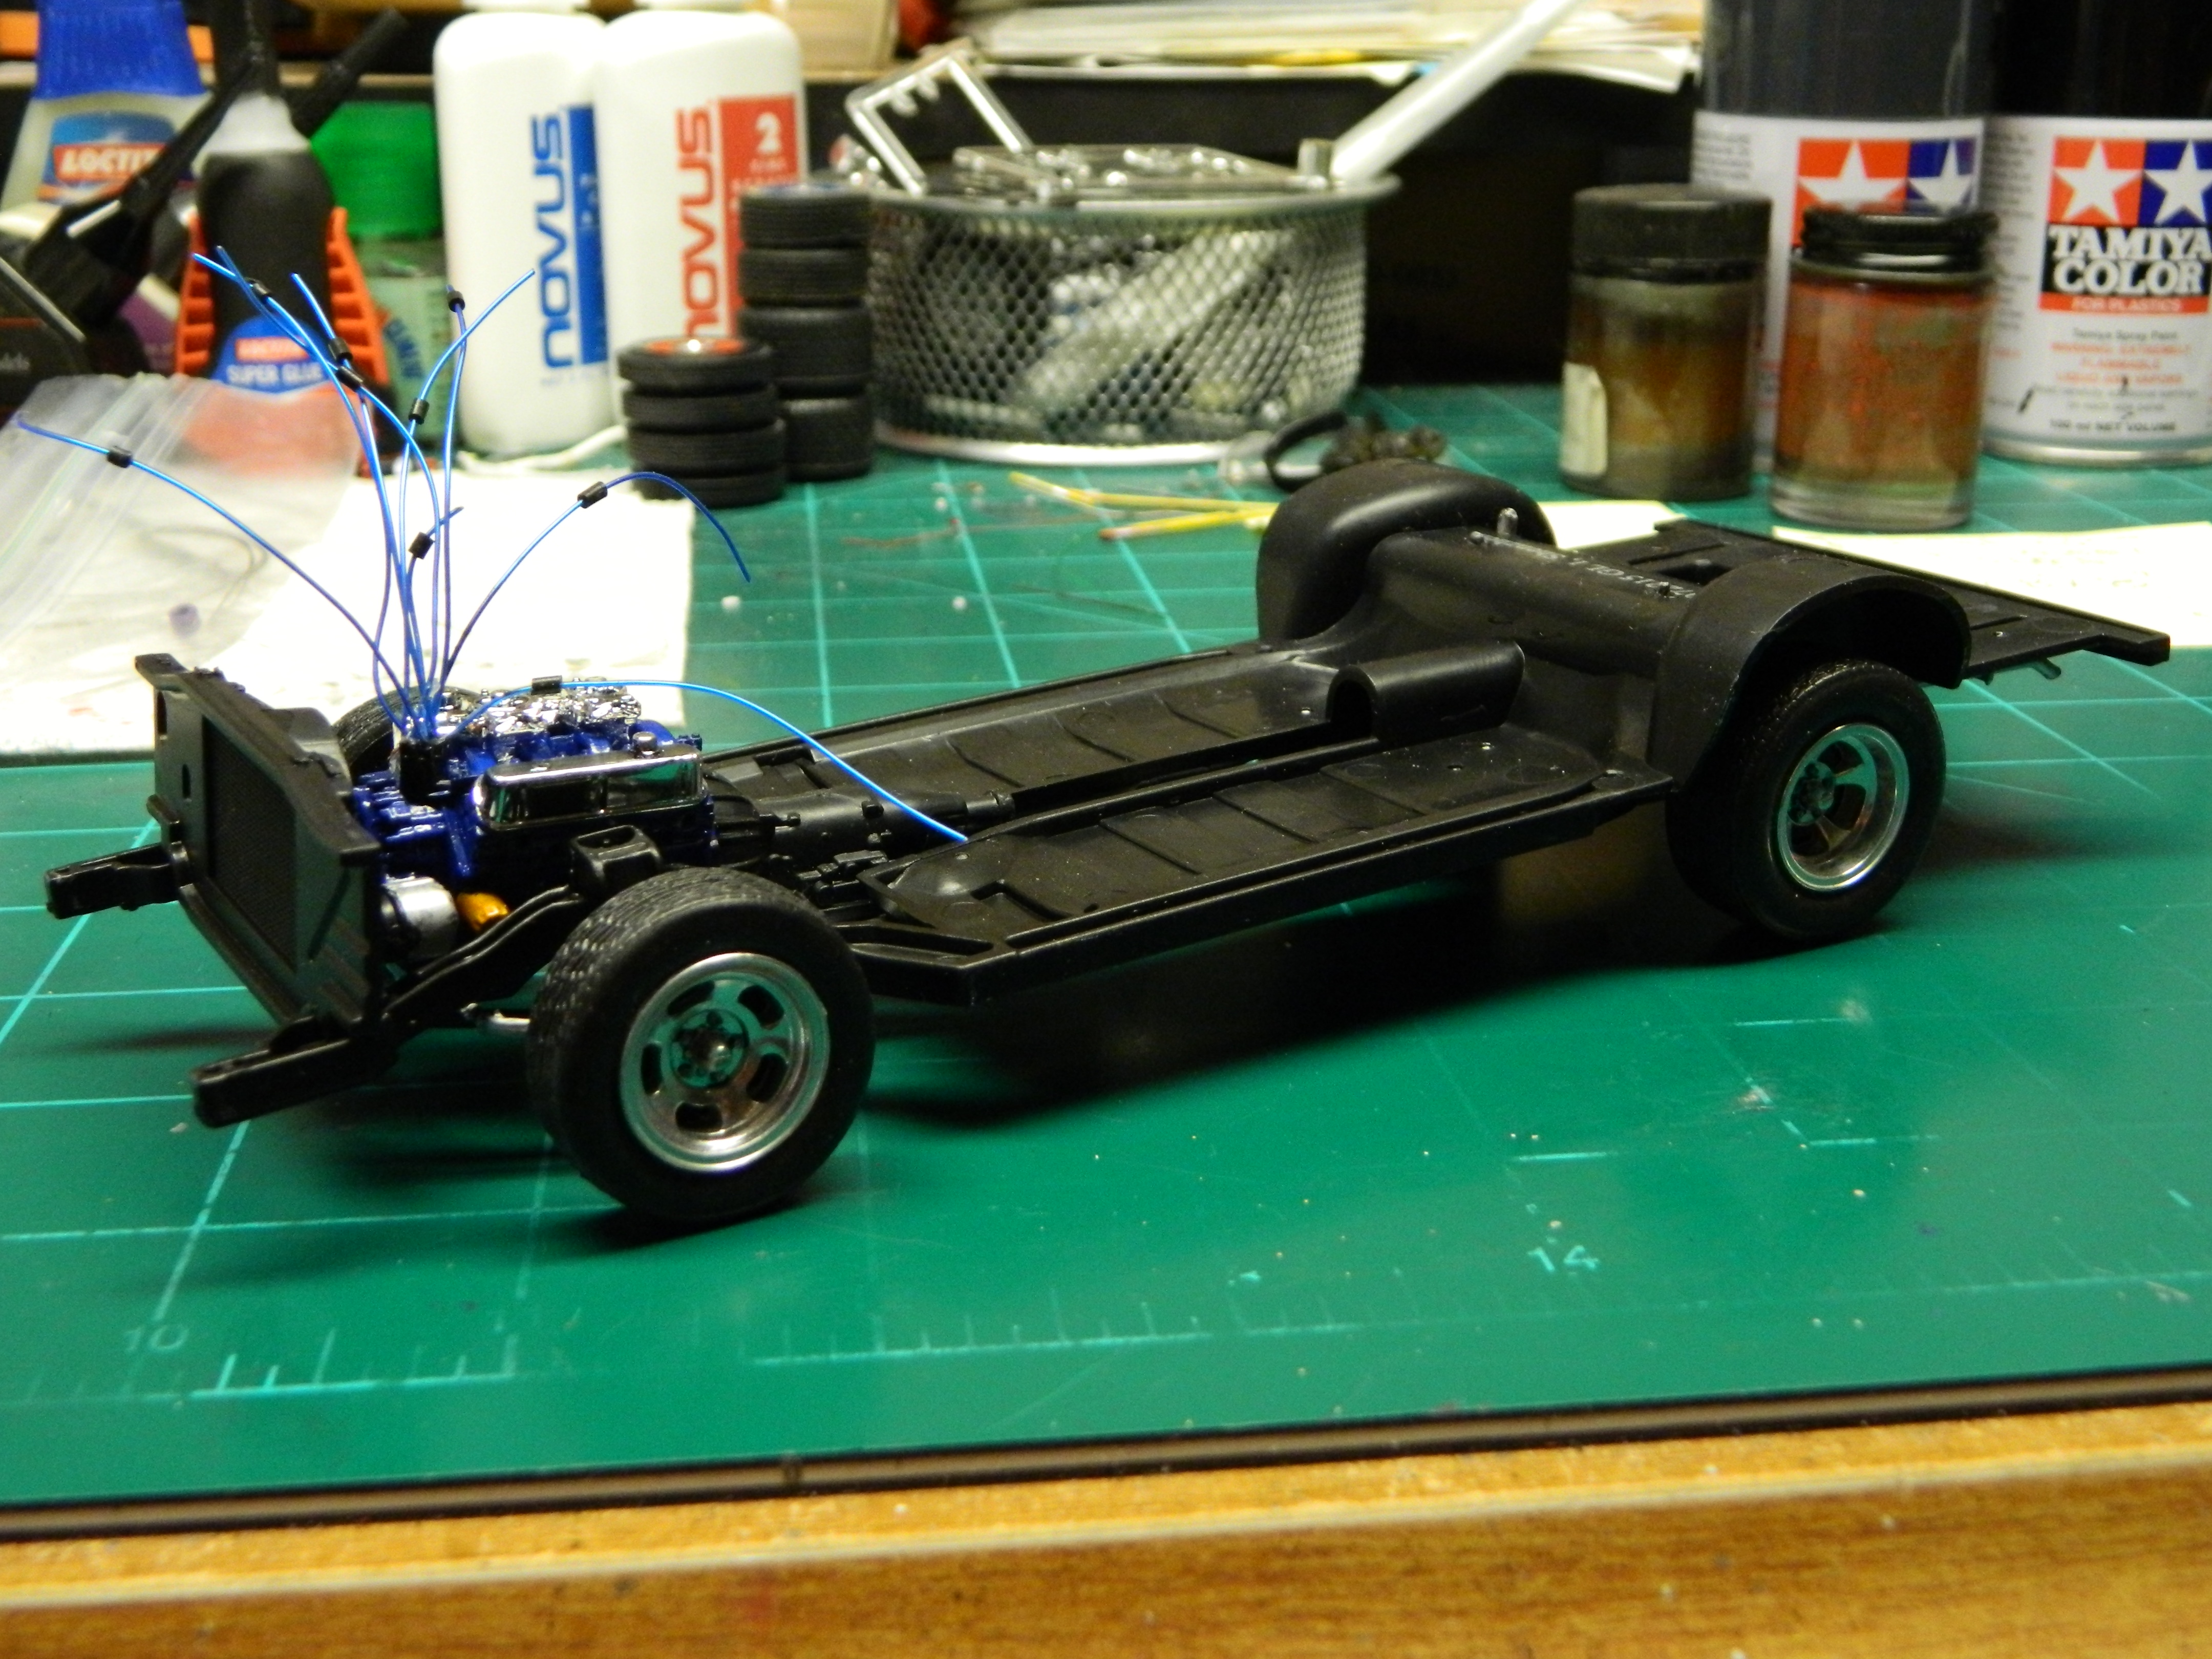
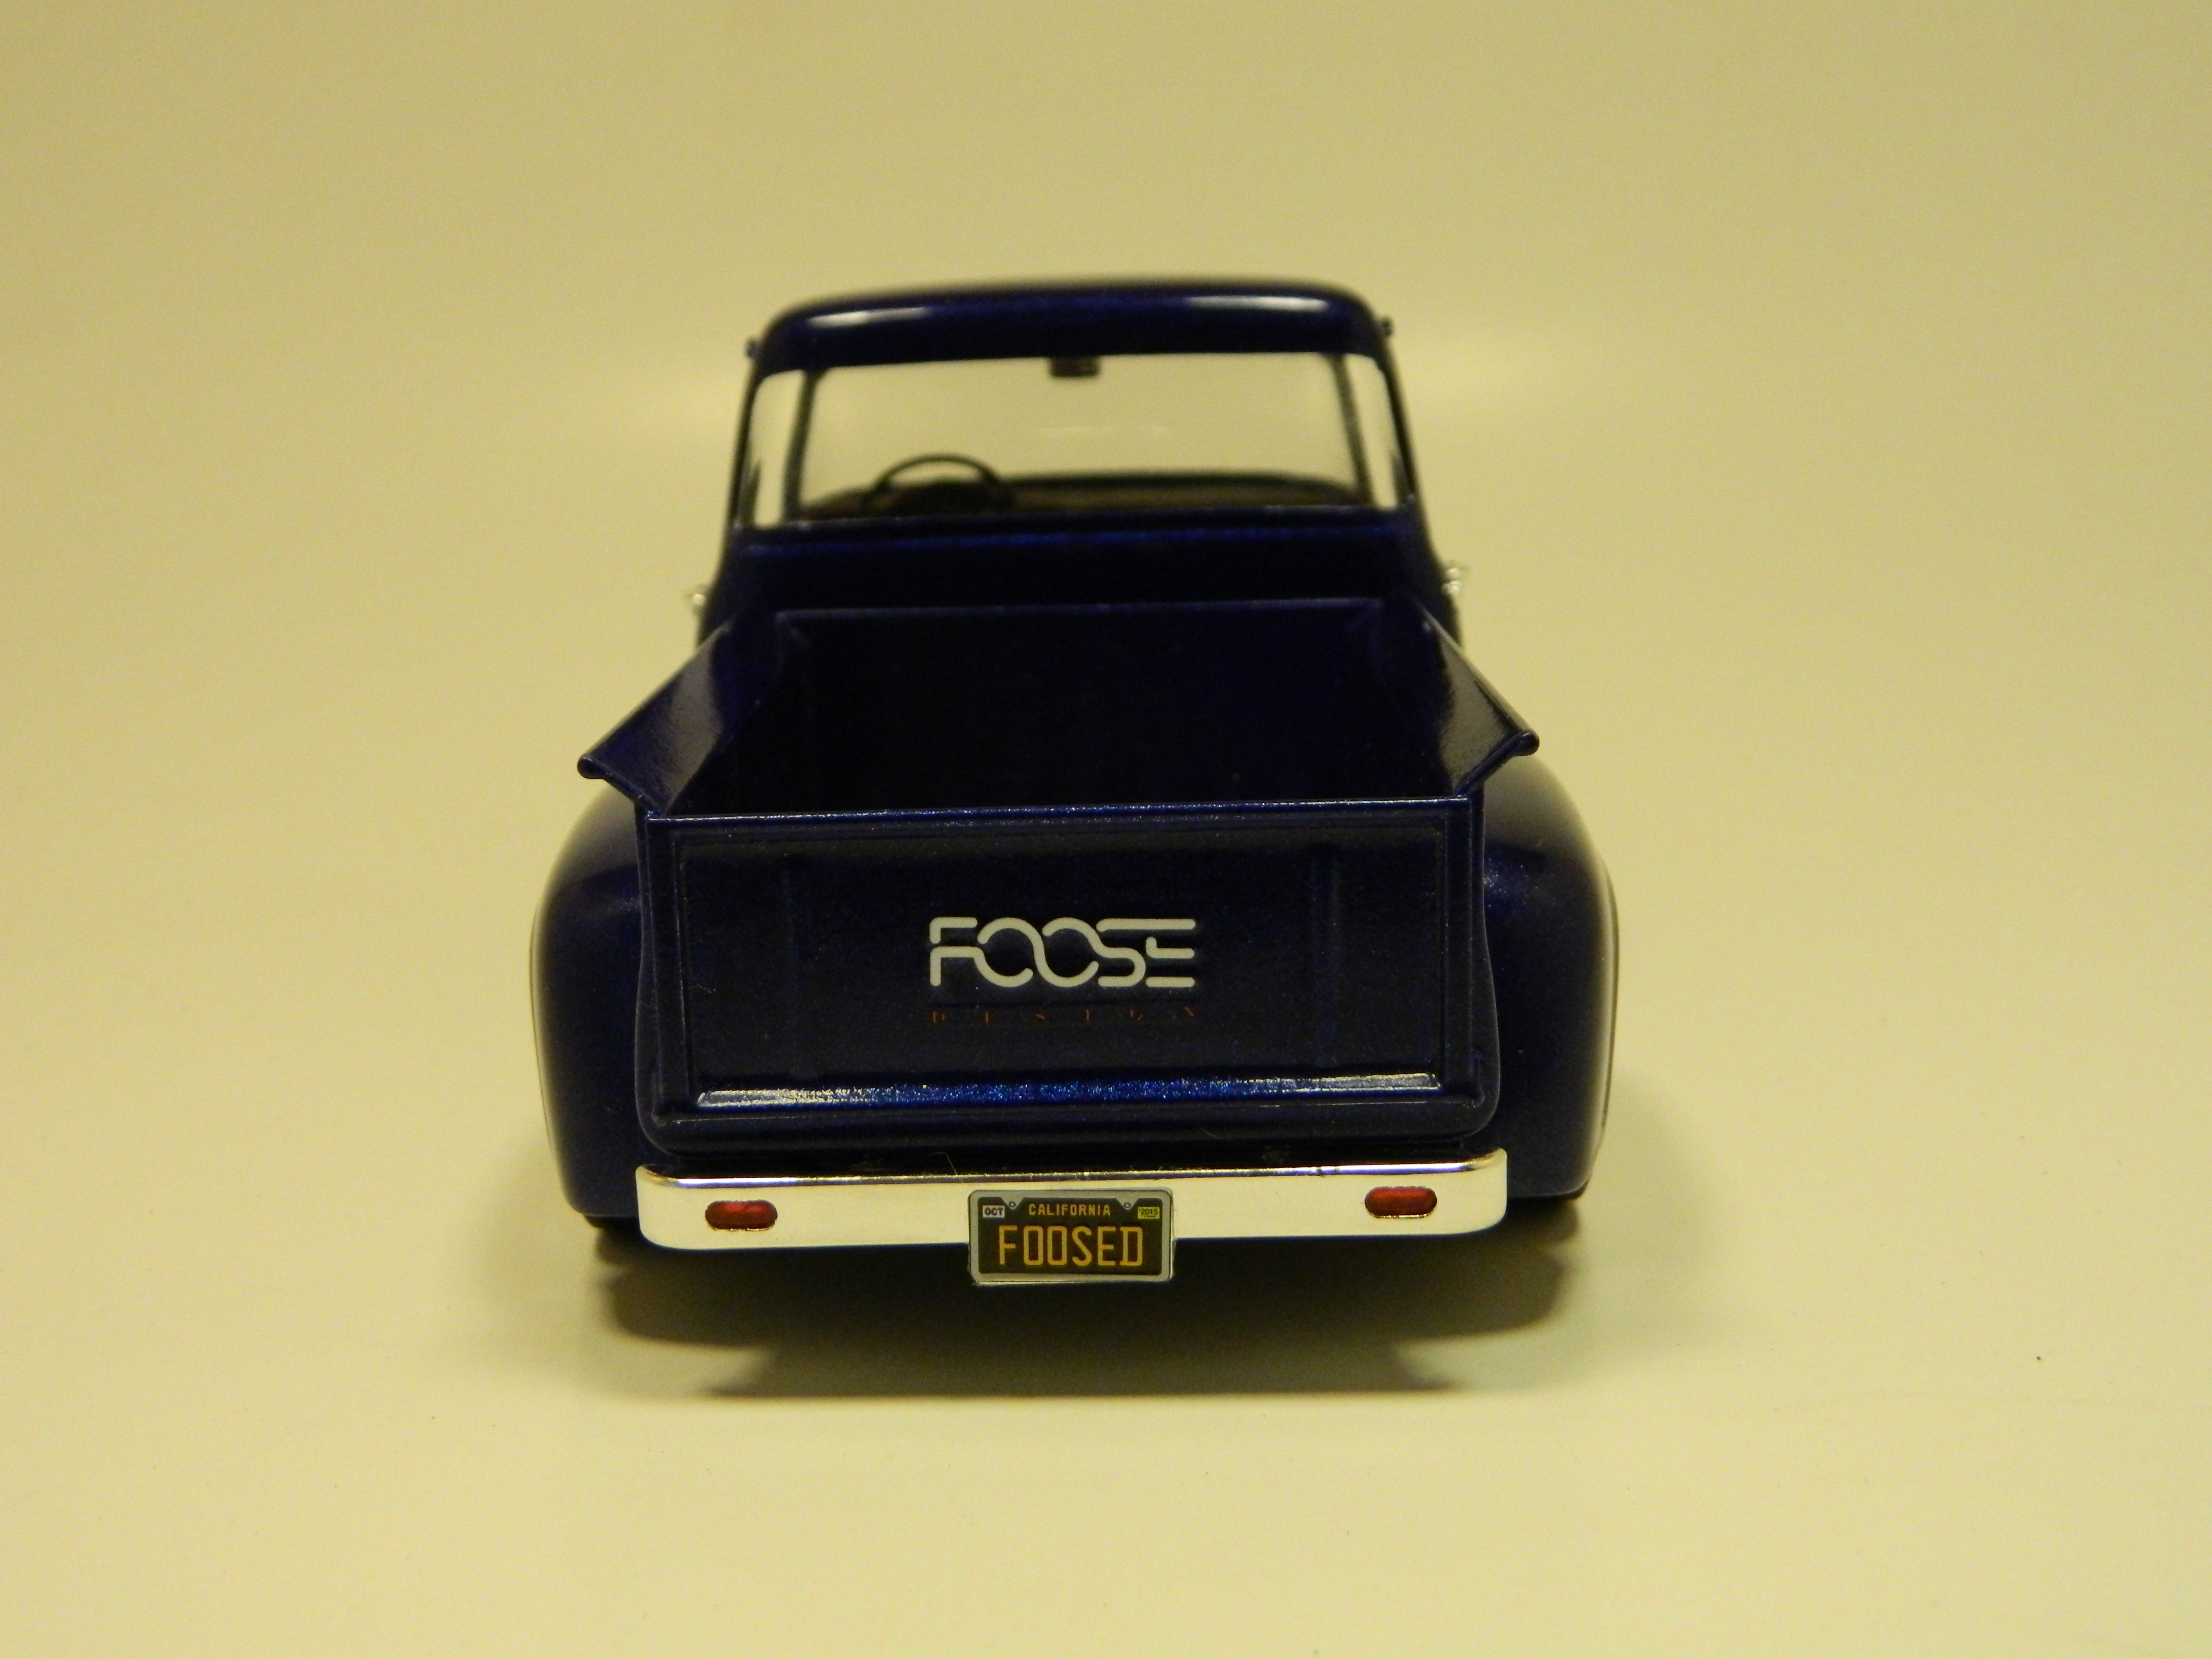
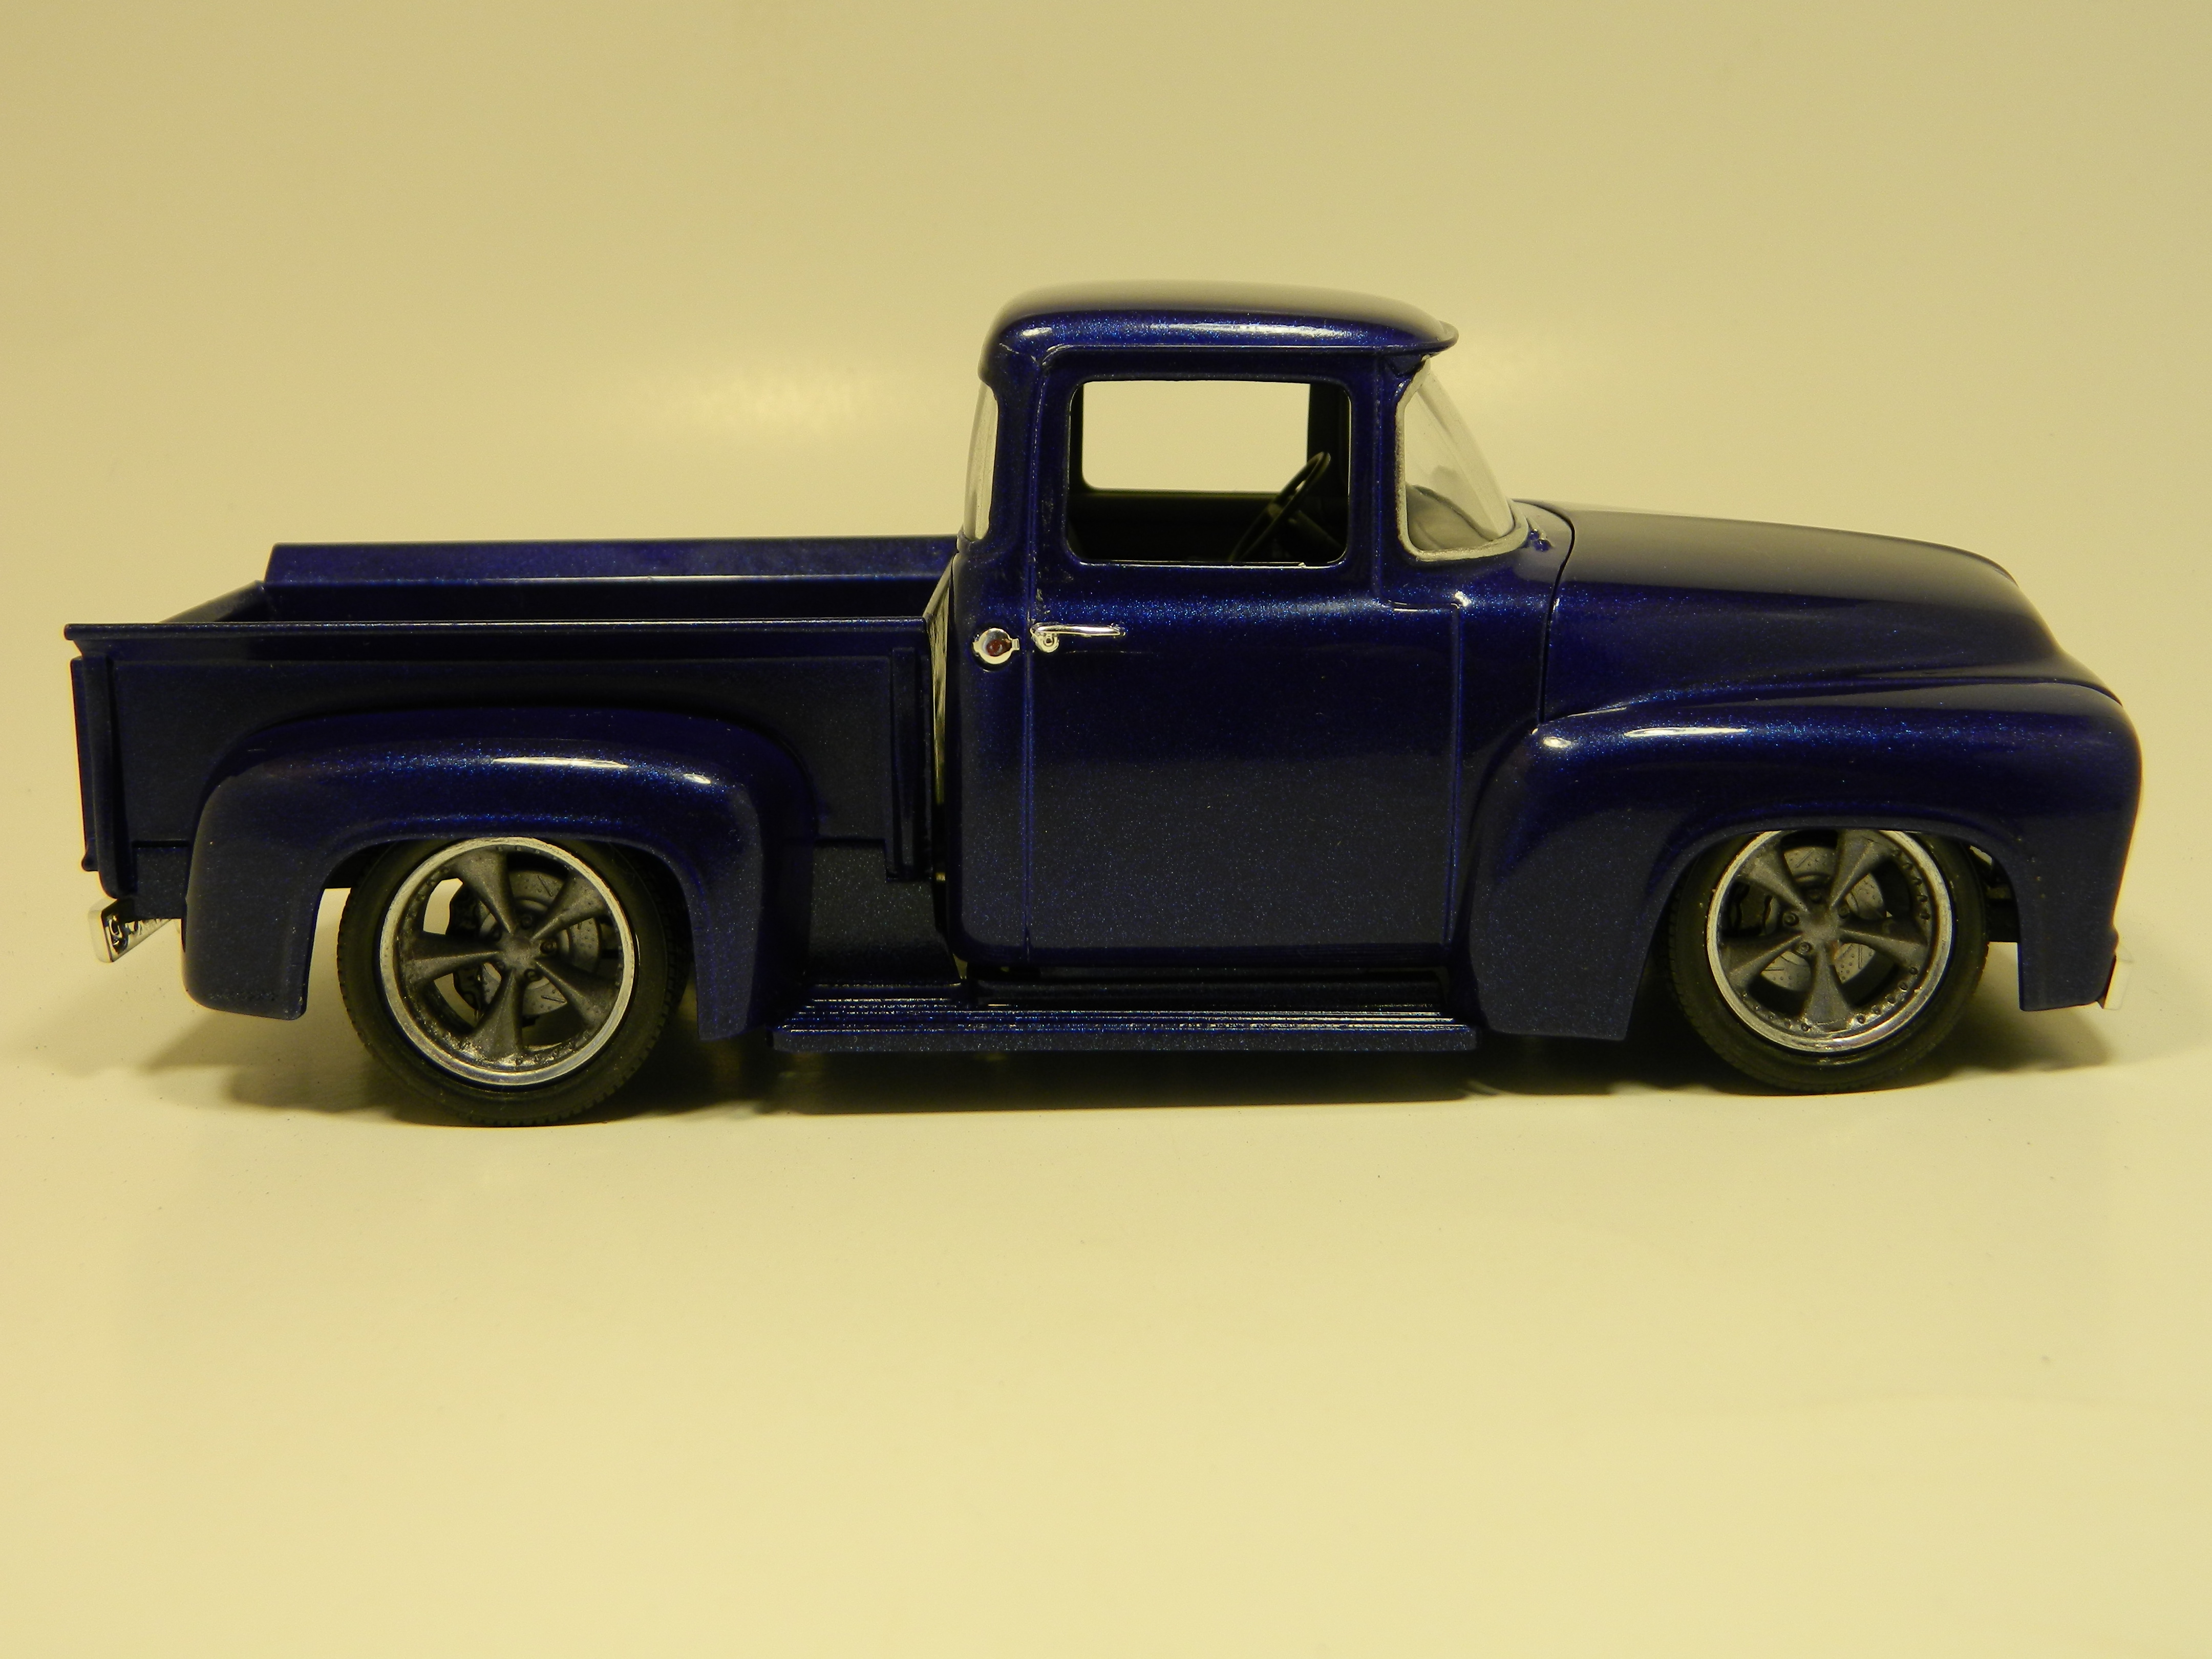
This is my Foose FD100 Pickup painted with Testors De Ja Blue One Coat Lacquer with a Tamiya TS-48 Gunship Grey interior. The suspension has been modified to eliminate the two metal axles for a more realistic approach. The wheels were stripped of their chrome and painted with Tamiya TS-42 Light Gunmetal and Molotow Liquid Chrome. The engine is wired with a MAD distributor.
-
Thanks Jeremy and Todd! I have finished my Foose FD100 and it is posted Under Glass. I would like to thank all those who have taken the time to comment and to view my WIP.
-
Thank you Jeremy!
-
I get my mesh from K&S Engineering at my local hobby shop. http://www.ksmetals.com/