mrmike
-
Posts
5,324 -
Joined
-
Last visited
Content Type
Profiles
Forums
Events
Gallery
Everything posted by mrmike
-
Thank you Jim, Larry, David, Jeremy, Rob and Craig! I appreciate it!
-
Thank you, David, Phil, Mario, Glen, Carl and Chris. The paint was an issue, but like the football couch has always said-keep running that play until you get it right!
-

1963 Chevrolet Corvette Split Window Coupe Completed
mrmike replied to mrmike's topic in WIP: Model Cars
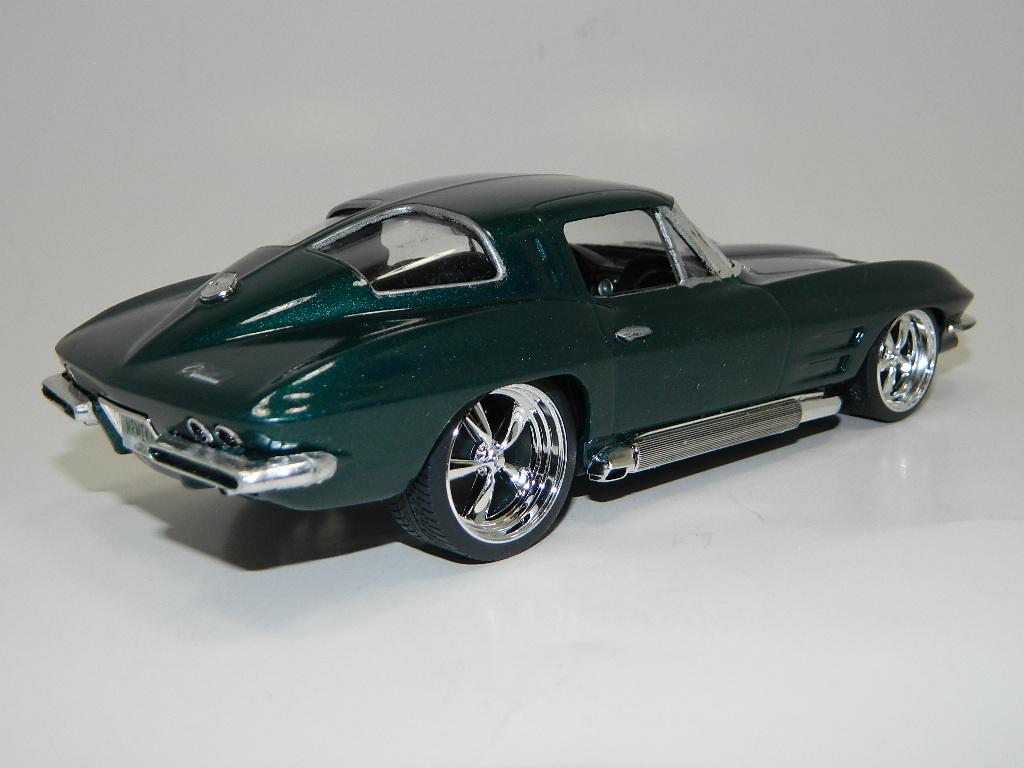
Thank you Jeremy! I have finished my '63 Corvette and it is in Under Glass. I would like to thank all those who have viewed and commented on my WIP. -
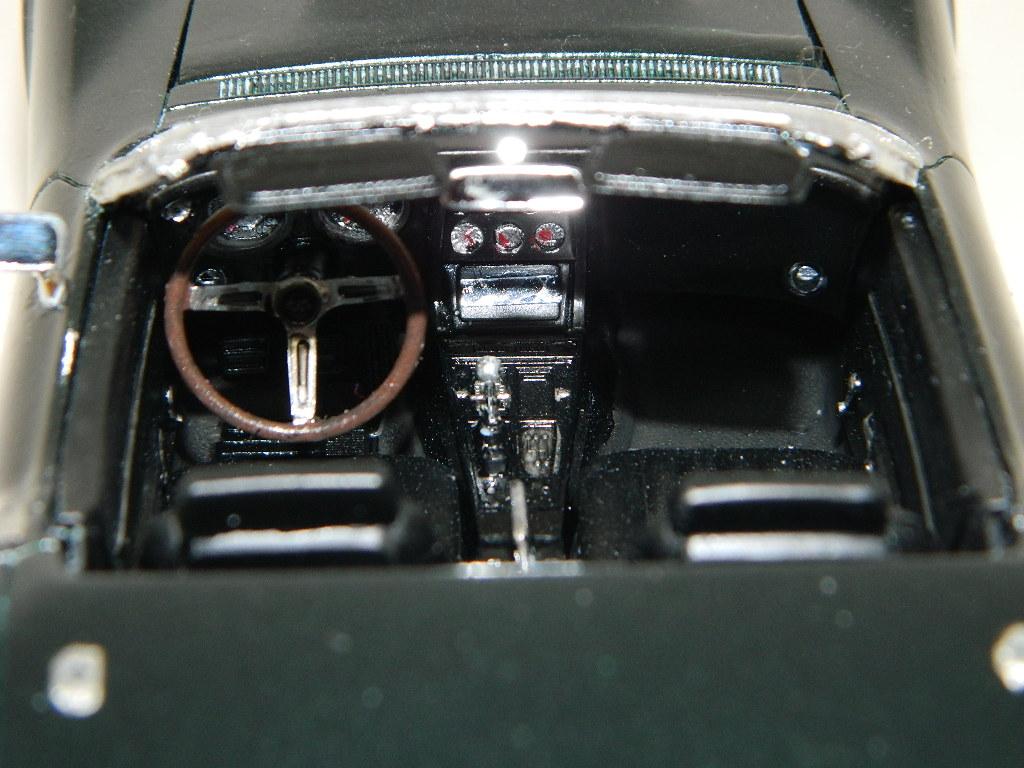
This is my '63 Corvette Split Window Coupe painted with Dupli-Color Emerald Green Metallic with a Tamiya Semi Gloss Black interior, Pegasus Chrome T's 19" and 23" wheels and tires and rear bumpers from my parts box.

-
1963 Chevrolet Corvette Split Window Coupe Completed
mrmike replied to mrmike's topic in WIP: Model Cars
I clearcoated the '63 Vette today with three coats of Testors Clear Lacquer. More Split Window to come...
-
1963 Chevrolet Corvette Split Window Coupe Completed
mrmike replied to mrmike's topic in WIP: Model Cars
I have started the foiling process. Since my foil is several years old, I have resorted to using Micro Metal Foil Adhesive before I cut my foil. Just another step in my process. The hood vents got some Aluminium BMF. More Split Window to come...
-
1963 Chevrolet Corvette Split Window Coupe Completed
mrmike replied to mrmike's topic in WIP: Model Cars
Thanks, Jeremy! -
Thank you Larry! Other than the hood, this 'Vette was a pleasure to build!
-
1963 Chevrolet Corvette Split Window Coupe Completed
mrmike replied to mrmike's topic in WIP: Model Cars
Thanks Rob! I had to modify the chassis a lot to get this stance. -
1963 Chevrolet Corvette Split Window Coupe Completed
mrmike replied to mrmike's topic in WIP: Model Cars
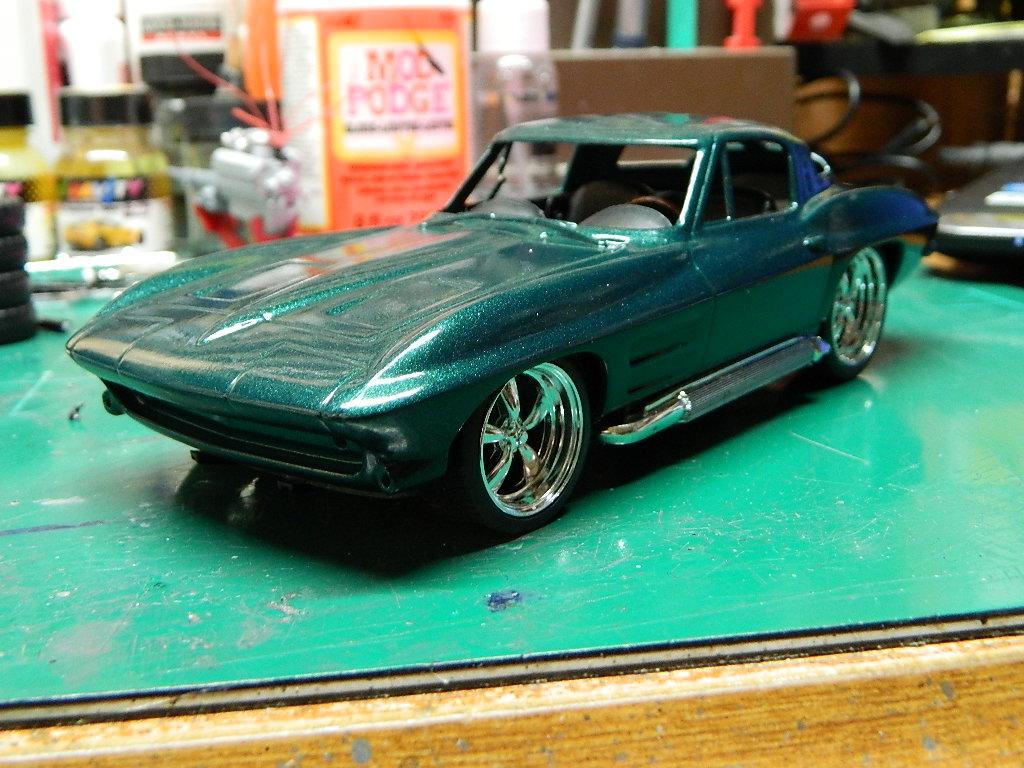
I love a good mockup! It gives me a chance to see where my project is going. More Split Window to come...
-
1963 Chevrolet Corvette Split Window Coupe Completed
mrmike replied to mrmike's topic in WIP: Model Cars
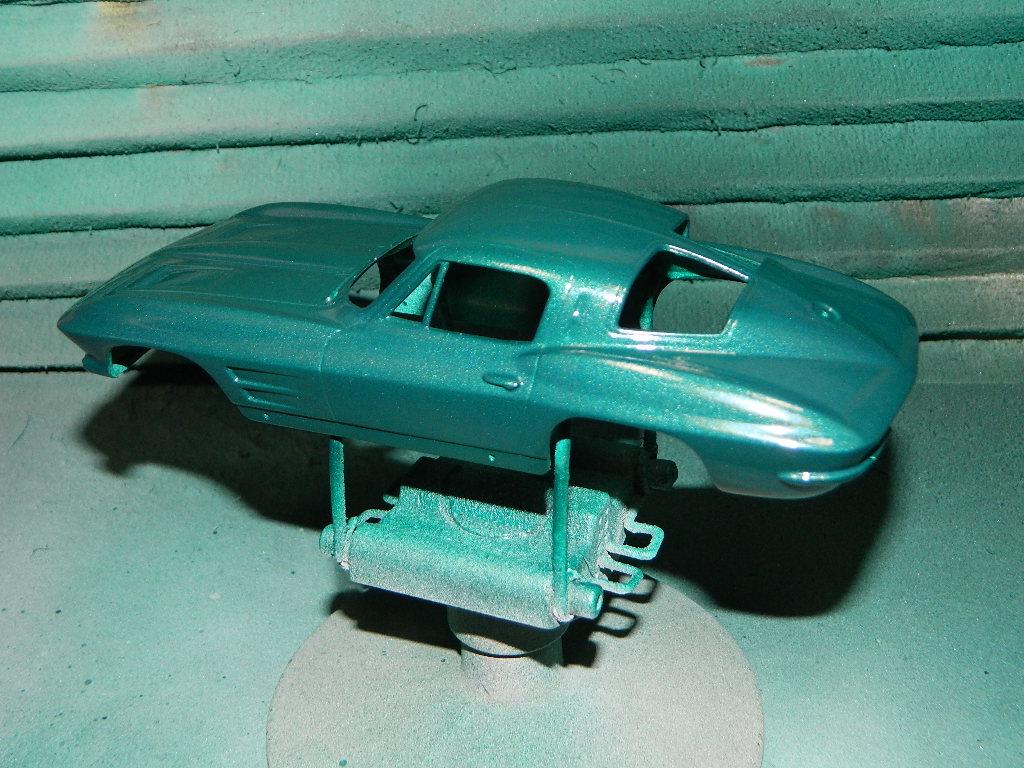
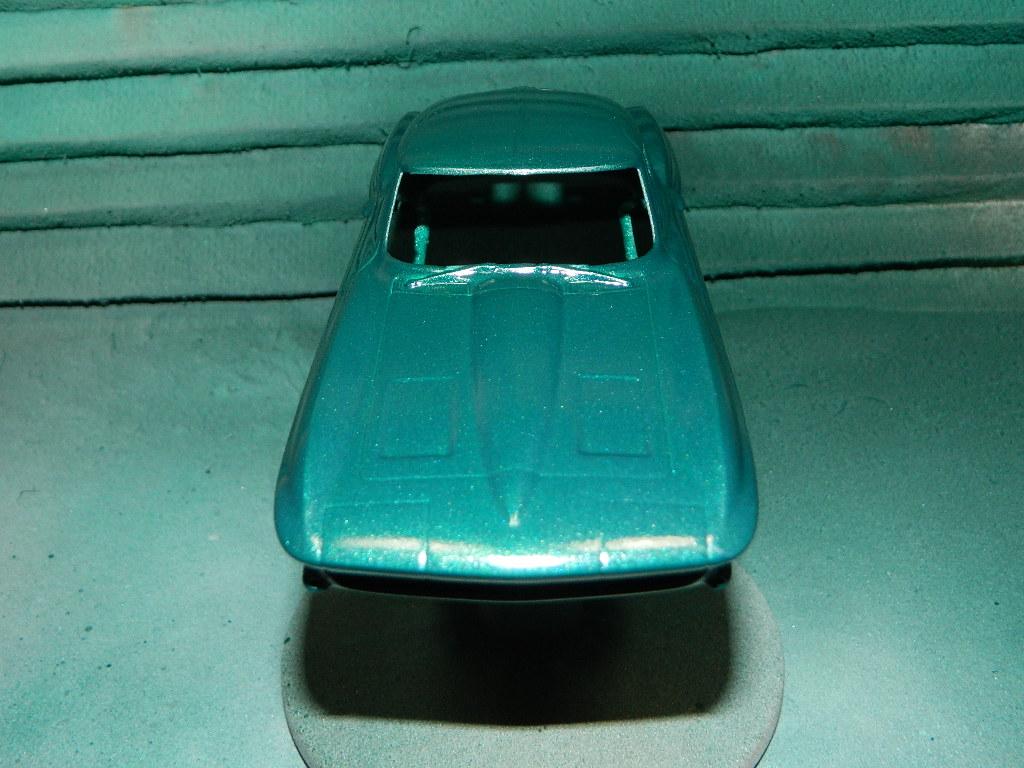
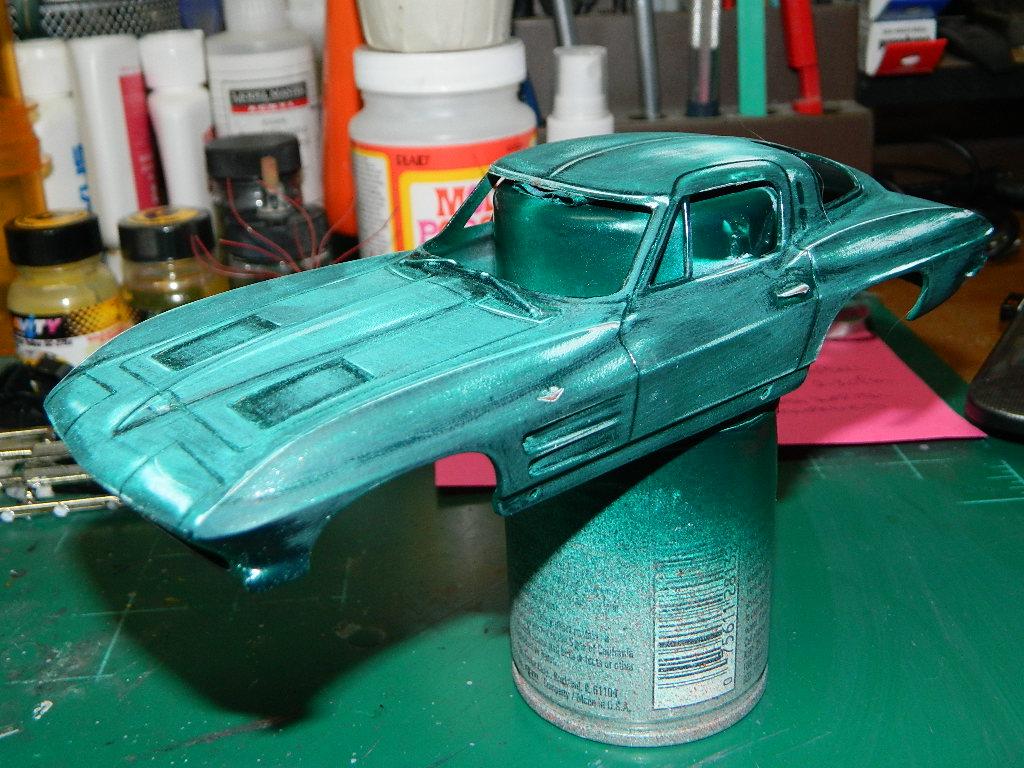
I primered and painted the '63 Vette this afternoon and it looks so much better. No trash in the paint, which is a good sign! I used the same paint-Dupli-Color Emerald Green Metallic. More Split Window to come...
-
Thank you for the tip, Jim! I keep it in mind the next time I have to add to a hood.
-
1963 Chevrolet Corvette Split Window Coupe Completed
mrmike replied to mrmike's topic in WIP: Model Cars
I washed the Corvette body and now it is drying in my paintbooth. I made a set of rear wheel tubs for the Vette. Since I never made anything like these before, this took me a while before I came up with a plan to make them. Now, to paint them with Tamiya TS-29 Semi Gloss Black. More Split Window to come...
-
Thank you, Jim and Jim D! I think it might have been the result of adding a wider strip of styrene under the hood and some sort of reaction with the glue I used or contamination on the AMT plastic . If I had the Revell '69 Corvette hood, this wouldn't have been a problem, but I did have the AMT '71 Corvette hood that was gifted to me and was just a little too short and I choose to add to the length of the hood.
-
Thank you Rusty, Jeremy and Lee!
-
I have the 'Vette posted over in Under Glass!
-
Neat idea! I like it!
-
Thank you, David R., David E., Mario and Carl!
-
1963 Chevrolet Corvette Split Window Coupe Completed
mrmike replied to mrmike's topic in WIP: Model Cars
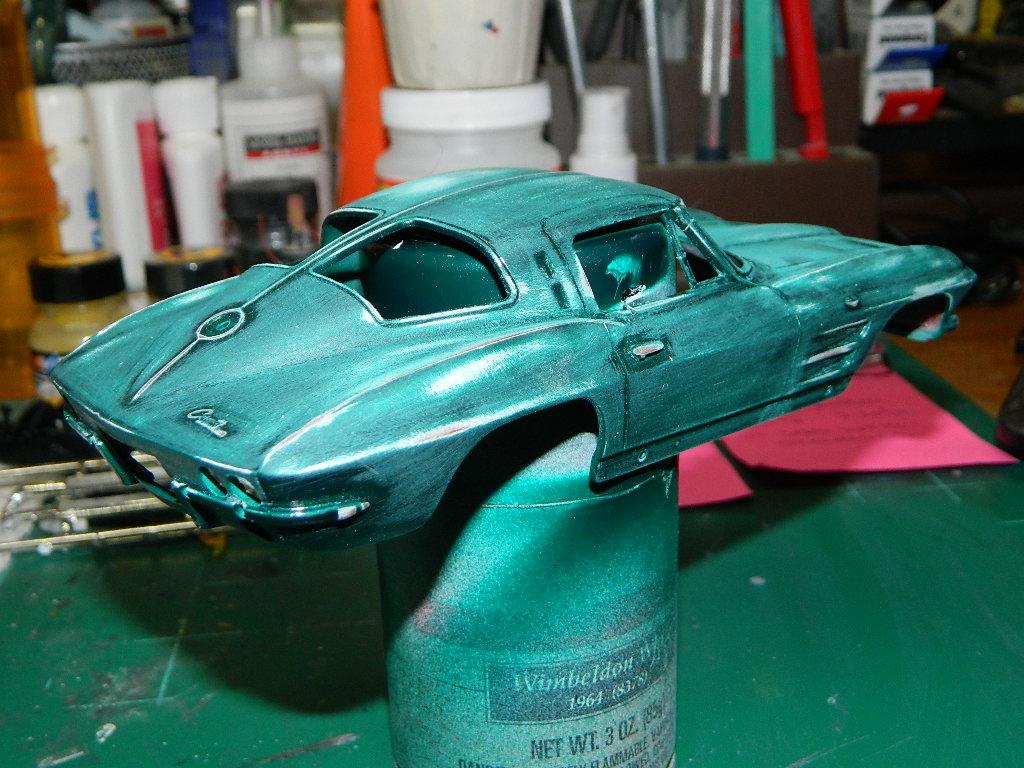
You are probaby wondering, "What the heck did he do?" I started to find flaw after flaw in the paint and instead of repairing each and every single flaw individually, I sanded the whole thing and will give it another paint job! Gotta wash the body first! More Corvette to come...
-
Thank you, guys! I was originally going to paint this 'Vette Mulsanne Blue, but then I start imagining this 'Vette in a dark green. I was almost out of Dupli-Color Forest Green Pearl and I went out and bought some more. Good thing I got more since I did run out and had to use the second can for touchups.
-
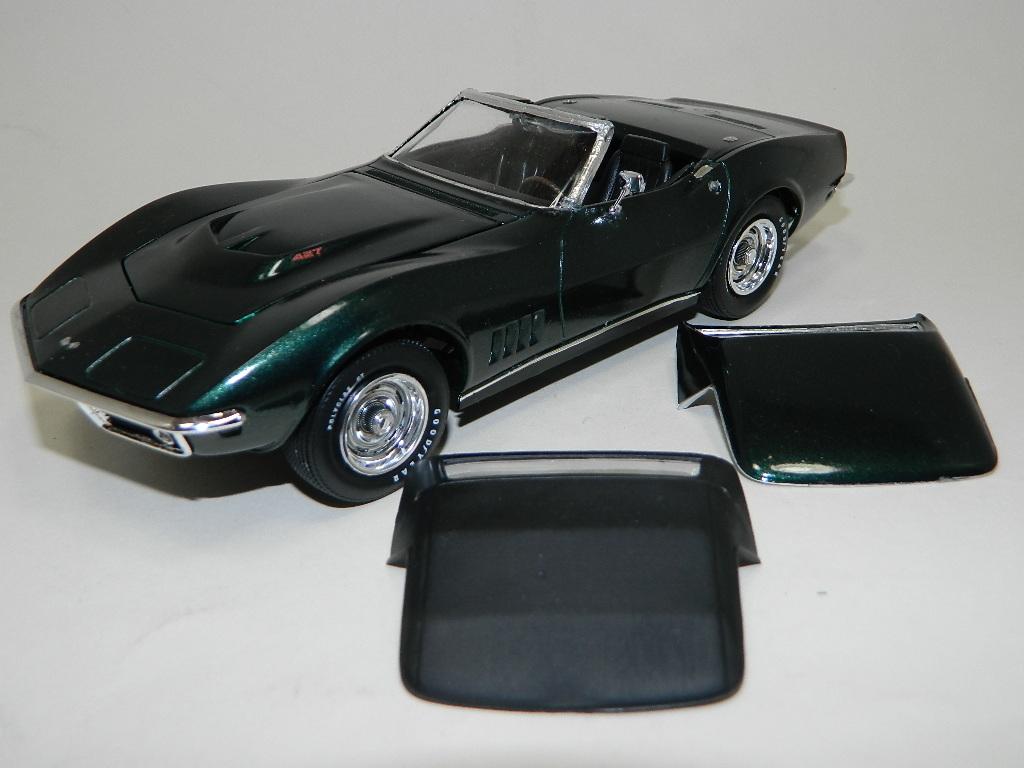
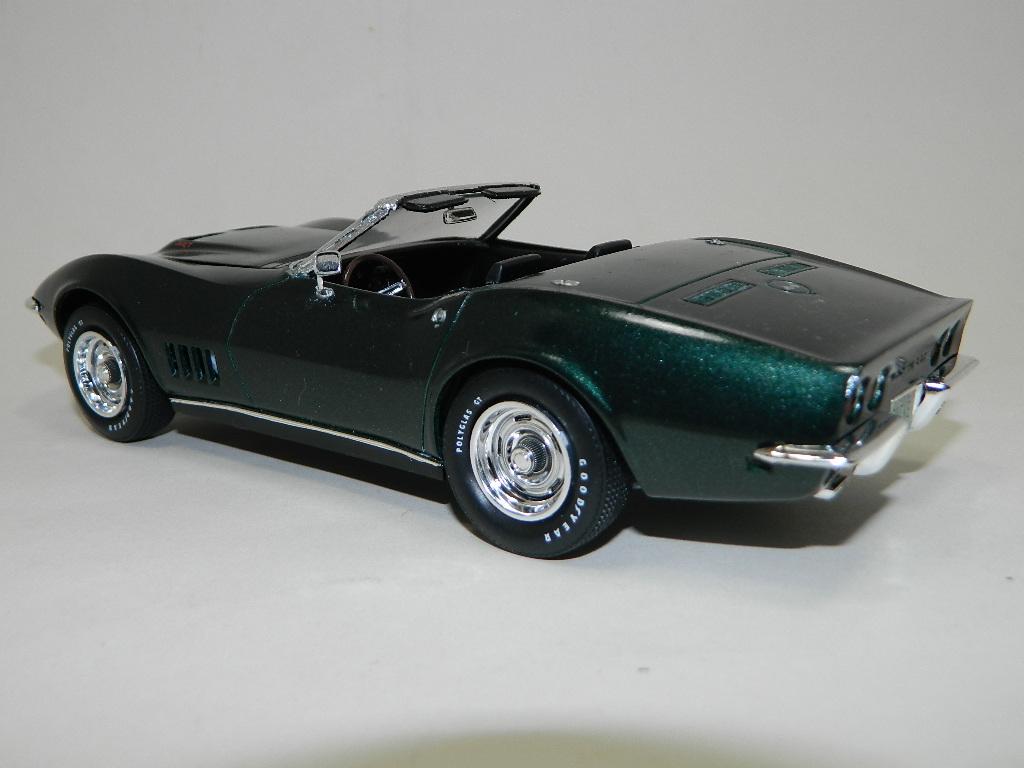
My '68 Corvette is complete and posted in Under Glass. I would like to thank all those who have taken the time to view and to comment on my WIP.
-
This is my '68 Vette L89 painted with Dupli-Color Forest Green Pearl with a Tamiya TS-29 Semi-Gloss Black interior. I converted the Convertible L88 to a lesser L89 Convertible using some of the extra unlisted parts in the kit. I added the AMT Pad Printed White Letter Tires instead of the tires in the box and a hood from the '71 Corvette donated to me by the late Barry Fadden aka streetrod.
-
1963 Chevrolet Corvette Split Window Coupe Completed
mrmike replied to mrmike's topic in WIP: Model Cars
Sounds like a good project, Bob! I'm glad to be an inspiration for you! -
1963 Chevrolet Corvette Split Window Coupe Completed
mrmike replied to mrmike's topic in WIP: Model Cars
Thanks Jeremy and Carl! -
1963 Chevrolet Corvette Split Window Coupe Completed
mrmike replied to mrmike's topic in WIP: Model Cars
I painted the 'Vette this morning with Dupli-Color Emerald Green Metallic and it looks great! Now to let this dry and give it a coating of Tamiya TS-13 Gloss Clear. I've been thinking about adding a set of sidepipes to the car. This should look great with the Pegasus Chrome T's. More Corvette to come...