mrmike
-
Posts
5,324 -
Joined
-
Last visited
Content Type
Profiles
Forums
Events
Gallery
Everything posted by mrmike
-
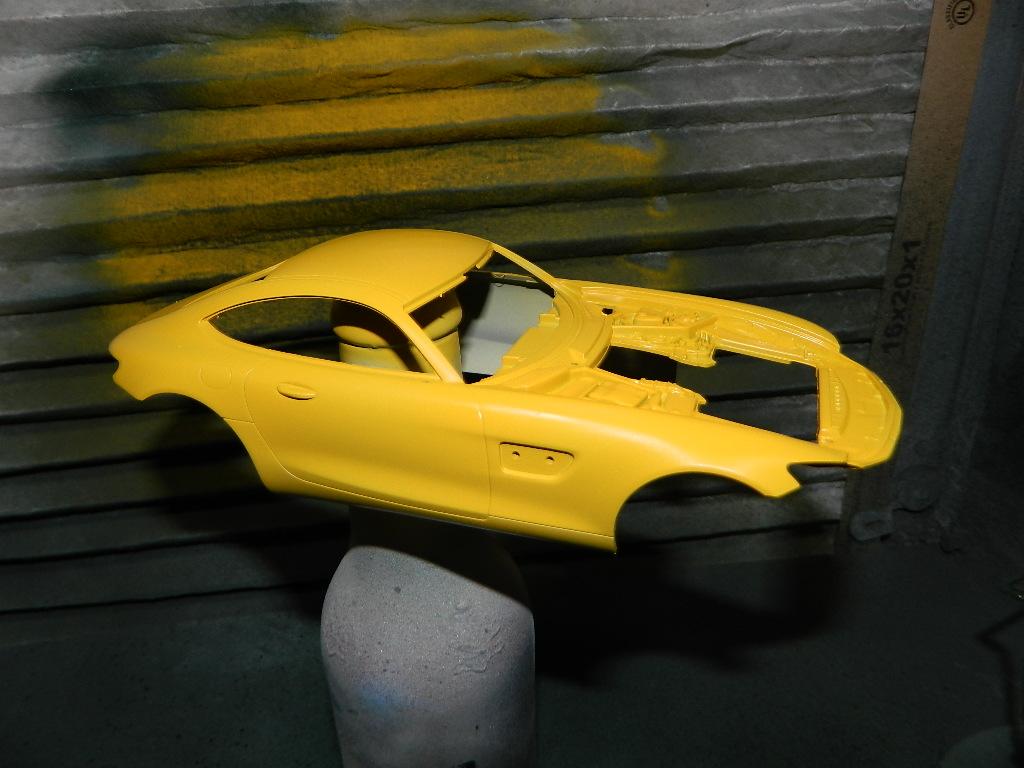
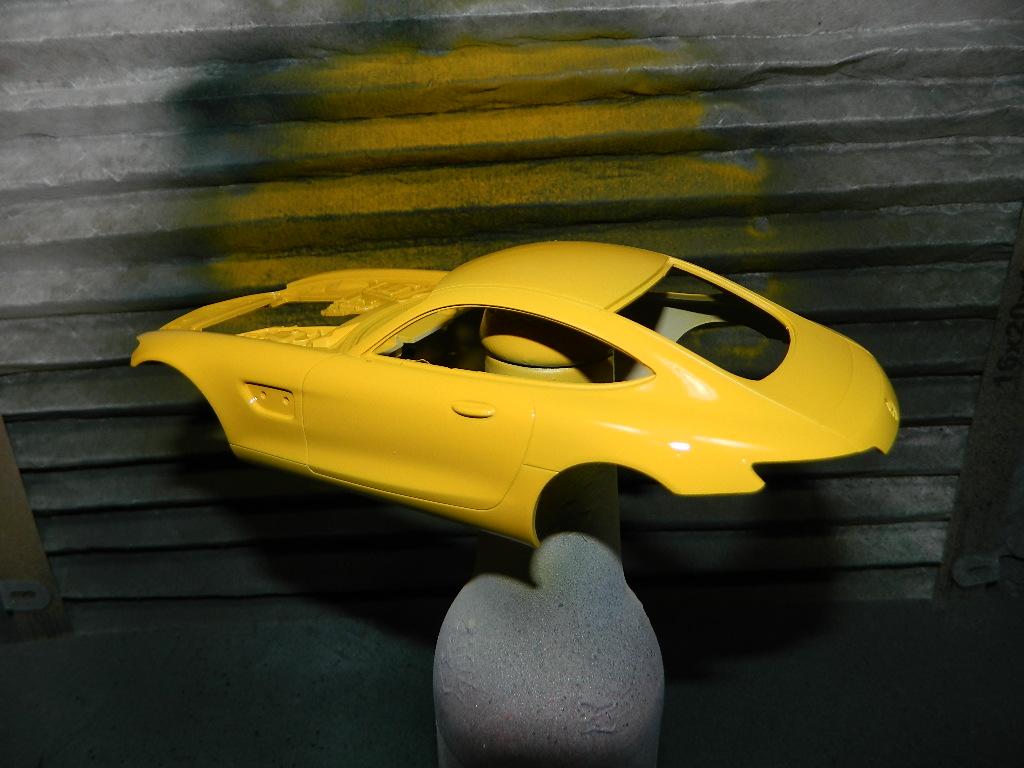
According to the instructions, I used a grey primer first, followed by the yellow basecoat. This will be followed by the mid-coat of metallic/pearl and when that is dry, a clearcoat to help seal all of that and to give it some gloss.
-

1963 Chevrolet Corvette Split Window Coupe Completed
mrmike replied to mrmike's topic in WIP: Model Cars
I noticed a missing piece in the right side vent window and I made a piece to fill in the gap. The Corvette body has been washed and will dry for a coating of Tamiya White Fine Surface Primer. I have a couple of metallic greens in mind for this Corvette, but I need to find the right one. More Corvette to come...
-
Thanks, Curtis! My only setback was the hood and getting the correct one. I decided to go with the hood that was originally given to me.
-
Thanks, Carl! Why should I just blow through a build and end up having it look like garbage? I work on my projects when I have some time and never work on it in a rush!
-
Thanks, Jeremy and Carl!
-
Thanks, Carl and Adam! I wanted to do this build before I had forgotten about Stumptown which was cancelled in 2020. We will never get to see what Dex's mother looks like.
-
1963 Chevrolet Corvette Split Window Coupe Completed
mrmike replied to mrmike's topic in WIP: Model Cars
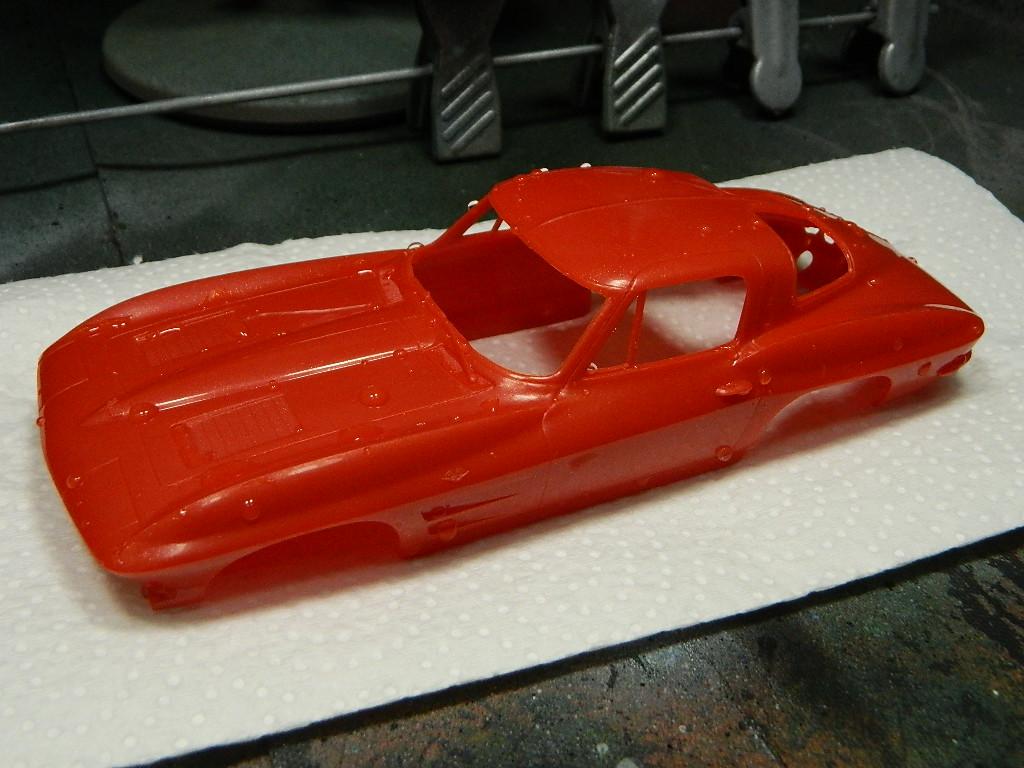
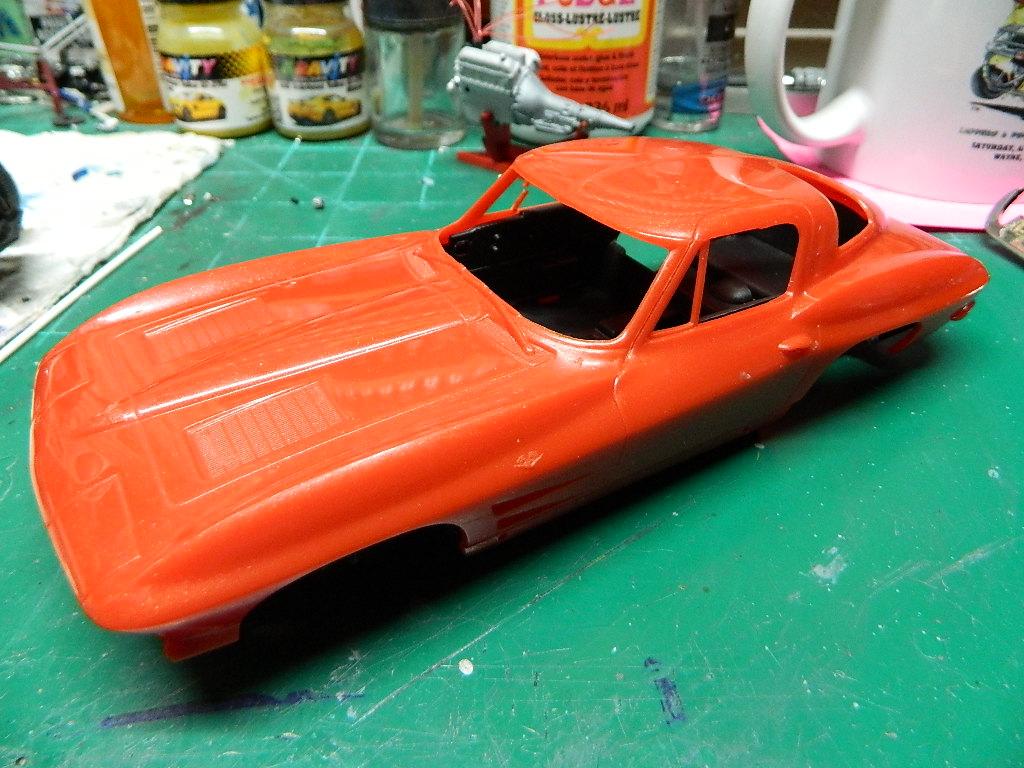
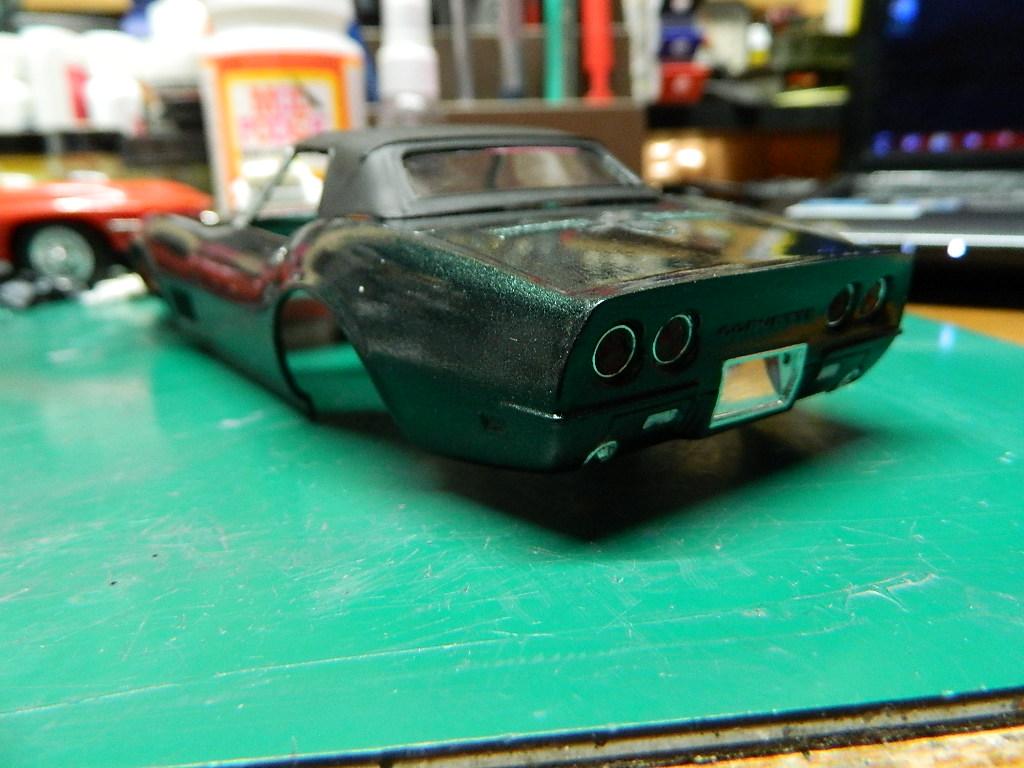
Thanks Greg and David! The body is molded in a metallic red plastic and with some polishing, would look great. I want to paint this Corvette a dark green, but had to do some mockups first before I wash, prime and paint it. -
1963 Chevrolet Corvette Split Window Coupe Completed
mrmike replied to mrmike's topic in WIP: Model Cars
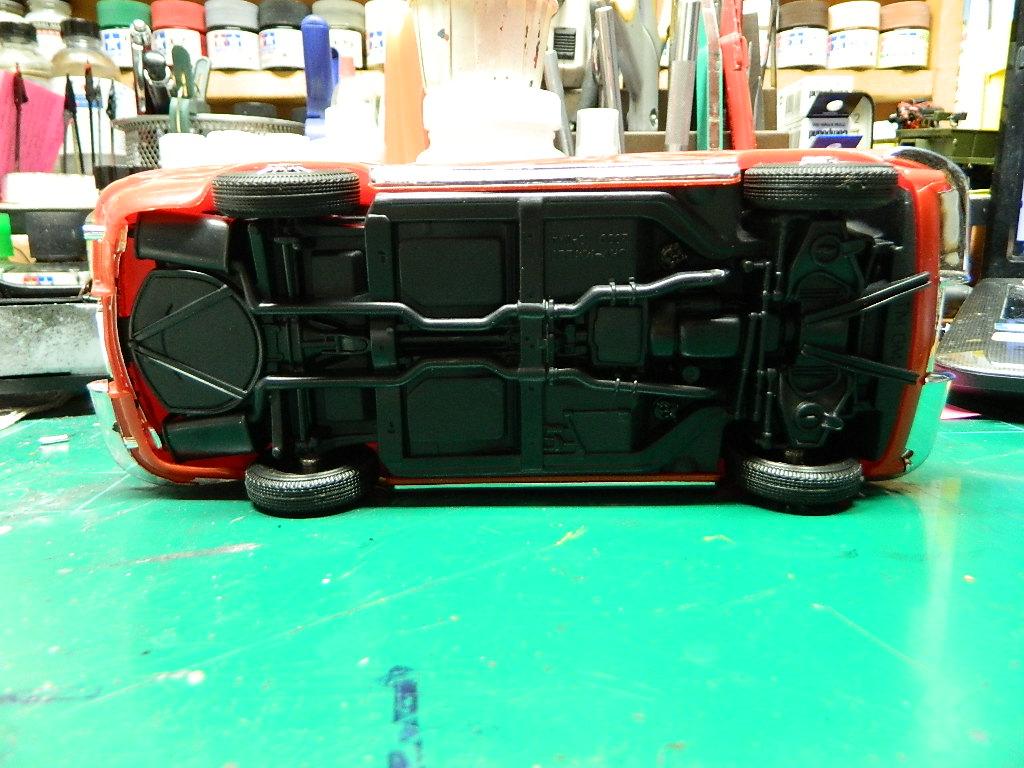
The suspension is where I want it. More Corvette to come...
-
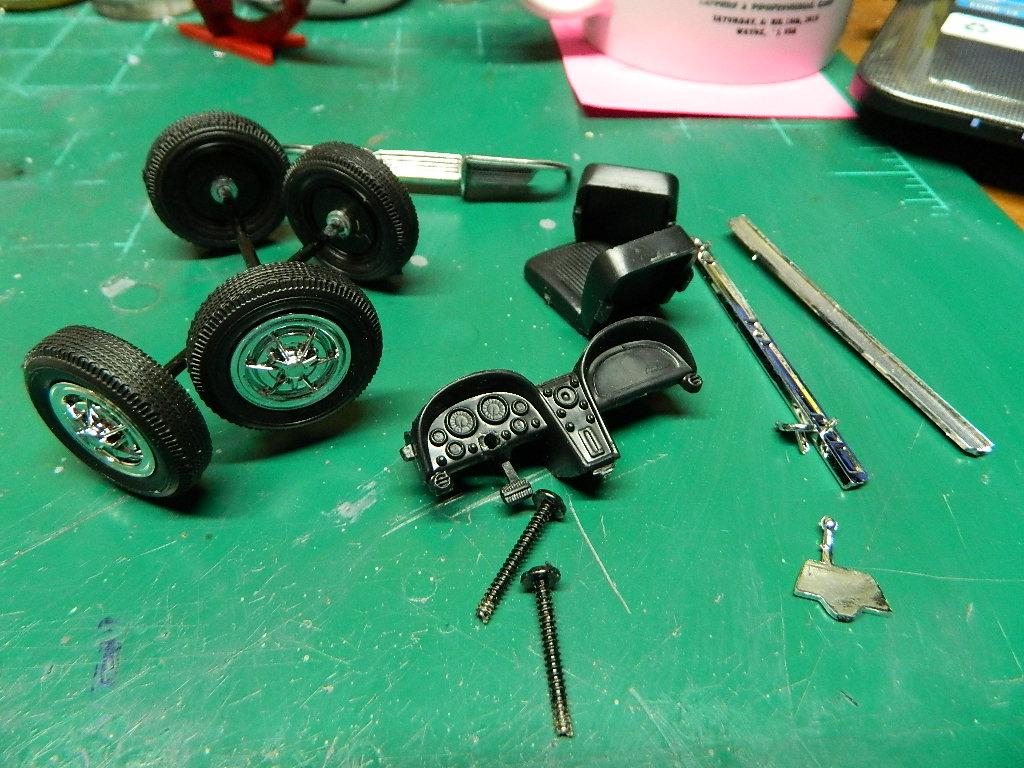
This is the remains of my Grandson's '63 Vette Coupe. The '63s have been a C2 favorite of mine for a while and I felt I needed to rebuild this in my favor since this model car has long since been abandoned by him. My rebuild will include Pegasus Chrome Ts and tires, new rear bumpers and a new dark green paint job. This Snap Kit will get many chassis mods to adapt the new wheels and tires. More Split-Window to come...
-
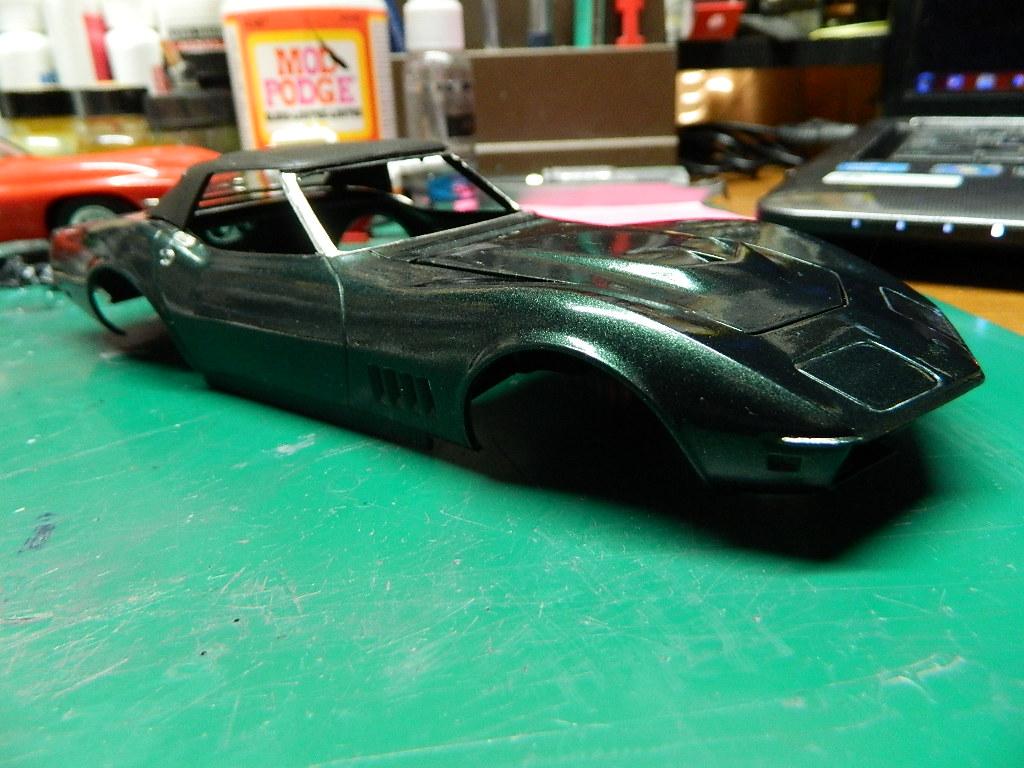
I clearcoated my 'Vette with Tamiya TS-13 Gloss Clear. Maybe another coat and then some polishing. More Corvette to come...
-
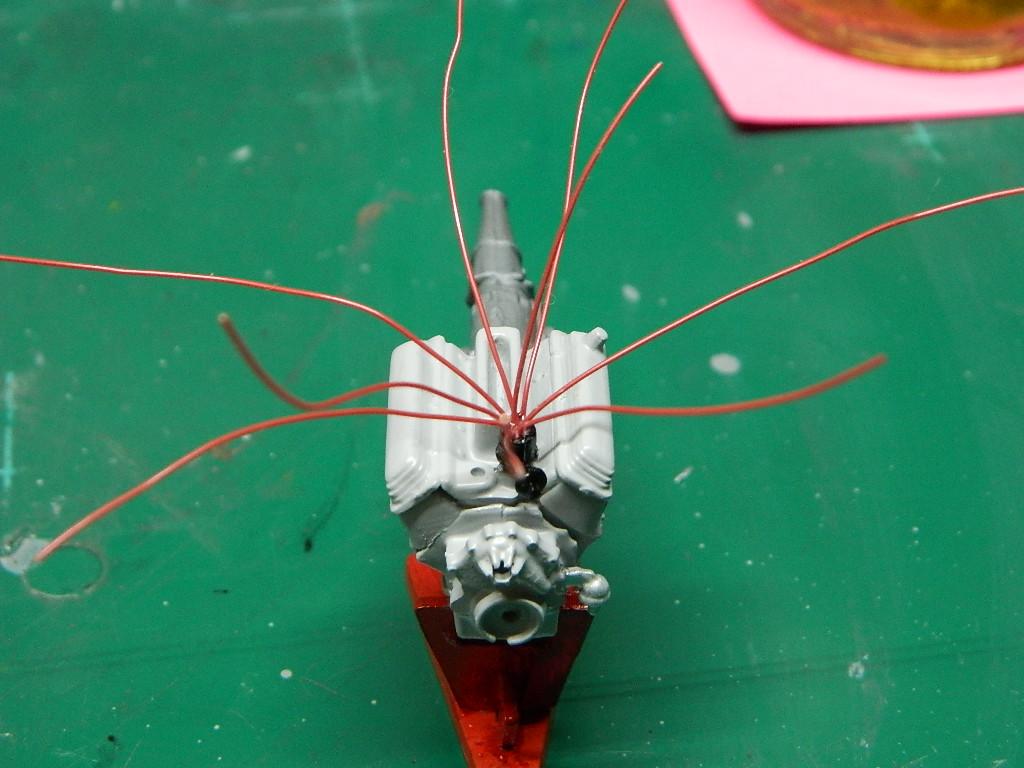
I got my wires cut and installed in the distributor. The resin Pony wheels have been cleaned and painted with Tamiya TS-17 Gloss Aluminium. Dex Parios will return...
-
Looks great! Excellent job, Randy!
-
I removed the chrome from the valve covers, intake manifold and the intake system. The distributor and the cylinder heads have been drilled out for plug wires. The resin Pony wheels are soaking in Bleche Wite Tire Cleaner and tomorrow I will scrub them with Dawn Dish Detergent and an old toothbrush. Dex Parios will return...
-
The Corvette is in the midst of Bare Metal Foil and final assembly before clearcoat. More Corvette to come...
-
You guys are correct! I installed the side skirts on the wrong sides of the body. My Bad! I was able to remove the side skits and install them on the proper sides. I removed the chrome from the valve covers, intake manifold and induction system. After over a day in Easy-Off Oven Cleaner, the chrome and some of the lacquer coating was removed, but not all of the lacquer coating. Dex Parios will return...
-
Many people thought is was a good series as well. Unfortunately, ABC cancelled the show after they renewed it for a 2nd season and they supposedly shopped it around to other networks and streaming outfits. I thought it was filmed on location in Portland, OR, but it was not. I find so many commonalities between Stumptown and Spenser For Hire, another show that I really liked. I removed the chrome items I assembled yesterday and put them in a container with some Easy-Off Oven Cleaner to remove the chrome. A good cleaning afterwards and then I can paint them.
-
While I am awaiting parts for other projects, I went ahead and assembled the engine and the body. The engine will be painted with grey paint and the body will be painted with Tamiya TS-18 Metallic Red and then weathered to look dirty and unwashed. Dex Parios will return...
-
My new project is from the Stumptown TV series starring Cobie Smulders as Dex Parios and was taken from the graphic novel of the same name. I bought this kit which is a close representative to the 1991 Mustang GT a couple of years ago during the height of the Covid pandemic. The wheels will be changed to the 5 spoke Pony wheels and my paint will be Tamiya TS-18 Metallic Red with a grey interior. The series was renewed for a 2nd season, but was ultimately cancelled since new episodes would be ready in time to be aired. Dex Parios will return...
-
Thanks Dennis! There will be more pictures to come of this project, so don't worry! A local friend has offered up a hood that should be here sometime in the next few days.
-
Carl, I had my heart set on this hood. This is the style hood I want and not the L88 style hood either. I have someone local sending me a hood and I hope it is the style I want.
-
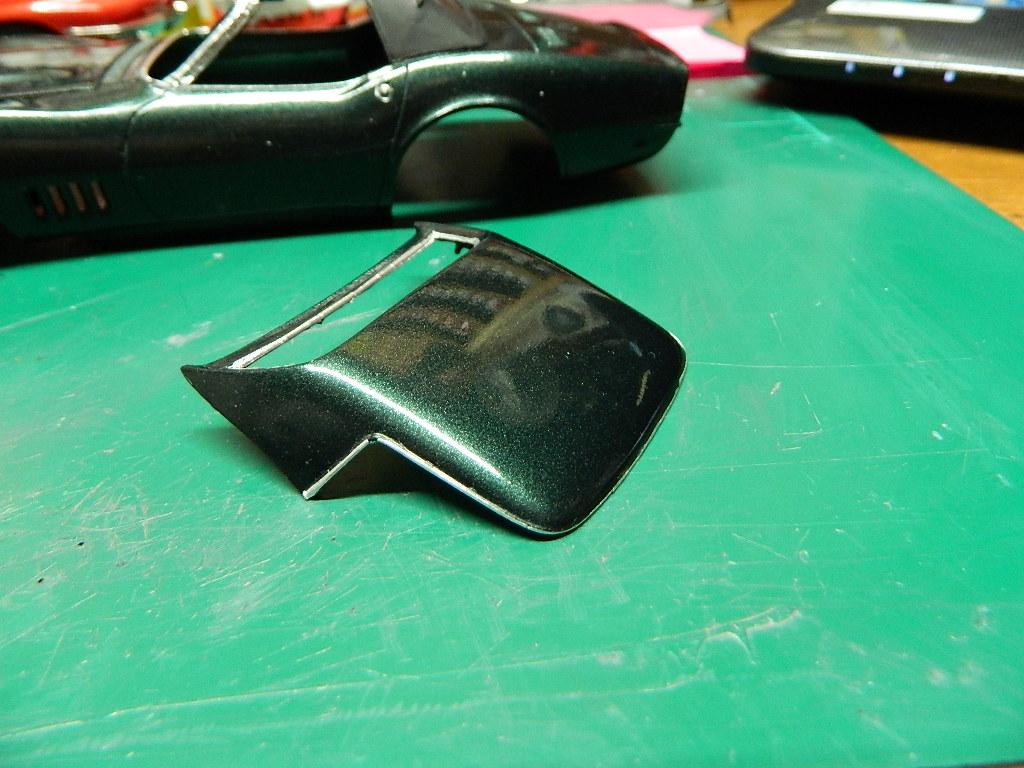
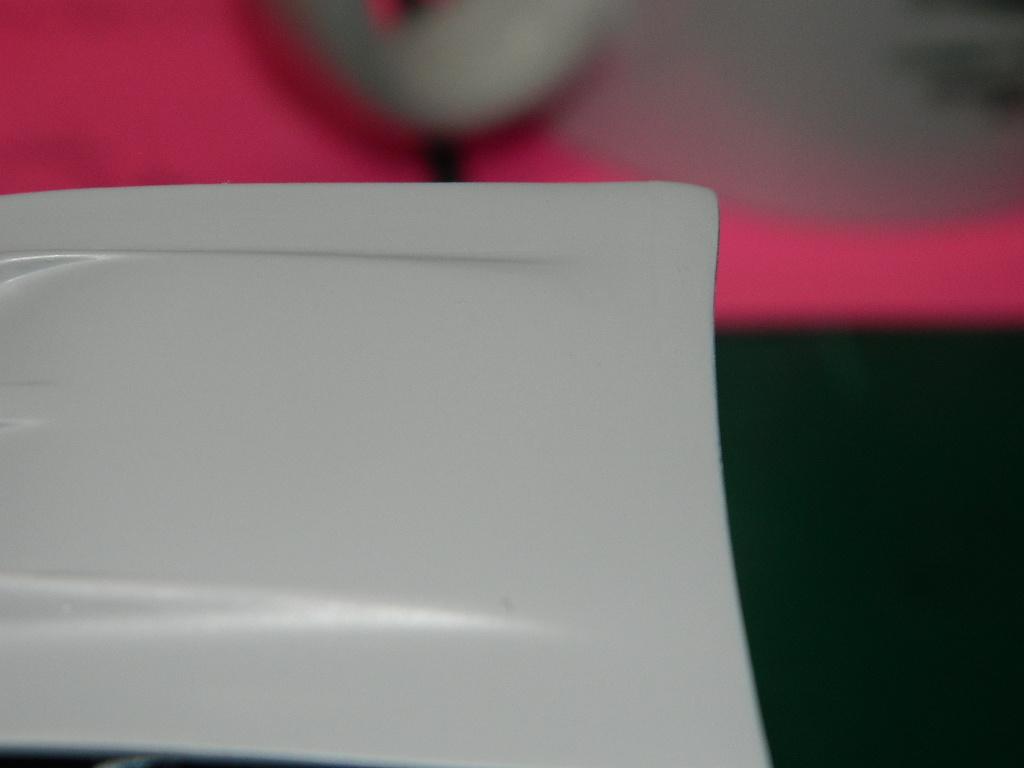
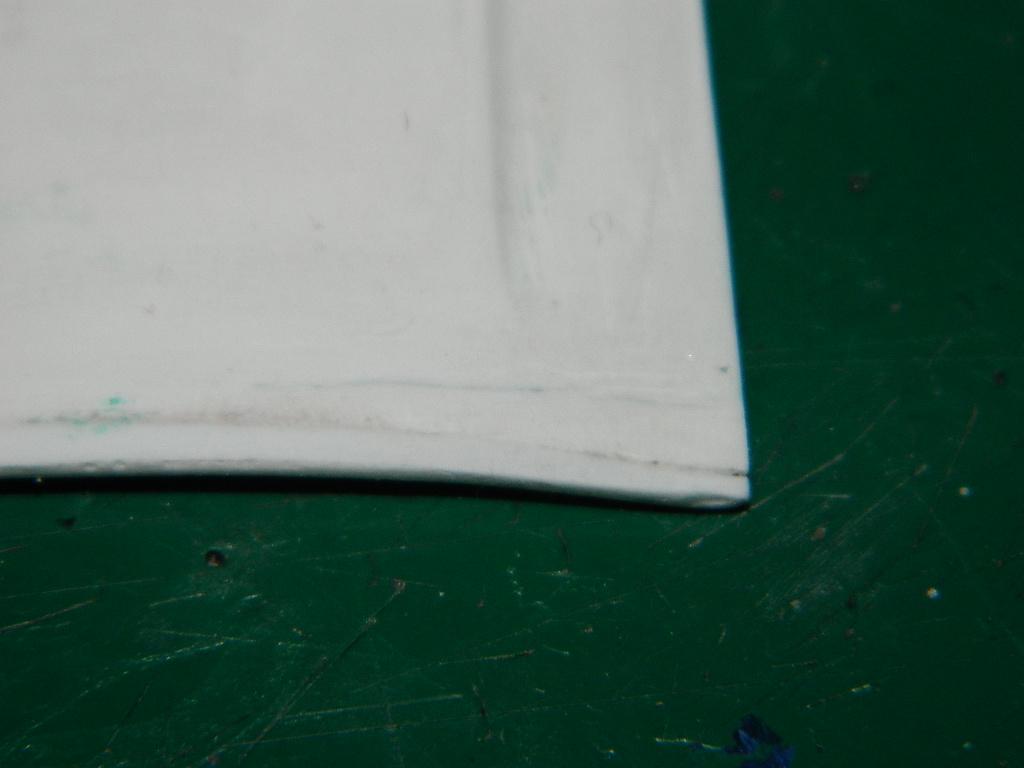
I noticed that my last painting sesson left some places on the hood undercolored. I added another coat or two to the hood. Then, the crack reappeared in the upper right hand corner of the hood. I am done chasing this crack around and will leave the paint as is and polish it. This was suppose to be a quick and simple build and then the cracks appeared on the hood. I'm just going to assemble the 'Vette and be done with it. More Corvette to come...
-
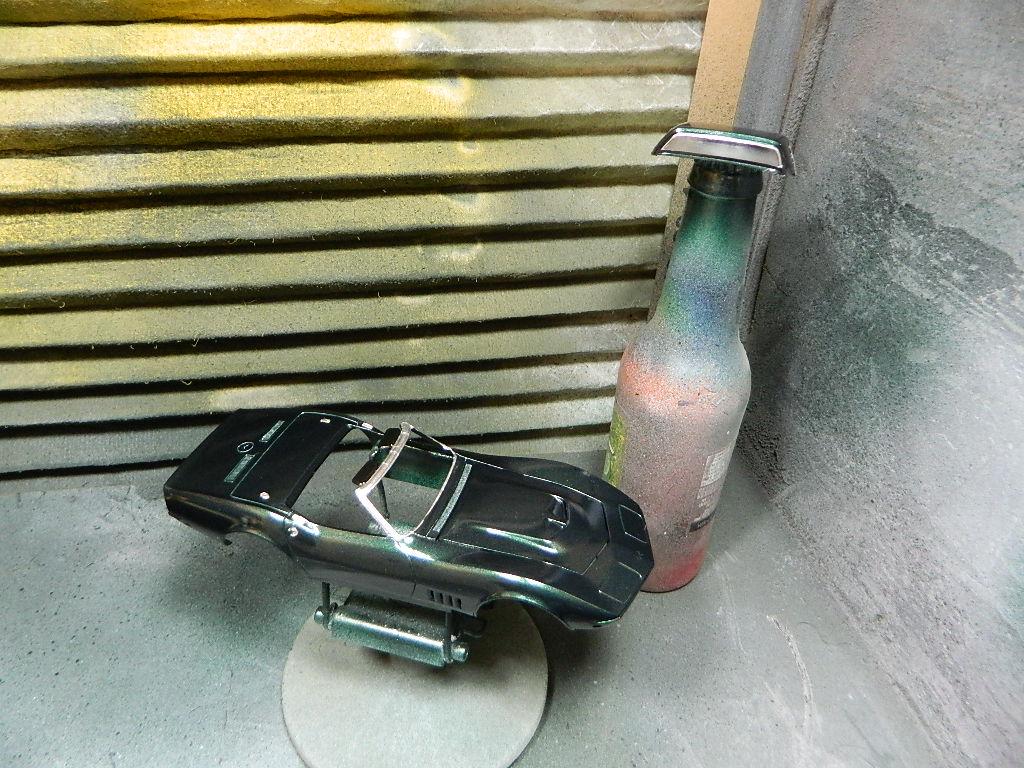
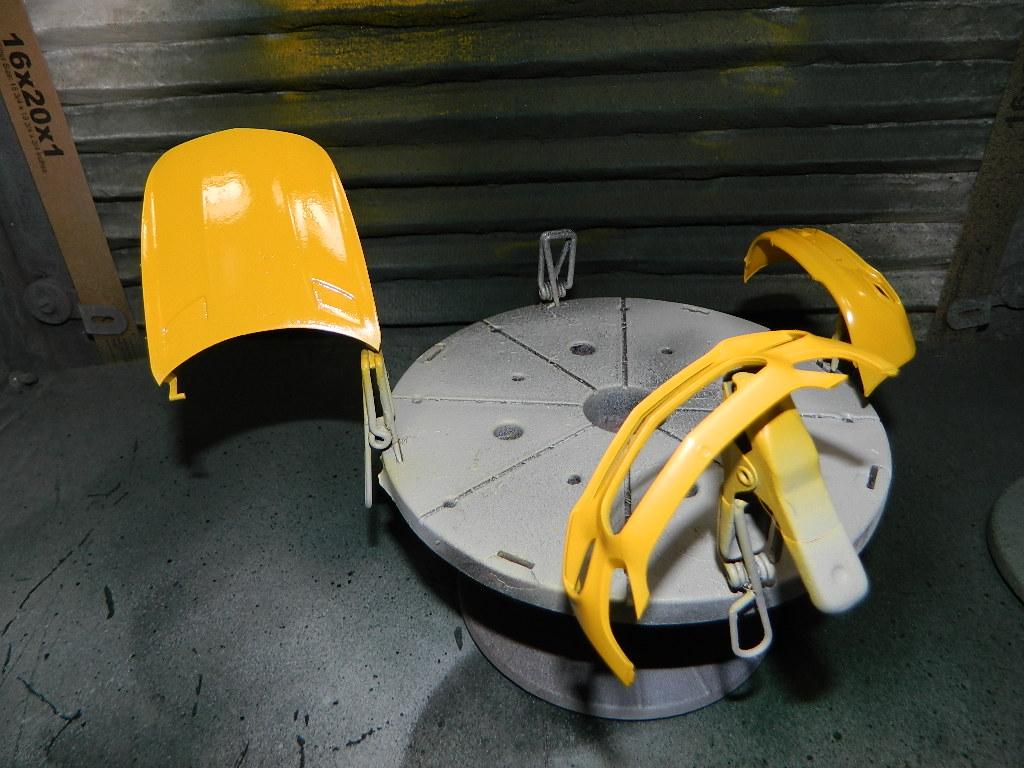
Since I had my paintbooth up and running this afternoon, I went ahead and painted the Mercedes in the first of three colors. The first is the basecoat of Solarbeam Yellow. This will be followed by the mid-coat of metallic/pearl with a clearcoat being last. More AMG GT to come...
-
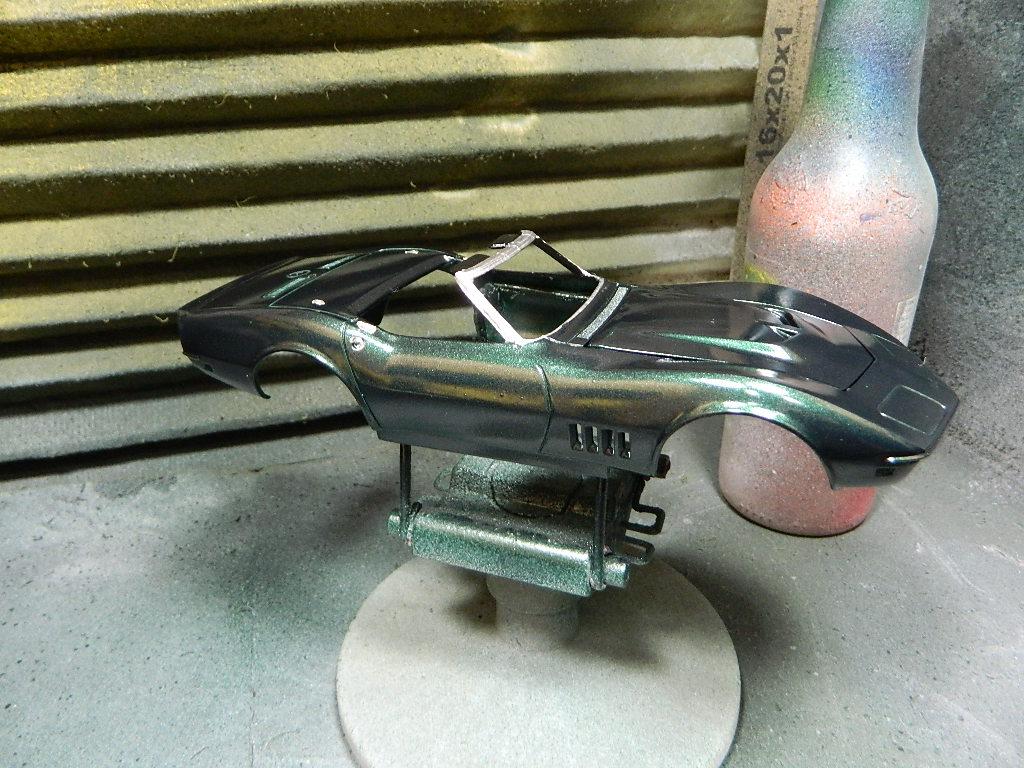
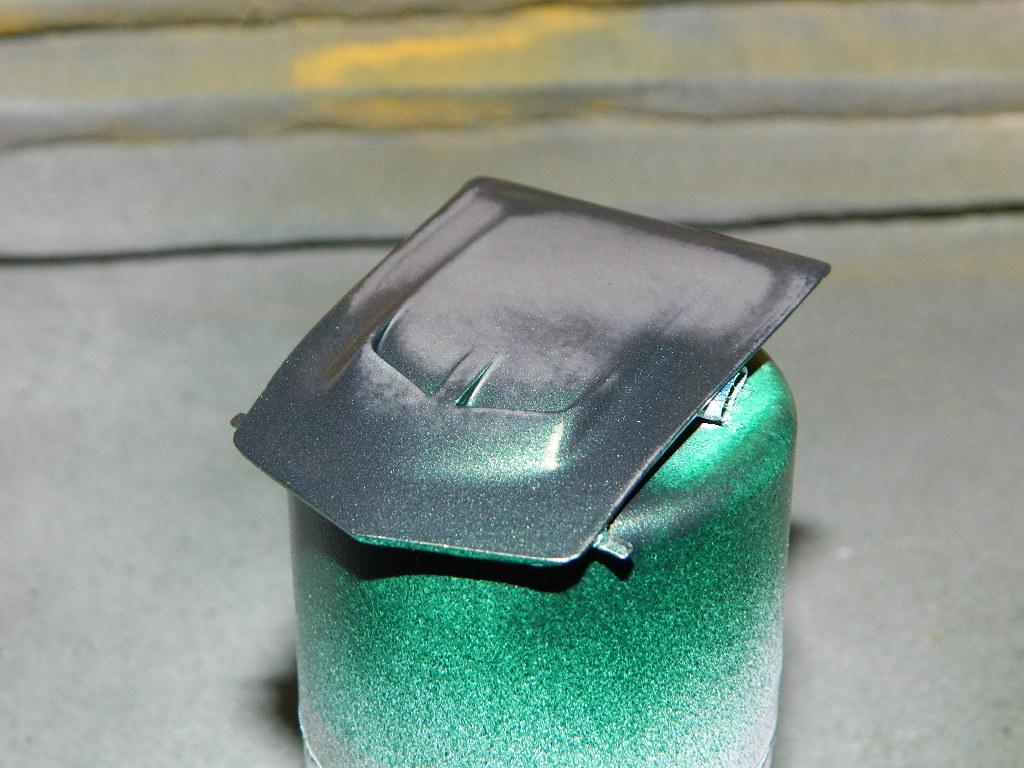
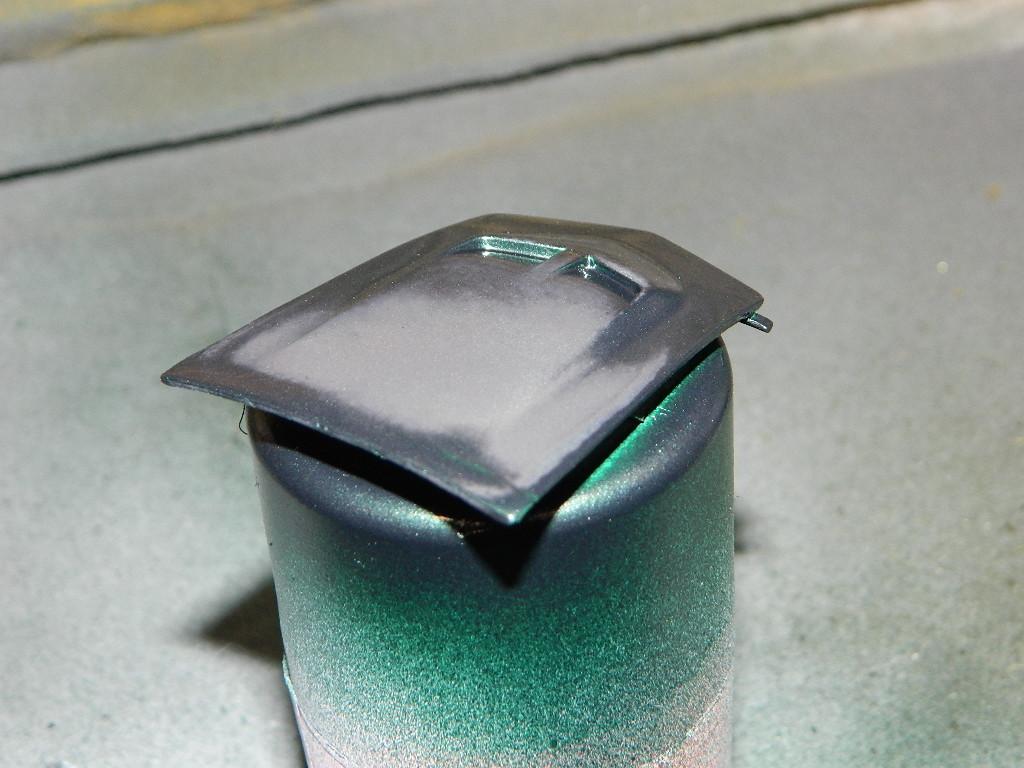
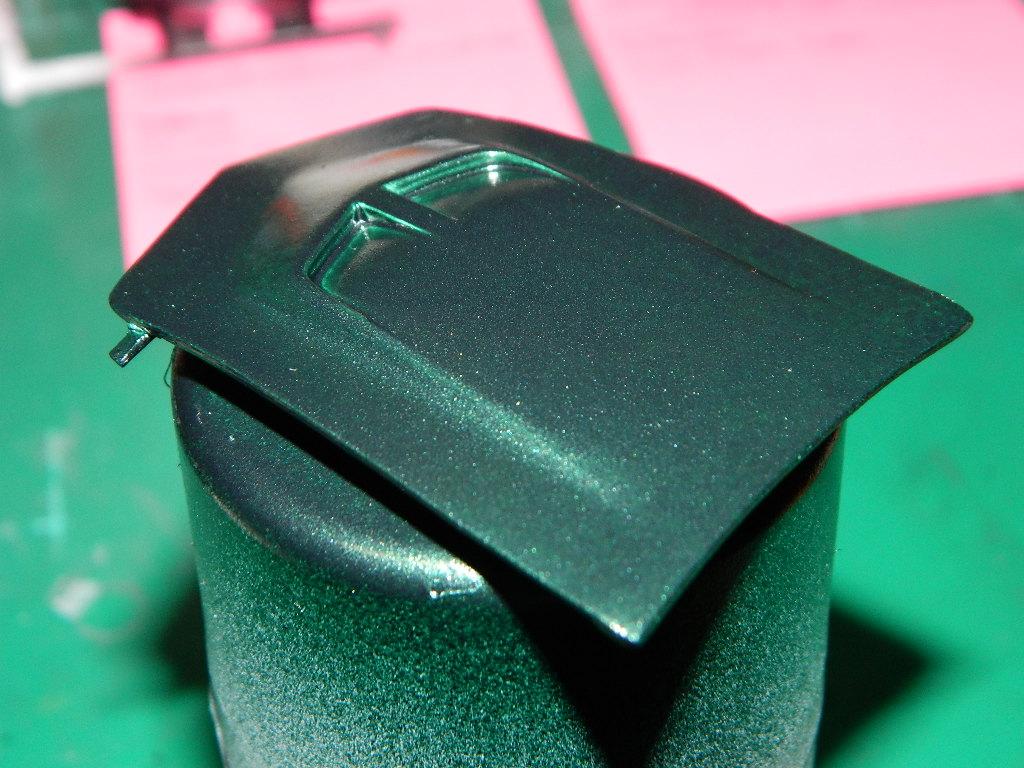
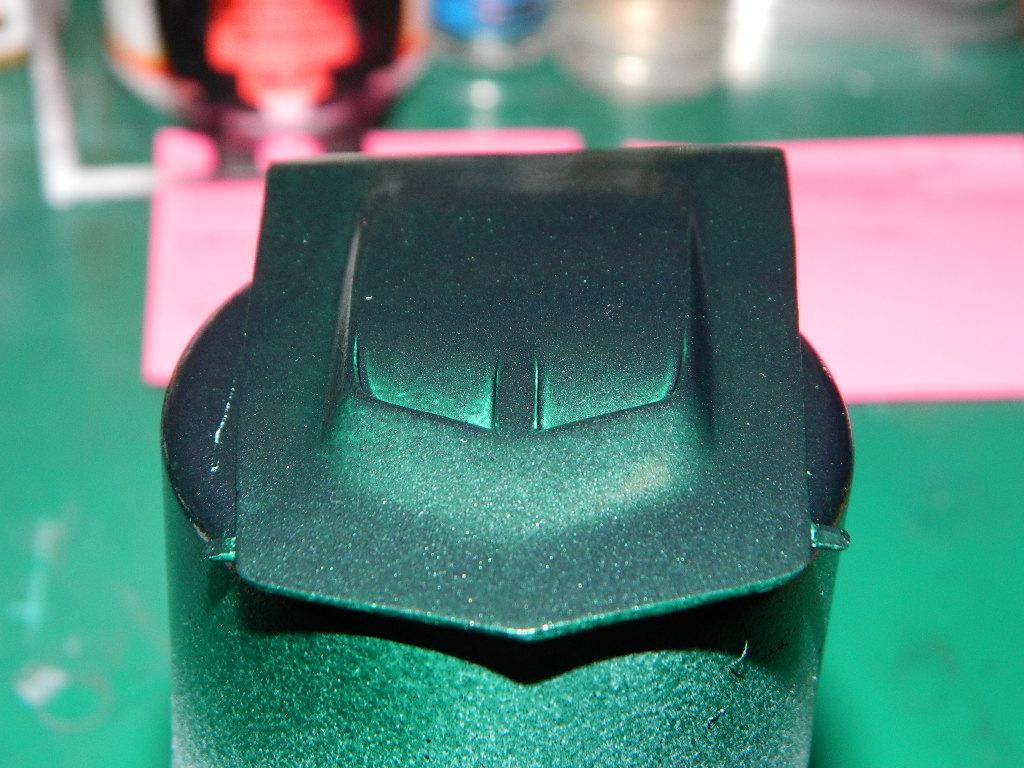
I have painted the hood this afternoon! Dupli-Color Forest Green Pearl! I let this gas out for a day or two and then start the polishing phase. More Corvette to come...
-
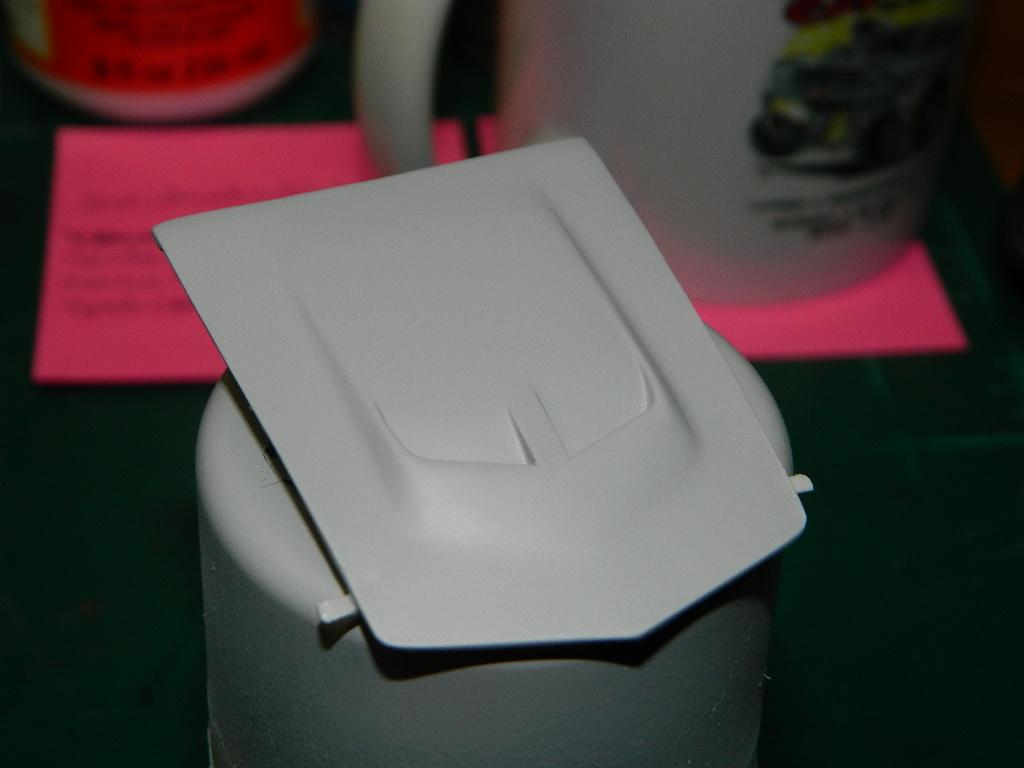
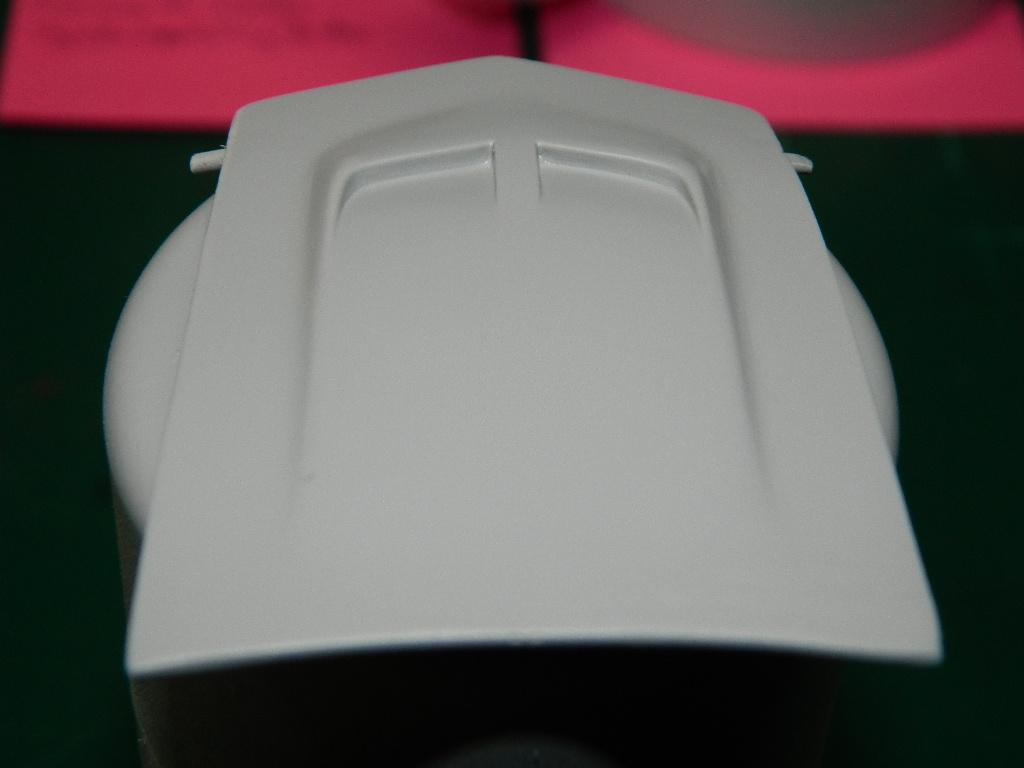
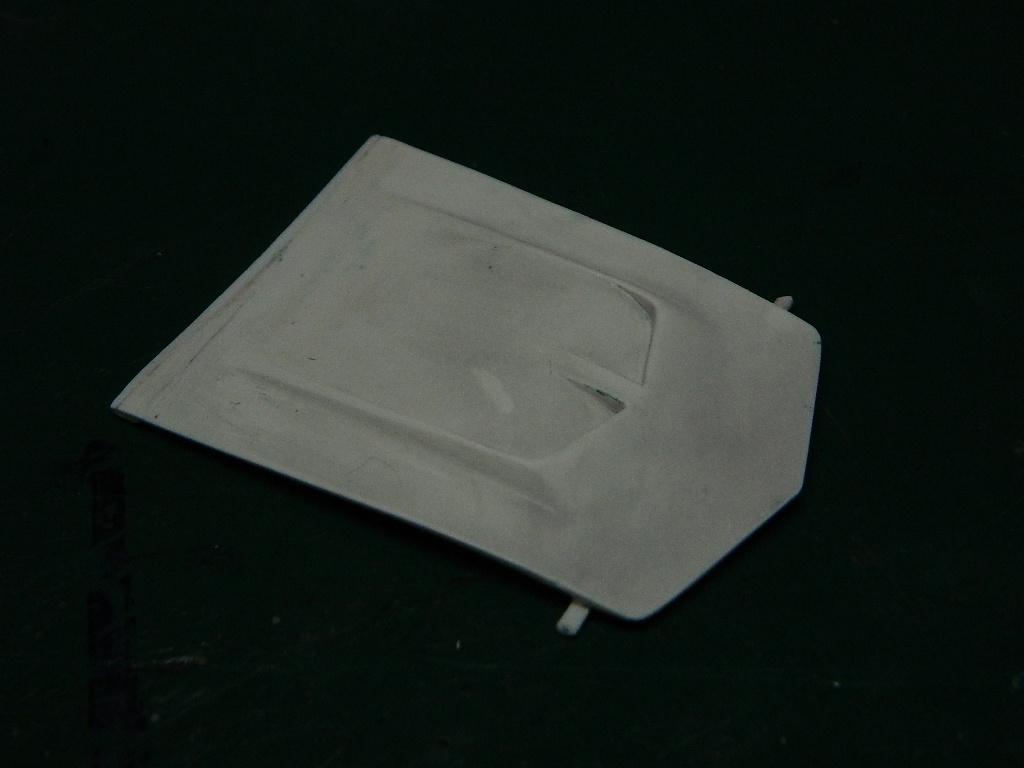
This is more like it! This is just a quick coat of Tamiya Fine Surface Grey Primer on the hood. Another coat of primer maybe and then several coats of Dupli-Color Forest Green Pearl! More Corvette to come...
-
The hood has had the paint removed, been washed and now for it is ready for more bodywork! Oh joy! Have I ever mentioned that I hate bodywork? I do! The crack goes all the way through the hood and I am figuring a way to repair it. I also have to add a coating of filler over the top of the hood and sand it all smooth. More Corvette to come...