

Exotics_Builder
-
Posts
3,635 -
Joined
-
Last visited
Content Type
Profiles
Forums
Events
Gallery
Everything posted by Exotics_Builder
-

New Project – Revell 1969 Camaro Pace Car
Exotics_Builder replied to Exotics_Builder's topic in WIP: Model Cars
Back at this project. To recap: Chassis: Added bracing for Convertible Body (kit chassis is for coupe body). Modified and added stock exhaust from a 68 Firebird (Kit has chambered exhausts, which are nice but very common). Painted and detailed. About 90% complete (needs engine to compete plus a couple of suspension pieces. Body: Cleaned up mold lines and removed some emblems (to be replaced by MCG parts from PE Fret). Removed molded in windshield wipers and cleaned up frame and panel (parts bin wipers will be used). Opened up grill and corrected depth of headlight covers then added MCG cover parts. Primed and painted base color. Ready for decaling/finishing. Wheels and tires: Using AMT Parts Pack White lettered tires. Found slightly better Rally wheels with open slots in parts bin. Will add valve stems and clean up detail. Interior: Just finished; using Hugger Orange covered with Semi-Gloss Clear. Applied kit Hounds Tooth decals for inserts. Upgraded interior with MCG photoetch for console. Added Microscale decals to reflect faux wood trip on dash and console. To better mimic color of 1:1, added Tamiya Clear Orange over decals. Opened up door grab handles. Added grab handle to passenger side dash to reflect trim level of 1:1. Drilled out and added door lock buttons. Just some tweaks remain. Engine: Basic assembly started. Added PE wire looms on valve covers. Added coupling for PCV on valve cover. Started adding pulleys and accessories to reflect a 396 375 HP engine. This includes power steering pump and AIR smog pump as well as different alternator (not included in kit). Started crafting the AIR piping. About 40% complete here. Next steps: Continue engine detail. Start decals on body. Assemble wheel/tires. Progress Pix below
-
Other good Tamiya kits
Exotics_Builder replied to johnfin's topic in Model Building Questions and Answers
I would add decal quality (at least in several kits I have) to that -
Round2 to goes live Sept 2 1:00 pm Pacific
Exotics_Builder replied to Mr mopar's topic in Car Kit News & Reviews
Not that I am into movie cars that much, but your suggestions sound good. Only other ones that come to mind are the John Wick cars (Mustang and Chevelle)? I was thinking the C8 and Shelby GT500 myself. Although the Mustang/Bronco would be with one manufacturer -
Round2 to goes live Sept 2 1:00 pm Pacific
Exotics_Builder replied to Mr mopar's topic in Car Kit News & Reviews
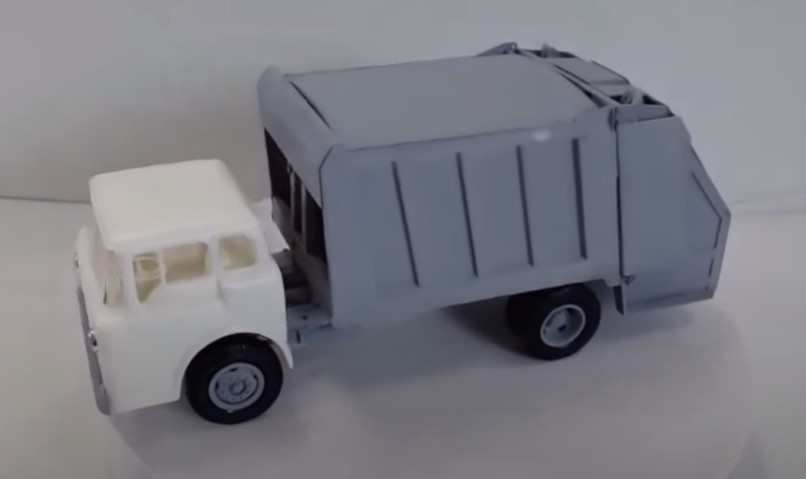
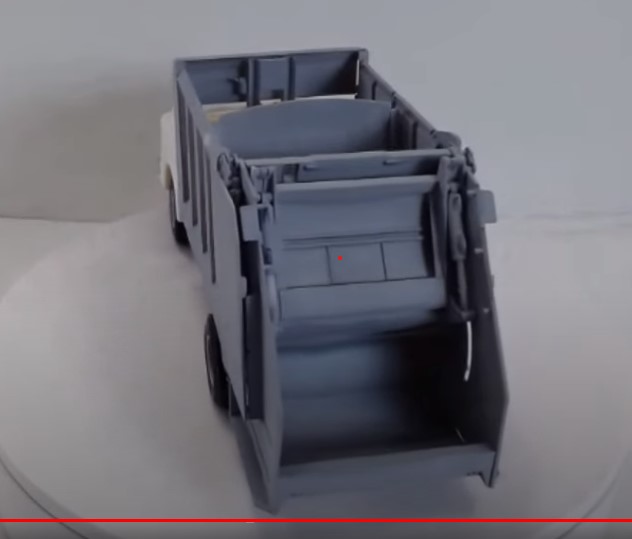
I did some quick screen captures of what was presented. This is coming oon. There are several references to items in the loop but no specifics other than a movie car and two current showroom vehicles (let the speculations begin). Yes, the MPC Californian is being reissued. Already discussed 63 Chevy 2 Nova Wagon with details is coming soon Remake of Ghostbusters Cadillac into a Surf Caddy Working parts Trash Truck announced
-
Ferrari 410 SA Ghia 1956 by Fernando Pinto Portugal
Exotics_Builder replied to 89AKurt's topic in Car Kit News & Reviews
To my eyes, the Bertone was more tempting than the 410. But, there are some upcoming Alpha Model kits that are intriguing. -
I'm in the same boat. If I can use a good rattle can, I will. If there is something intricate or color unavailable, the airbrush comes out. For some small jobs like brake detailing, I recently bought one of those battery compressors with airbrush (and it takes my Iwata gravity feed as well).
-
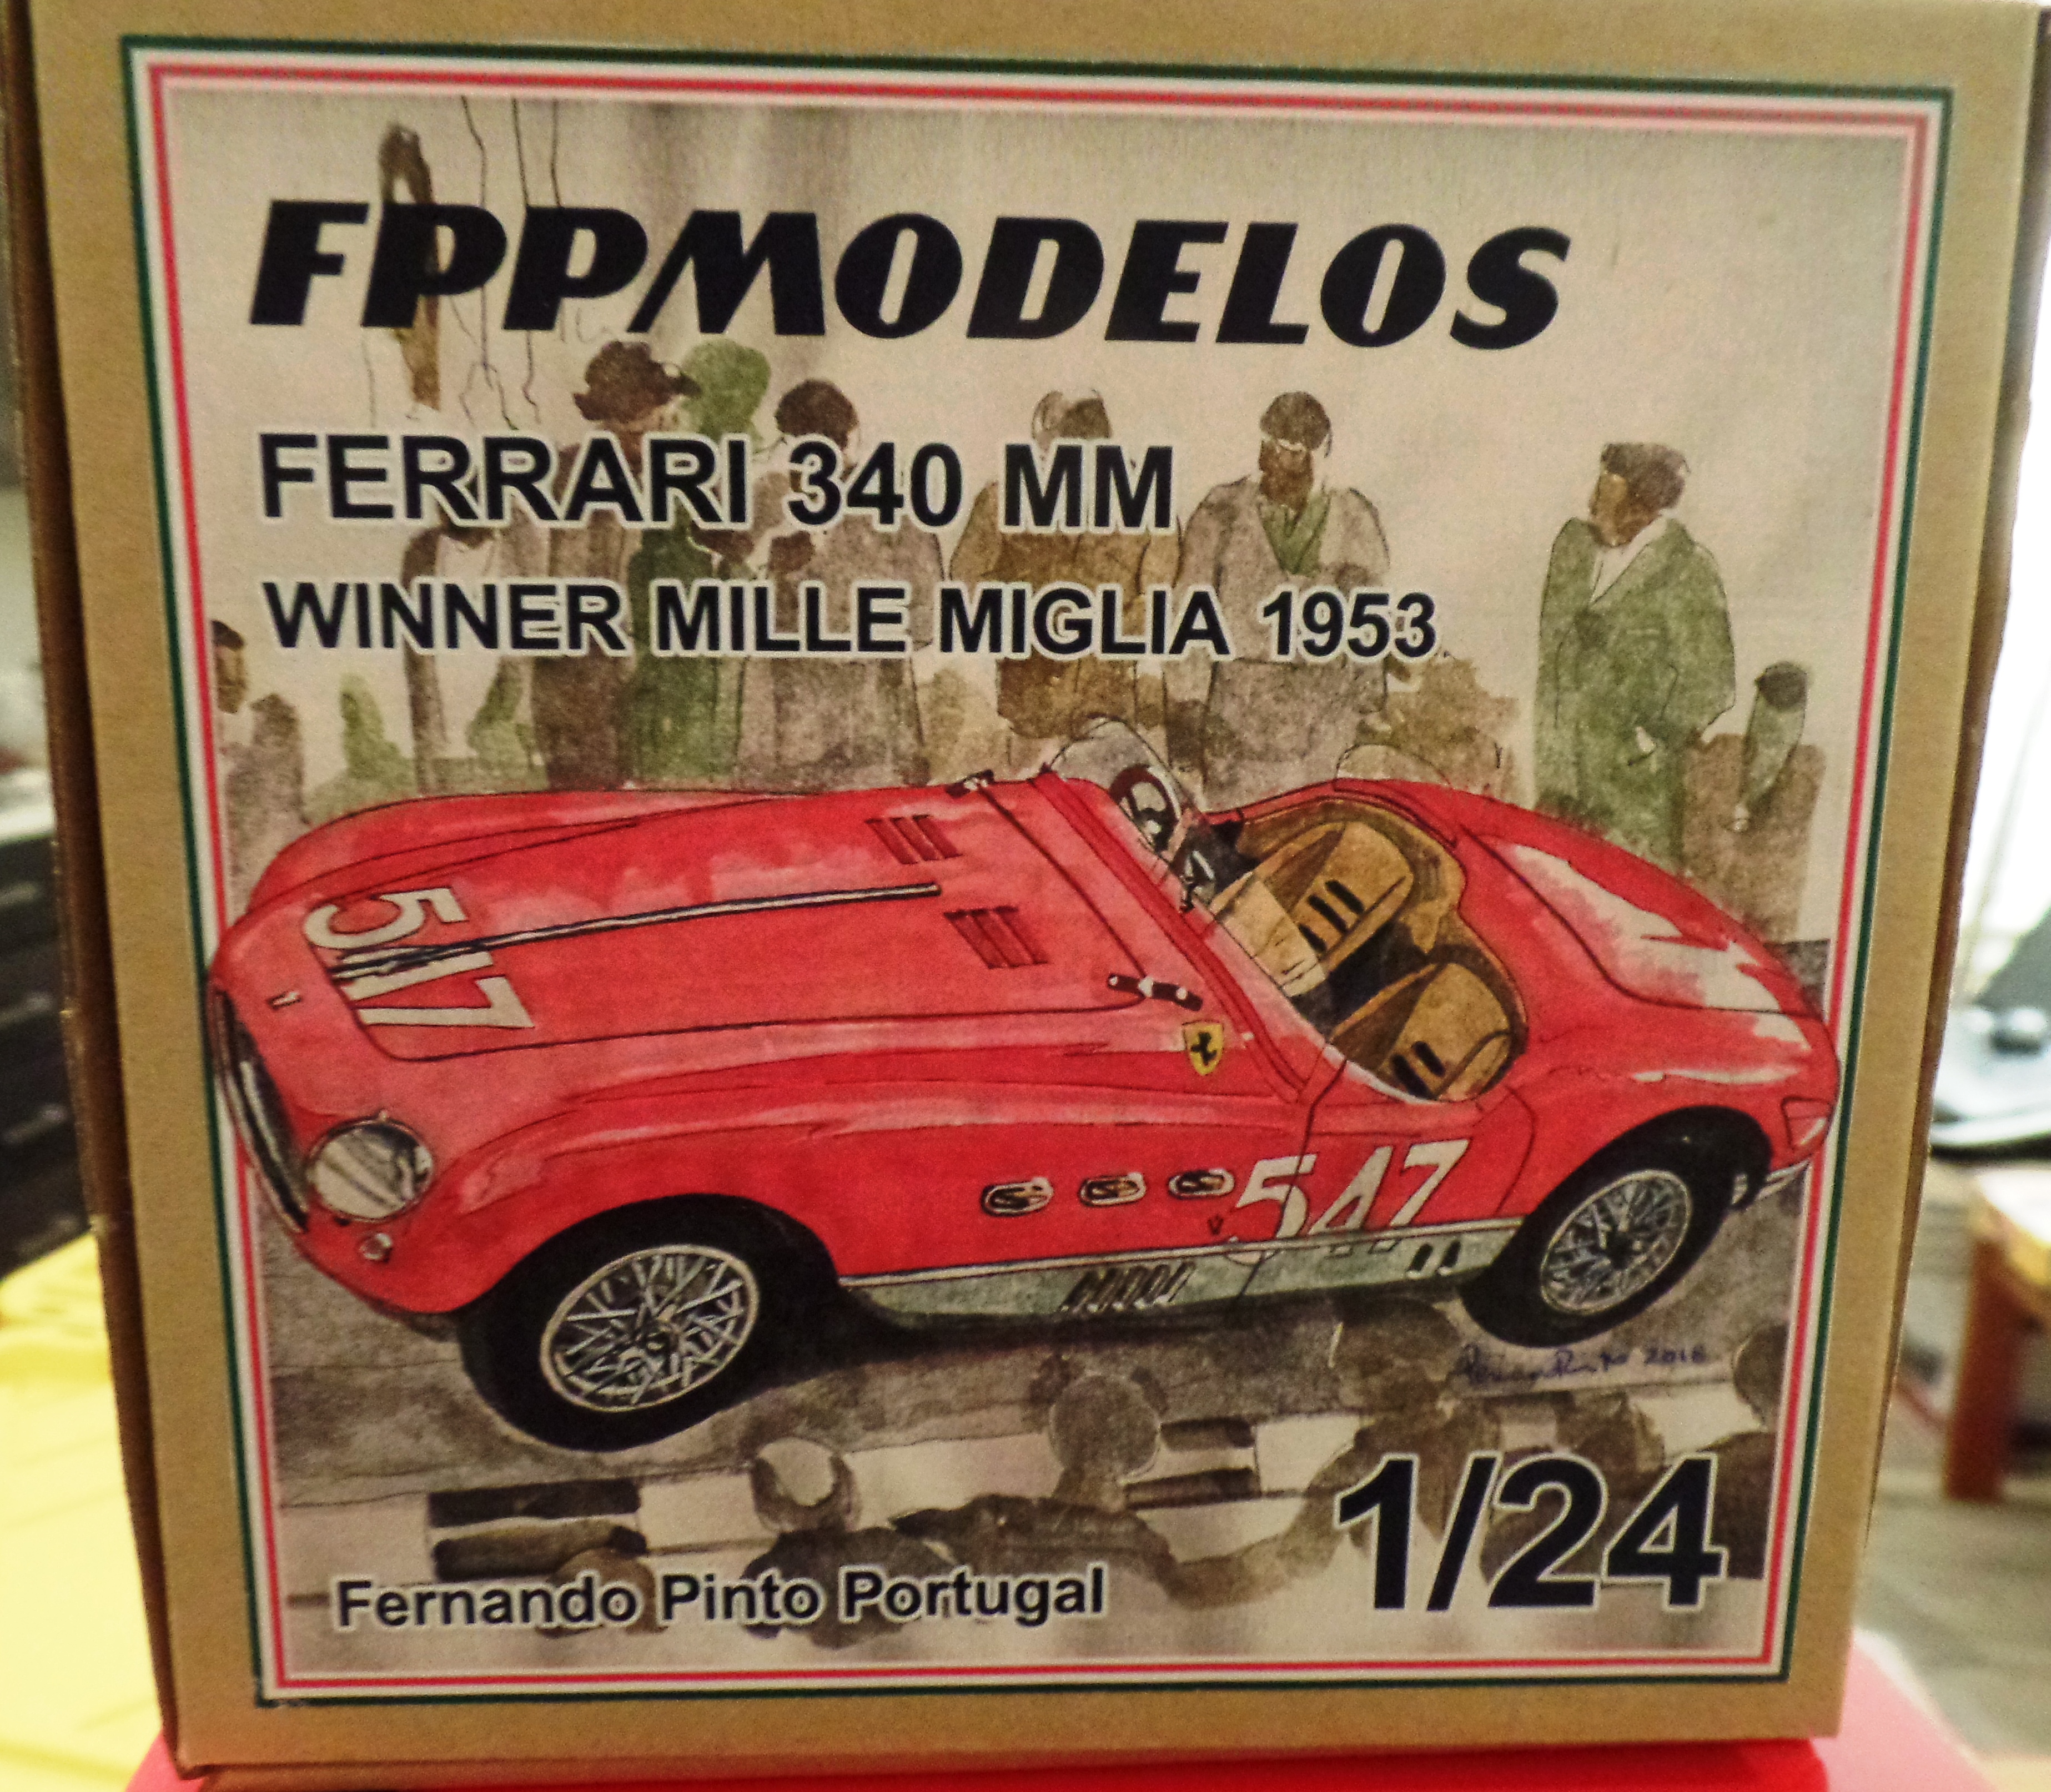
Ferrari 410 SA Ghia 1956 by Fernando Pinto Portugal
Exotics_Builder replied to 89AKurt's topic in Car Kit News & Reviews
I keep telling myself no more kits as well except for really special items. I have 3 of Fernando's offerings pending and think I'm passing on this one.
-
Still need to do a little more cleanup, especially of a little polish spatter in the engine bay but calling this one done. I accidentally damaged the paint job in final finishing and needed to strip and redo. Of course, that meant new decals. Fortunately, I was able to get a set rather than working with a hi-res scan of the kit decals I had made. But, in both sets, the red stripes broke apart, even with a coating of Micro Scale Liquid Decal Film. Otherwise, the decals were fine. I also had a little warpage in the hood that did not like being adjusted. I got it as close as possible and decided to let it be. Engine fully detailed including adding a (non-working) dipstick; Engine Bay also detailed as was the interior, including seat belts; added valve stems to the wheels; and added AMT M&H narrow slicks to the car instead of street redlines. There were some light scratches on the bumper chrome, especially the front, that needed attention. I used C1 Models chrome powder on it to clean it up. Painted with Scale Finishes Pontiac Tiger Gold and Cameo Ivory. Part of the cleanup is tweaking the trunk line on the driver’s side. It is not as clean as I want.
-
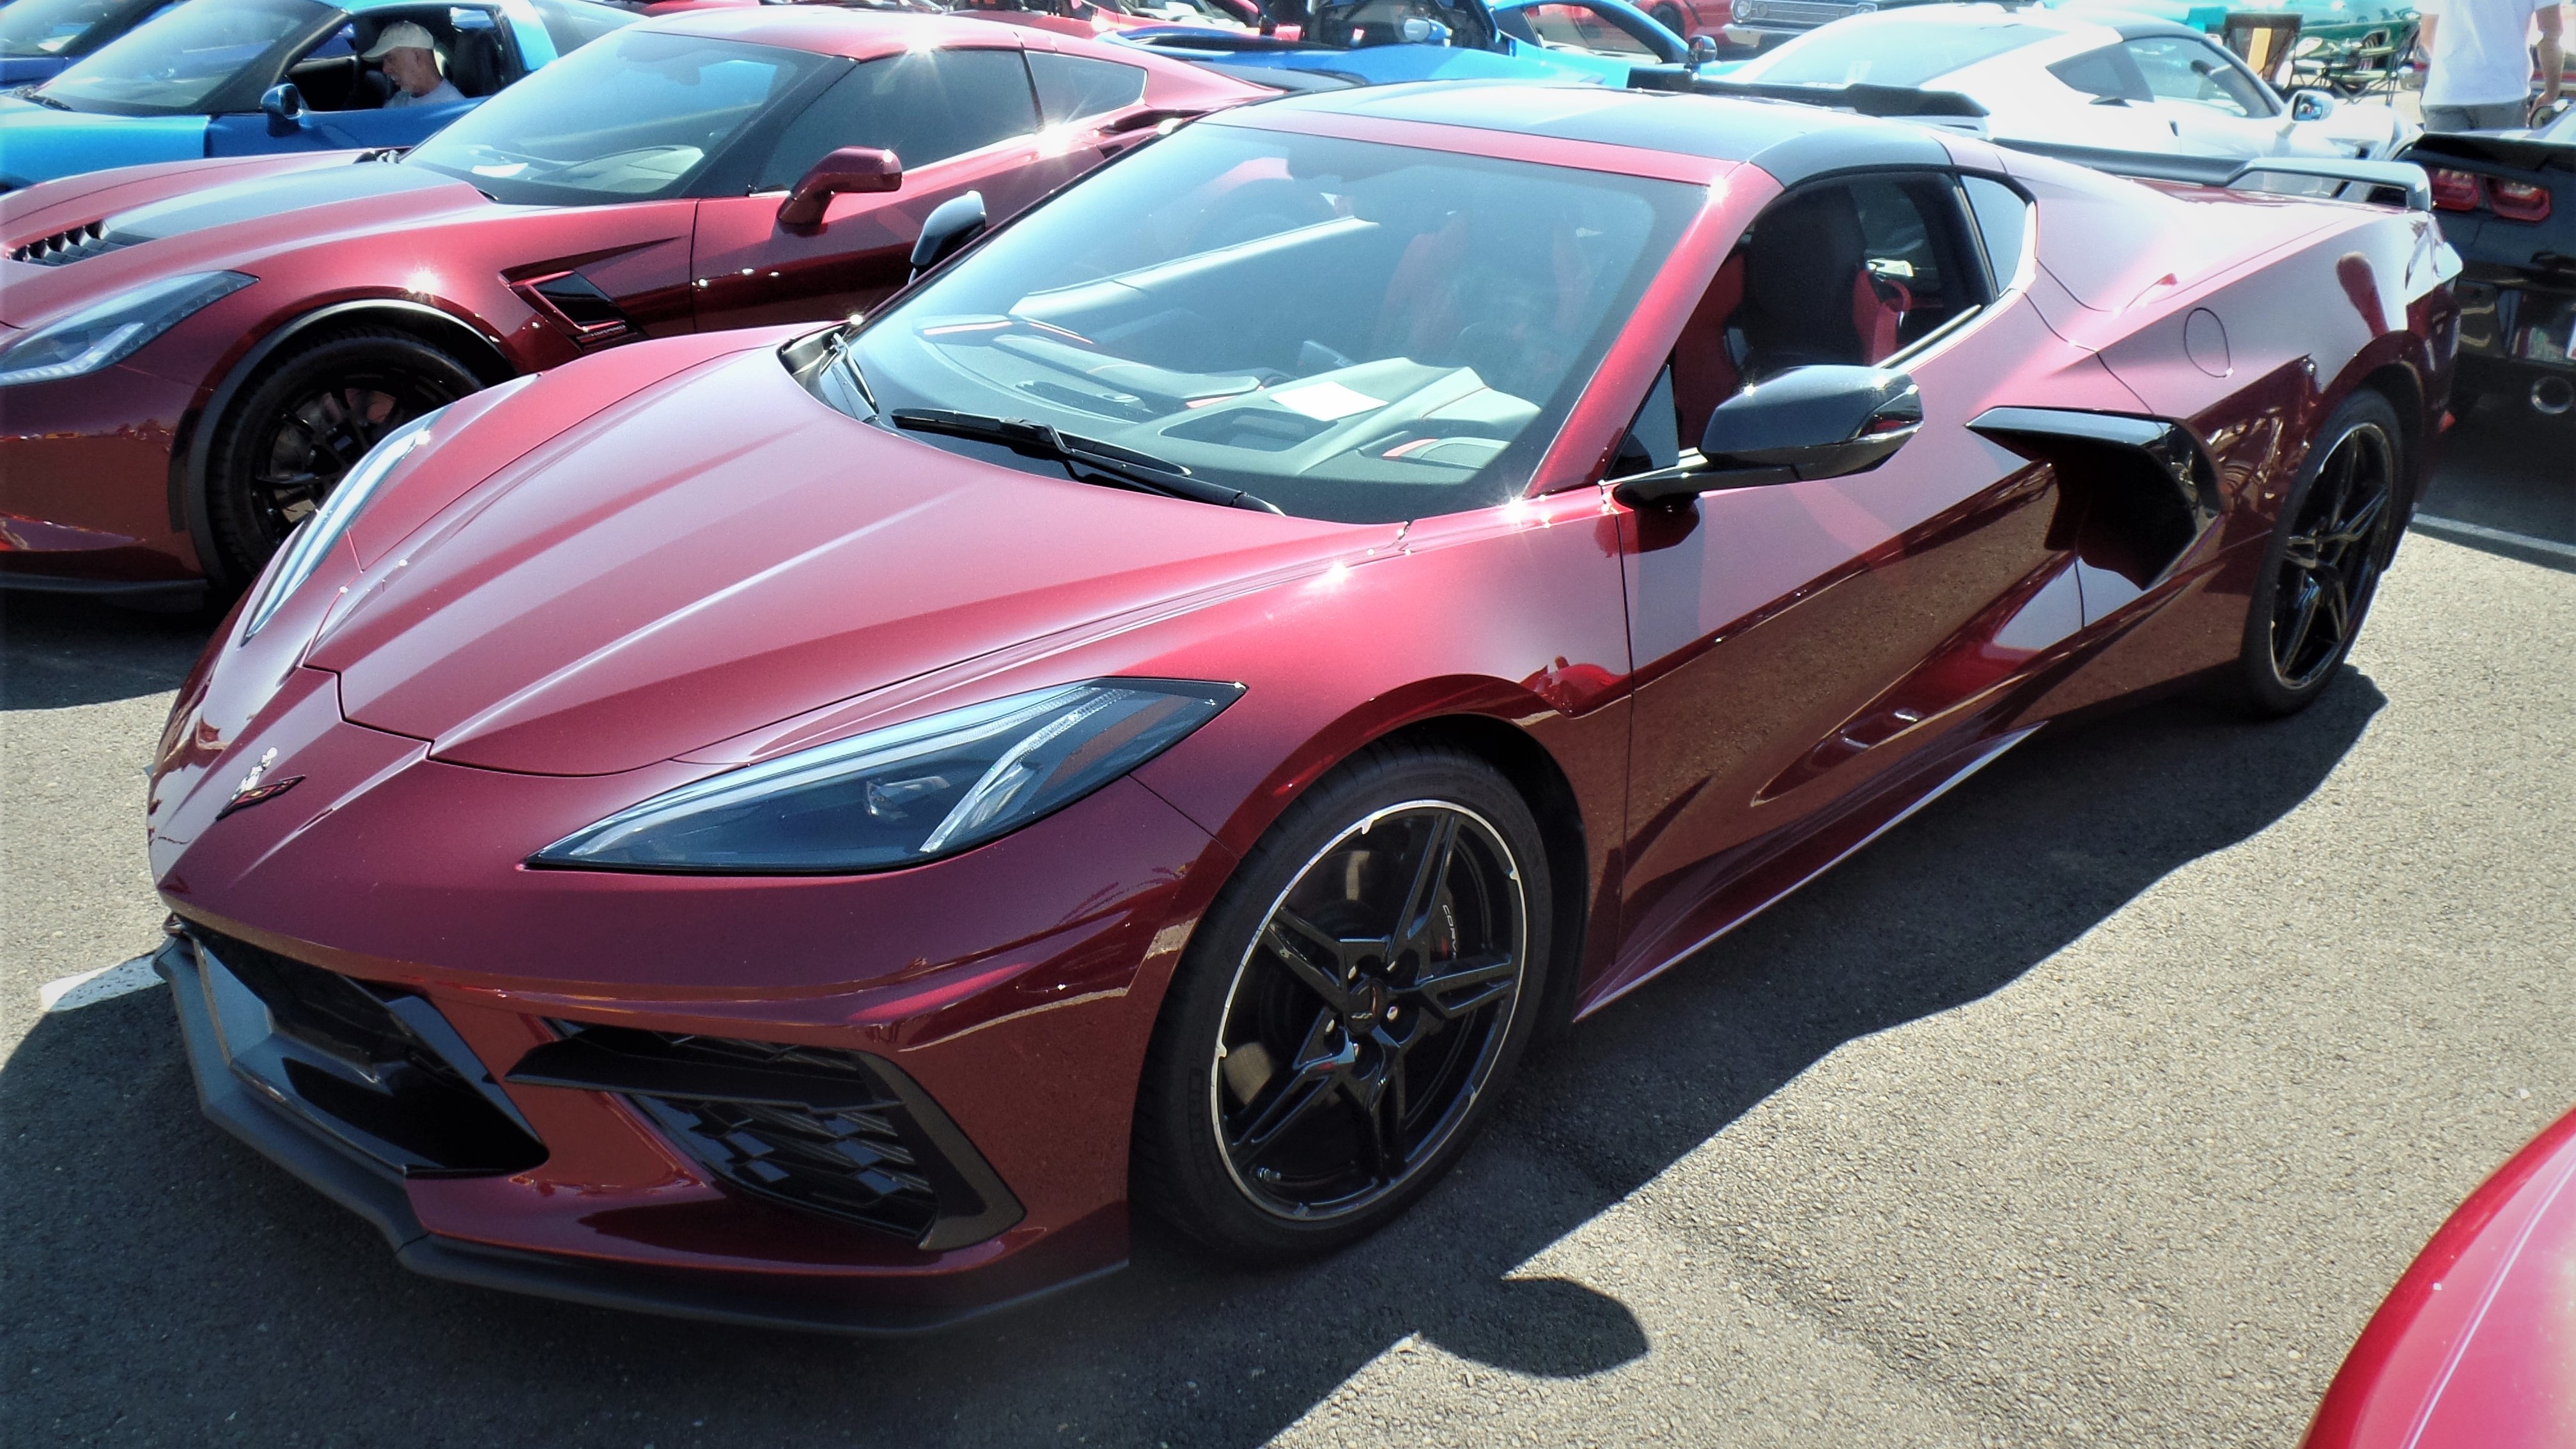
An area Corvette Club was one of the major attendees at the event. Hence, a lot of Vette photos. But, I am a Chevy person. First car (bought from my parents) was a 1965 Impala SS 327 CID 300 Horse (Powerglide sadly)
-
Agree, but I was kind of drawn to this. Probably would change the wheels, though
-
Yesterday had beautiful weather and some car show options. Elected to go up to the Ilani Casino where the Endless Summer Car Show was being held. Lots of nice cars and the first time in many months that I was able to attend one. Took a bunch of photos and they are in the attached Flickr Album https://www.flickr.com/photos/142581265@N08/albums/72157719800905910
-
What do you do with your built kits?
Exotics_Builder replied to doorsovdoon's topic in Model Building Questions and Answers
Periodically, I select the ones to keep and donate/sell off the remainder. The fun is in the building. -
1/25 AMT 1963 Chevy II Station Wagon with Trailer
Exotics_Builder replied to Casey's topic in Car Kit News & Reviews
That would be great. Add it to this yet to build
-
Not grokking this one and didn't care for the original.
-
Looking great, Dave!! Thanks for sharing.
-
Red is Tamiya Lacquer decanted from Rattle Can and airbrushed. White is Tamiya Rattle Can. Made a copy of the body decals and used as a template for masking. First try was off, so I sanded the blend line, remasked and did another shot. The decals are somewhat translucent, so was trying to not run over into the lighter blue. The other perplexing thing is that (not being overly familiar with WRC cars) is that I cannot figure out how they can get the spare tire out given its location and the roll cage design. I could not find any 1999 interior photos except the dash. The 2000 and 2001 real cars have a different roll cage than depicted in the model
-
Calling this one done. Basic Tamiya quality on plastic components and similar terrible decals from the time the model was issued. This is the second Tamiya racing car I have done where the decals were not up to par. They apply fine (although one broke) but several wrinkled as they dried. Biggest challenge was trying to find reference detail photos of the actual car raced in 1999. I found some photos, but mainly exterior. Interior detail was not readily available for 1999 version. So, I used later model photos and adapted to the model. Besides the Tamiya kit, I used the Scale Motorsport CF decals, Decalcas Valve Stems, Spot Model decals, and Eduard seat belts. You can see some of the interior detail in the assembly photos as sadly, most of it is obscured by the window “glass”. The model is obviously pristine, that is pre racing. I may decide to later weather it or just leave it as is.
-
Same here. I opened the kit and went through the instructions as well. I stand corrected, as it does include LHD and RHD versions for the interior. The instructions show how to do either. The other interesting thing about it is that on both the RHD and LHD, the windshield wipers (on the real car) are mounted the same for all three wipers. Most LHD/RHD vehicles require different wipers. I assume the same for the coupe but don't have one. BTW, the boy is molded in a dark green similar to the box art.
- 39,016 replies
-
- 1
-

-
- johan
- glue bombs
- (and 1 more)
-
True. I don't think the Coupe has the RHD option either
-
No RHD option in it, so....
-
Came in over the last few days. Some Tamiya LP Lacquer paint, basic colors first. Revell's Jaguar E-Type Roadster. Tamiya decal adhesive and Bandit Resins 68-72 Fleetline short bed that I plan to use on my stepside PU
-
Revell (Germany) Ferrari 250SWB! New for October
Exotics_Builder replied to Matt Bacon's topic in Car Kit News & Reviews
Sorry no. I sold those off about 5 years ago. -
Mail Call from yesterday. A little eclectic, perhaps. Looking at the E-type, it looks like the passengers are renderings of Sean Bean and Diana Rigg
- 39,016 replies
-
- 1
-
-
- johan
- glue bombs
- (and 1 more)
-
Fujimi Garage& Tools Tool set 2.
Exotics_Builder replied to Ron Warner's topic in Car Kit News & Reviews
The original does have a battery in it. https://www.1999.co.jp/eng/image/10439639
.JPG.e0be6e3000918bb26cb82b6a87ca8337.JPG)
.JPG.d6aa305ccd32b27e861a57710fe462ce.JPG)
.JPG.16730aaa989804a644ba1704df24c69e.JPG)
.JPG.411684265ecf32df0cdab68e59ee7257.JPG)
.JPG.cc755d5ccdcfebd818dfcd9dcb8ff6b8.JPG)
.JPG.82c1ad9bb4ab5d136acae62cf2aeac9e.JPG)
.JPG.b57a0757b896883bdb3615c98f456ea6.JPG)
.JPG.33cbc8e6283cb6faabe8d3f15f4c94e2.JPG)
.JPG.9fc00f5b46af31b64602d2714b865e76.JPG)
.JPG.70459ef070e1c3a019da4549893fb6d5.JPG)
.JPG.130855fc129aaf9e65fc5a0f984a693a.JPG)
.JPG.666c156f1368ee90b5fad657a9ad16e0.JPG)
.JPG.50102f99fa4c140837f52f832b7e4b7e.JPG)


.JPG.a8e4a83aeeab44d3a30a22990f2fdf50.JPG)
.JPG.b9f1f4063d1138385b2848aff42d3e93.JPG)
.JPG.e3bed596f7e571b79a80ae9399099326.JPG)
.JPG.deb364e72c358aa6453029308fb24ca8.JPG)
.JPG.040c37f5618702c83e9de05741989aa1.JPG)
.JPG.e6c292df8fb3c91bd6804ac0bdcf63d6.JPG)
.JPG.828a76ed03d97a9fd07665c2cc65098a.JPG)


.JPG.6bc868eb2ef96c065186344df7a74e62.JPG)
.JPG.07eaa488ad55d89f697d8c90eb199ad6.JPG)
.JPG.4731cabd23f322b142b7cbd75aaf9d46.JPG)
.JPG.03692d59b25b9b7c8bcb9c1f4379eda0.JPG)
.JPG.e3d95e6628d029ecddb01f6cbbc2f7f3.JPG)
.JPG.8c3a45e054104a4066984e75816d9136.JPG)
.JPG.3f7a0352c3c0efc404d0ef0c55eda32f.JPG)
.JPG.374e73668556bd1d7c558e7dcc5d3e4d.JPG)
.JPG.f7d1ca64c4cdd7310ffd231b447f9c39.JPG)
.JPG.7a7585e902311341052144bcd229c0cf.JPG)


