crowe-t
-
Posts
1,965 -
Joined
-
Last visited
Content Type
Profiles
Forums
Events
Gallery
Everything posted by crowe-t
-
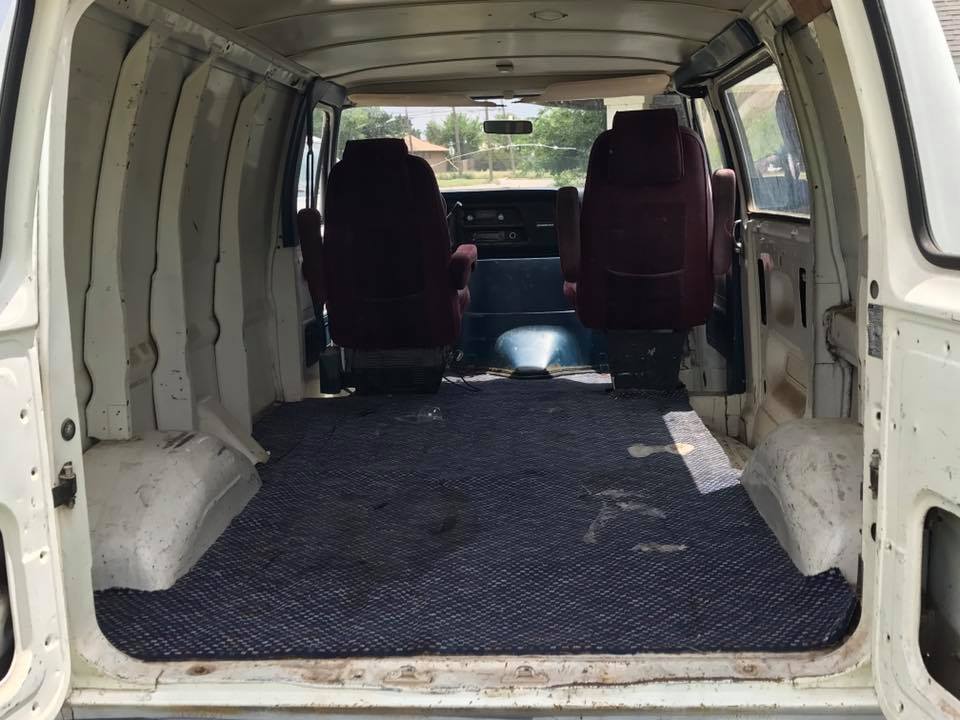
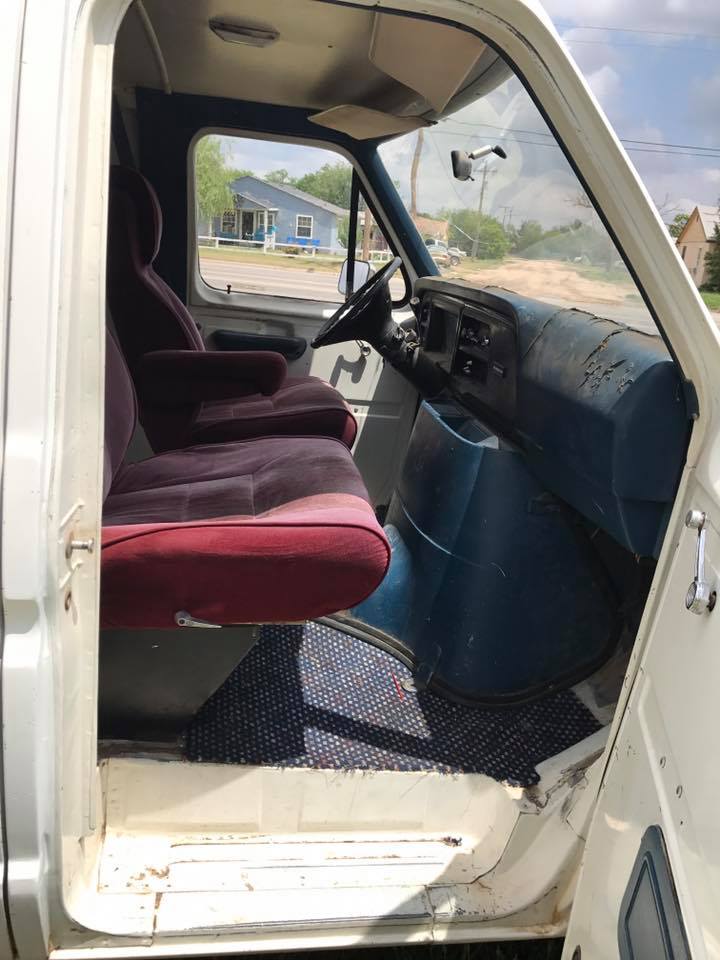
I'm currently finishing an AMT Ford Econoline van. The only thing I haven't worked out is the interior rear view mirror. On the real Econoline van the interior rear view mirror is mounted on the inside of the windshield. Has anyone mounted a mirror on a windshield in a model car/van? If so what type of glue works best? Any pictures?

-

Lacquer Thinner for Bob's Paints?
crowe-t replied to crowe-t's topic in Model Building Questions and Answers
I had tried Klean Strip and it didn't spray that smooth and wasn't glossy at all. I know it has to be polished but it's nice if it goes on somewhat glossy so in tight spots and crevices where it's hard to get into it won't need to be polished. I'll give the Rust-Oleum lacquer thinner I have a try and I might try the automotive lacquer thinner from Tamco which is most likely similar to PPG. -
Lacquer Thinner for Bob's Paints?
crowe-t replied to crowe-t's topic in Model Building Questions and Answers
Does it go down smooth and glossy with the Hardware store lacquer thinner? -
What lacquer thinner will work for Bob's Paints? Bob's Paints are actually PPG Duracryl lacquer but I can't find PPG lacquer thinner. I'm also trying to find a lacquer thinner that isn't too hot. I can get a quart of lacquer thinner from Tamco Paint for $12 but I haven't tried it yet. I've tried Tamco's Urethane reducer but it's a hot solvent. Urethane reducer can be used to thin lacquer but Tamco's isn't the best for plastic models.
-
Was there any of the body color misted on or just all primer?
-
Thanks guys! I'll wait a couple of weeks before I polish the paint. I'll post some more pictures soon.
-
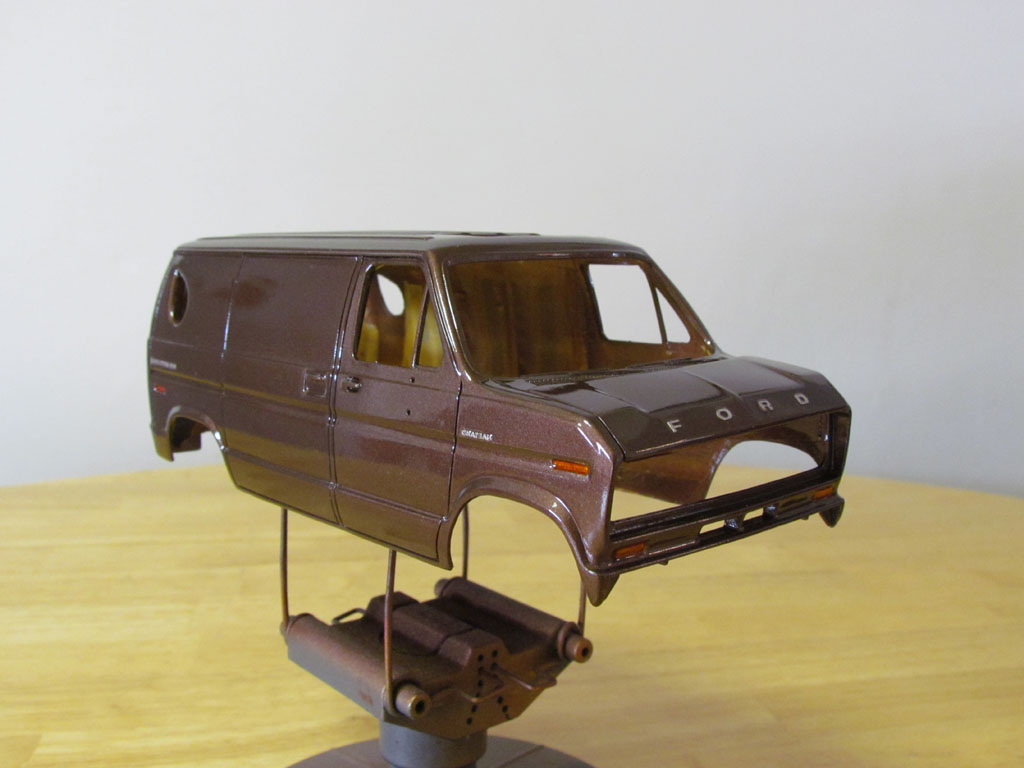
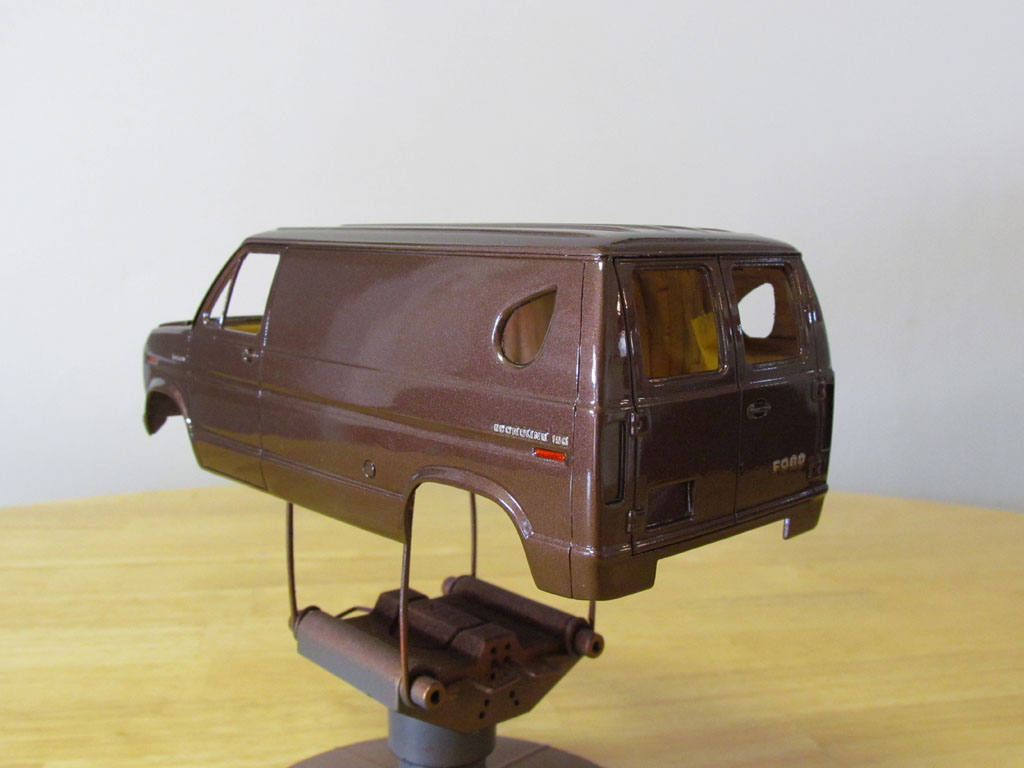
I started painting the body. The paint is Gravity Colors Ford Brown Metallic with Gunze Mr. Super Clear airbrushed on. The inside was painted and cleared first so i masked it off before painting the outside. For the emblems I applied a light coat of body color over each emblem and a light coat of clear. I then applied the Bare Metal Foil and cut it in as if I was doing it after it was all painted. This way I wasn't painting over too much excess foil except in the middle of some of the lettering. After this I painted the body the metallic brown color. After each coat dried for about 30 minutes I used Tamiya pointed cotton swabs dipped in lacquer thinner and removed the paint from the foil. I applied Mr. Super Clear right over the whole body, emblems included.
-
Casey and Scott, thanks for the 'inside' info. LOL I'll most likely play it safe and go with primer and overspray. It seems to make the most sense. A fully painted underside might look like a 'custom' paint job anyway. Everyone, myself included, is used to seeing the bottoms of cars with body color overspray on the primer.
-
I just joined the Mopar B Vans forum. Oldmopars(Scott) said he worked at a Dodge dealer in the 80's and unlike cars they had a solid body color that covered the frame rails and under body. I originally thought it would be overspray of the body color but Scott worked at a dealer and would know.
-
I'll have to look at these a little closer but the underside is rusty and black looking.
-
There was no fade of the body color onto the primer? The underside(floors and frame rails) was all solid body color?
-
The body color is misted onto the primer?
-
It's the only picture I could find showing any of the undercarriage.
-
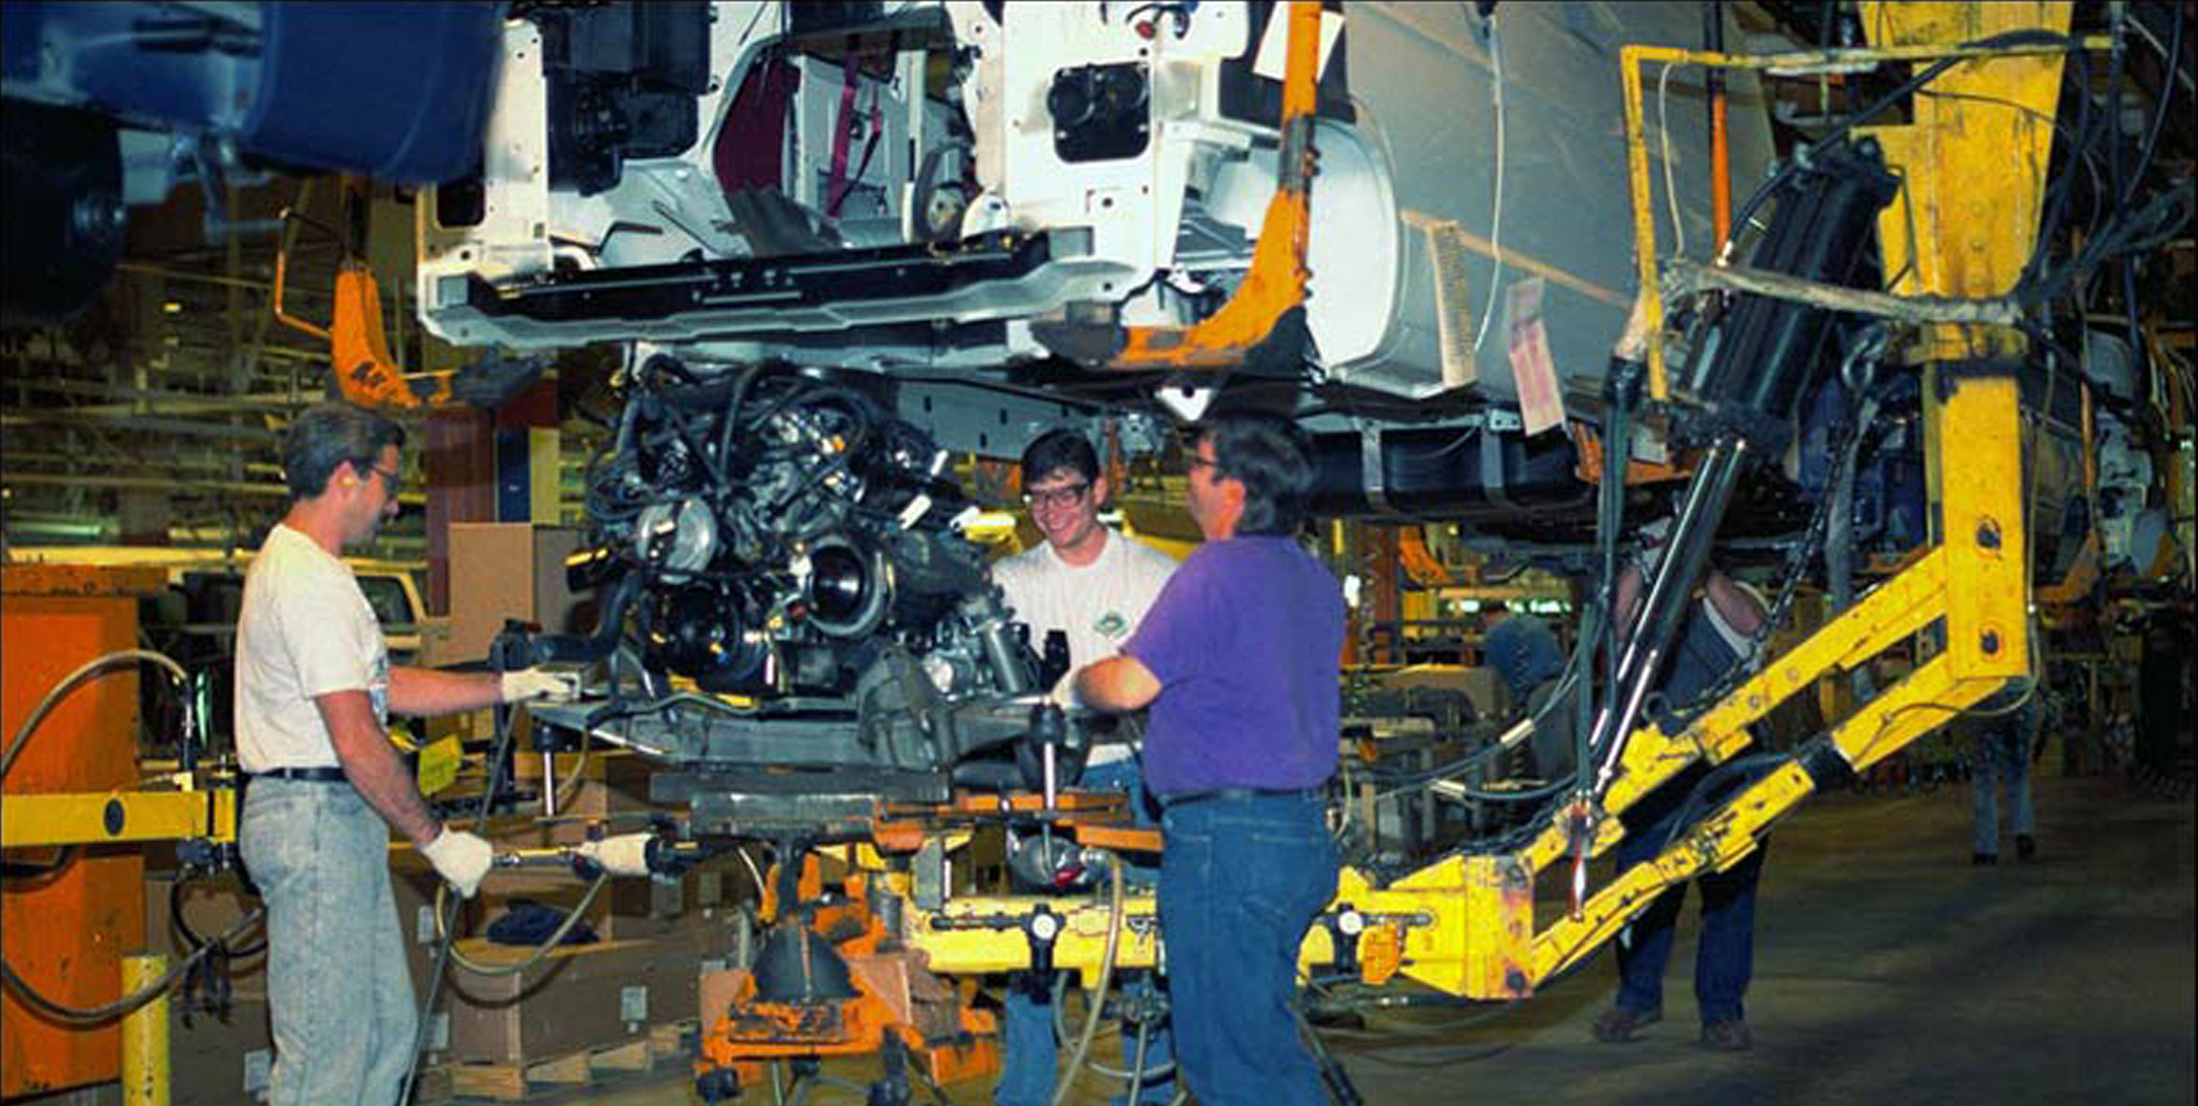
Does anyone know what color(or how) the undercarriage/chassis of the 1971 - 1978, or even later Dodge(Tradesman/Ram) vans were from the factory? Were the underside(chassis side) of the floors a primer color or body color? Possibly body color faded onto primer or full body color??? Were the chassis rails black? I found this attached picture online. It almost looks like the whole bottom is body color but hard to tell. These Dodge vans are unibody with a separate bolt-on front K-member to carry the front suspension, steering, and engine. There are two full length open U-channels welded to the floor pan but not a true frame. The K-member looks black but the rest of the underside looks like it's either full or partial body color.
-
I'm glad I was able to help!
-
I just picked this one up on E-Bay. It's the 1977 with the 'NEW' on the box instead.
-
My father had a '78 shorty.
-
Casey, did you ever finish this one?
-
There were a lot of changes each year. In 1978 the tail lights, marker lights, side/read window length, interior... changed but the nose stayed the same. This was sort of an in-between year. In 1979 the nose was squared off. It seems in the various 1978 issues of this kit I've seen the interior has not been updated. In order to build a correct '78 and interior from a 1979 or later kit needs to be used.
-
Thanks Tom! This is an awesome collection of pictures. Now I just need to find one of these kits, preferably a 1974 - 77.
-
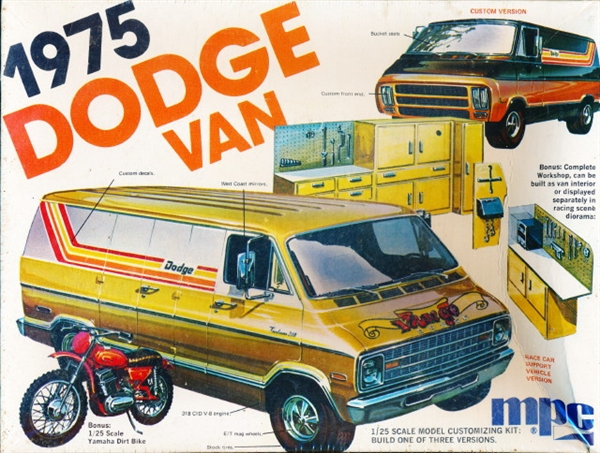
Does anyone have pictures of the different box tops from the MPC 1971 - 77 Dodge van kits? I found this one for the 1975 Dodge van online.
-
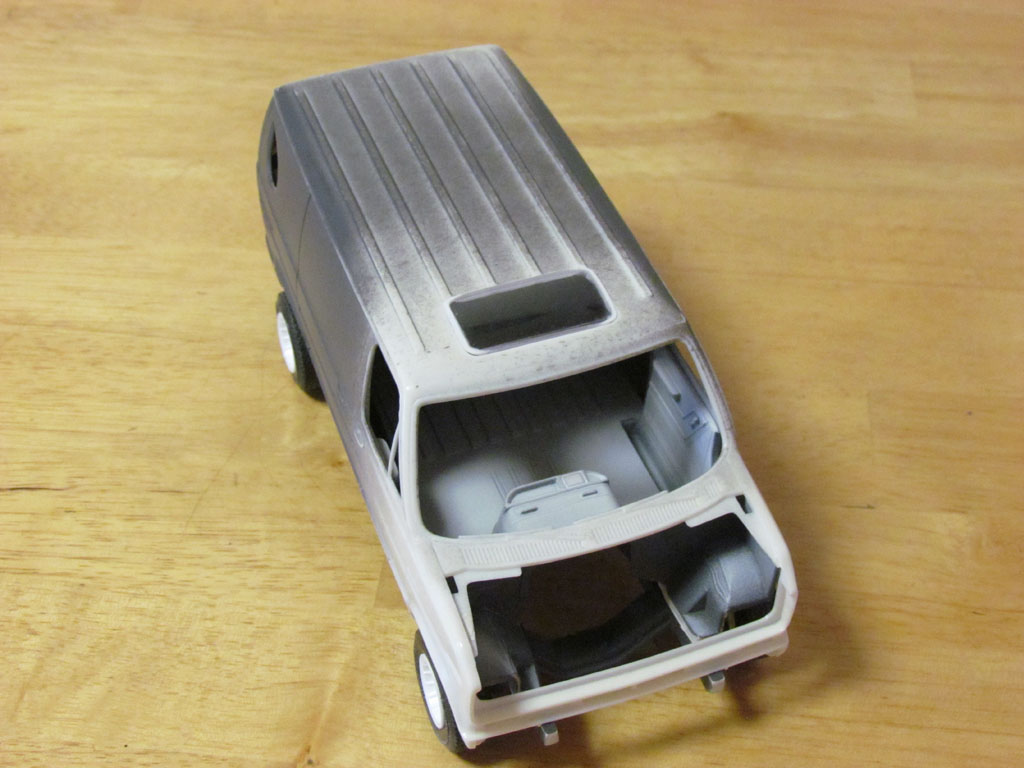
Here's another update. My friend Lee(Classic Gas) sent me a sunroof from a Revell GMC Pickup. It was a bit too large so I cut it down and cut the hole in the roof. I also moved the tires inward since I don't want to use the flares that come with the kit. The rear had to be raised a few millimeters. It sat very low in the back. The tires are the custom ones that came with the Phantom kit and the wheels are Turbines from BNL Resins.
-
Thanks Tom!
-
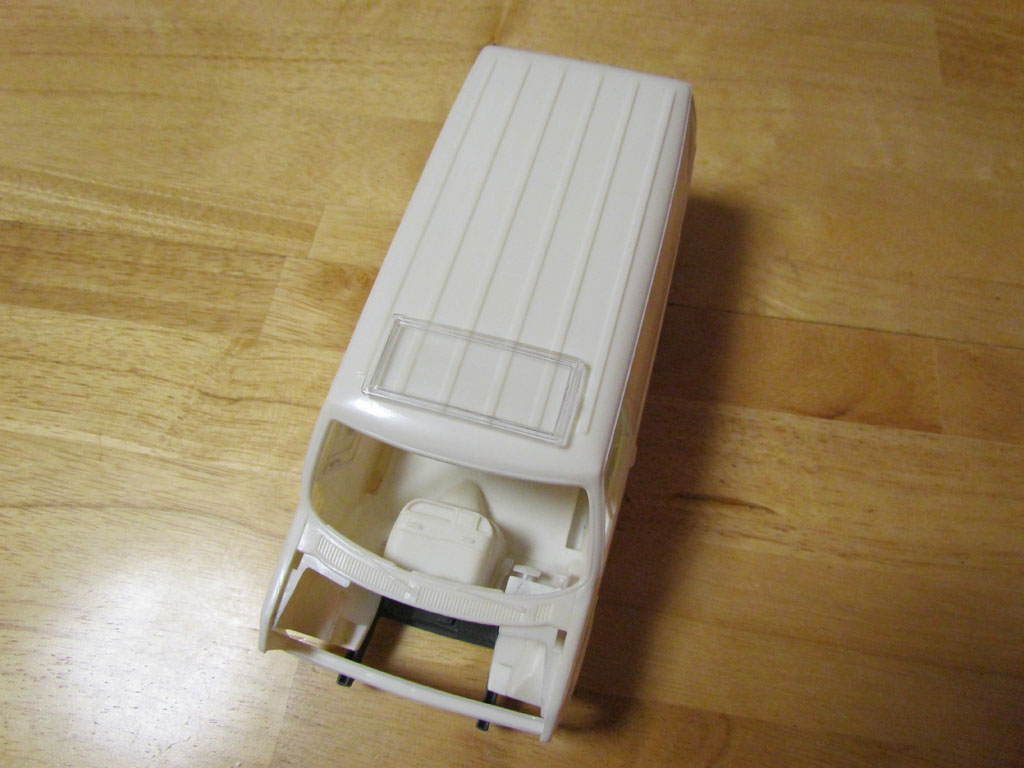
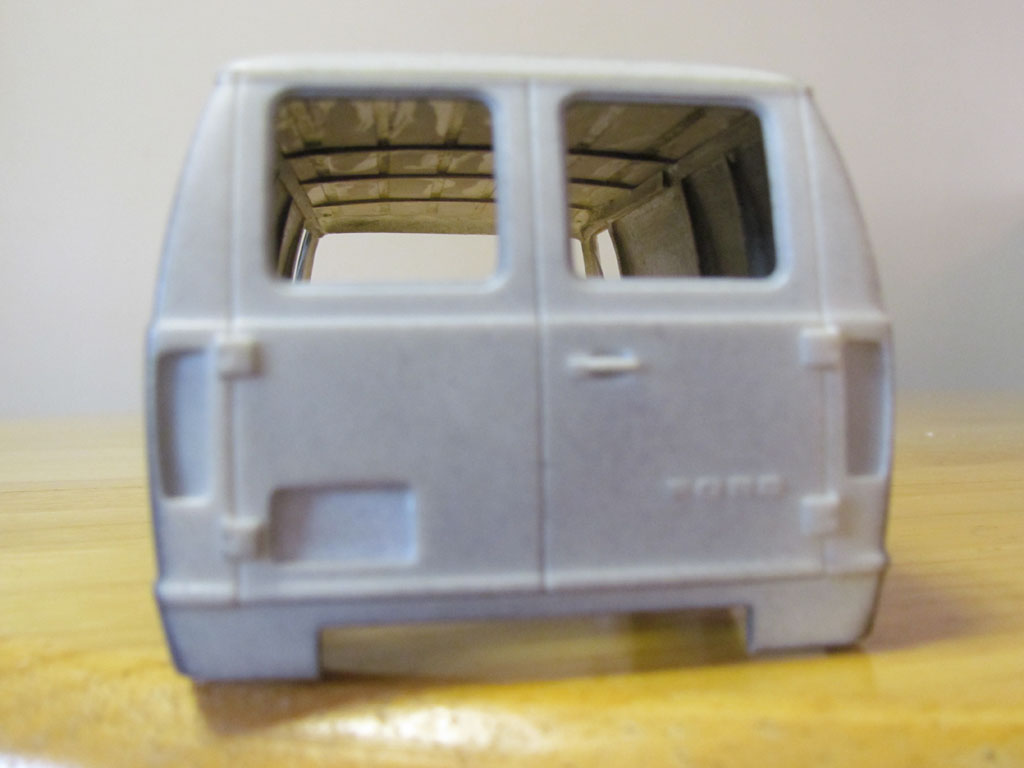
Thanks Ricky! My father had a Ford Econoline and my neighbor, I mentioned in my first post, had one. Here's a small update. The inside of the roof was missing the ribs so I cut some strips of .010" styrene that I added inside so it appears the roof is ribbed. I should have added the ribs before I glued in the supports. The supports didn't want to come out so I glued the ribs in between. I have to decide if I'm going to put a sunroof in, which I'm pretty sure I will and then I'll get it ready for the paint.
-
Round 2 should also include the aluminum slot wheels and a better set of side view mirrors. The kit's mirrors are not very good. I've seen ads and pictures of the Ford Cruising vans and they all seem to have the 2 side opening doors and not the sliding door. Maybe the sliding door was an option on the 1:1 but I've never seen one of these with a sliding door.