crowe-t
-
Posts
1,965 -
Joined
-
Last visited
Content Type
Profiles
Forums
Events
Gallery
Everything posted by crowe-t
-
 Thanks guys! I made the inner window frames for the front doors but still have to take some pictures. I just have a few details left and I can get it all in primer. I'll post some pictures soon.
 -
Here's what the 665@213 posted above regarding the engine: The engine and transmission are from the Foose Cadillac kit, the intake from the AMT 57 Chevy street machine kit, and an air cleaner from an AMT 68 GT500 thats been shortened and smoothed.
-
Thanks guys! Joe - I'm adding a couple of subtle things and I'll be adding the darker brown fade along the bottom. However I won't be painting the flames on. I wish I could. lol
-
Thanks Mike! The color is real nice. It changes under different lighting, sometimes brown, golden, reddish...

-
Thanks Bob! The color came out great and is just what I was looking for.
-
The live chat is great. They were very helpful.
-
Thanks Casey! It seems the Street Machine version is basically the same kit with some extra parts.
-
I've used the live chat a couple of times.
-
Does the AMT 55 Bel Air Street Machine actually have a tubbed rear end? Does anyone have any pictures of the chassis from the Street Machine kit?
-
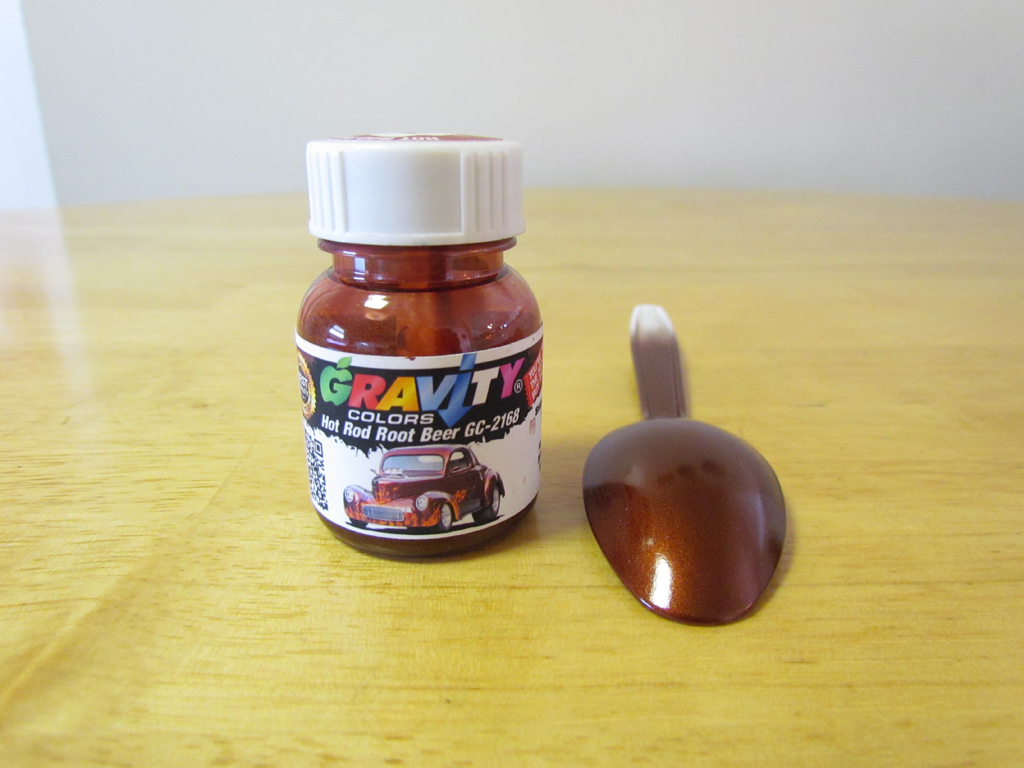
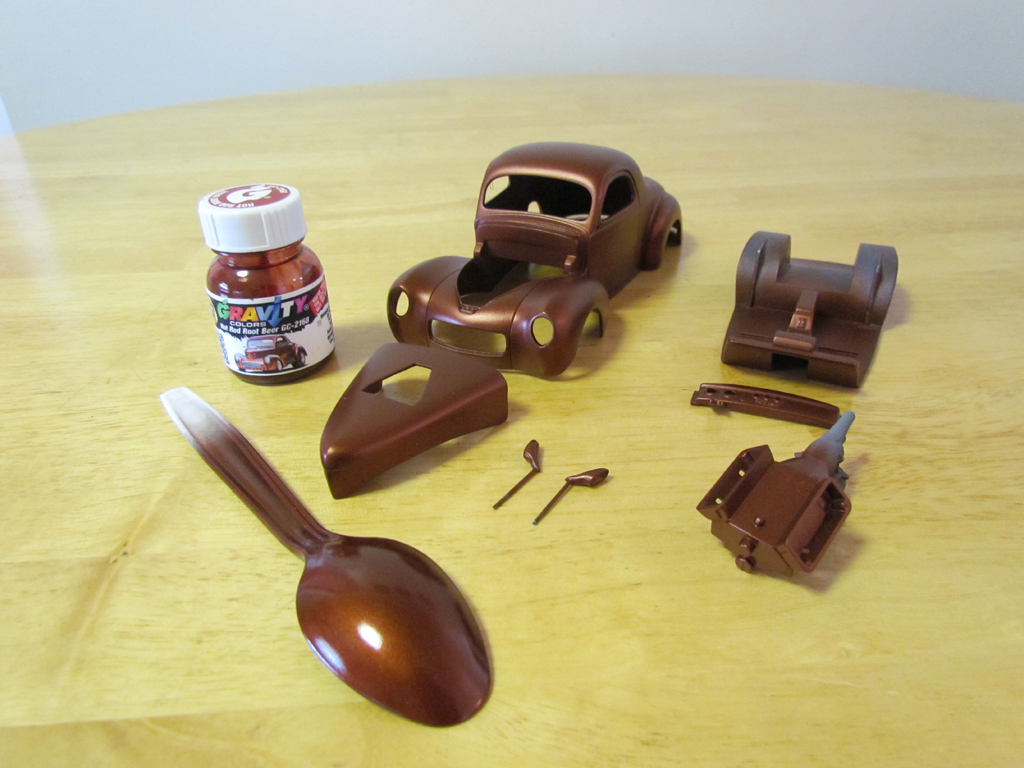
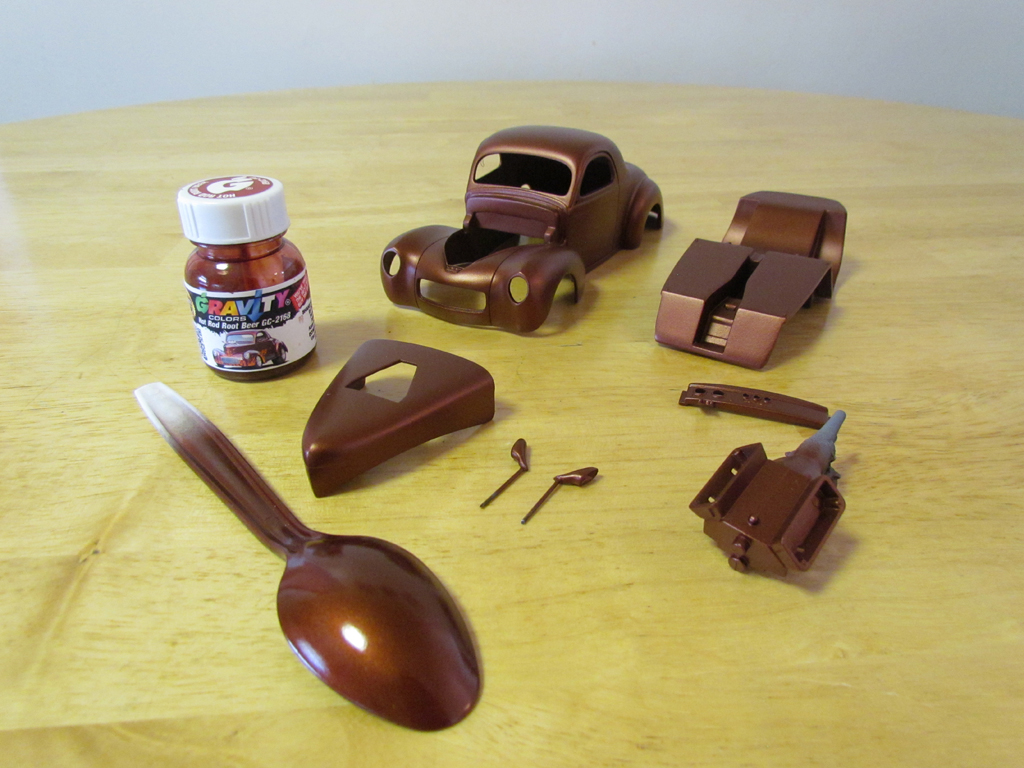
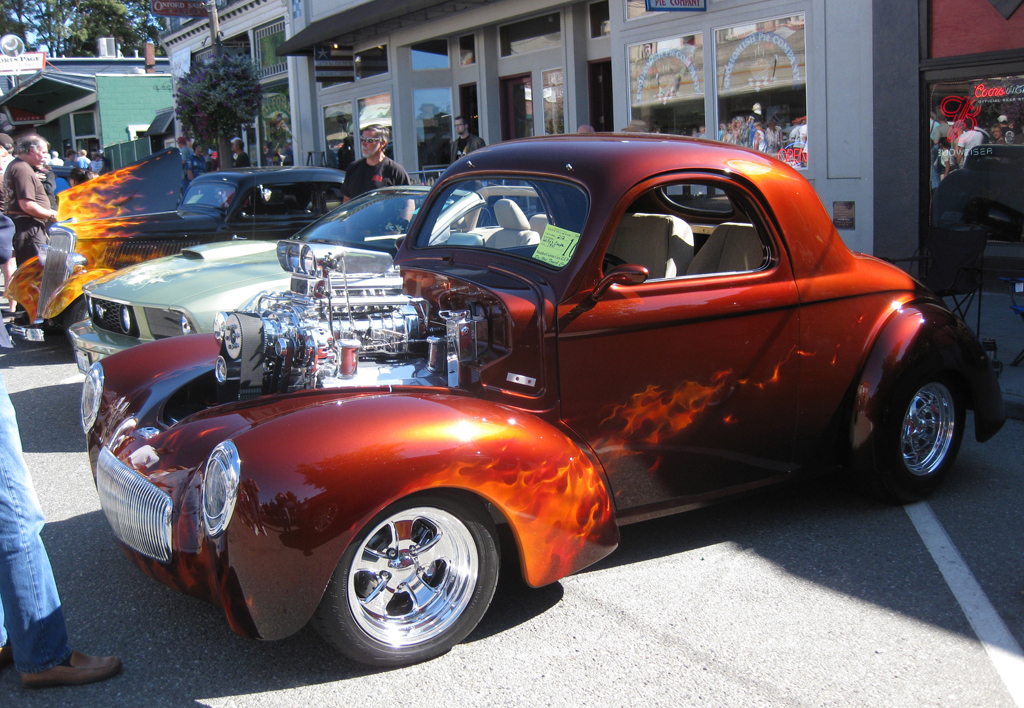
It's been a while since I posted an update. I was working on a couple of other builds so I put this one aside, sort of. I had talked with the guy who painted the reddish-brown 1:1 Willys that inspired this build. He said it was about 9 years since it was painted but he started with HOK KBC 07 Rootbeer and added some copper pearl and Tangerine. The color they ended up with is a pearl color. He didn't have an exact formula so I tried winging it. Mixing 3 colors wasn't easy. What I came up with was either too brown or it looked red. After stripping the body and parts 4 times, I decided to go another route. I recently contacted Mate at Gravity Colors and asked if he had an idea which of his pearl/metallic colors I could mix to get in the ballpark. He gave me a suggestion and then a few days later he said he was getting me the color. He said his paint supplier converted the Rootbeer paint formula to the BASF system they use and used the picture of the 1:1 Willys in this post to match to. Mate liked it so much that he is now selling it on his website. It's called Hot Rod Root Beer. This color is exactly what I was looking for and it's easier to work with than the HOK paints. I painted the body/hood, underside of the floors, center console, dashboard, engine block and rear view mirrors. I might also add the darker brown fade at the bottom the same as the 1:1 Willys has. The clear isn't on yet so the parts still look dull. I did spray a sample on a spoon and sprayed some clear on it to see what the color will look like. Here's are some pictures.
-
Jeremiah, where did you get the wheels?
-
Great job so far! You really captured the look of it. I can't wait to see it with the paint on the body.
-
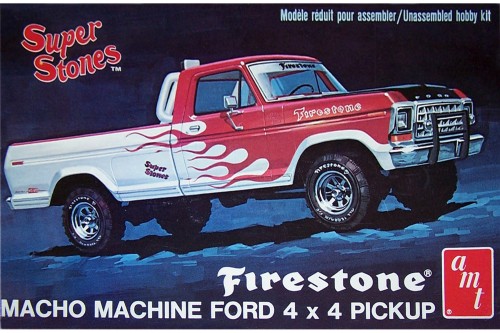
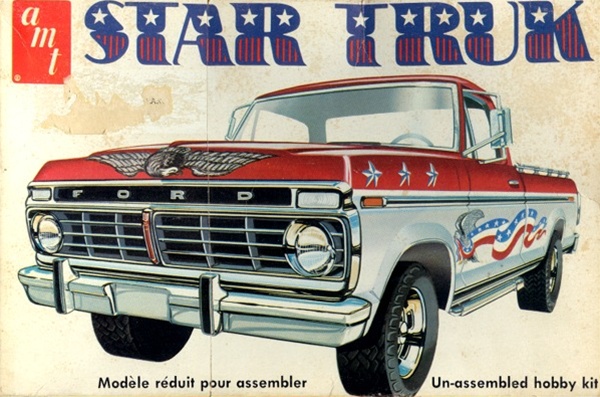
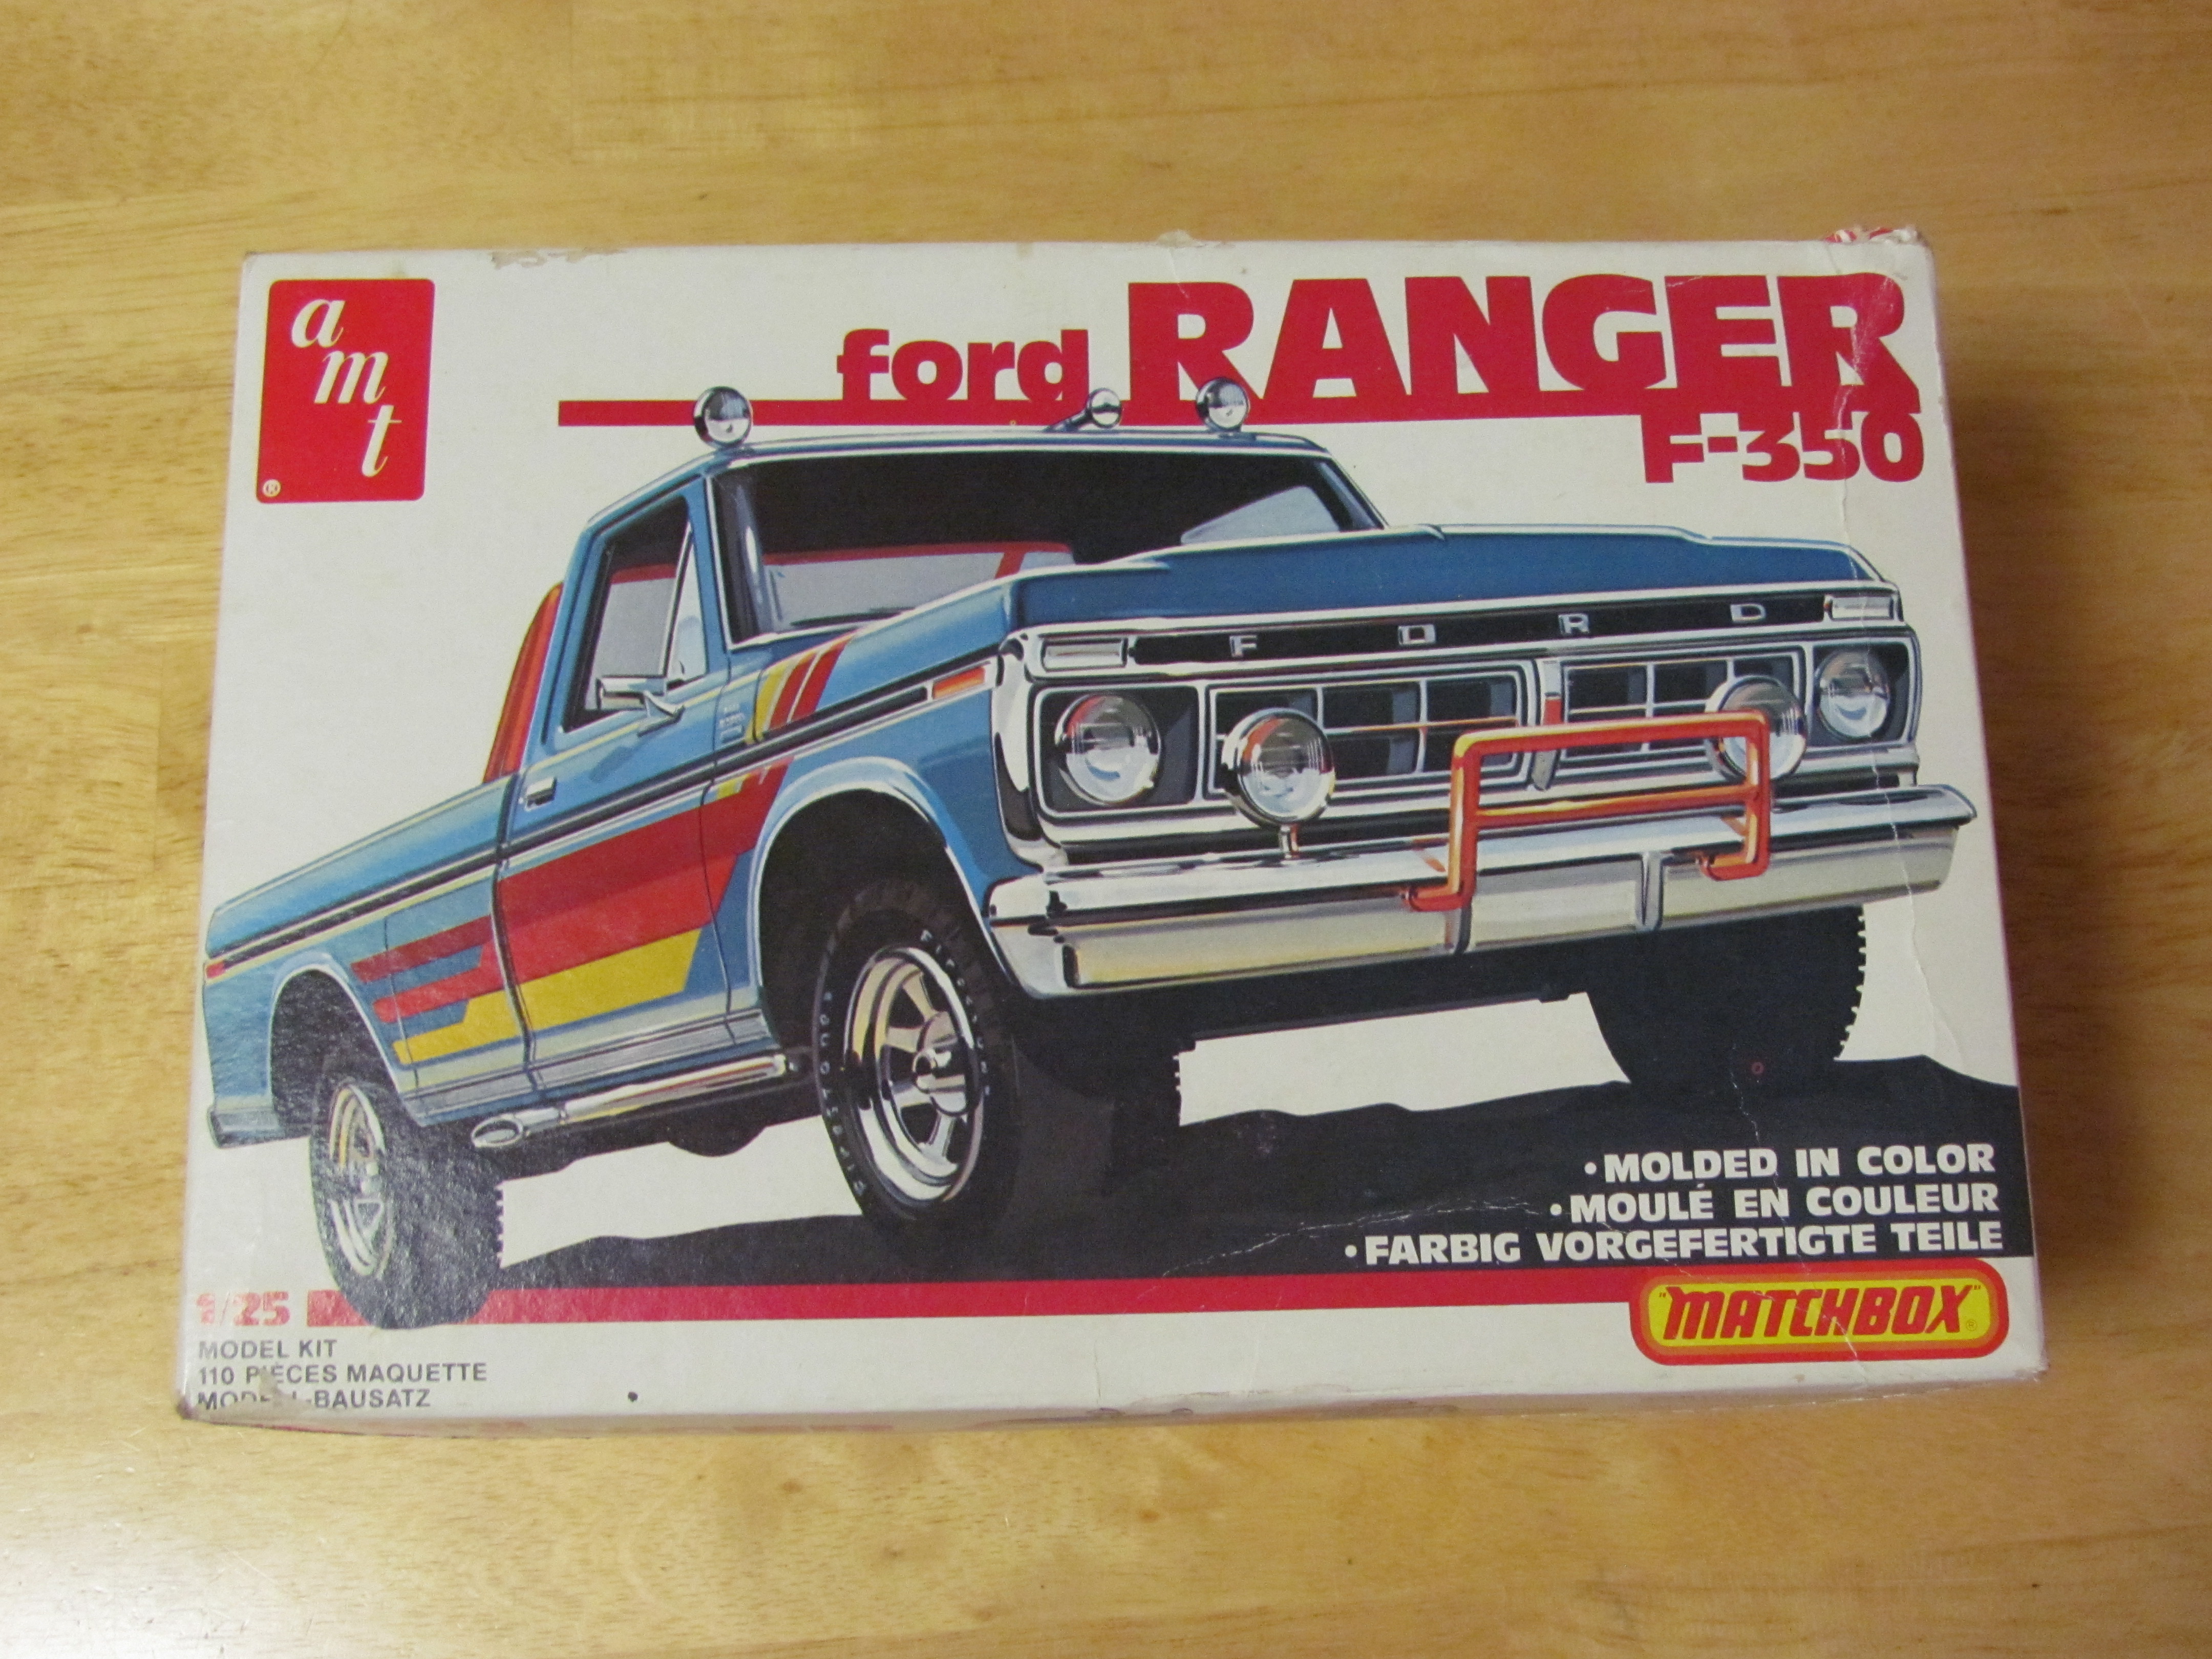
The AMT Ford Ranger is my kit. I was going to try and trade it for the Star Truk with the earlier grill but there's an E-Bay seller who has the 73-75 grill in resin. I might just get the Firestone kit since it has the 2wd parts. I'm planning on shortening the wheel base so maybe I should do that to one of the newer Firestone kits instead.
-
Is the AMT Ford Firestone 1978 Pickup basically the same as the older versions, Star Truk and Ford Ranger F-350? I was told the AMT Ford Firestone 1978 Pickup still has all the parts to make it a 2 wheel drive. Other than the 1978 grill it's still the same kit.
-
Duplicolor Paint Match Gloss Clear Curing Slow?
crowe-t replied to crowe-t's topic in Model Building Questions and Answers
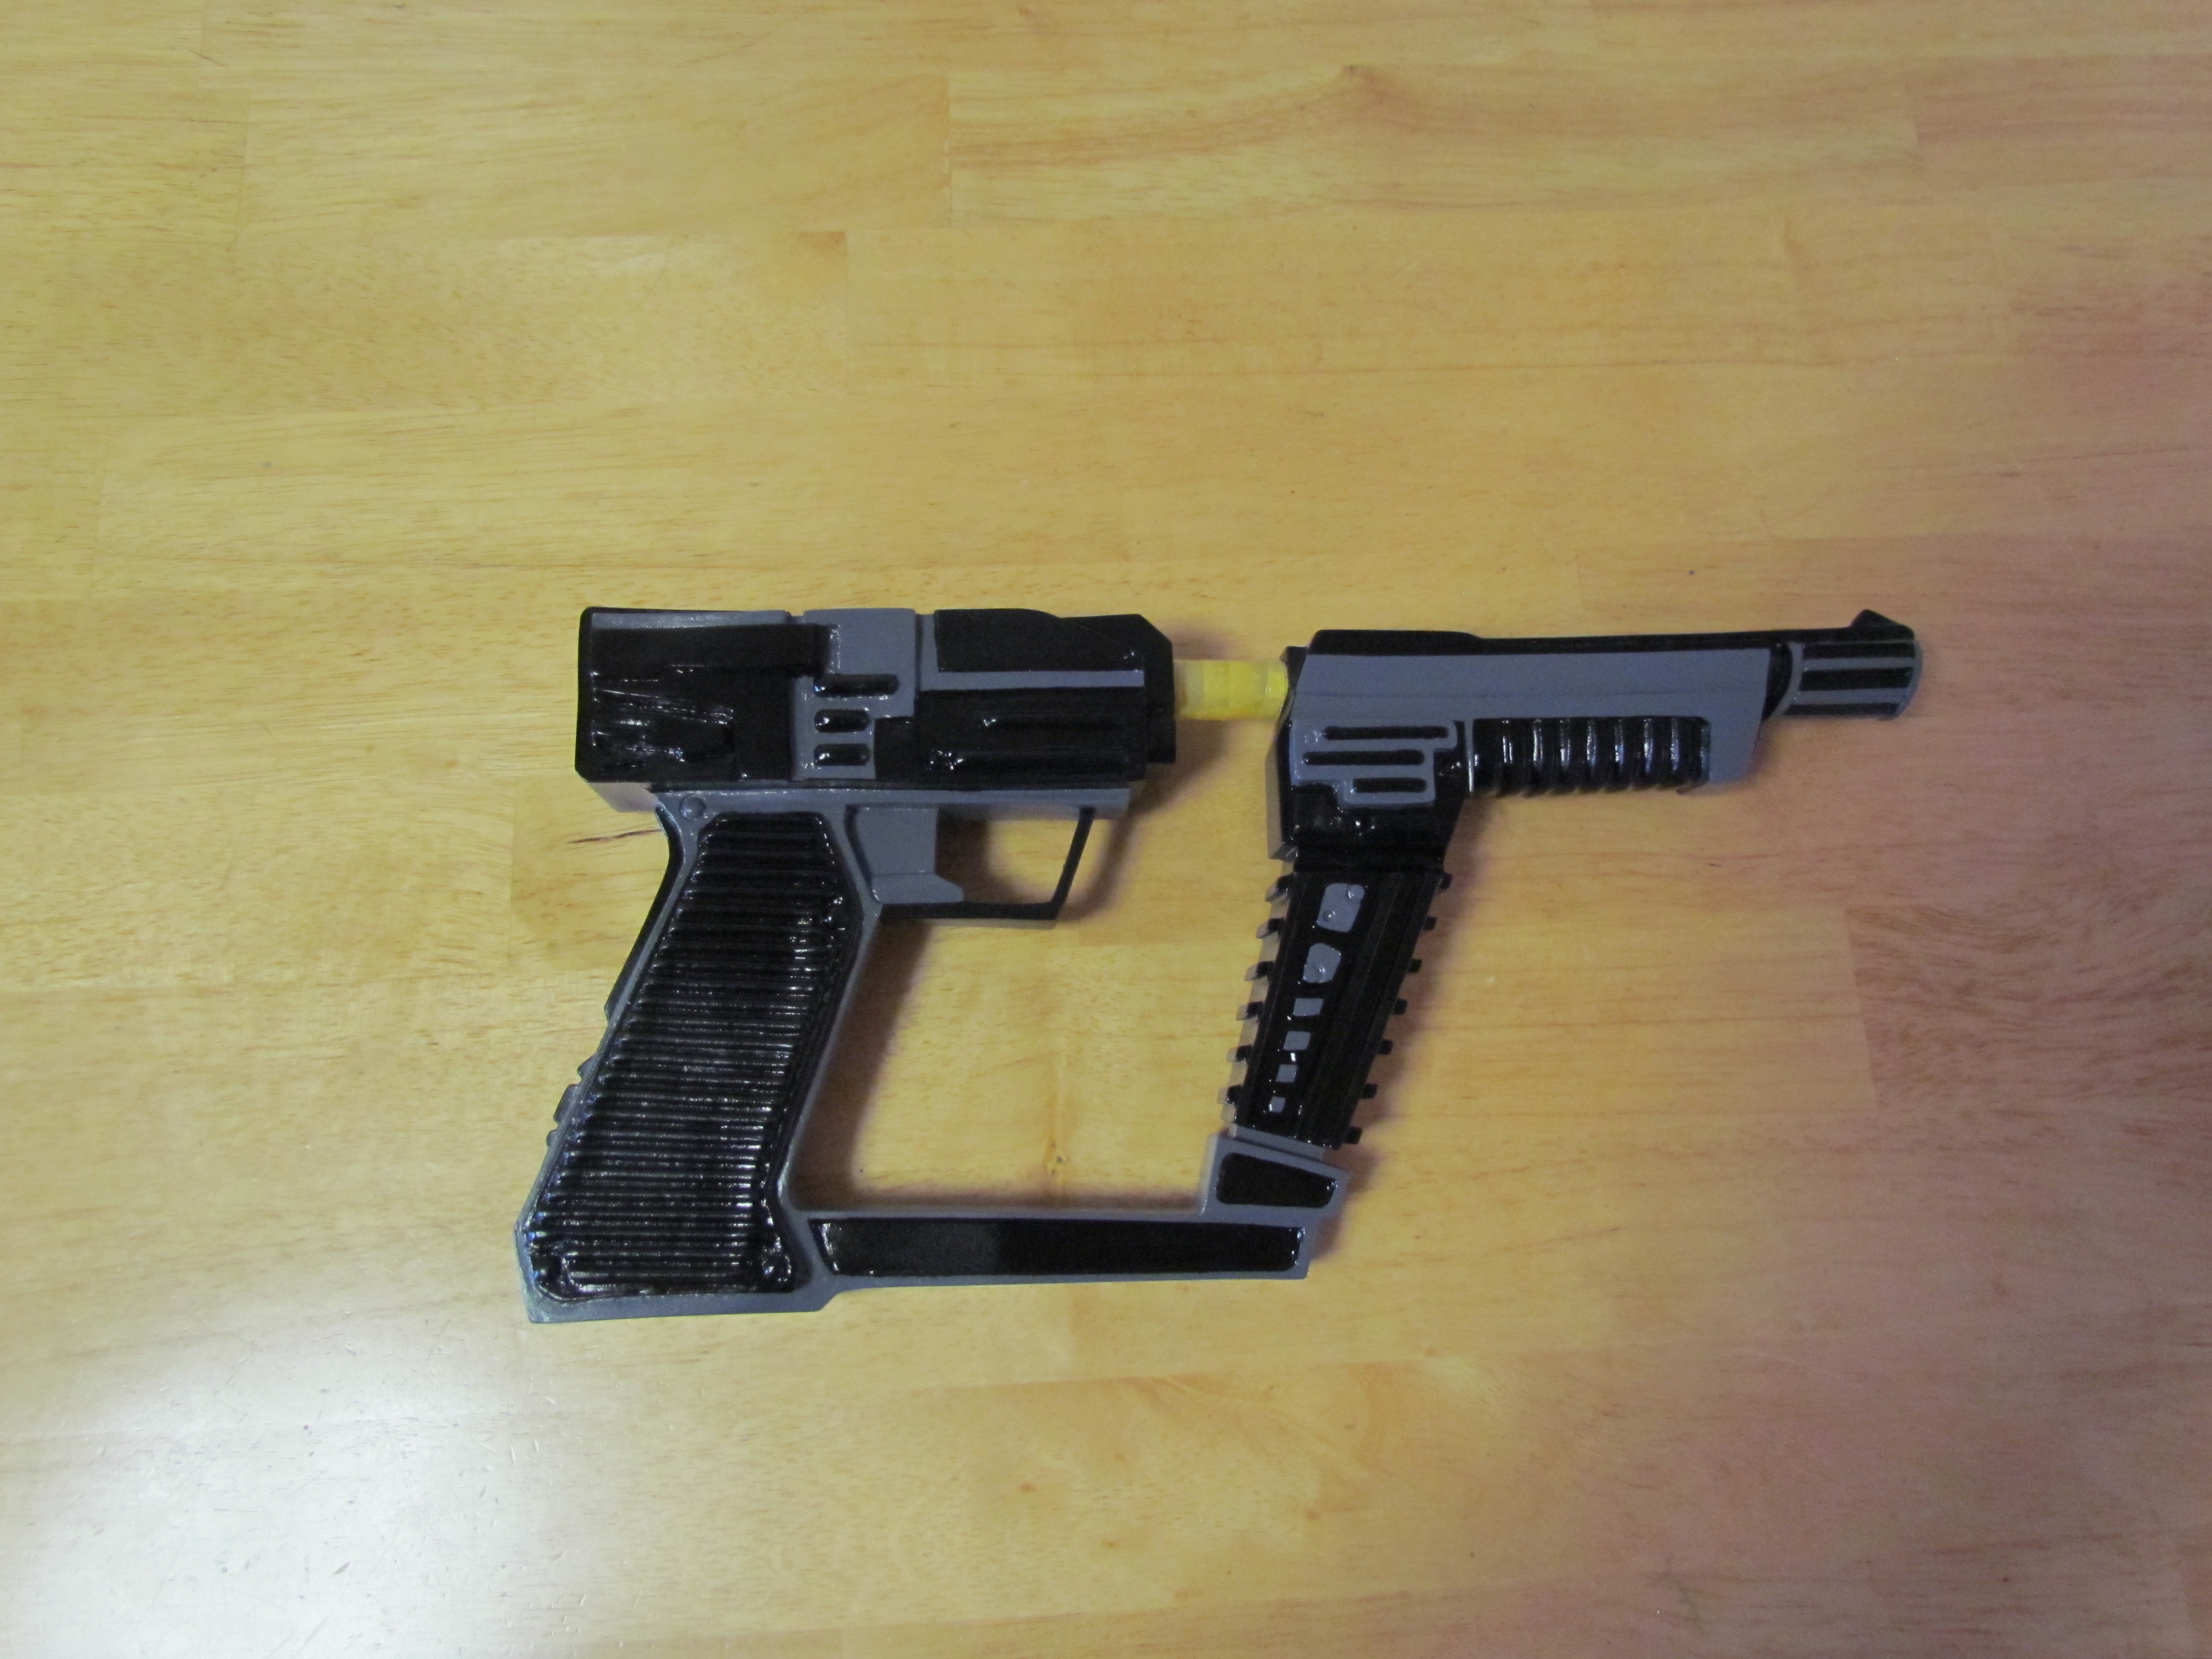
It is dried but it's still a bit soft. In my experience lacquer usually dries a bit harder. I was able to handle it within hours after the clear was sprayed on. I thought it would cure harder than it is. -
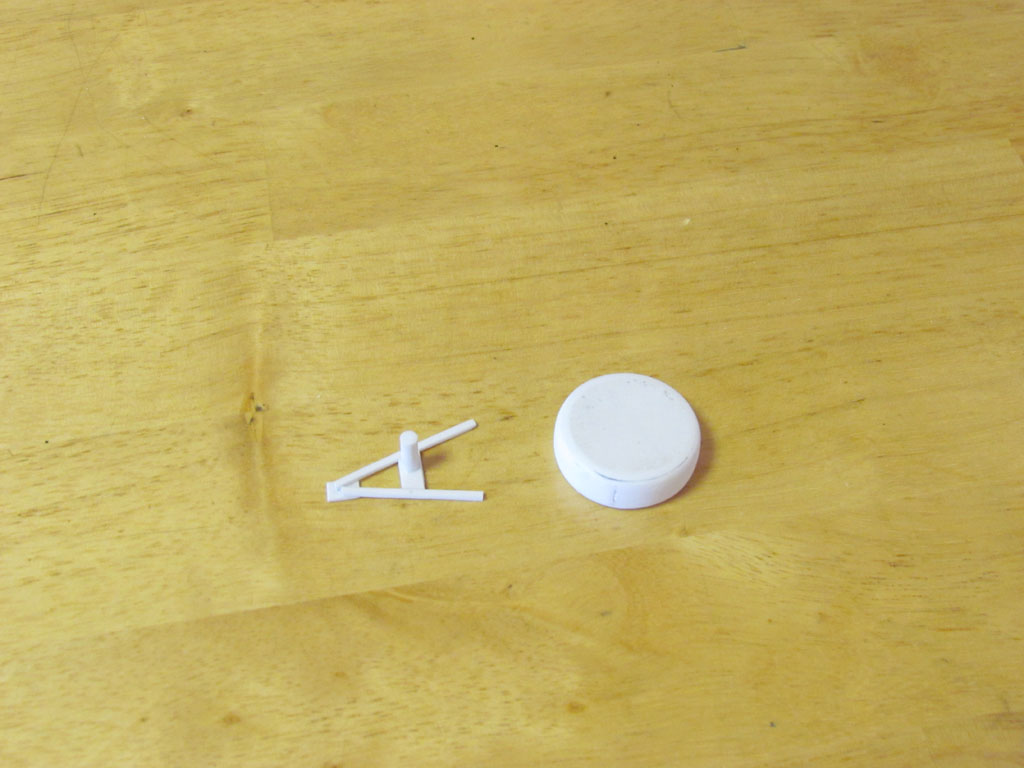
I sprayed Duplicolor Paint Match Gloss Acrylic lacquer Clear on a resin laser pistol prop(from the 1985 TV show 'V'). I sprayed the clear on about a month or so ago. It's still a bit soft and not hardening too well. Could it be since it's been very humid here in New York? Is there anything I can do to help it along? Perhaps hit it with a hair dryer a few times. It took over 15 hours to mask off all the gray areas to spray the black so I really don't want to strip this one. When I was priming it I had to use some Isopropyl Alcohol in the area with the yellow tape. The tape is covering a clear acrylic rod. The rod broke free and I had to use an Epoxy for plastic to glue it in. The alcohol caused the acrylic rod to loosen. So to avoid all this again I'd rather not strip it.
-
Is the clear coat mixture you are referring to, the clear to hardener ratio? So for semi-gloss it's 4 parts clear to 1 part hardener?
-
69 Ford F100
crowe-t replied to Classicgas's topic in WIP: Model Trucks: Pickups, Vans, SUVs, Light Commercial
This is a cool looking monster truck! -
I contacted the Bare Metal Foil company and explained the problem I'm having with the adhesion of the BMF I have and they never responded. I just contacted them on Facebook and got an immediate response. Facebook seems to be the way to go.
-
Thanks for the nice words! I thought about it but to make it realistic the sliding door would have to slide and I'm not sure how to do it realistically. The rear door hinges would have to be made larger to work and I don't think that would look right. Looking in the windows shows the whole interior so I'm OK with the doors not opening.
-
Great job so far! This kit later became the Daisy Duke CJ-5 kit. This MPC kit has the name of the Jeep as CJ-5 which was the civilian Jeep. The military version is M38A1.
-
Thanks guys! I started making the inner window frames for the 2 front doors. As soon as those are done I'll post some pictures.
-
69 Ford F100
crowe-t replied to Classicgas's topic in WIP: Model Trucks: Pickups, Vans, SUVs, Light Commercial
Great color and engine detailing! -
Thanks Terry! I thought about making the driver and passenger inner doors unfinished but I like the Chateau interior and styling so I think I'll just leave those and put carpeting in the front under the 2 seats. The rear will all be painted the body color.
-
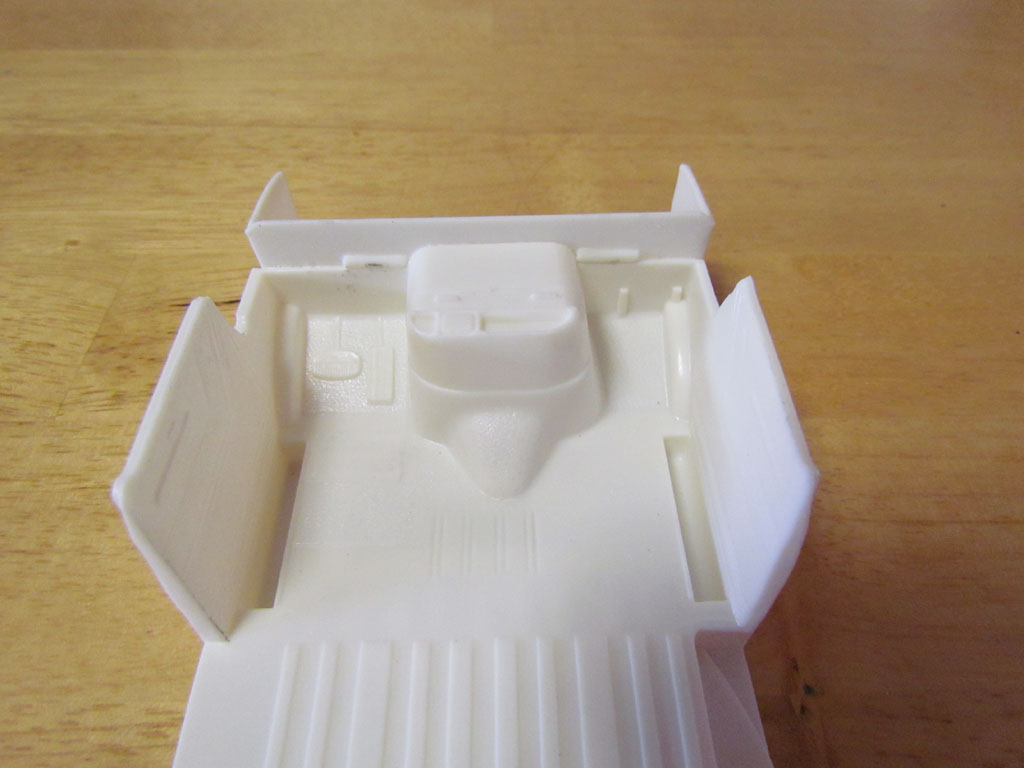
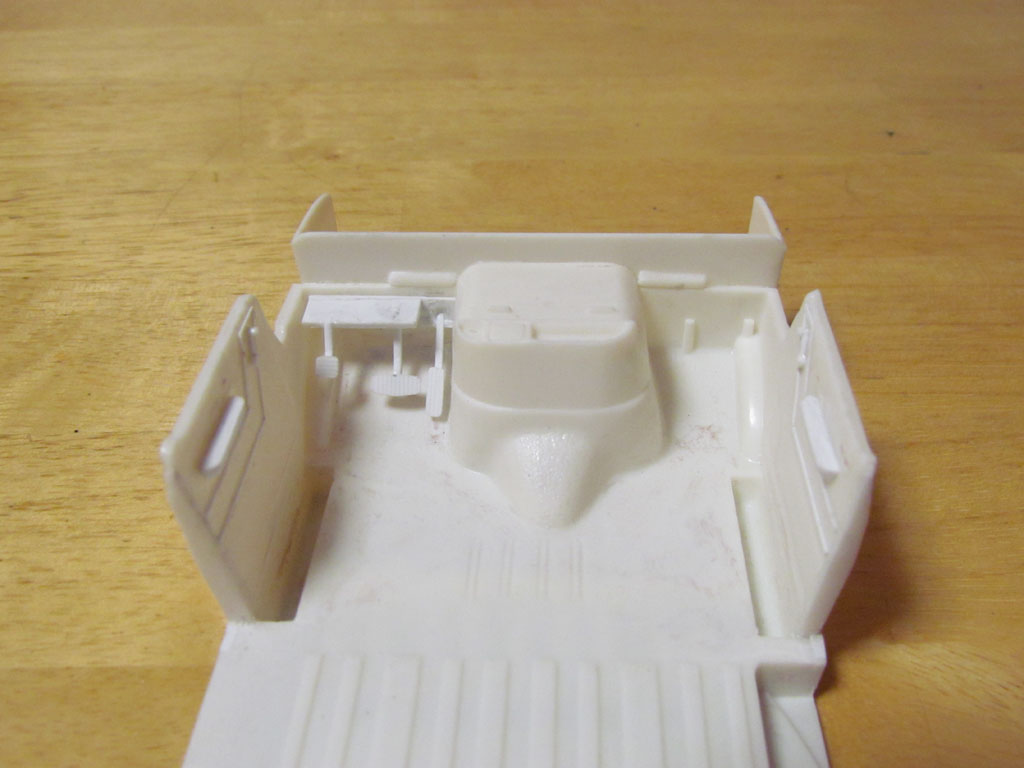
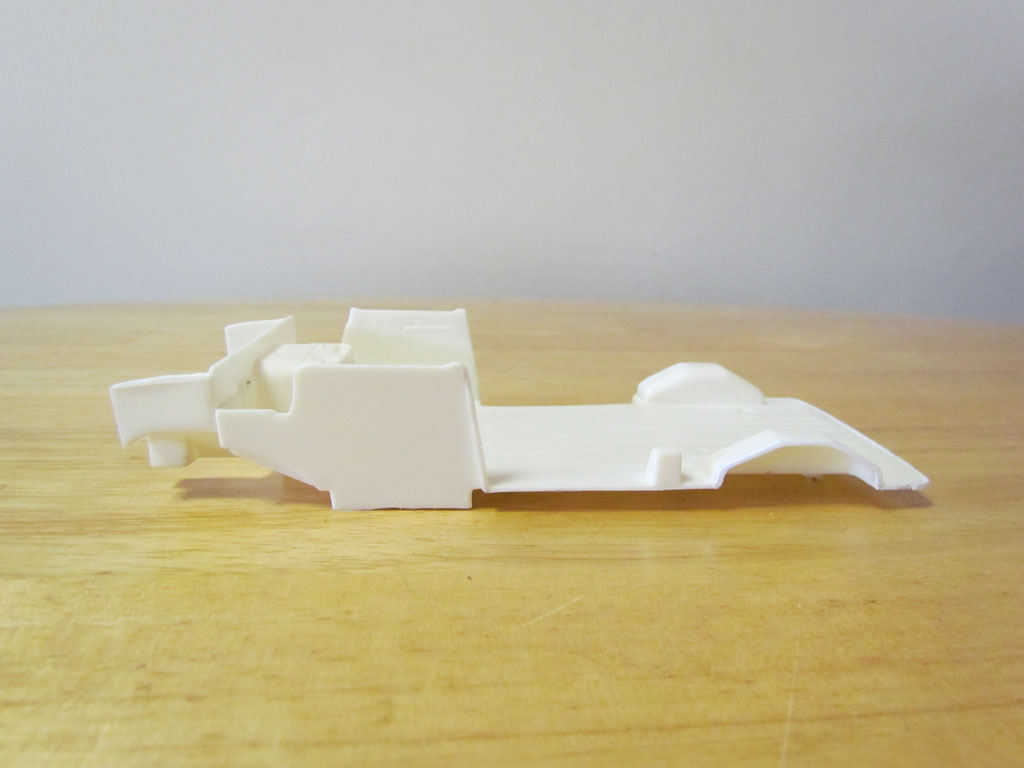
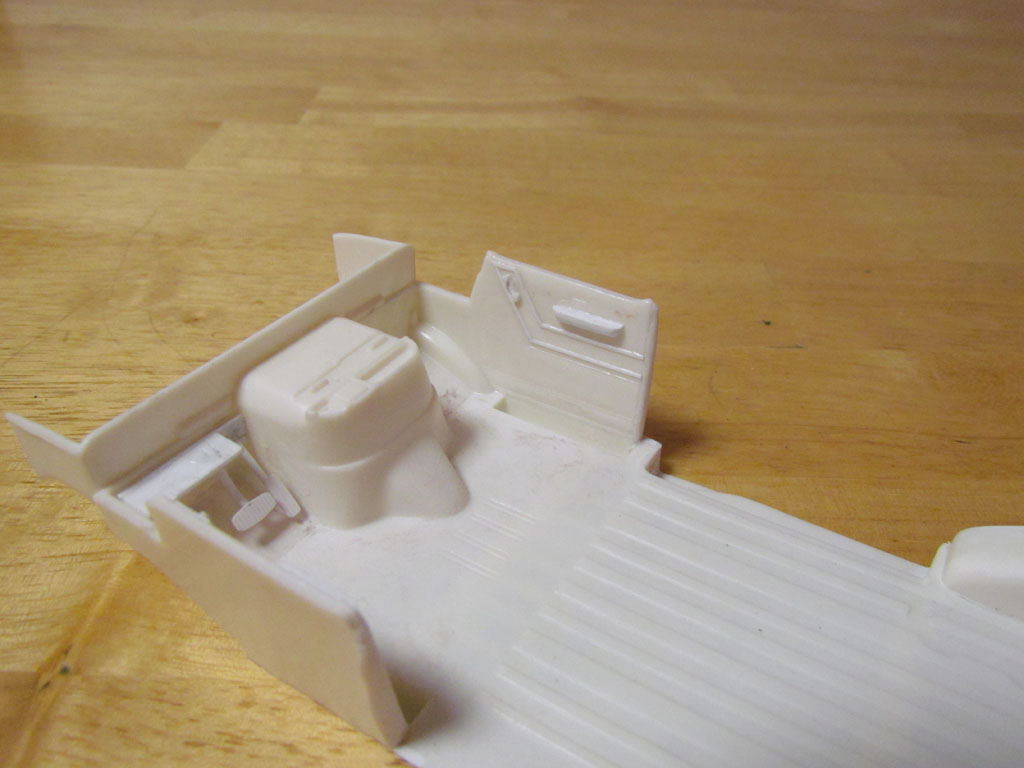
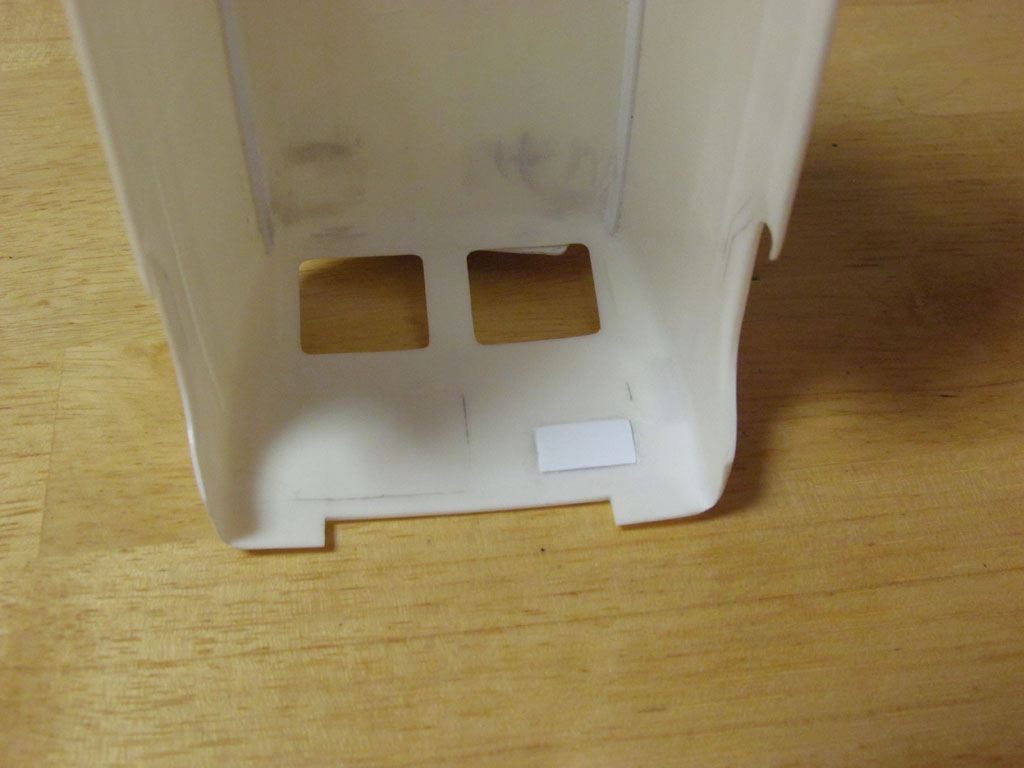
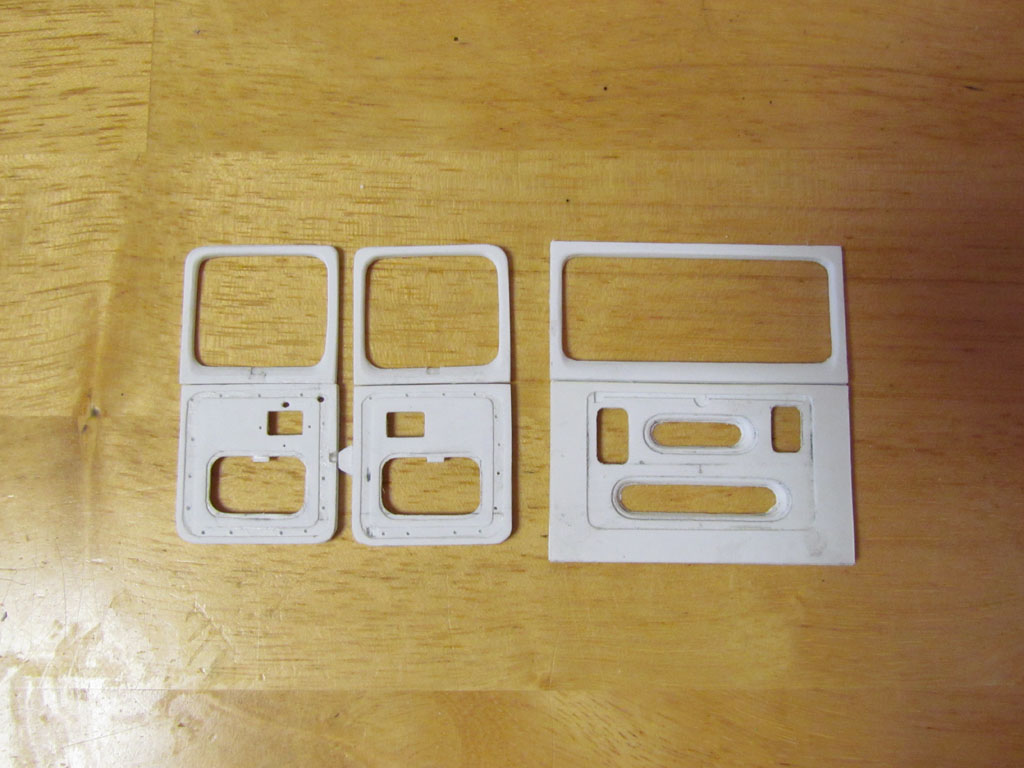
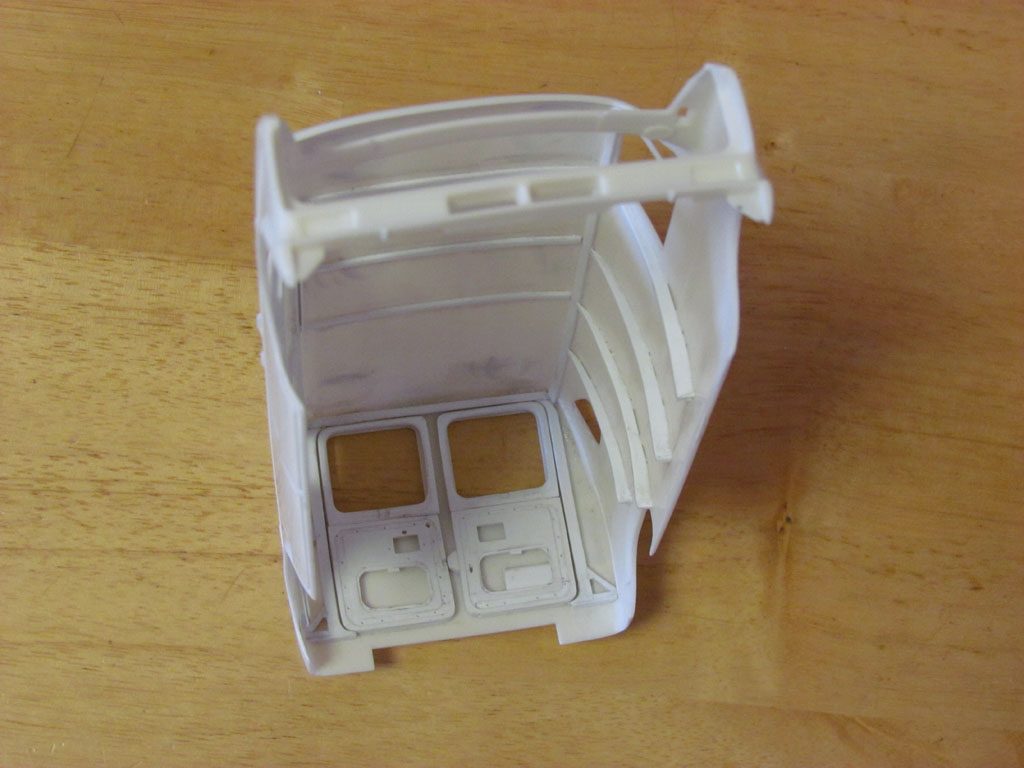
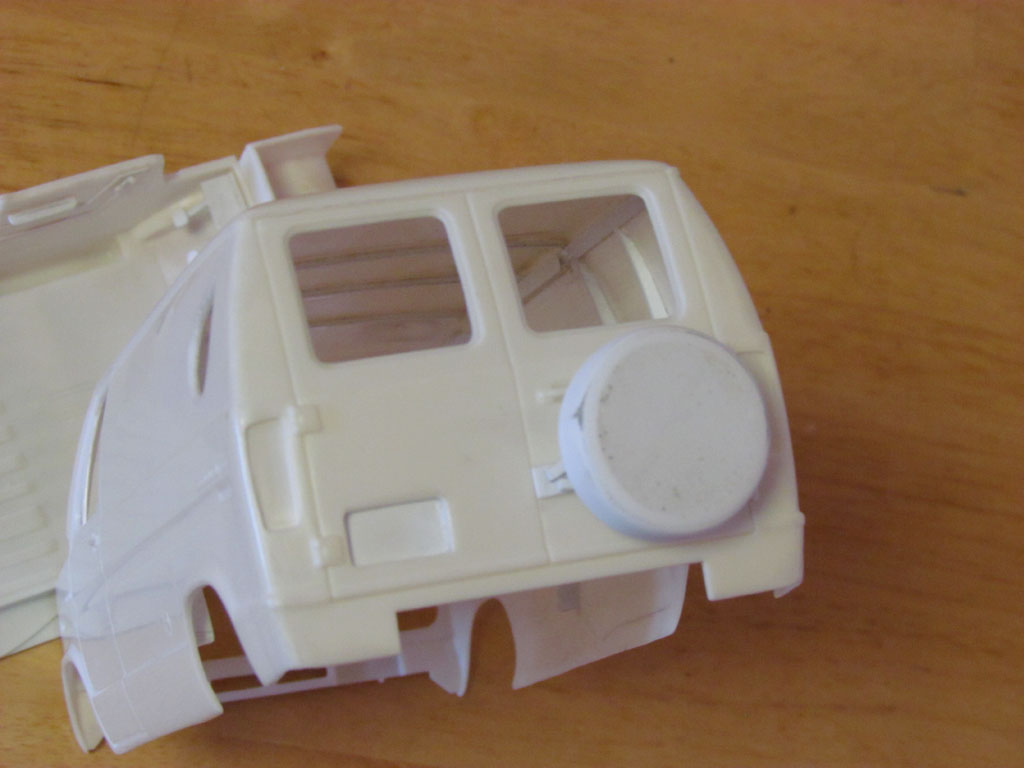
I've been wanting to build an AMT Ford Econoline for a while now. When I was a kid I had the Vantom Econoline kit but this was before I started building models. Some of my sister's friends tried putting it together but it was a mess. I wanted it to look like it did on the box but it was white plastic and didn't get painted. Back then, in the '70's a neighbor had a 1976 Dark Brown Econoline. I thought it was the coolest van. It was the 1st time I saw one of the 'new' style Econolines. I was used to seeing the older Chevys, Dodges and Fords with the flat fronts, the motors inside and the bus size steering wheels. My neighbor's 1976 Econoline had a hood like a car and the steering wheel's size and angle was very car-like. At least that's how I saw it back then when I was young. I was in love with the new Econoline. This build is going to be similar to my neighbor's Econoline but not exact. His van had silver bumpers and stock wheels and hub caps. This build will have chrome bumpers and turbine style wheels. My neighbor's had a sunroof, a tire mounted on the rear door with a cover and tear drop windows. The interior wasn't finished off. It had all the studs showing. I remember I was fascinated by the unfinished interior. It was something I hadn't seen till then. Back then none of the vans in my neighborhood had custom finished interiors. It was a nice dream but not a lot of people could afford to have a finished interior. This build will represent all those vans that had sunroofs, cool looking side windows, tire covers, nice wheels but never had a finished interior. I started by removing the molded in pedals and scratch built a set which includes the parking brake. I straightened out the rear of the inner driver and passenger door panels. I don't know why they are angled in the kit. The details on the door panels aren't too sharp and don't include arm rests so I added some details. The indentation for the license plate was too shallow and not angled so I removed it and added some angled pieces on the sides and set it in a bit deeper. I layered .5 mm styrene sheet to make the inner sliding and rear doors. For the top of the door frames I used three .5 mm pieces of styrene glued and held in place inside the body until they held the shape. It worked nicely. I added the various studs and the spare tire support to the inside of the body. They still need some refining but so far I'm happy with how they turned out. I made a spare tire/cover and mount for the rear door. The holes are made for the tear drop windows and I scribed in the rear vertical body seam where the quarter panels attach to the rear section. I've been working on the ride height and the sunroof and will post more pictures soon.