crowe-t
-
Posts
1,965 -
Joined
-
Last visited
Content Type
Profiles
Forums
Events
Gallery
Everything posted by crowe-t
-
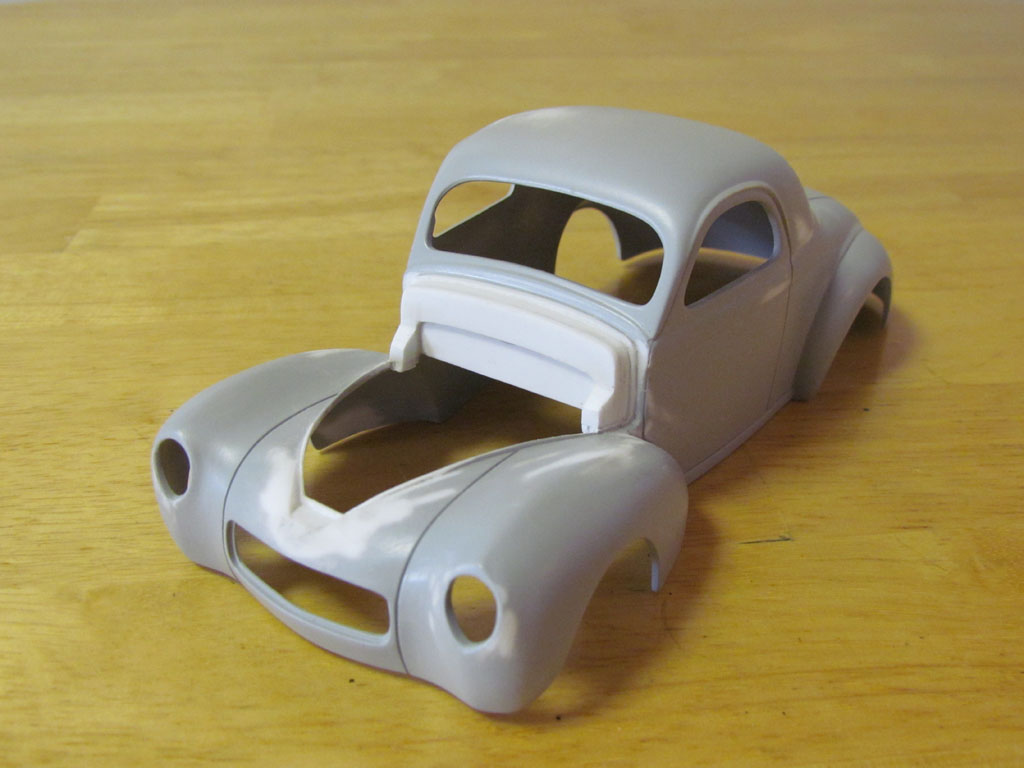
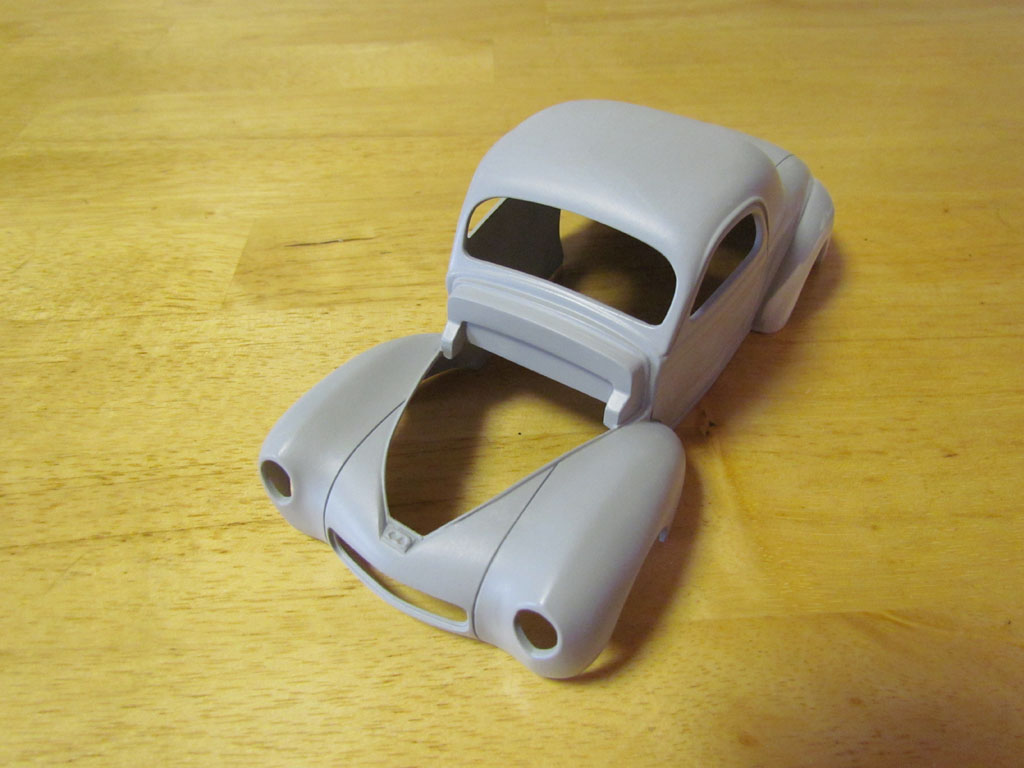
I found pictures online of a reddish-brown '41 Willys that inspired this build. This build won't be an exact replica but I'm trying to capture some of the details. I modified the firewall by adding three 1mm pieces of styrene and I added the details on the ends. I had to add the styrene to the floor so it'll line up. I also modified the hood latch area to resemble the 1:1. I removed the door hinges, side molding and filled in the holes for the door handles. I found a set of mirrors that I should have soon. I forgot to take pictures with the original firewall so if anyone has a picture of an unbuilt Revell '41 Willys Street Rod I won't mind if you can post it here. This kit sits rather high in front so I raised the upper control arms about 3.5 mm and flipped the part with the lower control arms over to lower the suspension. The steering links had to be raised on the spindles to clear the chassis. Since I built out the firewall I'll have to move the motor forward a bit so I extended the motor mounts on the chassis. The rear wheel openings are really large on this kit. I want them to match the 1:1 Willys in the pictures. I added 1mm stryene sheet and built the sides out with some .5mm styrene and shaped them. After the putty was sanded I applied some primer. I'll be painting this with a mix House Of Kolors KBC07 Root Beer and KBC11 Apple Red Kandy Base Coat over BC07 Gamma Gold to give it a reddish-brown shade. I'll post more pictures soon.

-
The cowl induction bulge does look a bit too short on the snap kit. I like the AMT glue '70 Chevelle. The side bulges won't be too hard to correct and the rest of the body, including the cowl induction bulge, looks about right.
-

Another 'Orange Clunker Car' - MPC Snap Kit General Lee
crowe-t replied to crowe-t's topic in Model Cars
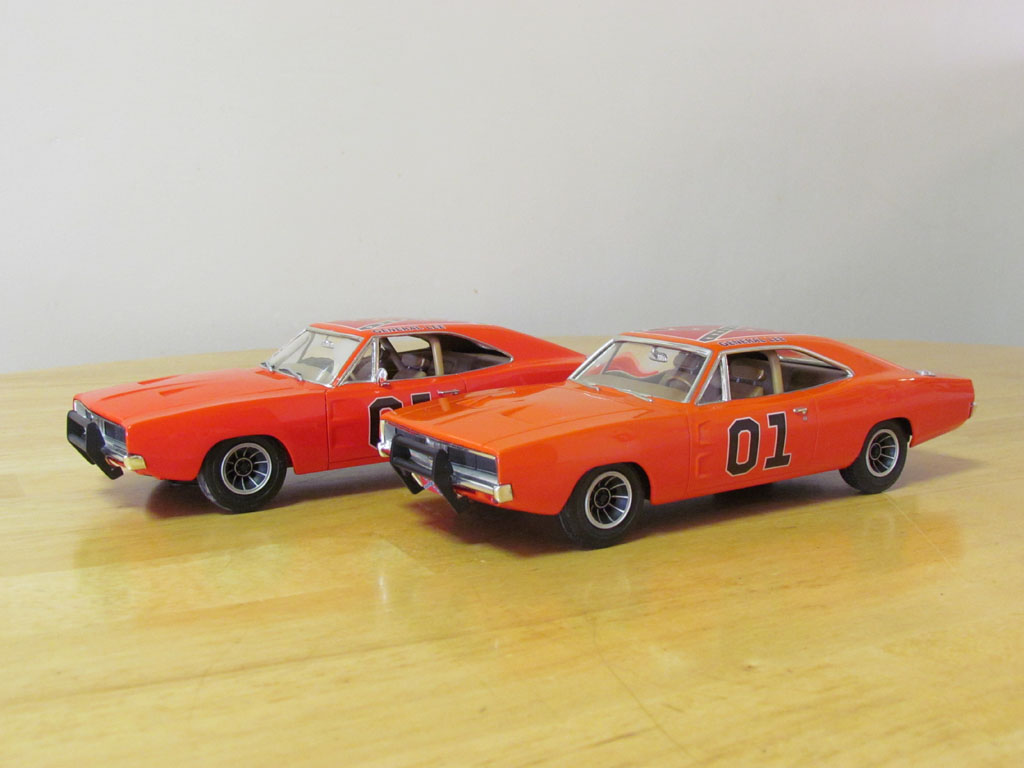
Thanks guys! This snap kit is actually pretty nice. It's basic shape is based on the old glue kit but the molding is nice and sharp. If the hood was cut out it could be combined with the glue kit and look real nice. Here are some pictures I took with the MPC glue kit I built last year. The glue kit is painted Testors Hugger Orange and is more red looking than this snap kit I just built.
-
Is it .020 x.020 square plastic or .020 half round or something else?
-
What did you use to make the black weatherstrip on the leading edge of the fenders?
-
Another 'Orange Clunker Car' - MPC Snap Kit General Lee
crowe-t replied to crowe-t's topic in Model Cars
Thanks everyone for the nice compliments! Have a Merry Christmas! -
Merry Christmas!
-
It's one great build Steve! If you can only build one than this is how it should be built. It actually looks like a real car in the pictures.
-
Excellent job and the engine is amazing!
-
Nice looking models! Great job as always.
-
This is really cool! Santa looks real happy too. For crying out loud who wouldn't be happy with elves like these two?!
-
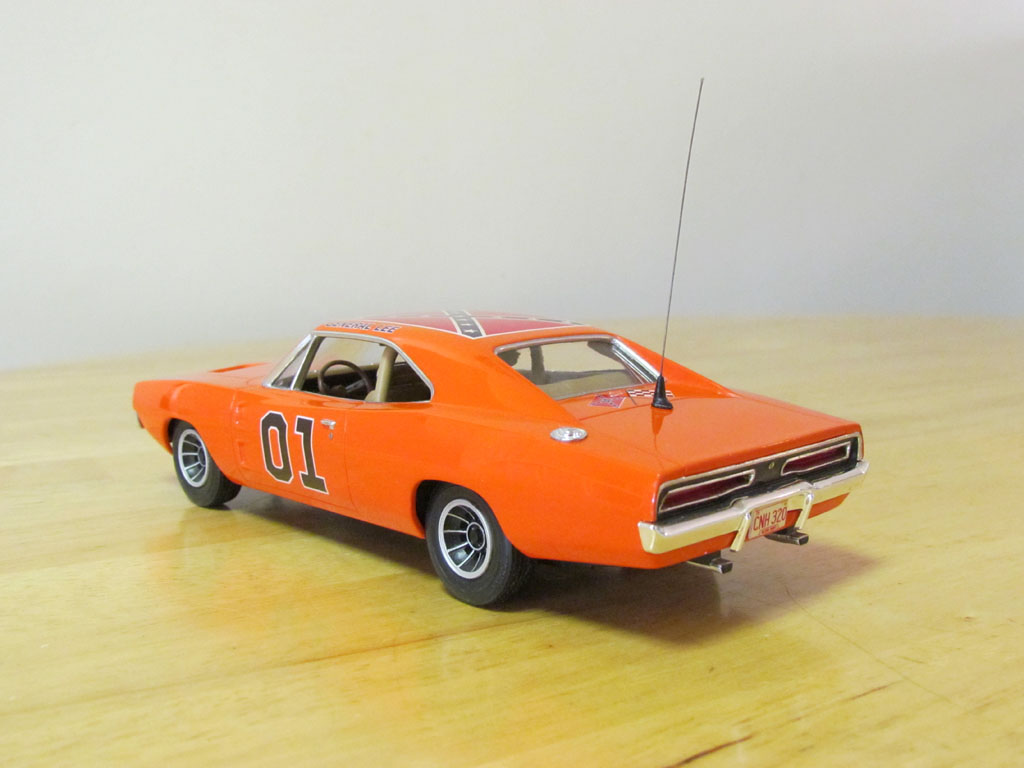
I just finished this General Lee. This is the 1/25 MPC Snap kit. I scratch build the roll bar, center console, arm rests, head rests, pedals, front push bar, grills... I modified the back window to have a more accurate shape. The wheels are from an AMT '69 Riviera. The kit's wheels aren't very good at all. I'm surprised the wheels from the old glue kit weren't used which are far better then what comes in this one. It sits nice in the front but was too low in the rear so I raised the rear about 1.5 mm. This kit is based on the MPC glue kit and has some nice improvements. It has a correct '69 hood and the door scallops are better shaped. It still suffers from some of the glue kit's problems, it has the same incorrectly shaped rear window, incorrect grill inserts and the dashboard sit's too low and level. The kit's gas cap is on the small side so I used one I had from an MPC GL glue kit. I re-positioned the dashboard and installed it at an angle. The chassis has a manual transmission molded in which I modified to resemble a 727 Torqueflite automatic. The paint is 1975 Corvette Flame Red that I got from Gravity Colors. It's not on their website yet but will be soon. I used decals a friend made me a while ago that represent the early Georgia episode look of the car.
-
Perfect job on the BMF! Where did you get the hood pins? Are they from Detail Master?
-
I'm glad to hear you are still working on this. BTW, did you get the PM I sent you about your Boars Nest diorama?
-
I'm looking to get some 1/25 scale hood pins. How are the hood pins from Detail Master? Do they look realistic?
-
Alclad ALC101 over Tamiya fine white primer
crowe-t replied to Michael jones's topic in Model Building Questions and Answers
I've sprayed Alclad Aluminum over Tamiya Fine White primer and didn't have any problems. -
Do you have a picture of your '70 Chevelle's undercarriage?
-
These pictures below are correct? There seems to be more of the blue body color over the red oxide primer and the bell housing is painted the engine color.
-
I got this picture from another restoration shop. The cars built in Atlanta had gray primer with a slight hint of green in it. I think for my current build I might go with the red oxide primer.
-
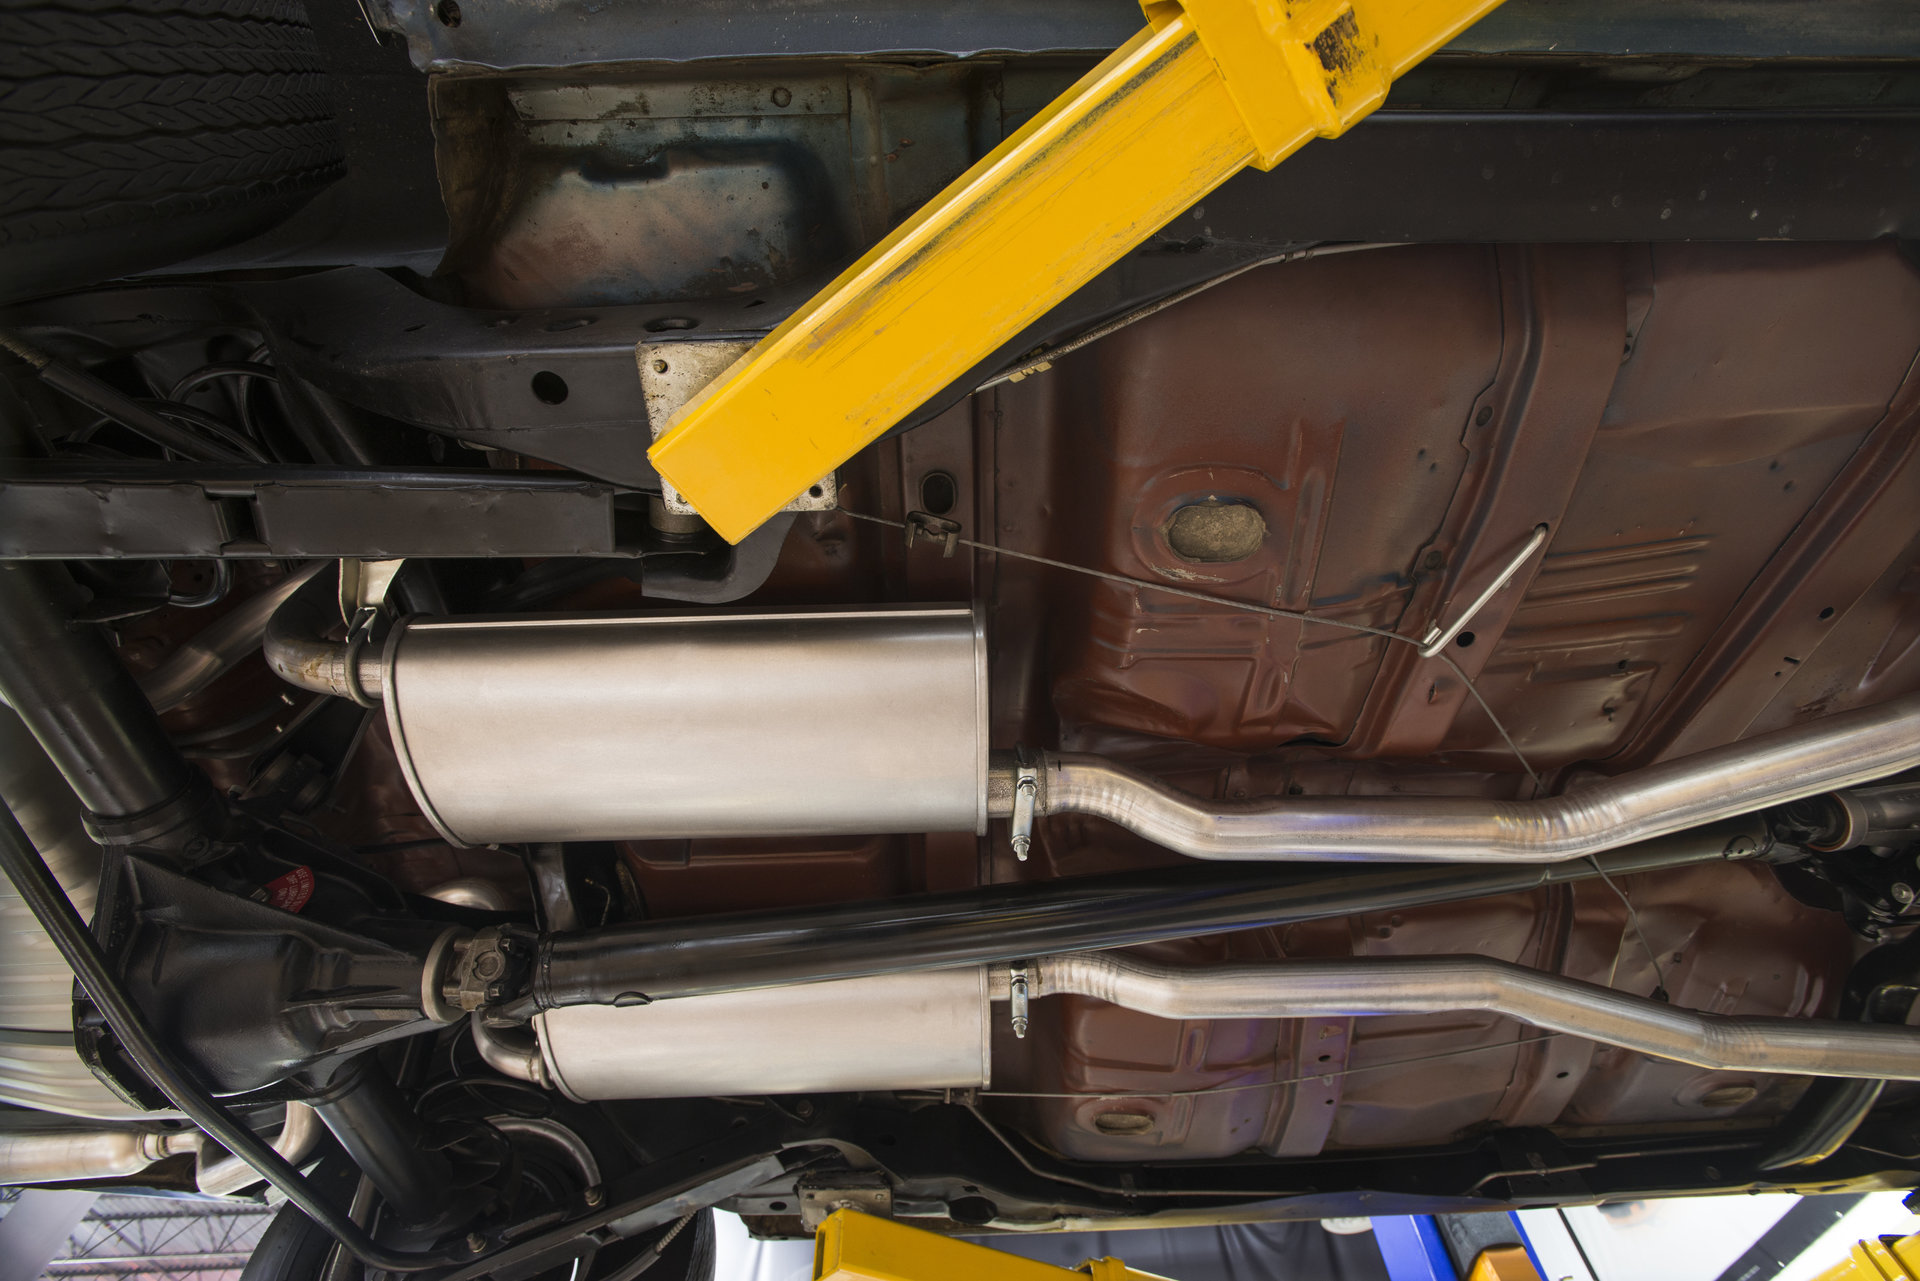
This 1970 Chevelle's under side floors are red primer with the body color overspray. Both this Chevelle and the one in the previous post were done by the same restoration shop.
-
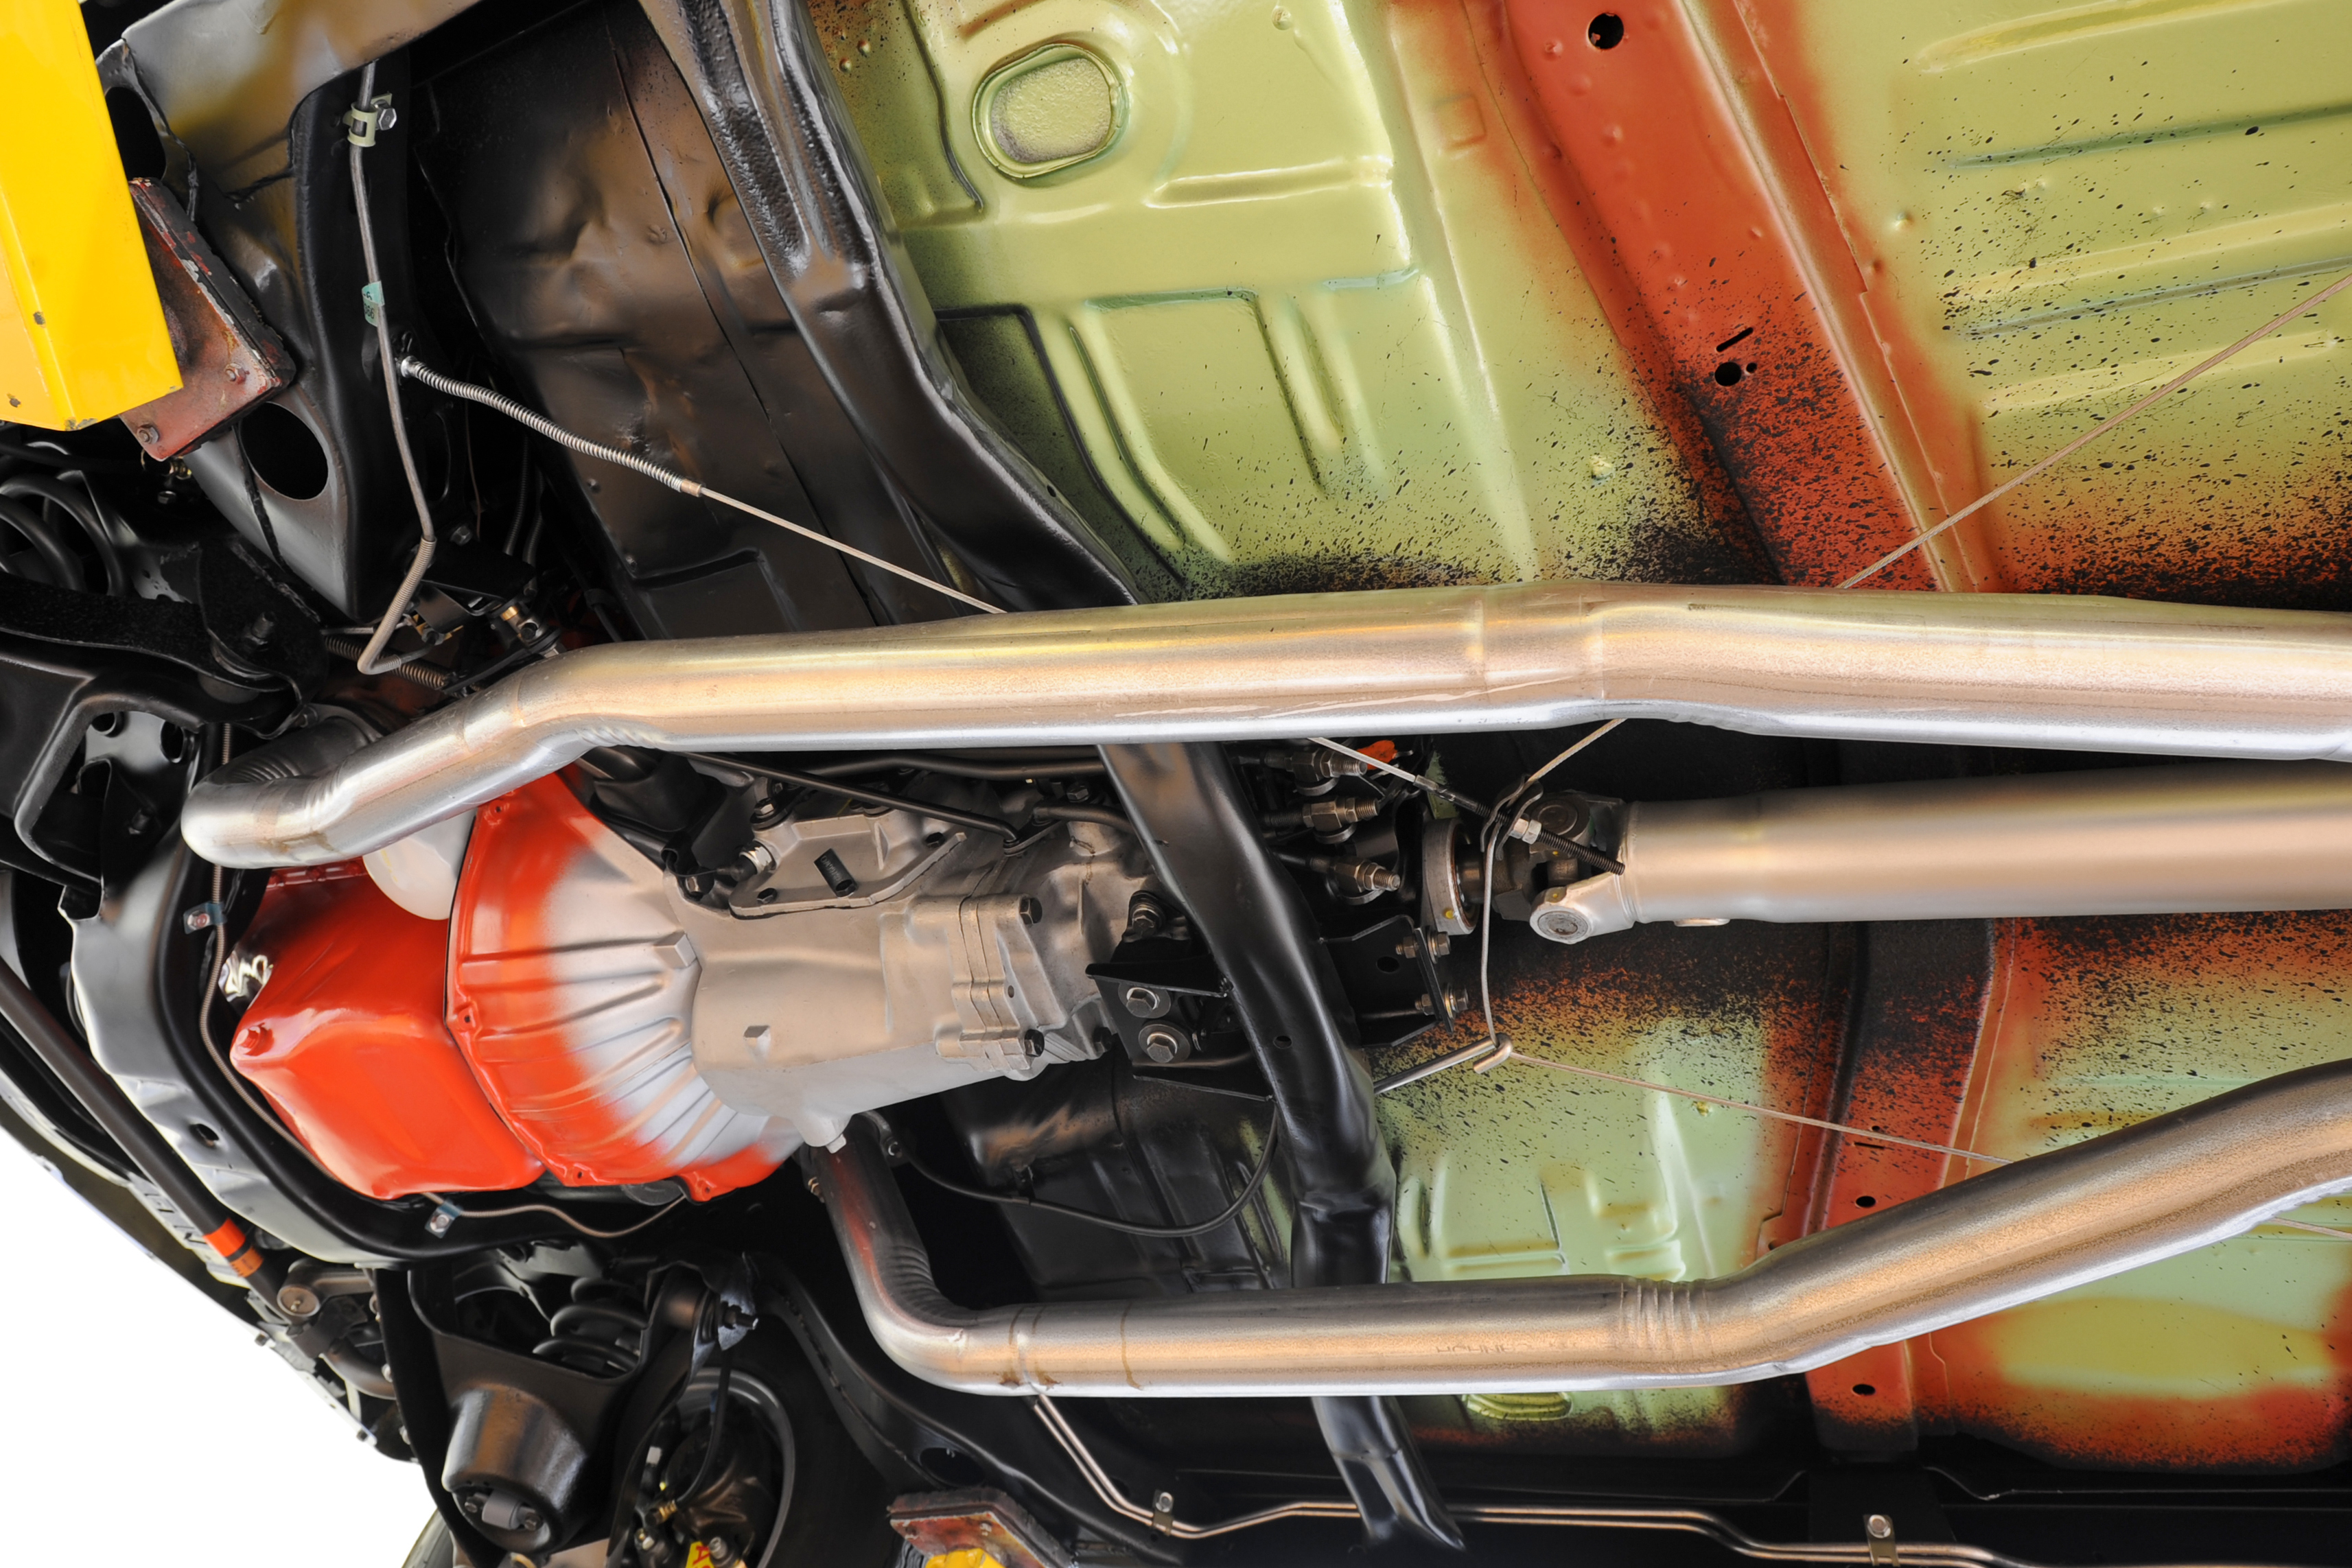
I found pictures of the underside floor pan of a 1970 Chevelle that was restored to it's exact look when new. The green body color seems to be only on the floors and the cross braces have red primer on them. I was expecting to see the green body color overspray on the sides. Has anyone seen this before?
-
I've read that the primer color depends on where the cars were built. It could be red or gray. I'd still like to see some pictures of this. As of now I'm going with the gray primer. I kind of like the look of the gray primer more anyway since I'm painting it Champagne Gold. I think the Champagne Gold overspray will look better on the gray primer.
-
Does anyone know what color primer was used on the undercarriage(floor) of a 1970 Chevelle? I know the chassis rails are black. Is the primer light gray, dark gray, red...?
-
Mounting a car in a display base?
crowe-t replied to crowe-t's topic in Model Building Questions and Answers
Bill, I love your avatar!