Brudda
-
Posts
4,256 -
Joined
-
Last visited
Content Type
Profiles
Forums
Events
Gallery
Everything posted by Brudda
-
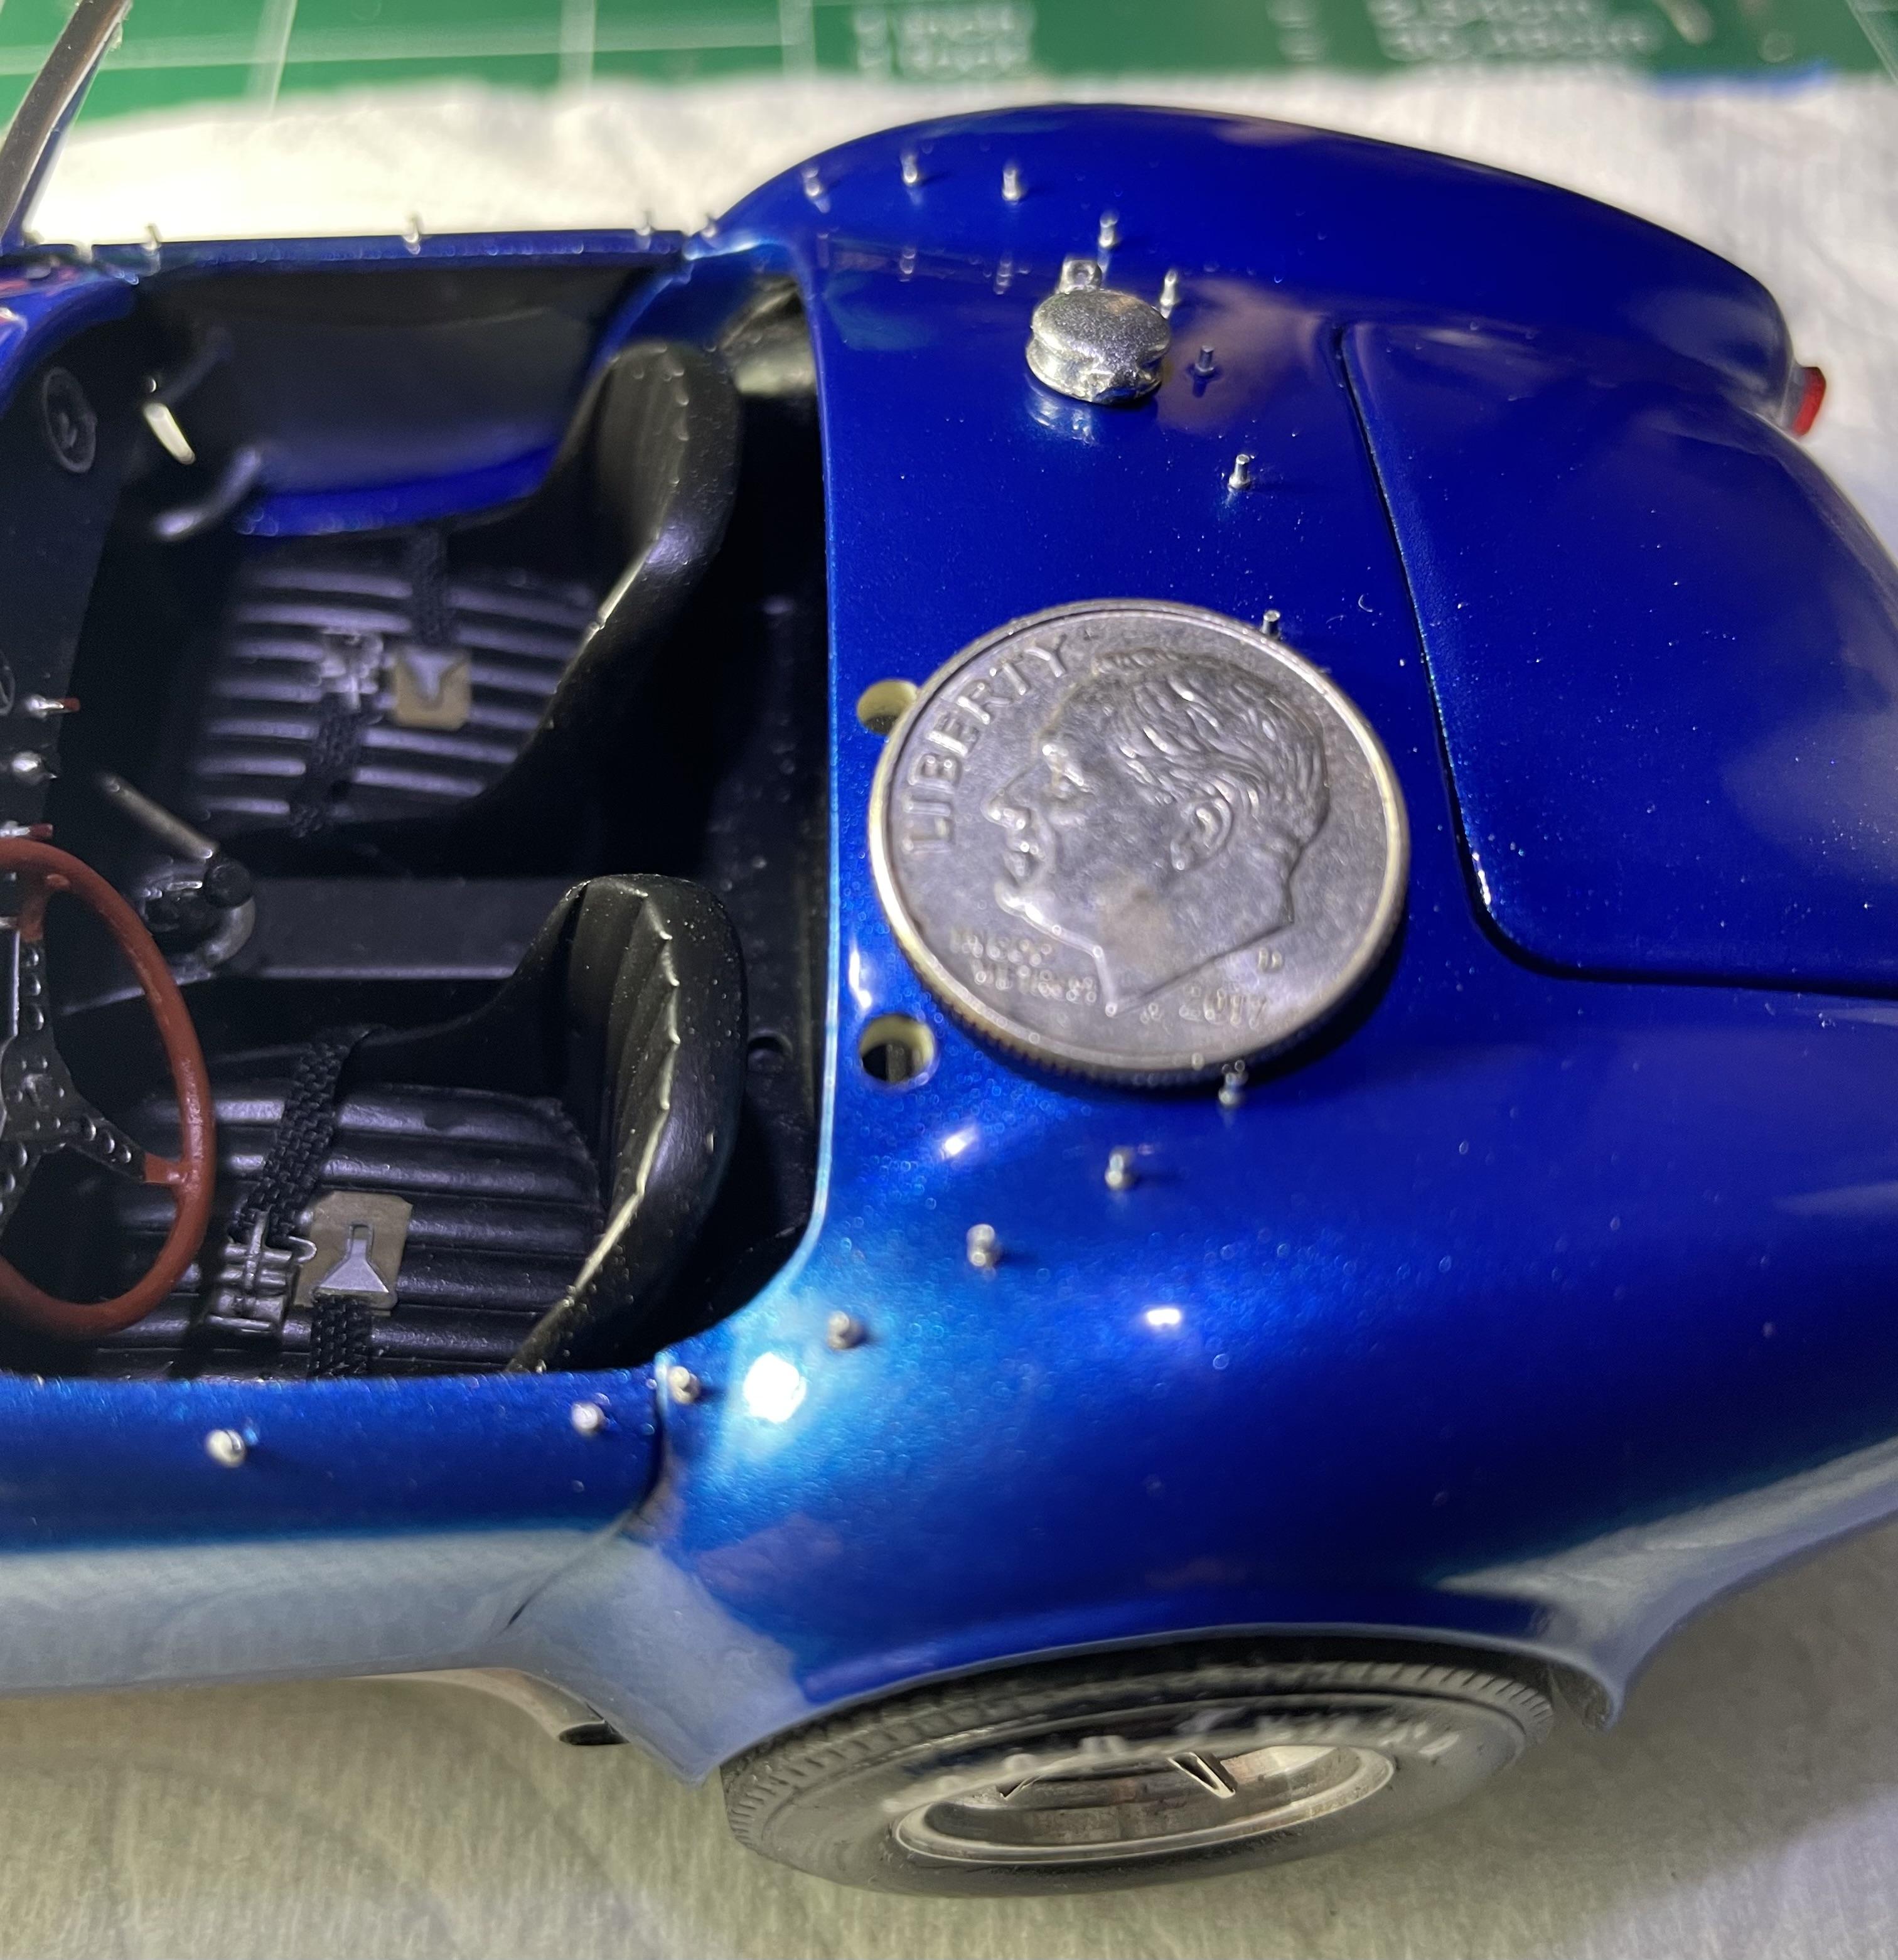
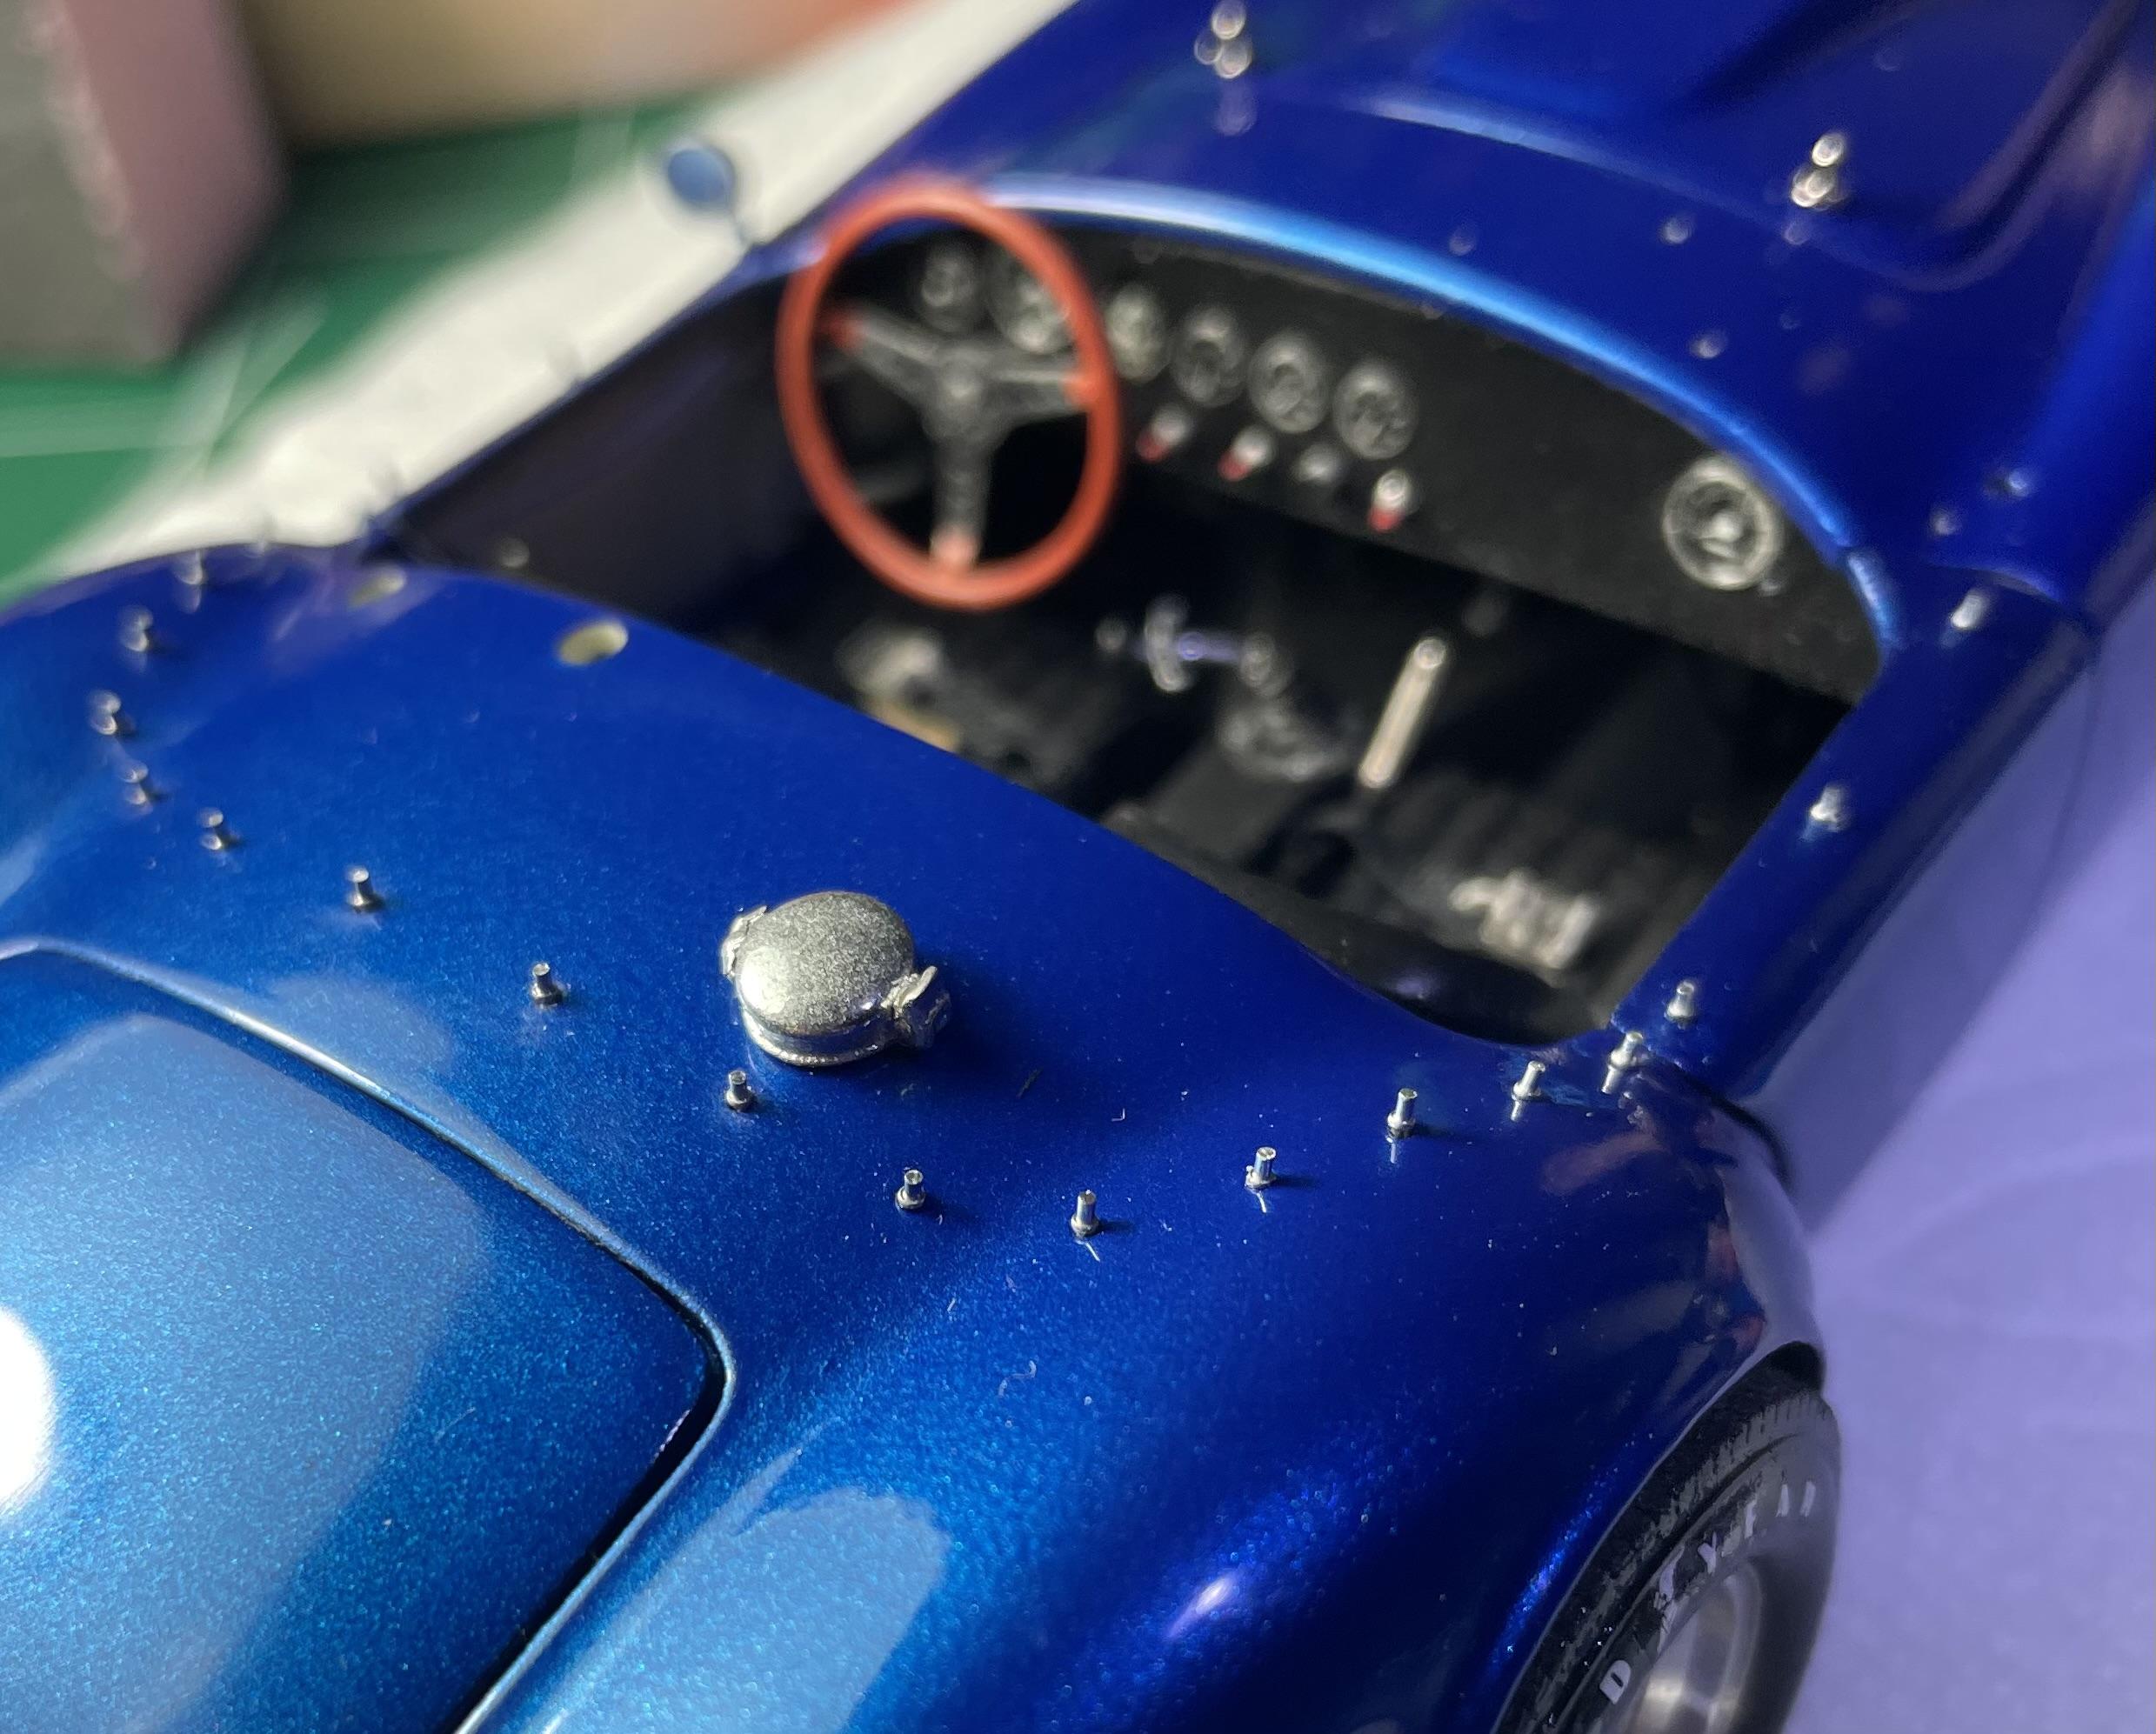
Installed the pins for the interior cover. Put a dime on the car to show a size comparison. The pins are the size of the “I” in liberty on the dime. . And they only give you the exact amount, Do not lose any! I do not know how the 1/43 guys see anything.

-
A little more added to the body. The windshield will be the hardest. It is so small . This will be a challenge,
-
Thank you very much Pierre. One of our model club members said this kit is a very expensive scratch of parts that you have to carve into a cobra. He is right. And thank you for recognizing the complexity of the build.
-
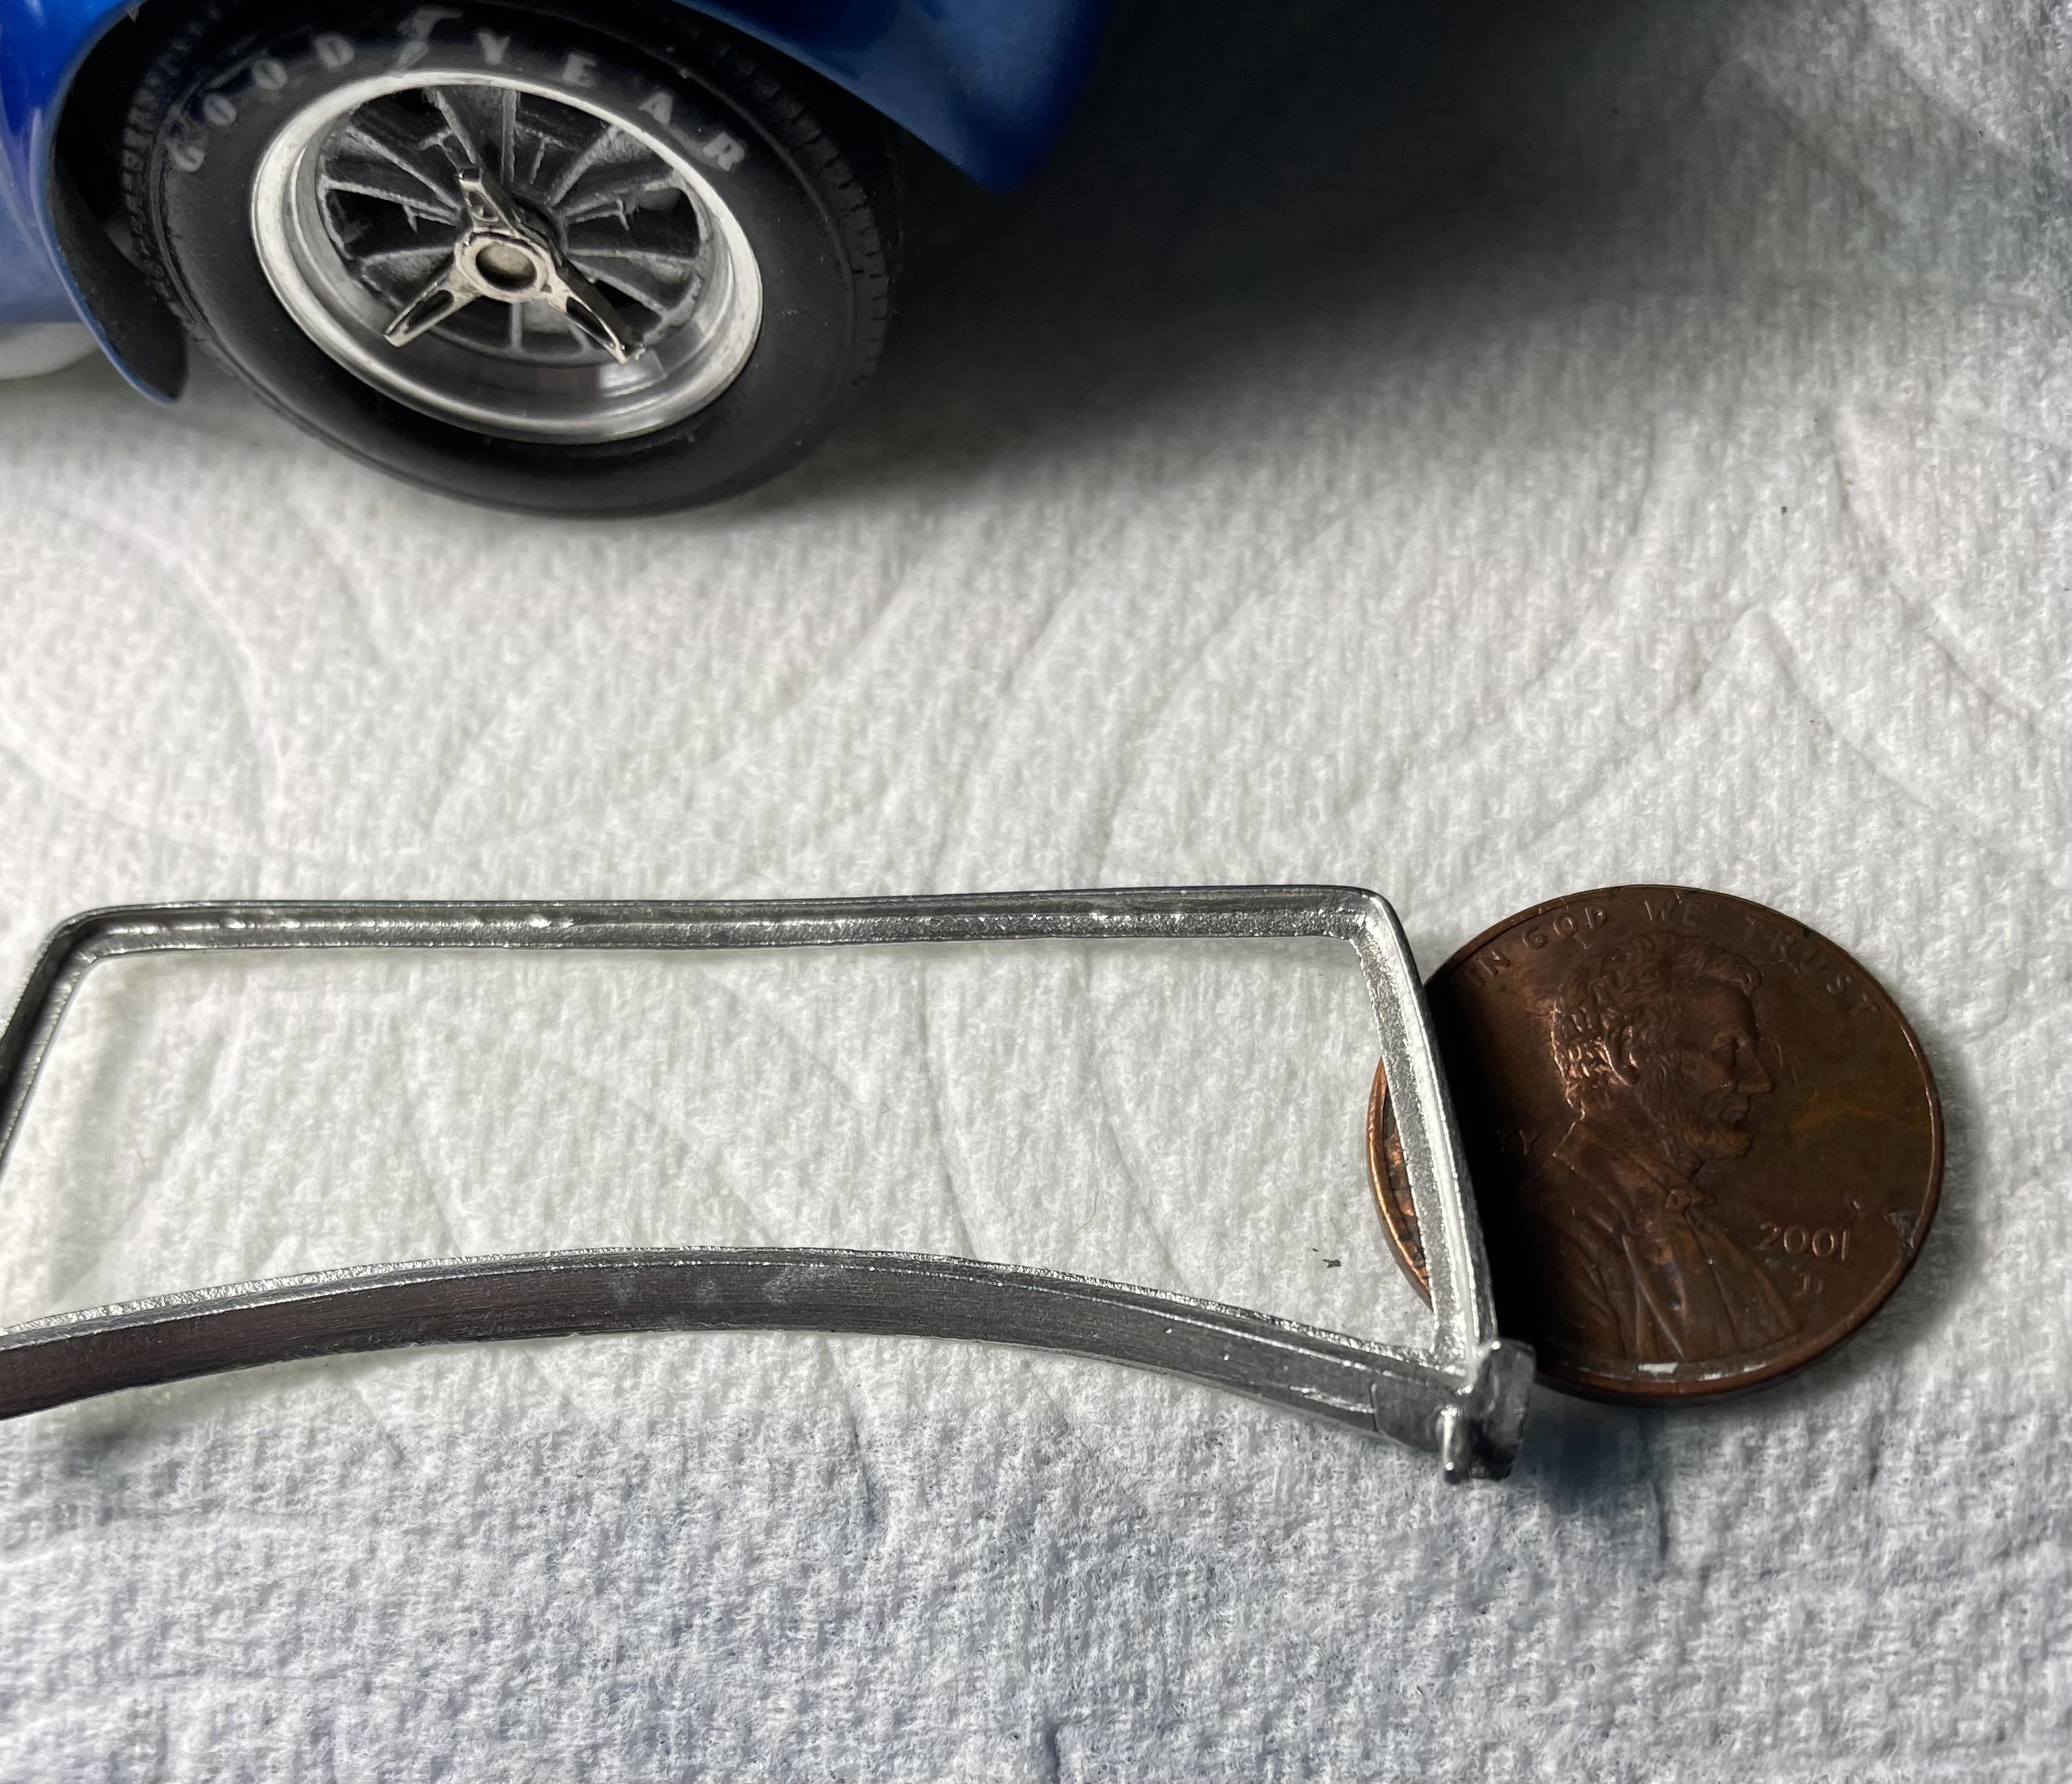
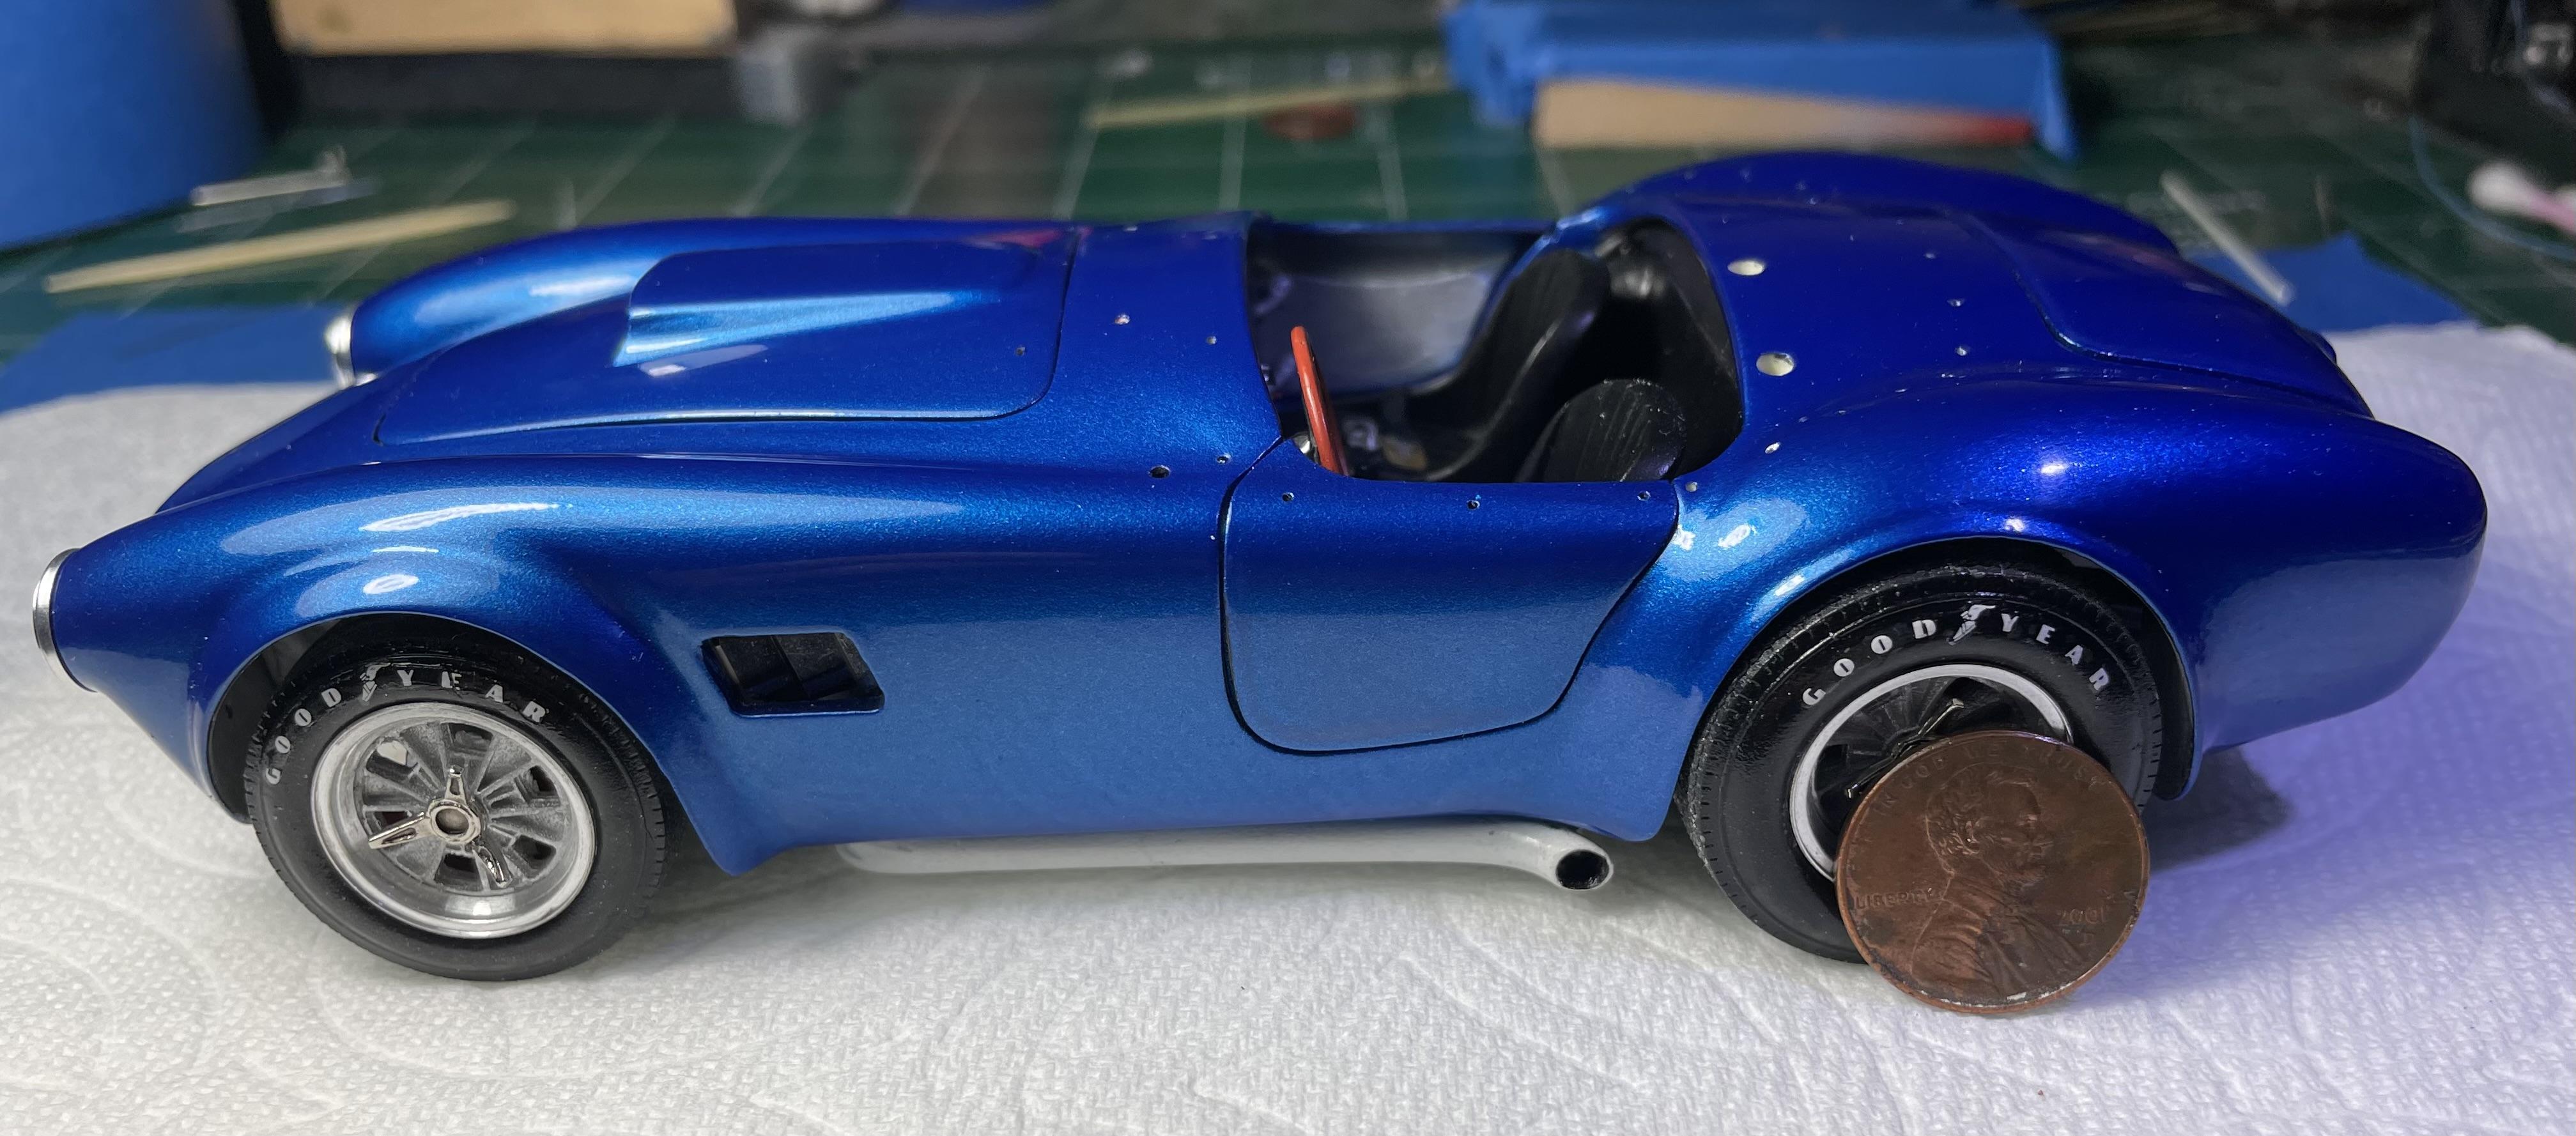
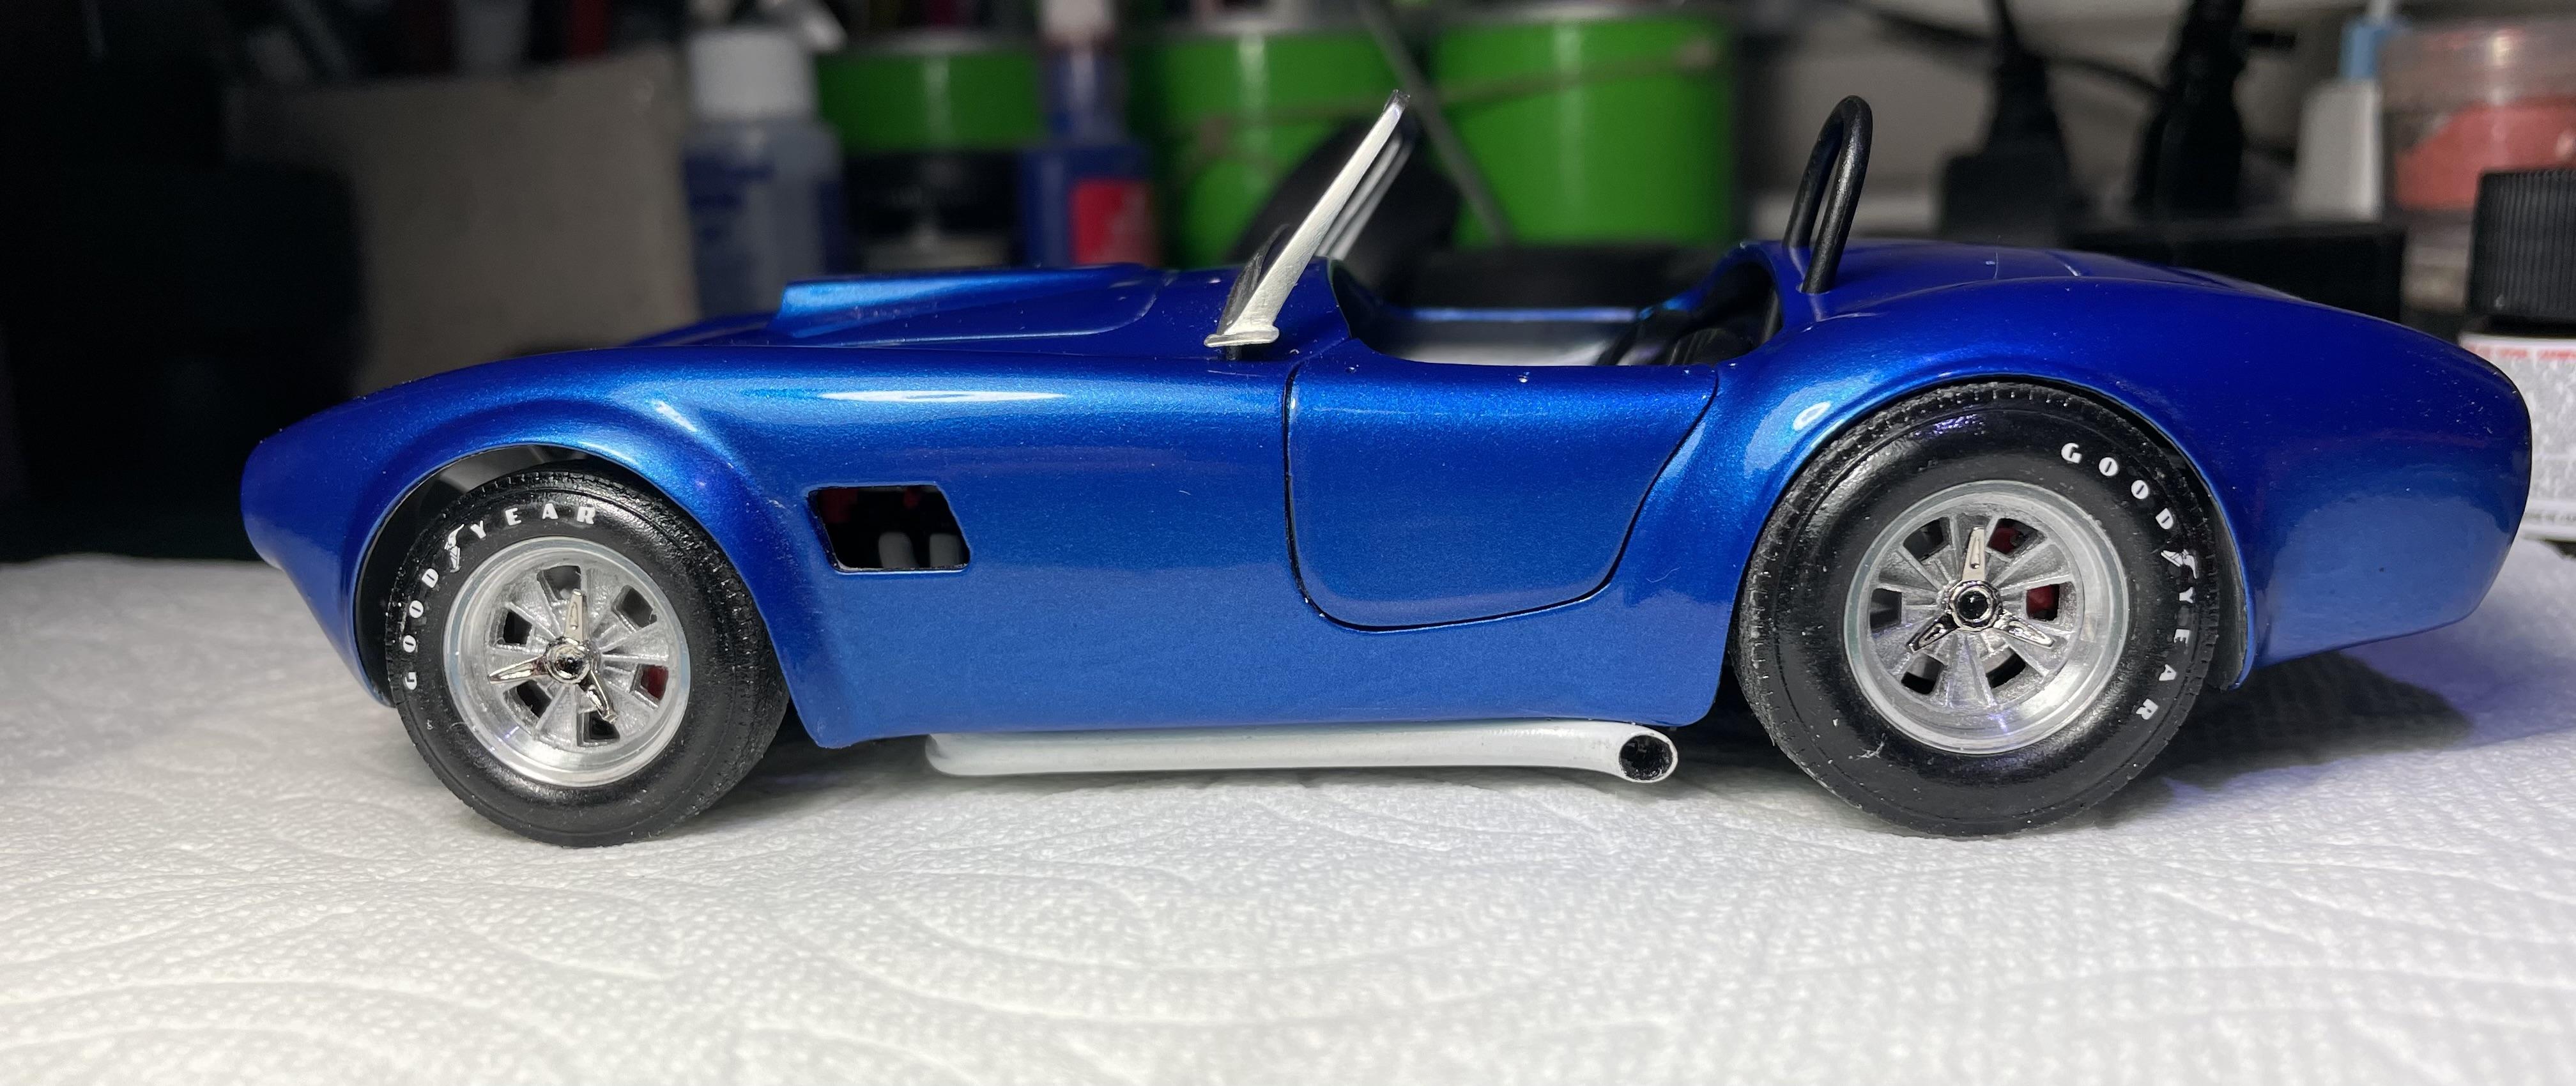
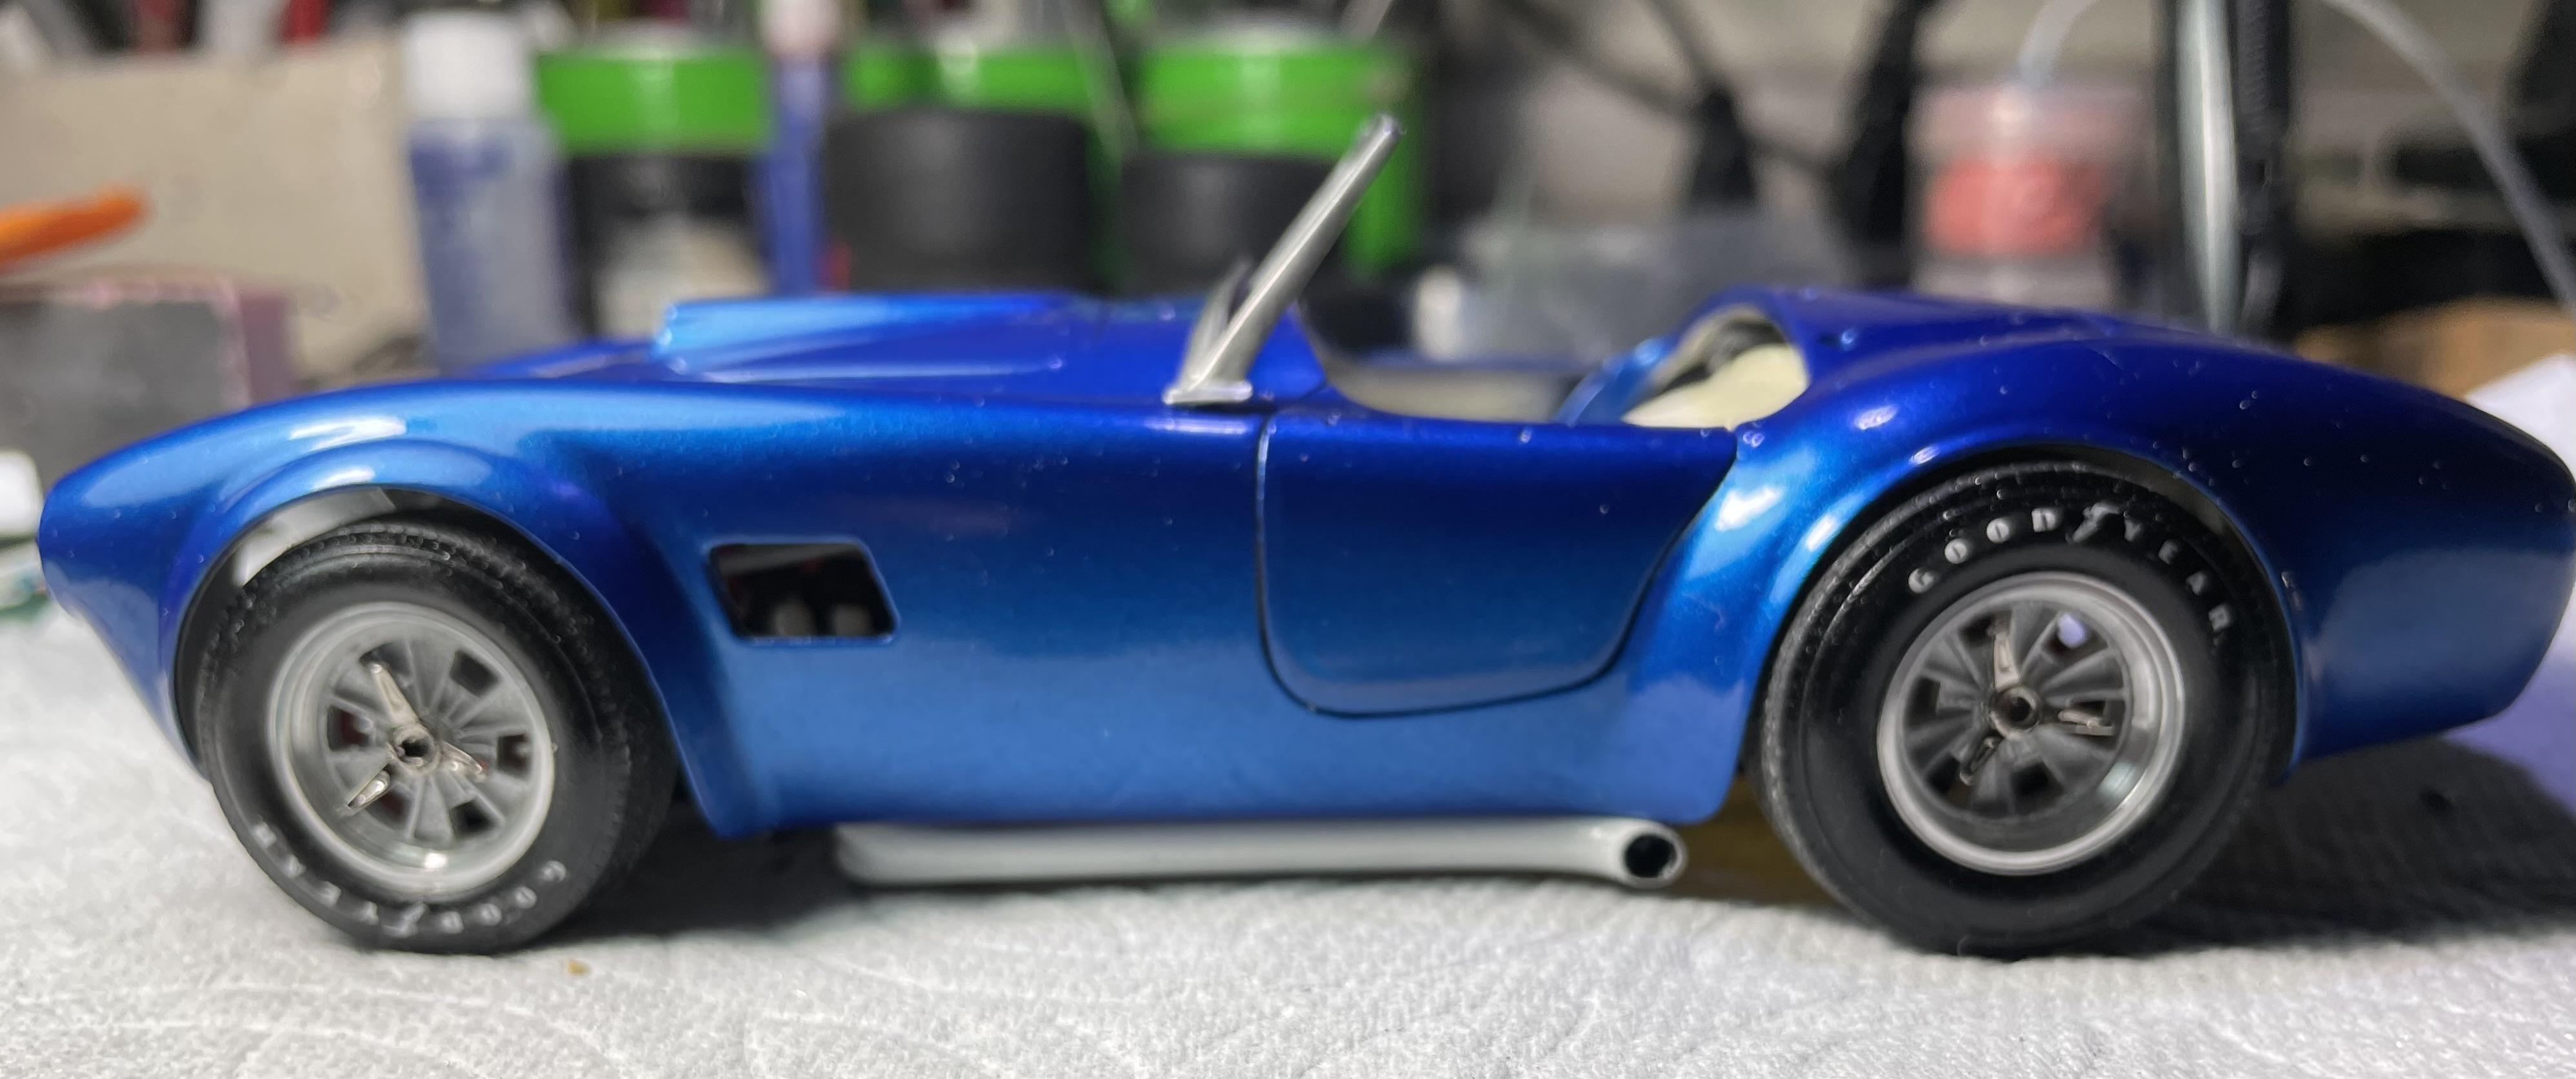
I have polished and ceramic waxed the cobra. First time I have used a ceramic coating on a model. I must say it makes her shine. The penny is showing reference for size. It’s a tiny 1/24. I do this before the body parts are installed. It’s very hard to do this with the parts in the way. Mark has the windshield frame. He is polishing it with his magnetic polisher. It will be very shiny. Putting the windshield in that frame is going to be the tricky part.
-
Thank you sir
-
Thank you BK9300.
-
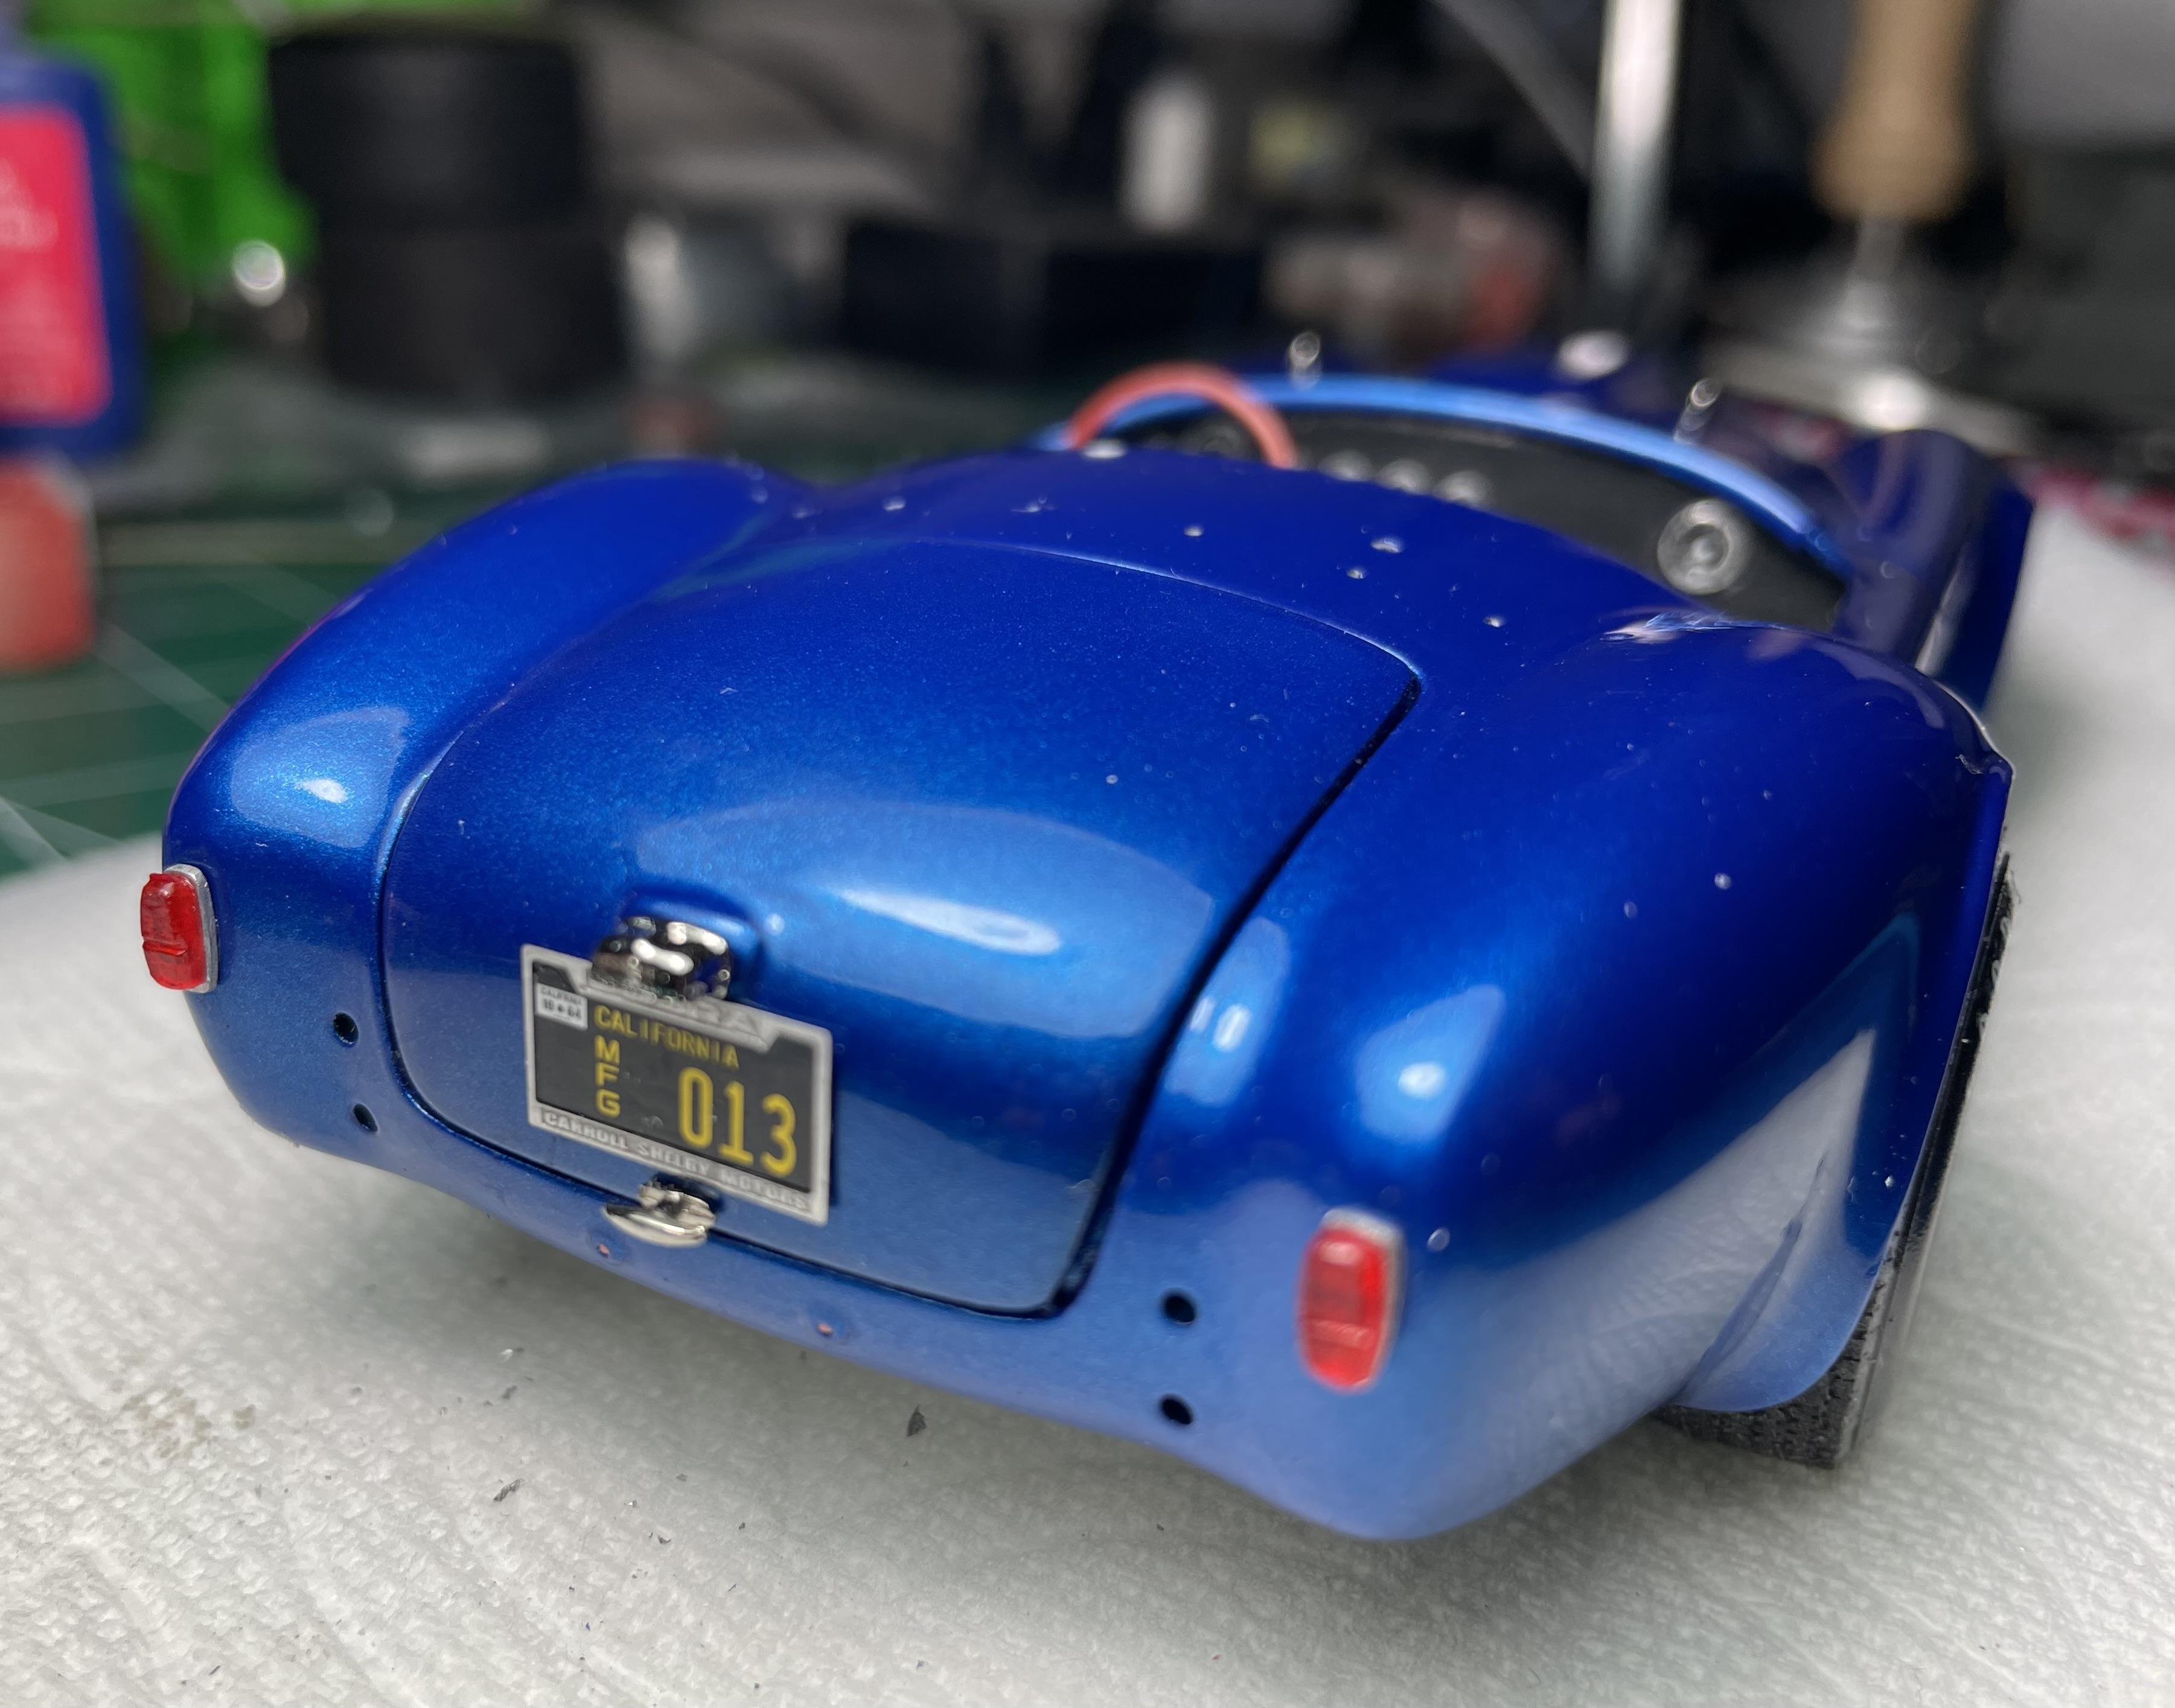
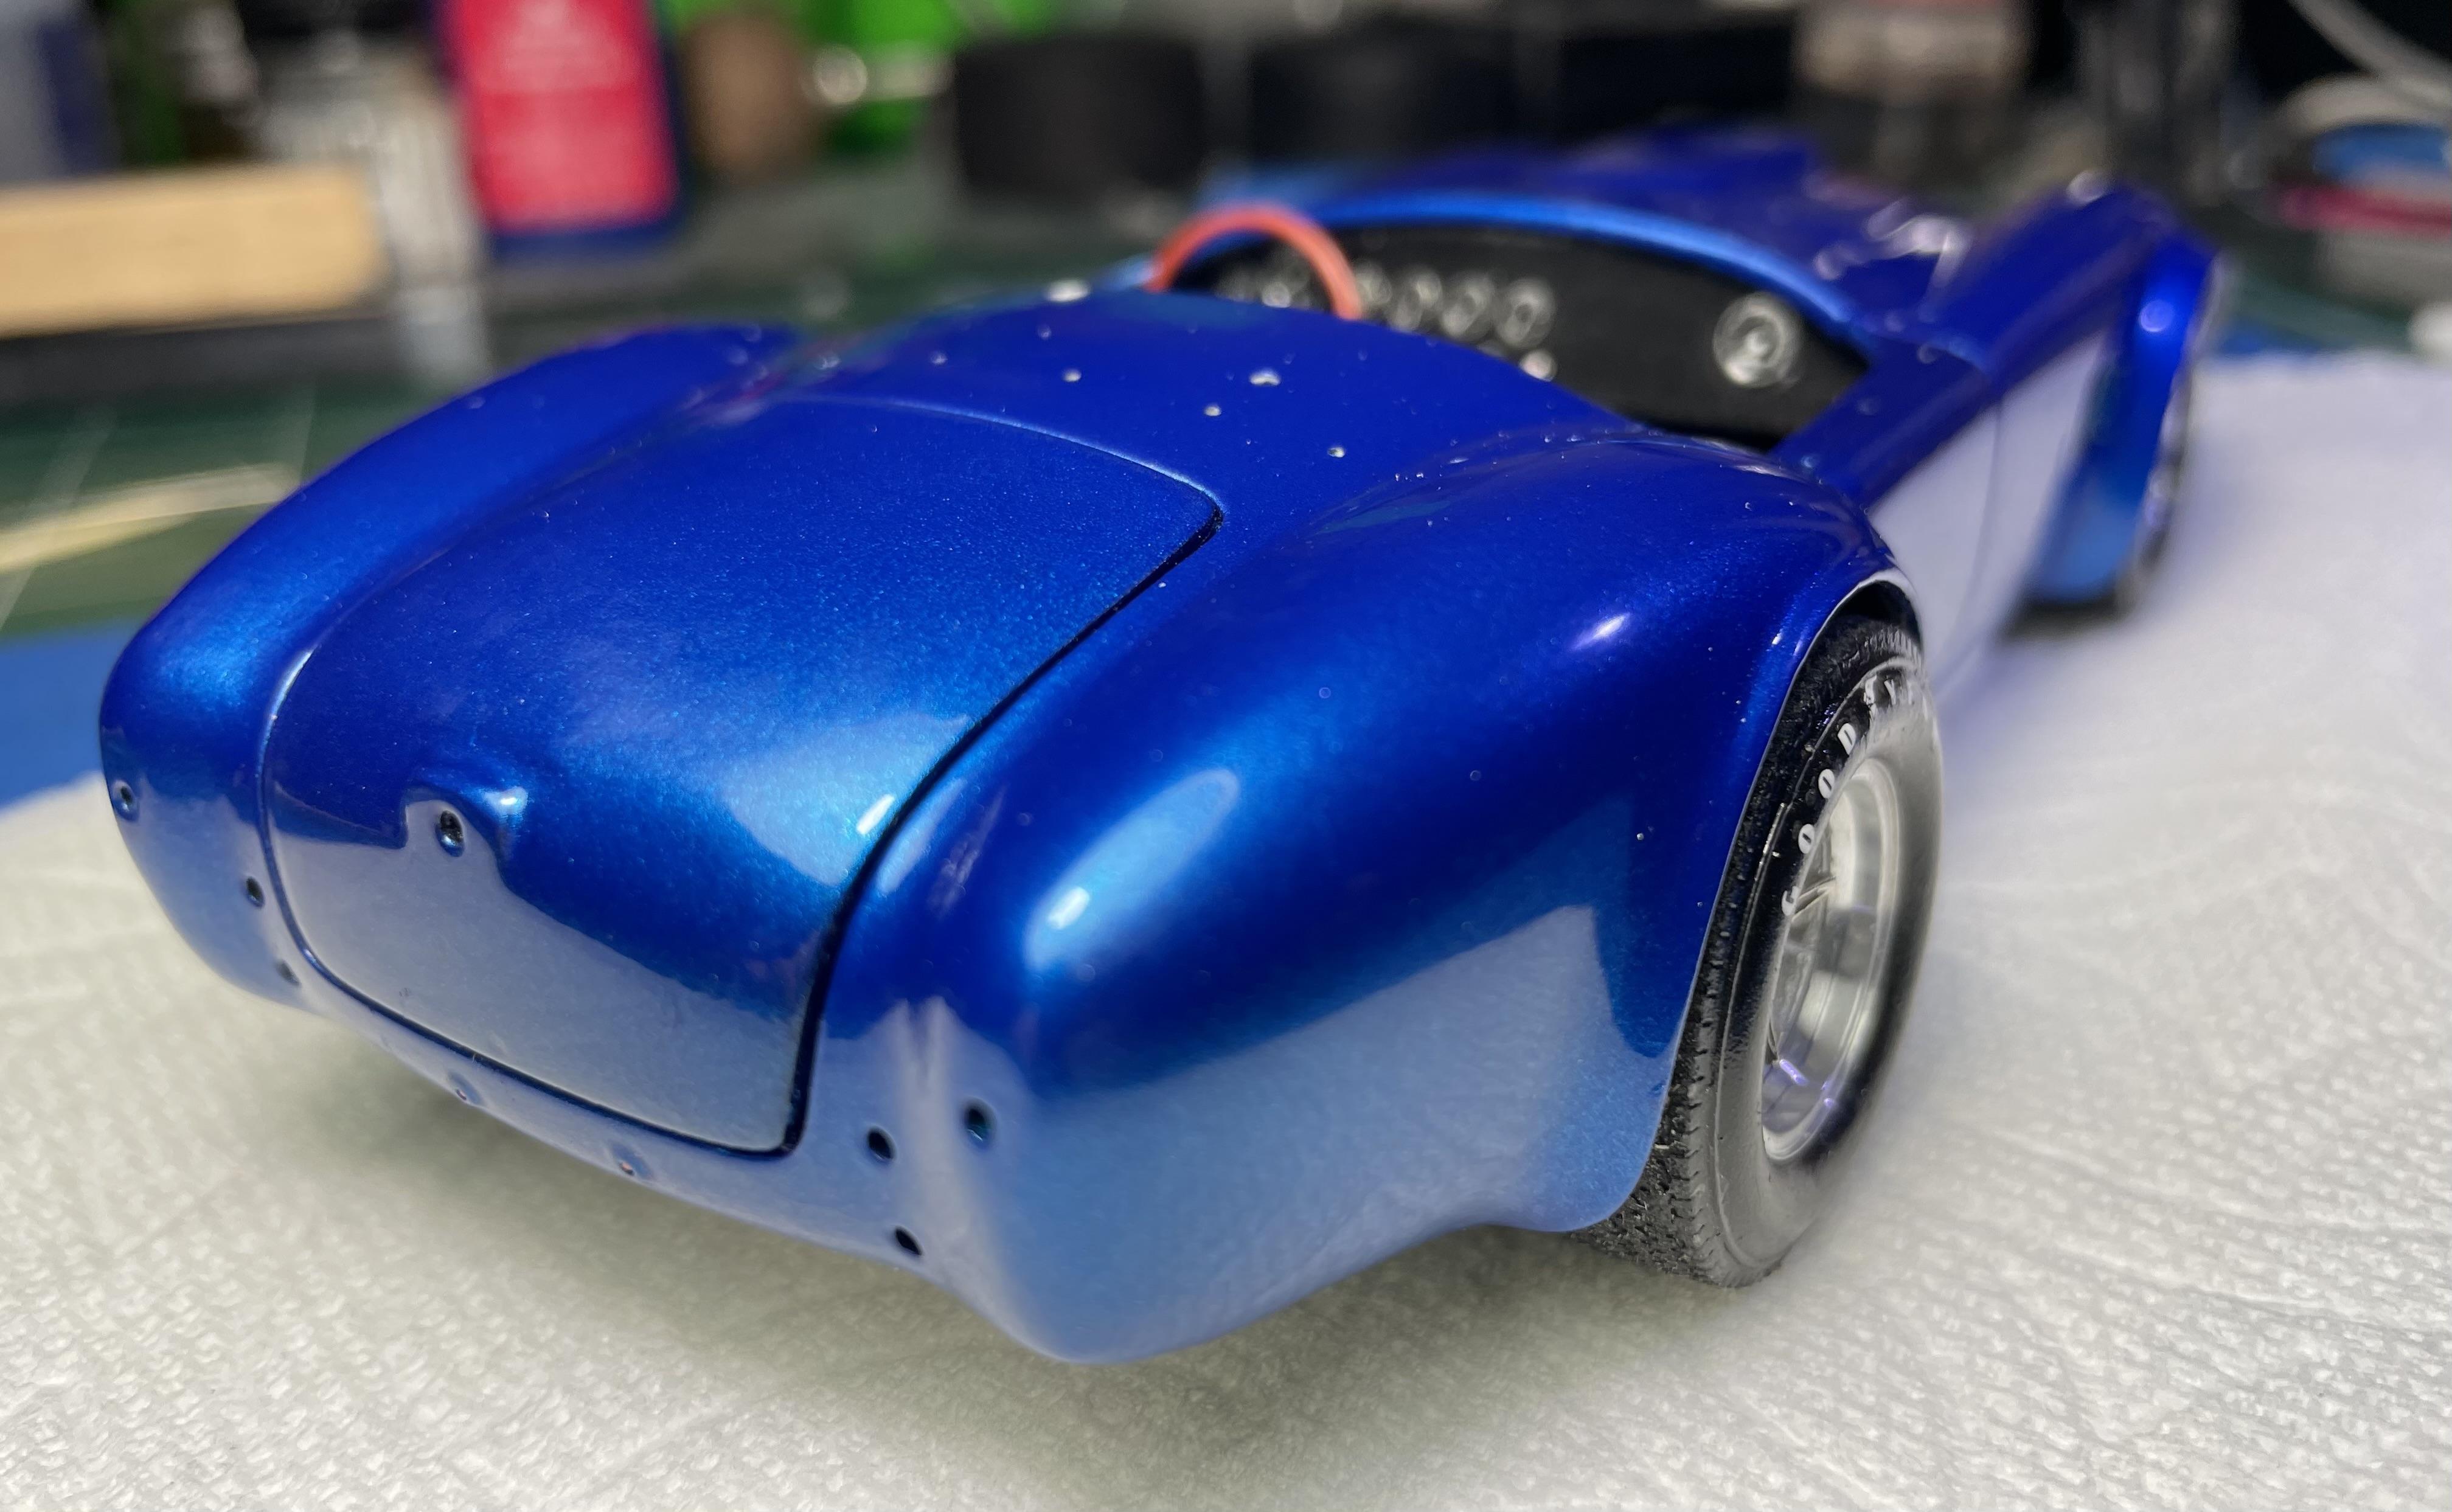
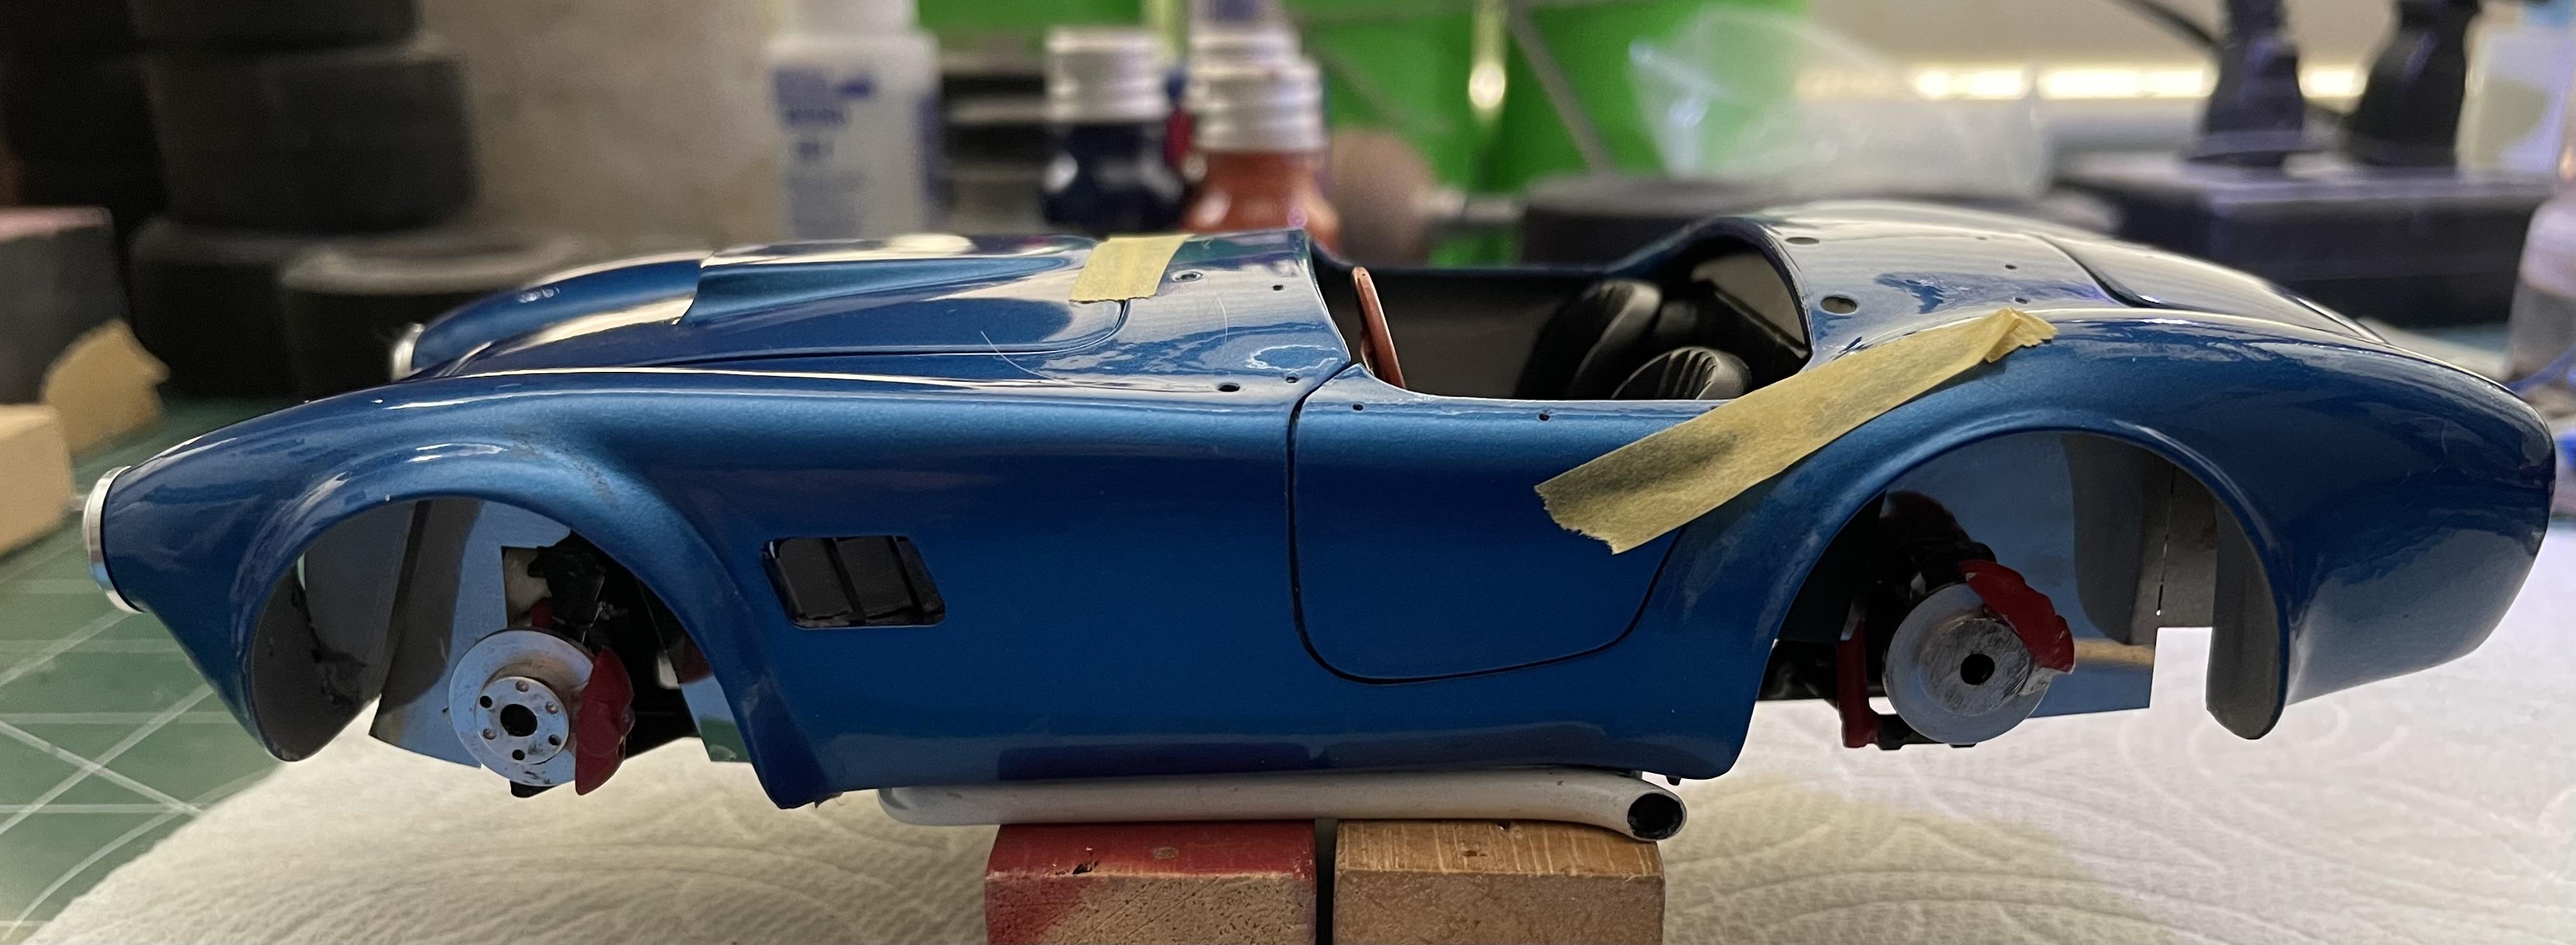
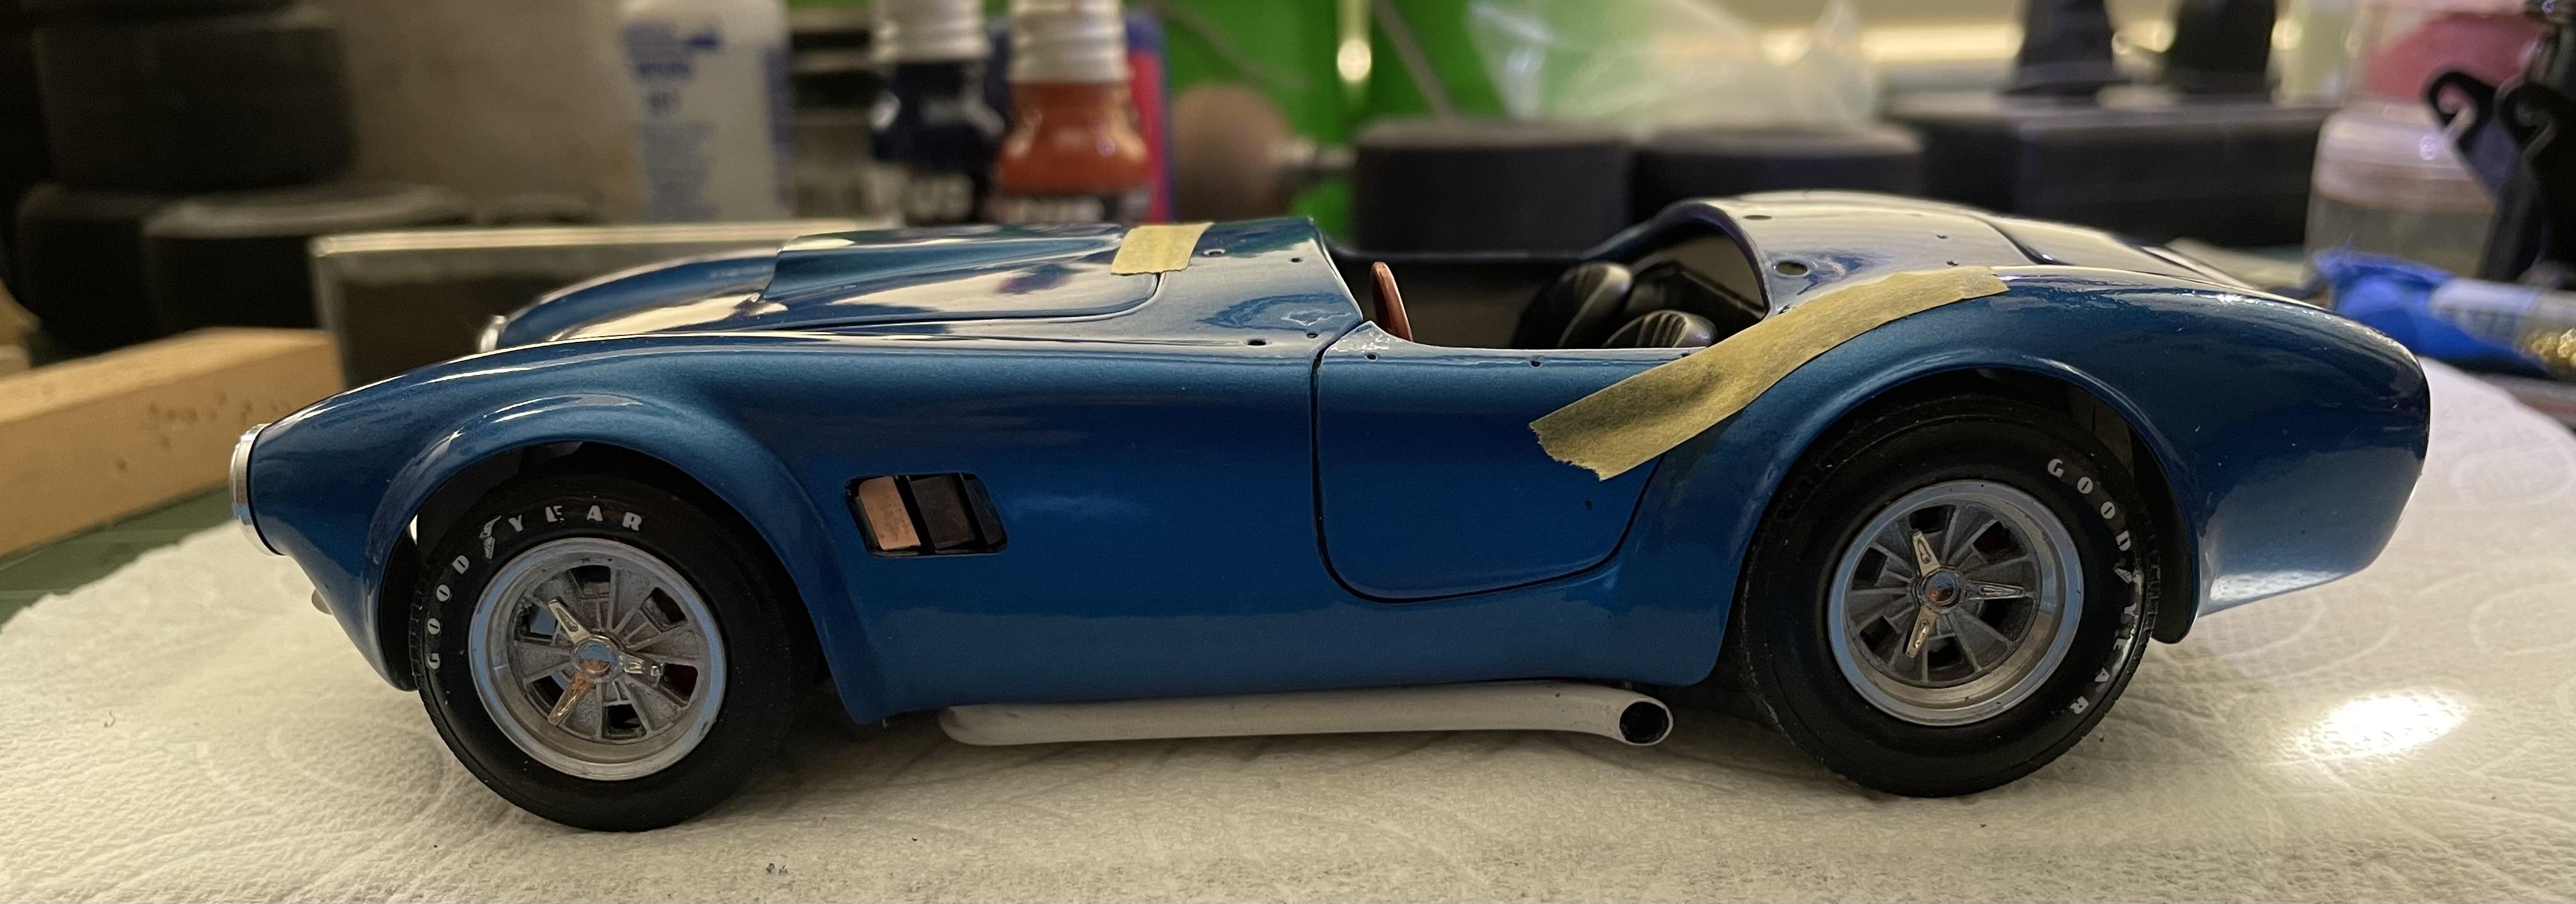
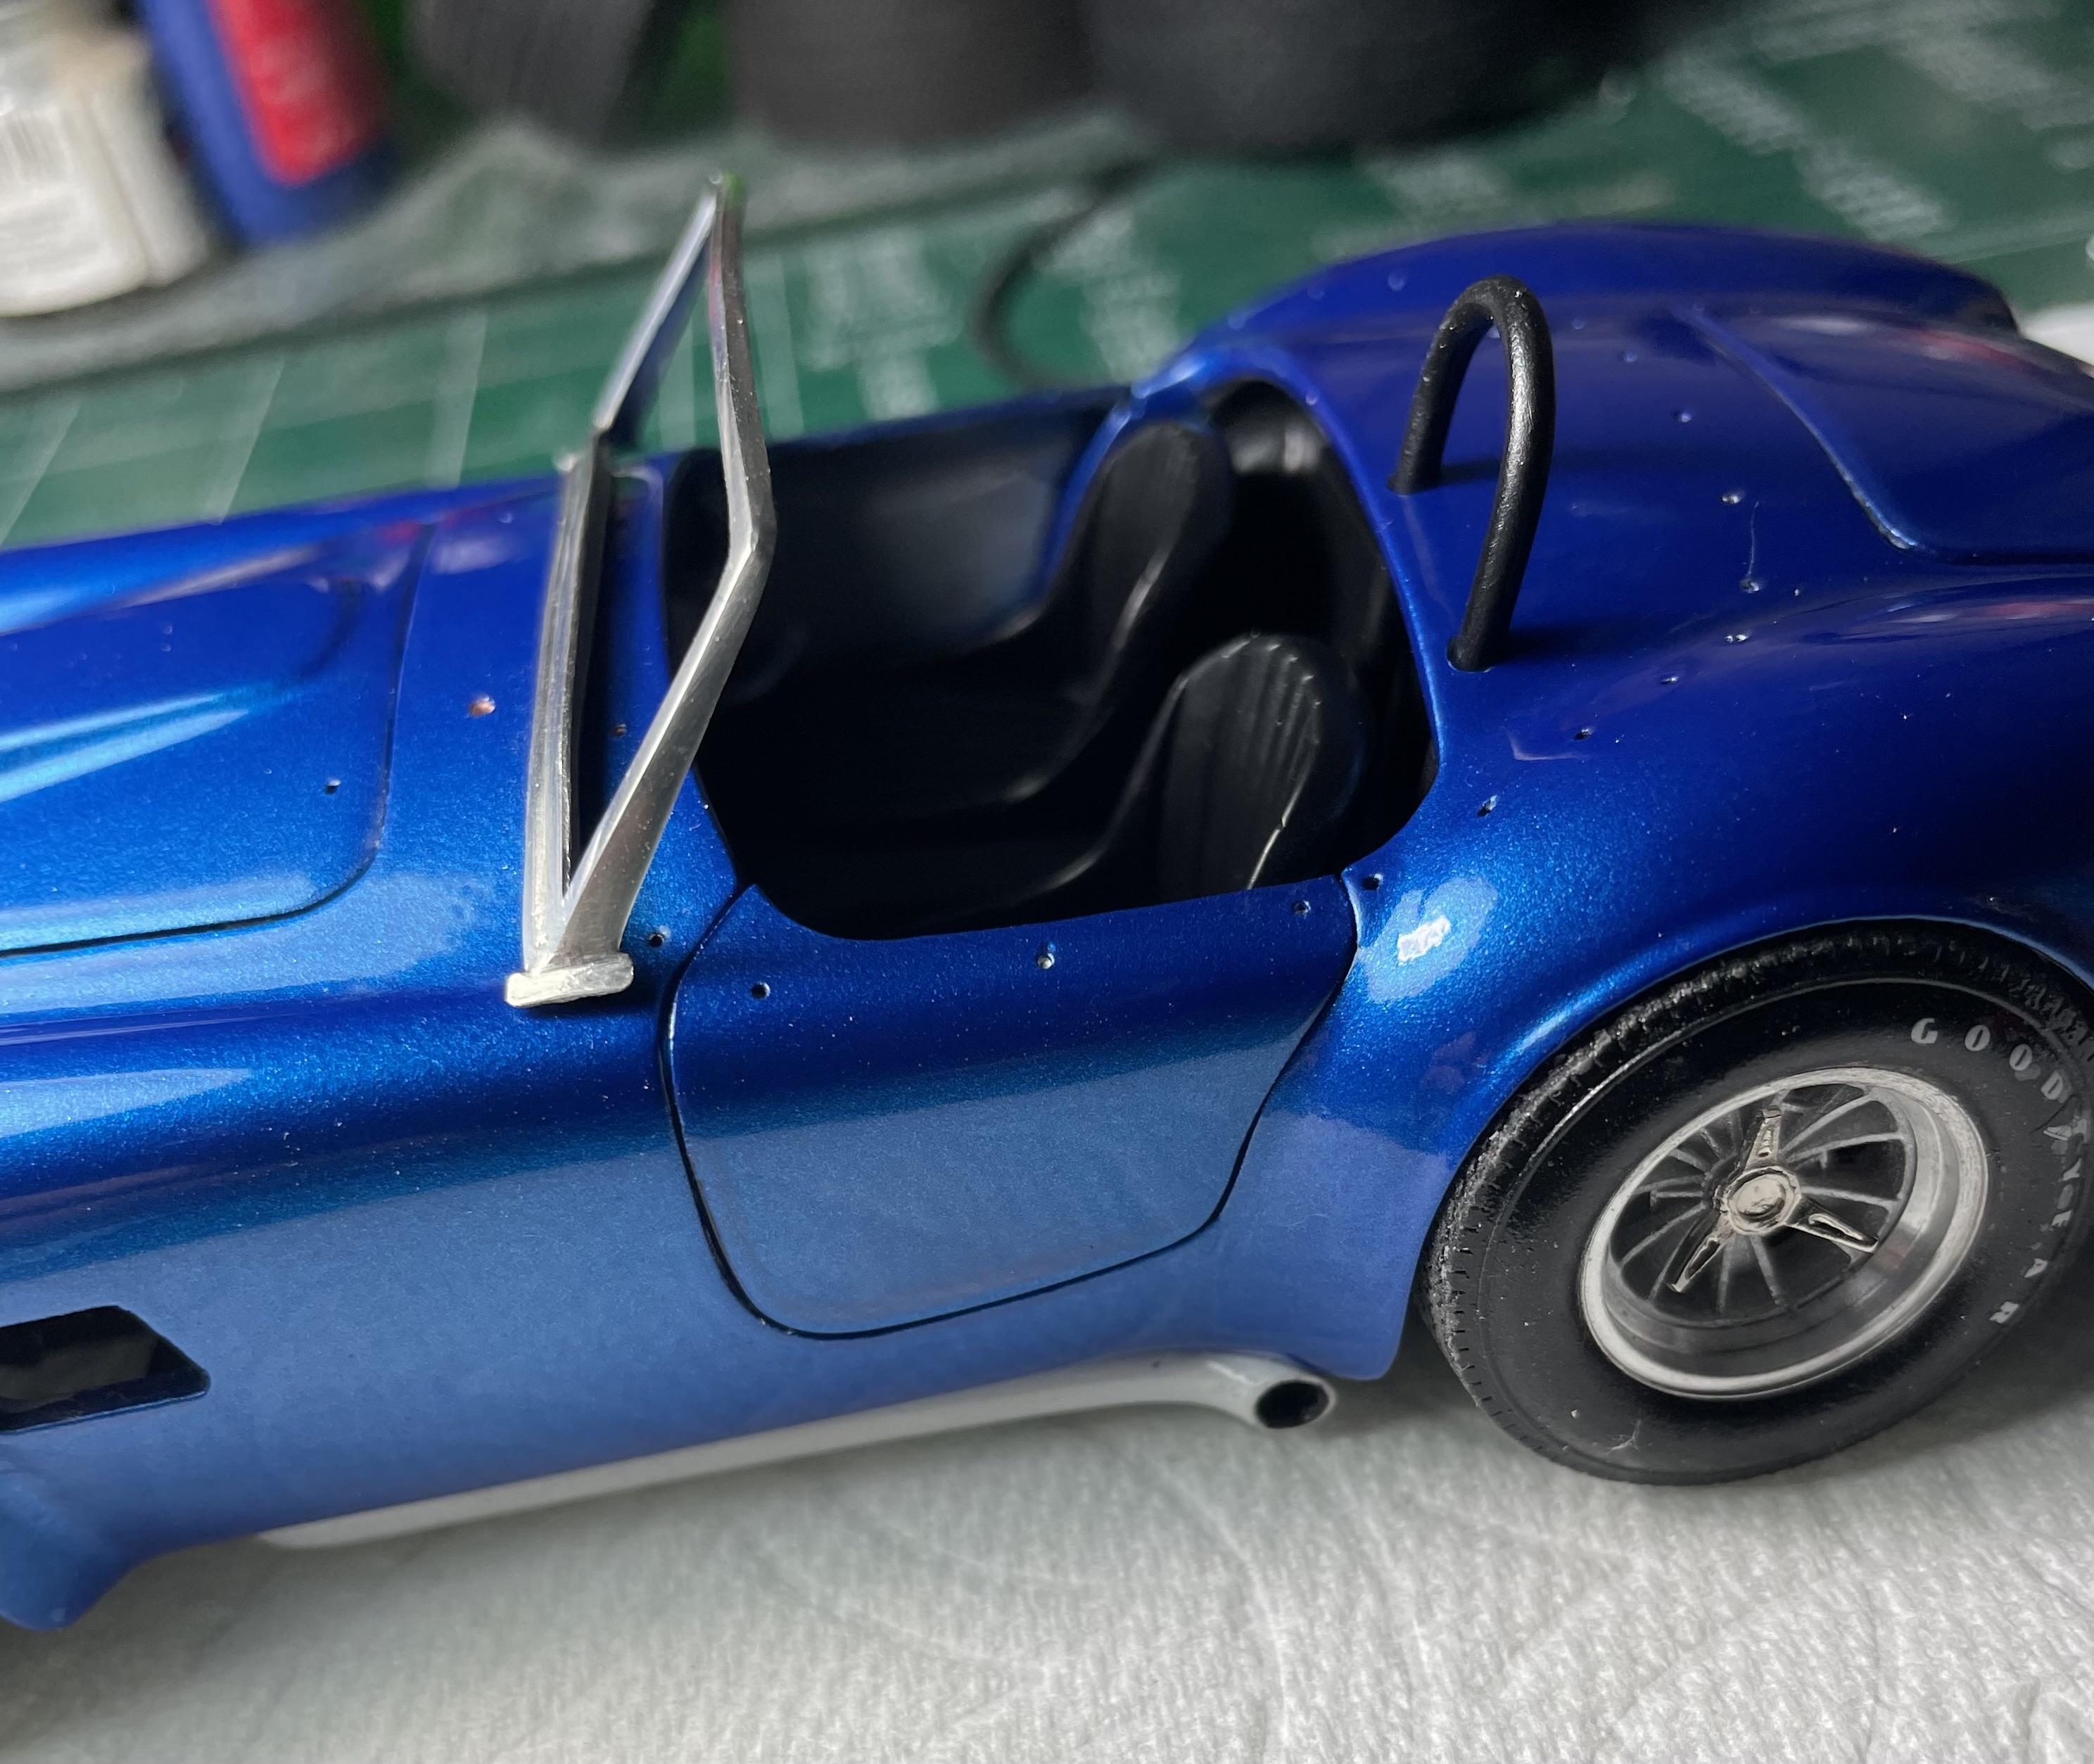
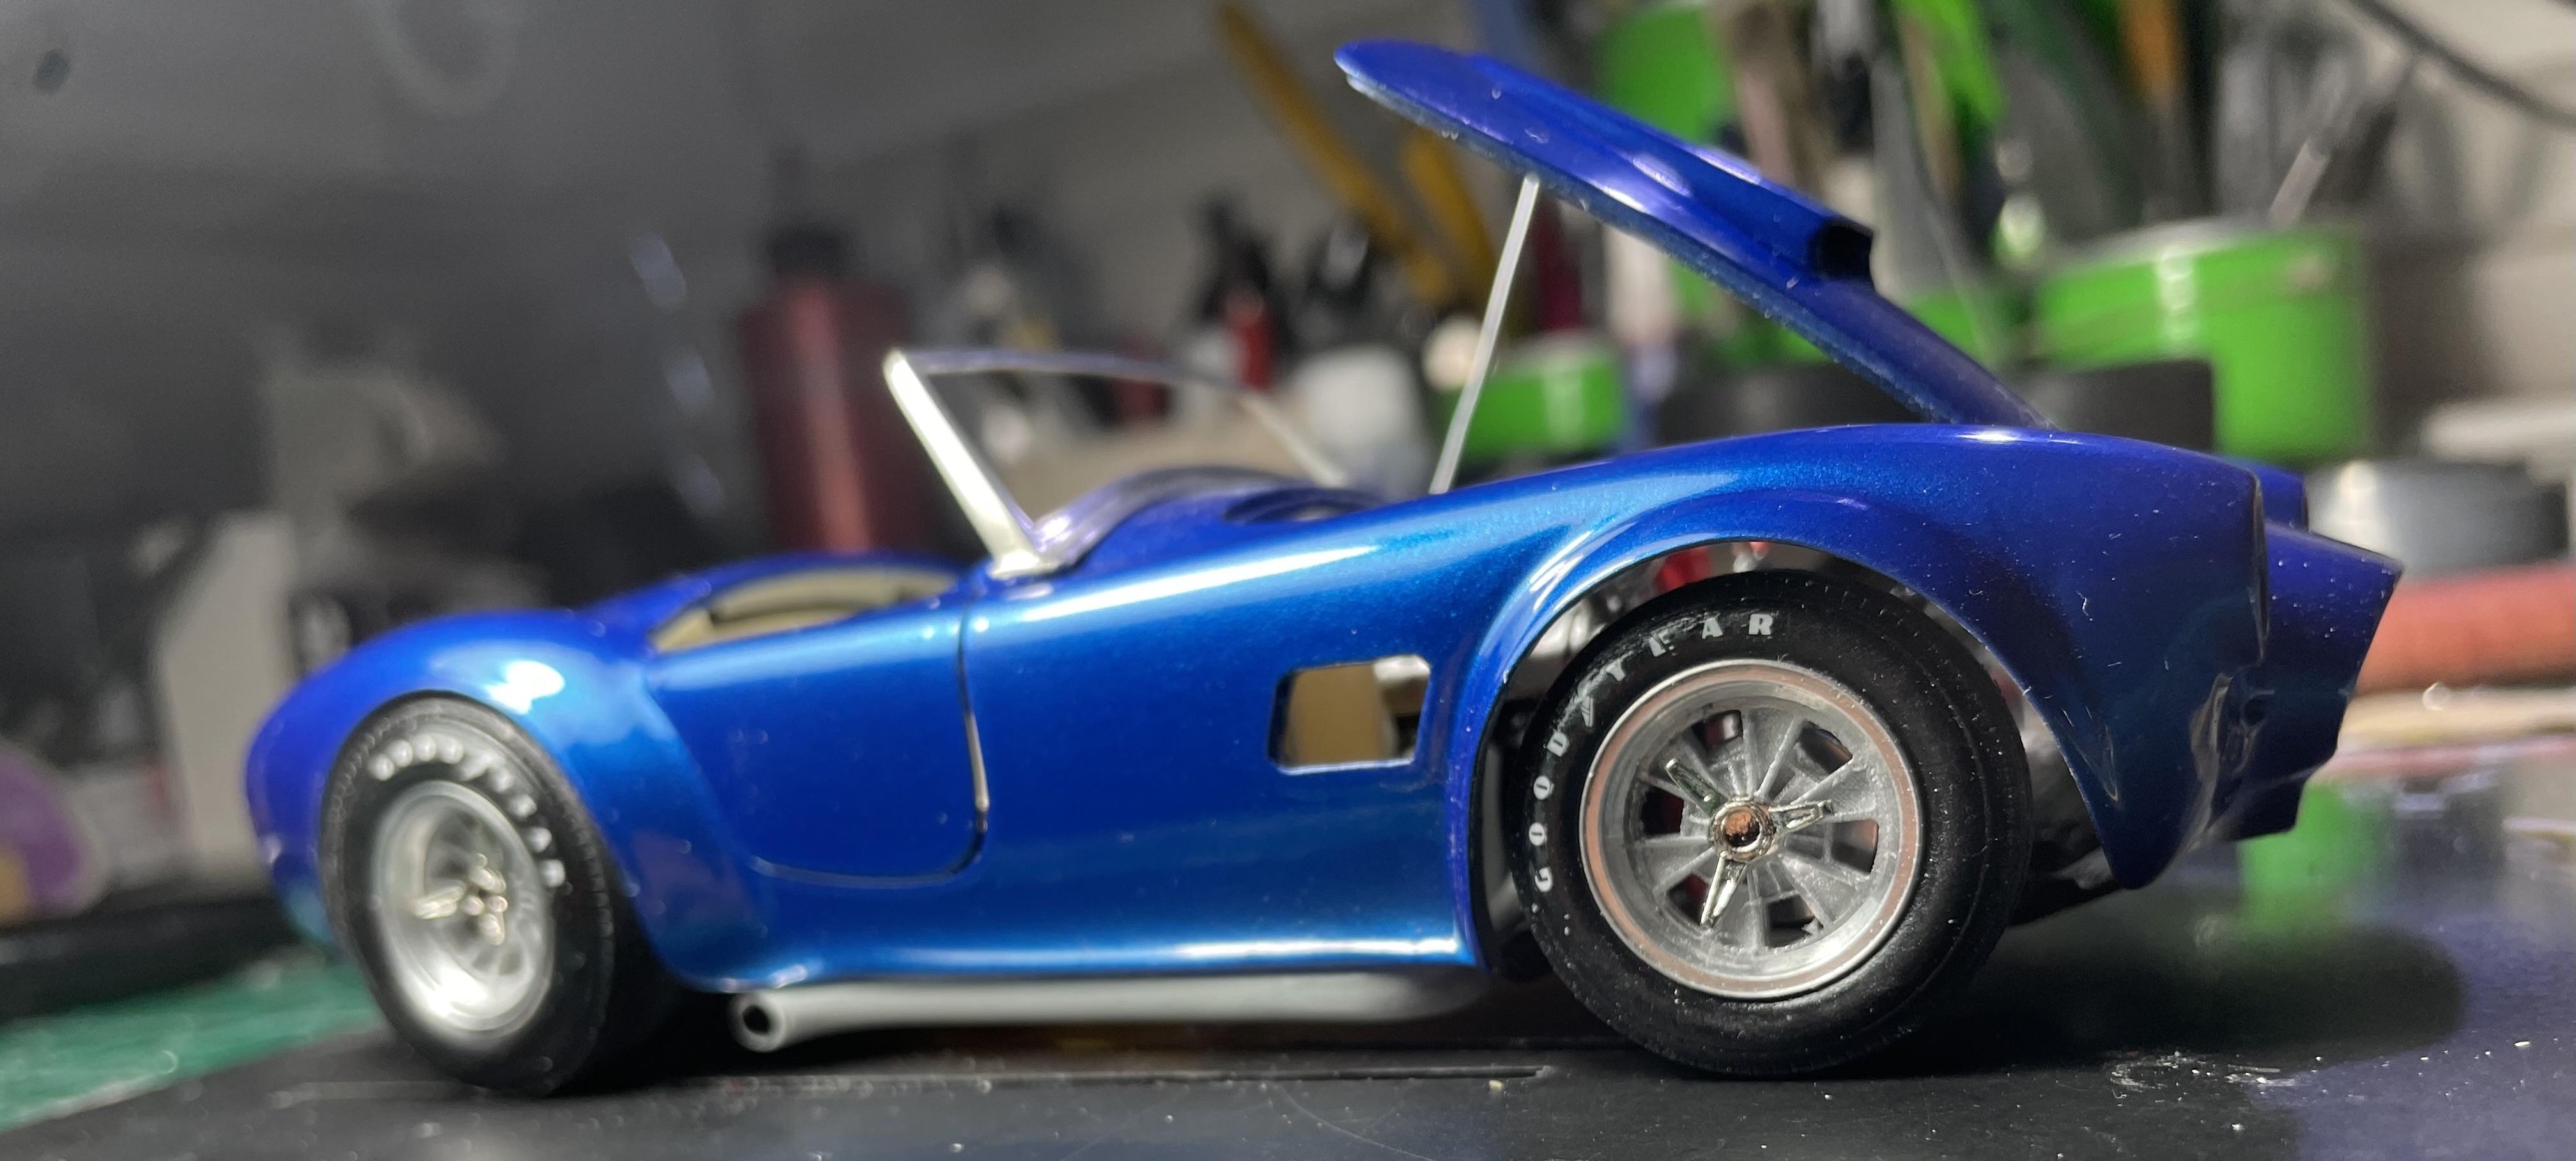
Body finally mounted. Took awhile to cut and fit the body to the aprons. Trial and error fit. Must have removed and put the body on the frame at least 50 times. Stance is not really what I wanted but it’s close. More like a real stance like the real fia cobra. I like to tape the hood, doors and trunk shut. When handling, you do not want things flying open and get in the way. So far I’m very pleased.
-
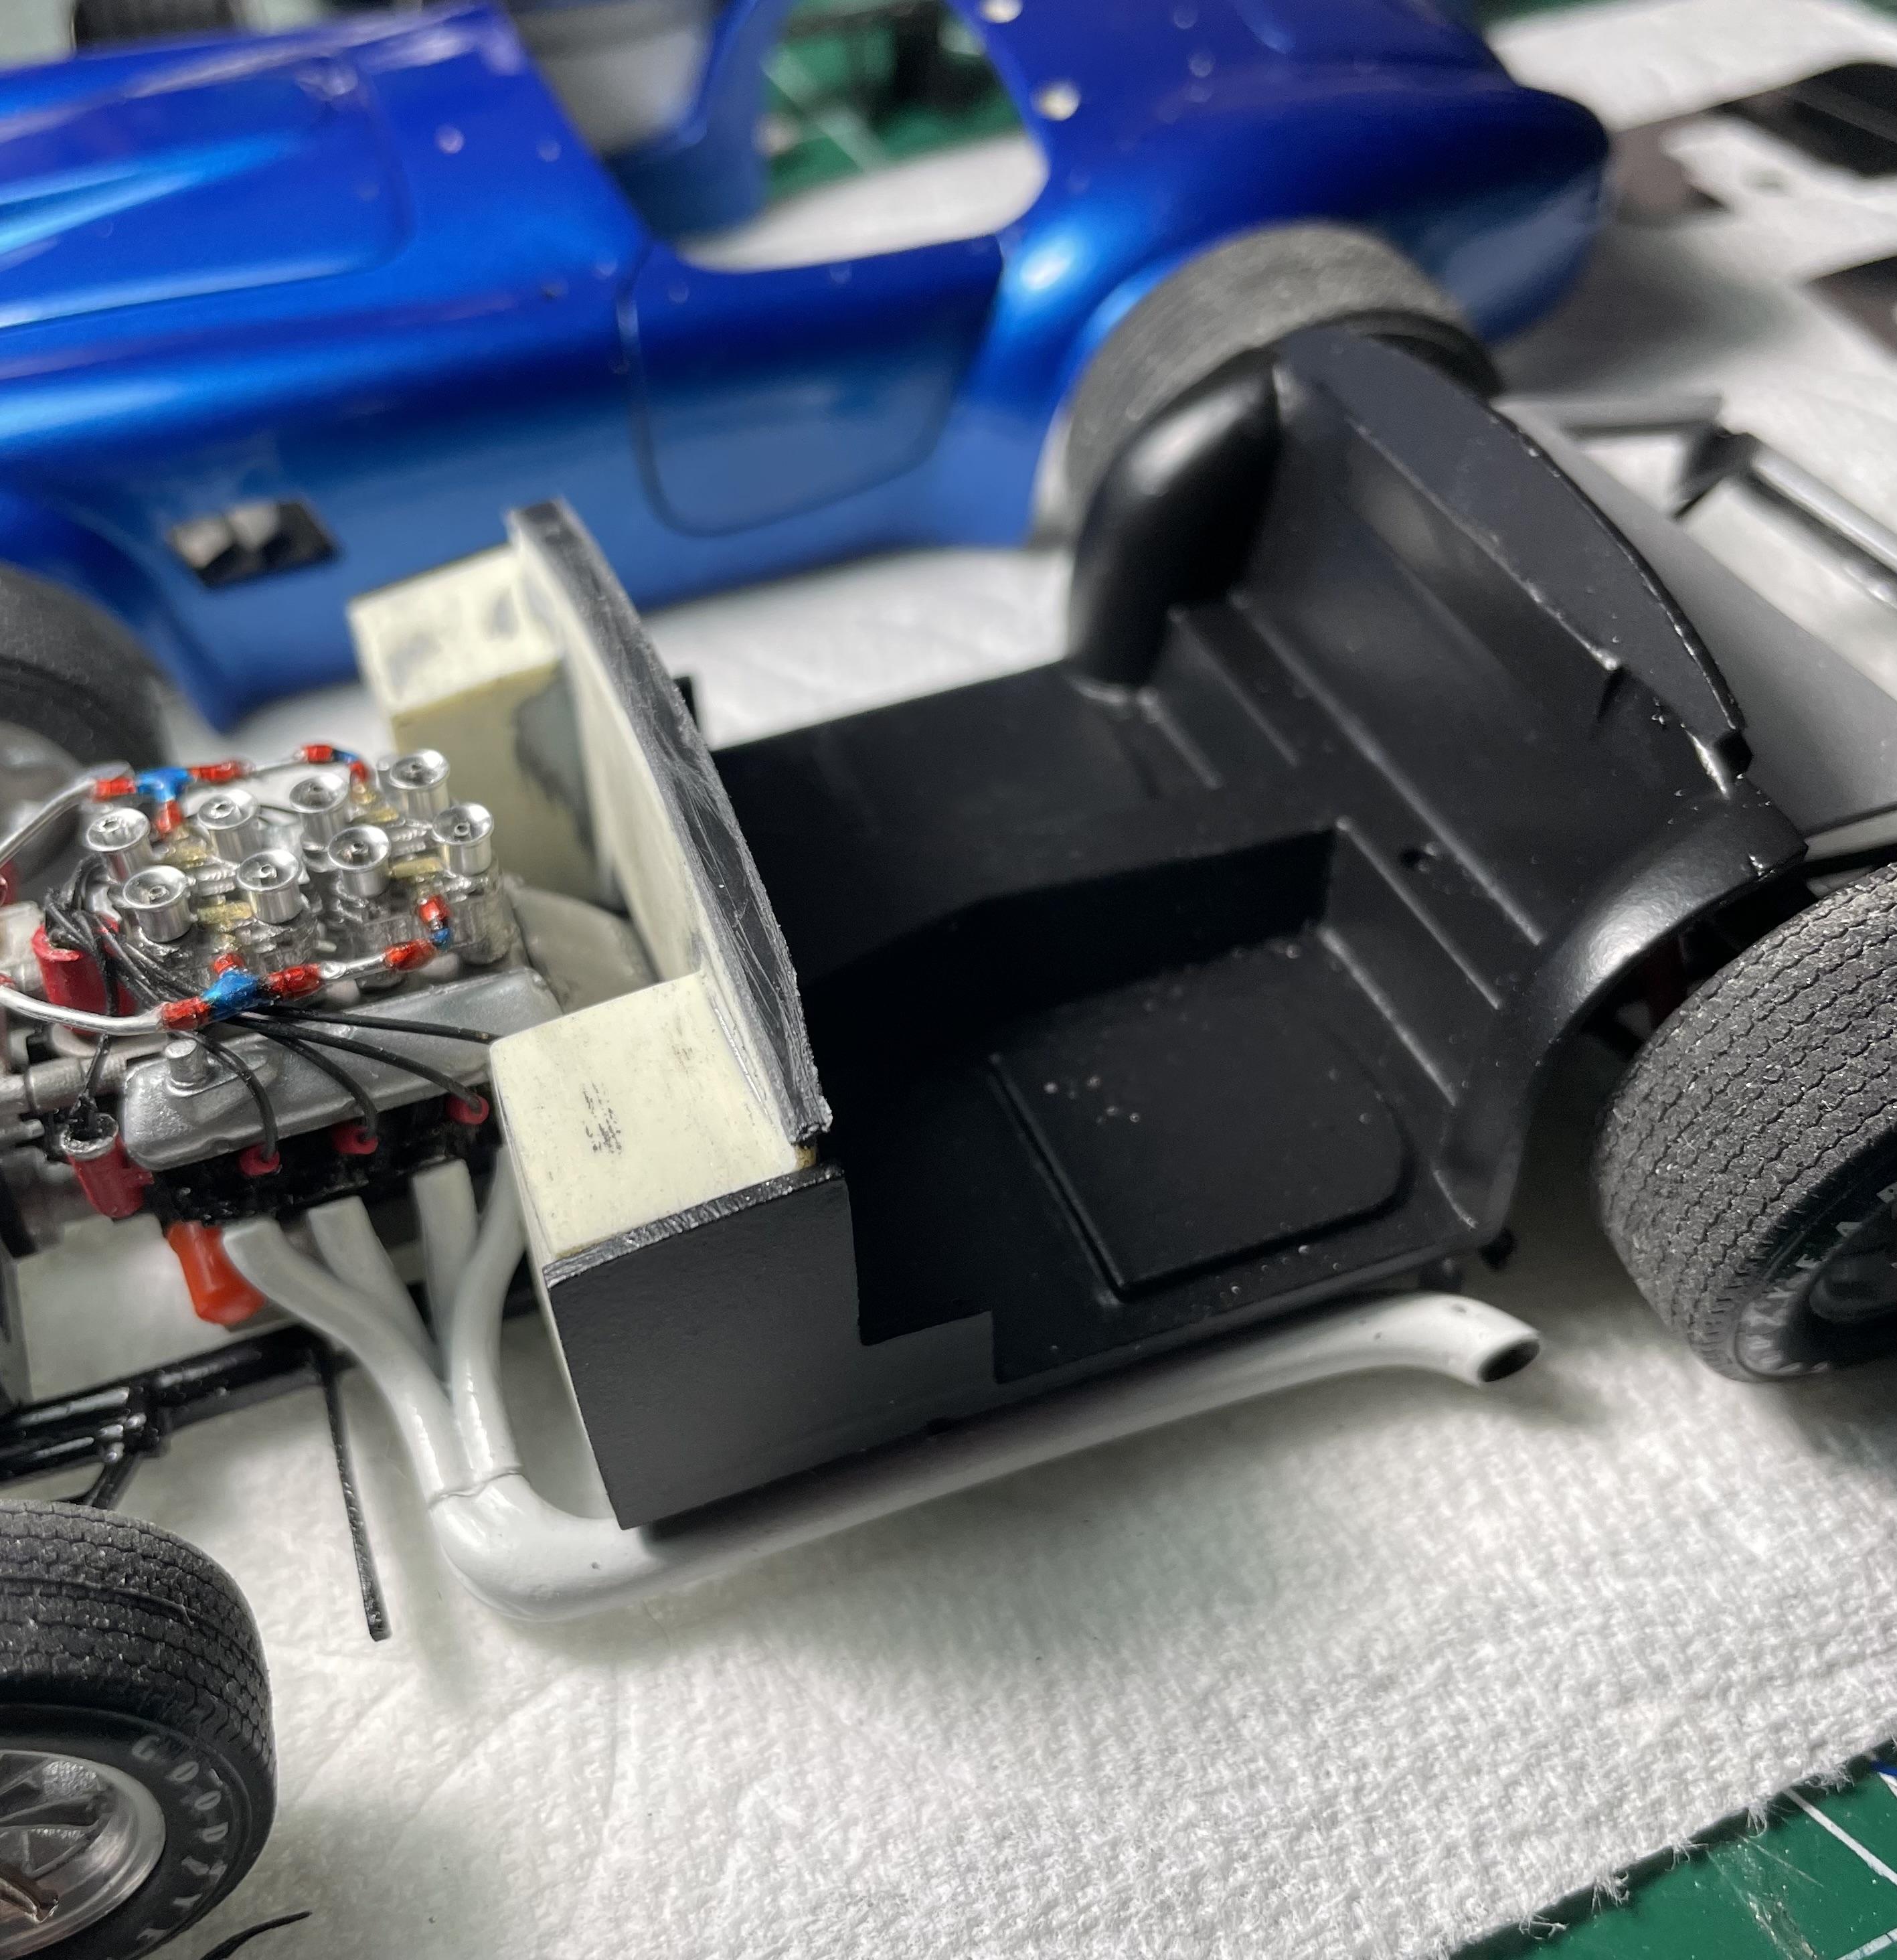
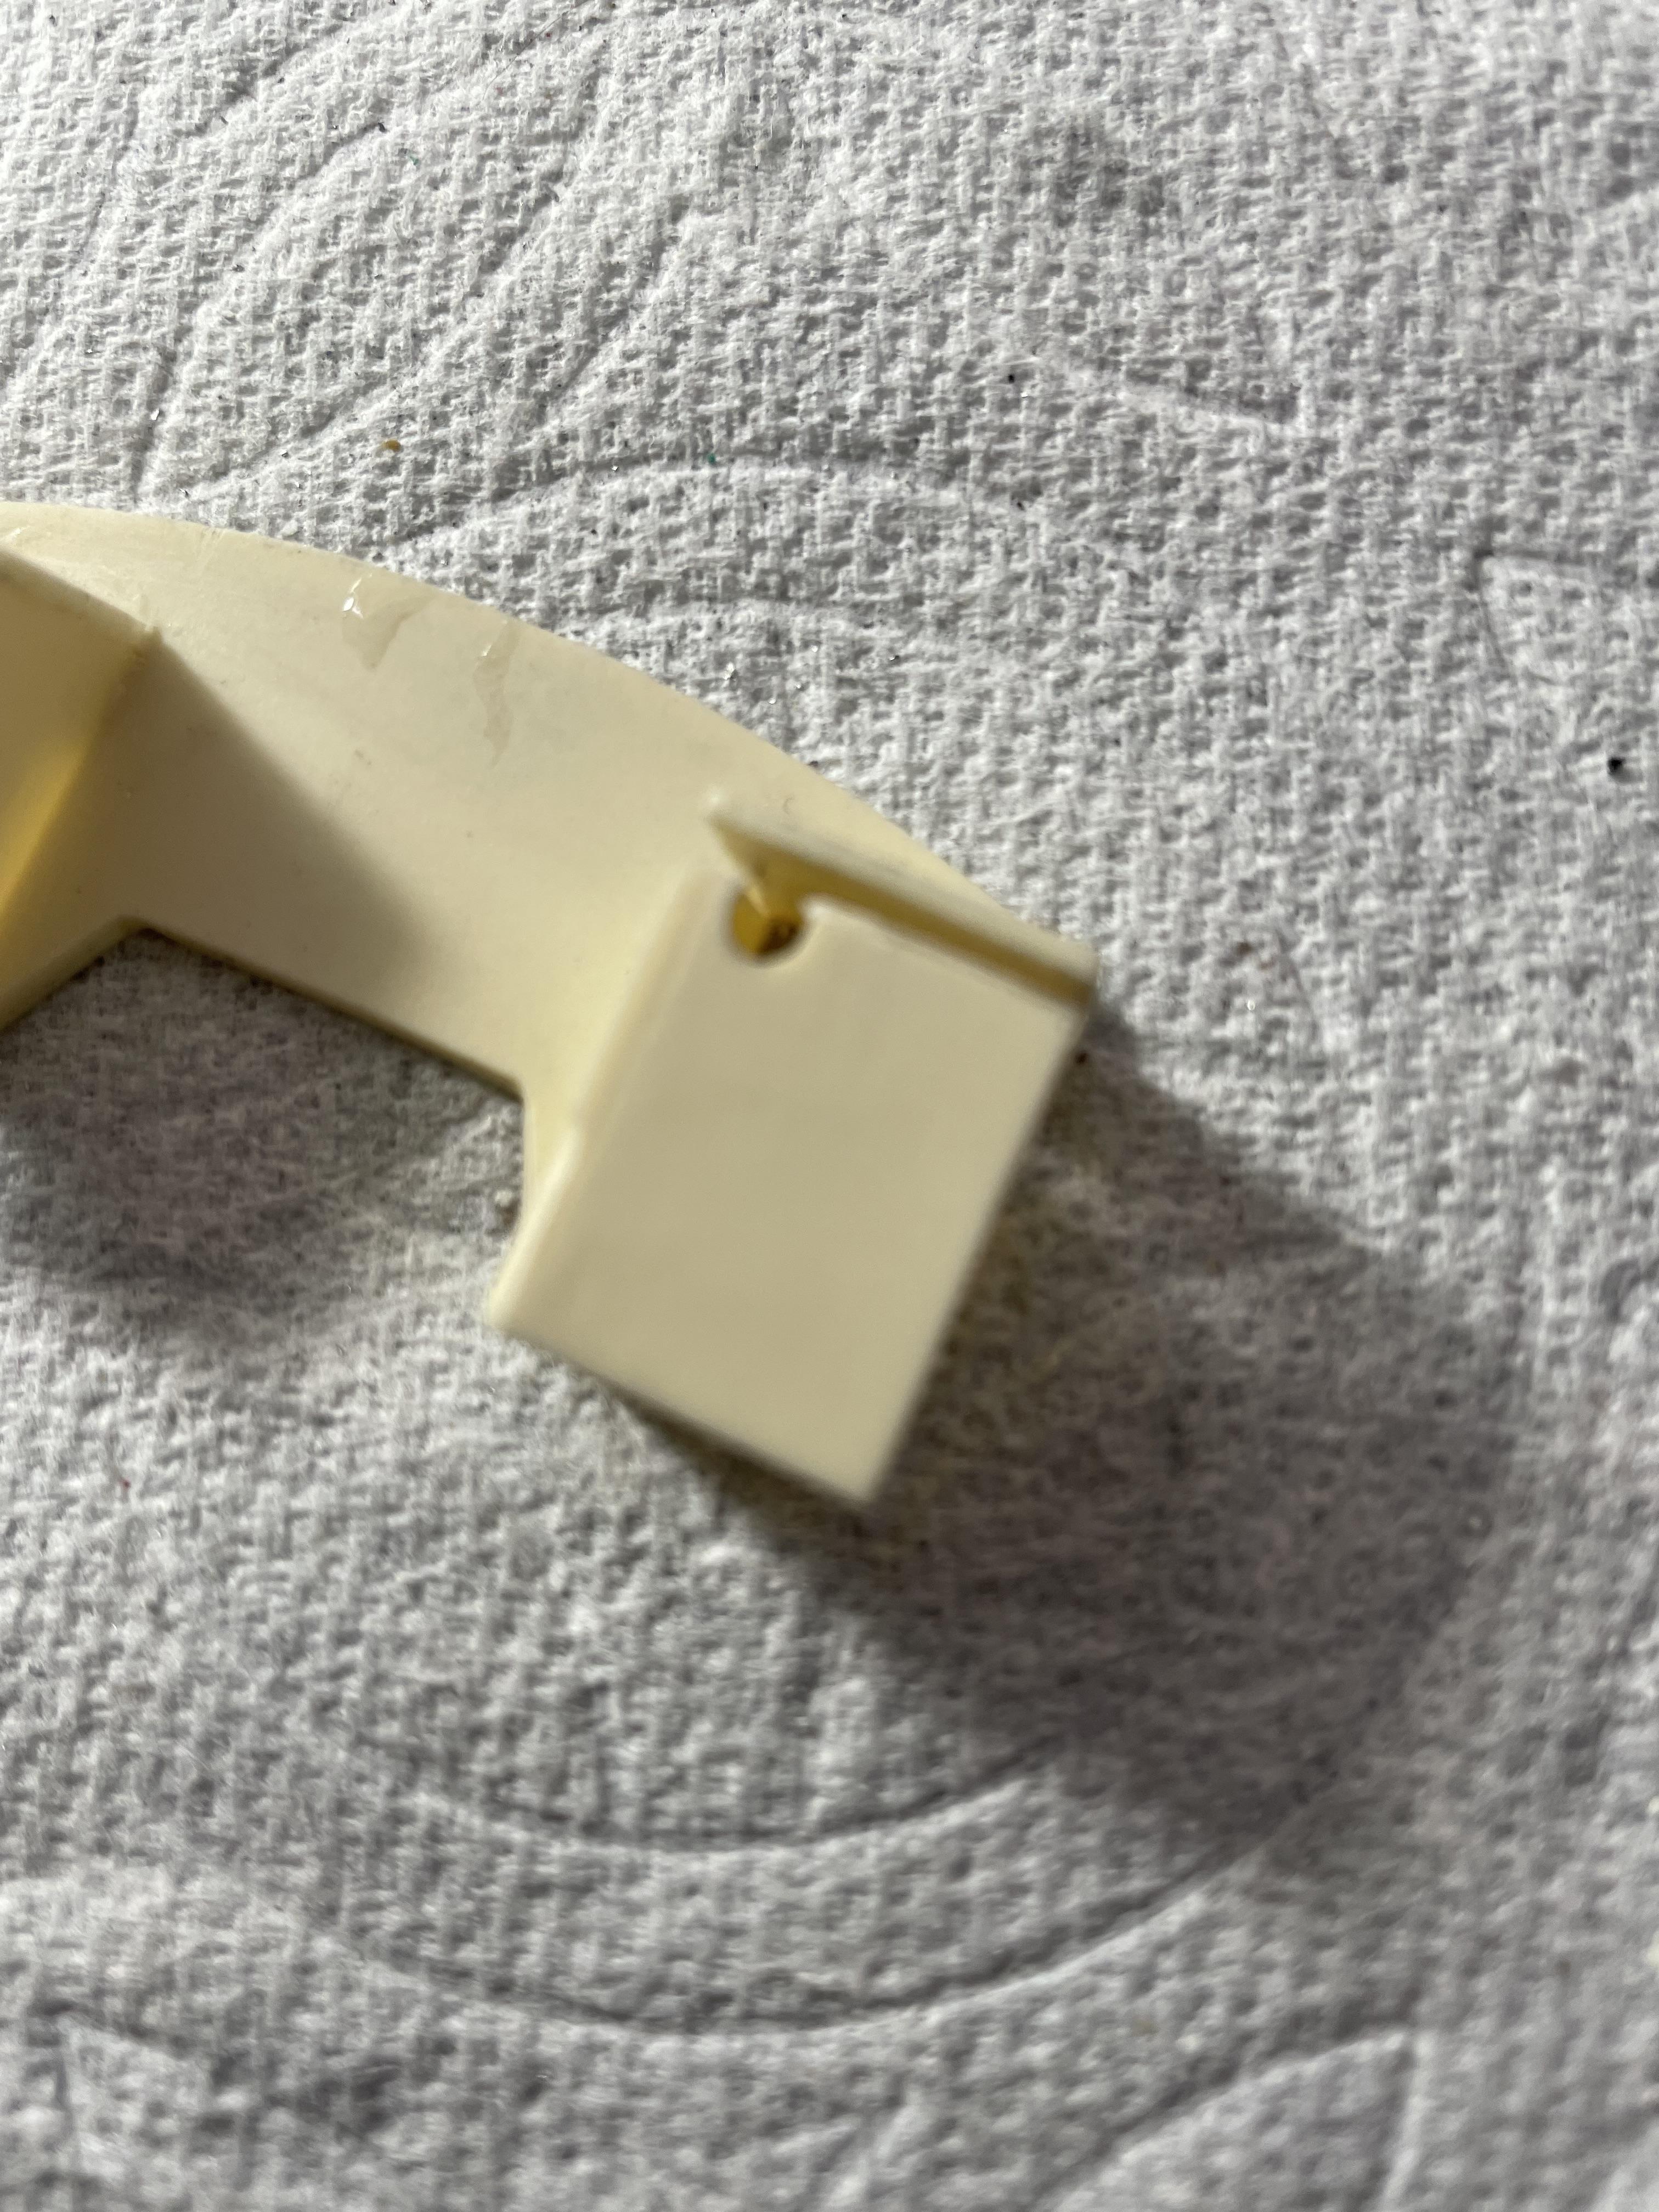
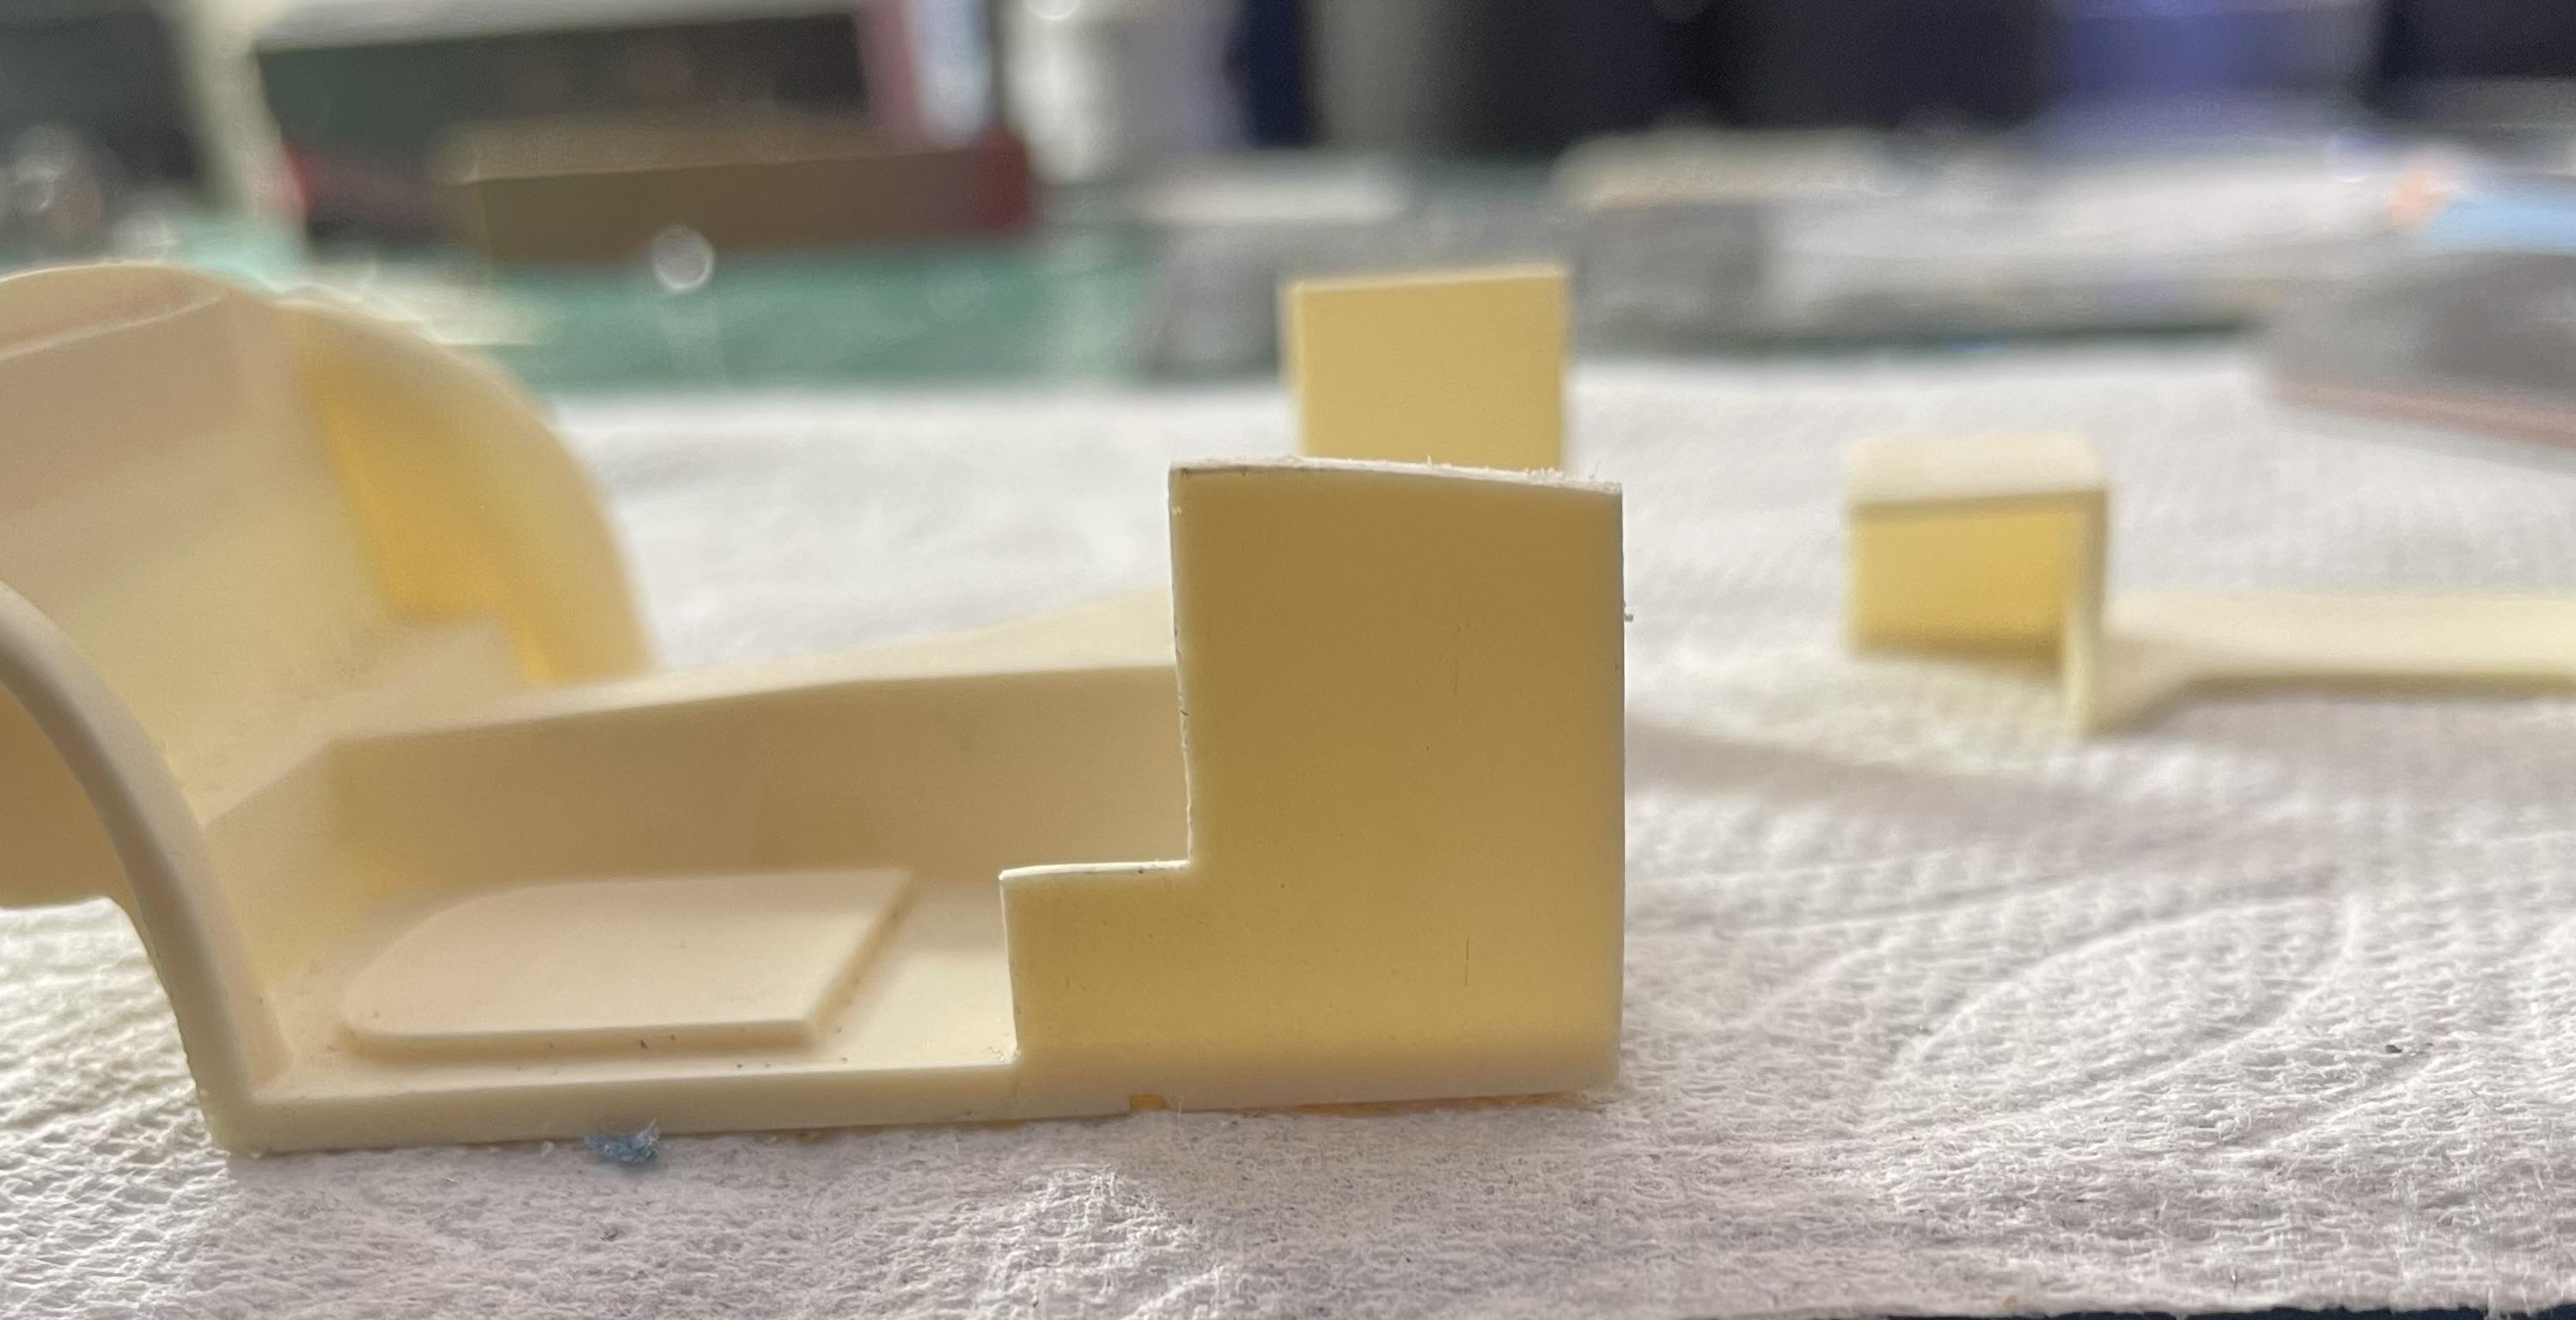
Ok mfh fits. I thought my body problems were over. Not so. The interior floor pan mounts to the frame, then the body mounts to the firewall and the rear interior panel. I had to make a few spacers for the body . Glue areas to glue the body on. You can see the black piece of plastic on the firewall. Sand to fit. Body on and off a bunch of times. The rear panel has a black piece of plastic also for a glue mount for the body. I think I have a solid glue area now. The car is heavy with white metal so you really have to attach the body with a solid glue area. Here is a pic of the pe aprons for the front and rear of the car. Sometimes I just get sooo mad at mfh for all the fit issues. But then come back to my senses and realize it’s a mfh kit. And yes you are absolutely right, for the price every thing should fit perfectly. But since I’m not the smartest guy in the room, I take the punishment.
-
 Interesting. I had design class ‘s in school. I like a design of a car. It really did not matter what moved it. But my ideas changed over time. I love a model with an engine but it is not nessary in some cases. Like the new lambos, the engines are tucked in the rear covered with a large plastic cover . Not a big deal for me, if it has one or not. Now a cobra needs an engine, a 426 hemi cuda needs an engine, a Ferrari 250 GTO needs an engine. you guys get the idea. The tamiya R5 turbo 2 did not have an engine, it’s ok as it’s in the rear. And you have to take all of these interior panels off just to see it. I was a little disappointed but i did not have a coronary over it.
 -
Thank you Chris. Yes it’s starting to add up for their sessions . I’m asking Mark this weekend if they give mfh discounts.
-
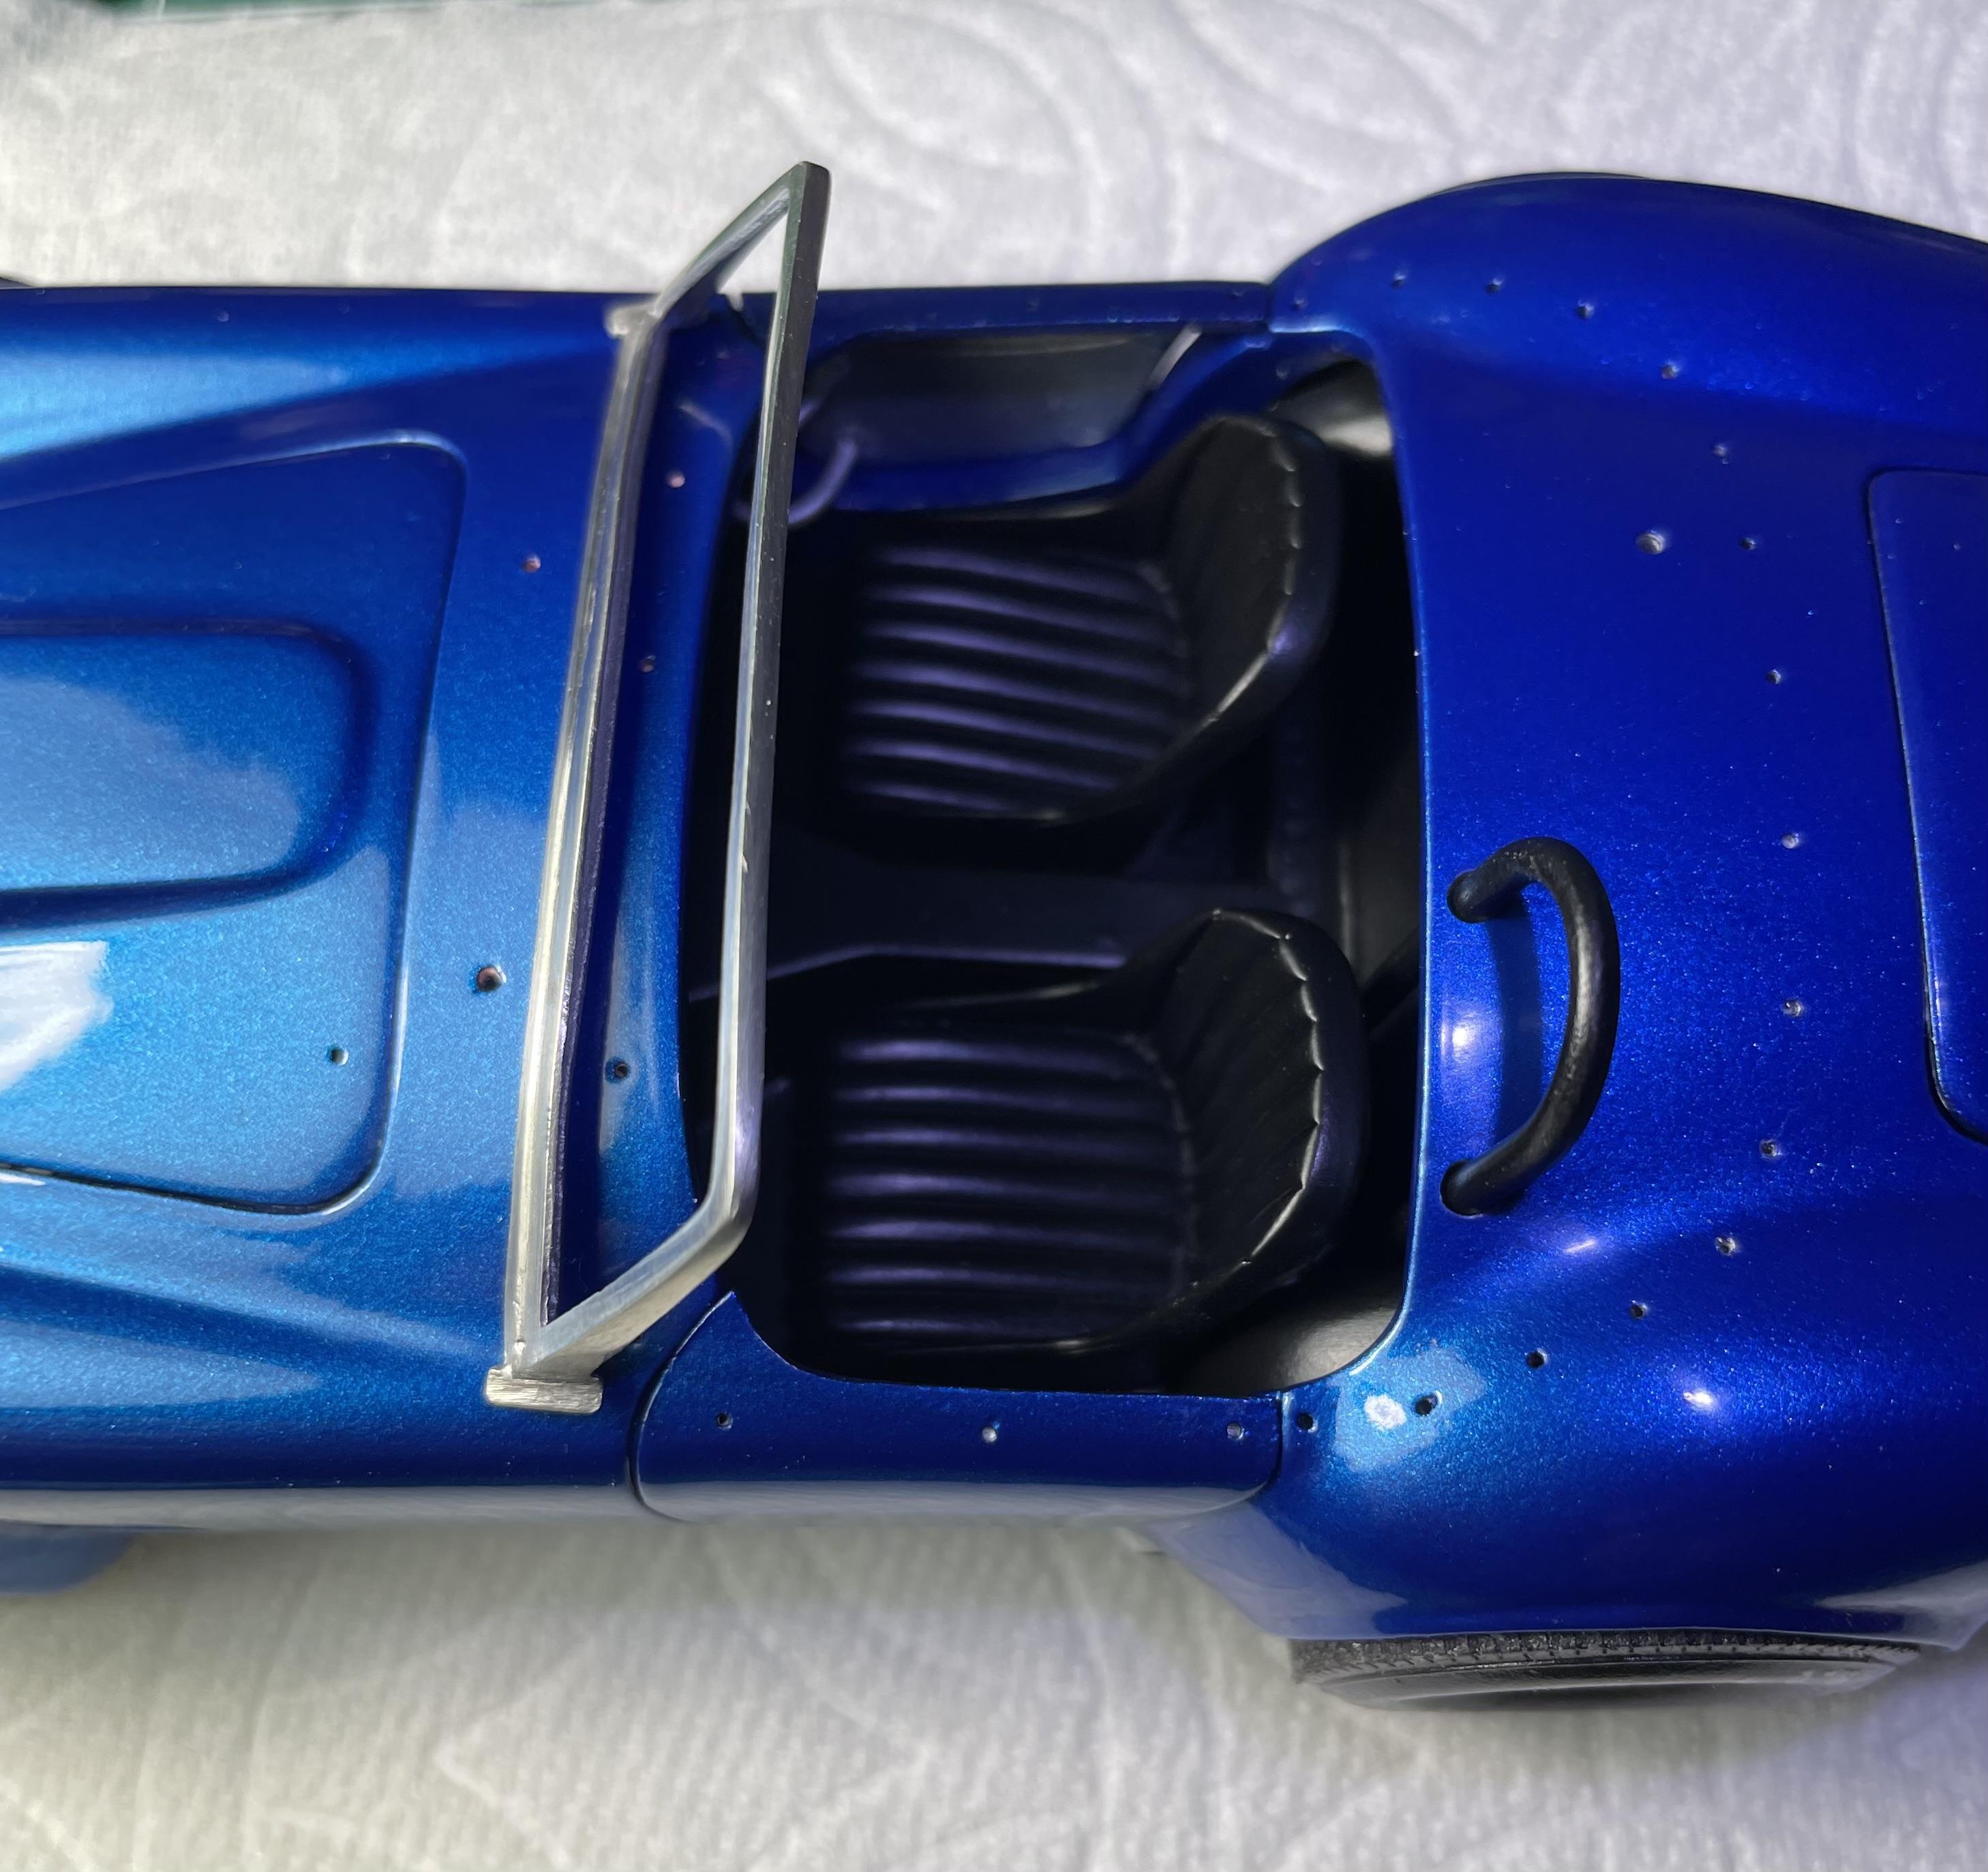
I like the seat belts
-
I no like the seat belts.
-
-
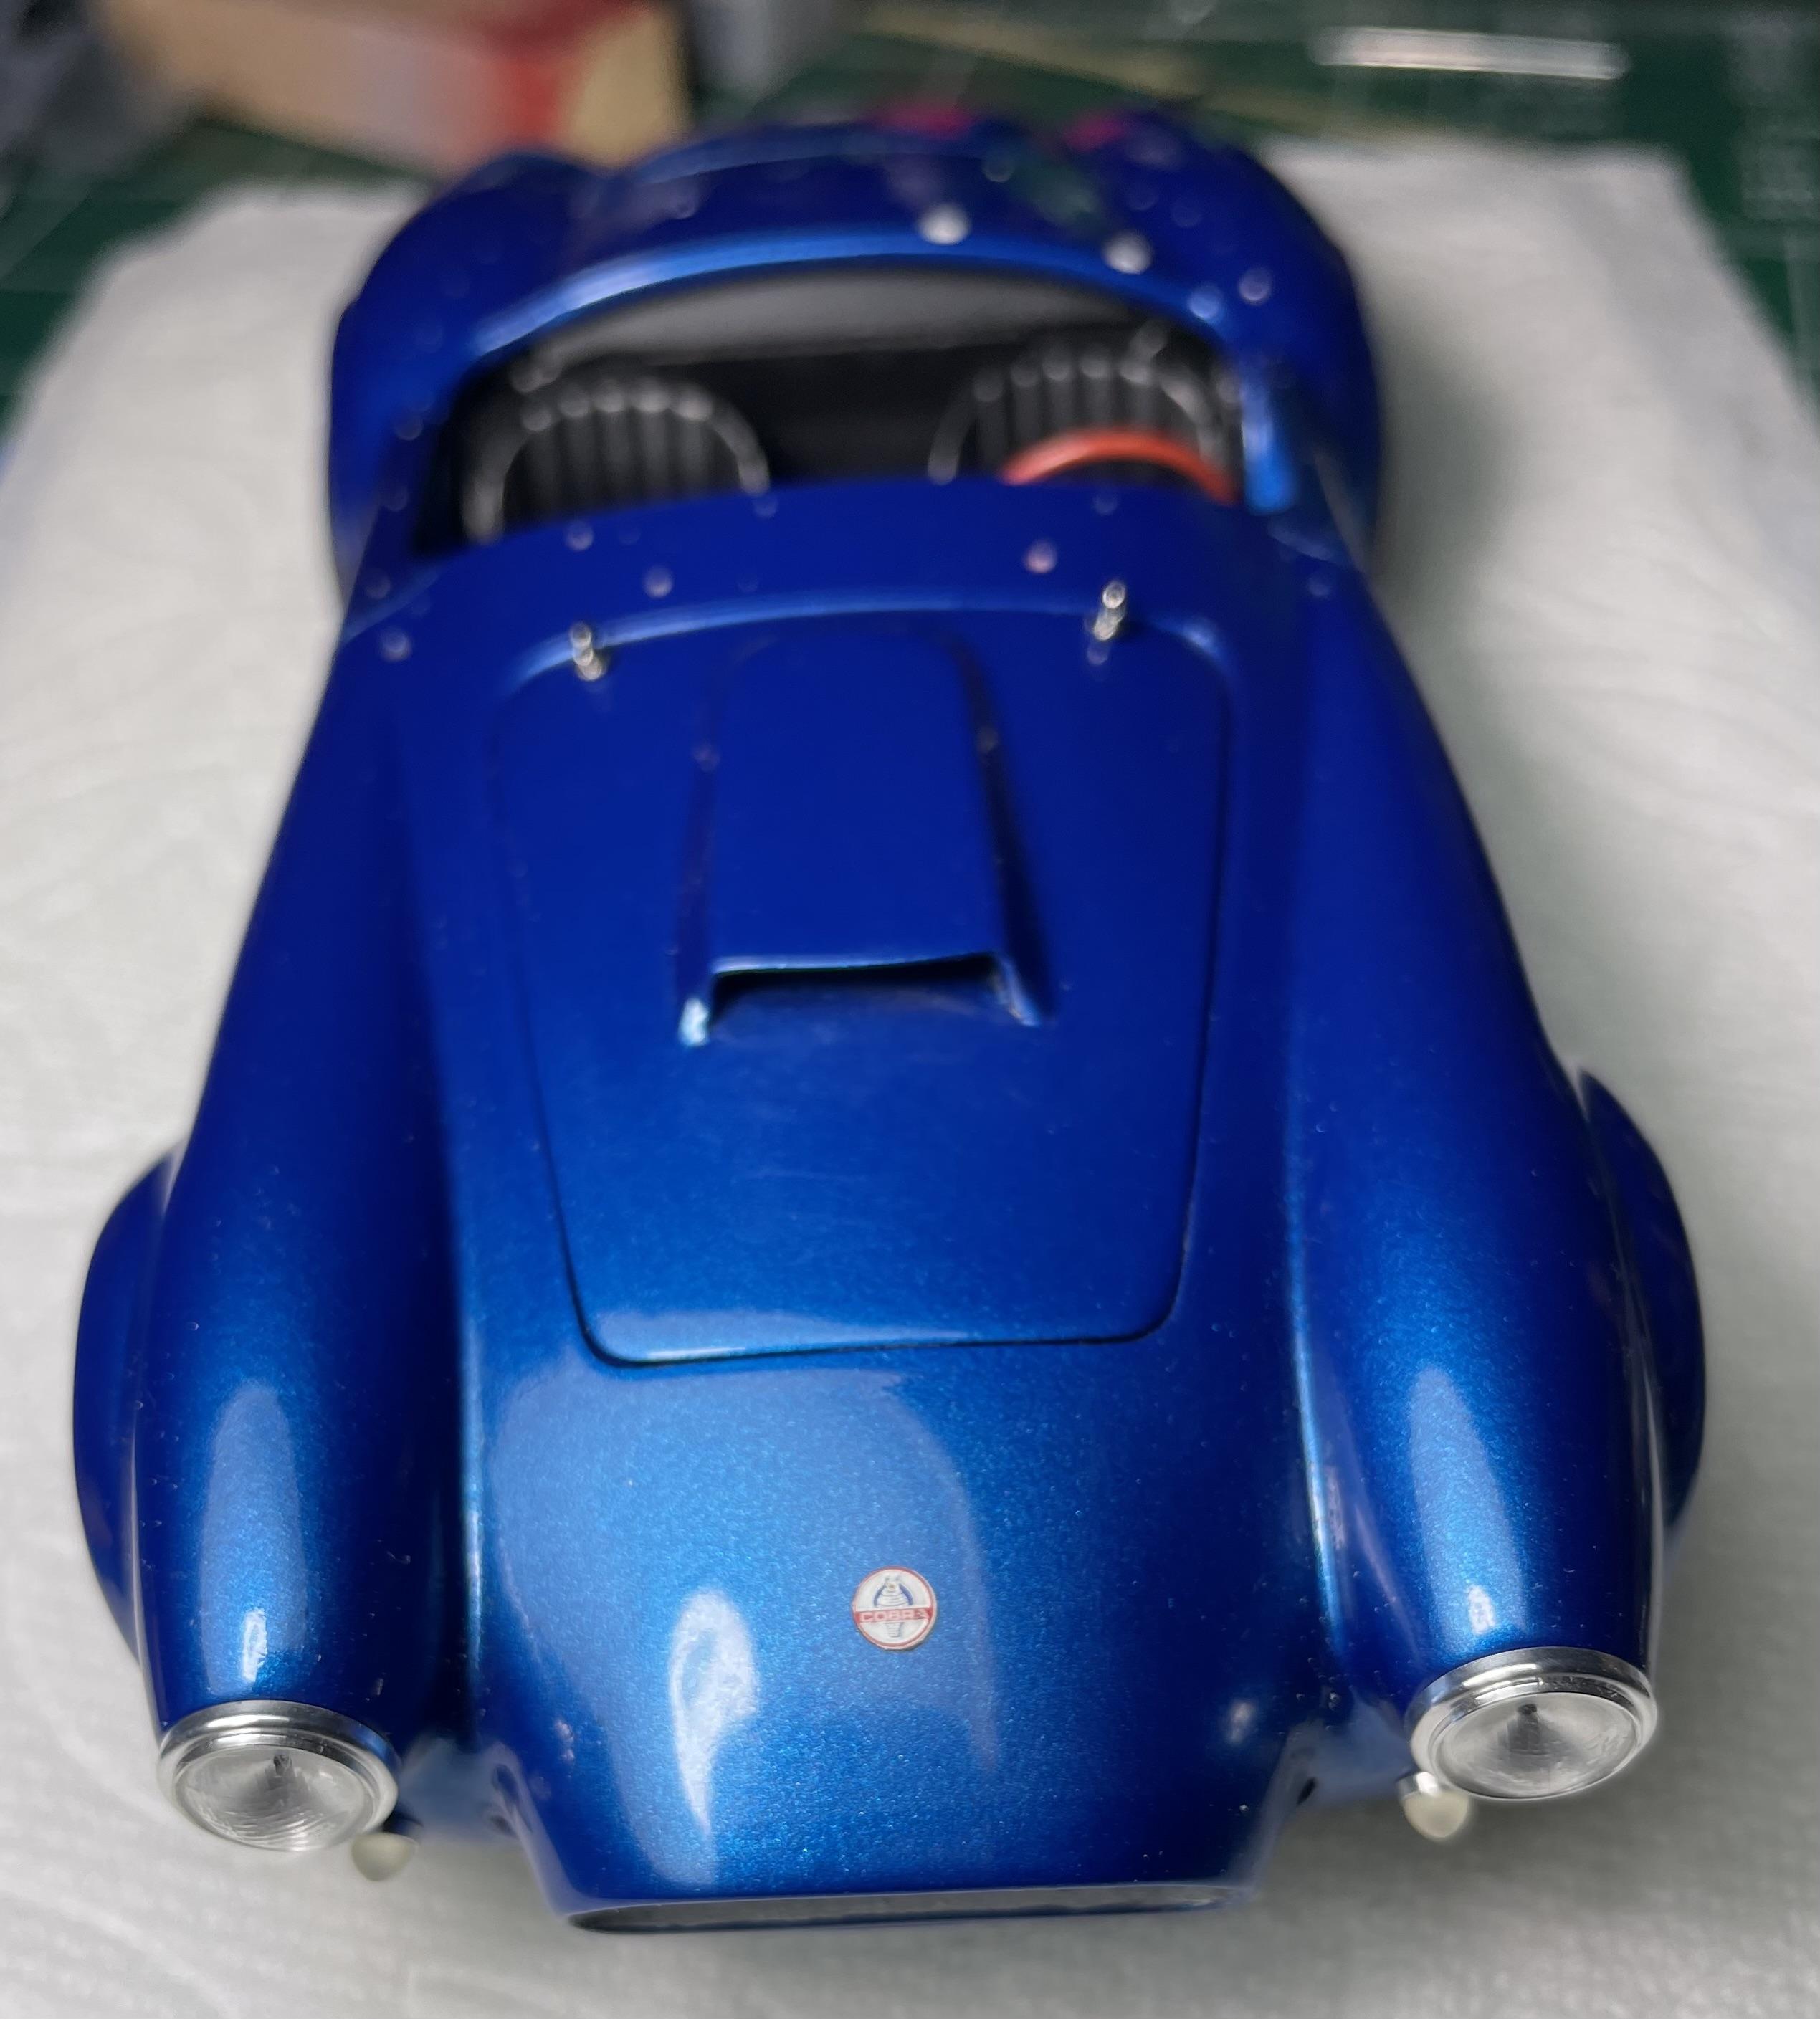
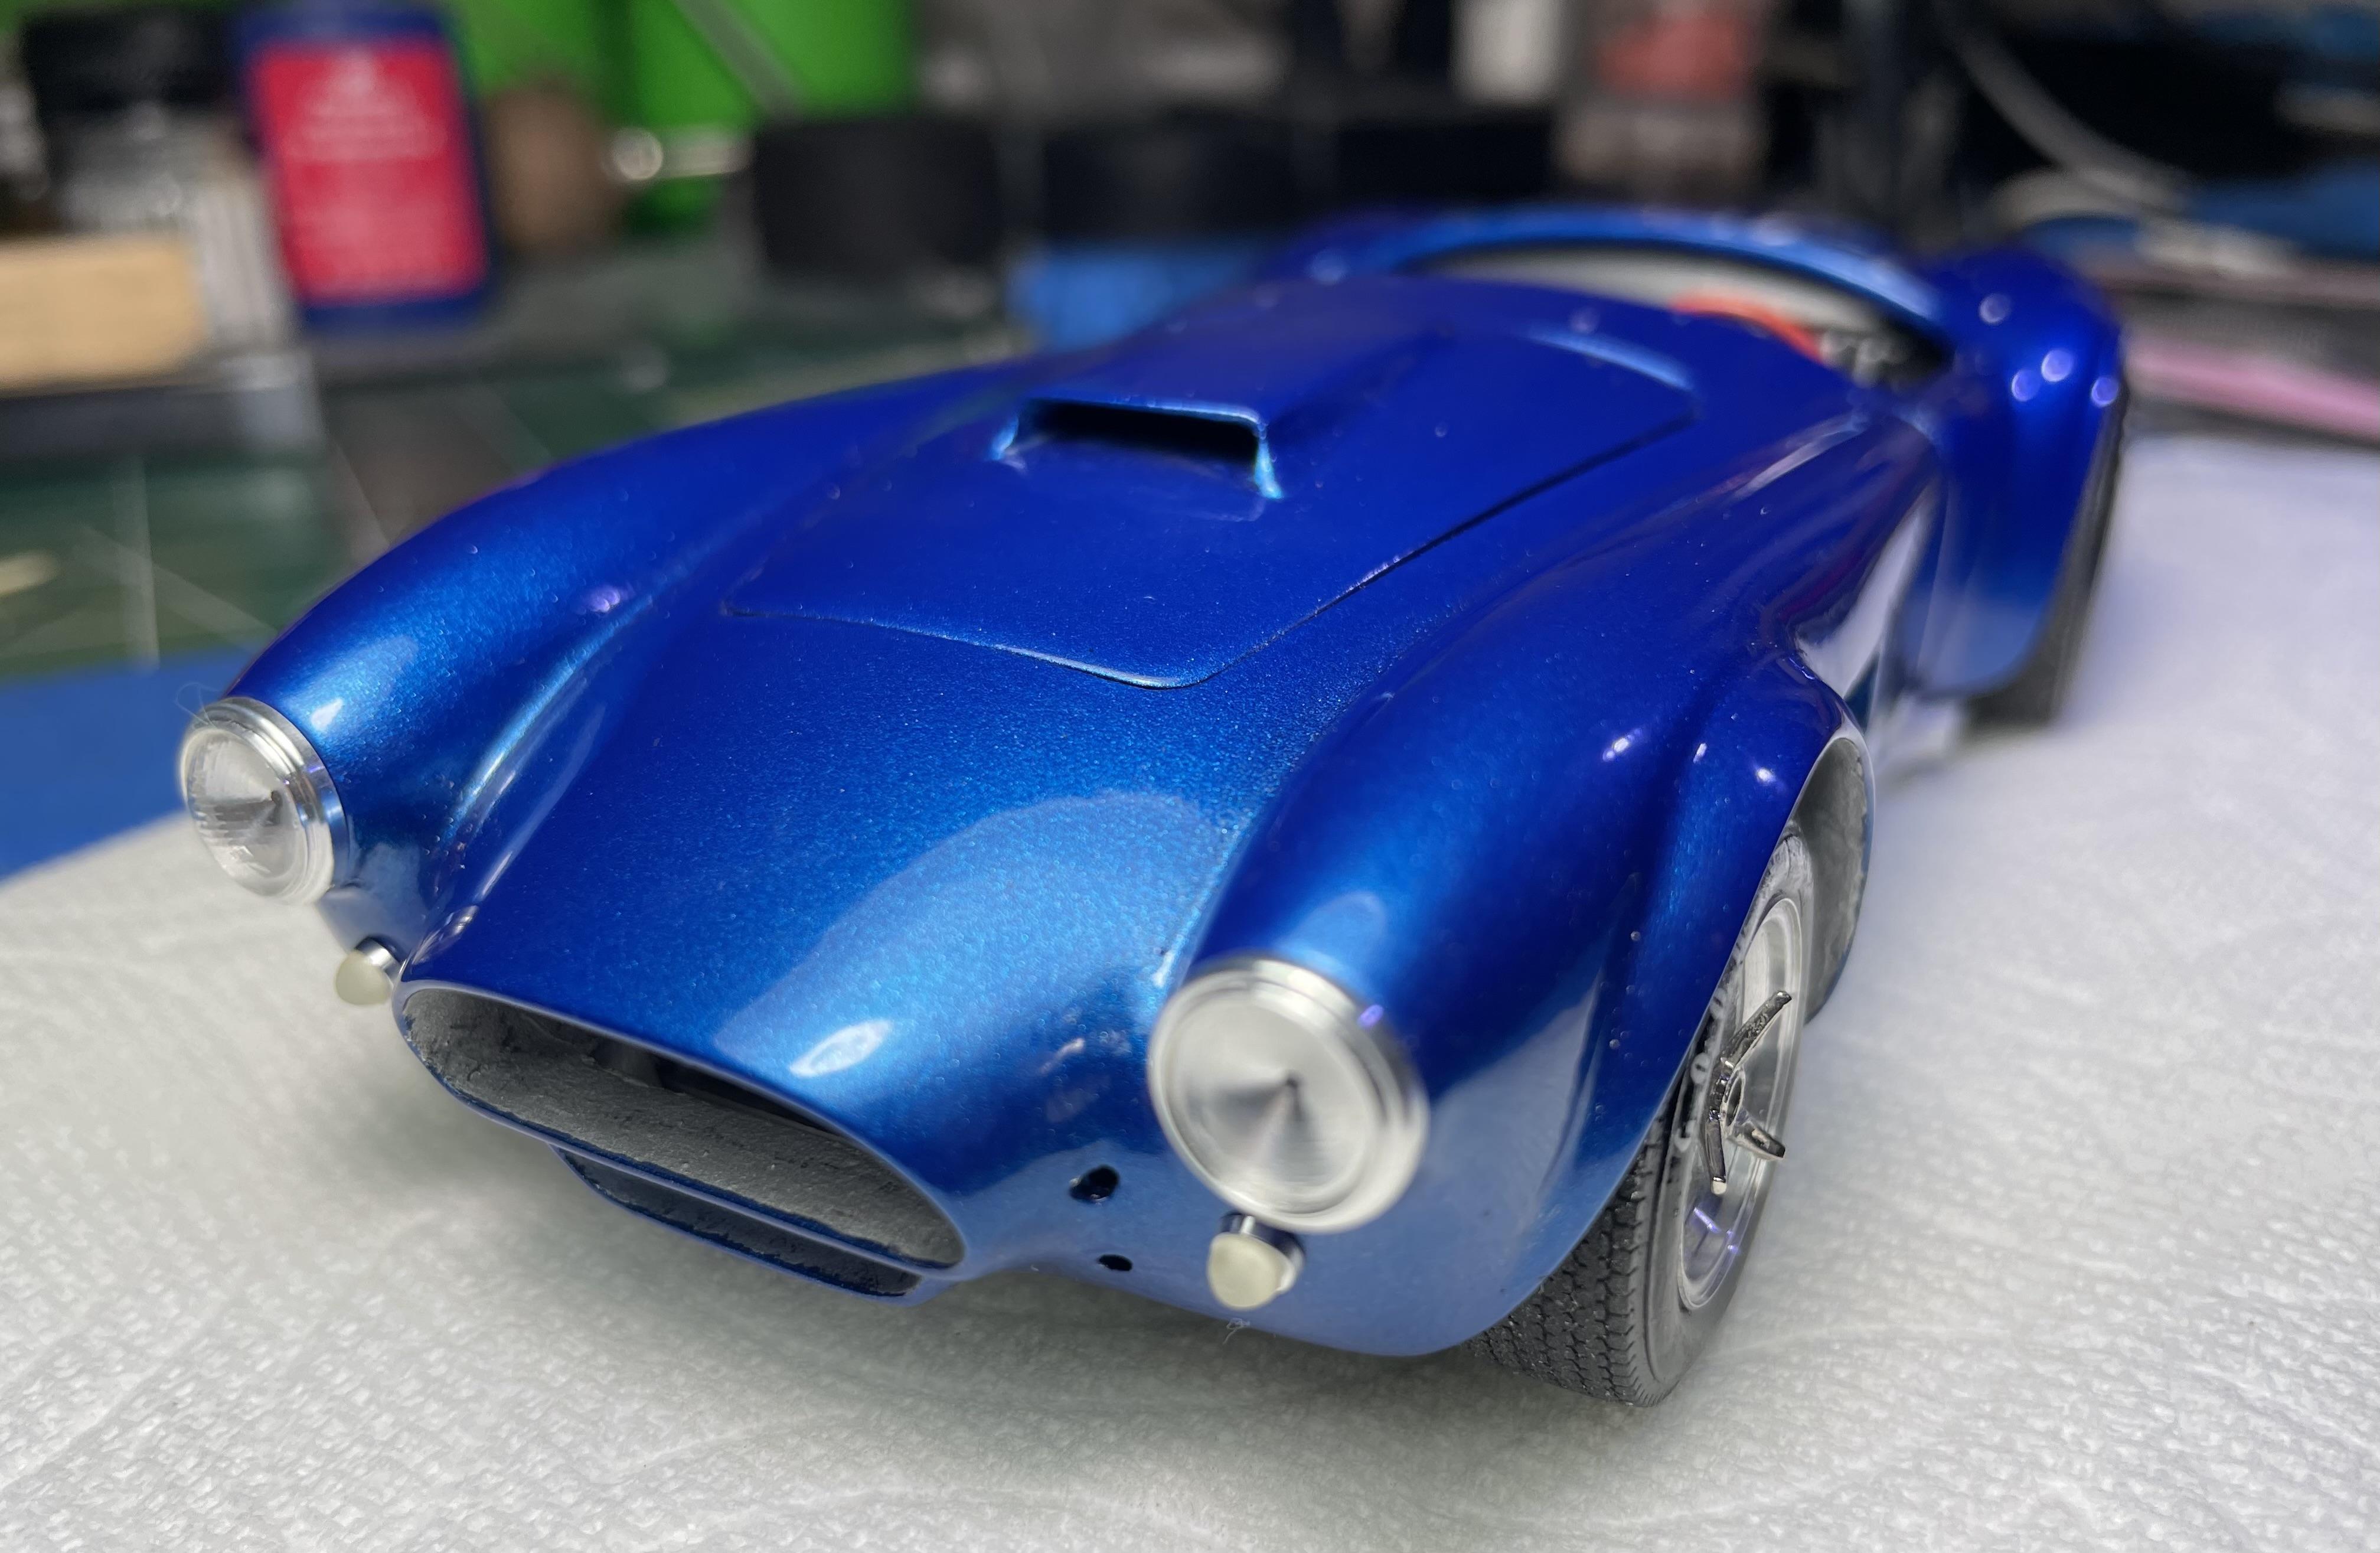
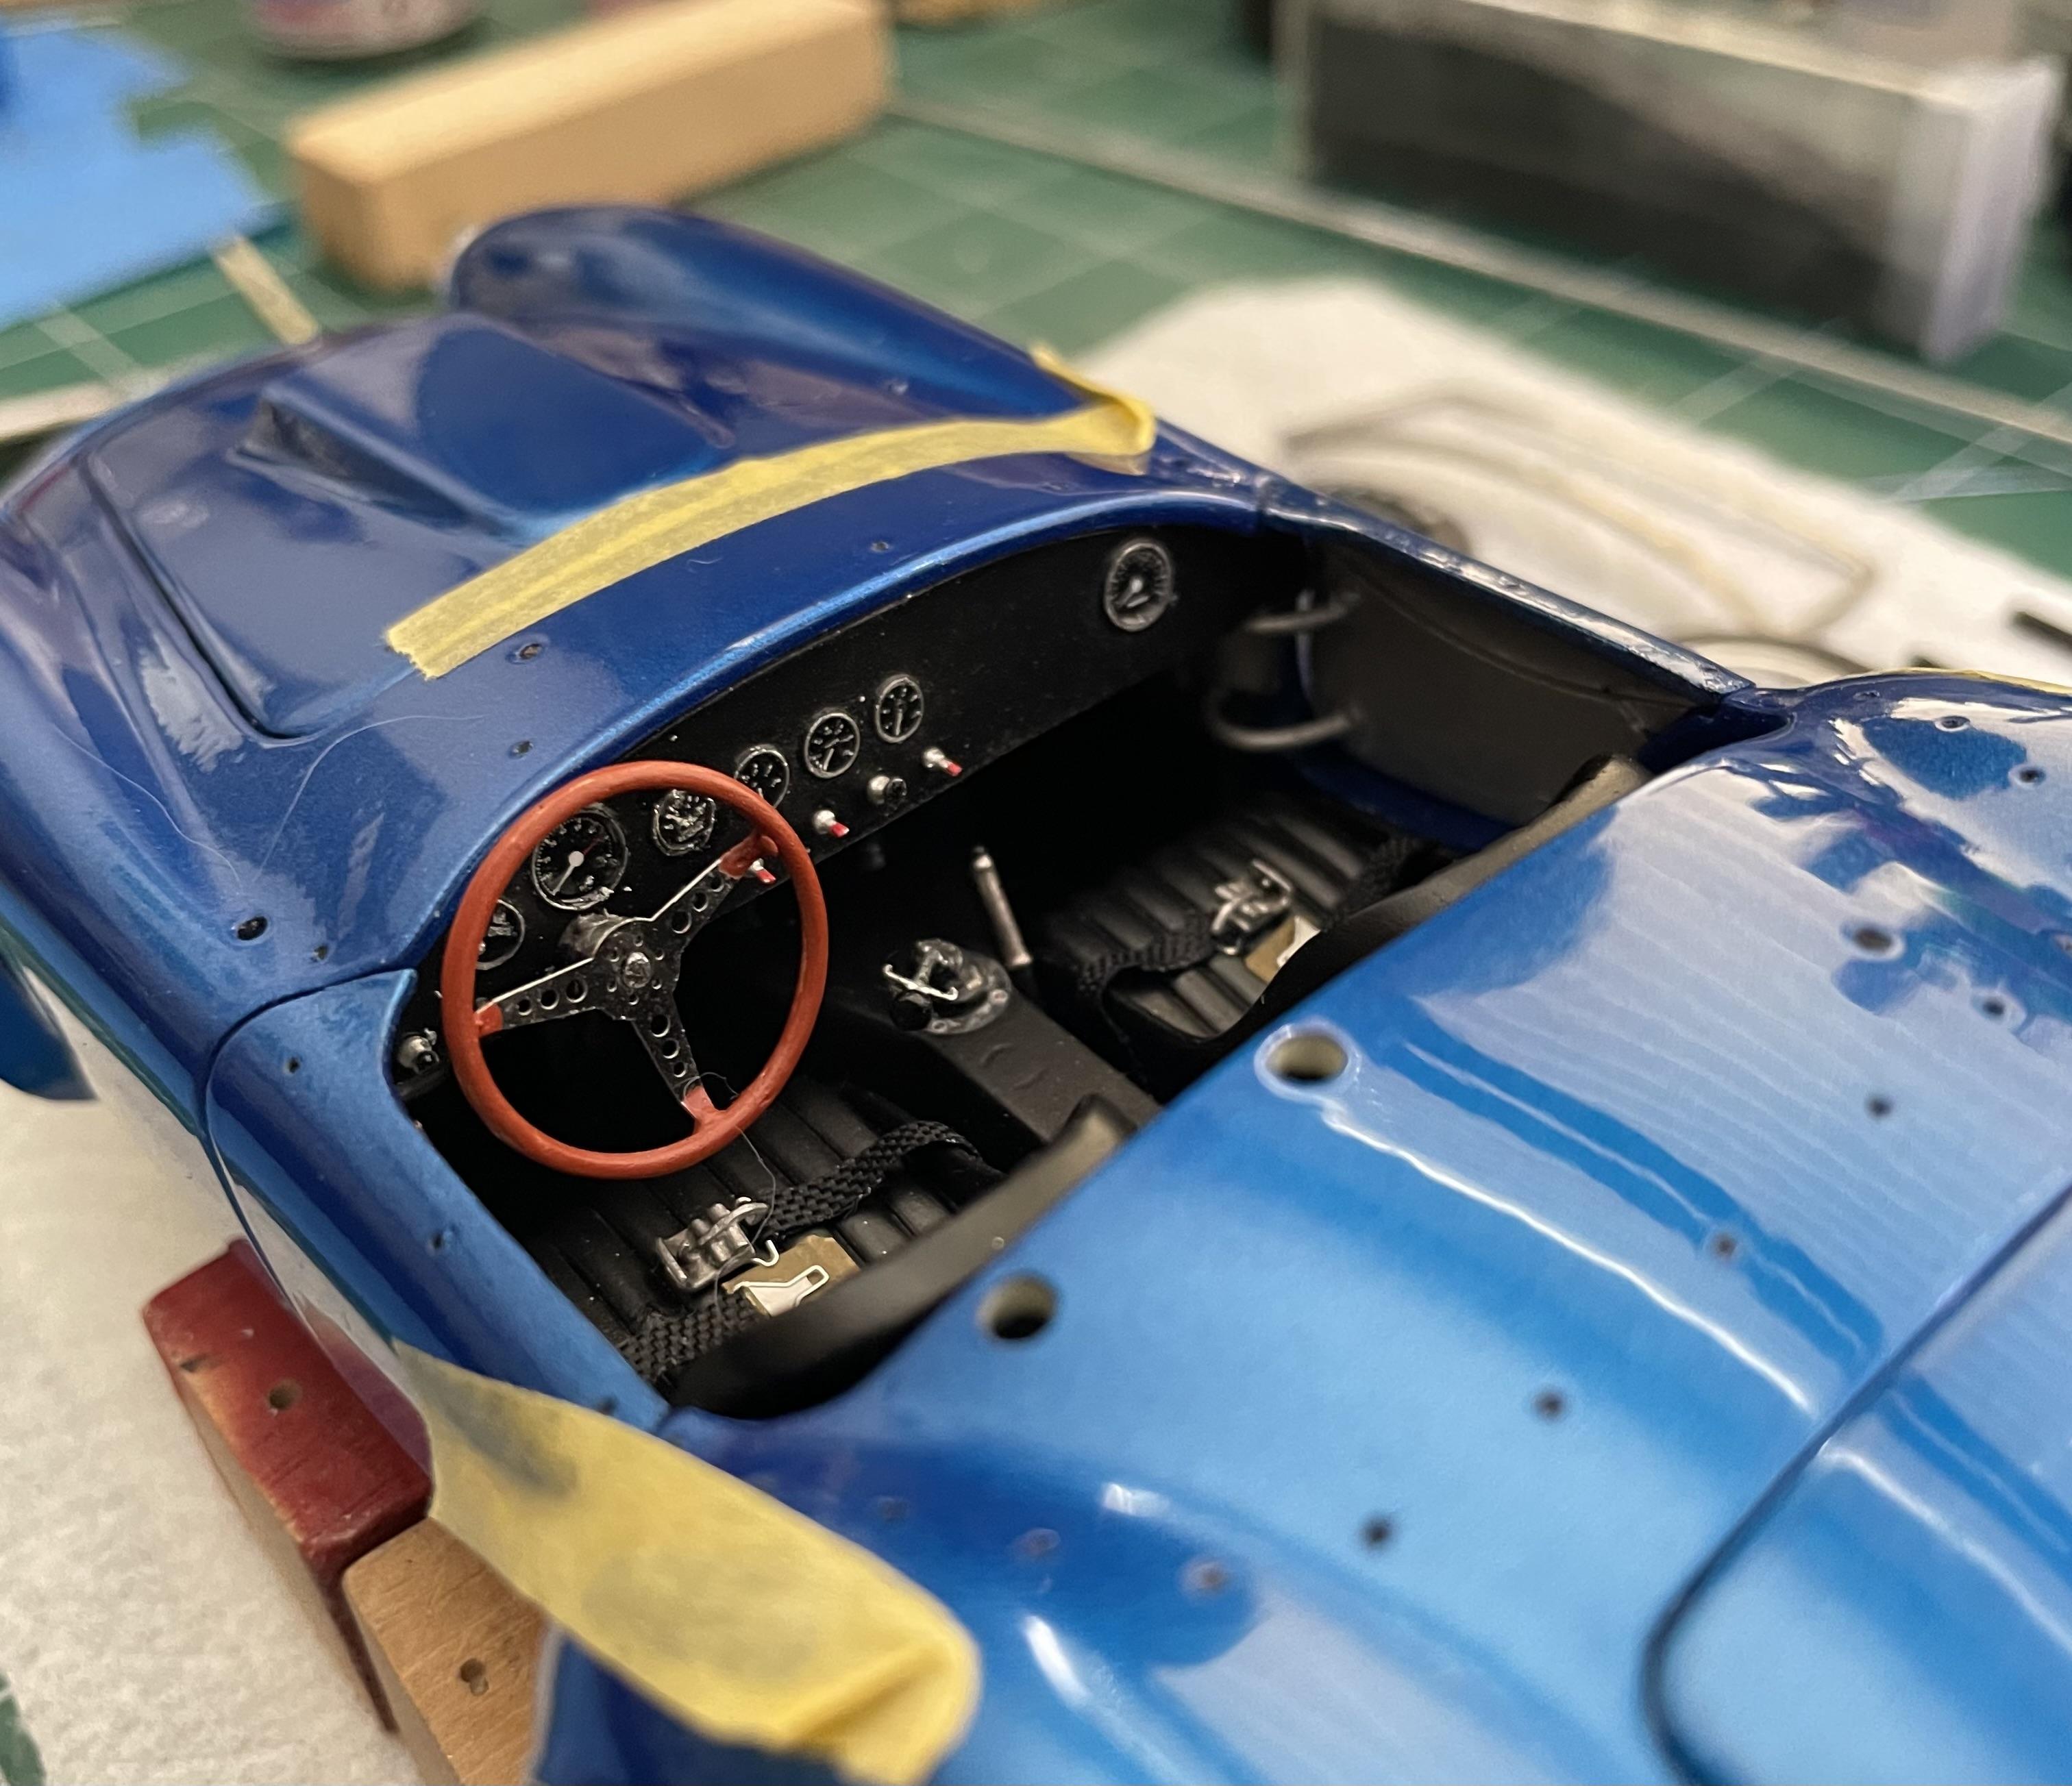
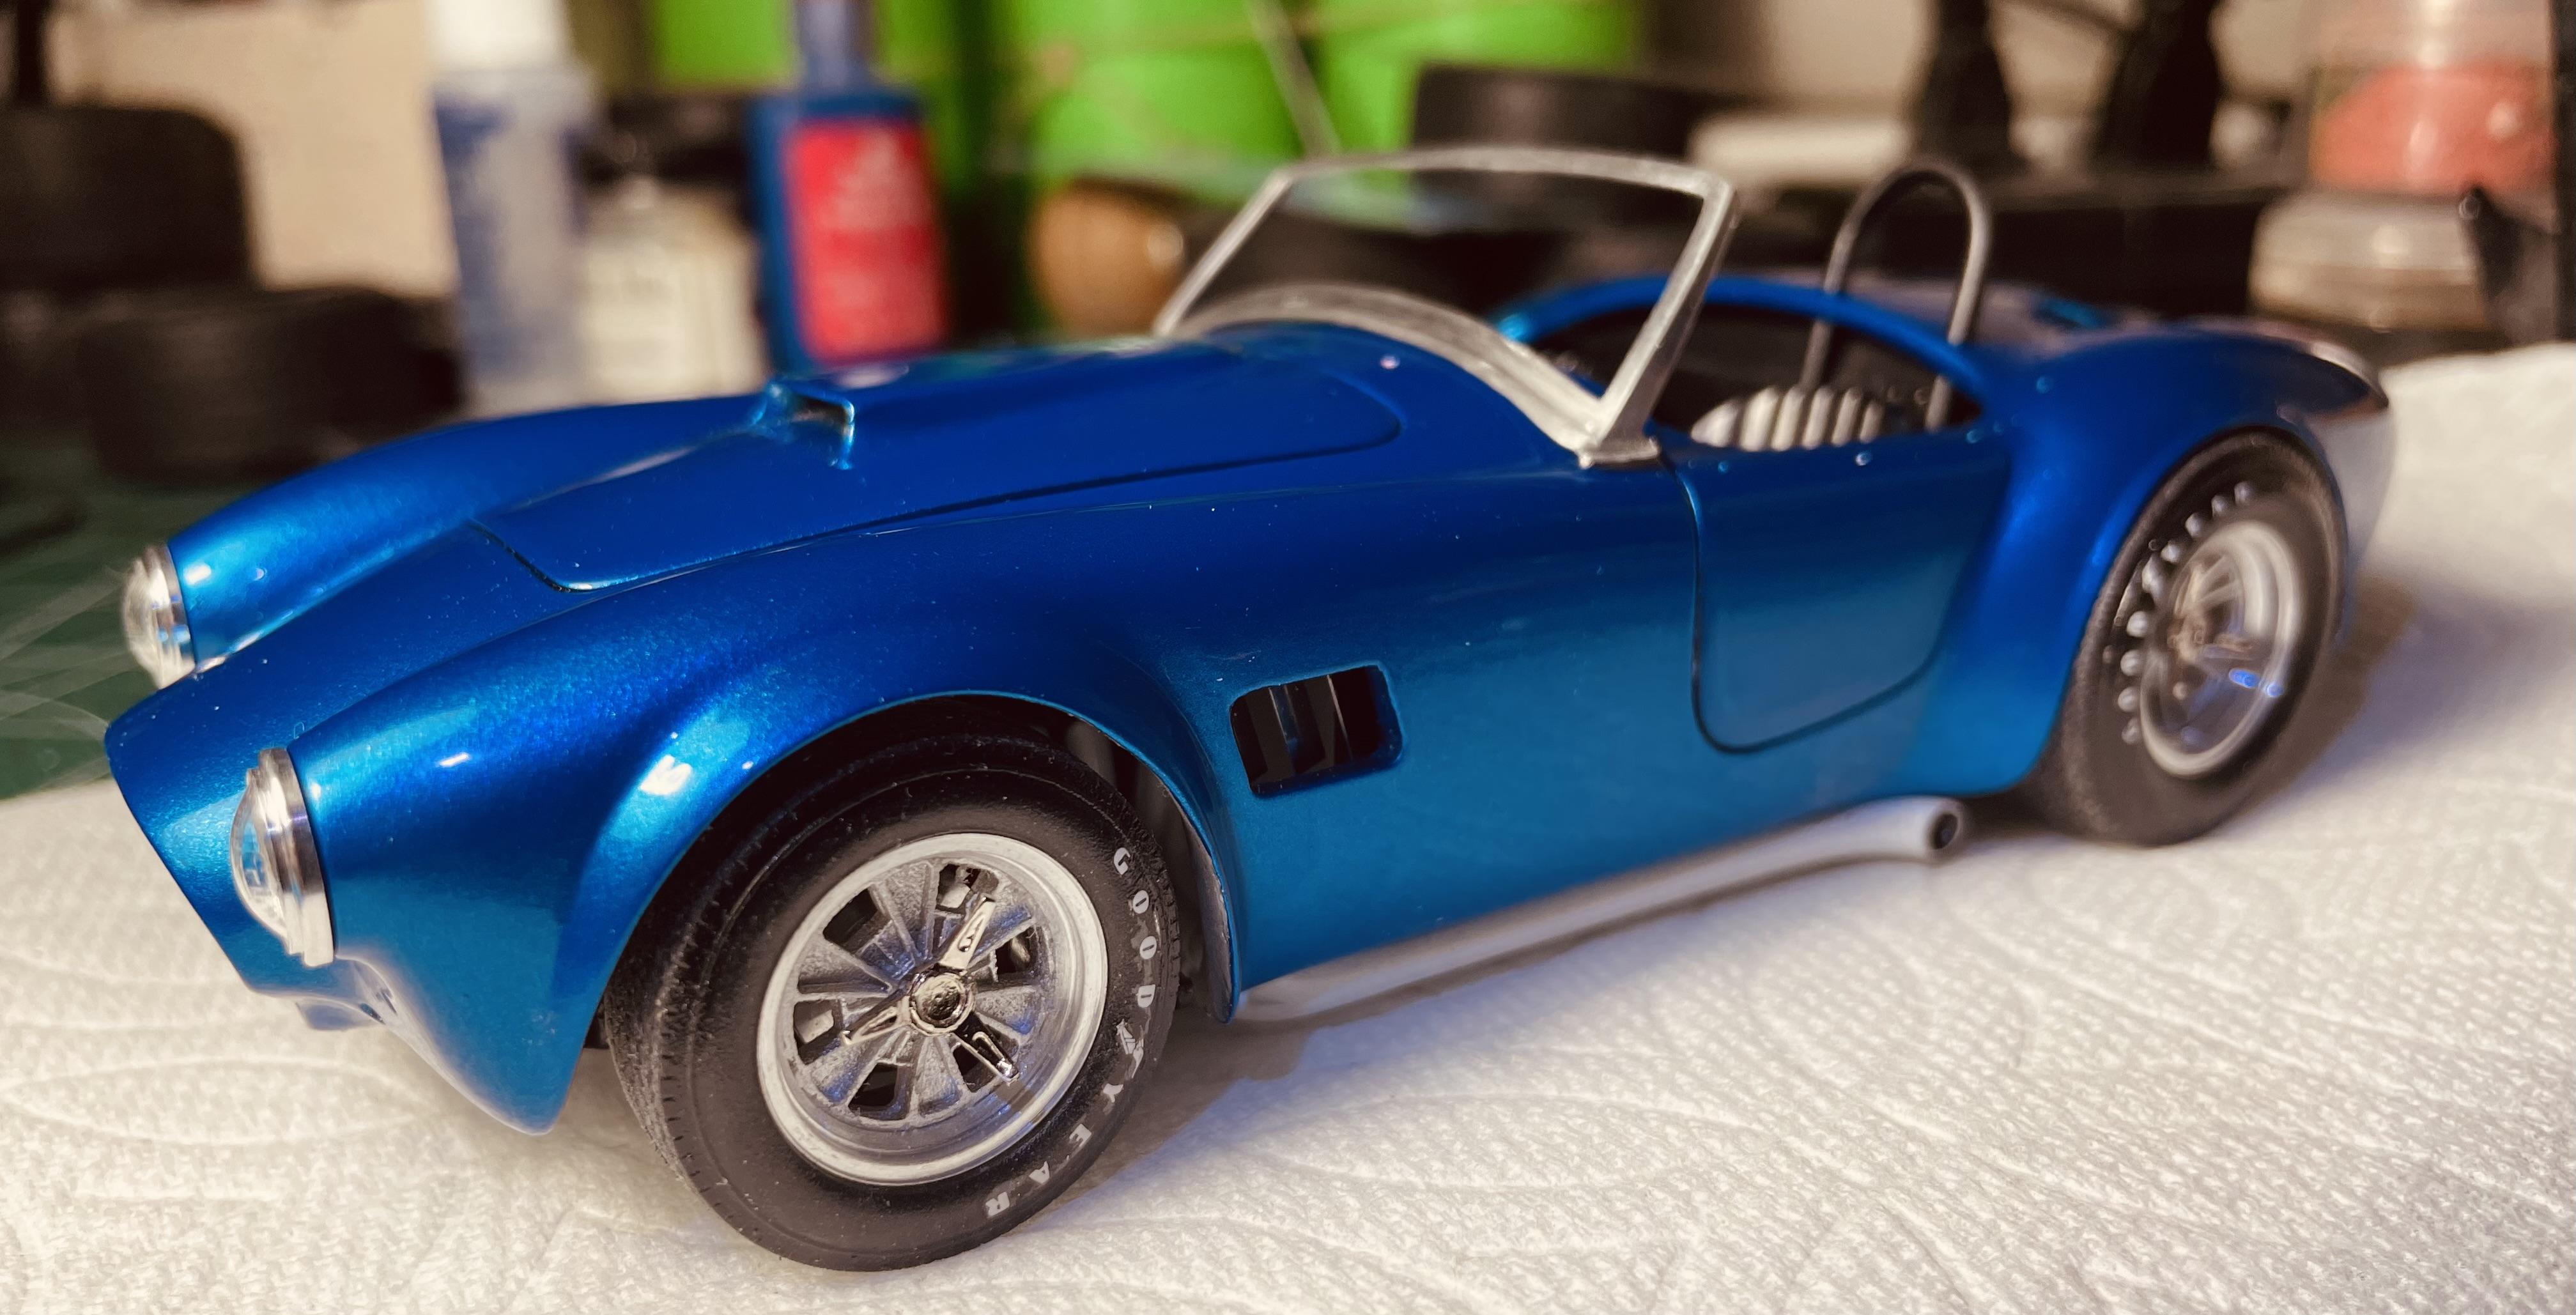
A little more finished. Trying to get this finished for our local show. It might make it on time. I’m trying not to get detail crazy. Would like to add some detail to the firewall and add a throttle linkage. But not crazy. So far it’s comming out fine. Did have a heart attack when I did drop the body on the ground. But the paint held up fantastic. A little rubbing and all was good. I like the headlamps. Not like the amt headlamps that are a little different looking.
-
Bummer
-
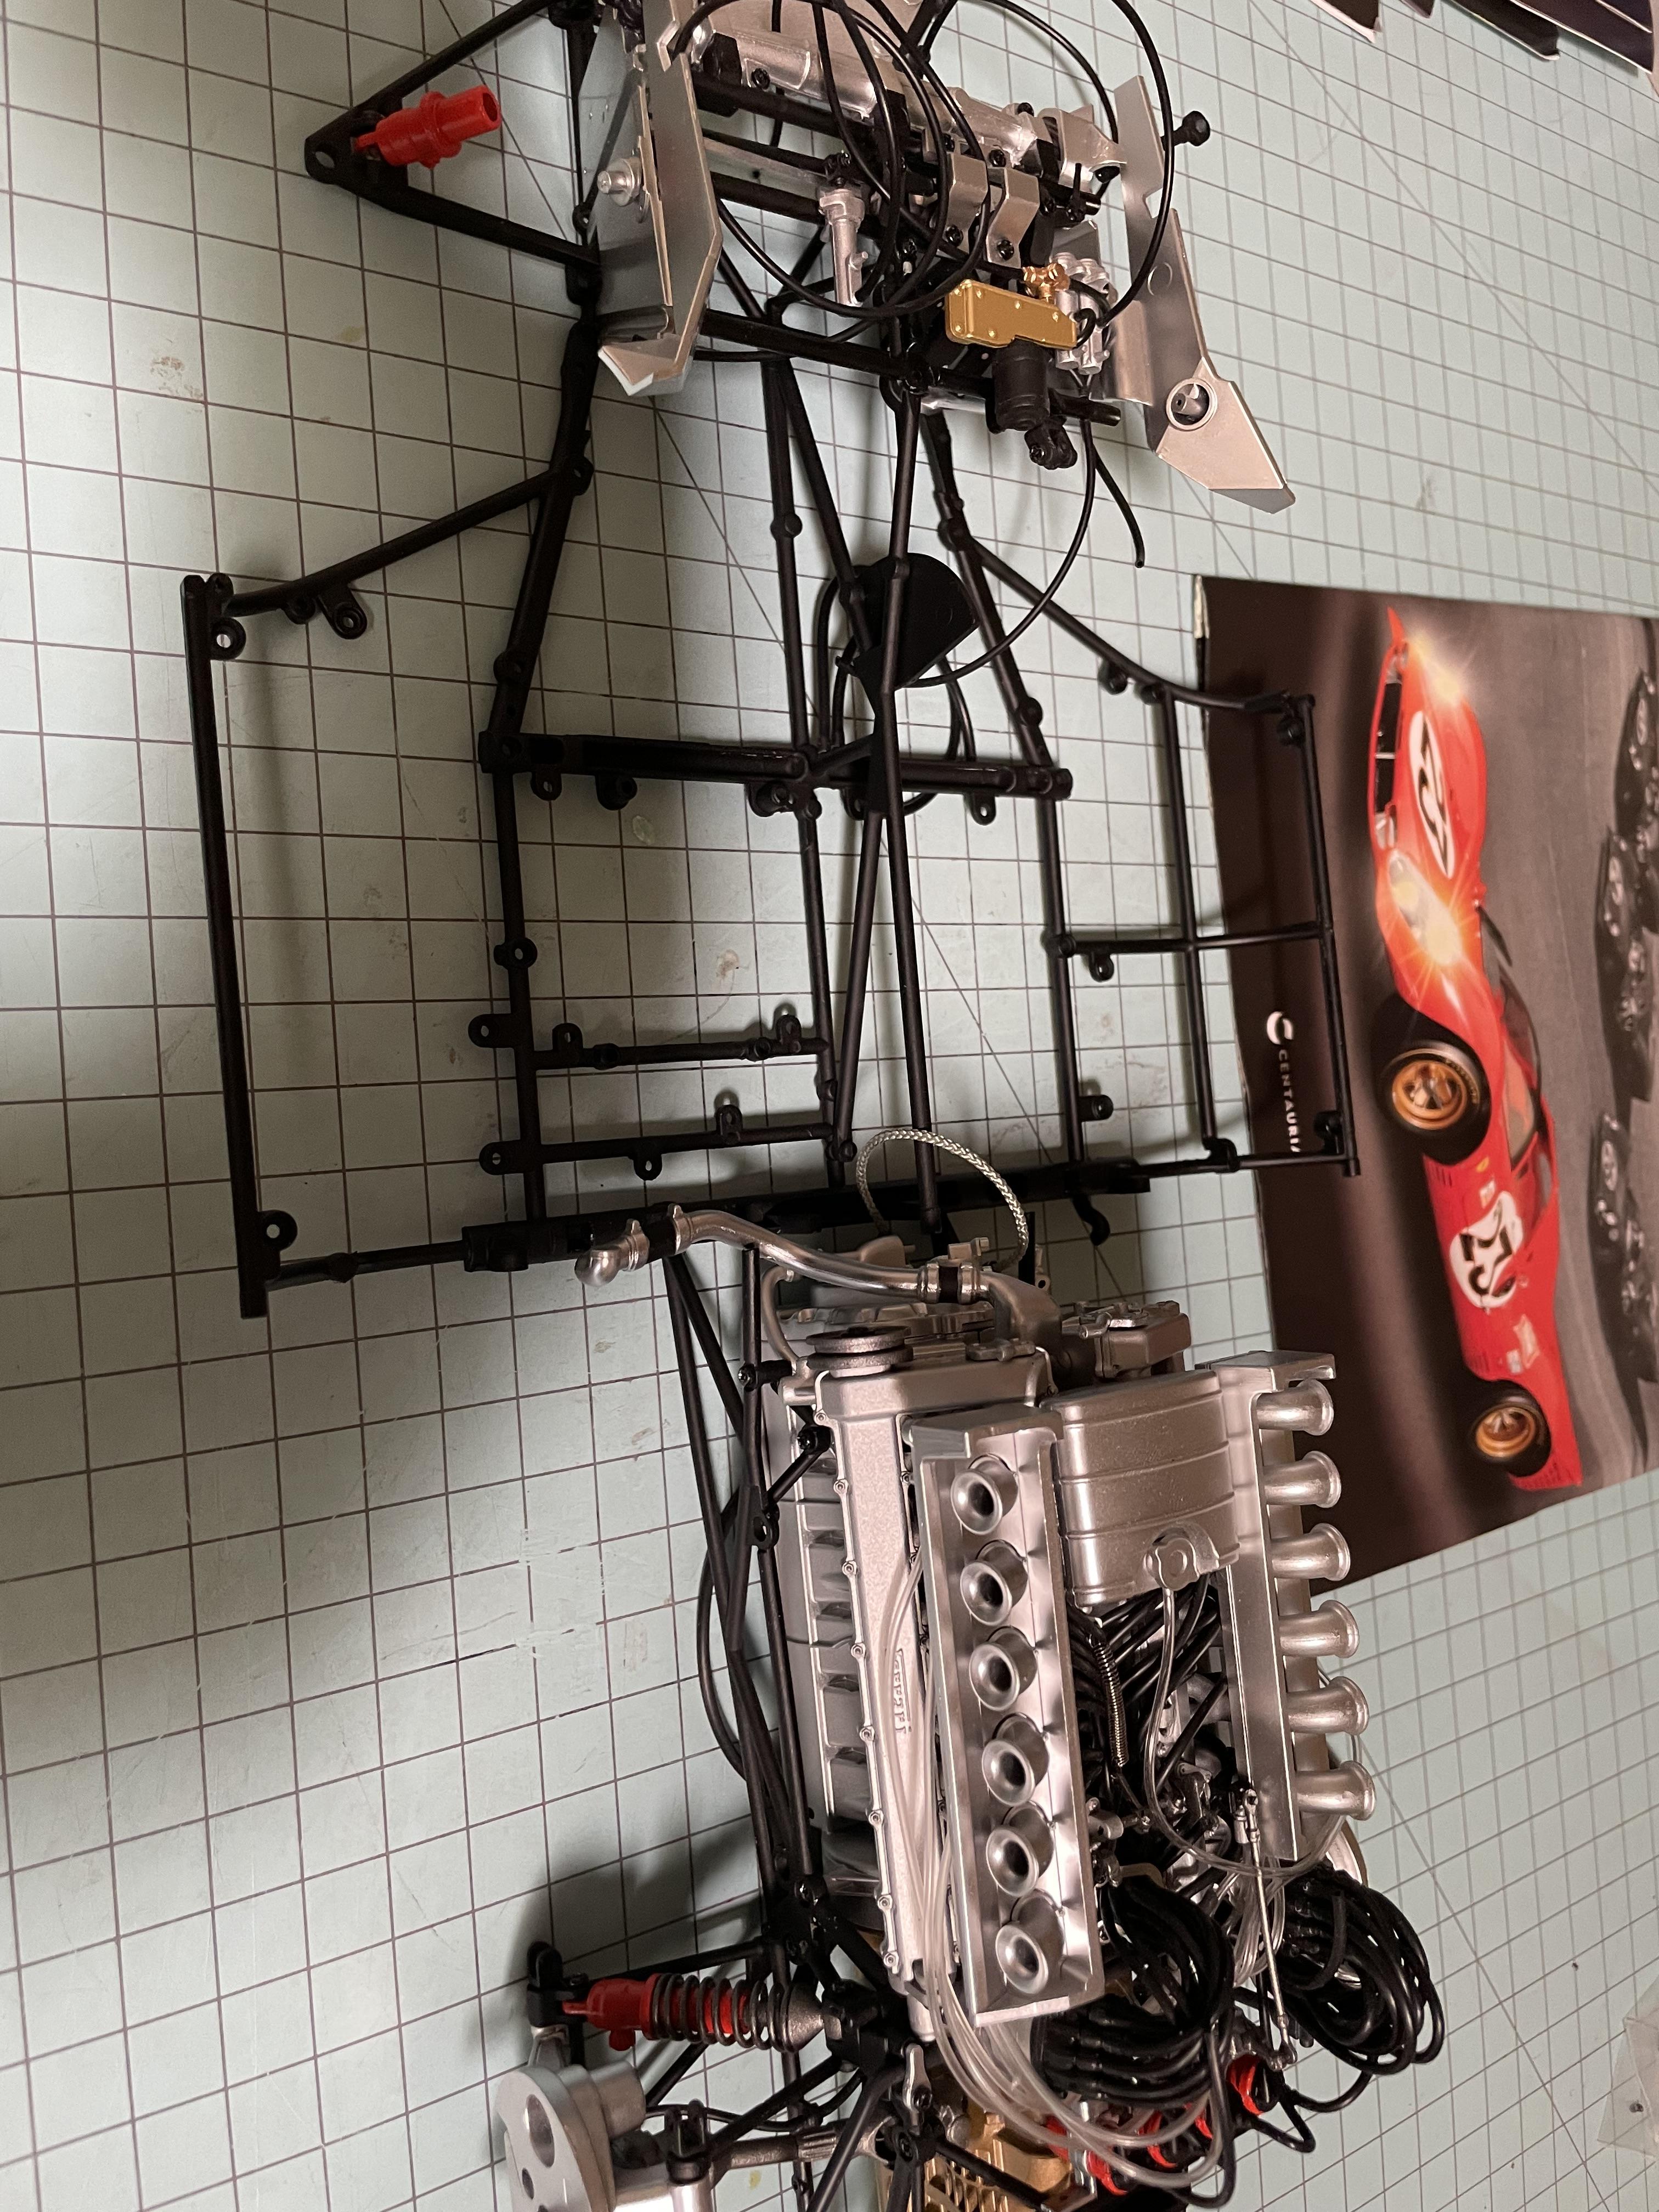
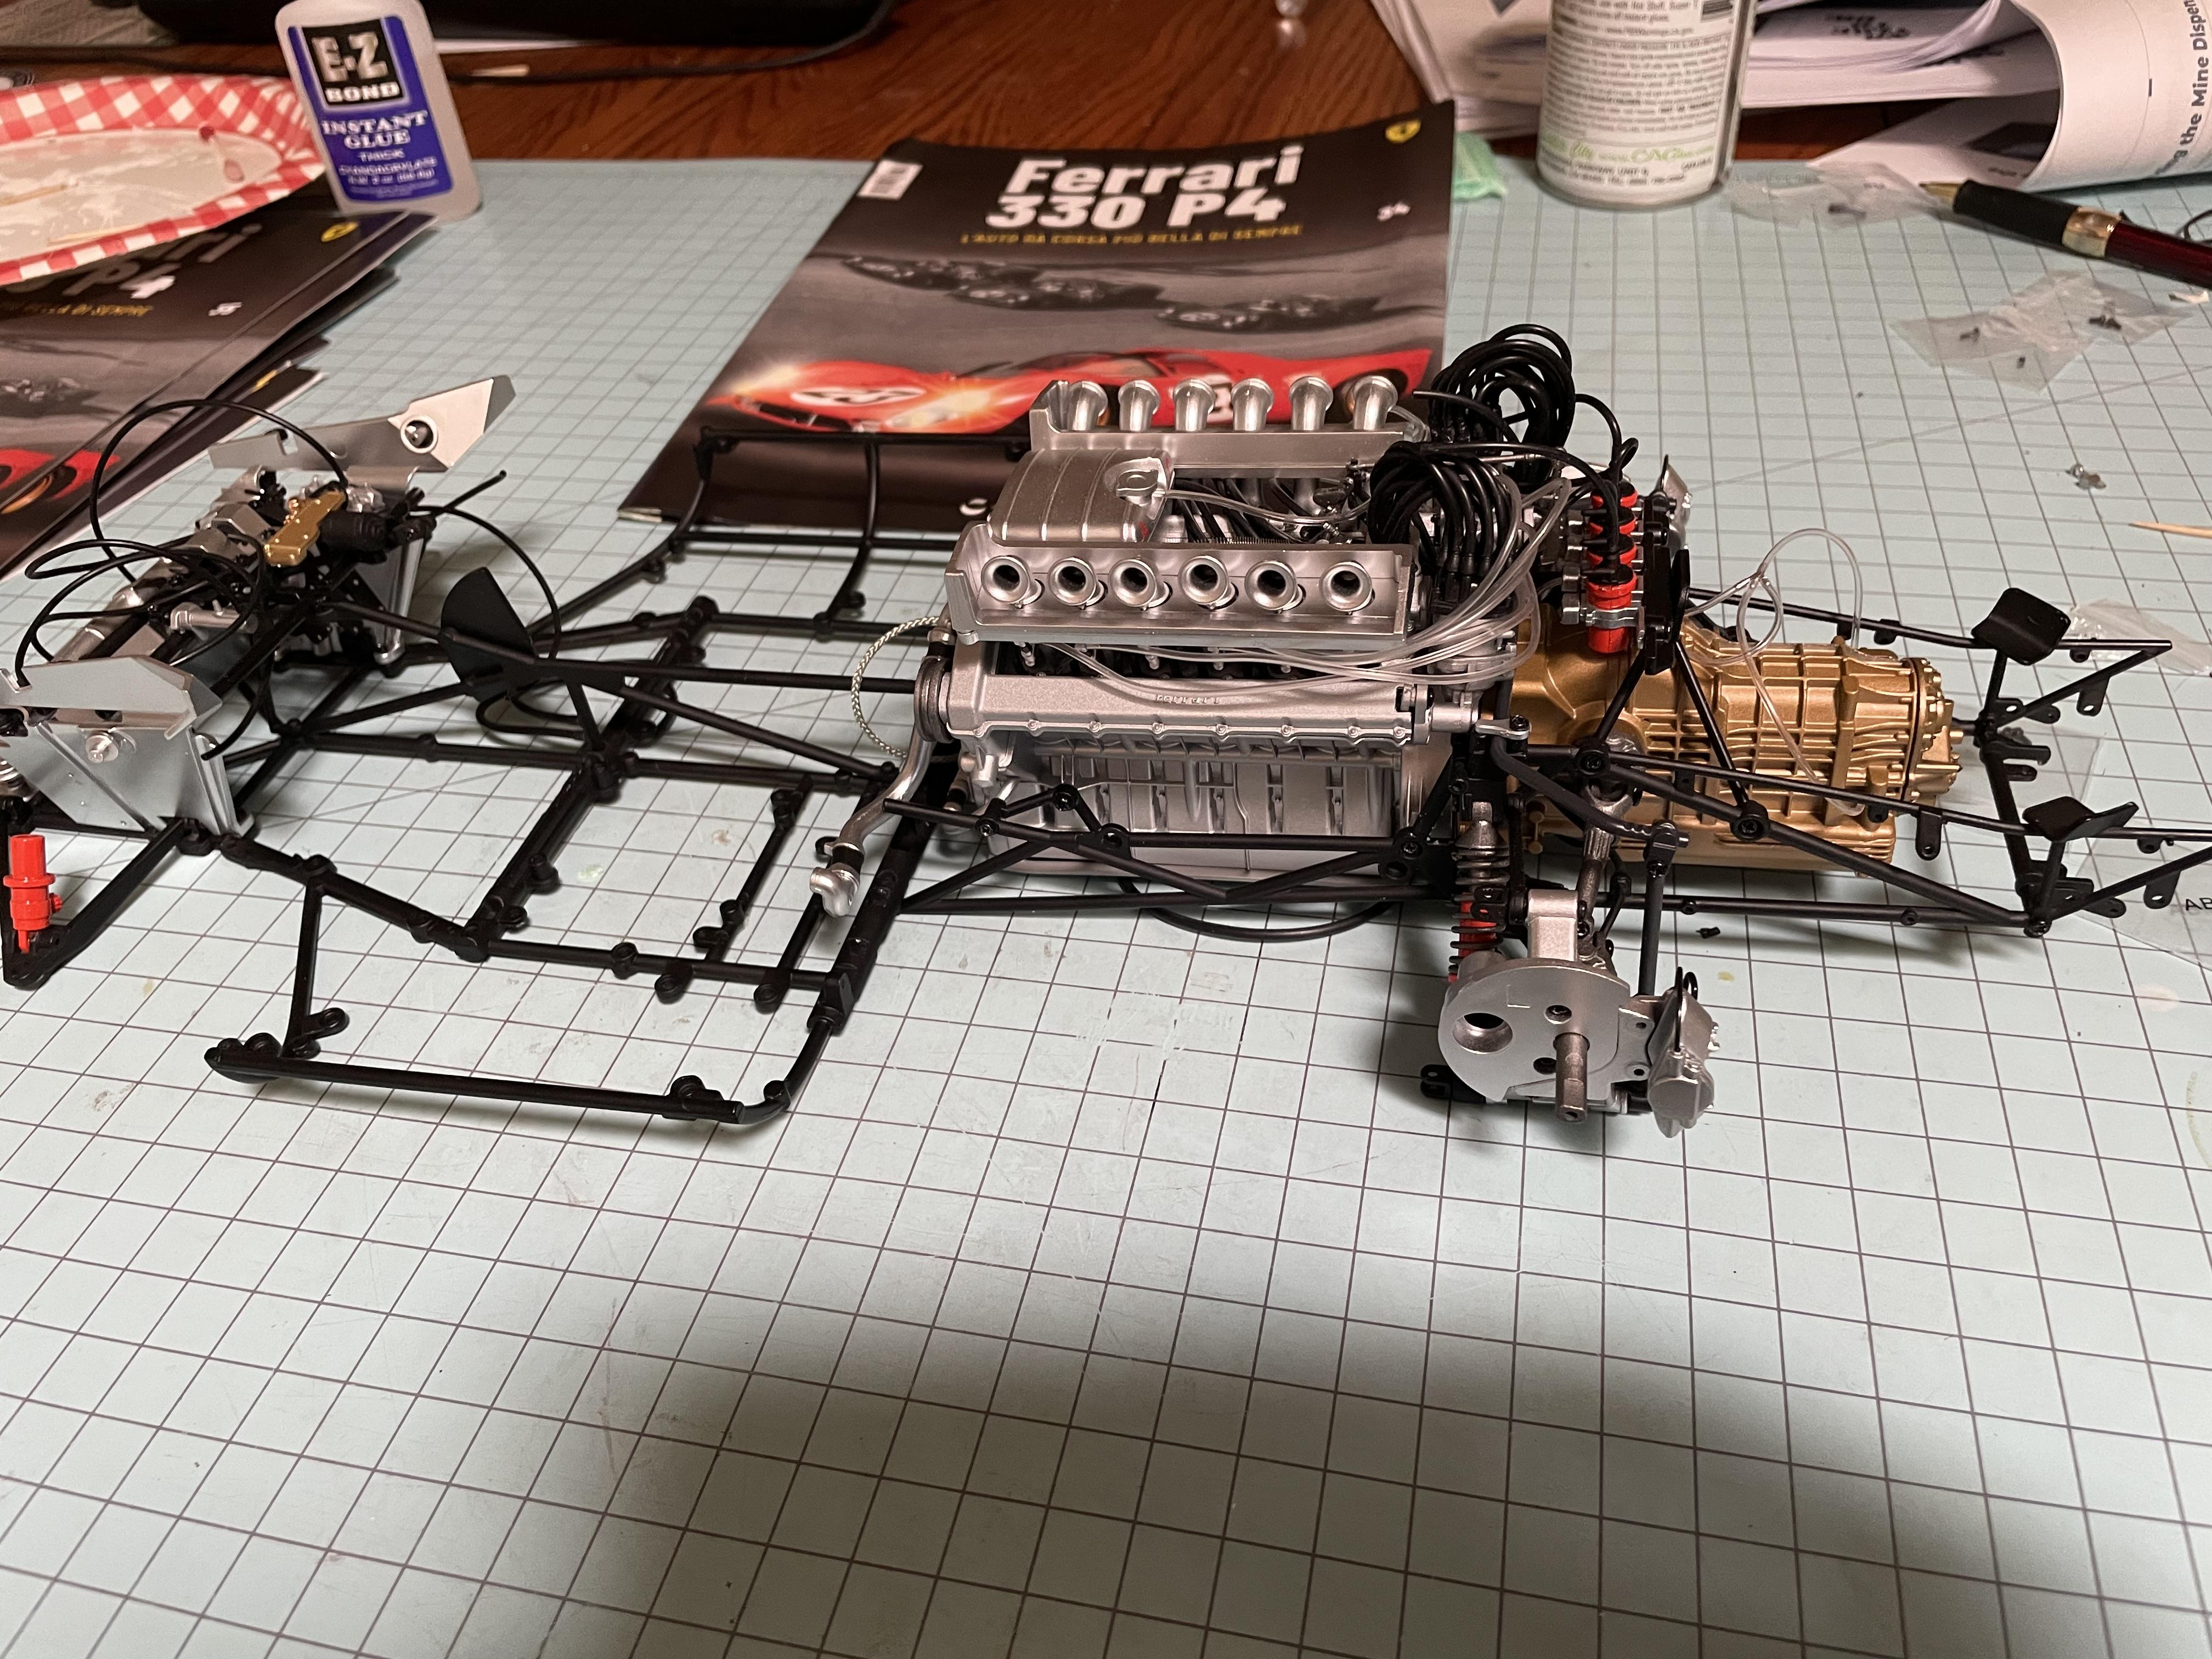
My friend Marks 1/8 Ferrari P4. This is what he has completed so far . It’s a beautiful kit.
-
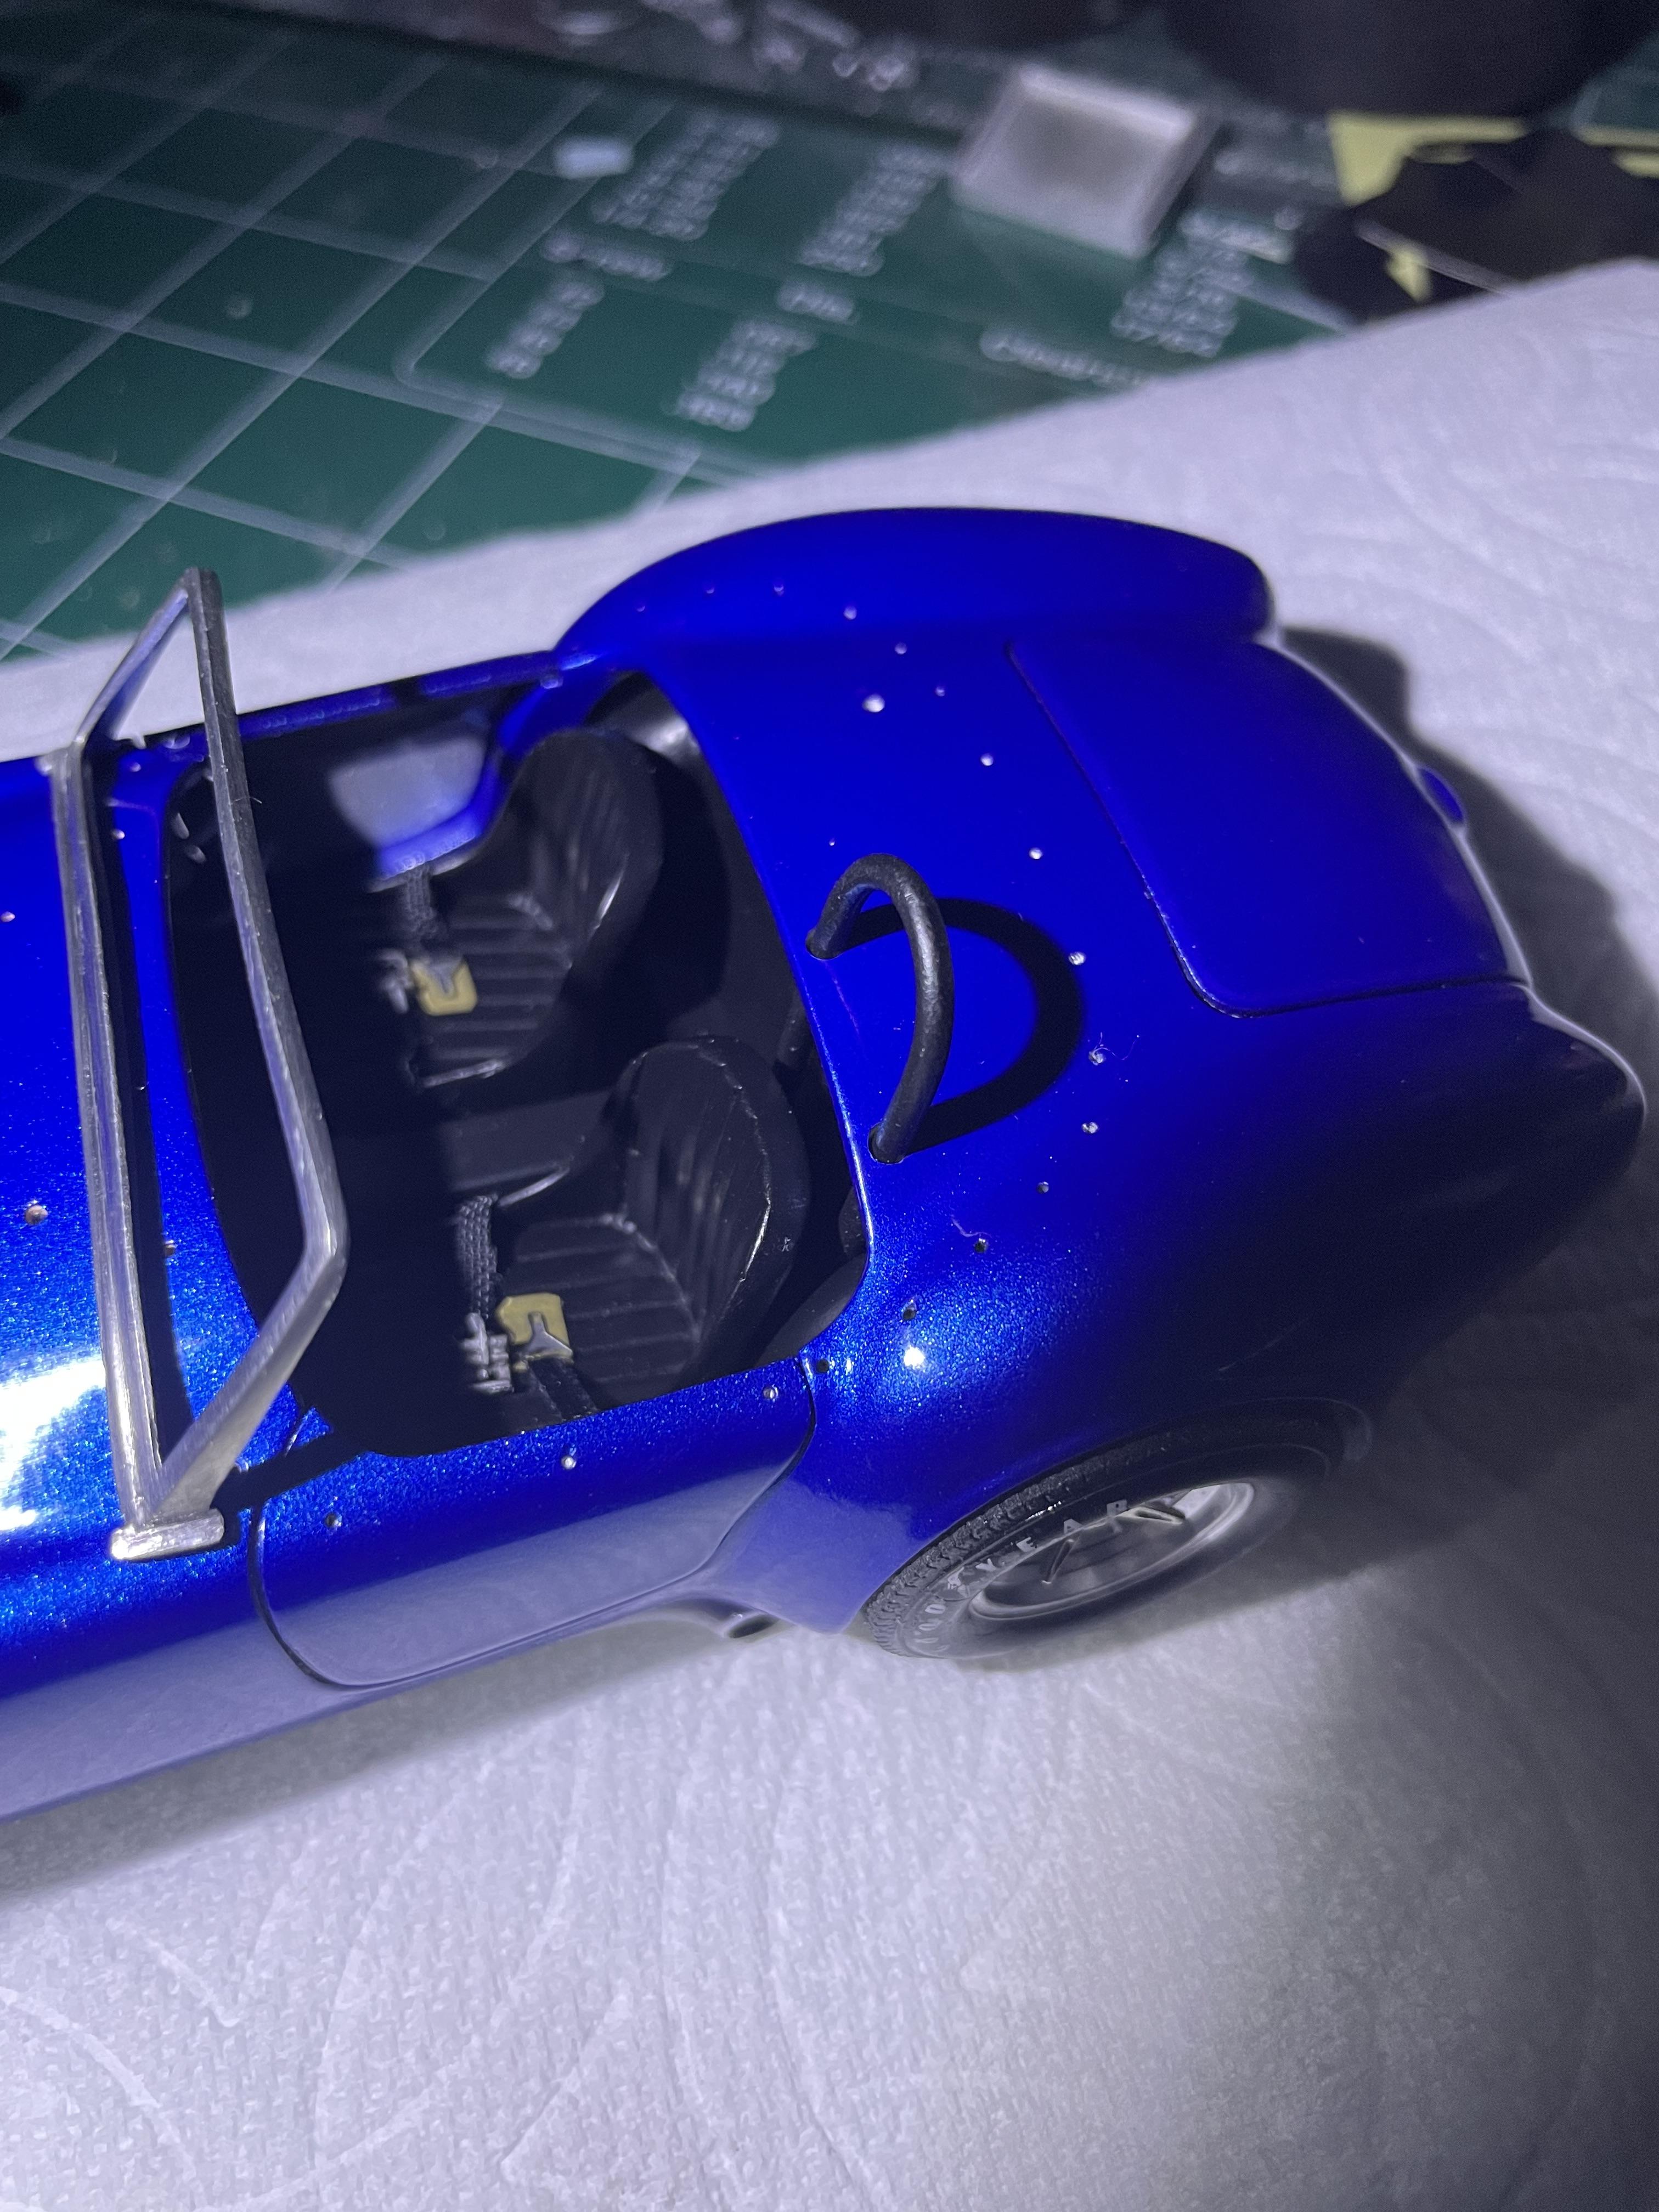
Painted the interior parts. And rollbar. Installing the decals to the dash board. The windshield worries me.because the windshield frame is so delicate. Hopefully no more mfh monsters will attack me. Was a little concerned about the rollbar height. Looks just right.
-
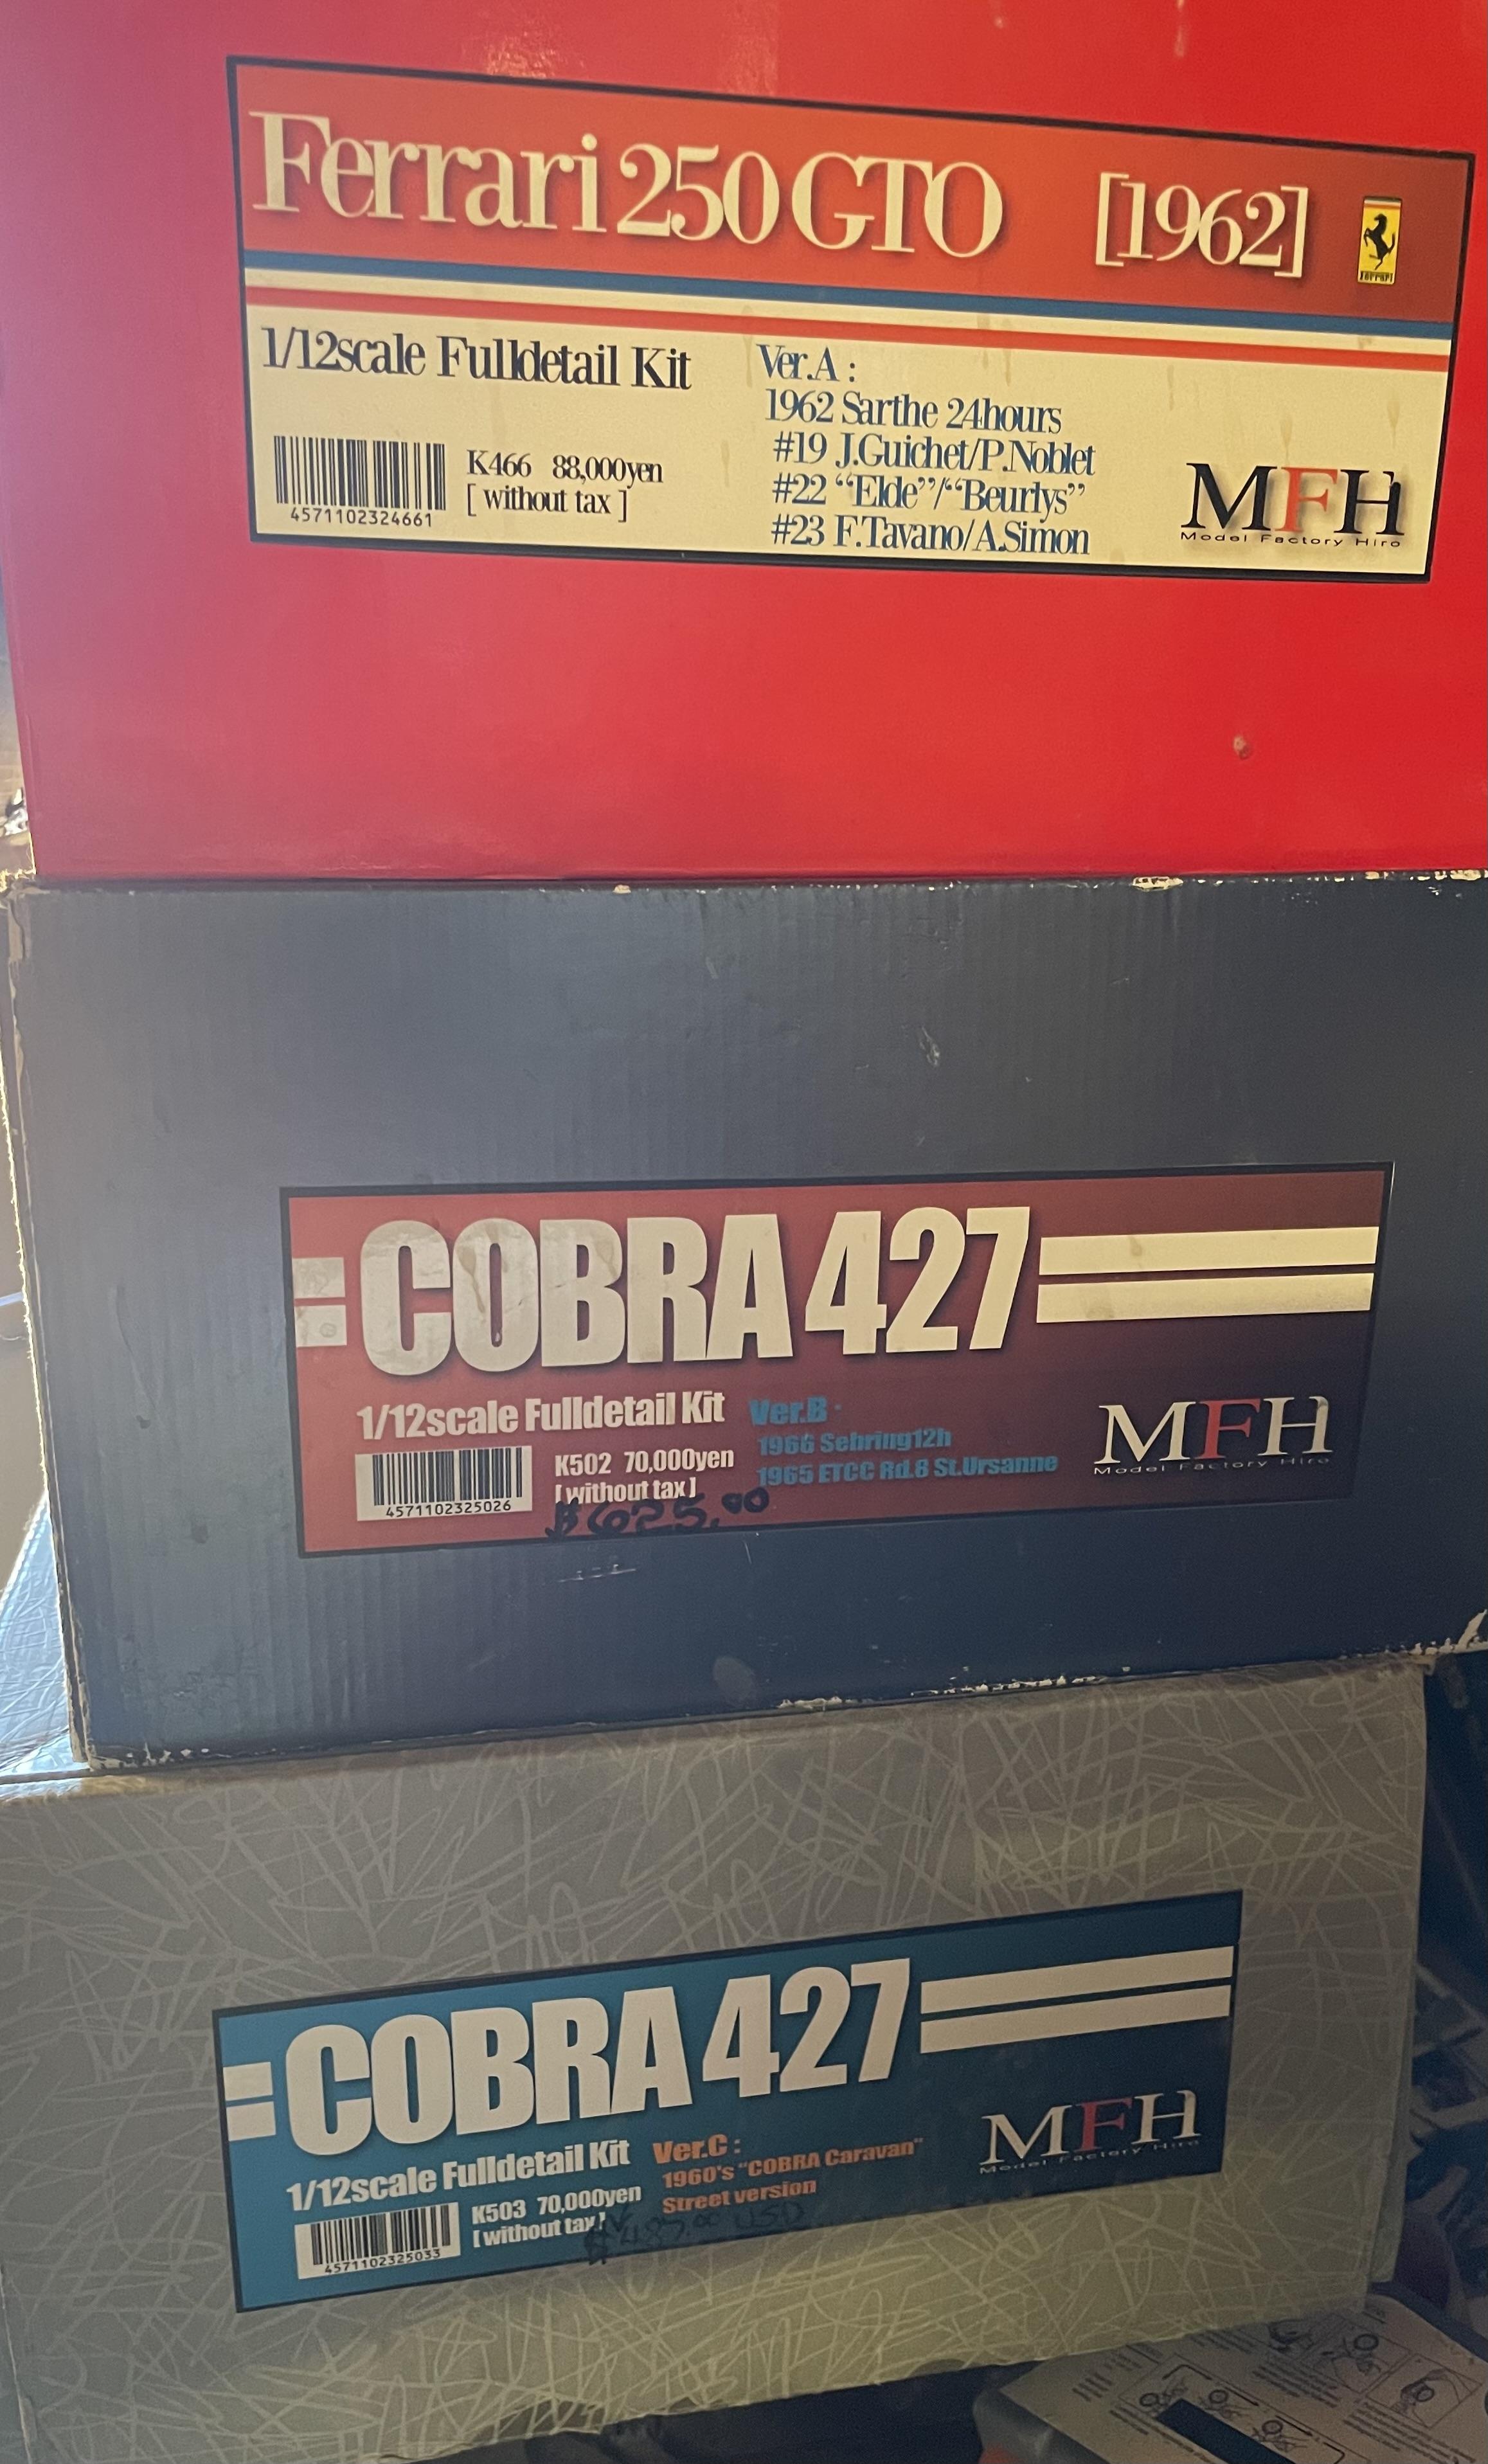
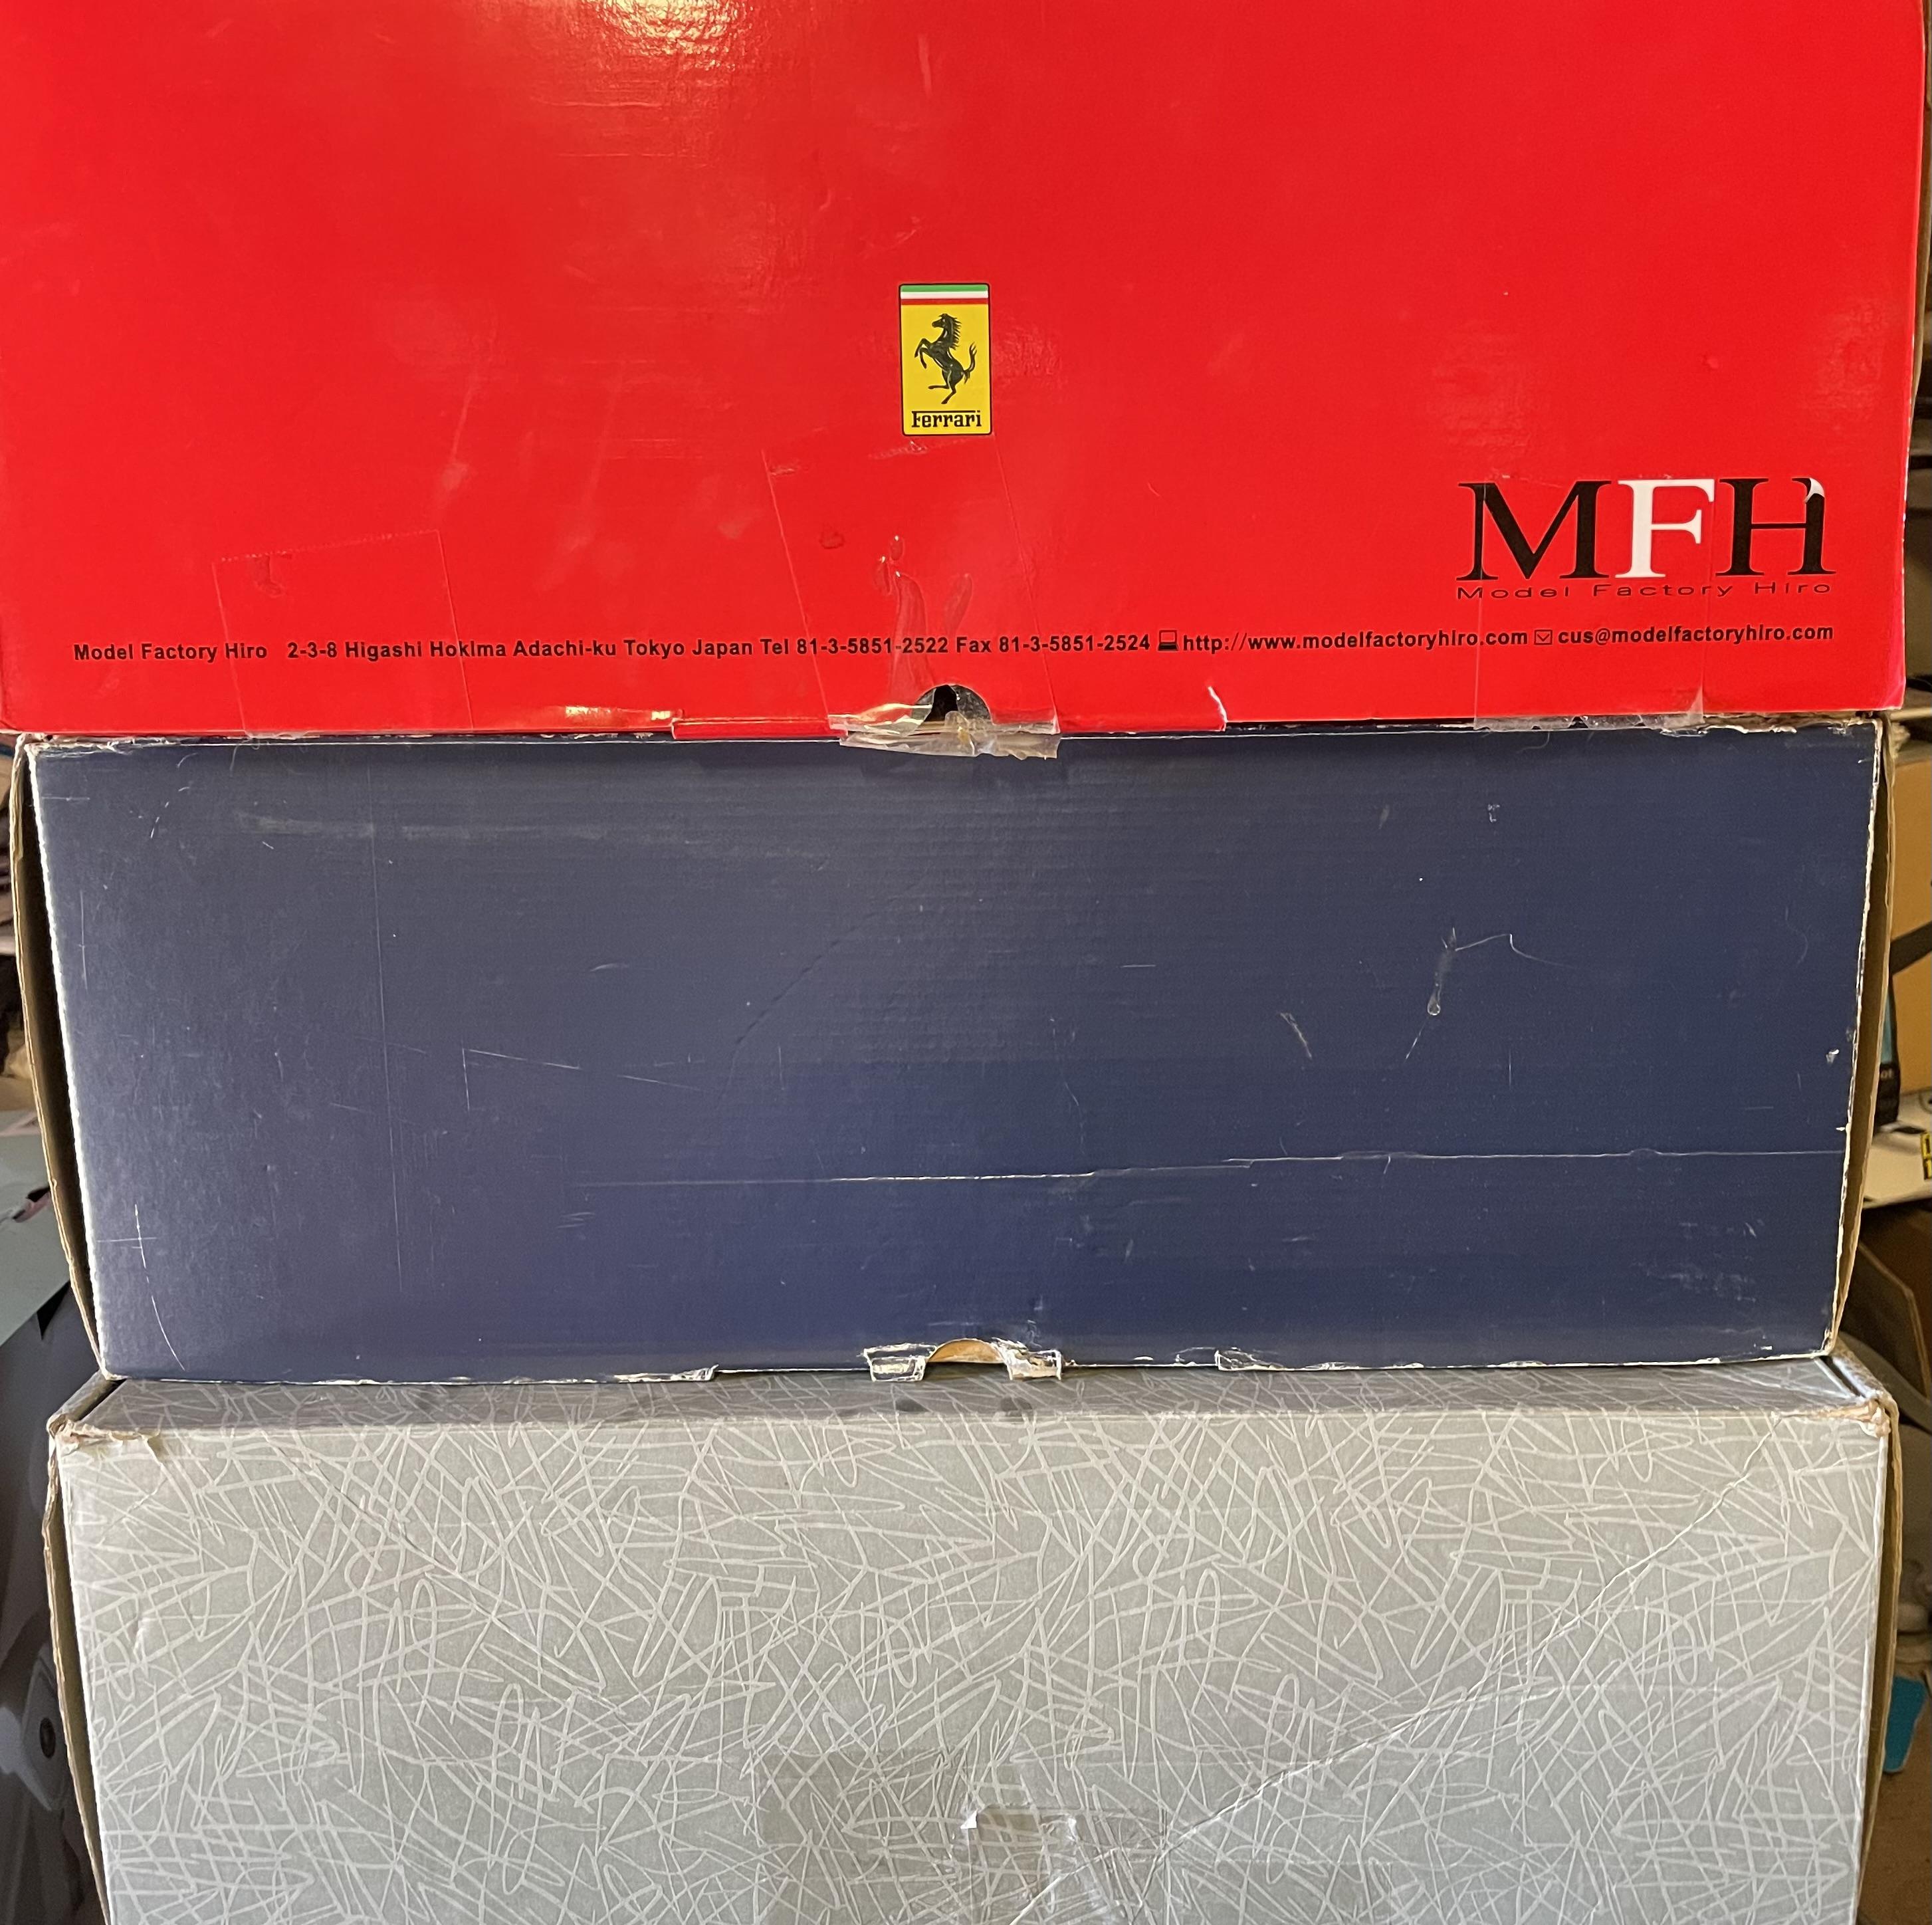
Thank you Bainford. If I can be of any assistance on mfh kits or big scale kits please contact me and I’ll try to give you as much heads up as I can. I took a modeling friend out for lunch and I have these old but new to me kits. He has a friend that no longer wants to build , so he just gave them away to me. This would be my friend Mark, the Elon Musk of modeling. He has several of each so he gave them to me. I’ll be busy with 1/12 for awhile . It’s nice to have friends like this.
-
Well I have 3 new- old kits I just recieved from a friend. I’ll be busy with 1/12 for awhile.
- 38,770 replies
-
- 6
-

-
- johan
- glue bombs
- (and 1 more)
-
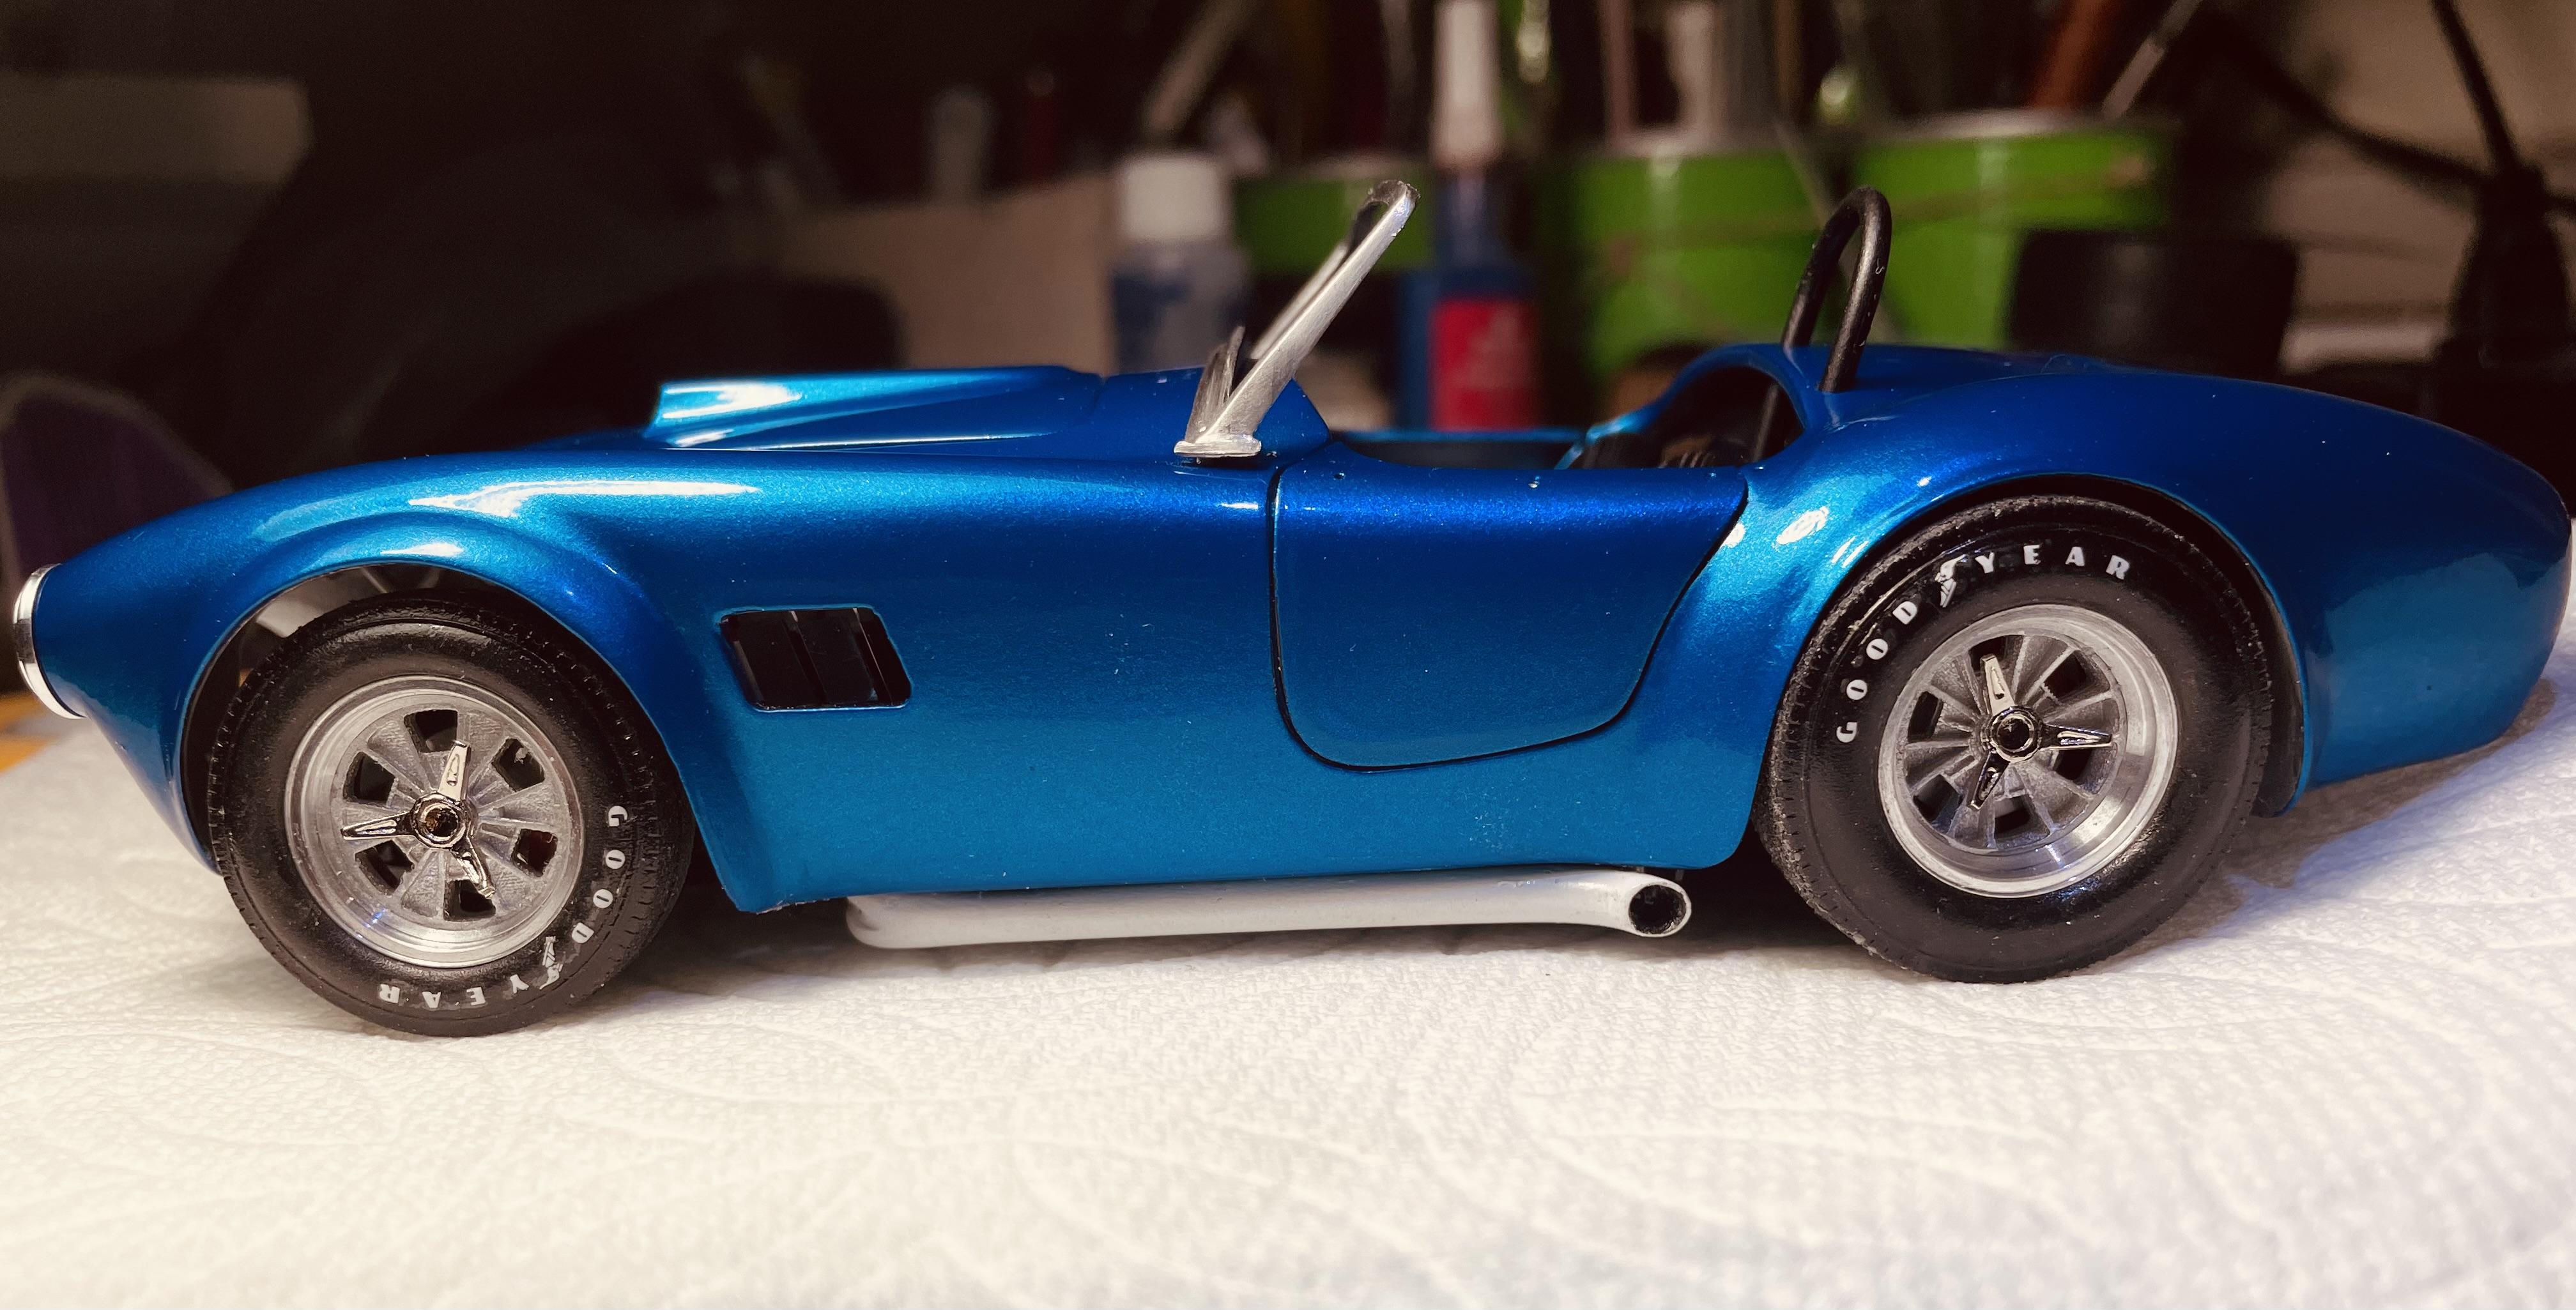
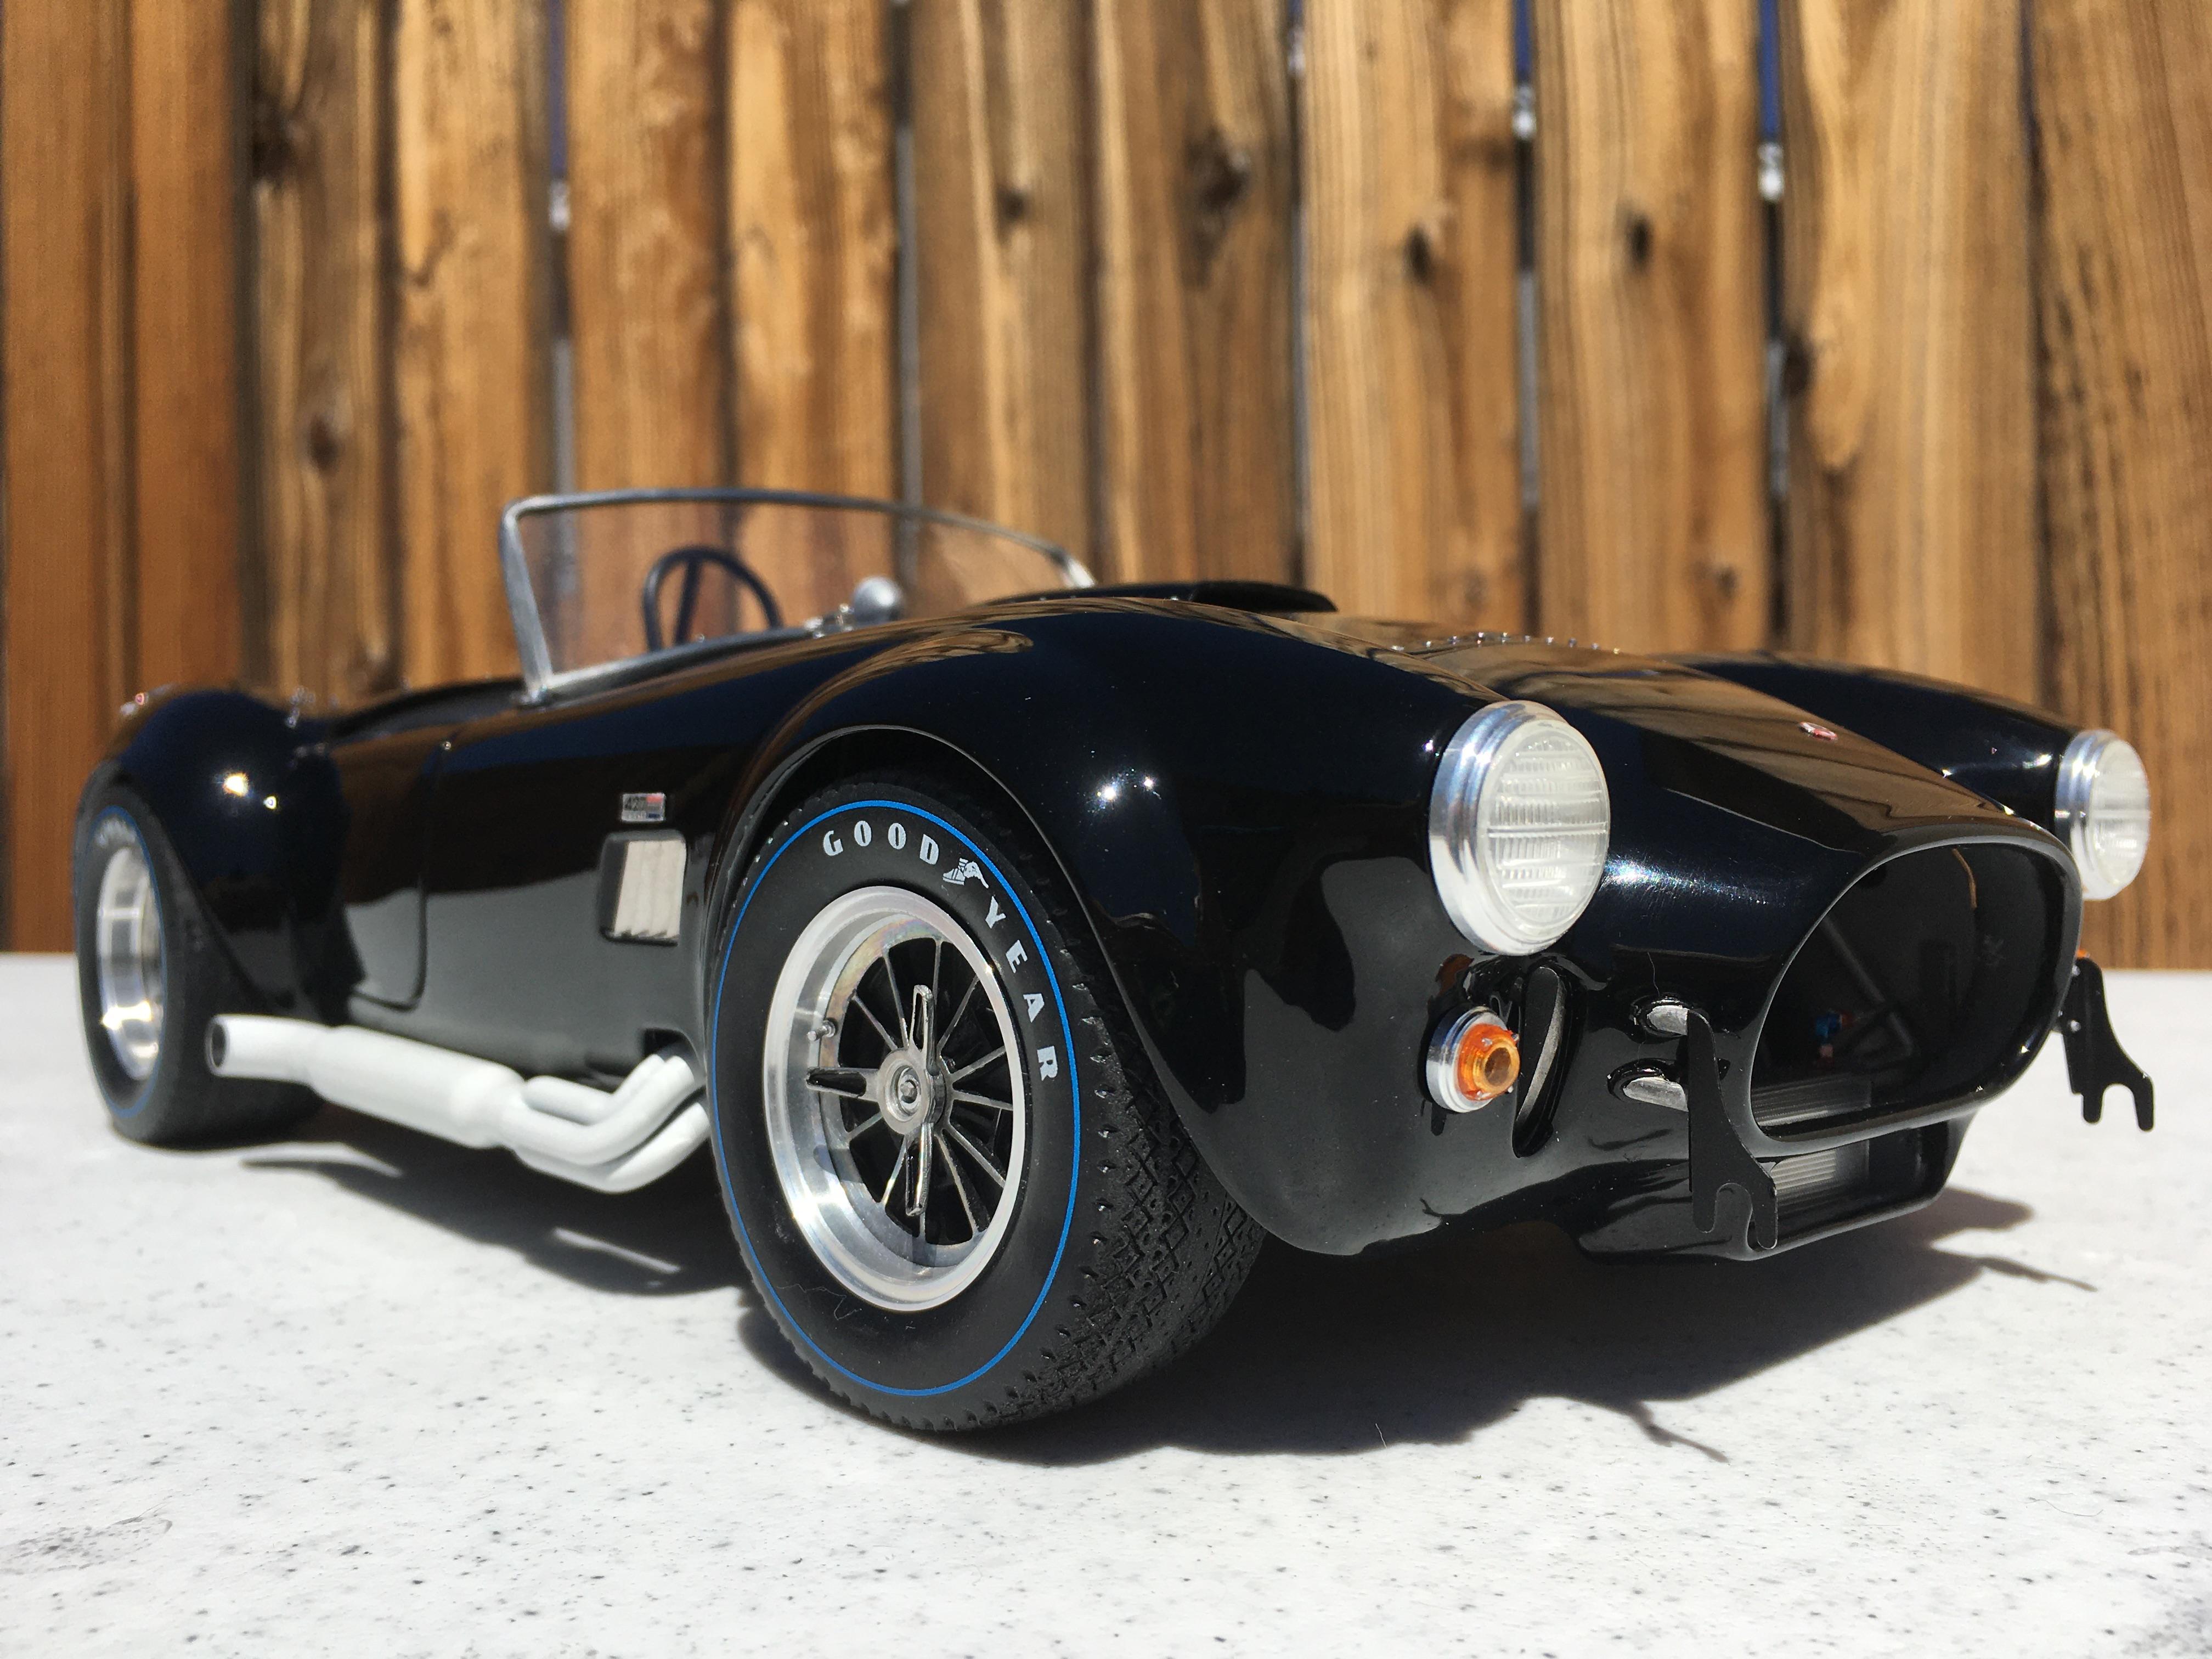
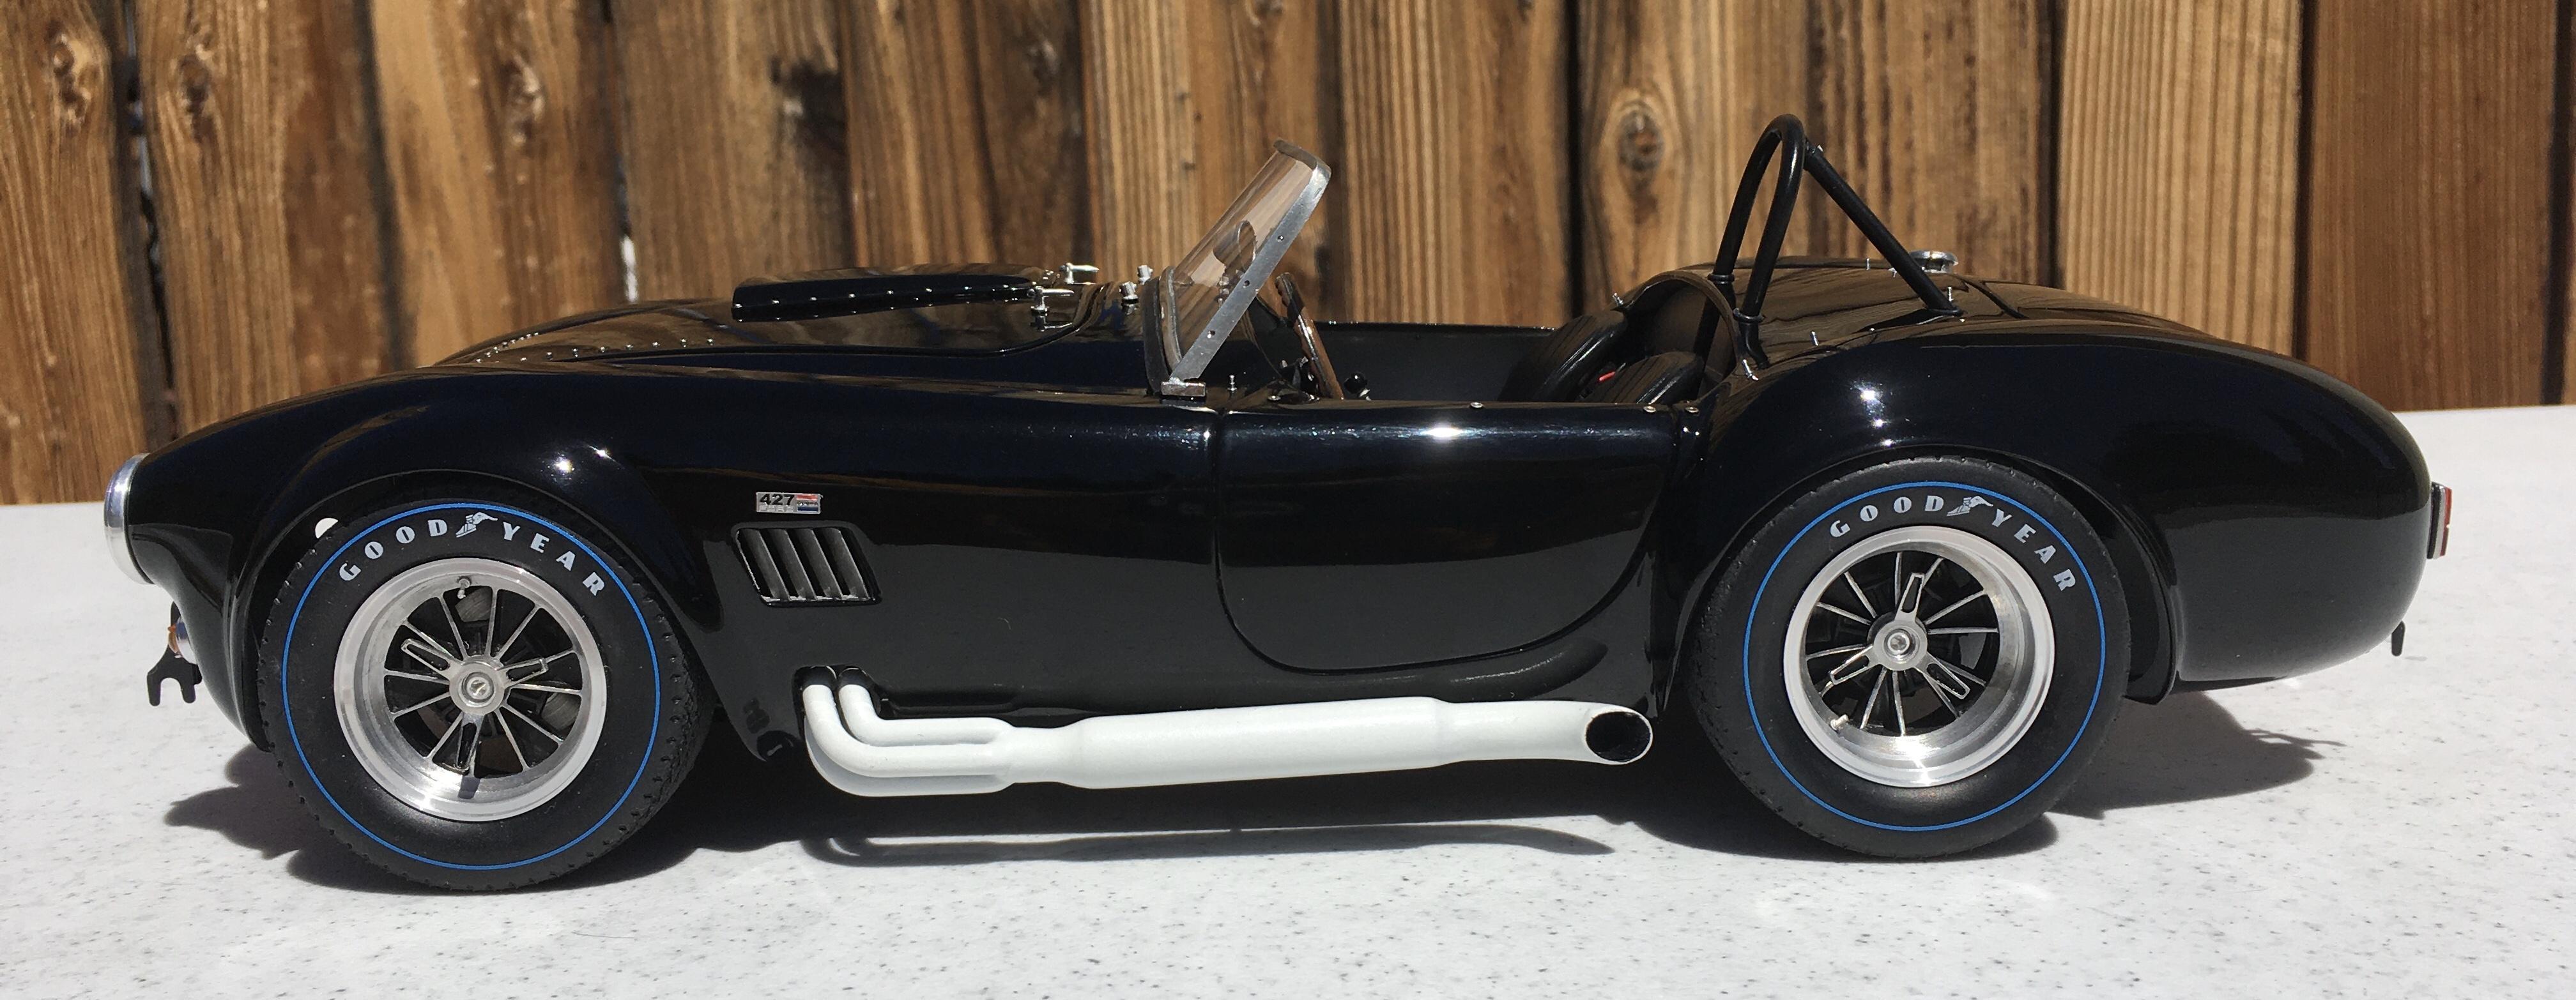
A pic of the year long cobra
-
Thank you Bainford. When my friend Mark started me on model factory hiro kits I did not know if he was a friend or foe( just kidding) but meaning these kits can be so insane, you can spend hours on just one part, but this is why they turn out so well. If you spent that much time on a tamiya kit with aftermarket parts, it would turn out the same way. The only thing is tamiya kits fit so well it’s amazing. With a mfh kit you have to do some or most of the engineering. They give you the detail parts and if you open the box most modelers would say what the heck? It’s overwhelming to say the least . My first mfh kit was the Ferrari p4. Boy what a challenge. Just saying these kits are very very challenging. And do not be afraid to modify a part to fit. Because you usually do. My side pipes and body are extremely modified to fit. It drives you crazy. I’m insane so it fits my personality but it would drive a normal person to a psychologist. Chris Smith and I joke about it all the time. Oh and don’t get me started on the extra tools needed. Holy cow that was a whole new thing. I would have to borrow Marks tools when I first started. Now I have all of them but that was a expensive thing also. Anyway I do not want to discourage you but if you buy a kit, just expect it’s going to be a totally different experience. And you need a ALOT Of time. My one 1/12 cobra took a whole year to build. But it was worth it.
-
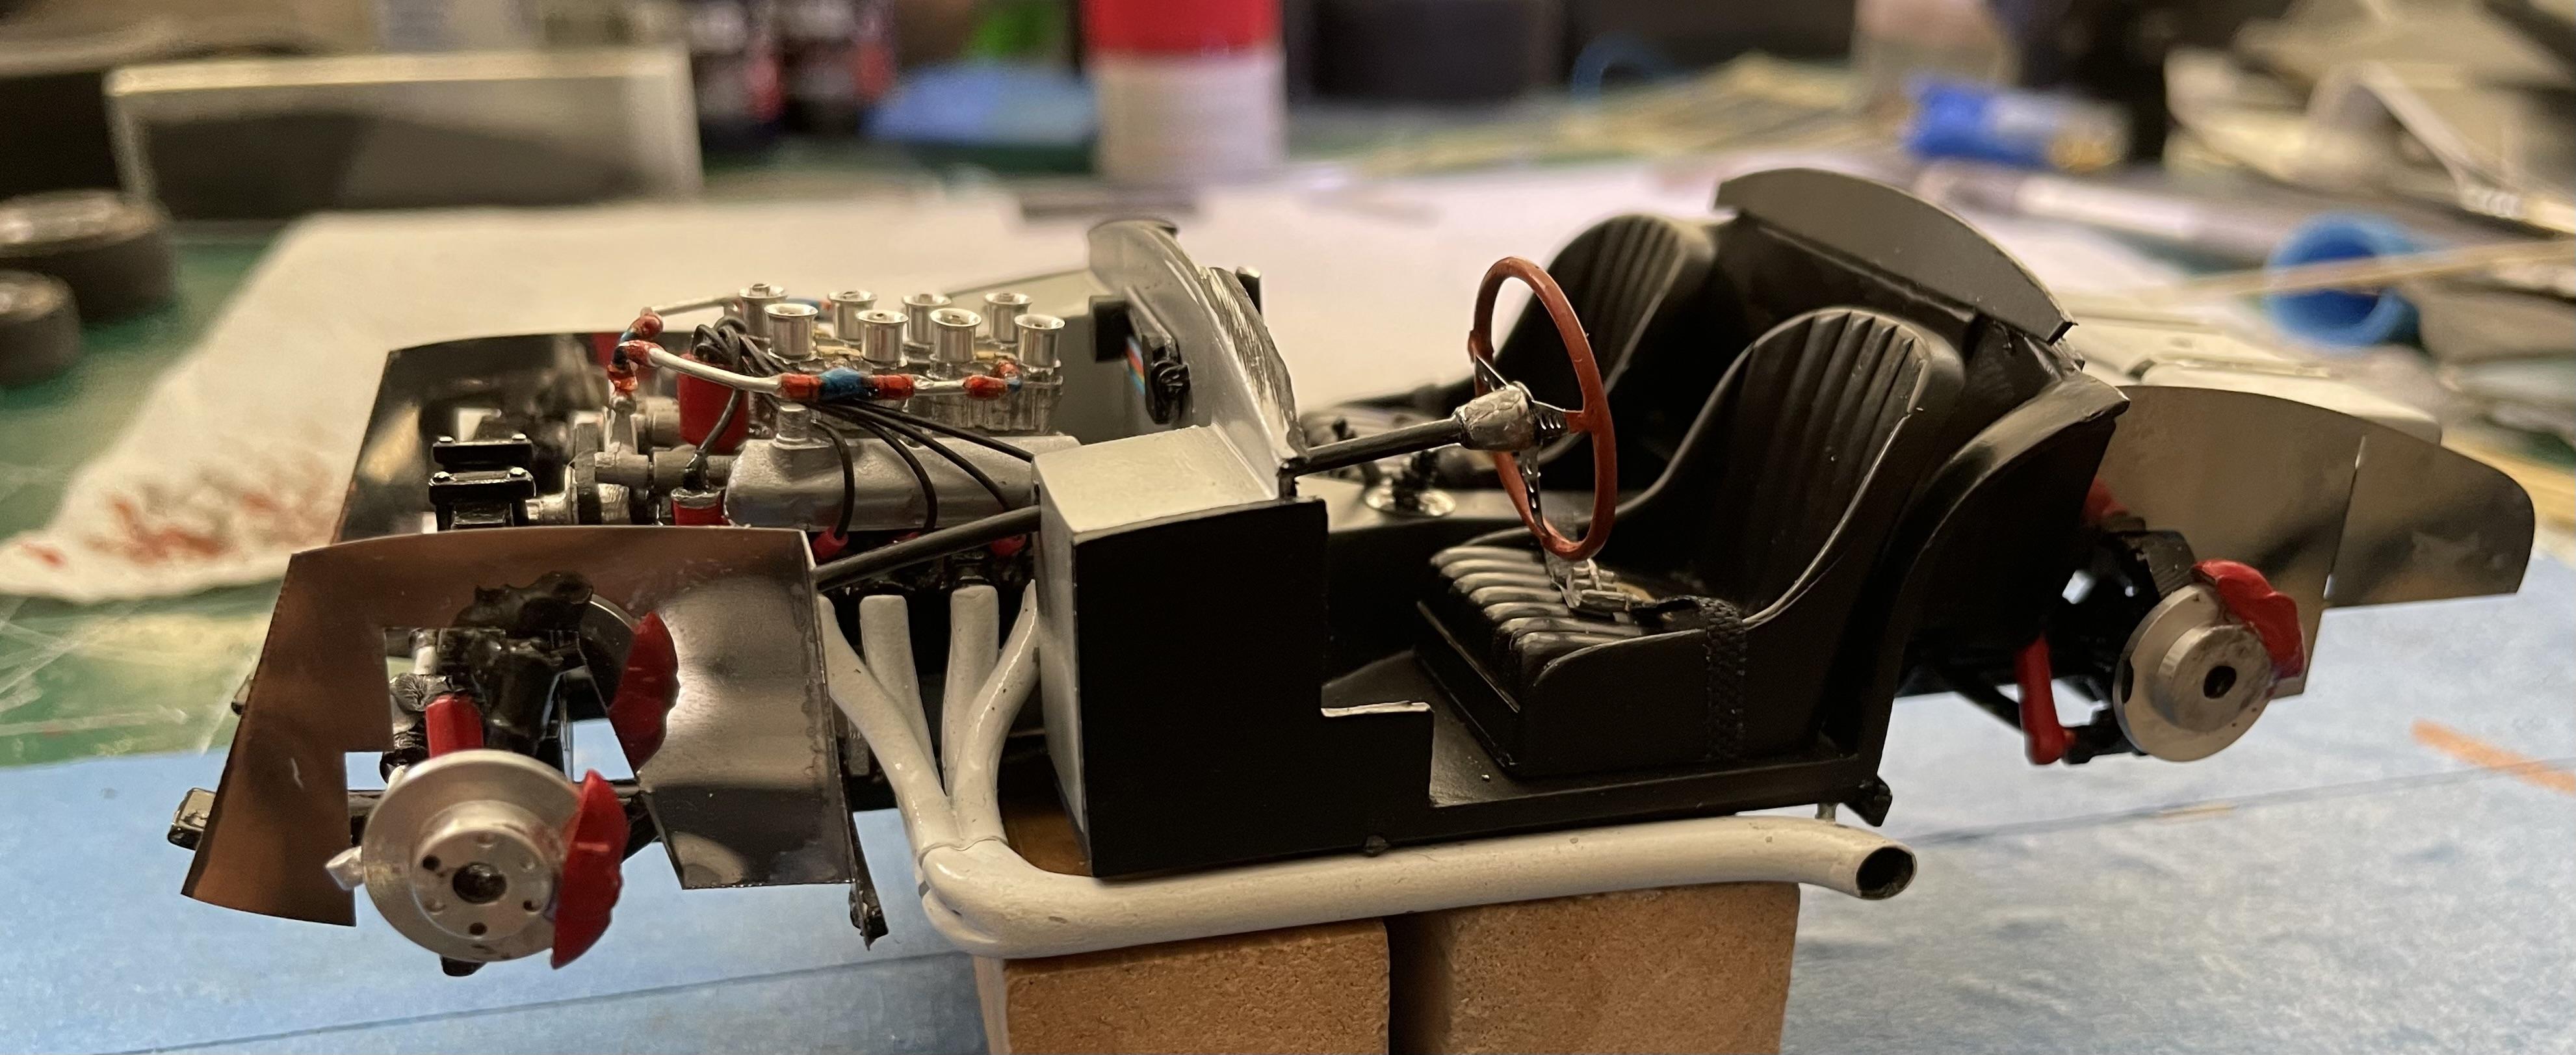
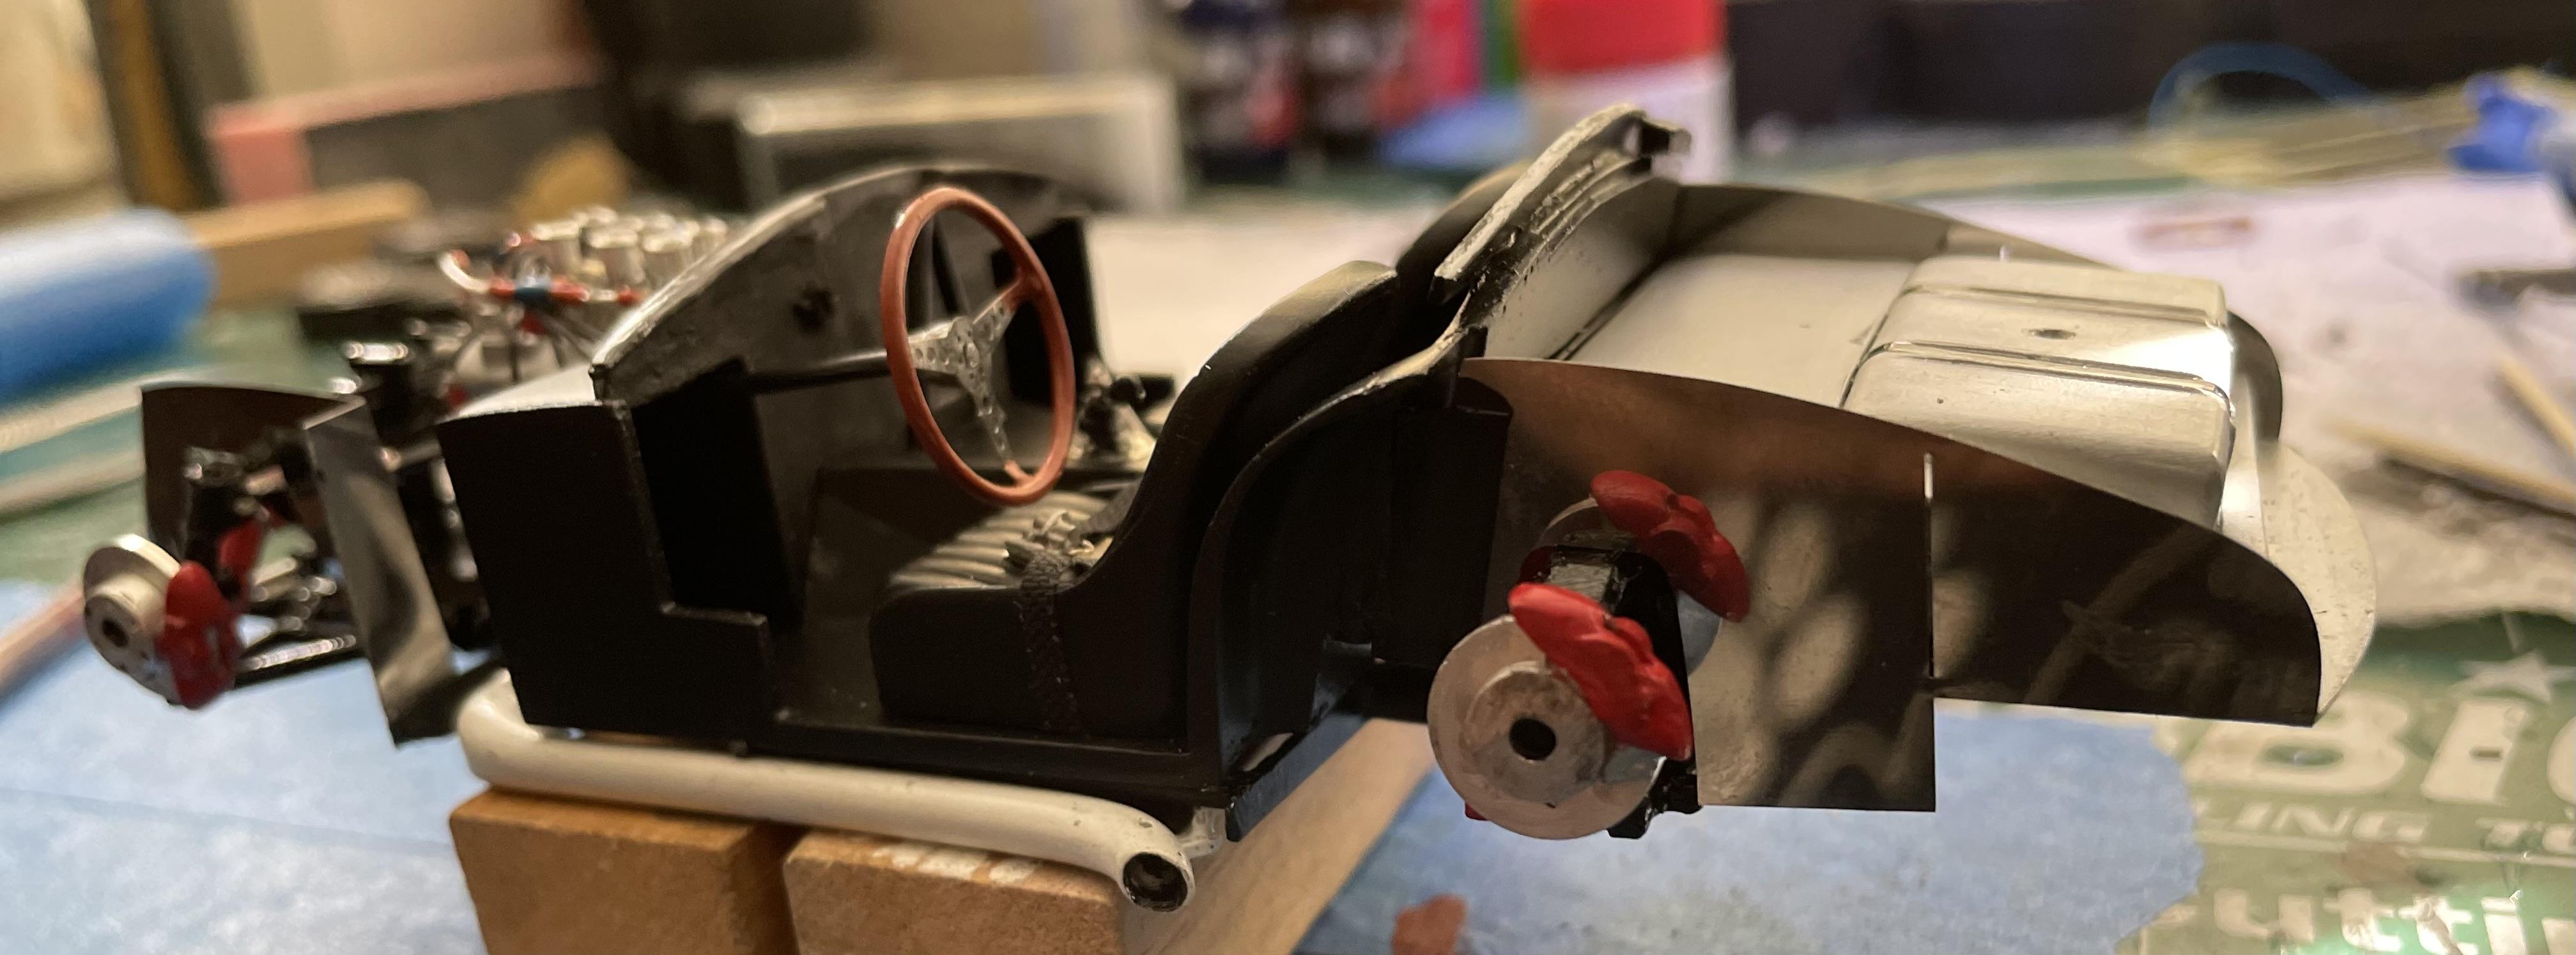
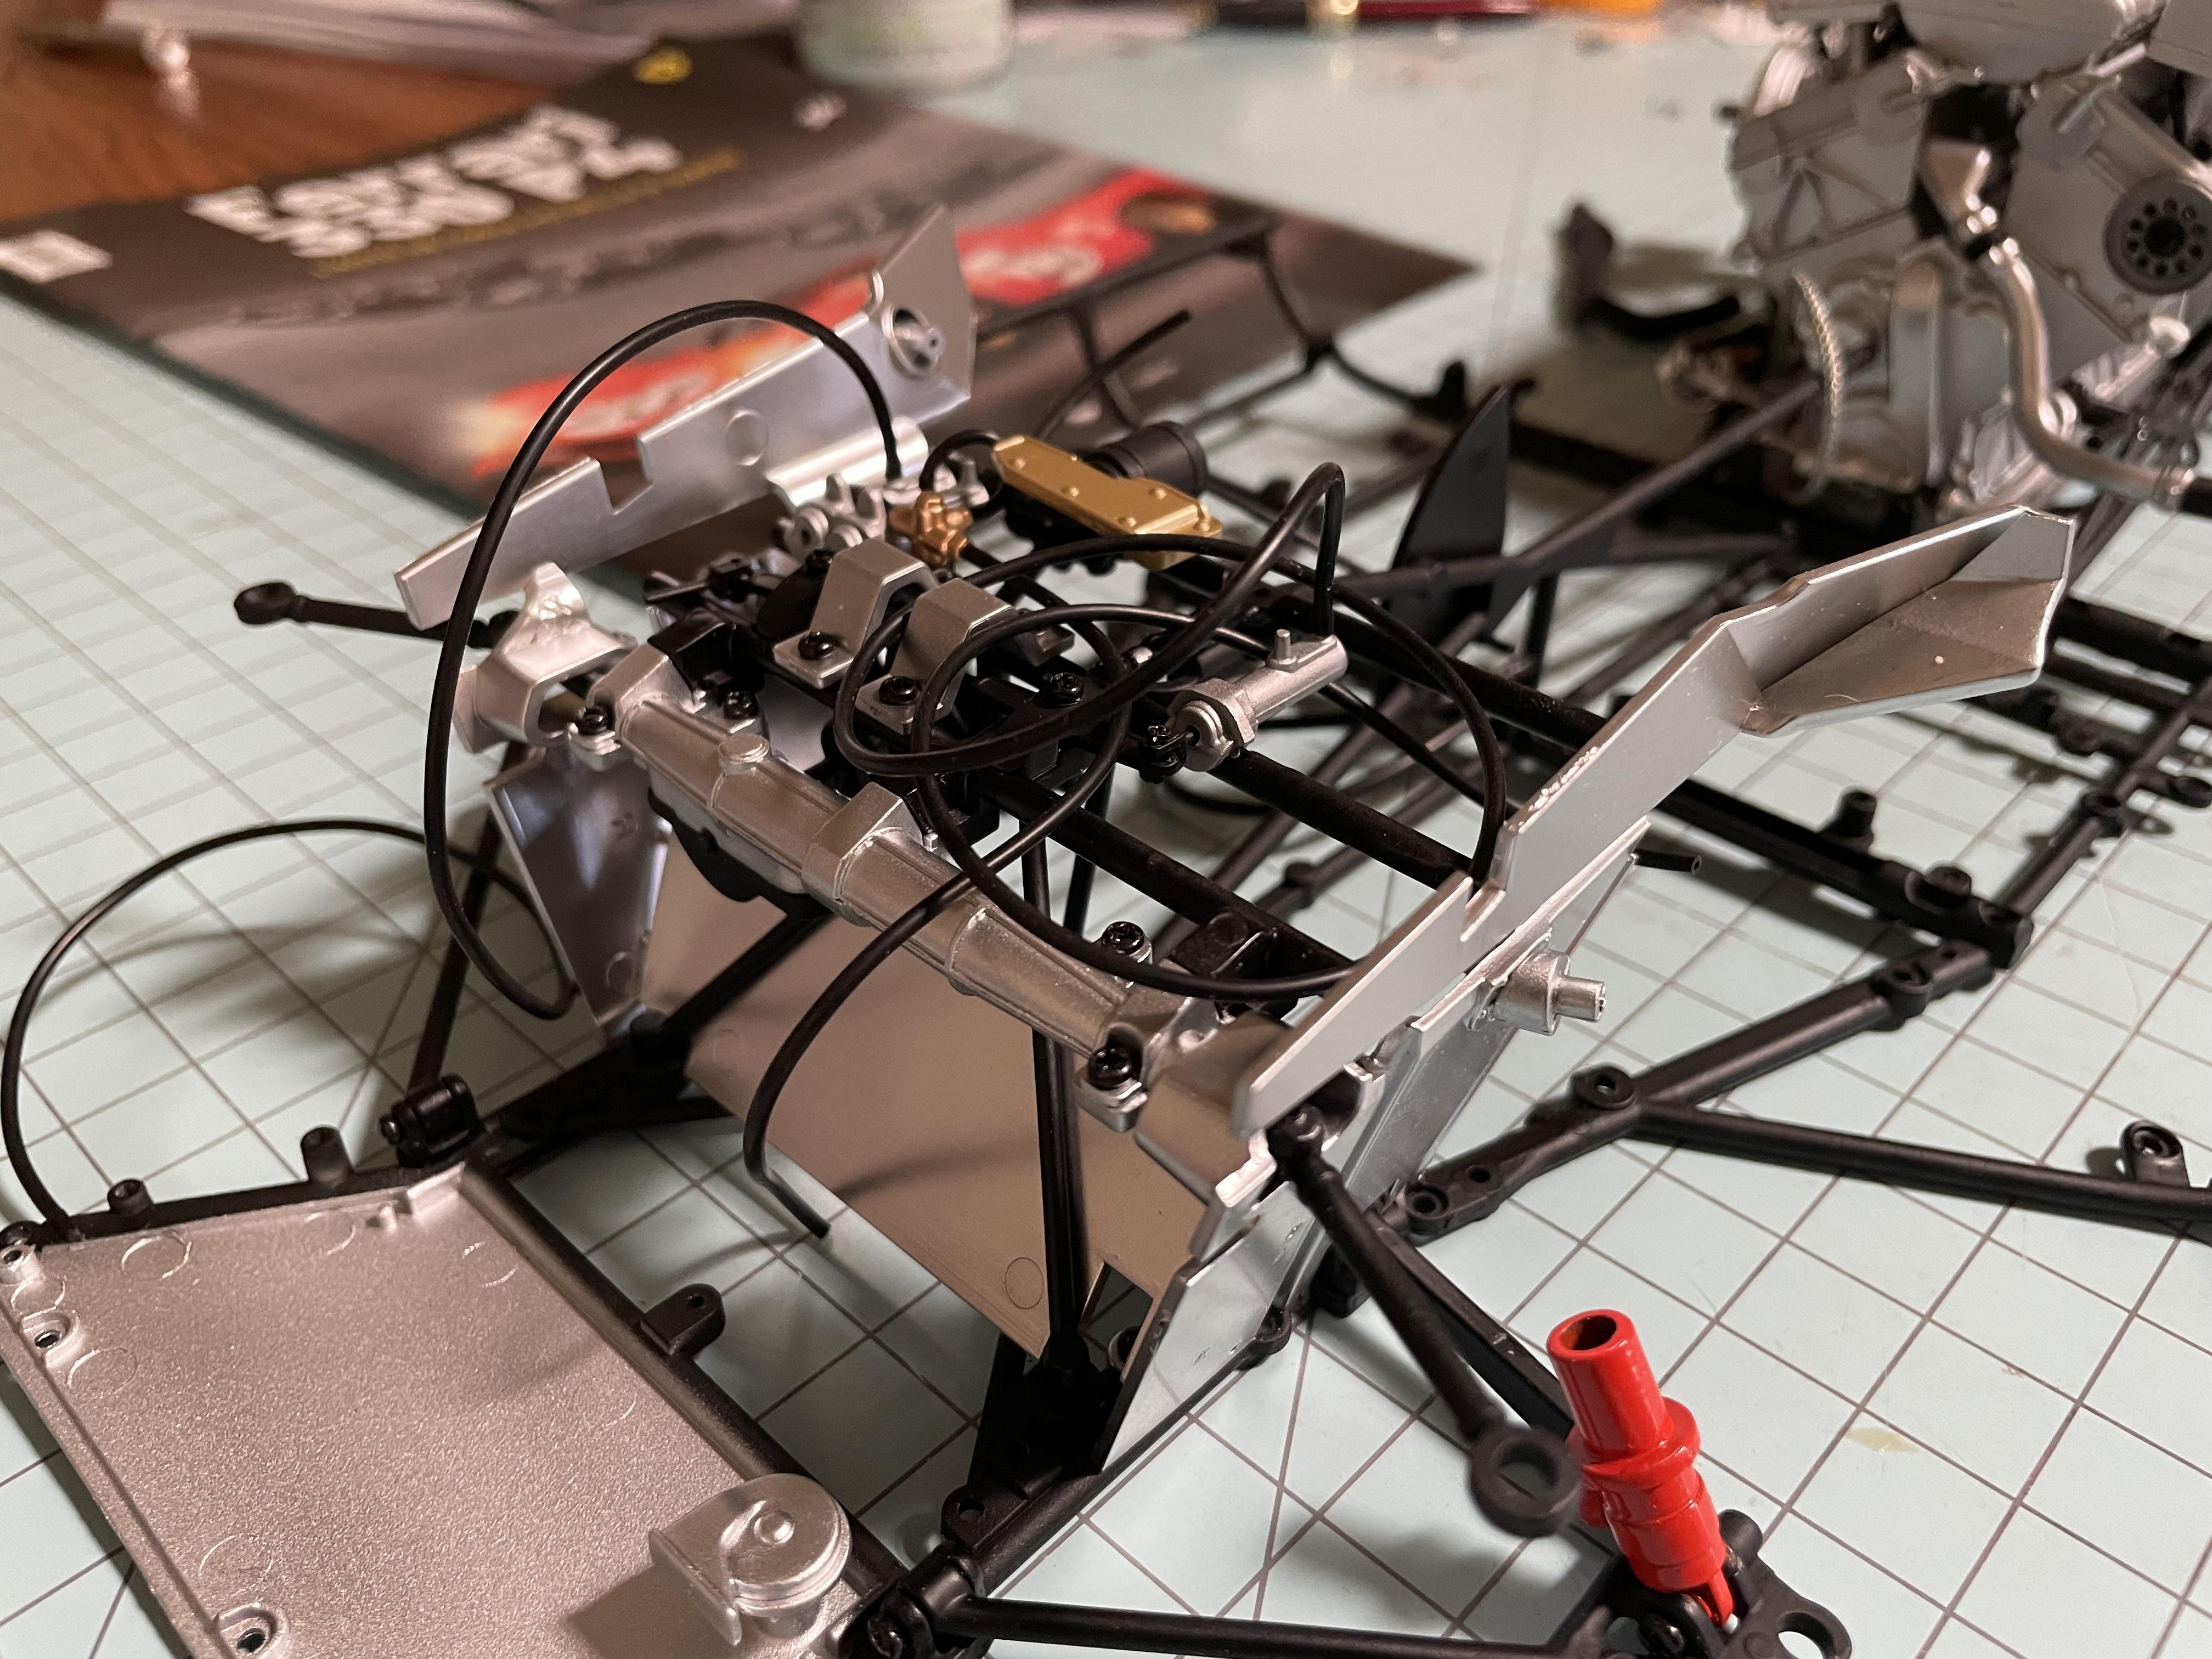
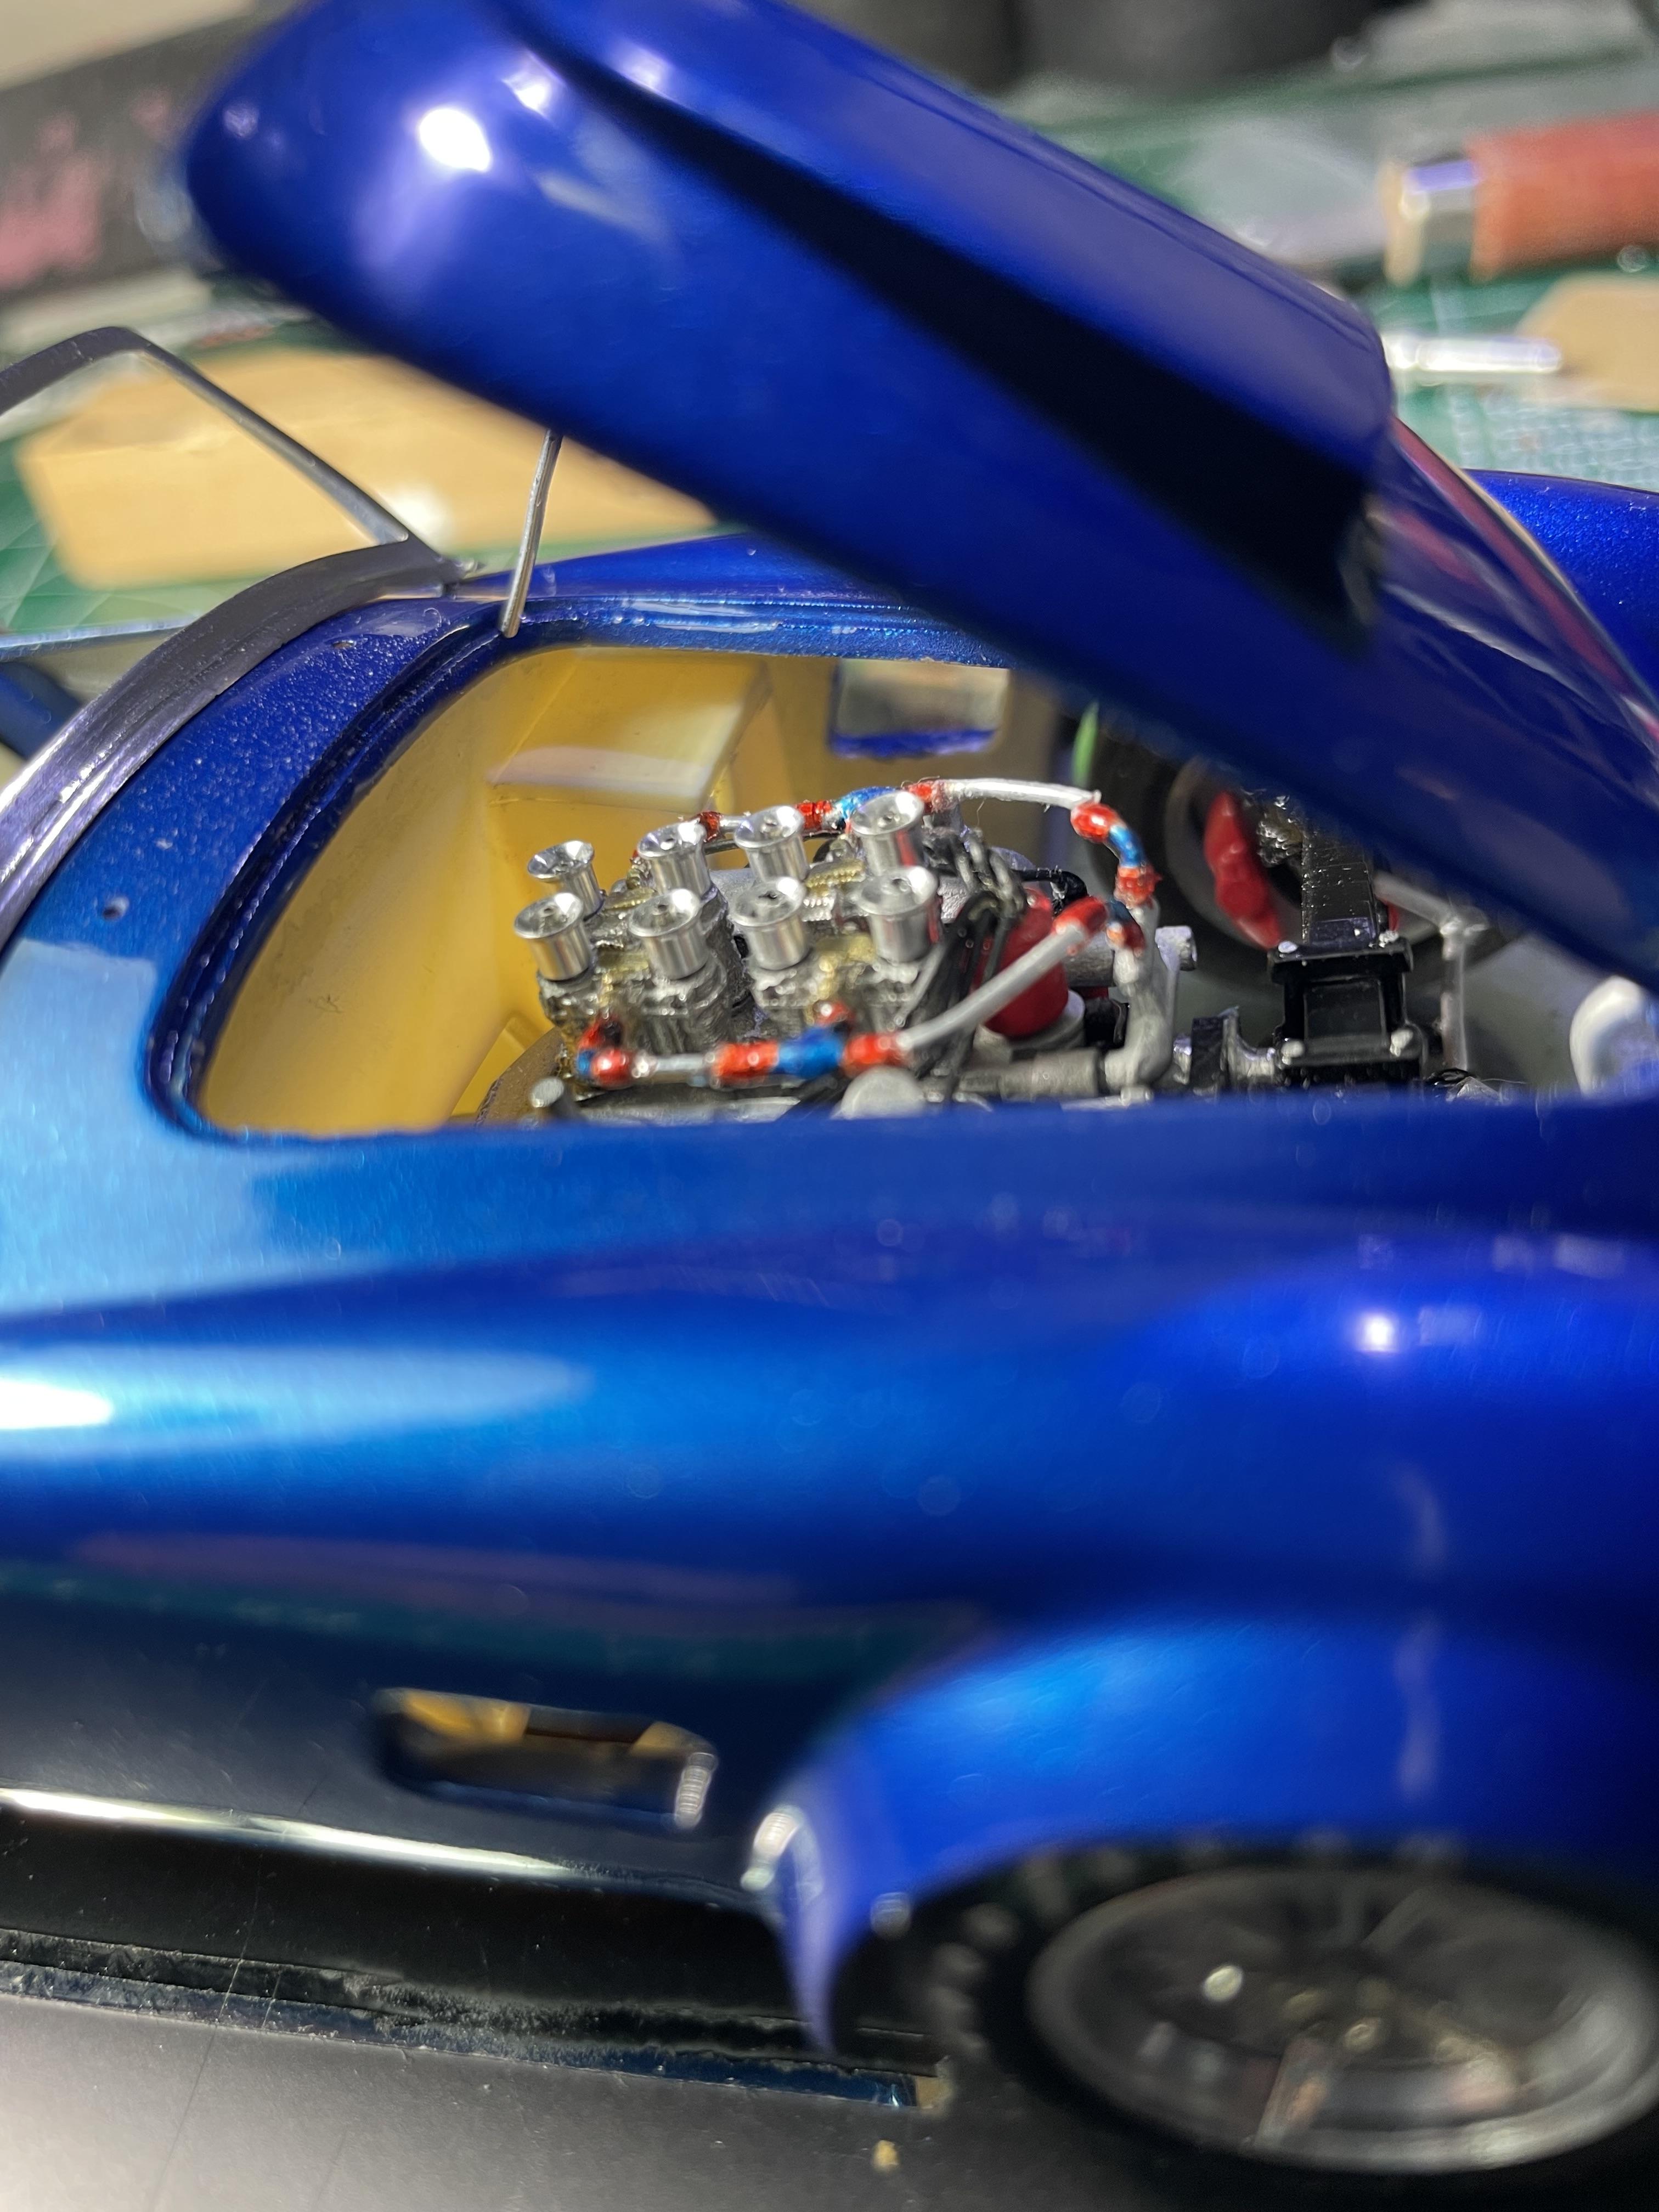
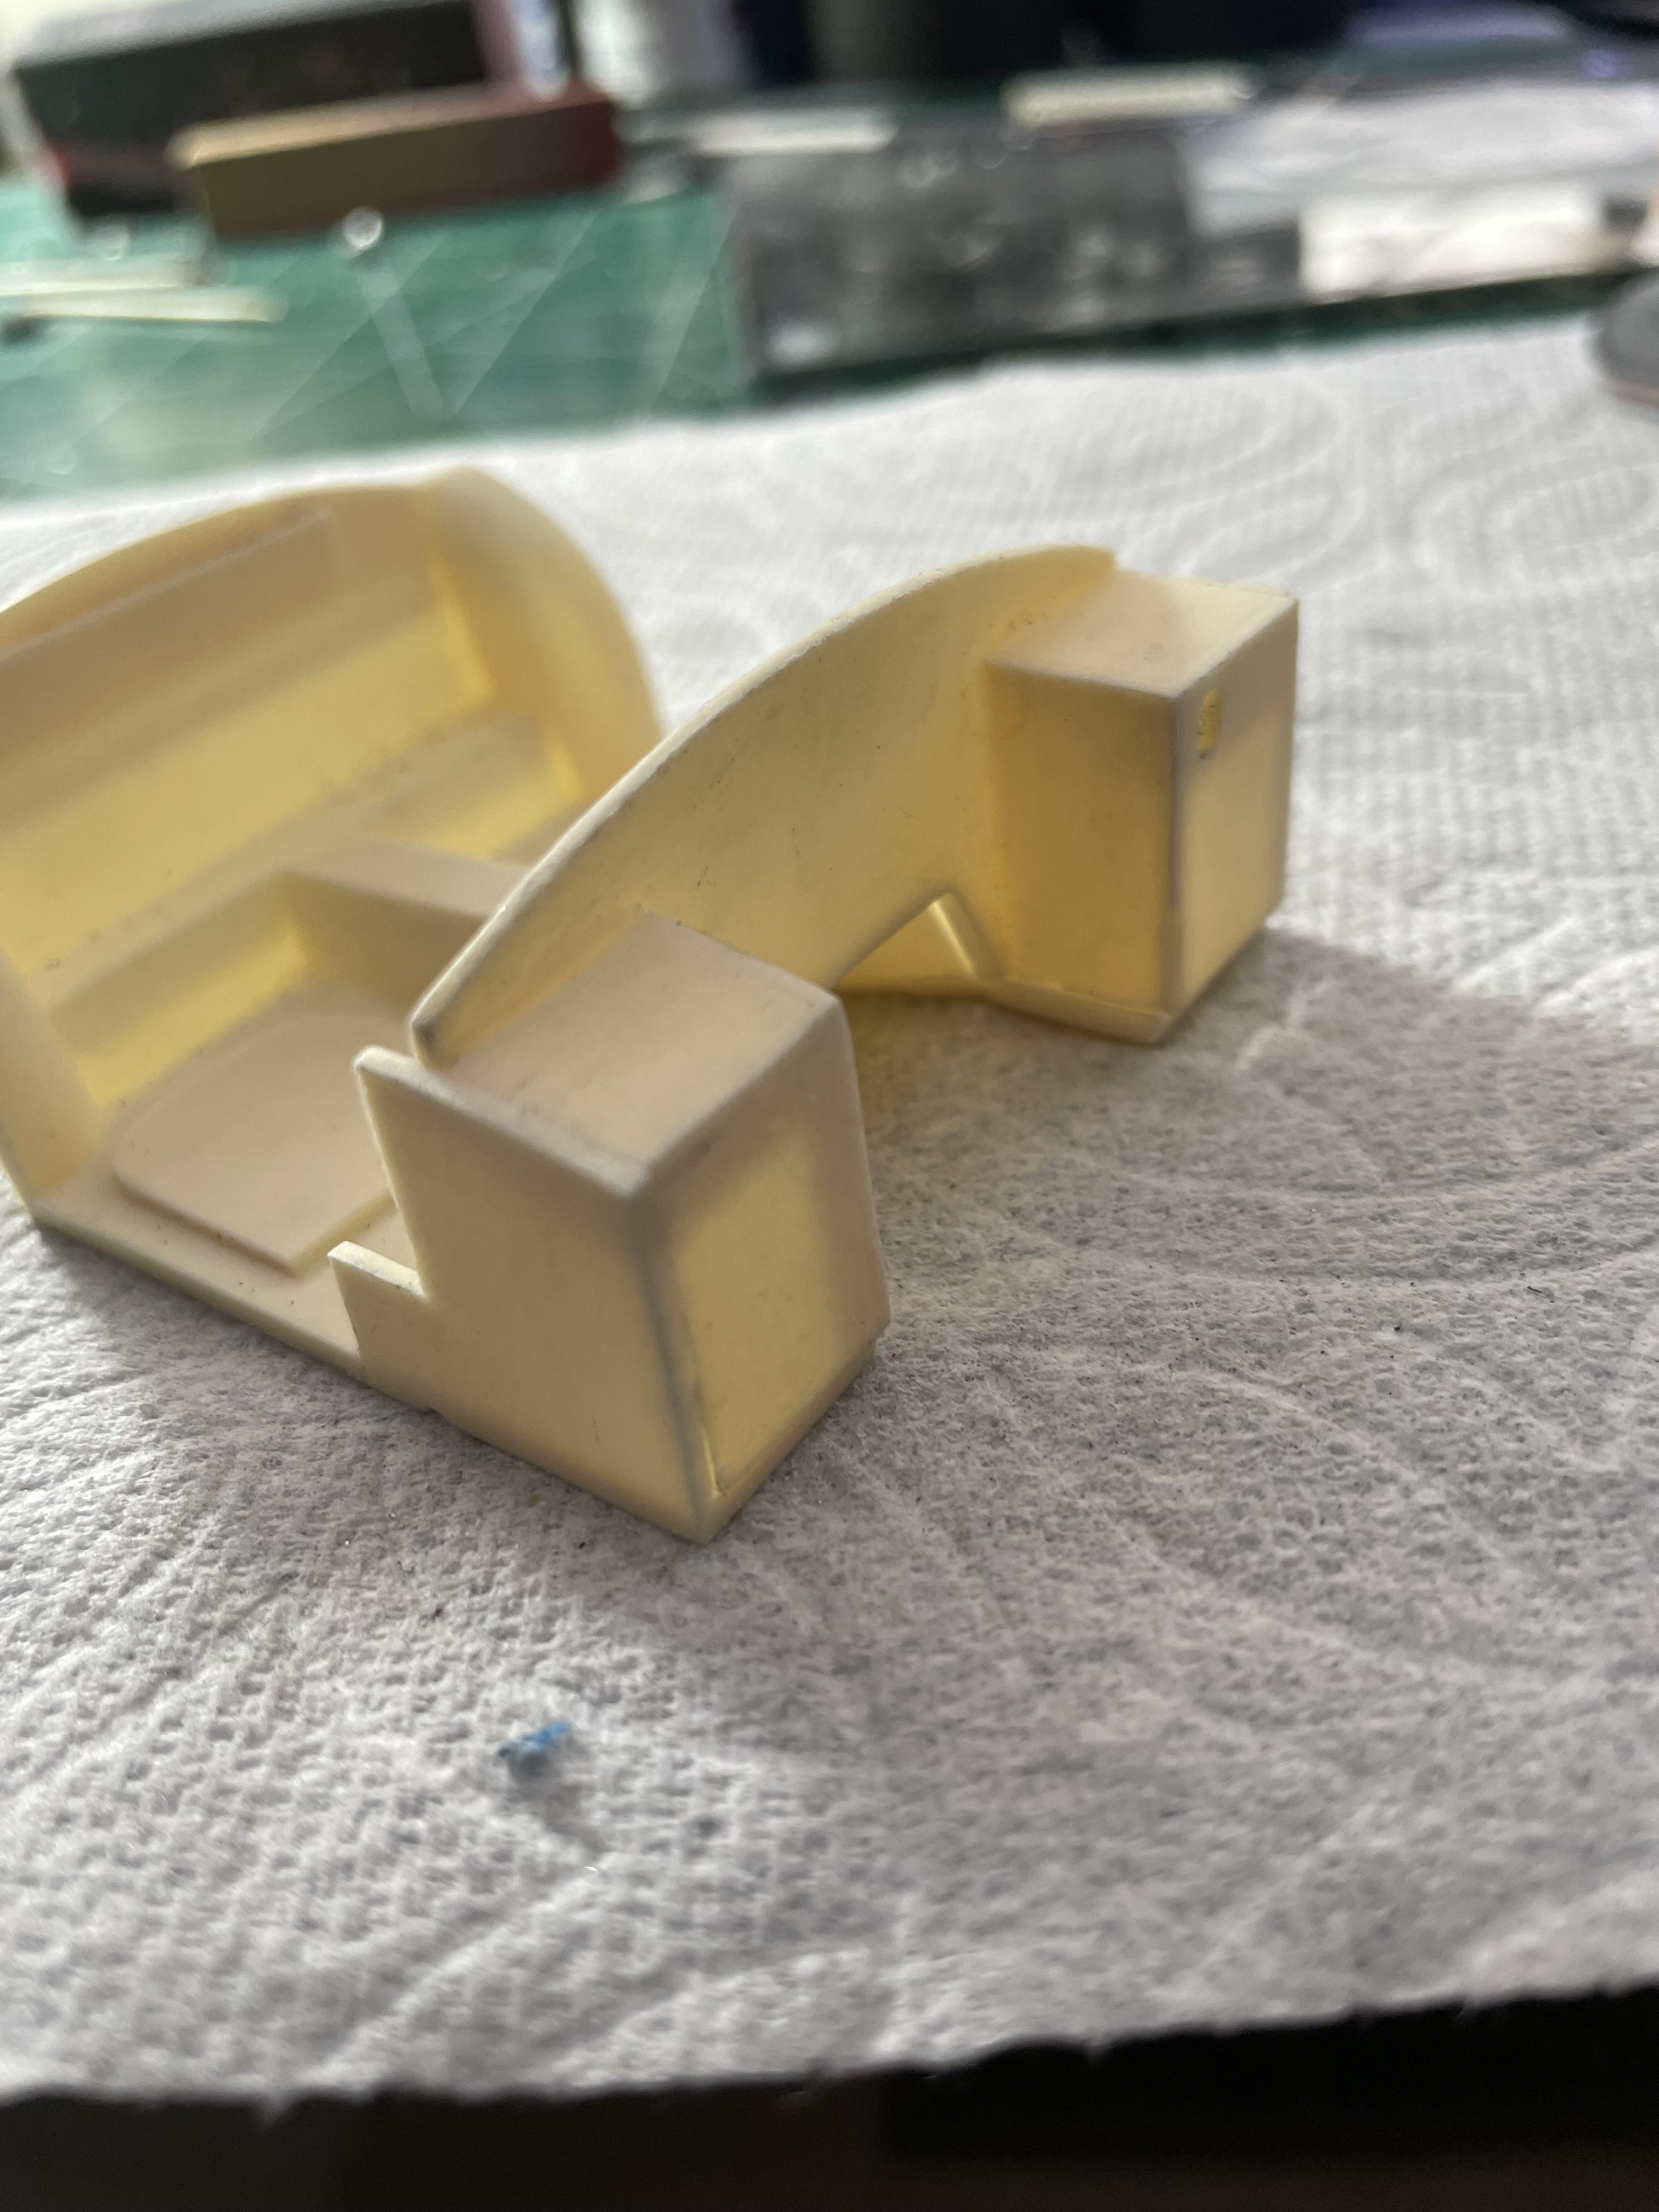
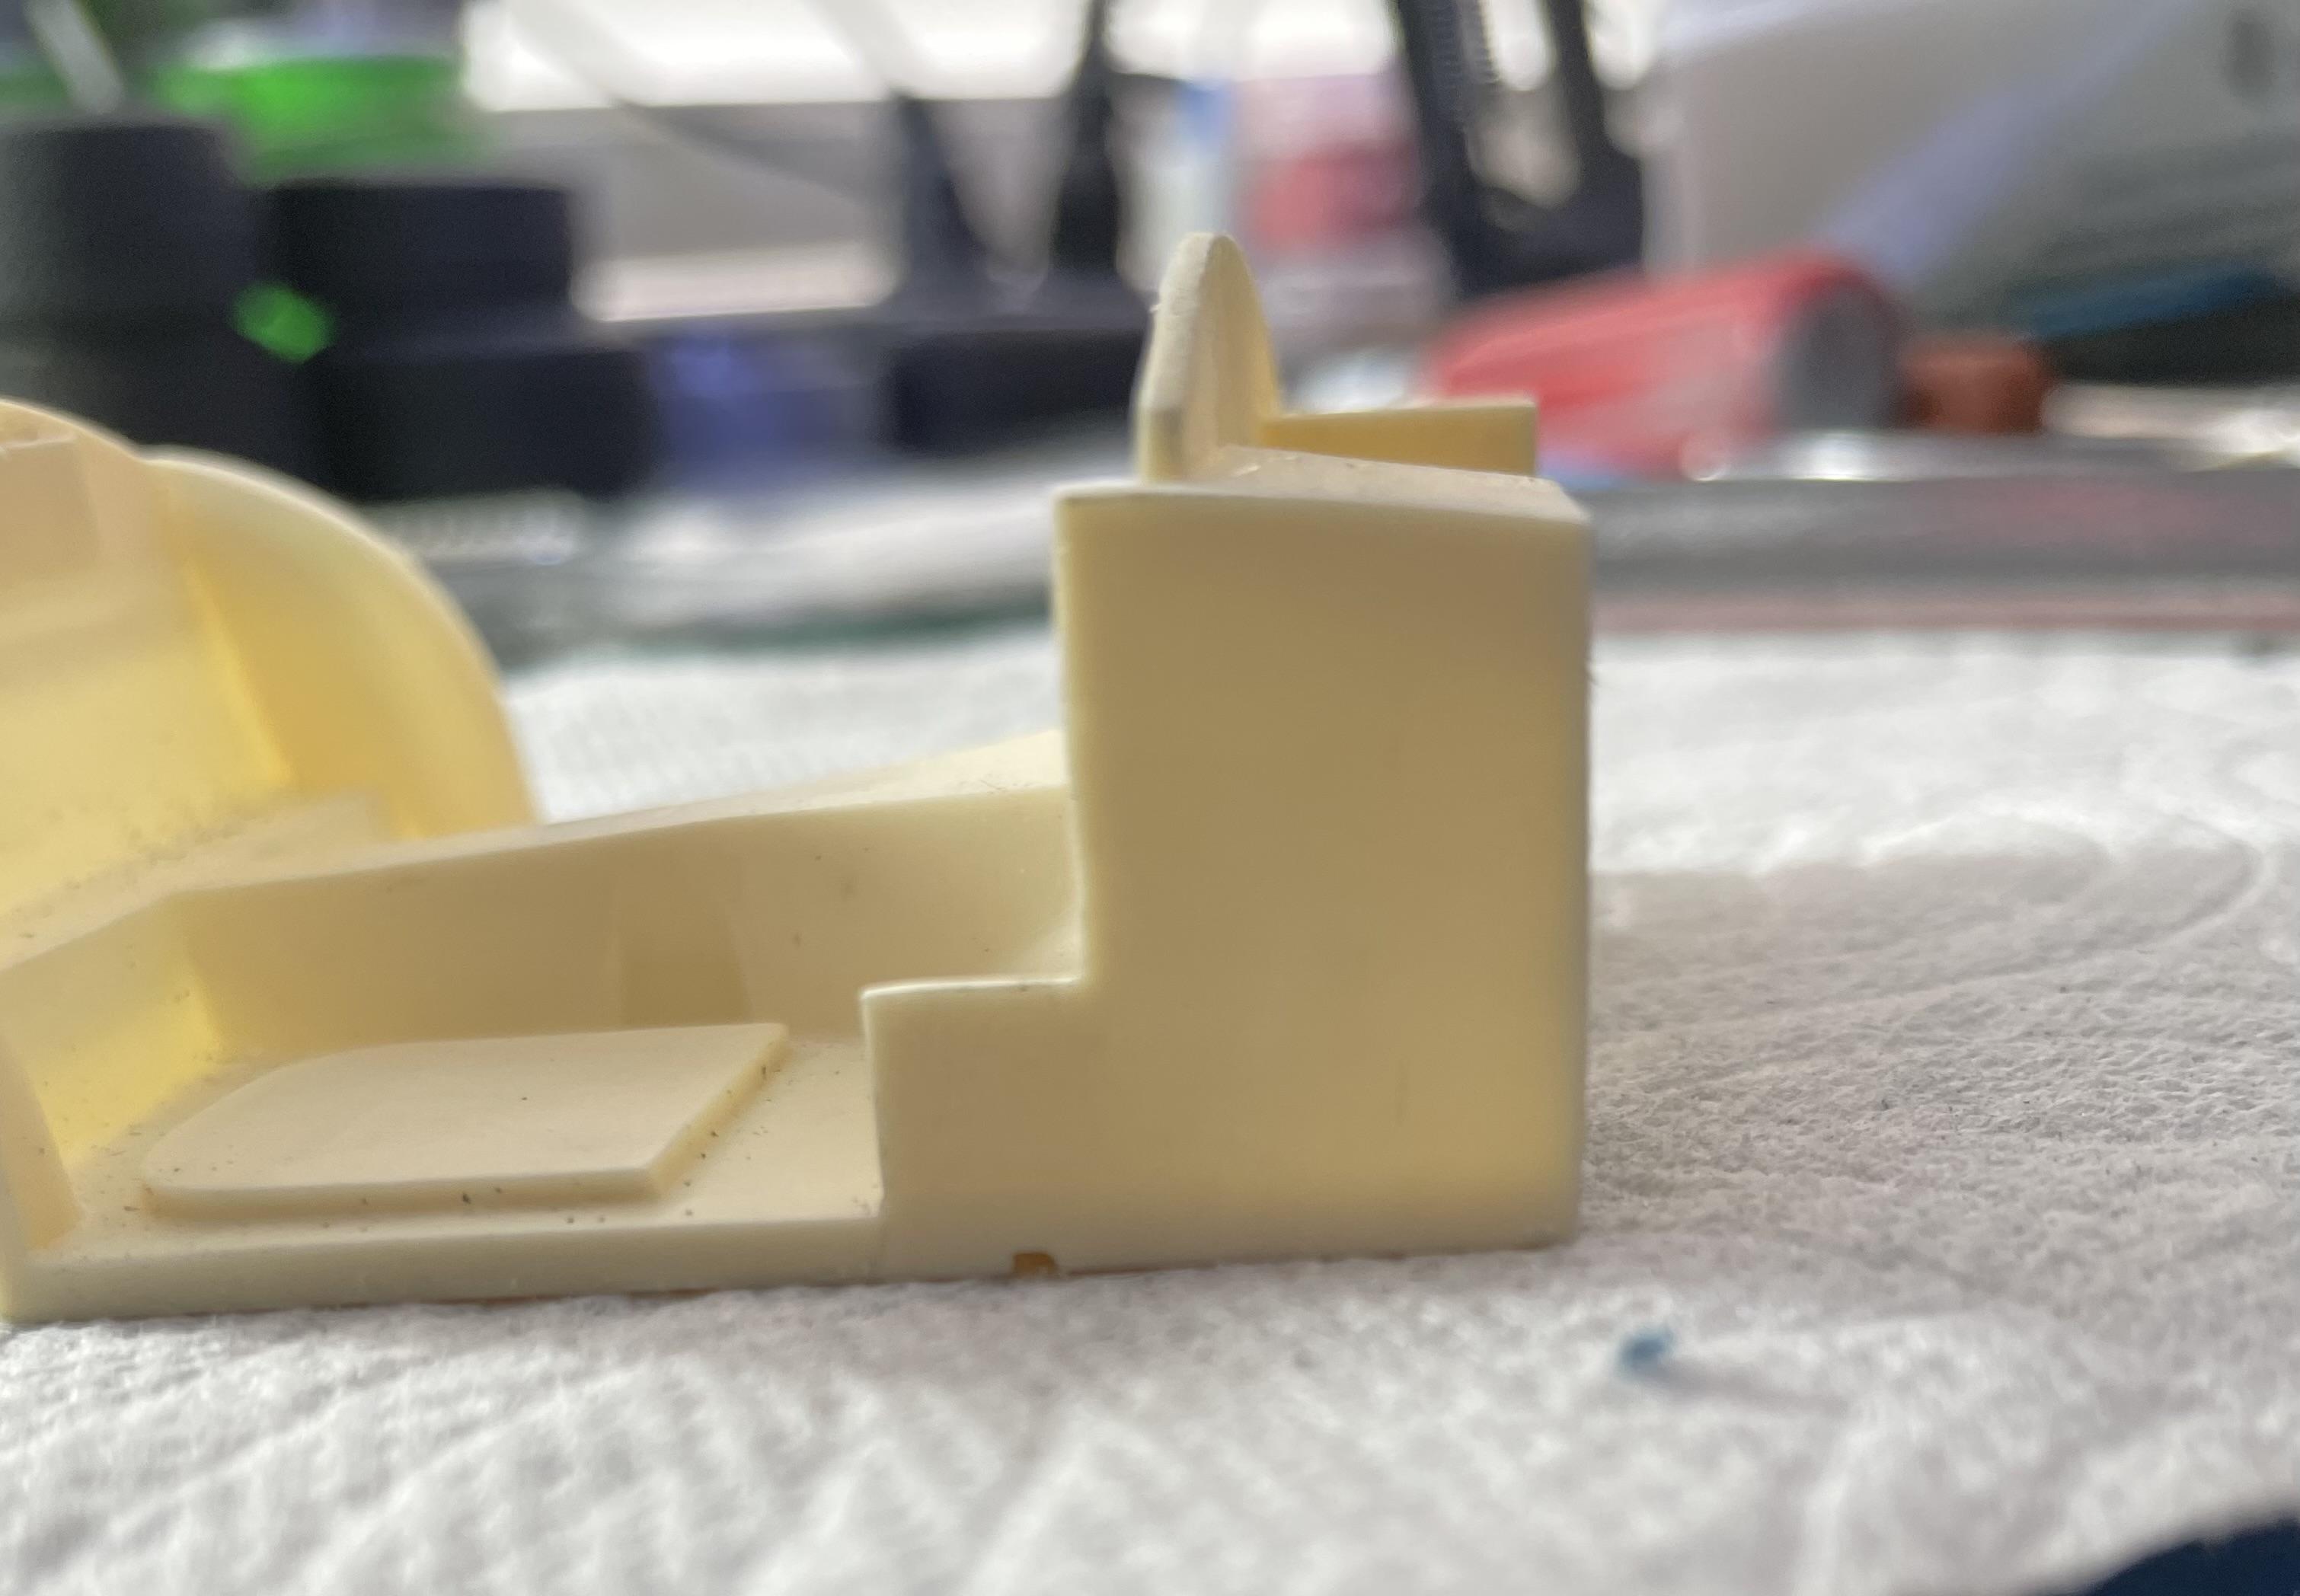
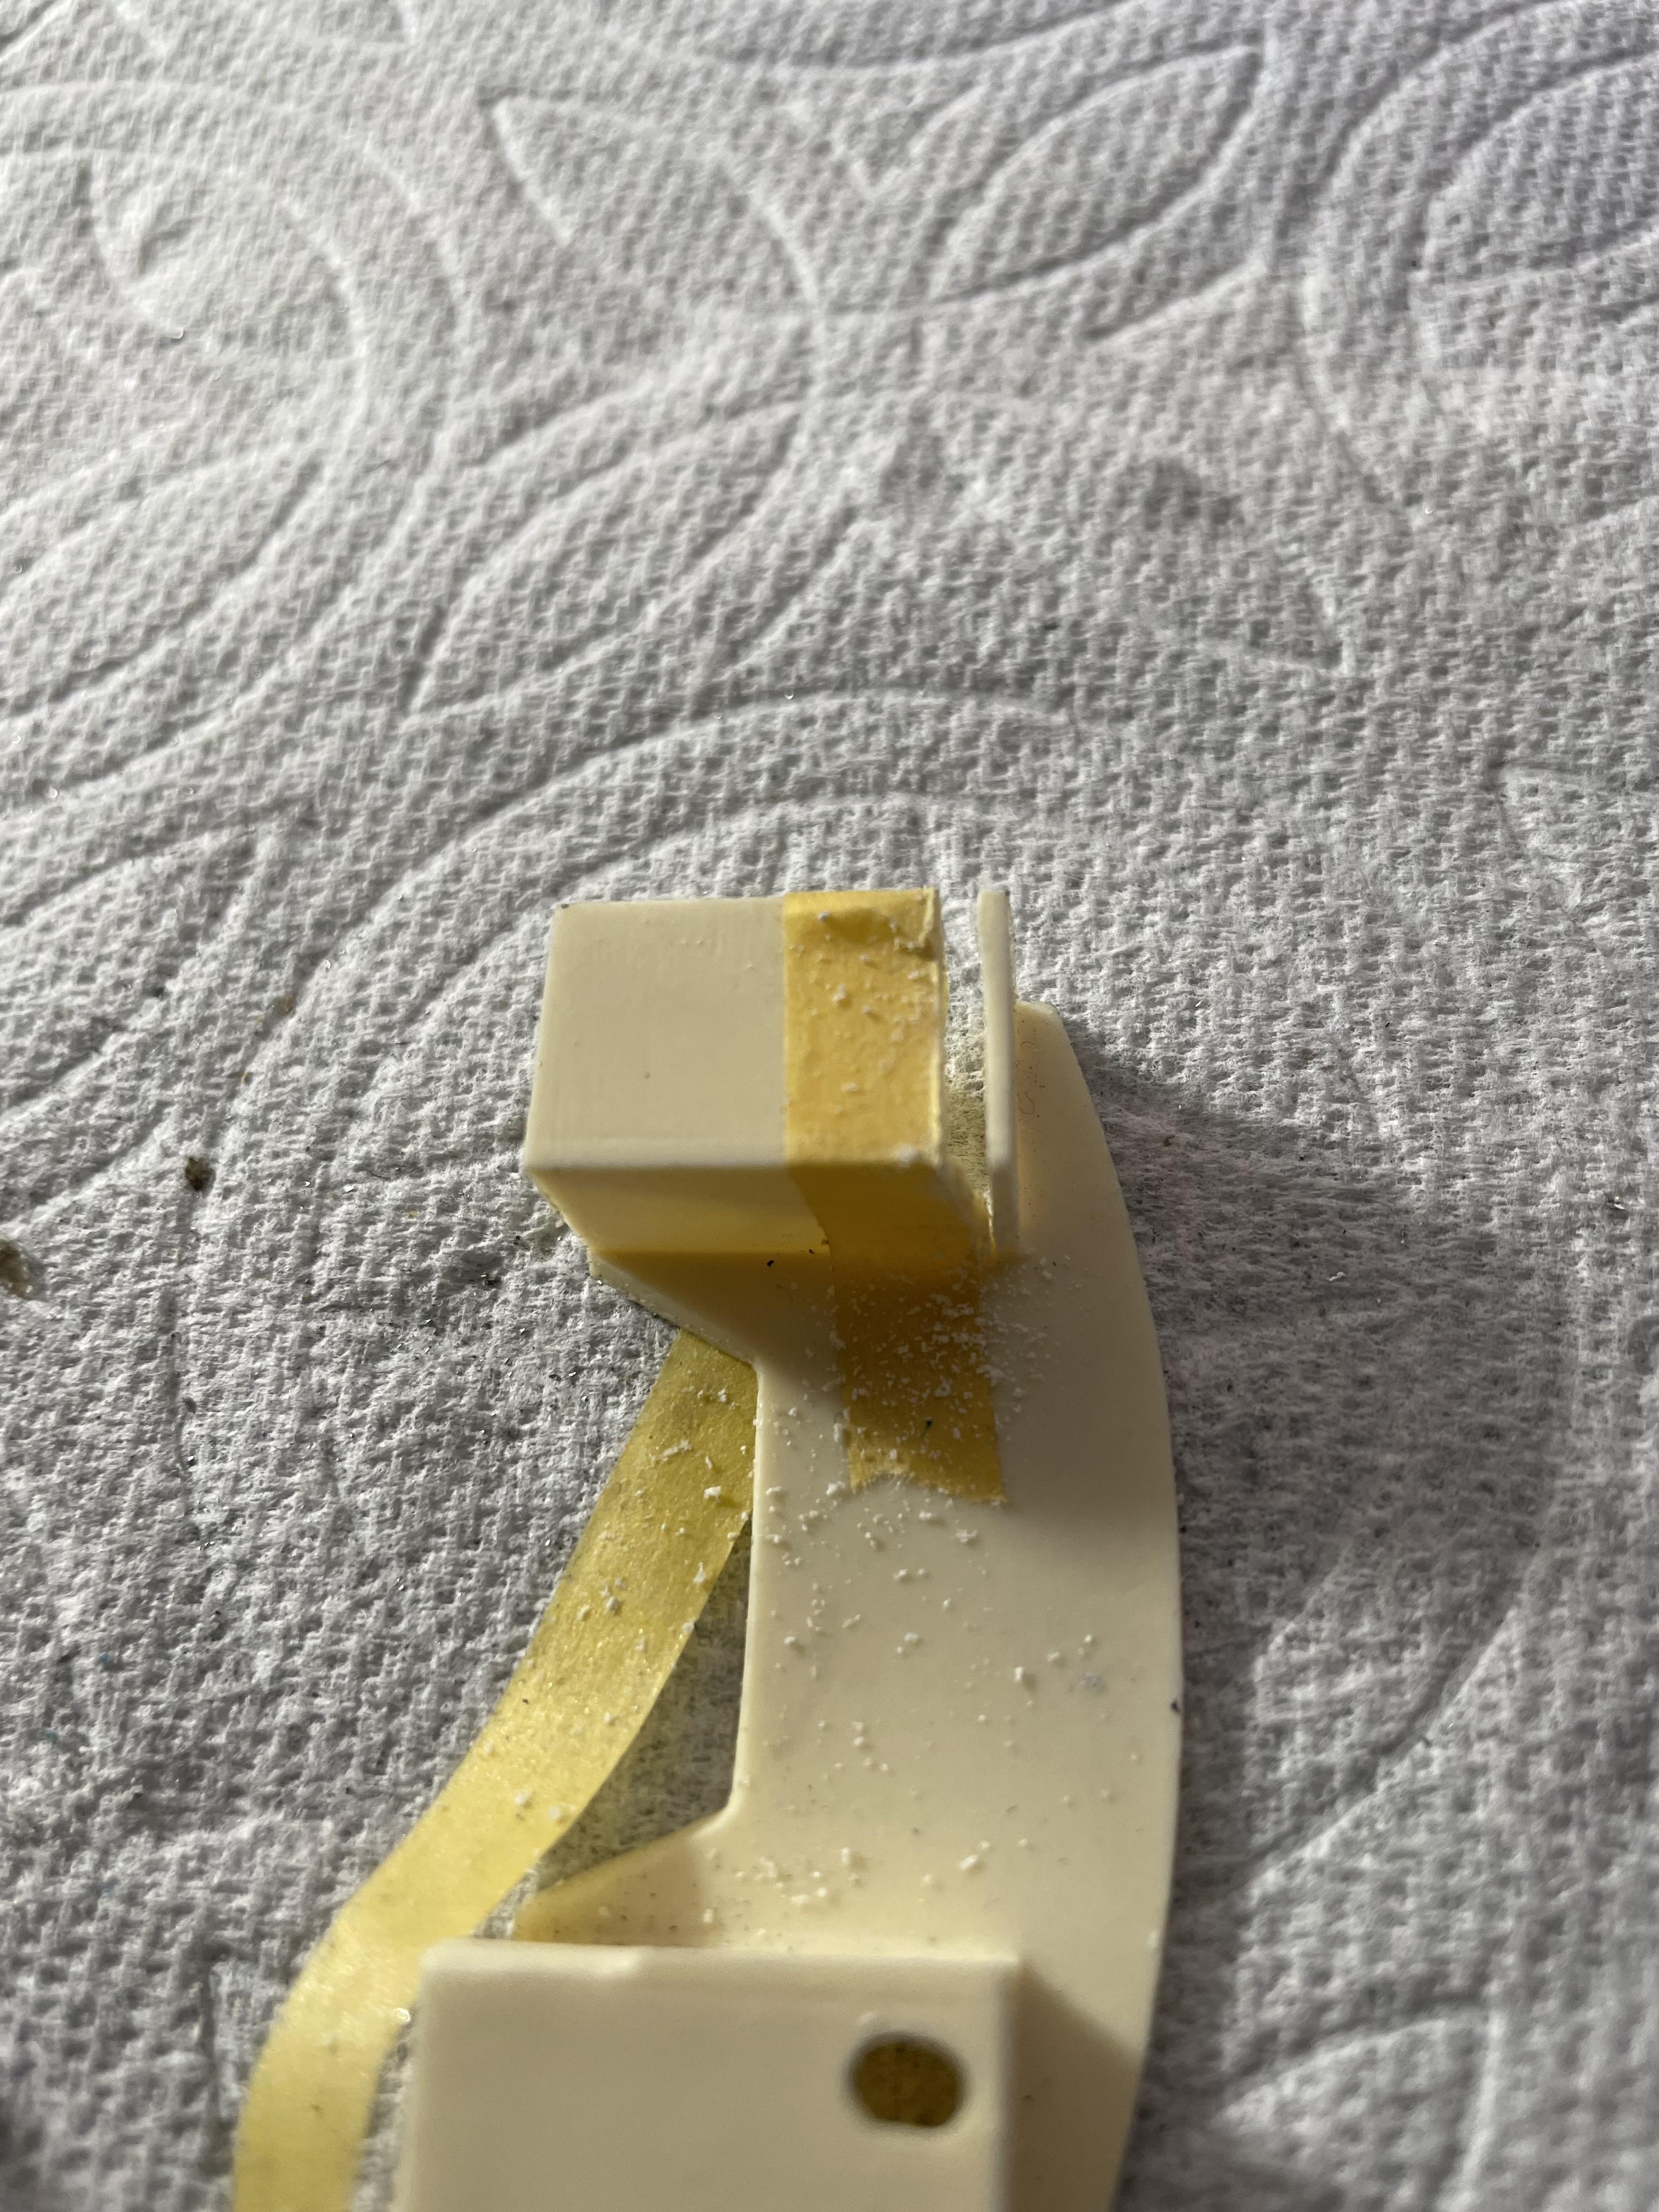
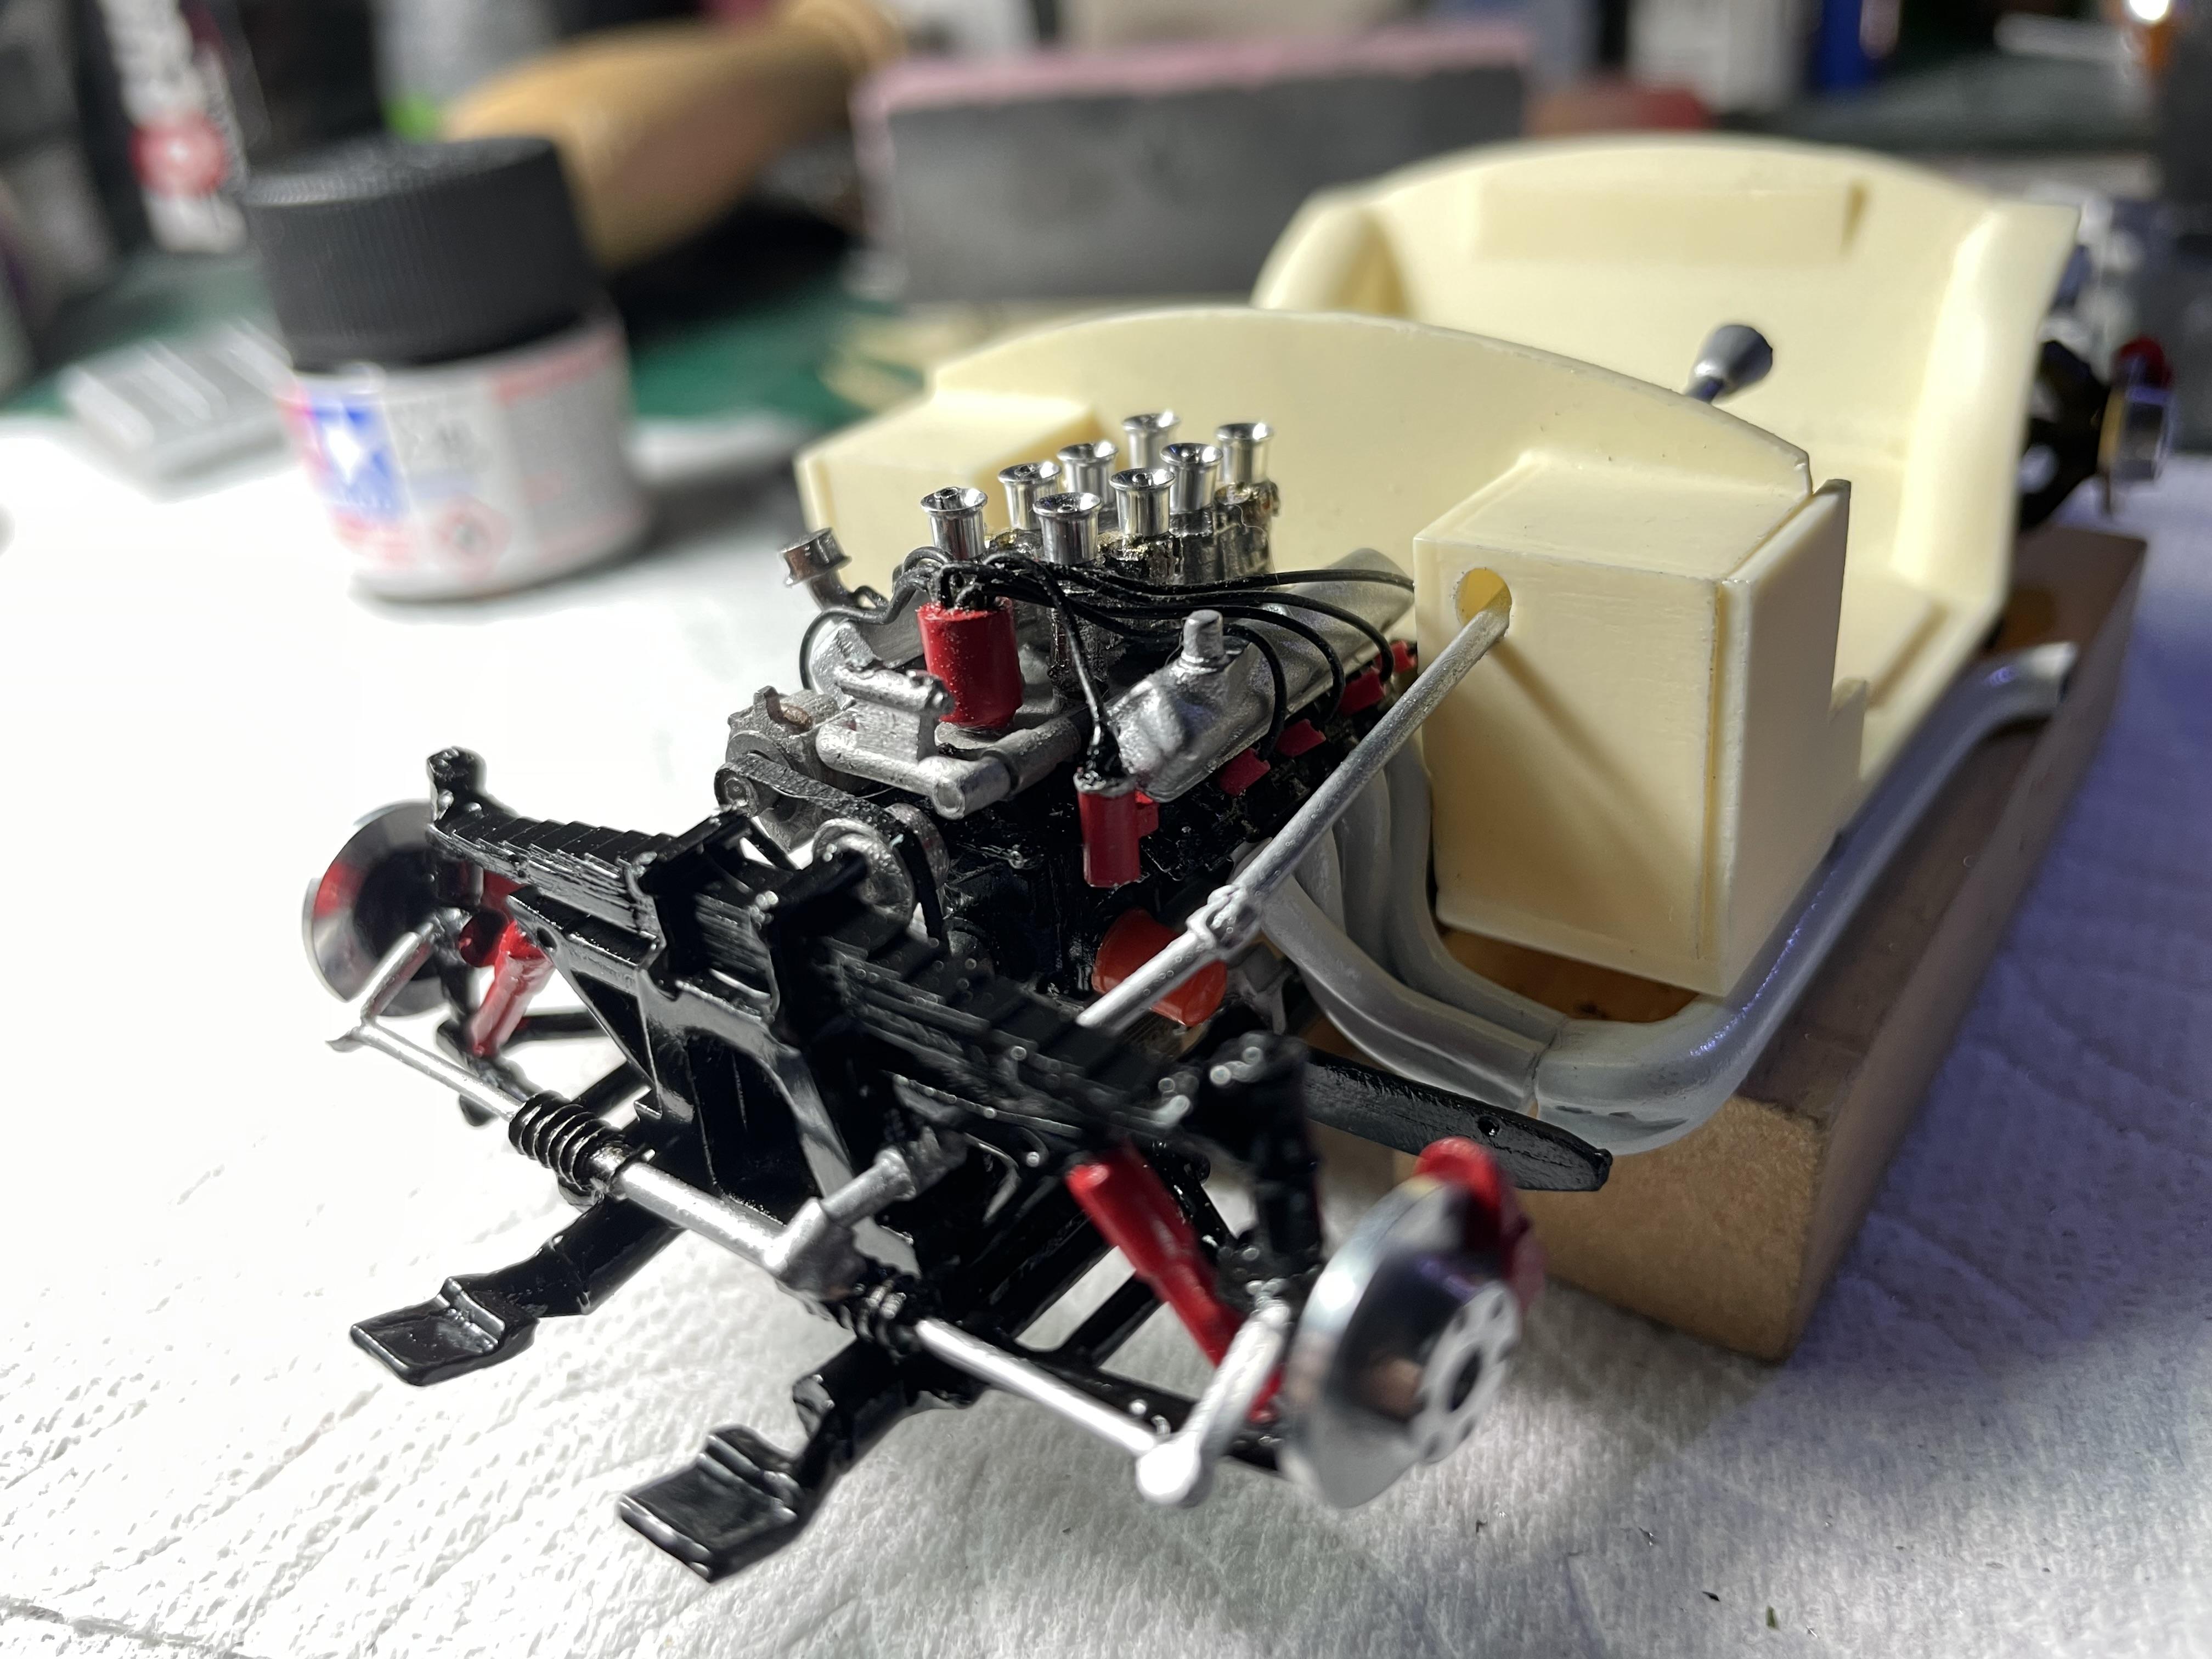
Ok of course i could not stay away. Scratch built the fuel lines. After several tries and several failures, I finally have an acceptable fuel lines. Now that my foot well boxes are fixed I can try to install a throttle linkage. I will also try to add some detail to the firewall. The sidepipes problem is solved but would not want to go over any speed bumps.
-
-
Ok a mfh problem has reared its ugly head. The side pipes interfered with the body. Those tortured me to near insanity. Have it figured out but I have the inner aprons and they are photoetch. That looks like a headache the side pipes are very close to the ground. No speed bumps for this car. Had to correct the footwells . Opened so many other challenges. Need to get away from this for a few.
-
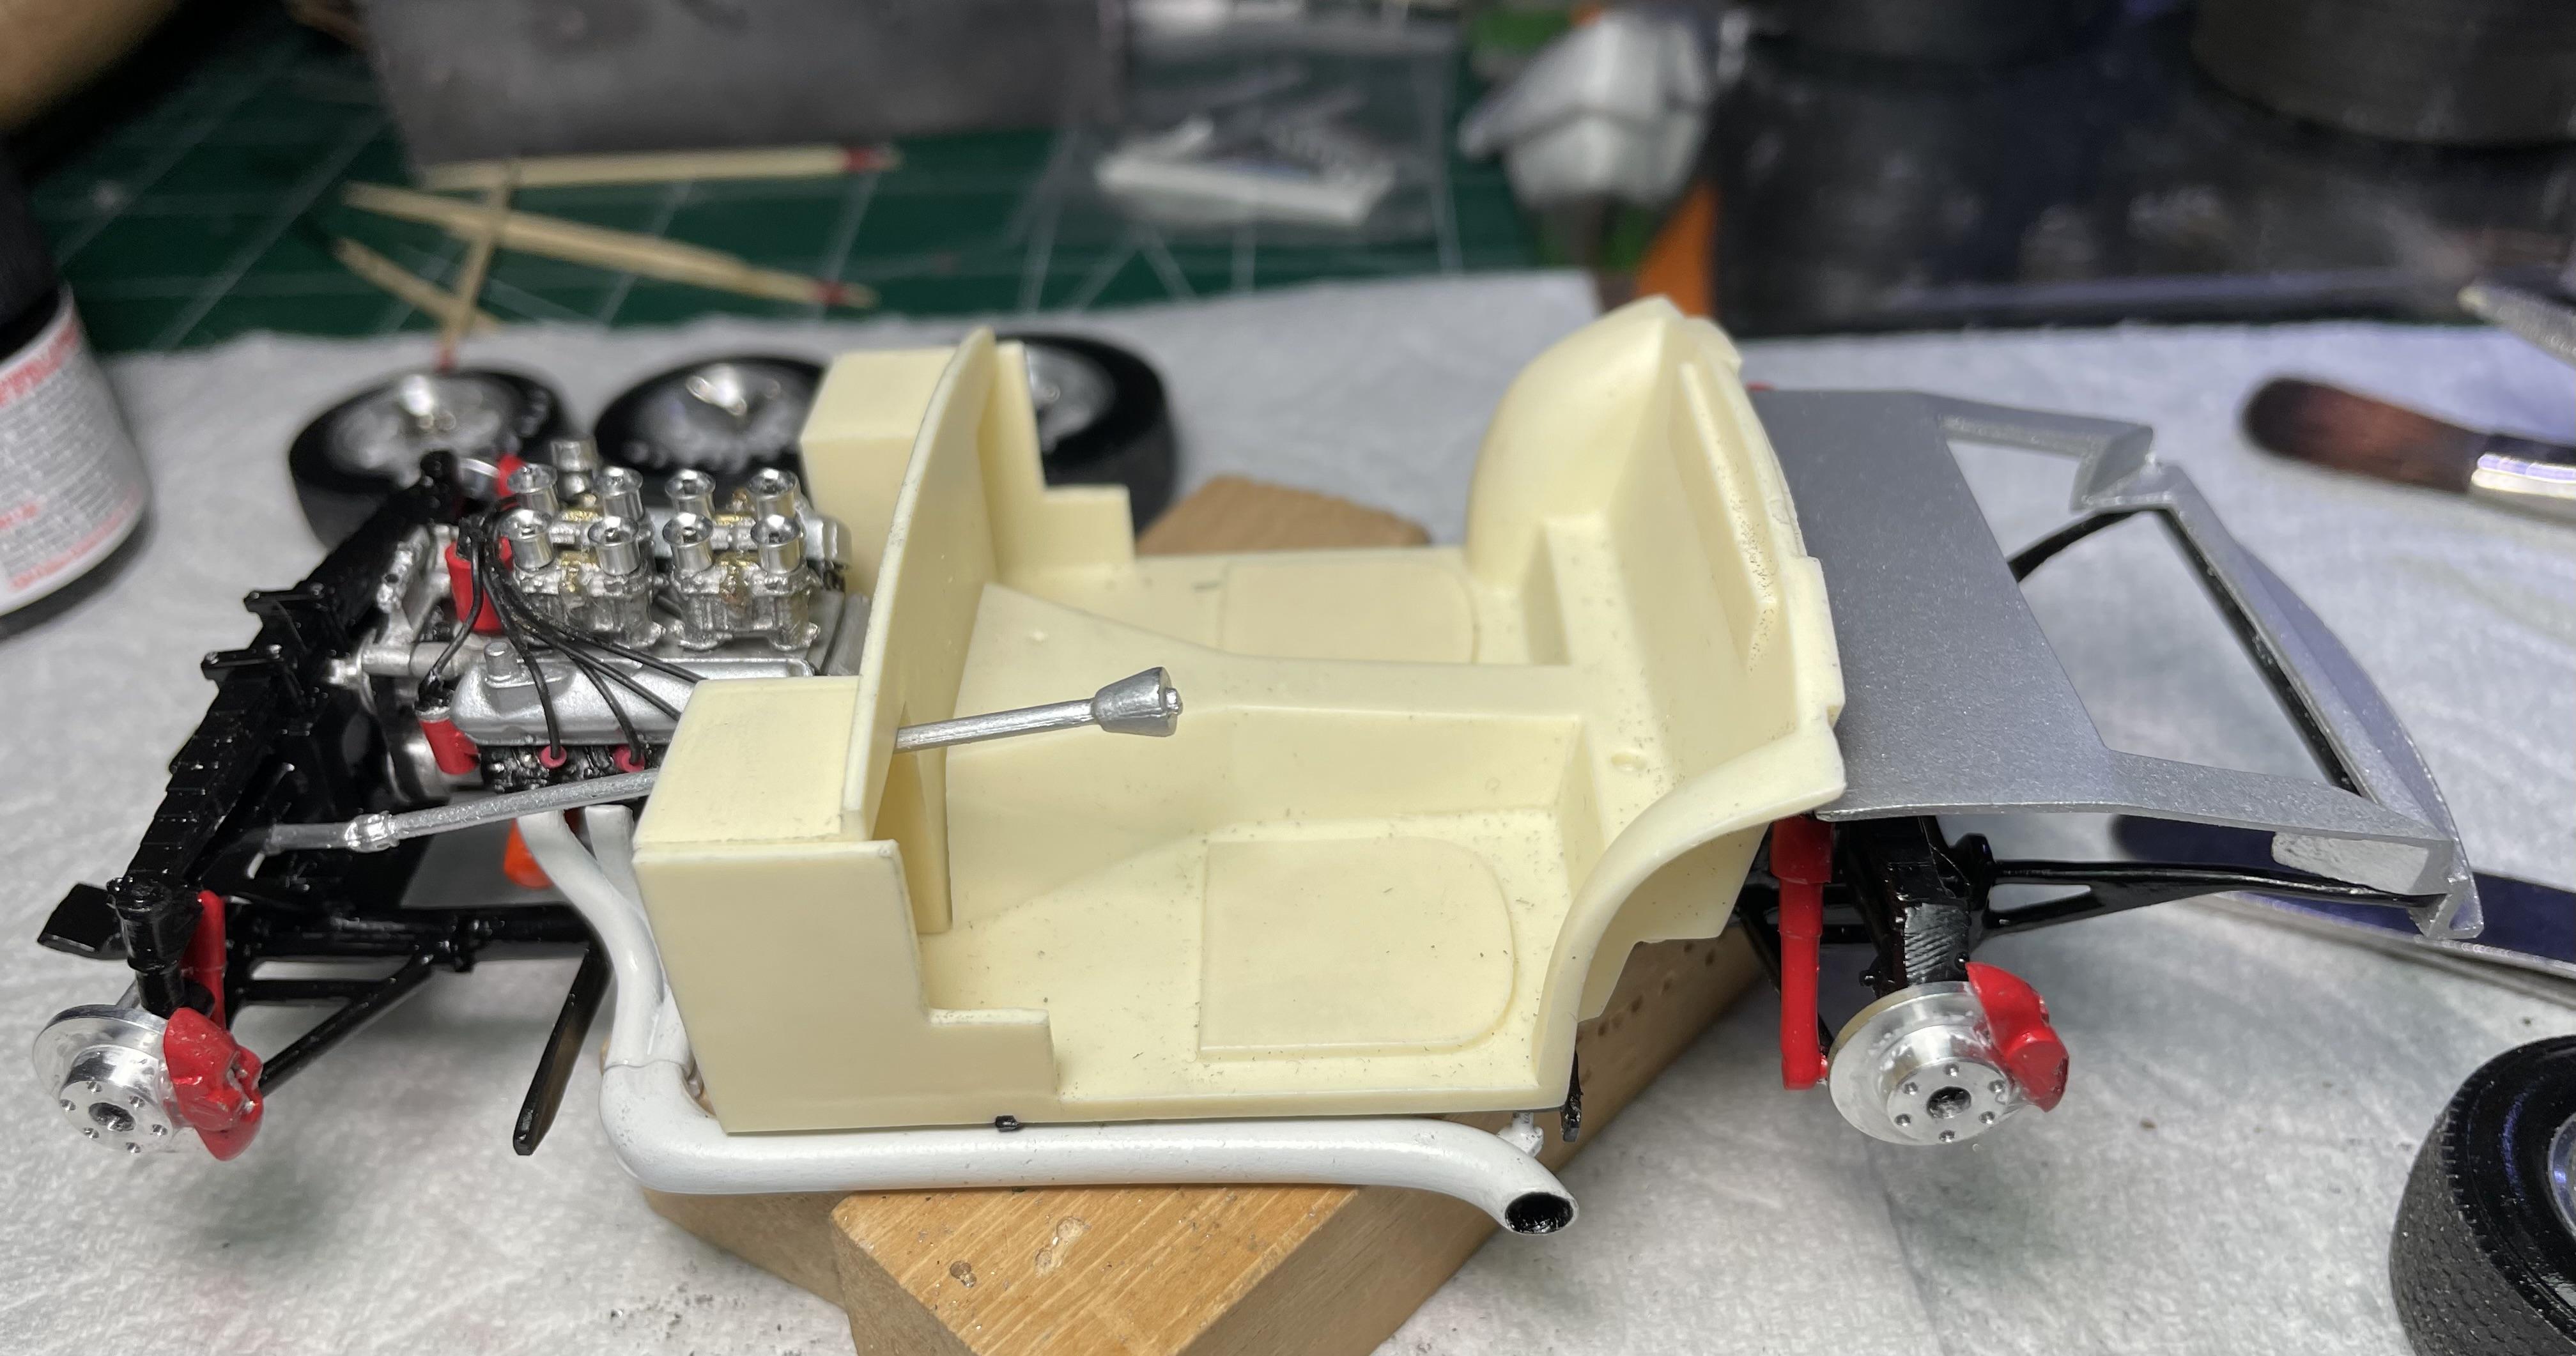
More mocking up the body. Installed engine, drive shaft and headers and sidepipes. The sidepipes changed my ride height a little. Front sits a little higher because of the sidepipes clearance to the ground, it’s acceptable. Things always change on a mfh build. Have to shim up one side of the interior as it’s off a bit . Makes the car lean to one side. Another mfh surprise. The suprises never stop comming.