Kit Basher
-
Posts
2,431 -
Joined
-
Last visited
Content Type
Profiles
Forums
Events
Gallery
Everything posted by Kit Basher
-
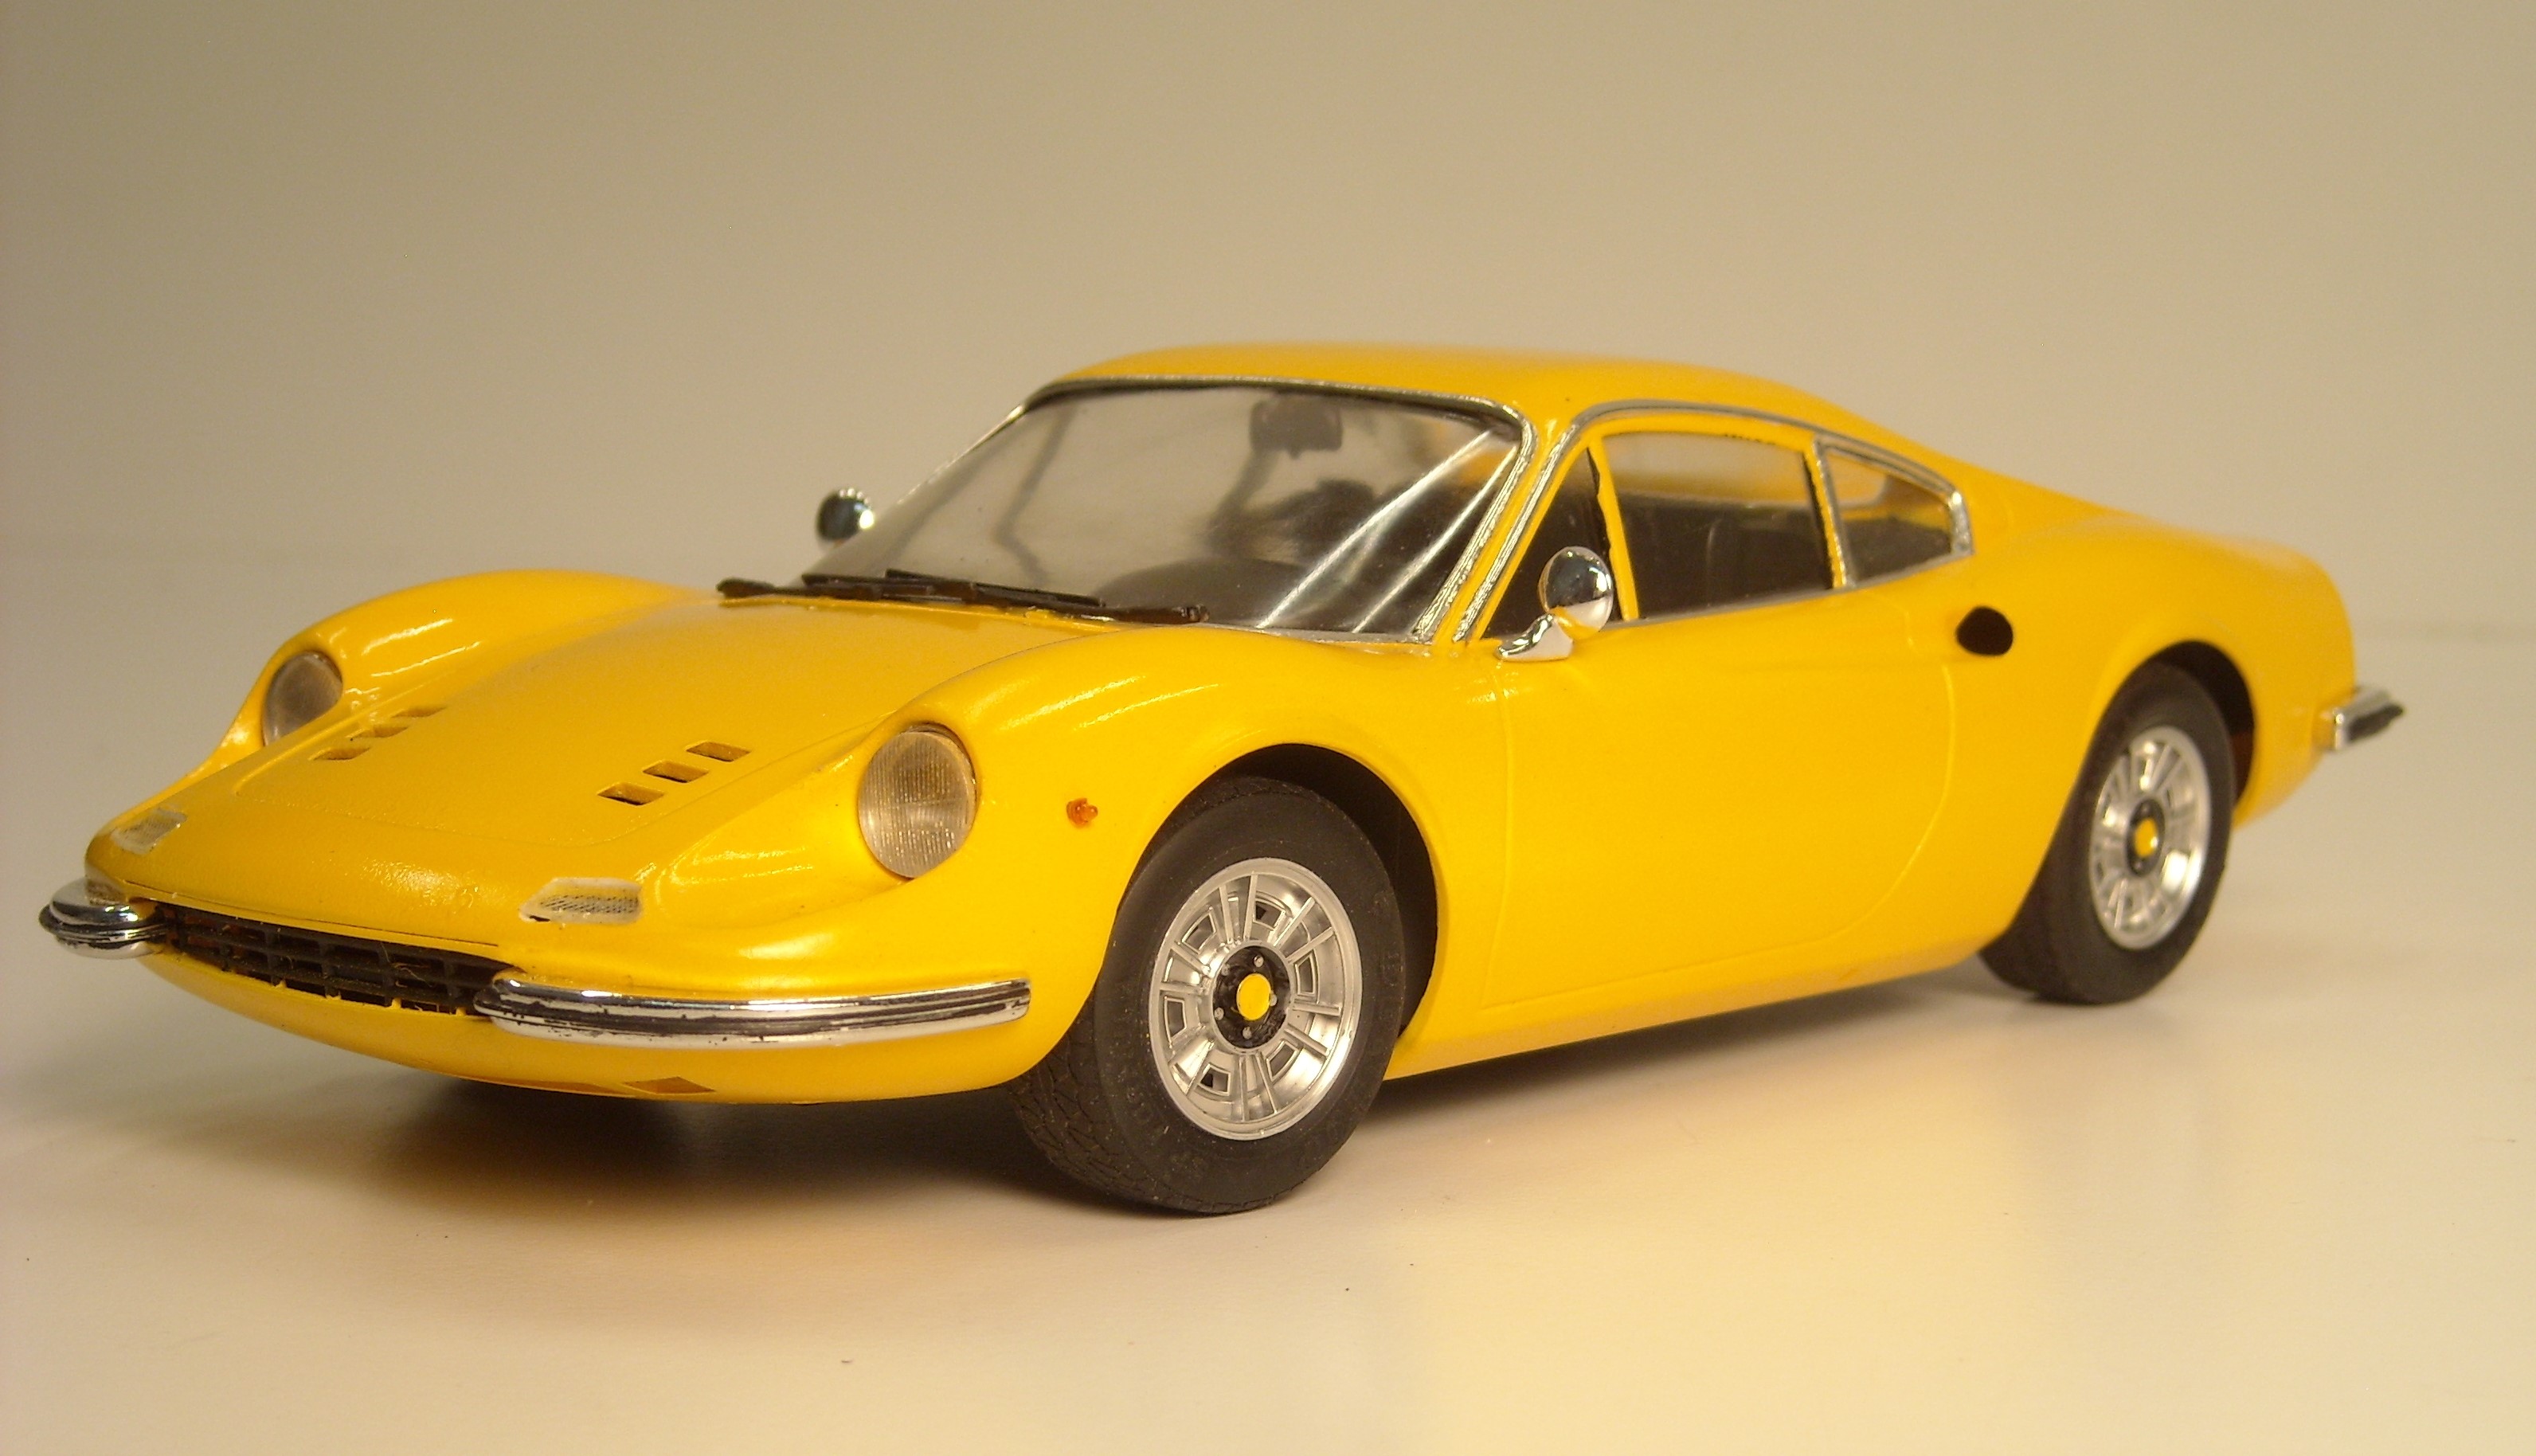
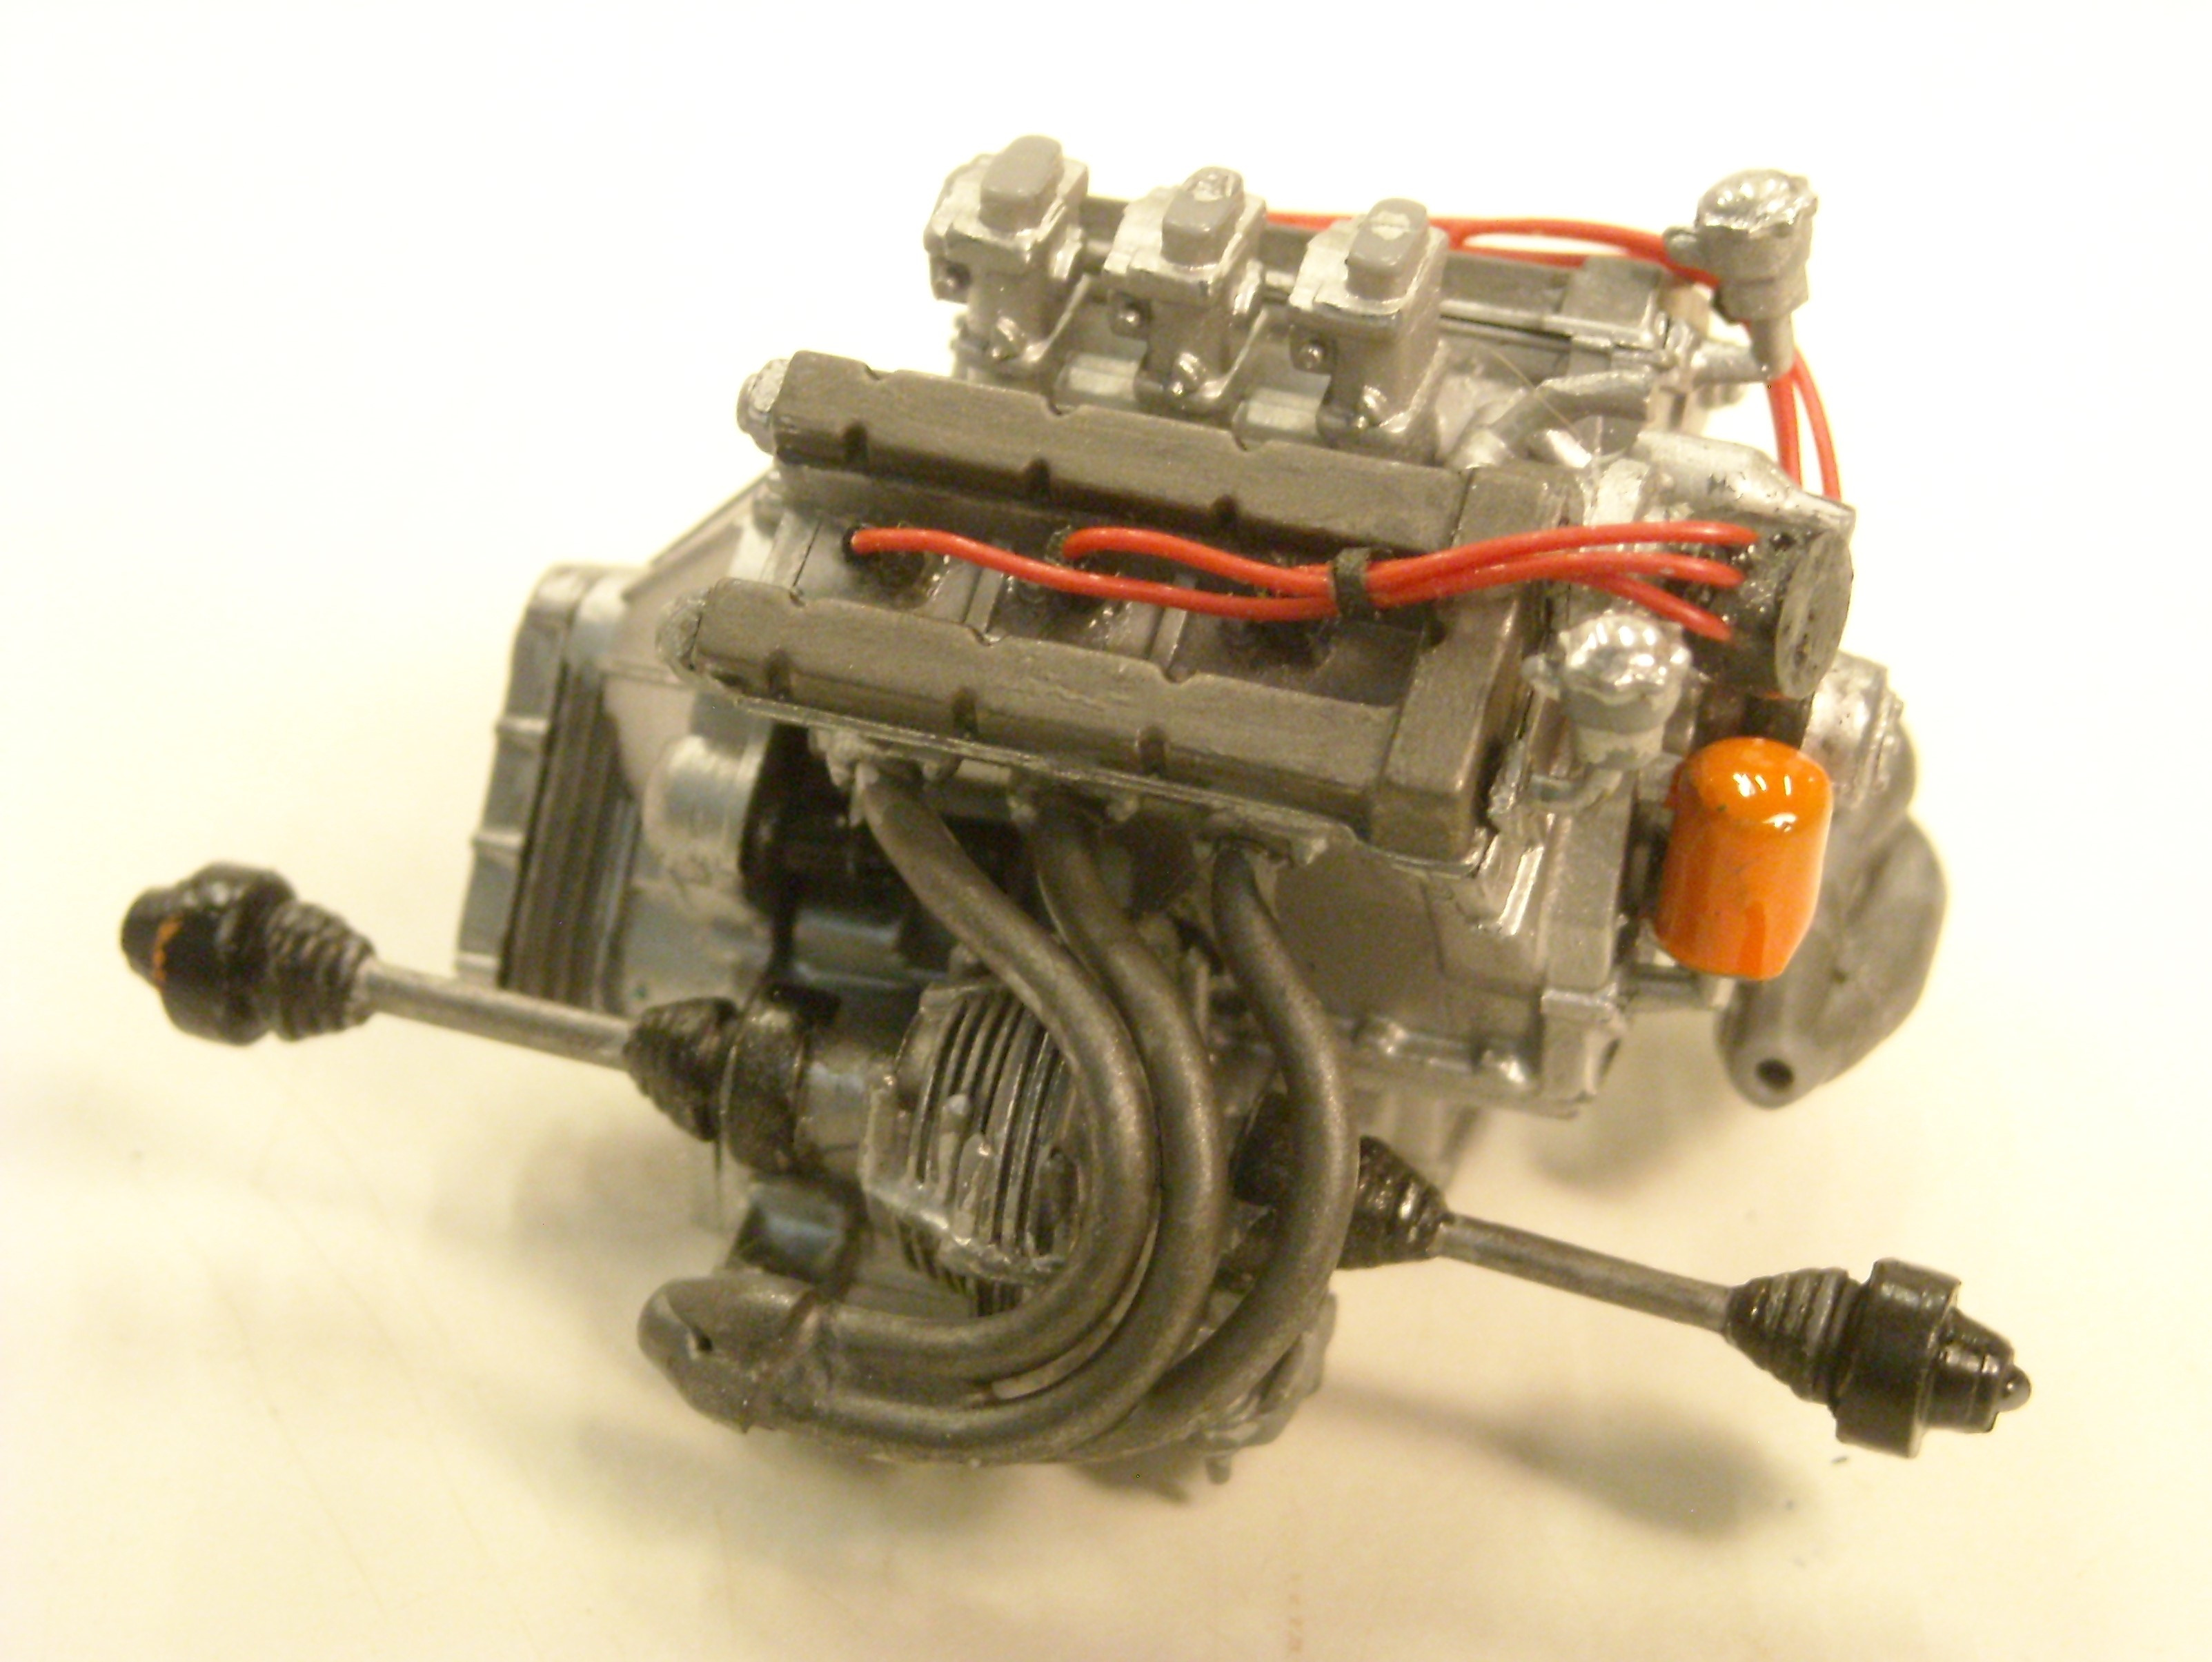
Thanks, Sonny! Yes it is, except I had to make the headers on the transaxle side out of aluminum wire to get them to fit. Thanks Dann! I heard somewhere you're not a fan of red Ferraris. Thanks, Bruce! Thanks, Phil!
-
Thanks, Anders! Thanks, Steve!
-
Thanks, Jason! Thanks, Howard! Thanks, Larry! You're not kidding about the fussy part. Thanks, Gary!
-
Fujimi kit. The paint is MM Cadmium Yellow with a bit of red mixed in.

-
That looks great!
-
Very nice!
-
Mine reflects my inability to leave well enough alone!
-
I do the same thing with my airbrush right before I attach the paint cup or bottle.
-
That's a masterpiece, Dann. I enjoyed watching you build it. Amazing work.
-
Thanks, Peter. It seems like it would have to come out the rear. A good reason to remove the needle from the front, rather than dragging paint thru that seal. FYI to anyone interested: I purchased a heavy tip and needle kit for a 150, hoping to convert my 200 to heavy. The tip fits fine, but the needle is too short. I also have a 150, so no biggie for me.
-
Thanks, Carl! Thanks, Tom! Thanks, Tom!
-
Thanks, Peter. I wondered about that. It makes sense that there would be a seal there. Is it accessible/replaceable?
-
Everyone Bring In Their Brass Monkeys???
Kit Basher replied to OldTrucker's topic in The Off-Topic Lounge
You'd think they would know better than to wear those brass bras! -
Thanks, Andy! Thanks, Ricky! It's curbside. I have a bunch of gluebomb engines, and I thought I found a Cobra 289, which would have been cool. On closer inspection, it turned out to be some unknown engine with Cobra valve covers, so I just said the heck with it.
-
Thanks, Oliver! Thanks, Sam! Thanks, David!
-
Thanks, Lee! Thanks Bill! I didn't do a "full Geary" on it, but your method made it possible to get it done.
-
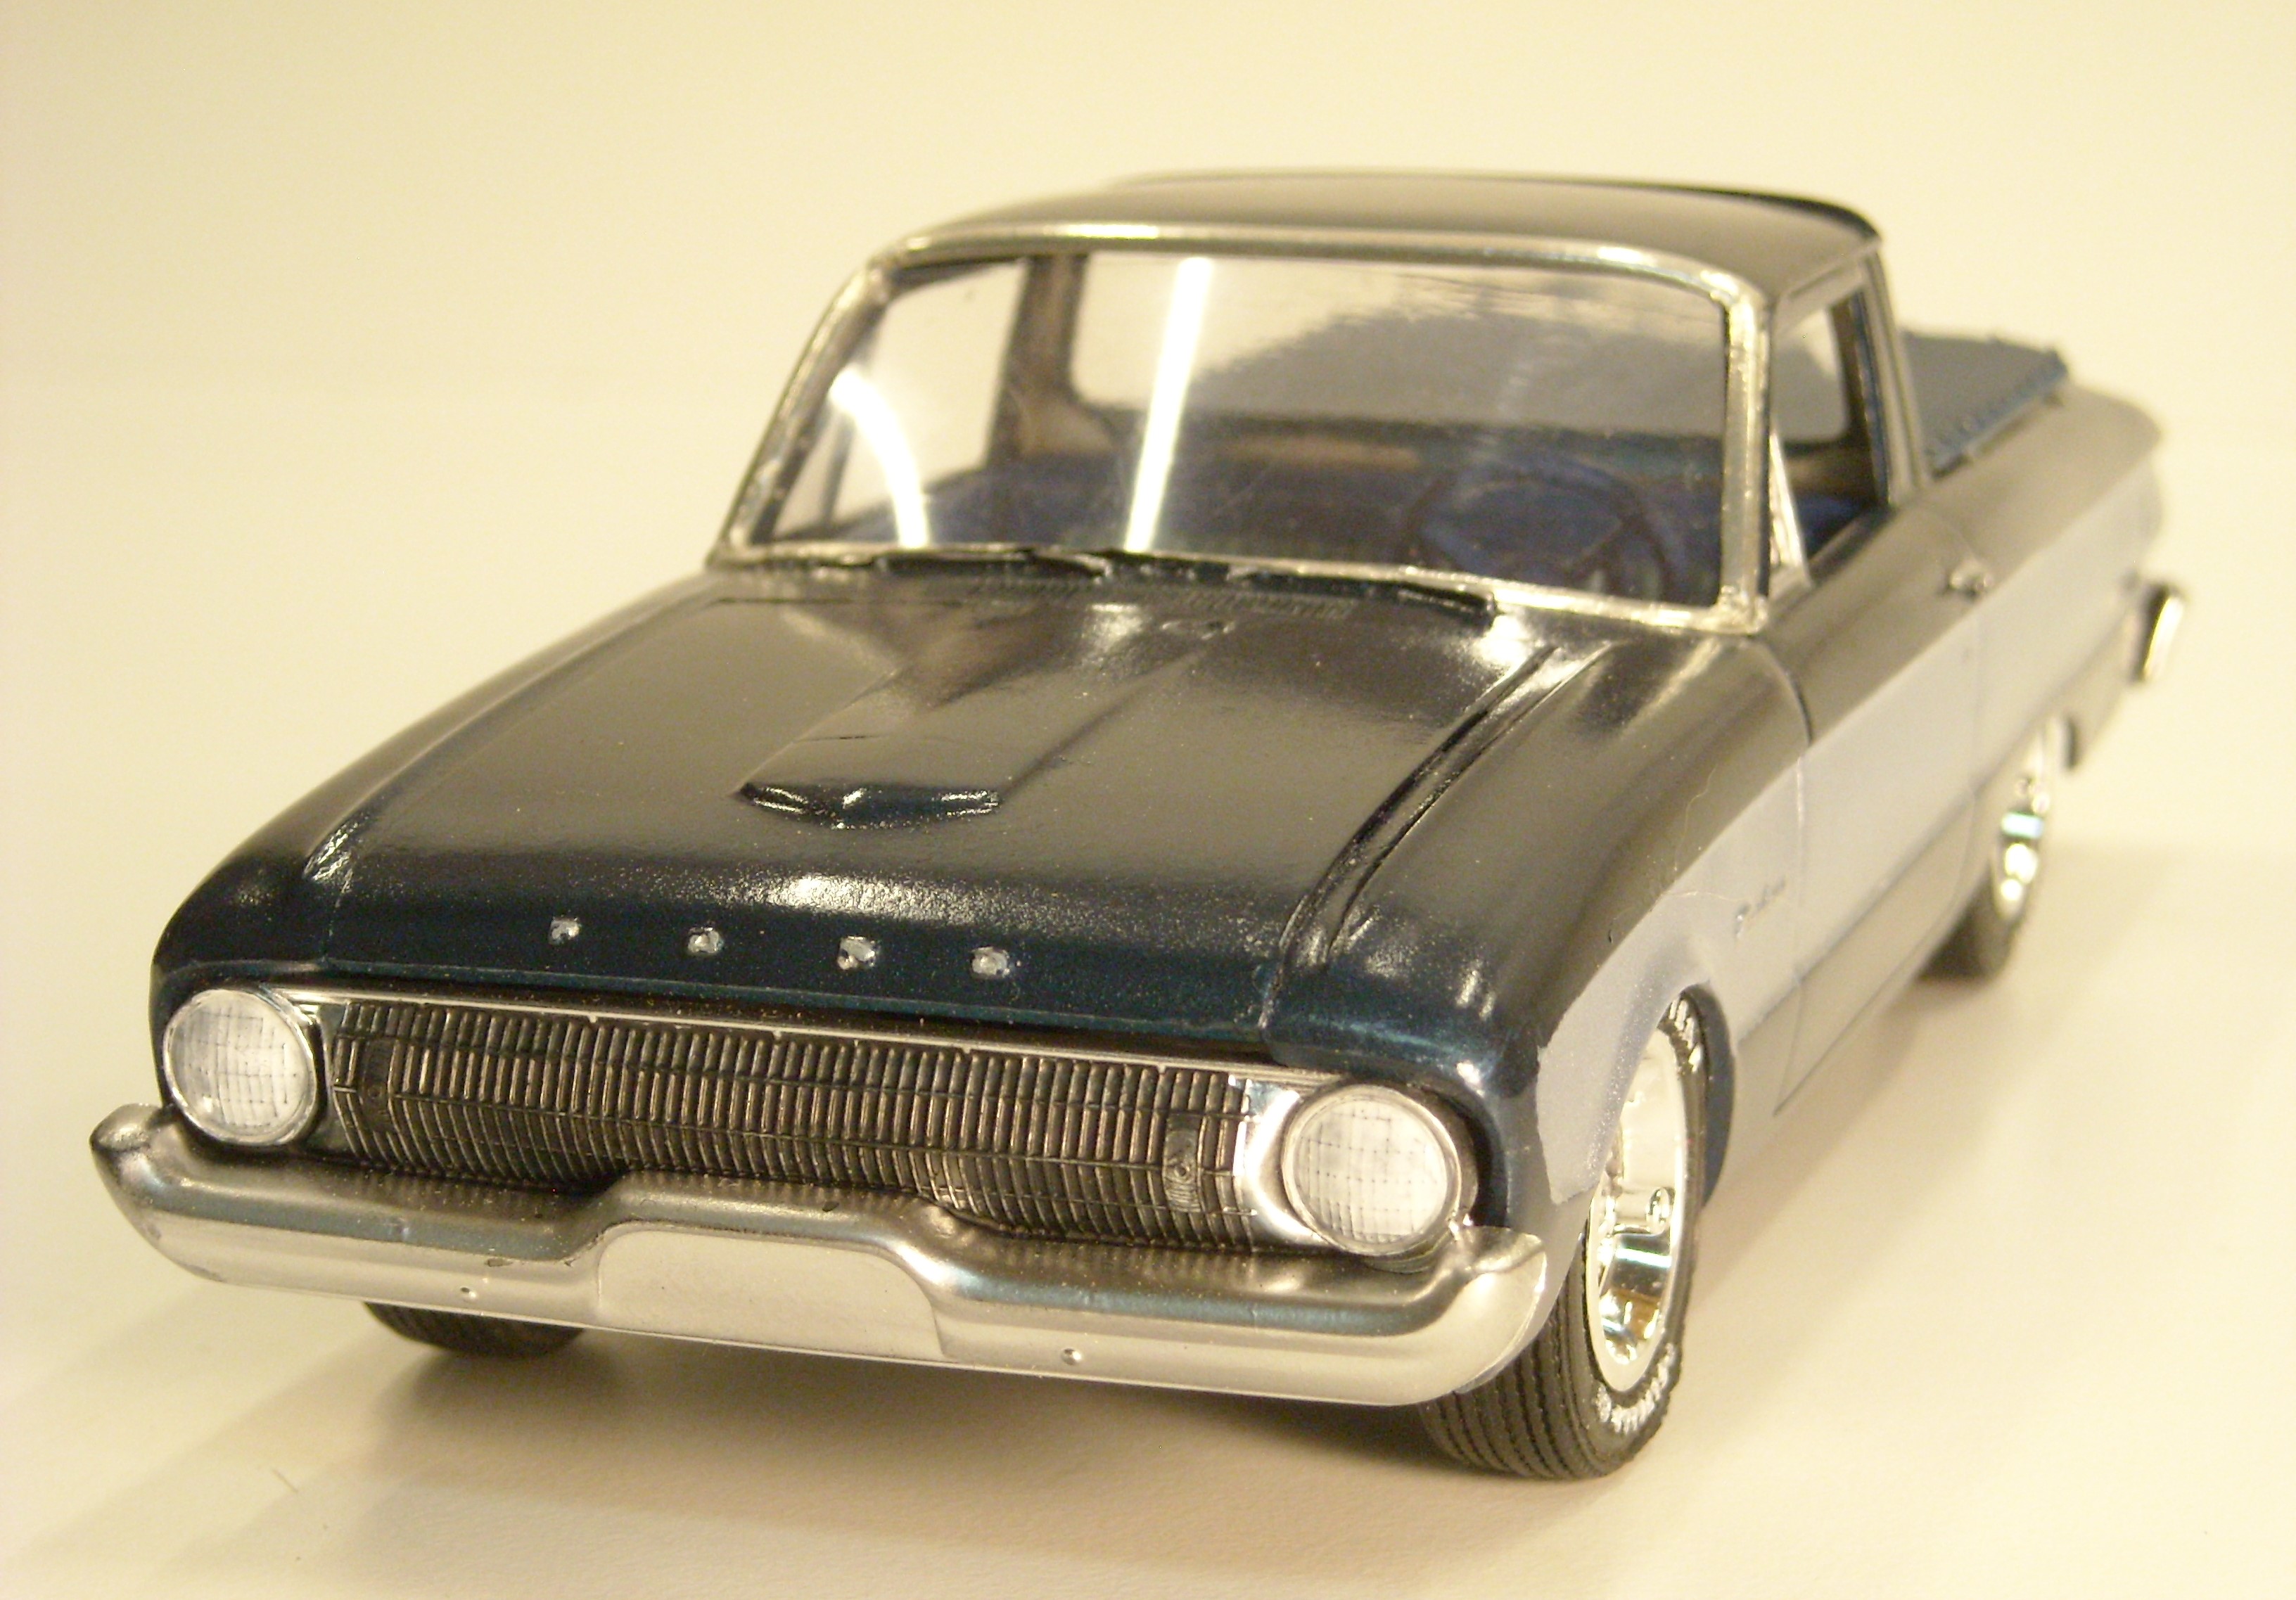
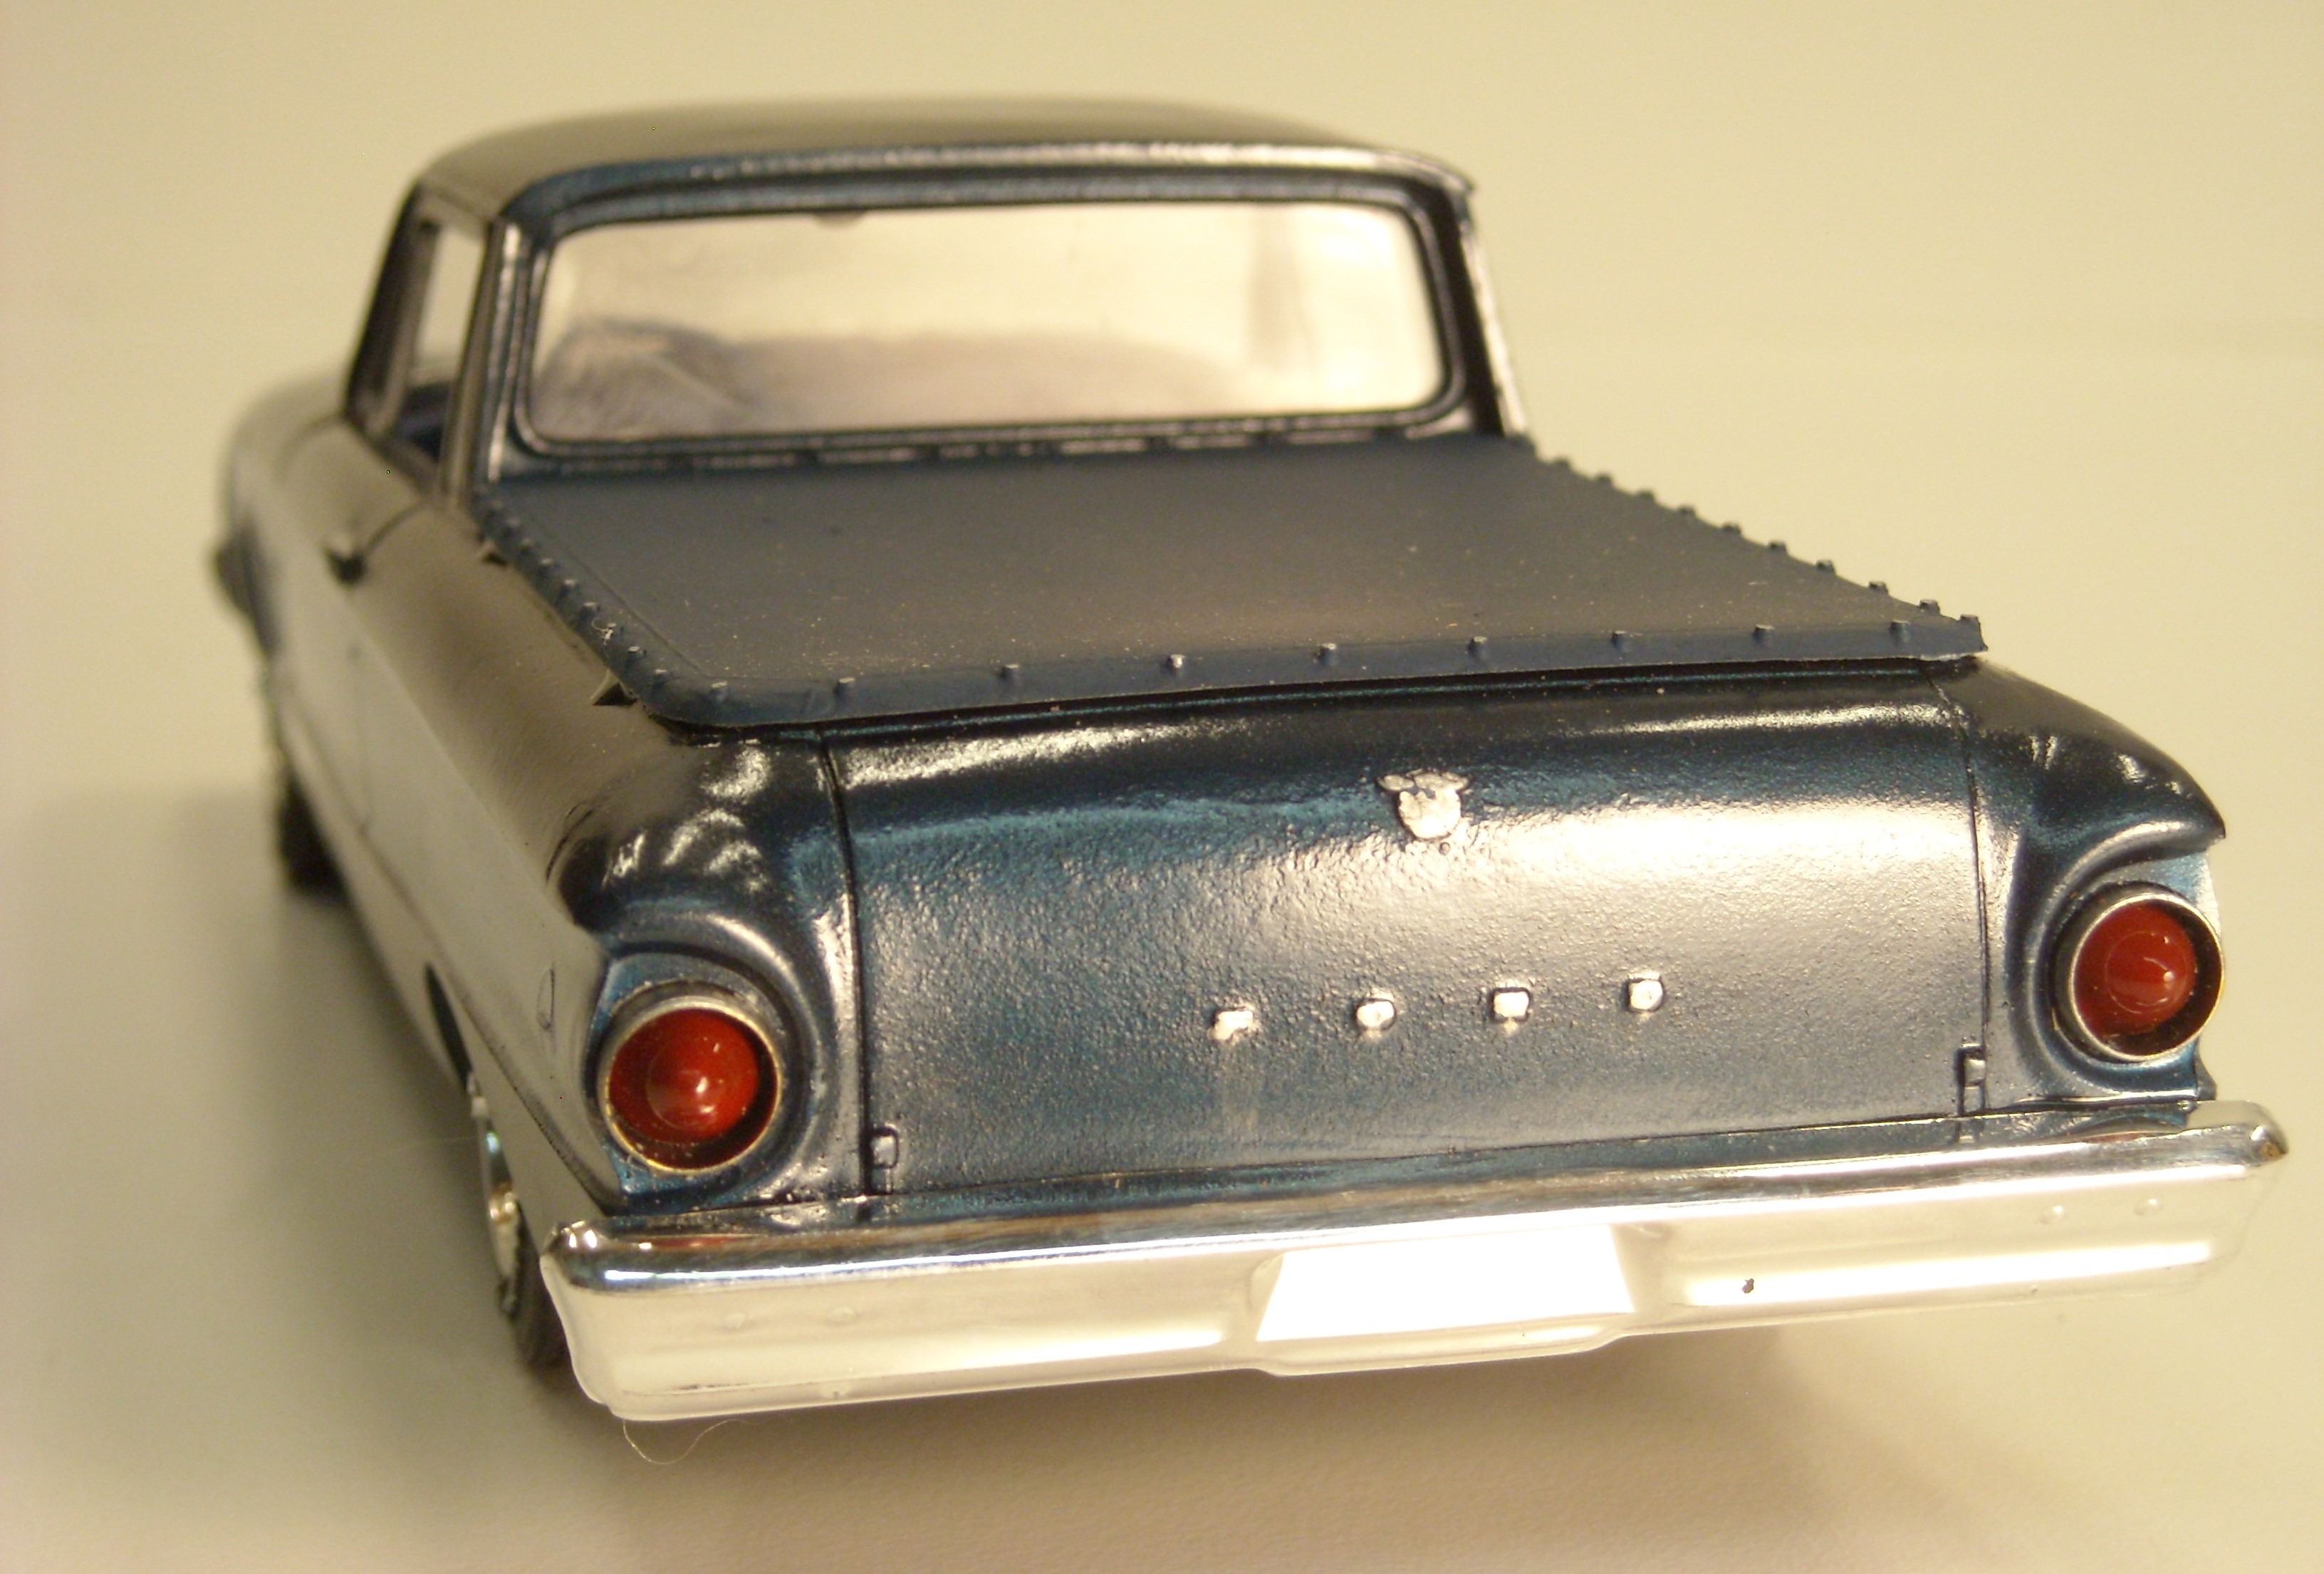
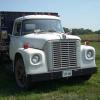
Thanks, Jacob! I guess you would call this a "Ute". You guys are lucky to have a lot of this type vehicle that we don't get in America.
-
That came out great, Jim!
-
Thanks, guys. I didn't expect much doing so many things for the first time. The Auto Air paint has been a real challenge, but I have a ton of the stuff. If I ever get the hang of it, I think it has amazing potential.
-
Thanks, Snake! I made it a little lower than stock, but I might have a bit of a tire rub when cornering.
-
I used this to test out some new (to me) materials and techniques. It started out as this poor old thing: It stripped pretty well with Easy Off. My experiments were: First time painting with Auto Air. I had to strip my first attempt, and it's still not the greatest paint job, but I learned a lot and hopefully my next attempt will be better. Duplicolor Perfect Match Clear. Grille chromed with Spaz Stix chrome over Spaz Stix black backer. It looked a lot better before I put on a second coat. I used a modified "Mr. Obsessive" method to put in an acetate windshield. Lettered tires by putting Tamiya white paint on a wood dowel and rolling over the letters. Not perfect, but better than I have been able to do before. Made tail light bezels from brass tubing. Molotow chrome on the wing windows, handles, and scripts. The scripts are not as good as "paint over BMF", IMO. Rear bumper from the parts box. I have no idea what it really goes to. So here's where I ended up:
-
It kinda depends on the engine. Anything fuel injected might be OK. Also the old Briggs and Stratton engines don't seem to care. But anything with a float bowl carburetor can be a problem. The alcohol gas turns to varnish in the float bowl, usually requiring a carburetor rebuild to fix it. Fuel stabilizers help, but no alcohol gas is better. Or else run the engine until it is out of fuel, and then remove and empty the float bowl.
-
As I mentioned to Peter, when I soaked the AB, I removed the air valve, which does have rubber O-rings, and the teflon washer from the tip. As far as I can tell, those are the only O-rings or seals on this brush. Soaking the brush worked well, and I believe it is totally clean now. Thanks for your input!
-
Thanks for your comments, Peter! When I soaked the AB I removed all the parts you mentioned, as well as the air valve. That leaves just the bare body with no O-rings or seals in it. Like you, I have had no problem keeping the brush clean by flushing with LT after each use, as long as I was using solvent based paints. However, the brush was clogged with water based paint, and that's what started this mess. I also keep a supply of the nylon seals. They're a relatively cheap and easy way to keep the AB tuned up.
-
I have no wife, and no hairdryer. Yeah, I have watched a lot of videos, and read a lot of instructions. There is a leveler involved, as well as a reducer. Getting the proportions right is what I'm working on. One thing I have learned is that if you thin it to the consistency you would use for enamel or lacquer, the paint will break and turn to mud. Finding the level where it sprays well without breaking is my current challenge. Thanks for the video. It came in as I was typing. I have seen that one and others. At this point, I think there is no substitute for trial and (lots of) error.