JollySipper
-
Posts
6,380 -
Joined
-
Last visited
Content Type
Profiles
Forums
Events
Gallery
Everything posted by JollySipper
-

Instruction sheets
JollySipper replied to RODOMOTIVE's topic in General Automotive Talk (Trucks and Cars)
Did you purchase an old kit, and are wondering if it was still factory sealed? (as in no one had re-sealed it). If that's the case, there may be other ways to tell...... -
What Did You Have for Dinner?
JollySipper replied to StevenGuthmiller's topic in The Off-Topic Lounge
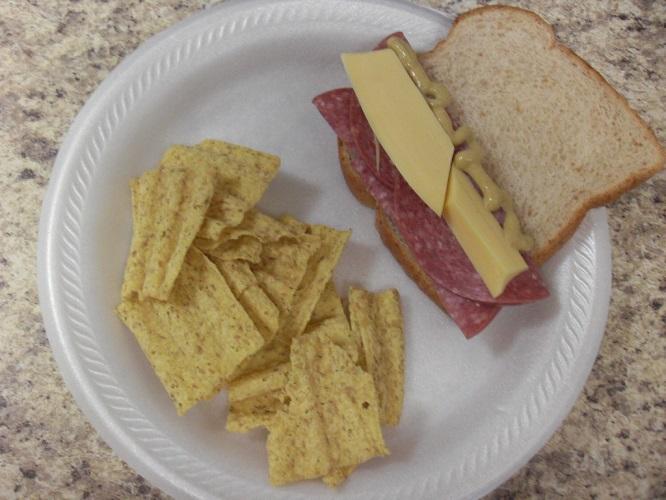
For lunch today...... Salami from Land 'o Frost (they make the best sandwich meats!), smoked Gouda cheese, and dijon mustard on wheat bread, and some Sun Chips!
-
Need help with a Chrysler Paint color
JollySipper replied to lordorion1974's topic in Model Building Questions and Answers
You might could try Paintscratch.com, you can send them the color chip and they will match it for you....... -
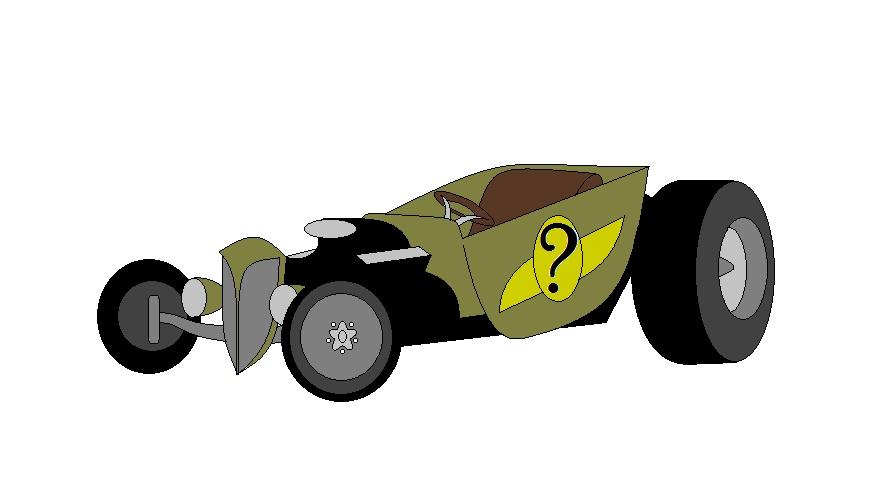
Thank you, Bob! Once you get the hang of manipulating lines, it's not that difficult....... I have another auto drawing I'm working on, it's not quite done, tho..... Here's a non-auto doodle I did some time back, the MS Paint program for this crow was the old XP version. The Win7 Paint is a little different, haven't tried the Win10 one yet........
-
Cool, Guys..... Thank you much!
-
Show and Tell........?
-
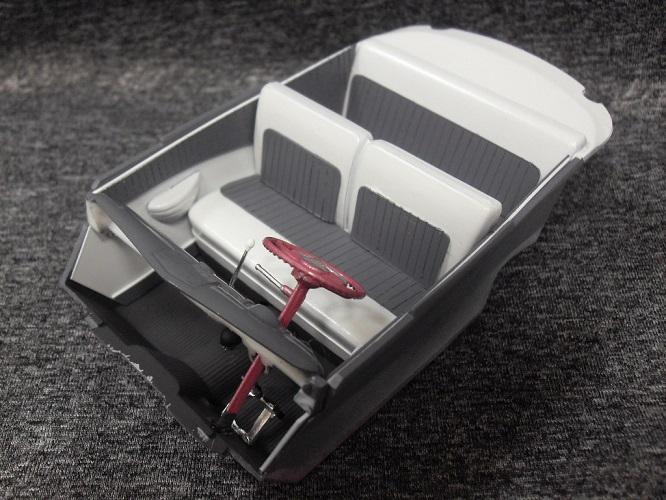
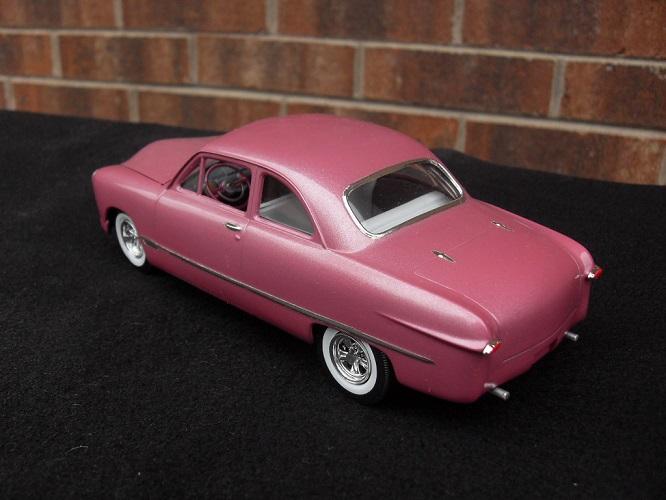
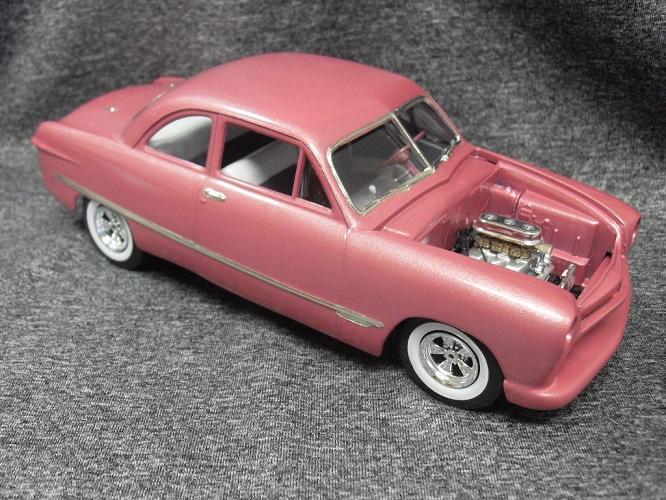
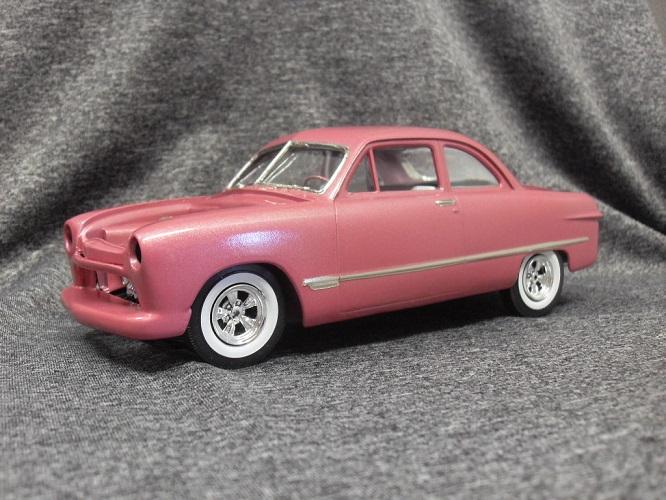
I started this wanting to build a custom, but with the stance and wheels, it ended up being more of a Hot Rod......... This isn't the best kit, the lower rocker on the passenger side is mis-formed, along with all the other problems that old molds have. Any way, it's done! Thanks to those that followed the WIP, and fell free to comment good or bad.......
-
I just want to try to build "better" this year........ Better paint, more details, and to strive for realism.......
-
Thanks a bunch, fellas....... Hopefully this year will be more productive for all of us.......
-
The weekend modelers,
JollySipper replied to Luc Janssens's topic in General Automotive Talk (Trucks and Cars)
I used to be a "weekend modeler", but I thought I was doing alright at the time! I could go to WalMart, get a kit for $10 and a can of Boyd's paint, tube of glue, and off I'd go. As long as the kit was easy to build and my paint turned out okay, I was happy. I didn't know anything about the history of any of the brands, or the difference between a good kit and an AMT one..... (that's a joke! ). When I discovered this forum, however, I quickly learned that I needed to forget most of what I thought I knew. I started over learning to build........ I bet that most of the weekend builders don't even know about this forum and the wealth of knowledge it is... maybe next time one of you are chatting with folks at the hobby store, you should tell them about MCM's site! I know that I wish there was a modeling forum back then, my builds would have been so much better than they were....... -
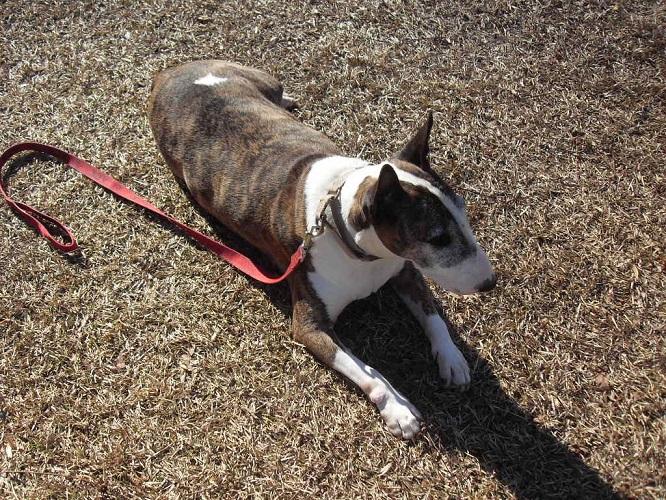
English Bull Terriers usually can't eat grains....... it makes them itchy, it has nothing to do with their digestive tract. The food that I'm gonna try her on has Glucosamine in it, along with fish oils and such. They generally have arthritis at later stages in life because they're so bombastic in their youth....... Here's the latest pic I have of her! Such a good dog..... Mom told me recently, "I don't know what you'll do if something ever happens to that dog." I don't, either...... She's my constant companion, and we never get tired of each other......
-
They sound very spoiled! I believe I've found a food for her on Chewy...... It's American Journey Chicken and Sweet Potato. It's got a lot of good stuff in it to help an arthritic pooch.
-
and bye-bye arms
-
Hey, guys.... I know that we have some dog lovers here, I was hoping some of you could give me some advice. I had my dog on Taste of the Wild salmon recipe for the first three years or so that I've had her. As she got older, she was showing disinterest in her food. I'm on the hunt for a good food that I can put her on and keep her on it. There's SO MANY different foods out there that it's getting confusing and frustrating trying to pick a good one. There's only a few requirements, it needs to be grain-free, for a senior dog, and not overly expensive....... How hard is that, right? Anyone have any recommendations? Also, where do you order your foods from if you do order it? Thanks, guys for any help..........
-
That's a Cankle!
-
Thank you, Carl and Misha! Today I finished the foil, installed glass (which looks wonky in the pics, I've since fixed it...), and put it all together, maybe for the last time..... I might get this done before the end of the year! Pretty much all that's left is bumpers and such........
-
I'm back to working on this one, guys! Finally was able to get some clear on it...... Today I worked on getting the small underhood parts painted so I can do final assembly after foil......
-
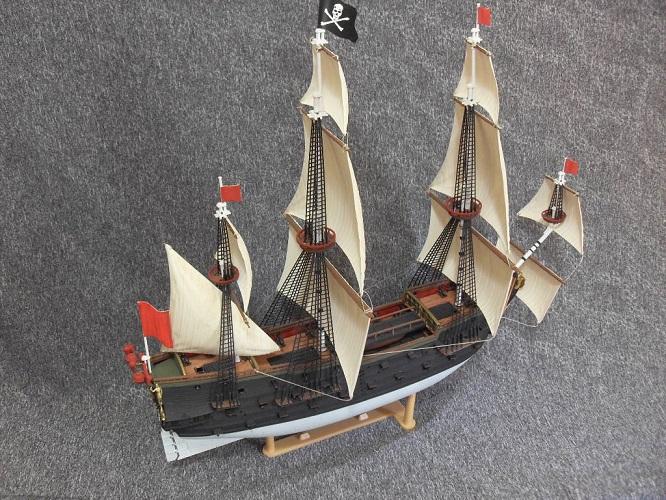
Thanks, Guys! and Thanks for letting me hang out here........... That kit (Lindberg's "Captain Kidd") gets more fragile and delicate the more you go along...... I may try to do the rigging one day, but not soon!
-
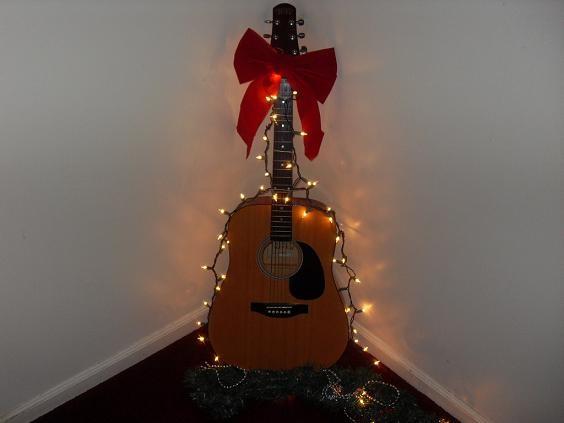
I hope it's okay to post this pic! I never have a tree (I live alone), but one year I was feeling festive and decorated this guitar......
-
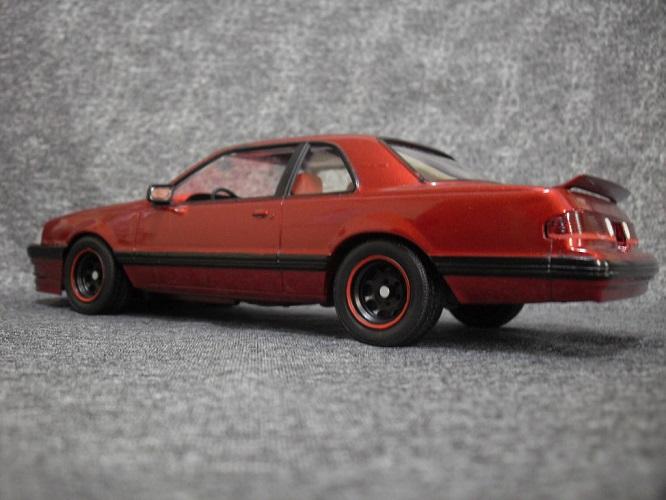
I got to finish only two car builds this year, and completed a ship that I had been working on....... The two cars are two of my favorites in 1:1, the ship is the Captain Kidd ship..... Thanks! and everyone stay cool these Holiday times.........
-
AMT kits suck!
JollySipper replied to Plumcrazy Preston's topic in General Automotive Talk (Trucks and Cars)
This issue has two FE engines with choices for induction
-
AMT kits suck!
JollySipper replied to Plumcrazy Preston's topic in General Automotive Talk (Trucks and Cars)
Thanks, Man.... That kit comes with two complete engines as well as a few custom goodies..... -
AMT kits suck!
JollySipper replied to Plumcrazy Preston's topic in General Automotive Talk (Trucks and Cars)
If you want a good AMT kit, the '60 Starliner couldn't be a better kit......
-
hanging from mirrors
-
I drew this in MS paint.....
.jpg.cc06663daaa6e85cf60584e09843862f.jpg)