Ace-Garageguy
-
Posts
38,189 -
Joined
-
Last visited
Content Type
Profiles
Forums
Events
Gallery
Everything posted by Ace-Garageguy
-
Nice piece of metalwork, using relatively primitive tools. No mill, no CNC, just somebody who knew how to use what he had.
-
I first saw this airplane up close many years ago when I was working at another airport in Arizona. She was in pretty good shape overall, but her future was uncertain, and at one time she was close to being scrapped. Thanks to the tremendous effort of people who thought she was worth preserving, she was returned to flying condition to make the flight to where she'd be fully restored. This short video documents the prep and ferry flights to the restoration location. Columbine II Air Force One Restoration
-

9 mid-engine Corvette concepts
Ace-Garageguy replied to Ironman63's topic in General Automotive Talk (Trucks and Cars)
The '64 CERV II will always be the pick of the litter for me. Built on a full monocoque chassis, and running a 377 cu.in. all aluminum SOHC, Hilborn-injected smallblock-based engine, plus 4WD split through two, two-speed transaxles, it was a very sophisticated piece. With a zero-to-sixty time of 2.8 seconds, and a top end of around 210, the performance was spectacular for its time period. -
What Did You Have for Dinner?
Ace-Garageguy replied to StevenGuthmiller's topic in The Off-Topic Lounge
I had a supremely mediocre burrito made from leftovers that would have been rotten tomorrow. -
Anyone buying Revell kits just in case?
Ace-Garageguy replied to slusher's topic in General Automotive Talk (Trucks and Cars)
I got 'em. Had to liquidate everything I owned, but I got 'em. You should have seen the looks on my ex's and her attorneys faces when I didn't fight their demands, and just turned over the Twinkies. -
Autoquiz 378 - Finished
Ace-Garageguy replied to carsntrucks4you's topic in Real or Model? / Auto ID Quiz
You're correct...the wheelbase was lengthened about 58mm or 2.3". My previous number was wrong. For whatever odd reason, I had the bore of the engine in my Spyder in my head. I may be also wrong on this, but I believe US cars for '68 had a one-year-only pair of side reflectors. In '69, the existing turn signal housings were modified to incorporate side-markers that complied with US DOT regs, and the separate reflectors were dropped...at least that's the way I remember it...so you got me on that detail too. I can't recall ever actually seeing a 911/912 with the reflectors. I'm supposed to know better than to post without fact-checking, even when I think I'm sure of something. My bad. -
Autoquiz 378 - Finished
Ace-Garageguy replied to carsntrucks4you's topic in Real or Model? / Auto ID Quiz
I believe you'll find it's pre-'69, unless you're seeing something I'm not. It was for the 1969 model year that the wheelbase was lengthened by approx. 88mm (about 3.5 inches) to help alleviate tail-wagging handling issues. The fact that this is an earlier car can be seen by the proximity of the torsion-bar access hole to the rear wheel arch. Later cars are the same length overall, but the wheel arch is moved rearward, leaving more space between the round hole and the front of the arch. -
The recent Revell Foose Caddy and Ford pickup were indeed scanned. Though I haven't measured the actual vehicles, the results look good to me (I have both kits). If the proportions were off by much, the subtlety of Foose's alterations (which are in fact extensive on both) would most likely fail to come through. The accurate scans, and easy reduction to scale, pretty well put paid to the oft-repeated and foolish idea that hard data obtained from measuring 1:1 vehicles needed to be "interpreted" for a model to look like the actual subject, too. Far, far too subjective, and pure baloney. The last-generation scanning tech required large reflective surfaces to be "powdered" so the computer would be able to accurately interpret what it was seeing, and a lot of whiners seemed to feel this would preclude owners of expensive vehicles from submitting them to be scanned. But the current tech has overcome the need for dulling the surface, so accurate scans of existing vehicles have every reason to become mainstream.
-
Suicide front suspension
Ace-Garageguy replied to Sixx's topic in Model Building Questions and Answers
It's really not hard to fab hairpins from .040" brass wire (for 1/25 scale). Use sheet plastic or brass for the batwings, and the end hardware can be made from commercial bolt-heads. You just have to understand what you're making, how it works, and separate it into simple shapes. Older-style radius rods, like OEM-style "split wishbones" are also relatively simple shapes to fab from styrene stock. -
Sealed or open?
Ace-Garageguy replied to ewetwo's topic in General Automotive Talk (Trucks and Cars)
Not just eBay. It's everywhere. I routinely have people ask questions that I previously answered clearly and concisely in posts and emails. Reading comprehension and use of English just ain't wat it used to were. -
Coyote...have you built it?!.....lets see it!!!
Ace-Garageguy replied to Dann Tier's topic in Model Cars
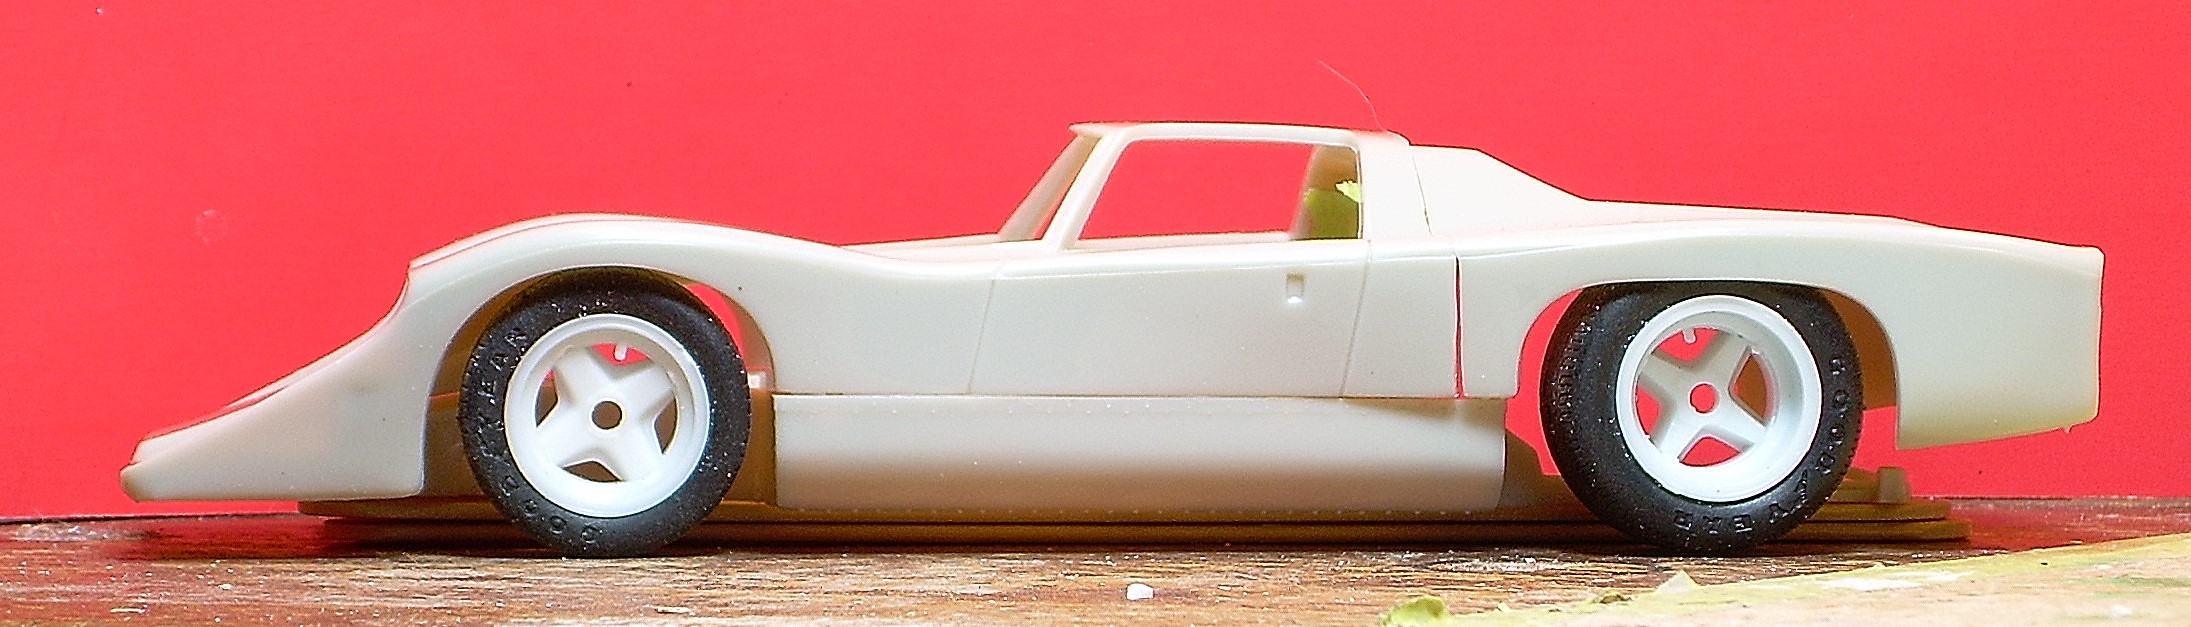
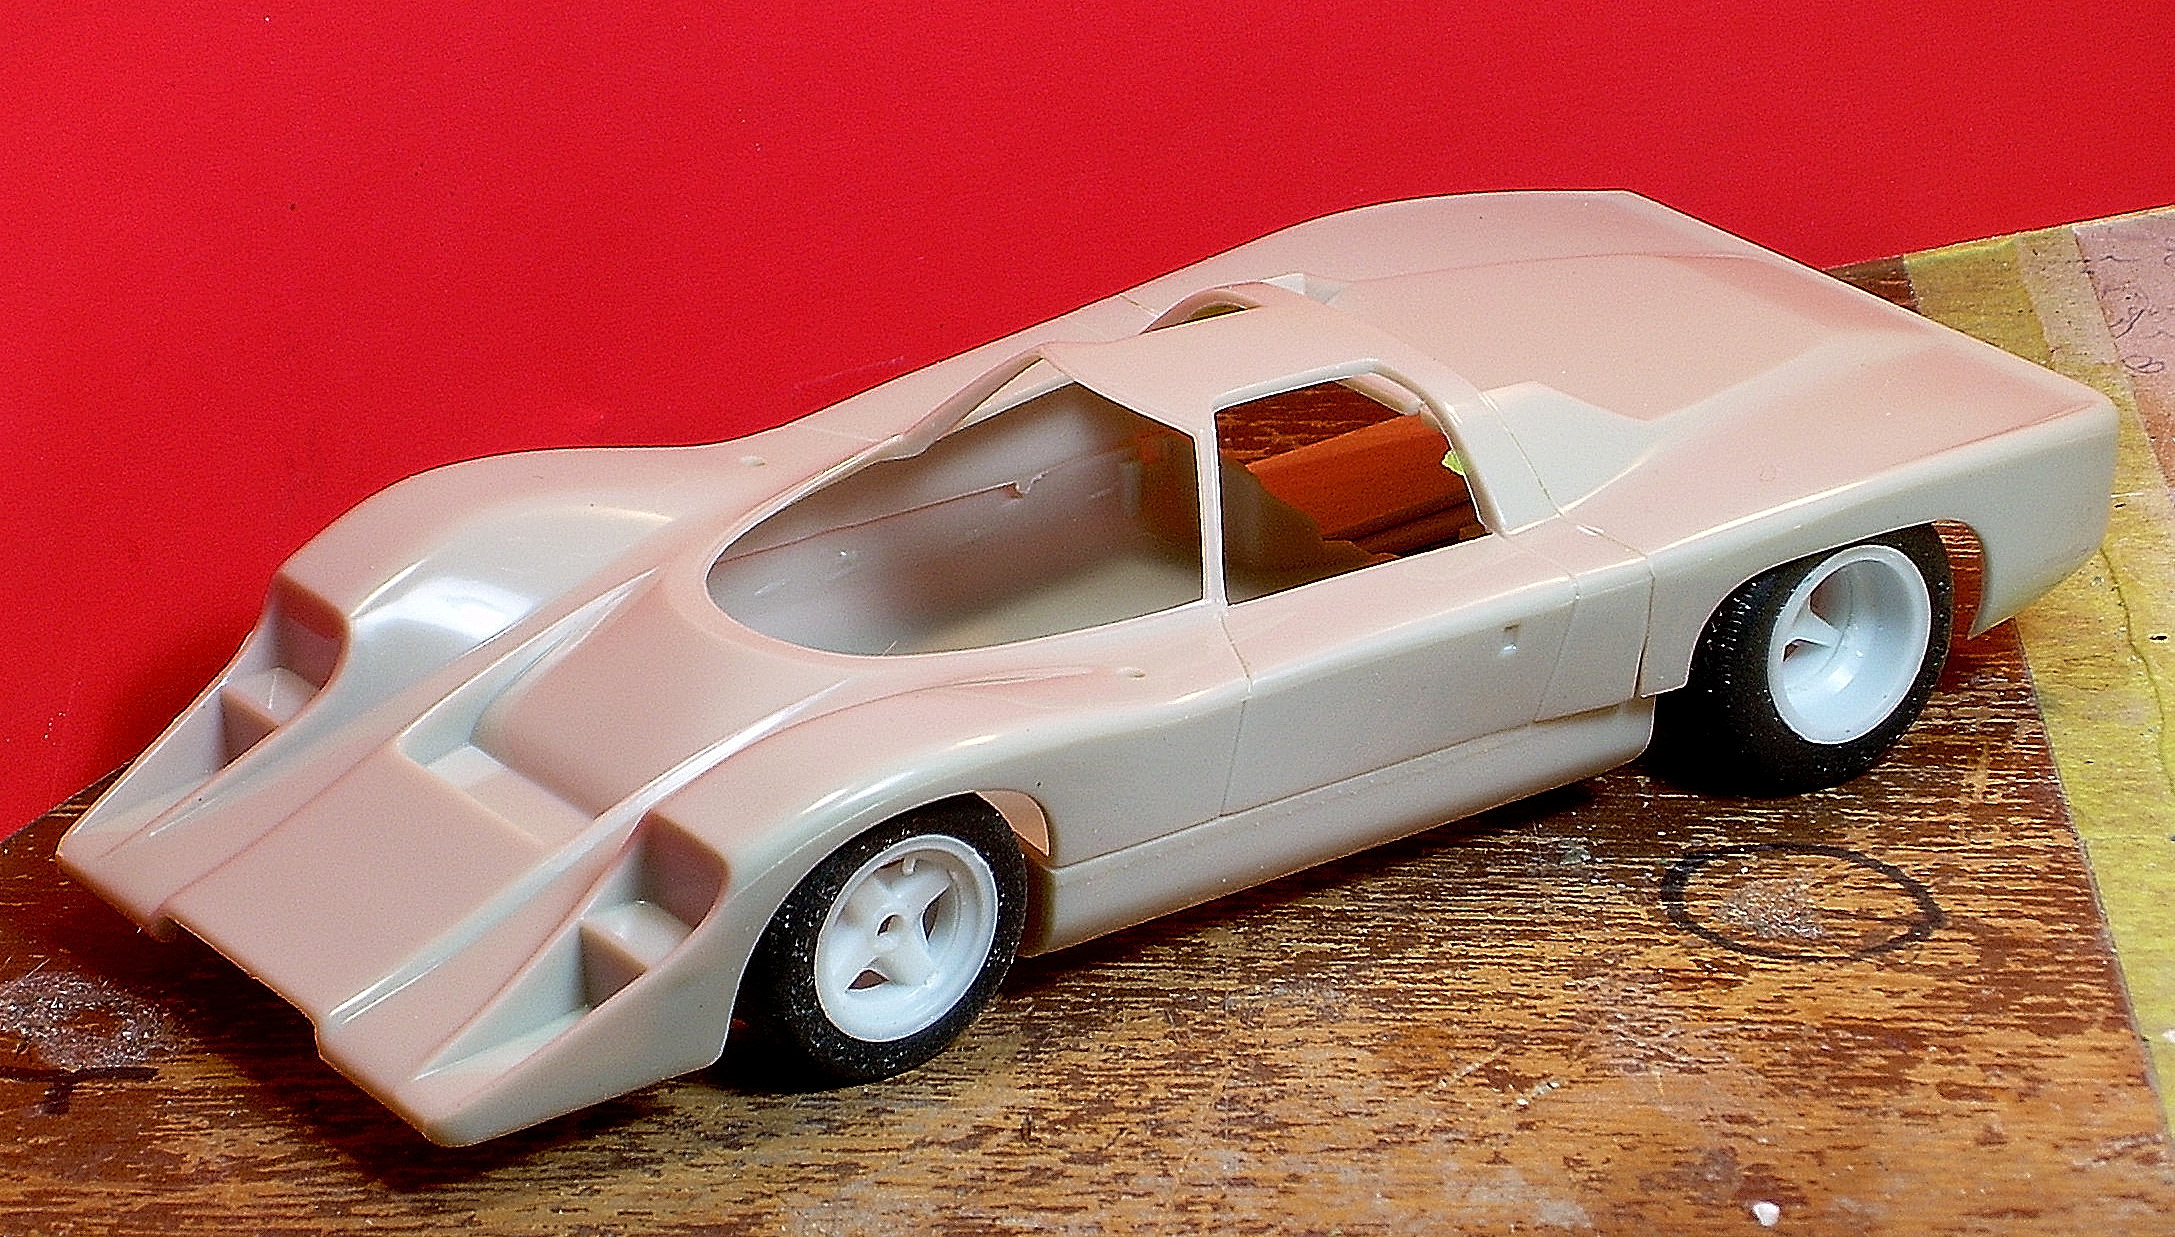
I started converting it to a McLaren M6 GT. Just substituting reasonably correct wheels and tires for the dorkotronic parts in the kit goes a long way towards correcting the goofy look. The rest of the plan is to substitute an M8 chassis, but the body lines and proportions need considerable work.
-
-
Ya'll just miss the point entirely. it's NOT "supposed" to be a '34 Ford. It's an entirely ORIGINAL design, every single part specifically engineered and fabricated, with '33-'34 Ford influence. And if the "Ford-ness" has been "entirely obliterated", how do you recognize there's any "Ford-ness" there at all? I really have to wonder why Foose-bashing seems to be so popular these days. The man is real dammed good at what he does.
-
Suicide front suspension
Ace-Garageguy replied to Sixx's topic in Model Building Questions and Answers
I'm not seeing the other photo, but there are several significant problems with this one. 1) The front crossmember is rectangular, and it's not very large. It will be prone to twisting.. 2) The length the perch is cantilevered forward of the crossmember is excessive, and will add to the tendency of the crossmember to twist. 3) The ears or gussets on the perch are not tall enough or placed correctly to provide sufficient rigidity either. 4) This mess also loads the end hangers and wishbones in a way they were not designed to be loaded. I'm sure whoever built this garbage thinks they're pretty clever. They're not. -
Here's a link to Kindig's site. Perhaps you could explain why you like his work better than Foose? http://www.kindigit.com/gallery/
-
Nope, I don't agree.
-
Some of my favorite people are (and were) Army.
-
Suicide front suspension
Ace-Garageguy replied to Sixx's topic in Model Building Questions and Answers
There are a couple of caveats here too. 1) IF the ends of the wishbones where the hangers go through them were re-fabbed from heavier stock, things would be much better...but trusting old parts, possibly rusted internally (wishbones are tubular in this area), especially where the ends are loaded in bending and subject to fatigue-inducing vibration and bumps from road irregularities, is unwise. 2) The spring-end hangers are also loaded in a way they were not designed to be. As designed, they're supposed to be in bending and tension or compression, but in the illustration above, the weakest part of the hanger is loaded in bending and single-shear. In general, loading anything in single-shear should be avoided. Though they are forgings, there is a stress-riser where the shank intersects the head. This is a prime potential failure point. And some aftermarket end-hangers are cast garbage...truly potential "suicide" parts if mounted this way. IF the hangers were fabbed from known-quality forgings of the right material, and IF careful attention was placed on the fillet radius where the shank meets the head, and IF the wishbone was relieved to clear the fillet and allow sufficient clamping pressure to be applied by the threaded end, you could make a case for this to be an adequate design as well. -
Suicide front suspension
Ace-Garageguy replied to Sixx's topic in Model Building Questions and Answers
It's just a way to get a look and stance that's not available with any other setup. And as long as it's designed and fabbed correctly, it's perfectly adequate. Things to remember: 1) A round tubular front crossmember works best. Round tube is more torsionally rigid than rectangular or square, and that's important because the thing is trying to twist. 2) The front of the frame rails should be boxed where the crossmember ties in, at least. The rails should also be capped. Ideally, the crossmember should go through the rails and be welded at both the inner and outer intersections. More work, but if overkill is a good idea anywhere, this is the place. 3) The perch itself needs to be fabbed from heavy enough material (3/16" -1/4" steel plate is about right) and the welds need to be good. Good welds means the material is well-cleaned of rust and mill-scale prior to welding, and that penetration is excellent and consistent. 4) The spring mount plate needs to have vertical reinforcing ears or gussets to keep it from twisting off the crossmember as well. So...the example below is not what you want to end up with. The example below has adequate perch and crossmember work, but placing the spring end hangers that way, into the sides of old wishbones, is a little scary. Wishbones were never intended to be loaded that way, and I HAVE seen them fail in a rig like this. -
Suicide front suspension
Ace-Garageguy replied to Sixx's topic in Model Building Questions and Answers
One thing that makes this such a great kit is that it has hairpins AND a 4-link setup: (Only Revell '32 Ford with BOTH) And another reason why the hobby really needs a repop of this fantastic parts source:
-
Sealed or open?
Ace-Garageguy replied to ewetwo's topic in General Automotive Talk (Trucks and Cars)
Box was full. Fixed it. -
Why?
-
Only real gripe I have with Amazon is that they don't accept PayPal, which I think is just stupid. PayPal's painless money-back guarantee makes it my go-to payment method, so I tend to only use Amazon if something just isn't available elsewhere. Interestingly, I'm seeing more eBay sellers having orders processed through Amazon, but accepting PayPal through the 'Bay. Best of both worlds.
-
Testors Spray Paints
Ace-Garageguy replied to NOBLNG's topic in Model Building Questions and Answers
There are going to be lots of opinions to answer your question. I'll list mine based on my own experience. Other opinions may very well be different. Personally, I only use Testors rattlecan enamels for smaller parts that I want a high gloss on, but that are too difficult to polish. Things like wheels and engines in showcars, irregularly shaped, etc. Some of them have a tendency to bubble on sharp edges, and they take forever to dry...often days before you can handle them without leaving fingerprints. I like Testors lacquer rattlecan paints, but with some caveats: 1) I think the "Metalizer" line is great, very useful for producing bare metal finishes once you know the tricks to getting the results you want. 2) Their "one coat lacquers" are metallics with very large (for scale) flakes. They work well for wild kustom or drag cars, or dune buggies and racing boats, but the flake is WAY too big for anything normal. They can also take several coats to get complete coverage. 3) Their basecoat/clearcoat system works well for me. The basecoats in the line are usually duplicates of factory production colors. Available in several solid and metallic colors, the metallics have much finer flake than the "one coat" line, but they're still sometimes too big. The base dries flat, and needs the clear to achieve high gloss, but the flat finish of the bases can be very useful for duplicating low-sheen effects like interior fabric and leather. The clears dry relatively quickly, and can be polished to a high gloss. NOTE: Another option for lacquer colors and clears that come in larger cans is the line from Duplicolor, available at real-car parts stores. There are many real-car colors available, and though their "metallic" paints may have too-large flakes, the "pearls" and "micas" often look about right. Testors lacquer clears work very well over these too. NOTE 2: Stocking up may not be the best idea. All paints settle as they sit, and the dip-tubes in rattlecans are known to become clogged over time. Sometimes this can be cleared, sometimes not, and there's also the risk of long-term-stored paints getting chunky, or losing propellant. NOTE 3: Any rattlecan paint can be "decanted" and airbrushed, which solves some of the problems noted above. -
Suicide front suspension
Ace-Garageguy replied to Sixx's topic in Model Building Questions and Answers
Thank you sir. Build thread here: