Search the Community
Showing results for tags 'MPC'.
-
This is MPC's release of the 'Country' Charger in 1:25th scale. It's basically a direct re-pop of the long running General Lee kit, all the General Lee parts are included and you'll get an optional set of Torq-Thrust wheels and new flag decals with various names and numbers in the same font as the General Lee car. This is molded in all black. https://www.youtube.com/watch?v=BVSucSDHmbA
-
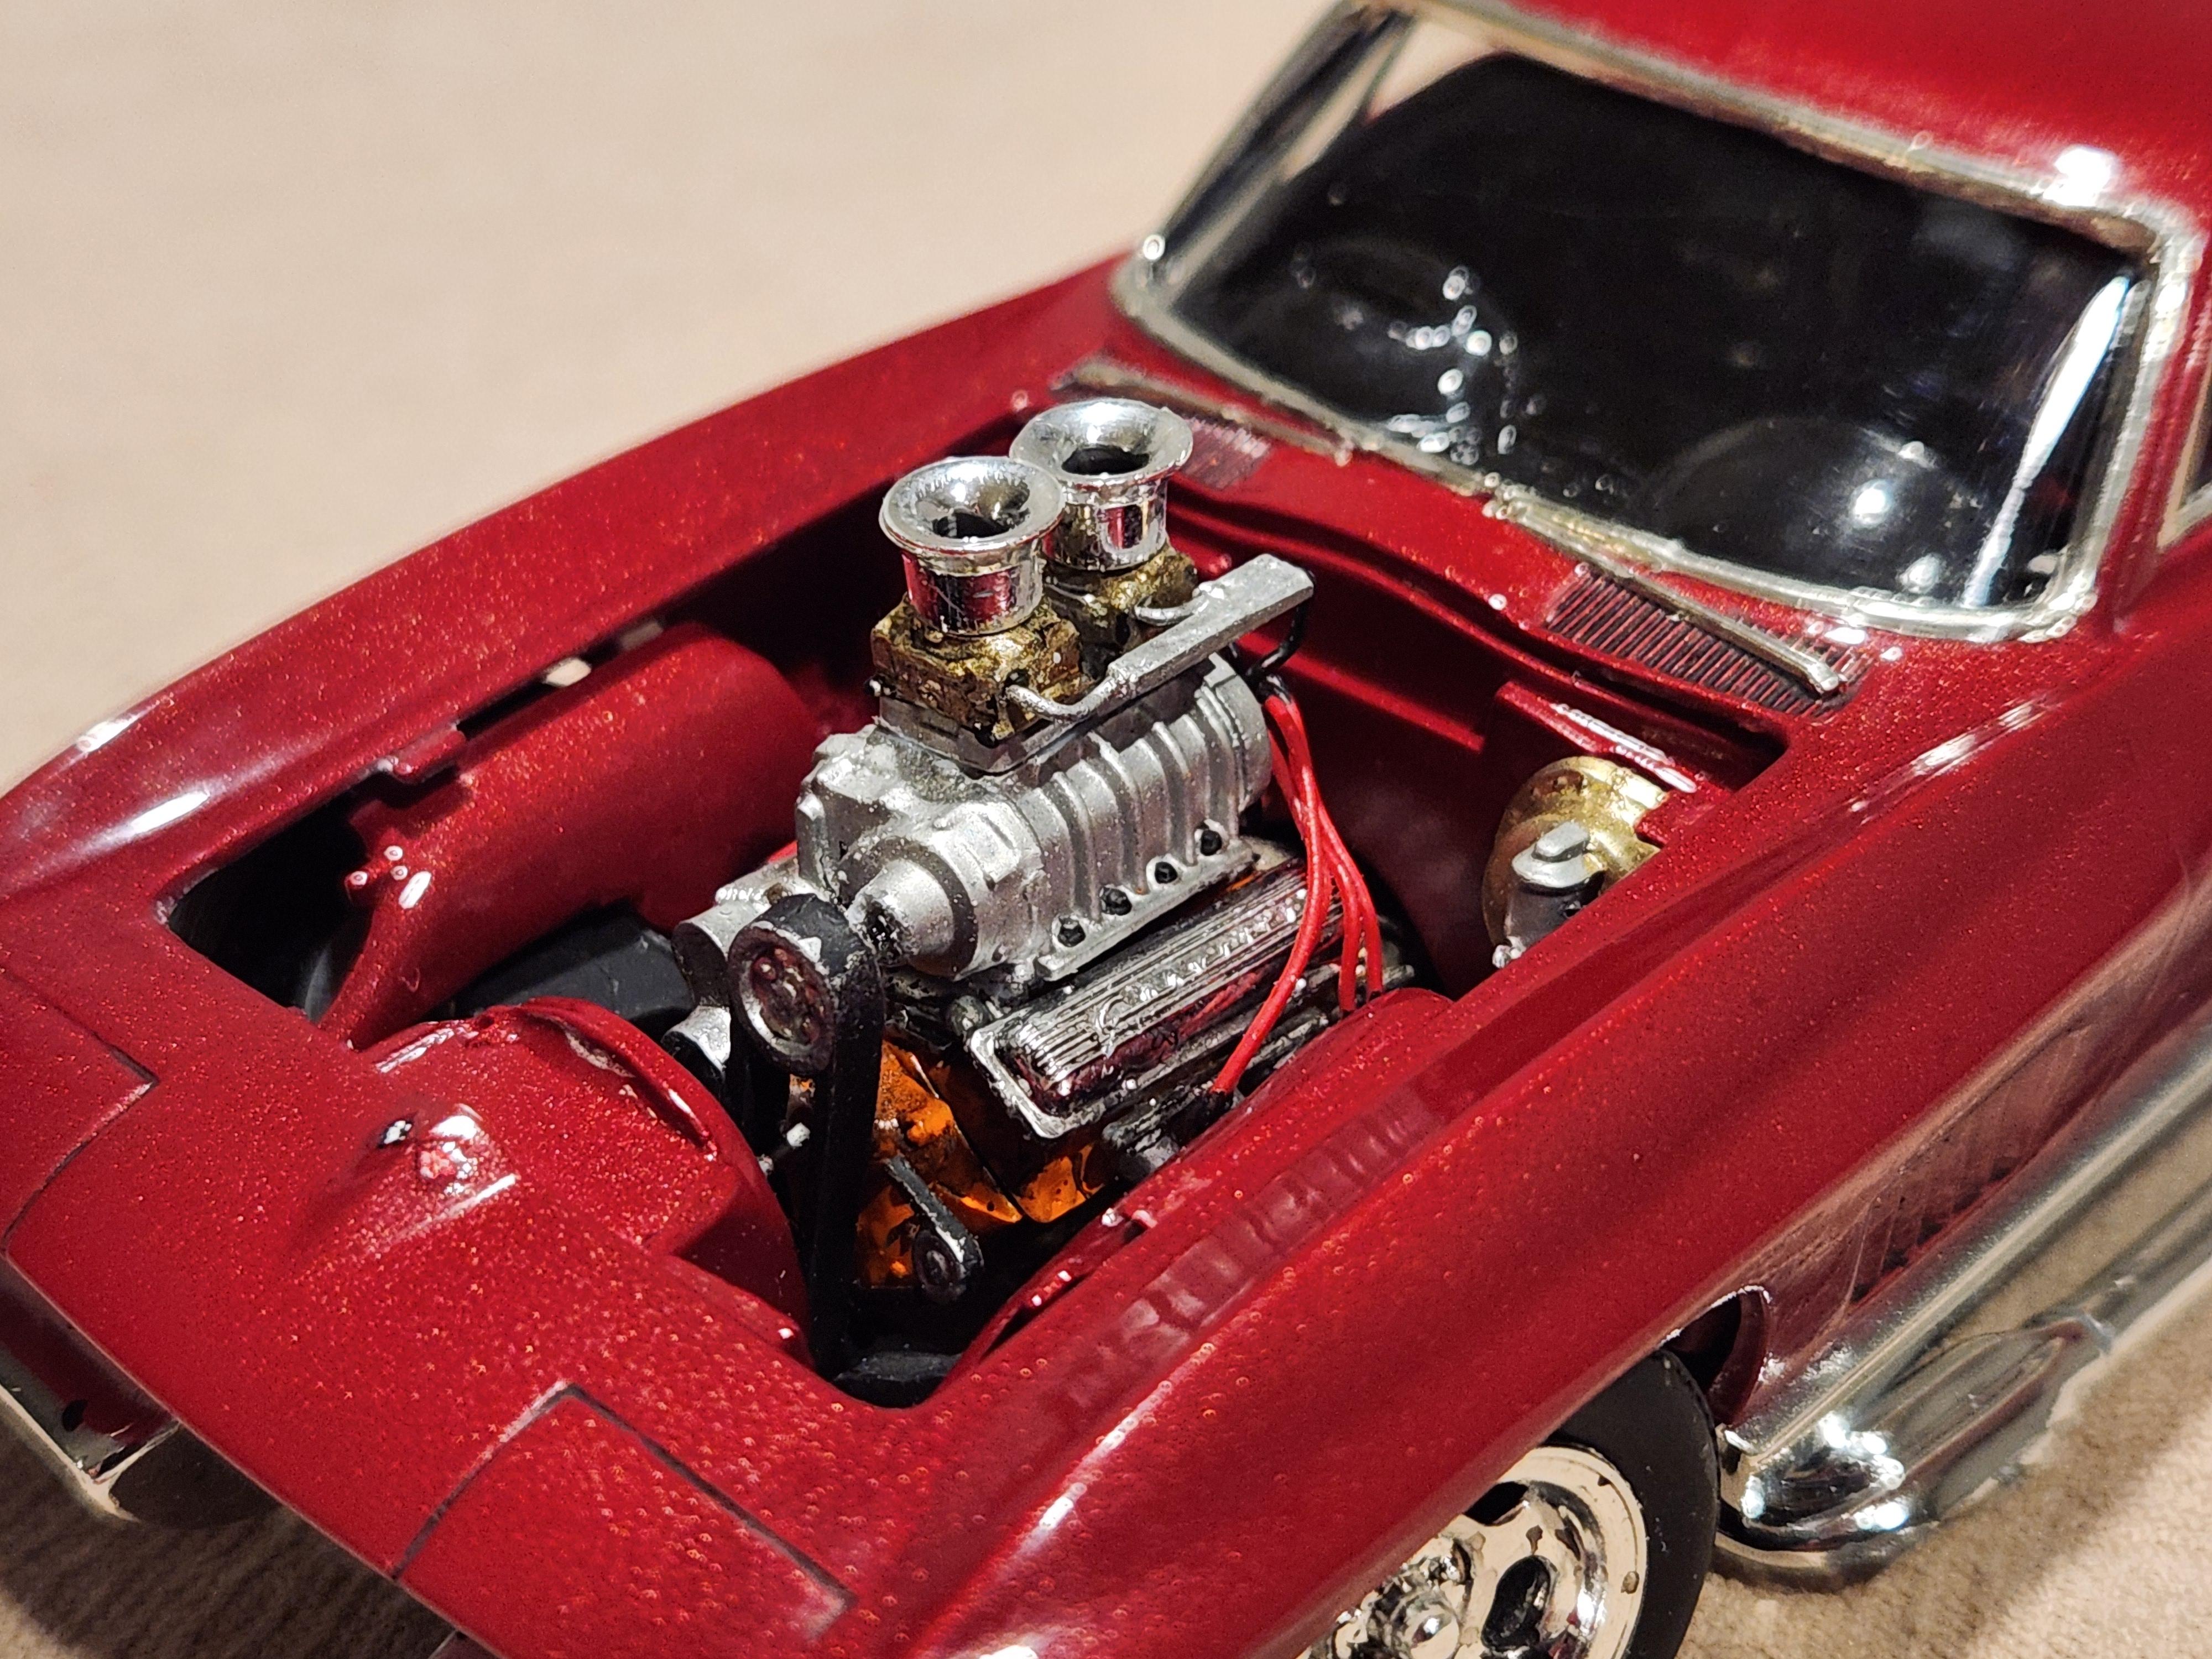
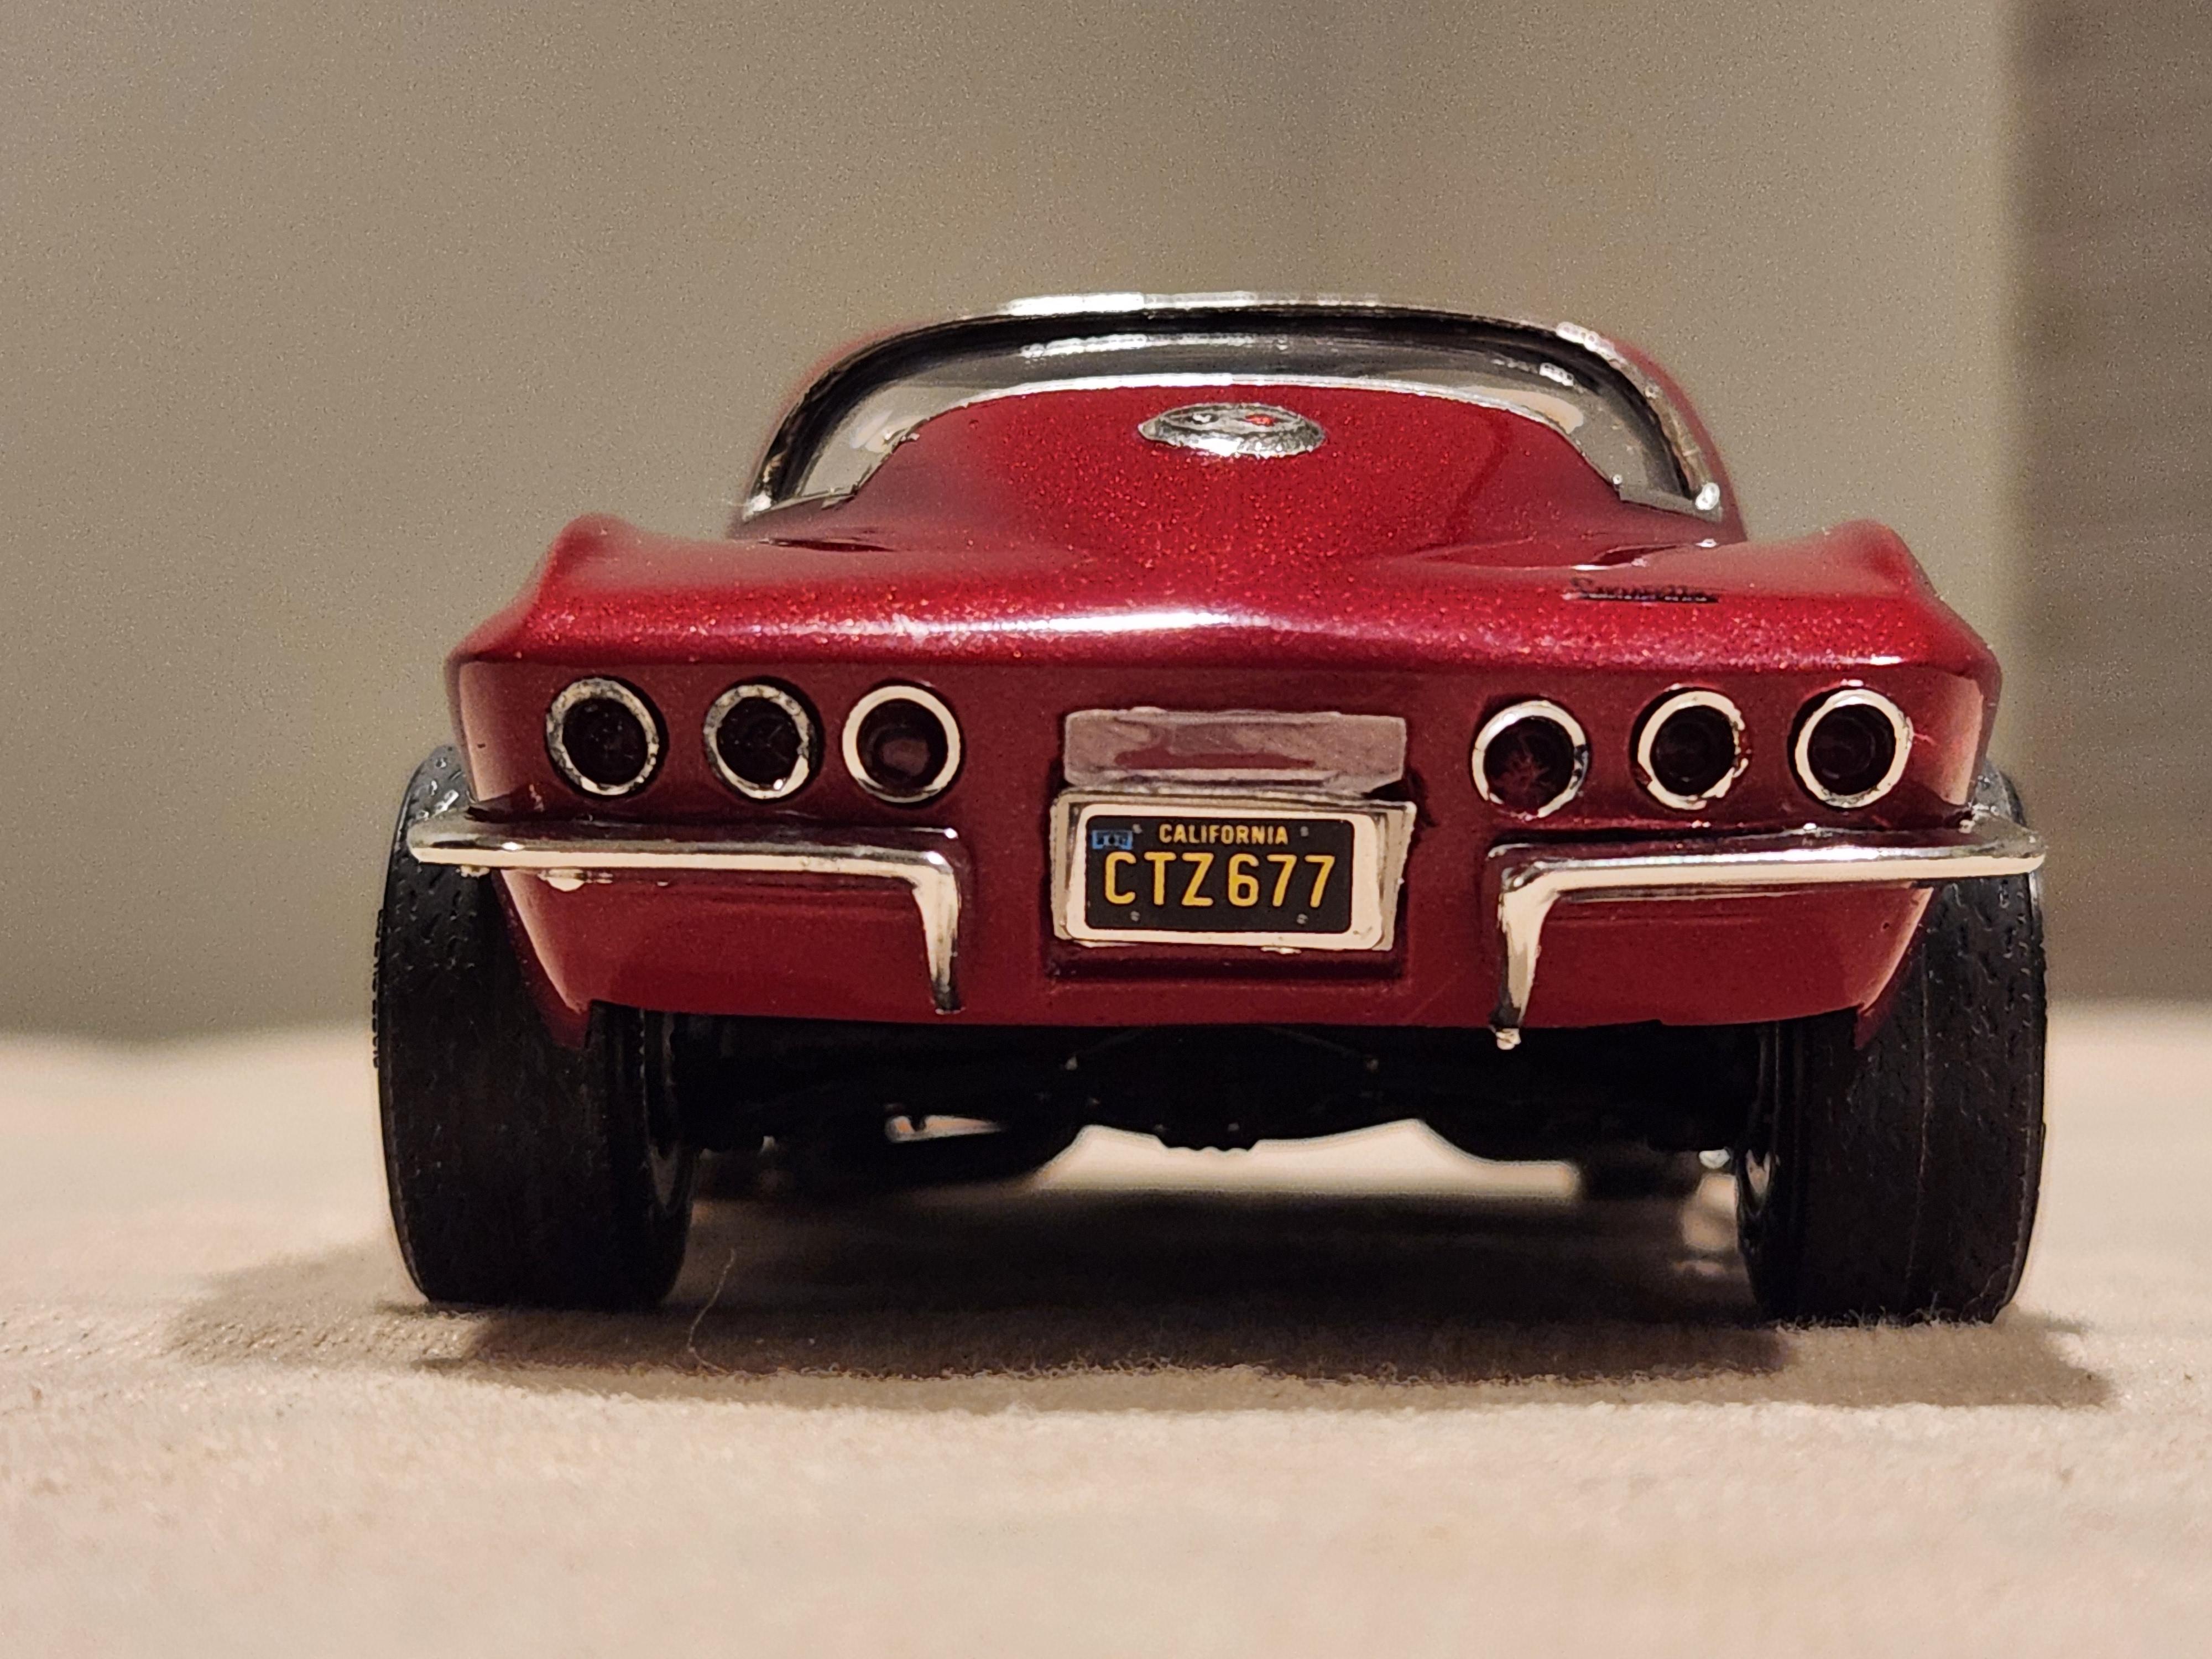
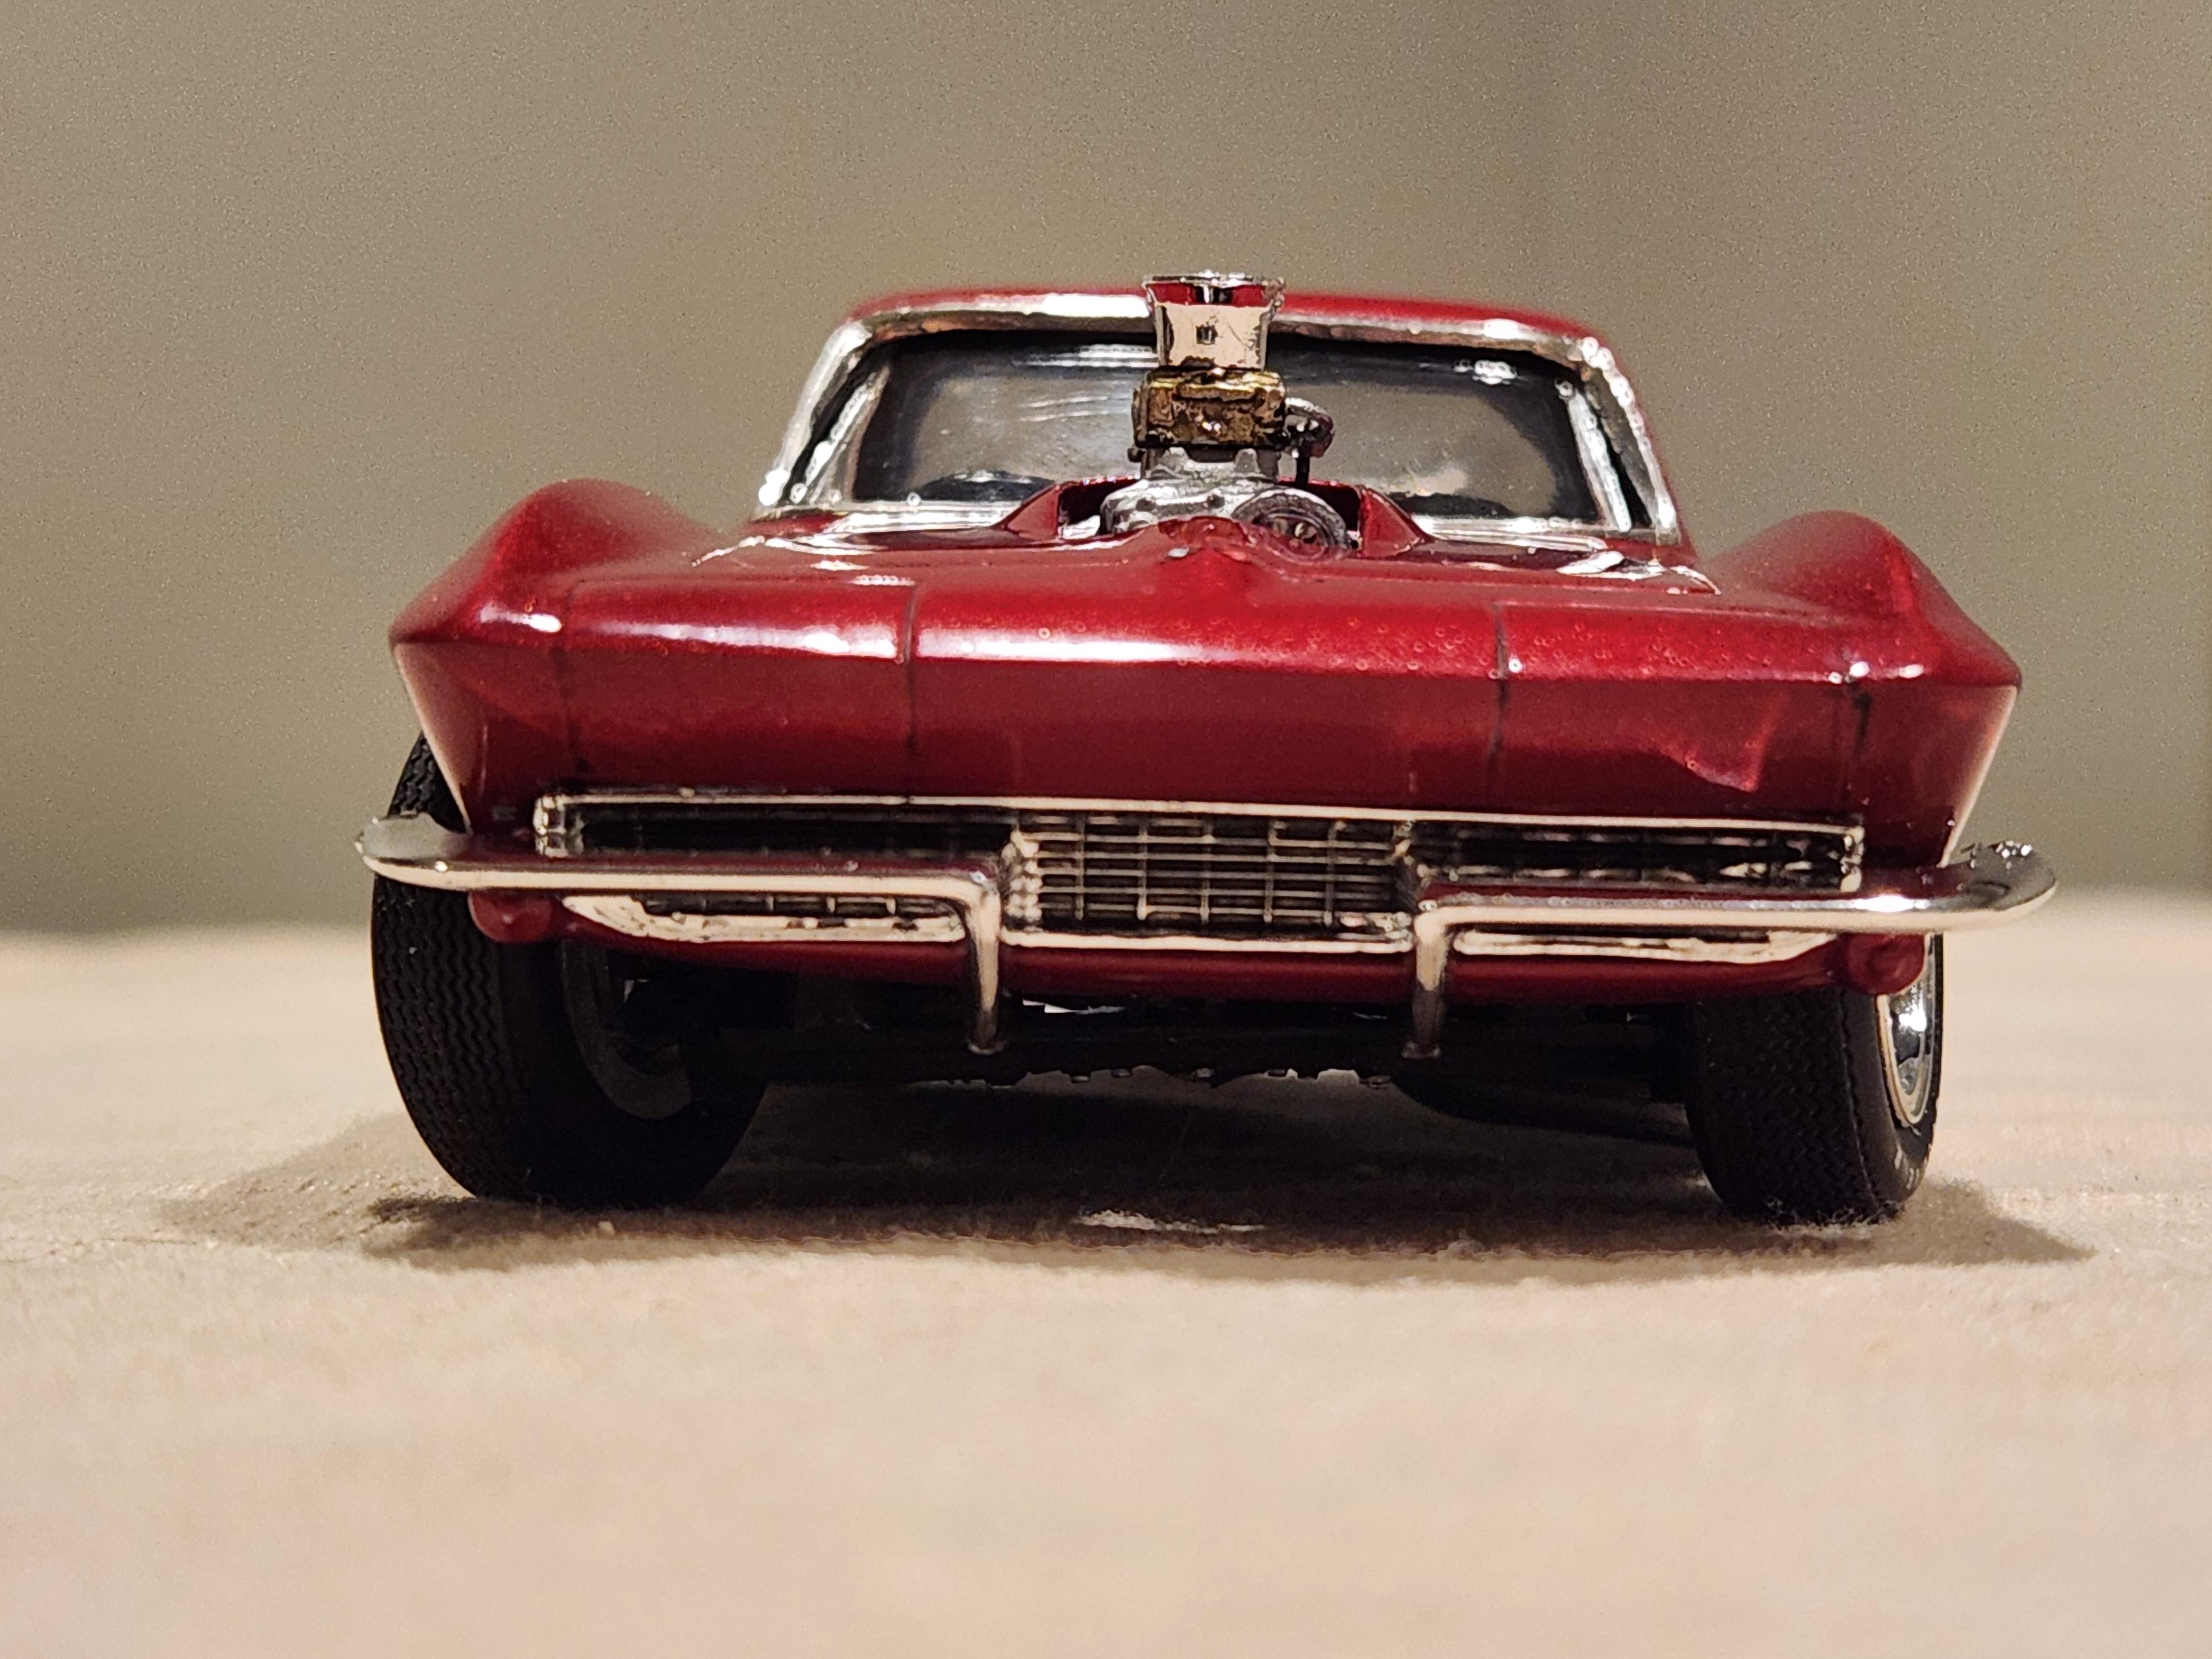
Welp, it took me a little bit to finish this kit but I finally got it done and... I'm quite pleased with the result. This car had a couple paint issues mainly because it was the first car I airbrushed but I finally got them settled out, the color is testors red metallic flake with DupliColor filler primer and decanted Rustoleum enamel clear (only way I could spray it without it lifting the paint). There are not many things in the terms of modifications on this car. Really the only thing was the intake, where I shortened the carb mounting plate because originally they were too far apart, and parts box carbs/ air cleaners were added. The cool thing is when I told my grandfather that I picked this up from the LHS he said he built this kit back in the 70s as a kid. I didn't know that and thought it was pretty cool. I also happened to have some of his surviving models, low and behold, I HAVE HIS ORIGINAL BUILD UP! I was so happy and almost emedietly started building my kit. Oh and don't ask where the passengers side tail light went, I swear I don't know (6 tail light mod) Photo of his original build up. The back portion of the interior felt quite bare so I decided to add the racing fuel tank that comes with the kit. Of course it's my standard to at least do spark plug wires on each model. I decided to experiment with fuel lines to, turned out pretty well I think. It was a blast building this kit and was a pretty good learning opportunity for me. The struggles were worth it and I definitely learned how to avoid them. I guess now I clean off the bench and start another kit, what do you say fellas? Thanks for looking and I always appreciate your comments and feedback! Elliot
-
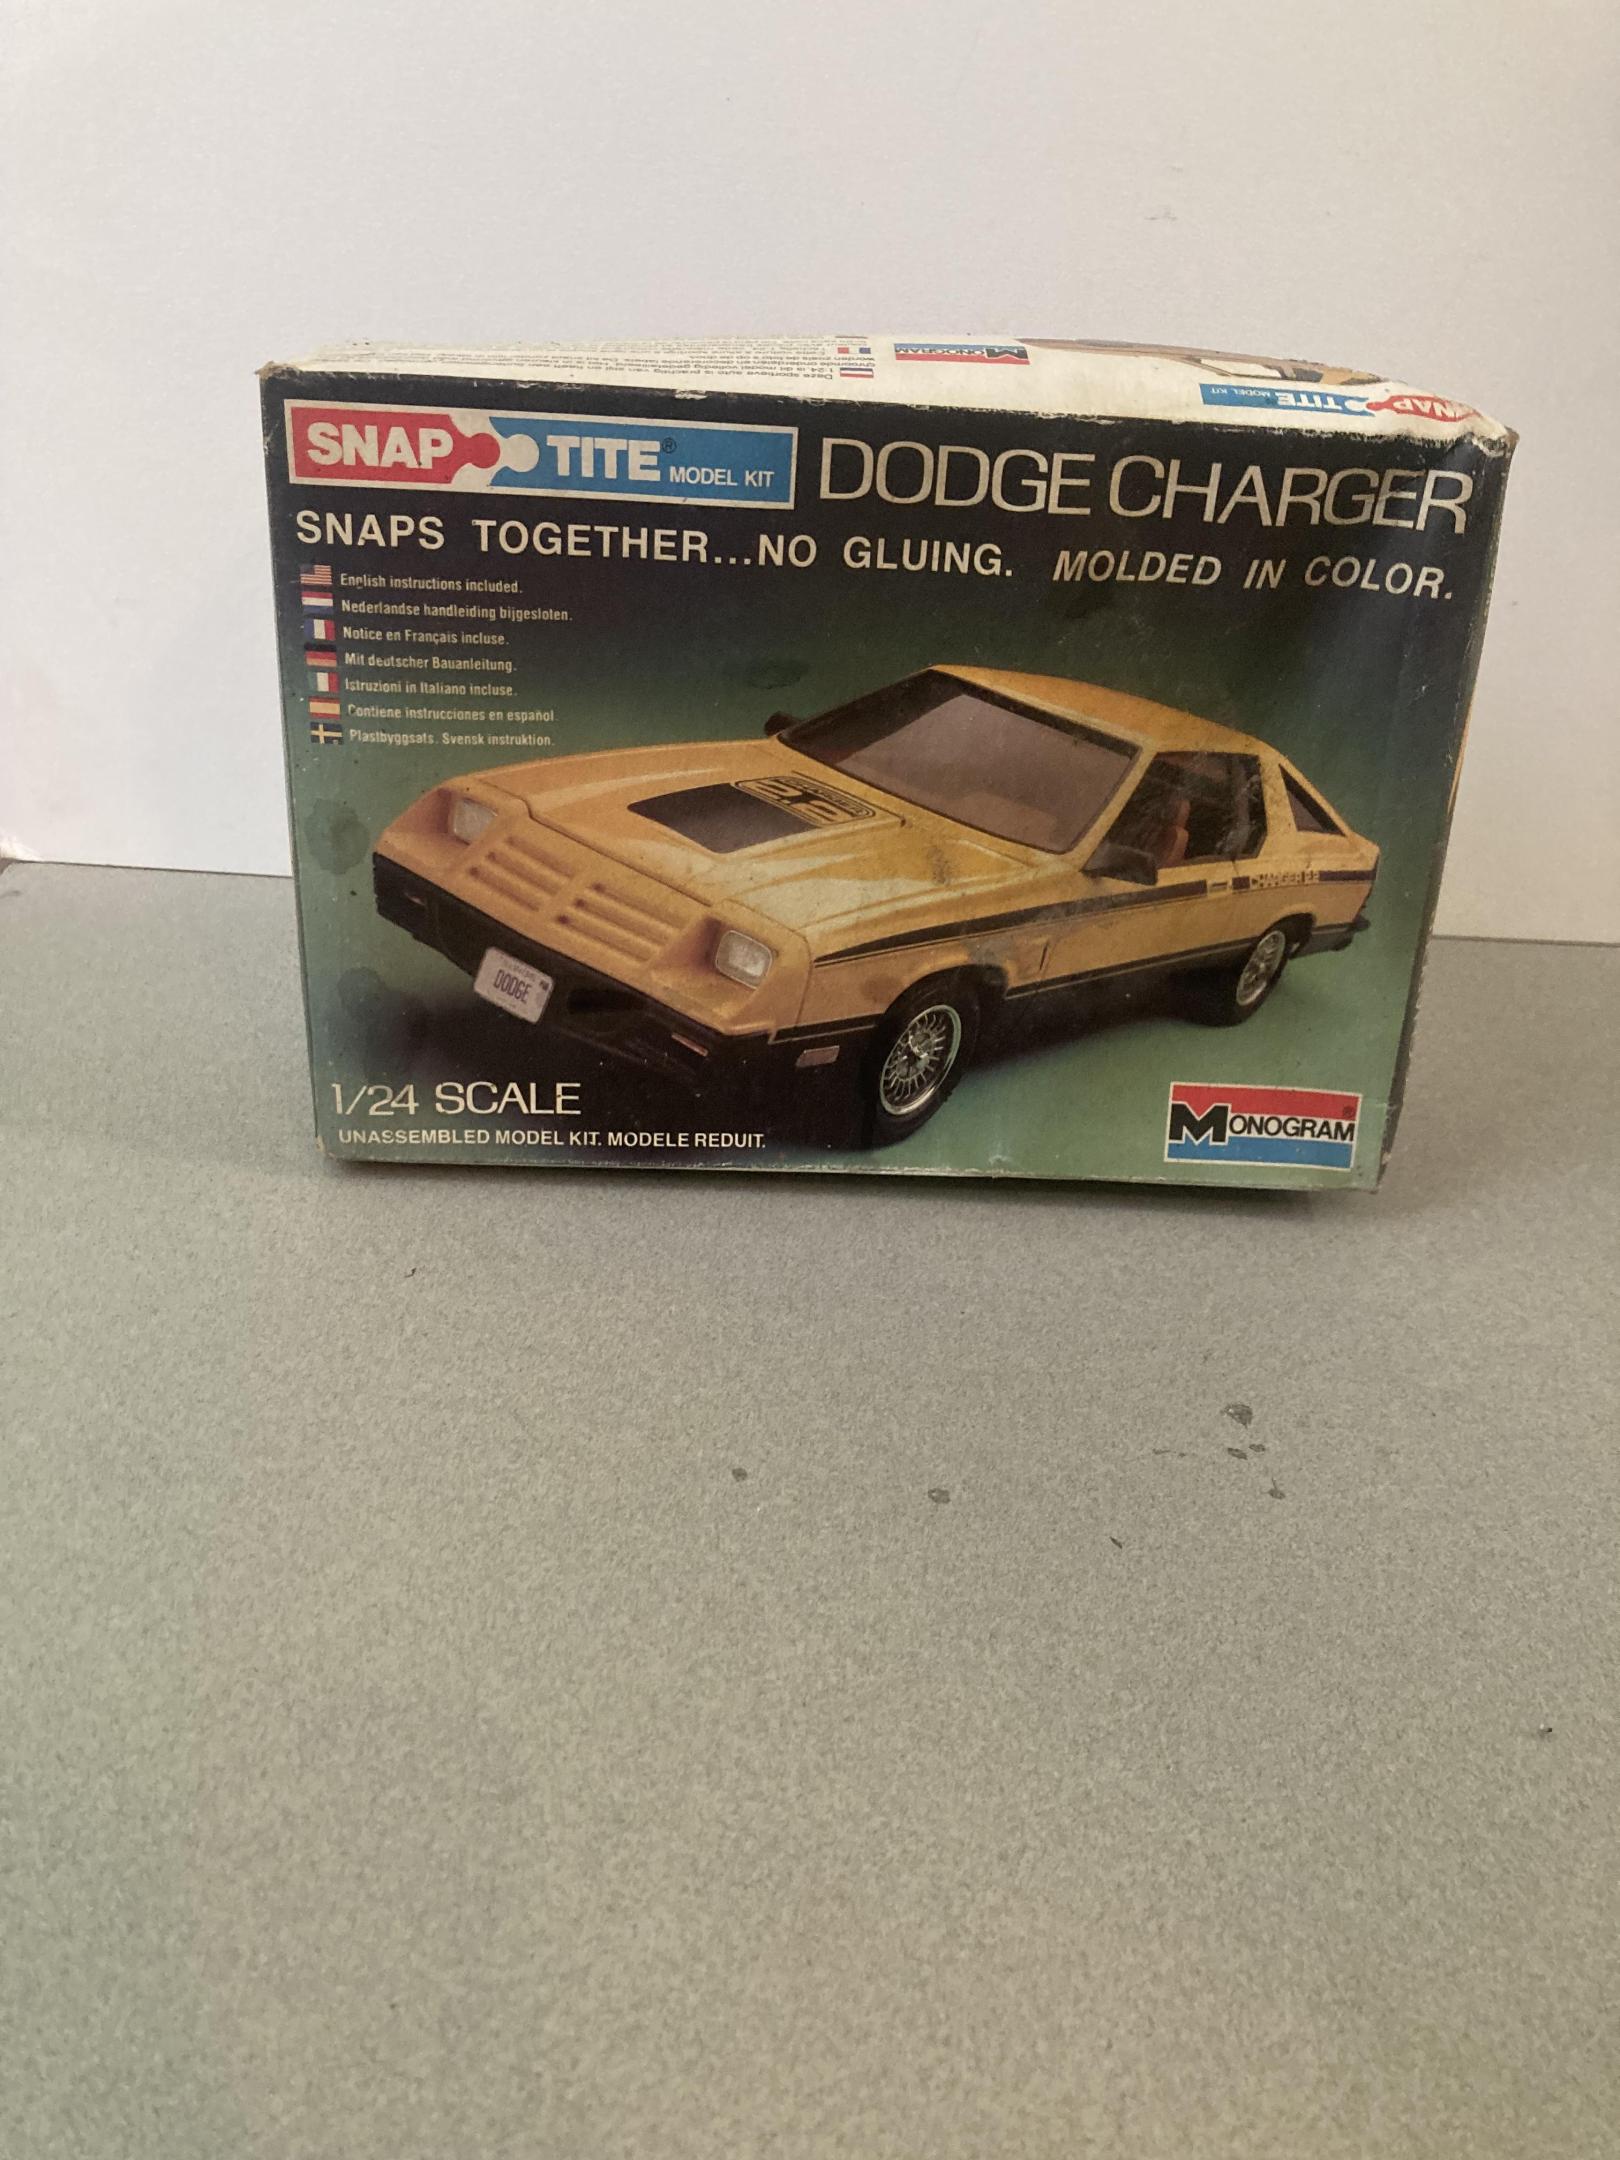
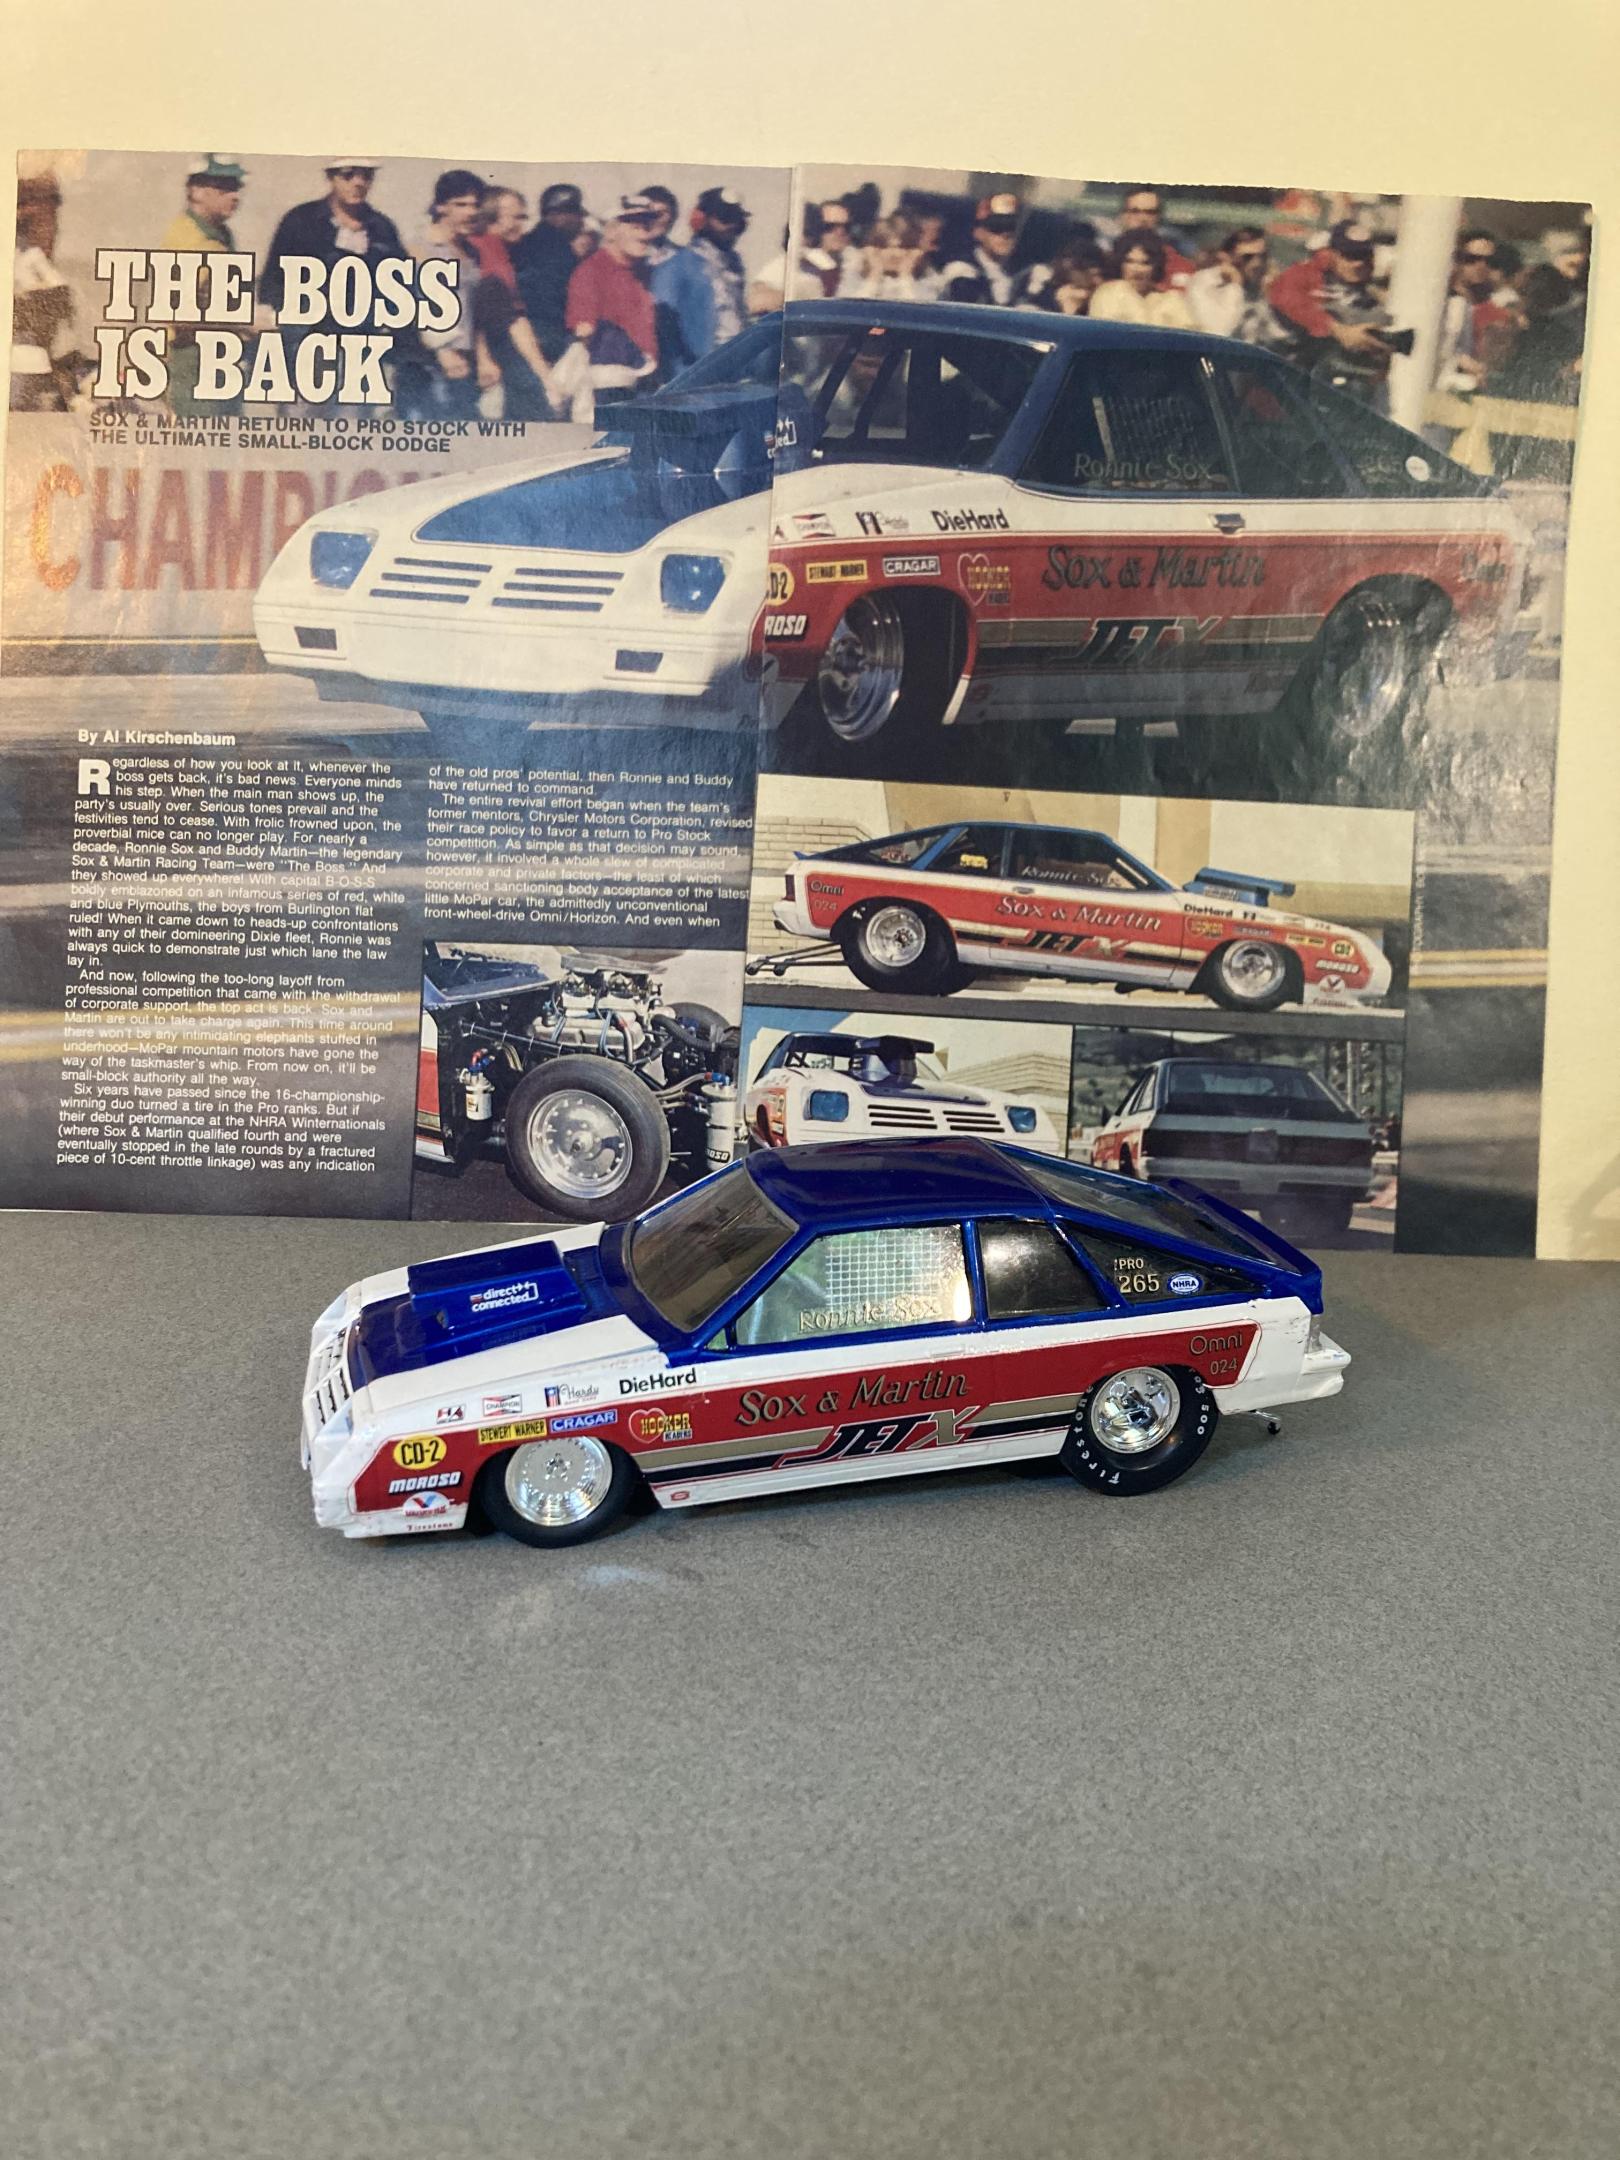
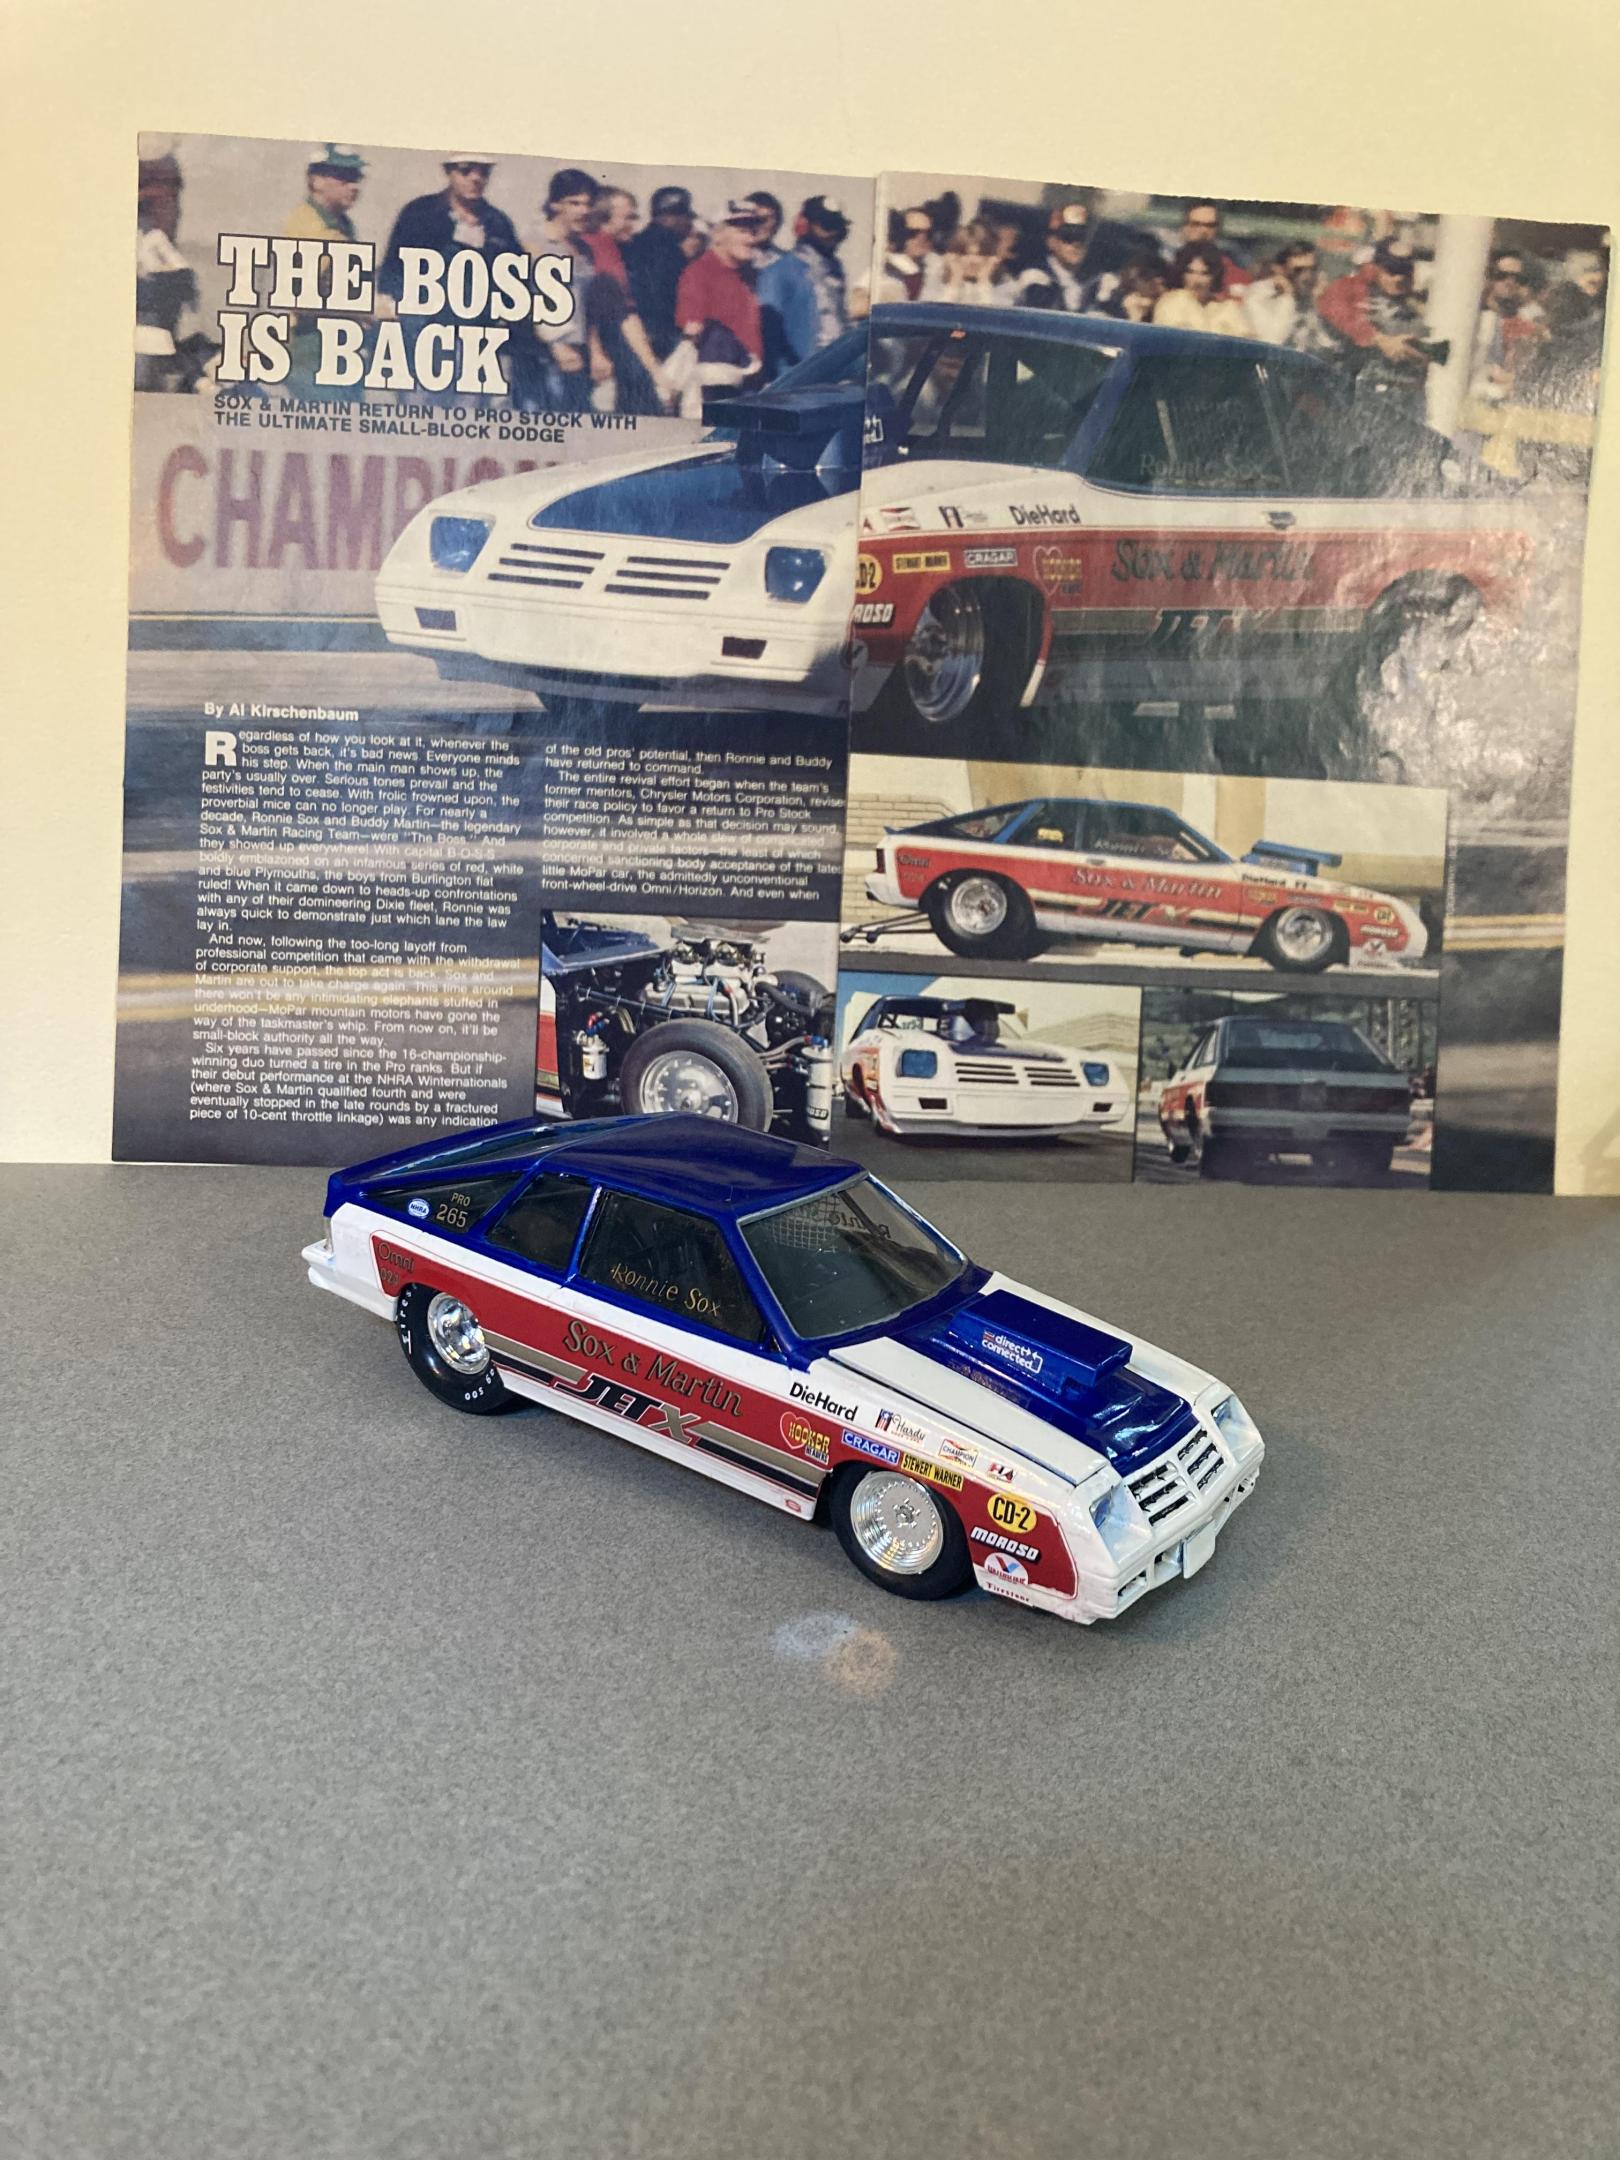
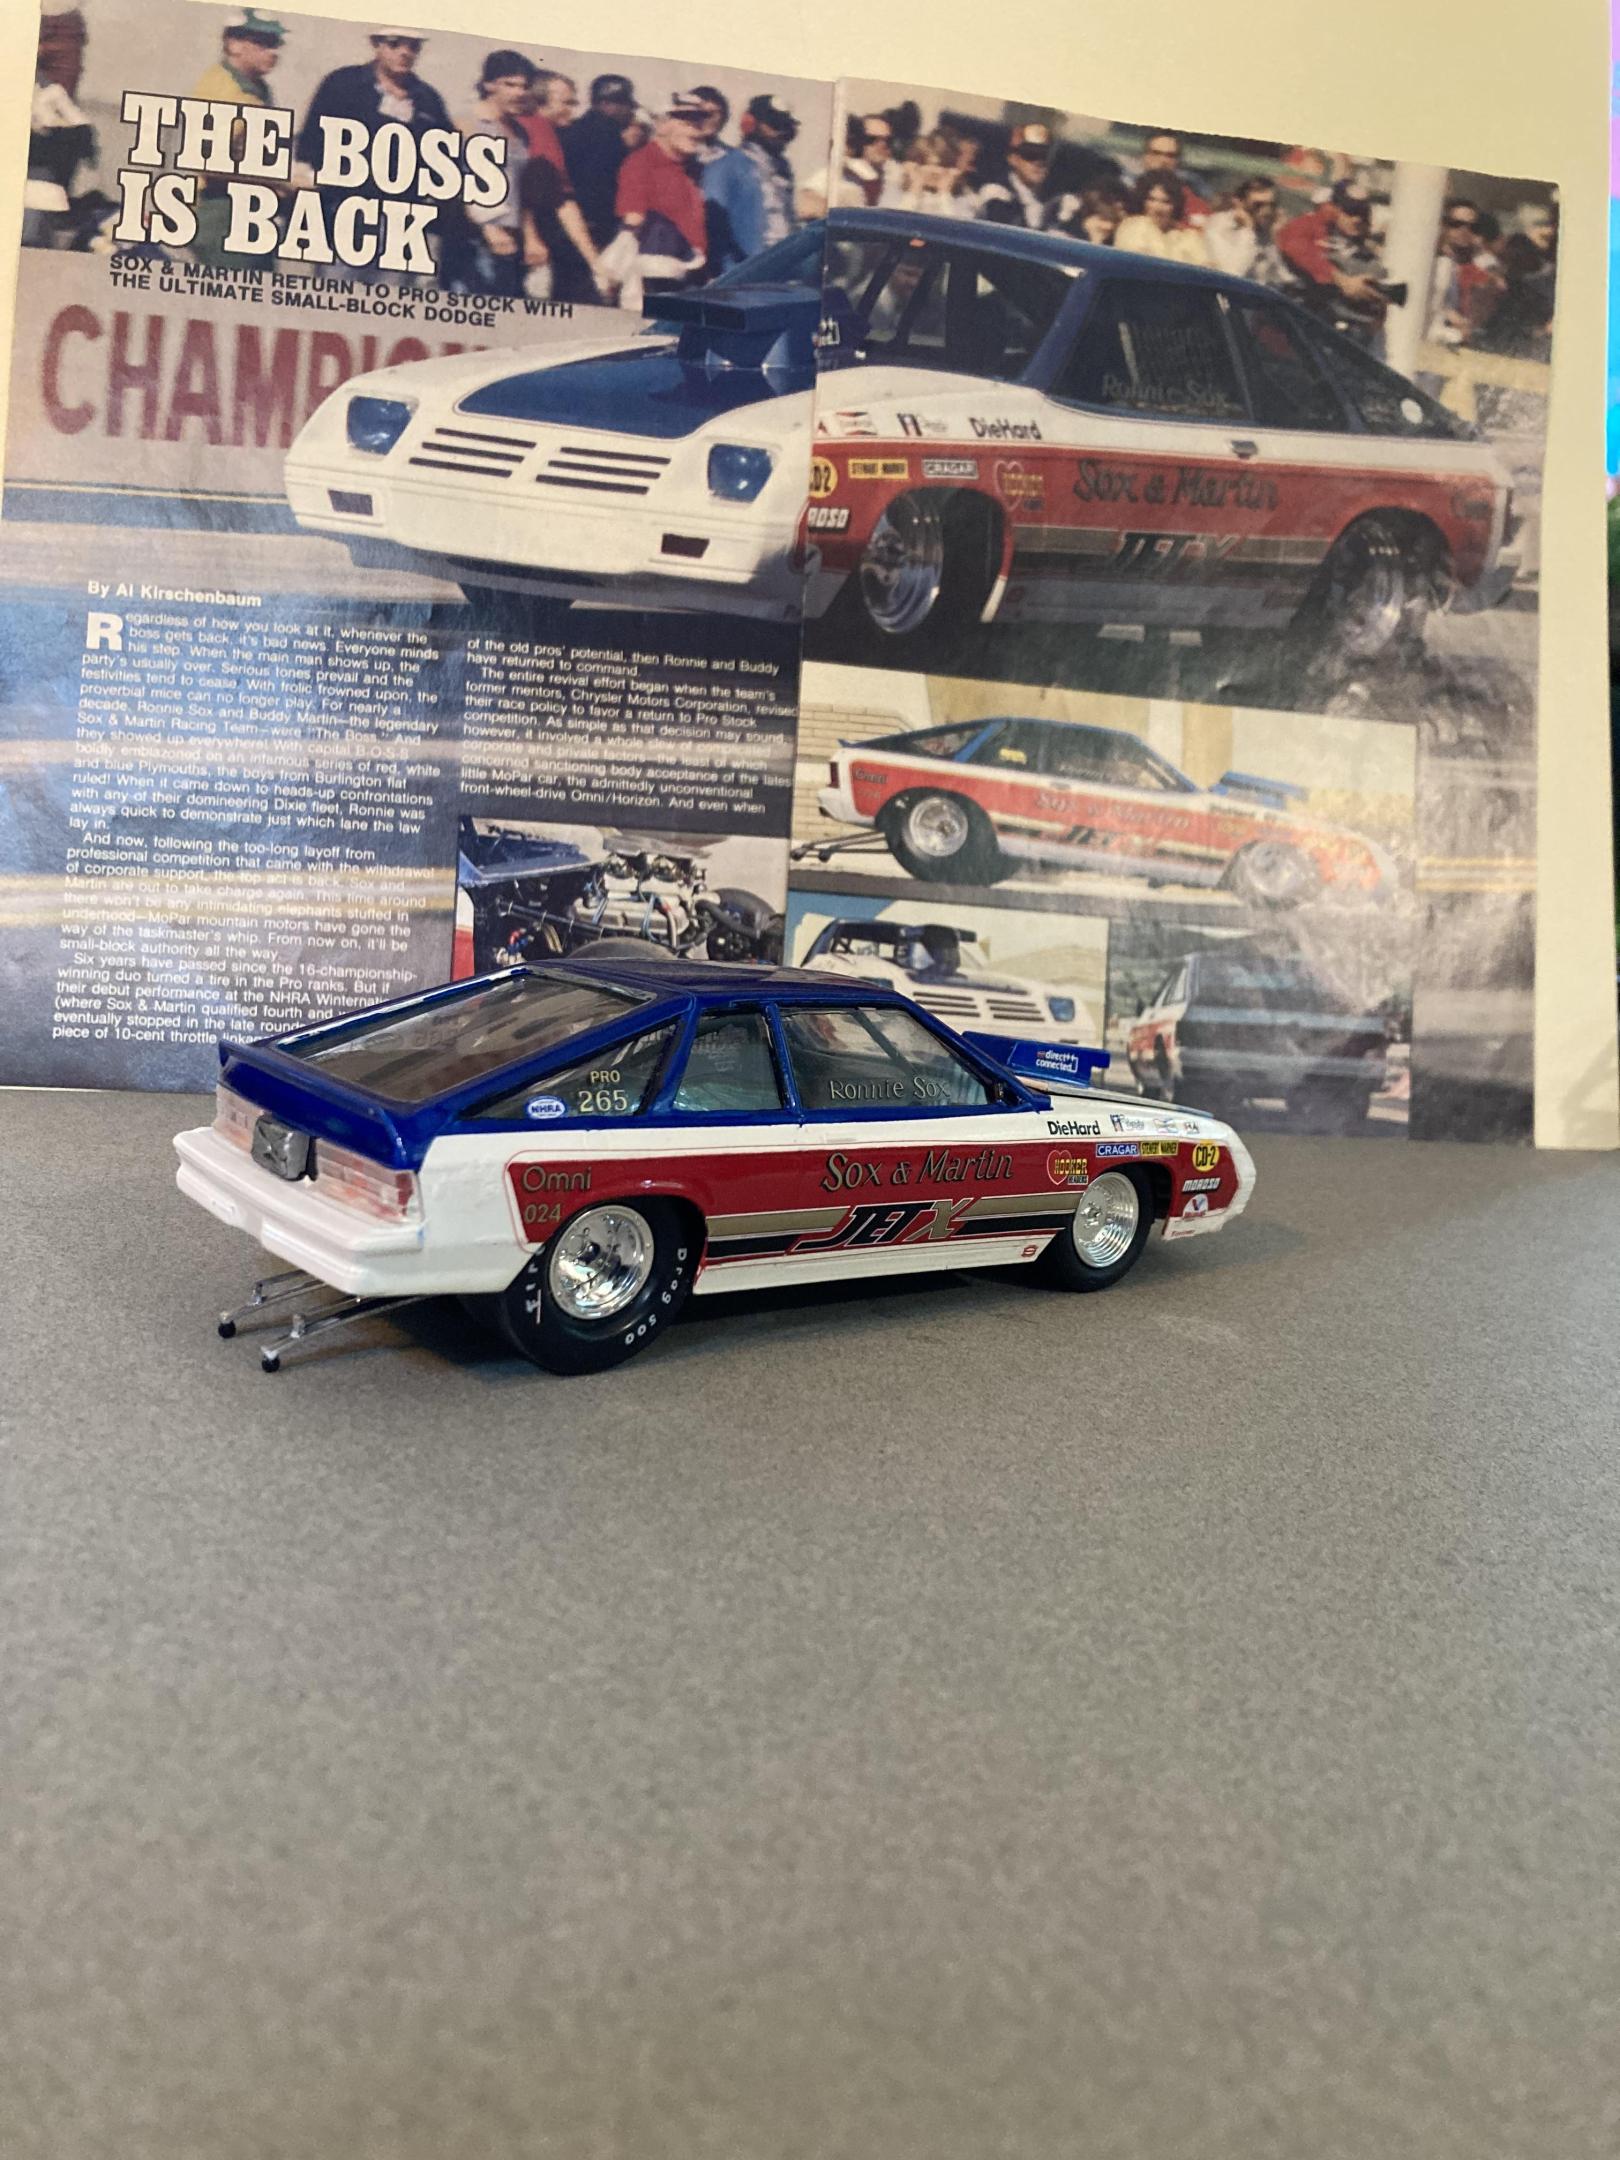
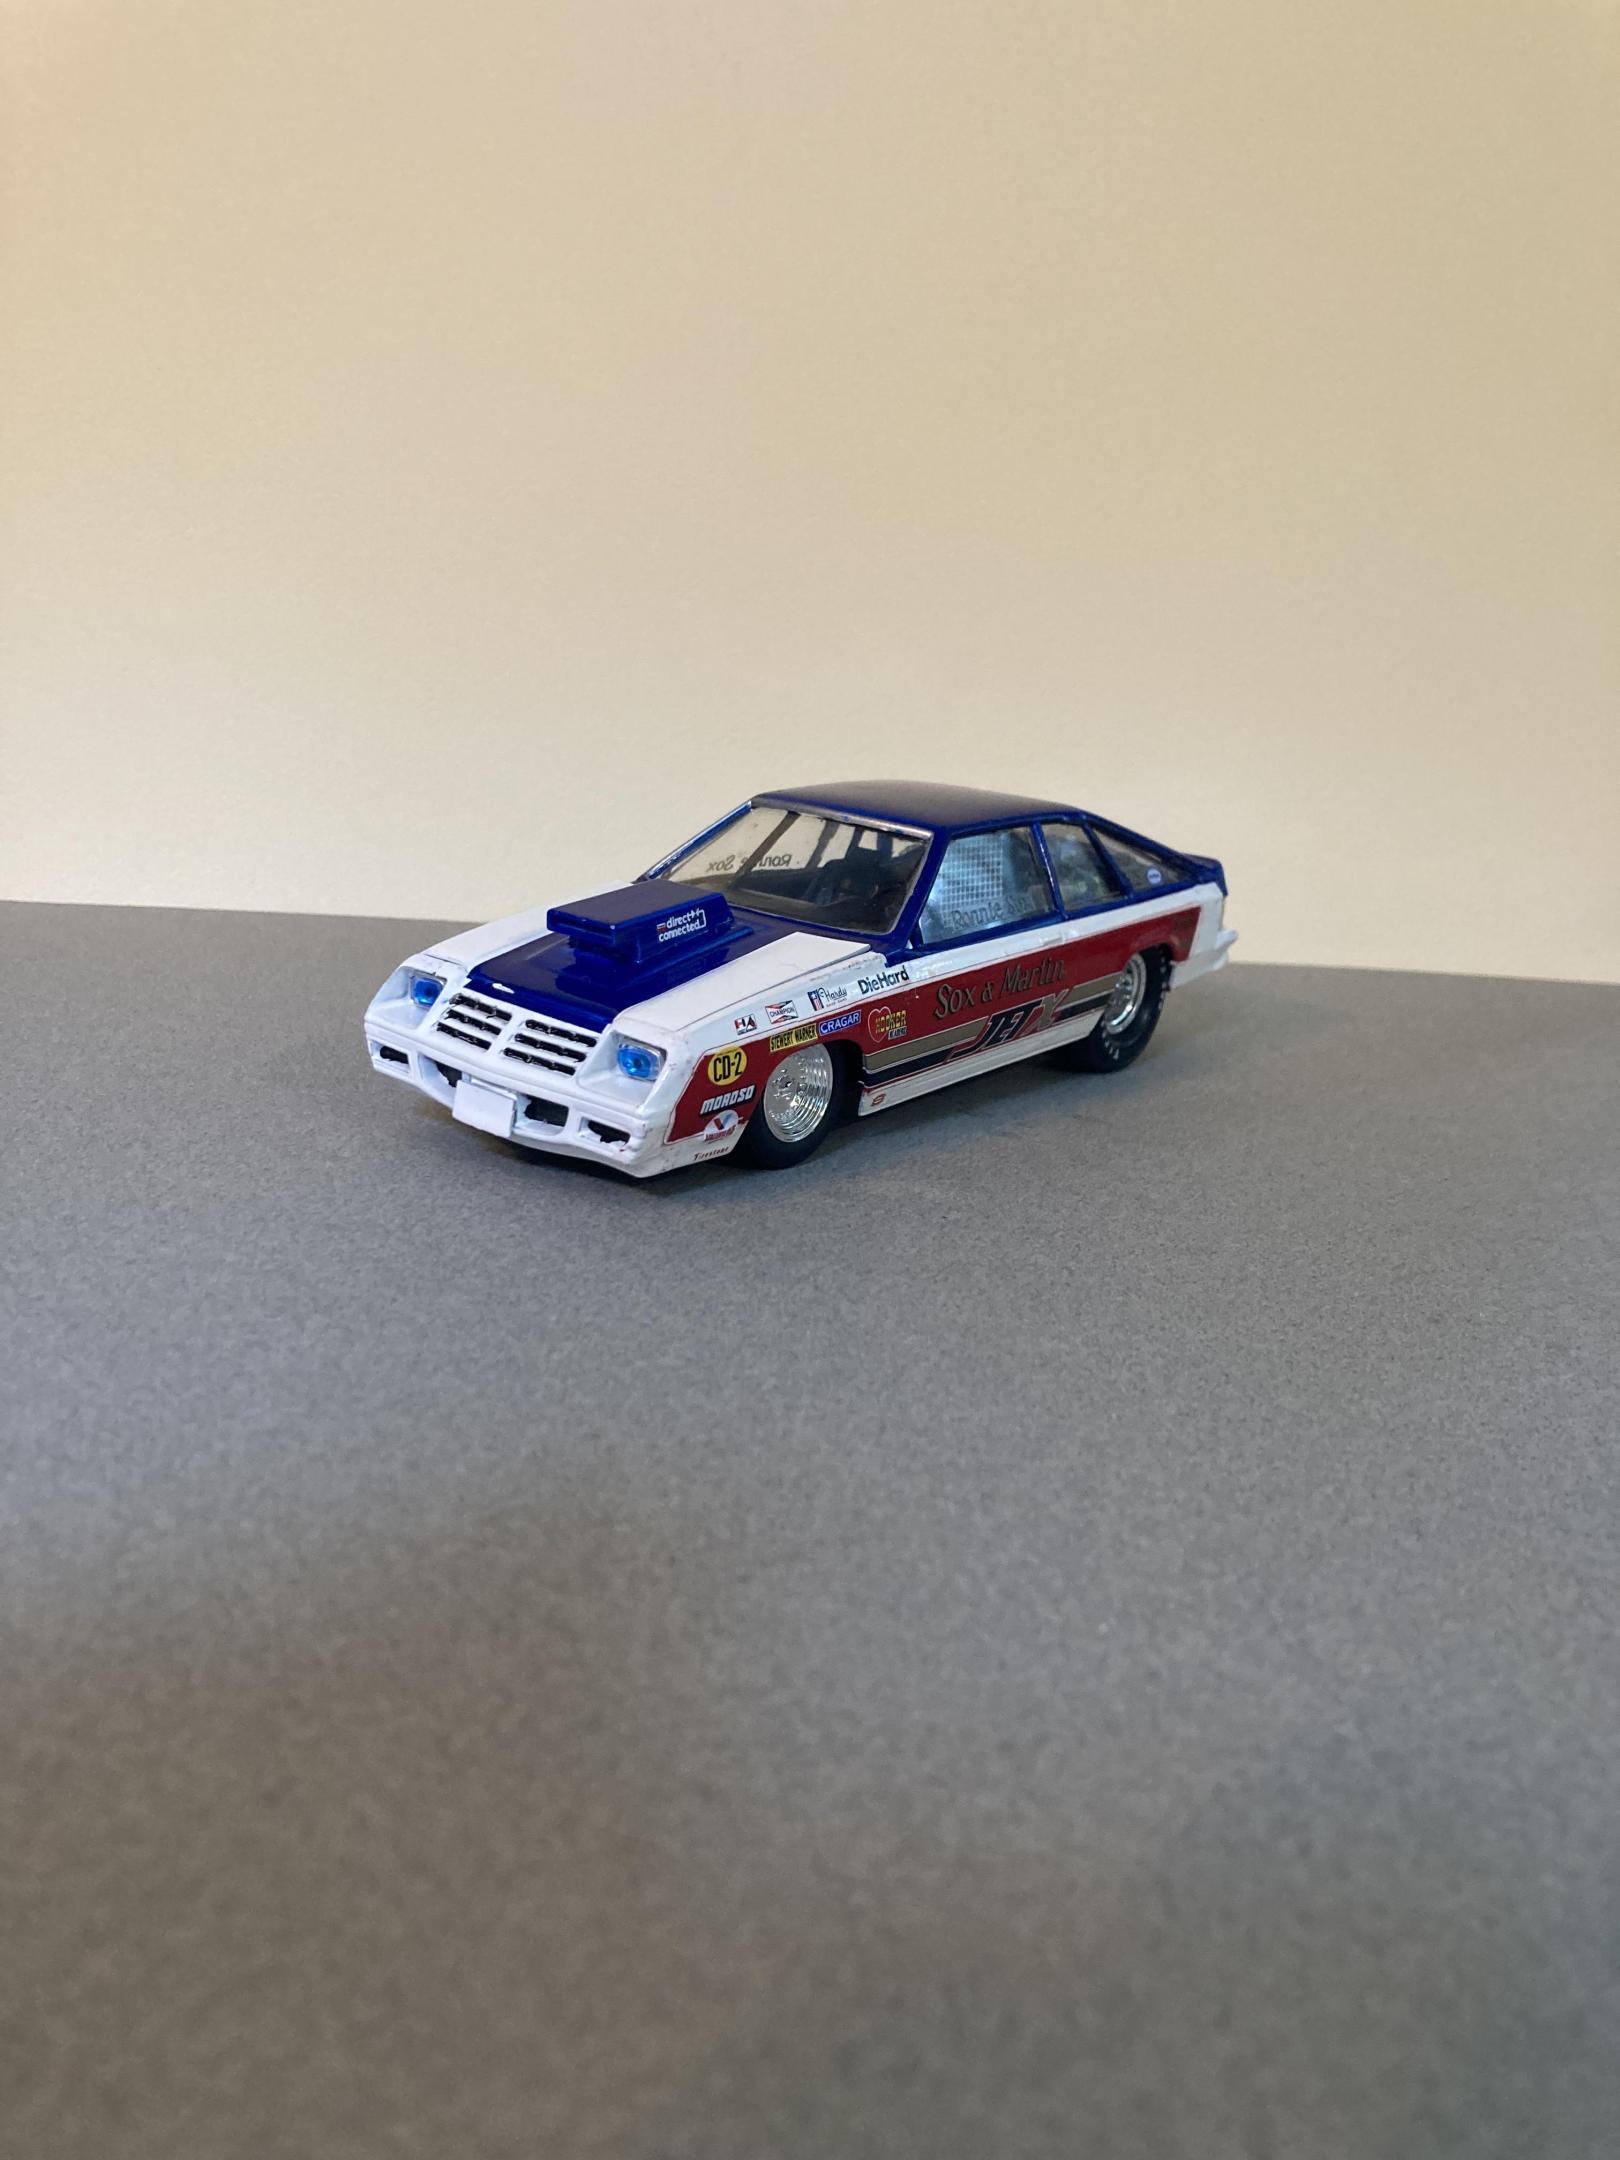
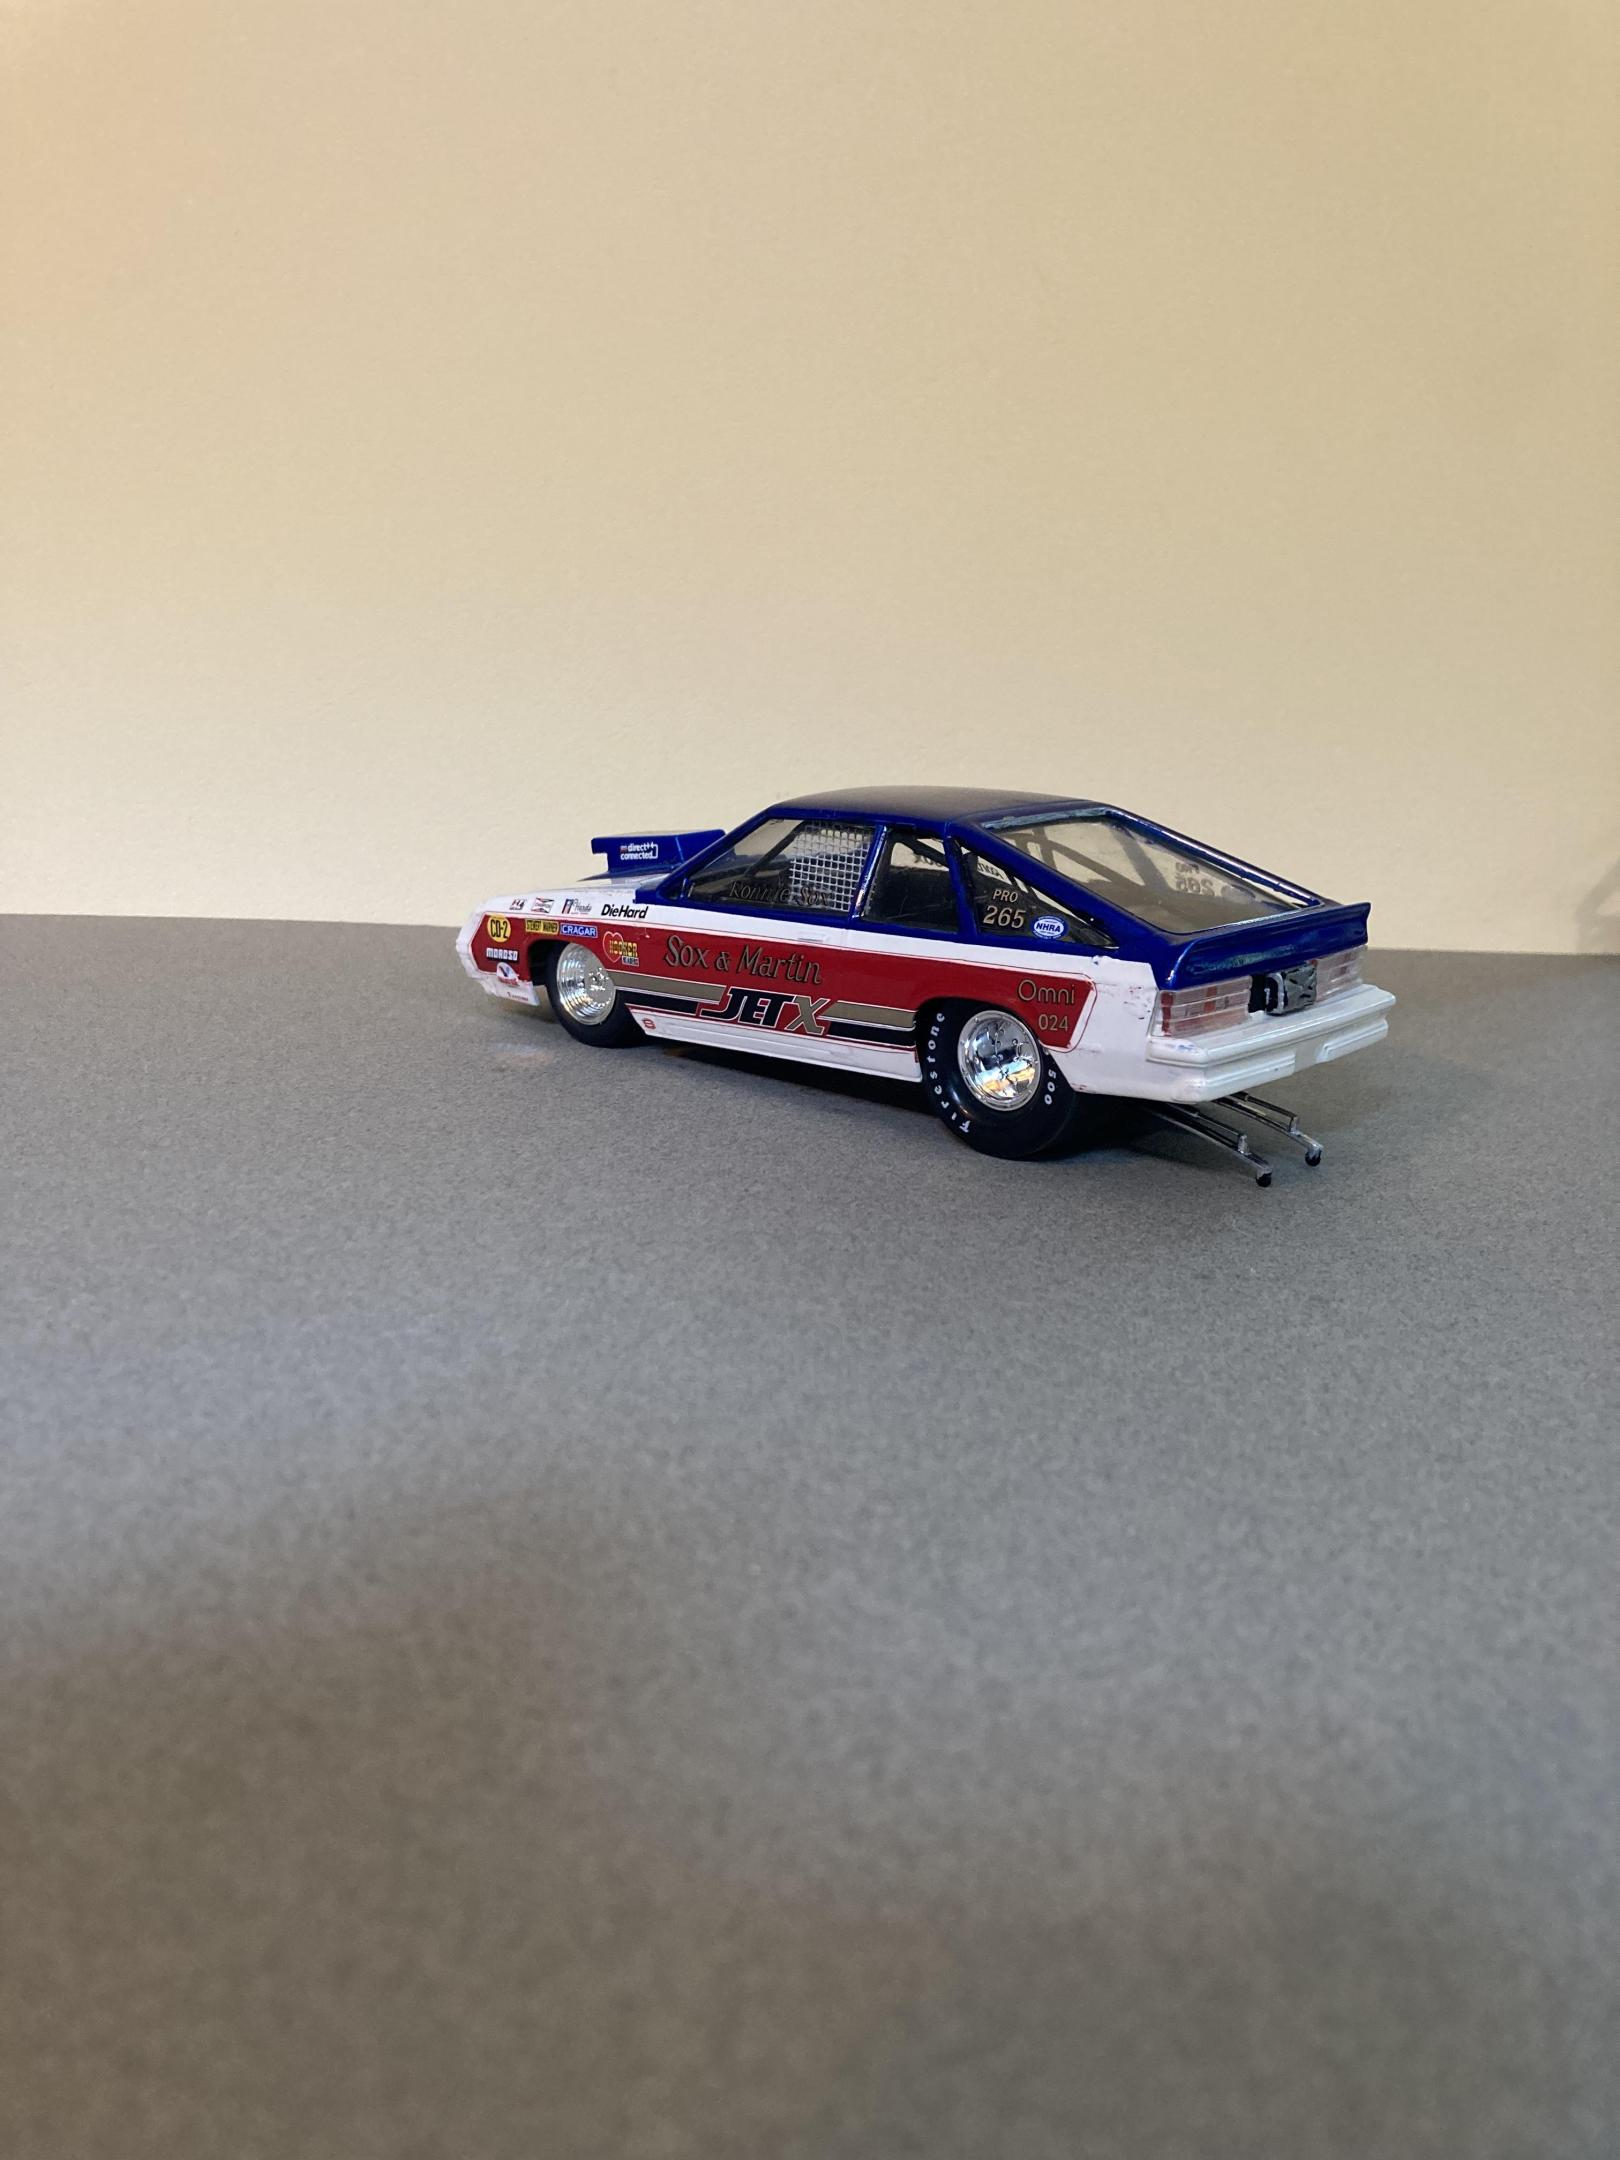
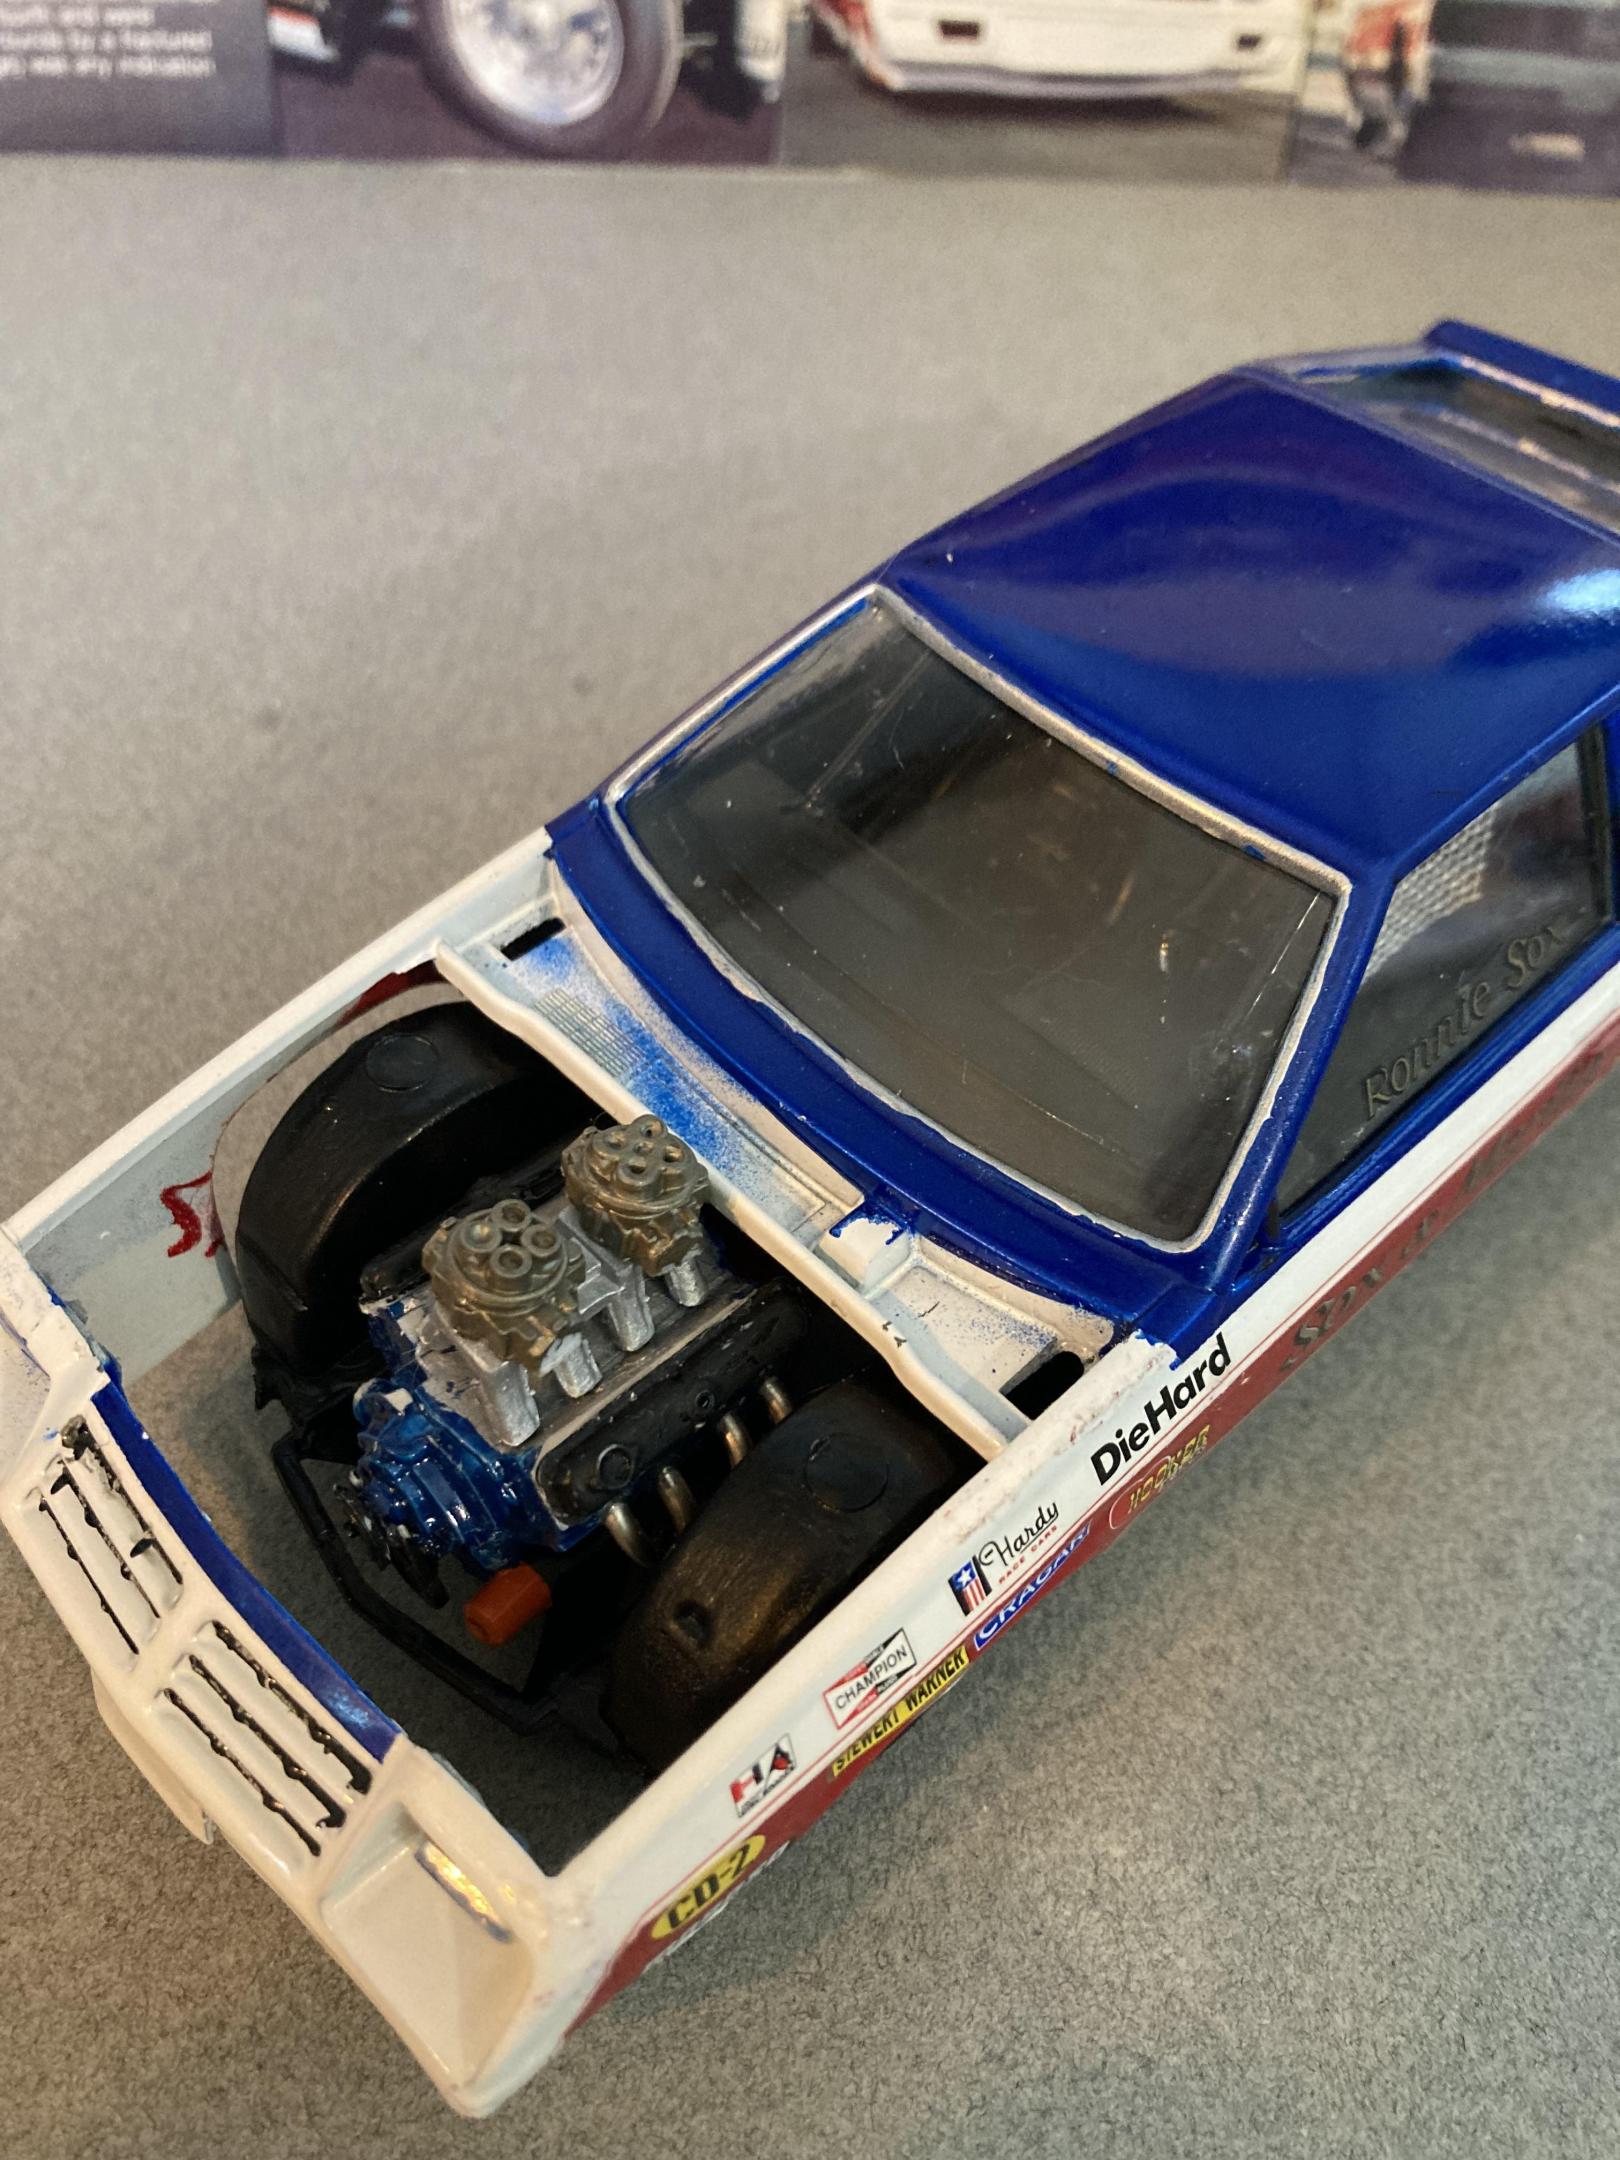
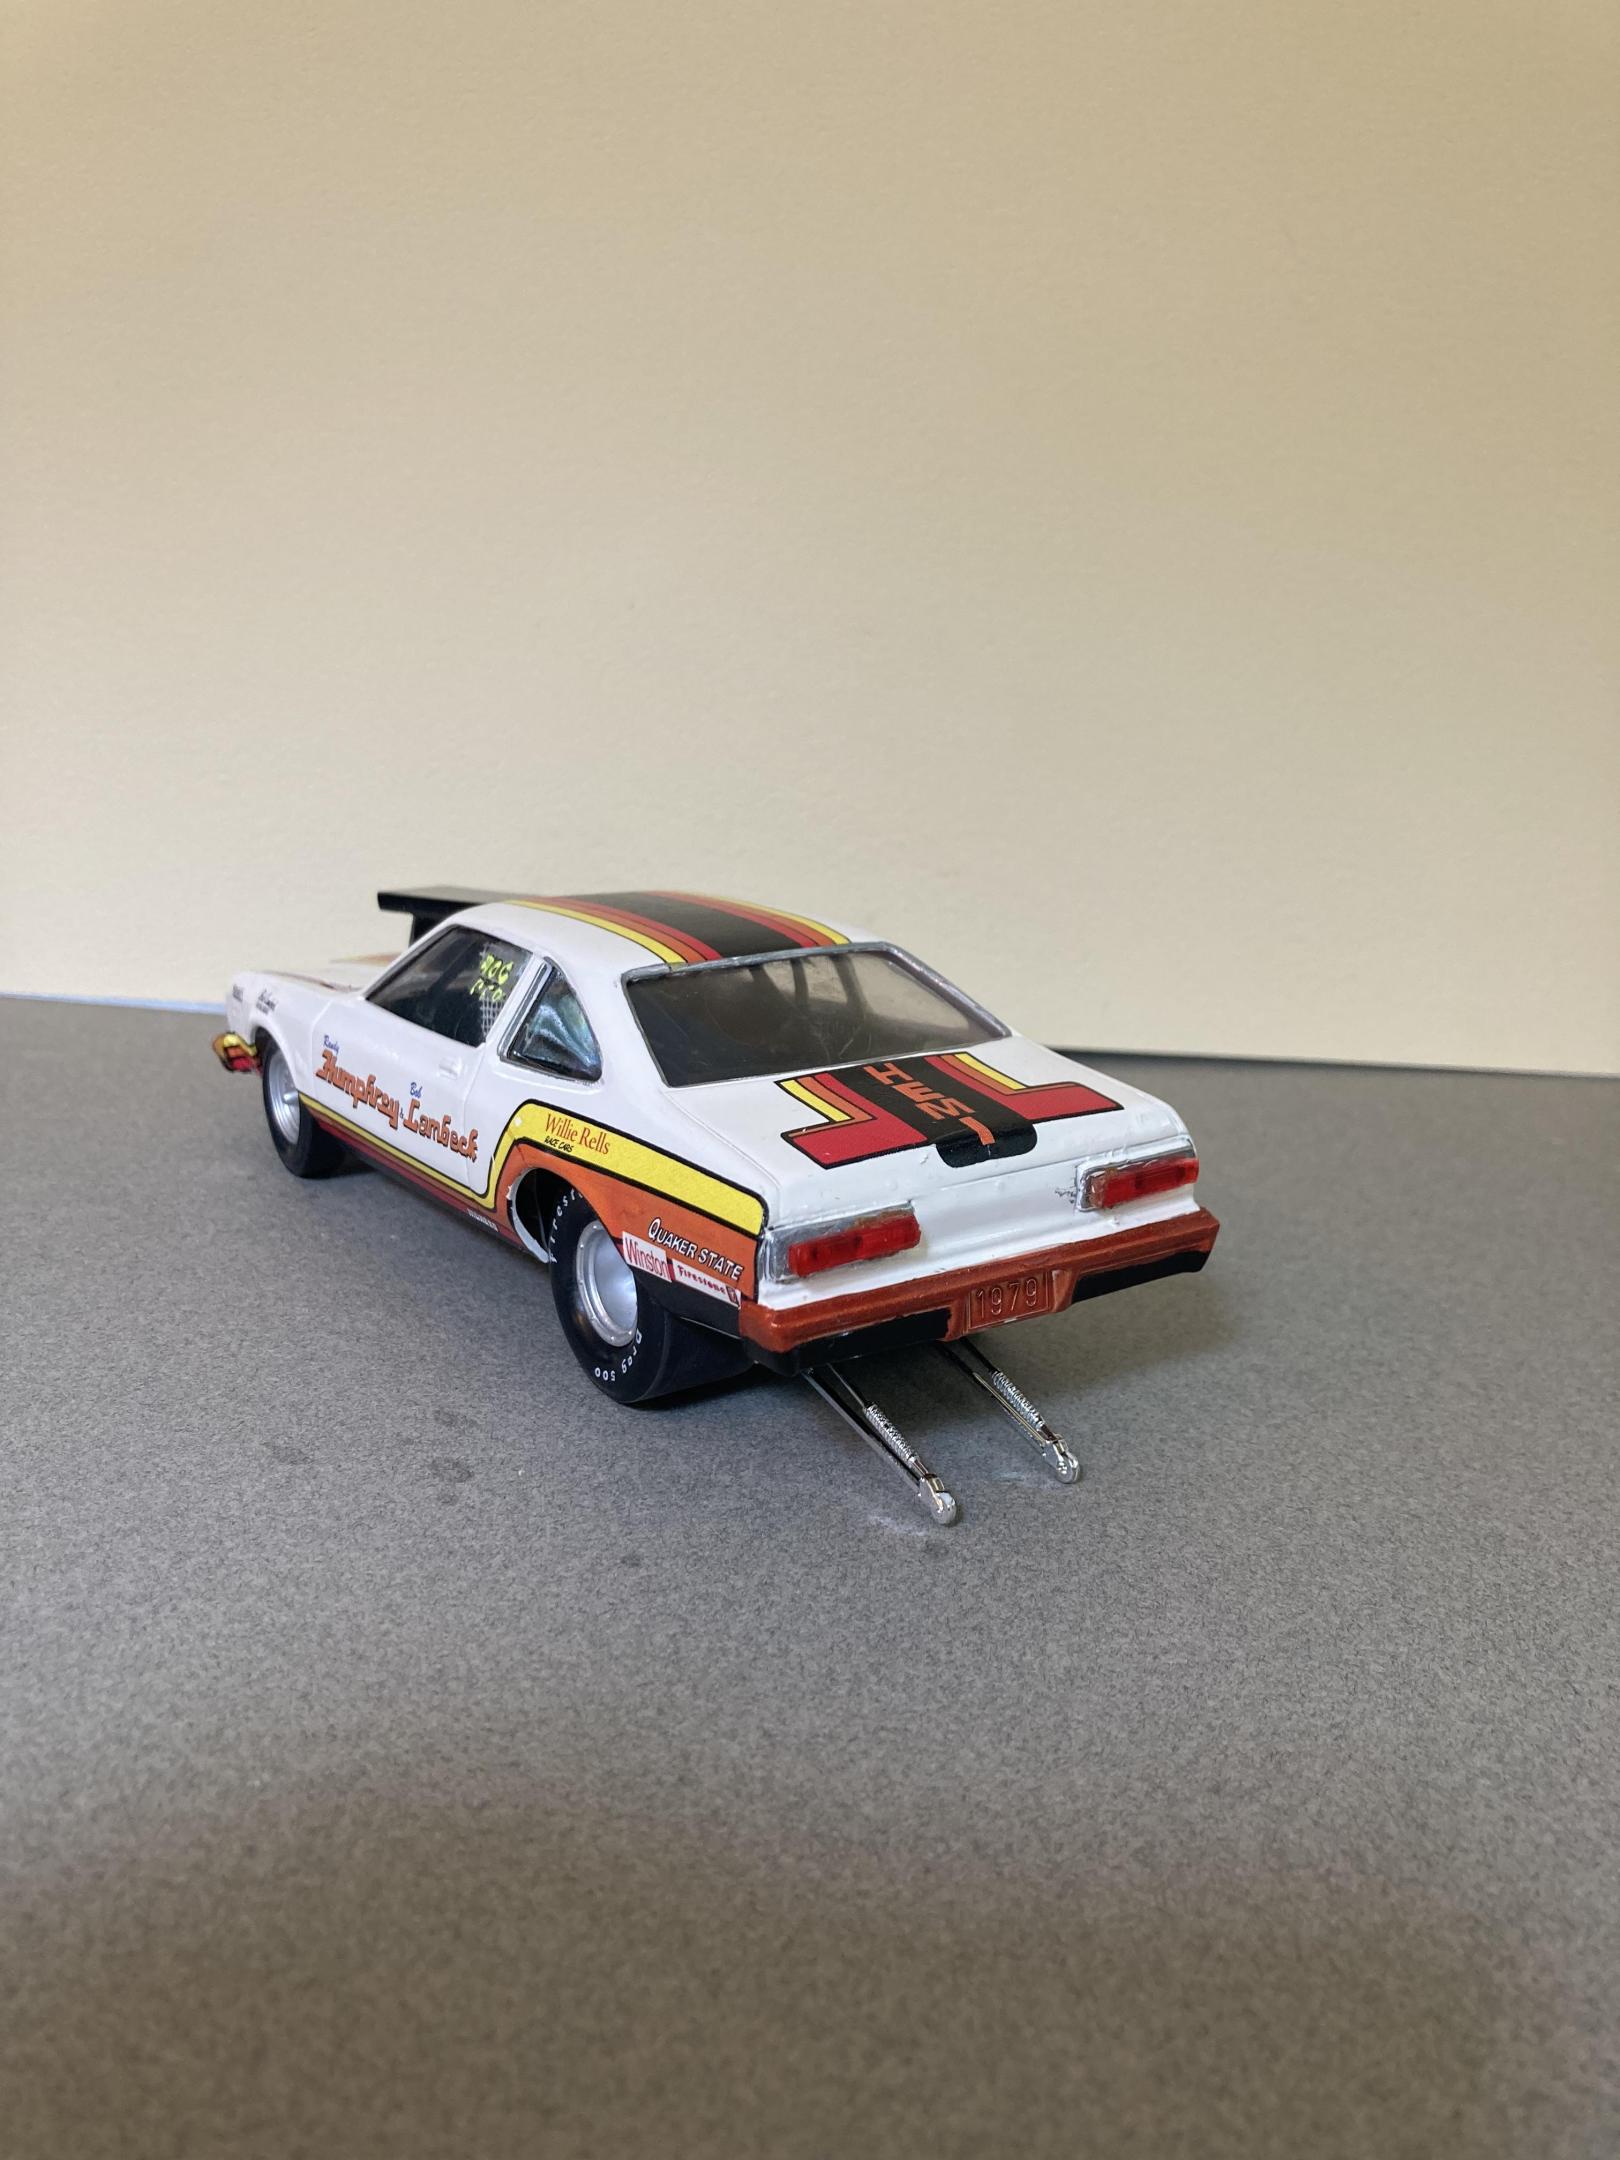
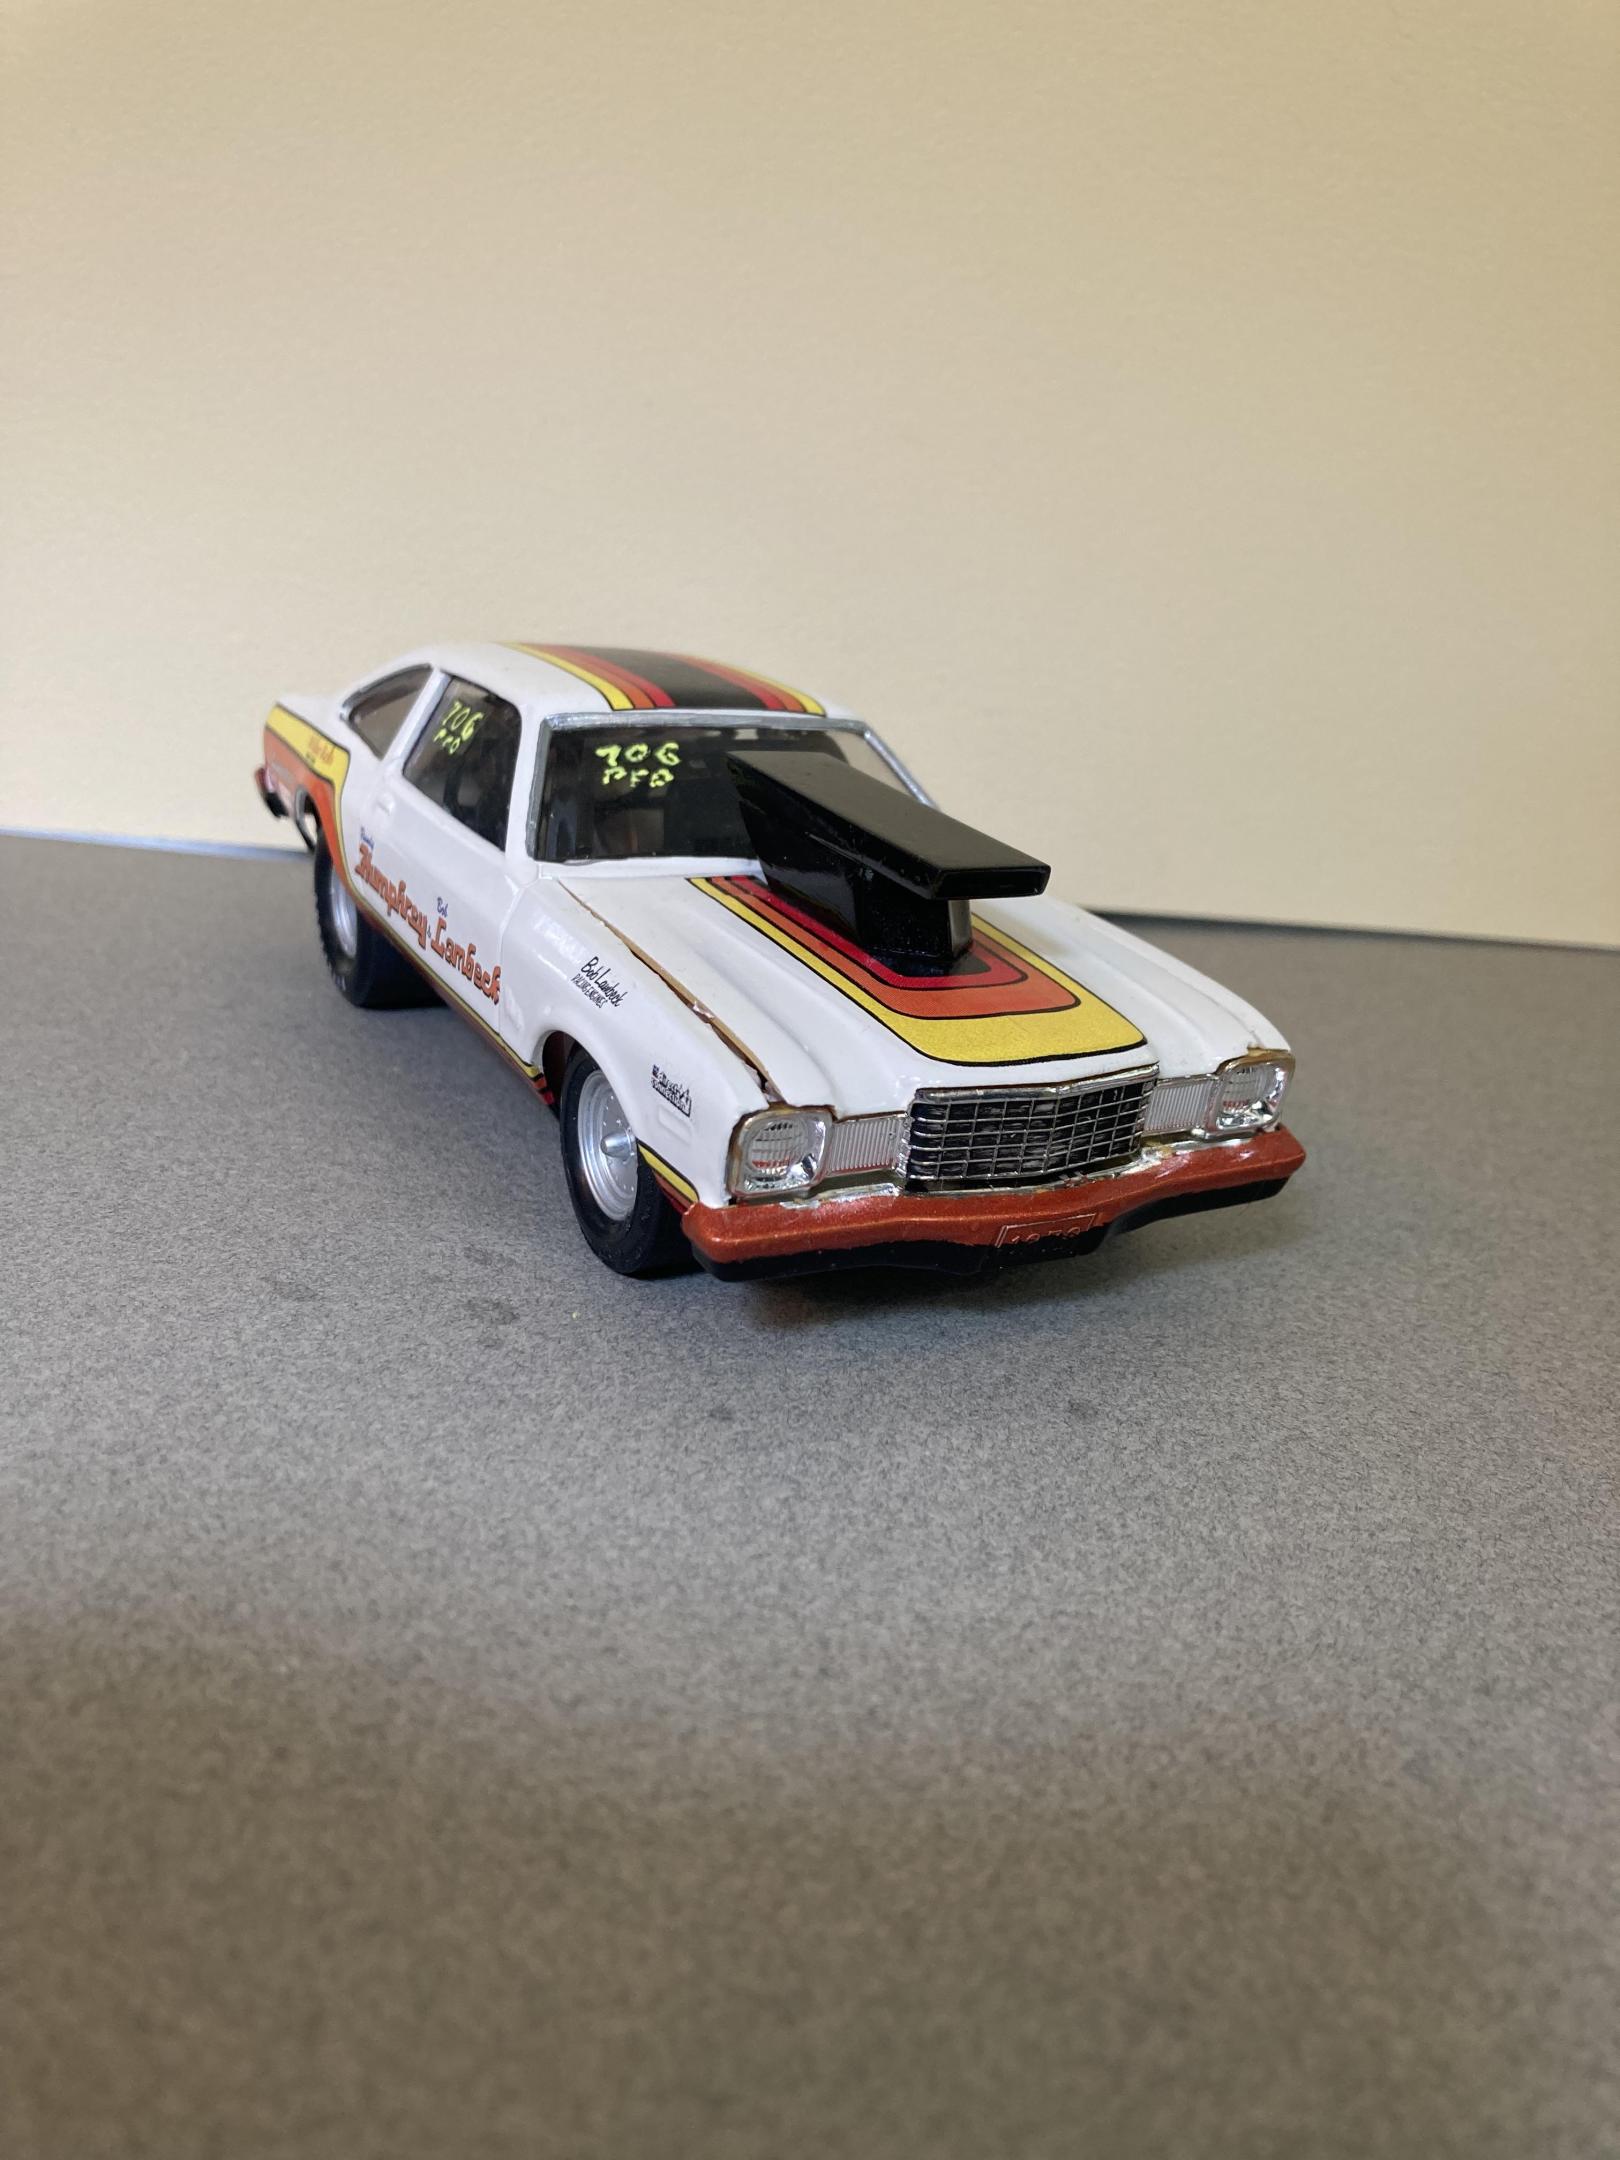
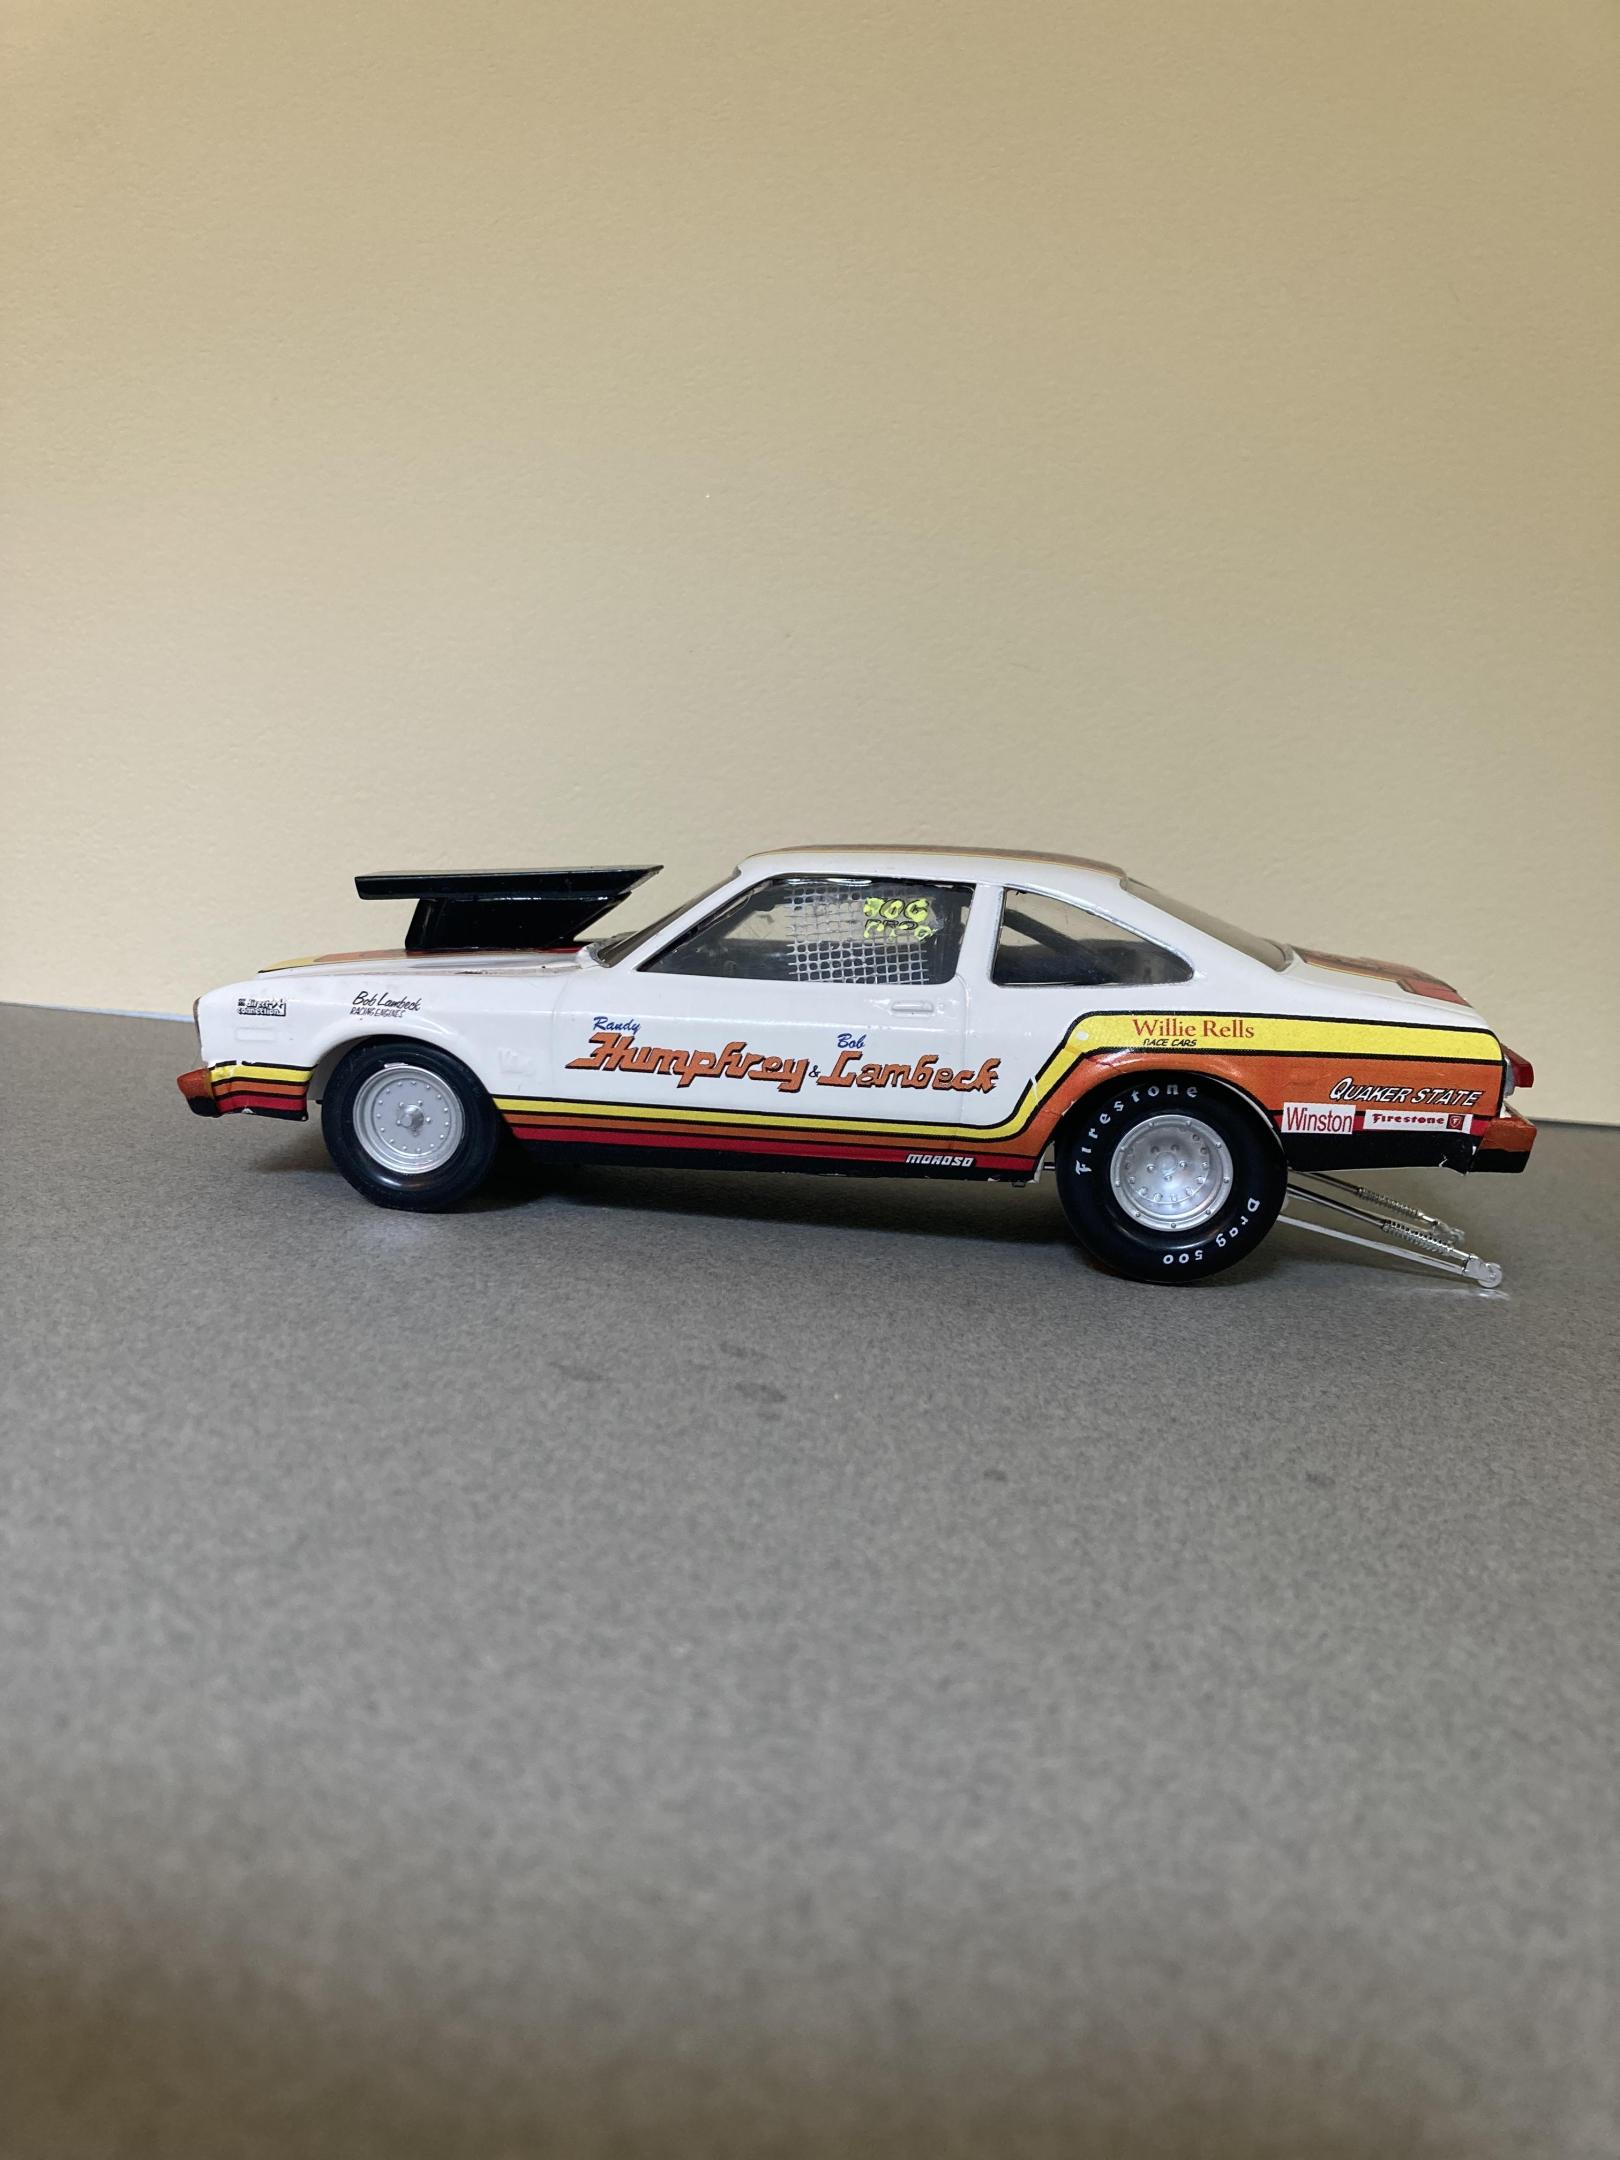
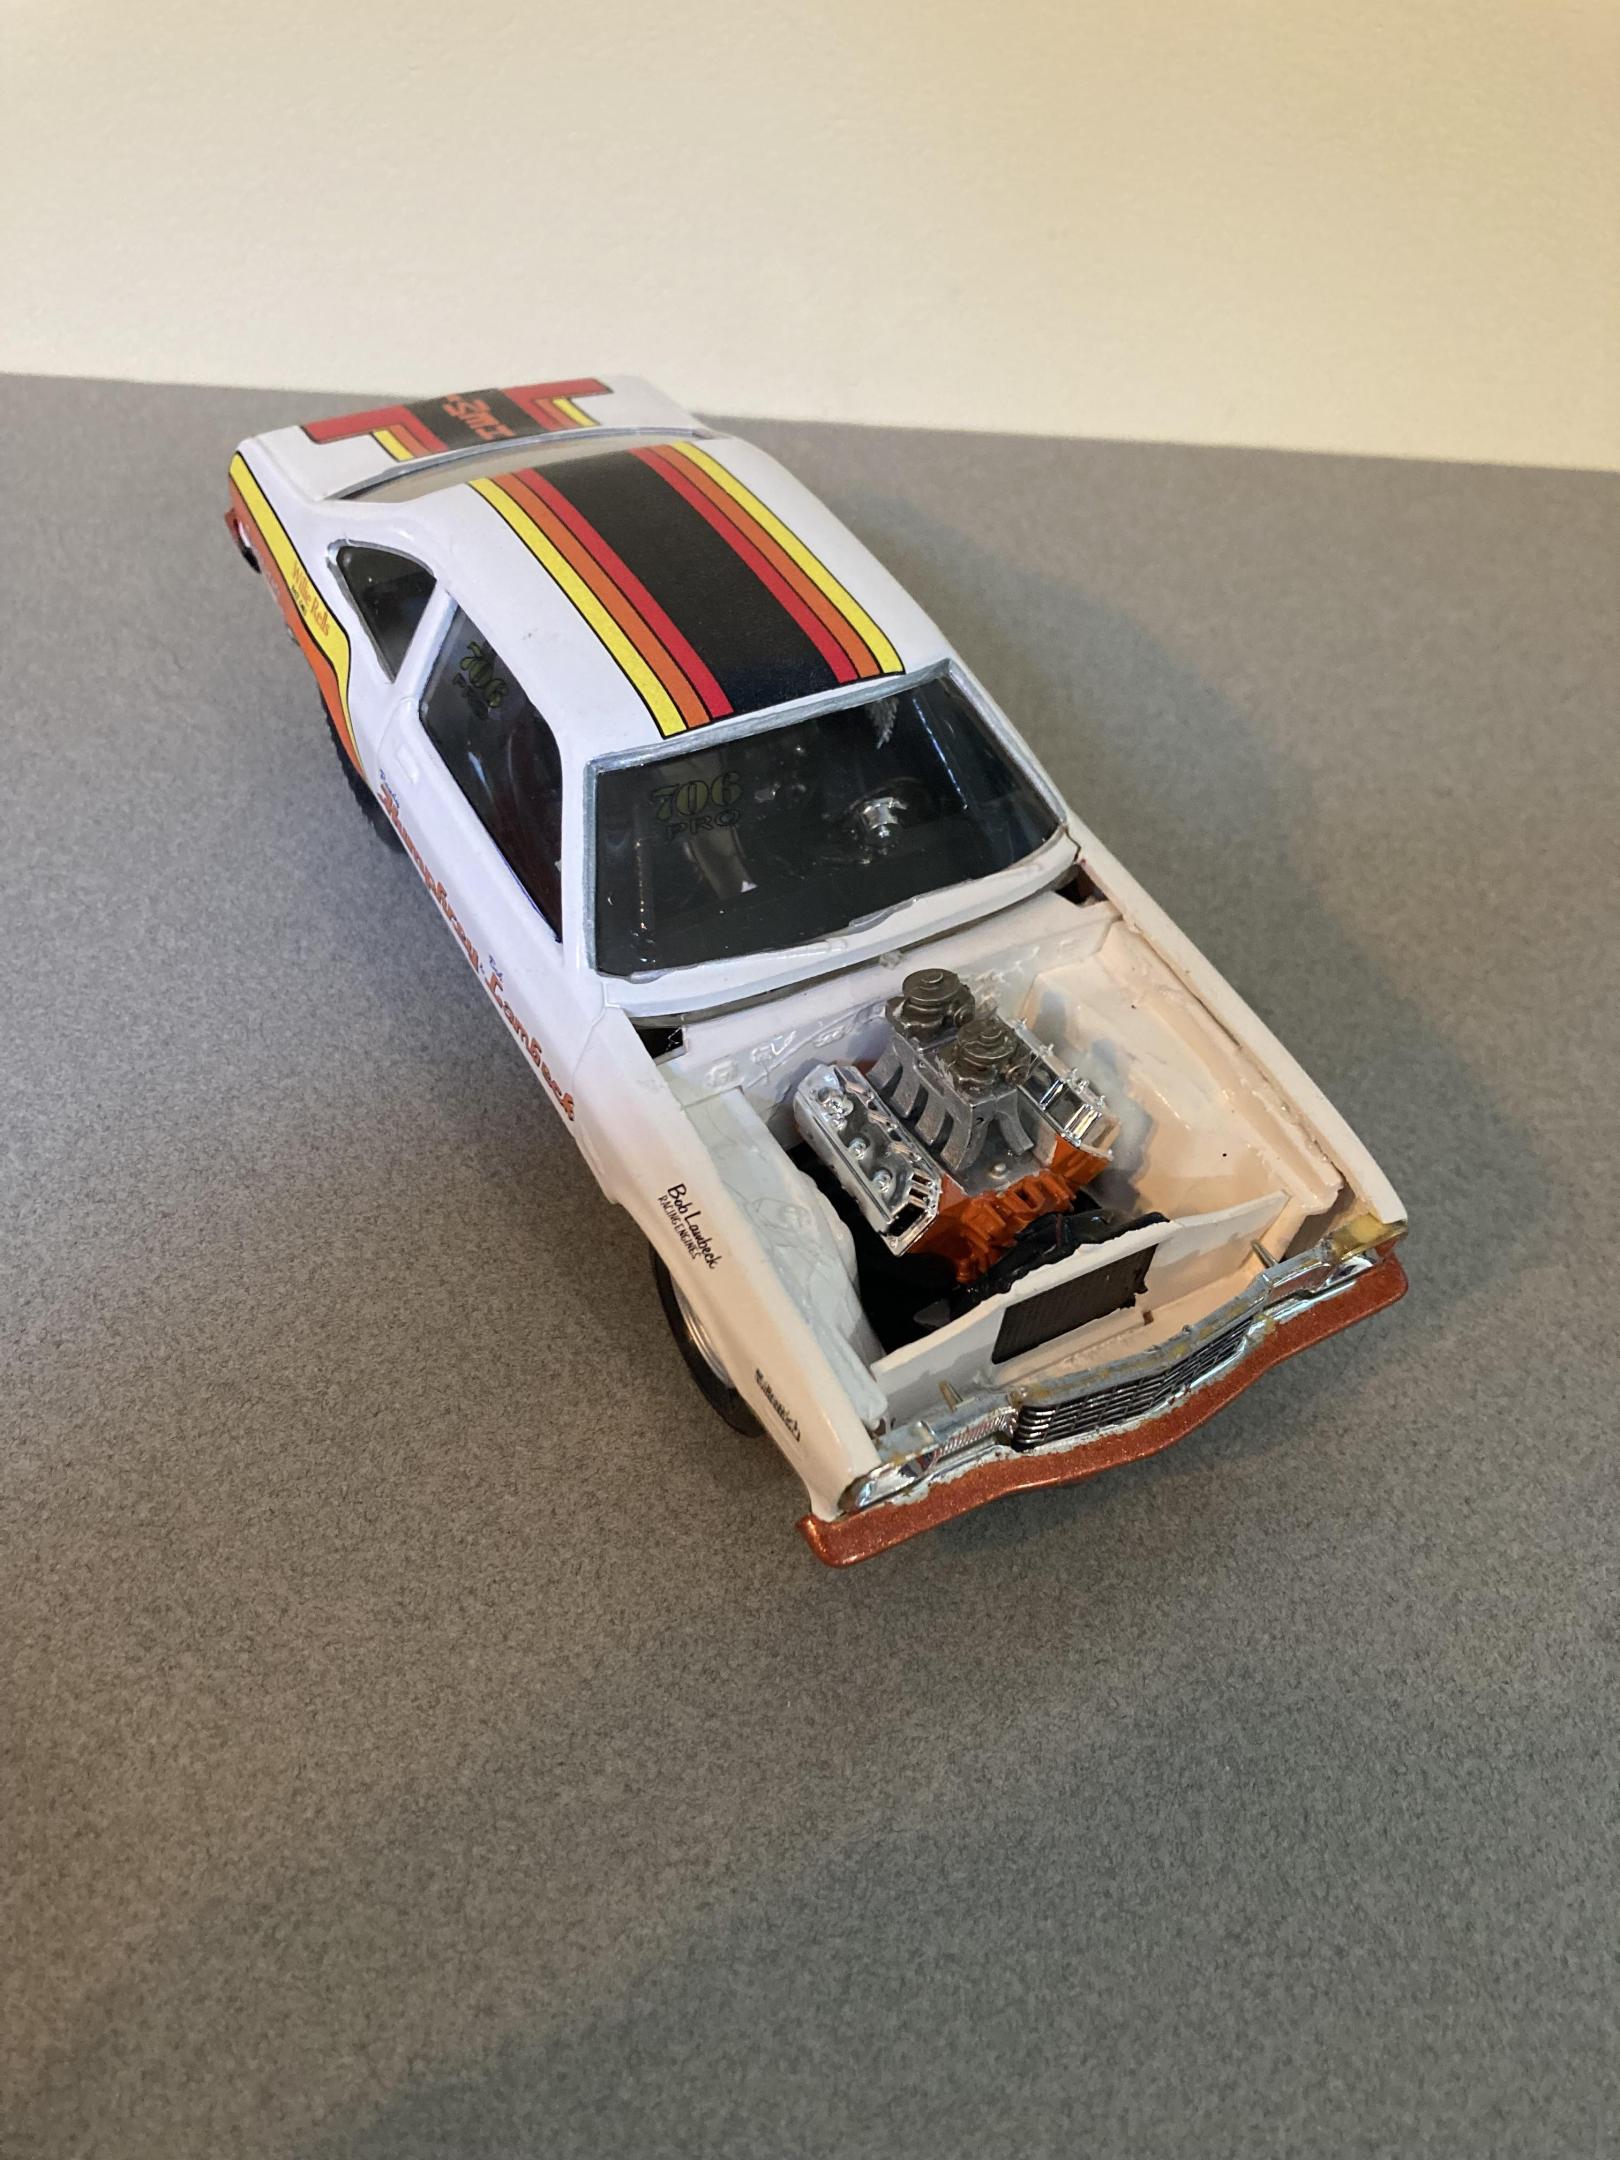
I built this from a combination of the monogram of snap kit that I found on eBay for real cheap. I used the interior and the chassis plate along with the wheels and tires from the grumpy’s toy pro stock Vega . I cobbled together a small block mopar engine from my parts box I also used the tunnel ram and carburetors from the grumpy Vega the headers are fabricated from sauder and aluminum tubing.The only body modifications made were cutting out the side window panels that were behind the door windows and adding a hood scoop also from the grumpy Vega donor kit .the chassis plate also had to be cut and shortened I made the window net from some old window screen.At some point it the future I will have to go back and add the radiator . I gave it a testors paint job of white and red enamel with star spangled blue lacquer all topped off with wet look clear. The decals came from slixx. Overall this was a very easy kit bash project Until next time thanks for looking, Mike
-
Recently re-released Rat Trap Vega. Built OOB, phantom livery. I wanted to build this one as a prelude to the SalvinoJR kit. Comments welcome, thanks for looking.
-
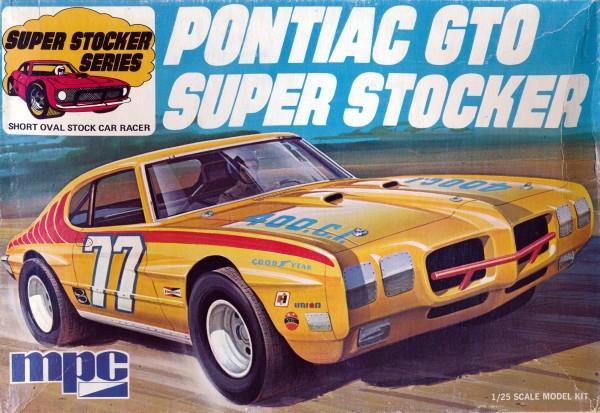
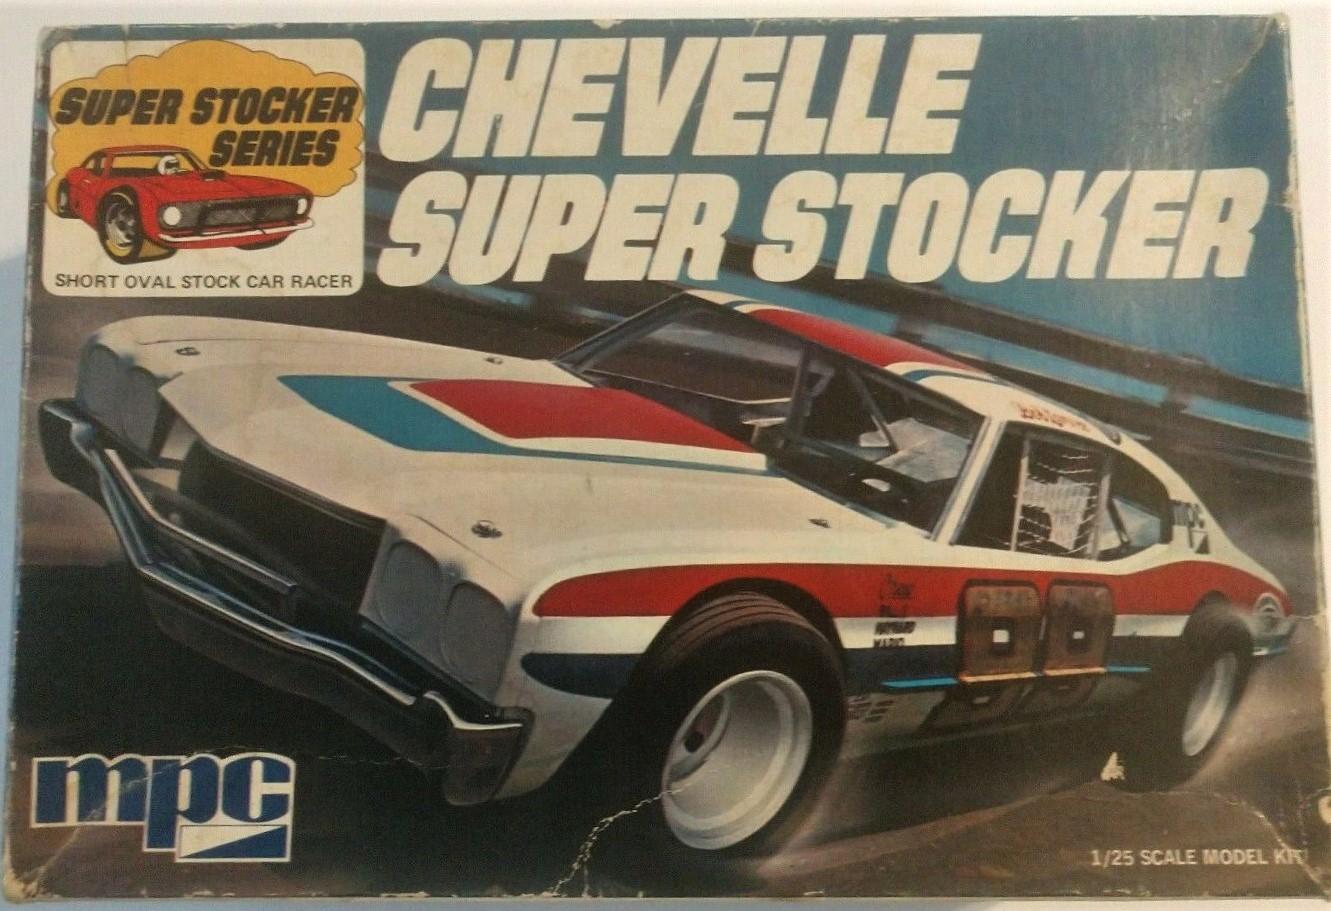
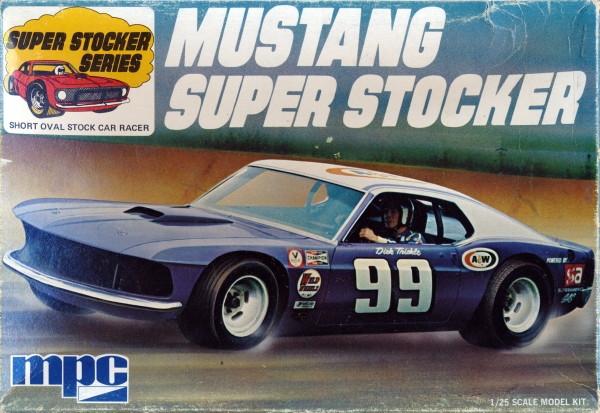
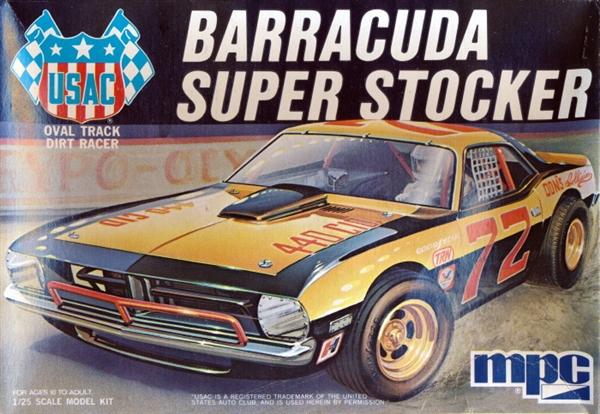
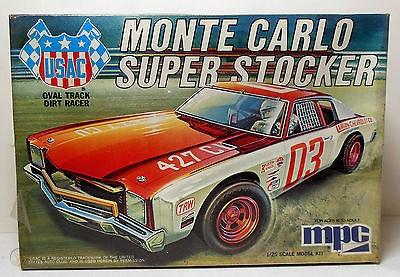
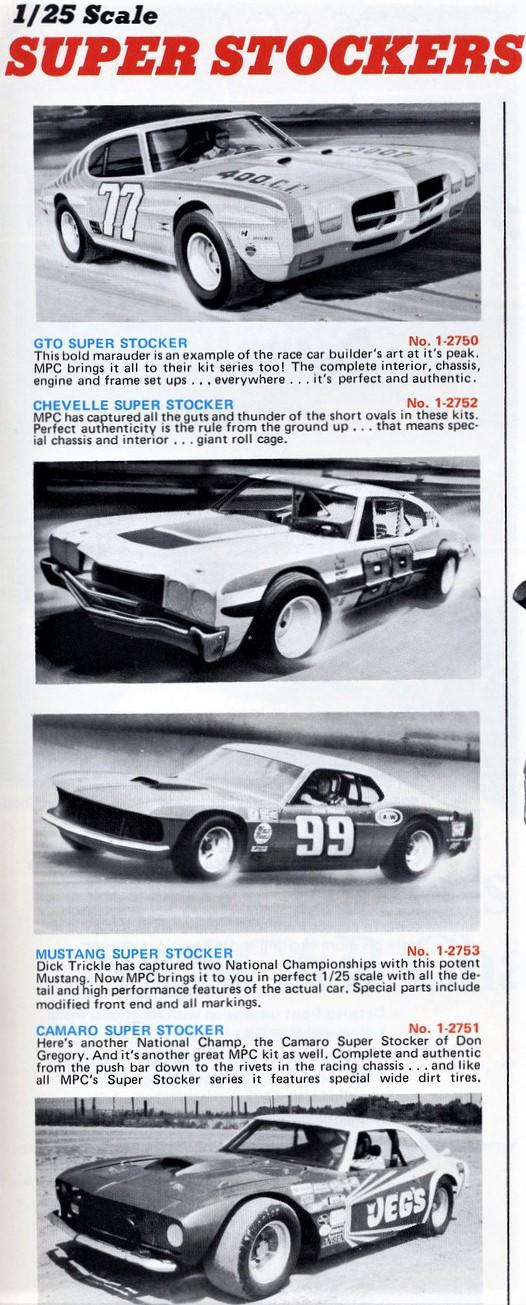
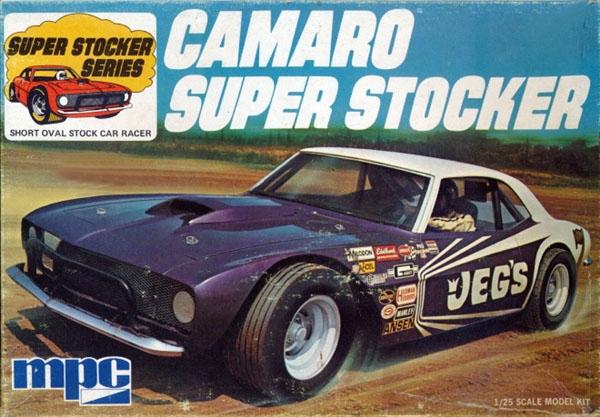
Were these six the extent of the 1/25 MPC Super Stocker series of kits? 1) 1-2750 GTO Super Stocker (soon to be reissued): 2) 1-2751 Camaro Super Stocker: 3) 1-2752 Chevelle Super Stocker: 4) 1-2753 Mustang Super Stocker: 5) 1-2754 Monte Carlo Super Stock (reissued multiple times over the last decade plus): 6) 1-2755 Barracuda Super Stock: I recall someone here mentioning the Camaro body from the MPC annual kit was used for the Super Stocker-- does that follow for the others, too? Here are the first(?) four shown in the 1974 MPC catalog, which was the original year of release?:
- 108 replies
-
- mpc
- super stocker
-
(and 1 more)
Tagged with:
-
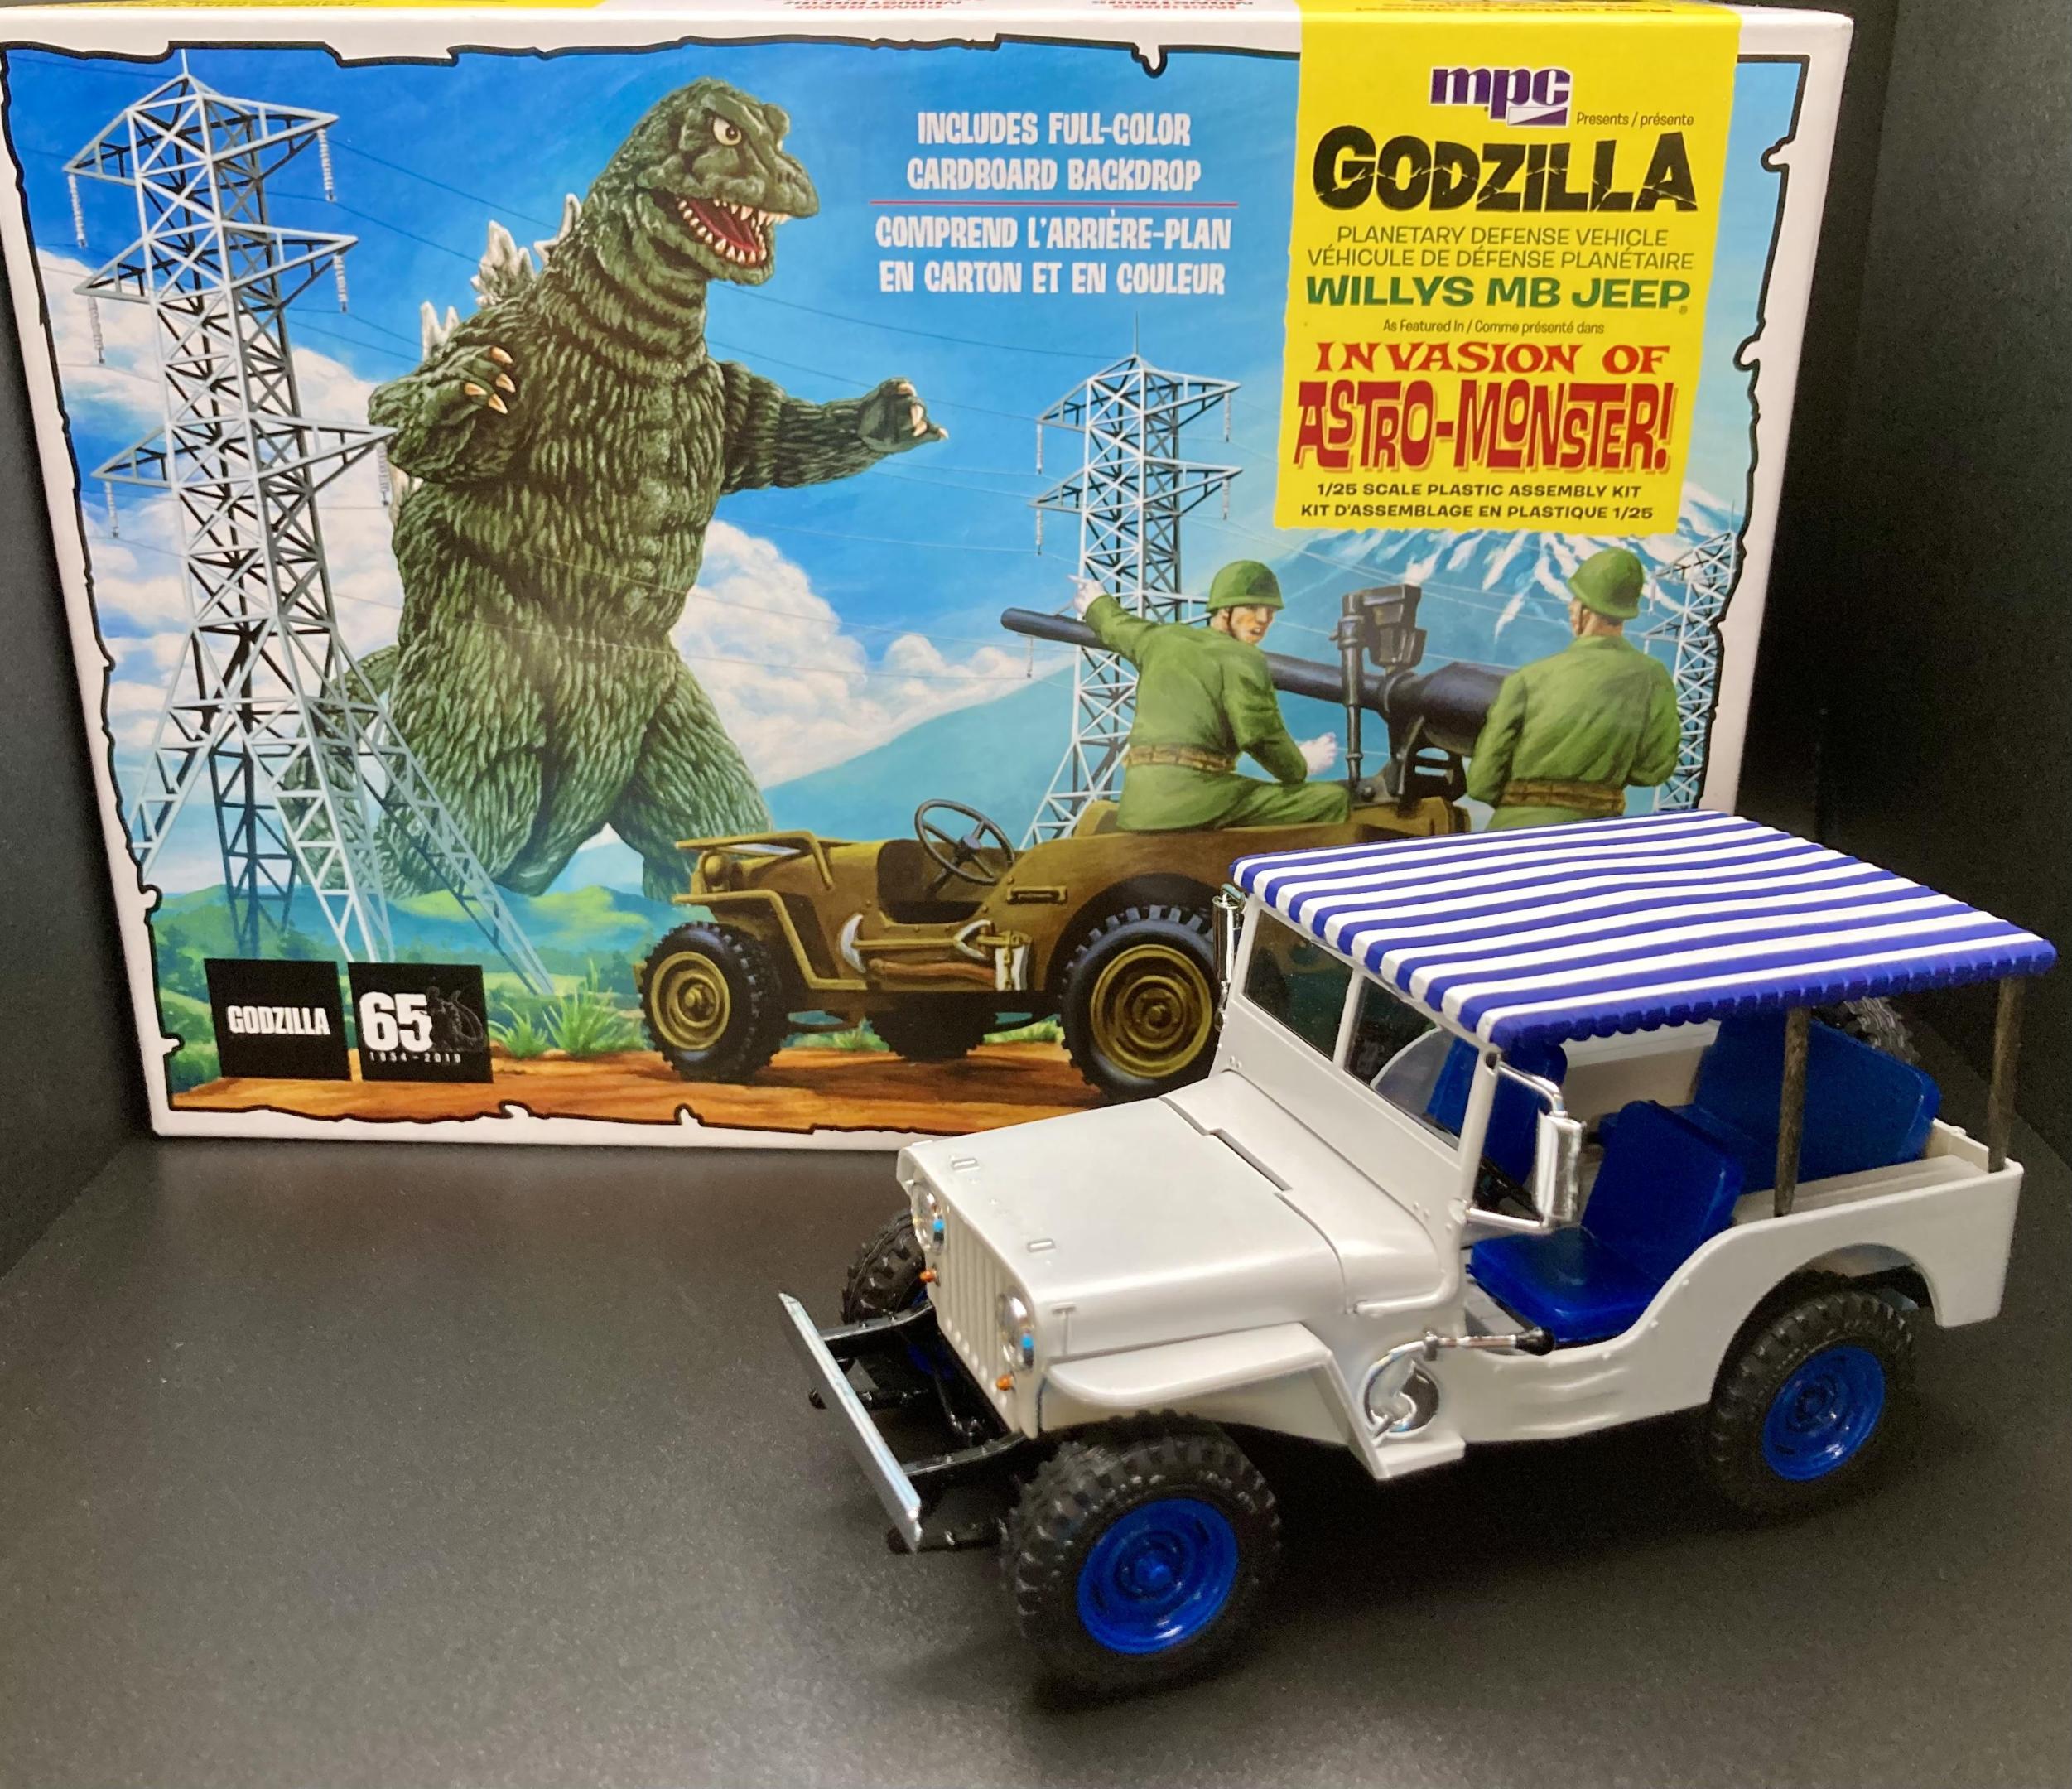
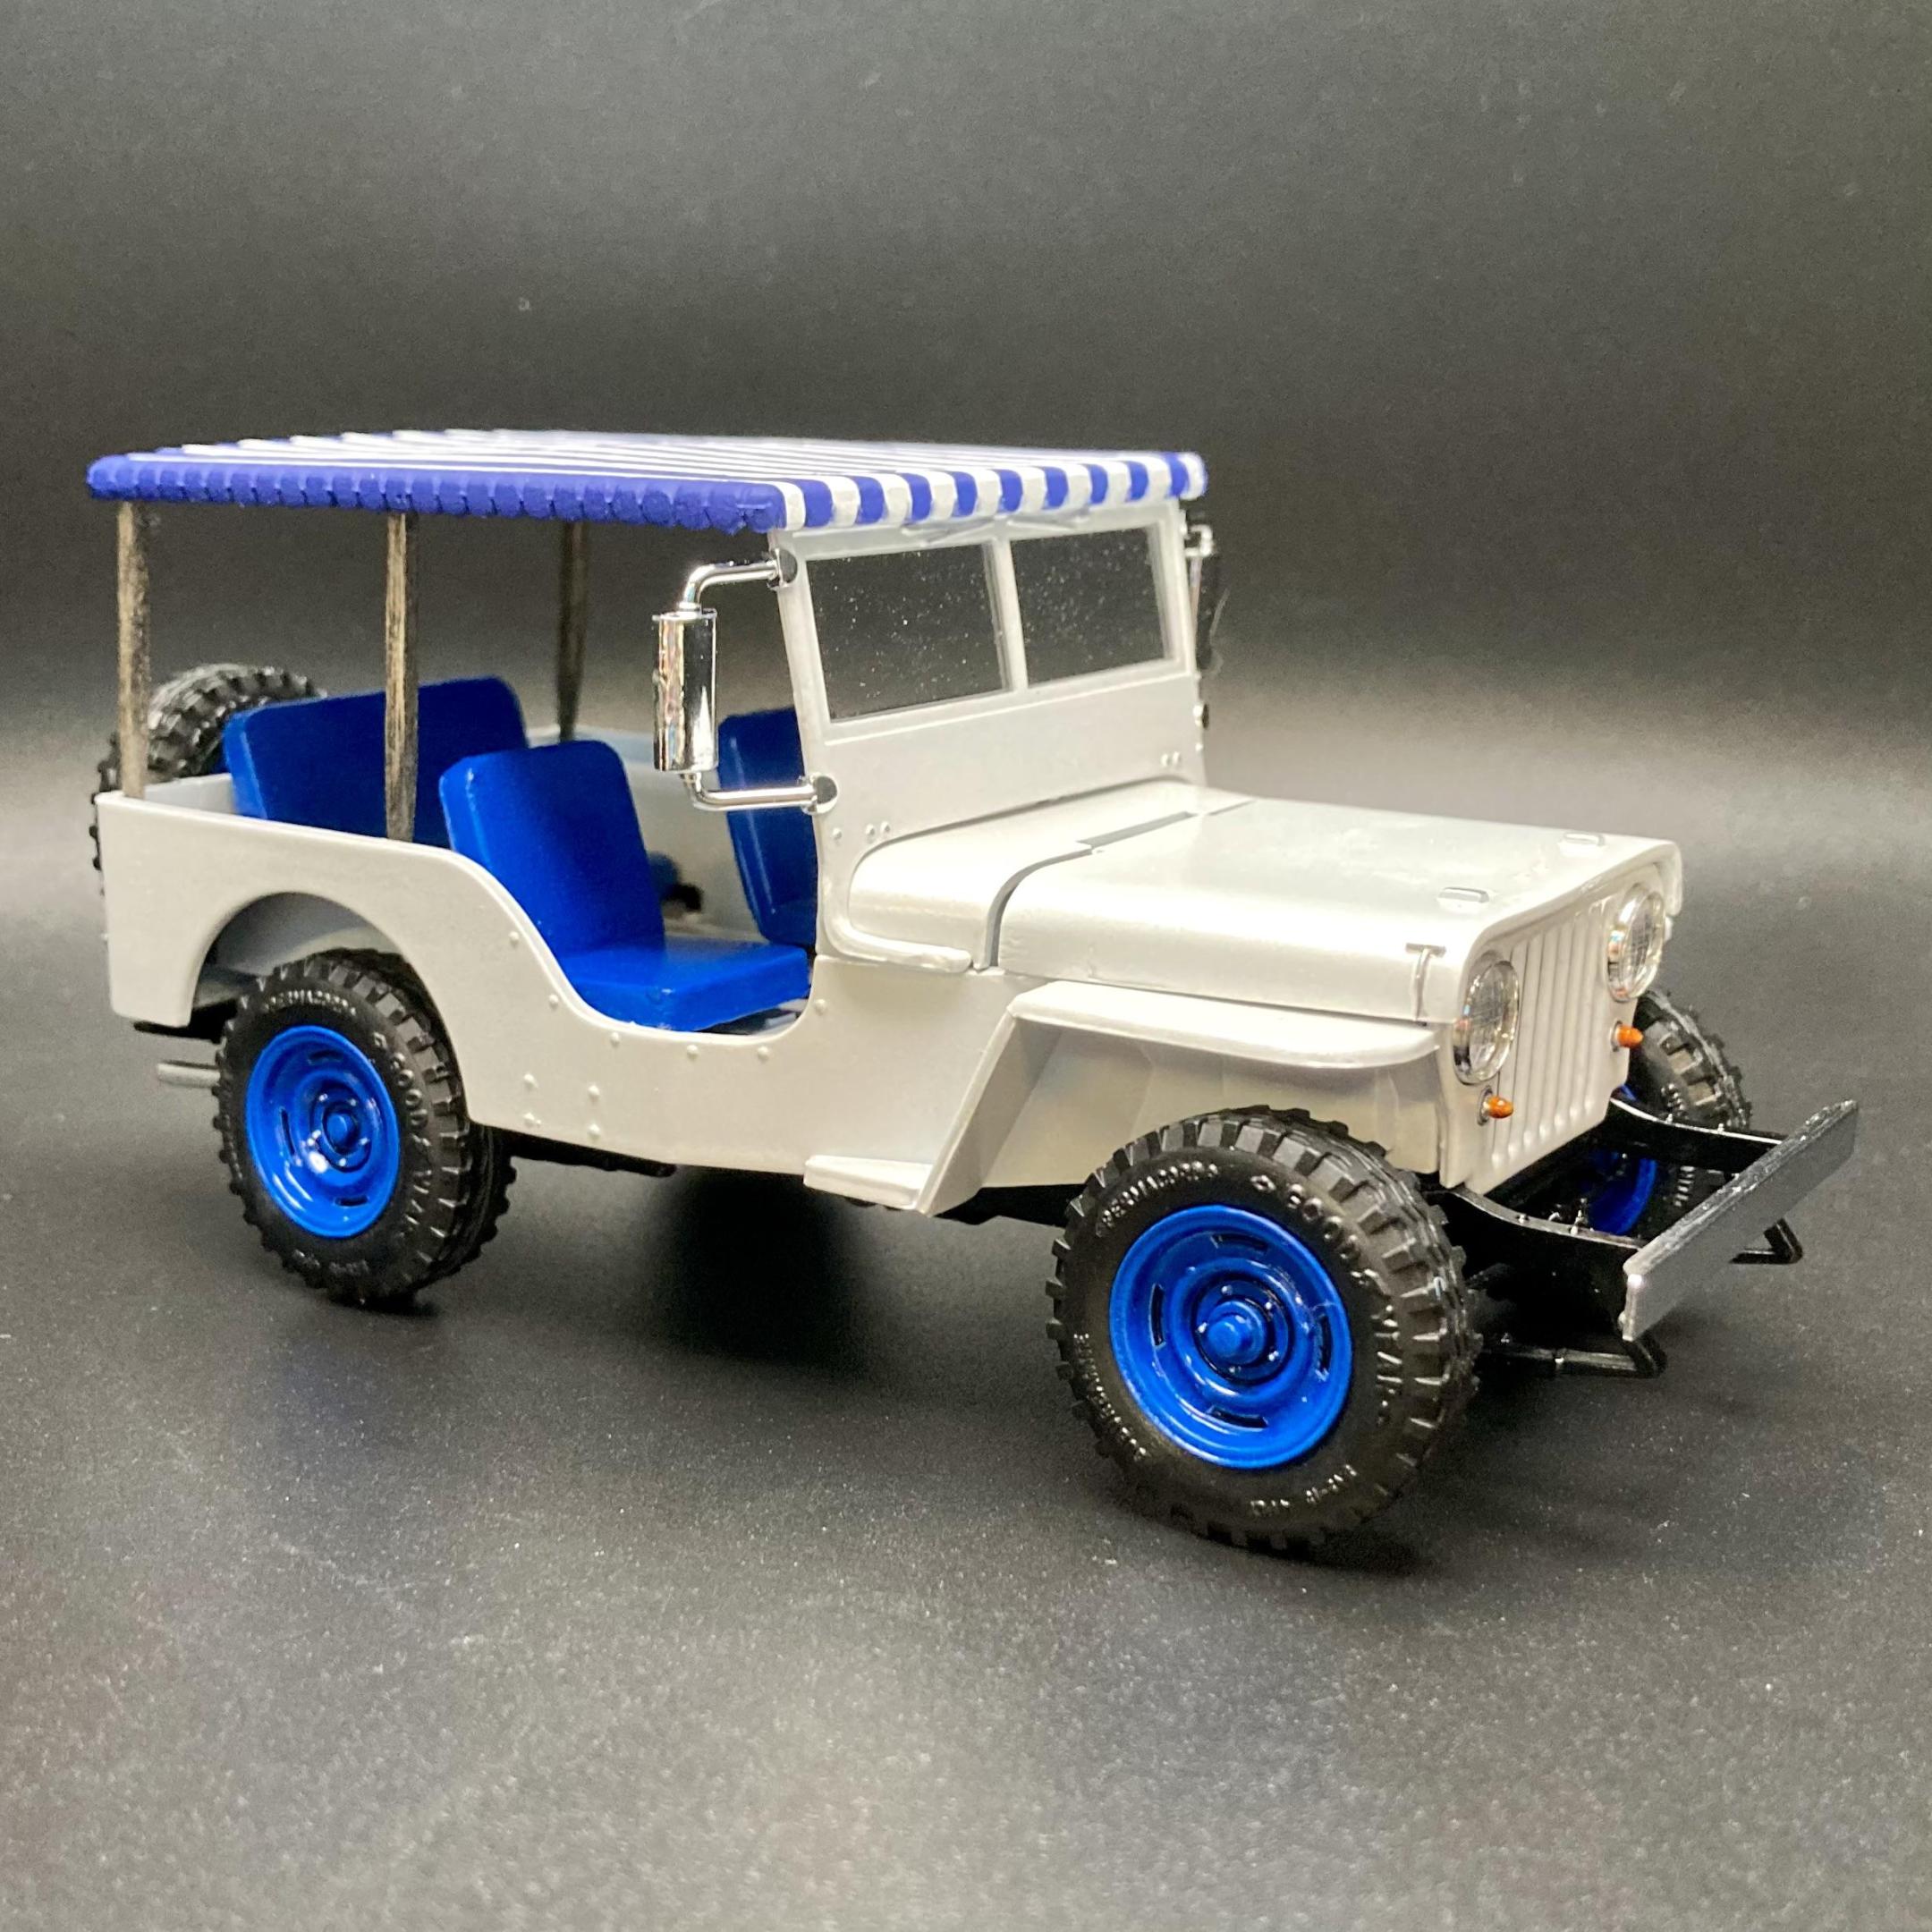
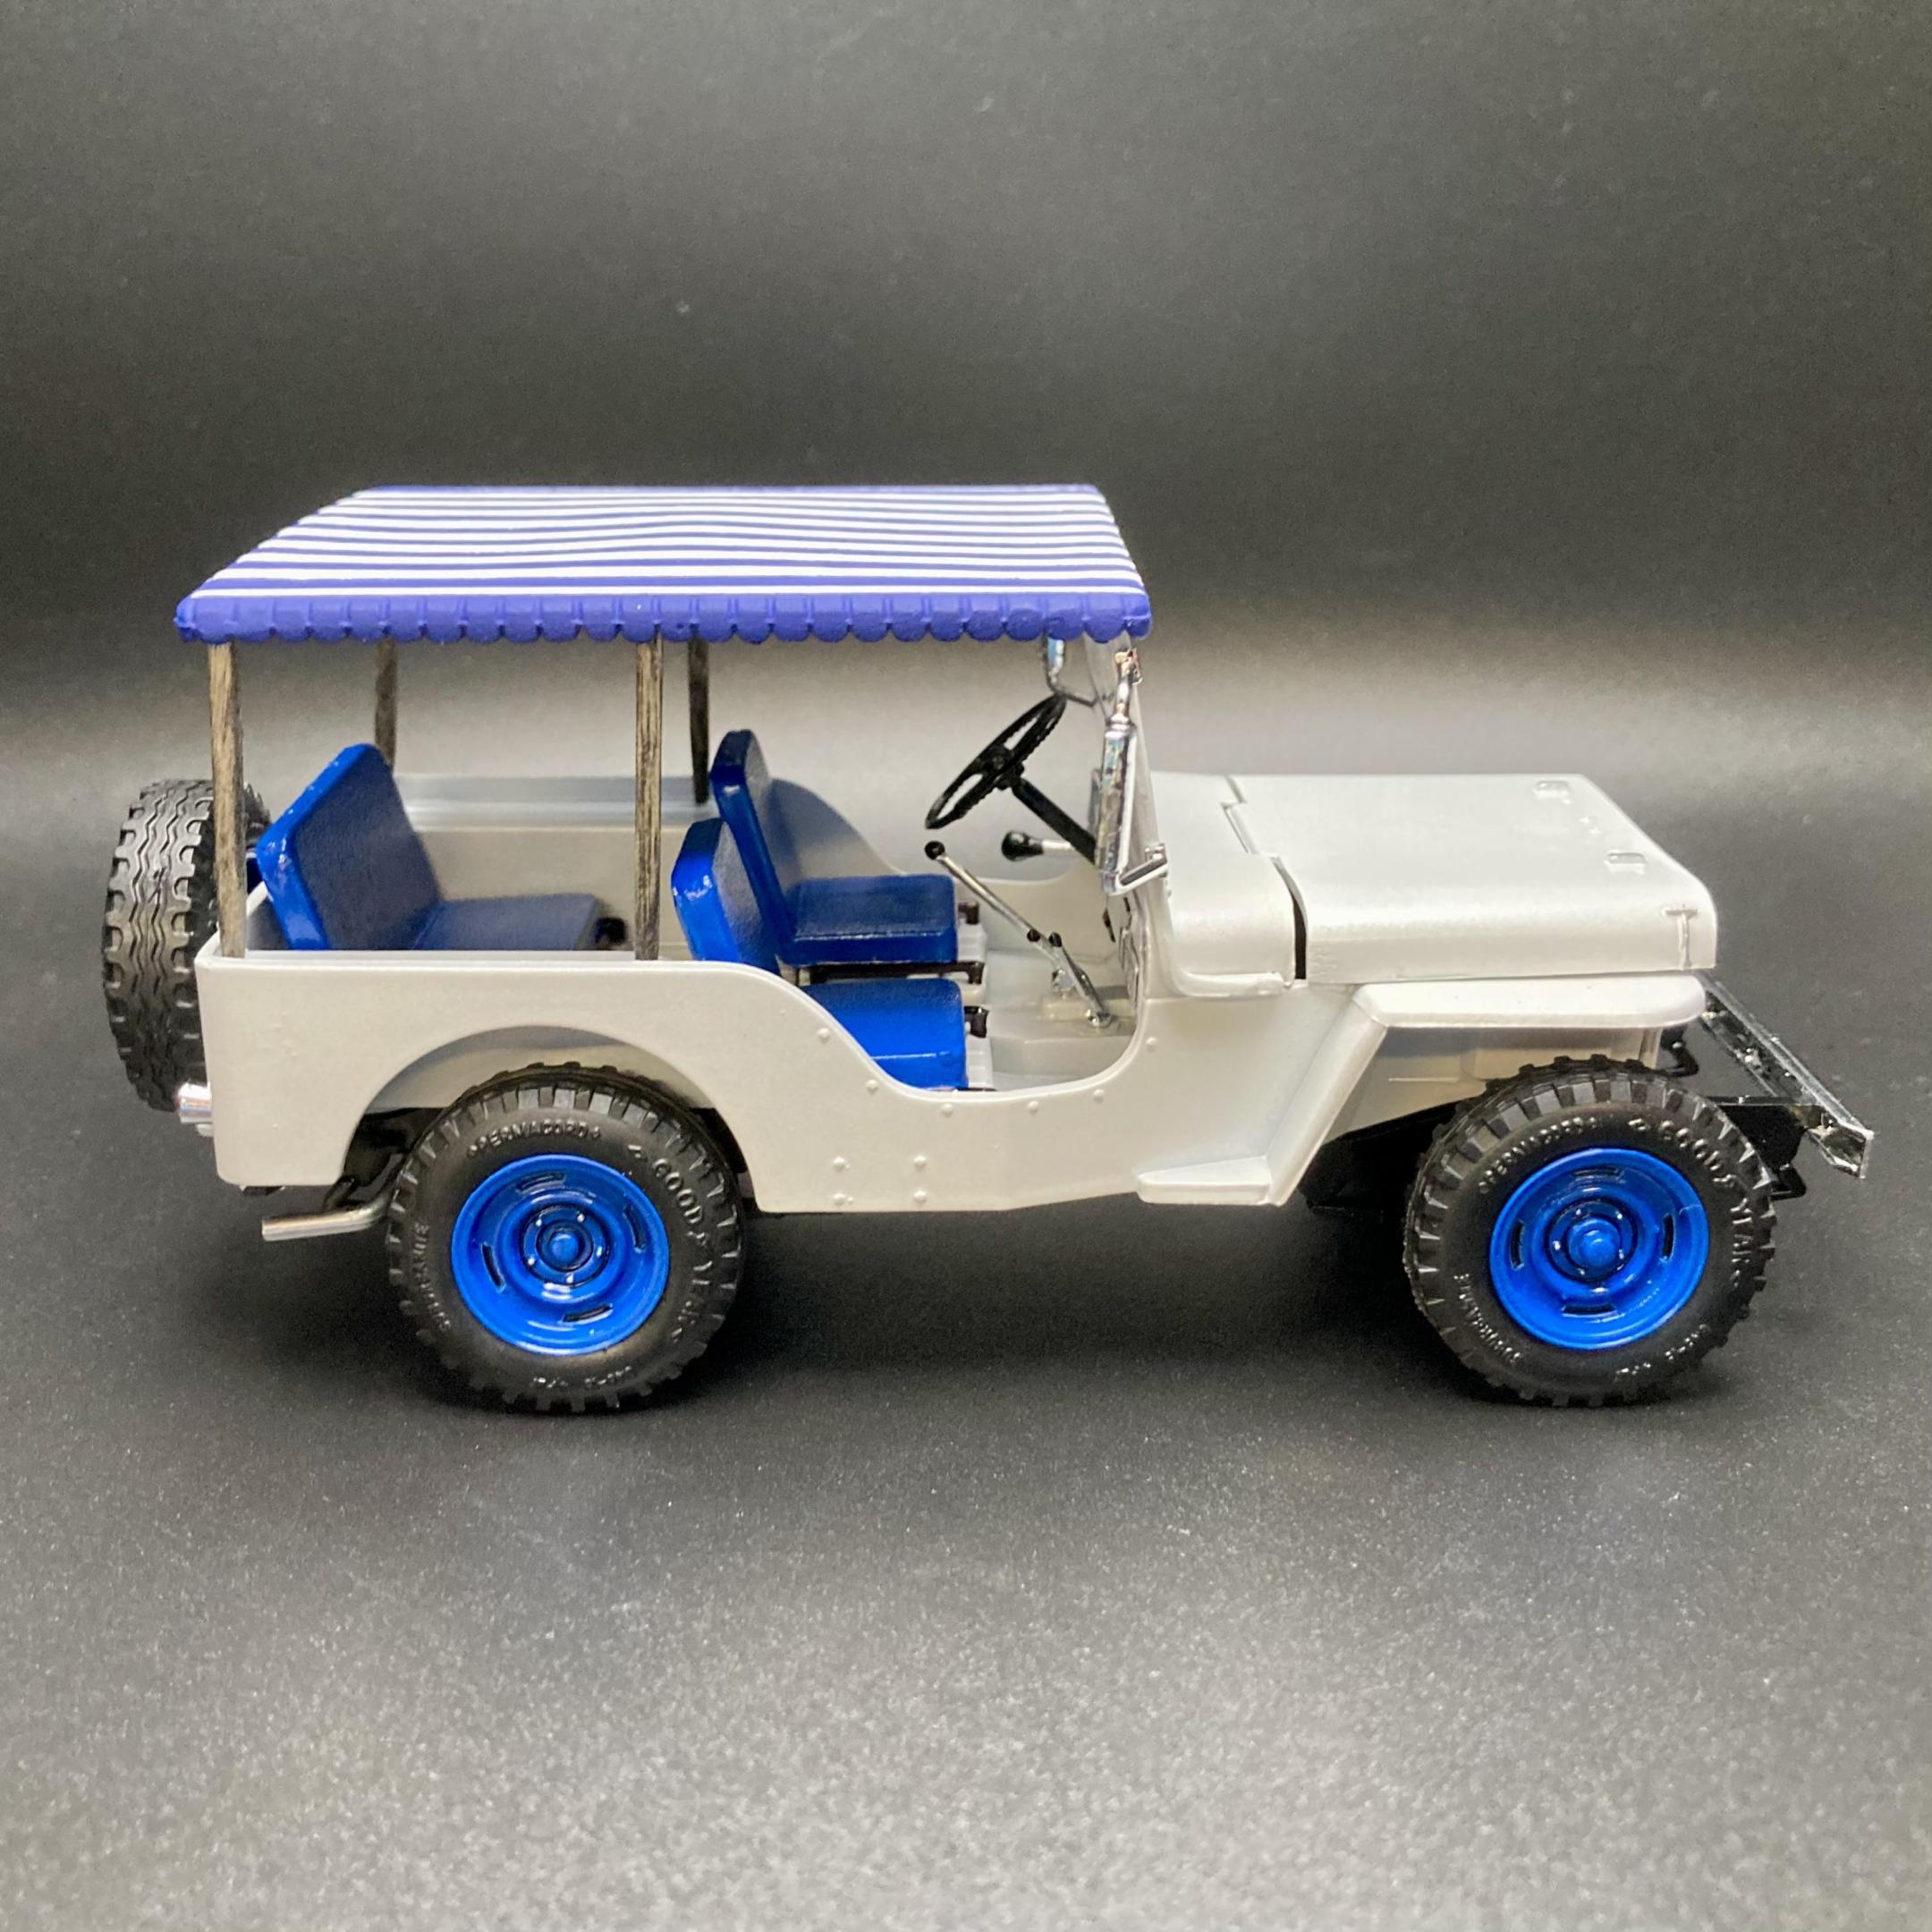
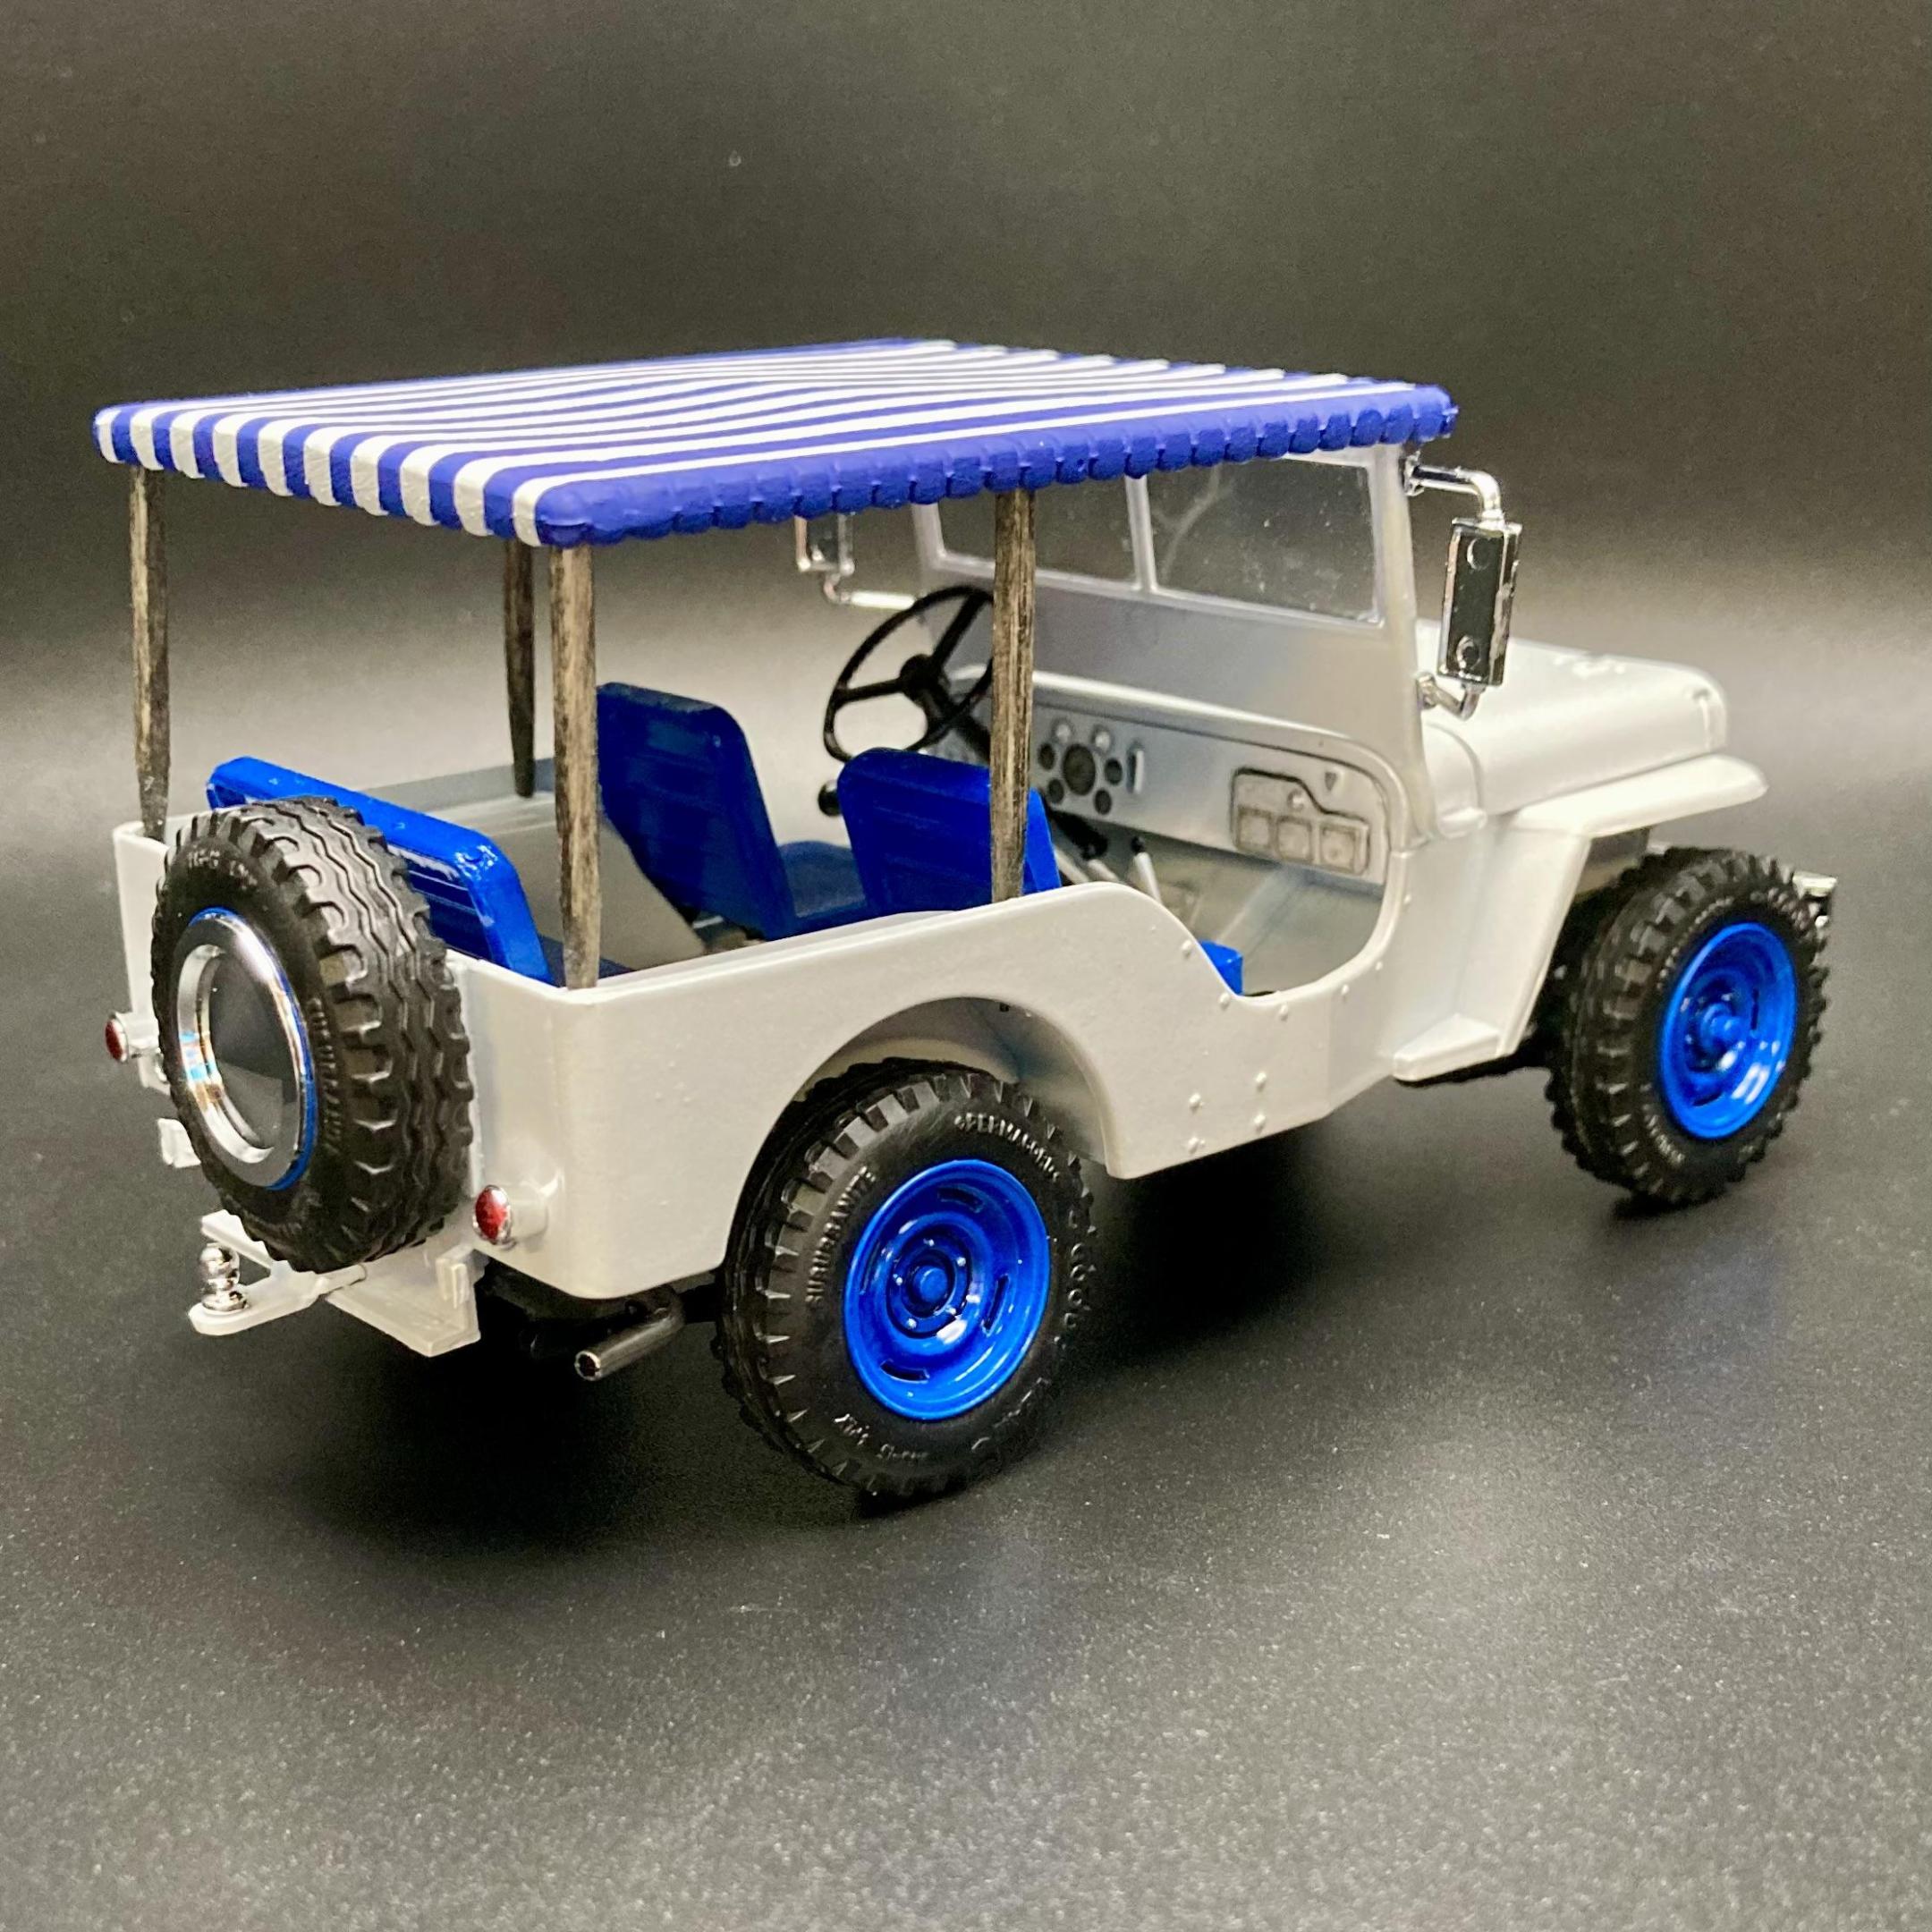
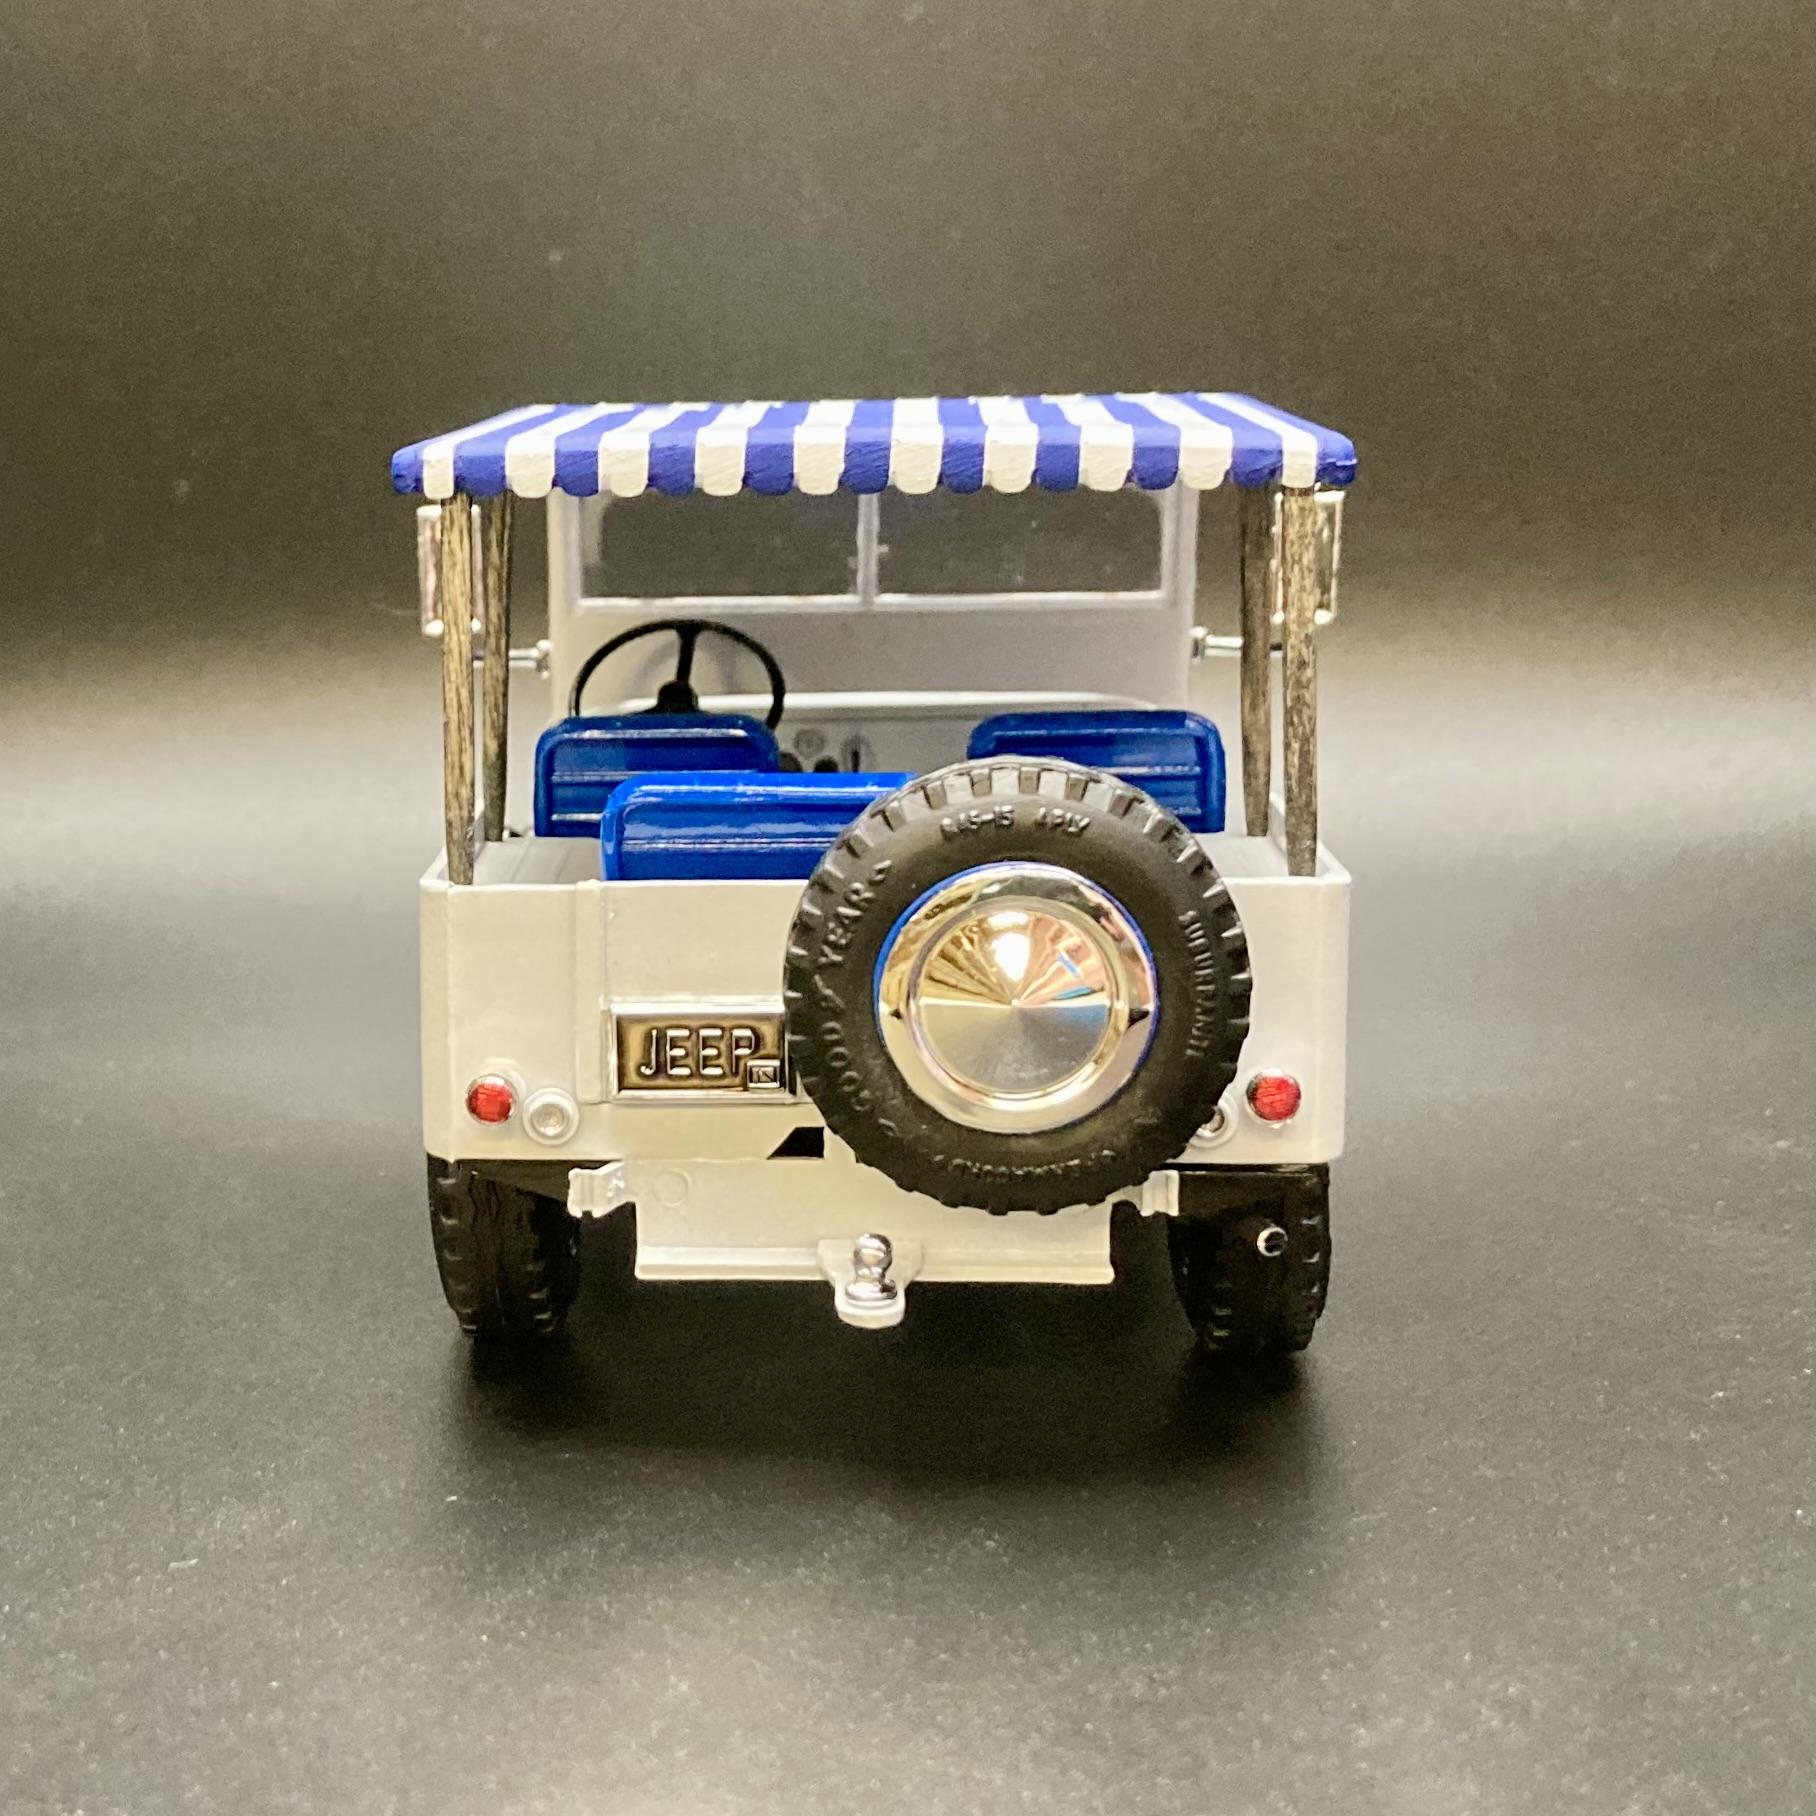
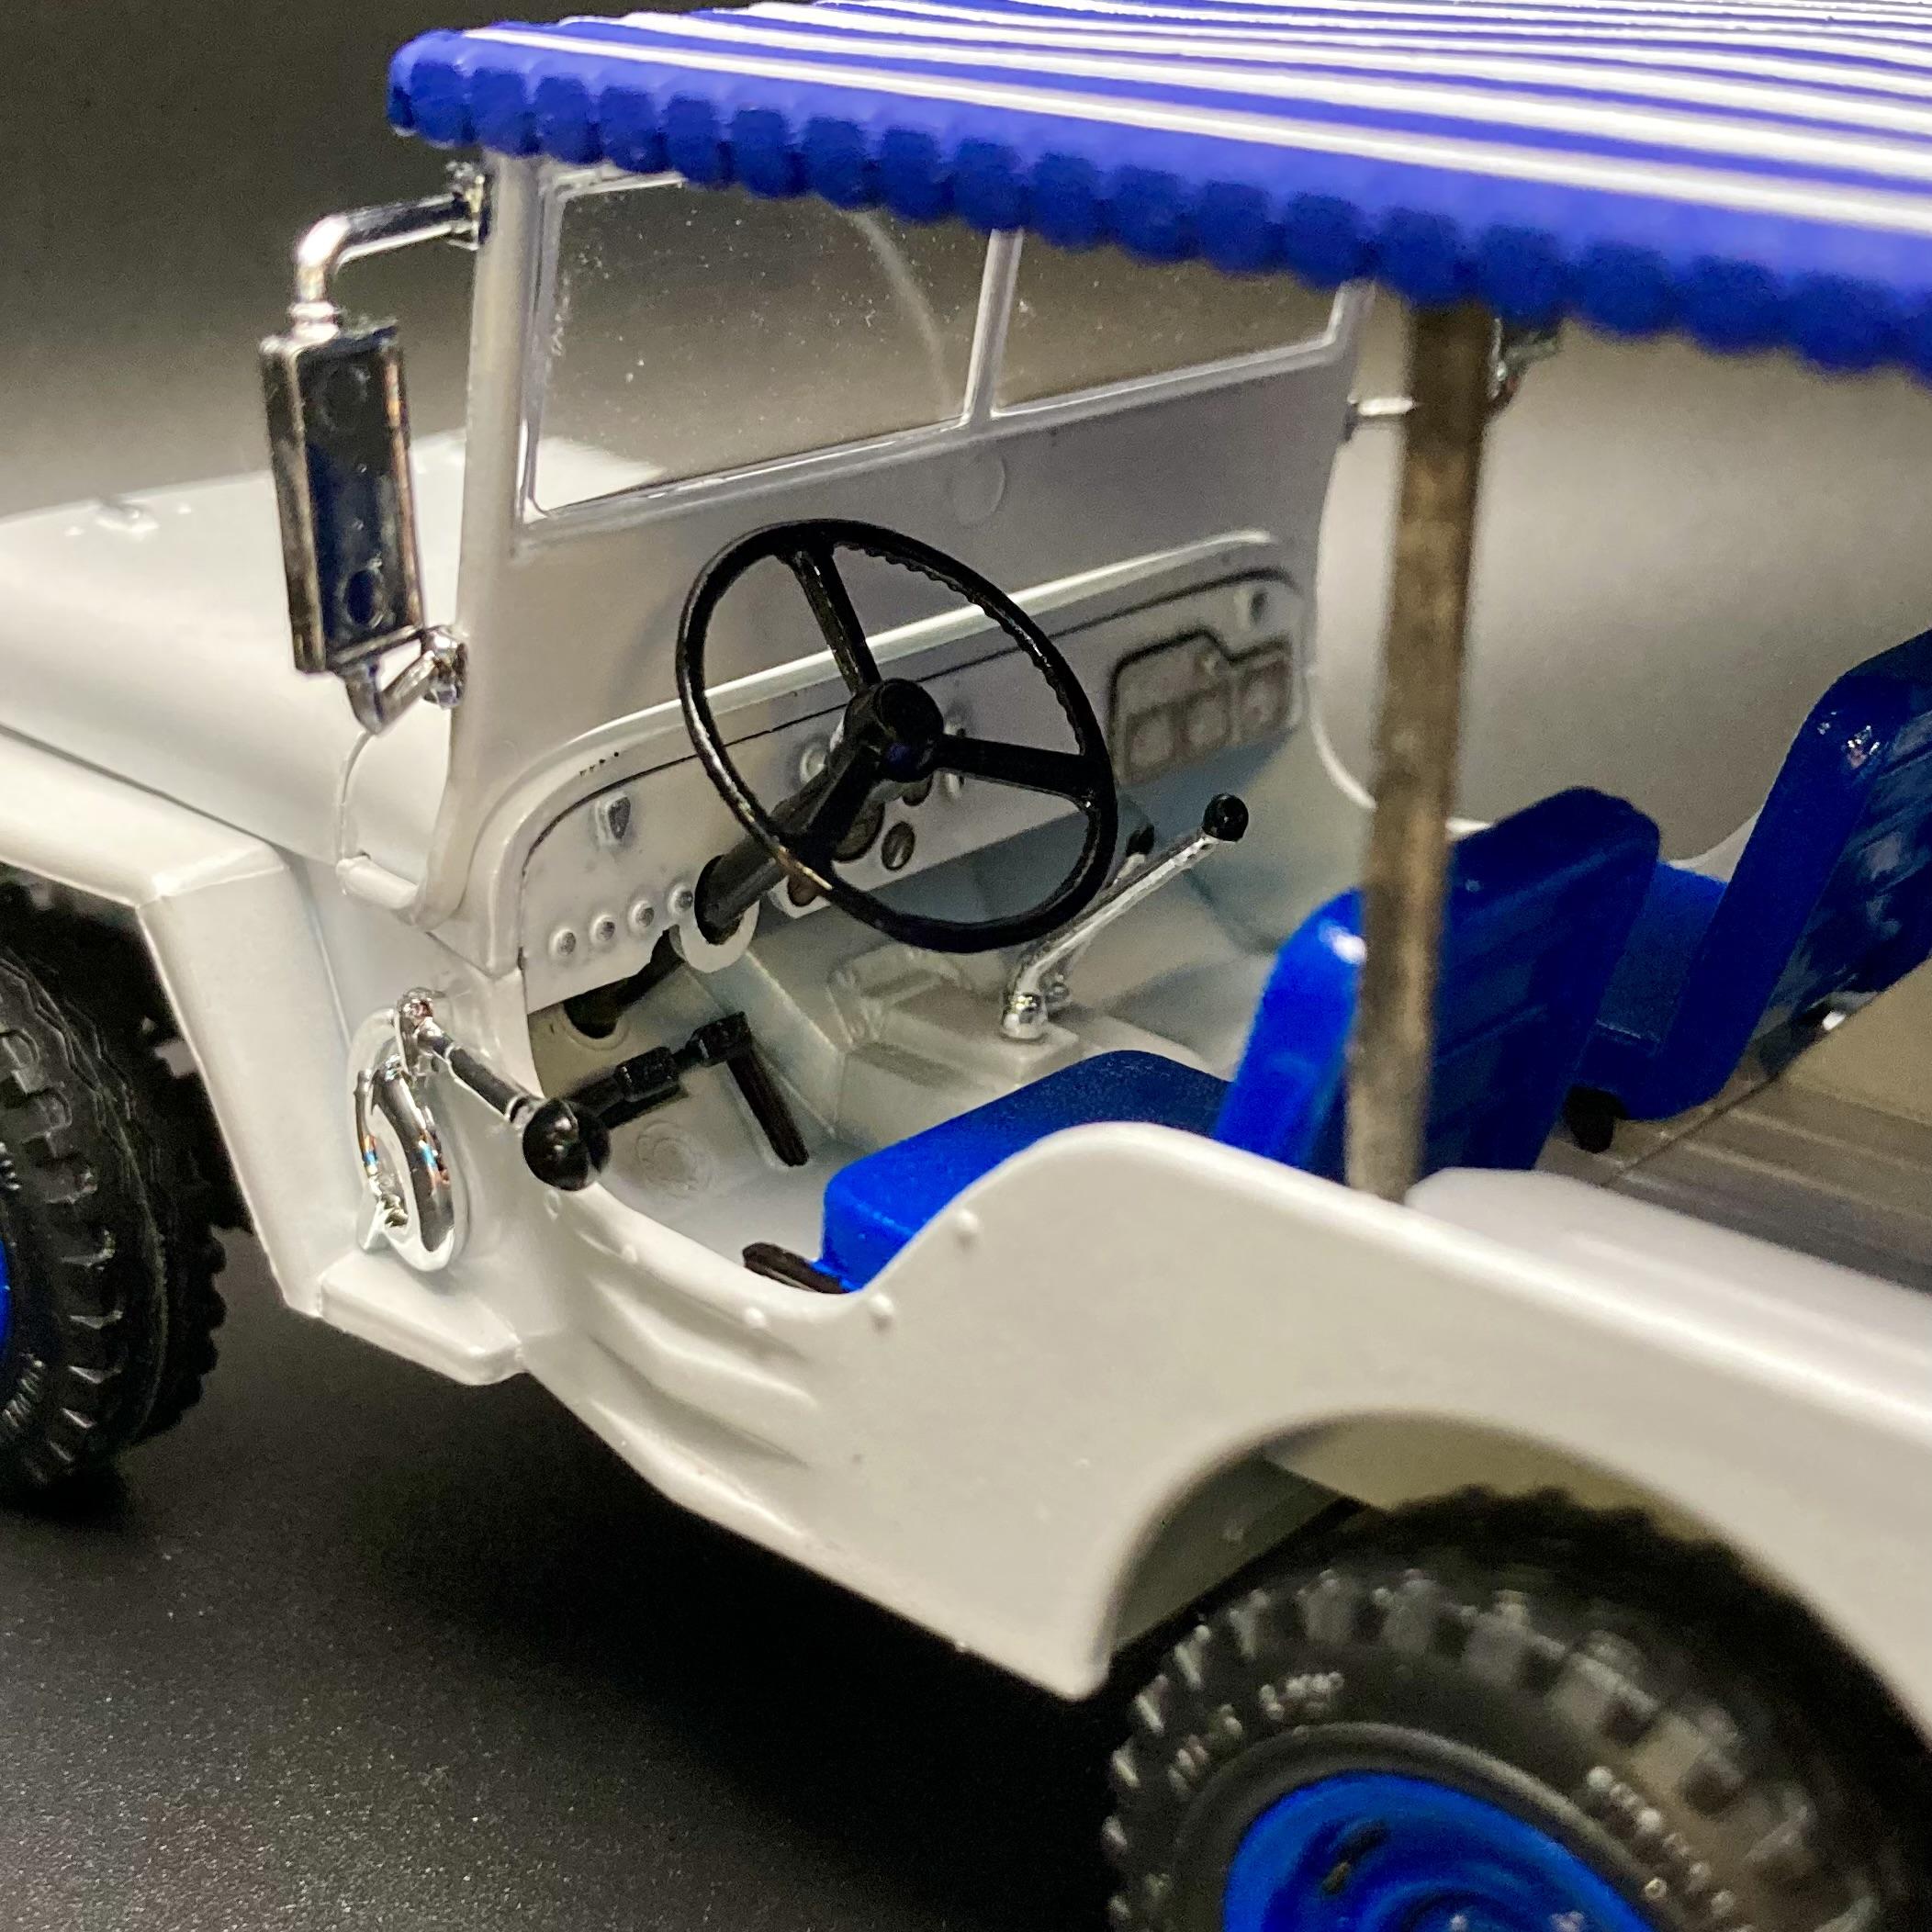
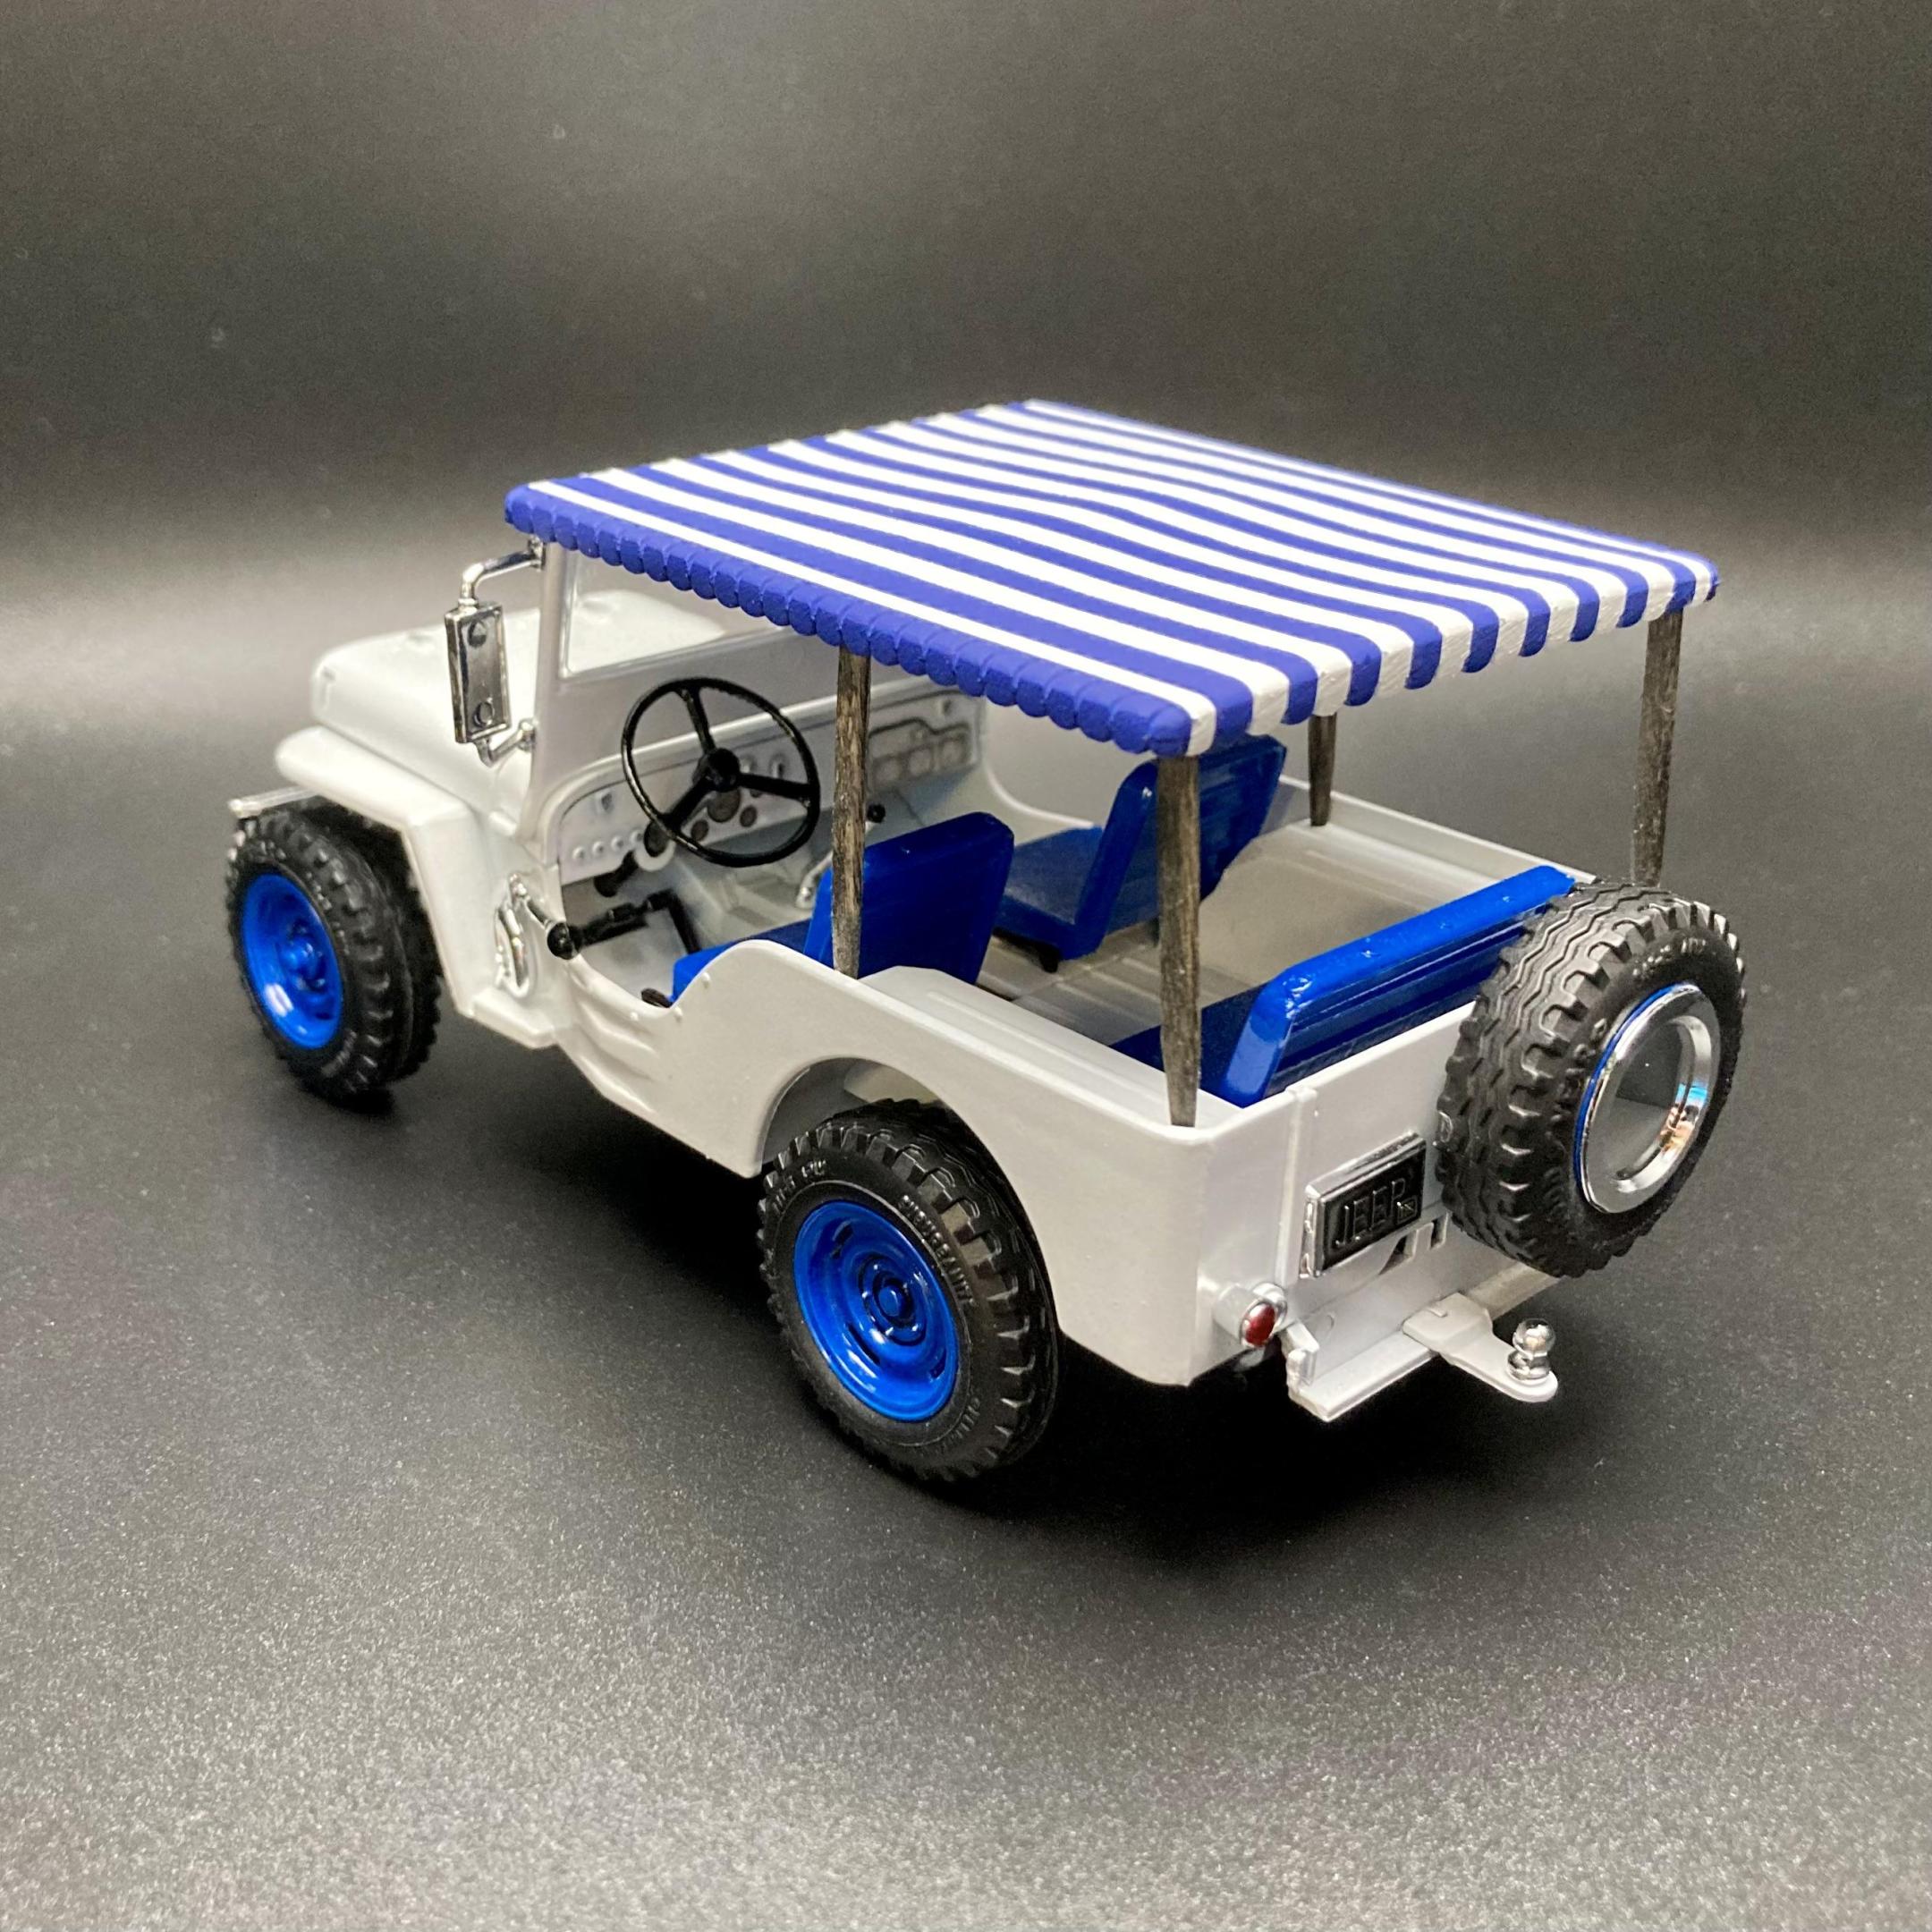
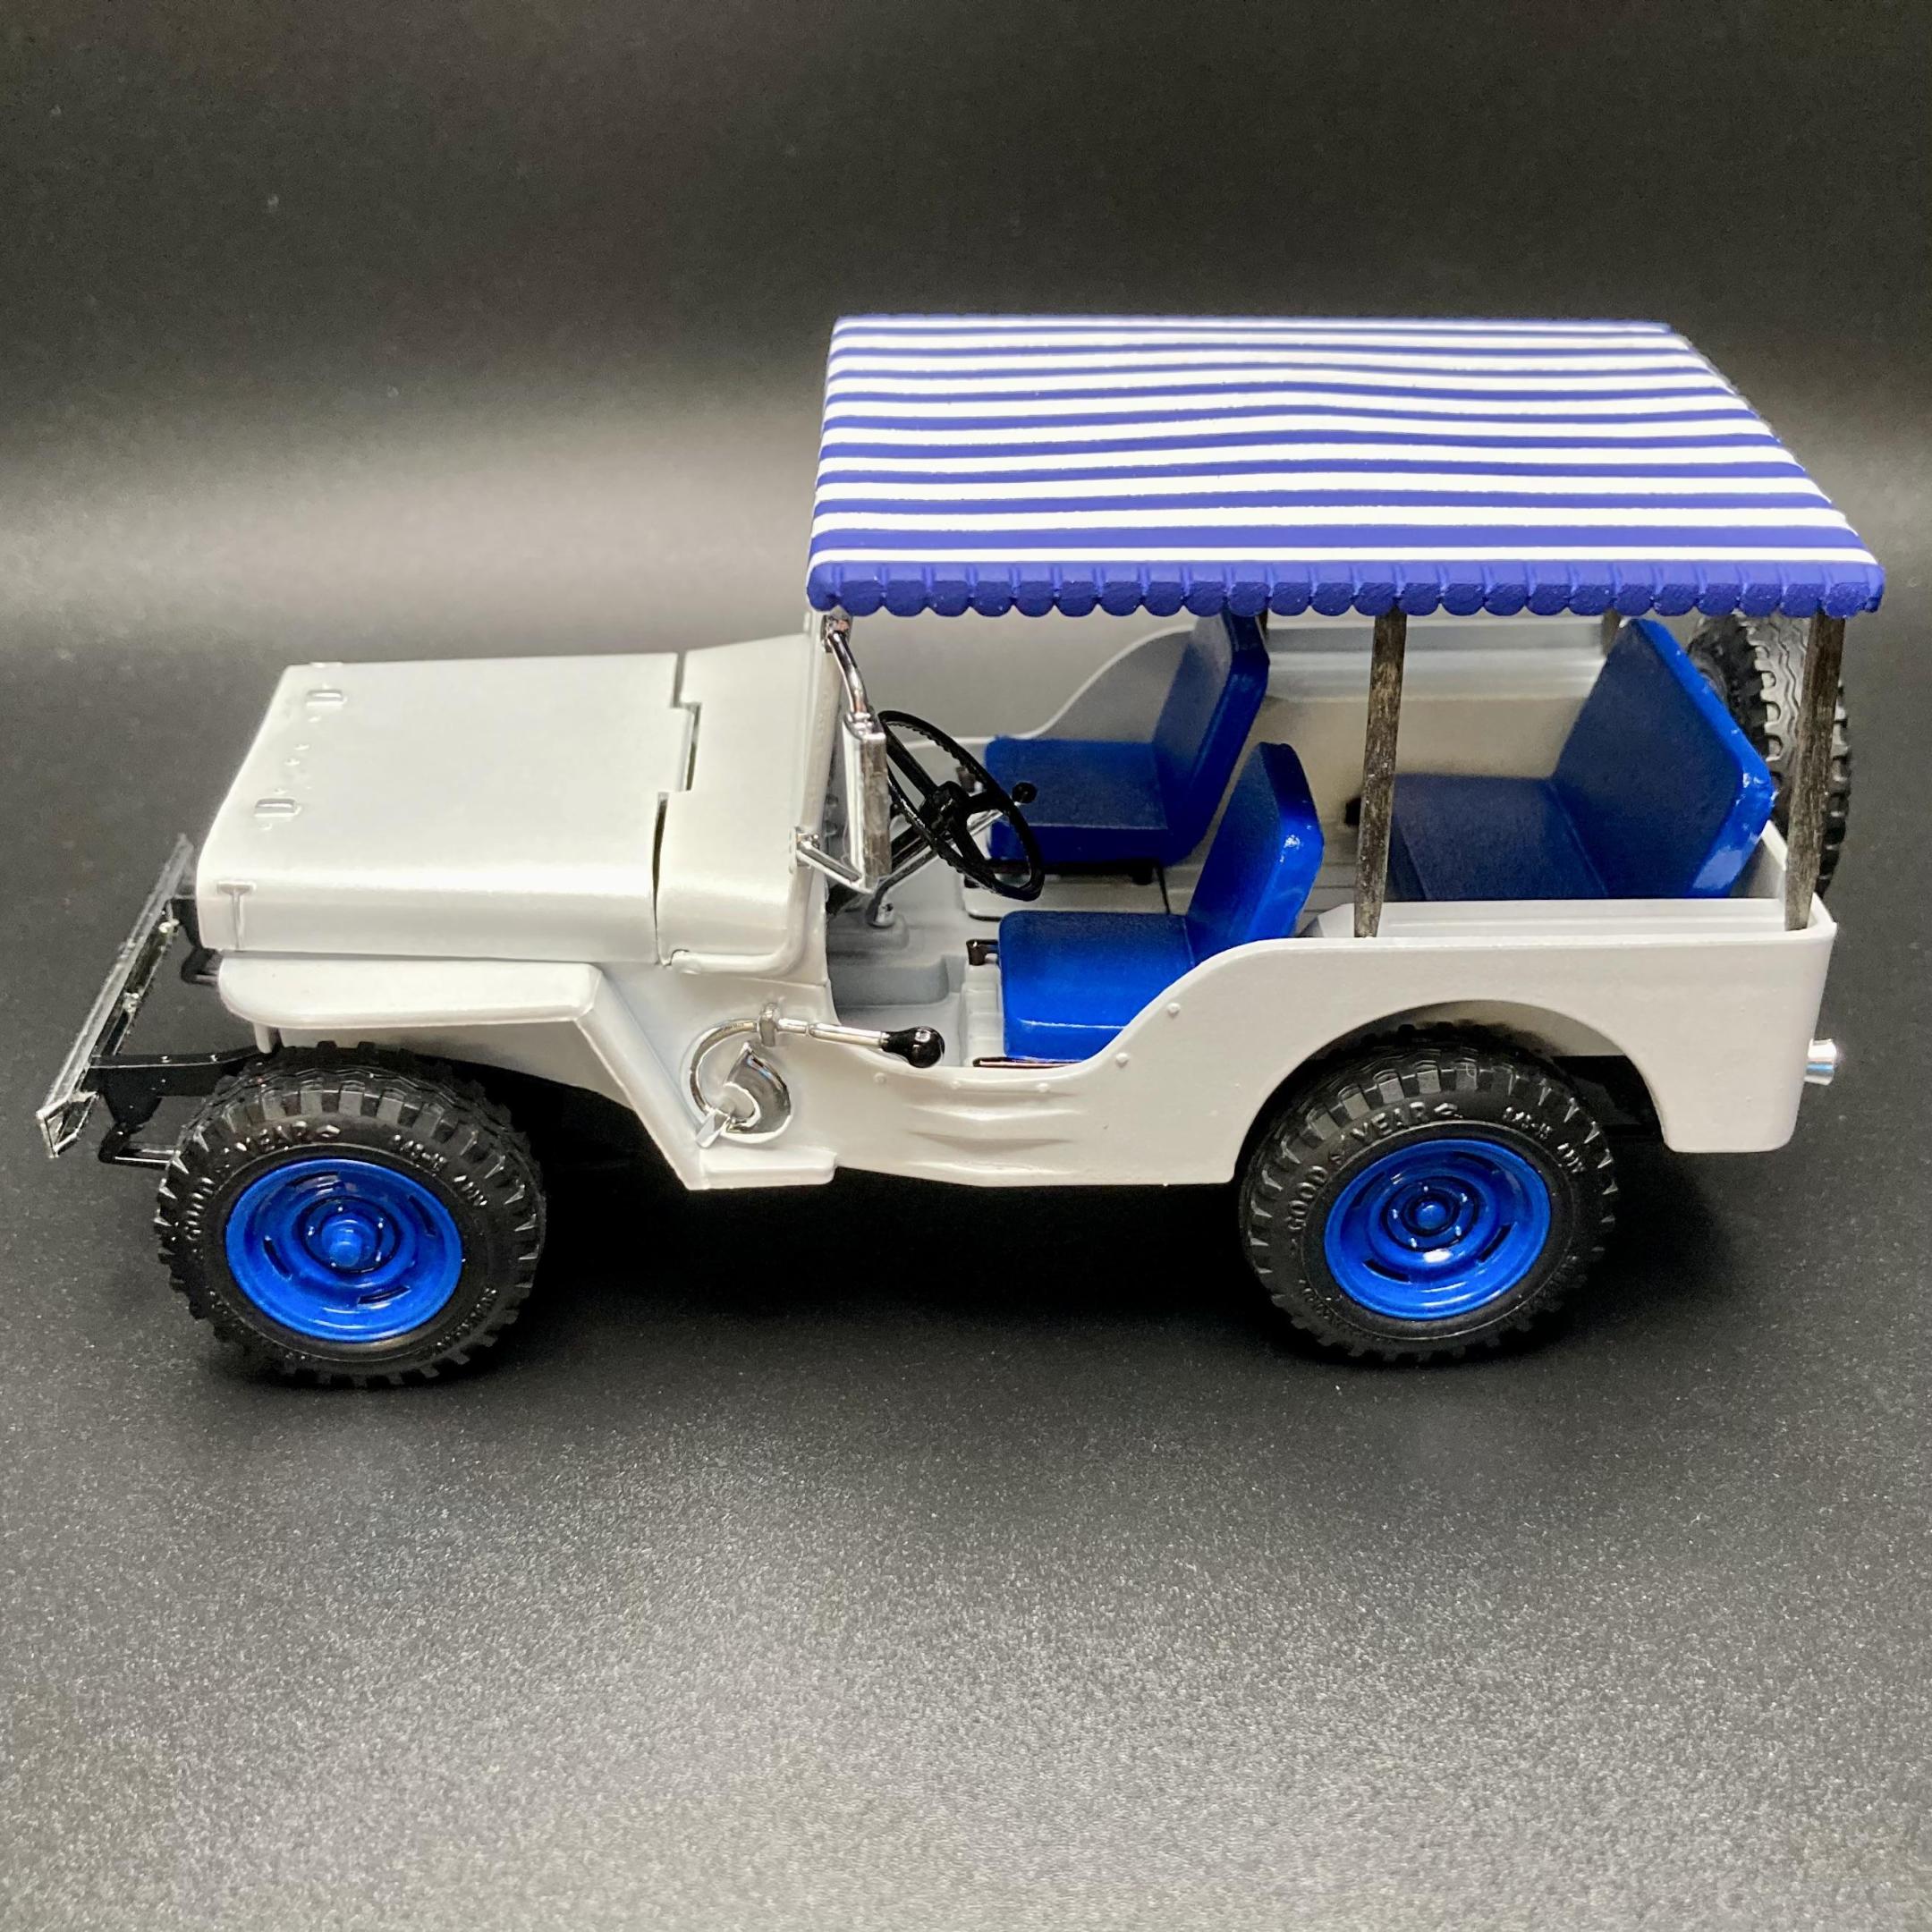
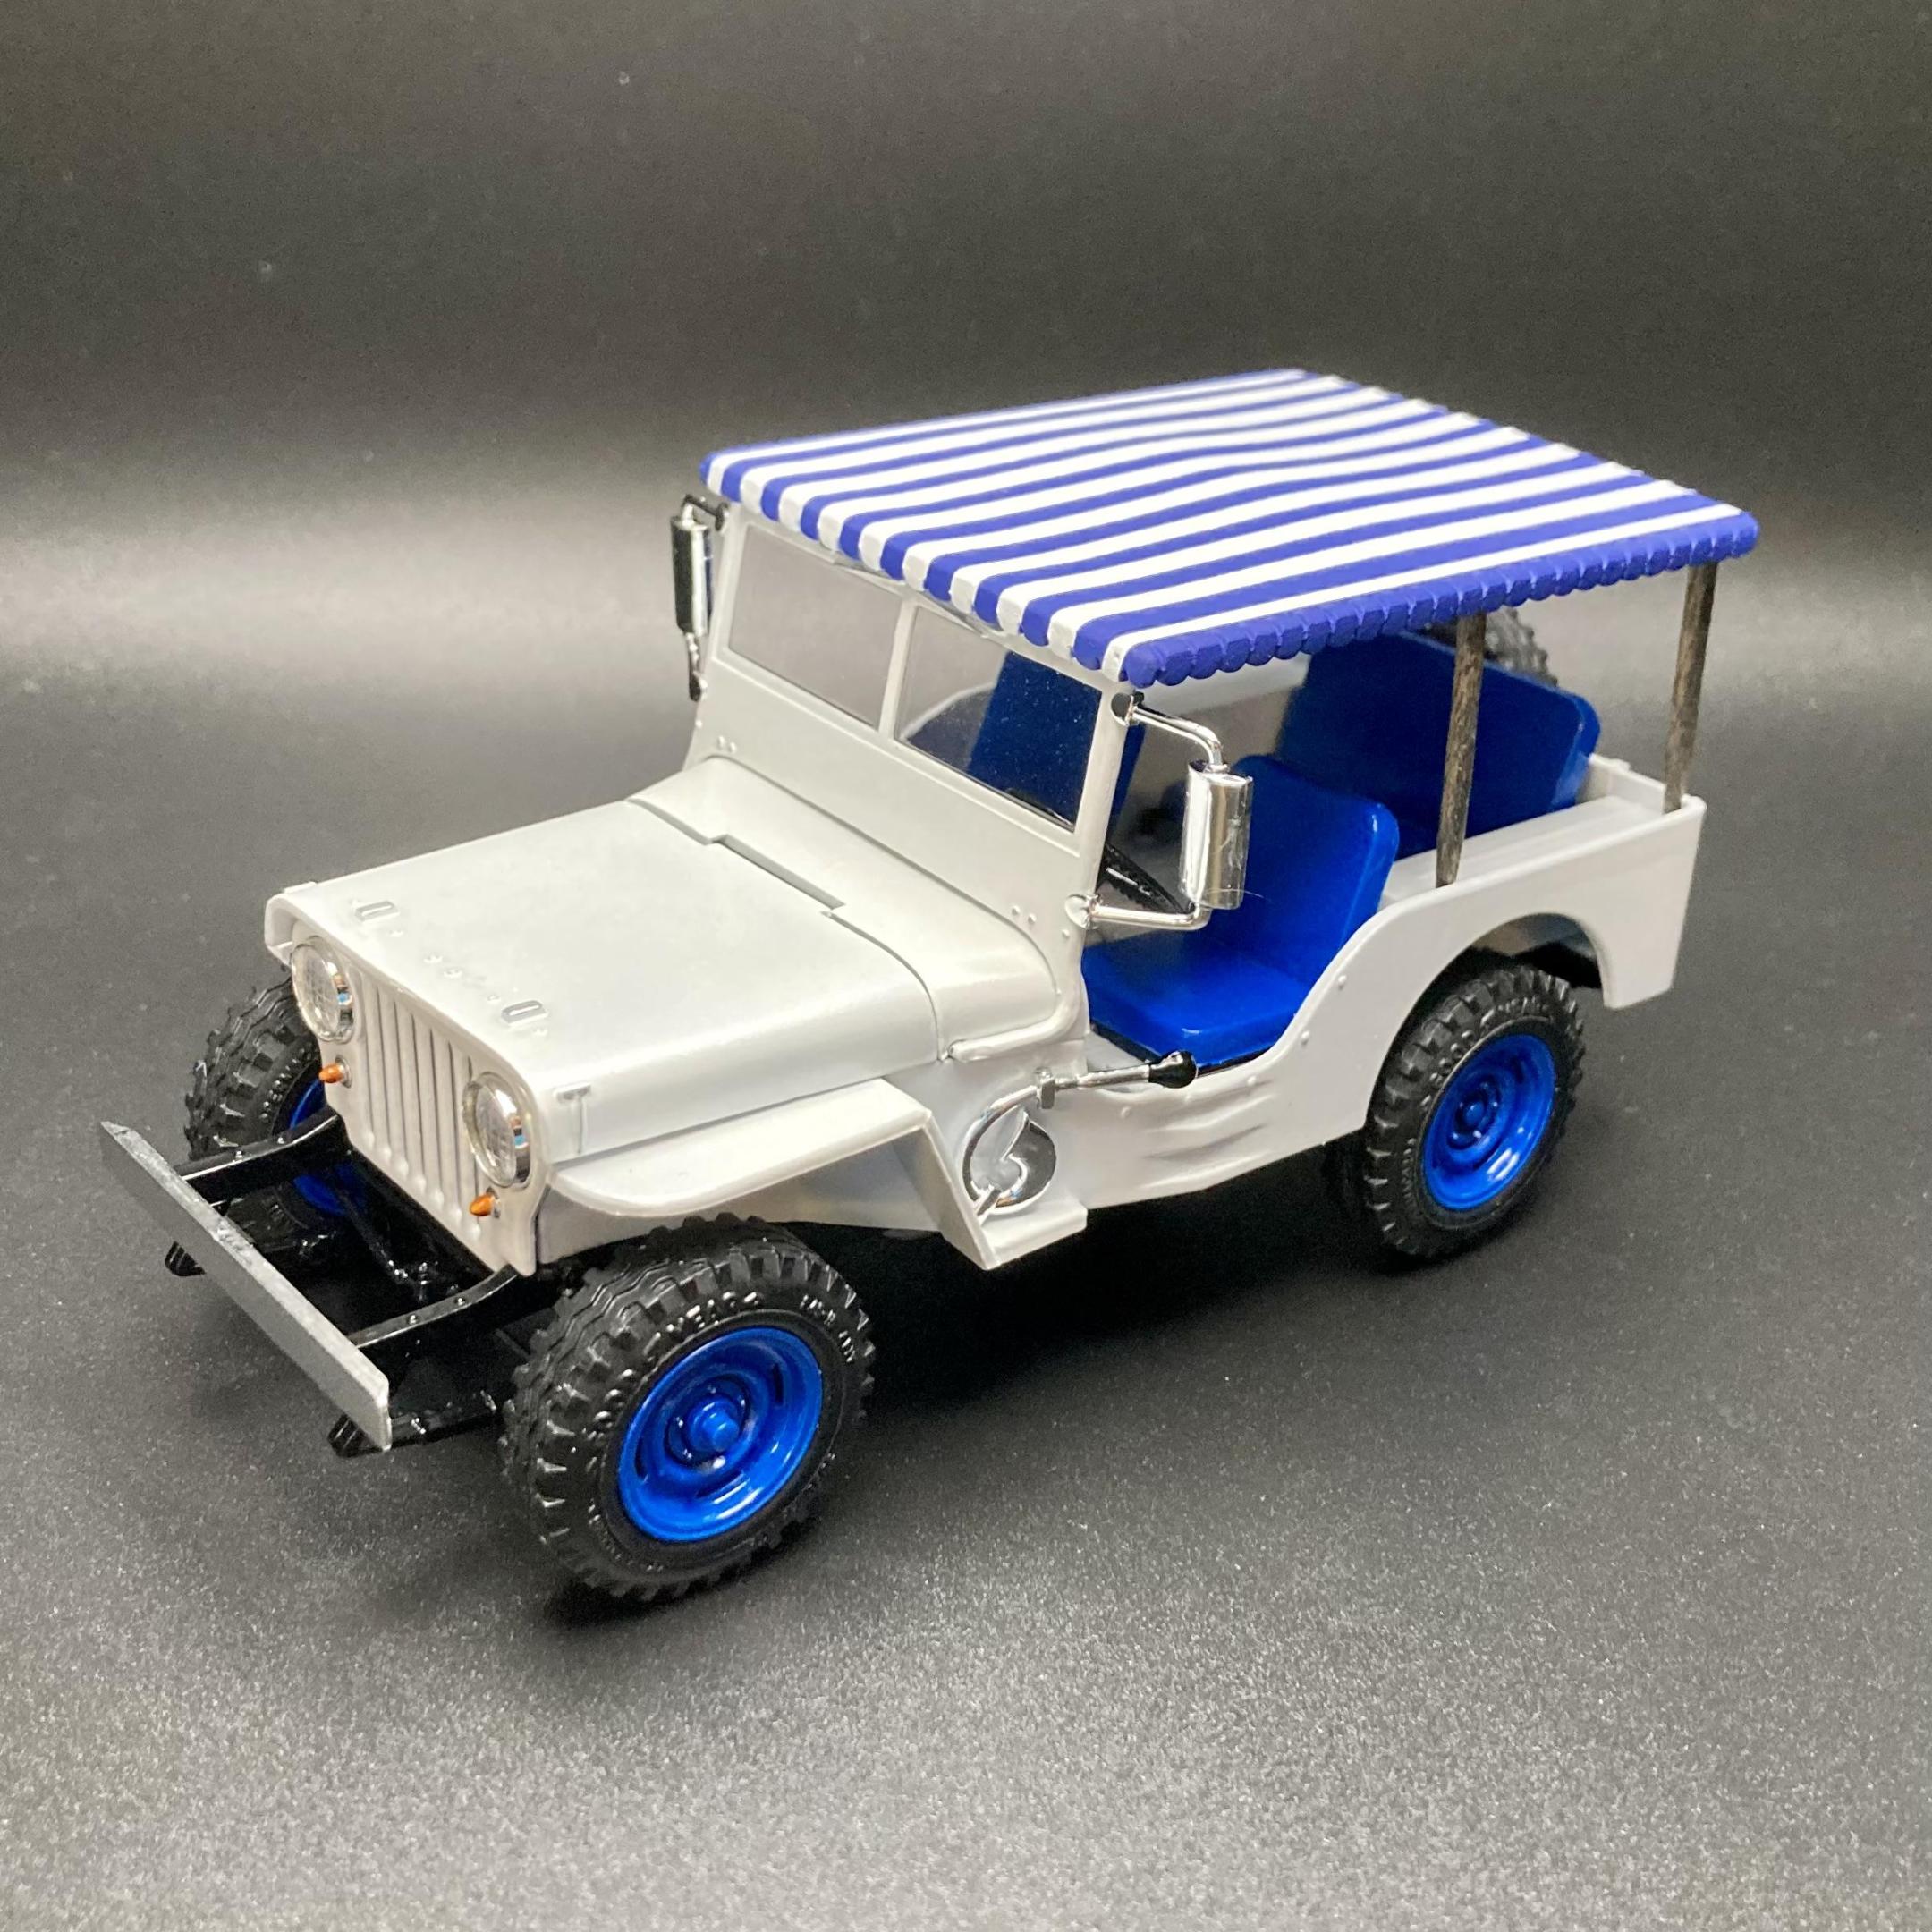
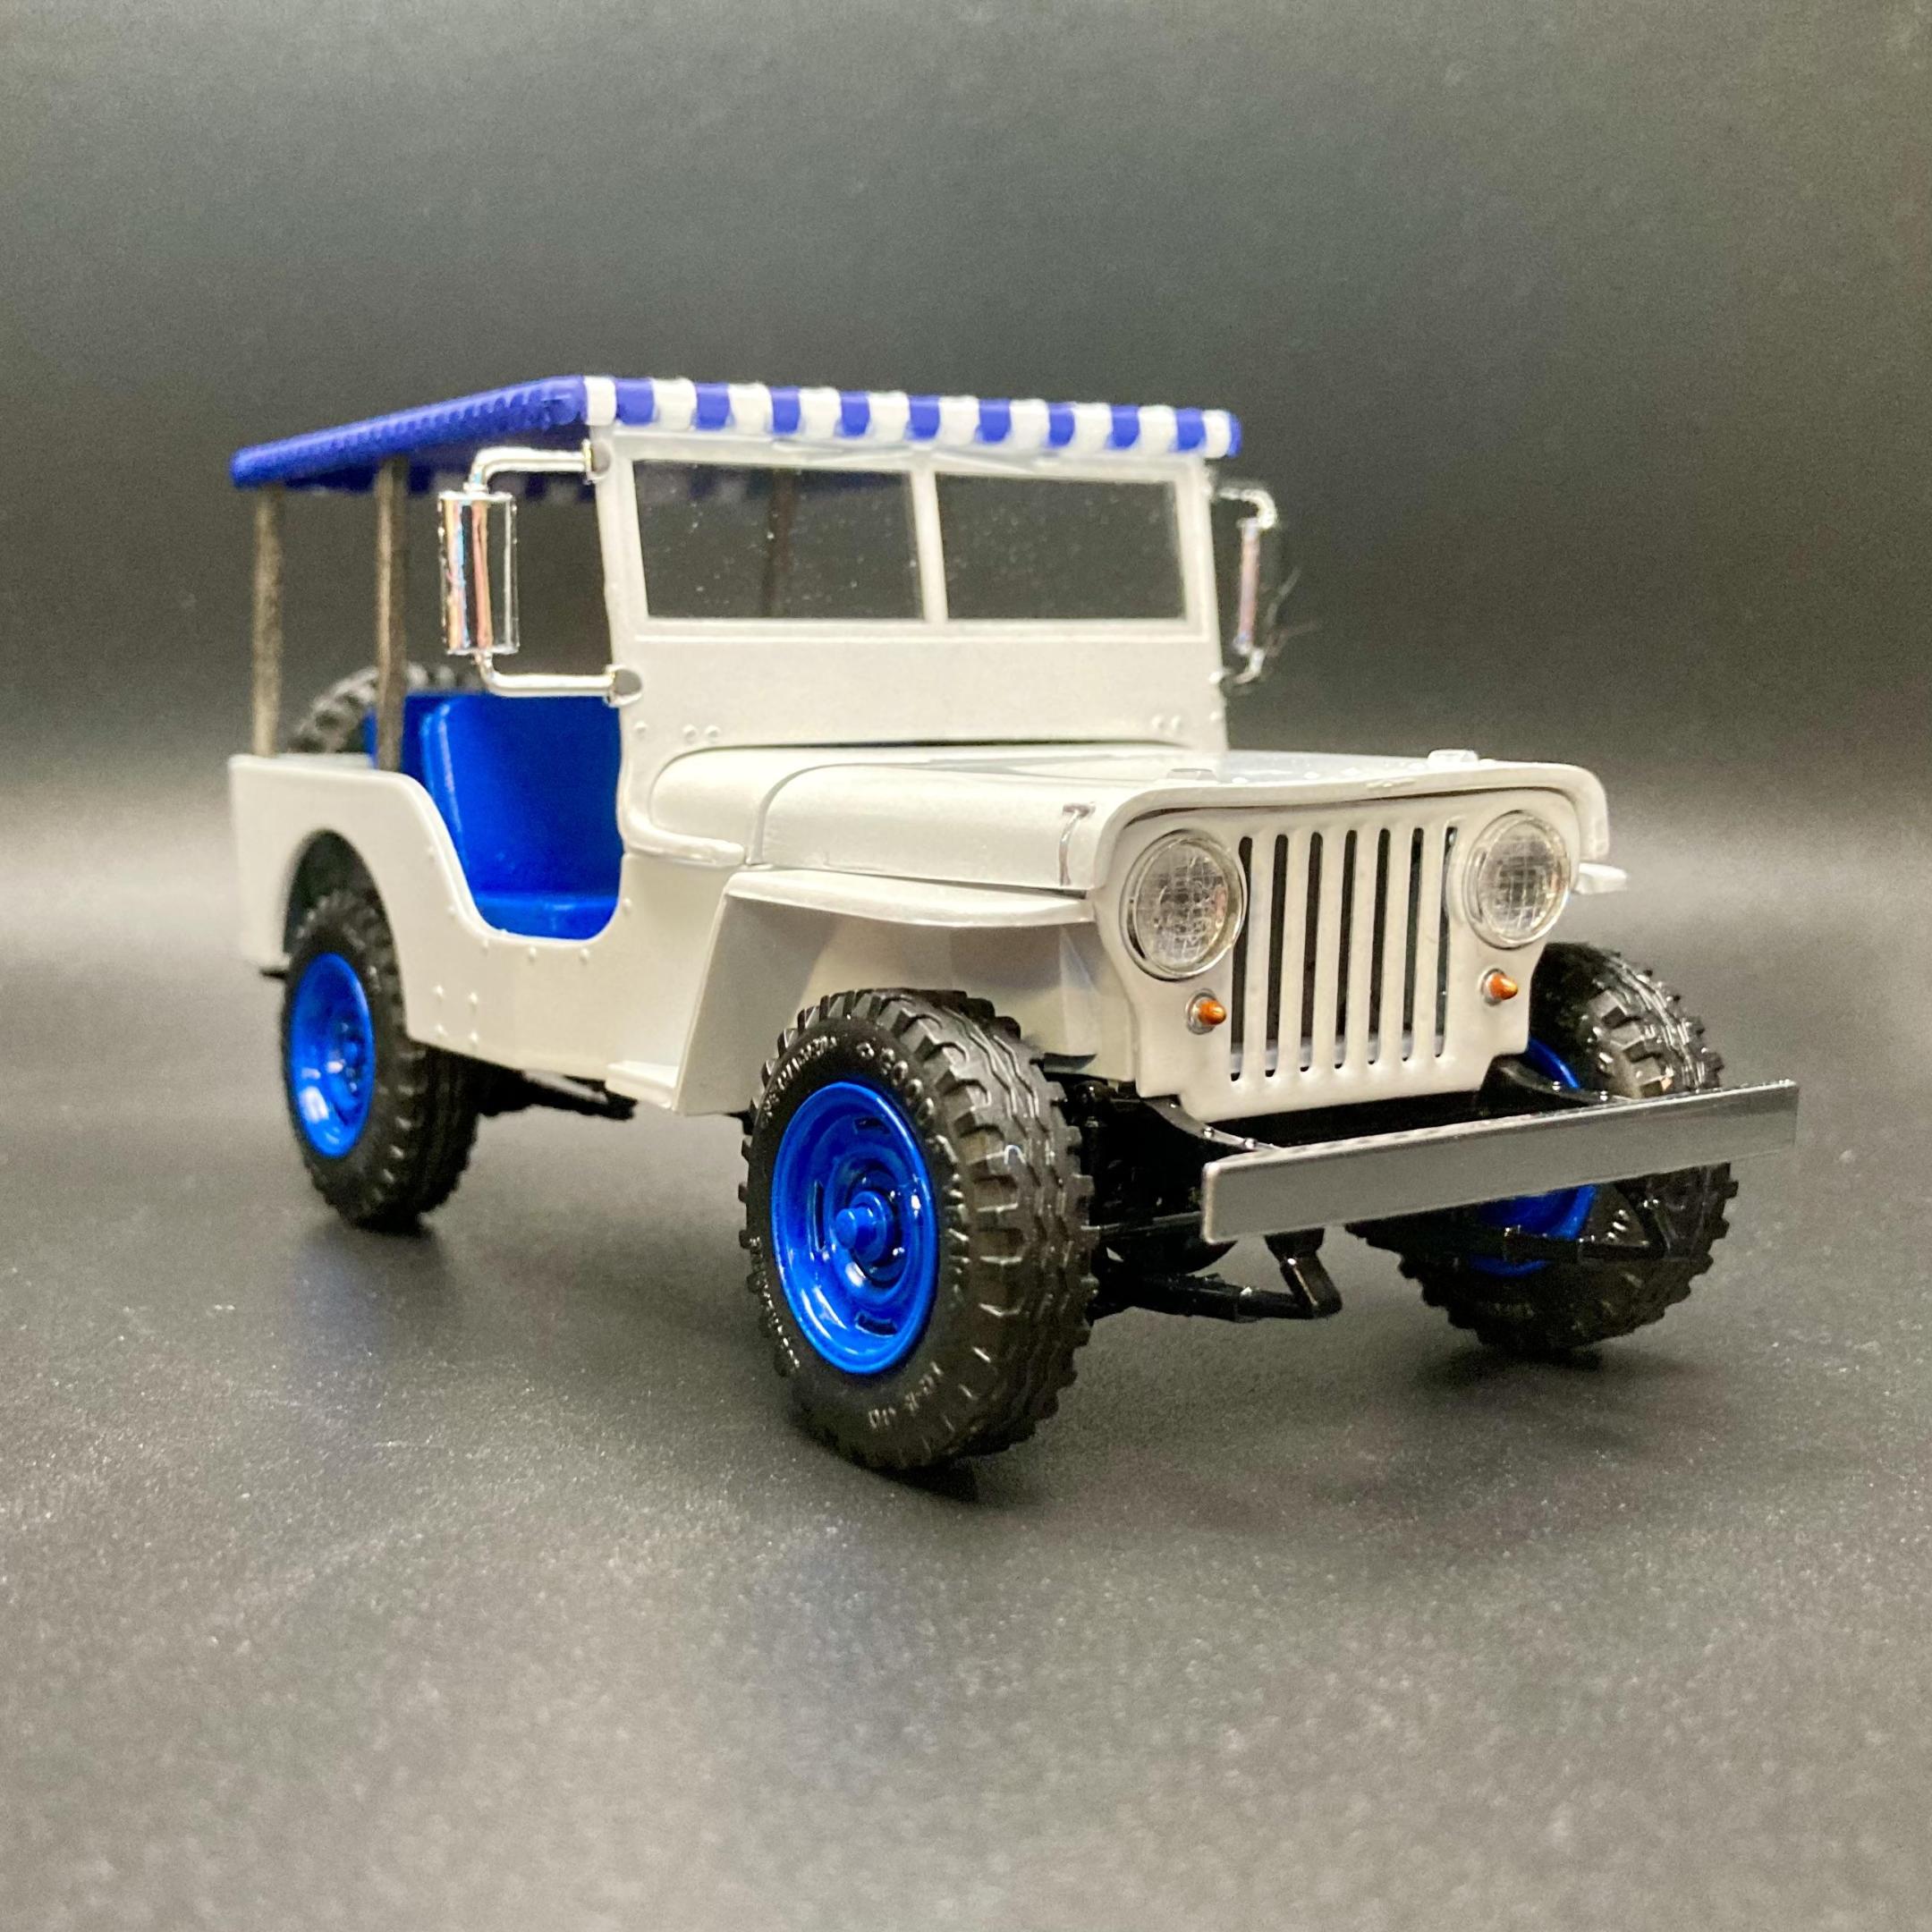
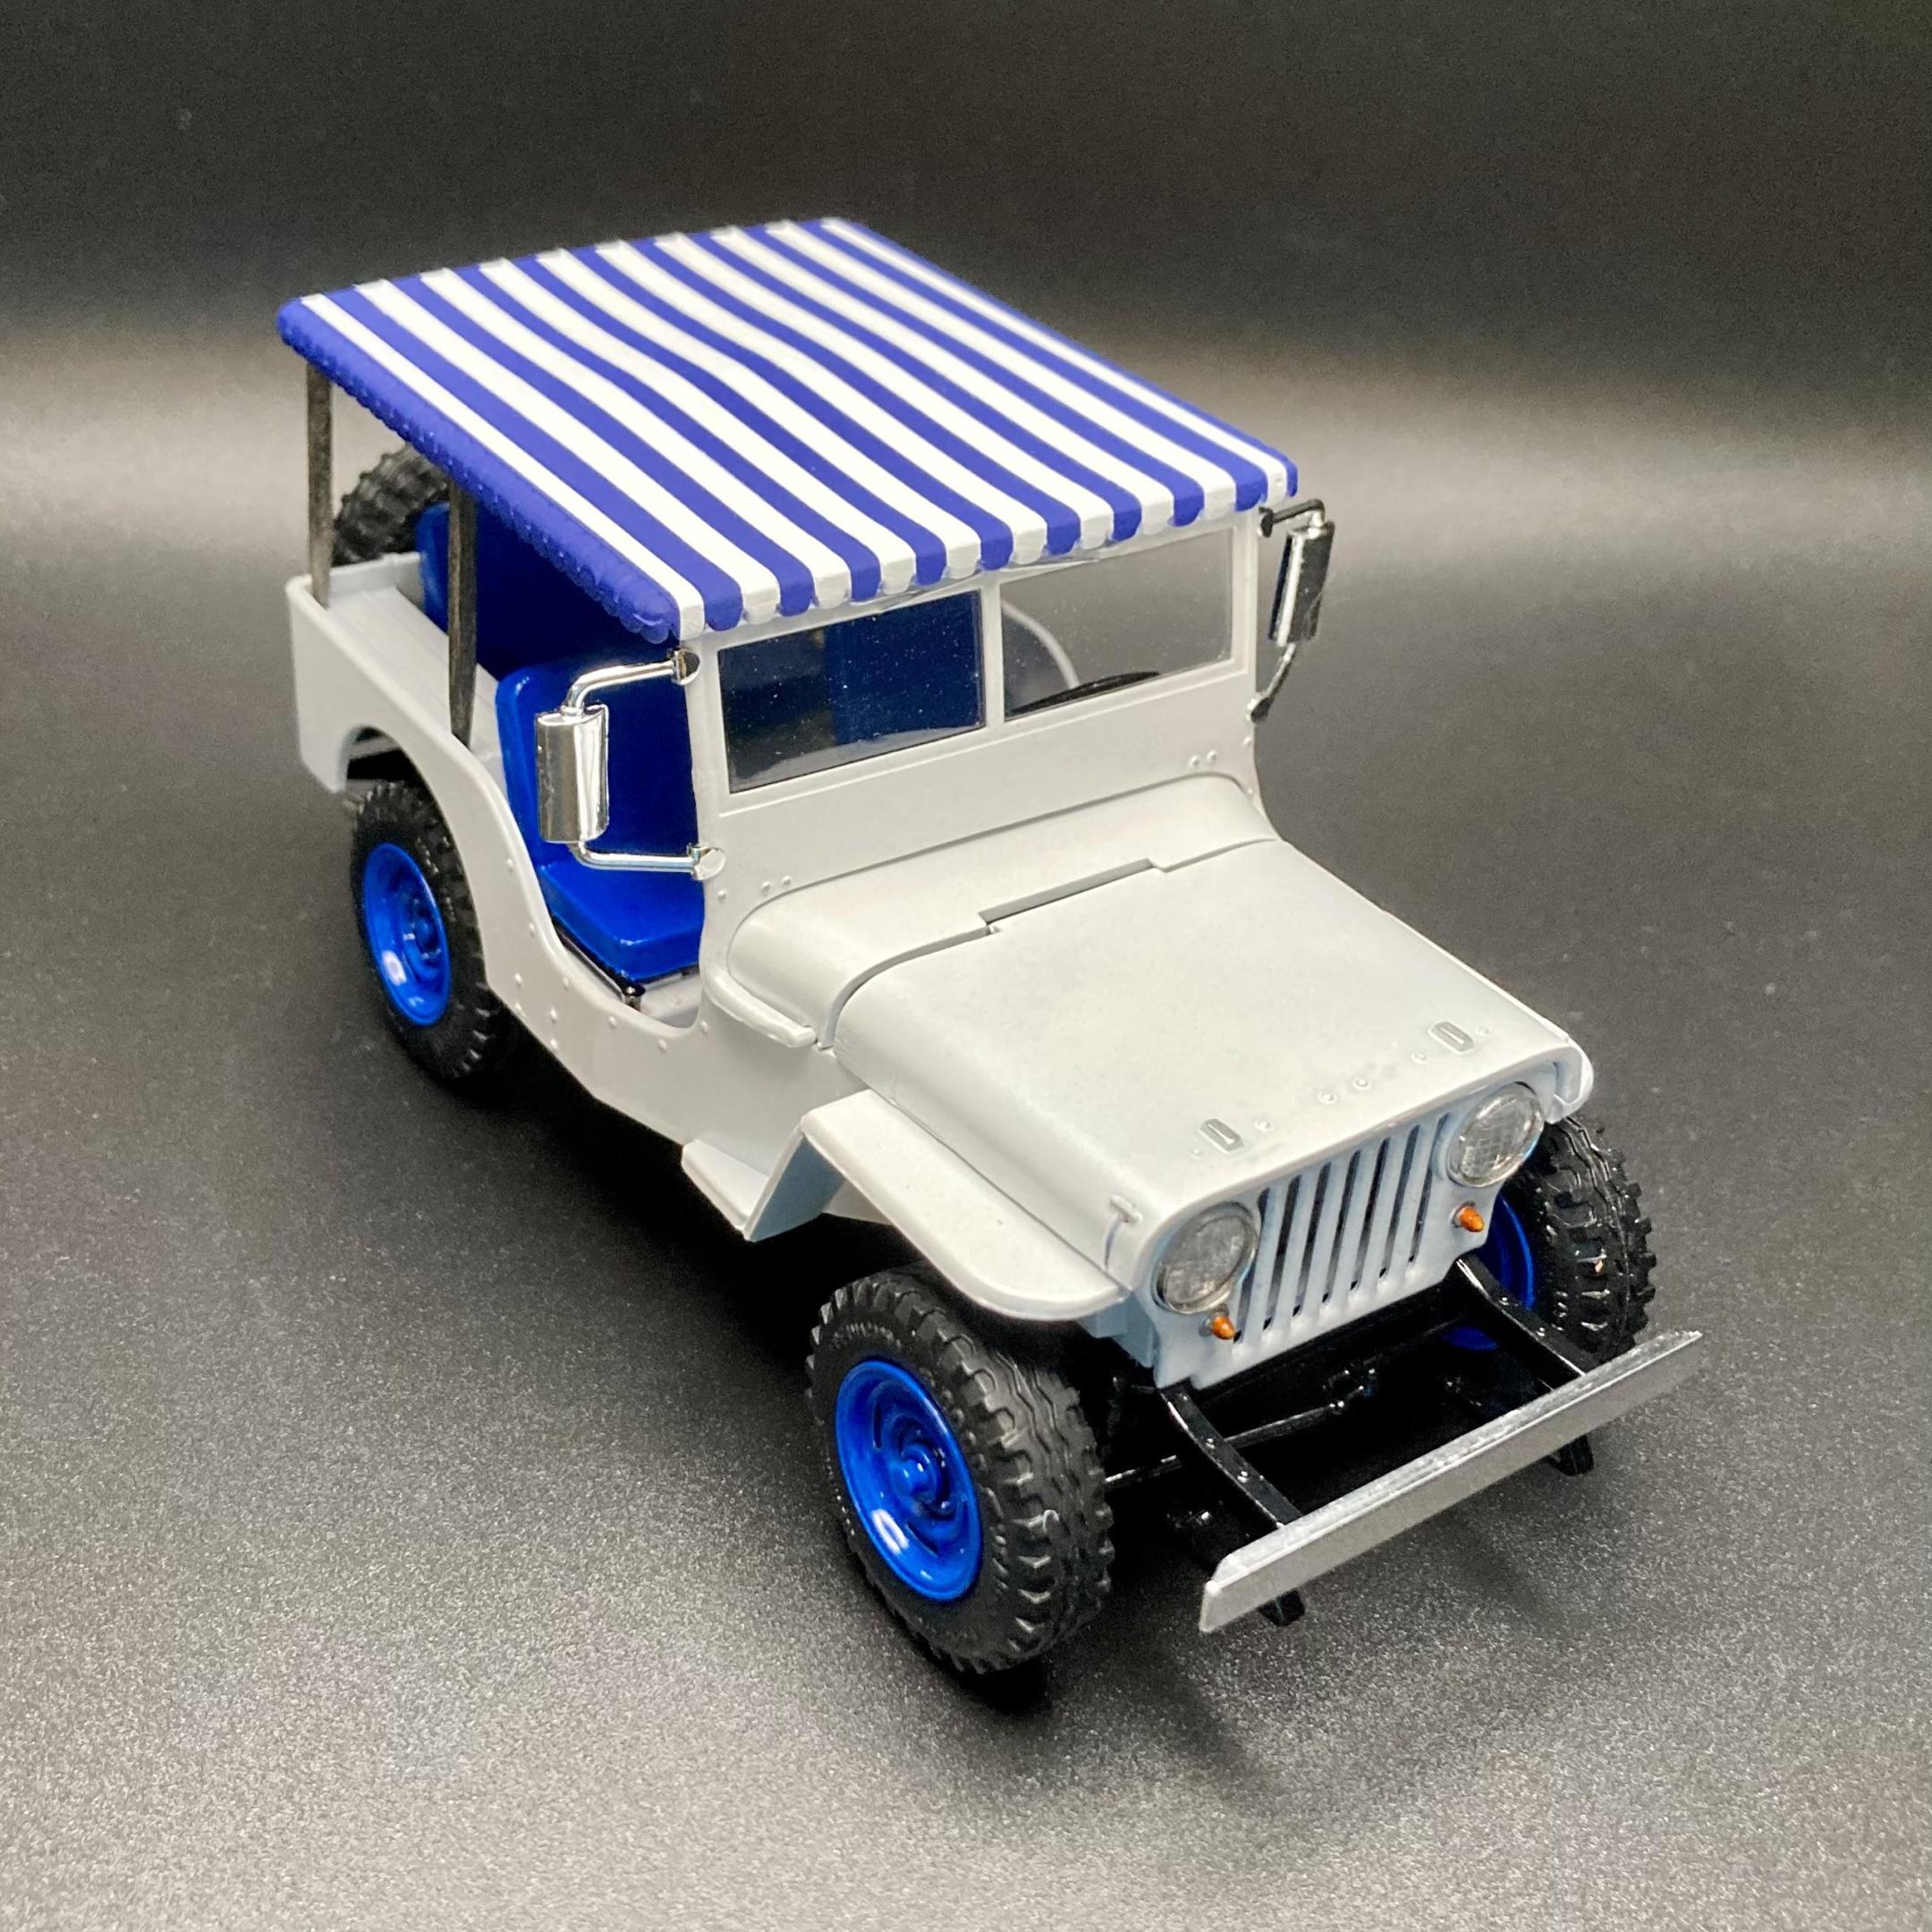
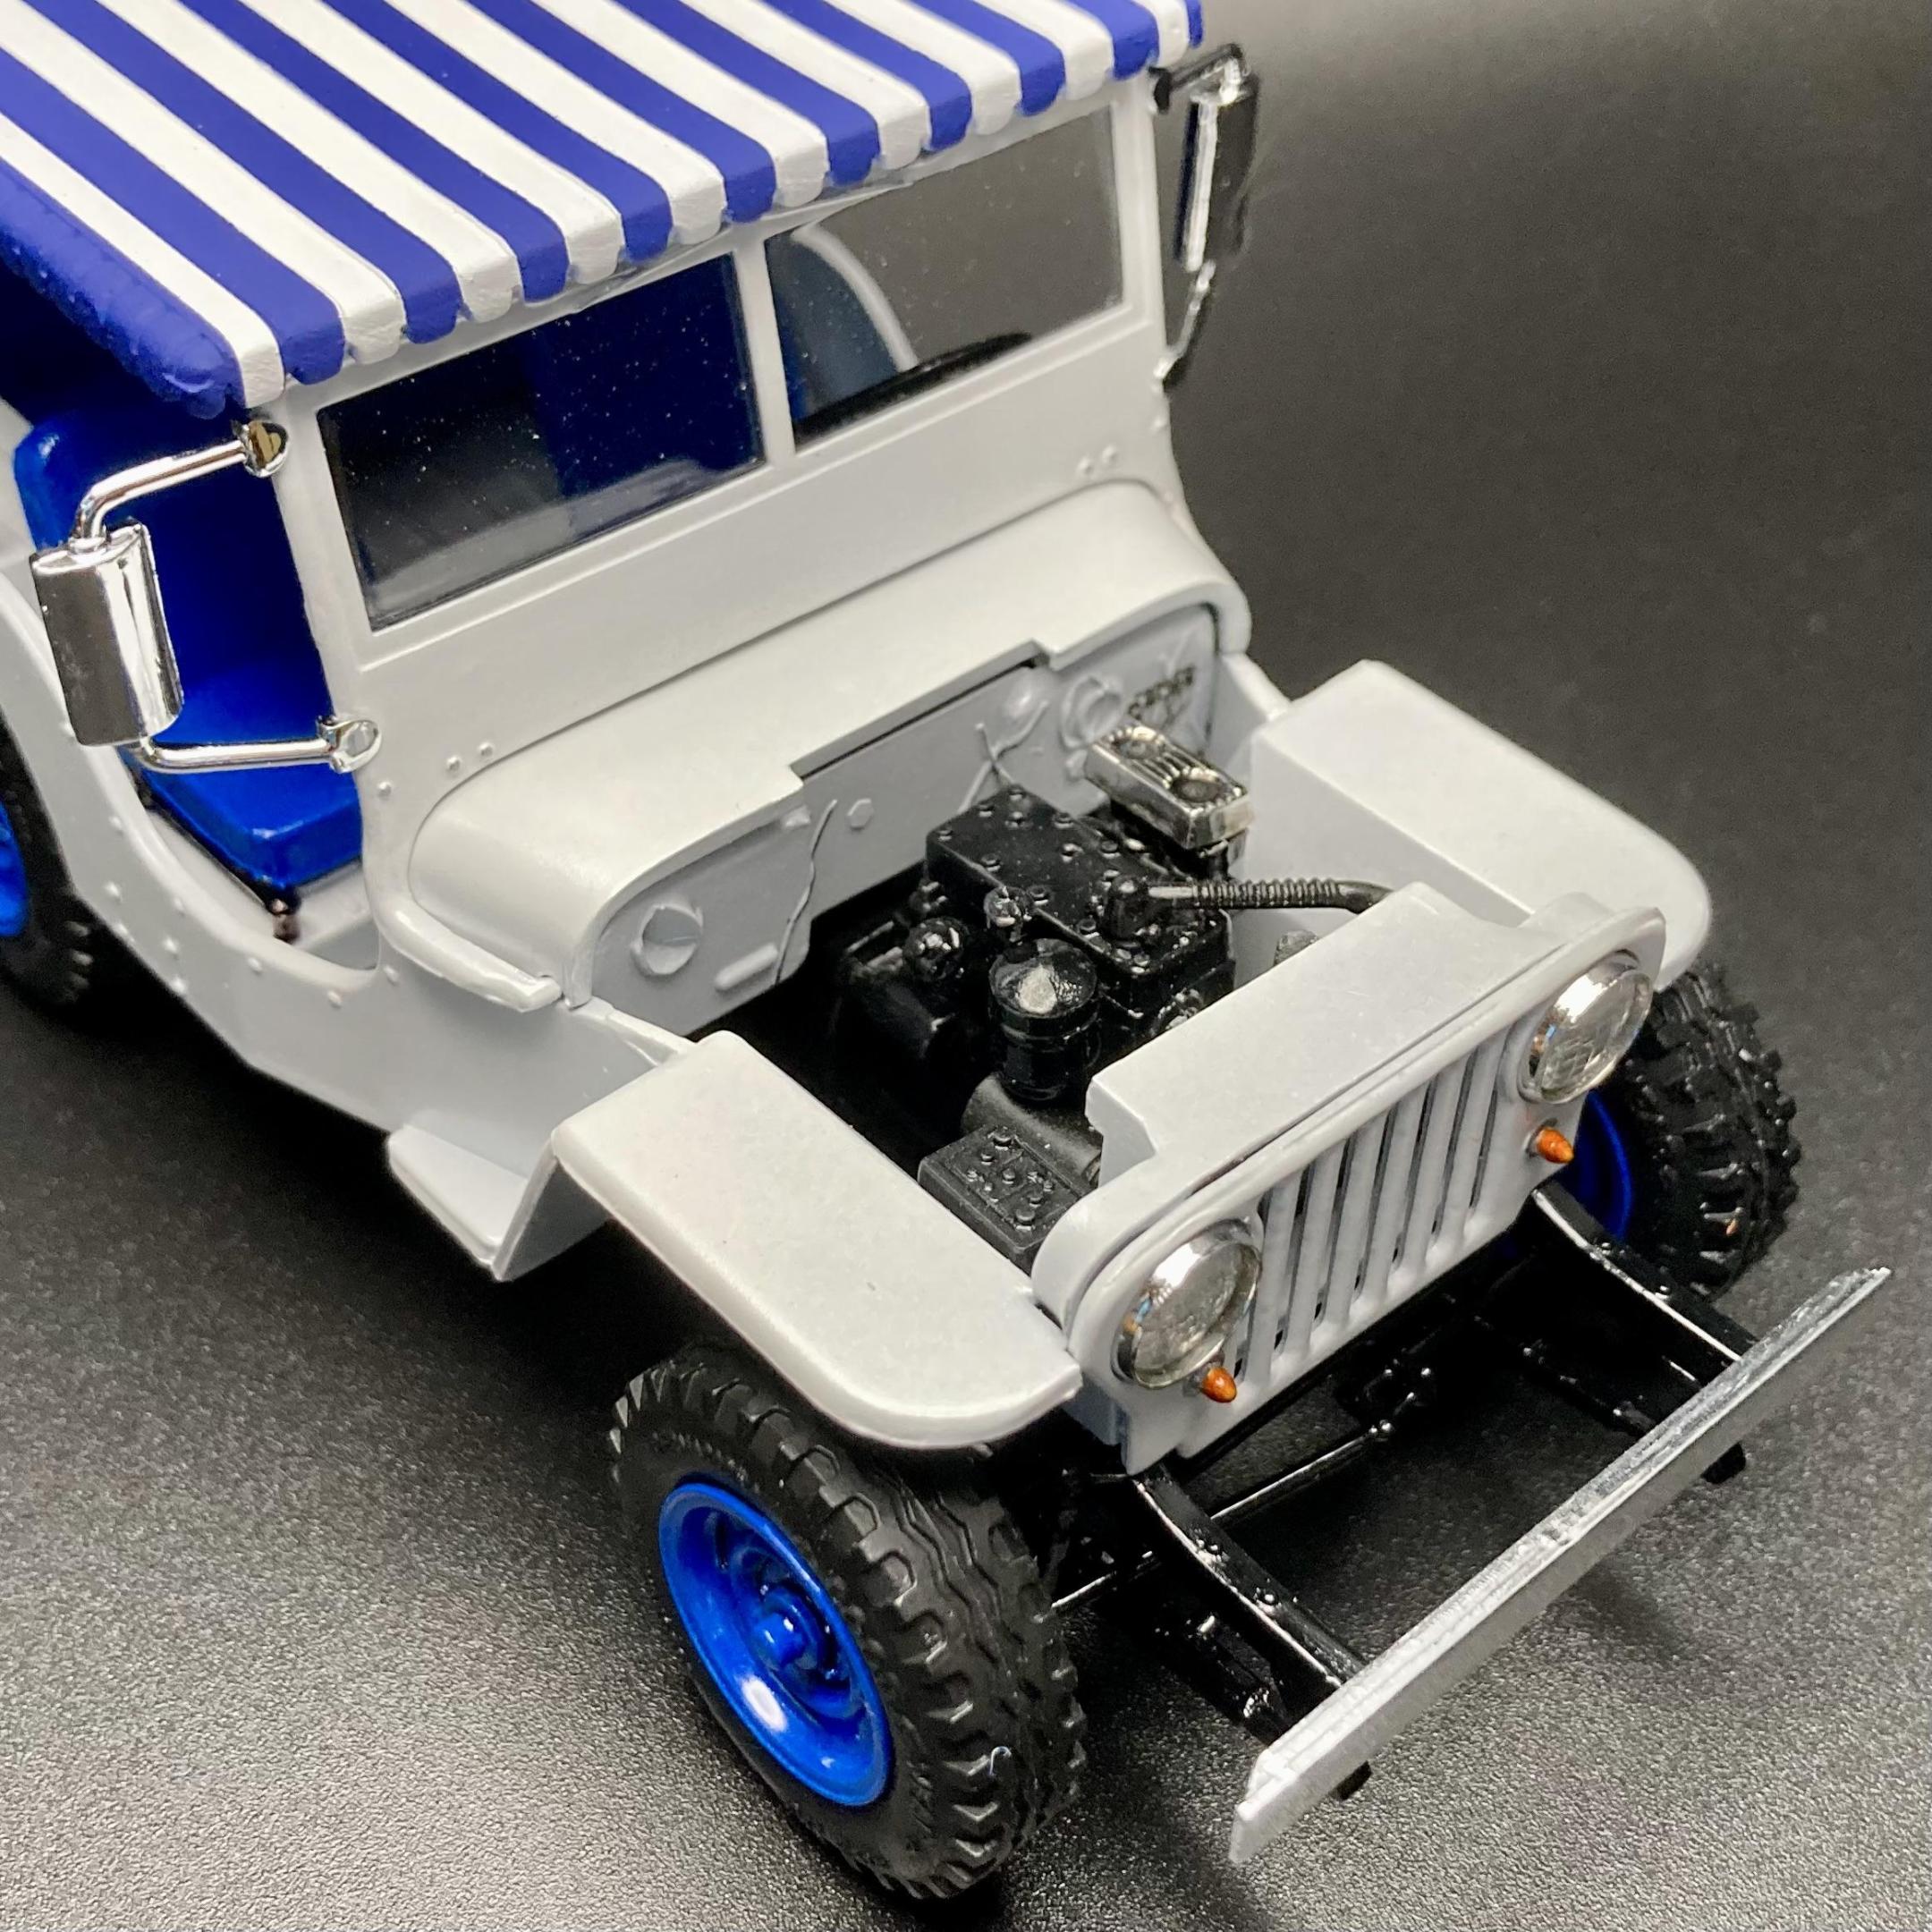
Just finished this MPC Jeep CJ-2A! It’s the Godzilla movie kit that I picked up from Ollie’s a little while ago for $12. Like most classic MPC kits, there’s lots of detail and build options, but also questionable fit and finish and tons of flash. My kit had several warped trees including most of the military parts, so Surrey top it is! The hood was very warped too so I got it as straight as I could. Paint is Tamiya TS45 Pearl White (first primed in gray to cover the green plastic, then white primer) with Krylon True Blue for the seats and wheels. Top is Tamiya white primer and XF-8 Flat Blue. The top supports that come with the kit are way too short for the height of the windshield, so I used toothpicks with Tamiya black wash. Overall it goes together ok and was pretty fun to design.
-
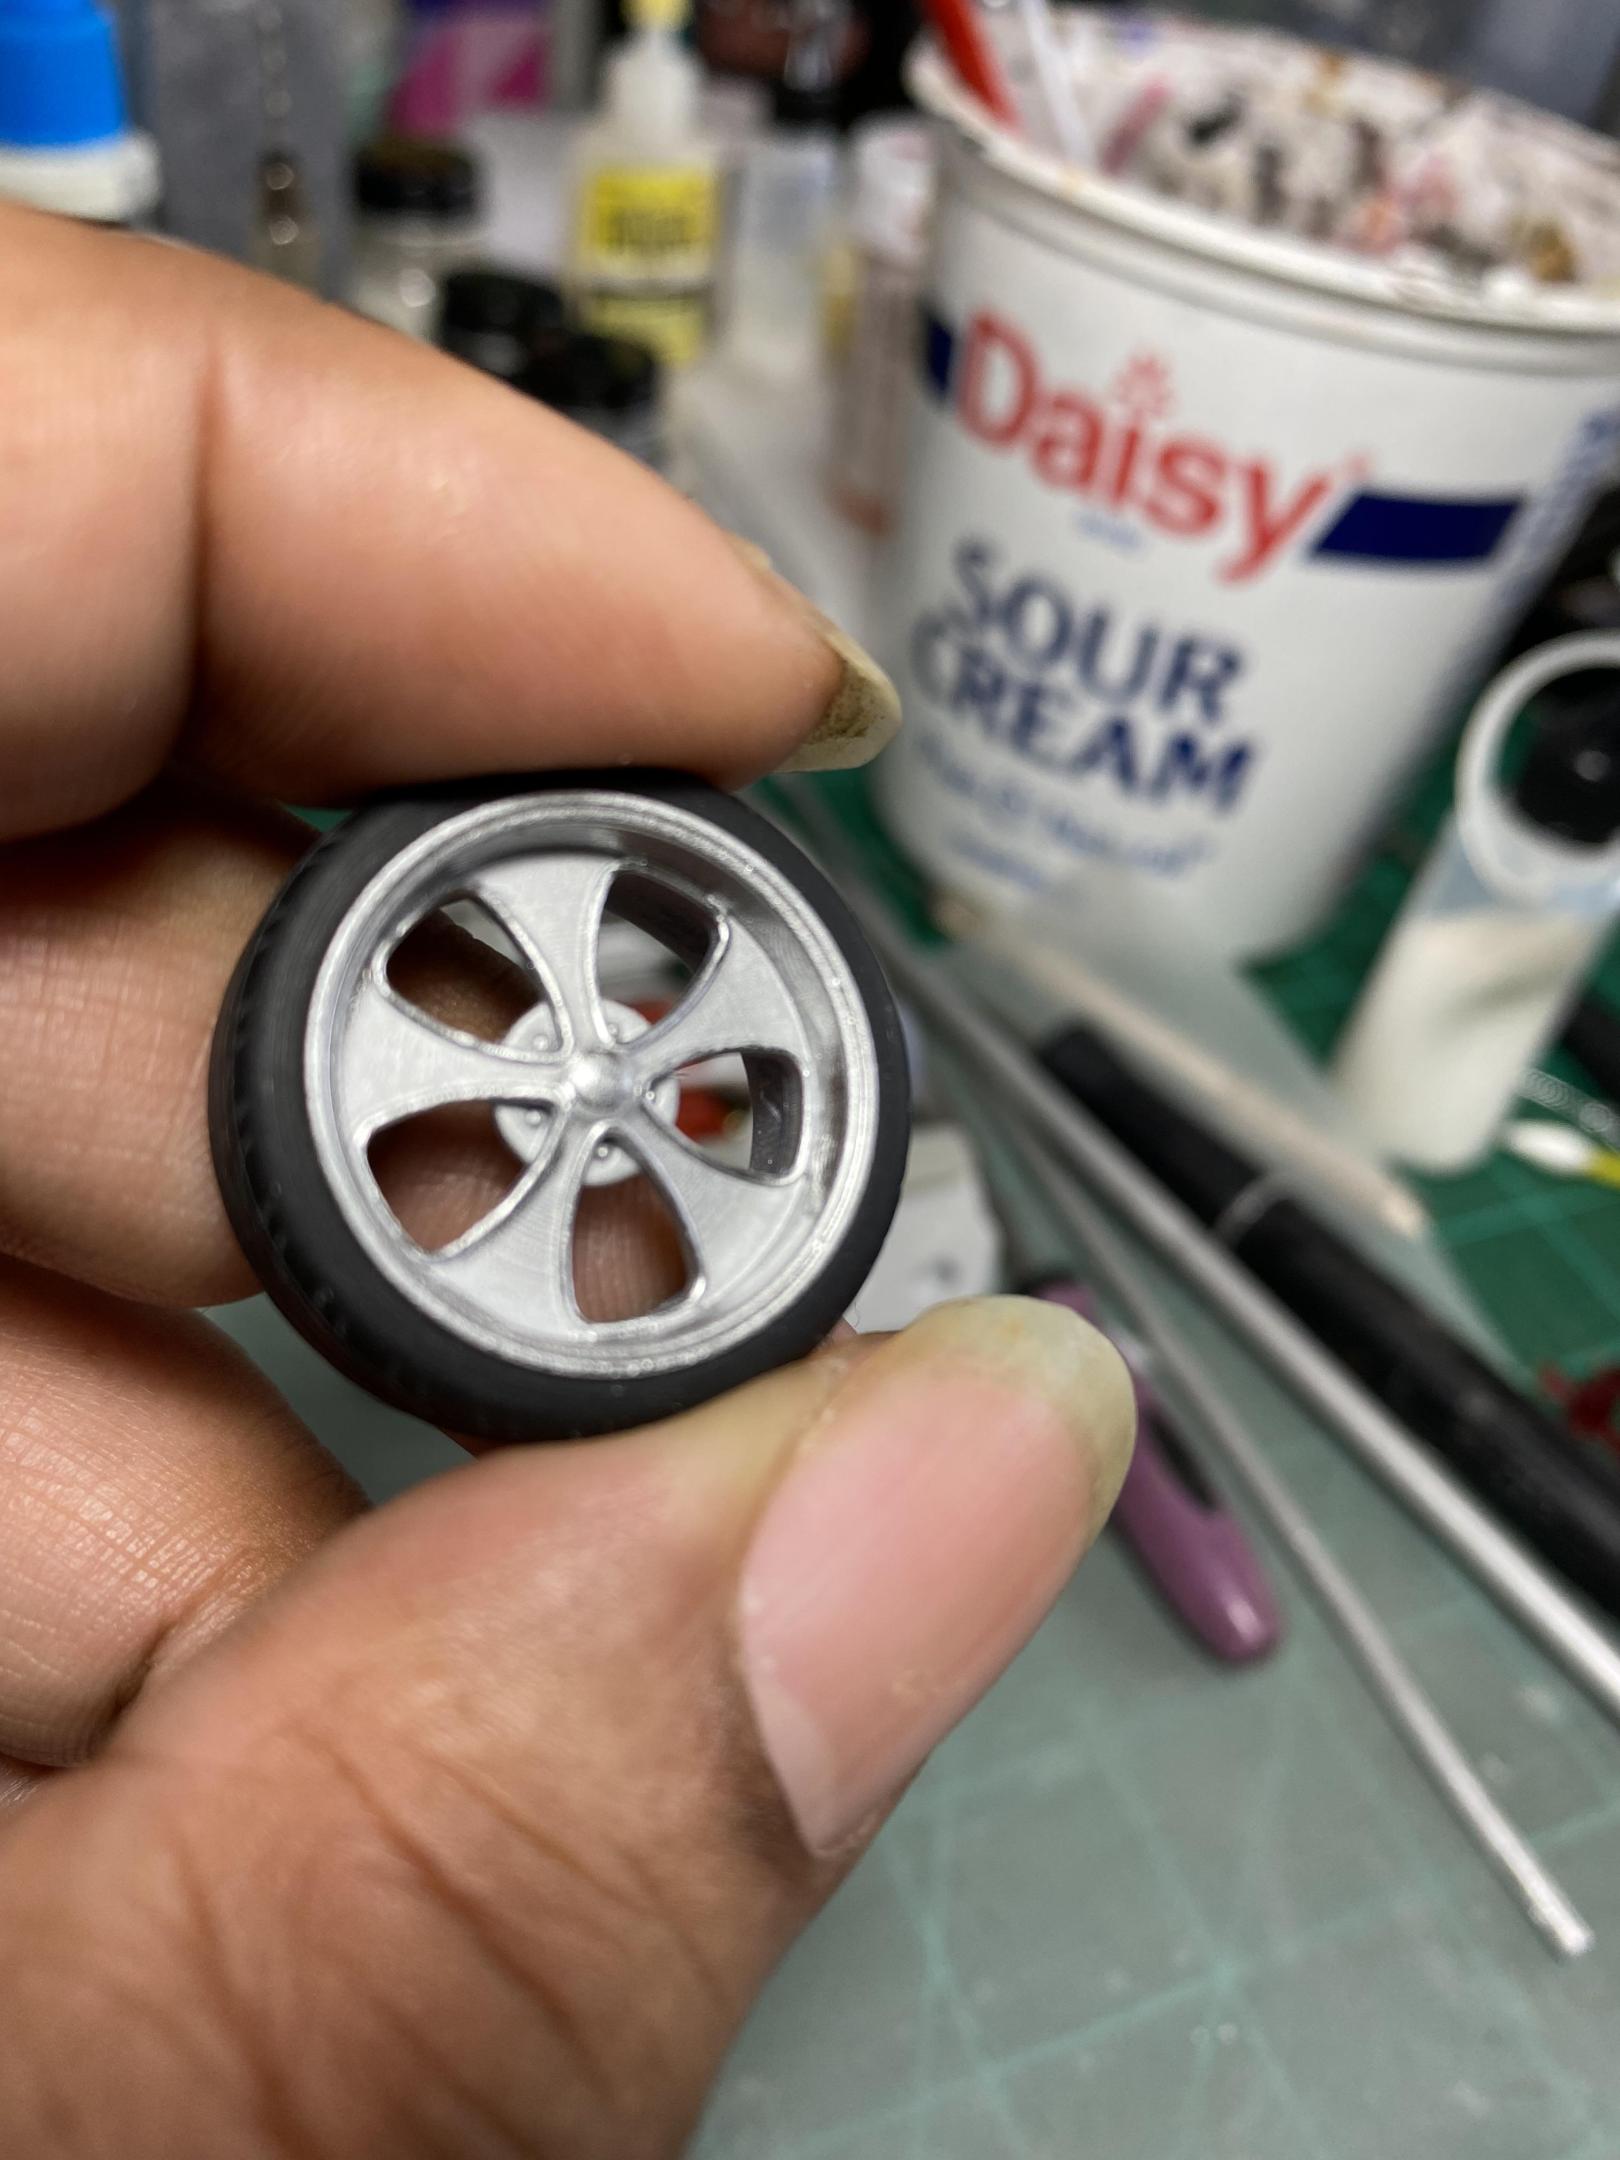
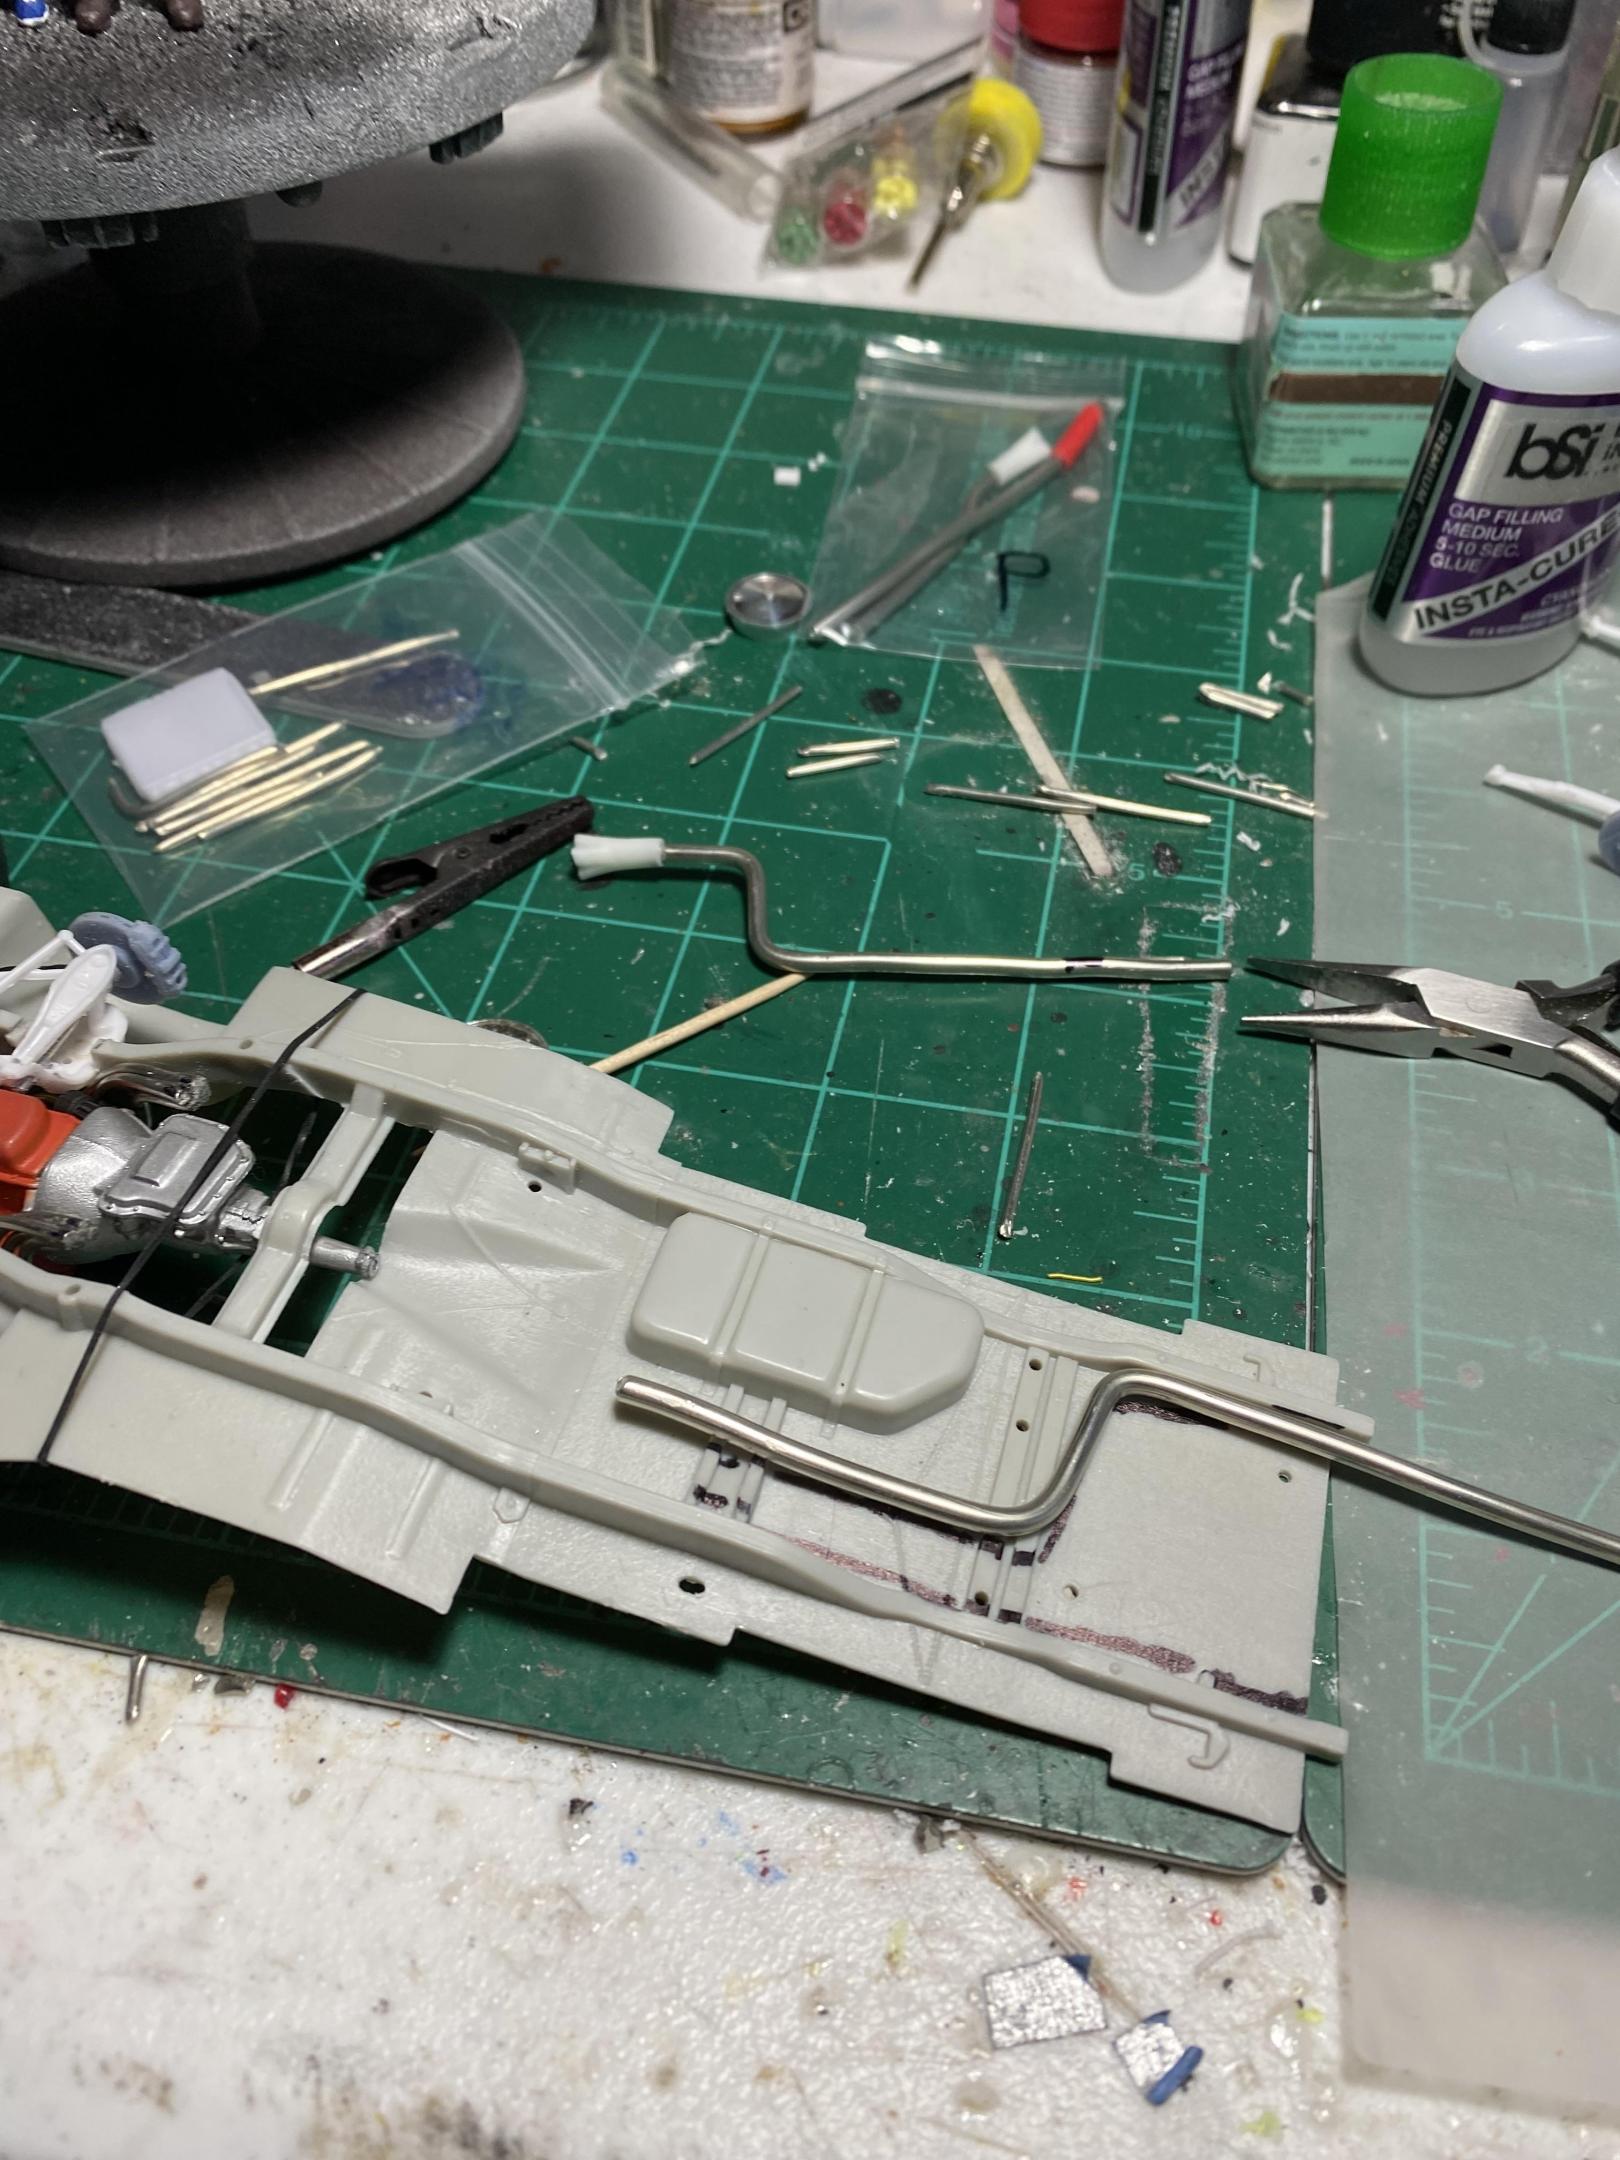
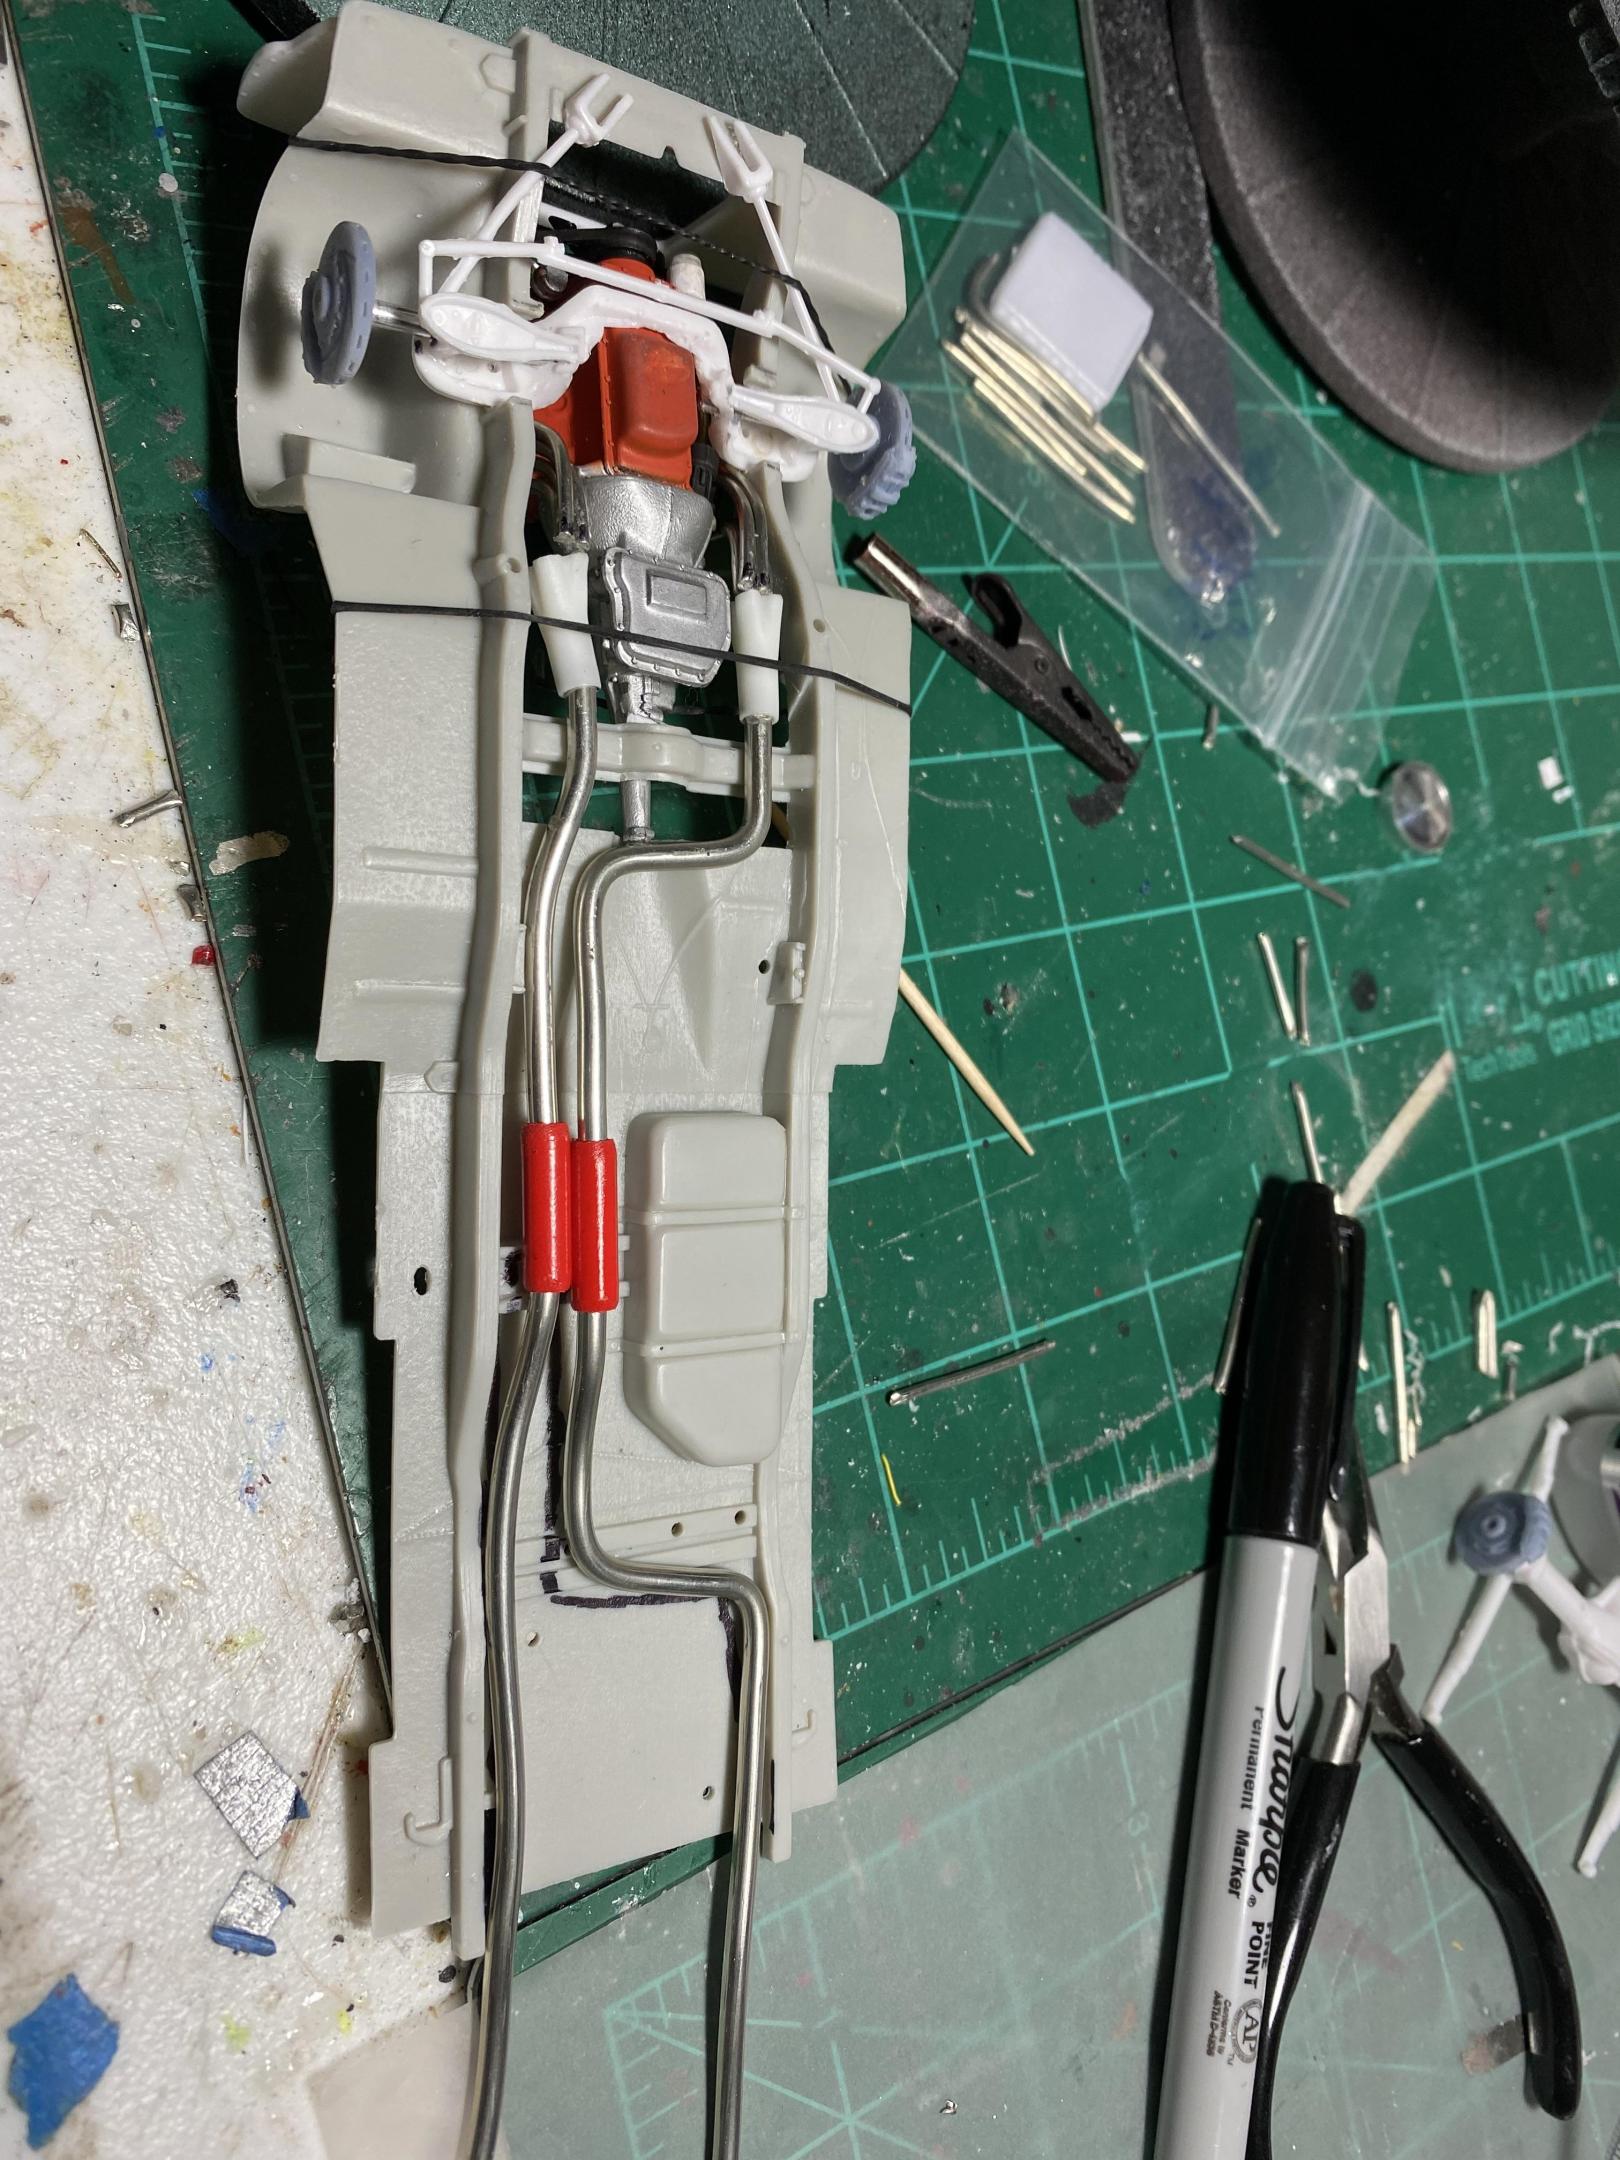
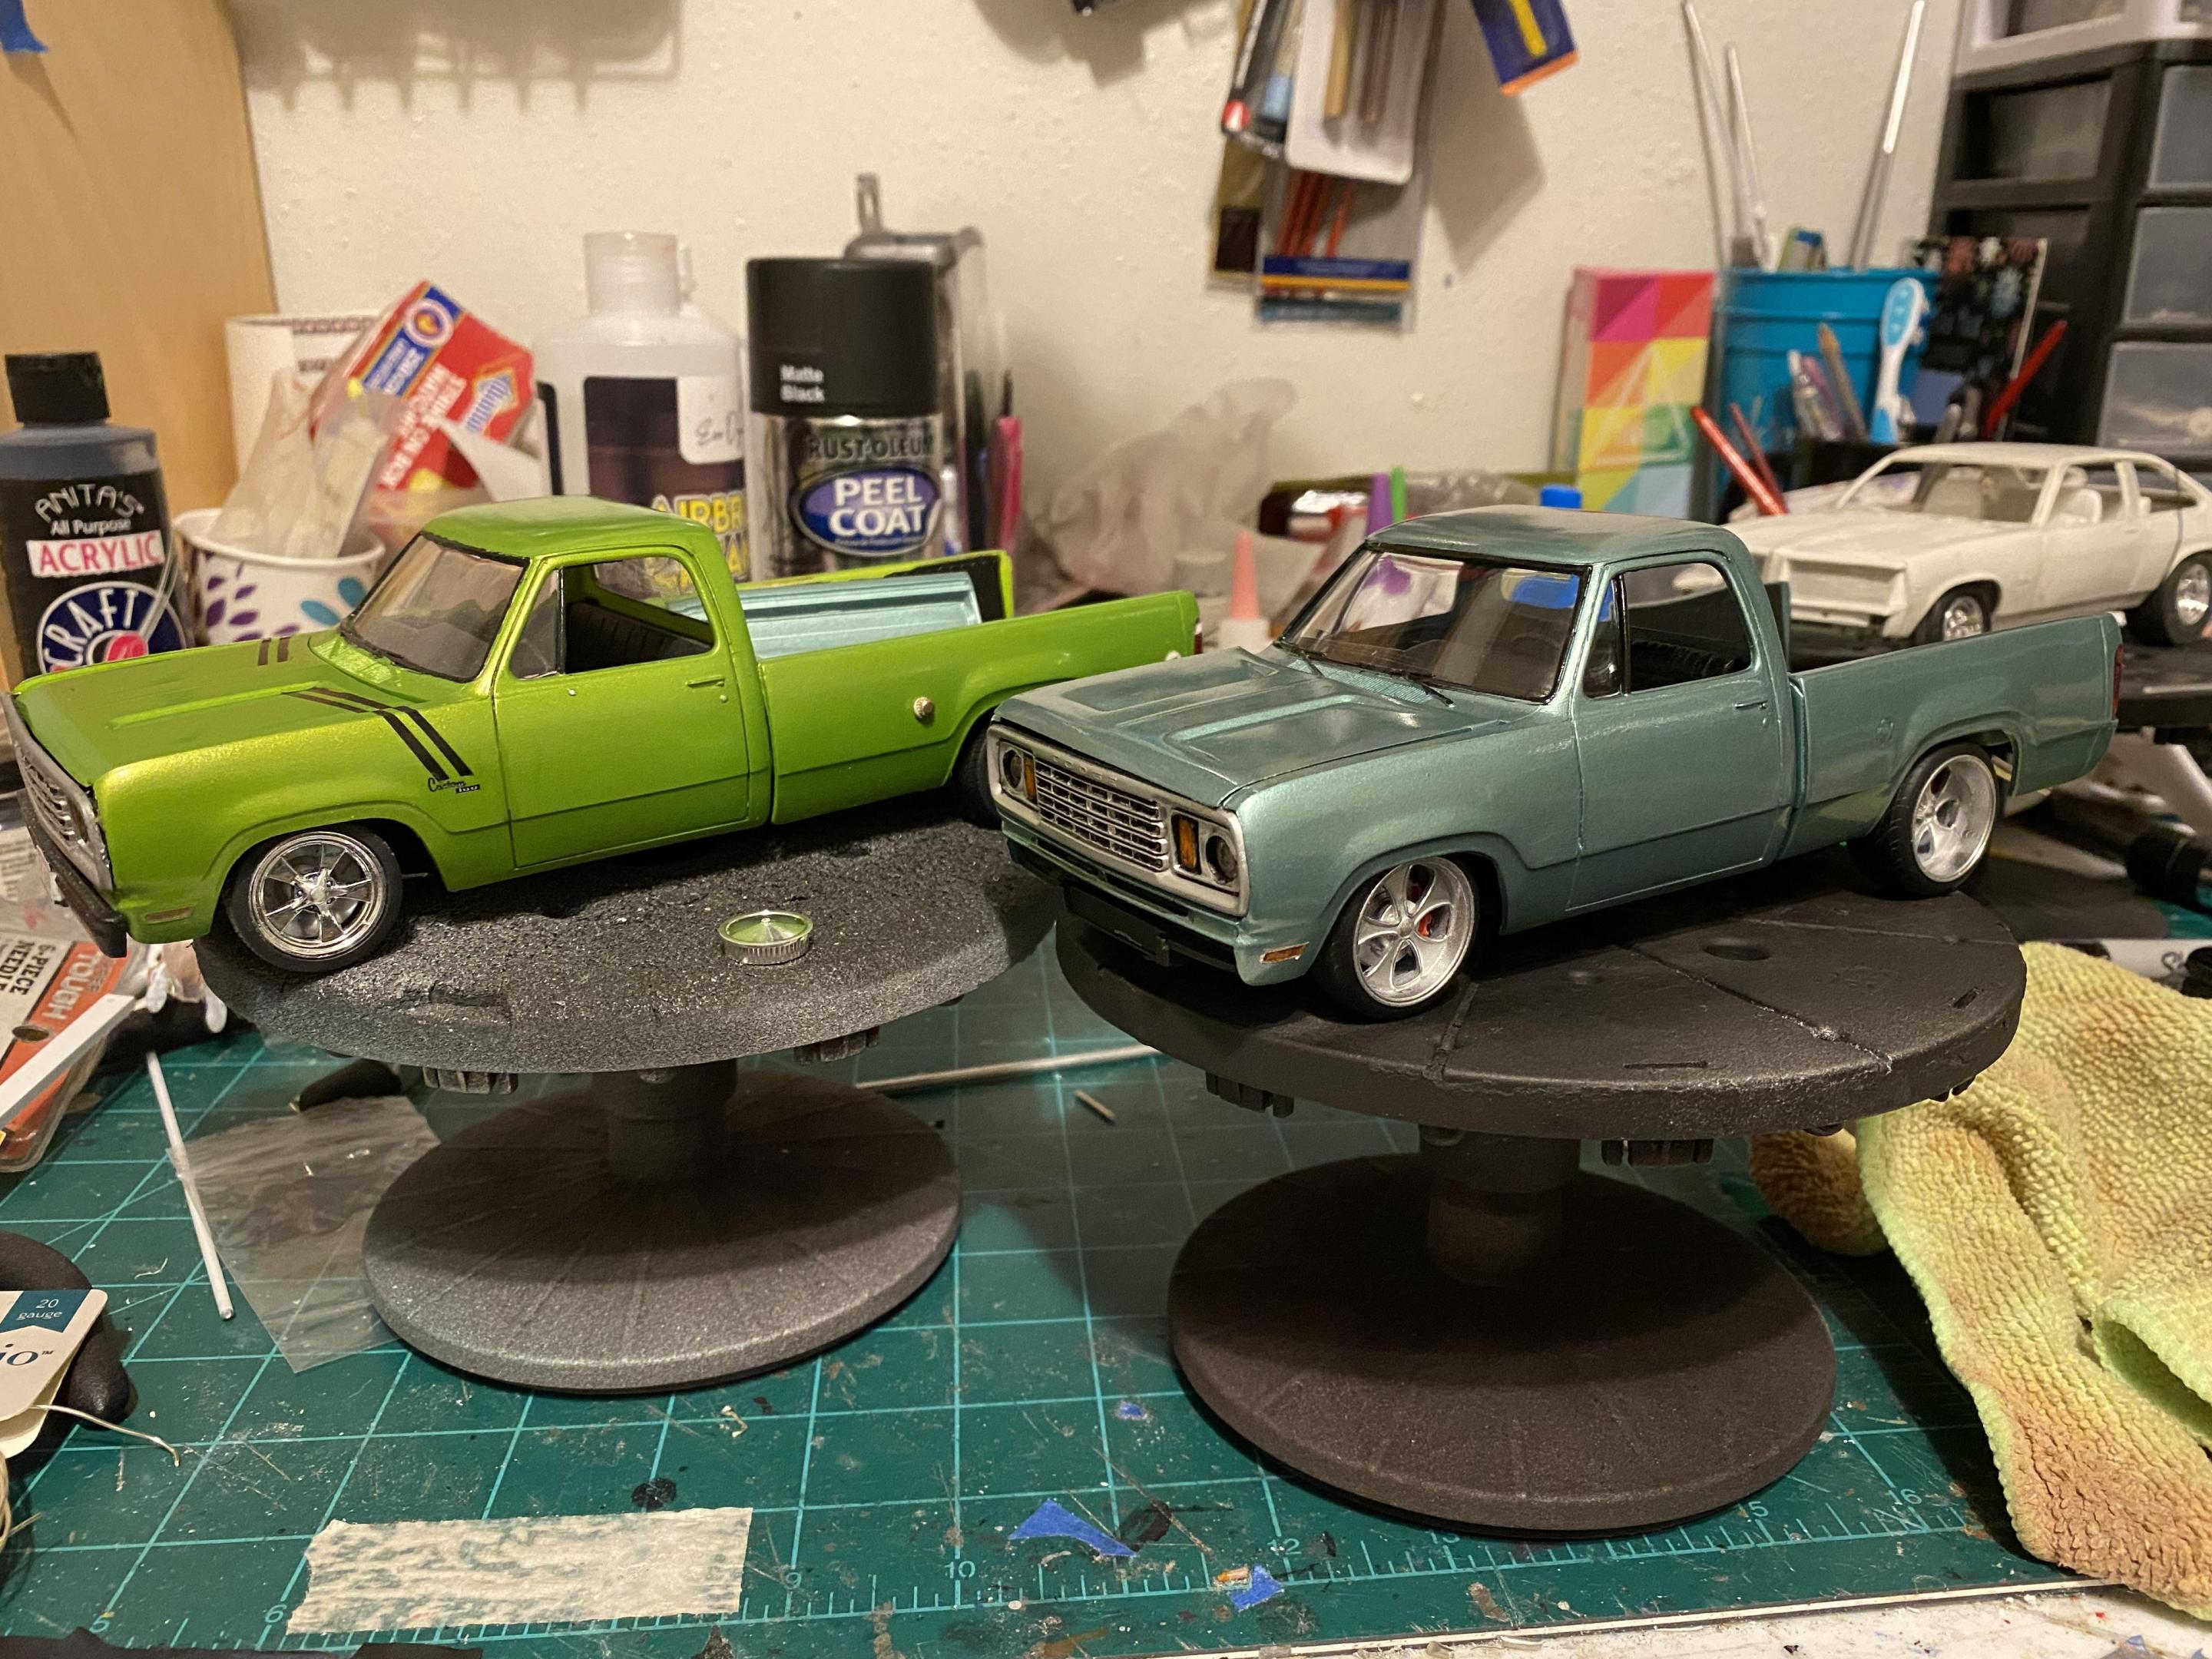
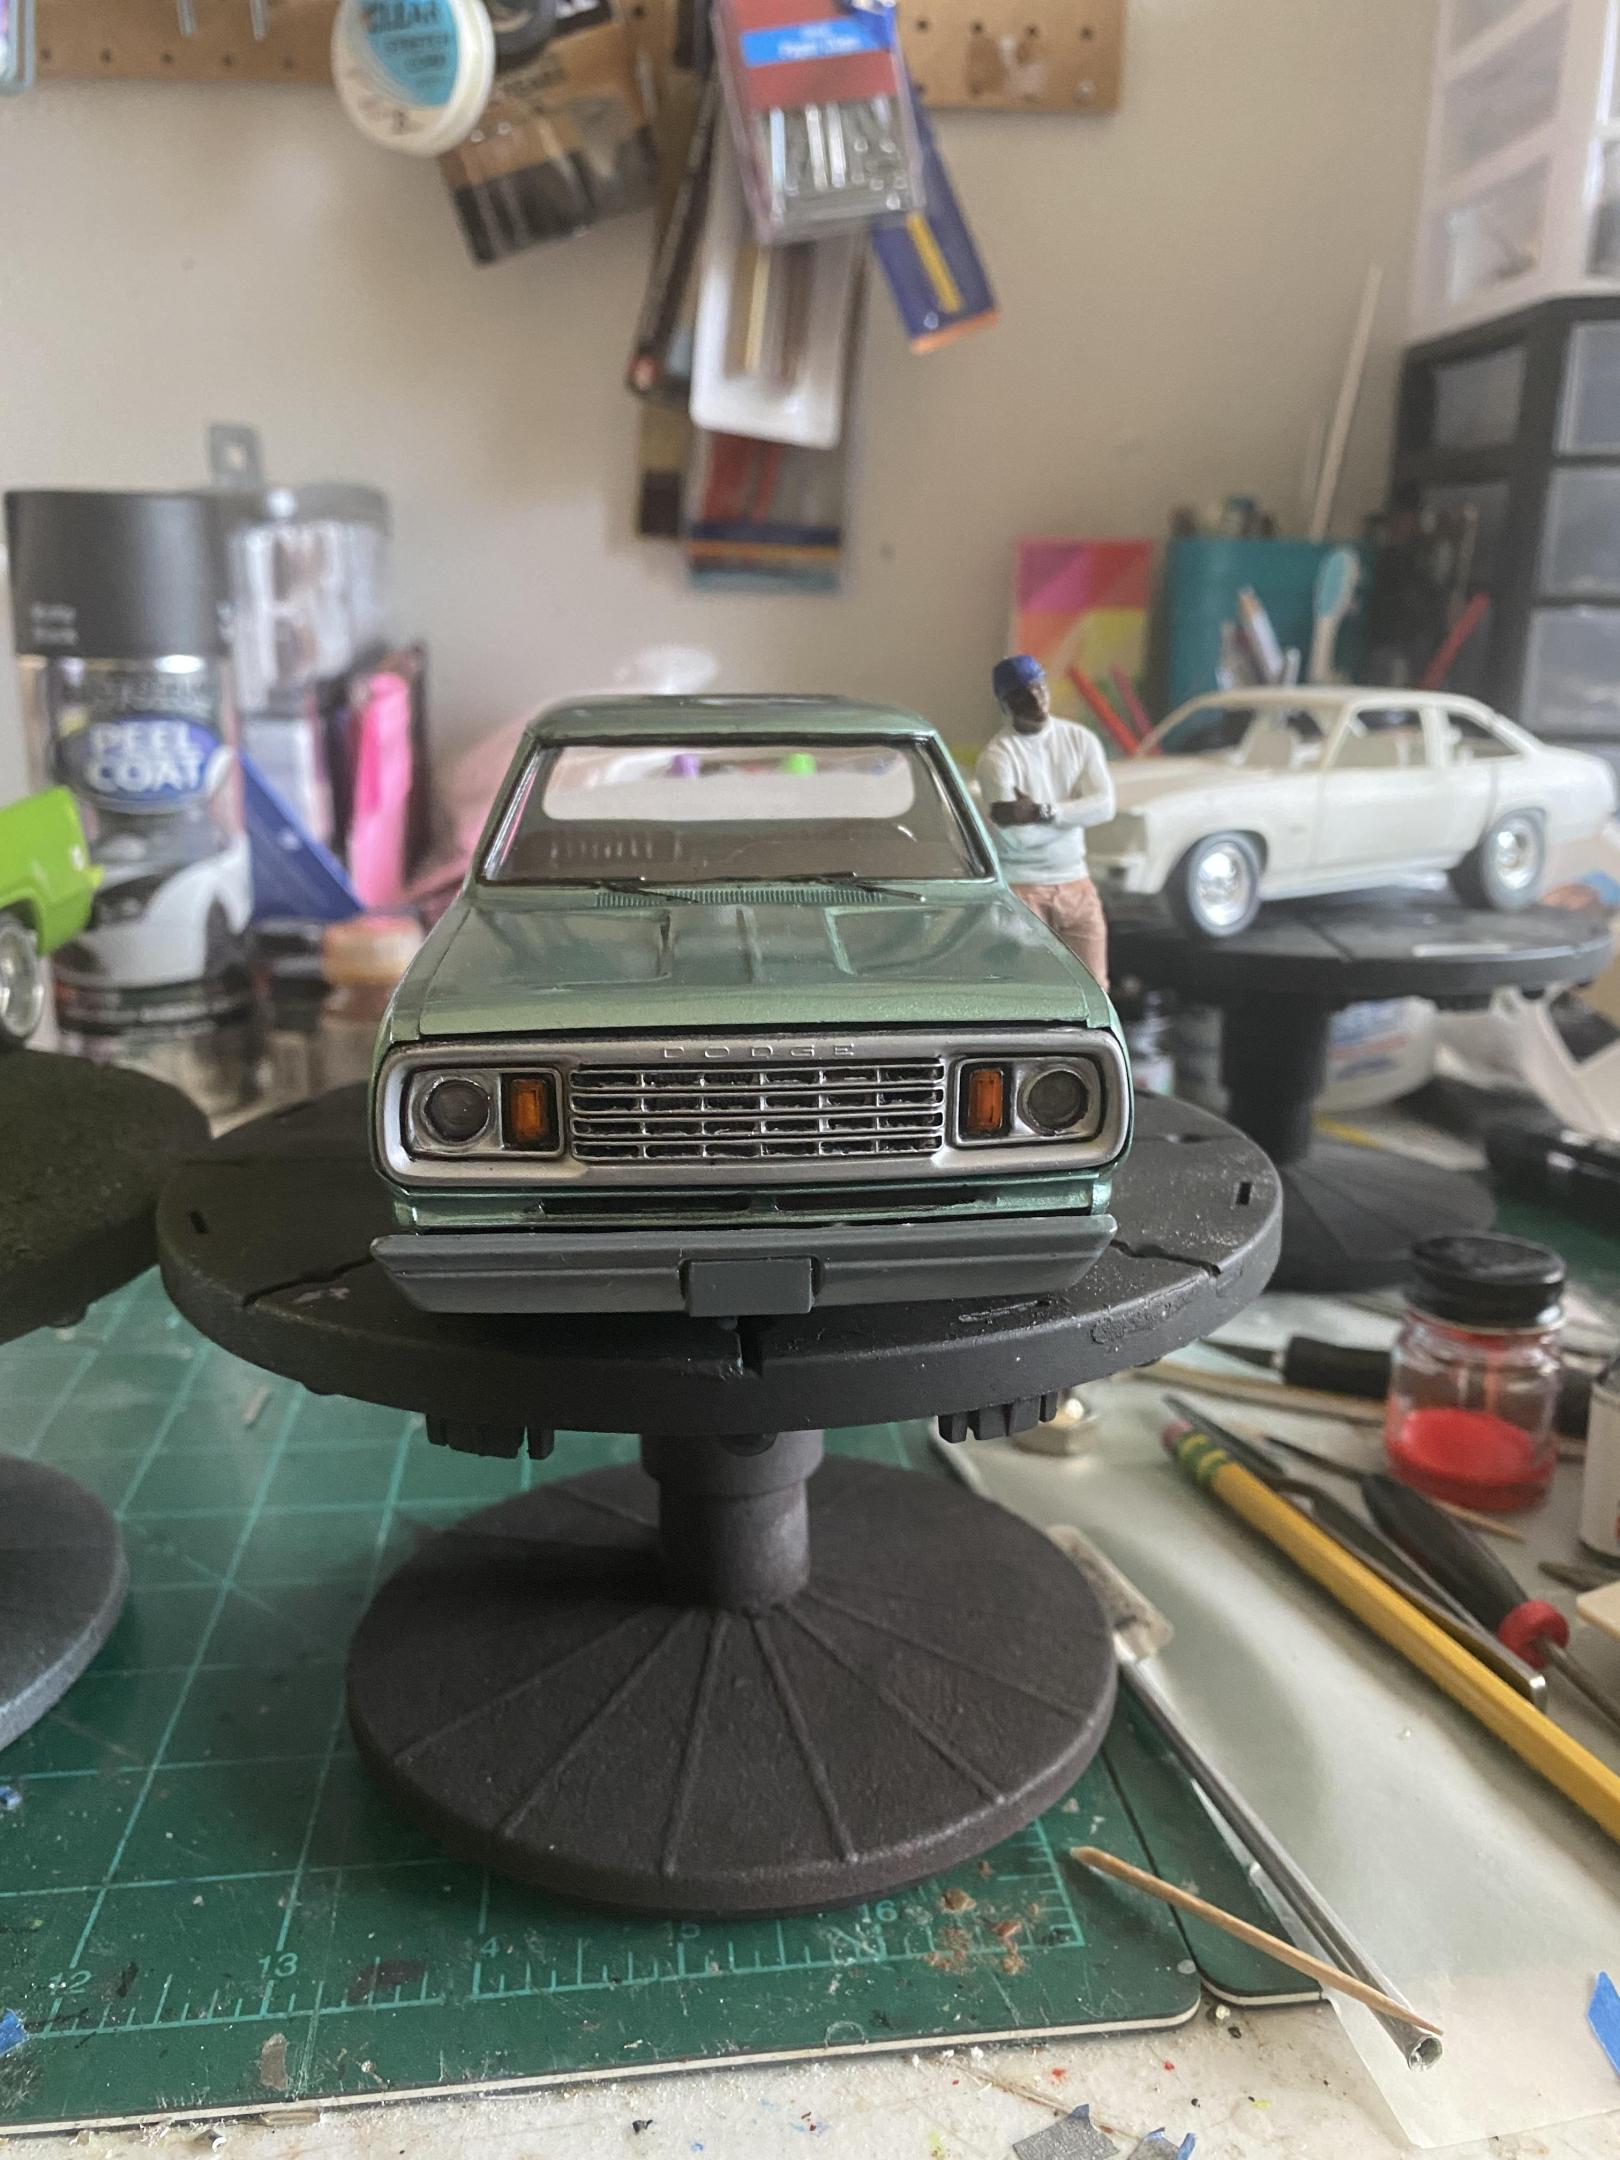
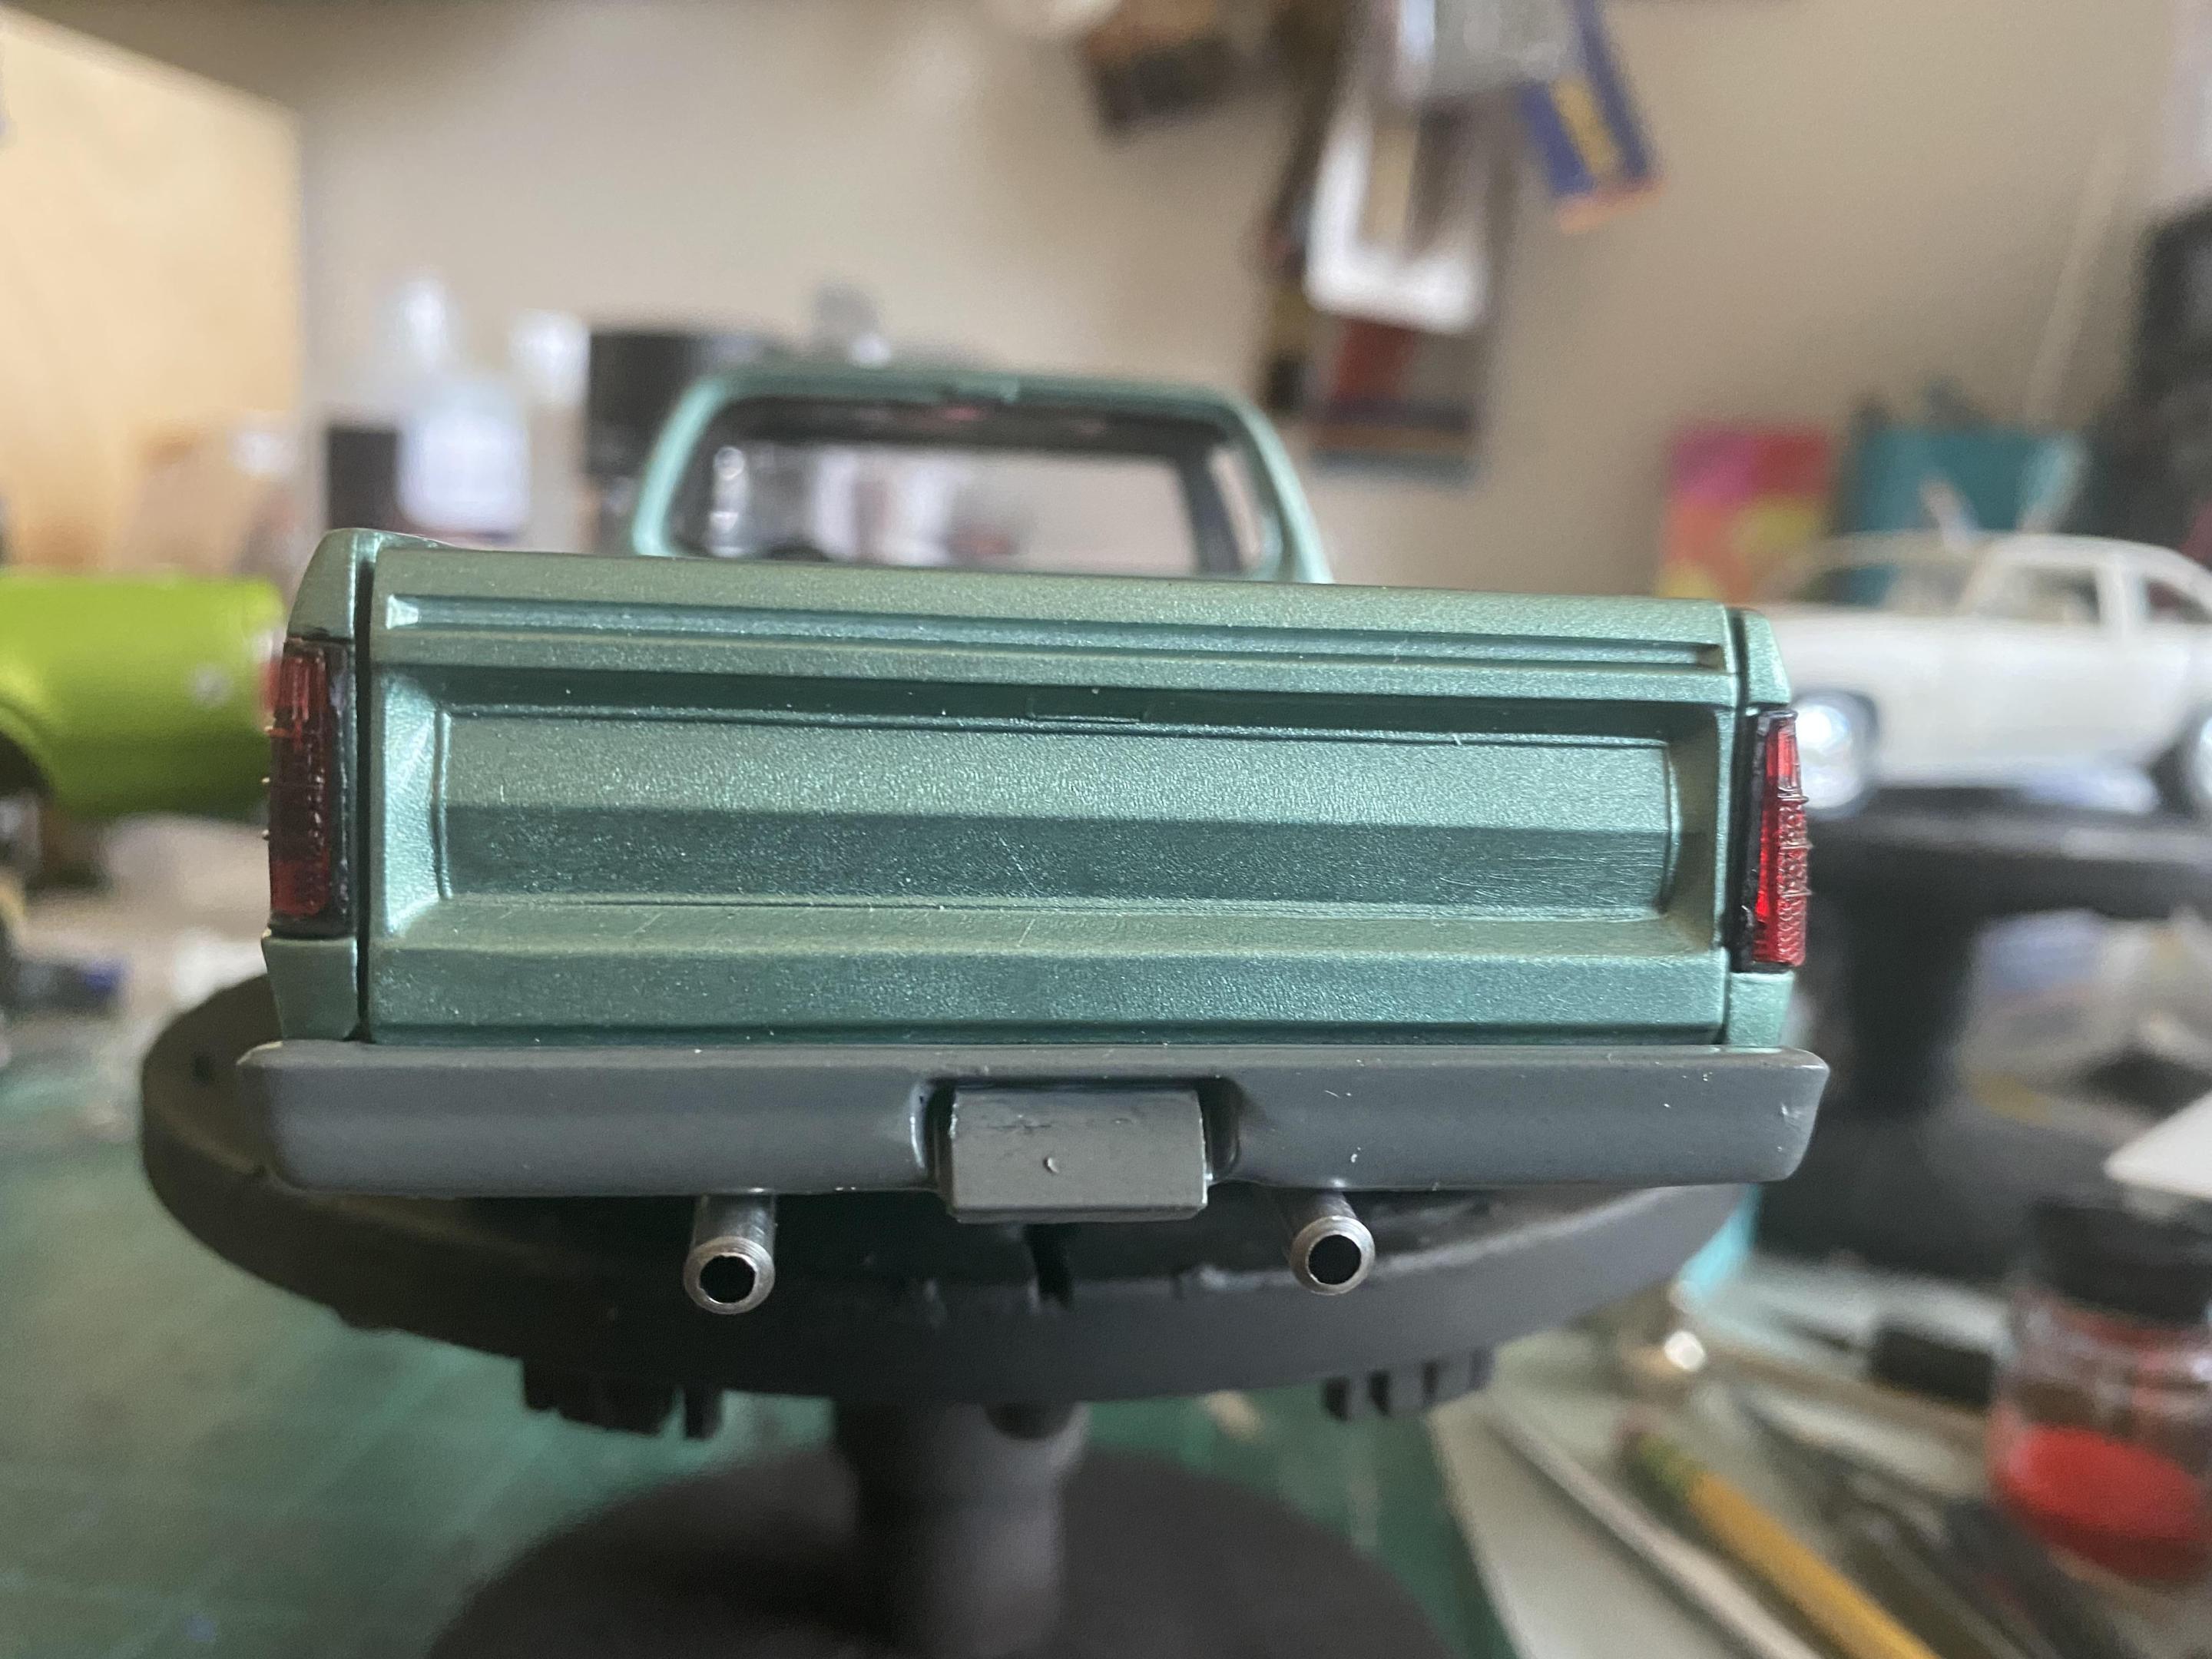
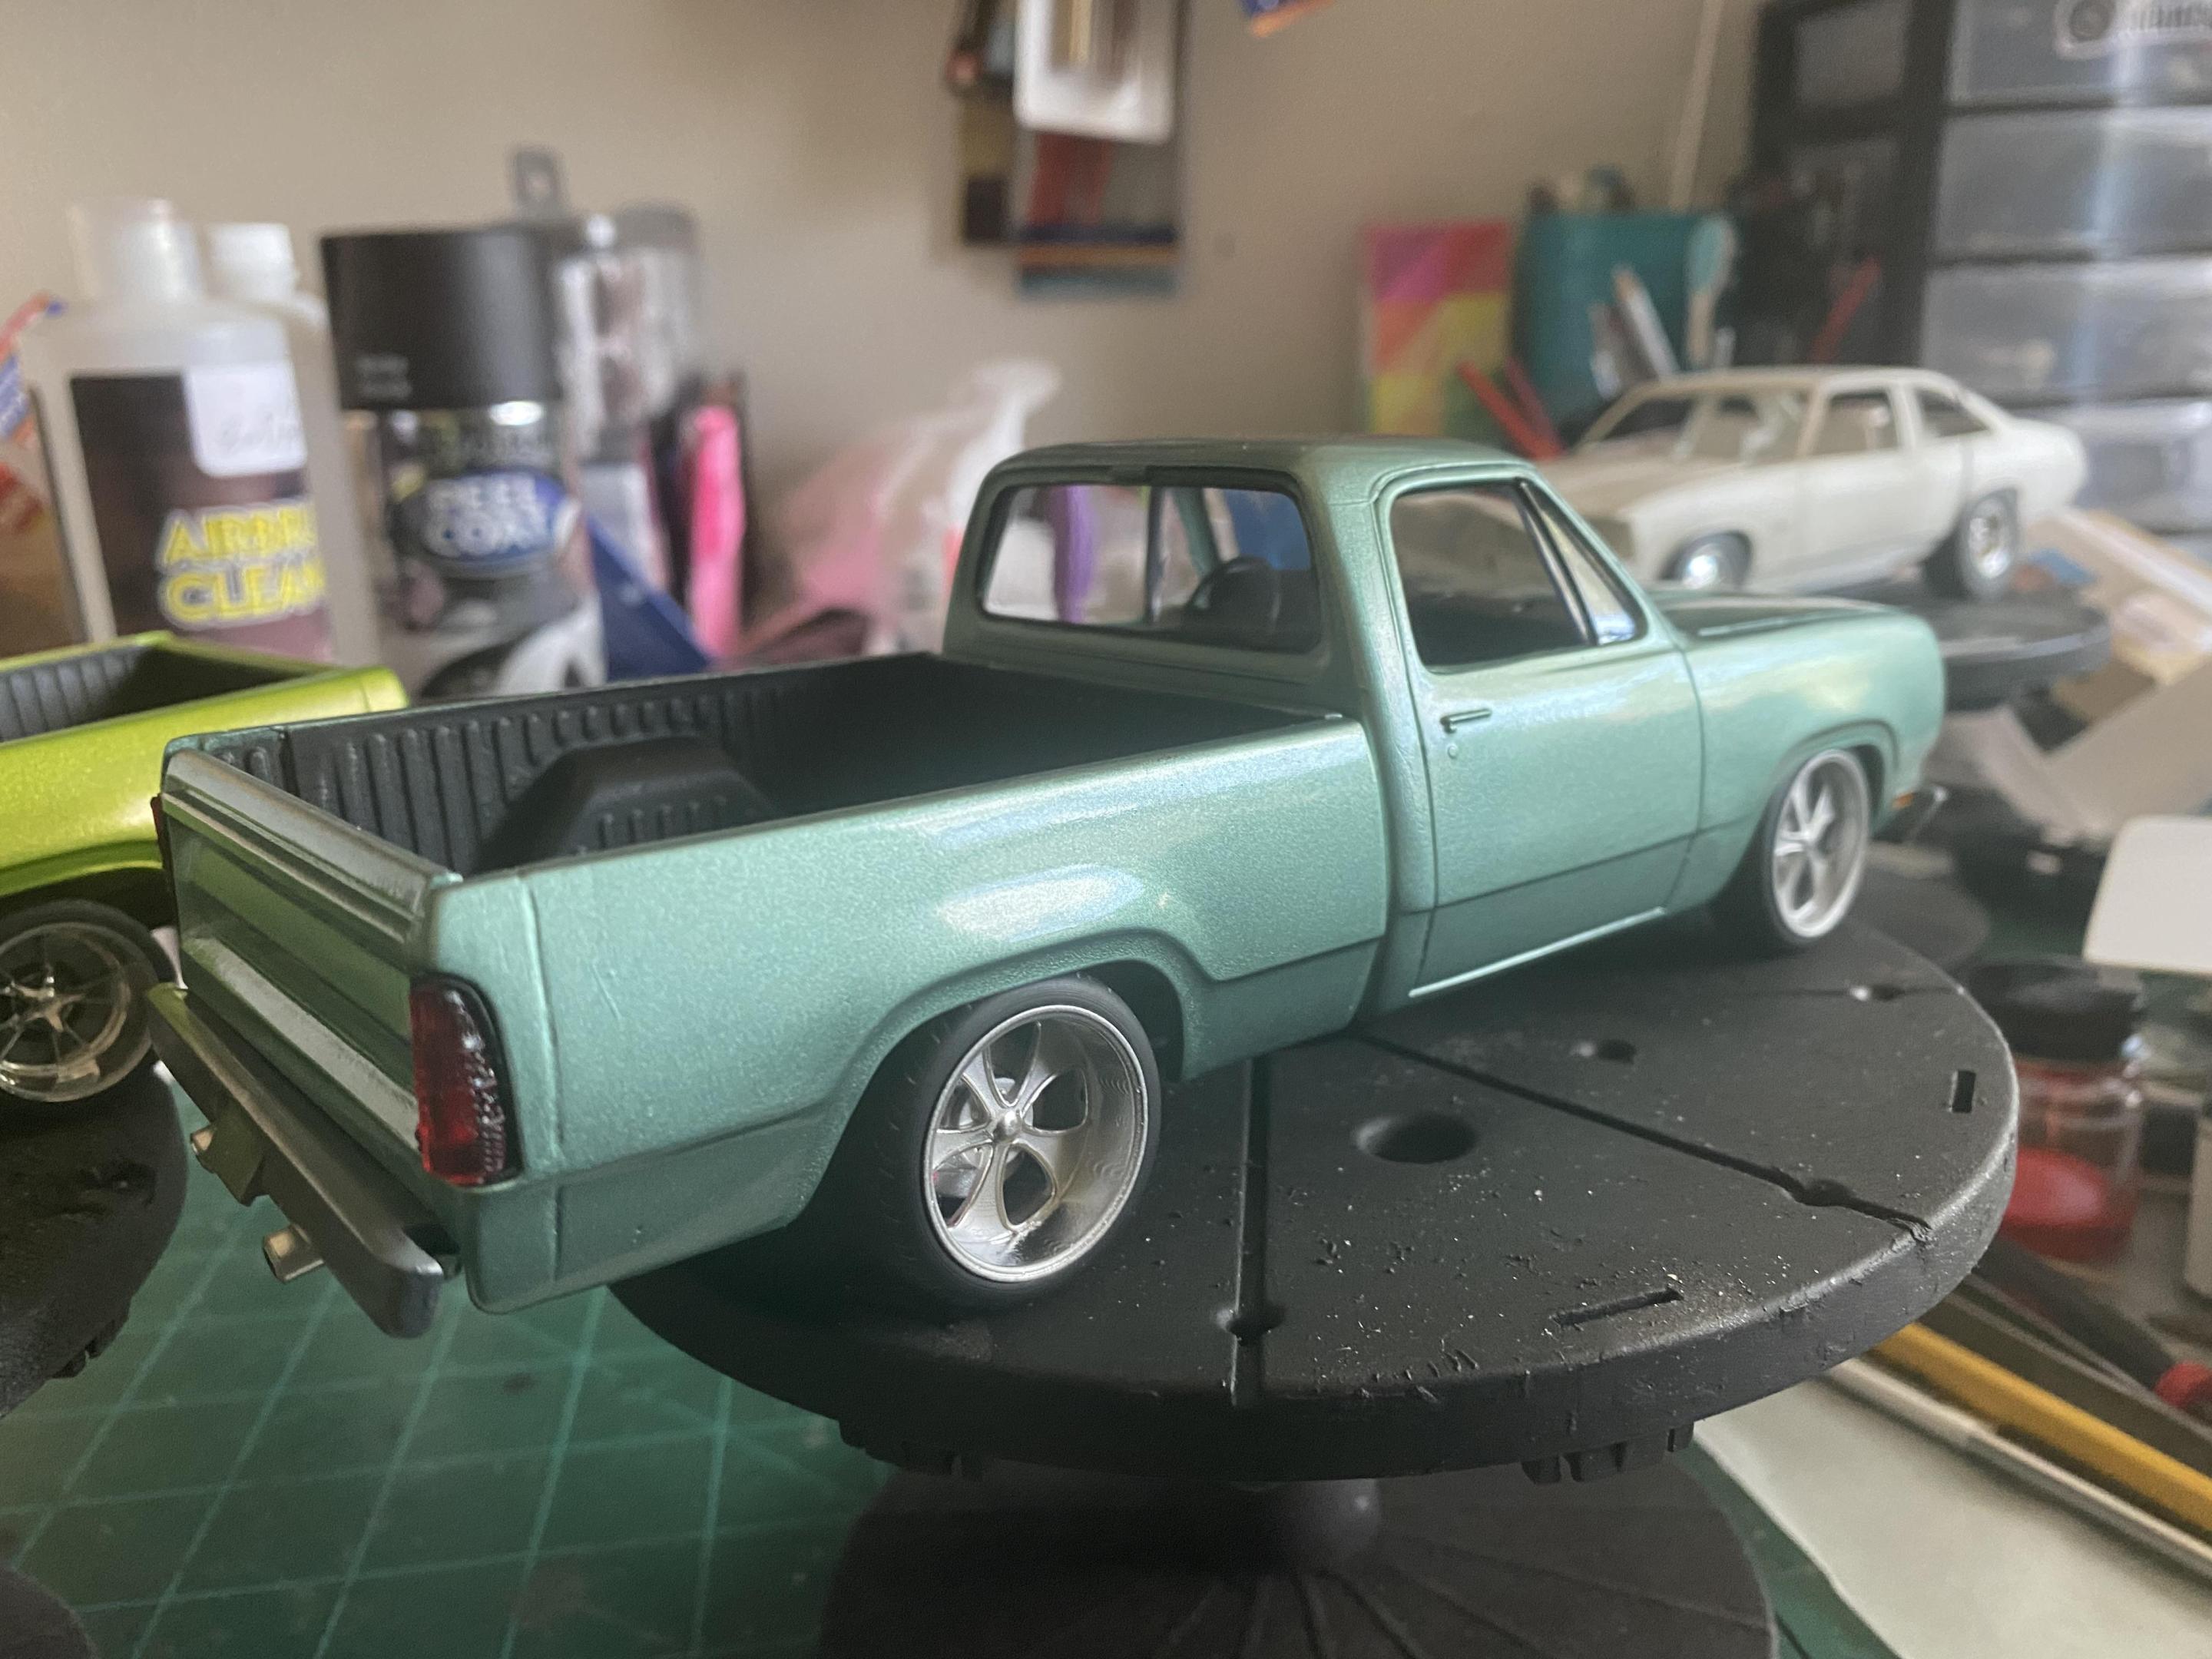
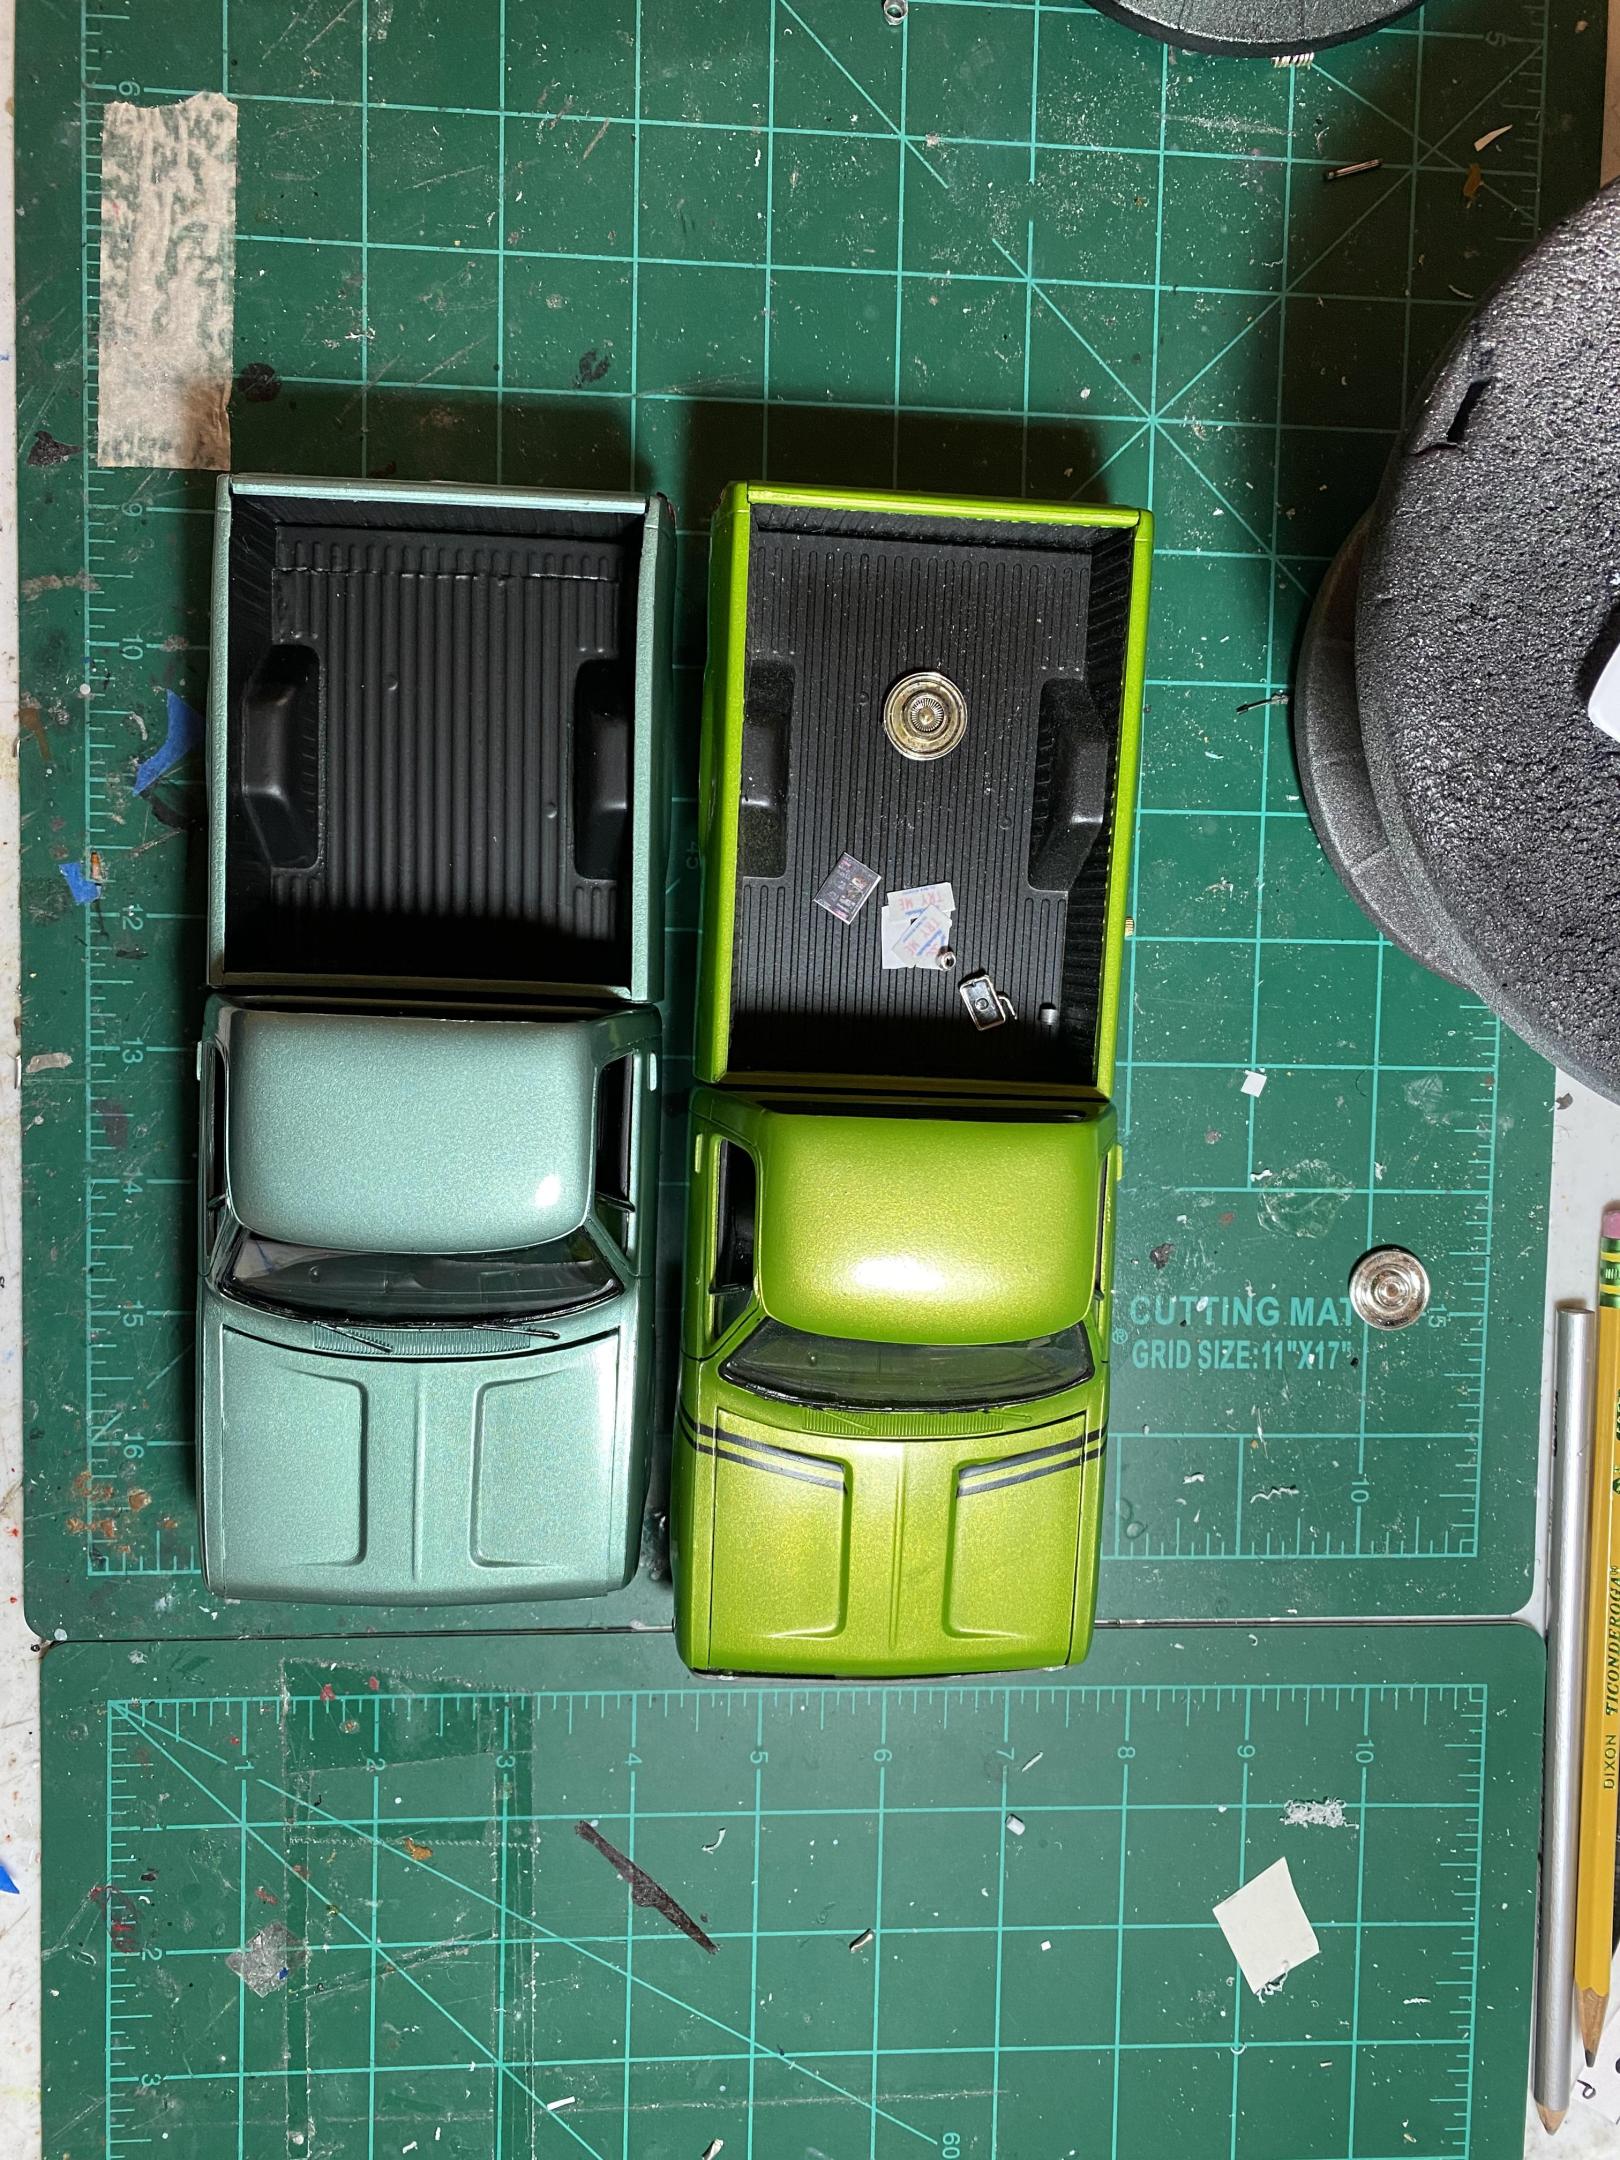
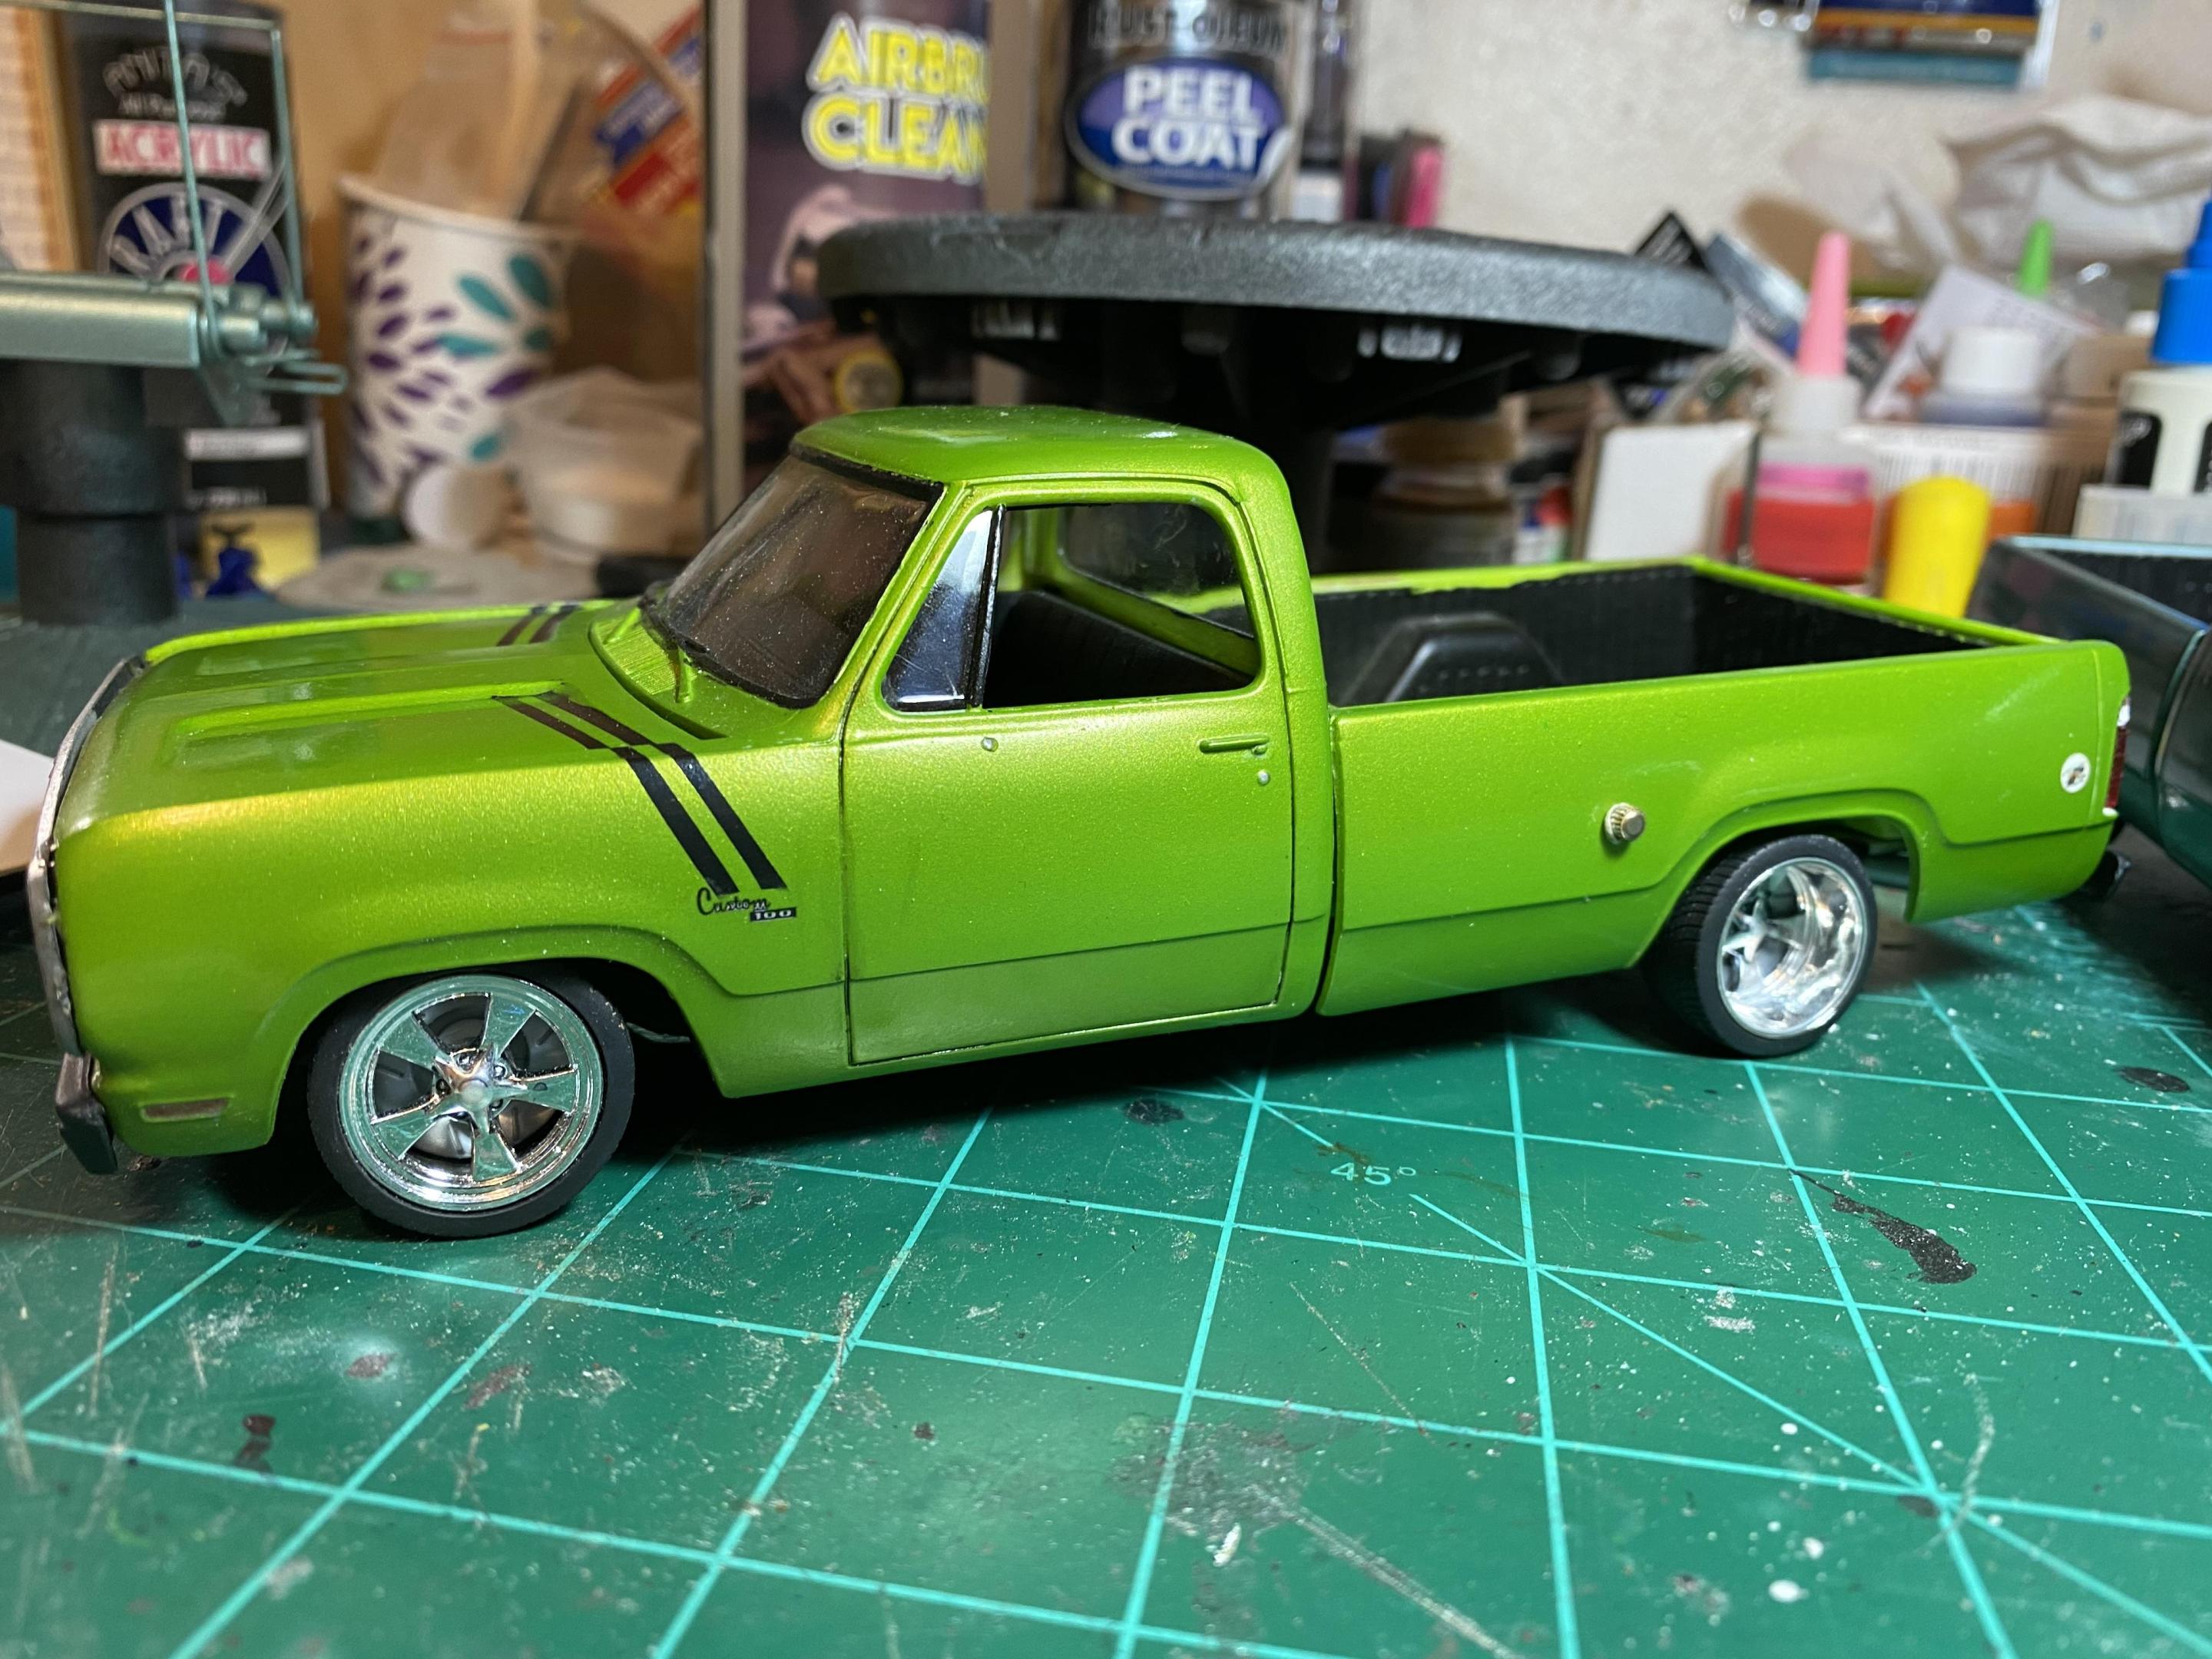
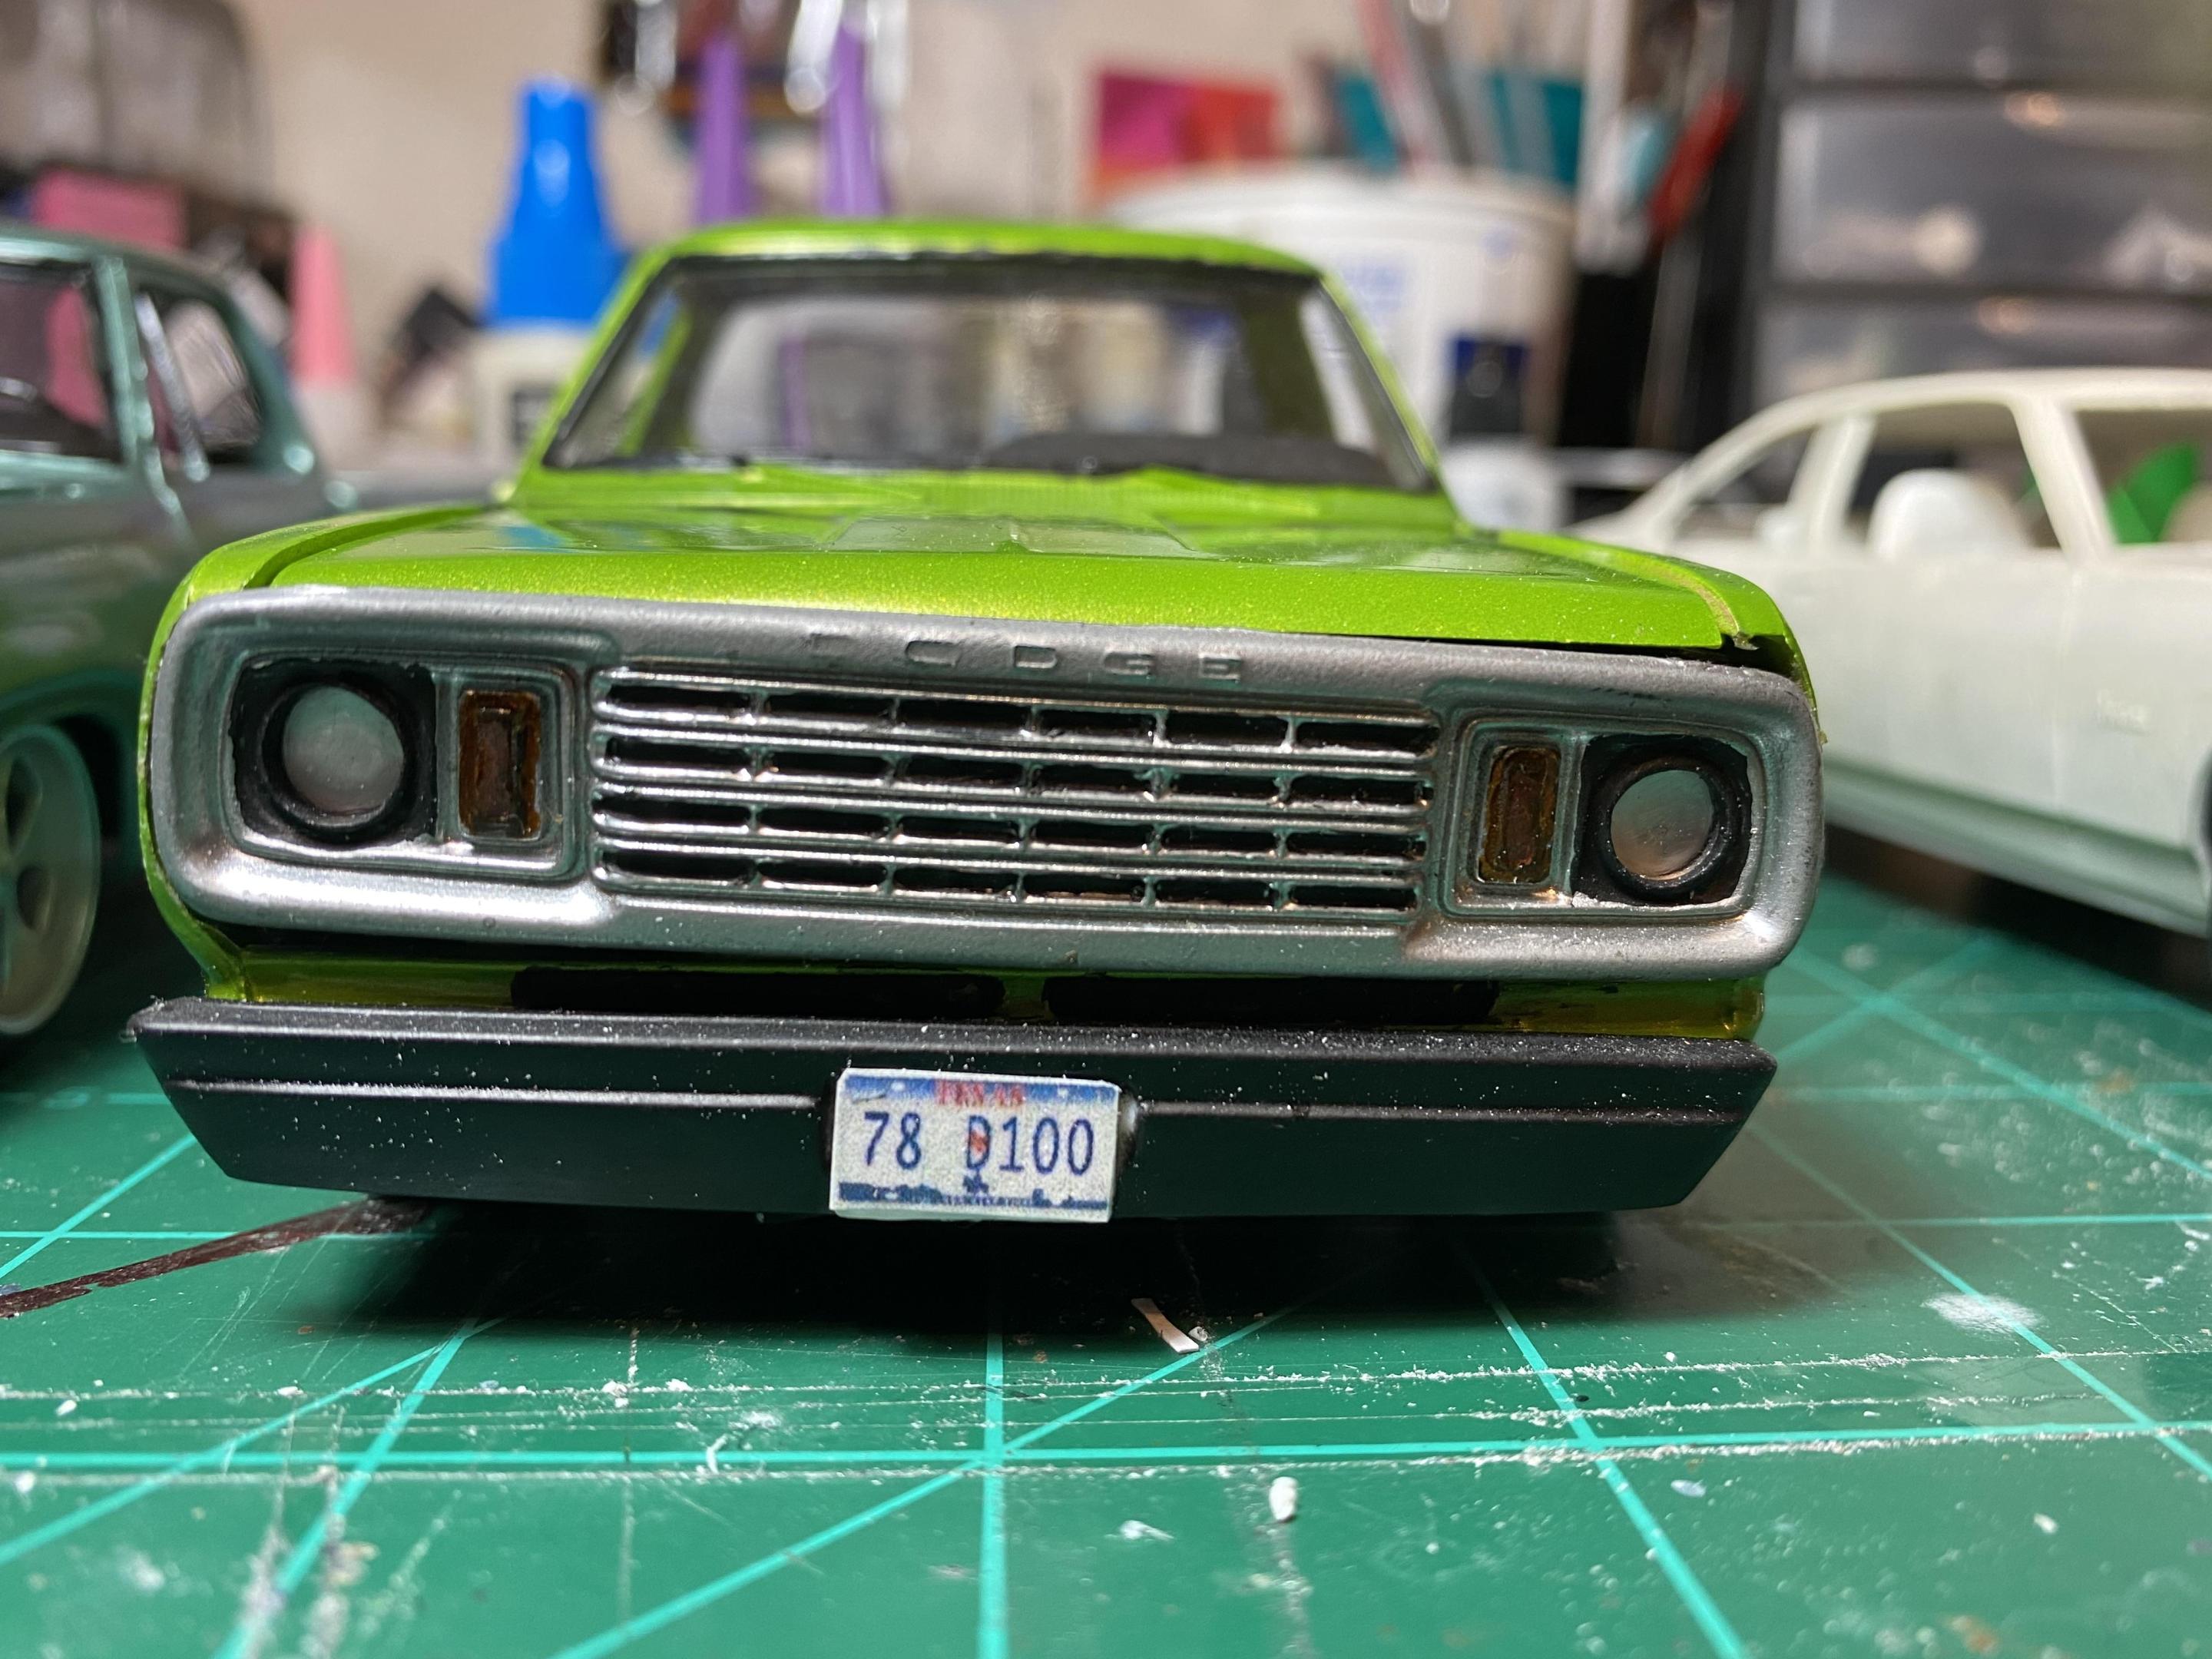
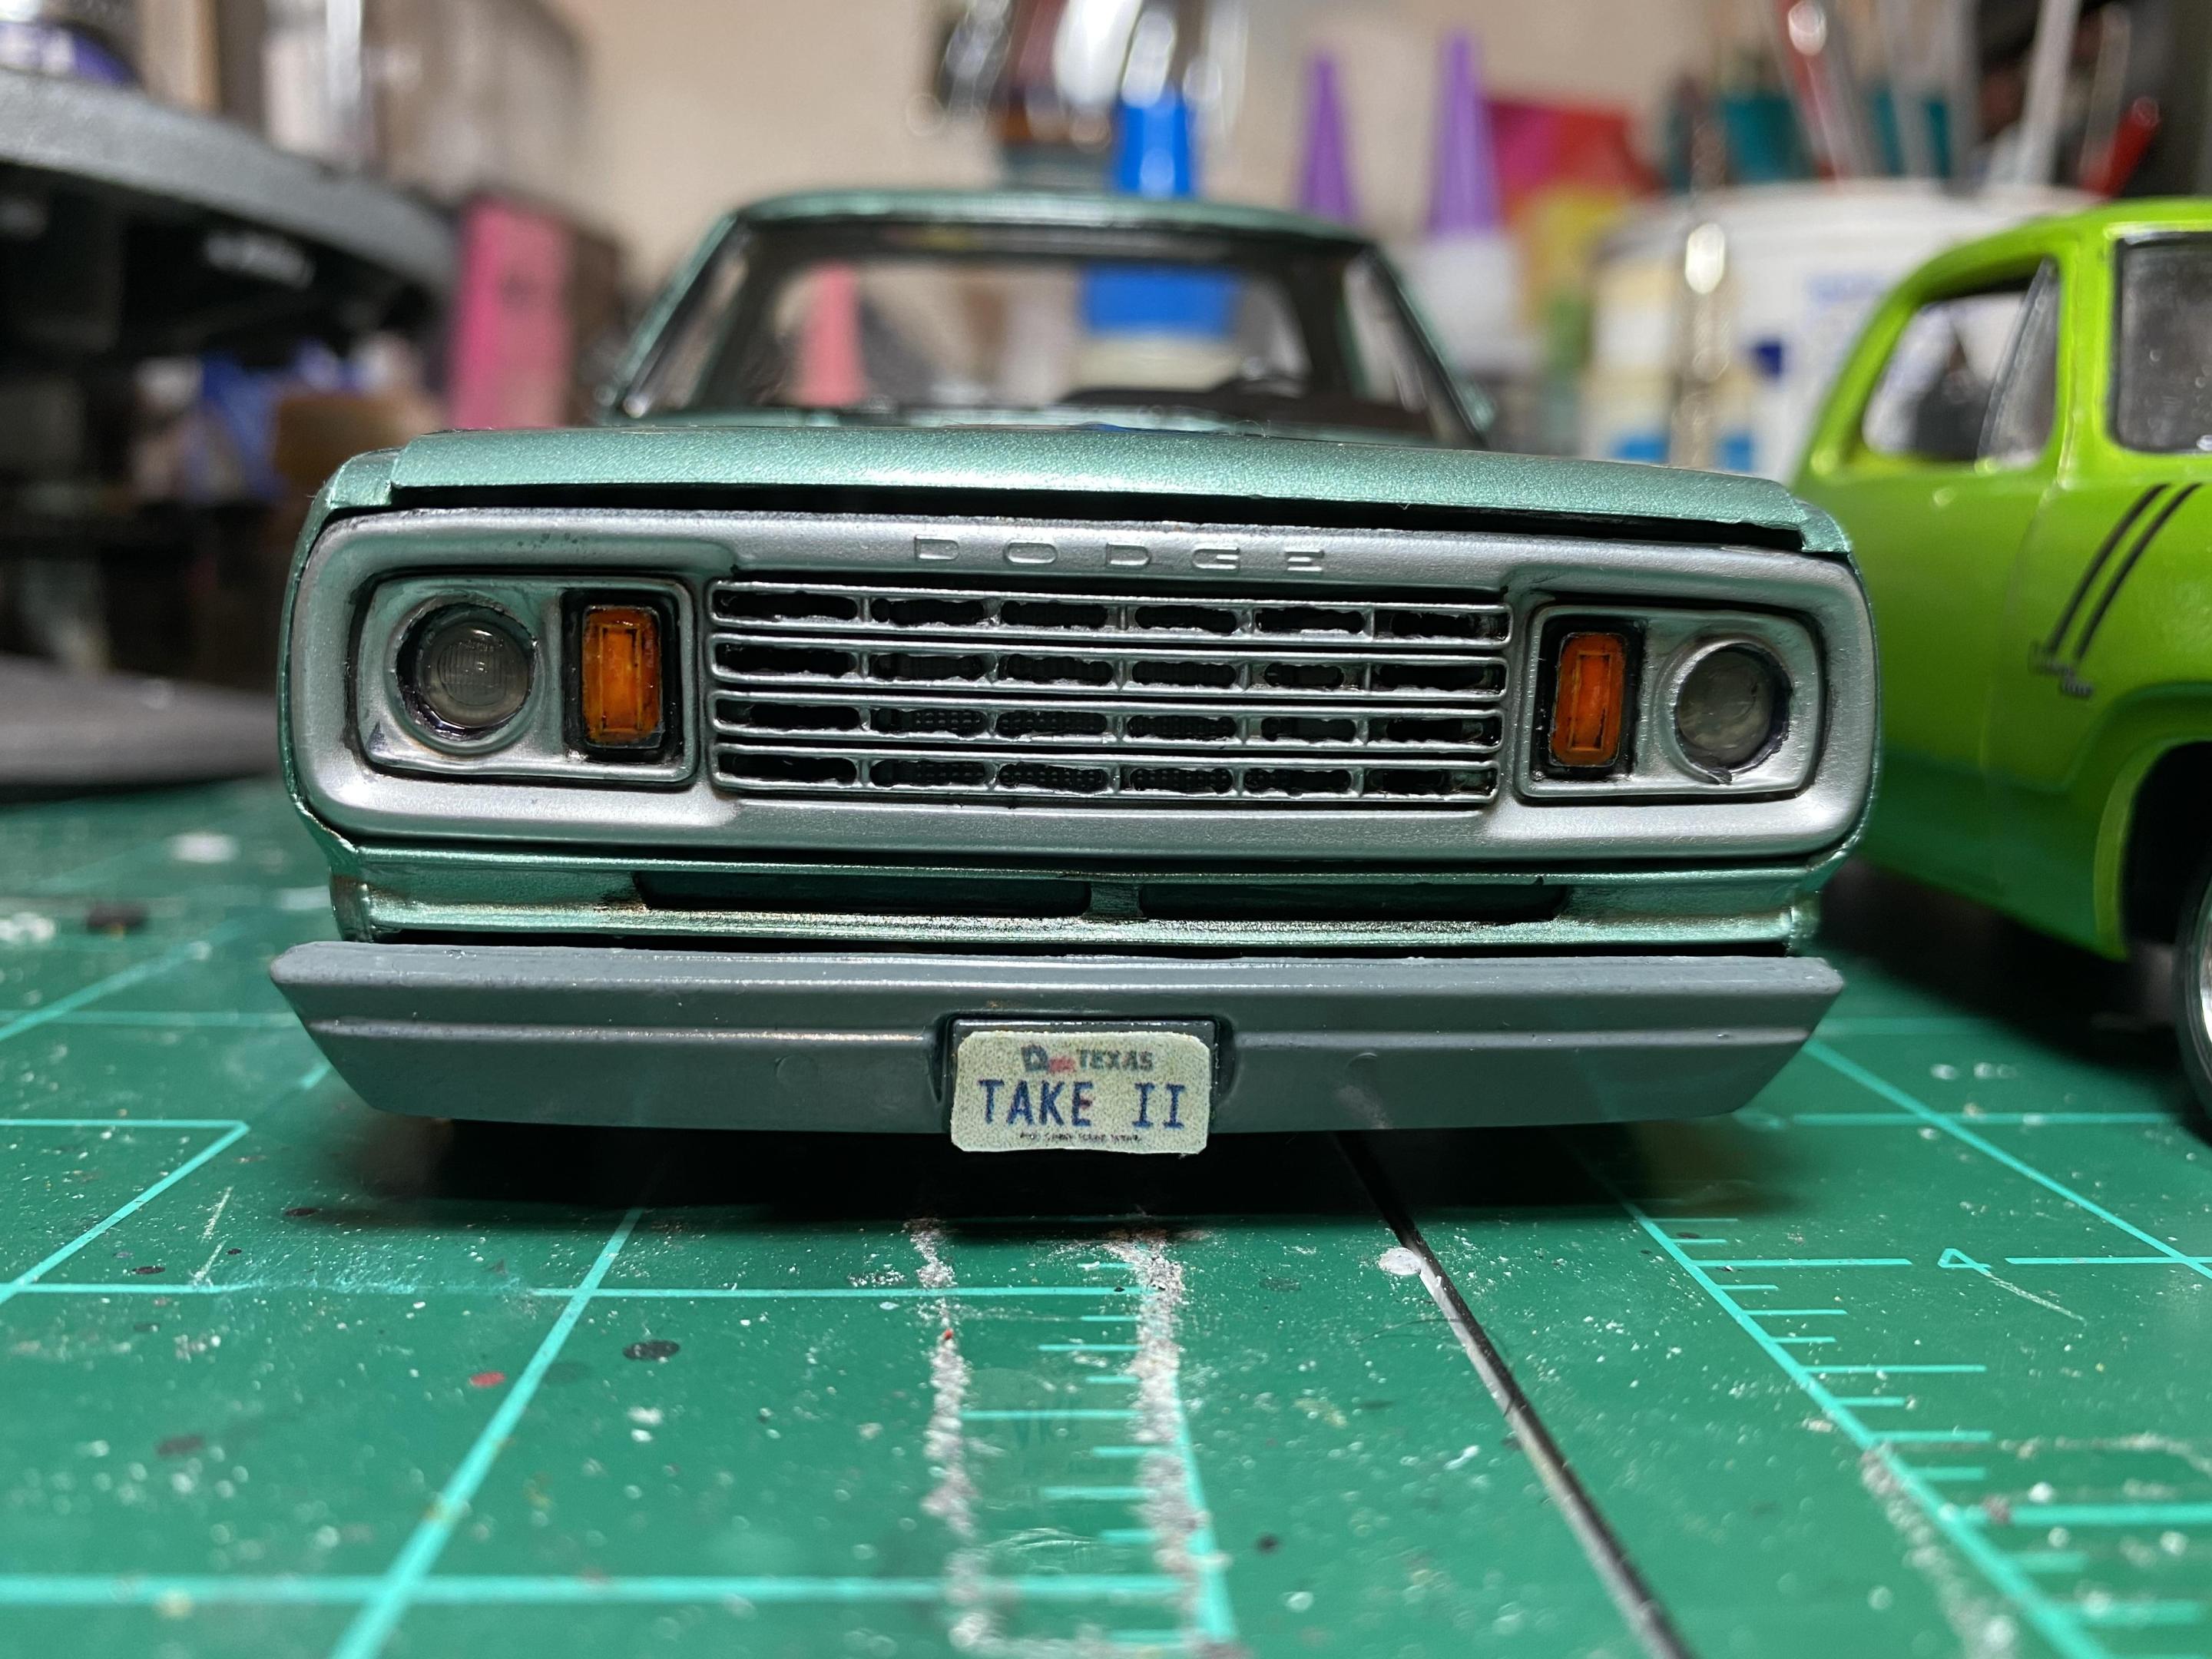
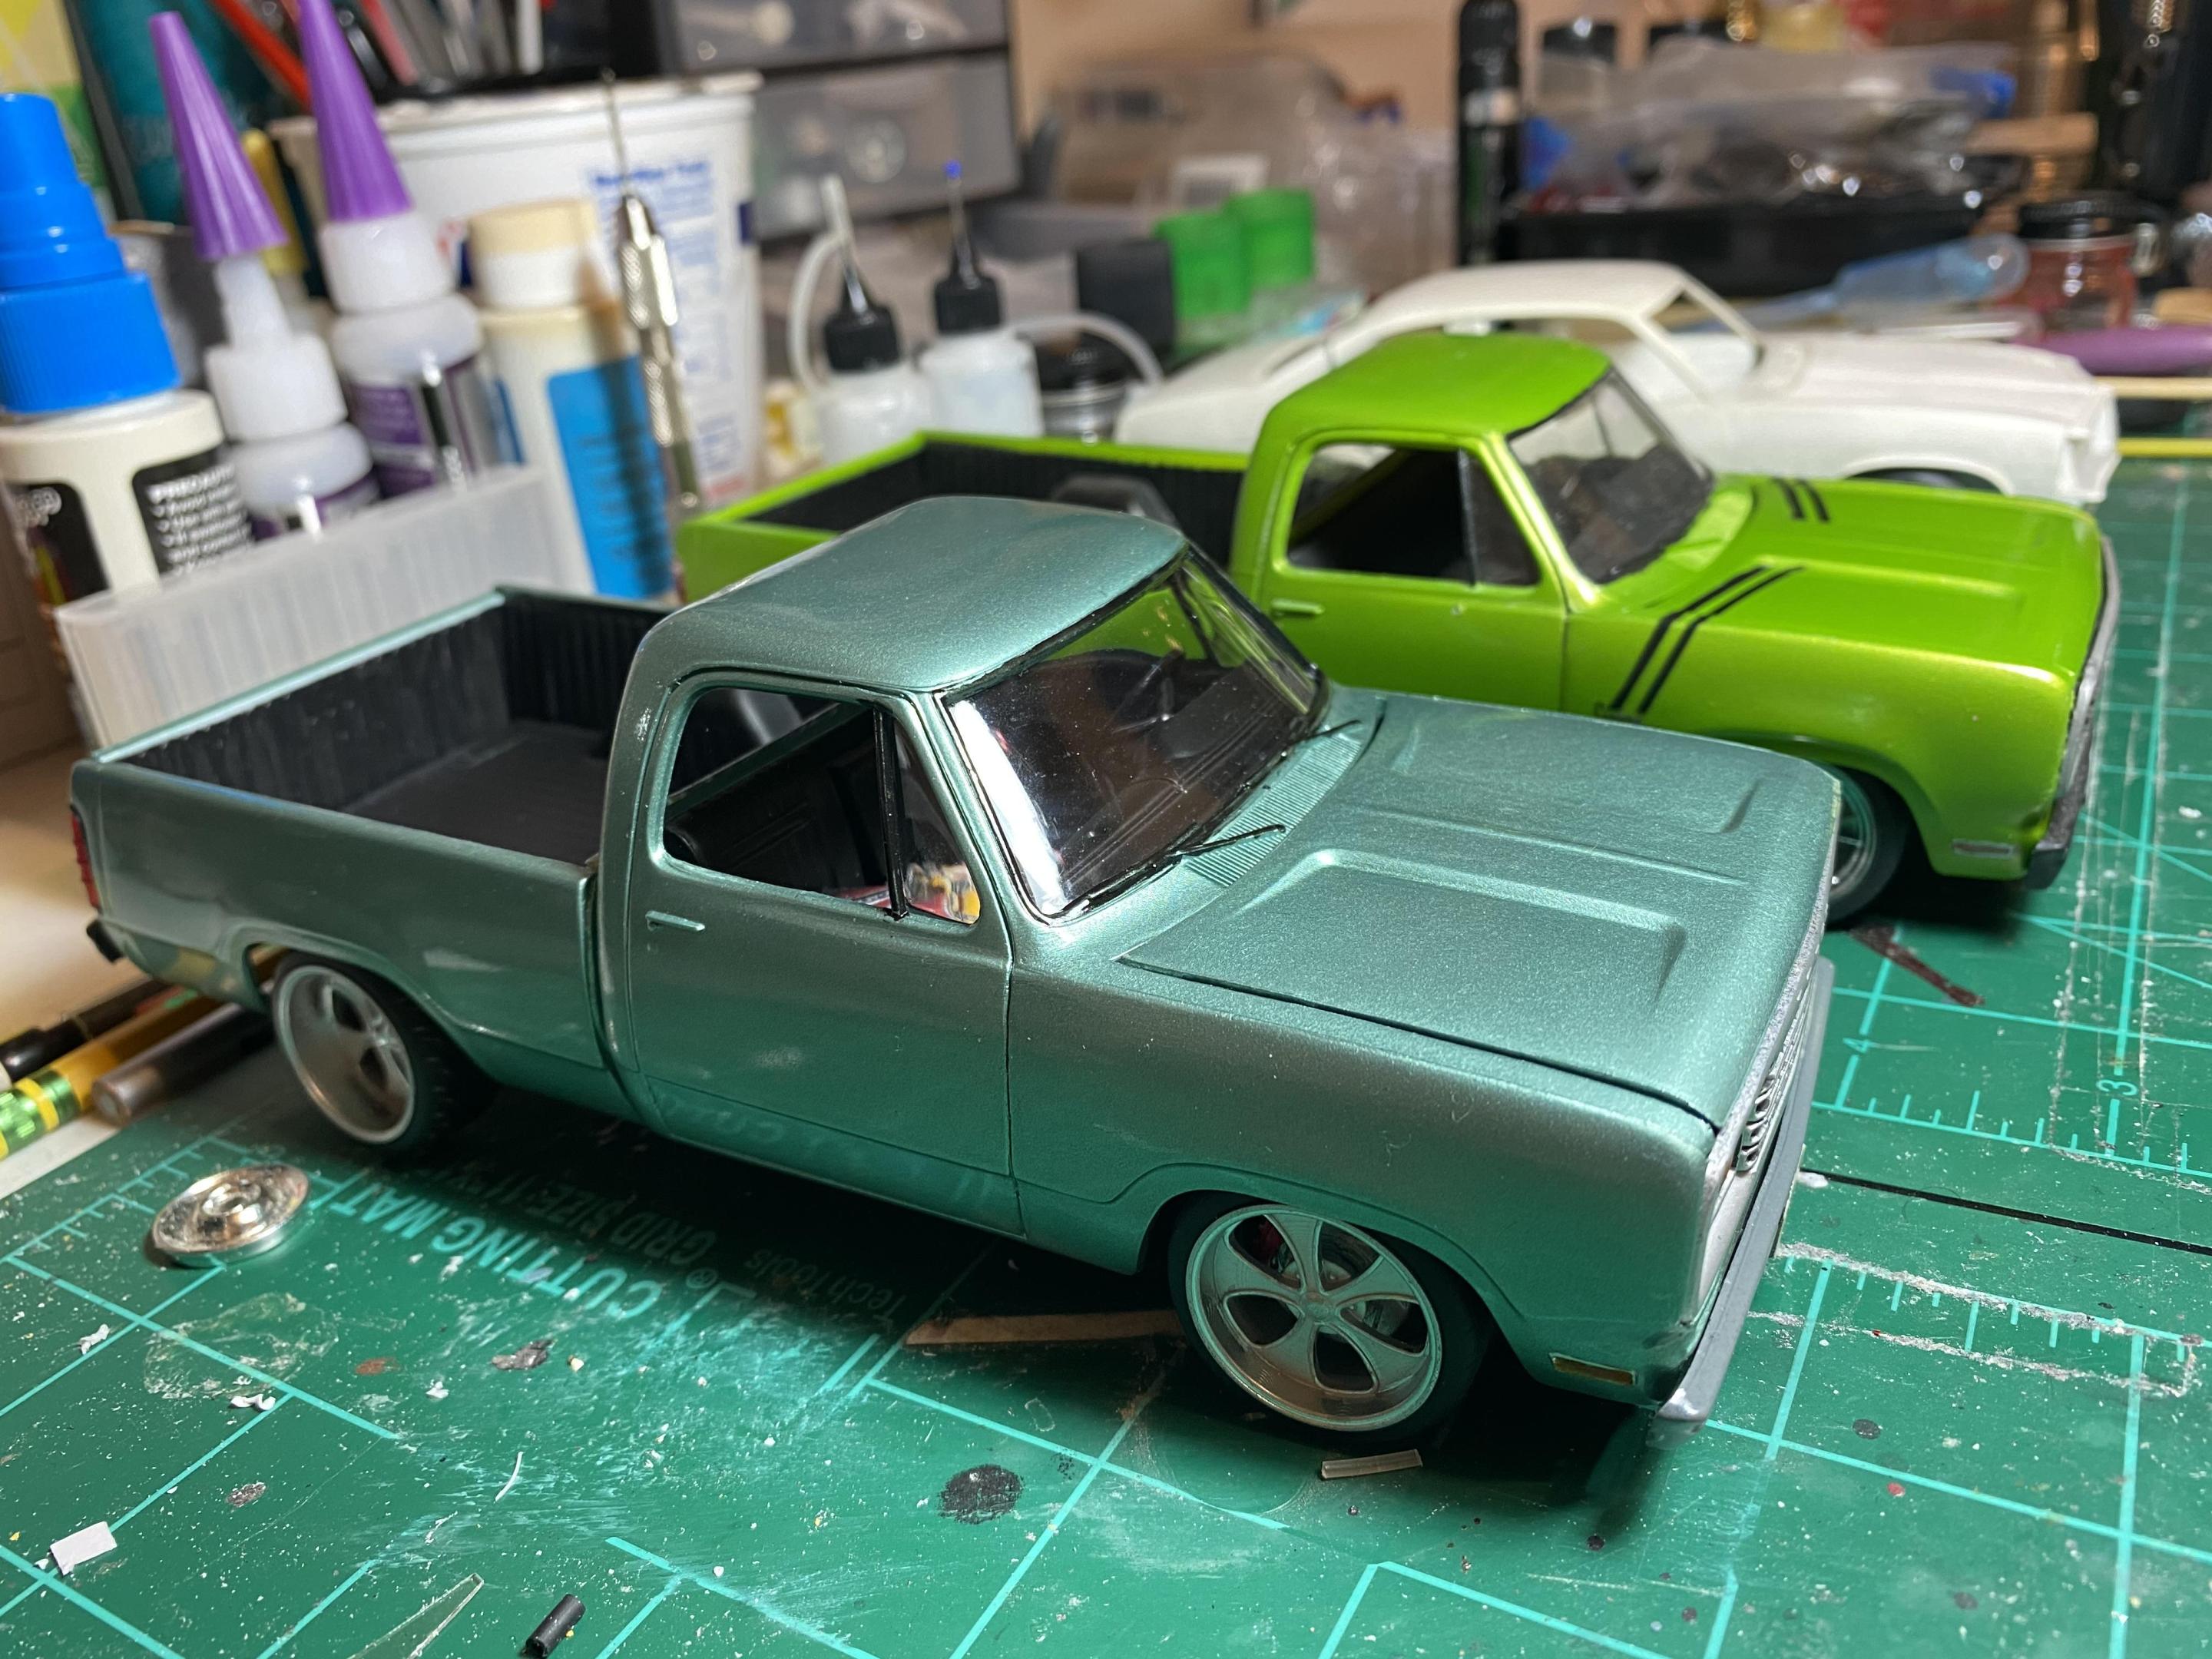
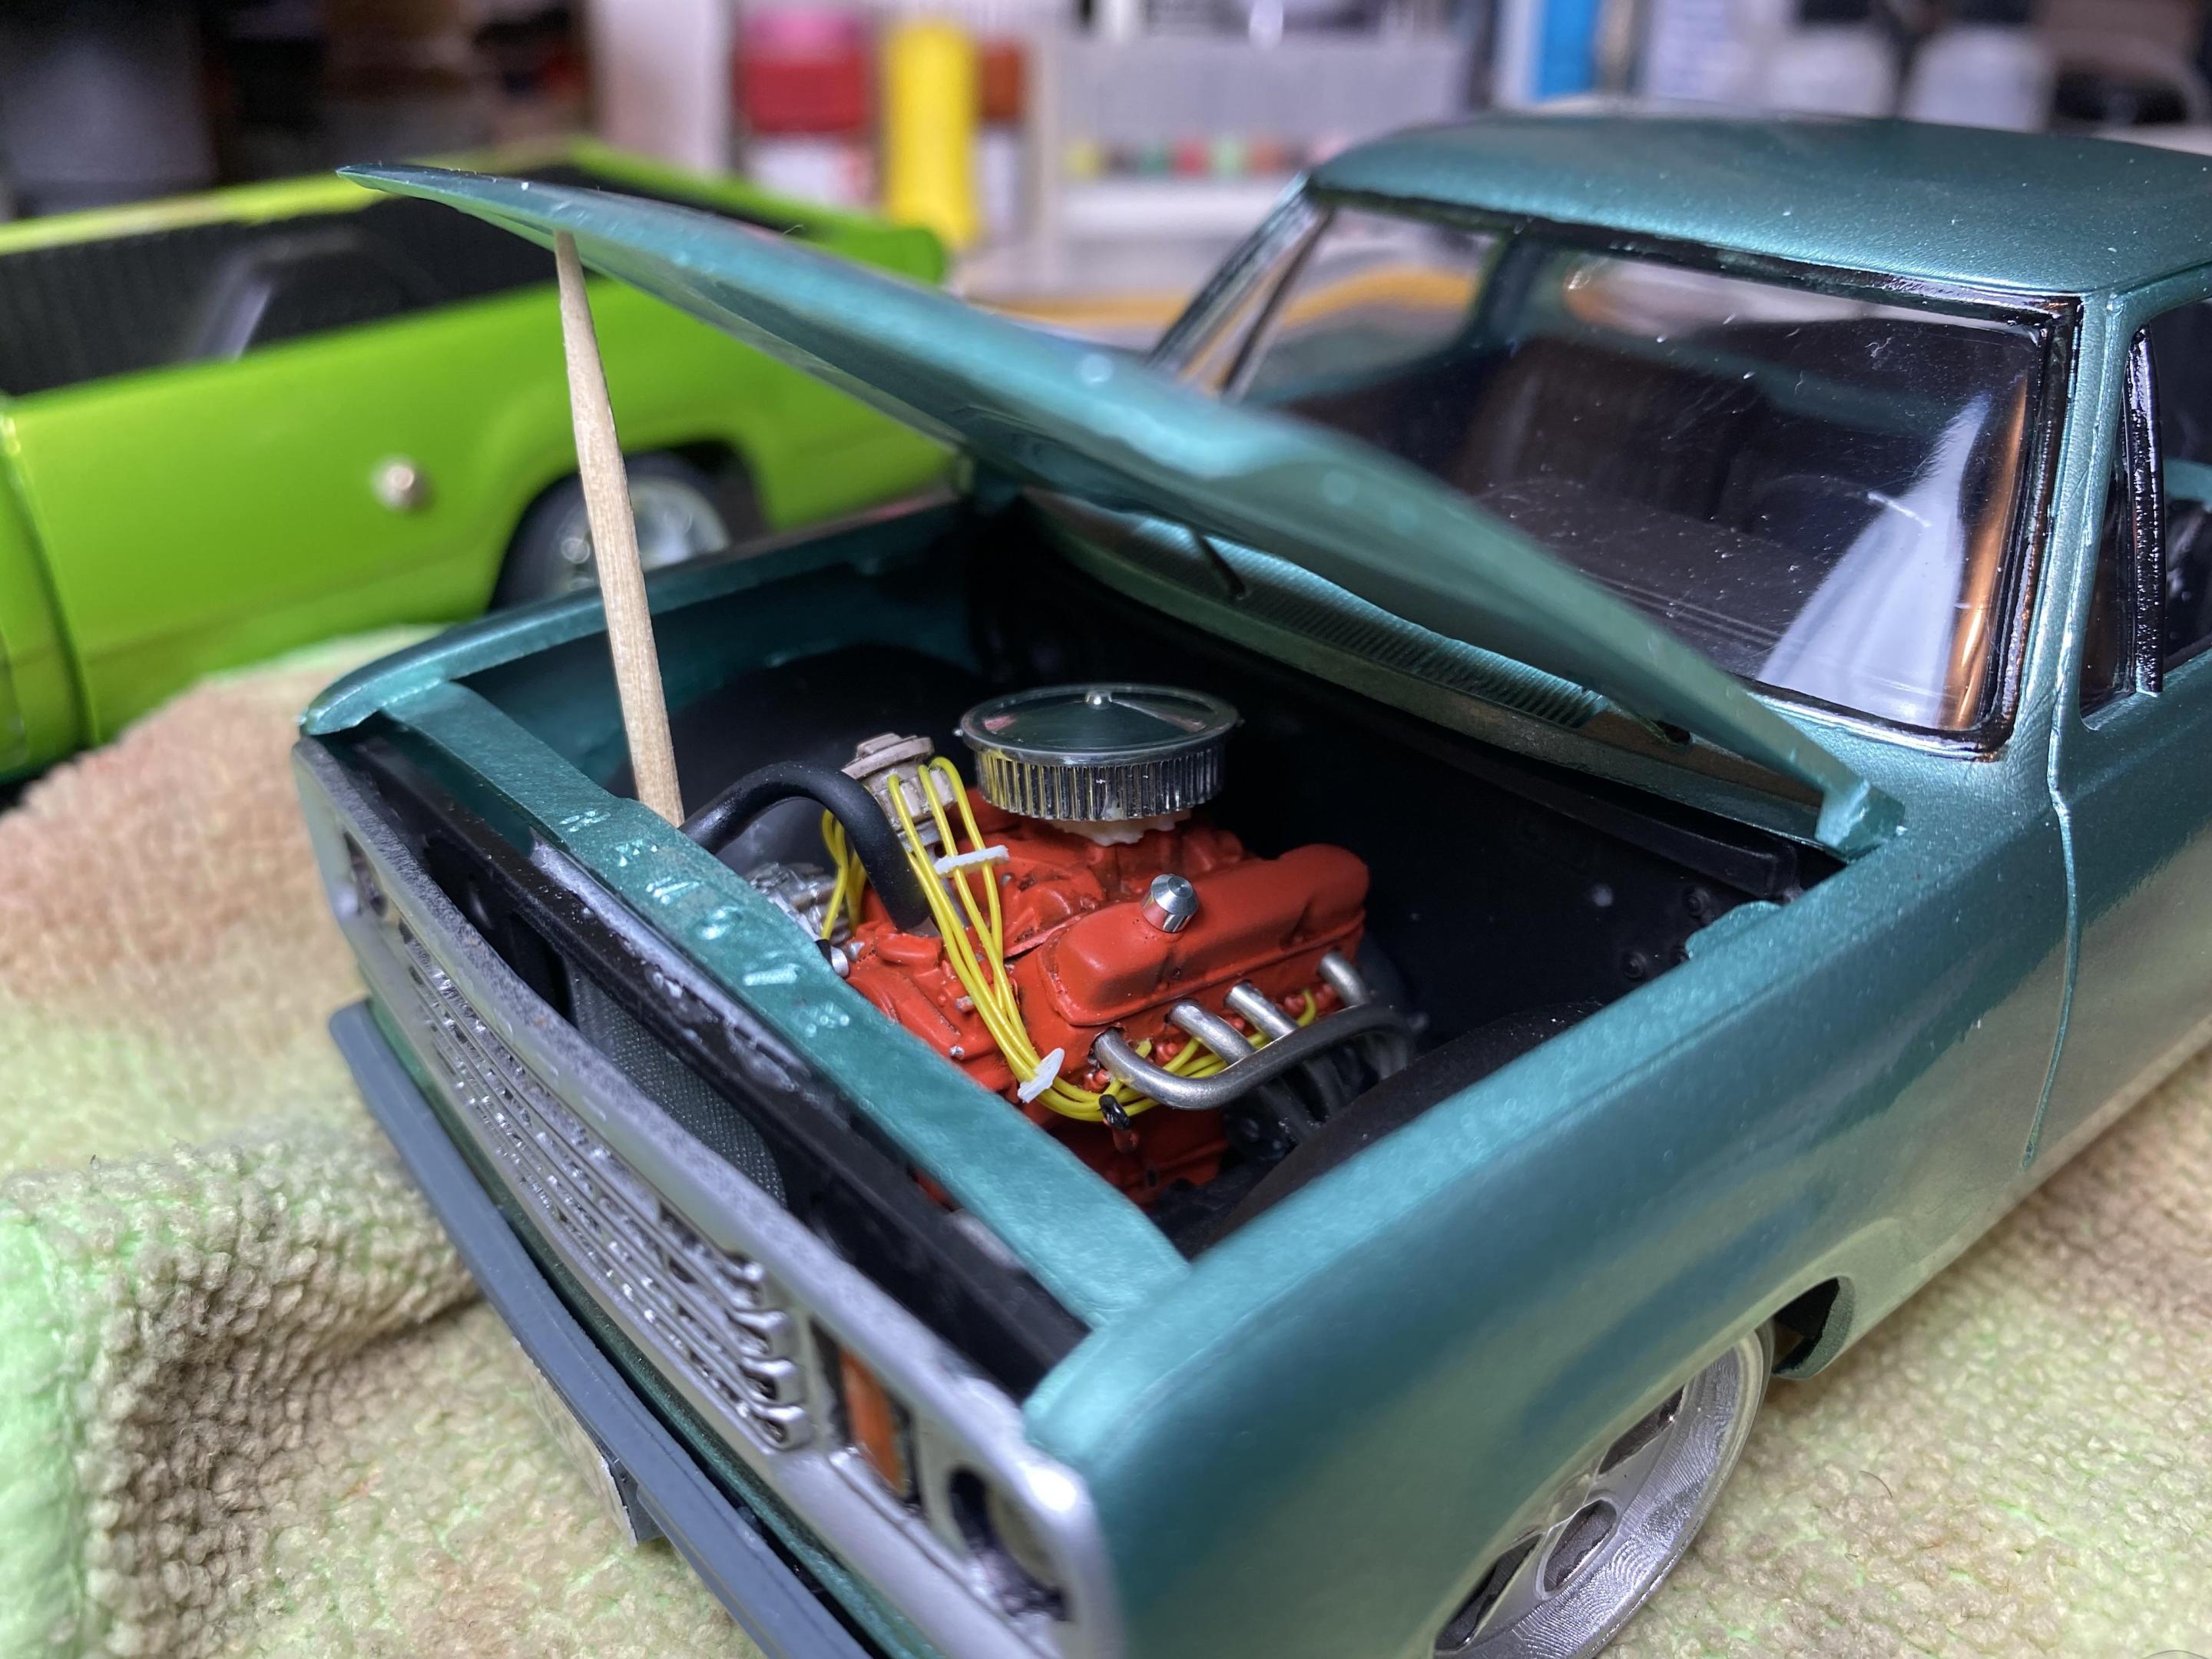
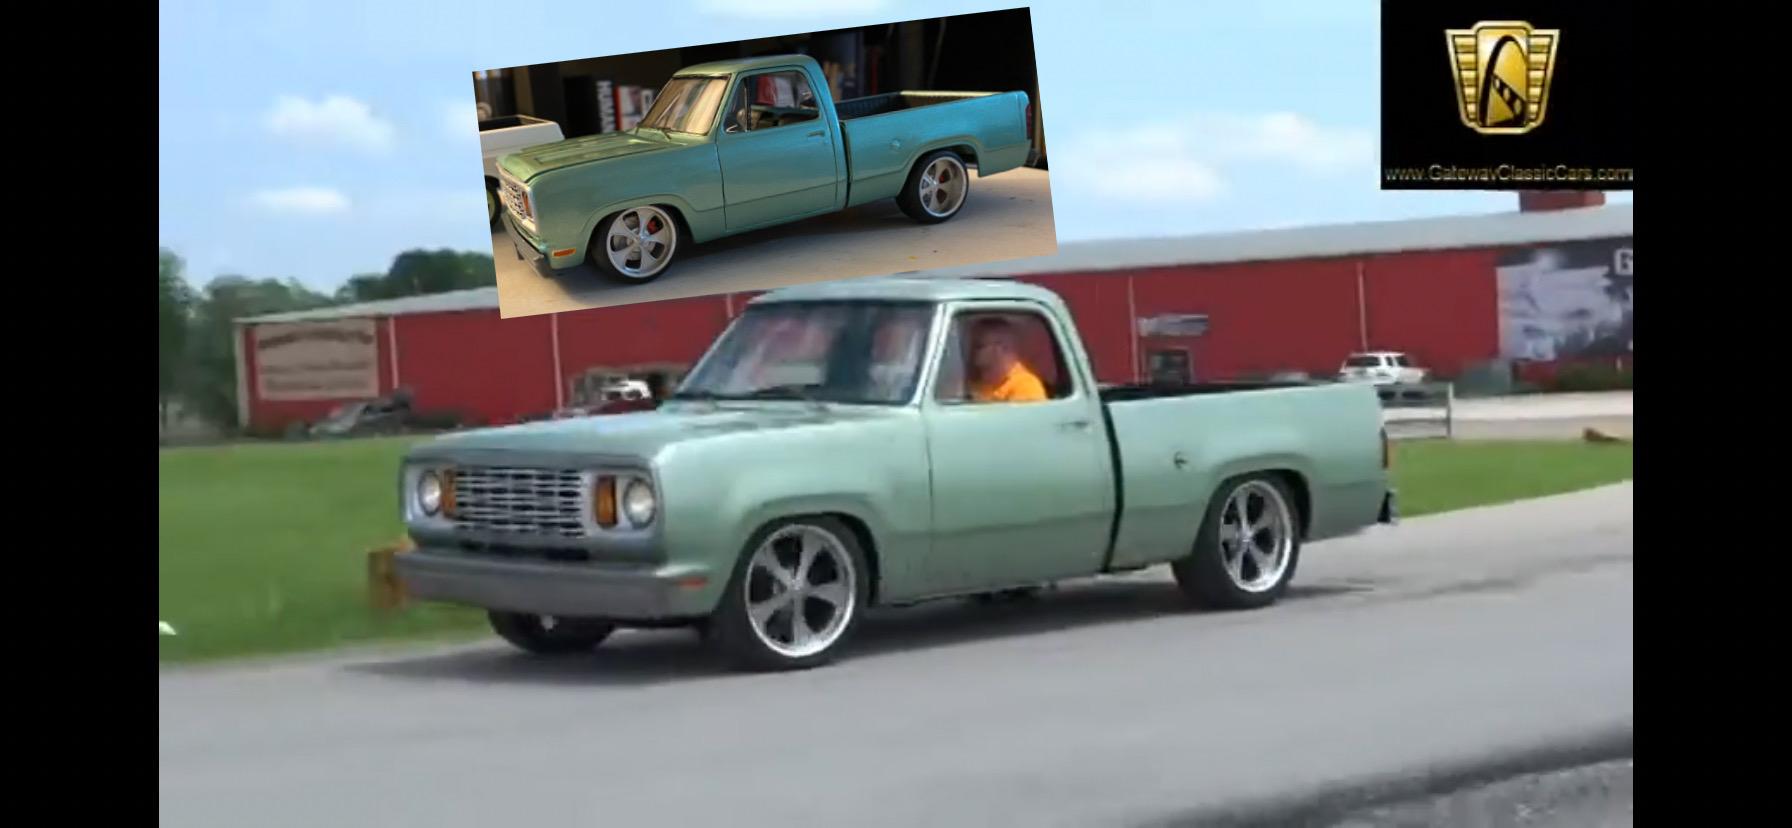
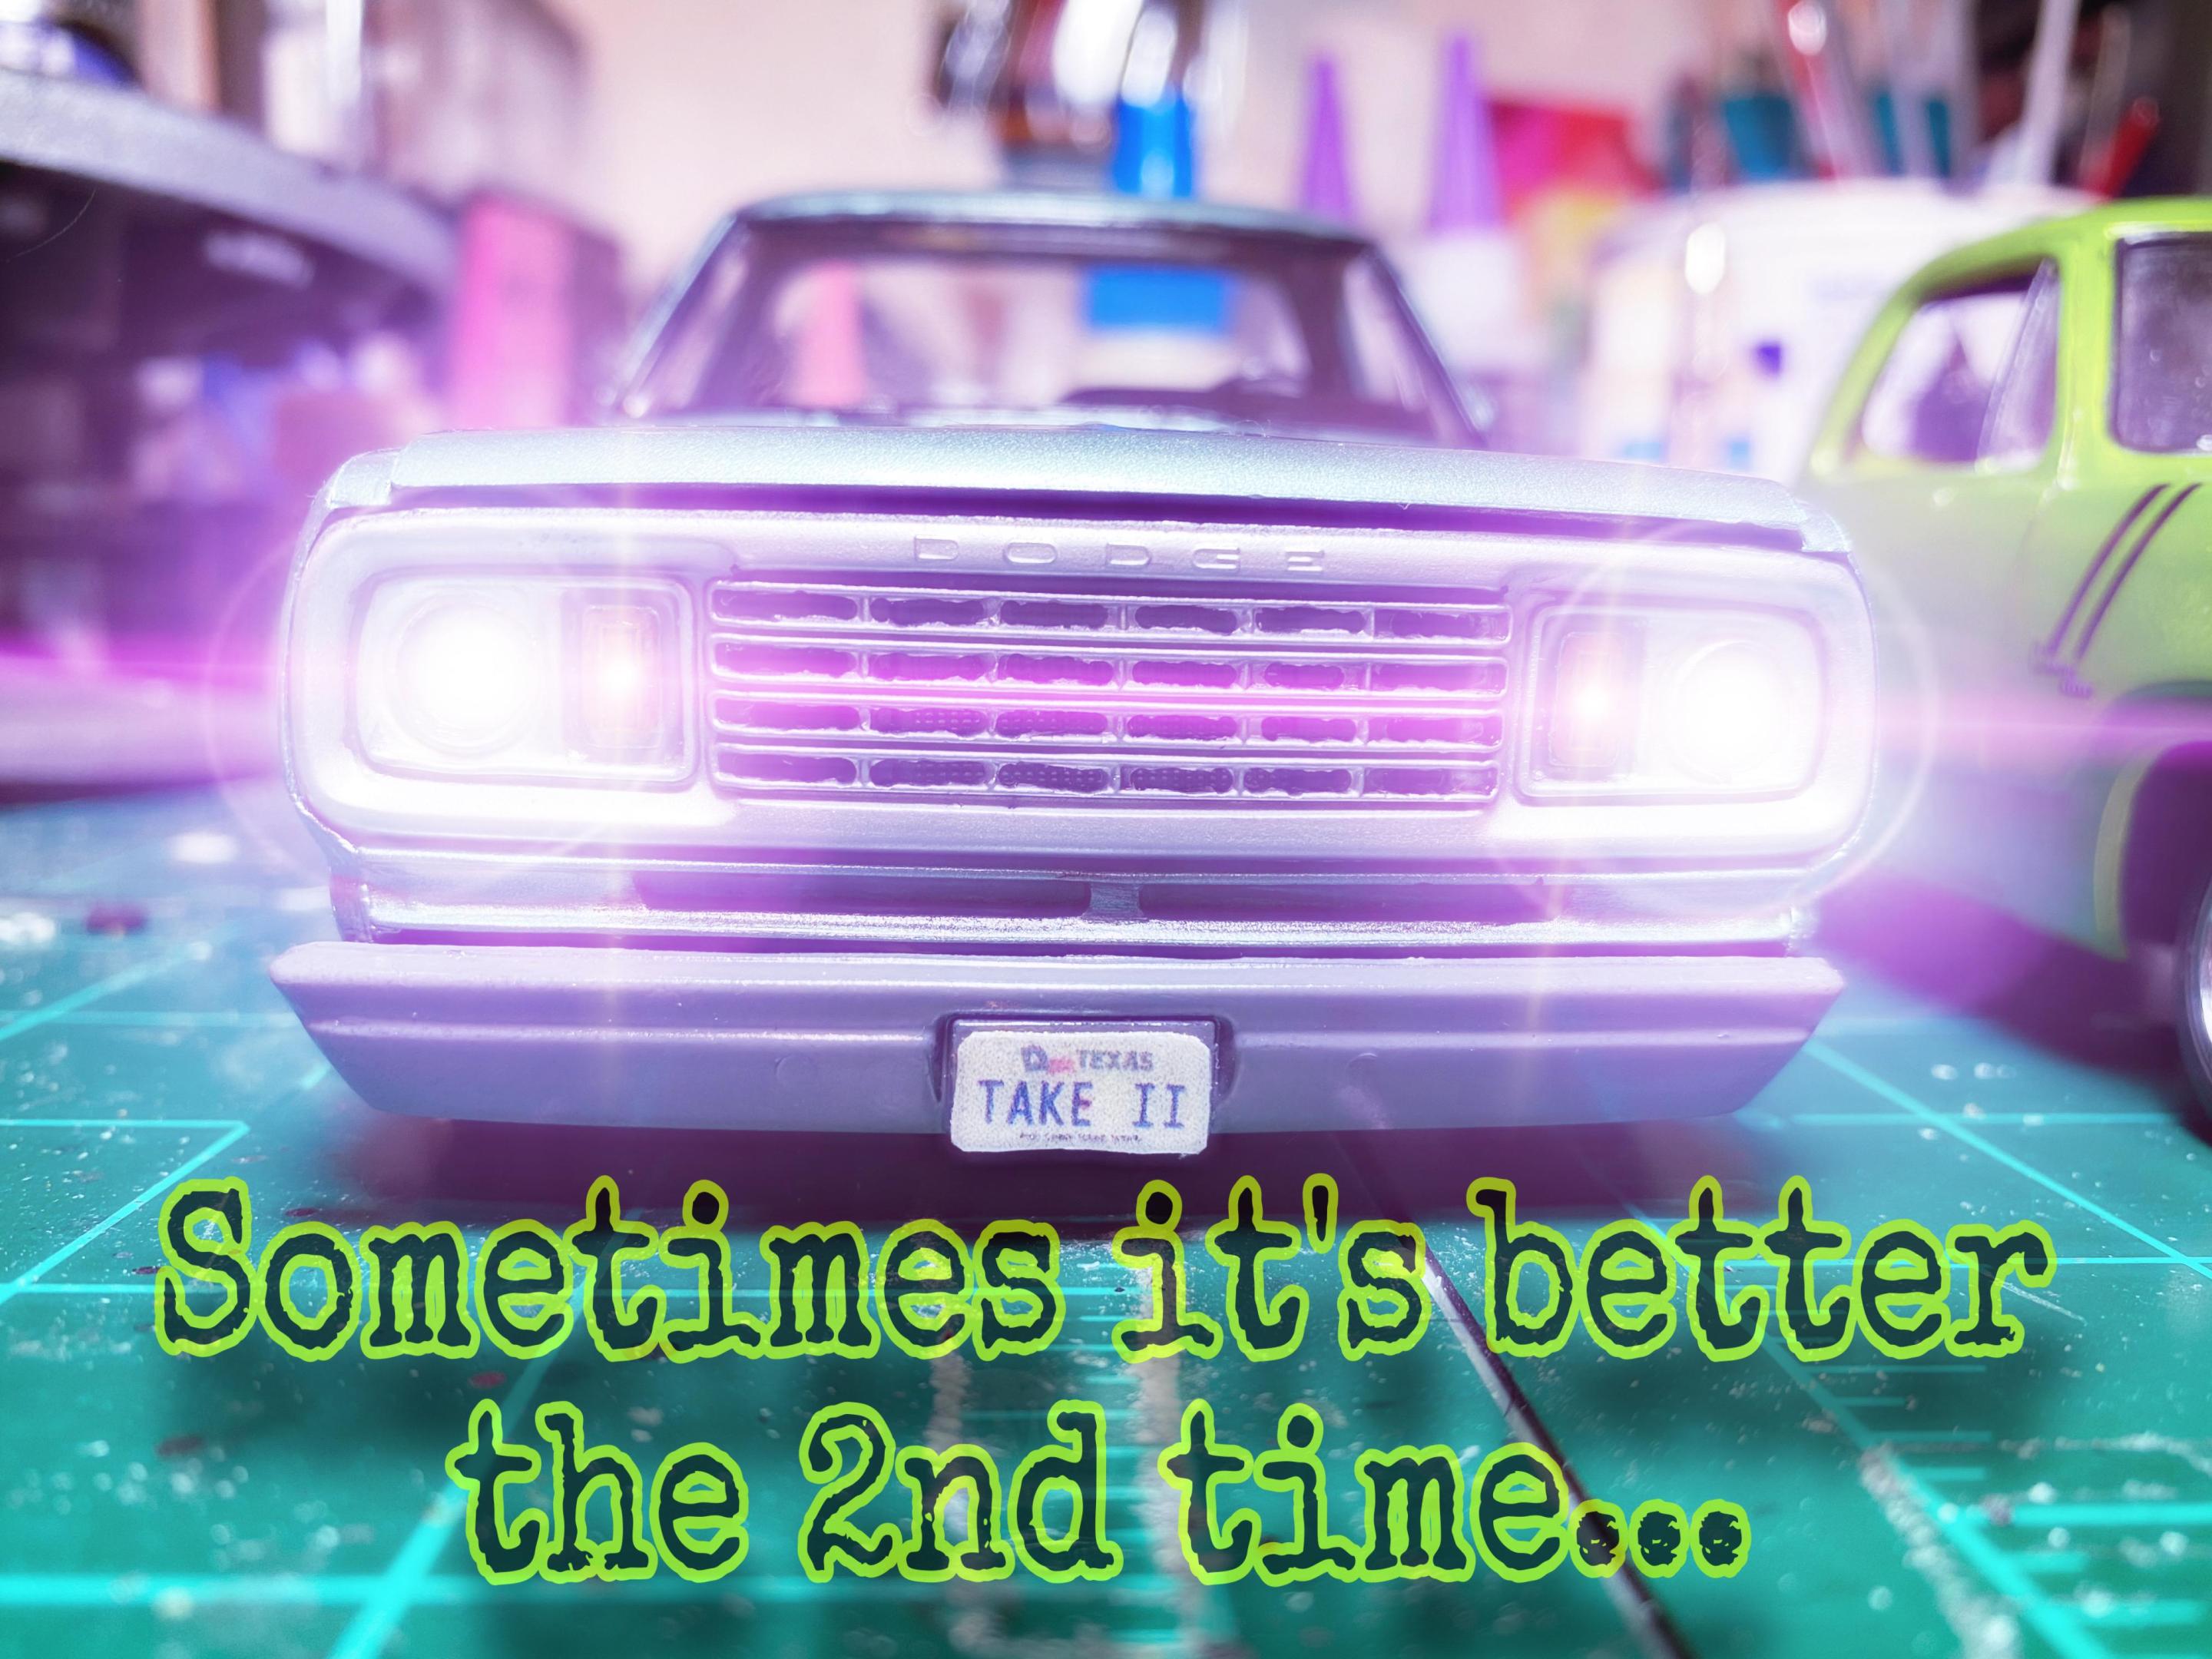
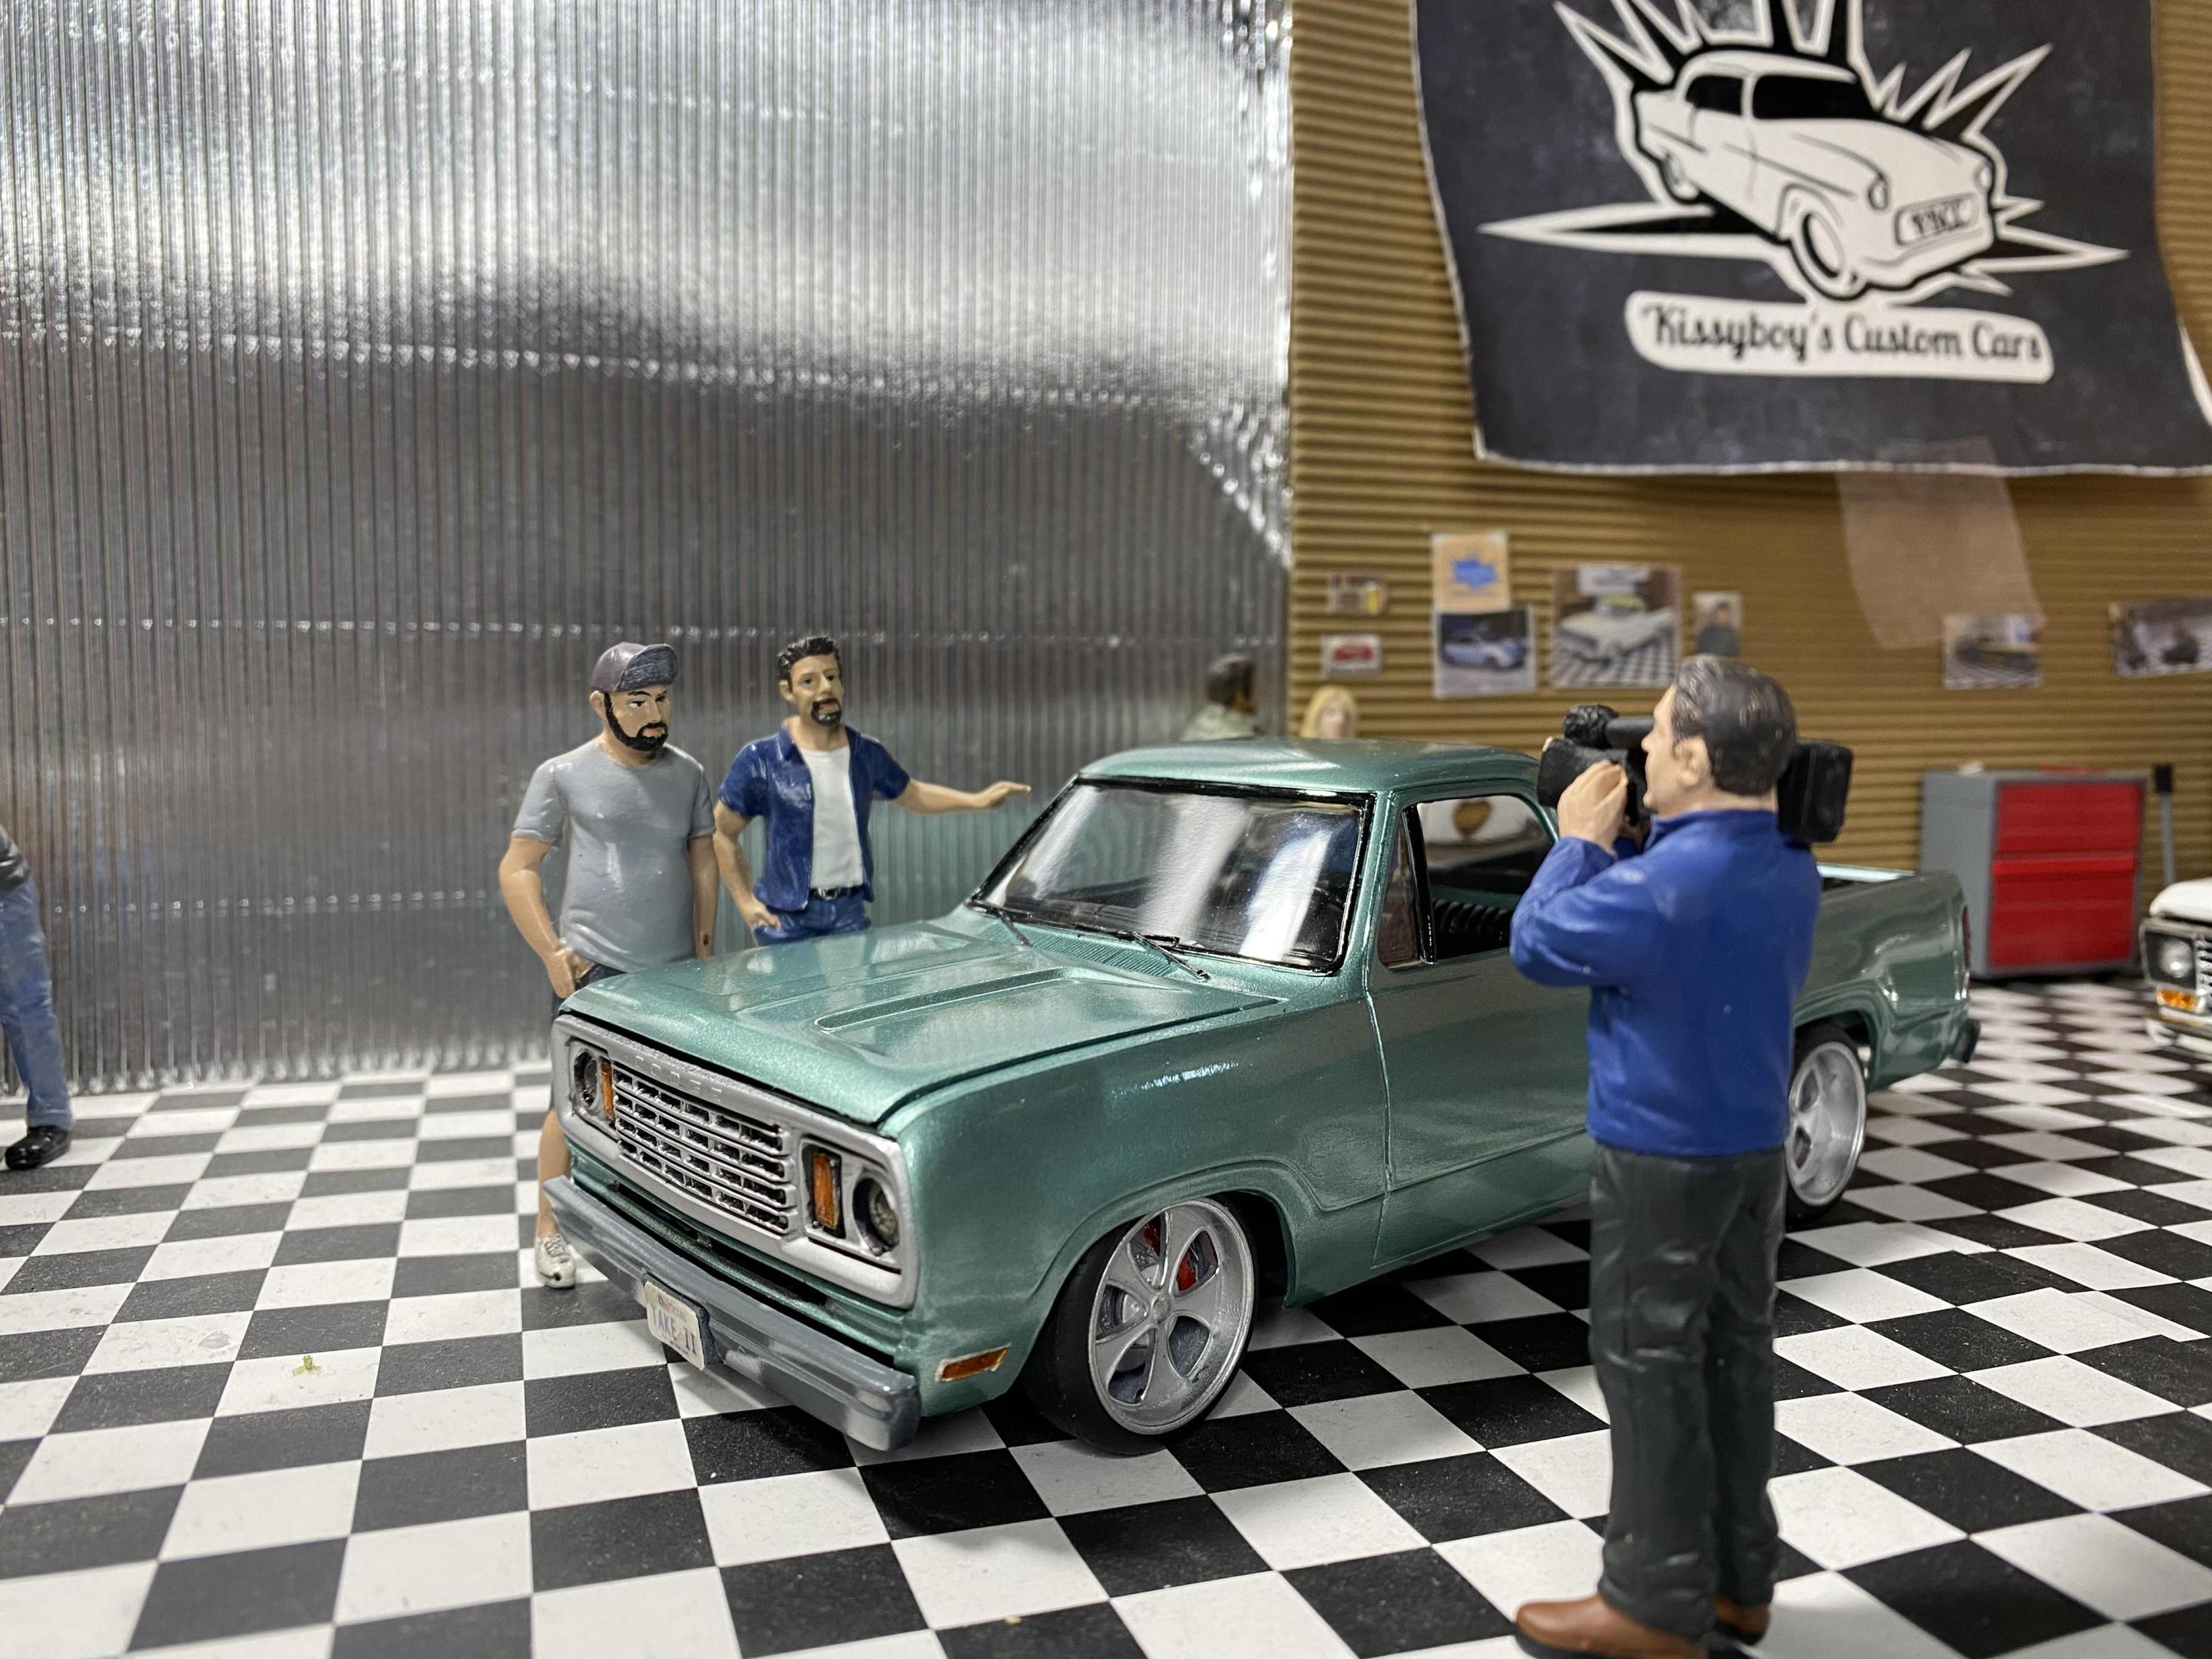
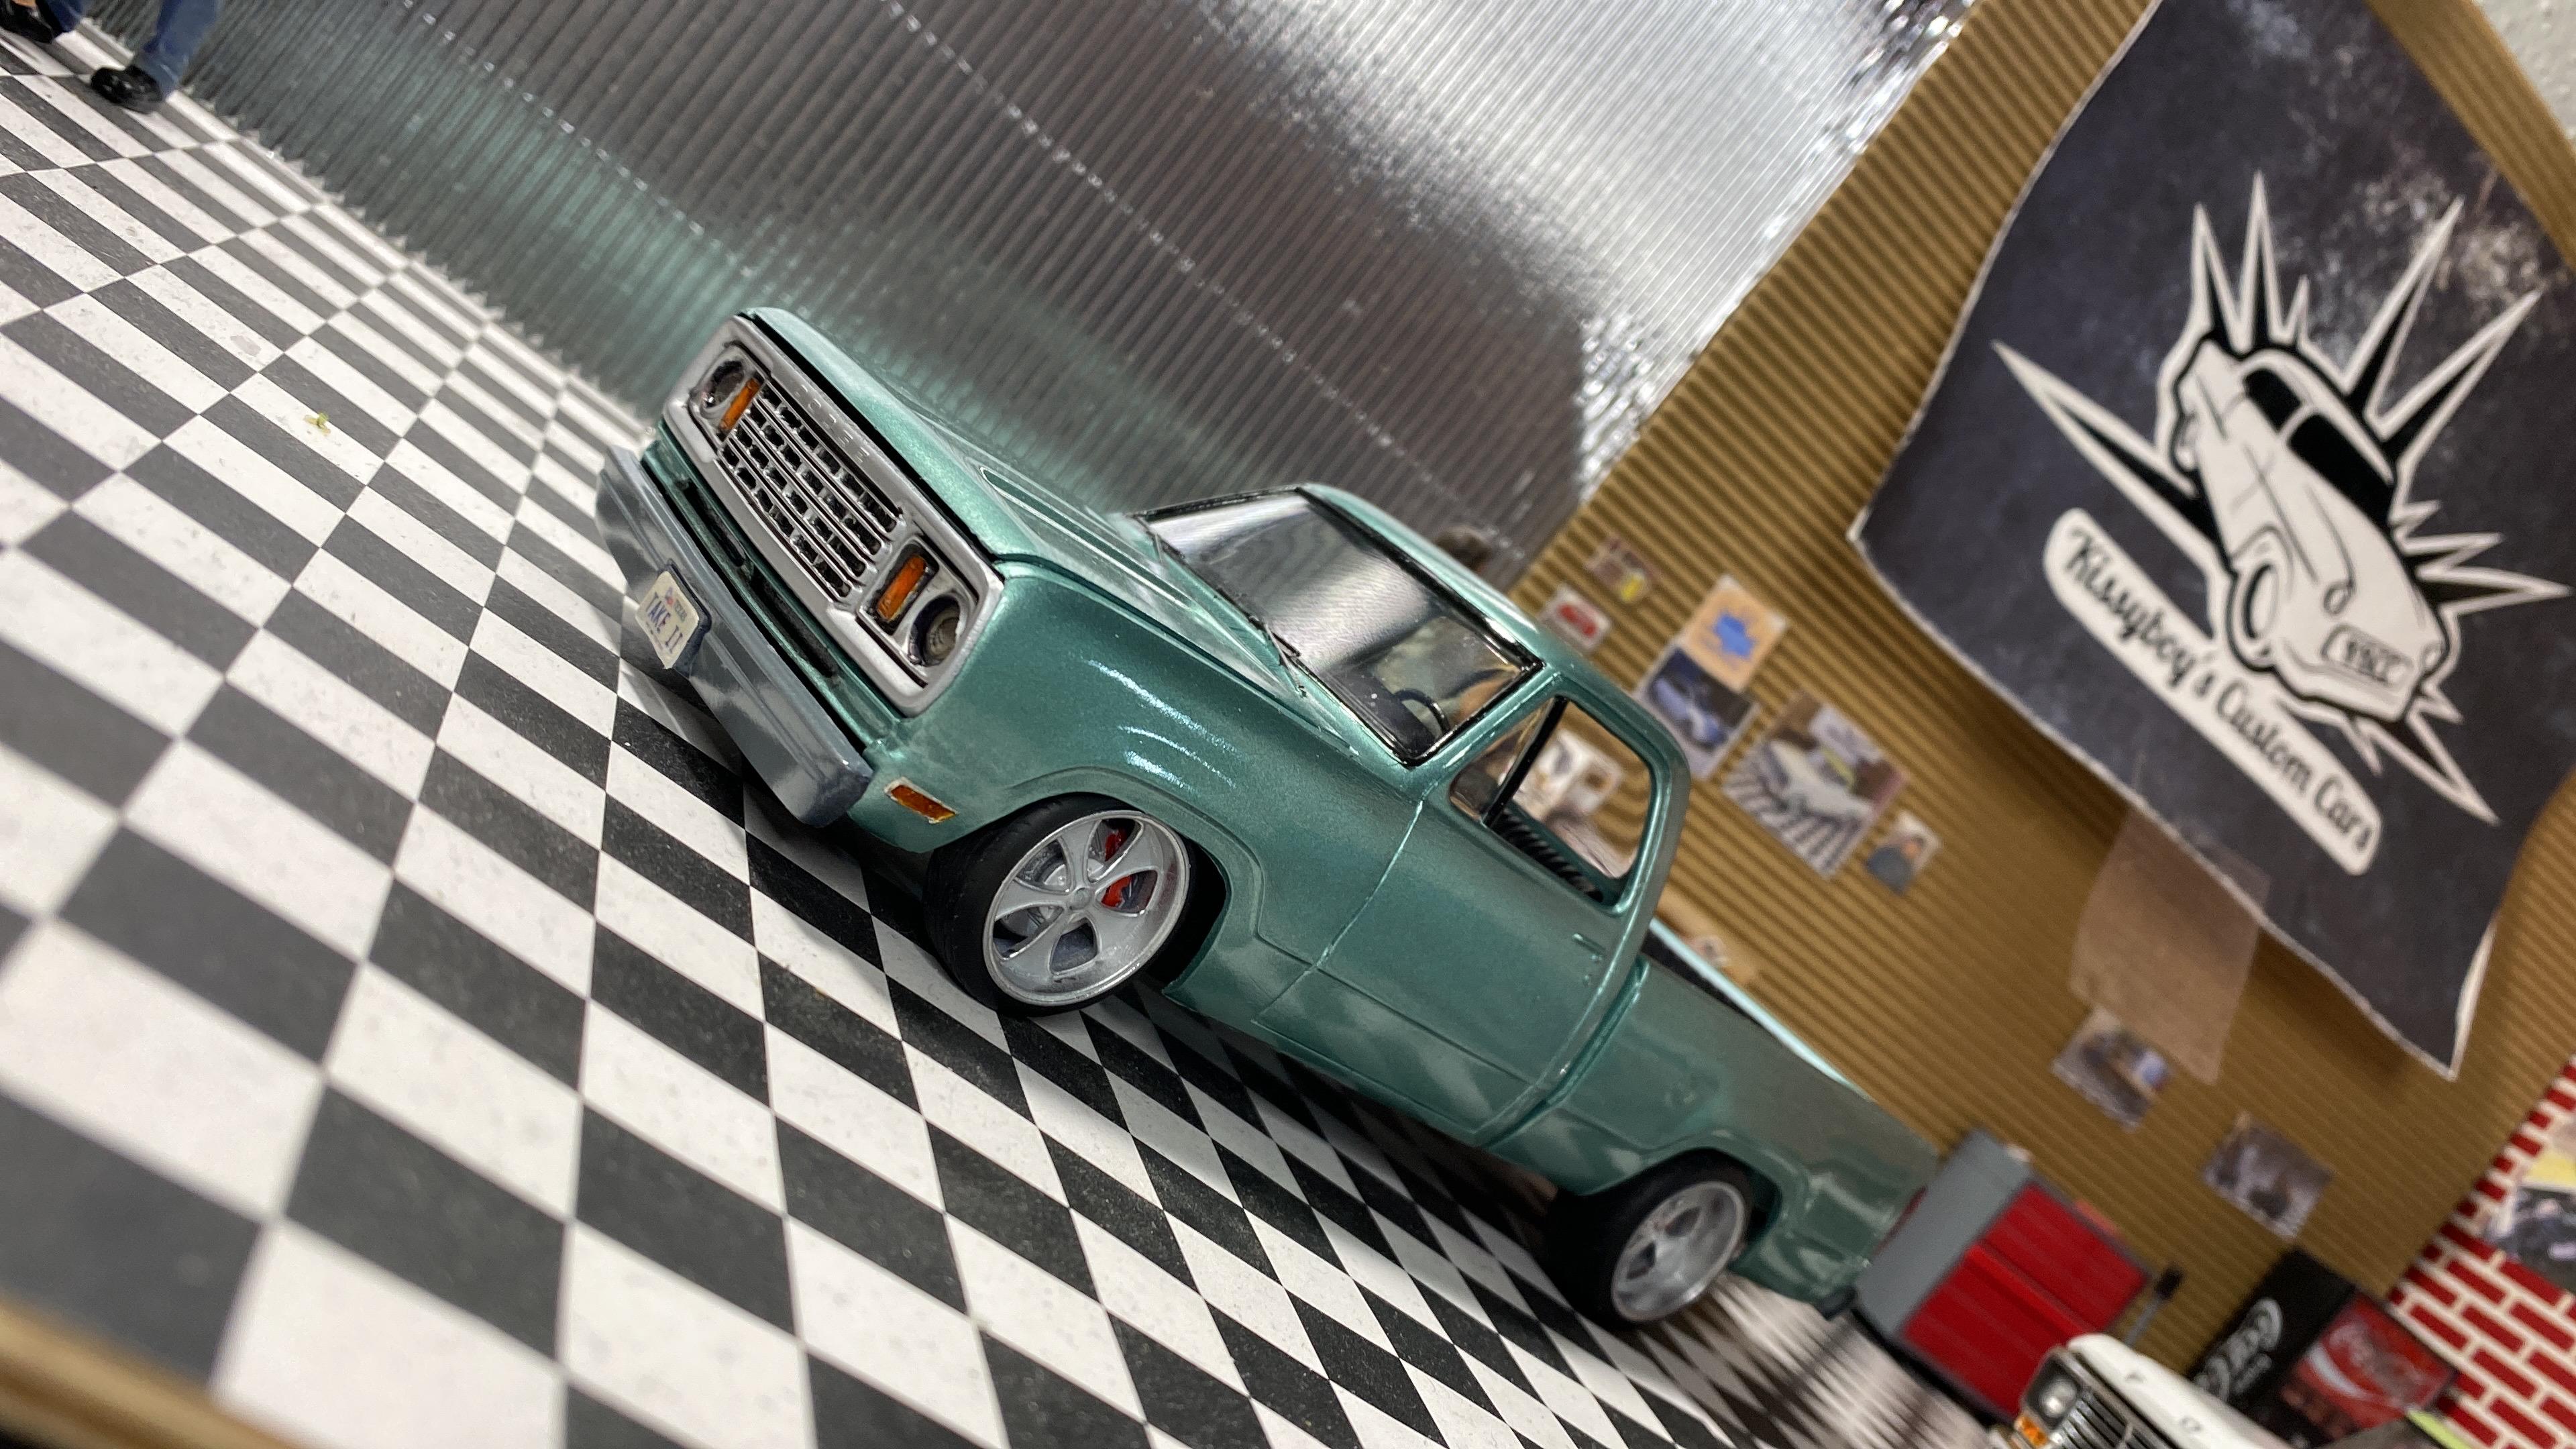
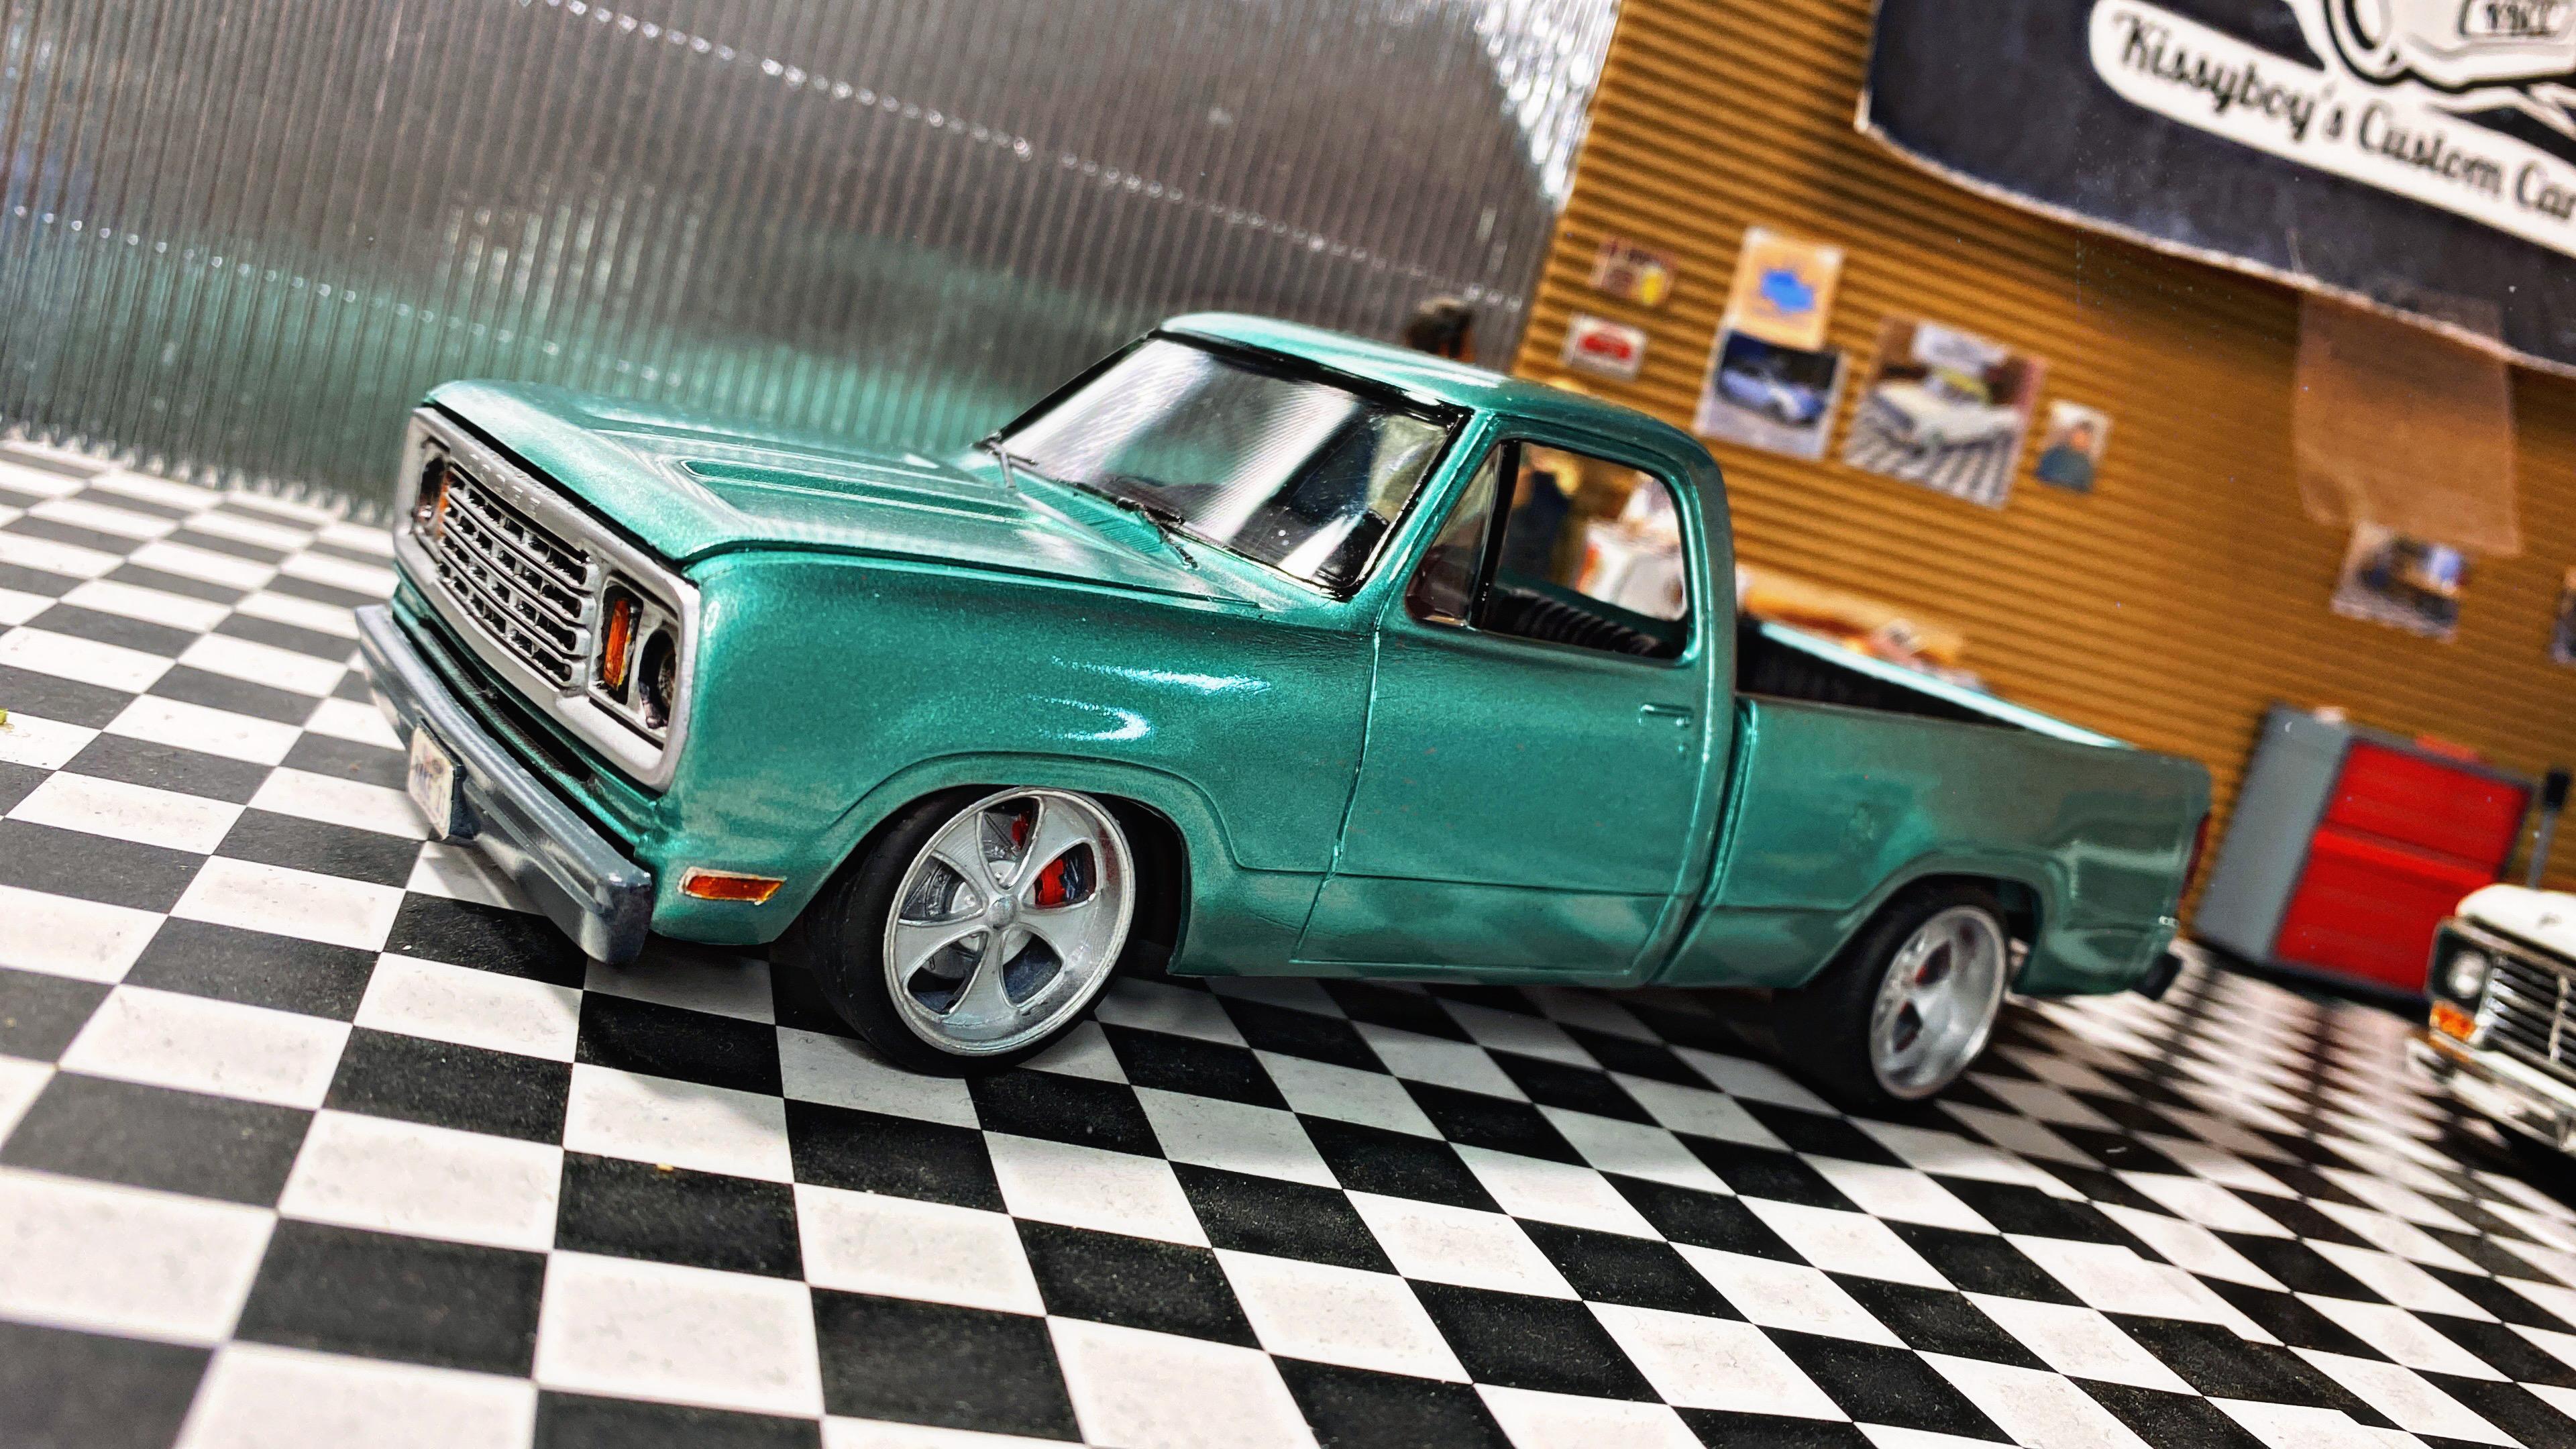
I just saw a post by another user here, jdhog, who was inspired by the same truck as I was. This was my second attempt at making a similar truck to the one I found on the internet/Youtube, so I named it “Take II.” It was made using a combination of the 78 MPC D100 and the Lil Red Express short bed step side kit (chassis) I found a Missing Link D100 resin short bed and used it as a template to cut down the MPC long bed. For reference, or to follow the build go to the KBCC Garage YouTube channel! Thanks jdhog for sharing your progress! I can’t wait to see how your project turns out! That color matching is amazing!
- 9 replies
-
- 6
-

-
- mpc
- 1978 dodge
-
(and 2 more)
Tagged with:
-
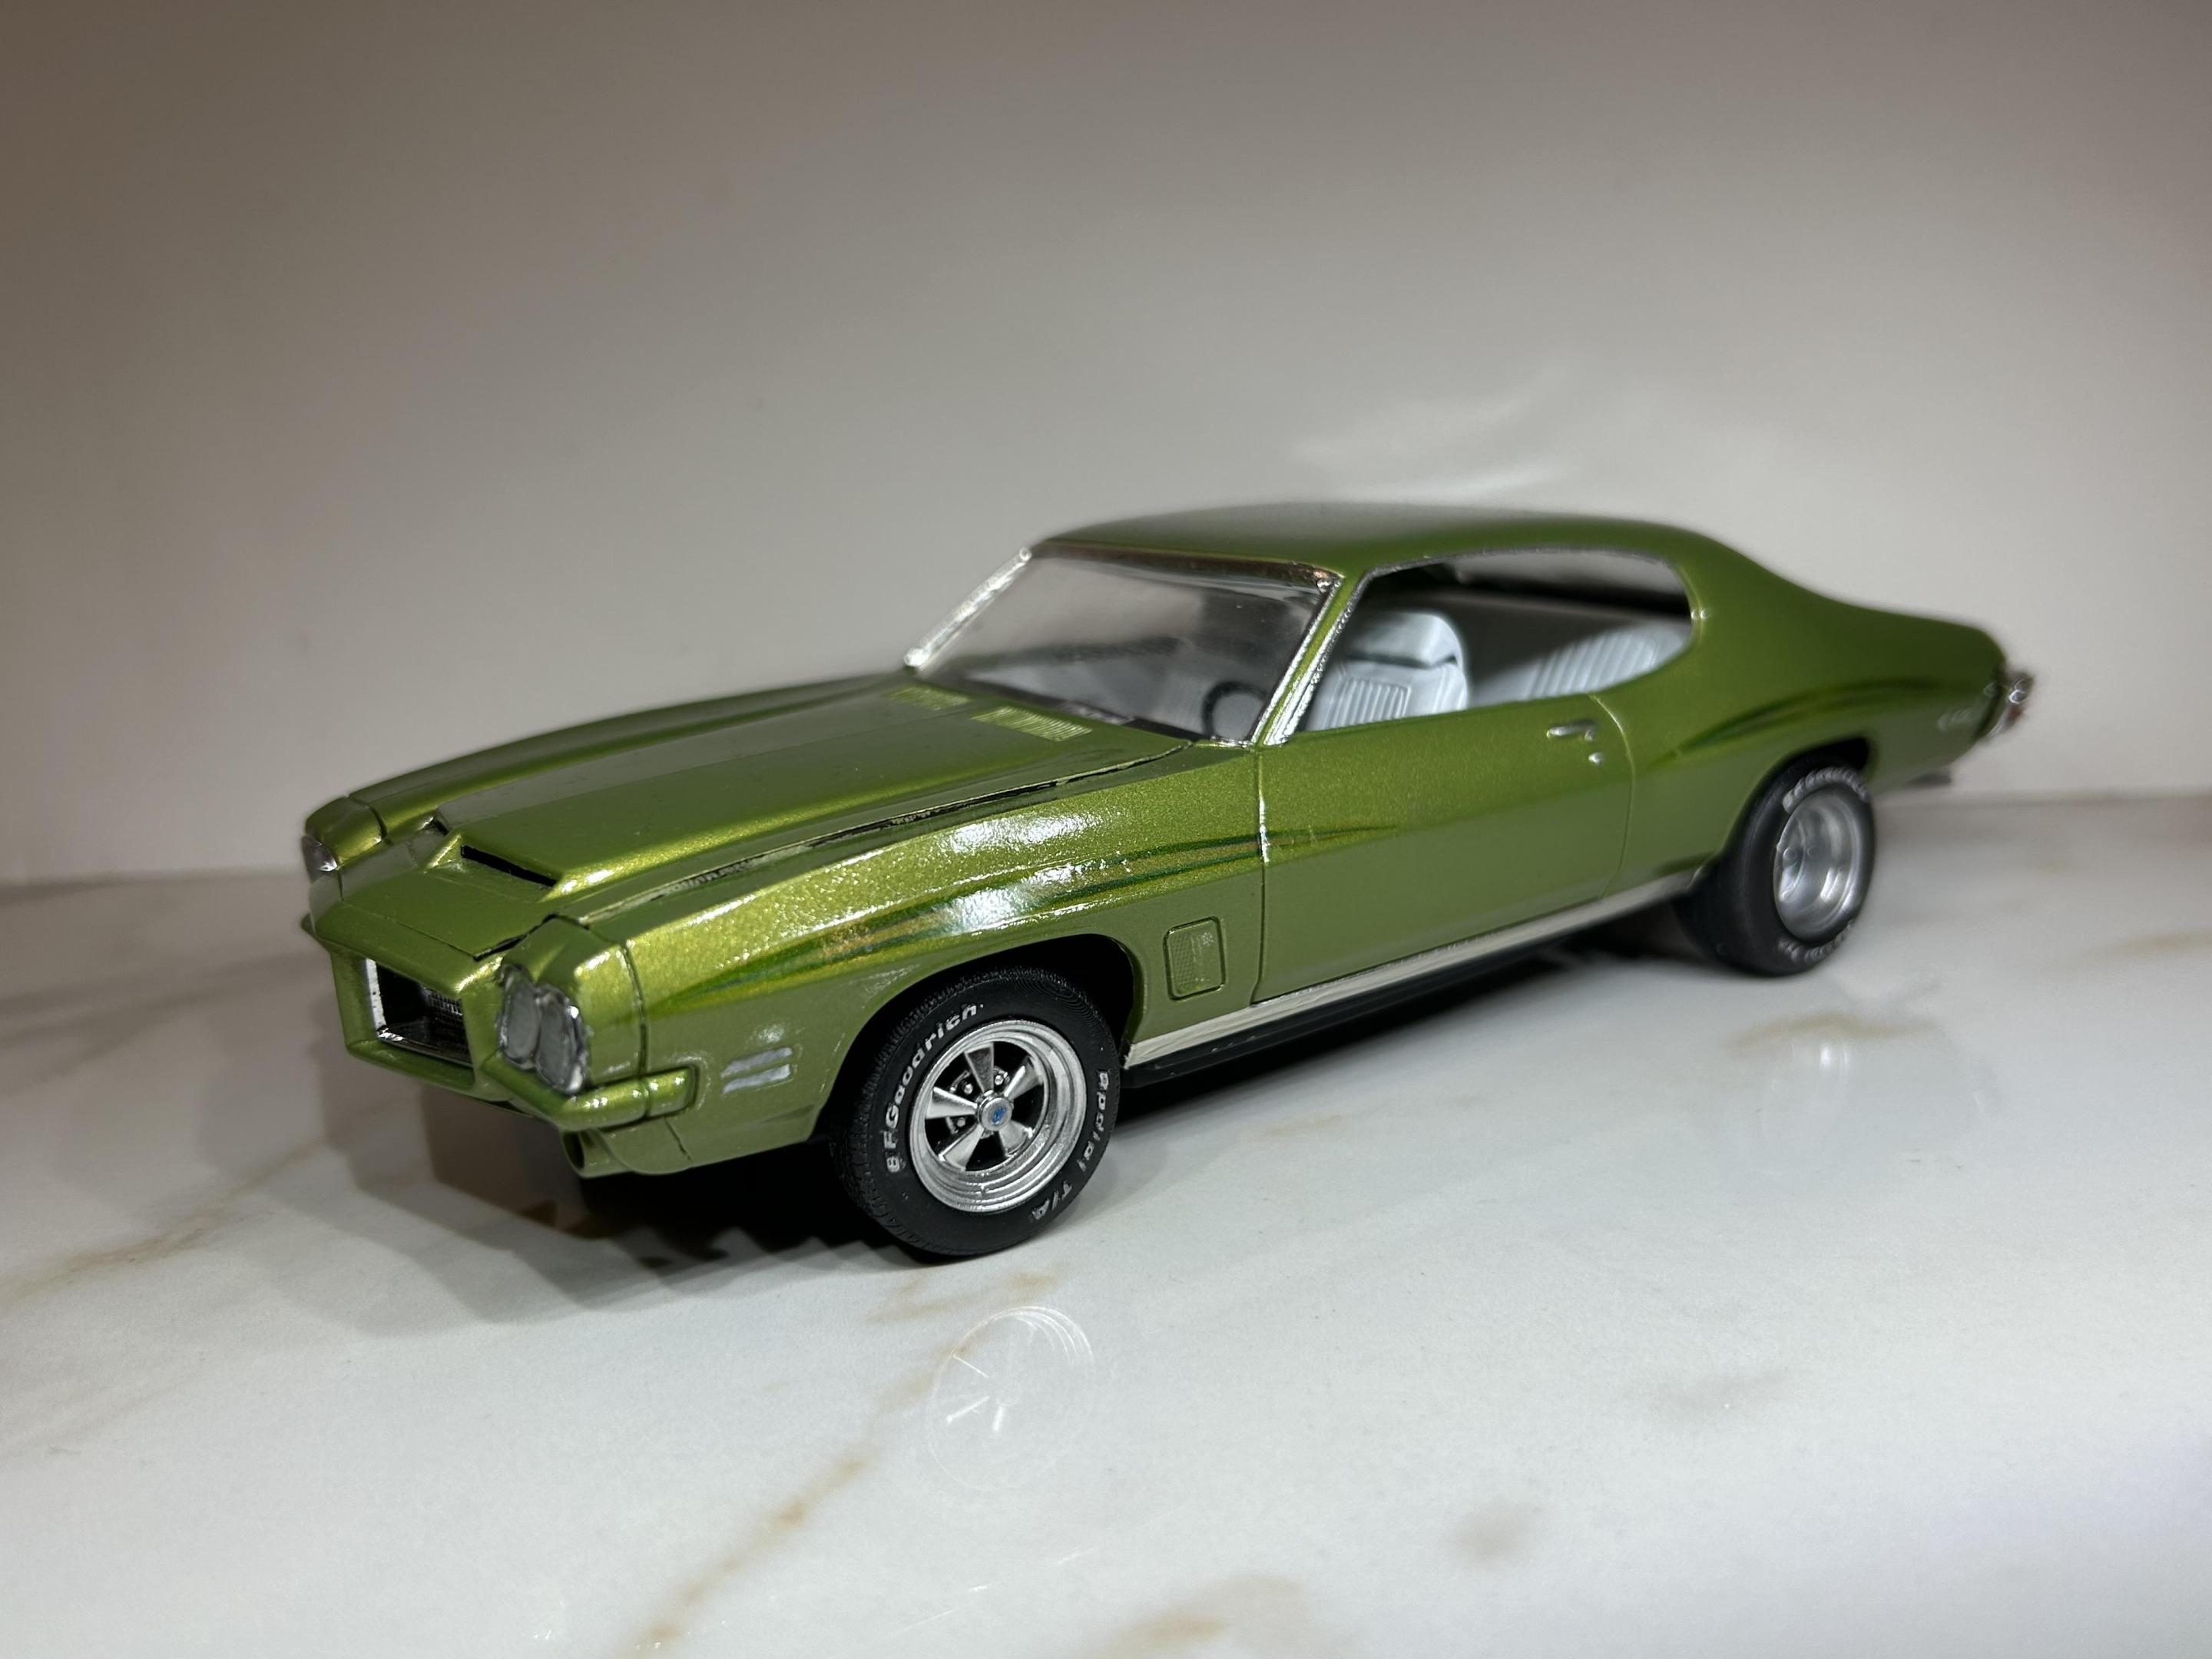
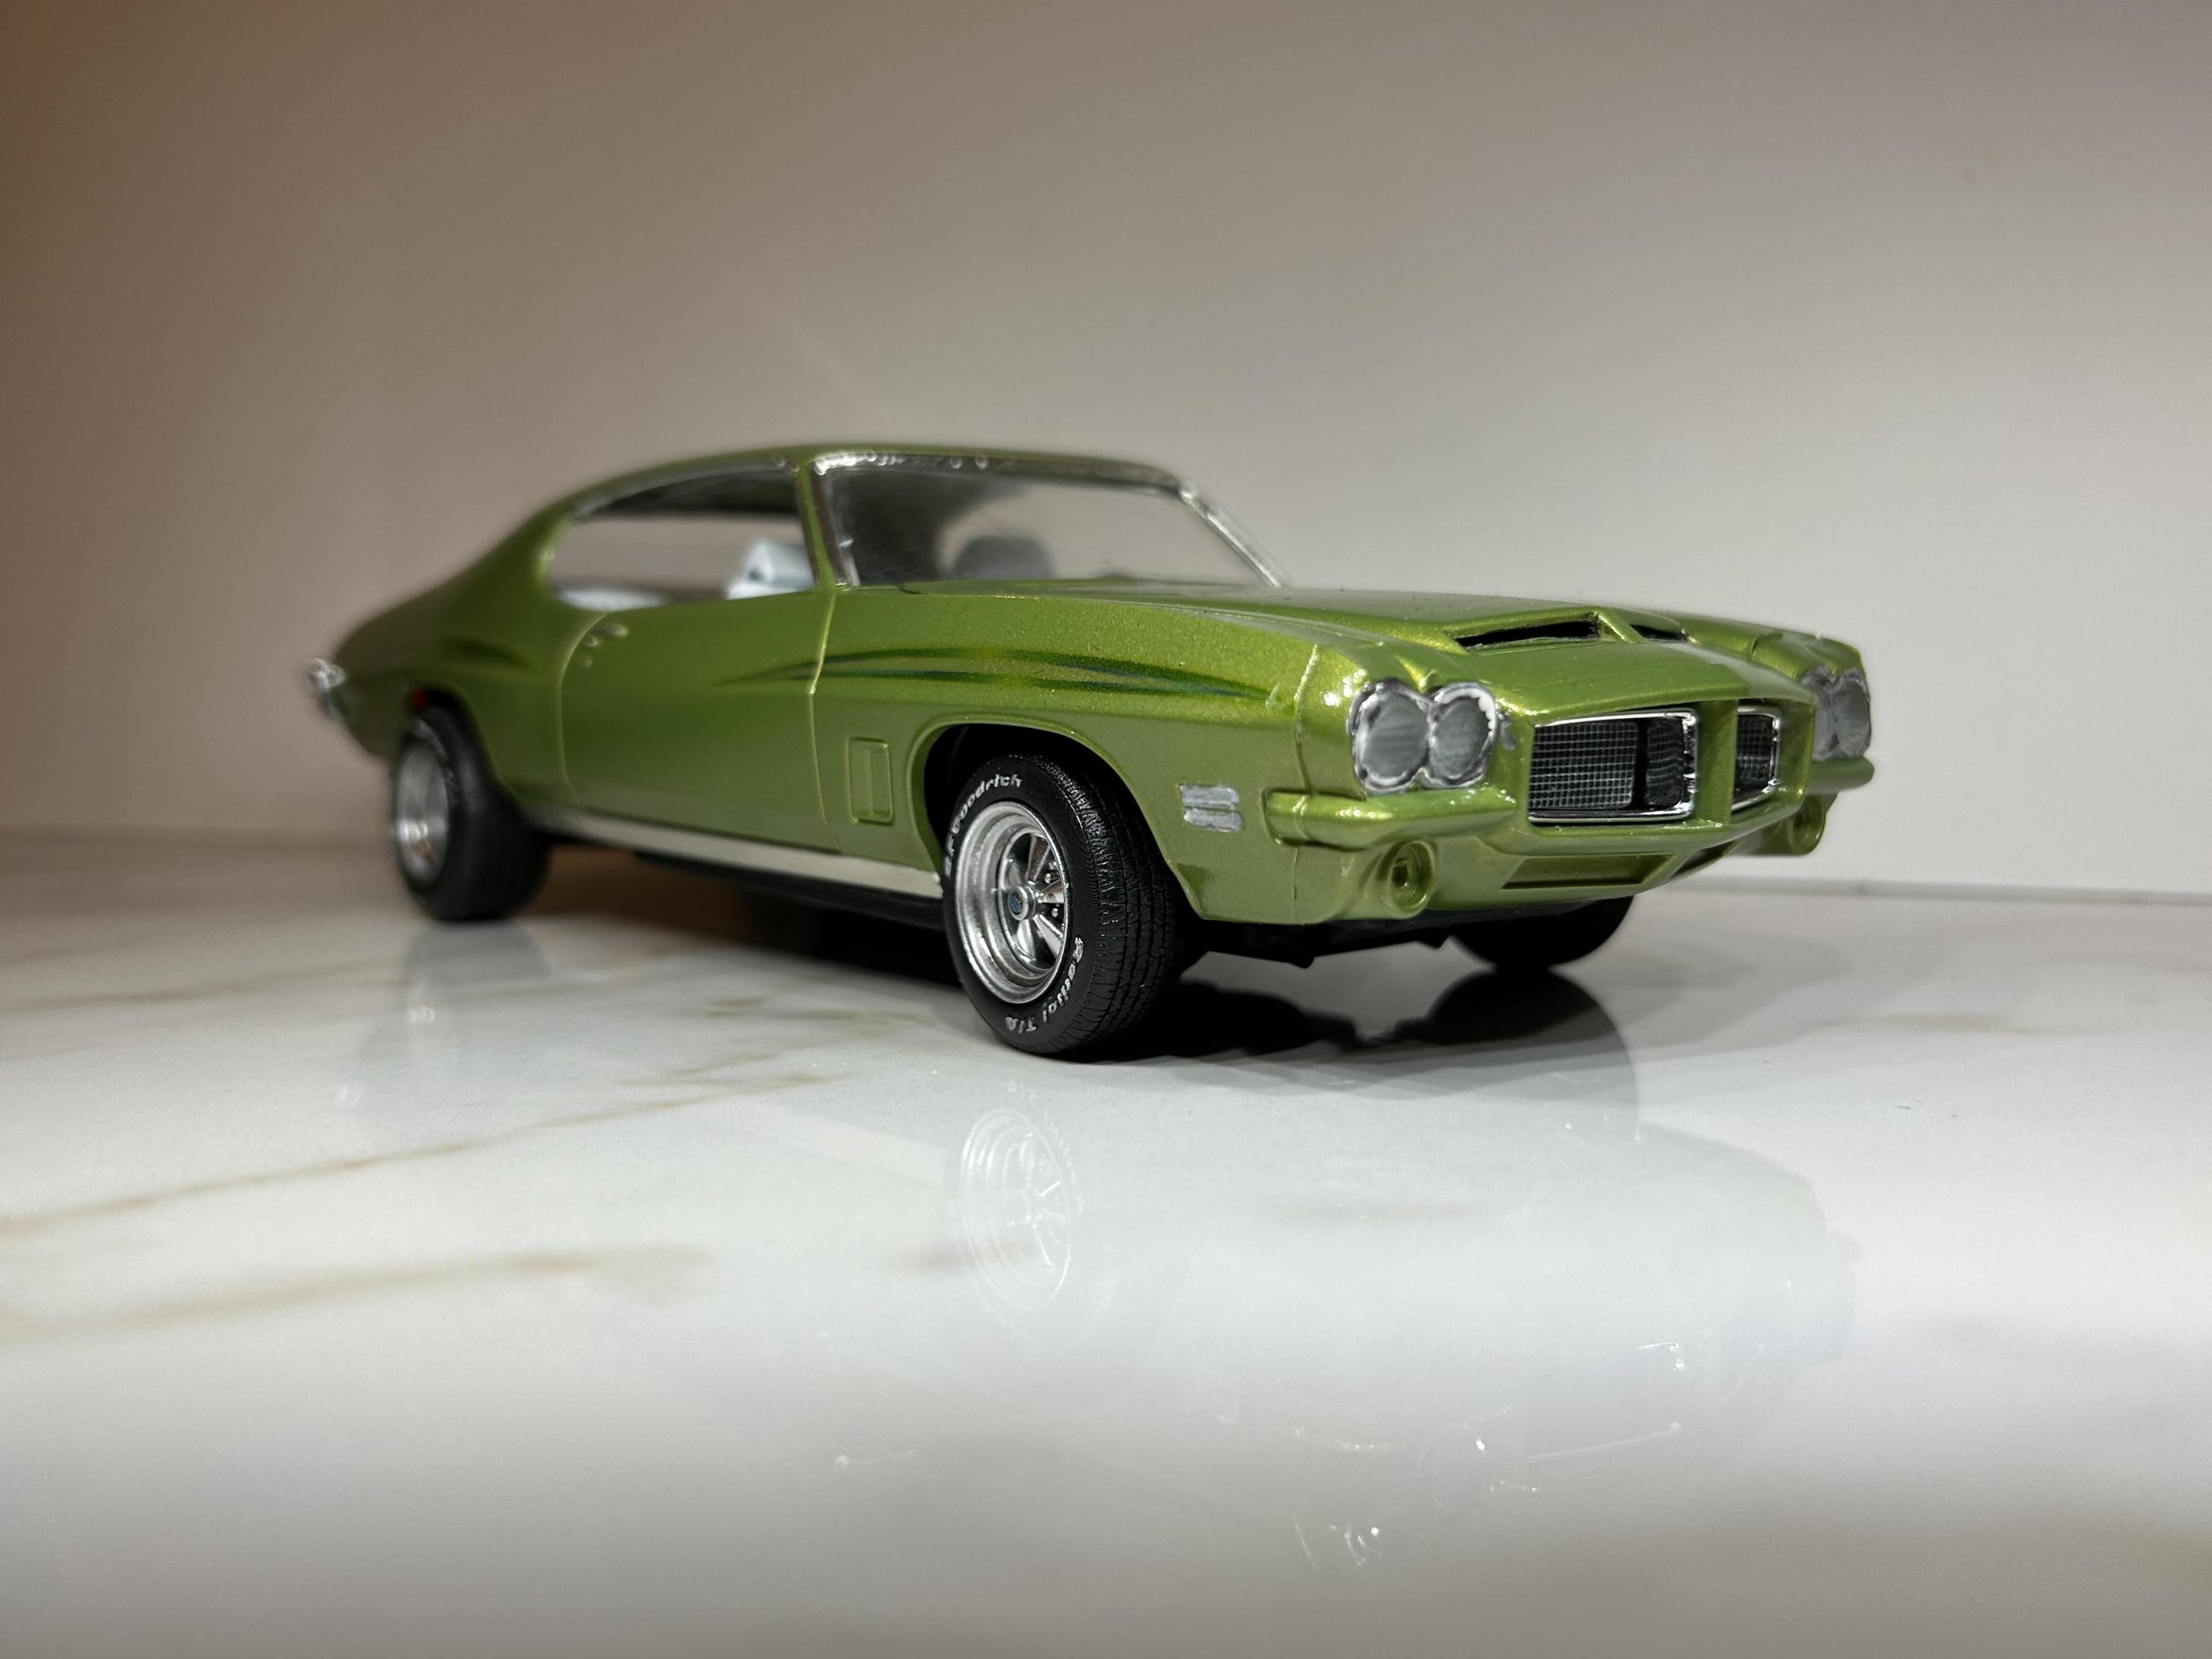
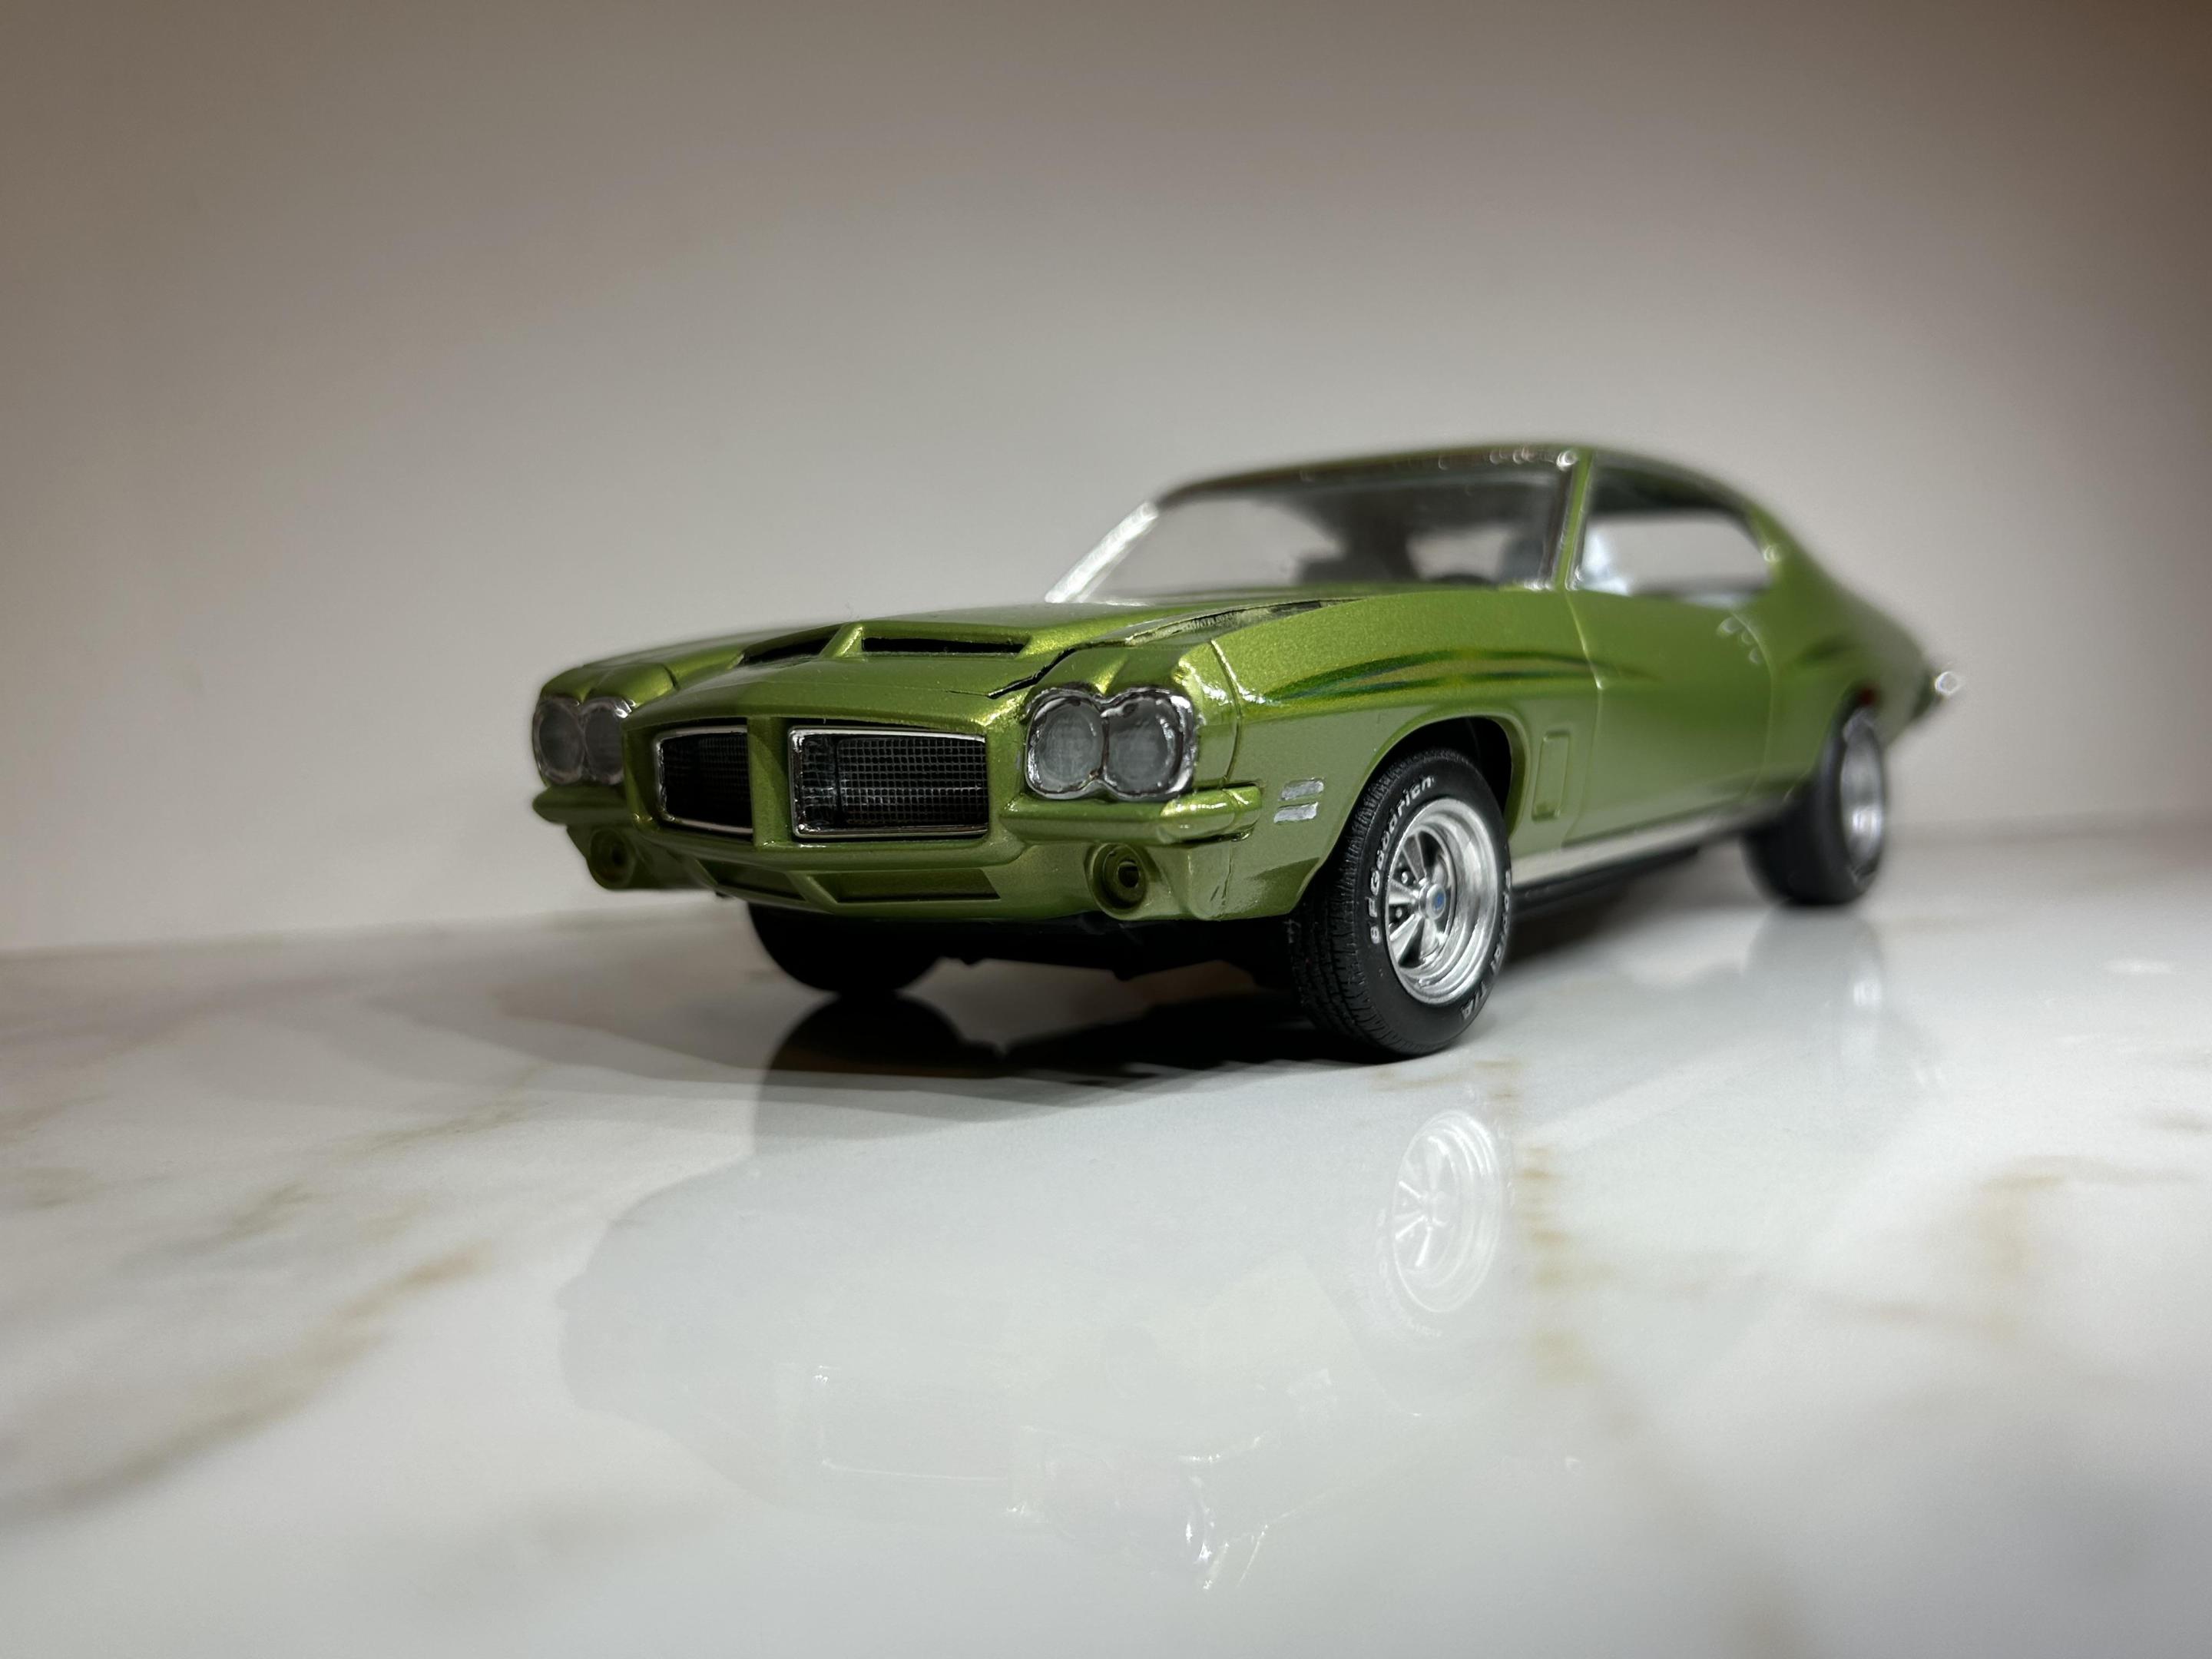
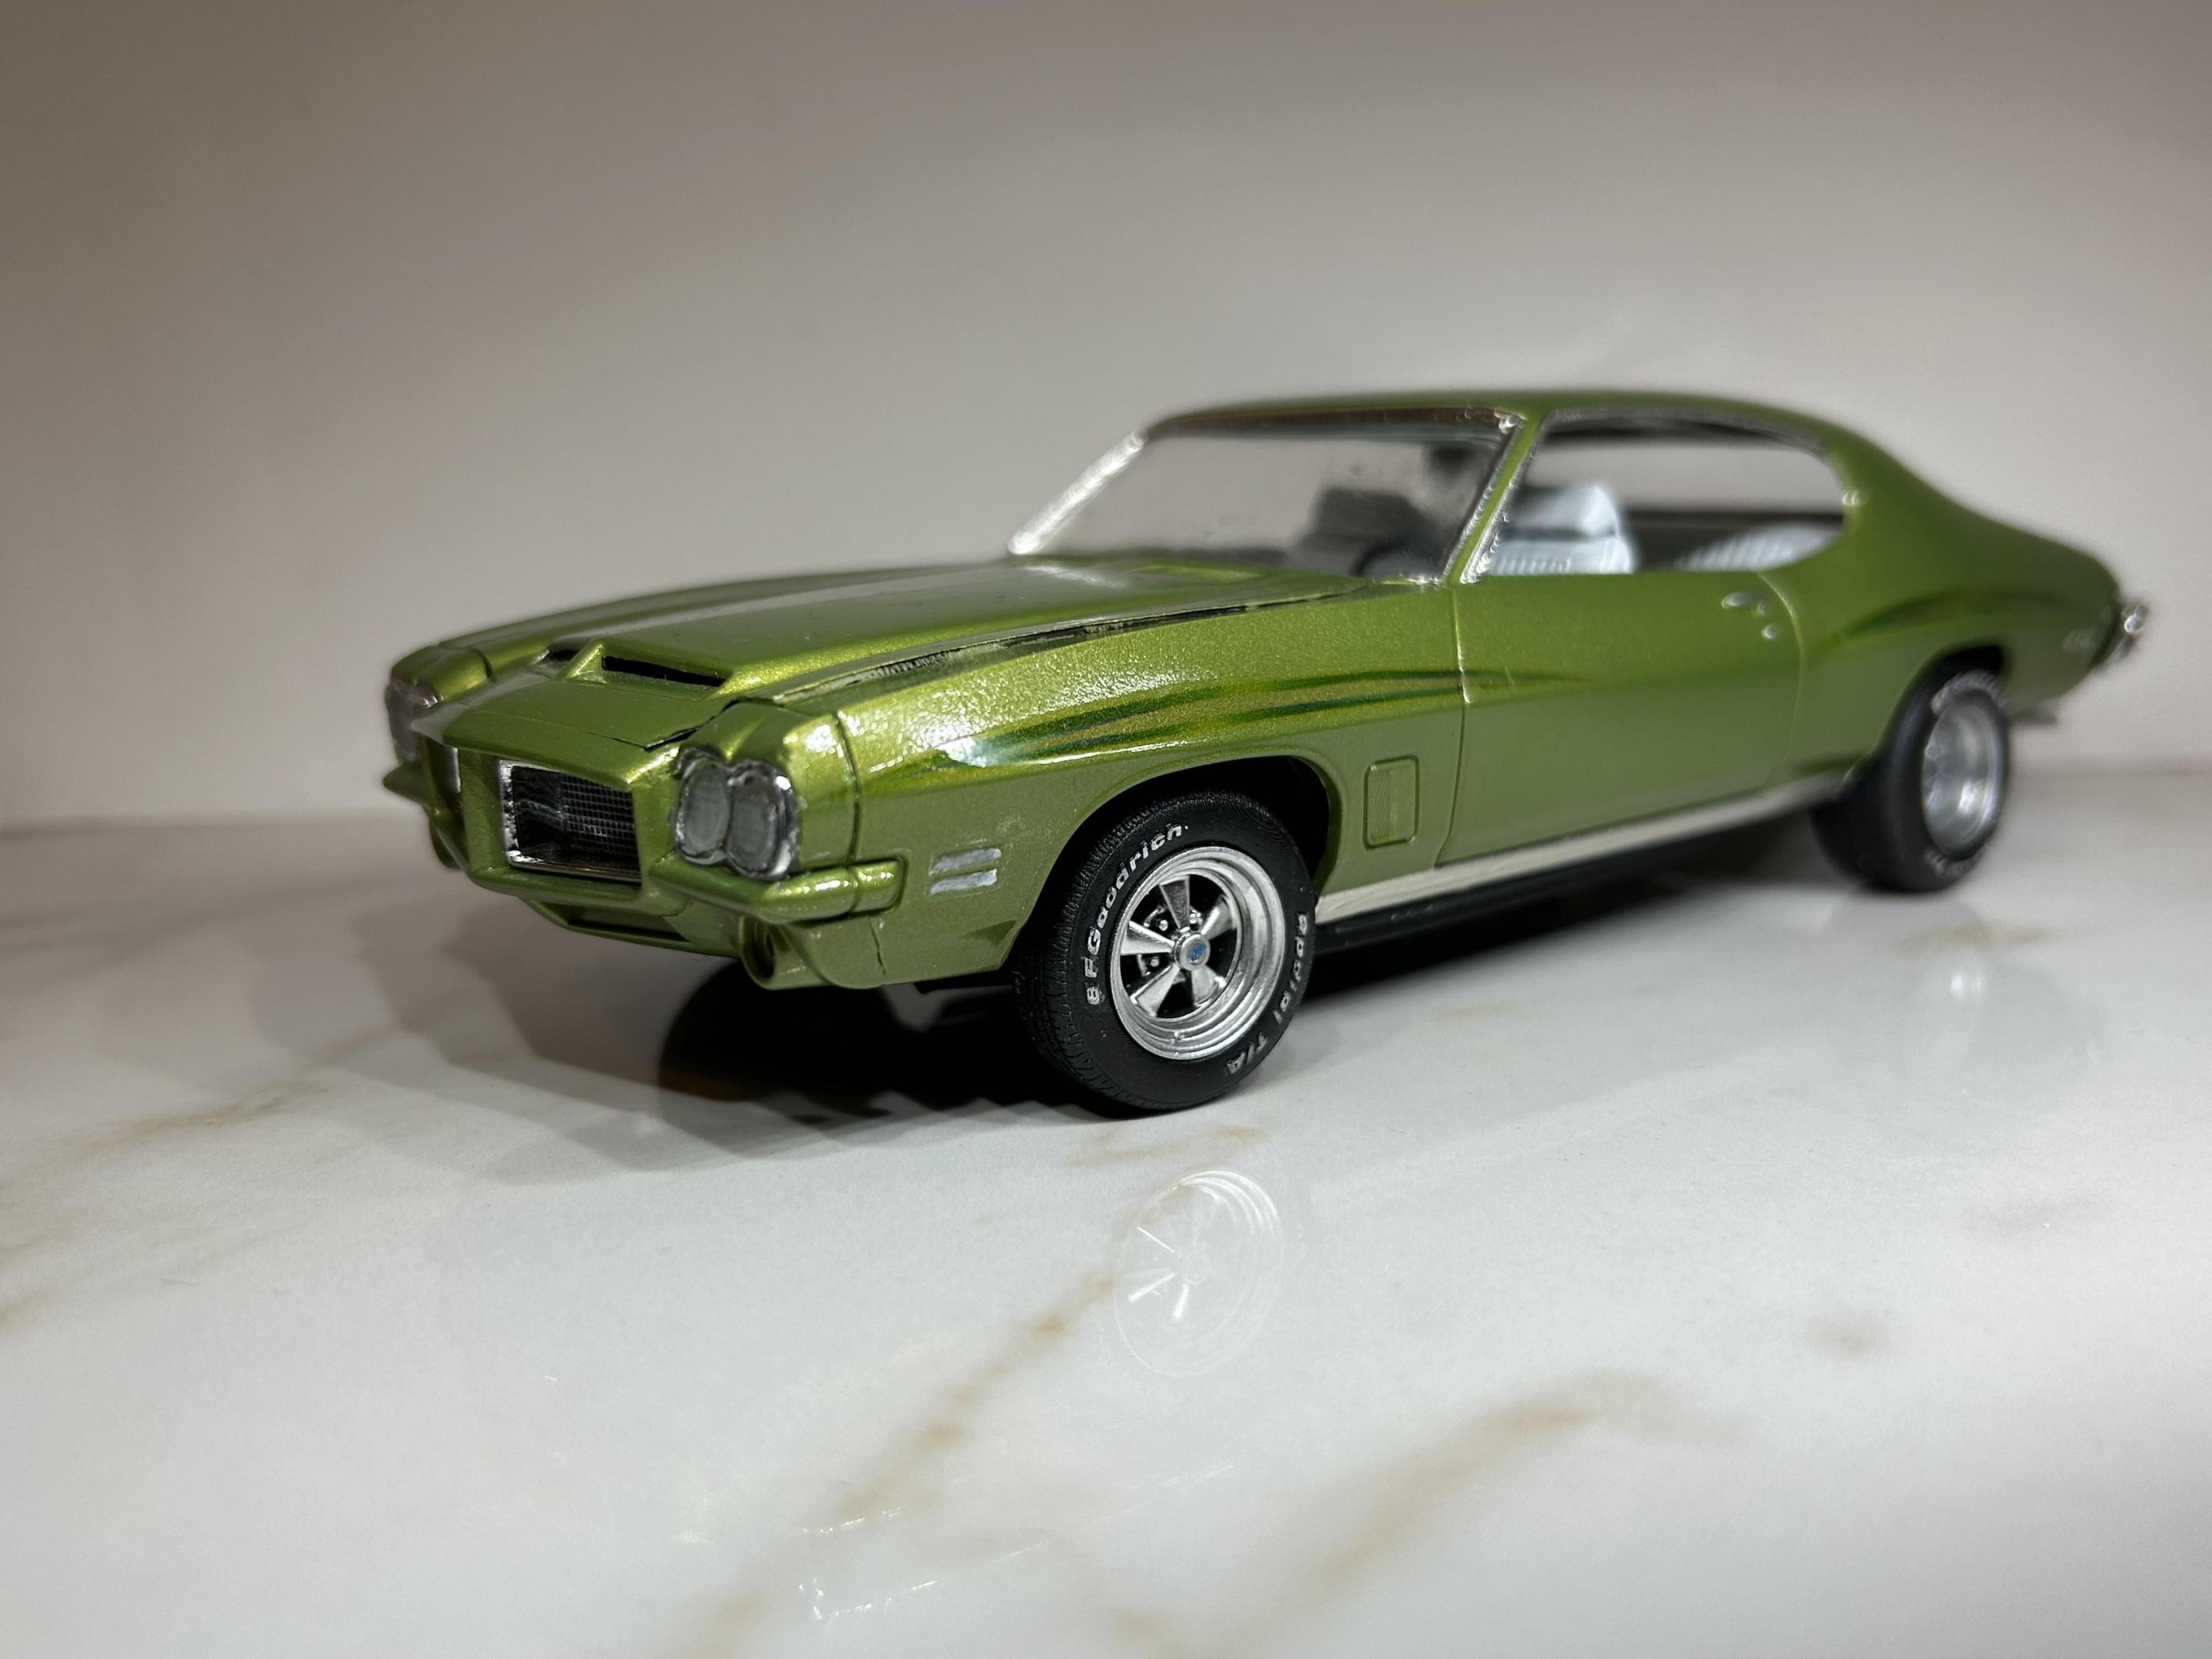
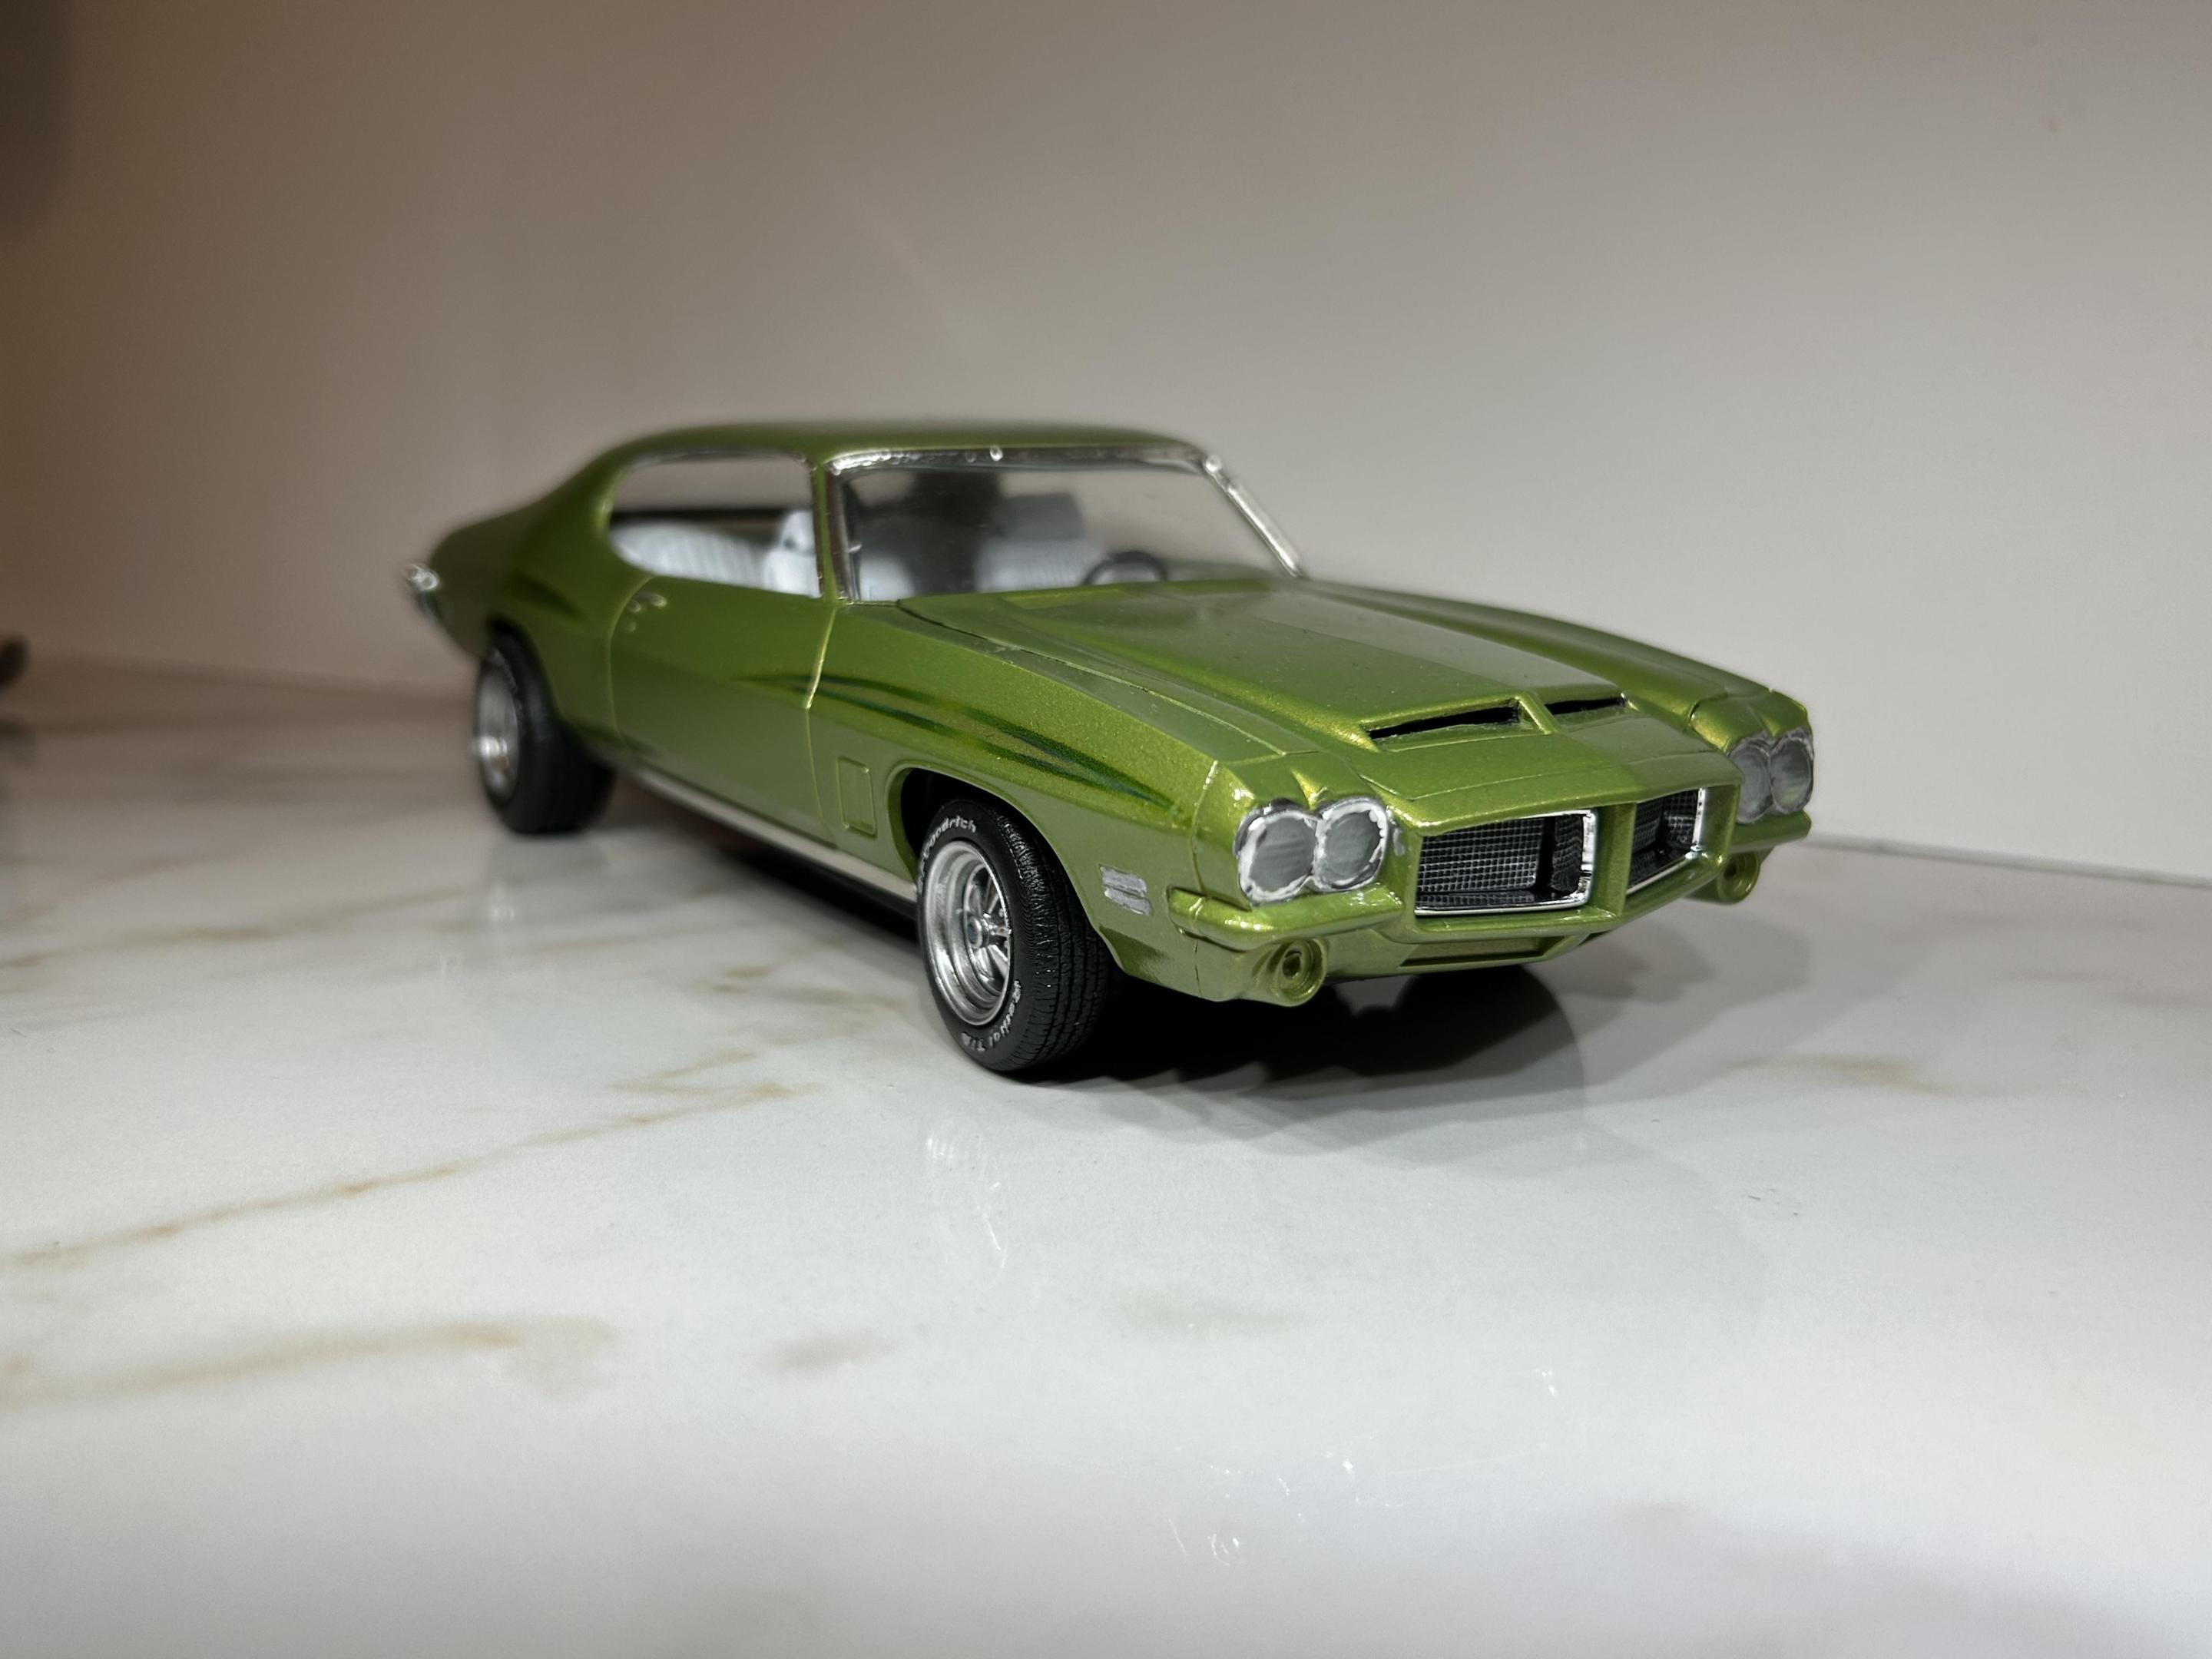
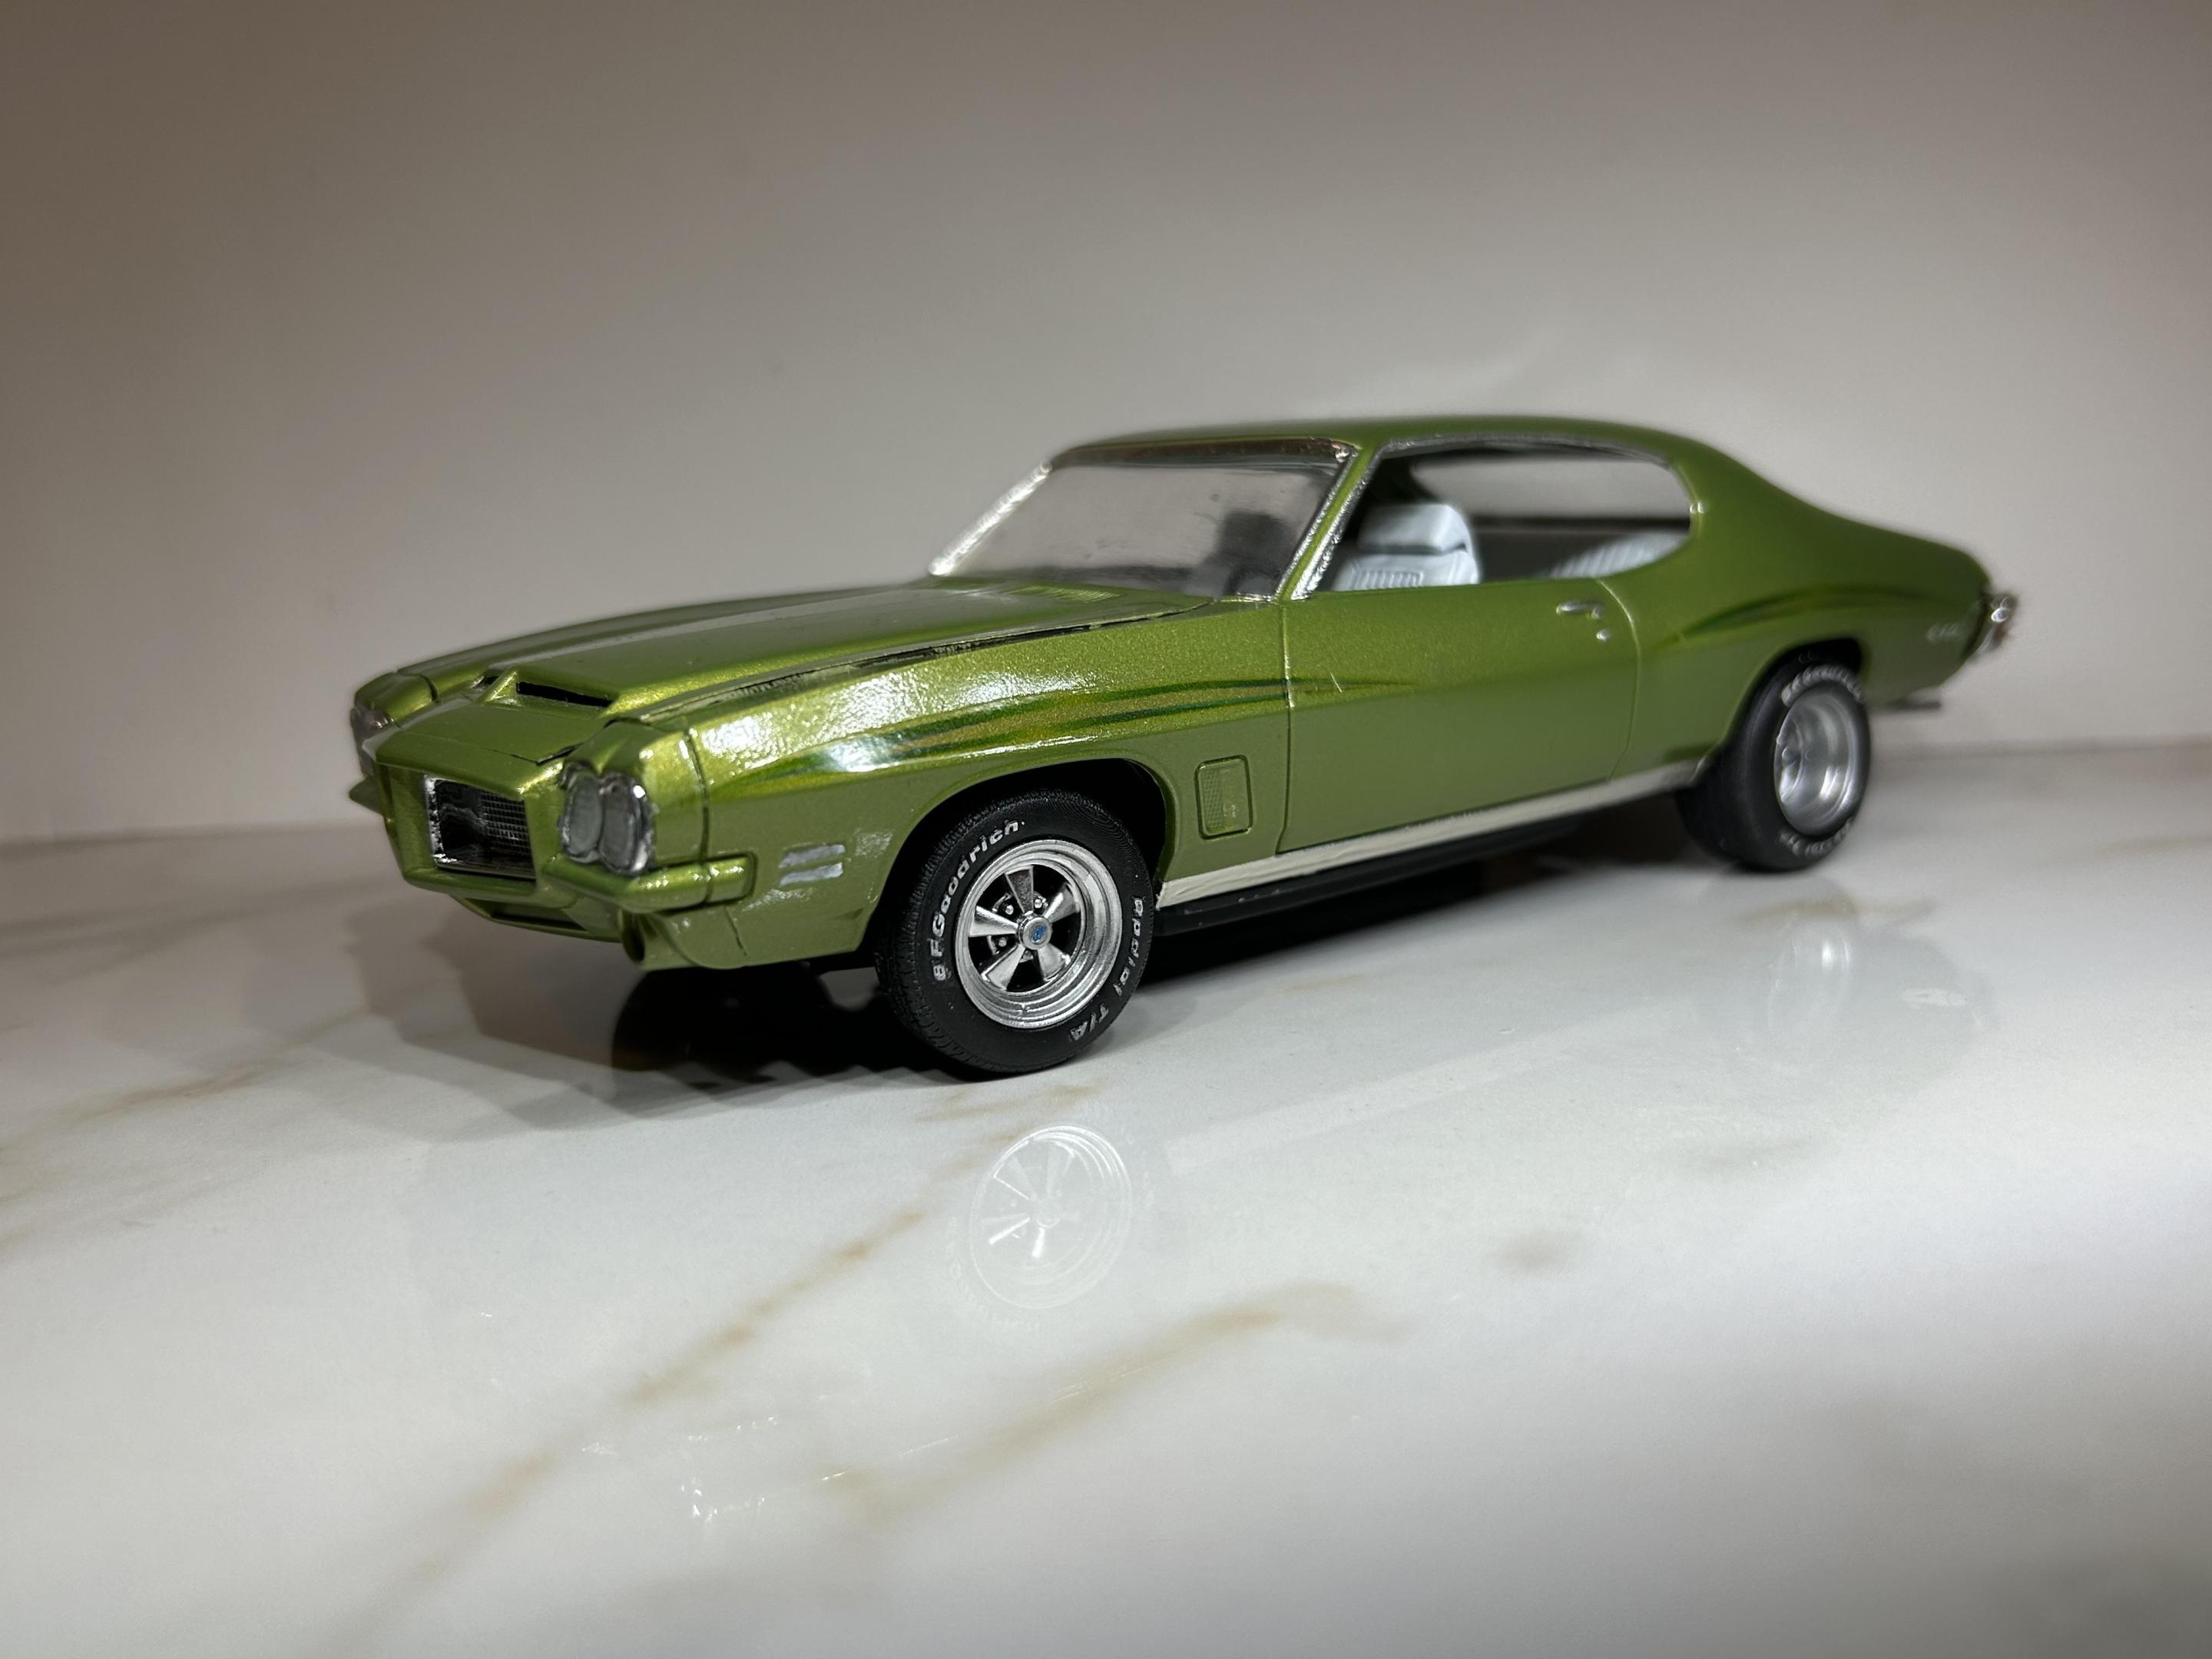
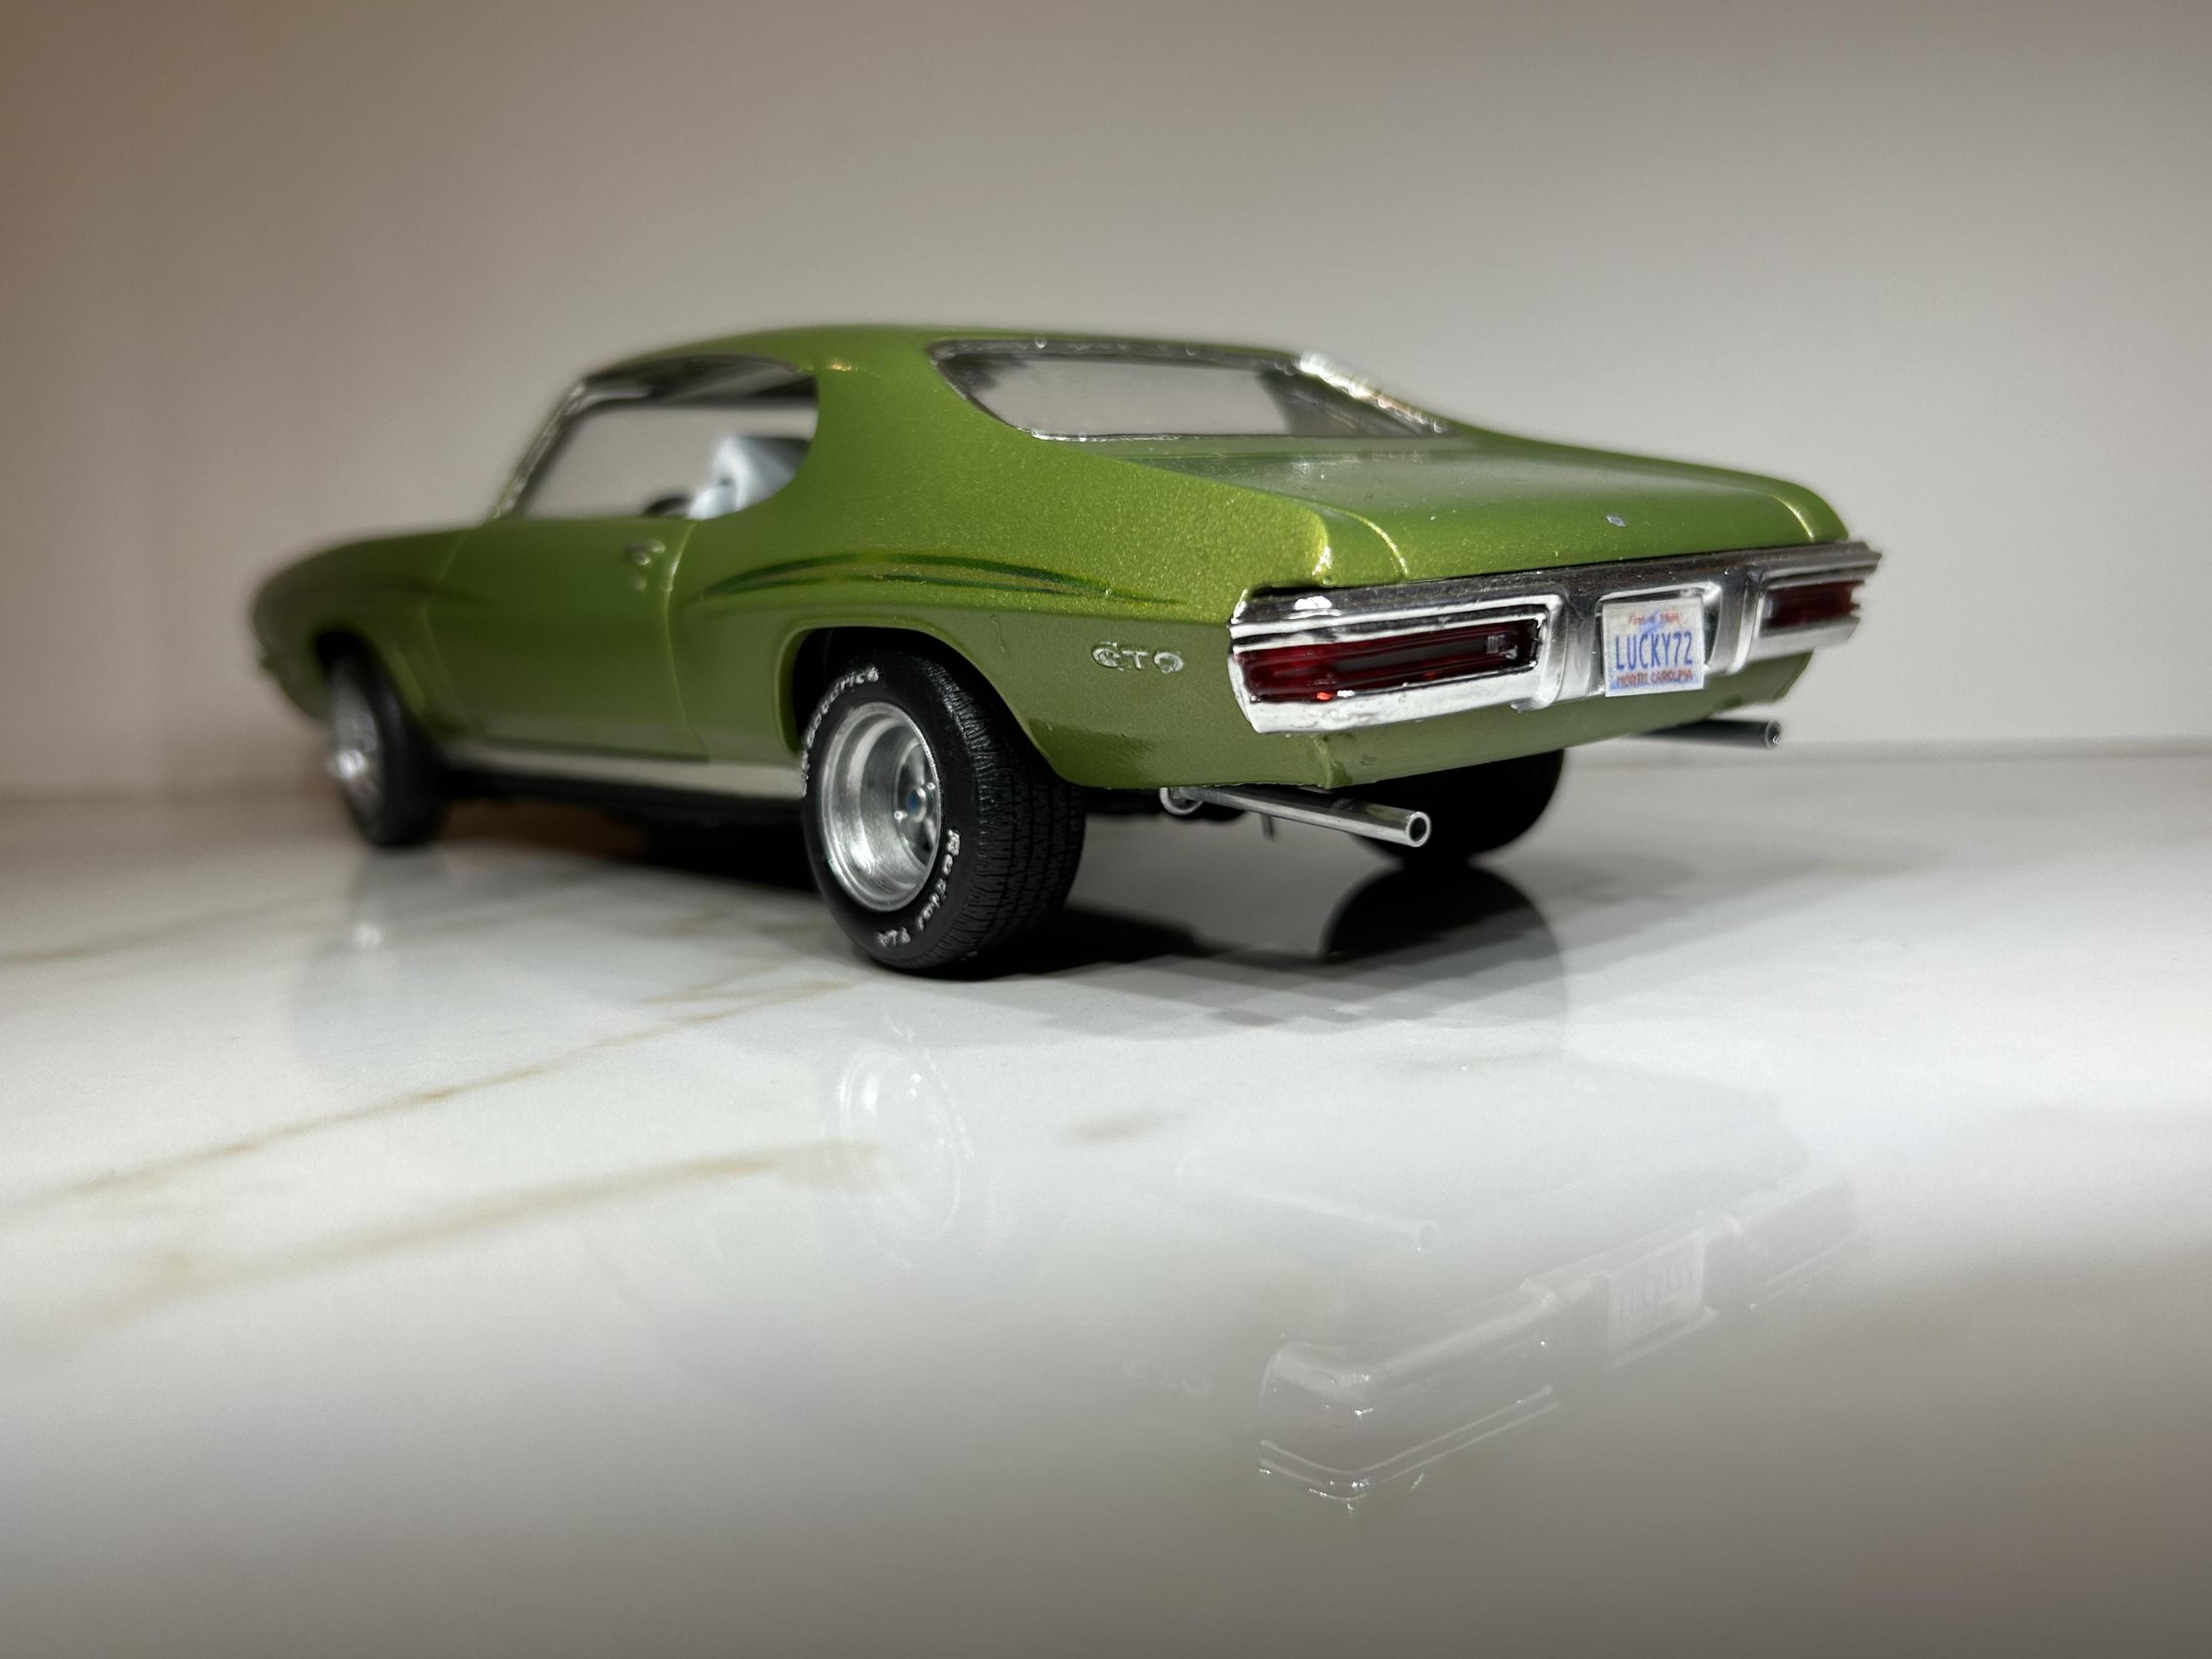
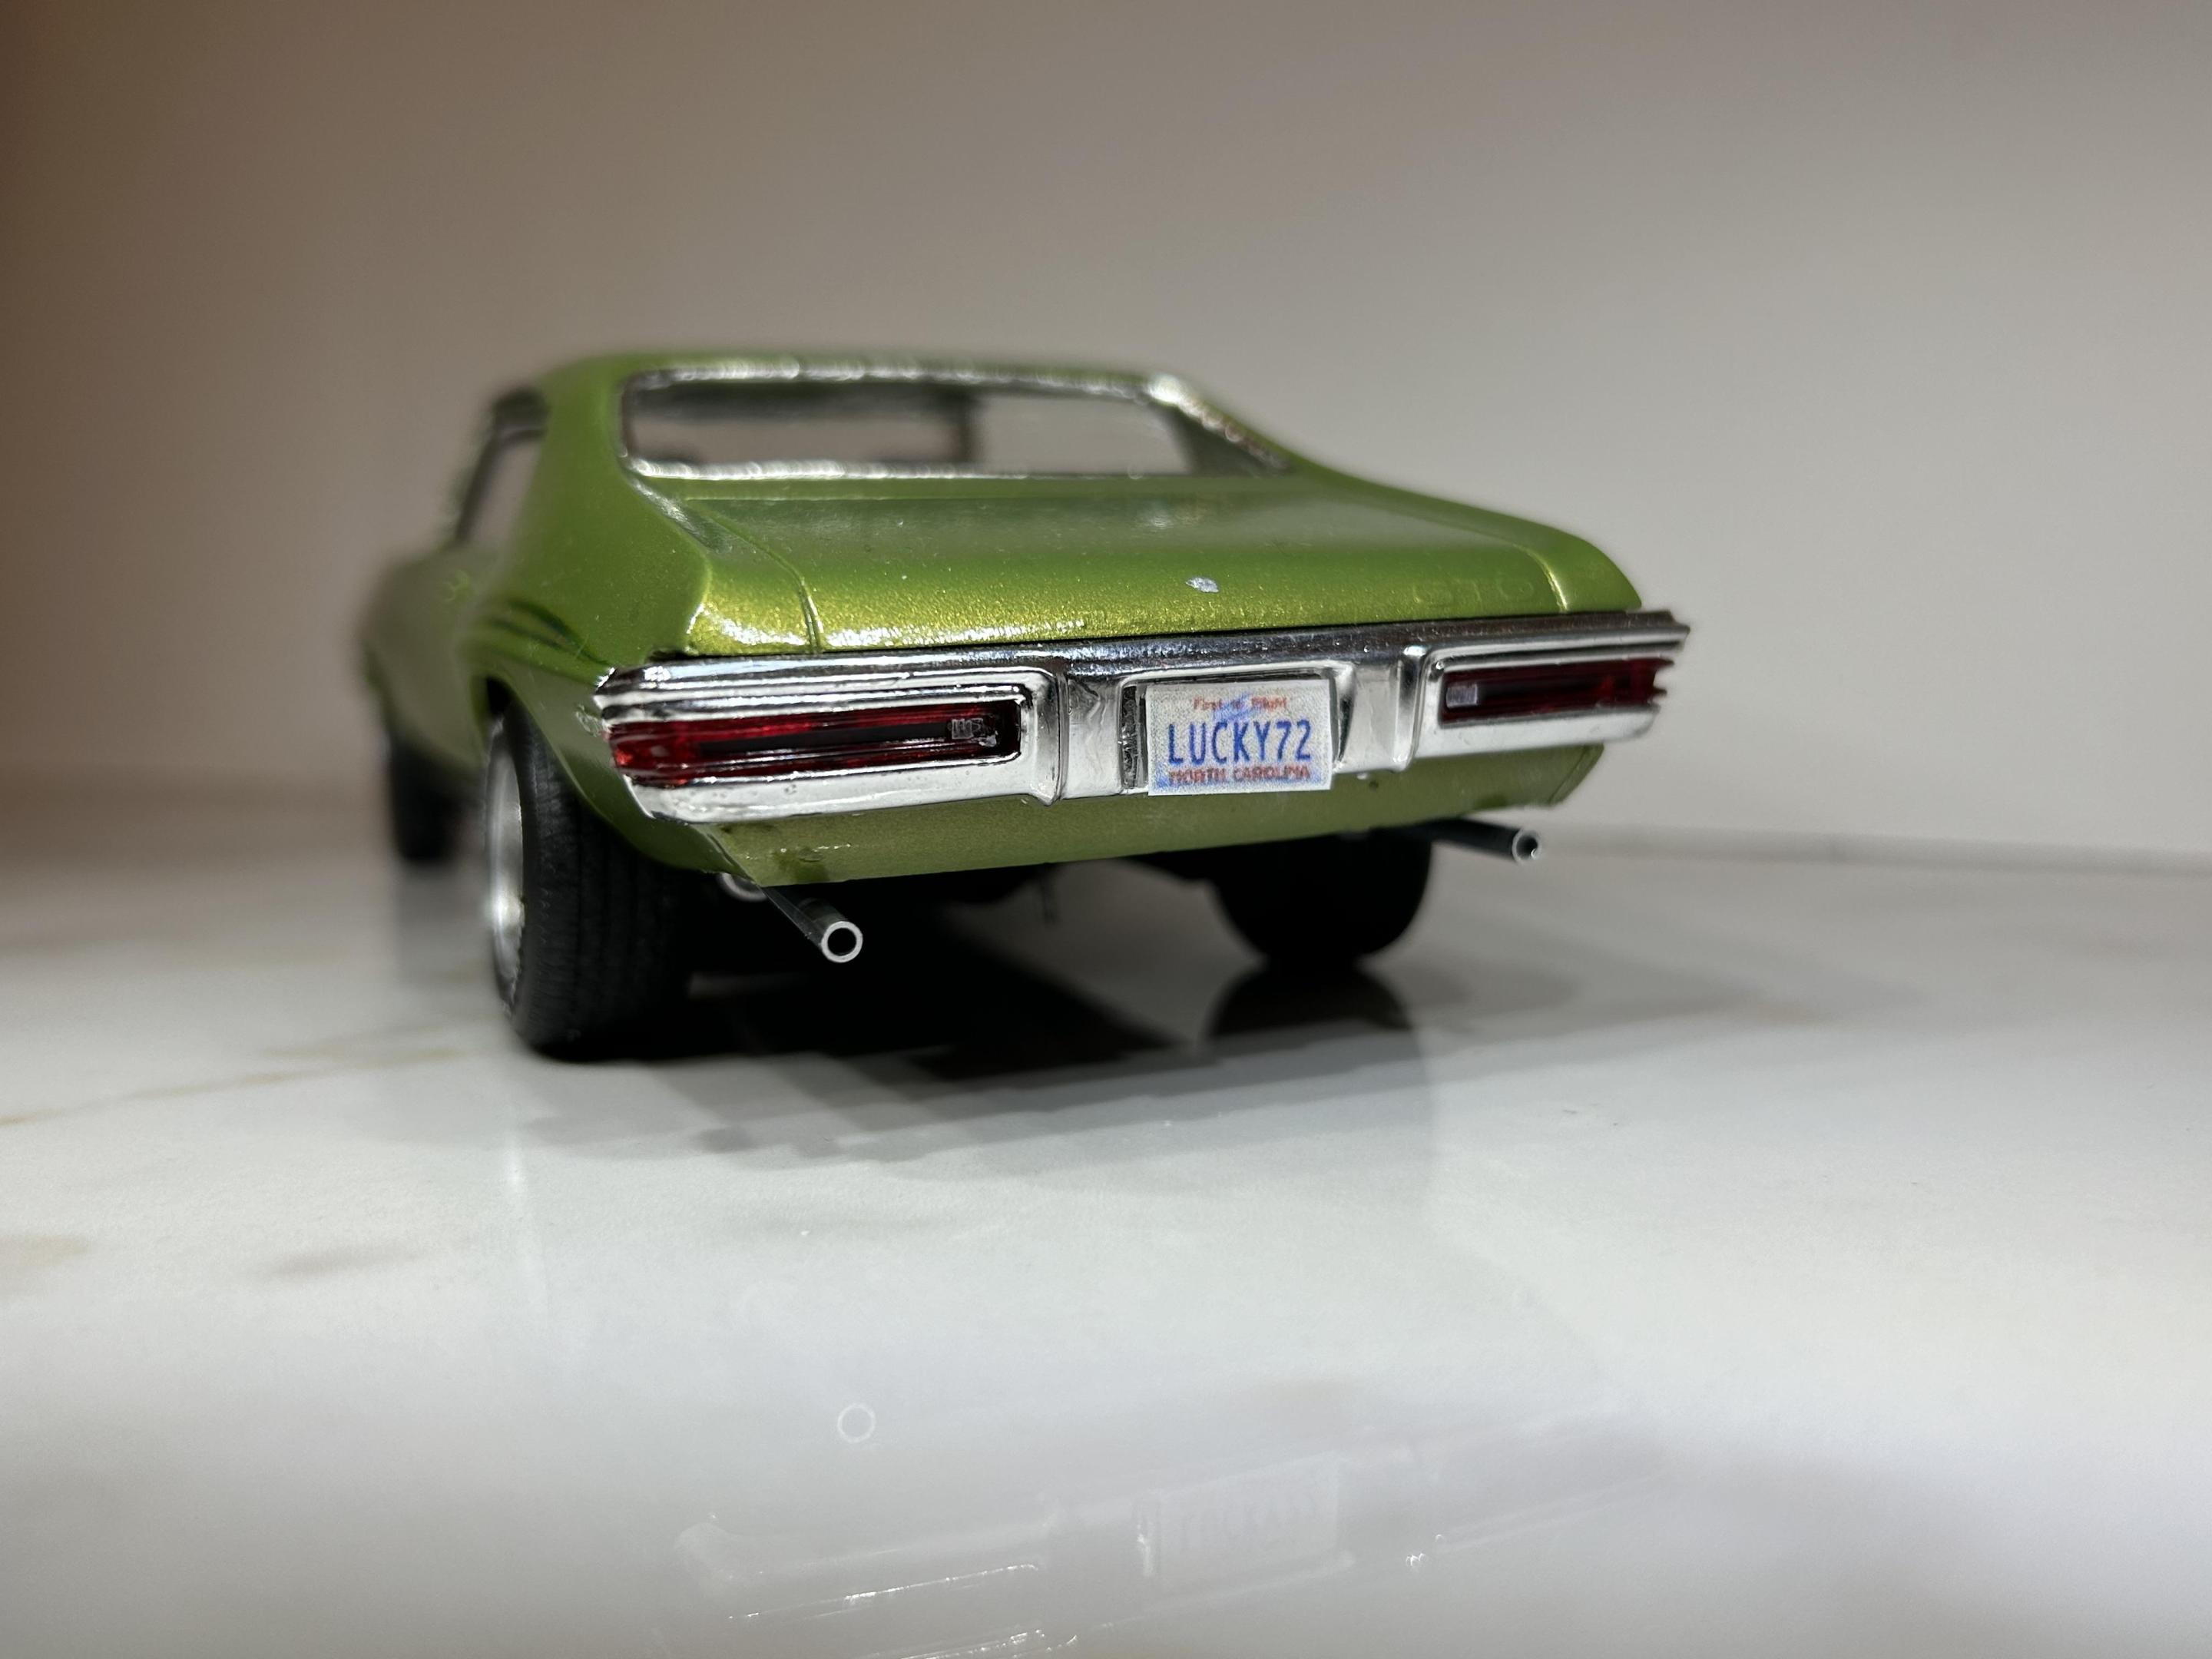
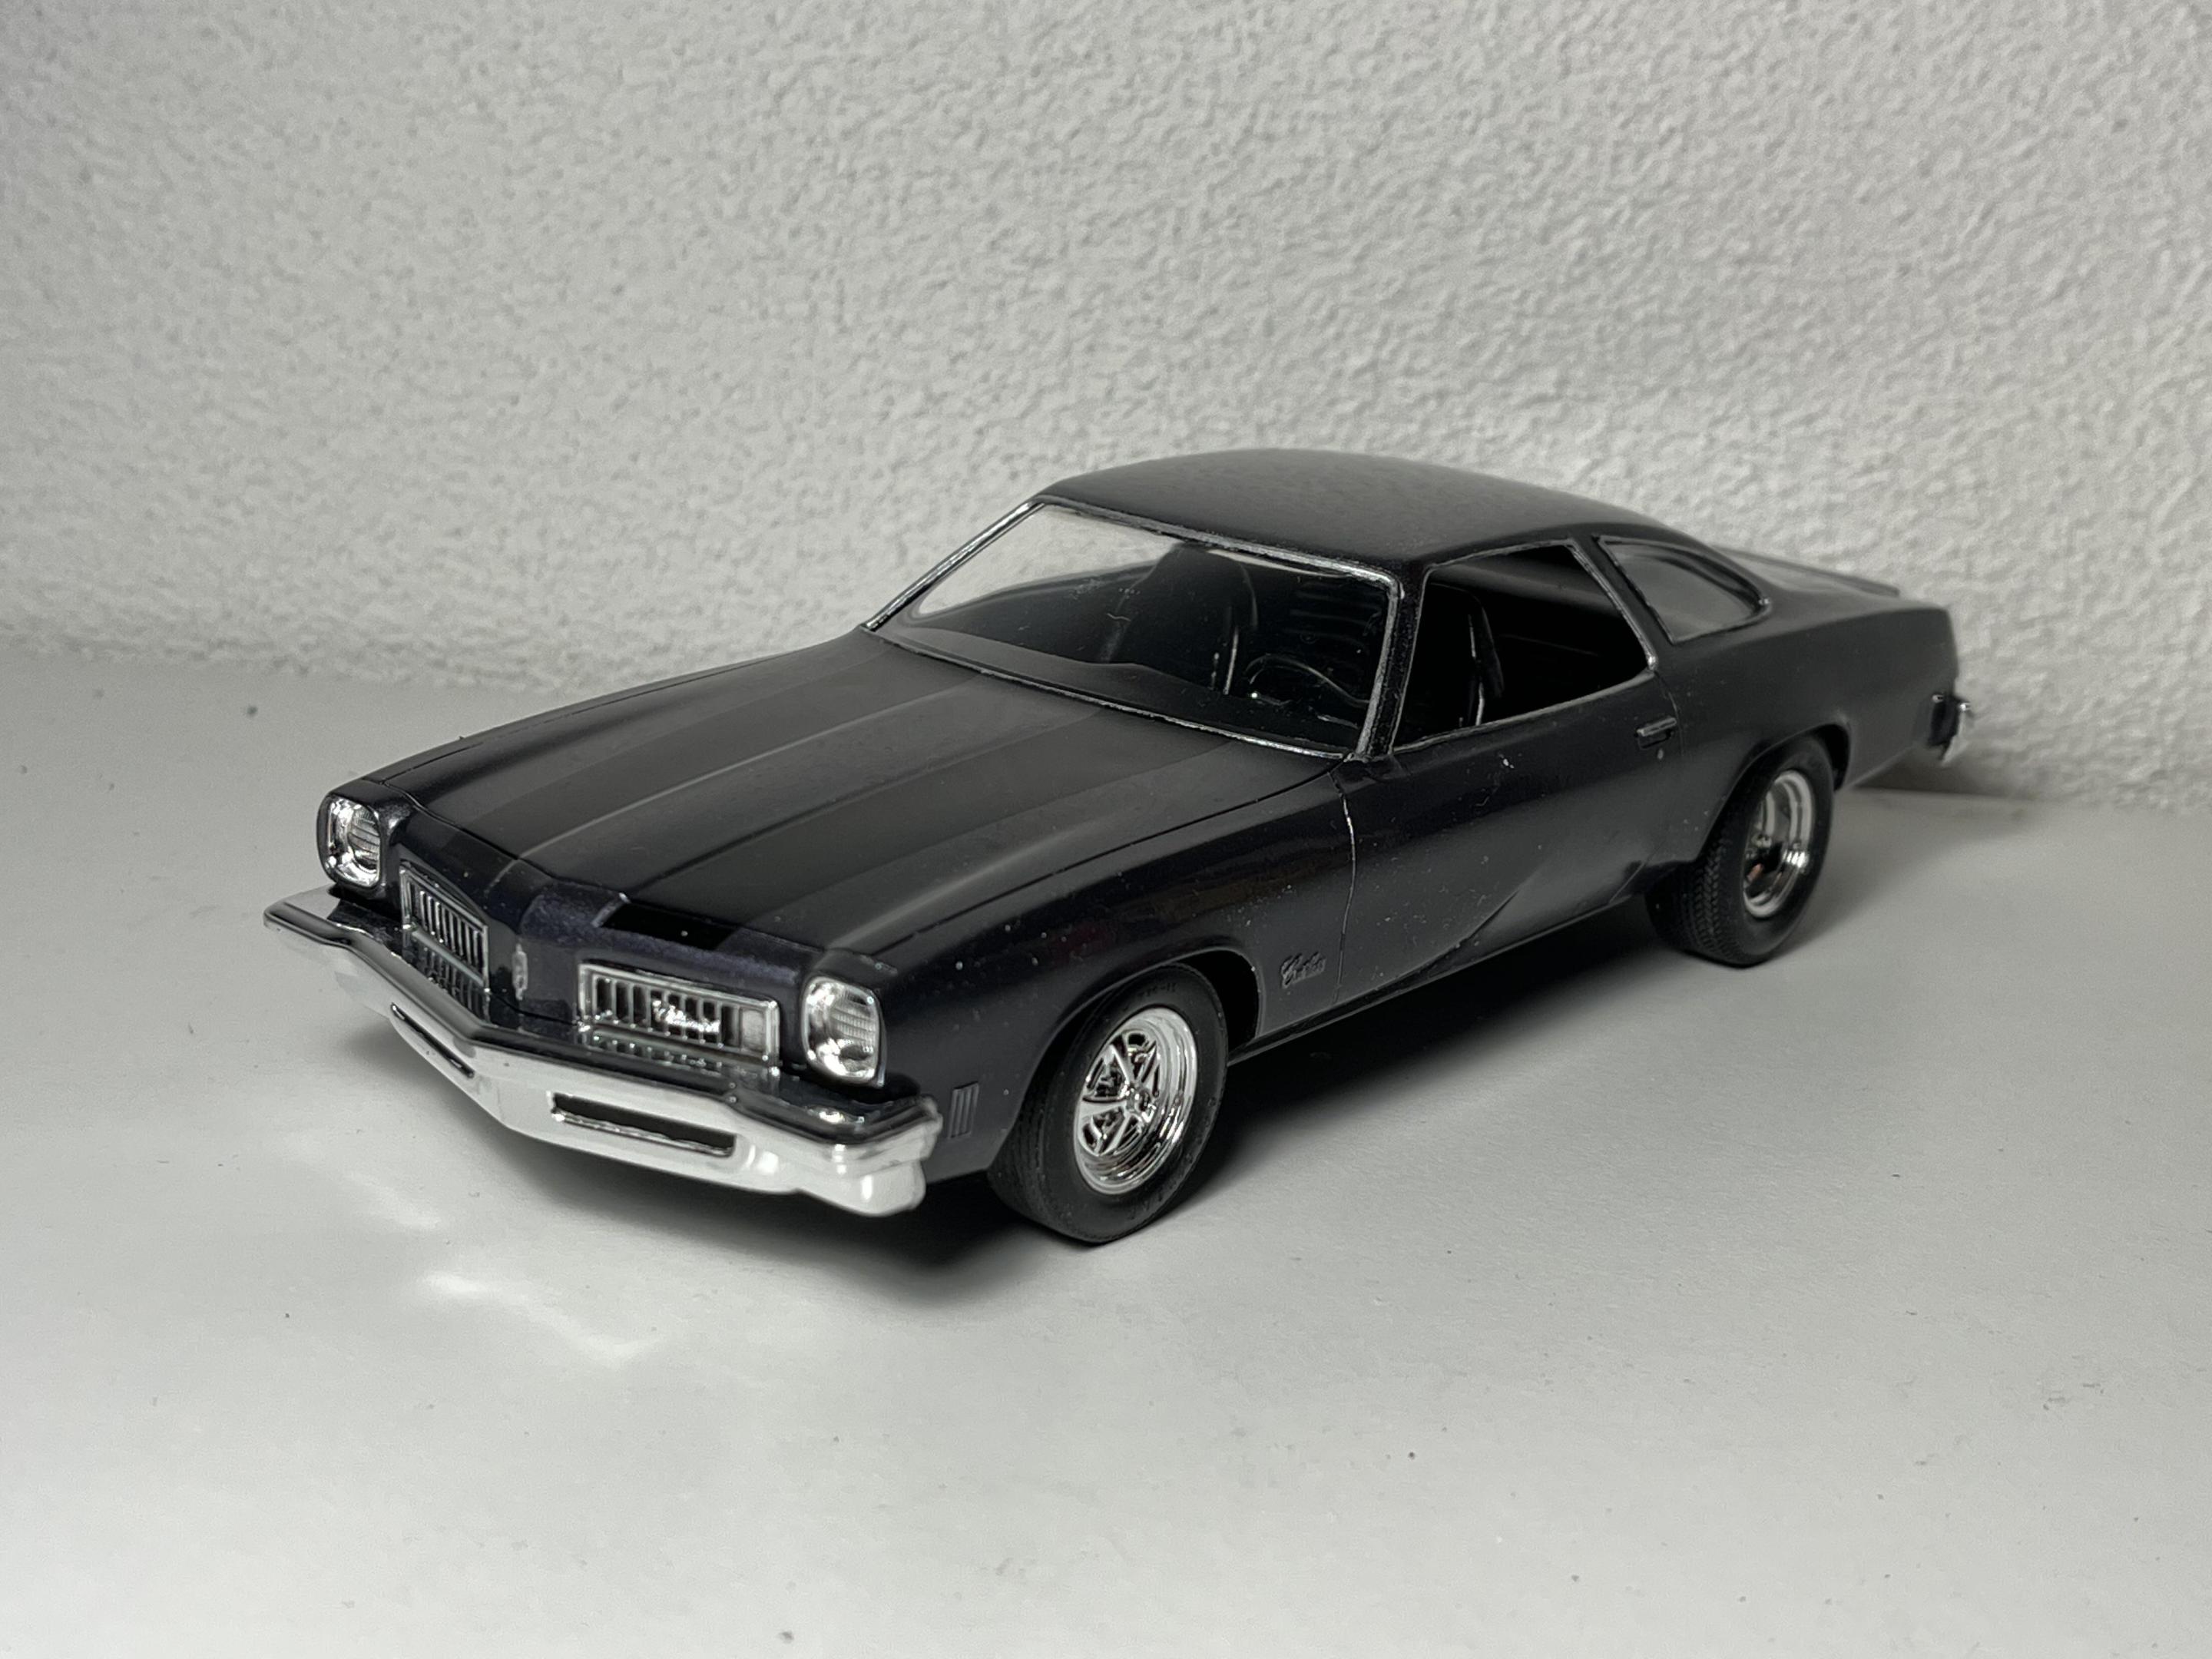
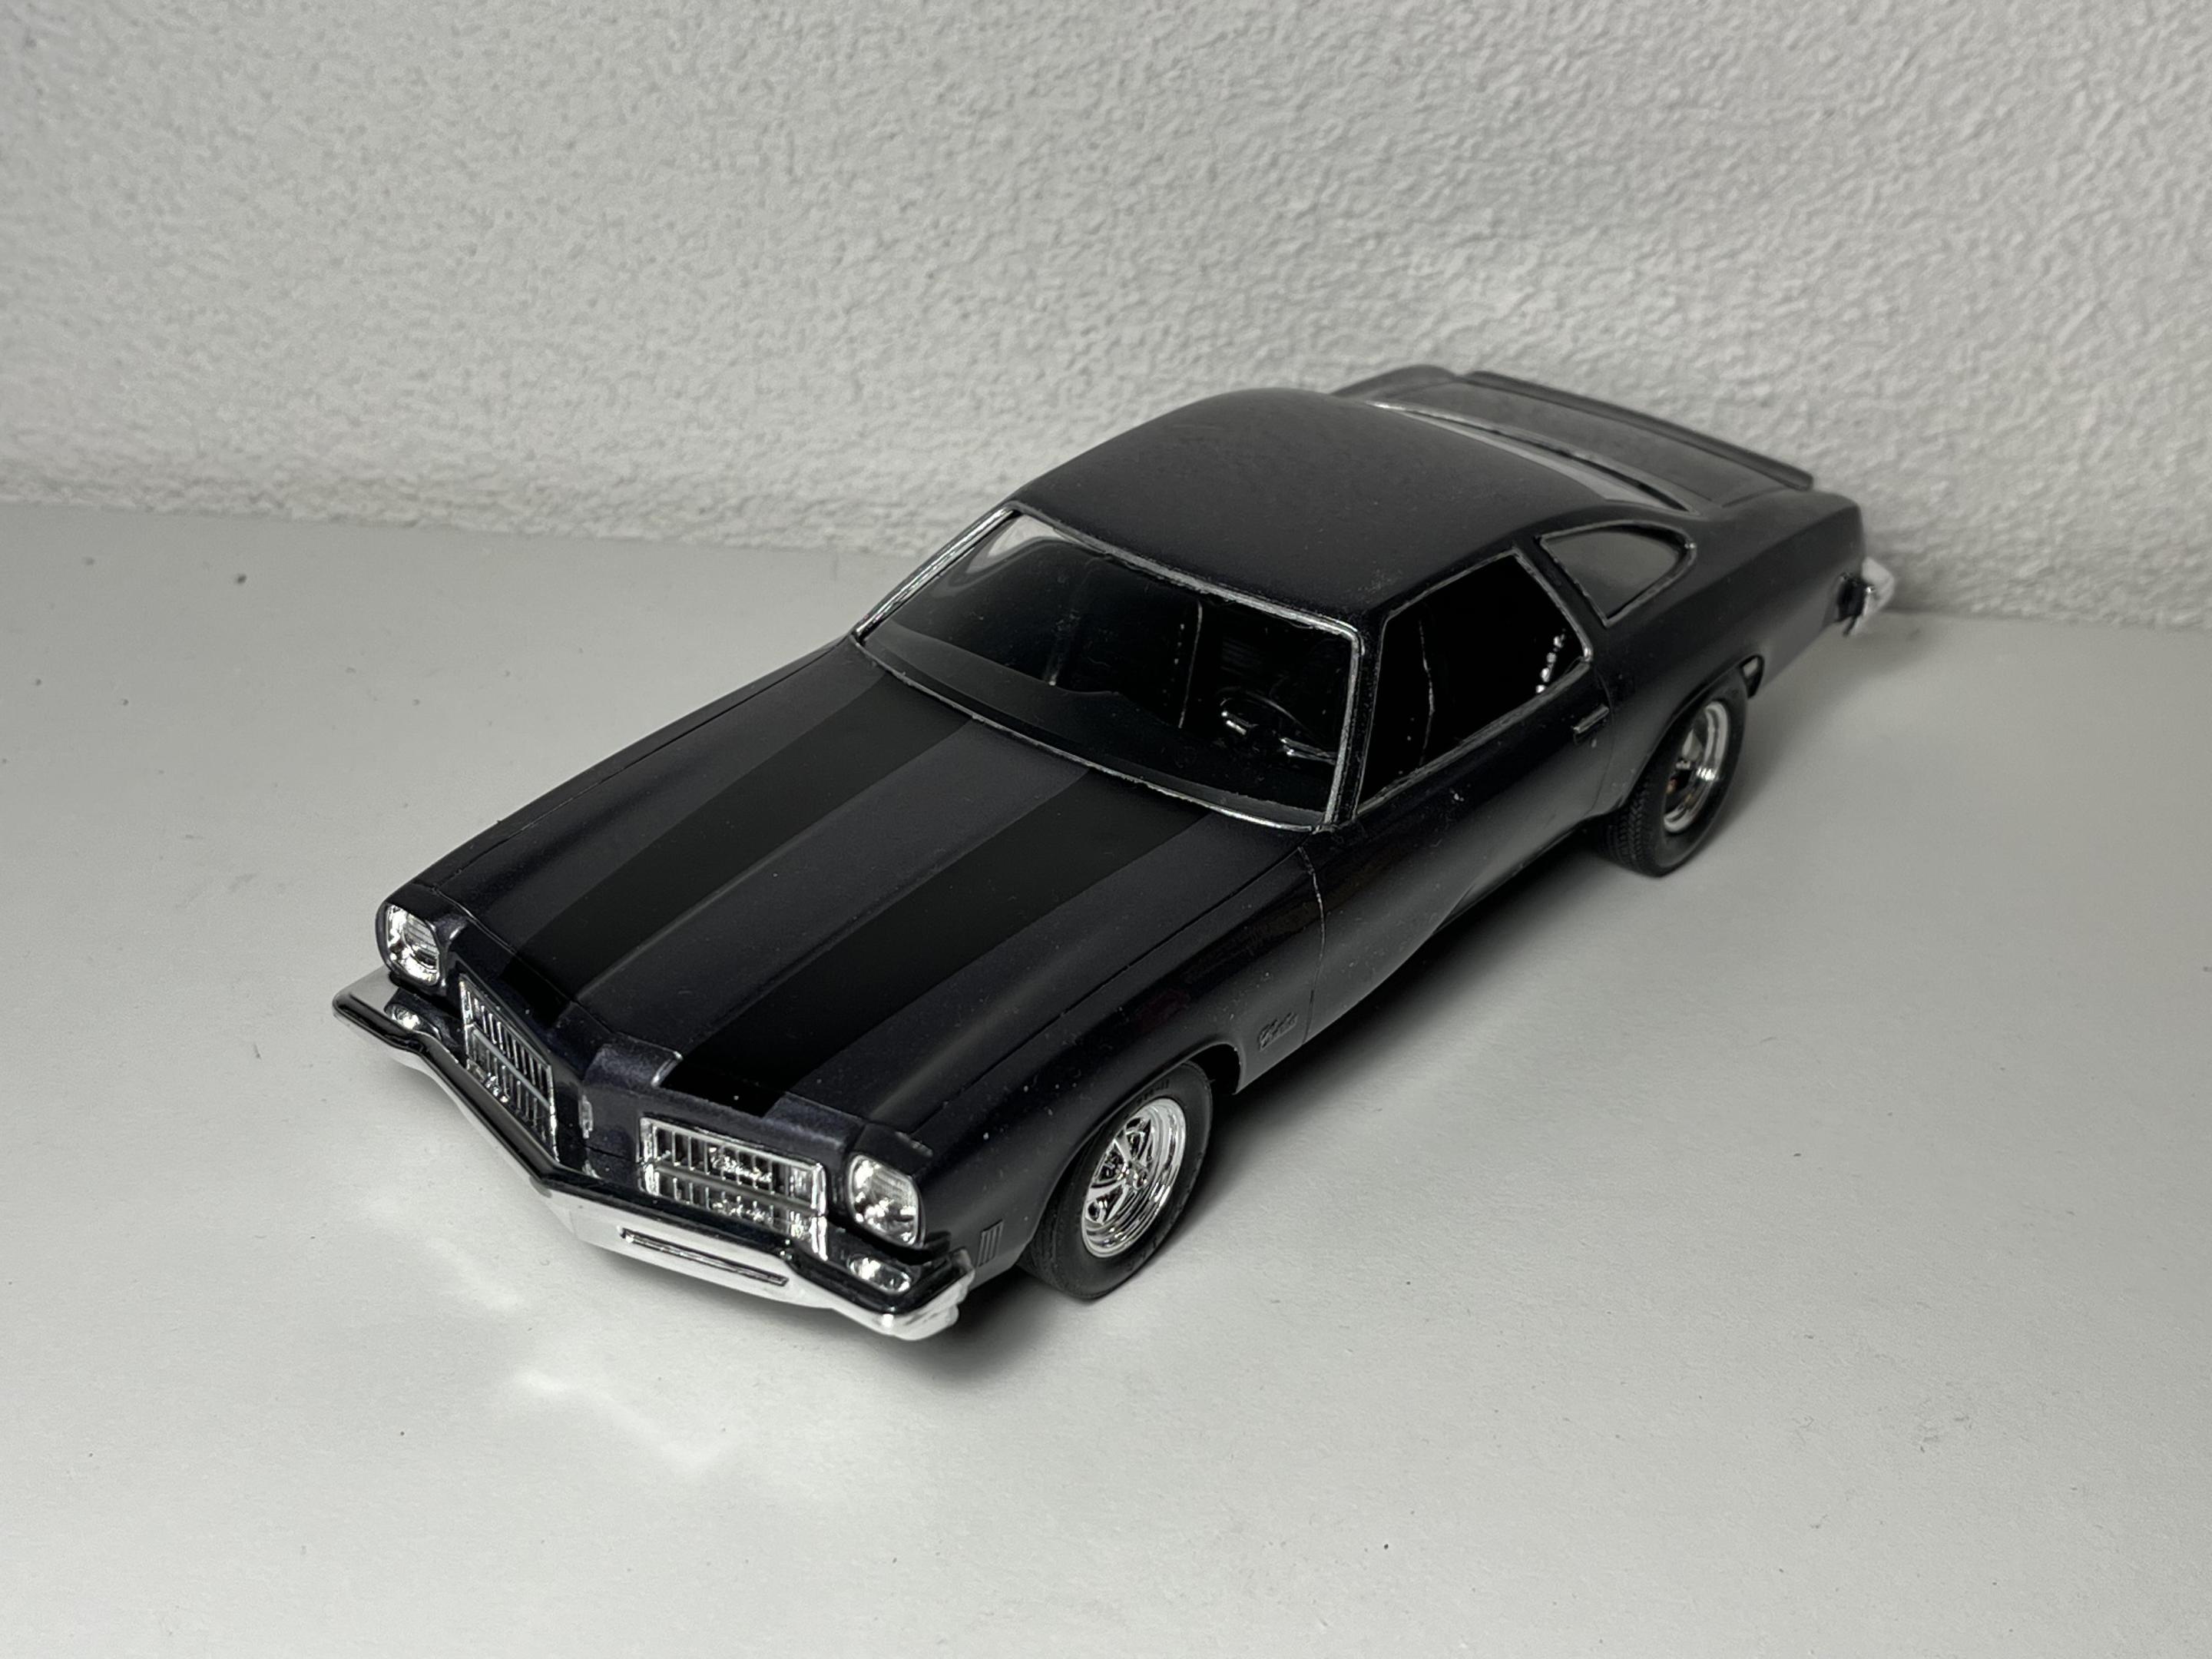
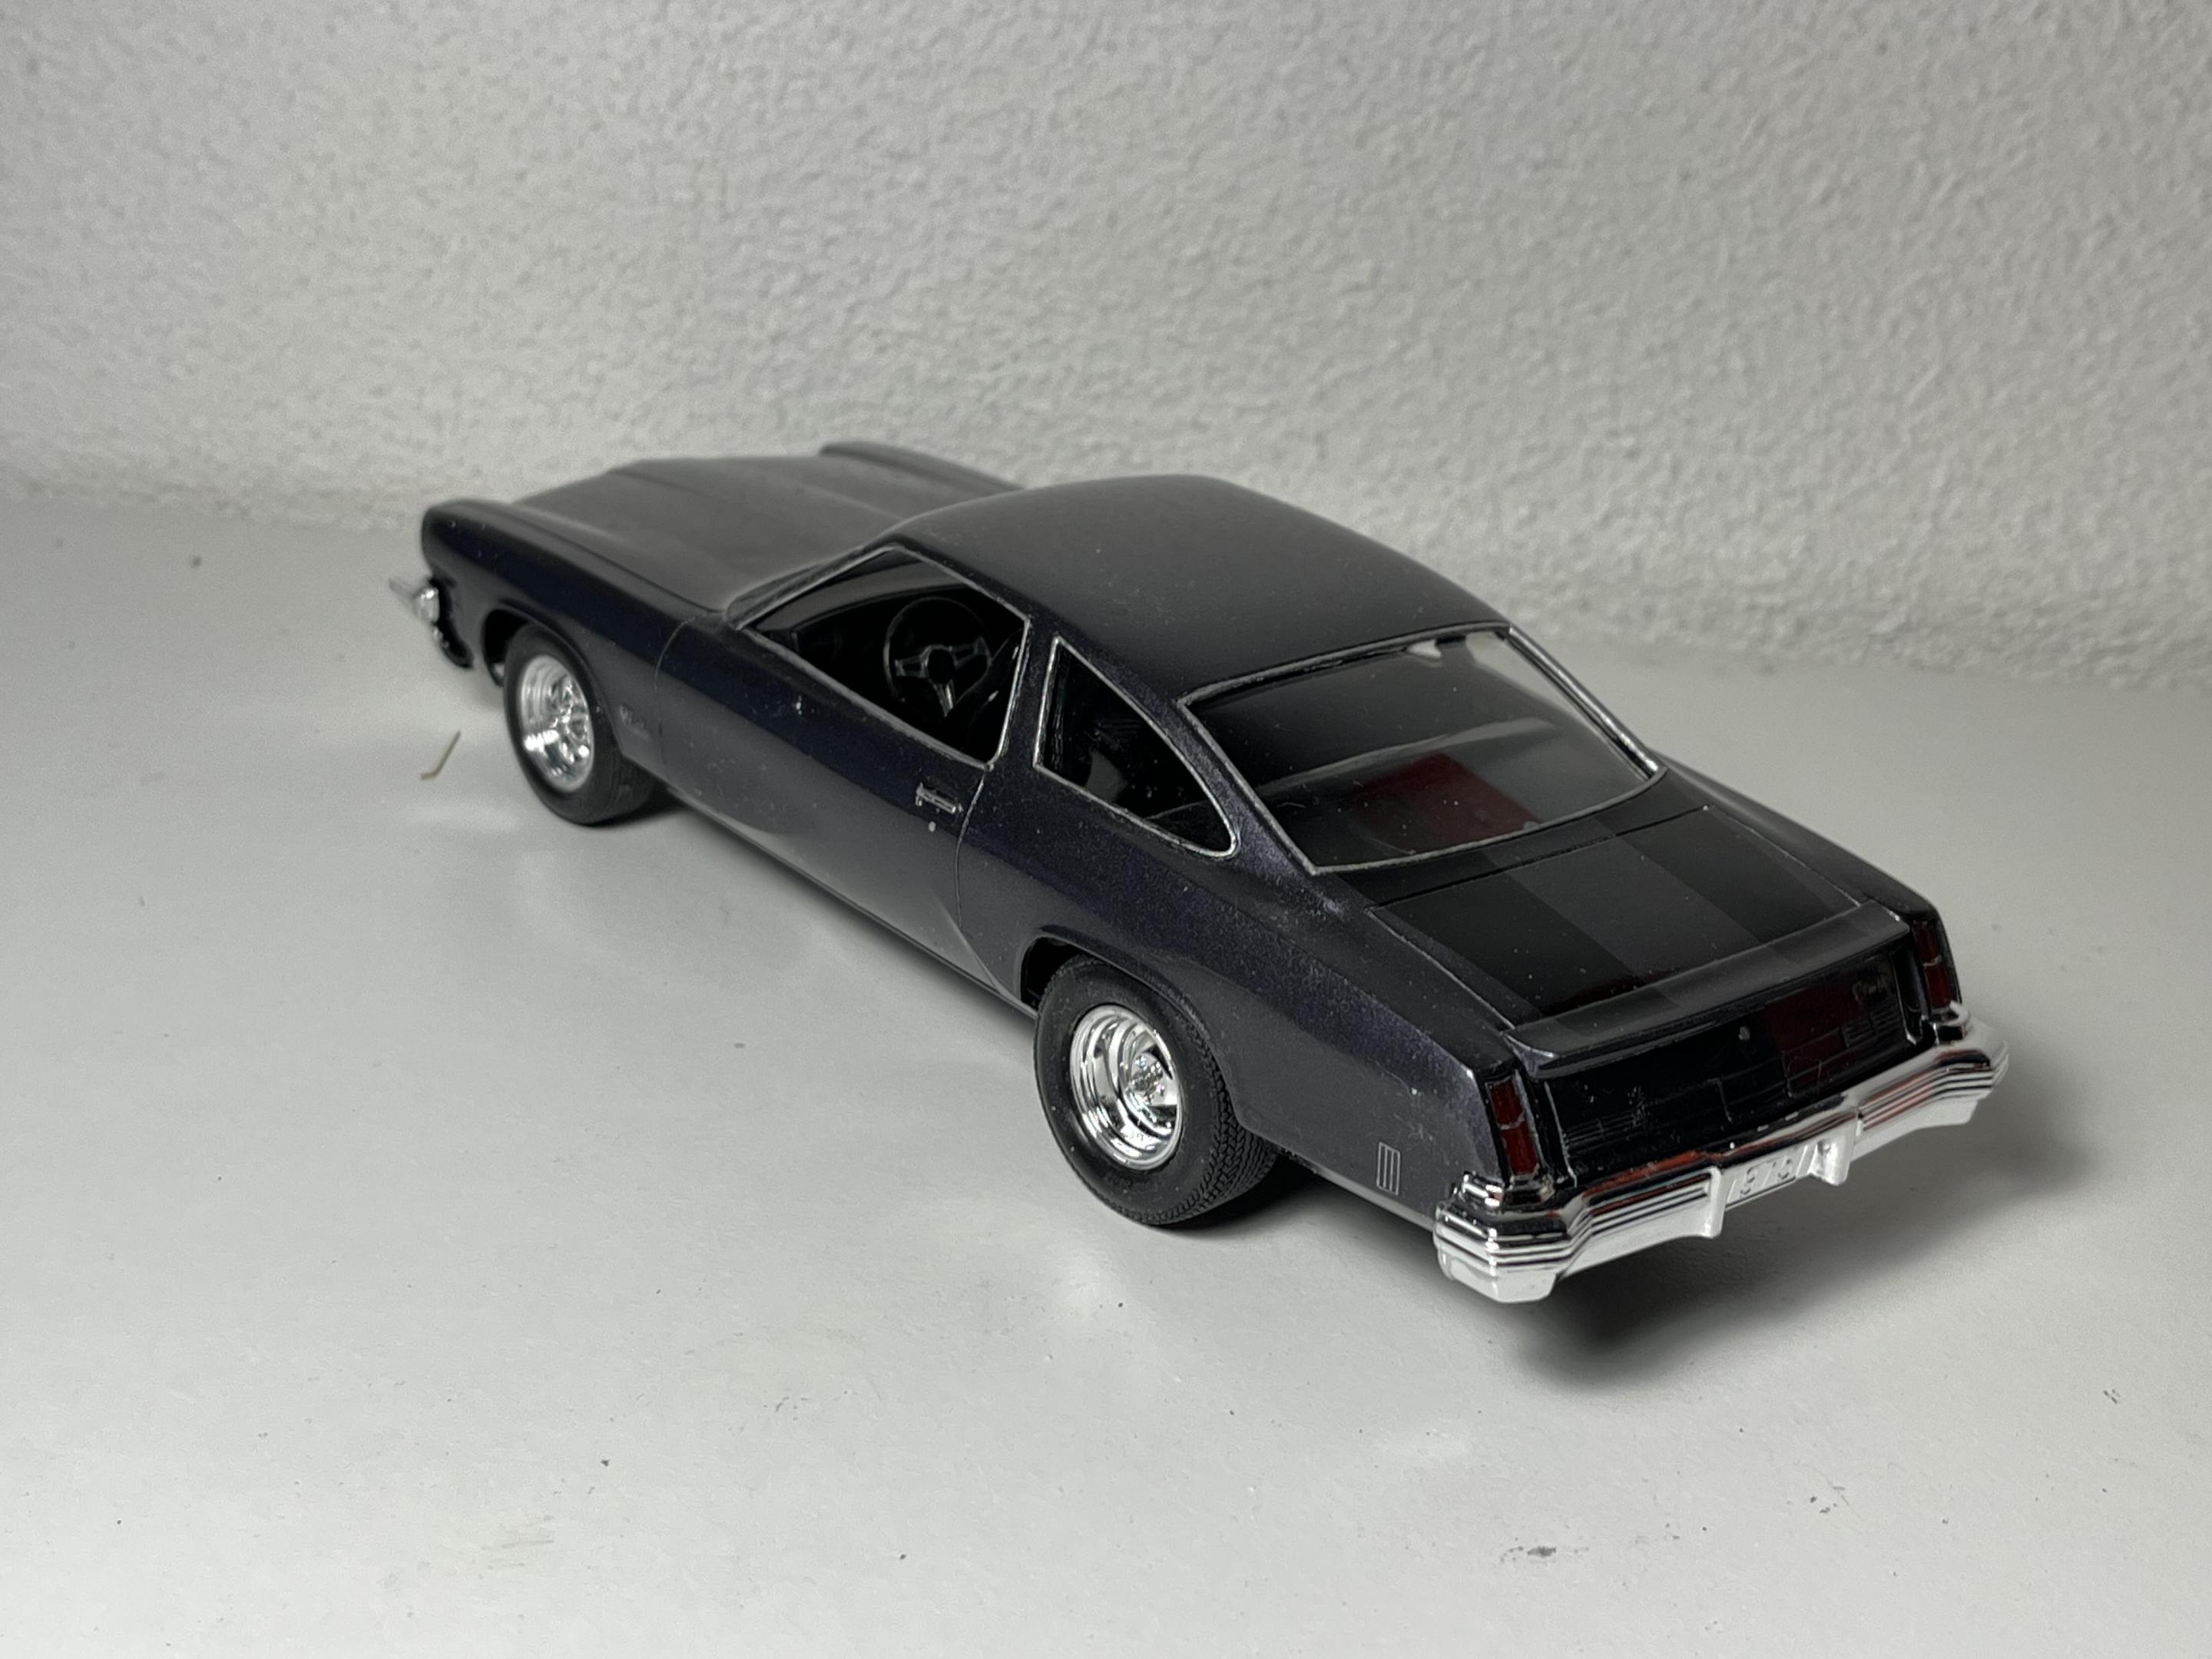
Sometimes you have to challenge yourself. Now, MPC and AMT get a lot of hate, but they have some of THE BEST subjects for builds. Despite some lack of some items needed to complete them easily out of the box, they can be really good fun projects. This was the case for this MPC 1972 GTO. The main issue I had with this kit was lack of a proper detailed chassis. So what did I do? I got a spare 69 Olds 442 chassis out and remedied the ailments of the GTO. I LOVE this build because it reminds me of something my brother would have done in the old days. Iceman Collections Cragars, the Revell 66 GTO 389, and my wife’s “Judge-Like” stripes make it one of my favorites to just look at on my display for long periods of time. Here’s some pictures…
-
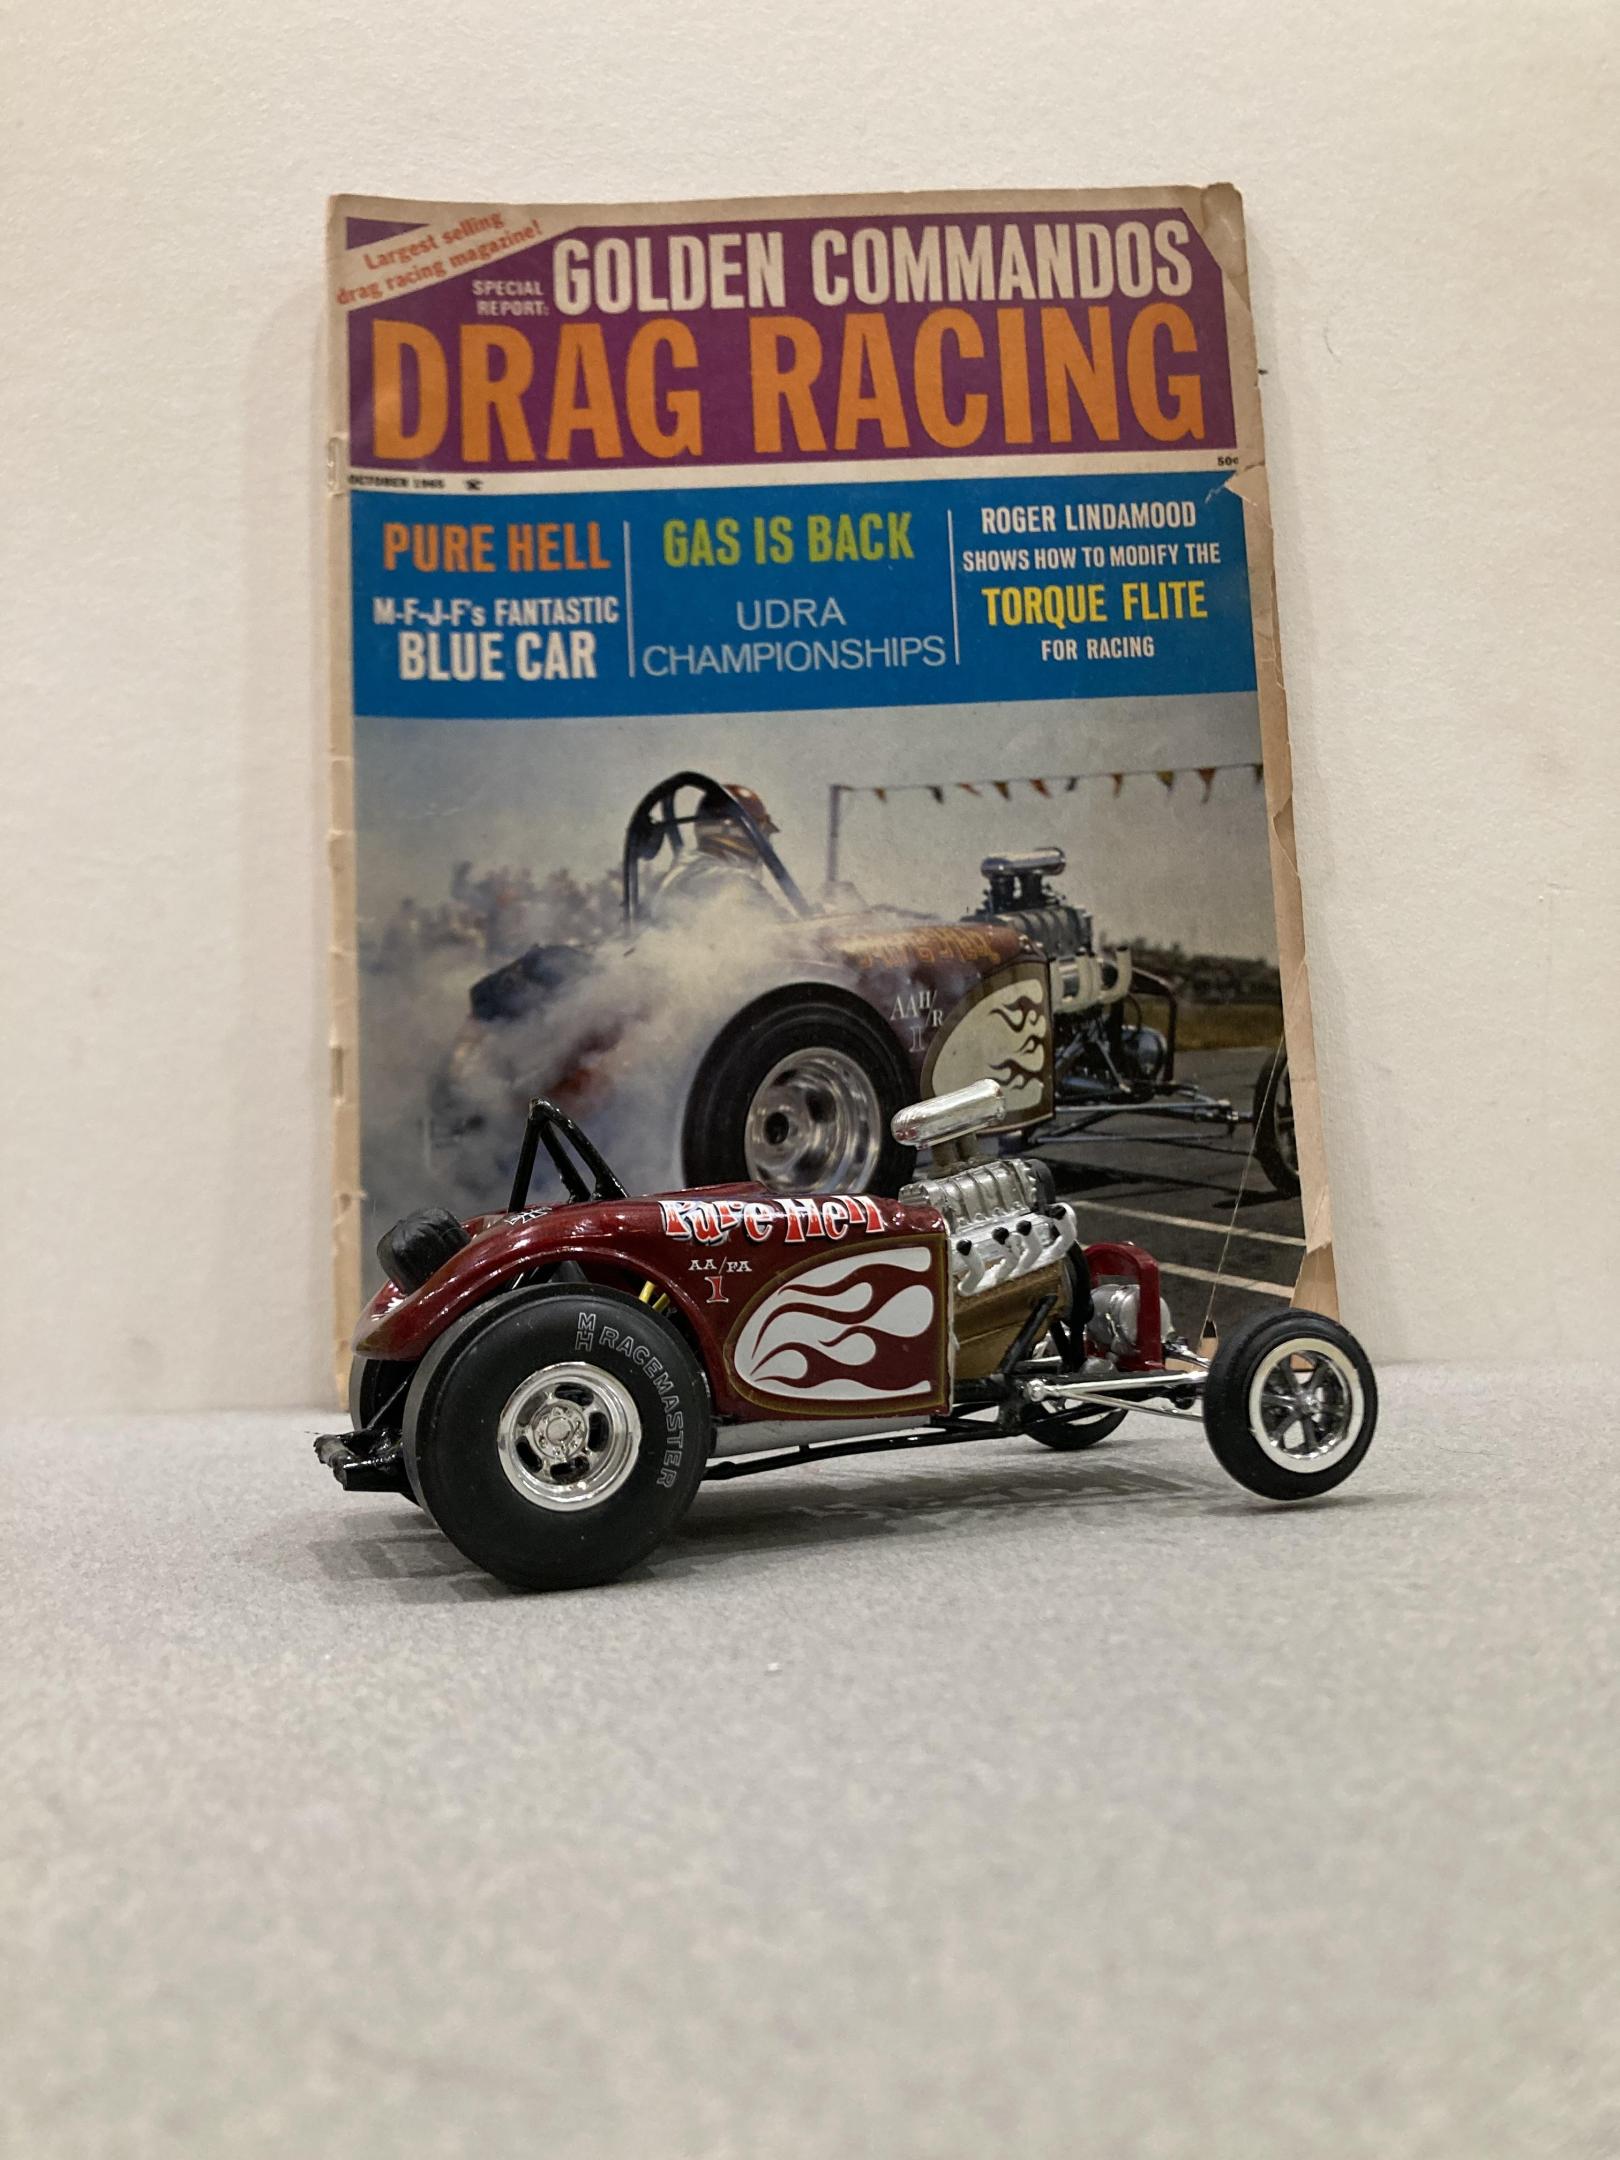
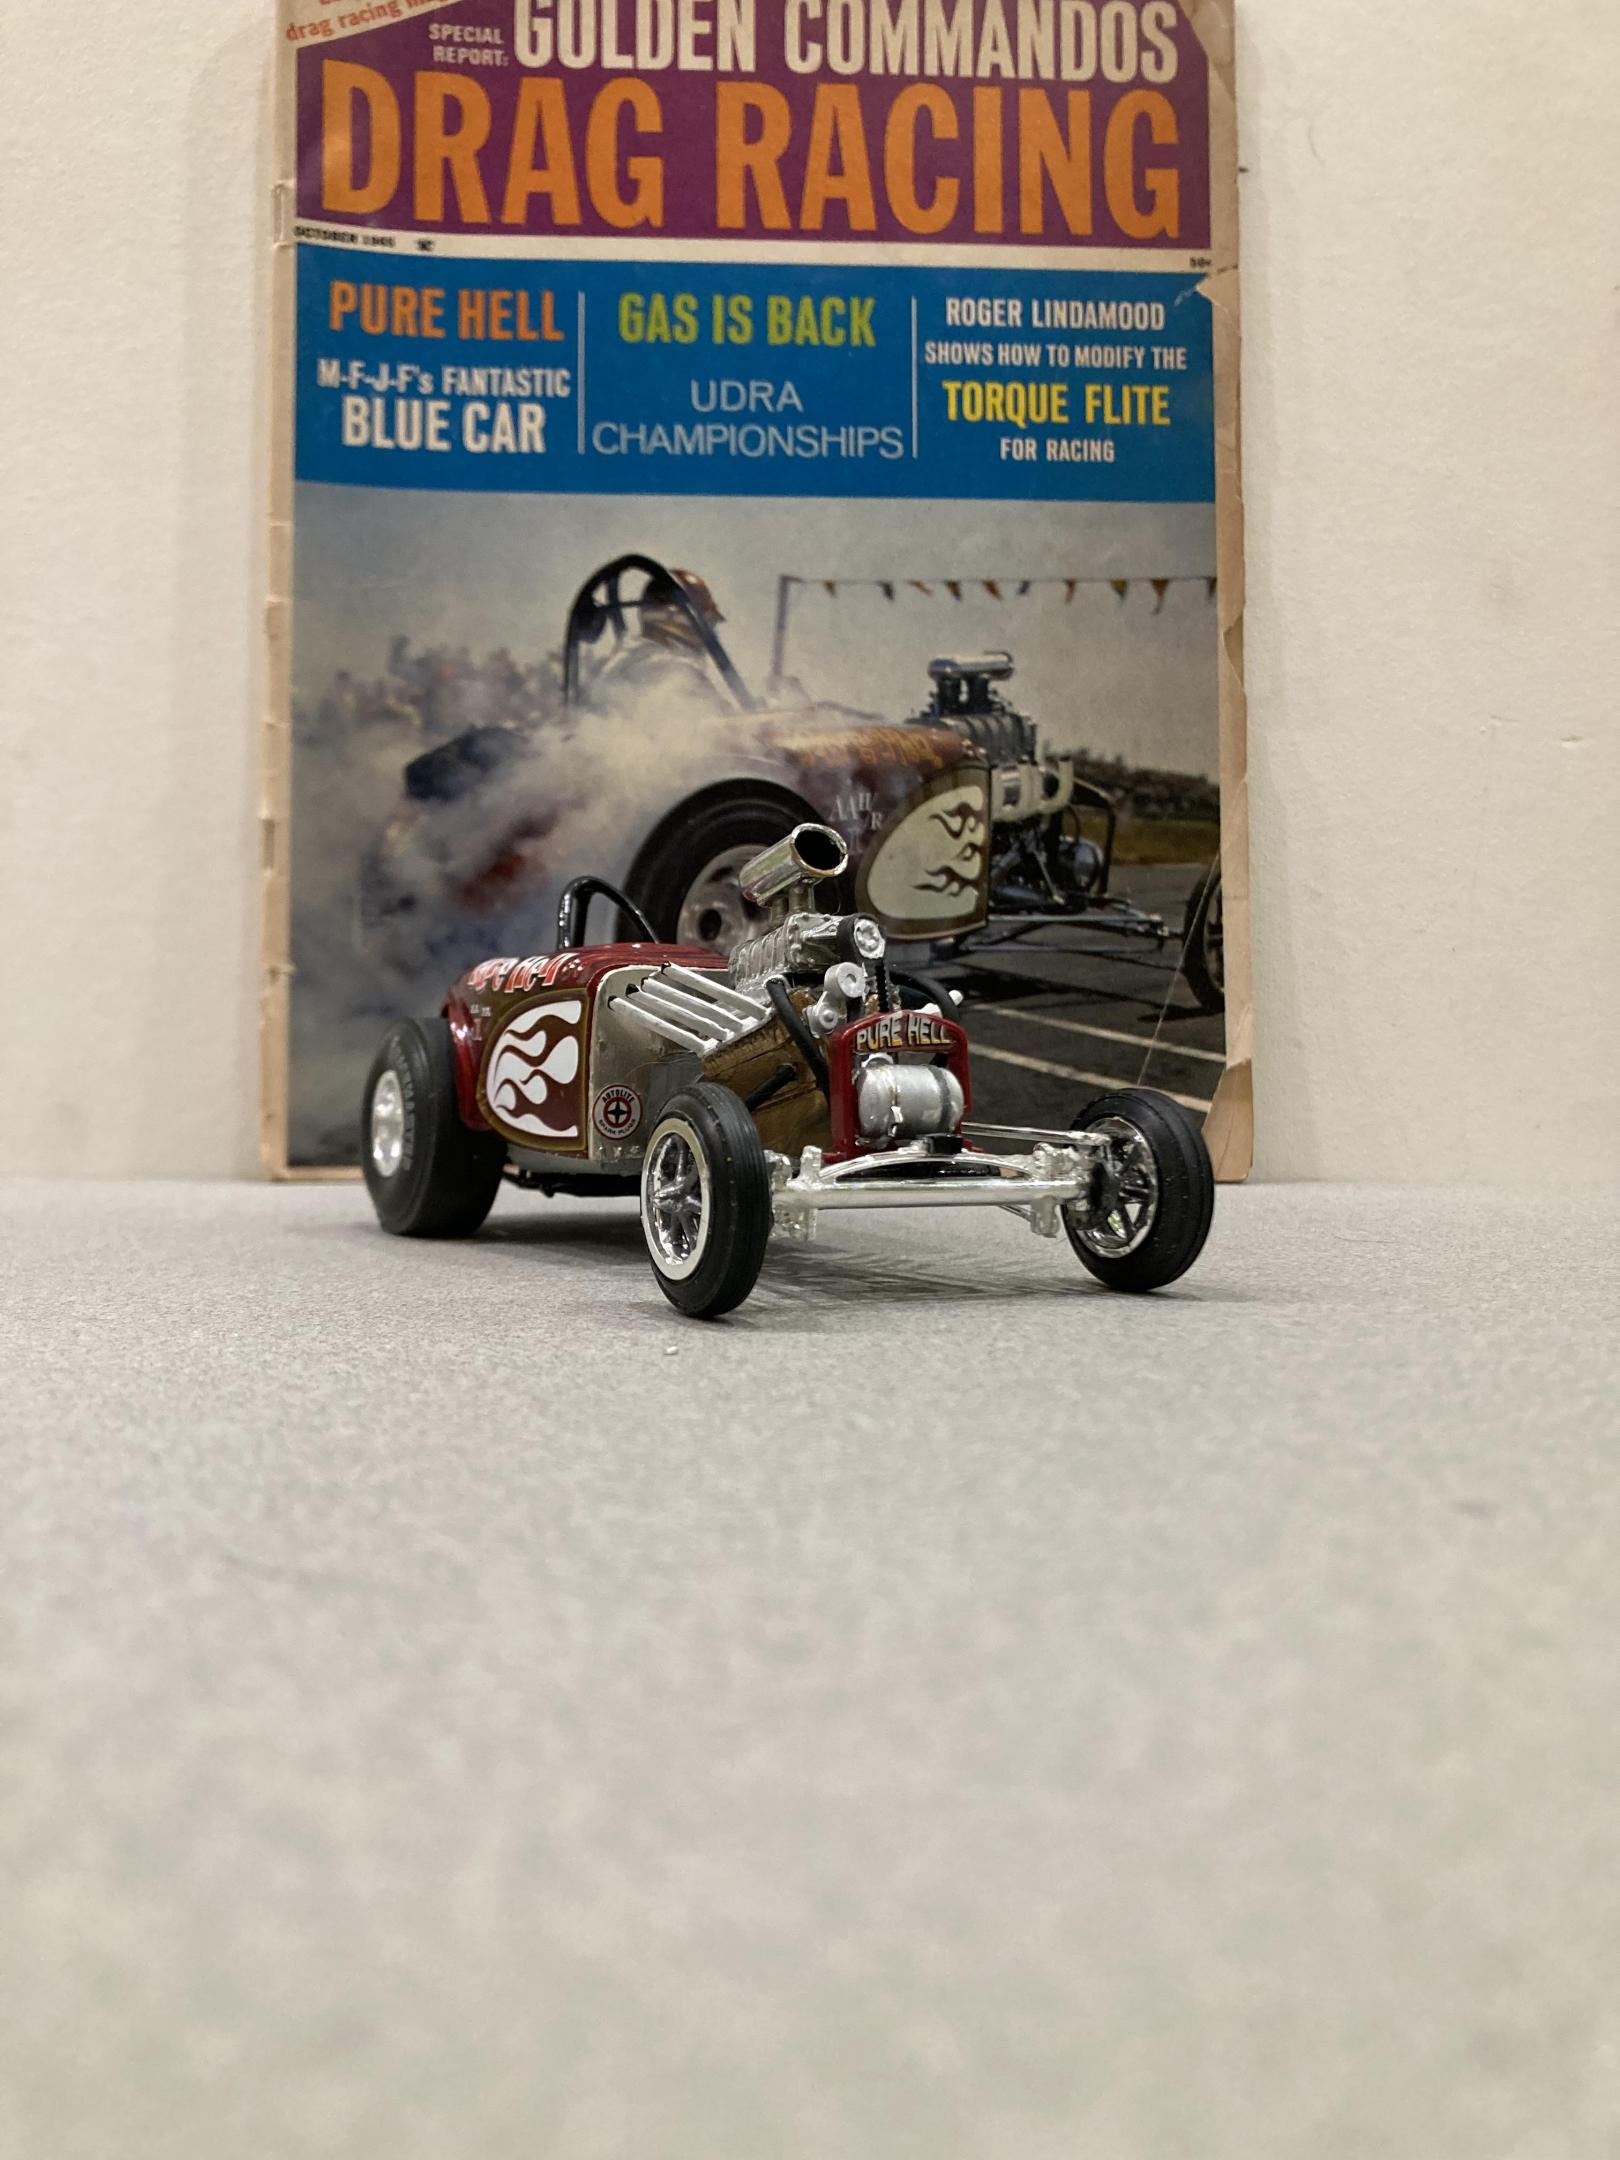
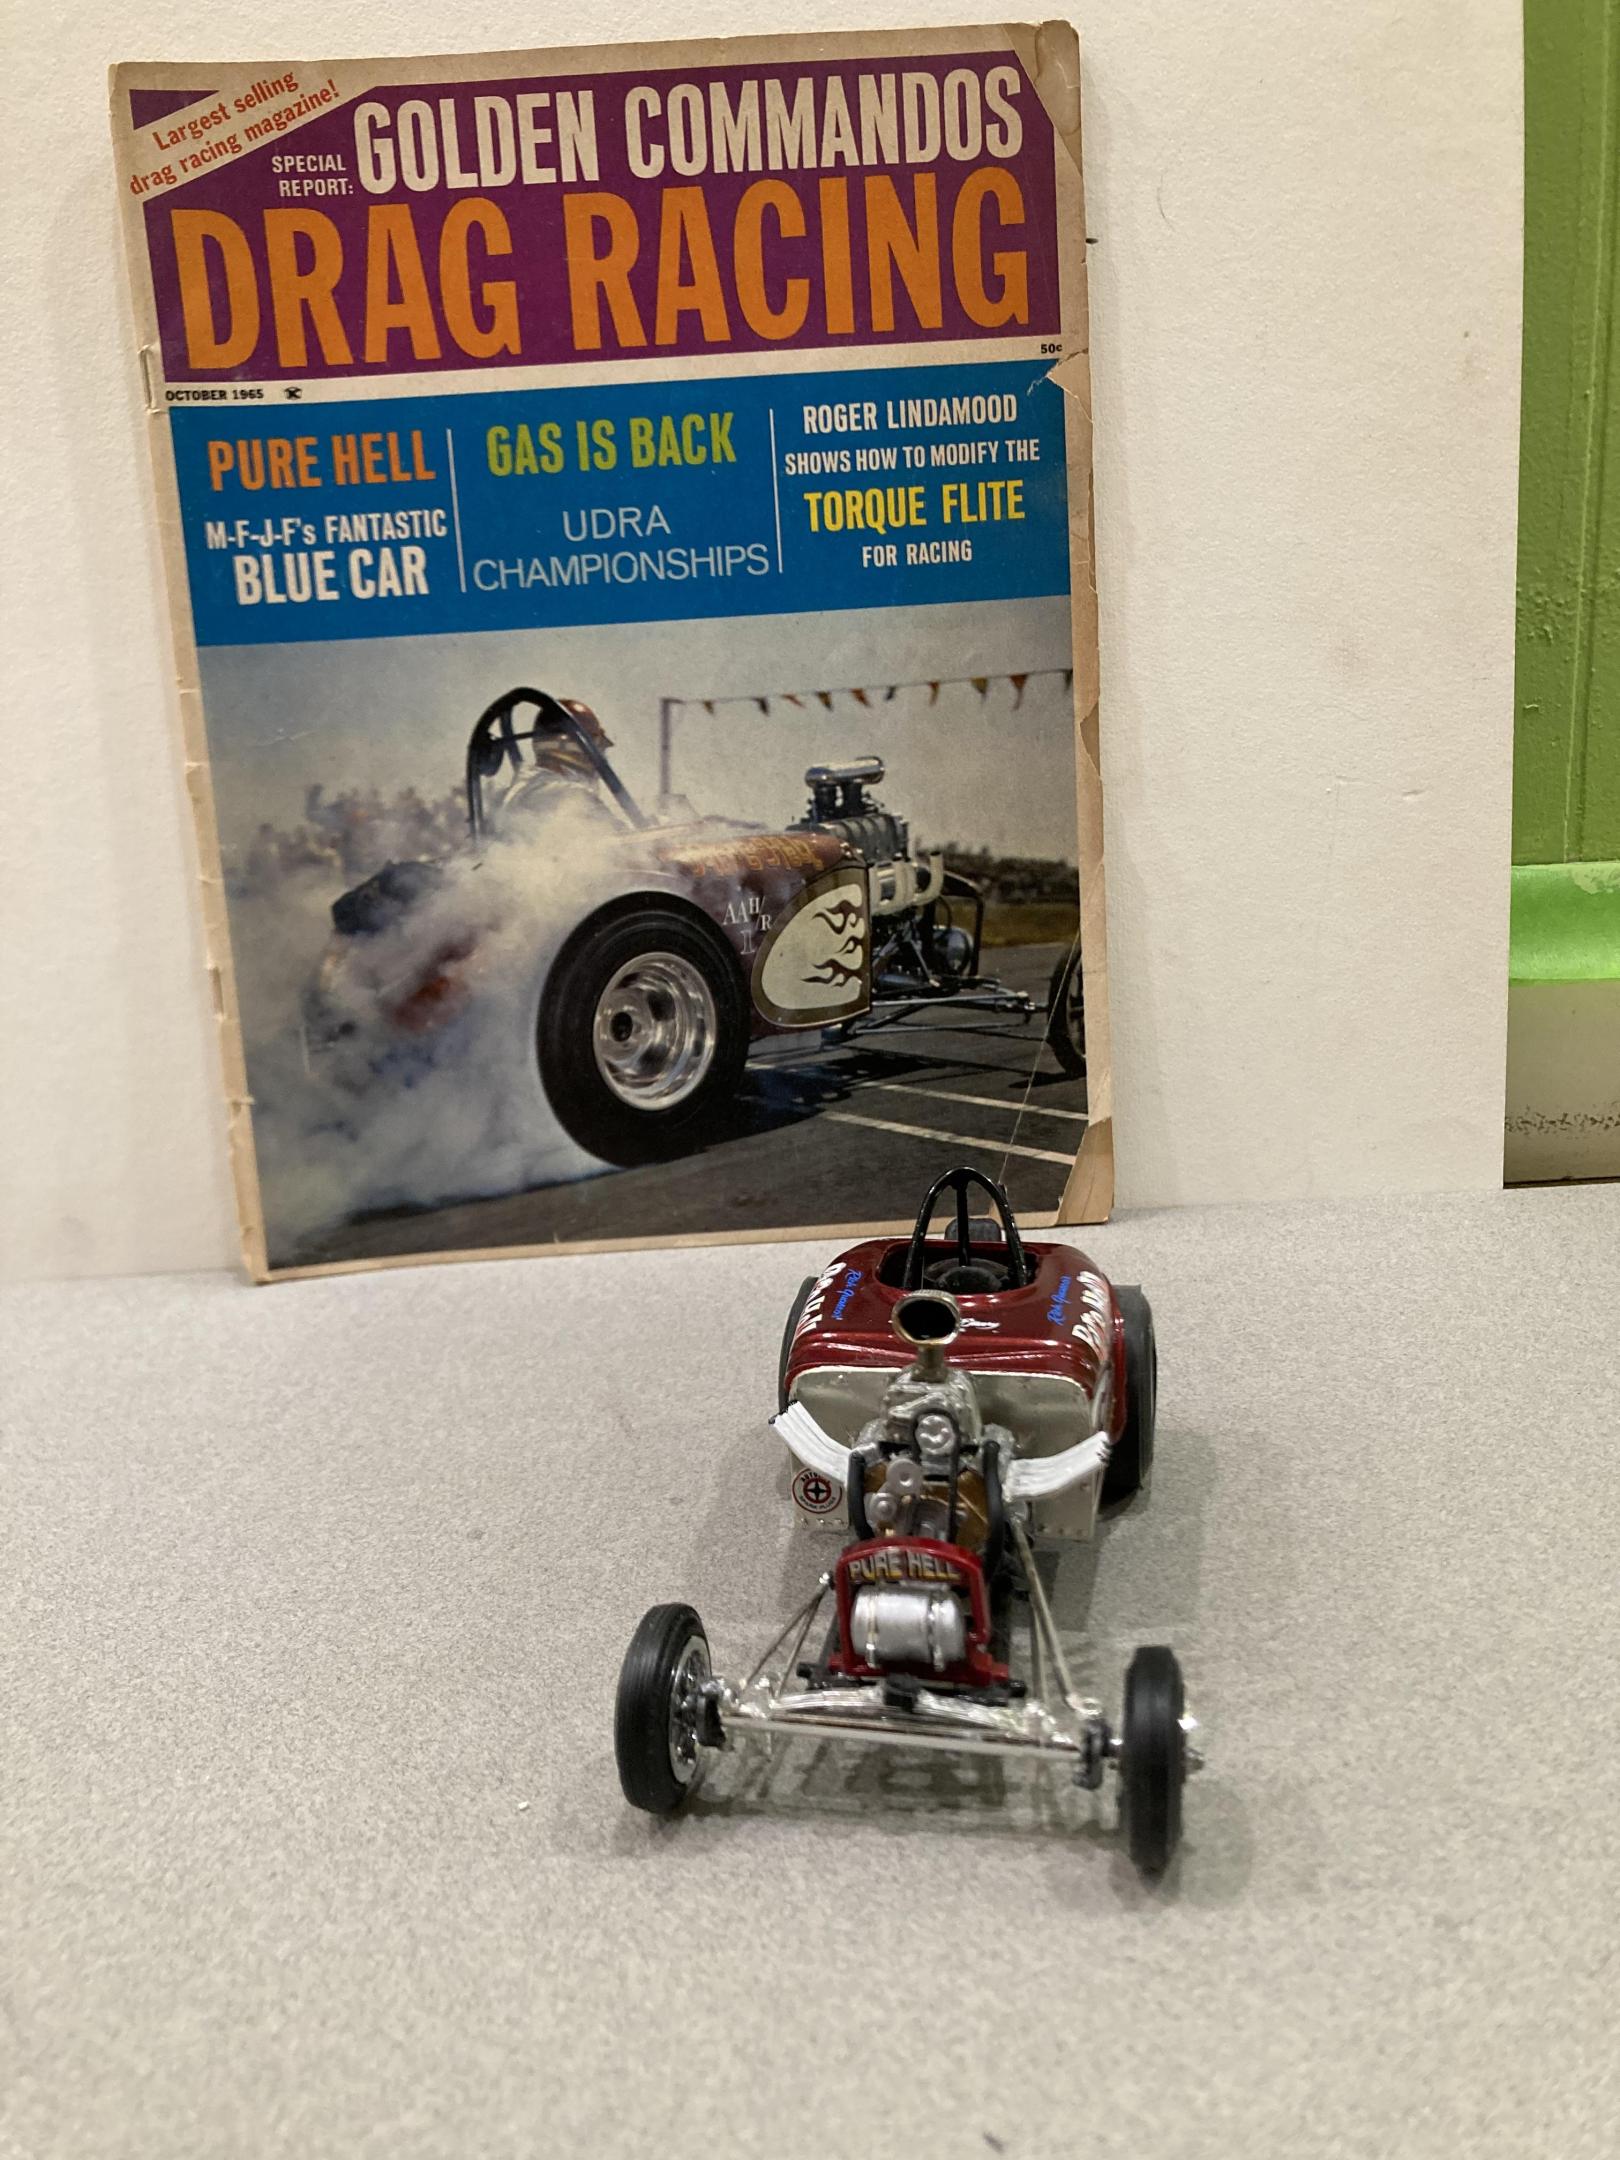
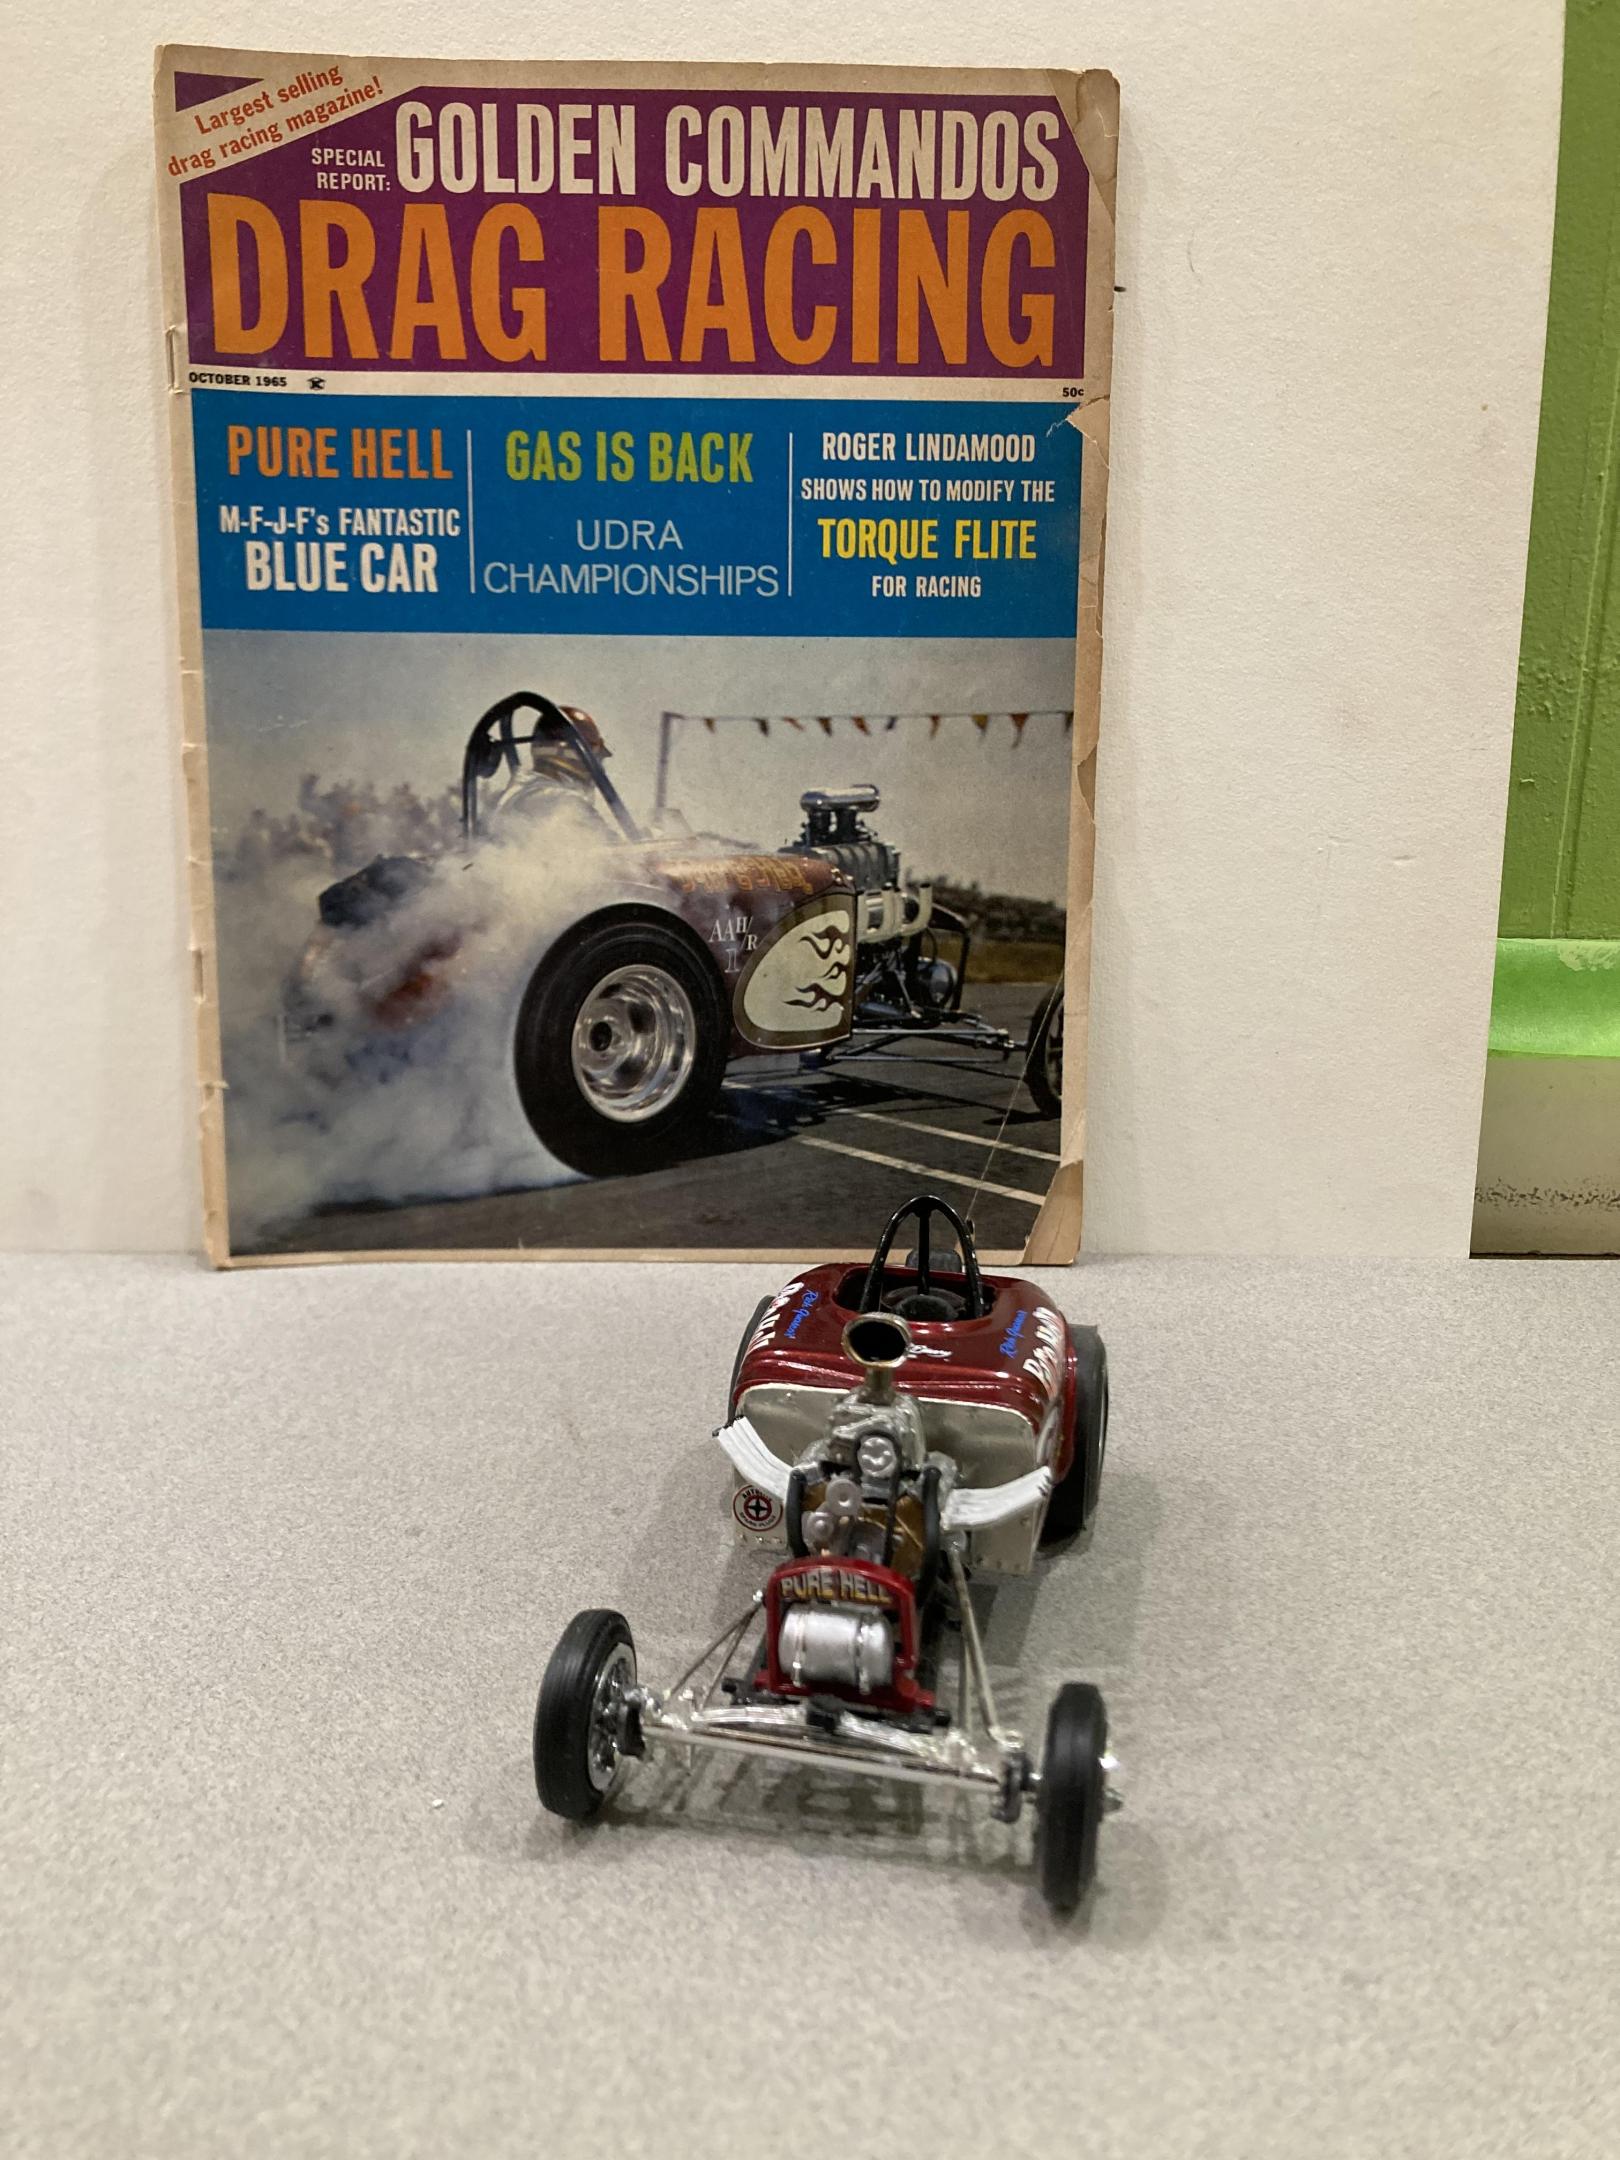
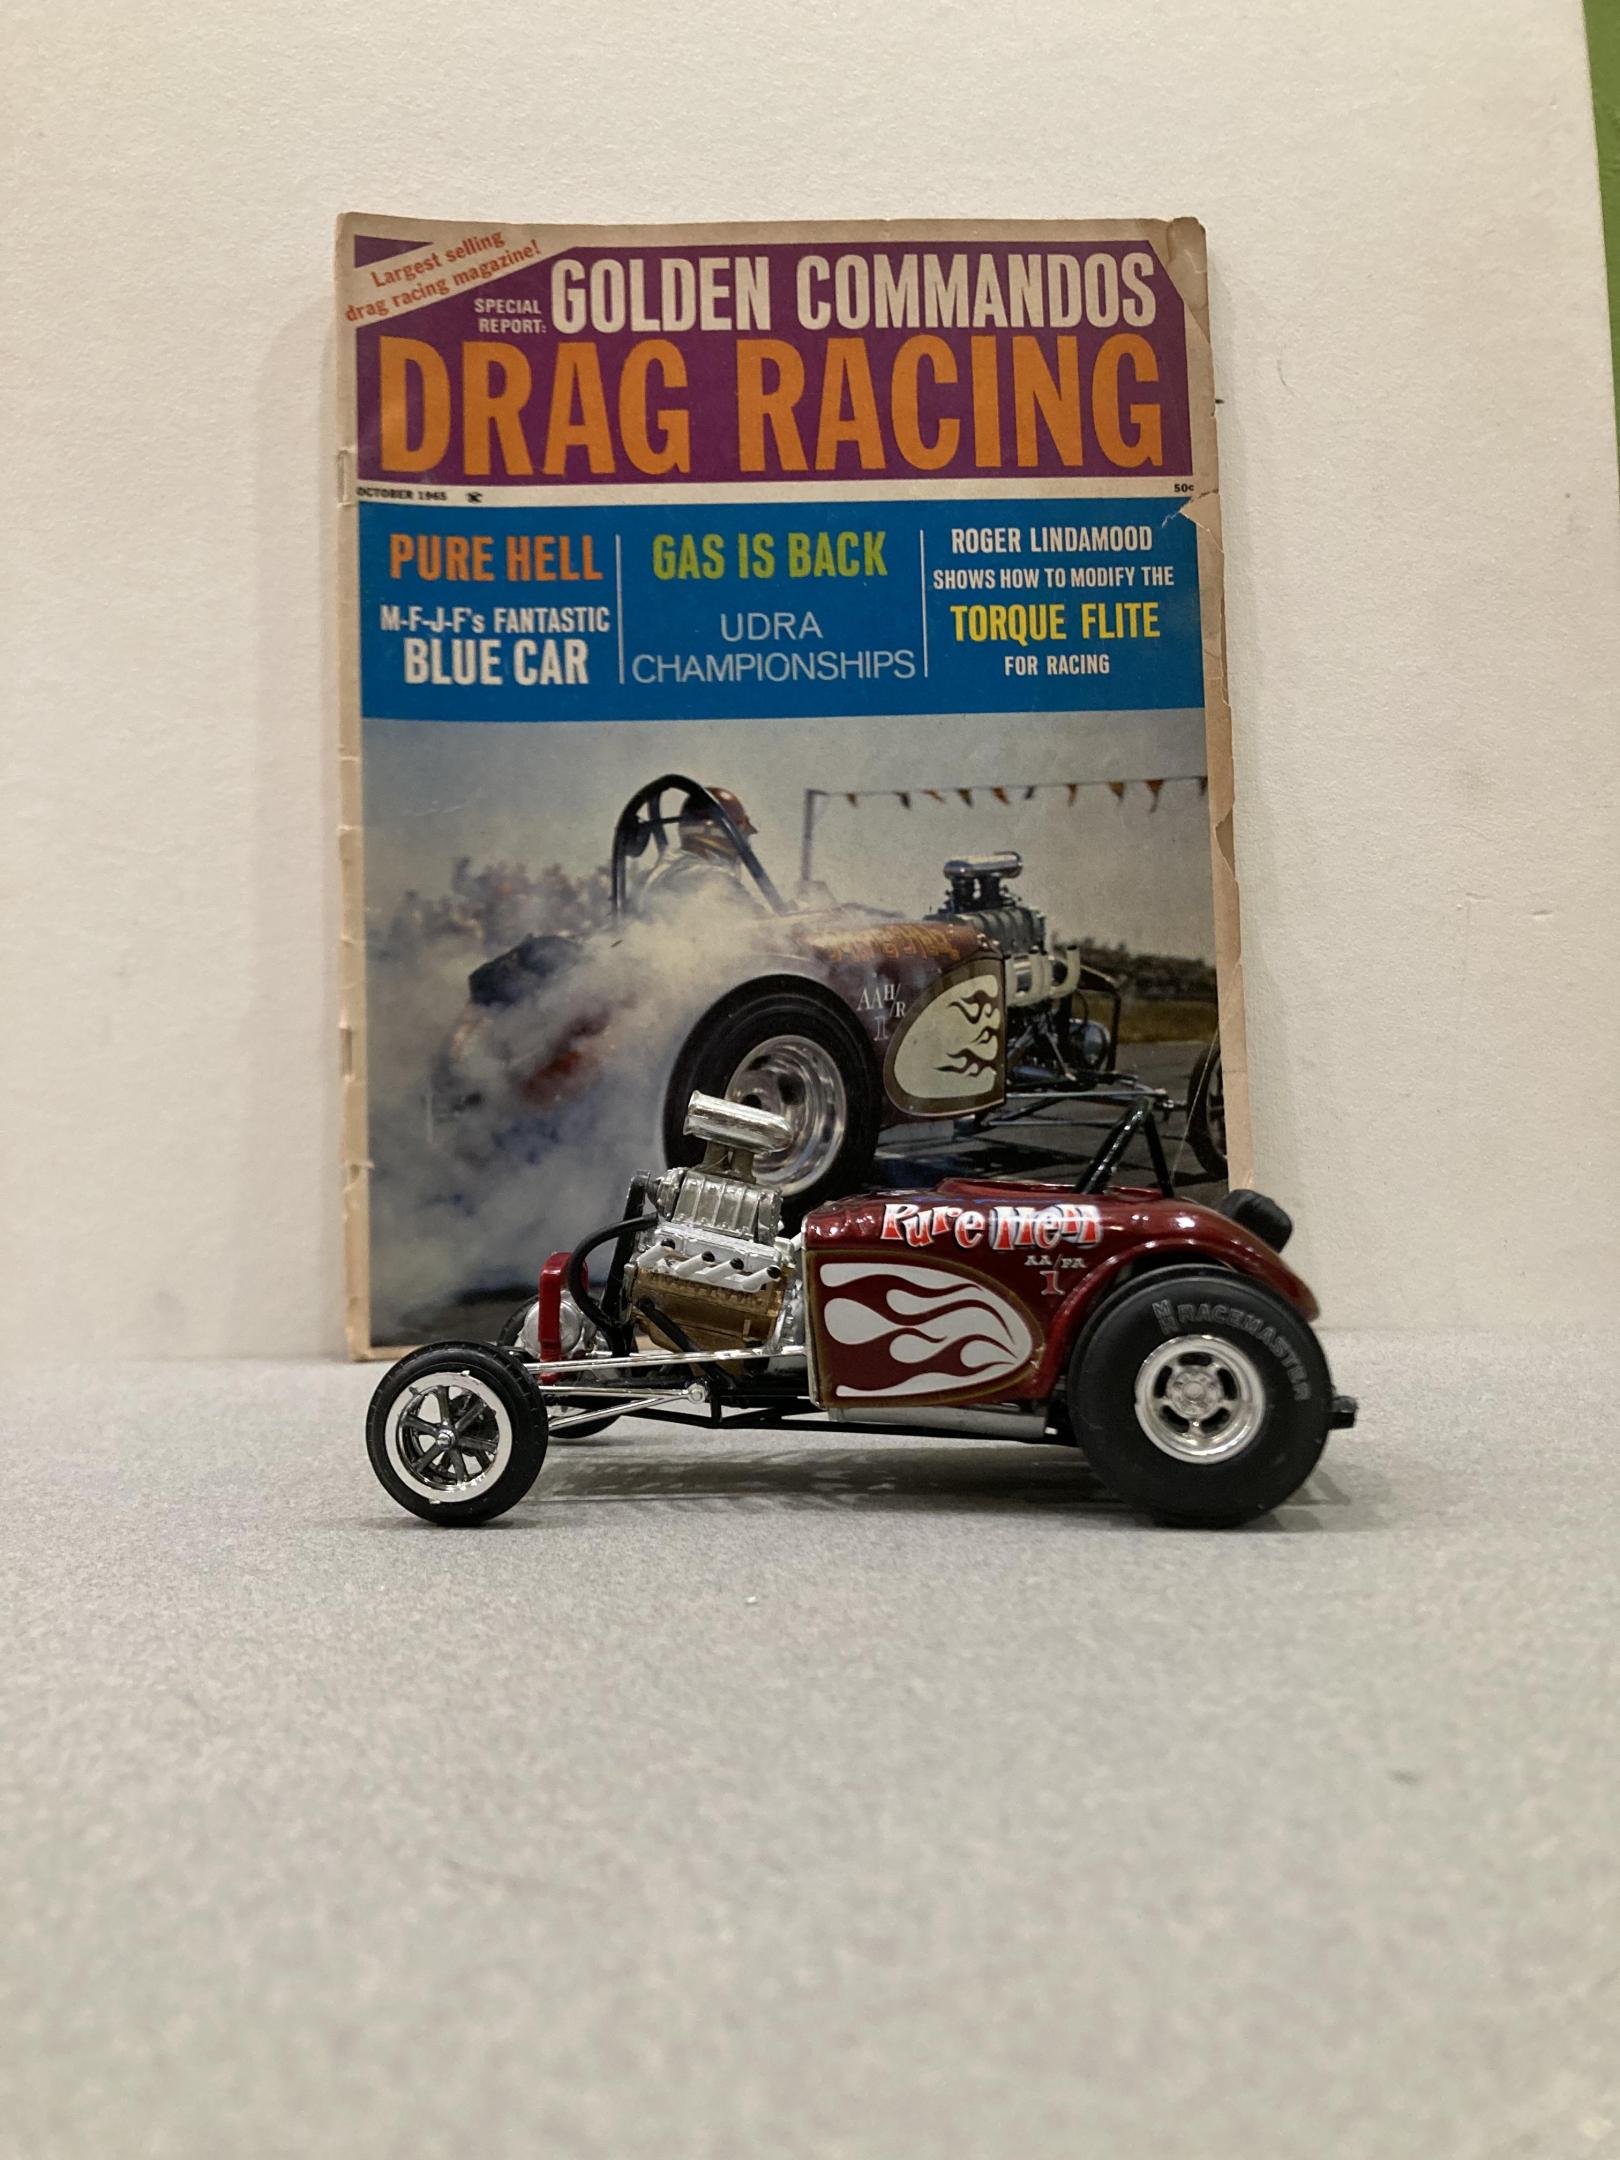
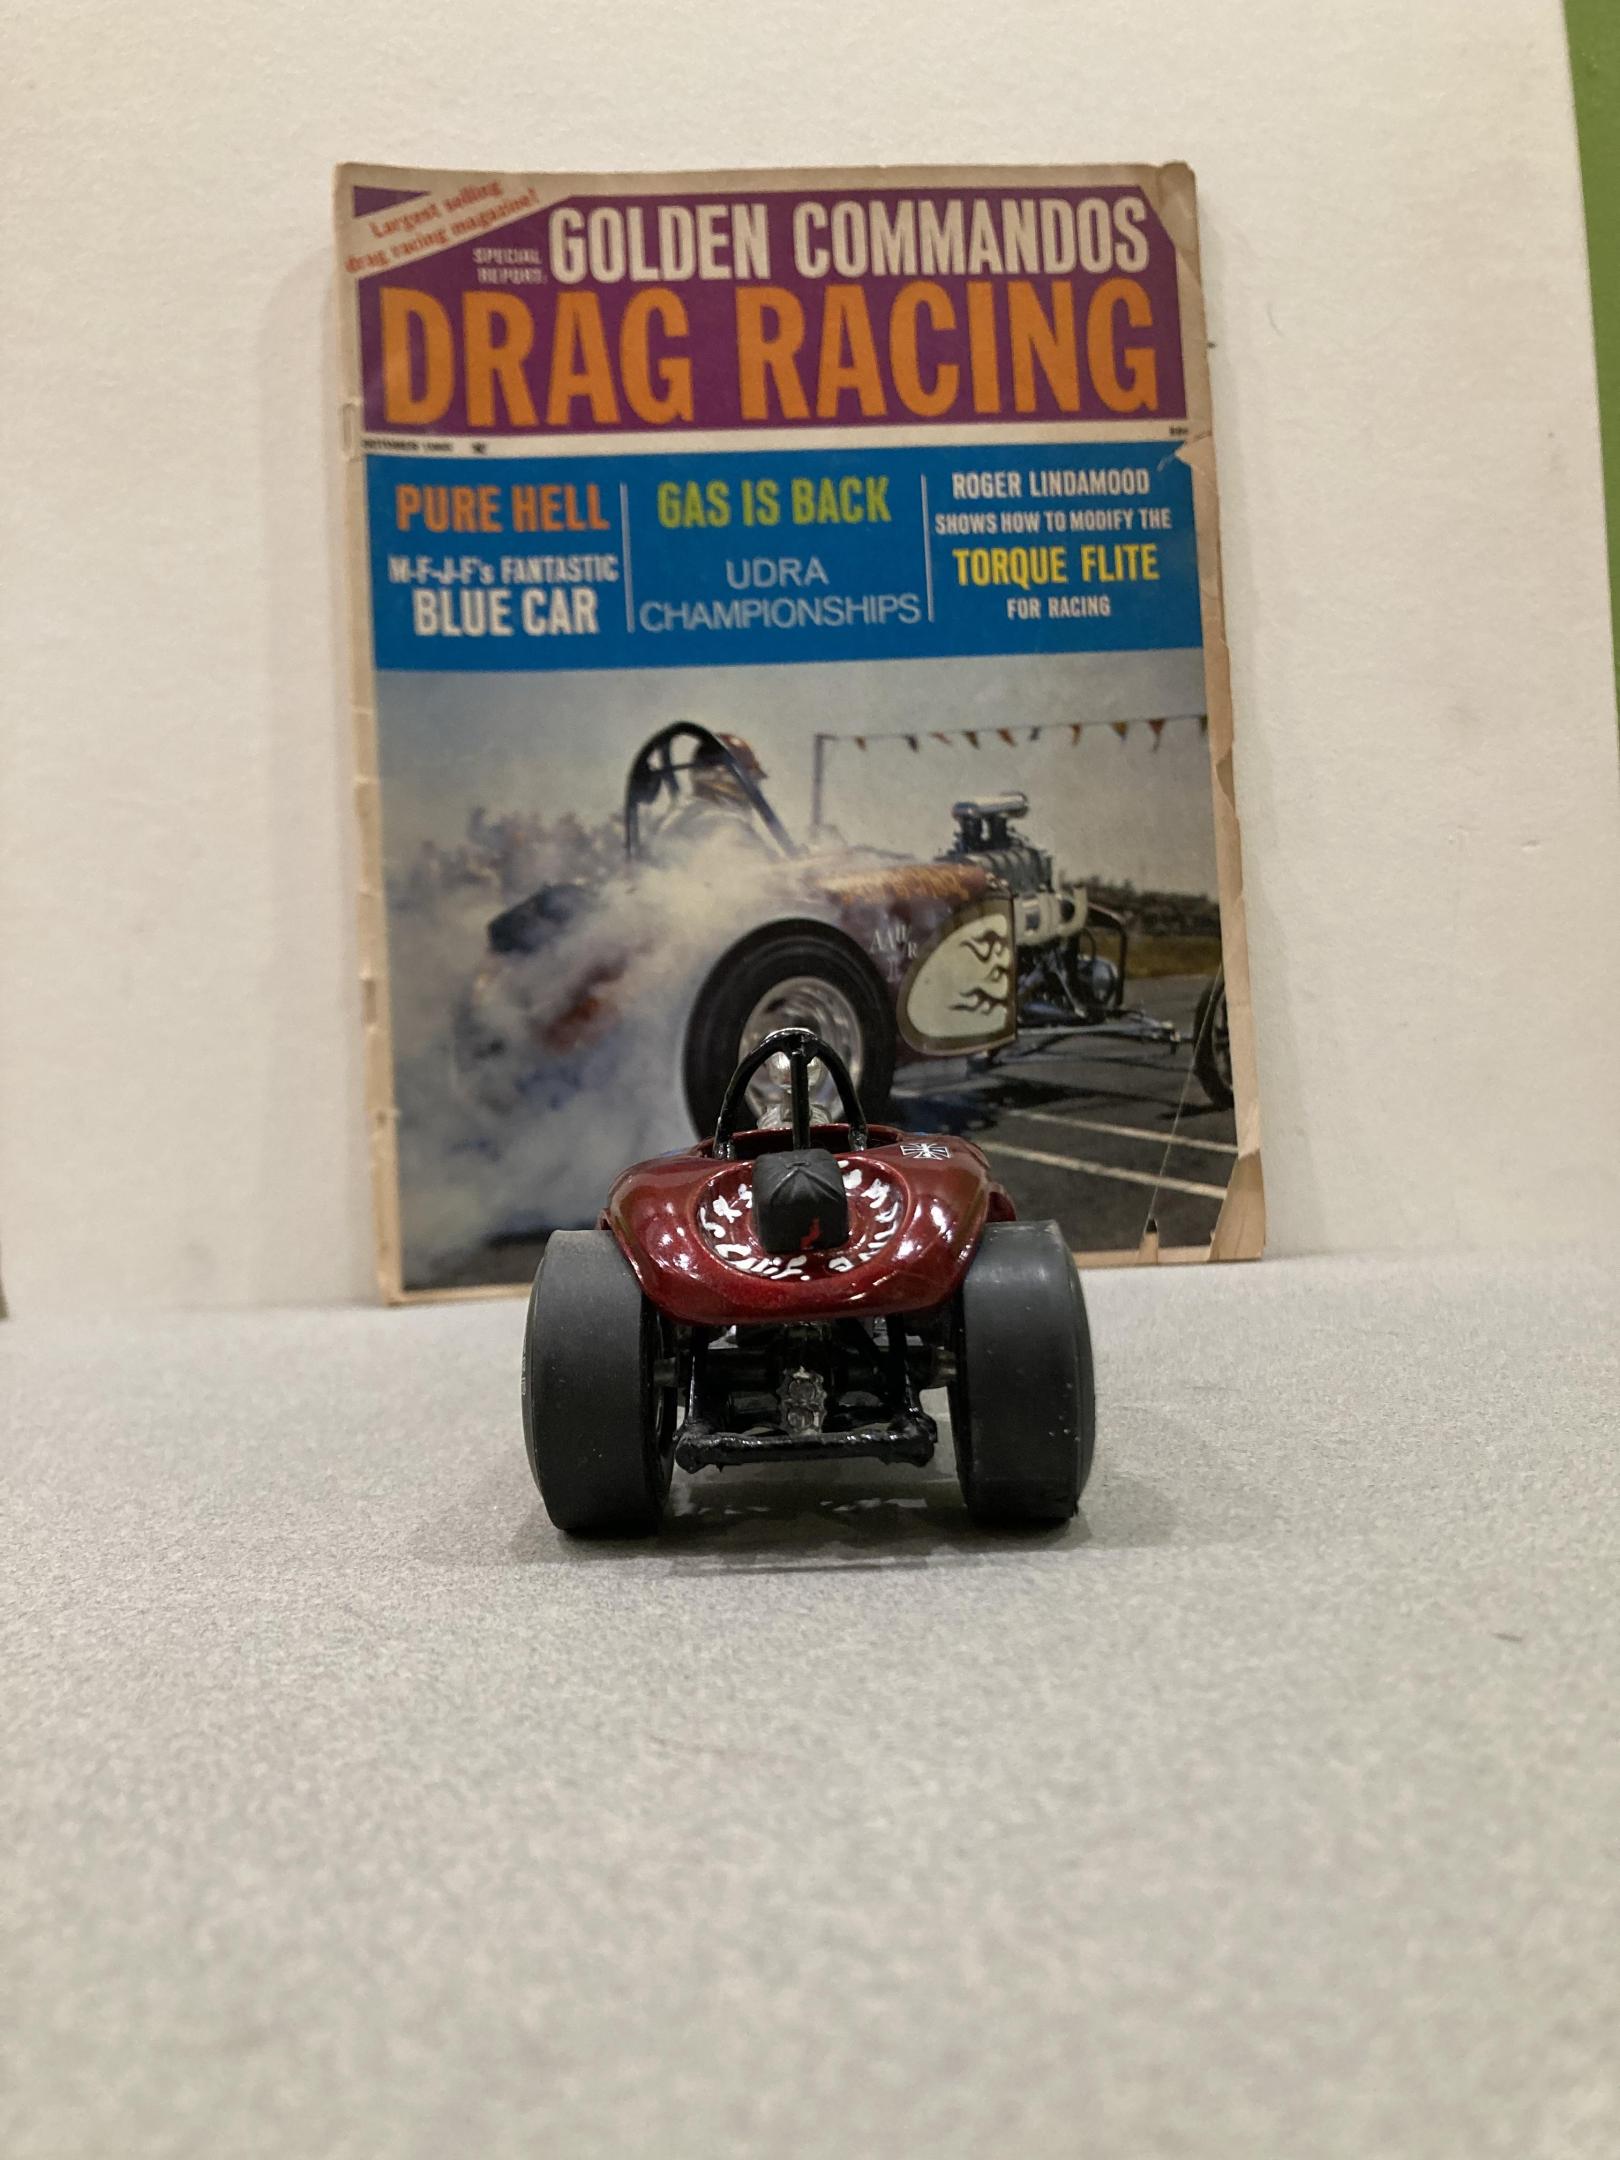
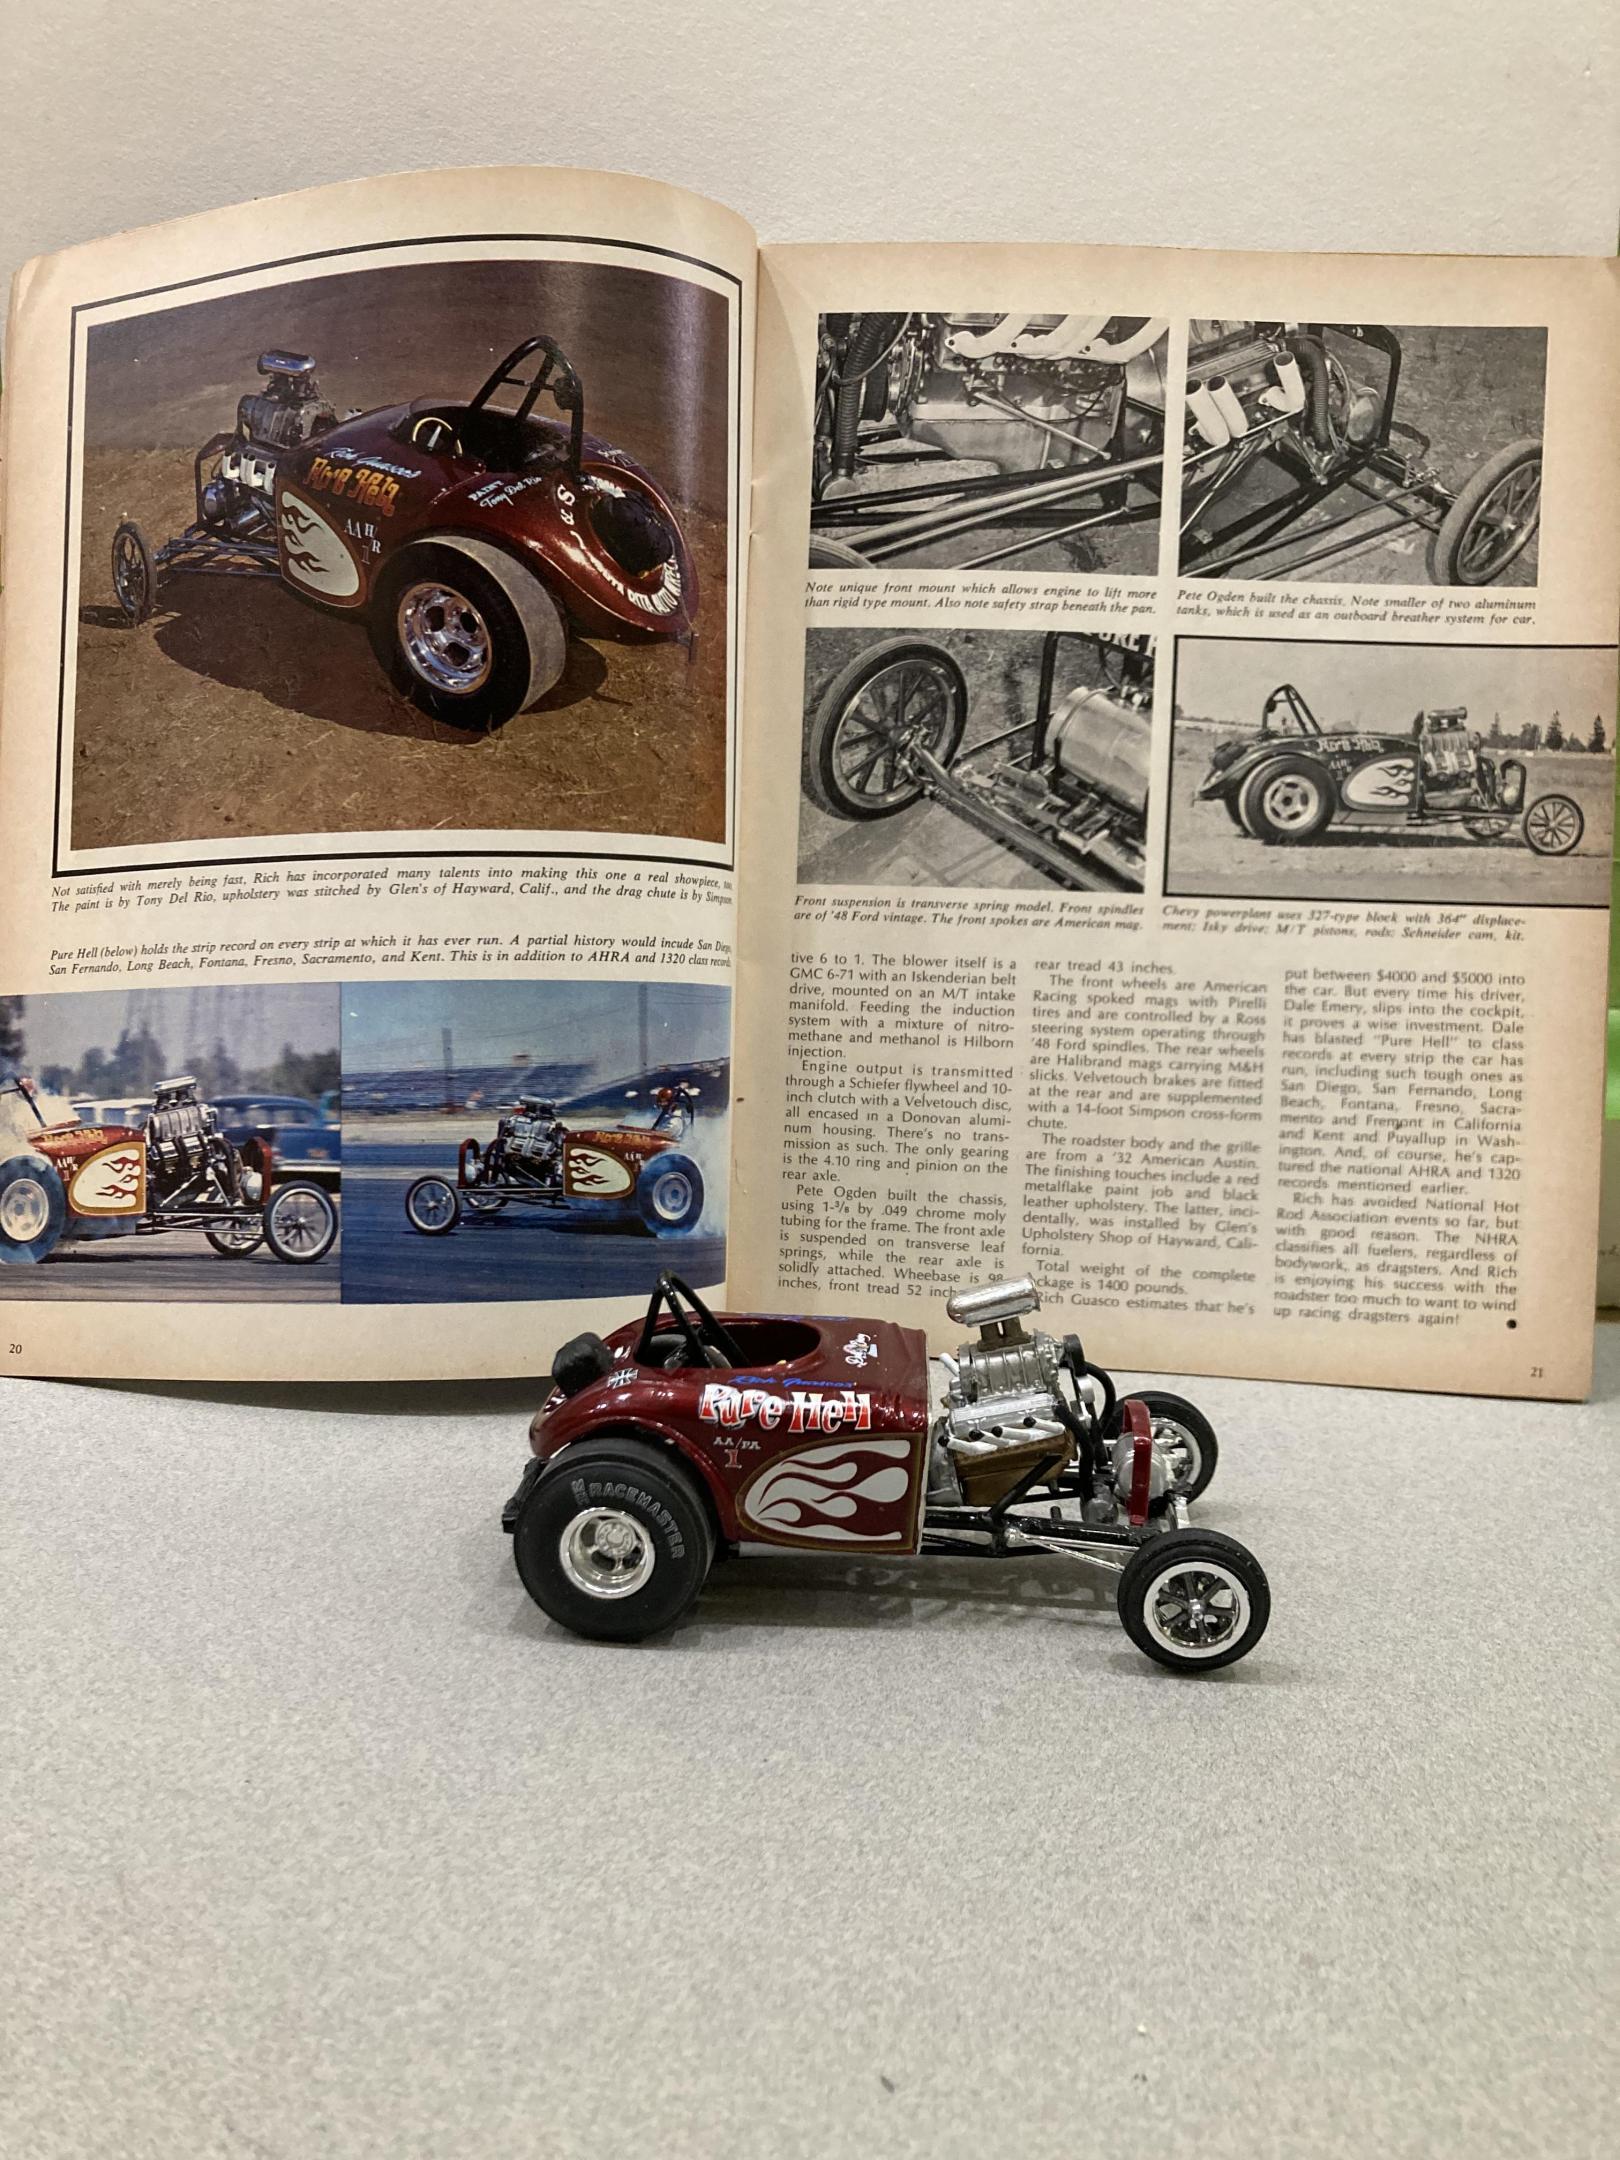
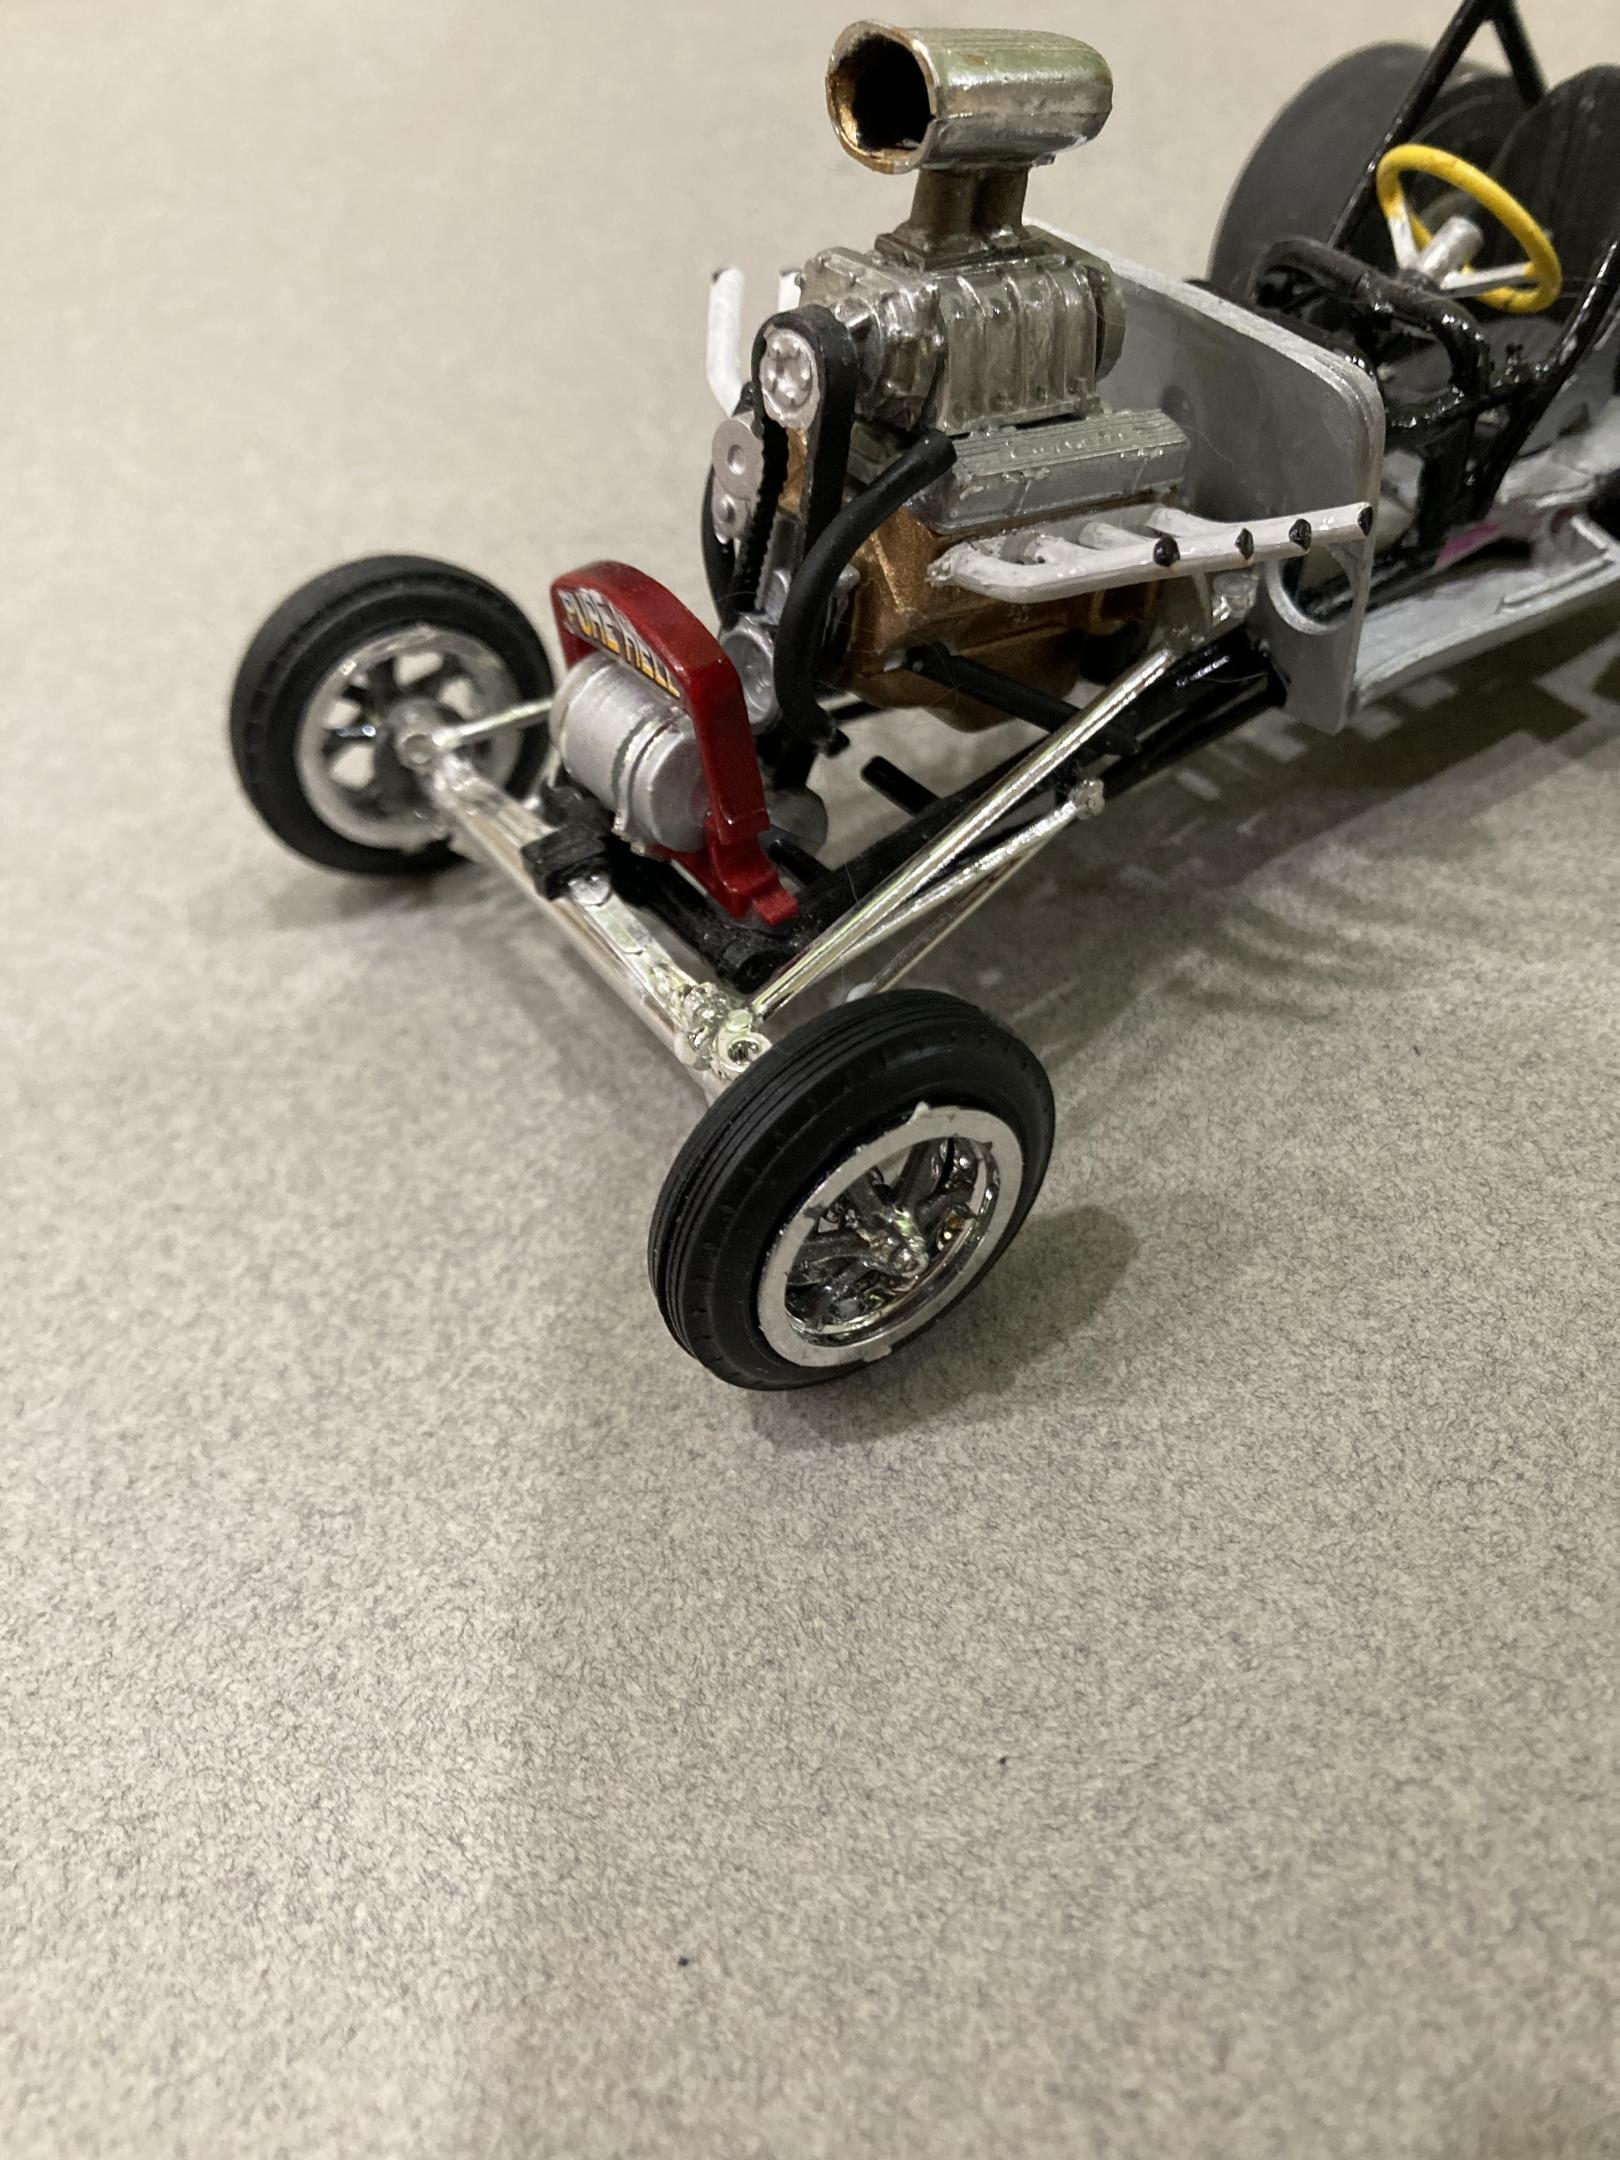
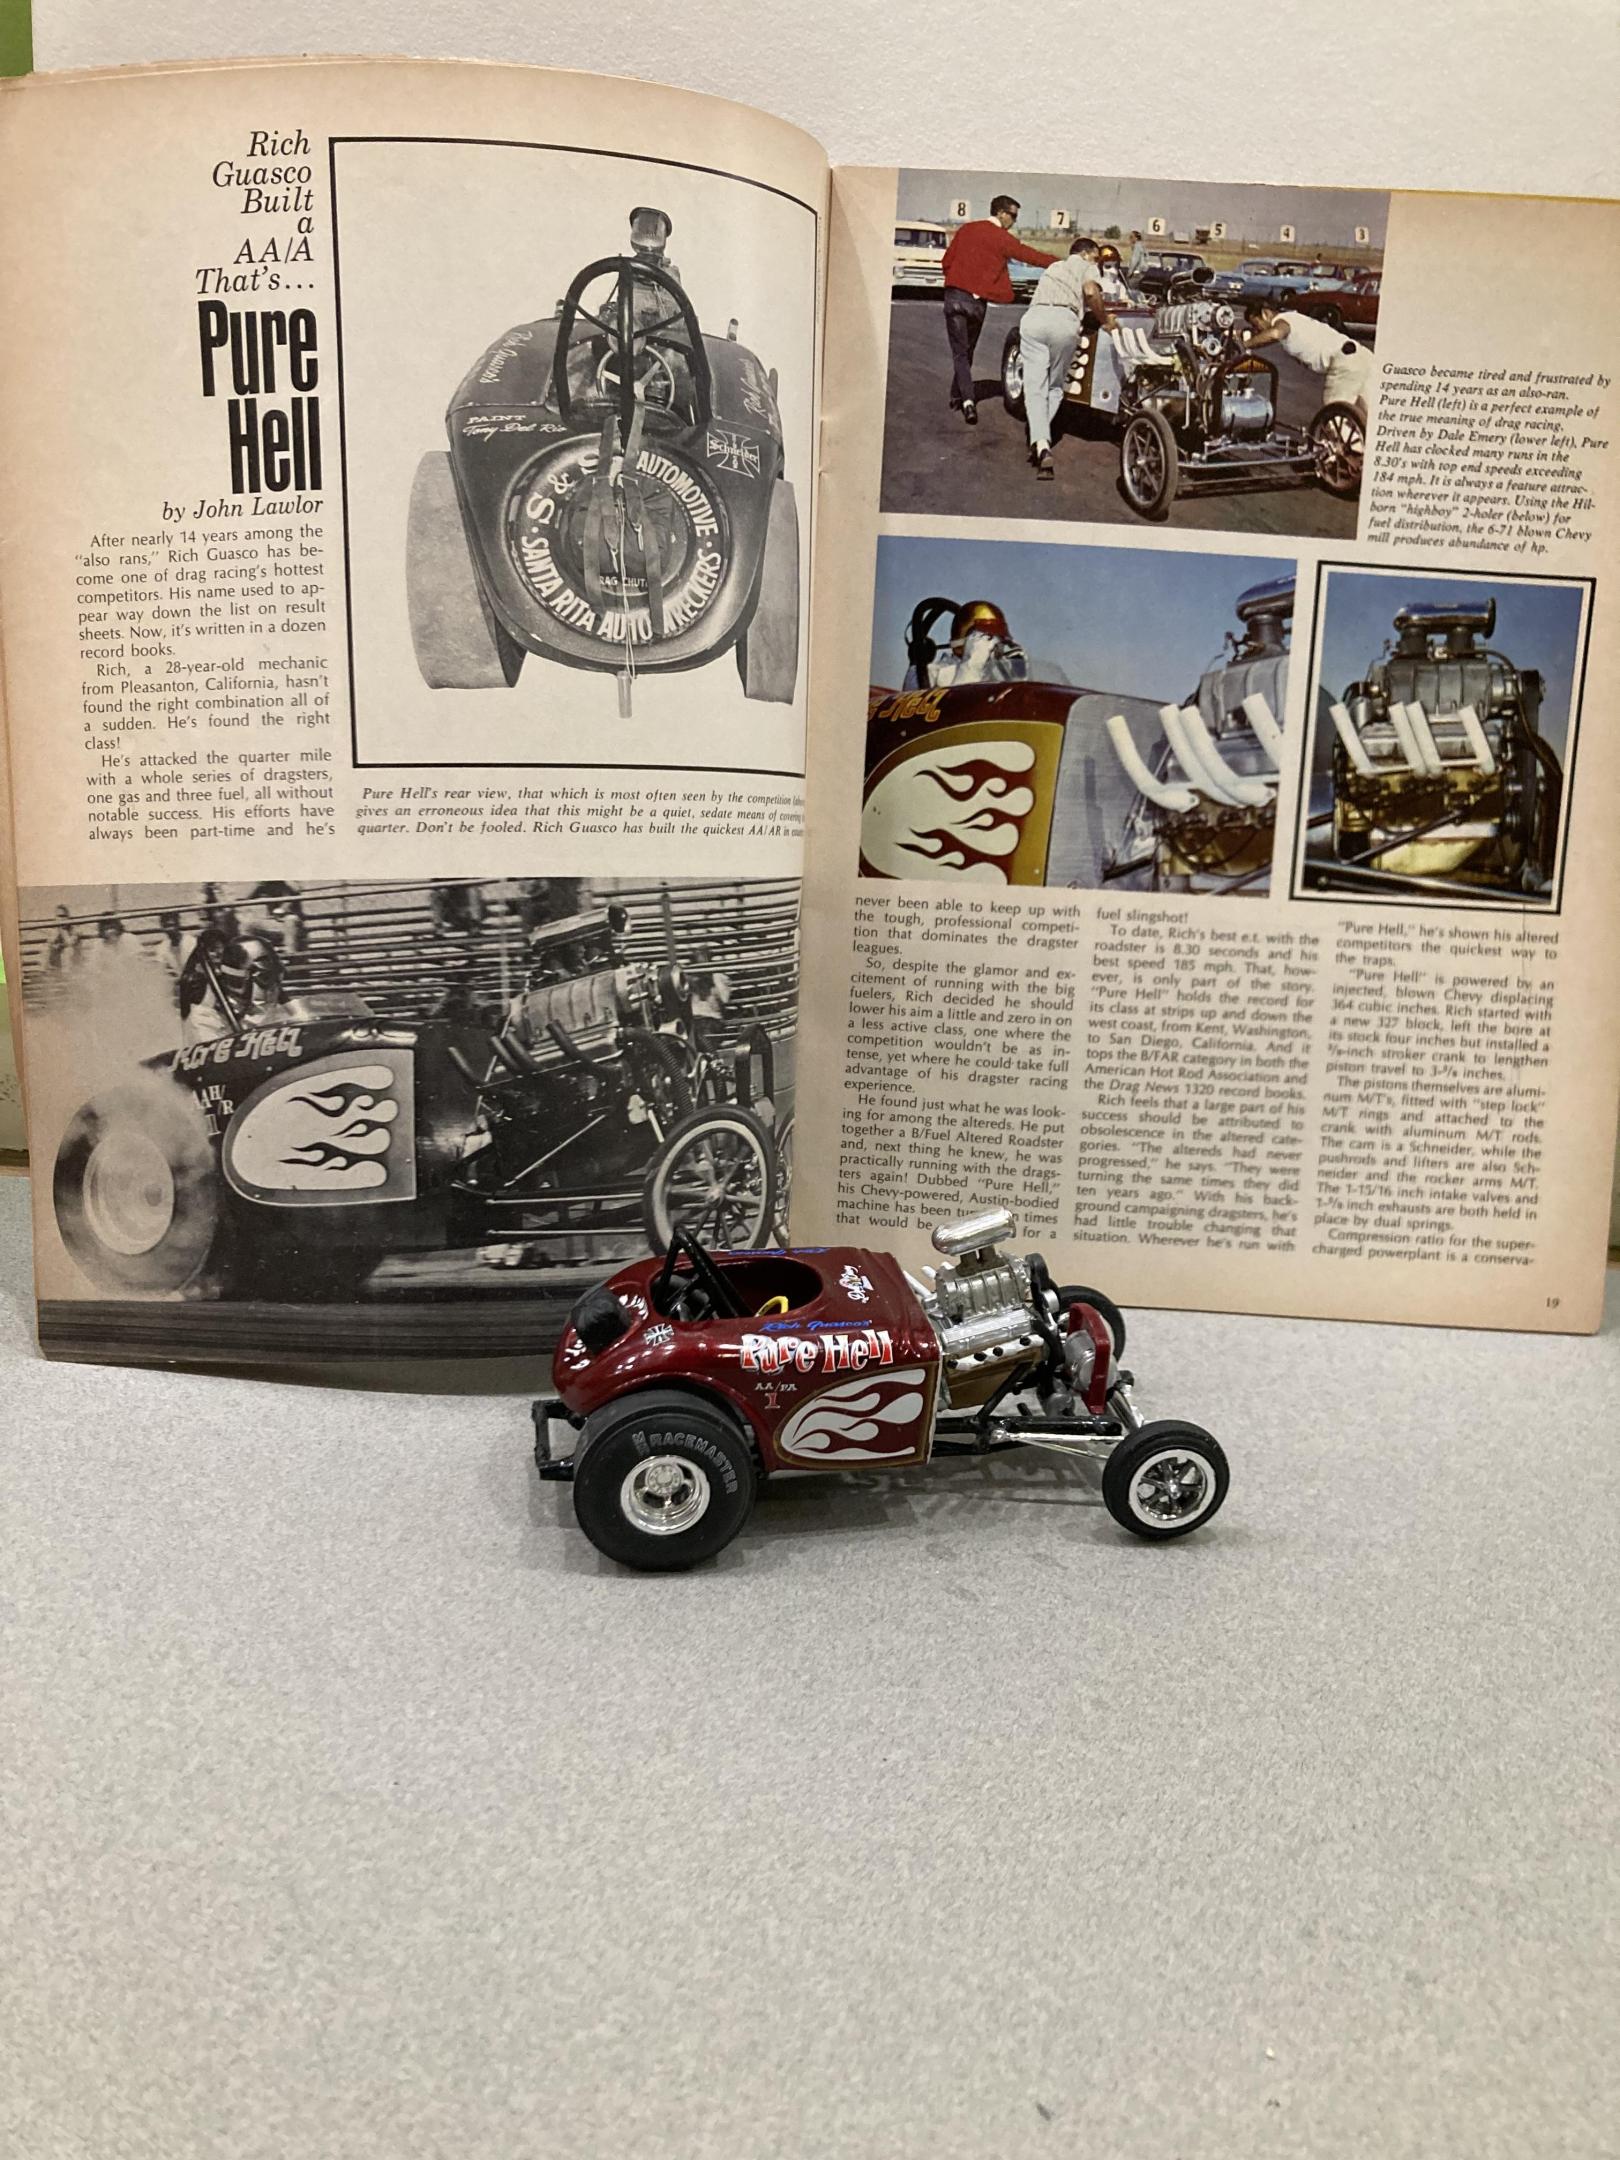
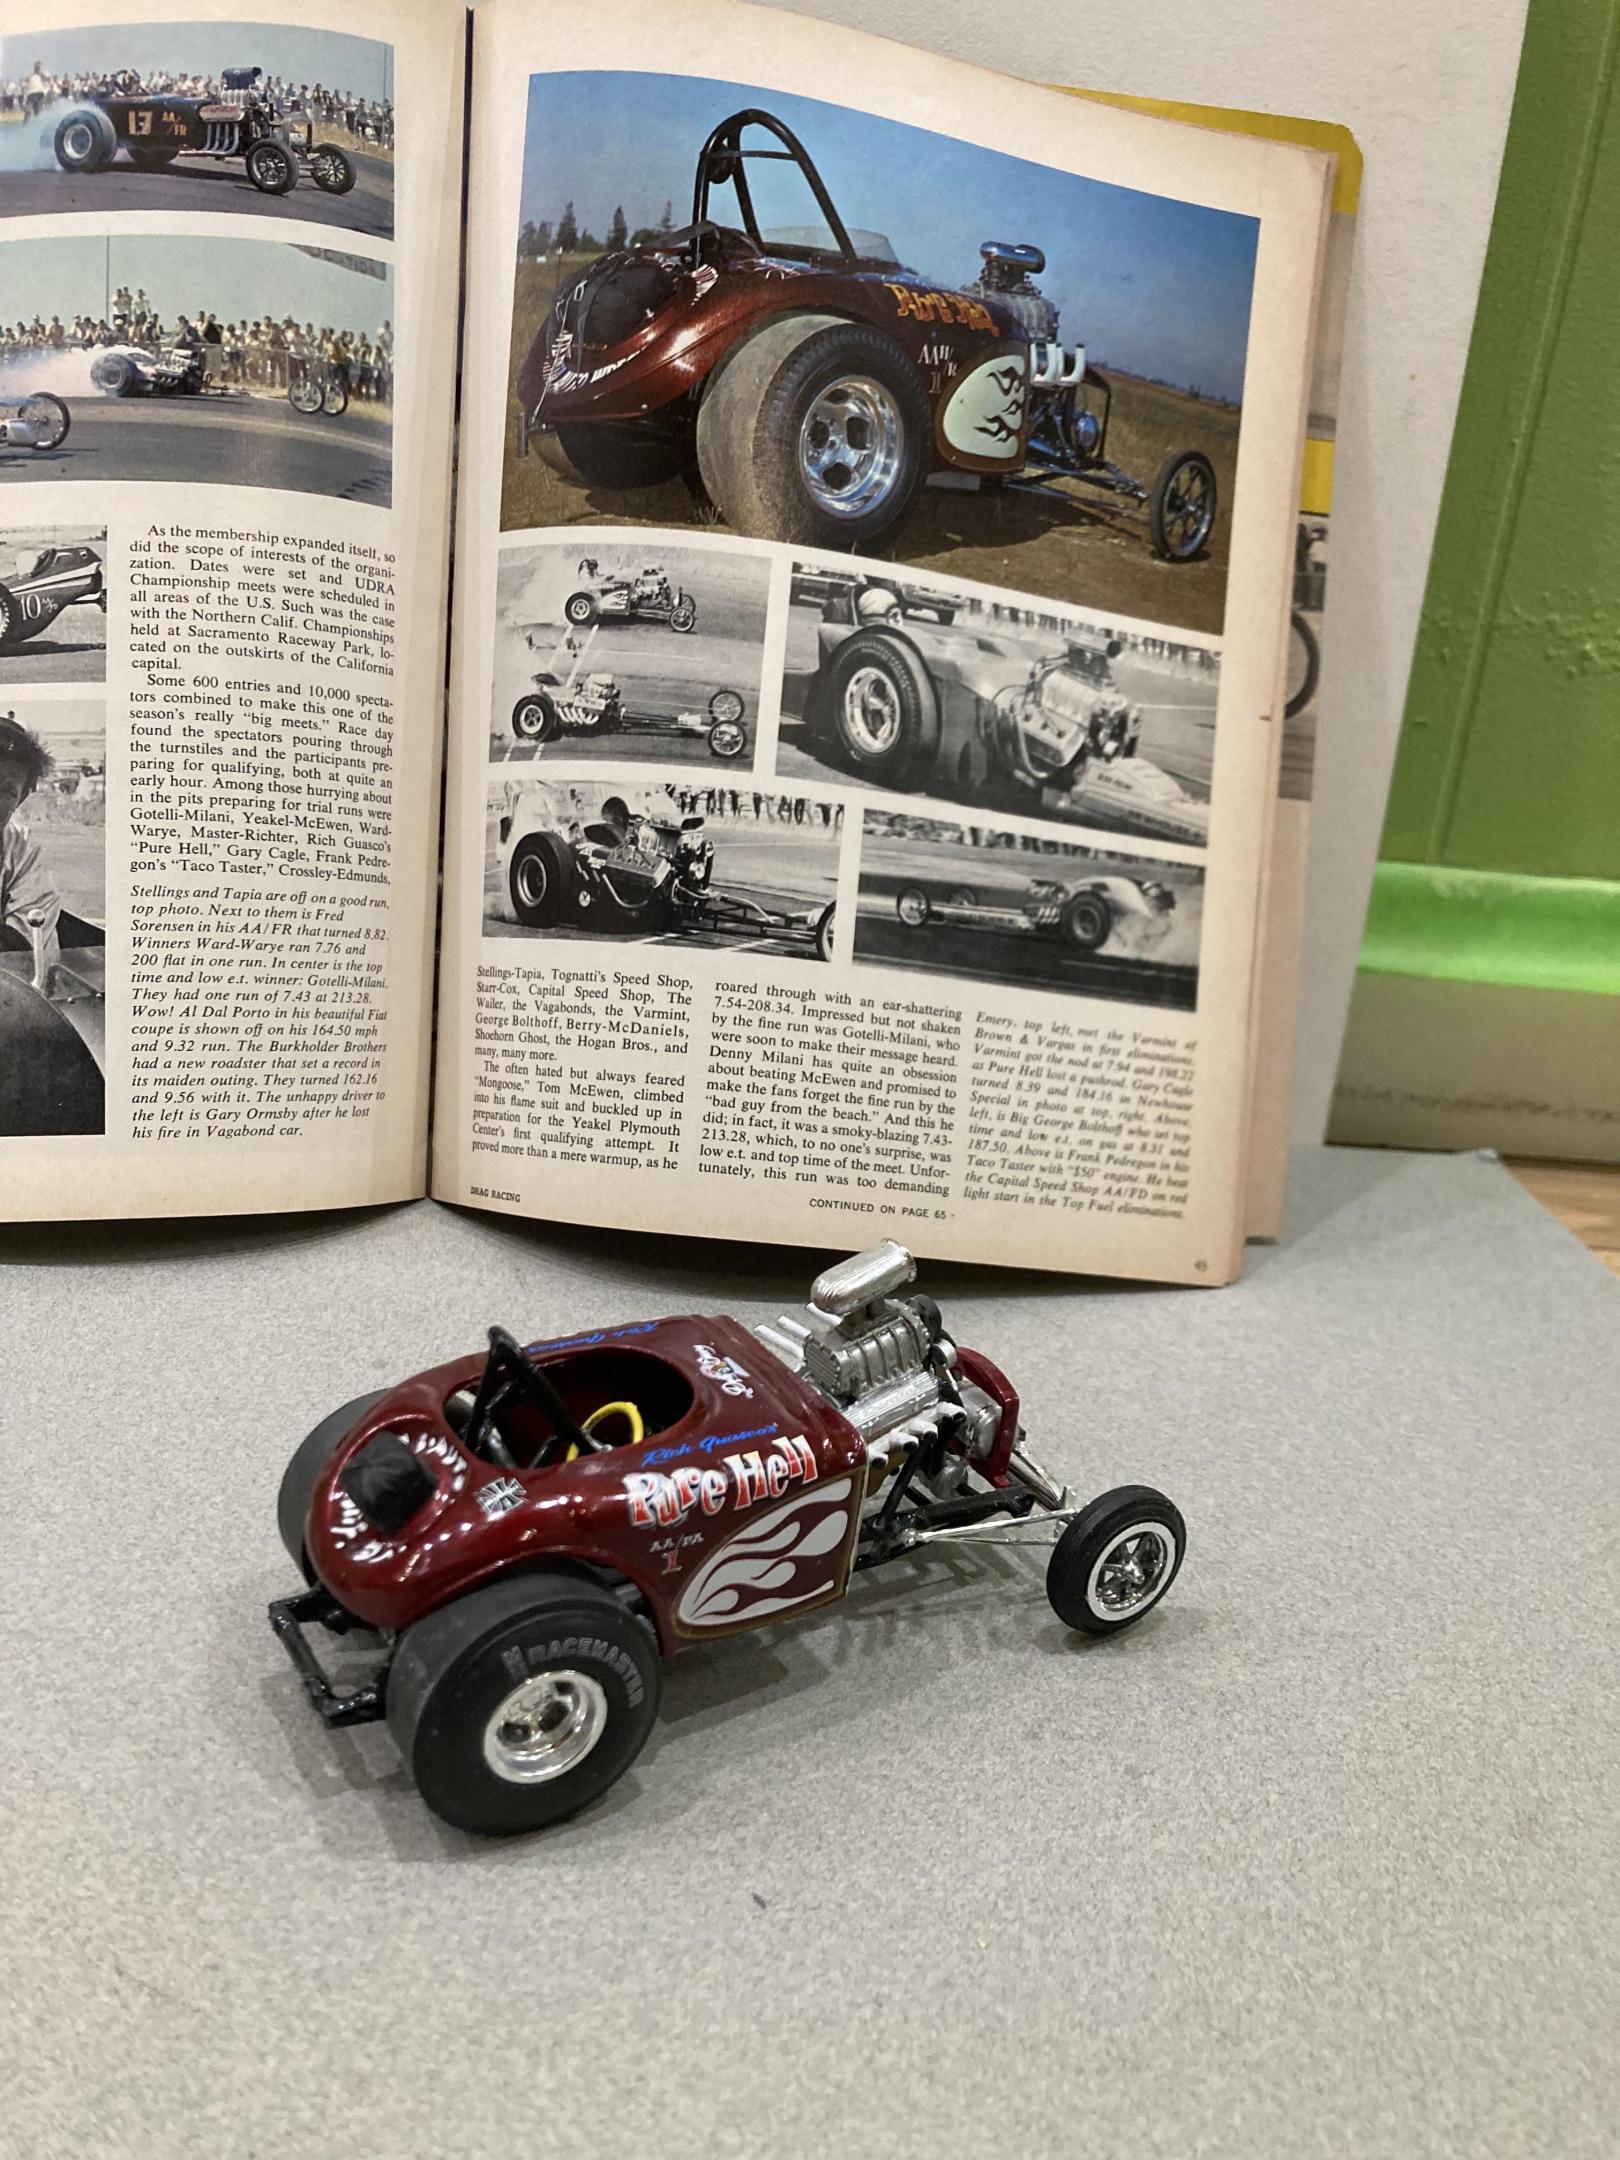
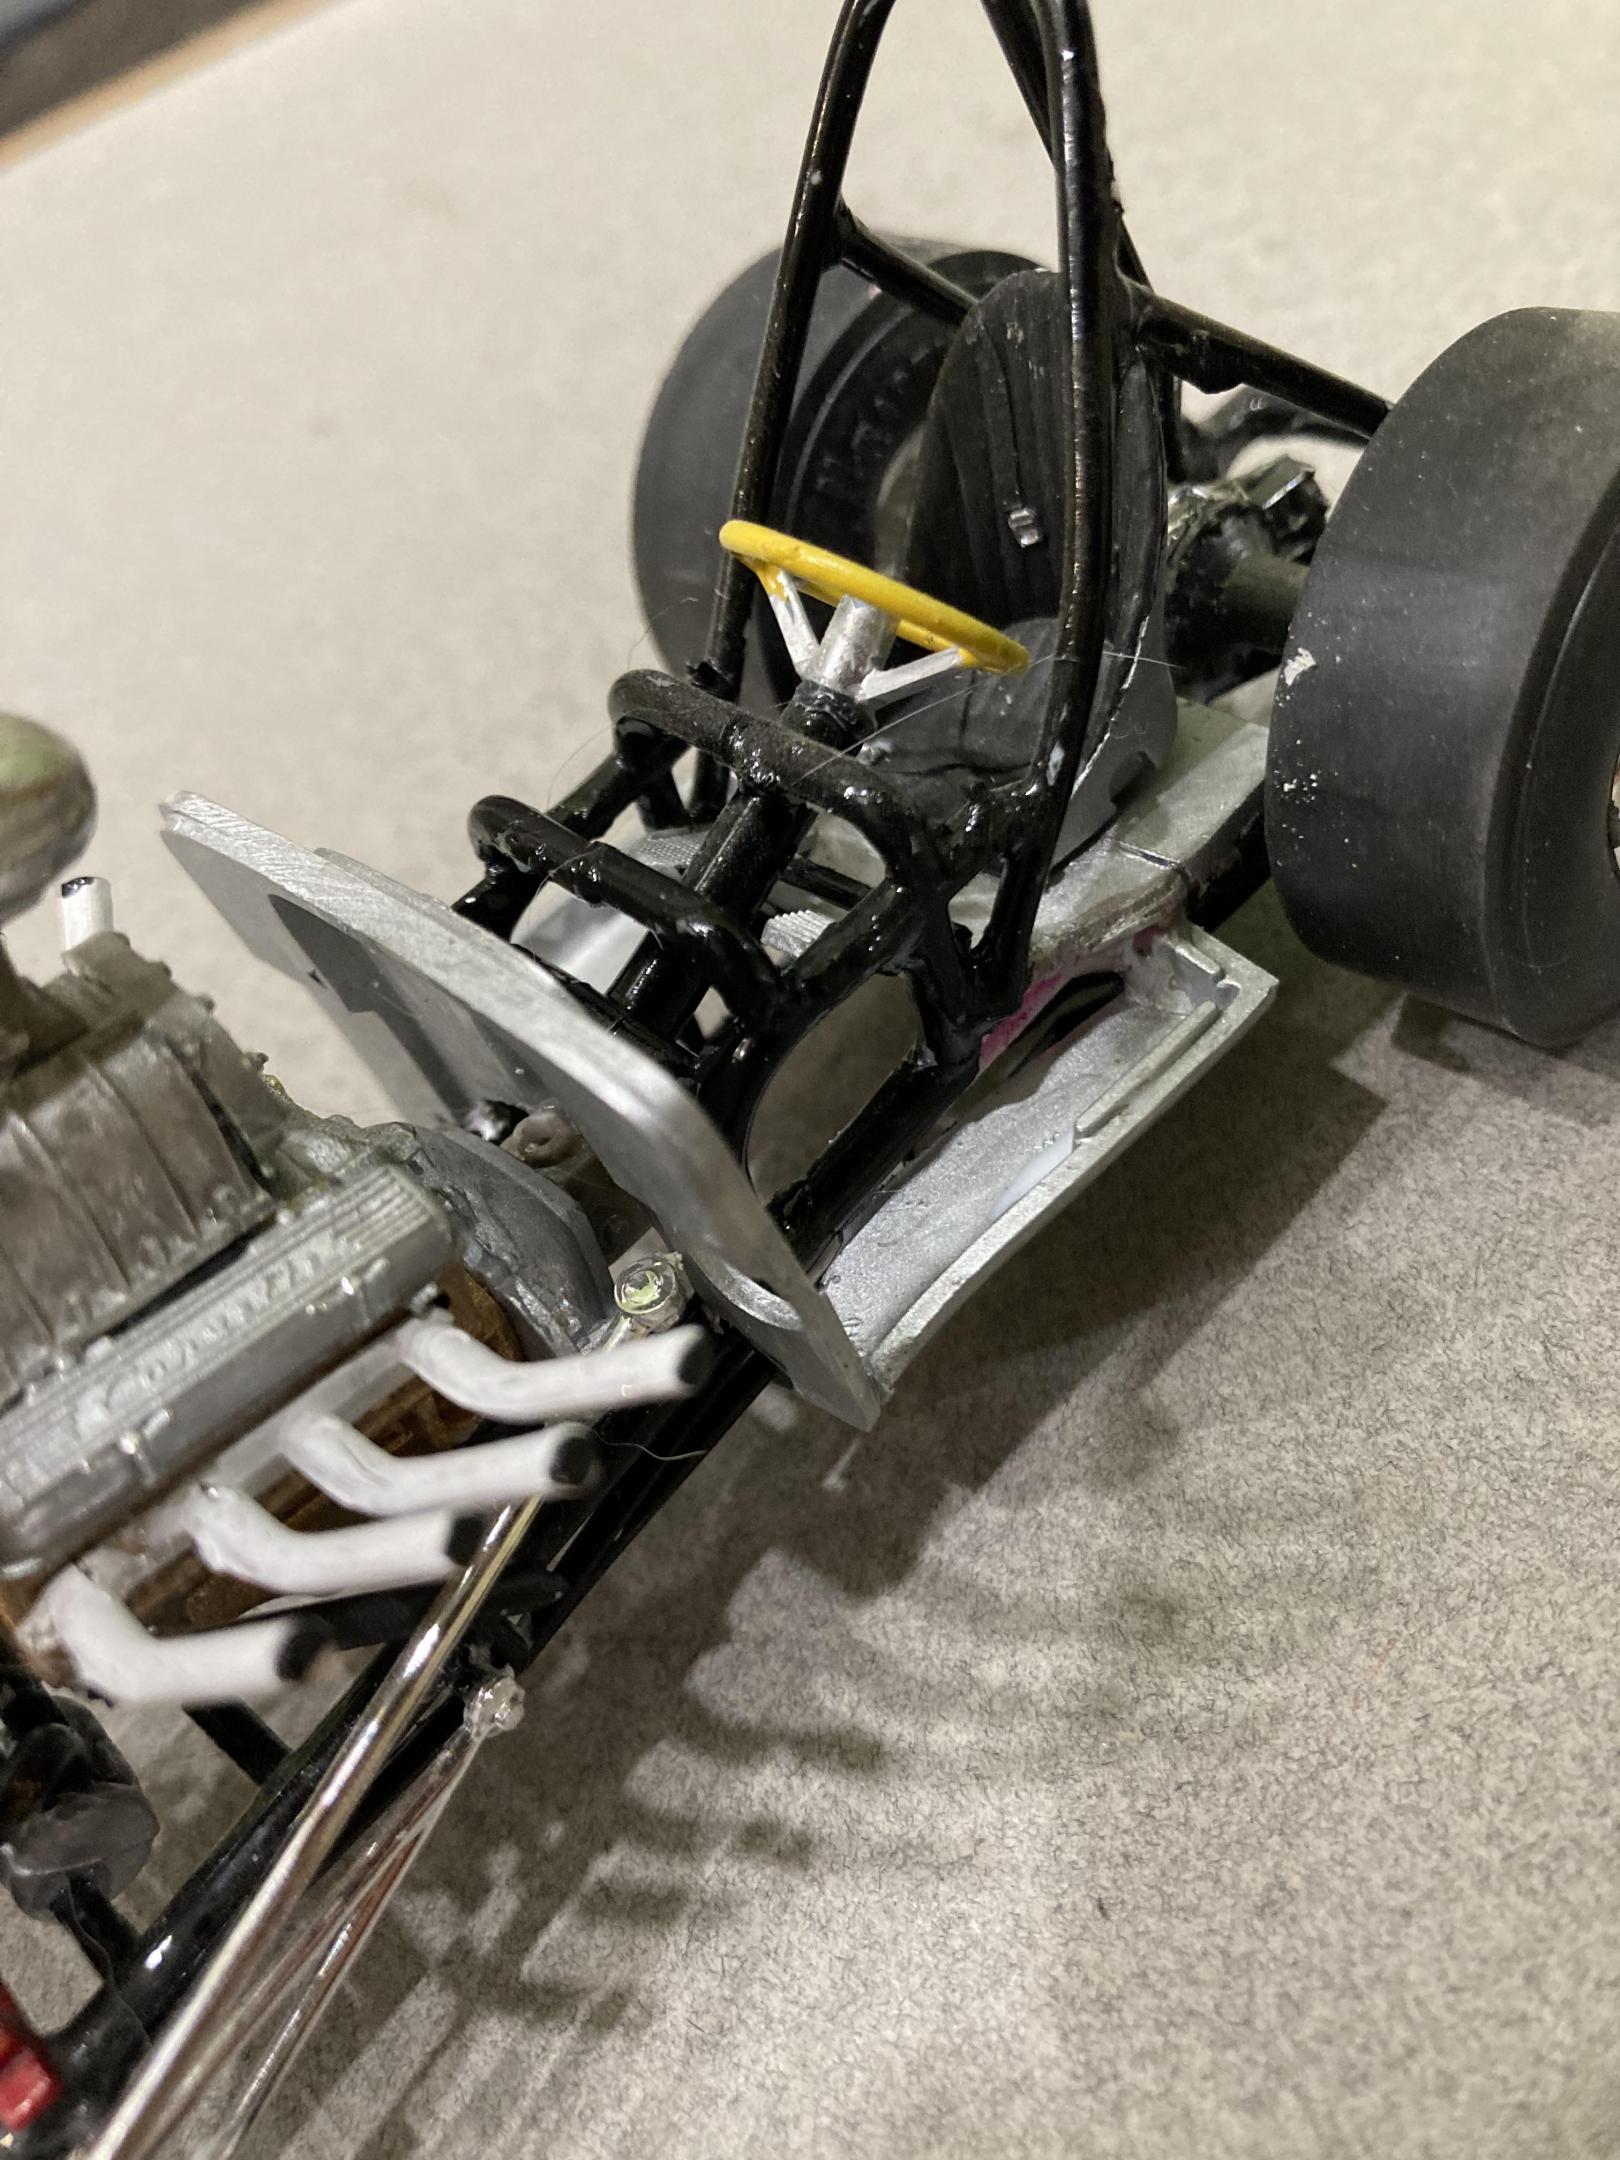
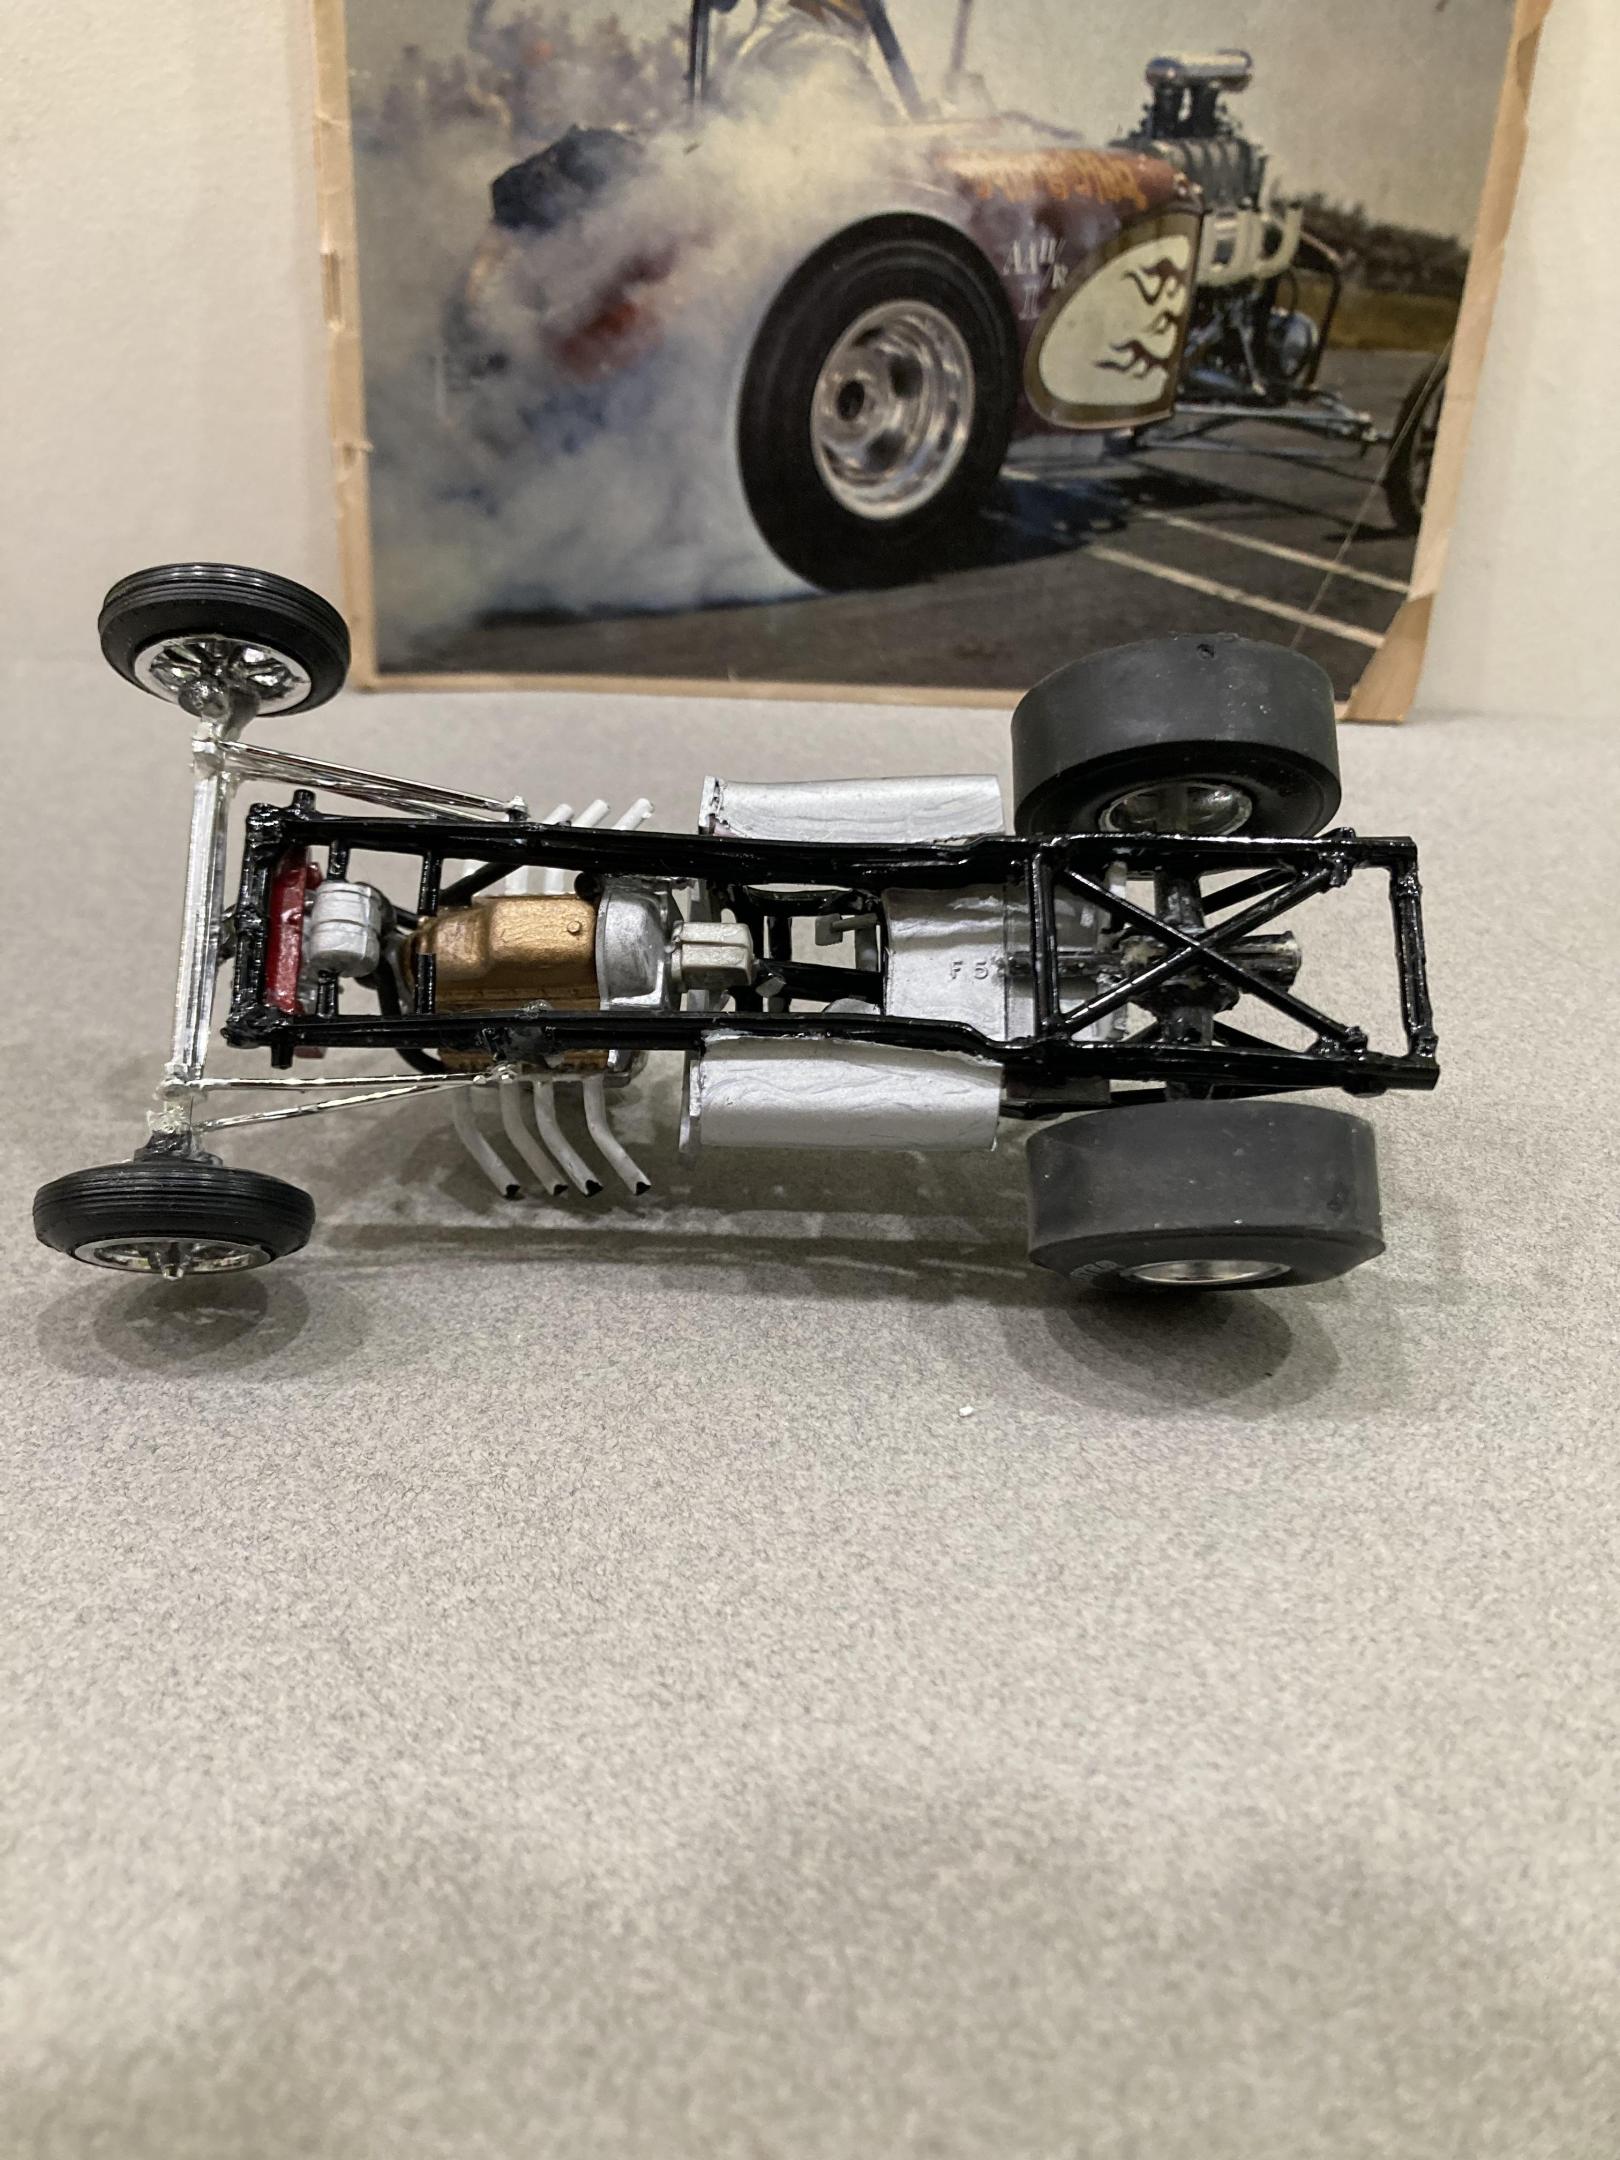
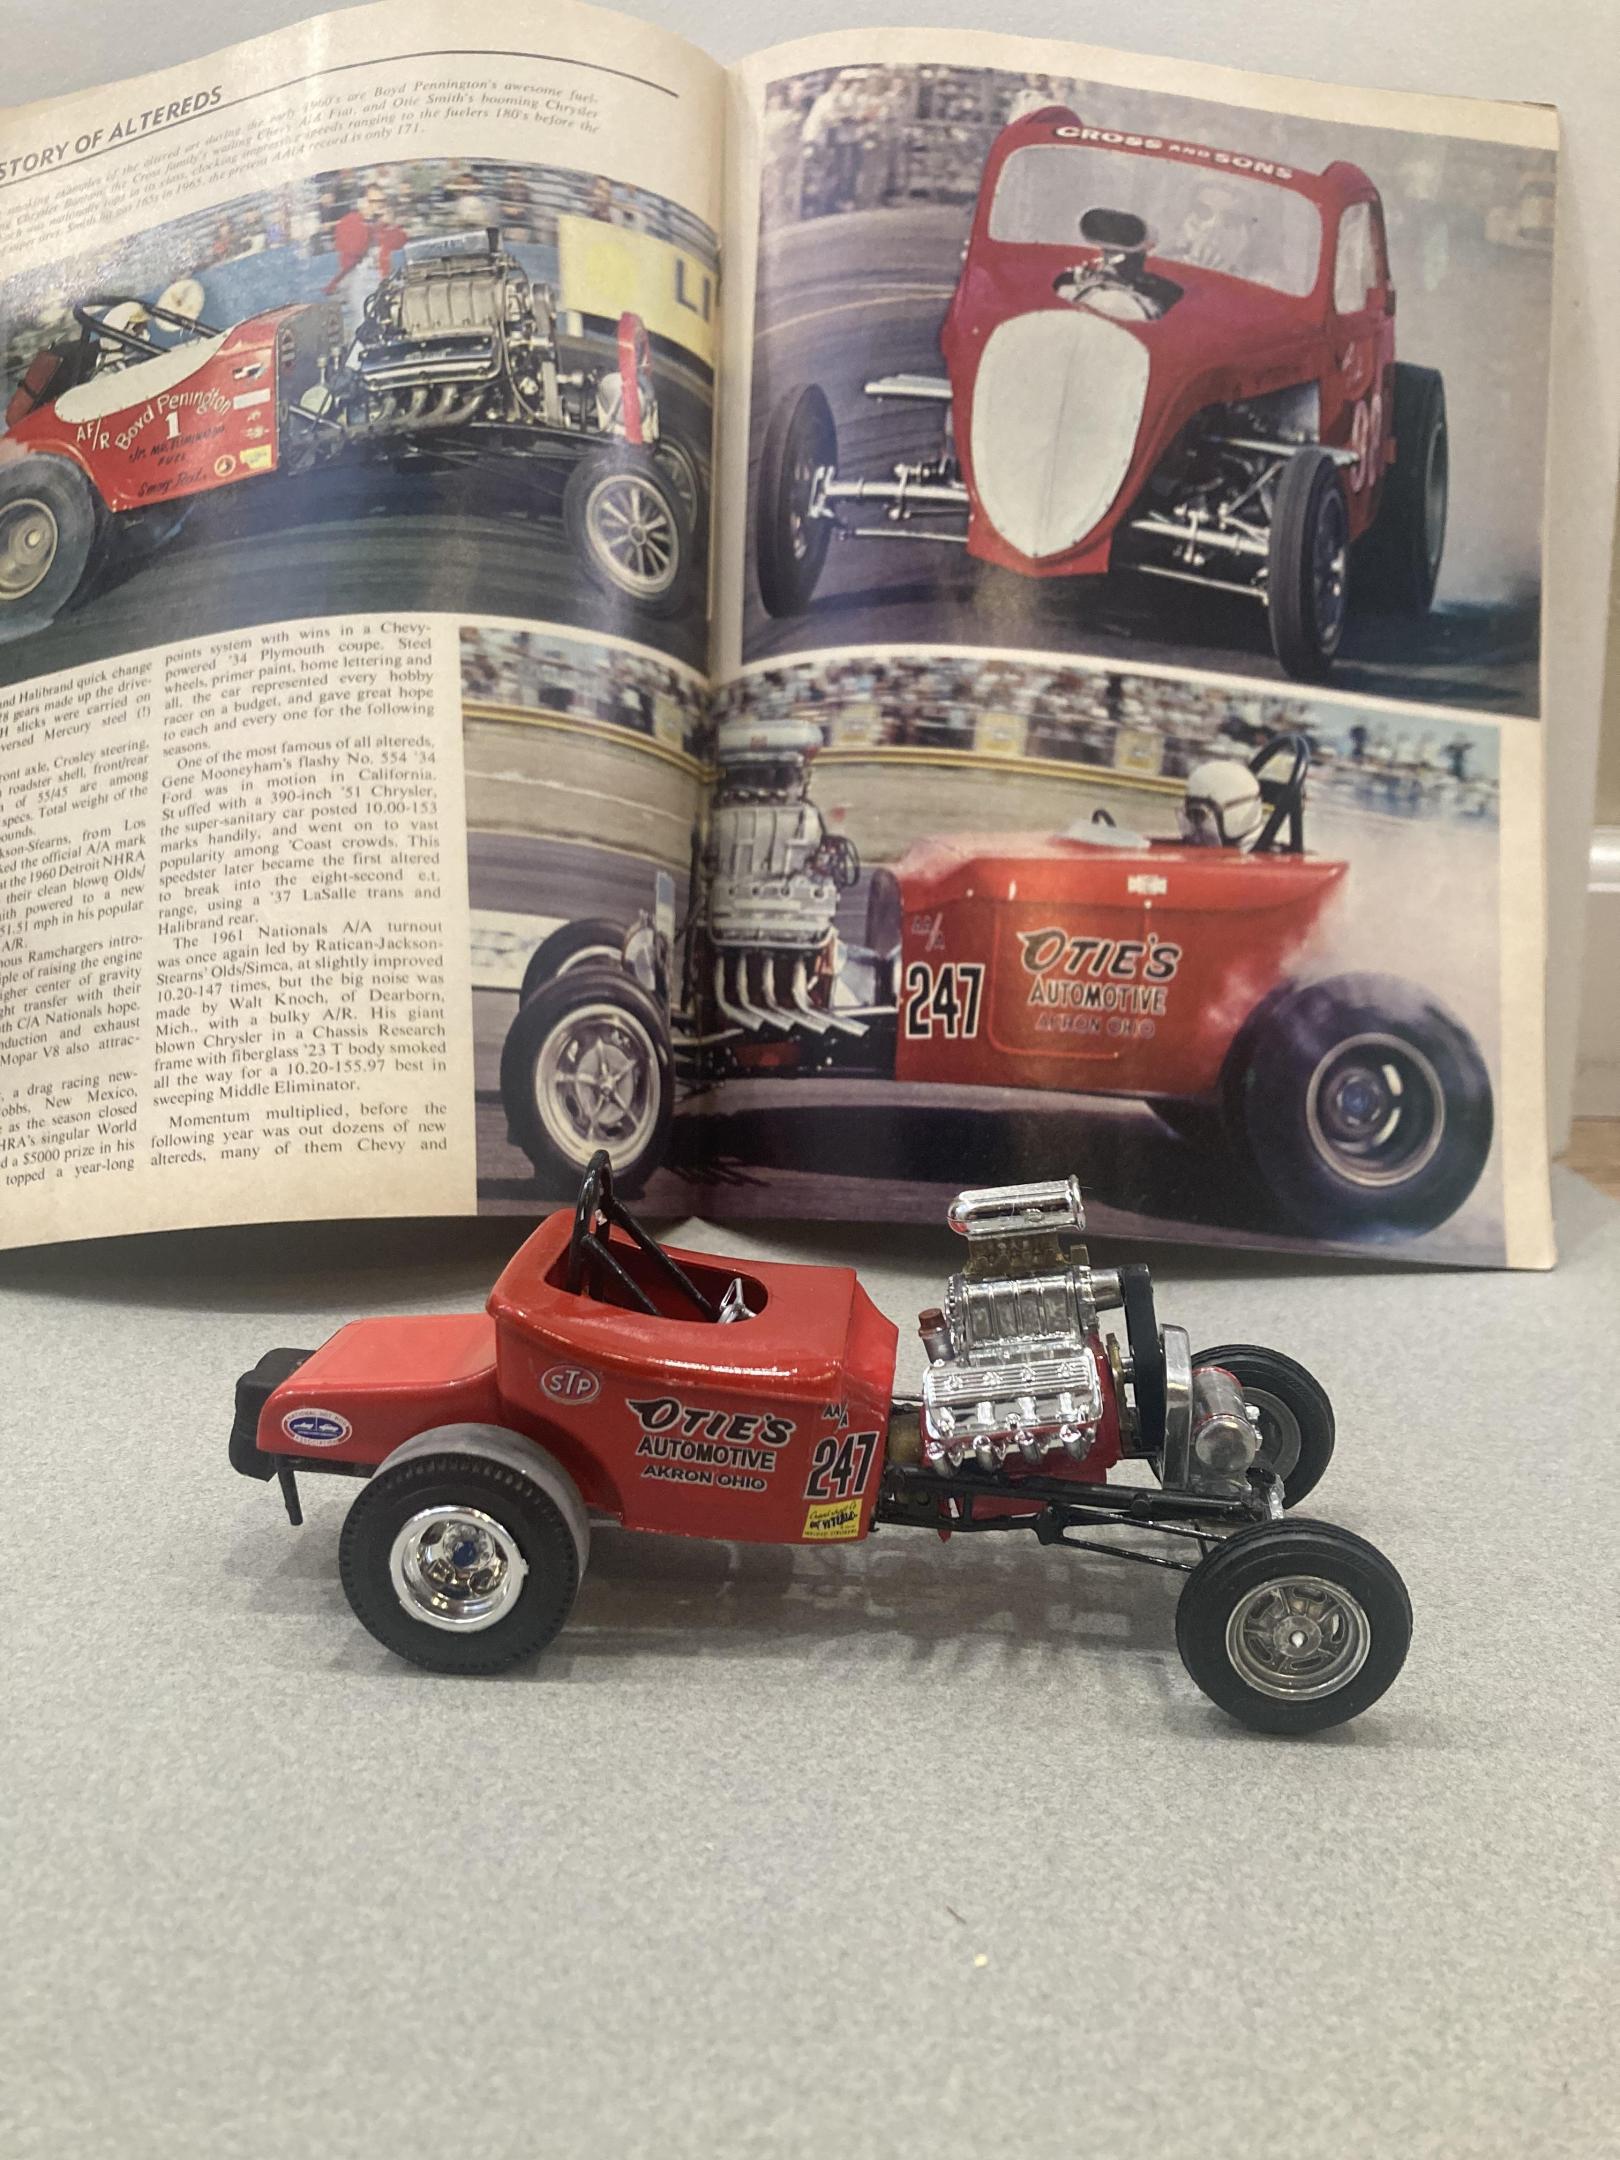
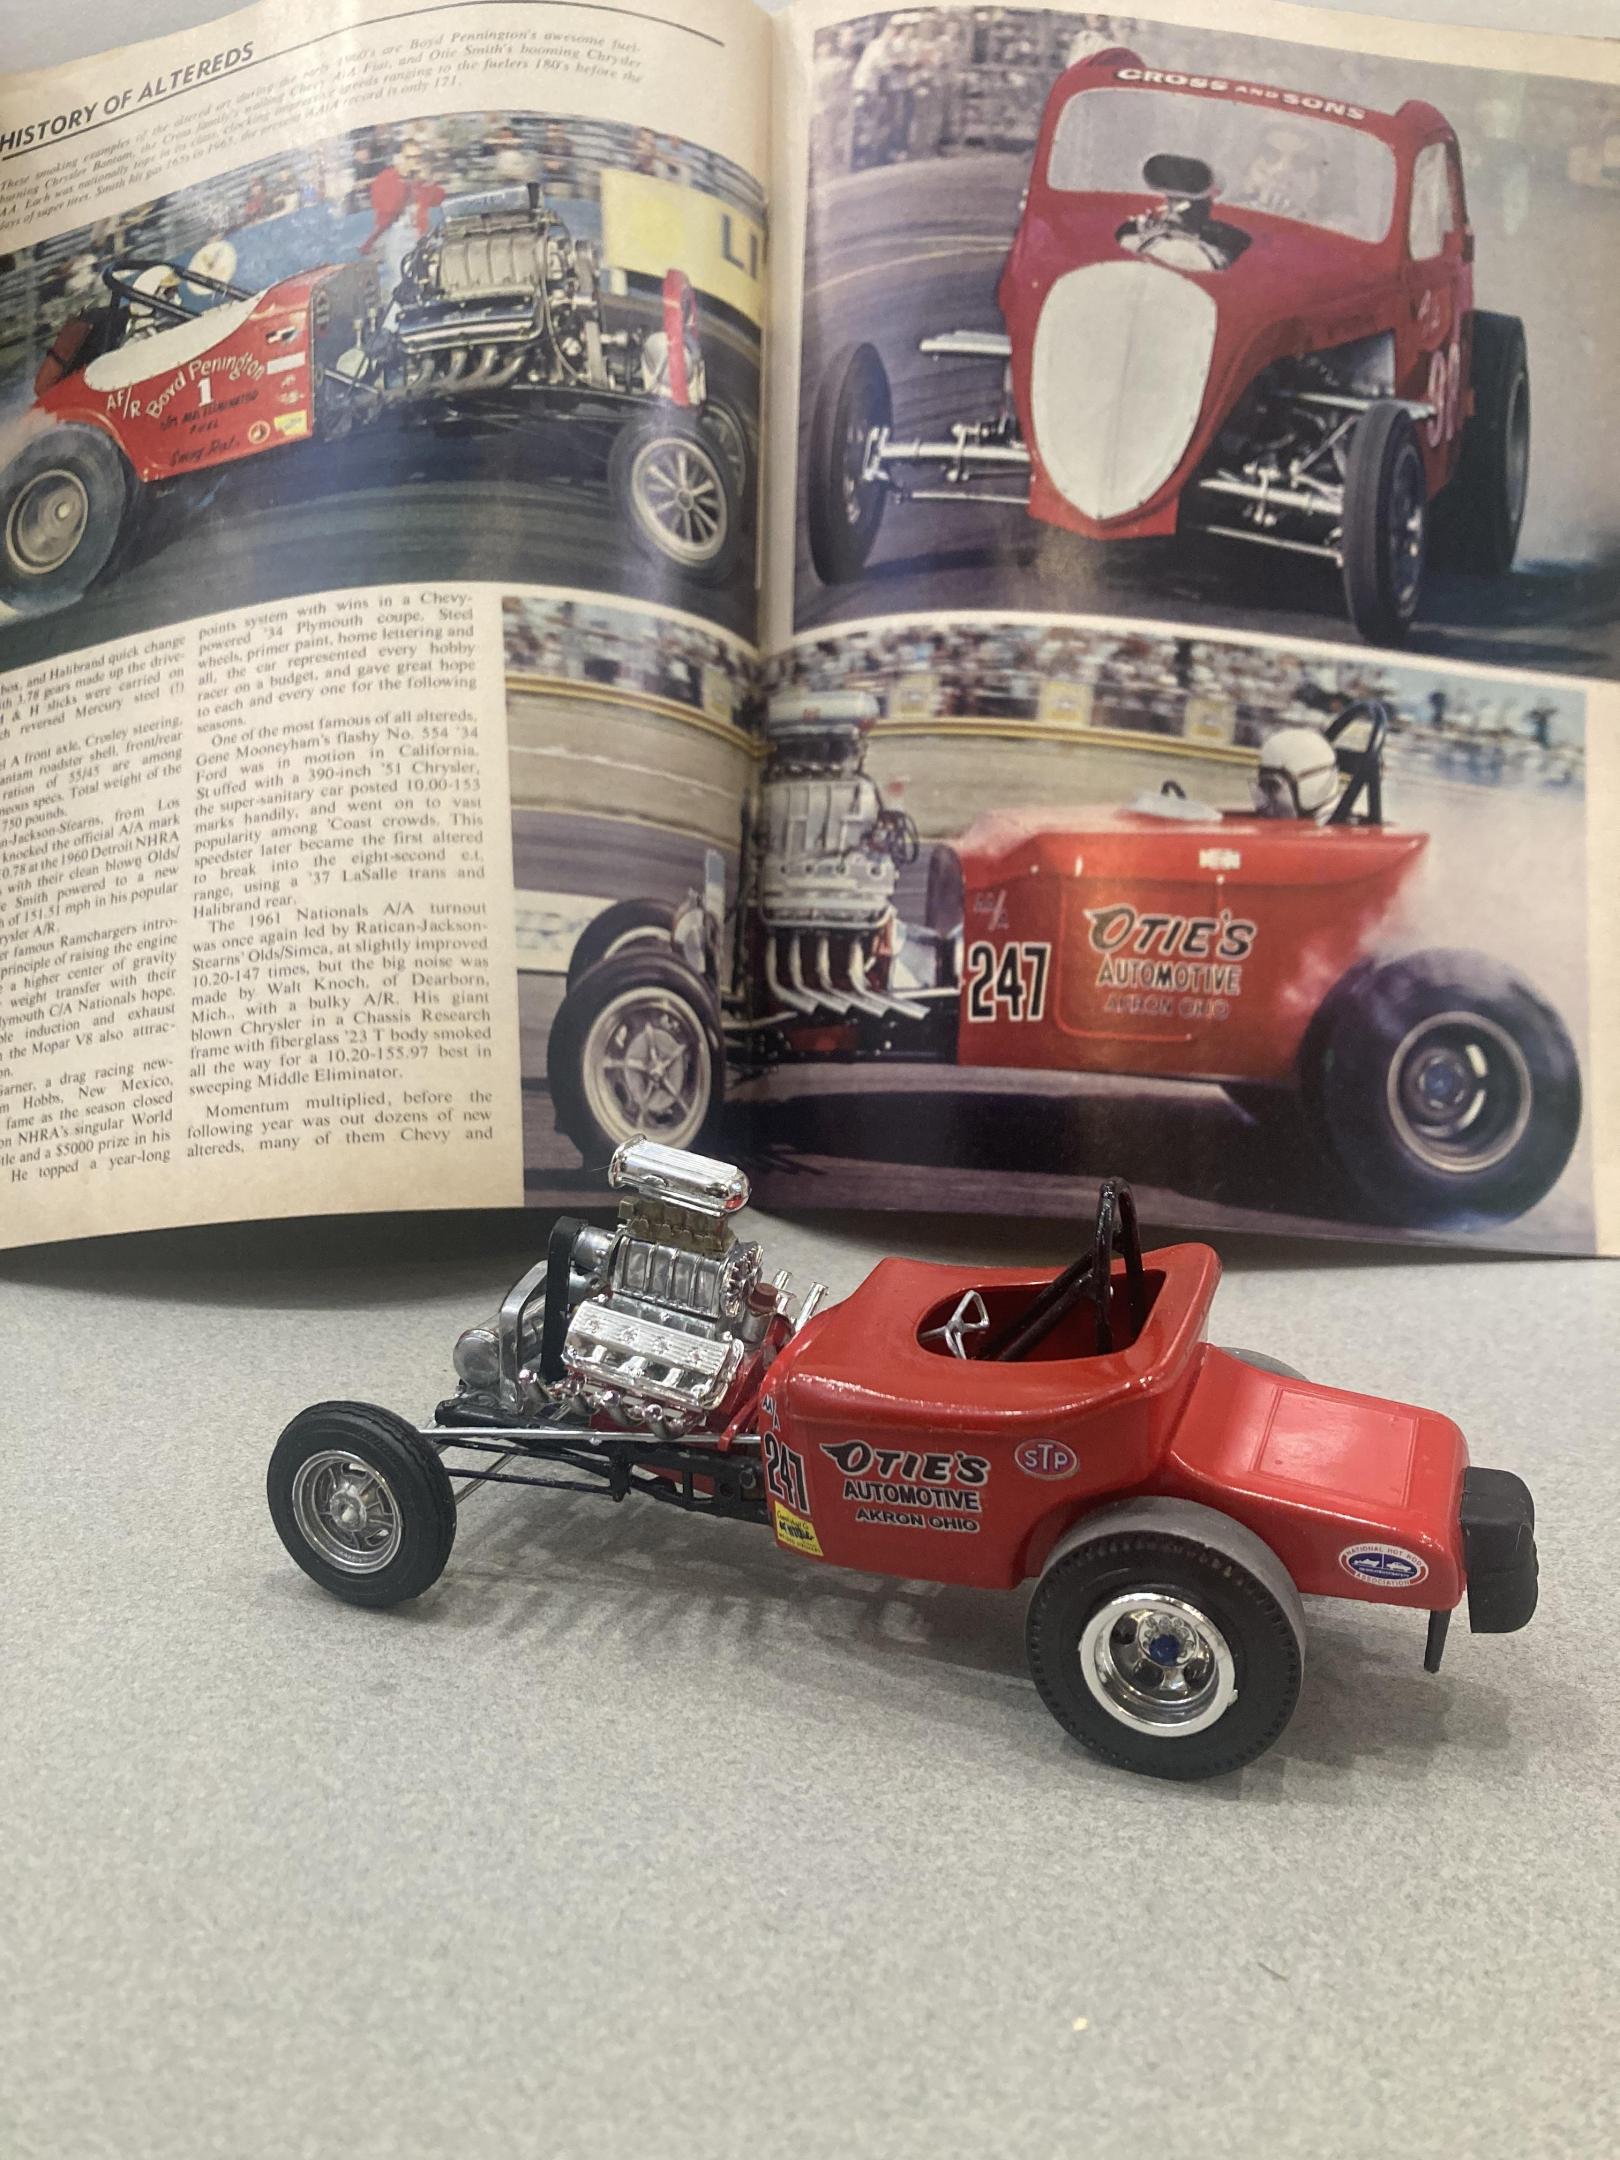
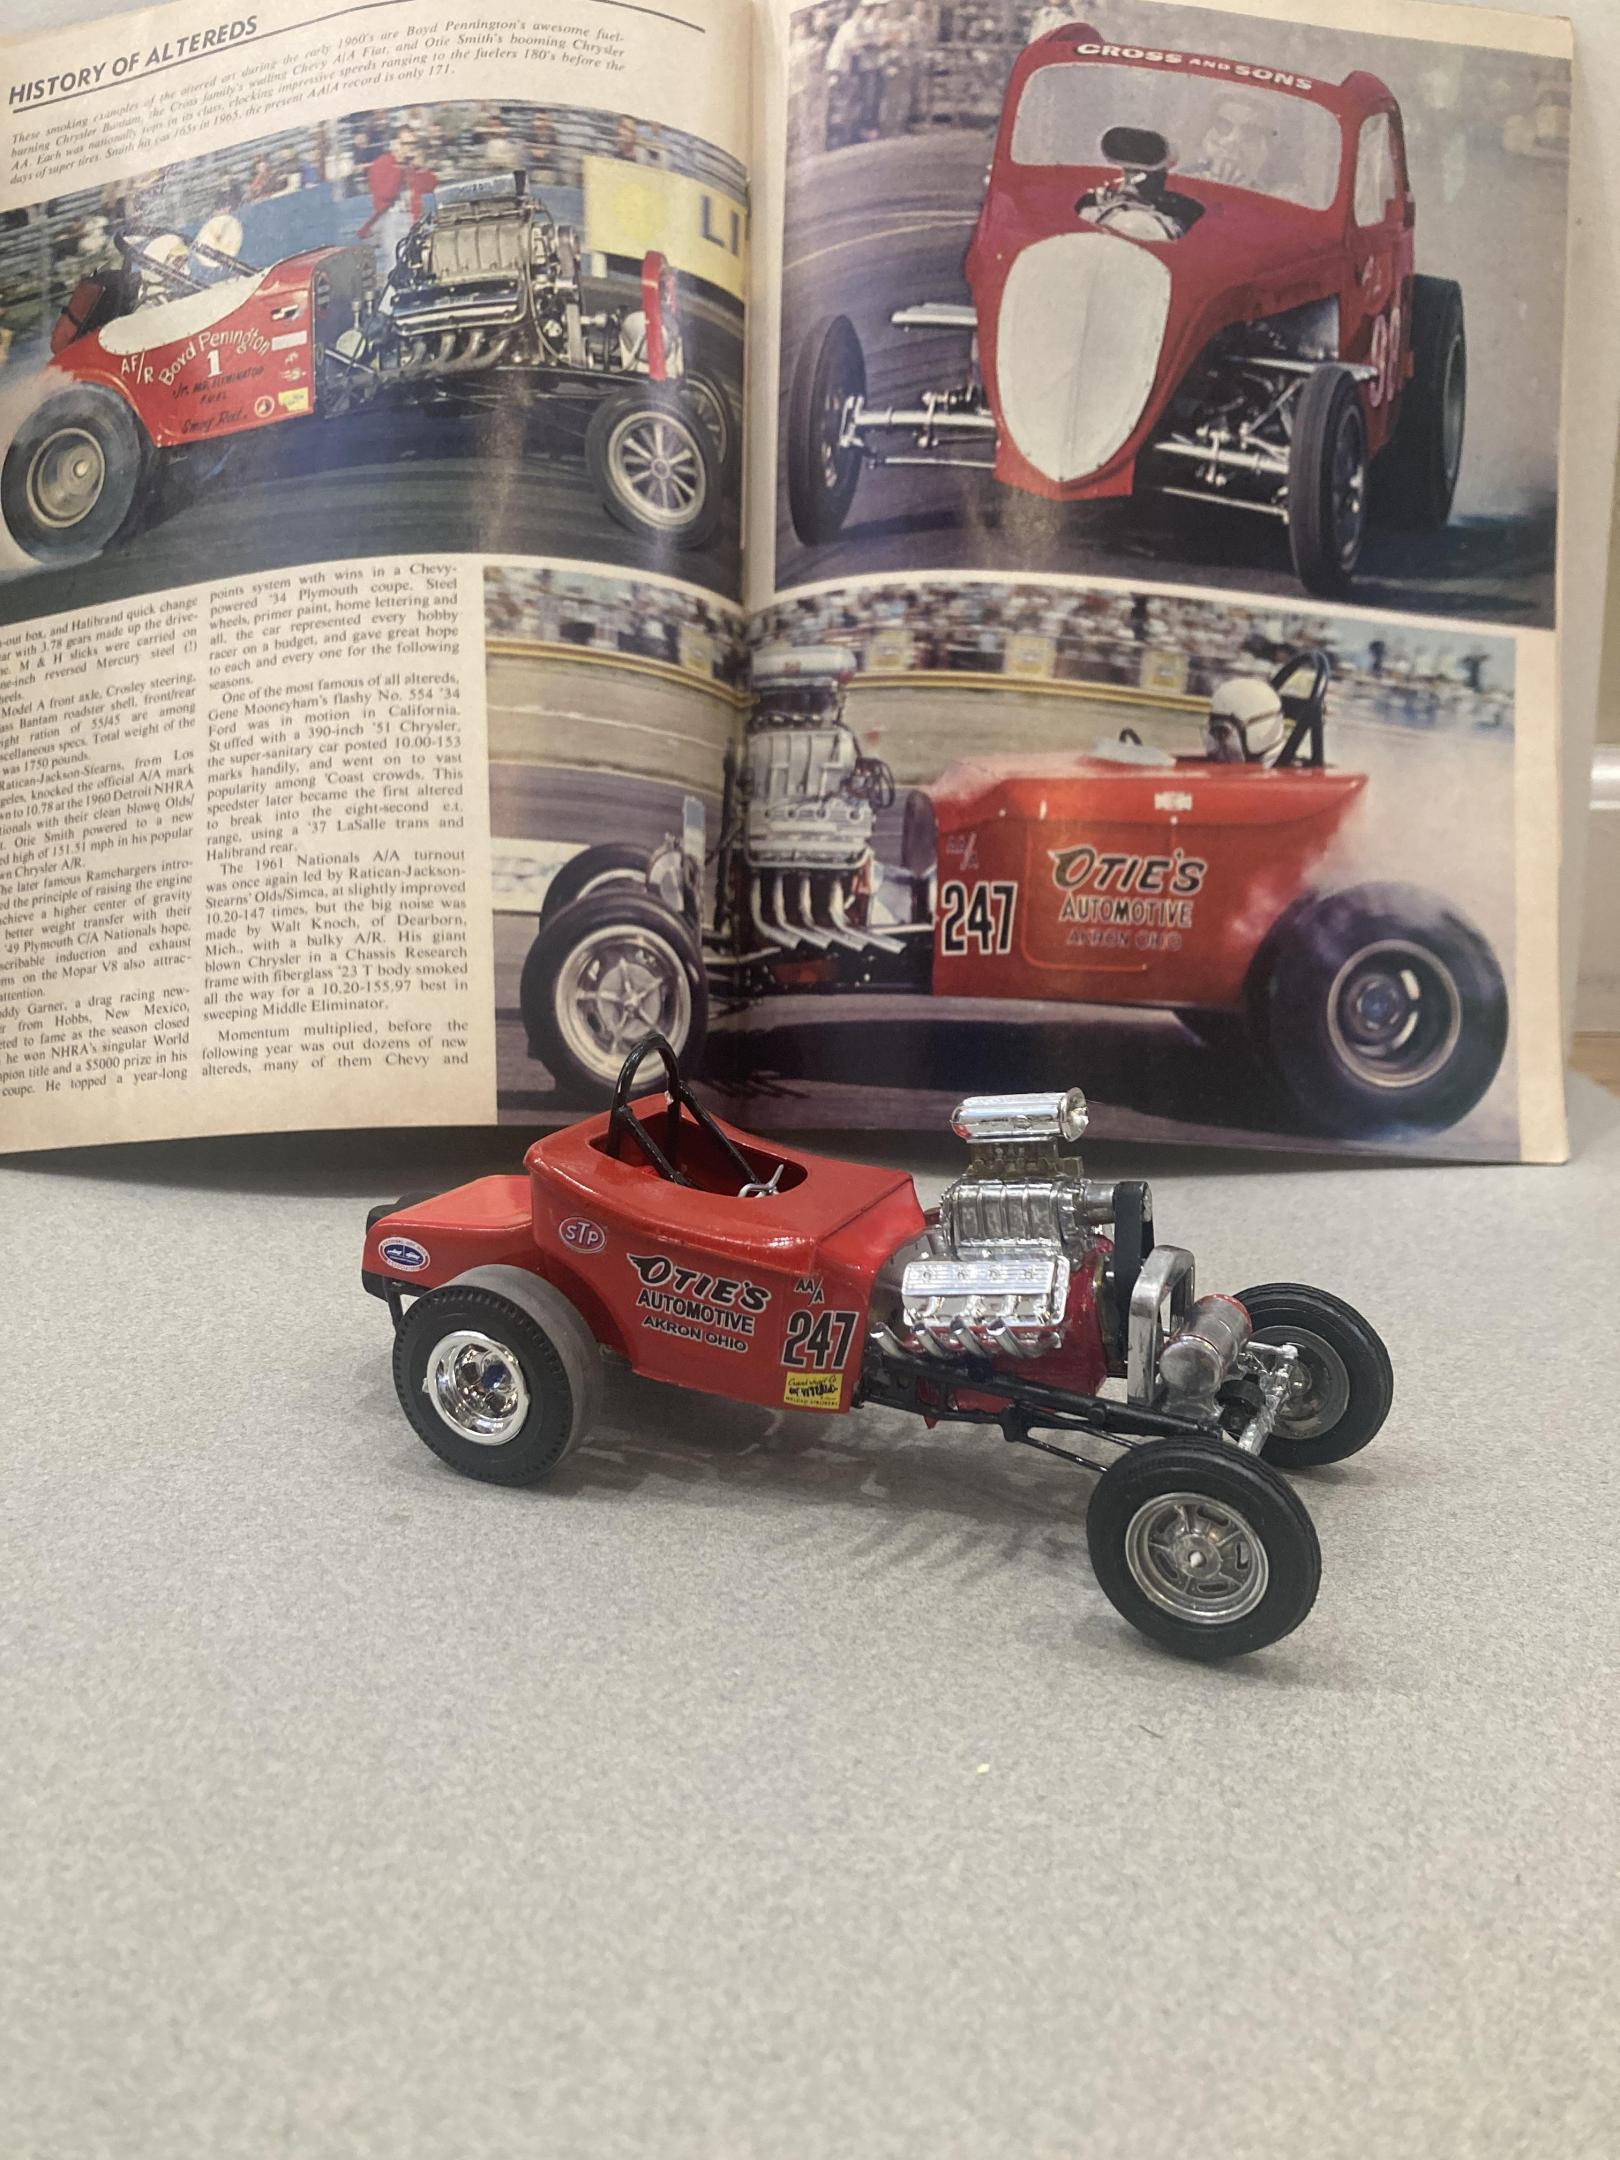
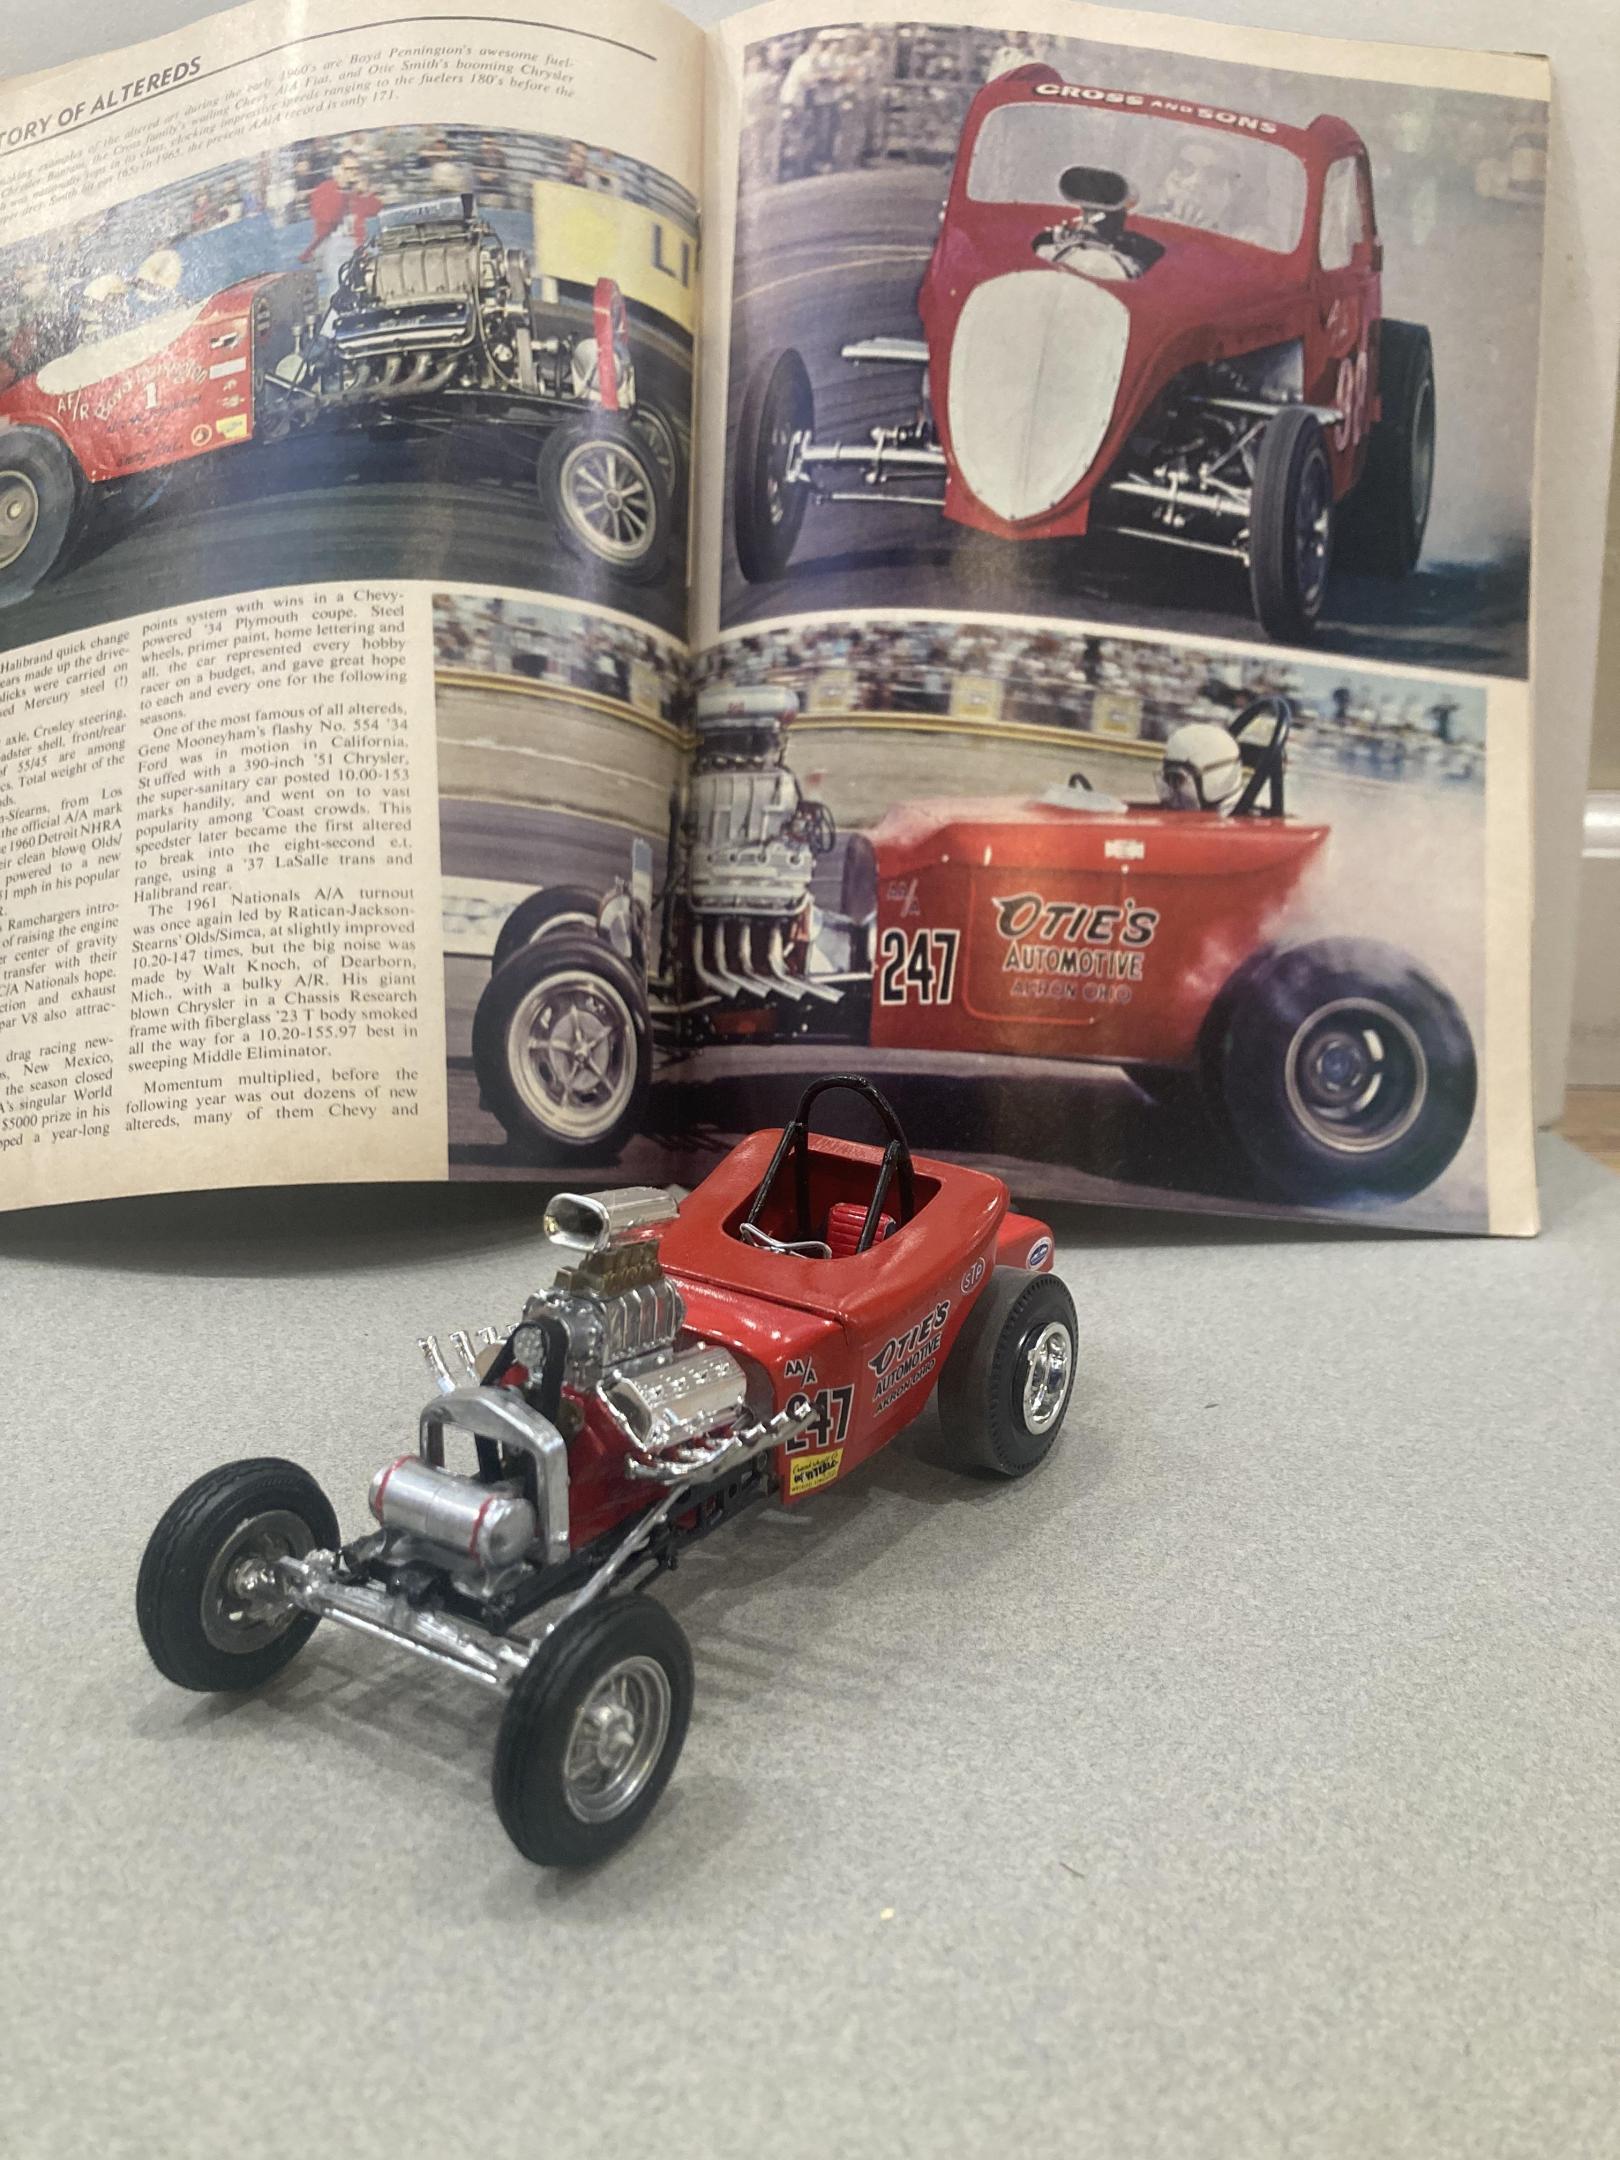
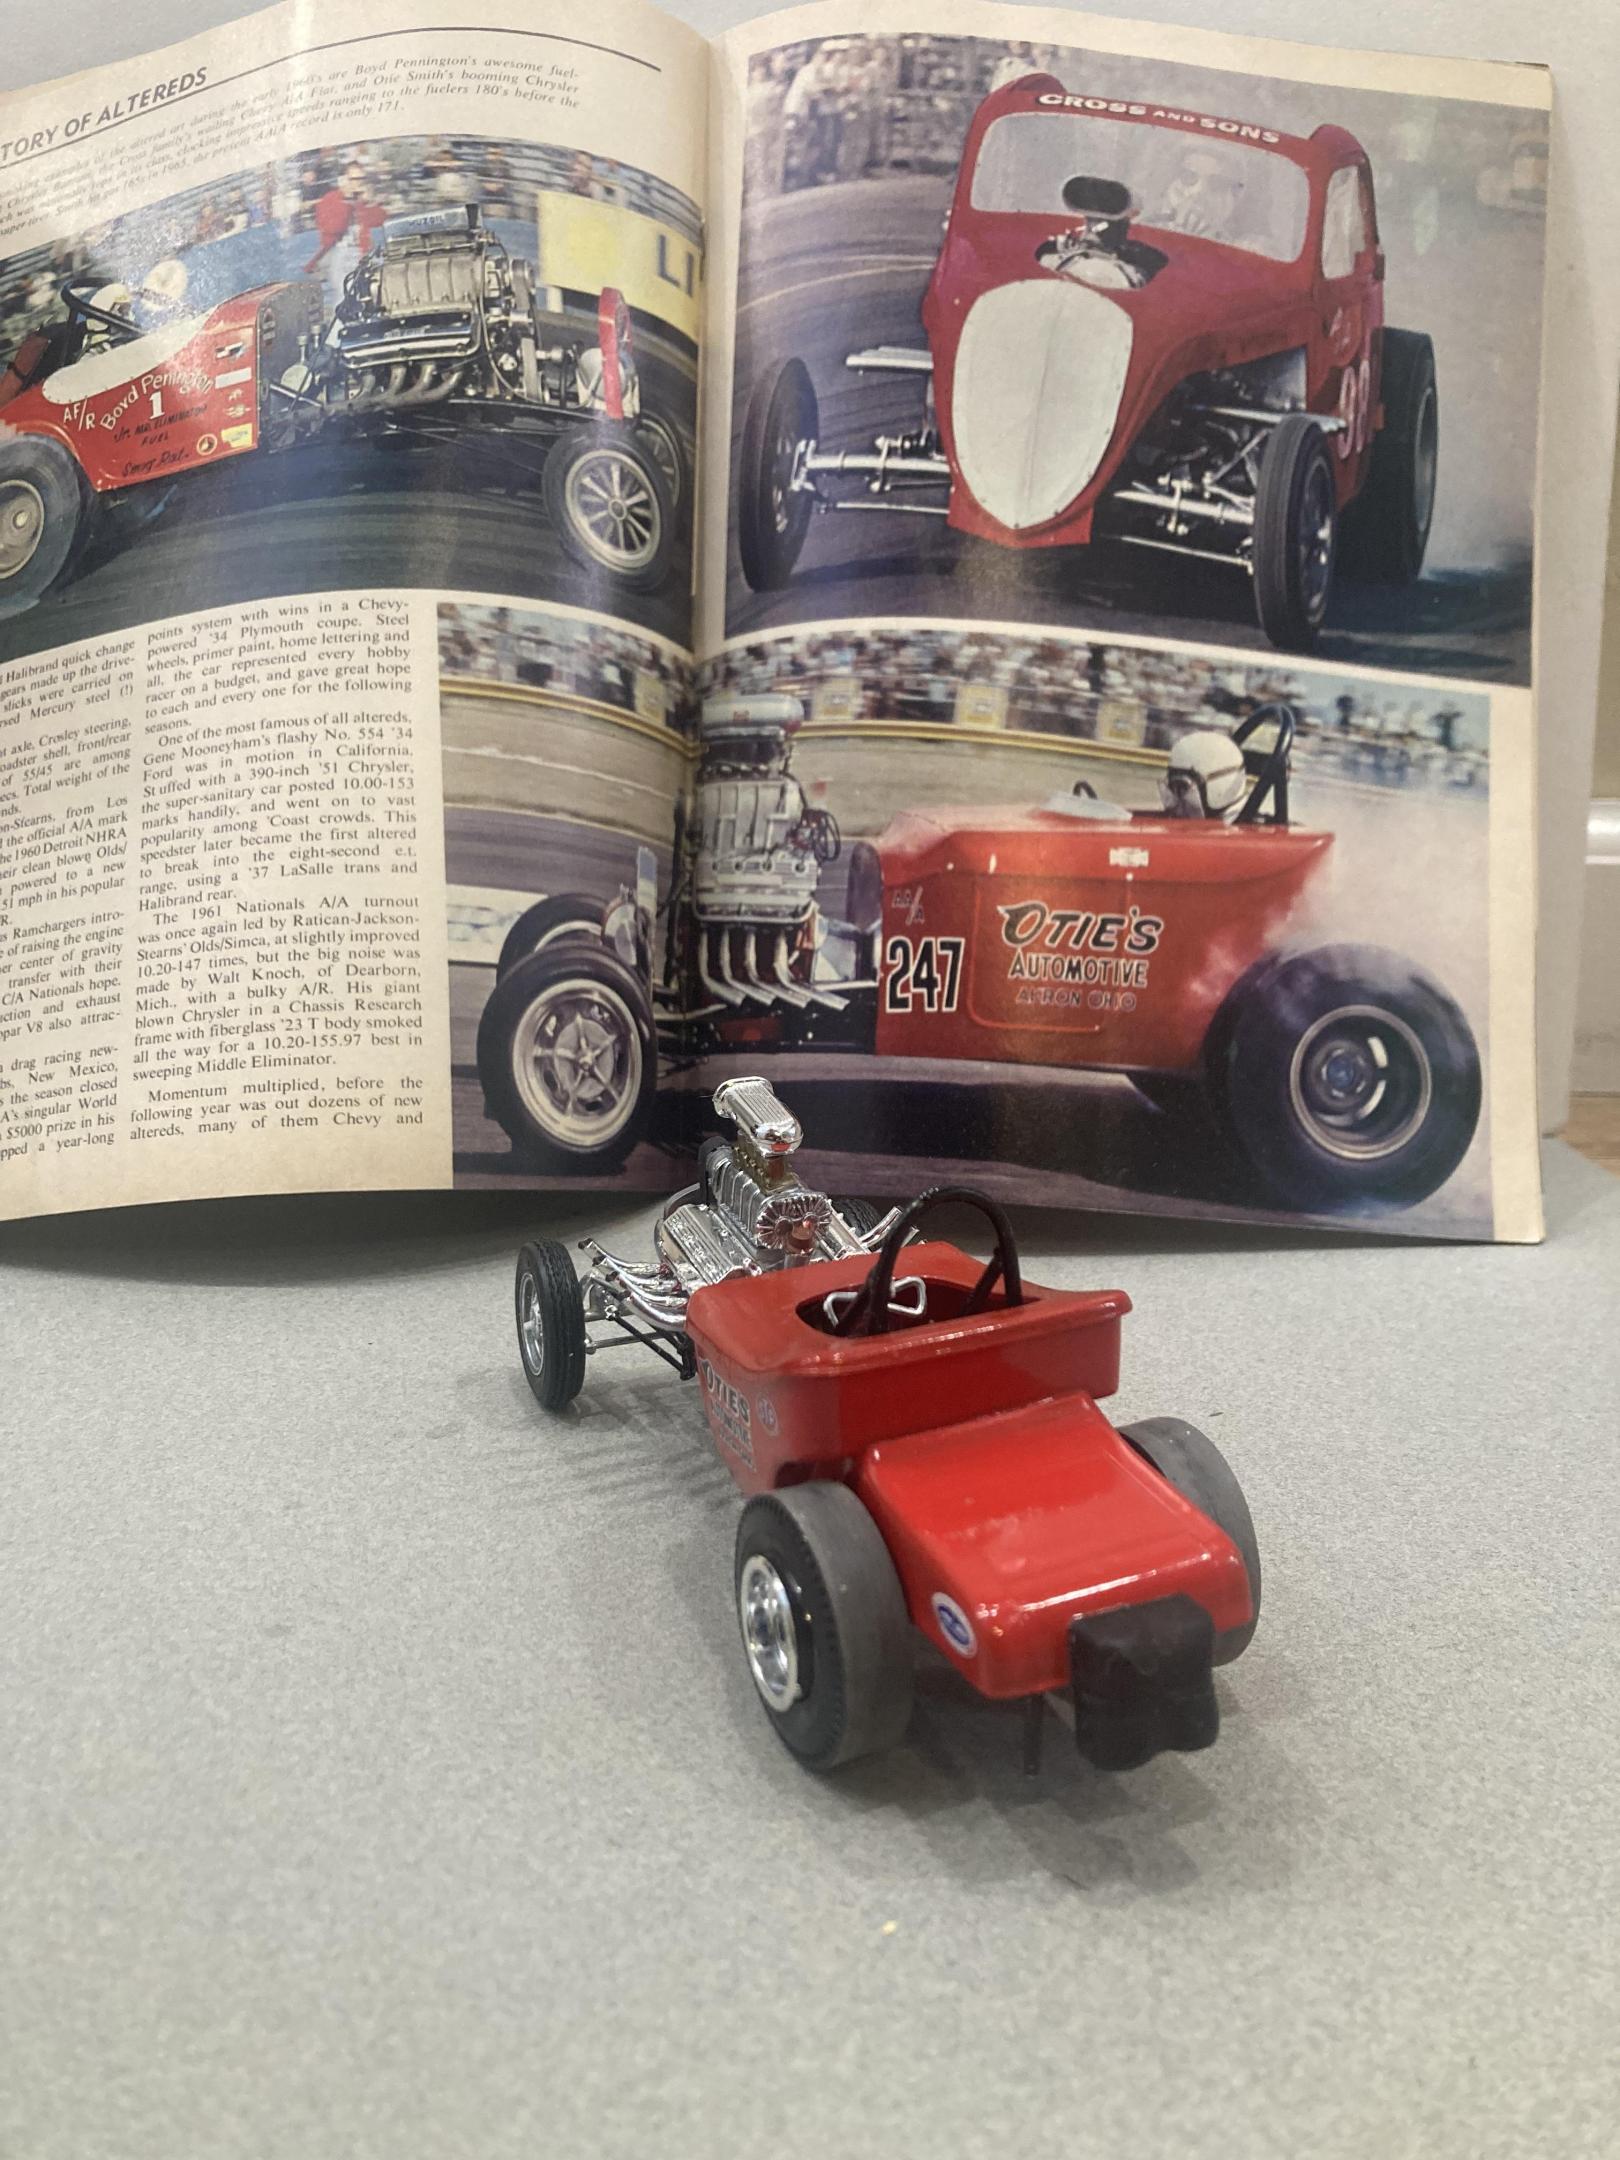
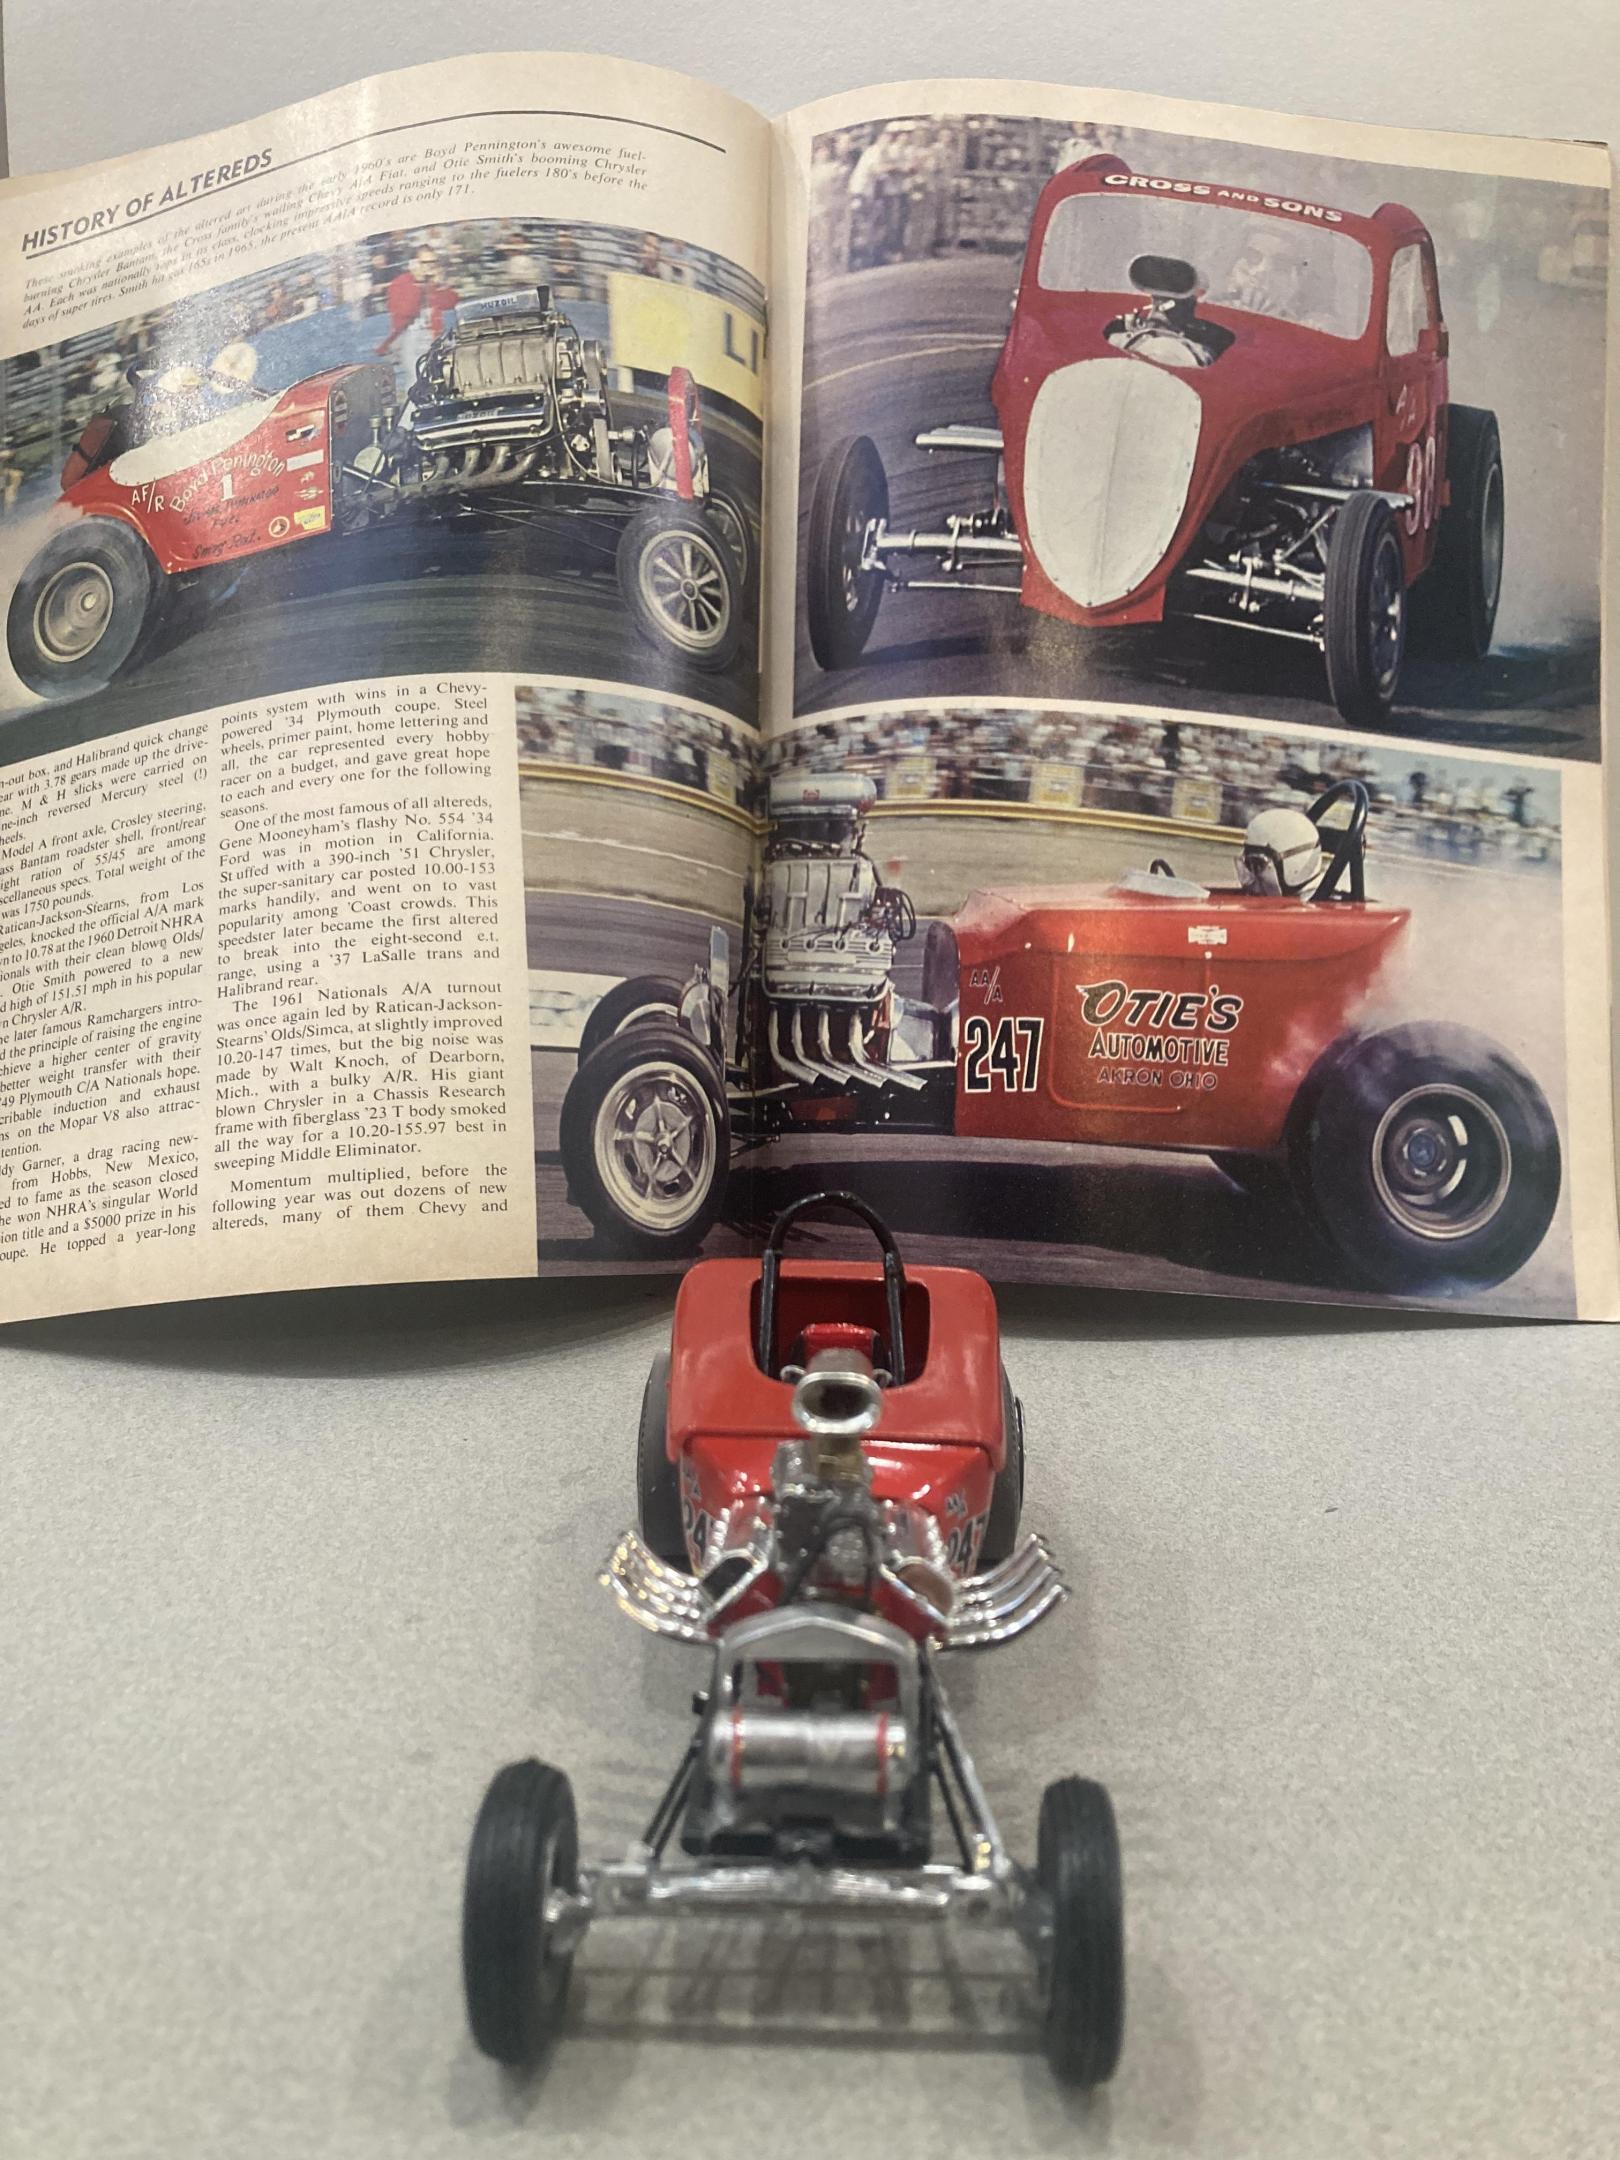
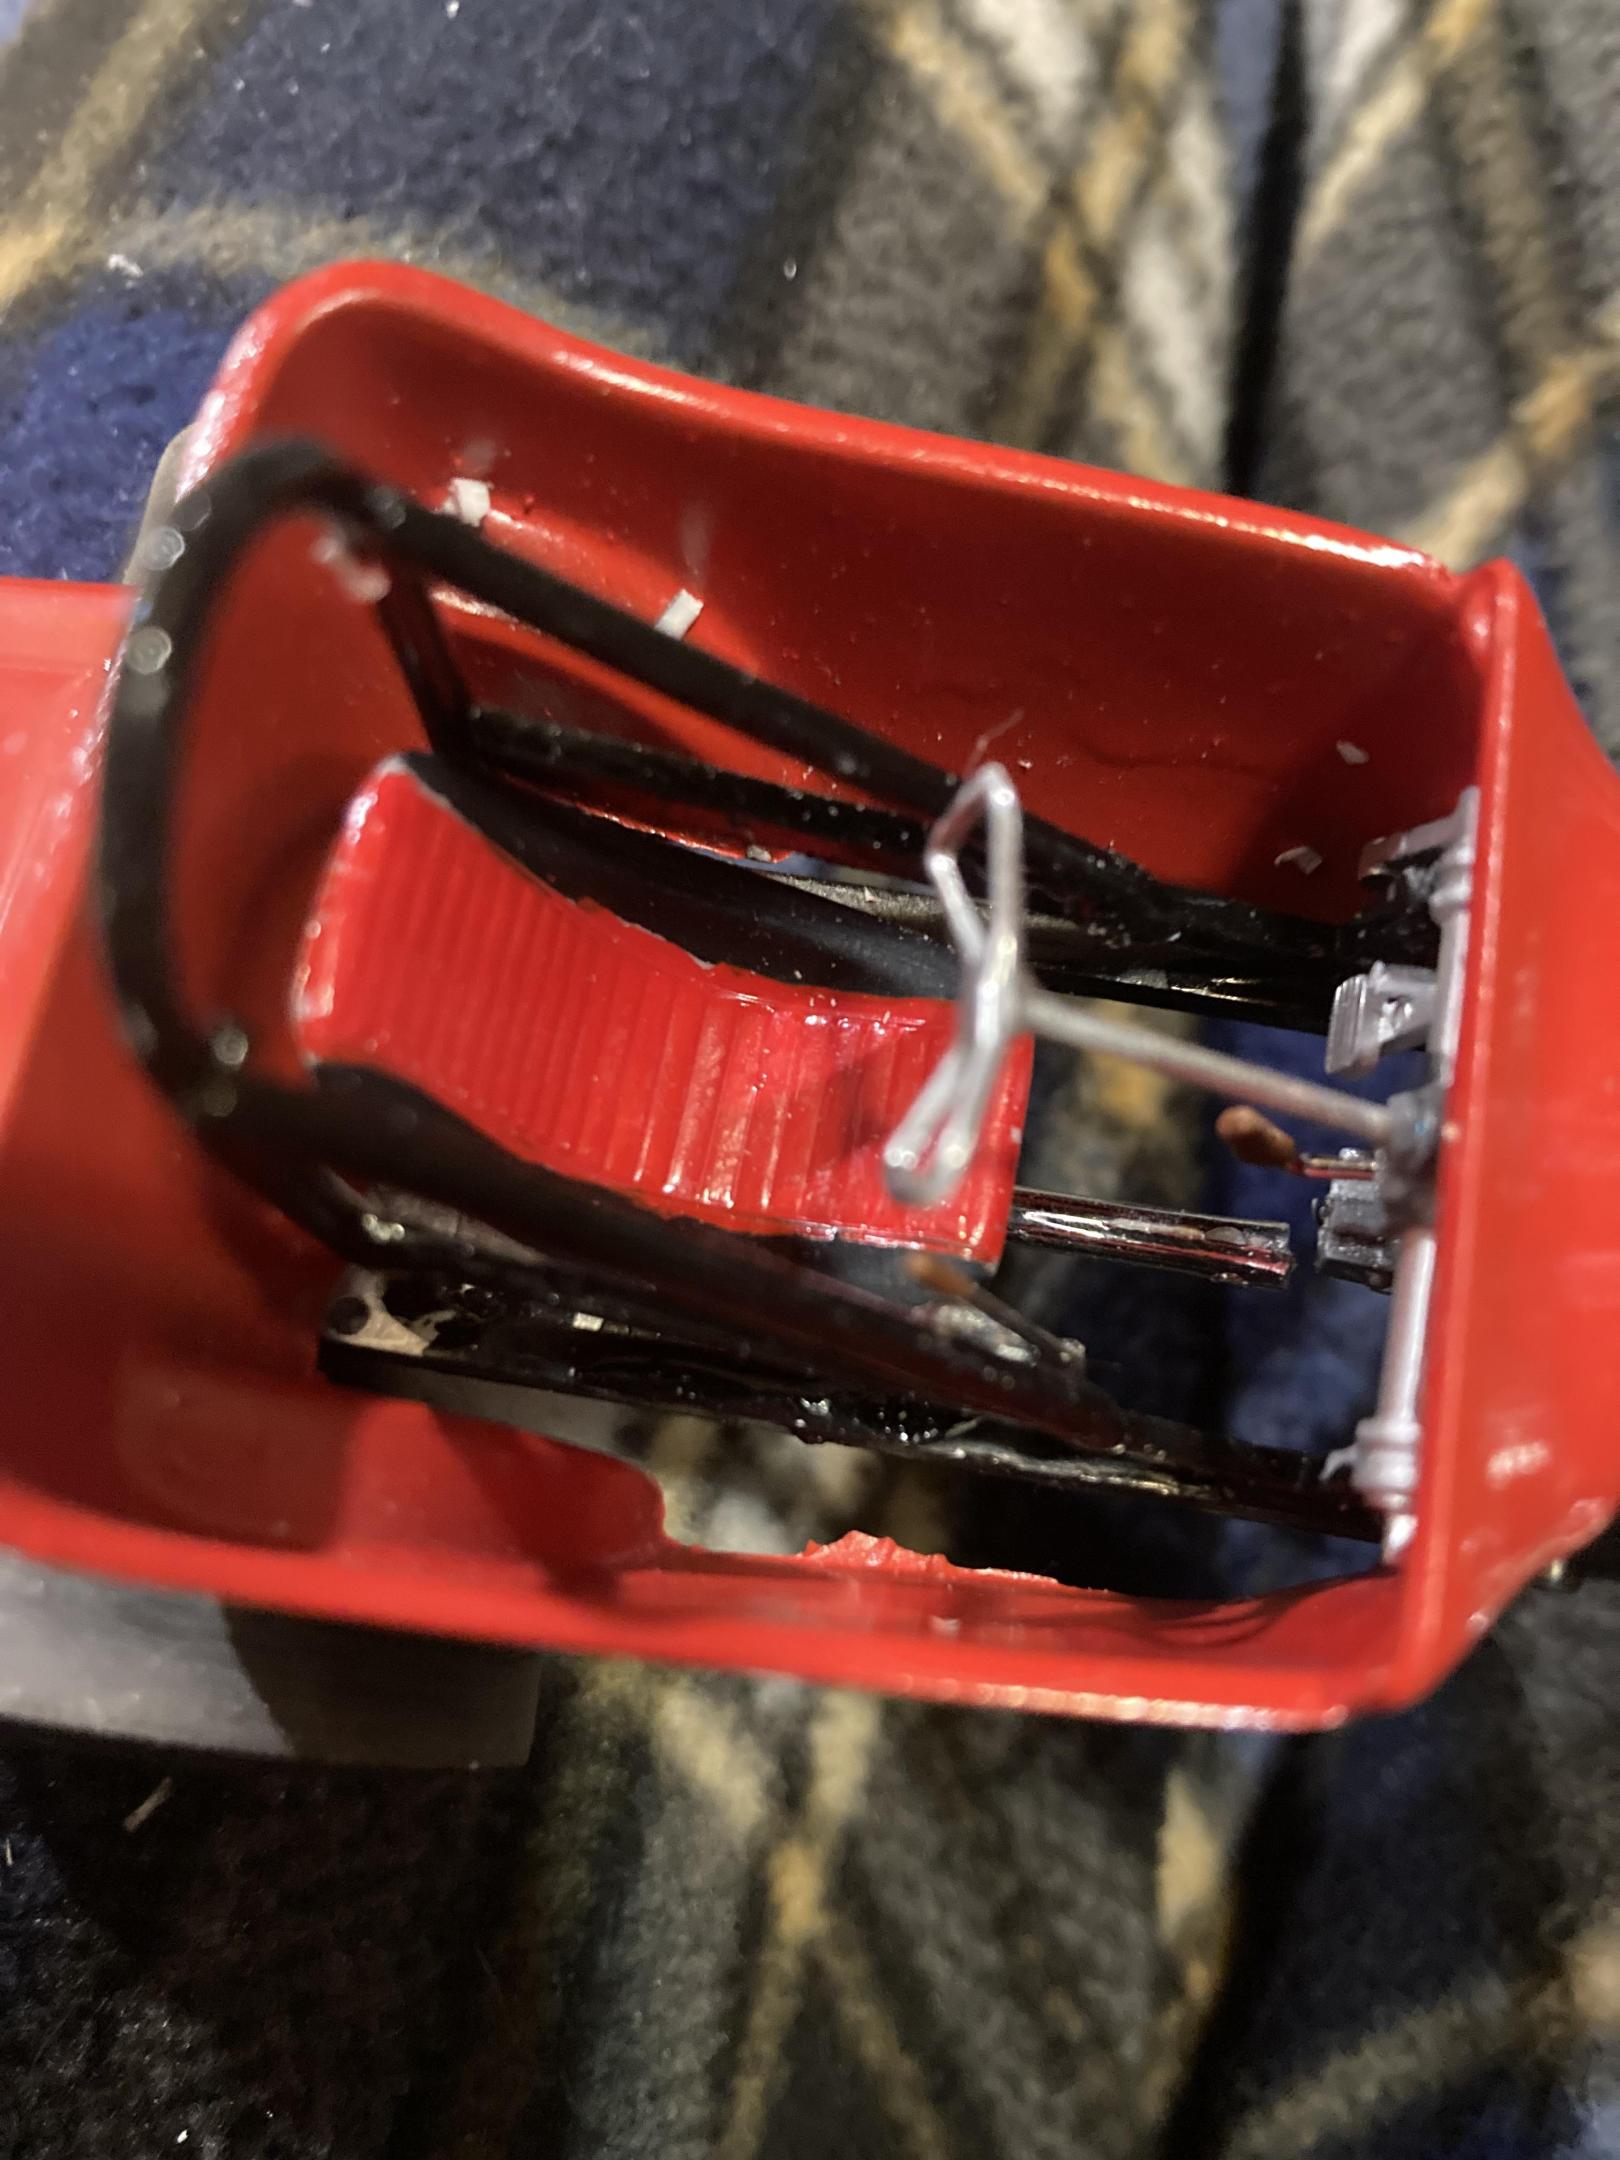
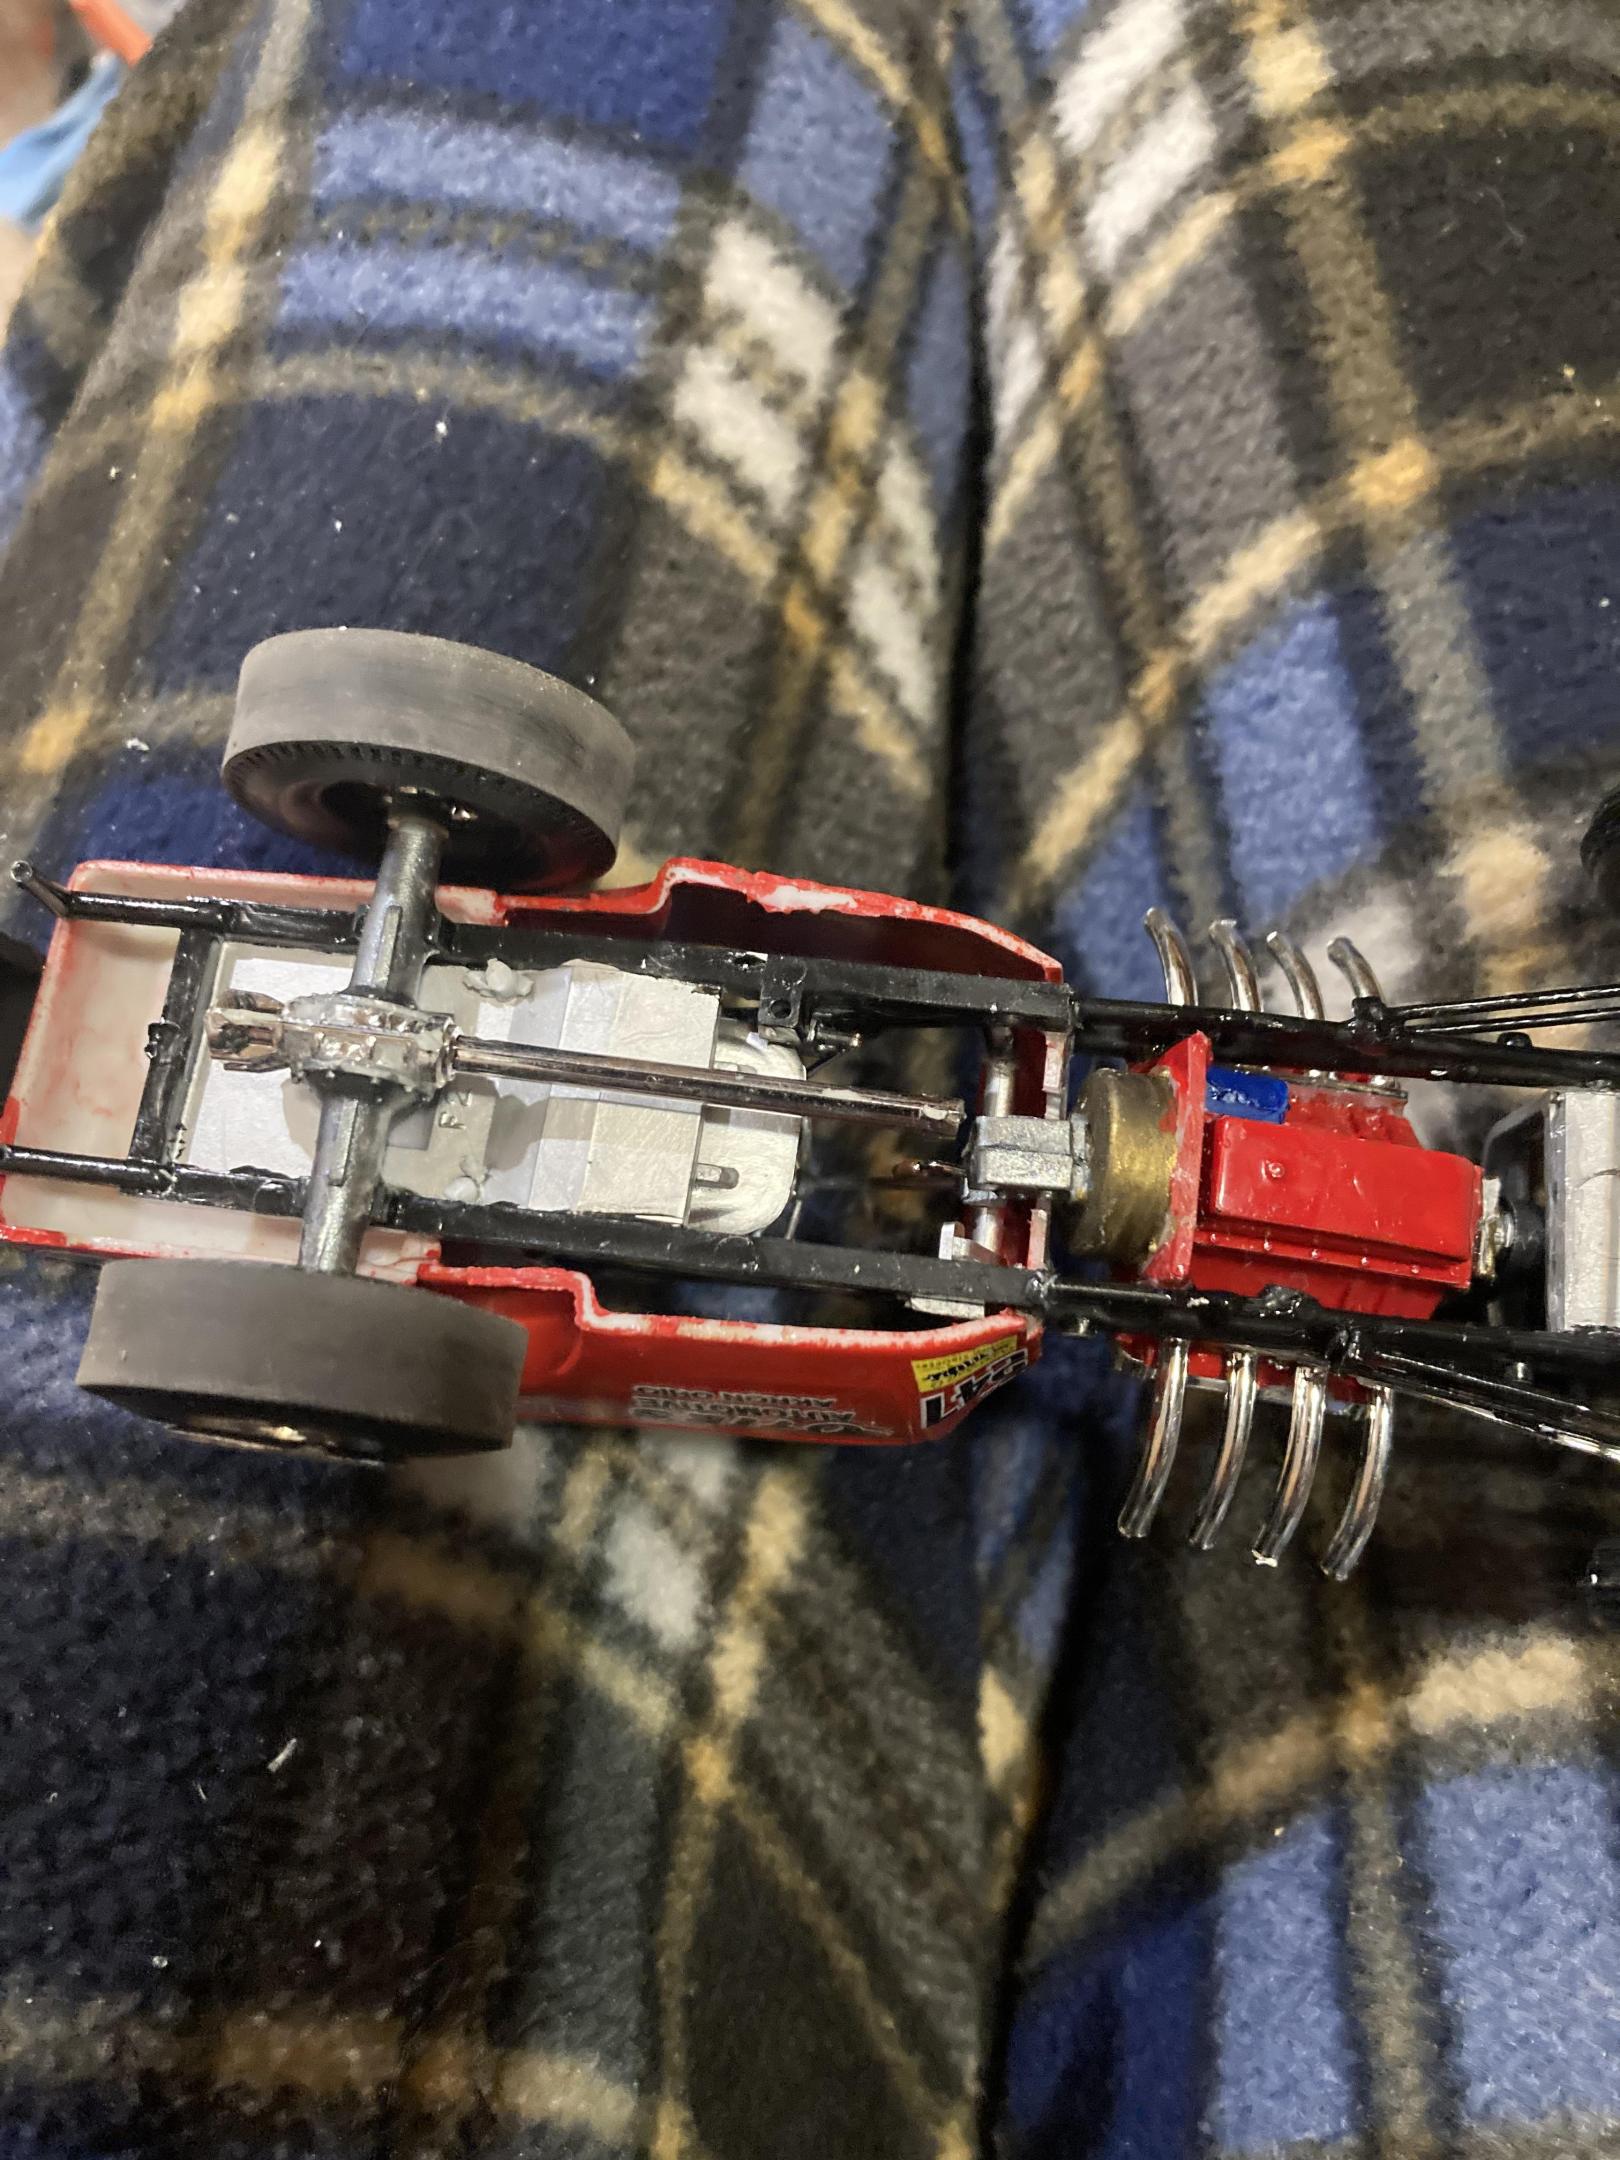
This one’s a combination of parts from The AMT double dragster and a body from the MPC bantam blast. The big slicks are from the AMT parts pack. The double dragster frame was modified to fit the bantam body shell. The long block is also double dragster with the blower pieces coming from my parts box. It’s painted with testors metallic red topped with slixx decals. This issue of DRAG RACING MAGAZINE has great reference photos with a good article about this car it also is a great reference for the GOLDEN COMMANDOS awb 65 Plymouth. Until next time thanks for looking . Mike
-
This is constructed from a mix of parts starting with the AMT T body parts pack. The frame is a combination of the double dragster fiat for the back half with front half of the single engine dragster frame. The front axle and spring are left overs from the Atlantis fiat. The roll bar hoop is made of 0.80 styrene rod. The 392 hemi is from the MPC bantam blast kit the headers are actually the hemi injector tubes from a couple of double dragster kits. The rear wheels are some left overs from the AMT 40 Willy’s kit with AMT pie crust slicks. The front wheels are from the MPC Winged Express warped with some spare AMT hollow Firestone supremes . The red paint on the bucket is Testors red enamel with wet look clear. The Tuanna cover is painted with a Krylon red to get a slight contrast. The decals are available from Chris Walsh . I did add the NHRA , and the welded strokers crankshaft decals from a random Slixx sheet. The reference photo is from an early 70’s issue of DRAG RACING USA. Until next time thanks for looking. Mike
-
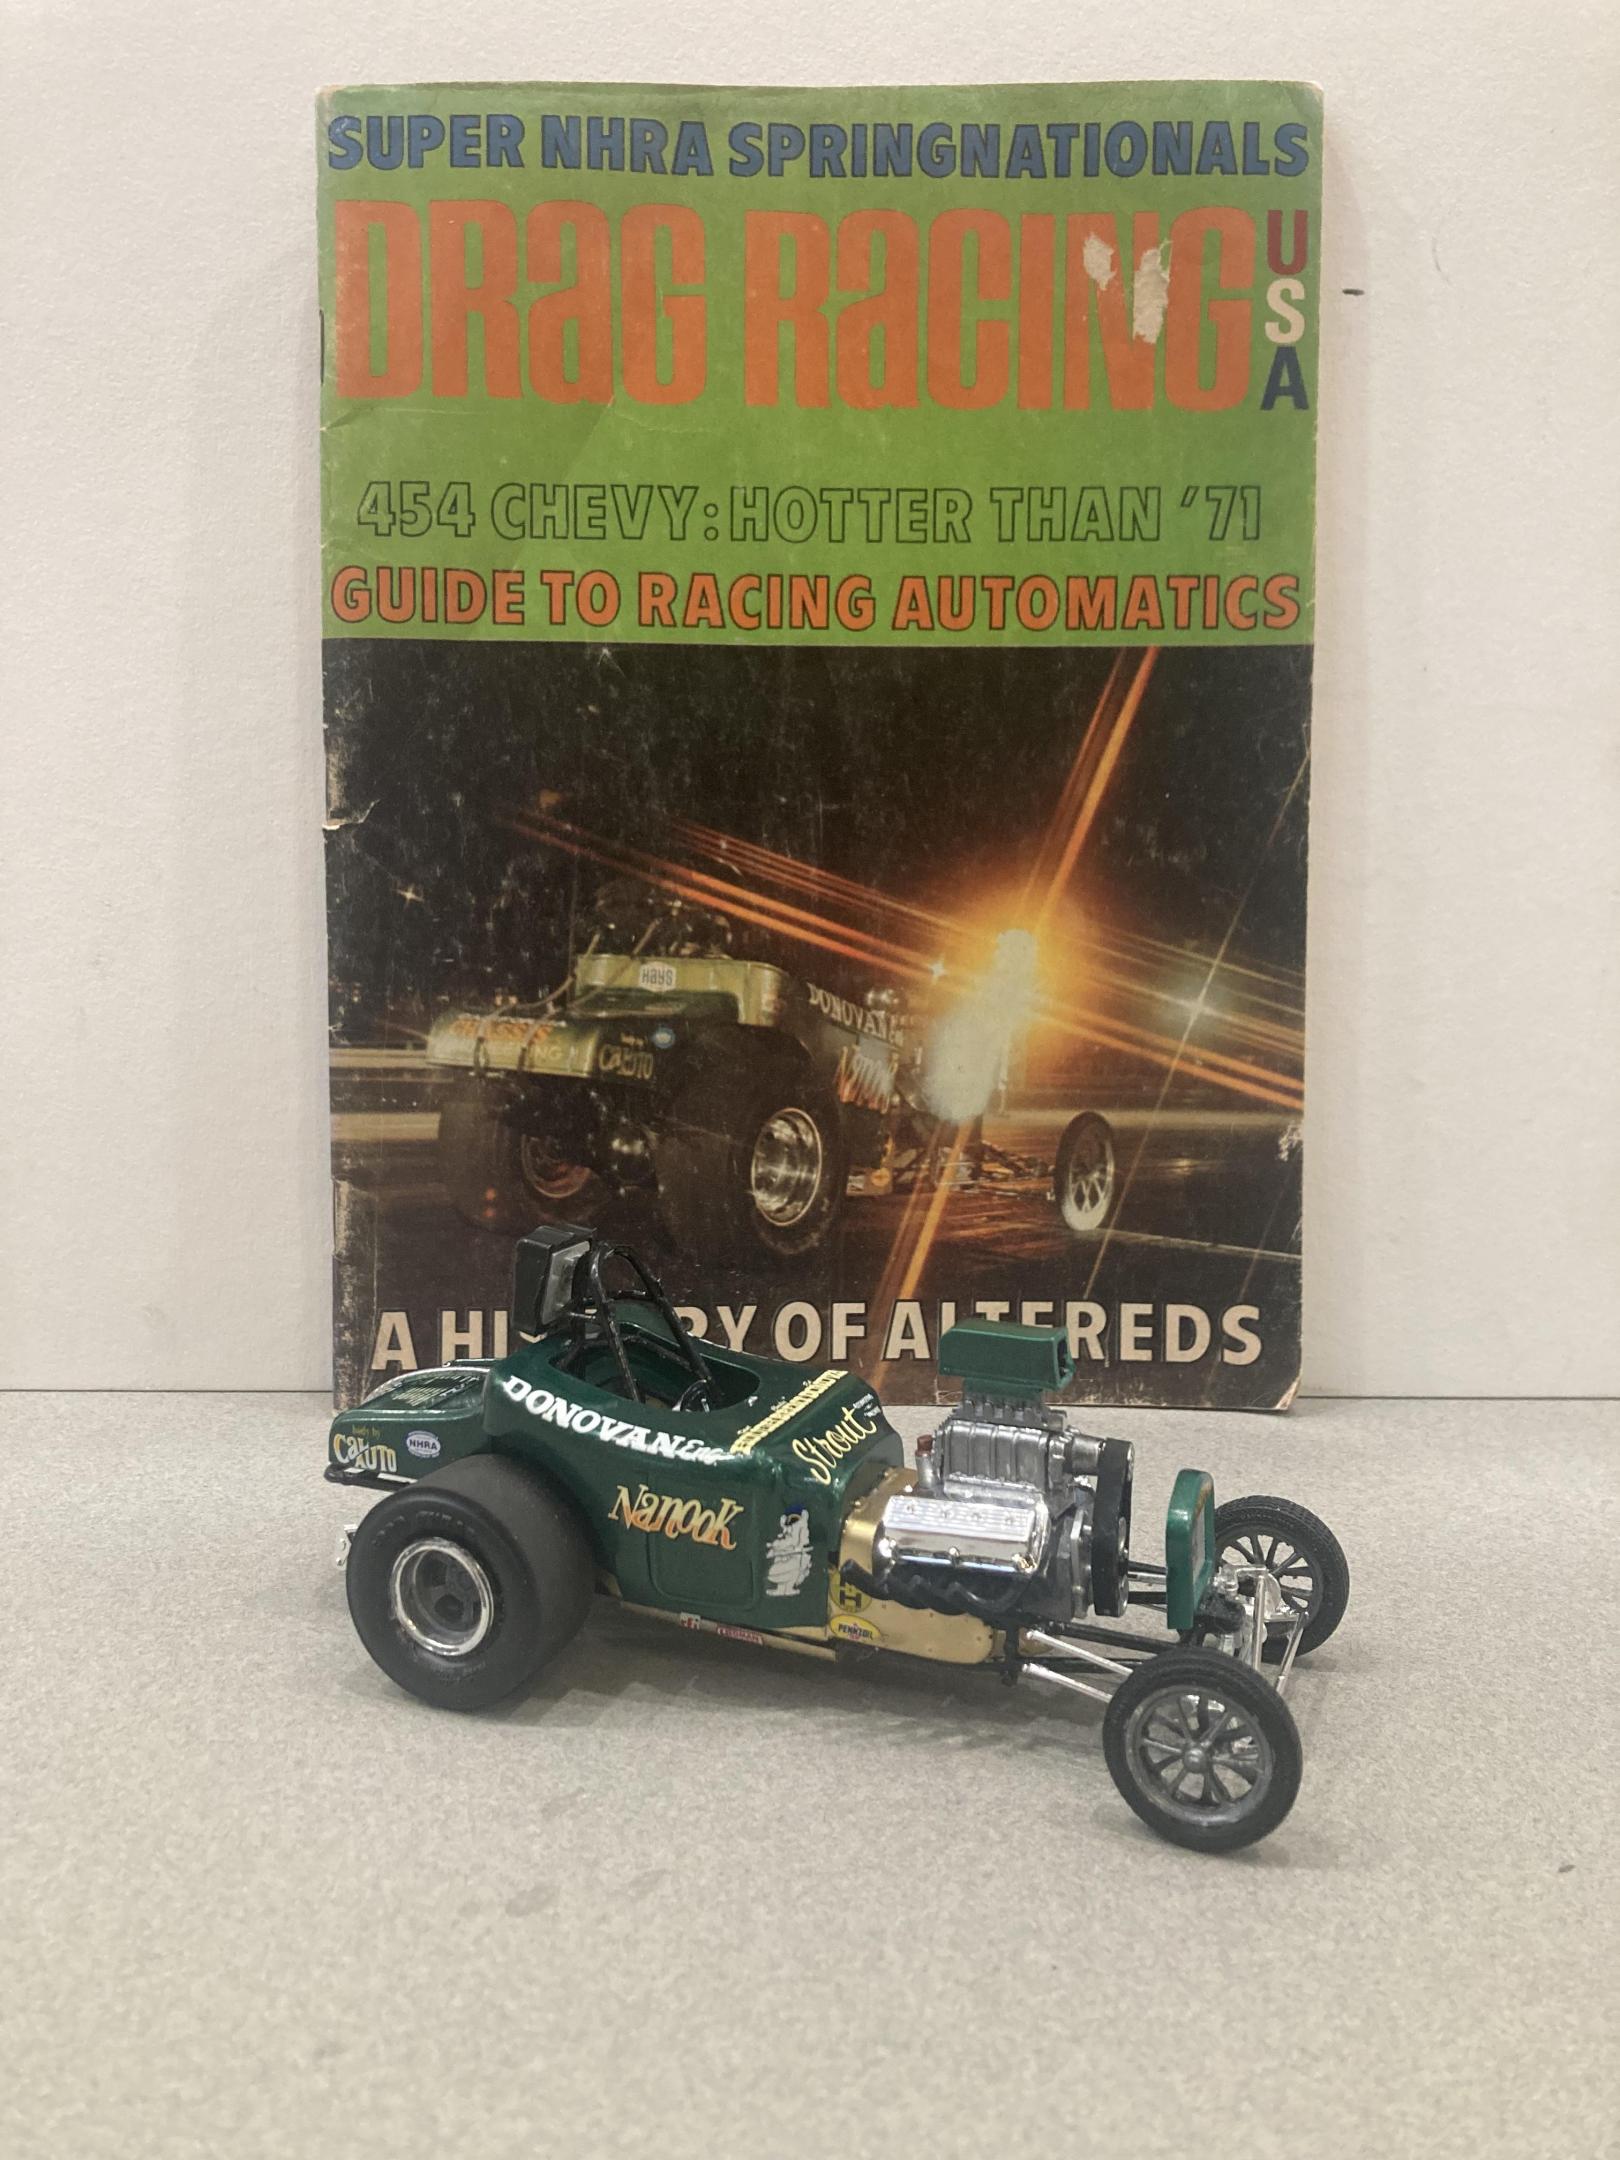
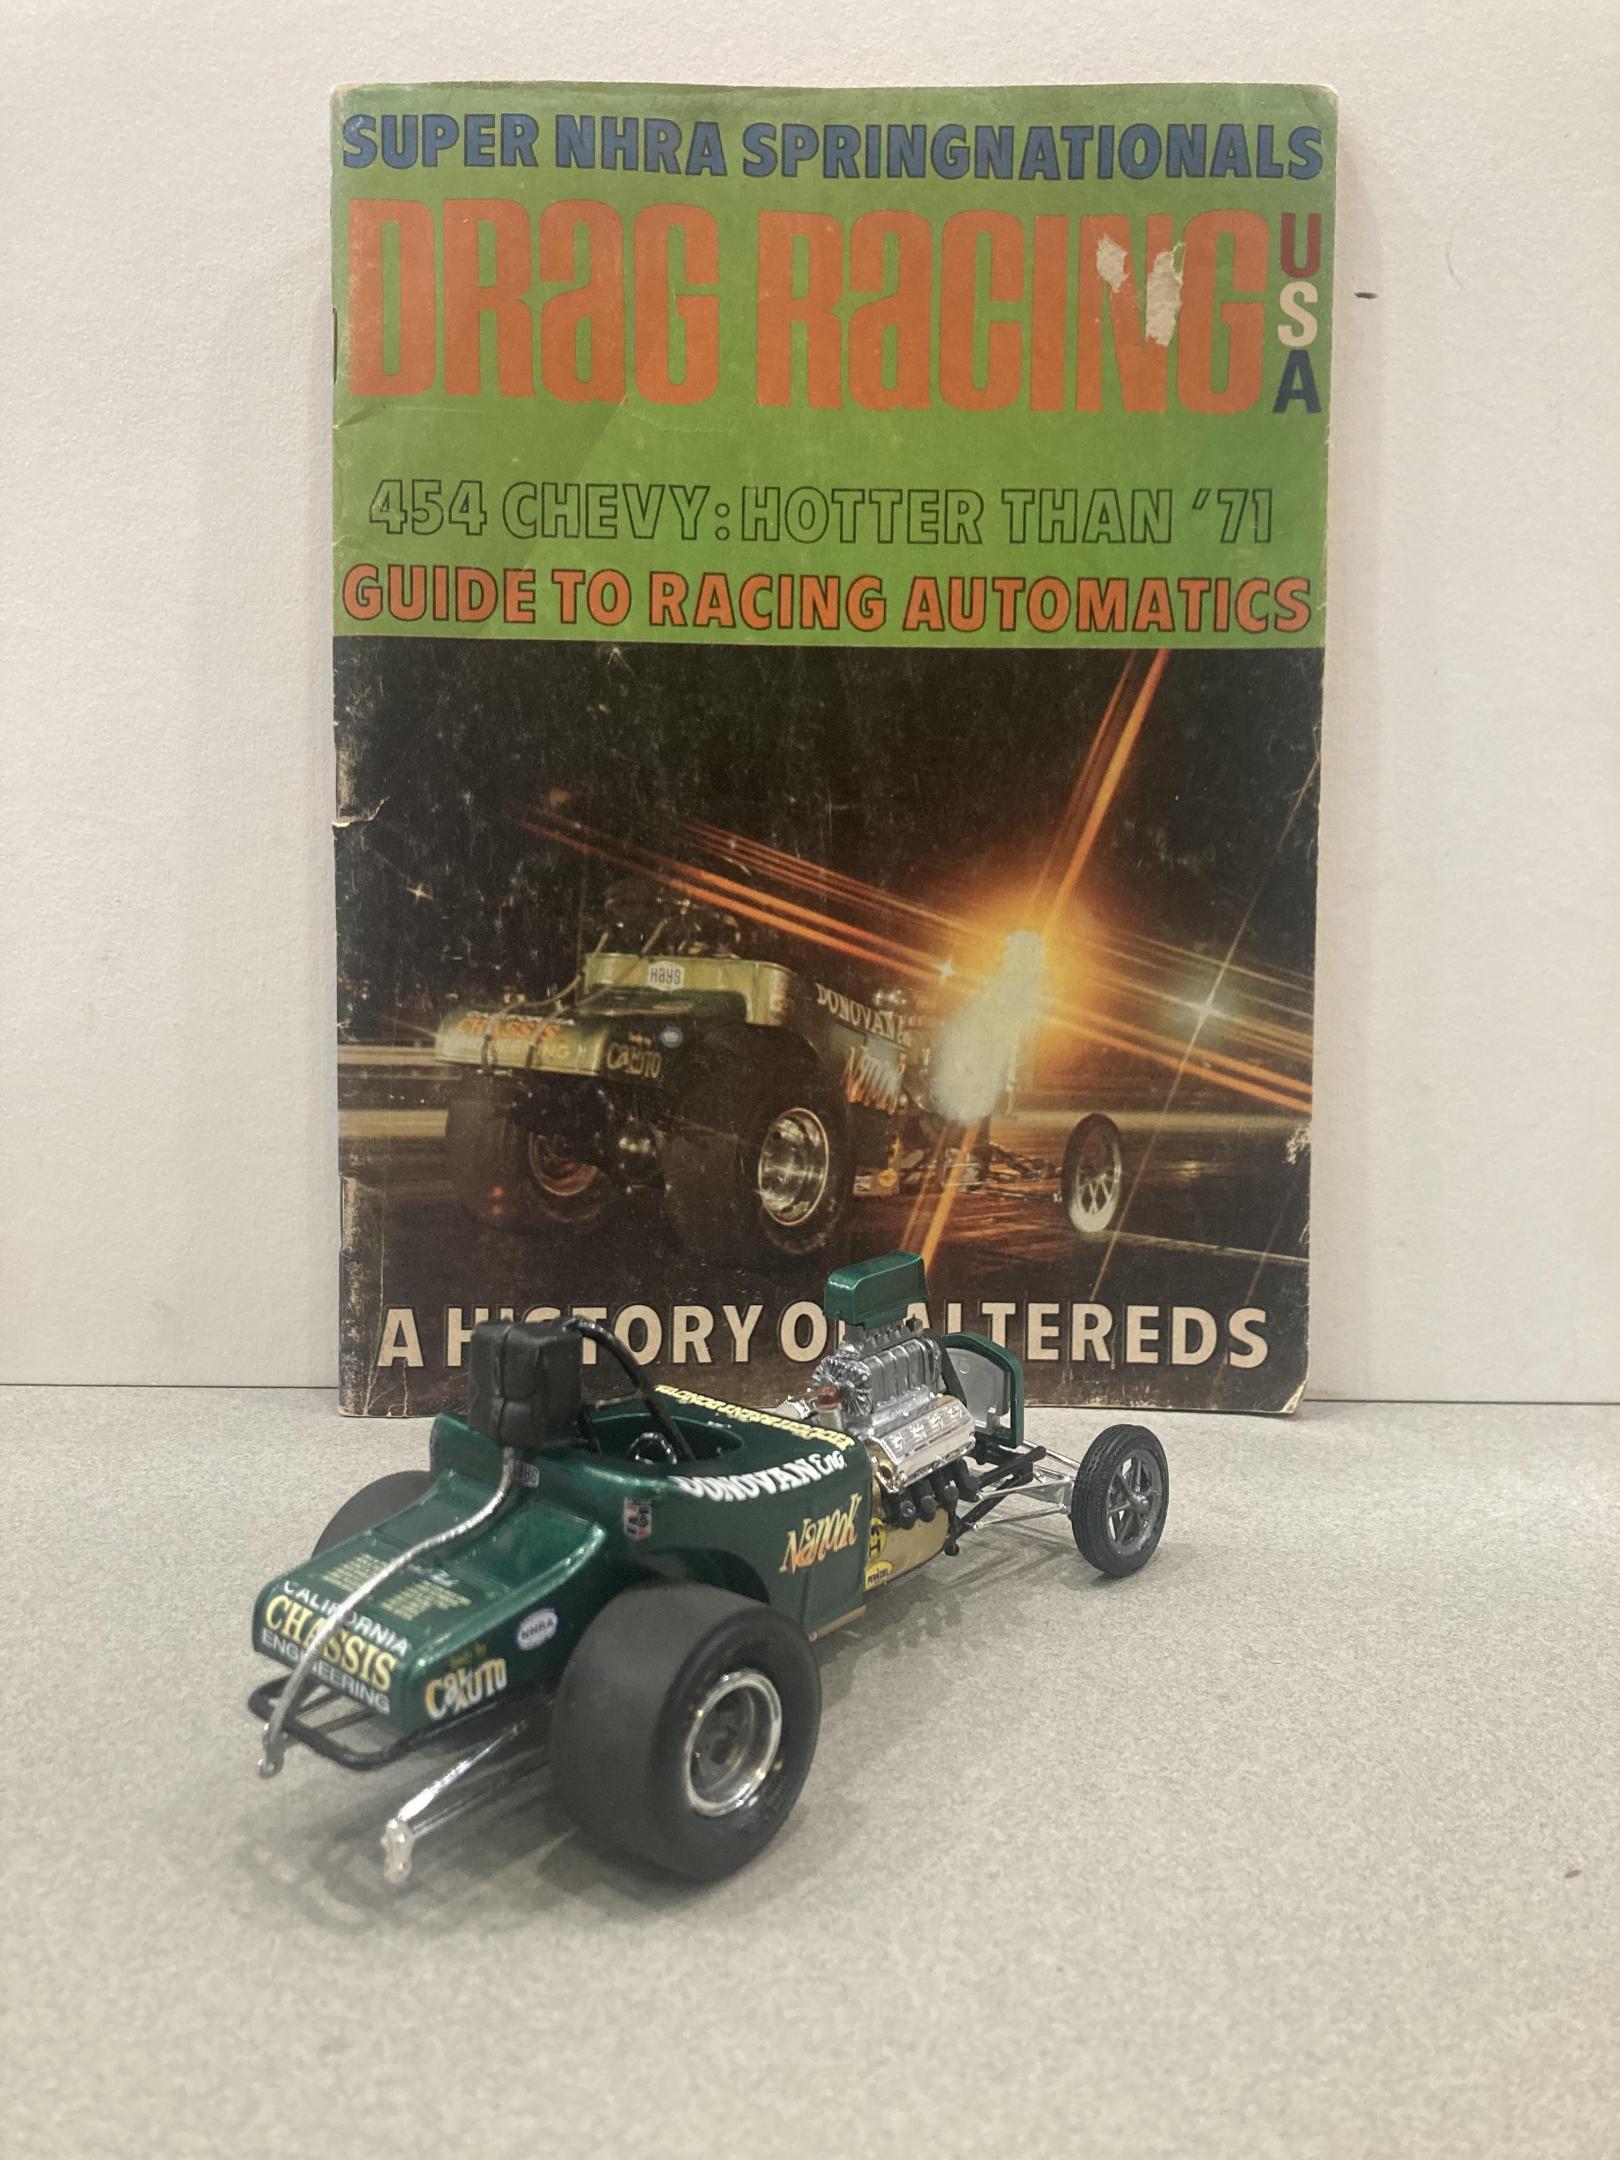
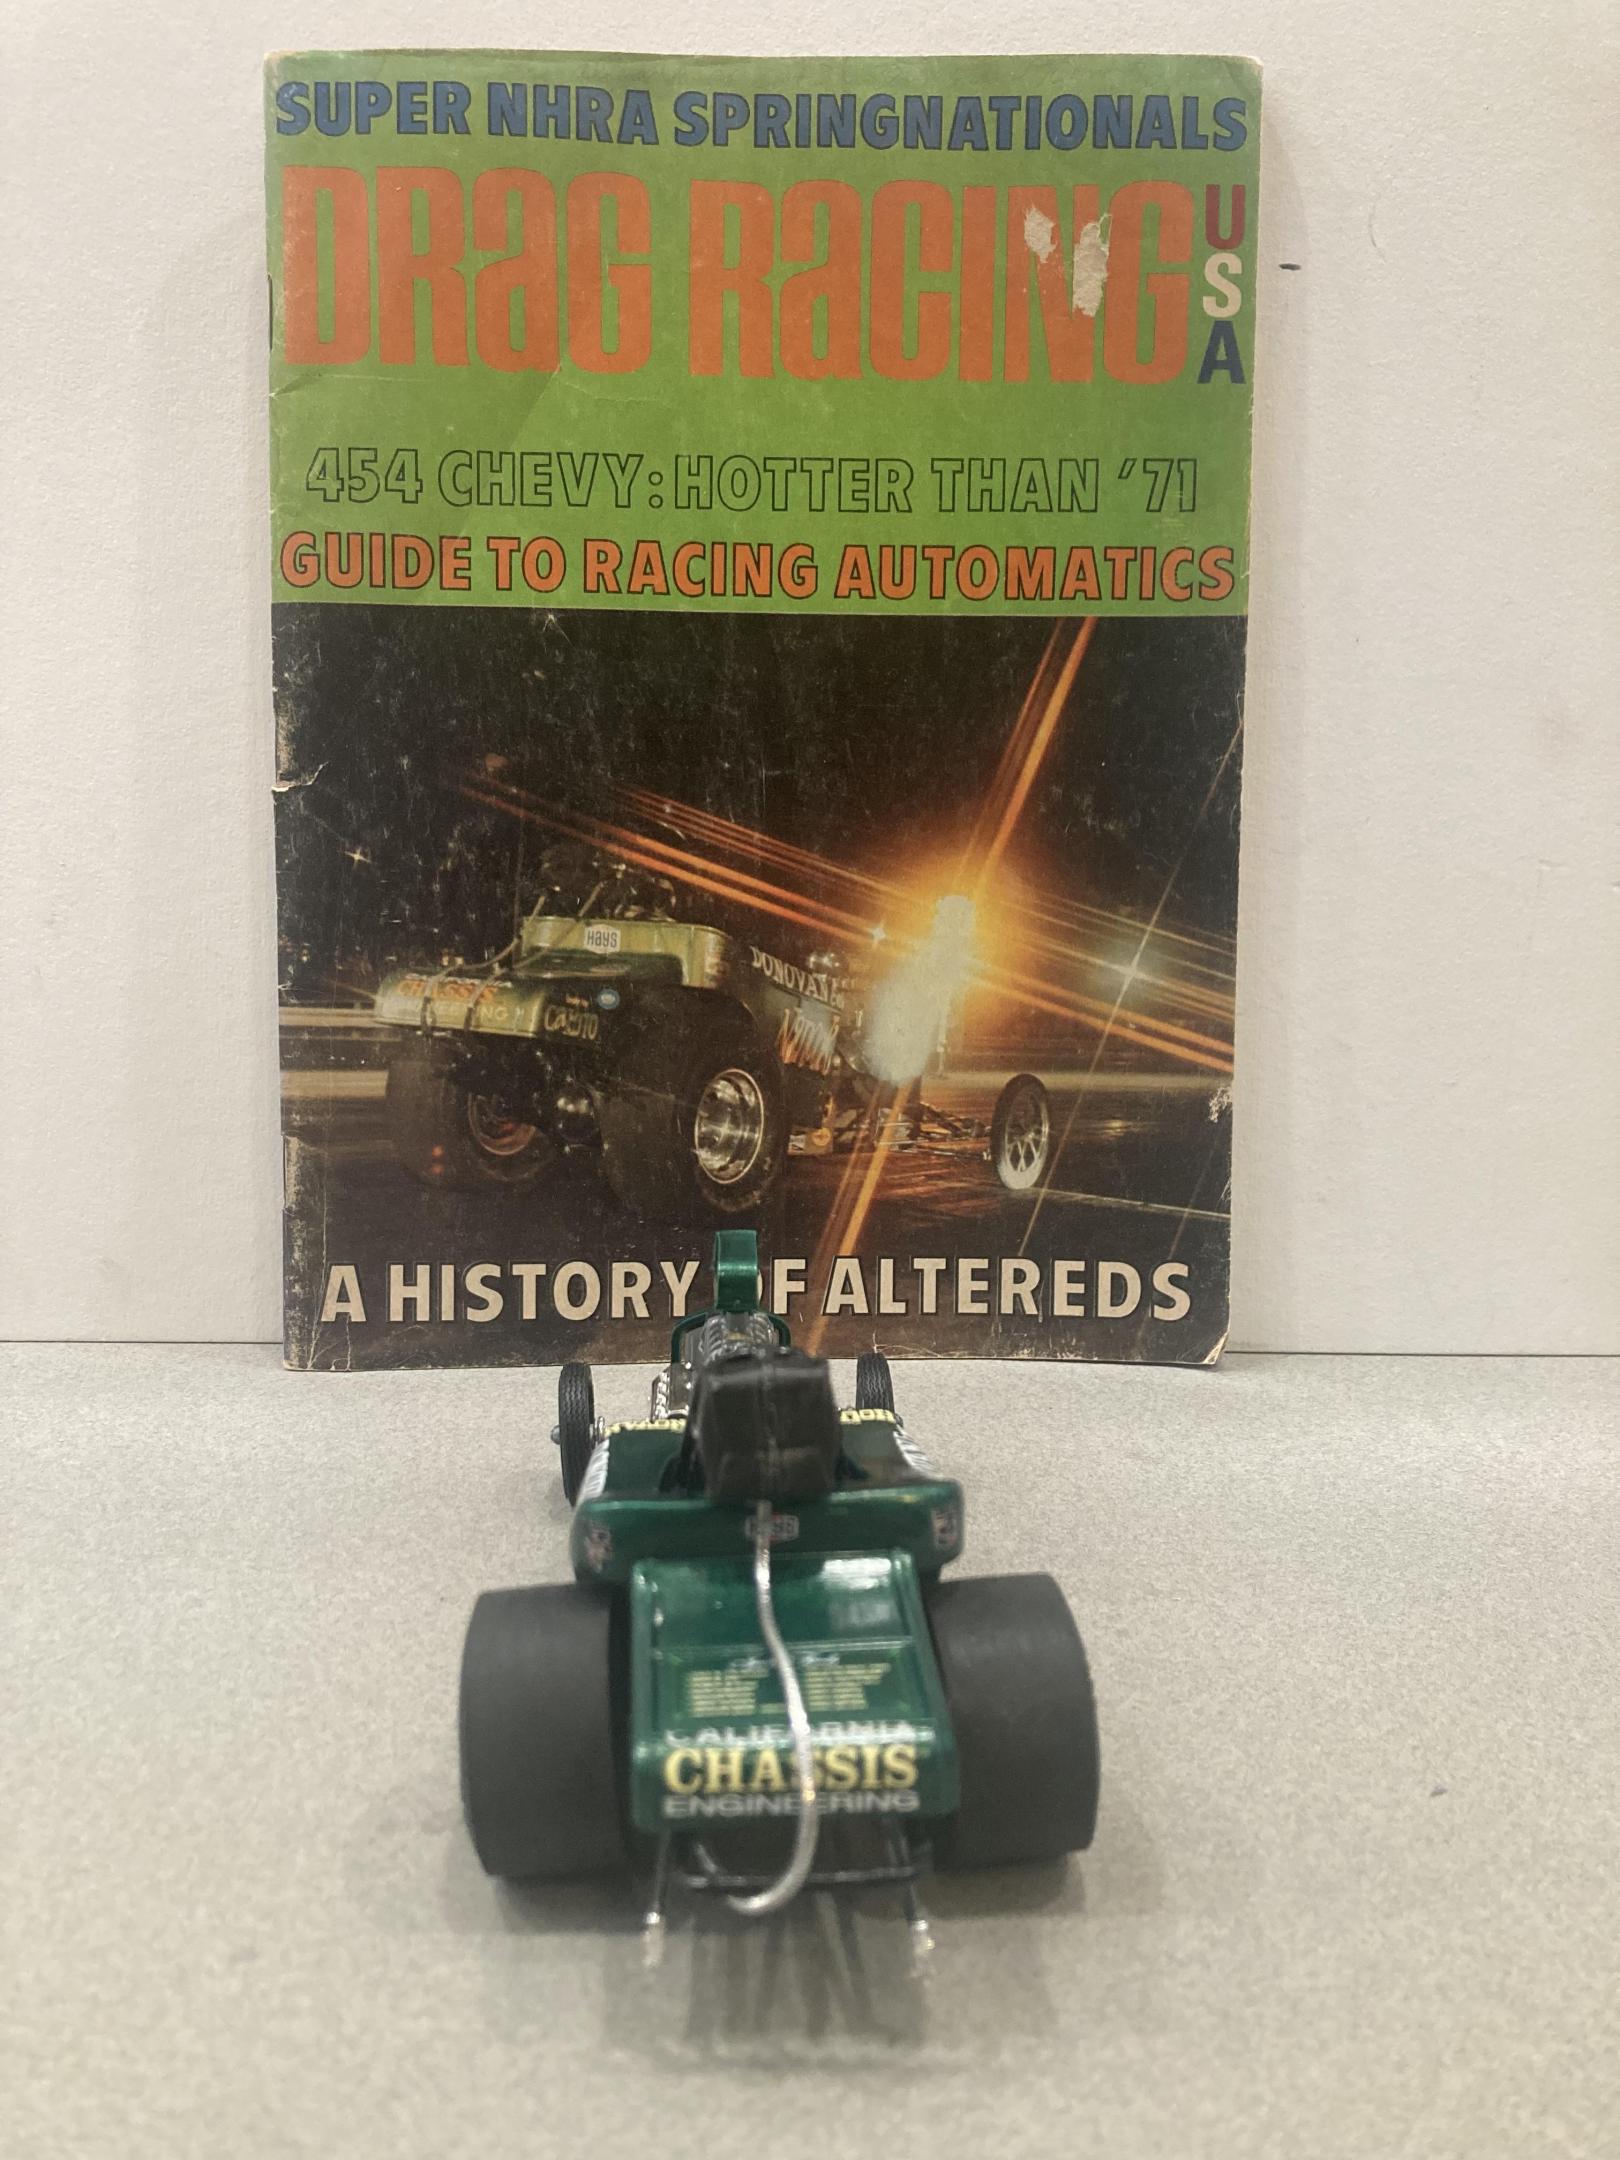
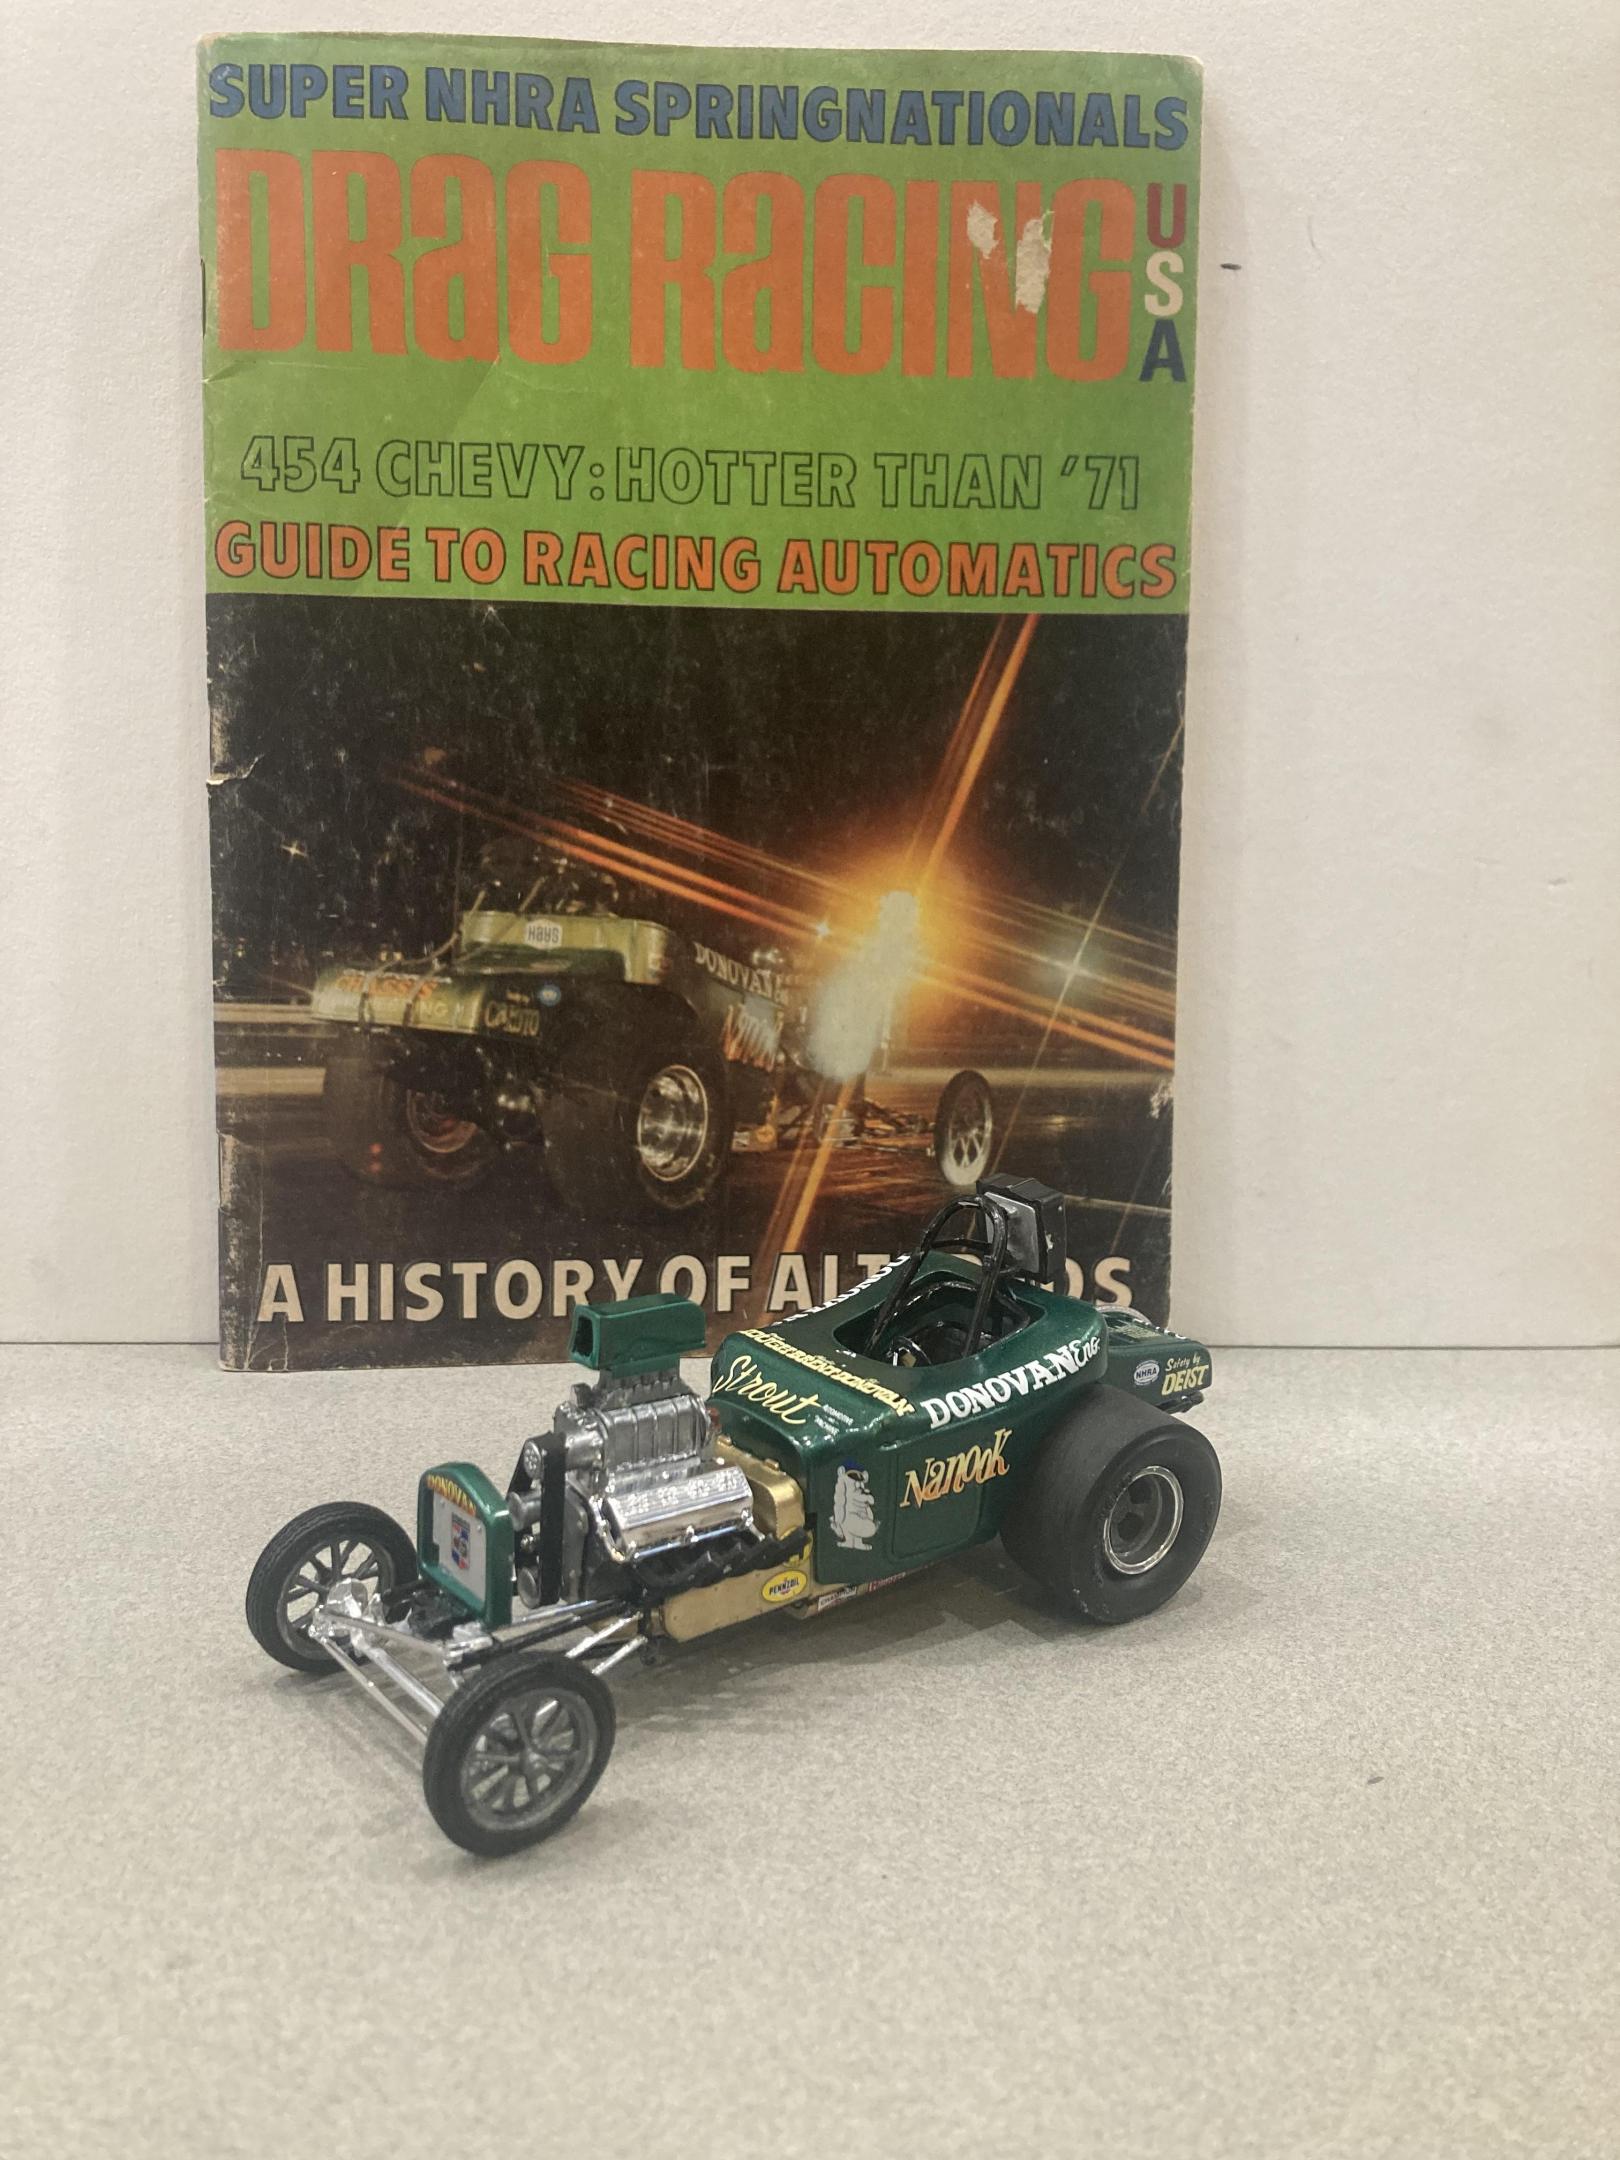
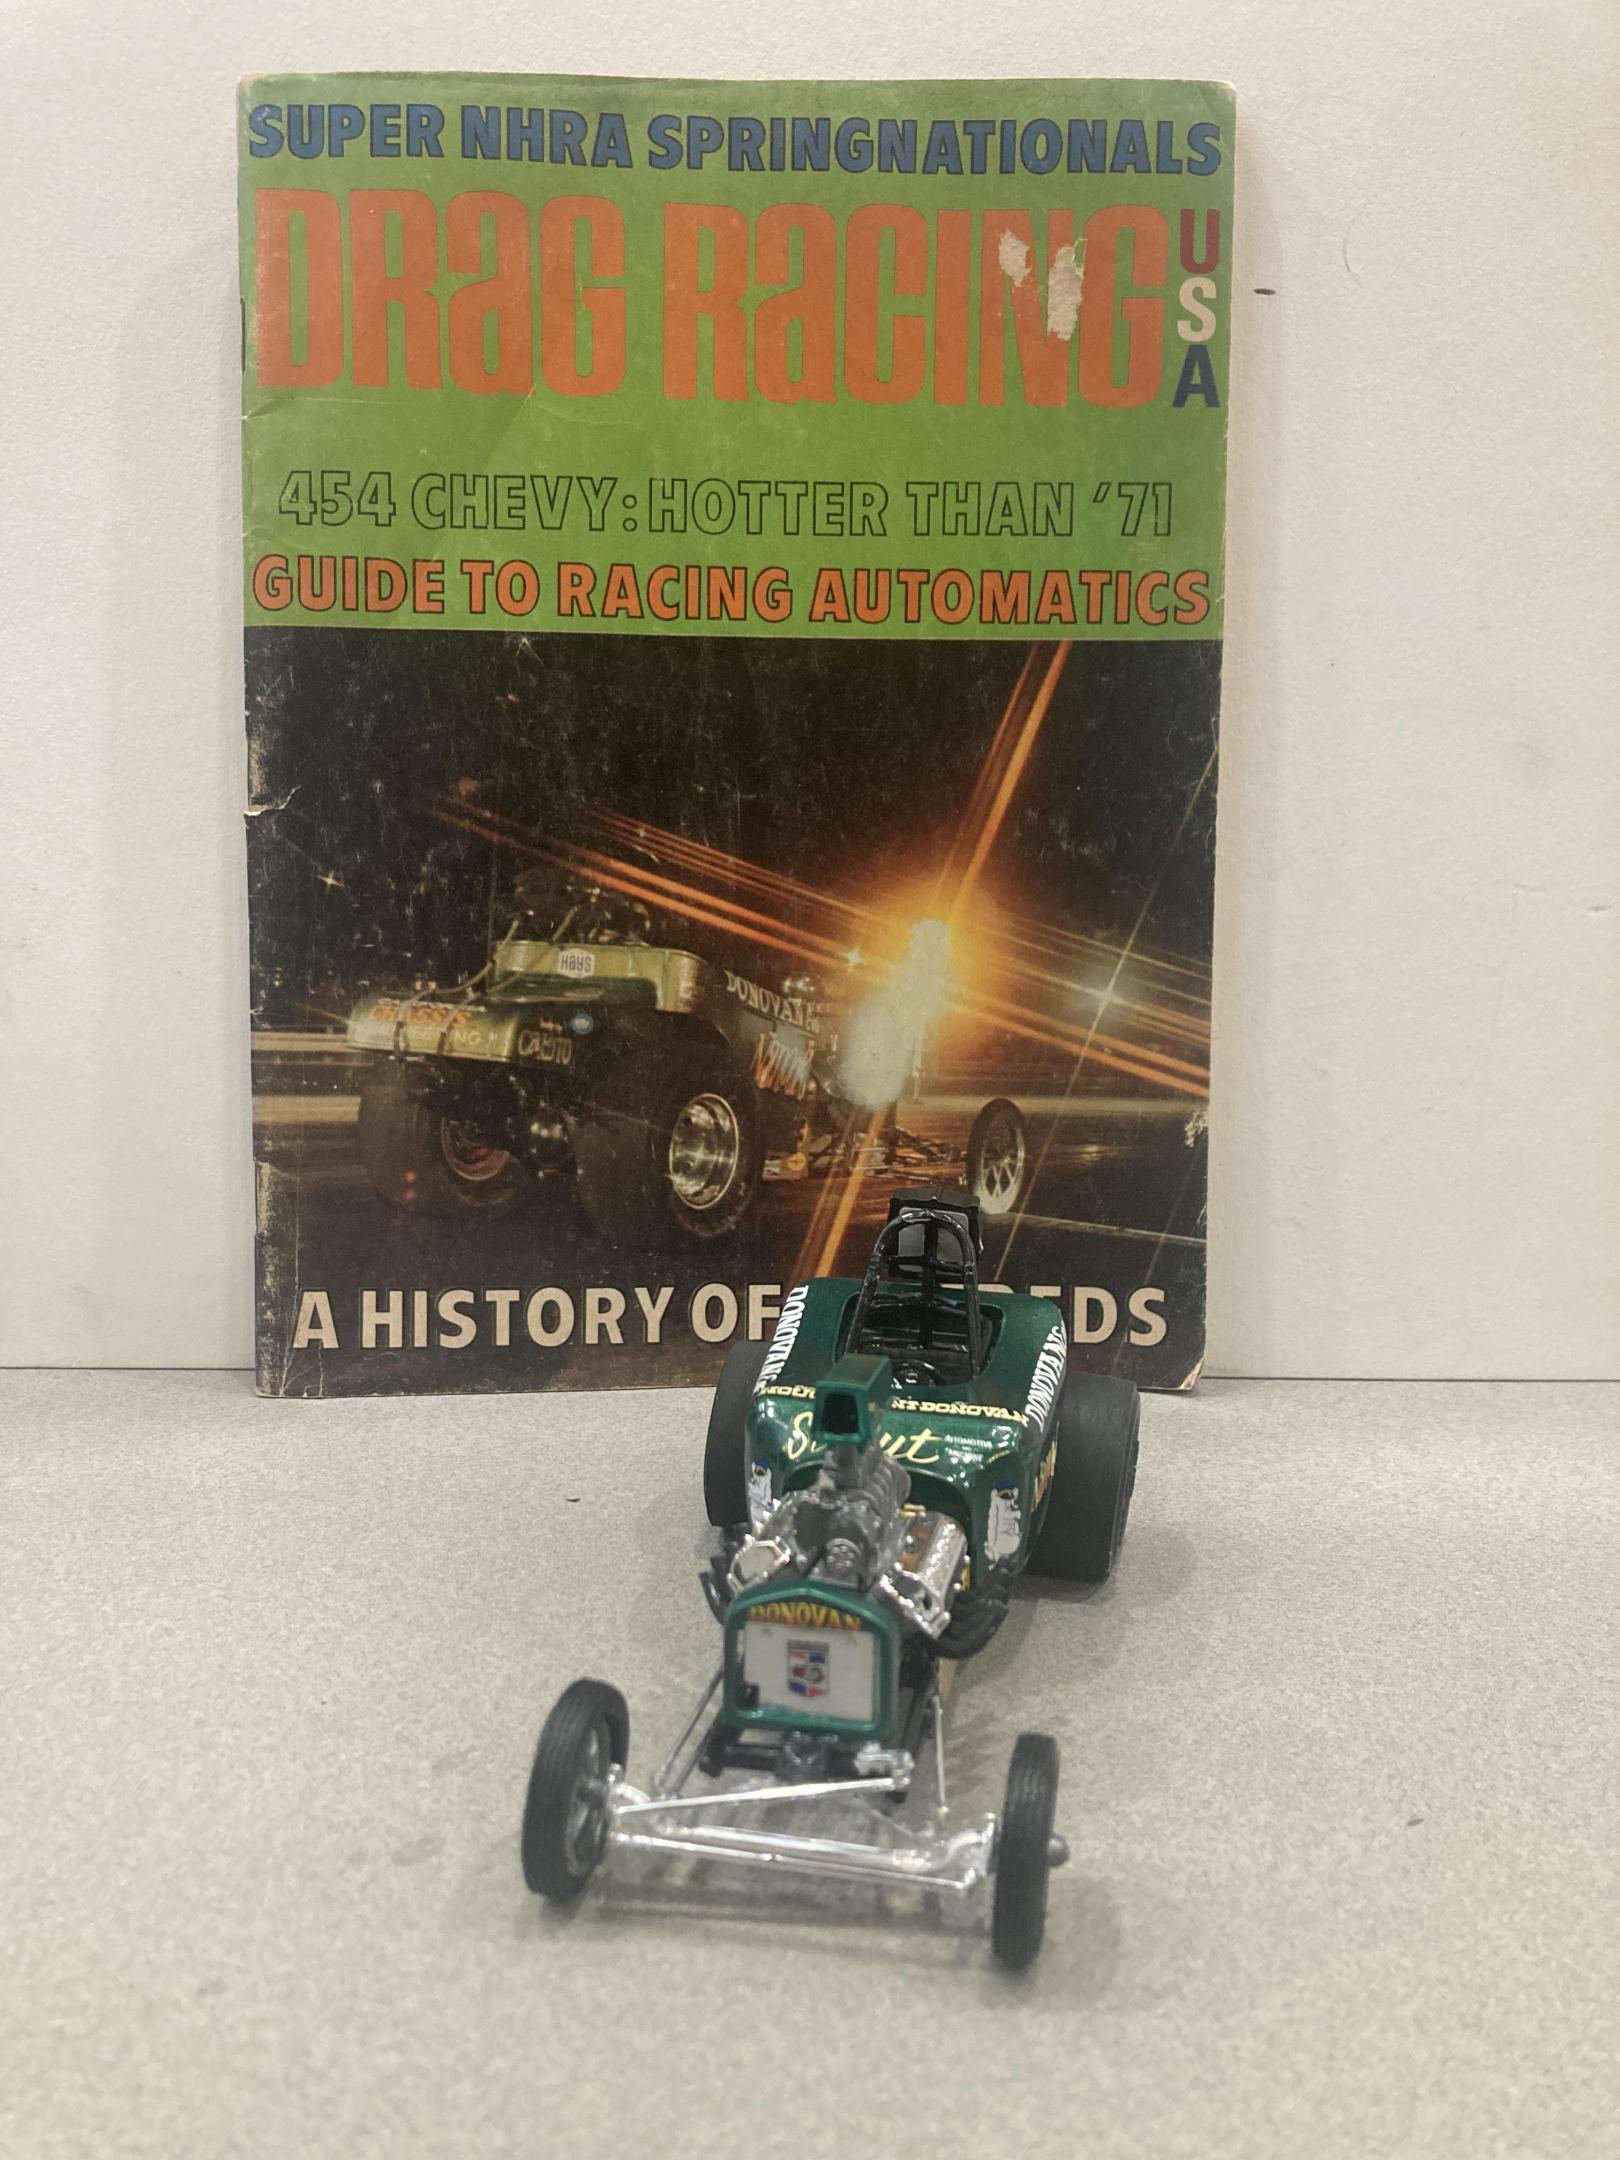
I built this mostly from the MPC Winged express kit with a few additions the front spring perch is from the double dragster, the front leaf spring is from the Atlantis fiat. I used the taunna cover from AMT’s T parts pack , and molded it onto the winged express T bucket. The thin fuel tank behind grill frame is from the MPC bantam blast. The bell housing cover is also sourced from the bantam blast. I used resin 12 spoke front wheels from comp. Resin. On the tin work is tamyia gold the body’s metallic green is testors enamel. Decals are aging slixx as a few of them broke apart. All in all this was a real enjoyable build. As this was the second best fuel altered kit next to the bantam blast kit actually there both just as good. Until next time thanks for looking. Mike
-
Built back in the 1982 to 1984 era. I liked this one! In fact, I liked it so much I got a sealed kit from ebay a few years ago to redo it. Painted Testors' White enamel with a black interior. I made a custom twin turbo intake system for it :-) Pictures of the sealed kit I have. Thanks for looking :-)
-
Hi all, this is my just-completed Round2 reissue of the MPC 1/25th scale Golden Hawk Jeep CJ-5, in Renegade livery. The was built 100% out of box, and painted with Upol Gloss Red acrylic enamel spray paint for the body, which was decanted and airbrushed, and then polished. The rest of parts were painted with Vallejo, Tamiya, AK Interactive, Citadel Game Colors, and craft acrylic paints. Thanks for looking. Cheer, Albert
-
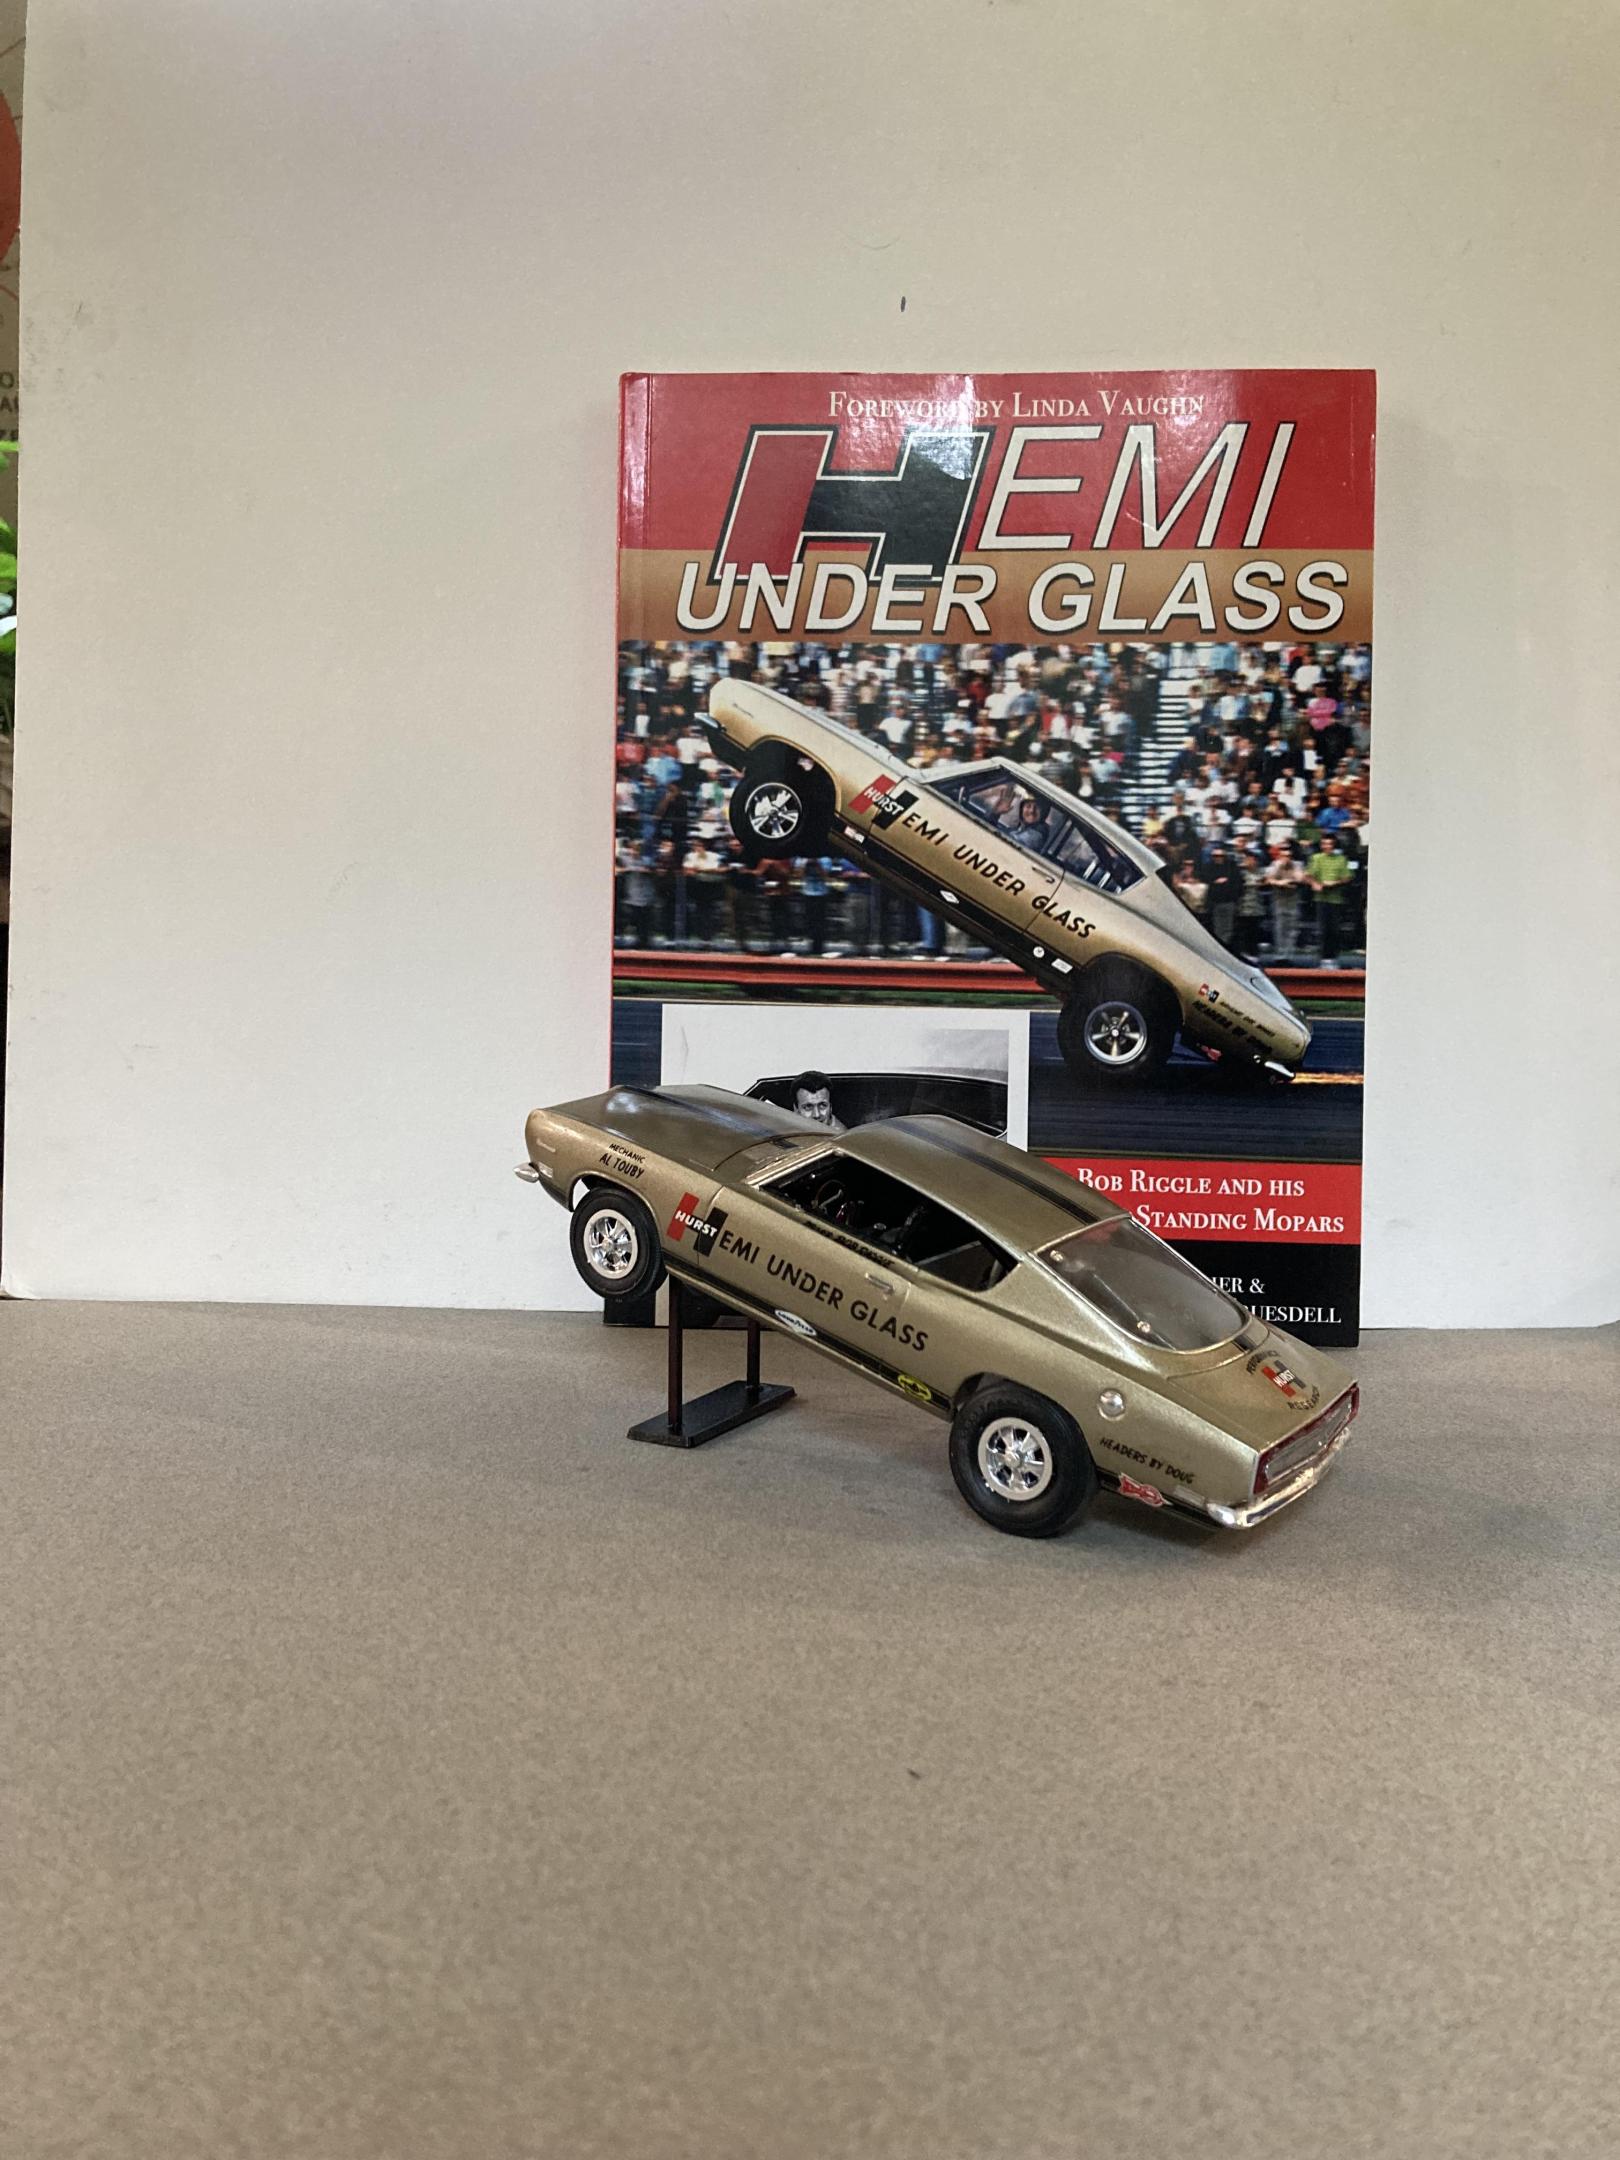
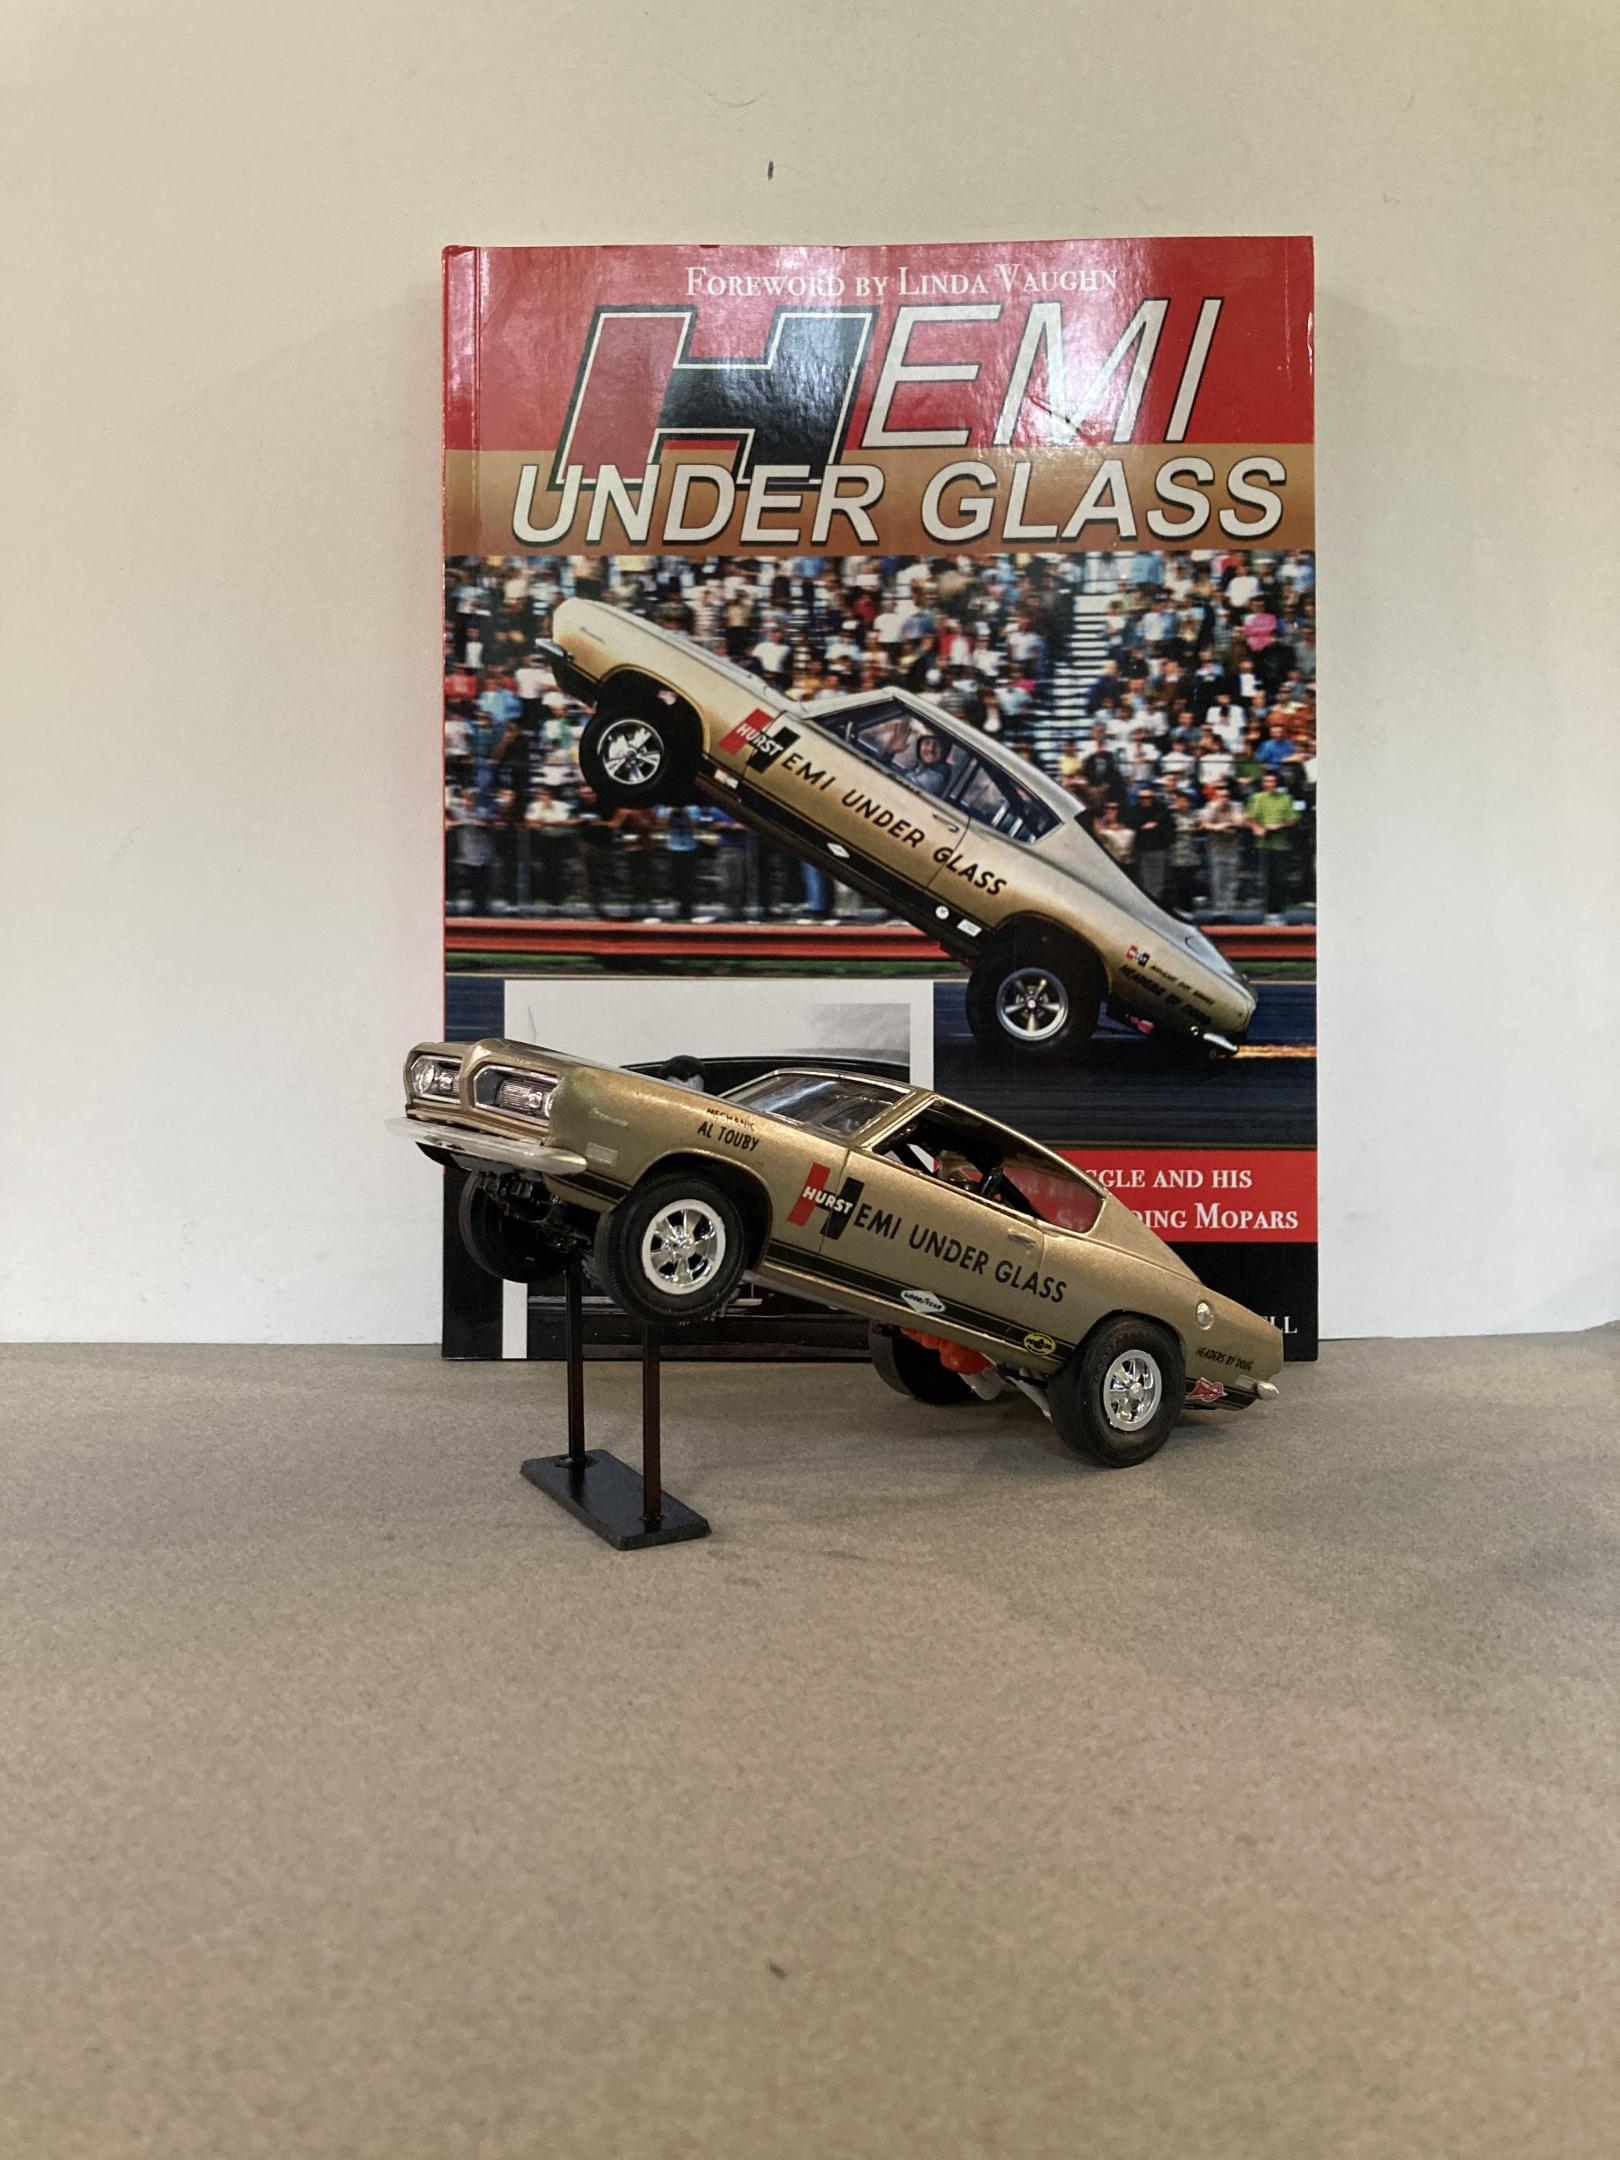
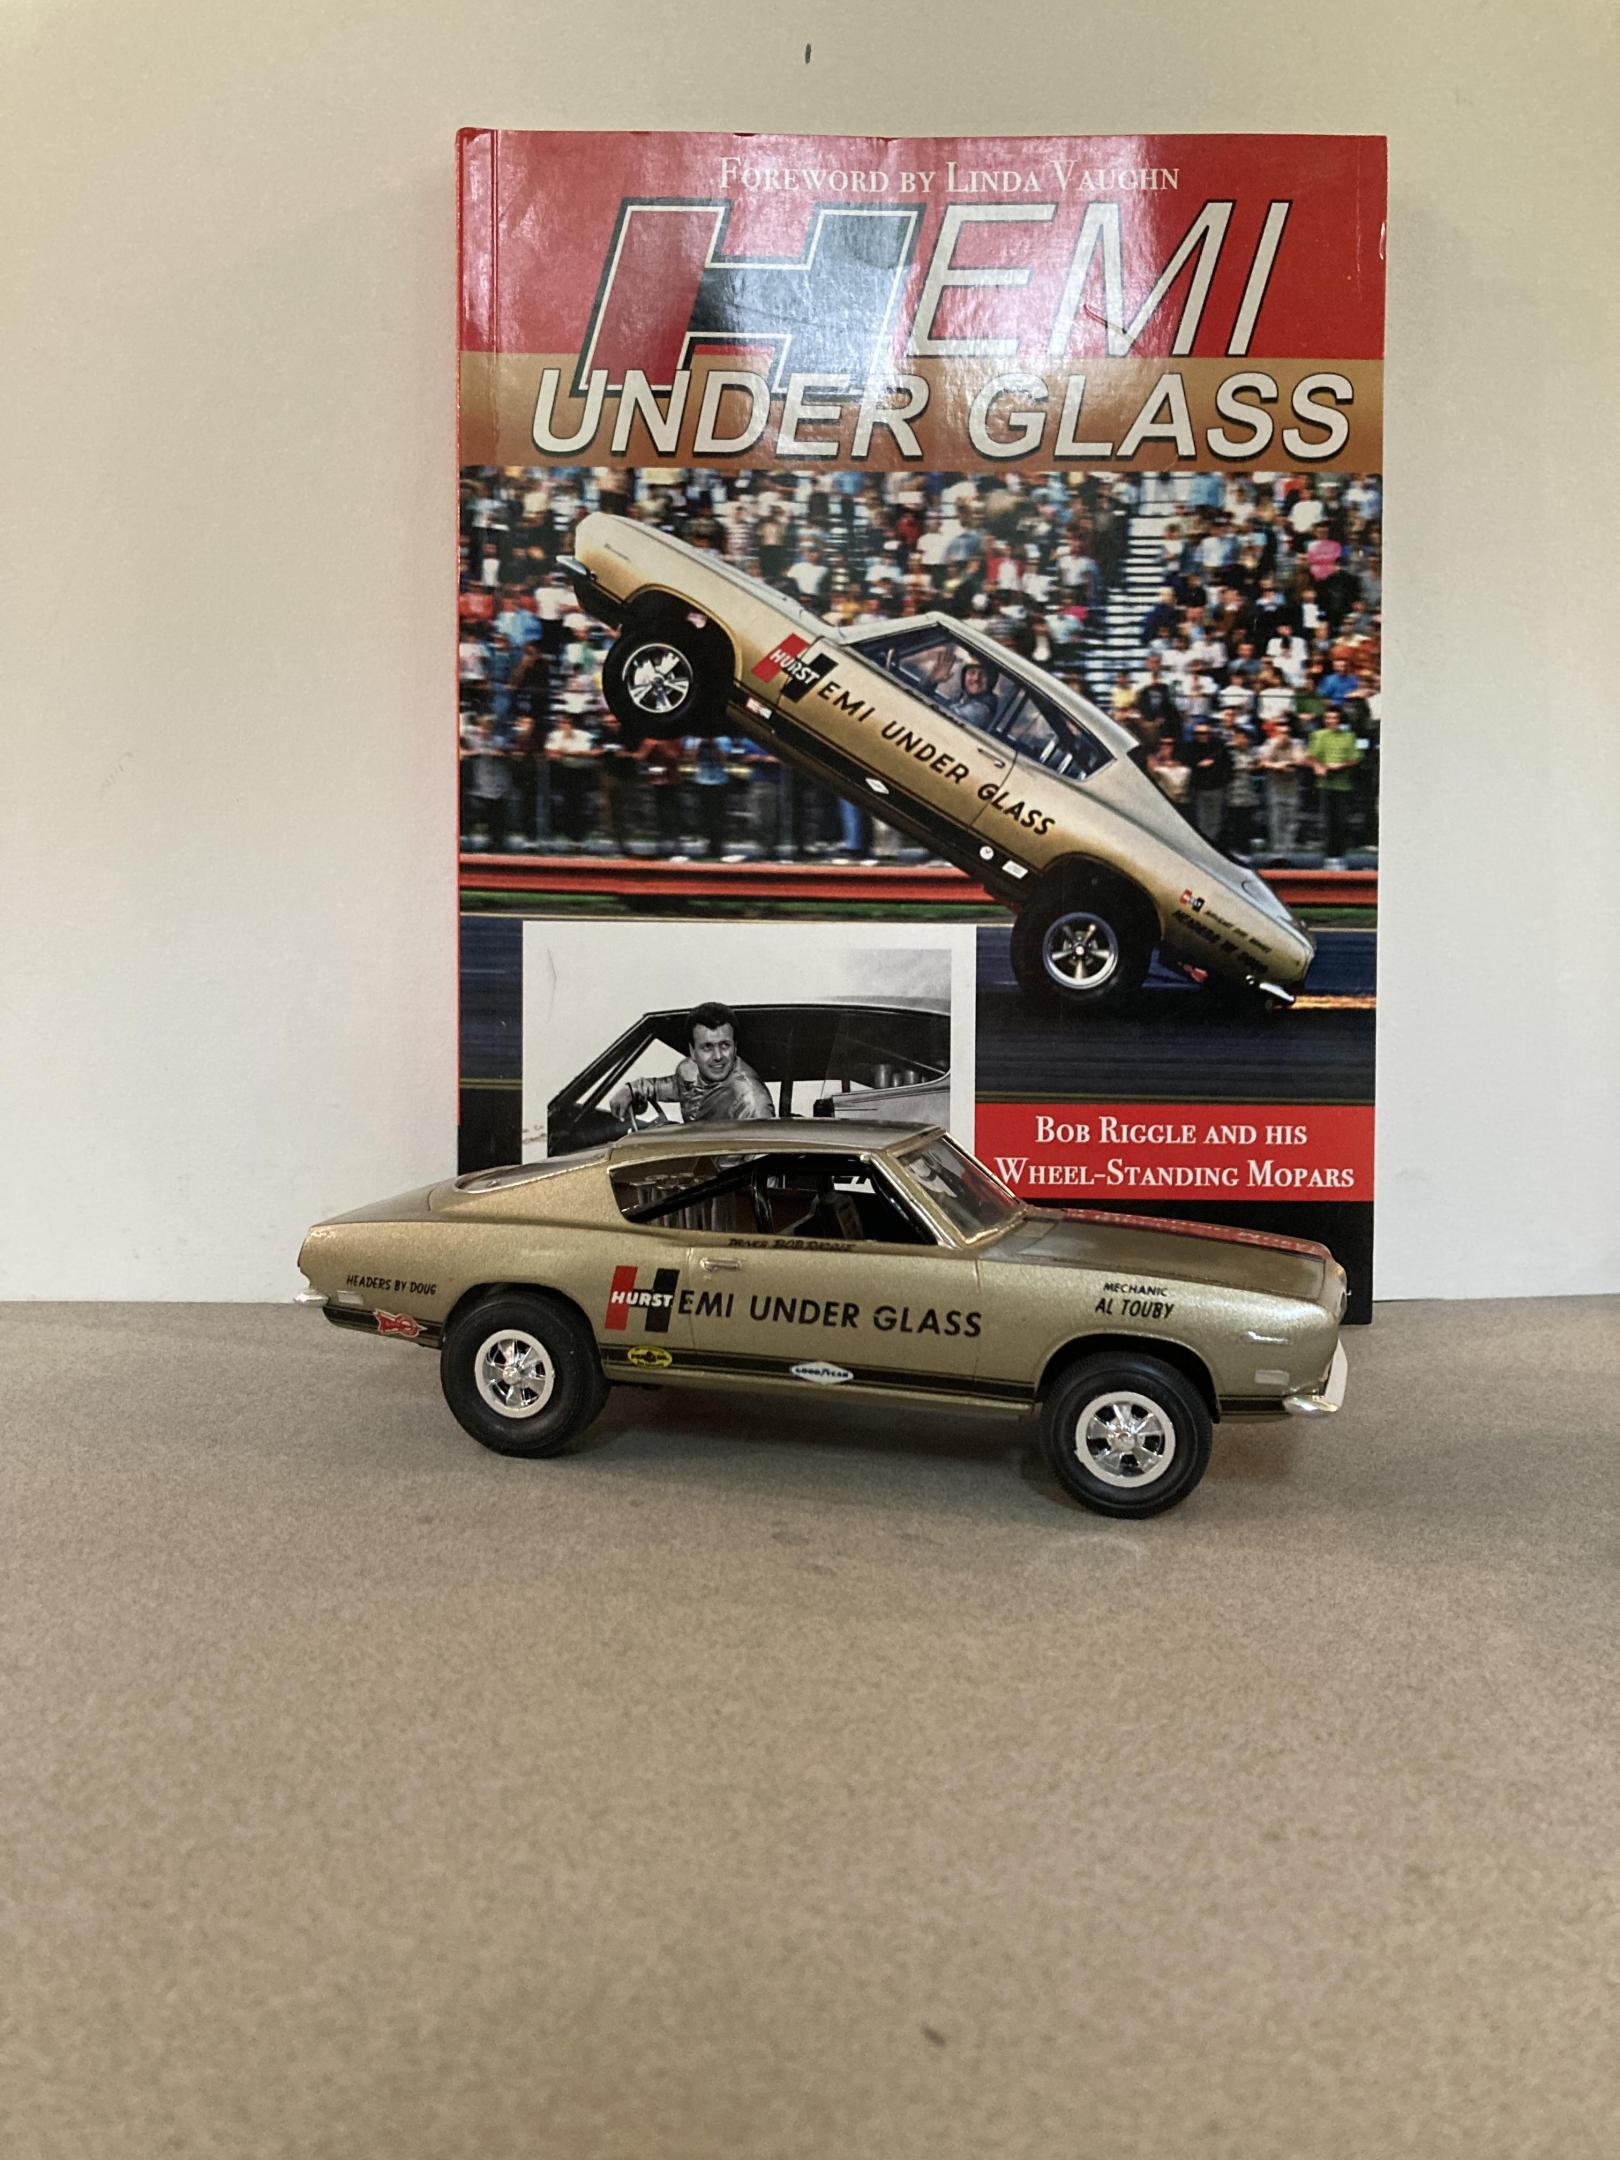
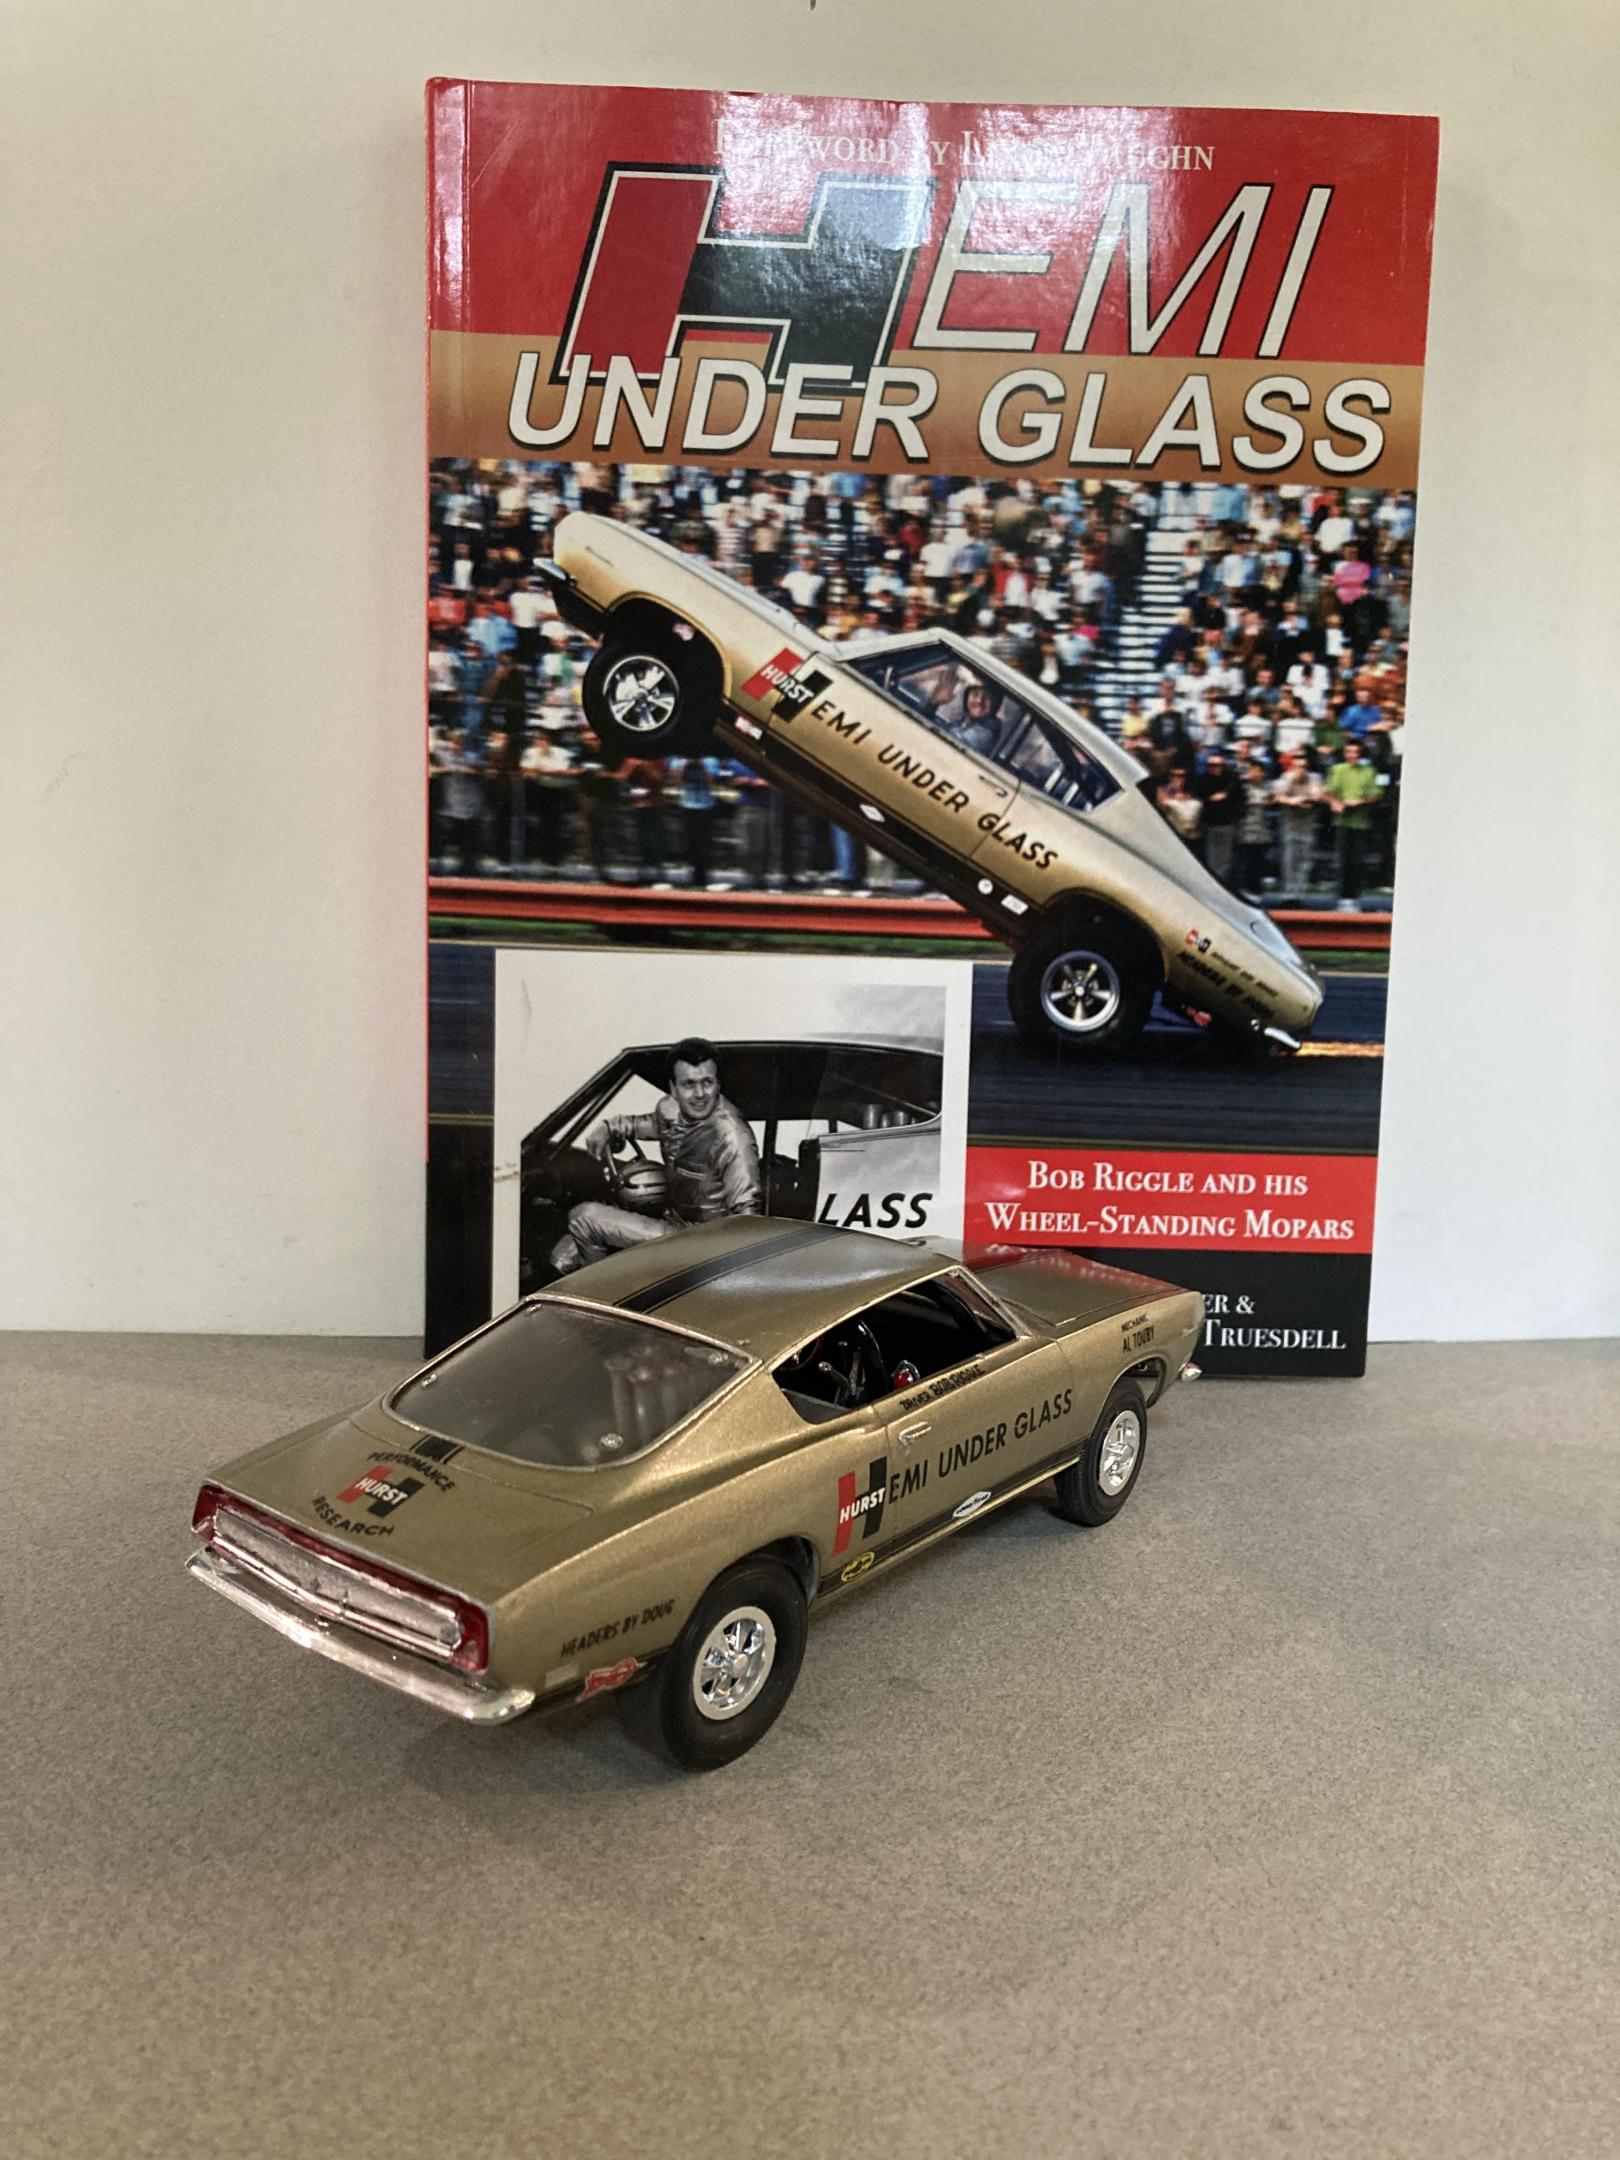
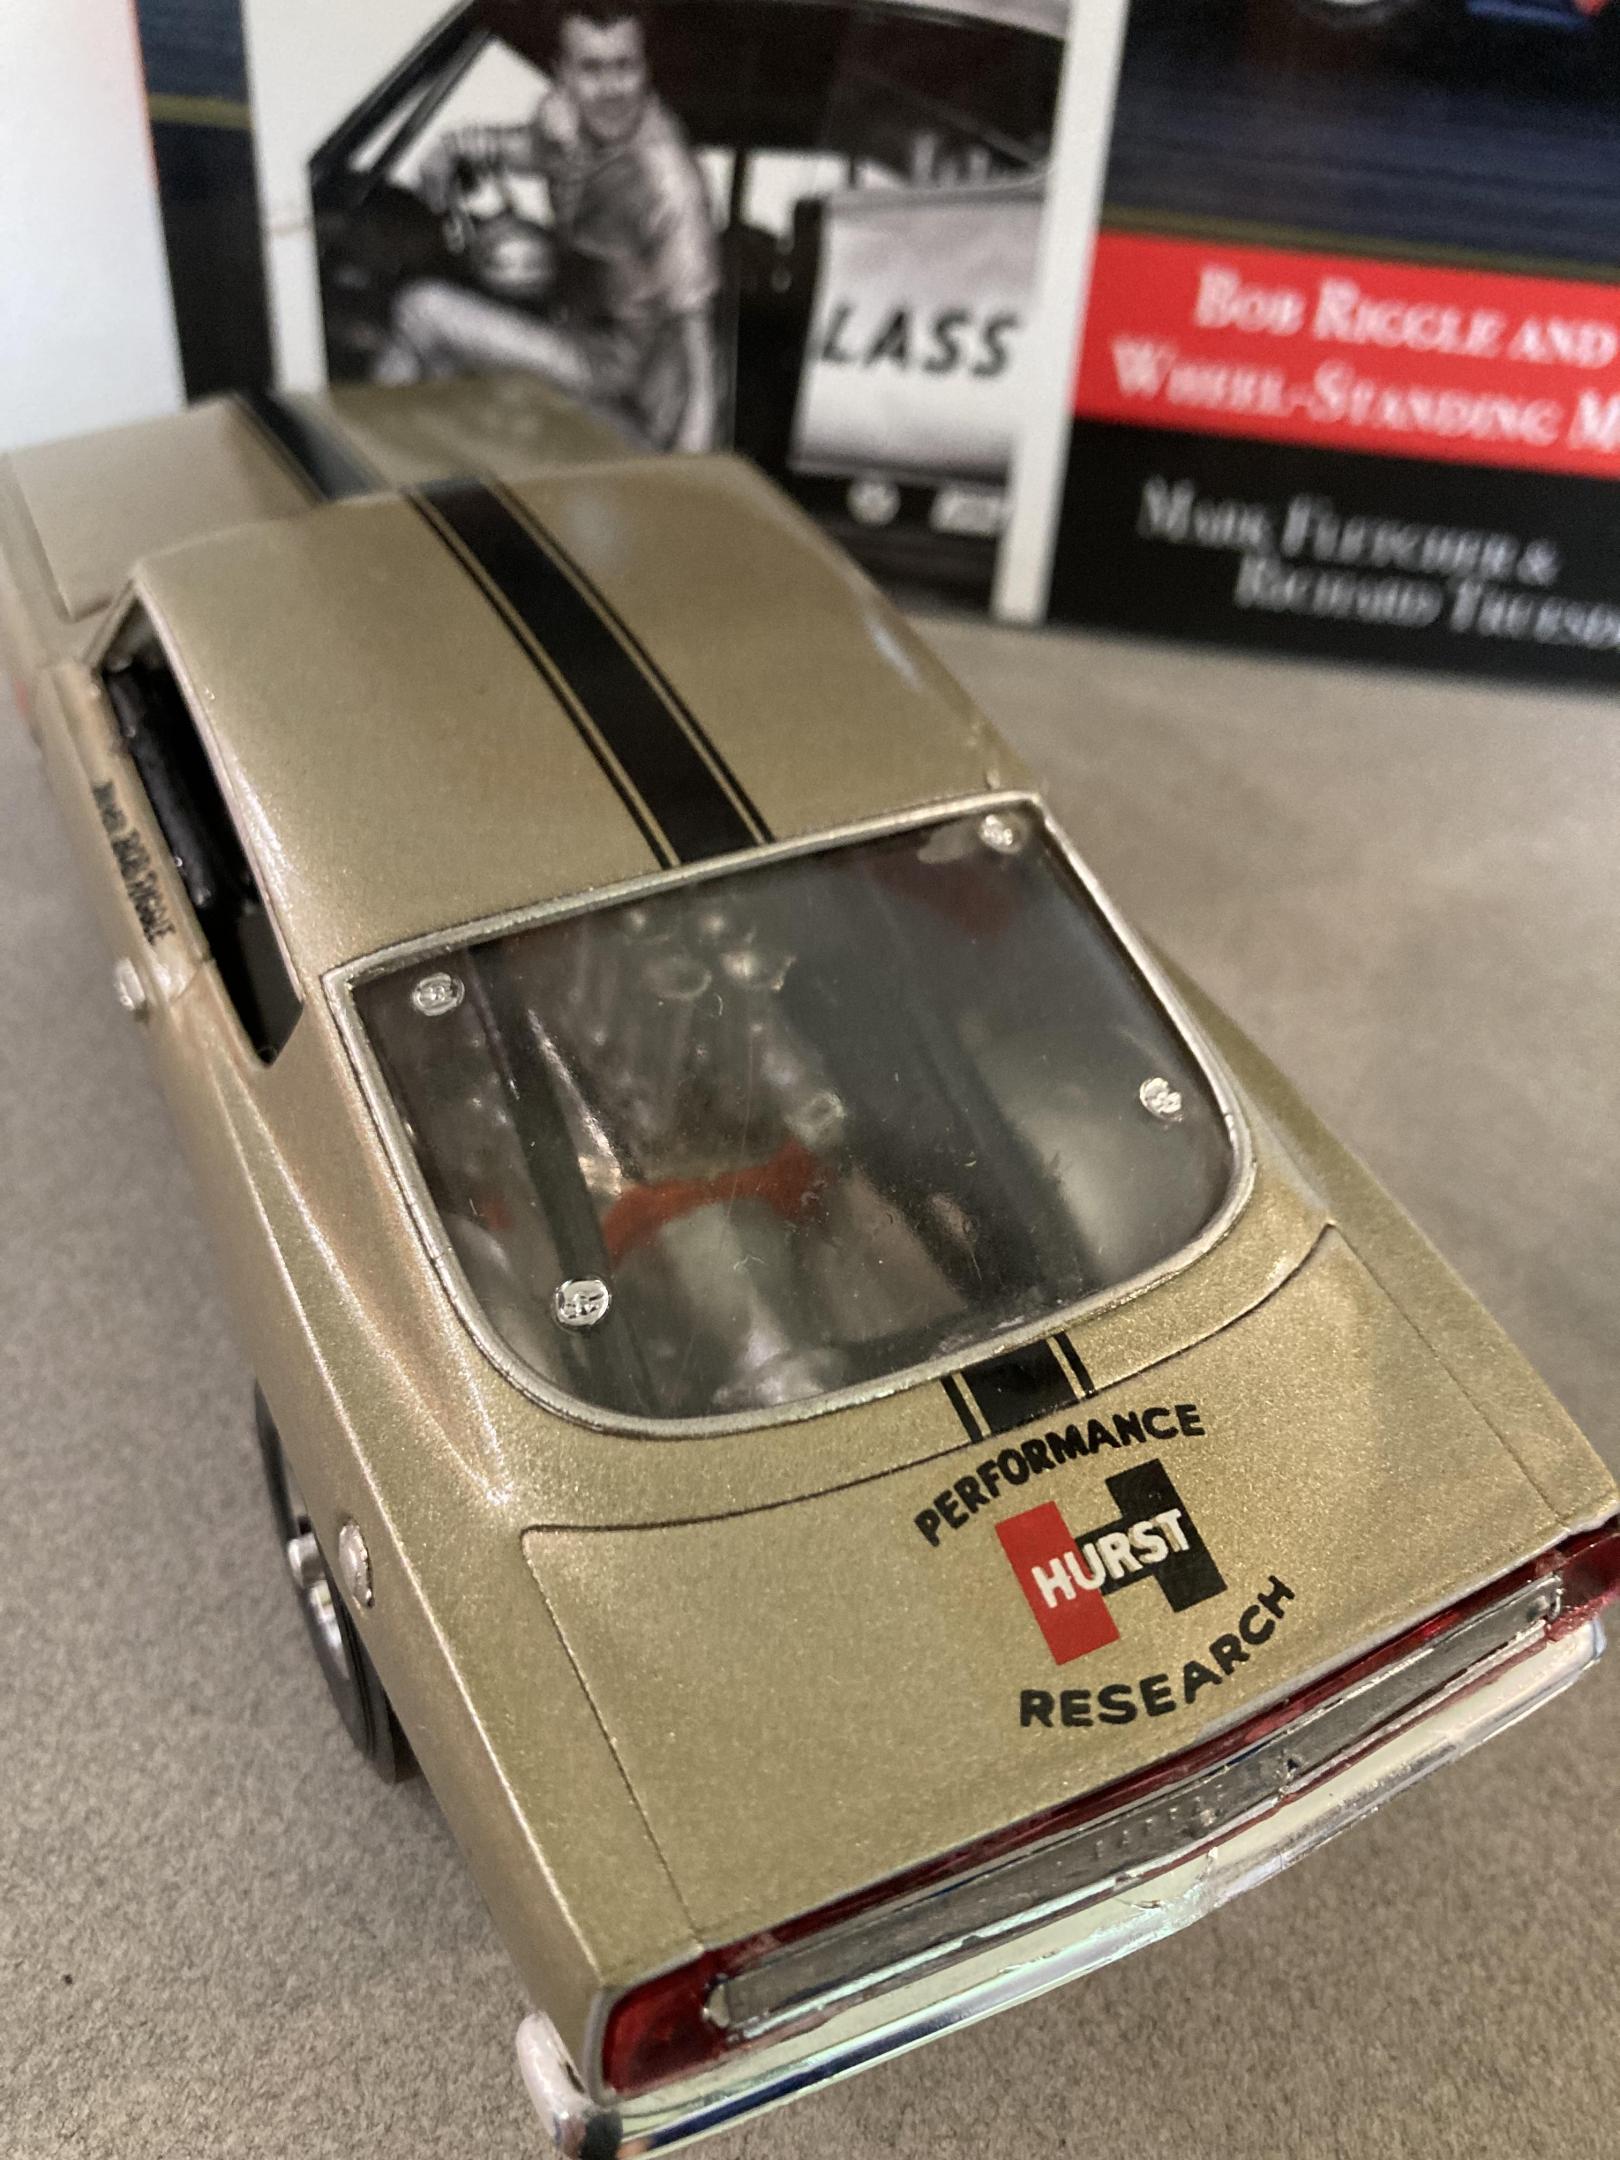
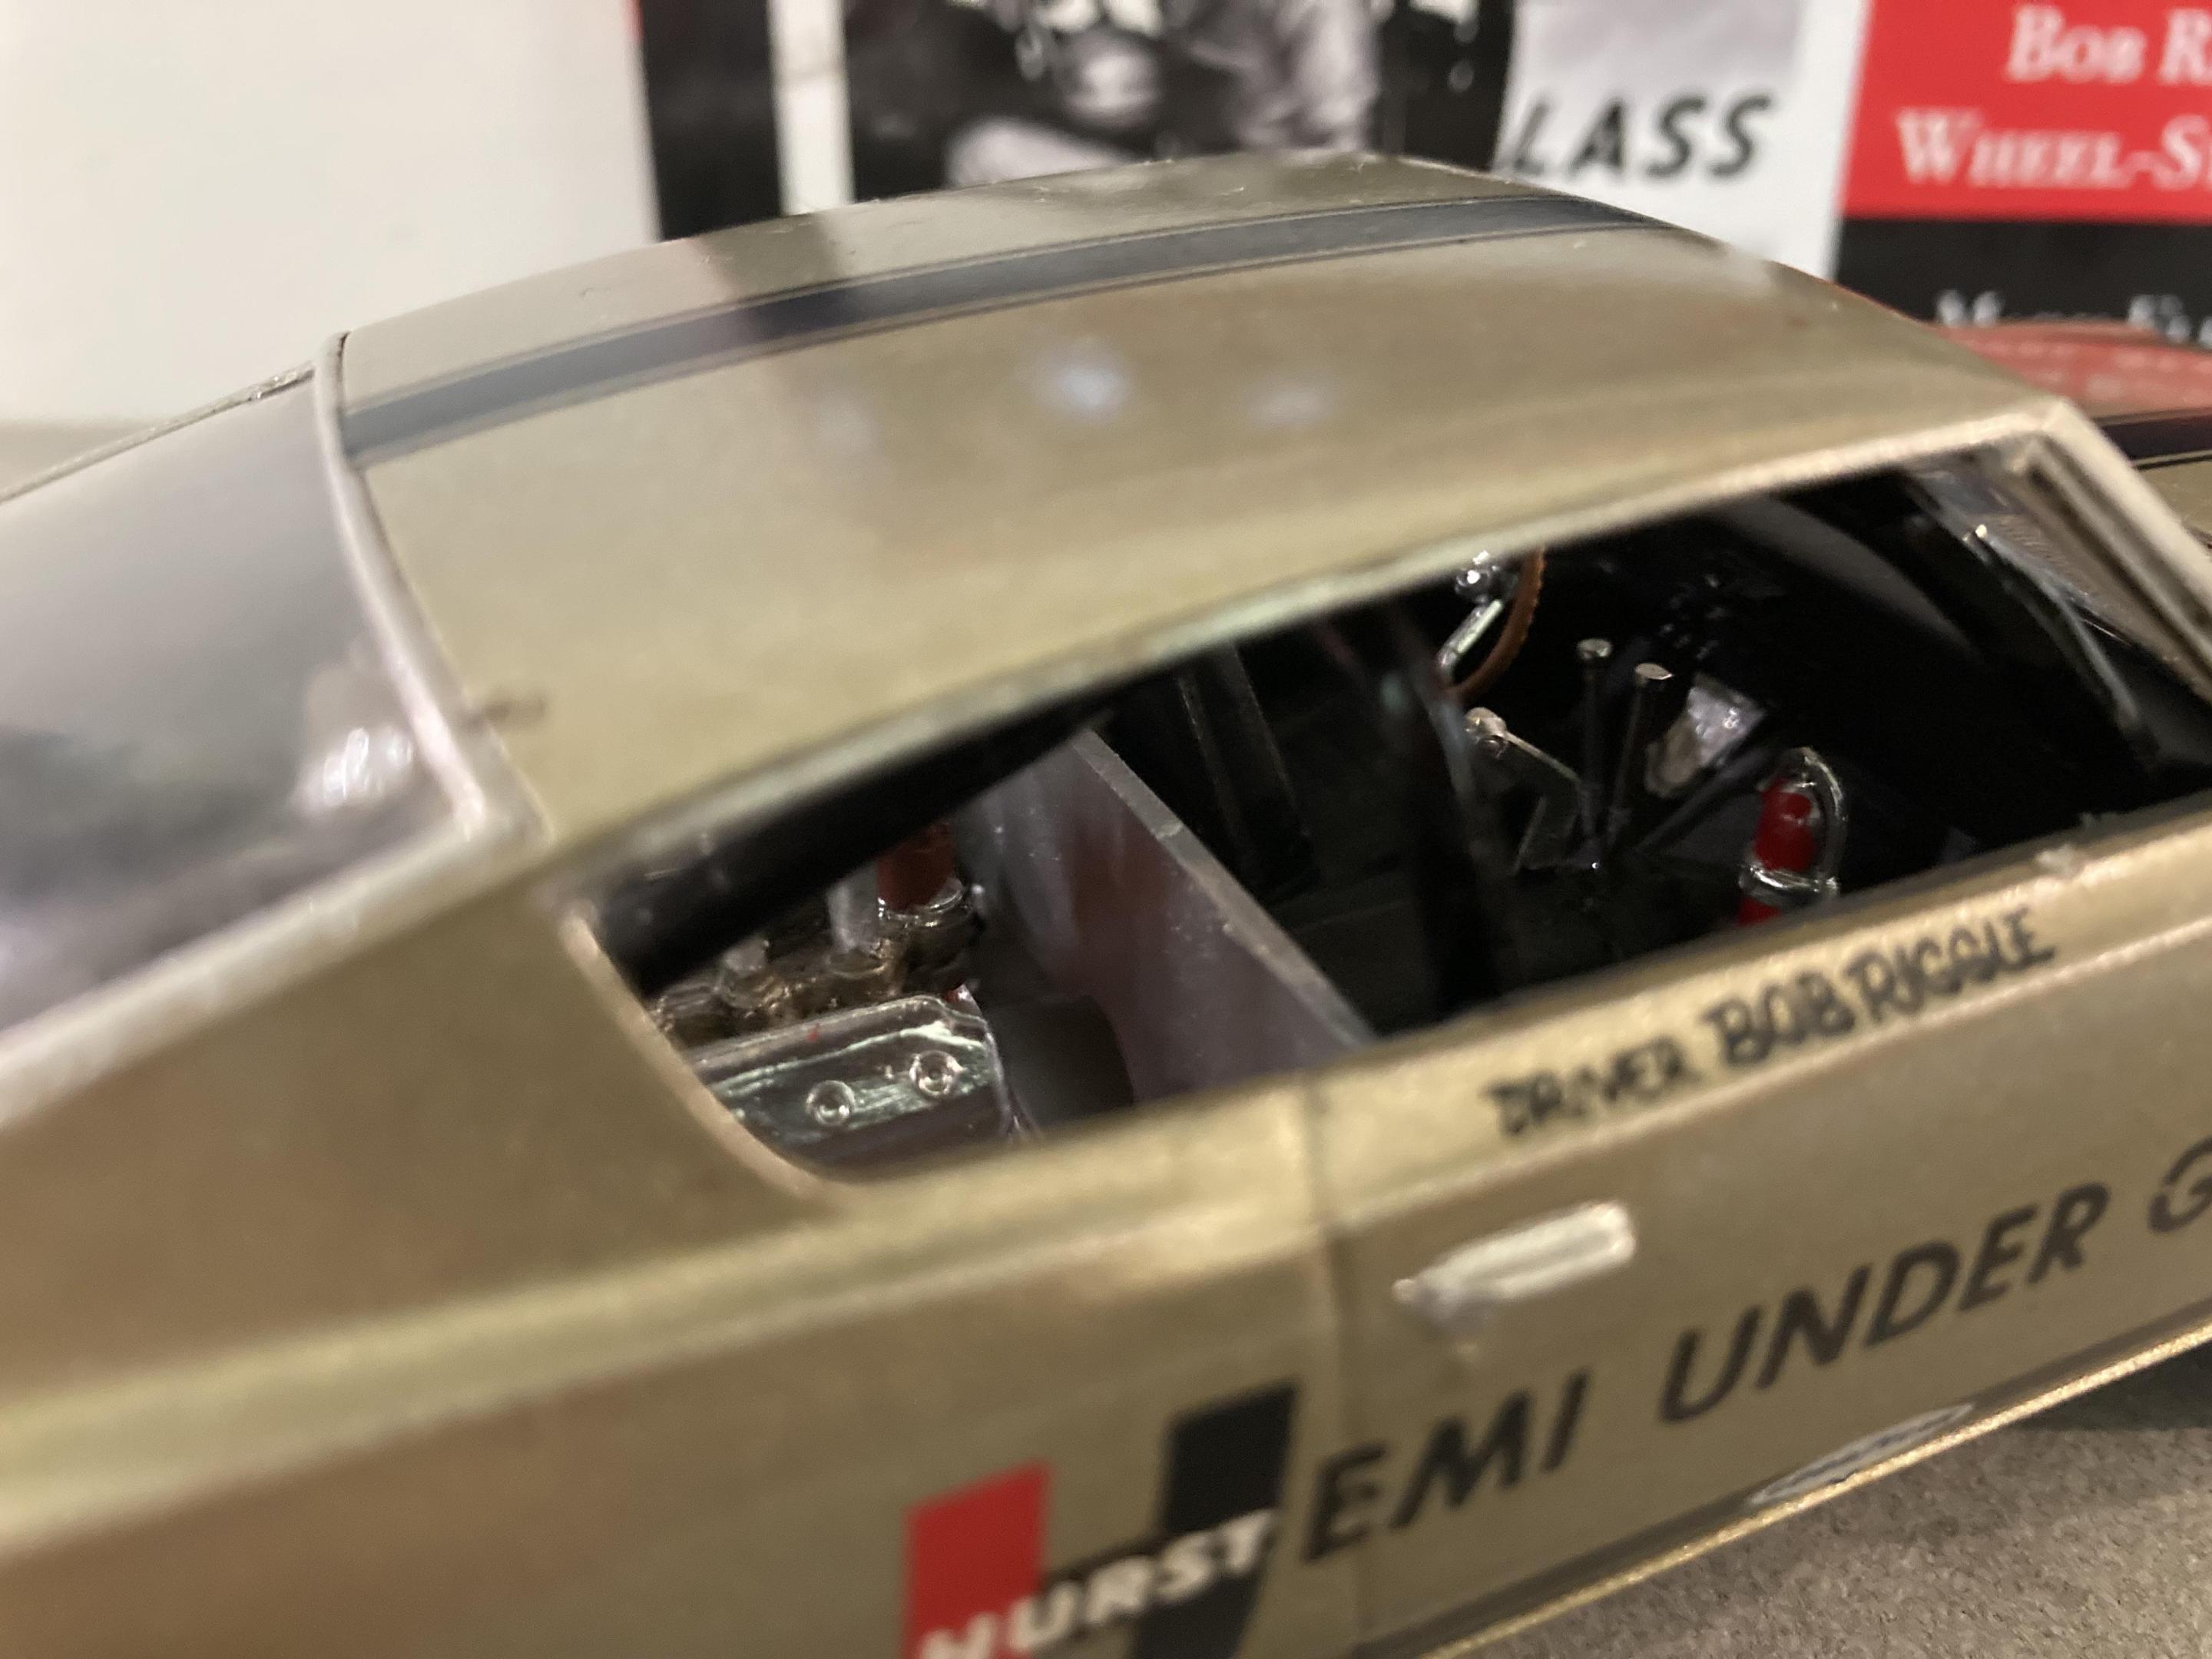
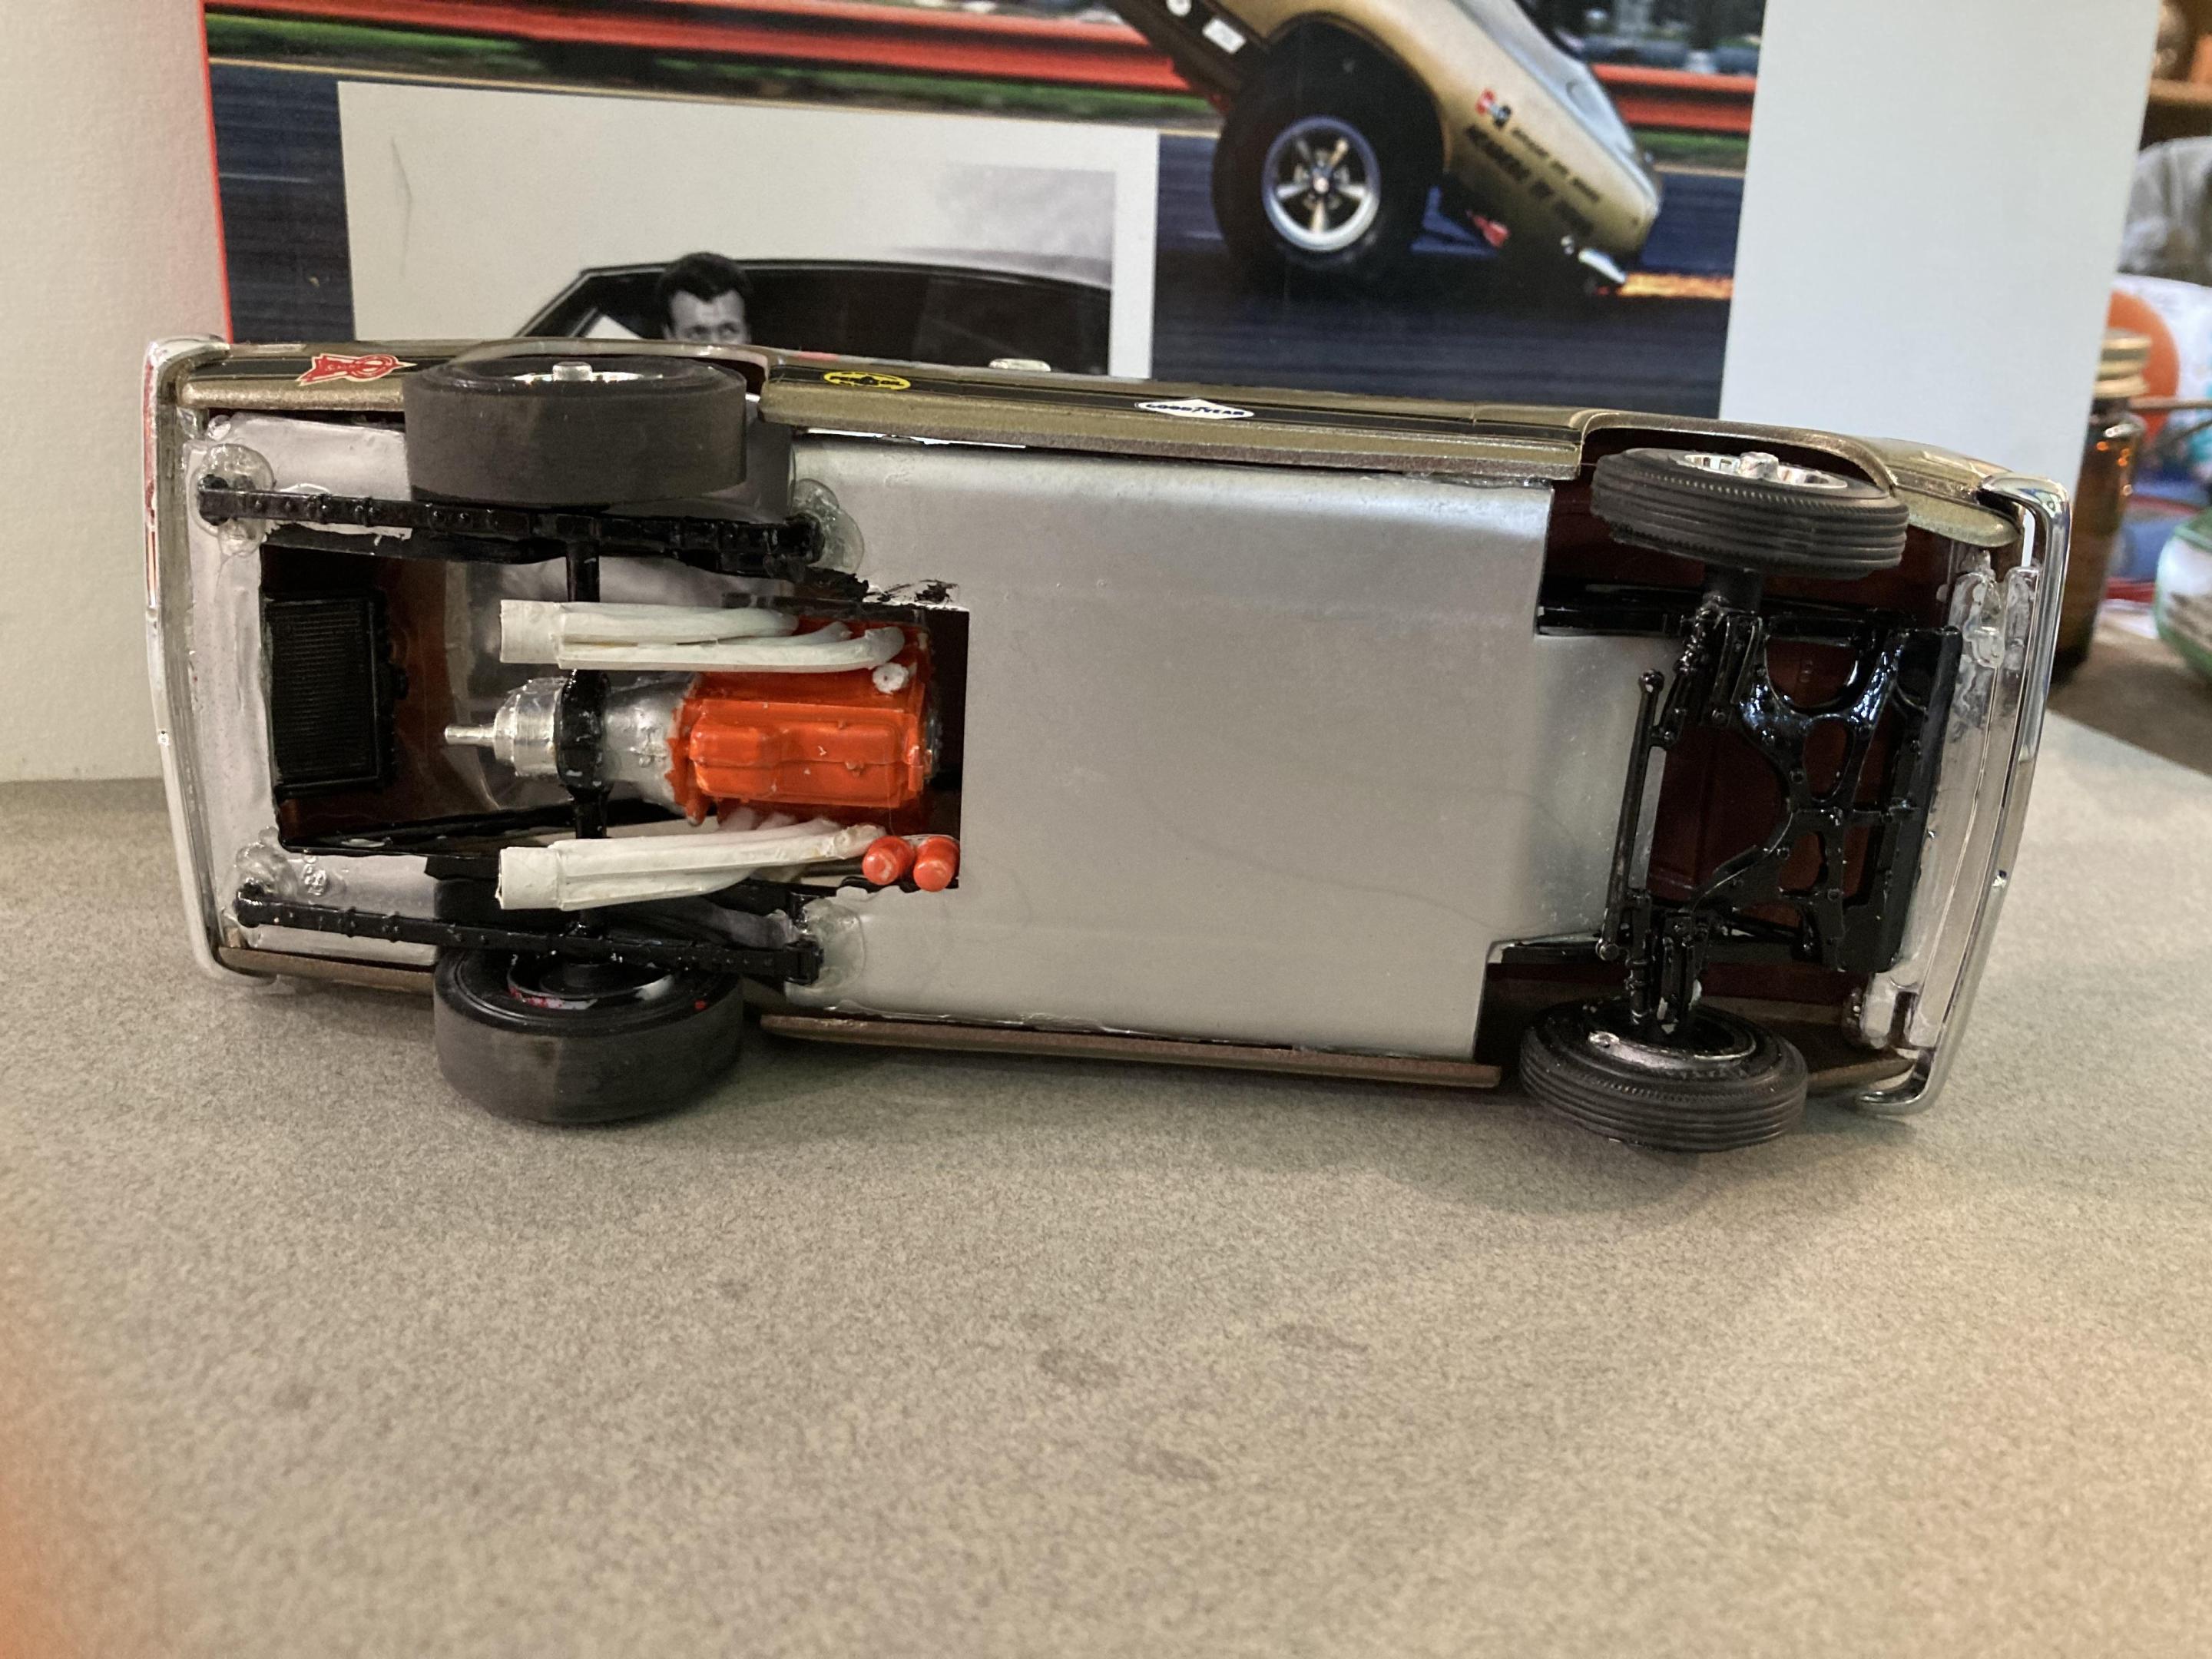
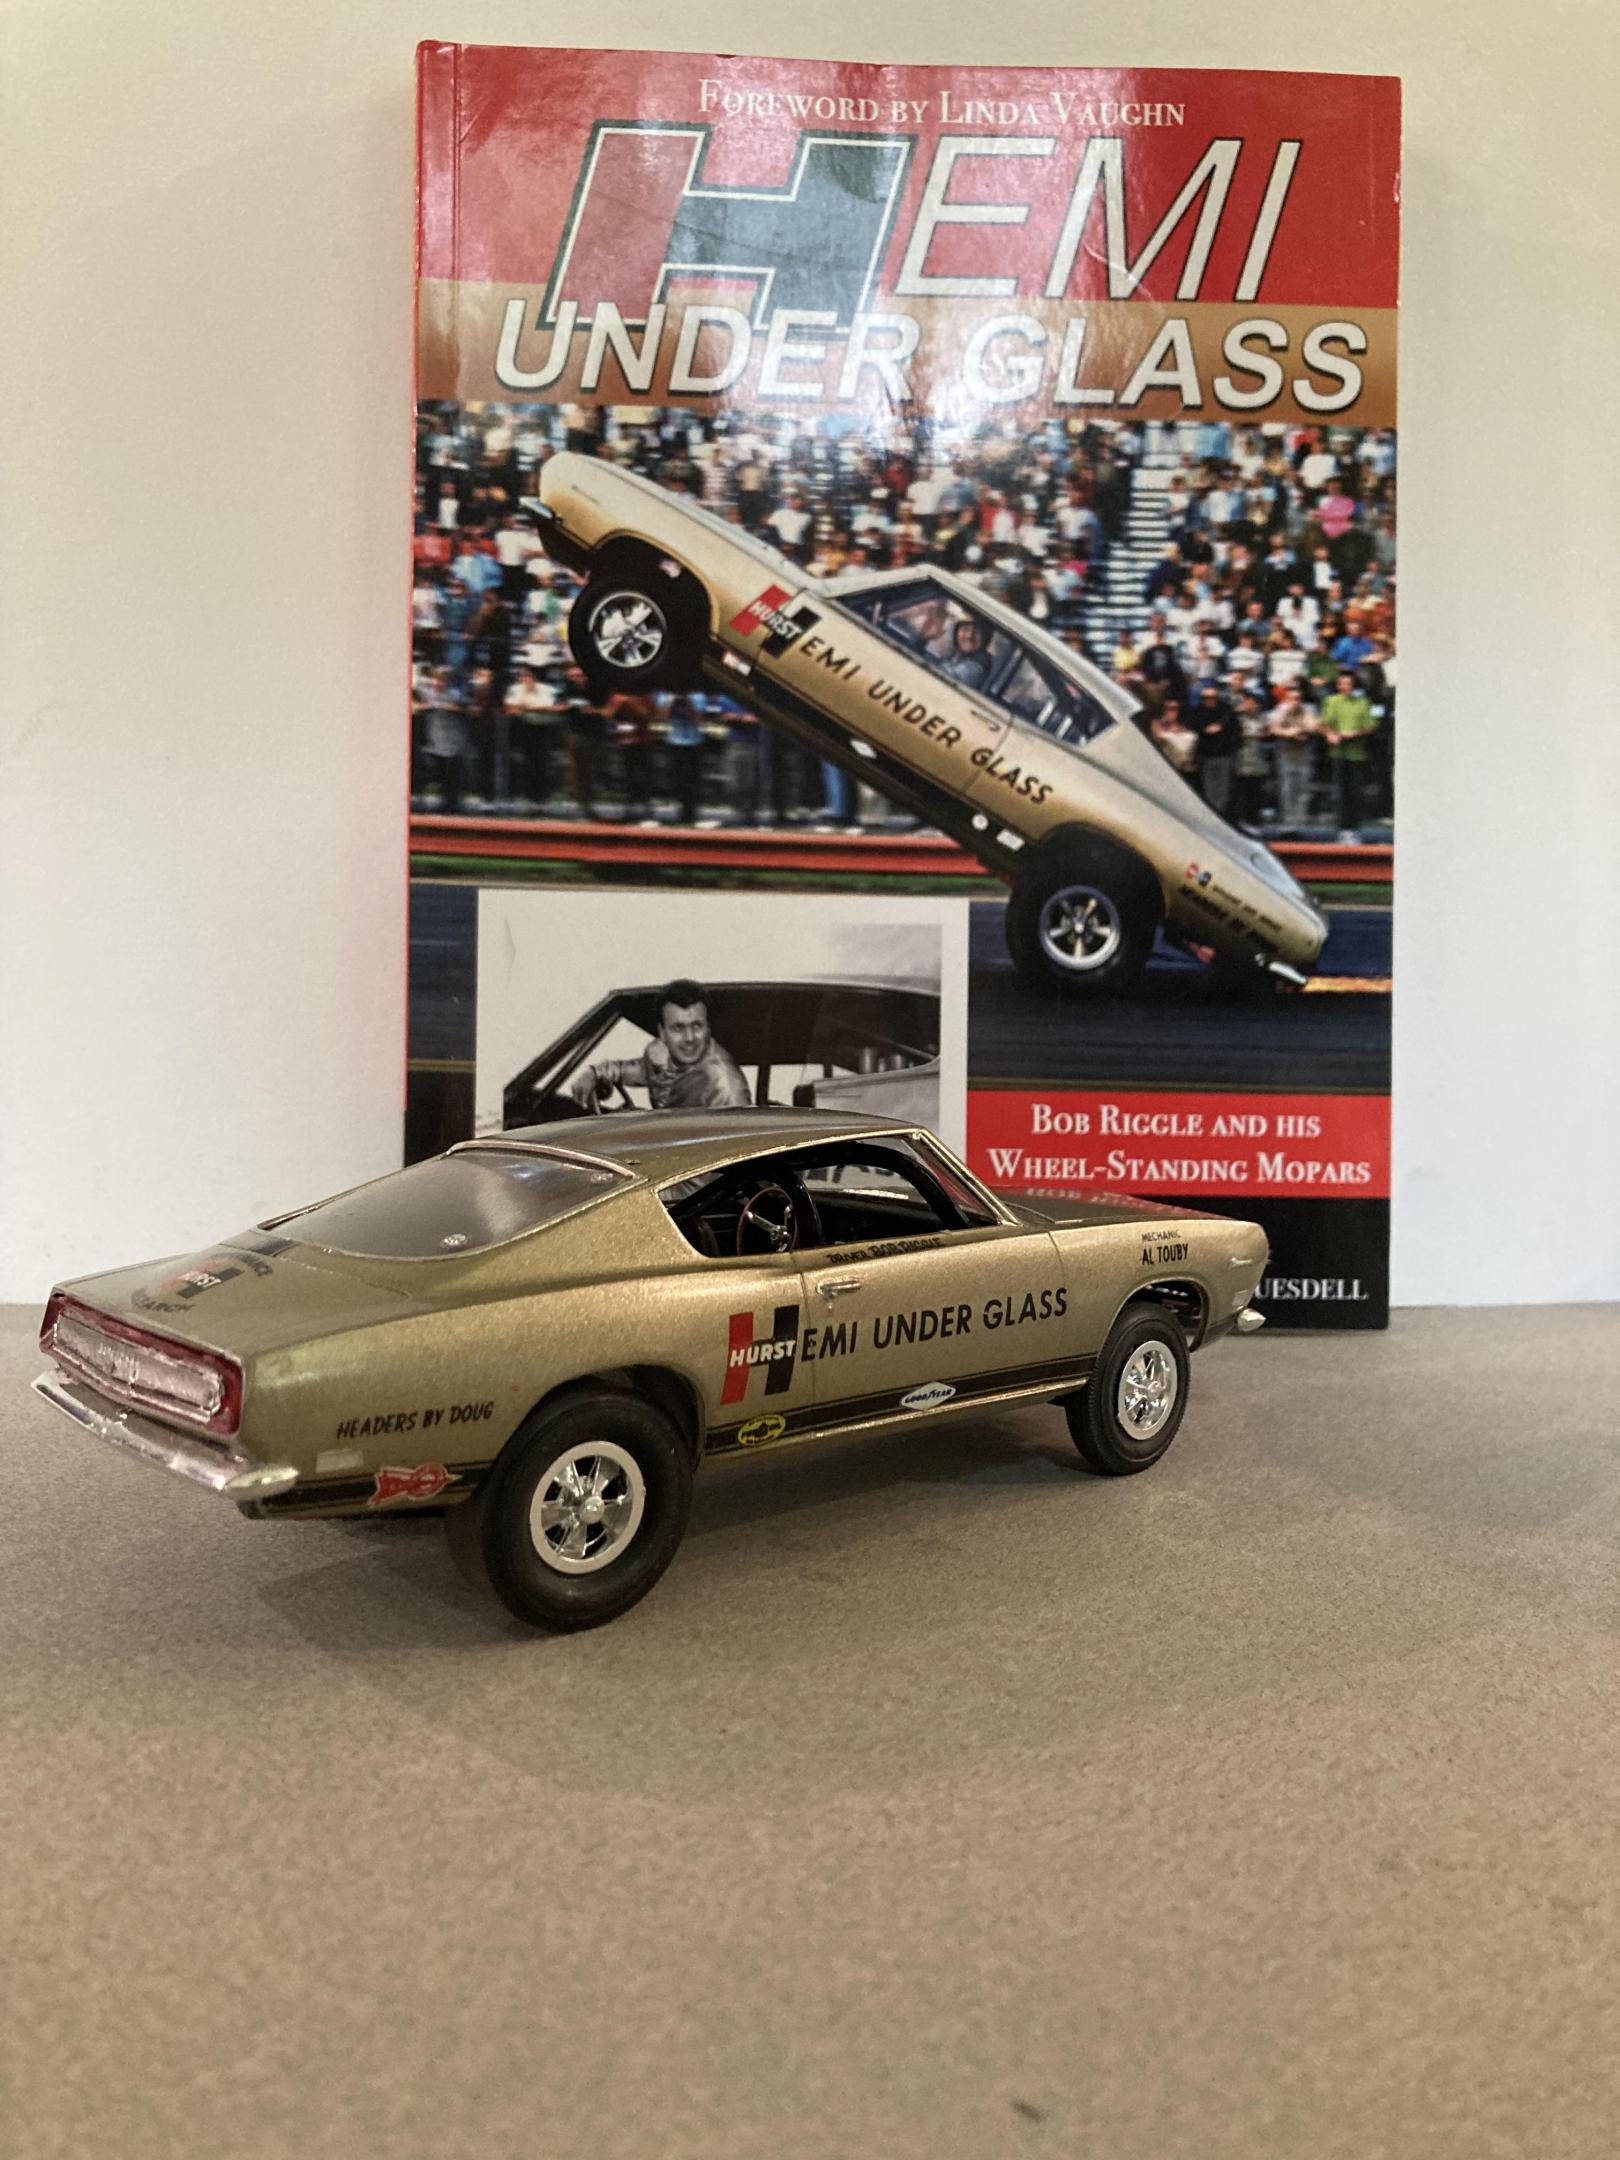
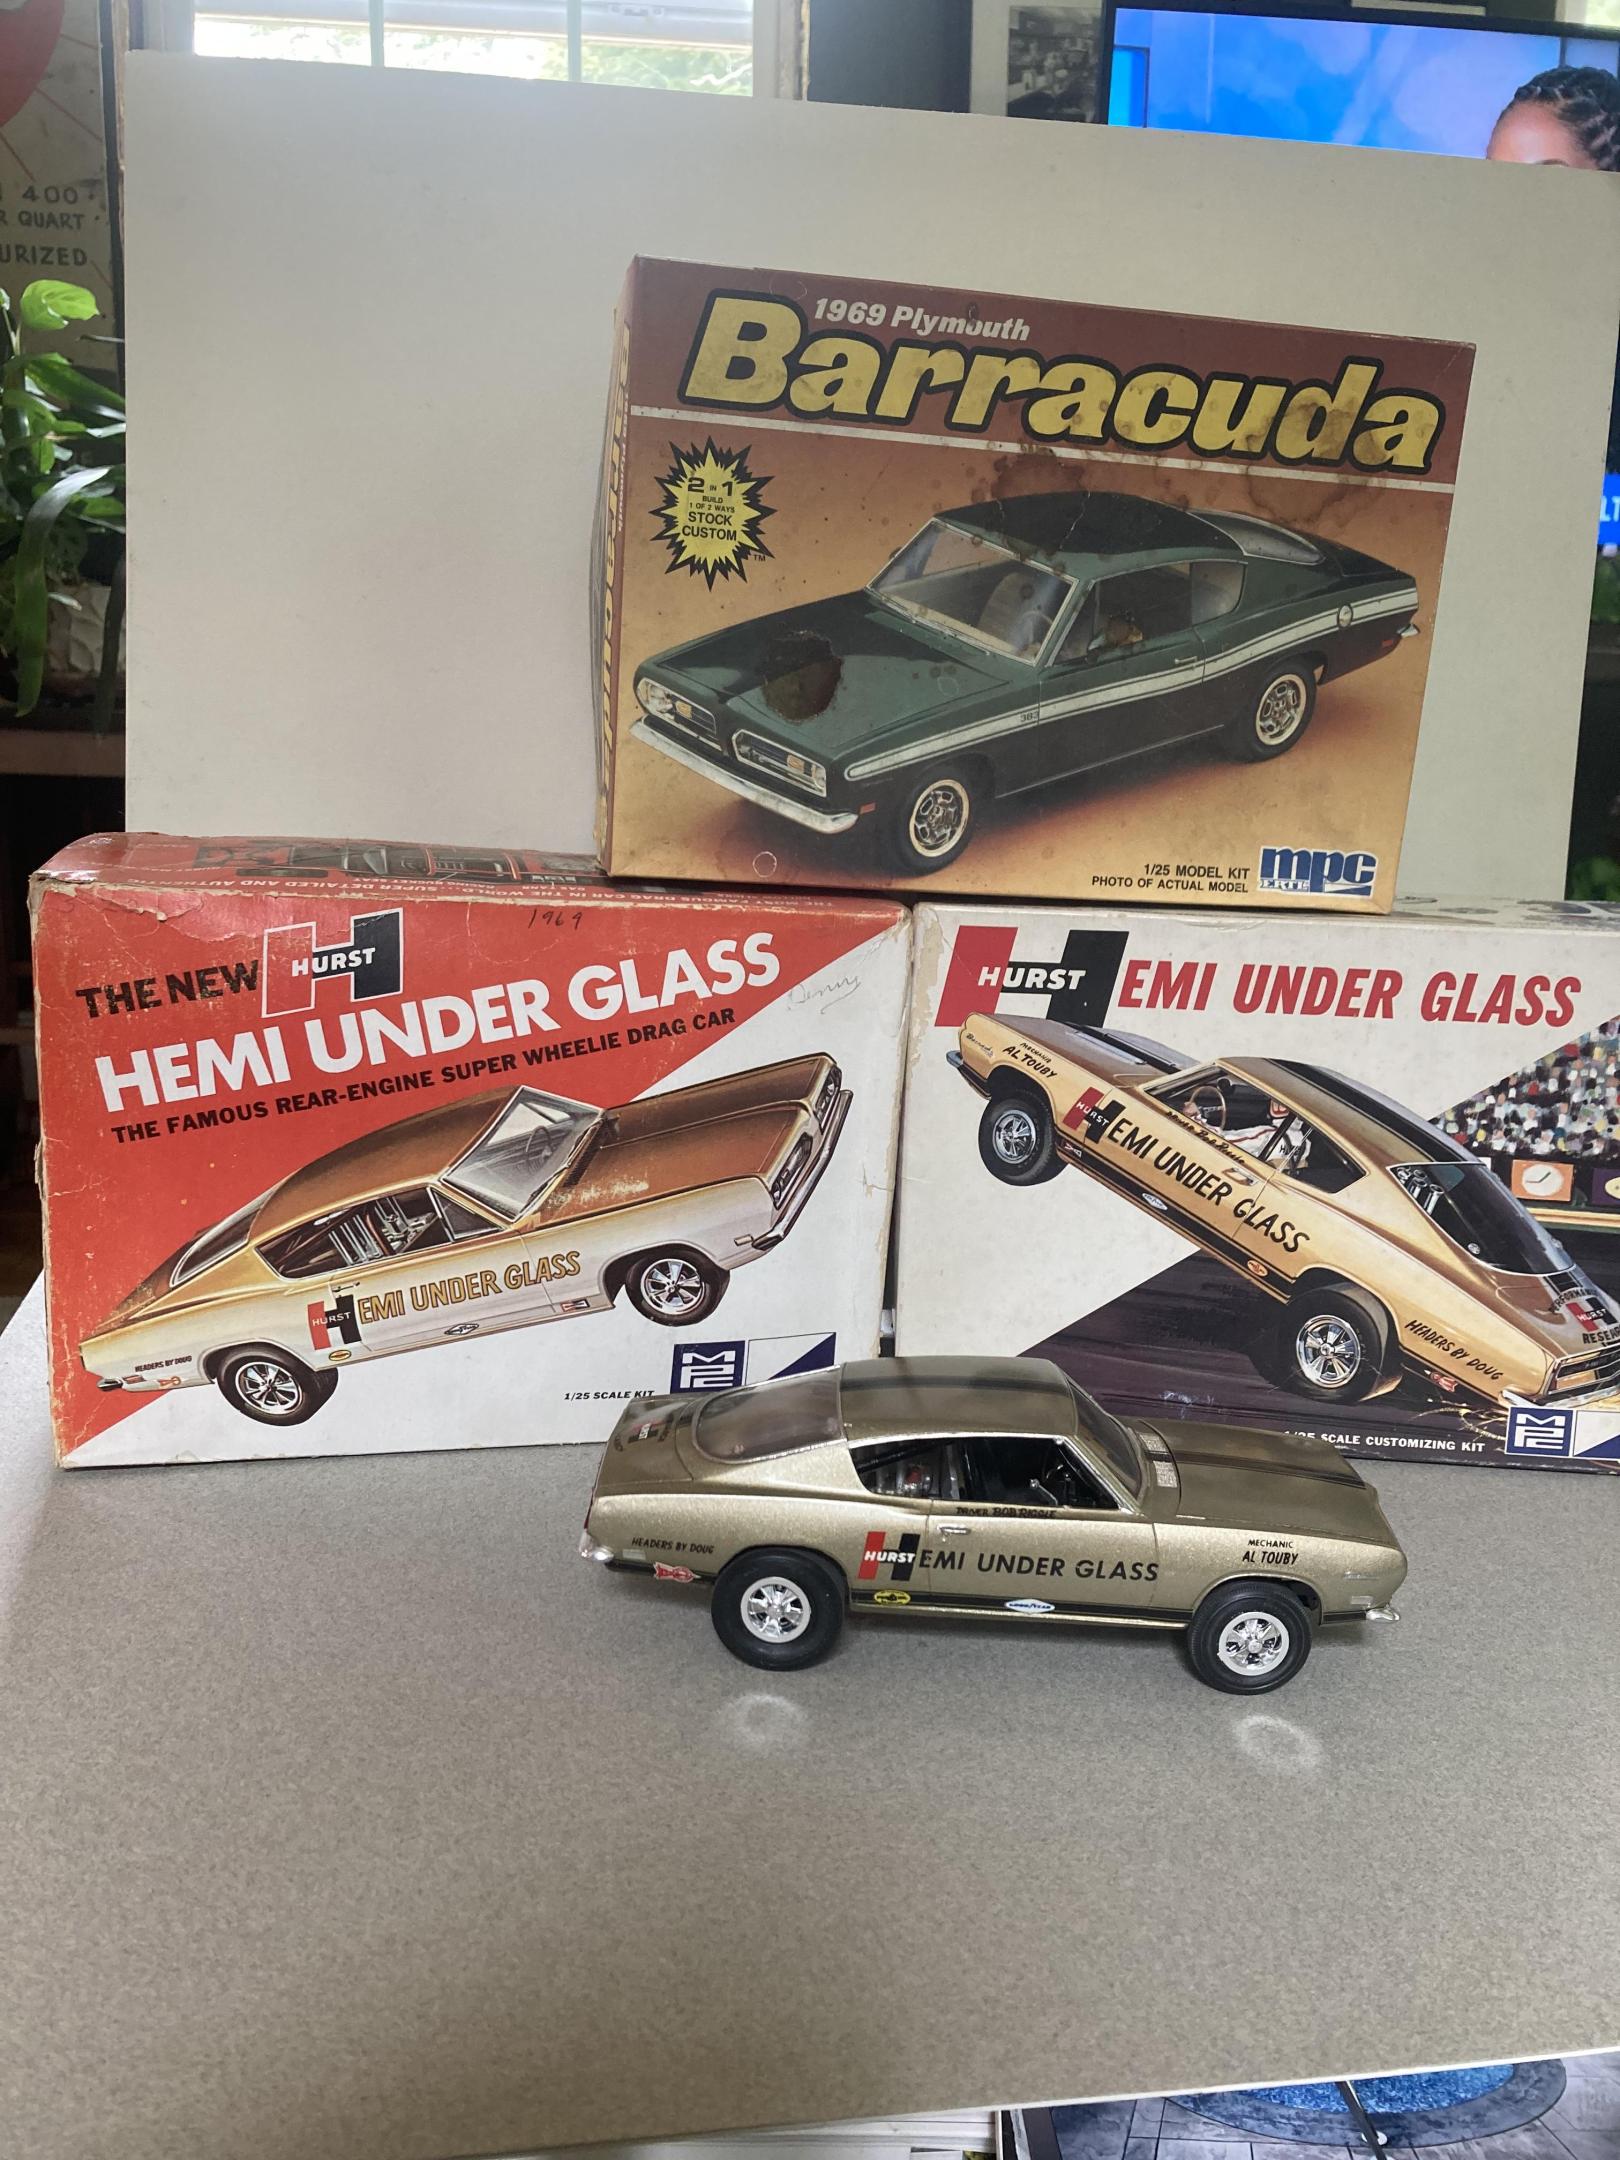
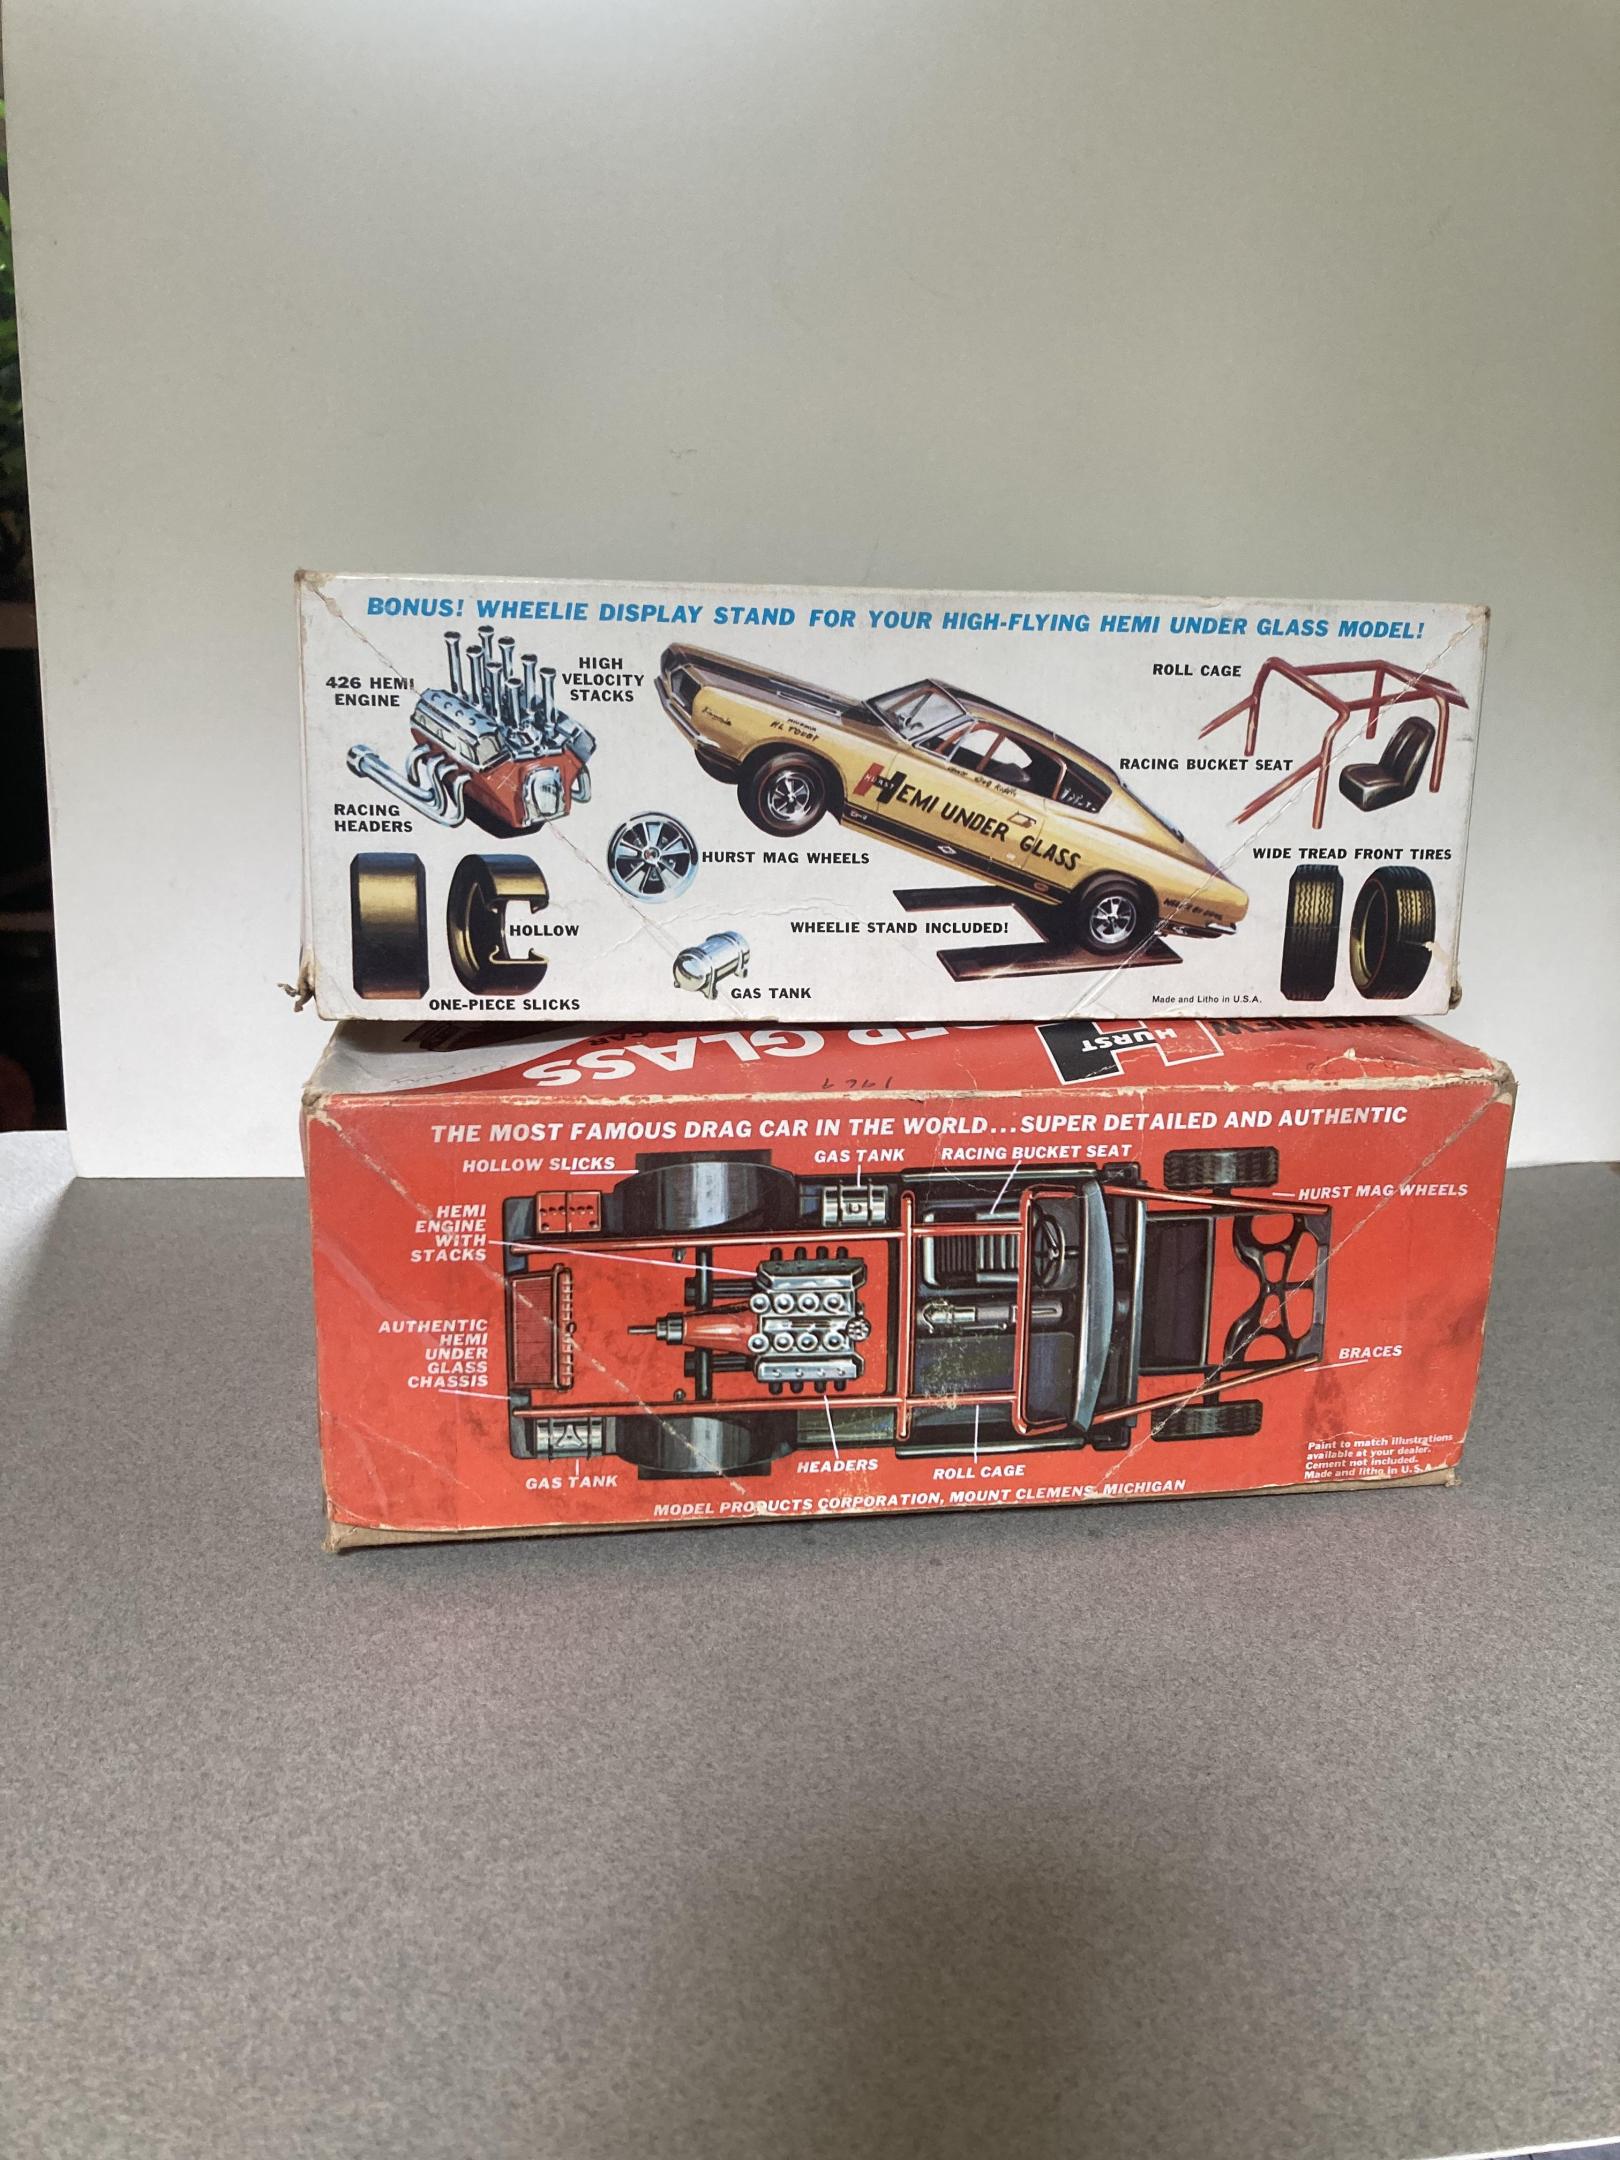
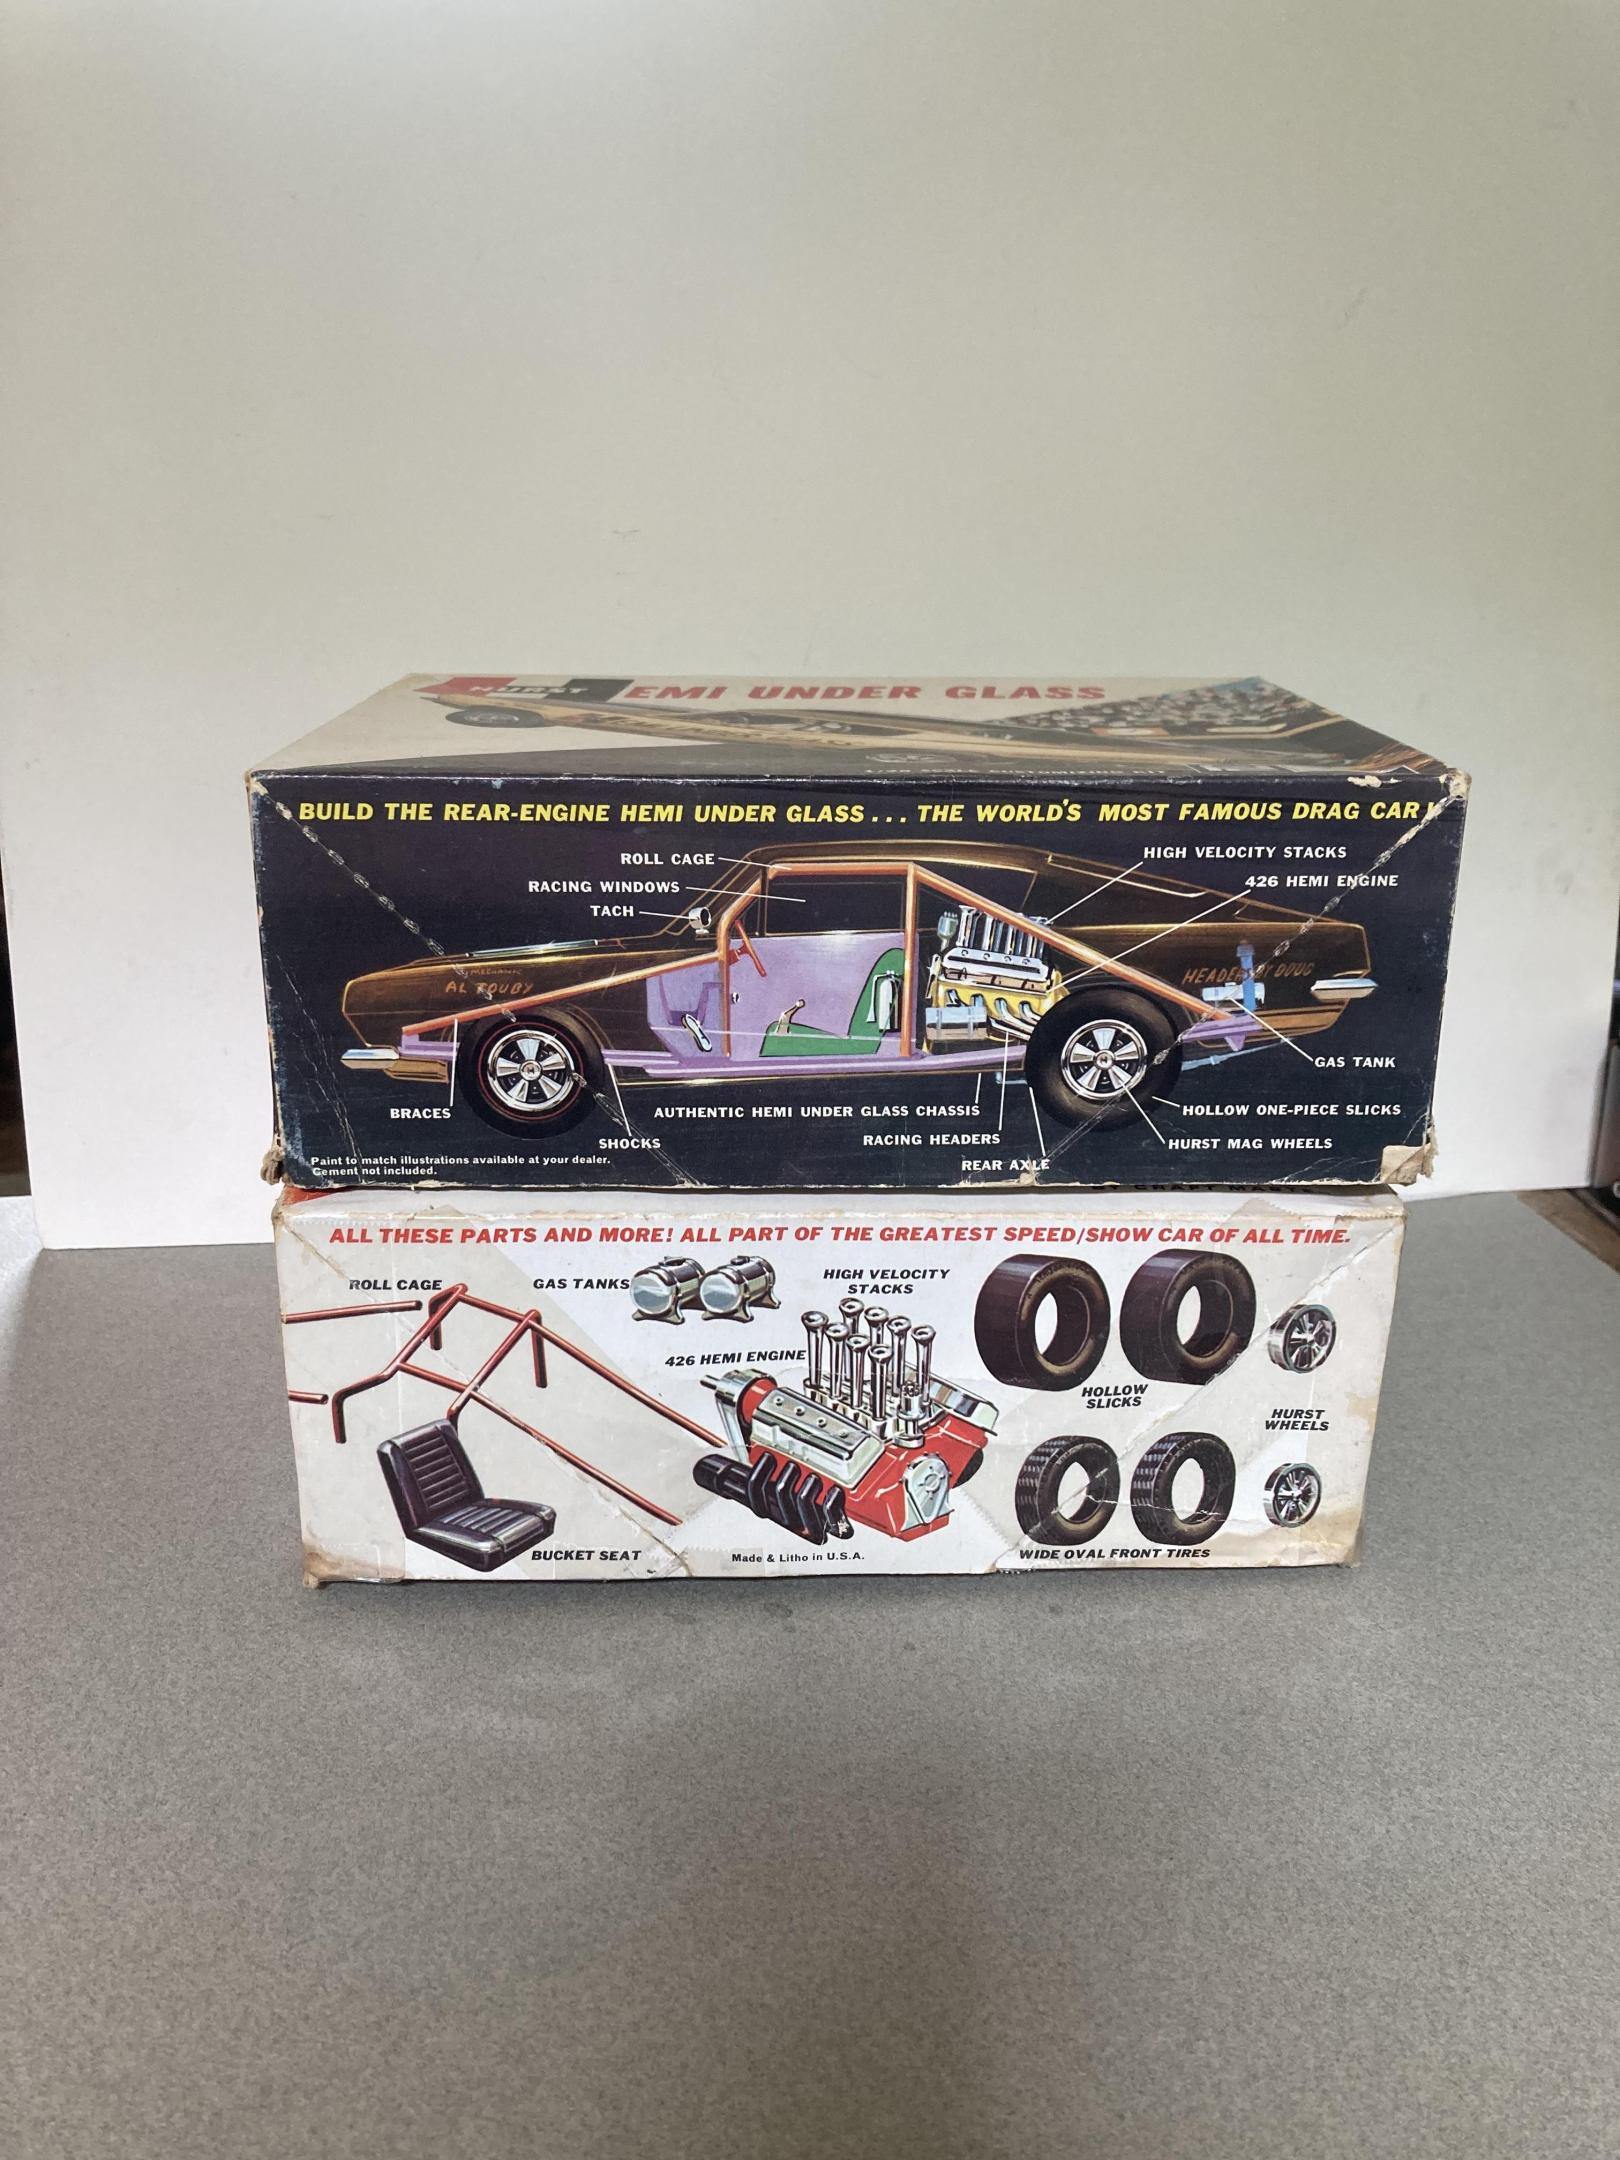
I started building this something like 35 years ago. When mpc reissued the 1969 barracuda kit. I painted the body from this kit with testors champagne gold enamel topped with Fred cady decals. Both have been long discontinued. I started building a chassis from square stock , the 69 kit’s interior shell with the back part of the floor cut out , and some parts from the little red wagon kit. Then the project stalled. A couple of years ago I purchased a box of glue bomb hemi under glass parts the best part was the original 1969 box . Then last year I was able to purchase the even harder to find original 1968 box that included some more random pieces. I got my finished painted body out clear coated it then put together a chassis, and drivetrain of original hemi under glass parts. I was able to use the original back window glass from the original kit with the molded in hold down pins. I’m really happy with how it looks. Until next time thanks for looking, mike
-
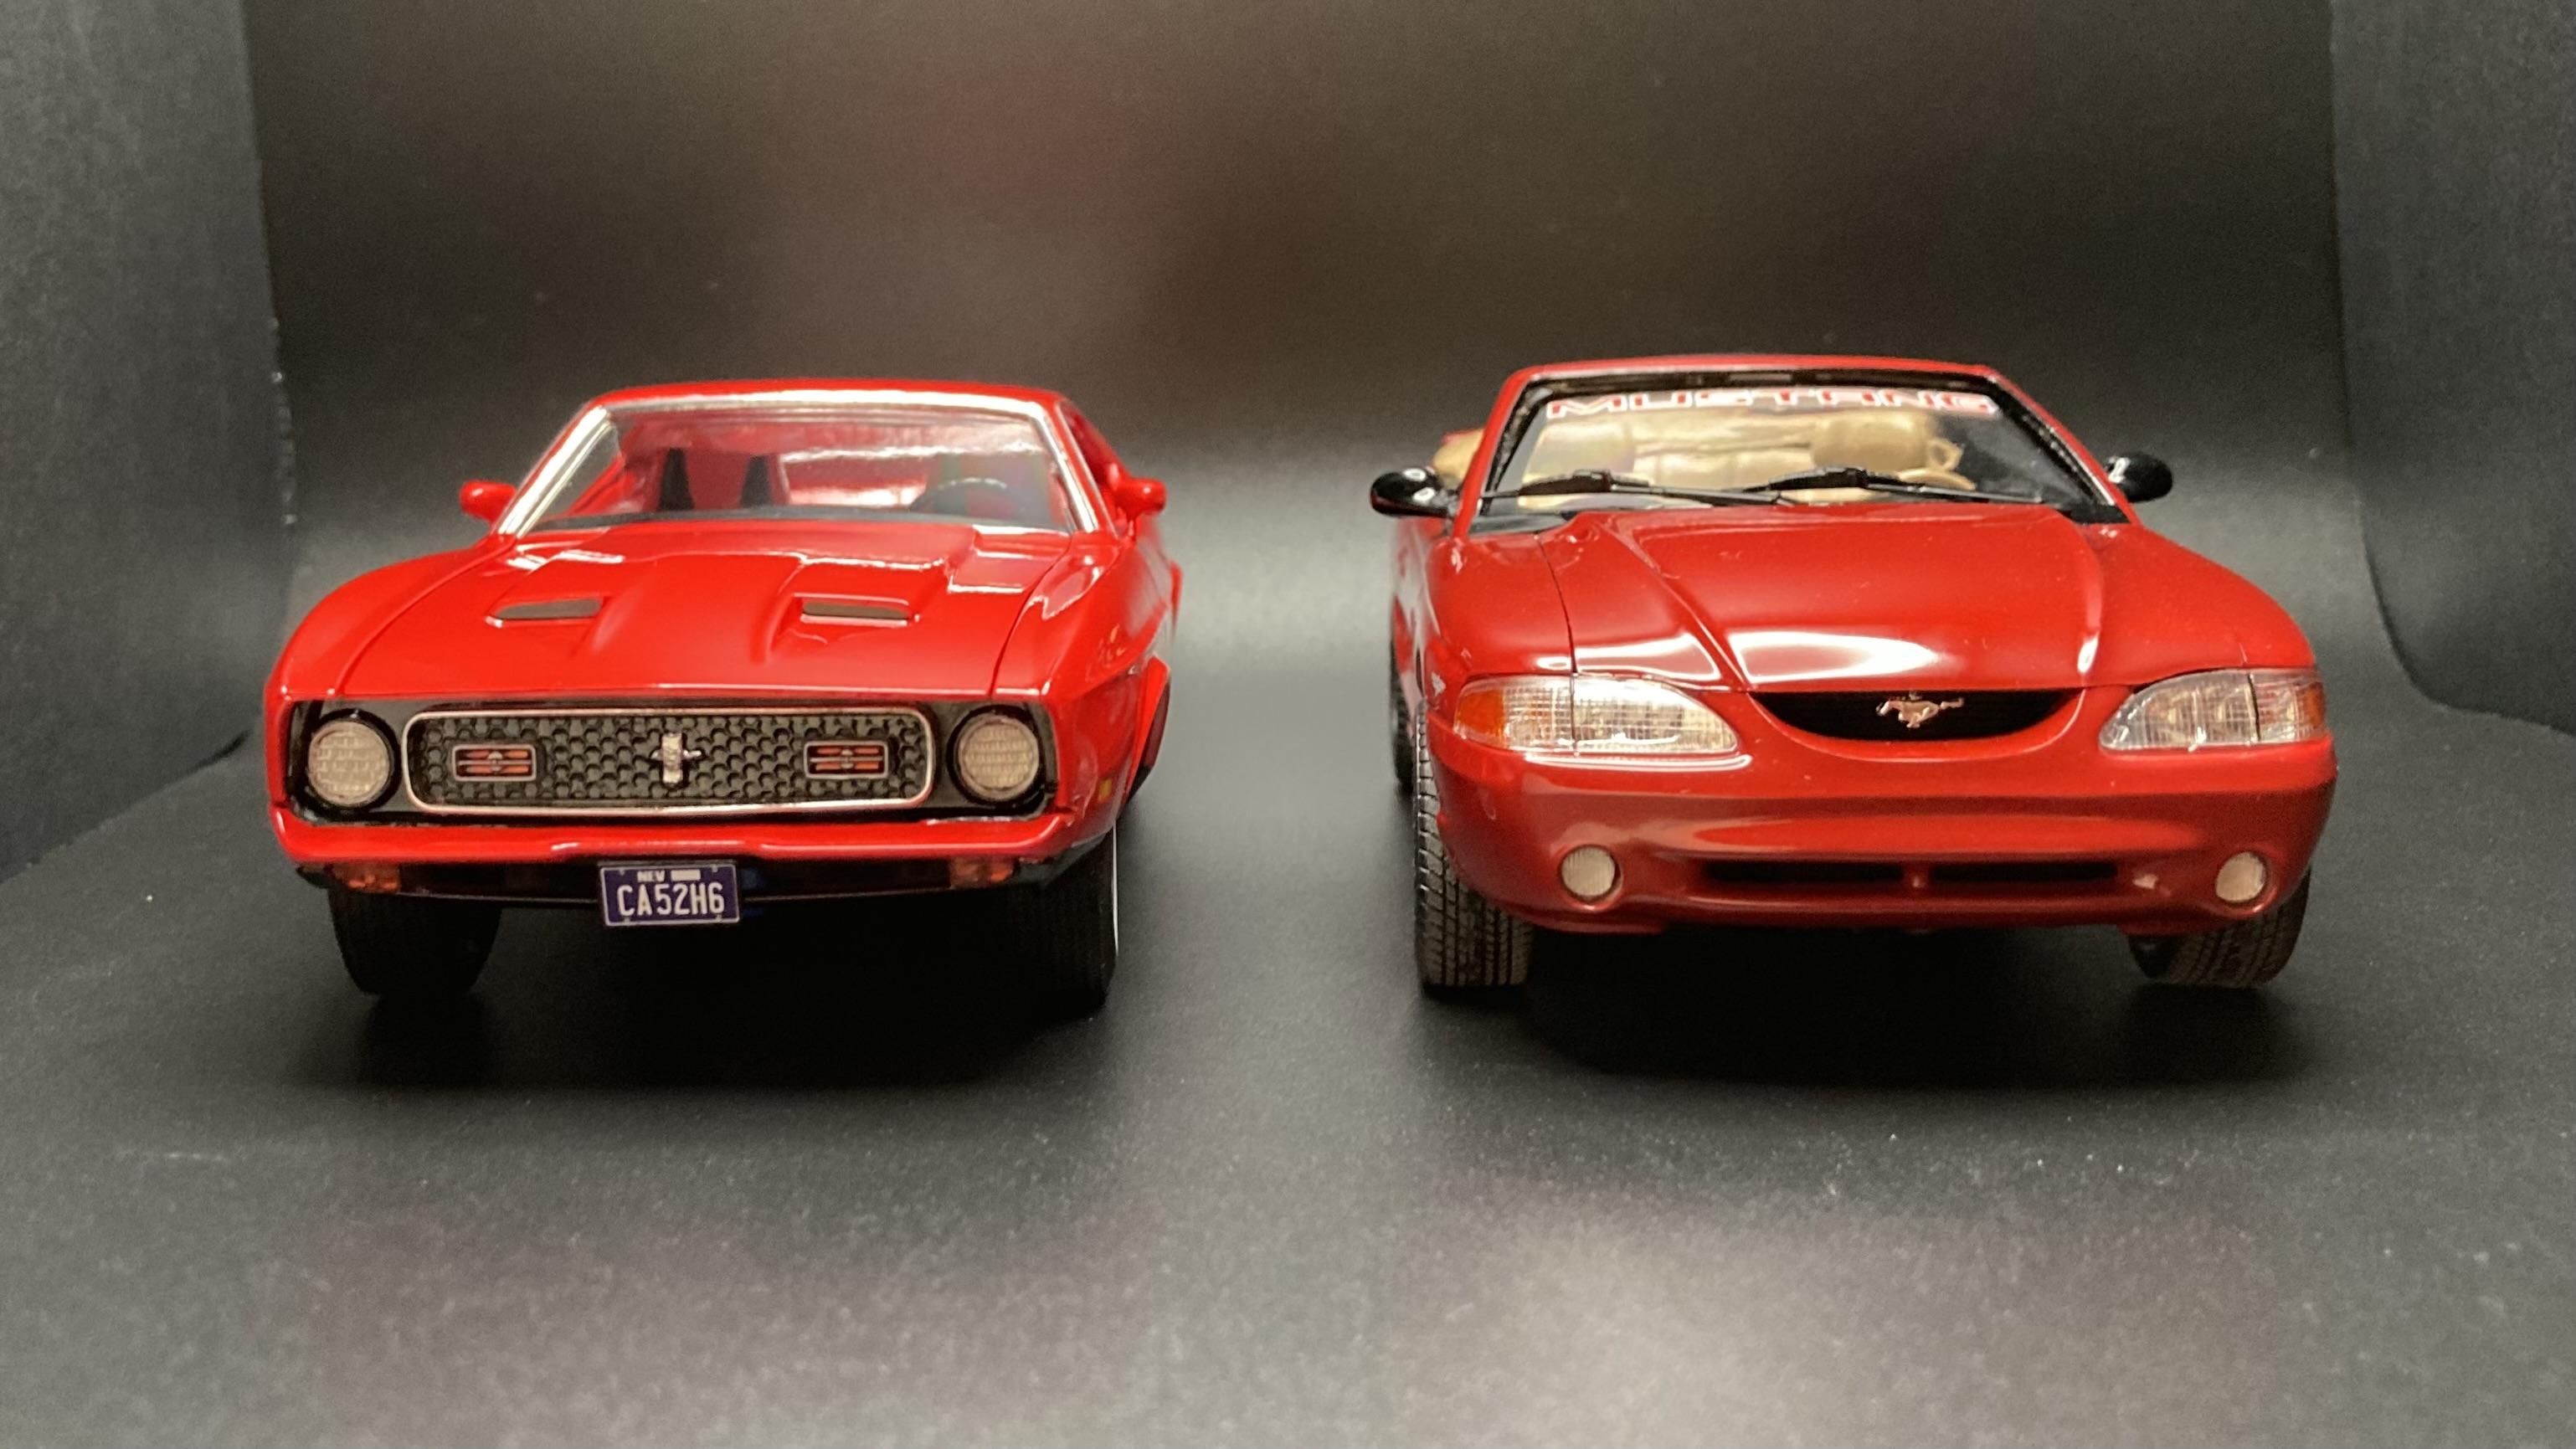
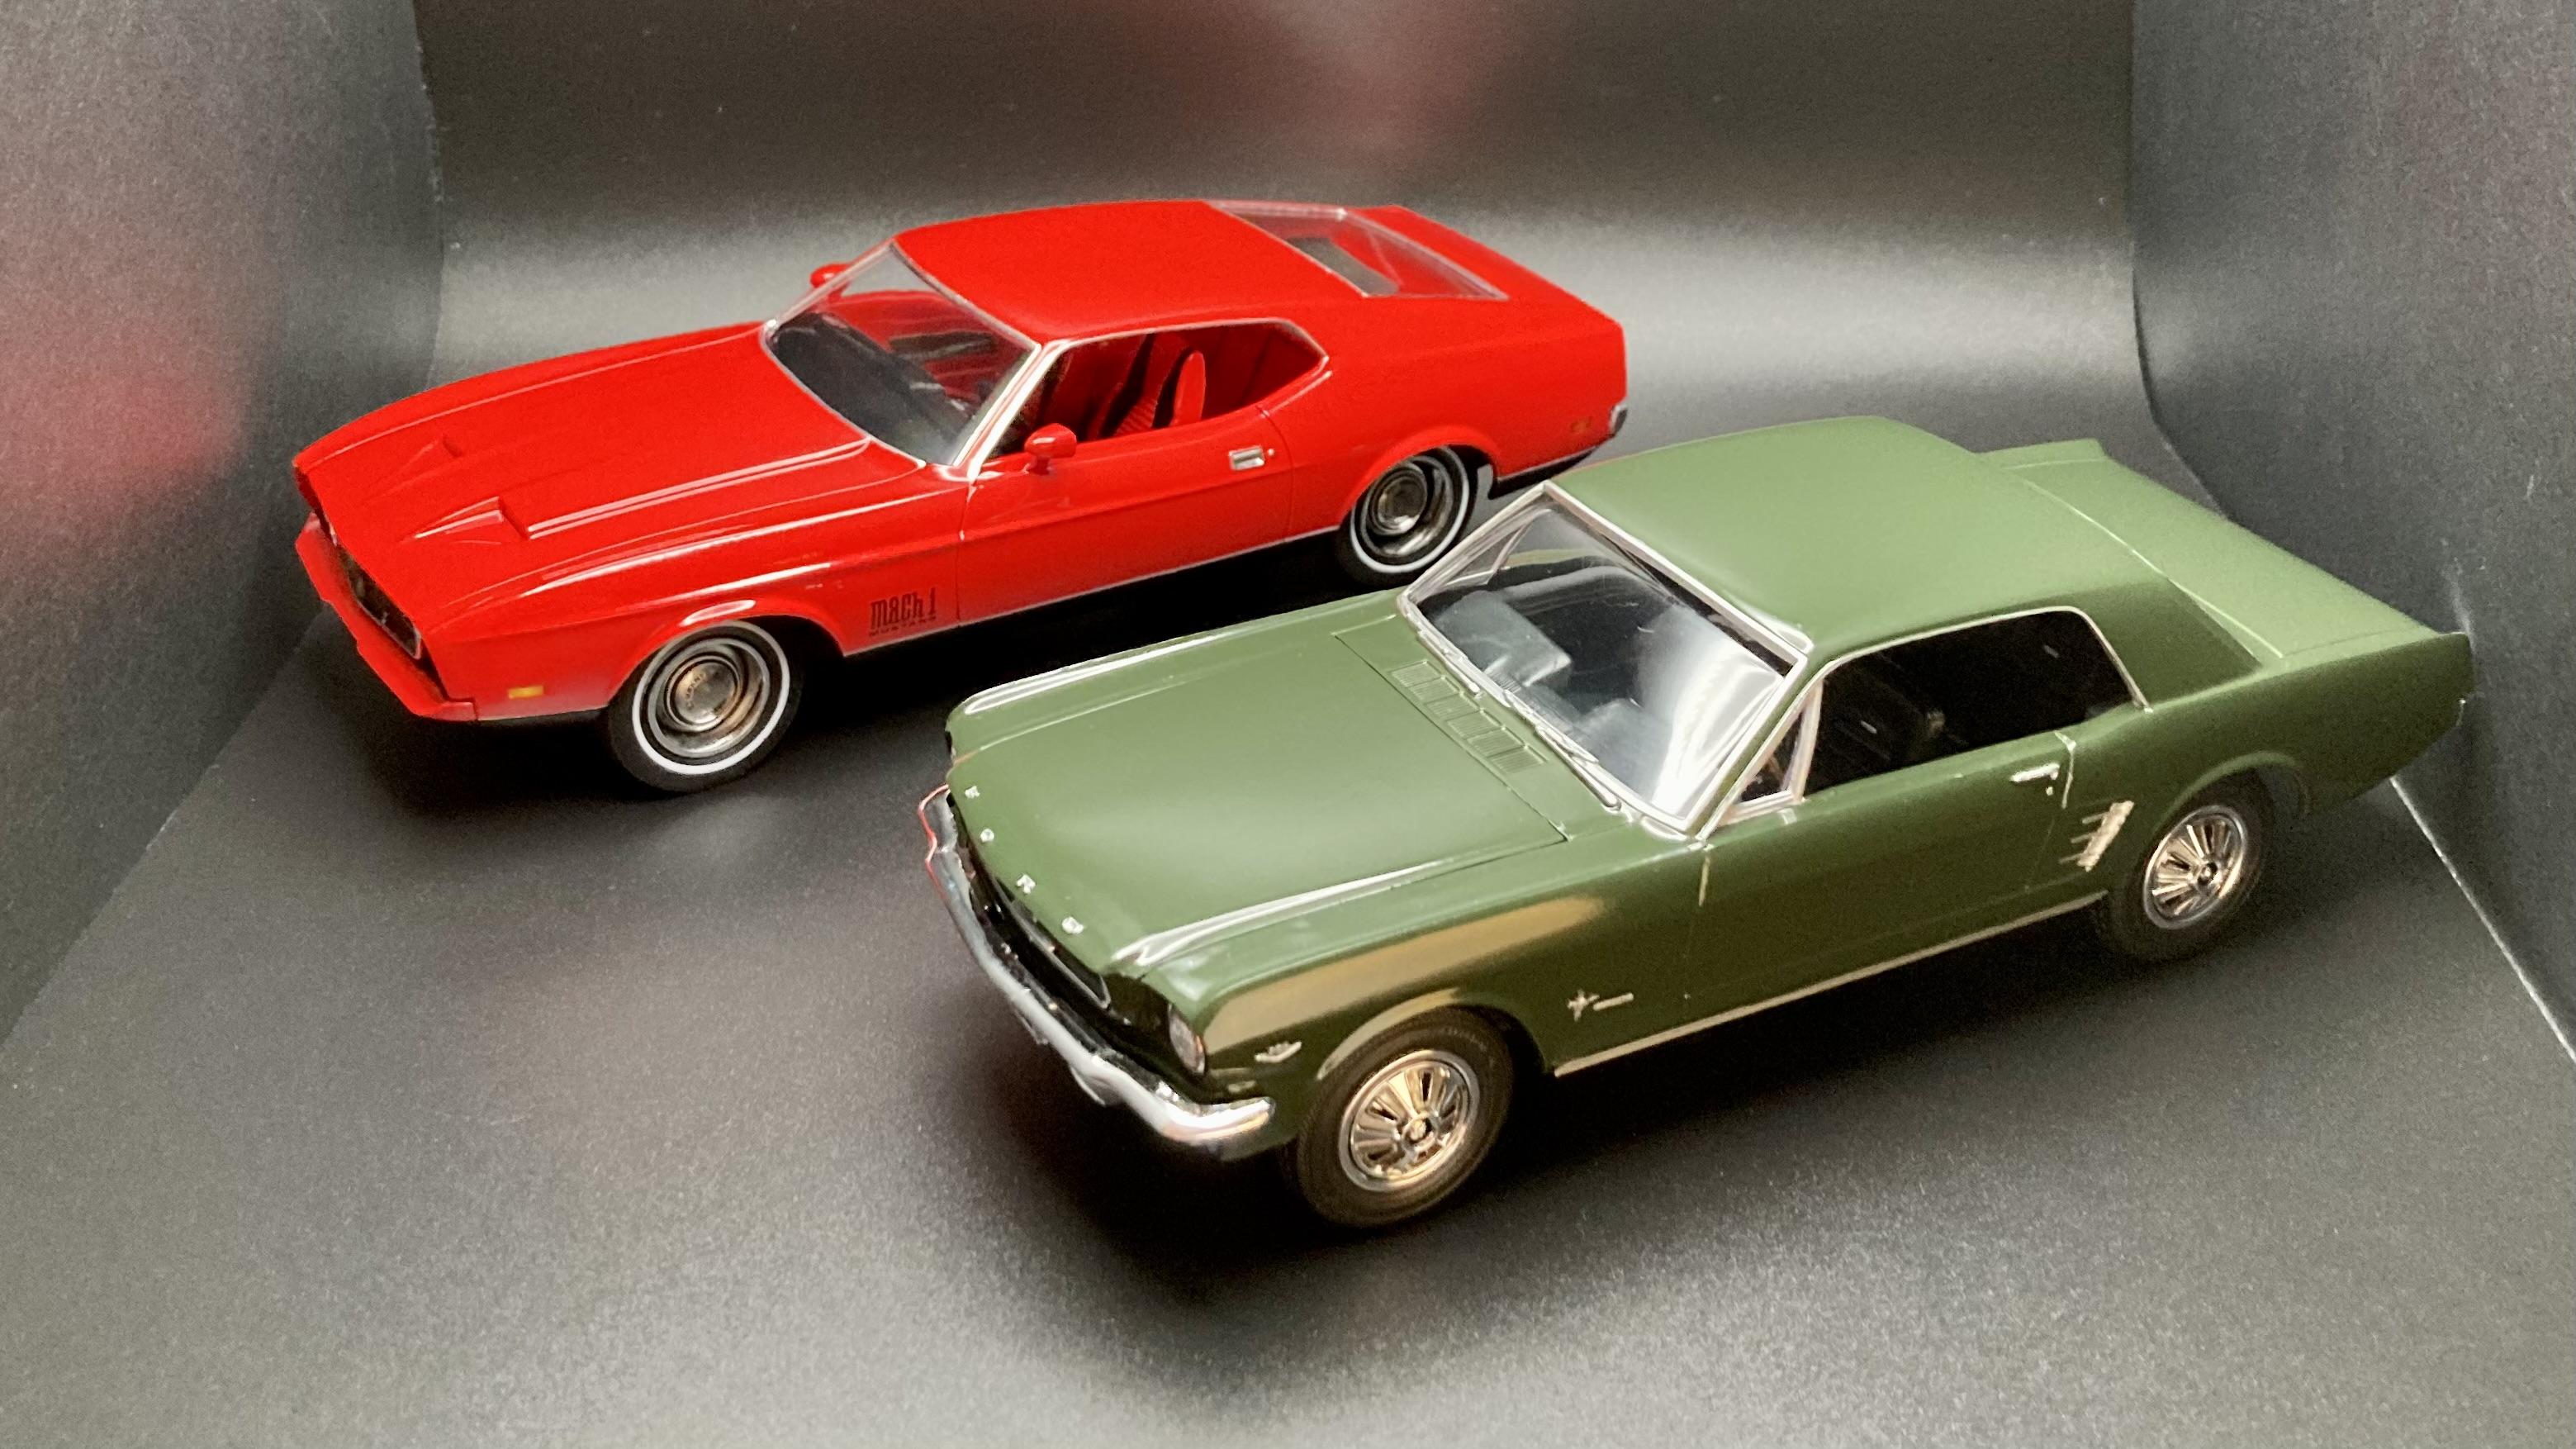
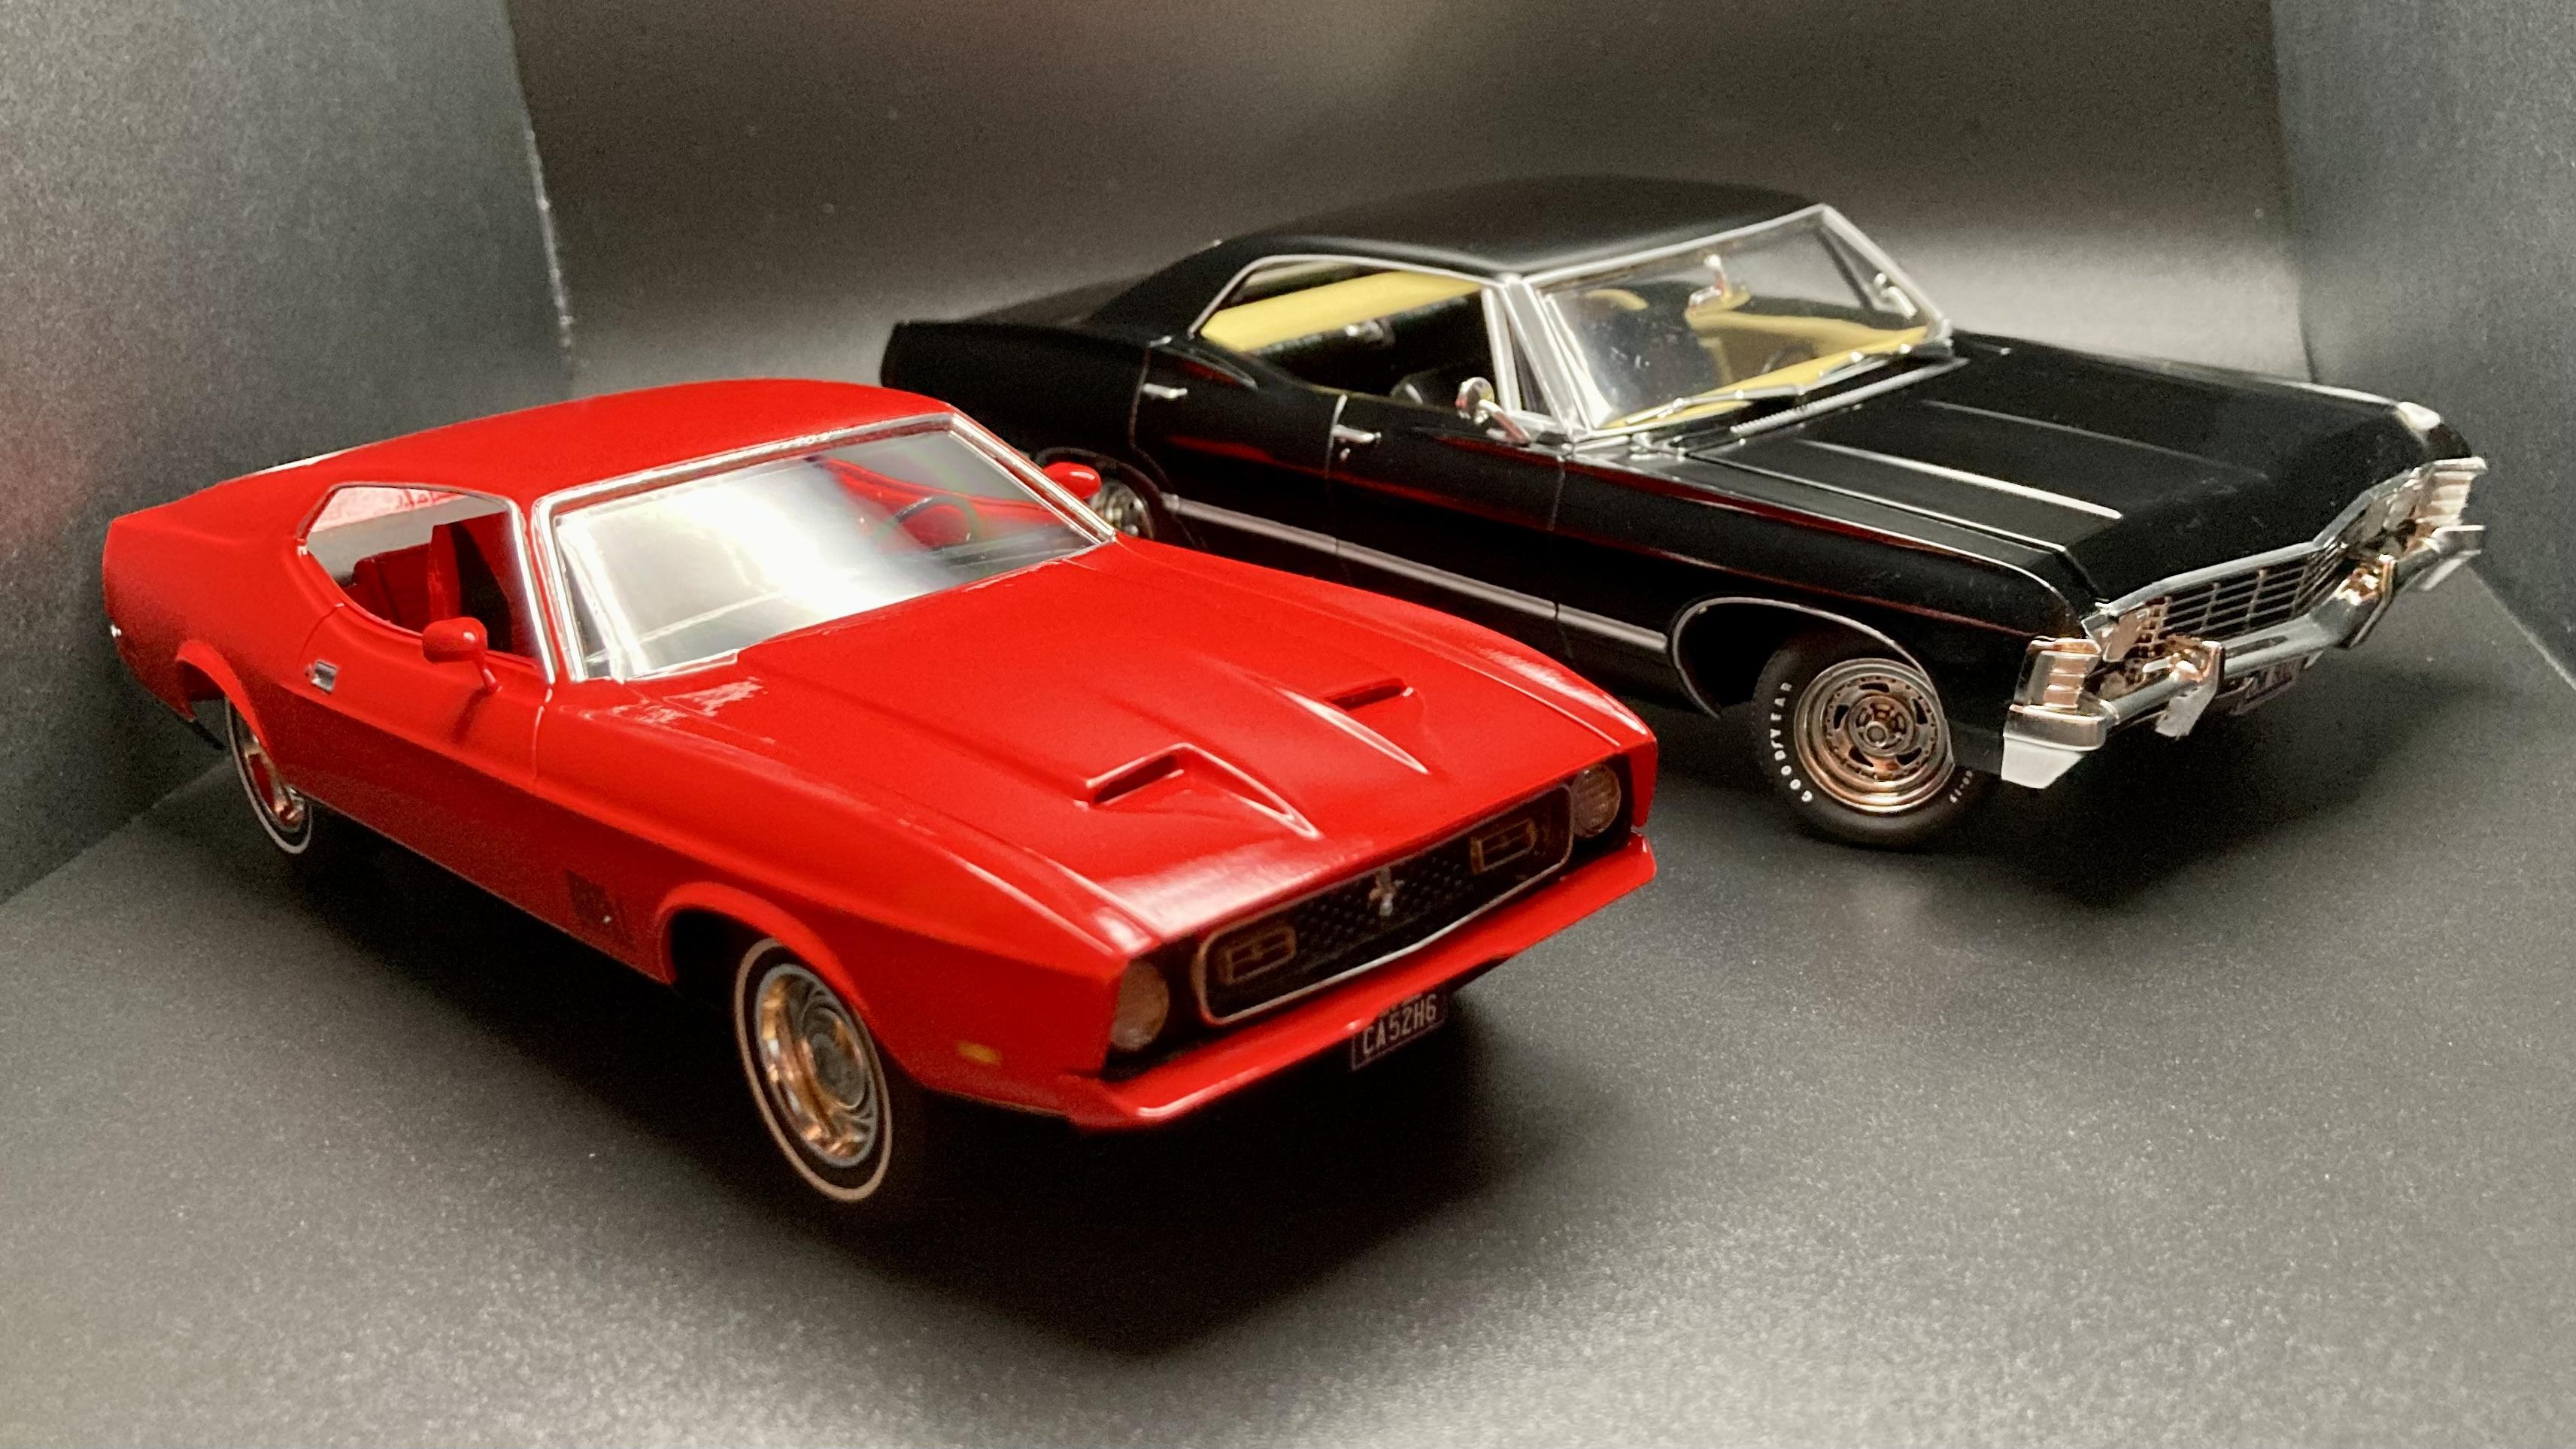
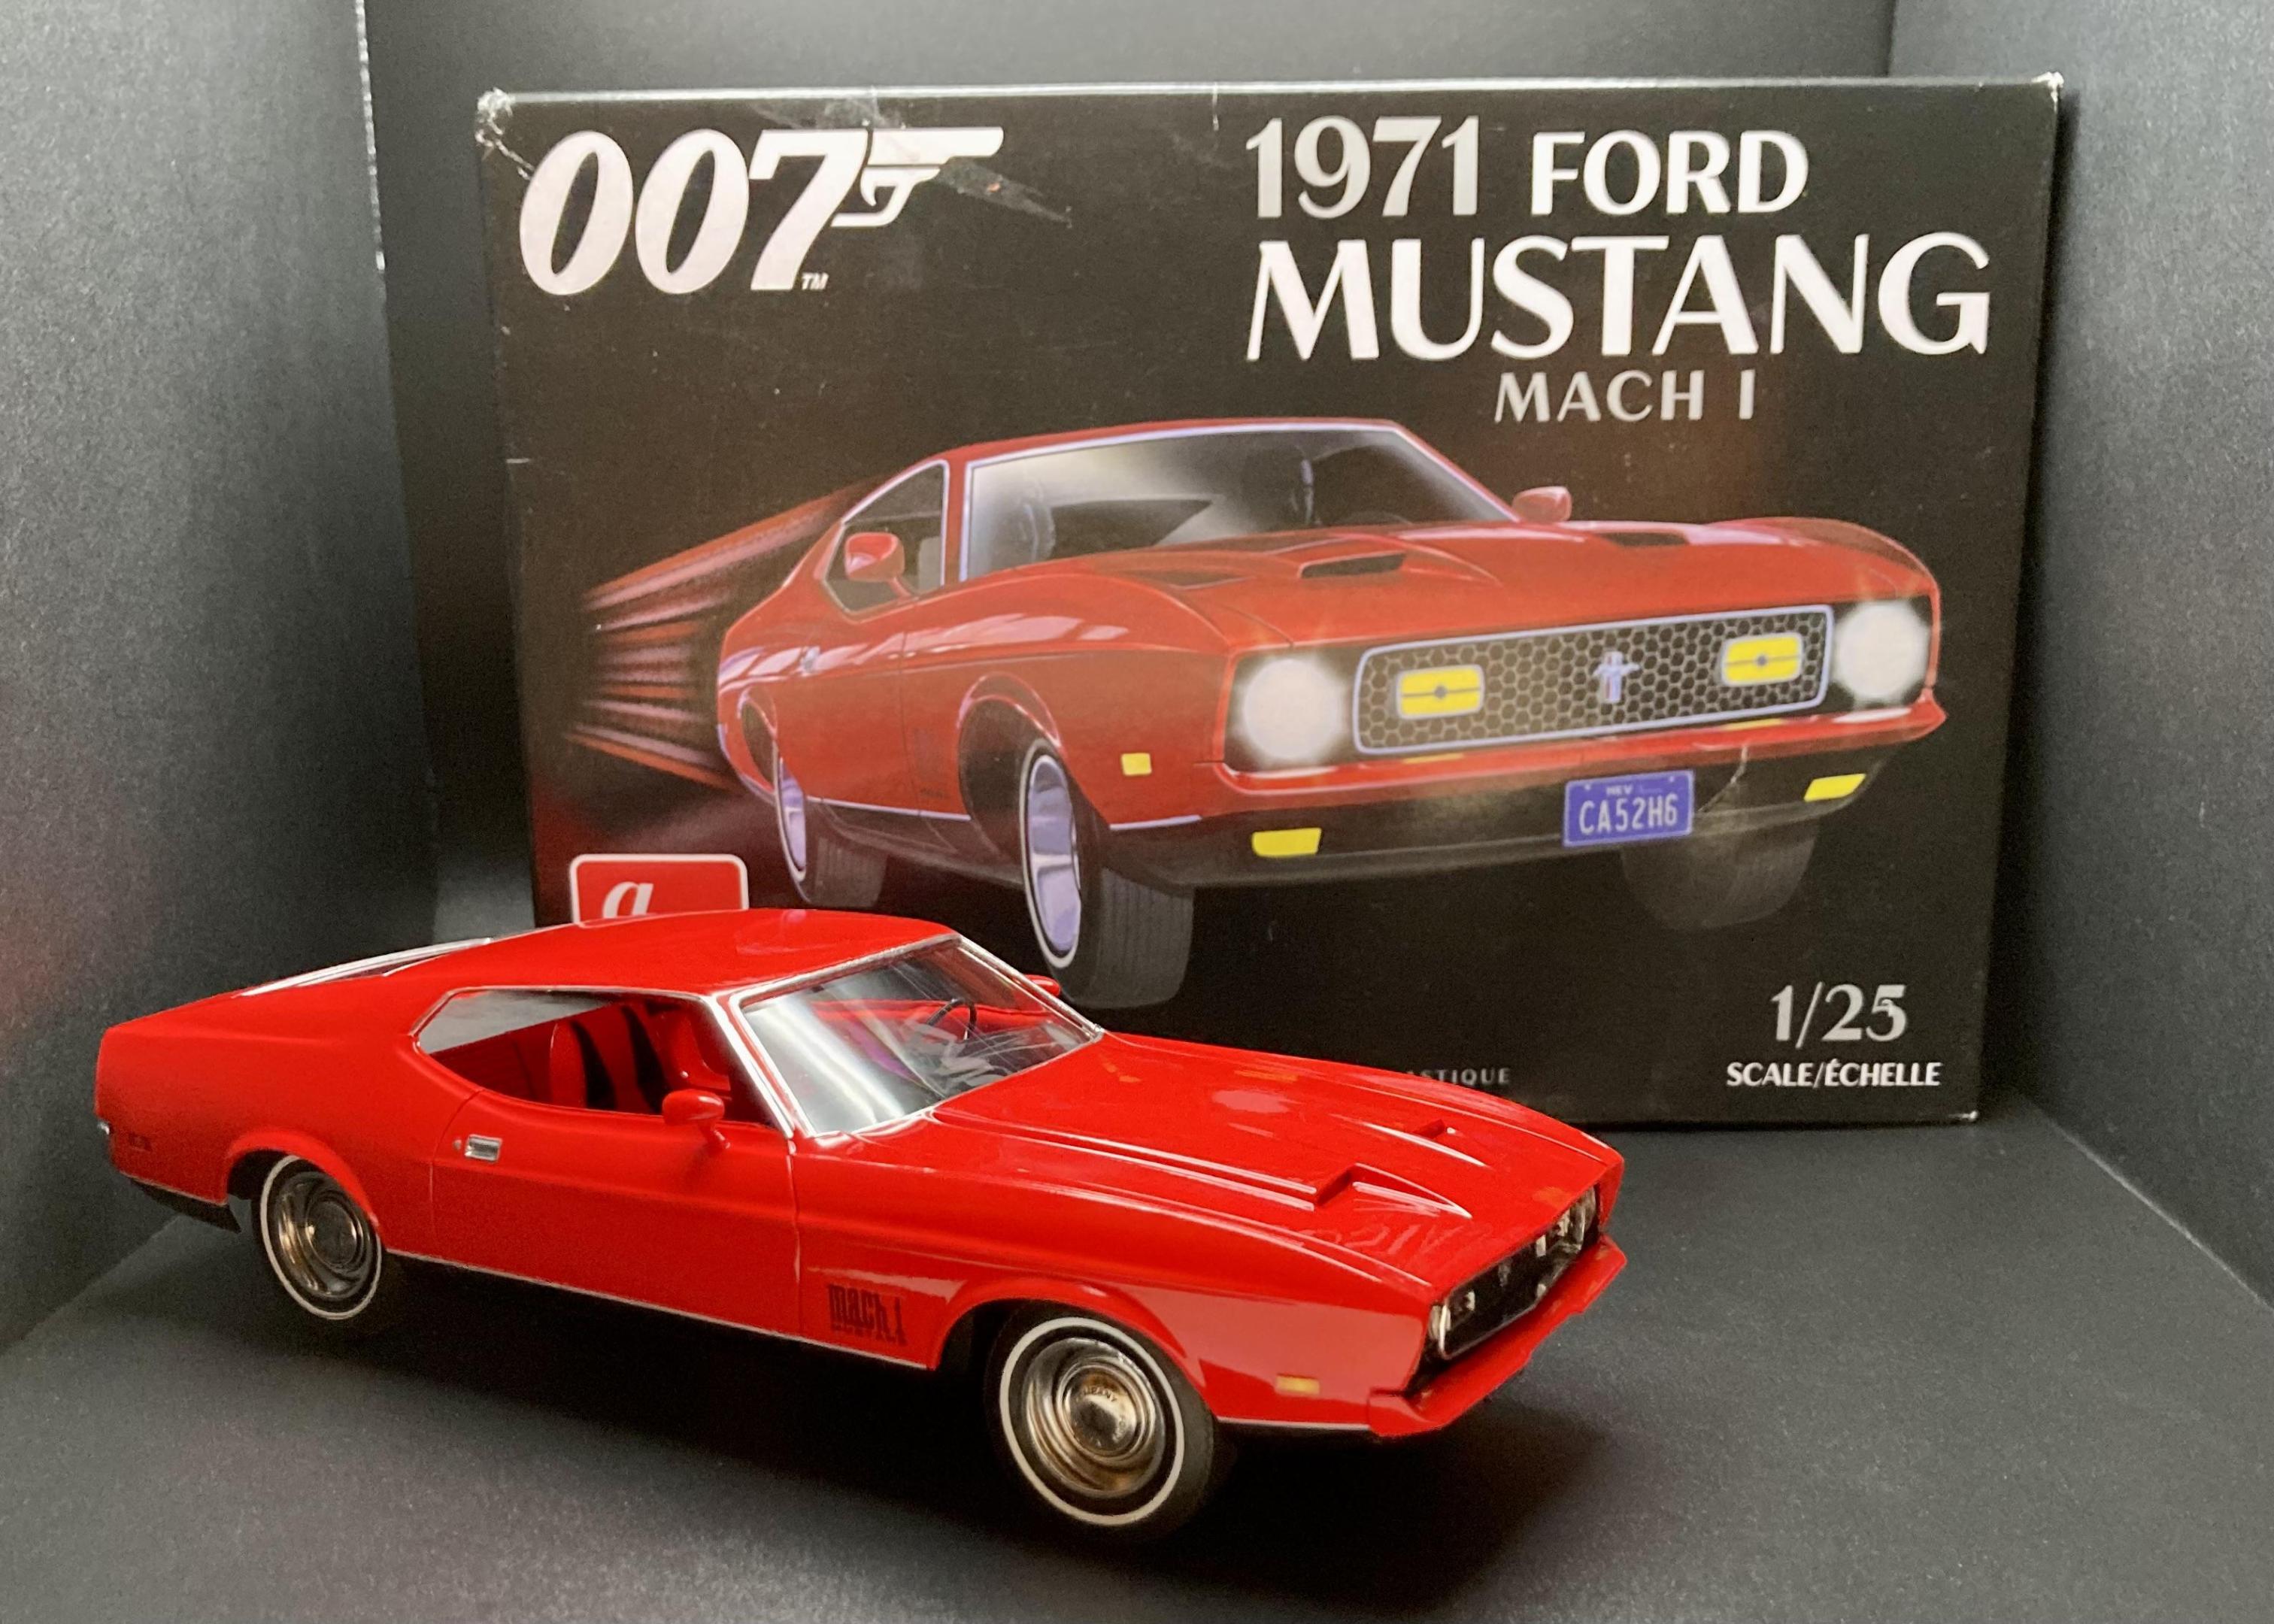
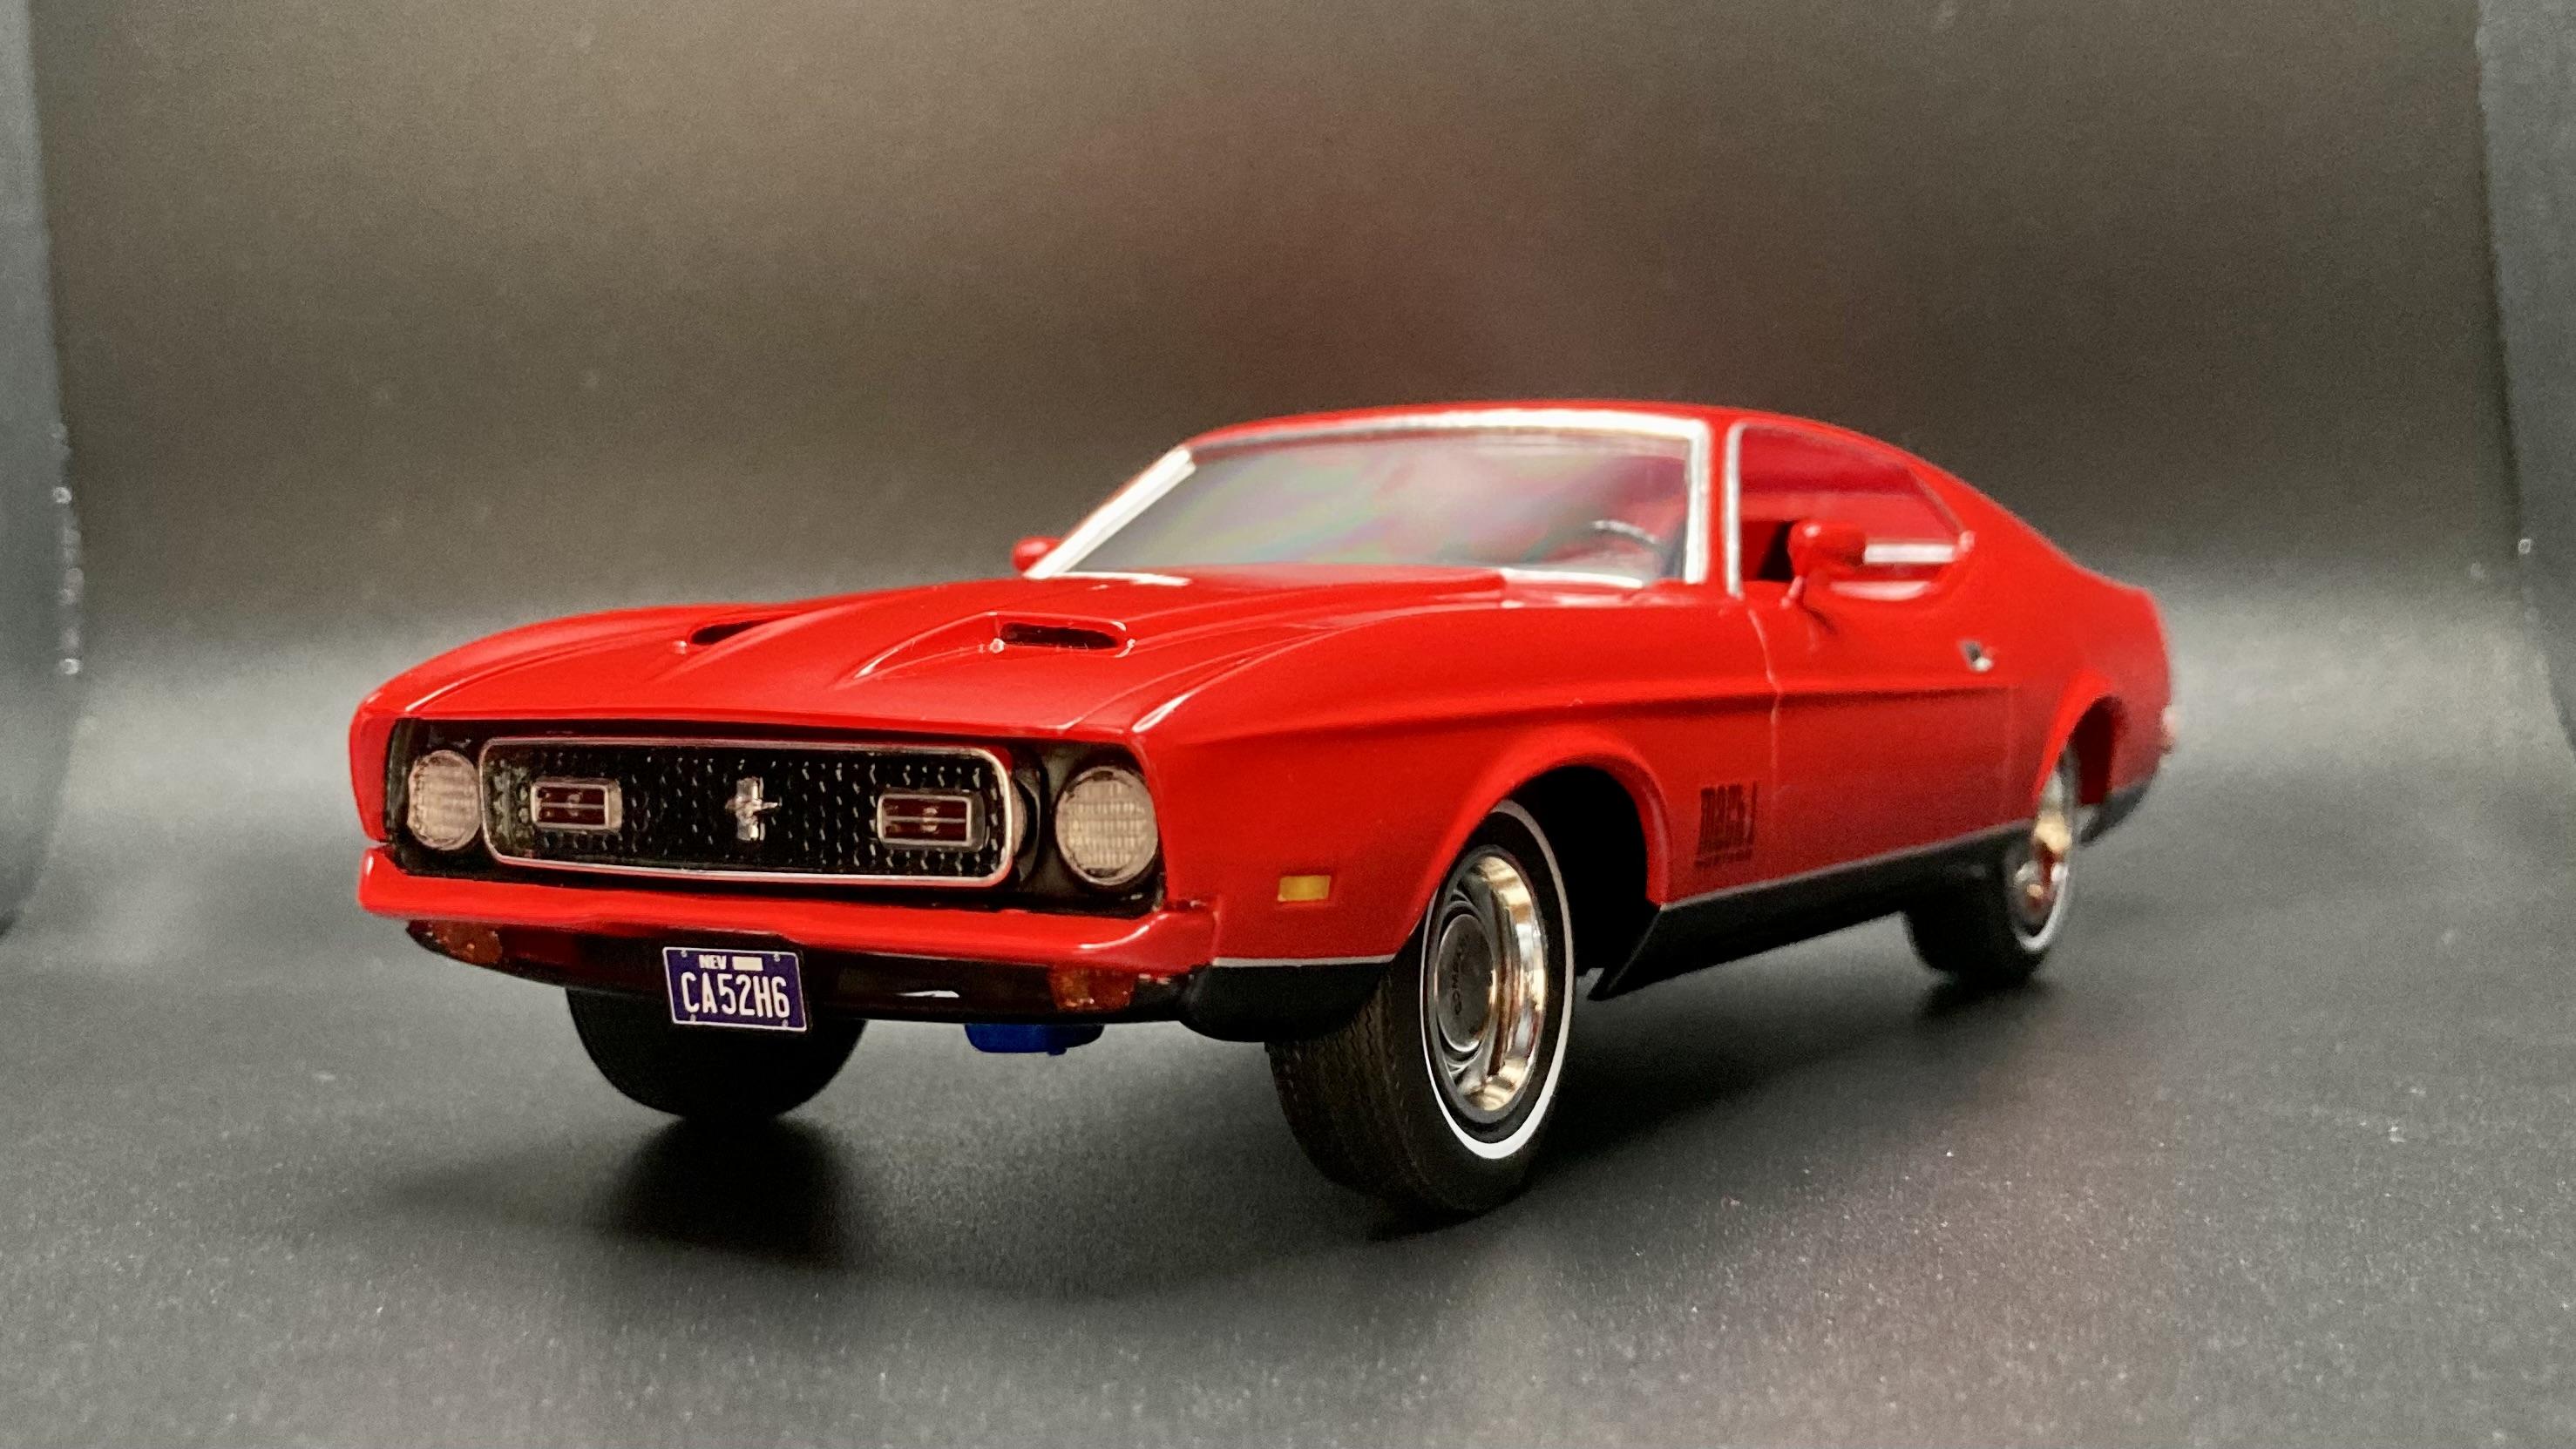
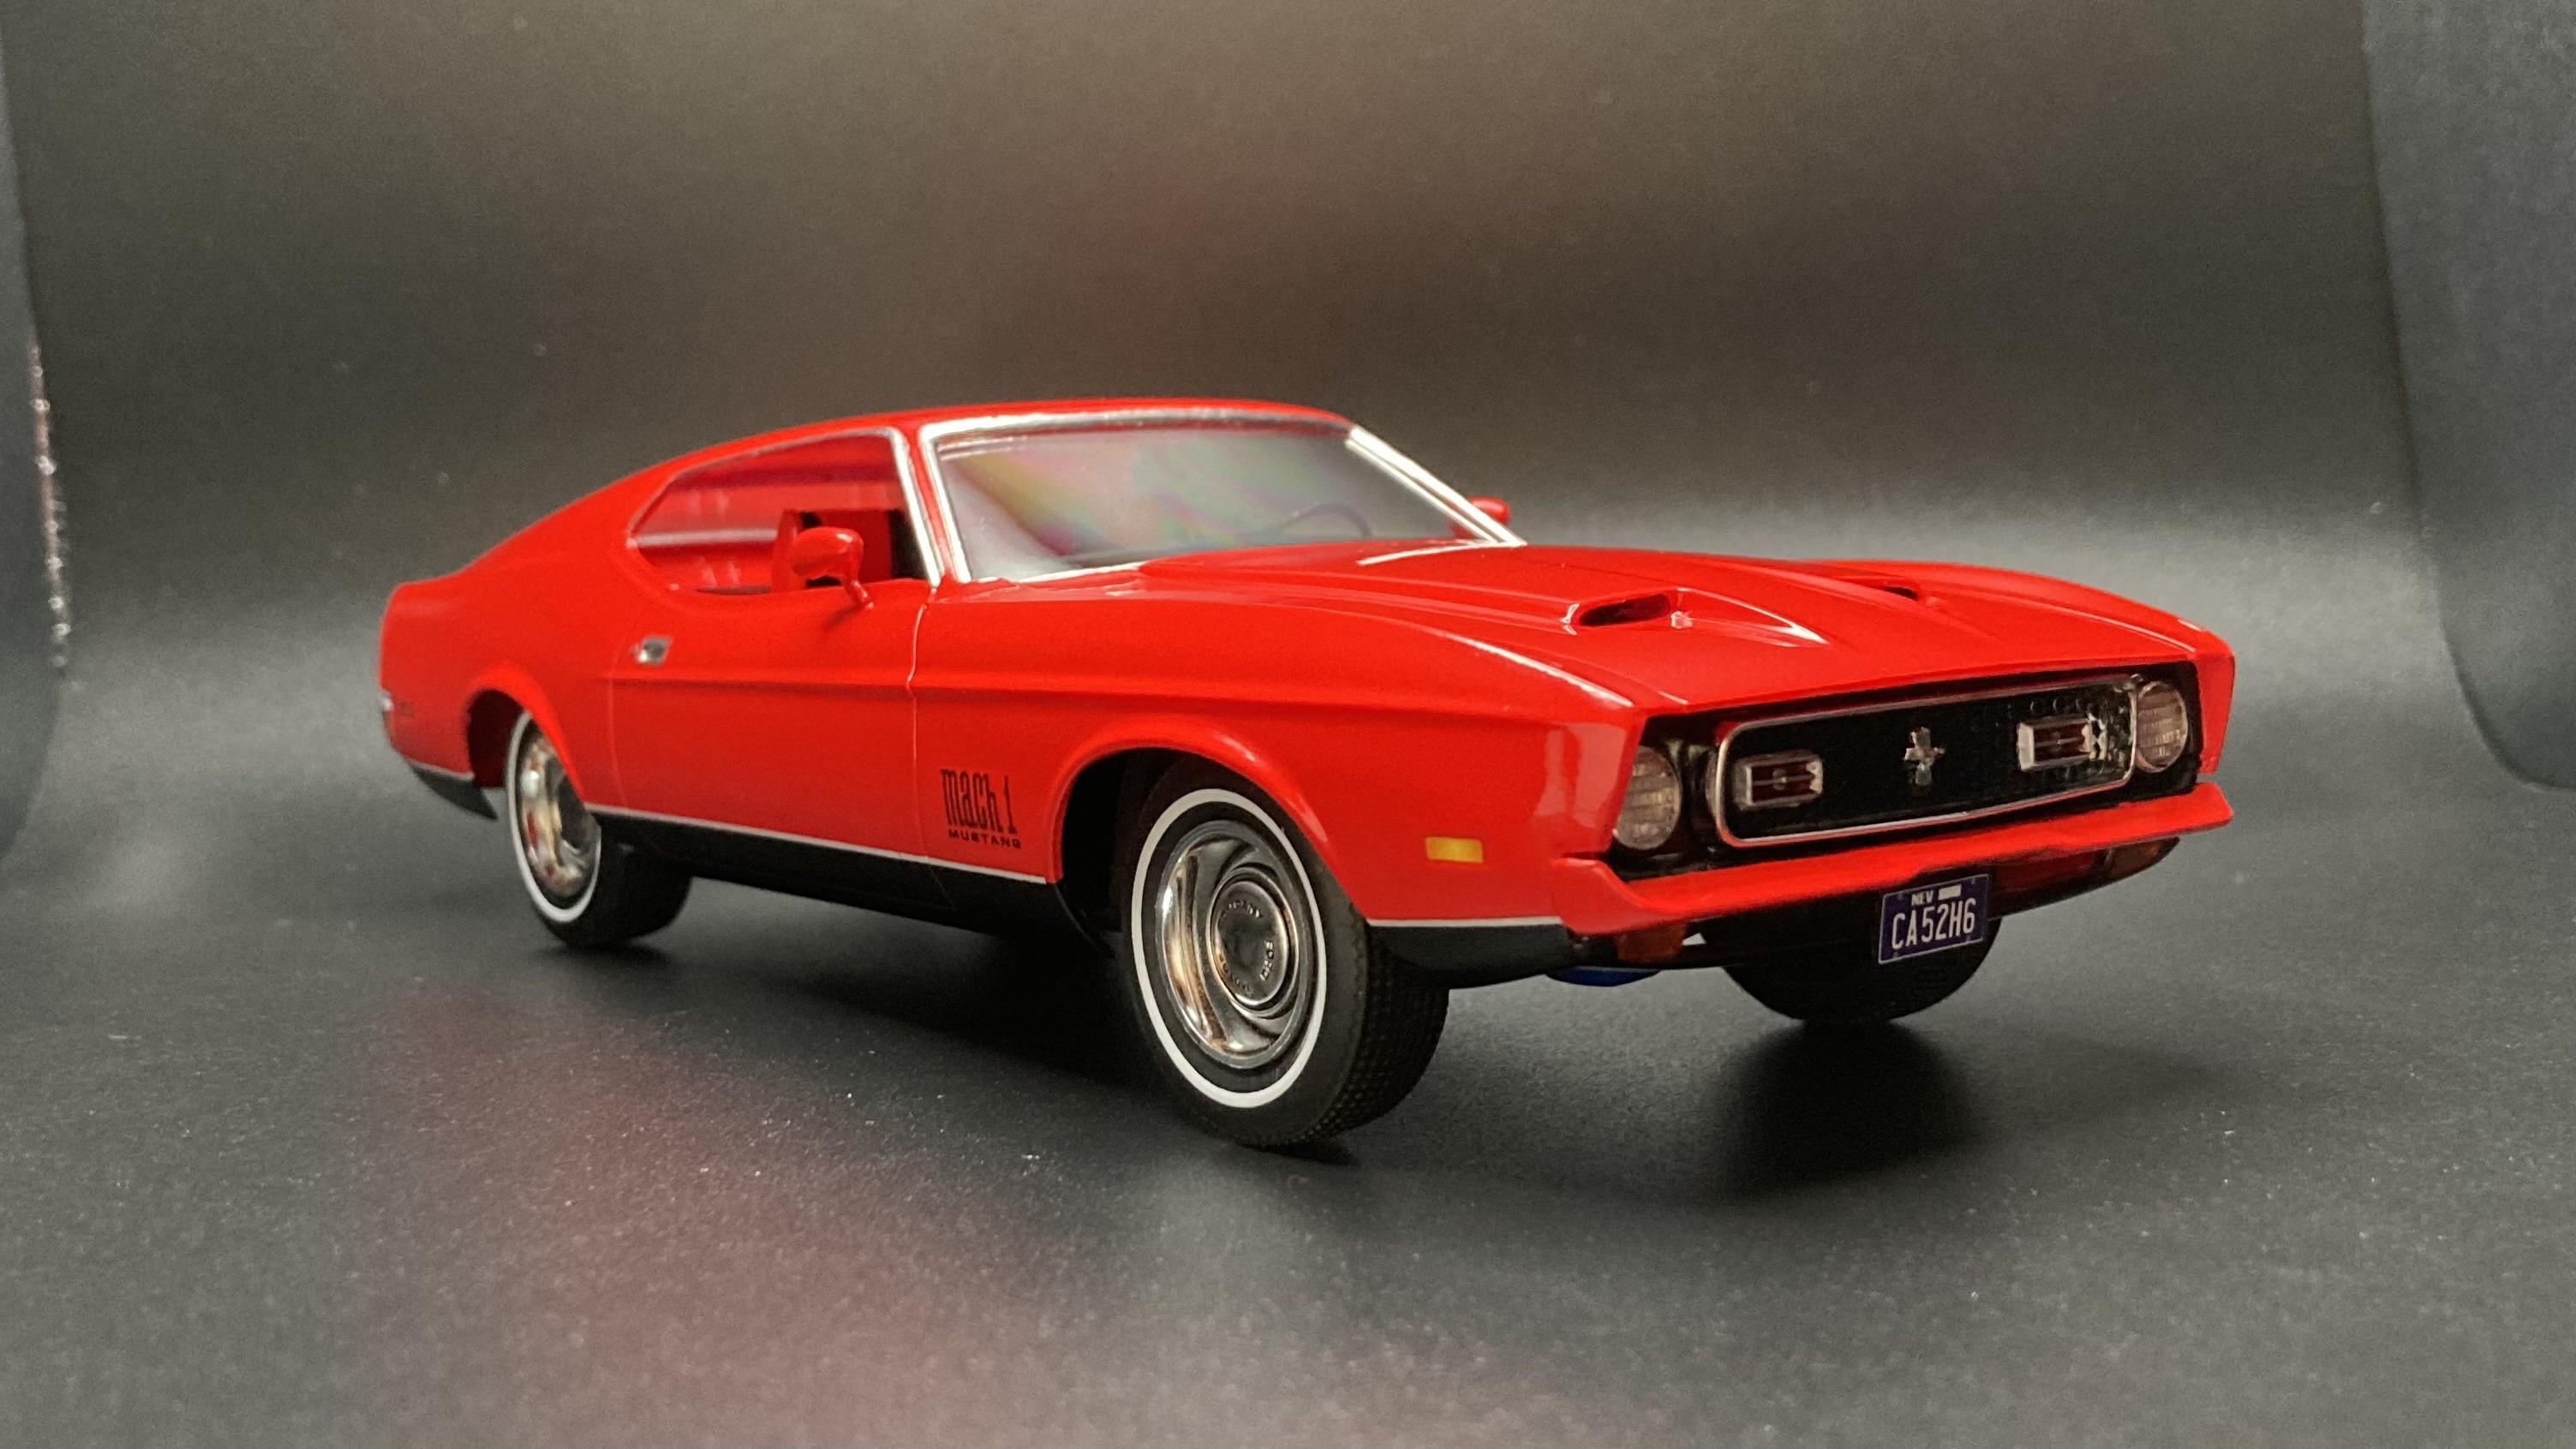
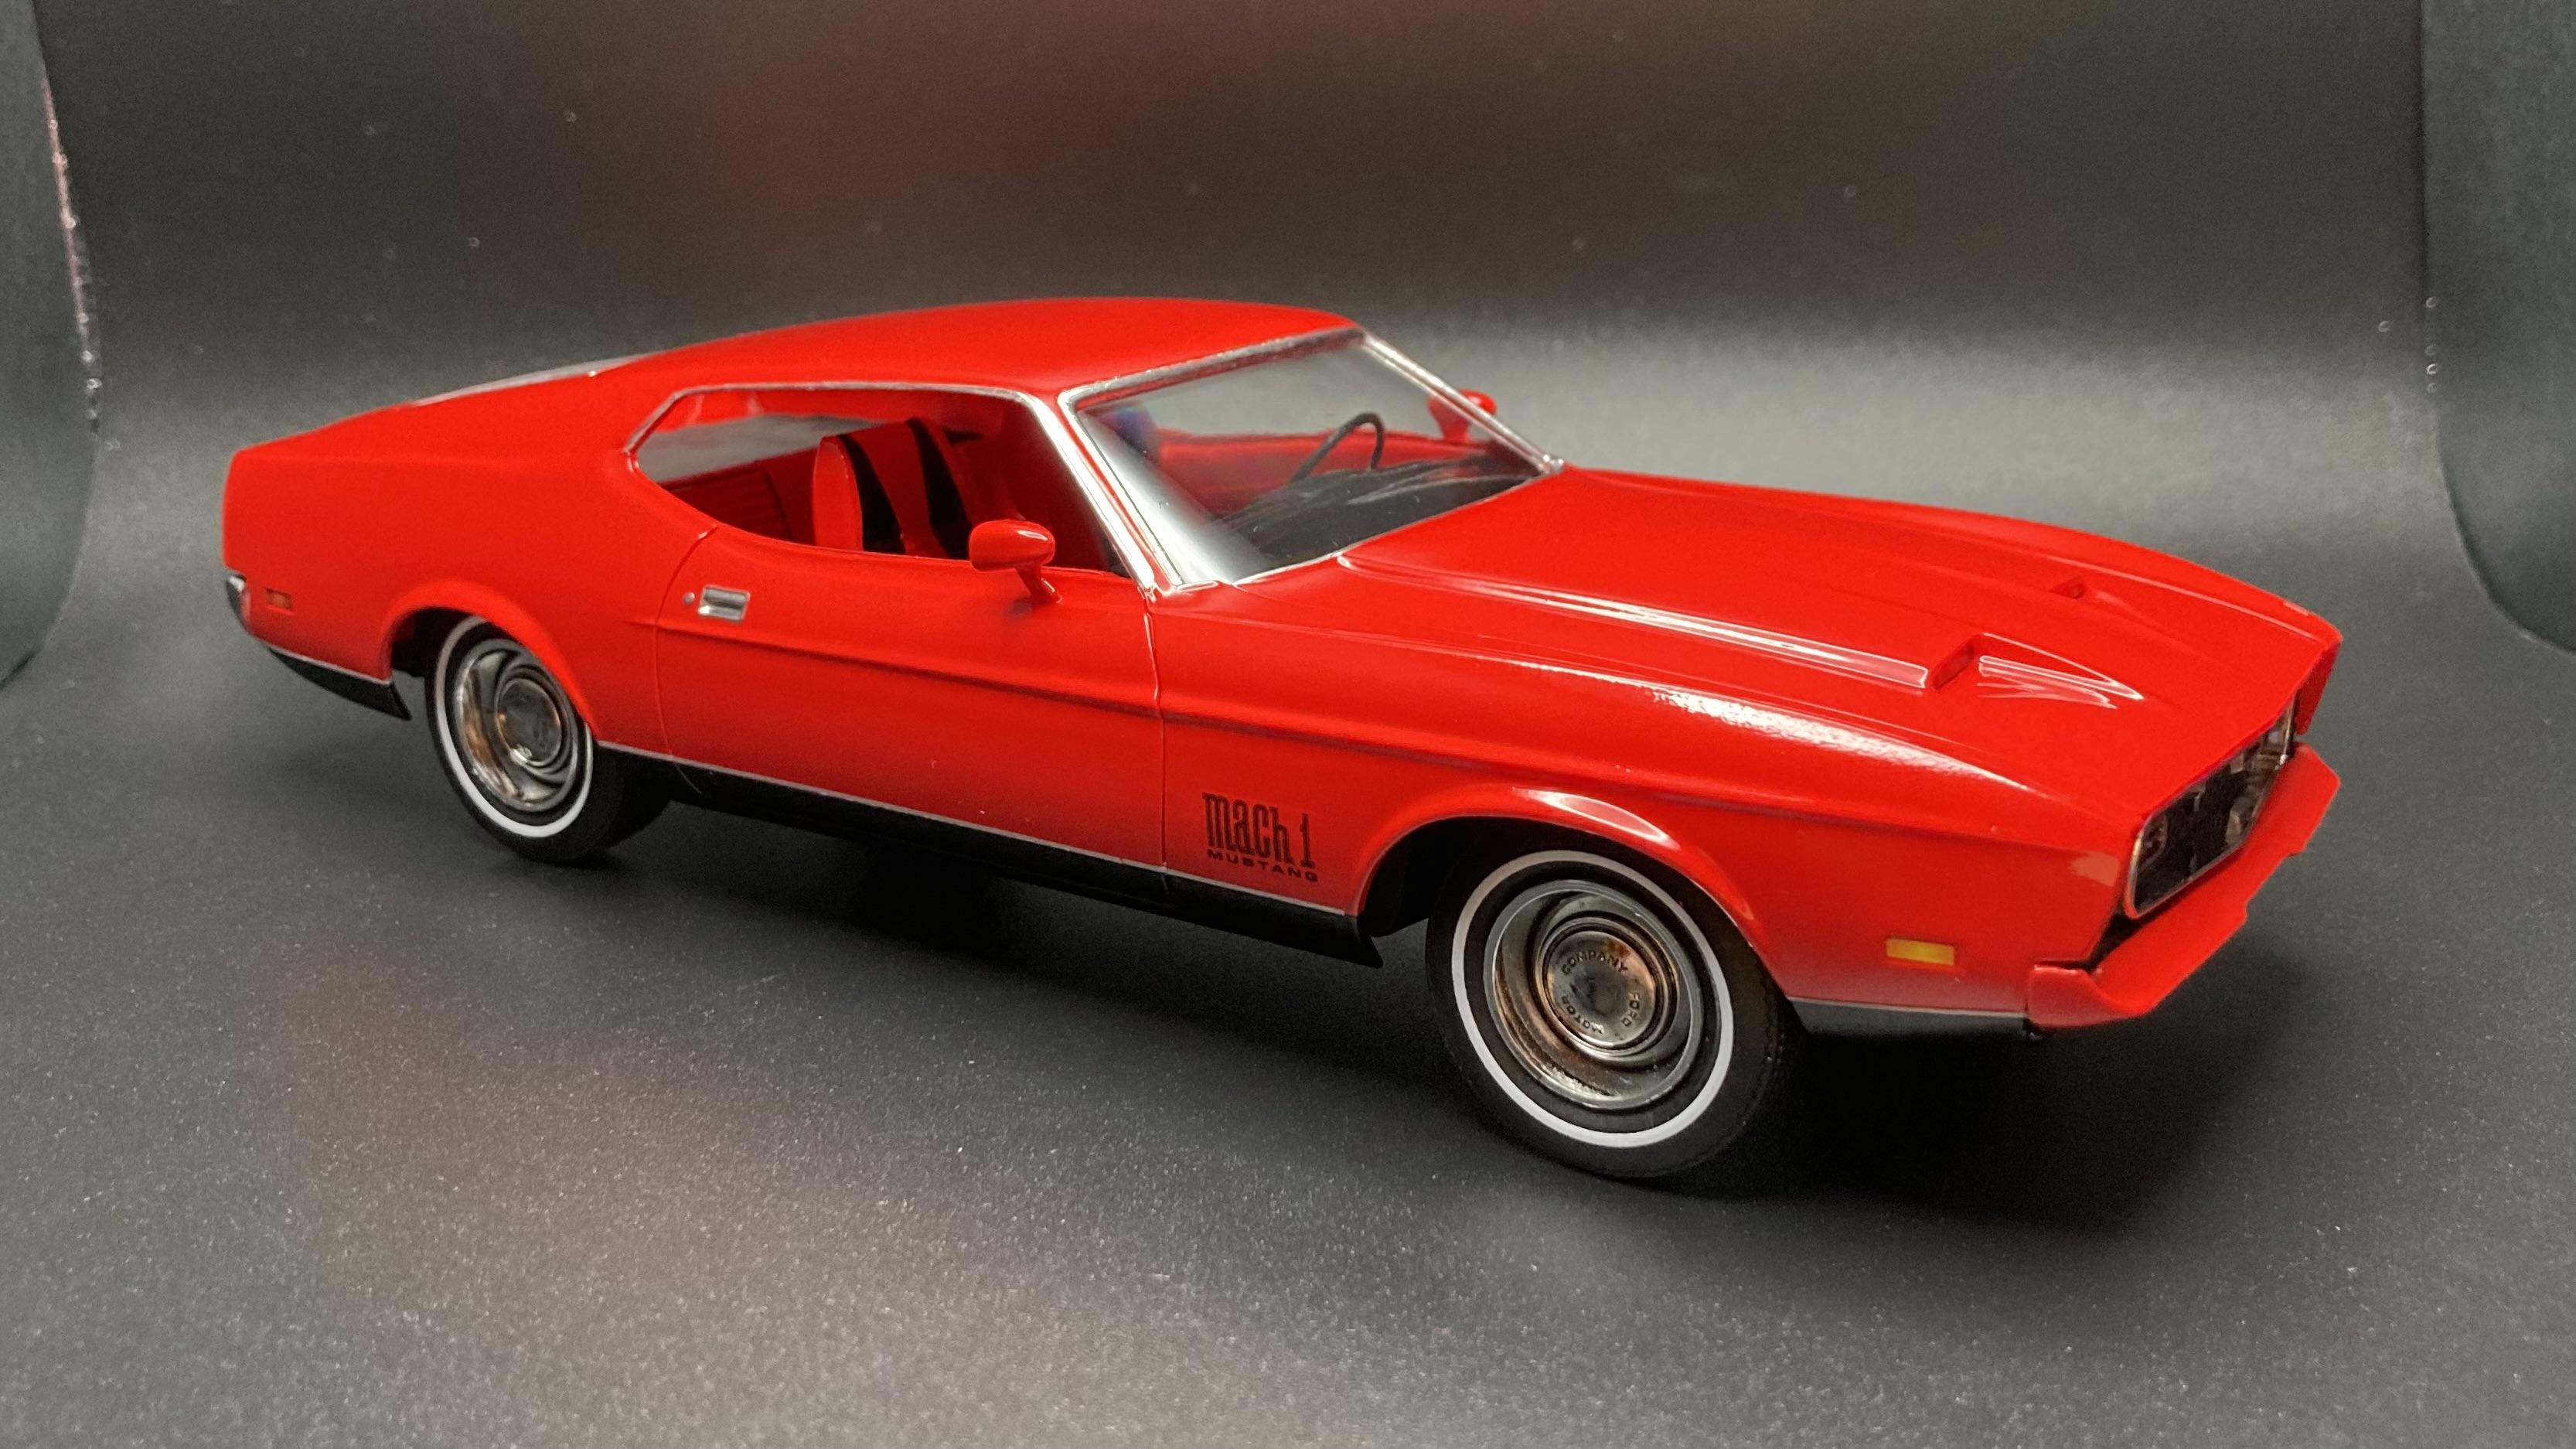
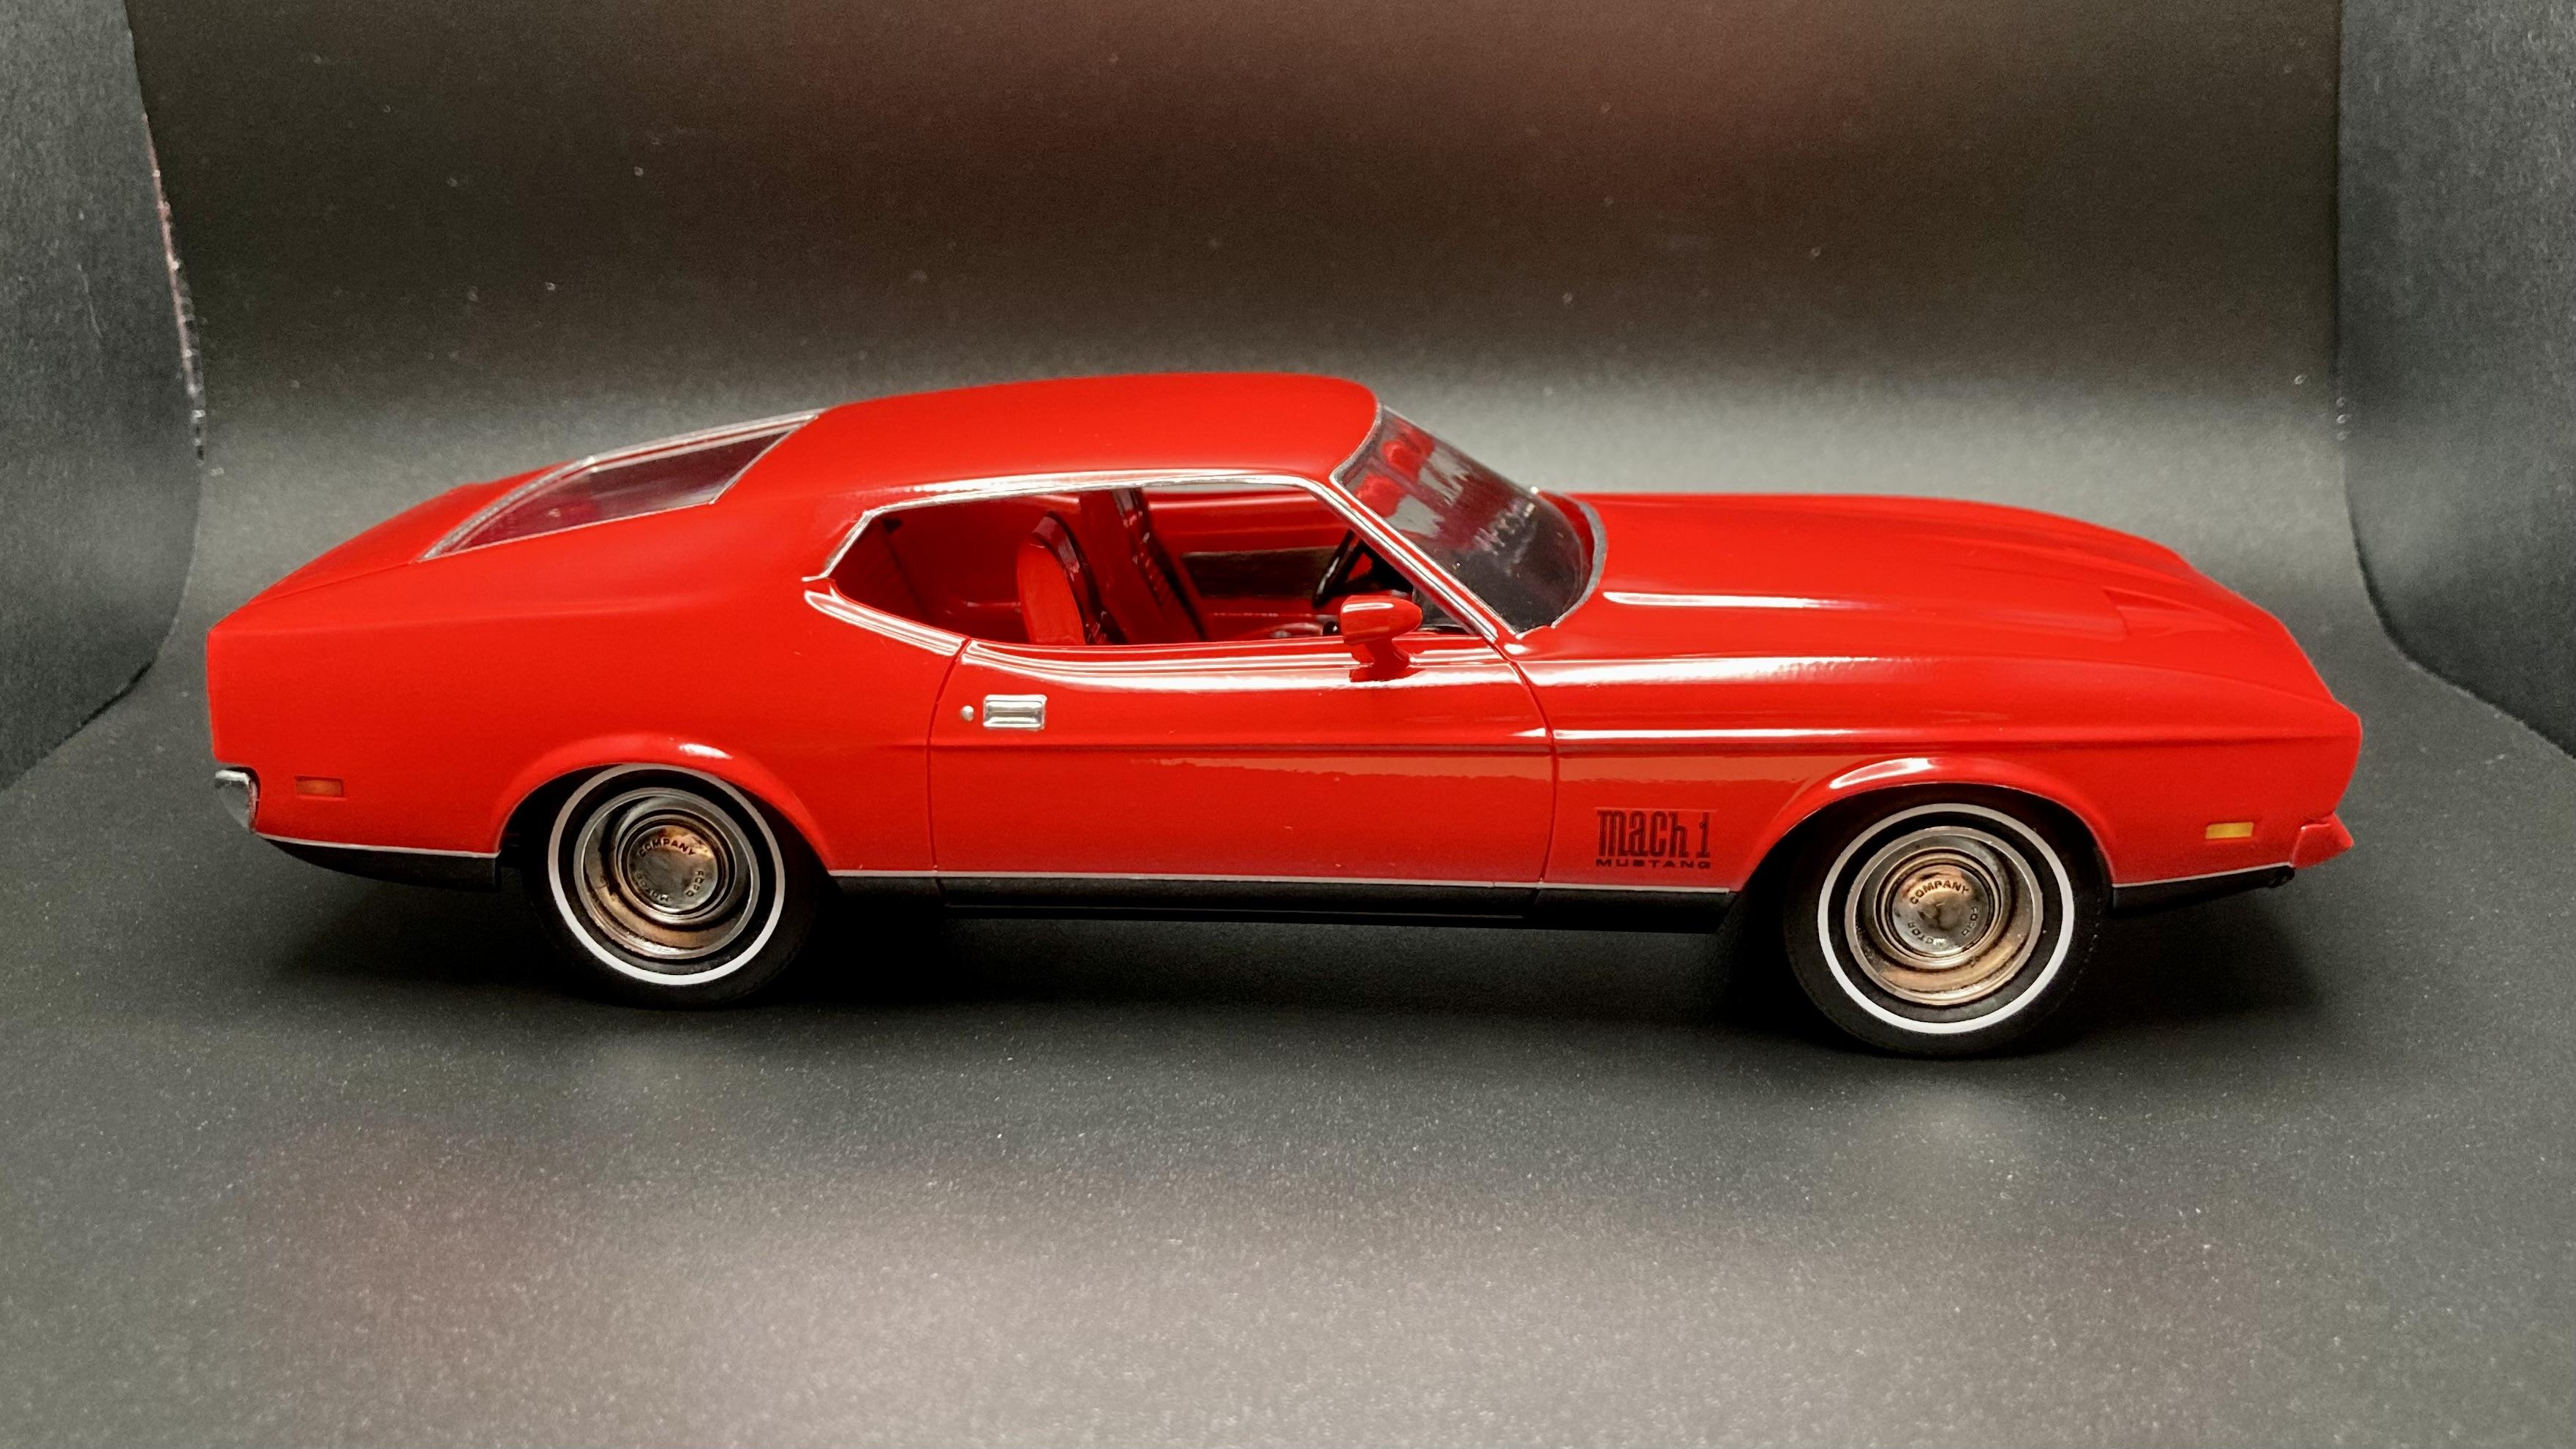
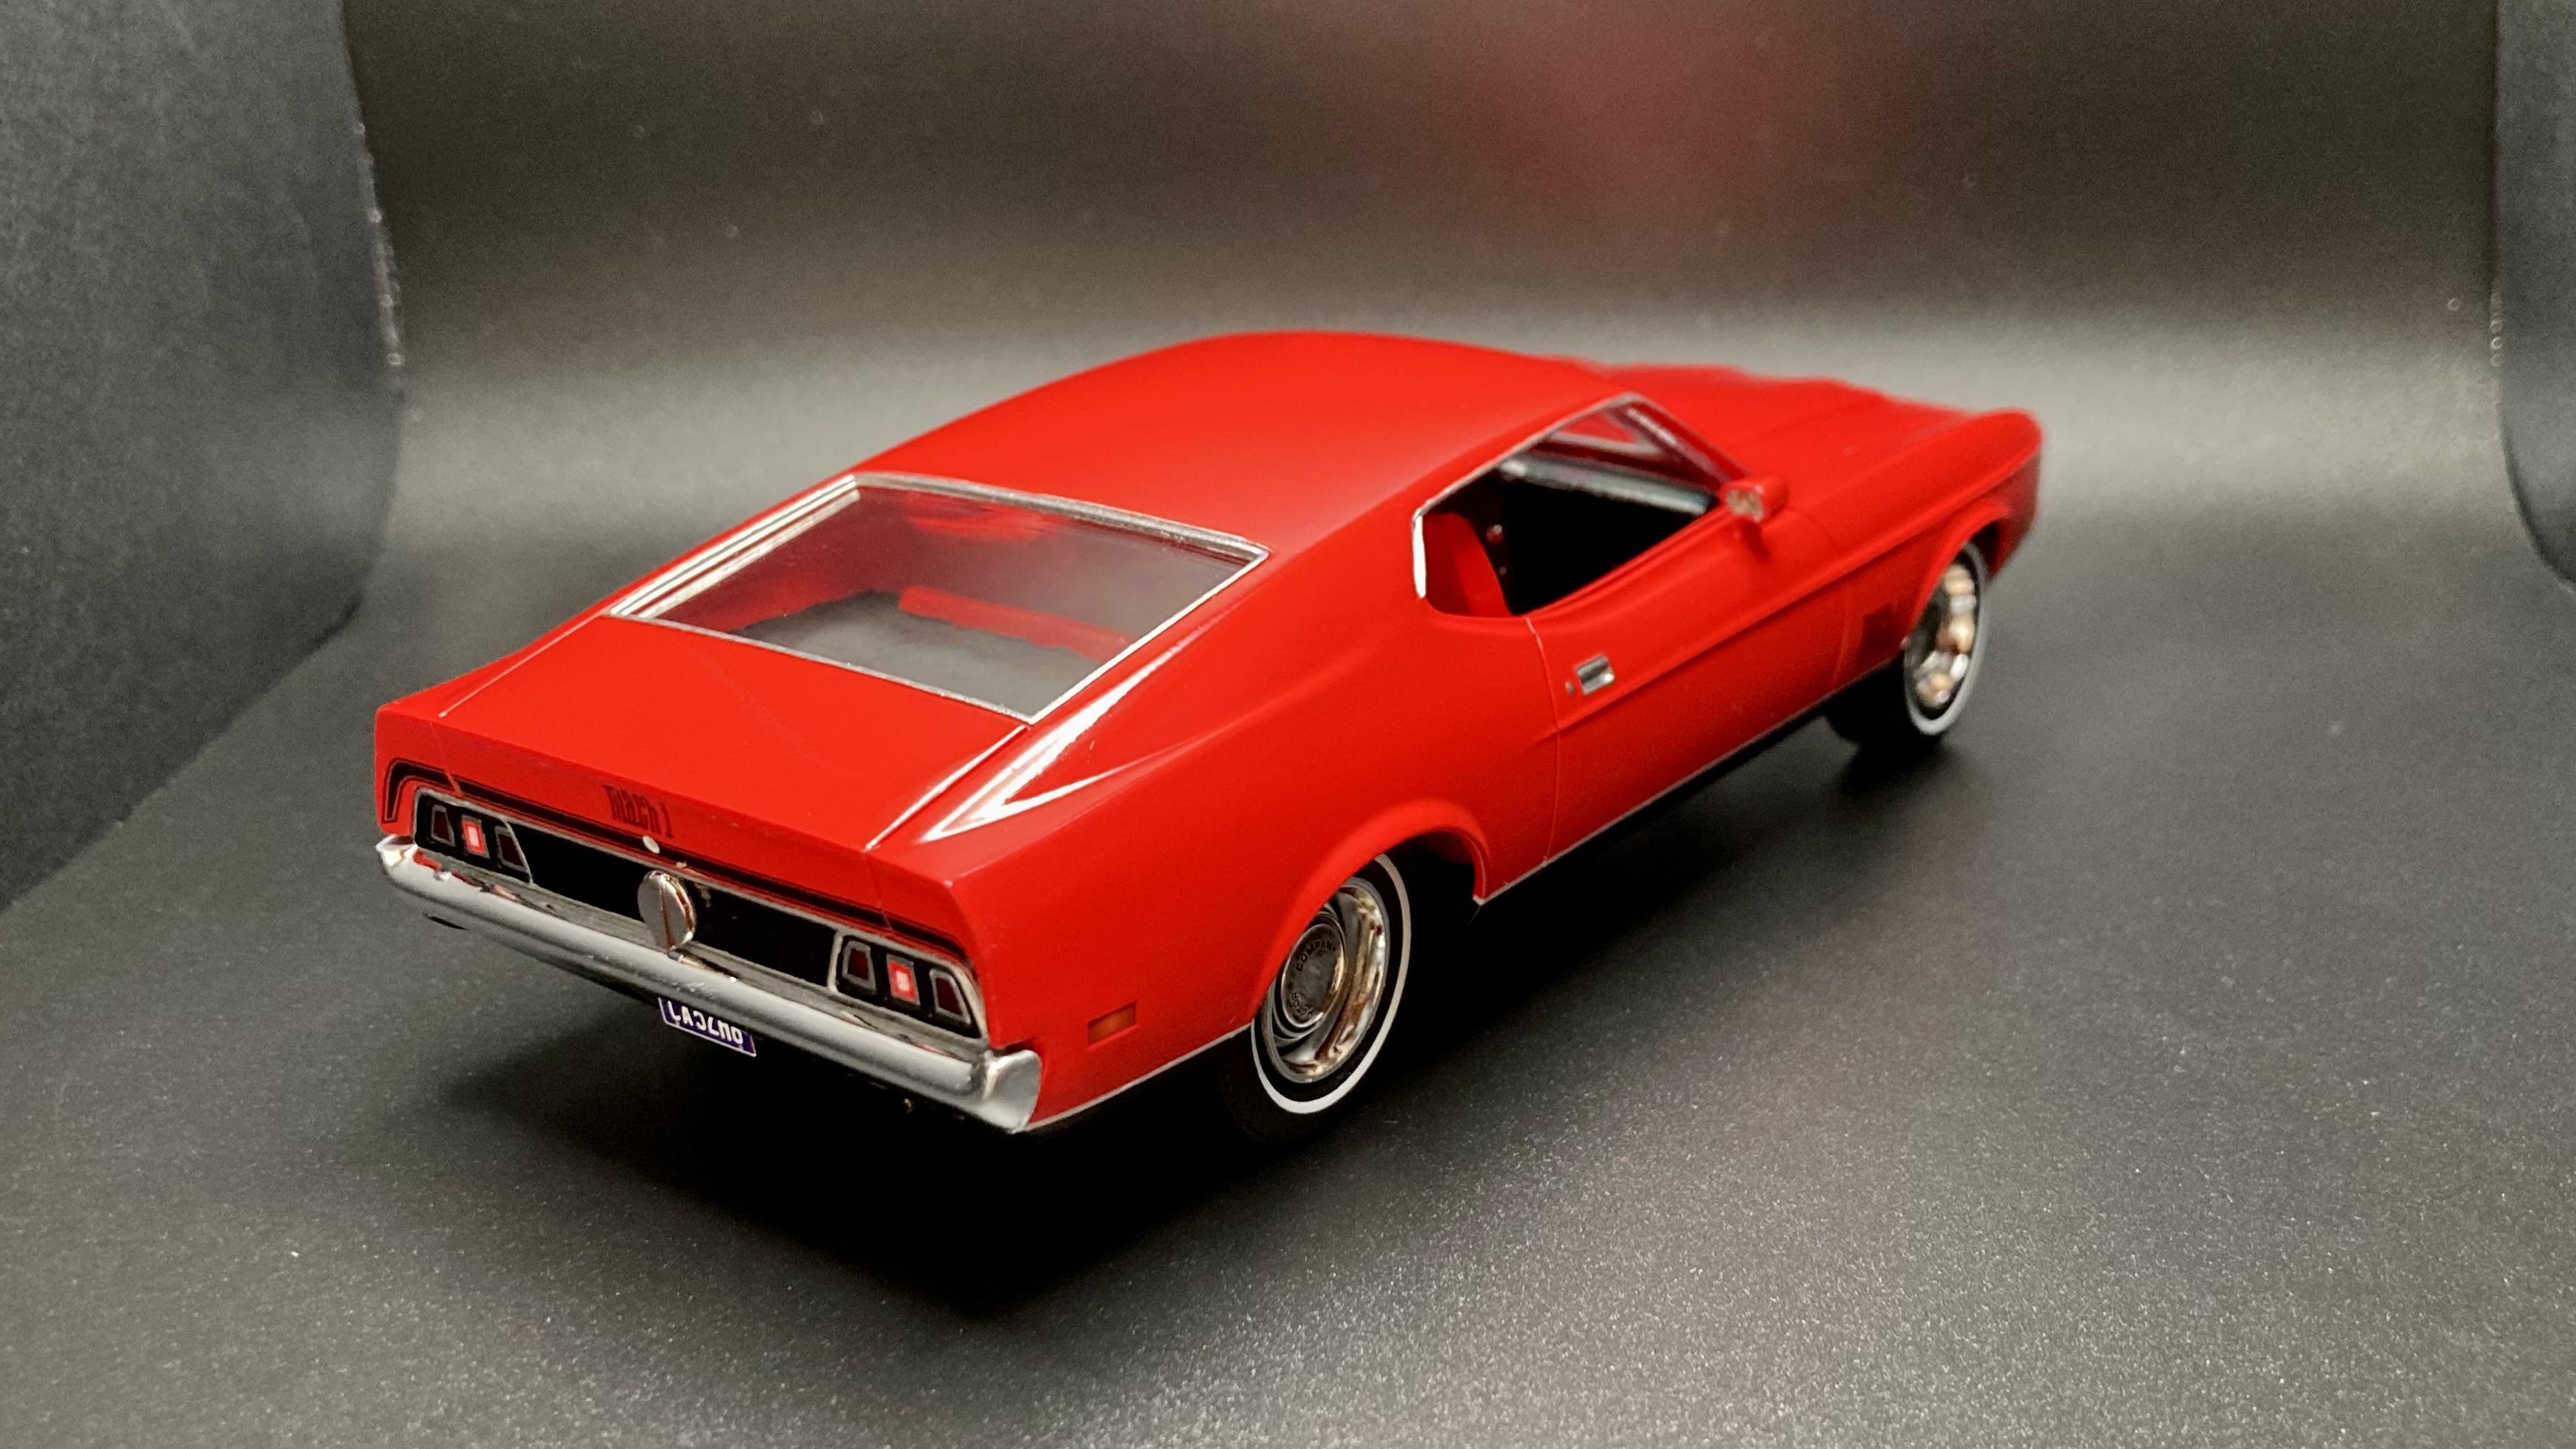
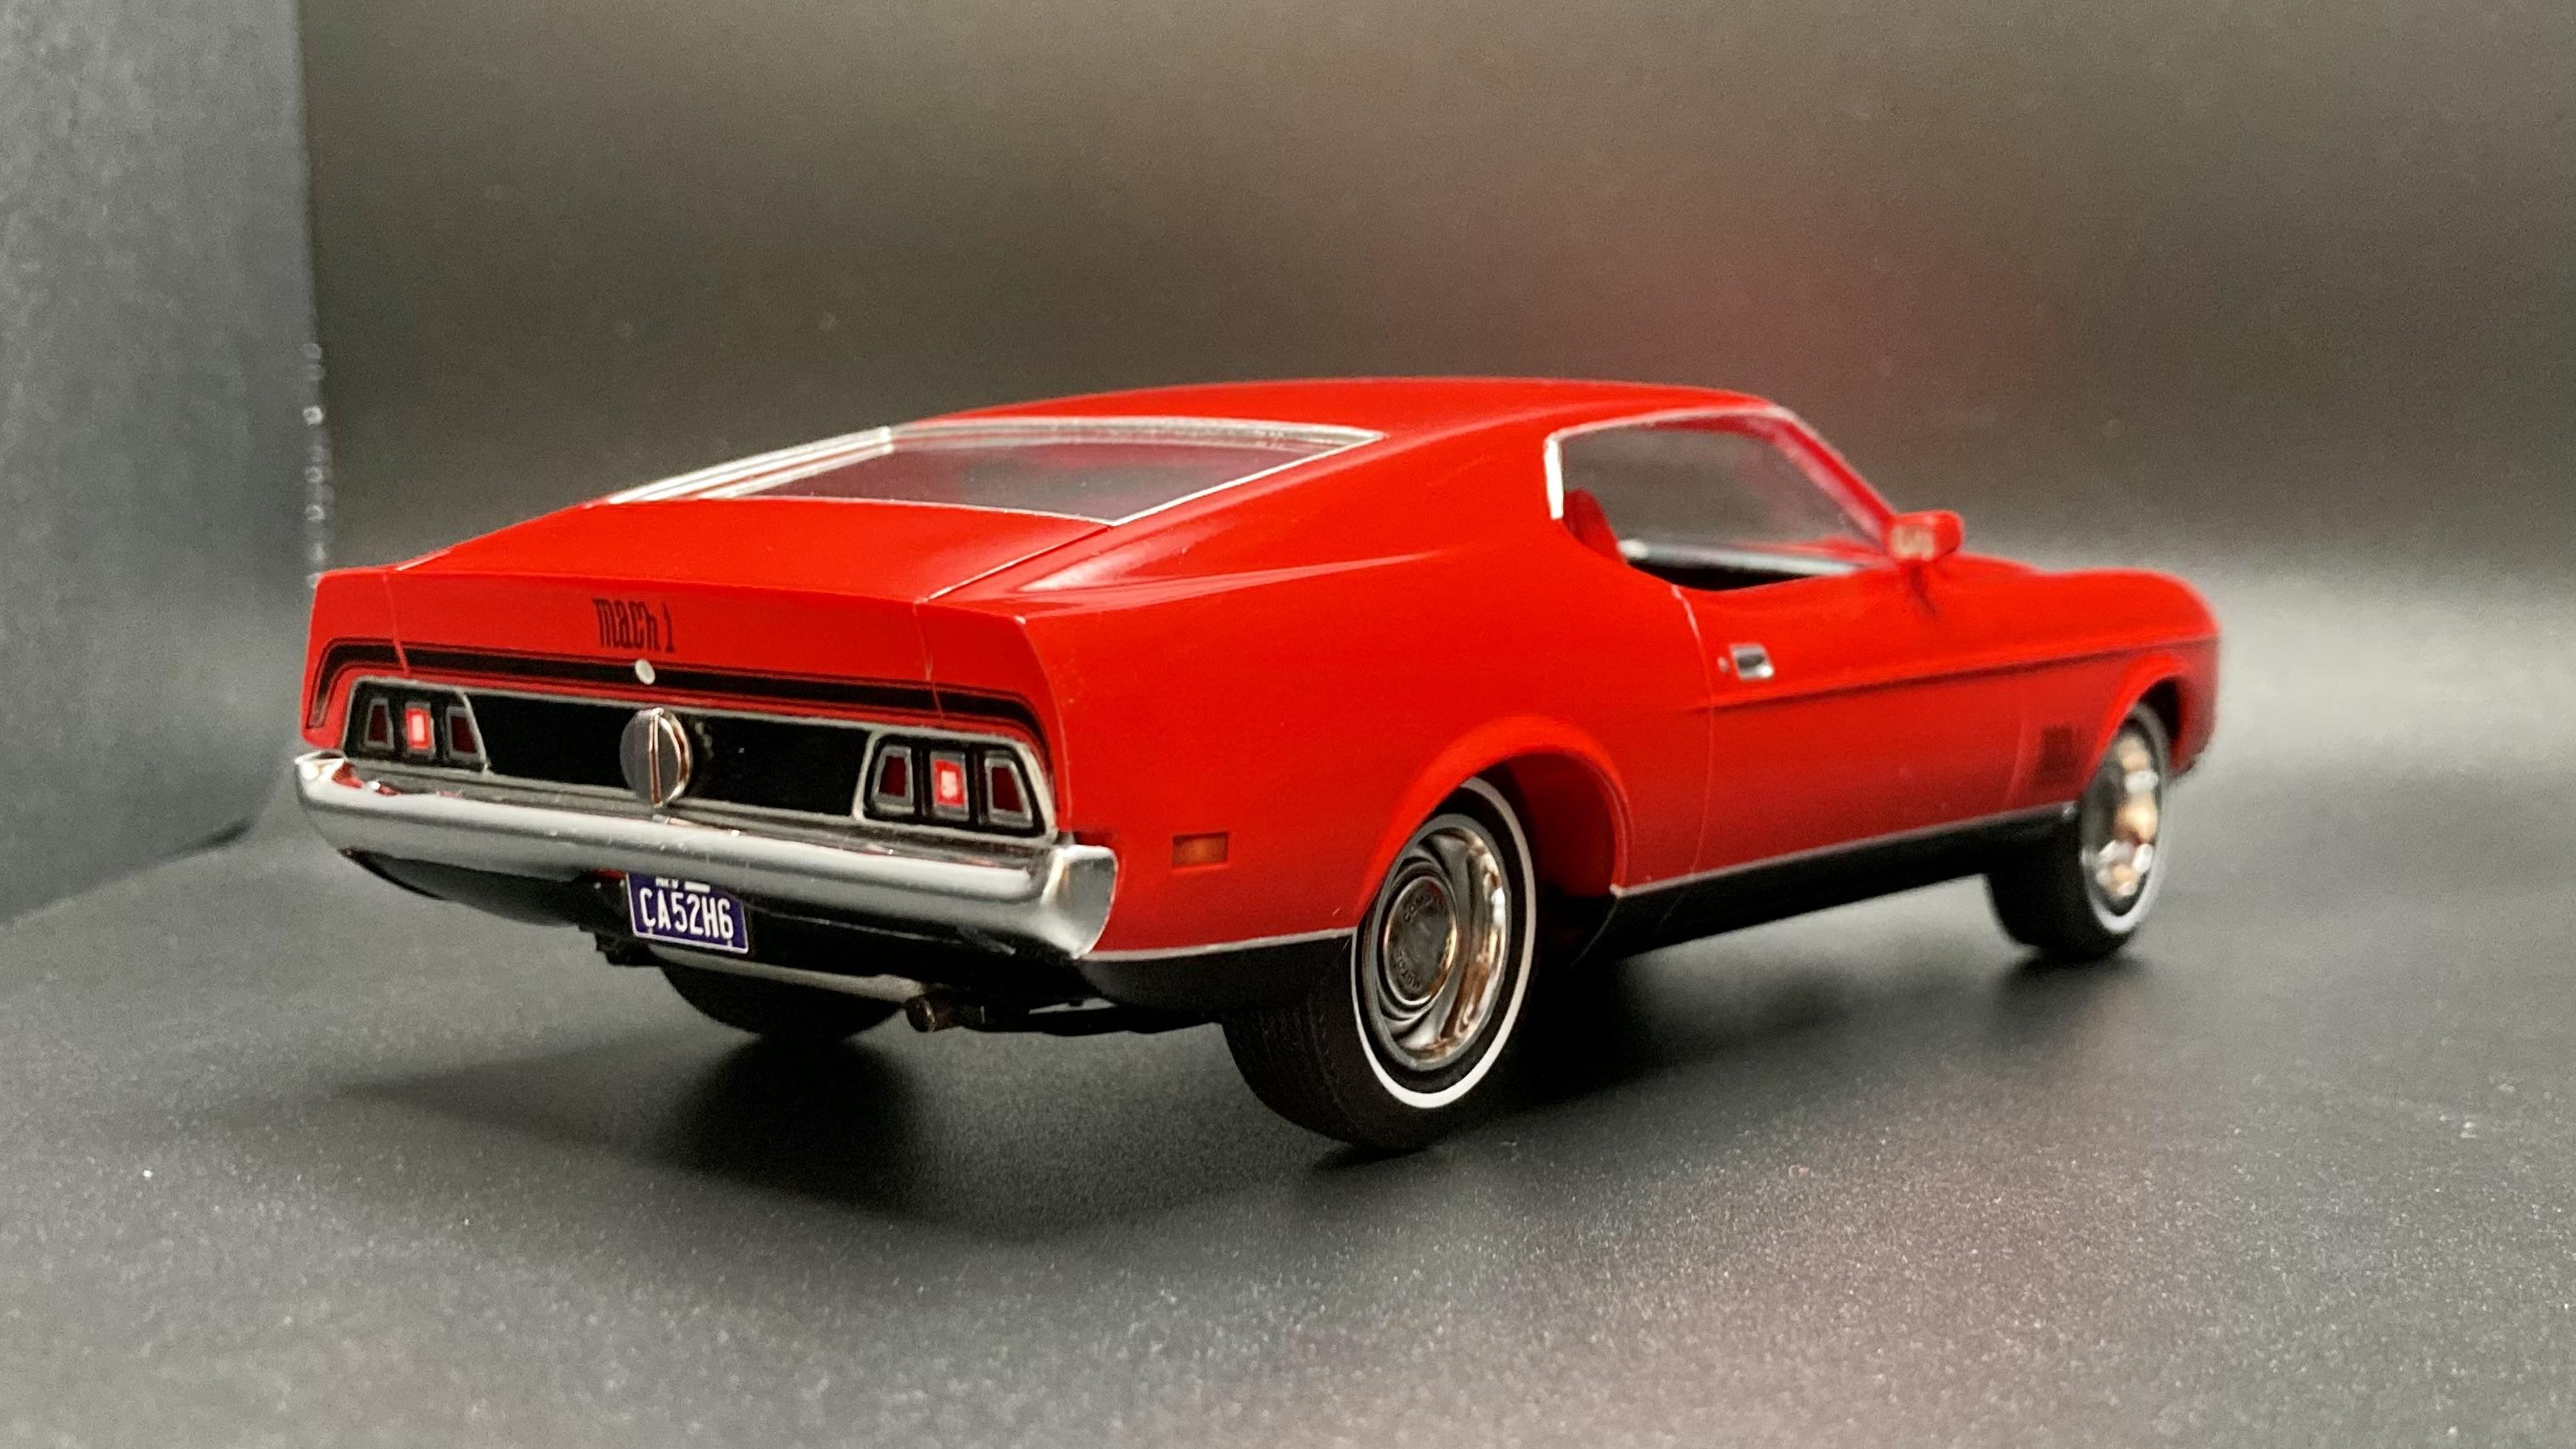
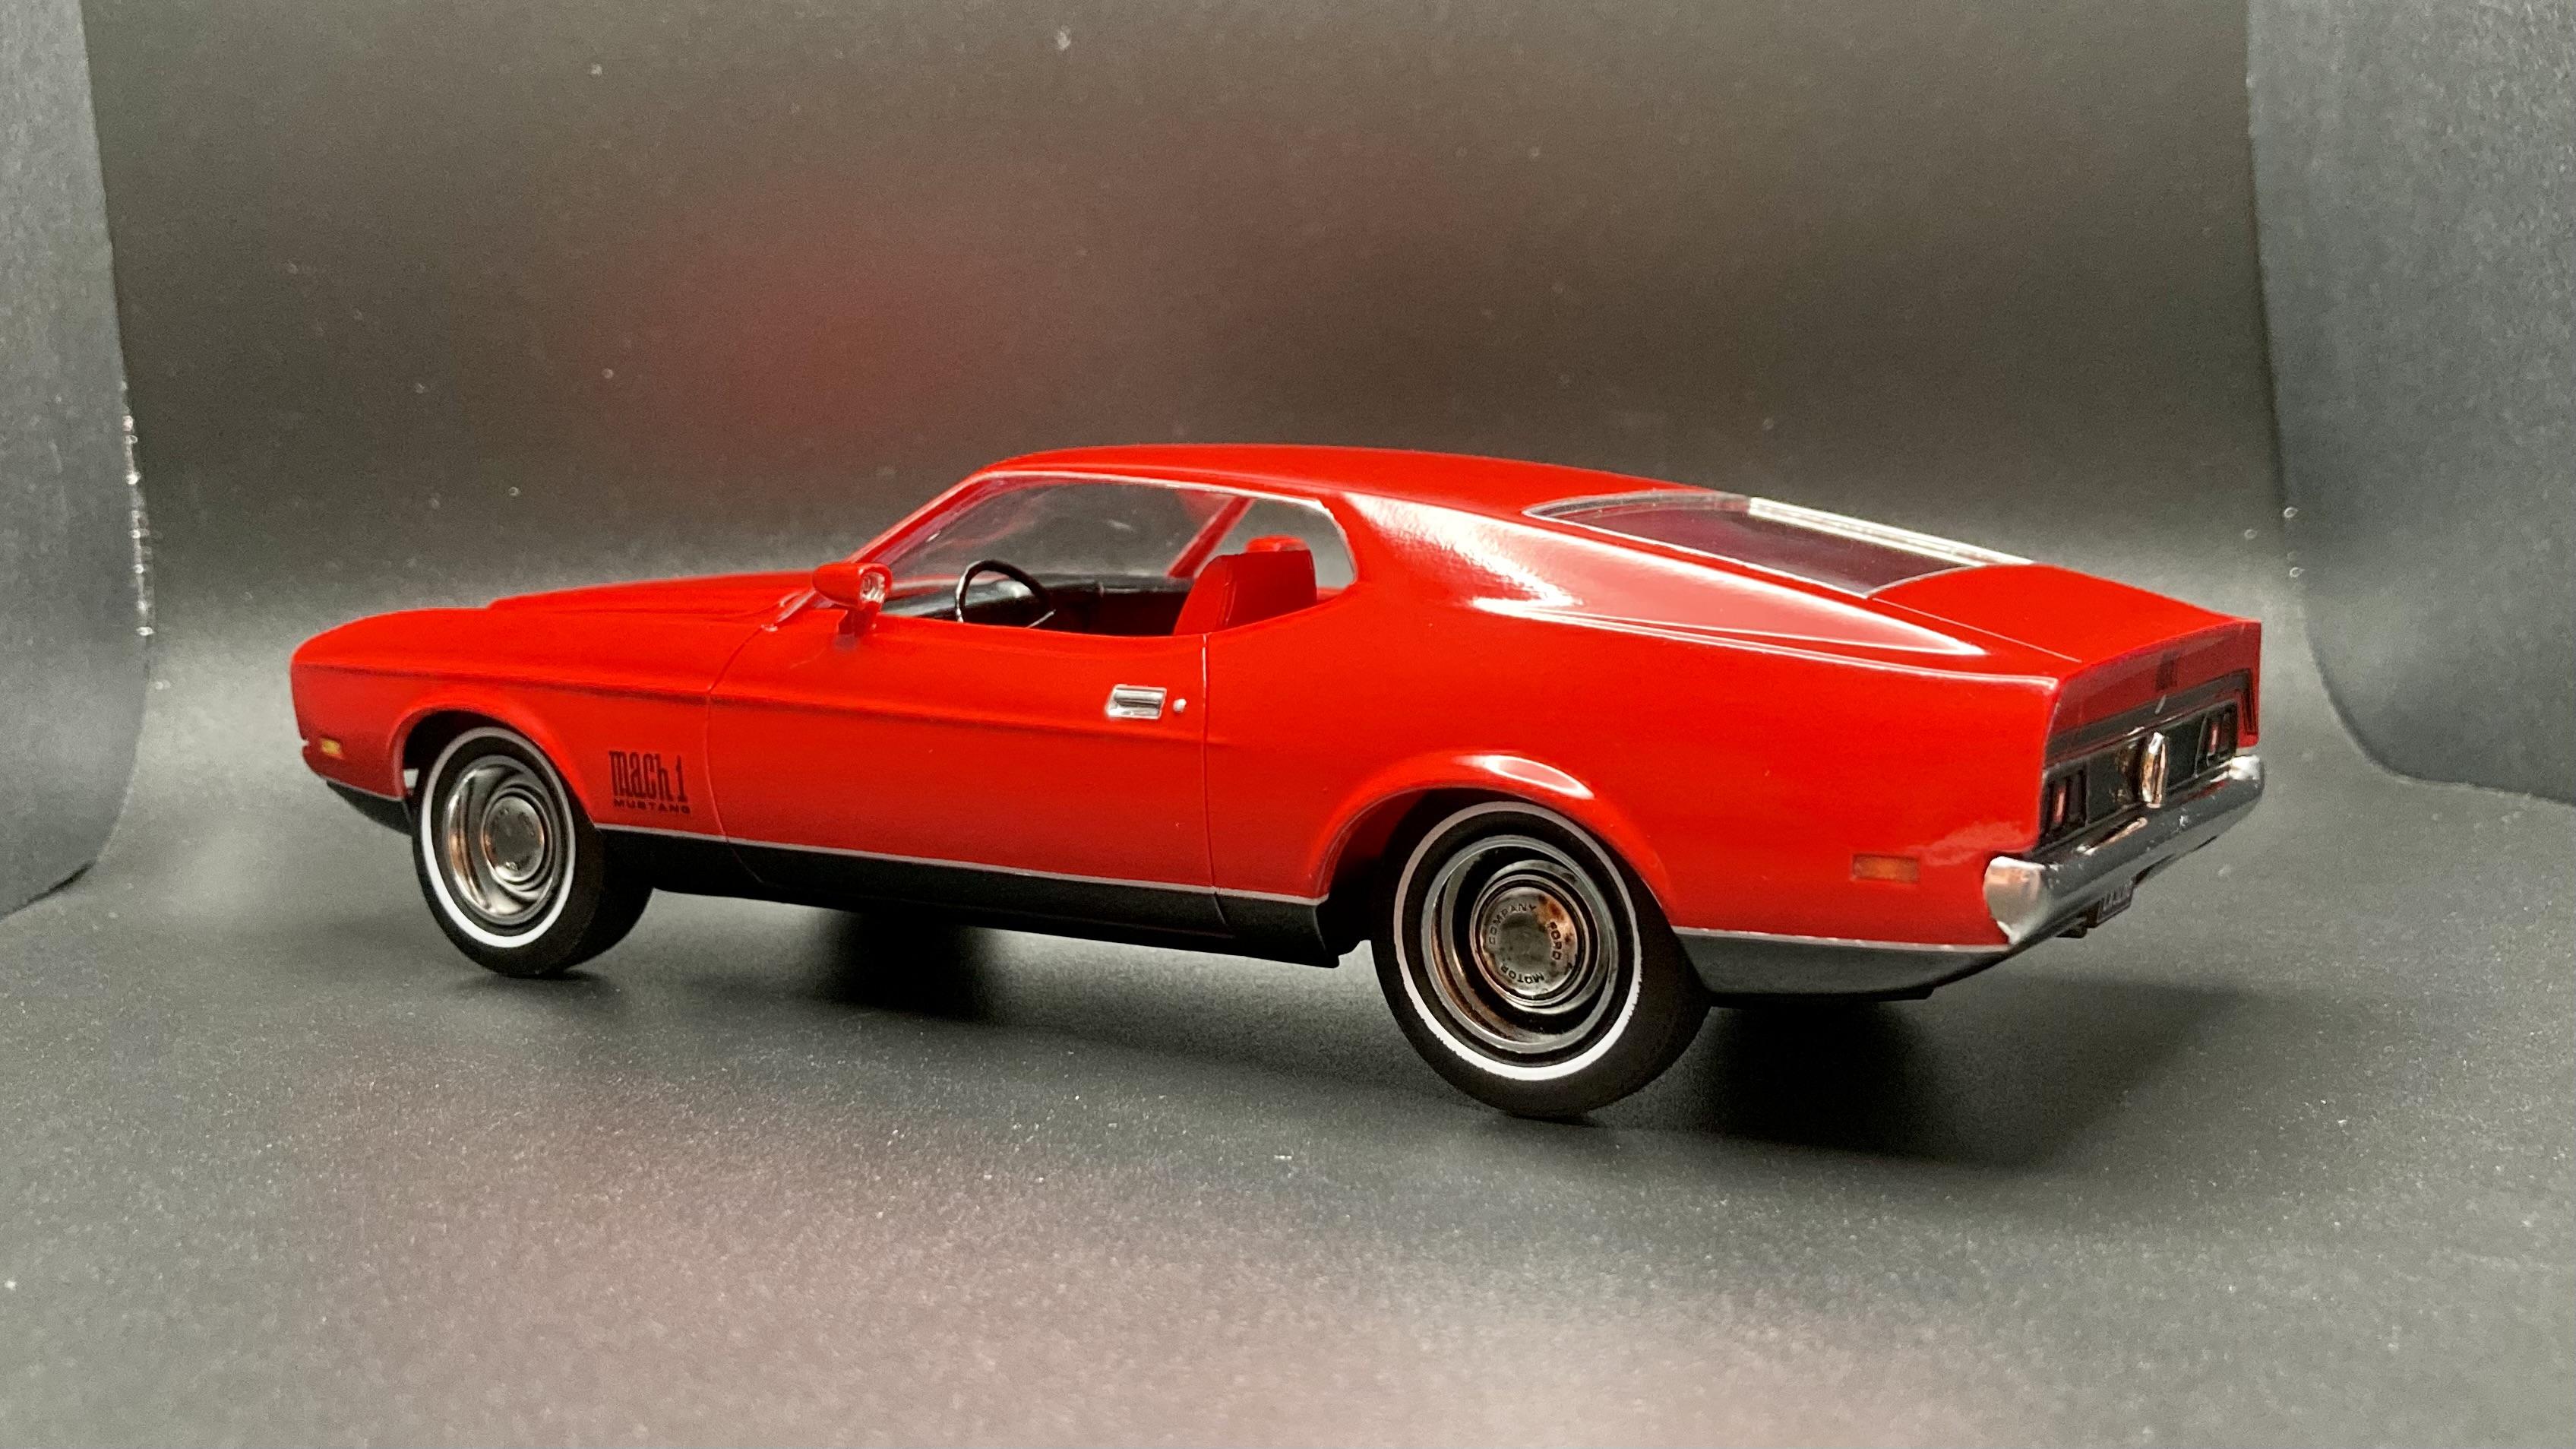
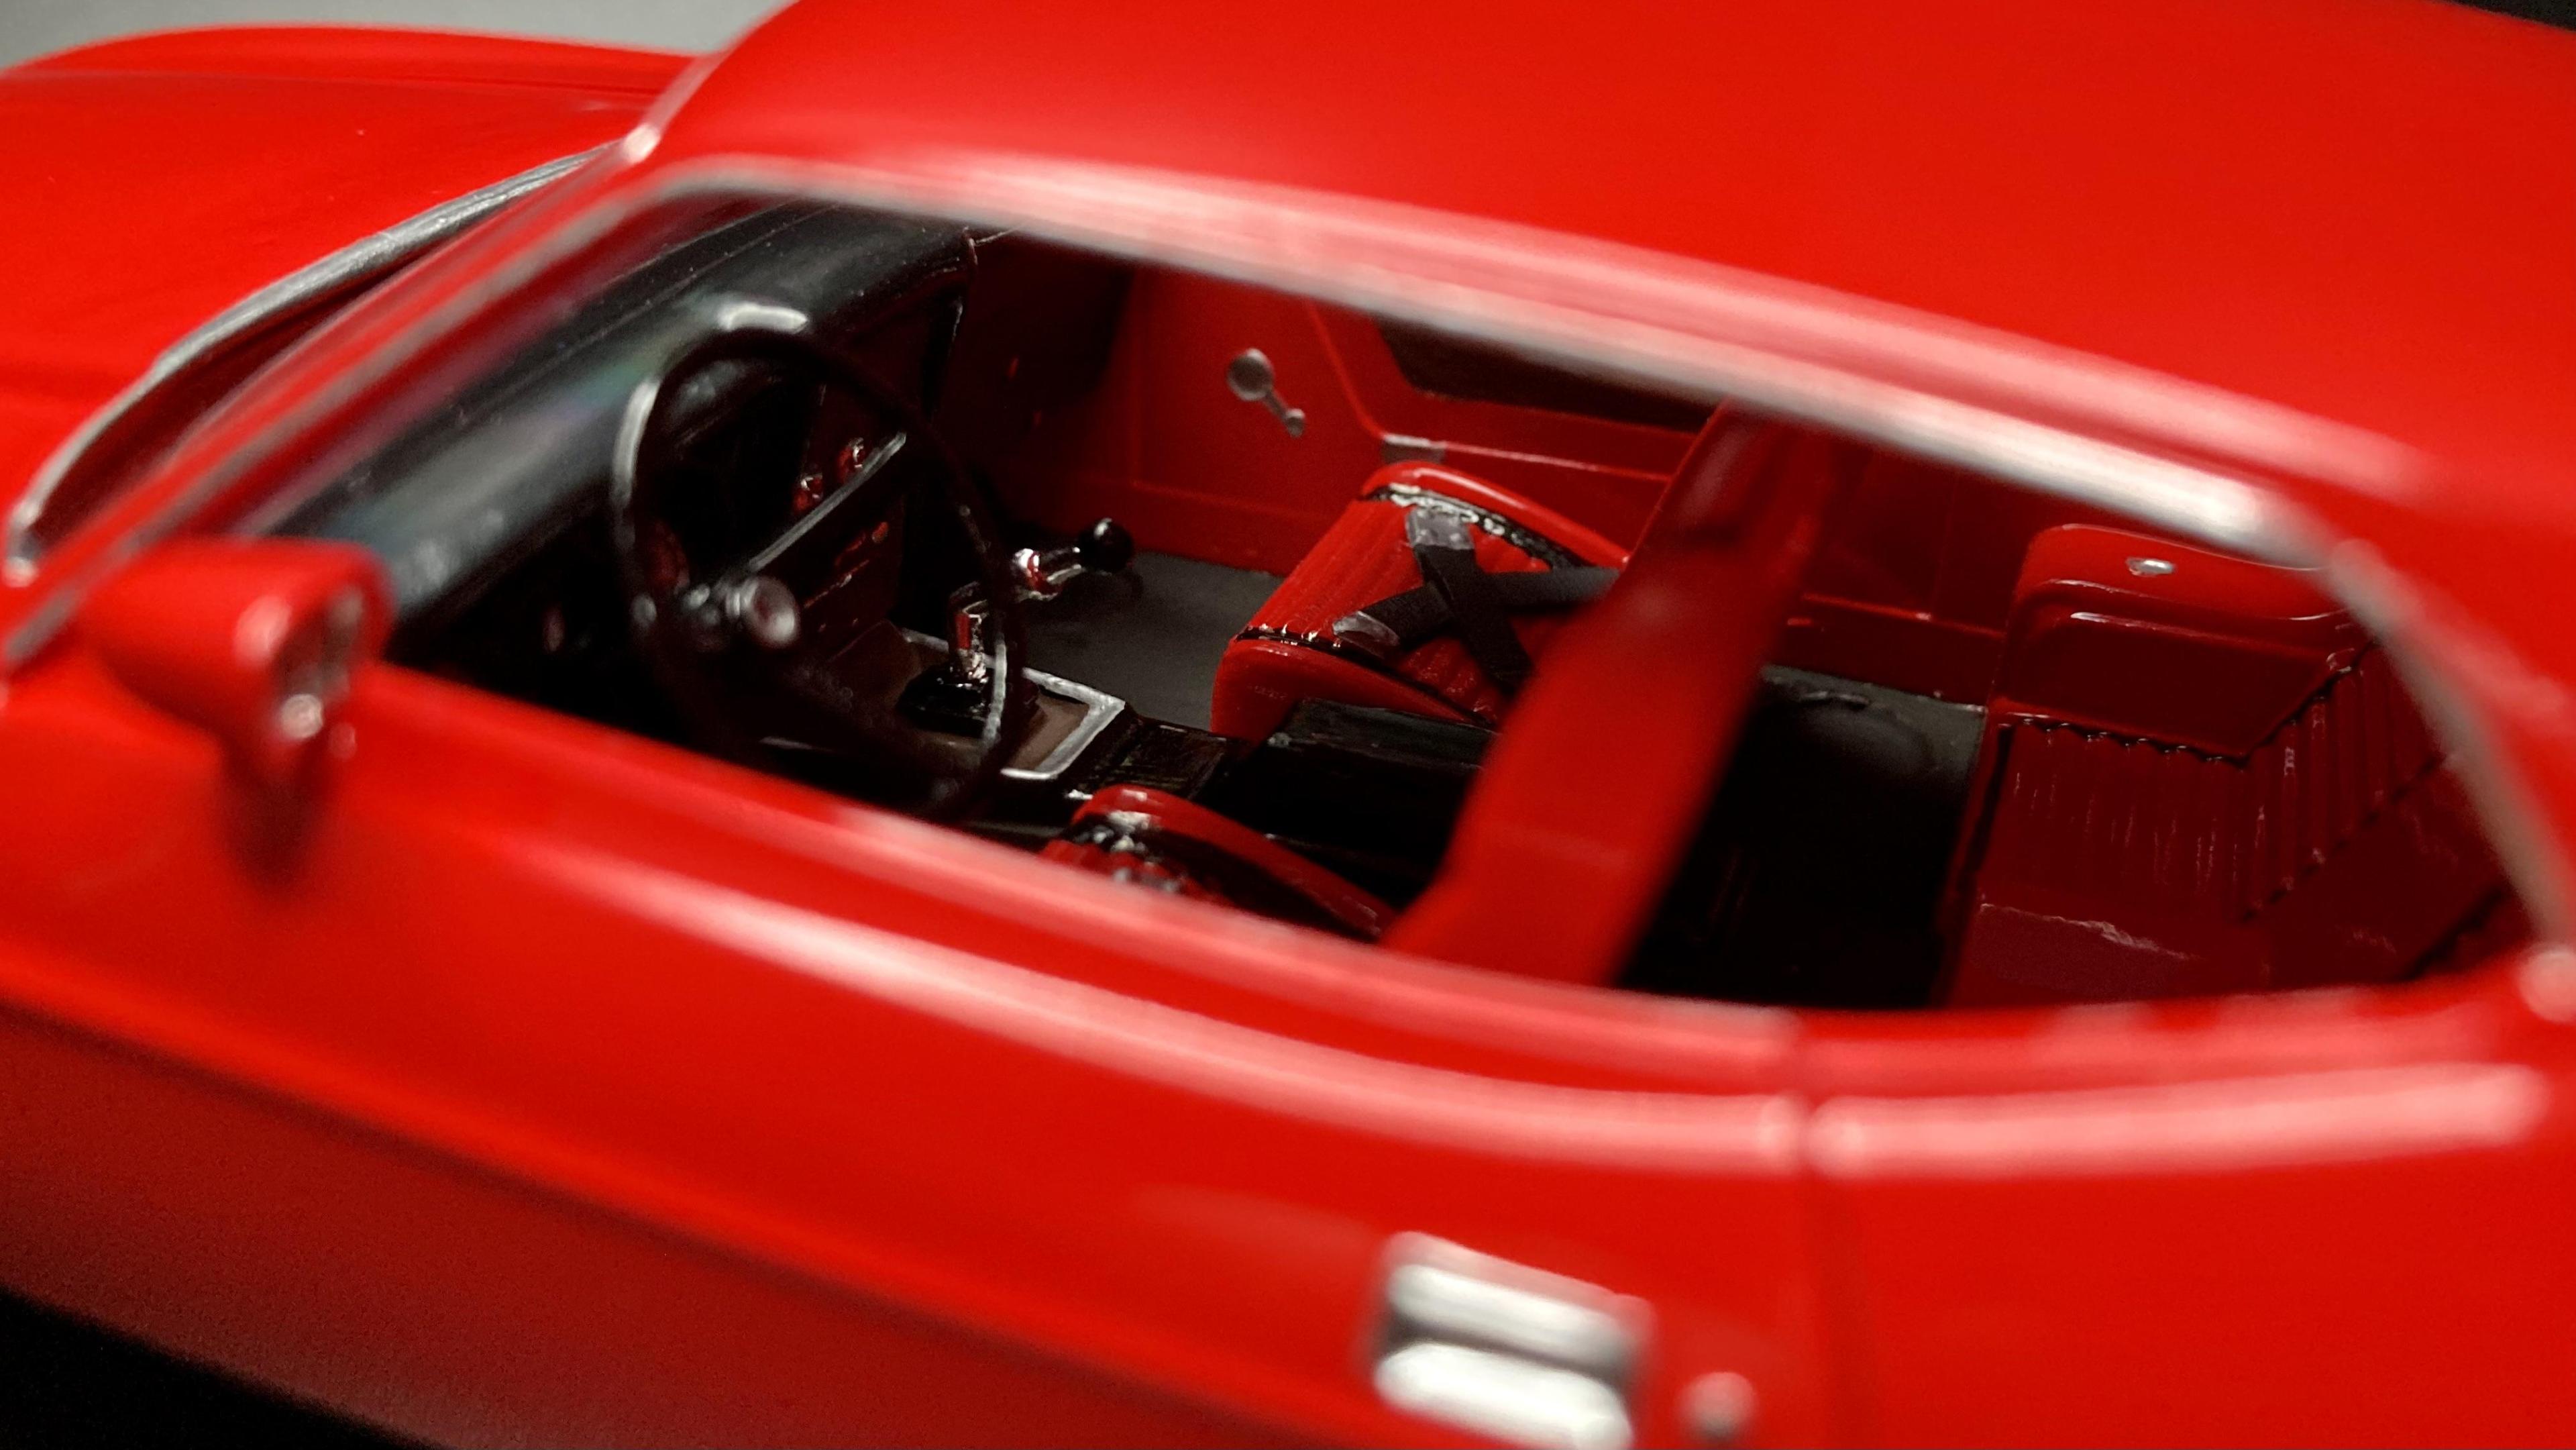
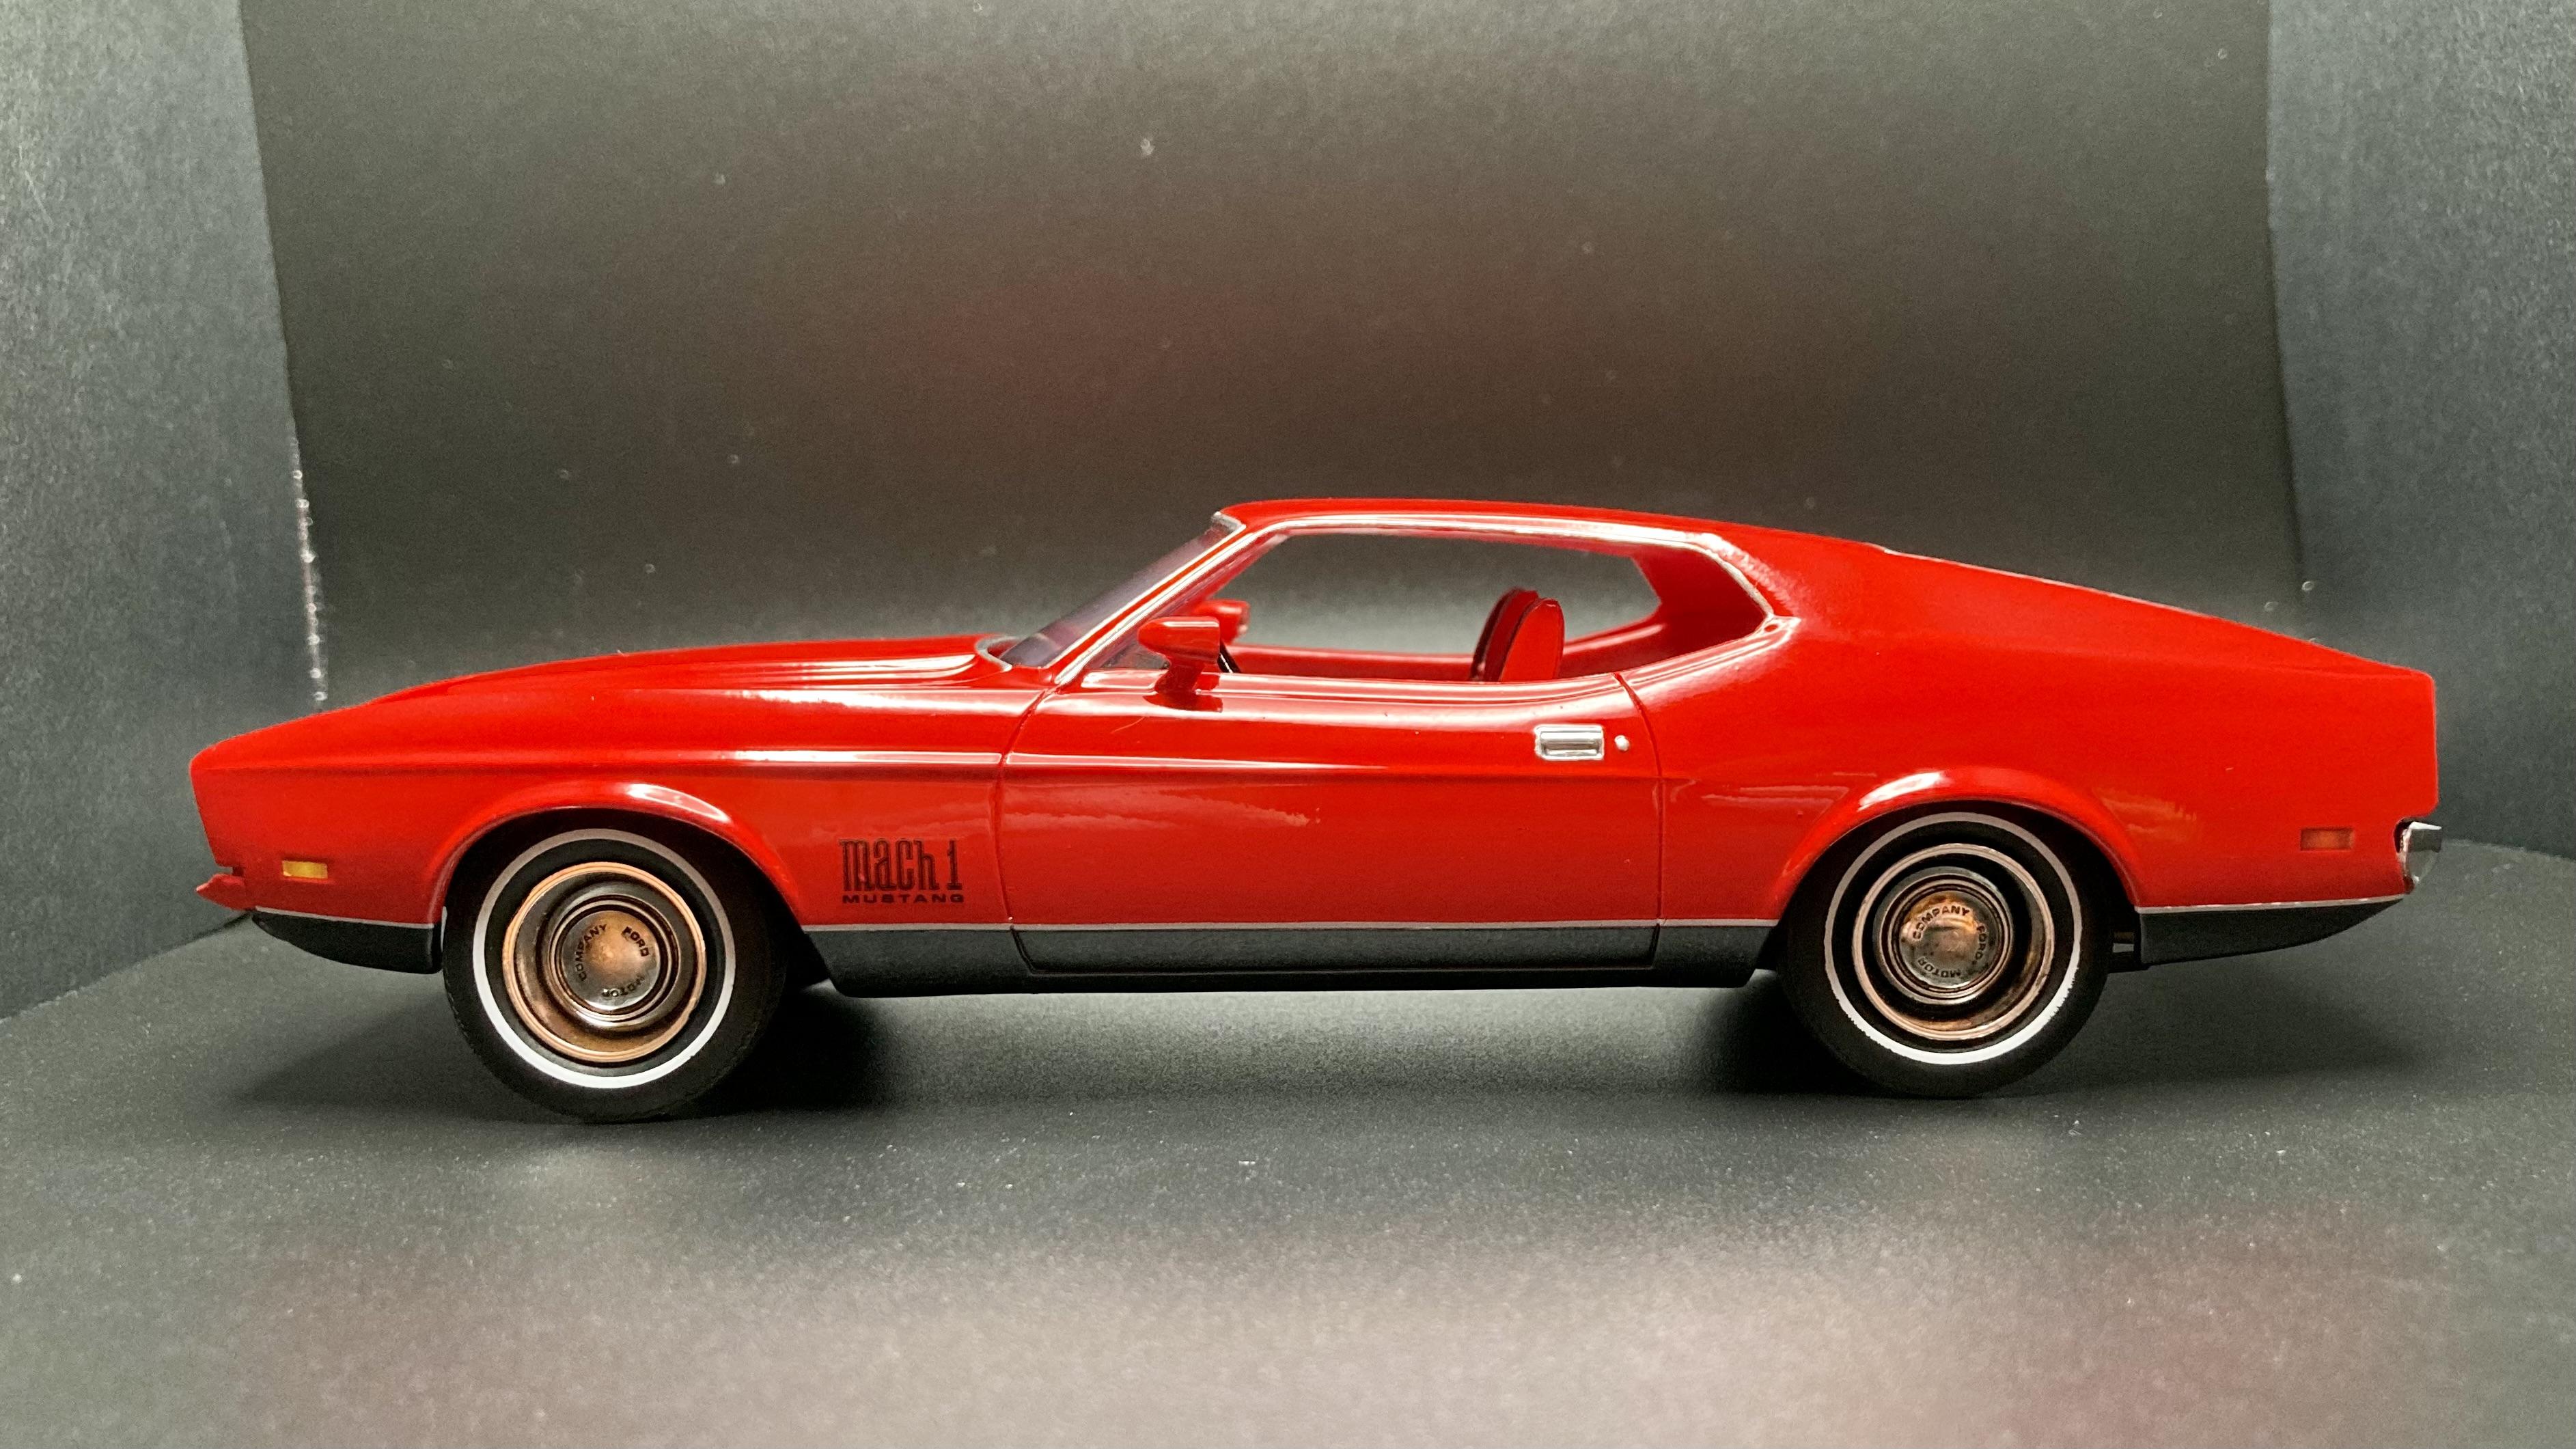
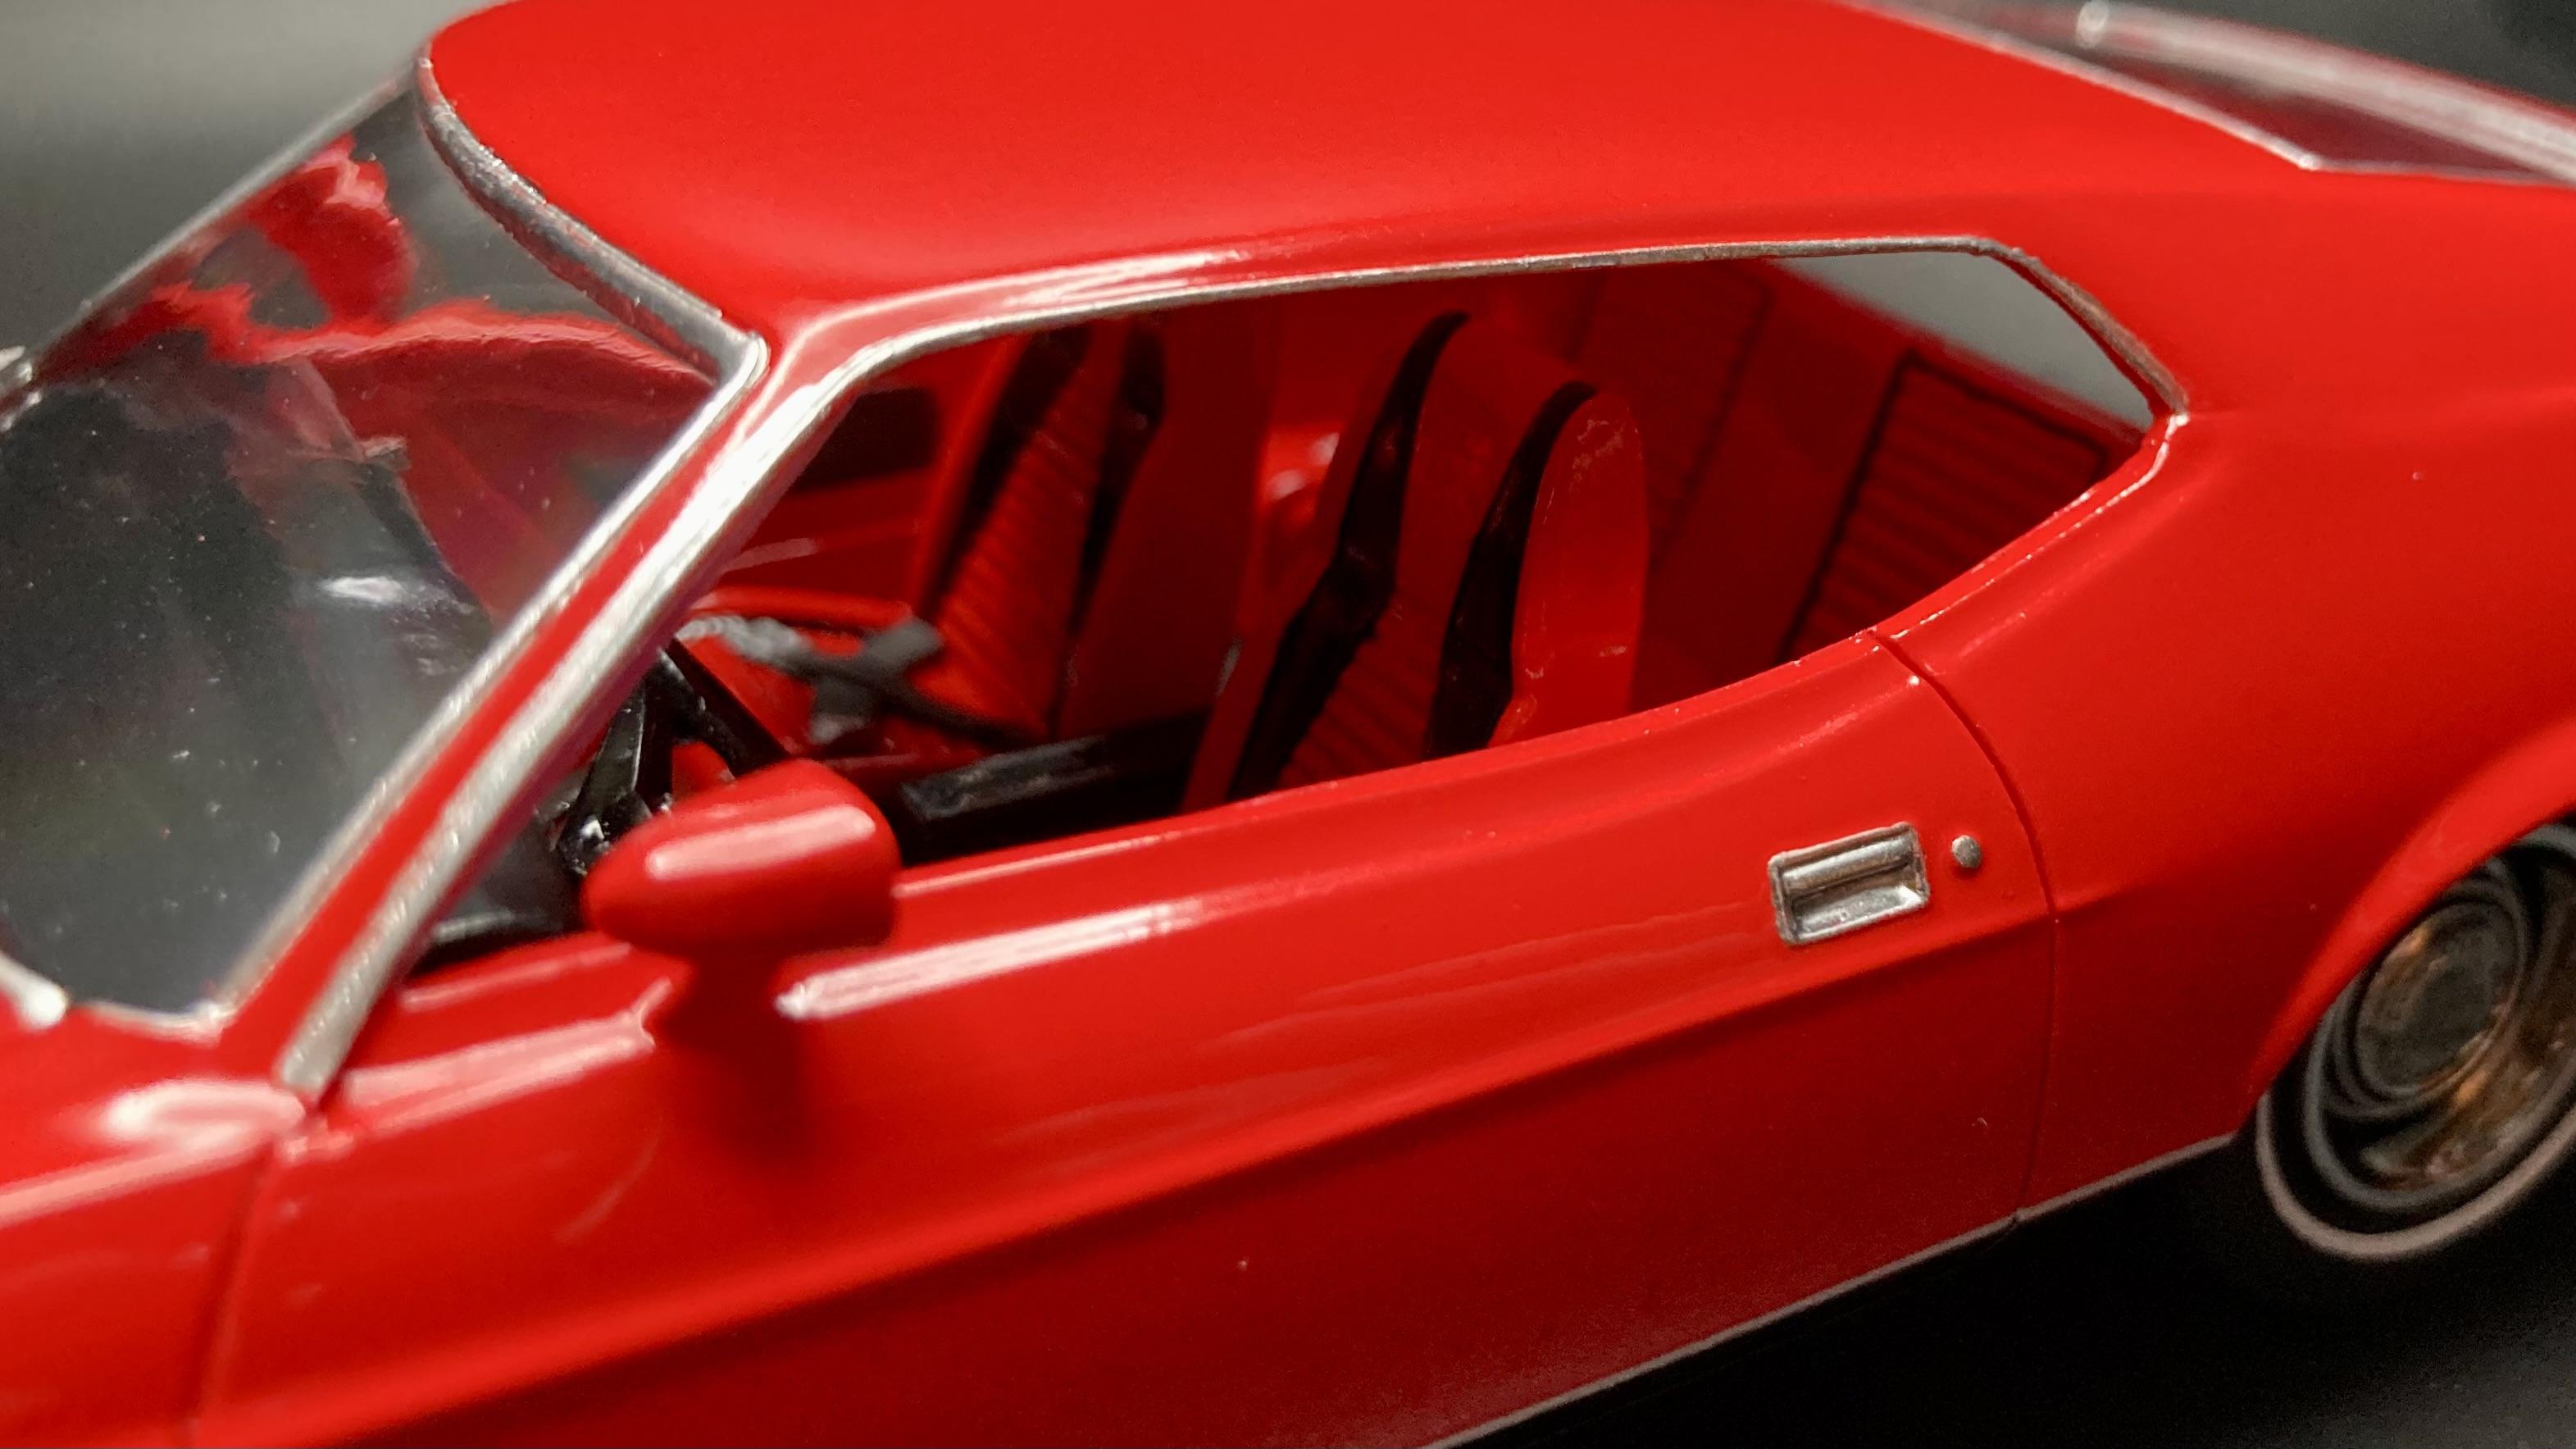
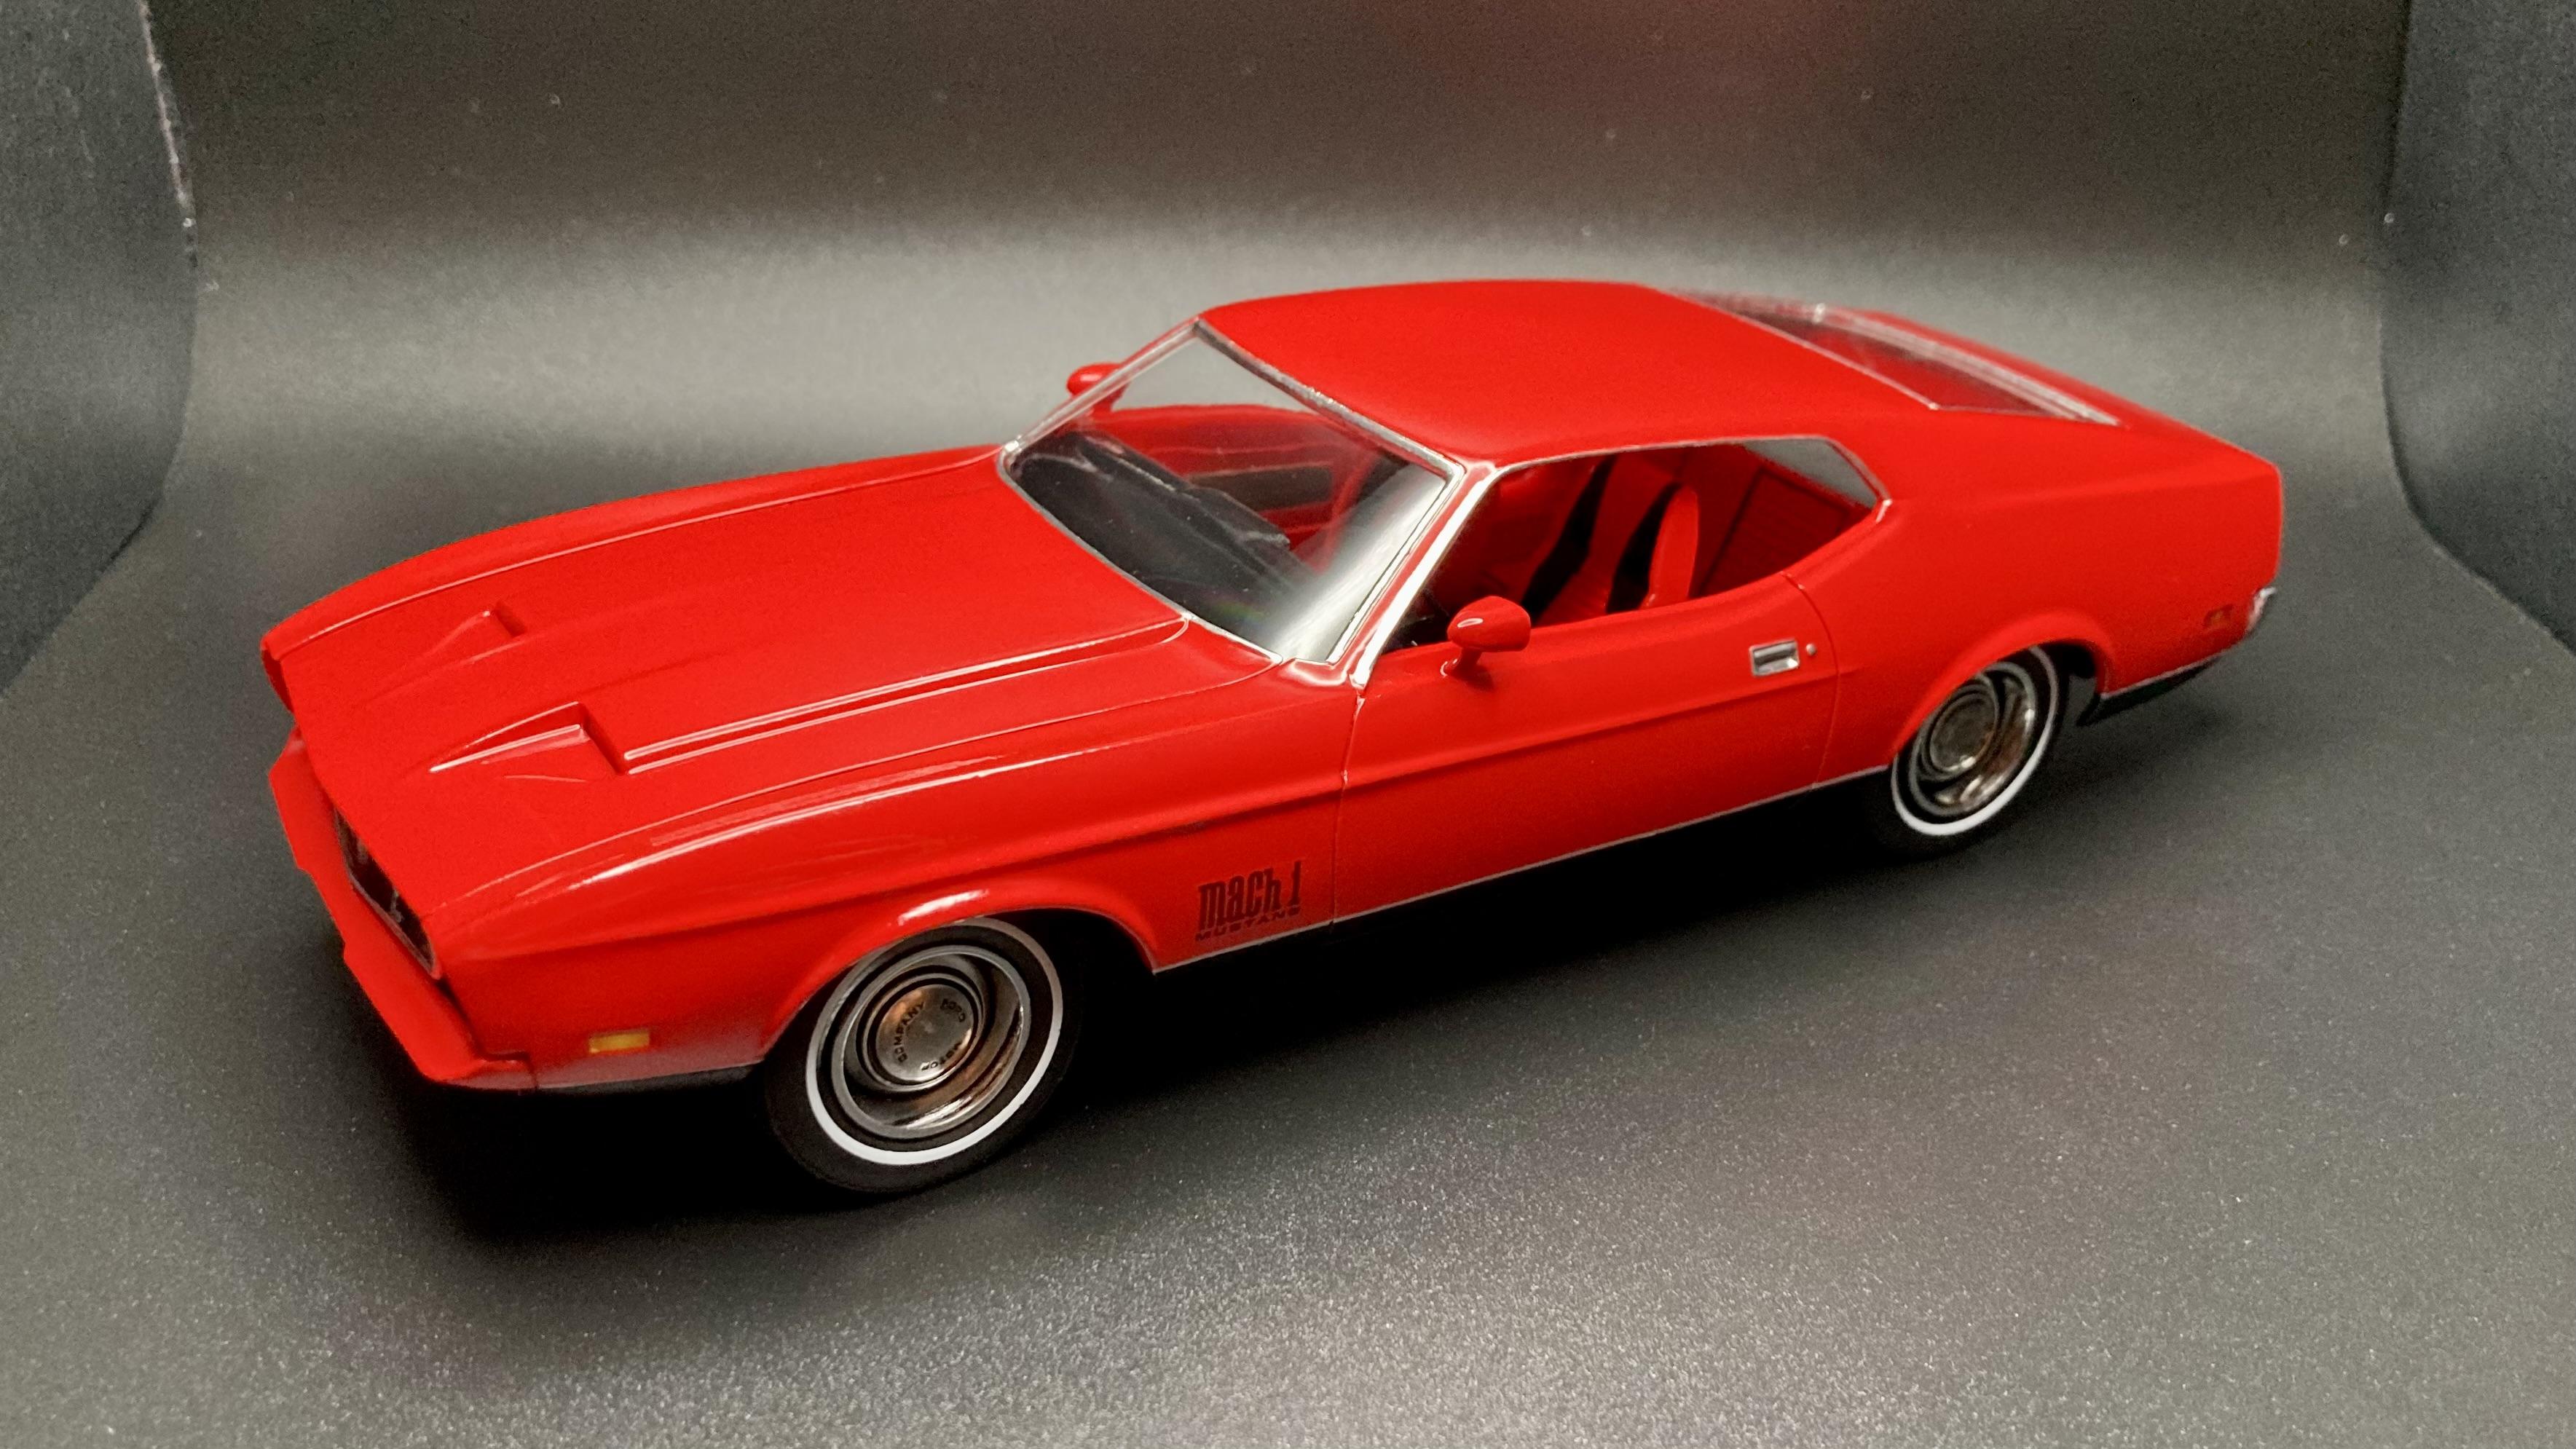
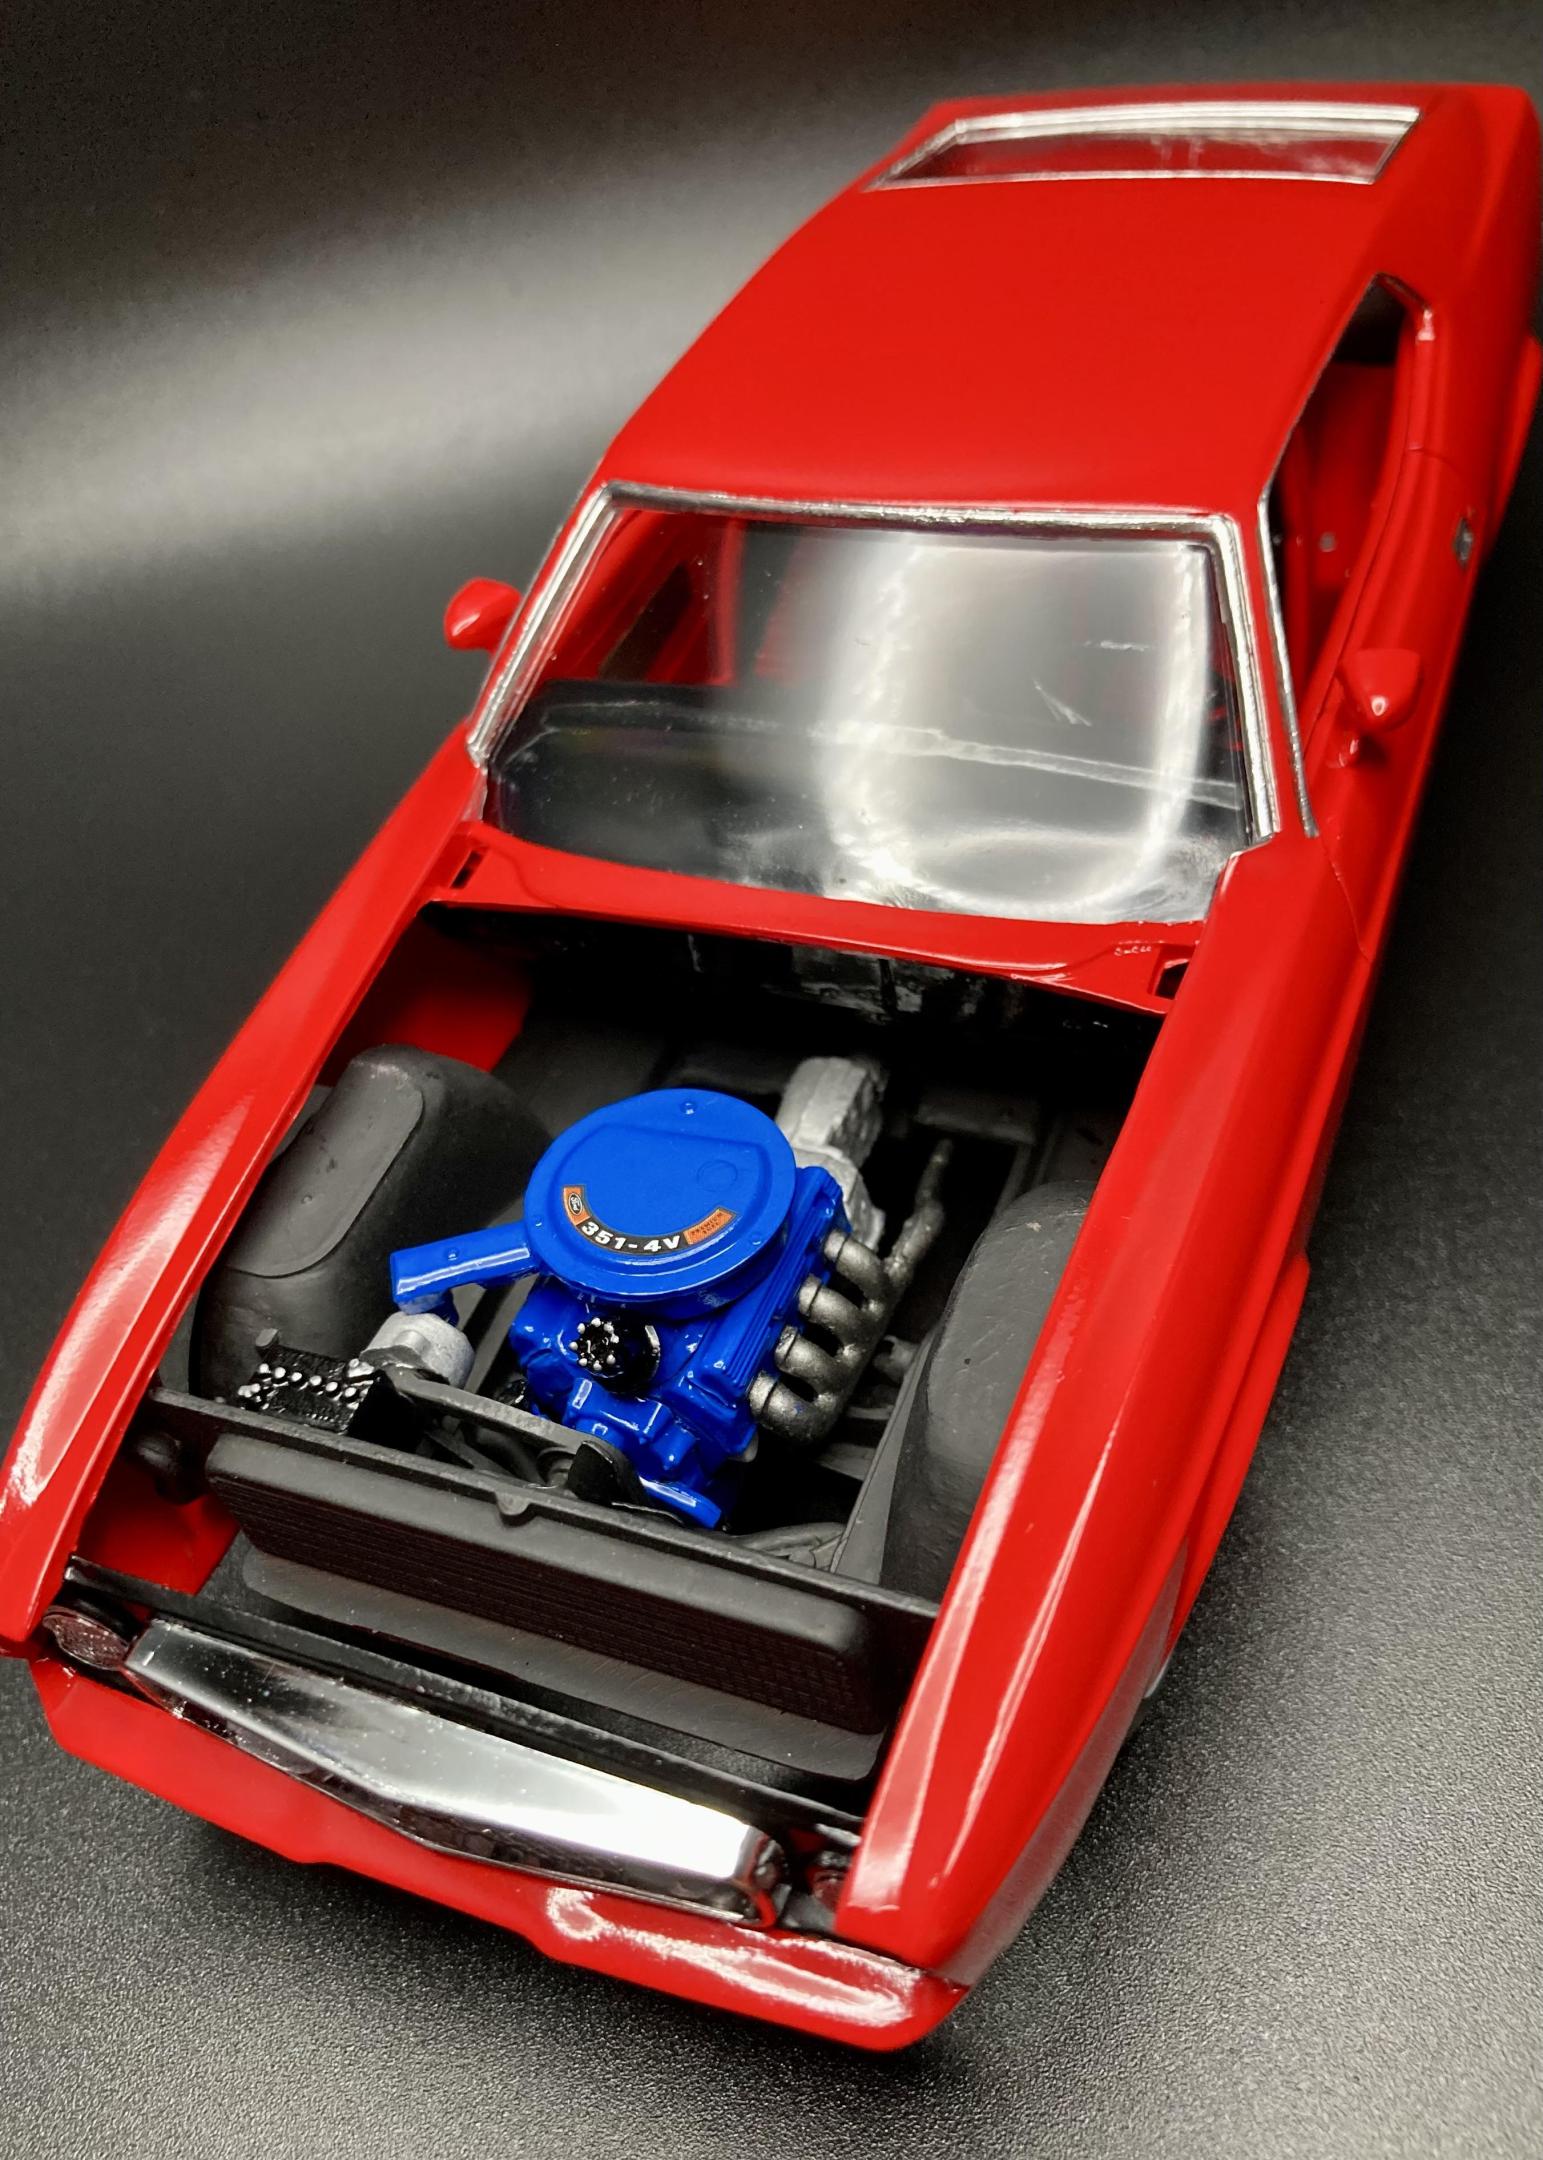
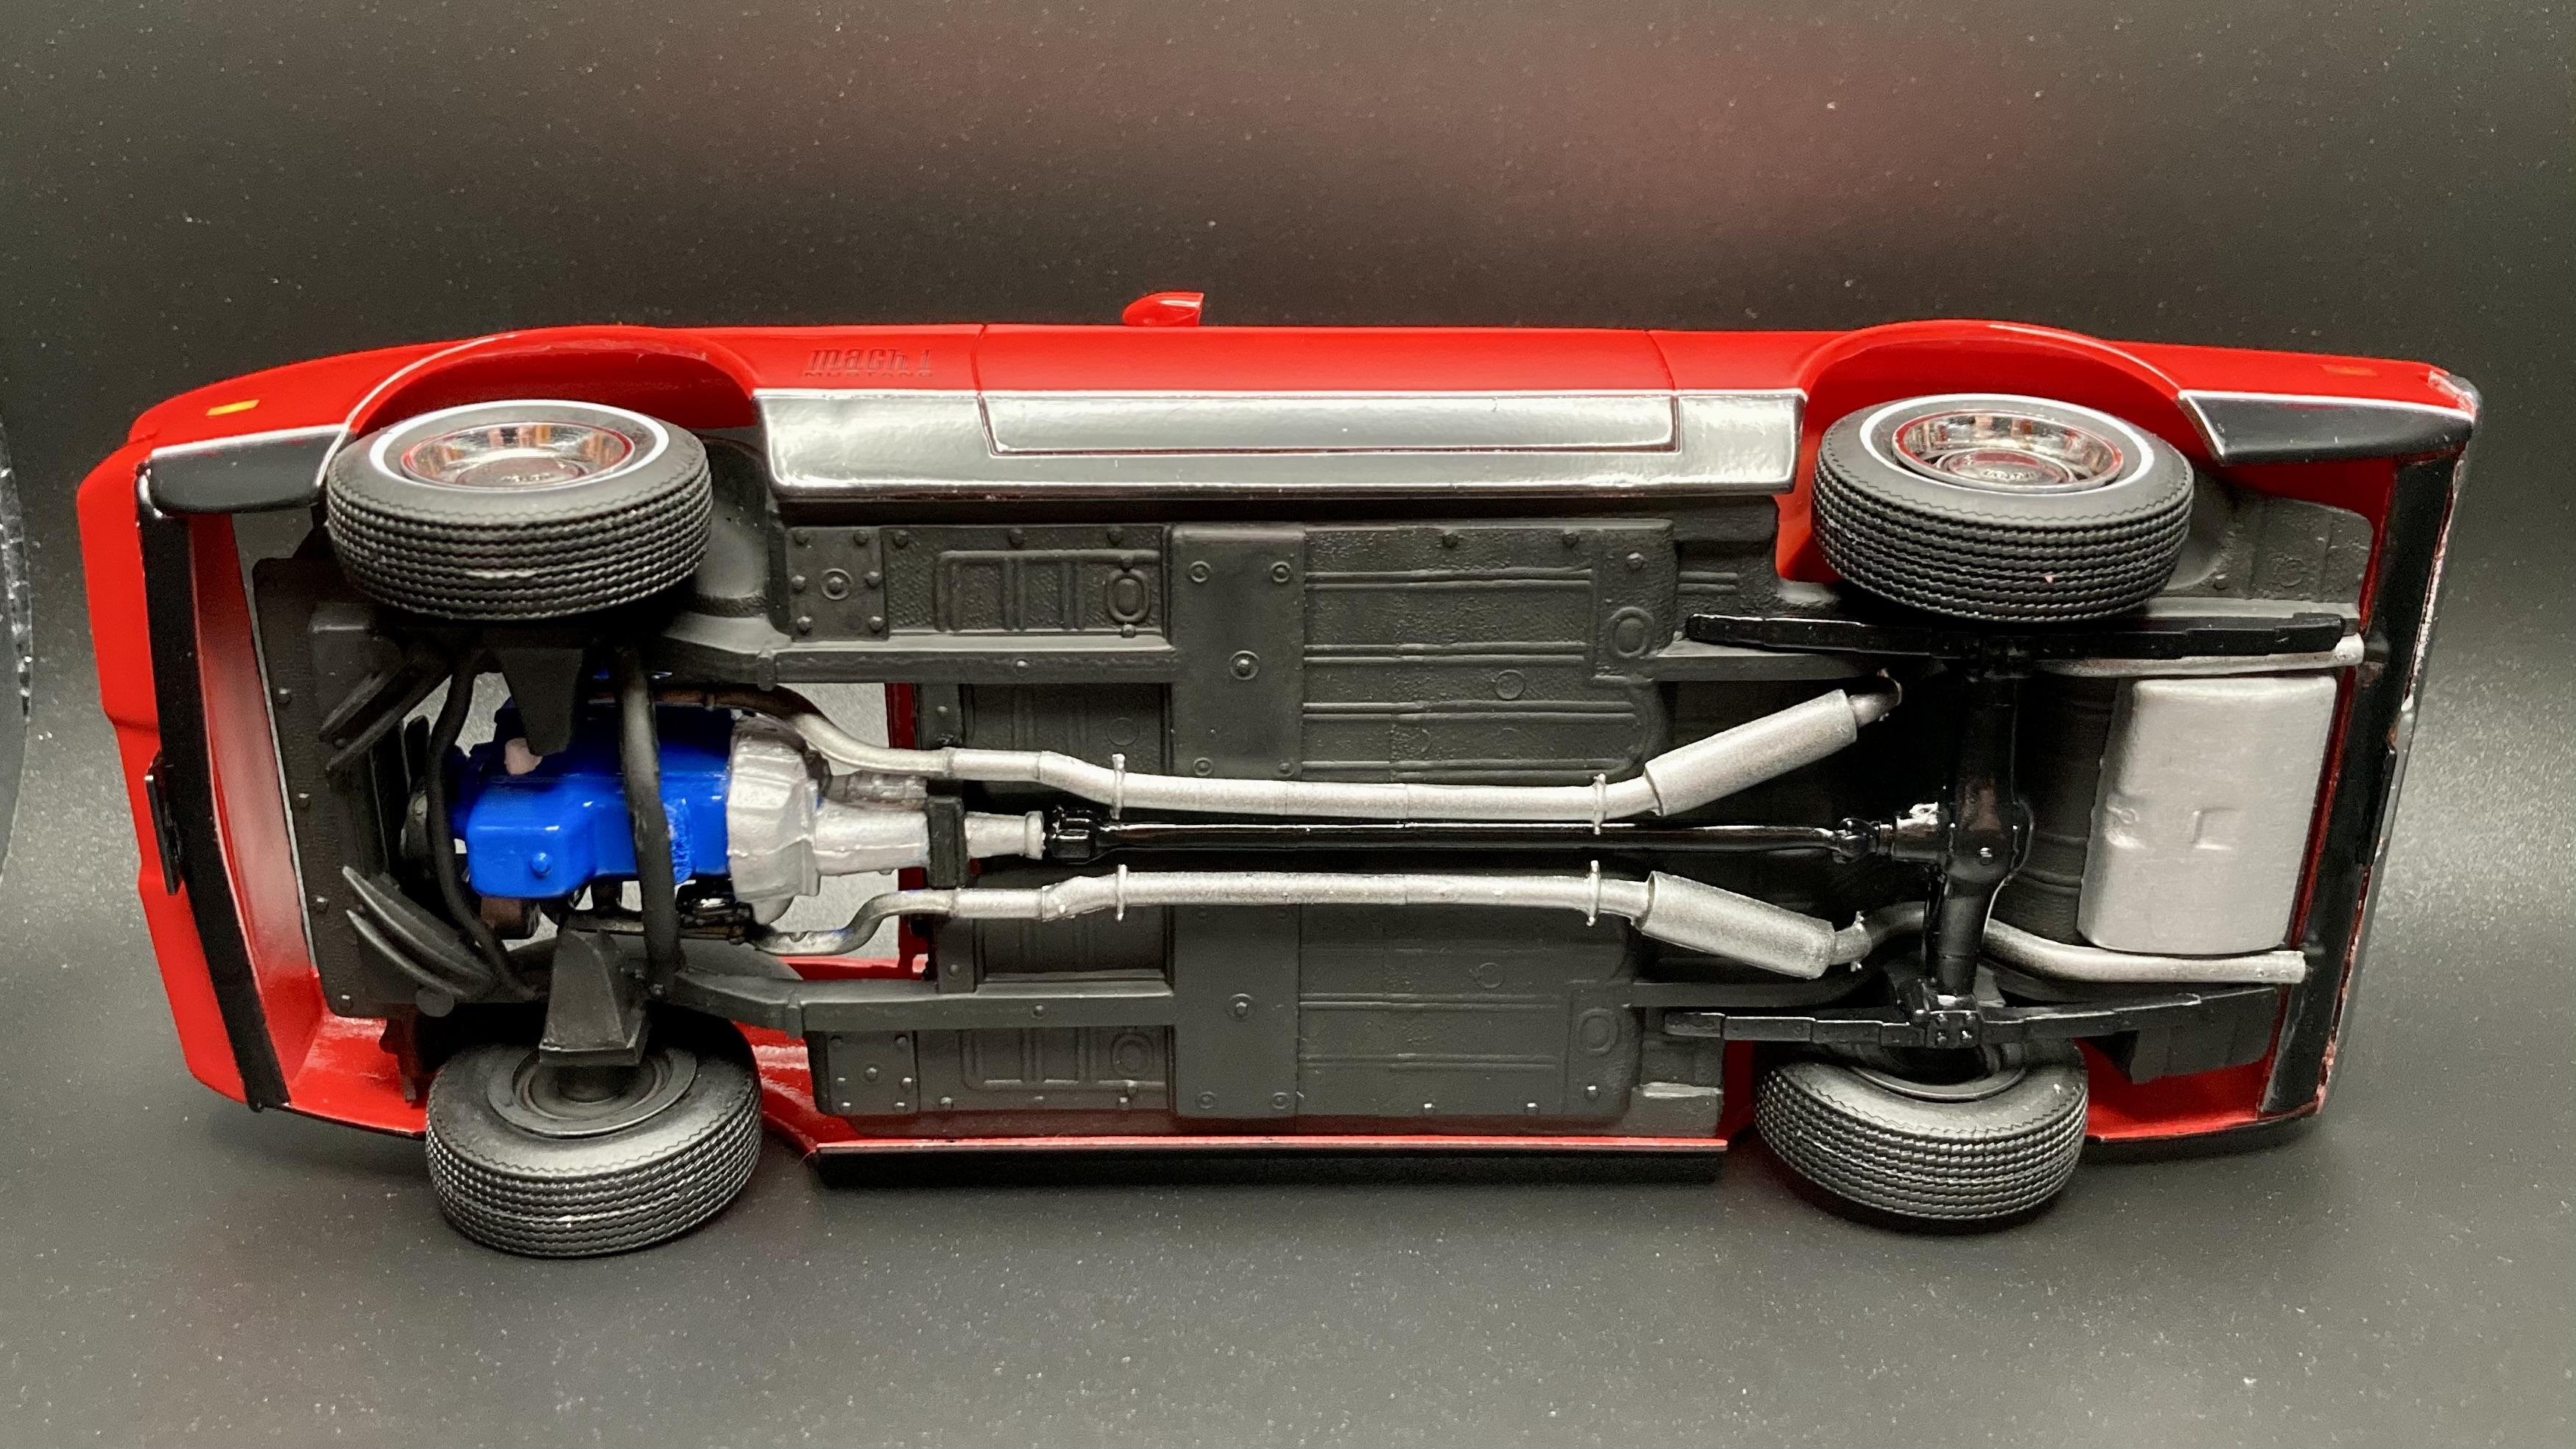
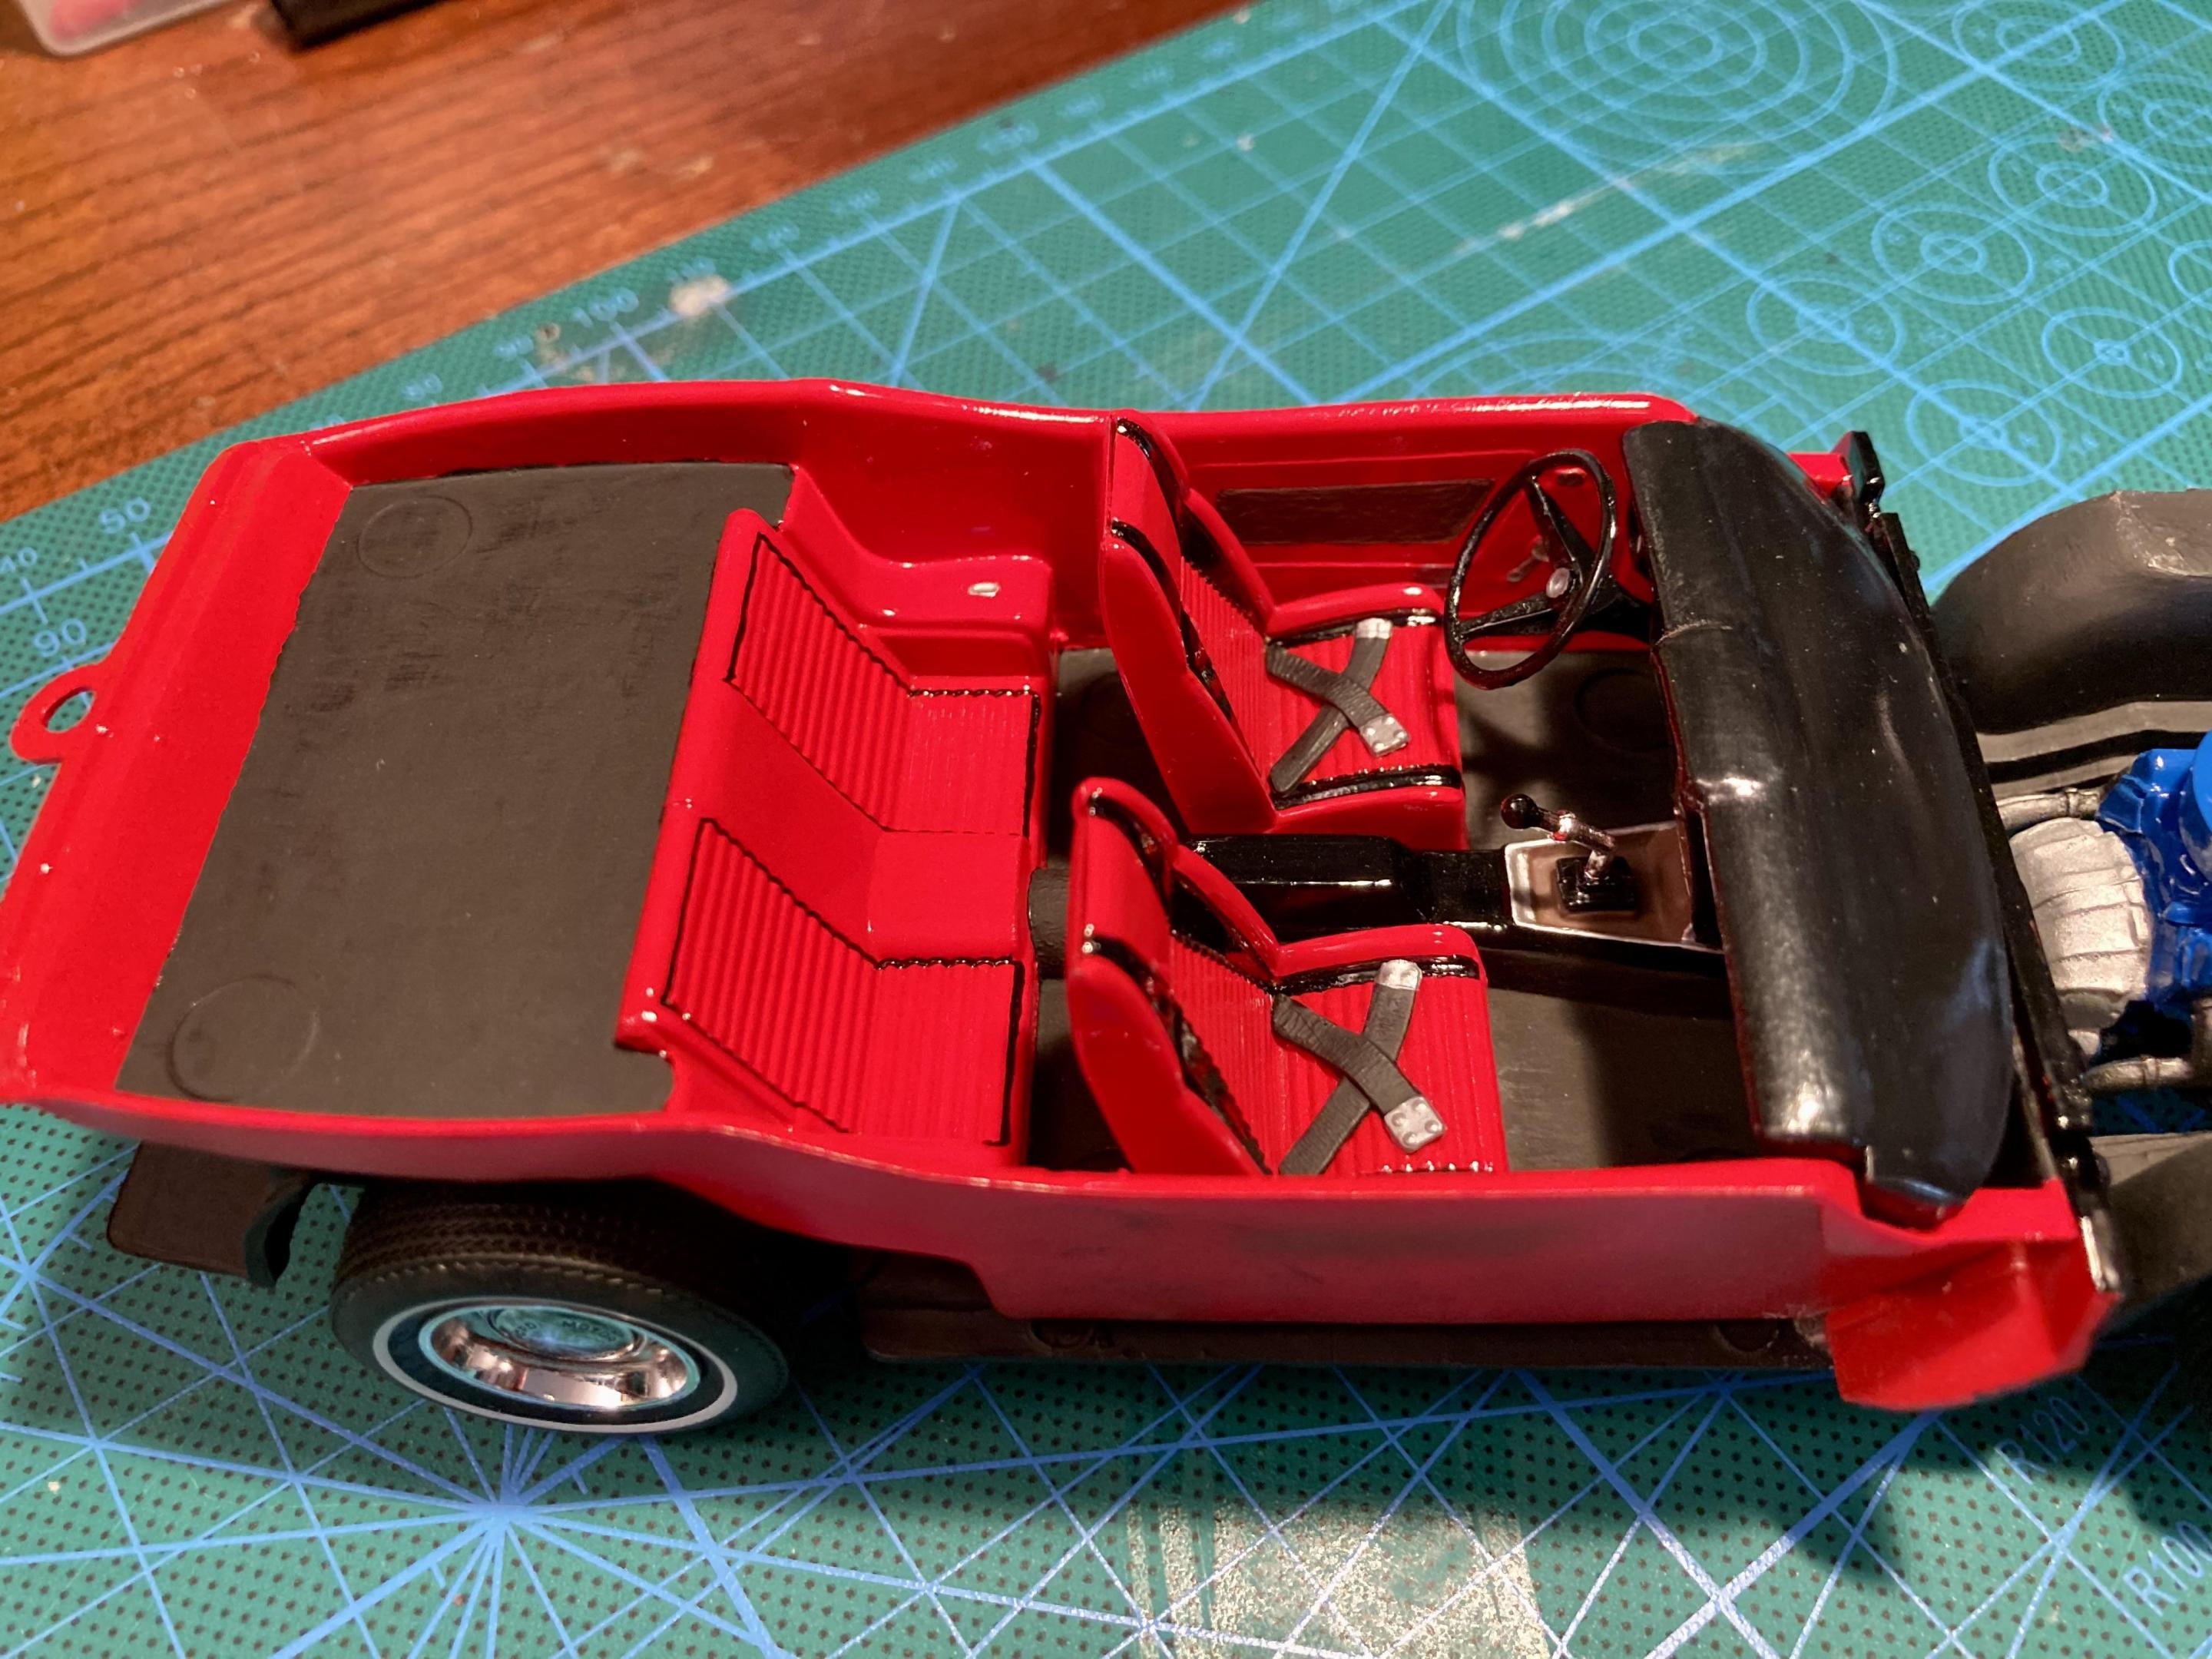
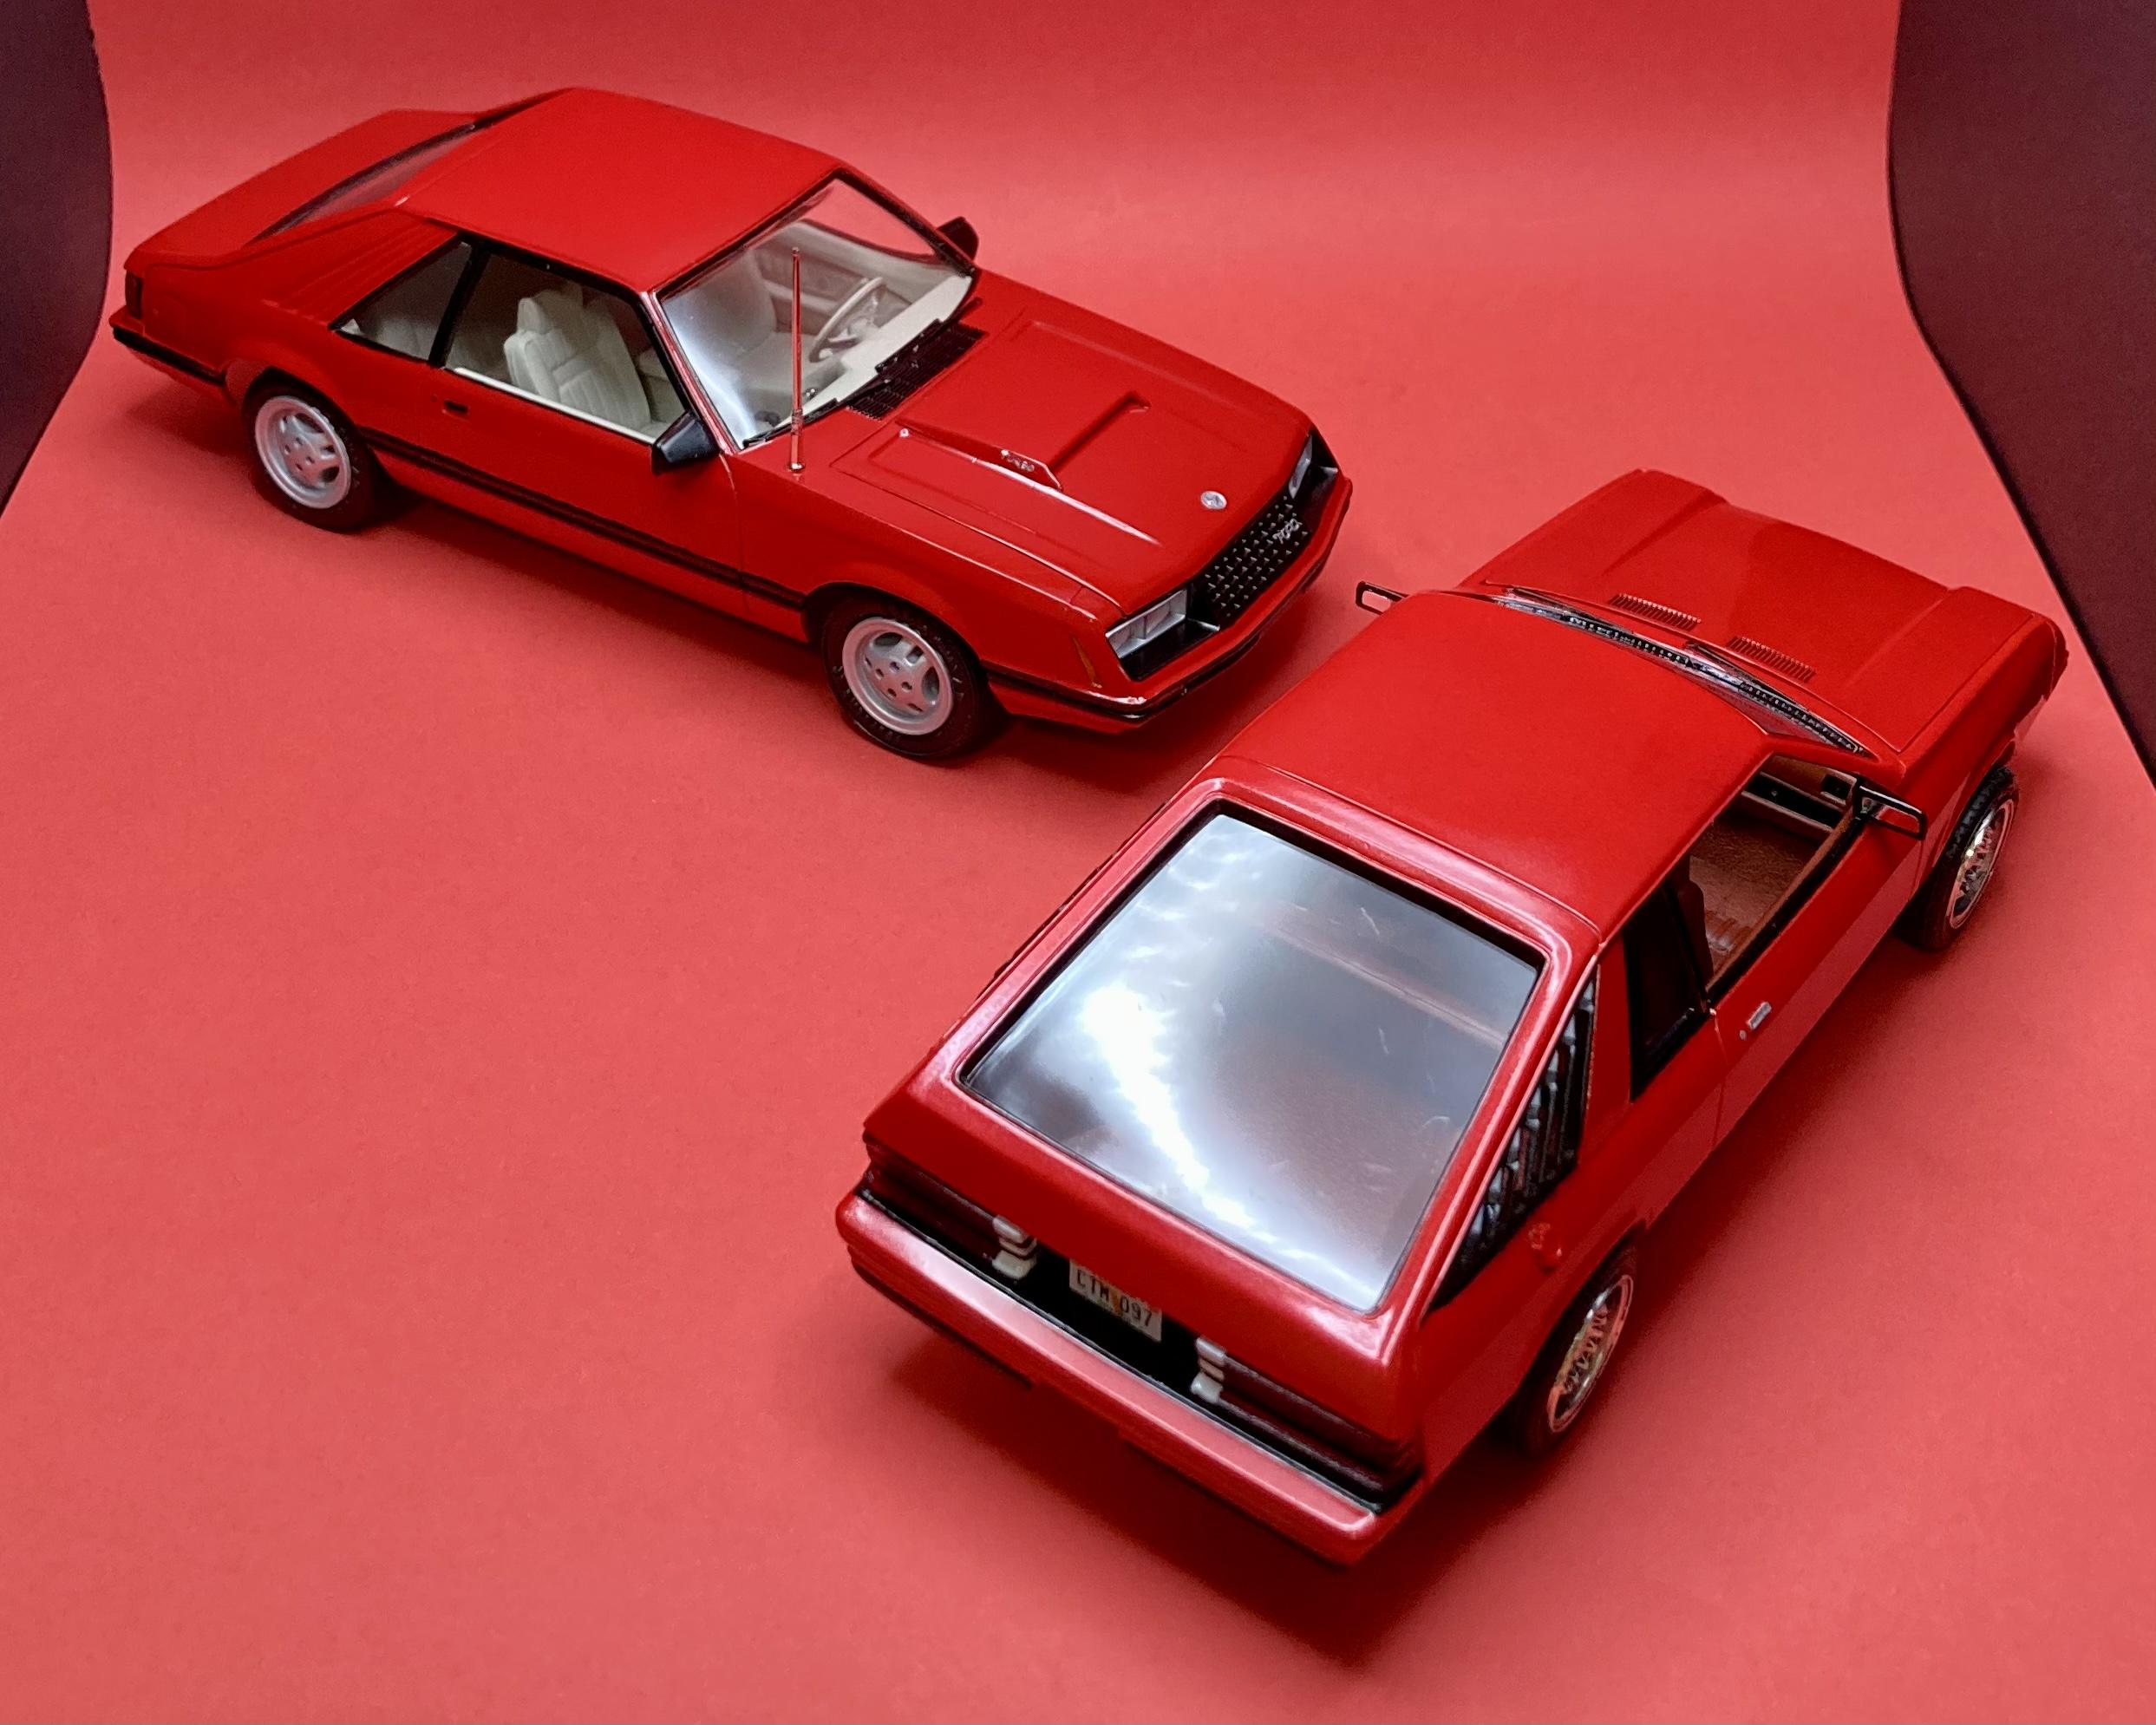
Now that Revell has made the MPC/AMT ‘71-‘73 Mustang kits obsolete… here’s my AMT 007 Mustang Mach 1! I left most of the kit’s inaccuracies intact, and built it as-is out of box. I did fill in the hood vent though. Body and interior are painted Rustoleum Gloss Apple Red over Tamiya pink primer with Krylon semigloss Black for the lower body. Cleared with Pledge floor gloss. I mistakenly glued the firewall to the interior tub and didn’t notice until final assembly. It should be glued into the body shell, further forward. I had to trim the firewall sides down to get the glued chassis and tub into the body. I managed to make the grossly inaccurate engine bay even worse! Exterior shots: Companion shots:007 Mach 1 with Supernatural Impala‘71 Fastback with ‘66 Coupe’71 Fastback with ‘94 Convertible Thanks for looking!
-
Just a out of the box super stock build . It’s a nice easy to build kit i would like to see it reissued with all the original pieces box art and decals
-
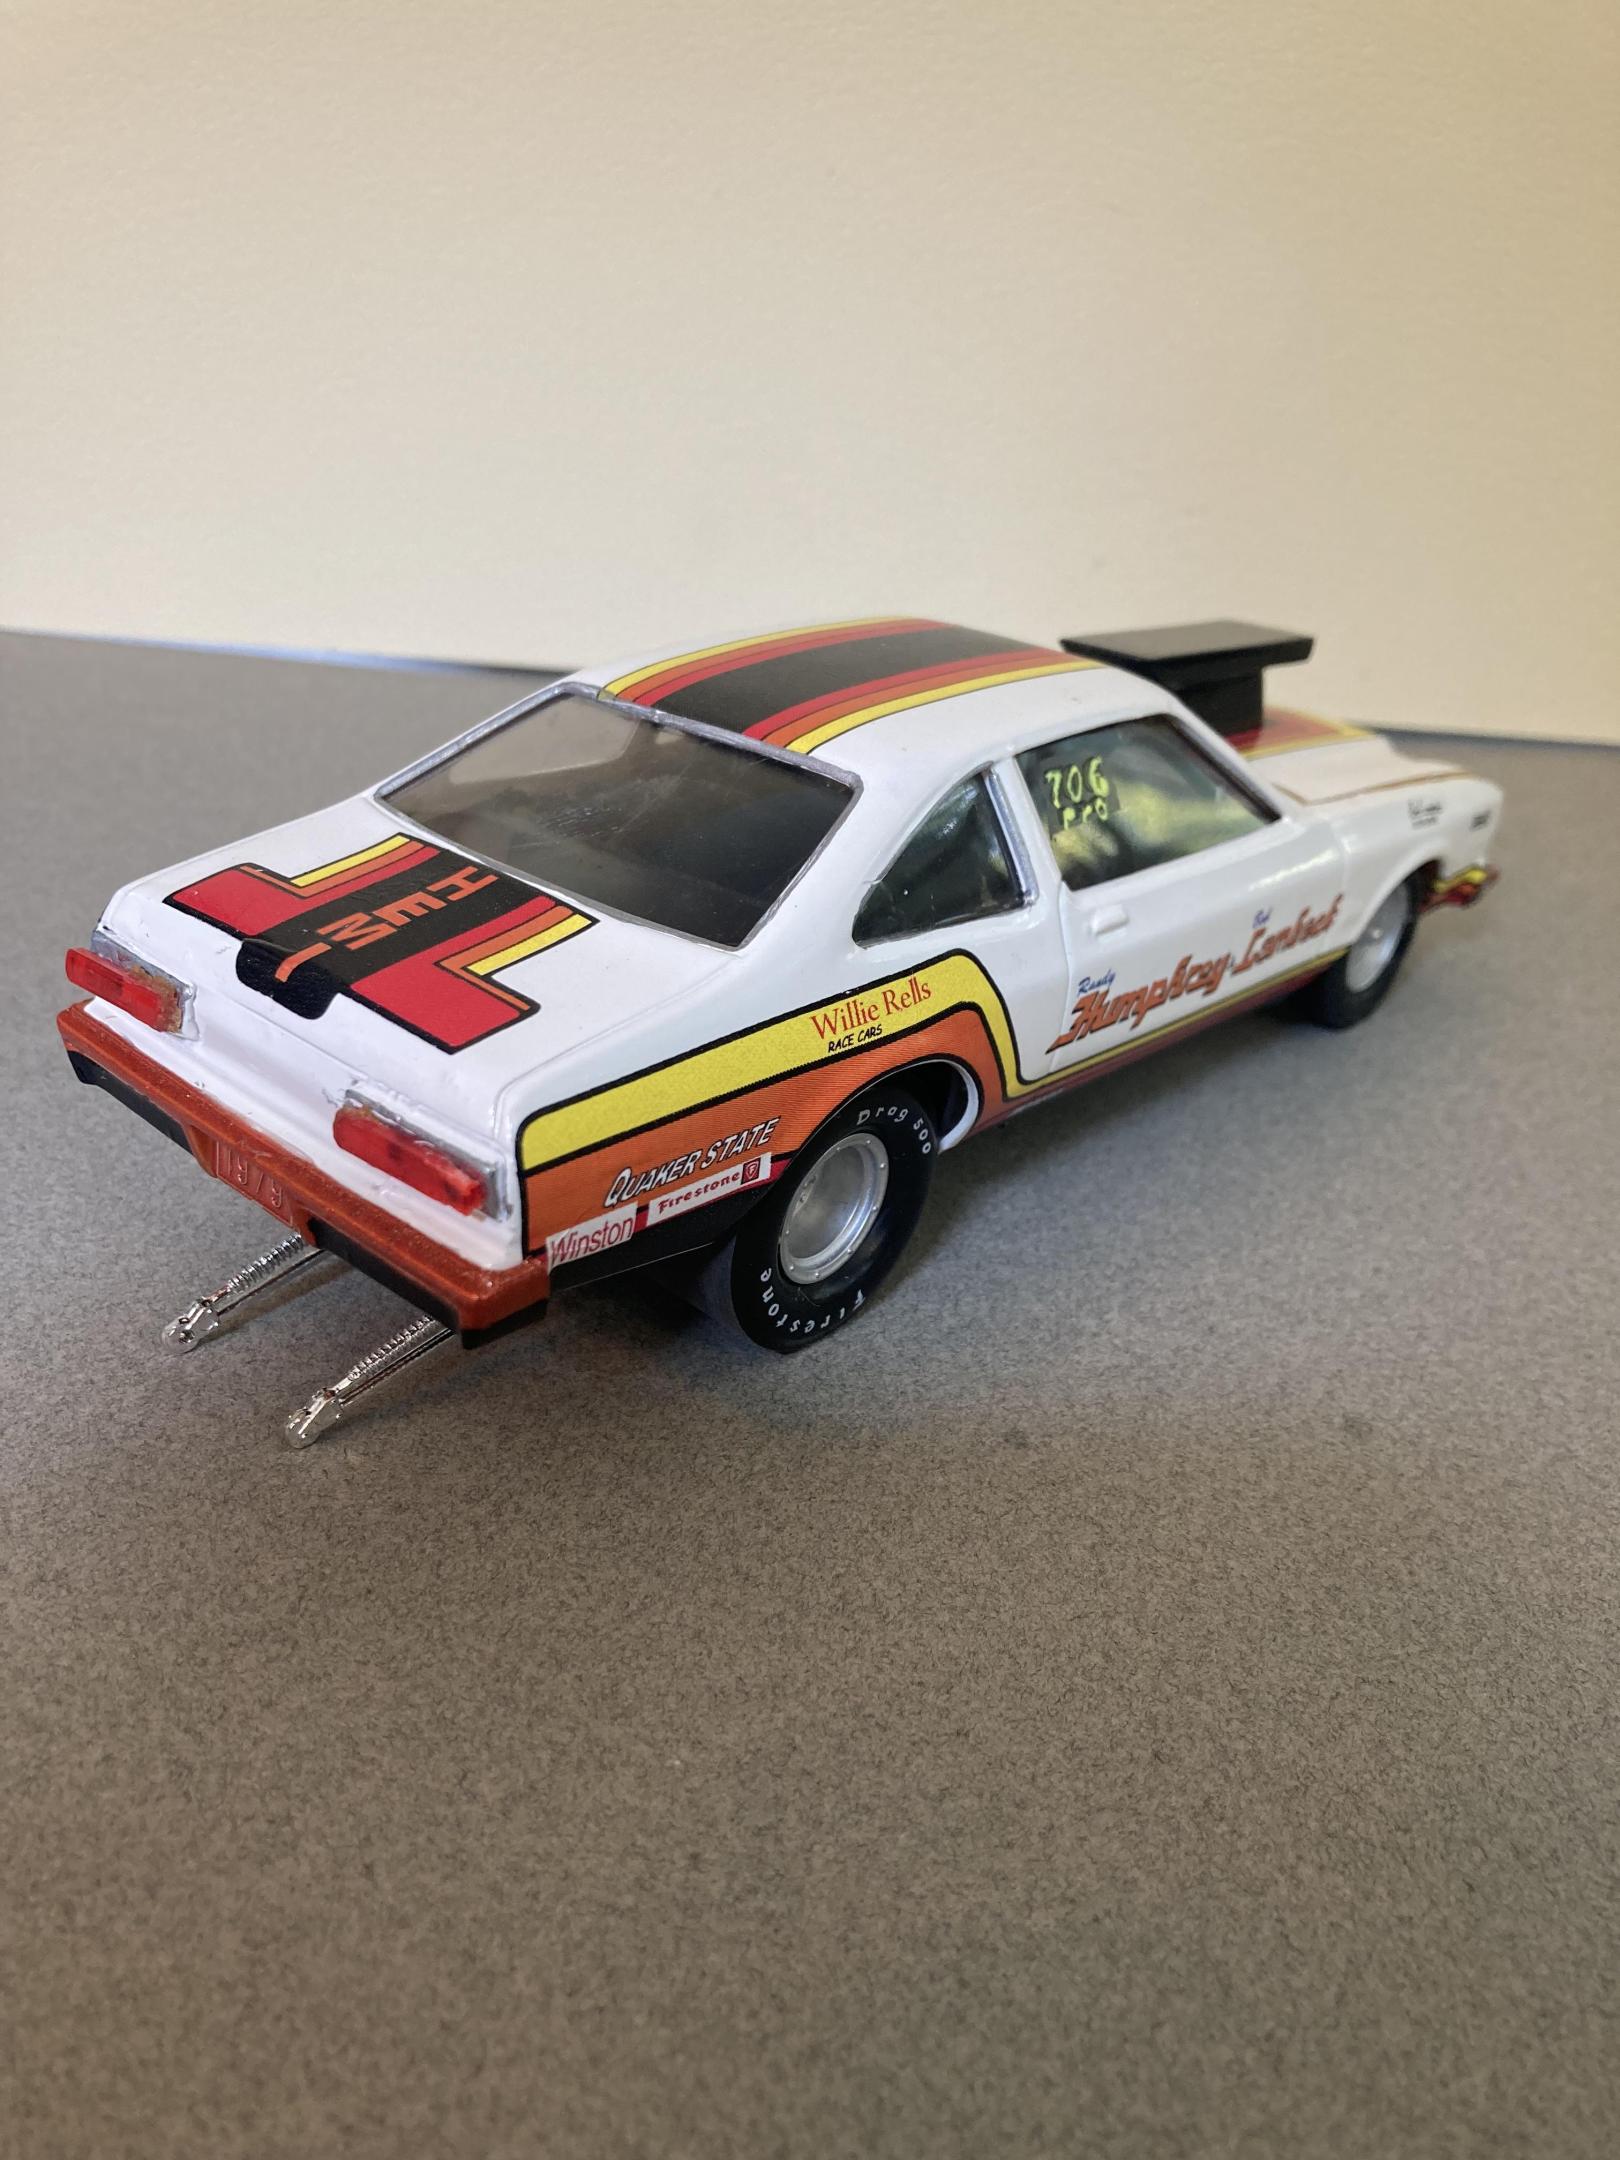
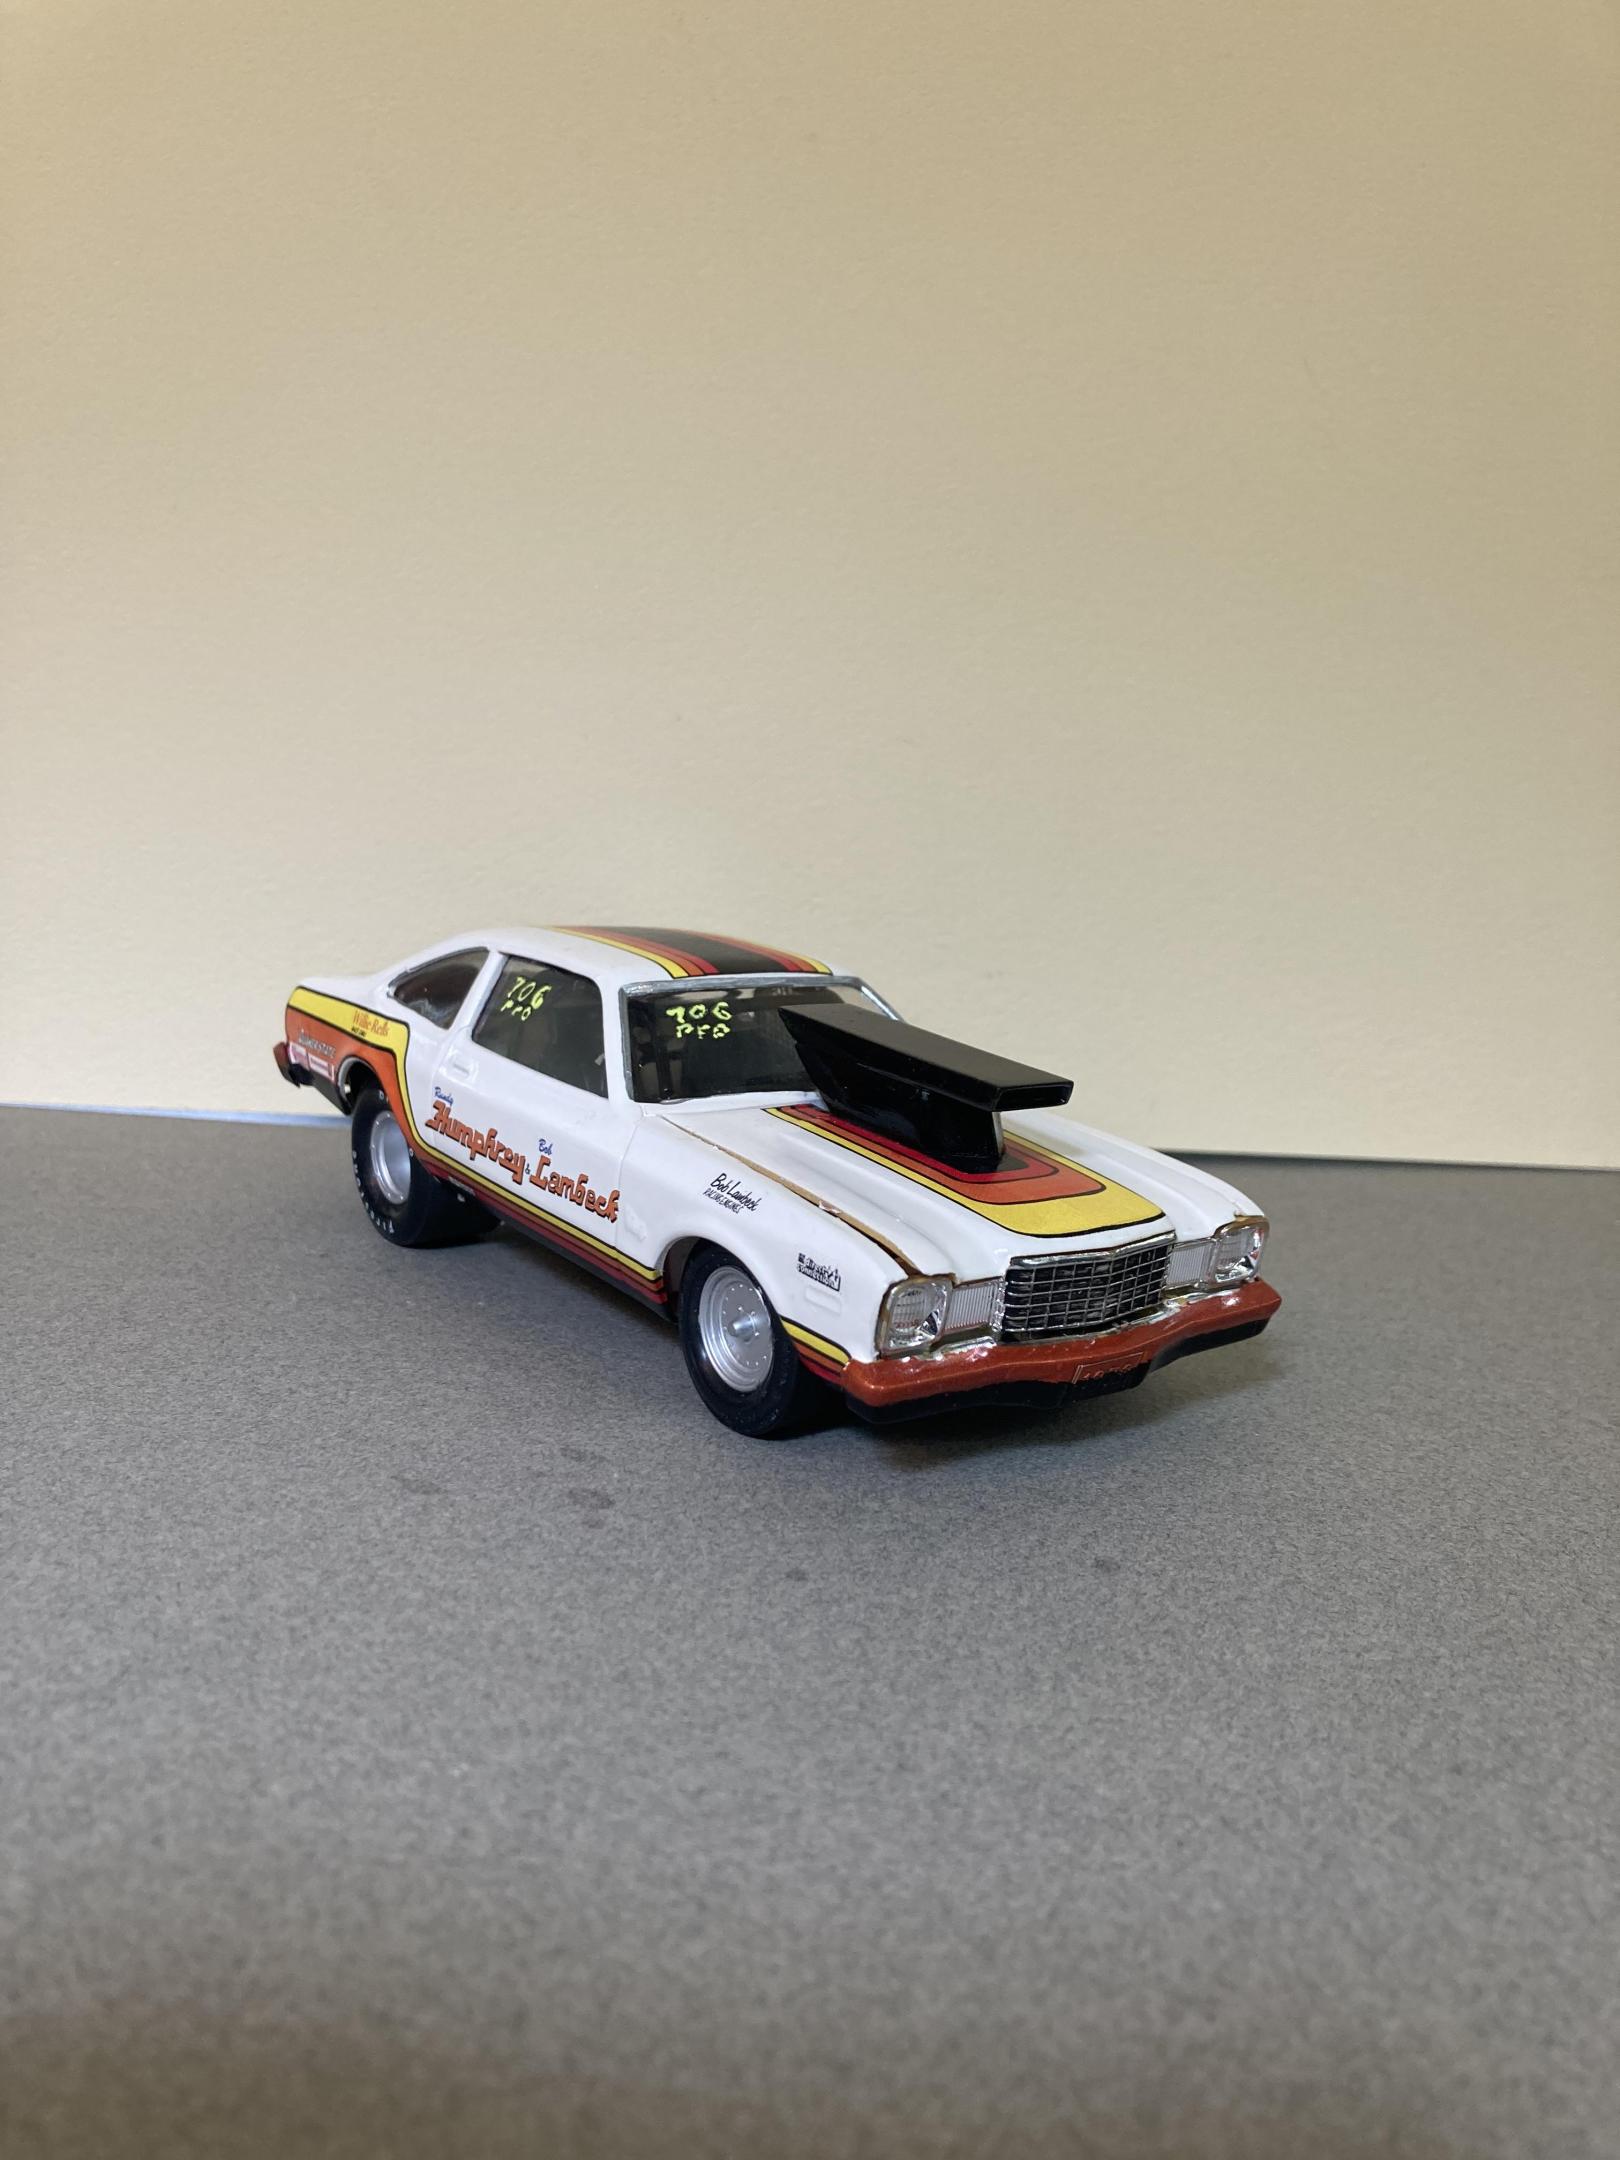
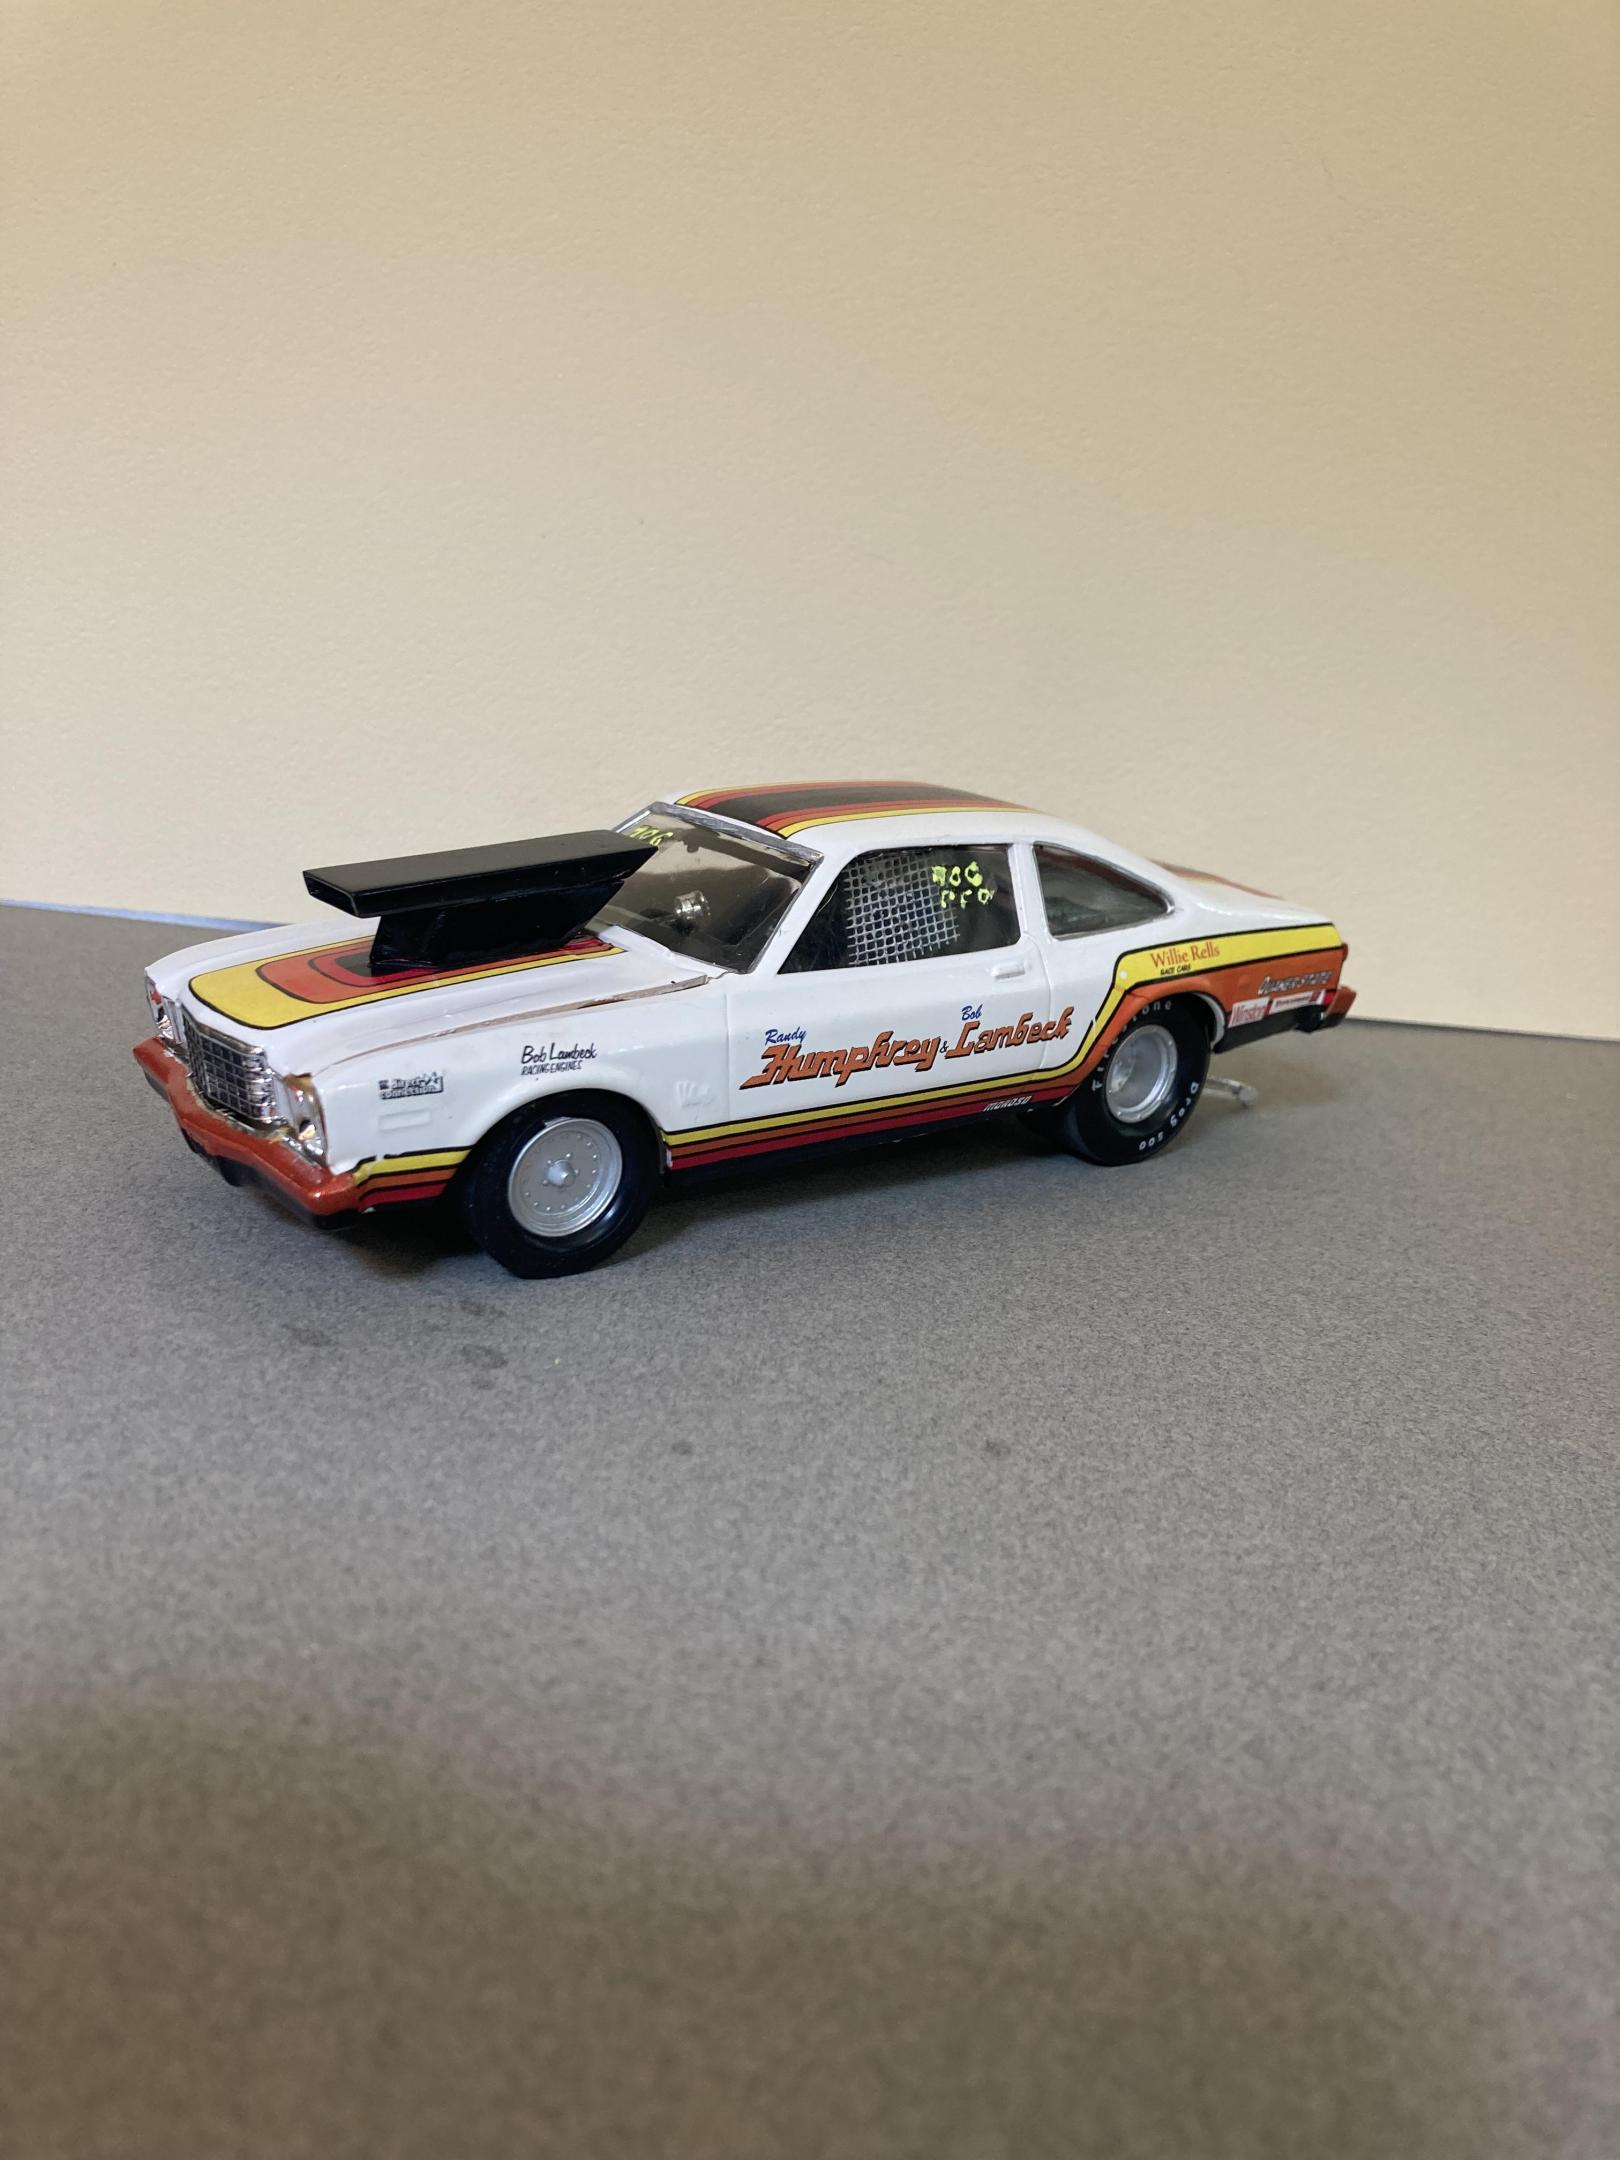
I started out with the mpc volare kit and I used the chassis from a amt pro street gtx from the fire wall back . The hemi was also pulled from the gtx . The hood scoop is from comp. Resins I do think it’s a little to tall I should have cut it down. The window net is cut from a piece of window screen. The wheels came with the gtx. It’s finished in testors white enamel with decals from southern Motorsport hobbies. Until next time thanks for looking ?. Mike
-
MPC Mustang FC 72 (HOTROD MAGAZINE) this was my 1st detailed build & contest entree. I installed every aftermarket plumbing, Aluminum Billet pulleys, A/N color coded fittings, Wrinkle Wall Slicks, even added the Chrome Valve Stems on it...for a EXTREMELY SIMPLE "BOX STOCK" build that would only take most beginners a few days to complete, took me about 350+ hours...(and I still wished I had 25-30 more to do everything that was in my head.. I had nothing but FUN all the way through.....
-
Happy Spring all,,its warming up here in motor City,,getting ready for the Autorama at cobo hall,,one of the best car shows in the nation,,along with the Woodward cruise in August. I just finished the MPC 67 ' GTO,,it turned out ok,,,warning about the front grill set. It dosent fit right. lol. not sure if its just the production lot I got my kit from Hobby lobby or what,,but man ,,had to file ..sand ect to get it this close. And as always I chopped,,cut,,modified quite a bit of it. I put some real tires on the back,,added some headrest to the seats,,added some side dump header pipes,,opened up the rear wheel wells to fit back tires,,installed a 409 mtr from the x-tras bx,,and 671 blower. Installed a replacement rear end from the x-tras bx. Rattle can sprayed red from the hardware store paint. hand painted everything else. Overall its a cool kit,,but it will test your fabrication+ modification skills. maybe if I had just left it stock it would have been easy,,but I hardly ever do that often. Build on!
-
Started working on this one last week. I got as far as trying to put the front wheels on when I thought to myself, "these plastic pins are a pain. Plus, that engine doesn't look at all good." I went to my model supply cabinet and broke out an AMT 68/69 RR/GTX kit for the frame. I raided a Revell 68 Charger for the engine and am using a B-N-L resin torque flight tranny for the build. How does that AMT frame fit you ask? Very well thank you. I just had to do some minor sanding on the radiator support and firewall to get them to fit properly. I selected the Keystone mags from the Revell 68 Charger kit and the redline tires from the new 68 GTO kit. I am also using the rear axle from the Charger kit since it looks better than what AMT gives us in the 68/69 kits. I still have to play with the location of the rear axle so the wheelbase is right, but here is how it looks right now. Basic engine is done, just needs all the accessories glued on it. Here is how it looks inside the engine compartment. Chrome valve covers are from the Revell 68 Dodge Dart kit. Thanks for looking.
-
I thought I would share my 2023 Annual 24 Hour Model Build. Most of you are familiar with the 24 hour build but for those of you who are not it is a FB group build that starts at Noon on a Saturday and runs until Noon on Sunday. It is always held on the weekend of the 24 Hours at Daytona. This year I stopped at about 21 hours into it. I was starting to make mistakes and getting sloppy. After getting some rest I spent about another 5 hours fixing my mistakes, repositioning some parts and polishing the kit glass, (twice!), due to some unfortunate glue placement...lol.
-
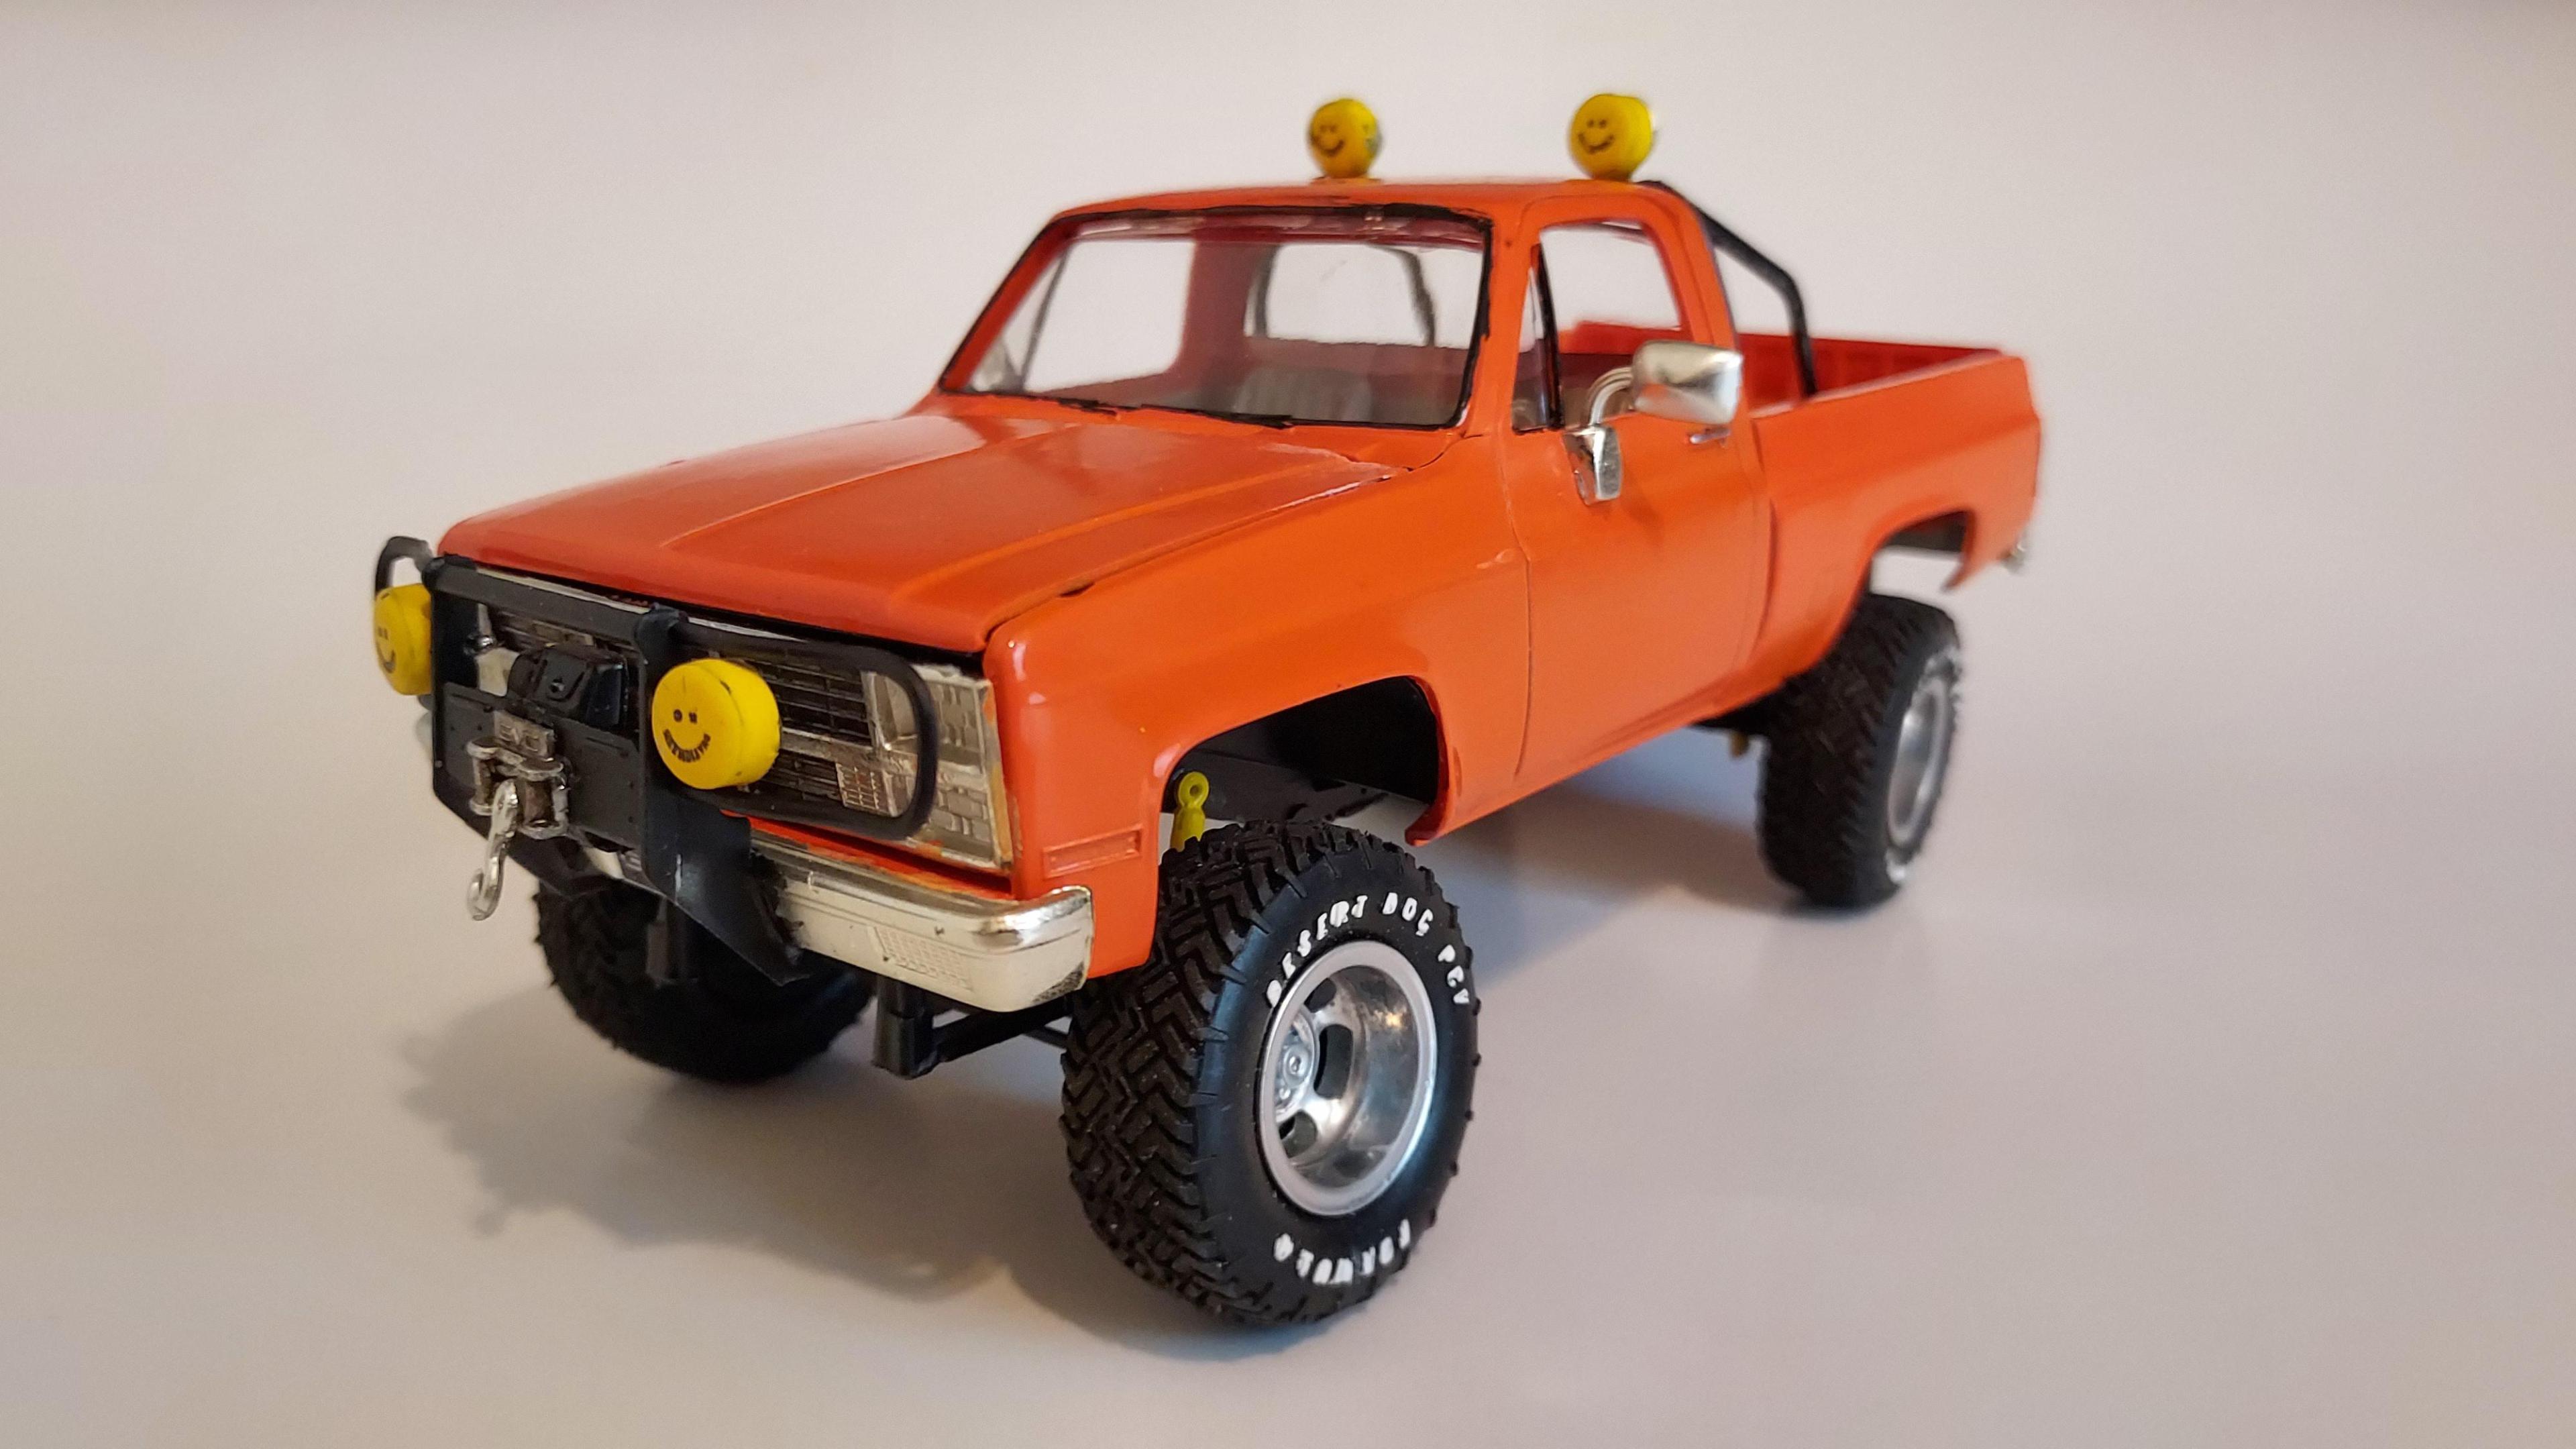
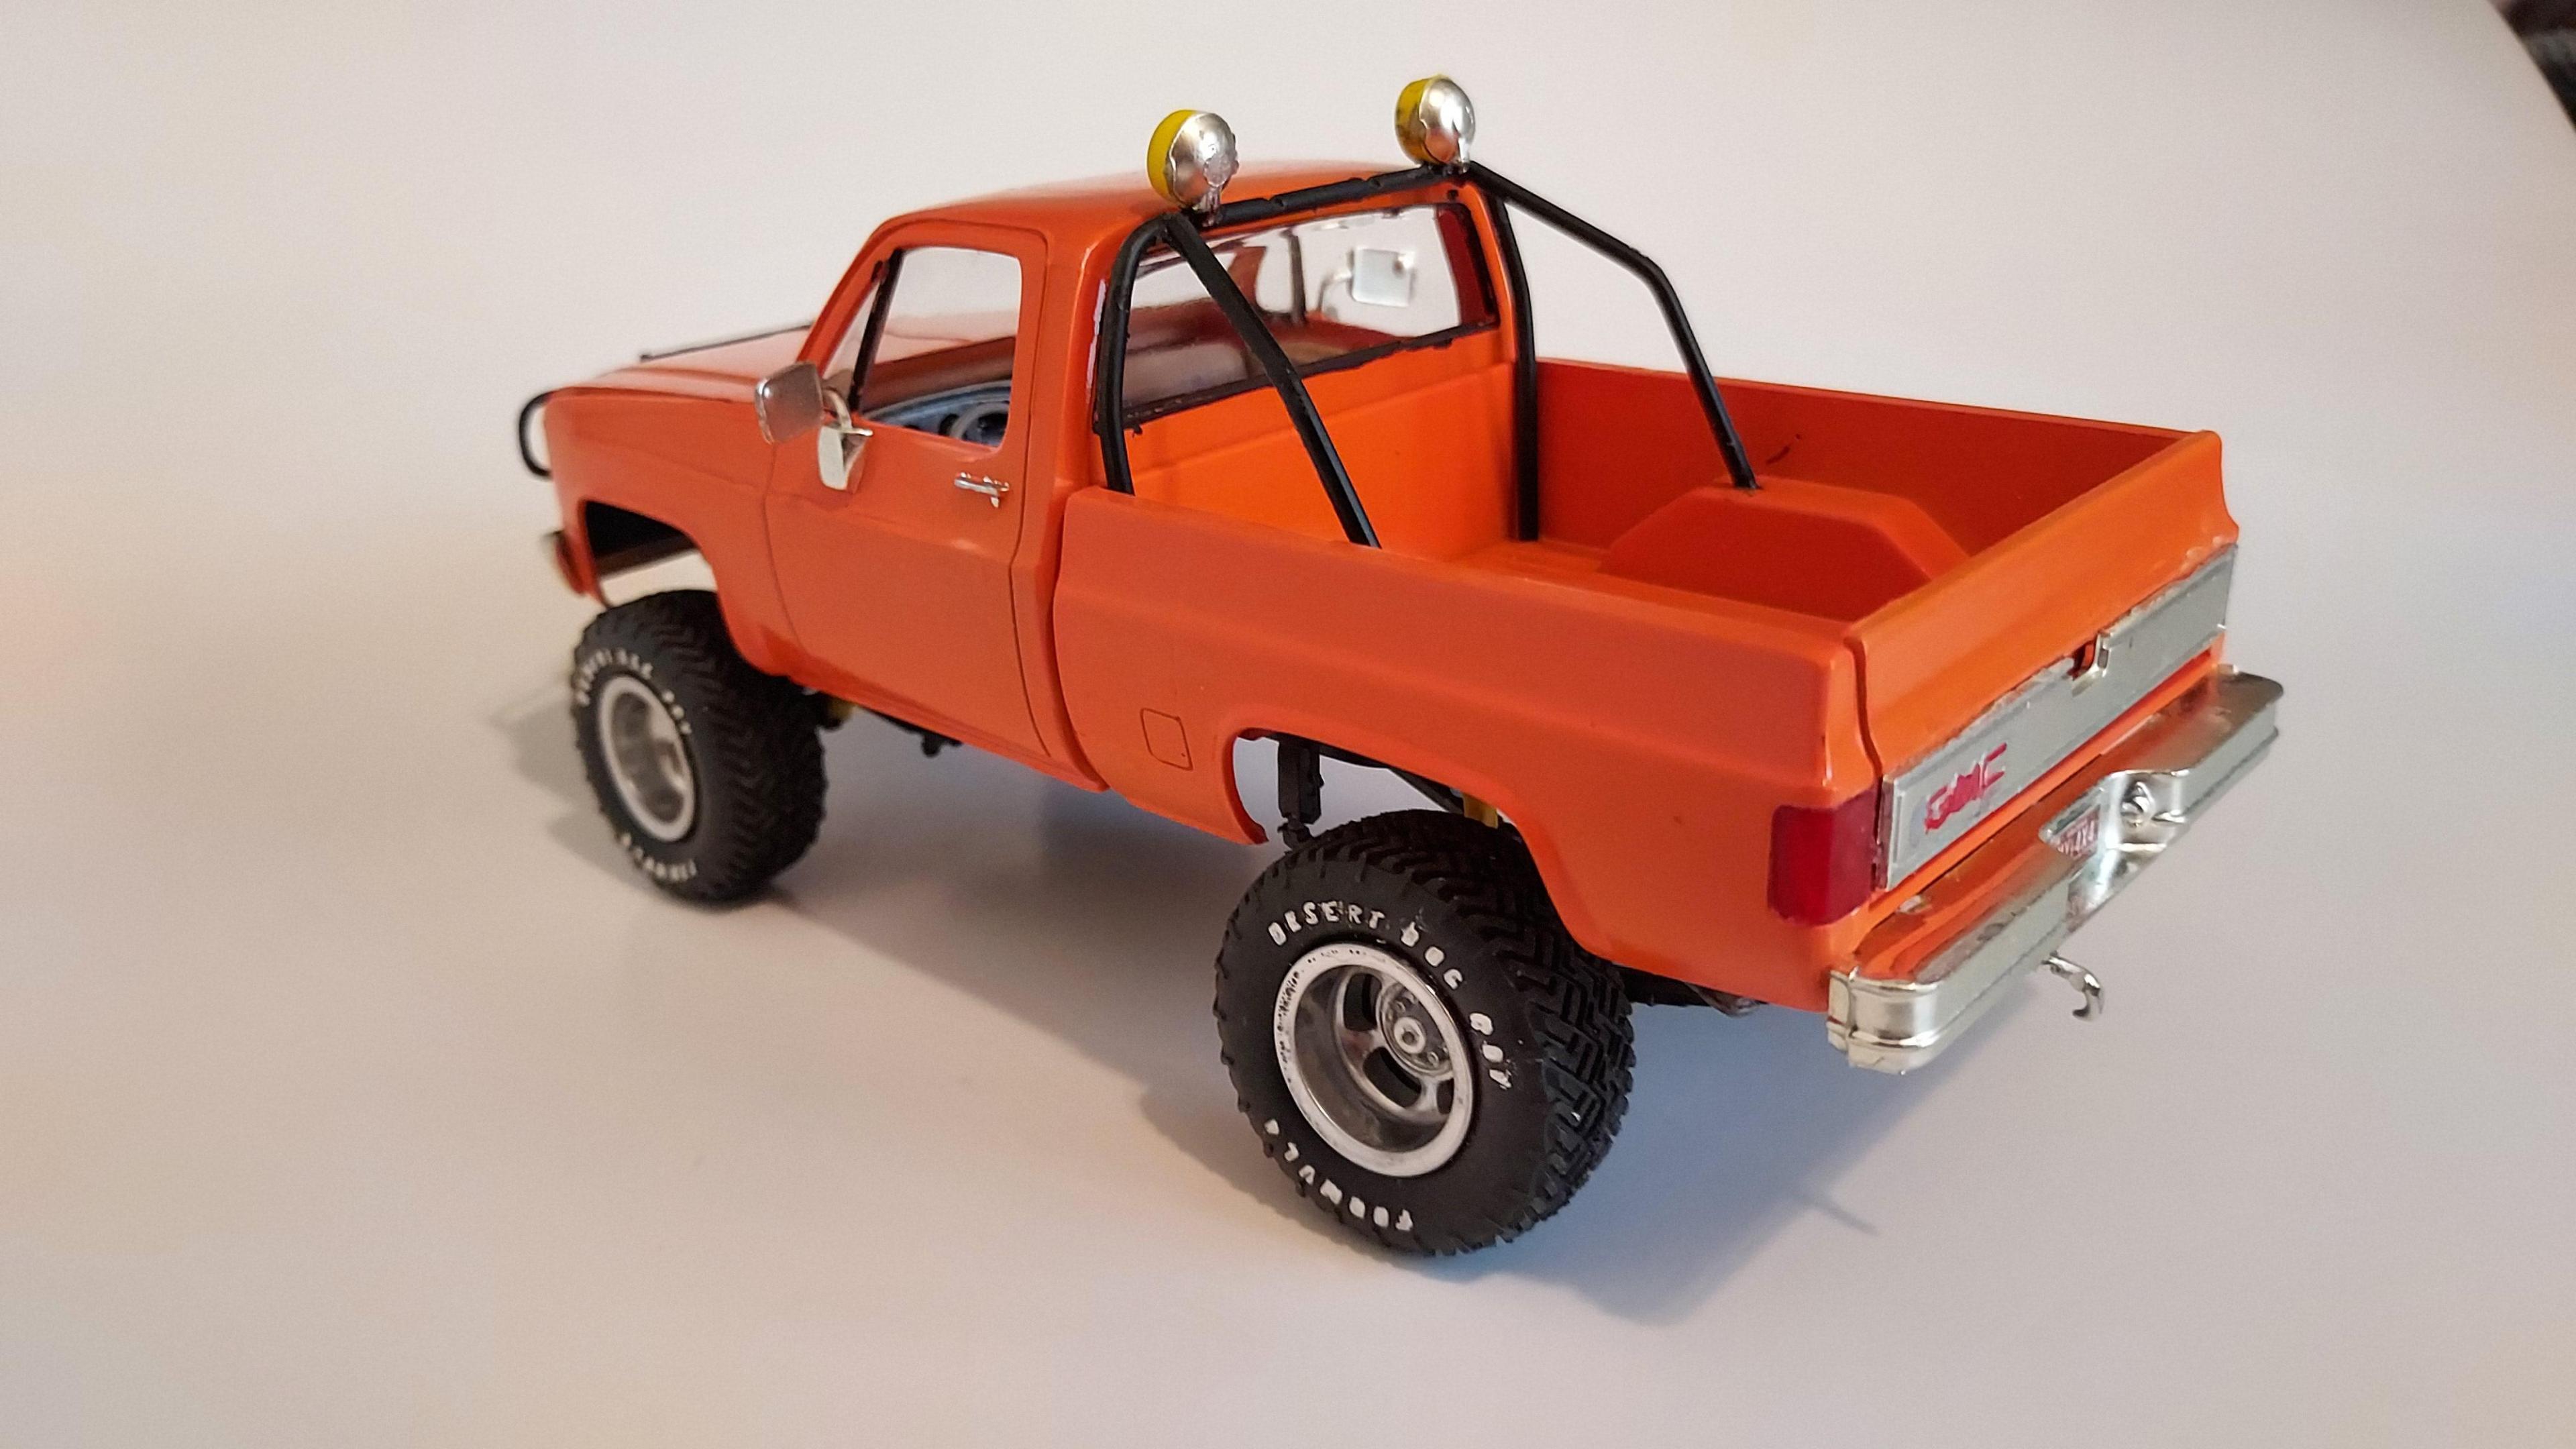
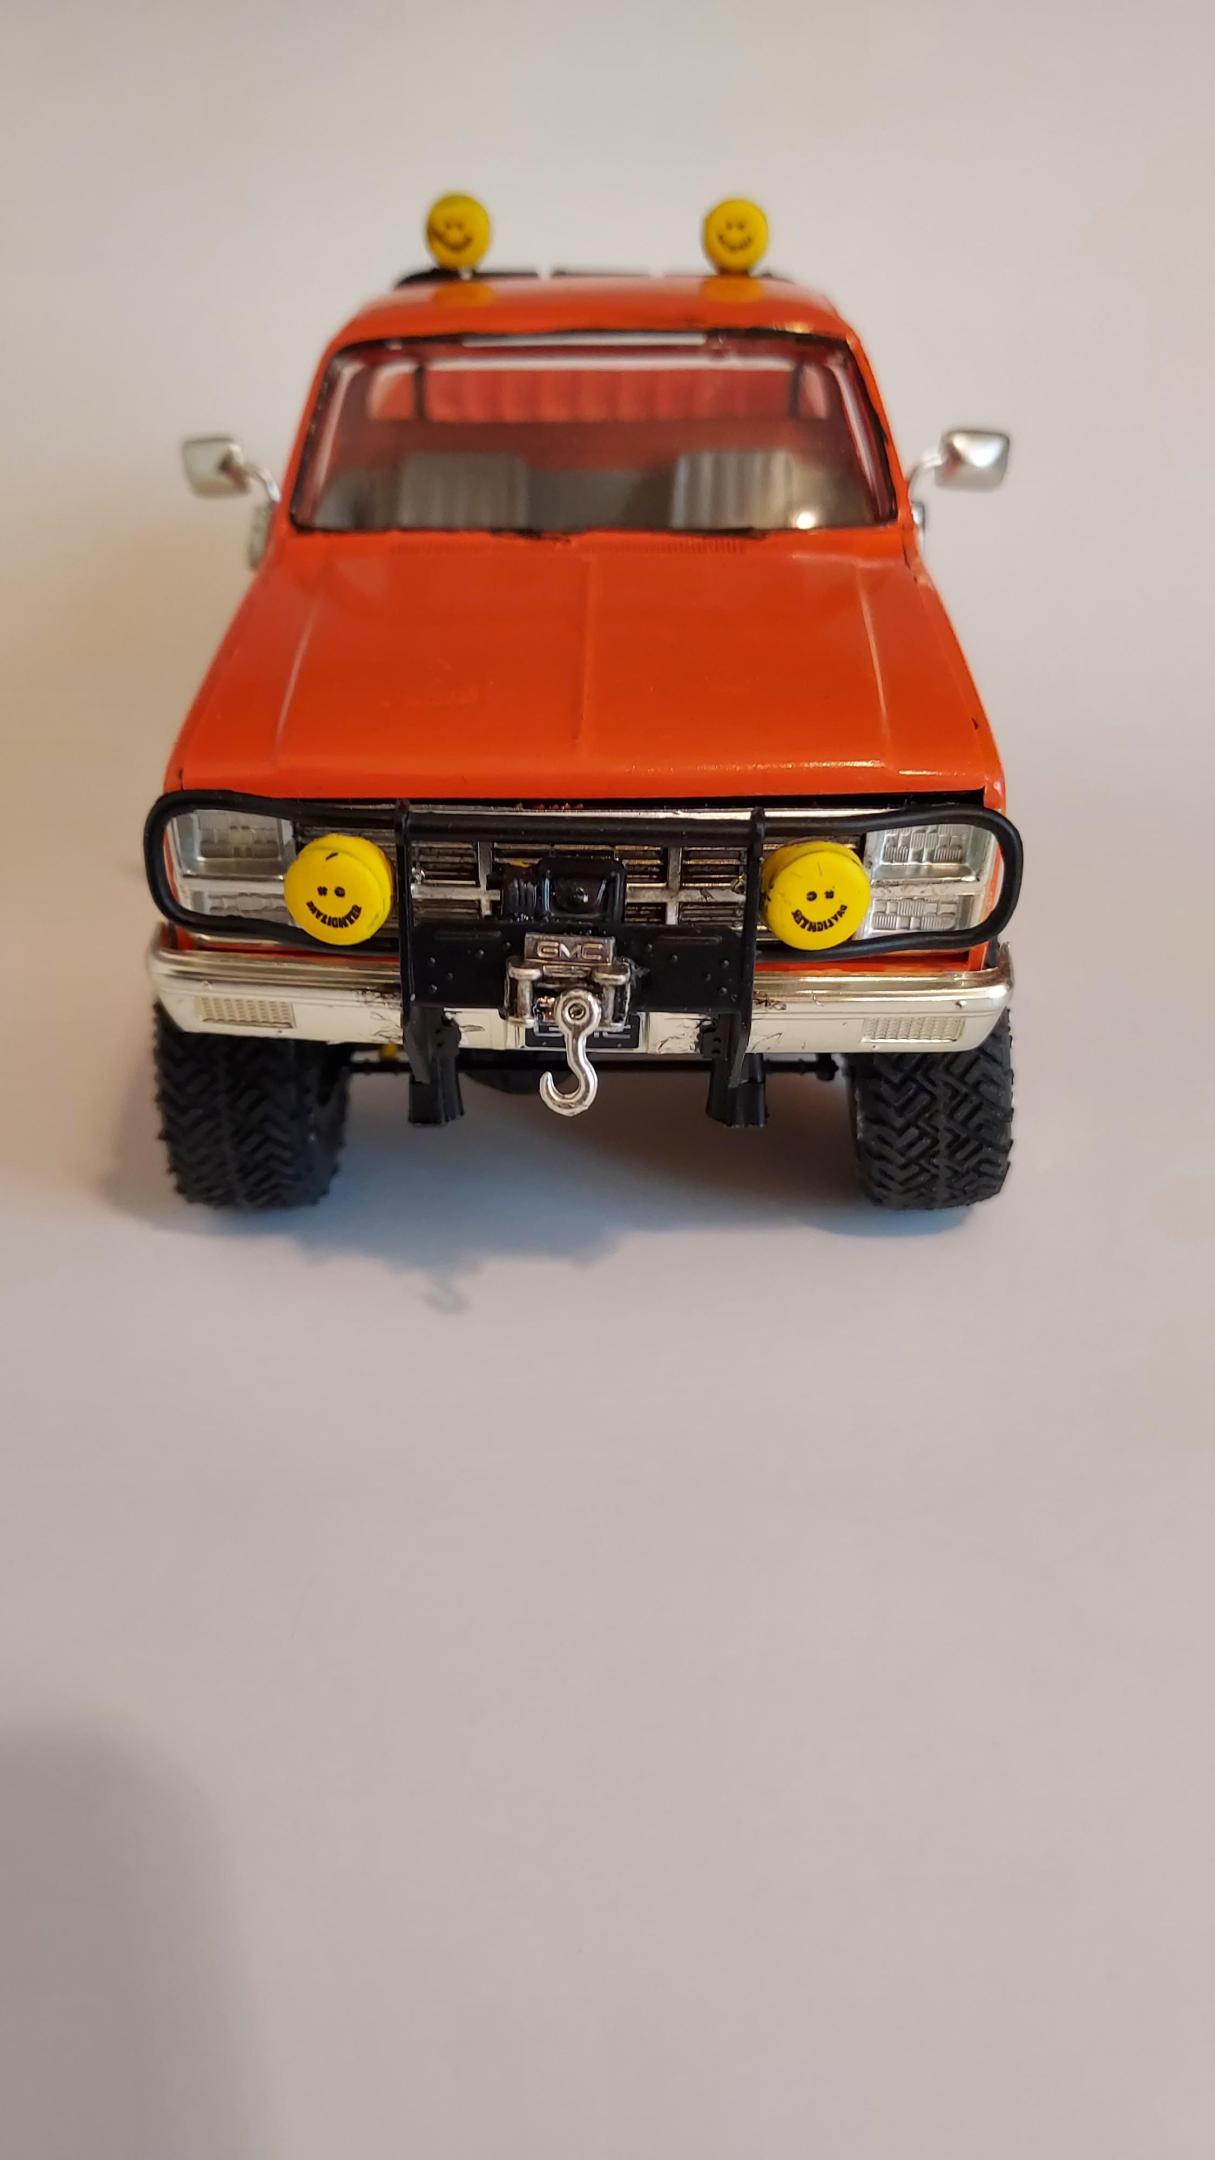
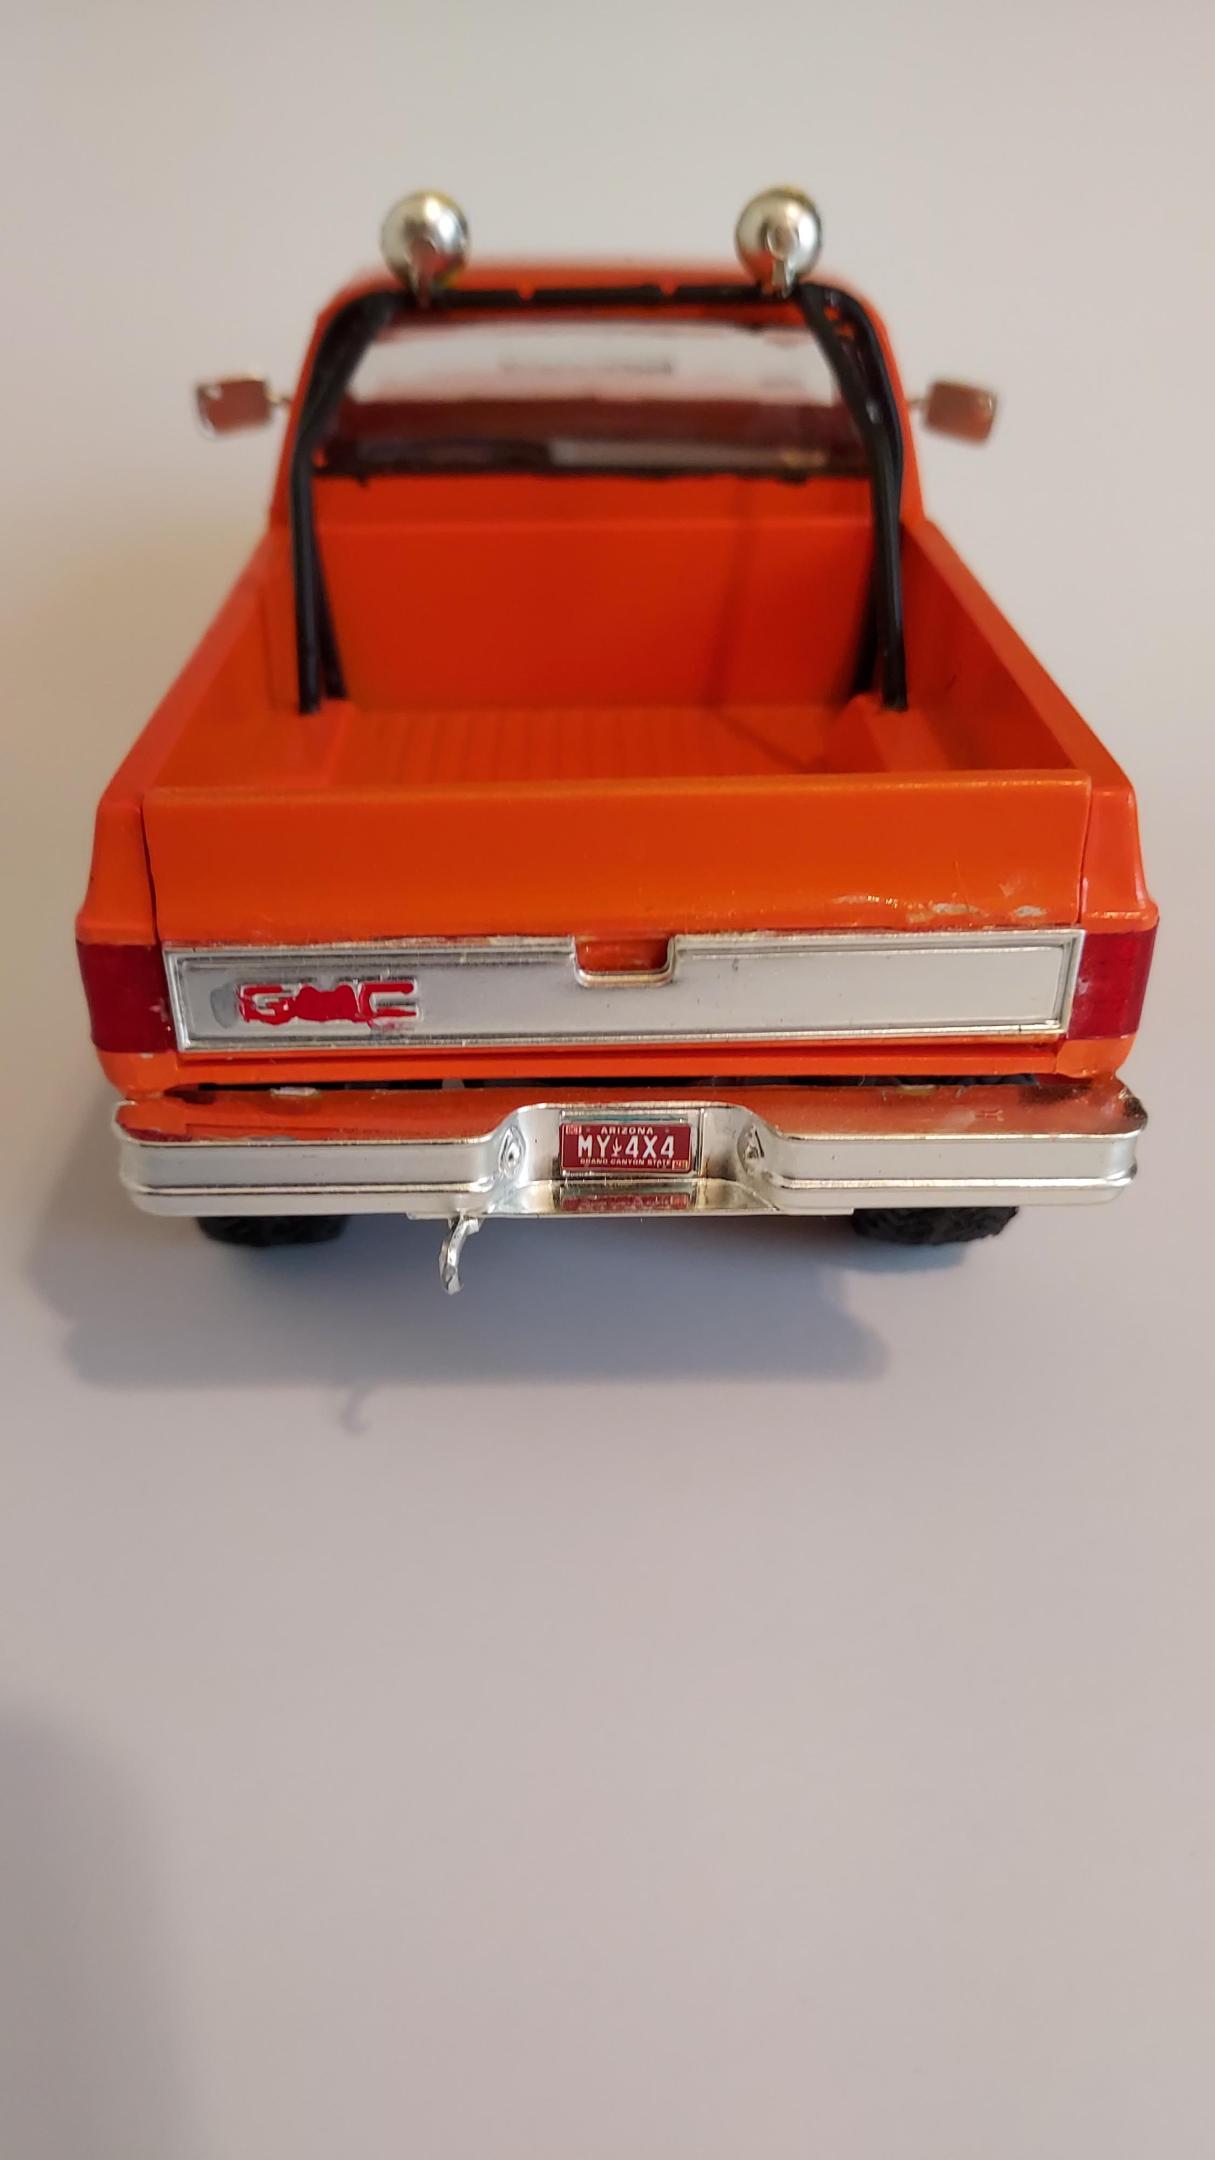
Another one in the books. Not my favorite era of the squarebody, but I'm pretty happy with how this one came out. Enjoy!
-
Just some pics from an ebay listing, but it's a bit of a shame this kit is the end of the line for the 1/25 MPC Pontiac Grand Prix tooling. Not sure if this could ever be backdated to the last stock type issue or not, but I doubt it. Looking back at MPC's 1970 Grand Prix, the faux front fender exiting exhaust was already present, as an optional feature: The Grand Superfly's successor, the Sweat Hogs 'Dream Machine' modified reissue from 1976:
- 71 replies
-
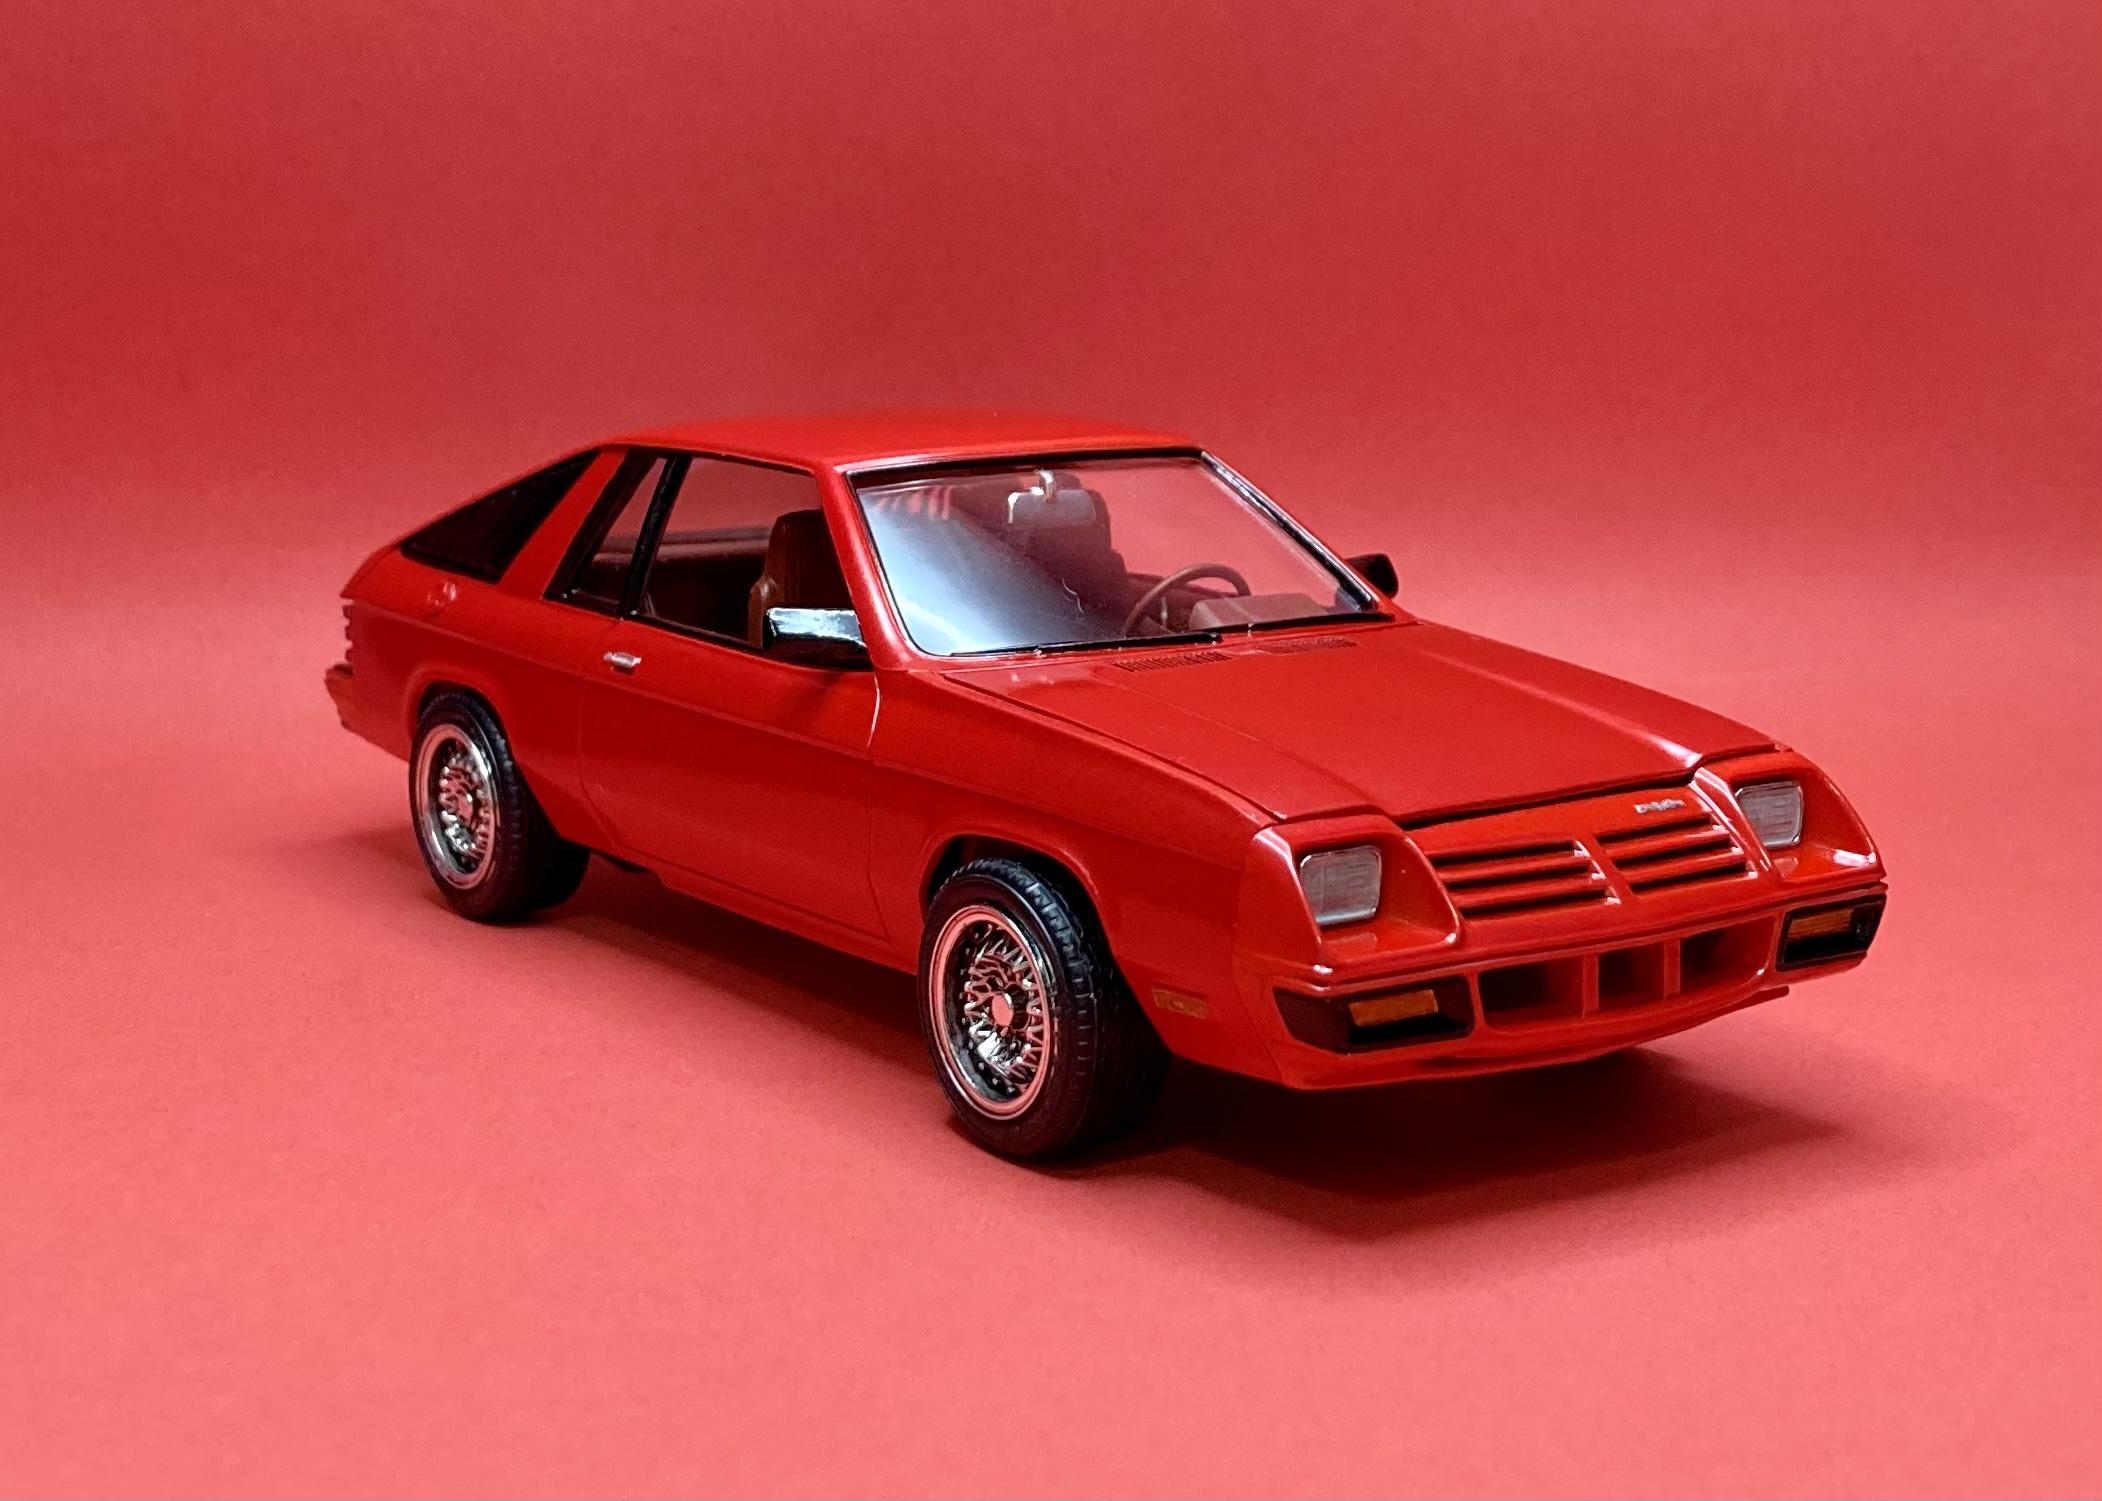
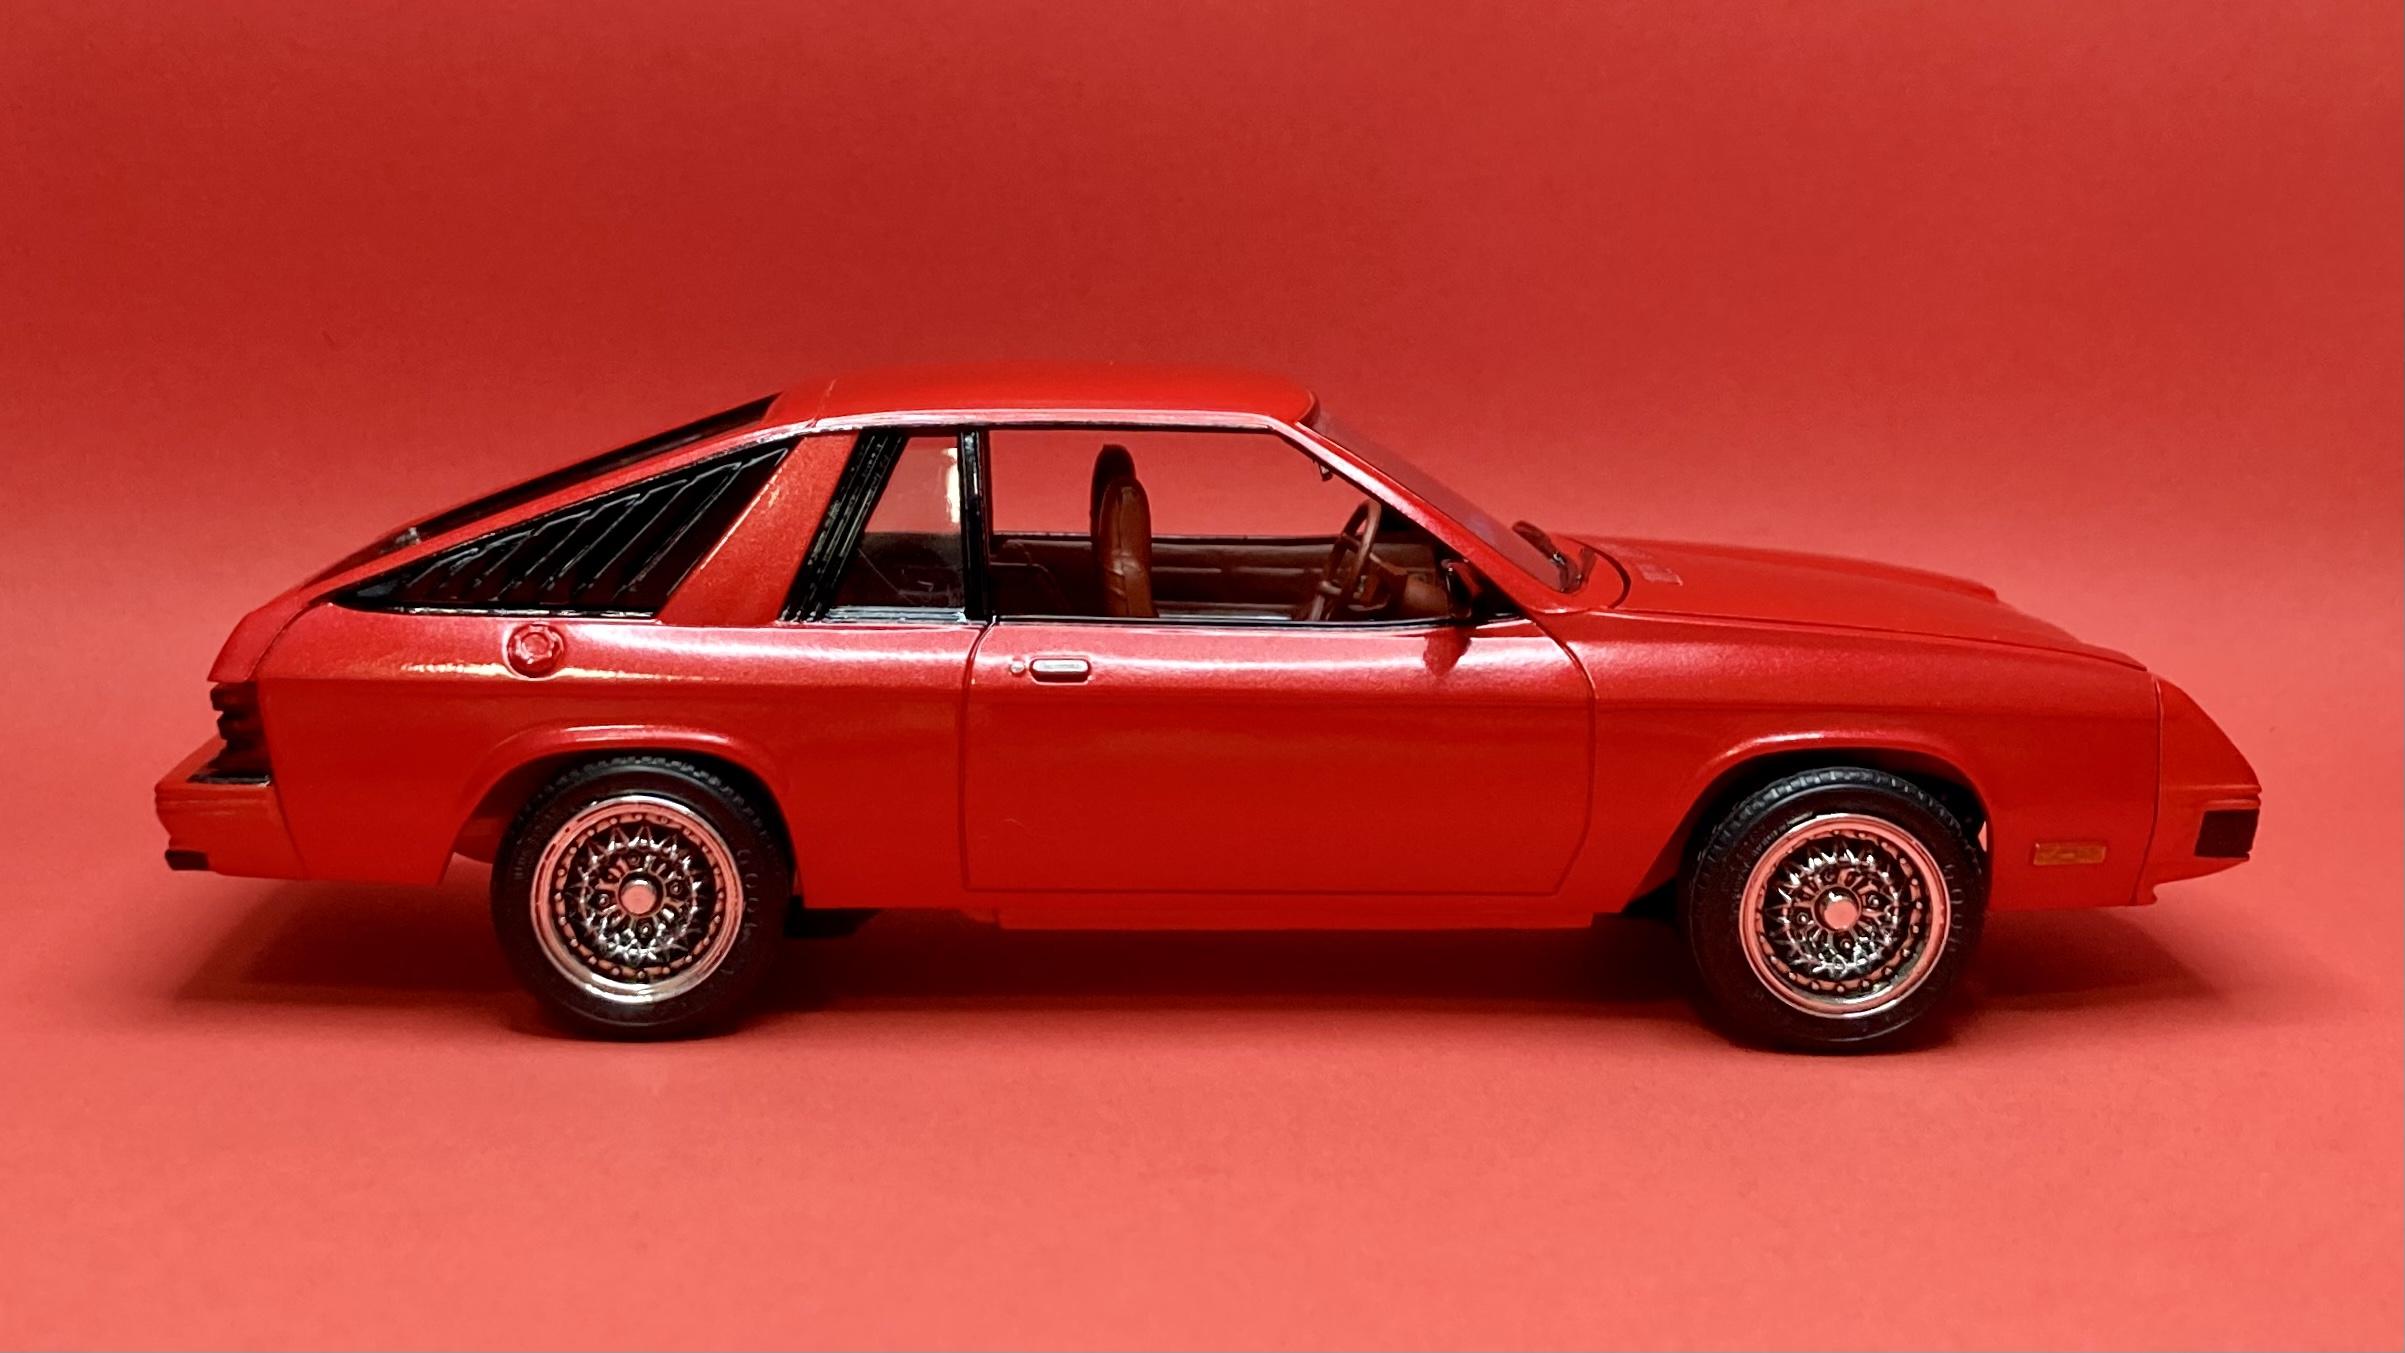
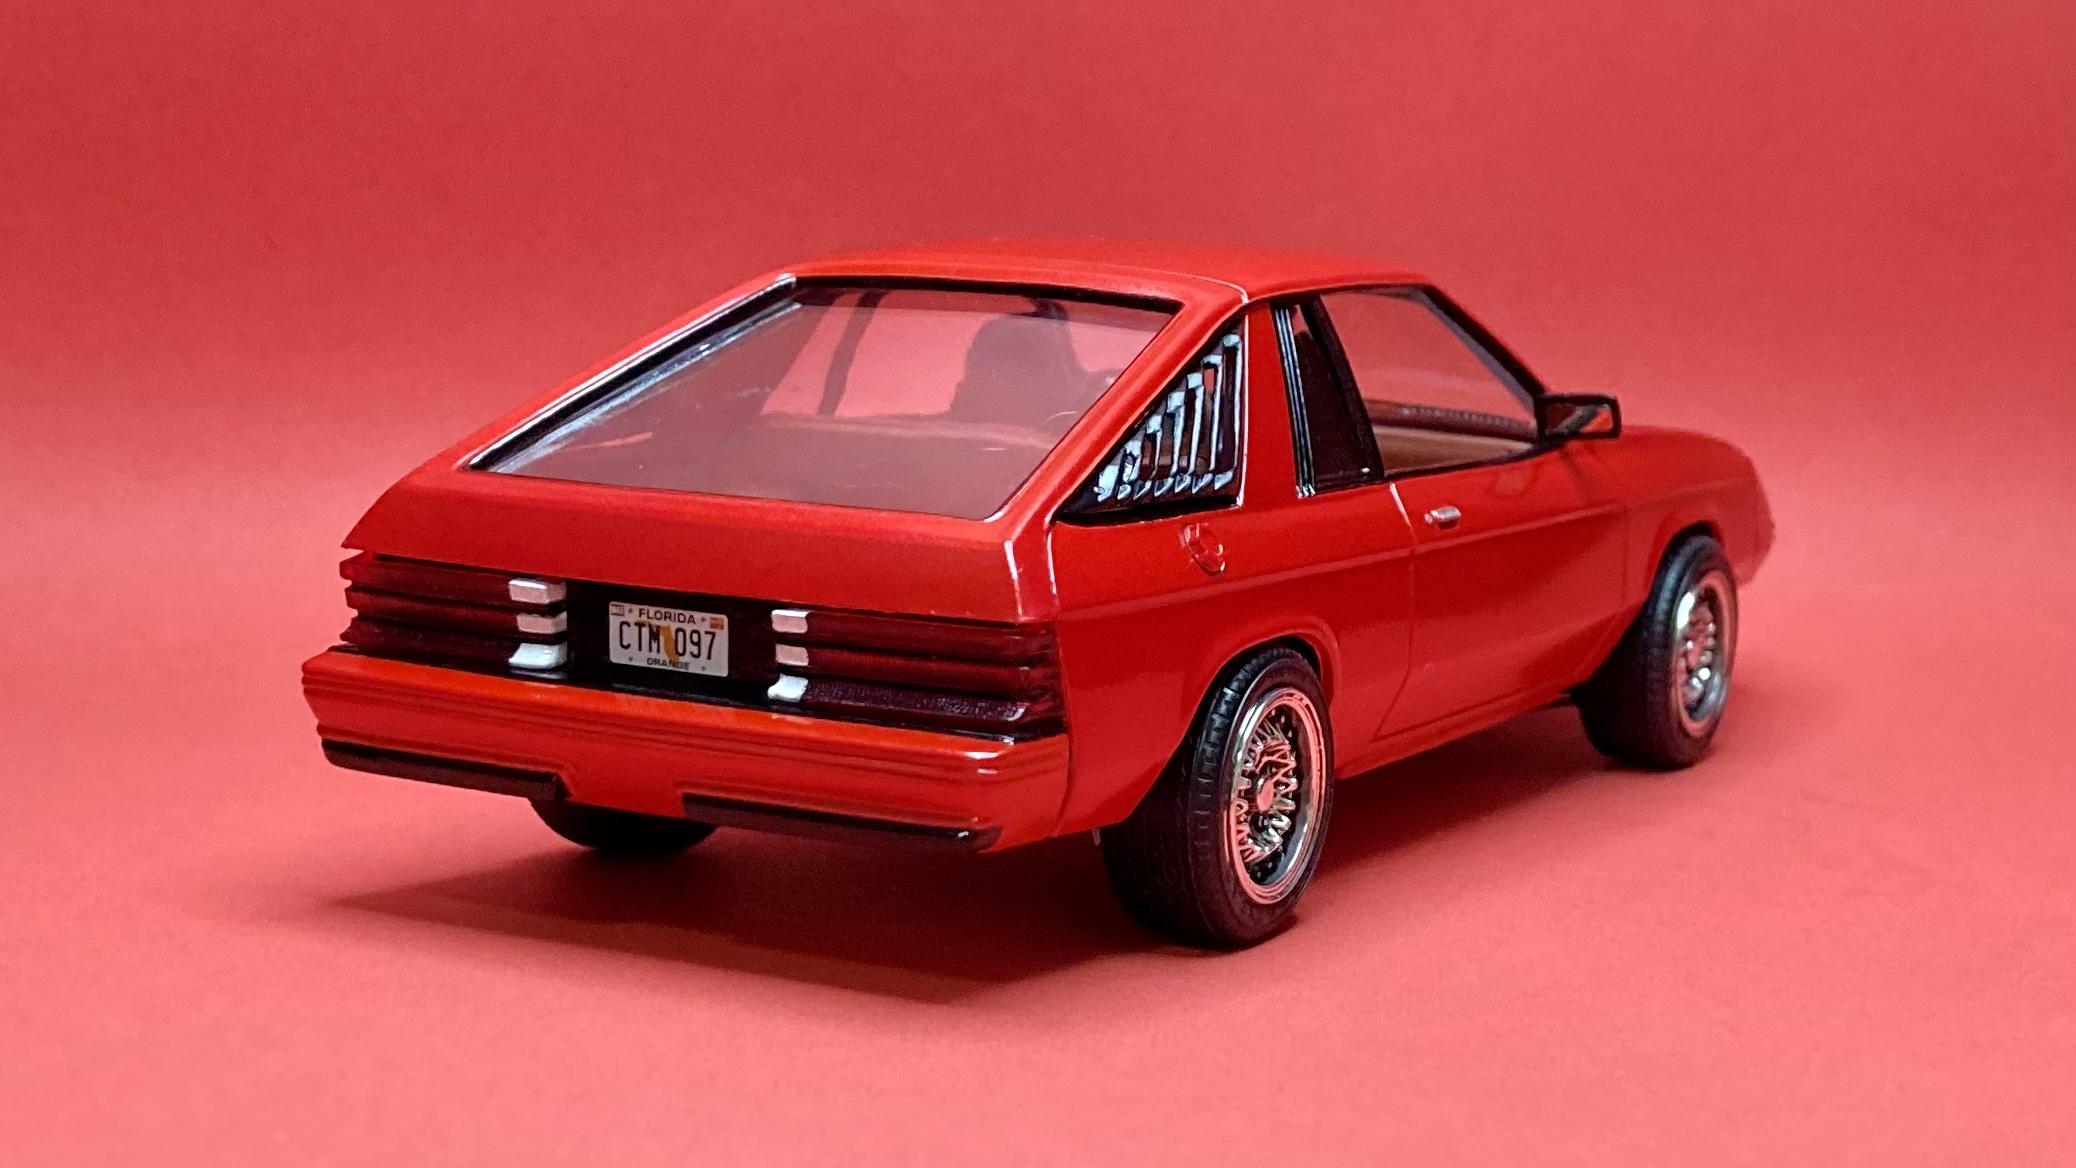
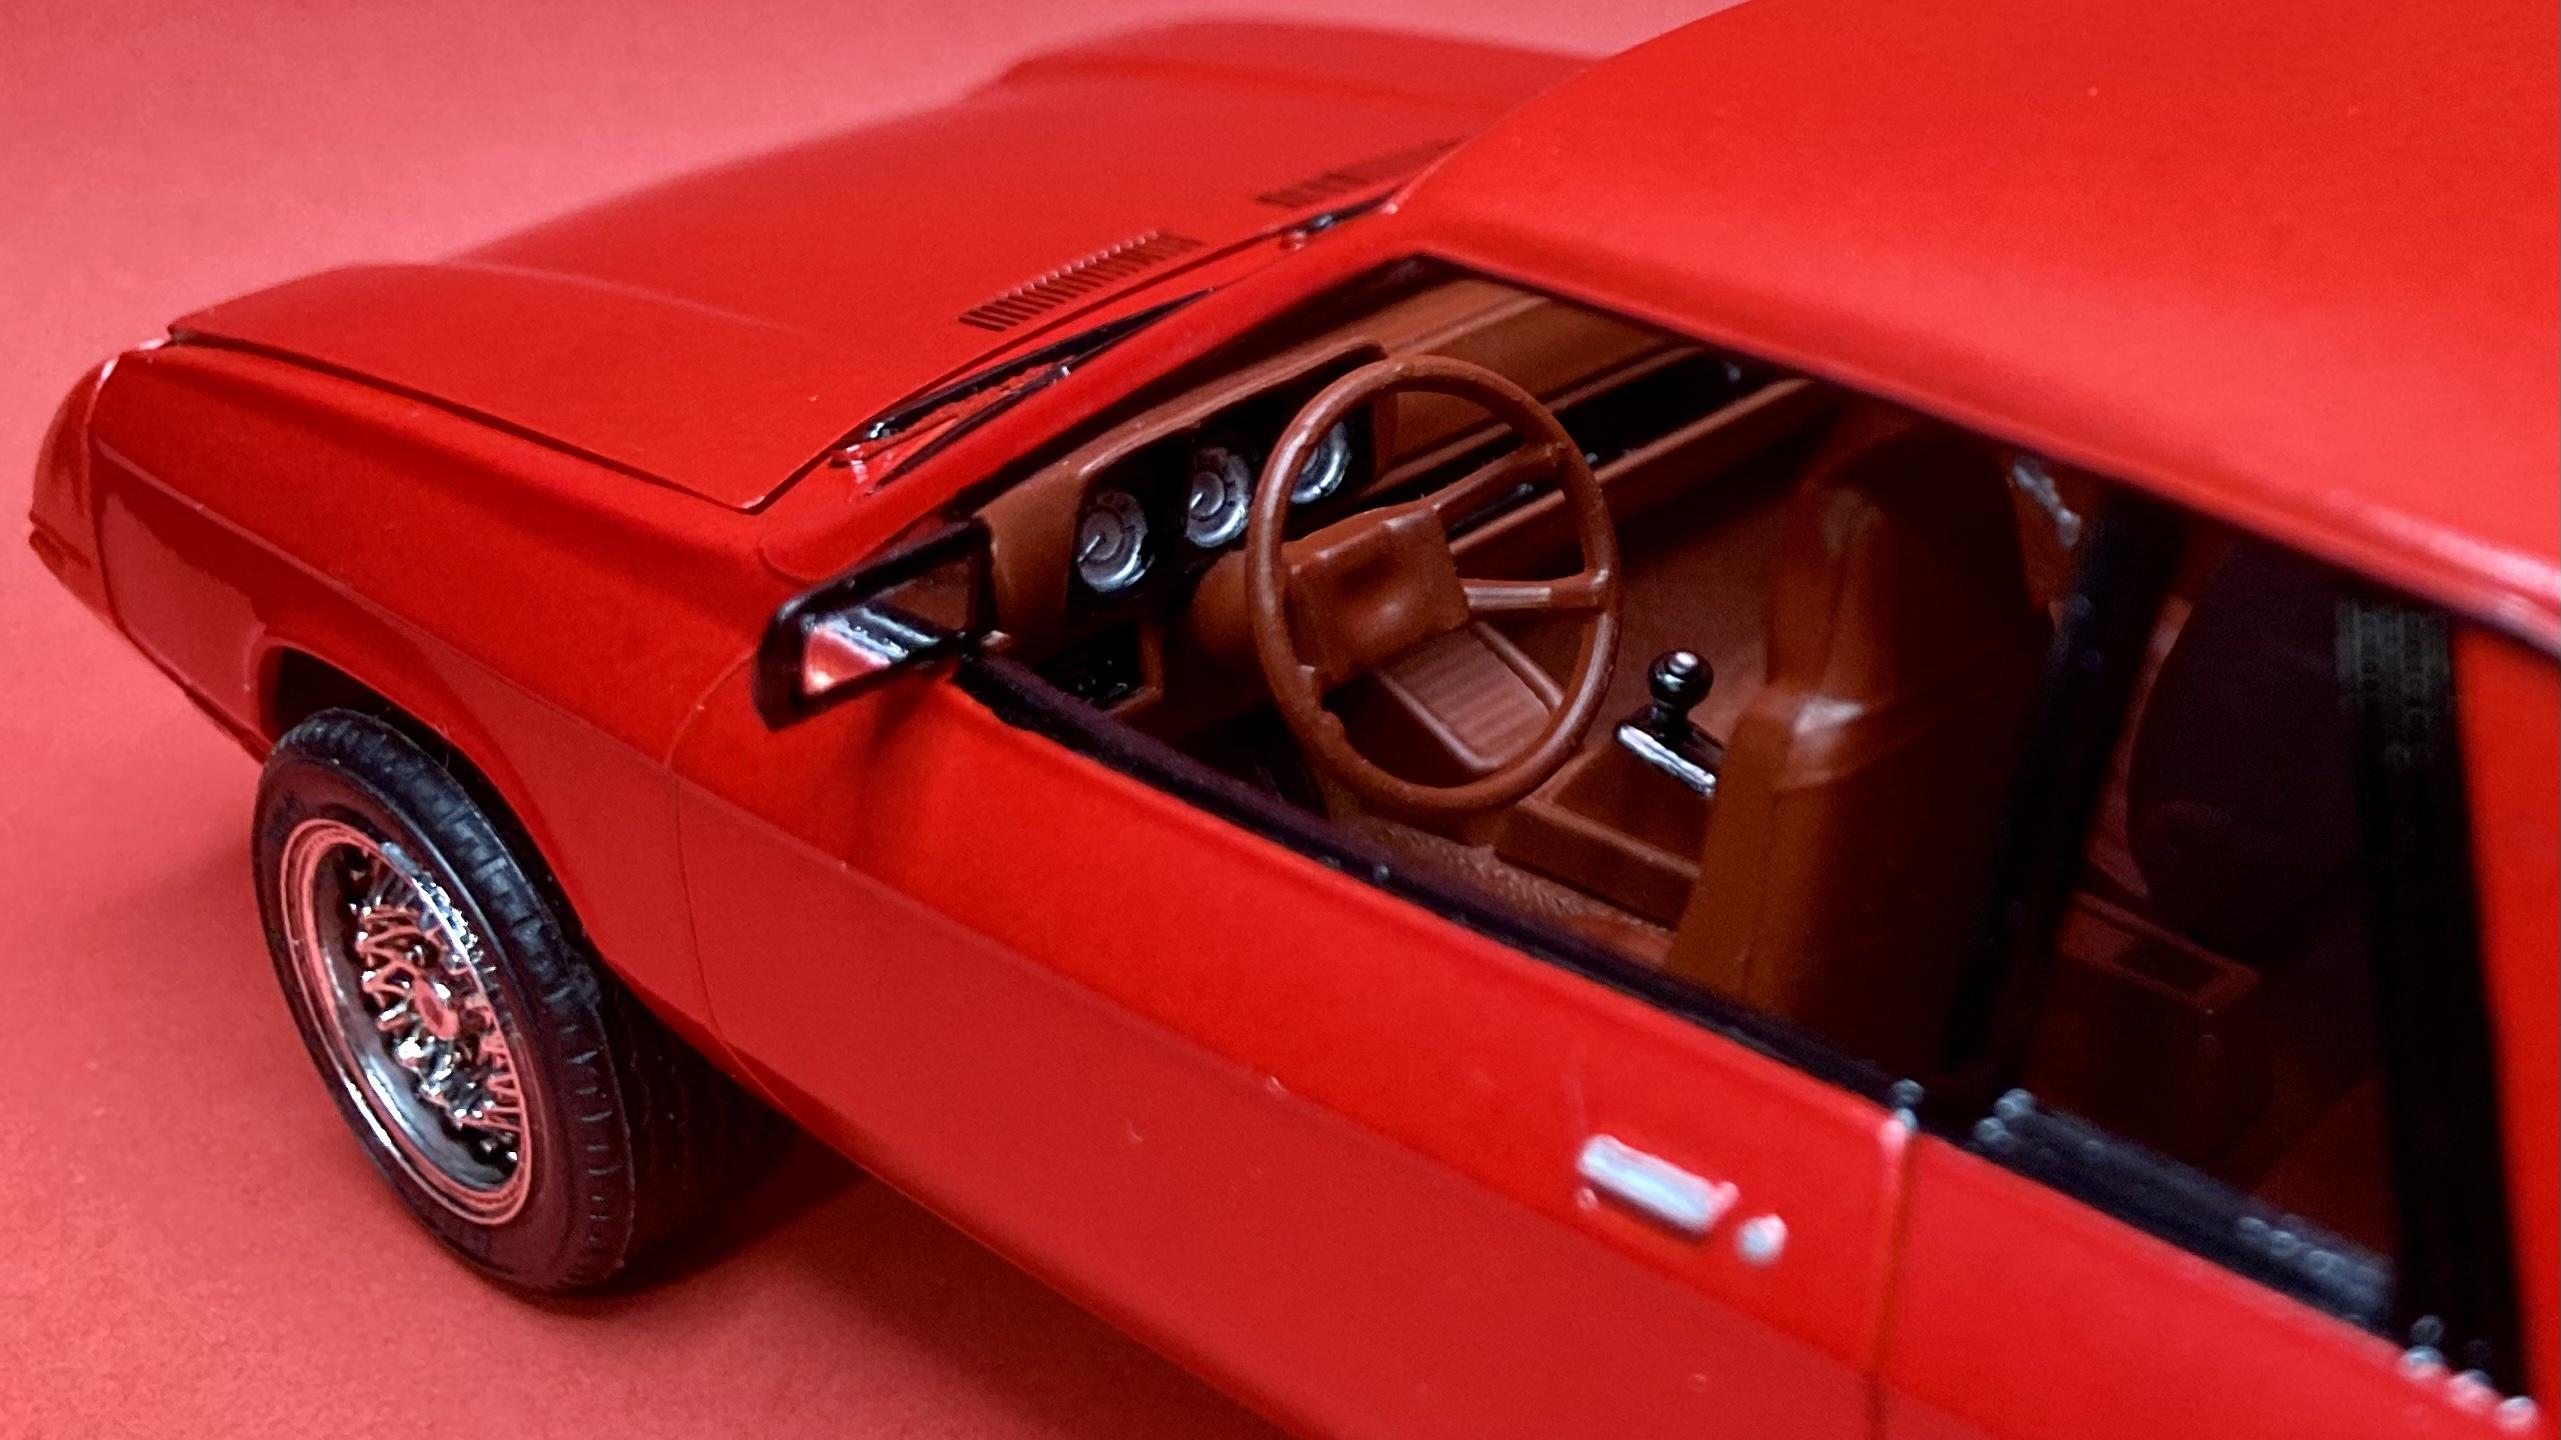
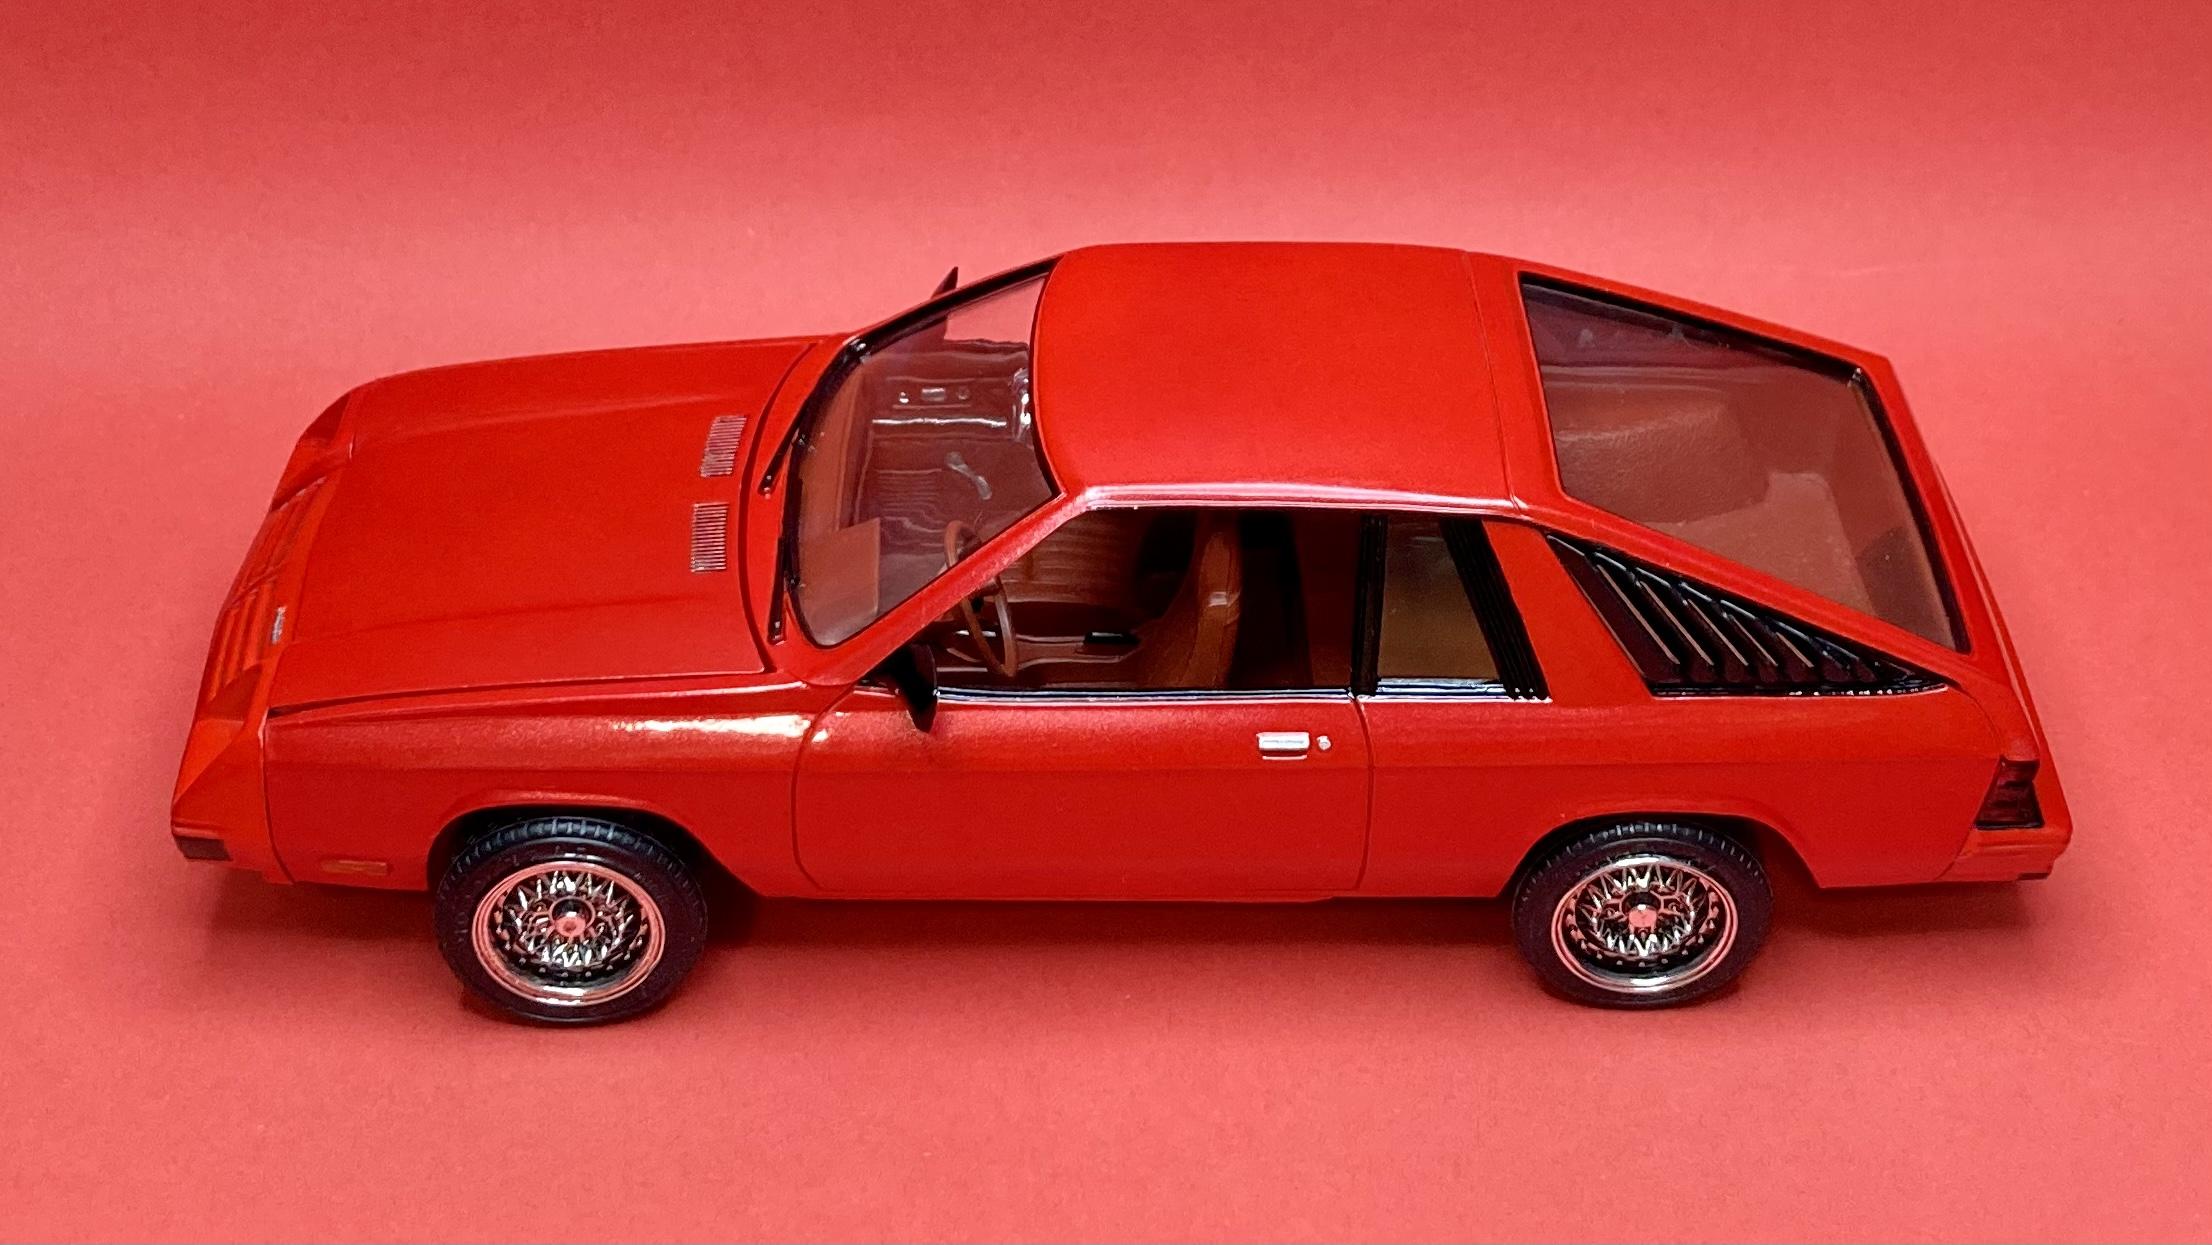
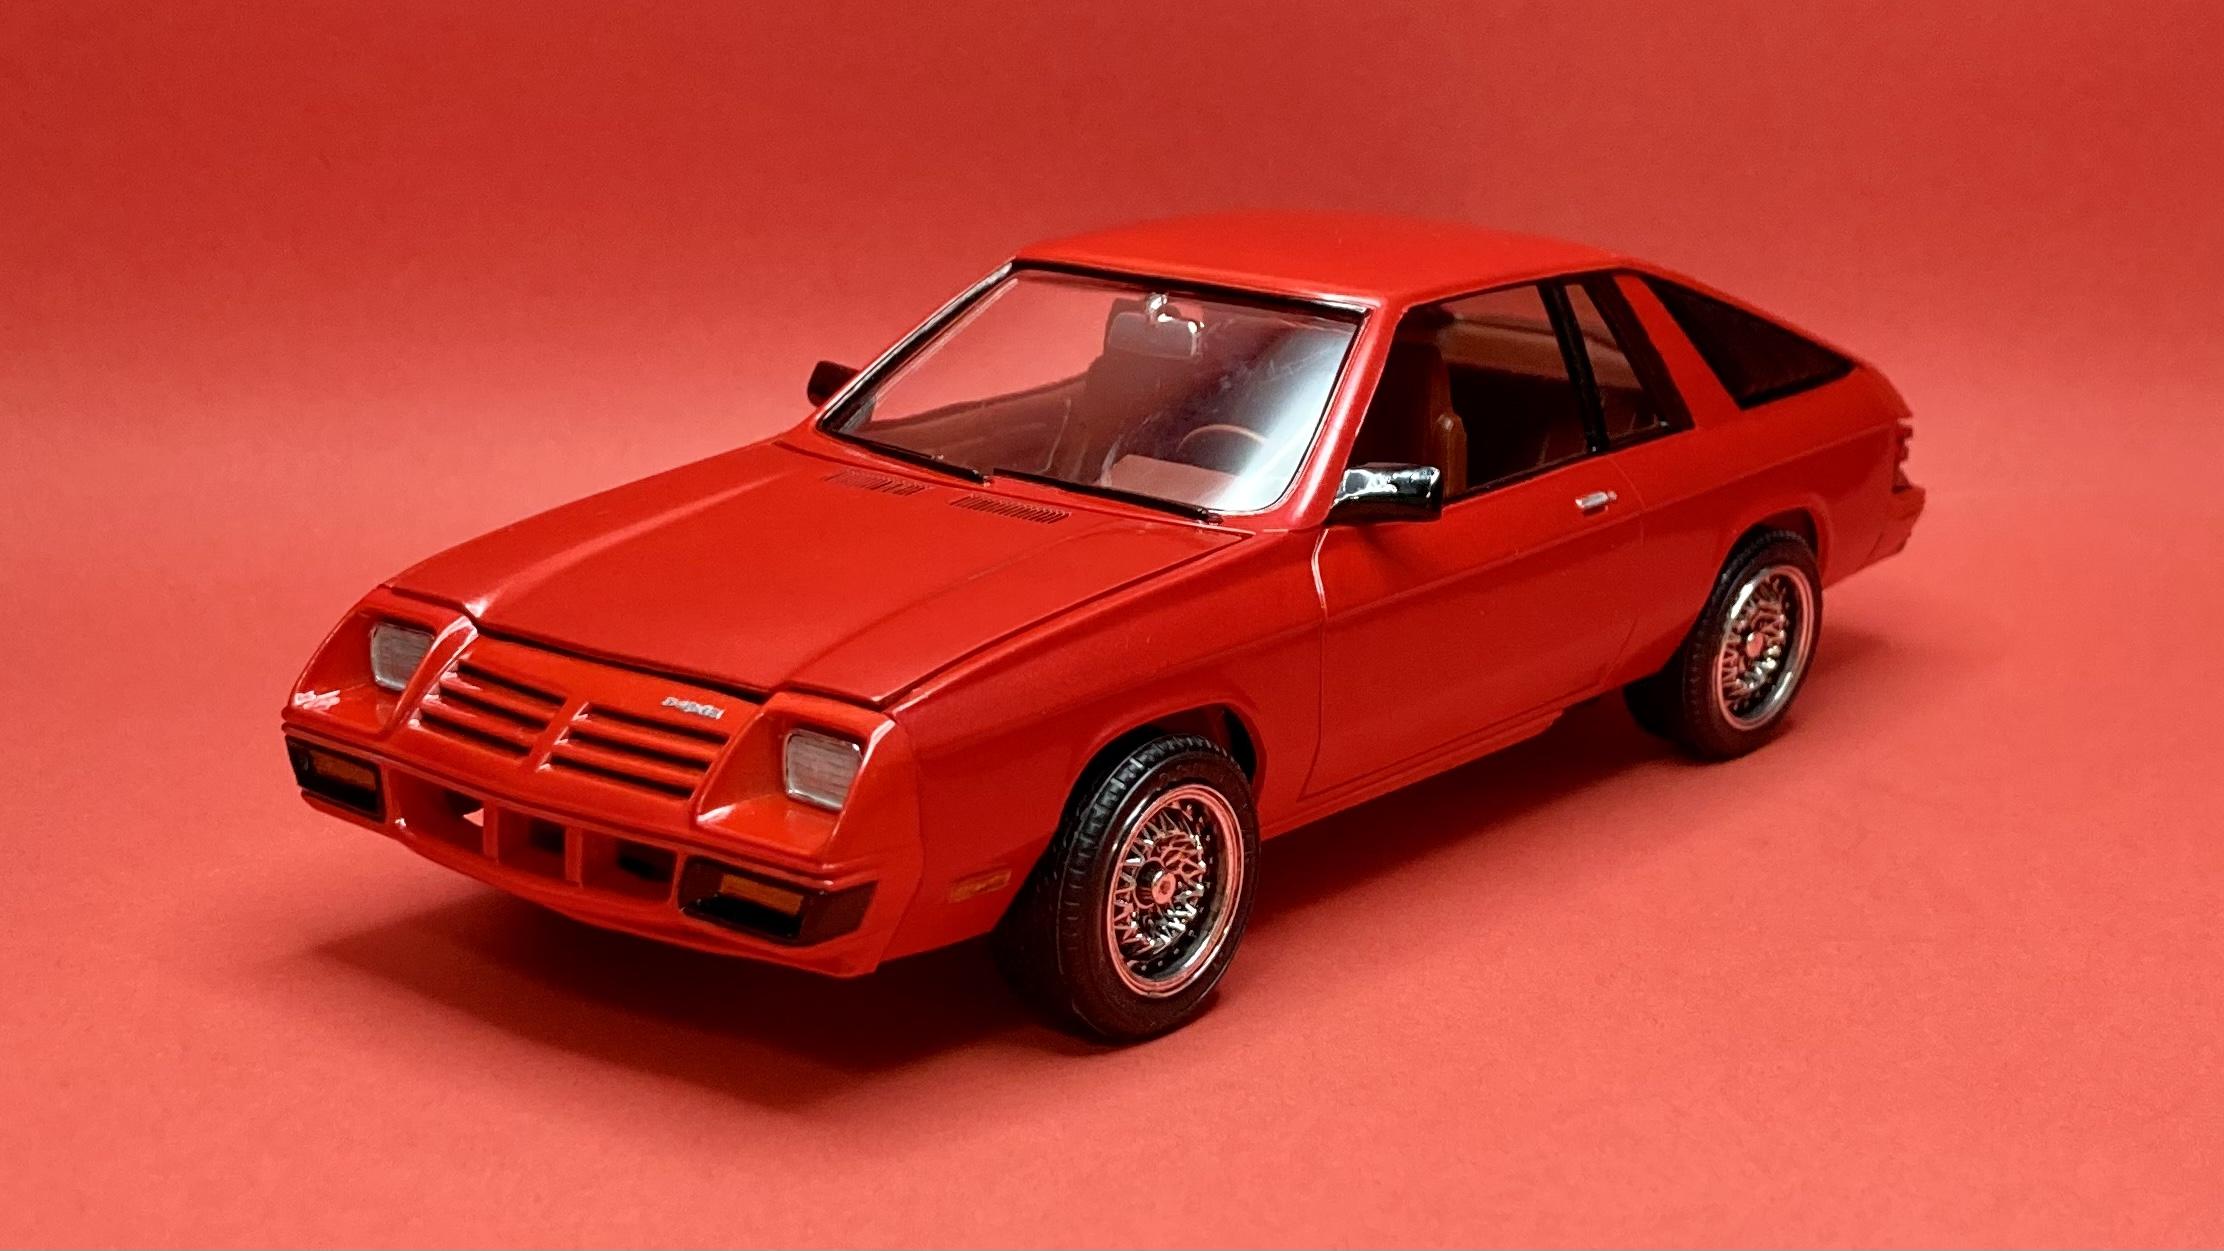
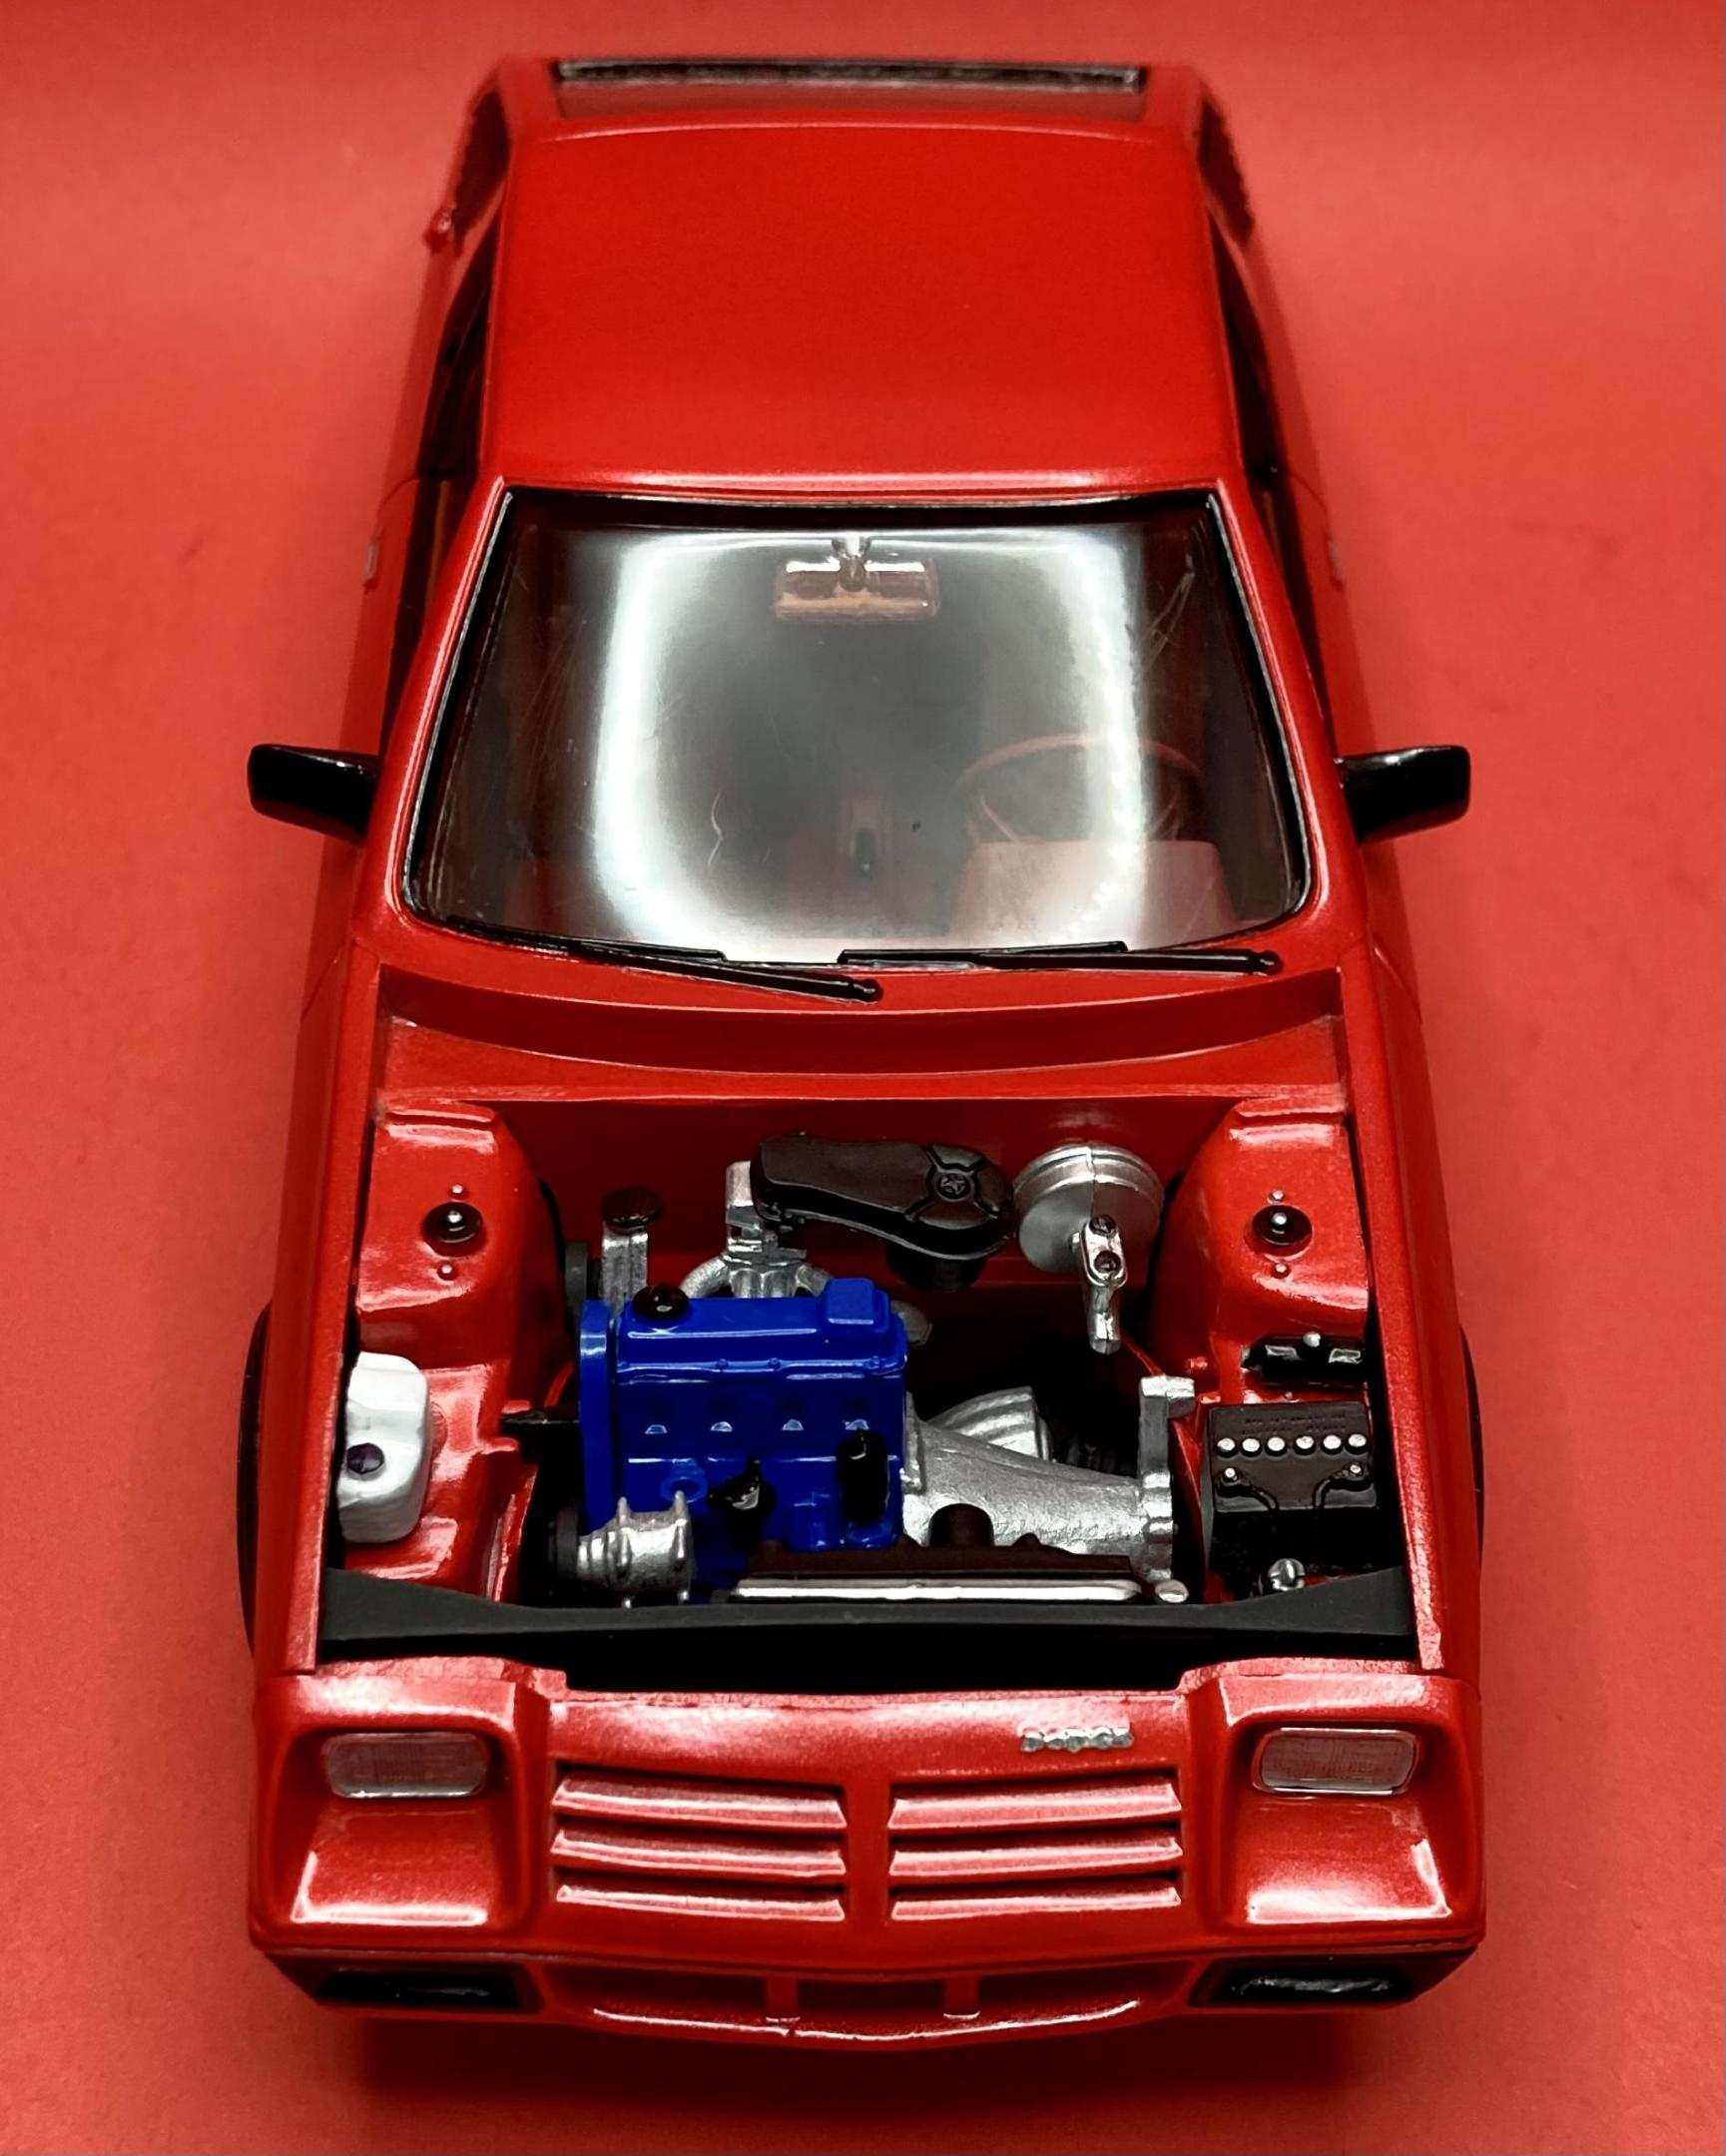
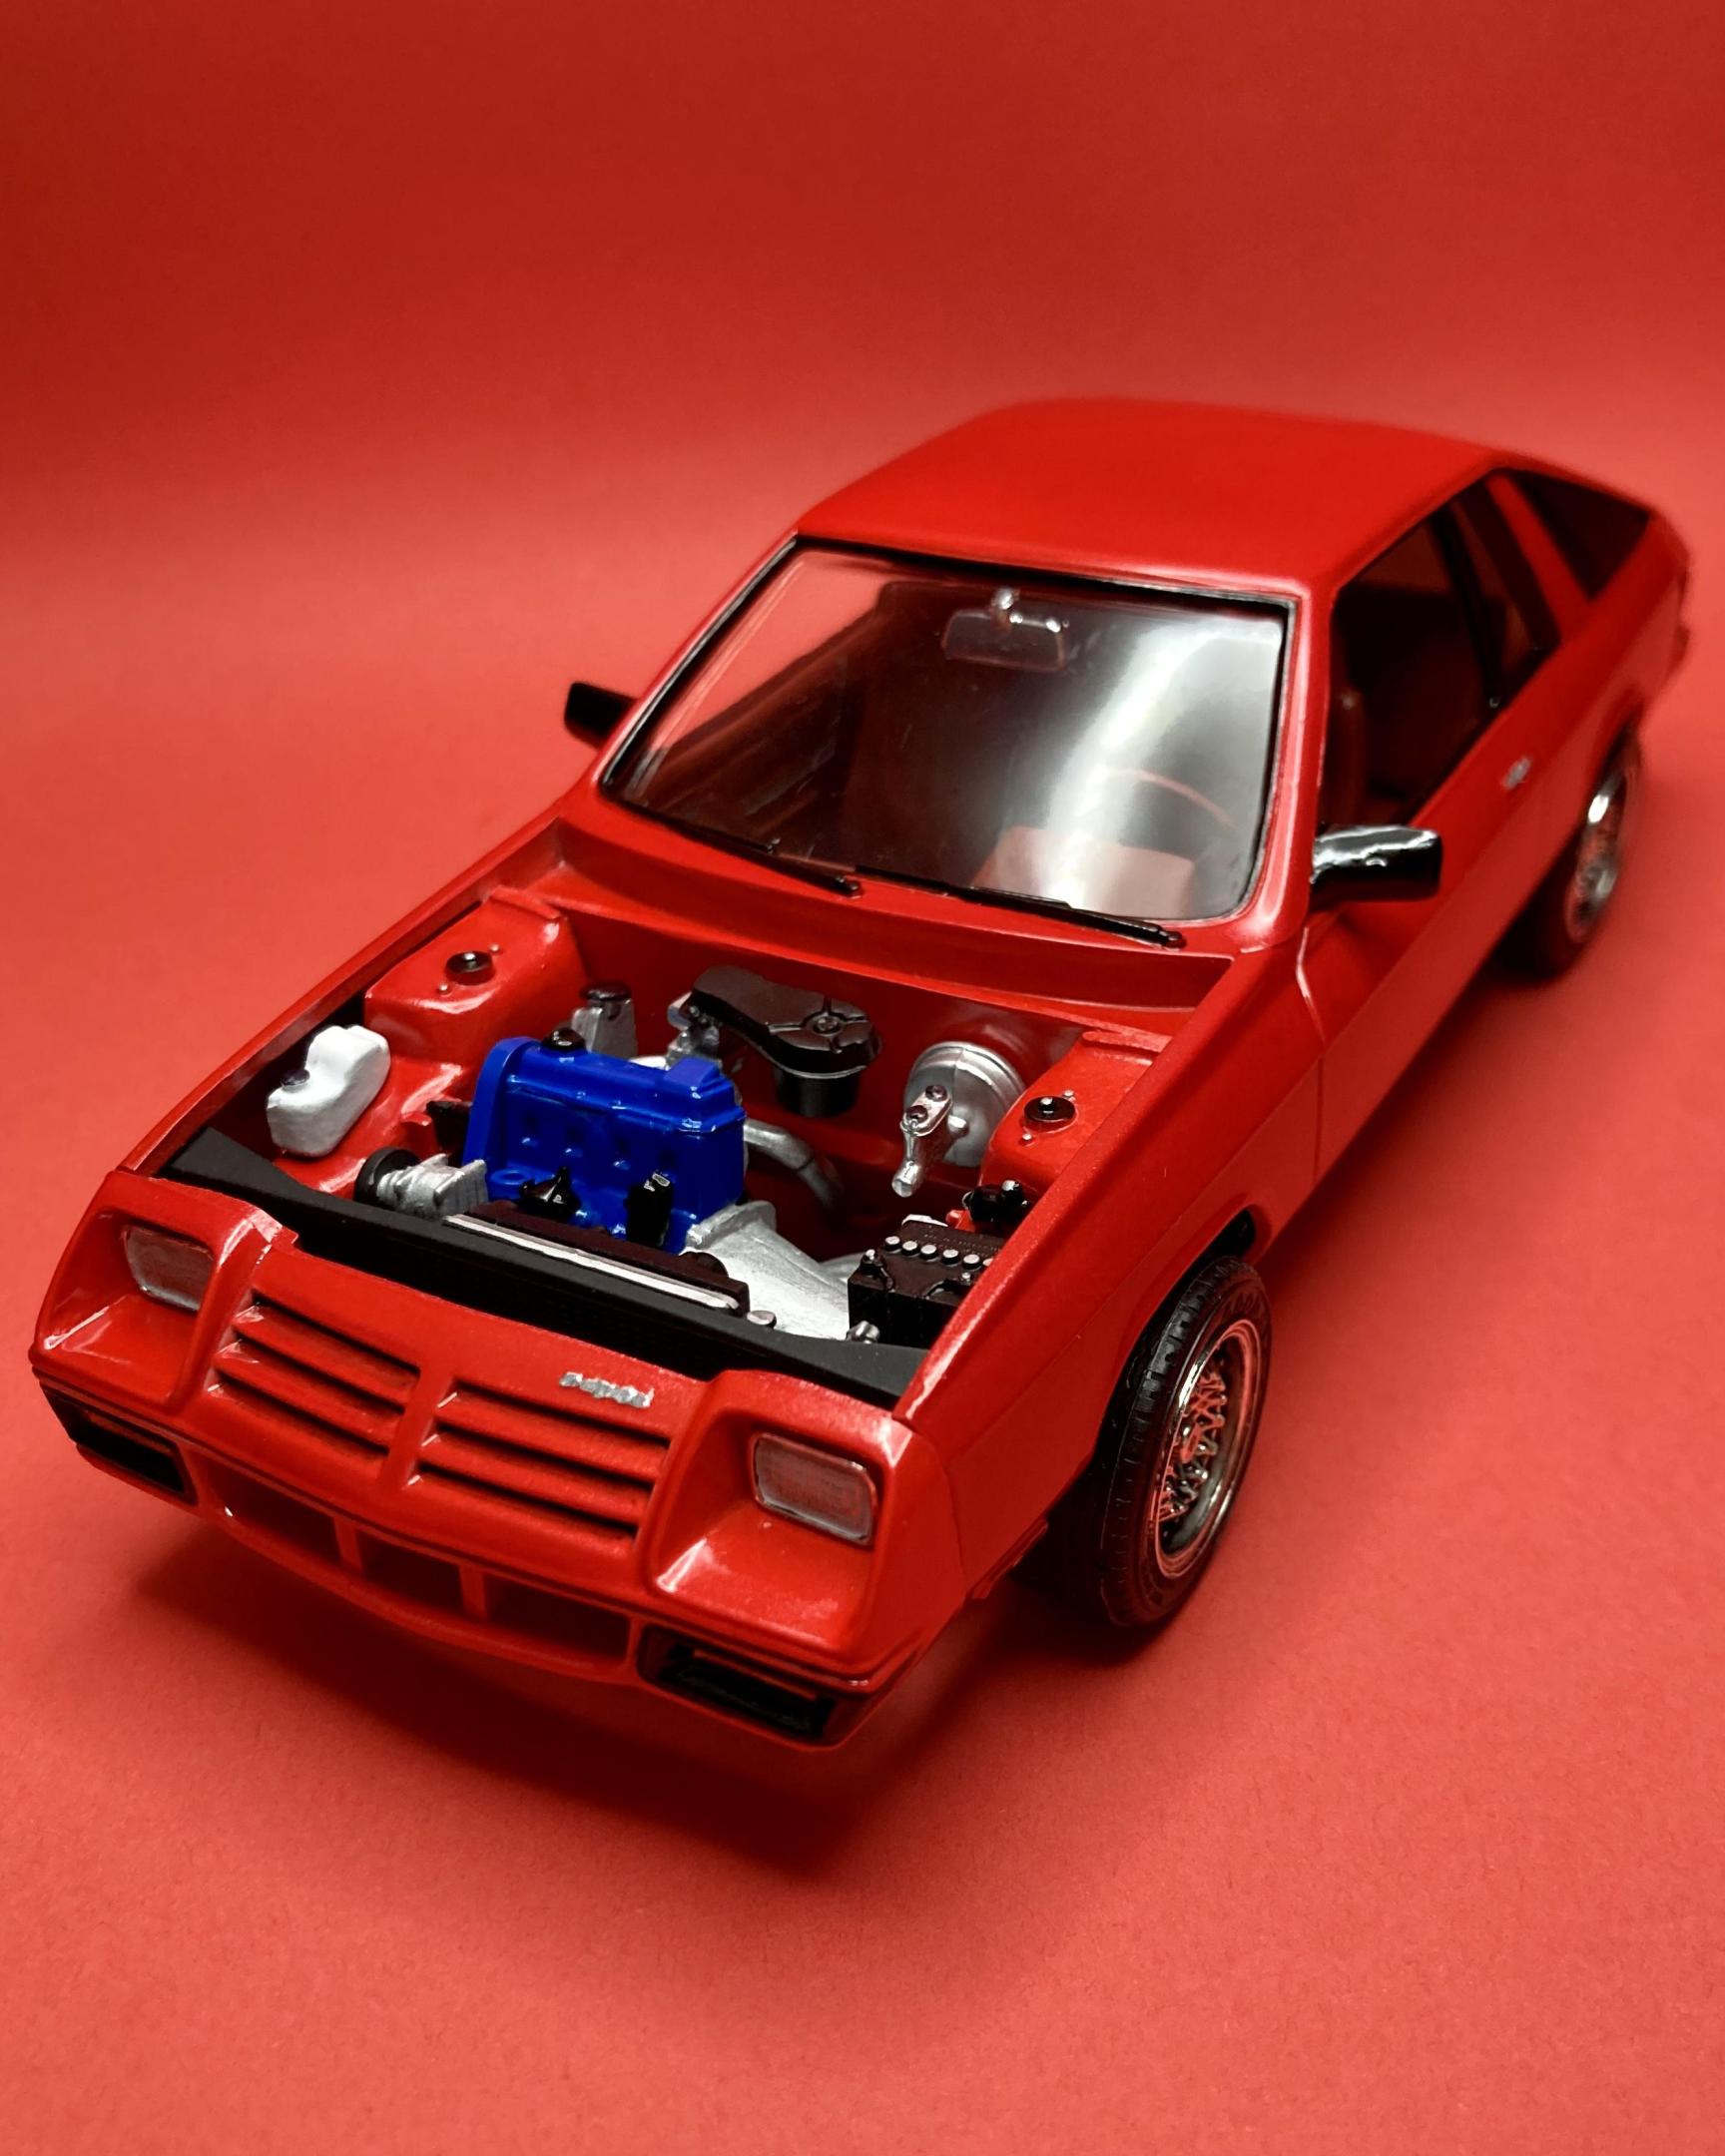
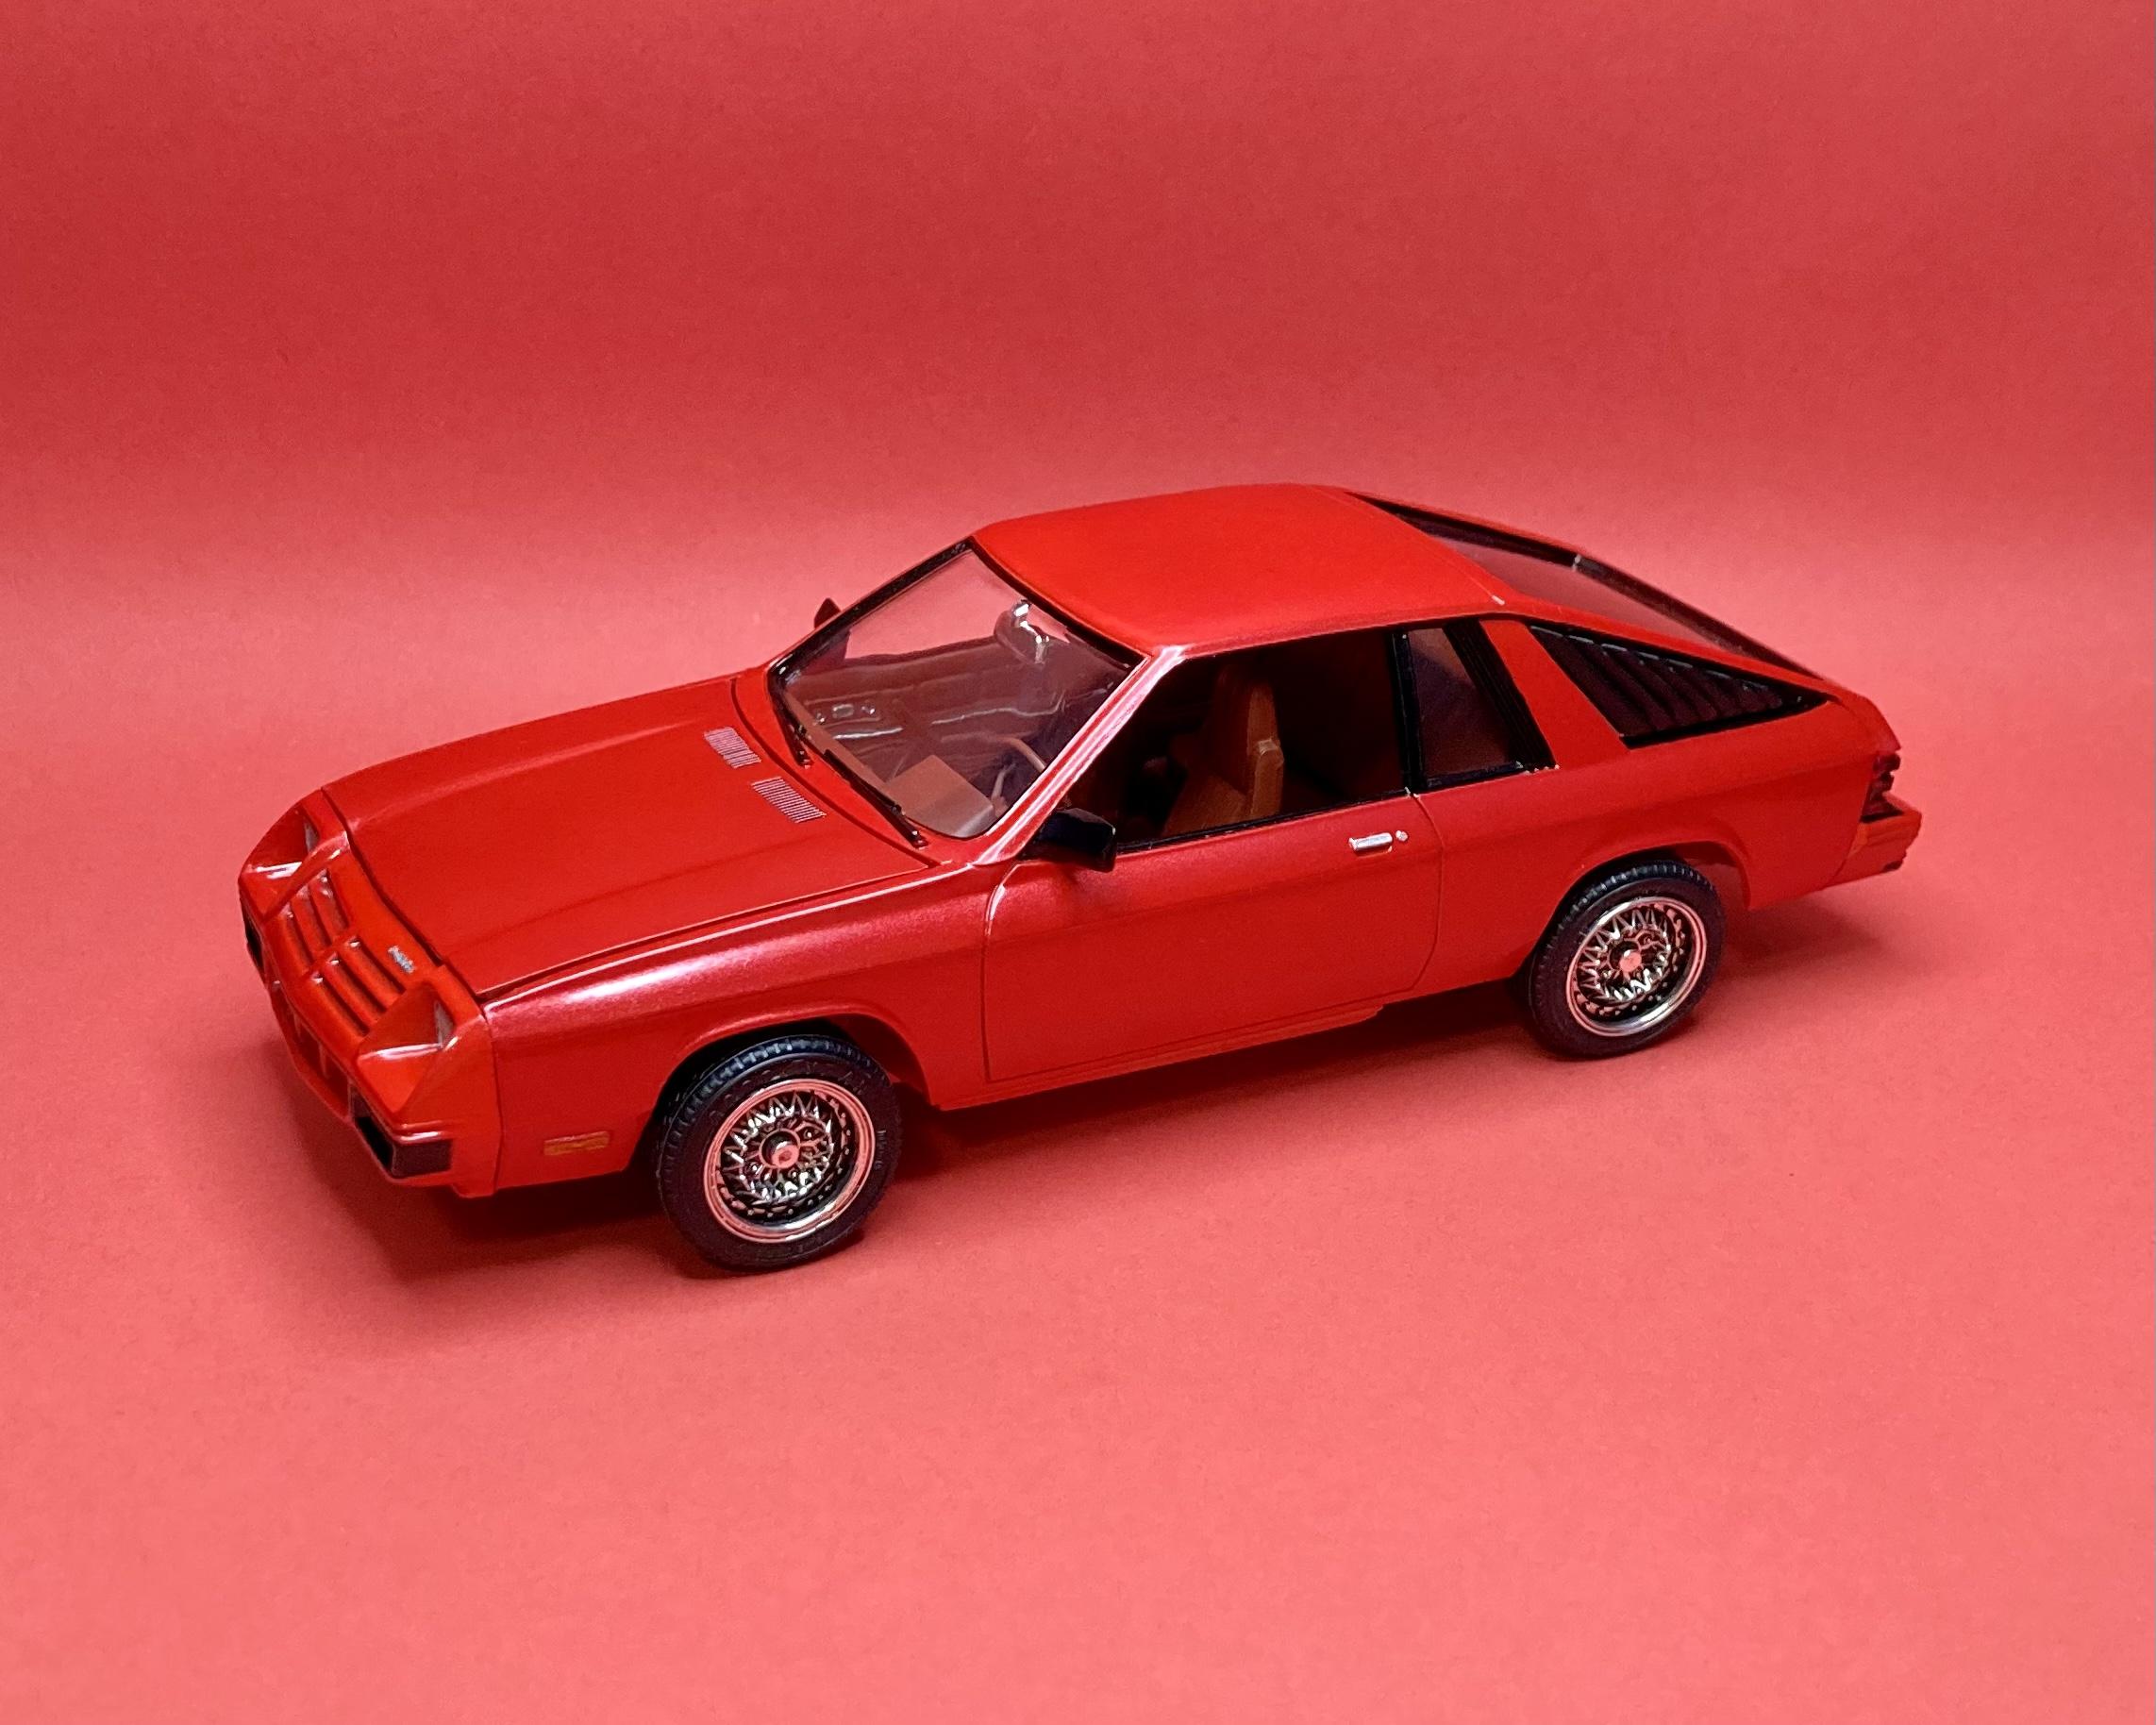
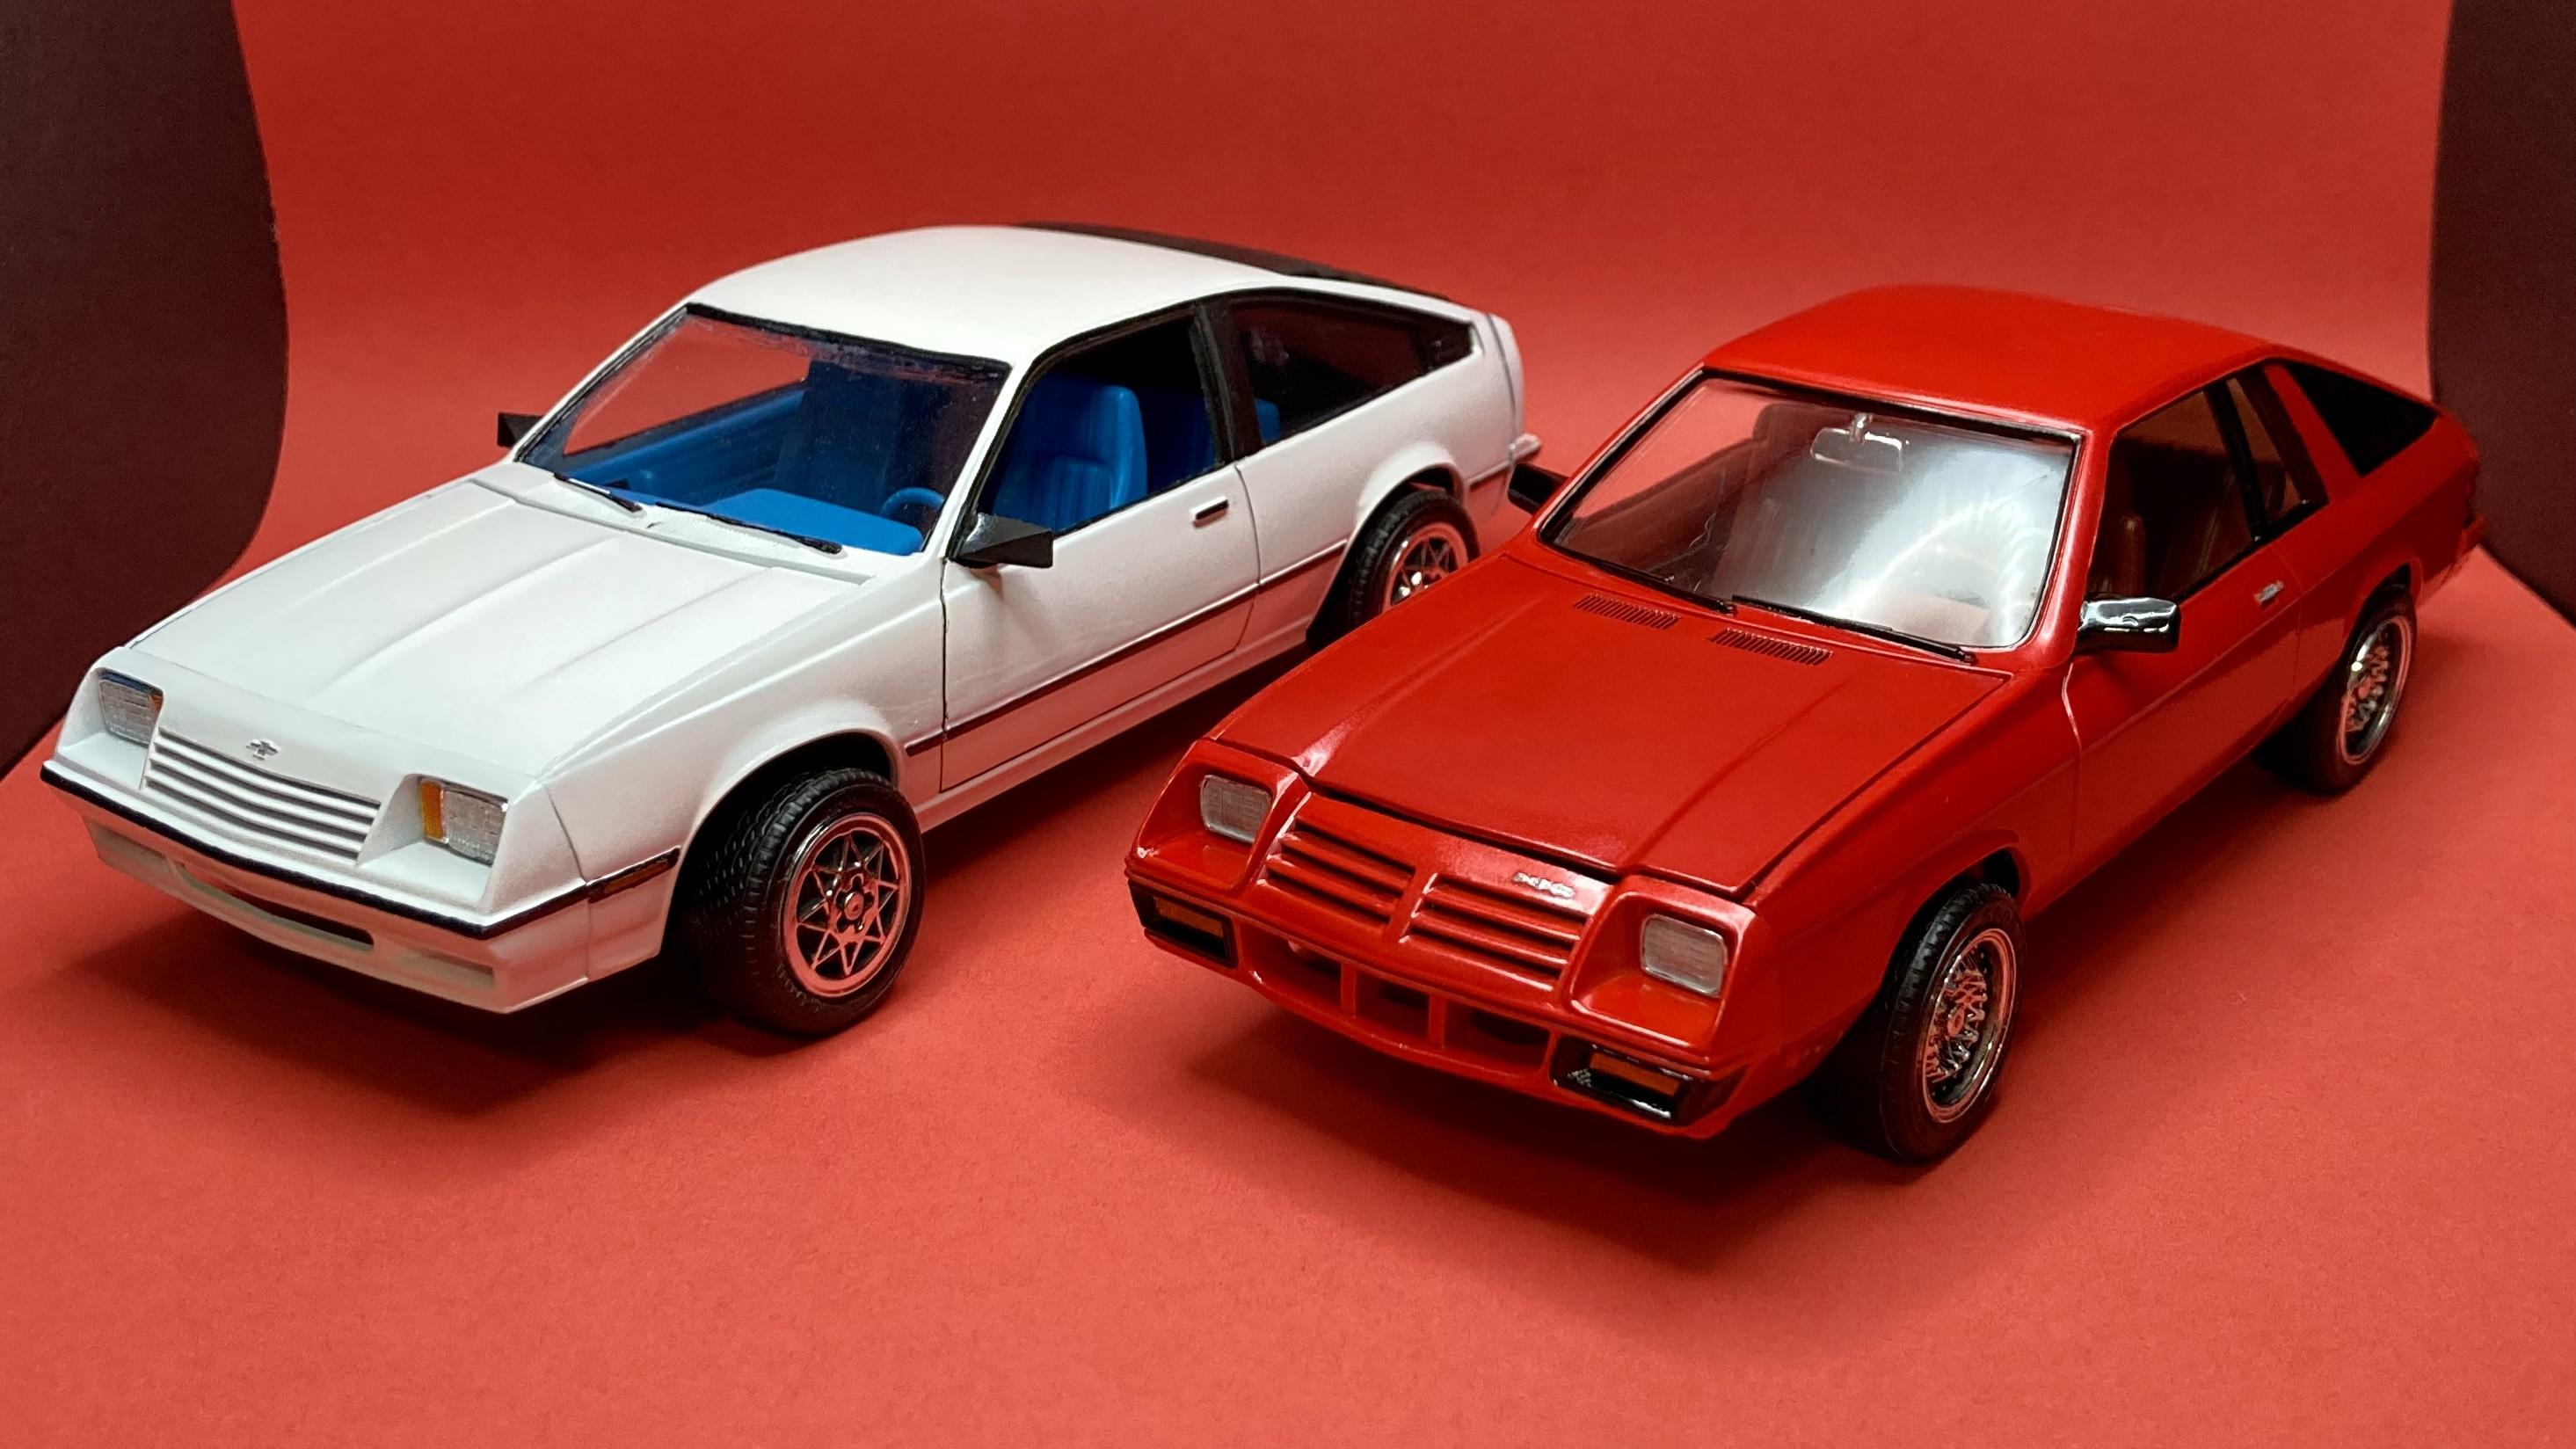
Here is my latest build, MPC’s 1980 Dodge Omni 024, from the “Silver Bullet” box art release. I built it box stock, with the lower front grille scribed open. This is a neat little kit that goes together very nicely. My only issue was the final fitment of the hood. I think if you cut down the radiator support and radiator the hood will sit better, but I didn’t want to risk breaking anything so I left it alone. Body is painted Tamiya Mica Red over pink primer, and the interior is Tamiya Dull Red. Dull red looks more brown in person than the dark red it shows in pictures but I’m happy with the look. Thanks for looking!
-
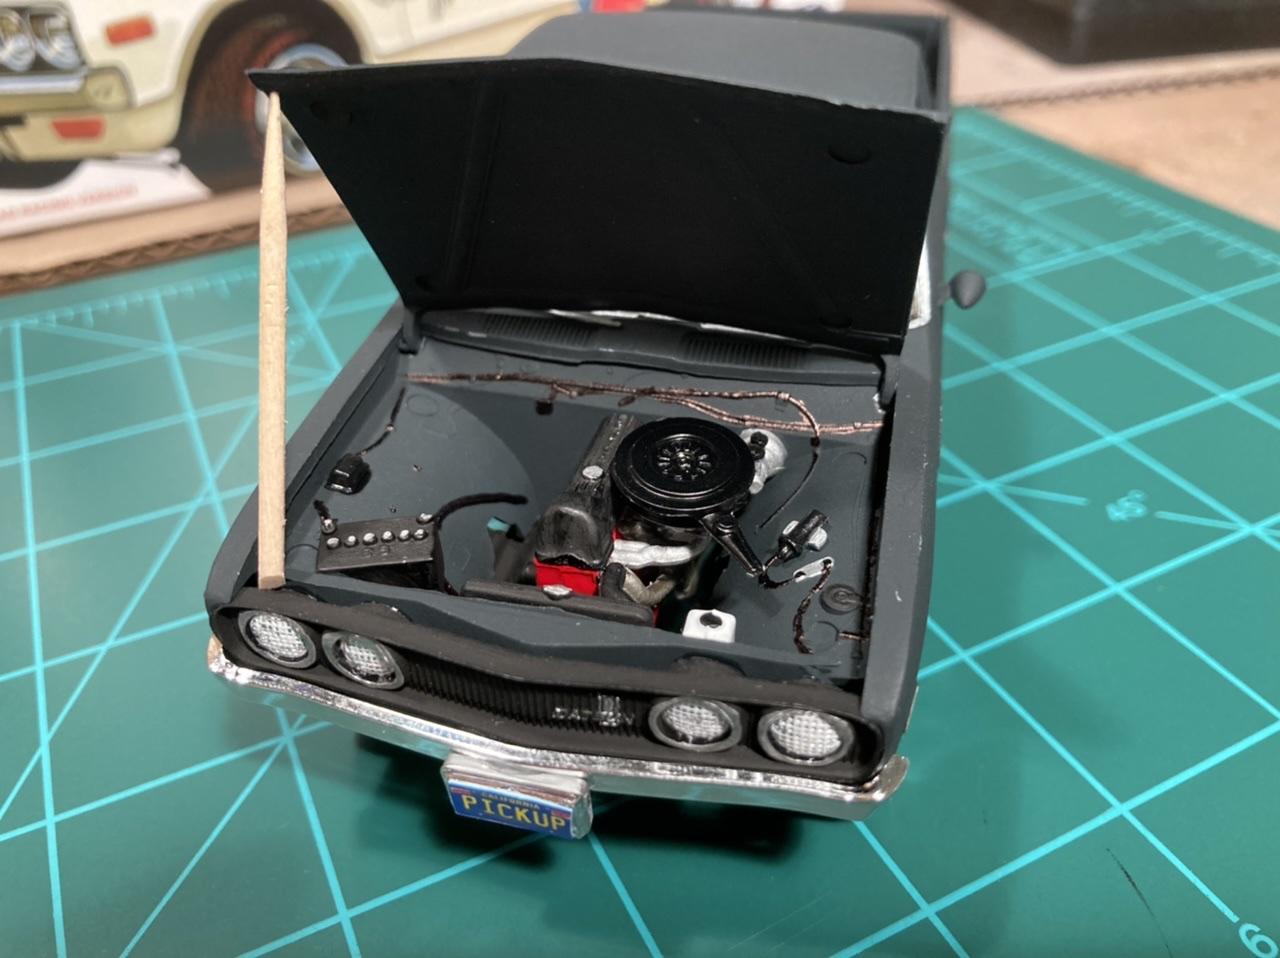
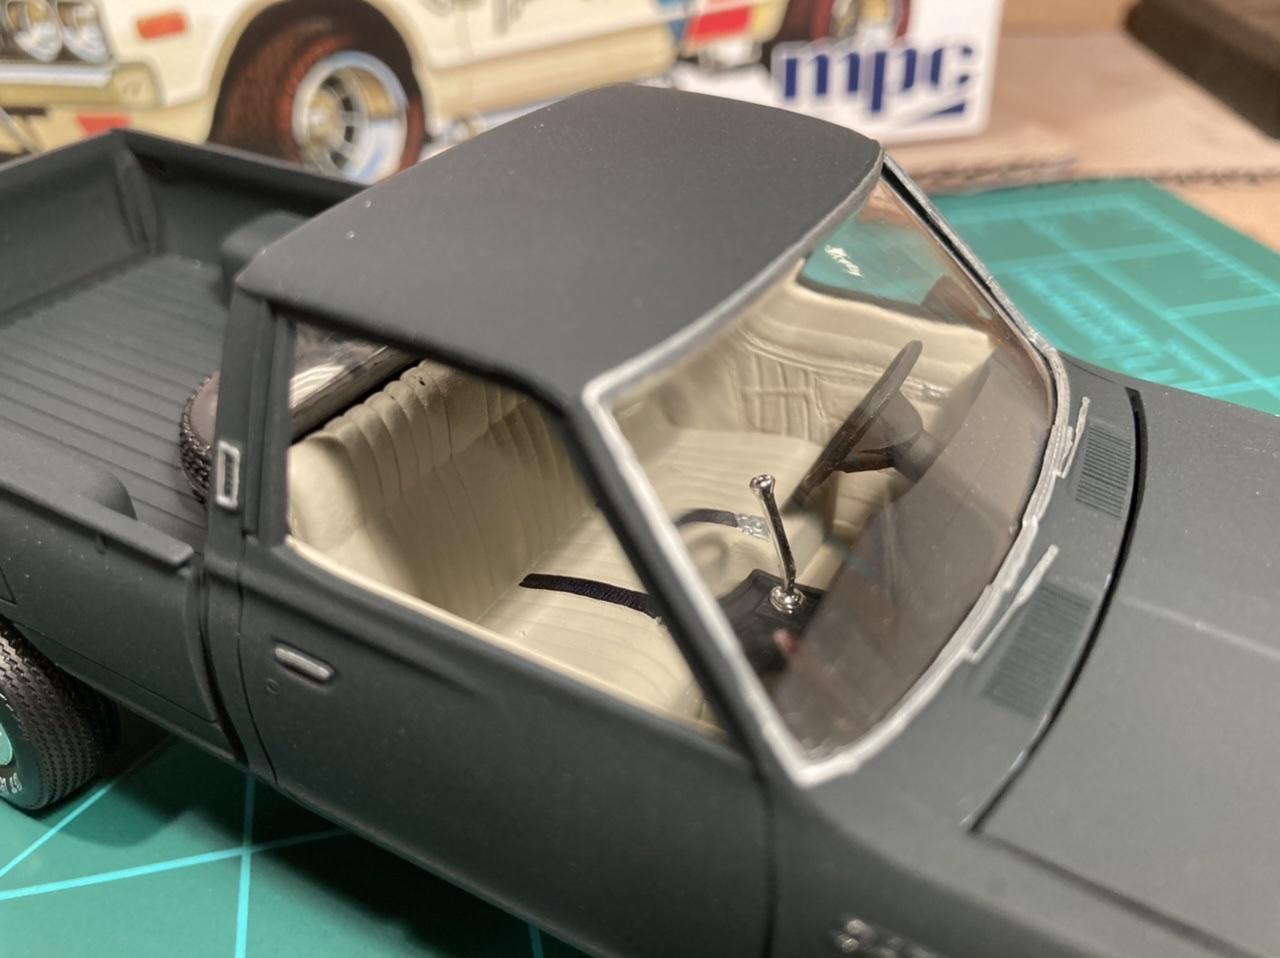
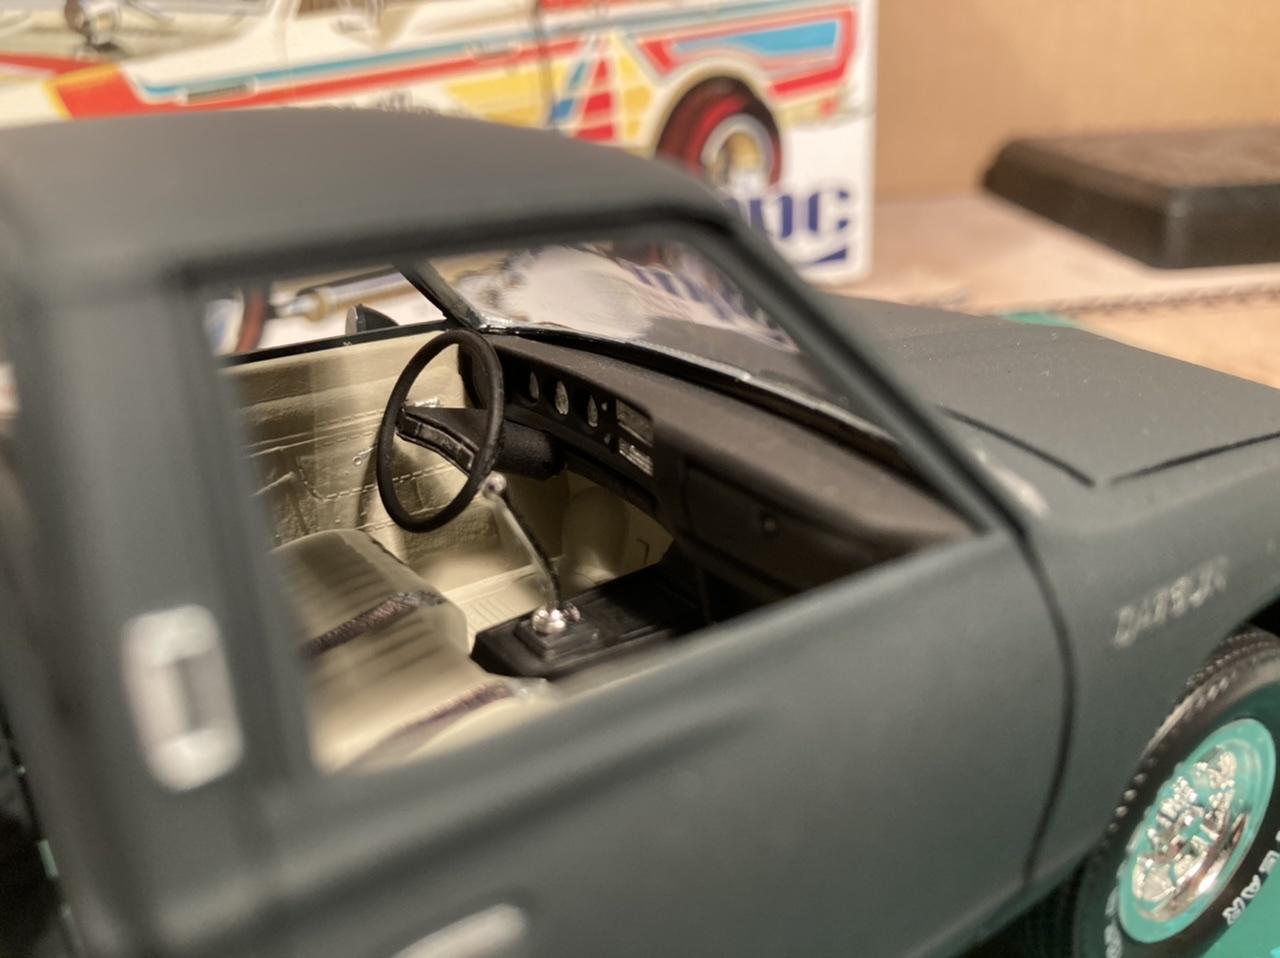
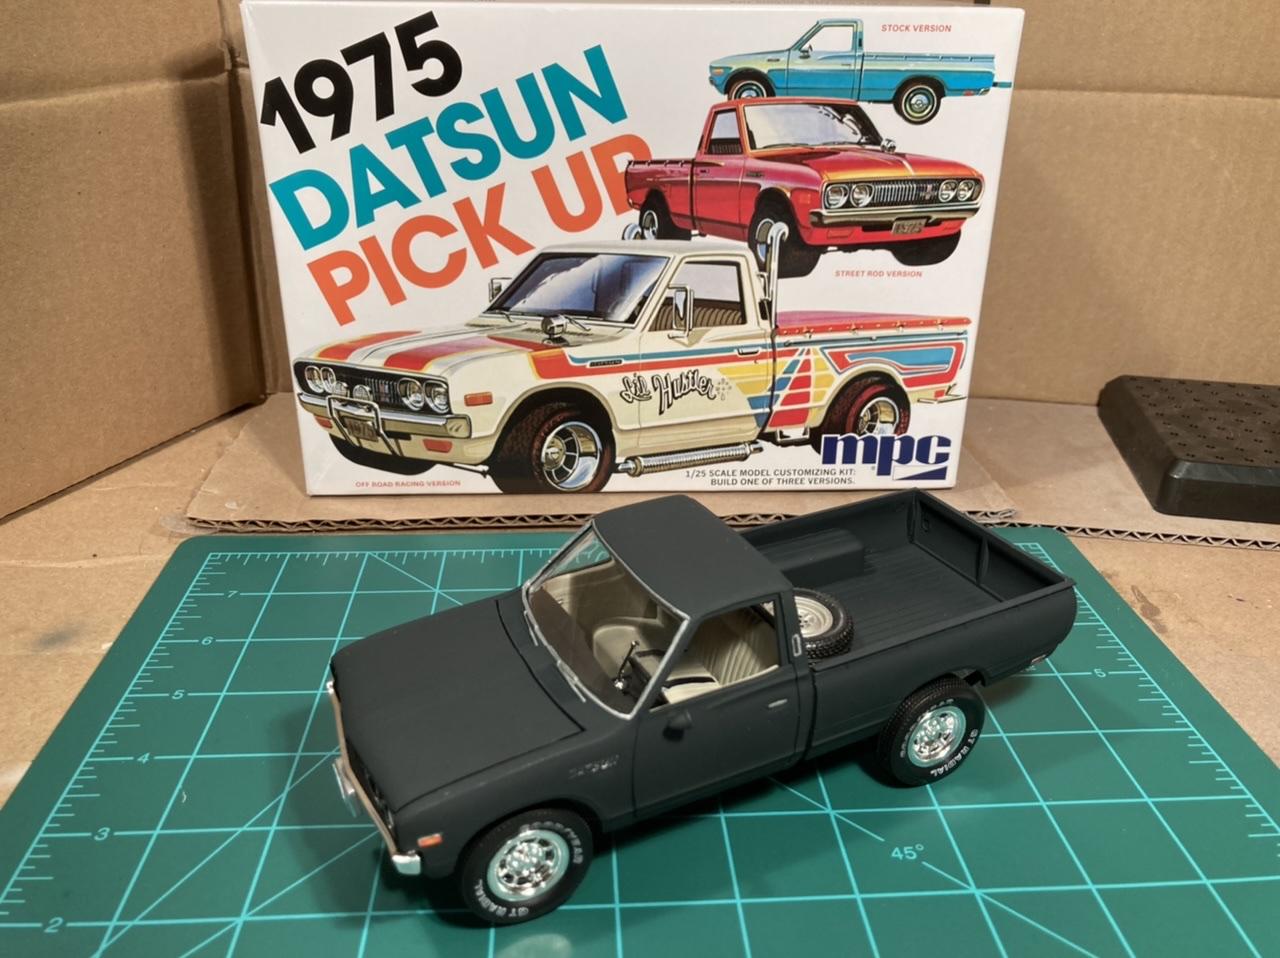
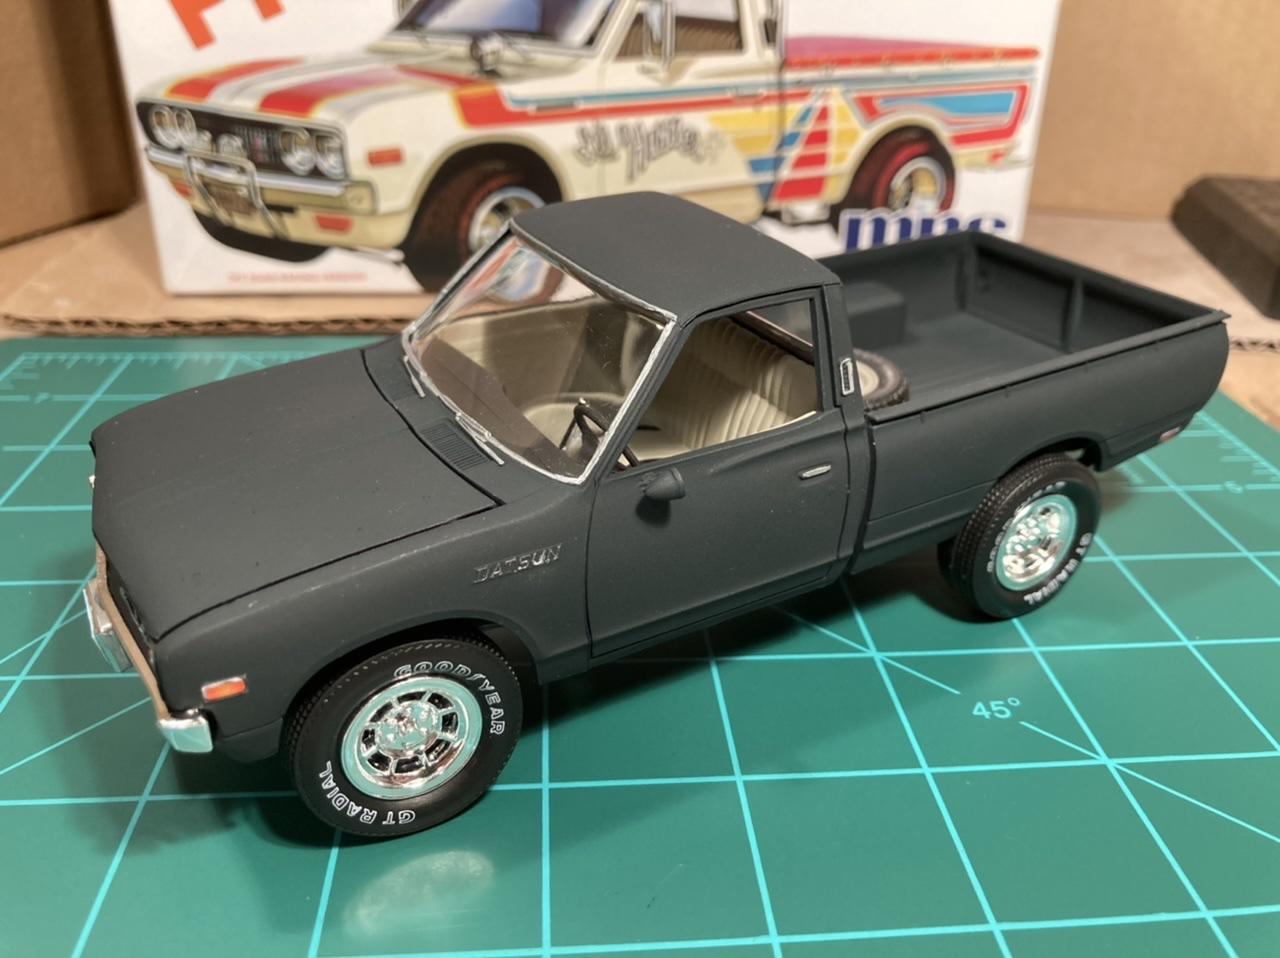
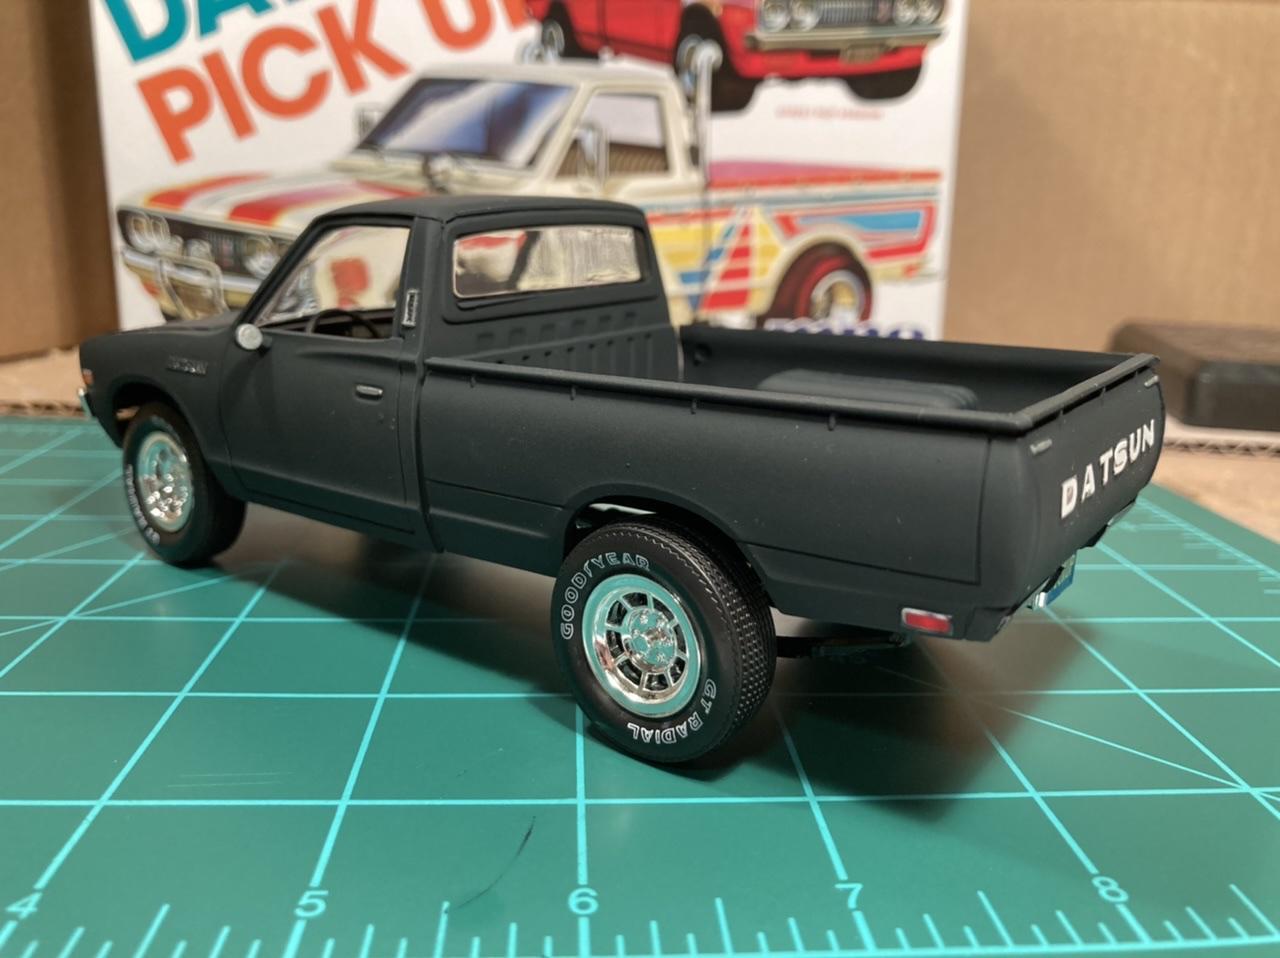
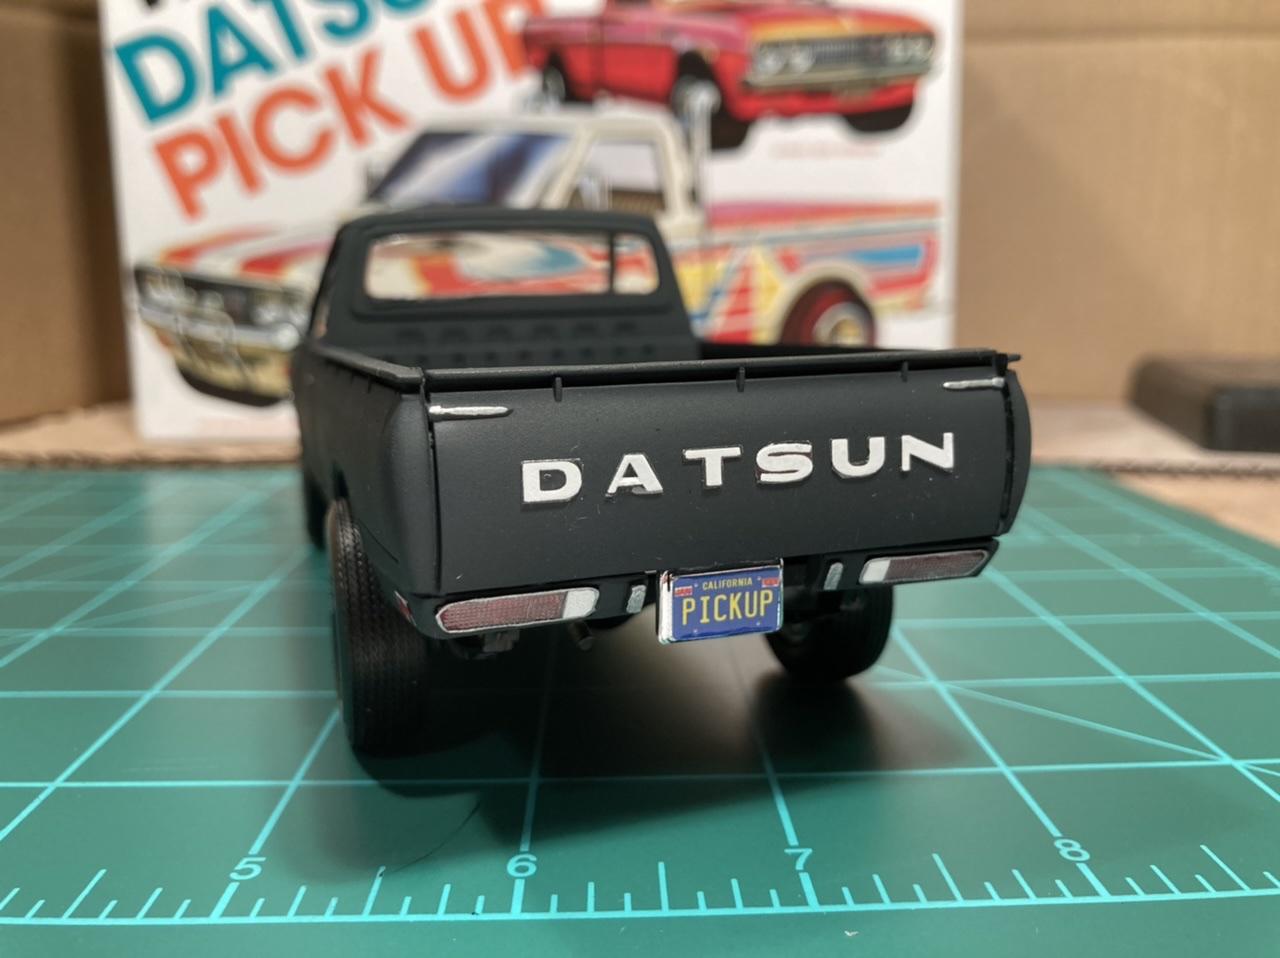
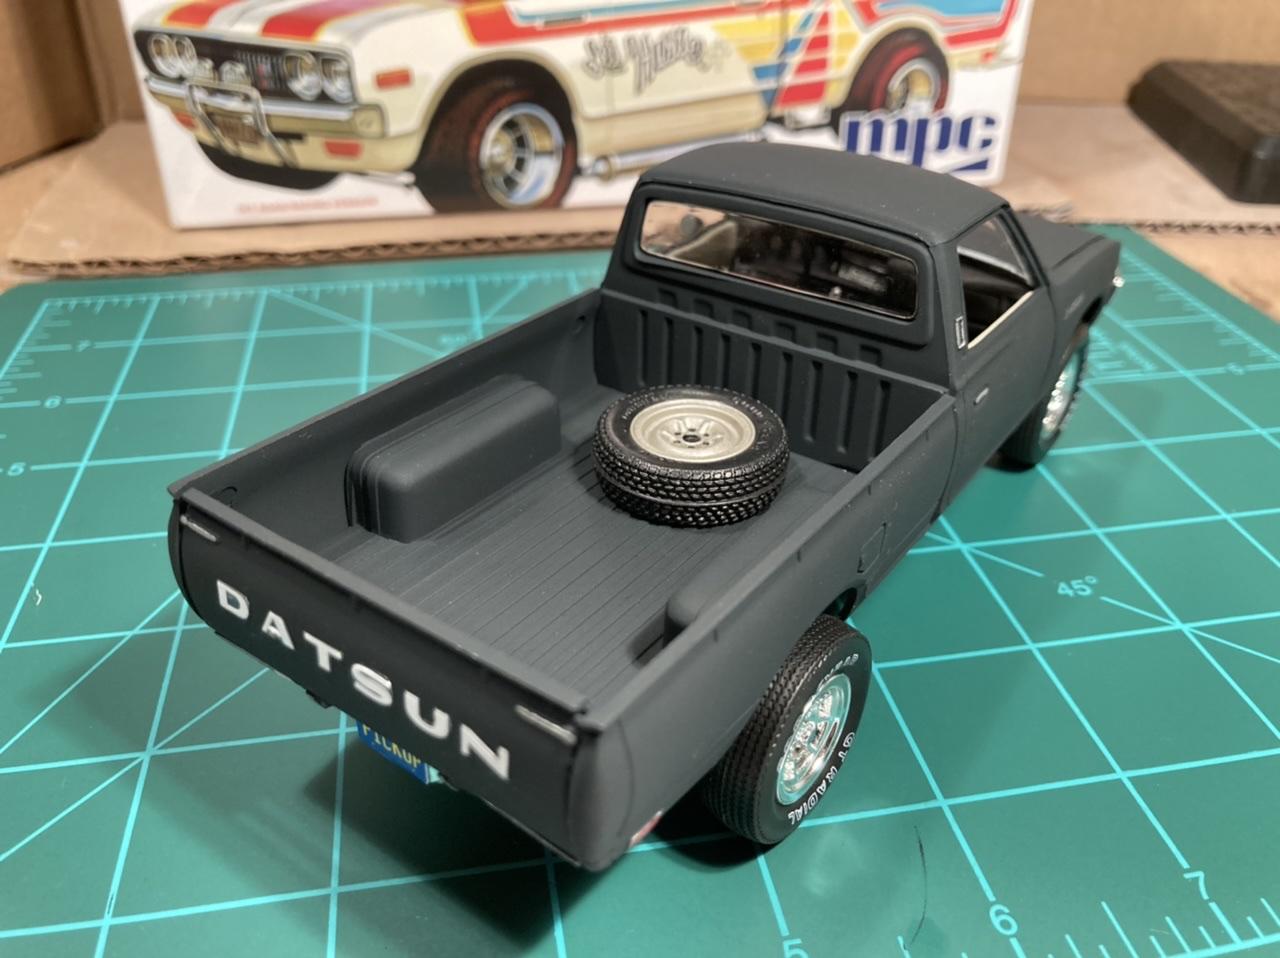
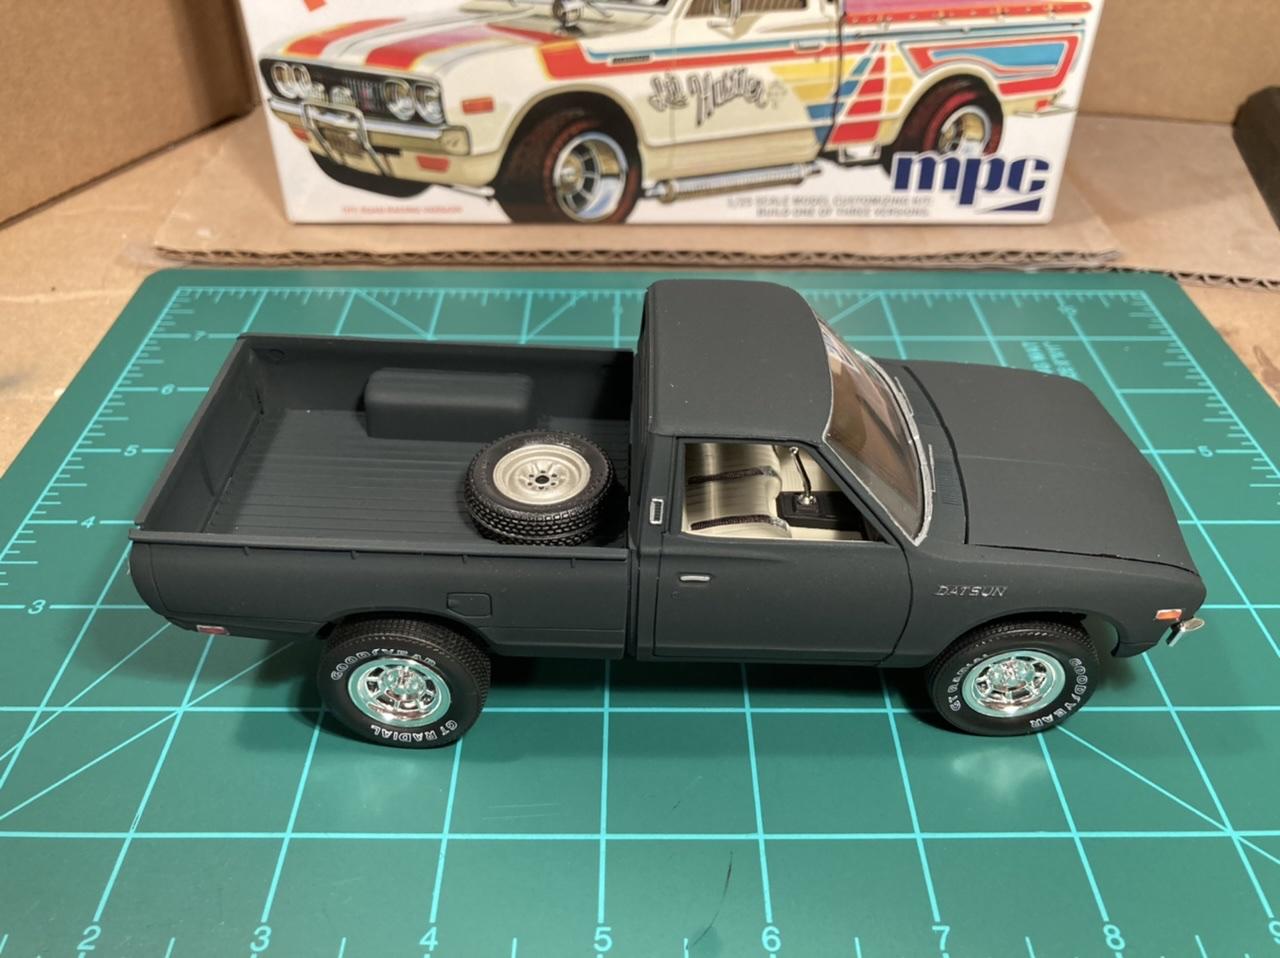
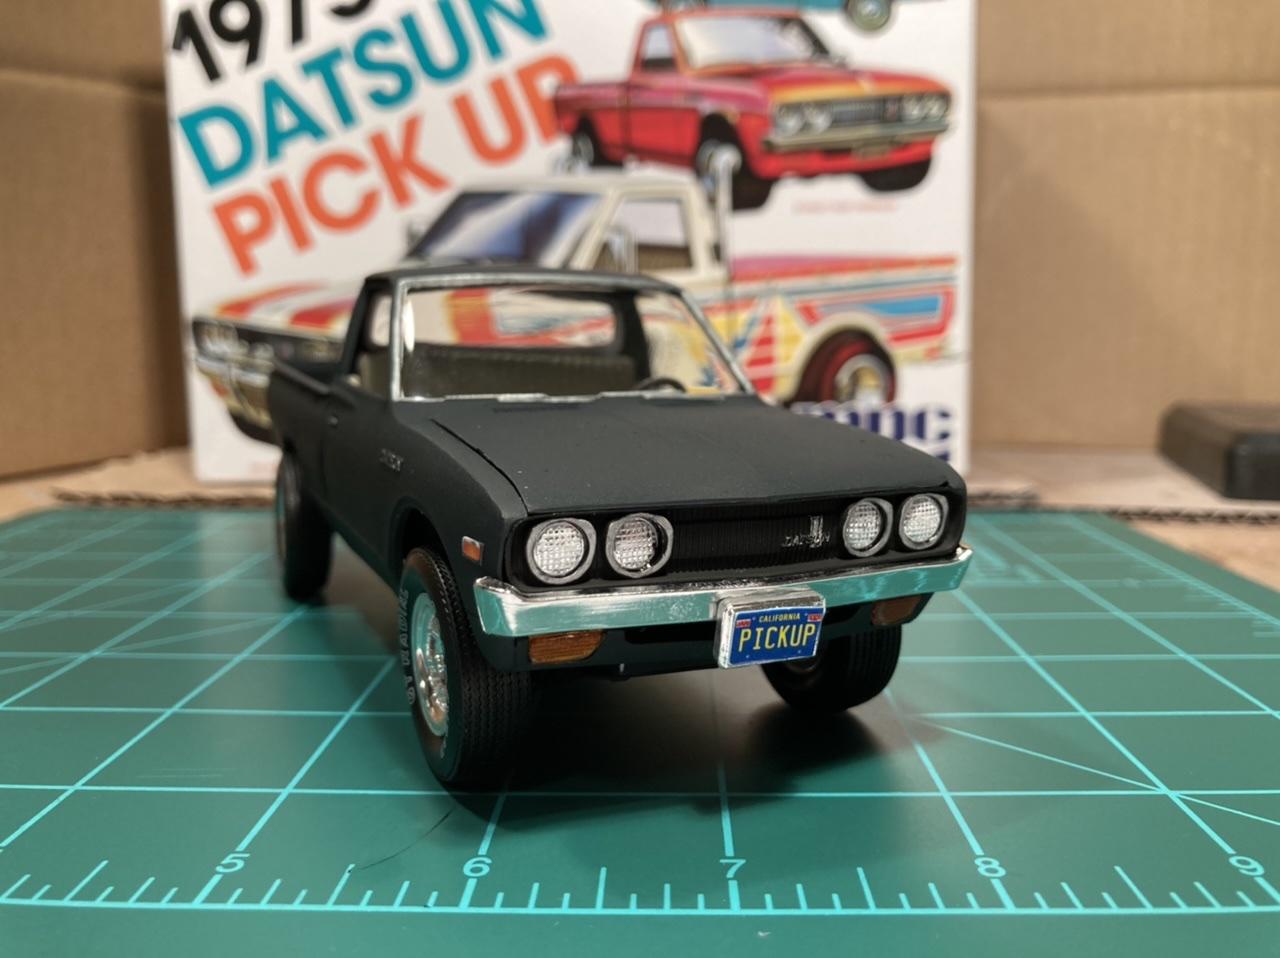
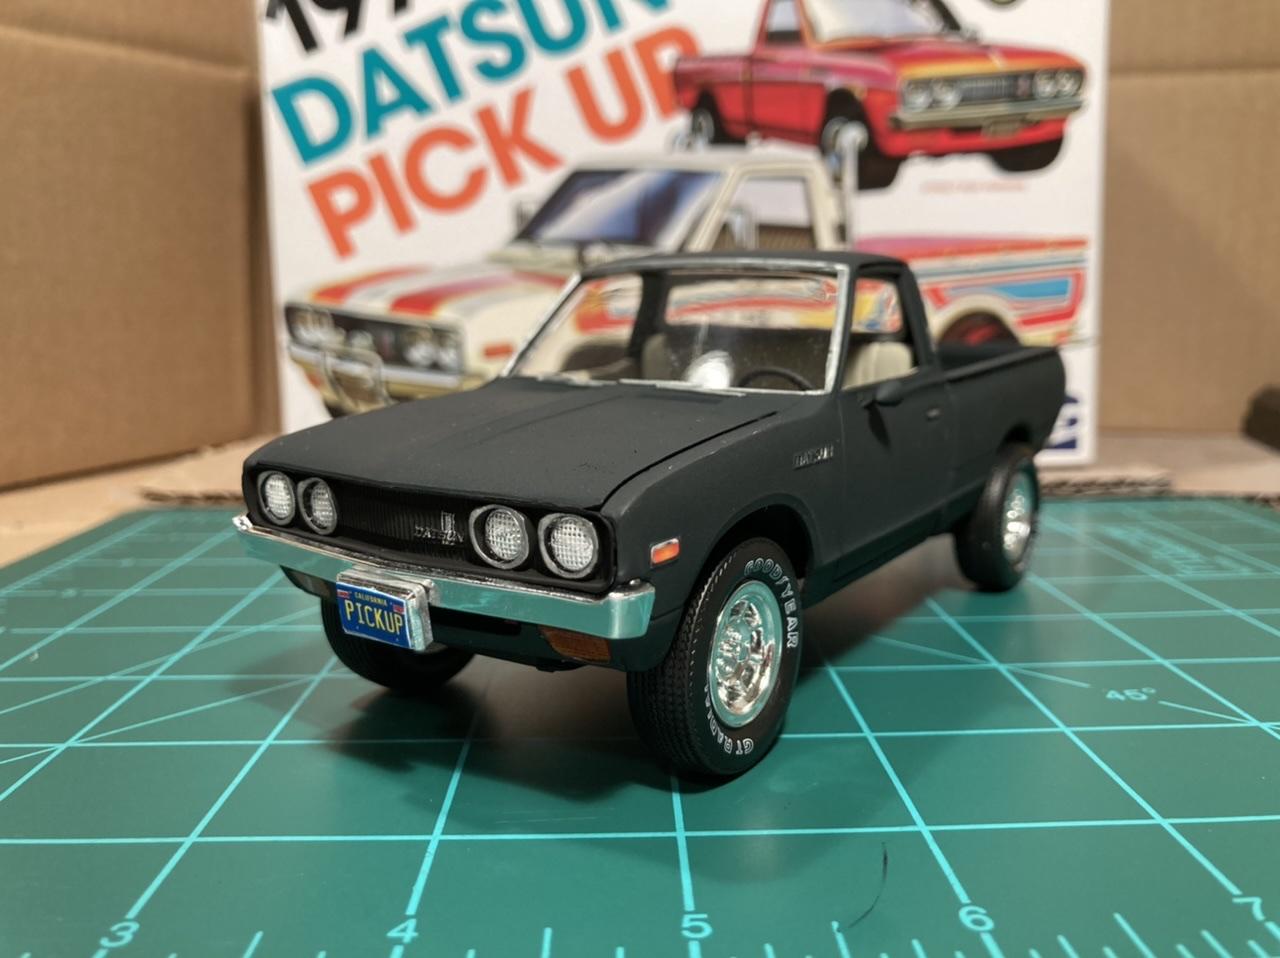
Just finished up this MPC ‘75 Datsun truck! Built from the recently reissued Lil’ Hustler kit. Airbrushed in Tamiya XF-17 Sea Blue for the exterior, XF-55 Deck Tan for the interior. Box stock except for the sport door mirror from the AMT ‘66 Mustang. This kit went together pretty well overall with plenty of detail, but there was a fair amount of flash on most of the parts. Also, my chrome tree was warped so I couldn’t use many of the custom parts (not that I wanted to). Overall I’m happy with the results and I love the color combo!
