All Activity
- Past hour
-
Nice job..! Any more pics..?
-
Definitely going to do this!! I hate fighting the ribbon. Just need more bottles of wine!!!
-

1972 Bobby Allison Southern 500 winning Coke Chevy
Volzfan59 replied to MarkJ's topic in WIP: NASCAR
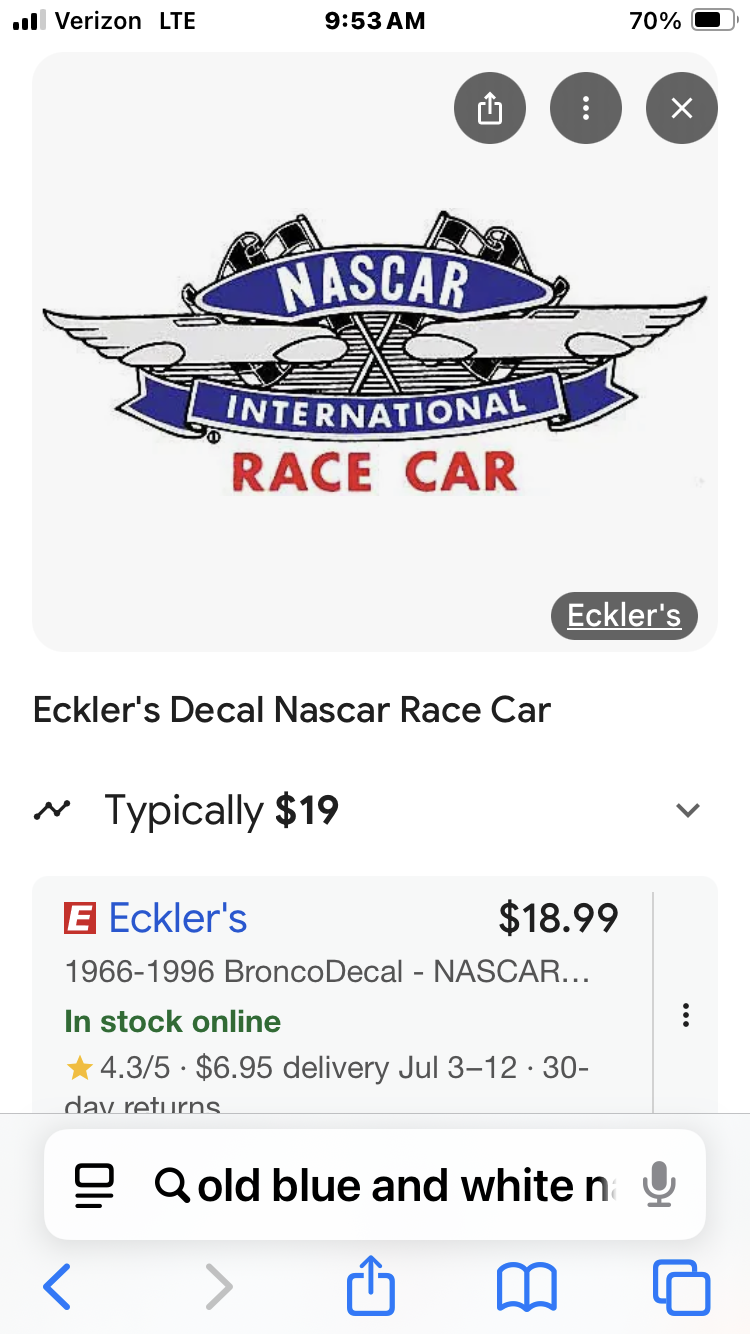
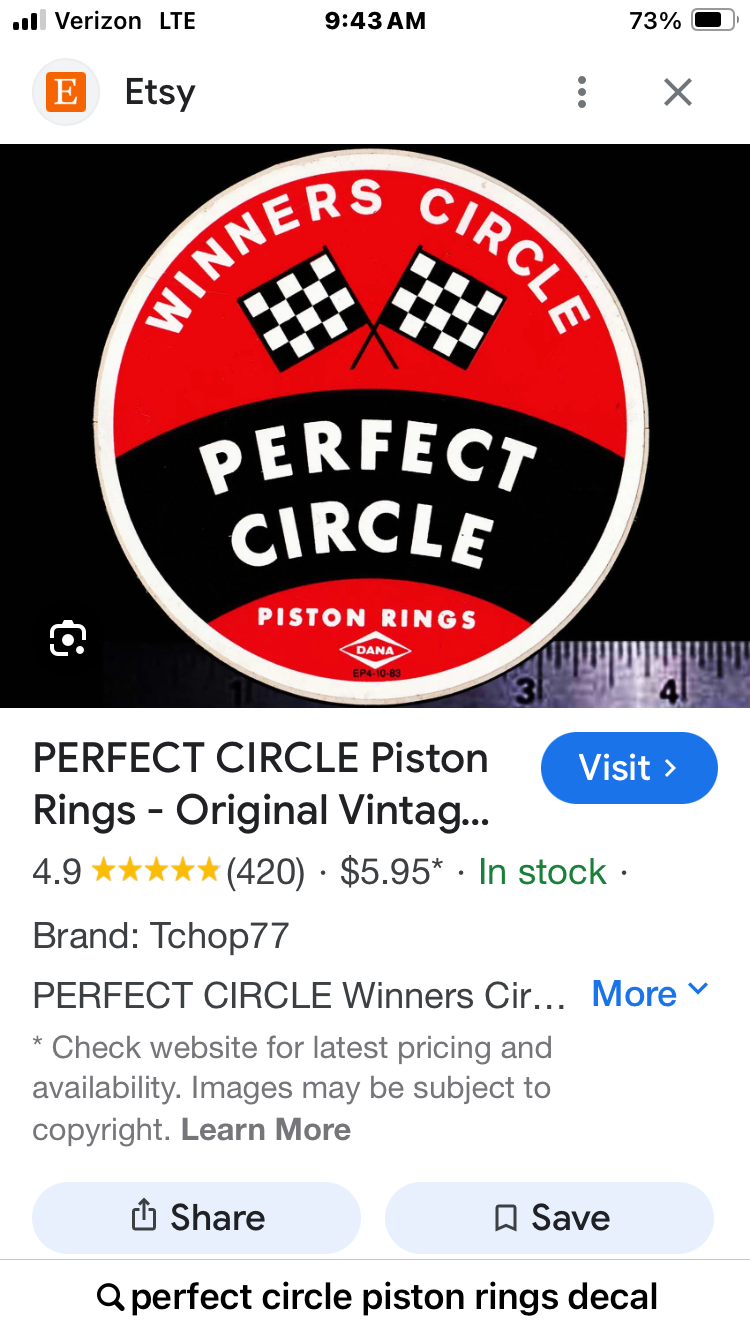
Back in that time period, NASCAR required the below decal on Cup series cars. I think that they were usually placed below the Winston Cup decal. On the YouTube capture, the colors don’t look right for it to be a NASCAR race car decal. Ag, it’s just to fuzzy to make out but I thought I’d throw it out there.
-
 I always wanted one of those alway to expensive or out bided glad you scored one…
 -
ONCE UPON A TIME..... (game)
A modeler named mike replied to 89AKurt's topic in The Off-Topic Lounge
more than enough -
1972 Bobby Allison Southern 500 winning Coke Chevy
Volzfan59 replied to MarkJ's topic in WIP: NASCAR
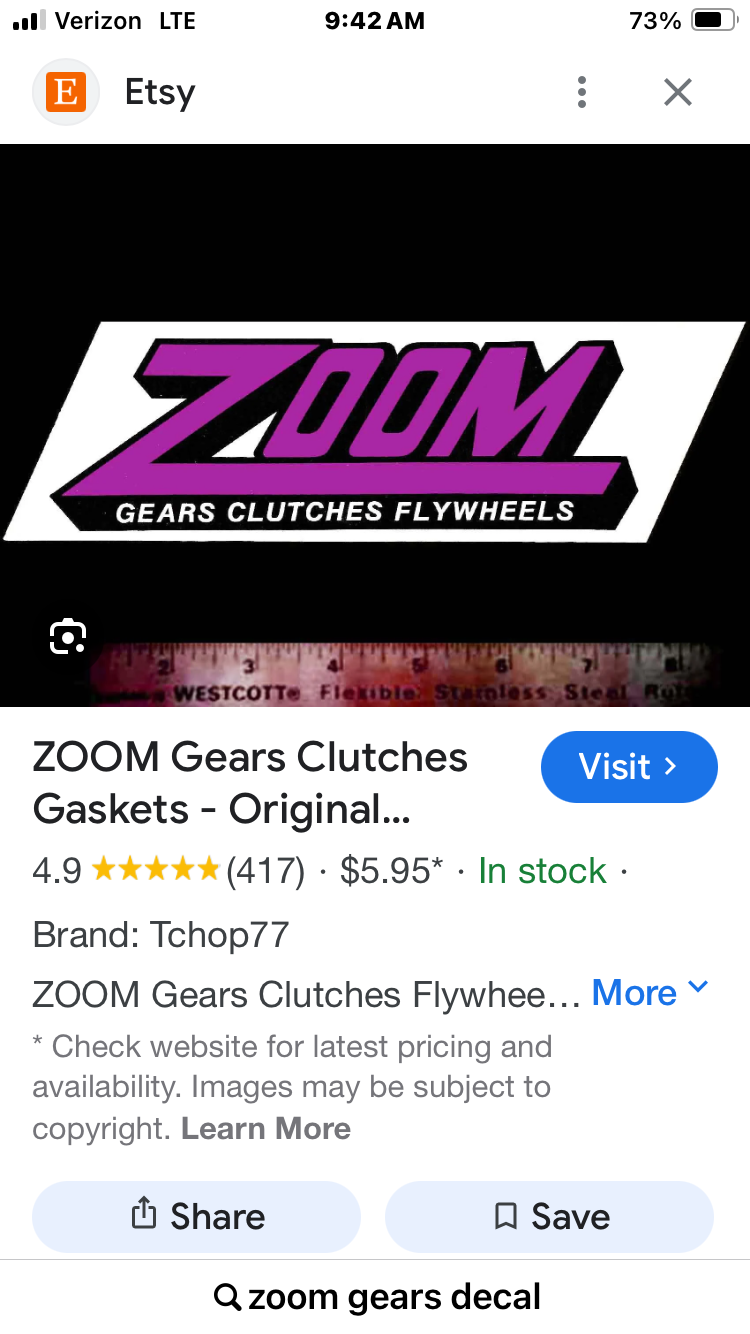
I don’t know Mark, the one below looks like a Zoom decal to me. That said, I know that you’ve done your research.
-
naked girl paid
-

Revell (Monogram) 1/24th scale, 1985 Pontiac Fiero
peteski replied to Luc Janssens's topic in Car Kit News & Reviews
The tree with wheels is not plated? The are really downgrading their kits. For a while Revell AG had their decals printed by Cartograph (Italian company making top-quality decals). Looks like that's not the case either,. -
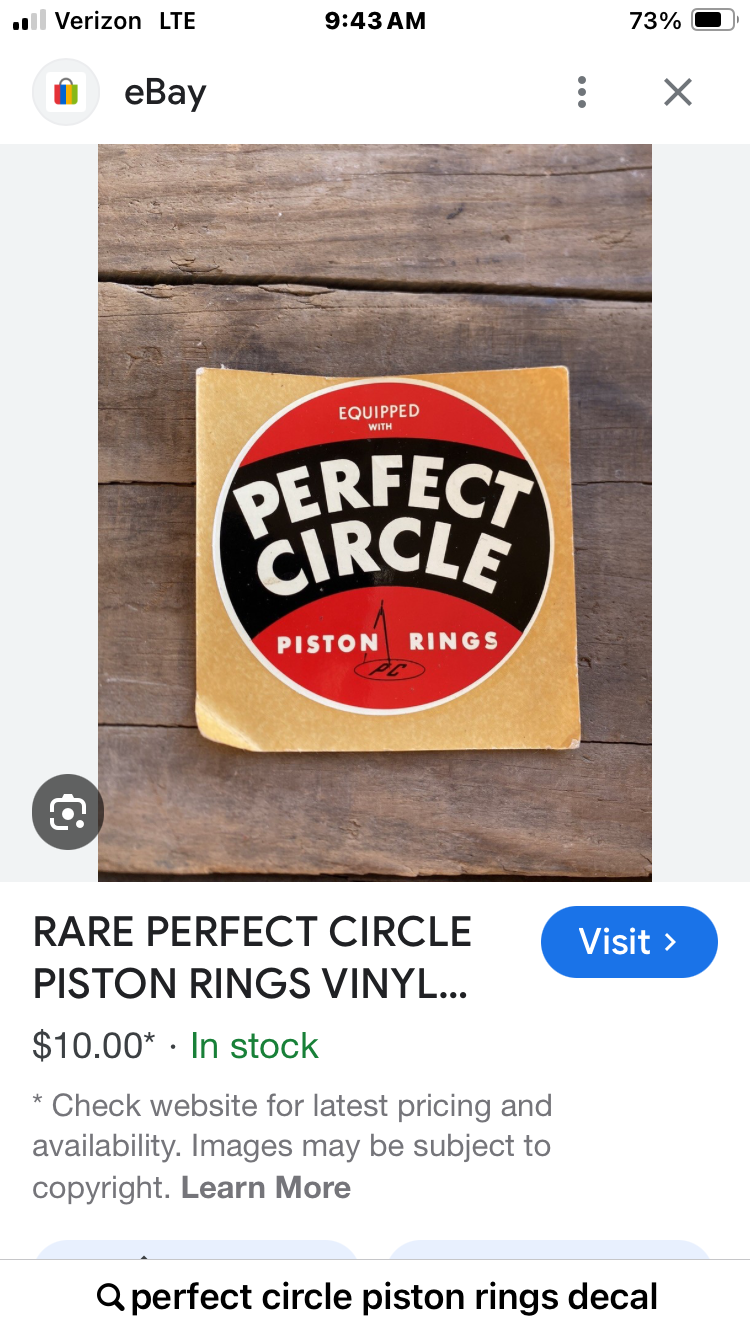
Thanks, Steve. Actually, the Zoom decal is above the Edelbrock, and I also thought the one under micro precision was perfect circle, but I wanted to see if anybody else thought so too. I think I will look at the video again without taking a picture of it with my phone. Maybe it will be clearer, and I can make them out better now that I know which ones to concentrate on. Thanks again for your help on this.
-
I’ve ordered a bunch of model kits, bass fishing tackle and stuff for my boat off of eBay. Never had an issue. Sold two bass boats on eBay, again no problem.
-
Doom is used in many video games..🎮
-
Exhaust looks excellent, nice WIP!
-
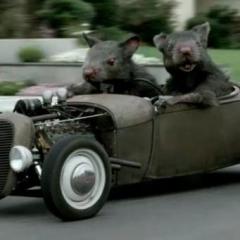
 I see kids everywhere on these things. So I decided to look them up. Holy Moly do parents spoil their kids or what? Very expensive bikes. That is an awesome build.
 -
1972 Bobby Allison Southern 500 winning Coke Chevy
Volzfan59 replied to MarkJ's topic in WIP: NASCAR
The one below the Edelbrock decal looks like Zoom gears decal but it’s pretty fuzzy. I don’t know if Zoom was around back then so it’s a guess. Heck, it’s been so long since I’ve messed with 1:1 race cars, I don’t know if Zoom is around now. The decal under the Micro Precision decal looks like a Perfect Circle piston rings decal. No clue on the one below the Winston Cup decal. -
nice tie-in with the headlight supports. makes them look like they belong to the same car.
-
i've not had problems in over 25 years. look for seller satisfaction and if it's less than 90%, don't buy. more BLAH_BLAH_BLAH_BLAH comes along every day. if you have the luxury (desire/ time) make an offer. if it's accepted, good. if not, you need to decide what its value is to you. ebay uses credit cards, so check with your cc company and ask them what their "insurance" policy is regarding purchases. i've had good luck with Bank of America Visa, but maybe all cc companies have to abide by the same rules. final advice? caveat emptor!
-
Good ideas both. I'll be going with the masking idea. Aircraft builders do it all the time with excellent results. I watched a couple of tutorials and it looks like a winner.
-
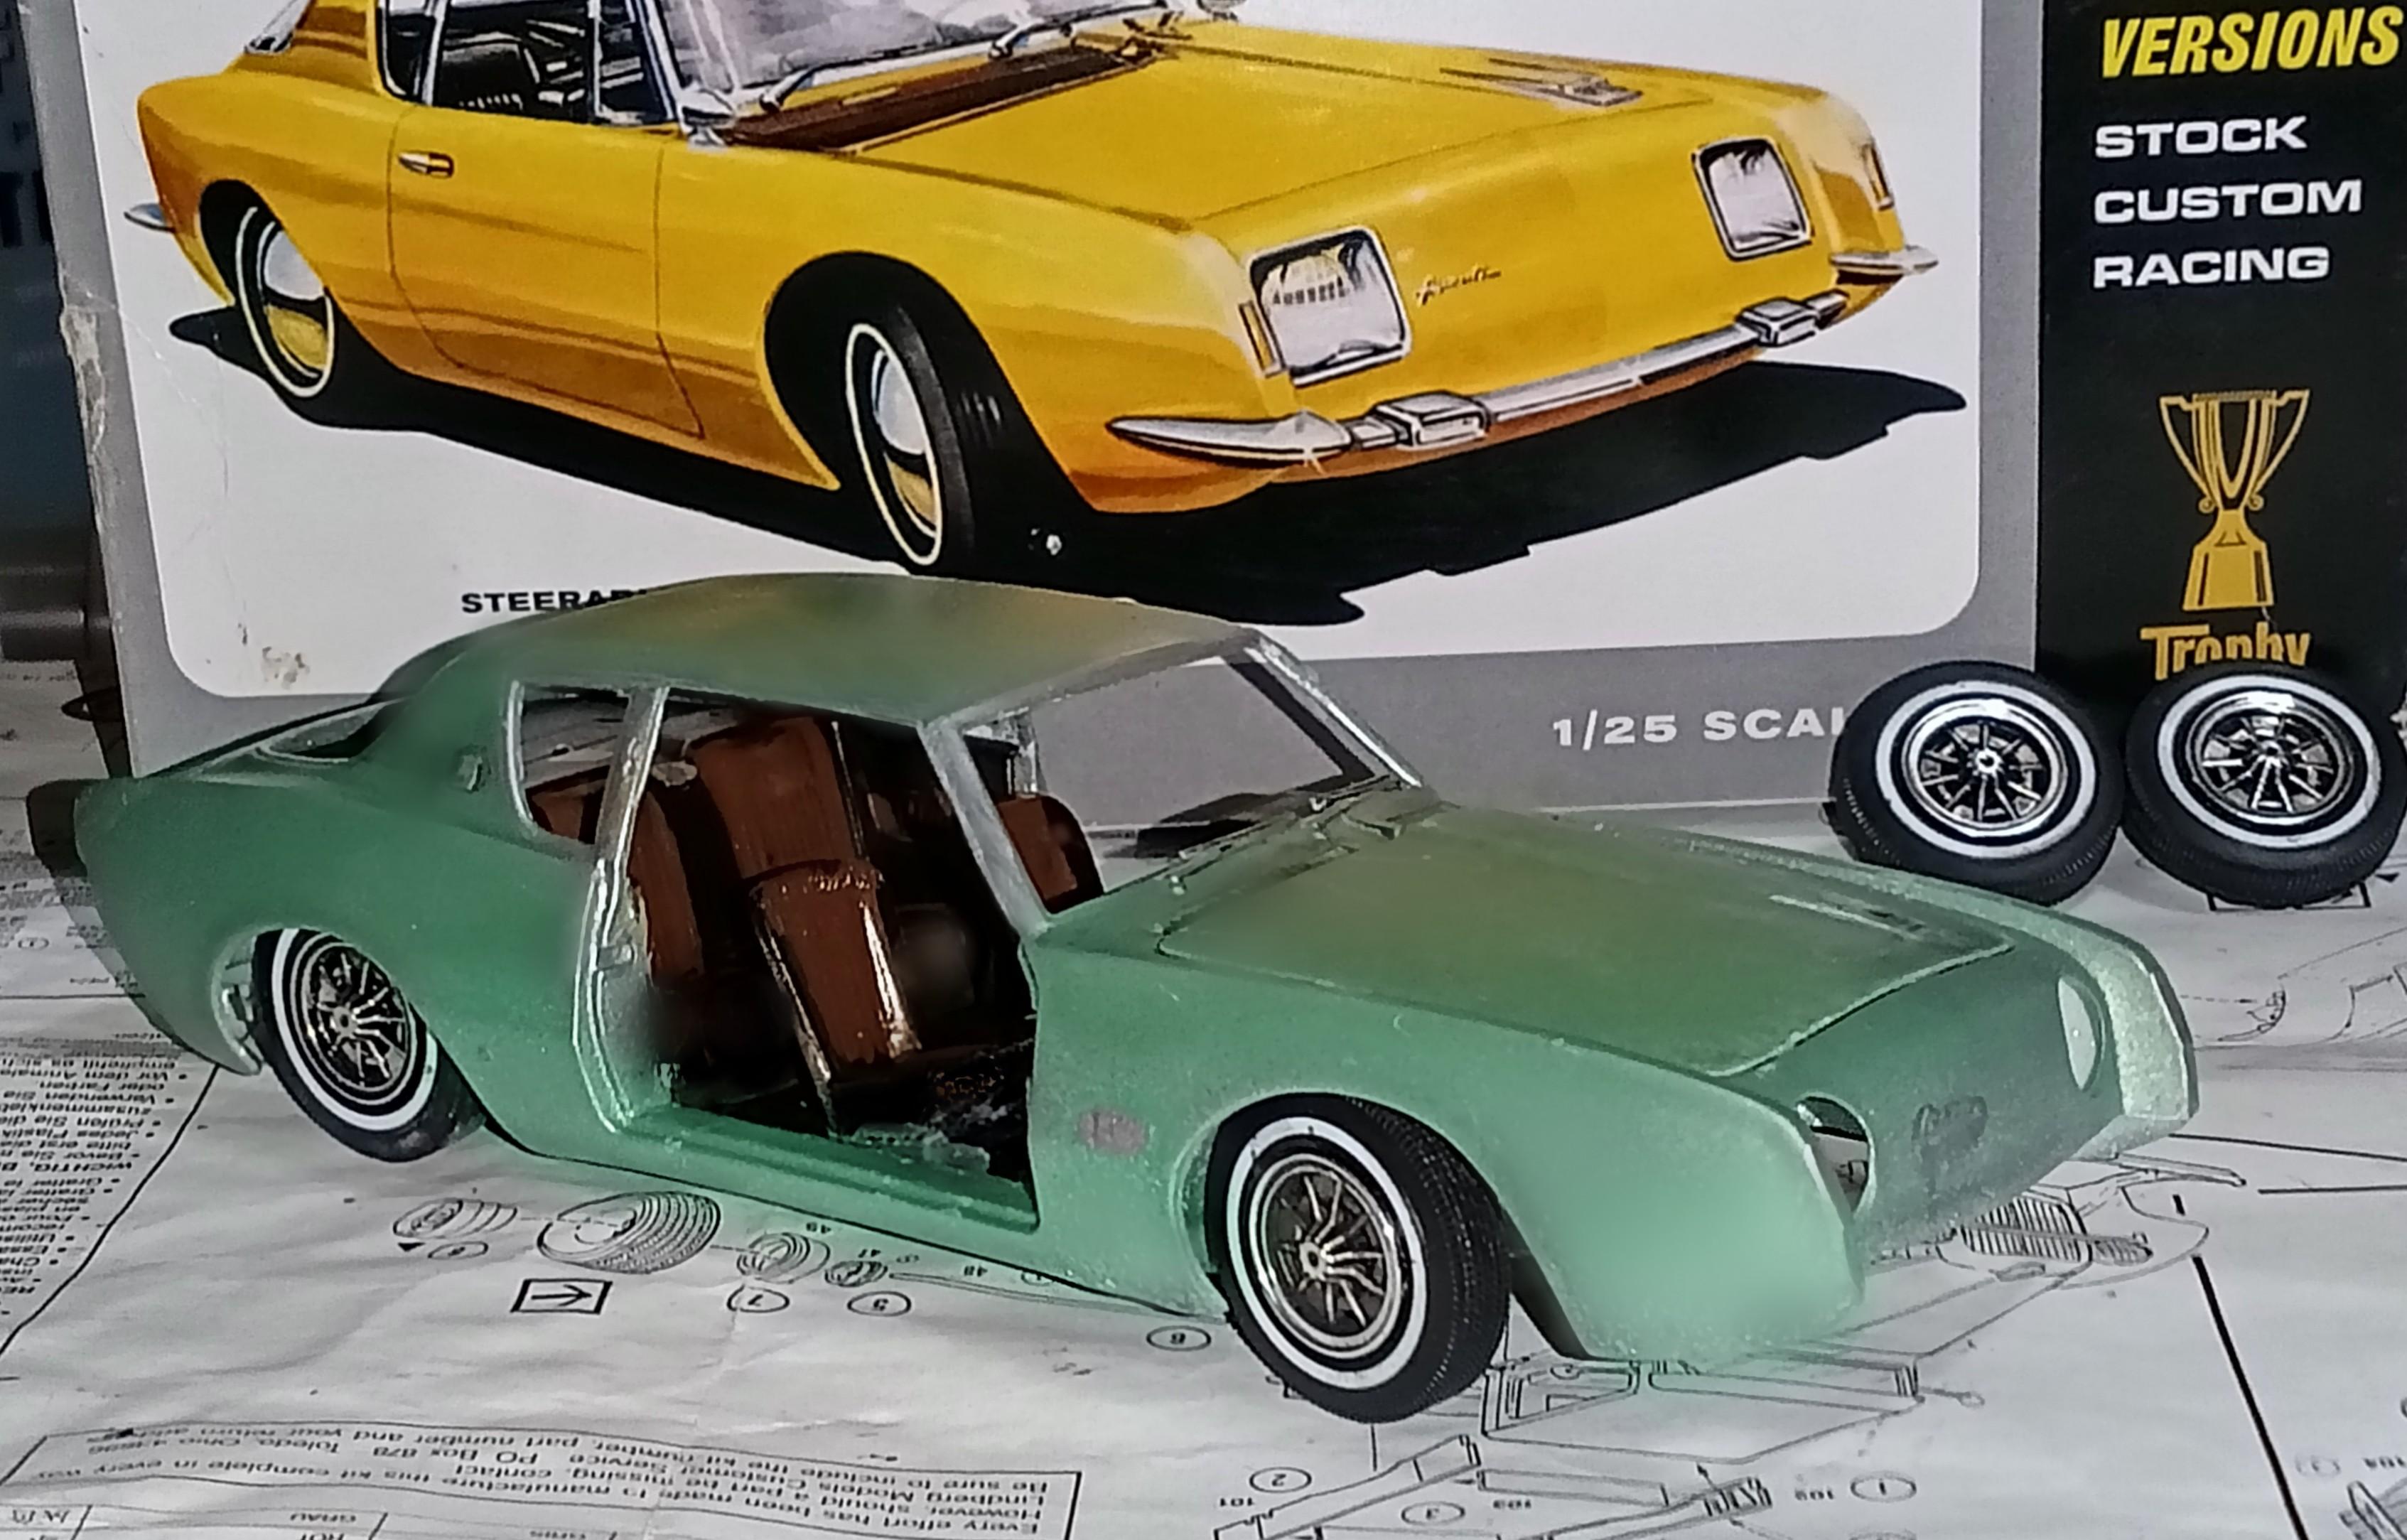
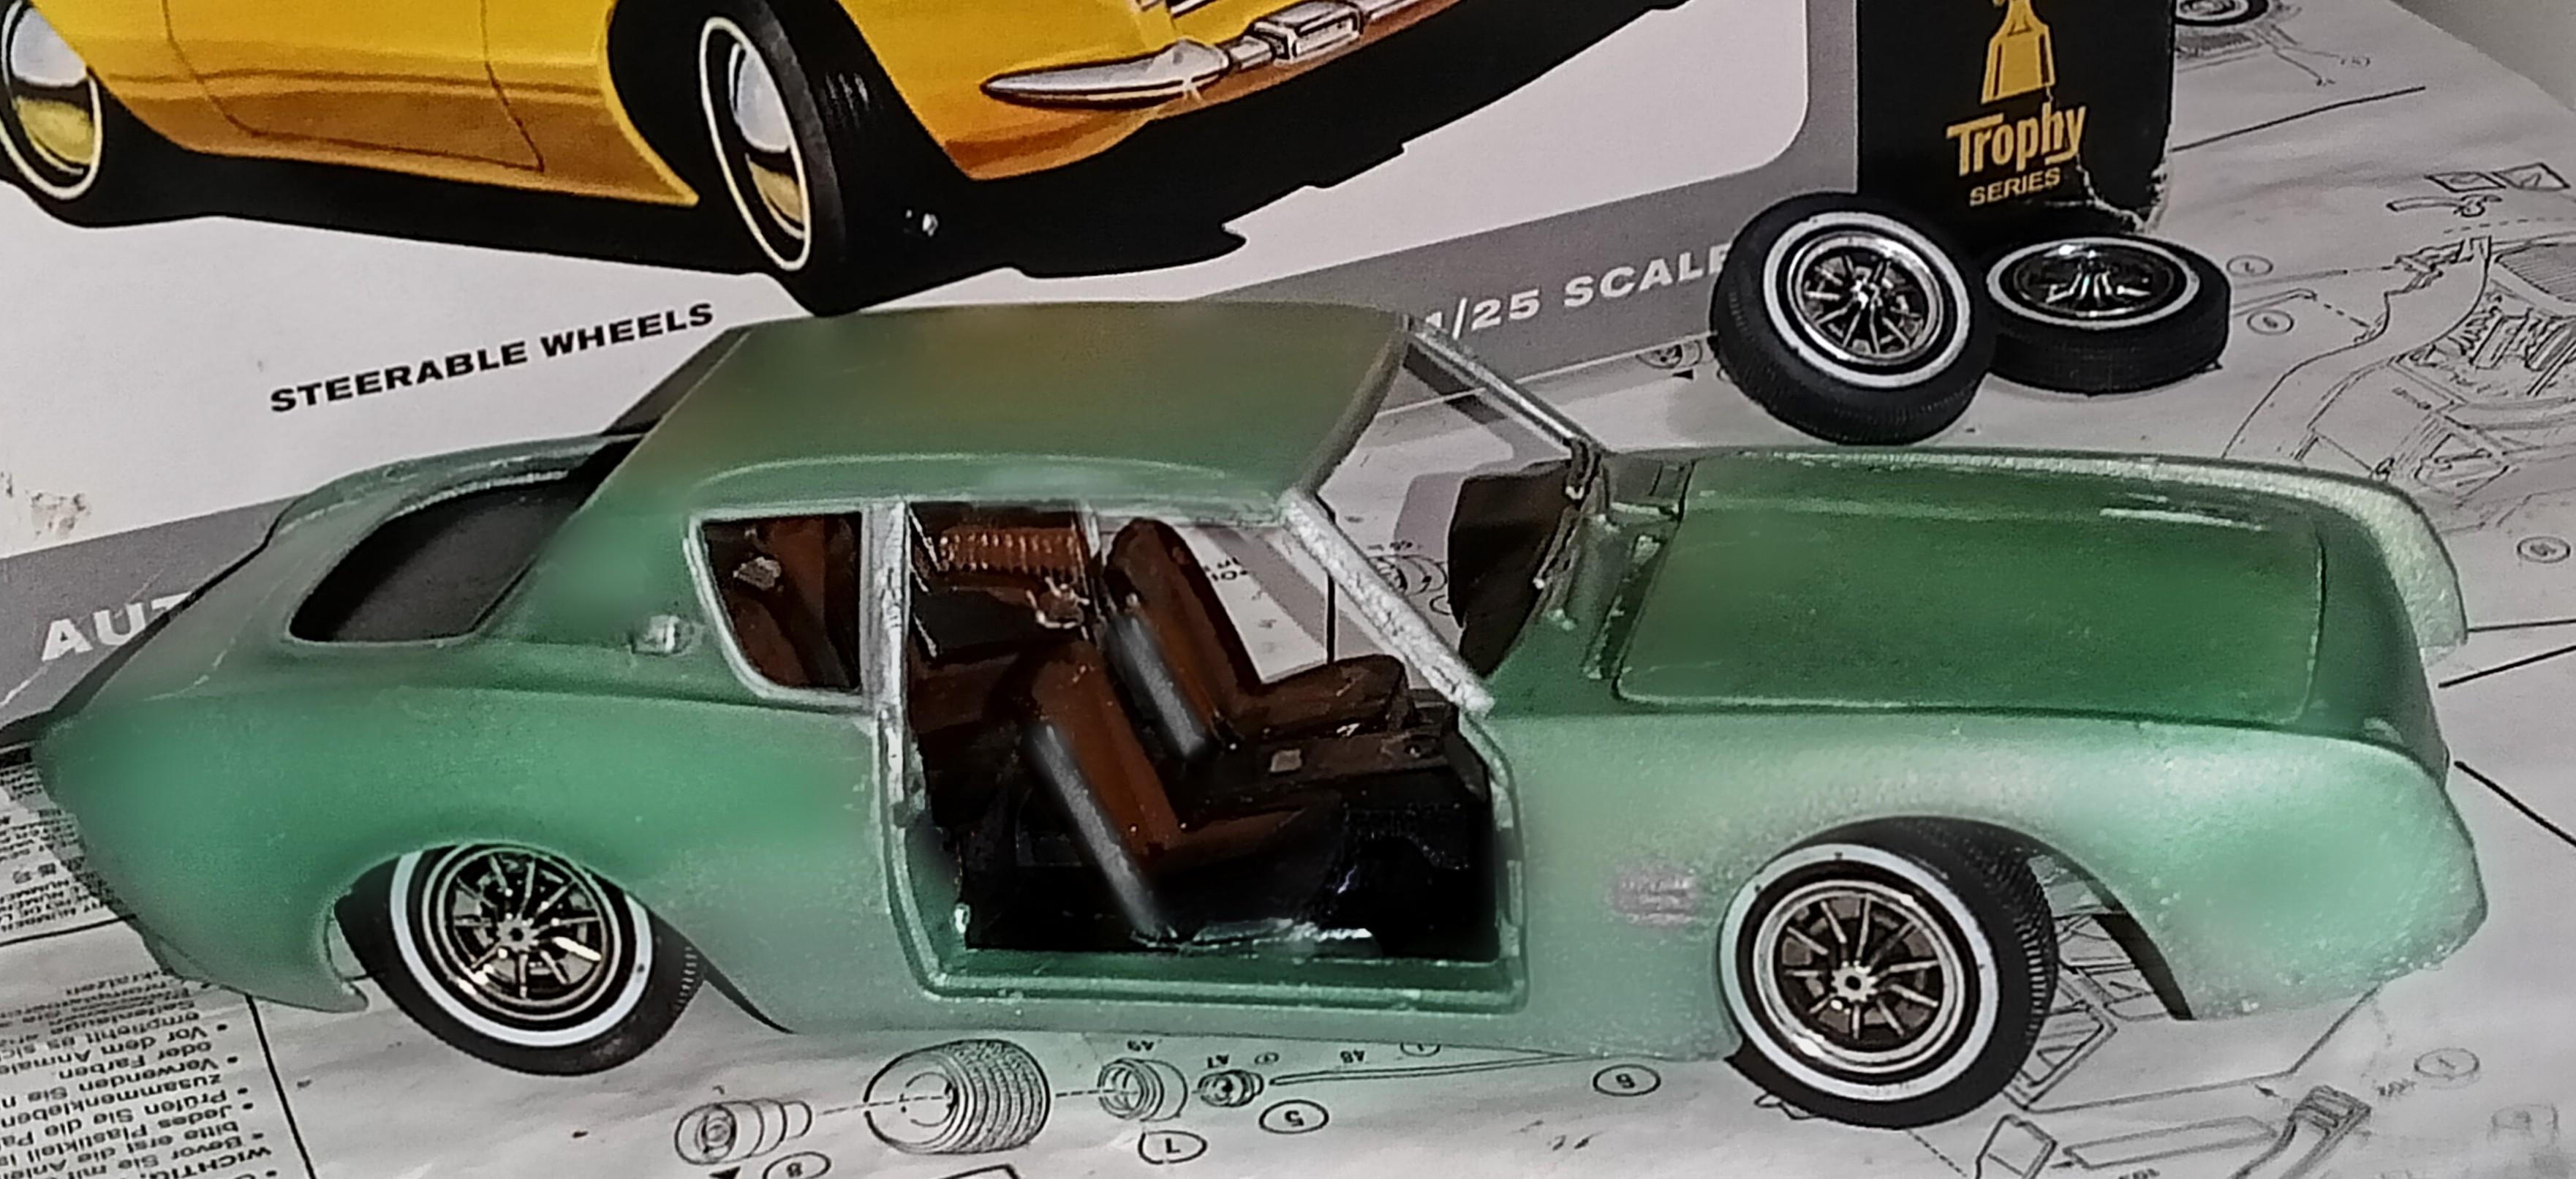
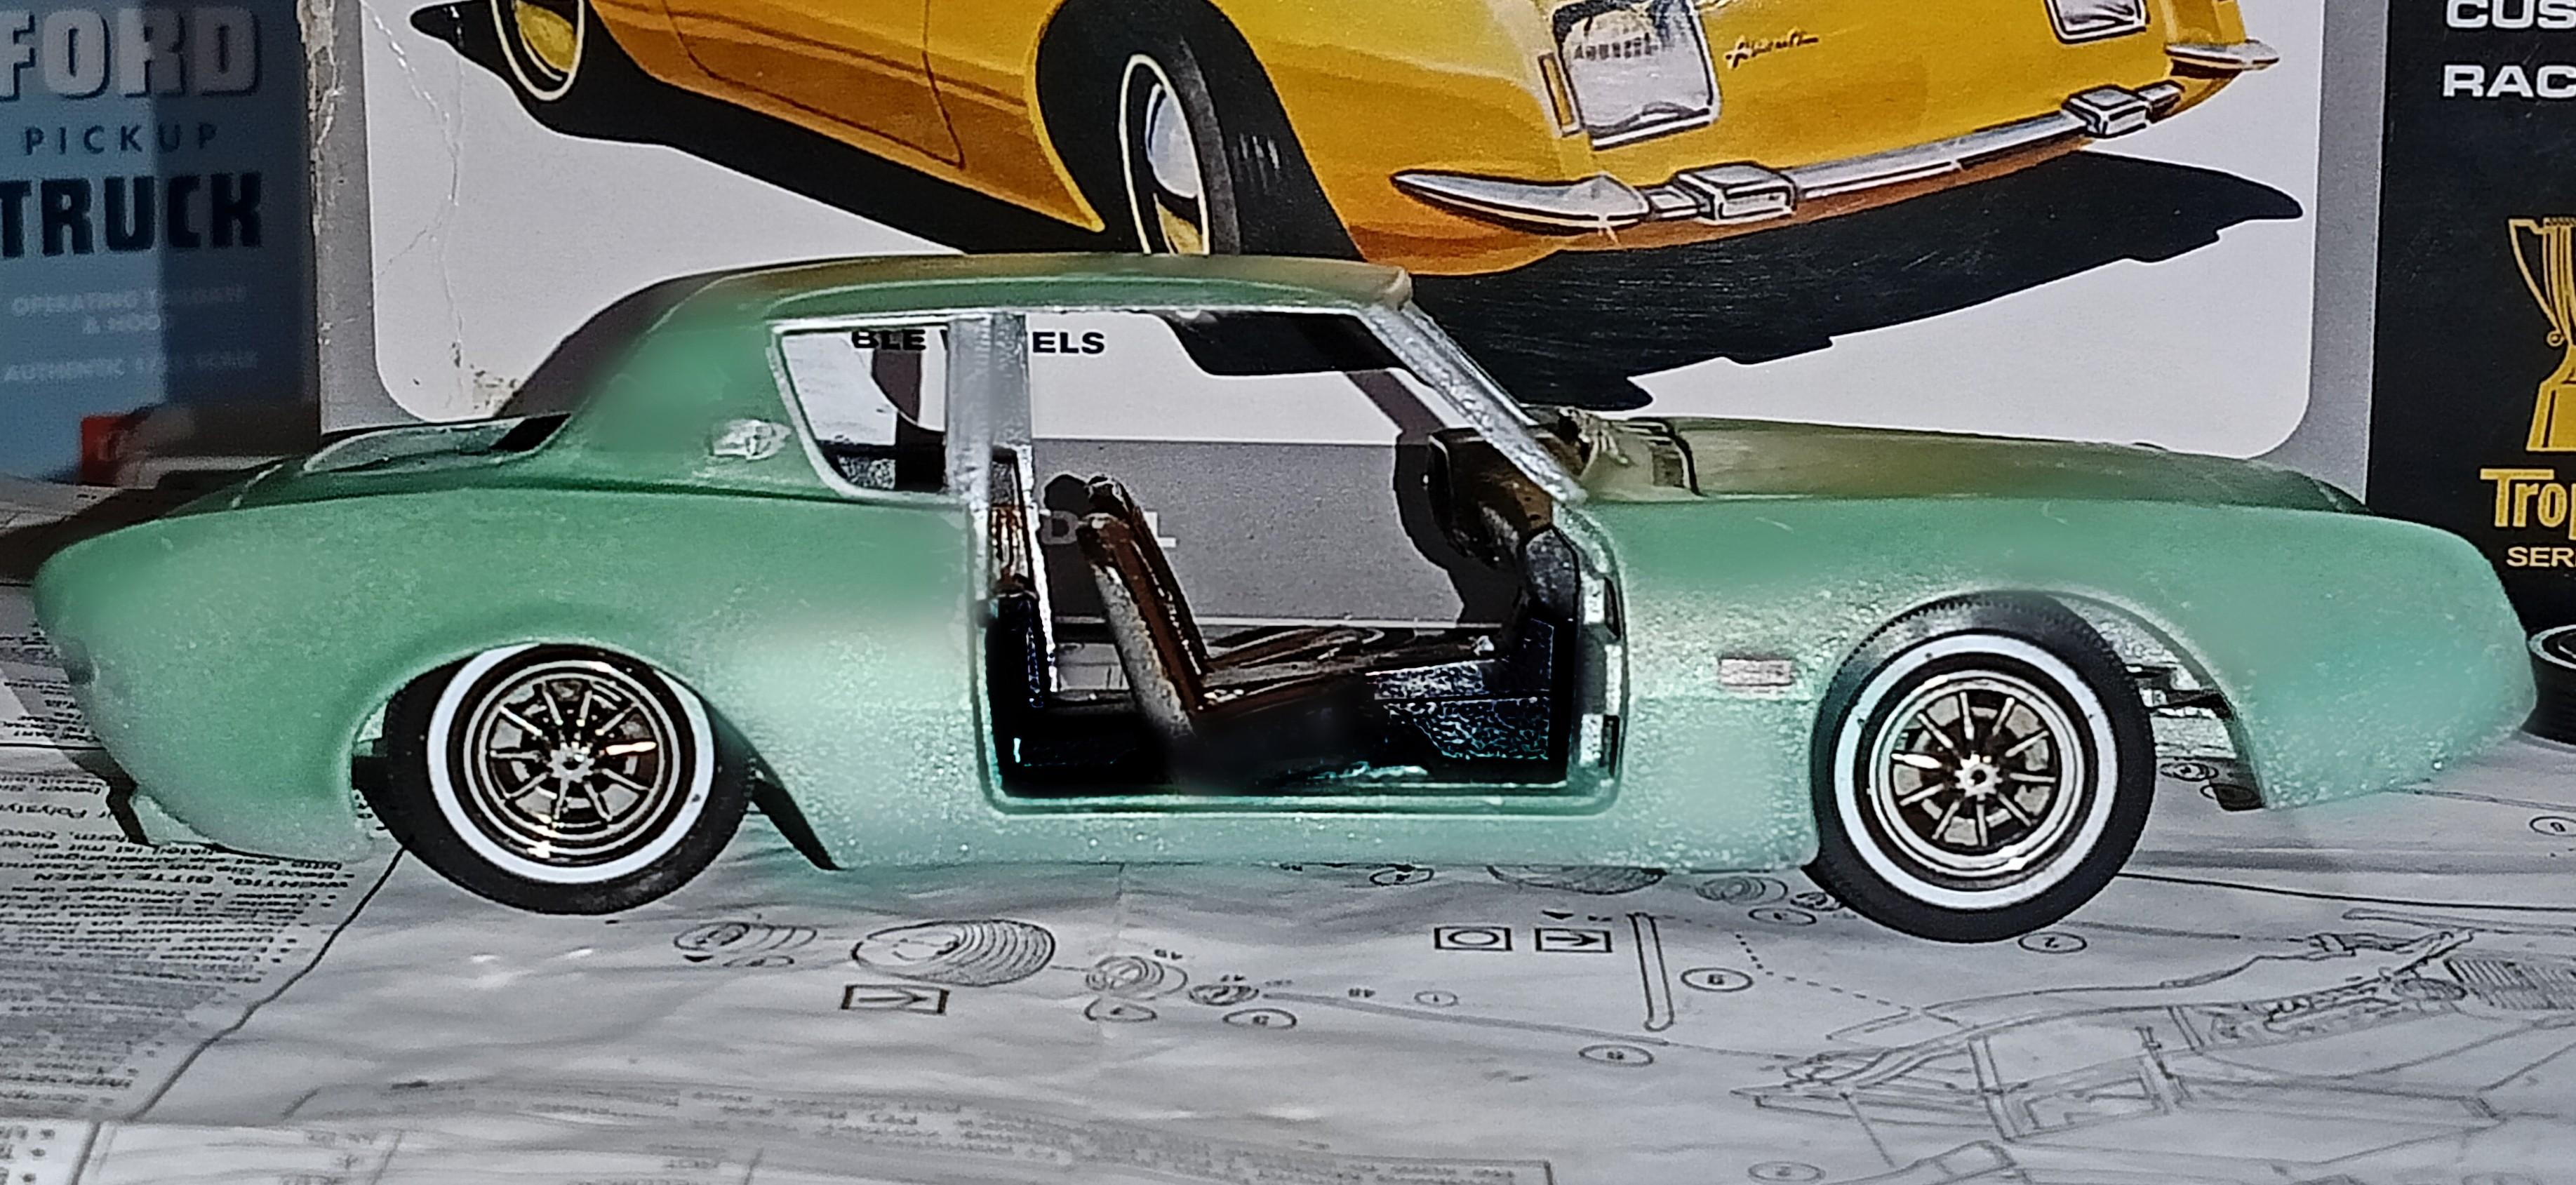
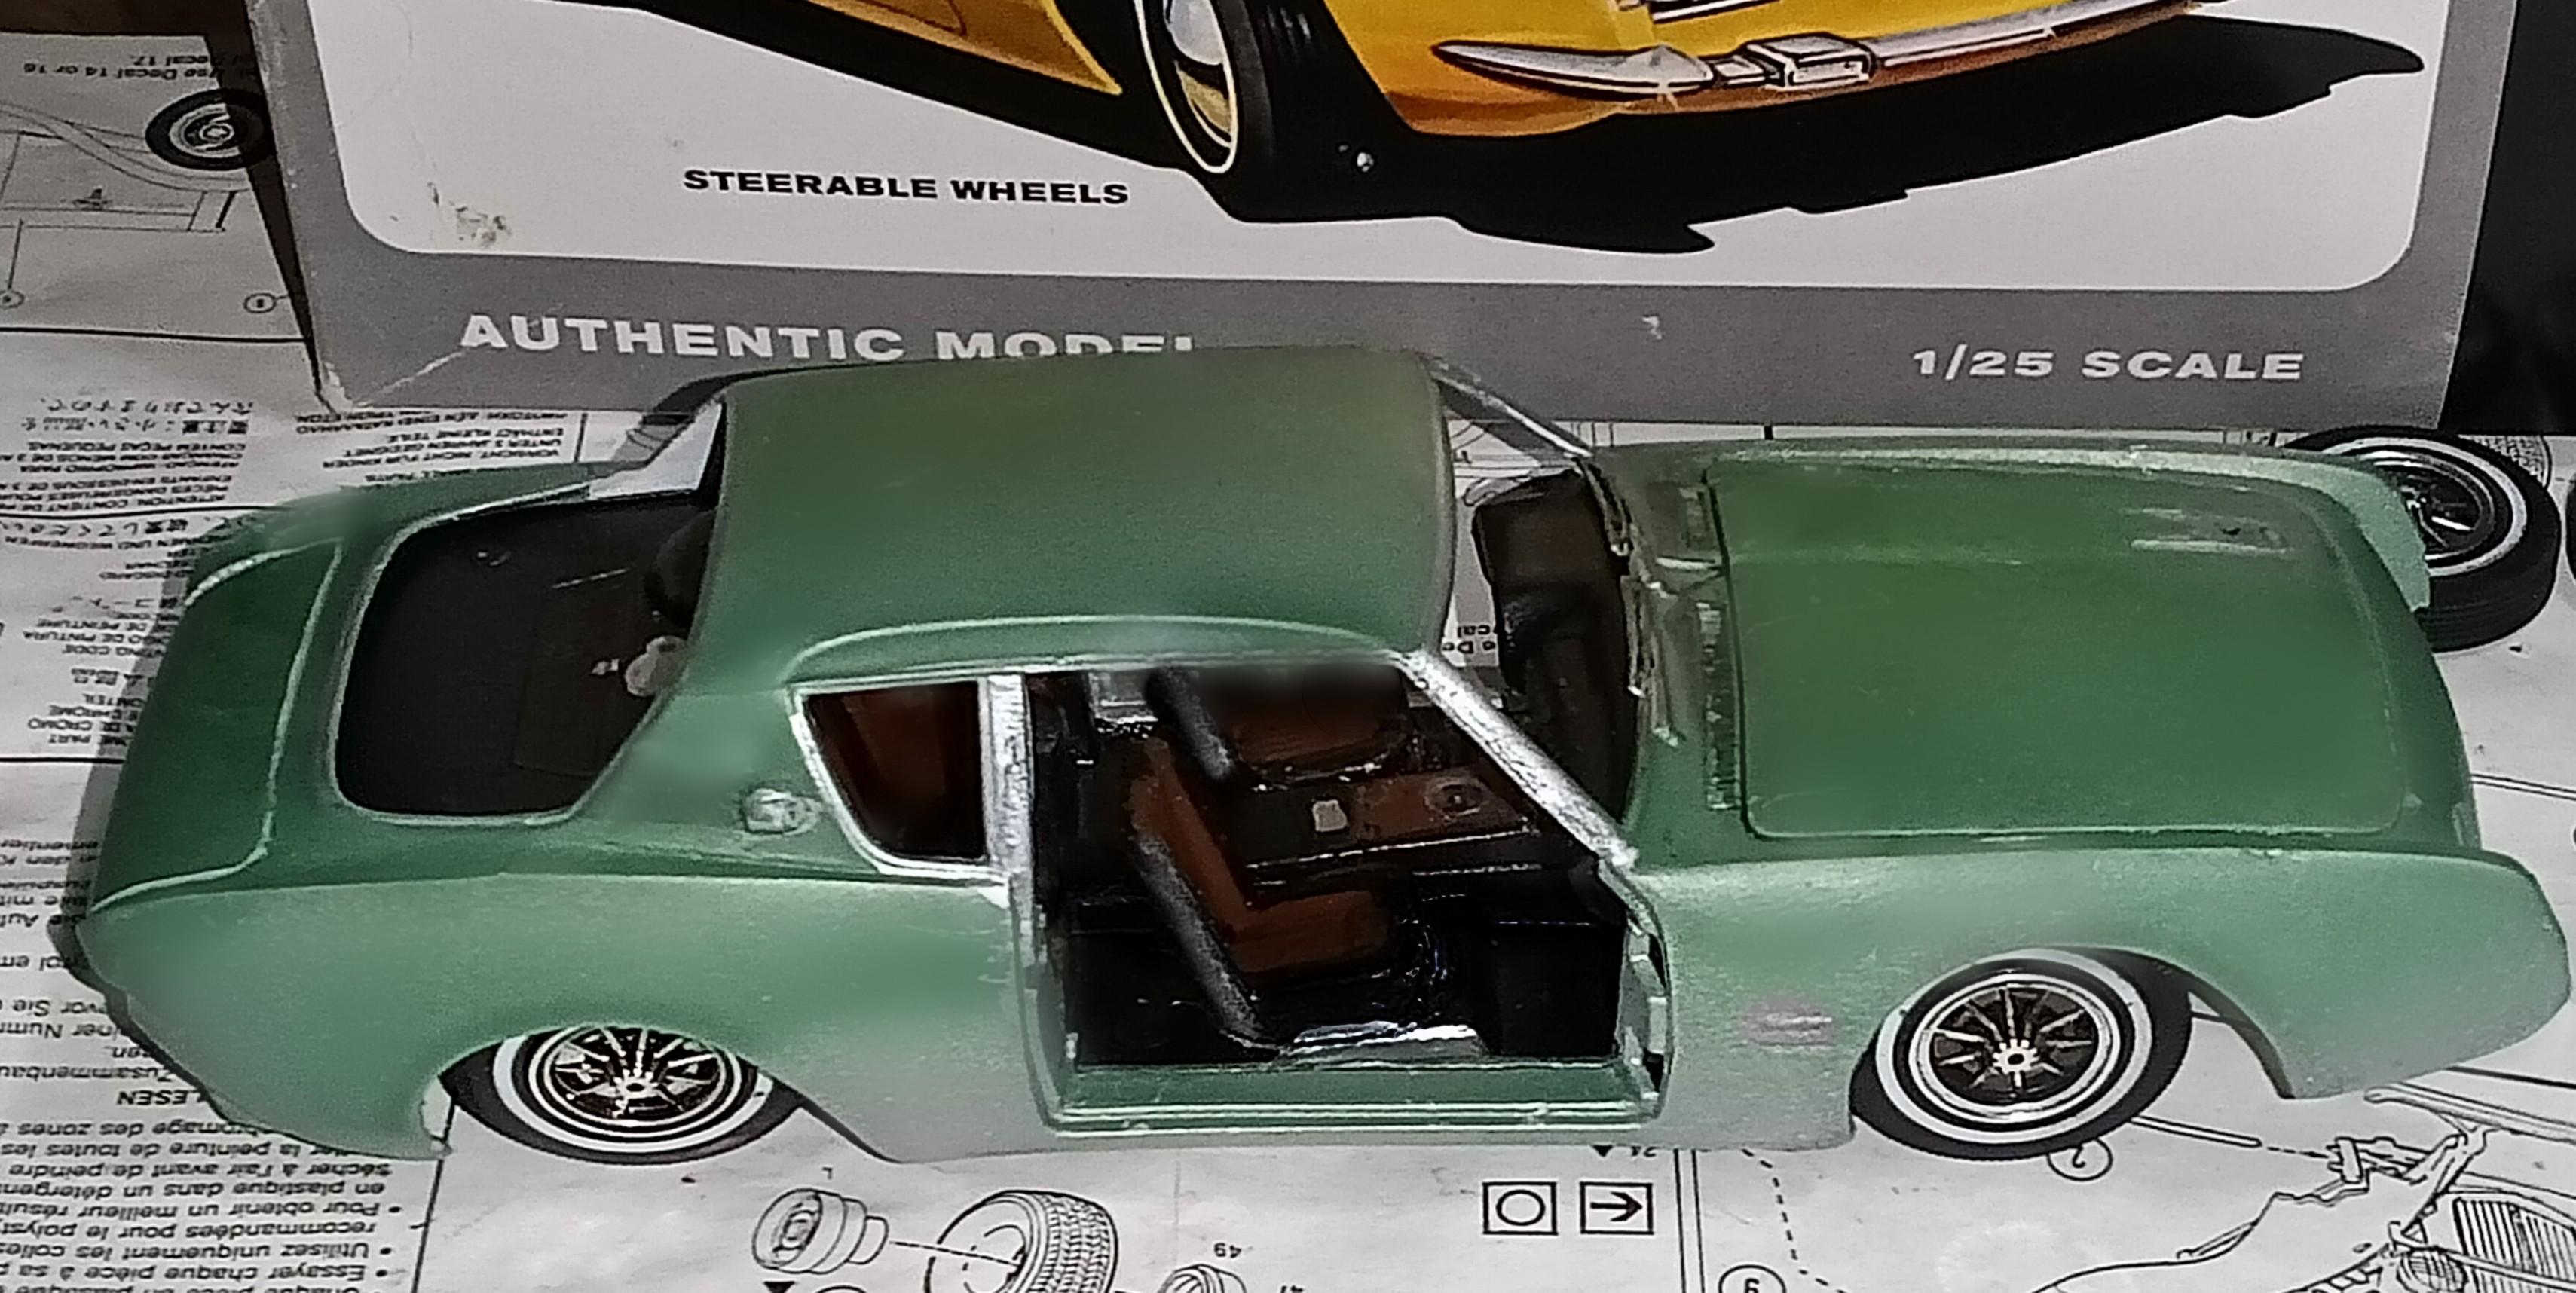
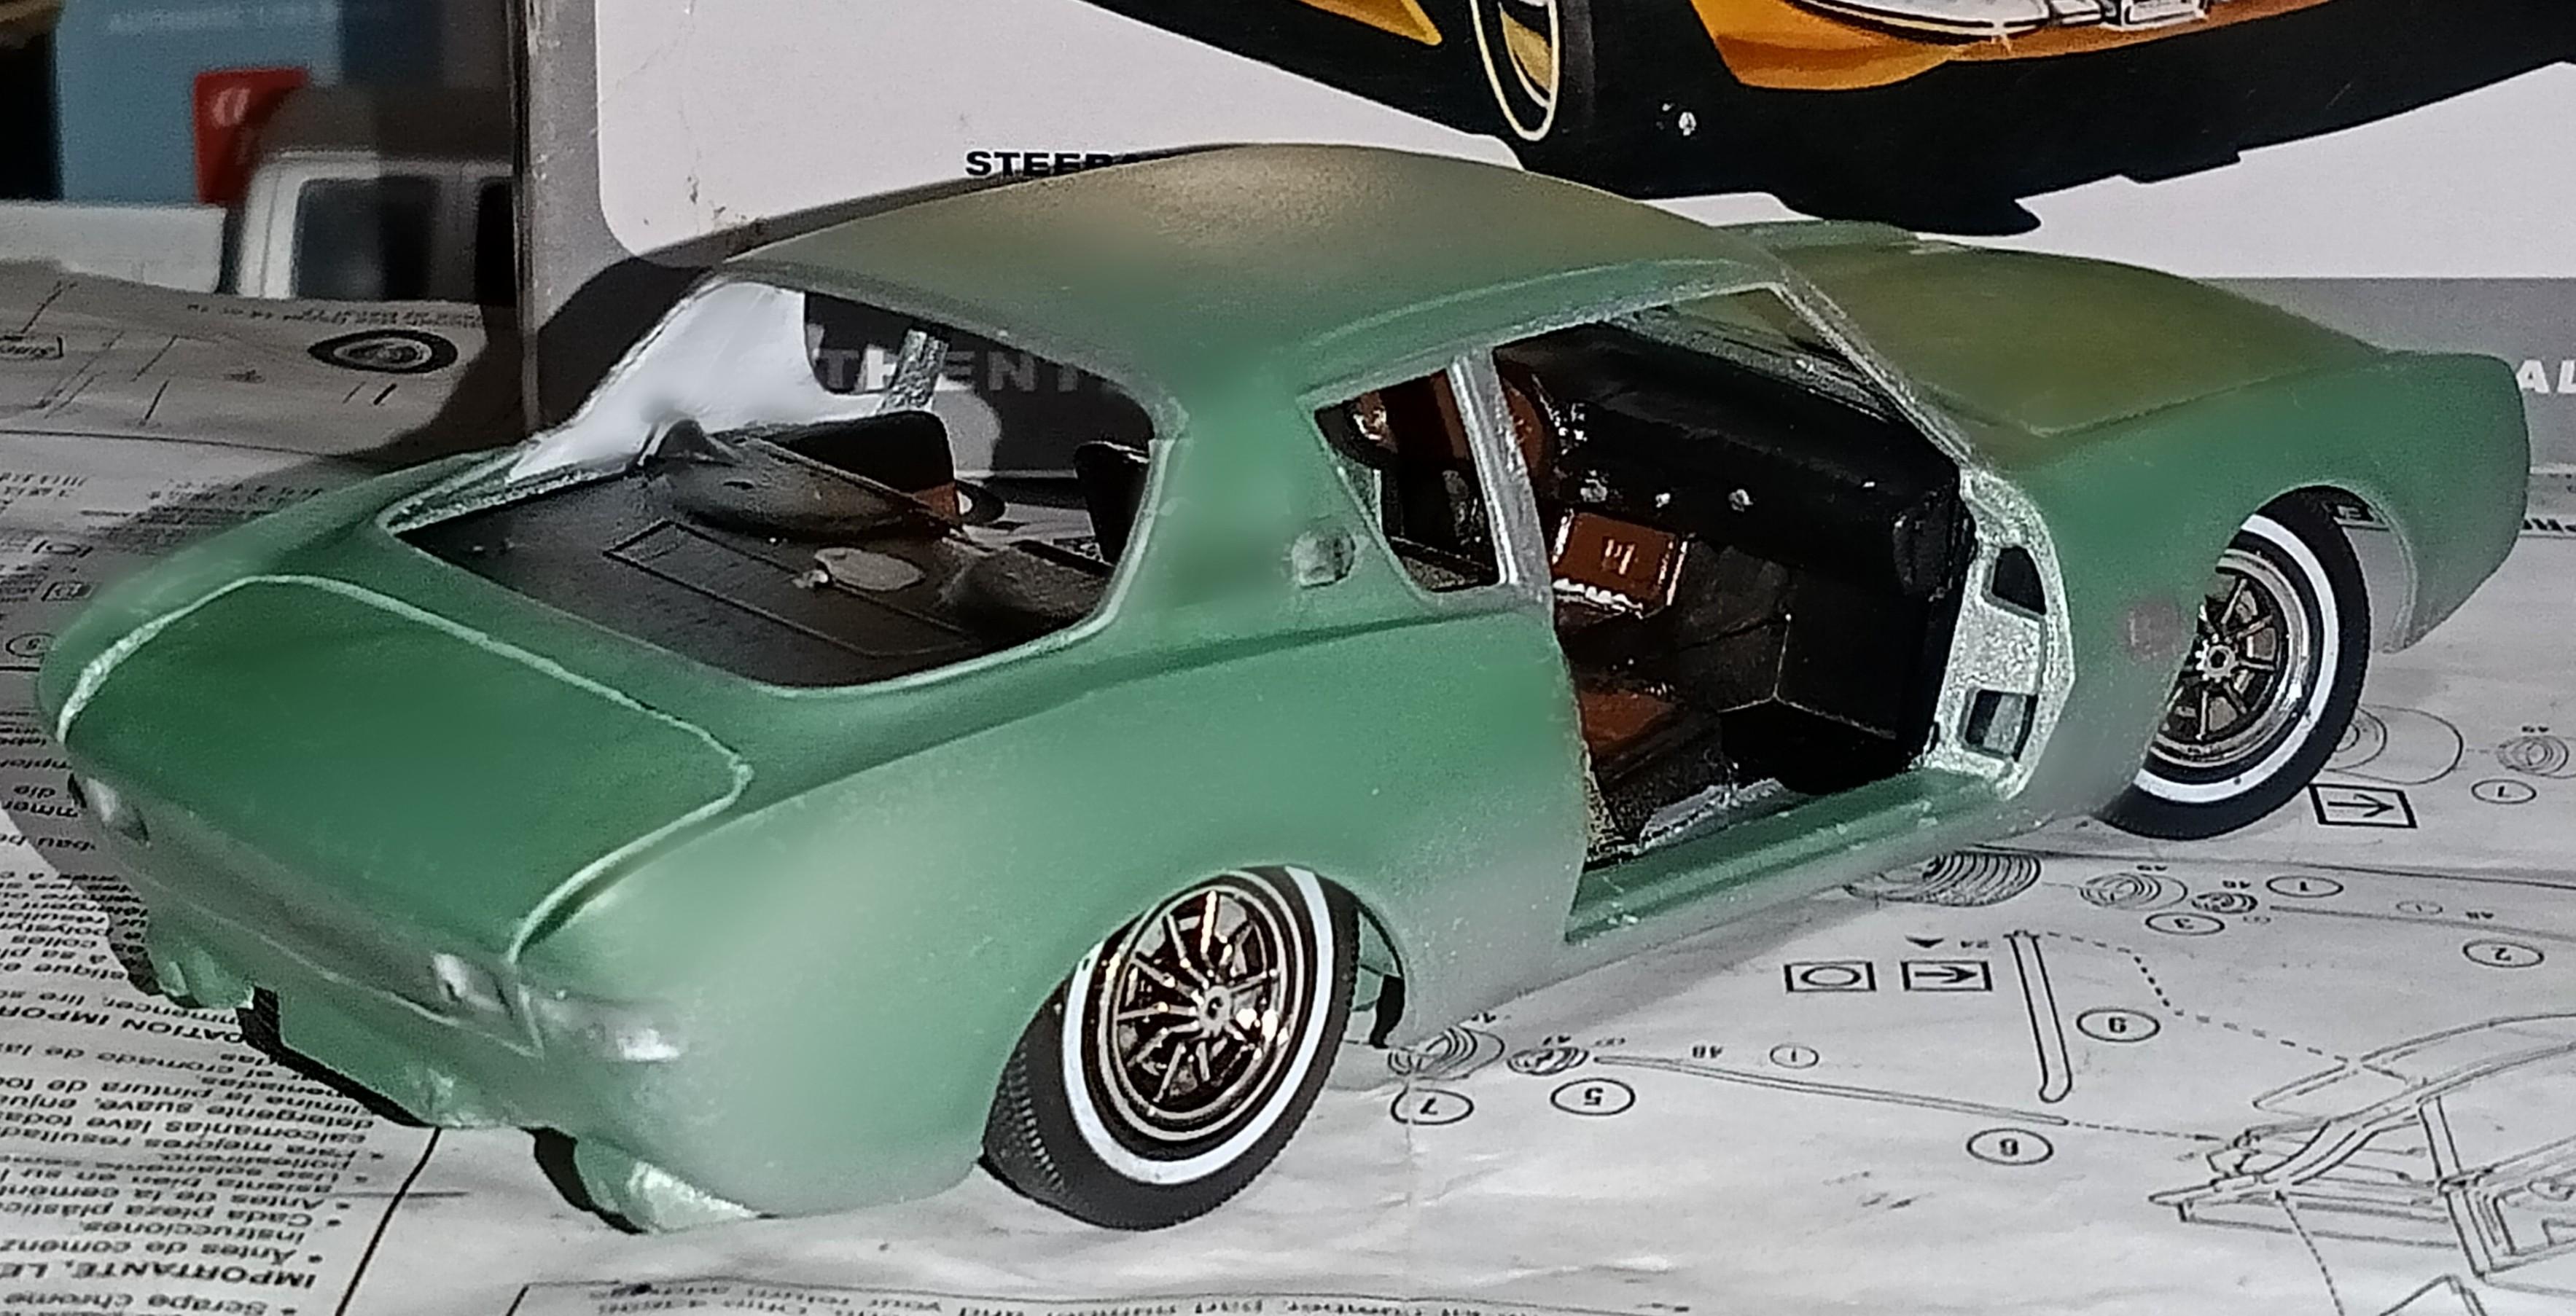
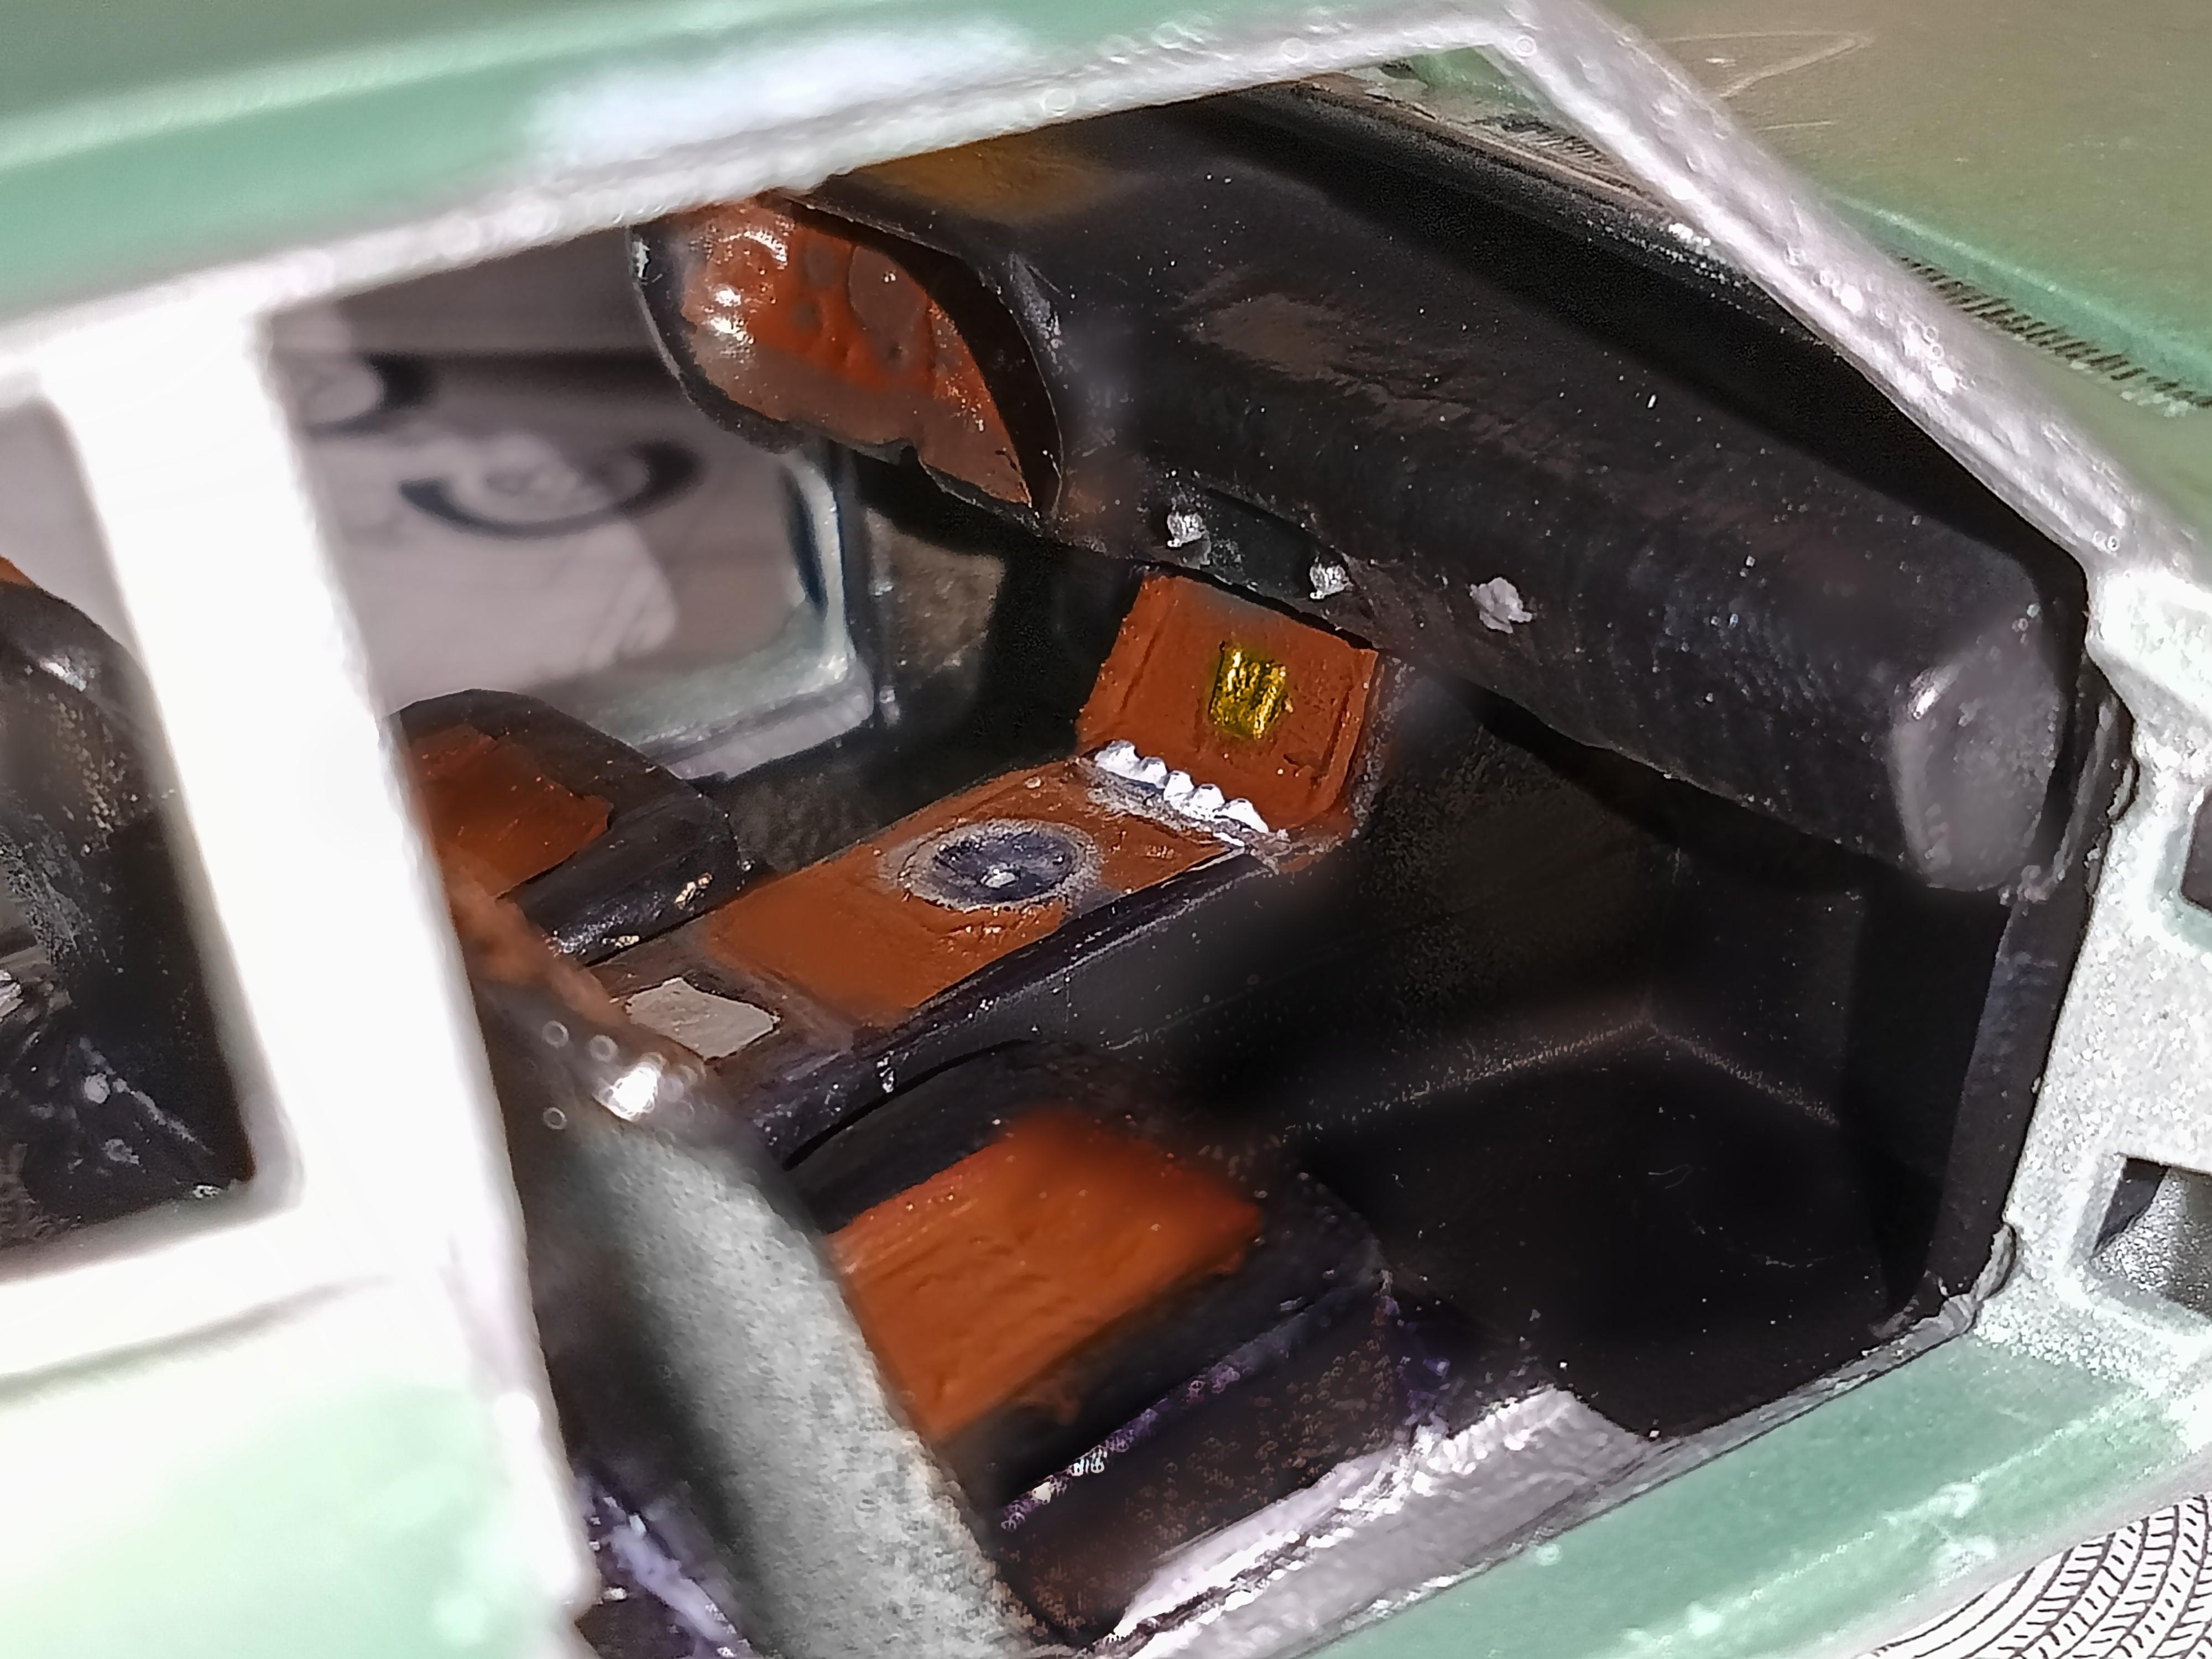
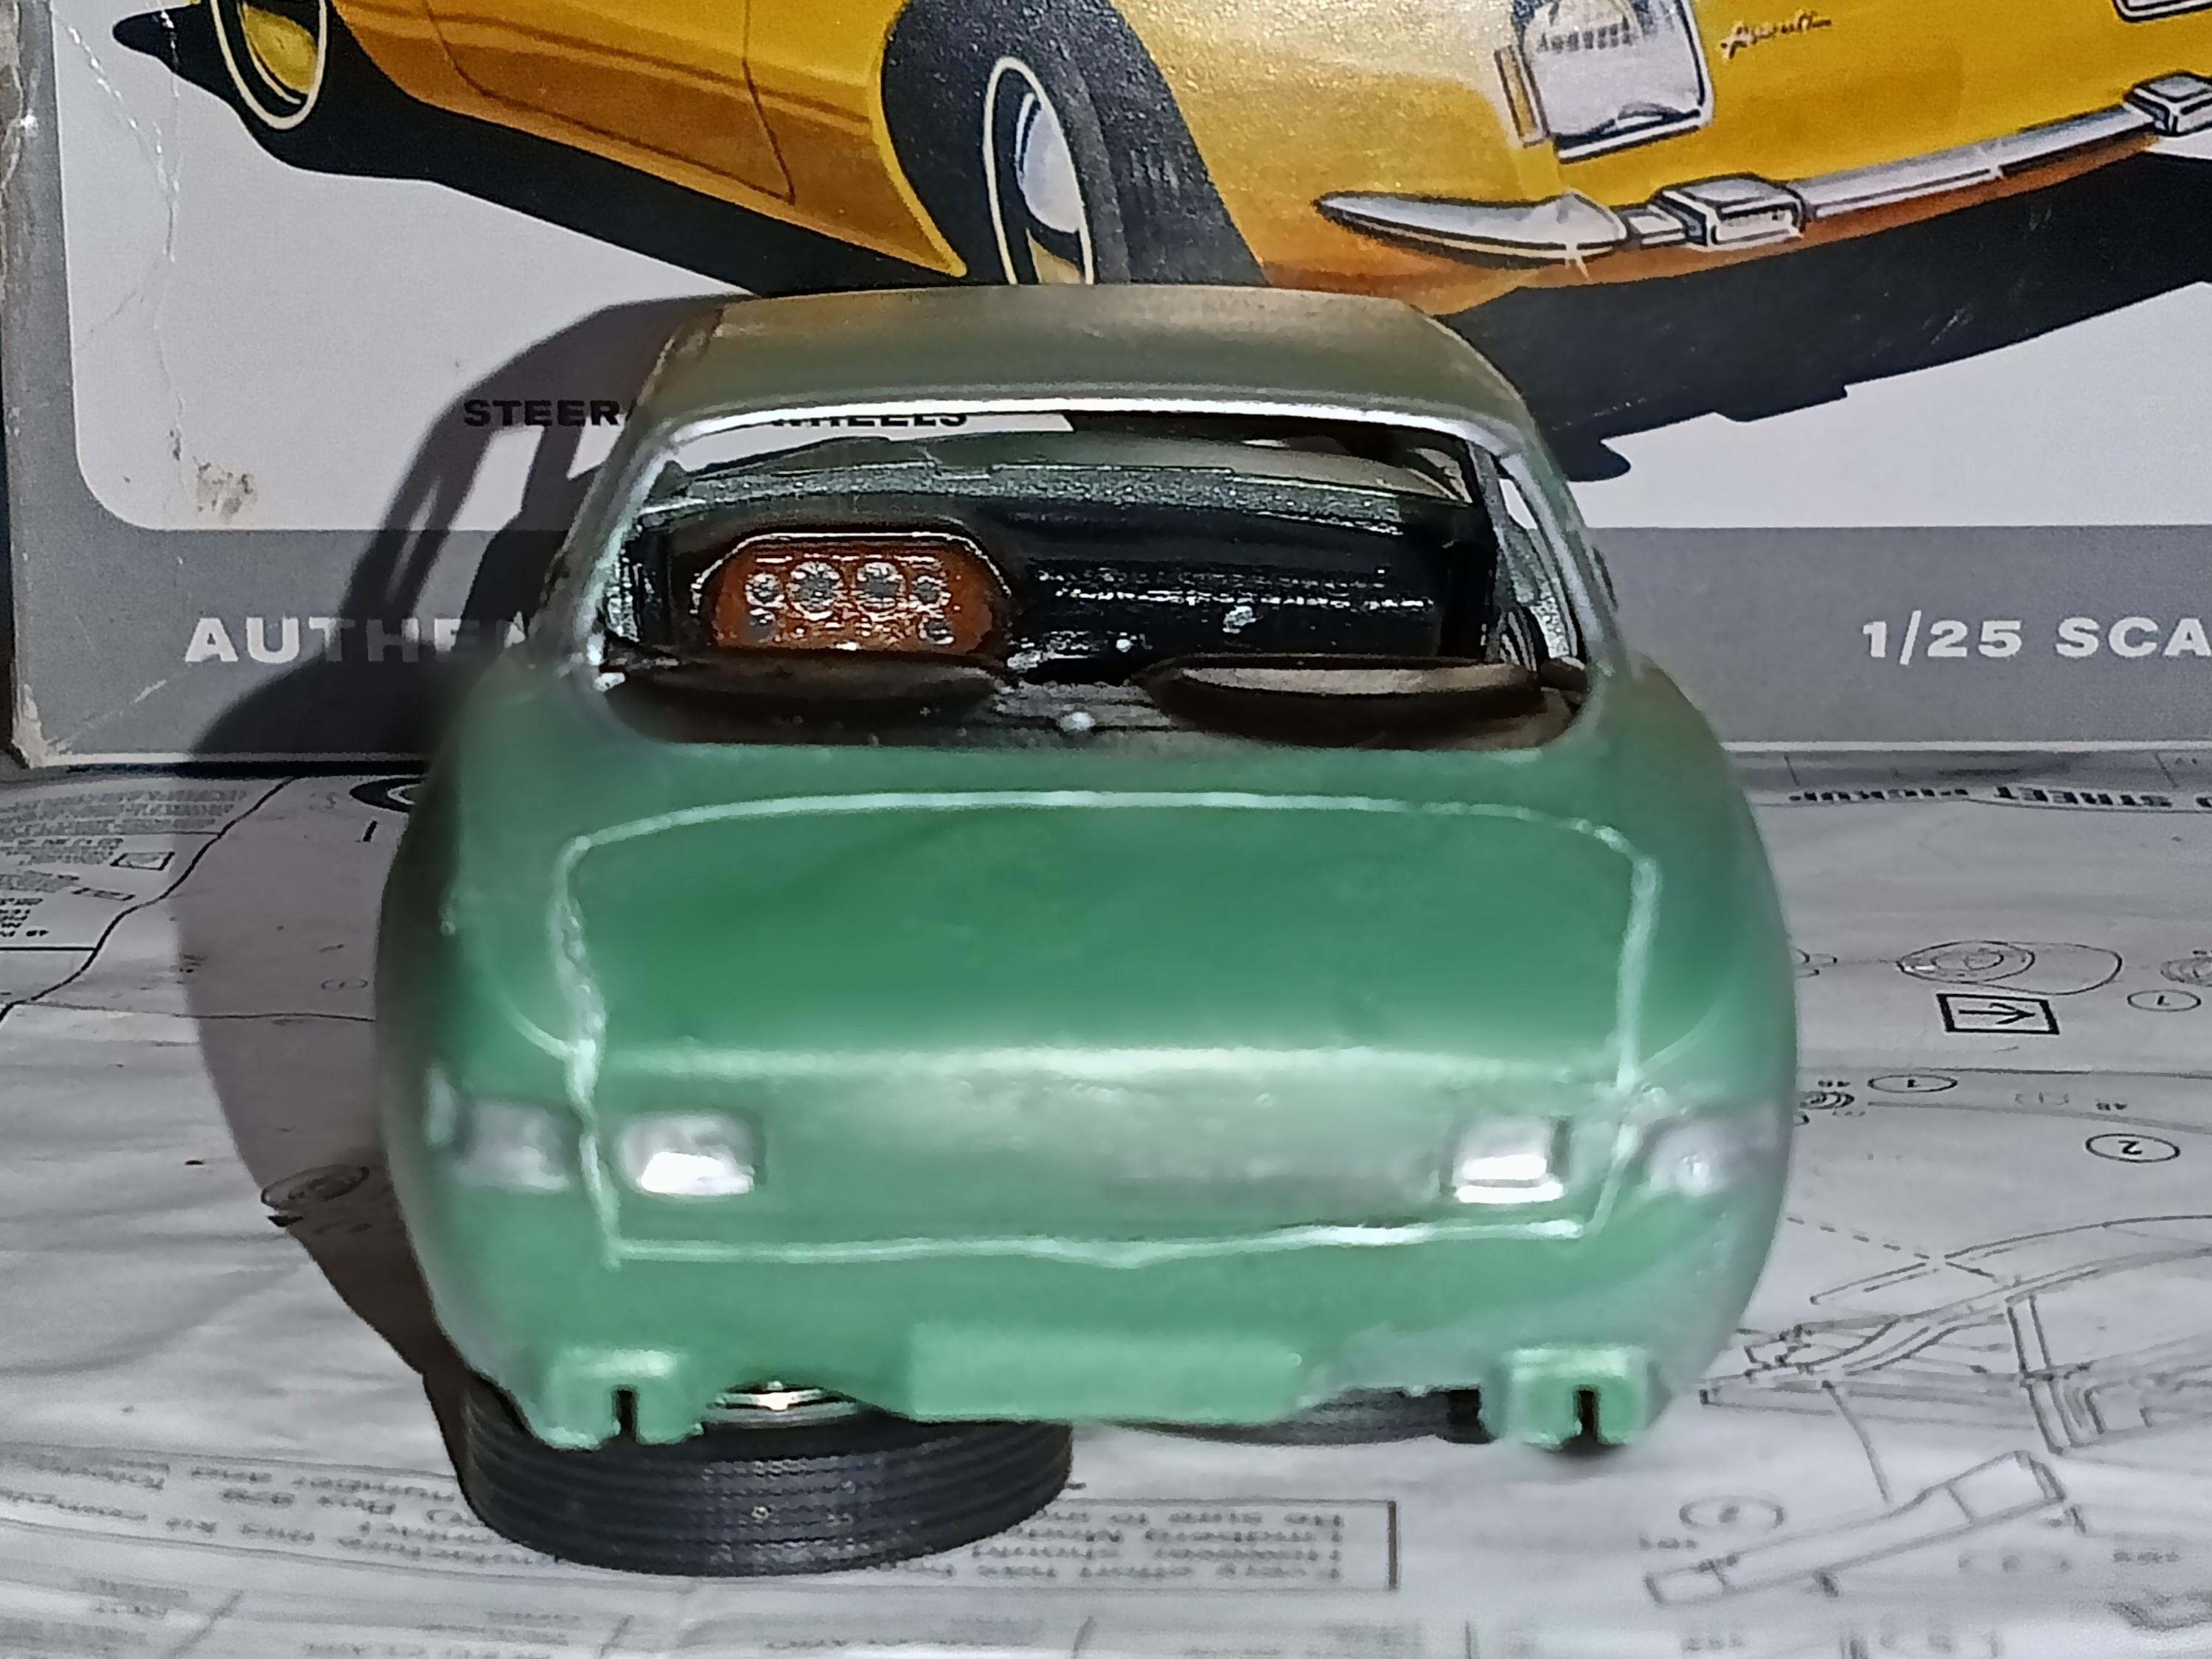
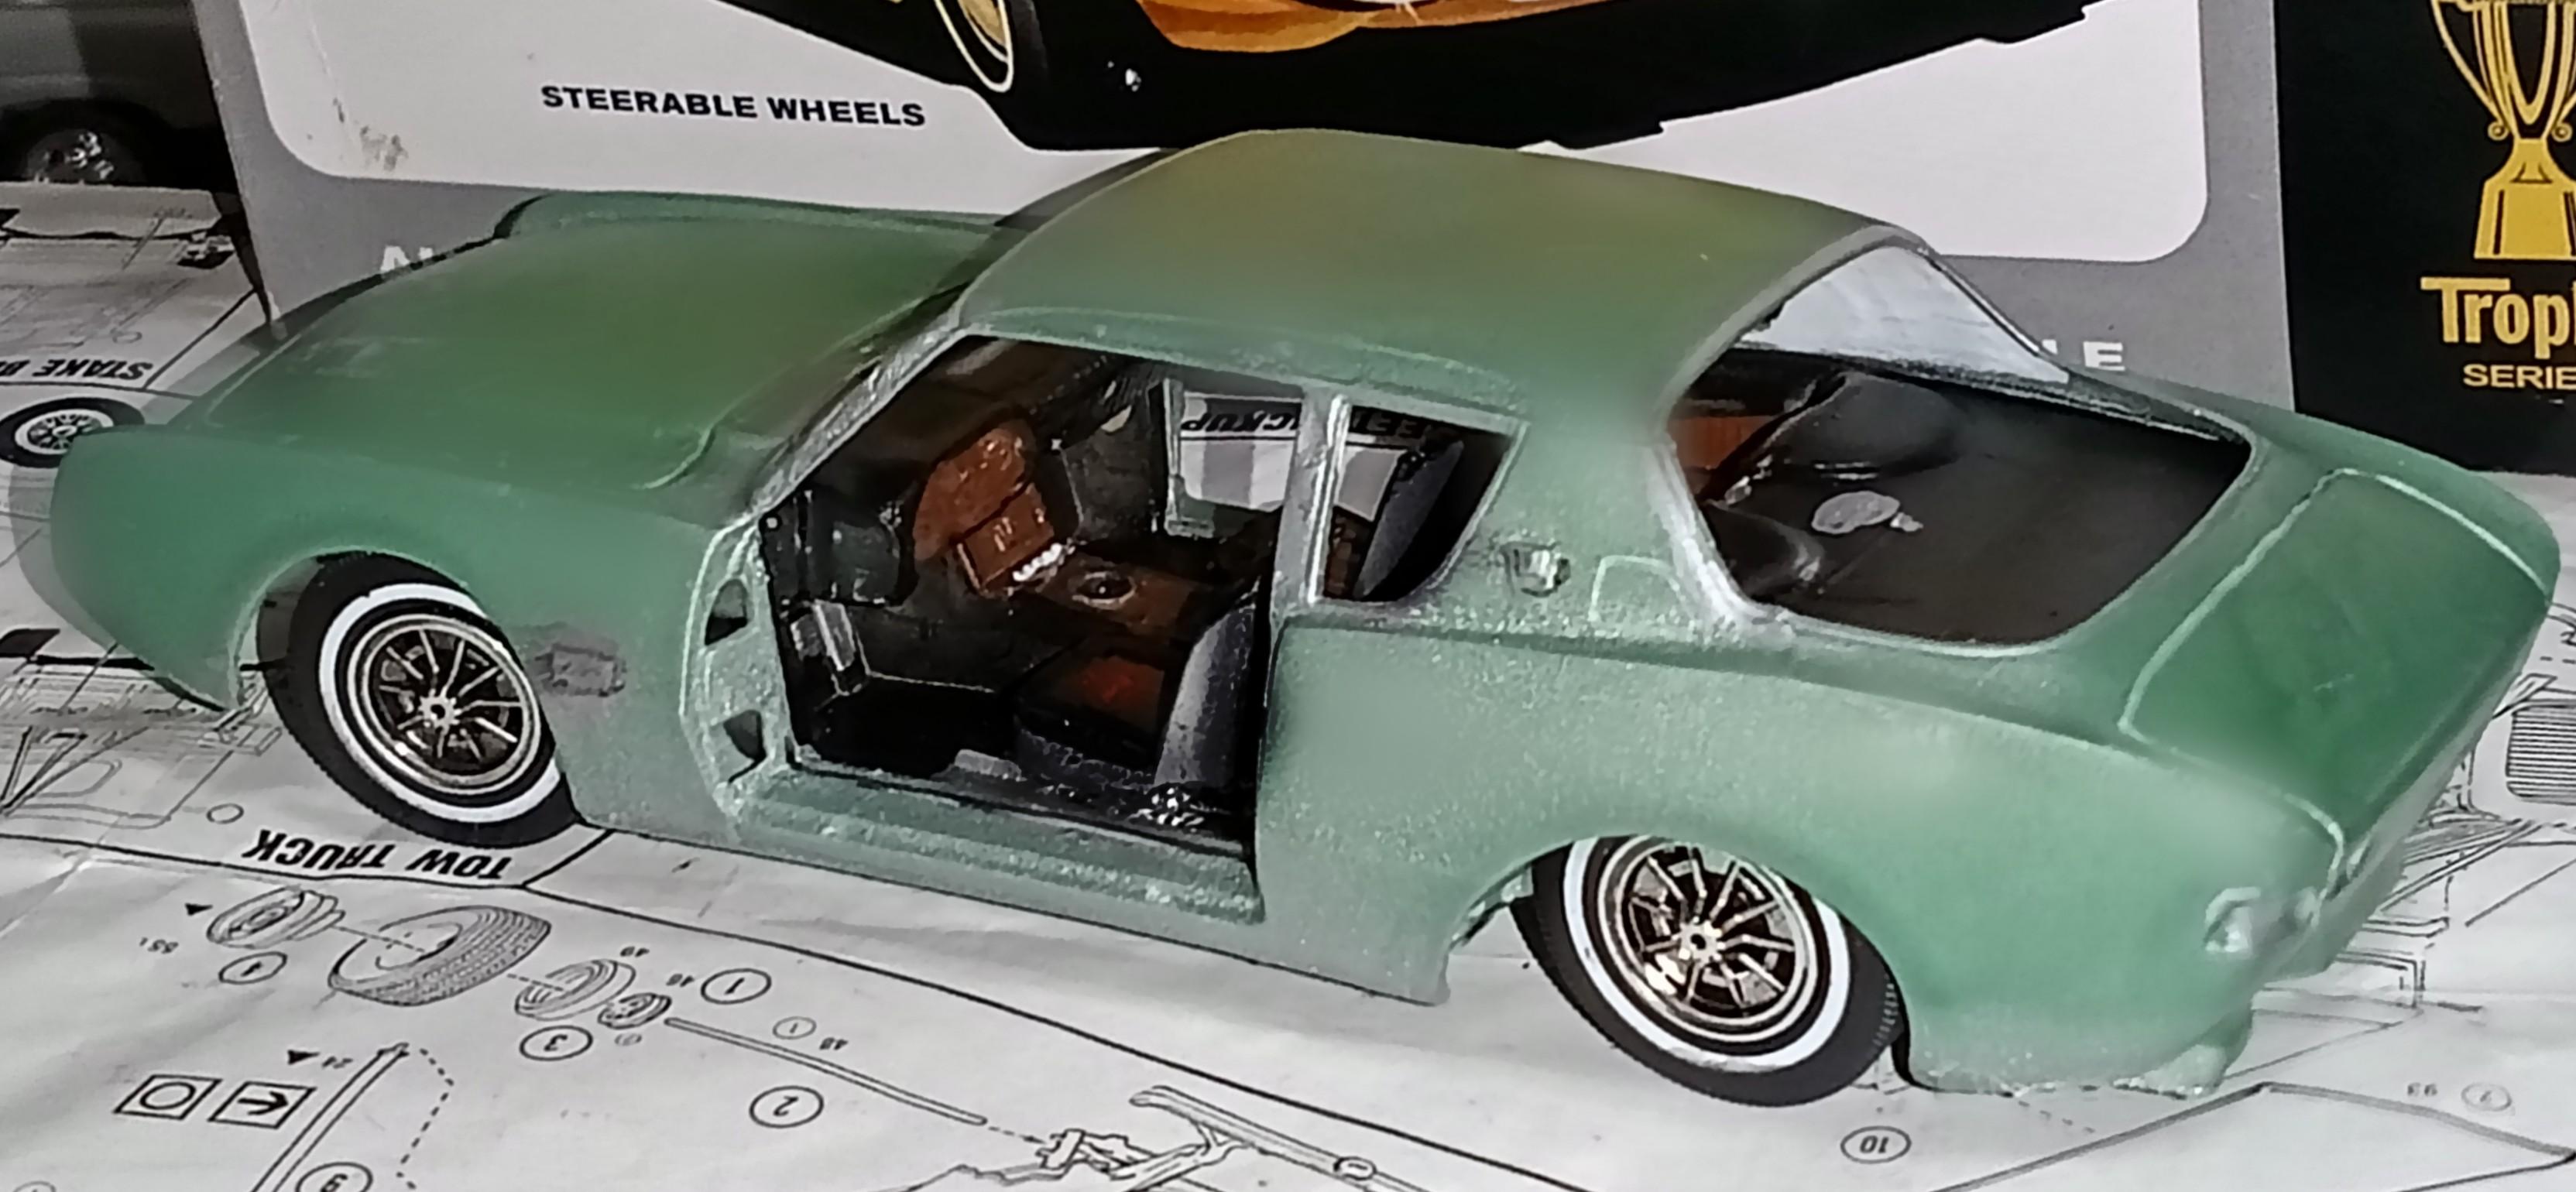
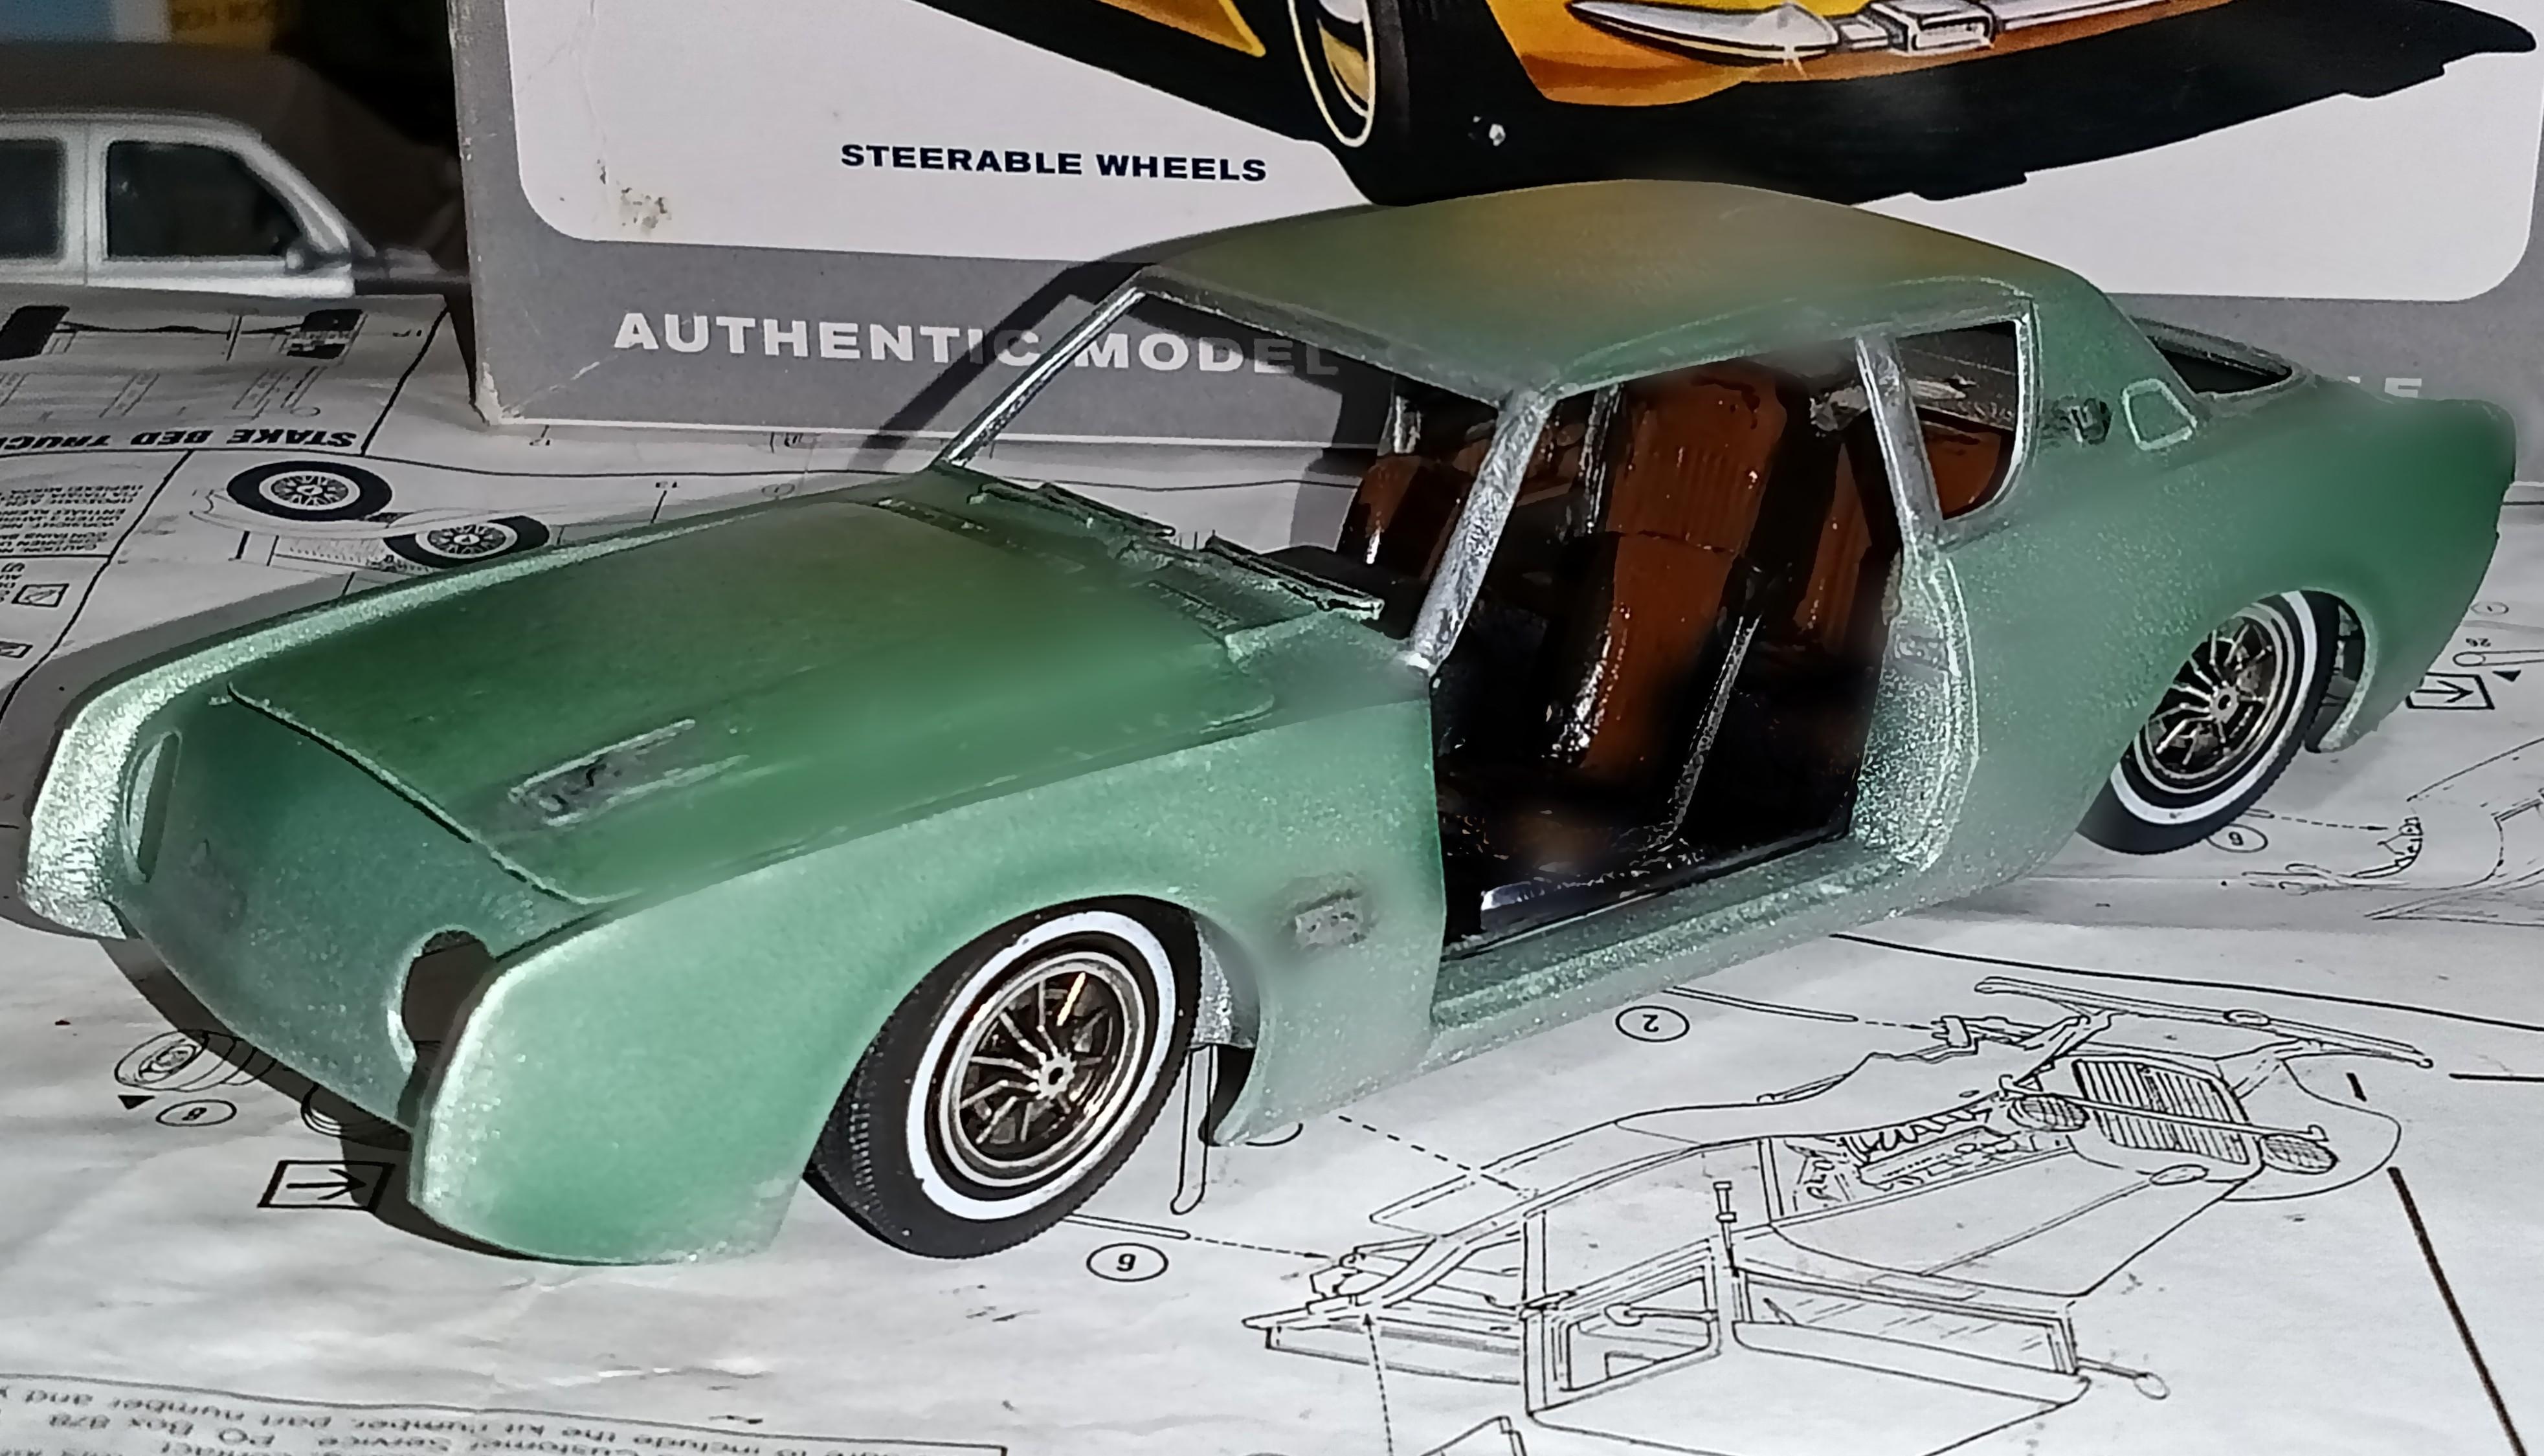
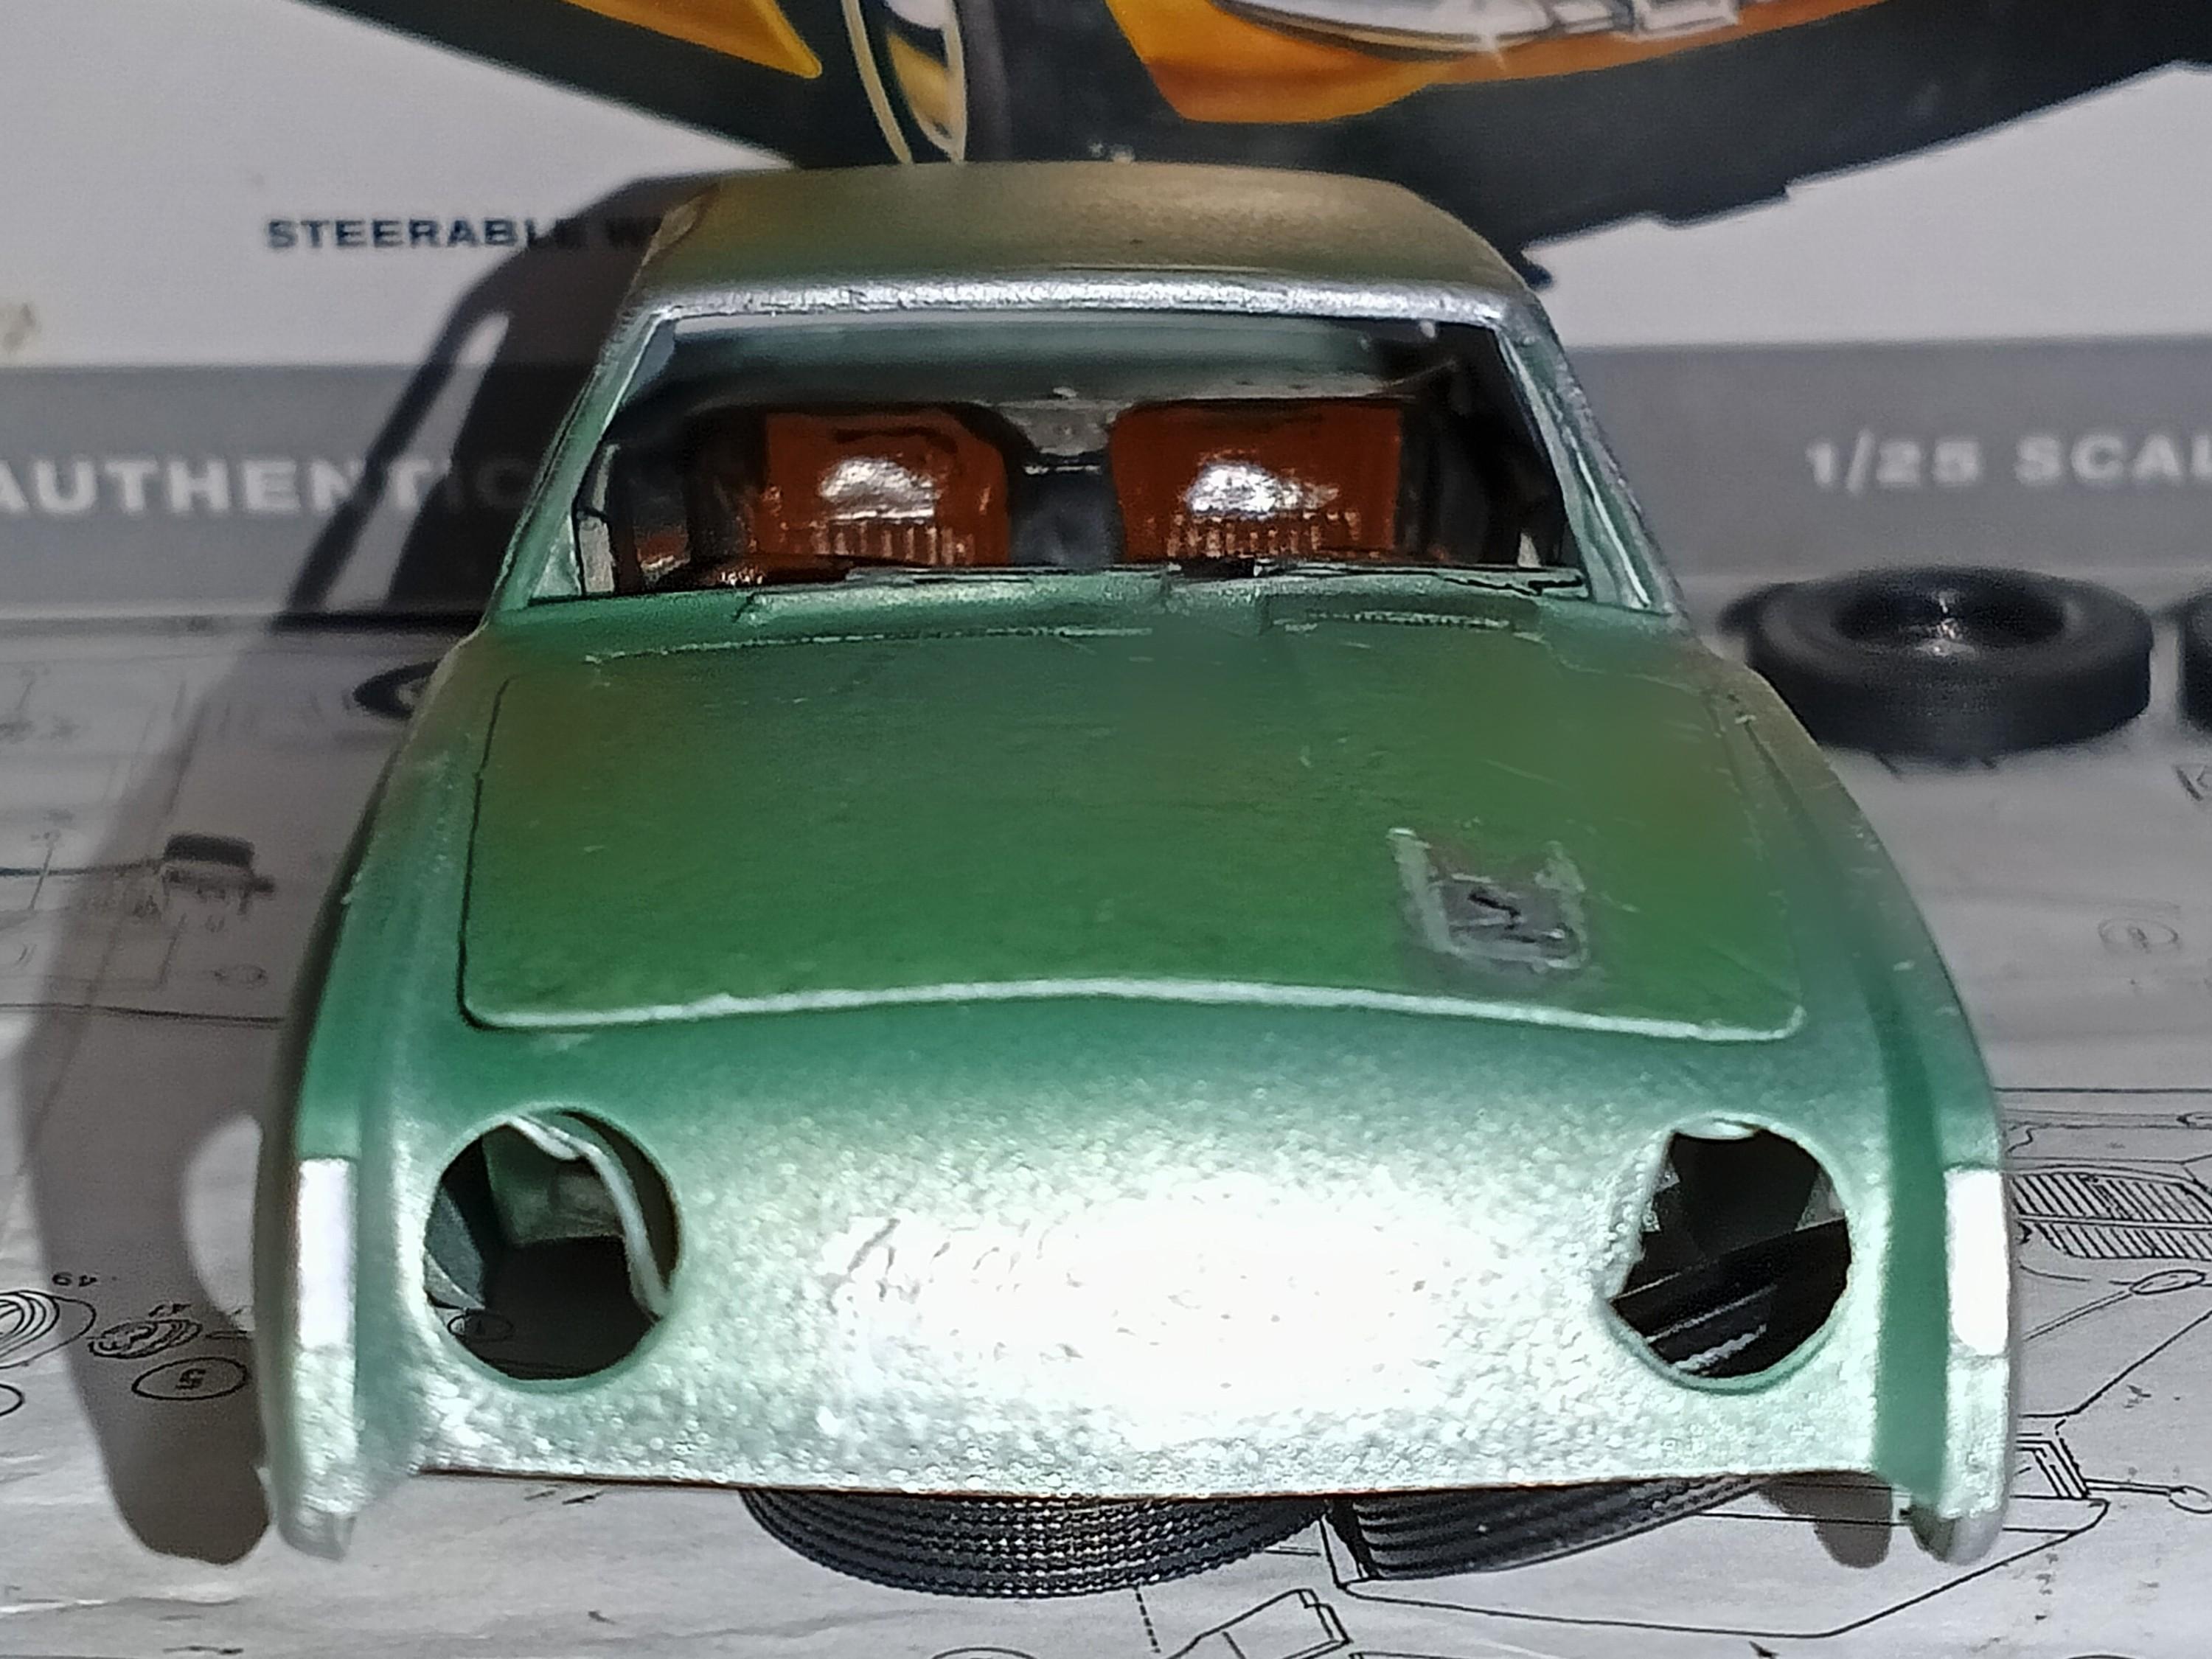
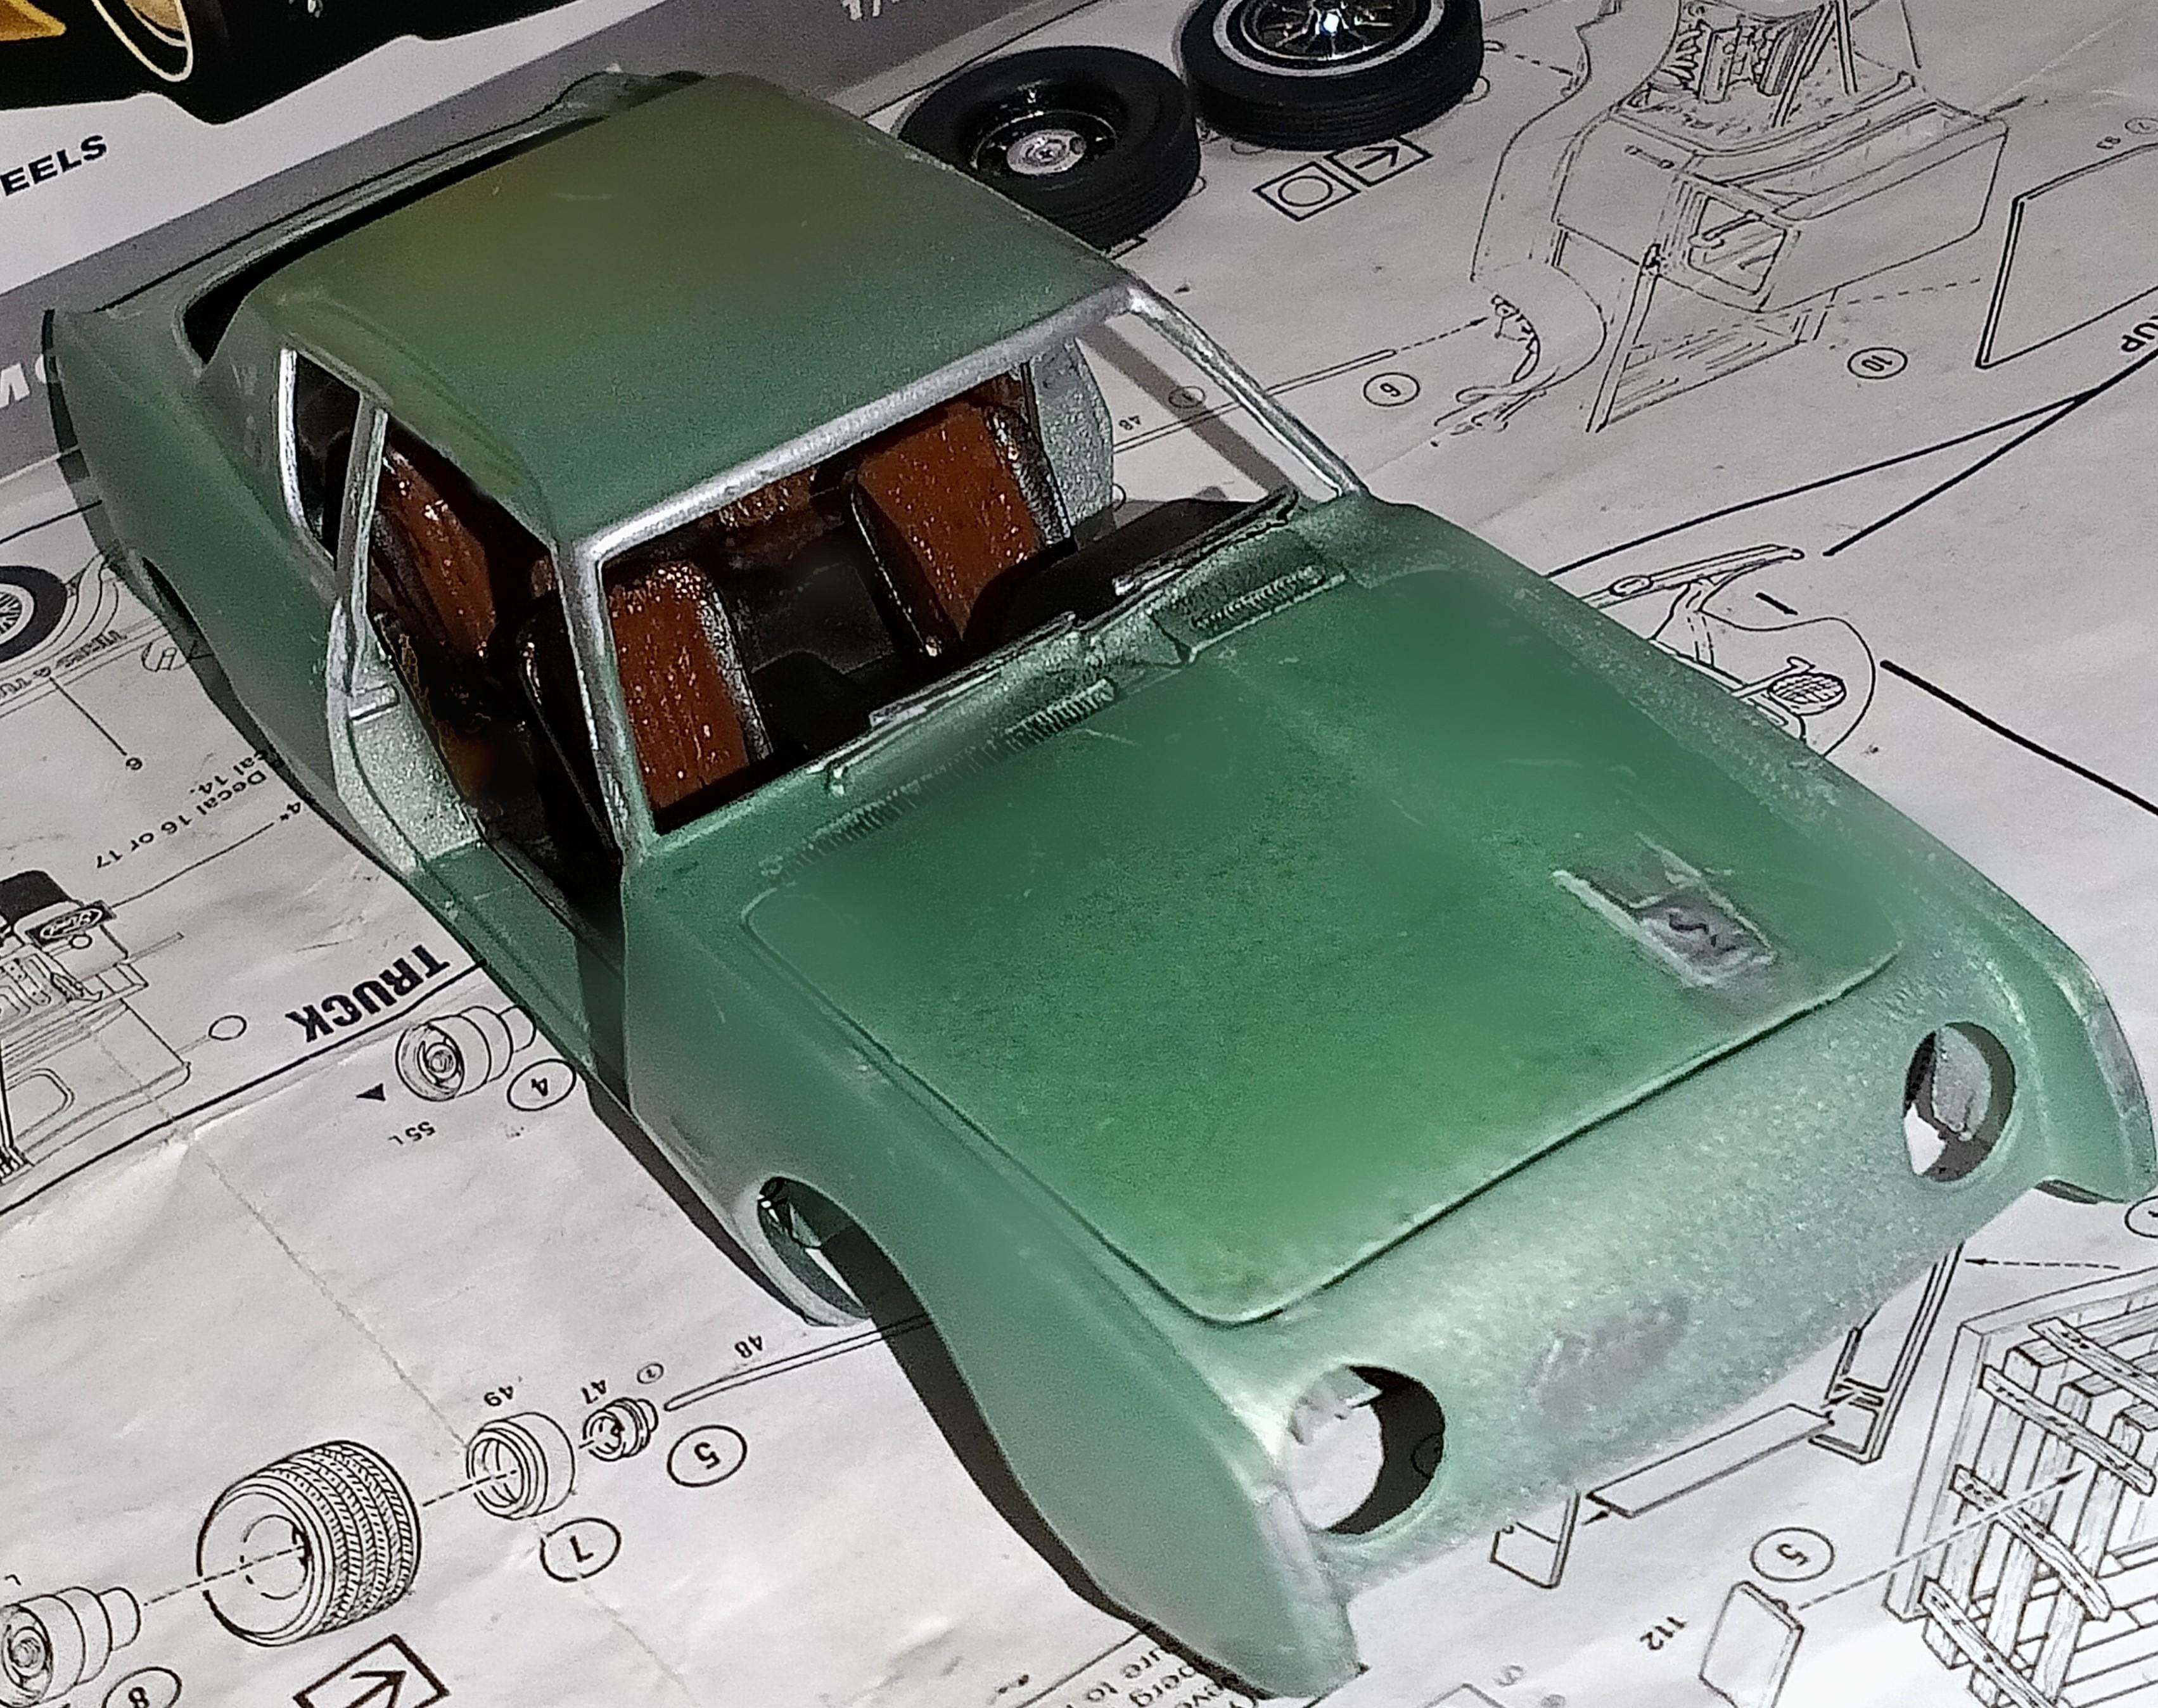
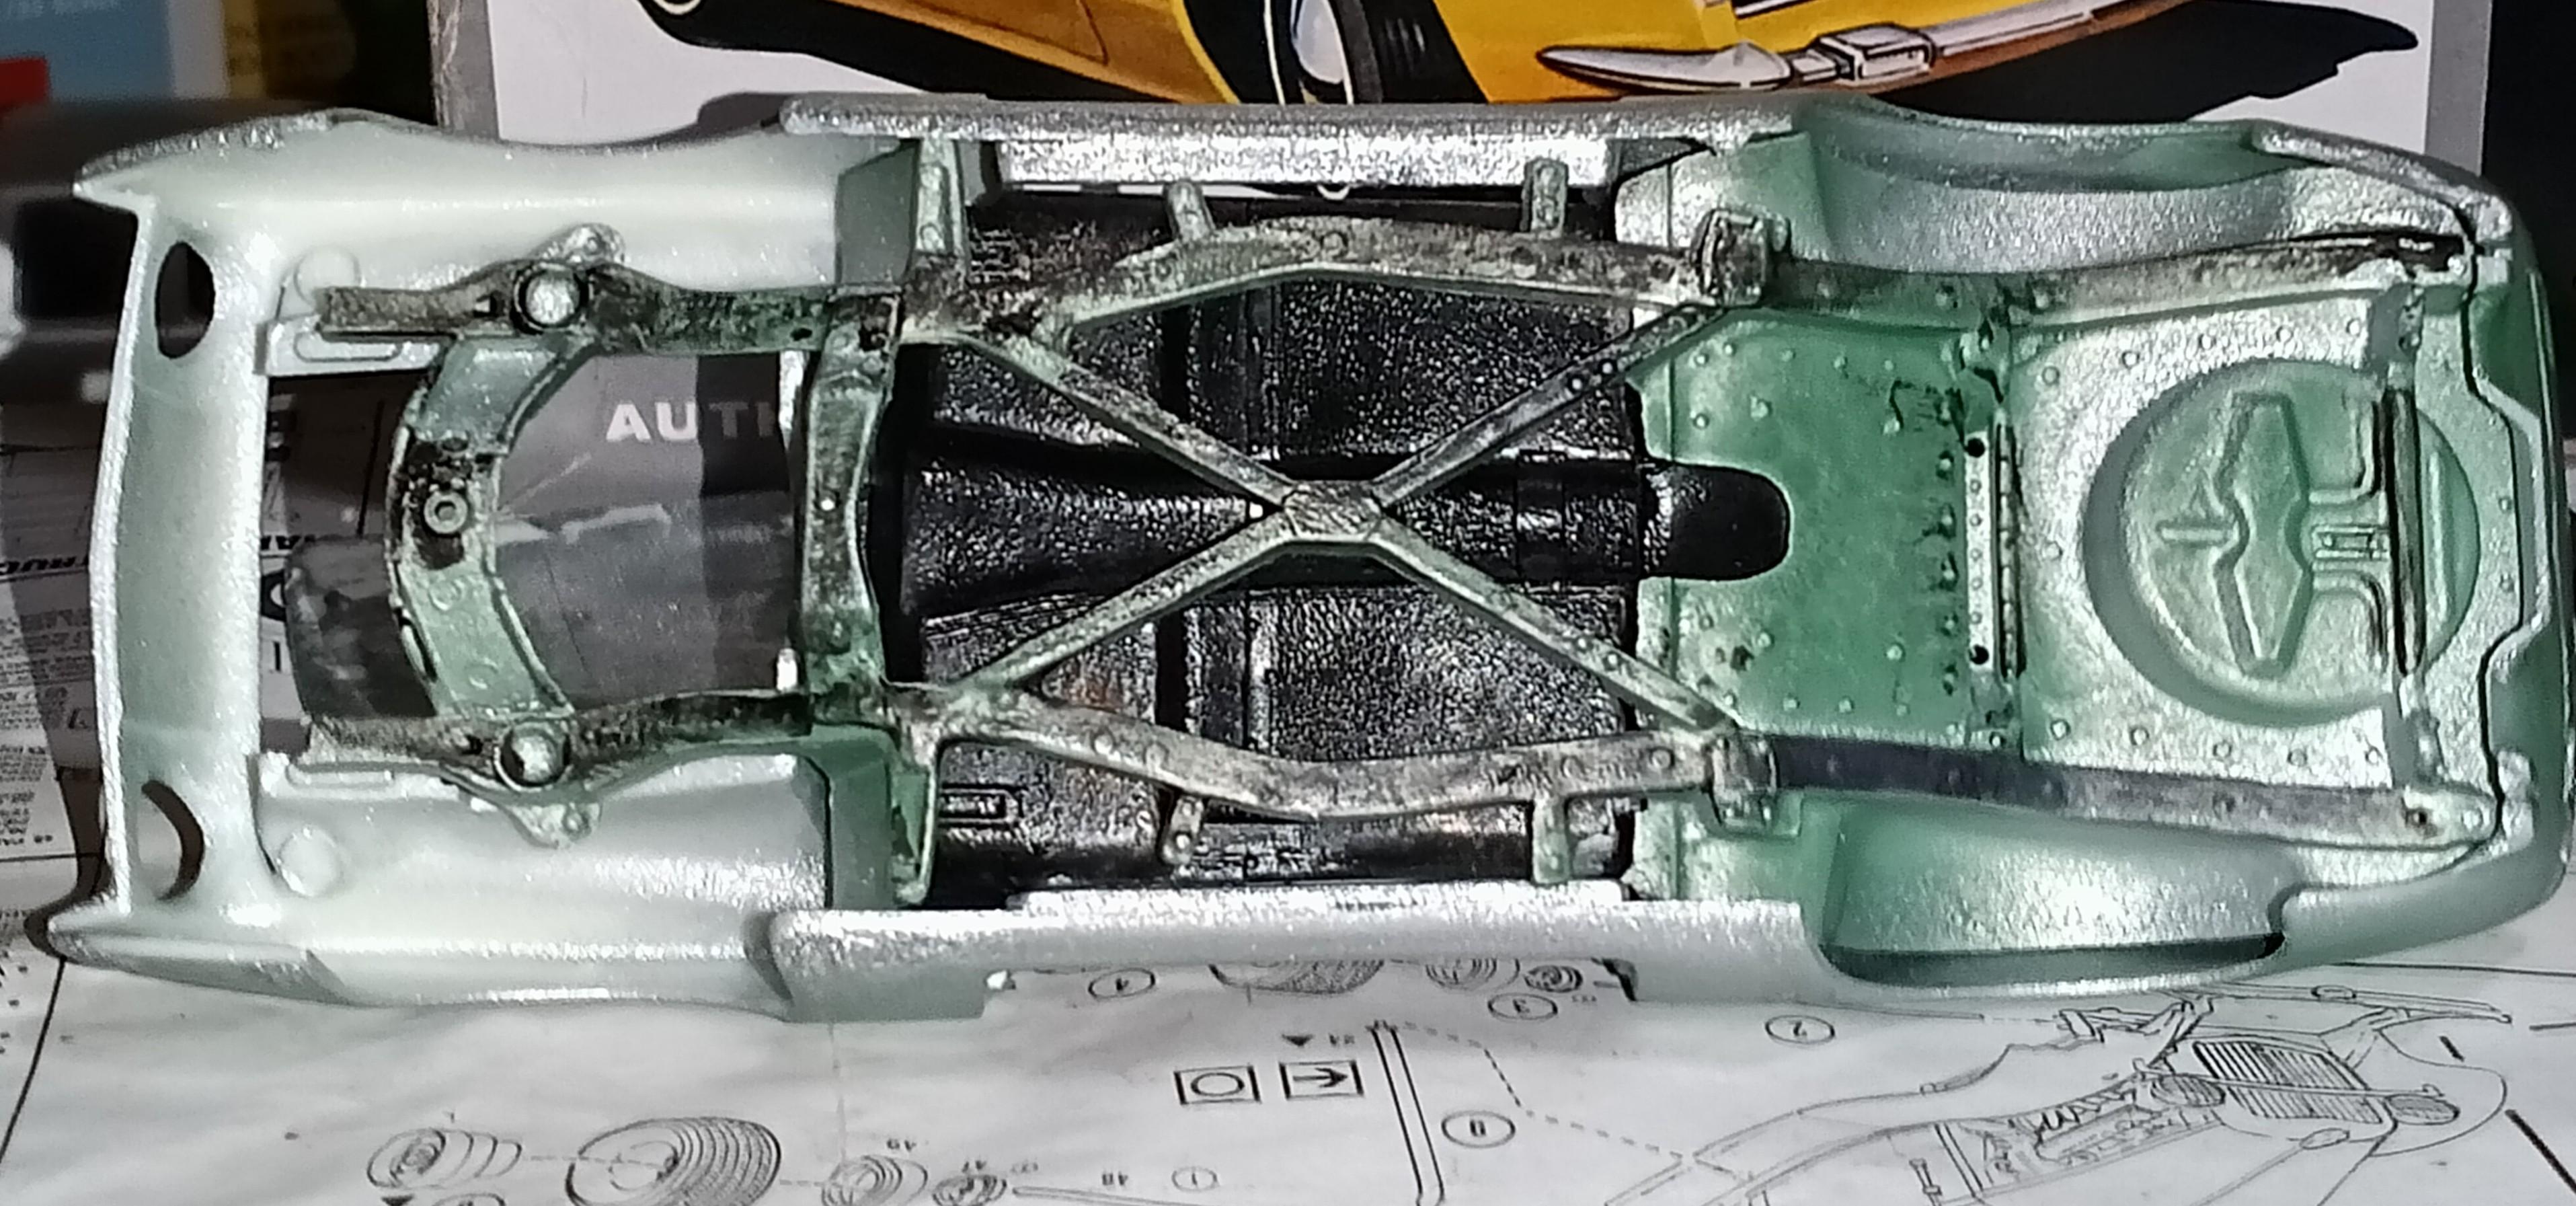
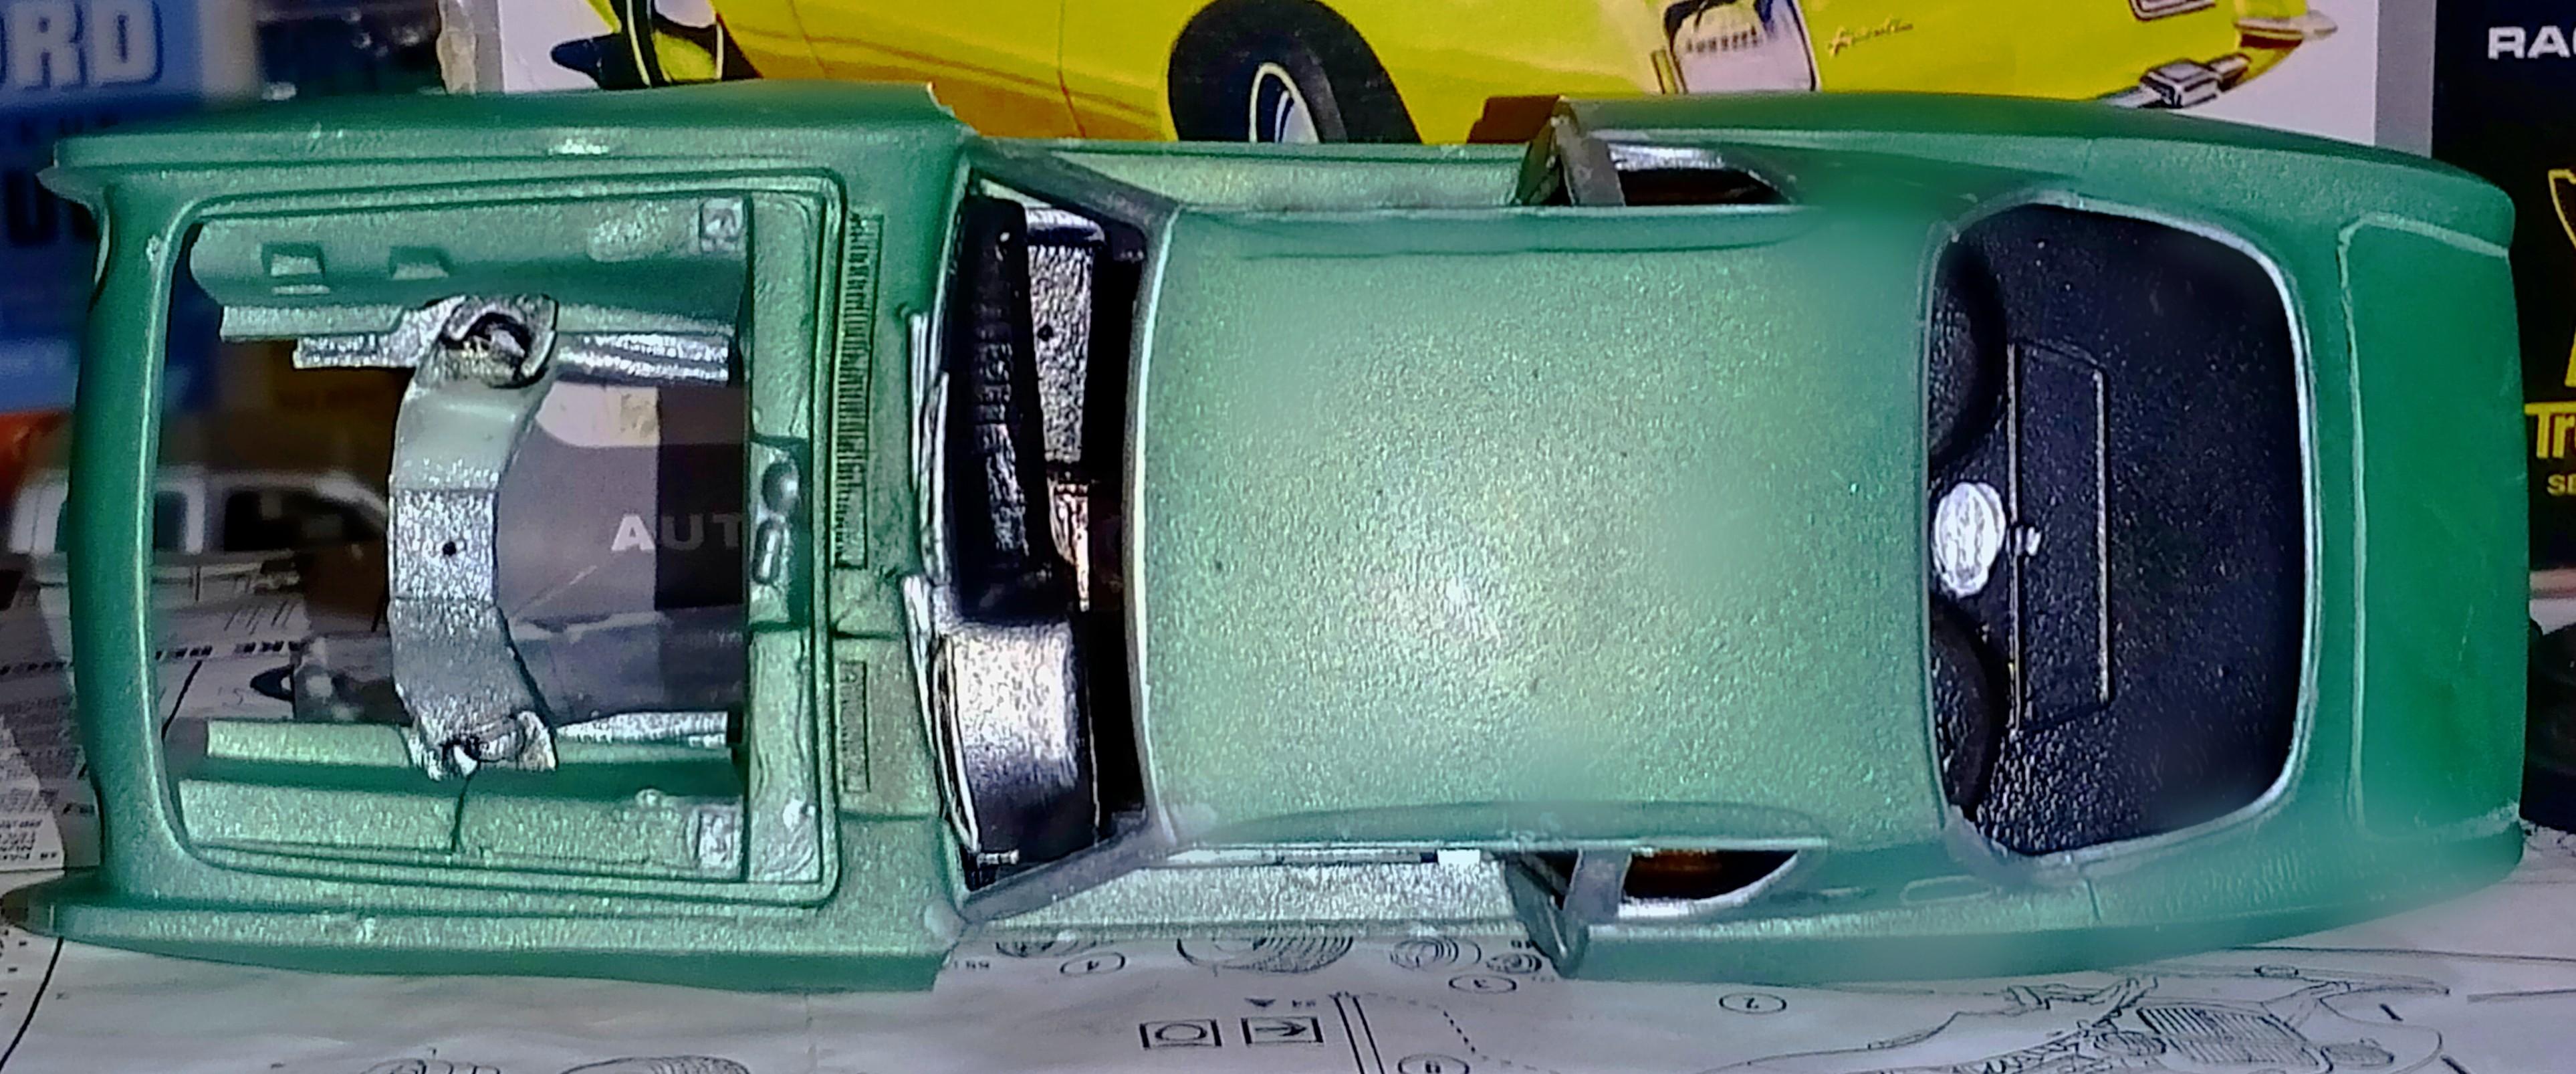
Instruments are highlighted with radio face to be detailed when I install the shifter, column, etc. and do the black and grey washes on stuff, and I will do a flat black drybrush on the rugs and heel mats & Testors Dullcote on the interior and door cards, the door jambs and latches will be detailed & the doors mounted to be posable, and I have a great deal of engine and chassis detail and assembly to do along with gluing up the glass with thinned white glue. I might add a couple of contingency logos or Studebaker insignias or both on the firewall, and am going to install decal emblems and possibly gauge faces. Of course, the Halibrand centerlocks aren't yet installed.
-
Thanks pal. It looks way better in real life and will really shine once on the truck. The detail is fabulous…
-
Flerfer is a word I've never heard before person who belives the earth is flat and that there are in fact edges you can fall off of to your doom.
-

1970 Ford C 600
ShakyCraftsman replied to Biggu's topic in WIP: Model Trucks: Big Rigs and Heavy Equipment
Looking really good Buddy. Ron G -
He replied to my message asking for as an. I haven’t been able to get back to him. I have the actual decals for a 1/43 kit. Hoping to just have him scan those, blown them up and print. Perry
-
I've heard tell that one source of kits modelers use is eBay, and I've began looking more so myself and have seen quite a few things I'd like to order. Though I did find out you actually don't need an account to buy stuff, my dad is skeptical of ordering off there for credit card safety reasons. Might be a silly question but is eBay safe to order from? I must admit I am mildly unsure after hearing some scam stories from eBay so if there's any tips on how to know for sure an ad is genuine, that would be great to know.
-
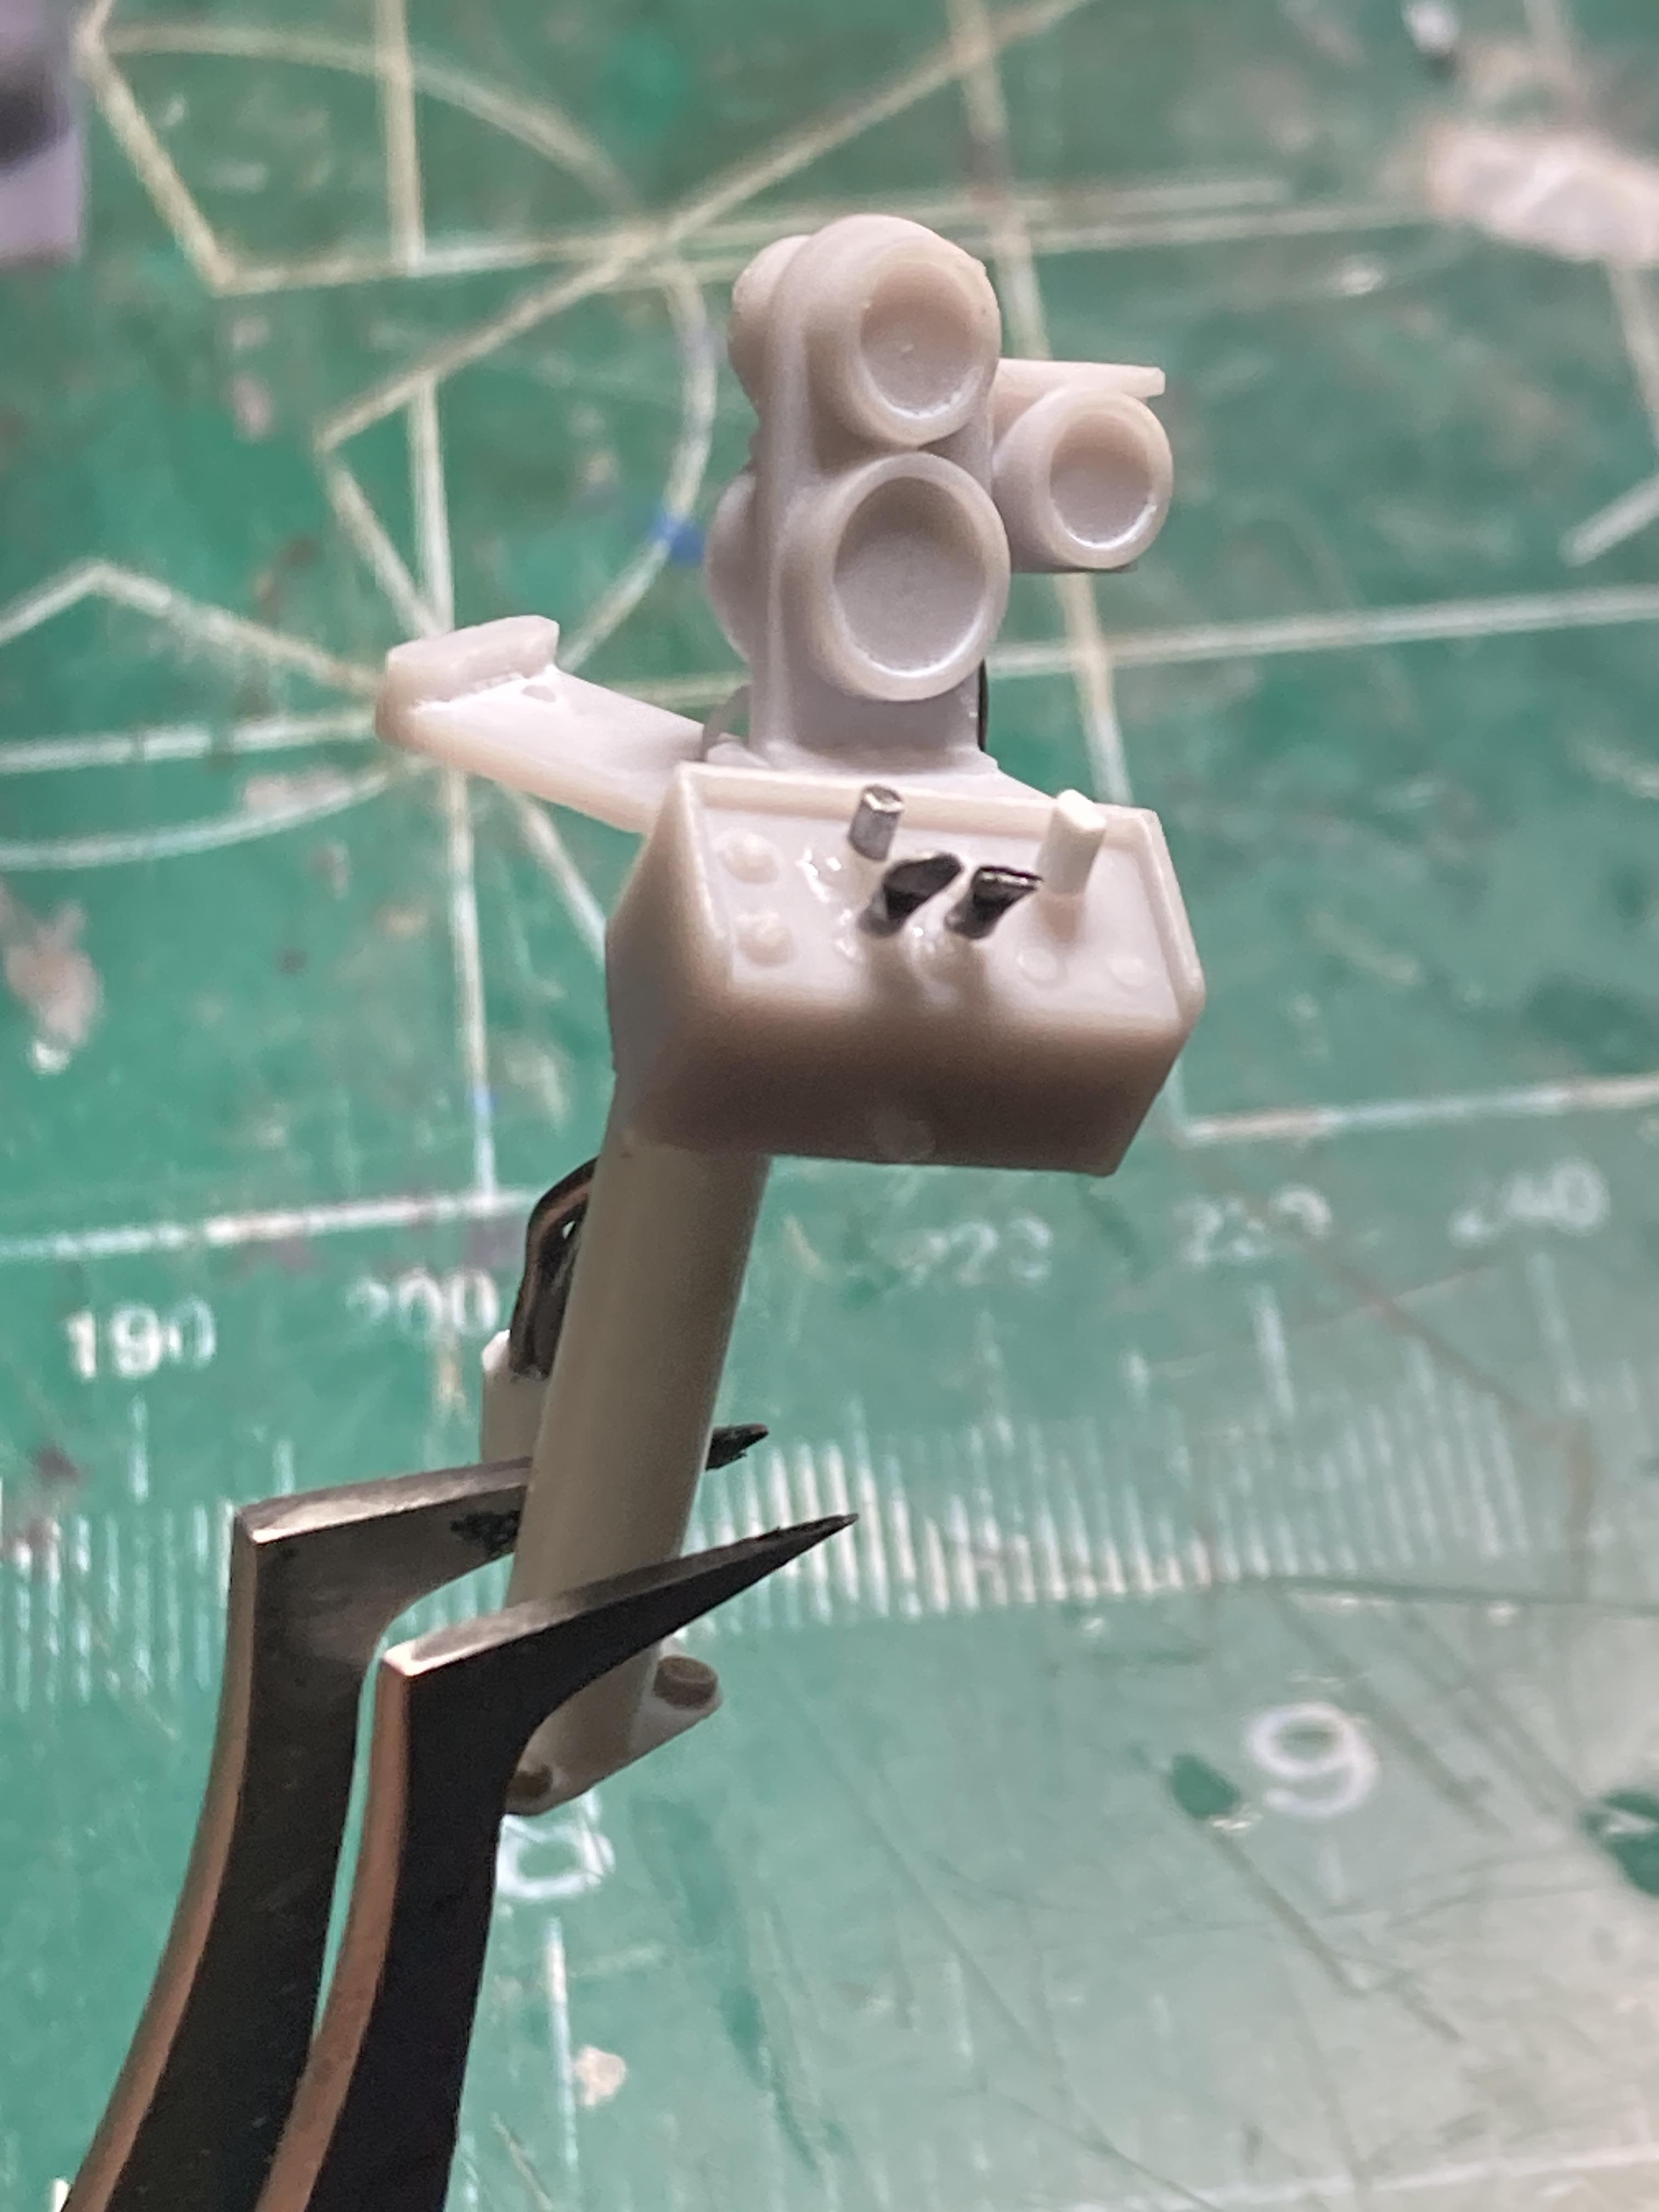
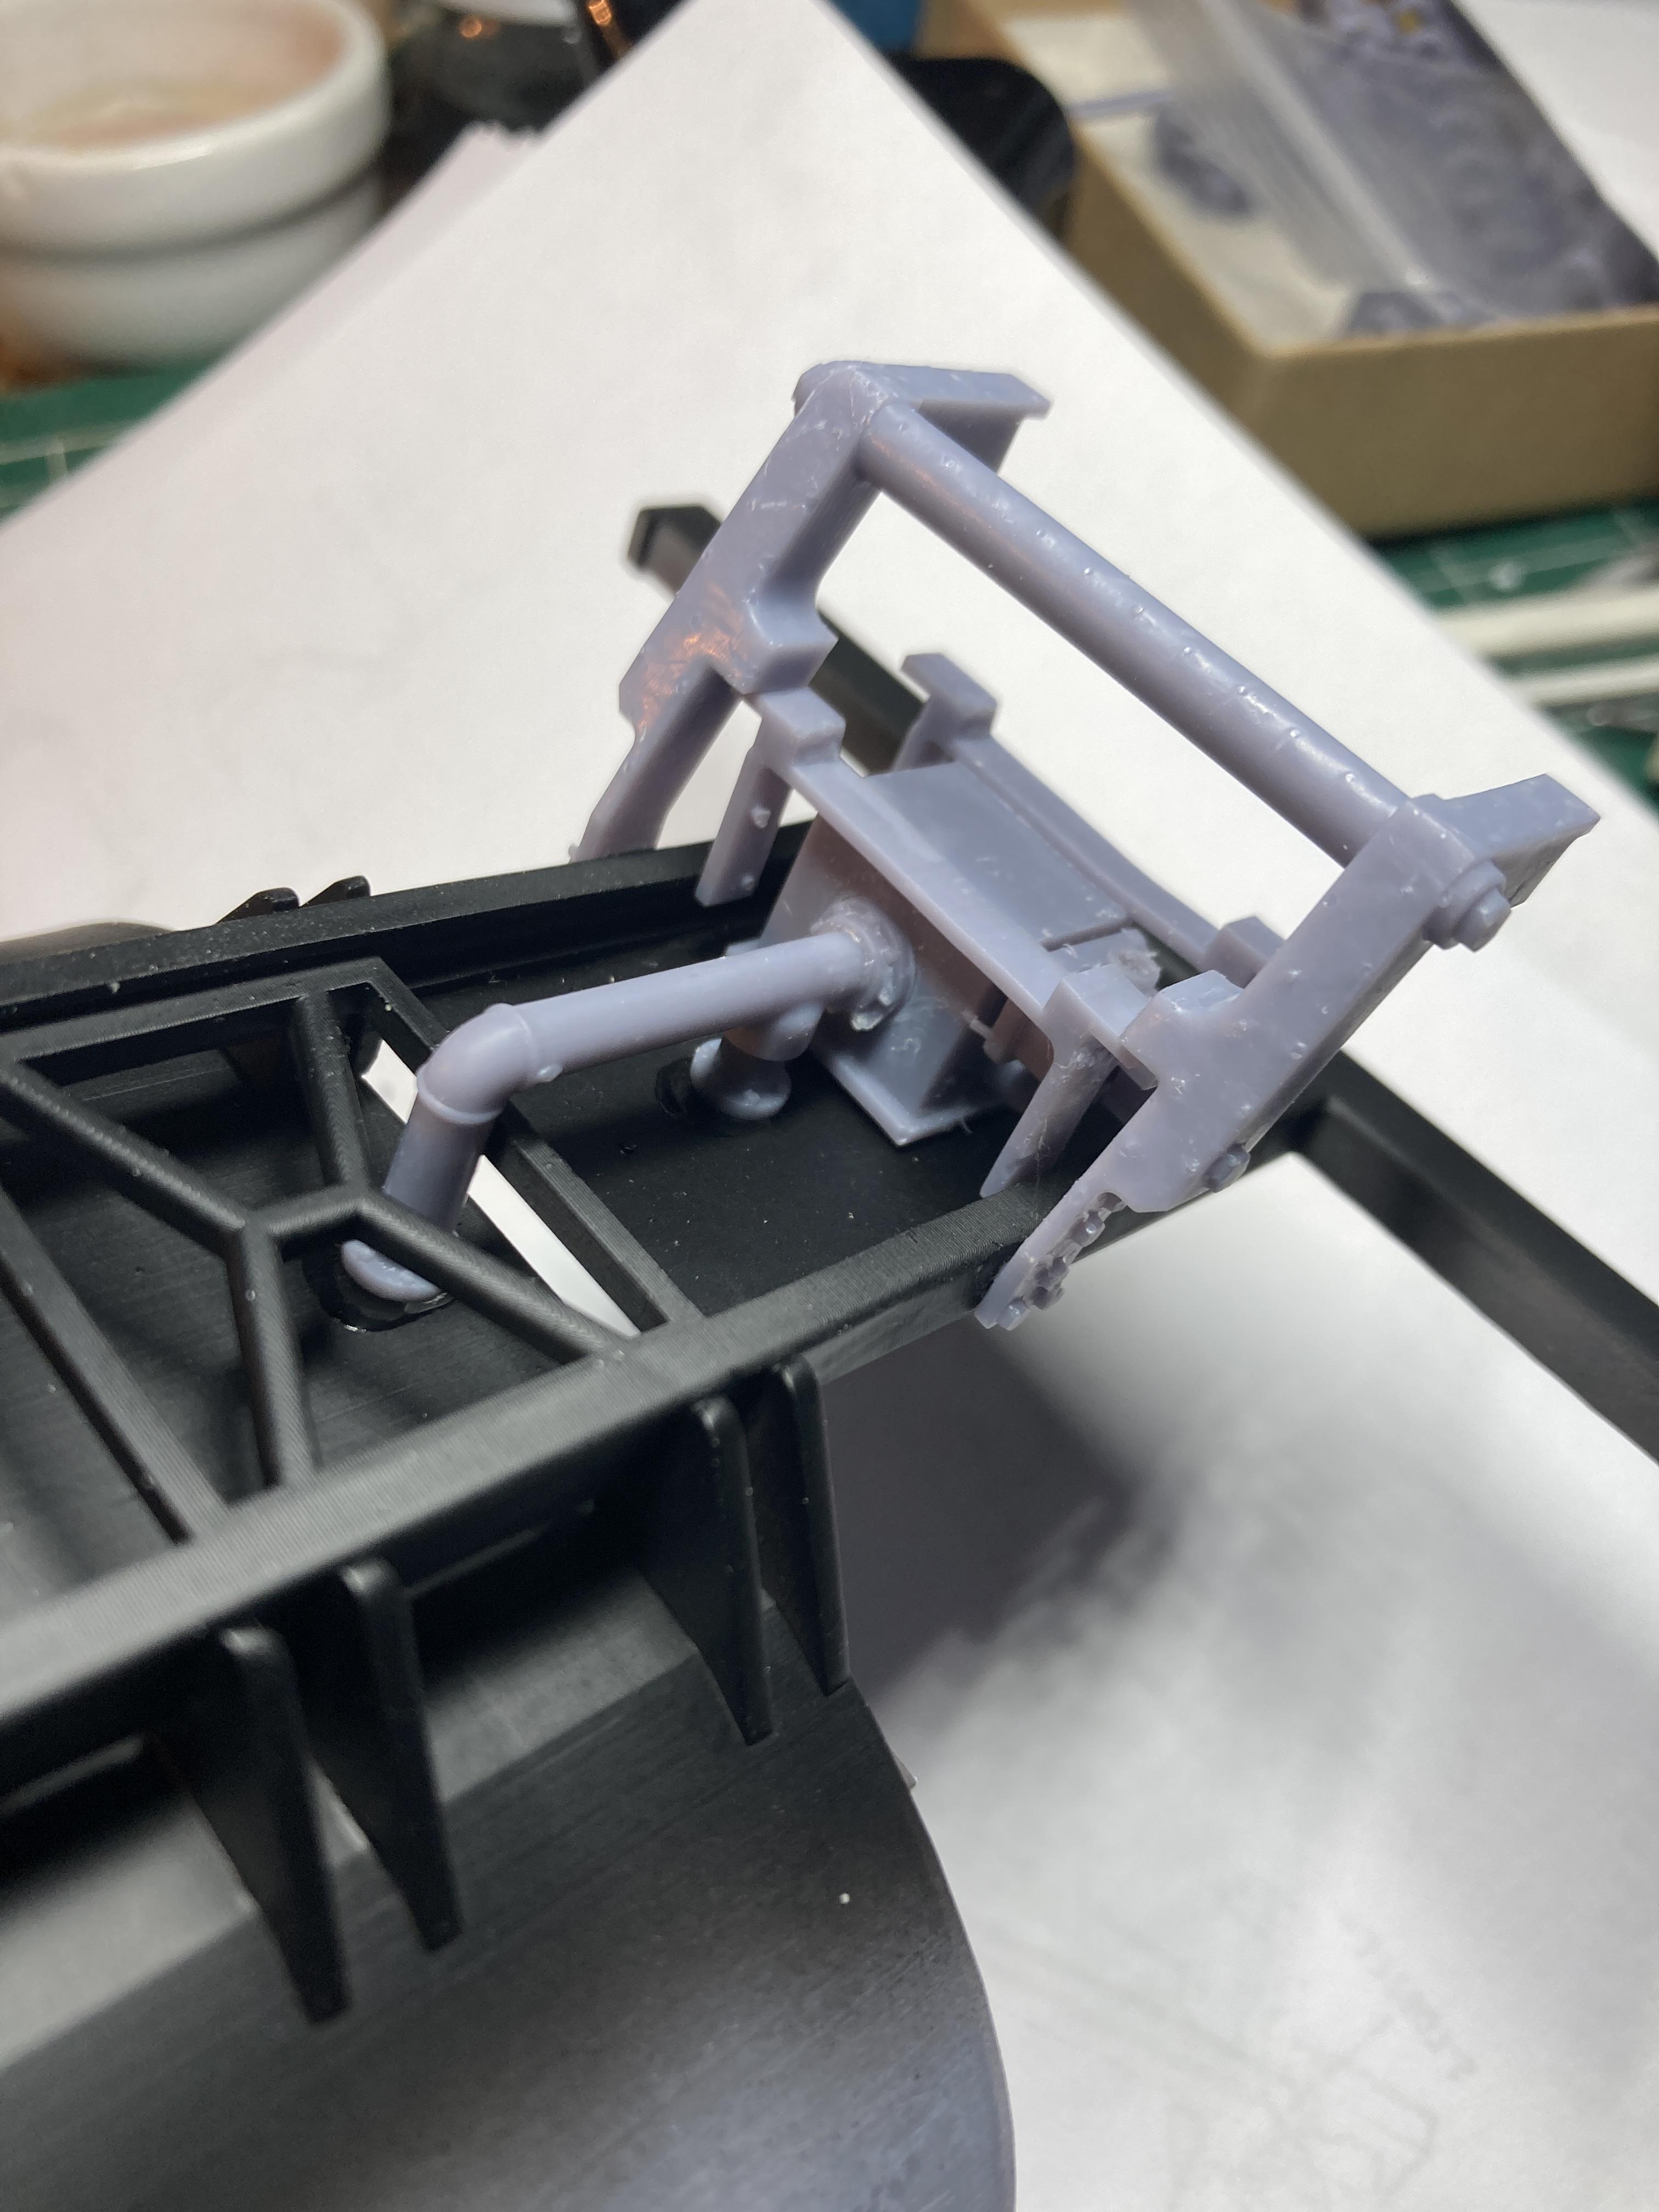
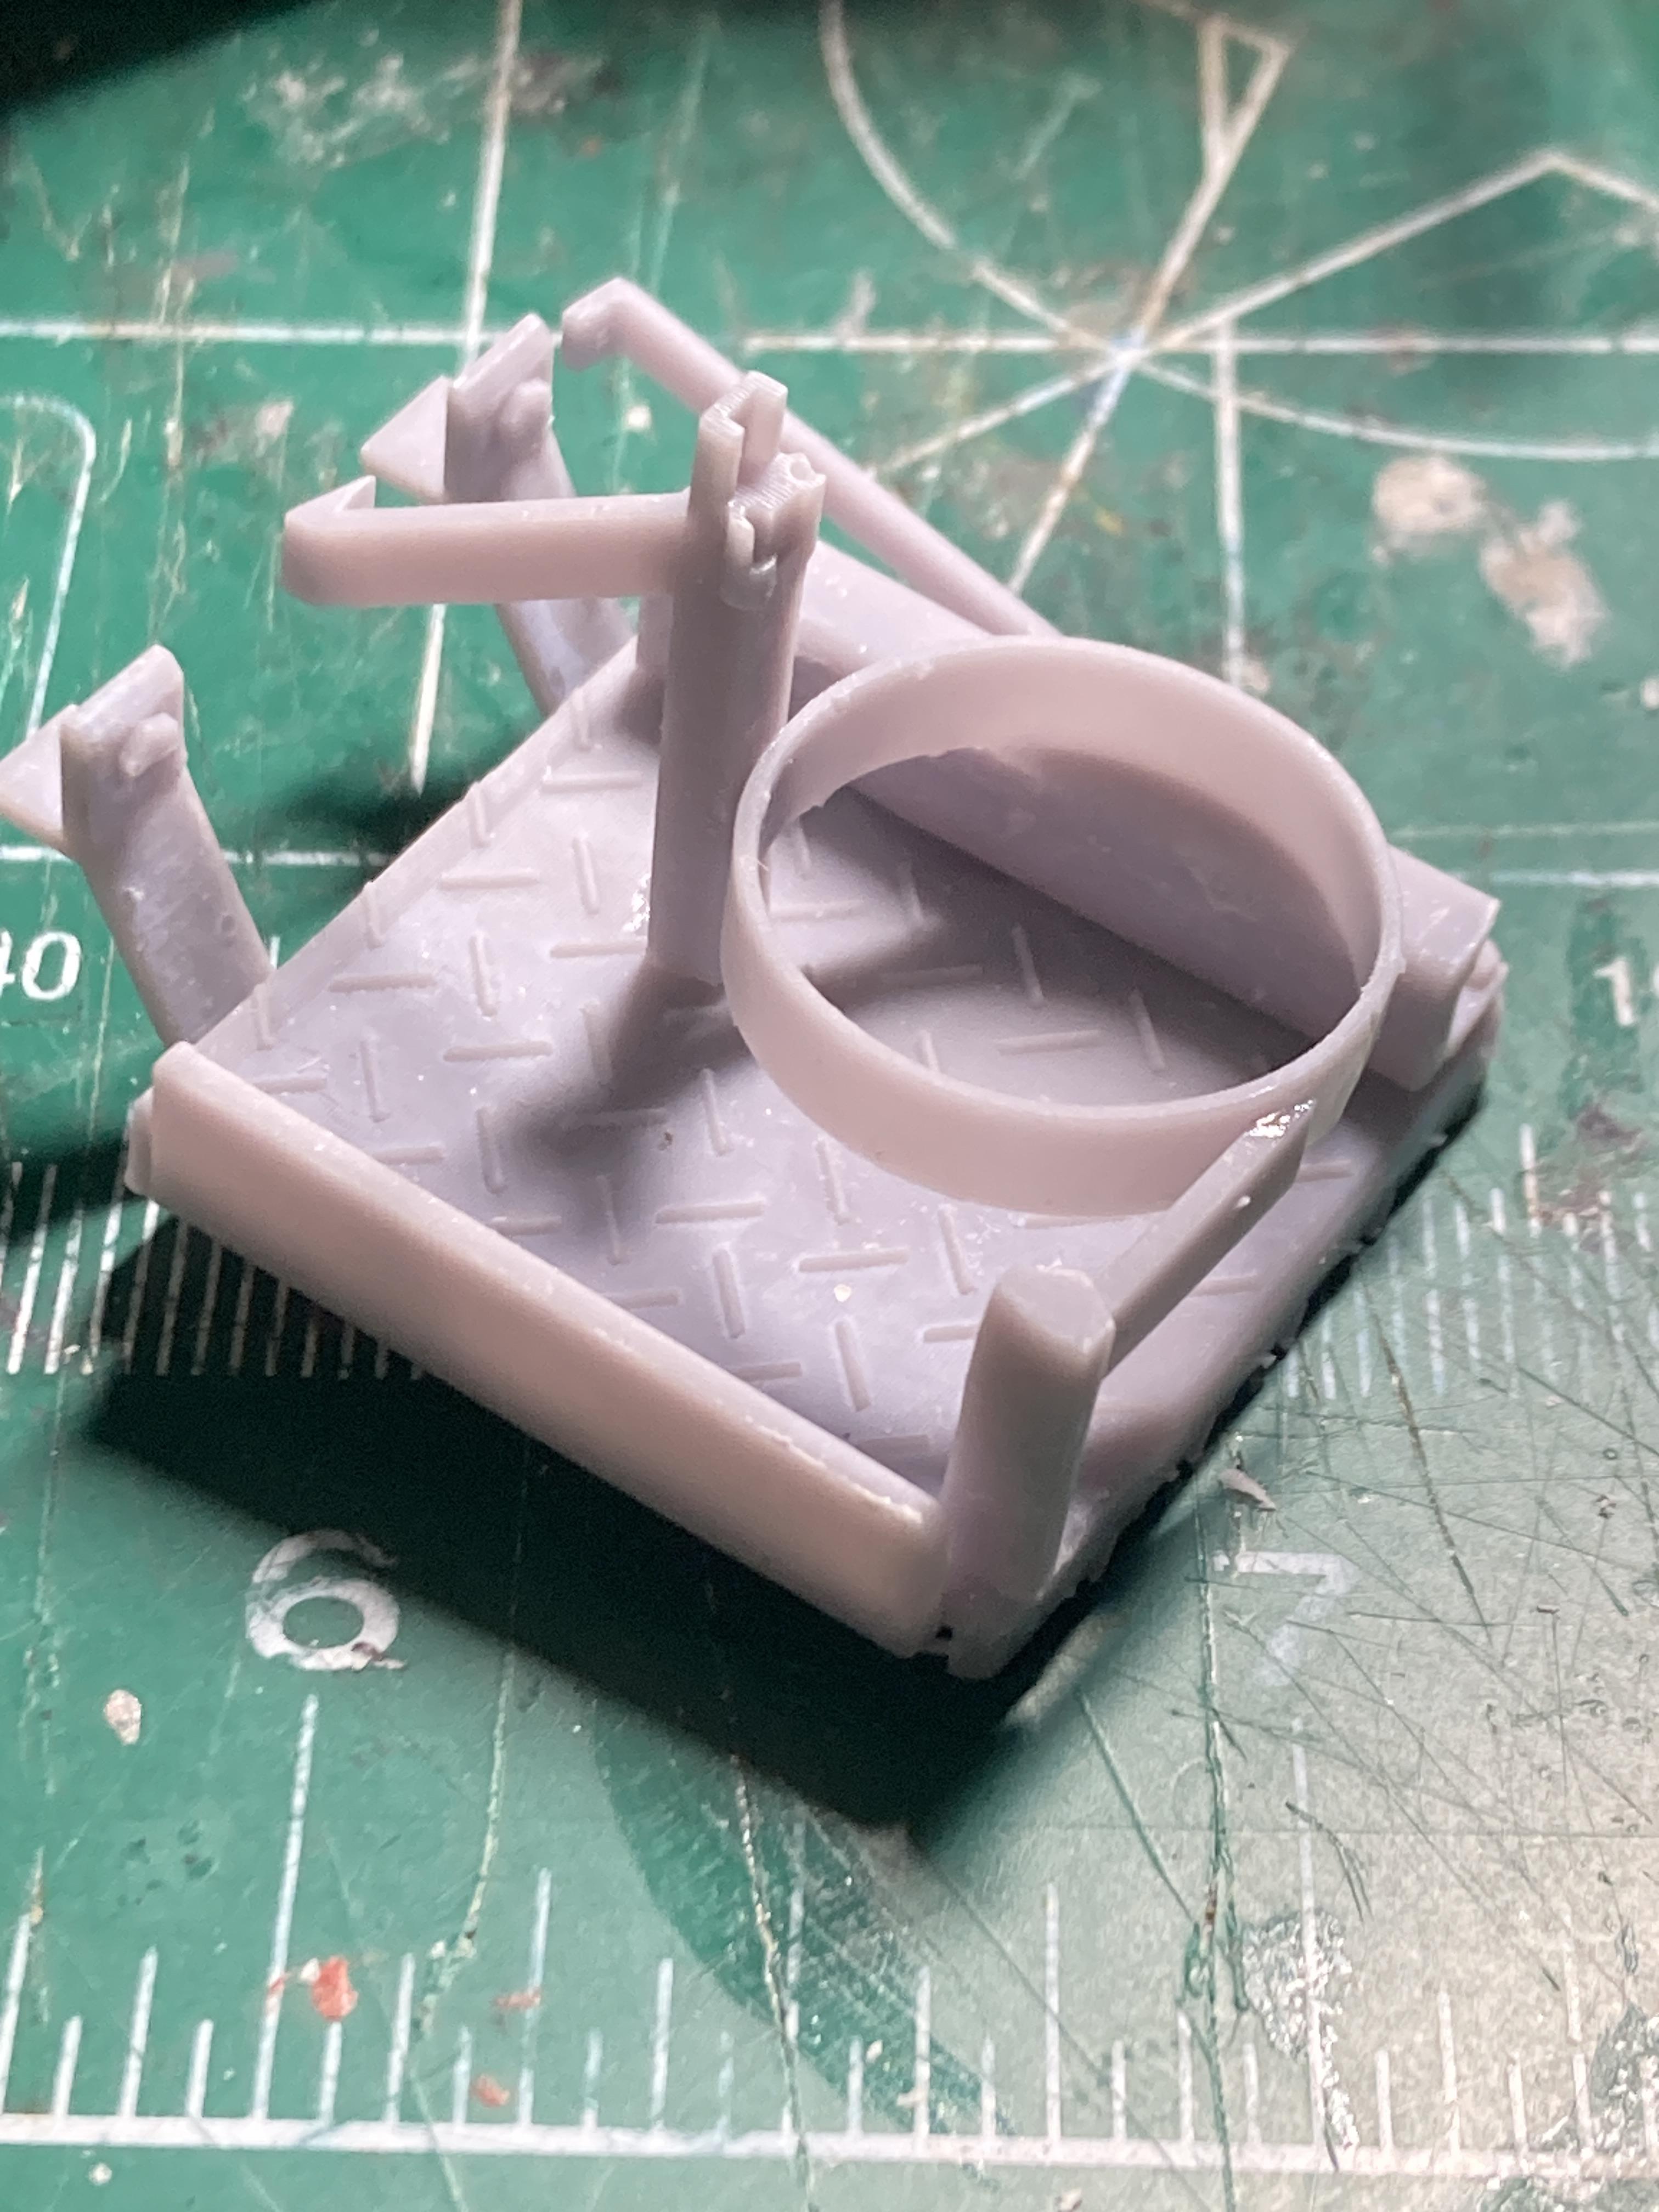
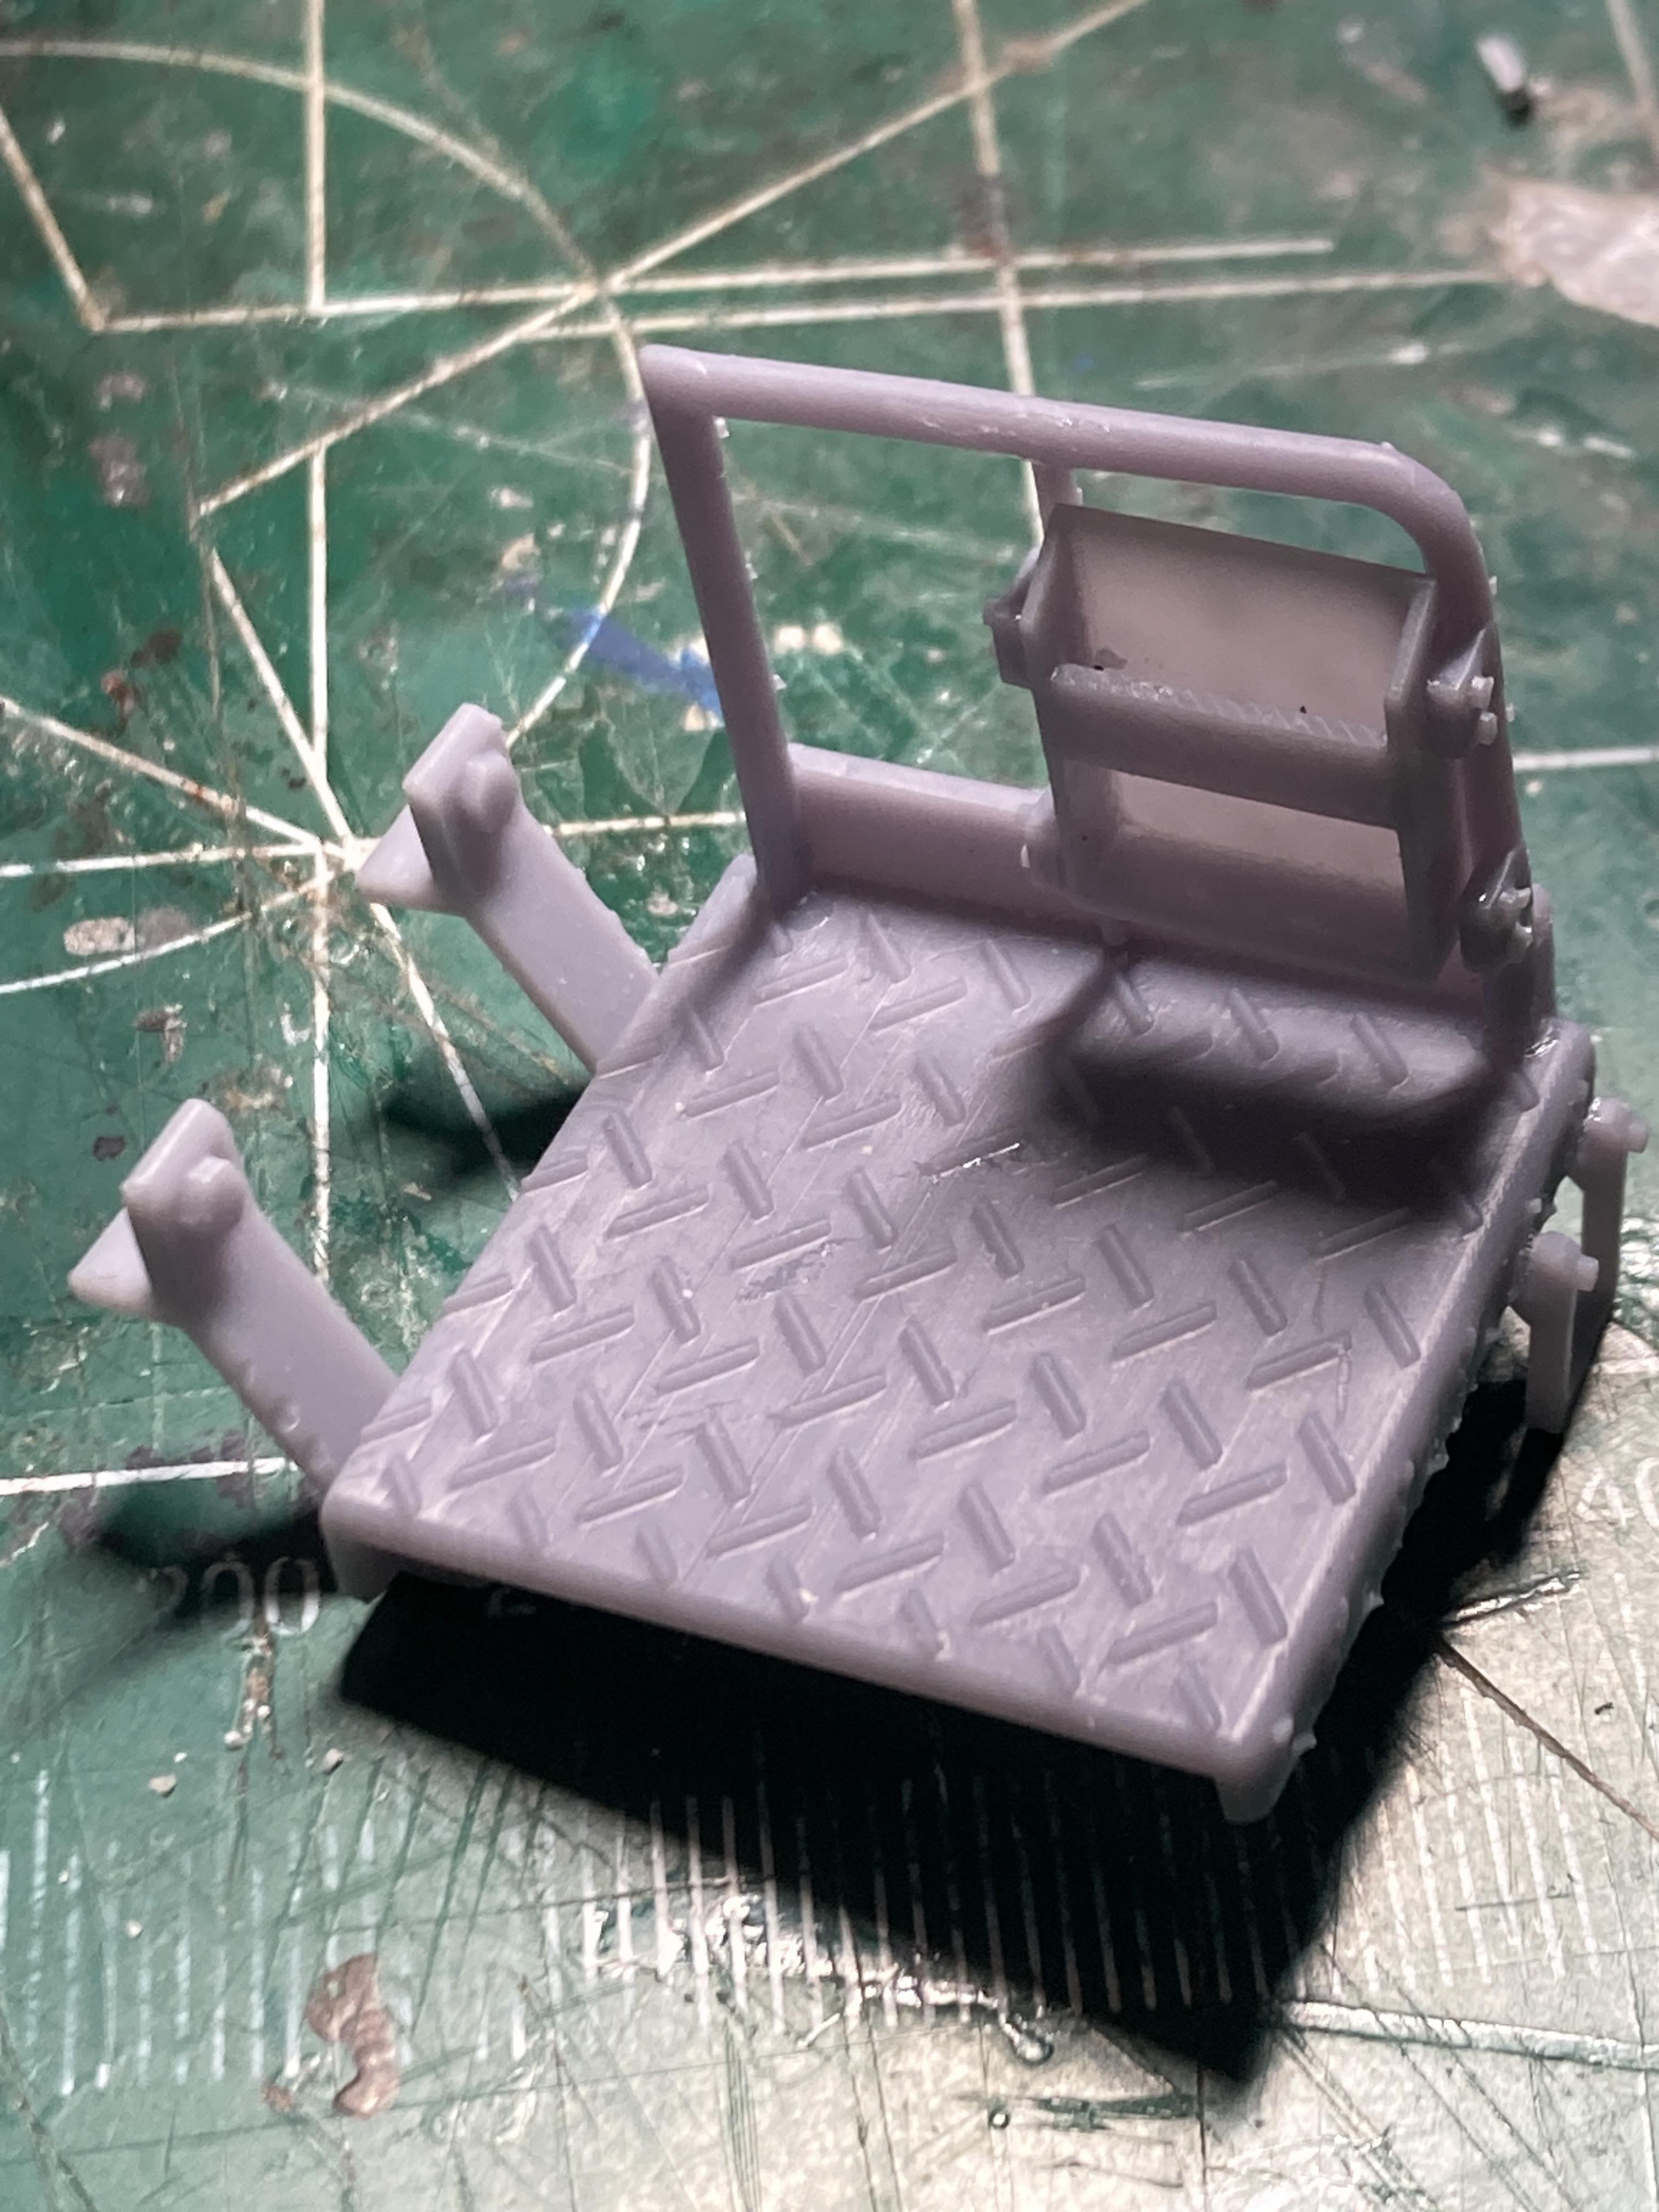
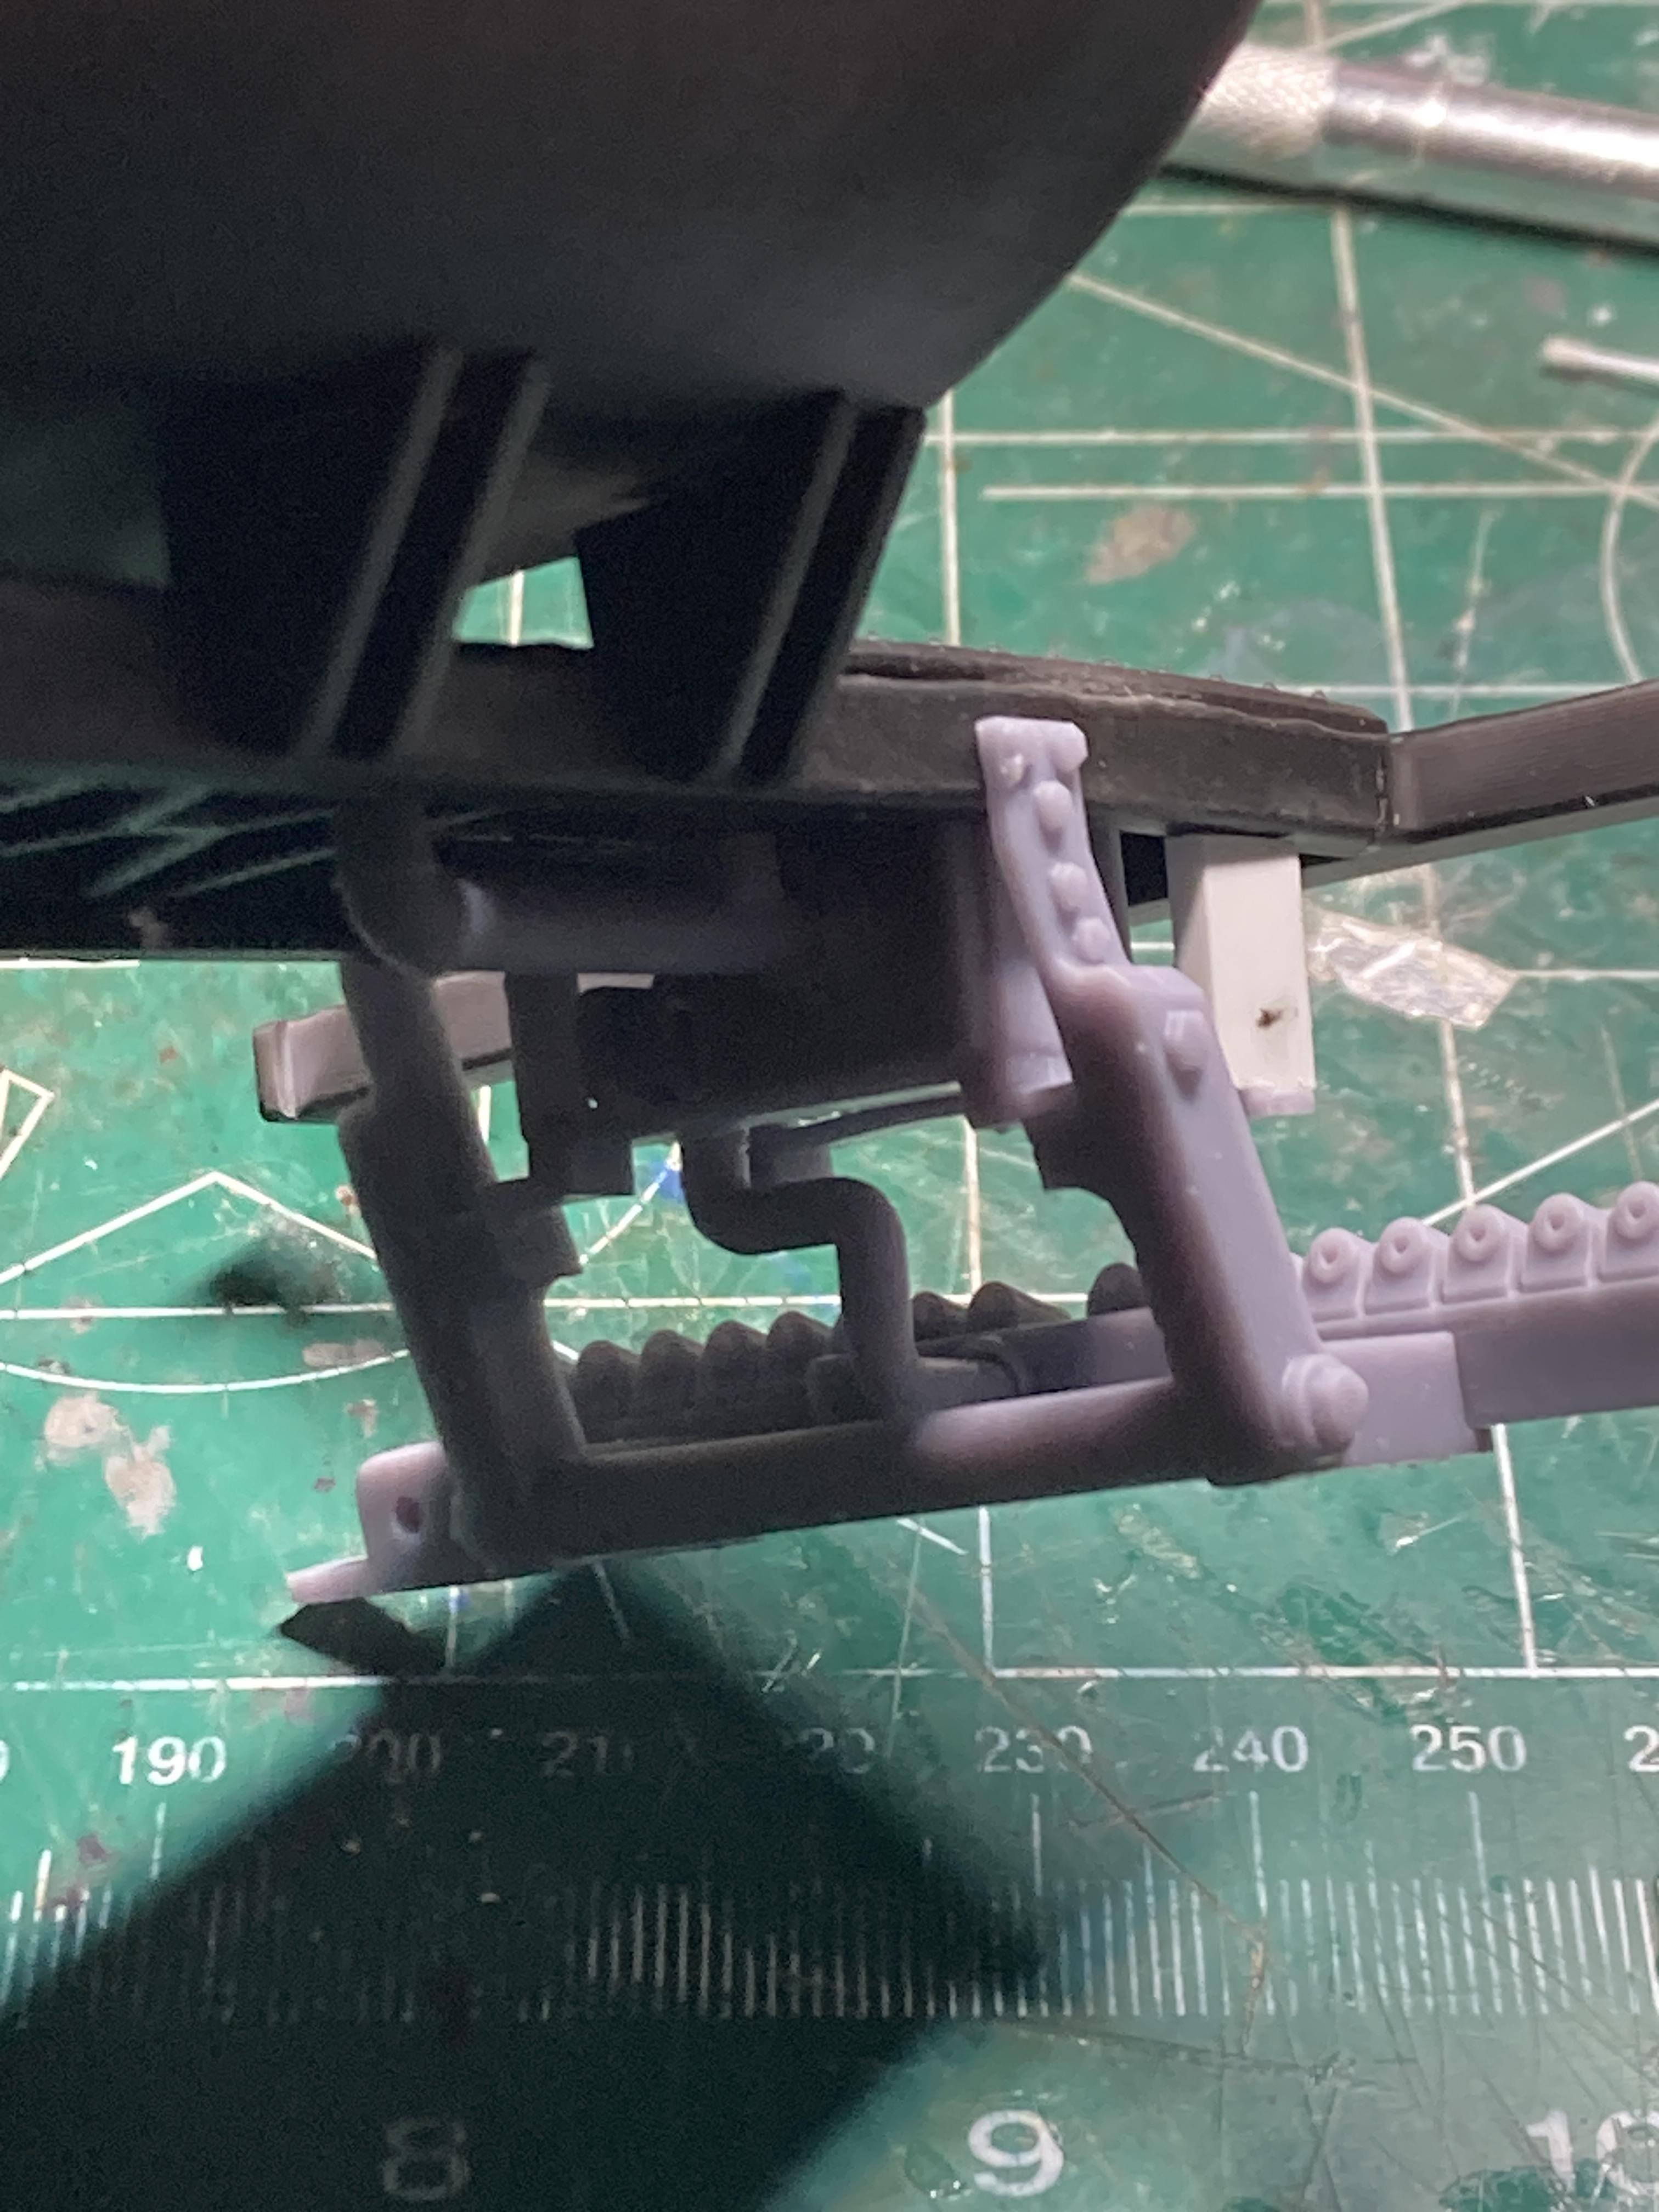
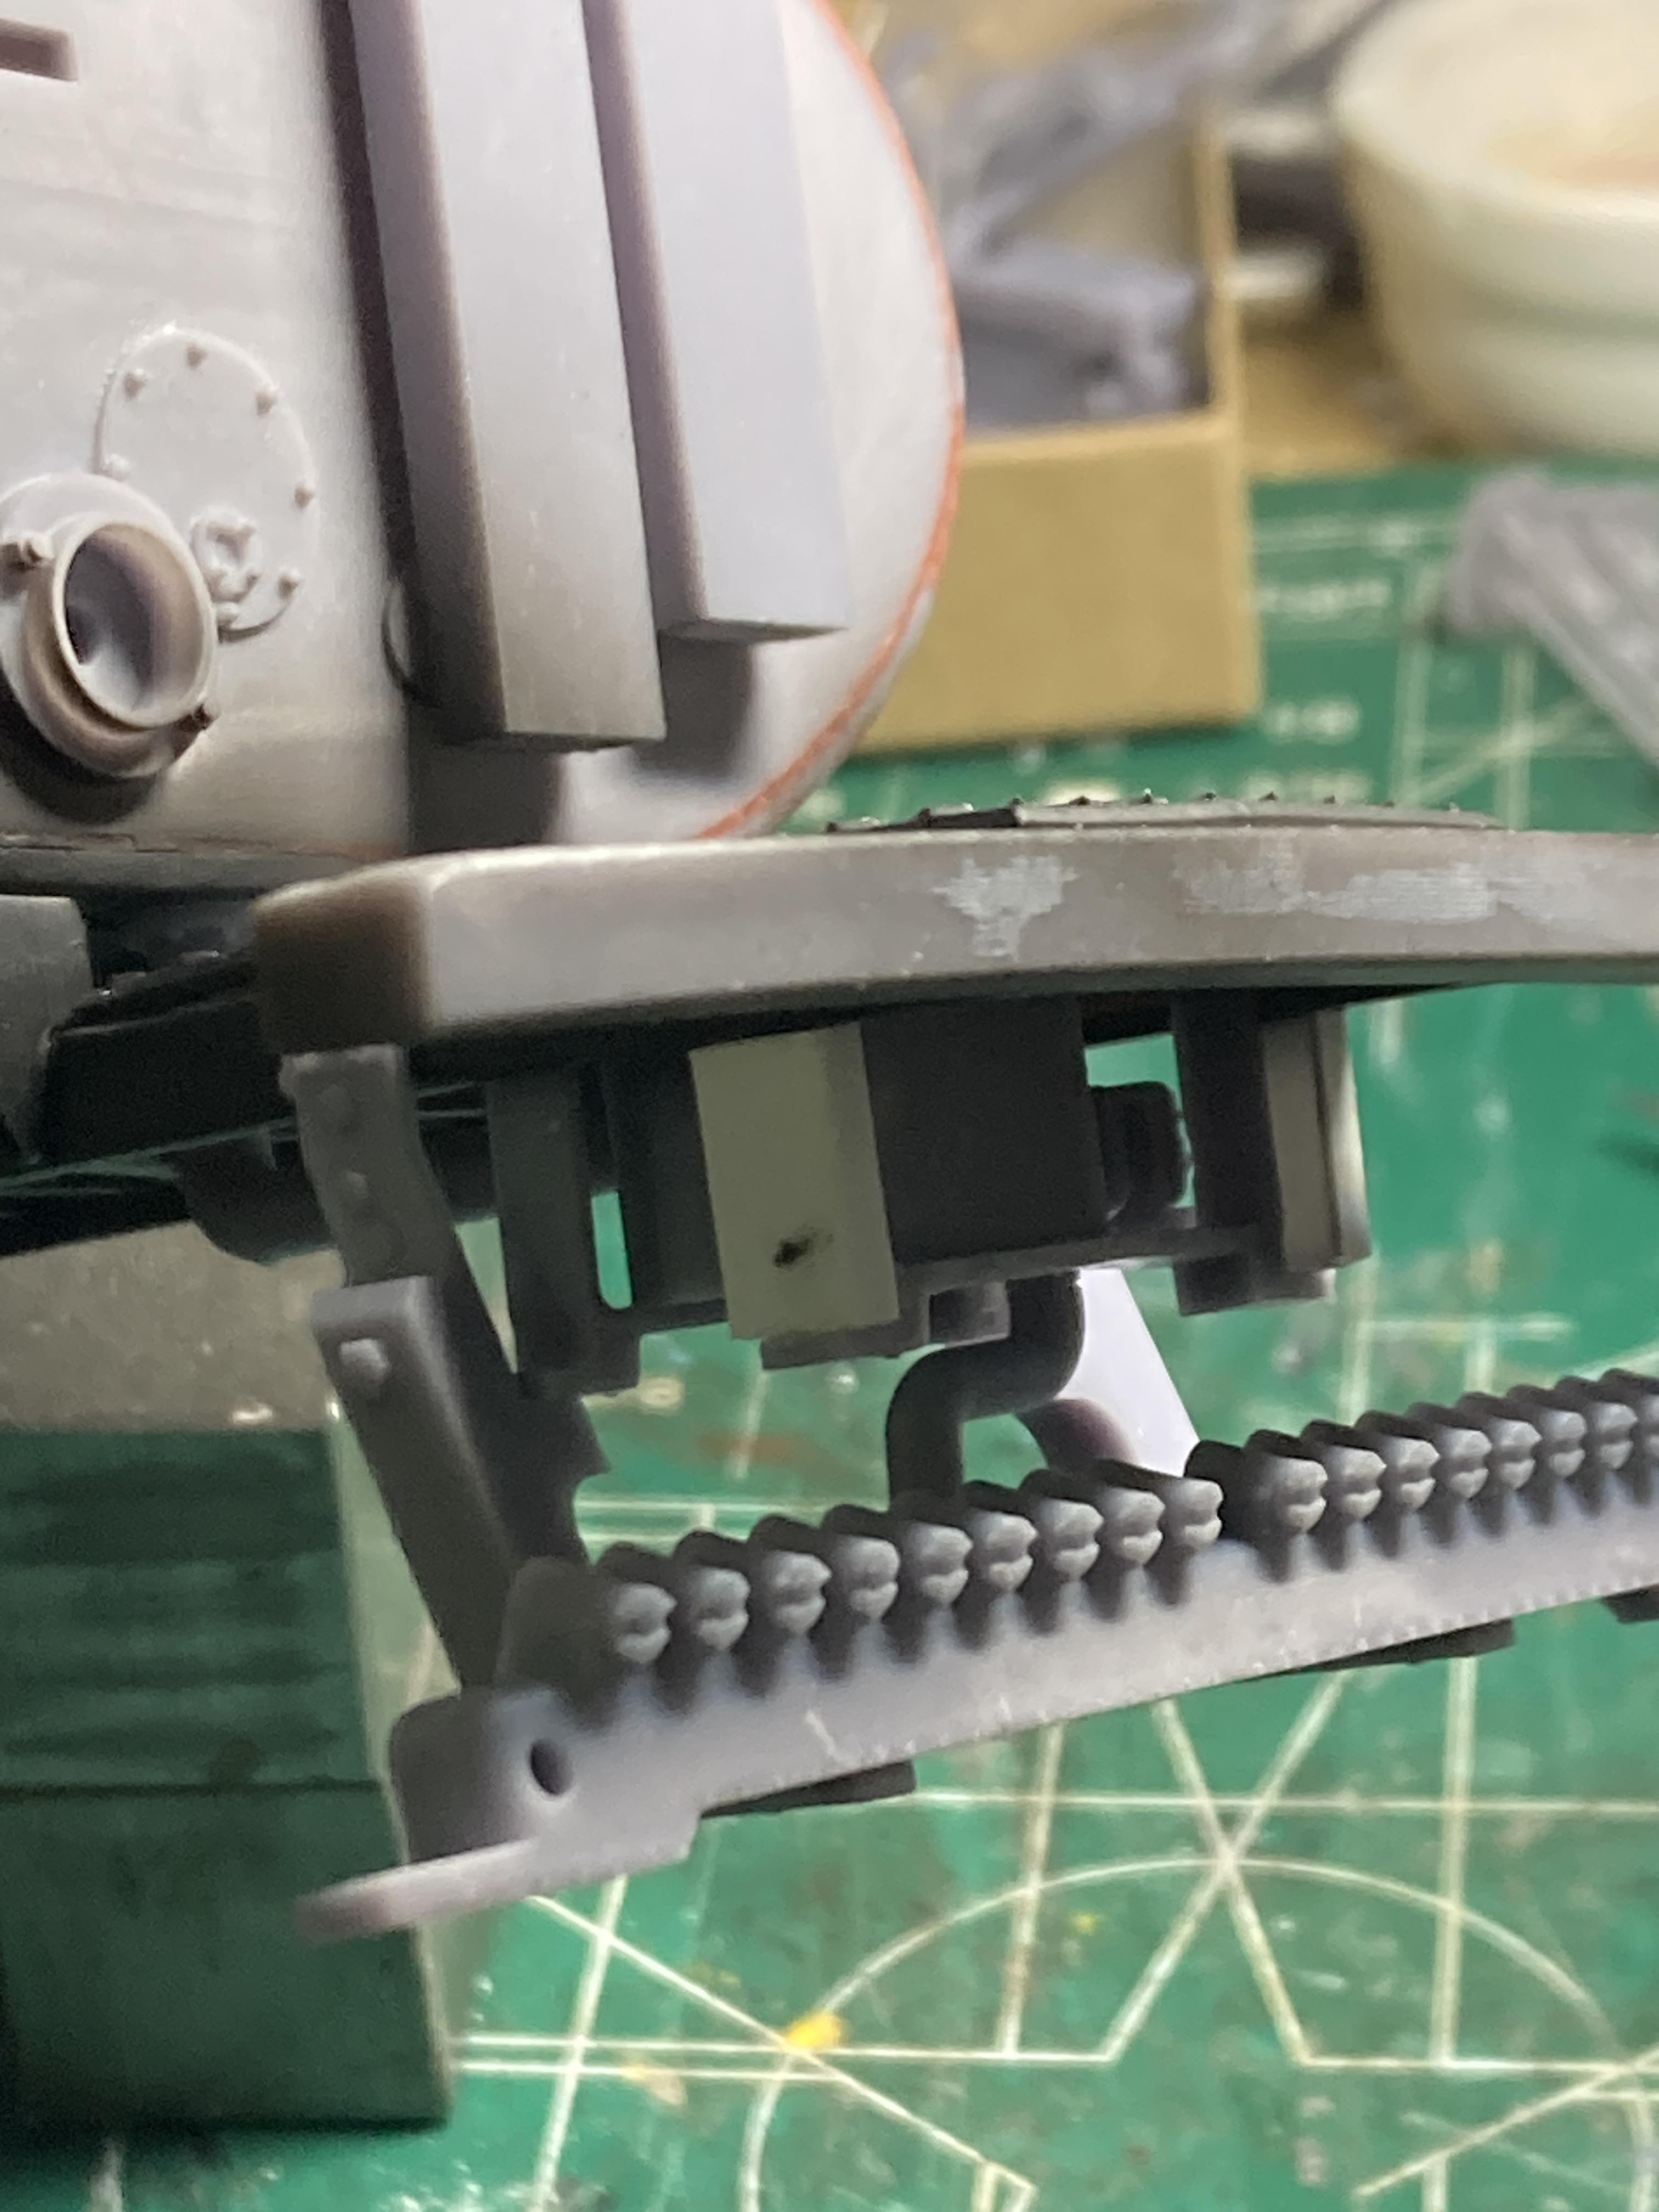
A small update here. It doesn’t kook like much but it came with a little trepidation and great care to make sure I got it right the first time. Mostly due to using the unforgiving CA glue and some fragile pieces. Anyway I pushed ahead and added a few little bits to the control box like flow knob and a few ‘toggle’ switches. I also completed the work platforms with the propane tank holder ( still need to add the upper hold strap ) and added the main spray bar and attached the plumbing. Jurgen’s design and Bren’’s printing is very precise so I had to really be careful and be accurate ( because of the aforementioned glue we all know about ) the end result is going to be really good once painted ( to hide my sloppy glue work ) . Putting these pieces took about 4 hours of absolute pleasure and enjoyment. The fitment is near perfect.
-
Horizon watching gives pretty clear evidence of the curvature of the Earth's surface, as ships sailing away get shorter and shorter and eventually seem to disappear beneath it, but it's only clear to anyone but a hard-core flerfer.

.jpg.b9265433dc8c3b550370b1d0e4e4d2fc.thumb.jpg.915f5b46e3c9402eeaa6972073121c87.jpg)