Fat Brian
-
Posts
4,449 -
Joined
-
Last visited
Content Type
Profiles
Forums
Events
Gallery
Everything posted by Fat Brian
-
Ebay won't release the funds to the seller until a tracking number is posted to the transaction, at least for smaller sellers. That's why the tracking number gets posted almost immediately even if they sit on the package a few more days.
-
Amazon Questionable Shipping Tactic
Fat Brian replied to Bill Eh?'s topic in General Automotive Talk (Trucks and Cars)
They've done that to me too, fortunately it was a kit that has shrink wrap so removing the label was painless. Amazon is always an adventure with packaging, it's either way too much or not nearly enough.- 14 replies
-
- 1
-

-
- label removal
- goo gone
- (and 2 more)
-
Its interesting how we thought robots would be versus how they're turning out. Asimov's laws require the knowledge of what a human is, what harm means, what a law is, and it means to obey. The current LLMs don't actually know anything so giving them hard directions that last doesn't seem to work the way we think it would. When people think about AI they think about the computer in Star Trek that has a huge database of facts but its more like asking your high friend how stuff works.
-
Is there any overspray or paint in a discreet area you could try to dissolve with paint thinner and rubbing alcohol and see which one works? That would point you in a direction.
-
Big truck transmissions
Fat Brian replied to junkyardjeff's topic in General Automotive Talk (Trucks and Cars)
The Lindberg L700 cabover has a big manual transmission and two speed rear end that is good for trucks from that era. -
It's hard to do something like that perfectly clean, use a Qtip with whatever solvent you need to clean your painting off quickly before it completely dries. Tamiya panel line accenter also helps with the narrow lines and emblems. Its also helpful to have a chrome pen of some kind to touch up the chrome because you can rub through if you work it too much.
-
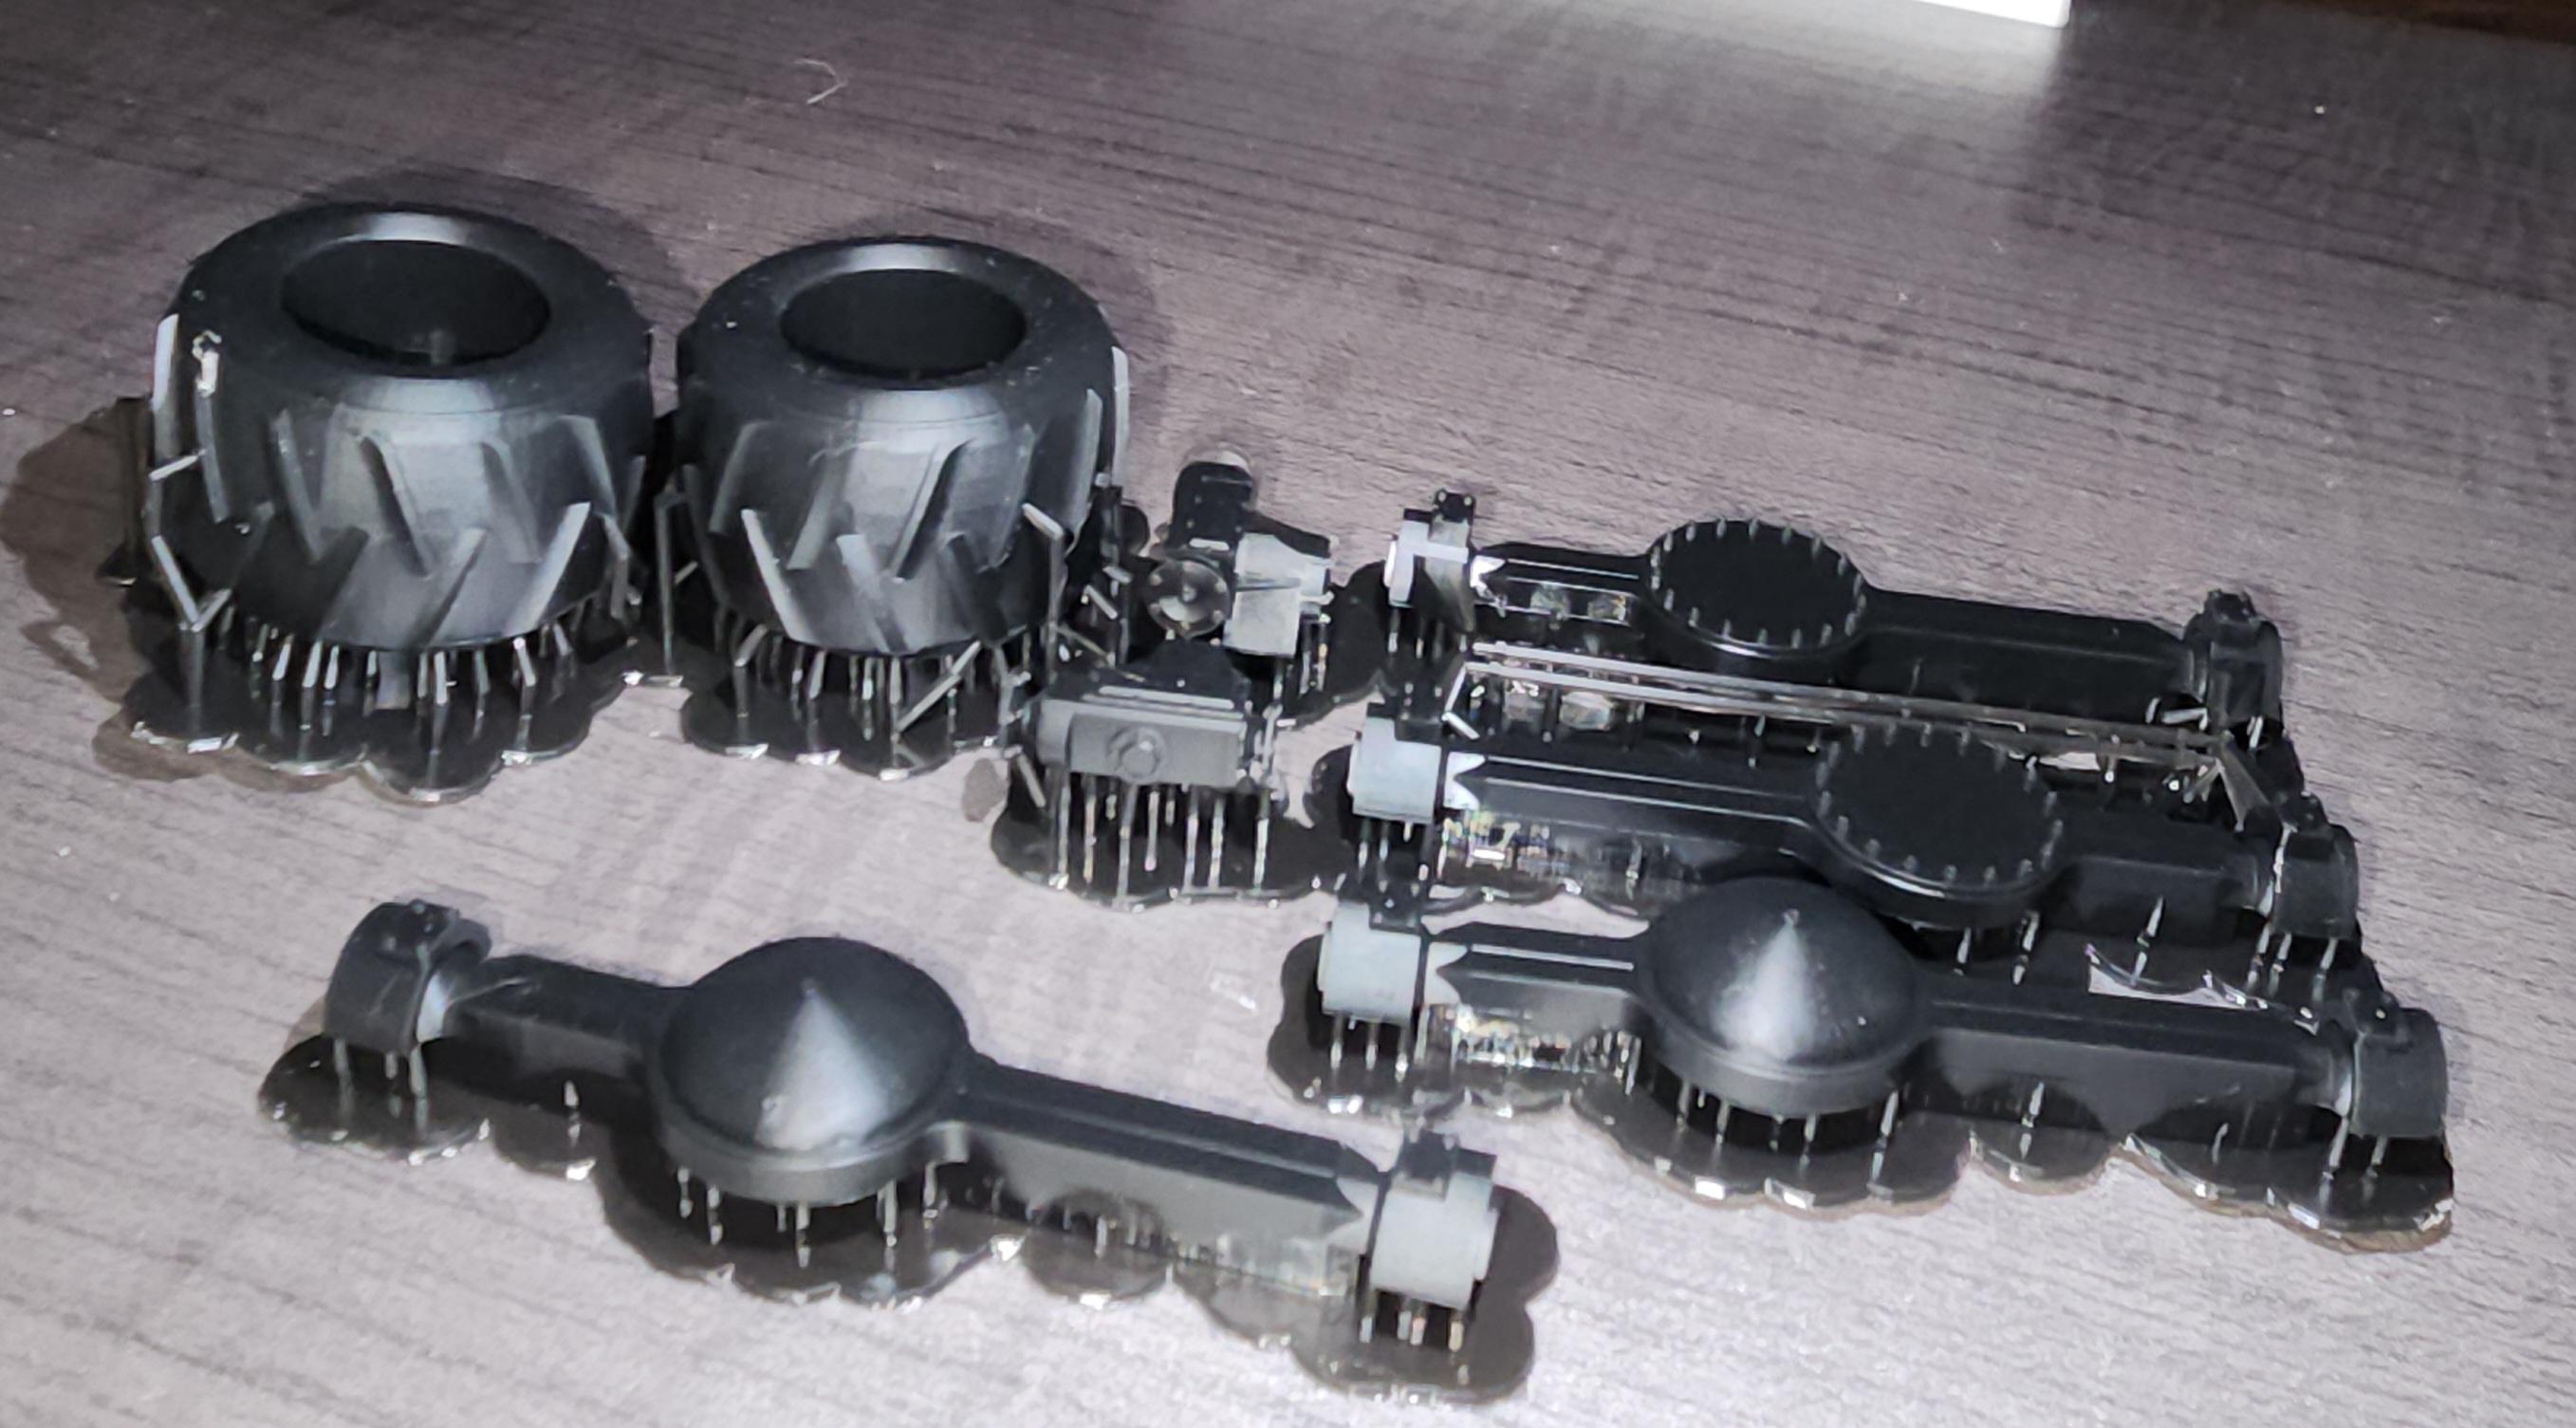
The ones on the Hotwheels truck are the good tires, the holes fit the rims better and they're usually actually round.
-
To my knowledge the tube frame kits have always had the good tires, and those come in all the other AMT monster trucks now. But not the MPC kits like the Datsun tow truck. In older kits you had to cut the mold disc out of the small side of the tire but for that last 15 years or so they've been precut.
-
It's like a battleship with the irregular camo pattern that breaks up its silhouette.
-
Yeah, early tires with the molded in lettering are just bad. All of the later 1/25 Bigfoot and USA-1 tires are better and will still fit the early rims. The Jurrasic Attack and Ninja Turtle trucks also have the good tires and can sometimes be found a little cheaper than the other kits. AMT also put out a parts pack of just the good tires a few years ago. The Lindberg tires are better but they're a bit out of scale for 1/25 vehicles. If you can 3d print there are some good tires on Cults that are honestly better than anything in a kit so far.
-
Round2 to release Mack B-61 semi kit.
Fat Brian replied to maxwell48098's topic in Truck Kit News & Reviews
I'm far more likely to buy an old truck versus a new one. The Crackerbox and Needlenose Pete's & KWs are very high on that list. I'll be voting with my dollars on the Mack and hope Round2 is listening. -
It shouldn't be enough to notice. The rear panel is kind of recessed into the back of the cab so you have a very definite shape to match. Instead of panel scribing around just the rear panel on the AMT cab I would cut the entire rear on the cab off just behind the door lines so you don't need to add any filler pieces around it, just sand it to fit the opening in the Italeri cab.
-
Do you have a junk cab to the AMT kit? Making one that that should be pretty easy.
-
I would add some super glue and something like Mod Podge or Elmers glue for the windows.
-
LA Awesome for chrome removal
Fat Brian replied to gpal's topic in Model Building Questions and Answers
Depending on what exactly that yellow stuff is it can be difficult to remove. I use Super Clean to strip chrome and it gets the yellow stuff off about 75% of the time. If I run into something it won't touch 91% alcohol typically does the job. -
I will take any advice I can get. I learned a lot of steps to do things but probably not the best way to combine them. I had wanted to do something more like this but didn't know how to pull the faces out of the cylinder like that. I also wasn't sure how the mirror function worked. If I have to rebuild this I will do something more like this the second time. I did get the halves to print, I enlarged the hole 4mm and will put an Evergreen tube in there to hold it all together.

-
Very observant, thats actually three meshes. The center part is a cylinder that I've extruded and resized to make the cover plate. The square part of the axle tube is a cube I rectangled and Booleaned through the center piece, I then used vertical cylinders to cut the round tapers and cubes to flatten the edges to their proper size. I also beveled the ends. Then I used a boolean put a cylinder through the square part of the axle and then another cylinder to cut the hole. I made sure there were no faces that closed off the axle hole but it just wouldn't print that way. Even if I didn't repair the model the slicer closed the hole when it sliced it. I ended up cutting the model in half and printing tops and bottoms. This is the first thing I've ever built in Blender and I'm still very new to the tools and best practices for modeling in it. I'm sure there are better ways to do what I'm doing once I figure them out.
-
The 70 Monte Carlo kit was issued as a low rider and is out right now with a pick car on the box. It will have everything you need.
-
My 2011 Acadia is currently getting its engine replaced with a fresher unit and I had the timing chains done on the newer engine while it was out so I won't have to deal with them for the foreseeable future. This one doesn't drink oil as bad as my Traverse did, I poured half a quart of oil out of the intake tube on time. And changing the headlight bulbs in either one is ridiculous, you have to either pull the bumper cover or the front tires and inner fender liners.
-
Revell 1985 GMC Jimmy 4x4 High Roller
Fat Brian replied to av405's topic in Truck Kit News & Reviews
True, my first truck was an 85 GMC with this grille so if they ever make a long bed pickup version I will be grabbing one. -
Revell 1985 GMC Jimmy 4x4 High Roller
Fat Brian replied to av405's topic in Truck Kit News & Reviews
This version doesn't know what it wants to be. Its got vintage graphics, wheels, and lights but modern tires. Its not lifted enough to truly be a trail truck and there are no engines mods at all. There's not much to justify buying this version. -
Best Clear Coat over large decals
Fat Brian replied to gpal's topic in Model Building Questions and Answers
I like Mr Super Clear over decals, I've never had it wrinkle them. -
3-4 ton 53 ford
Fat Brian replied to earlleecliffton1's topic in Model Building Questions and Answers
3/4 ton -
I'm down for at least two of these, I've got a stalled project this might be just the cure for. One thing that slightly irritates me is the rear wheels. I love the big and little set but when the 3d model is just scaled up to make the rears bigger the bolt pattern doesn't match the front and it makes it look toy-like. Just a couple more minutes to keep the center at scale would have made the wheels much better.
-
That paint job is as much about prep and finish work as it is color selection.