Search the Community
Showing results for tags 'amt'.
-
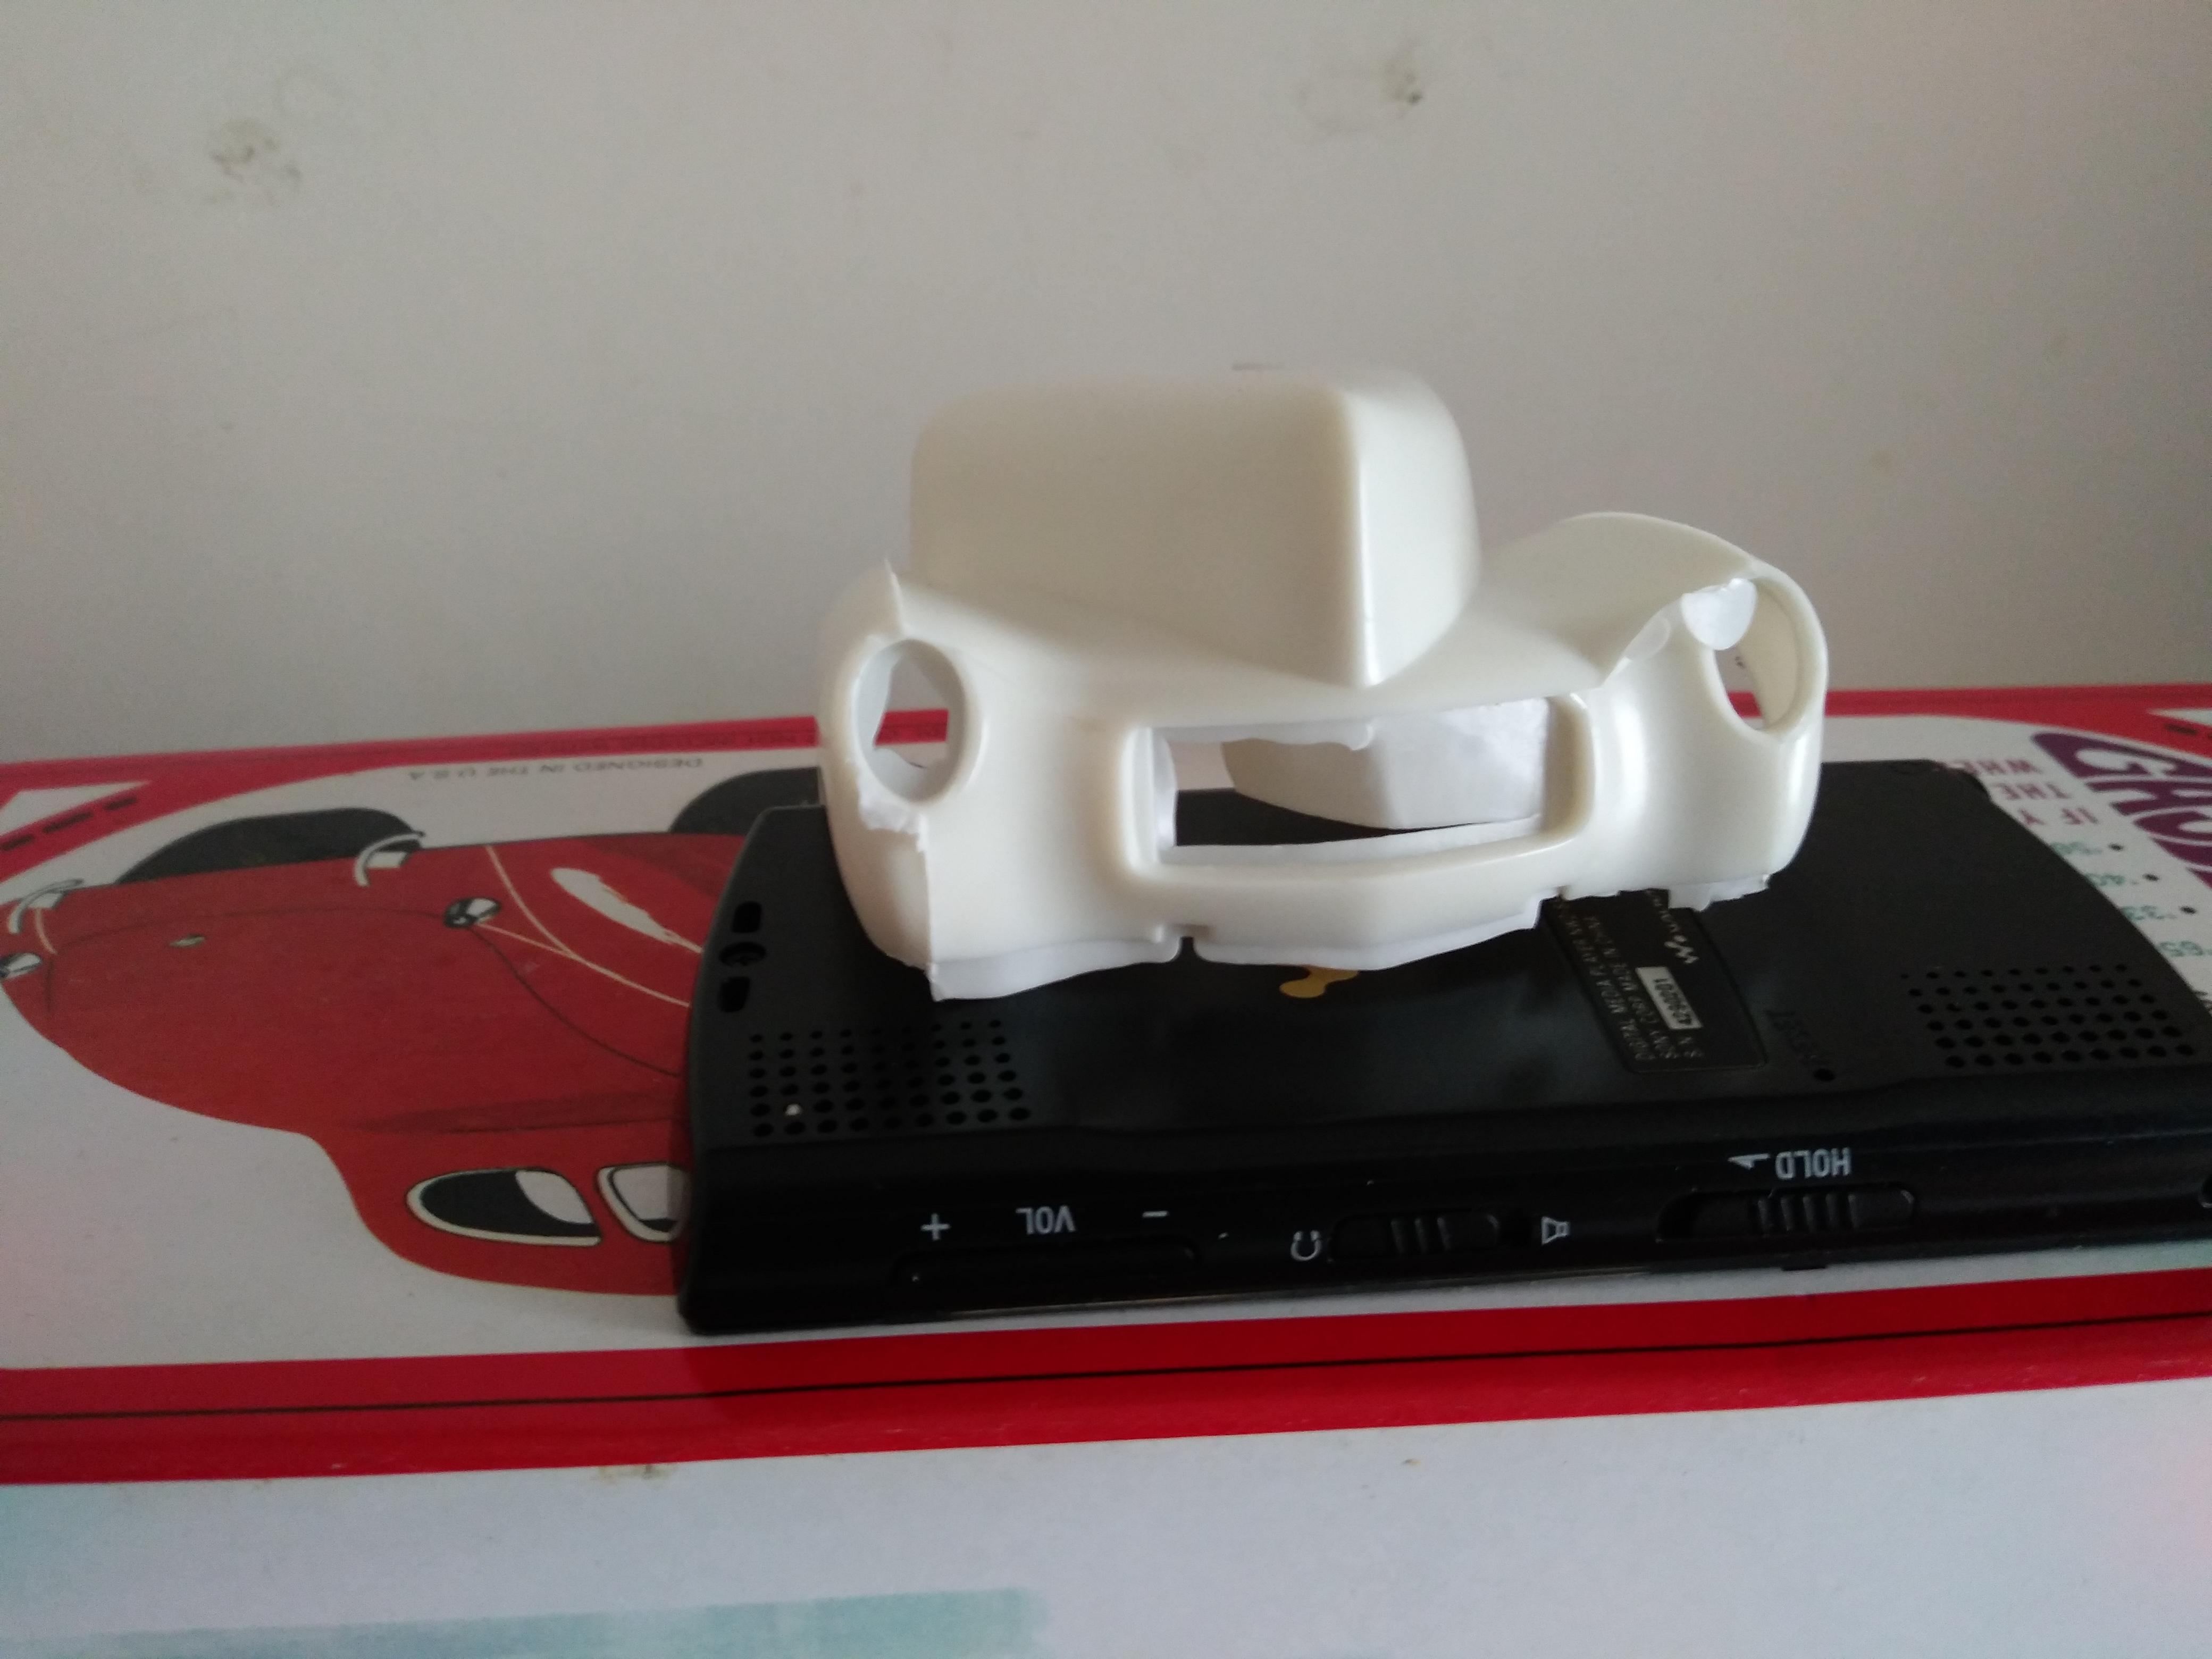
I found out that the interior and frame from the AMT 66 Mercury will fit, so I don't have to try and clean up the old stuff. I think the color will be a turquoise, kind of like the drawing on the box cover. The first pictures were taken right after it came out of the purple pond, cleaned up really well. I noticed some body damage on the drivers side I'll have to fix. The next few pictures are with the new parts taped on. I was able to remove all the old pieces except for the hood scoop, I'll just have to live with the one that is on there. New front pan and grill section New chrome roof bar and rear window extension. The skirts are from the AMT 64 Mercury Marauder kit while the wire wheels are from the 65 Lincoln convertible kit. I don't like how it looks without the skirts. Thanks for looking!
-
 AMT's 1972 Chevrolet Cheyenne Pickup. I used to own a 1969, standard model without the fancy interior and extra side trim, it was sold in Safford, AZ and still had the Protecto plate in the Owner's Manual, bought from a friend whose grandpa was the original owner, made an agreement to sell back when he had the money, but he died, nephew contacted me to buy it back. It worked on a ranch, so it had the strange back bumper, it had been repainted after the front right corner was wrecked, I removed the saddle tanks, plastic bed liner, and chromed bed edge protectors, so off the bat it's not really an accurate replica. I took other liberties, some things if I fixed it up sort of things, and not doing the air-conditioning parts. WIP: AMT - 1969 Chevrolet pickup: The Green Barge I made several pieces such as the the taillight section, tailgate, bench seat, door panels, toolbox, etc that I could sell resin copies of. Fireball Modelworks resin slotted mag wheels, with tires from the Italeri Ferrari 275. Splash paint. The real truck, first day I drove it: Day I sold it: My studio, 1968 pickup. Someday will build that.
-
Just got this one Box contents and instruction pictures at the link: http://carmodelingcorner.com/KitReviews/AMT_1965_Mercury_Parklane.htm
-
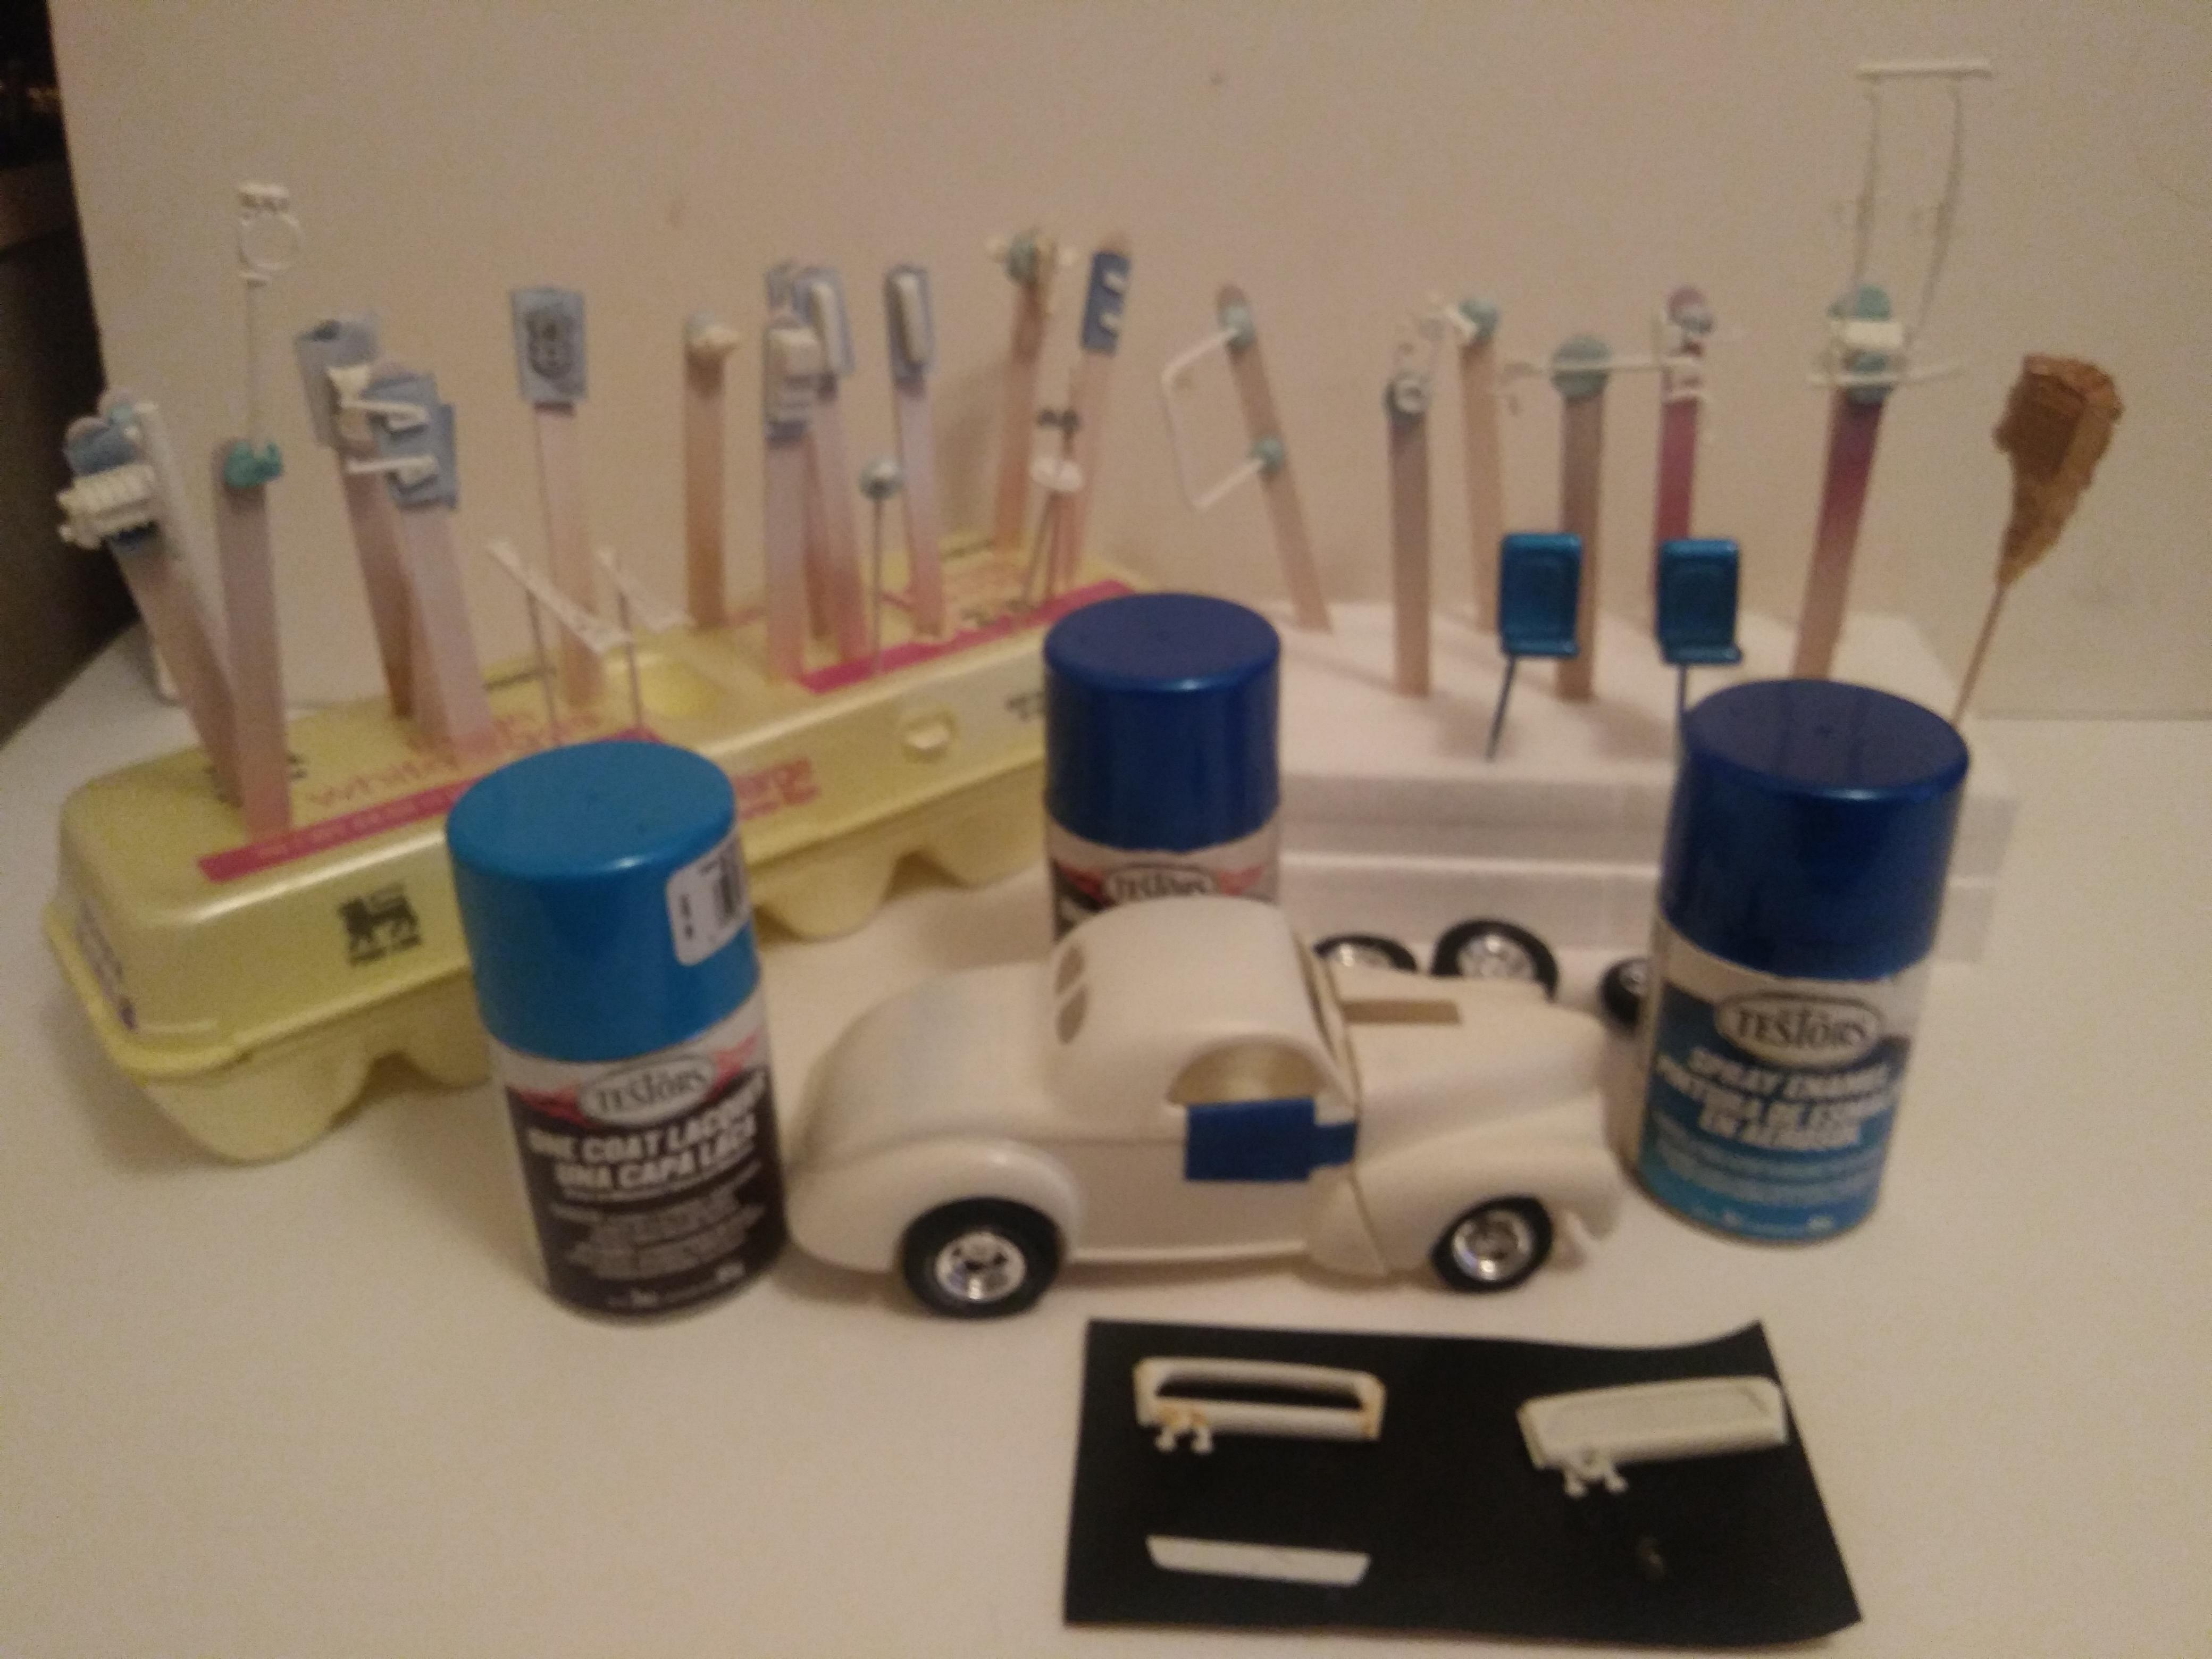
Started on this build last week and have been making progress slowly but surely. I am building the coupe version from the Retro Deluxe release from a few years ago. Needless to say it has been a time consuming build due to the amount of flash I've had to deal with. The front end has about a half hour or more in cleaning the flash and removing the huge parting lines from the fenders. I also have several hours in removing flash, parting lines and ejector marks from the rest of the parts. The easiest task in the build process was stripping the chrome! Color will be either Testors Star Spangled Blue or their Icy Blue over Testors Diamond Dust Silver. The interior will be Testors metal flake blue. The body and all other parts will be primed using white and gray Tamiya primers..
-
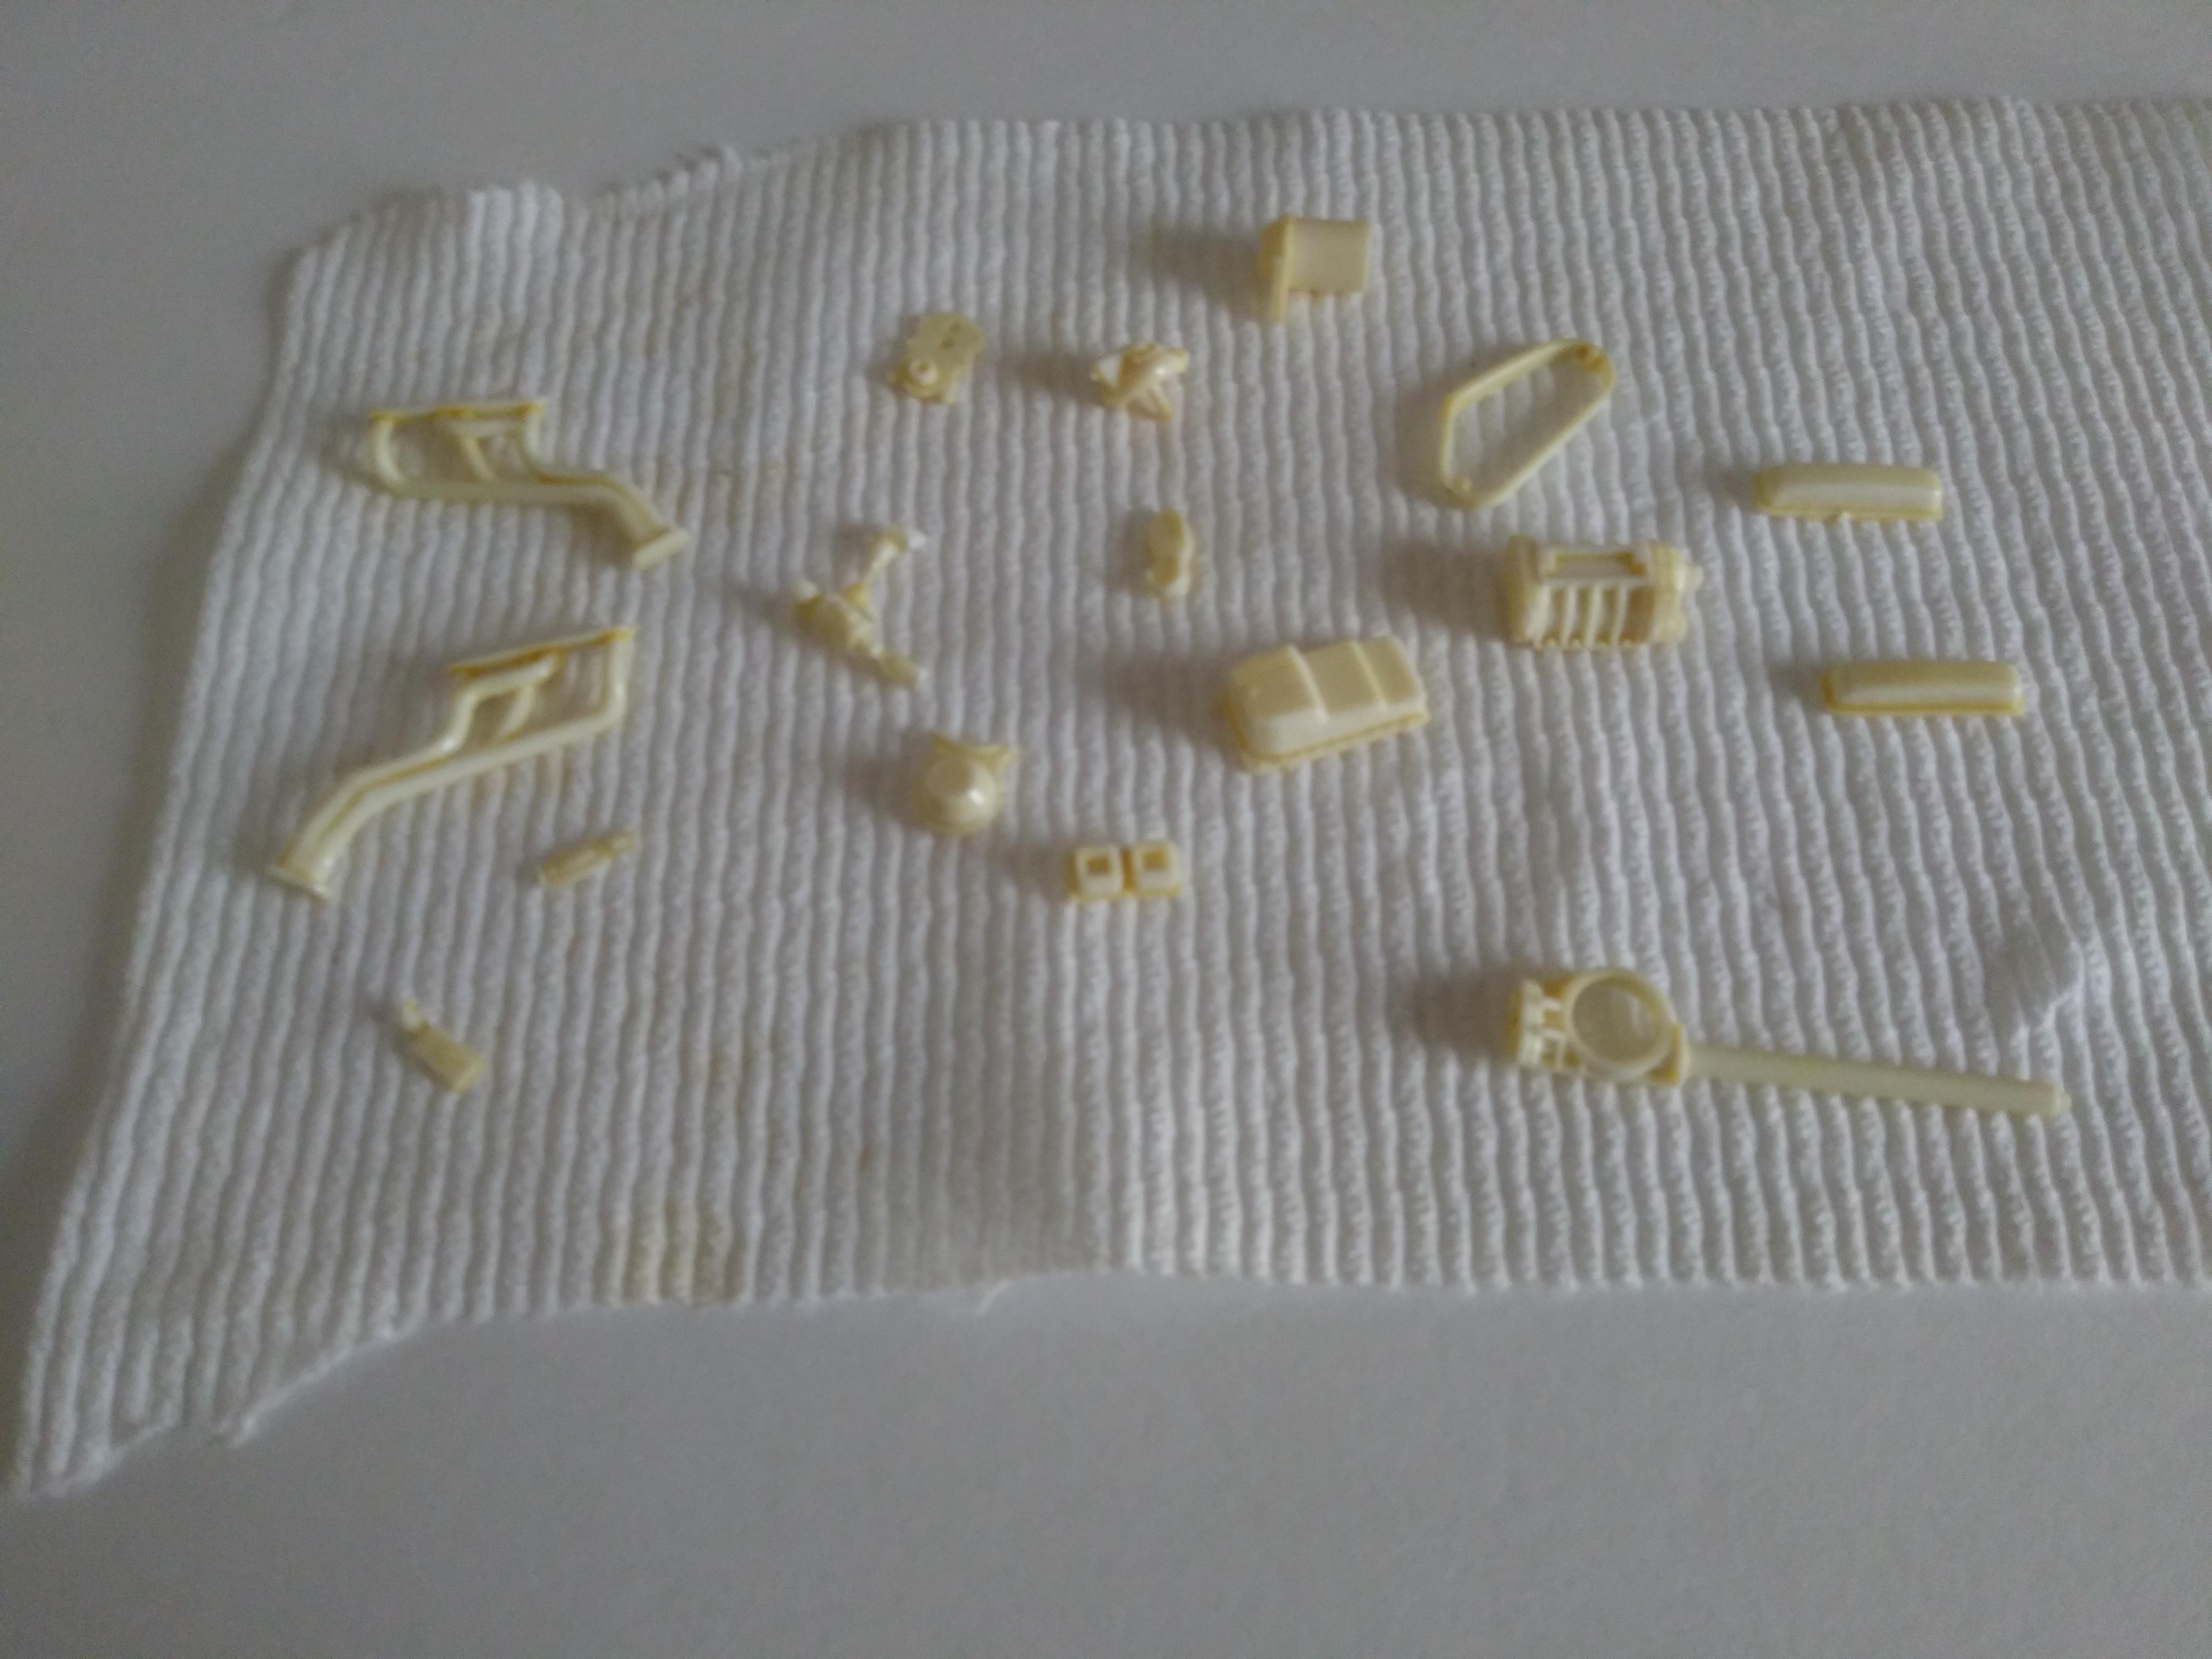
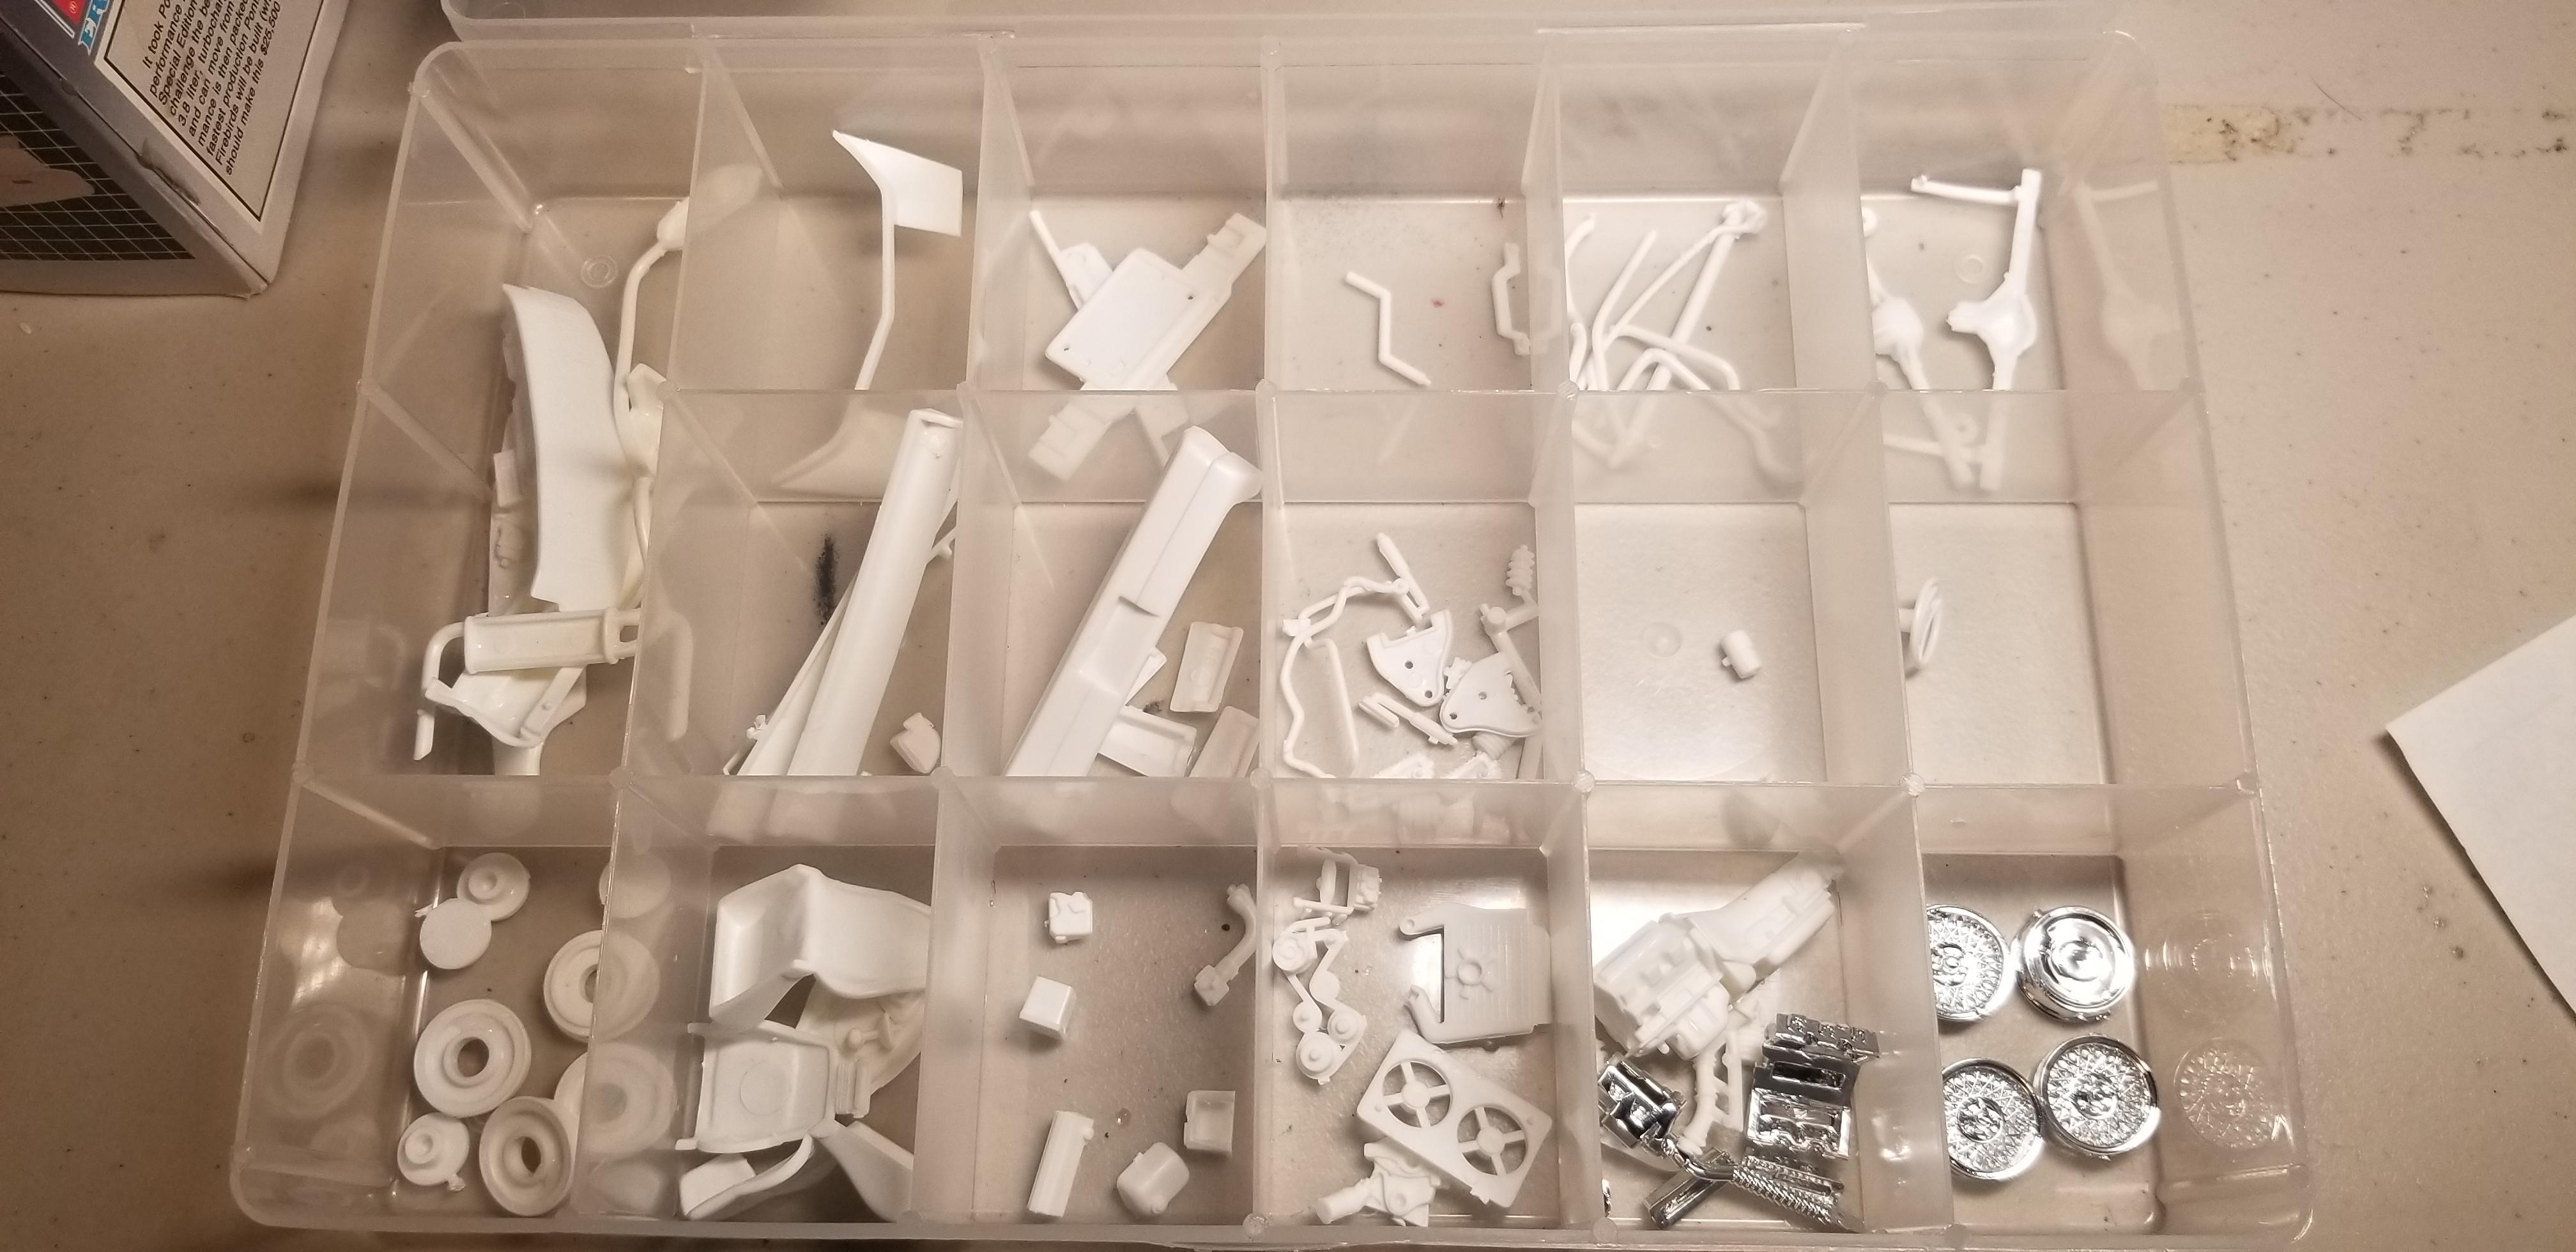
 I was given several boxes of parts years ago and am trying to see what kits they are for. I am assuming these were from an AMT Funny Car kit from ?. I don't have a need for them and if none of my friends need them I'll be posting them in the trade thread. Thanks
-
Just got the new release of the AMT 63 Impala yesterday. The body does not look too bad. There seems to be a little gap at the leading edge of the hood, I think the radiator support is a bit too wide, should be an easy fix. Tail lights are molded in, but should not be too hard to detail now a days. Engine is a bit of a mis-mash. The block, heads, fan, fan belts, alternator, the two carburetors, and distributor are from the AMT 64 Impala kit. The intake and exhaust manifolds, valve covers, and air cleaner are from the AMT 62 Bel Air kit. I'll be using the kit supplied frame on this build. More later!
-
Started in 2008, finally got it on the shelf. Painted Testors' Root Beer.
-
Hey, everyone!, heres another build i started three years ago.....time to work on it again.
-
Well, it took me about 16 years to get this one done, but here it is. AMT 65 Pontiac 2+2 with the custom nose, tail, and interior from the AMT 65 Bonneville. I picked the 2+2 body because it had less stuff to sand off. I quickly found out the Bonneville custom body parts were not a straight swap onto this body. But with patience and lots of putty, I got them to fit. Painted Testors' Da Ja blue with wet look clear. Wheels are Pegasus low rider wheels while the tires are from the latest version of the AMT GP kit. Blower setup is from the AMT Pontiac GP kit while the custom seats, dash, and center console are from the Bonneville kit. Thanks for looking and all comment are welcomed.
-
I spotted this in the new truck kits thread and zoomed in; take a close look: Sorry if this has been mentioned before. There certainly could be some interesting decal possibilities for new issues.
-
This was include in a purchase I made of some original AMT 32 Ford boxes, decals and instructions. It is approximately 4 X 6 1/2 Anyone ever see this type of card in any of the other early Trophy kits such as the 25 T, 32 roadsters , 40 Fords or early annual kits. In all my searches on that auction sight for AMT 32 and 40 Fords kits,decals or parts , none of these ever showed up in any pictures or descriptions of what was up for auction, not even in the background. There are more pics of the boxes and contents on page 772 on the "What Did You Get Today" thread.
-
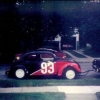
Hi all, I am making my first attempt at sharing pics of one of my builds. It was done quite awhile ago. I hope you guys like it.
-
KNIt's the 30th Anniversary of the '89 Pontiac Firebird Trans Am 20th Anniversary TTA. I got model last Saturday and once I got home and looked up close. It was missing the front glass, I should have looked more when I was buying it. Or I could have bought it 2 years ago when I saw it for the same price , sealed 2 years ago. Anyway, I got a donor glass from my stash. The MPC Knight Rider has an extra clear glass tree. Ending 2019 with a F body build!
-
The next one was supposed to be the new (a few years ago at least) Super Shaker 64. But I had trouble with the paint so I found this old body as a stand in. Painted with Testors' Classic White. You are seeing the tire/wheel combo I'm using for it. I took the 327 from the 65 Chevelle wagon kit and turned it into a 283 (by swapping out the valve covers for ones that say 'Chevrolet"). More later....
-
While digging through my 62 parts boxes looking for something, I discovered that I had enough parts to build another 62 Bel Air. The first one I built was way back in 2011. I thought about it for while and decided I wanted to build a small block car, namely a 283. Something that the vast majority probably bought new in 62. I sourced some white wall tires from the last release of the AMT 53 Studebaker and found a set of steel rims from the AMT 59 El Camino kit that fit the tires better than the steelies that came in the 62 Bel Air kit. I'll use the poverty caps from one of my Revell 62 kits on this. I just happened to have a 283 engine/trans from the AMT new tool 57 sitting on my bench, I sourced a 2bbl intake from an AMT 55 Cameo pickup kit, valve covers, water pump/timing chain cover, exhaust manifolds, and the starter from Revell old tool 57 Bel Air kit. I'm using the air cleaner from a Revell 65 pickup kit. Then, what to paint it? I wanted something to go along with my current 62 to 64 Impala builds, so nothing to crazy. I settled on Tamiya Mica Silver, not quite the silver that Chevys came in in 1962 but close enough for me for this build. Besides, I would have to order some silver leaf and I feared I'd lose momentum if I stopped to order paint. For my Revell 62 Builds I had bought some Model Car Garage phot-etch because the Impala SS kit did not have any SS badges for it while the PE set did. The PE set also includes bel air scripts, and the 283 fender badging. So I removed the crossed flags and "409" from the front fenders prior to painting. So, how's it going? Check out the Pics to see :-) Other 62s on my bench, Silver Bel Air, white walls, poverty caps, 2 BBL 283; Gold Impala black walls, poverty caps and base (single 4 BBL) 409; Black Impala White walls, full wheel covers, 327 4 BBL Thanks for looking and more later on...
-
 The first several AMT model car kits were 3 in 1 with a hot rod engine option along with the stock engine appropriate for the car. Here's a list from memory . just the optional engines in each kit : '32 Coupe - poor rendition of a Chevy small block '32 Roadster - Early HEMI '32 Vicky - 427 Ford FE '32 Phaeton - 427 Ford FE '36 Coupe - Pontiac V8 '39 / '40 two door sedan- ??? '40 Coupe - Buick Nailhead '40 Sedan Delivery - Buick Nailhead '32 Two Door sedan / XR6 - Custom Buick Nailhead Now, I do remember an Olds with two Four barrels, in something. Any ideas ?
 -
I started this one many years ago. I got the frame fitted and the body in primer but then that was it. Since I got the new release I thought I'd get this one back out and try to finish it. I had to cut off the radiator support from the body and the mounting tab on the front grill/bumper to get the front to fit. I also needed to remove the rear mounting posts for the back bumper. I don't remember if I needed to modify the frame from the 62 Bel Air any. I was going to use the fender wells from the Bel Air but I think I'll just use the ones that came with the 63 Impala and the firewall from the 62 Bel Air to get this one done. More later.
-
Here are a few car kits announced for a 2019 release: AMT 1138 -- 1/25 1969 Chevy Chevelle Hardtop AMT PP21 -- 1/25 Custom Caps & Wheels Parts Pack (4 each) MPC 906 -- 1/25 Ridge Runner (Pinto) Modified Race Car MPC 911 -- 1/25 1969 Pontiac Firebird Convertible Polar Lights 960 -- 1/24 Coca-Cola VW Beetle (Snap) Polar Lights 965 -- 1/25 Classic 1966 Batmobile (Snap) AMT 1151 -- 1/25 Dyno Don Nicholson's Mercury Cyclone Eliminator II Funny Car
-
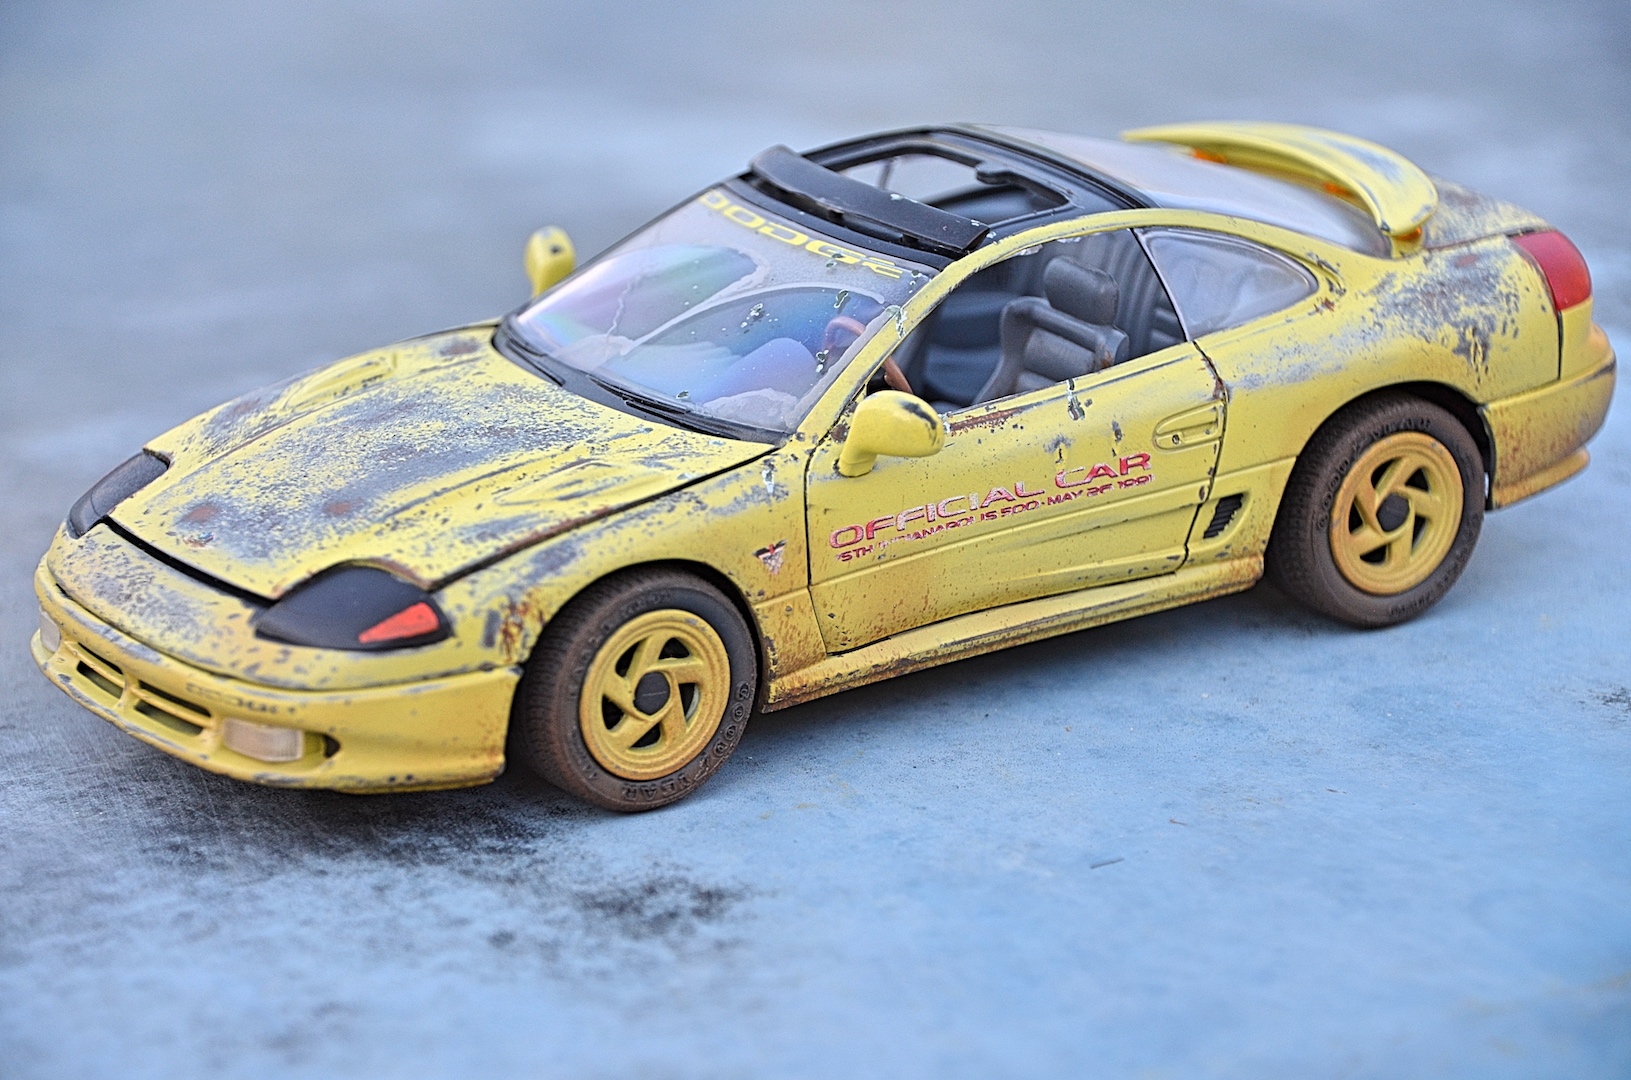
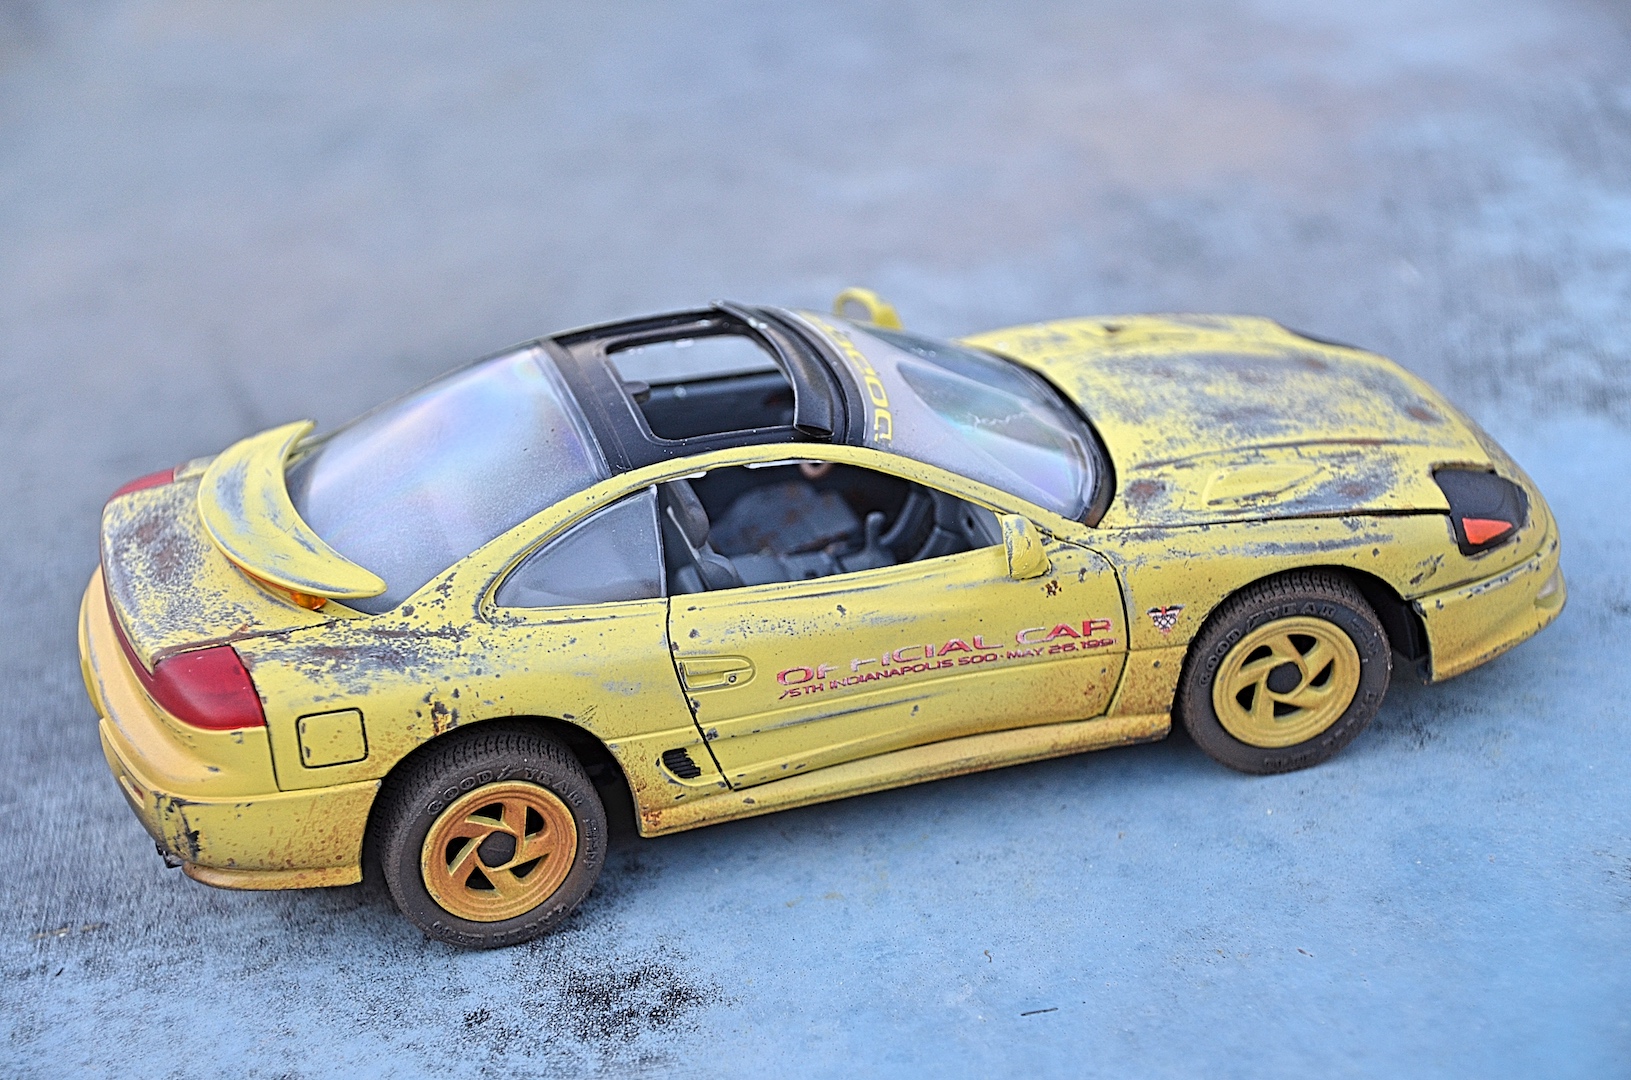
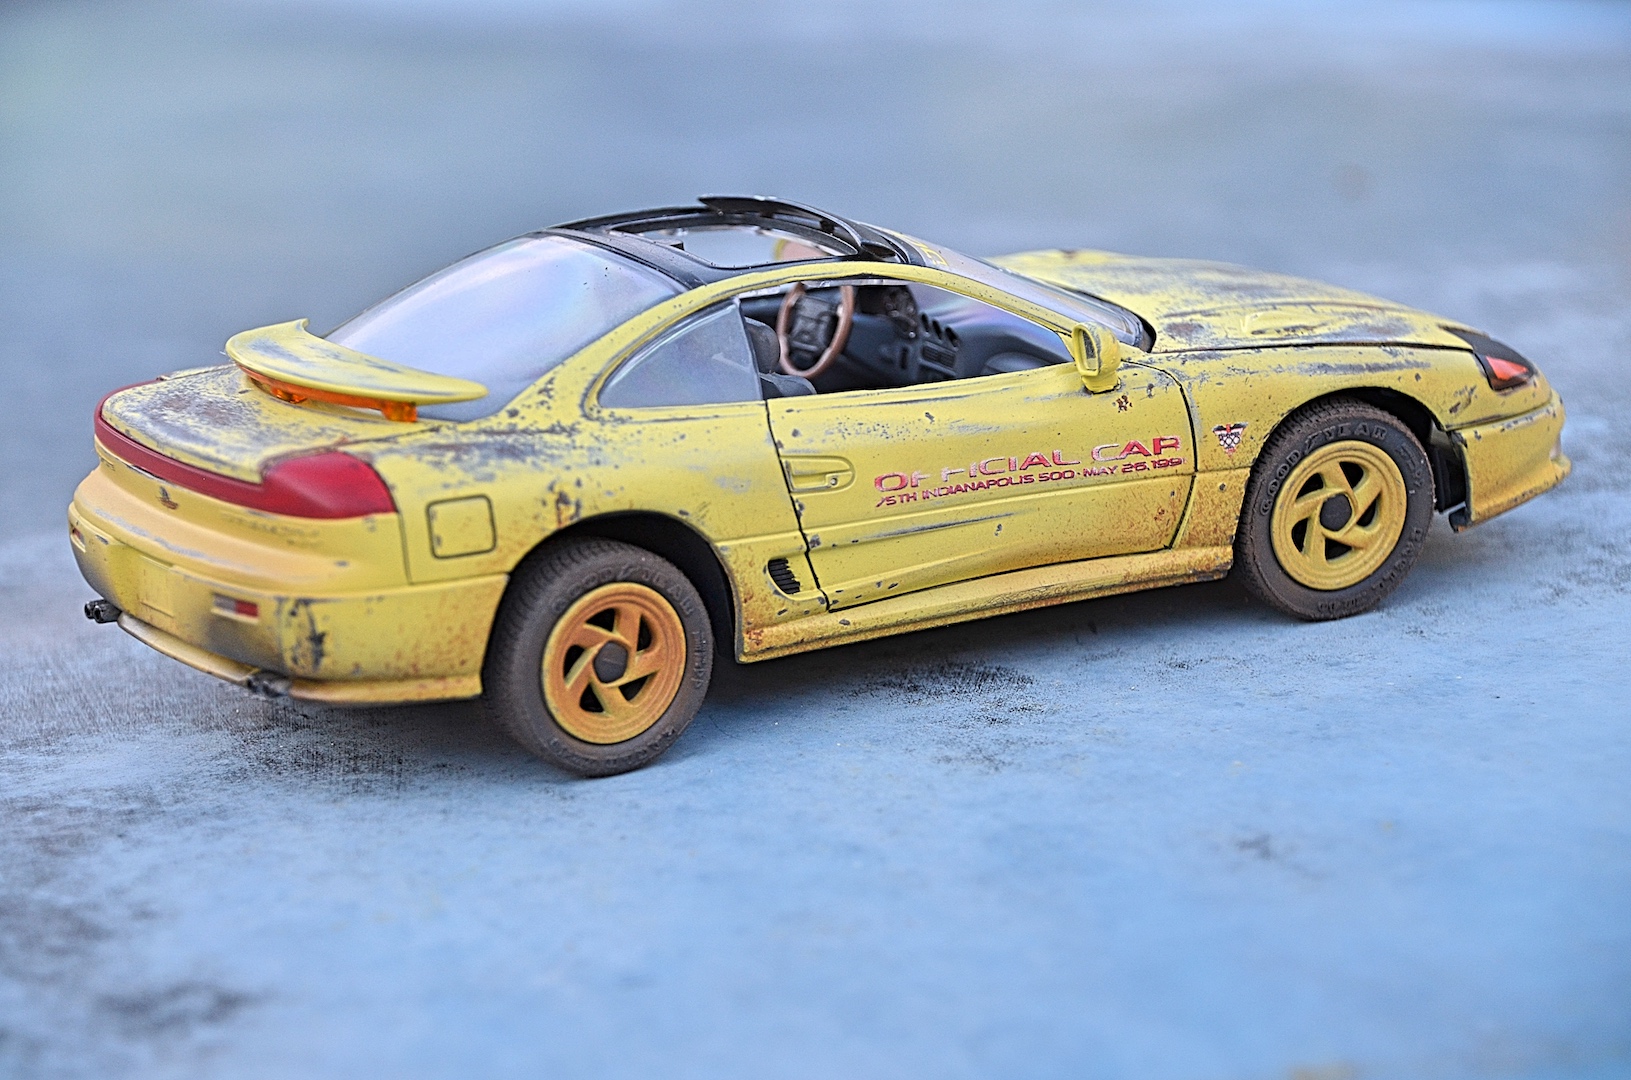
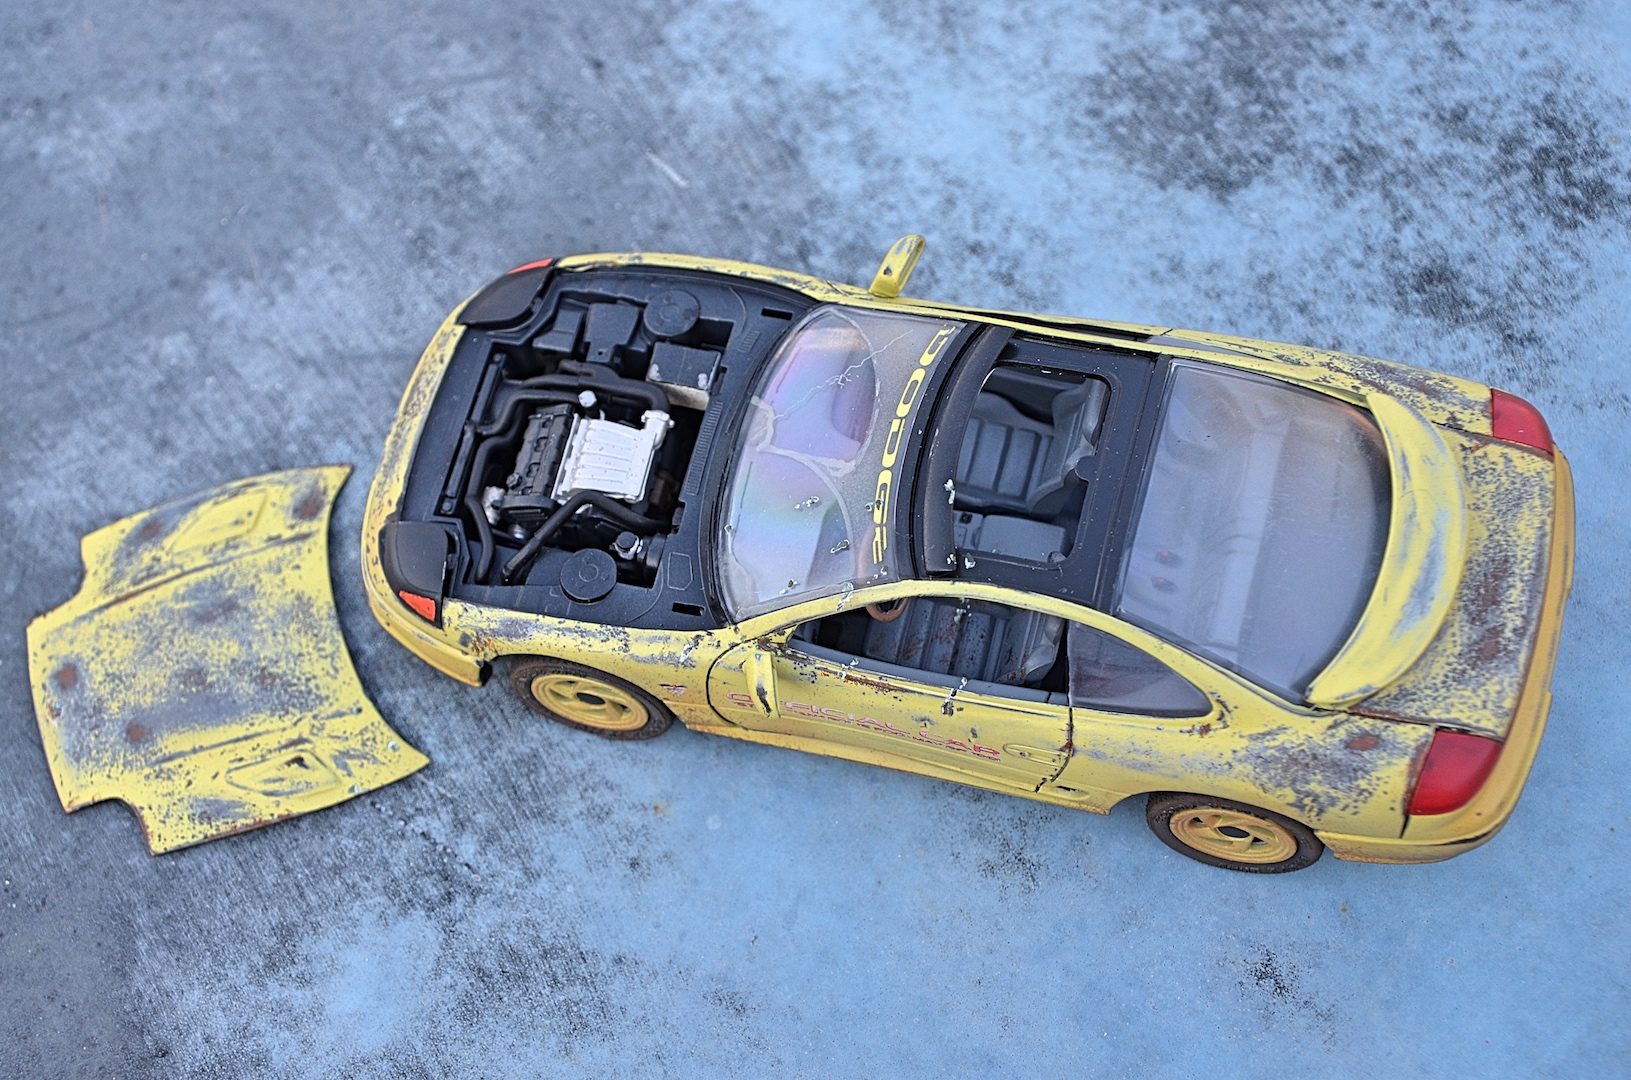
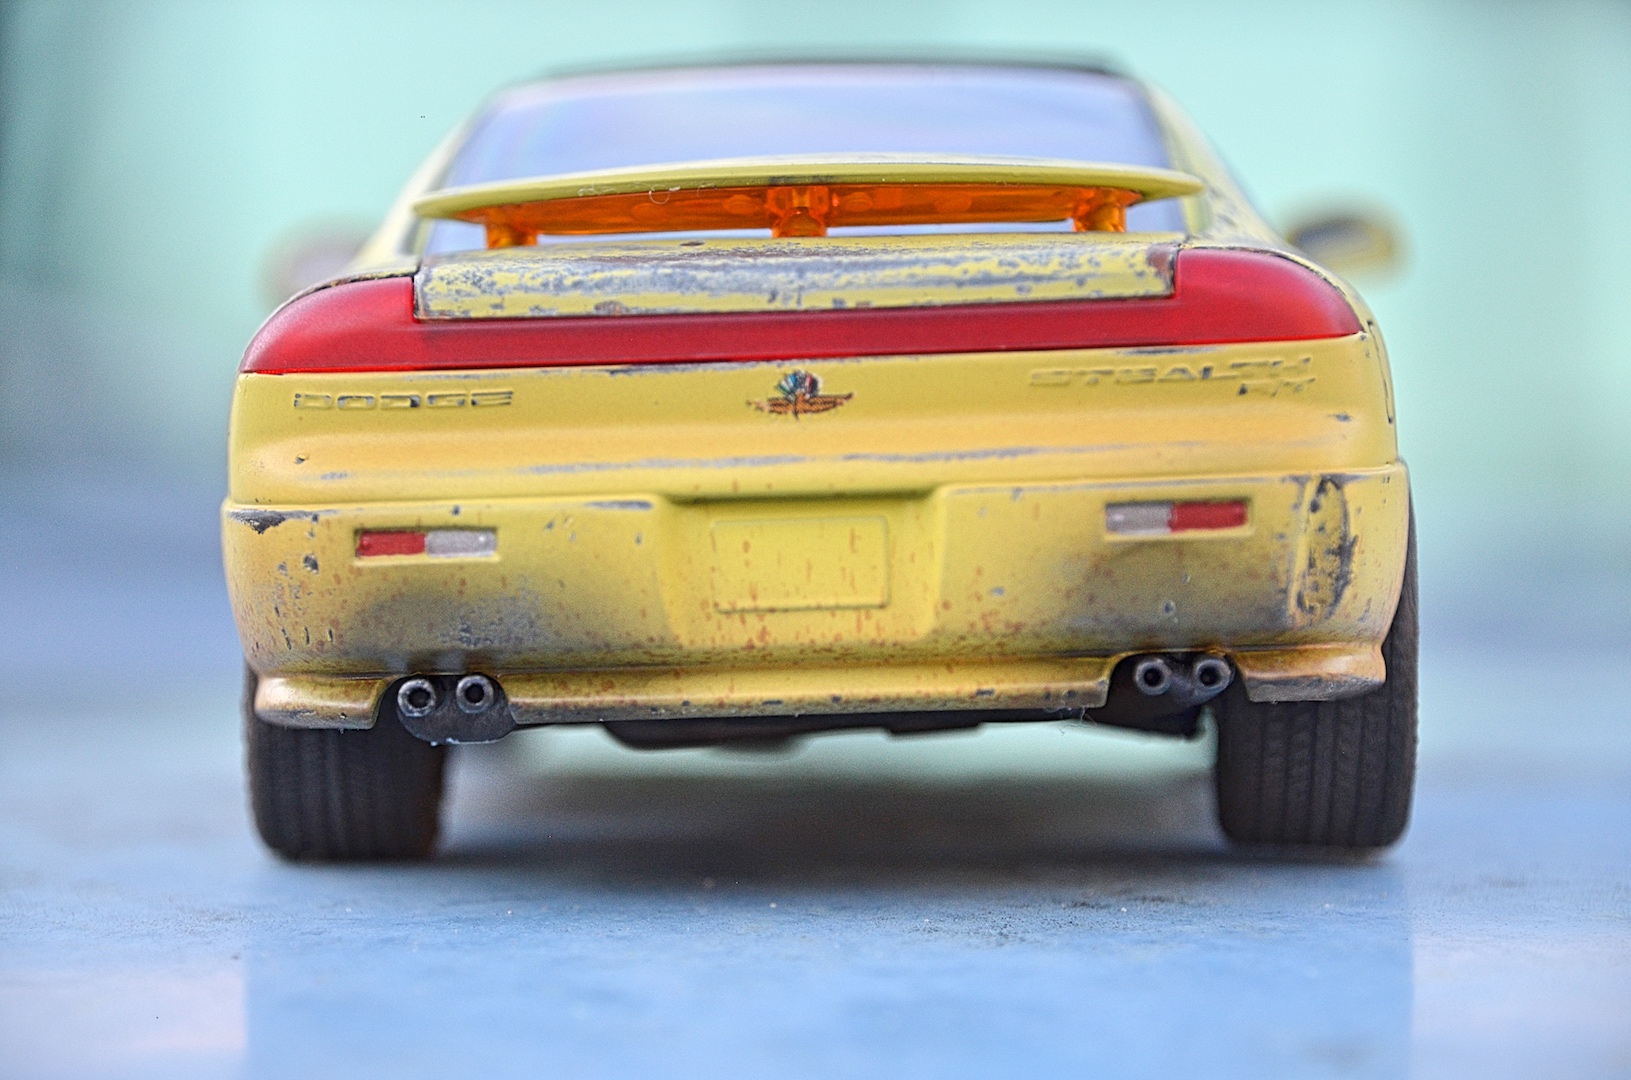
Built this for the Lee Iacocca memorial build, AMT kit (not snap-tite). Started July 11, 15.5 hours later on July 13 calling it done! Built Box Stock, no corrections, no added parts, not lowered. Used nail 'polish' for the paint, Bare Metal Foil used as light reflectors. For AMT, it was well done, the big problem was the turbo pipe from the back turbo to the left fender, that's why the hood does not close all the way. I bought this on sale for $8.10 when I heard the Union demanded it be pulled for Pace Car, hoped it would become a collector kit, you can buy one off eBay for $8-$9, so it didn't even keep up with inflation! I adapted what I read in the book Extreme Weathering, mainly dumping salt onto the wet primer coat of paint, then wet-sanded, also sanded the decals. Added some dents, and broken air dam. Other techniques are clear flat with Africa Korps and/or Leather added for weathering as dust or dirt. Circle template used to cut masking tape for the wiper tracks. Drilled exhaust tips, Molotow pen used for the tips. Bird droppings were the last detail. No license plate decal! It was a nice break from fuzting with the Paris-Dakar.
-
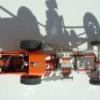
As soon as I heard about this kit, I wanted to pick one up. It was going to be built basically box stock, but sometimes things don't always work out that way..... I've been messing around with poseable steering. It seems to be easier to do with early cars and 4x4's. And the fact that this kit came with a separate tie-rod is a huge plus! The overflow can is made from some bits and pieces out of the parts box. Its taped to the radiator for placement as everything else goes together. In this spot, it clears the hood while it's closed. Once the chassis is painted, a bracket will be made and it'll be mounted. The original engine in this kit is a 394 Olds with a really beefy automatic. I wanted to save that for whenever I got my hands on an early '60's Oldsmobile, so another motor would be needed. Another trip to the parts box yielded a Chevy 427 with an equally beefy 4 spd. Judging by the valve covers (In the next photos), I suspect it's the mill from the Revell '66 Malibu Street Rat. Either way, it's a good fit.........except for the motor mounts. Those will have to be repositioned. There we go! A couple of cuts, glue the mounts forward, and it's like it was built for this chassis. This is just a mockup. The blower and the valve cover are painted flat black, but will get a touch-up in silver. It originally came with a pair of dual quads on the blower, but those are being replaced with the injector from the kit engine and a kitbashed blower scoop.
-
 Well with round 2 reissuing this kit I figured I could build one of many from my stash lol. I'm building this truck as a 97 with a updated steering wheel and Pewter/gold stripes I'm editing myself. The paint on this build is the actual paint from my 1:1 99 Sonoma, it was only available from 97-00 and isn't very common. My one complaint about round 2 reissuing this kit is the "95" kit has the wrong wheels, this is the original "94" issue and these wheels are the correct ones. Anyways here's my build:
 -
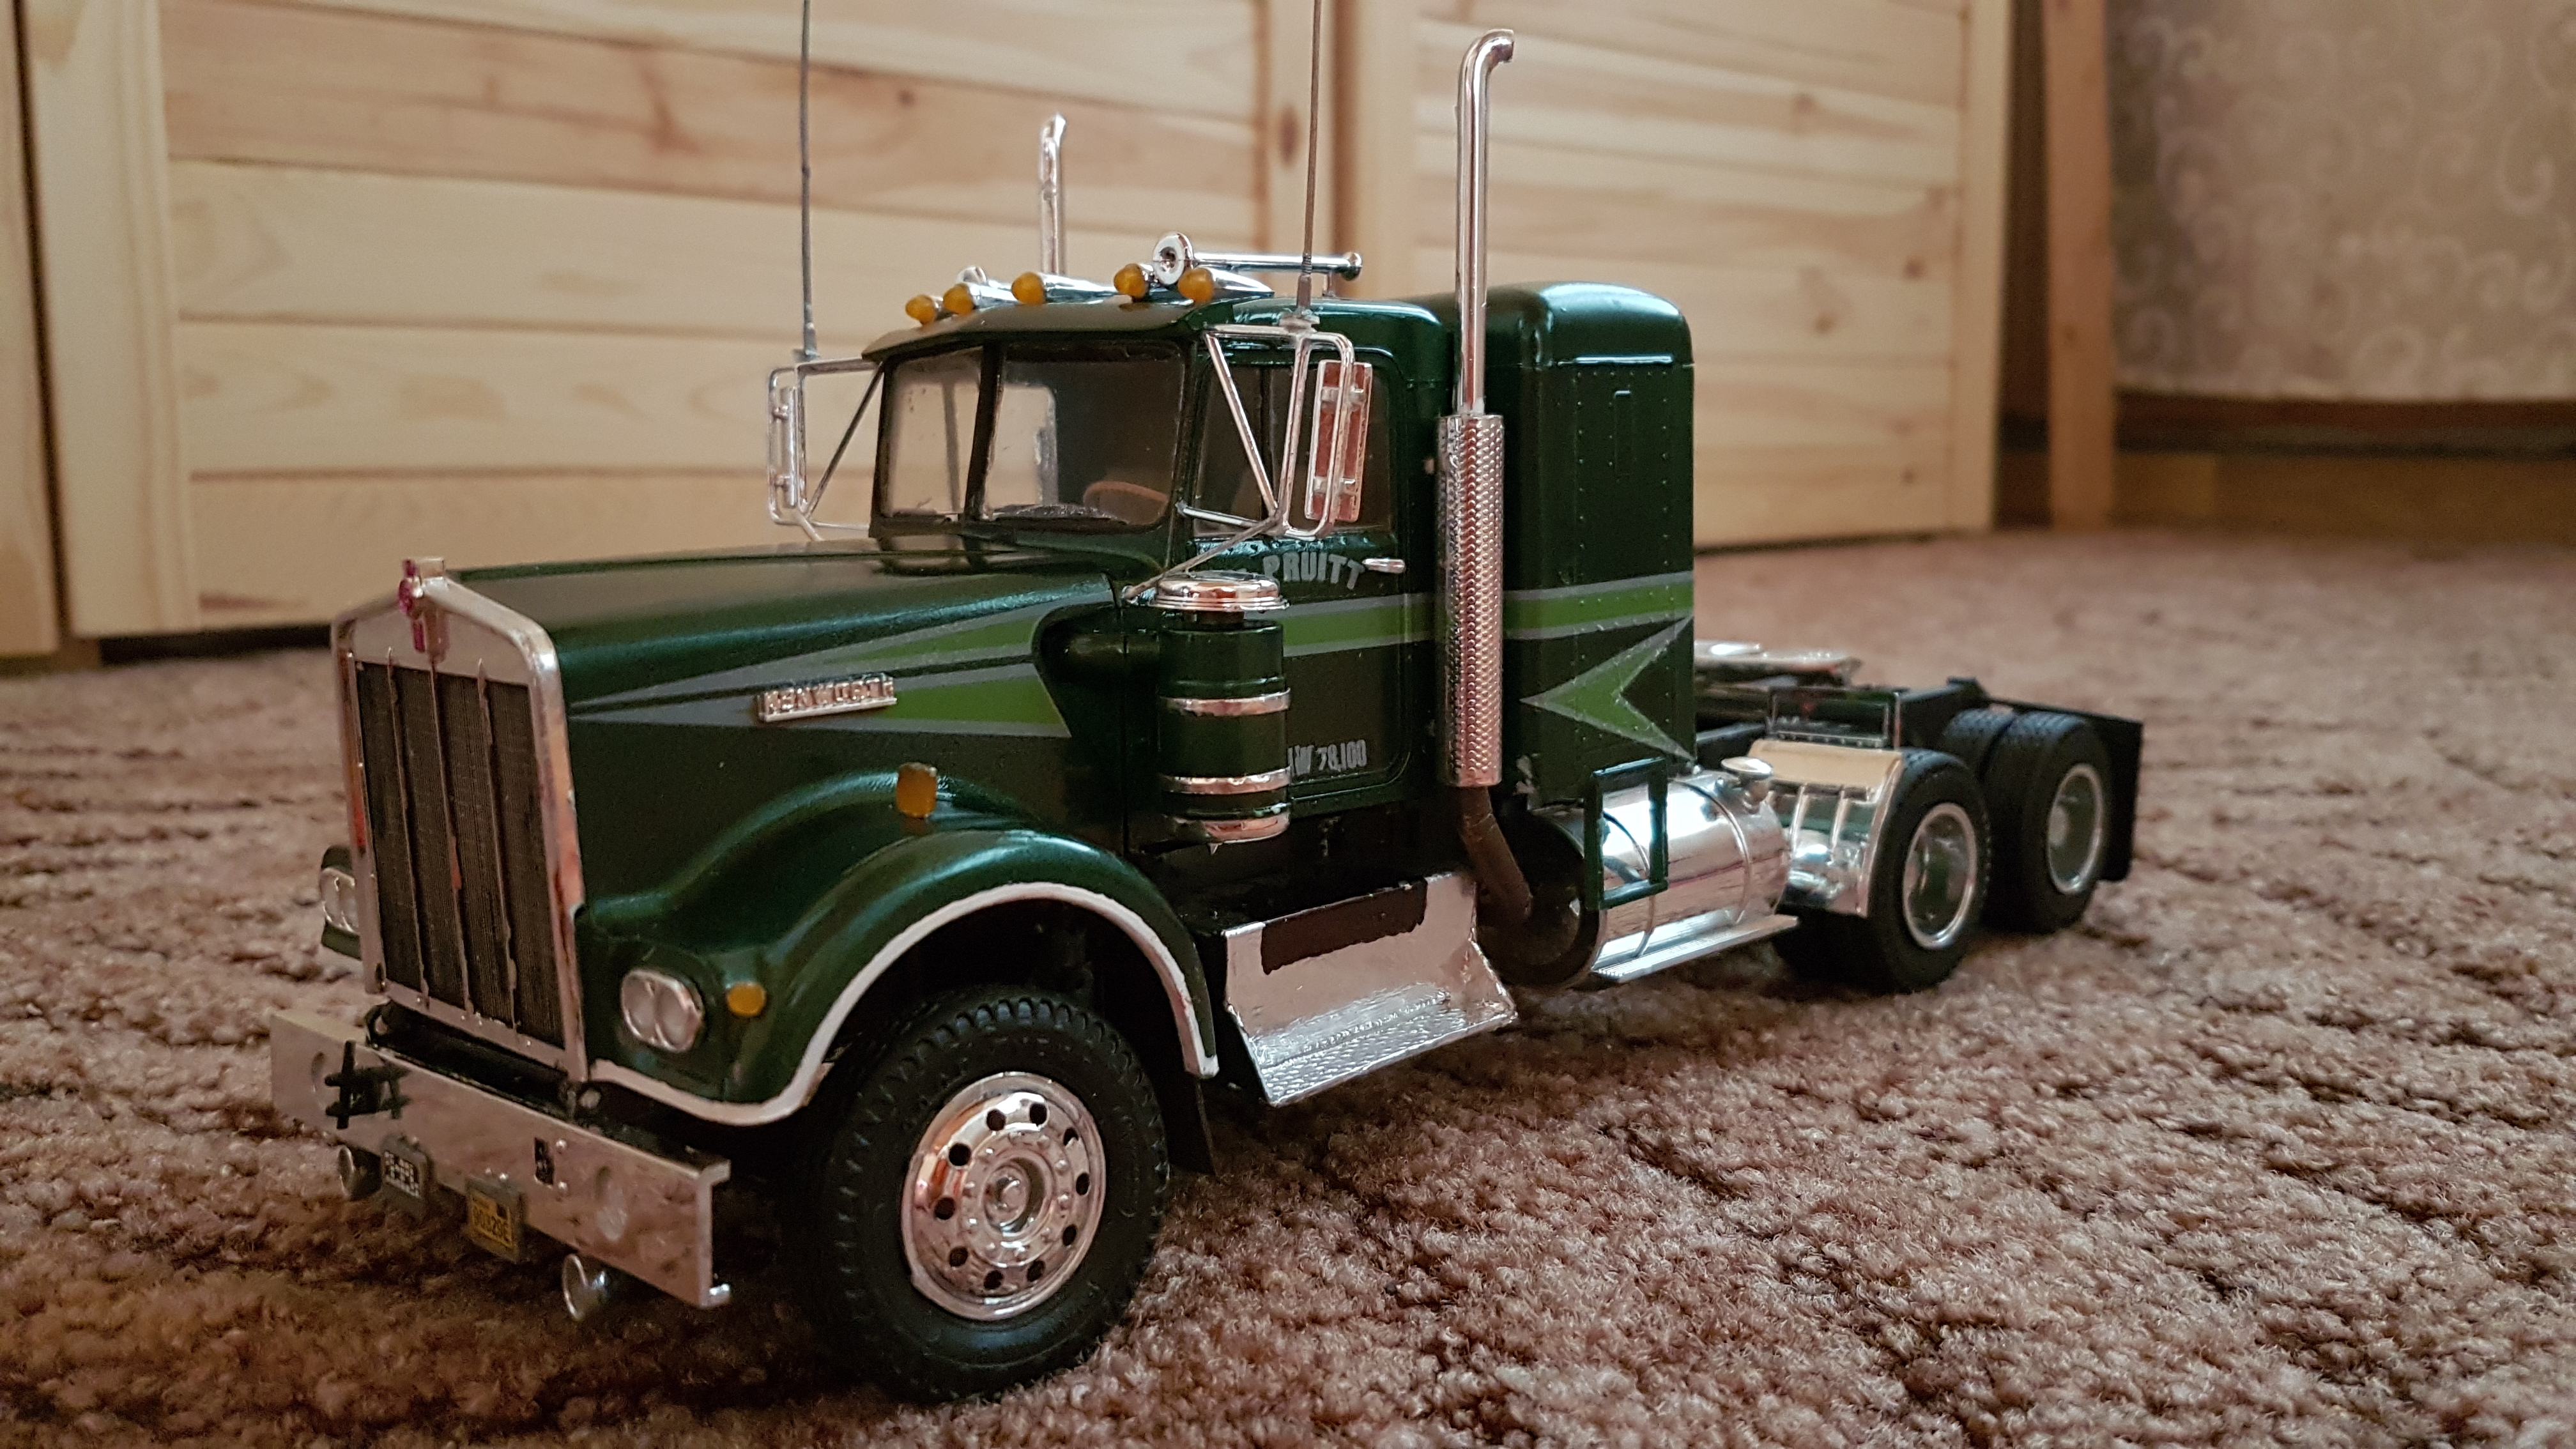
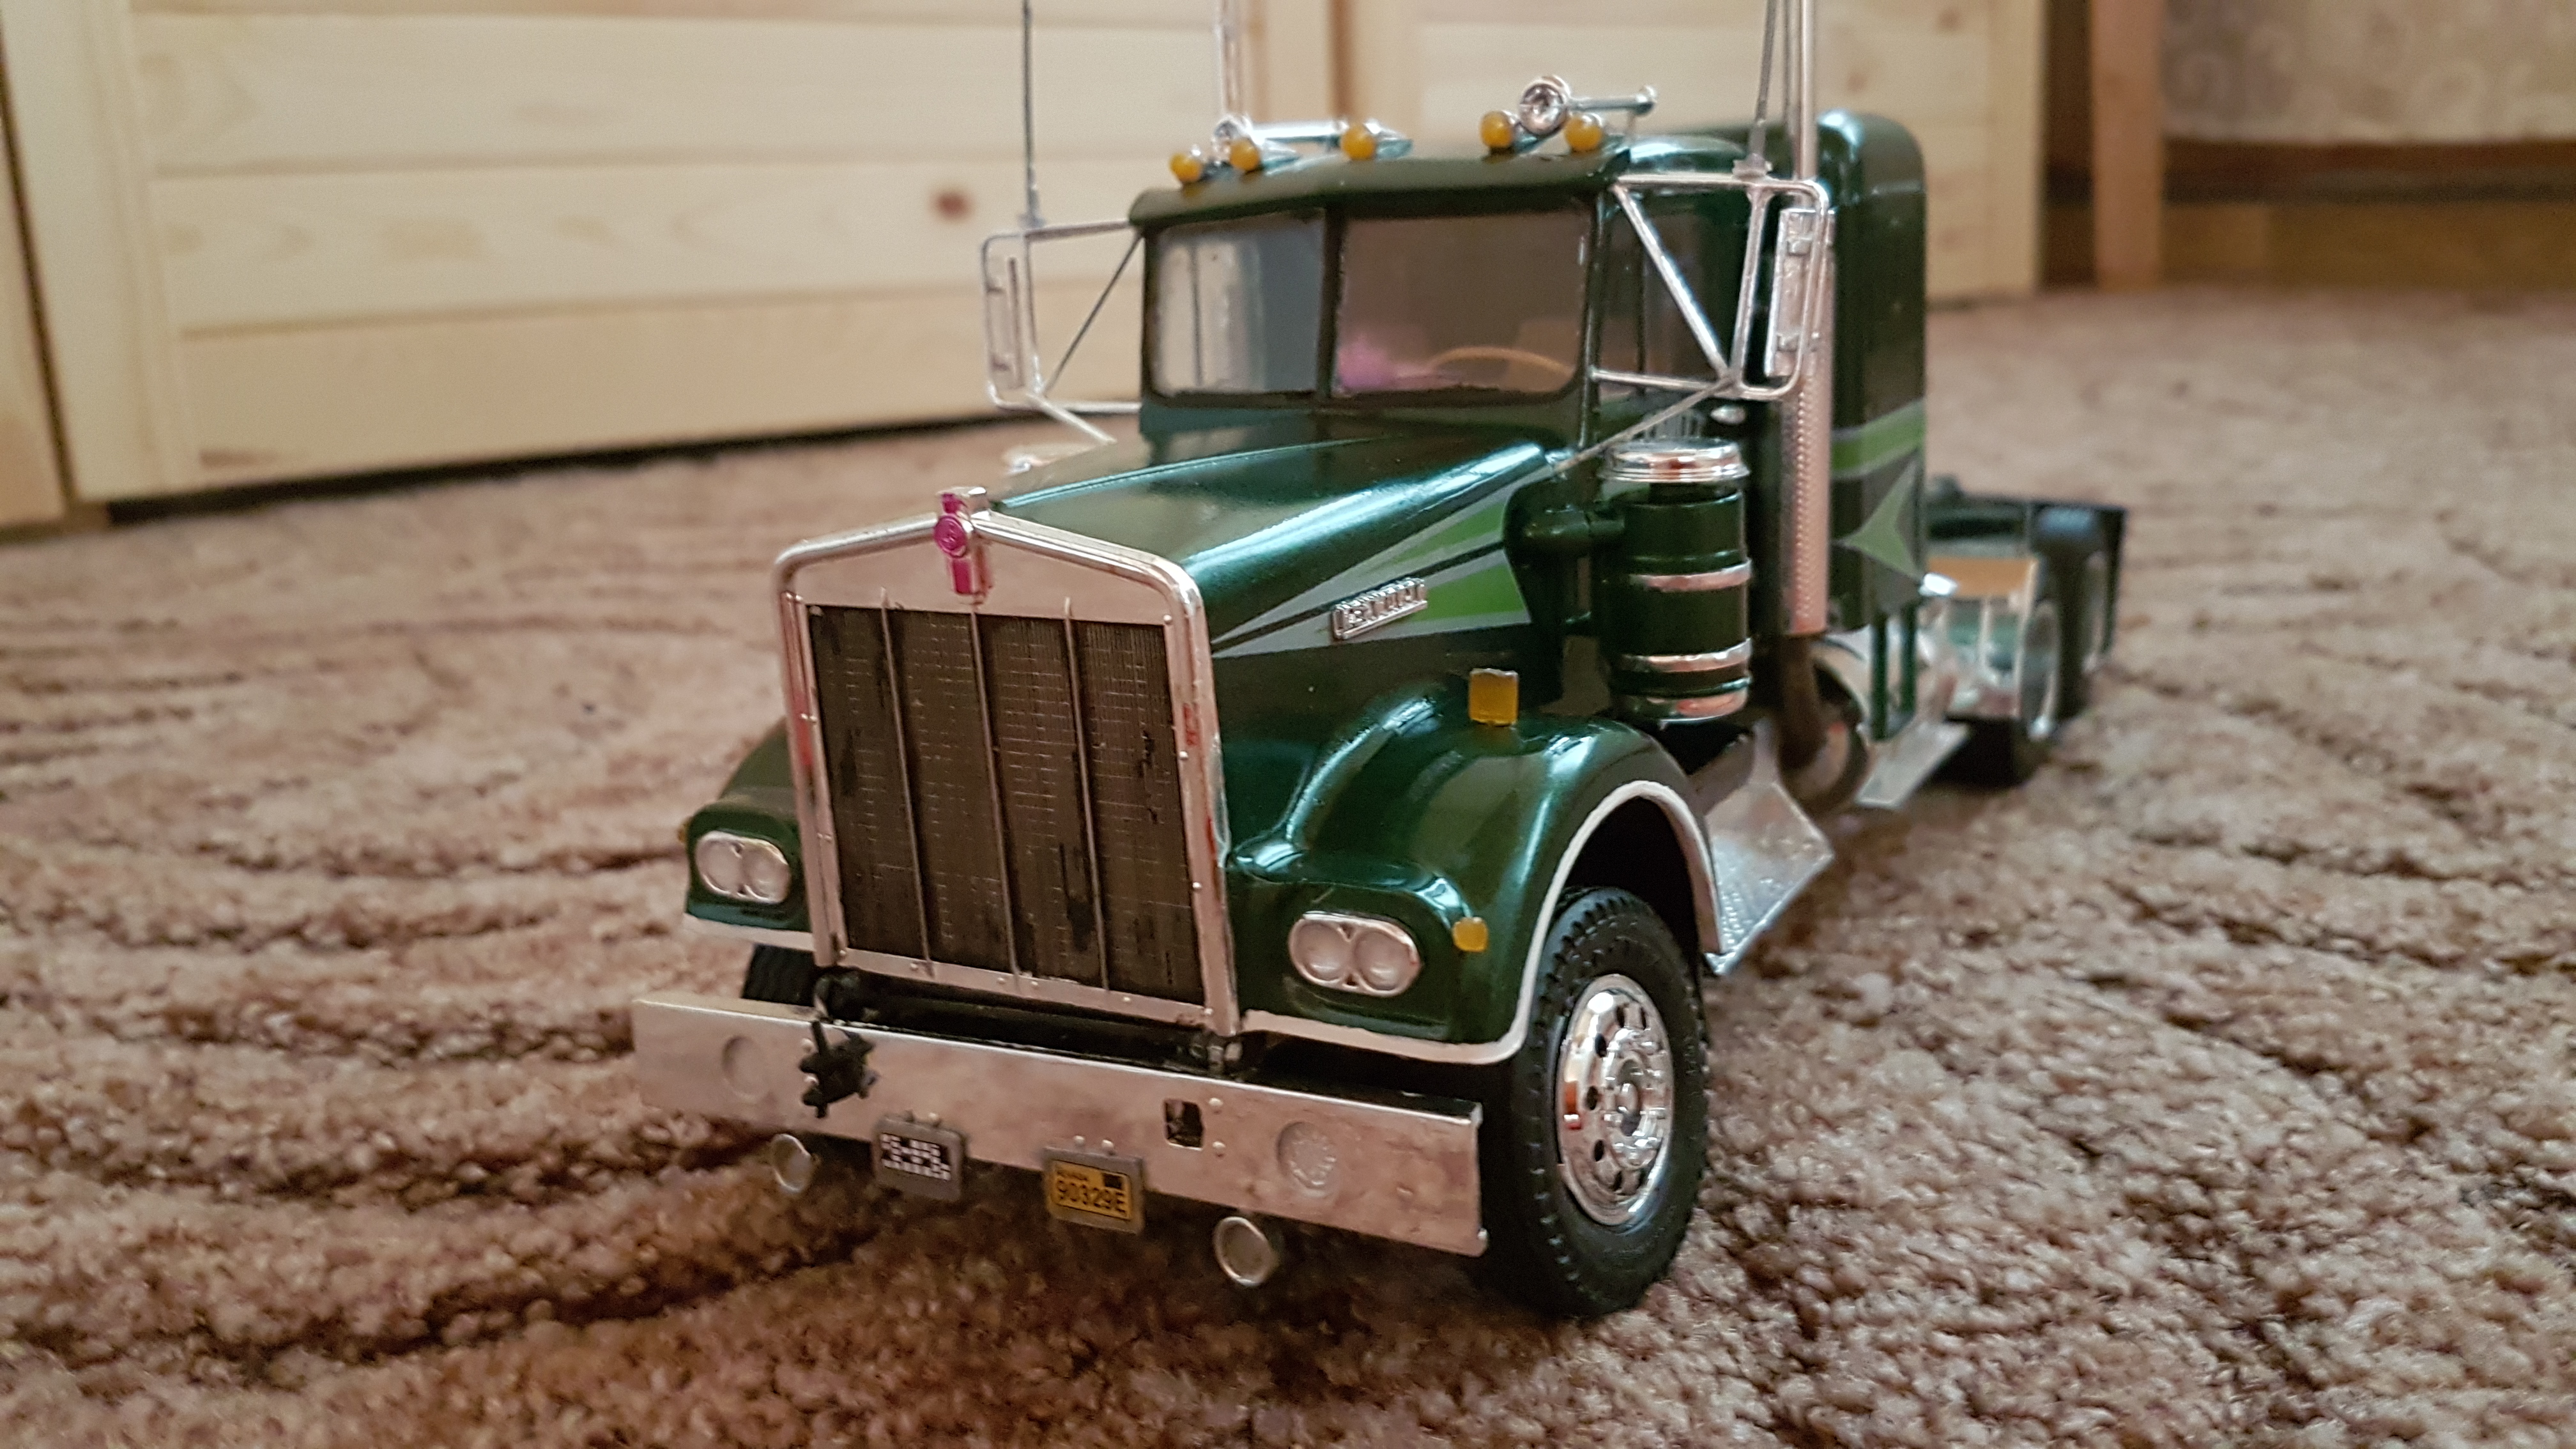
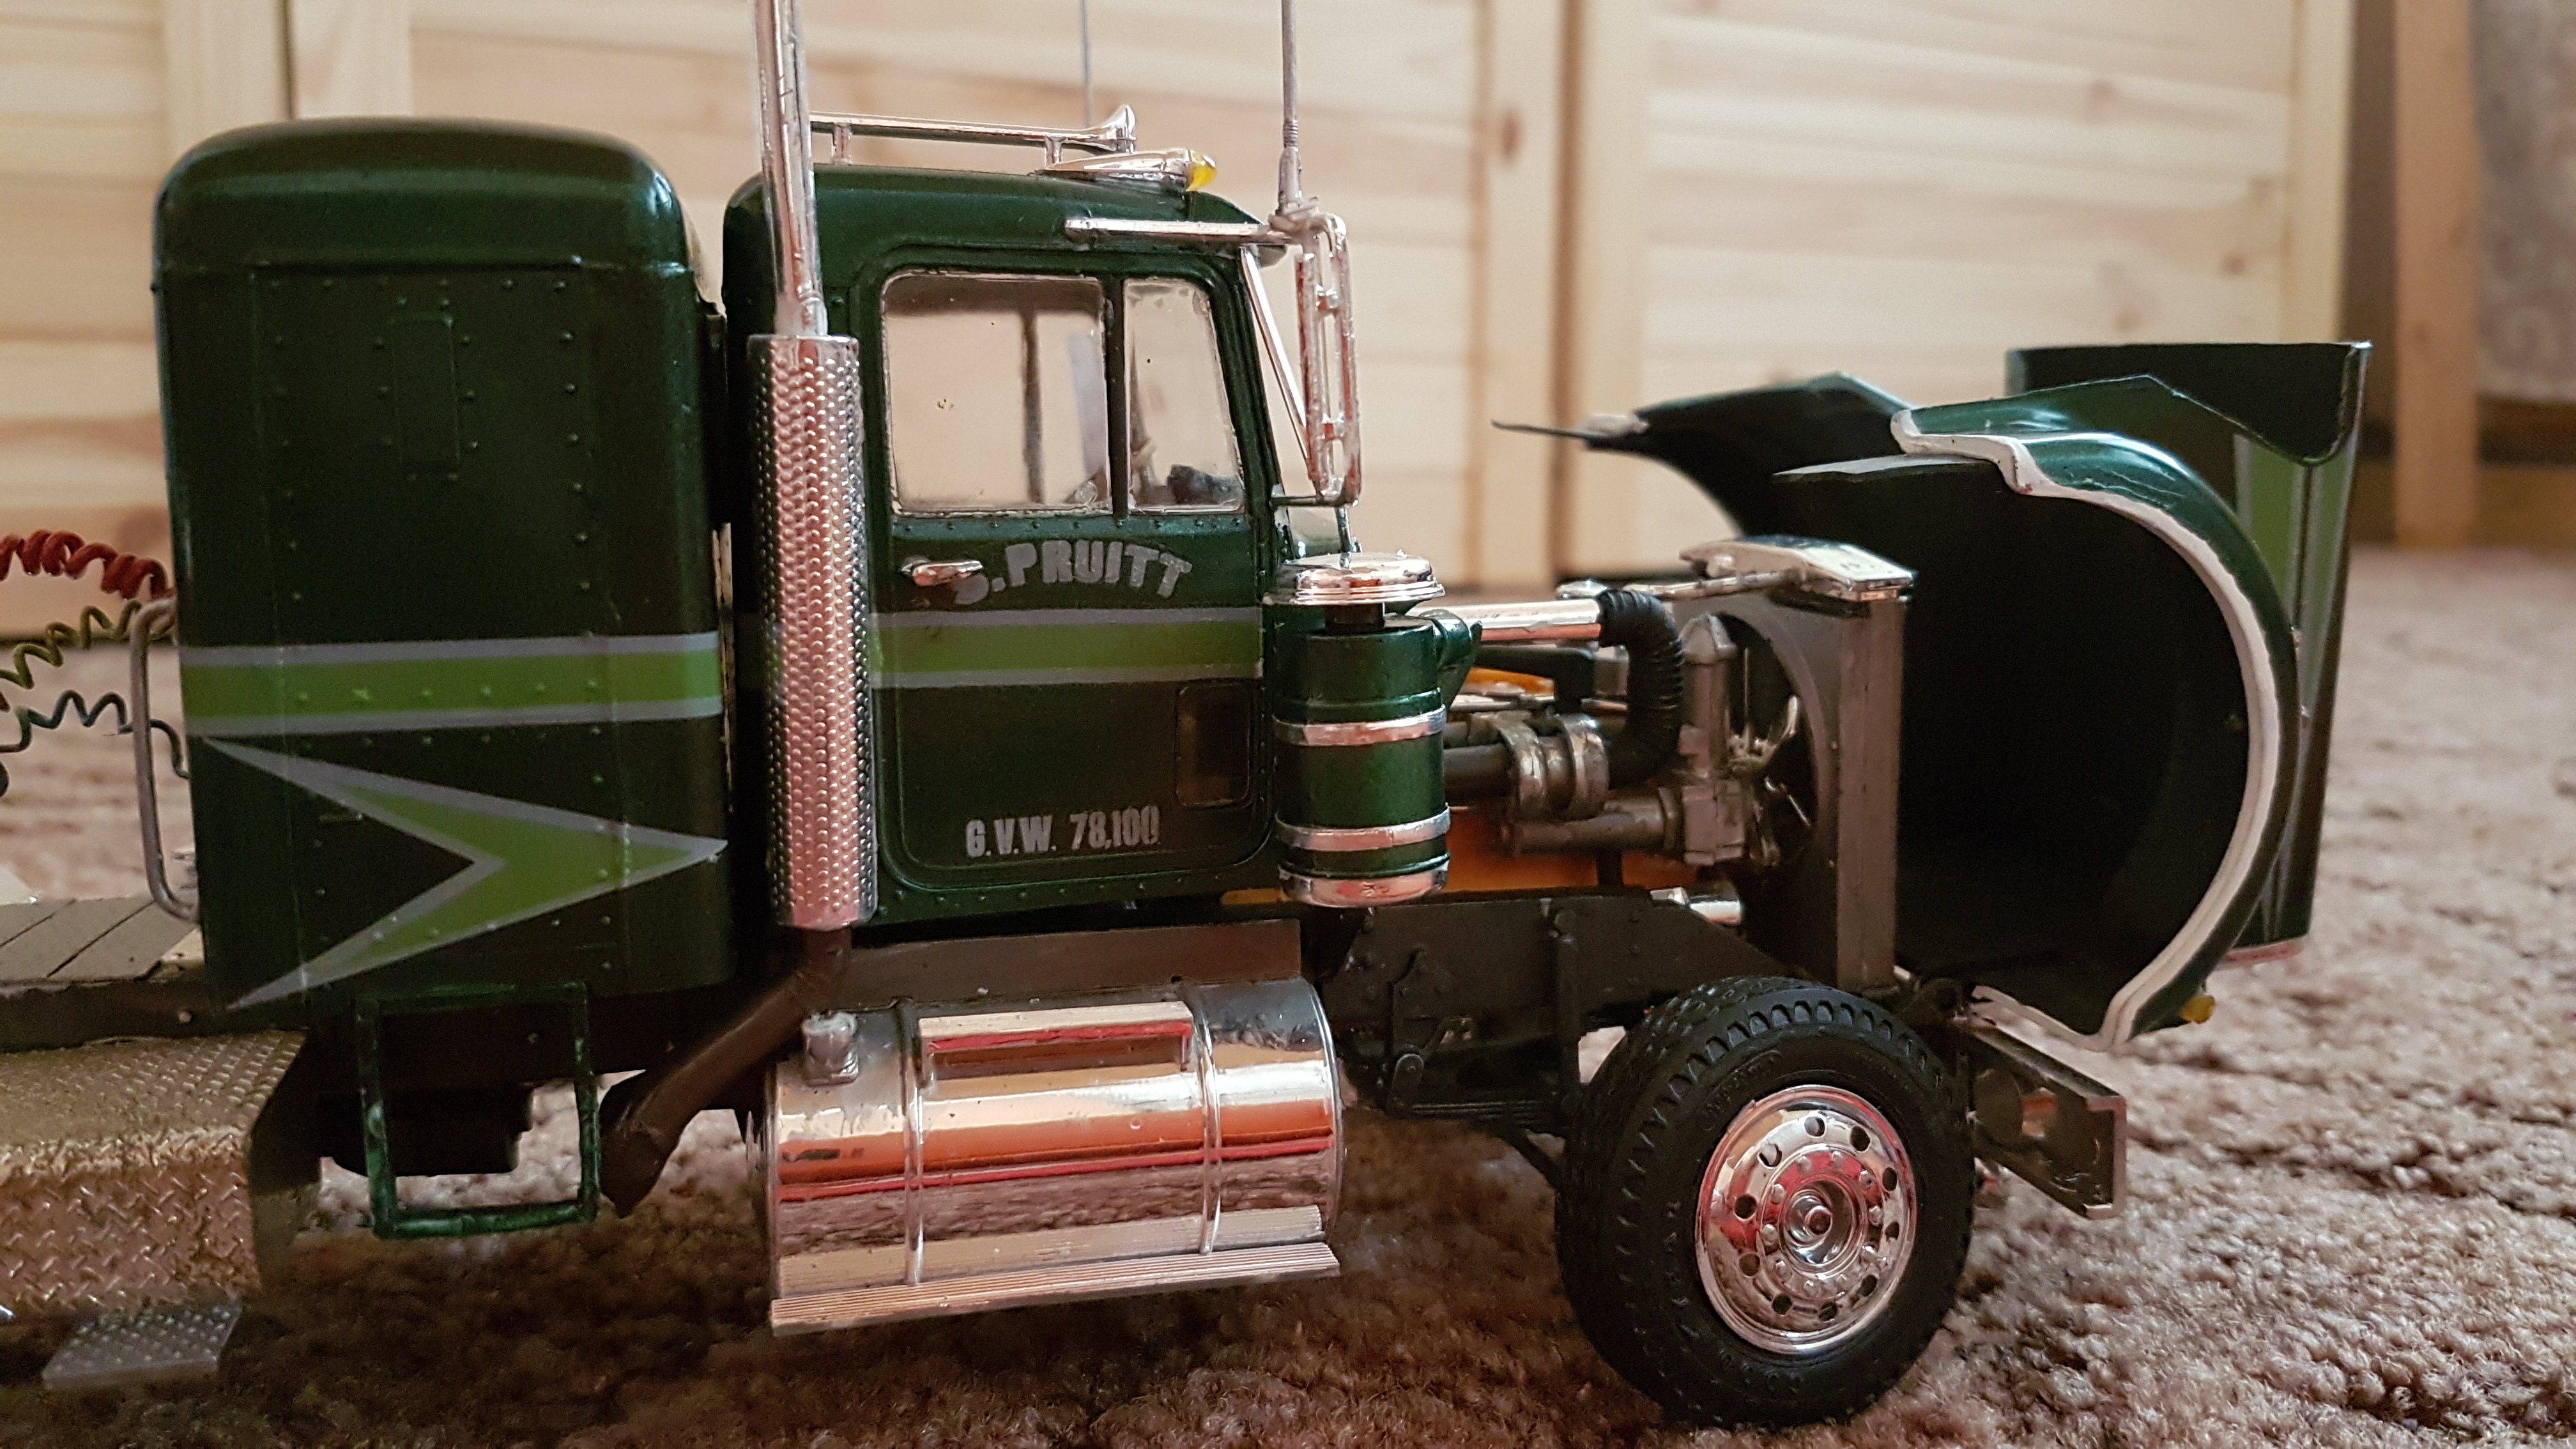
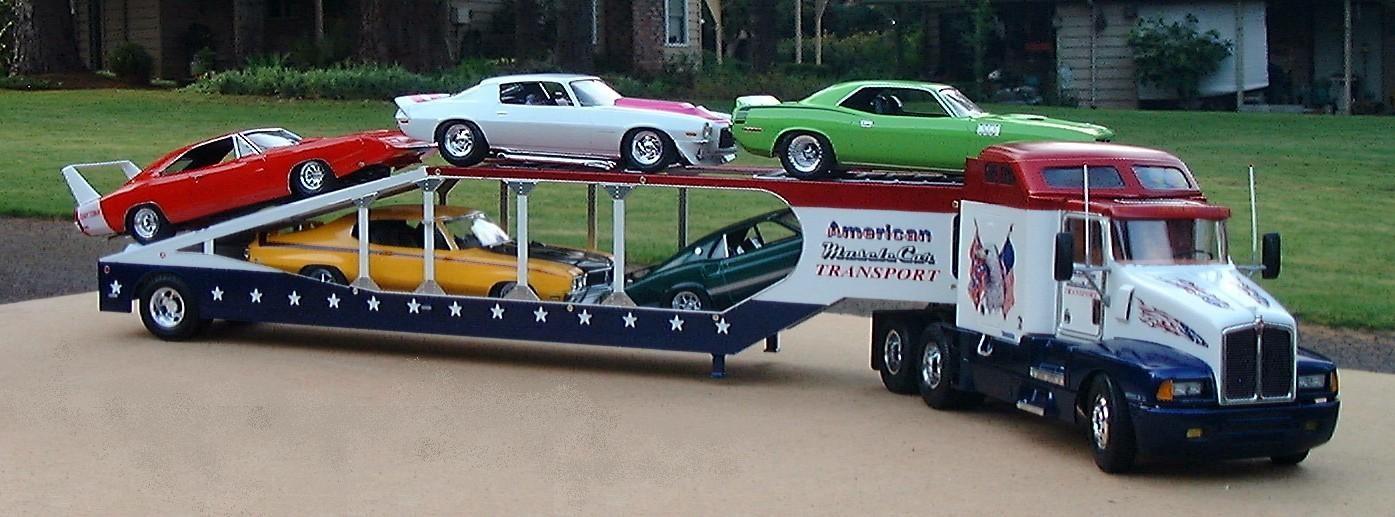
Movin On Kenworth Hello dear colleagues ! Today I want to introduce my version of the Movin On Truck. In the 1970s, the US series "Movin On" was on television, and the series was about a trucker who had some adventures with his truck on the road, starring Tom Atkins. I painted my Kenworth Colobrigreen Metallic, then applied the decals and sealed with acrylic gloss clearcoat. I have also made a few modifications. At the front of the bumper the towing eye was equipped with the bolt, the mudguards are with mudflaps from a piece of bicycle hose, on the right side of the frame I have a small storage box with kick attached, as well as a handle on the sleeping cabin. On the frame at the holder of the leads for the Trailor are a few Riffelsteel. I hope you like it and I look forward to your comments. Greetings from Jan
-
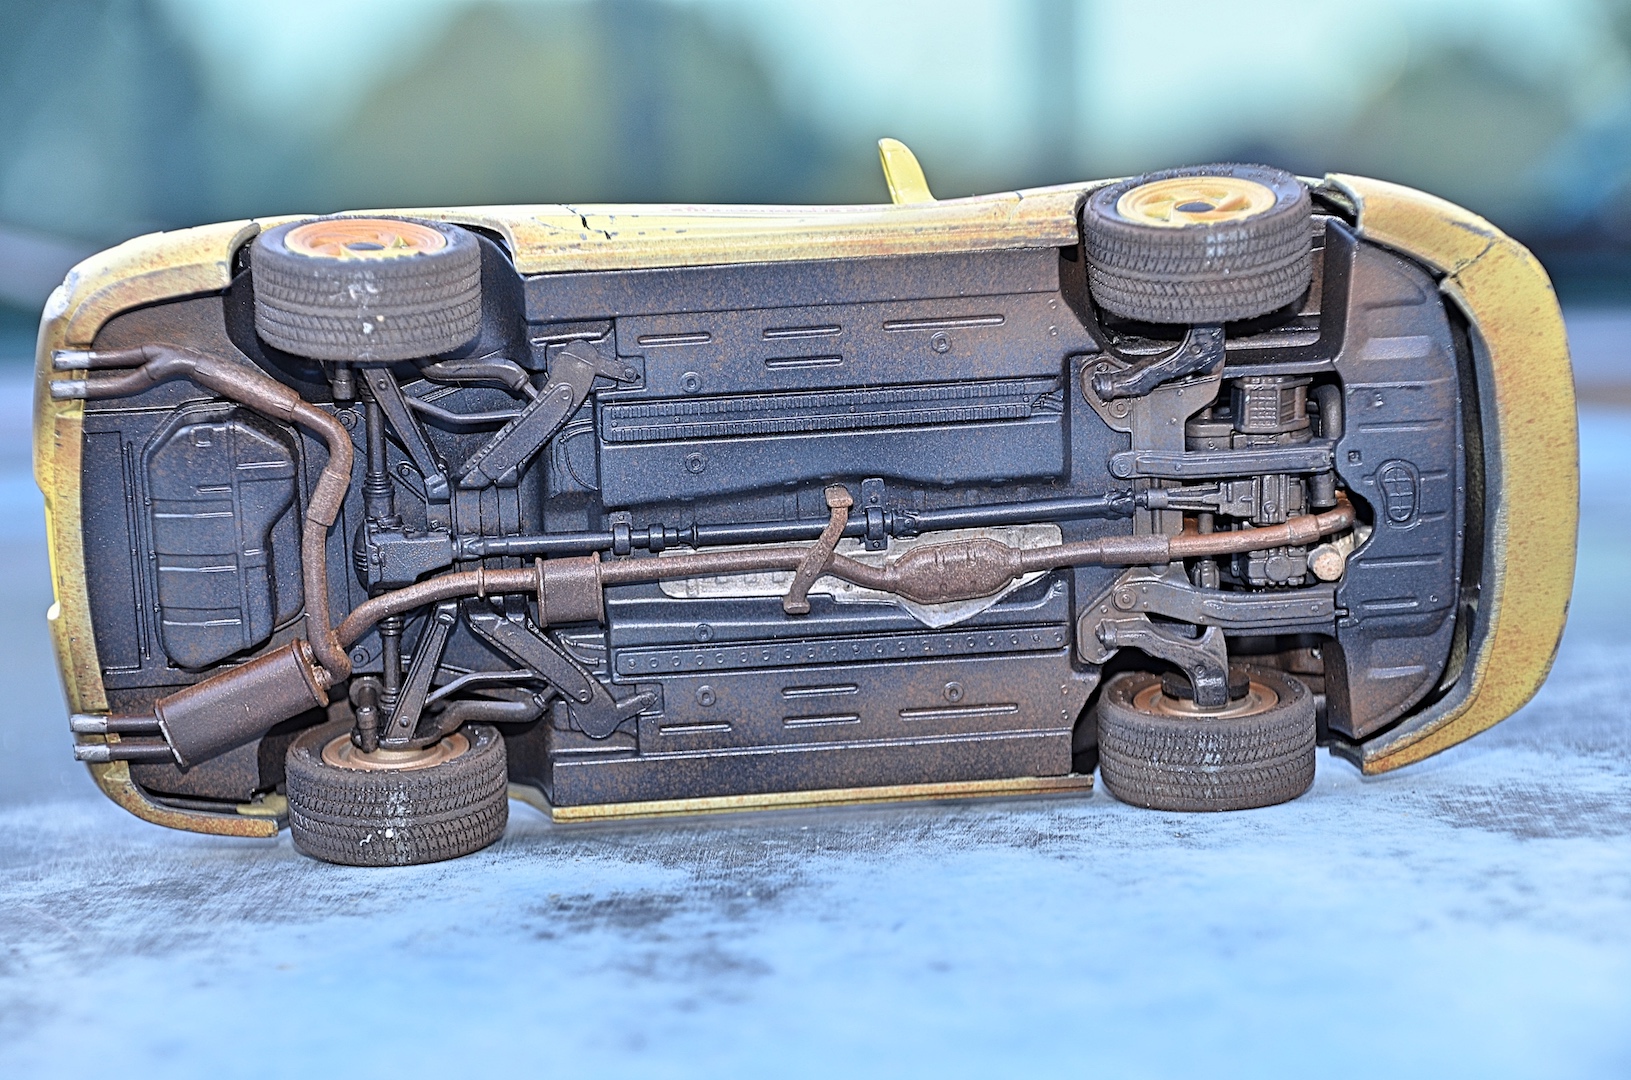
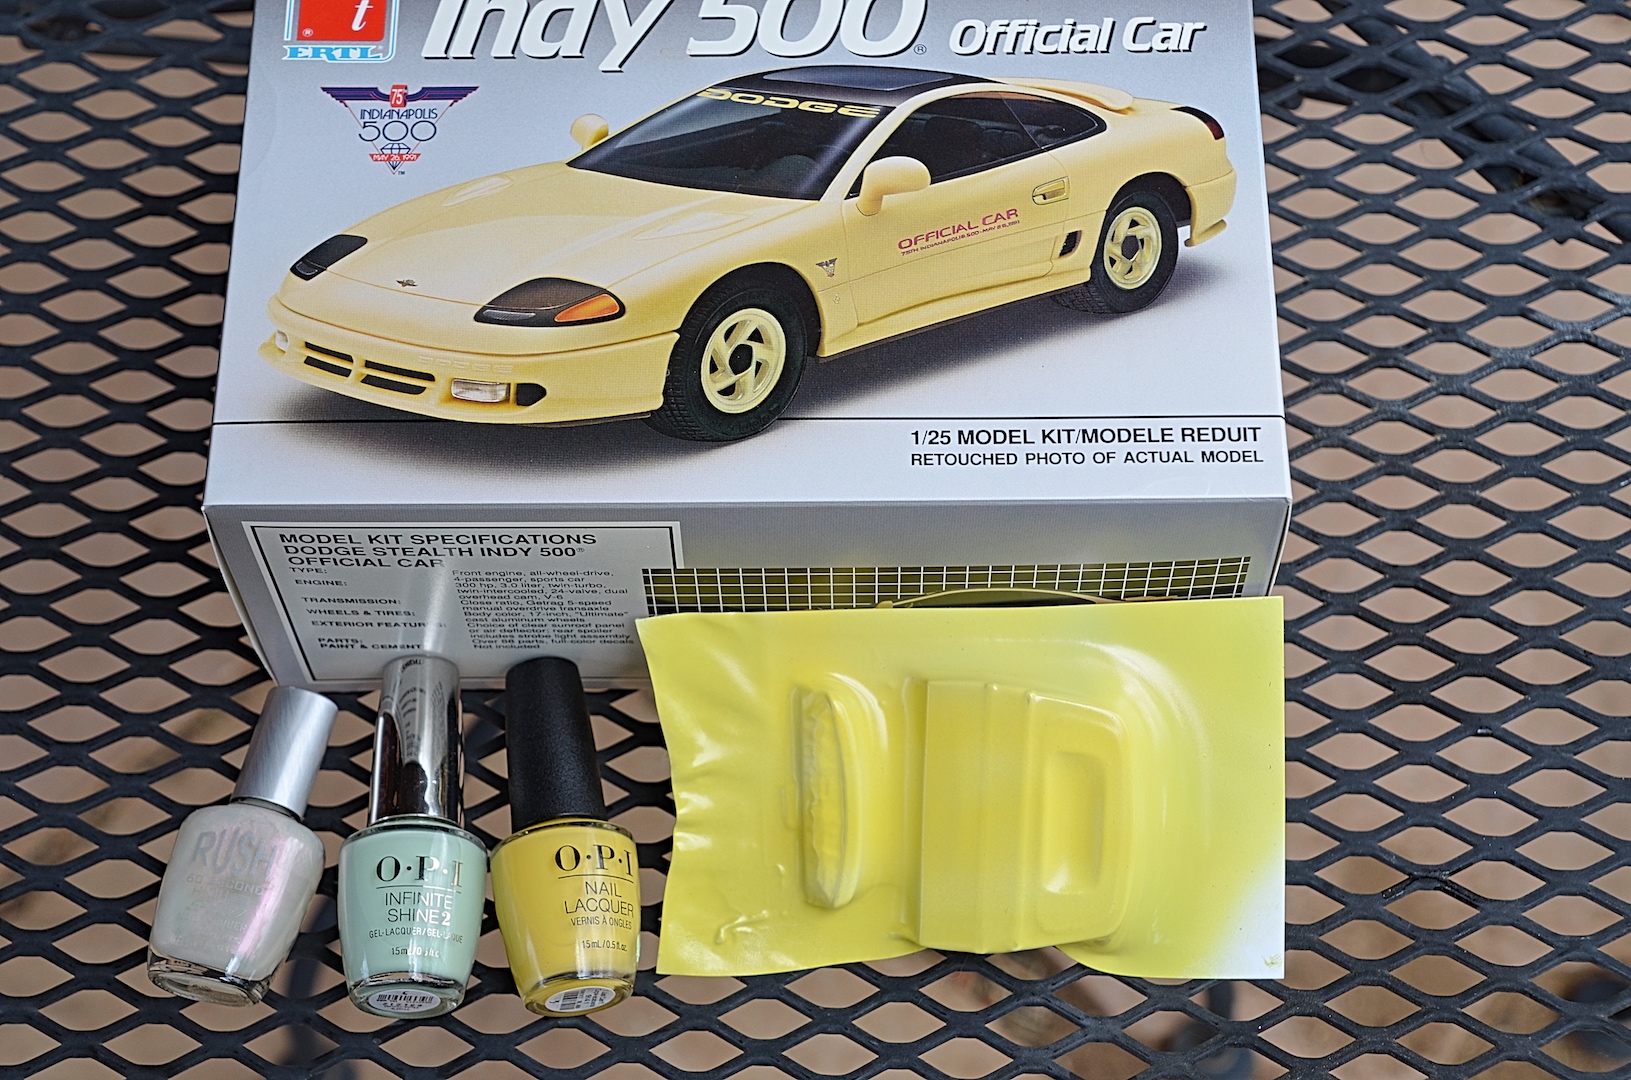
Lee Iacocca memorial community build: Dodge Stealth Indy official car. I bought this kit for $8.10 when it was new, was on sale, thought that since the real thing was cancelled at the last minute, it would become a collector's item. I didn't know AMT popped a billion of them, always see some at model swap meets, and on eBay some are selling for $8-9, so it didn't even keep up with inflation. I already built a Viper. I was glad the tires didn't melt on the windows. My plan is to make it look neglected, and driven like a rally car, but stick with Box Stock. Getting the nail 'polish' cost more than the freaking kit! The plastic has a hint of pearl, some photos of the real car seems to have a hint of green (the actual Pace Car is hideous). Started sub-assemblies tonight. One error in the instructions is the half shaft part through the rear differential, one side is shorter, not indicated, of course I got it wrong, had to break off and switch. Hardly any sink marks, putty on the muffler and mirrors was all, superglue and baking soda in the oil filter void. Minor mold seam under the headlights, otherwise AMT did a very good job with this kit. Did my usual scraping mold lines on everything, more than the usual amount of tubing because of the twin turbos. Next step, wash all the parts, and start painting! Funny thing, the Porsche 959 Paris-Dakar is also a 6 cylinder, twin turbo, AWD sports car. But I ain't taking years to get this puppy done!
-
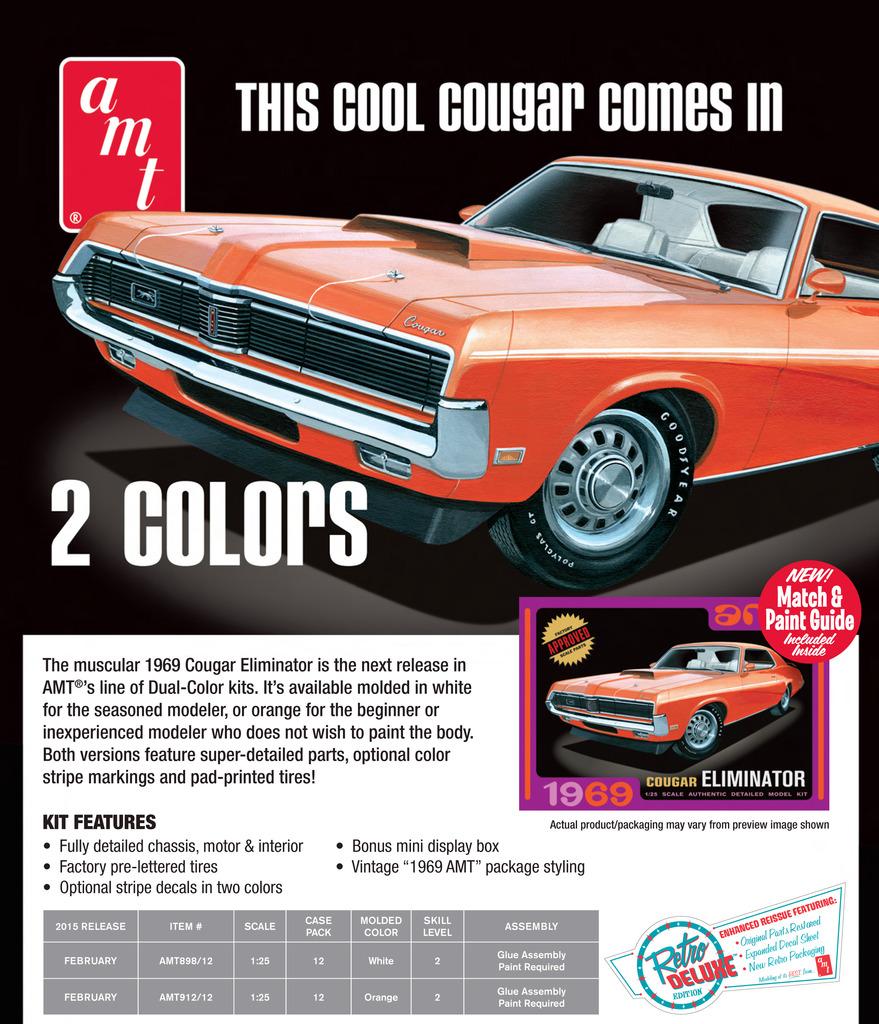
Due to arrive in February/March 2015 in two versions, molded in either white or orange. Check out the kit's contents here: http://modelkitreviews.proboards.com/thread/118/25-amt-mercury-cougar-eliminator?page=1&scrollTo=136
-
MY wife got me this for Christmas (good wife!!): Make a little start on it this week - tidying up some parts for primer, and so on. Started with the engine, as is tradition: Modified the intakes a tiny bit to make room for a resin distributor mount from RMCoM: Assembled the chassis (which wasn't a huge job seeing as this step is only two pieces ) And re-made the floor part because the kit one had some HUGE ejector pin marks in it...it was easier just to cut another one out of some styrene sheet: Anyone built one of these? Anything to watch out for? More soon!


.thumb.jpg.e0420fe52e683c60d19e843462316523.jpg)