Sam I Am
-
Posts
3,029 -
Joined
-
Last visited
Content Type
Profiles
Forums
Events
Gallery
Everything posted by Sam I Am
-
That will be nice. I need to add shelves to one of mine as well. So I threw a coat of primer on so I could see what I am doing. I already know it will be white, way to rough for any other color.

-
Had to see what it looked like on all four.
-
Tom, I have enough squirrels of my own without you sending yours over.
-
So while the Falcon cures out, I have been playing with this.
-
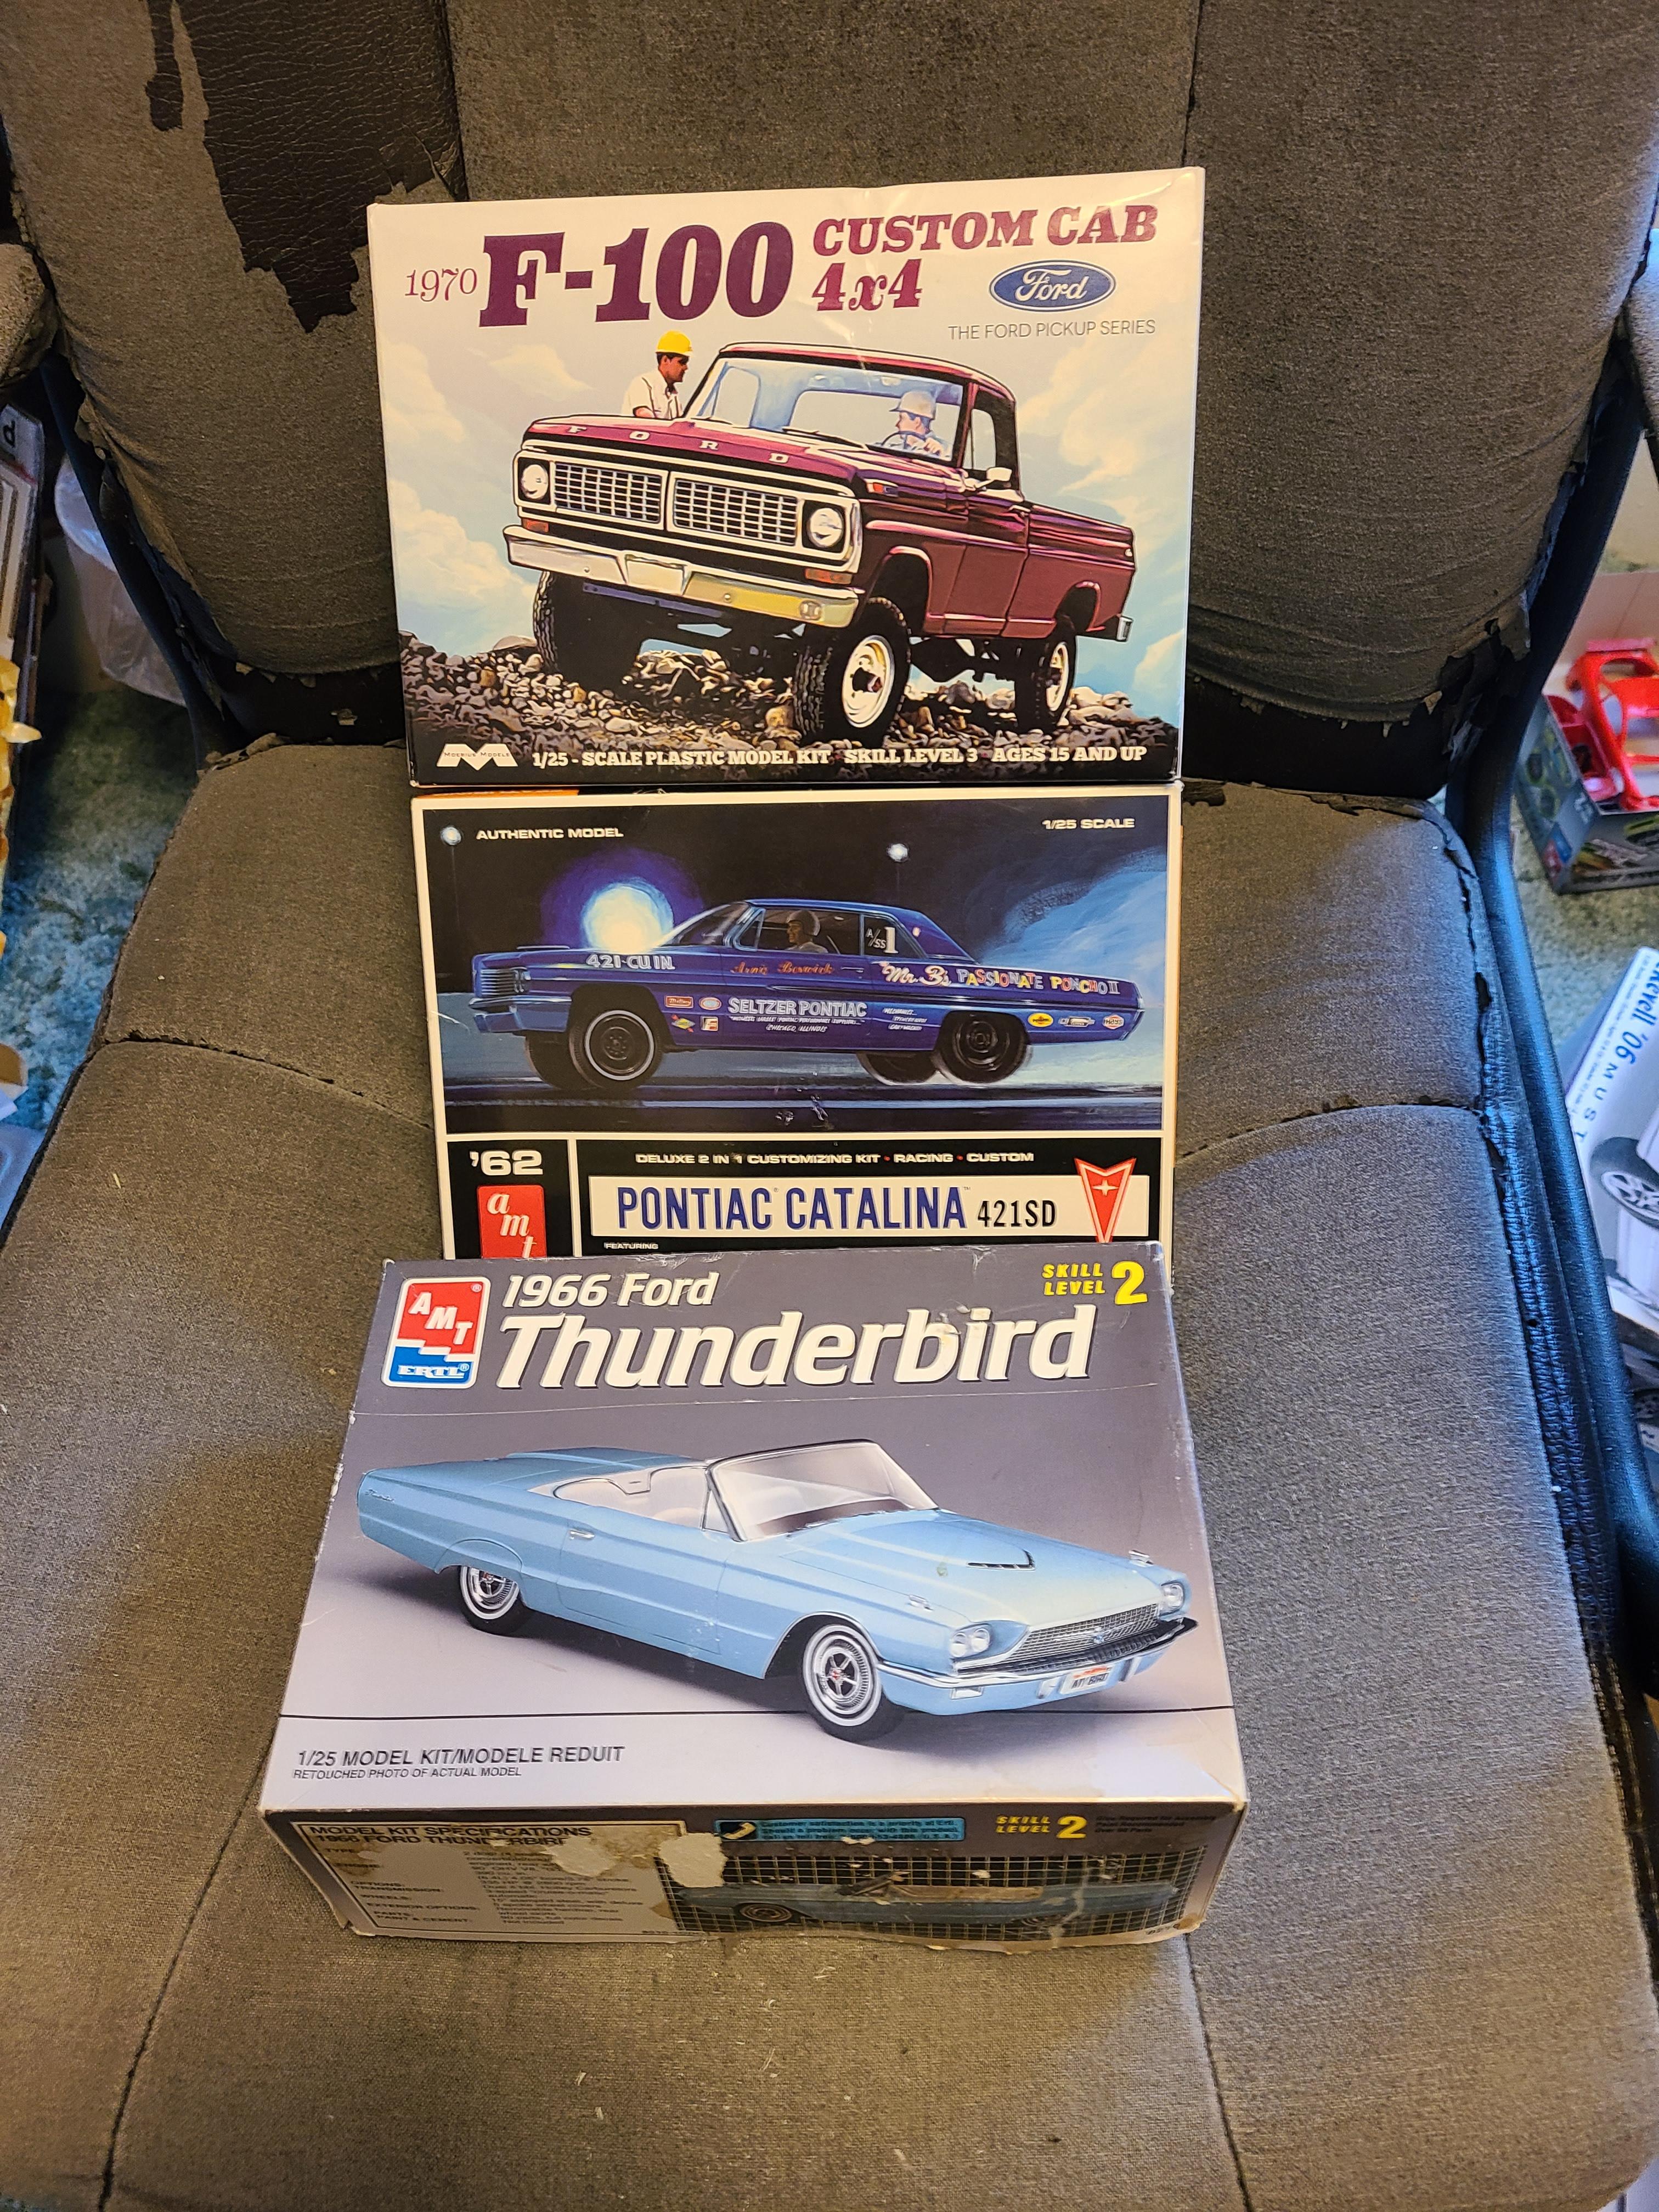
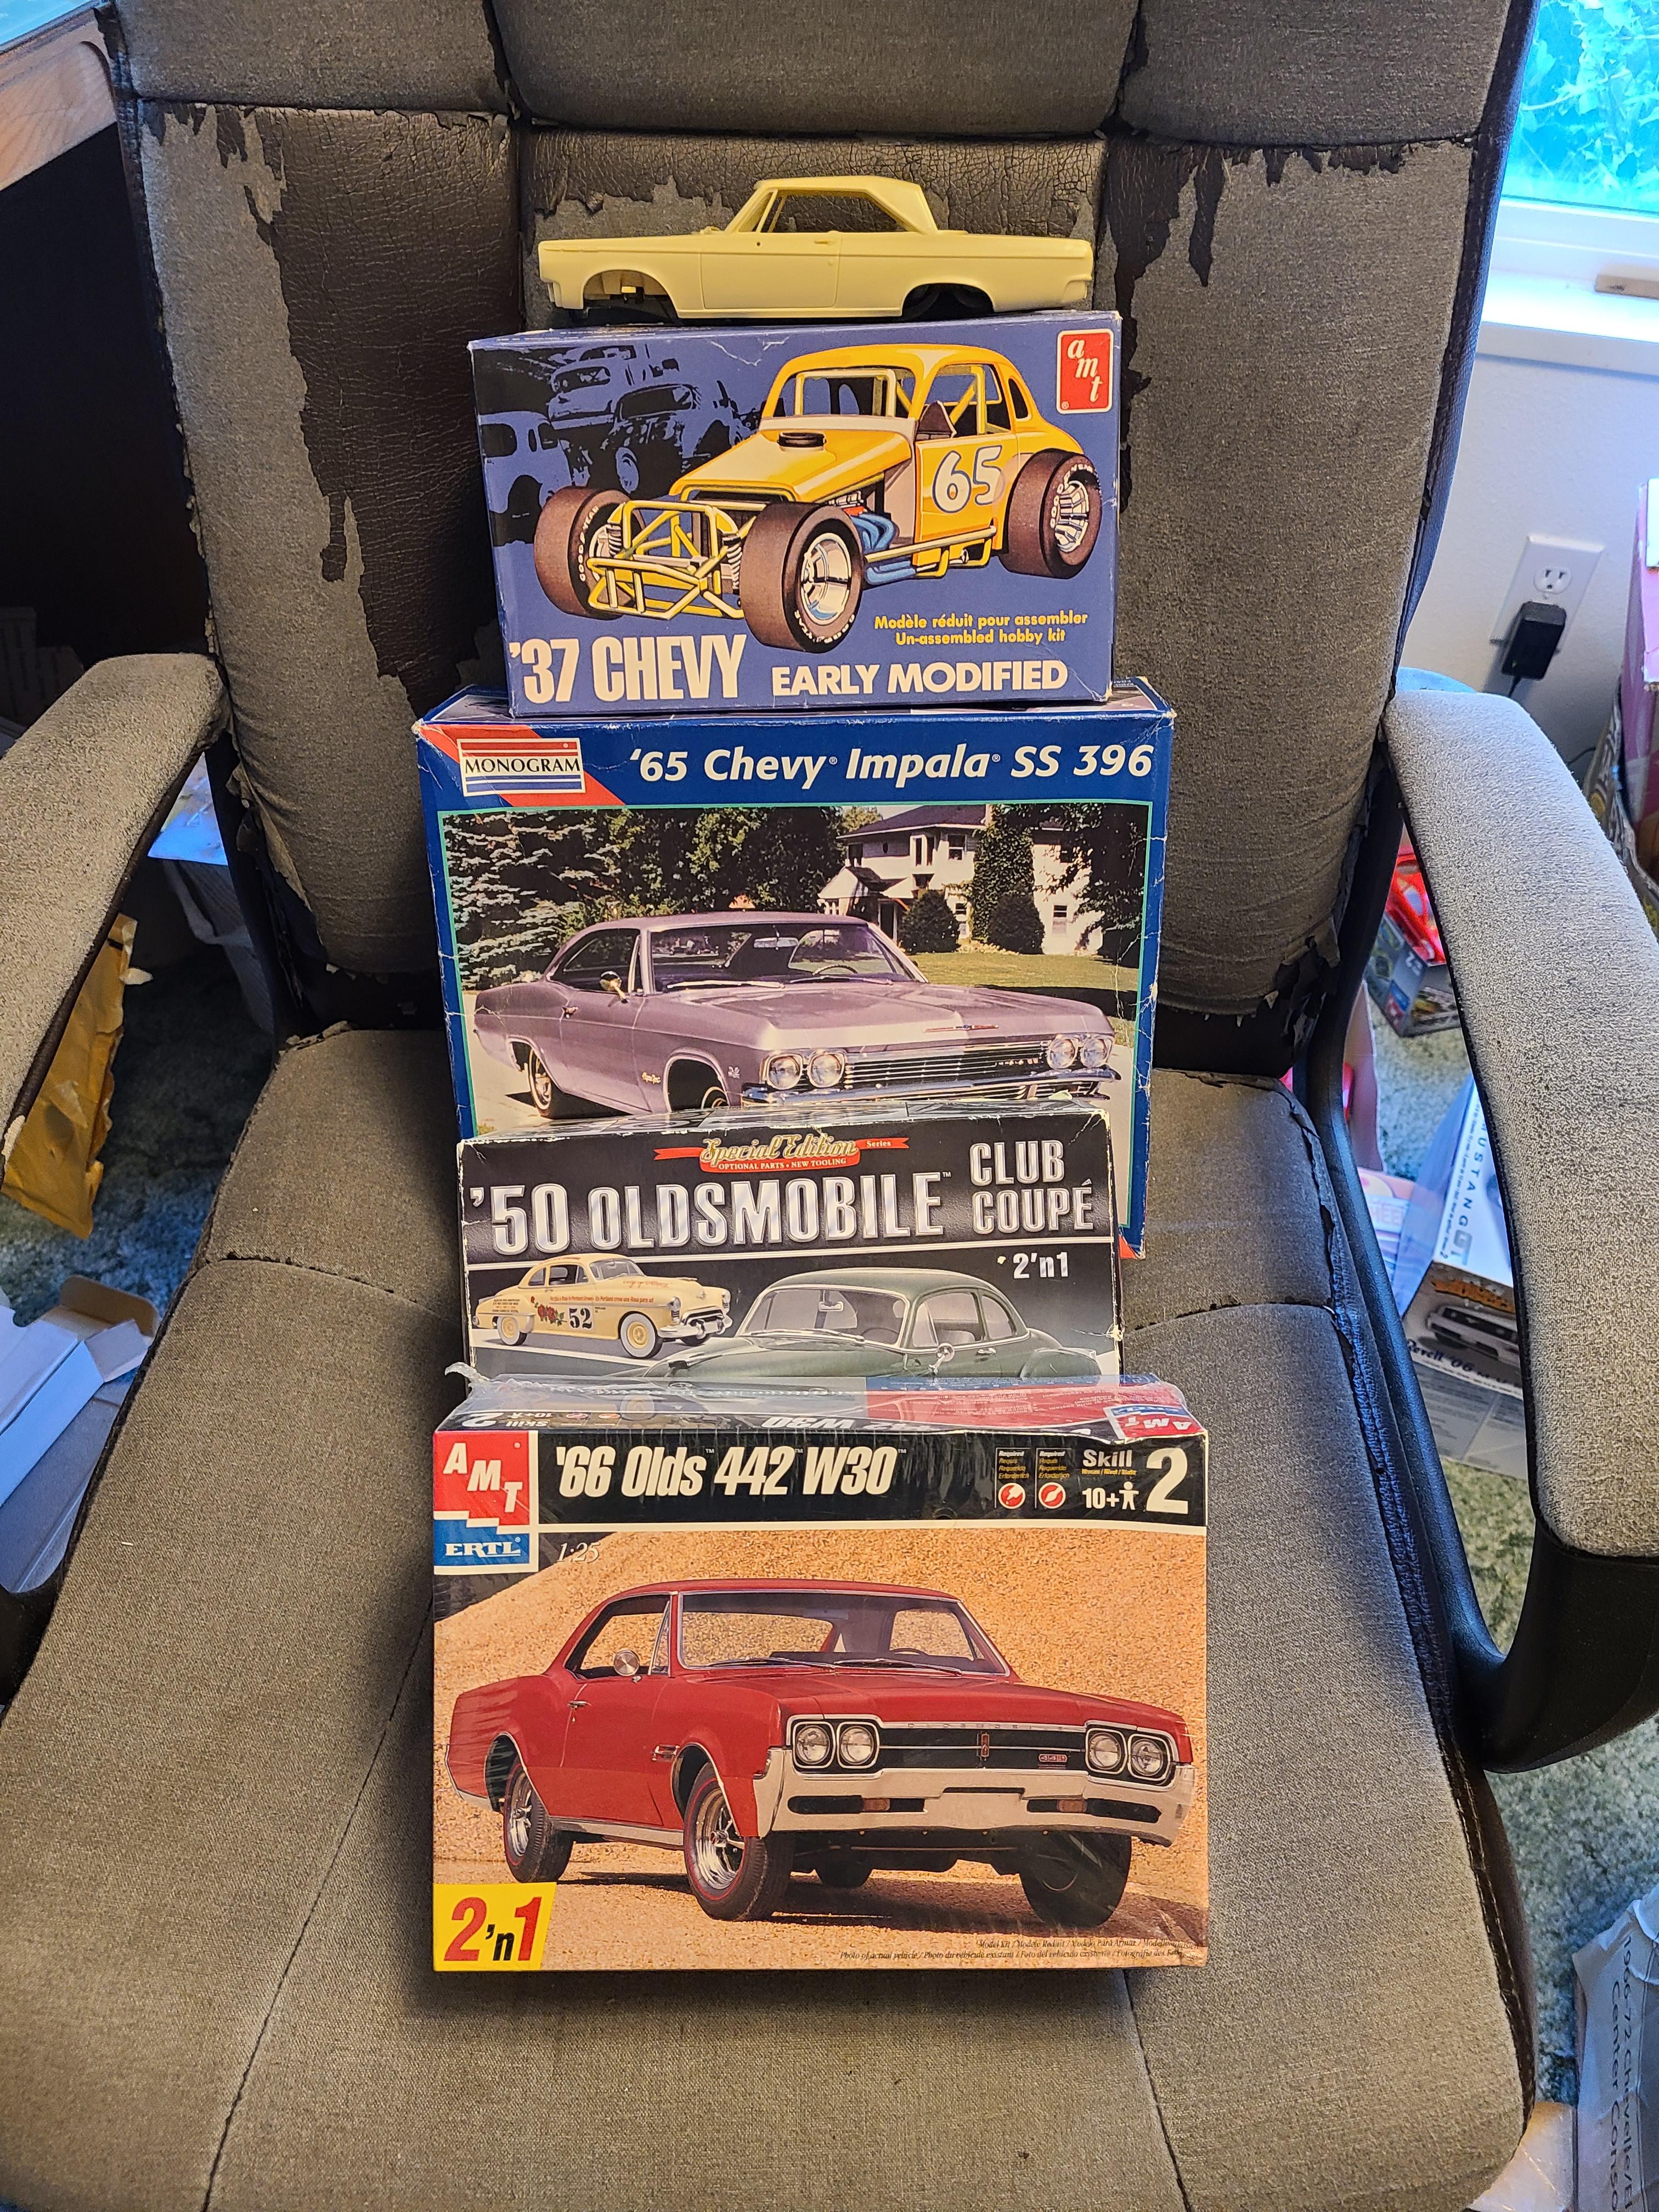
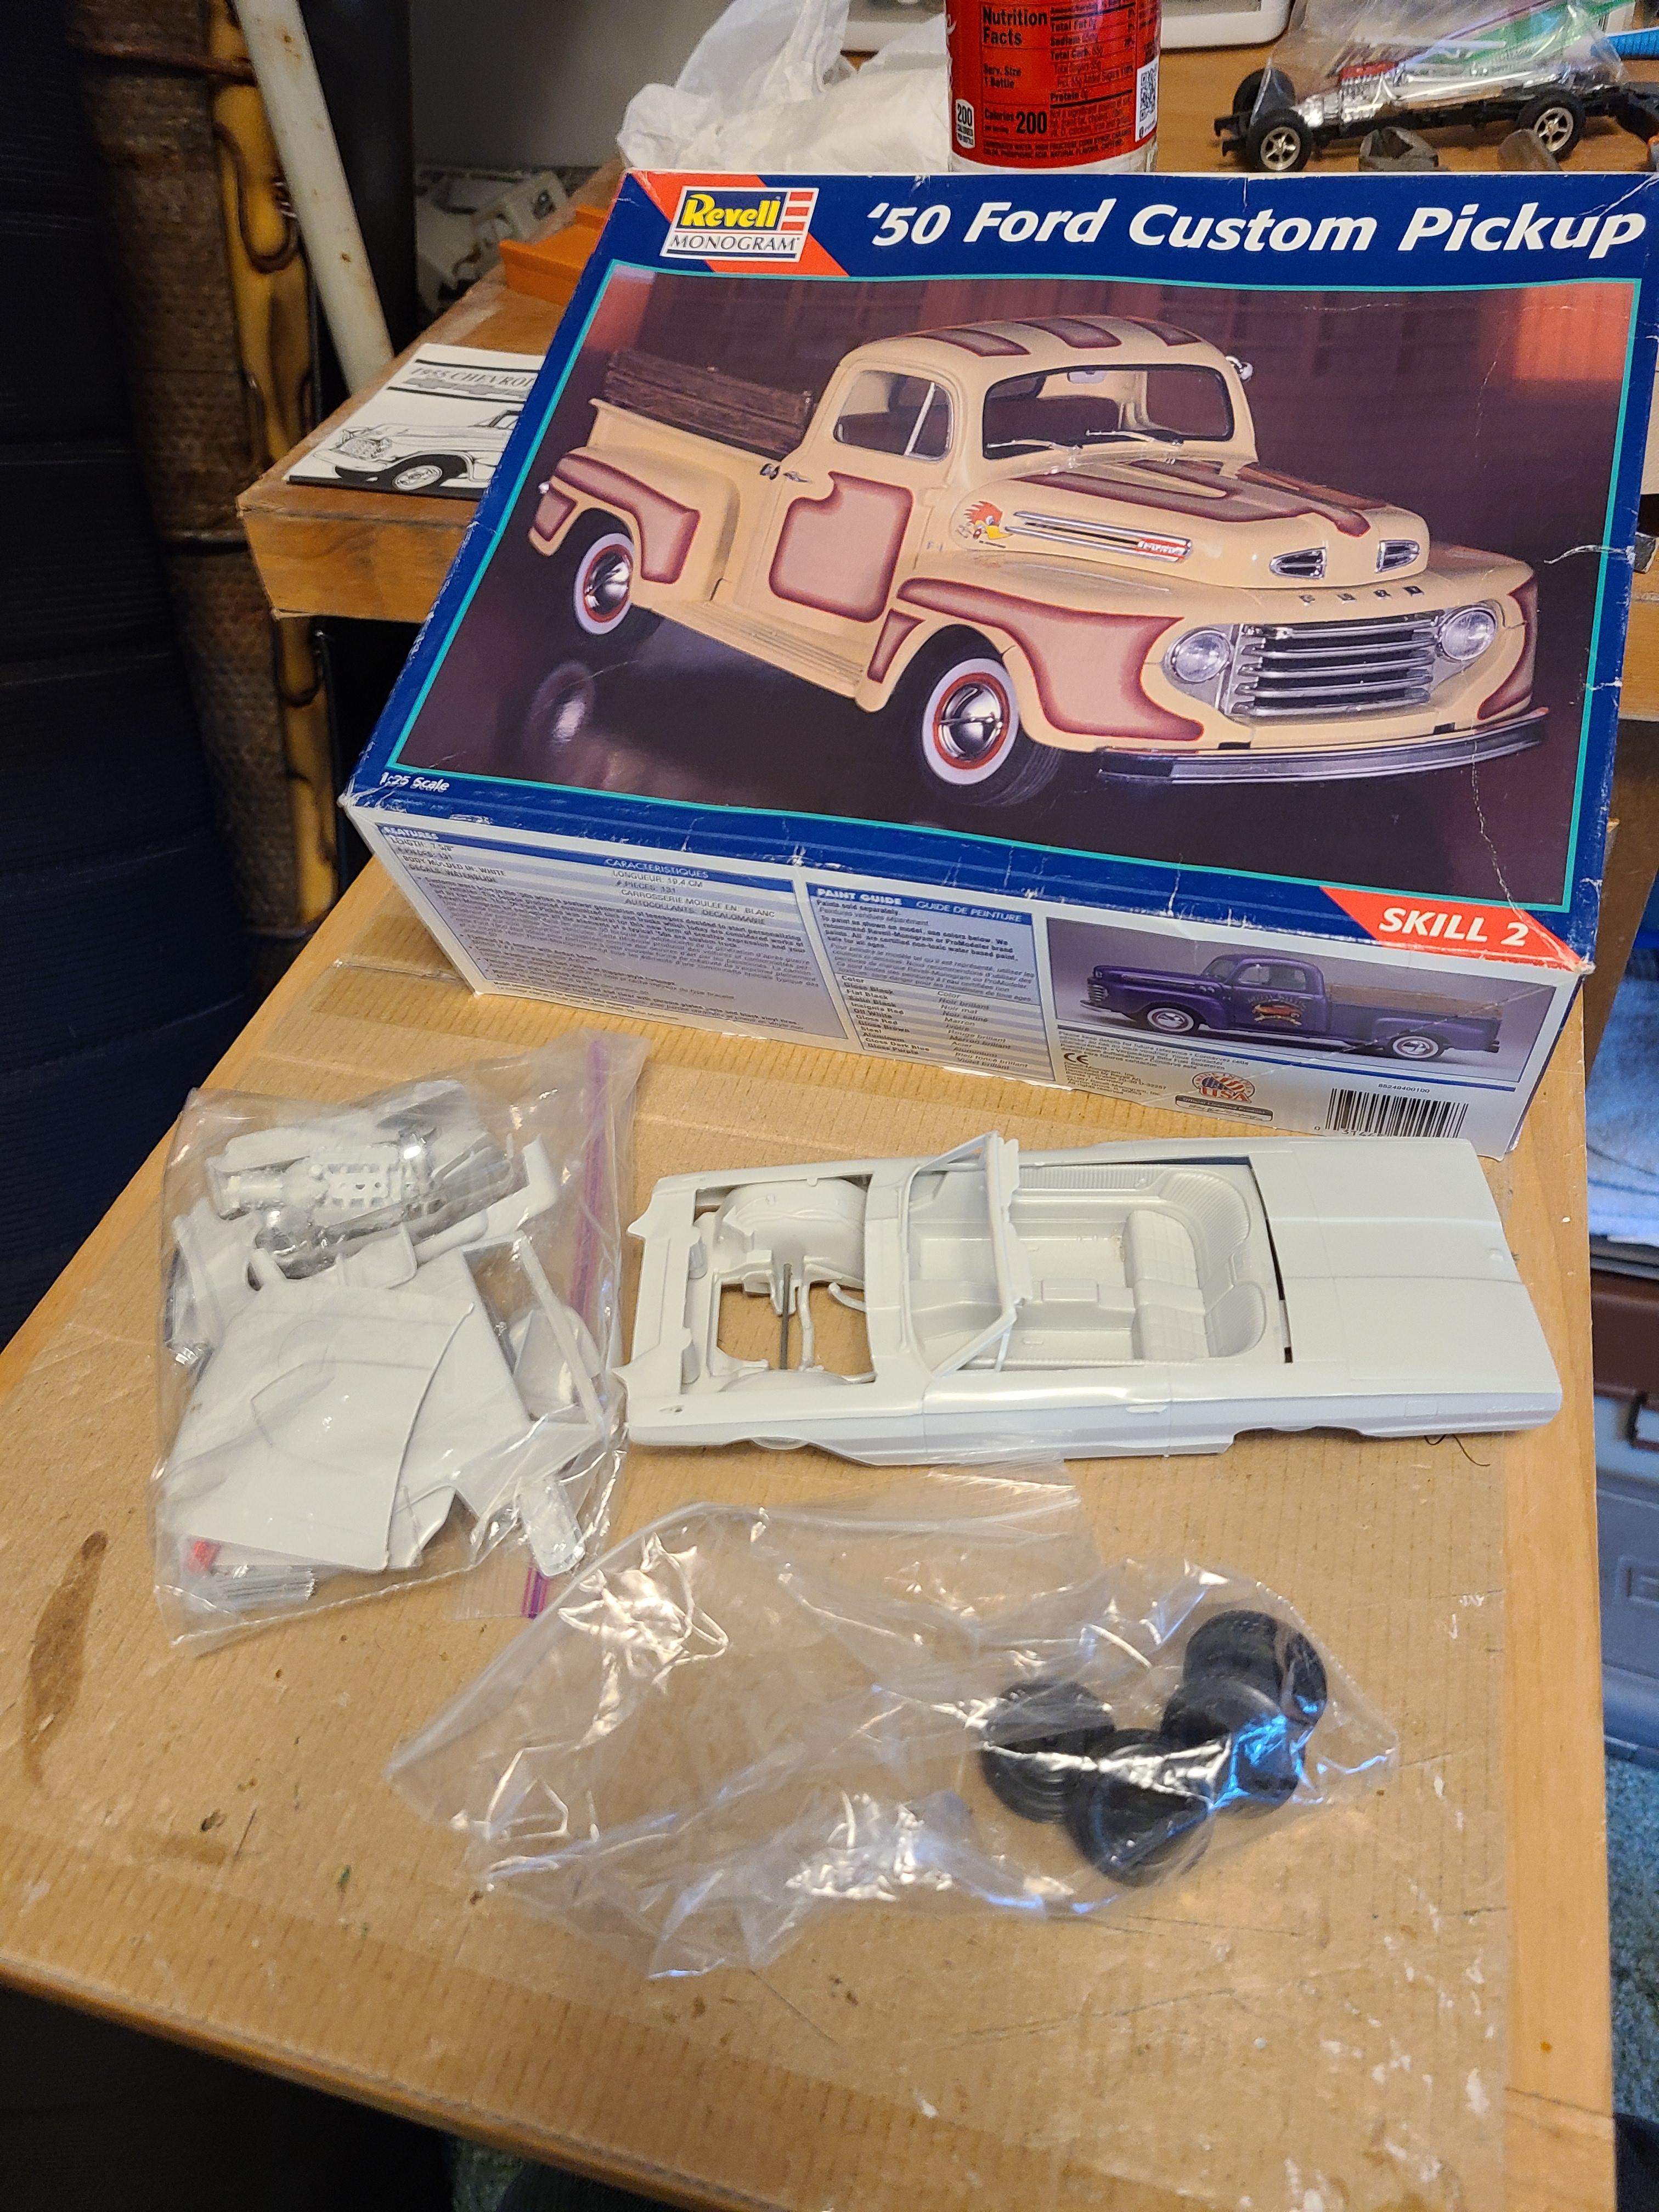
Over the last week, these came in plus Falcon and 55 Chevy pu parts.
-
I just wanted to say that I had stellar deals with the following and not only would I trade with them again, l already have. Classic gas Scott 8950 Paul Payne Oldcarfan27 Tom Geiger Bisc63 Casey ChrisBcritter AFX Thanks everyone!
-
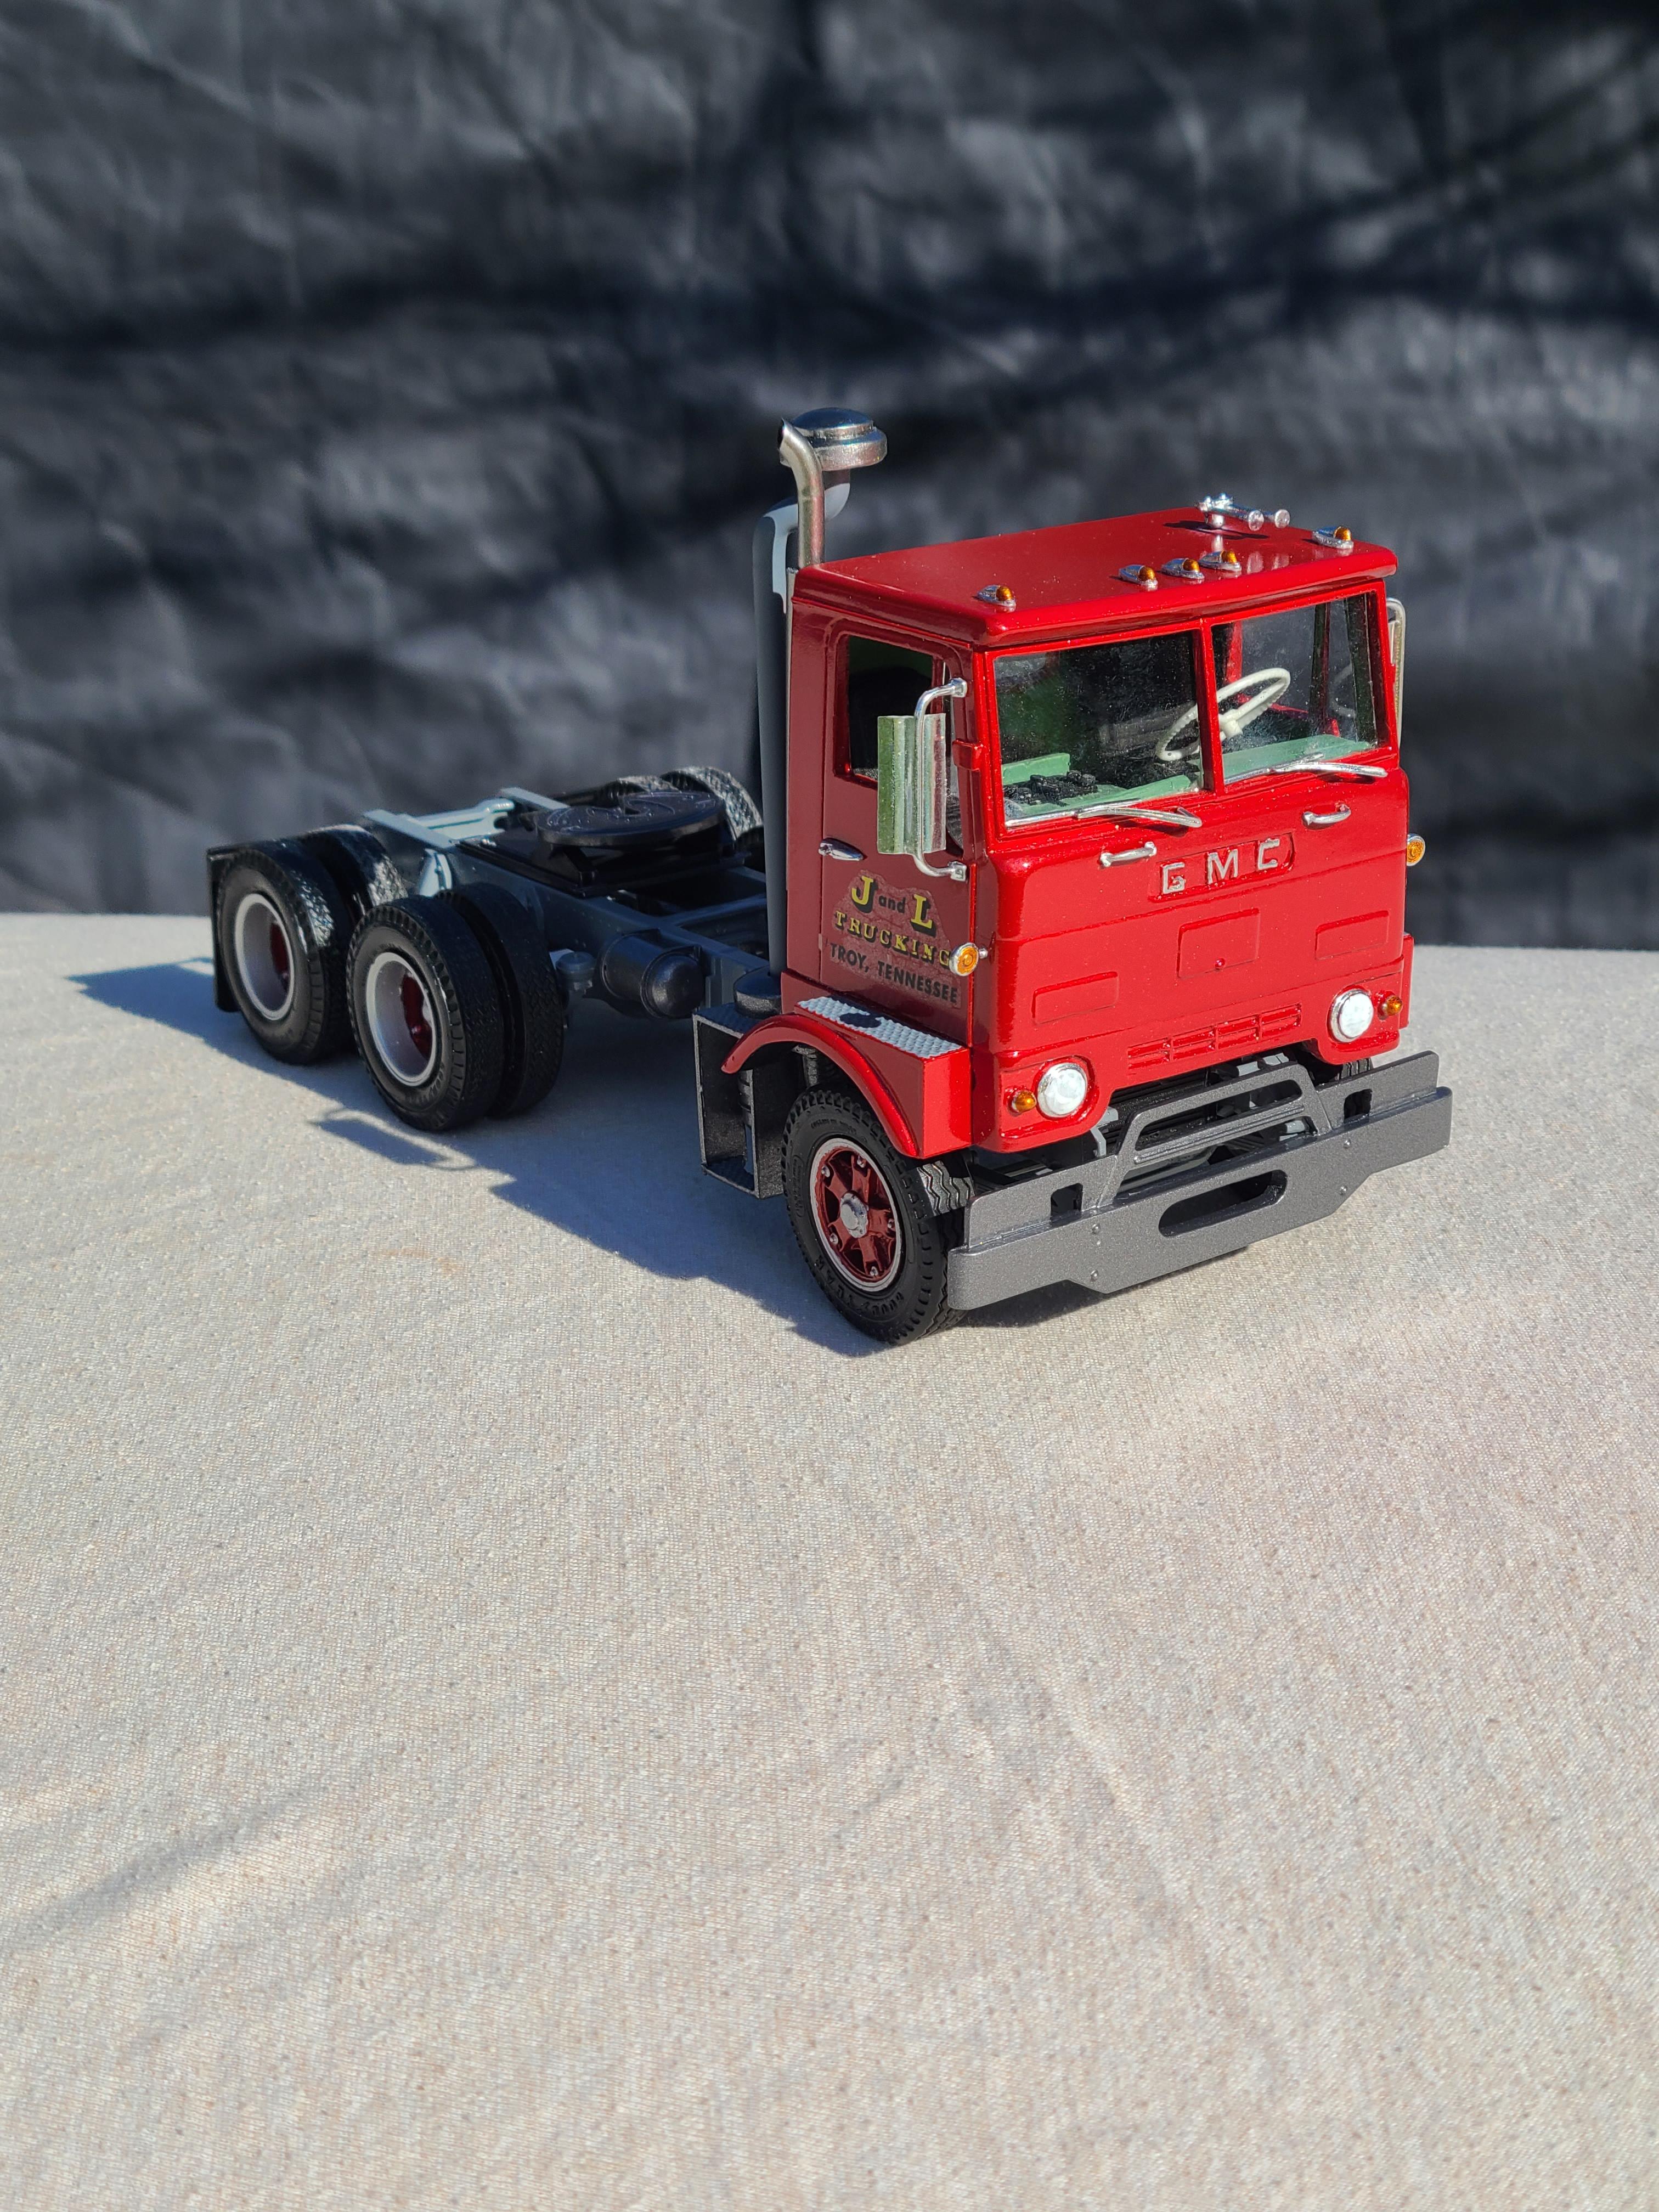
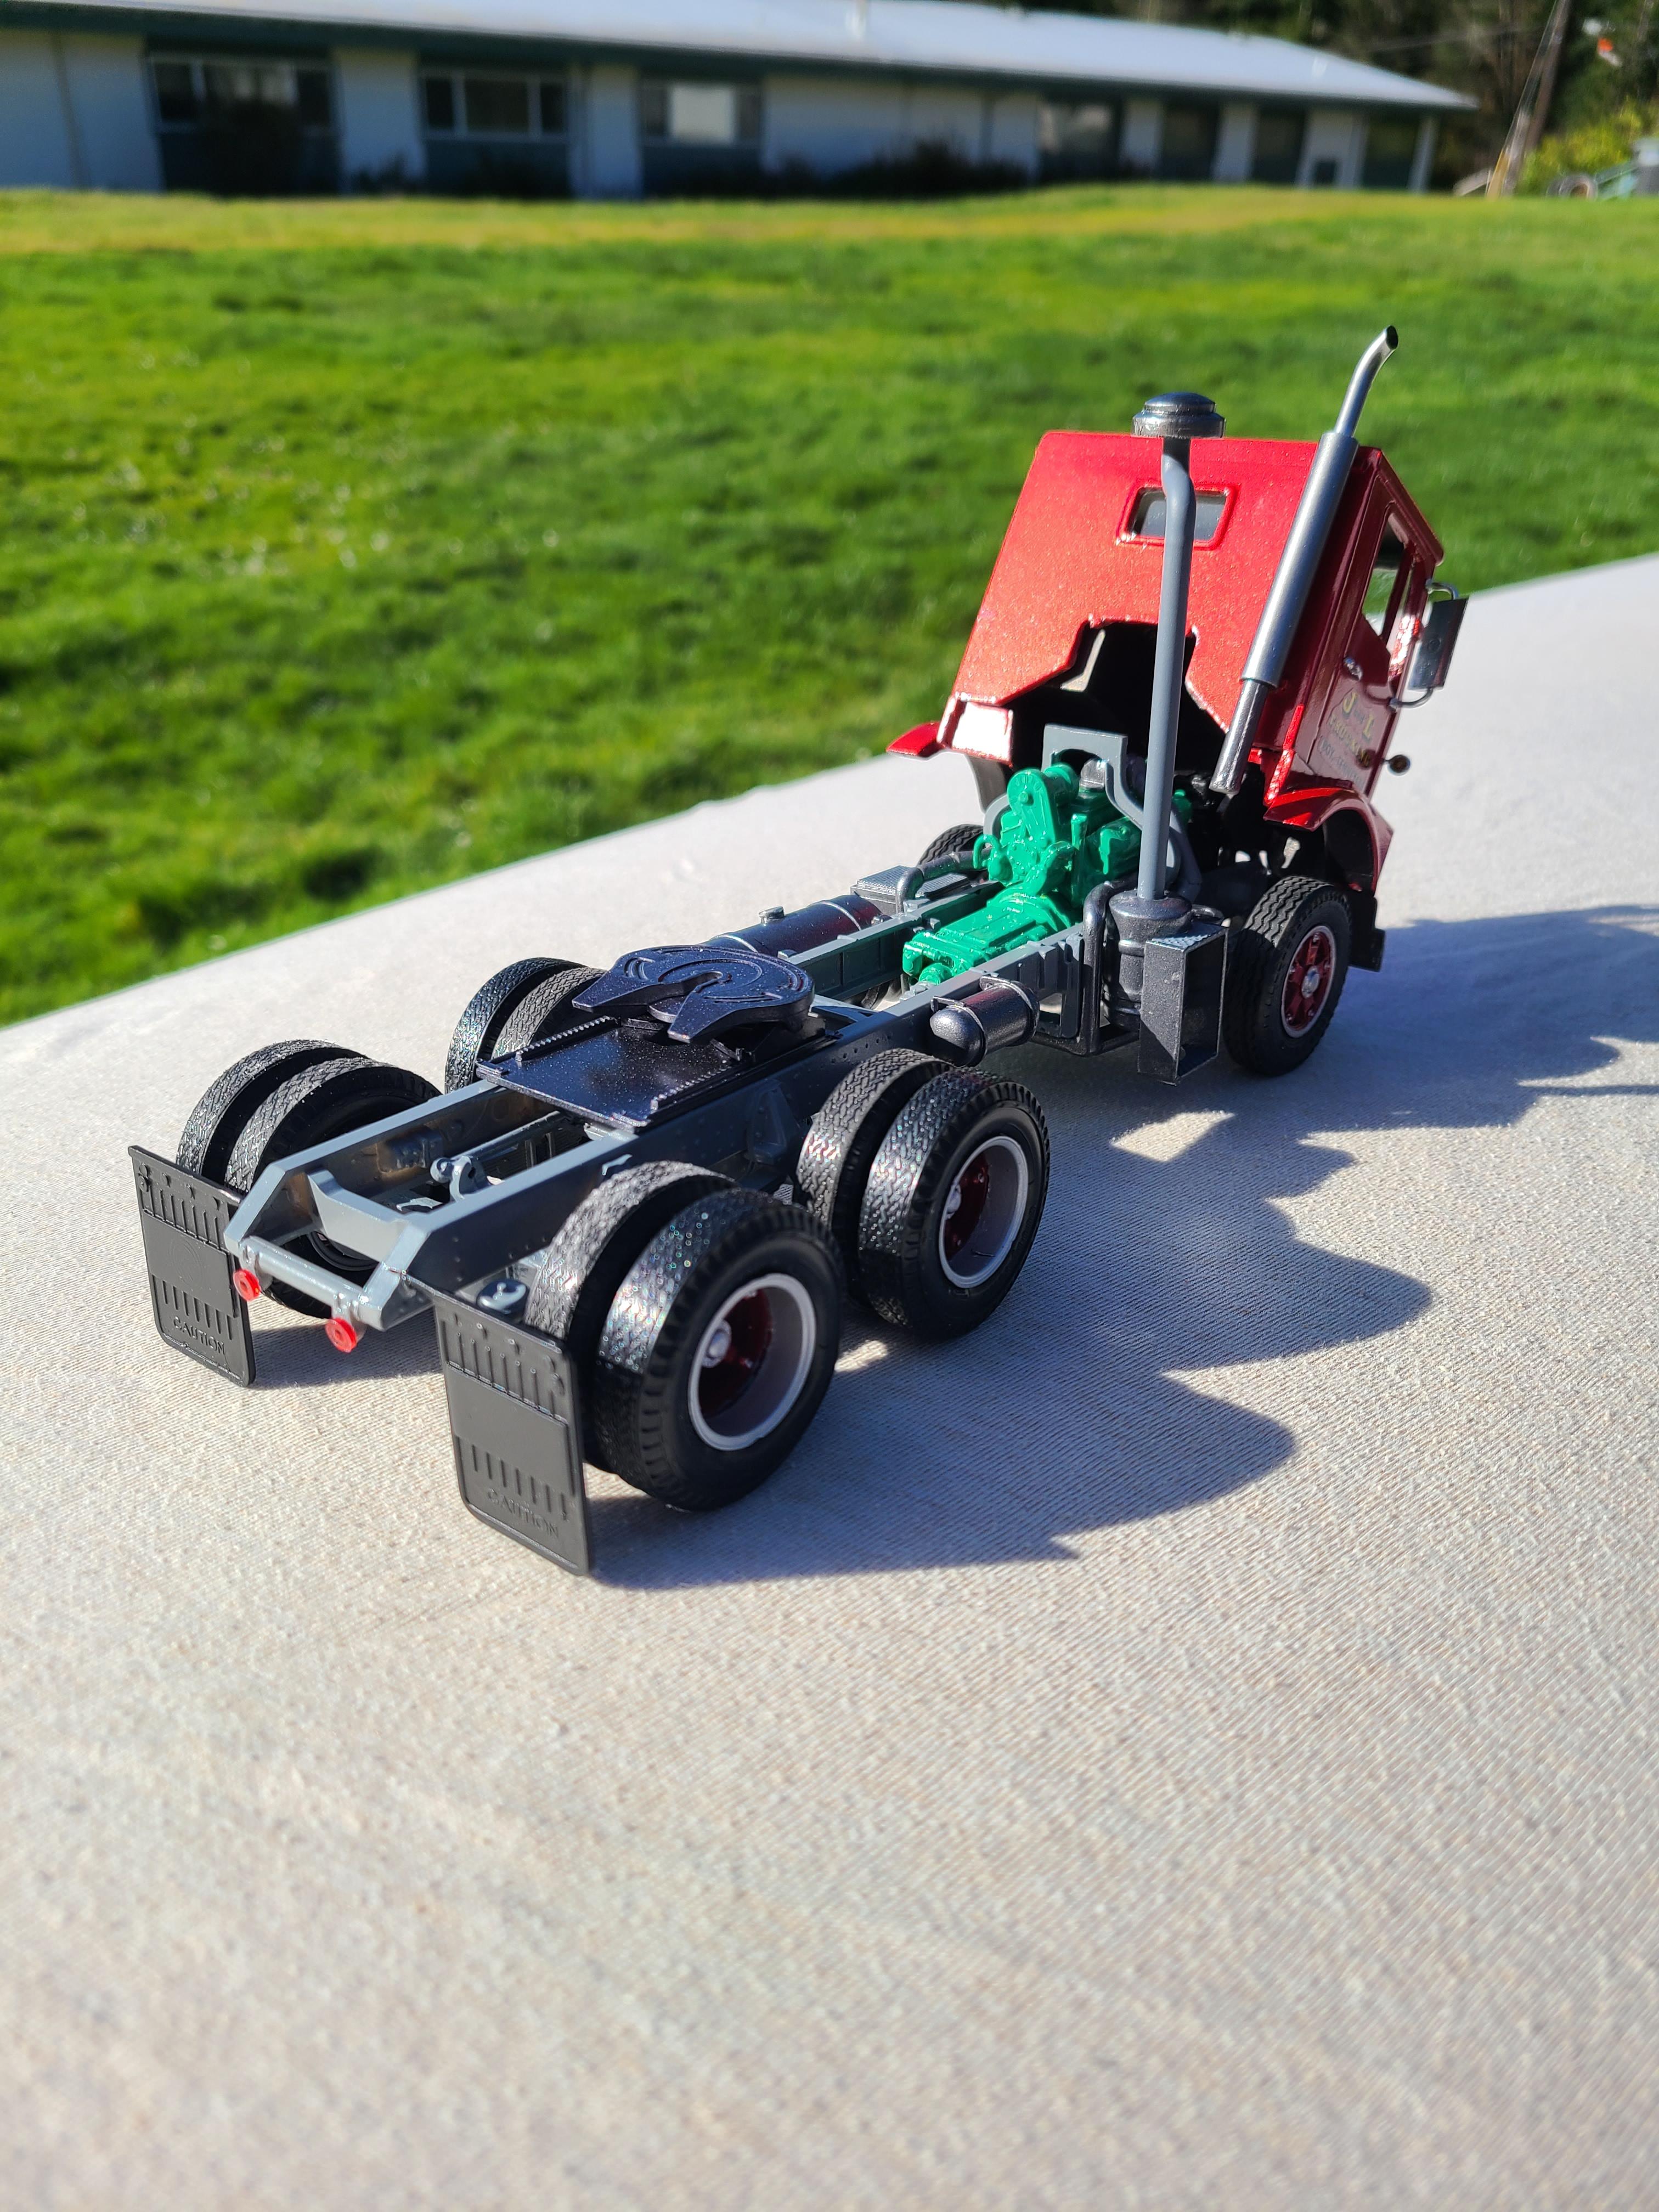
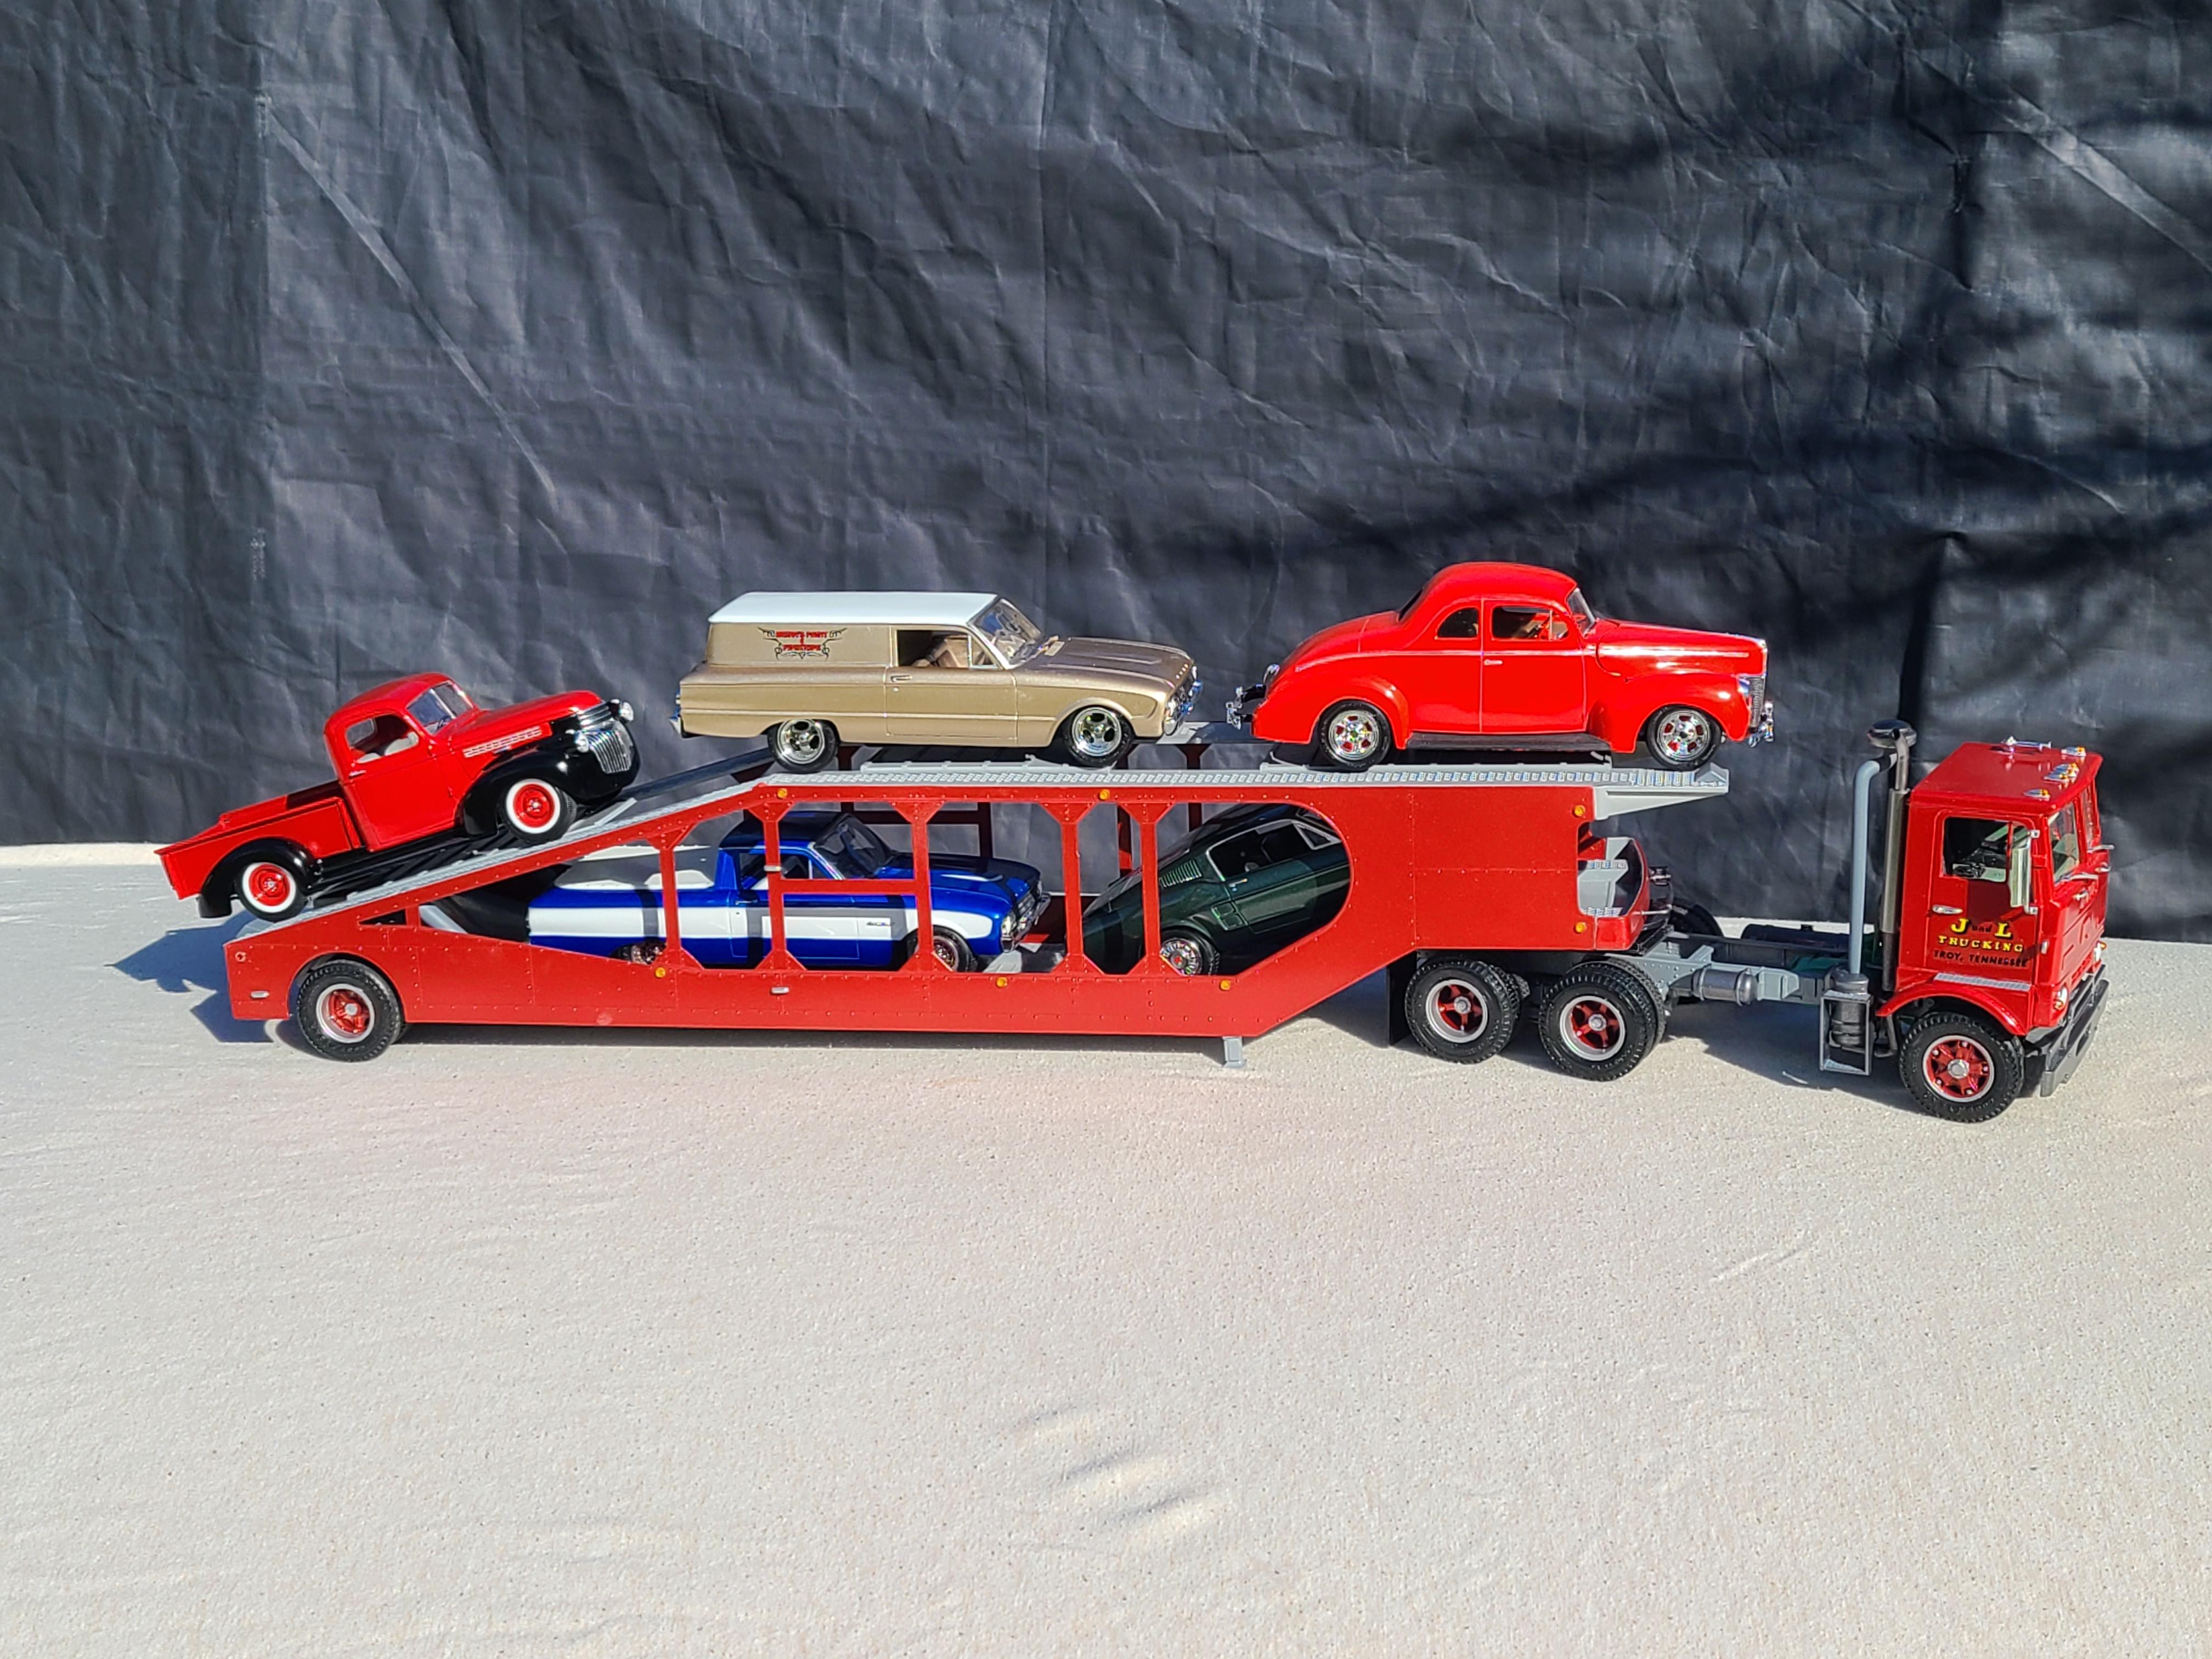
BRBO 2021 GMC Crackerbox car hauler.
Sam I Am replied to Sam I Am's topic in Model Trucks: Big Rigs and Heavy Equipment
I just couldn't make myself change that color, it really looks good on the old girl. I think the whole package came together quite well. Thanks guys! -
post just your cabovers here
Sam I Am replied to Ken Gilkeson's topic in Model Trucks: Big Rigs and Heavy Equipment
Here is my last one. Resin GMC crackerbox.
-
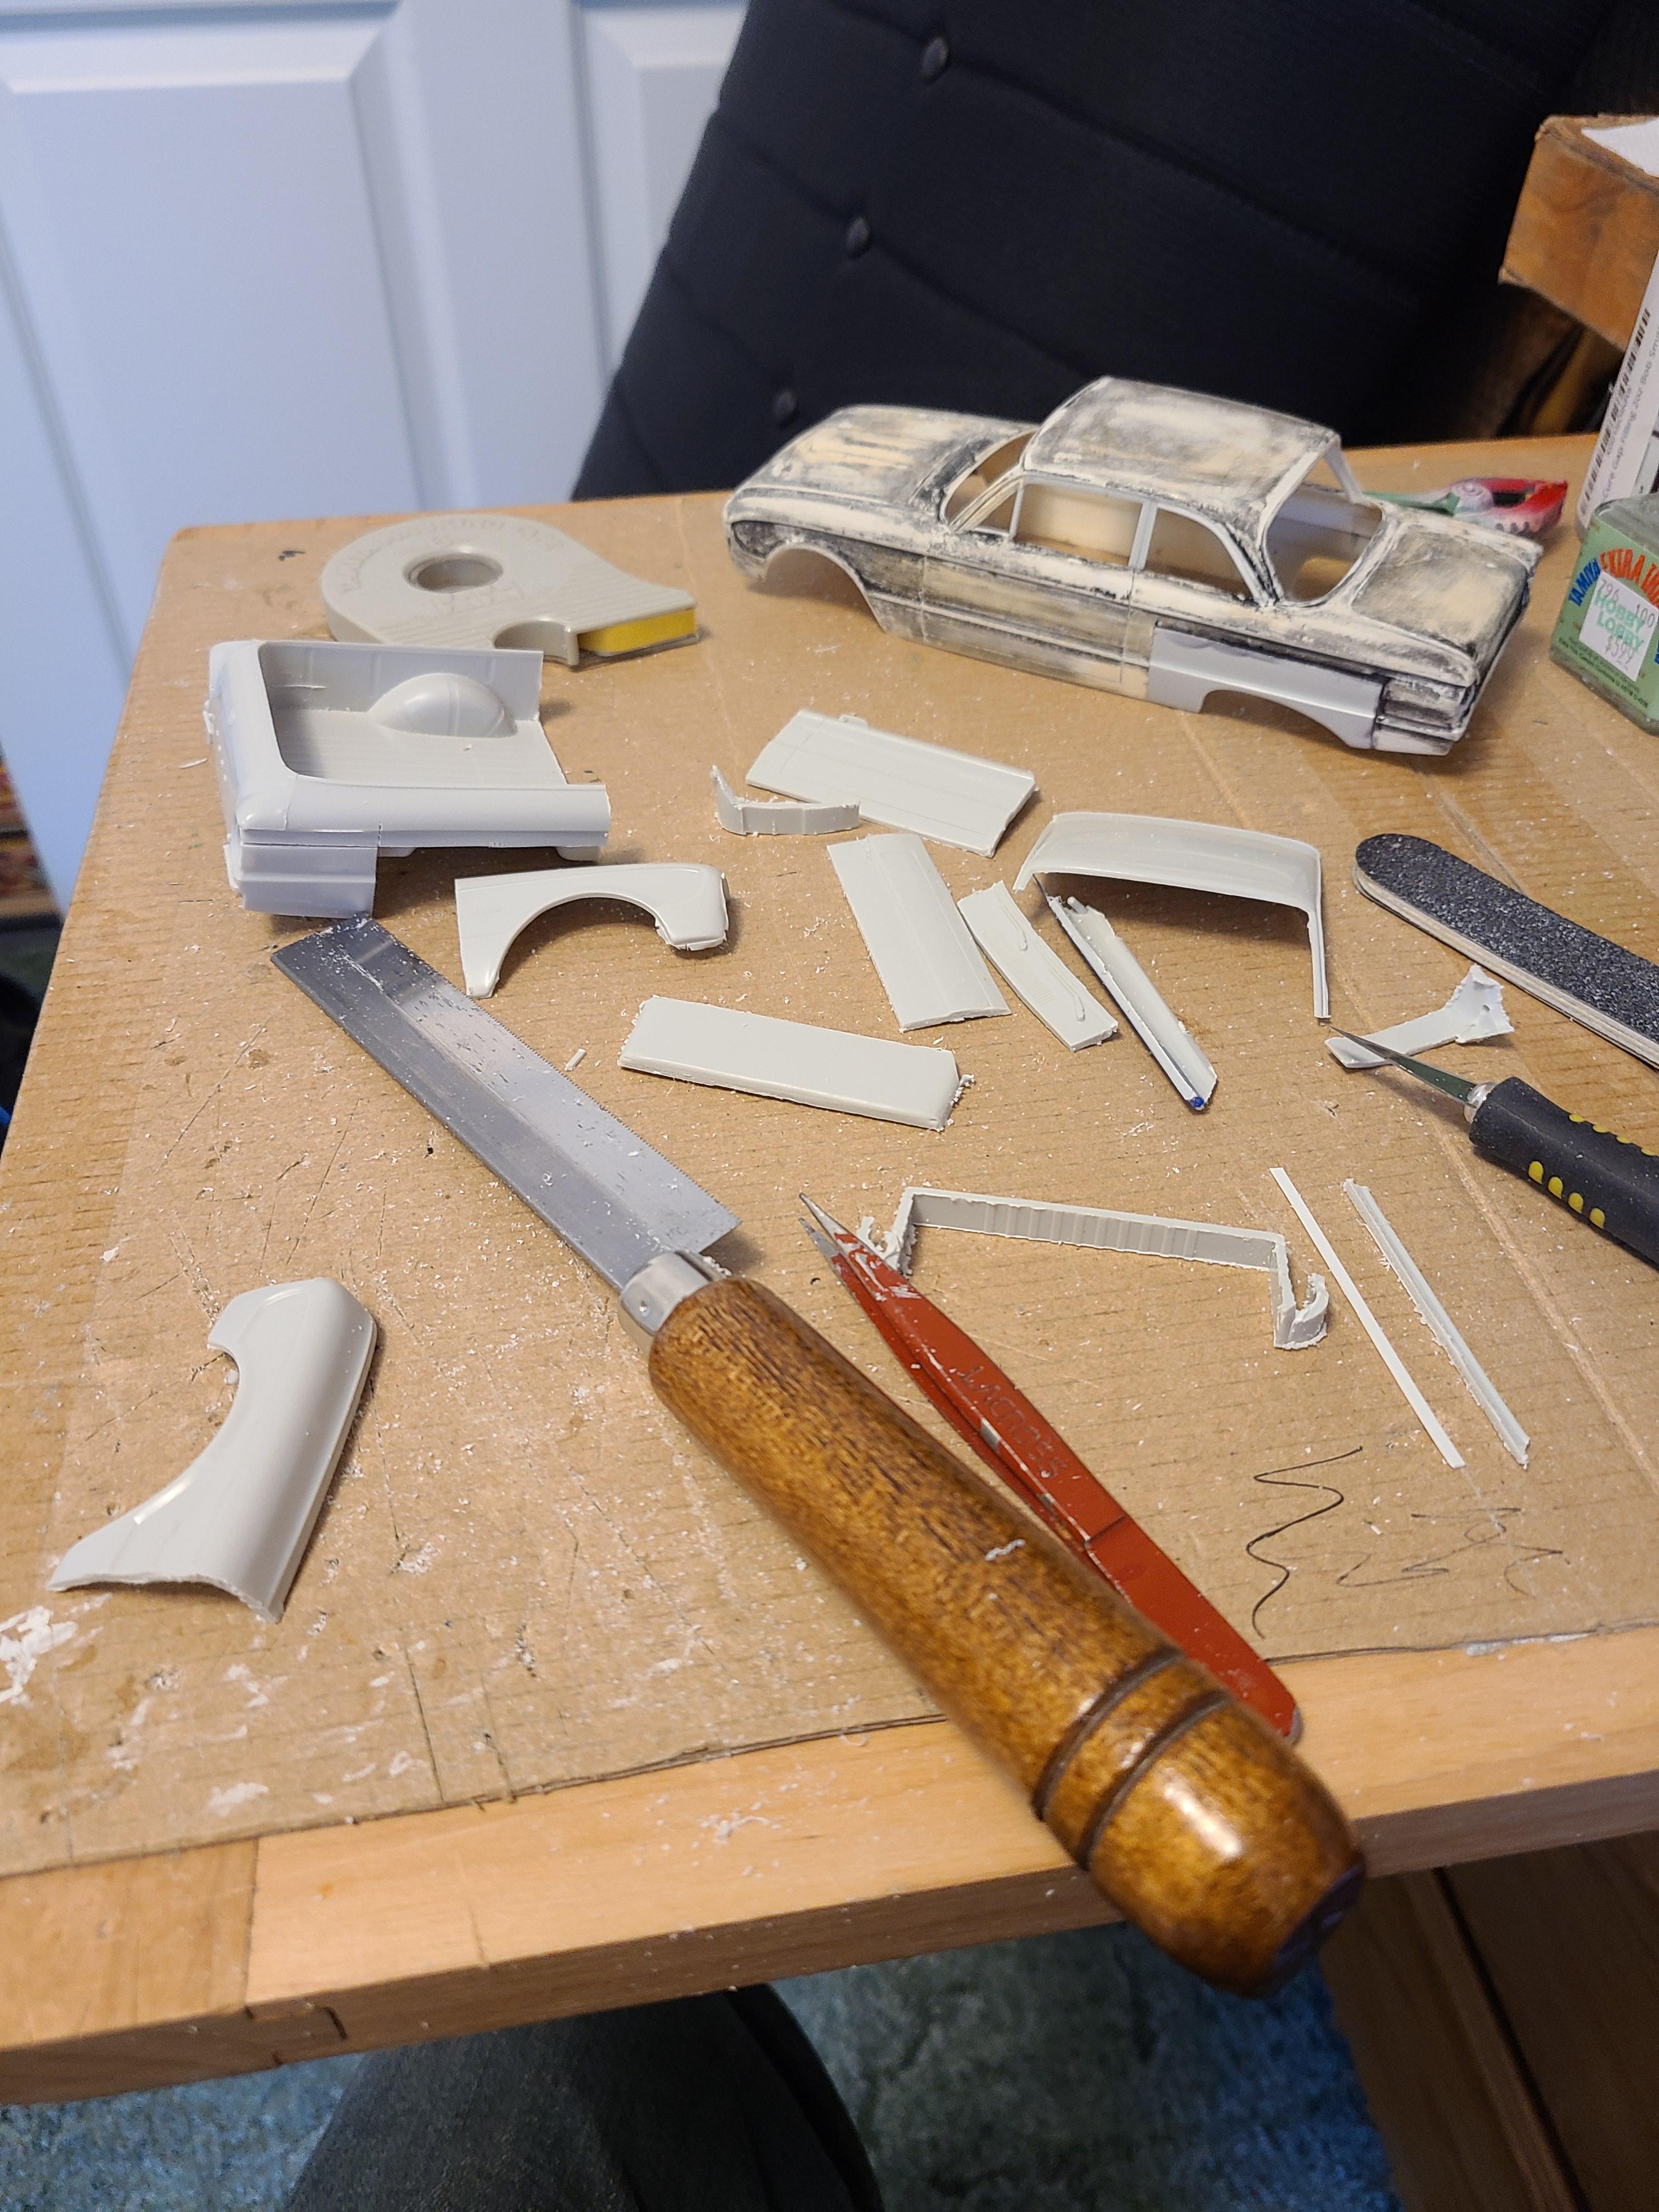
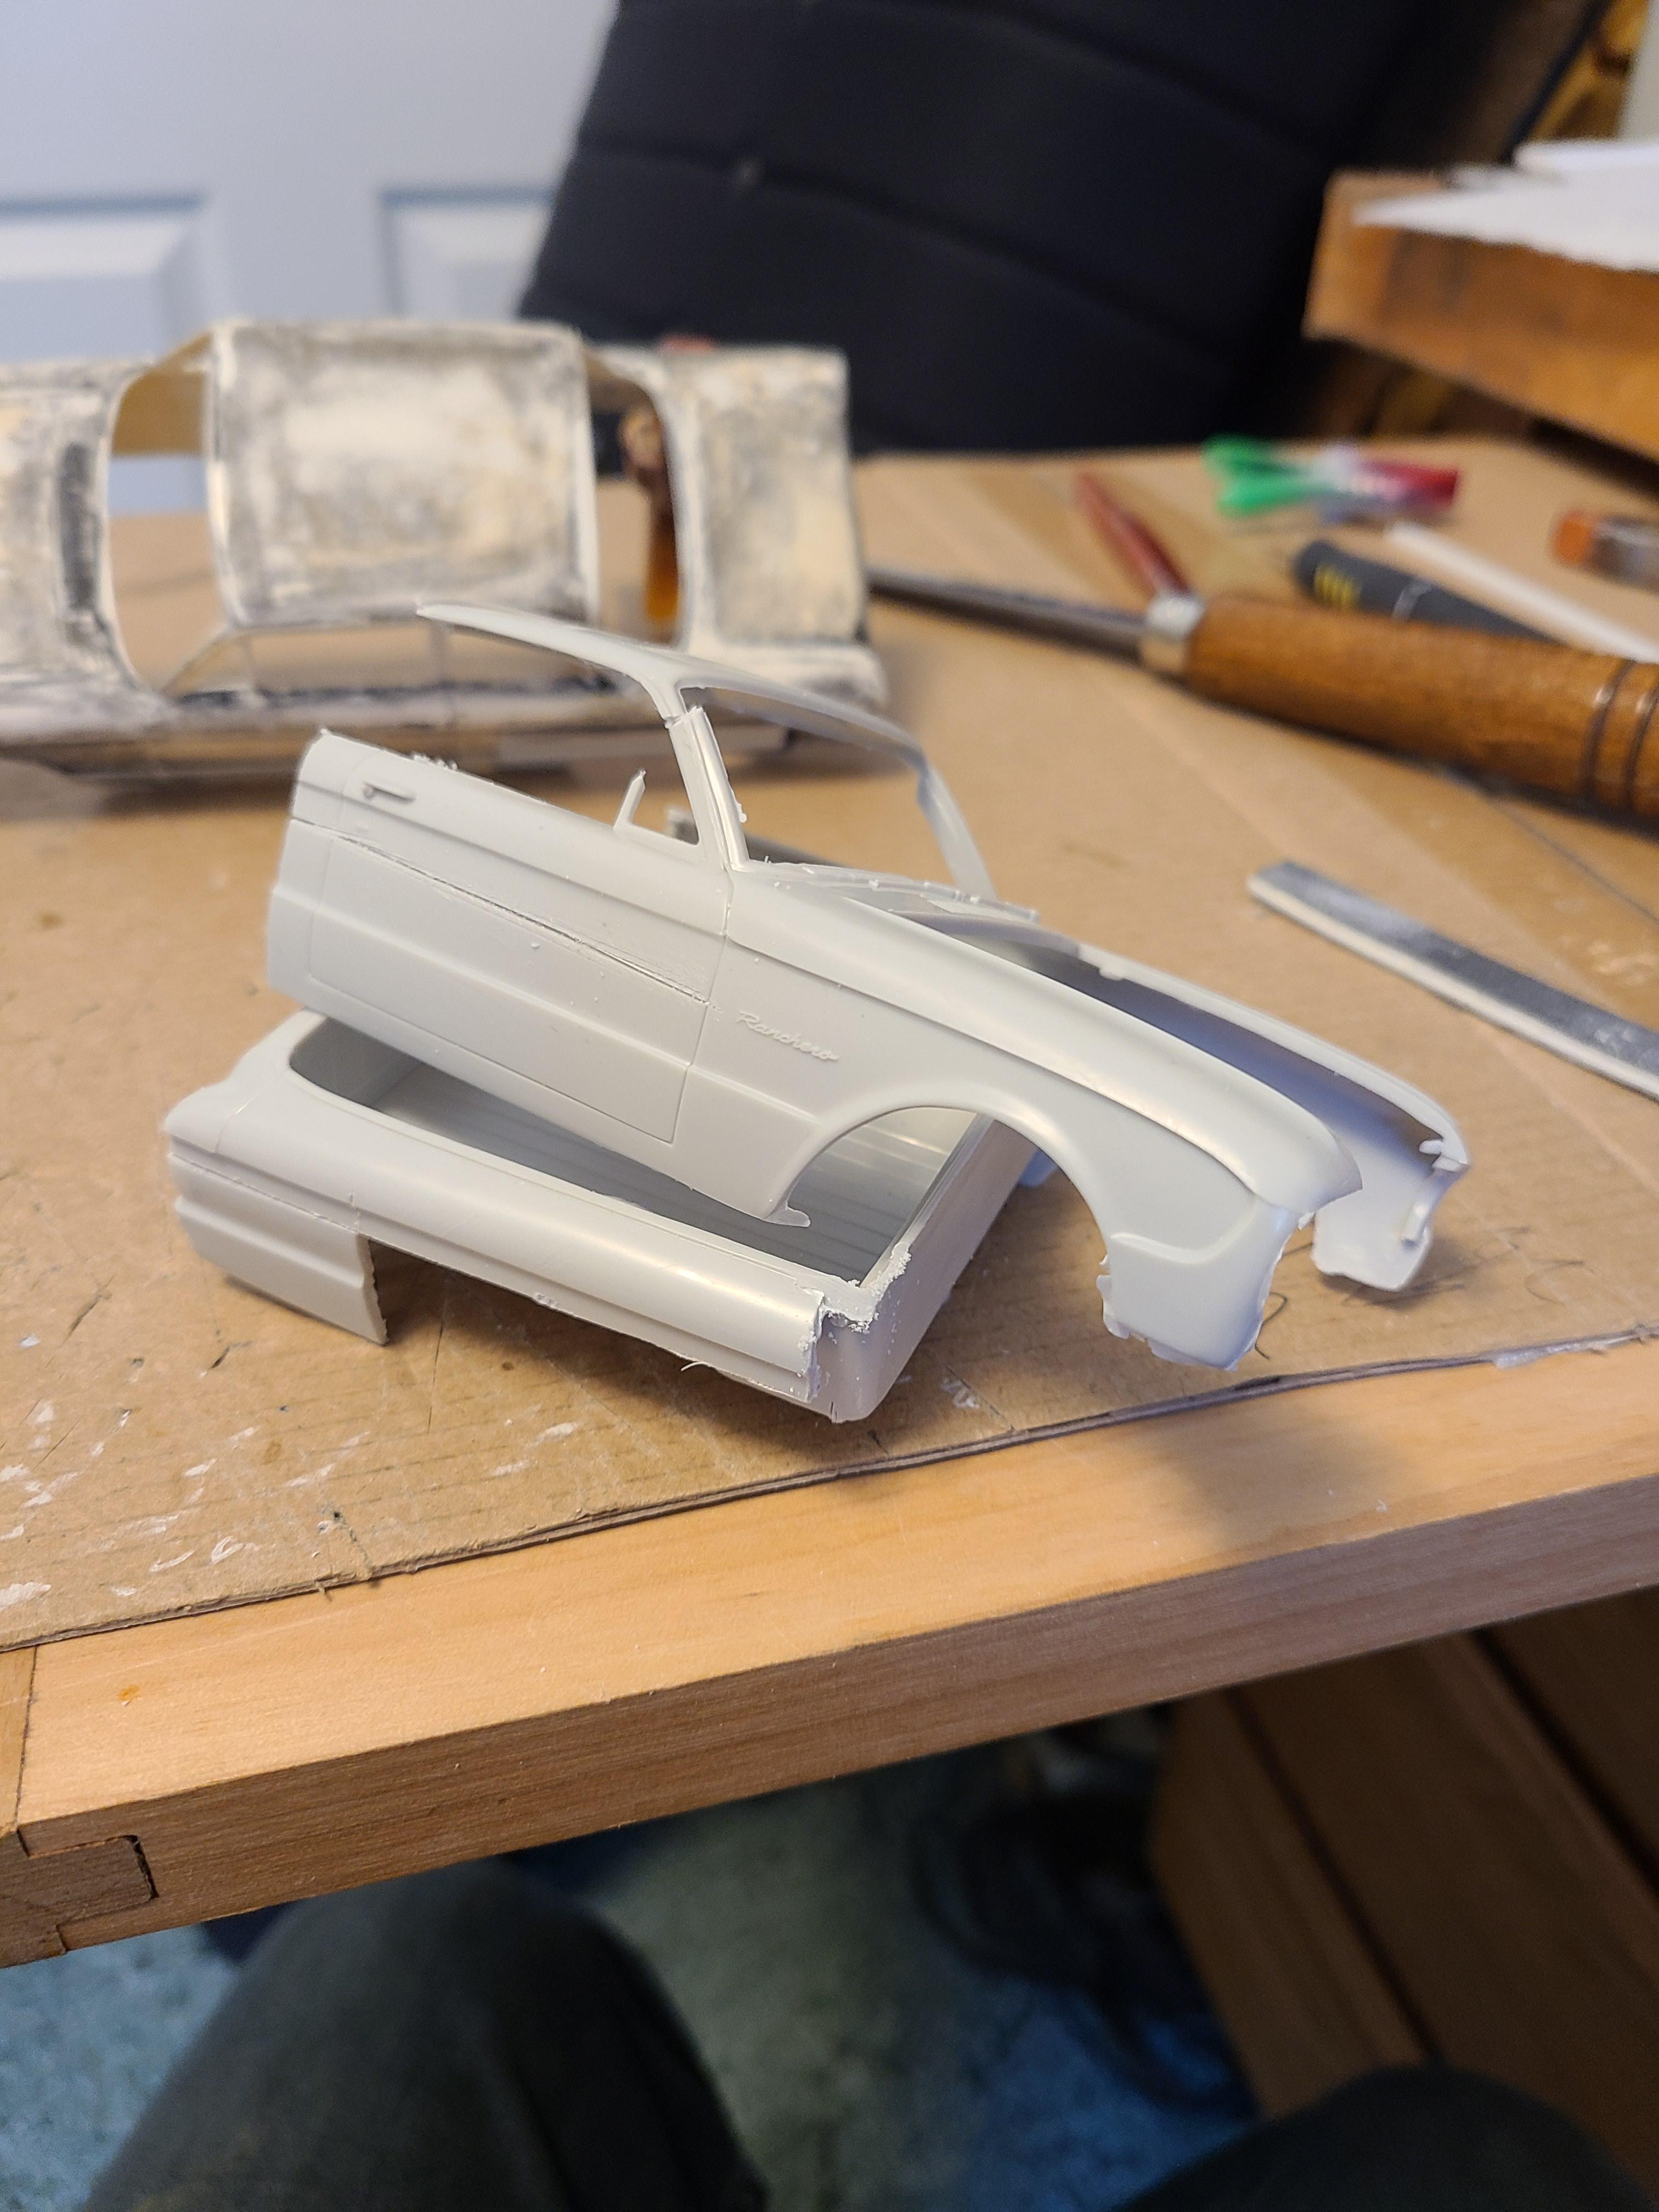
Here is my recent one. A resin 1961 Falcon sedan delivery or "courier ". It is curbside and uses the plentiful Ranchero as a donor kit.
-
?
-
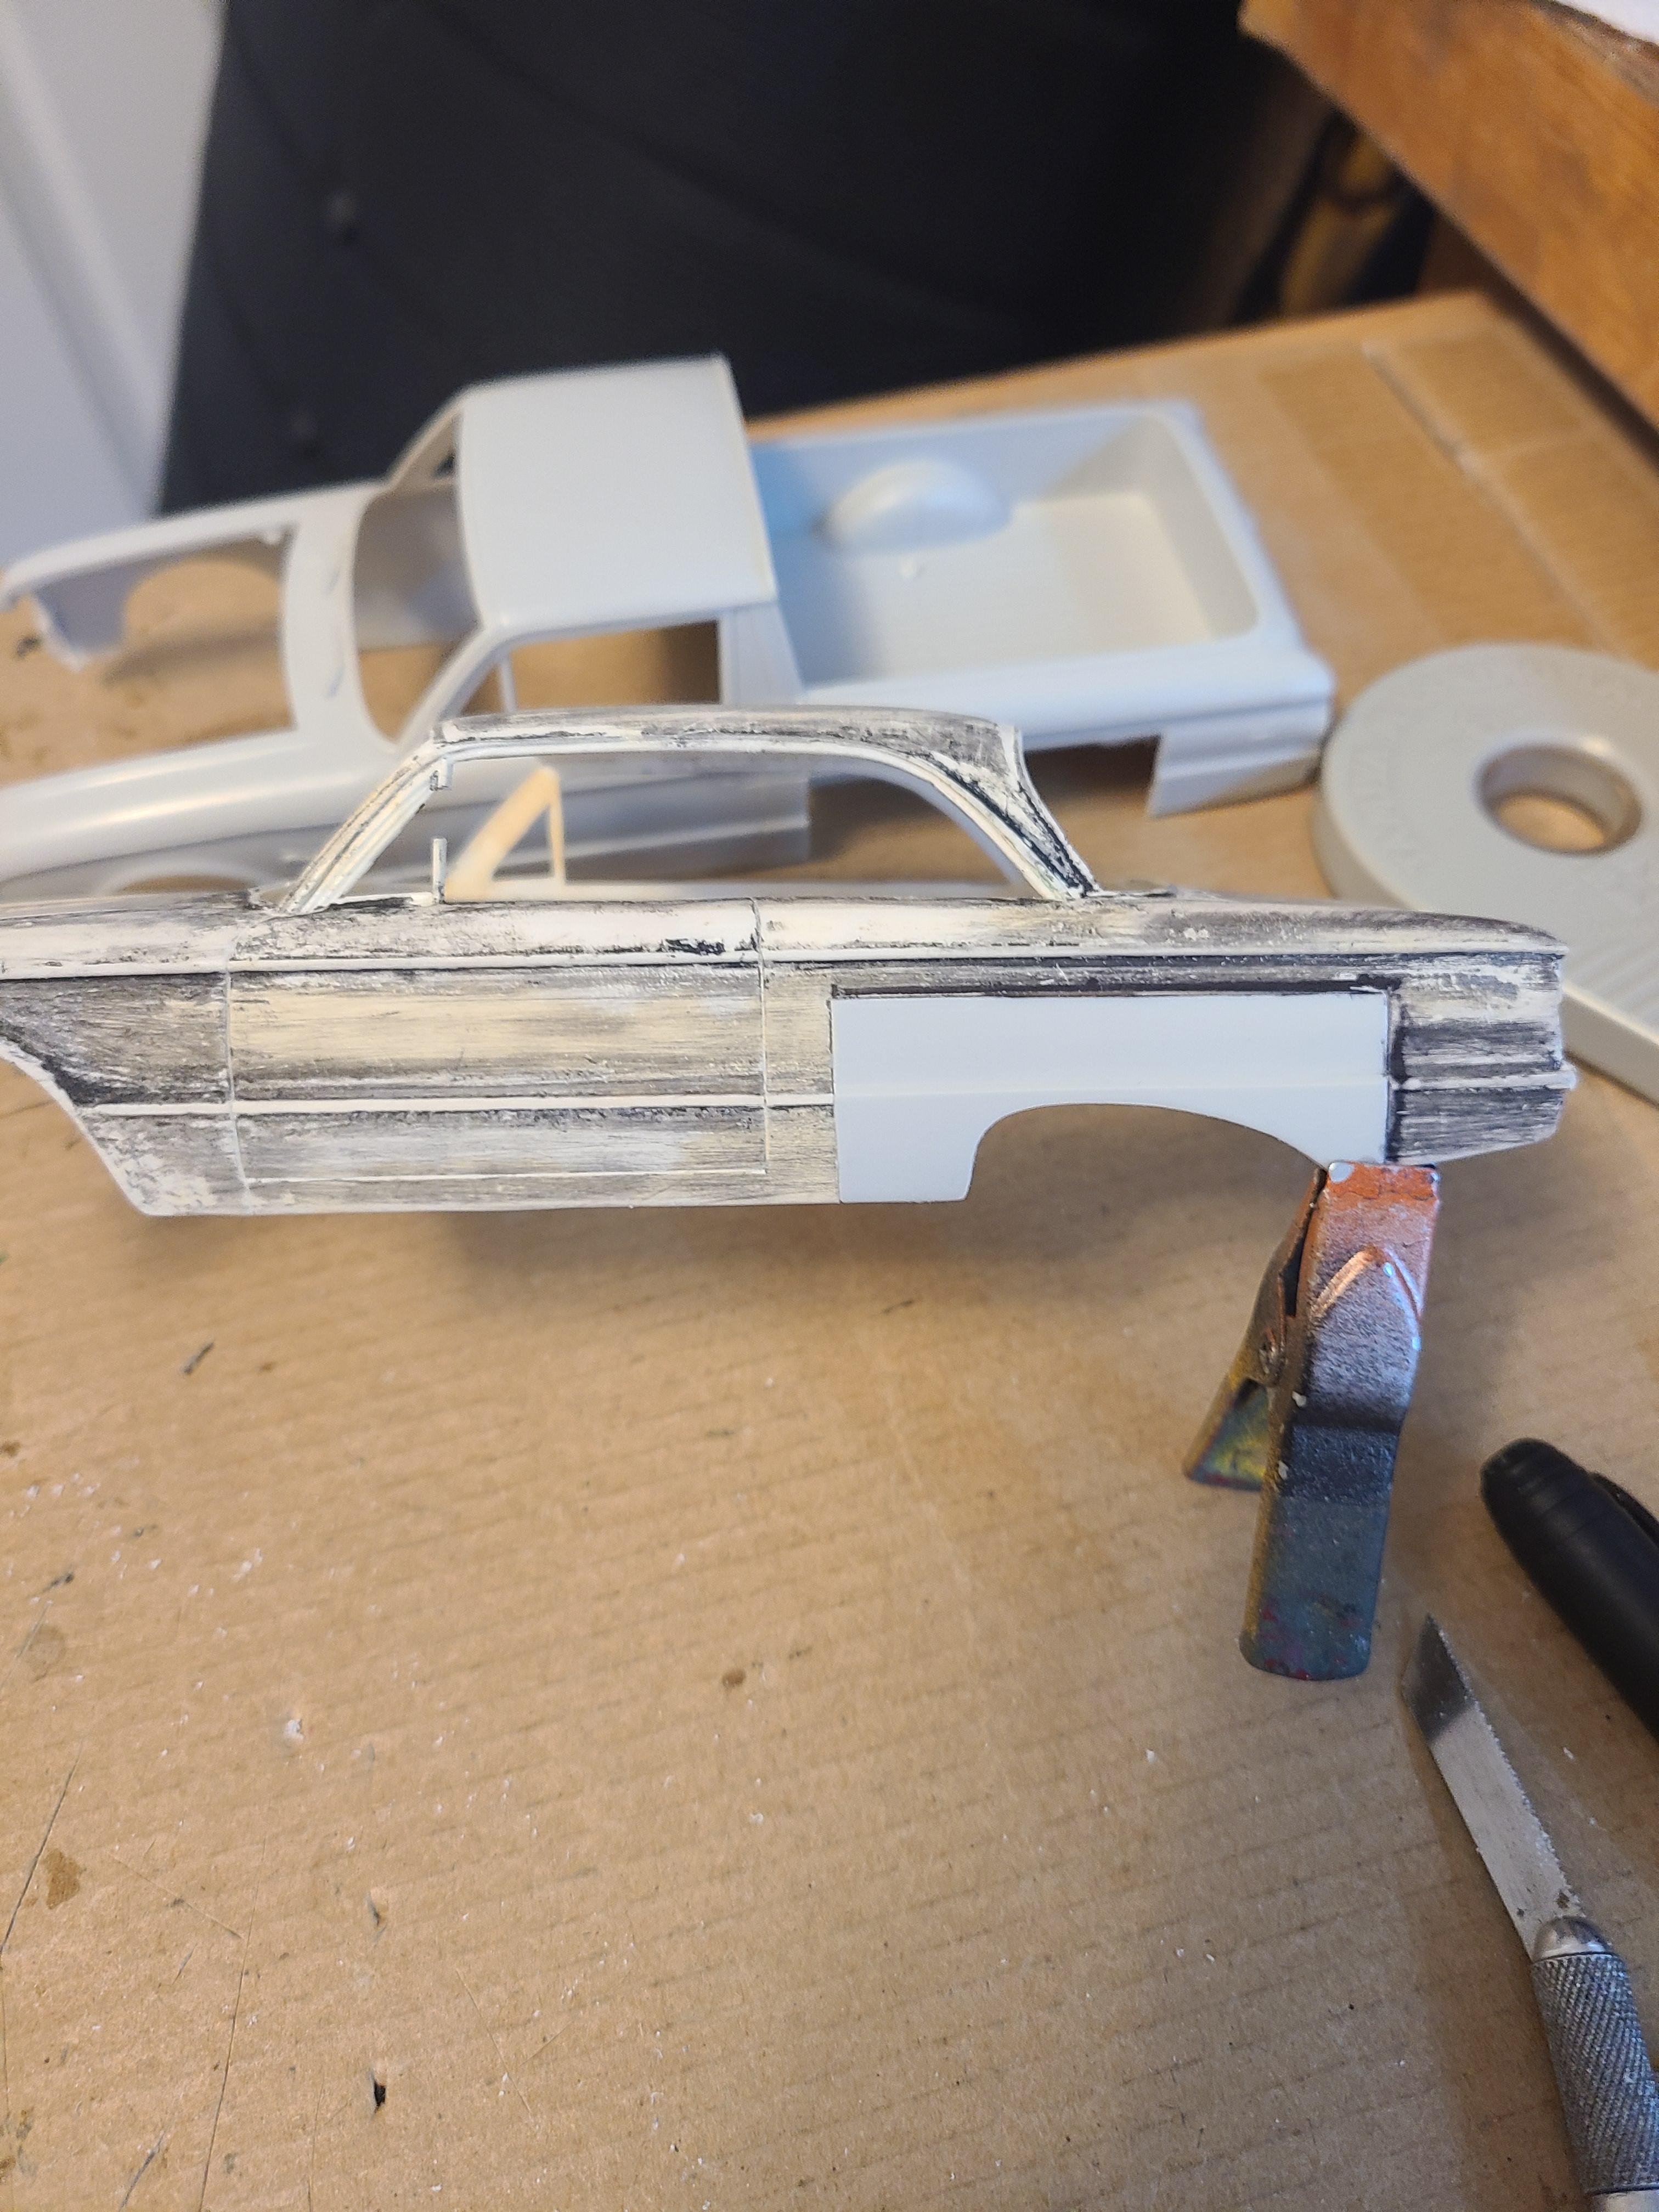
Salvaging this little coupe does lesson the pain.
-
I really hate cutting up a perfectly good body...
-
how many built models?
Sam I Am replied to Paul Payne's topic in General Automotive Talk (Trucks and Cars)
64 behind glass. -
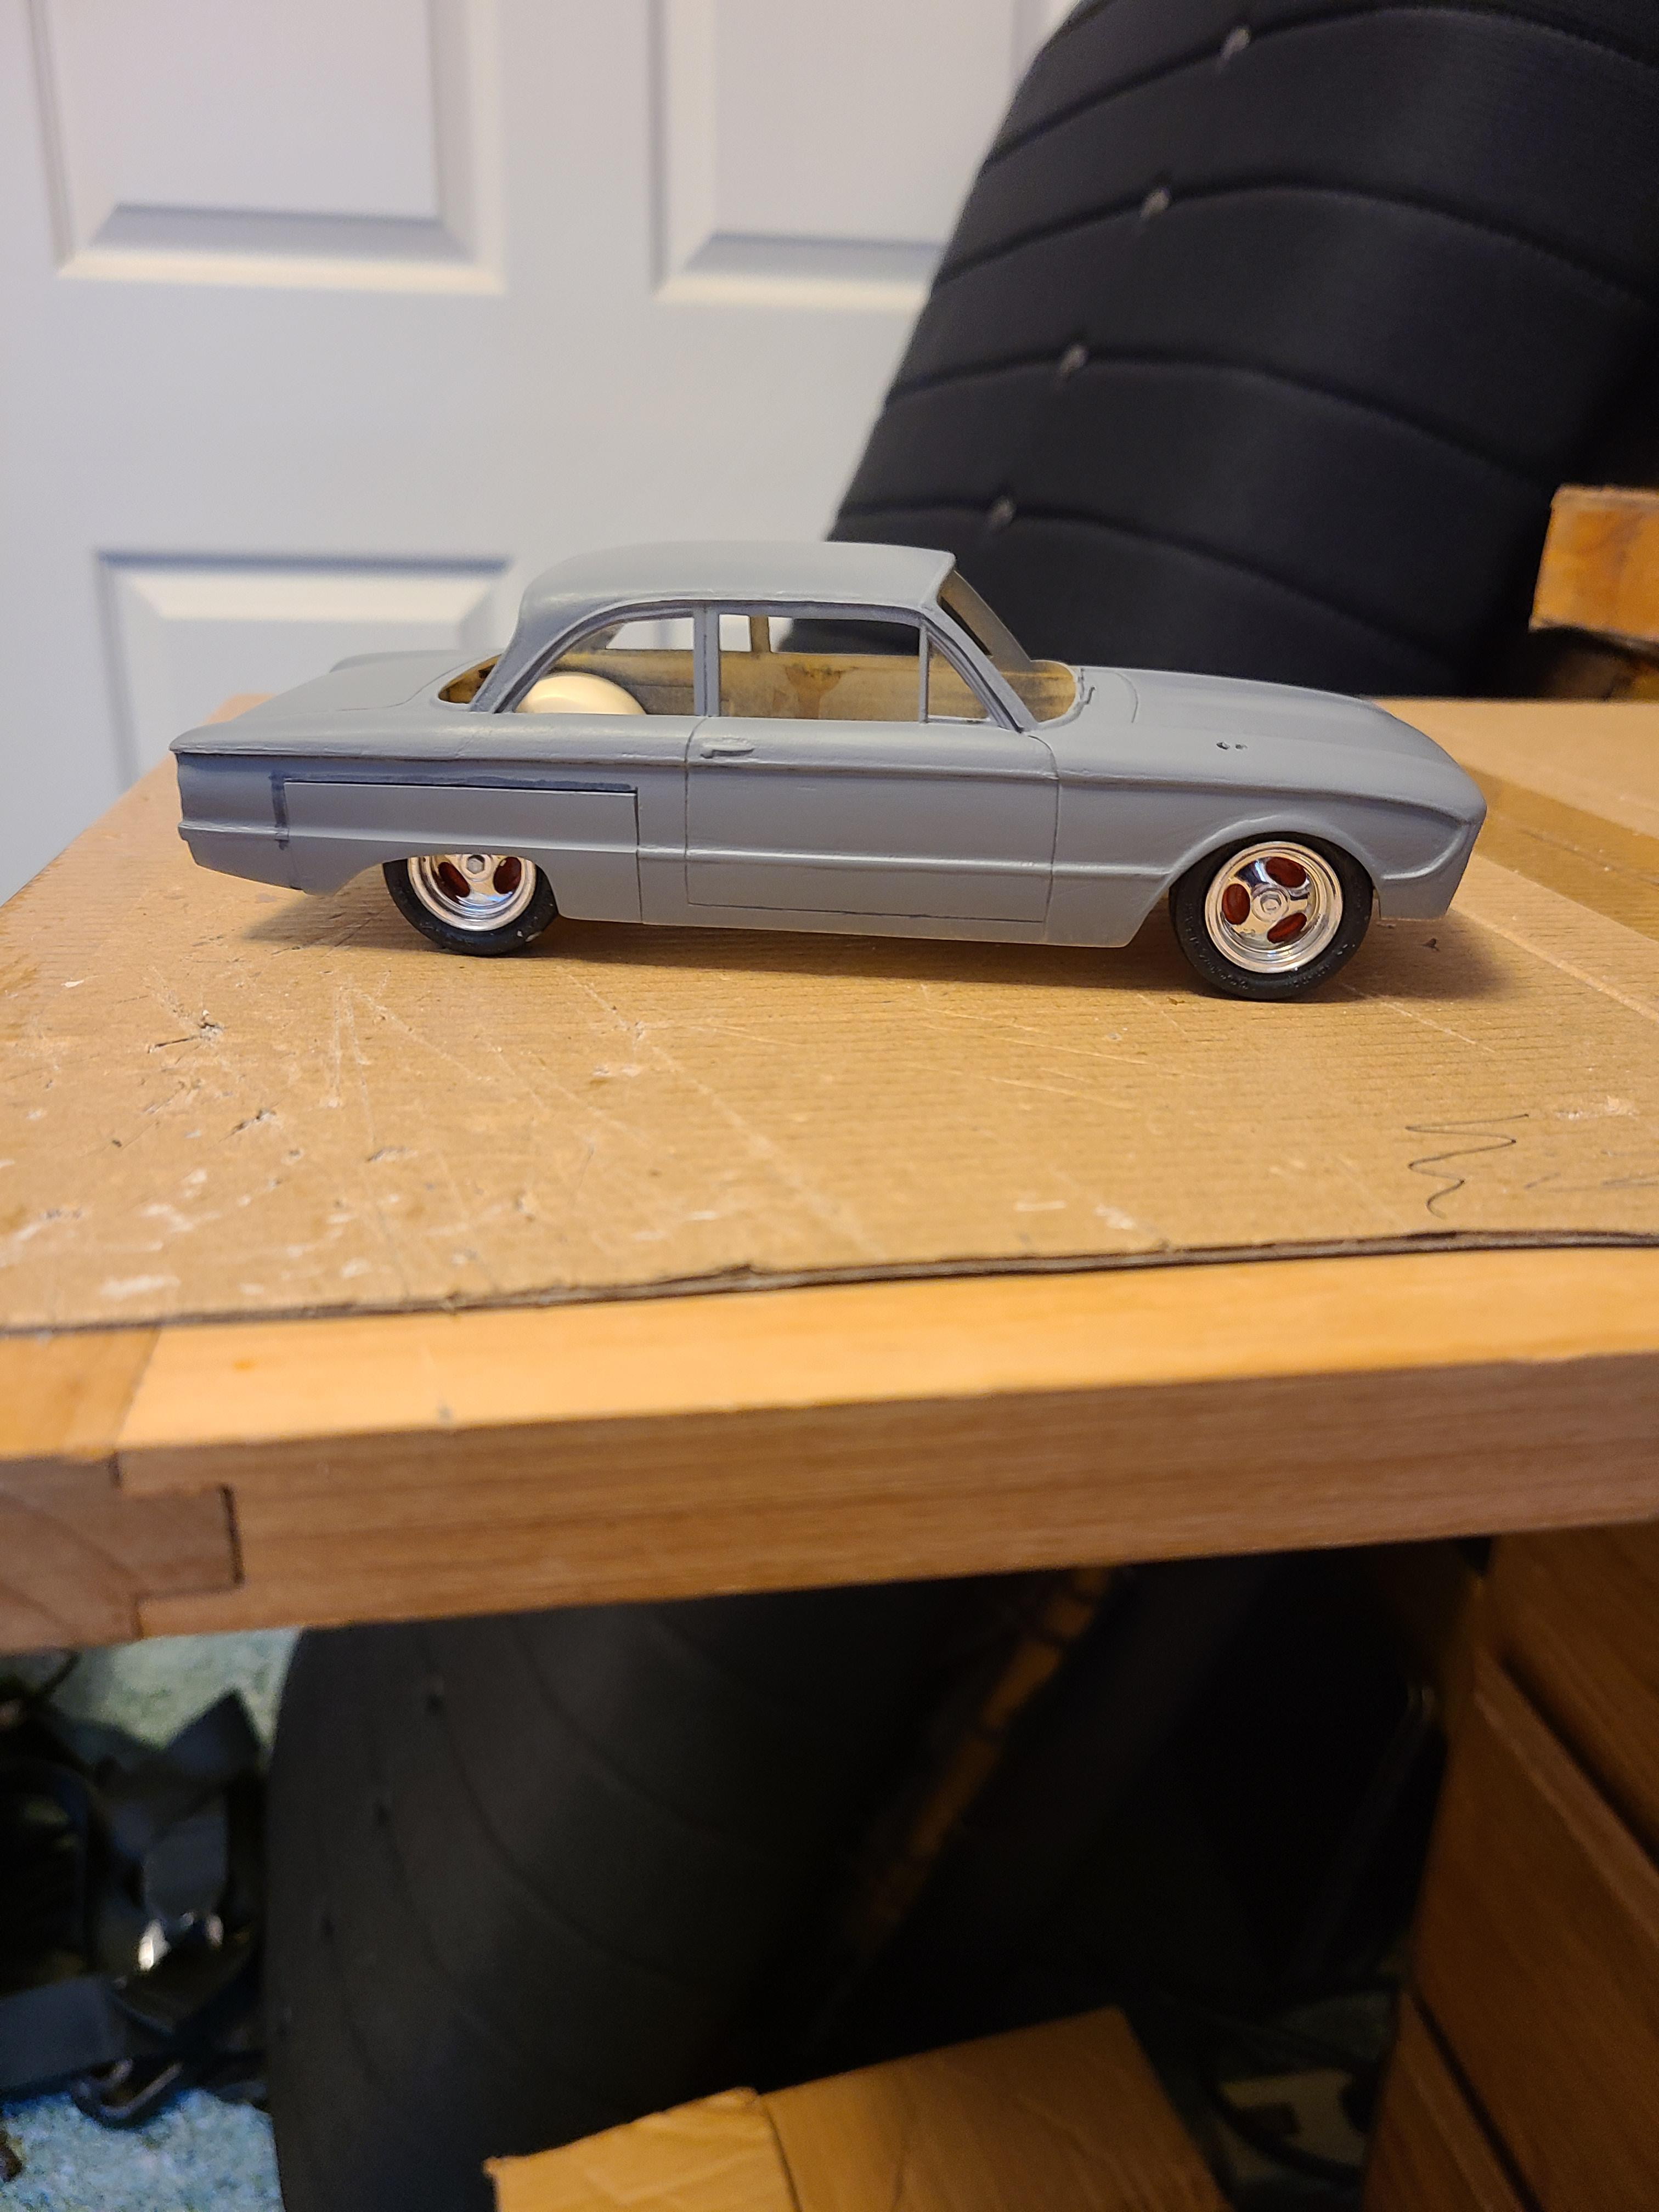
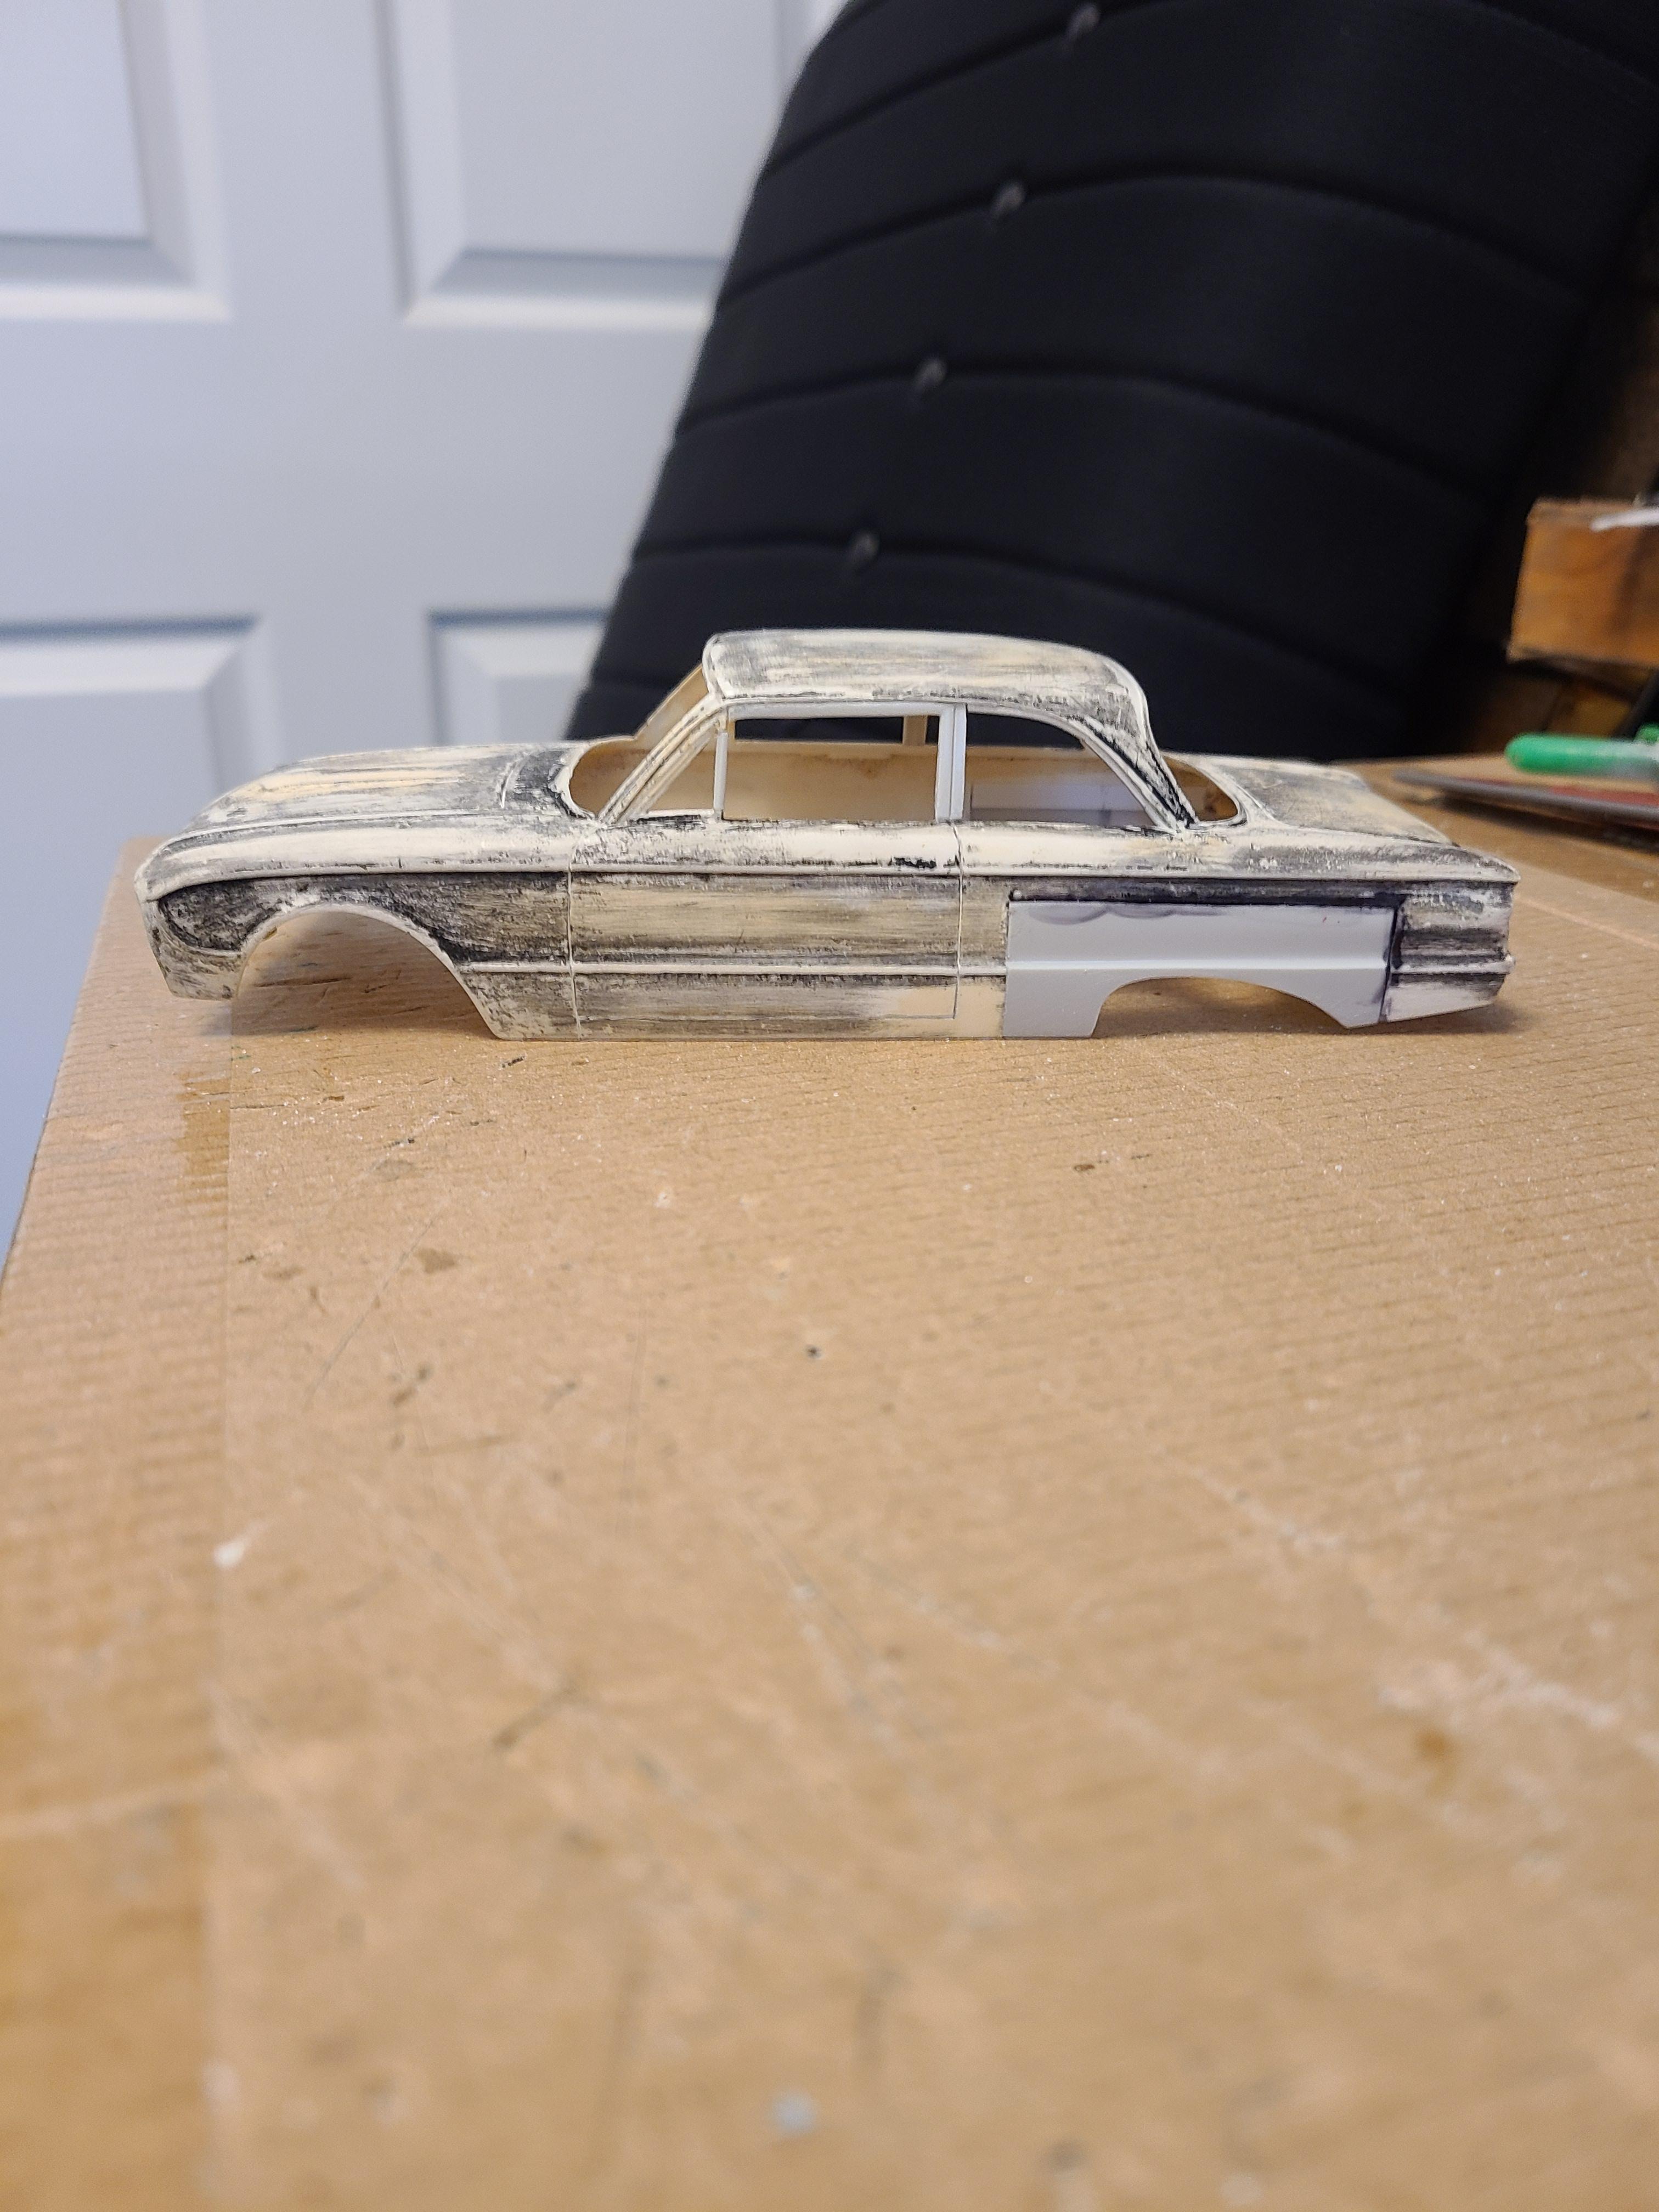
I have one side of the old Falcon with repaired wheel opening. Roughed in, but nice and straight.
-
BRBO 2021 GMC Crackerbox car hauler.
Sam I Am replied to Sam I Am's topic in Model Trucks: Big Rigs and Heavy Equipment
Thanks DJ ! -
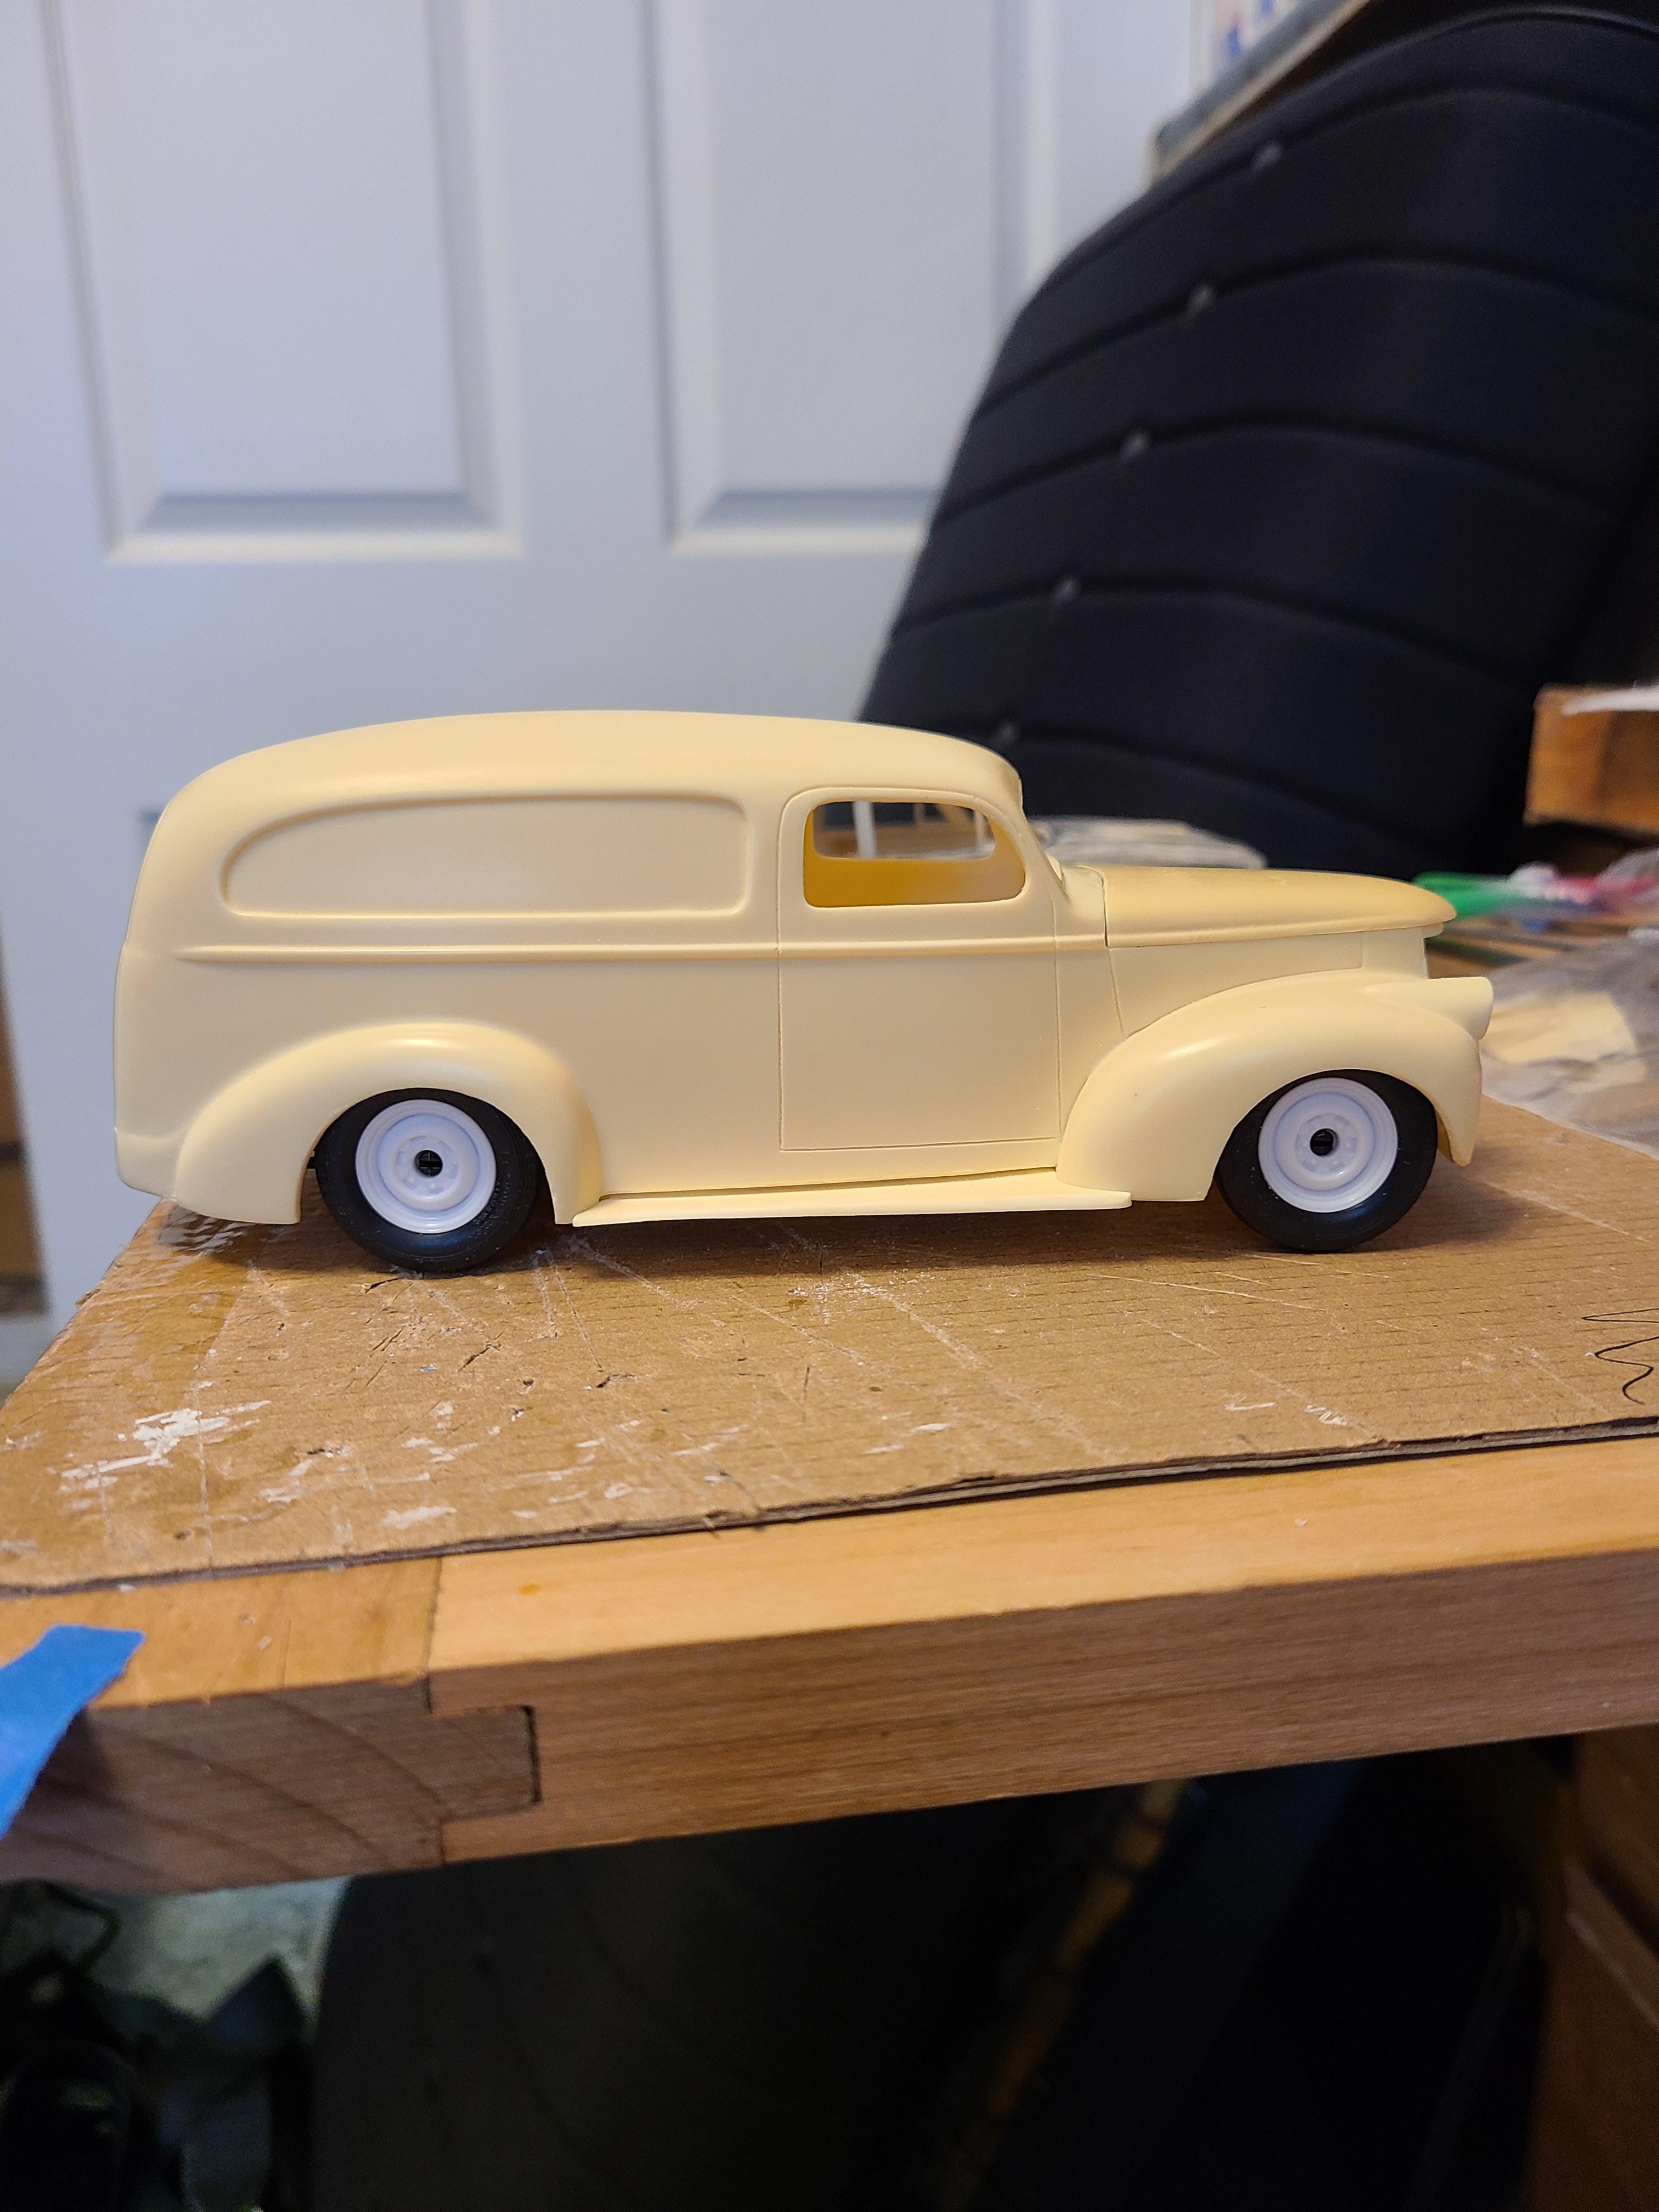
1955 Chevrolet Panel
Sam I Am replied to Sam I Am's topic in WIP: Model Trucks: Pickups, Vans, SUVs, Light Commercial
Nice job. Thanks. Right now it is soaking in the purple pond. I have prepped all my resin parts the same way for years and this one did not like the primer. So at a standstill for the moment. -
I am glad that Mikey likes it. ?
-
Porsche Outlaws & Hot Rods
Sam I Am replied to afx's topic in General Automotive Talk (Trucks and Cars)
Just saw this. https://www.motor1.com/news/493810/hot-rod-porsche-911t-bonhams/amp/
-
Cadillac Custom Coach Pickup
Sam I Am replied to ksnow's topic in General Automotive Talk (Trucks and Cars)
More discussion and information can be found in this thread on page two. -
61 Ranchero
Sam I Am replied to BIGTRUCK's topic in WIP: Model Trucks: Pickups, Vans, SUVs, Light Commercial
Definitely following this one. -
What did you screw-up today??
Sam I Am replied to TransAmMike's topic in General Automotive Talk (Trucks and Cars)
Sprayed some Testors Extreme gloss clear this morning....and now have a few bubbles I need to sand out. ? -
Nice find Tom ?
-
Hope you can glue it back together.
-
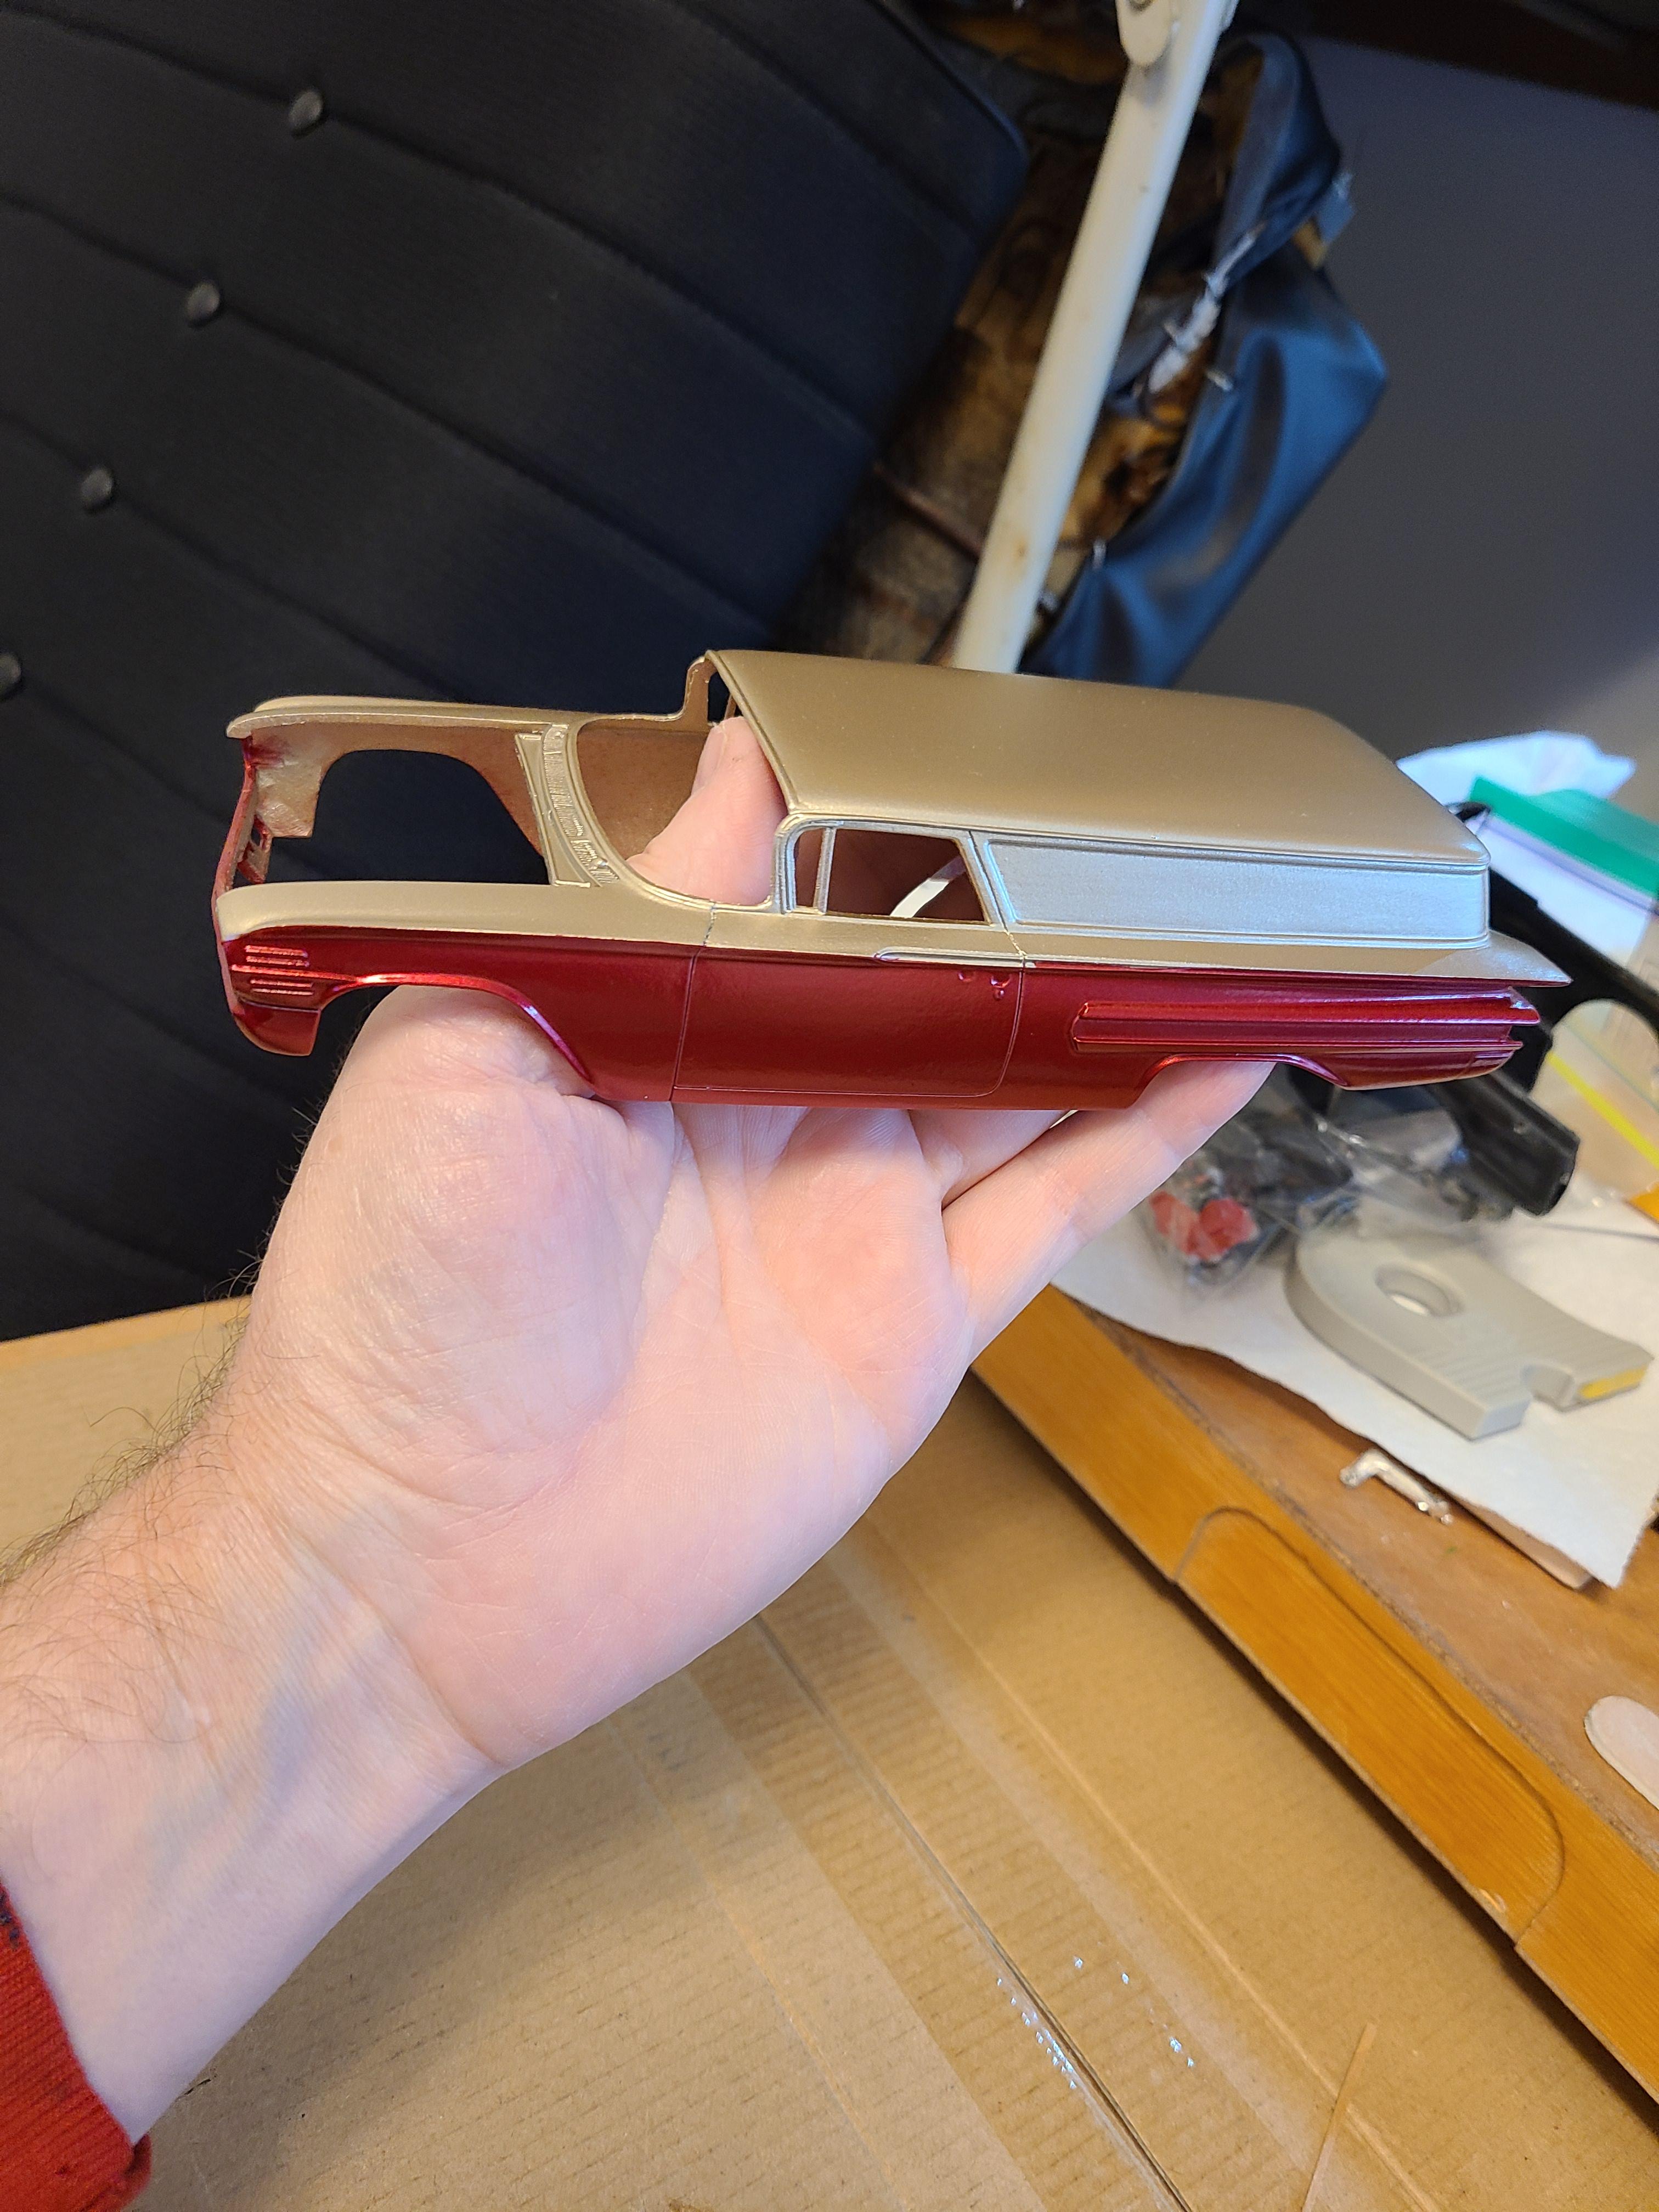
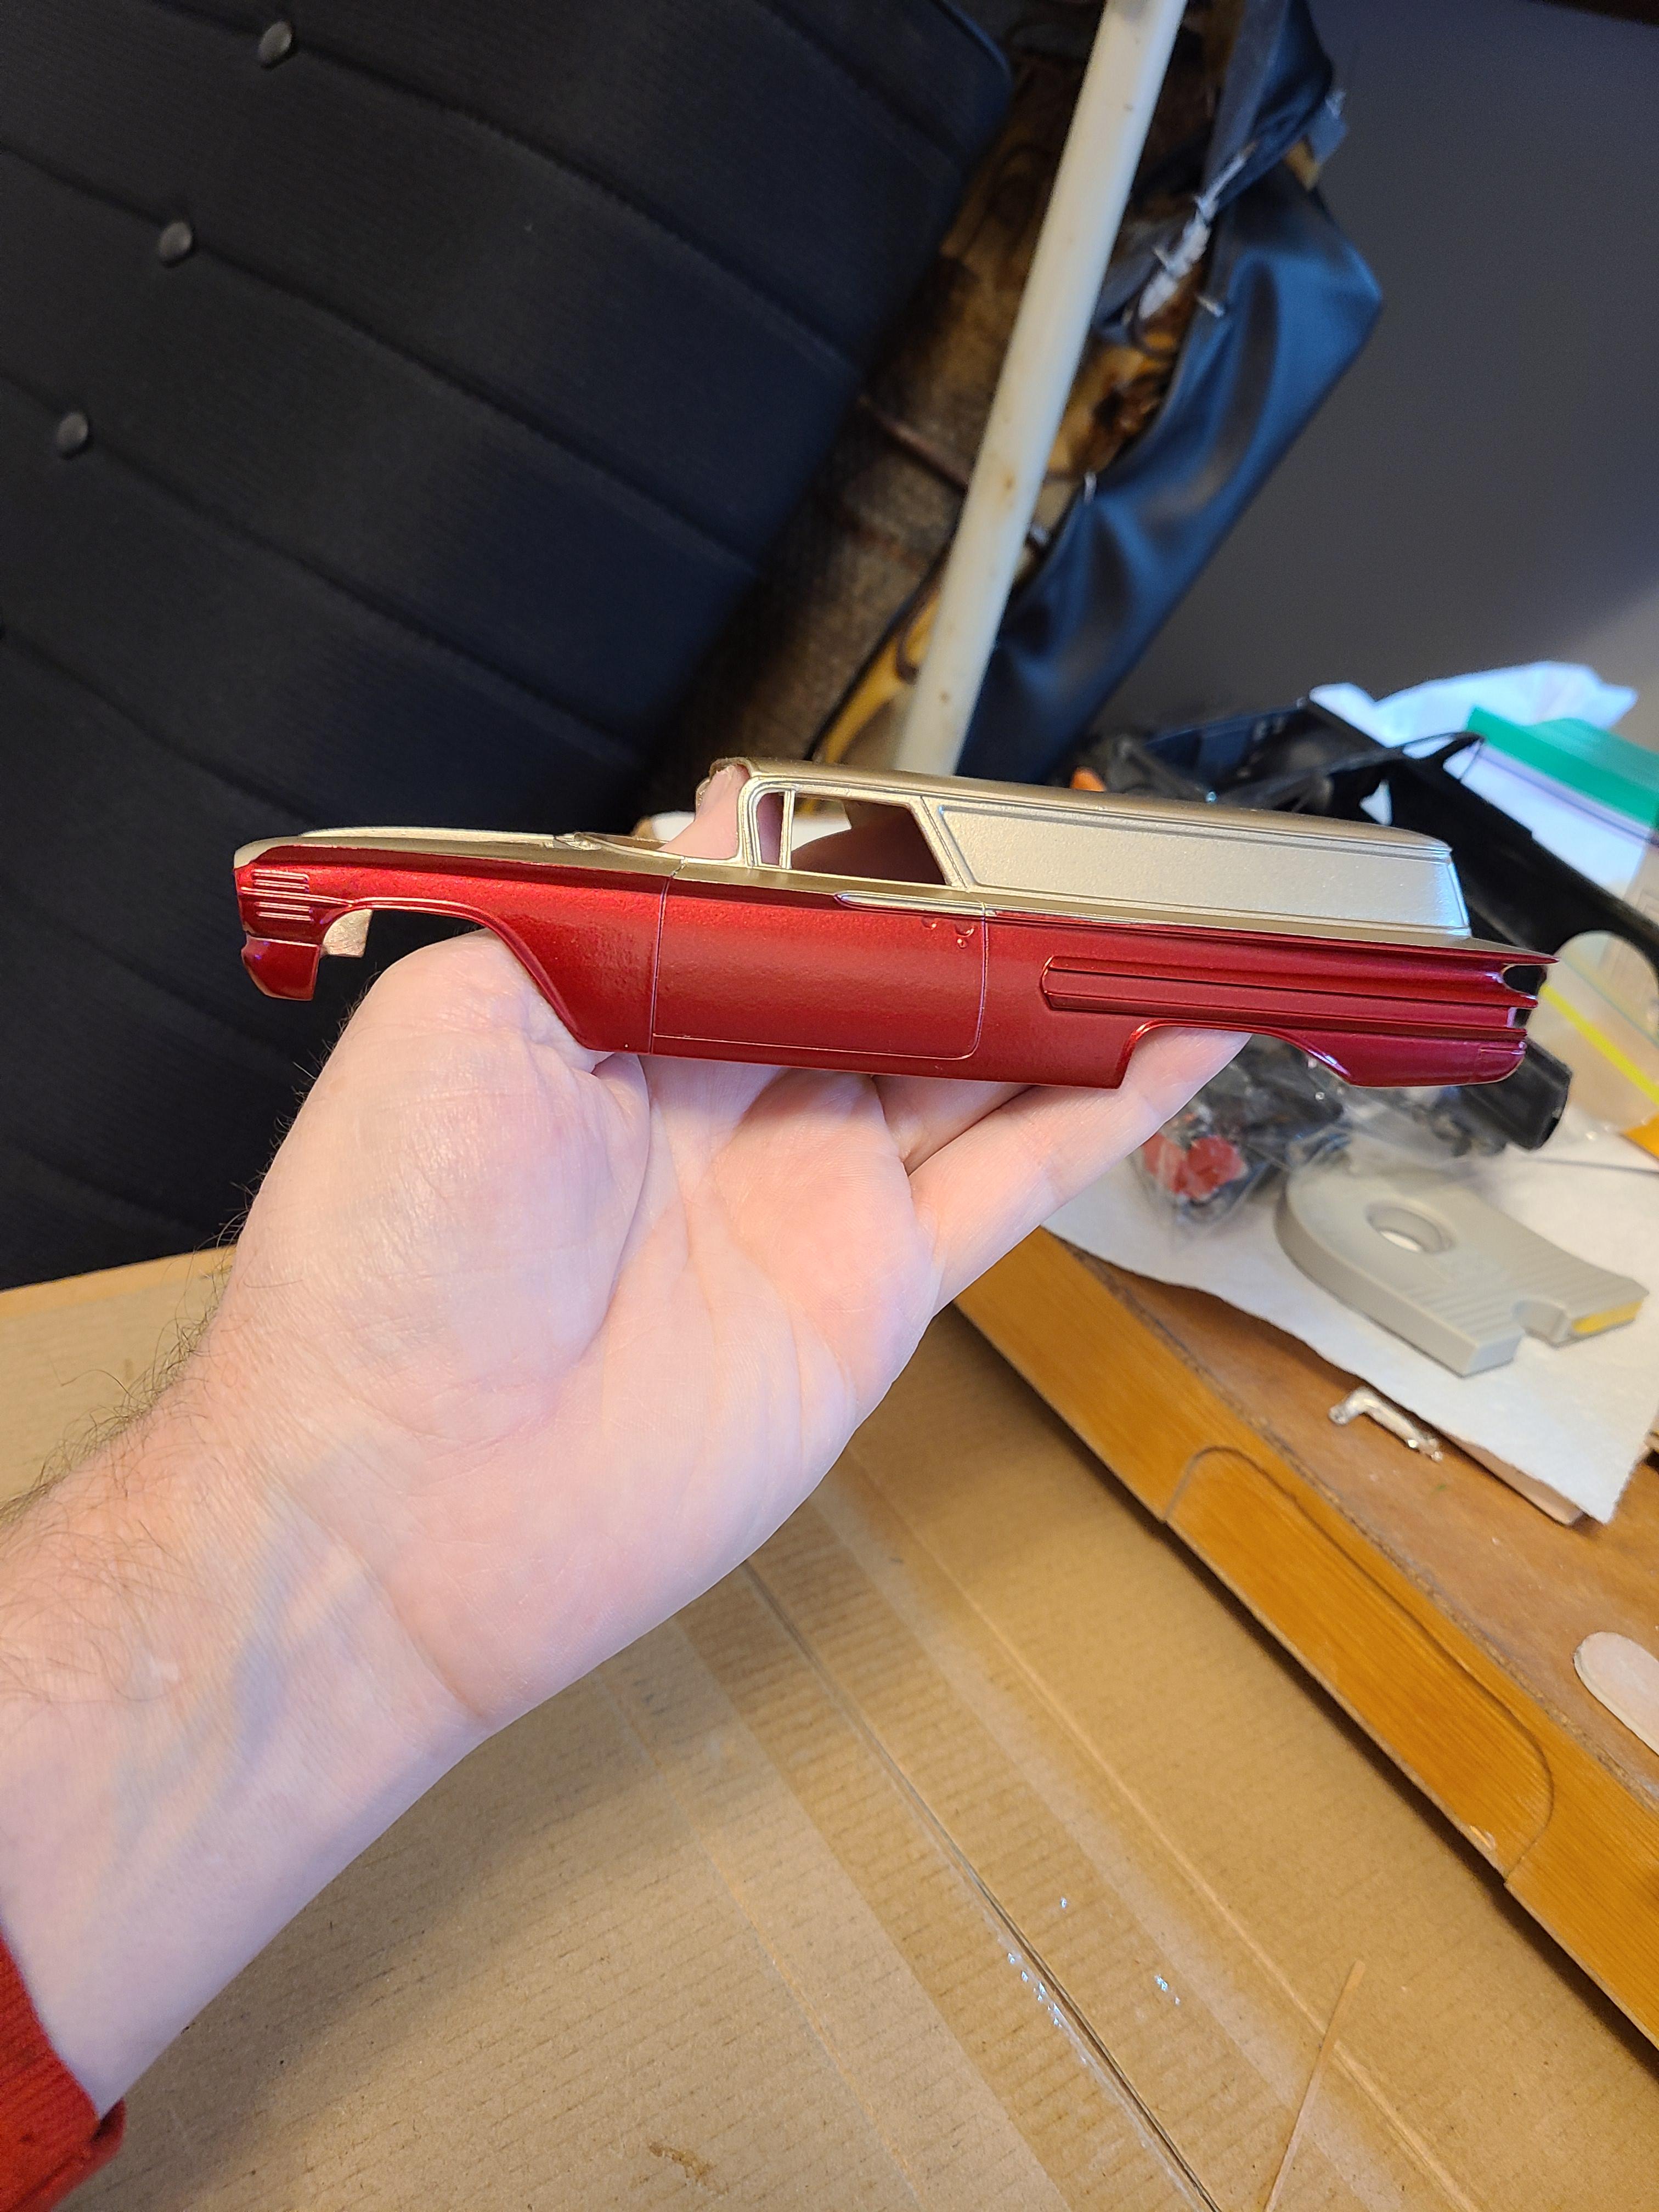
Been cleaning up this 60 Chev and layed down the color coats yesterday and today.
-
BRBO 2021 GMC Crackerbox car hauler.
Sam I Am replied to Sam I Am's topic in Model Trucks: Big Rigs and Heavy Equipment
Thanks again !


.jpg.e0919064d72f90057eb16414ec11d2ff.jpg)

.jpeg.a19922744e3491147a0c241f0dfc437c.jpeg)